Welcome to another segment of our Hangover Breakfast series! Again, I used the method that the Gluten Free Girl and the Chef have provided on their blog to make an all-purpose flour mix, to choose flours with waffles and pancakes in mind, which I posted previously (see link below). Waffles are great, but then you have to clean the waffle maker, which you might not want to do on the morning after, or if it’s just an every day sort of breakfast. So then, hey, pancakes! You can also dress these up anyway you want, add blueberries, chocolate chips, apples and cinnamon, etc. You can also make up a batch, let them cool, put wax paper in between them and put them in a container in the freezer and toast them when you want some too.
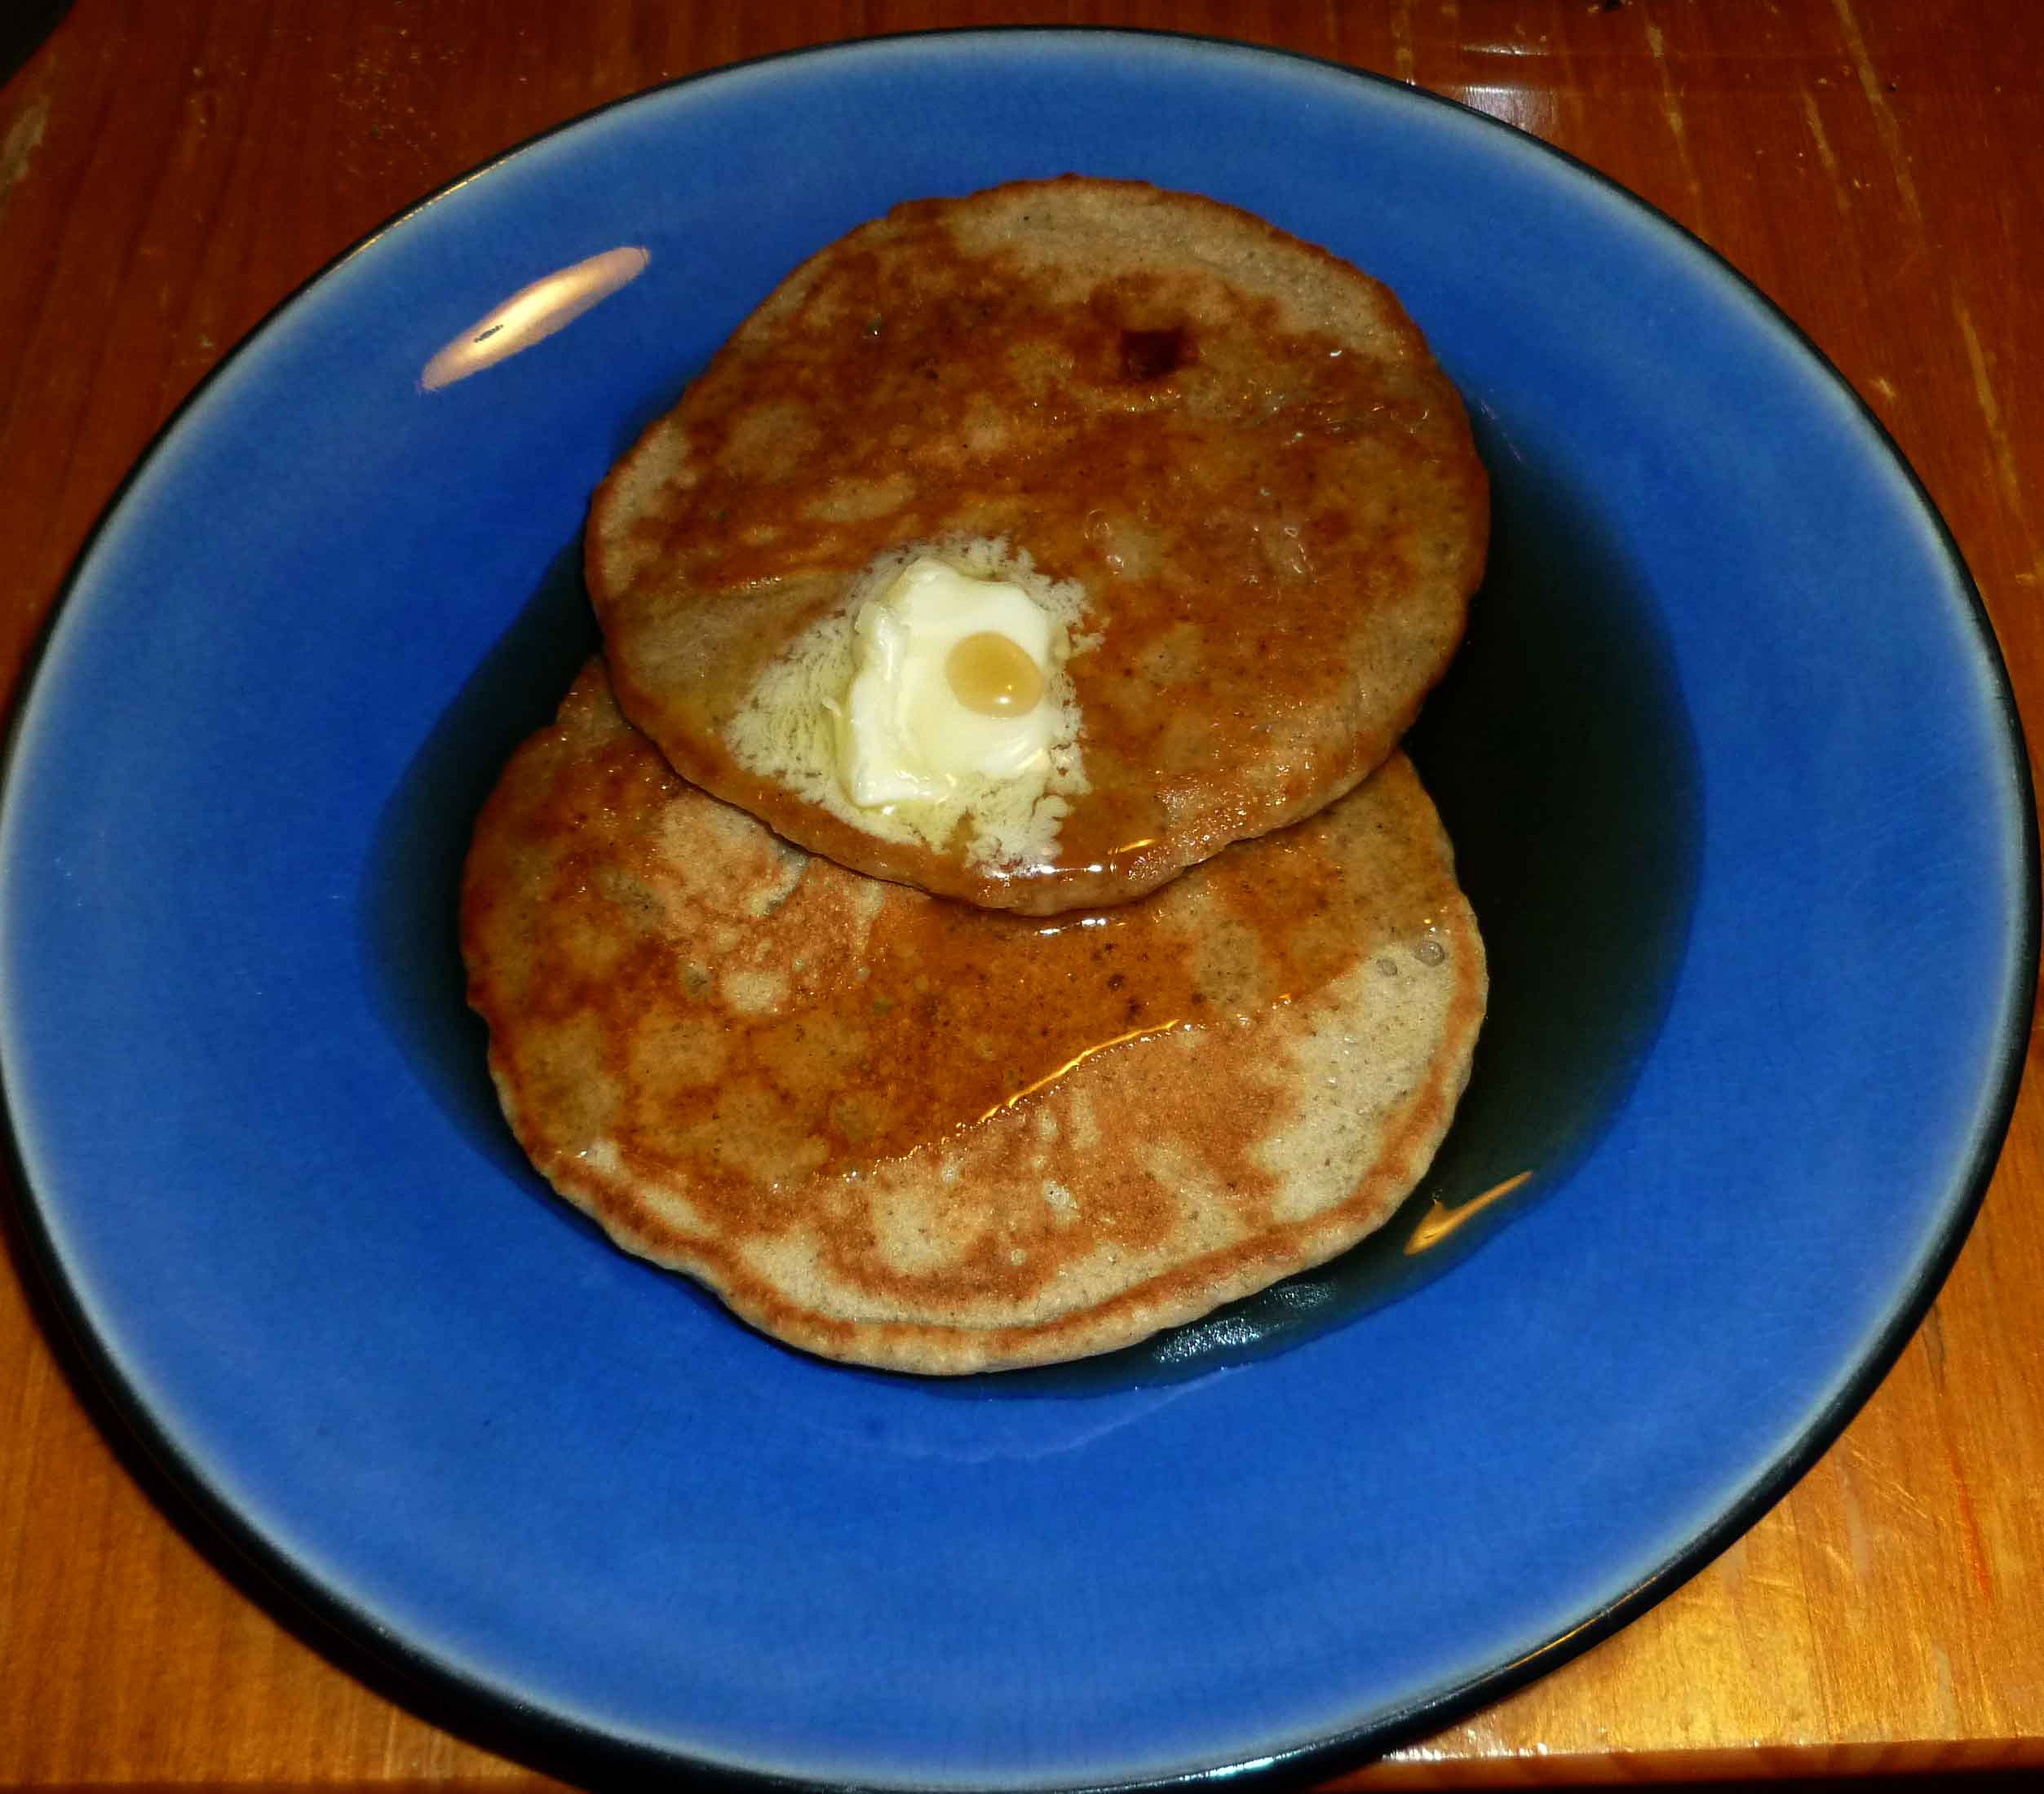
Gluten Free and Dairy Free Pancakes
Makes about 10 – 4 inch pancakes.
- 210 grams of Gluten Free Flour Mix for Waffles & Pancakes (or you can try your normal gluten free flour mix)
- 1 teaspoon salt
- 3 Tablespoons brown sugar
- 1 3/4 teaspoons of baking powder
- 1 1/2 Tablespoons of ground chia seed meal
- 4 1/2 Tablespoons of water
- 3 Tablespoons of canola oil
- 1 teaspoon of vanilla
- 1 1/4 cups of rice milk (or other alternative milk of your choice)
- some Earth Balance Soy Free Natural Buttery spread to grease your skillet with.
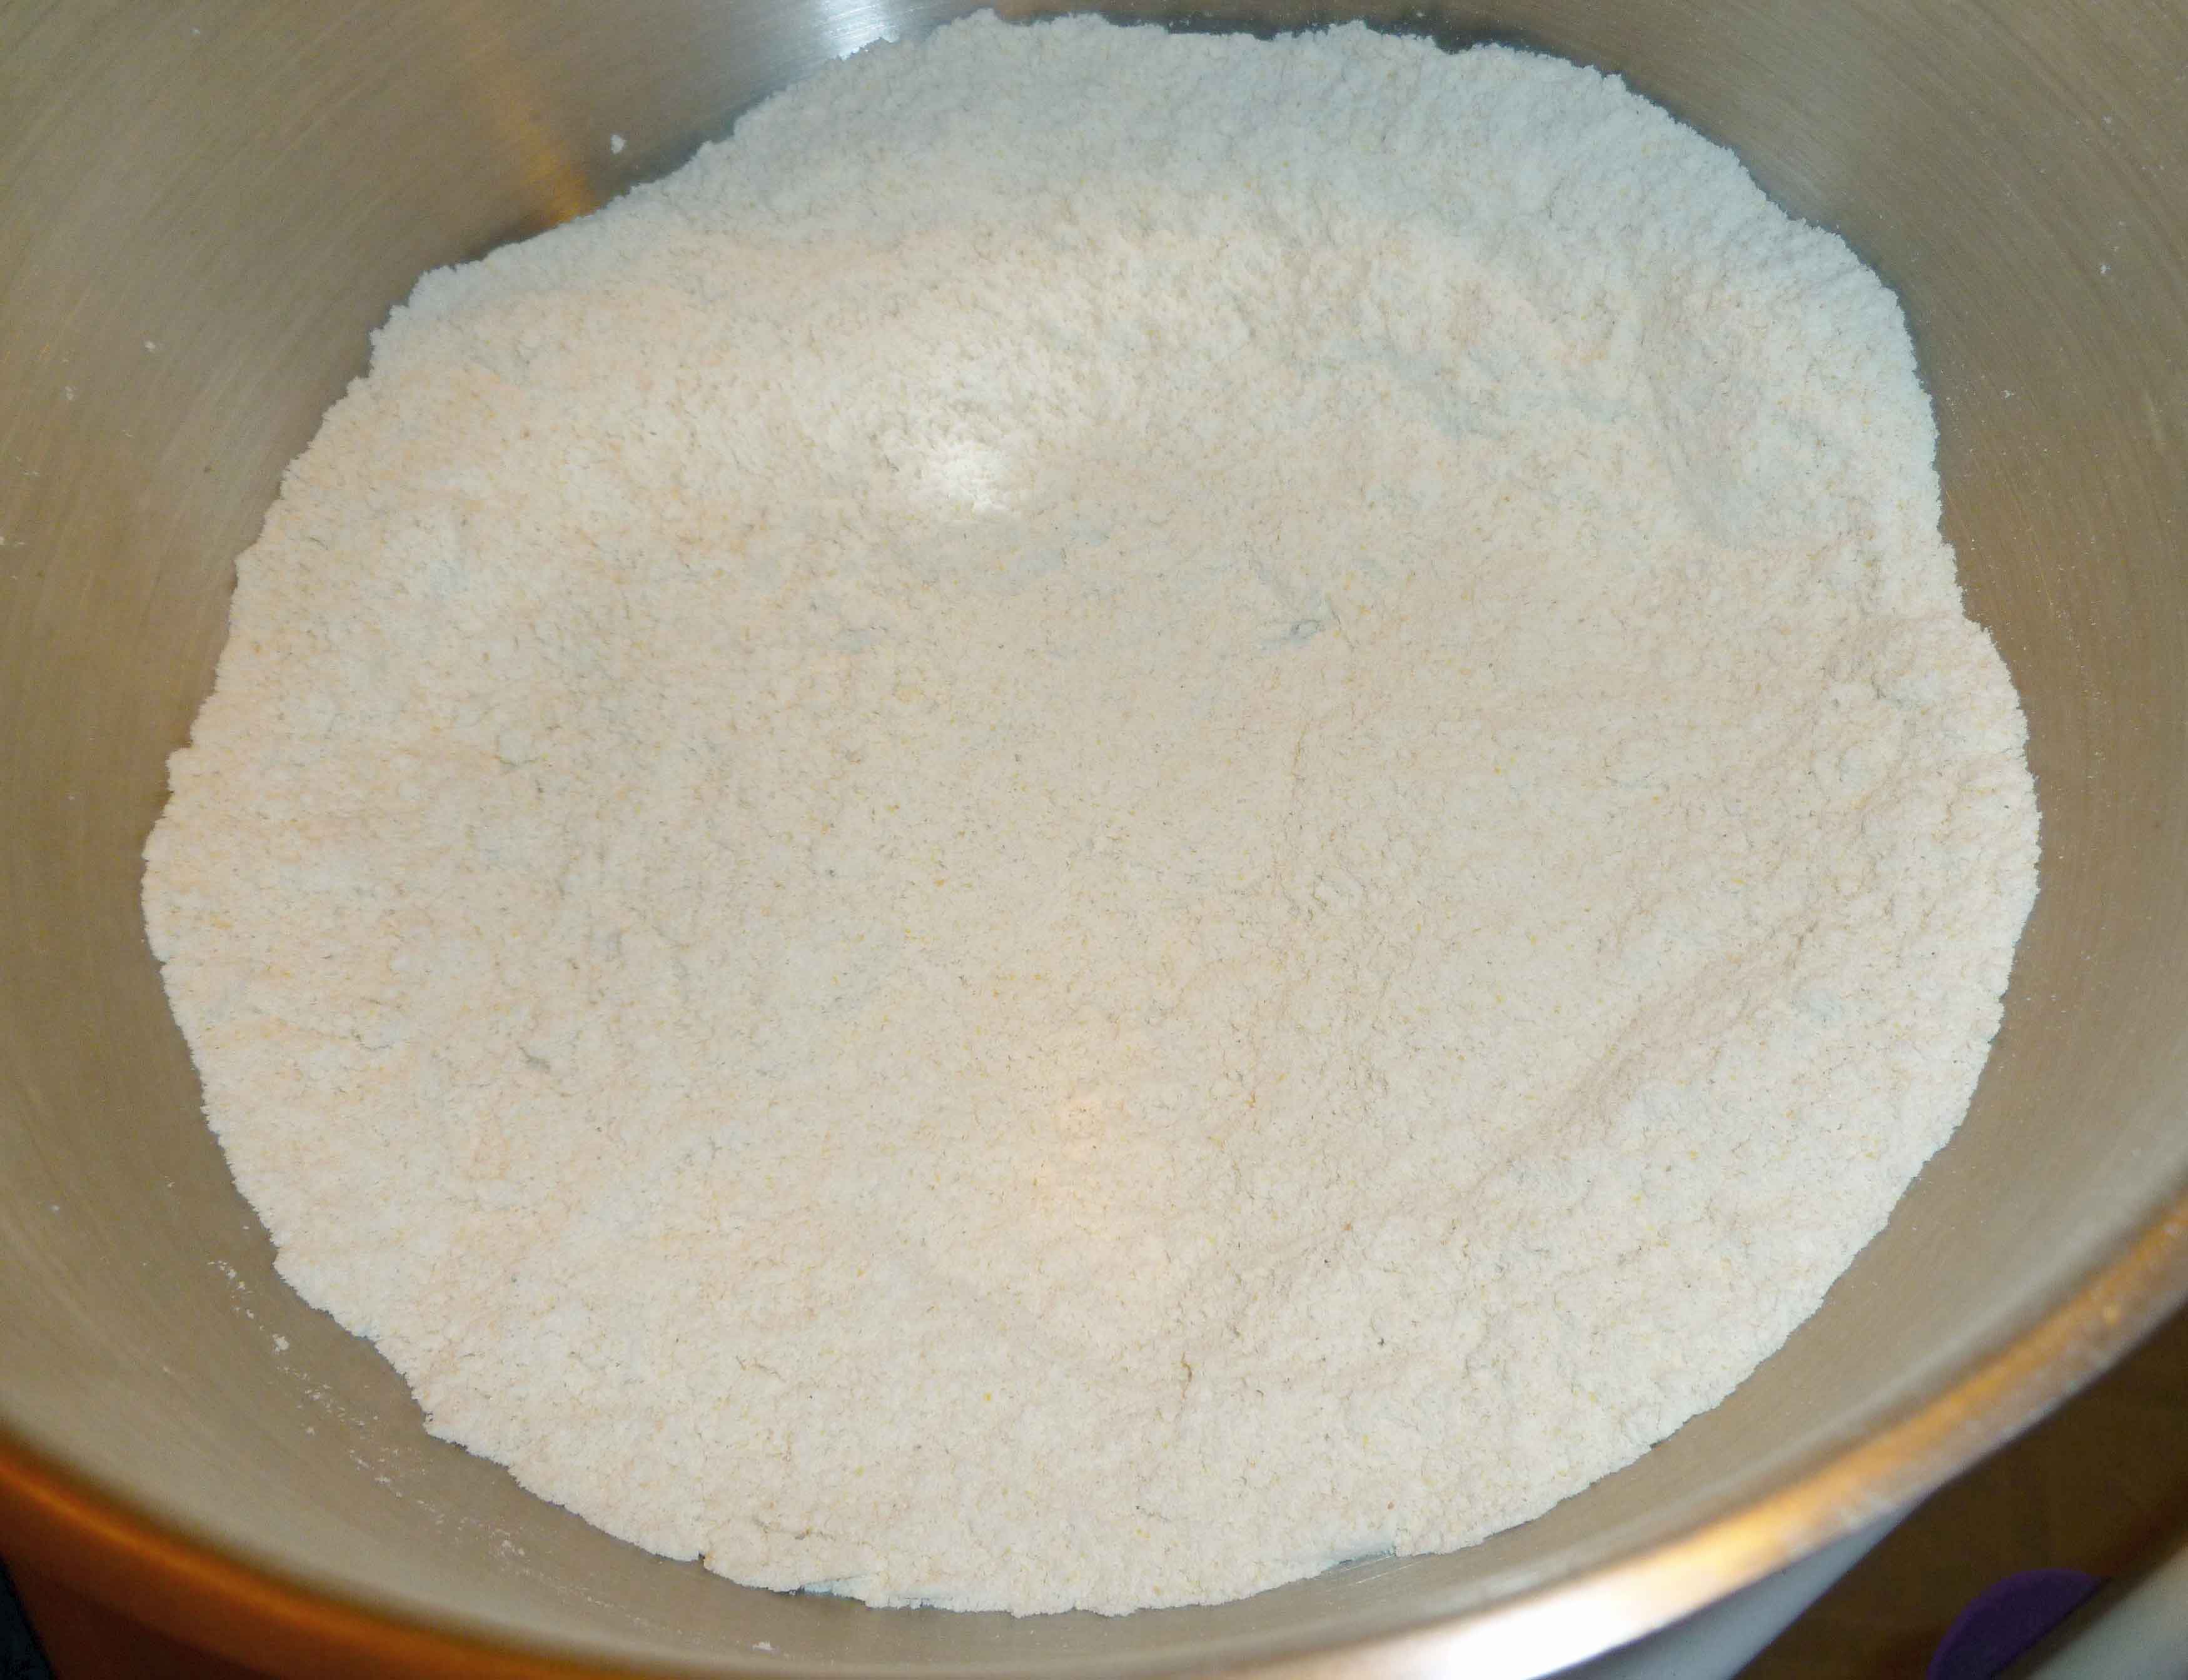
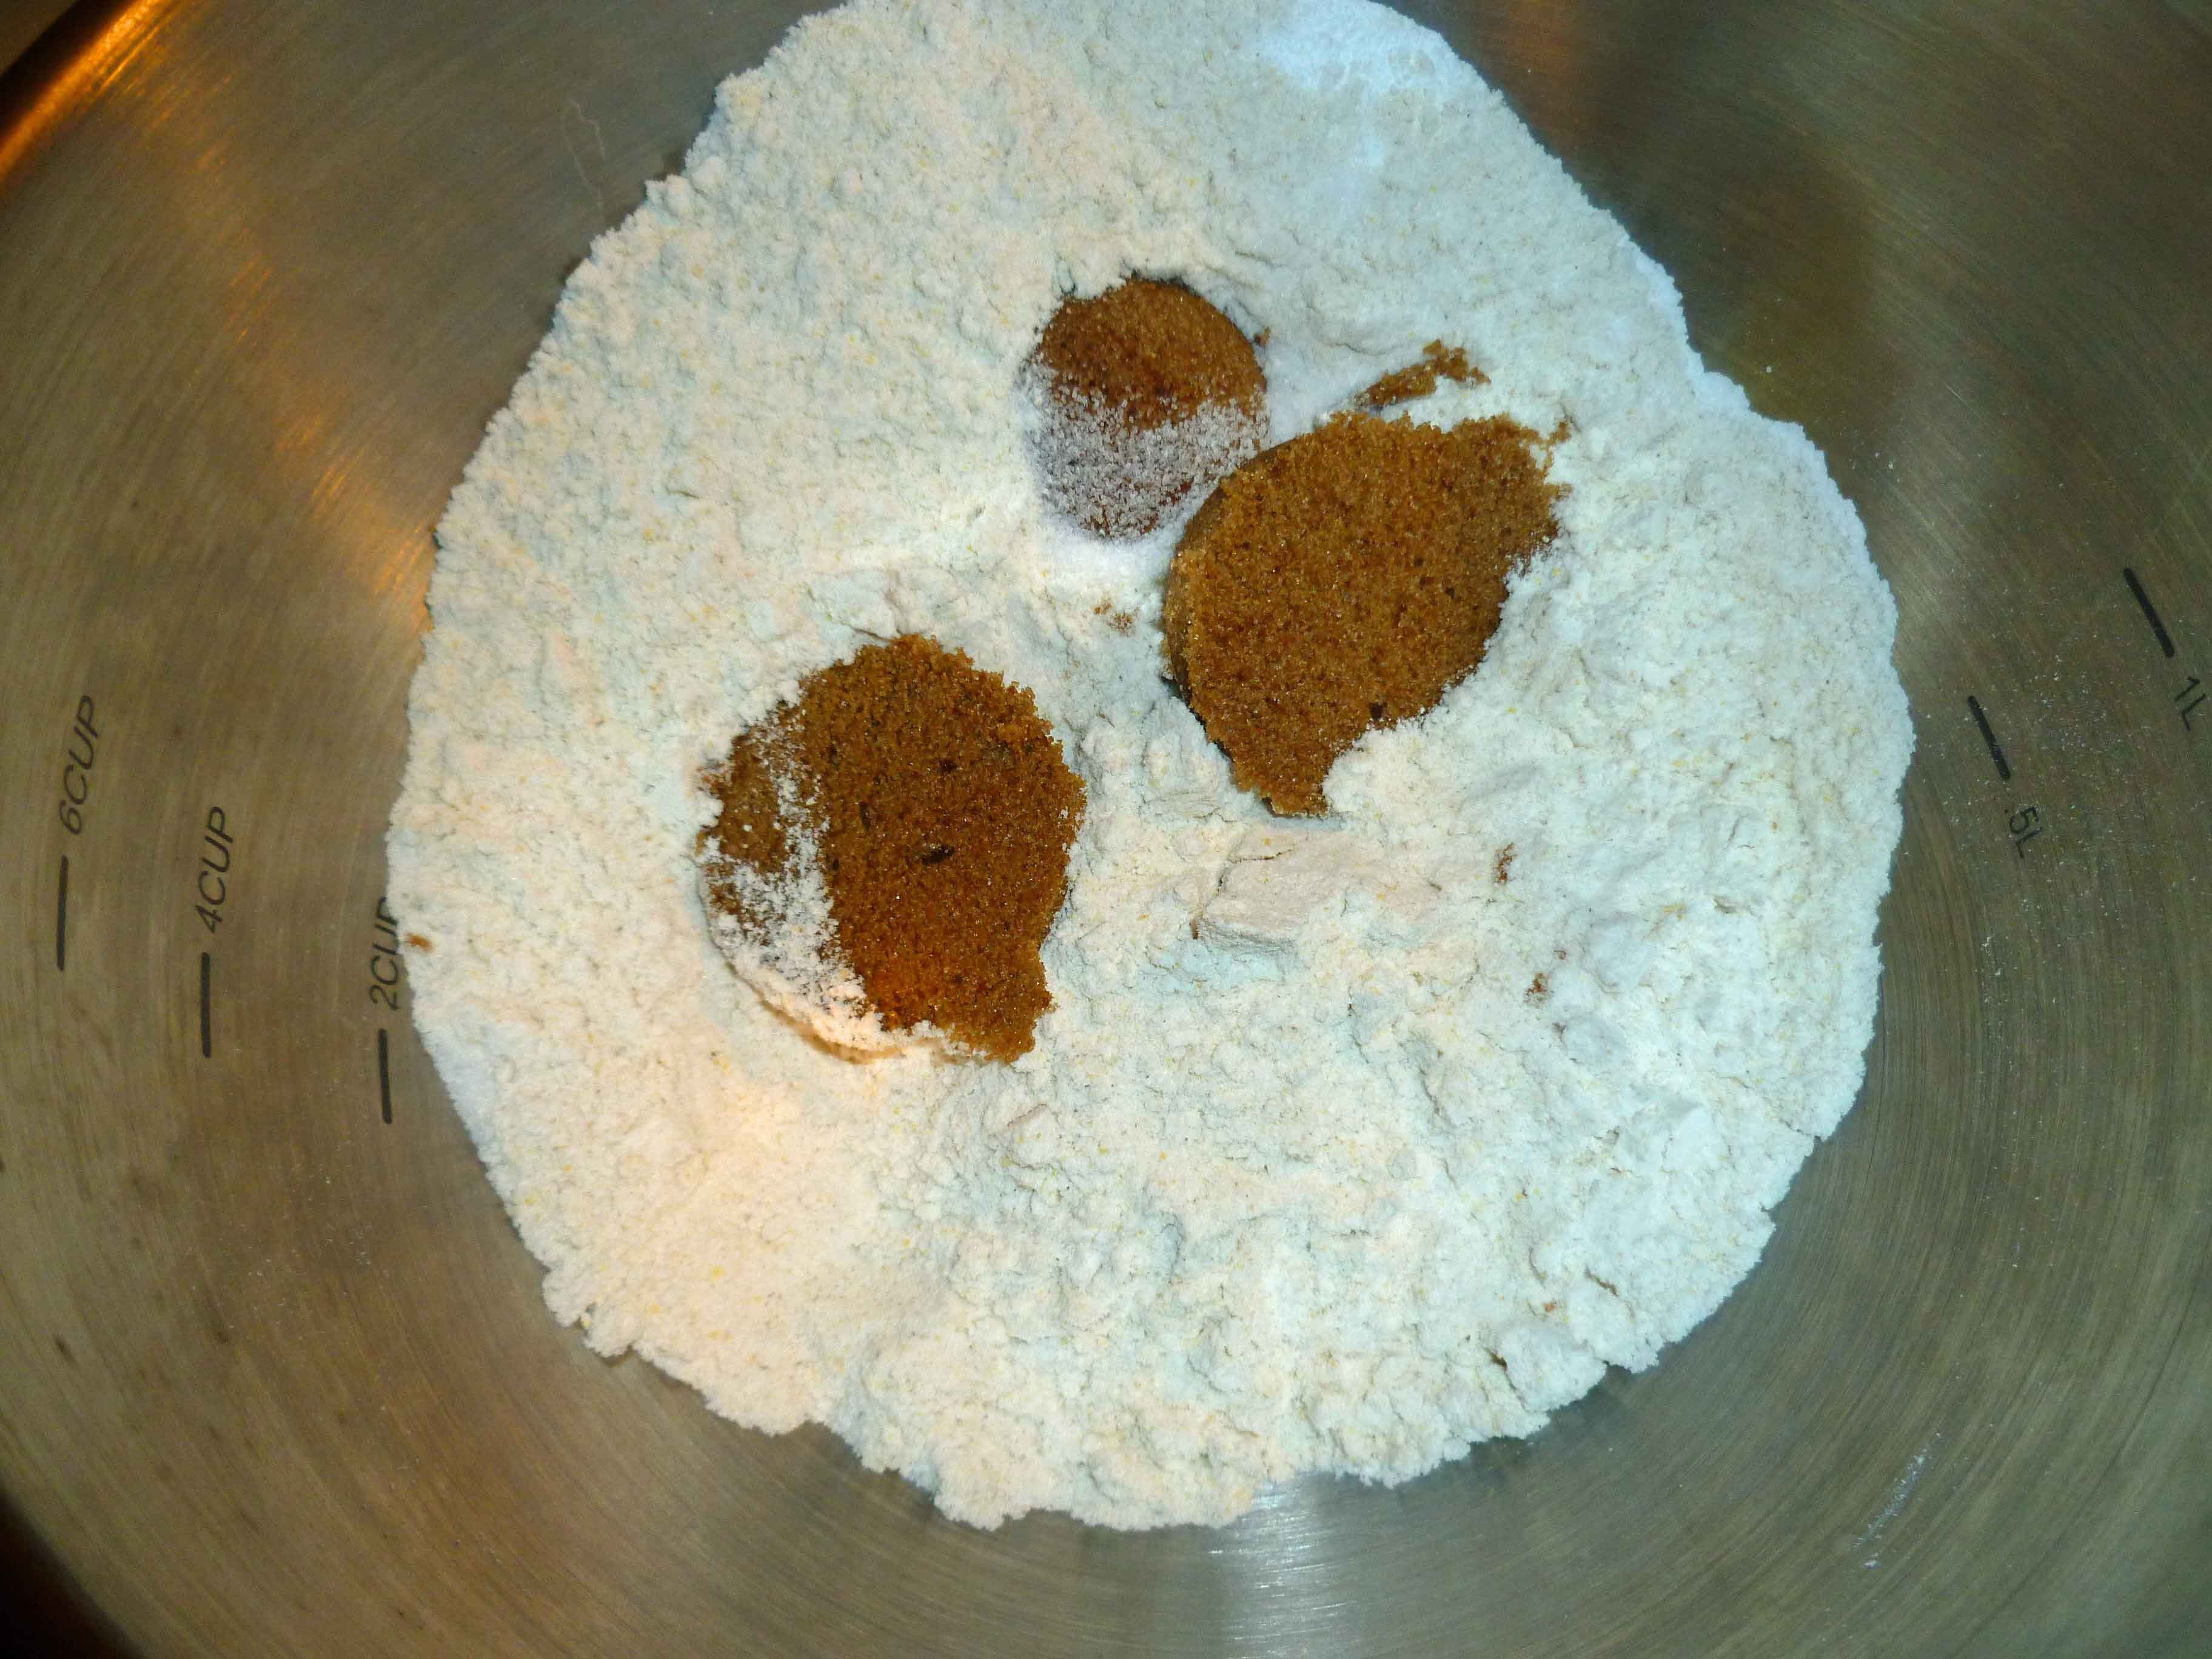
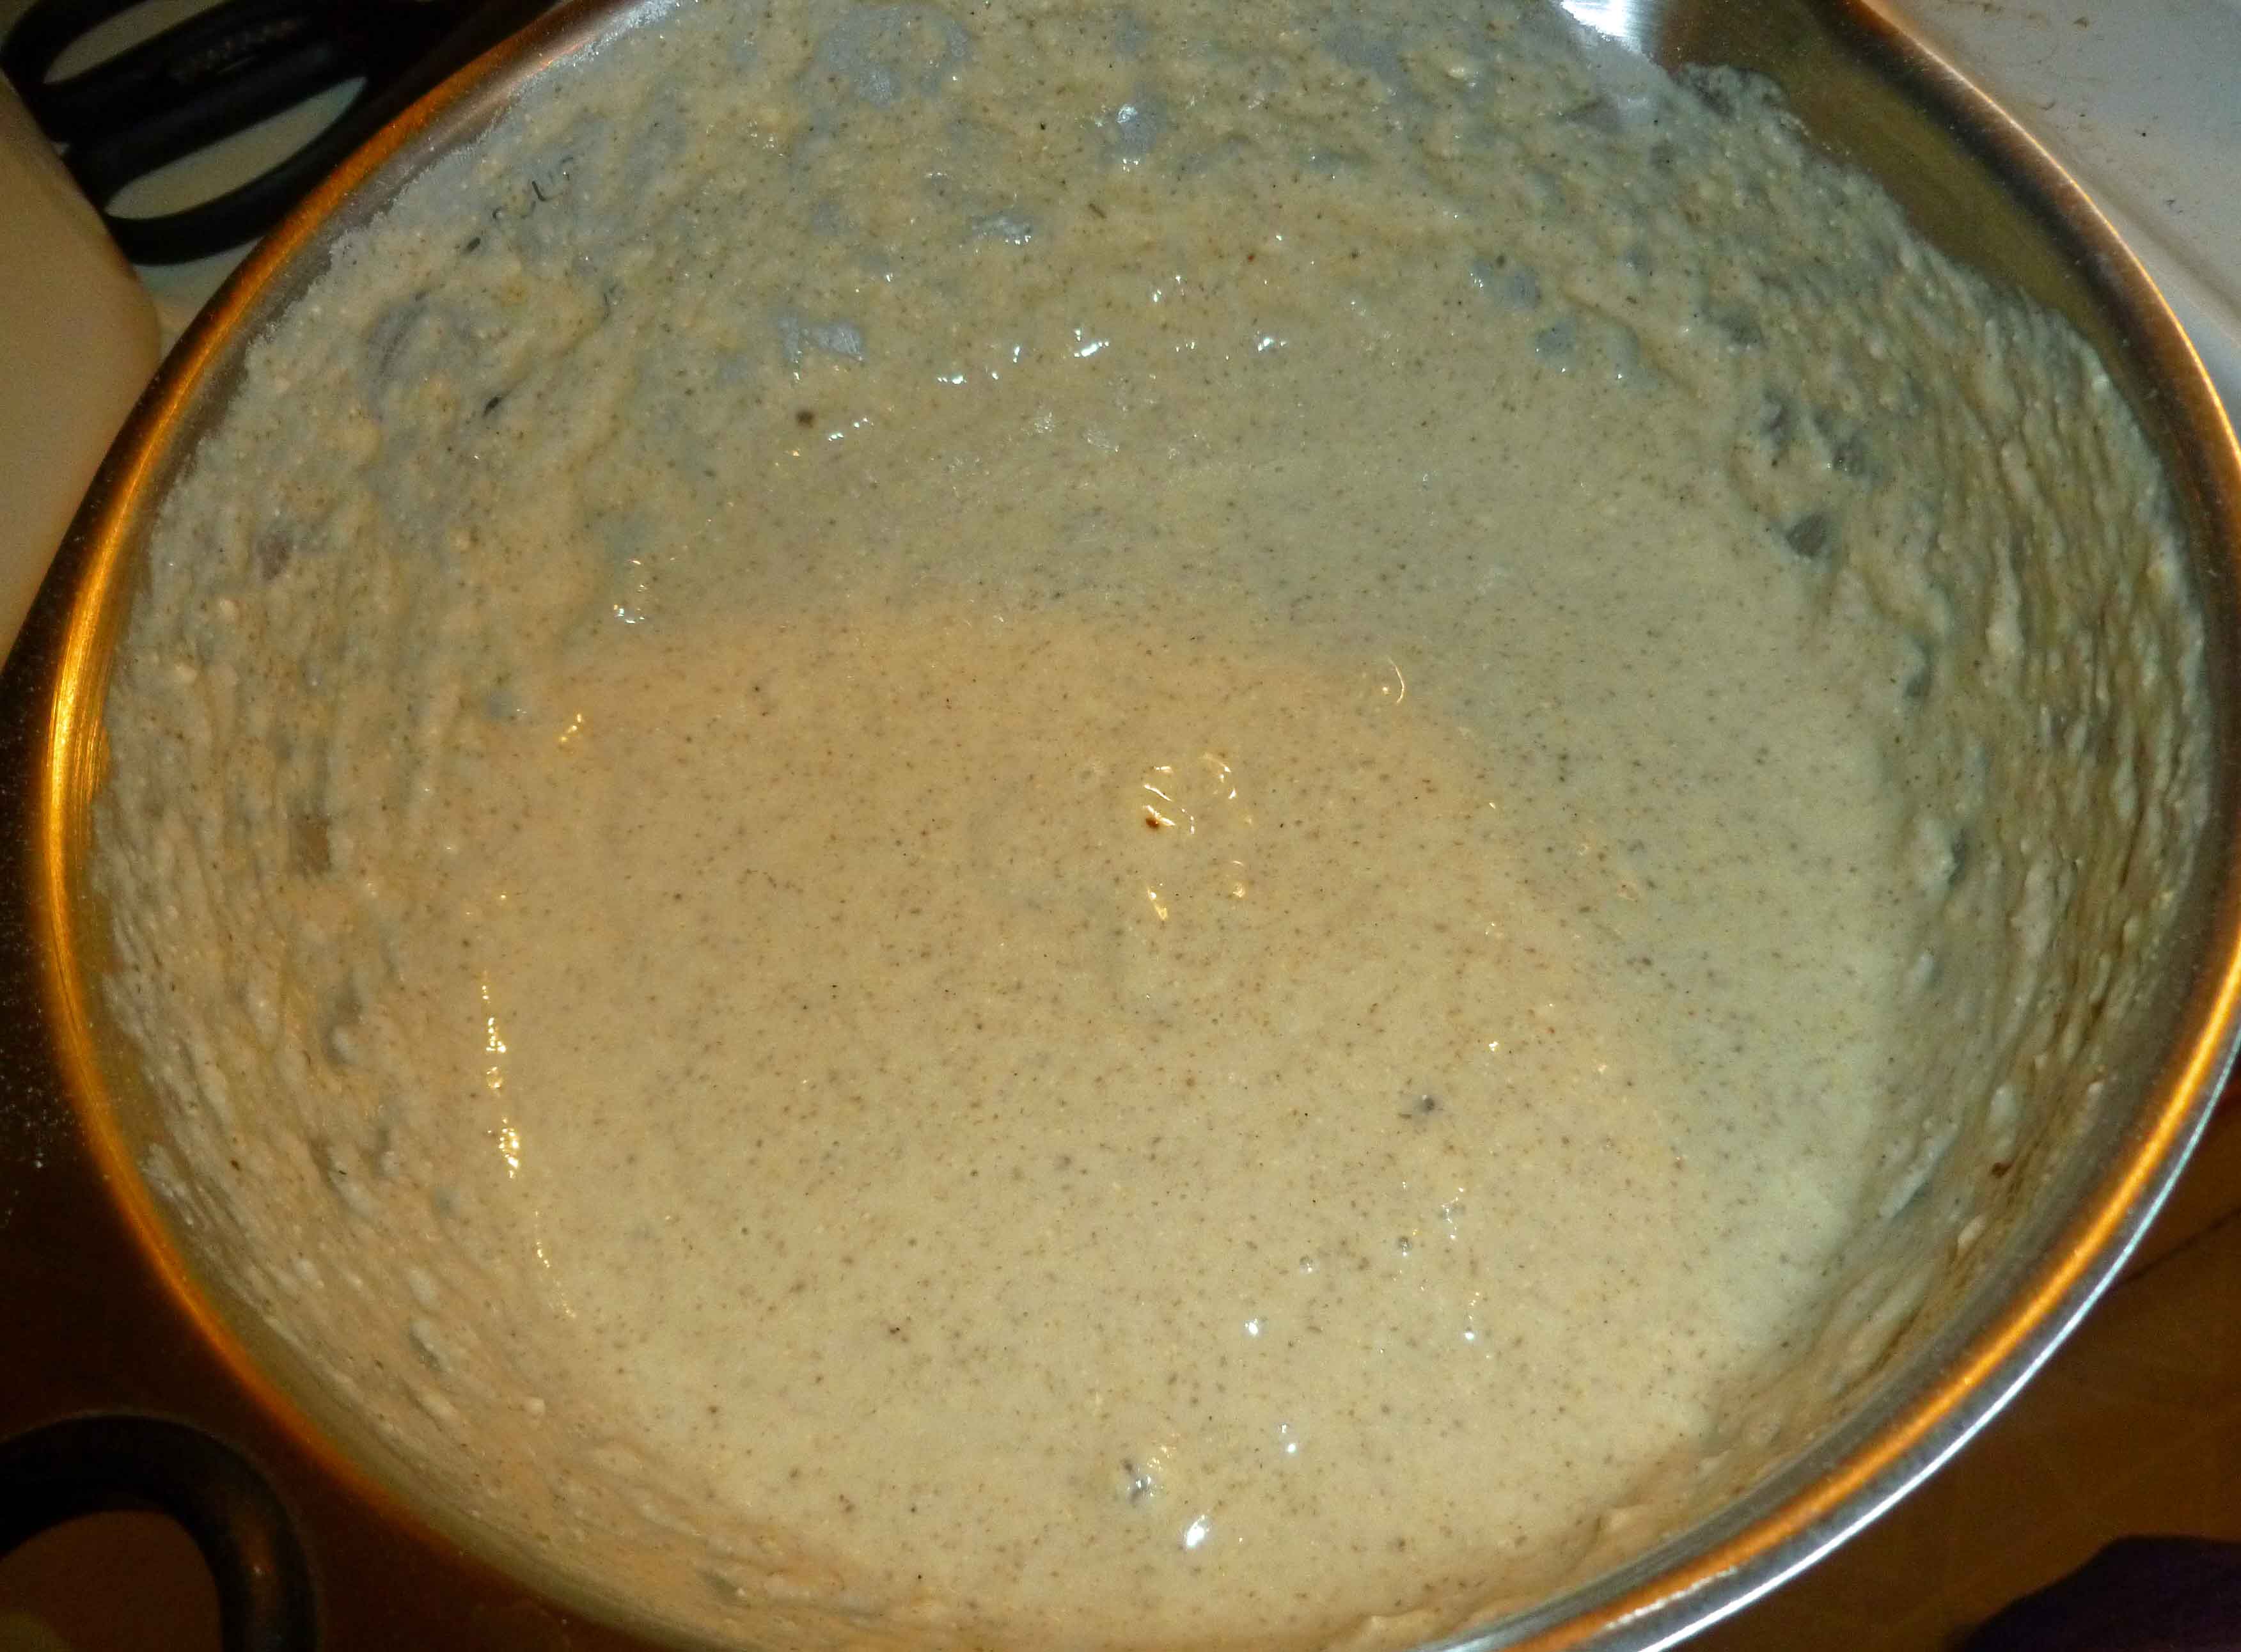
Measure out flour, salt, baking powder and brown sugar and place in a bowl. Whisk ingredients together until they are well incorporated into each other.
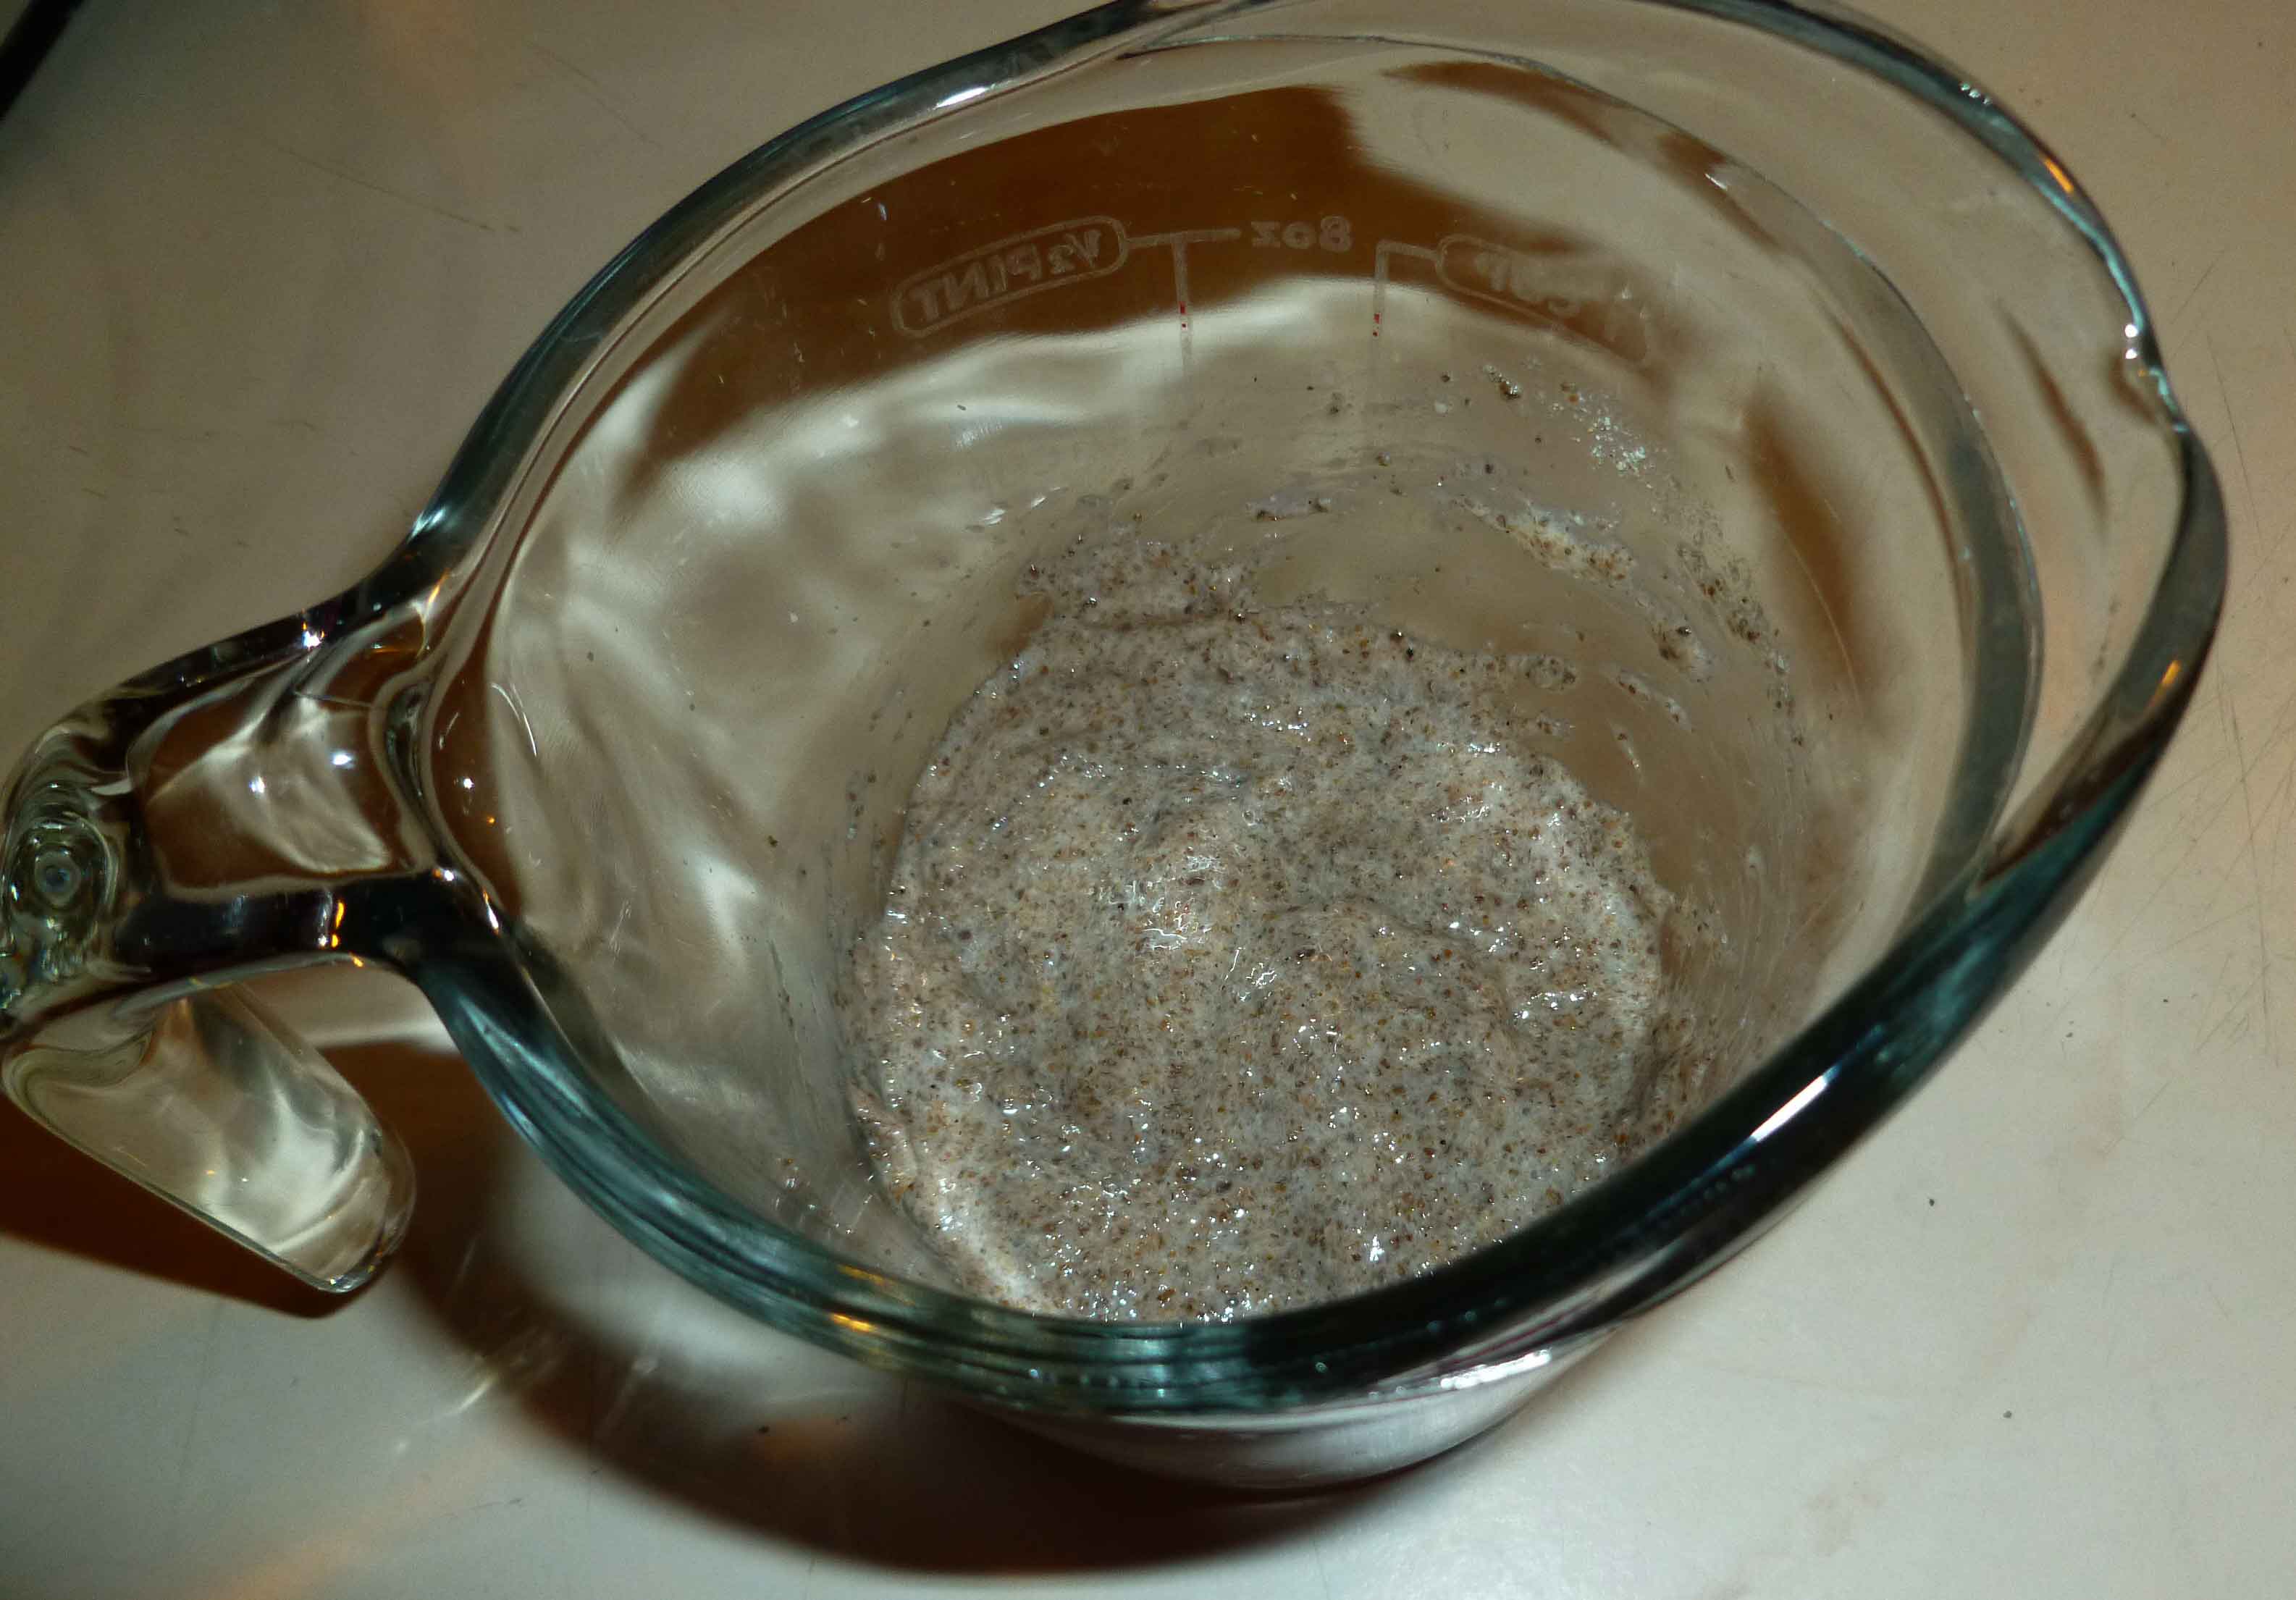
Mix ground chia seed meal and water in a container to form a chia egg, setting it aside to let it gel.
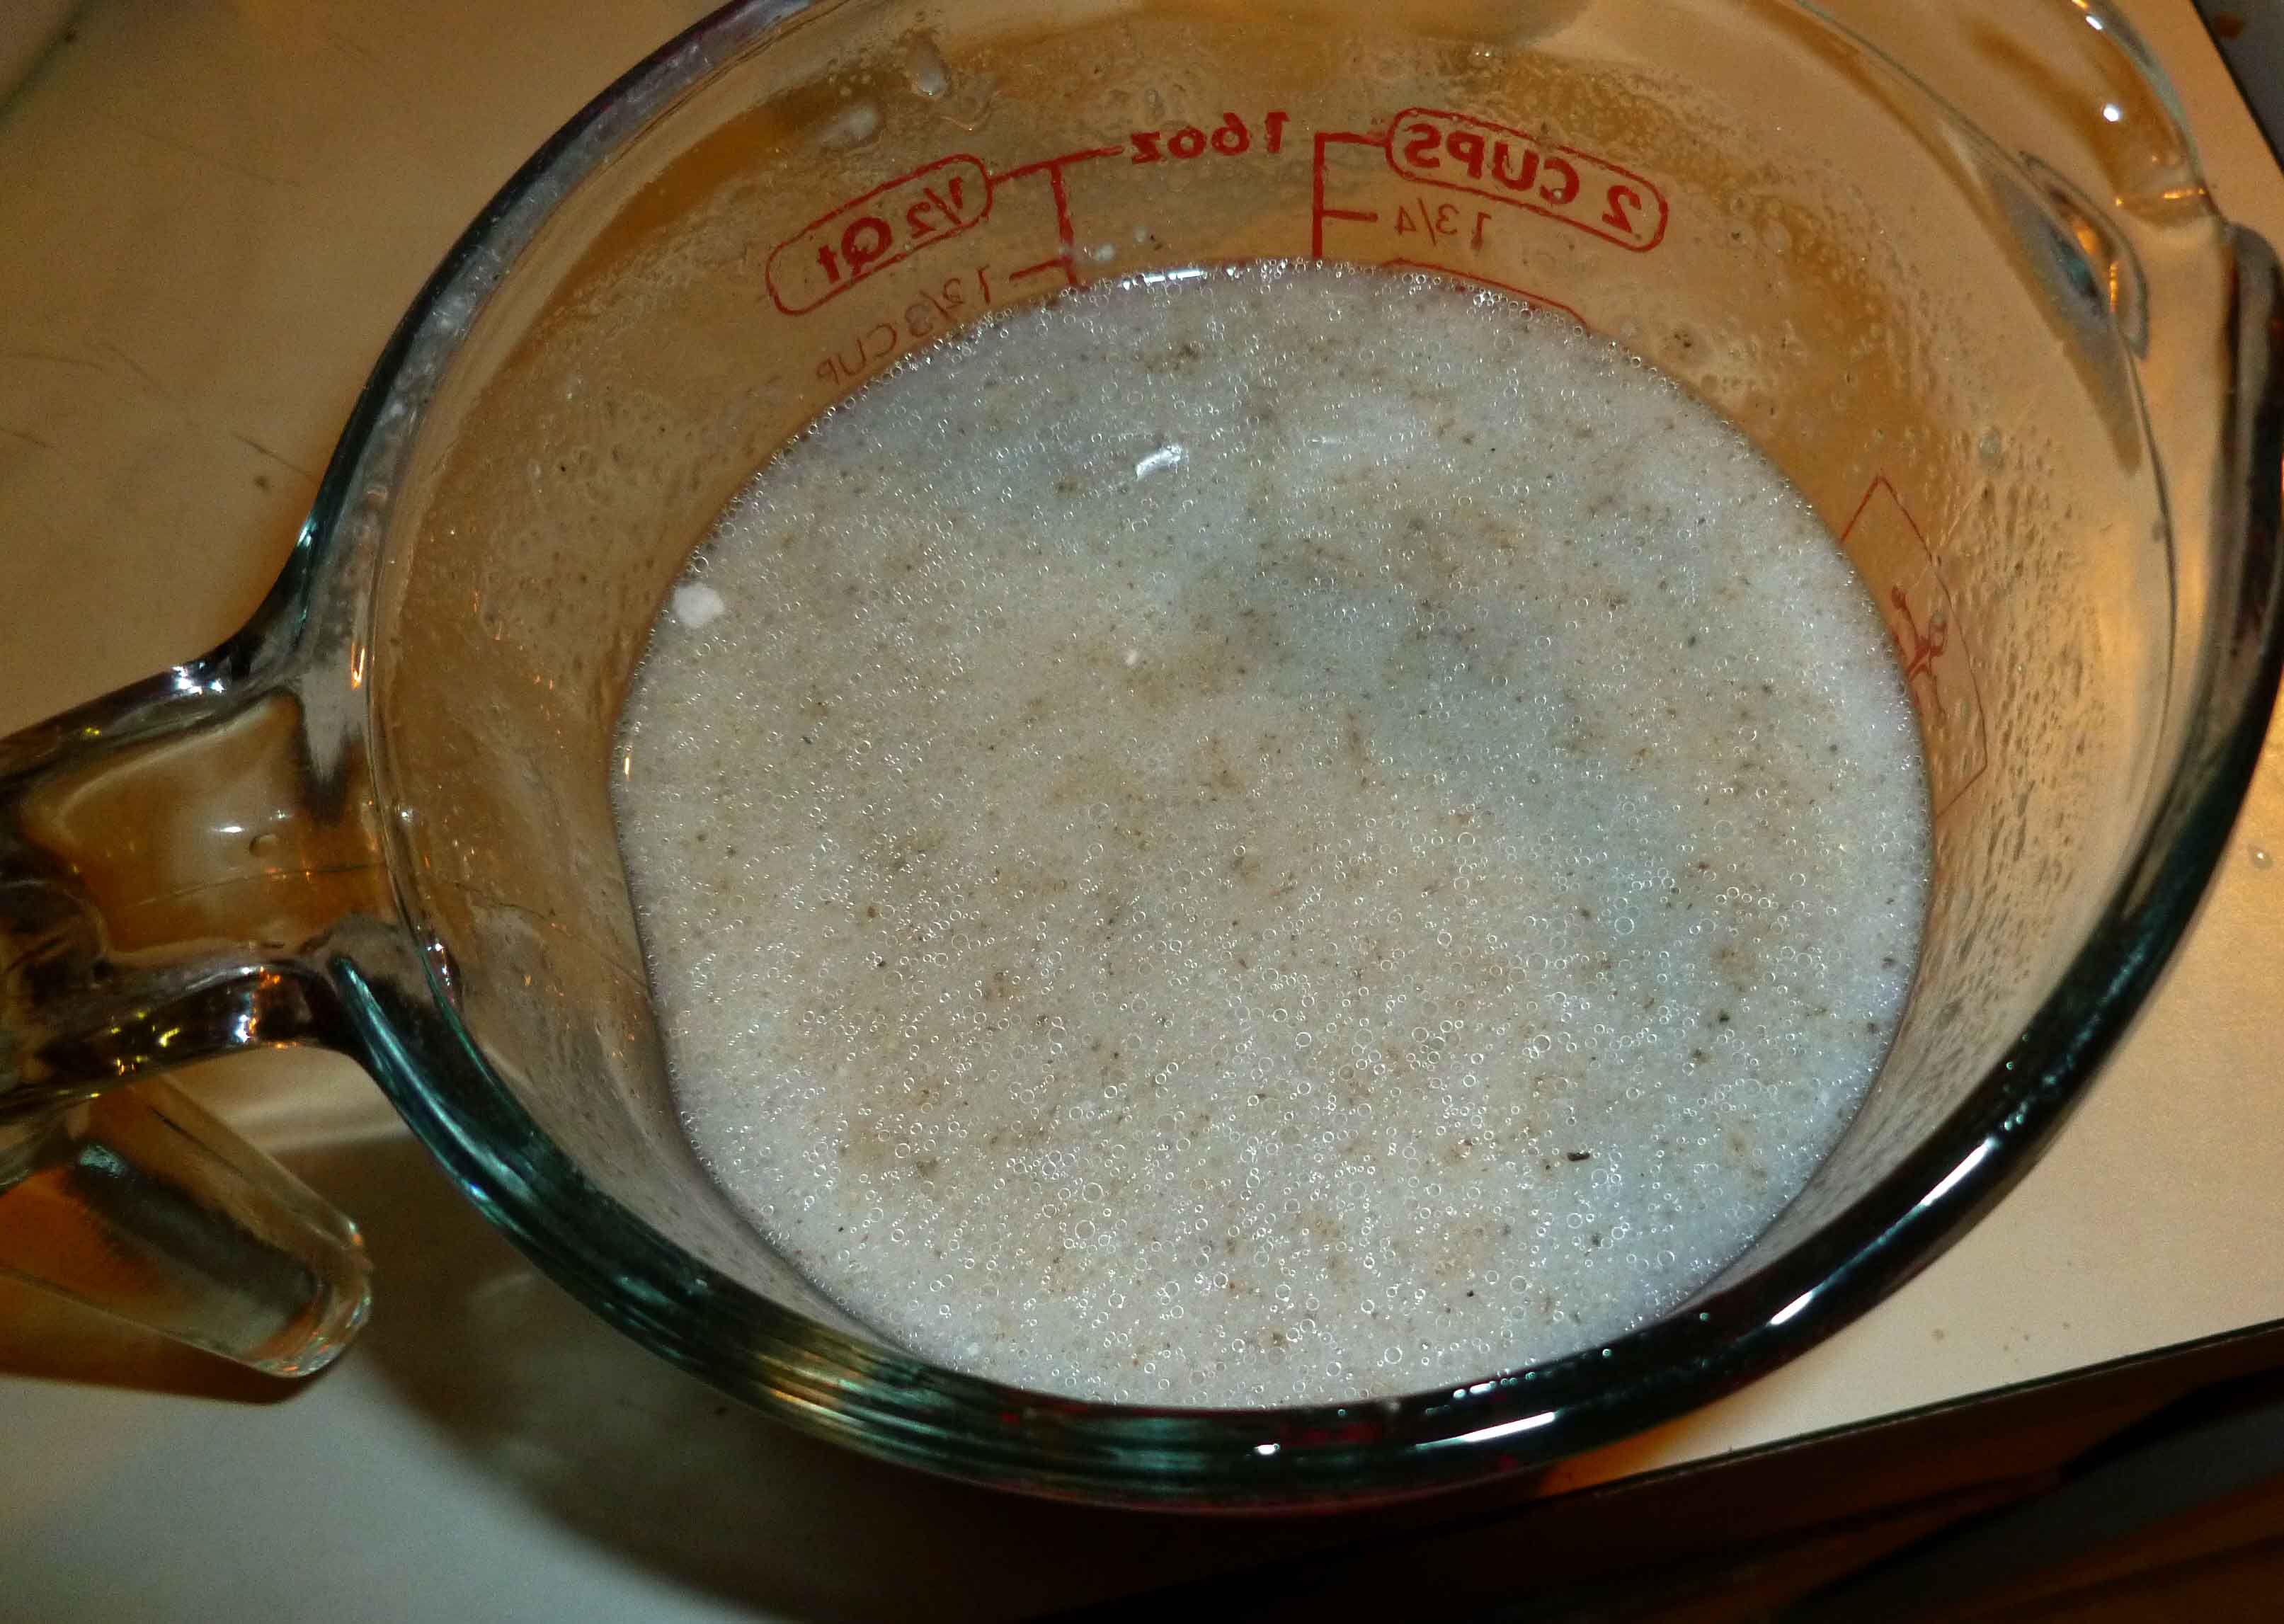
Measure out rice milk, oil and vanilla into a container large enough to add the chia egg. Add the chia egg and whisk it together so that chia is well incorporated into the rice milk.
Pour chia and rice milk mixture into the flour mixture and whisk them together until most of the lumps are gone.
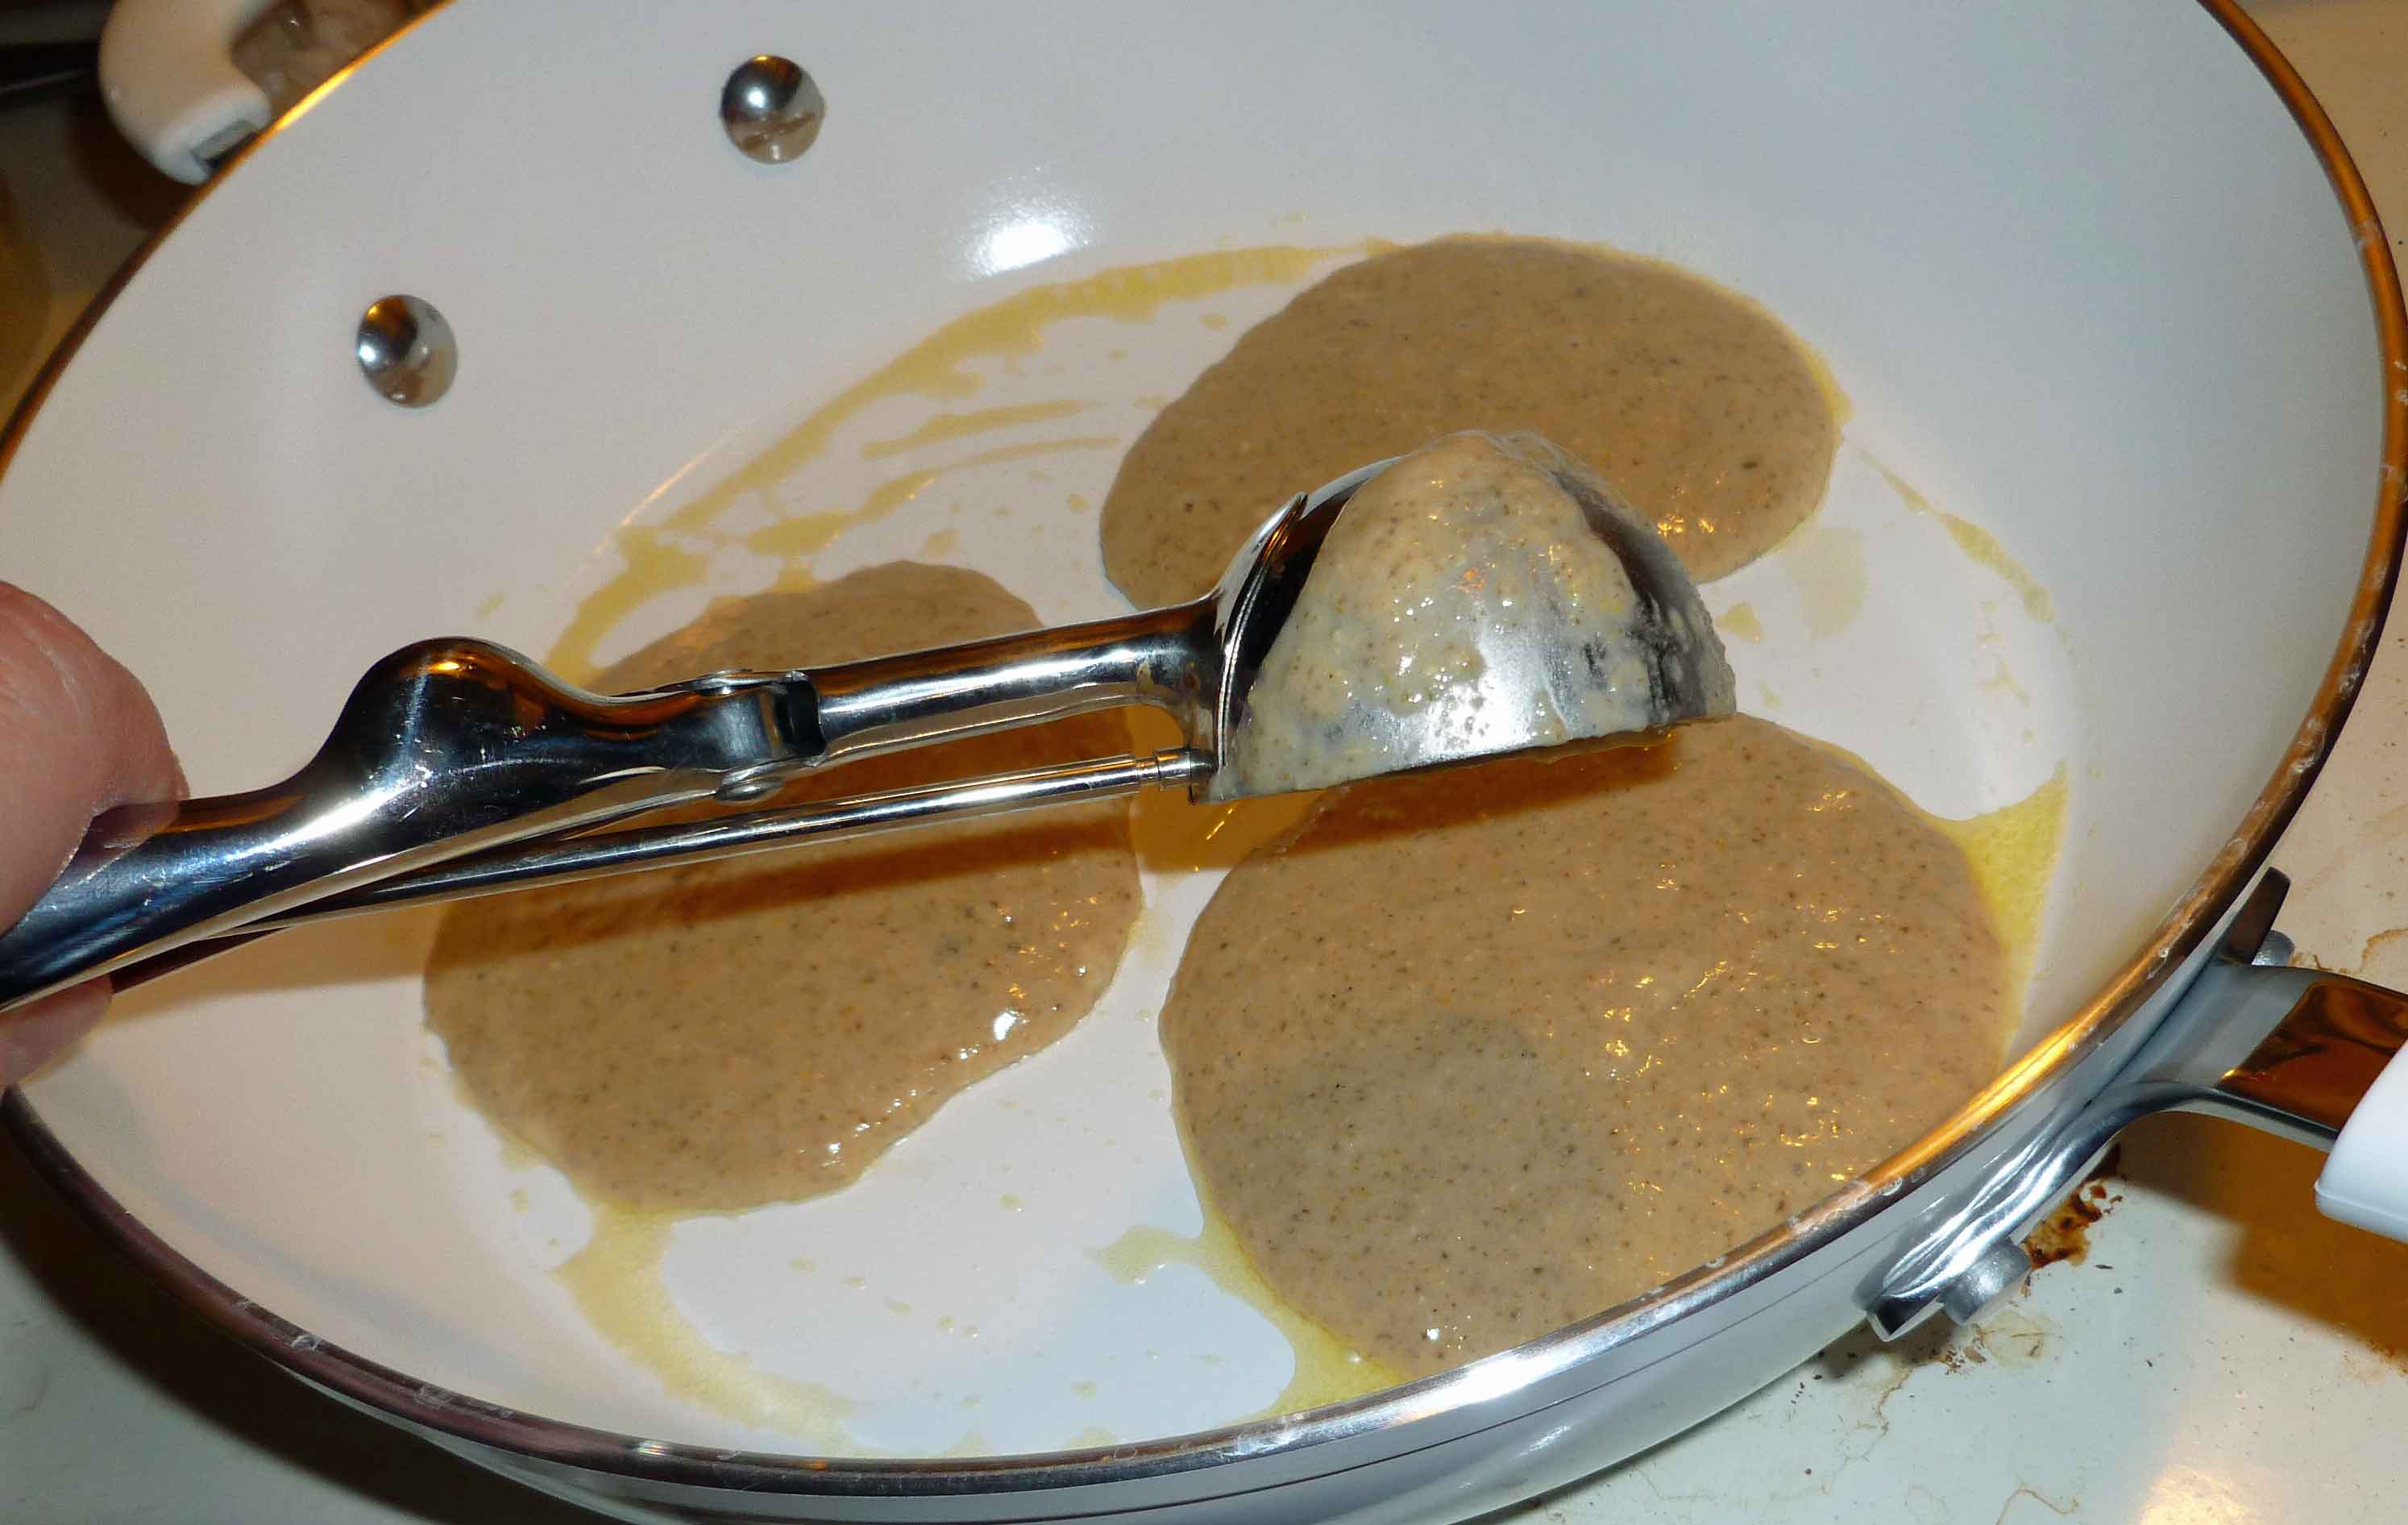
Melt a bit of the Earth Balance, maybe half a teaspoon or so in a skillet over medium to medium high heat, depending on your burner strength. When your skillet is hot, scoop some of the pancake batter into the skillet. I used a Pampered Chef large scoop that holds about 3 Tablespoons of batter to portion out the pancakes into the skillet.
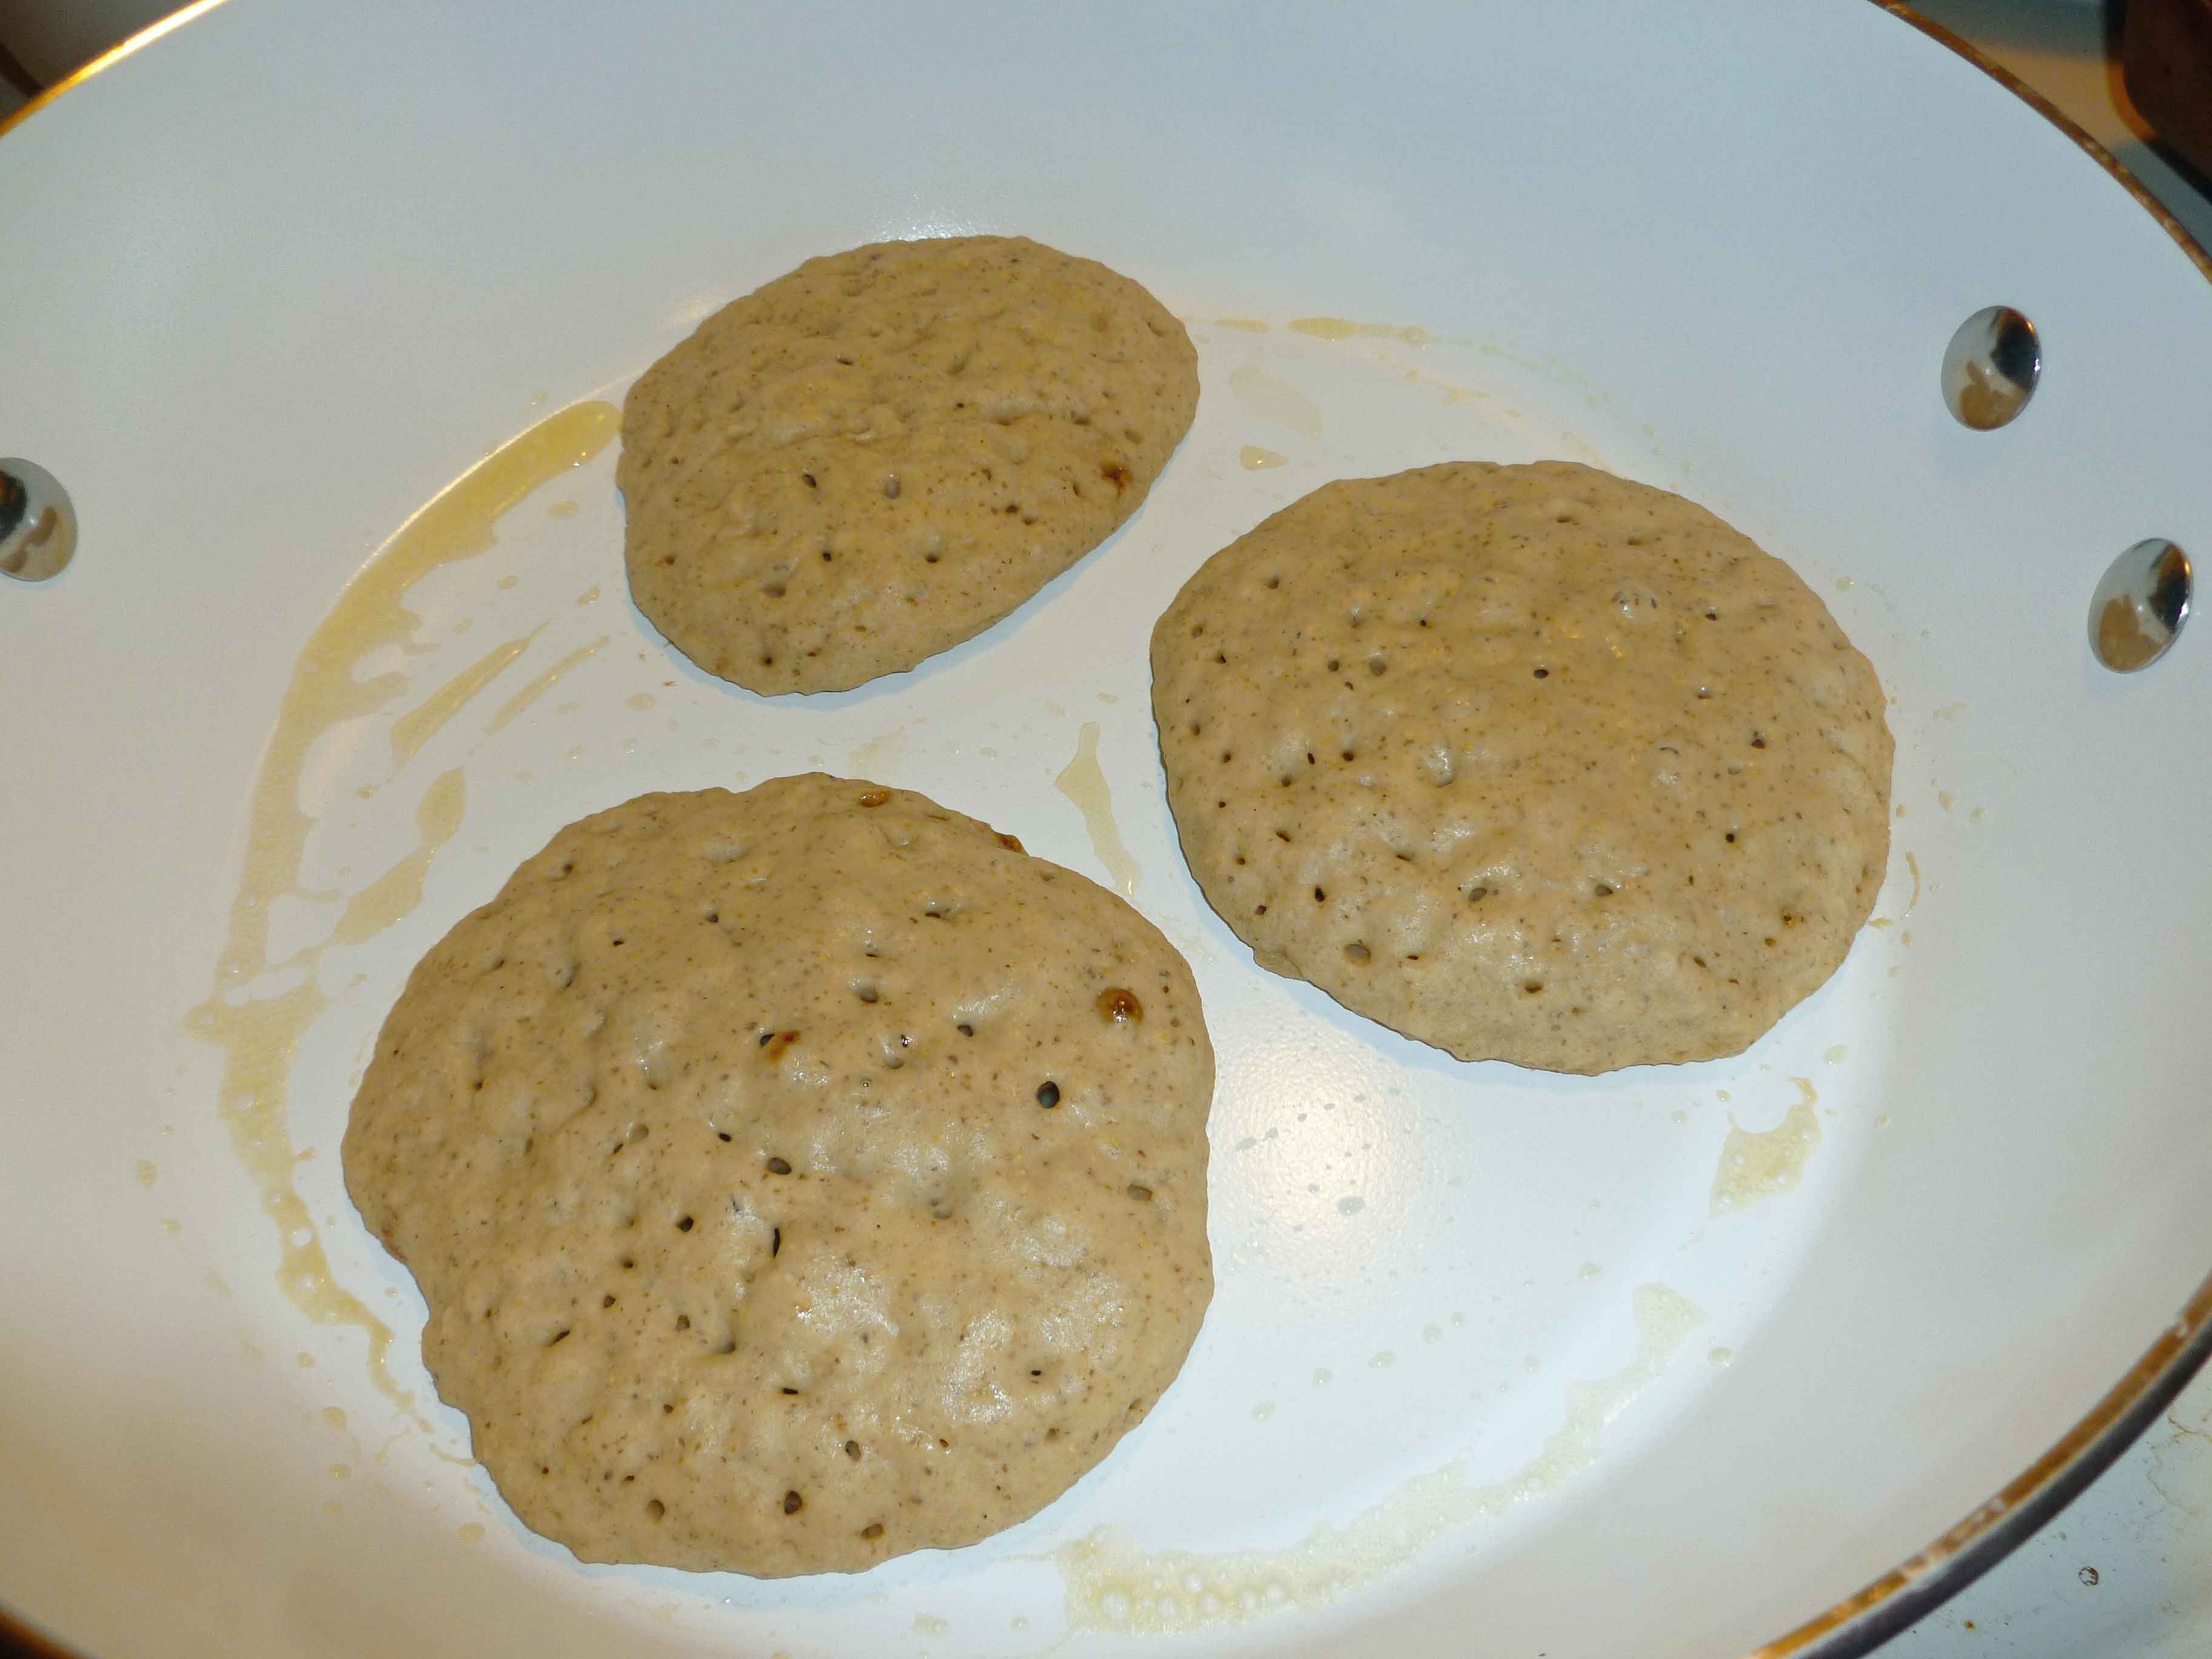
Cook until the edges of the pancake look dry and there are bubbles in the batter. You can use a spatula to gently lift up an edge to see how brown the pancakes are underneath.
When they are a nice deep golden brown, flip them and cook until the other side is a nice deep golden brown. I found that I needed to cook them a bit longer than I normally would cook wheat flour pancakes, which I understand is fairly common for gluten free cooking.
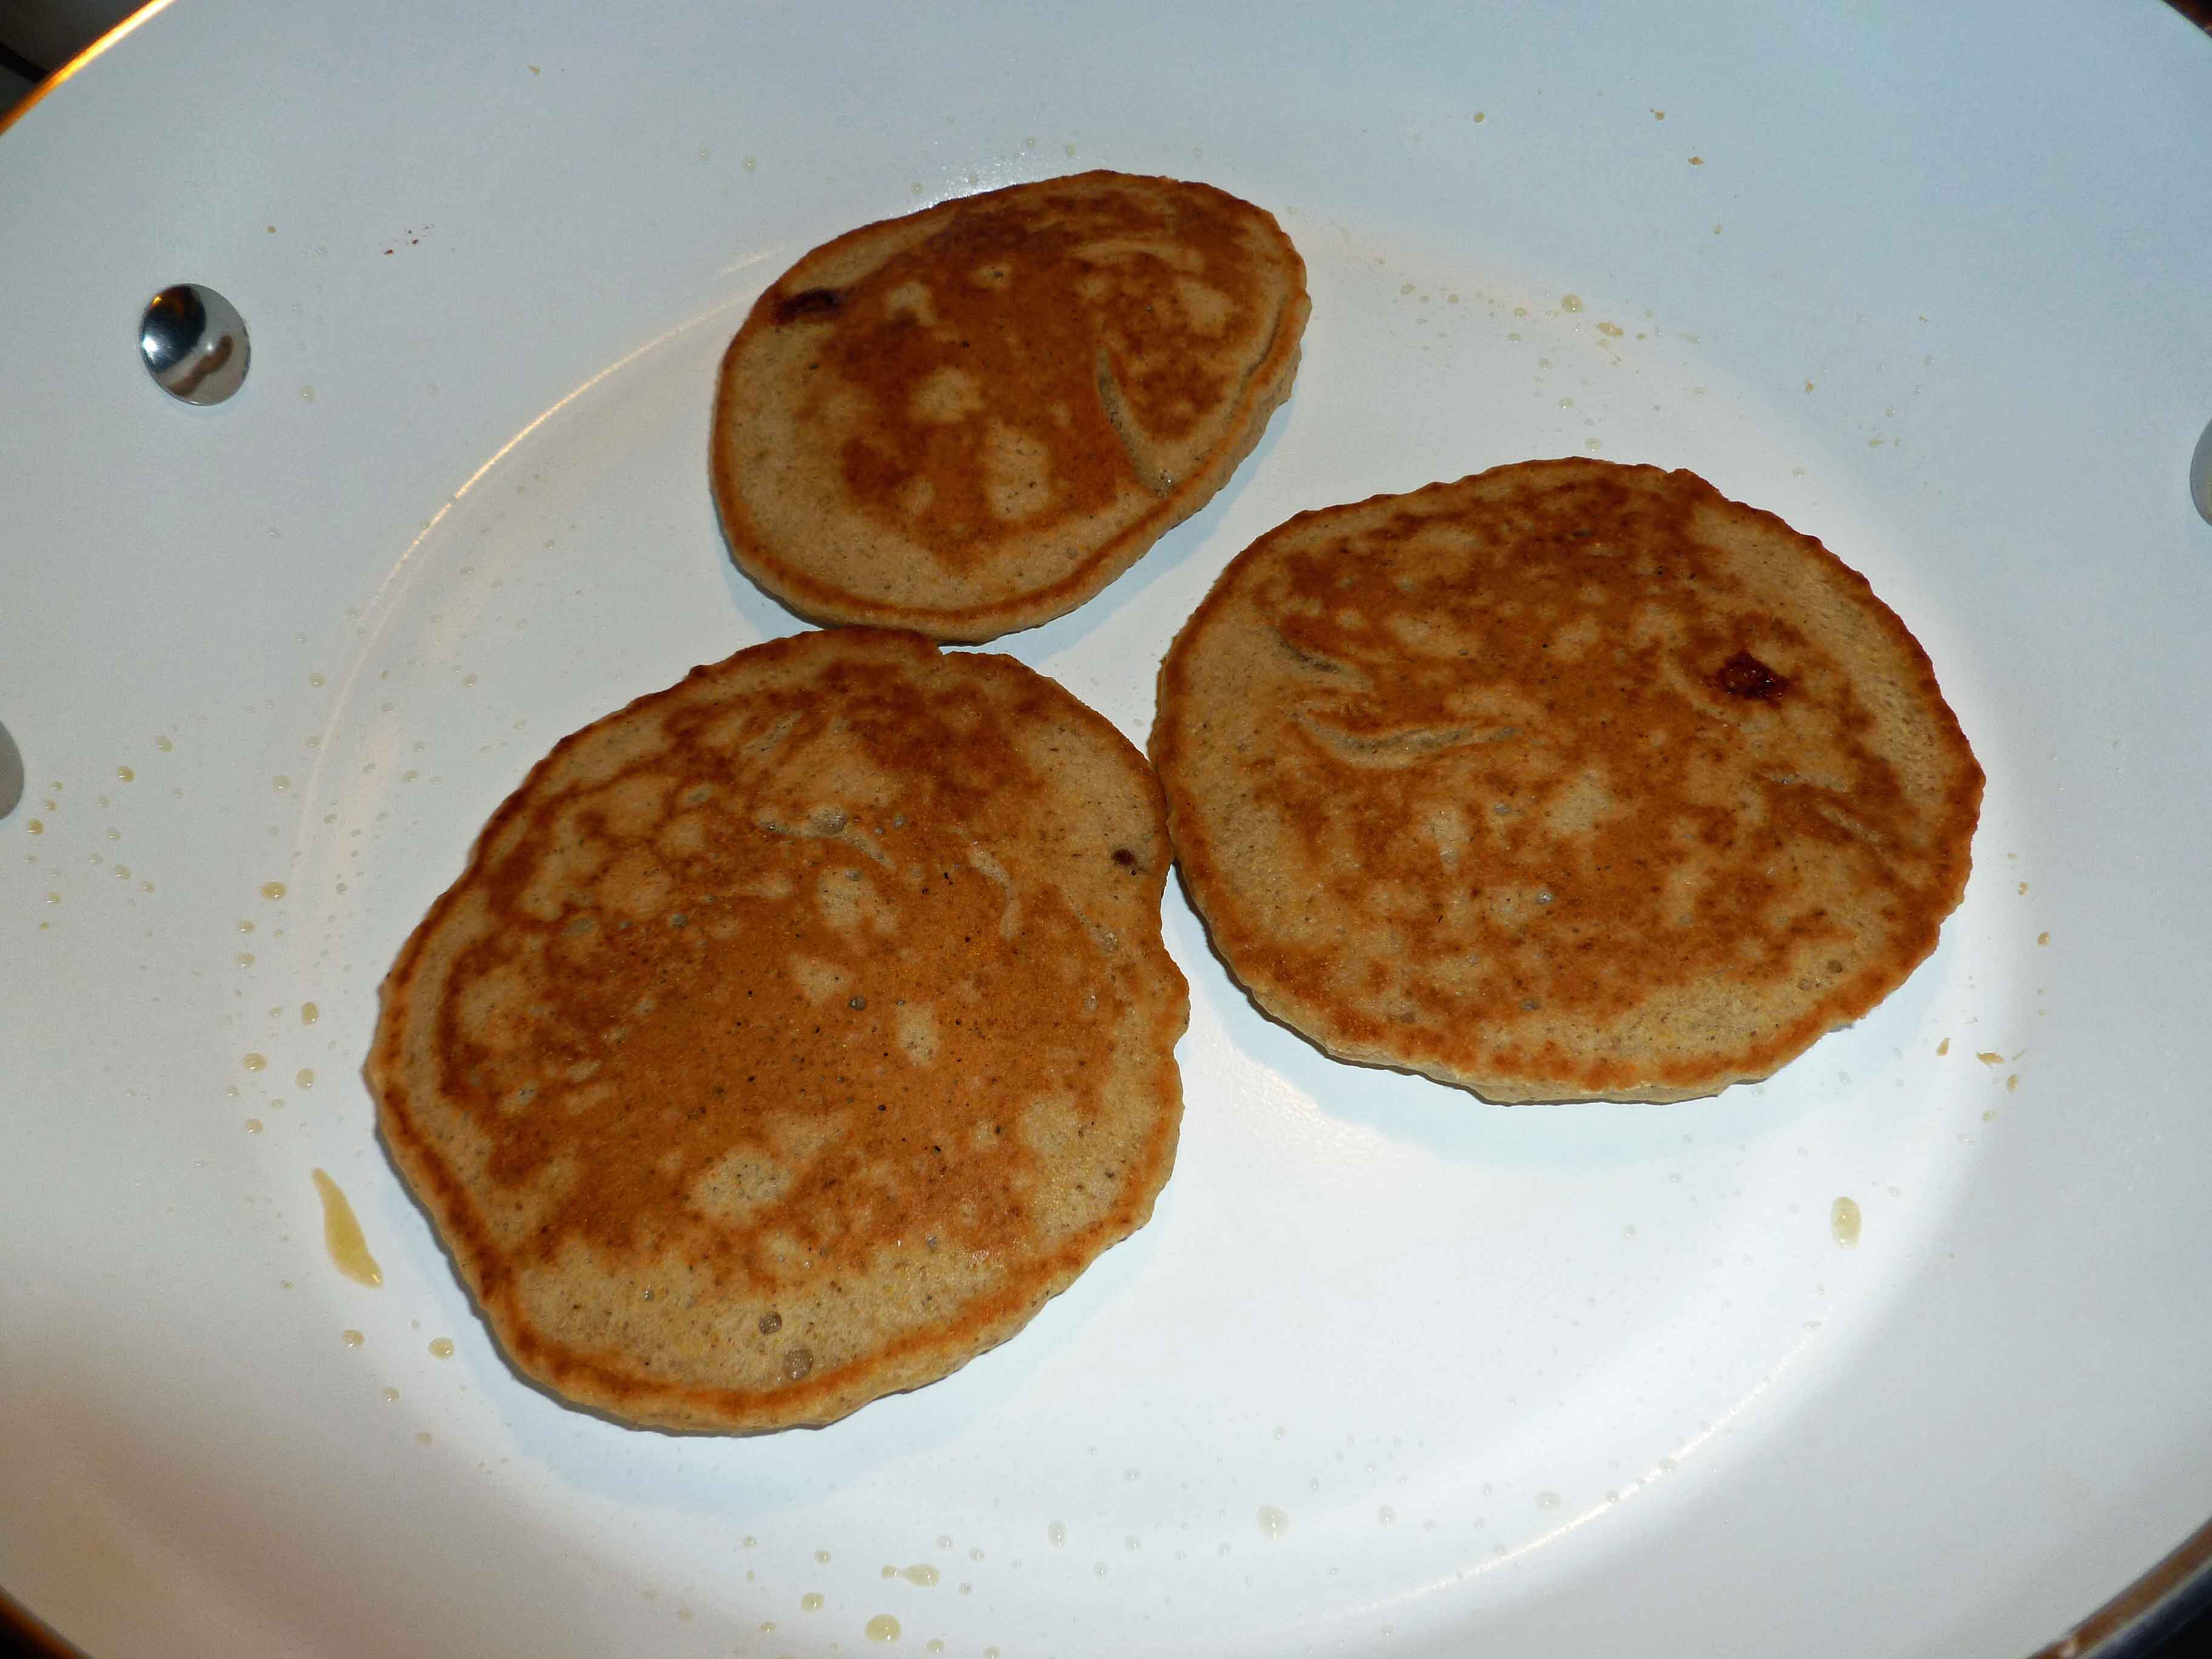
Enjoy them with some maple syrup and Earth Balance Soy Free buttery spread!