Notice: Function _load_textdomain_just_in_time was called incorrectly. Translation loading for the wp-ultimate-recipe domain was triggered too early. This is usually an indicator for some code in the plugin or theme running too early. Translations should be loaded at the init action or later. Please see Debugging in WordPress for more information. (This message was added in version 6.7.0.) in /home/maryzahc/public_html/adultfoodallergies.com/wp-includes/functions.php on line 6131 Breakfast – Page 3 – surviving the food allergy apocalypse (archive)
Breakfast [brek-fuh st], noun: the food eaten at the first meal of the day. These recipes will not contain dairy, eggs, gluten, wheat or hazelnuts. If we use a top 8 allergen, we will use a tag warning of its use.
As some of you know, I’ve been experimenting with gluten-free sourdough breads. And since I have gluten-free sourdough starter that I now need to use because you have to keep feeding it to keep it alive, and there’s only so much bread one person can eat as my husband is diabetic and gluten-free bread is not particularly helpful to his blood sugar, I need to find other ways to use it up. Someone in one of the fermenting groups on Facebook recently mentioned sourdough starter waffles, and I was off and running. I found a couple of recipes, but many of them had things I can’t have, so I’ve played around and substituted until I’ve gotten something I’m pretty happy with. Also, as a side note, these freeze great. You can make up a batch and when they cool, put a layer of parchment paper or plastic wrap in between them, put them in a gallon size zip top freezer bag, and put them in the freezer. You can warm them up in a toaster or in the oven on a baking rack when you’re ready to eat them.
You do have to make the starter ahead of time. I used this post from Art of Gluten-Free Baking to begin my starter. I started using sorghum flour when I was making the bread, but I had moved over to feeding it oat flour before making these waffles (I was running out of sorghum). Also, I cheated and didn’t do the cabbage leaf thing to get wild yeast, I just used a pinch of a safe for me commercial yeast. It worked fine, but do what makes you happy.
If you don’t have safe oat flour, you can take gluten-free certified oats and grind them in a blender or food processor.
Sourdough Waffles (Gluten-free & Vegan)
Makes 6-7 waffles.
1 cup of gluten-free sourdough starter
1 cup of non-dairy milk (I used homemade brown rice milk)
2 Tablespoons of grape seed or olive oil
1/4 cup of applesauce
1/2 teaspoon of vanilla extract (Here’s a bunch of recipes for vanilla extract, make sure to use safe alcohol if corn or wheat are an issue for you. I used Luksusowa Vodka because it’s made only from potatoes, where some vodkas may also use grain or corn.)
1/2 cup of oat flour
1/2 cup of glutinous rice flour
1/4 cup of tapioca starch
1/2 teaspoon of baking soda
1 teaspoon of baking powder (For corn free baking powder you can use this recipe)
1/2 teaspoon of salt
2 Tablespoons of brown sugar
1/8 teaspoon of cinnamon
1/8 teaspoon of nutmeg
Plug in your waffle iron and pre-heat it. If it has a temperature setting, I find that the highest temperature works best for gluten-free.
Add oat flour, glutinous rice flour, tapioca starch, baking soda, baking powder, salt, brown sugar, cinnamon and nutmeg to a mixing bowl and whisk it until thoroughly mixed. Now add your wet ingredients, the sourdough starter, non-dairy milk, grape seed oil, applesauce and vanilla extract to the bowl and mix until well combined, but there will be a few lumps.
Batter, mixed but not too mixed.
Pour the appropriate amount batter on your waffle iron, for mine it’s between a 1/3 and a 1/2 cup of batter, and cook according to your waffle iron’s directions. But I do find that I like to let it go a little longer after the indicator light has gone out until the steam stops to get nice really crispy waffles.
Allergy-friendly bacon “cheddar” muffins. Photo by J. Andrews
I started baking with cakes; it was my first form of cooking. I worked my way through the fancy cakes in my mother’s Southern Living cookbooks from age 10 until the end of college, so as a housewarming present for my first apartment, she bought me the newest version of the cookbook — it’s pretty good for basics, with some cook-to-impress recipes, and it’s chock full of desserts. However, as much as I love cake, as an adult who was suddenly in charge of feeding myself three meals a day, I pretty quickly discovered muffins. They’re pretty much breakfast cupcakes, right? Our college snack bar had really good biscuits, with every possible permutation of the classic breakfast ingredients — eggs, bacon, cheese, sausage. Between the SL cookbook and the biscuits, I can definitely forgive the southern version of green beans (which, in my totally untrained culinary opinion, are just boiled beyond death). Anyway, a savory breakfast muffin is almost the best of all breakfast worlds — like a breakfast biscuit, but in portable, make-ahead for the week form. All it needs for absolute perfection is some way to incorporate hash browns.
Geez. All that rambling to say that, basically, this is an awesome breakfast that, once I remembered it existed, I really needed to reform the recipe in order to make it safe for me to eat today. In order to make this one, you need to have safe-for-you versions of bacon, cheddar cheese, and non-dairy milk. I have never used Bac-Os, and I could not find an ingredient list on that page, but I seem to recall them featured in an “Accidentally Vegan” column in Veg News a few years ago, and they are soy-based. In a quick glance at the website, it appears you can bake with them. I think they might work in this recipe, and that would make these muffins vegan, but not soy-free. If anyone tries that, will you please let me know?
All the magic is in the crumbs. Photo by J. Andrews
Allergy-Friendly Bacon “Cheddar” Muffins
Makes 10 muffins and probably a bit more than double the amount of flour mix you need for this recipe.
First, make a flour mix by weight. This one is based on the Gluten-Free Girl’s Whole Grain Flour Mix formula (and just in case you think it might also be the magic muffin solution, it doesn’t work well for blueberry muffins. I tried it and was disappointed. It is perfect for these savory muffins, though.):
110 g sorghum flour
115 g quinoa flour
125 g brown rice flour
75 g tapioca starch
75 g potato starch
Cook about 10 strips of bacon (or, if you’re me, fill your cast iron skillet, and call it good. That’s between 5 and 8 strips of bacon, depending on how wide they are and how creative I can arrange them).
Mix thoroughly and make a well in the center of the dry mix. Then, separately, mix the wet ingredients:
1 chia egg (1Tablespoon of ground chia seeds and 3 Tablespoons of water — mix these first)
3/4 cup non-dairy milk (I generally use almond)
1/3 cup oil (I used canola)
Add the wet ingredients to the dry, and mix until well-combined.
Scoop into lined muffin tins, and bake 25 minutes, or until a toothpick comes out of the center of a muffin clean. Goes well with coffee. Store loosely covered for up to 3 days, or freeze to keep longer.
I’m just putting this photo out there because I kind of love it. Photo by J. Andrews
It is no real secret that I’m a huge fan of marshmallow Peeps chicks. I do not know what it is about the goofy things that tickles me so, but they have for years. And it’s not their food value — I don’t really like them that much to eat. They’re just ridiculously cute and fun to play with. And they crack me up. My friends all know this, which is why I have the Peeps craft book, a fantastic Peeps t-shirt, and why Jodi took me to the Peeps store about three years ago:
MK at the Peeps store — photo by Jodi Lasky
My friends — they are good peeps.
This year, though, Wilton kind of made my year by partnering up and making a Peeps silicone baking pan. When I bought it, I had visions of making chocolate-covered marshmallow candy. But I’m really more of a baker. So I started making Peeps cakes. This is how the adorableness of the chicks becomes so very very tasty.
I’ve tried everything from doughnut batter to cake batter, and found that something in between worked best. I still don’t quite have the hang of food coloring — they’re not as outlandish as I’d initially hoped — but no one’s complained about being forced to test different batches. And I will say this — we’ve had spring, either in temperature or in general sunniness, since I bought the pan, so they ARE magic, and if you live in the upper midwest, maybe you should start baking, too?
So the recipe below is my favorite version, but here’s how you can adjust it — if you want a larger crumb (stiffer dough), add less non-dairy milk. A smoother, more sponge-cake texture, add more non-dairy milk. The latter is easier to stuff in the molds, but I think somewhere in between is best — this recipe works with as little as a scant 1/4 cup of liquid, and as much as 1 cup. Baking times will vary (obviously). The next batch I test will use chia instead of the Ener-G, which I think will work fine. If you try something different, let me know!
Happy spring, people.
Chicks! In! Space! Photo by Jack Andrews
Magic Spring Cakes
1/2 cup sorghum flour
1/2 cup brown rice flour (I used superfine, which is great if you have it)
1/4 cup potato starch
1/4 cup tapioca starch
1/2 teaspoon xanthan gum
2 teaspoons baking powder
1/2 cup brown sugar (I have to admit that I notice a huge difference in flavor with using the Florida Crystals cane sugar version versus the cheapest brown sugar, which is usually beet sugar with molasses added. That could be me being an ingredient snob, but since the FC stuff goes on sale with some regularity, being a snob barely costs me more.)
1/4 teaspoon salt
1/2 teaspoon nutmeg
2 teaspoons cinnamon
Mix all dry ingredients together thoroughly.
1 Ener-G egg replacer egg (1 1/2 teaspoons Ener-G powder plus 2 Tablespoons warm water, whisked until slightly frothy)
1/4 cup + 1 Tablespoon melted shortening (I used both coconut oil-based Earth Balance and Spectrum shortening, and both worked fine) (ALSO — Melt an additional Tablespoon or two of shortening to grease your pan with)
2 Tablespoons vanilla
2/3 cup non-dairy milk (I usually use almond milk because it’s what I keep on hand, but I notice very little difference using rice milk)
Food coloring, if desired
Use some melted shortening to brush the silicone molds.
IF you are using food coloring, mix all the wet ingredients but the shortening together before adding them to the dry ingredients. This makes the color spread evenly.
If you are NOT using food coloring, no need to dirty another bowl — just add all the wet ingredients to the dry ingredients and mix well. I find that my silicone spatula works best for this.
Scoop into baking molds, and make sure you’ve filled out the bottoms or you lose the detail. I used my spatula to sort of smush and spread the batter into each mold, and then used an icing knife to scrape off any excess. If you’re not using a Peeps mold, you could use another small silicone mold, doughnut pan or a mini muffin tin, and your baking times will be approximately the same. If you’re making cupcakes or a full cake, your baking times will be way off what’s recommended, so I’d suggest checking in 5 minute increments until a toothpick inserted into the center of your cake comes out completely clean.
For the chicks and bunnies, my cakes took about 24 minutes. I will say check after 20, and judge how much more time you need then. When the cakes are done, flip them out onto a cooling rack immediately, and let cool completely before eating. With the oil brushed on the molds, these get a decent doughnut-type “crust” on the exterior, which is excellent.
Store your cooled cakes loosely covered, for up to three days.
Bacon. It’s bacon, how do you live without bacon? Unfortunately, commercial bacon has dextrose, sodium erythorbate, ascorbates, and other corn ingredients. At the beginning of my corn-free life, I would cheat a bit, but then I would get a blister on my foot a couple days later, and I eventually decided that it had to go. So no bacon. For months and months. And then I started Googling how to make bacon, and looking for pins on Pinterest. It didn’t look that hard. And compared to fermenting (which I very much enjoy, so this is not a slam), it seemed much less evil scientist-bubbling concoctions, and more of a dry rub marinade in the fridge for several days longer than you would normally. What was the worst that could happen? I mean, besides making myself sick, and that was going to happen if I ate commercial bacon anyway. But I still didn’t do it because I was going to have to make a special effort to get some pork belly, and it’s not like I don’t have enough other stuff to do. But one day, Mary Kate and I were dubbing around at the Saigon Market in Nashua and we saw some pork belly all packaged up and ready to bring home. So I bought it, and I made some bacon. It was good, but I thought the recipe needed some tweaking. So I called McKinnons in Salem and ordered five pounds of pork belly. And I then played around some more.
Now that I’m done experimenting, I’ve got two versions to share with you, one that’s a more basic cure, and one that’s a bit more savory. I like them both, but I prefer the basic cure, as I tend to be a traditionalist about my bacon.
In all likelihood, you are going to special order the fresh pork belly. Some grocery stores may be cooperative, or you might have to go to a specialty butcher store.
Making Bacon (two versions)
2 lbs of pork belly, skin removed
3 tablespoons sea salt
3 tablespoons brown sugar
For a basic cure, you will add:
2 teaspoons whole peppercorns
For a more savory cure, you will add:
2 teaspoons whole peppercorns
1 garlic clove, minced
1 tsp rosemary
1 tsp celery seed
1 tsp dried thyme
2 bay leaves
Put the salt, brown sugar, and the spices for your choice of cure in a blender or food processor, with the exception of the garlic clove in the savory cure. Blend or process until the peppercorns are well ground. If you’re using the savory cure, mince the garlic clove and set it aside.
If your pork belly still has the skin on it, as shown below, you will need to remove it. (The picture below shows five pounds of pork belly. I used it to make approximately two pounds of each bacon cure and one pound of salt pork, the recipe for which will be posted in the not too distant future.)
Five pounds of boneless pork belly before the skin is removed
Using a very sharp knife, remove the skin cutting it as thinly as you can manage. You don’t want to waste any of the pork belly.
Removing the skin from the pork belly
Once you have trimmed off the skin, your pork belly will look like the picture below:
Pork belly with the skin removed
Rinse the pork belly in very cold water and pat it dry with a paper towel. If you are doing the savory cure, now is the time to mix your ground salt, sugar and spice mixture in a bowl with the minced garlic. Spread half your salt, sugar, and spice mixture on a large piece of parchment paper, a large casserole dish, or a sheet pan, whatever you have in your kitchen that’s large enough to accommodate your piece of pork belly. Place the pork belly into the salt, sugar and spice mixture, and pour the remaining mixture over the top of the pork belly. Rub the mixture all over the pork, making sure to get every inch covered.
Put the pork belly in a 1 gallon resealable plastic bag, and add any of the excess salt, sugar, and spice mixture from your parchment paper, casserole dish, or sheet pan to the bag. Close the bag and shake it up to evenly distribute and coat the pork belly with the mixture. After shaking, try to remove as much of the air from the resealable plastic bag as you can so that the spice mixture stays on the pork belly and reseal it.
Pork belly coated with salt, sugar, and spice mix in resealable plastic bag
Place the bag on a plate, tray or small sheet pan so that it can be placed in your refrigerator and stay level. Refrigerate for five to seven days, flipping the bag once a day, until the pork feels firm throughout. The longer you let the pork belly cure, the saltier it will be. I preferred a cure of five days.
When the pork belly is finished curing, remove the pork belly from the resealable plastic bag and wash off the salt, sugar and spice mixture thoroughly under cold water. Pat your pork belly dry with paper towels.
You now have a choice to make. You can slice the bacon as is and then cook it, which appears to be the closest to commercial bacon, and was often referred to as “green bacon” in recipes I saw. Or you can smoke or roast the bacon. I don’t have a smoker, so I’ve not tried smoking it. I did do one batch of the roasted bacon, but I think I prefer the green bacon.
Green bacon:
We got a meat slicer as a wedding gift because my husband really wanted one, so it went on the registry. It was really helpful in slicing the green bacon.
“Green bacon” sliced
I fried some in my cast iron skillet over medium heat, as you would normally cook bacon. The home cured bacon seems to take longer than commercial bacon to cook.
Roasting the Bacon: When your bacon has cured, and you’ve rinsed and patted it dry with paper towels, pre-heat your oven to 200°F. Place the bacon in a 9 x 13″ roasting pan and roast until you’ve reached an internal temperature of 150°F. This will take between an hour and a half and two hours.
Bacon roasted in the oven
You don’t want to cook the meat, so once it reaches 150°F, remove the bacon from the oven. Let the bacon cool to room temperature.
Once your bacon has been roasted or smoked and has cooled, wrap it up in parchment paper and put it in the refrigerator until it has completely chilled. Once chilled, you can slice it and fry it up or use the oven method to cook your bacon. In the picture below, I used a chef’s knife and my knife skills aren’t all that great so the slices are a bit thicker than I would have liked. Which is why I decided to drag out the meat slicer in later experiments.
Roasted bacon after chilling and slicing
We cooked the bacon two ways here too, frying it and using the oven method.
Roasted Bacon, cooked two ways, fried and using the oven method
Smoking the Bacon: Again, I have not tried this because I don’t have a smoker, but one of the recipes I found gives the following directions. When your bacon has cured, and you’ve rinsed and patted it dry with paper towels, smoke it over hickory or apple wood at a very low temperature until bacon reaches an internal temperature of 150°F or about three hours. Let bacon cool to room temperature. Once your bacon has been roasted or smoked and has cooled, wrap it up in parchment paper and put it in the refrigerator until it has completely chilled. Once chilled, you can slice it and fry it up or use the oven method to cook your bacon.
My husband and I both preferred the oven method for cooking the bacon and we both preferred the “green bacon”, but you should experiment and see what you like best. Here’s a chart for how long your bacon will keep from the USDA. The bacon cures presented here would fall under “Bacon cured without nitrites.” I don’t want to weigh in on the nitrites being good or bad issue, it’s just that I can’t get seem to get my hands on curing salt that doesn’t also have corn (dextrose) in it.
I hope this helps those of you who can’t get commercial bacon for whatever reason. Enjoy, I did 🙂
Everyone who knows me for a little while knows that I live for potatoes. I will eat them in almost any form, any time of day, and many meals in a row — and multiple forms in one meal, if that happens to be an option. I’ve posted other potato recipes here, but this may be one of my favorite.
See, about two years ago, I found a good hash brown patty. Cheap, no weird ingredients, and while they did not cook quickly, they could be left alone while I did the rest of the stuff that needs to get done in the mornings. But that was two years ago, and I’m still eating them. As much as I love the potatoes, I was actually (shhhhh, don’t call out the heresy) getting bored of the same hash browns every morning. I thought maybe I could work something else out, something that would keep the potato part of my breakfast ritual, but add in some additional veggies.
This is what I worked out — this is a soft potato pancake with a great texture from the zucchini and carrots, and a nice savory profile. If potatoes for breakfast aren’t your thing (heresy!), these make a great side dish, as well.
Cooking Potato Magic
Eat Your Veggies for Breakfast Patties
4 medium potatoes, peeled and cubed (about 1.75 lbs.)
1/4 cup green scallion tops, chopped (about one bunch worth)
1/2 lb. carrots, shredded (organic if possible — this makes a big difference in taste)
1/2 lb. zucchini, shredded
1-1/2 teaspoons dill
1/4 teaspoon garlic powder
1/2 teaspoon turmeric
freshly-ground black pepper, to taste
2 teaspoons balsamic vinegar (beware of malt — gluten — added to cheaper versions)
1 Tablespoon ground psyllium husk
oil of your choice, for sauteeing, less than 1/4 cup overall, but it’ll depend on the size of your pan and how many batches of potatoes you do
Place potatoes in a saucepan and cover with cold water. Add salt. Bring water to a boil, then reduce to a simmer and cook until potatoes are tender. If you salt the water well, you may not need to add more salt to the recipe over all
Chop scallions and shred the carrots and zucchini.
Heat a skillet over medium heat, add a tablespoon or so of oil — you want enough to coat the bottom of the pan, but not deeply. Add the carrots, dill, and garlic powder, stir and sauteé over medium for a few minutes. Then add the zucchini, stir well, and when the carrots are tender but still have a bit of crunch, you’re done.
In another pan, over low, heat the non-dairy milk and margarine or fat just until warm and melted.
Drain the potatoes and mash with the non-dairy milk and margarine. Then mix in the scallions, carrots, zucchini in with the mashed potatoes, adding the turmeric, psyllium husk, and vinegar, and mixing very well. Taste and adjust the seasonings if you need to.
Form patties of about 1/4 cup each — I used a measuring cup to scoop and then formed the patties with my hands. This made about 15 patties, which is so perfect for a work week of breakfasts. The patties are all cooked, but to make them awesome, you’ll pan fry them right before eating.
Now, you can cook these immediately, if you’re a morning person and did all this in the morning, but you can also refrigerate the patties you just made (put wax paper between the layers and cover them, airtight) and pan fry them fresh and hot in the morning.
Either way, heat your skillet first, over medium, then add a skim-coat of oil. If you’re cooking them just after making them, 2-3 minutes per side should give you a nice golden brown crust on each side. If they are coming out of the fridge, it took 8 minutes for the first side, 6 for the second, using a cast iron skillet over medium heat, to get a perfect crust and thoroughly heat the patties throughout.
It’s summer. It’s too hot to cook, but you need a mid-afternoon snack to get you through until dinner. Or it’s breakfast time but it’s 90 degrees in your apartment and food seems, well, heavy. There is a super simple solution to this cooking dilemma: Smoothies, people, smoothies.
I go through smoothie phases. I make them for a while, then get stuck in a rut, and then rediscover them. I’m personally a fan of really simple smoothies that rely primarily on actual fruit, maybe with some yogurt or milk (non-dairy, of course), and generally as few ingredients as possible. I’ve done the green smoothie thing occasionally, and I’ve followed recipes and master recipes. Mostly, though, it’s a way to dump all the stuff in the fridge into a simple healthy creation that just requires a blender.
With this ridiculously simple recipe, a little prep work will give you a snack that taste like the ice cream truck of your childhood just stopped by.
The MANY ingredients
Creamsicle Smoothie
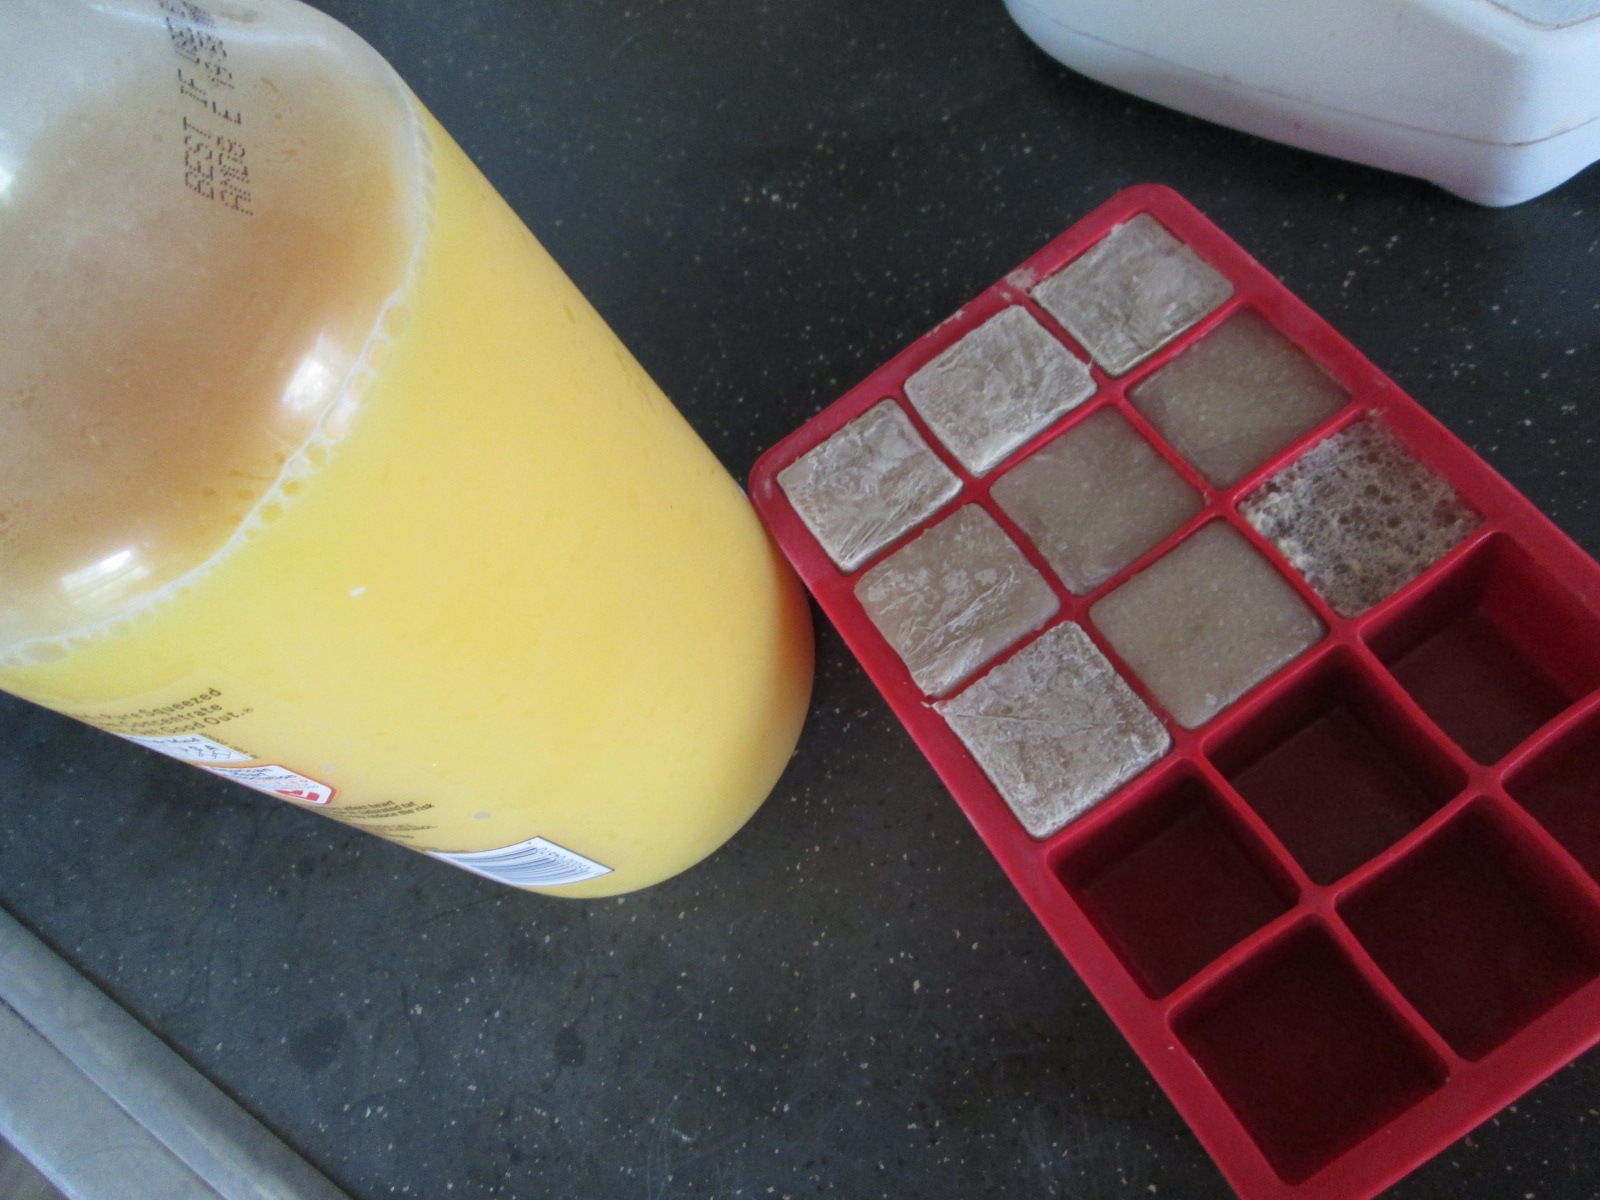
PREPARE AHEAD: Freeze some of your favorite vanilla non-dairy milk* in ice cube trays.**
*Note 1: You can use any non-dairy milk. You can probably even use cow’s milk, but frankly, then, go buy yourself a creamsicle! I have used almond milk, primarily, in the vanilla, unsweetened variety. I am sure soy or rice will work, too. This recipe can be nut-free and soy-free, if you want.
**Note 2: Measure your ice cube trays. I freeze a lot of ingredients in ice cube trays for ease of use later — tiny amounts of leftover broth or stock, sometimes herbs or pastes, fresh lemon or lime juice. All of my ice cube trays hold approximately 1 Tablespoon of liquid. It’s good to measure yours so that you know for the future recipes you’ll make with those ingredients.
In a blender, combine:
4 Tablespoons (4 cubes) of frozen vanilla almond or other non-dairy milk
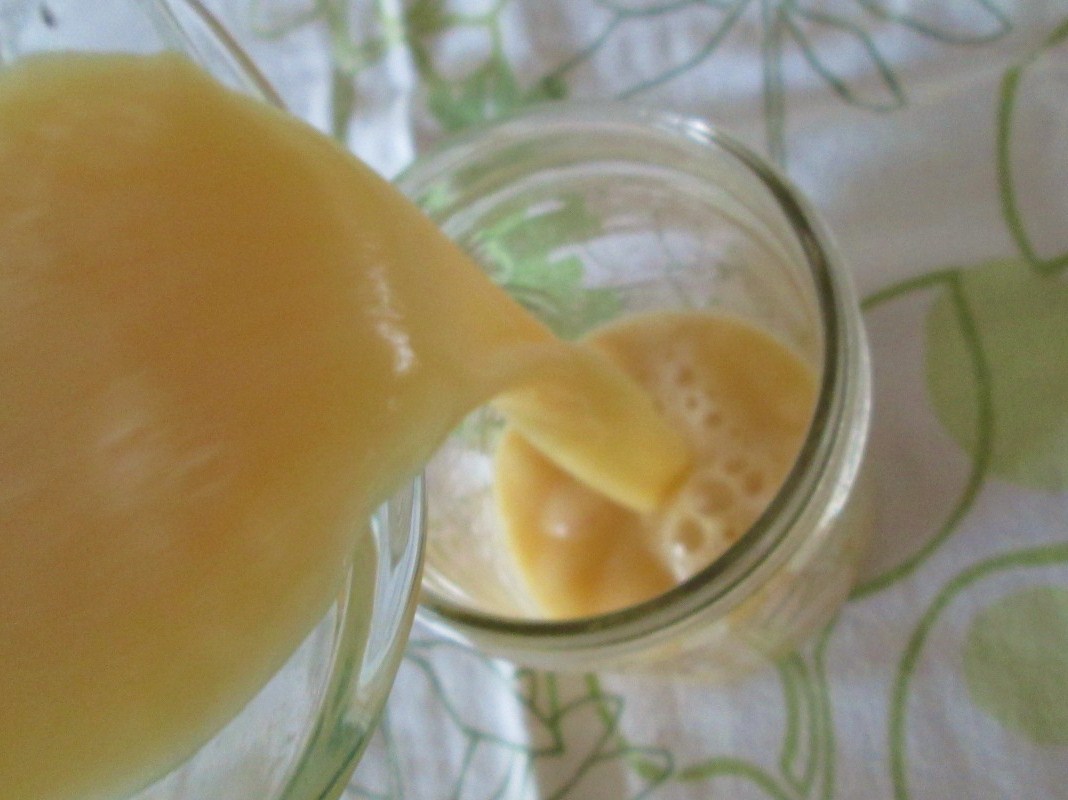
1 1/4 cup of orange juice
Blend.
Yes, seriously, that’s it. It’s really that easy and that good.
You know, if you have a good list of allergies, as Denise and I both do, breakfast can be one of the worst meals. If you eat meat, bacon is usually safe, though sausage might or might not be. Take out eggs, gluten for pancakes and waffles… well, you get the picture. I miss going out for breakfast. And as much as I love them, I’m actually getting bored of cereal and hash browns for breakfast.
So why not polenta? I have eaten leftover corn polenta for breakfast (the kind that comes in a nice tube at the grocery store), and it’s great as a savory breakfast, but I started thinking of the millet polenta in Vegan with a Vengeance — that was the first polenta I ever made and the first time I’d eaten millet. We used to buy it for the parakeets we had growing up, and I still sort of think of it as bird food. But it’s really tasty!
This recipe easily doubles into a 9×11 pan, but for one breakfast or one person who doesn’t want to eat it for 9 days, do this in an 8×8 pan. My favorite part is that all the work is done ahead of time, with maybe 10 minutes of work in the morning — and most of those are what some recipes call “inactive” time. I am not a morning person.
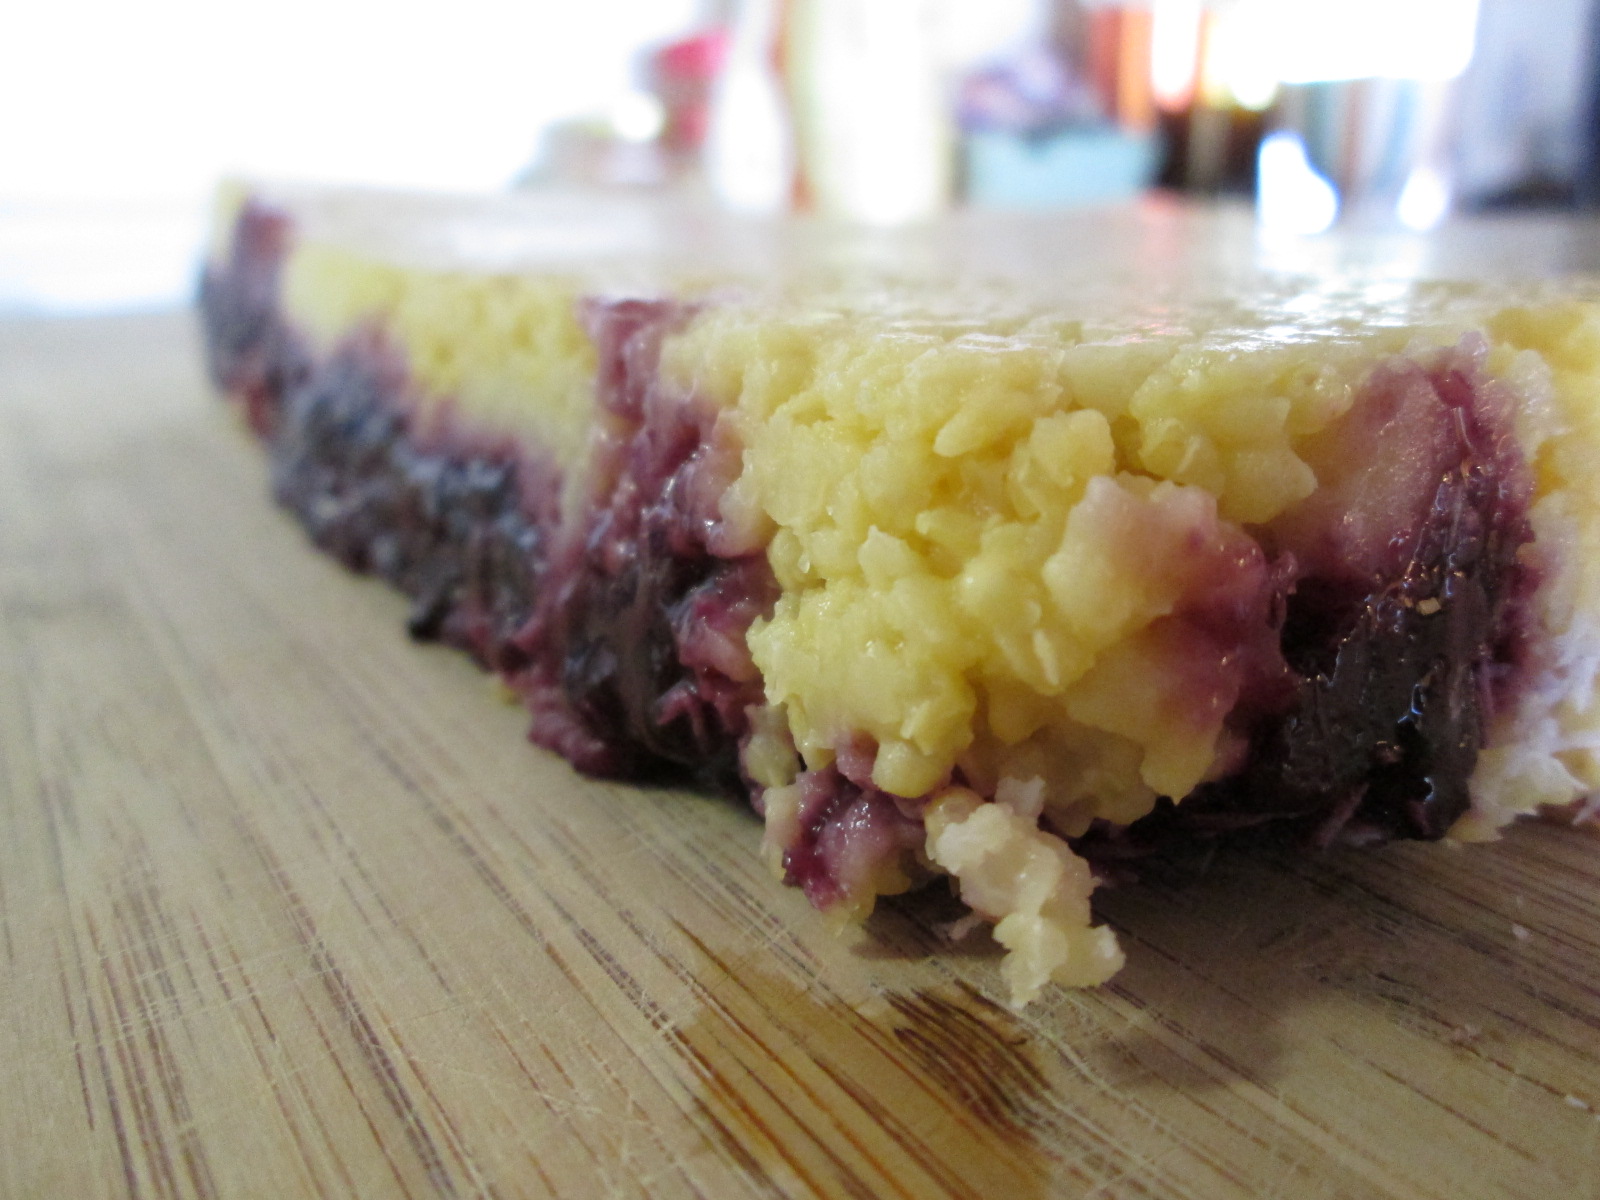
Millet polenta with blueberries and maple syrup
Breakfast Polenta
Make-ahead preparation:
In a sauce pan, mix
1 cup millet, rinsed
1 1/2 cups orange juice
1 1/2 cups water
1 Tablespoon oil, shortening, or Earth Balance (use coconut oil if you can)
1 or 2 cinnamon sticks
Bring this mixture to a boil, turn it down, and let it simmer for 30-35 minutes.
In a separate small pan, heat
1/2 cup frozen blueberries
1 Tablespoon orange juice
1/4 cup unsweetened shredded coconut (optional)
When the blueberries are soft, mash them with a fork or potato masher, just until you have a rough jelly.
Into a greased 8×8 pan, put half the millet mixture in the pan, smooth down, spread the blueberry mix on top, and then add the second half of millet mix and smooth it out.
Allow it to cool at room temperature and then refrigerate.
Morning preparation:
You will need
1 teaspoon to 1 Tablespoon of coconut oil, Earth Balance, or other oil of your choosing (just enough to coat the bottom of your skillet)
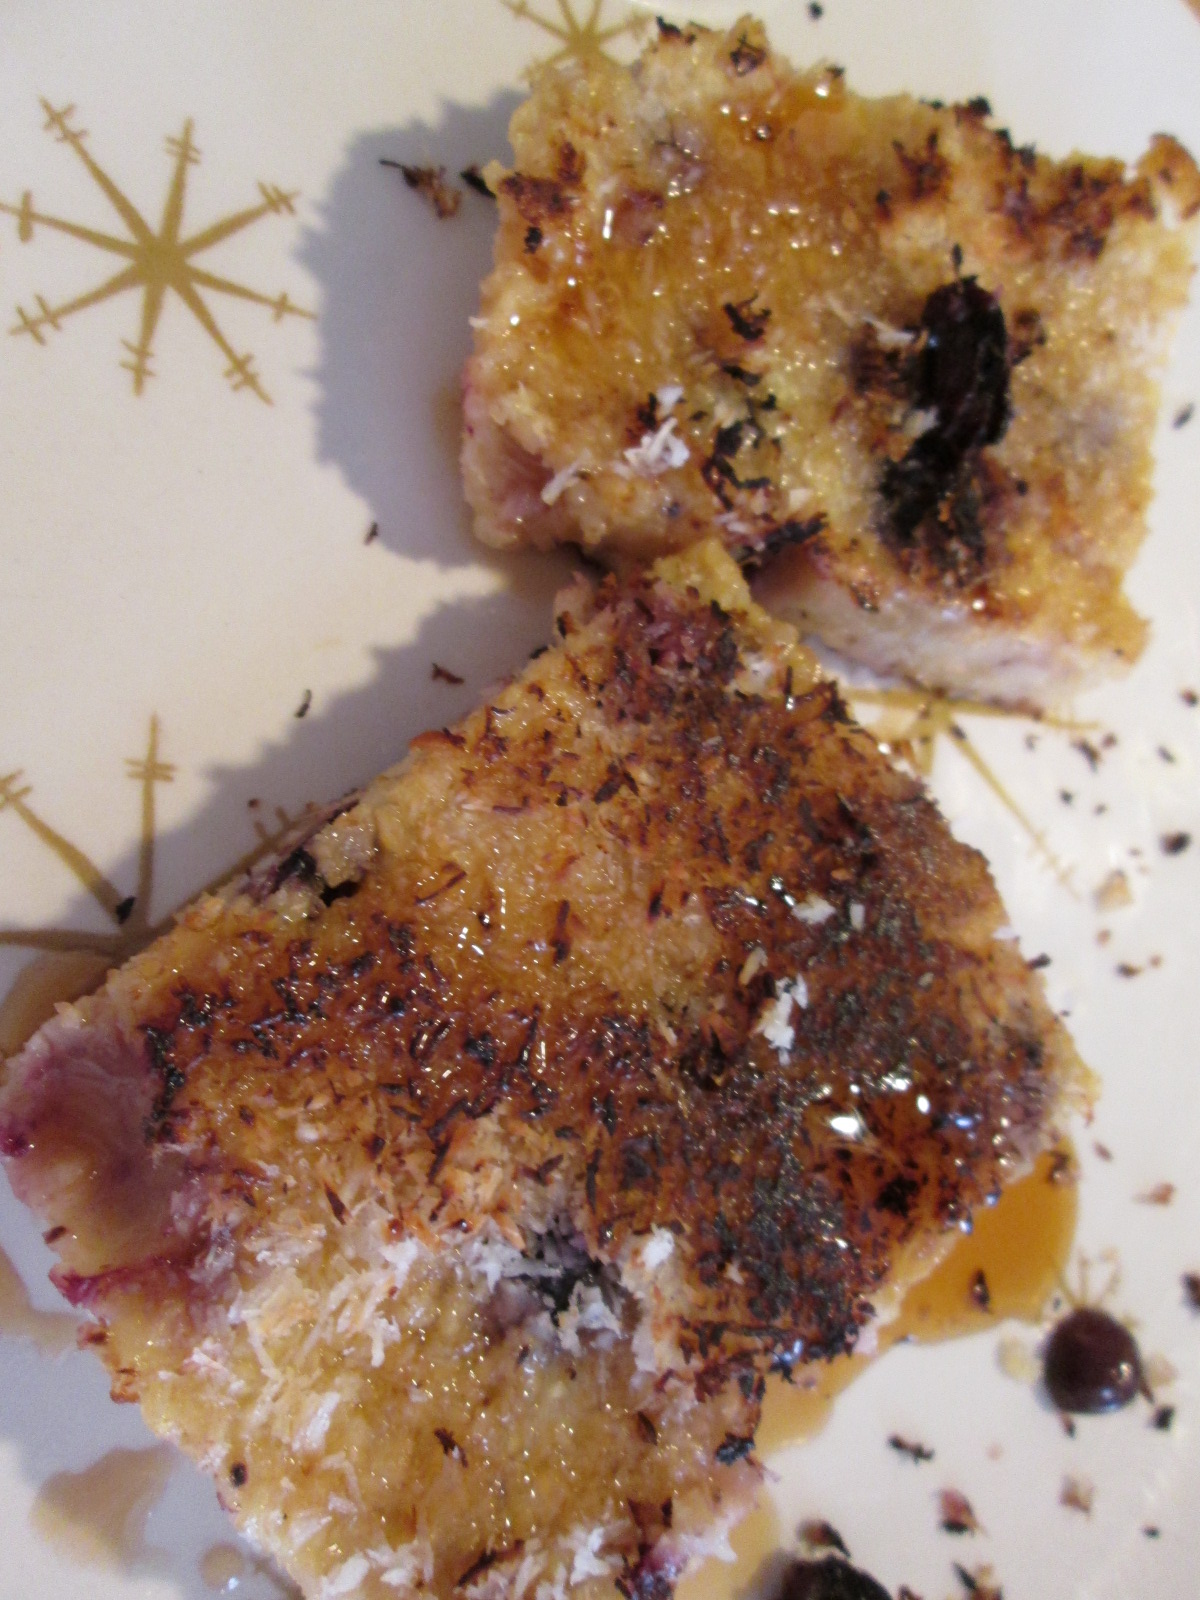
In the morning, heat a skillet over medium heat. Add your oil — this isn’t absolutely necessary, but it will promote a good browning, which really makes the polenta to me. Pan fry on both sides, 5-7 minutes per side.
Plate and drizzle with maple syrup. Pour it on slowly to allow it to soak in. Oh, and get the real stuff — you’re worth it.
What do you eat for breakfast? Do you rely on the same standards, over and over, or do you mix it up?
Before I start my rhapsody on the glories of bacon and Sriracha, let me just confess that this wasn’t my idea and isn’t my recipe, which is why we’re posting it on Whatever Wednesday. For that we can thank Scott Hutcheson, whose recipe was provided in his blog, and then was picked up and discussed by another blog, True Laurel, where one of my friends saw it and pinned it on Pinterest. I had to try this. I’ve made some minor modifications, because I’m used to cooking my bacon in oven, I like it really crispy, and I’m way too lazy to use a baking rack and then have to wash it afterwards. It works perfectly fine just on the baking sheet or piece of stoneware (but it does work best on the stoneware between the two), but you will want to use some tongs to remove the bacon from the baking sheet and place them on a sheet lined with paper towels to drain after baking.
Okay, I’m beginning the rhapsody. Two of my favorite foods in the whole world, together at last. (Sounds like an ad for an duet album on TV when they still had ads like that right?) In any case, the guy who thought this up was a culinary genus. It’s beyond awesome.
Bacon with Brown Sugar and Sriracha
a package of Hormel’s Black Label Applewood Smoked Thick Cut Bacon
a bottle of Sriracha (you squeeze it onto the bacon from the bottle, using probably no more than 3 Tablespoons or so)
3-4 Tablespoons of brown sugar
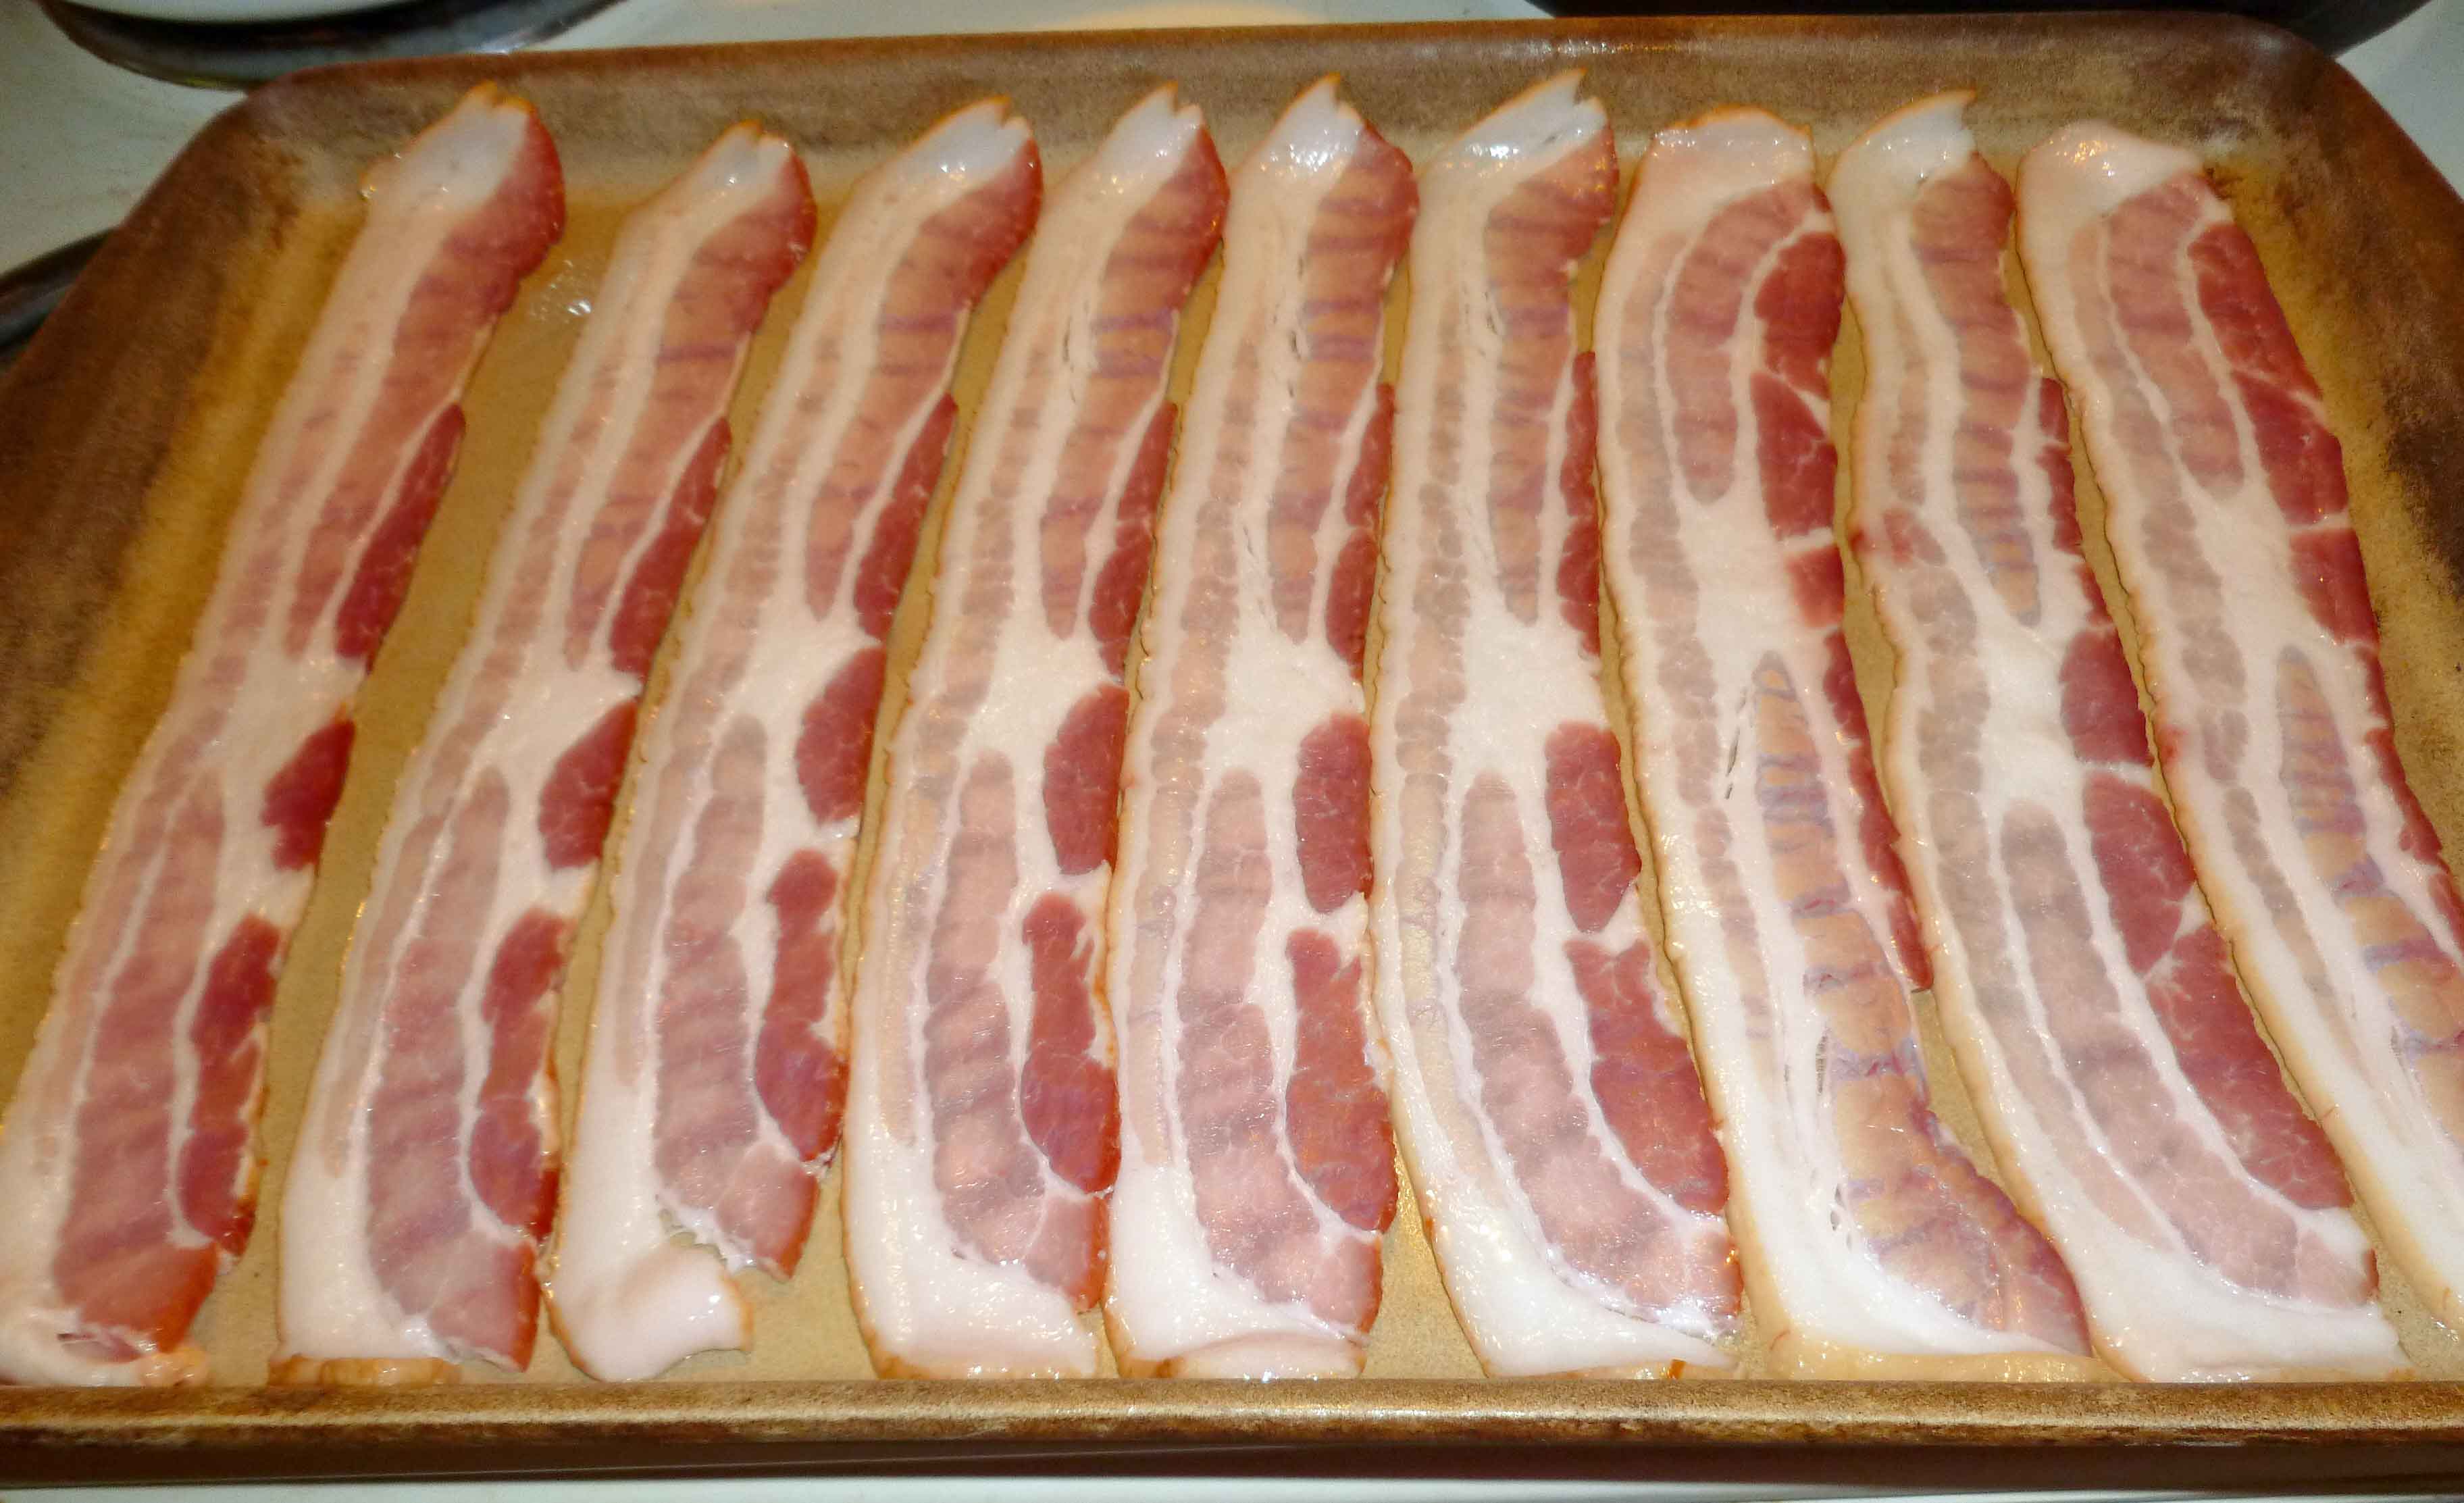
Preheat your oven to 375°F. Lay your bacon strips out carefully so they do not overlap on your baking sheet or stoneware. (I’m using the Pampered Chef large bar pan stone.
Bacon laid out on stoneware
Take your Sriracha bottle and run a line of Sriracha down each strip of bacon.
Sriracha lines on bacon
Once you have the Sriracha on the bacon, take a basting brush and spread the Sriracha evenly over each strip of bacon.
Spreading Sriracha evenly over bacon strips
Now sprinkle the brown sugar evenly over the bacon strips. I found it was easiest just to use my fingers to do it.
Brown sugar sprinkled over Sriracha covered bacon
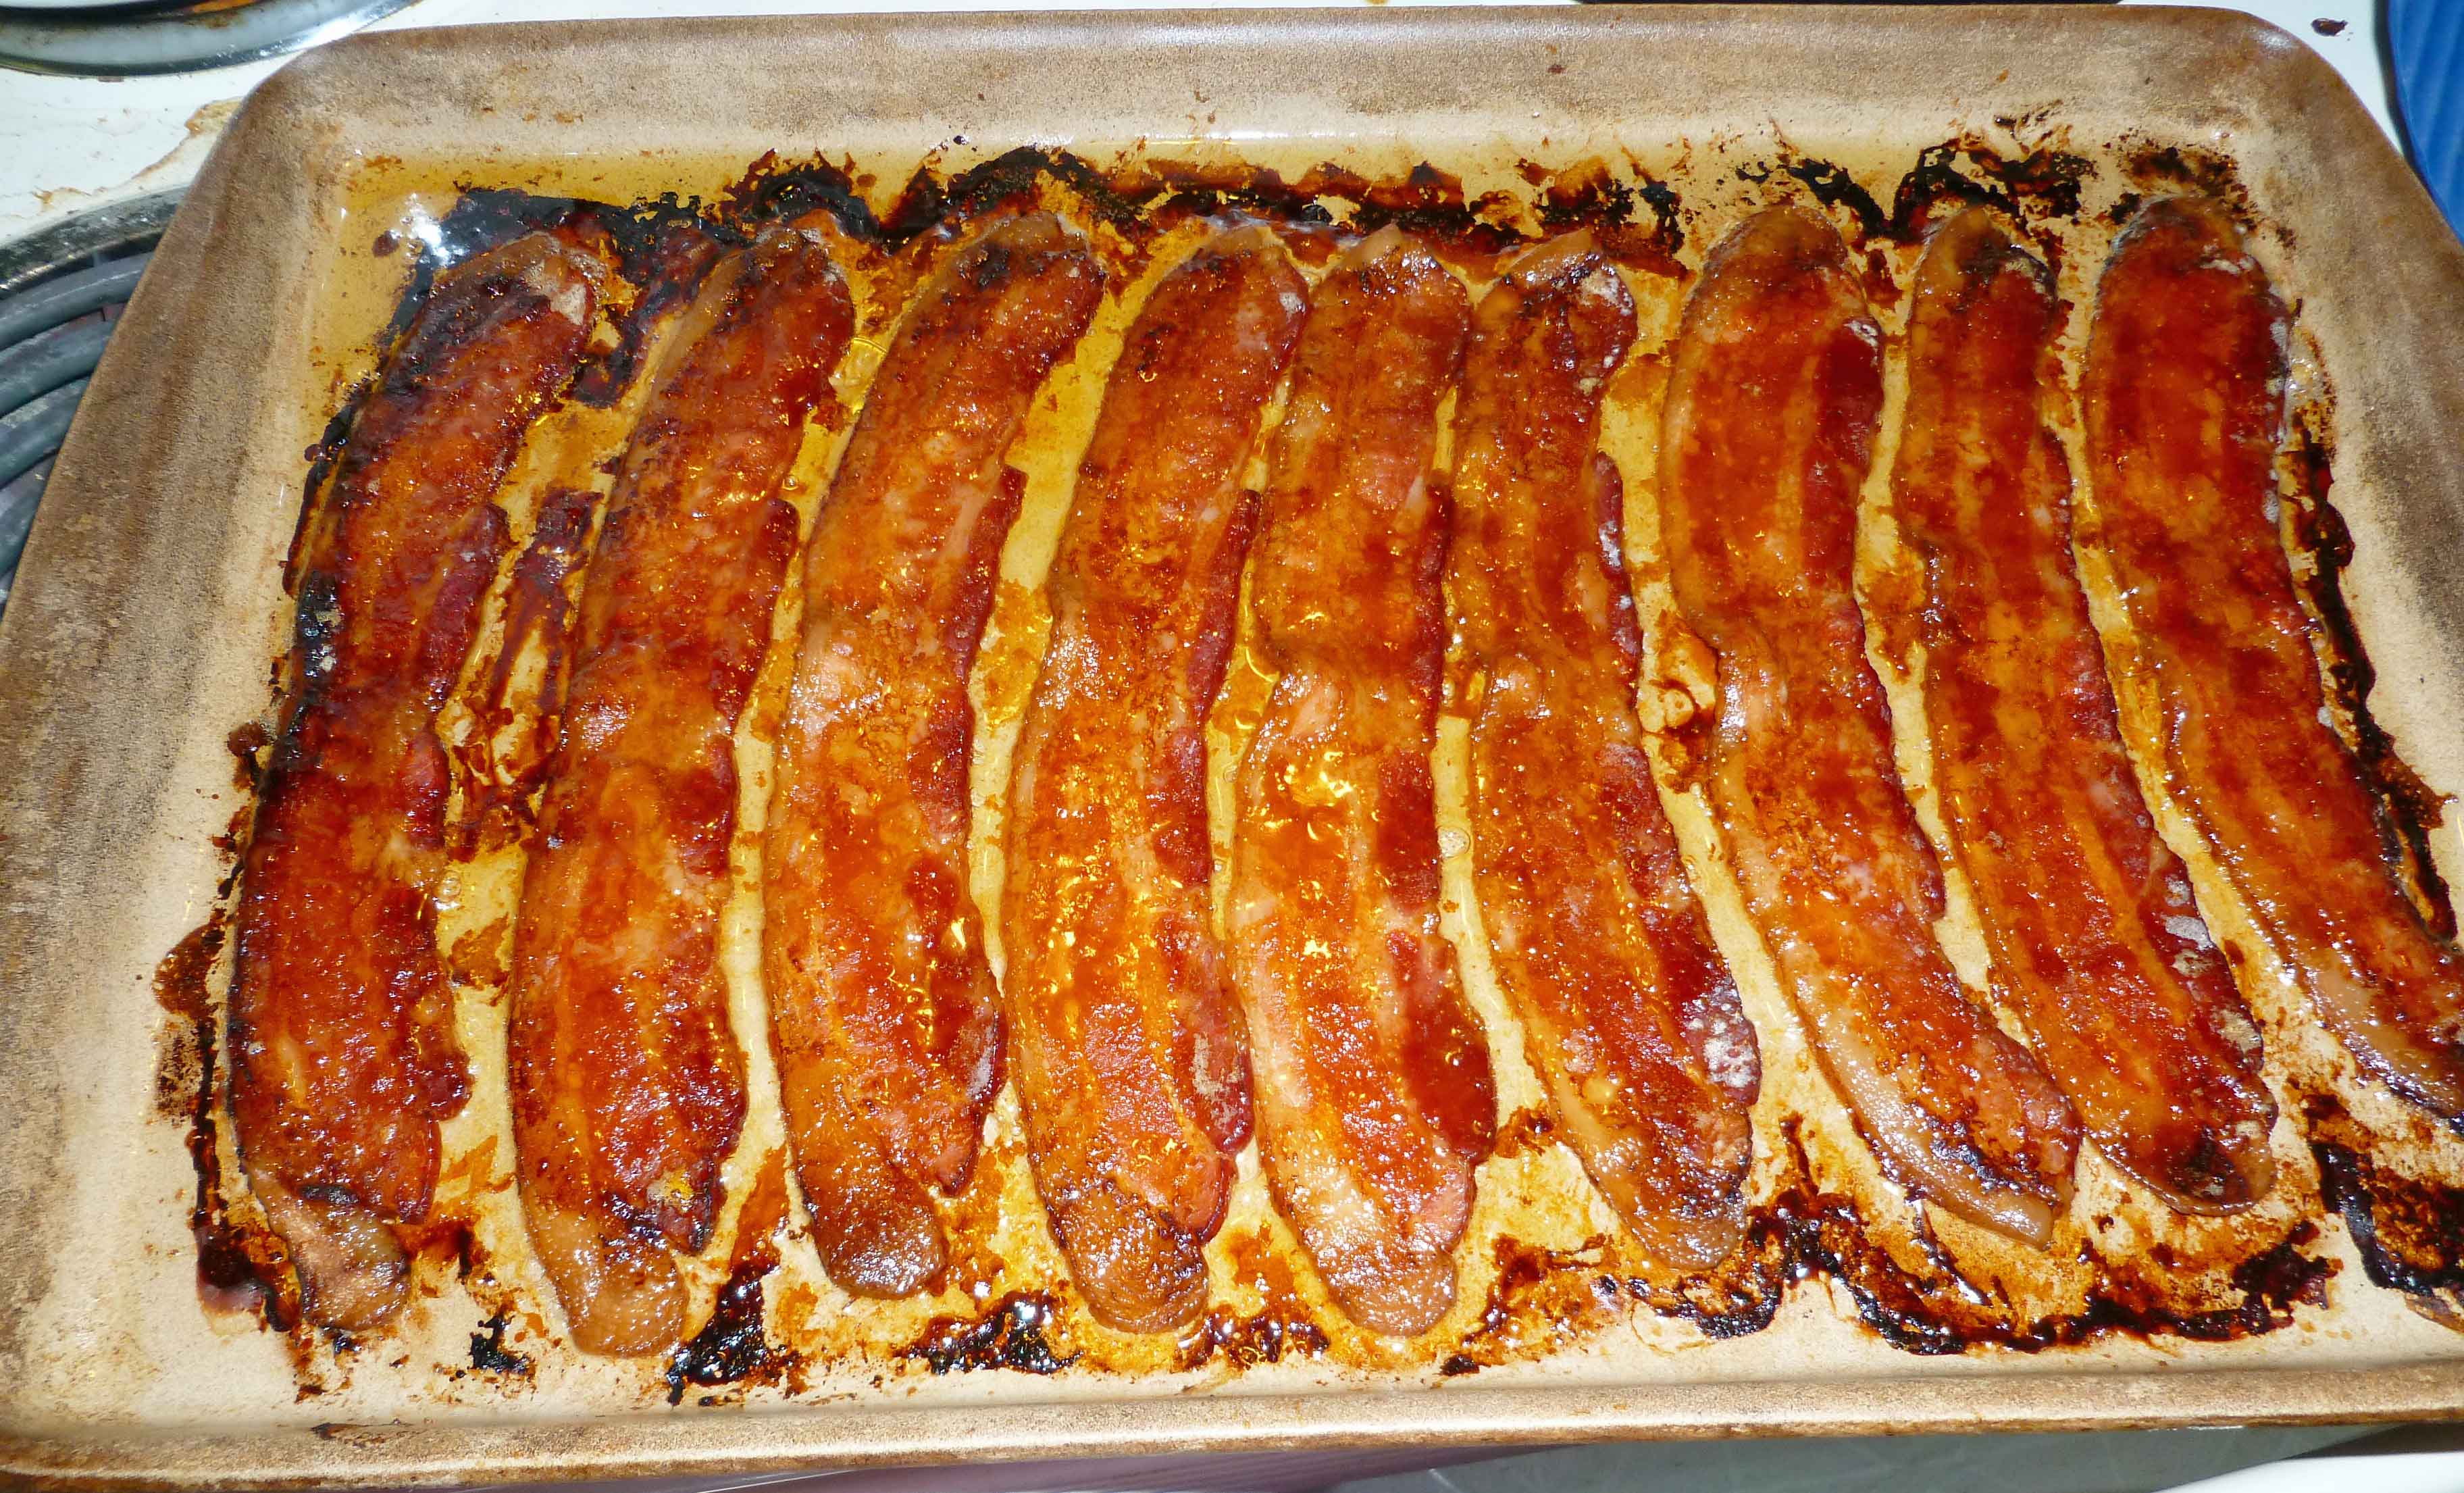
Bake for 15-20 minutes. Check on your bacon at about 15 minutes so it gets to the proper level of “done-ness” for you. Again I like mine really crispy, so I’ll let mine go longer until it’s where I want it.
Bacon just out of the oven
Once it’s out of the oven, use a fork or a pair of tongs to lay them on some paper towels to drain away the excess bacon fat.