Notice: Function _load_textdomain_just_in_time was called incorrectly. Translation loading for the wp-ultimate-recipe domain was triggered too early. This is usually an indicator for some code in the plugin or theme running too early. Translations should be loaded at the init action or later. Please see Debugging in WordPress for more information. (This message was added in version 6.7.0.) in /home/maryzahc/public_html/adultfoodallergies.com/wp-includes/functions.php on line 6121
Breakfast – surviving the food allergy apocalypse (archive)

Category: Breakfast

Breakfast [brek-fuh st], noun: the food eaten at the first meal of the day. These recipes will not contain dairy, eggs, gluten, wheat or hazelnuts. If we use a top 8 allergen, we will use a tag warning of its use.

  • Morning Glory Overnight Oats

    Morning Glory Overnight Oats

    At the end of last year, I took a very cold trip out to the SeaTac airport area for a writing seminar with Anne Heffron. She walked us through a lot of exercises designed to help us figure out why we would take a very cold trip out to an airport hotel on a Friday night — why we say we want to write and don’t. Why we set ourselves goals and then flounder at them. To figure out what it is that writing means to us.

    A weird and wonderful night, I was really grateful for the long trip back home on the light rail because it let me process enough of that night that I could sleep when I got home. And I’m writing things — not things I want to share with the world, exactly, but I feel like this outlet I’ve been toying with since elementary school actually works for me instead of against me.

    So Anne is doing this wonderful experiment to more fully inhabit her own skin and the life around it. Part of it involved a change of diet. Hey, I know changes of diet. I understand missing things I used to be able to eat easily! She talks often of Morning Glory muffins as a thing that has been left behind. I don’t know, honestly, if Morning Glory muffins are THAT amazing or if they are a well-named food to be brought up again and again. I’ve never had a morning glory muffin. But I looked them up, and the flavor profile sounds pretty good — apples, carrots, coconut, cinnamon. All things I like. And since I’ve been trying to mix up breakfasts lately, I decided to be inspired by Anne’s left behind food and reinvent it a bit — into overnight oats.

    Morning glory oats are oatmeal but with so many different textures and flavors that your mouth and brain don’t get bored. I had everything to make this oatmeal in my house already, though I will admit that I haven’t tried this with rolled oats because I am so bored of them and I’m out and haven’t restocked. Many people with celiac cannot eat oats, so I tried this with quinoa flakes, as well. I think I personally like the steel-cut oats better because of texture, but the added protein from quinoa can’t hurt.

    If you can’t eat one of the many add-in items here, skip it! Make it nut-free by leaving out the walnuts (and coconut, if needed). Make it low FODMAPs by leaving out the applesauce (I think that would be the only thing — but I’m not an expert on FODMAPs). Adjust it however you need to suit you or your family.

    This recipe is written for one hearty serving. Increase as desired. I don’t usually find the glory in morning, but I do like this oatmeal.
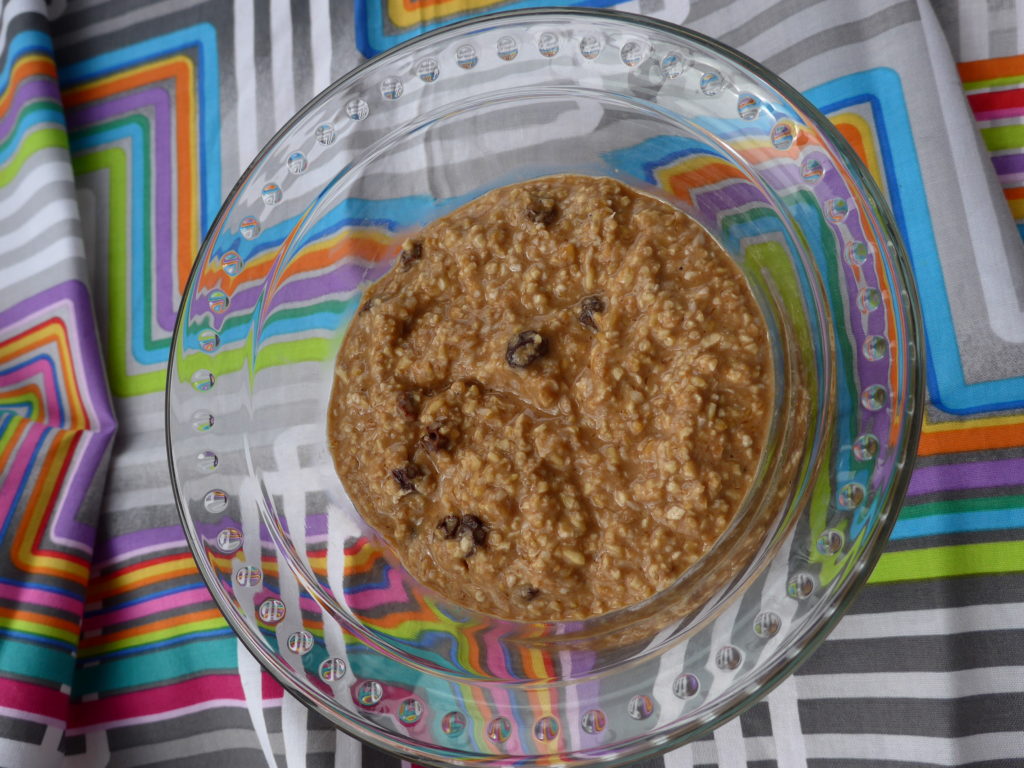
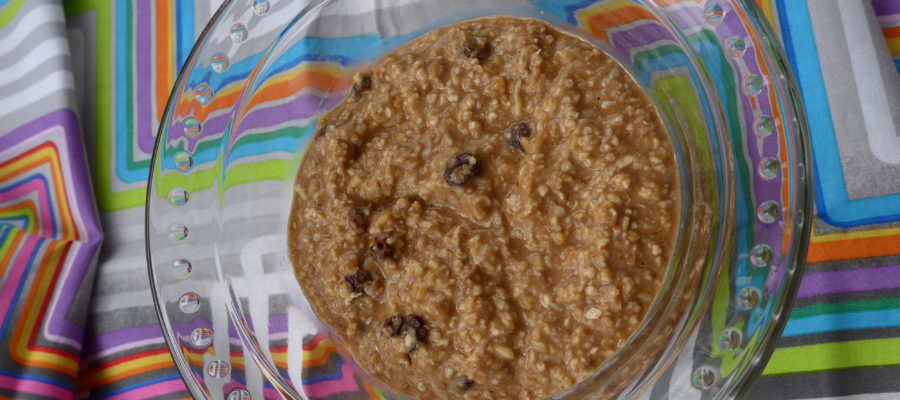
    In a clear bowl, light brown porridge with raisin, on a brightly colored backdrop
    Morning Glory oatmeal (if you note that you can’t see the orange of the carrots here, know that the only time I remembered to take photos was the time I left it out.)

    Notice: Trying to access array offset on value of type bool in /home/maryzahc/public_html/adultfoodallergies.com/wp-content/plugins/wp-ultimate-recipe/helpers/models/recipe.php on line 254
    Morning Glory Overnight Oats
    Print Recipe
    Servings Prep Time
    1 serving 10 minutes
    Cook Time Passive Time
    2-5 minutes 8+ hours
    Servings Prep Time
    1 serving 10 minutes
    Cook Time Passive Time
    2-5 minutes 8+ hours
    Morning Glory Overnight Oats
    Print Recipe
    Servings Prep Time
    1 serving 10 minutes
    Cook Time Passive Time
    2-5 minutes 8+ hours
    Servings Prep Time
    1 serving 10 minutes
    Cook Time Passive Time
    2-5 minutes 8+ hours
    Ingredients
    • 1/3 cup gluten-free steel-cut oats* I buy mine from GF Harvest because I trust their purity protocol
    • 2 oz applesauce about half one of those little cups I always keep around for GF baking
    • 3/4 teaspoon cinnamon
    • 1/2 teaspoon vanilla powder optional, but worth seeking out
    • 2 Tablespoons ground walnuts
    • 2 Tablespoons unsweetened shredded coconut
    • 2 Tablespoons raisins
    • 2-3 Tablespoons shredded carrot (just shred a small one and go with it)
    • 1/2 cup non-dairy milk I used flax milk and really liked it.
    Servings: serving
    Instructions
    1. Mix all ingredients together in a heat-proof container of your choice. If you can’t find your shredder, like me, just peel the carrots and then keep peeling the part you want to eat, too. Chop the peeled bits. Put in the fridge overnight.
    2. In the morning, stir and add more milk if needed. Heat and eat. If you’re using the steel-cut oats and want them softer, cook a little longer. If you’ve used rolled oats or quinoa flakes, just heat it.
    Recipe Notes

    *I’m gluten-intolerant & pretty sensitive, but I can tolerate most certified gf oats. I’ve used steel-cut purity protocol oats here, but you could substitute rolled oats or quinoa flakes for a different texture.
    Share this Recipe
     
    Powered byWP Ultimate Recipe
  • Chai Spiced Granola Bars

    Chai Spiced Granola Bars

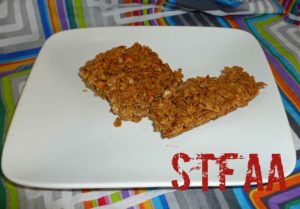
    Chai Spiced Granola Bars
    Chai Spiced Granola Bars

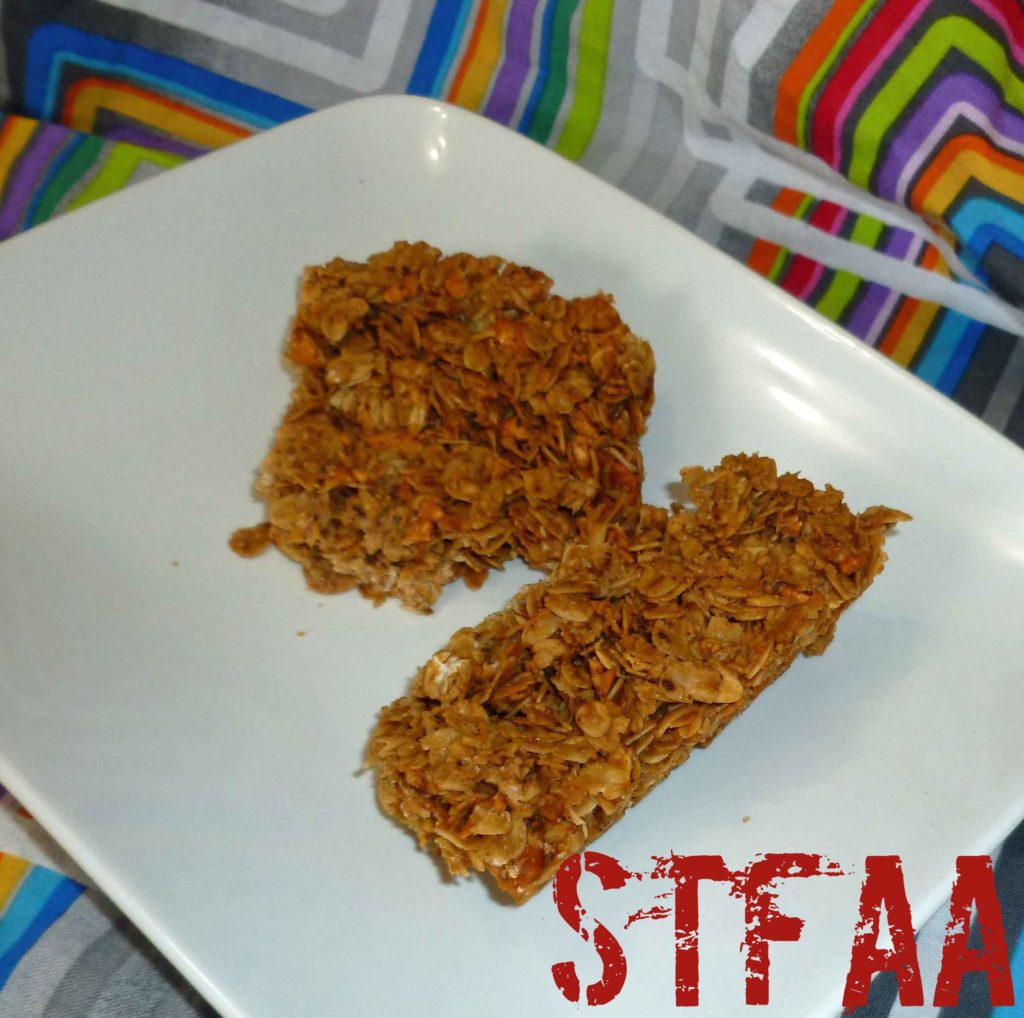
    I miss the convenience of buying a Nature Valley Granola bar, and calling it good for breakfast. Since they’re not safe for me, and since I needed to trial some cane syrup I bought, I went poking around the Interwebs and found this recipe that I modified. Sadly, the cane syrup was a big fail and caused a reaction. Yes, I know I can make cane syrup and I do. I just don’t want to. I was just hoping to have one damn ingredient component that I don’t have to make before I make the actual recipe. It was a big disappointment, although frankly, I was pretty sure it was going to be a fail as they use corn syrup in the facility where it is made. The original recipe uses honey (I don’t currently have a safe source), but homemade cane syrup will work since the commercial version did, and I’d be willing to try it with my safe molasses. You could also try maple syrup as a substitute, but I’m allergic to maple pollen so I haven’t bothered to trial a maple syrup from a safe source that doesn’t use canola or dairy as a defoamer as it’s boiling down to see if I can manage maple syrup if it’s pure. Anyway, let us know if you try different things and it works.

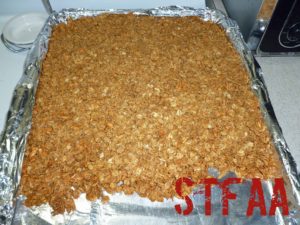
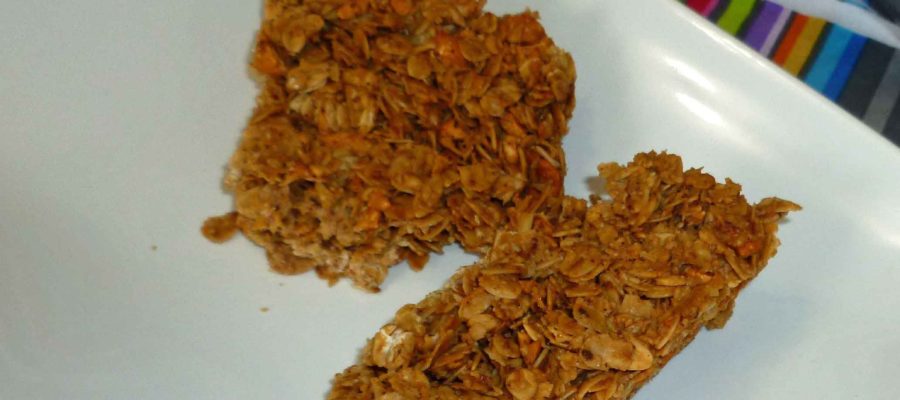
    I used cashews in this recipe, because it’s one of my safe nuts, but if you don’t do tree nuts, you could substitute other seeds, such as sunflower or pumpkin, or you could use dried fruit, such as raisins or dried cranberries. To give you another helpful hint, I made my bars way, way too thick. So they were sort of brick-like and broke into small pieces as I was cutting them. Which is good if you want granola cereal but not so much if you want them to be bars and you don’t want to try to gnaw on a brick. Make them thin. Spread them out across that whole cookie sheet.

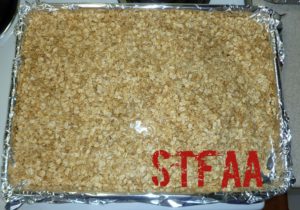
    Oats before toasting
    Oats before toasting
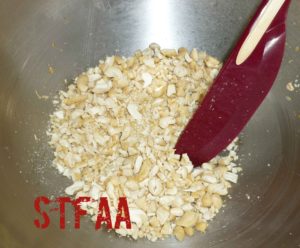
    Chopped cashews
    Chopped cashews
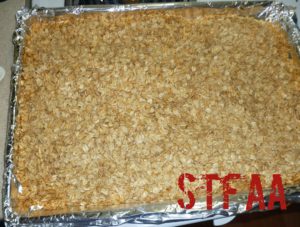
    Oats after toasting
    Oats after toasting
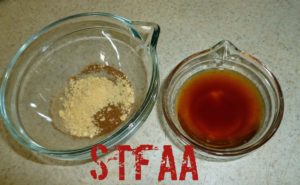
    Spices and vanilla extract
    Spices and vanilla extract to be added to the syrup and sugar mixture
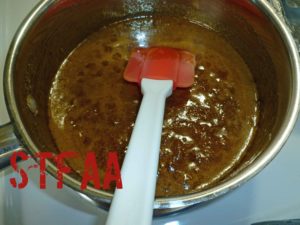
    Sugar and syrup mixture
    Sugar and syrup mixture
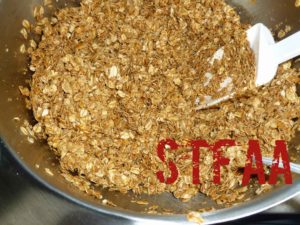
    Toasted oats and cashews coated with the syrup and sugar mixture
    Toasted oats and cashews coated with the syrup and sugar mixture
    Chai Spiced Granola Bars after baking
    Chai Spiced Granola Bars after baking (don’t make them this thick!!)
    Chai Spiced Granola Bars
    Chai Spiced Granola Bars
    Chai Spiced Granola Bars
    Chai Spiced Granola Bars
    Print Recipe
    Crunchy granola bars for a quick, easy breakfast or to use as shelf stable snacks while traveling.
    Servings Prep Time
    20-24 bars 45 minutes
    Cook Time
    40 minutes
    Servings Prep Time
    20-24 bars 45 minutes
    Cook Time
    40 minutes
    Chai Spiced Granola Bars
    Chai Spiced Granola Bars
    Print Recipe
    Crunchy granola bars for a quick, easy breakfast or to use as shelf stable snacks while traveling.
    Servings Prep Time
    20-24 bars 45 minutes
    Cook Time
    40 minutes
    Servings Prep Time
    20-24 bars 45 minutes
    Cook Time
    40 minutes
    Ingredients
    Ingredients
    • 7 cups rolled oats (not quick oats)
    • 1/2 cup grape seed oil (or other safe for you oil)
    • 1 teaspoon sea salt
    • 1 1/2 cups cashews (or mix of other safe for you nuts, seeds and/or dried fruit) chopped
    • 3/4 cup cane syrup (or other safe for you molasses, honey, maple syrup, rice syrup or here’s how to make it https://www.thekitchn.com/pantry-staples-diy-cane-sugar-131934 )
    • 3/4 cup brown sugar
    • 1 Tablespoon vanilla extract (I make my own with vanilla beans and vodka made from potatoes, as most commercial extract contains corn)
    • 2 teaspoons ground cinnamon
    • 1 teaspoon ground ginger
    • 1 teaspoon ground cardamom
    Equipment
    • 1 half size baking sheet (13×18 inches)
    Servings: bars
    Instructions
    1. Place your oven rack in the center of your oven and preheat it to 375°F degrees. Line your half size baking sheet with aluminum foil.
    2. Place oats, oil and sat in a large bowl and mix thoroughly until the oats are coated with the oil. Spread the oats on your baking sheet in an even layer and place in the oven. Stir them every 10 minutes or so until they are pale gold, which took me about 35 minutes in my oven. Take the oats out of the oven, and reduce your oven temperature to 300°F degrees.
    3. Place the chopped cashews (or other nuts, seeds or dried fruit) and the toasted oats in a large bowl. Keep the foil on the half size baking sheet, you’re going to use it later.
    4. Place the cane syrup (or other substitute) and brown sugar in a small saucepan over medium head, stirring frequently until the sugar is dissolved, about 10 minutes.
    5. Remove the syrup and sugar mixture from the heat, and add the vanilla, cinnamon, ginger and cardamom, stirring well.
    6. Add the syrup and sugar mixture to the bowl containing the cashews and toasted oats, and stir with a silicone spatula until the oats are completely coated with the syrup and sugar mixture.
    7. Pour the oat mixture on the baking sheet lined with foil, spreading it out into a thin even layer. Use a large metal spatula sprayed with safe for you oil and press the mixture into the baking sheet. Make sure your later is thin, flat and very tightly pressed together. Bake until golden about 40 minutes.
    8. Remove the baking sheet from the oven, and place it on a wire rack for about 10 minutes. Cut the bars using a metal spatula or a bread dough cutter/scraper, making sure you cut all the way through. Do not wait to cut the bars, or they won’t cut. Don’t remove the cut bars from the baking sheet until they cool all the way.
    Share this Recipe
    Powered byWP Ultimate Recipe
  • Gluten-free No-Toaster Pastries with Frosting

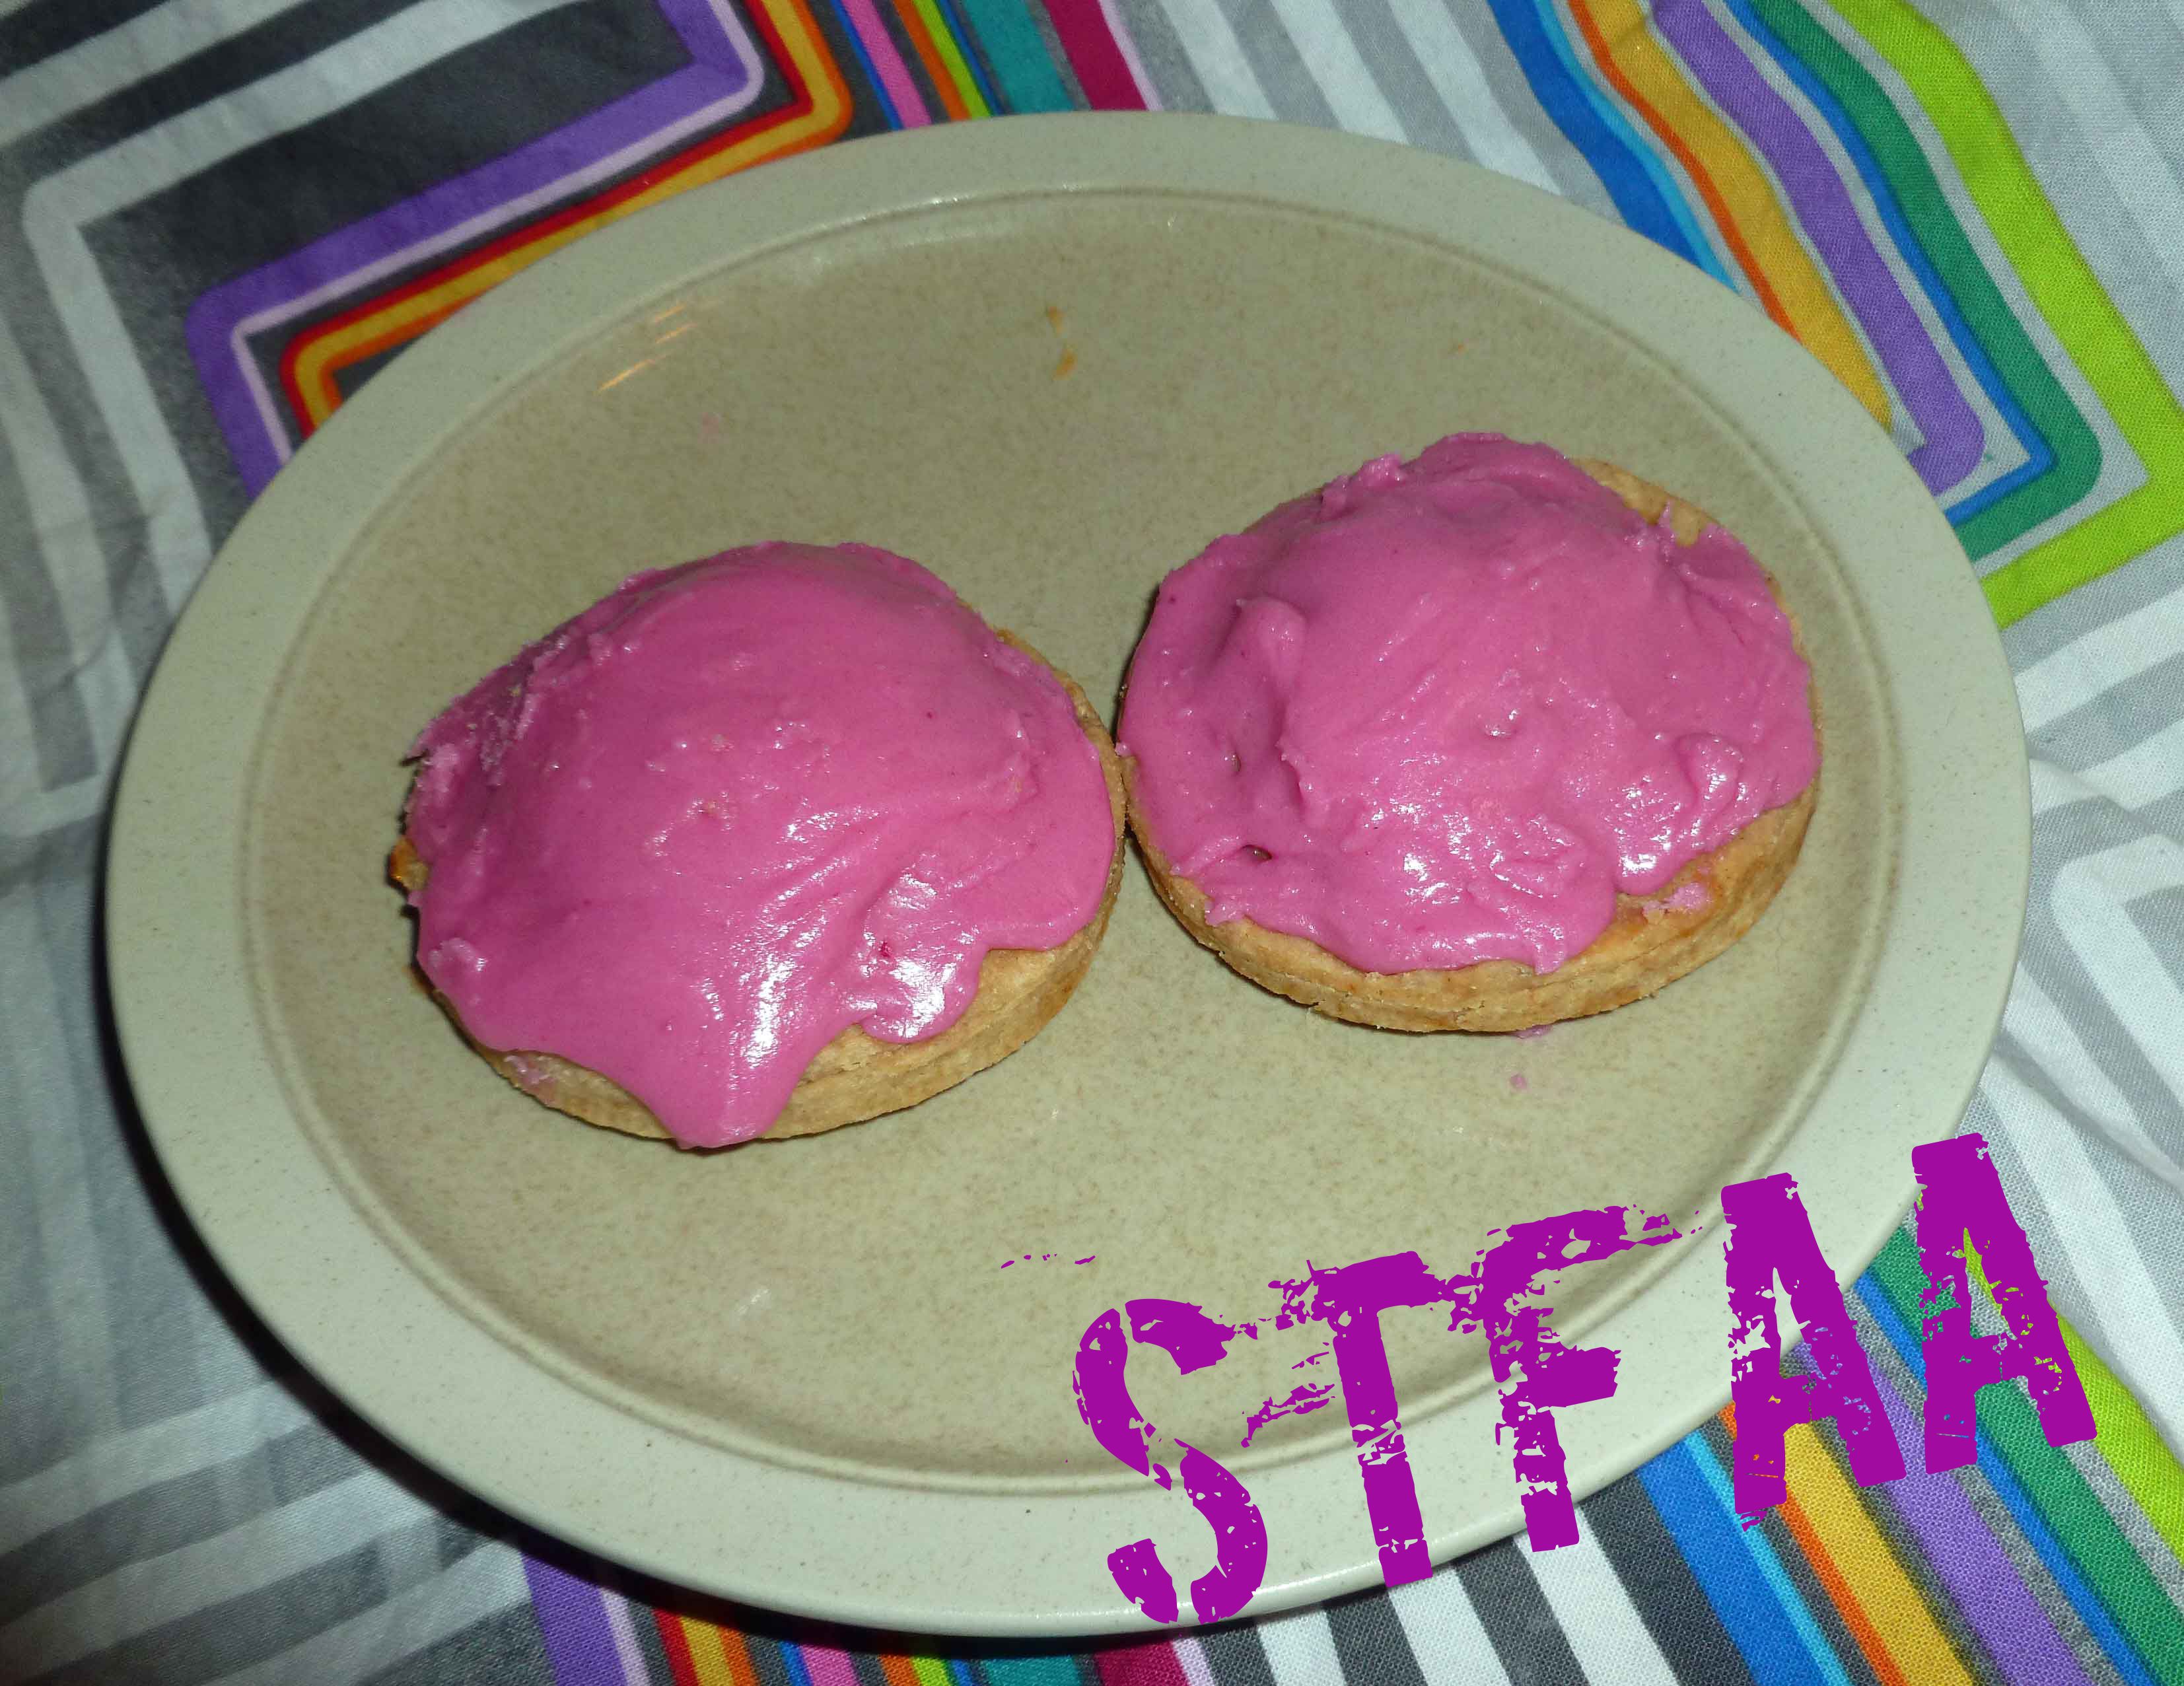
    Gluten-free No-Toaster Pastries with Frosting

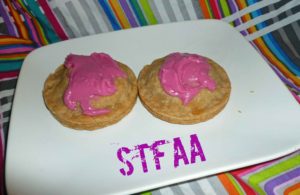
    Gluten-Free No-Toaster Pastries with Frosting
    Gluten-Free No-Toaster Pastries with Frosting (decorated by my father-in-law)

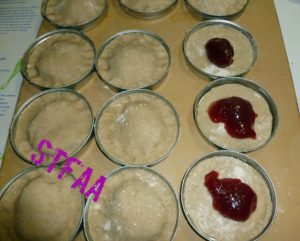
    It’s still comfort food month. Trying to find foods that are comforting that are safe is kind of hard. In the long, long ago before food allergies, I ate a lot of PopTarts. I ate them when I was too tired, too sick or too aggravated to cook. I ate them for breakfast frequently so that I didn’t have to get up early enough to plan or deal with breakfast. Half the time I didn’t even toast them, but just nuked them in the microwave on a paper towel. And I pretty much only ate the strawberry with frosting PopTarts, which are pretty much the devil for me now, given the wheat and the number of corn ingredients in them. Since I made a lot of jams and preserves during the apple apocalypse harvest here, I decided to use some to make a No-Toaster Pastry, as I has already worked out frosting and pie crust in earlier posts. I picked out some jams and fruit butters, made pie crust, rolled everything out and got them stuffed and ready, and then my oven died. So we ended up at Shawn’s parents to use their oven and I got help from my father-in-law with decorating.

    You need to make them in the oven, hence the name, as the generic version of PopTart is toaster pastry, and that doesn’t work because you can’t warm them up in the toaster because of the frosting. So yeah, a bit of a misnomer, so I fixed it. You can use whatever jam or fruit butter you prefer. We used apple butter, apple plum butter, and Nankin cherry jam that I had made.

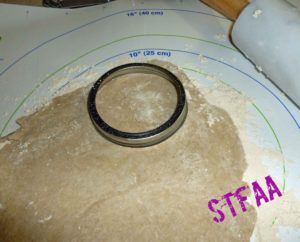
    Using a canning ring to cut the bottom crust
    Using a canning ring to cut the bottom crust
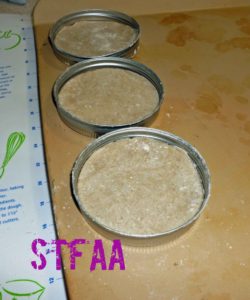
    The bottom crust in the canning ring as a tart pan
    The bottom crust in the canning ring as a tart pan
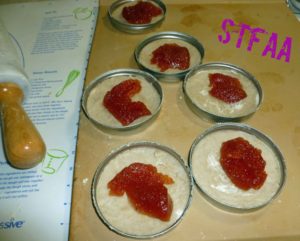
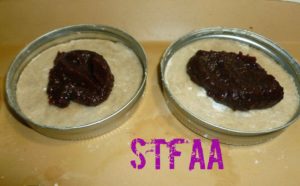
    Adding the filling (apple plum butter)
    Adding the filling (apple plum butter)
    Adding the filling (apple butter)
    Adding the filling (apple butter)
    Some completed pastries and adding the filling (Nankin cherry jam)
    Some completed pastries and adding the filling (Nankin cherry jam)
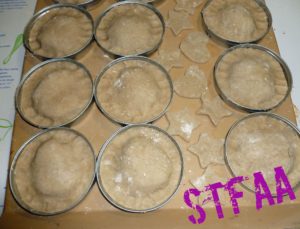
    Gluten-free No-Toaster Pastries ready to bake
    Gluten-free No-Toaster Pastries ready to bake
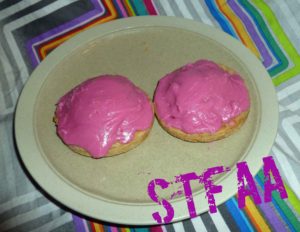
    Gluten-free No-Toaster Pastries with Frosting (frosted by Denise)
    Gluten-free No-Toaster Pastries with Frosting (frosted by Denise)
    Our new chief decorator, Brian, Denise's father-in-law
    Our new chief decorator, Brian, Denise’s father-in-law
    Gluten-Free No-Toaster Pastries with Frosting
    Gluten-Free No-Toaster Pastries with Frosting
    Gluten-Free No-Toaster Pastries with Frosting
    Gluten-free No-Toaster Pastries with Frosting
    Print Recipe
    A homemade version of the ubiquitous toaster pastry, except not using the toaster.
    Servings Prep Time
    12 pastries 25 minutes
    Cook Time Passive Time
    30-40 minutes 30 minutes
    Servings Prep Time
    12 pastries 25 minutes
    Cook Time Passive Time
    30-40 minutes 30 minutes
    Ingredients
    Crust
    • 2/3 cup sorghum floor
    • 2/3 cup Otto’s Naturals cassava flour
    • 2/3 cup arrowroot starch
    • 1/2 cup millet flour
    • 1 teaspoon salt
    • 1 cup cold lard or cold vegetable shortening
    • 1 Tablespoon apple cider vinegar
    • 1/2 cup aquafaba See http://aquafaba.com/
    • 1 Tablespoon aquafaba
    • 1 teaspoon psyllium husk powder
    Filling
    • 8 ounce jar jam, preserve, or fruit butter of your choice (jellies don’t work as they leak out)
    Pink Royal Frosting
    • 1 1/4 cups powdered sugar (if you are allergic to corn, you can make your own with 2 cups of sugar, a tablespoon of tapioca starch, and a blender)
    • 1/2 teaspoon vanilla extract (I make my own with vanilla beans and vodka made from potatoes, as most commercial extract contains corn)
    • 1 Tablespoon aquafaba
    • 1 teaspoon beet puree (To make puree, either use canned or fresh cooked beets and puree them in a blender with a bit of cooking liquid)
    Equipment
    • 12 wide mouth canning rings
    Servings: pastries
    Instructions
    Making Crust Dough
    1. In a large bowl, whisk together the sorghum flour, the cassava flour, arrowroot starch, millet flour, and salt, until they are thoroughly mixed.
    2. Using a pastry blender or a fork, cut in the lard or vegetable shortening until the mixture looks like crumbs.
    3. In a small bowl or glass measuring cup, mix the aquafaba (1/2 cup and 1 Tablespoon), apple cider vinegar, and psyllium powder together until it is well blended. Add the liquid mixture to your flour mixture and stir until it comes together to form a dough.
    4. Shape the dough into a smooth ball, and put the dough ball into the freezer to chill for 30 minutes before rolling it out.
    5. Preheat your oven to 400°F.
    6. Using some of your other flours (I used sorghum) dust the surface of your rolling space. Roll out the crust to about a quarter of an inch thick on a rolling mat. Make sure you use plenty of dusting flour so that it doesn’t stick to the rolling surface or parchment paper.
    Making the Pastries
    1. Once you have rolled out your crust, use a wide mouth canning ring to cut a round of crust out, and flip it over to so that it the pastry forms the bottom of the ring, and place it on your cookie sheet. Using a bit of water and your finger, wet the outside edge of the bottom of the crust to promote sealing.
    2. Place a tablespoon of the jam, preserve, or fruit butter of your choice in the center of the ring.
    3. Using another wide mouth canning ring cut another round of crust out, and place it over the top of the bottom crust in the first wide mouth canning ring, pressing down around the edges to seal. Repeat these steps until all pastries have been made.
    4. Bake at 400°F for 30-40 minutes. Wait until cool and then frost, after making the frosting below.
    Making Frosting
    1. Place powdered sugar, vanilla extract, aquafaba, and beet puree in a bowl and using a stand or electric mixer, beat ingredients until completely combined. If frosting is not firm enough, add additional powdered sugar by the teaspoon until it is.
    Share this Recipe
    Powered byWP Ultimate Recipe
  • Fried Apple Rings with Powdered Sugar

    Fried Apple Rings with Powdered Sugar

    Fried Apple Rings with Powdered Sugar
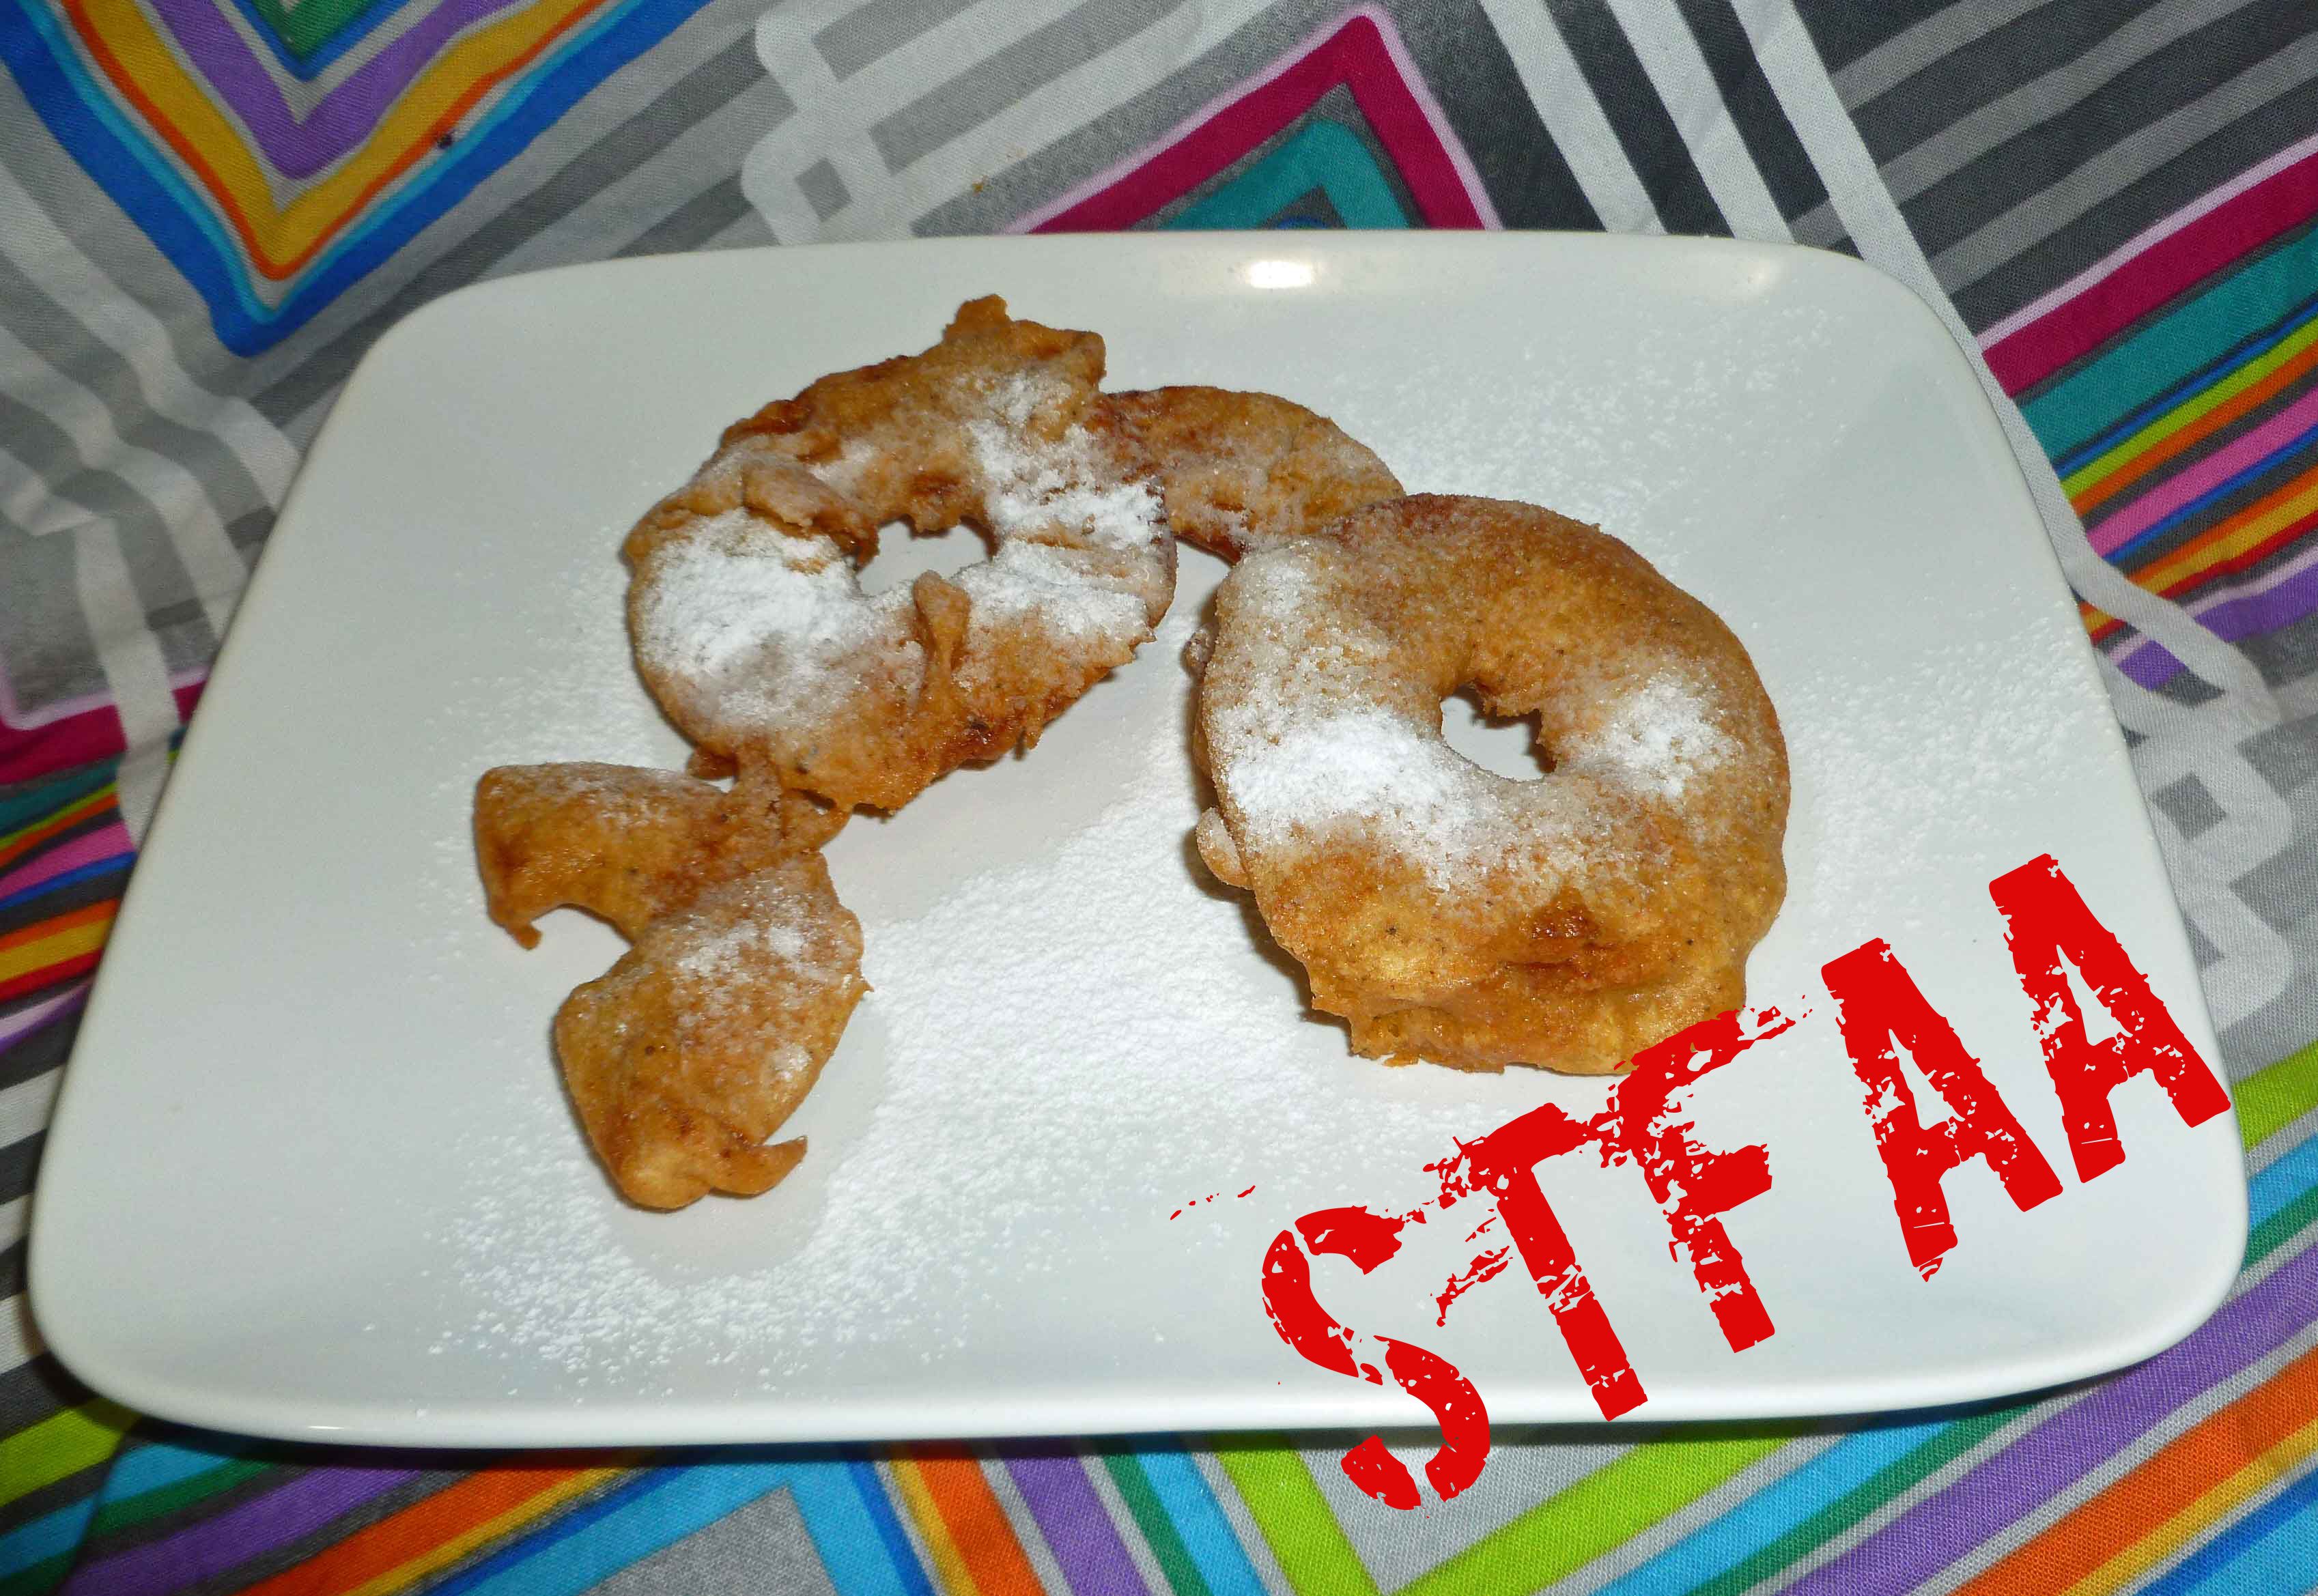
    Fried Apple Rings with Powdered Sugar

    So, it’s warmer here in New Hampshire than it normally is. There’s been no hard freeze. So I still have apples on trees that are usable. Therefore, the apple apocalypse continues. Since I am drowning in apples, guess what? I decided to incorporate apples into comfort food month. Fried food is also in the pantheon of my comfort food personal universe. So what else could I do, but try to fry some apples?

    I added some pie spices to the batter to make the batter less like an onion ring, and dusted them with powdered sugar, because it’s reminiscent of another comfort food, fried dough (still haven’t managed a safe recipe that’s edible). I use a cast iron wok to fry them because it uses less oil.  If you make a big batch and have leftovers, they warmed up well in the oven at 350°F for about 20 minutes after being in the fridge overnight, so I imagine they would freeze well also.

    Peeled, cored, and sliced apples
    Peeled, cored, and sliced apples
    Batter for frying apples
    Batter for frying apples
    Apples being deep fried in oil
    Apples being deep fried in oil
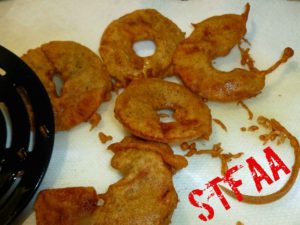
    Fried Apple Rings
    Fried Apple Rings
    Fried Apple Rings with Powdered Sugar
    Fried Apple Rings with Powdered Sugar
    Print Recipe
    Great for a special breakfast or dessert!
    Servings Prep Time
    2 people 10 minutes
    Cook Time
    3-4 minutes
    Servings Prep Time
    2 people 10 minutes
    Cook Time
    3-4 minutes
    Fried Apple Rings with Powdered Sugar
    Fried Apple Rings with Powdered Sugar
    Print Recipe
    Great for a special breakfast or dessert!
    Servings Prep Time
    2 people 10 minutes
    Cook Time
    3-4 minutes
    Servings Prep Time
    2 people 10 minutes
    Cook Time
    3-4 minutes
    Ingredients
    Apples
    • 3-4 apples use apples best for baking pies for the best flavor
    • 2 Tablespoons powdered sugar (if you are allergic to corn, you can make your own with 2 cups of sugar, a tablespoon of tapioca starch, and a blender)
    Batter
    • 1/4 cup cassava flour
    • 1 cup garbanzo or besan flour
    • 1/2 teaspoon salt
    • 1/2 teaspoon sugar
    • 1/2 teaspoon ground ginger
    • 1/2 teaspoon ground cinnamon
    • 1/4 teaspoon ground nutmeg
    • 1/4 teaspoon ground cloves
    • 3/4 cup water
    Frying Materials
    • safe for you oil for frying
    • stainless steel pot, cast iron dutch oven, or cast iron wok
    • thermometer
    • tongs or a spider
    Servings: people
    Instructions
    1. Peel, core, and slice apples to about quarter of an inch thick.
    2. Place all dry batter ingredients in a bowl and mix together until well combined. Add water and stir until well combined.
    3. Add safe oil to stainless pot or cast iron dutch oven. Heat oil to 400°F over medium heat.
    4. Dip apple rings in batter and deep fry in oil turning until golden brown. Place on rack over paper towels or a plate with paper towels to cool a bit before serving.
    5. Once the fried apples have cooled a bit, dust with powdered sugar and serve.
    Share this Recipe
    Powered byWP Ultimate Recipe
  • Gluten-free & Vegan Abelskiver (Stuffed Pancakes)

    Gluten-free & Vegan Abelskiver (Stuffed Pancakes)

    Gluten-free & Vegan Abelskiver (Stuffed Pancakes)
    Gluten-free & Vegan Abelskiver (Stuffed Pancakes)

    So this month is “Try a cooking technique we’ve never used before” month on the blog. I got a cast iron abelskiver pan originally to try to make an Indian dish called paniyaram, but I’m in the middle of the apple apocalypse. We’re having a bumper crop this year, and I haven’t had time to sort out a recipe in between trying to can as much as I can (pun not intended). So, since I have a ton of apple butter, I give you abelskiver stuffed with apple butter. But you can use any jam or other filling you want. You can also use this as a funky dessert, just throw some powdered sugar over them, or drizzle them with a chocolate or caramel sauce. Go wild.

    Gluten-free & Vegan Abelskiver (Stuffed Pancakes)
    Gluten-free & Vegan Abelskiver (Stuffed Pancakes)
    Print Recipe
    A neat treat on a fall day with your choice of jam, for either breakfast or dessert. If using for dessert, you could sprinkle them with powdered sugar or dress them with a dessert sauce.
    Servings Prep Time
    28-30 abelskiver 15 minutes
    Cook Time
    3-5 minutes a side
    Servings Prep Time
    28-30 abelskiver 15 minutes
    Cook Time
    3-5 minutes a side
    Gluten-free & Vegan Abelskiver (Stuffed Pancakes)
    Gluten-free & Vegan Abelskiver (Stuffed Pancakes)
    Print Recipe
    A neat treat on a fall day with your choice of jam, for either breakfast or dessert. If using for dessert, you could sprinkle them with powdered sugar or dress them with a dessert sauce.
    Servings Prep Time
    28-30 abelskiver 15 minutes
    Cook Time
    3-5 minutes a side
    Servings Prep Time
    28-30 abelskiver 15 minutes
    Cook Time
    3-5 minutes a side
    Ingredients
    Dry Ingredients
    • 1 1/2 cups Gluten-free, Rice-free, Potato-free flour mix (see recipe card in the post or you can try your normal gluten free flour mix)
    • 1 teaspoon sea salt
    • 3 Tablespoons brown sugar
    • 2 teaspoons baking powder here’s a corn free version – https://wholenewmom.com/health-concerns/make-your-own-baking-powder/
    Wet Ingredients
    • 1/3 cup water
    • 1 1/4 cup non-dairy milk I use homemade cashew or rice milk
    • 1 teaspoon vanilla extract(I make my own with vanilla beans and vodka made from potatoes as most commercial extract contains corn)
    • 3 Tablespoons safe for you oil I used grape seed oil or olive oil
    • 1 teaspoon psyllium husk powder
    Other Ingredients
    • oil to grease pan
    • 1 jar applebutter or jam of your choice
    Equiptment
    • abelskiver pan
    Servings: abelskiver
    Instructions
    1. Place water, vanilla extract, non-dairy milk, oil, and psyllium husk powder (Wet Ingredients) in a smaller bowl and whisk together until smooth. Let mixture sit for about 30 minutes so that the psyllium can gel.
    2. Measure out flour, salt, baking powder and brown sugar (Dry Ingredients) and place in a large bowl. Whisk ingredients together until they are well incorporated into each other.
    3. When psyllium in wet ingredients has gelled, pour wet ingredient mixture into the dry ingredient mixture and whisk them together until most of the lumps are gone.
    4. Heat your skillet over medium low heat, depending on your burner strength. When your skillet is hot, add a bit oil to each of the abelskiver wells, about 1/2 a teaspoon each. (Yes, this looks and sounds like a lot but is correct).
    5. Scoop some of the pancake batter into one of the abeskiver wells. You want about 1/2 of a tablespoon, and then add about half of a teaspoon of apple butter, or your choice of jam. Then add about another 1/2 of a tablespoon of pancake batter. I used a Pampered Chef small scoop that holds about a tablespoon and only filled it halfway.
    6. Cook until the edges of the ableskiver look dry and there are bubbles in the batter. You can use a small silverware spoon or a bamboo skewer to flip the abeskiver. Cook until the other side is a nice deep golden brown.
    Share this Recipe
    Powered byWP Ultimate Recipe

    Notice: Trying to access array offset on value of type bool in /home/maryzahc/public_html/adultfoodallergies.com/wp-content/plugins/wp-ultimate-recipe/helpers/models/recipe.php on line 254
    Gluten-free, Rice-free, Potato-free Flour Mix
    Print Recipe
    Servings Prep Time
    9 cups 15 minutes
    Servings Prep Time
    9 cups 15 minutes
    Gluten-free, Rice-free, Potato-free Flour Mix
    Print Recipe
    Servings Prep Time
    9 cups 15 minutes
    Servings Prep Time
    9 cups 15 minutes
    Ingredients
    • 2 cups sorghum flour
    • 2 cups oat flour
    • 2 cups millet flour
    • 2 cups tapioca starch
    • 1 cup arrowroot starch
    Servings: cups
    Instructions
    1. Measure all ingredients and place in a large mixing bowl. Using a whisk, mix the ingredients until well combined. Place in an air tight storage container and use in baking recipes.
    Share this Recipe
     
    Powered byWP Ultimate Recipe
    Dry Ingredients
    Dry Ingredients
    Wet Ingredients
    Wet Ingredients
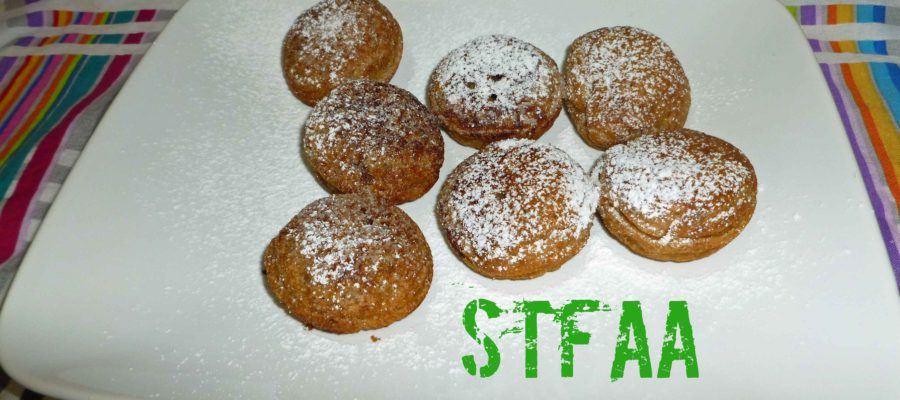
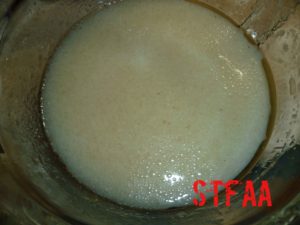
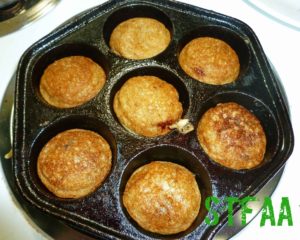
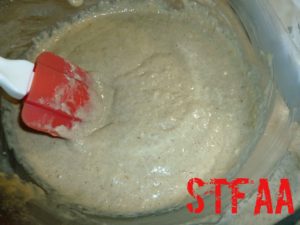
    Abelskiver Batter
    Abelskiver Batter
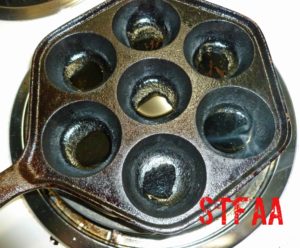
    Abelskiver pan with oil in each well
    Abelskiver pan with oil in each well
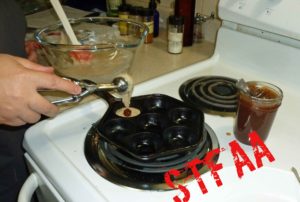
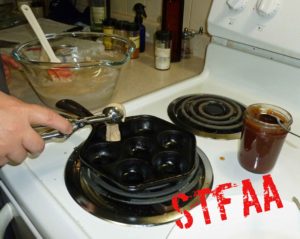
    Adding first part of batter
    Adding first part of batter
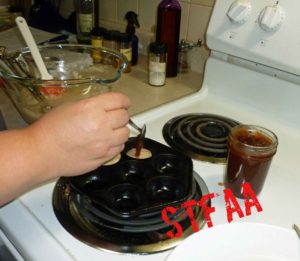
    Adding apple butter
    Adding apple butter
    Adding second part of batter
    Adding second part of batter
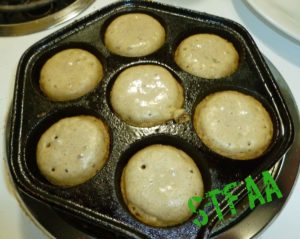
    Abelskiver ready to flip
    Abelskiver ready to flip
    Abelskiver after flipping
    Abelskiver after flipping
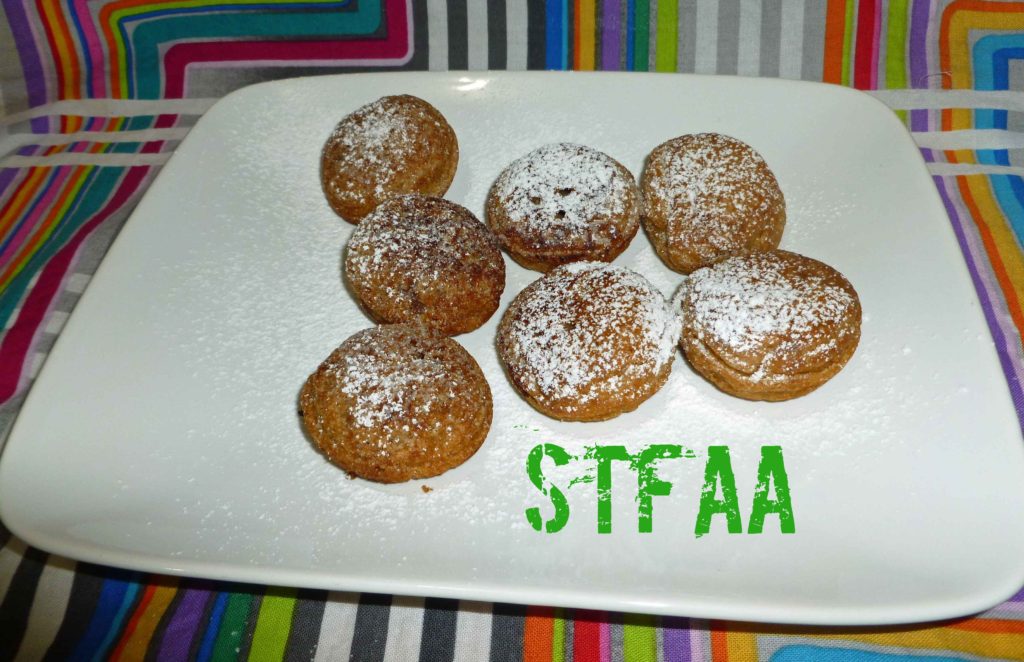
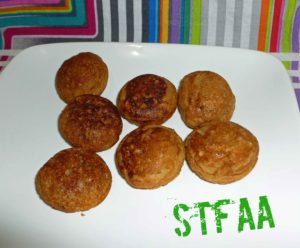
    Abelskiver ready to eat!
    Abelskiver ready to eat!
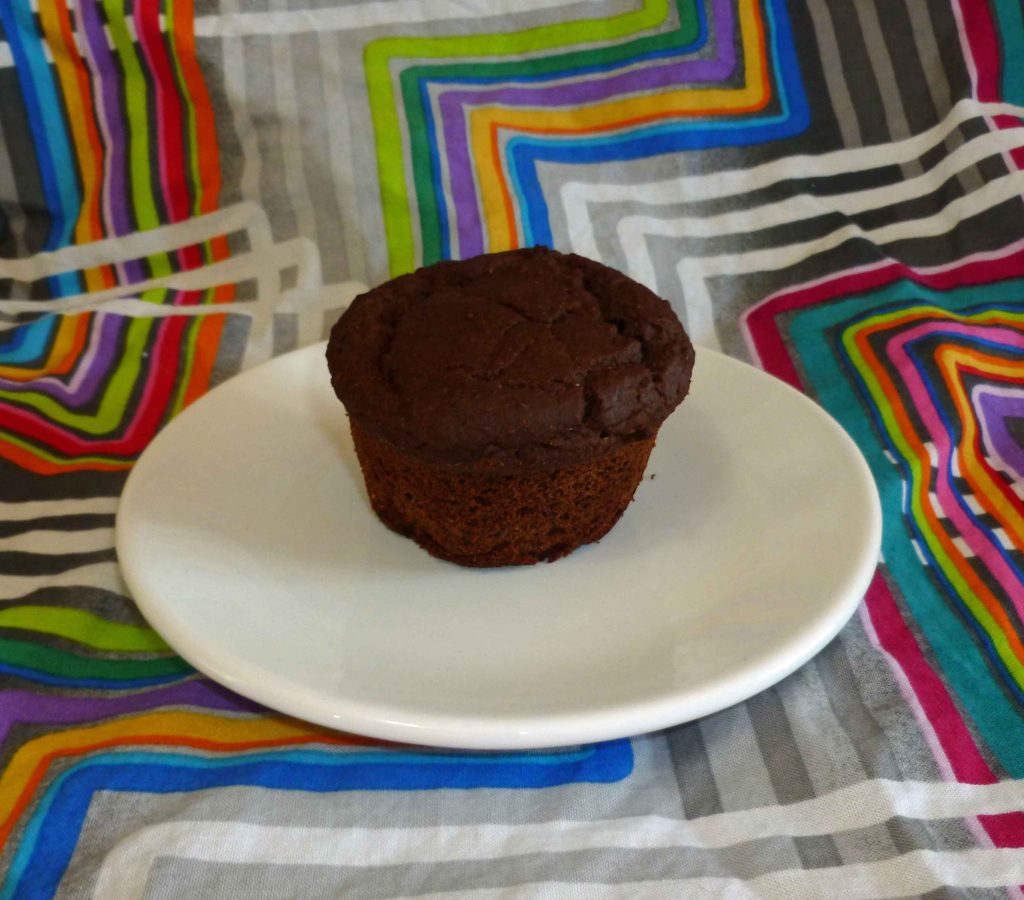
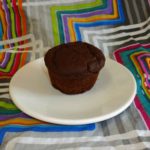
  • Chocolate Zucchini Breakfast Muffins

    Chocolate Zucchini Breakfast Muffins

    Chocolate Zucchini Breakfast Muffins
    Chocolate Zucchini Breakfast Muffins

    So it’s farmer’s market/garden produce theme month here on the blog, and I have some zucchini to use. Not as many as I would like as my squash plants are not cooperating this year, but many of you may be swimming in them. This recipe uses puréed zucchini. I grate it first, measure out two cups and then purée it in my food processor. For those of you with mini humans, this will be a great way to hide veggies if you have to do so, as you can’t really tell the zucchini is in there. This is definitely a muffin, not a cupcake, so there’s a fair bit less sugar, as I wanted to eat them for breakfast without a huge sugar high.
    Enjoy!

    Chocolate Zucchini Breakfast Muffins
    Chocolate Zucchini Breakfast Muffins
    Print Recipe
    When you have too much zucchini, and you’d like a little chocolate with breakfast without so much sugar.
    Servings Prep Time
    12 muffins 20 minutes
    Cook Time
    25-30 minutes
    Servings Prep Time
    12 muffins 20 minutes
    Cook Time
    25-30 minutes
    Chocolate Zucchini Breakfast Muffins
    Chocolate Zucchini Breakfast Muffins
    Print Recipe
    When you have too much zucchini, and you’d like a little chocolate with breakfast without so much sugar.
    Servings Prep Time
    12 muffins 20 minutes
    Cook Time
    25-30 minutes
    Servings Prep Time
    12 muffins 20 minutes
    Cook Time
    25-30 minutes
    Ingredients
    Dry Ingredients
    • 1 1/2 cups Gluten-free, Rice-free, Potato-free flour mix (see our post here for the recipe – http://adultfoodallergies.com/whoopie-pies-gluten-free-with-vegan-option/
    • 1/2 cup sorghum flour
    • 3/4 cup cacao powder (I do well with Wilderness Family Naturals Cacao Powder)
    • 1/2 cup sugar
    • 1/2 teaspoon sea salt
    • 1 Tablespoon baking powder (here’s a recipe for a corn-free one – http://wholenewmom.com/health-concerns/make-your-own-baking-powder/)
    Wet Ingredients
    • 1 cup non-dairy milk (I used homemade cashew milk, but homemade rice milk will work too)
    • 1/4 cup safe for you oil (I used grapeseed oil)
    • 3 Tablespoons aquafaba (see http://aquafaba.com/)
    • 1/2 teaspoon psyllium husk
    • 2 cups grated zucchini which is then pureed
    Servings: muffins
    Instructions
    1. Preheat oven to 425°F. Grease a 12 cup muffin pan with some of your safe oil.
    2. Add all the dry ingredients to a large bowl and whisk together until well combined. In another bowl, add all the wet ingredients and whisk until well combined.
    3. Pour the wet ingredients into the dry ingredients, and using a spoon or spatula, blend the two about 20 seconds or so, do not over mix. Fill the muffin cups about two thirds to three quarters full.
    4. Bake 25-30 minutes depending on your pan (metal needs less time, stoneware needs more) or until a toothpick inserted into the middle of one of the center muffins comes out clean. Remove them from the oven, and as soon as they are cool enough to handle, turn them out of the pan onto a rack to cool.
    Share this Recipe
    Powered byWP Ultimate Recipe
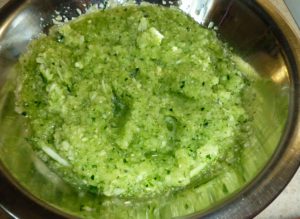
    Zucchini pureed
    Zucchini pureed
    Wet ingredients
    Wet ingredients
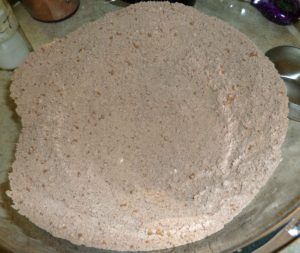
    Dry Ingredients
    Dry Ingredients
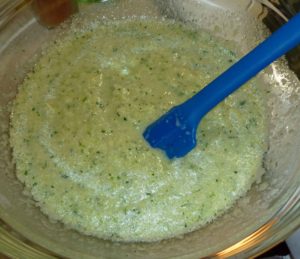
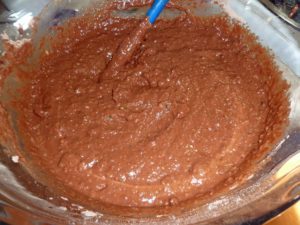
    Muffin batter
    Muffin batter
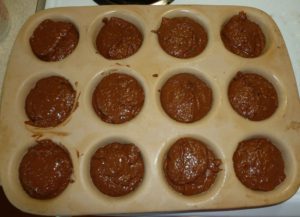
    Muffins before baking
    Muffins before baking
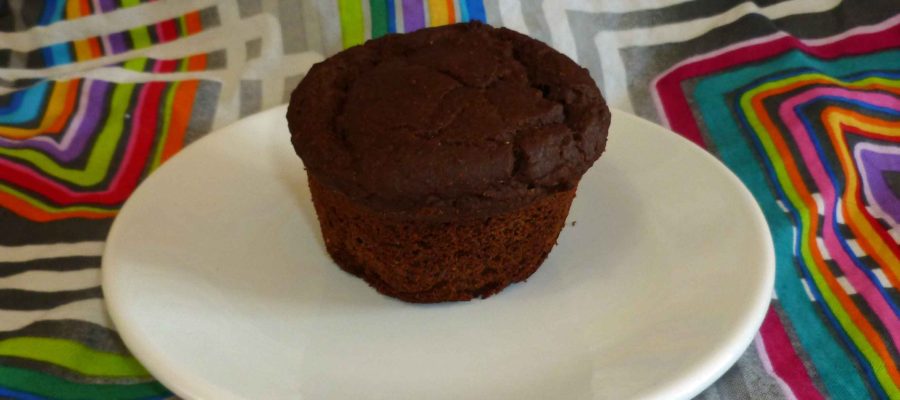
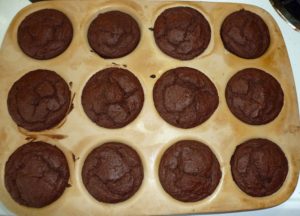
    Muffins after baking
    Muffins after baking
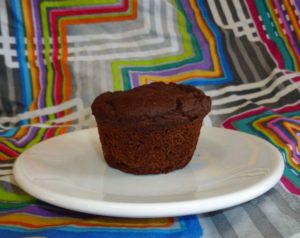
    Chocolate Zucchini Breakfast Muffins
    Chocolate Zucchini Breakfast Muffins
  • Revised Gluten-Free and Dairy-Free Pancakes

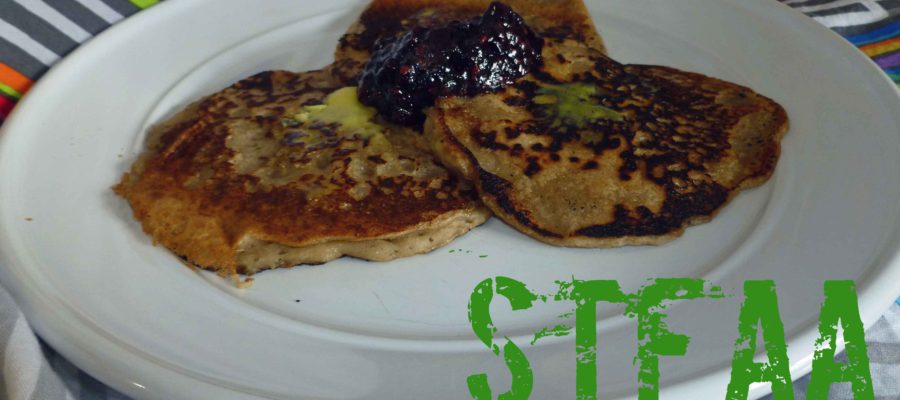
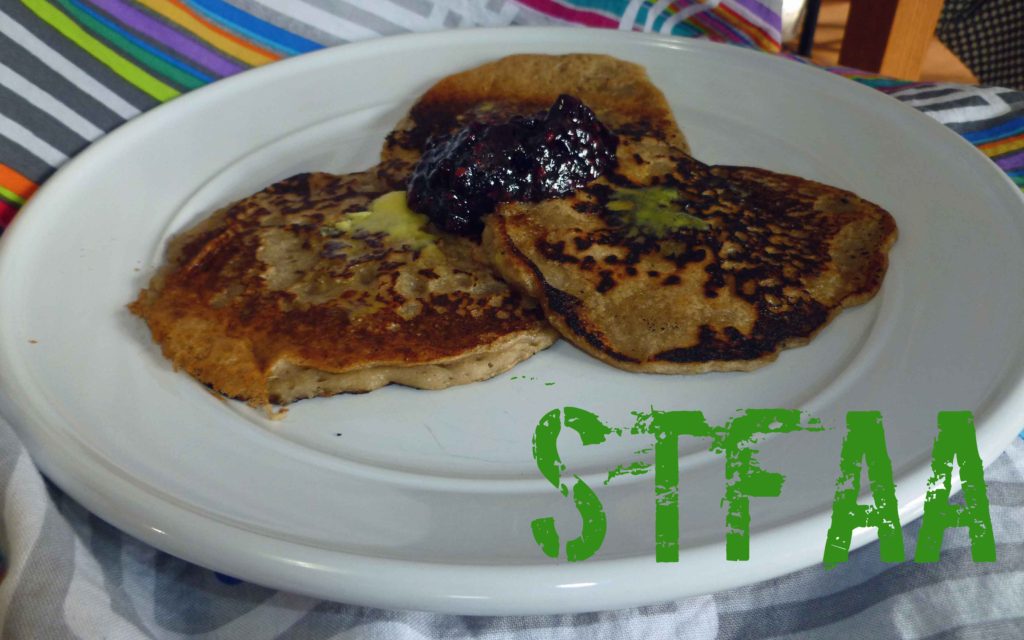
    Revised Gluten-Free and Dairy-Free Pancakes

    Revised Gluten-Free and Dairy-Free Panackes
    Revised Gluten-Free and Dairy-Free Panackes

    When we first started the blog, I was allergic to less stuff than I am now. When I first devised this recipe, I wasn’t allergic to corn yet, and I didn’t suspect chia seed as being potentially problematic (it’s on the suspect list, but I haven’t done a food challenge to verify yet). As a result, the original version of my Gluten-Free and Dairy-Free Pancakes recipe contains a bunch of stuff that I can’t eat now. Recently I was craving pancakes and realized that I hadn’t revised the recipe on the blog to be safe for my current allergies when I tried to harass my poor, long suffering husband into making them for me.  So then, hey, pancake recipe revision! You can also dress these up anyway you want, add blueberries, apples and cinnamon, and use whatever jam, jelly or syrup might be safe for you as a topping. You can also make up a batch, let them cool, put plastic wrap or parchment paper in between them and put them in a container in the freezer and then warm them up in the oven or microwave when you want an easy breakfast.
    I used the Gluten-free, Rice-free, Potato-free Flour Mix below, which I actually use as an all purpose flour, and I’m quite happy with it. I make a batch and store it in mason jars so that I have it on hand.


    Notice: Trying to access array offset on value of type bool in /home/maryzahc/public_html/adultfoodallergies.com/wp-content/plugins/wp-ultimate-recipe/helpers/models/recipe.php on line 254
    Gluten-free, Rice-free, Potato-free Flour Mix
    Print Recipe
    Servings Prep Time
    9 cups 15 minutes
    Servings Prep Time
    9 cups 15 minutes
    Gluten-free, Rice-free, Potato-free Flour Mix
    Print Recipe
    Servings Prep Time
    9 cups 15 minutes
    Servings Prep Time
    9 cups 15 minutes
    Ingredients
    • 2 cups sorghum flour
    • 2 cups oat flour
    • 2 cups millet flour
    • 2 cups tapioca starch
    • 1 cup arrowroot starch
    Servings: cups
    Instructions
    1. Measure all ingredients and place in a large mixing bowl. Using a whisk, mix the ingredients until well combined. Place in an air tight storage container and use in baking recipes.
    Share this Recipe
     
    Powered byWP Ultimate Recipe

    Revised Gluten-Free and Dairy-Free Pancakes

    Revised Gluten-Free and Dairy-Free Panackes
    Revised Gluten-Free and Dairy-Free Pancakes
    Print Recipe
    Makes about 10 to 12 – 4 inch pancakes.
    Servings Prep Time
    4 people 10 minutes
    Cook Time Passive Time
    20 minutes 30 minutes
    Servings Prep Time
    4 people 10 minutes
    Cook Time Passive Time
    20 minutes 30 minutes
    Ingredients
    Dry Ingredients
    • 1 1/2 cups Gluten-free, Rice-free, Potato-free flour mix (see recipe card in the post or you can try your normal gluten free flour mix)
    • 1 teaspoon sea salt
    • 3 Tablespoons brown sugar
    • 1 3/4 teaspoons baking powder (here’s a corn free version – https://wholenewmom.com/health-concerns/make-your-own-baking-powder/)
    Wet Ingredients
    • 1/3 cup water
    • 1 teaspoon vanilla extract (I make my own with vanilla beans and vodka made from potatoes, as most commercial extract contains corn)
    • 1 1/4 cup non-dairy milk (I use homemade cashew or rice milk)
    • 3 Tablespoons safe oil (I used grape seed oil or olive oil)
    • 1 teaspoon psyllium husk powder
    Other equipment
    • oil for greasing the skillet
    • skillet
    Servings: people
    Instructions
    1. Place water, vanilla extract, non-dairy milk, oil, and psyllium husk powder (Wet Ingredients) in a smaller bowl and whisk together until smooth. Let mixture sit for about 30 minutes so that the psyllium can gel.
    2. Measure out flour, salt, baking powder and brown sugar (Dry Ingredients) and place in a large bowl. Whisk ingredients together until they are well incorporated into each other.
    3. When psyllium in wet ingredients has gelled, pour wet ingredient mixture into the dry ingredient mixture and whisk them together until most of the lumps are gone.
    4. Heat your skillet over medium low to medium heat, depending on your burner strength.  When your skillet is hot, add a bit oil to the skillet and grease it. Then scoop some of the pancake batter into the skillet.  I used a Pampered Chef large scoop that holds about 3 Tablespoons of batter to portion out the pancakes into the skillet.
    5. Cook until the edges of the pancake look dry and there are bubbles in the batter.  You can use a spatula to gently lift up an edge to see how brown the pancakes are underneath. When they are a nice deep golden brown, flip them and cook until the other side is a nice deep golden brown.
    Share this Recipe
    Powered byWP Ultimate Recipe
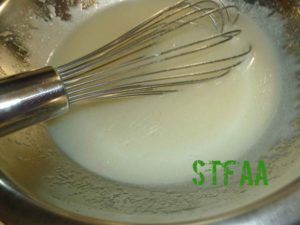
    Wet Ingredients after psyllium husk gels
    Wet Ingredients after psyllium husk gels
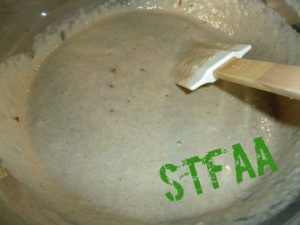
    Pancake batter
    Pancake batter
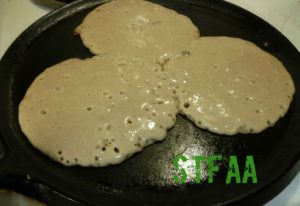
    Pancakes on skillet
    Pancakes on skillet
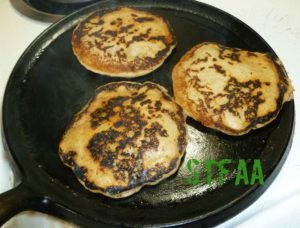
    Pancakes after flipping
    Pancakes after flipping


  • Cashew Butter and Chocolate Cashew Butter

    Cashew Butter and Chocolate Cashew Butter

    Cashew Butter and Chocolate Cashew Butter
    Cashew Butter and Chocolate Cashew Butter

    So this is the last recipe post of breakfast month.  One of the things I miss having for breakfast is a toasted bagel or a toasted slice of bread with some thinly spread butter and some thickly spread peanut butter on top of that. The peanut butter gets all warm and gooey and it’s a quick filling breakfast. (Also, anyone who tells me I don’t need butter if I’m using nut butter is guilty of heresy, just saying.) Well, I haven’t managed a gluten-free, egg-free, dairy-free, and corn-free loaf of bread or bagels yet, but I’m one step closer to getting the ingredients I need. I already had a recipe for a margarine, Homemade Margarine, New and Improved, which works well on baked goods. I’m not allergic to peanuts, but I haven’t been able to buy a commercial peanut butter that’s safe for my cocktail of allergies or that I trust not to have issues with cross contamination in some time. I haven’t sourced safe raw peanuts yet, but I did have cashews I do well with, so I decided to go ahead and make cashew butter. And then I decided to mix some of it with cacao powder to try for something Nutella-esque (I’m allergic to hazelnuts and dairy, among other issues). I used this great tutorial from Tasty Yummies, but used my Vitamix to make the cashew butter.

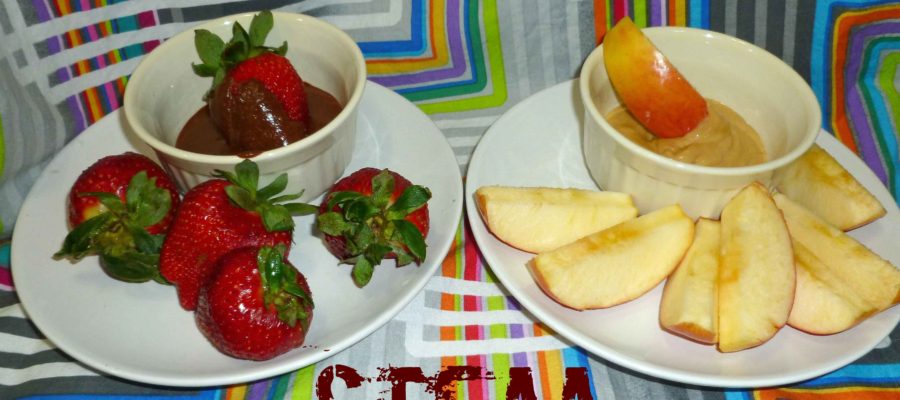
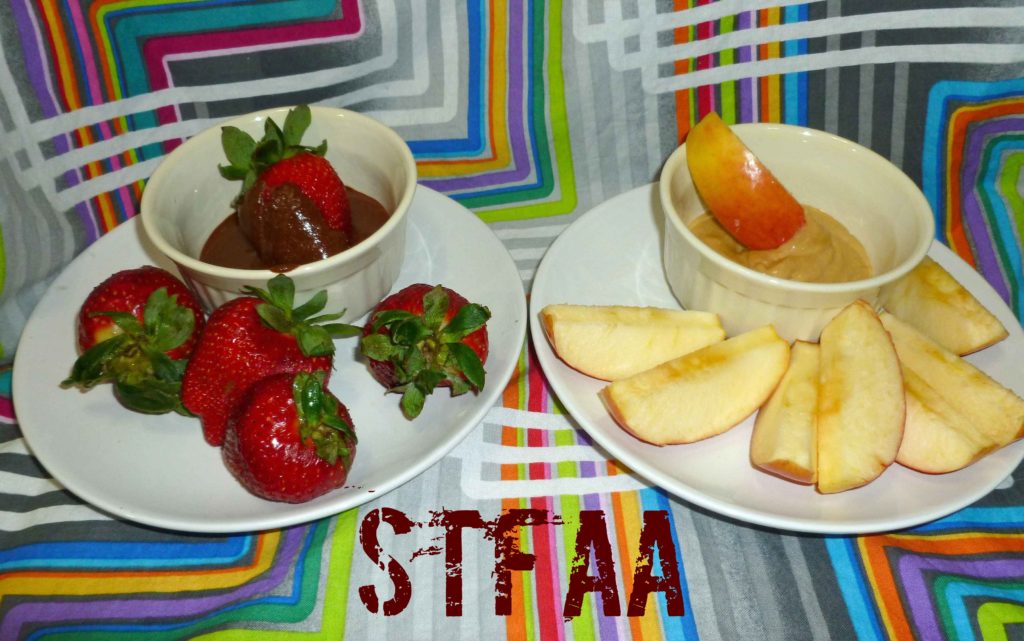
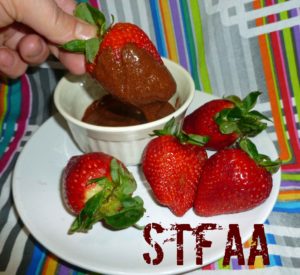
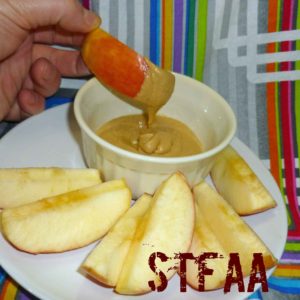
    It’s good. The chocolate cashew butter is not as sweet as Nutella, but it’s nice. And once I manage to make myself bread that I wouldn’t be ashamed to put on the blog, I’ll be even happier. But for now, I ate the plain cashew butter with an apple, and the chocolate cashew butter with strawberries, which isn’t all that bad either.

    Cashew Butter and Chocolate Cashew Butter
    Cashew Butter and Chocolate Cashew Butter

    Notice: Trying to access array offset on value of type bool in /home/maryzahc/public_html/adultfoodallergies.com/wp-content/plugins/wp-ultimate-recipe/helpers/models/recipe.php on line 254
    Cashew Butter and Chocolate Cashew Butter
    Print Recipe
    Makes a cup of each.
    Servings Prep Time
    2 cups 14 hours
    Cook Time
    10-15 minutes
    Servings Prep Time
    2 cups 14 hours
    Cook Time
    10-15 minutes
    Cashew Butter and Chocolate Cashew Butter
    Print Recipe
    Makes a cup of each.
    Servings Prep Time
    2 cups 14 hours
    Cook Time
    10-15 minutes
    Servings Prep Time
    2 cups 14 hours
    Cook Time
    10-15 minutes
    Ingredients
    Cashew Butter
    • 3 cups cashews
    • water (for soaking, if you are soaking)
    • 3-5 Tablespoons grapeseed oil (or other safe for you oil)
    • dash salt
    Additions for Chocolate Cashew Butter
    • 2-3 Tablespoons cacao or cocoa powder
    • 1 teaspoon sugar
    Equipment Needed
    • 1 high performance blender
    Servings: cups
    Instructions
    1. If you want to soak the cashews to clean them well, cover them with water in a bowl and soak for two hours. Drain cashews and dehydrate either in a dehydrator or a oven for 12 to 24 hours at 150°F or less, until dry or crisp. If you are not soaking your cashews, skip to the next step.
    2. Once your cashews are dry, roast them in a 325°F oven for about 10-15 minutes, watching them carefully so that they do not burn. You want them to be golden brown.
    3. Add your cashews to your blender, along with 3 Tablespoons of your safe oil. Start on the lowest speed, and slowly increase the speed to the highest speed, using the tamper if your blender comes with one. Add more oil if necessary. When the blender changes from a chugging sound to a low laboring machine, stop the blender.
    4. Remove the cashew butter and place equal amounts into two bowls. Mix a dash of salt into each bowl mixing well. One bowl is your now completed plain Cashew Butter. To the second bowl, add 2-3 Tablespoons of cacao powder to taste and the sugar, whisking it in. You also may need to add more oil at this point. This bowl is your Chocolate Cashew butter.
    5. Store in an air tight container or freeze it for longer storage.
    Share this Recipe
     
    Powered byWP Ultimate Recipe
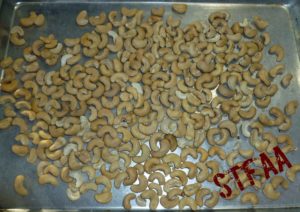
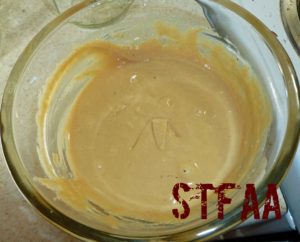
    Cashews after dehydrating and roasting
    Cashews after dehydrating and roasting
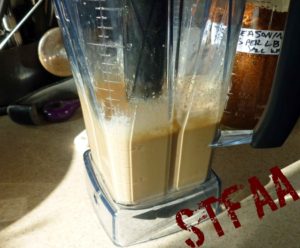
    Cashew butter after blending
    Cashew butter after blending
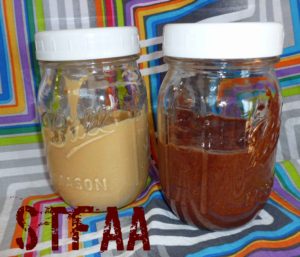
    Cashew Butter completed
    Cashew Butter completed
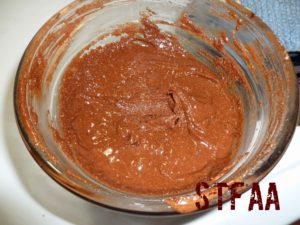
    Chocolate Cashew Butter completed
    Chocolate Cashew Butter completed
    Chocolate Cashew Butter
    Chocolate Cashew Butter
    Cashew Butter
    Cashew Butter

    Enjoy!