Mary Kate and I try occasionally to think up recipes with holiday themes. Valentine’s Day is a somewhat of struggle for me, as I’m generally a bit cynical of the whole thing and not a very sentimental person. But I’ve been craving cookies for a while, and I’d gotten myself some cookie cutters (these and these) with an Amazon gift card I’d gotten for Christmas (thanks Mom!) and I was itching to give them a test drive. Now granted, the Gingerdead Men cookie cutters aren’t much in the theme of Valentine’s Day, but they were too funny for me not to try out. I took them to work and they were a huge hit with people who have no allergies and can eat gluten, so I think they’re pretty awesome.
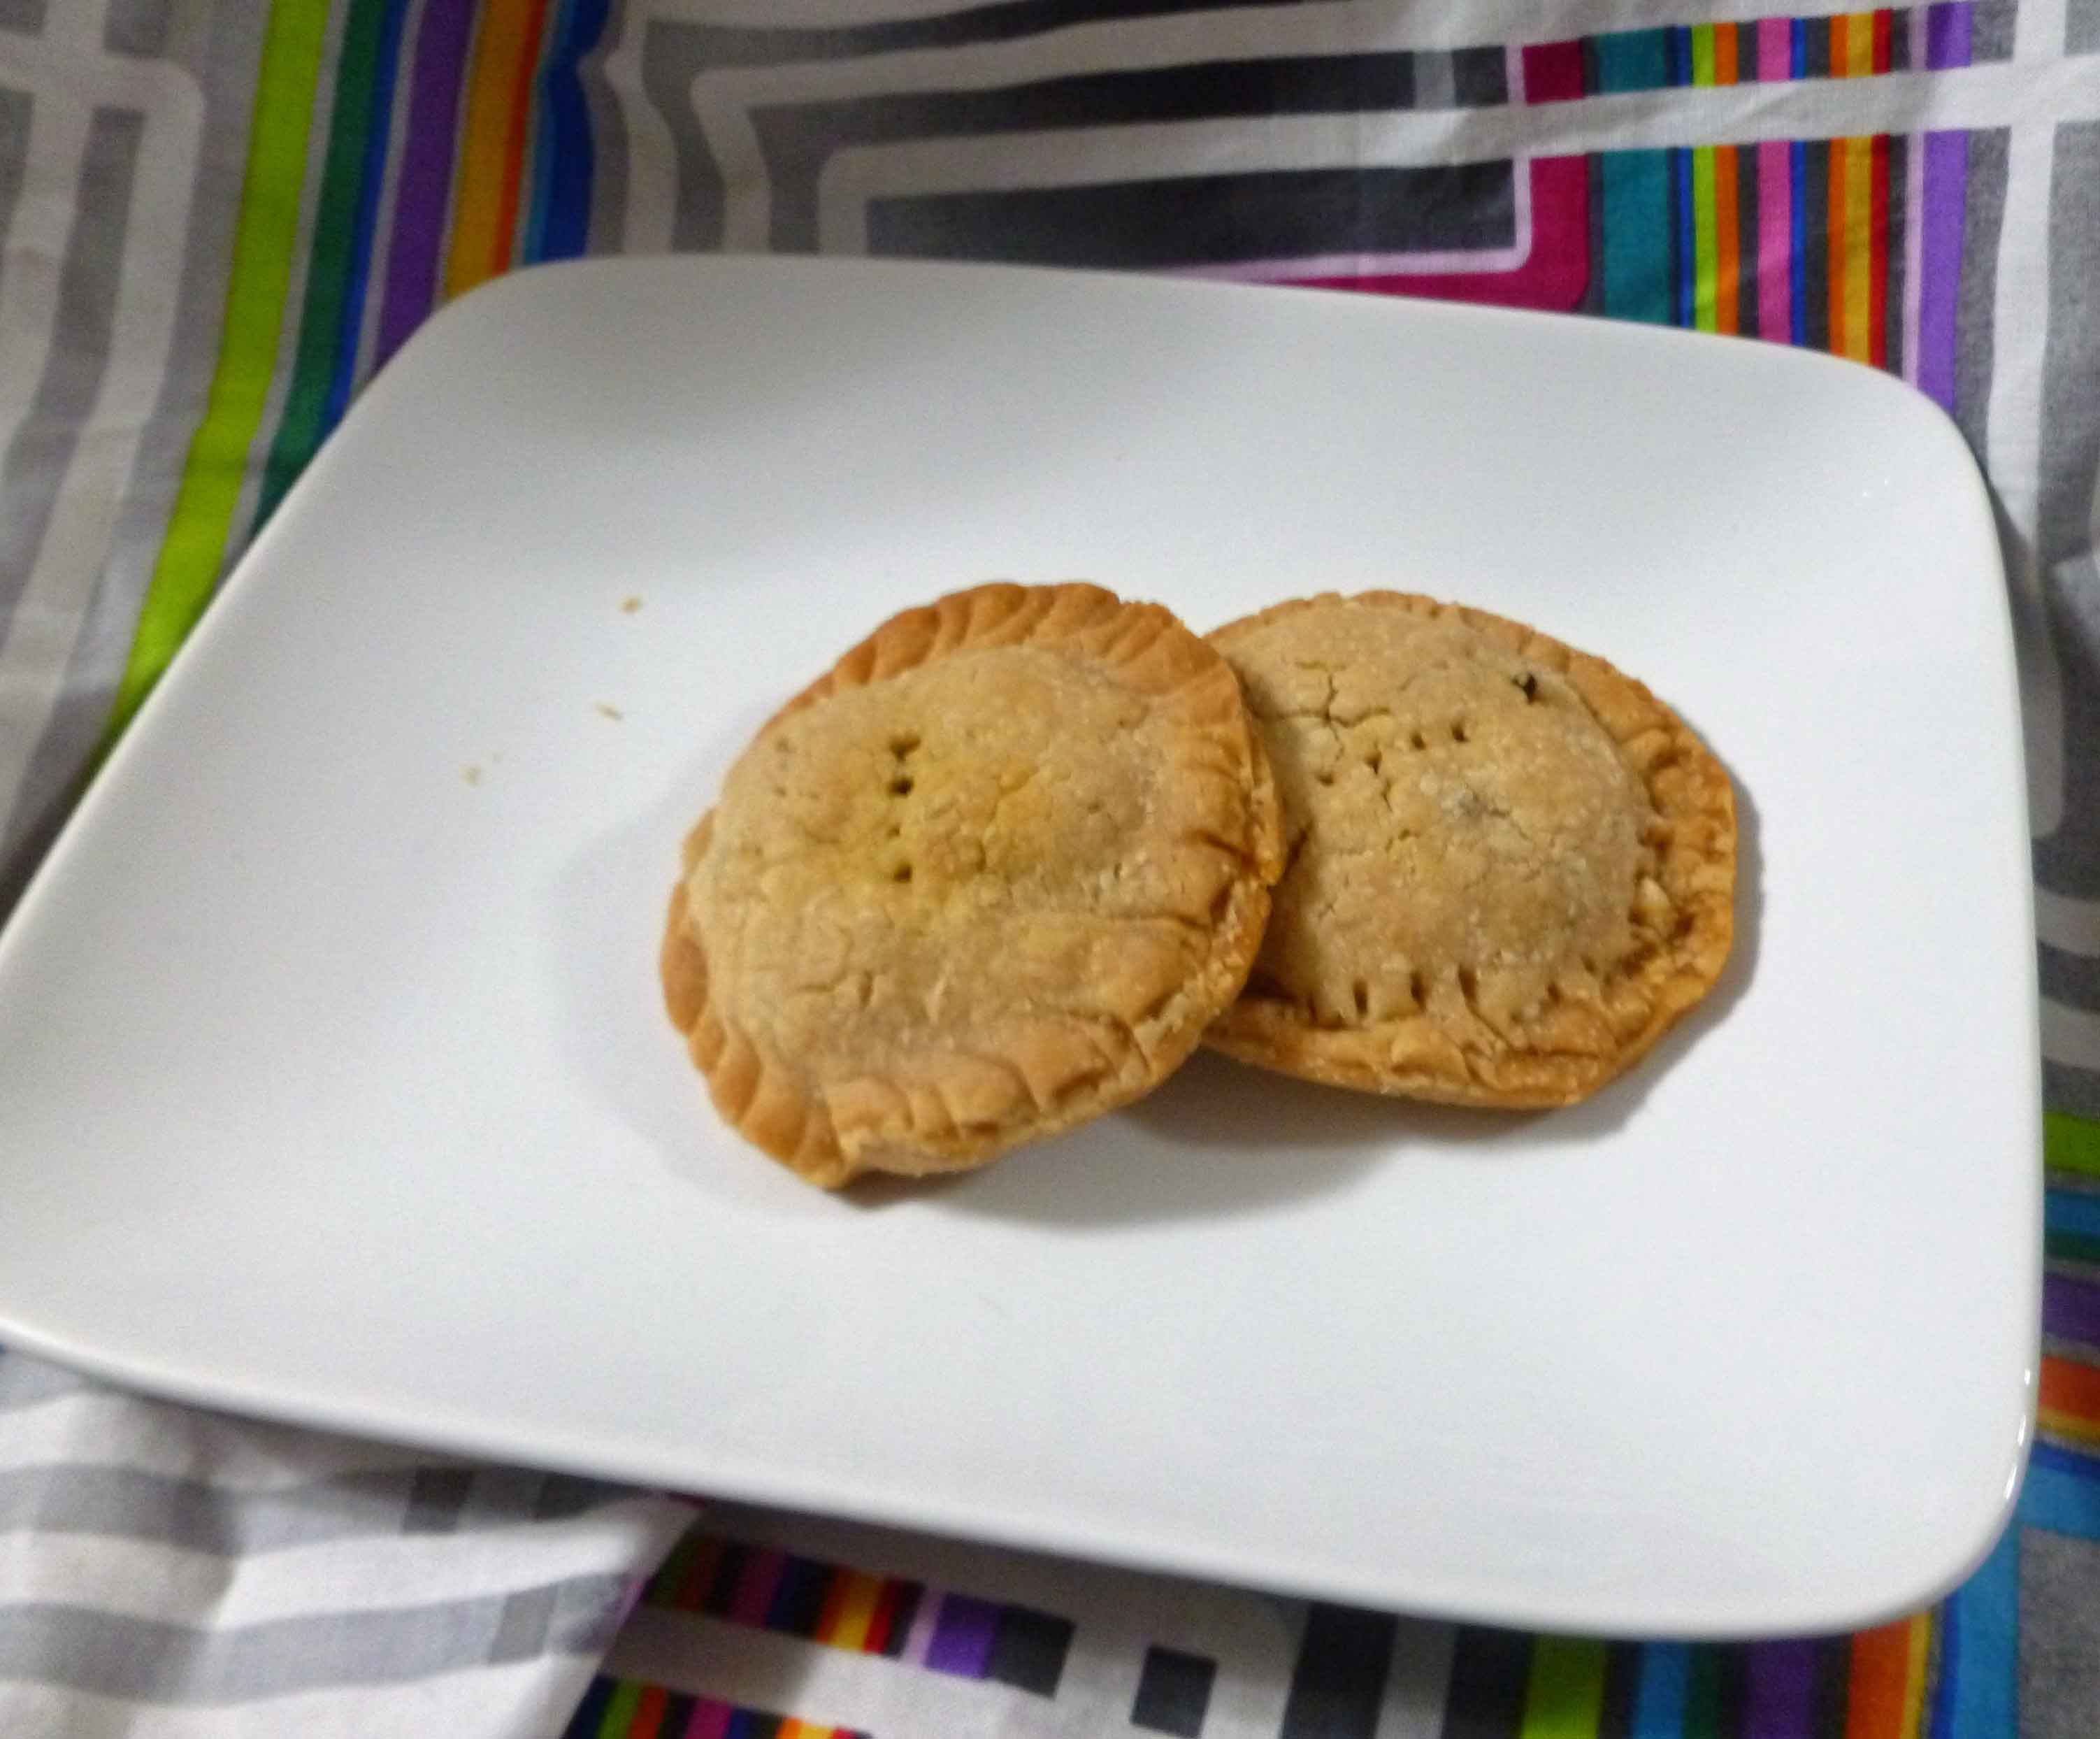
Valentine’s Day Gingerbread Frosted Cookies
I started with a recipe from Cara Reed’s Decadent Gluten-Free Vegan Baking book, which is an excellent resource. However, due to my cocktail of allergies, I generally use her book as a starting point to experiment as I generally have to change quite a bit. This time, I had to change the flour mix as I seem to be having issues with potatoes and rice and I suspect I may be allergic (sigh, shaking fist at the sky). I can’t use vegan shortening or vegan butter due to my corn and coconut allergies. I also can’t use flax as I’m allergic to it. I also wanted to kick up the spices a bit.
To start, you’ll need to make the Gluten-free, Rice-free, Potato-free Flour Mix:
Notice: Trying to access array offset on value of type bool in /home/maryzahc/public_html/adultfoodallergies.com/wp-content/plugins/wp-ultimate-recipe/helpers/models/recipe.php on line 254
- 2 cups sorghum flour
- 2 cups oat flour
- 2 cups millet flour
- 2 cups tapioca starch
- 1 cup arrowroot starch
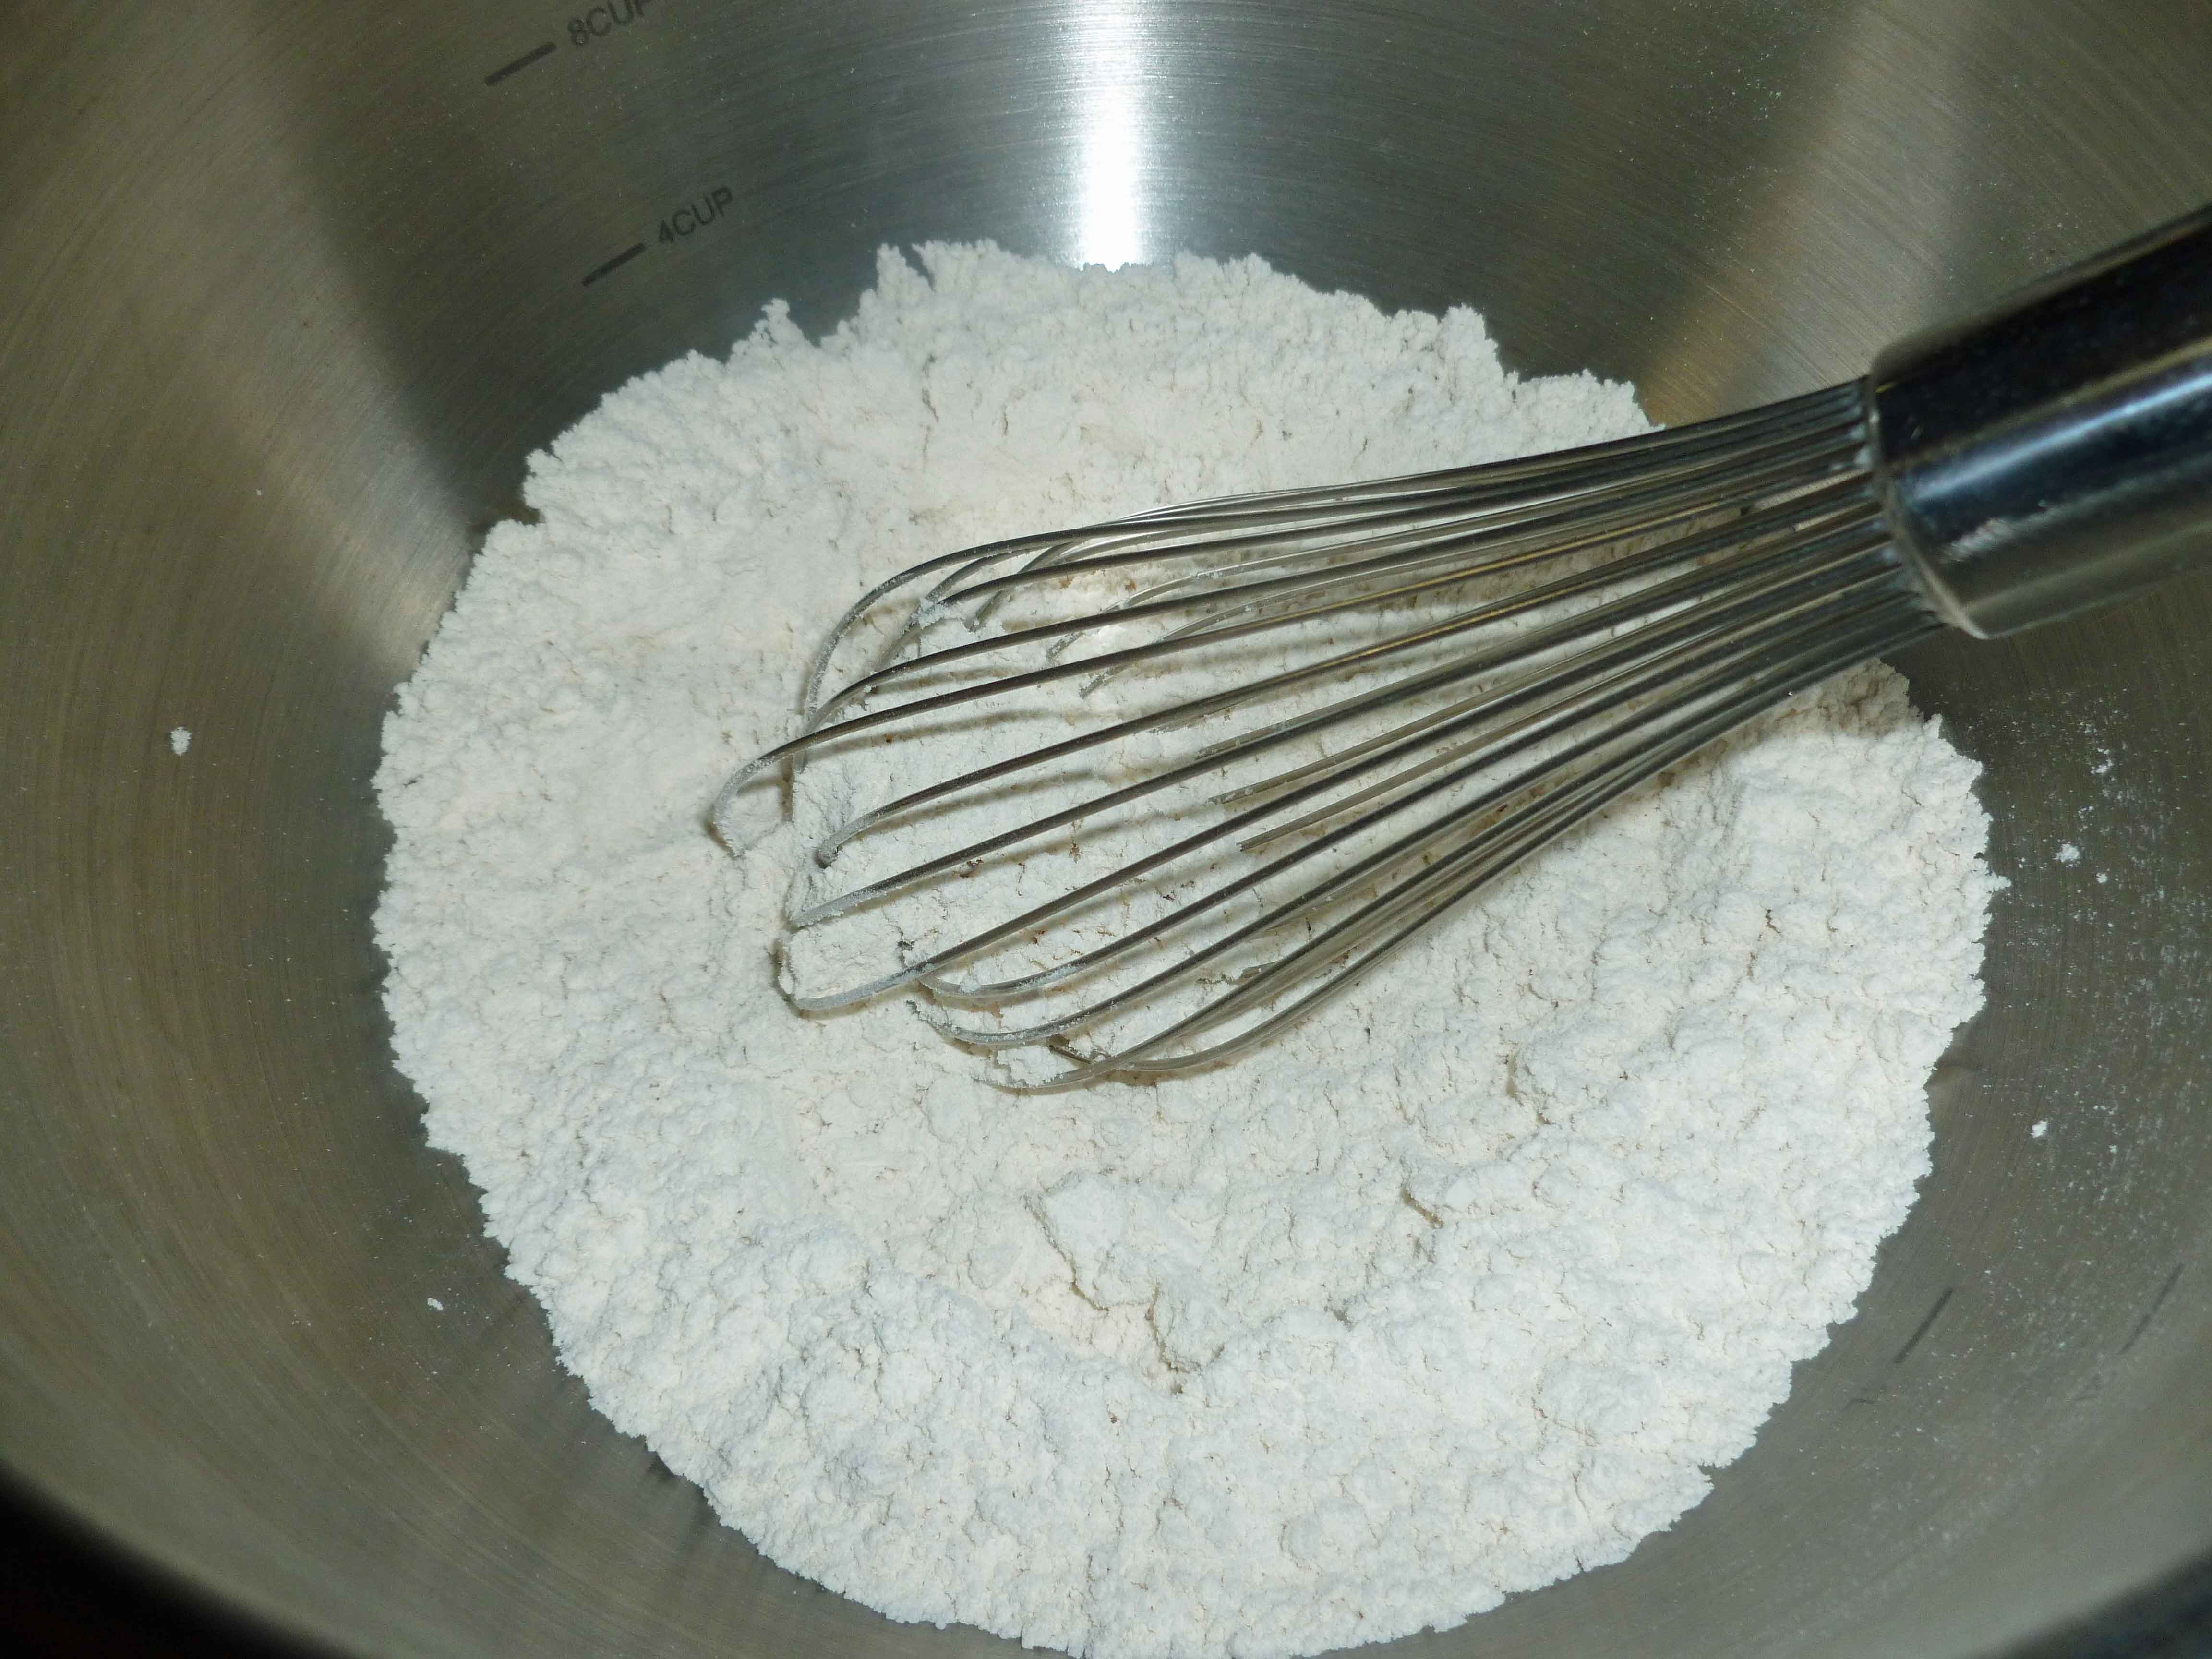
- Measure all ingredients and place in a large mixing bowl. Using a whisk, mix the ingredients until well combined. Place in an air tight storage container and use in baking recipes.
Once your flour mix is done, we can move onto the cookies.
Cookie Dough:
- 1/2 cup of cold lard, cold vegetable shortening, or vegan butter (vegan butter and vegetable shortening are not generally safe for those allergic to corn)
- 2 1/2 cups of Gluten-free, Rice-free, Potato-free flour mix and a bit extra for rolling the dough
- 1 teaspoon of baking soda
- 1 1/4 teaspoon of ground ginger
- 3/4 teaspoon of ground cinnamon
- 1/4 teaspoon of ground cloves
- 1/4 teaspoon of ground nutmeg
- 1/2 cup of sugar
- 1/2 cup of molasses (Plantation Molasses is the brand most tolerated by those allergic to corn)
- 1 Tablespoon of ground chia seed
- 3 Tablespoons of aquafaba
- 1 1/4 cup powdered sugar
- 1/4 teaspoon of vanilla extract (Here’s a bunch of recipes for vanilla extract, make sure to use safe alcohol if corn or wheat are an issue for you. I used a vodka made only from potatoes, be careful as some vodkas may also use grain or corn.)
- 1 Tablespoon of aquafaba
- 1 teaspoon of beet puree (To make puree, either use canned or fresh cooked beets and puree them in a blender with a bit of cooking liquid)
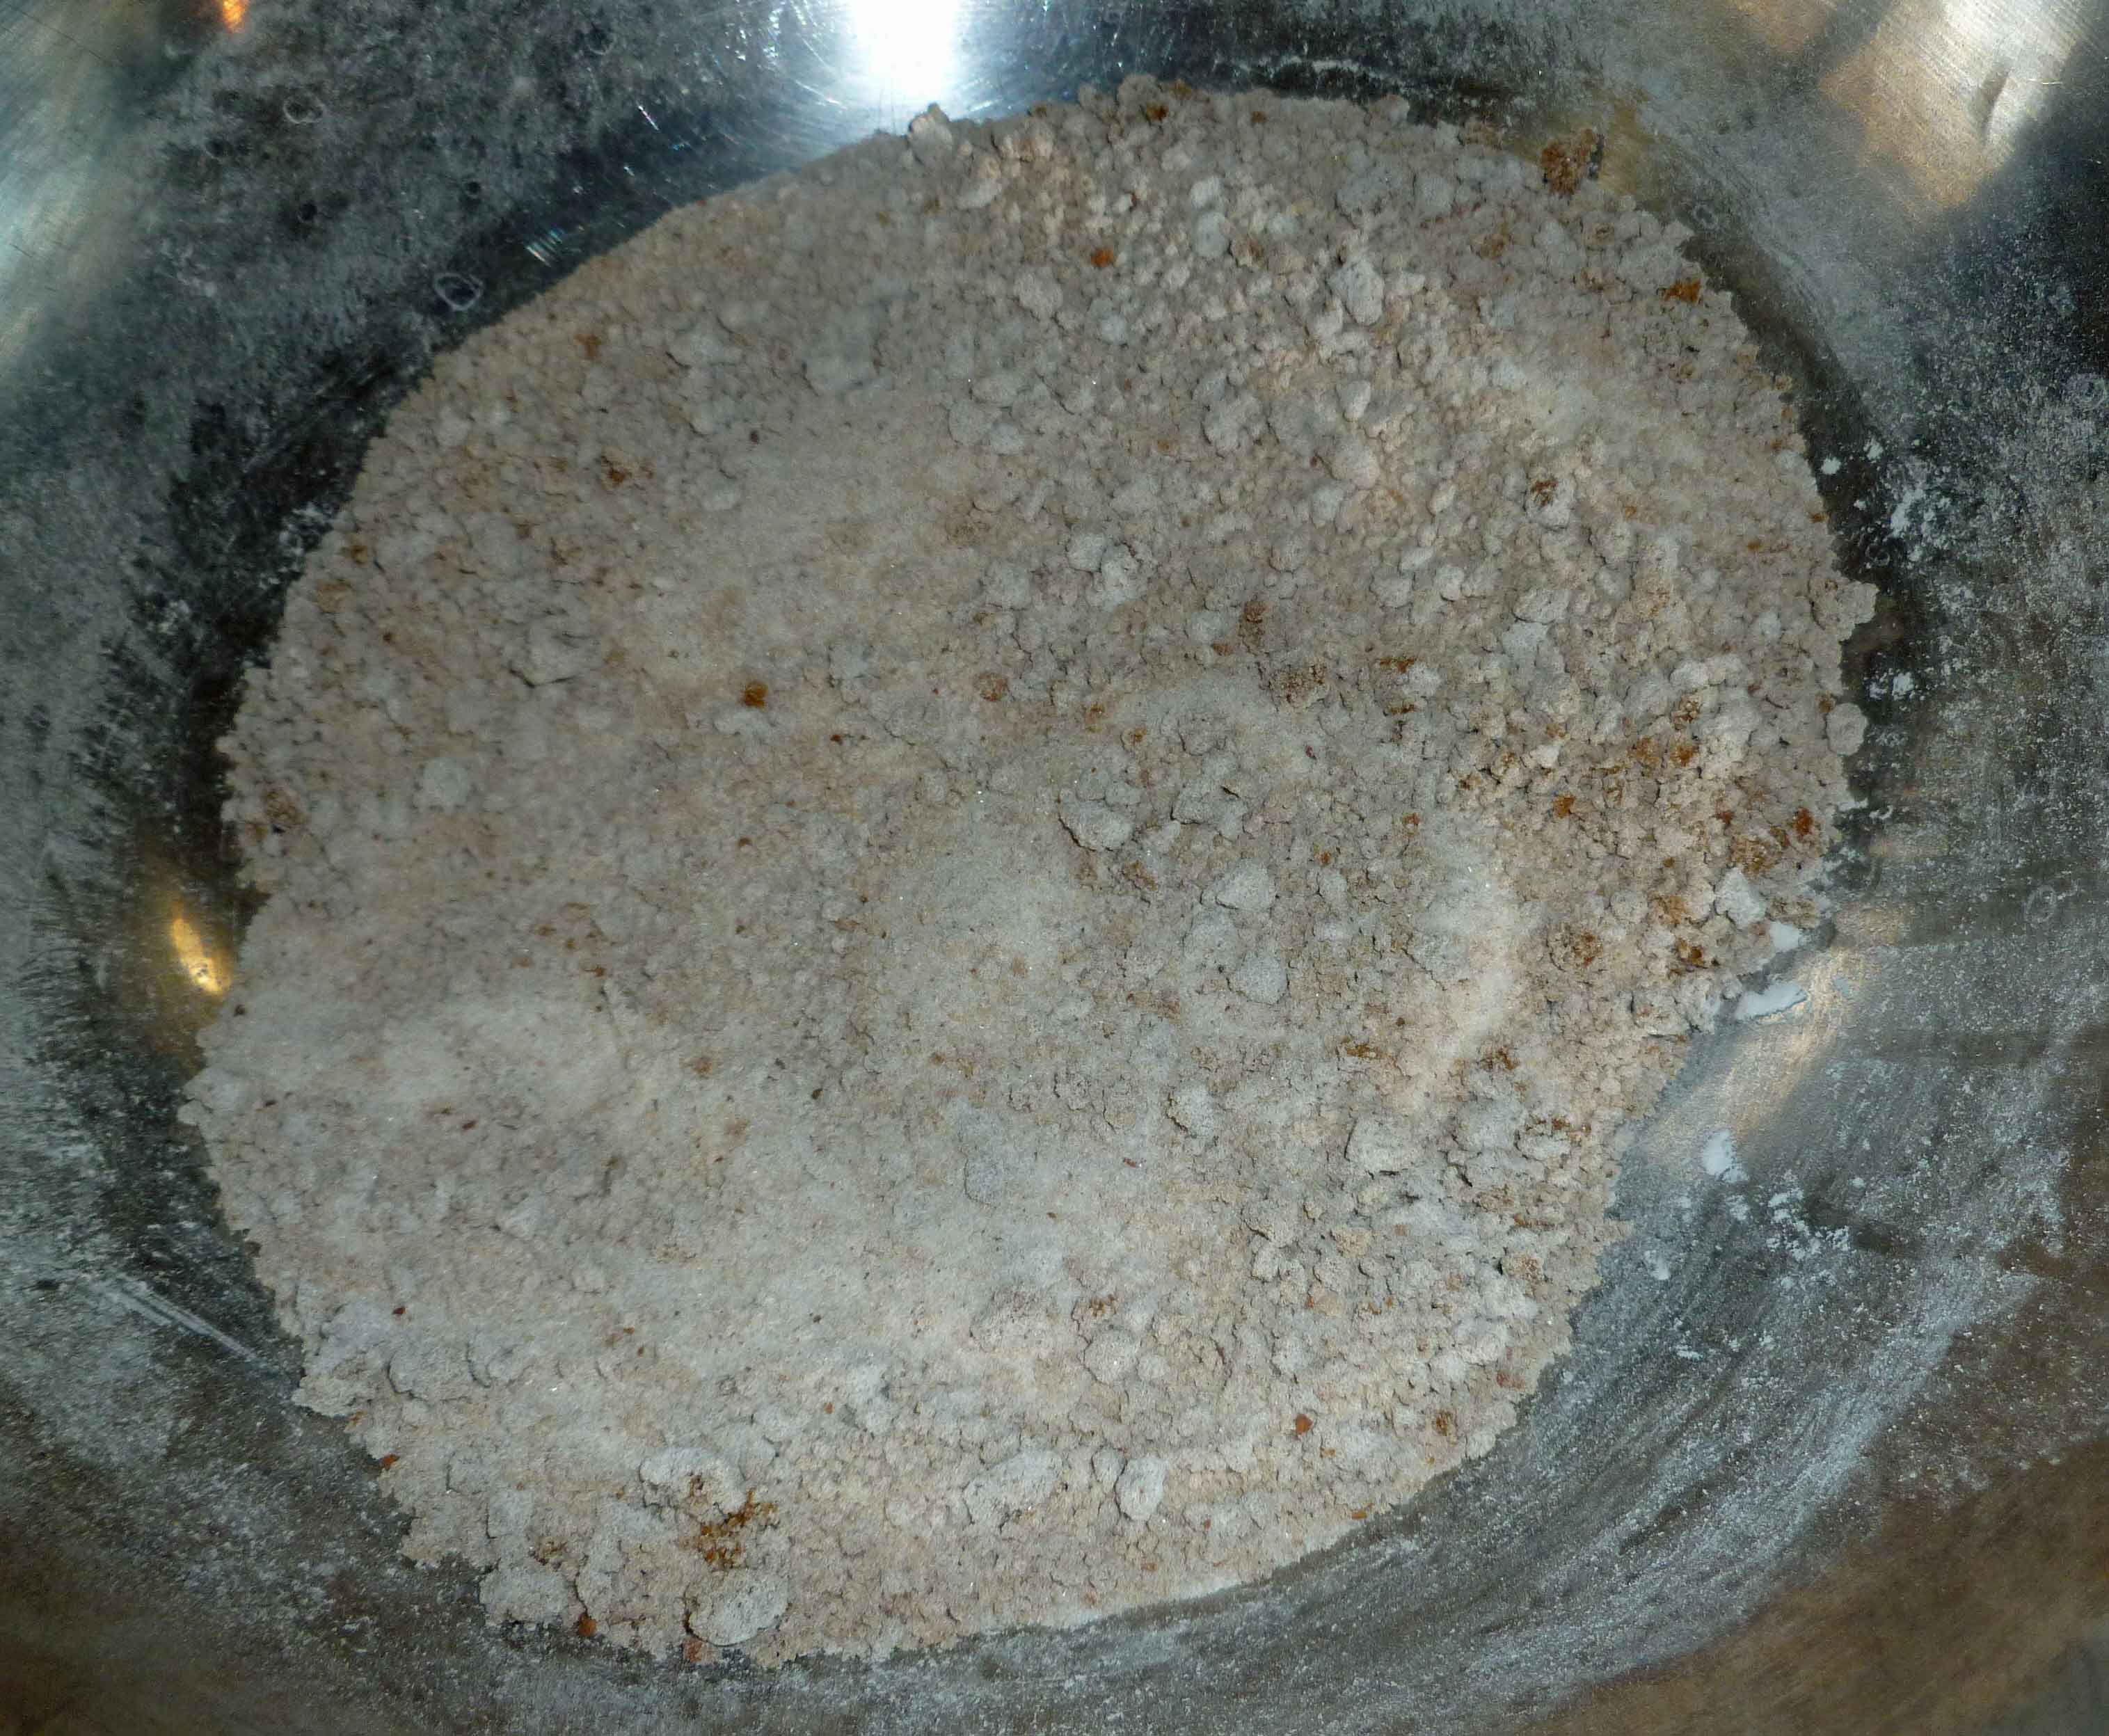
In a large bowl, whisk together the Gluten-free, Rice-free, Potato-free flour mix, baking soda, ginger, cinnamon, cloves, and nutmeg, until completely combined and set aside. In a small bowl, mix chia and aquafaba together until combined, and set aside.
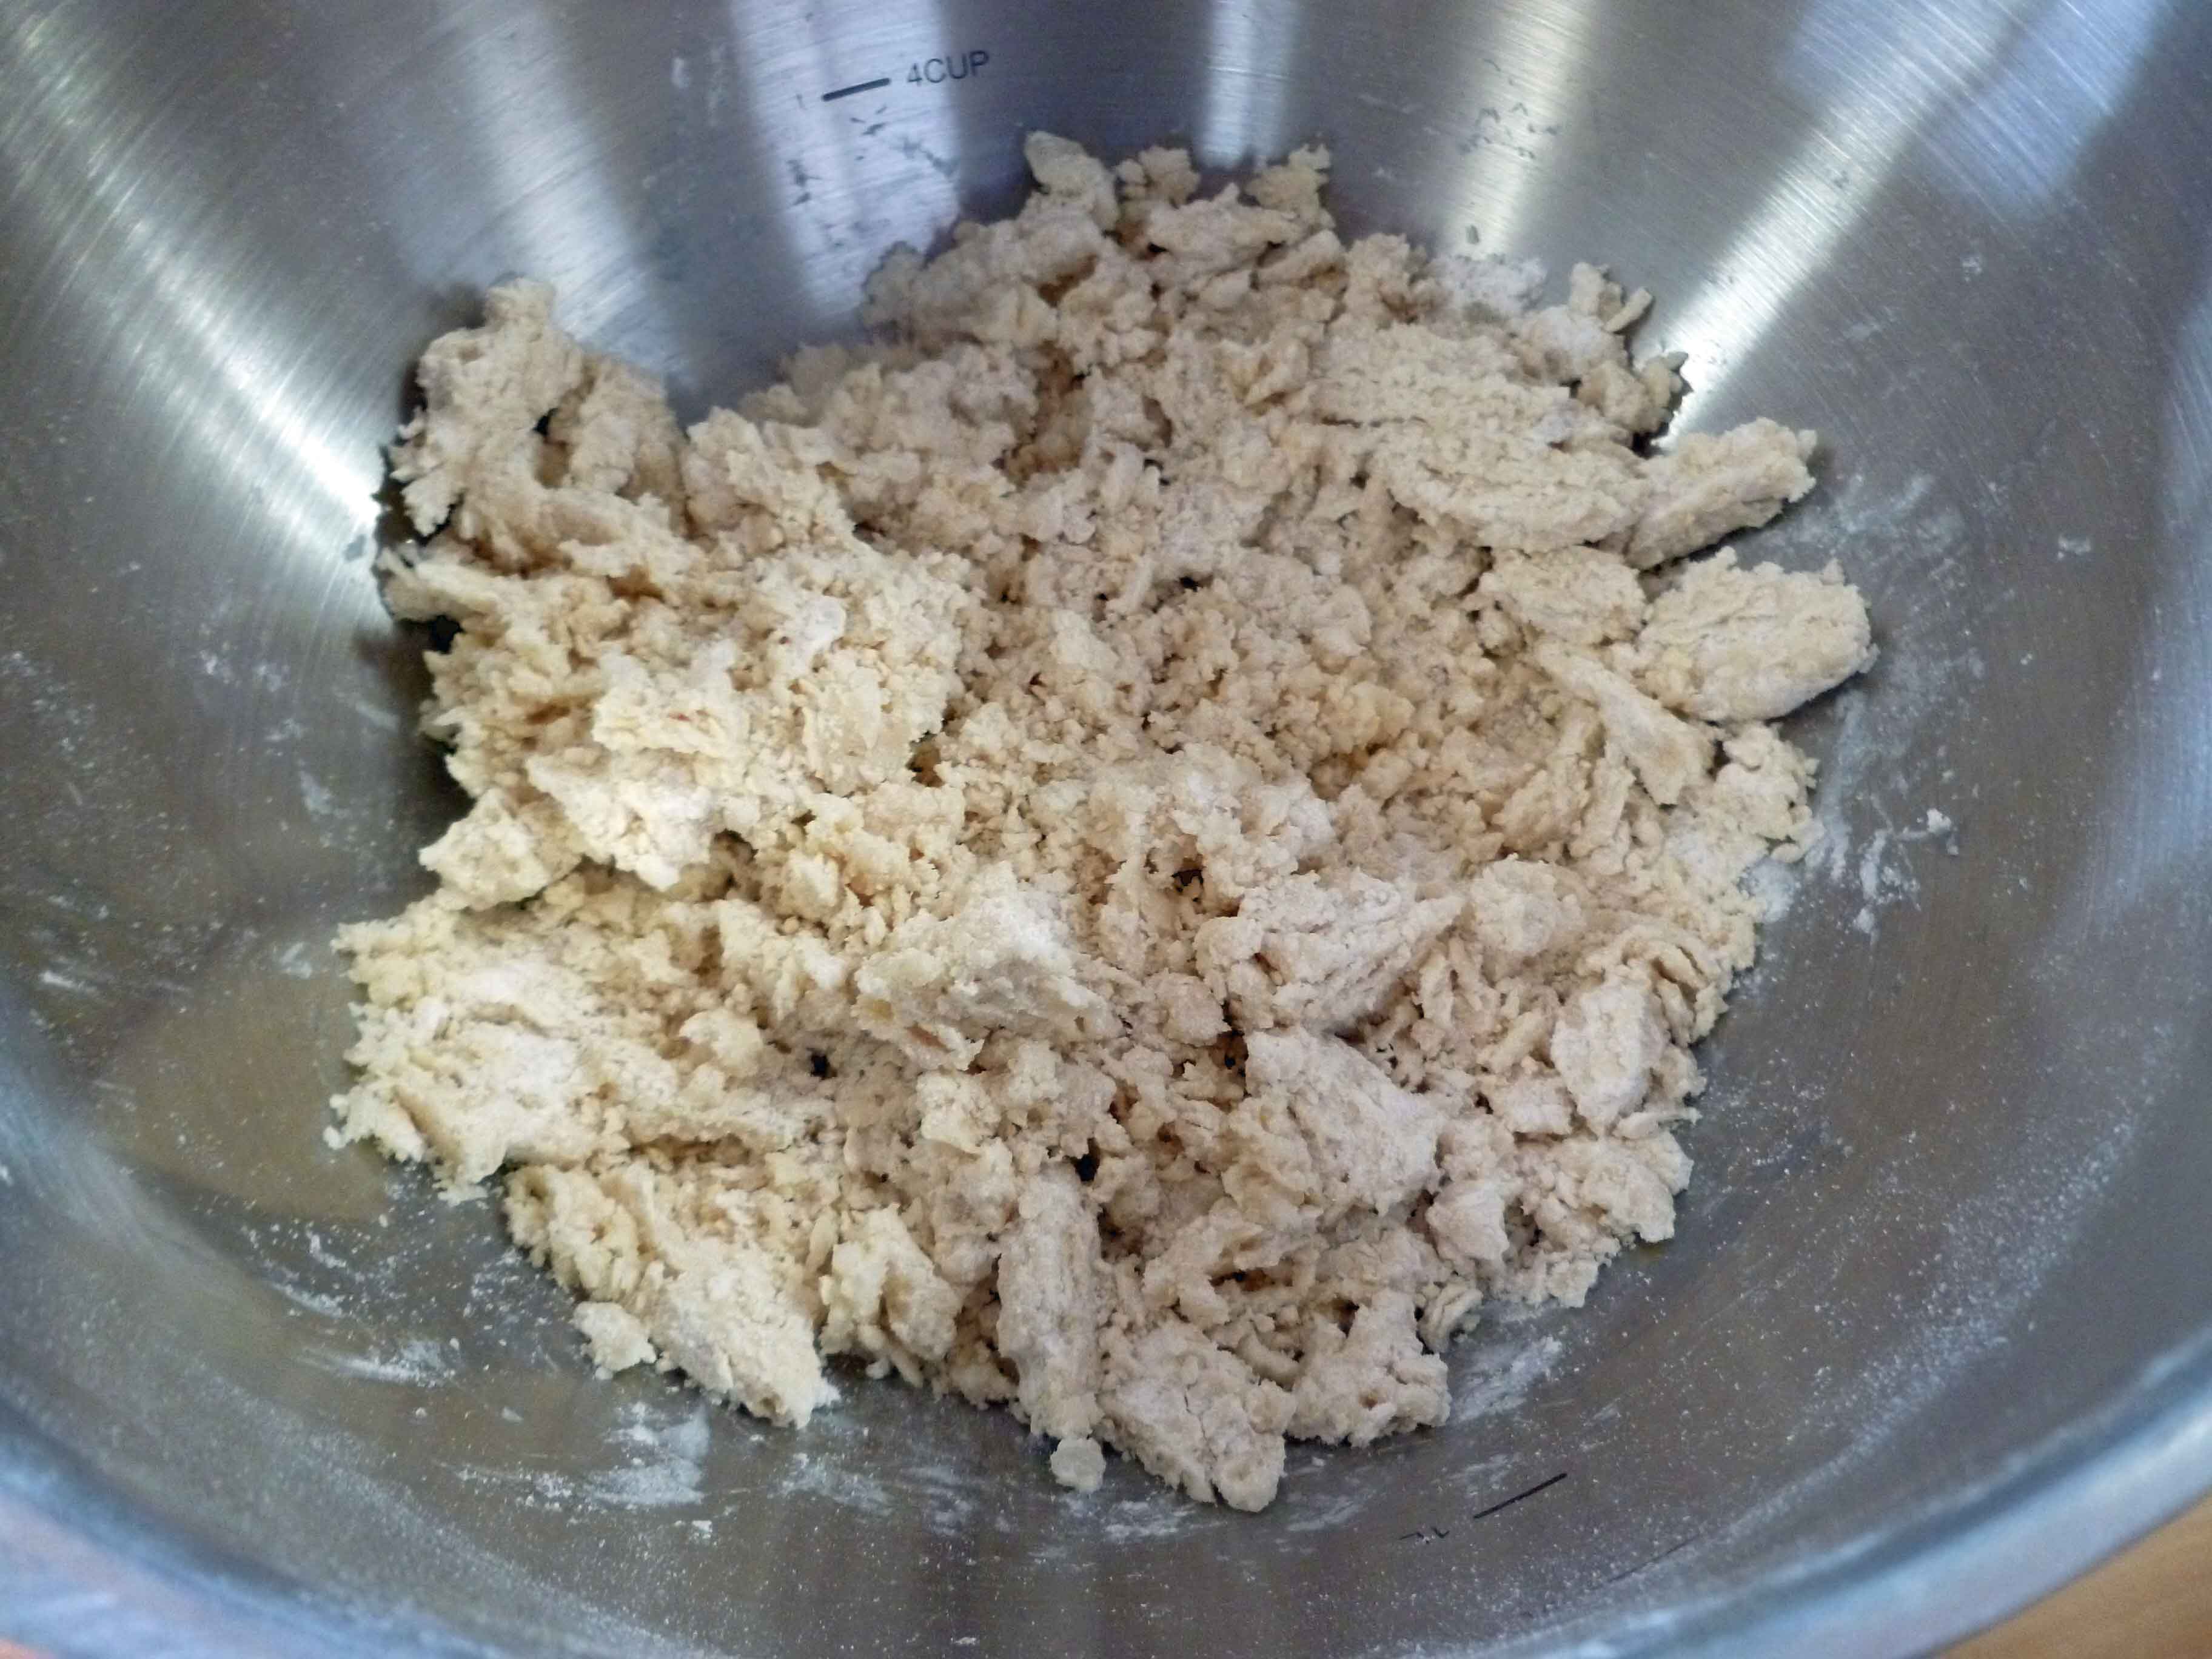
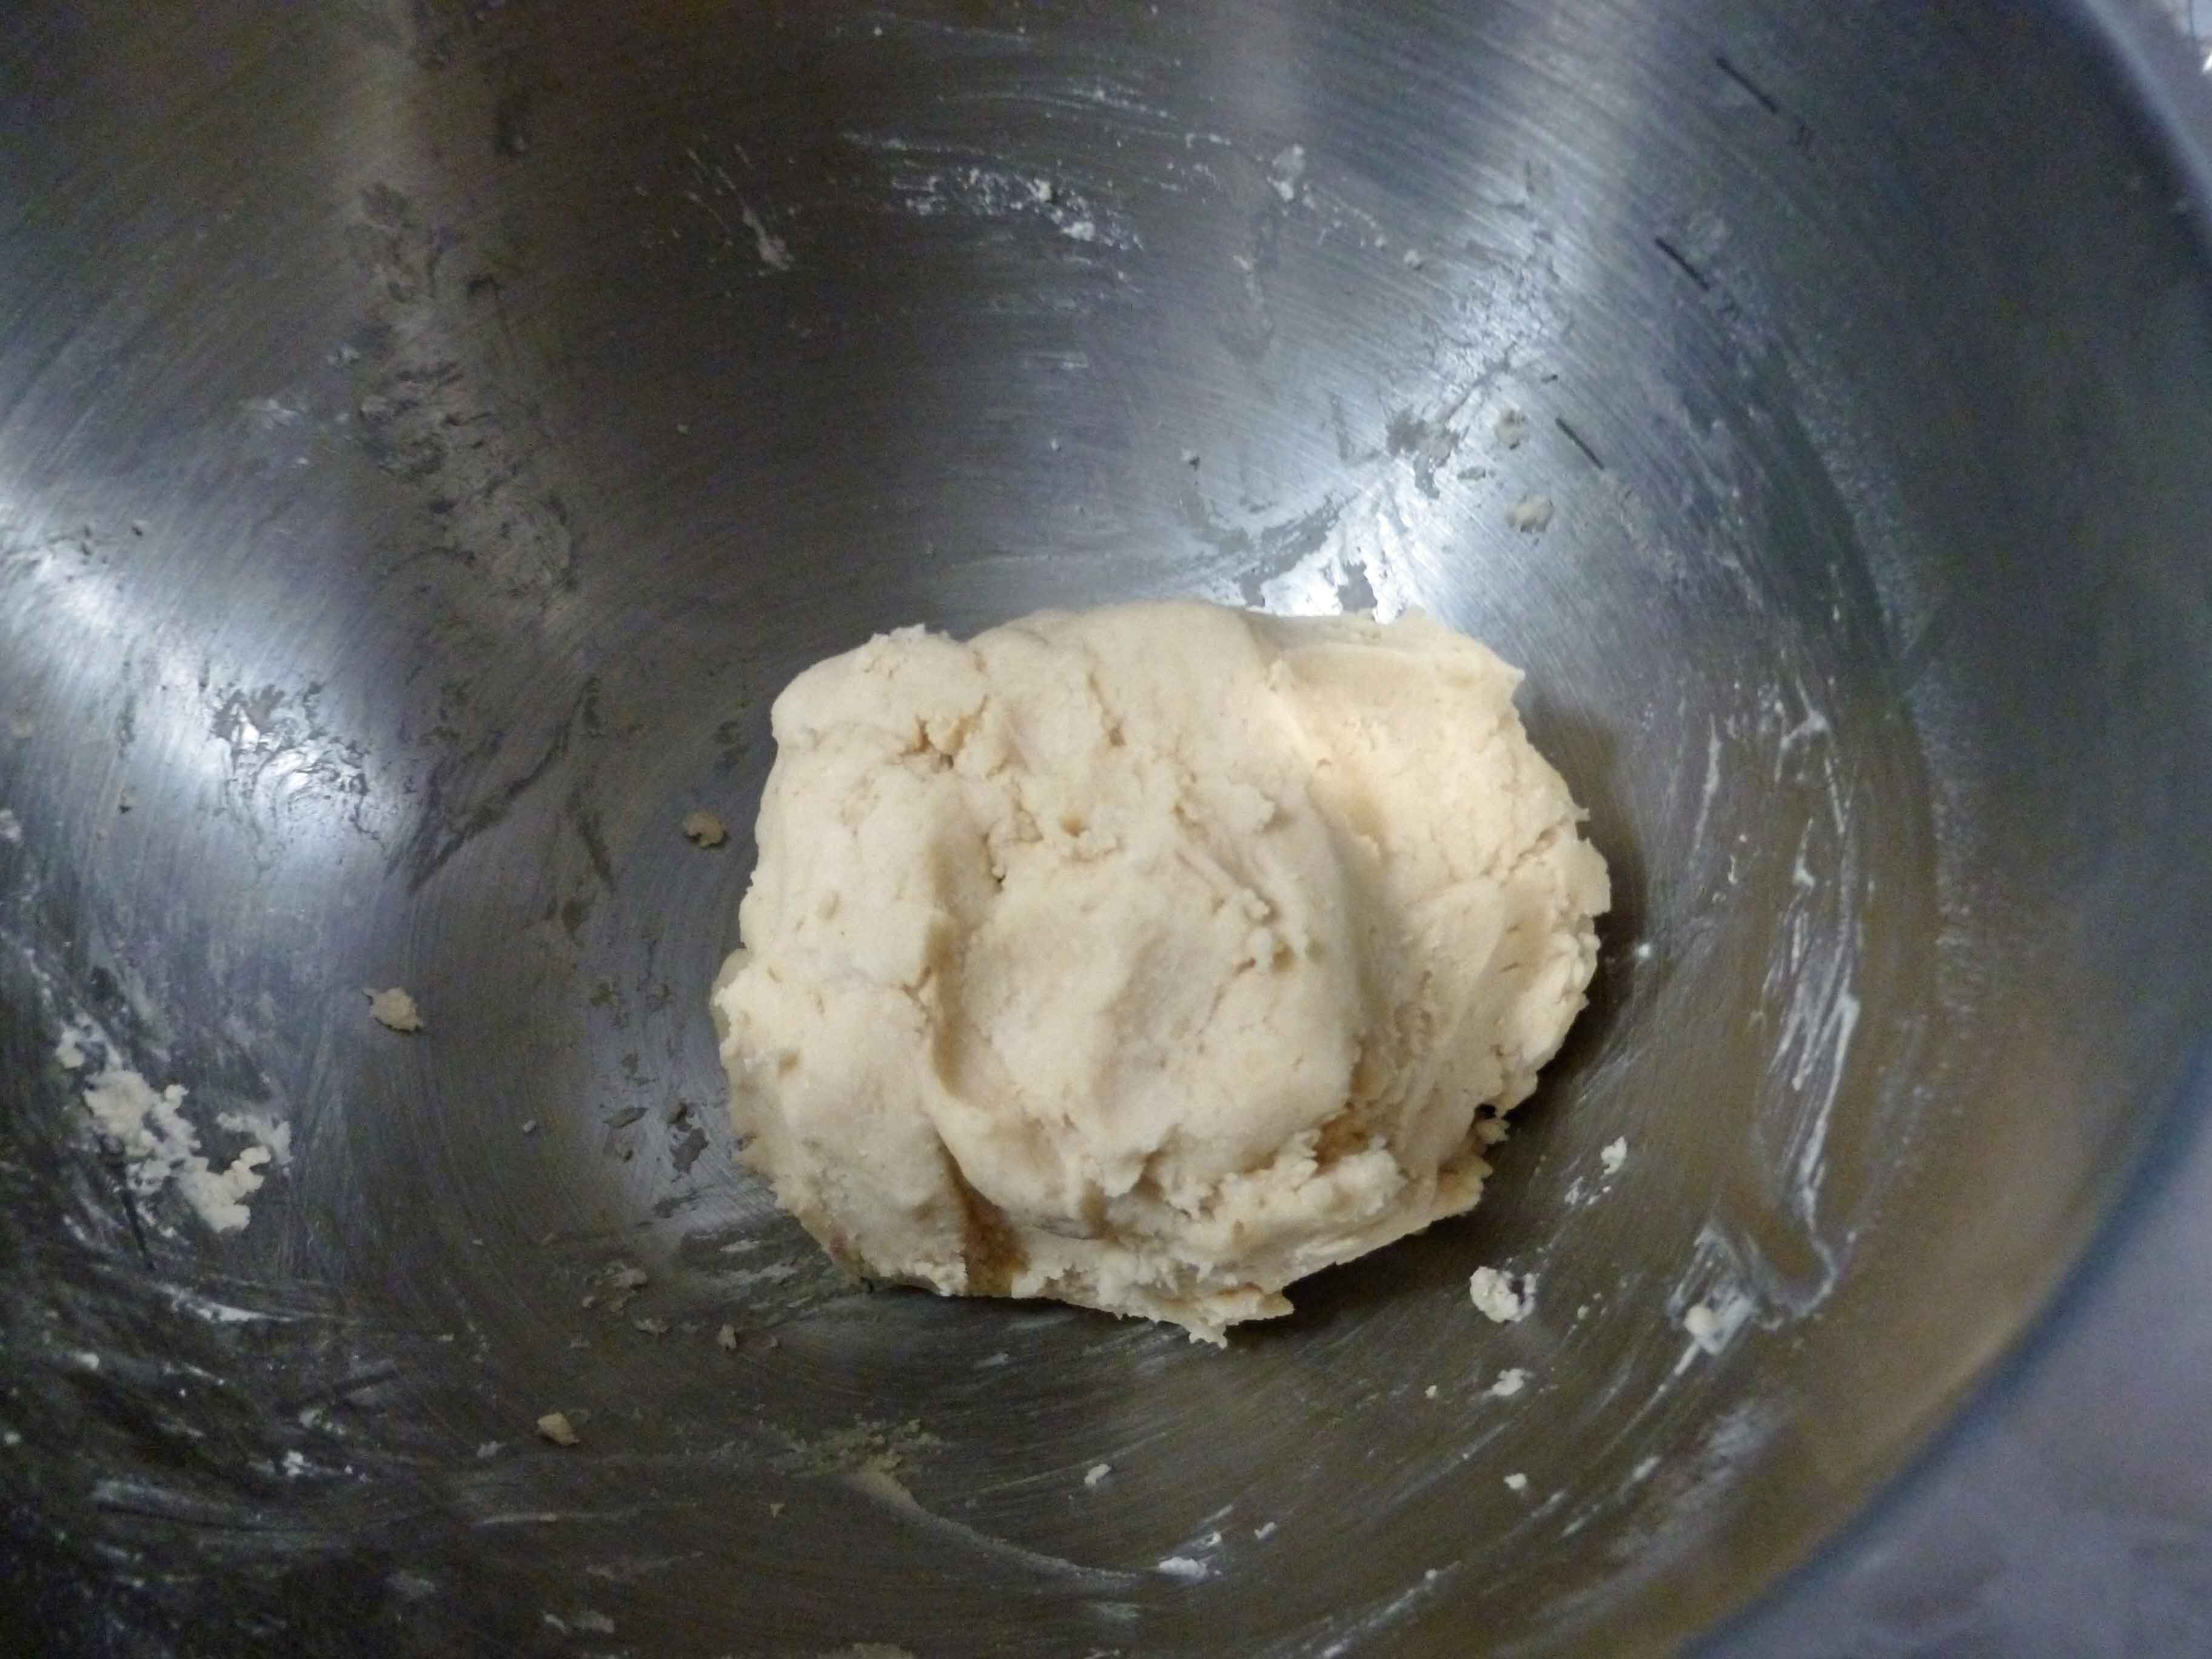
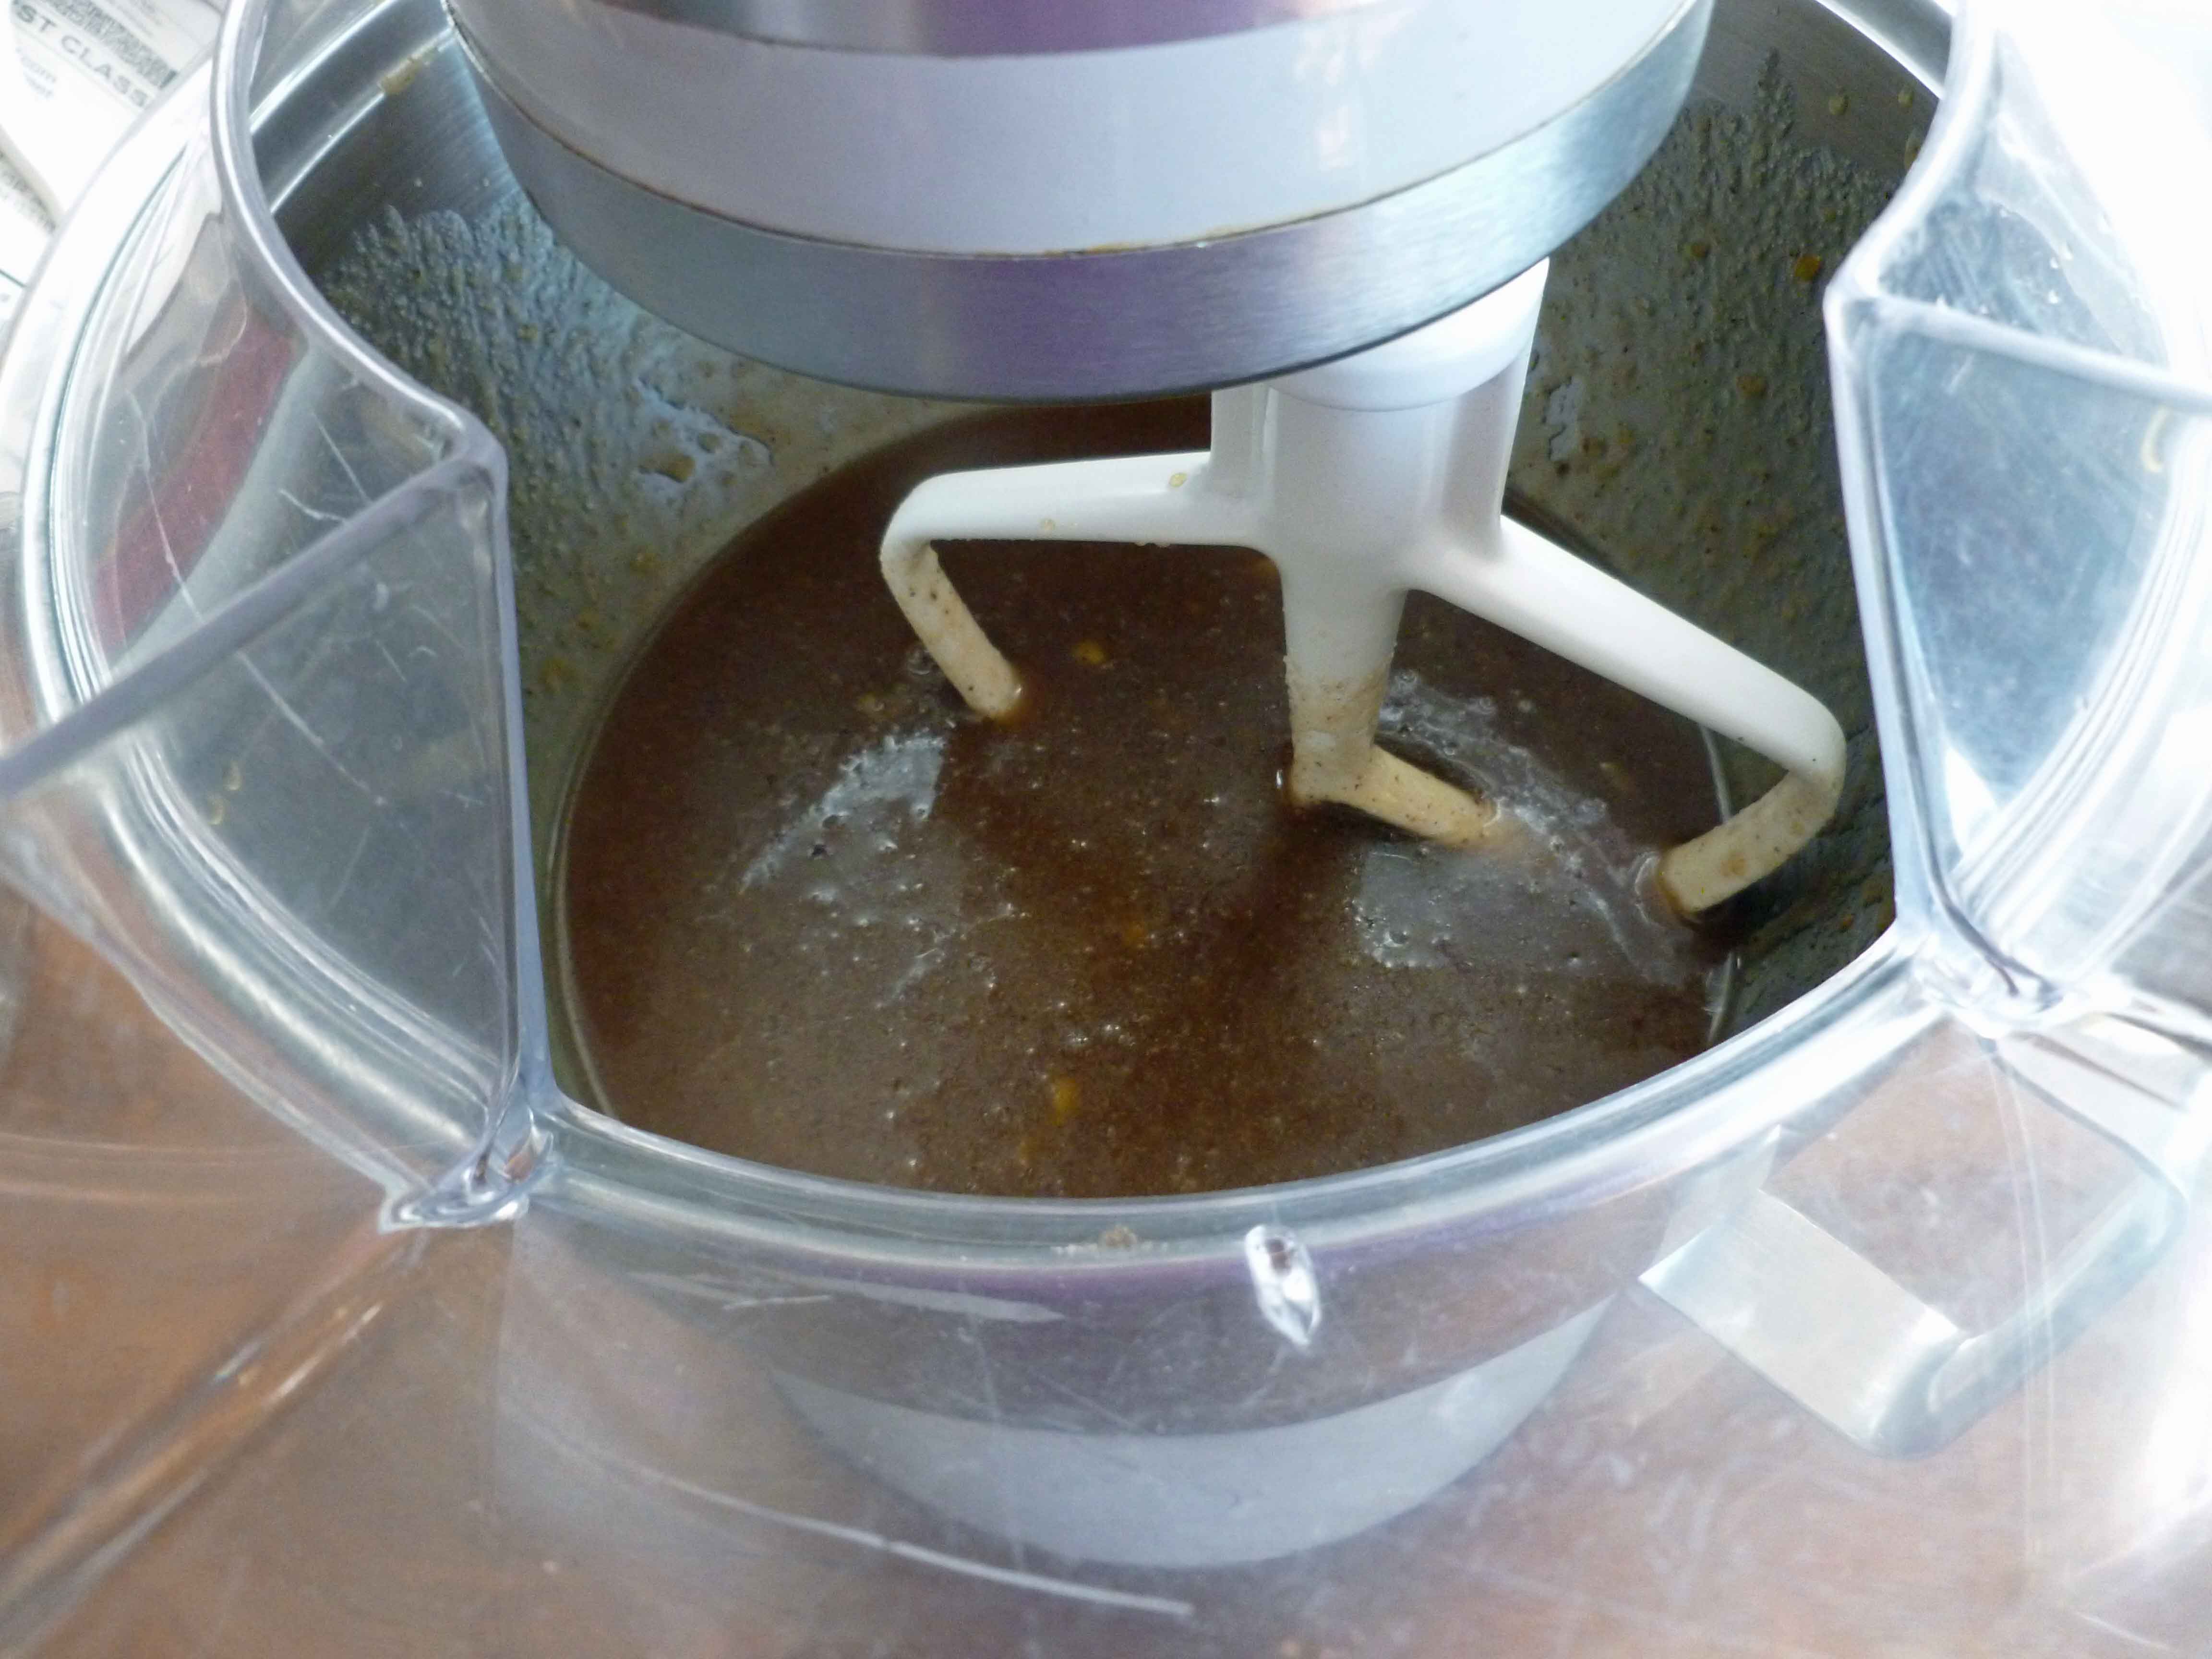
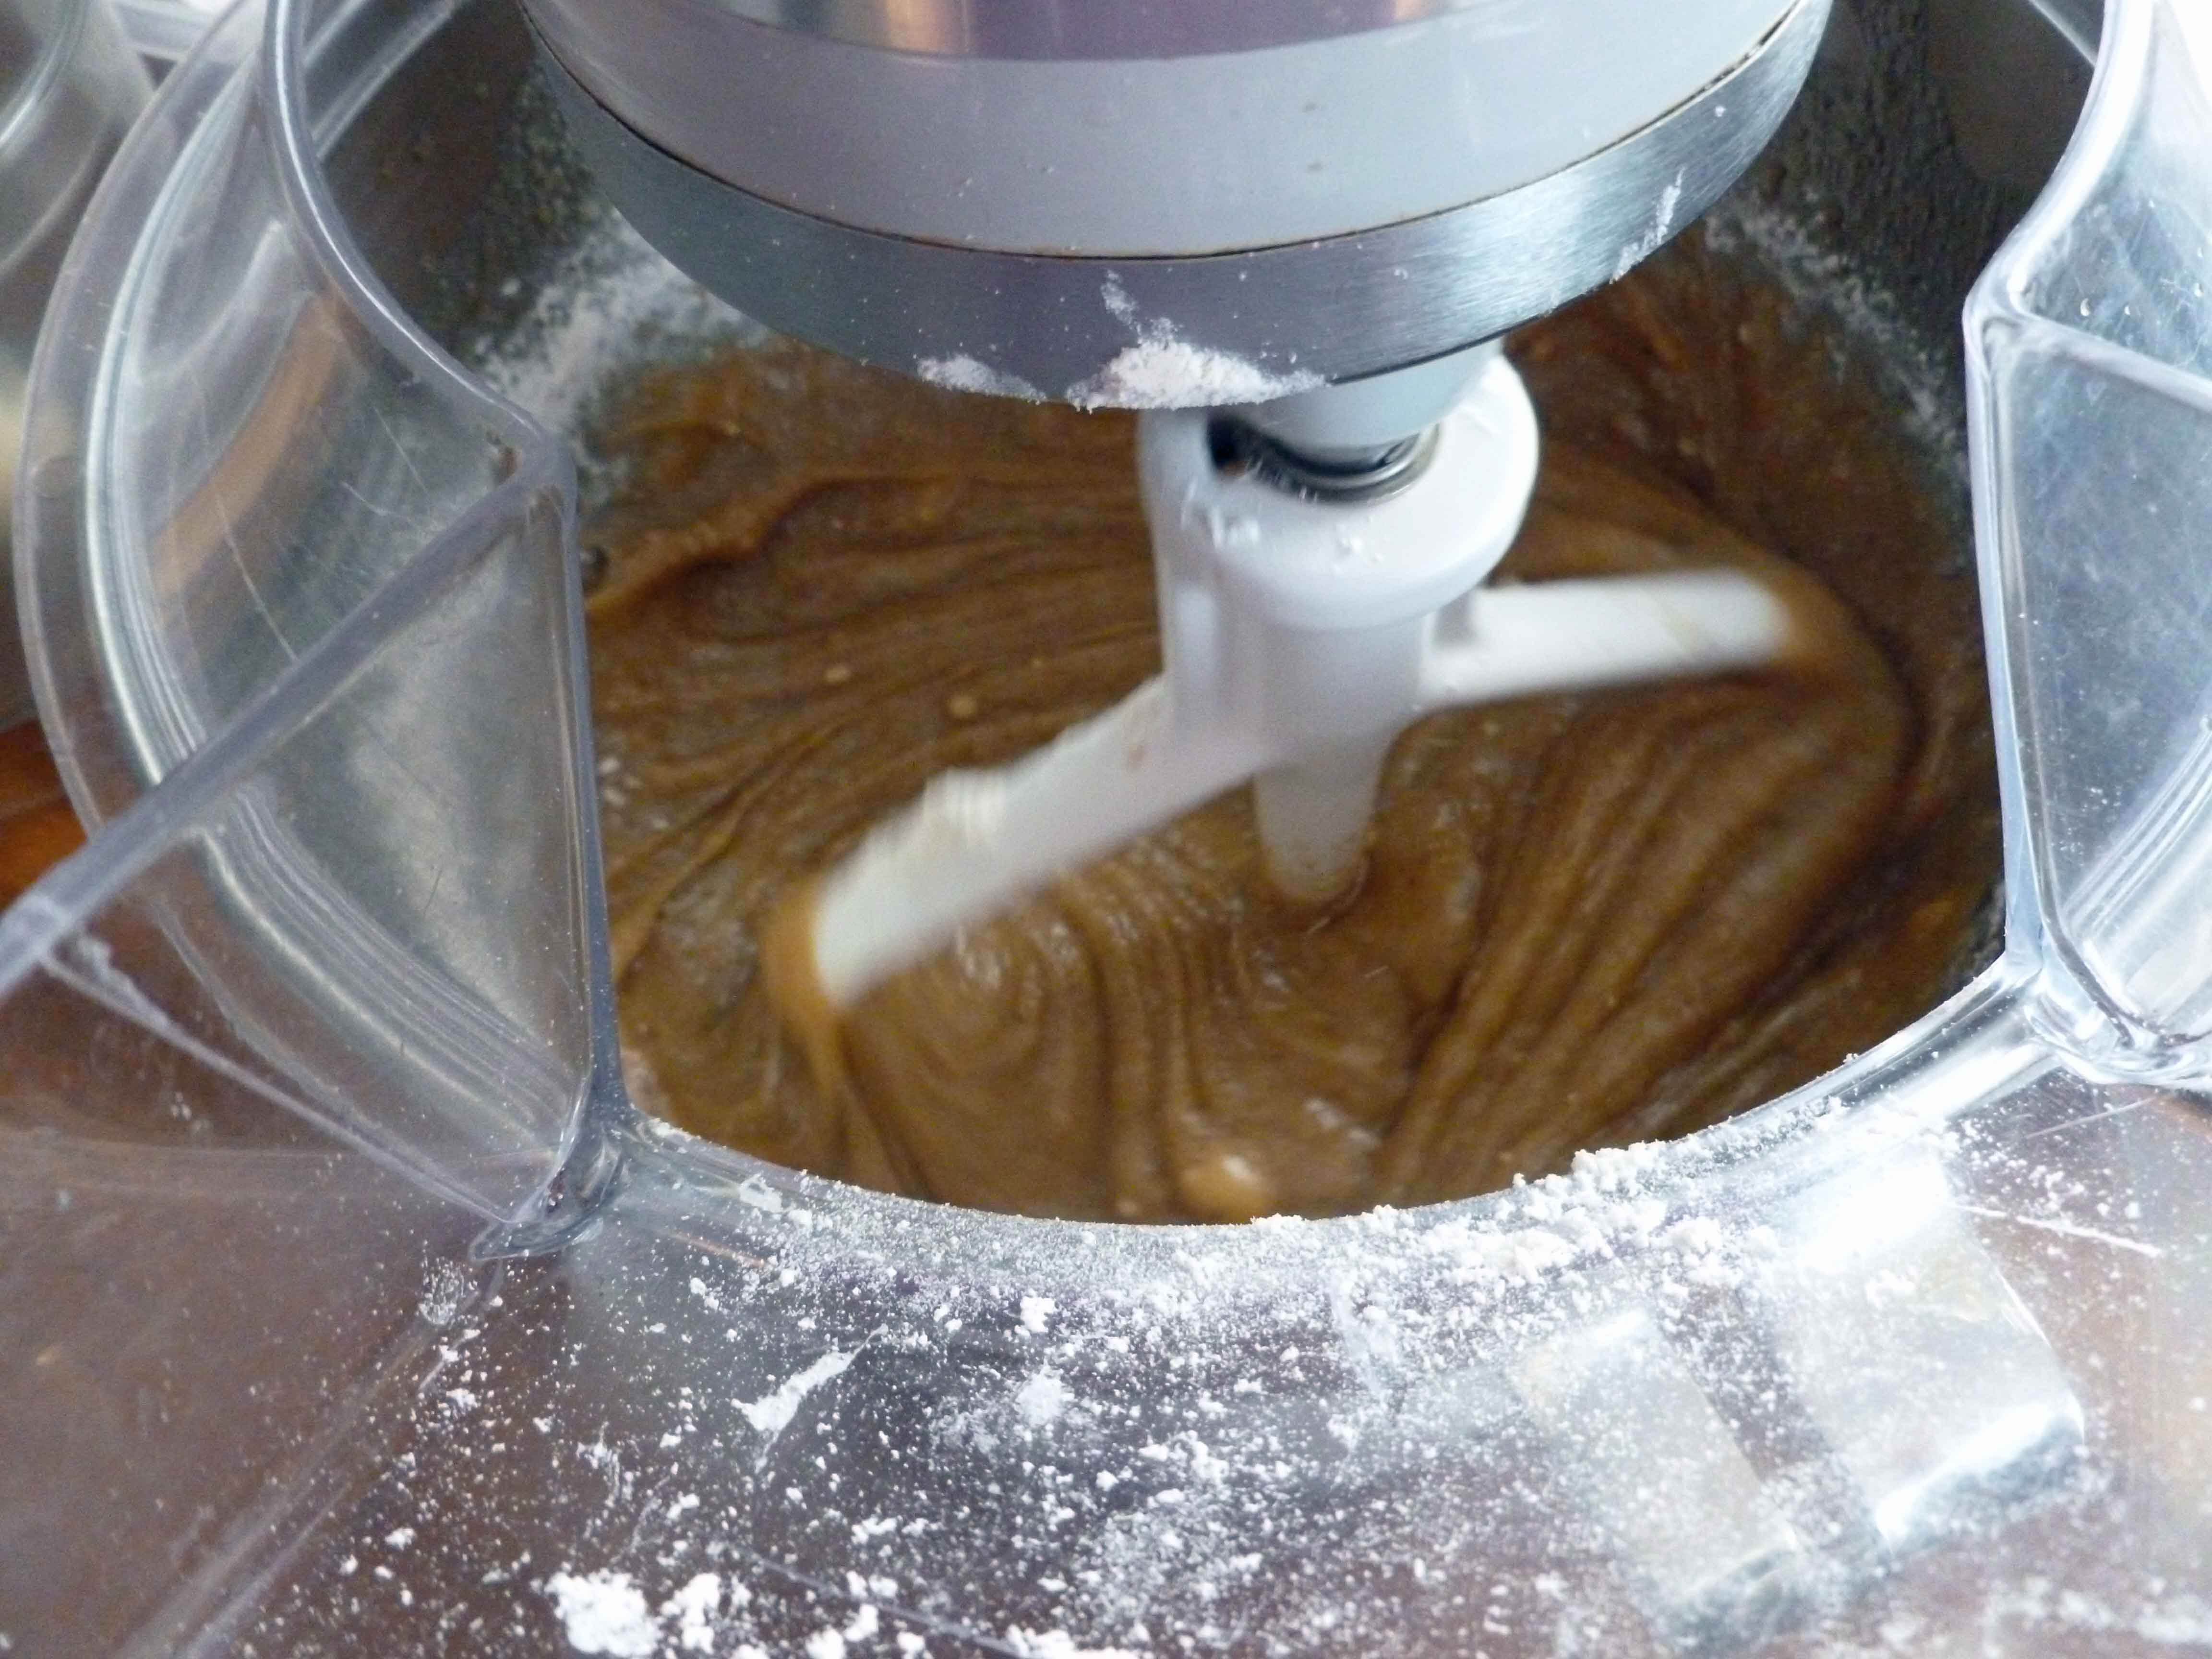
Using a stand mixer, beat the cold lard, cold vegetable shortening, or vegan butter on medium to high speed until softened. Add molasses, sugar, chia and aquafaba mixture, and half of the flour mixture and beat until combined, scraping down the sides as necessary. Then add the remaining flour mixture and beat it in slowly until combined.
Using a stand mixer, beat the cold lard, cold vegetable shortening, or vegan butter on medium to high speed until softened. Add molasses, sugar, chia and aquafaba mixture, and half of the flour mixture and beat until combined, scraping down the sides as necessary. Then add the remaining flour mixture and beat it in slowly until combined.
When dough is chilled, preheat oven to 375ºF, and line a baking sheet with parchment paper.
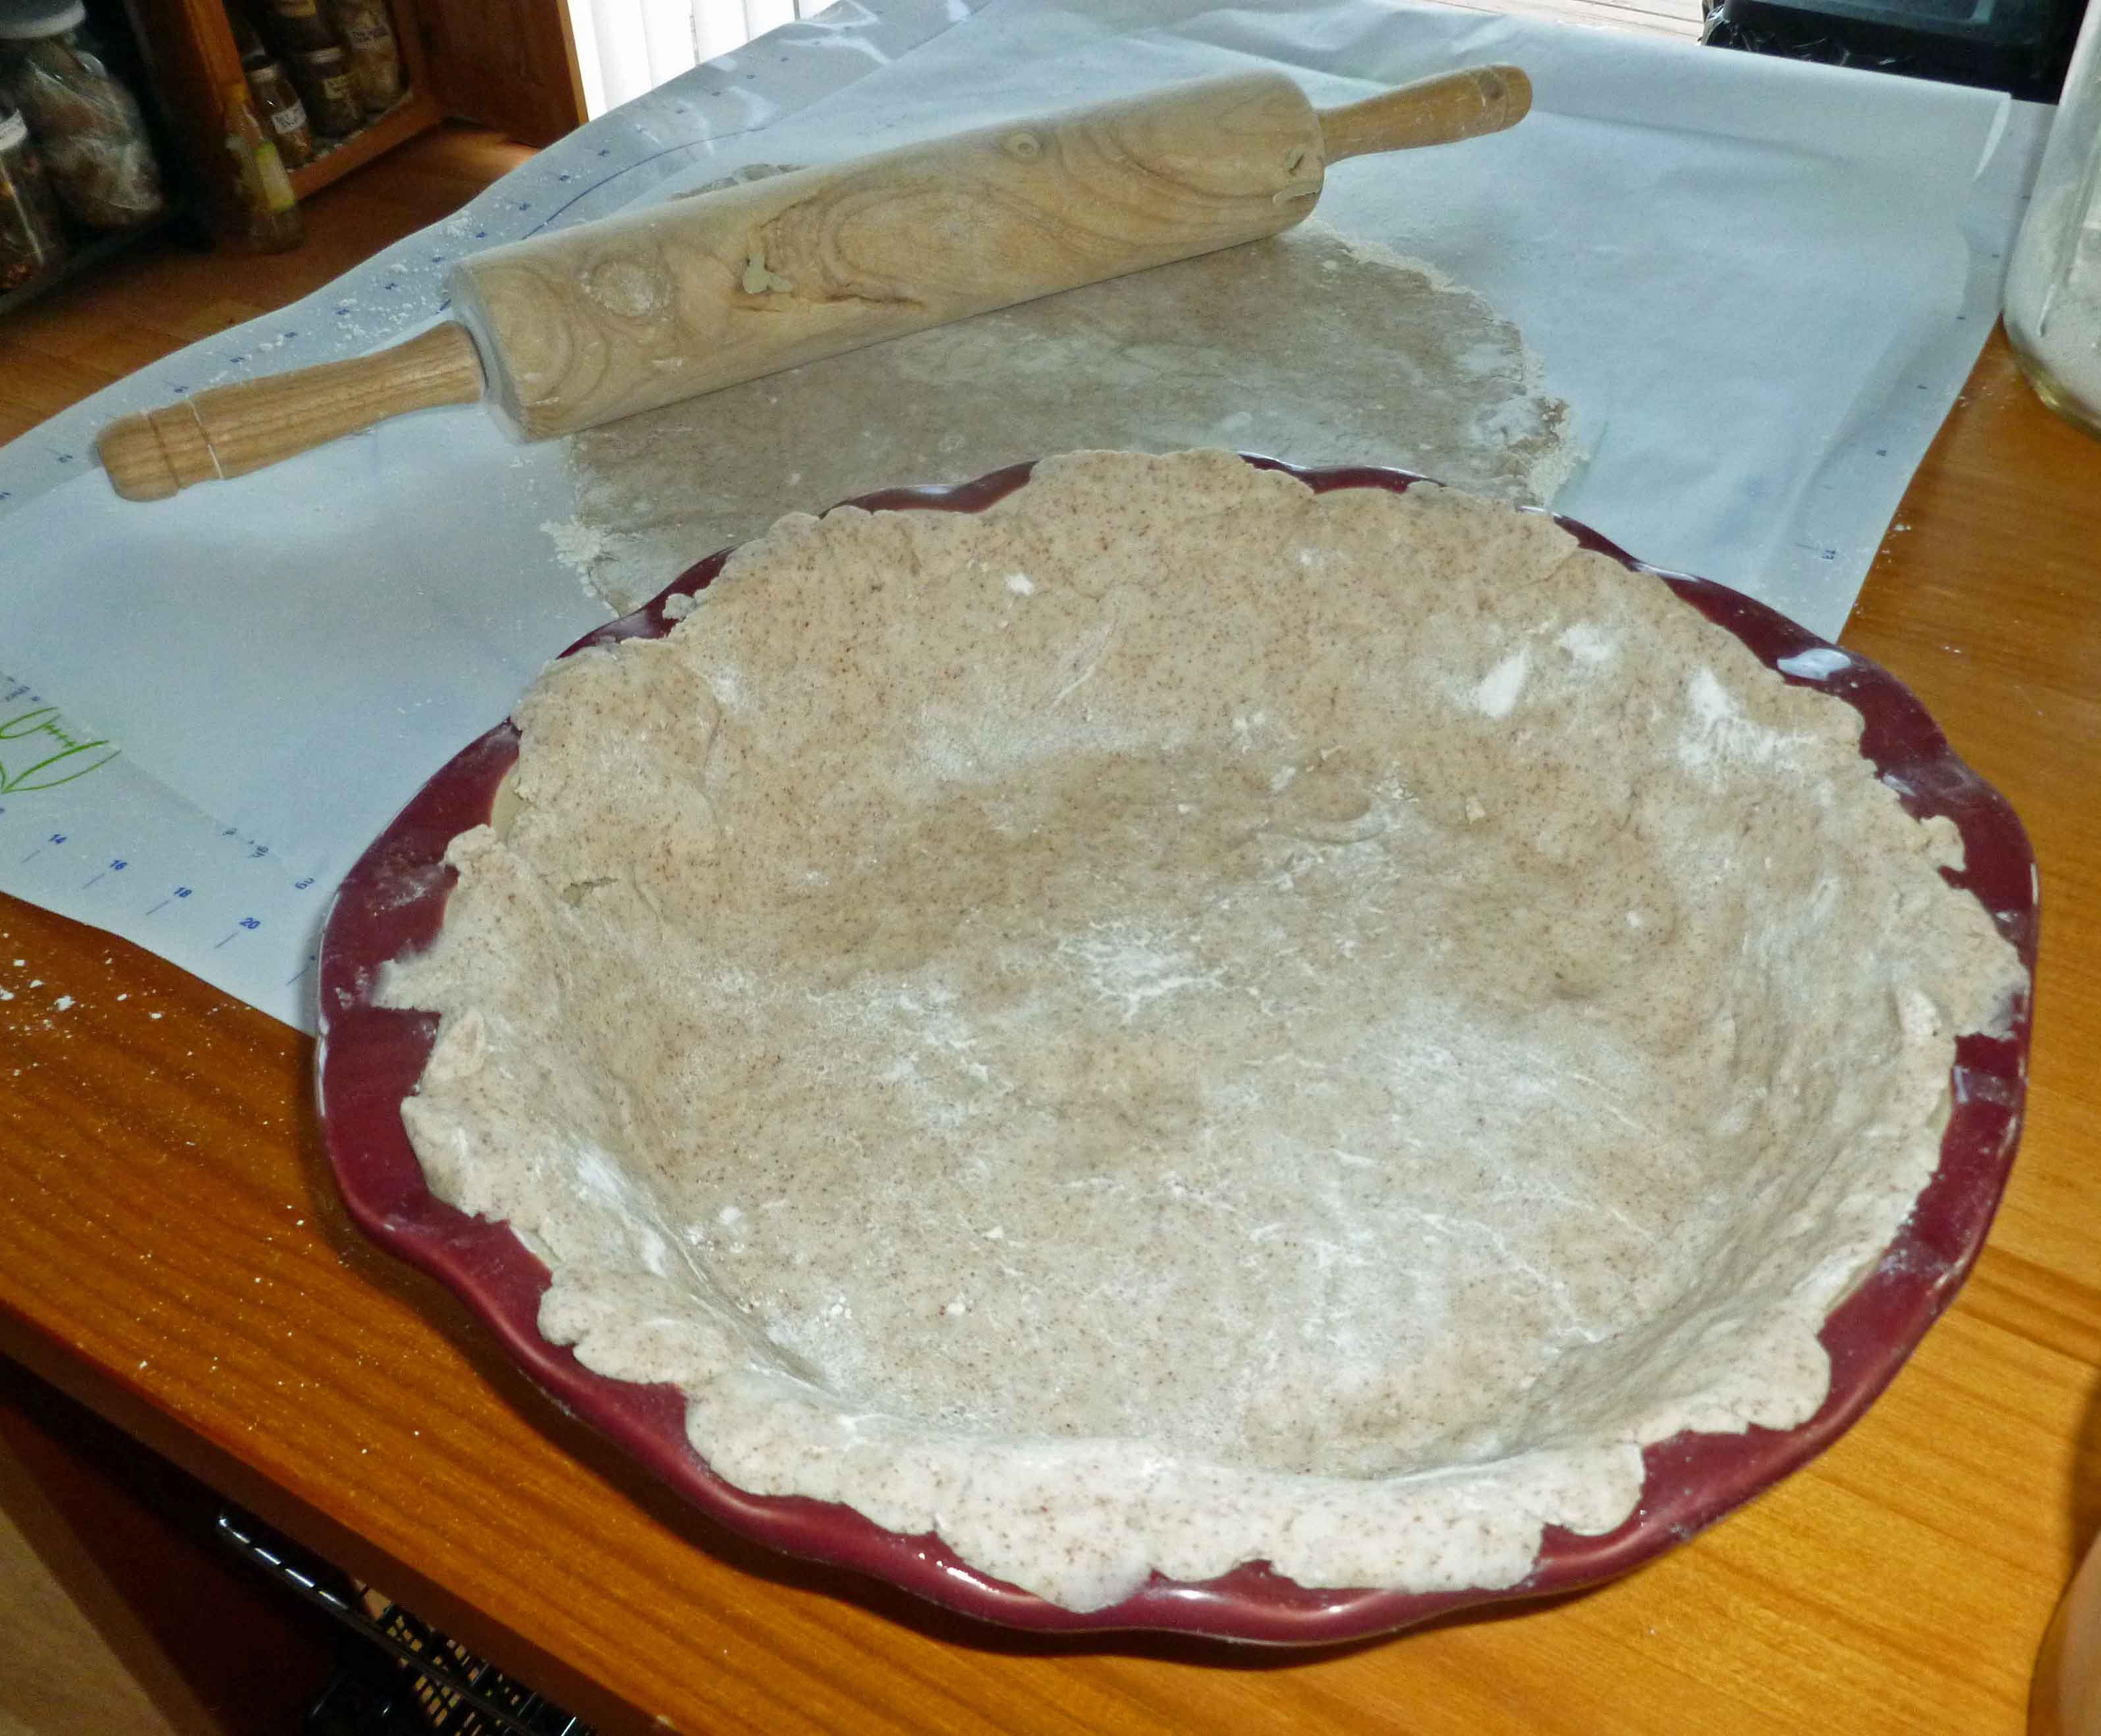
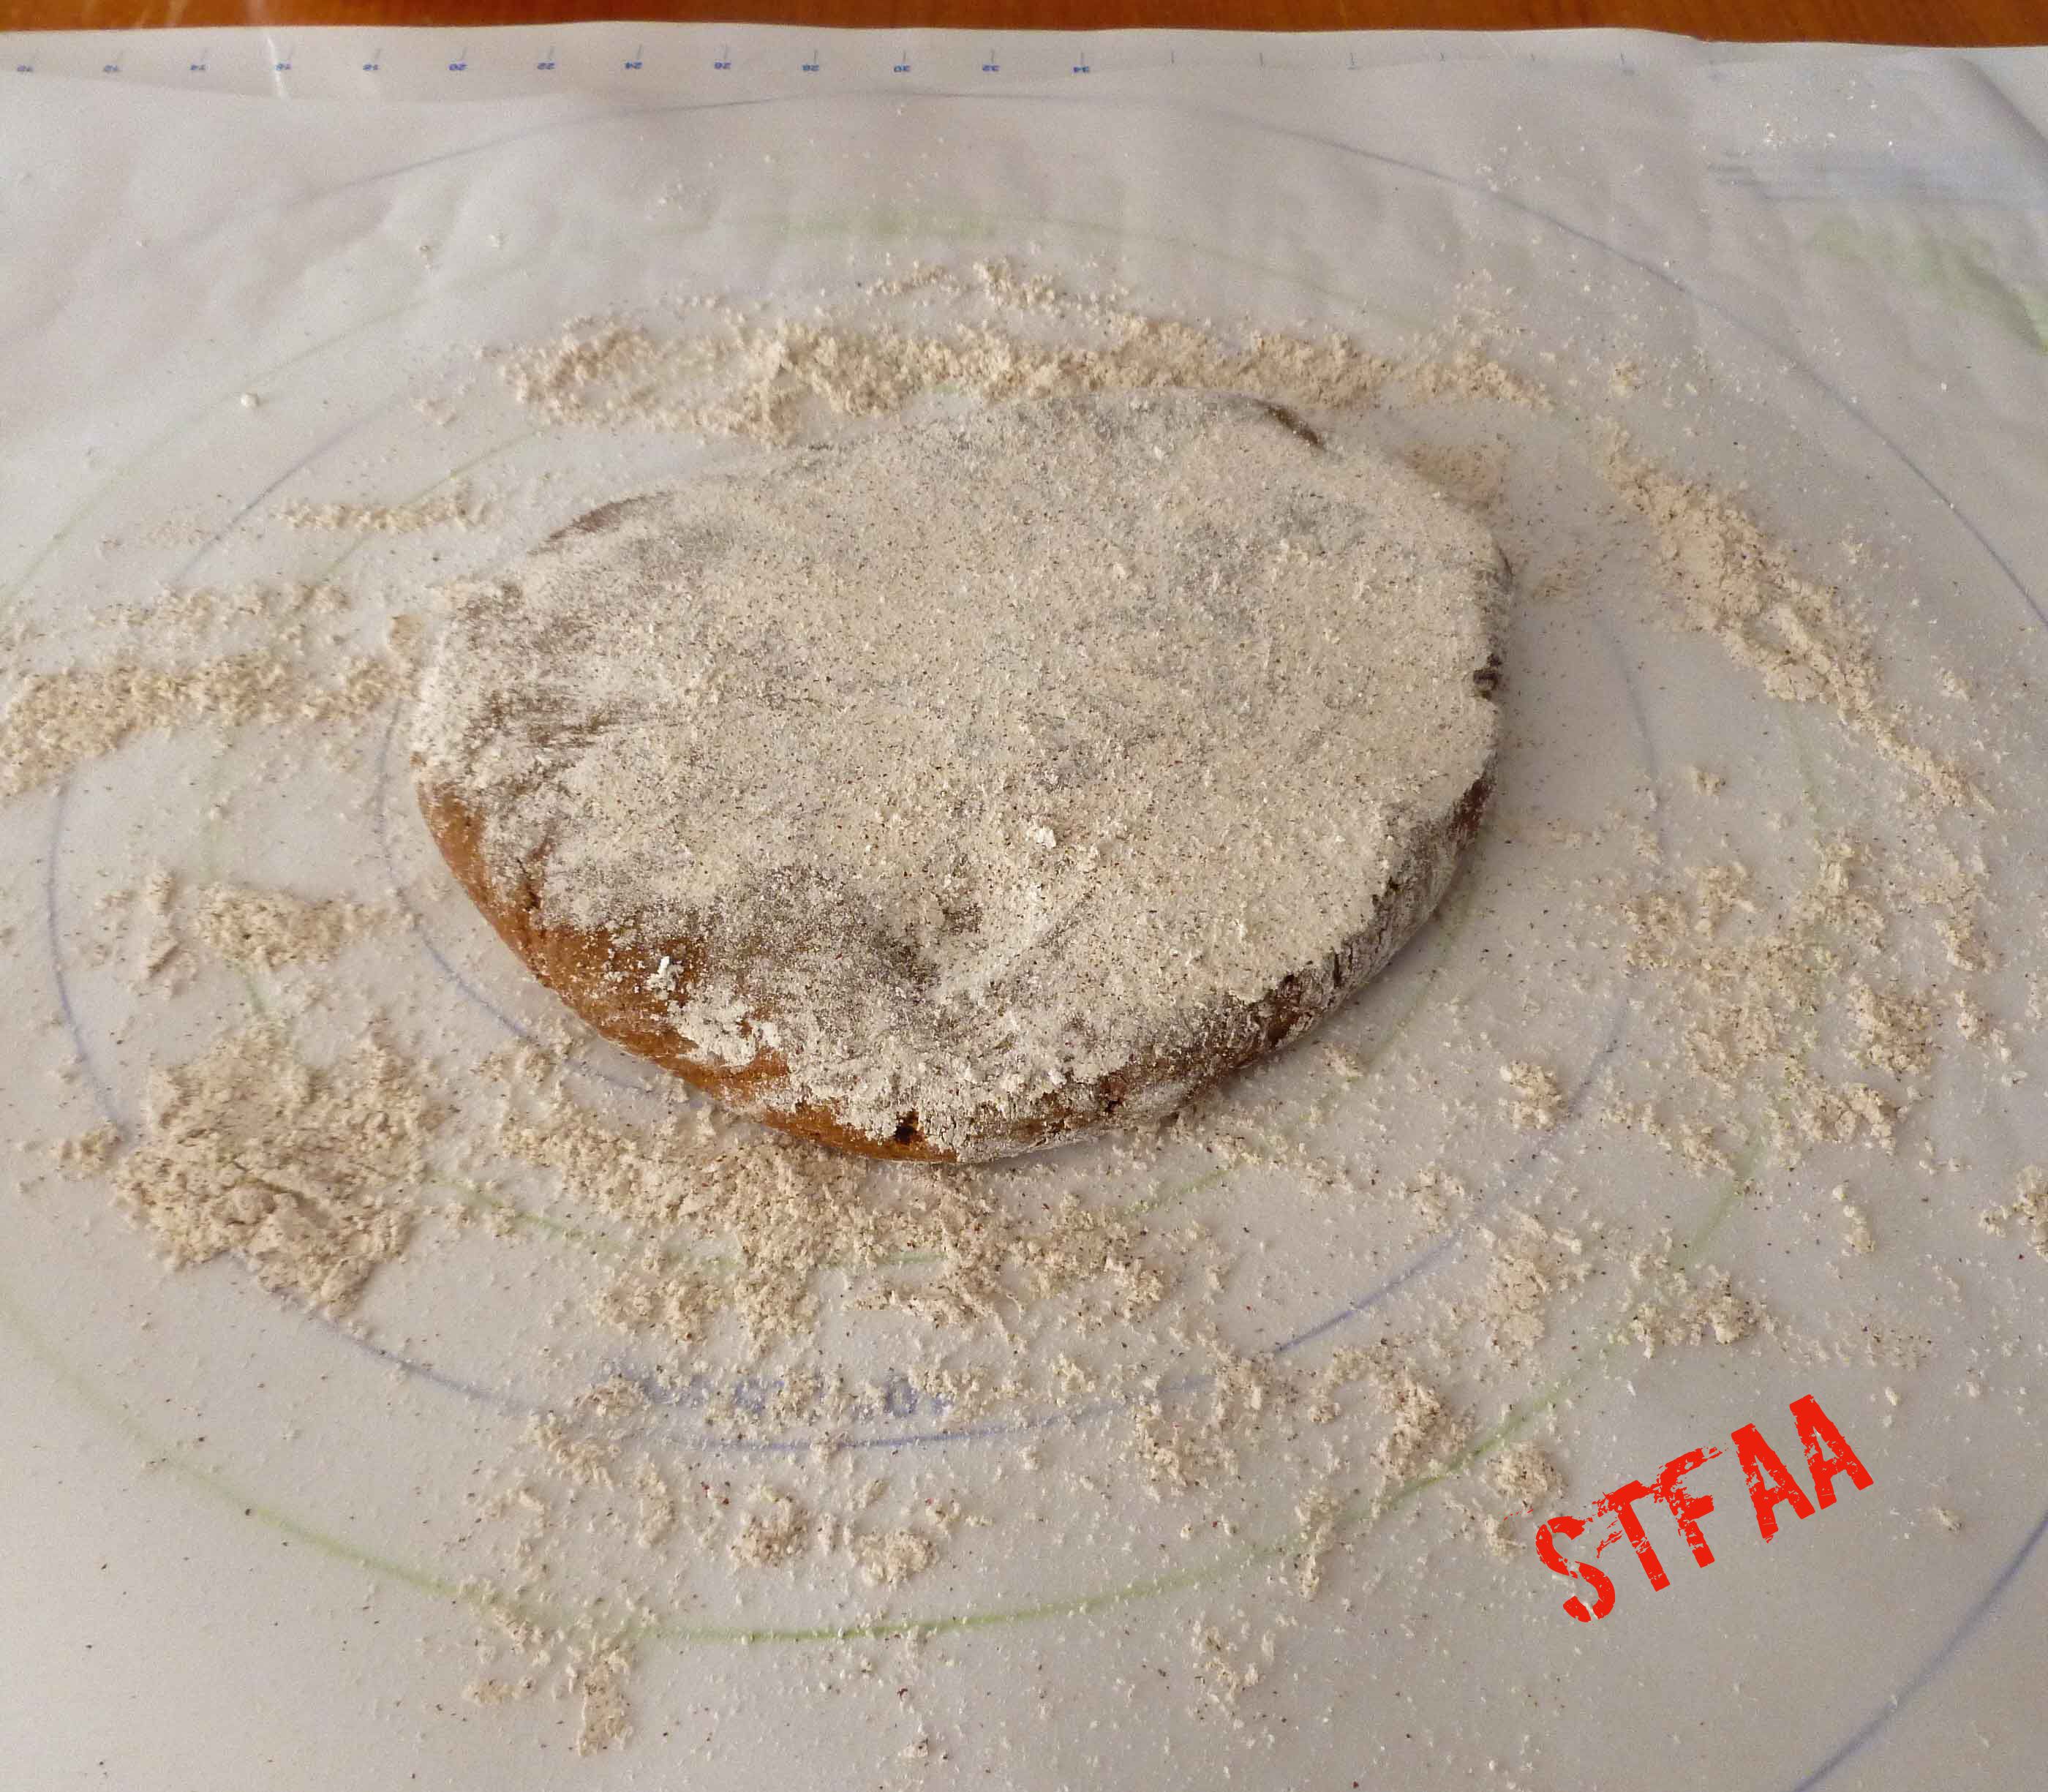
Place piece of parchment paper large enough to cover your rolling surface. Lightly flour the parchment paper with some Gluten-free, Rice-free, Potato-free flour mix, flatten the dough ball and flip it to be covered with some of the flour.
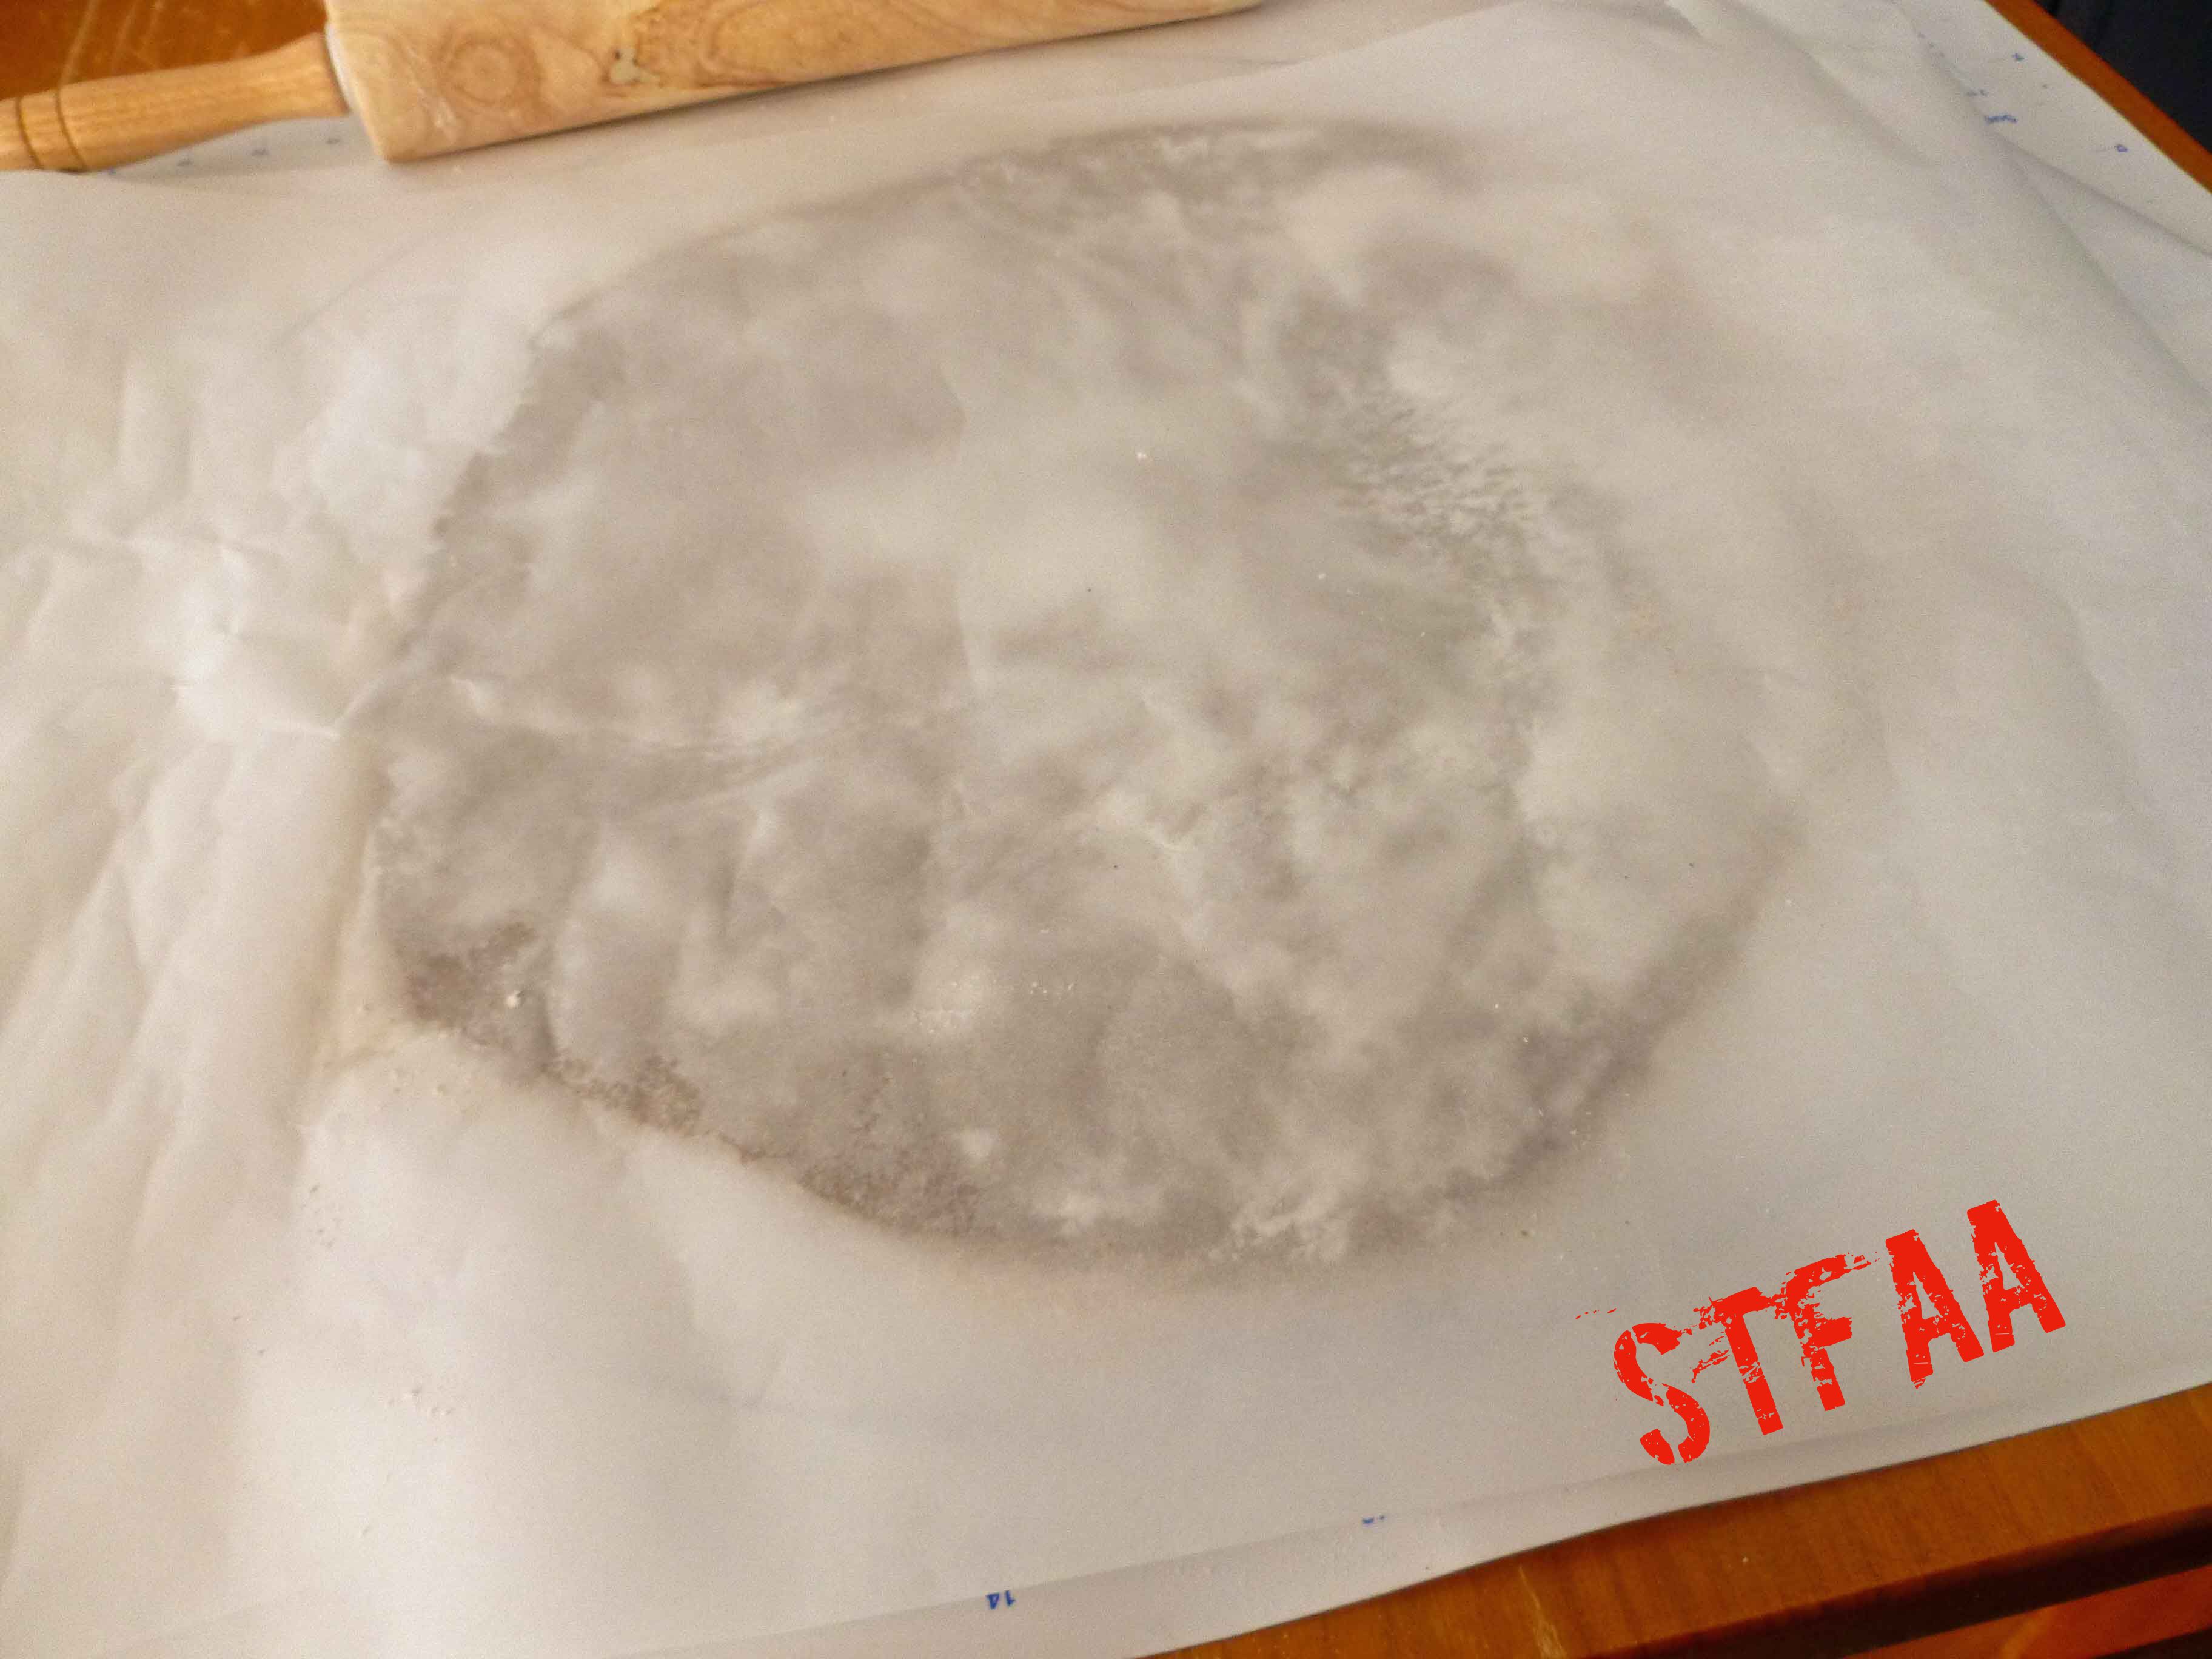
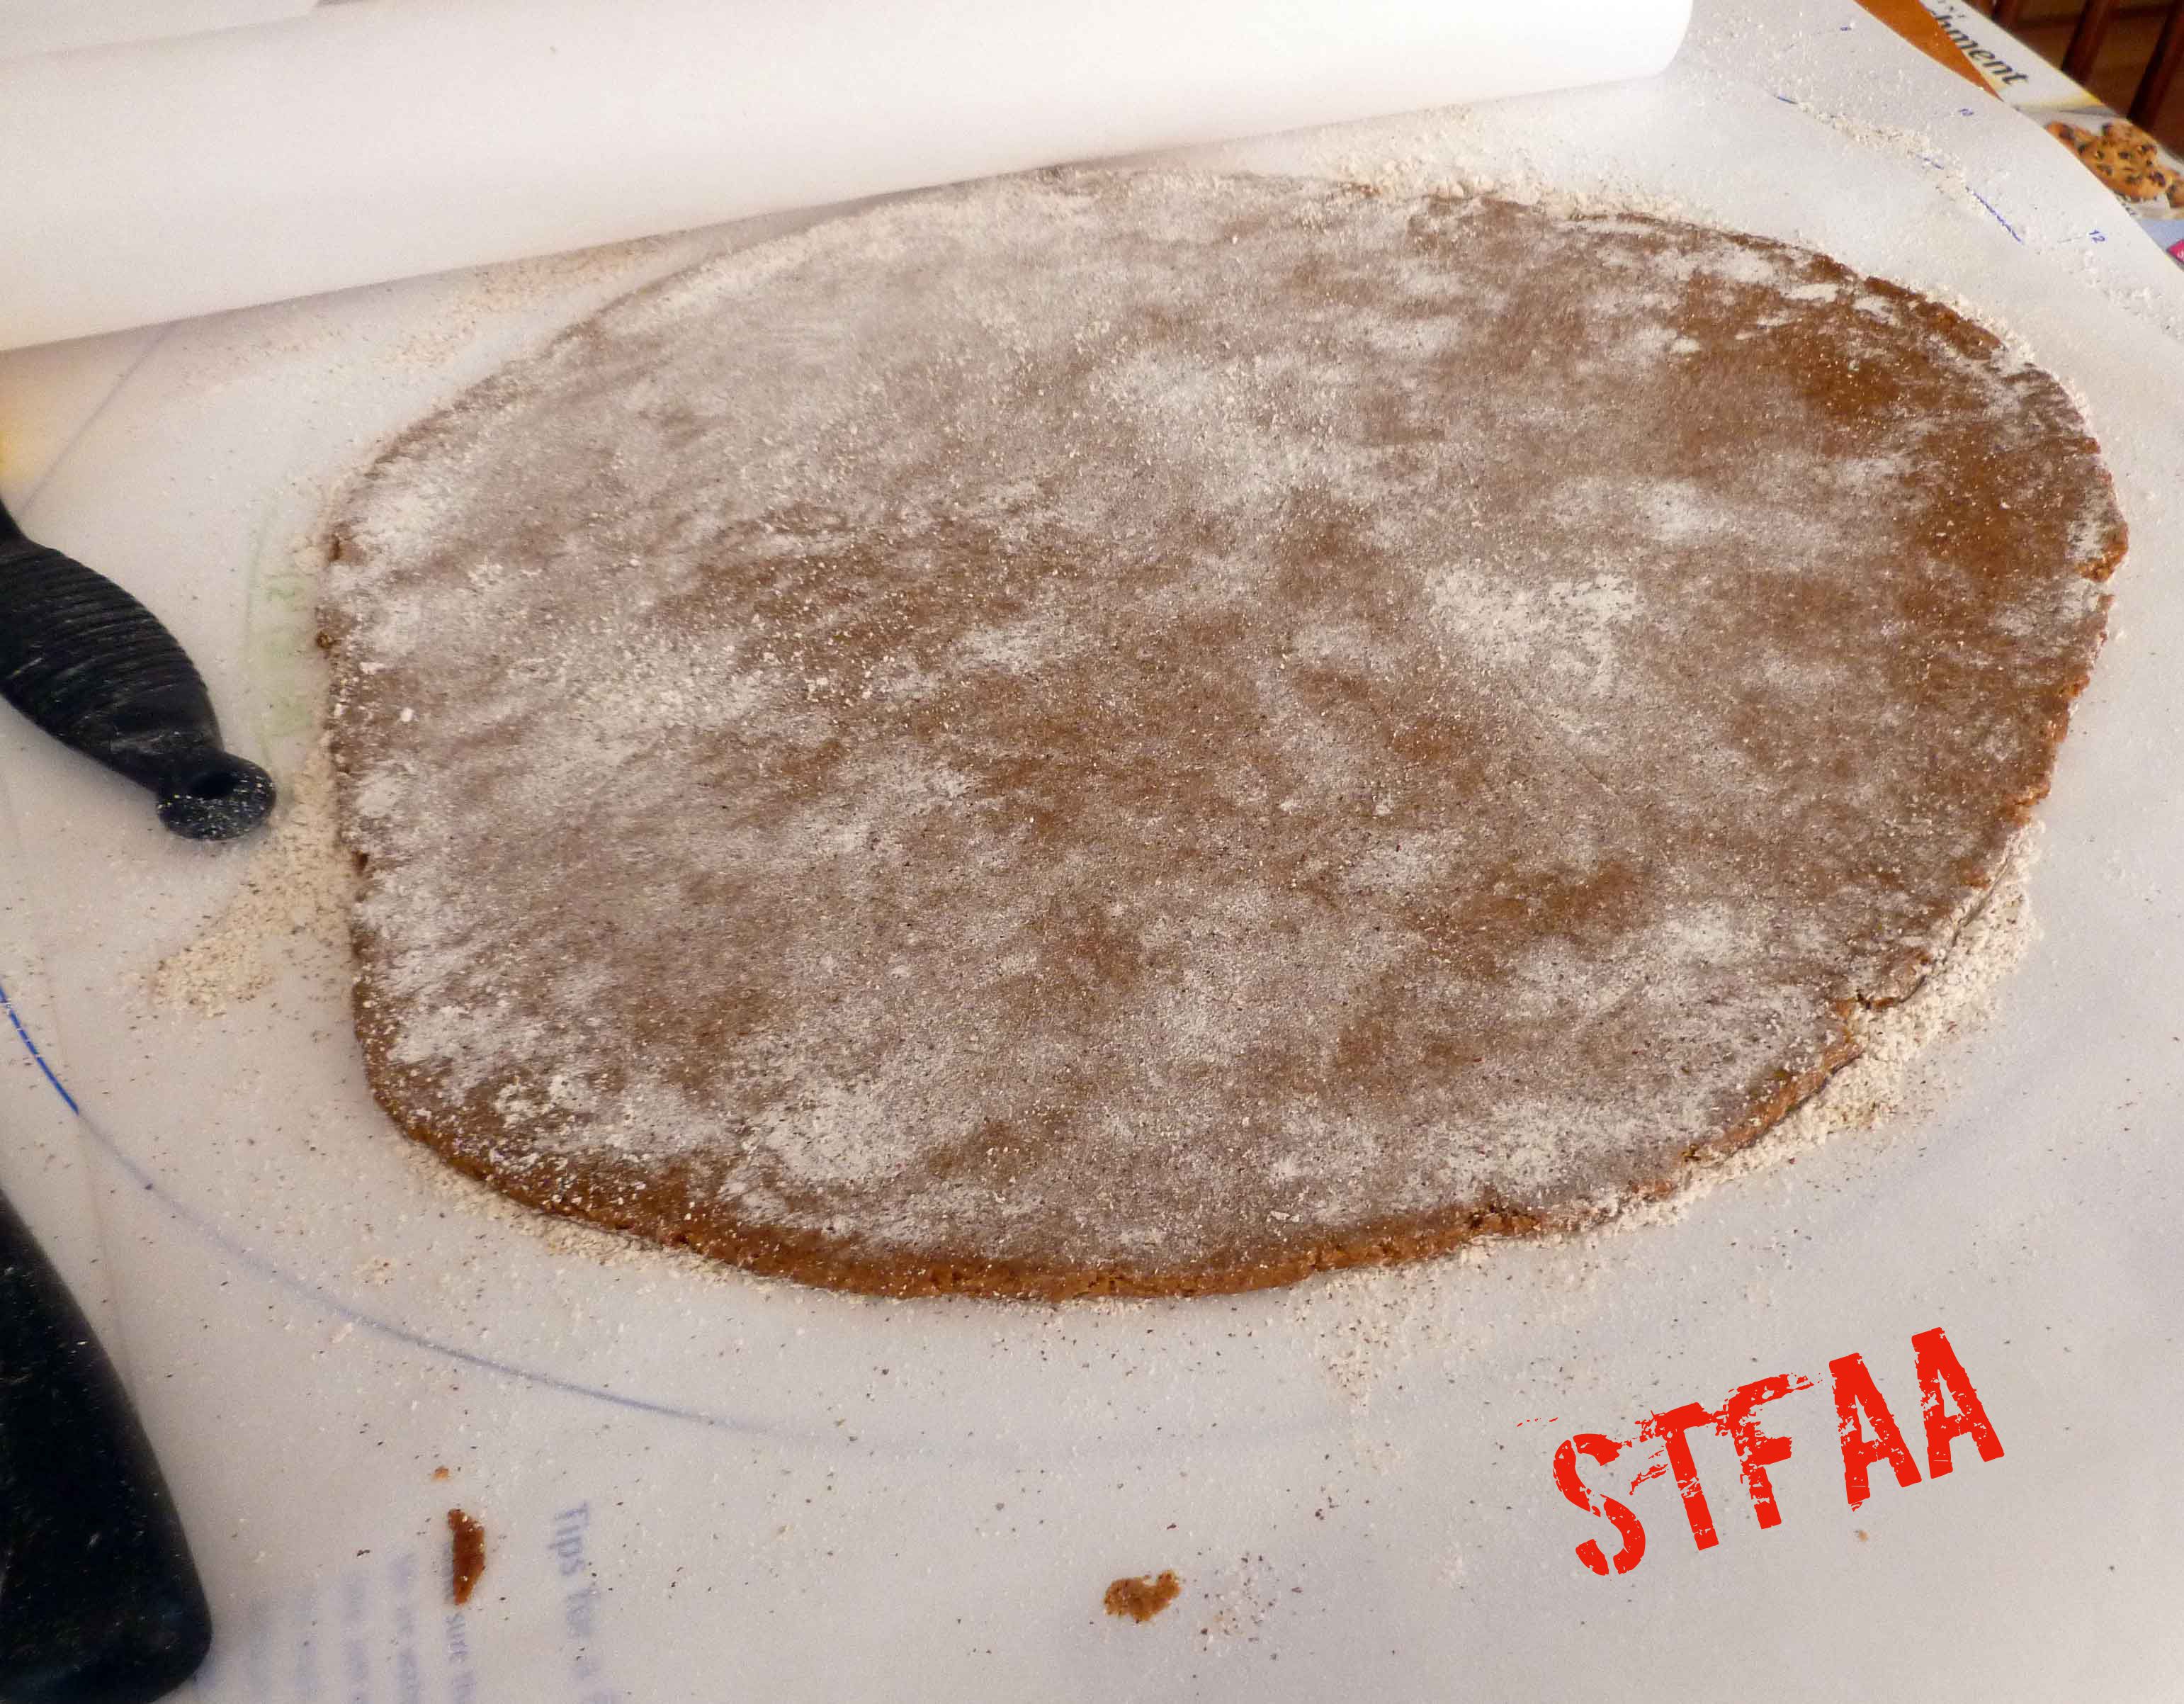
Add another piece of parchment paper on top. Roll the dough between the pieces of parchment paper to 1/8 of an inch thickness.
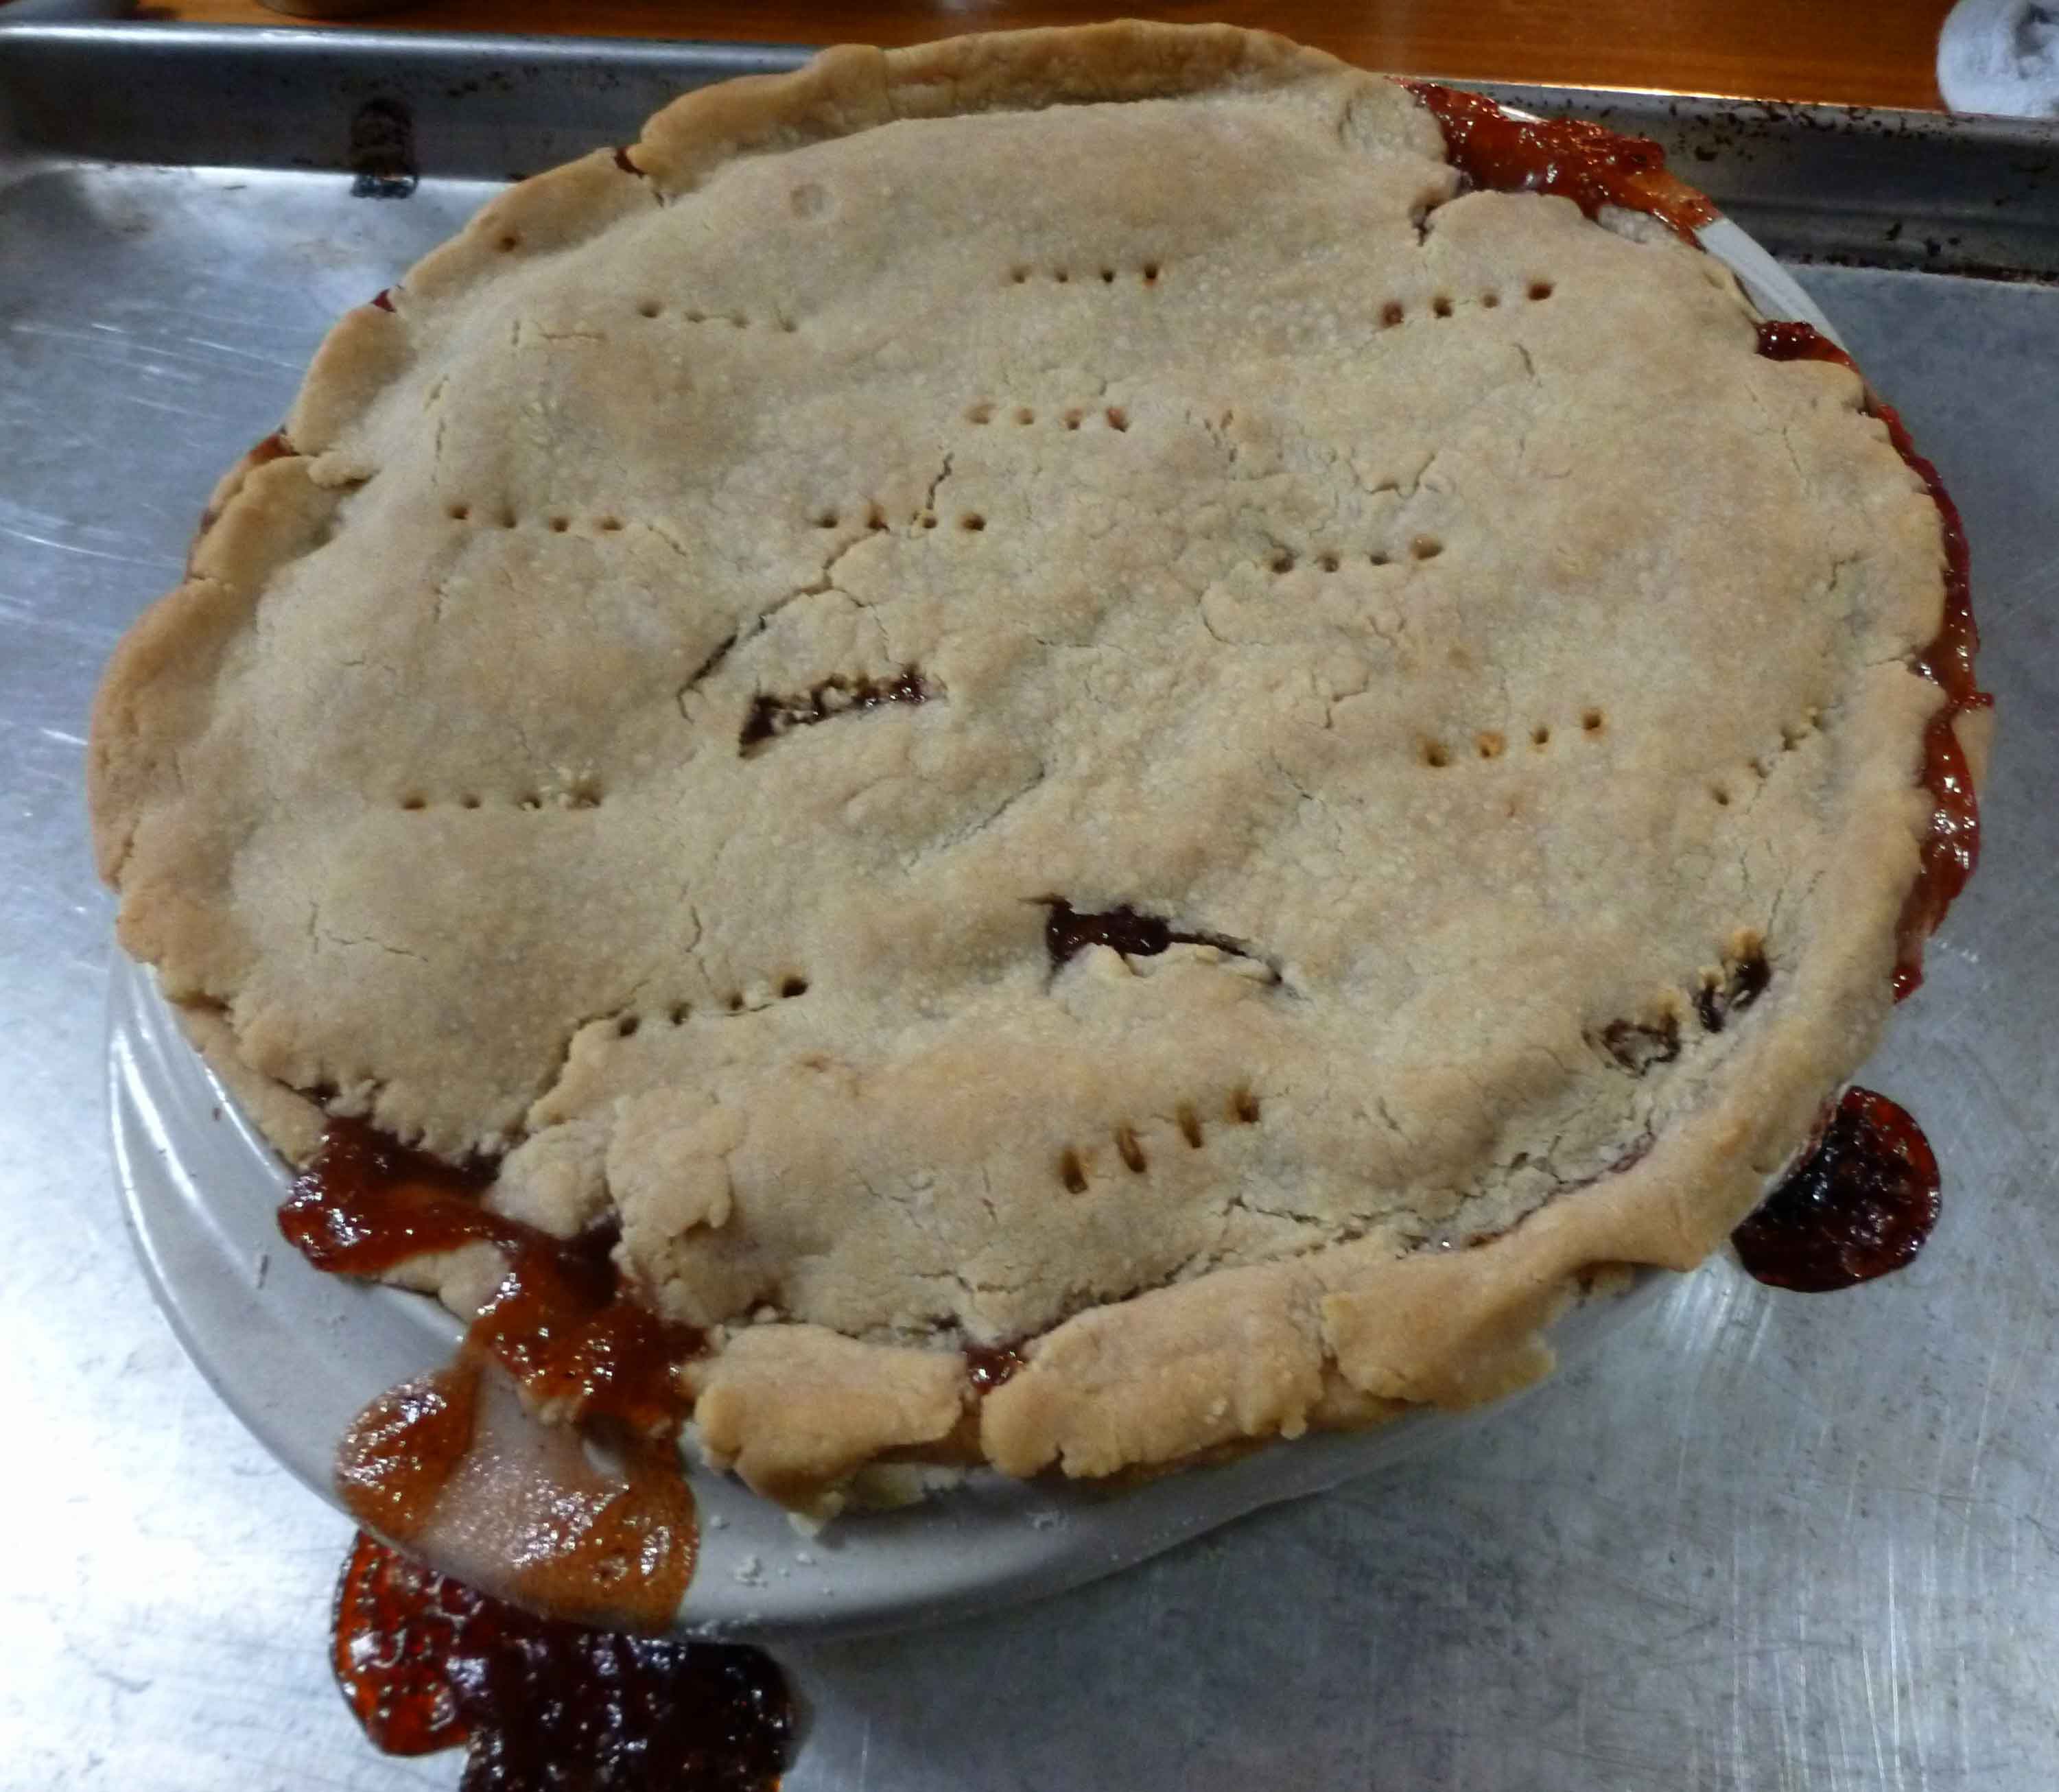
If you don’t roll the cookies thin enough, they will spread.
Cut shapes with a cookie cutter and place them 1 inch apart on the parchment covered baking sheet.

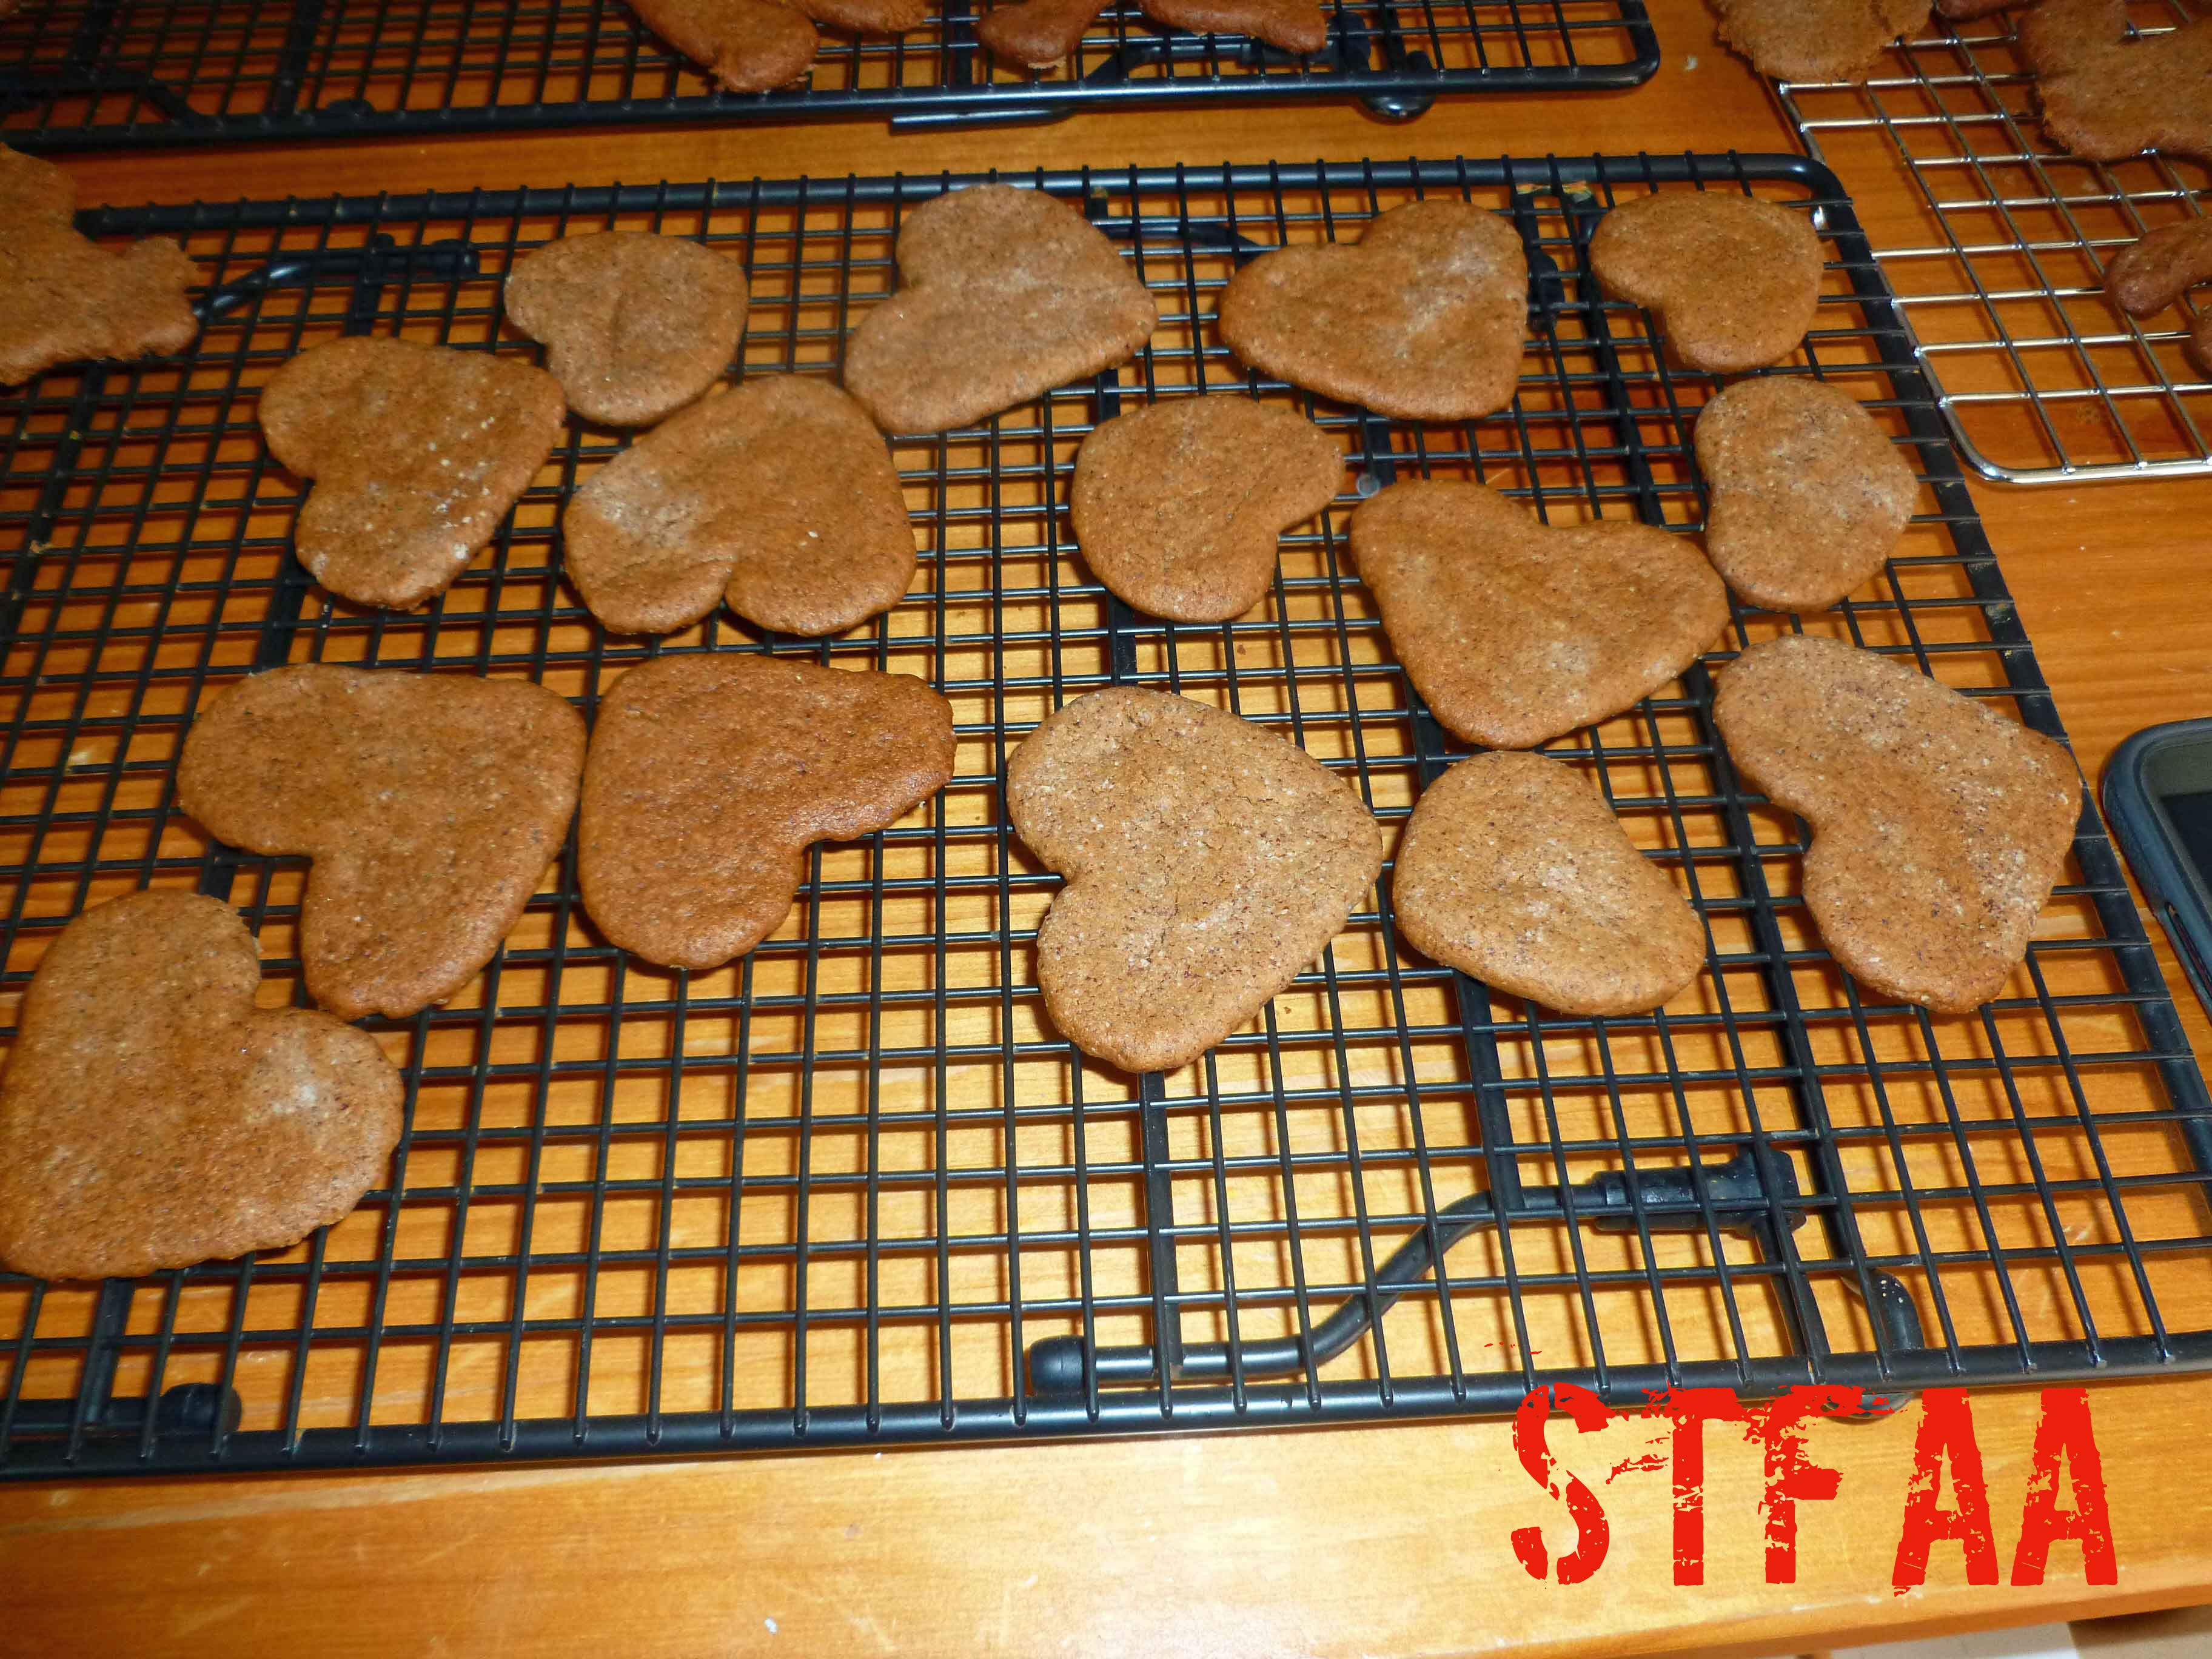
Bake 7-13 minutes (range is for a metal sheet pan to Pampered Chef stoneware, you need more time for stoneware) until the edges are lightly browned.
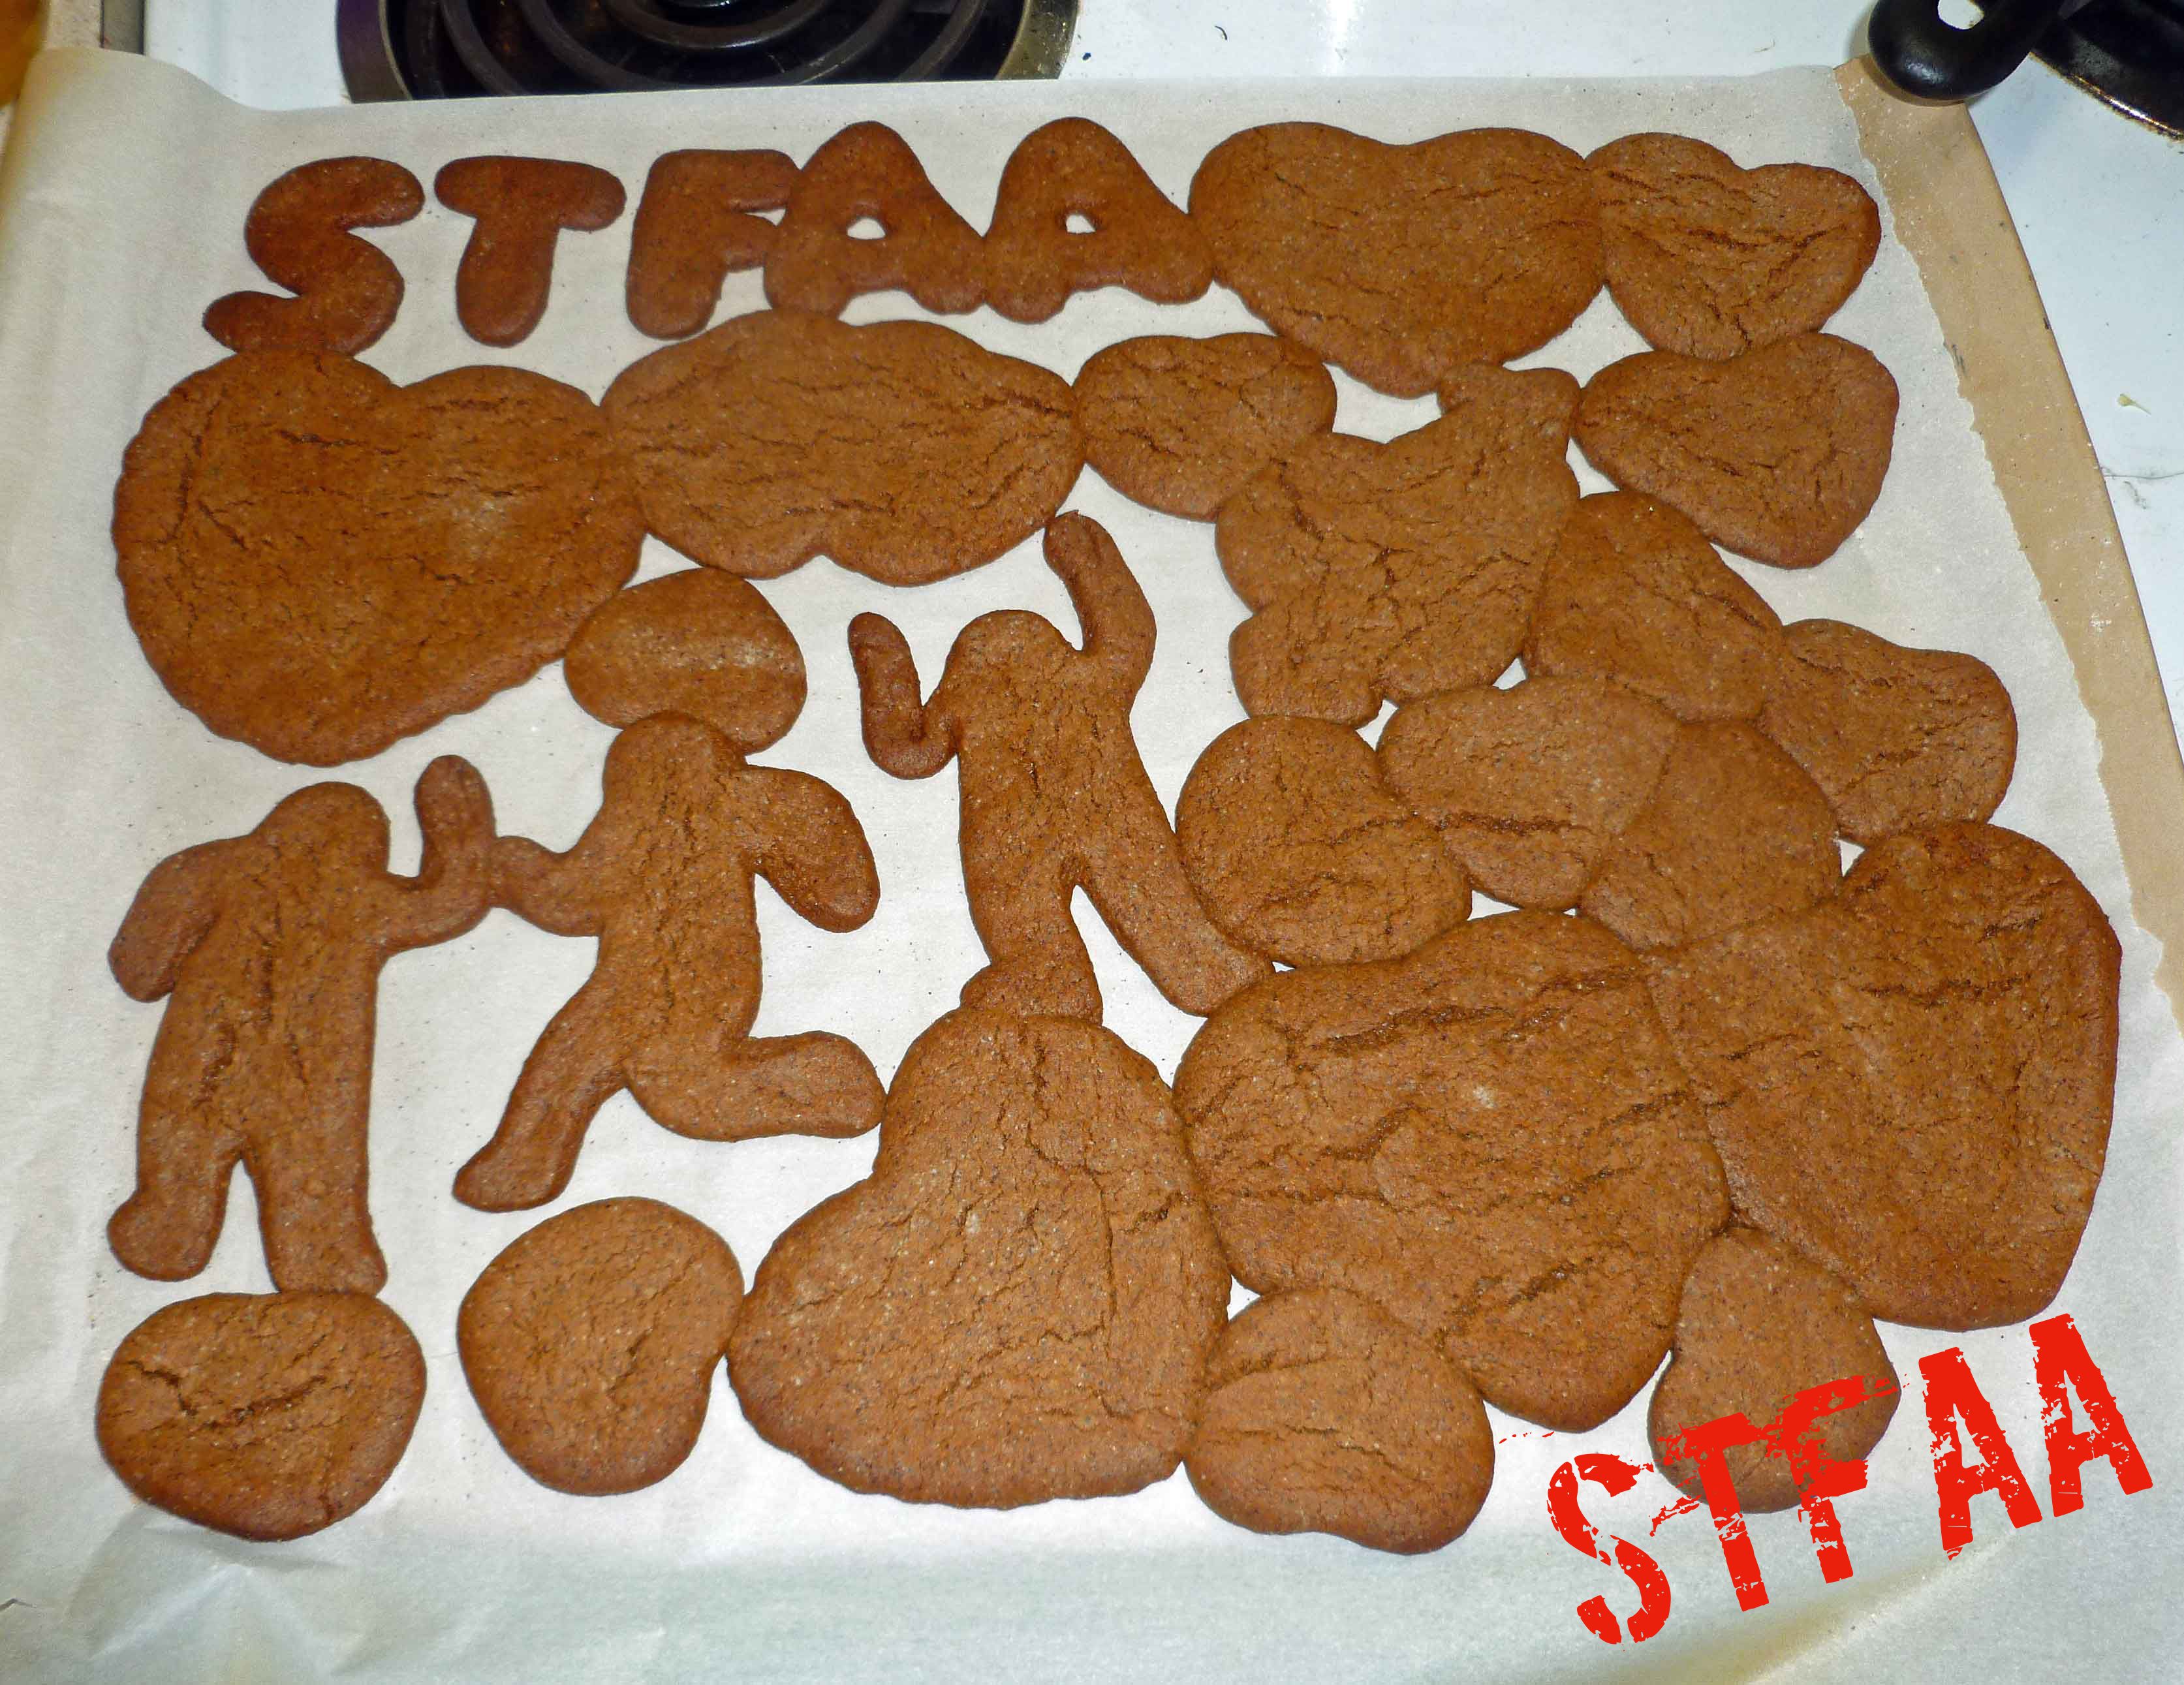
Cool on the baking sheet for 1 minute before transferring them to a wire rack.
When they are cool, it’s time to frost them. To make the Pink Royal Icing, place the powdered sugar, vanilla extract, aquafaba, and beet puree in a bowl and using a stand or electric mixer, beat ingredients until completely combined. If frosting is not firm enough, add additional powdered sugar by the teaspoon until it is.

Place the frosting in a cake decorator and frost as you wish. Enjoy!

Notice: Trying to access array offset on value of type bool in /home/maryzahc/public_html/adultfoodallergies.com/wp-content/plugins/wp-ultimate-recipe/helpers/models/recipe.php on line 254
- 1 1/4 cup powdered sugar
- 1/4 tsp vanilla extract
- 1 tbsp aquafaba
- 1 tsp beet puree (To make puree, either use canned or fresh cooked beets and puree them in a blender)
- Place powdered sugar, vanilla extract, aquafaba, and beet puree in a bowl and using a stand or electric mixer, beat ingredients until completely combined. If frosting is not firm enough, add additional powdered sugar by the teaspoon until it is.