Notice: Function _load_textdomain_just_in_time was called incorrectly. Translation loading for the wp-ultimate-recipe domain was triggered too early. This is usually an indicator for some code in the plugin or theme running too early. Translations should be loaded at the init action or later. Please see Debugging in WordPress for more information. (This message was added in version 6.7.0.) in /home/maryzahc/public_html/adultfoodallergies.com/wp-includes/functions.php on line 6131 denisedaniel – Page 3 – surviving the food allergy apocalypse (archive)
So, it’s warmer here in New Hampshire than it normally is. There’s been no hard freeze. So I still have apples on trees that are usable. Therefore, the apple apocalypse continues. Since I am drowning in apples, guess what? I decided to incorporate apples into comfort food month. Fried food is also in the pantheon of my comfort food personal universe. So what else could I do, but try to fry some apples?
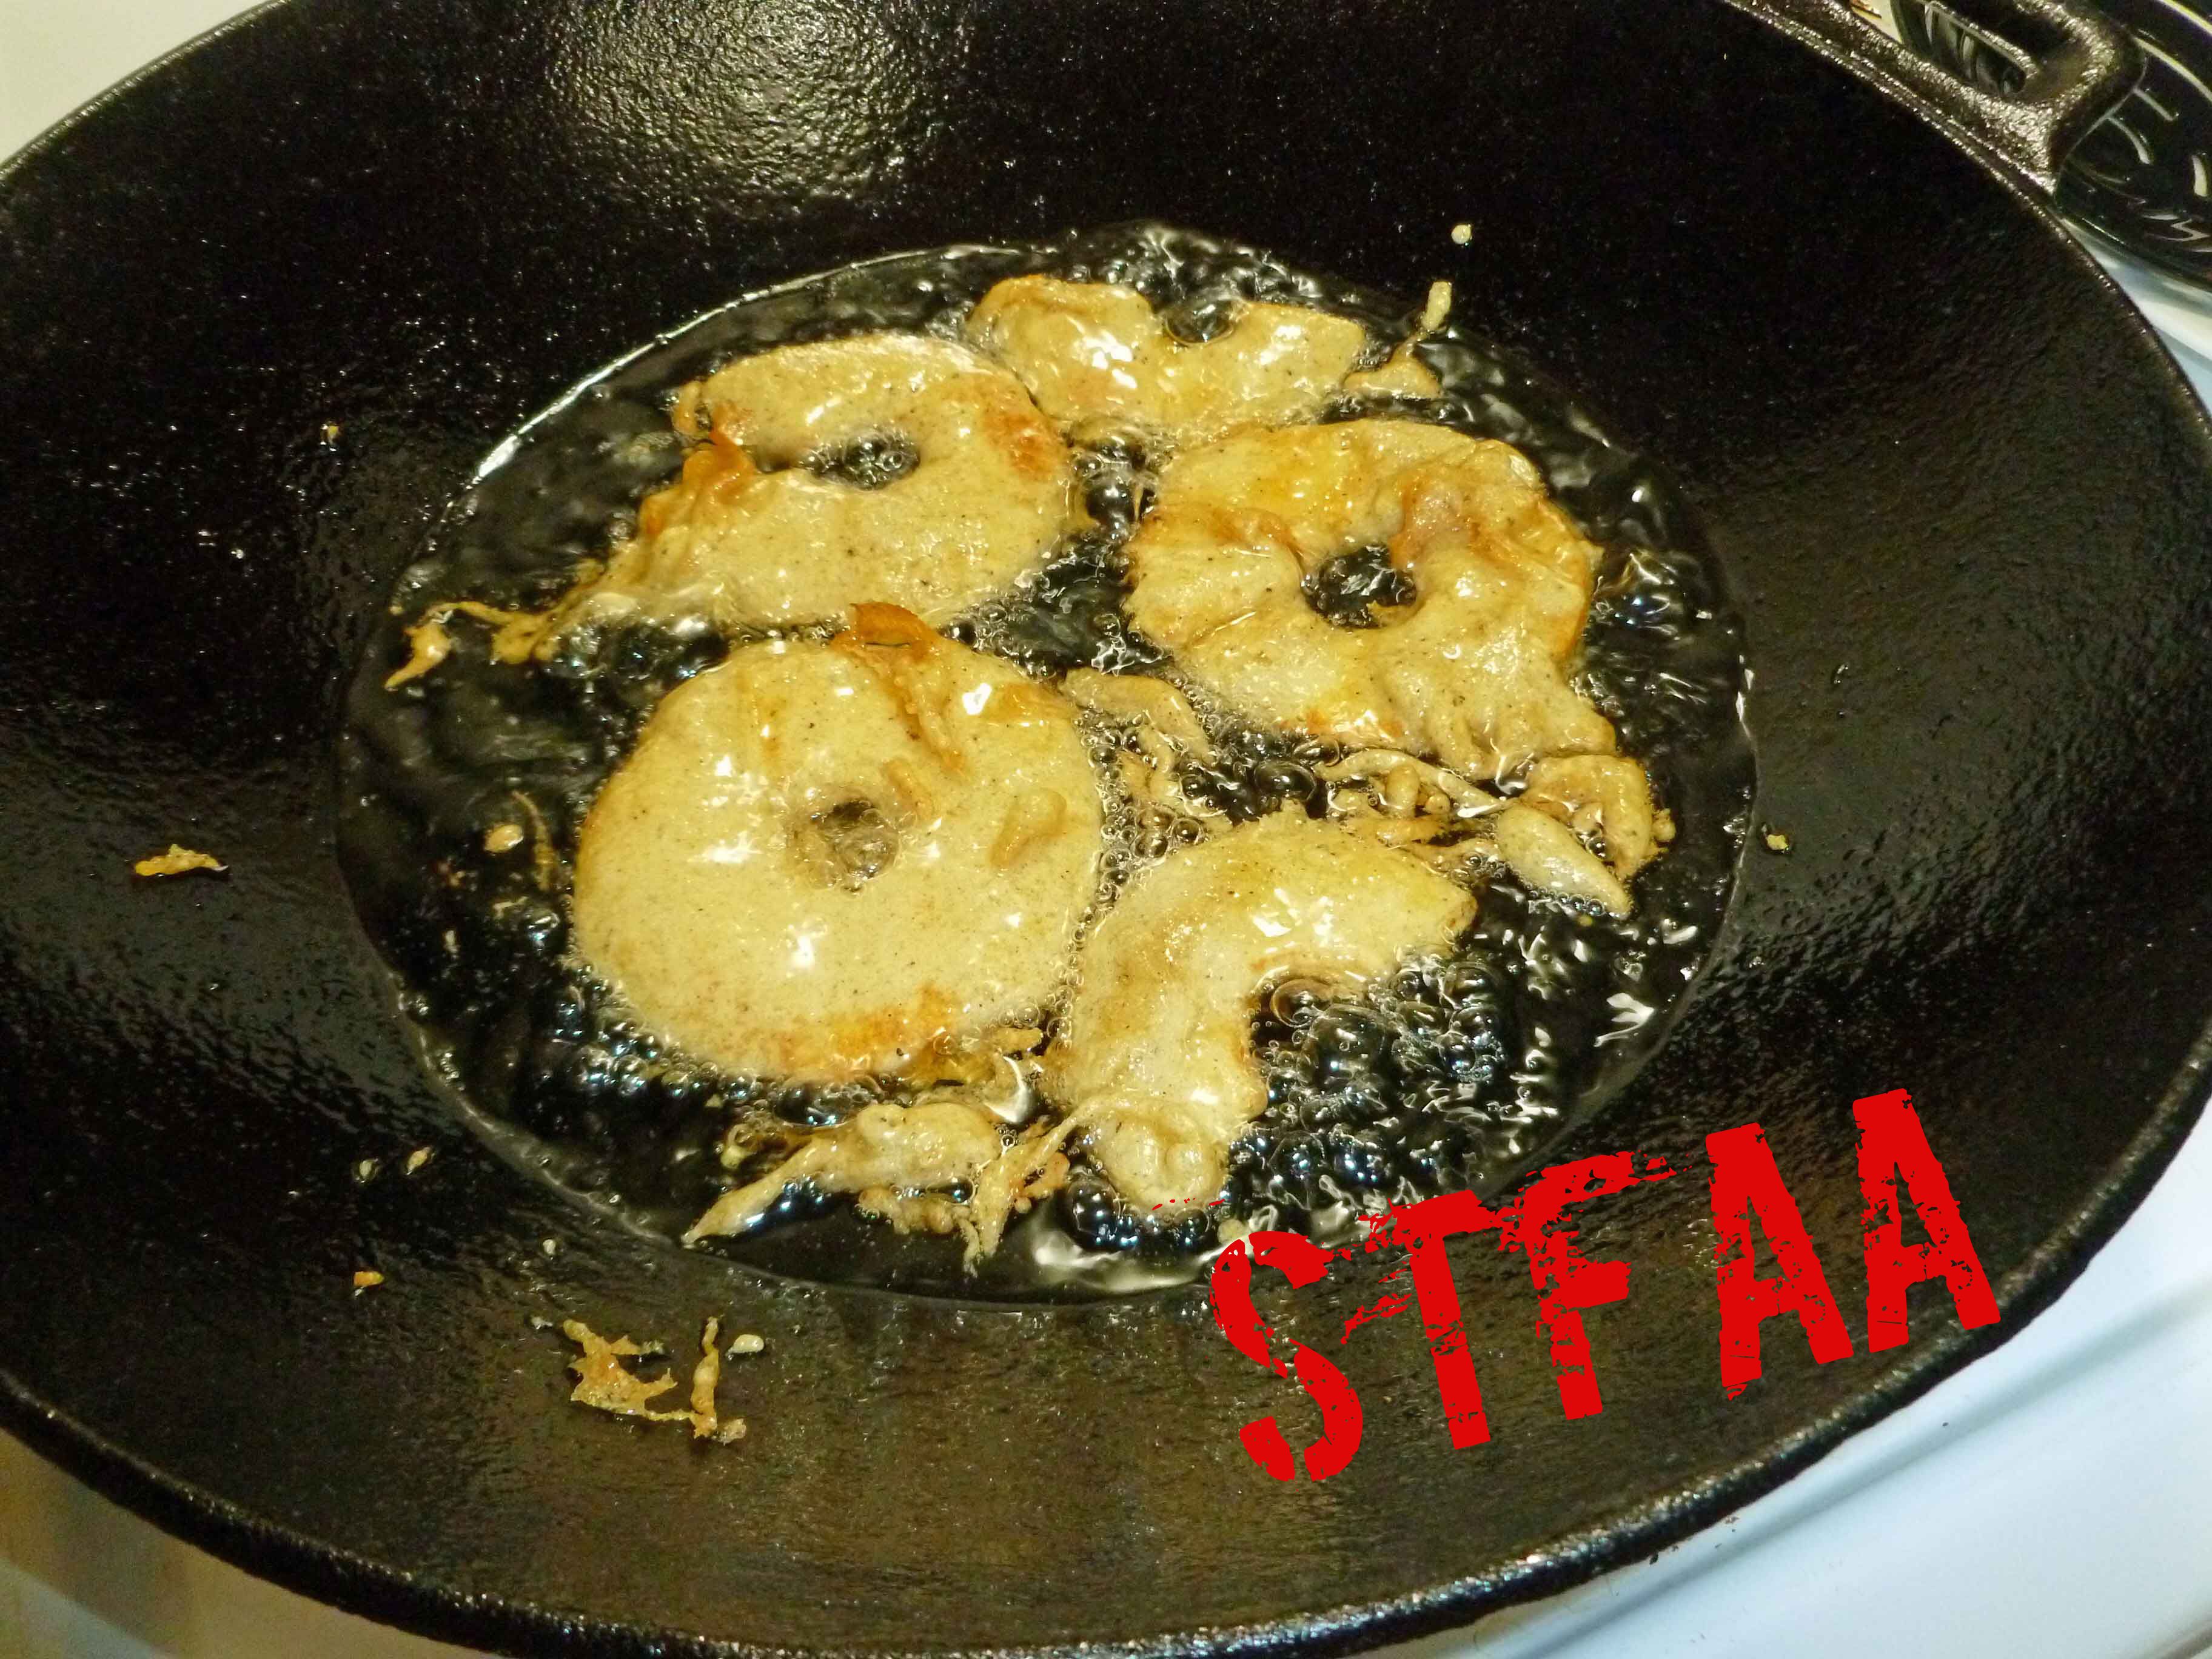
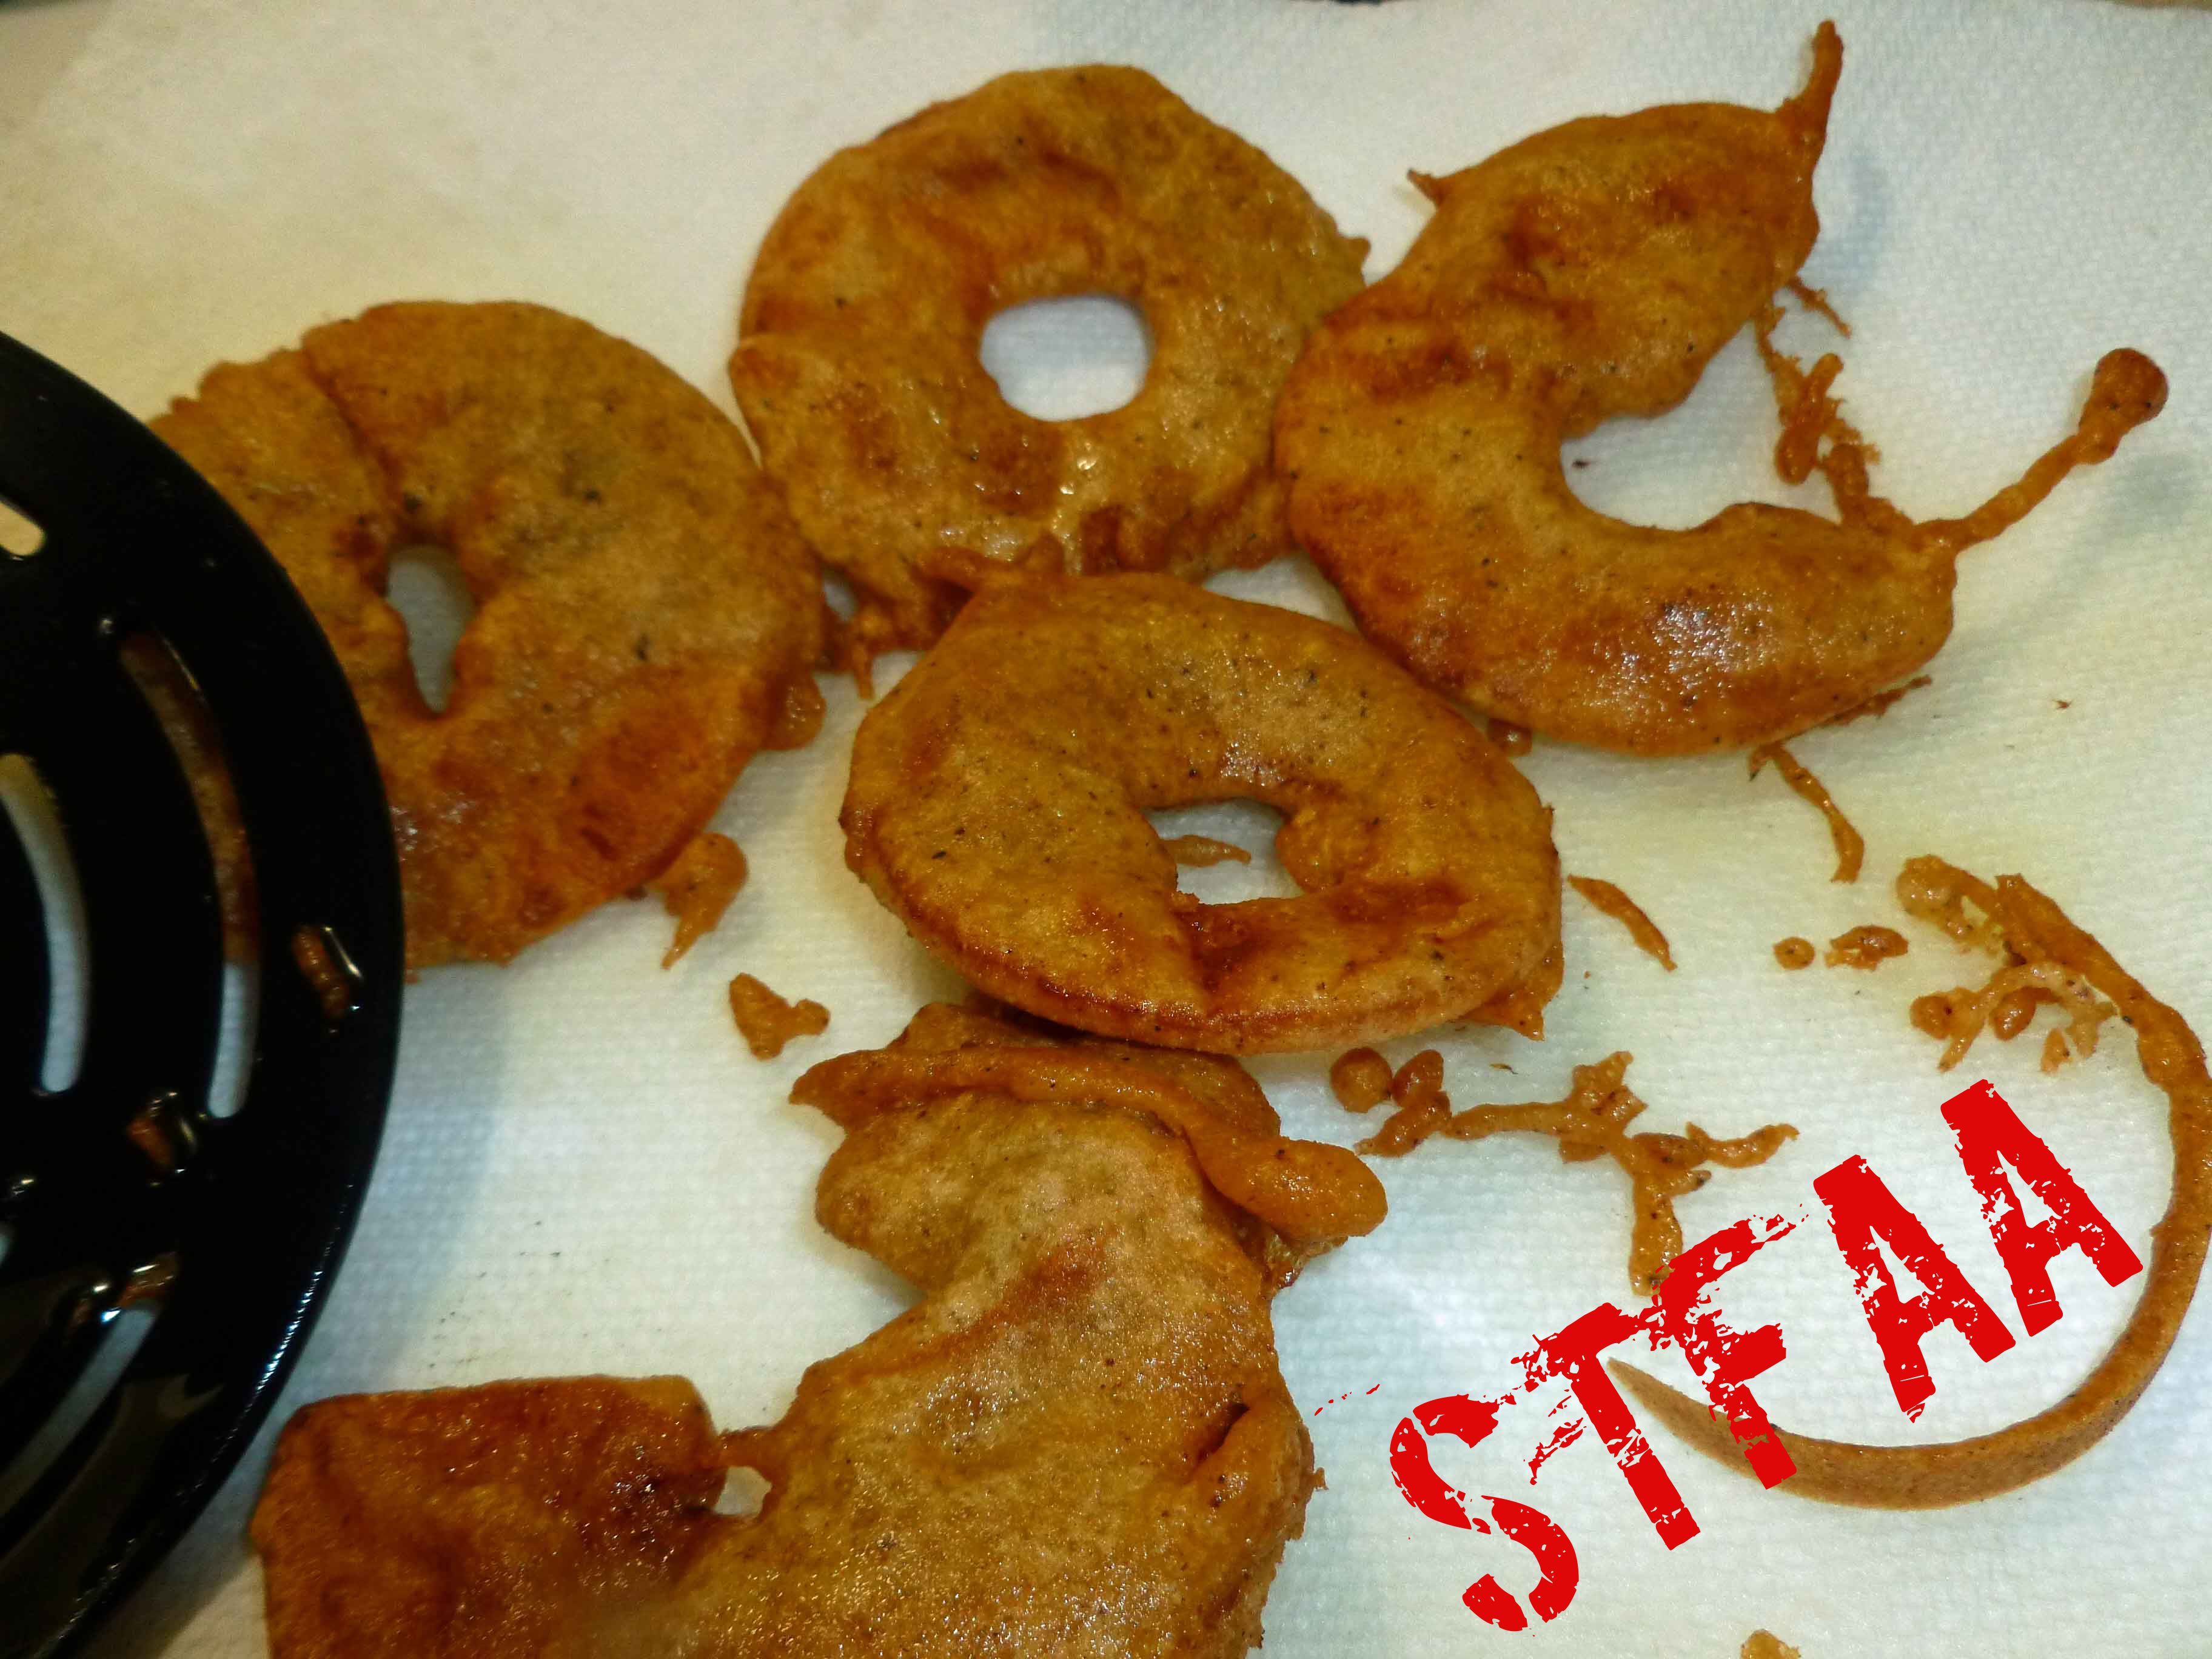
I added some pie spices to the batter to make the batter less like an onion ring, and dusted them with powdered sugar, because it’s reminiscent of another comfort food, fried dough (still haven’t managed a safe recipe that’s edible). I use a cast iron wok to fry them because it uses less oil. If you make a big batch and have leftovers, they warmed up well in the oven at 350°F for about 20 minutes after being in the fridge overnight, so I imagine they would freeze well also.
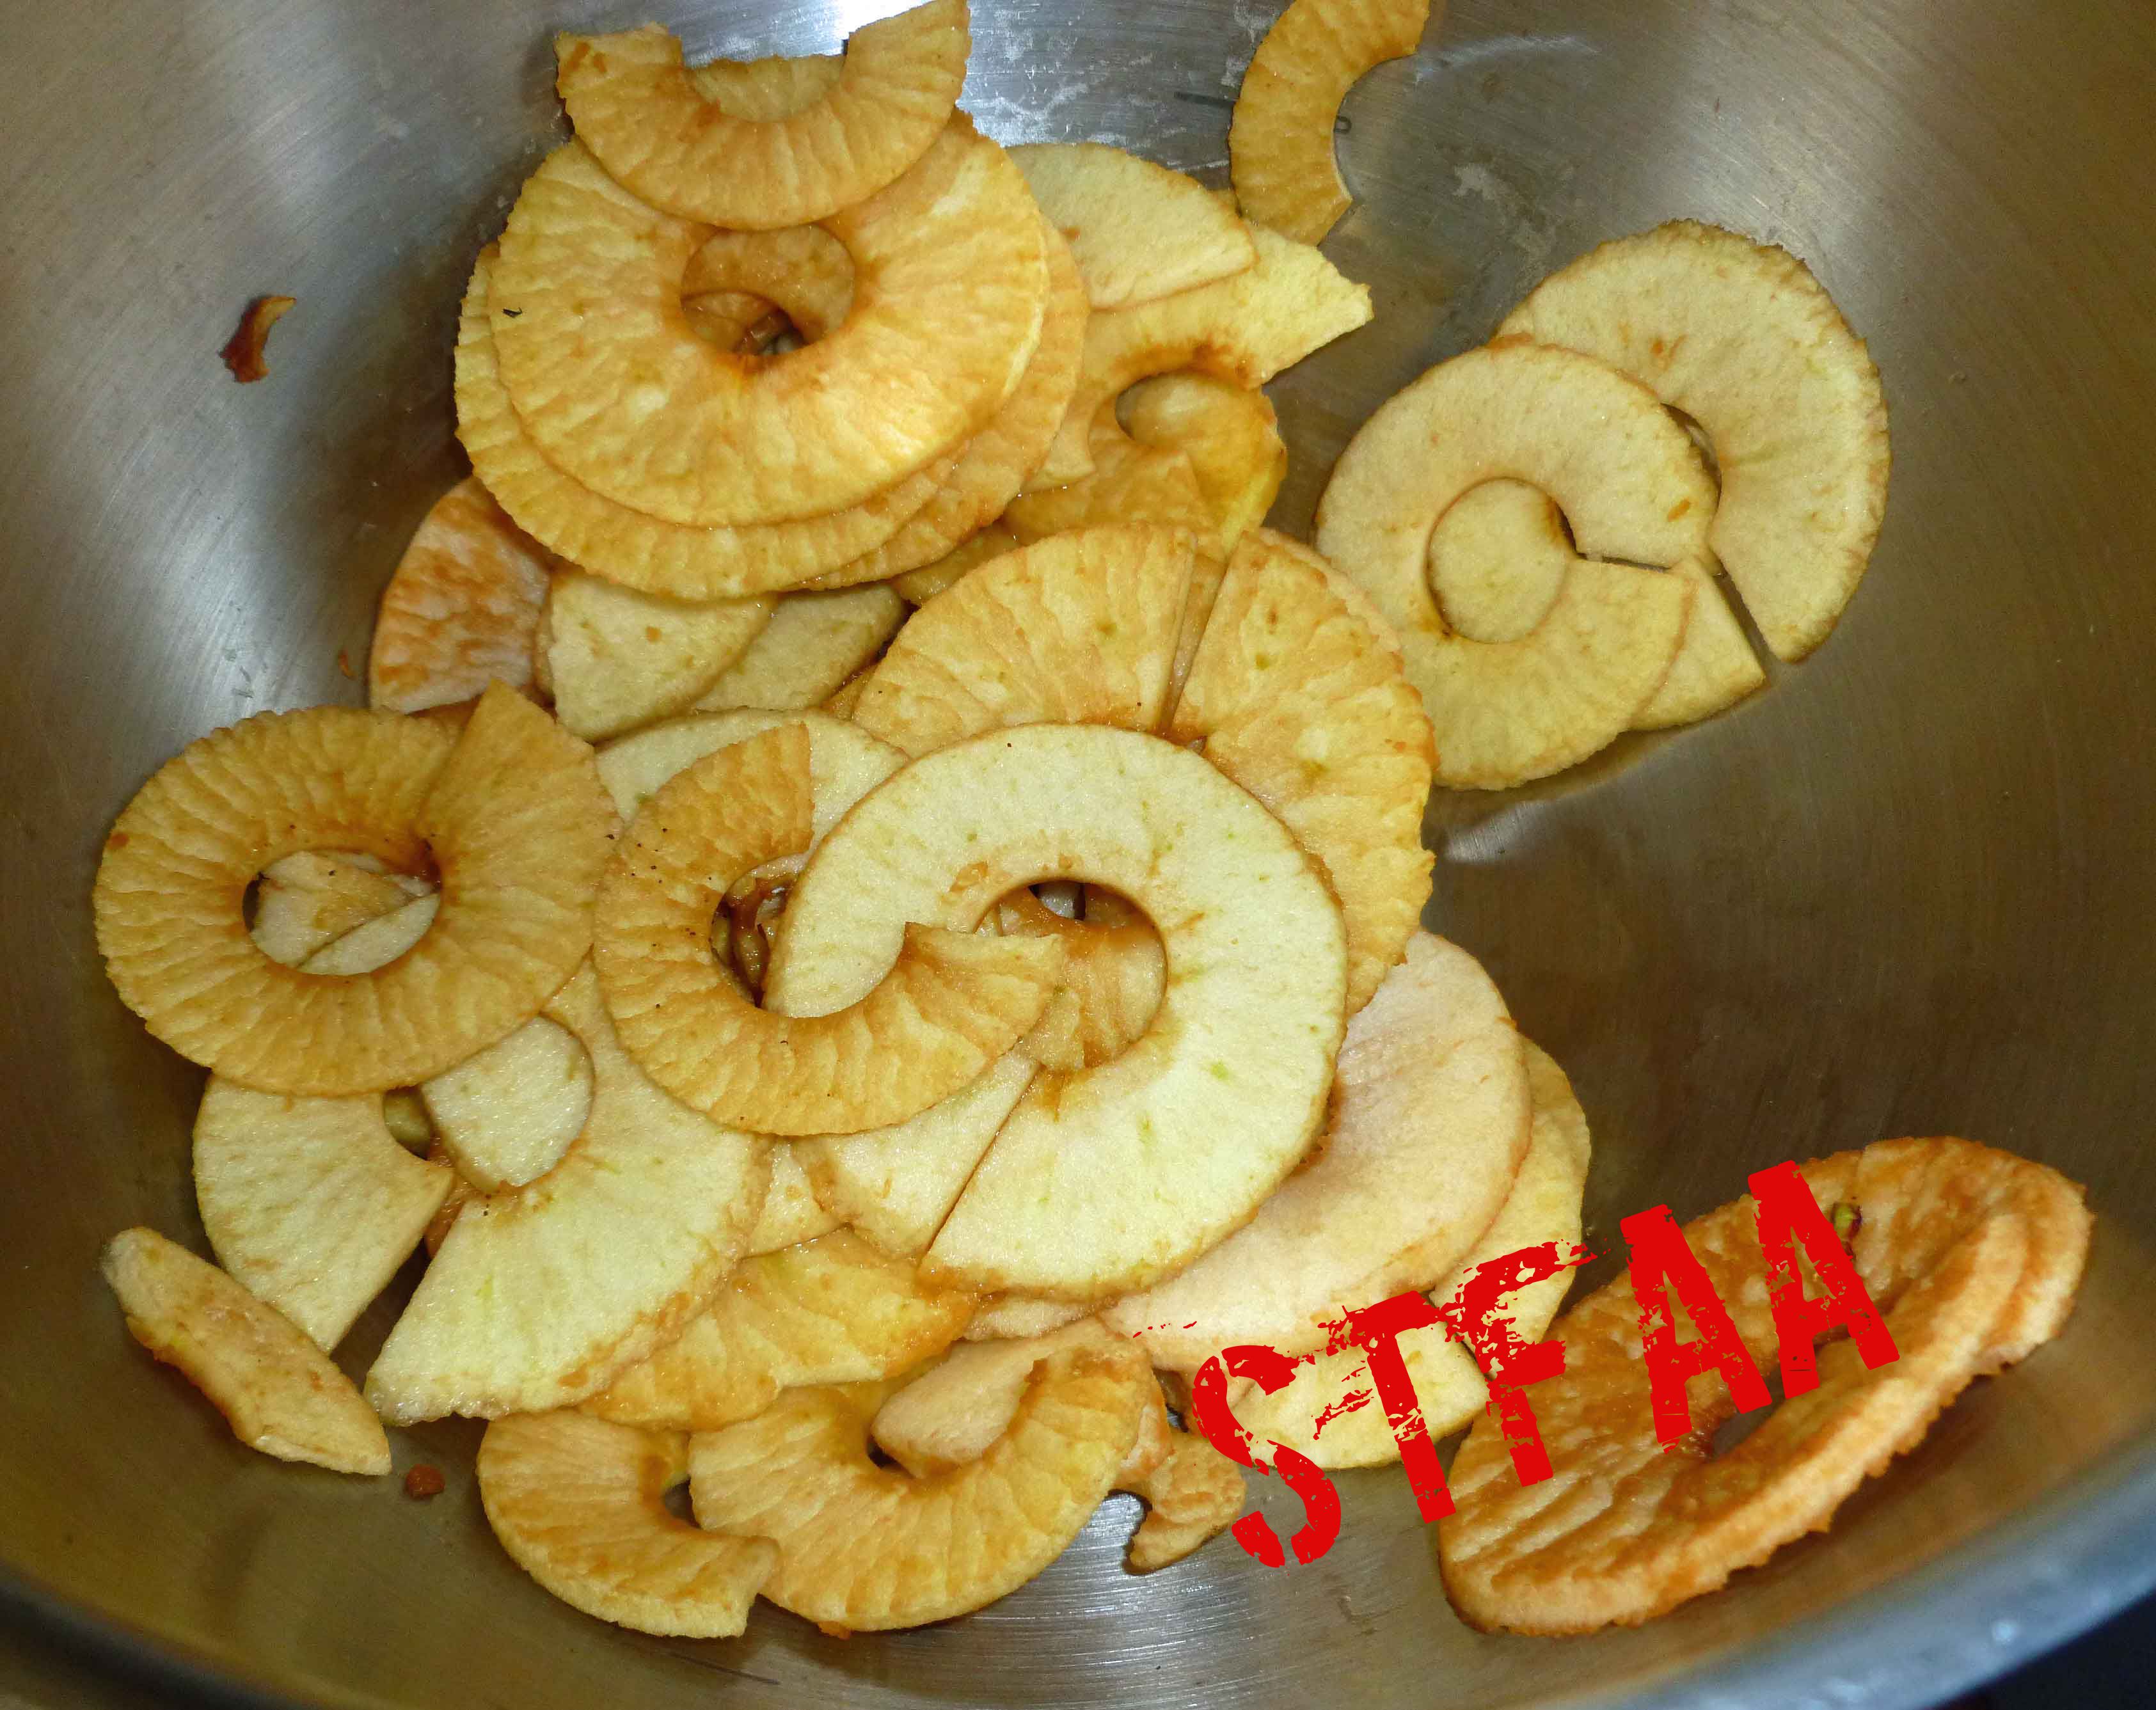
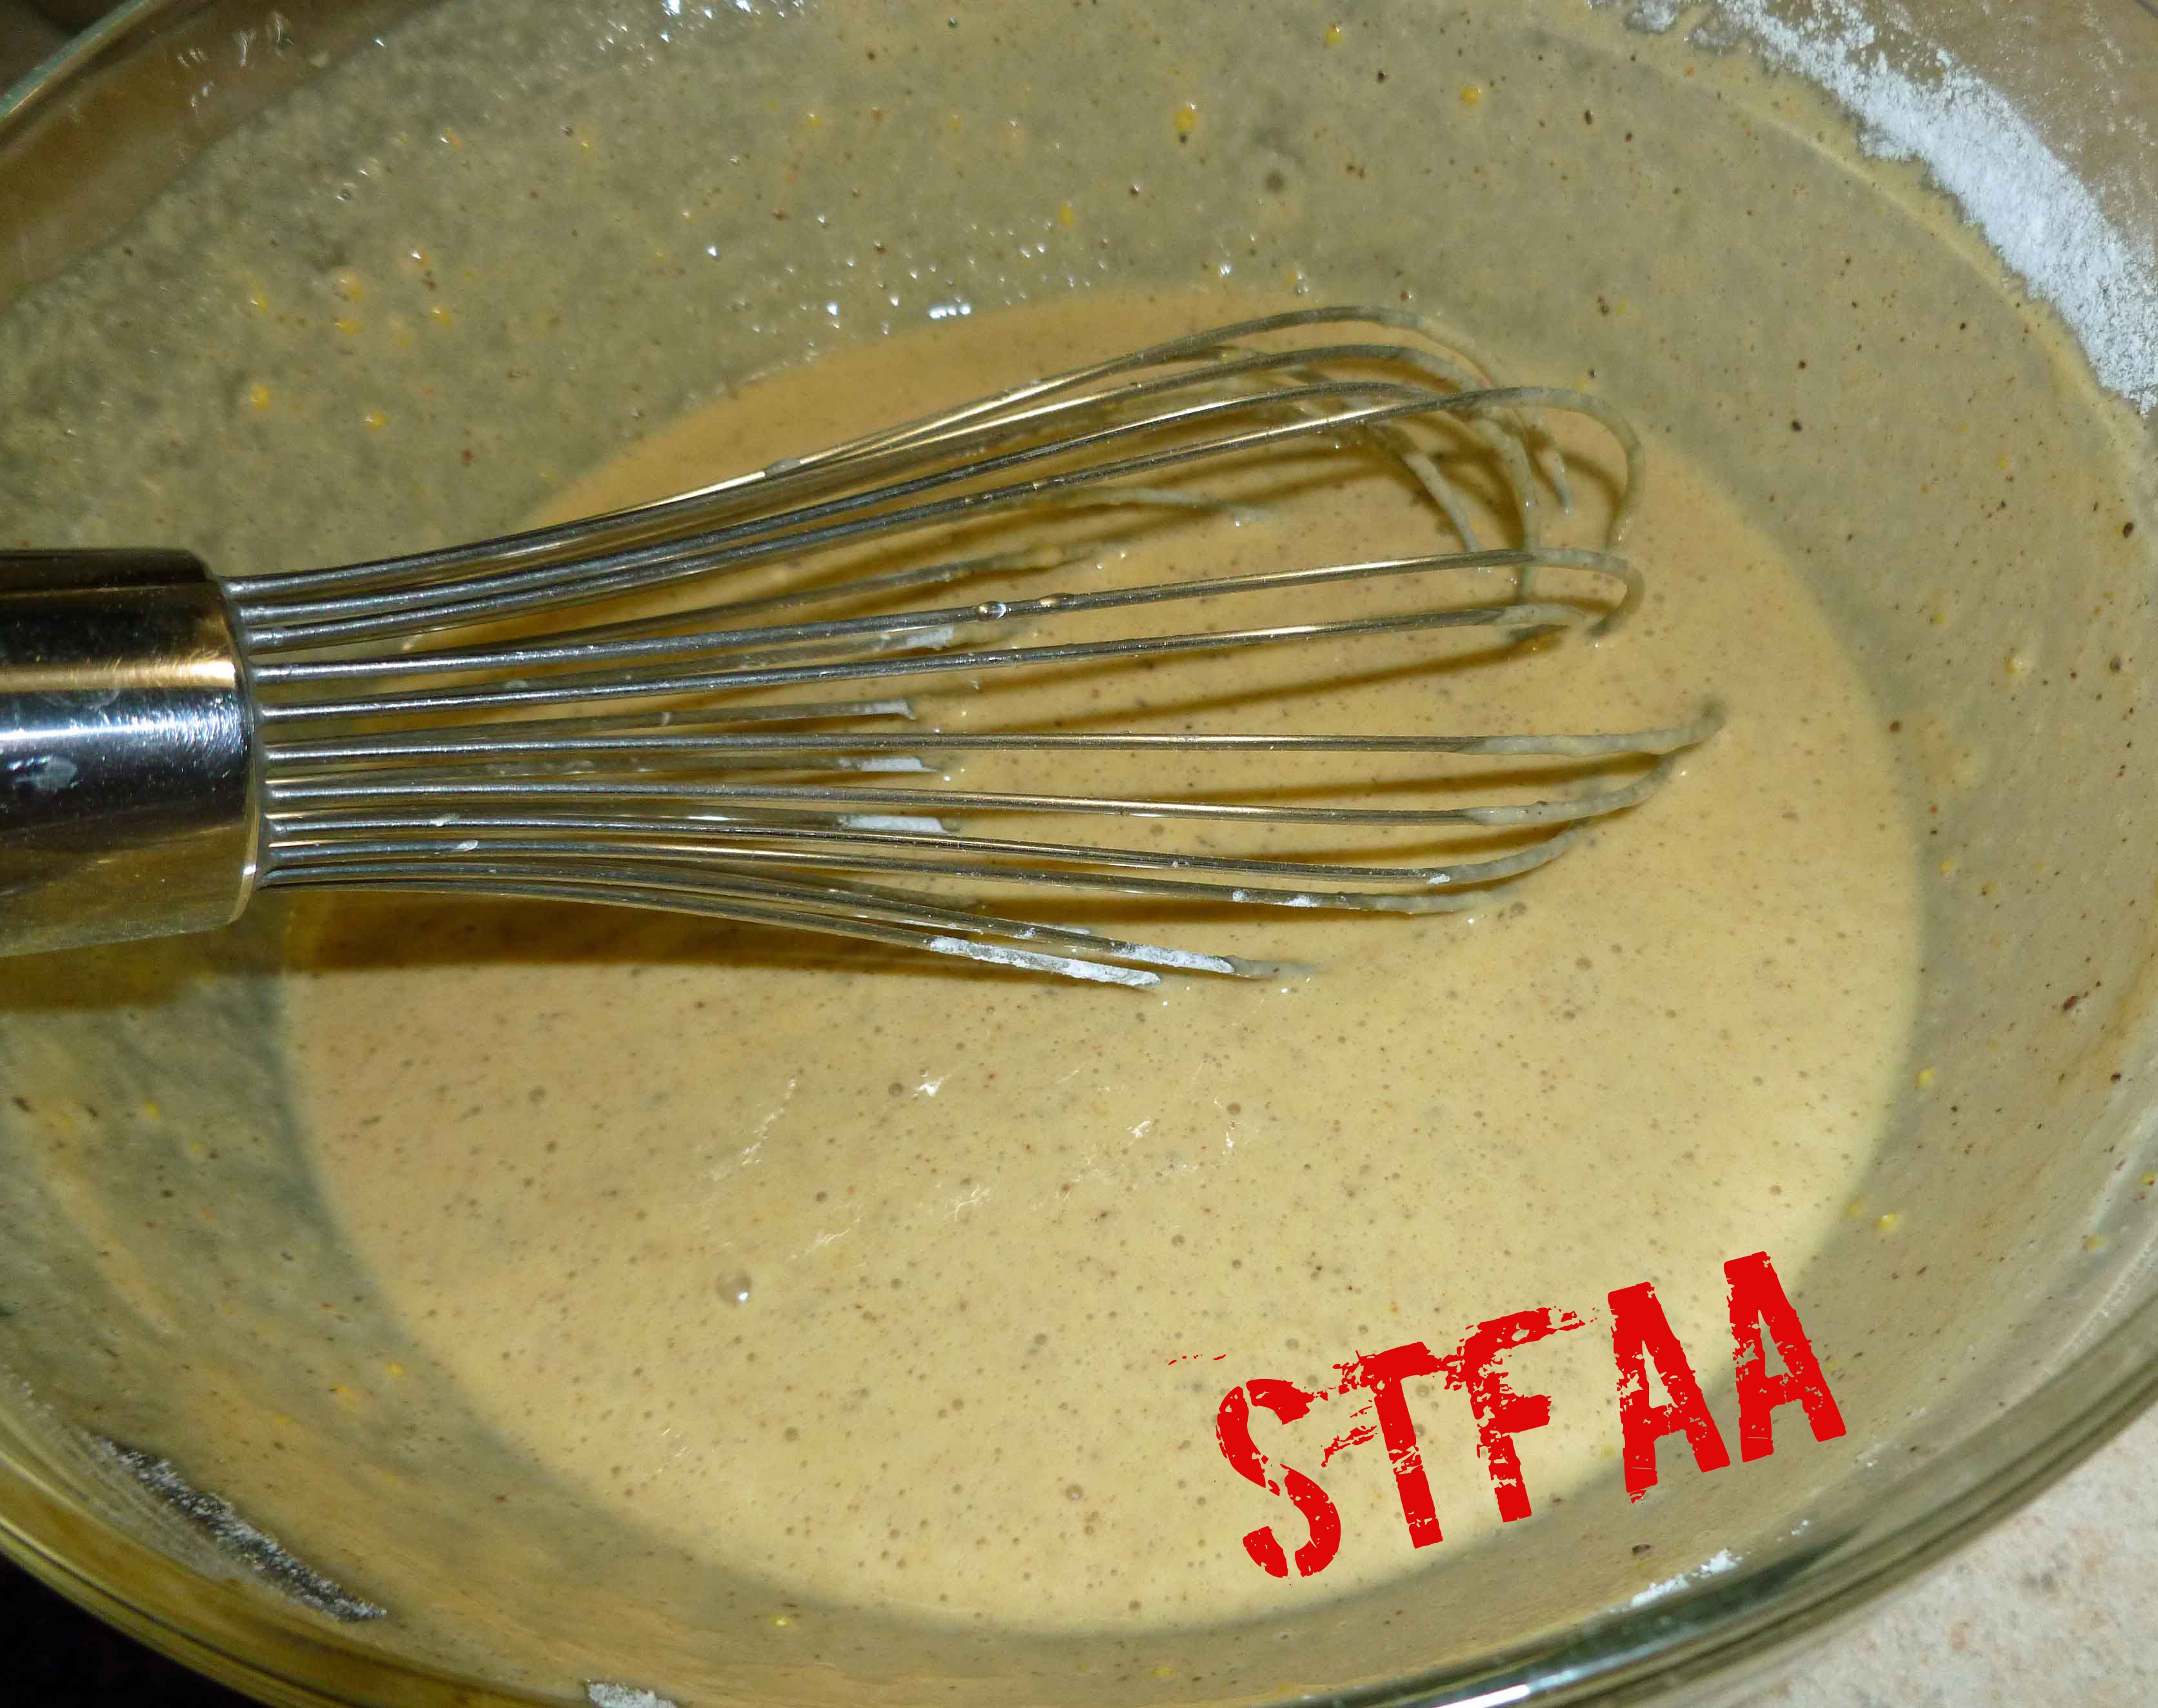
Peeled, cored, and sliced applesBatter for frying applesApples being deep fried in oilFried Apple Rings
3-4applesuse apples best for baking pies for the best flavor
2Tablespoons powdered sugar(if you are allergic to corn, you can make your own with 2 cups of sugar, a tablespoon of tapioca starch, and a blender)
Batter
1/4cupcassava flour
1cupgarbanzo or besan flour
1/2teaspoonsalt
1/2teaspoonsugar
1/2teaspoon ground ginger
1/2teaspoonground cinnamon
1/4teaspoonground nutmeg
1/4teaspoonground cloves
3/4cupwater
Frying Materials
safe for you oil for frying
stainless steel pot, cast iron dutch oven, or cast iron wok
thermometer
tongs or a spider
Servings: people
Instructions
Peel, core, and slice apples to about quarter of an inch thick.
Place all dry batter ingredients in a bowl and mix together until well combined. Add water and stir until well combined.
Add safe oil to stainless pot or cast iron dutch oven. Heat oil to 400°F over medium heat.
Dip apple rings in batter and deep fry in oil turning until golden brown. Place on rack over paper towels or a plate with paper towels to cool a bit before serving.
Once the fried apples have cooled a bit, dust with powdered sugar and serve.
Guess what? This month we’re doing comfort foods as our theme. And I had all these big plans about what I was going to make. But harvest season in New Hampshire has been driving me insane, since just had our first frost and now I am trying to get things (apples, kale, etc.) processed before the first hard freeze. Frankly, I’m having trouble keeping up with things.
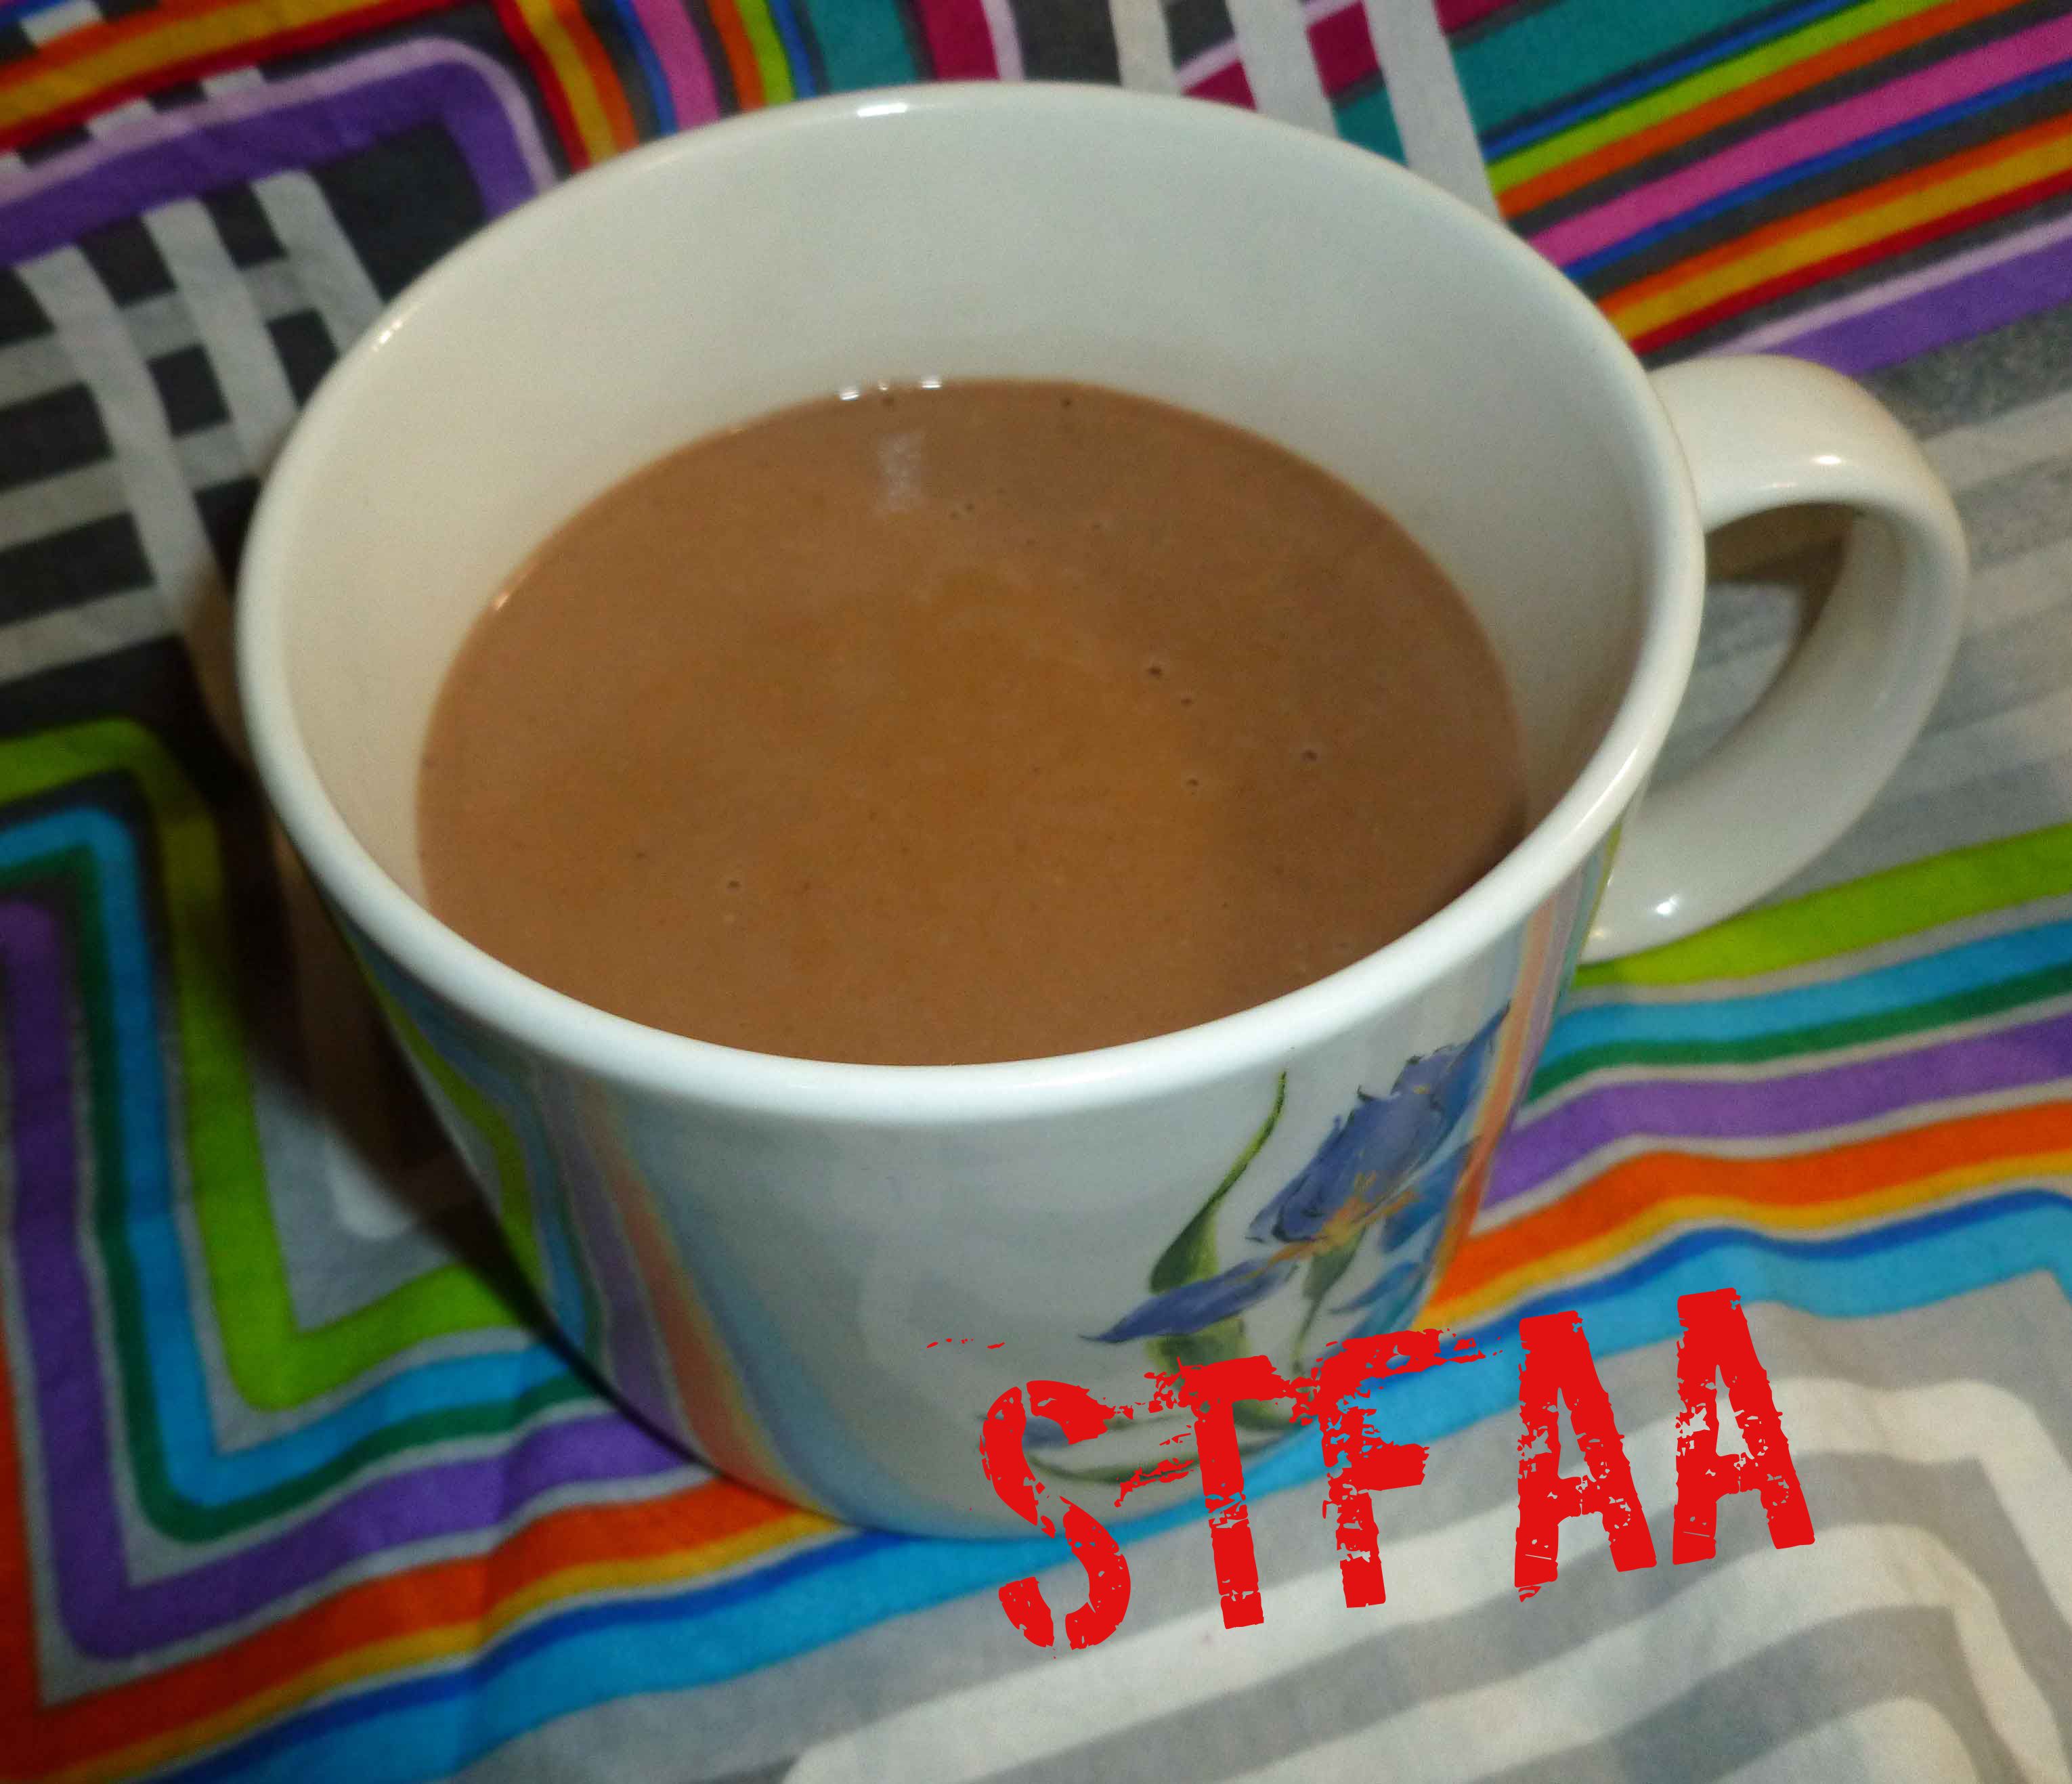
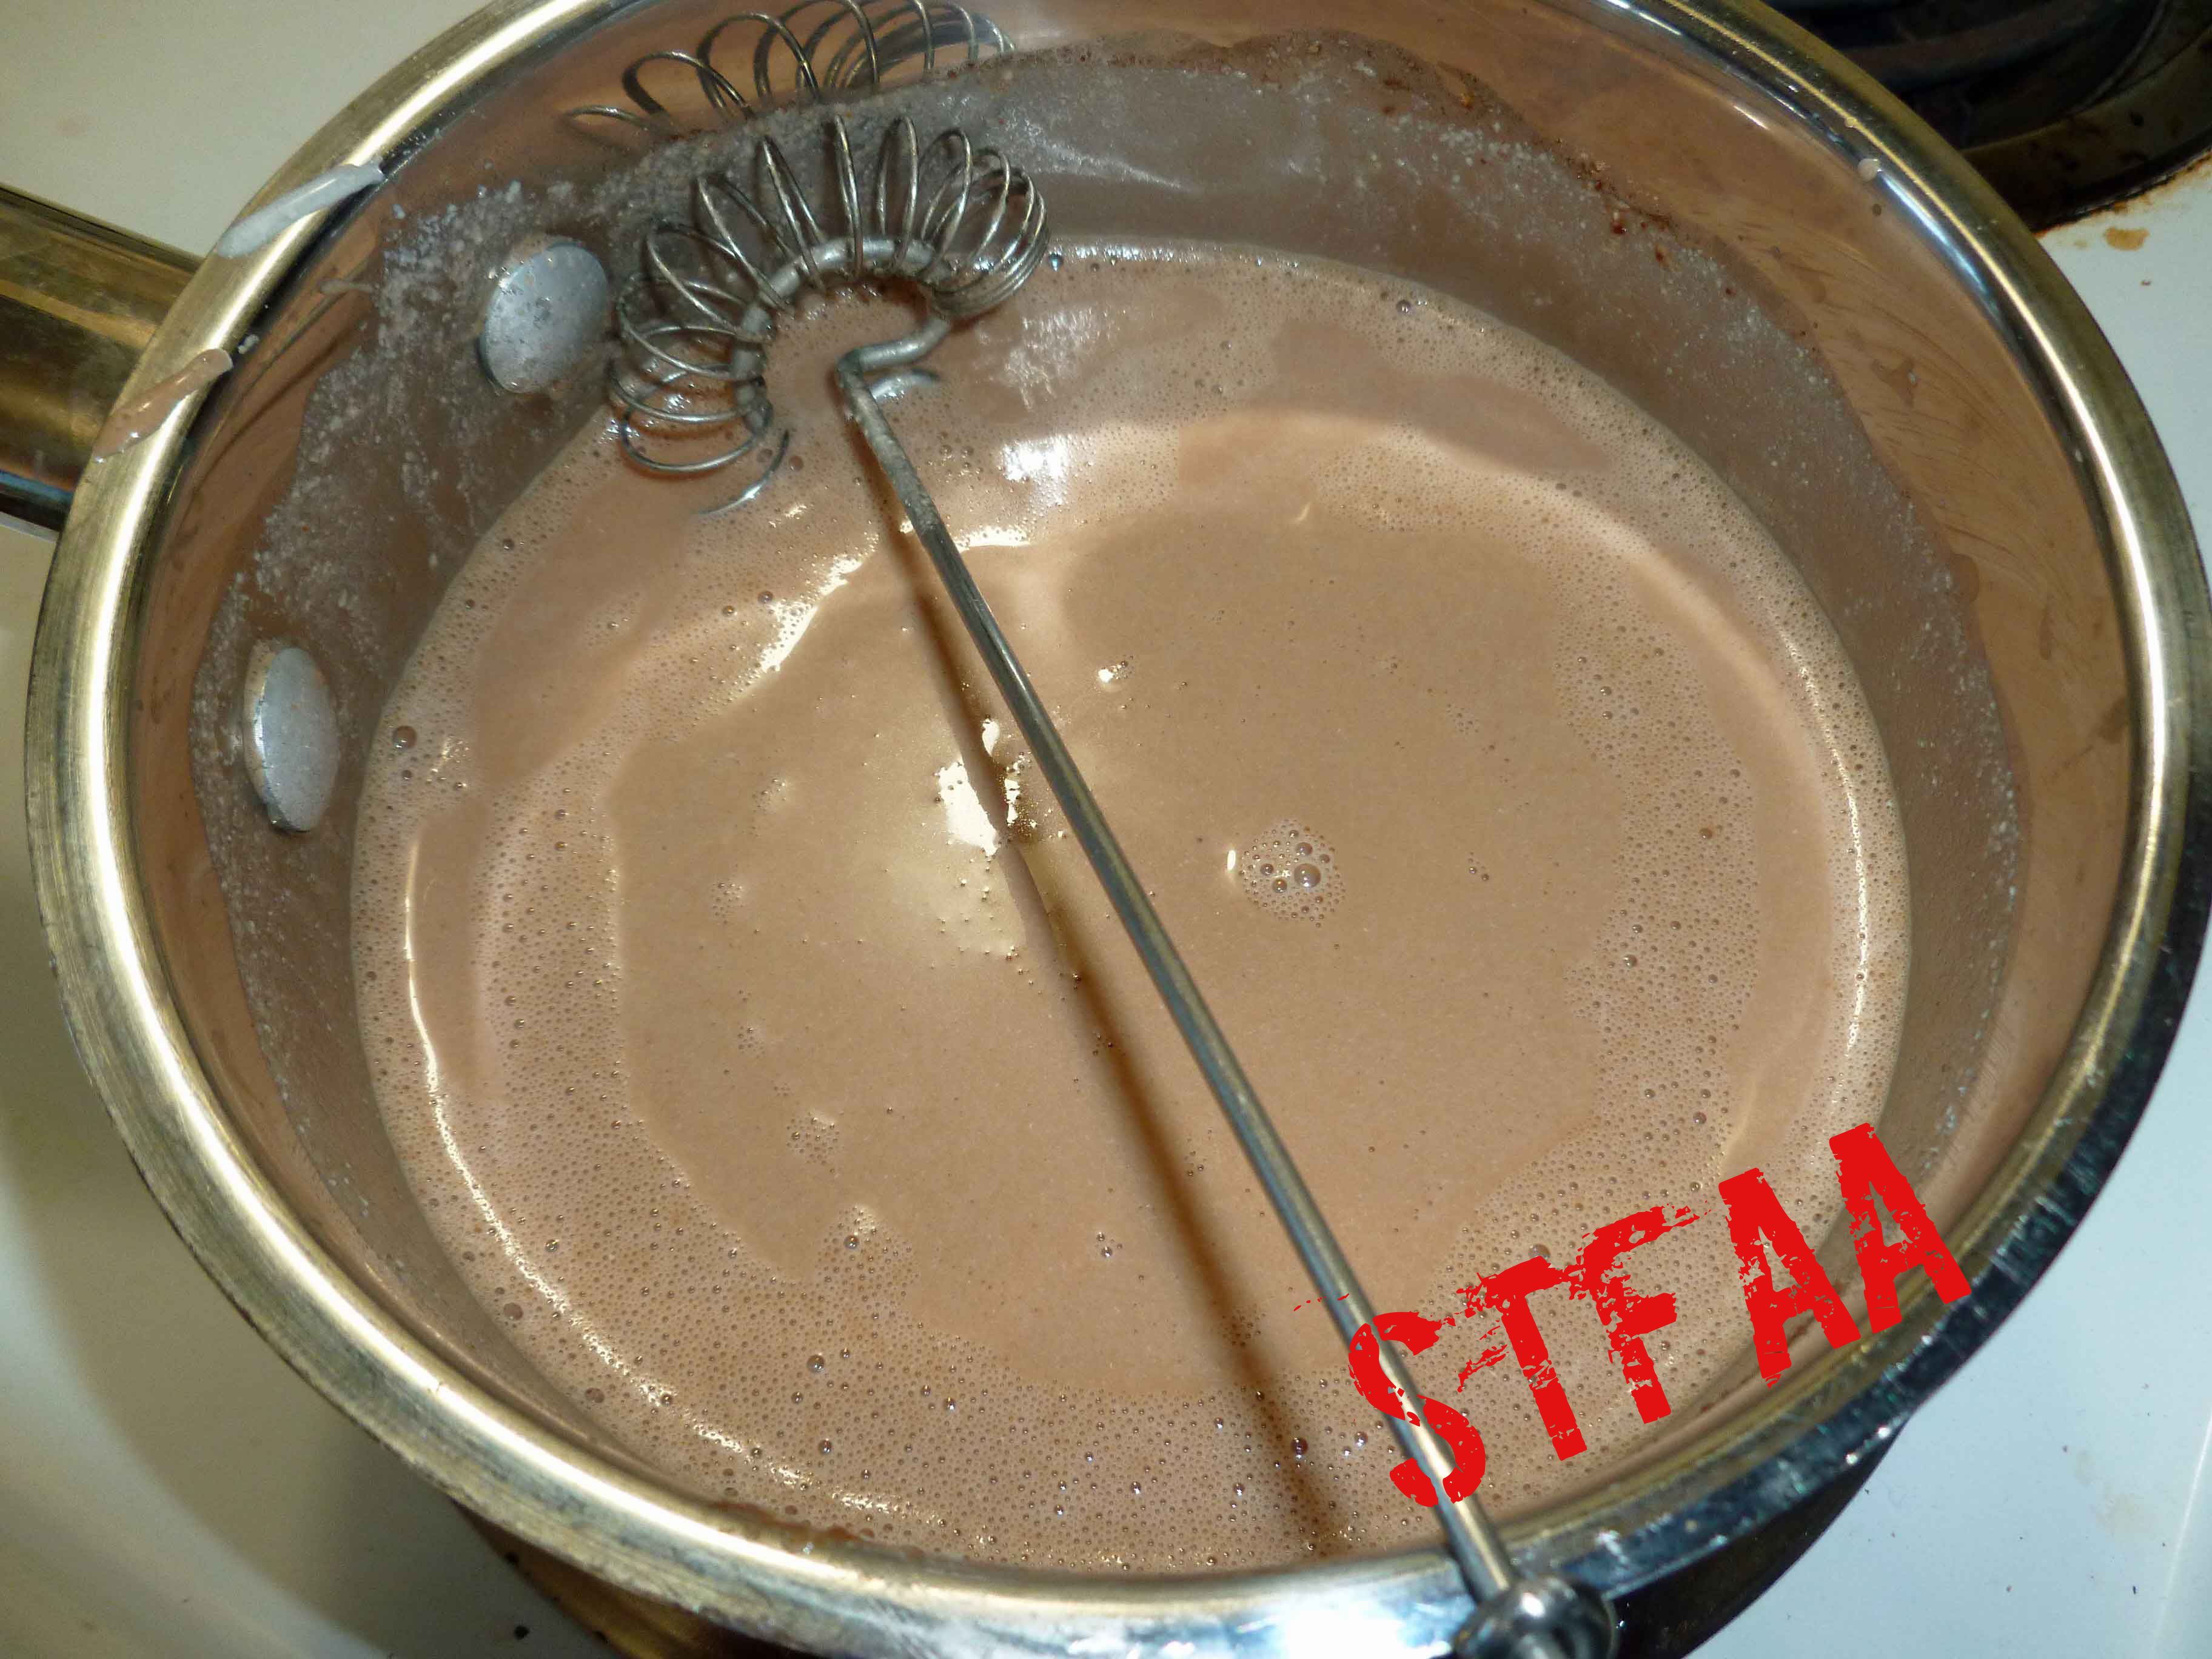
So in trying to think about what would be comforting and since the weather has been a bit nippy, I thought about hot chocolate. And the fact that hot chocolate isn’t really that simple for me any more. I used to get Mayan Drinking Chocolate at the Dancing Lion in Manchester, New Hampshire, but I don’t seem to be tolerating it as well anymore. (If you can tolerate it, seriously, order some now, but we have no affiliation, etc.) I think my sensitivity to my allergens has increased. After thinking about it, I decided having a quick hot chocolate mix would be comforting. This mix is reminiscent of the Mayan Drinking Chocolate in flavor profile, but since it doesn’t have any cocoa butter in it, I made it with my homemade cashew milk so it would have some body. You could try it with water as well and I likely will, I just haven’t had the chance. If you aren’t sure you want the little kick the cayenne gives the mix, you can leave it out. Enjoy!
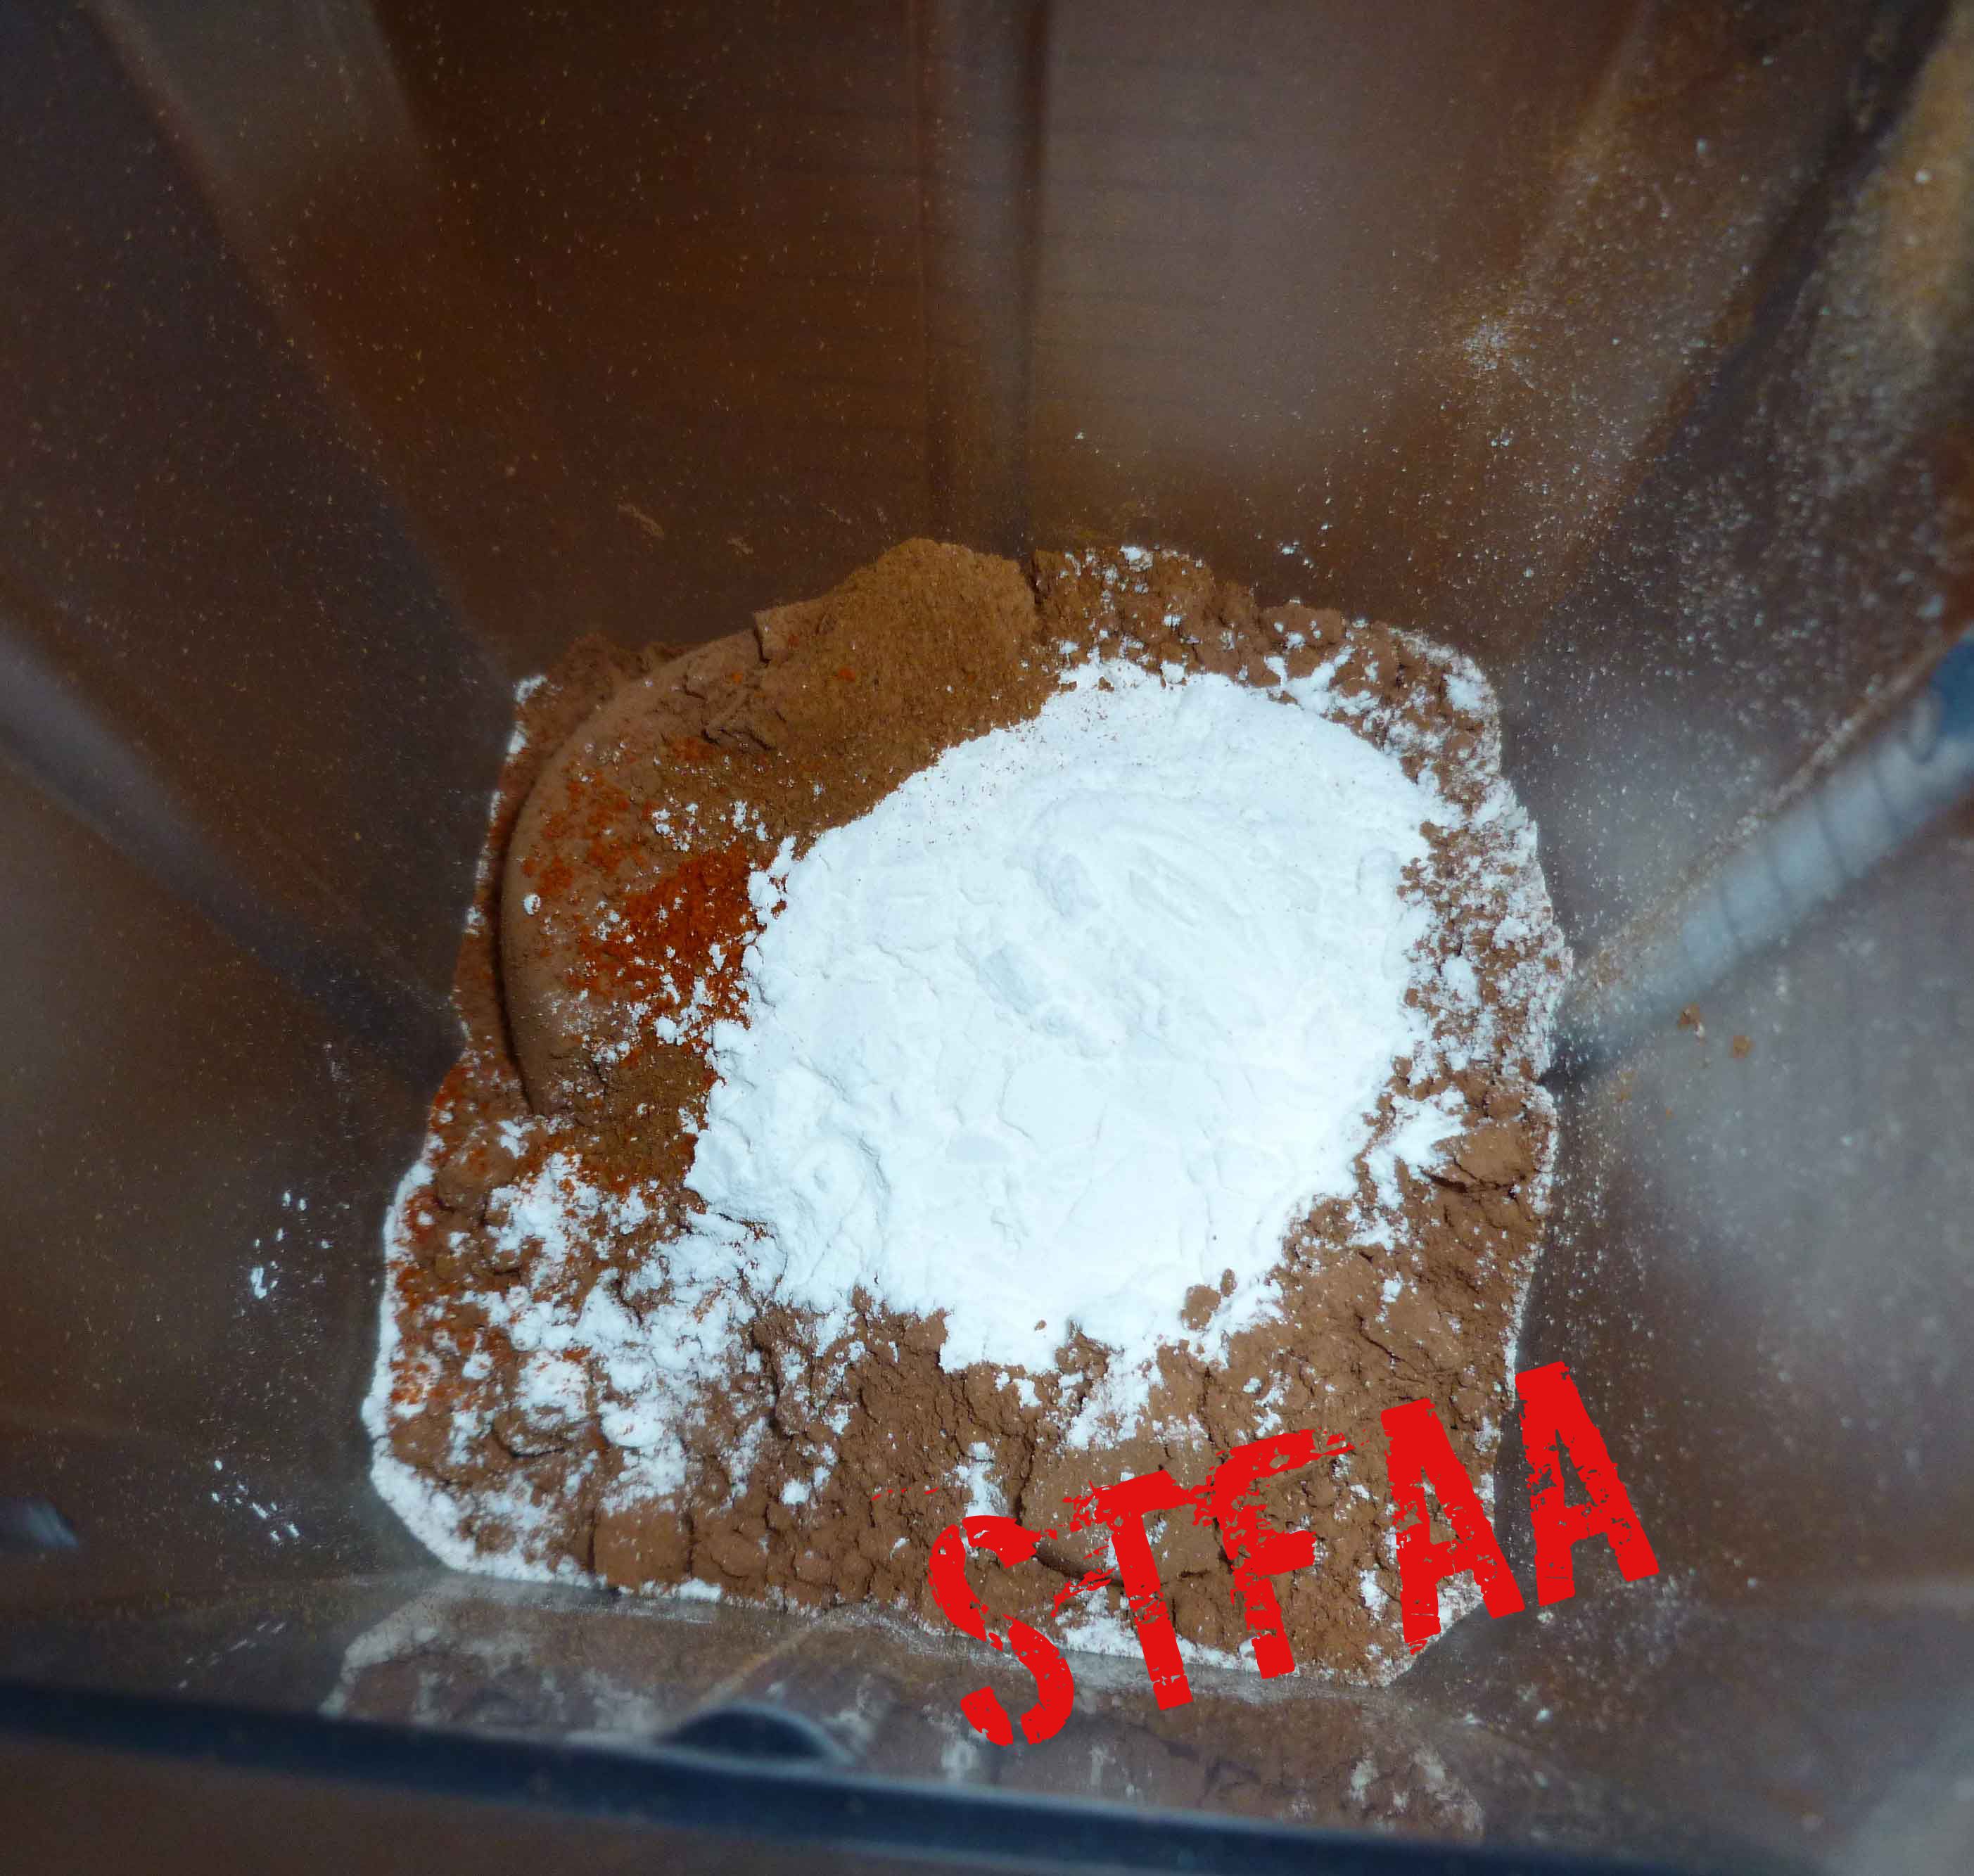
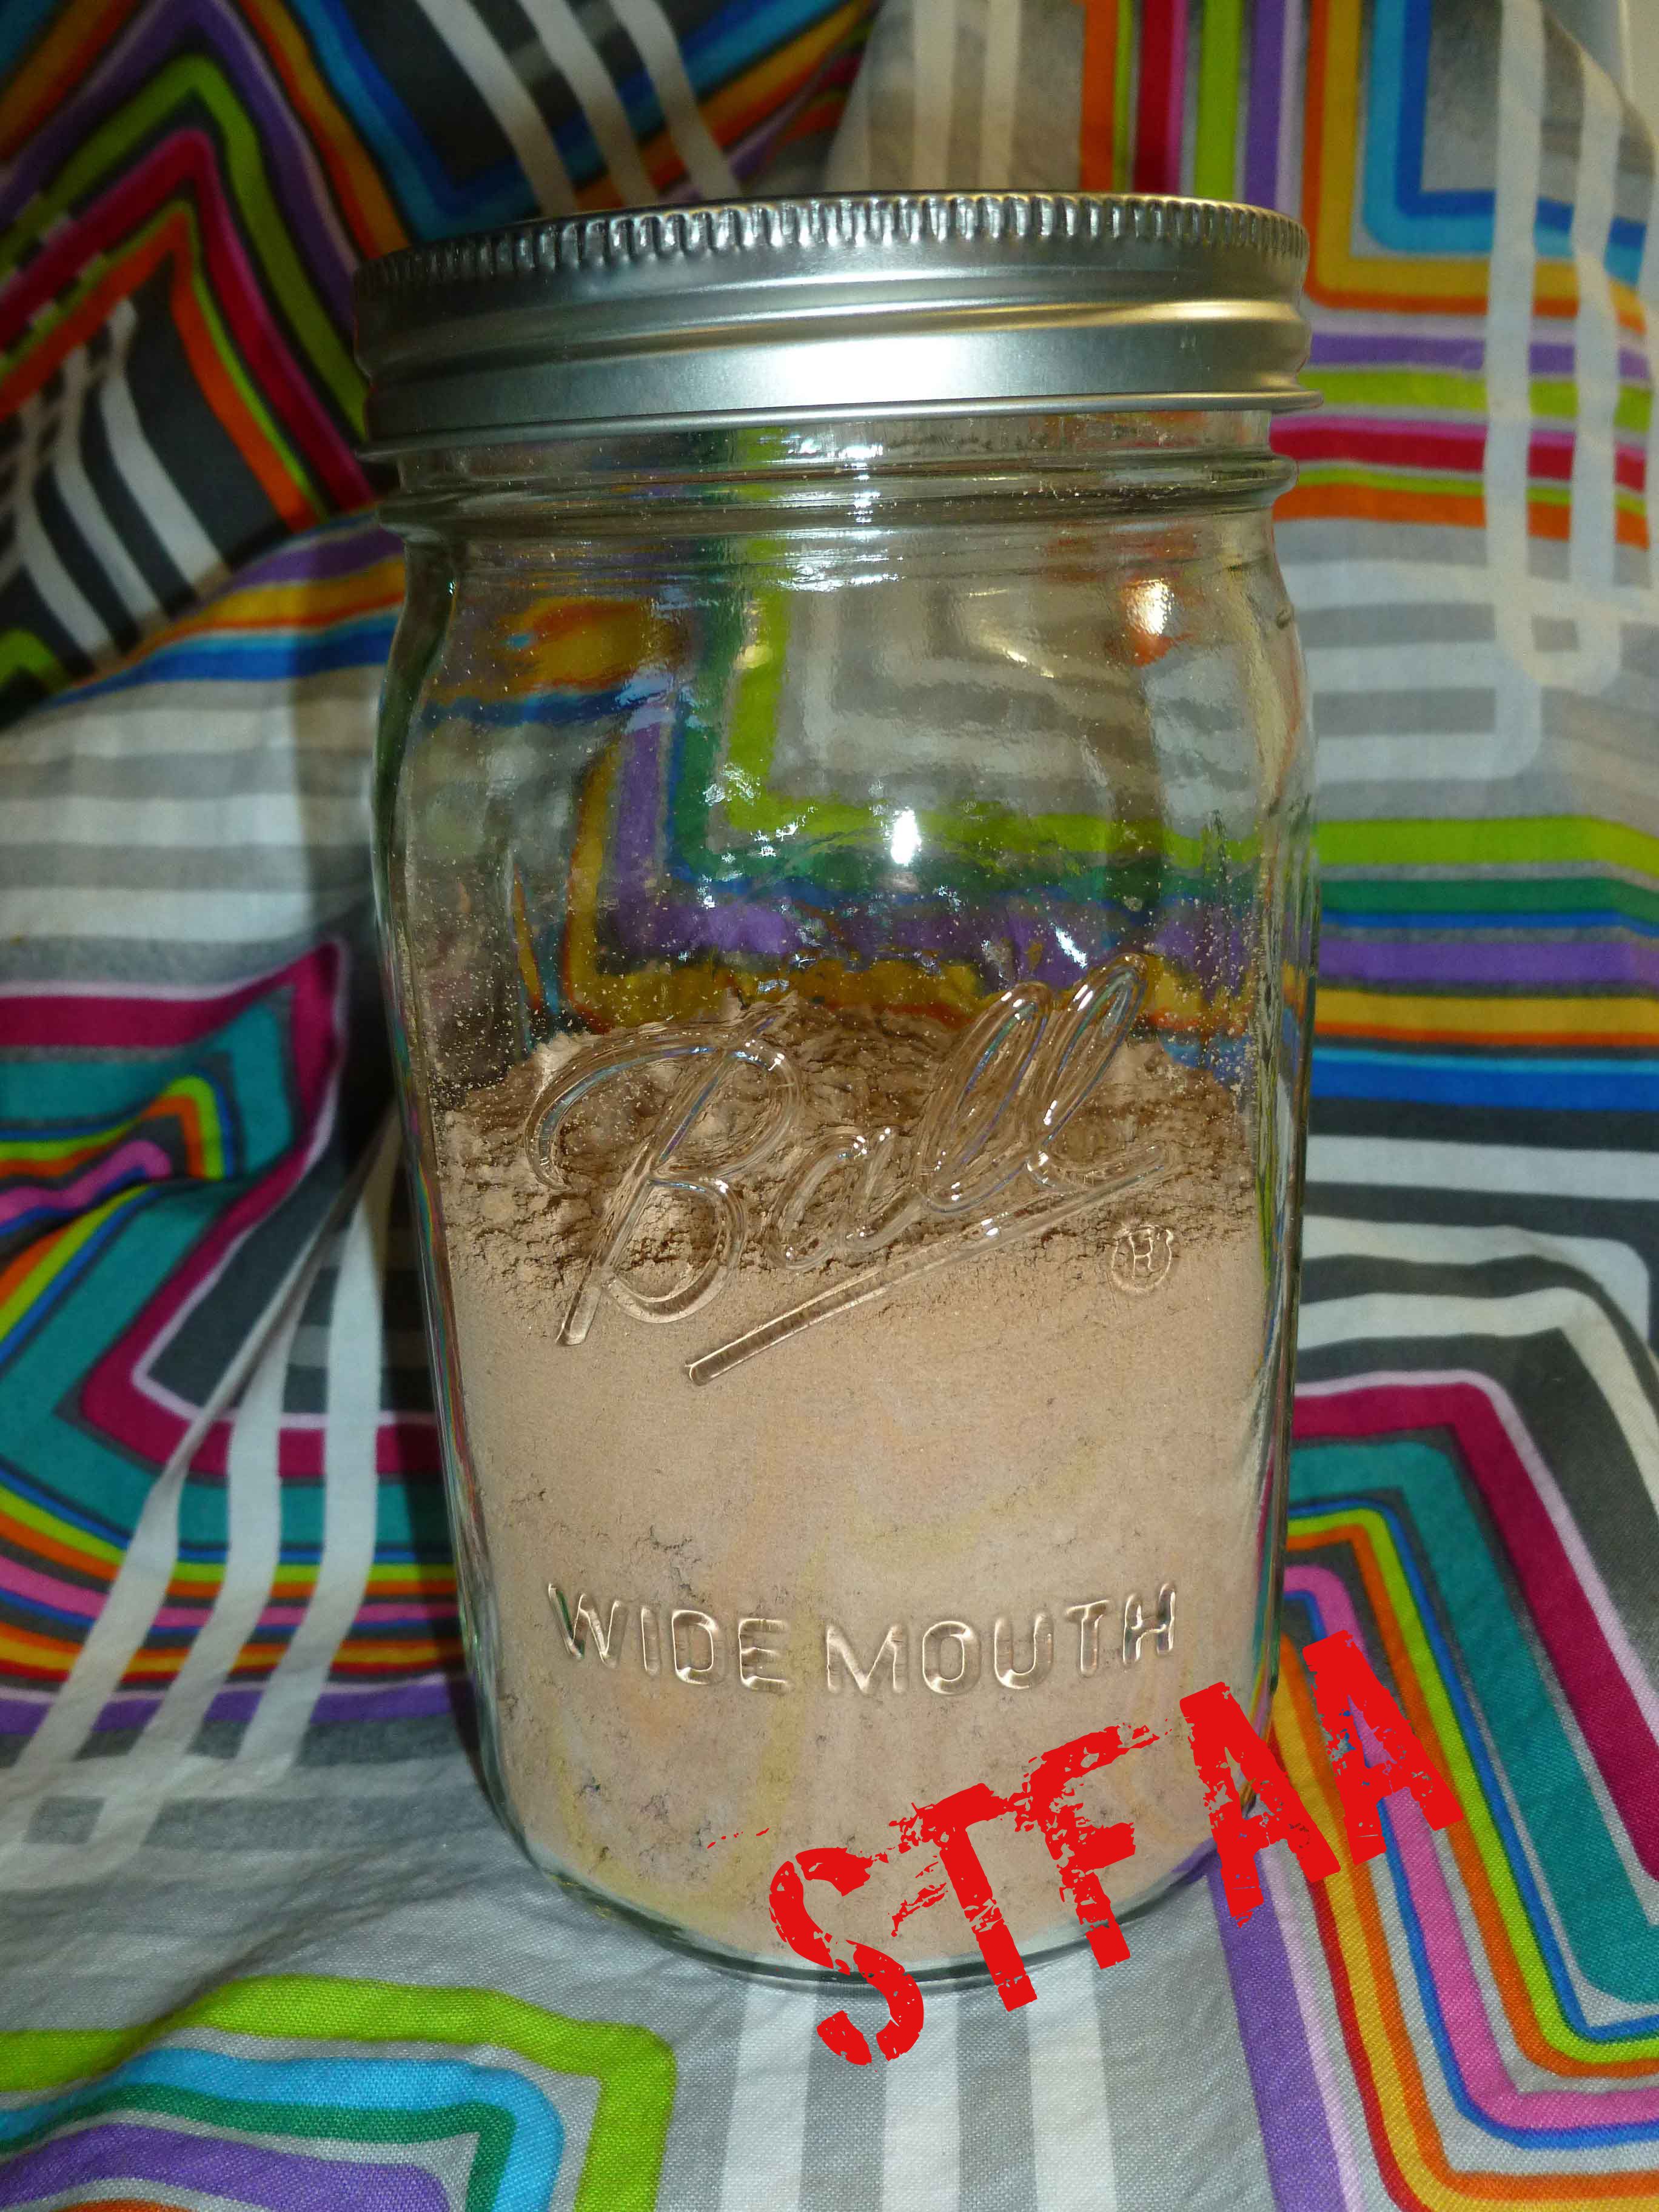
Hot Chocolate Mix before blendingHot Chocolate Mix, Vegan and Gluten-FreeHot Chocolate Mix mixed with nondairy milk
Hot Chocolate Mix, Vegan and Gluten-Free
Print Recipe
Hot chocolate mix to use with non-dairy mix in the cold weather with a bit of a kick.
So it’s still “try a new cooking technique” month here on the blog. This is kind of a hard one for me because the corn allergy has forced me to try a lot of stuff. But one of the ones that I hadn’t tried was flambeing. All my friends had a heart attack about it because I’m fairly well known for maiming myself on a regular basis. But I lived, and there was no setting on fire things that I actually didn’t intend to set on fire. I’m not sure how safe the butane torch is for those with corn allergies. I’m going to go out on a limb and say it isn’t, although it’s fun to play with. I’ve had to make this recipe twice and both times my chest got a little tight afterwards. You could try a long matchstick or light the end of bamboo skewer too.
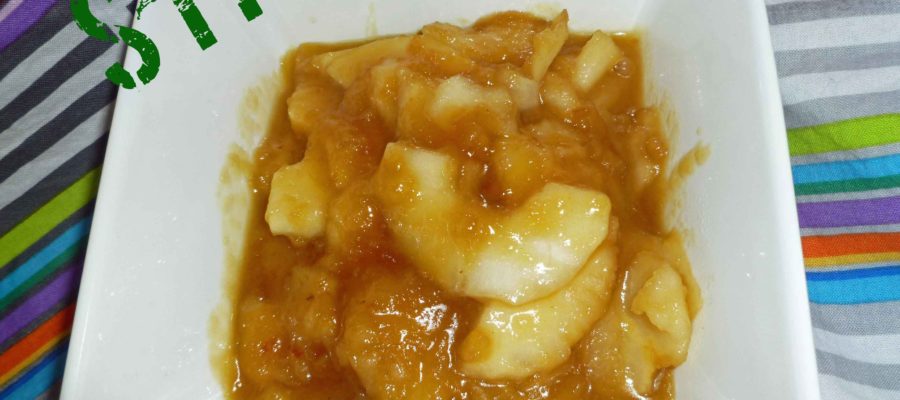
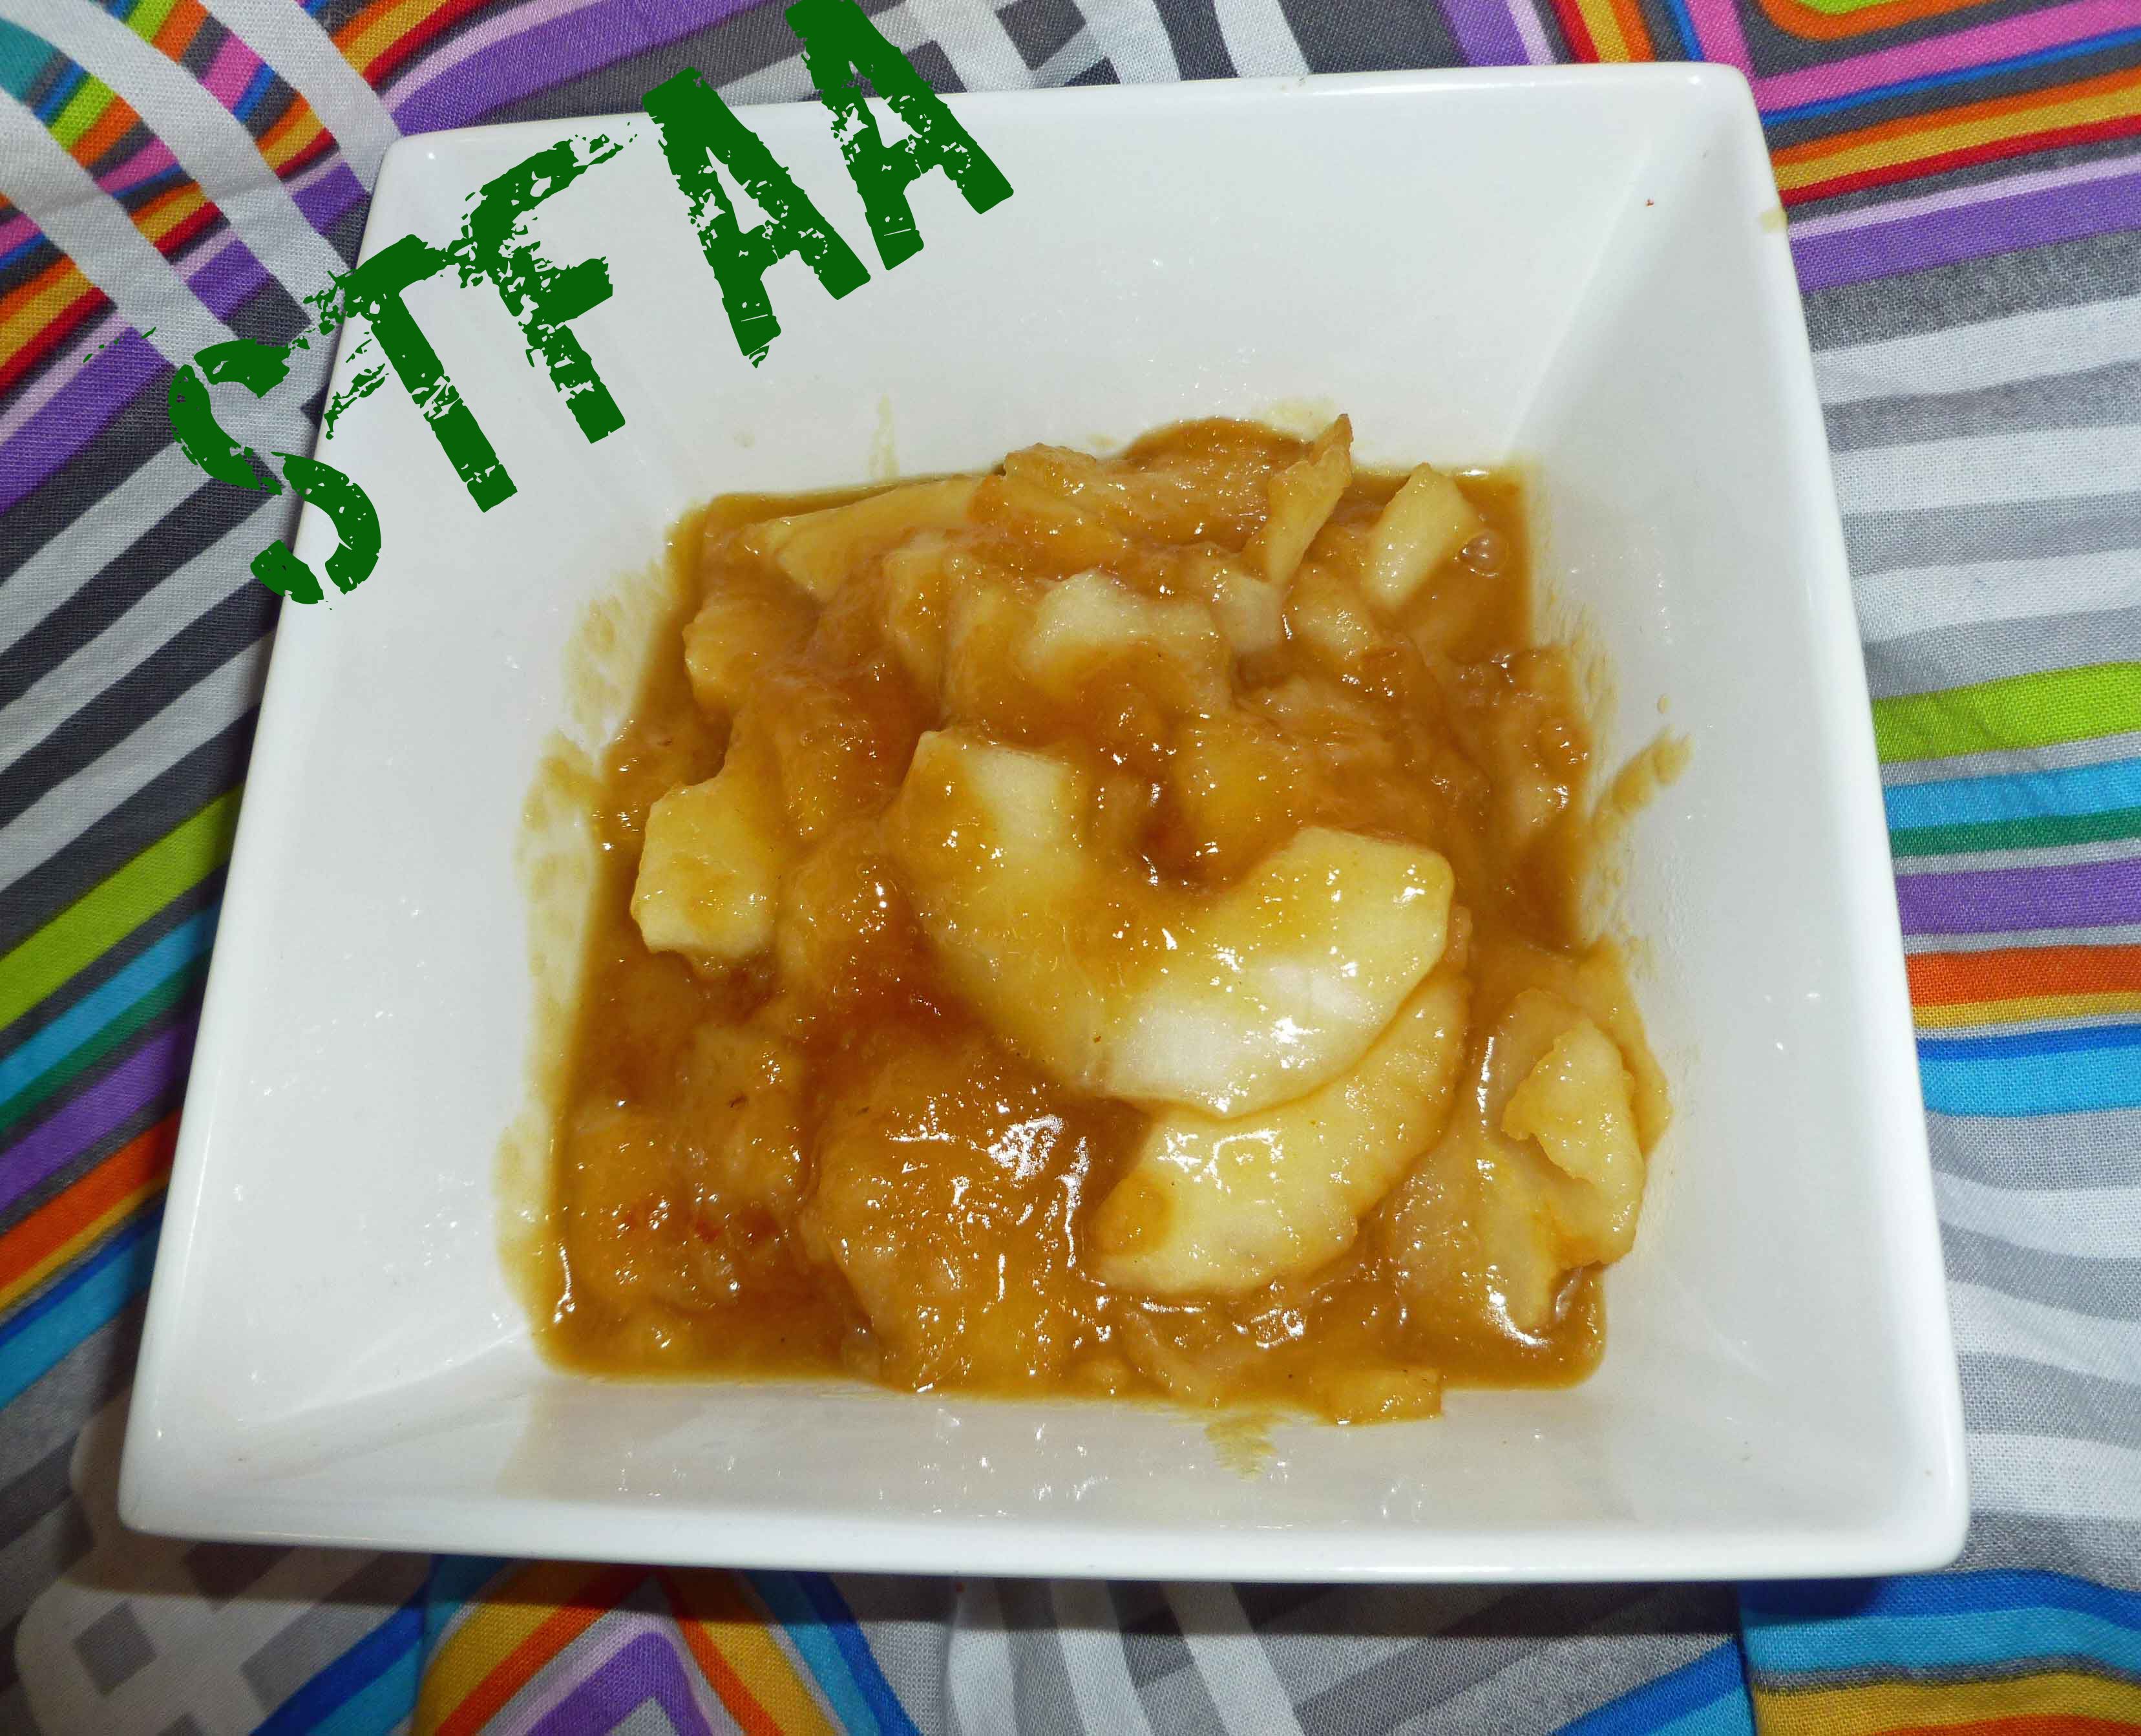
I used apples, because I’m still in the midst of the apple apocalypse. I’ve been foisting them off where I can, but still, 18 trees with a bumper crop is no freaking joke. I can’t use Bourbon for obvious reasons (distilled from corn), but I do okay with Rhum Barbancourt Reserve Speciale. If you’ve got a safe alcohol that works for you, you could give it a try.
You can use this on desserts, ice cream or even use it as a pancake or waffle topping for special occasions.
I made a video of the flambe going on because I want proof that I didn’t hurt myself out there:
Apples Flambe
Notice: Trying to access array offset on value of type bool in /home/maryzahc/public_html/adultfoodallergies.com/wp-content/plugins/wp-ultimate-recipe/helpers/models/recipe.php on line 254
Apples Flambe
Print Recipe
Use for dessert or to top pancakes or waffles for a special breakfast.
2largeapplescored, peeled, and sliced, about 1/8 inches thick.
1tablespoonlemon juicefresh squeezed
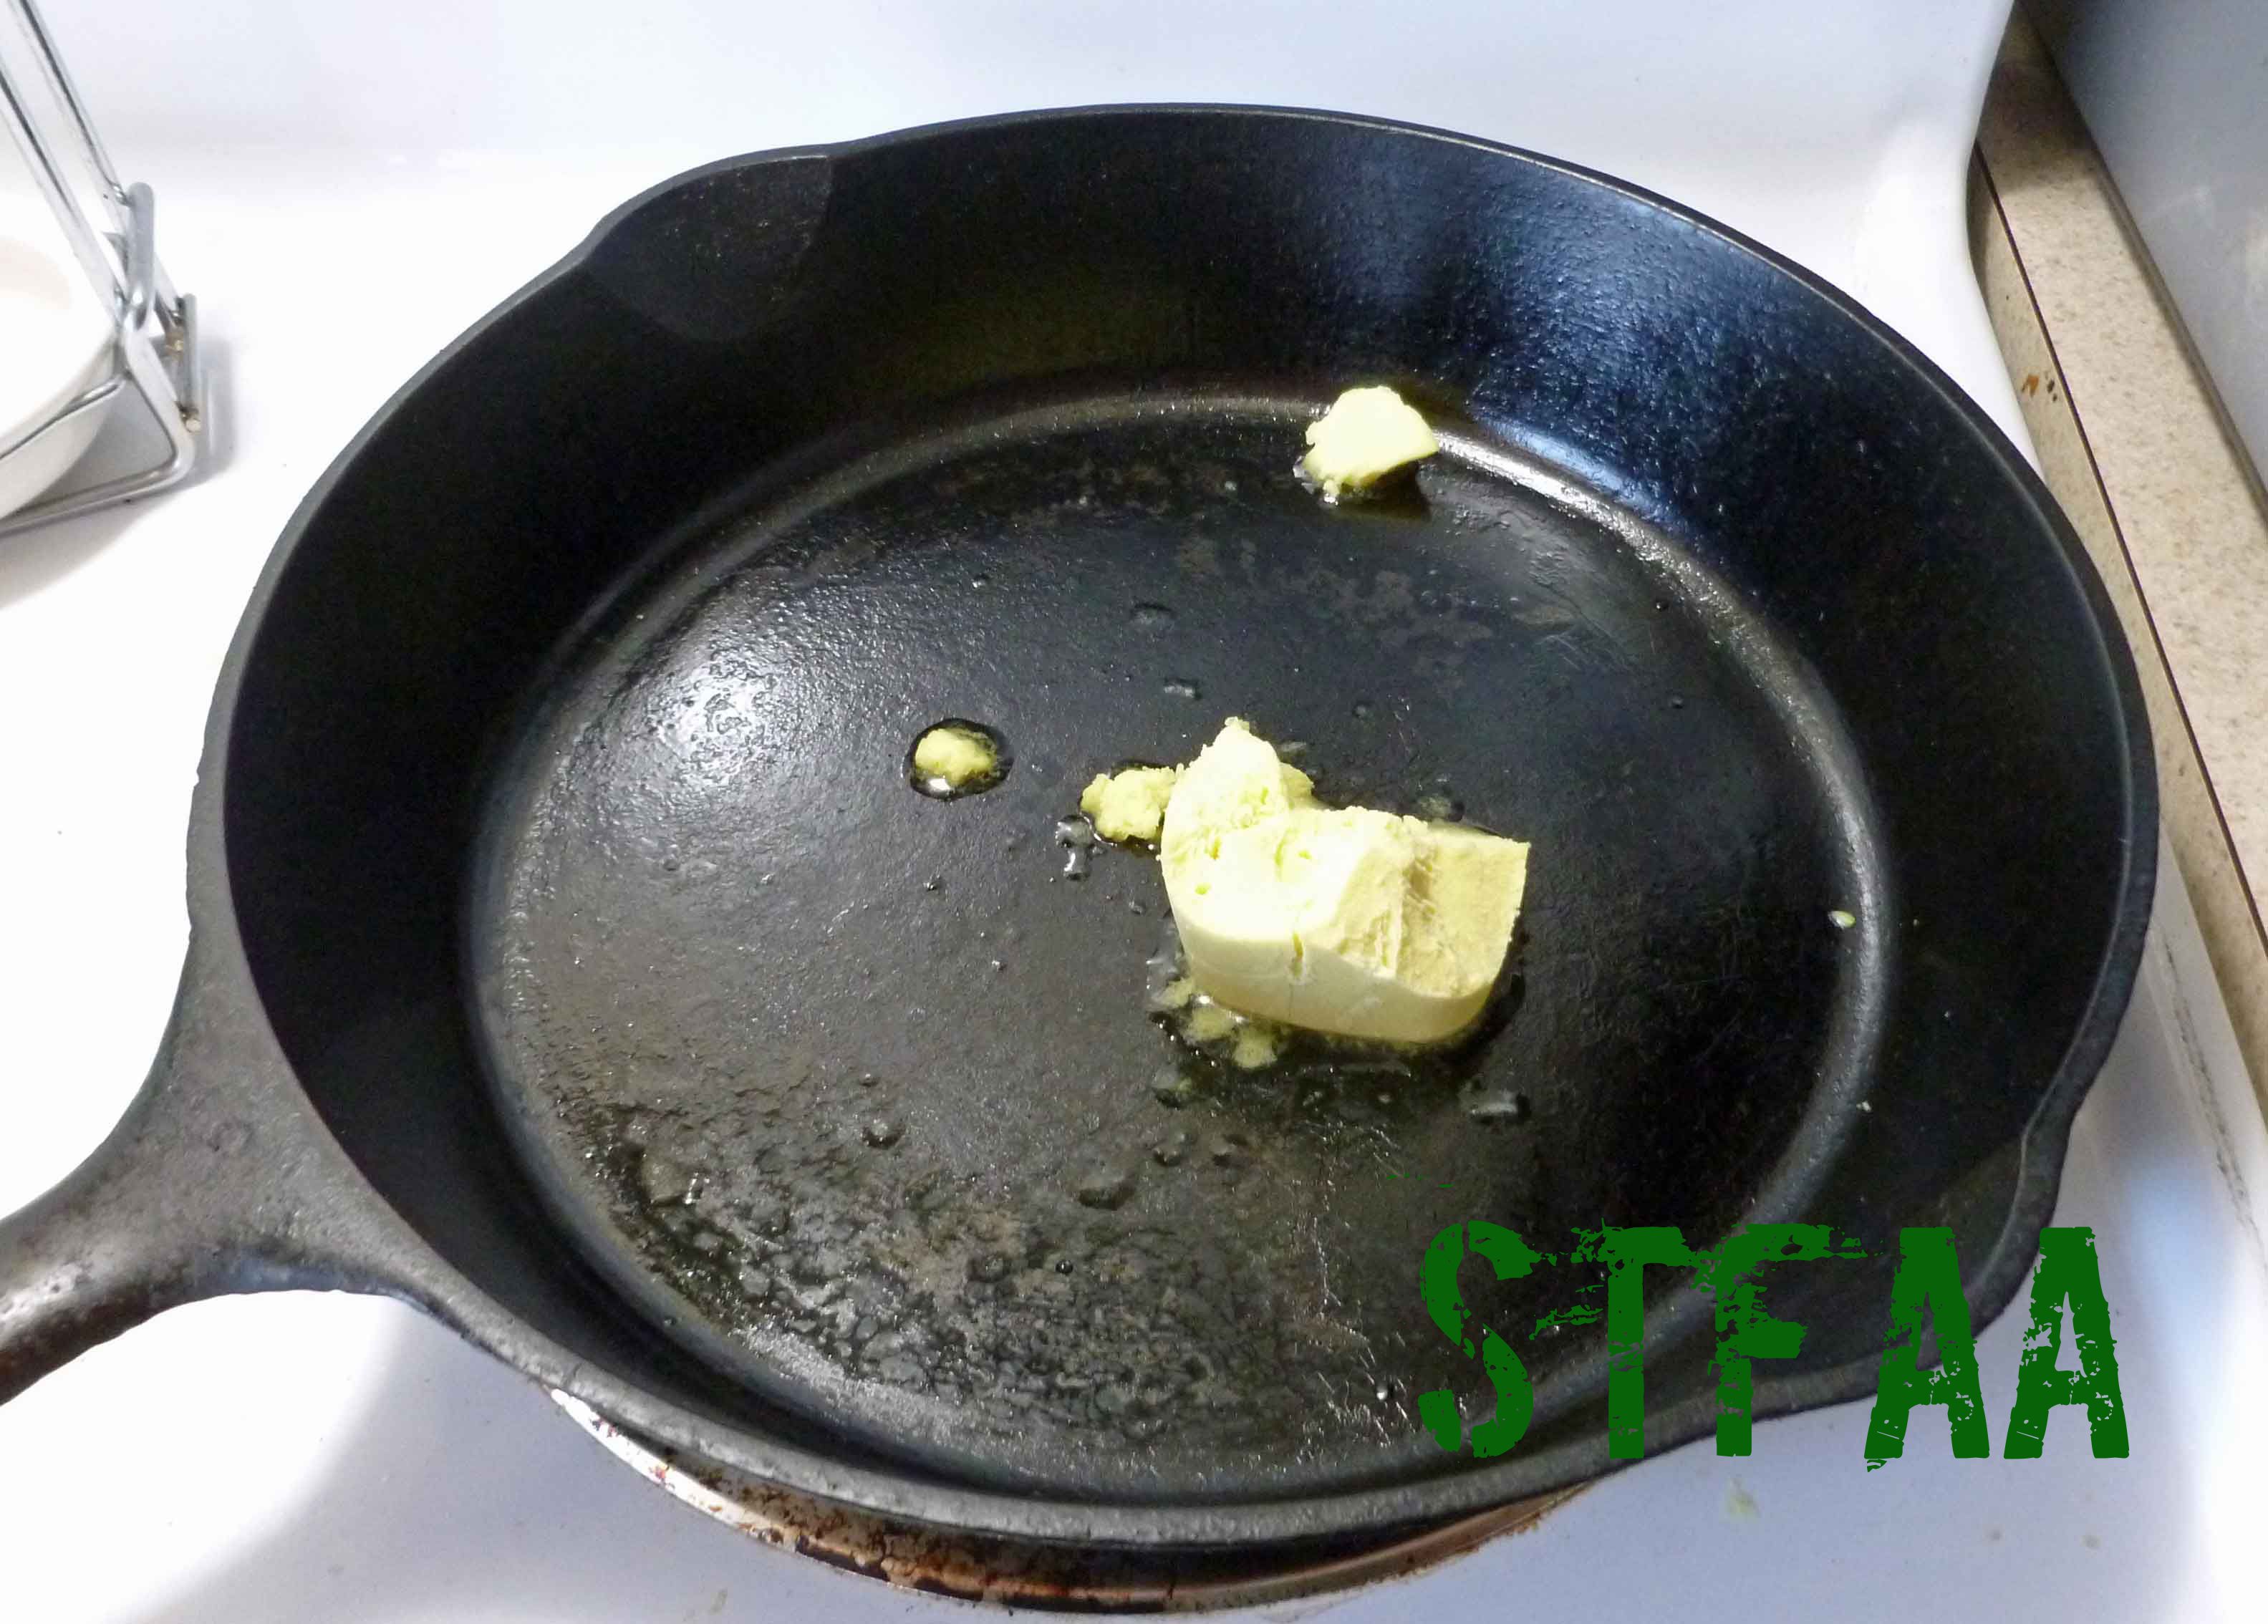
2 Tablespoonsnondairy spread(I used my Homemade Margarine recipe (http://adultfoodallergies.com/homemade-margarine-new-and-improved/) but if you are vegan and you are not allergic to corn, you can use Earthbalance.
2Tablespoonsbrown sugar
2Tablespoons rum(Be very careful, as many alcohols can have corn and wheat/gluten. I do well with Rhum Barbancourt Reserve Speciale.)
Servings: people
Instructions
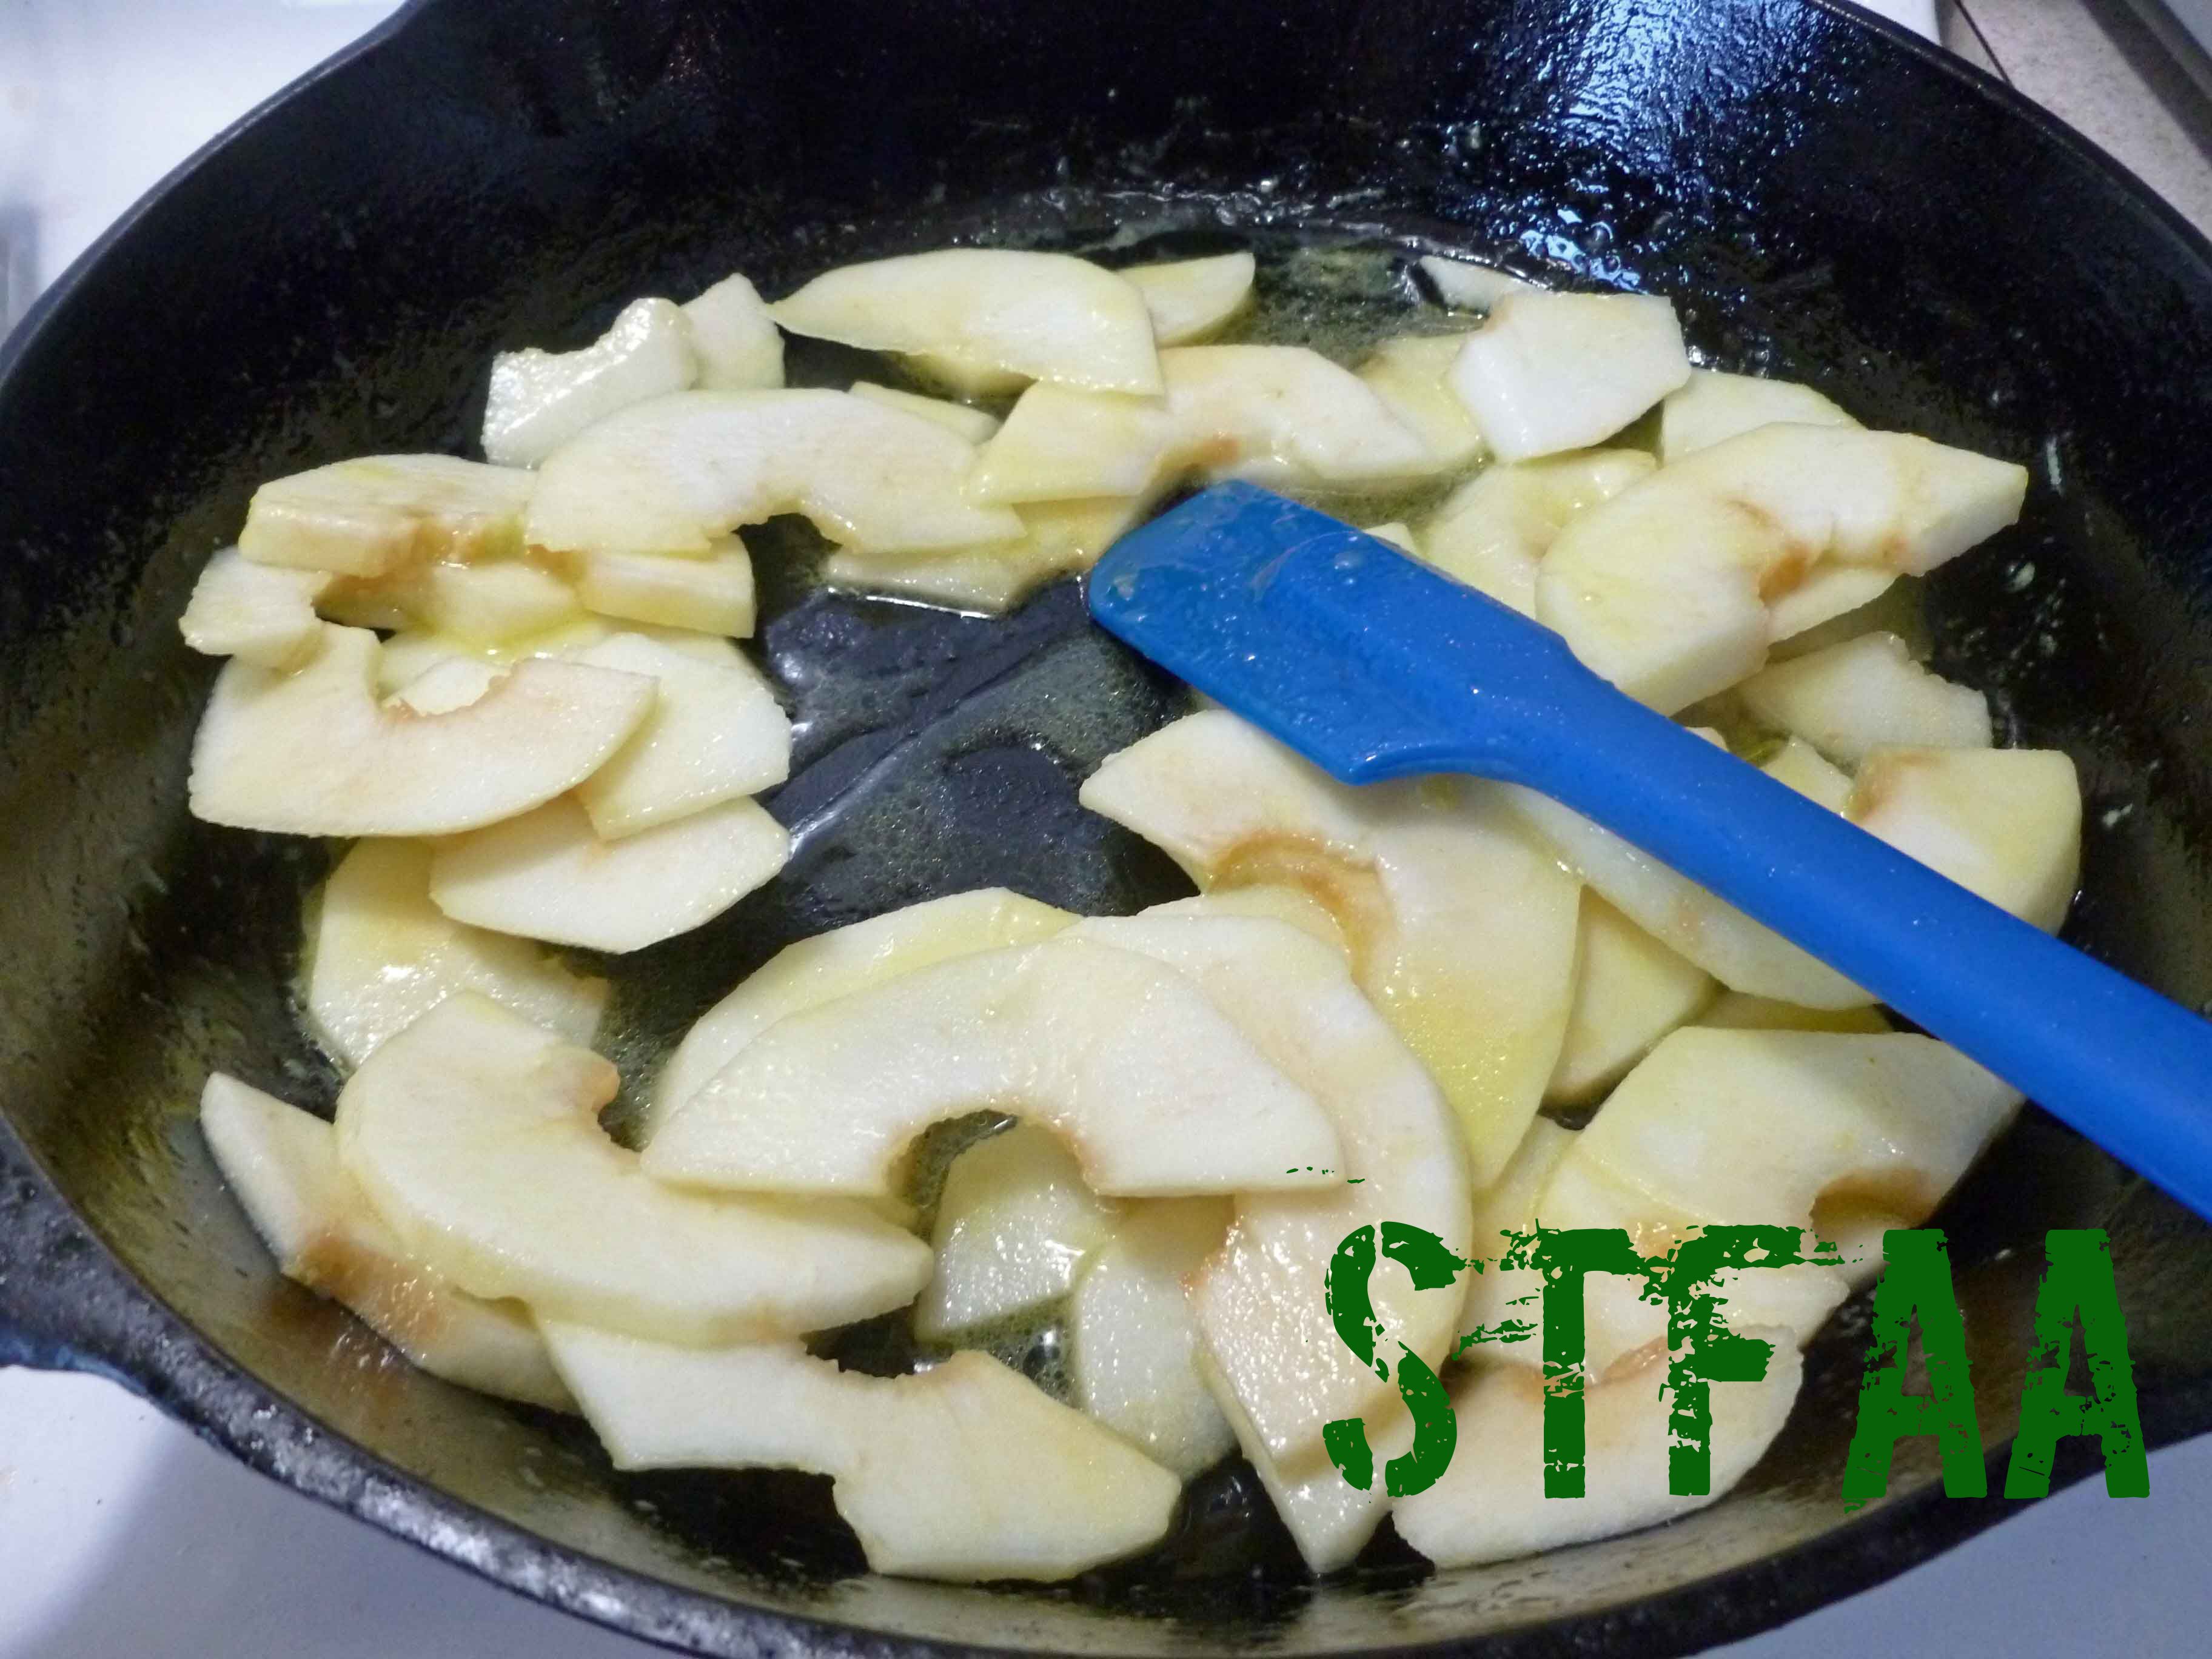
Place apples and lemon juice in a bowl and toss apples to coat with lemon juice.
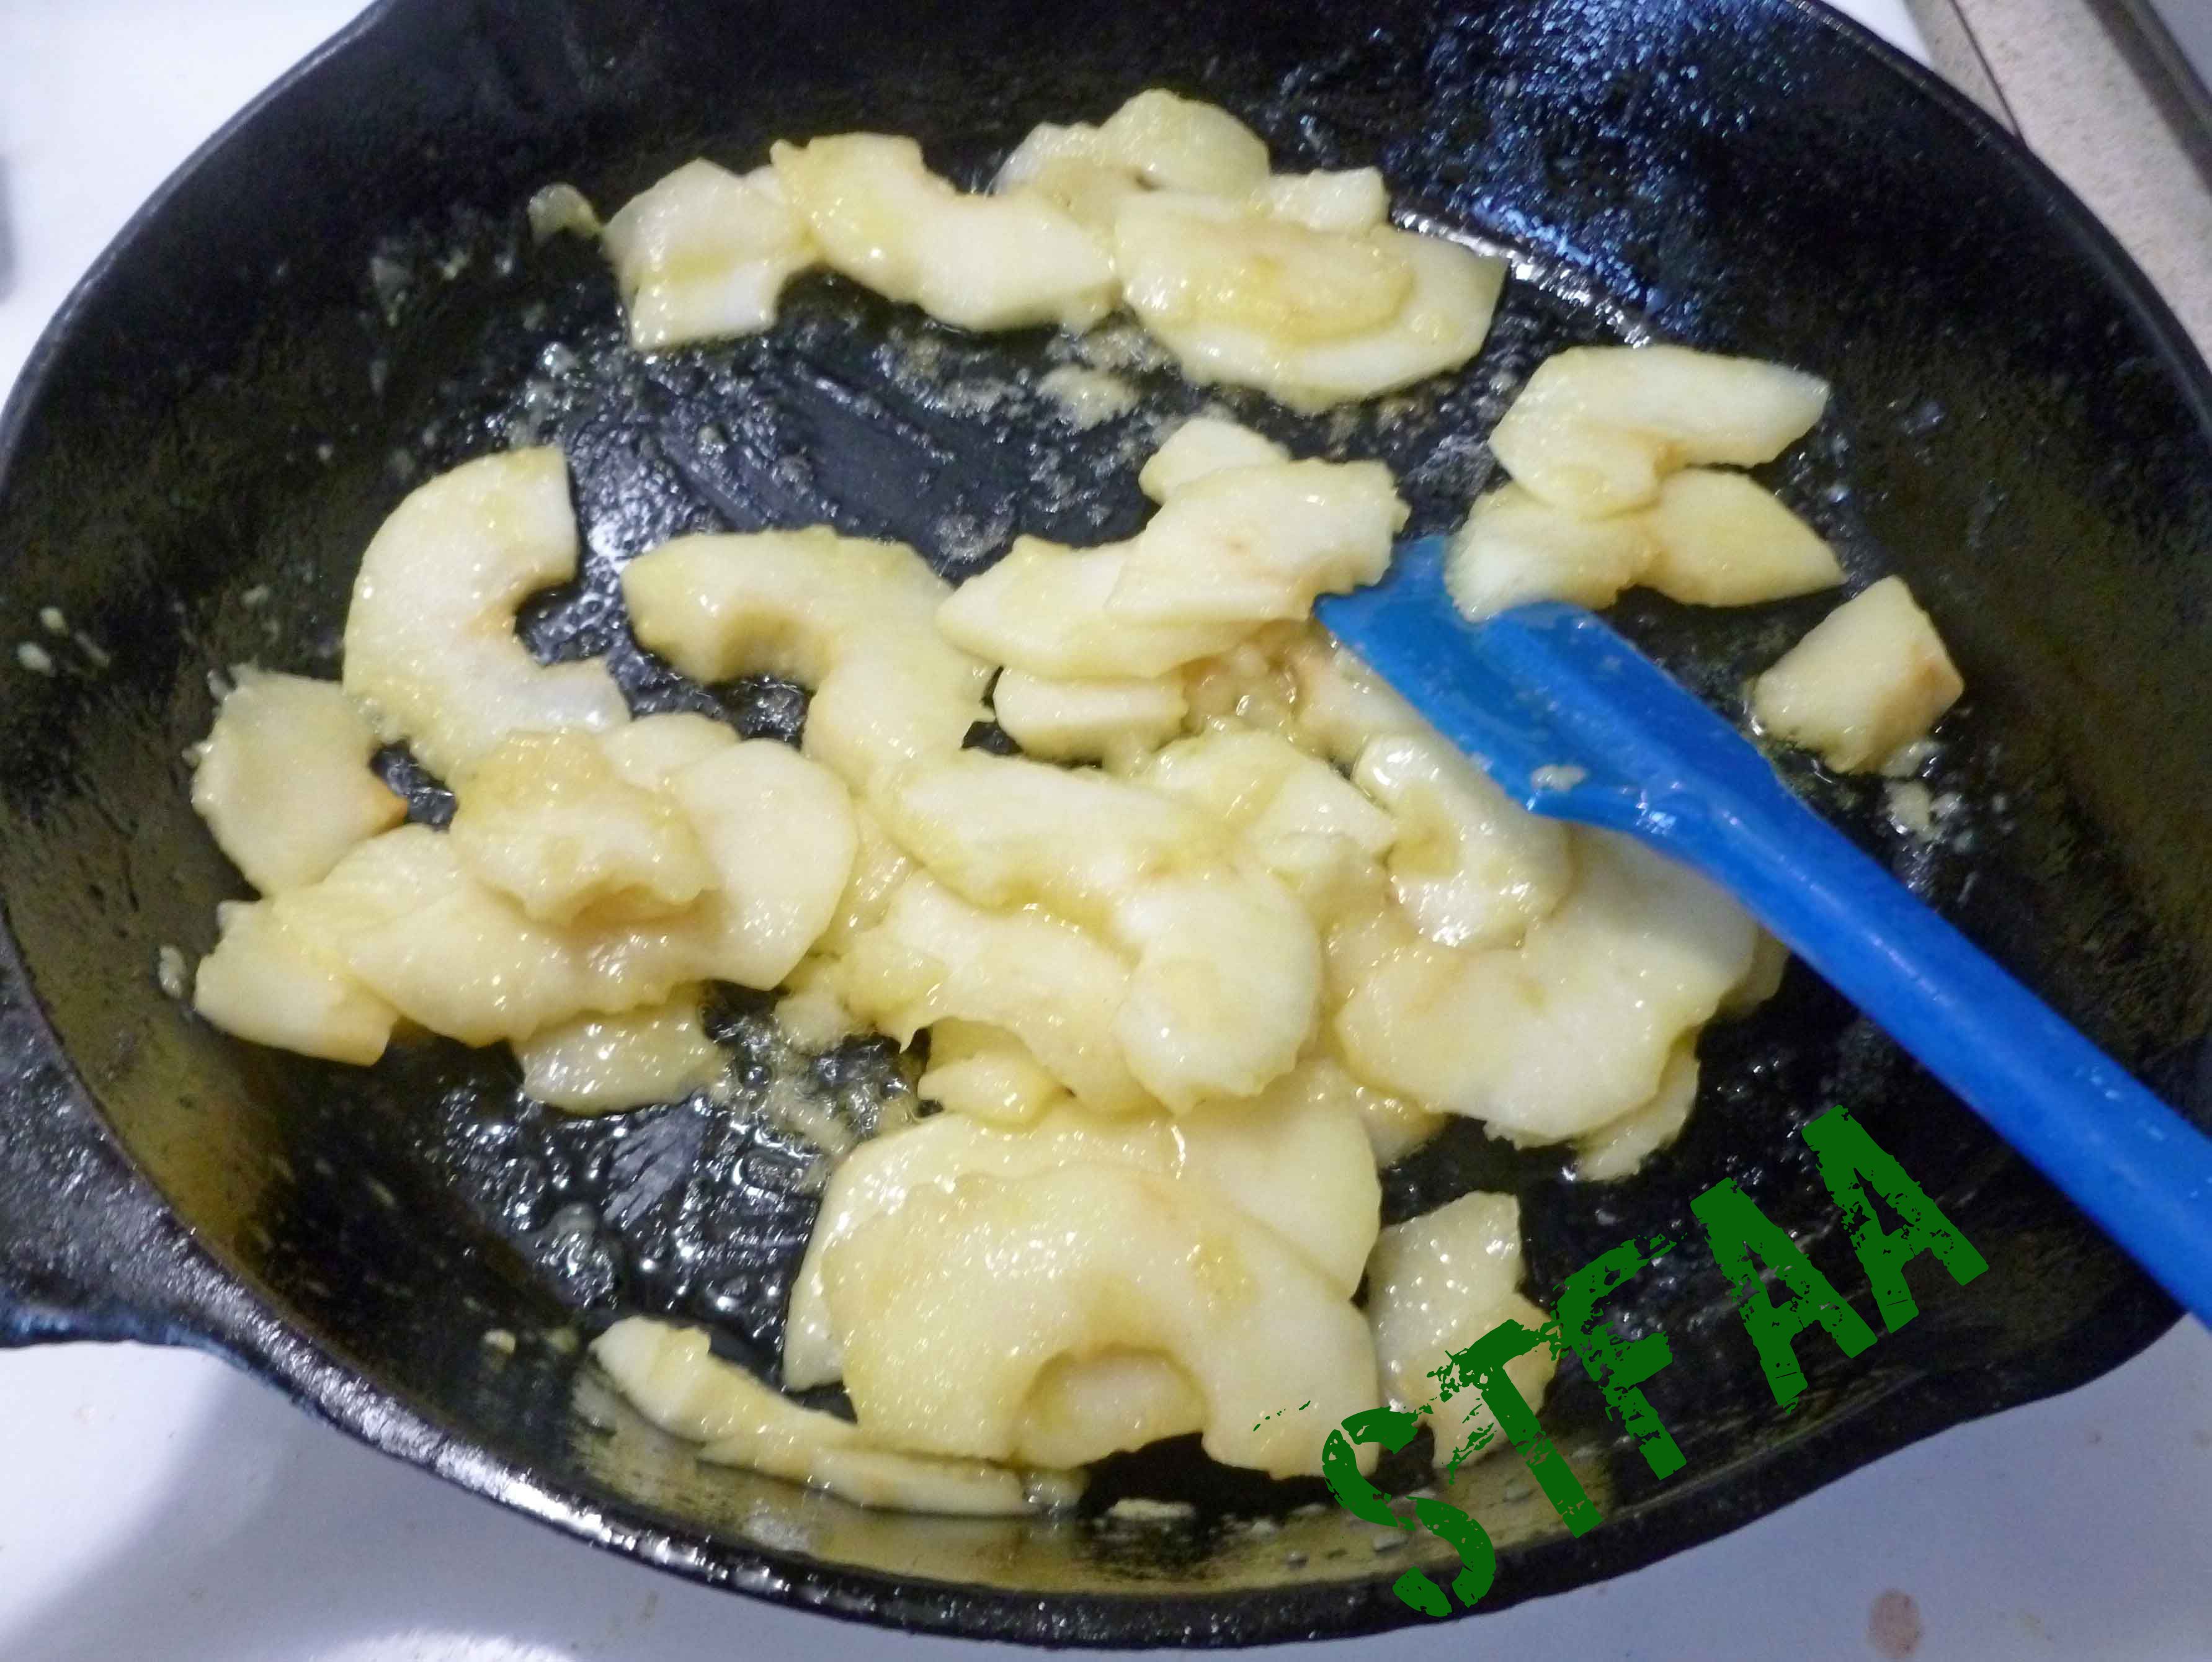
Melt the nondairy spread in a medium skillet over medium heat. Add the apples and cook, stirring and turning frequently, until they are tender, but still crisp (about 10 minutes).
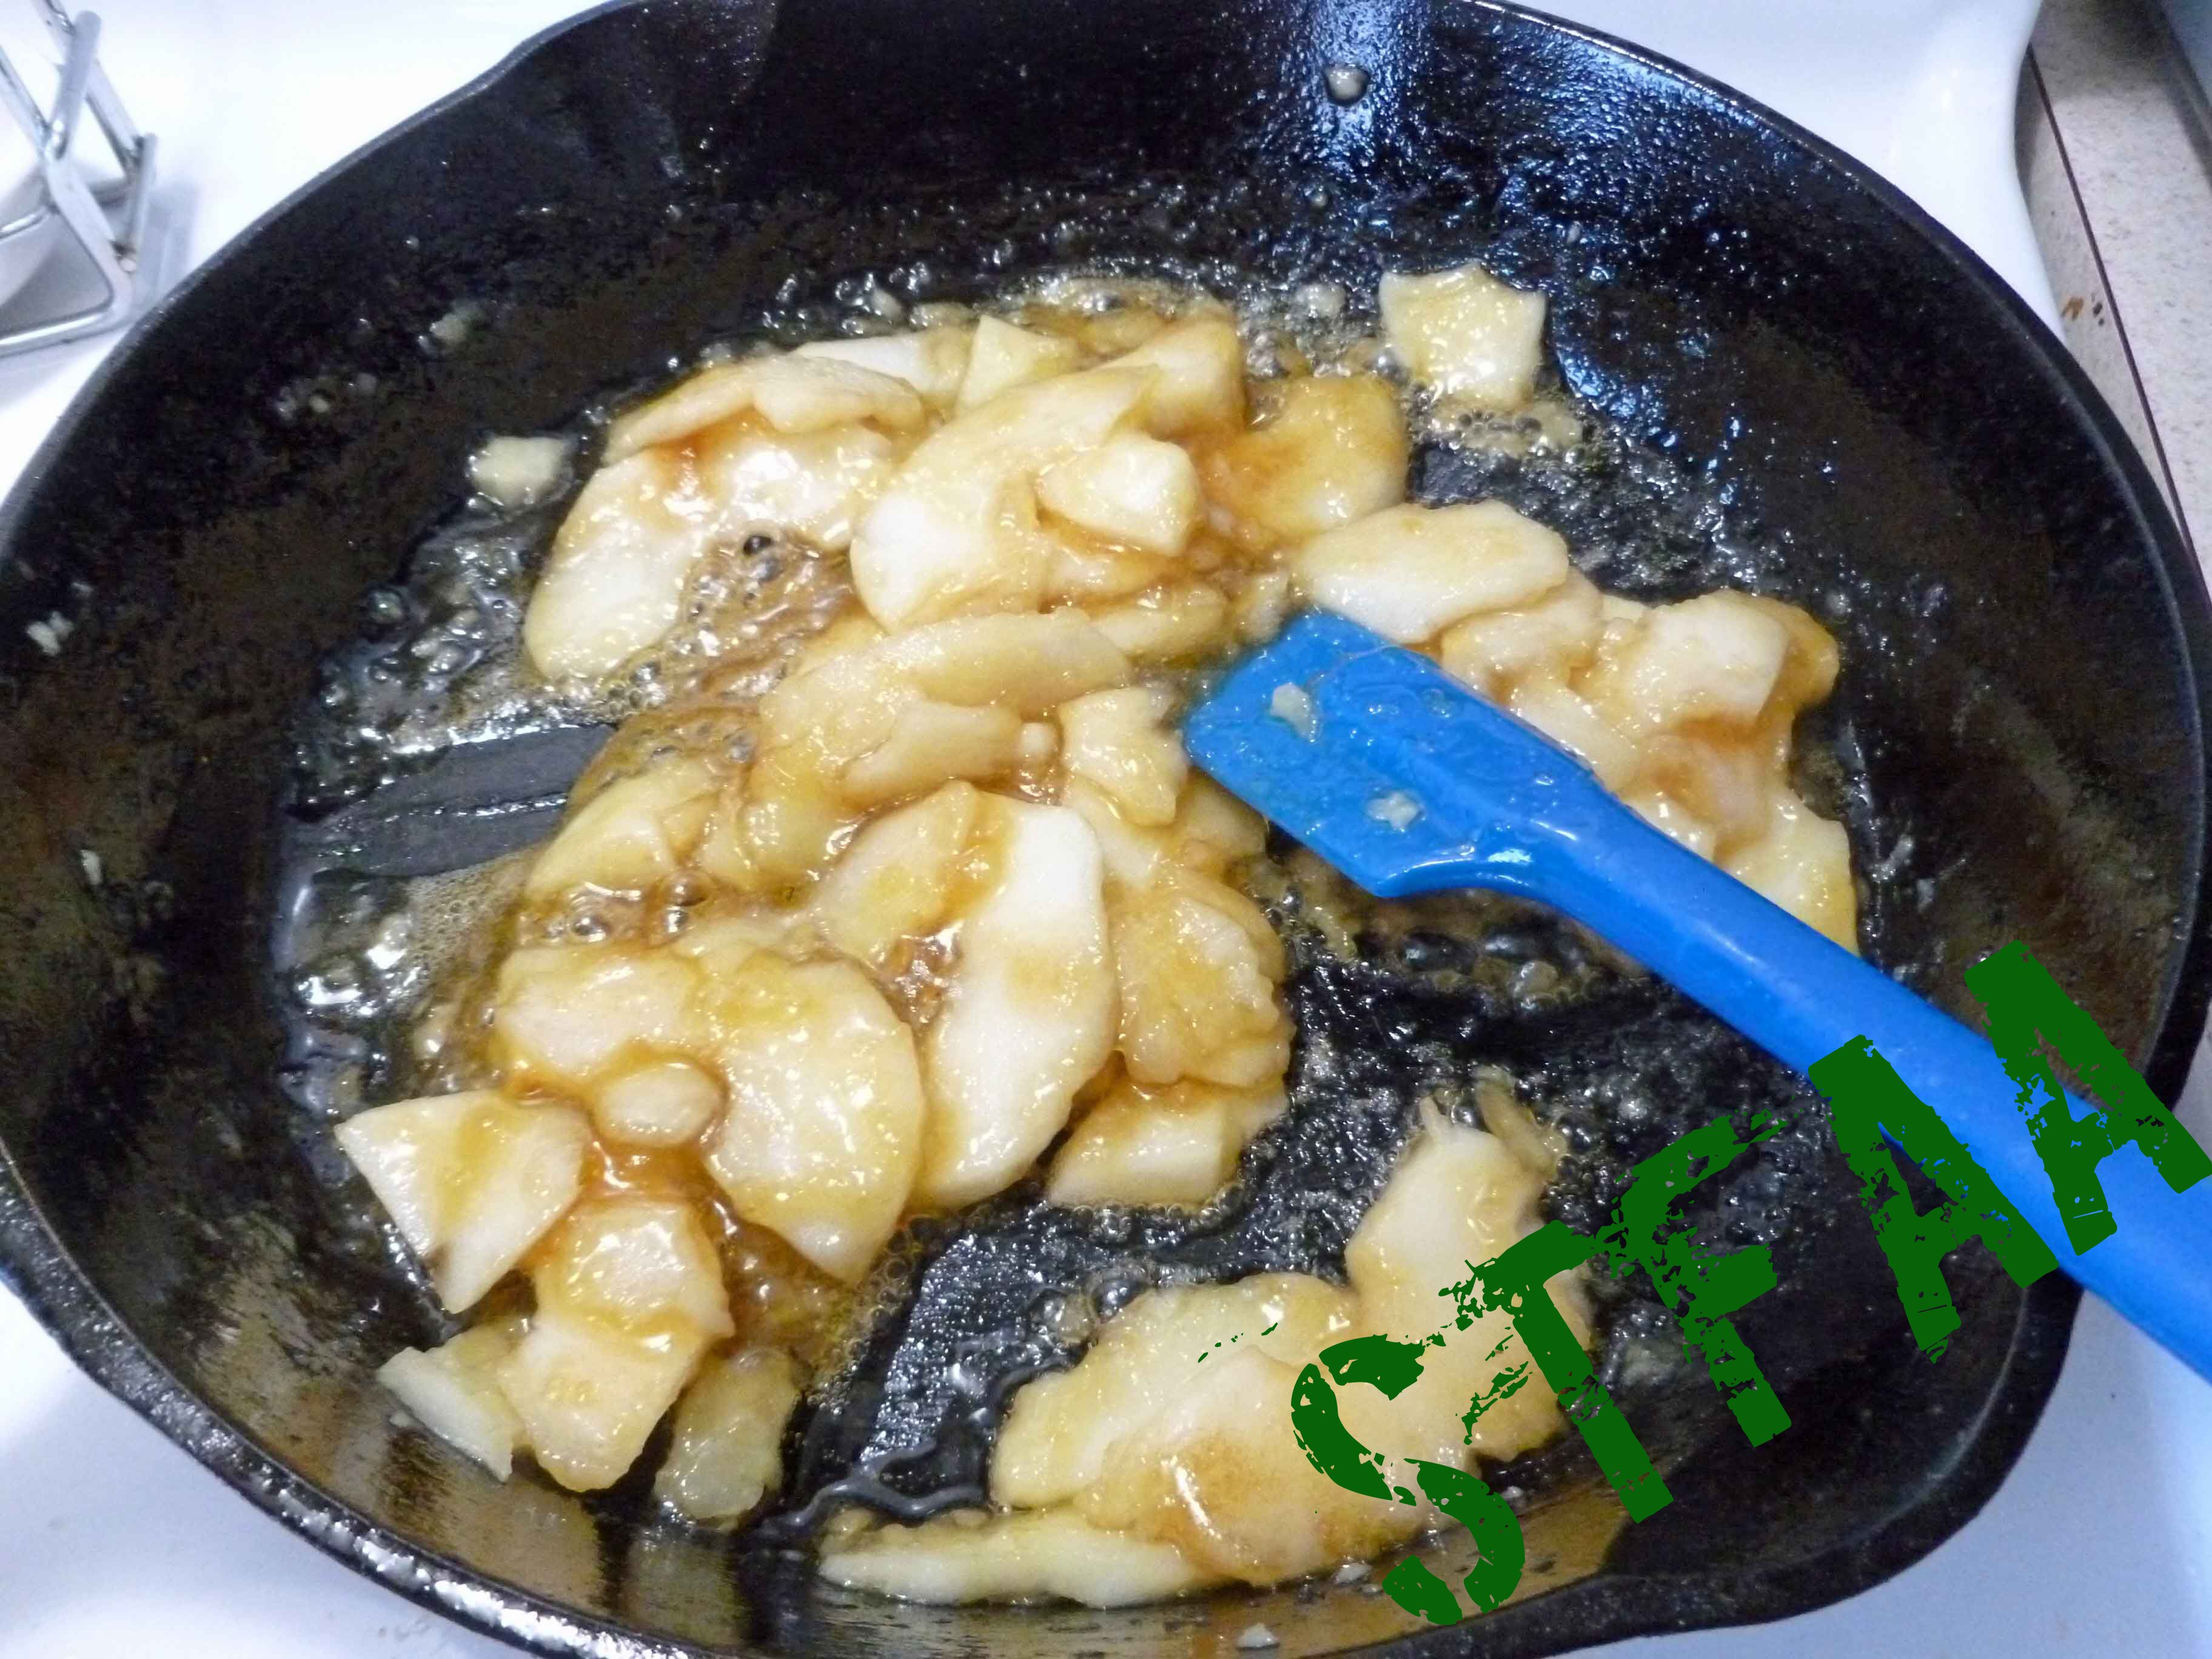
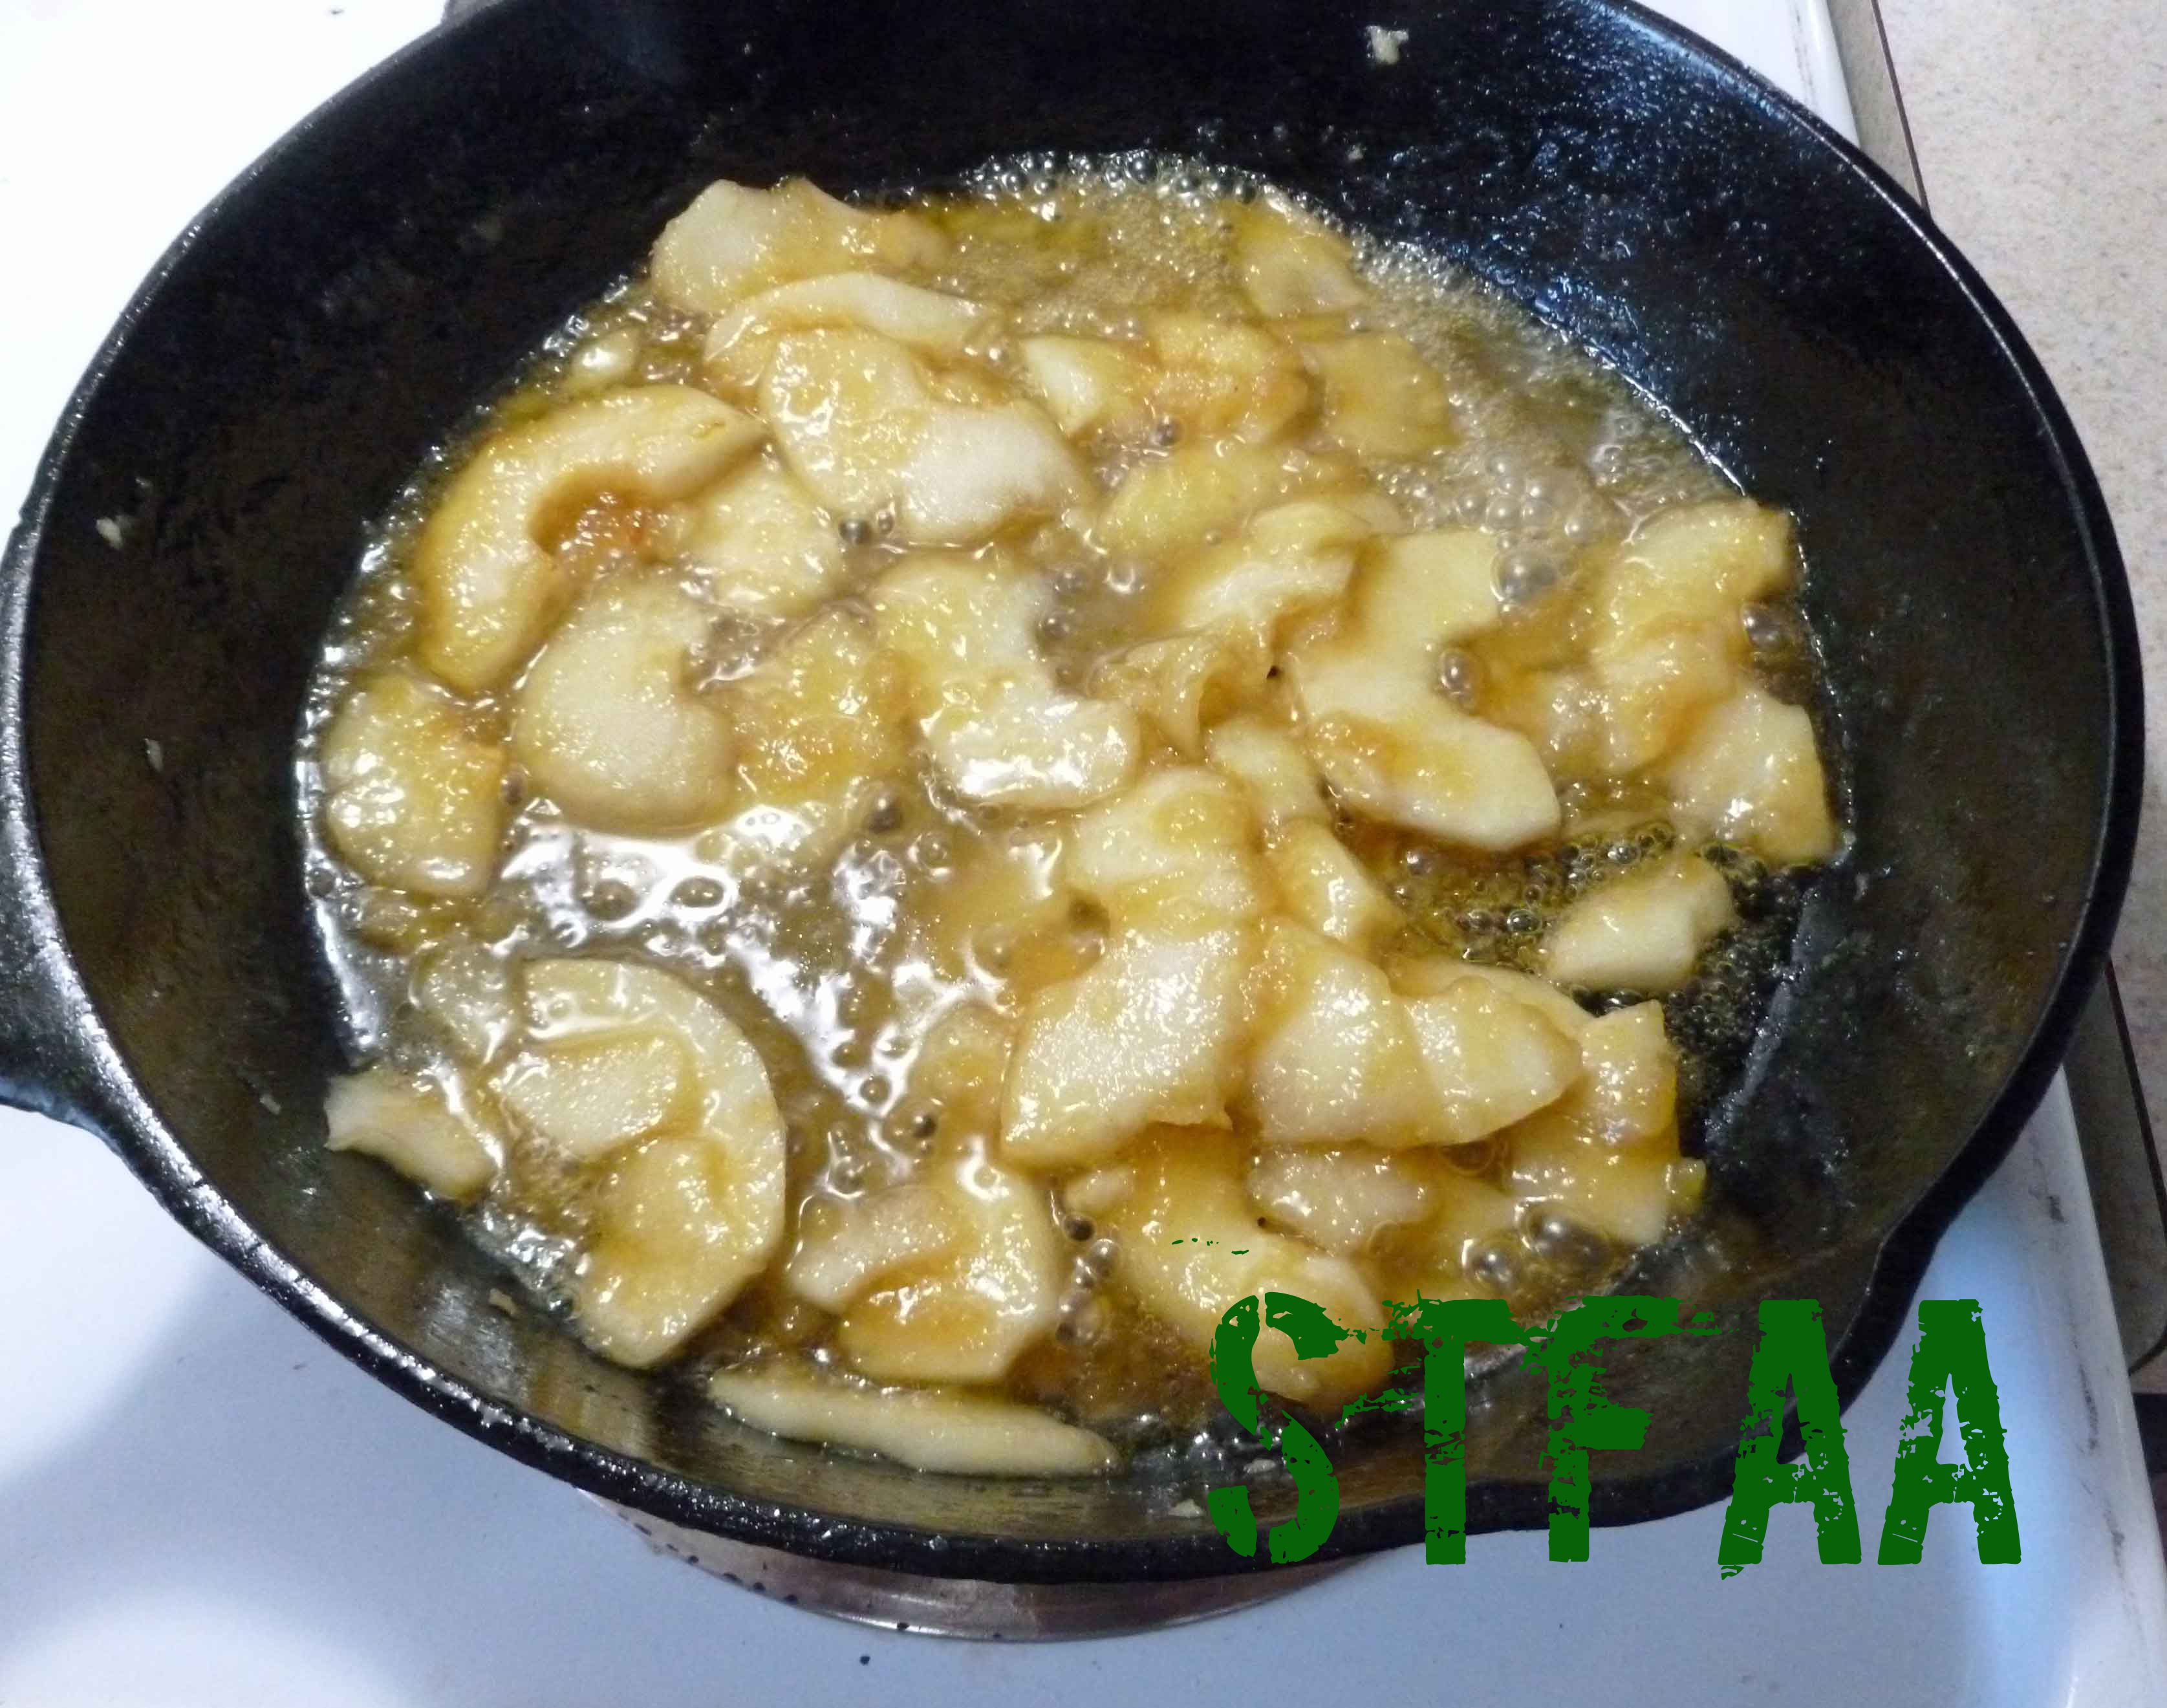
Add the brown sugar and stir until dissolved.
Add the rum or other safe alcohol, and ignite, shaking the skillet gently until the flame subsides.
Serve over the dessert or breakfast item of your choice, or if you have a safe ice cream, top your ice cream with it.
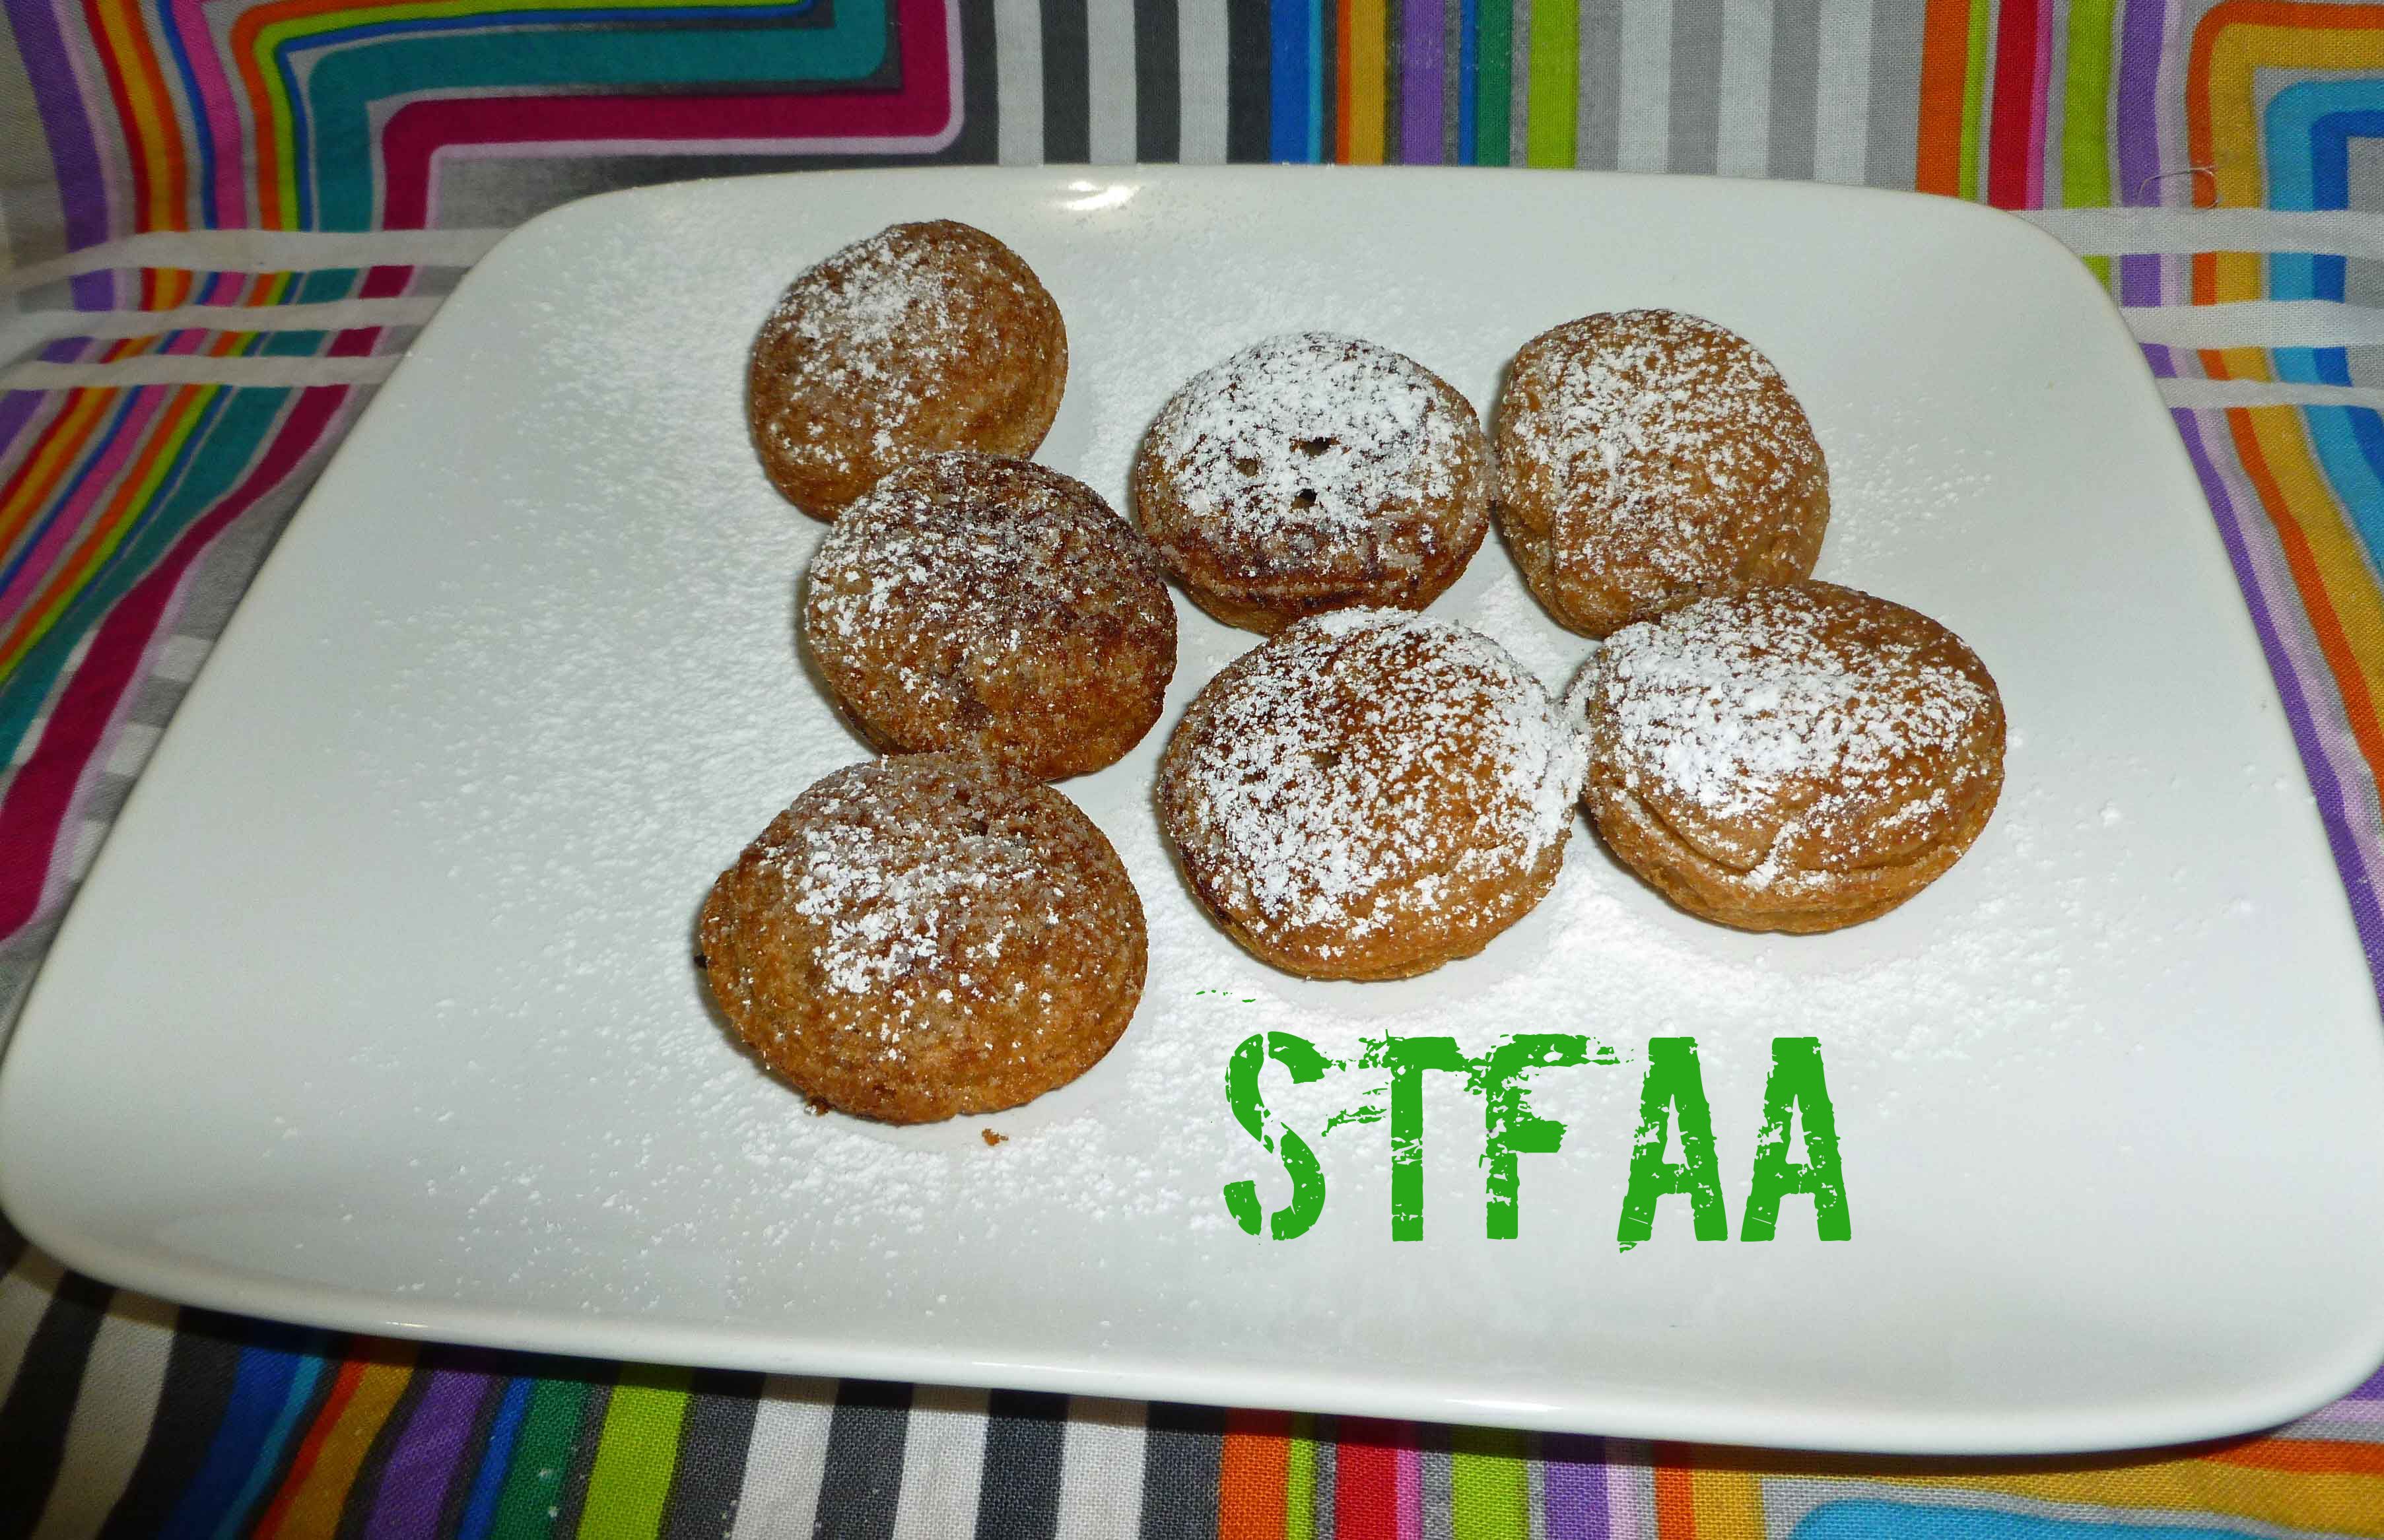
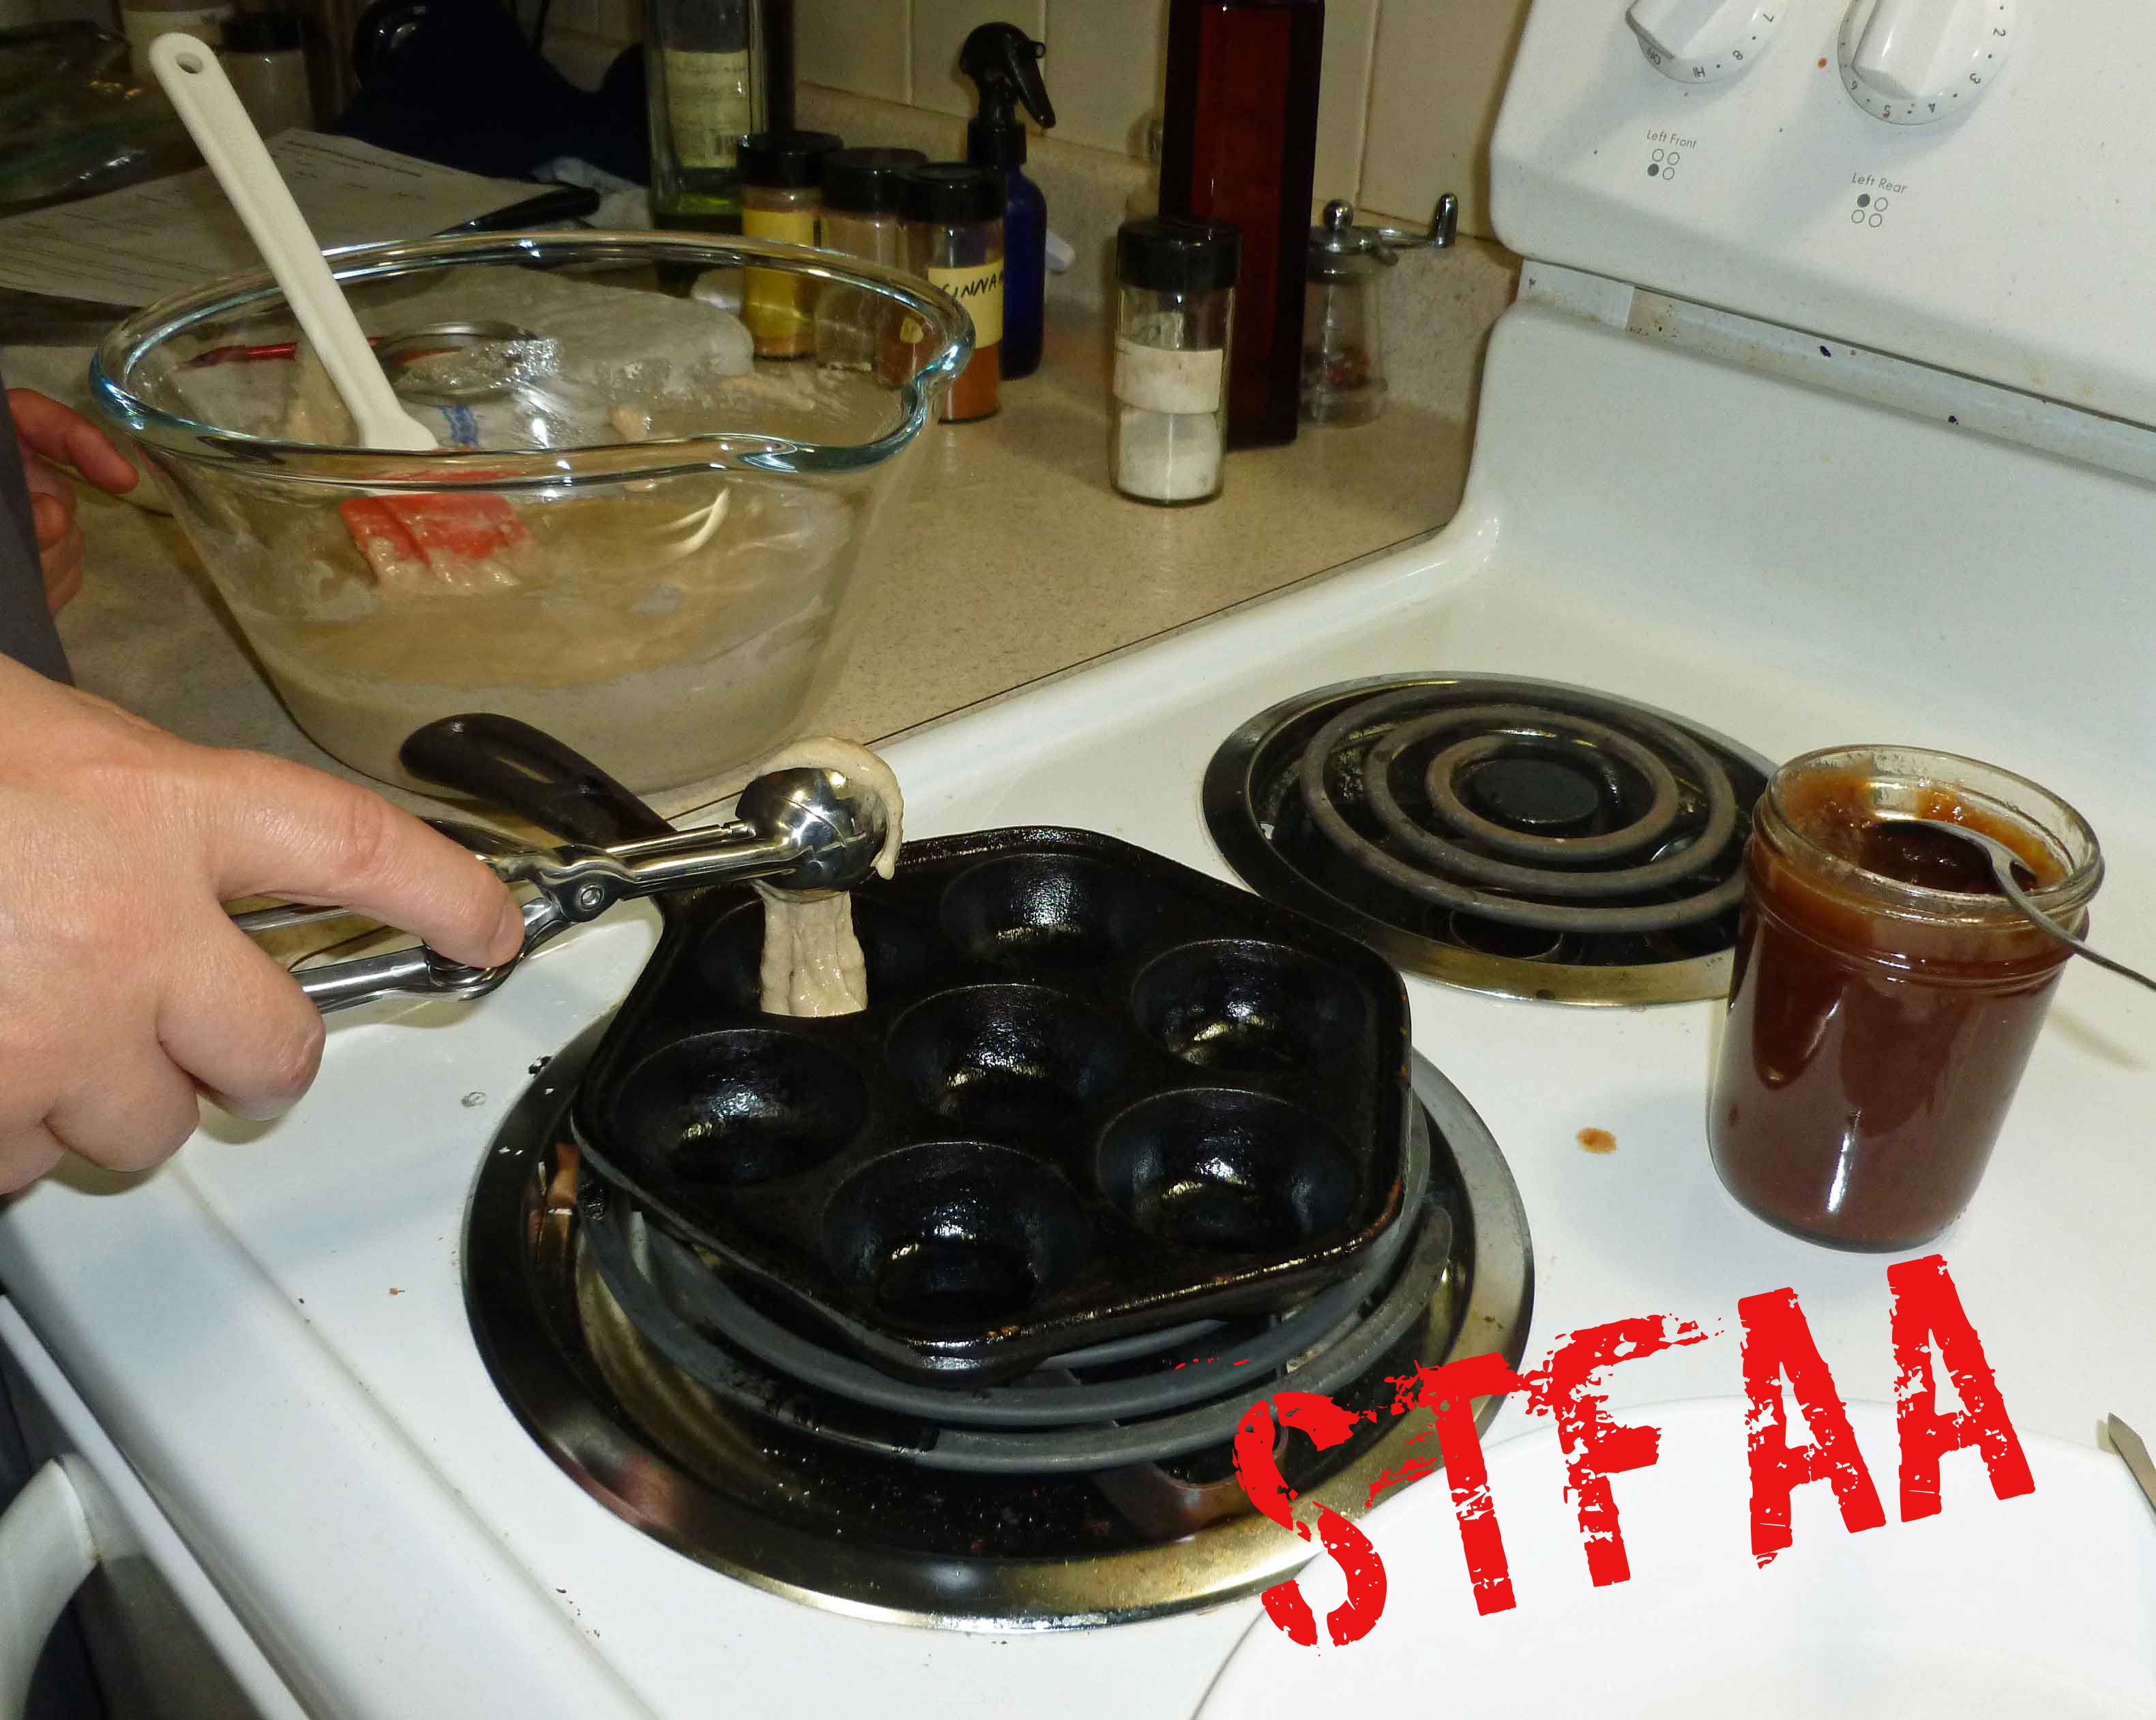
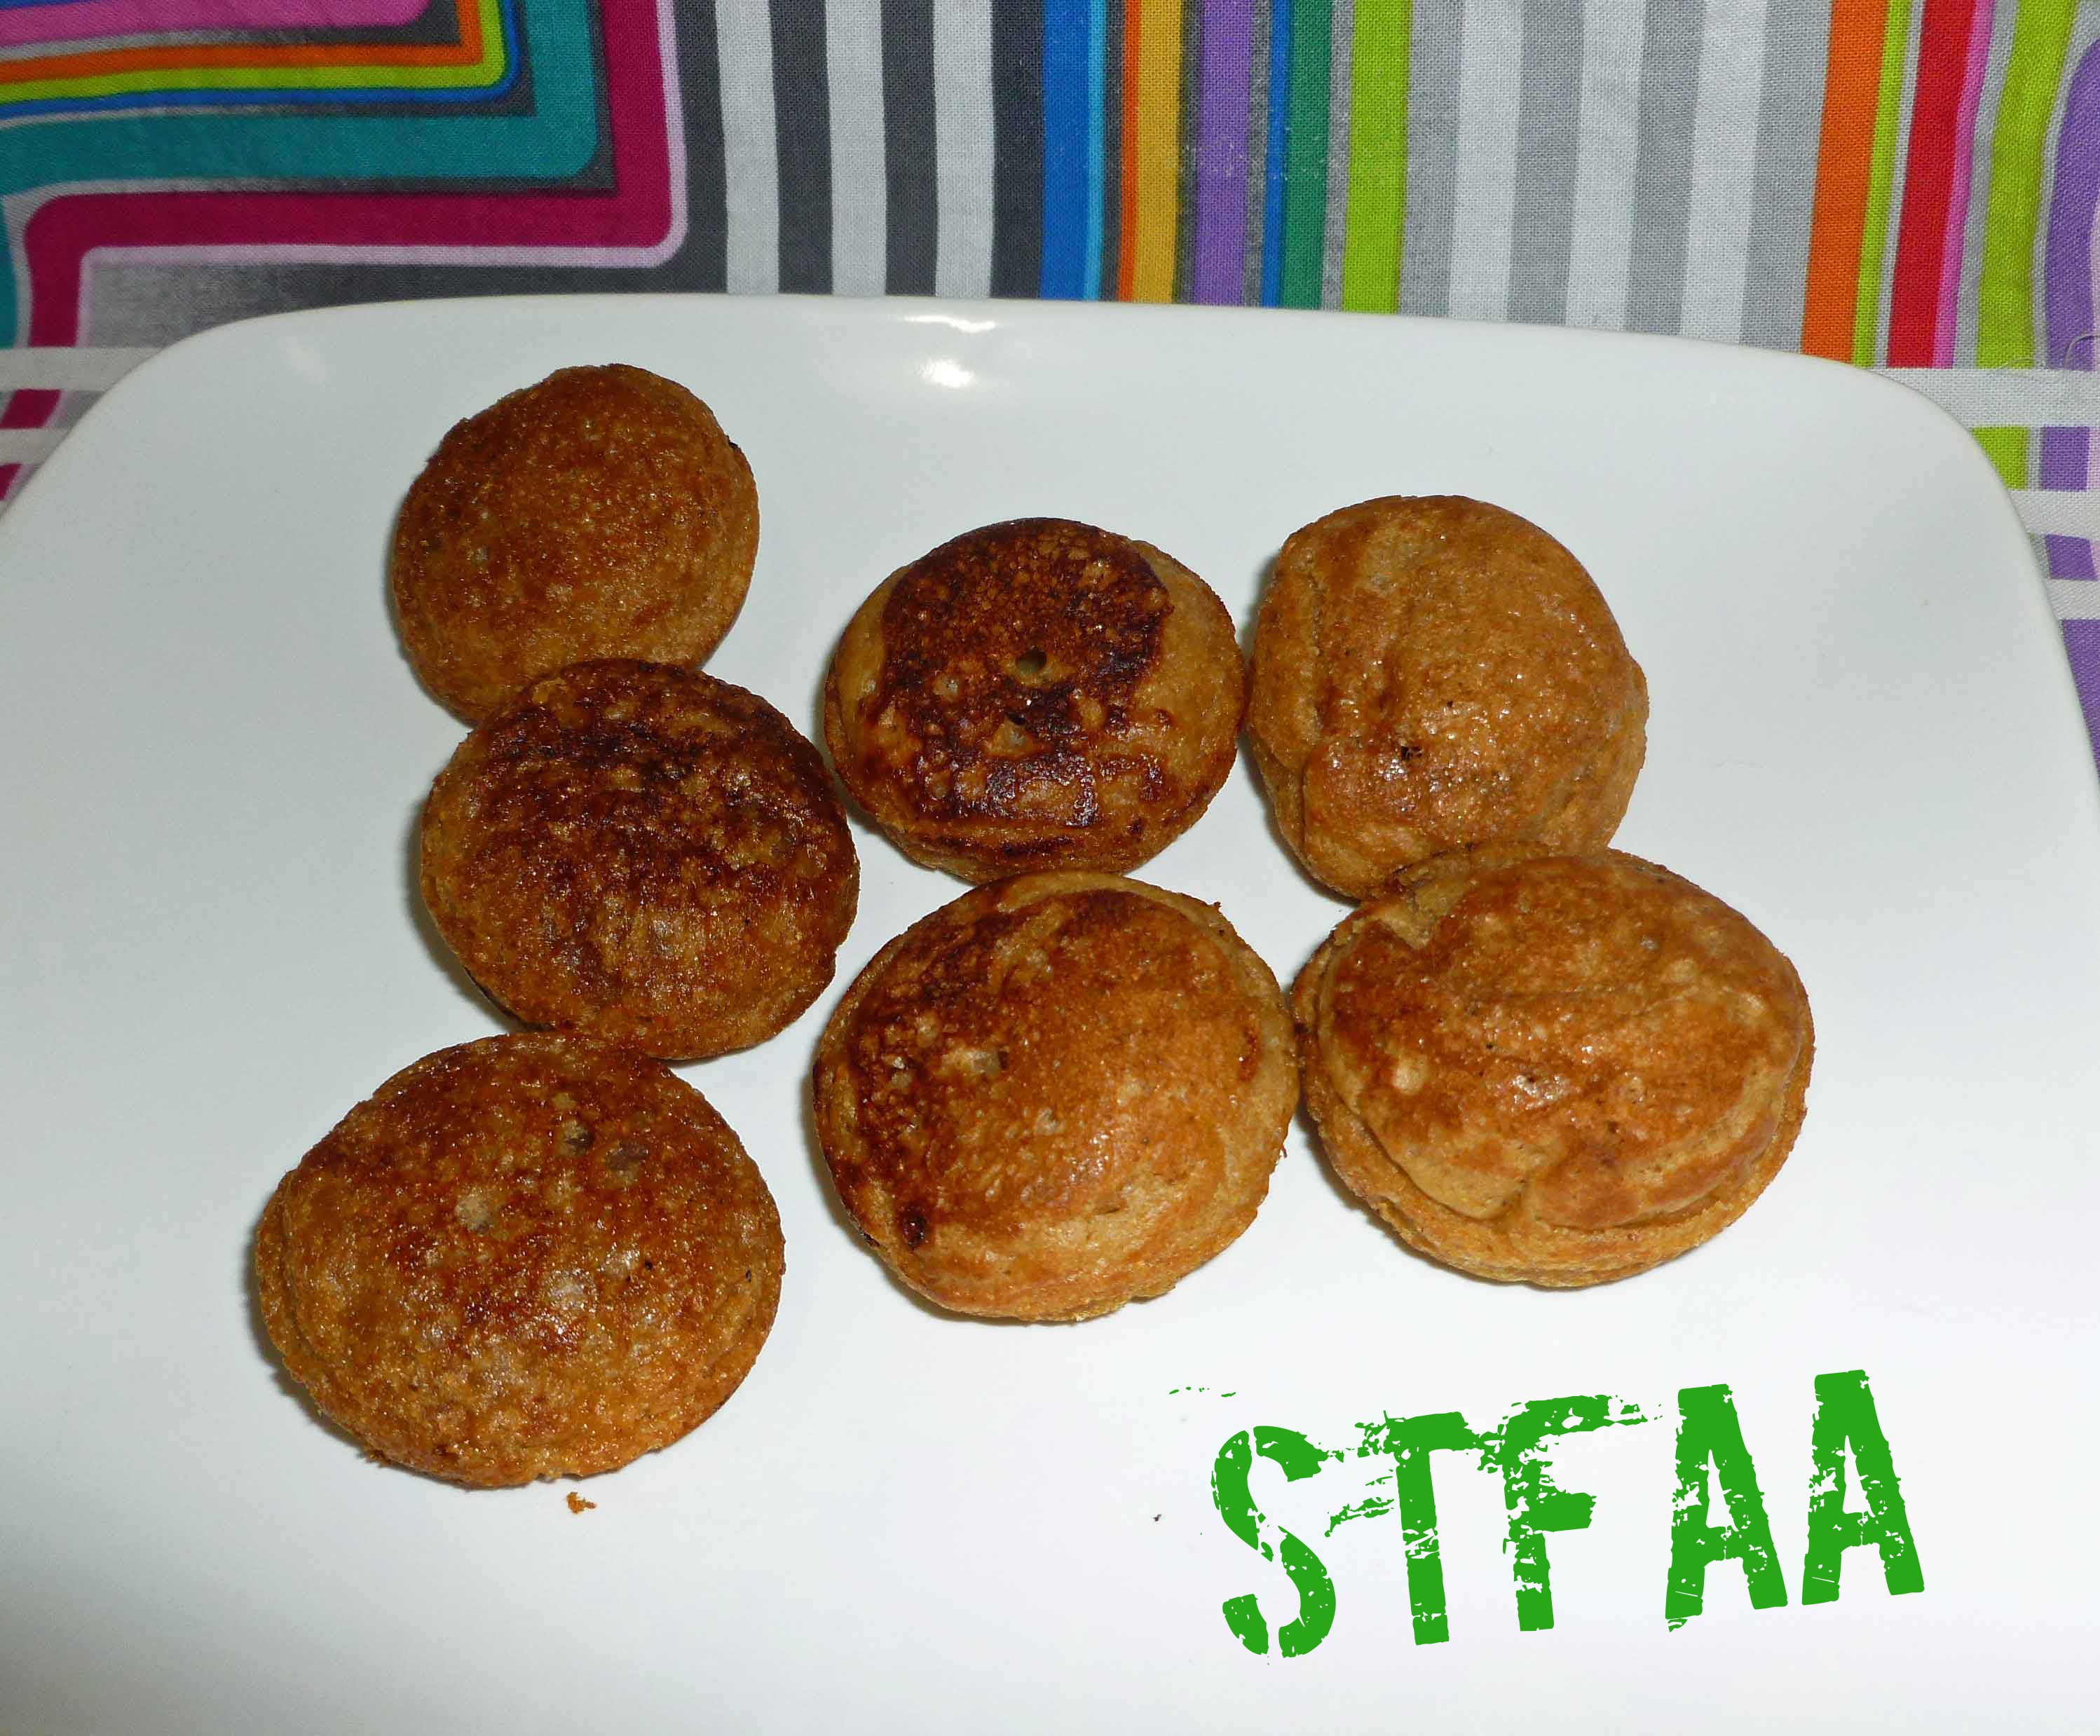
So this month is “Try a cooking technique we’ve never used before” month on the blog. I got a cast iron abelskiver pan originally to try to make an Indian dish called paniyaram, but I’m in the middle of the apple apocalypse. We’re having a bumper crop this year, and I haven’t had time to sort out a recipe in between trying to can as much as I can (pun not intended). So, since I have a ton of apple butter, I give you abelskiver stuffed with apple butter. But you can use any jam or other filling you want. You can also use this as a funky dessert, just throw some powdered sugar over them, or drizzle them with a chocolate or caramel sauce. Go wild.
Gluten-free & Vegan Abelskiver (Stuffed Pancakes)
Print Recipe
A neat treat on a fall day with your choice of jam, for either breakfast or dessert. If using for dessert, you could sprinkle them with powdered sugar or dress them with a dessert sauce.
A neat treat on a fall day with your choice of jam, for either breakfast or dessert. If using for dessert, you could sprinkle them with powdered sugar or dress them with a dessert sauce.
1 1/2cupsGluten-free, Rice-free, Potato-free flour mix(see recipe card in the post or you can try your normal gluten free flour mix)
1teaspoonsea salt
3Tablespoonsbrown sugar
2teaspoonsbaking powderhere’s a corn free version – https://wholenewmom.com/health-concerns/make-your-own-baking-powder/
Wet Ingredients
1/3cupwater
1 1/4cupnon-dairy milkI use homemade cashew or rice milk
1teaspoonvanilla extract(I make my own with vanilla beans and vodka made from potatoesas most commercial extract contains corn)
3Tablespoons safe for you oilI used grape seed oil or olive oil
1teaspoonpsyllium husk powder
Other Ingredients
oil to grease pan
1jar applebutter or jam of your choice
Equiptment
abelskiver pan
Servings: abelskiver
Instructions
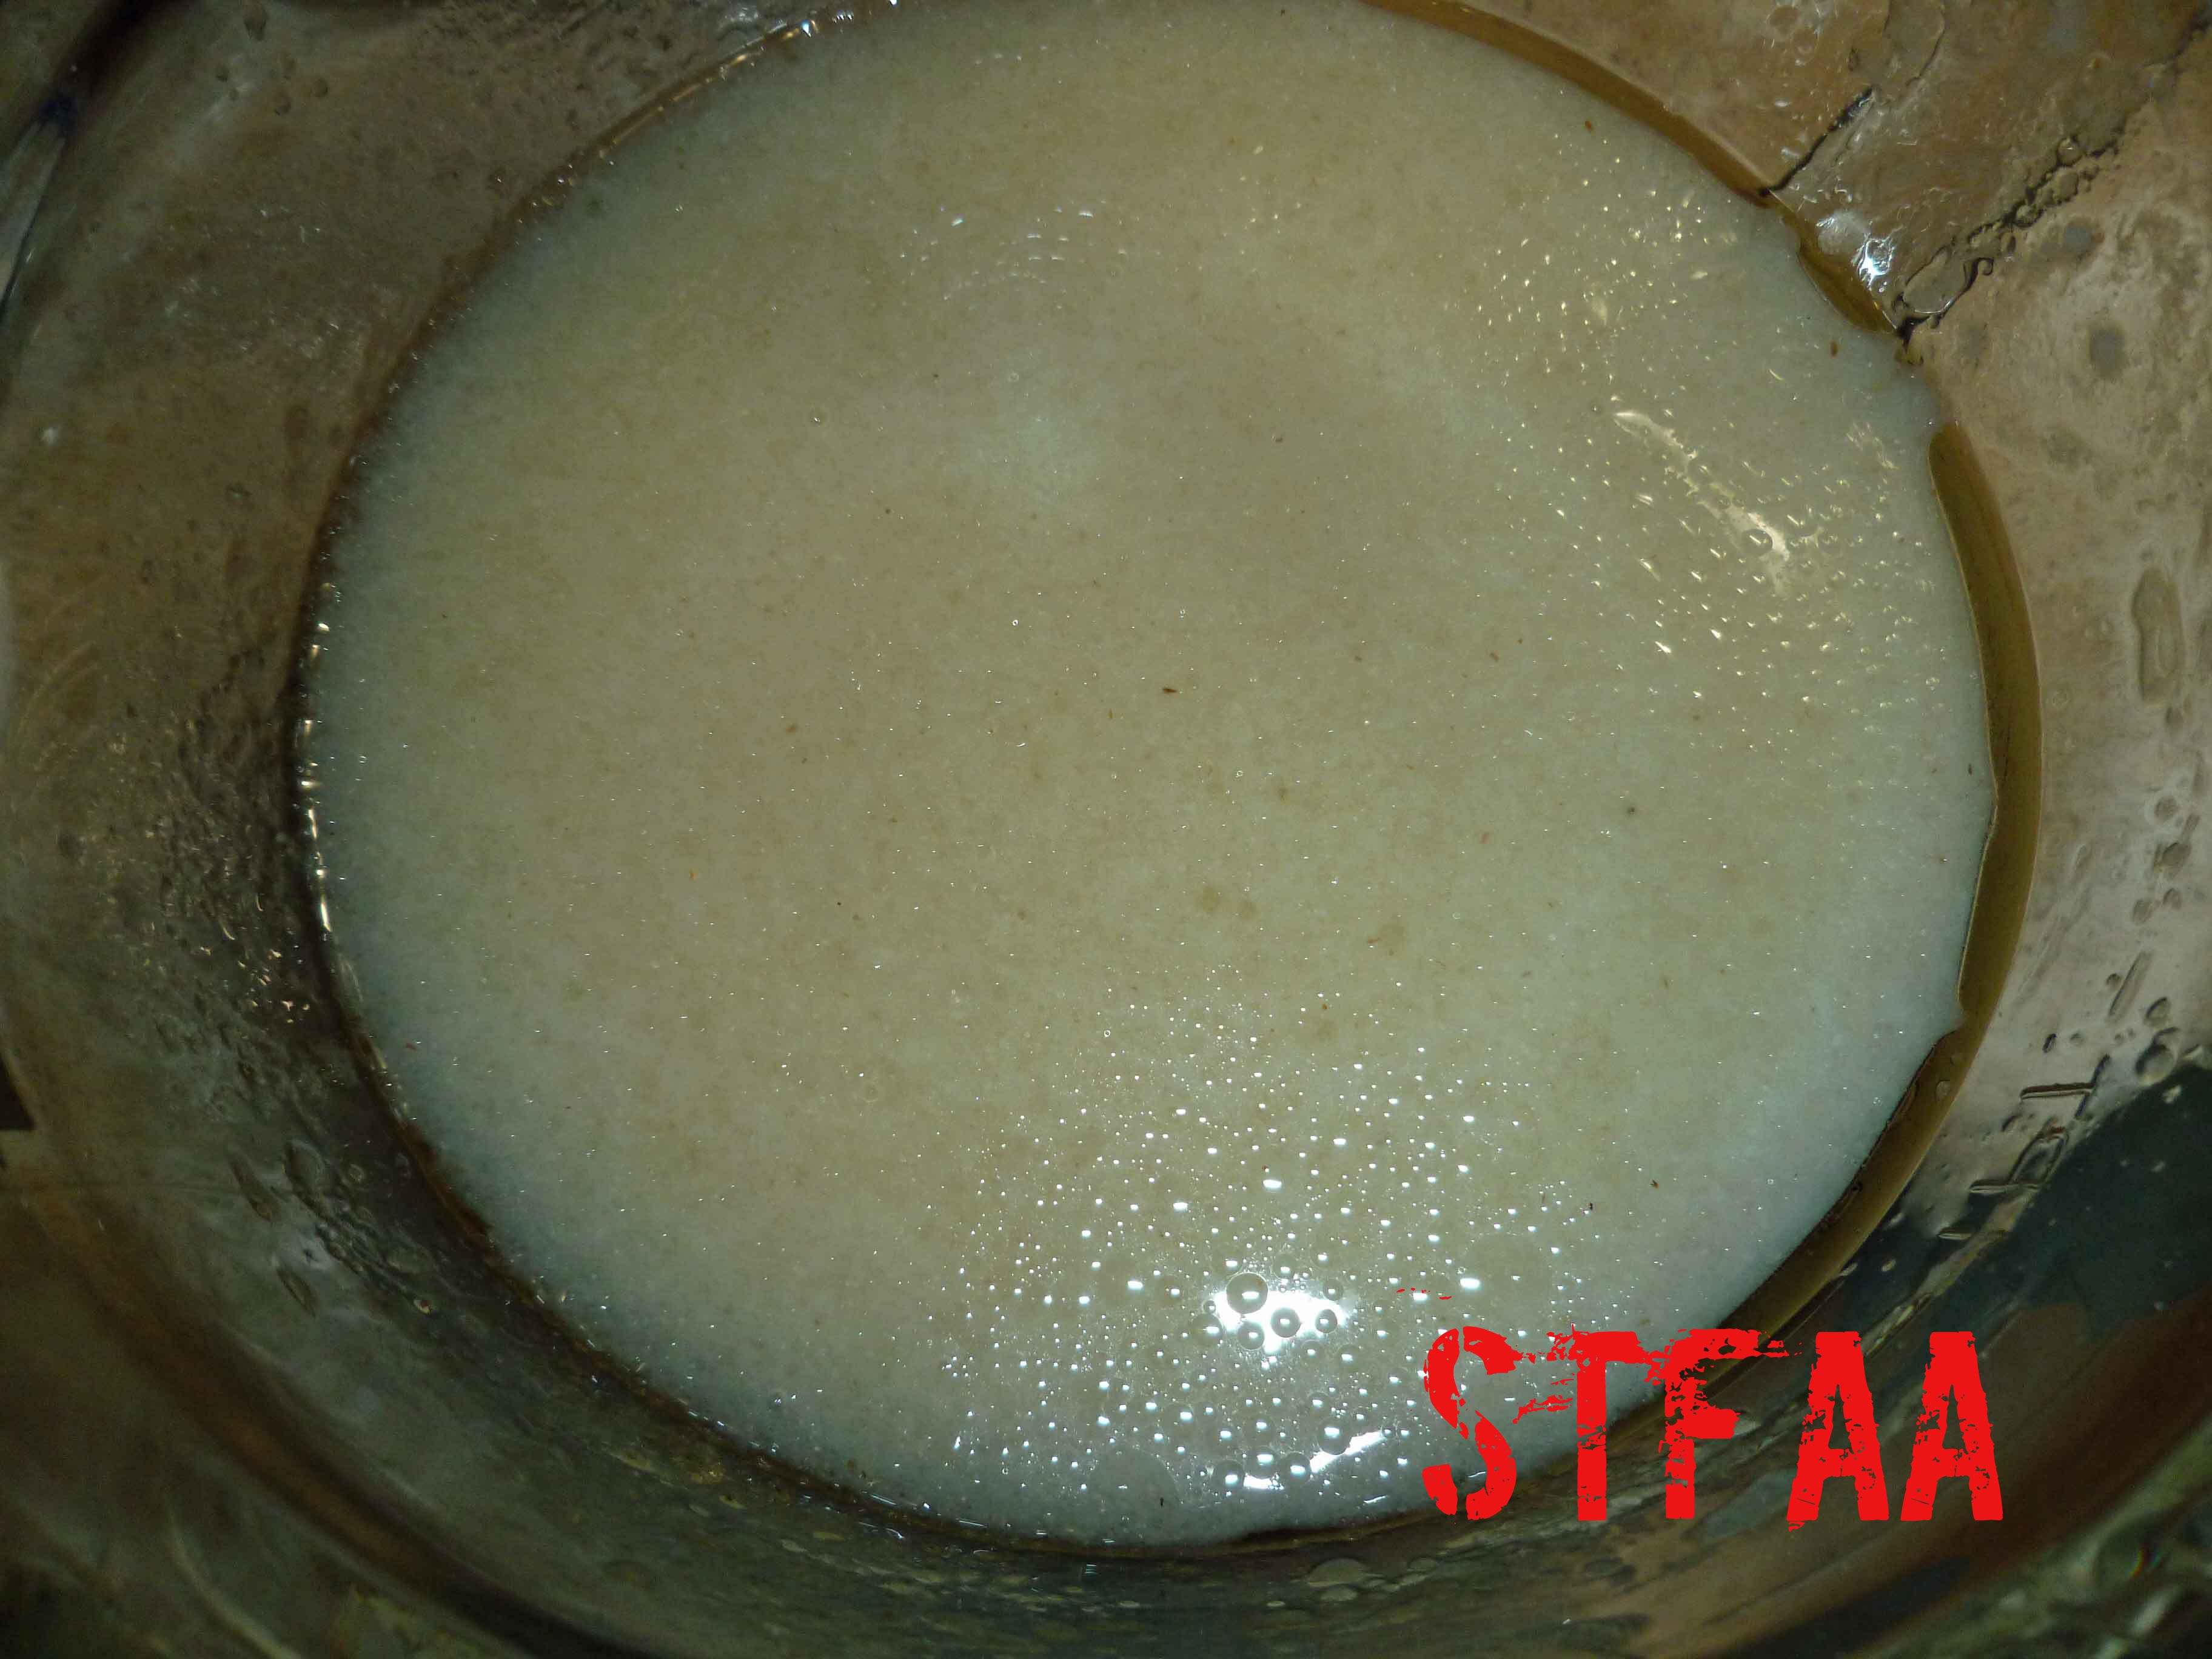
Place water, vanilla extract, non-dairy milk, oil, and psyllium husk powder (Wet Ingredients) in a smaller bowl and whisk together until smooth. Let mixture sit for about 30 minutes so that the psyllium can gel.
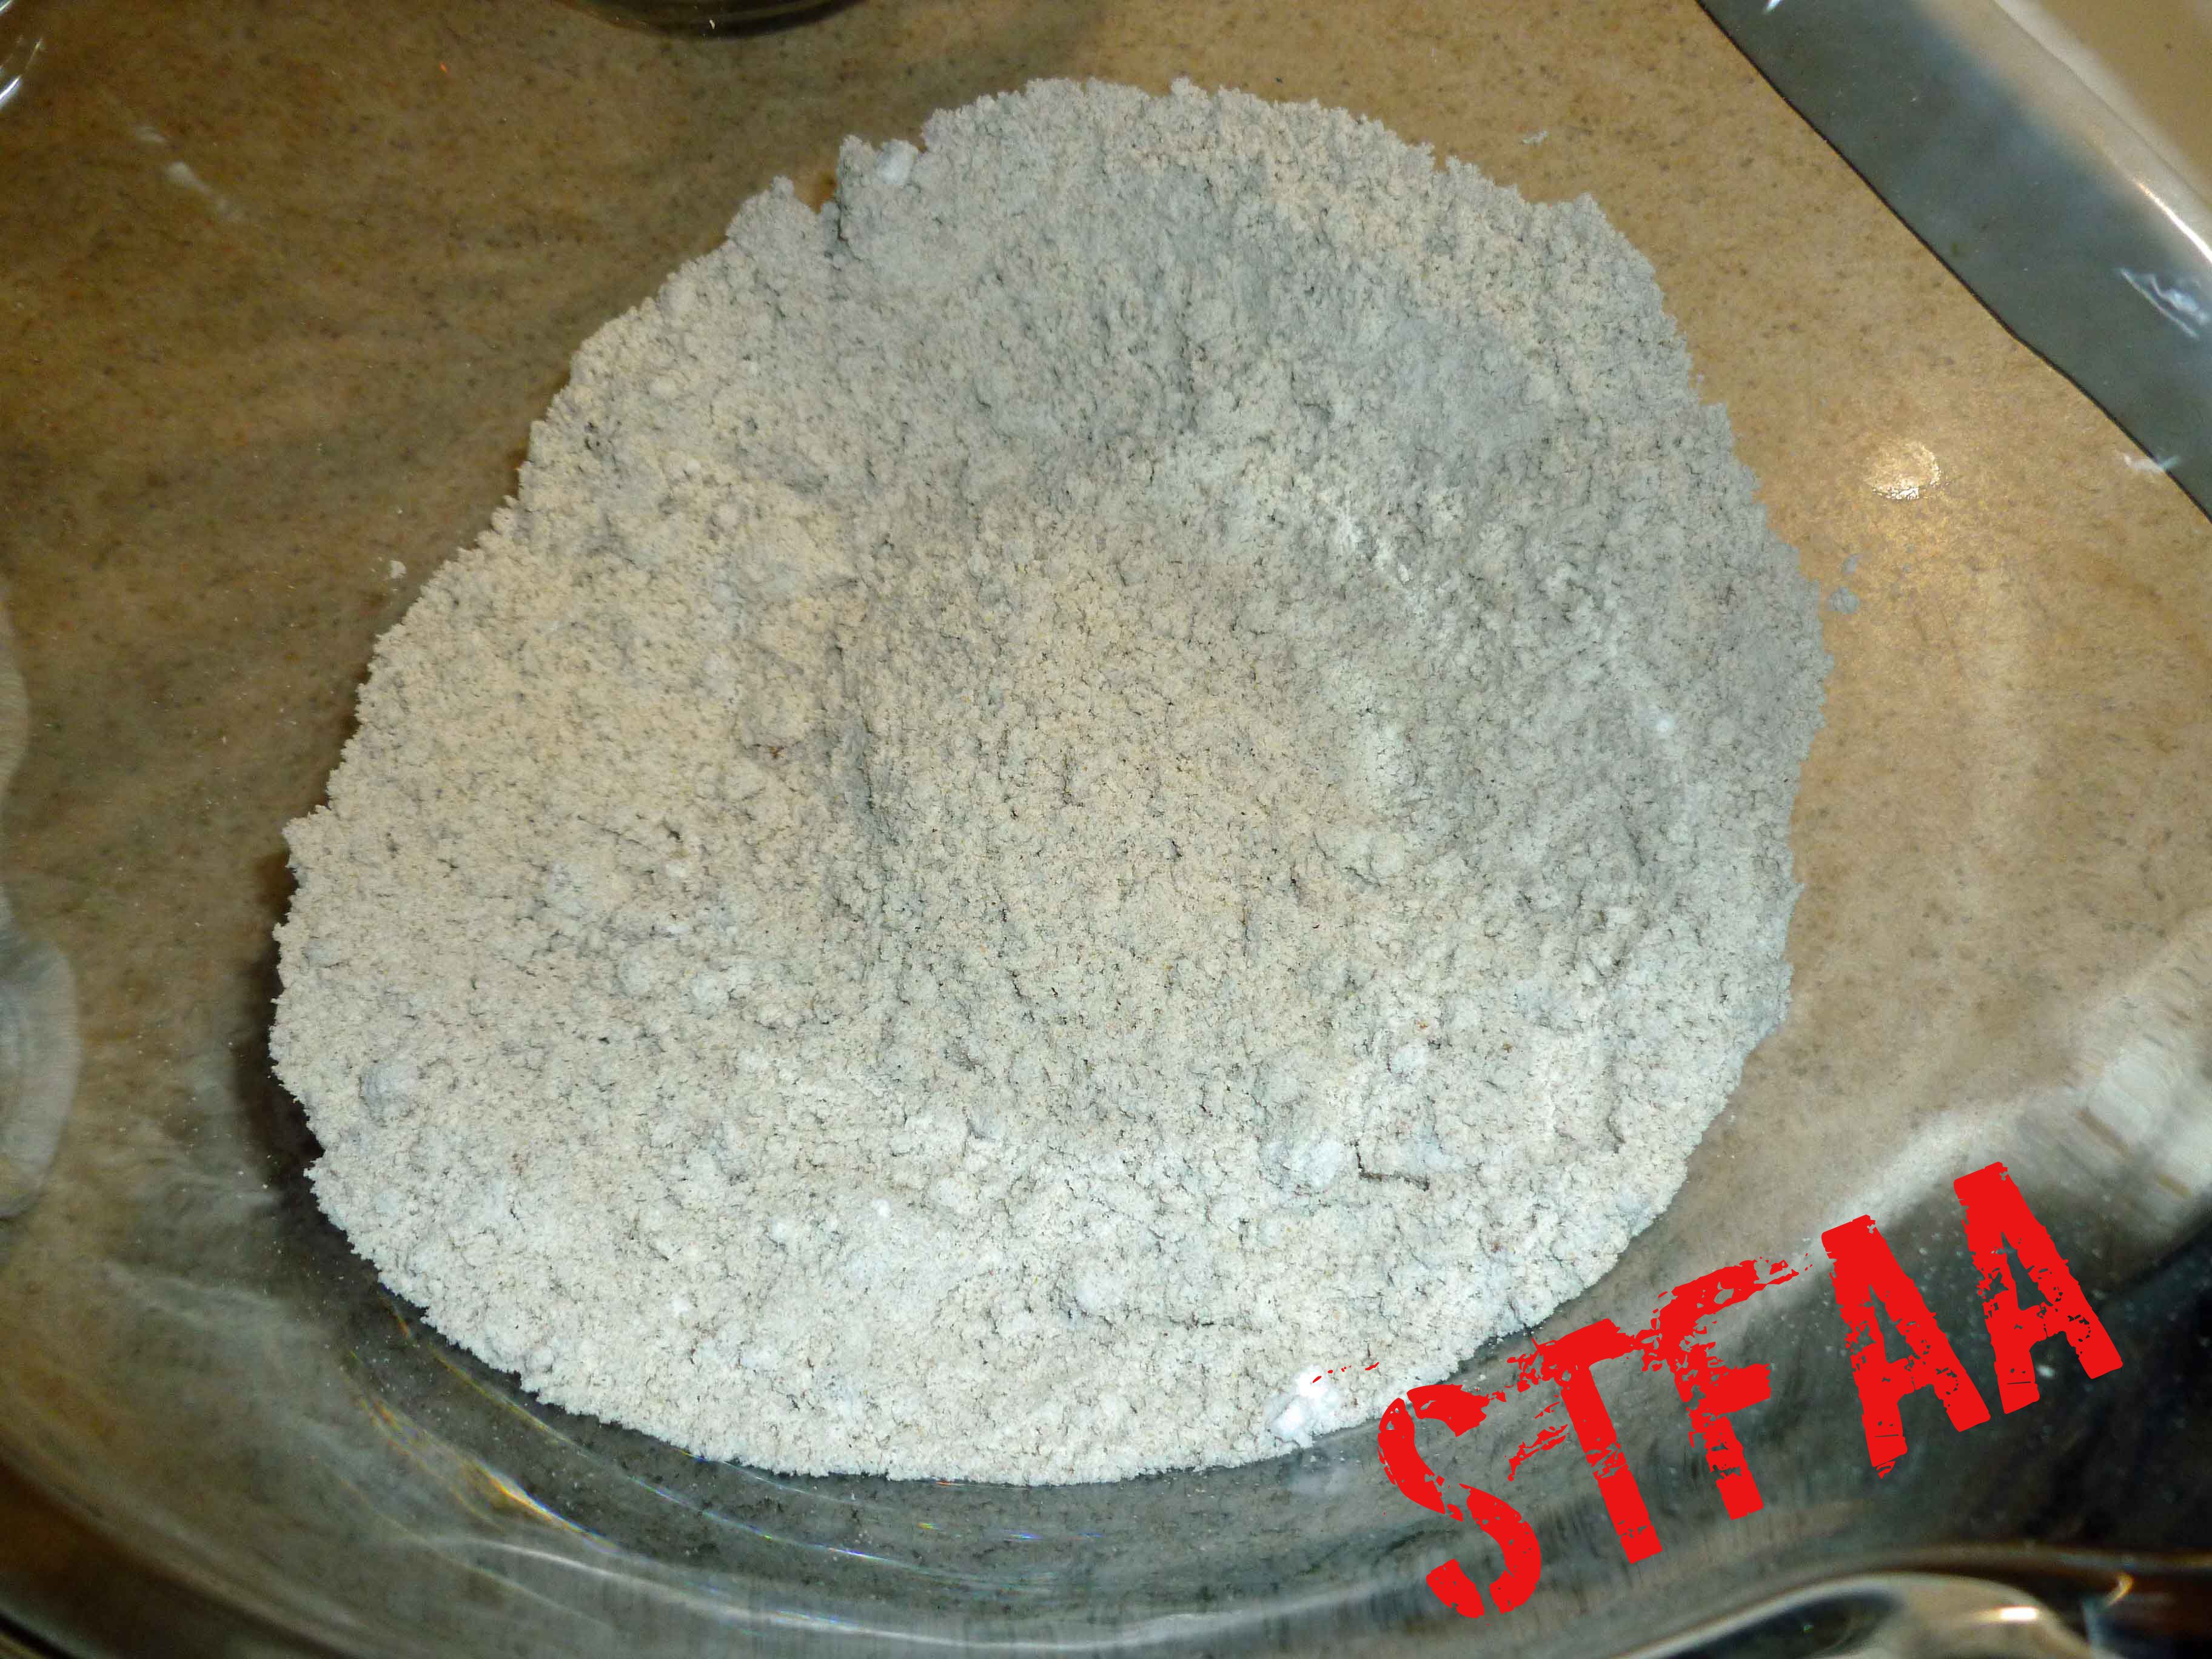
Measure out flour, salt, baking powder and brown sugar (Dry Ingredients) and place in a large bowl. Whisk ingredients together until they are well incorporated into each other.
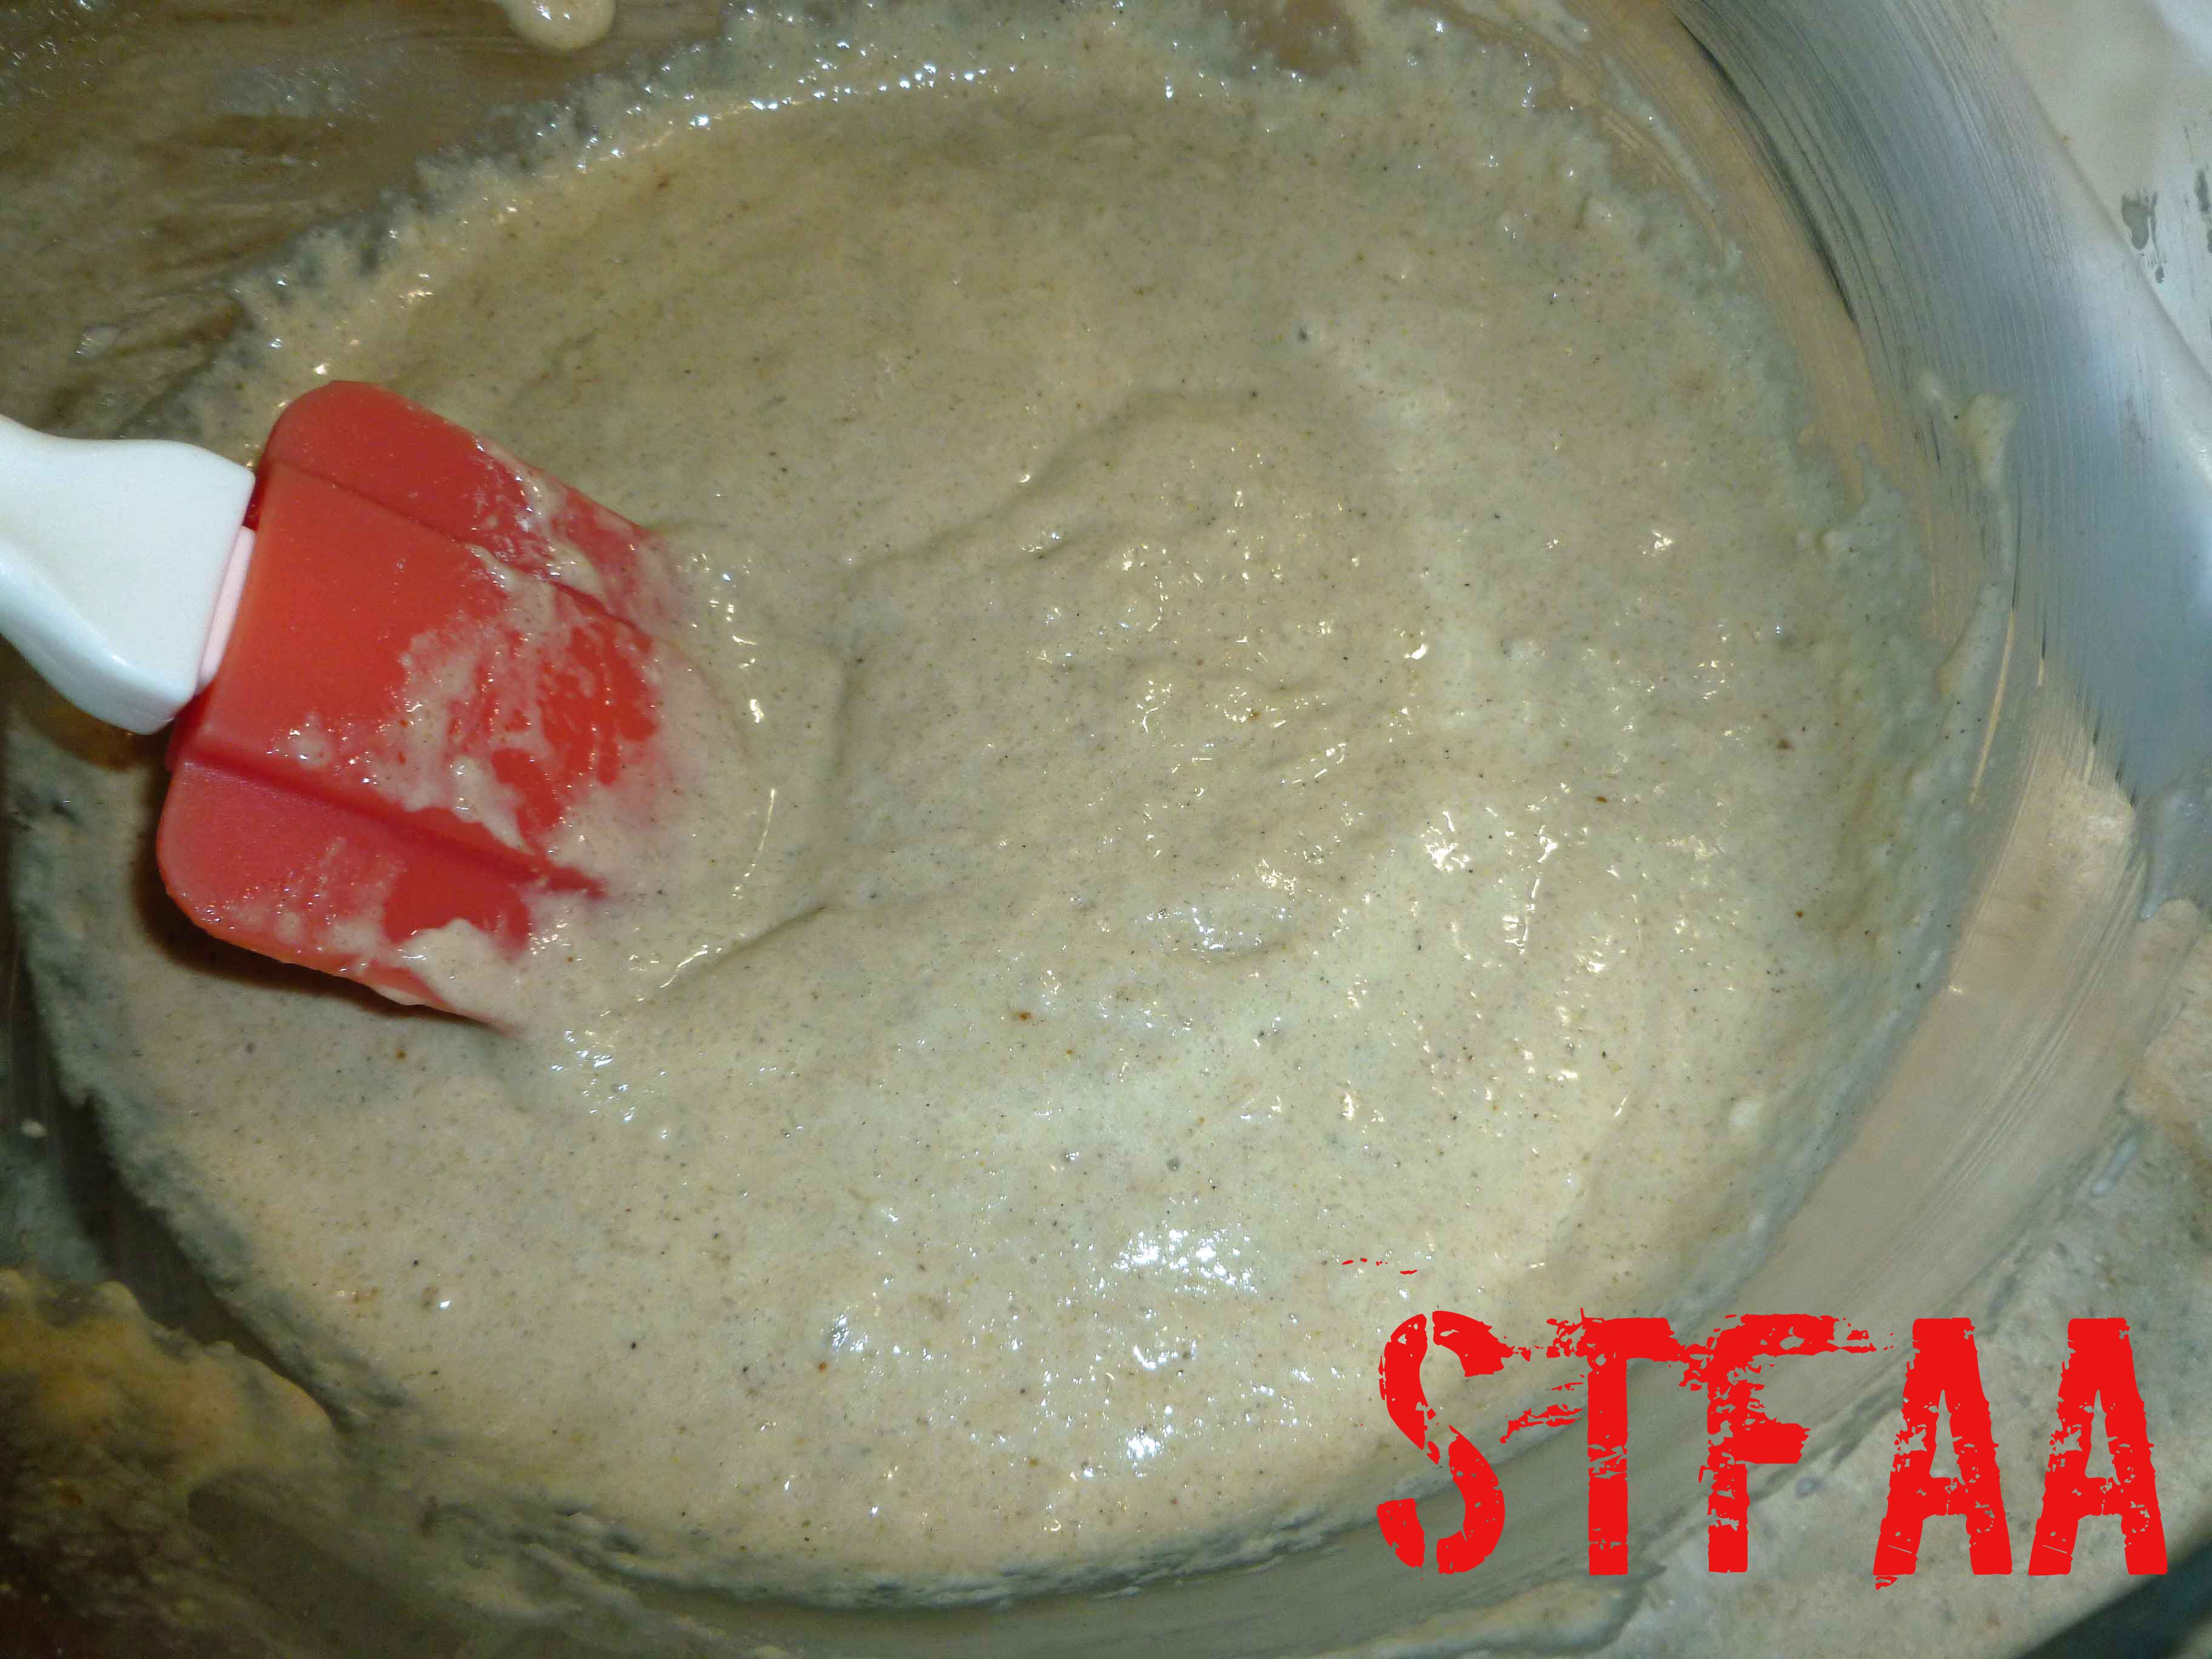
When psyllium in wet ingredients has gelled, pour wet ingredient mixture into the dry ingredient mixture and whisk them together until most of the lumps are gone.
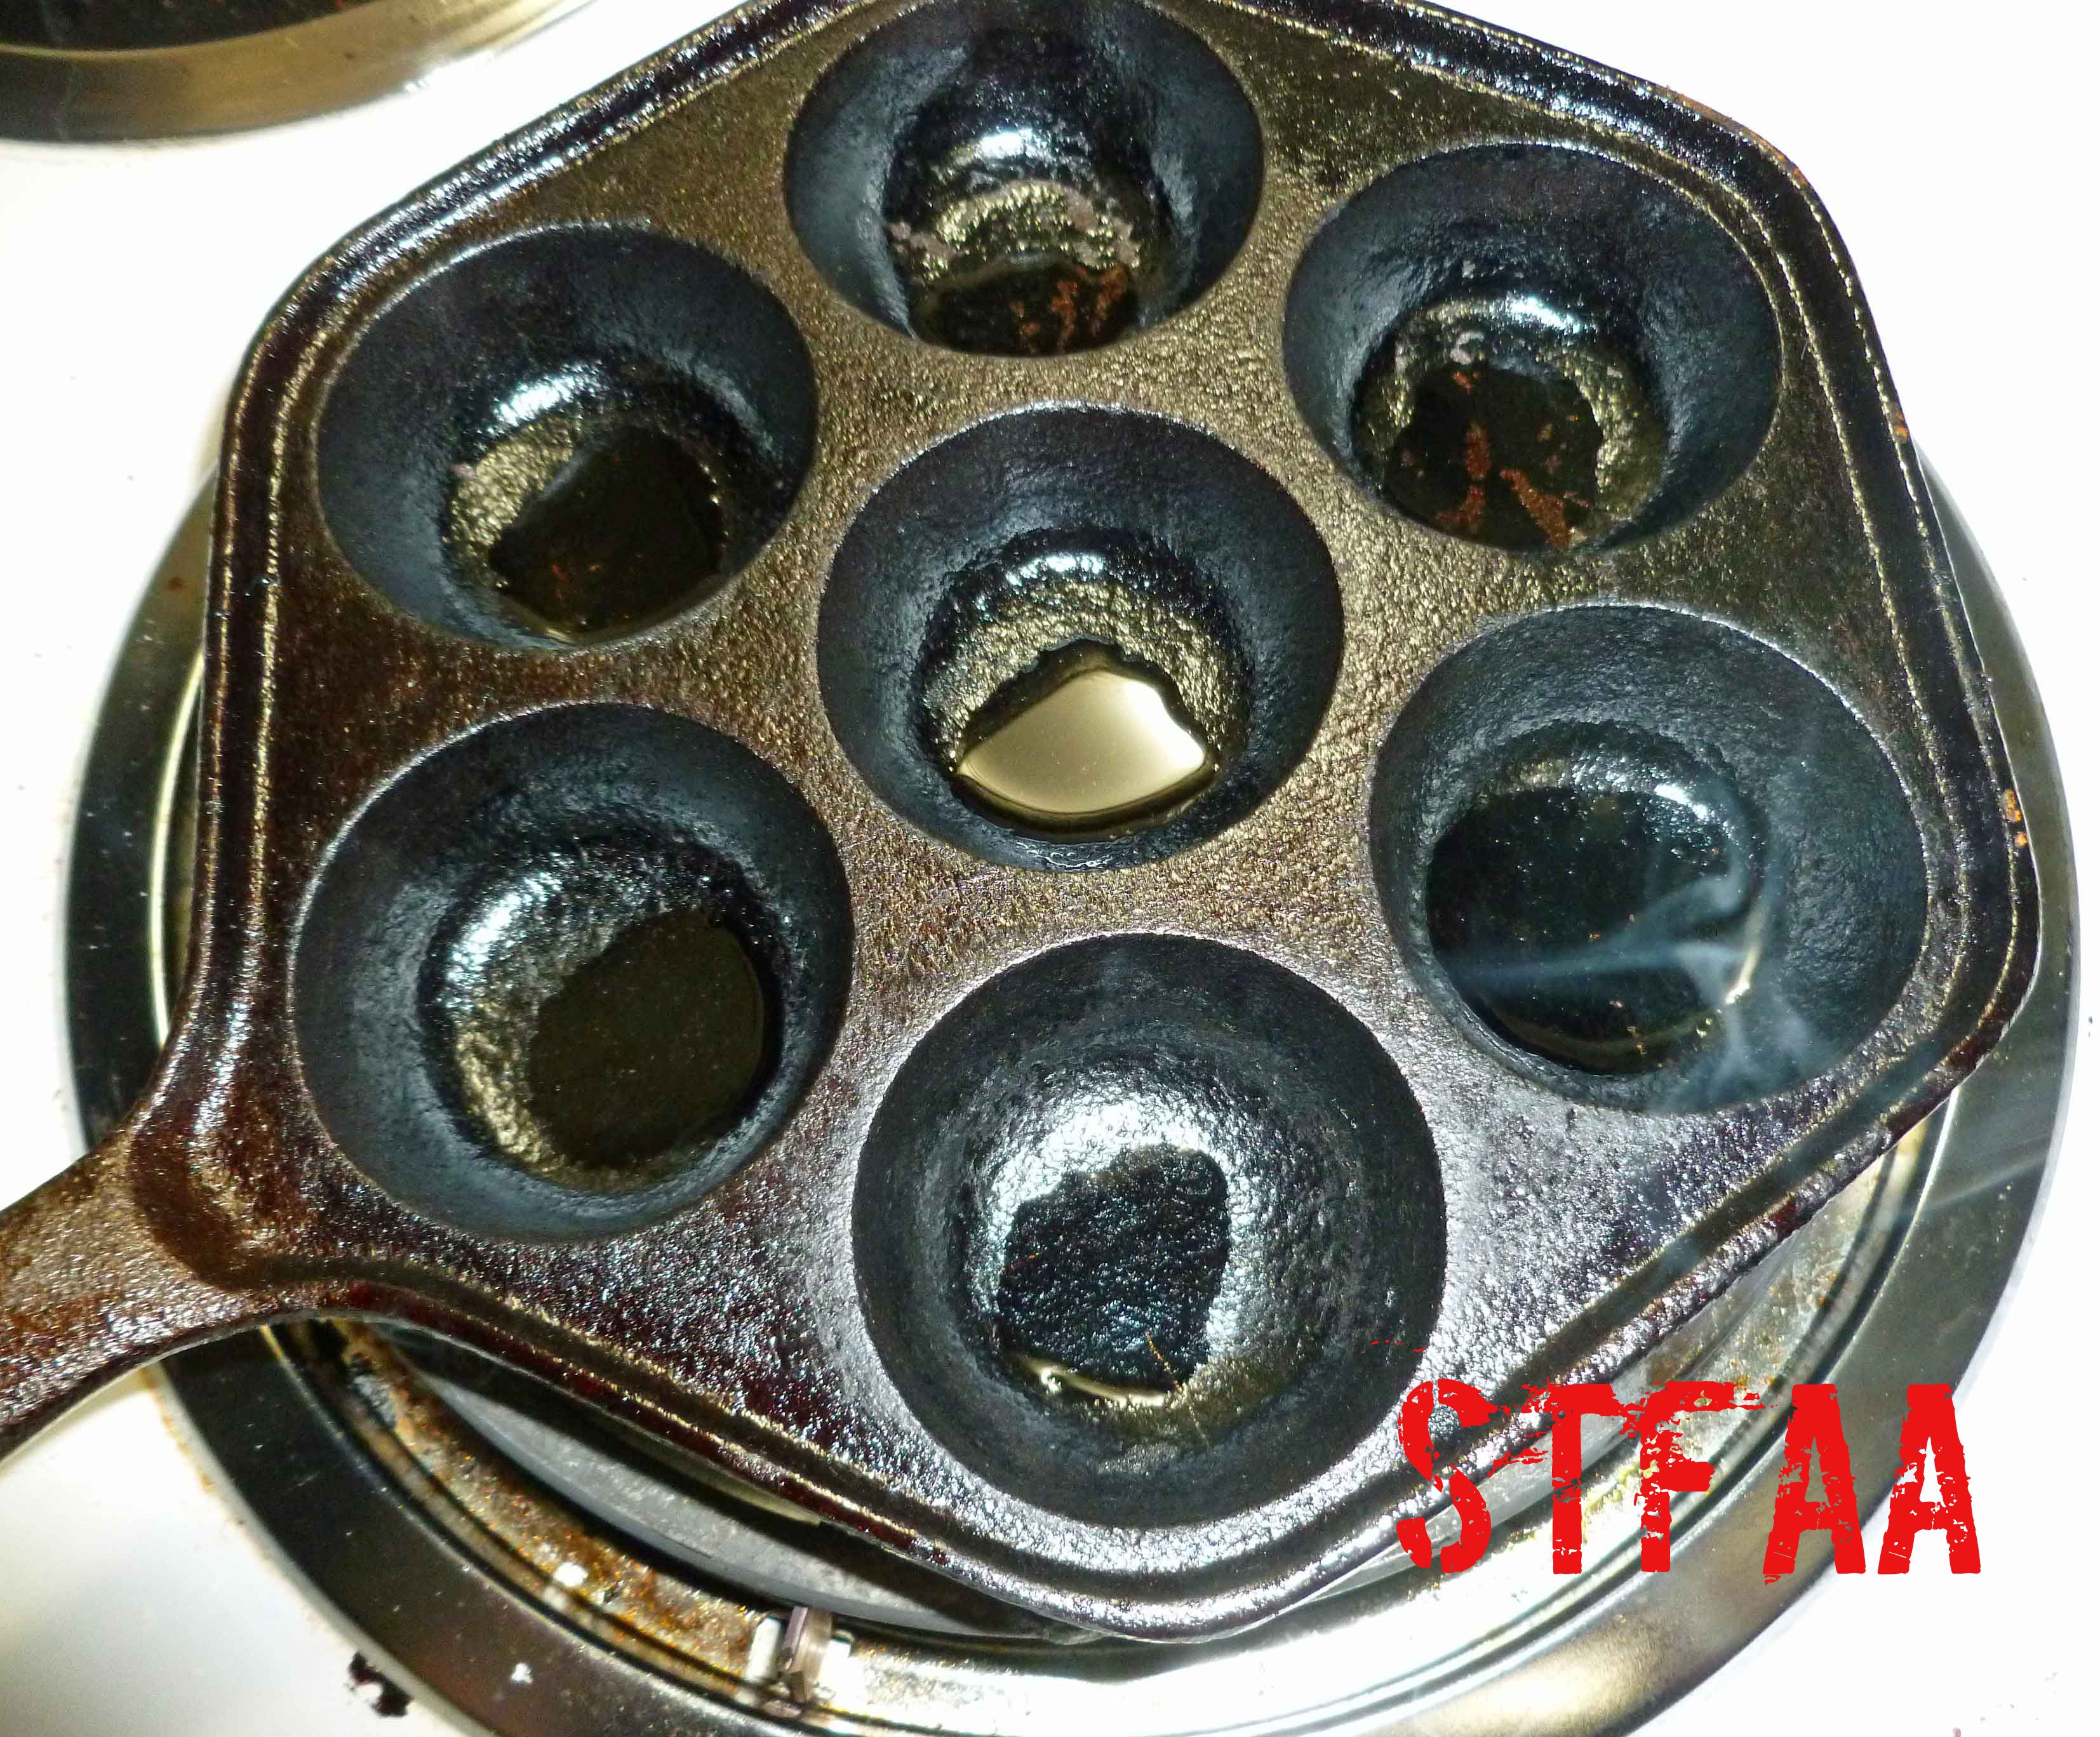
Heat your skillet over medium low heat, depending on your burner strength. When your skillet is hot, add a bit oil to each of the abelskiver wells, about 1/2 a teaspoon each. (Yes, this looks and sounds like a lot but is correct).
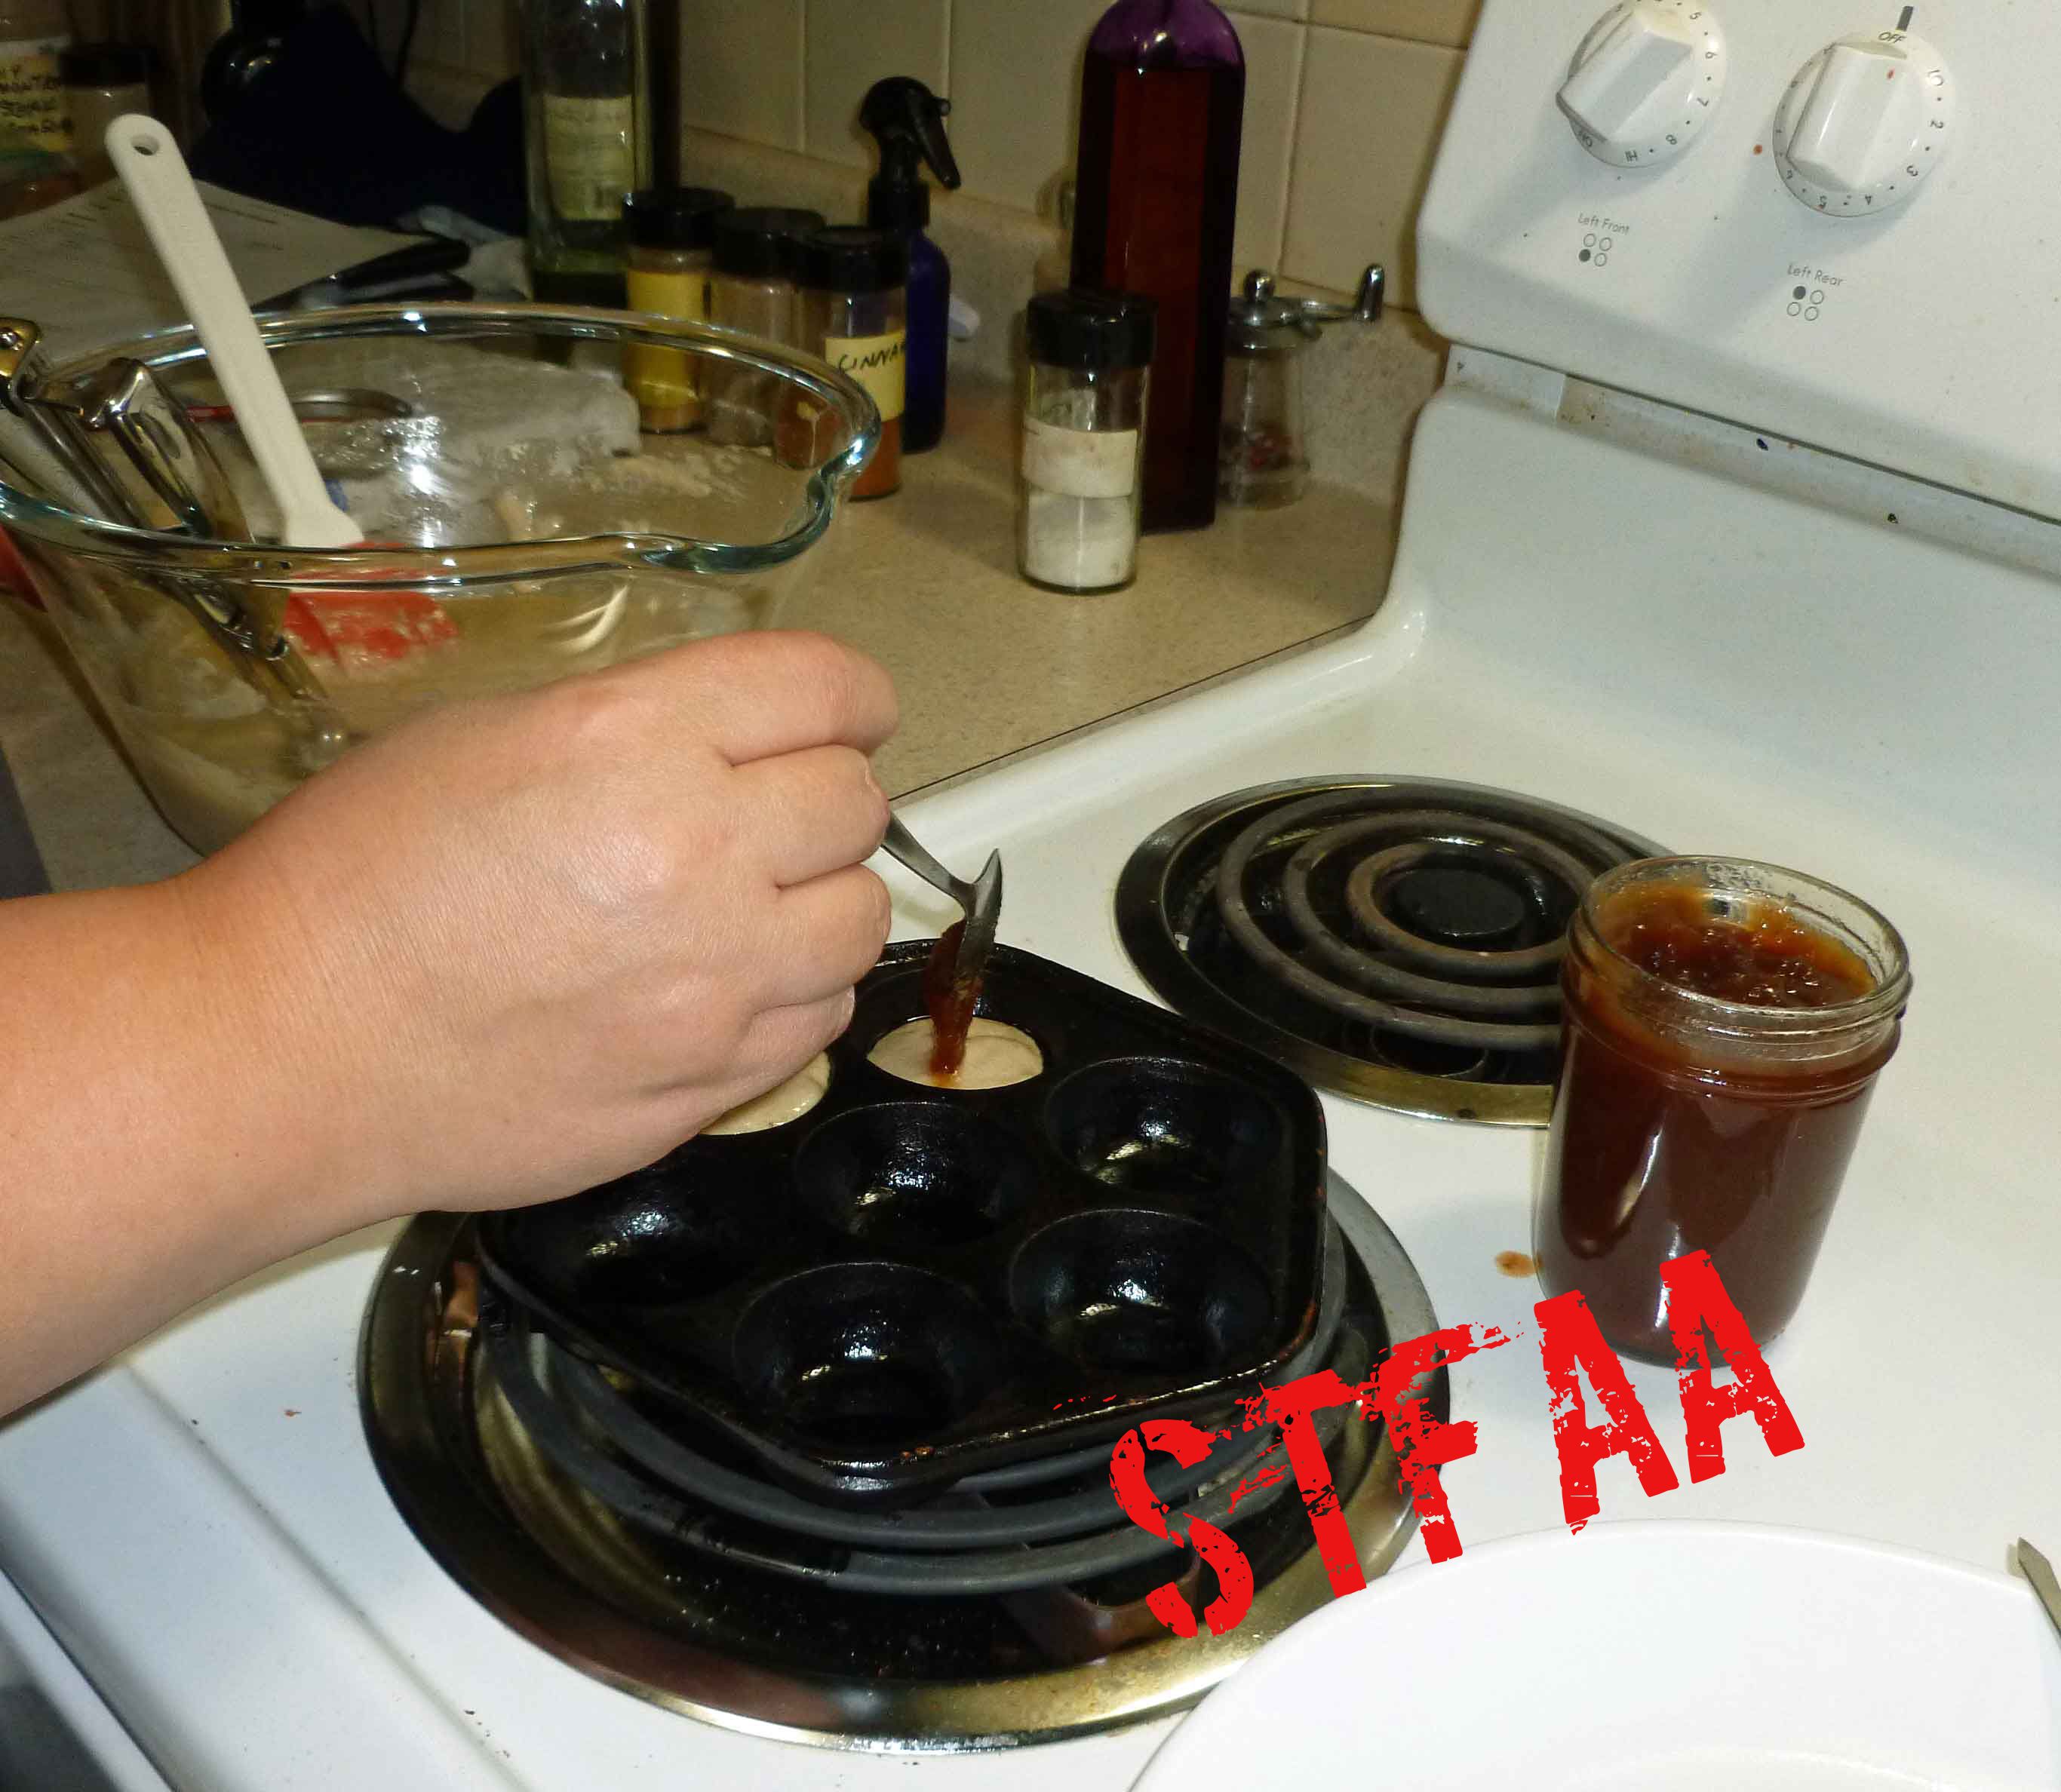
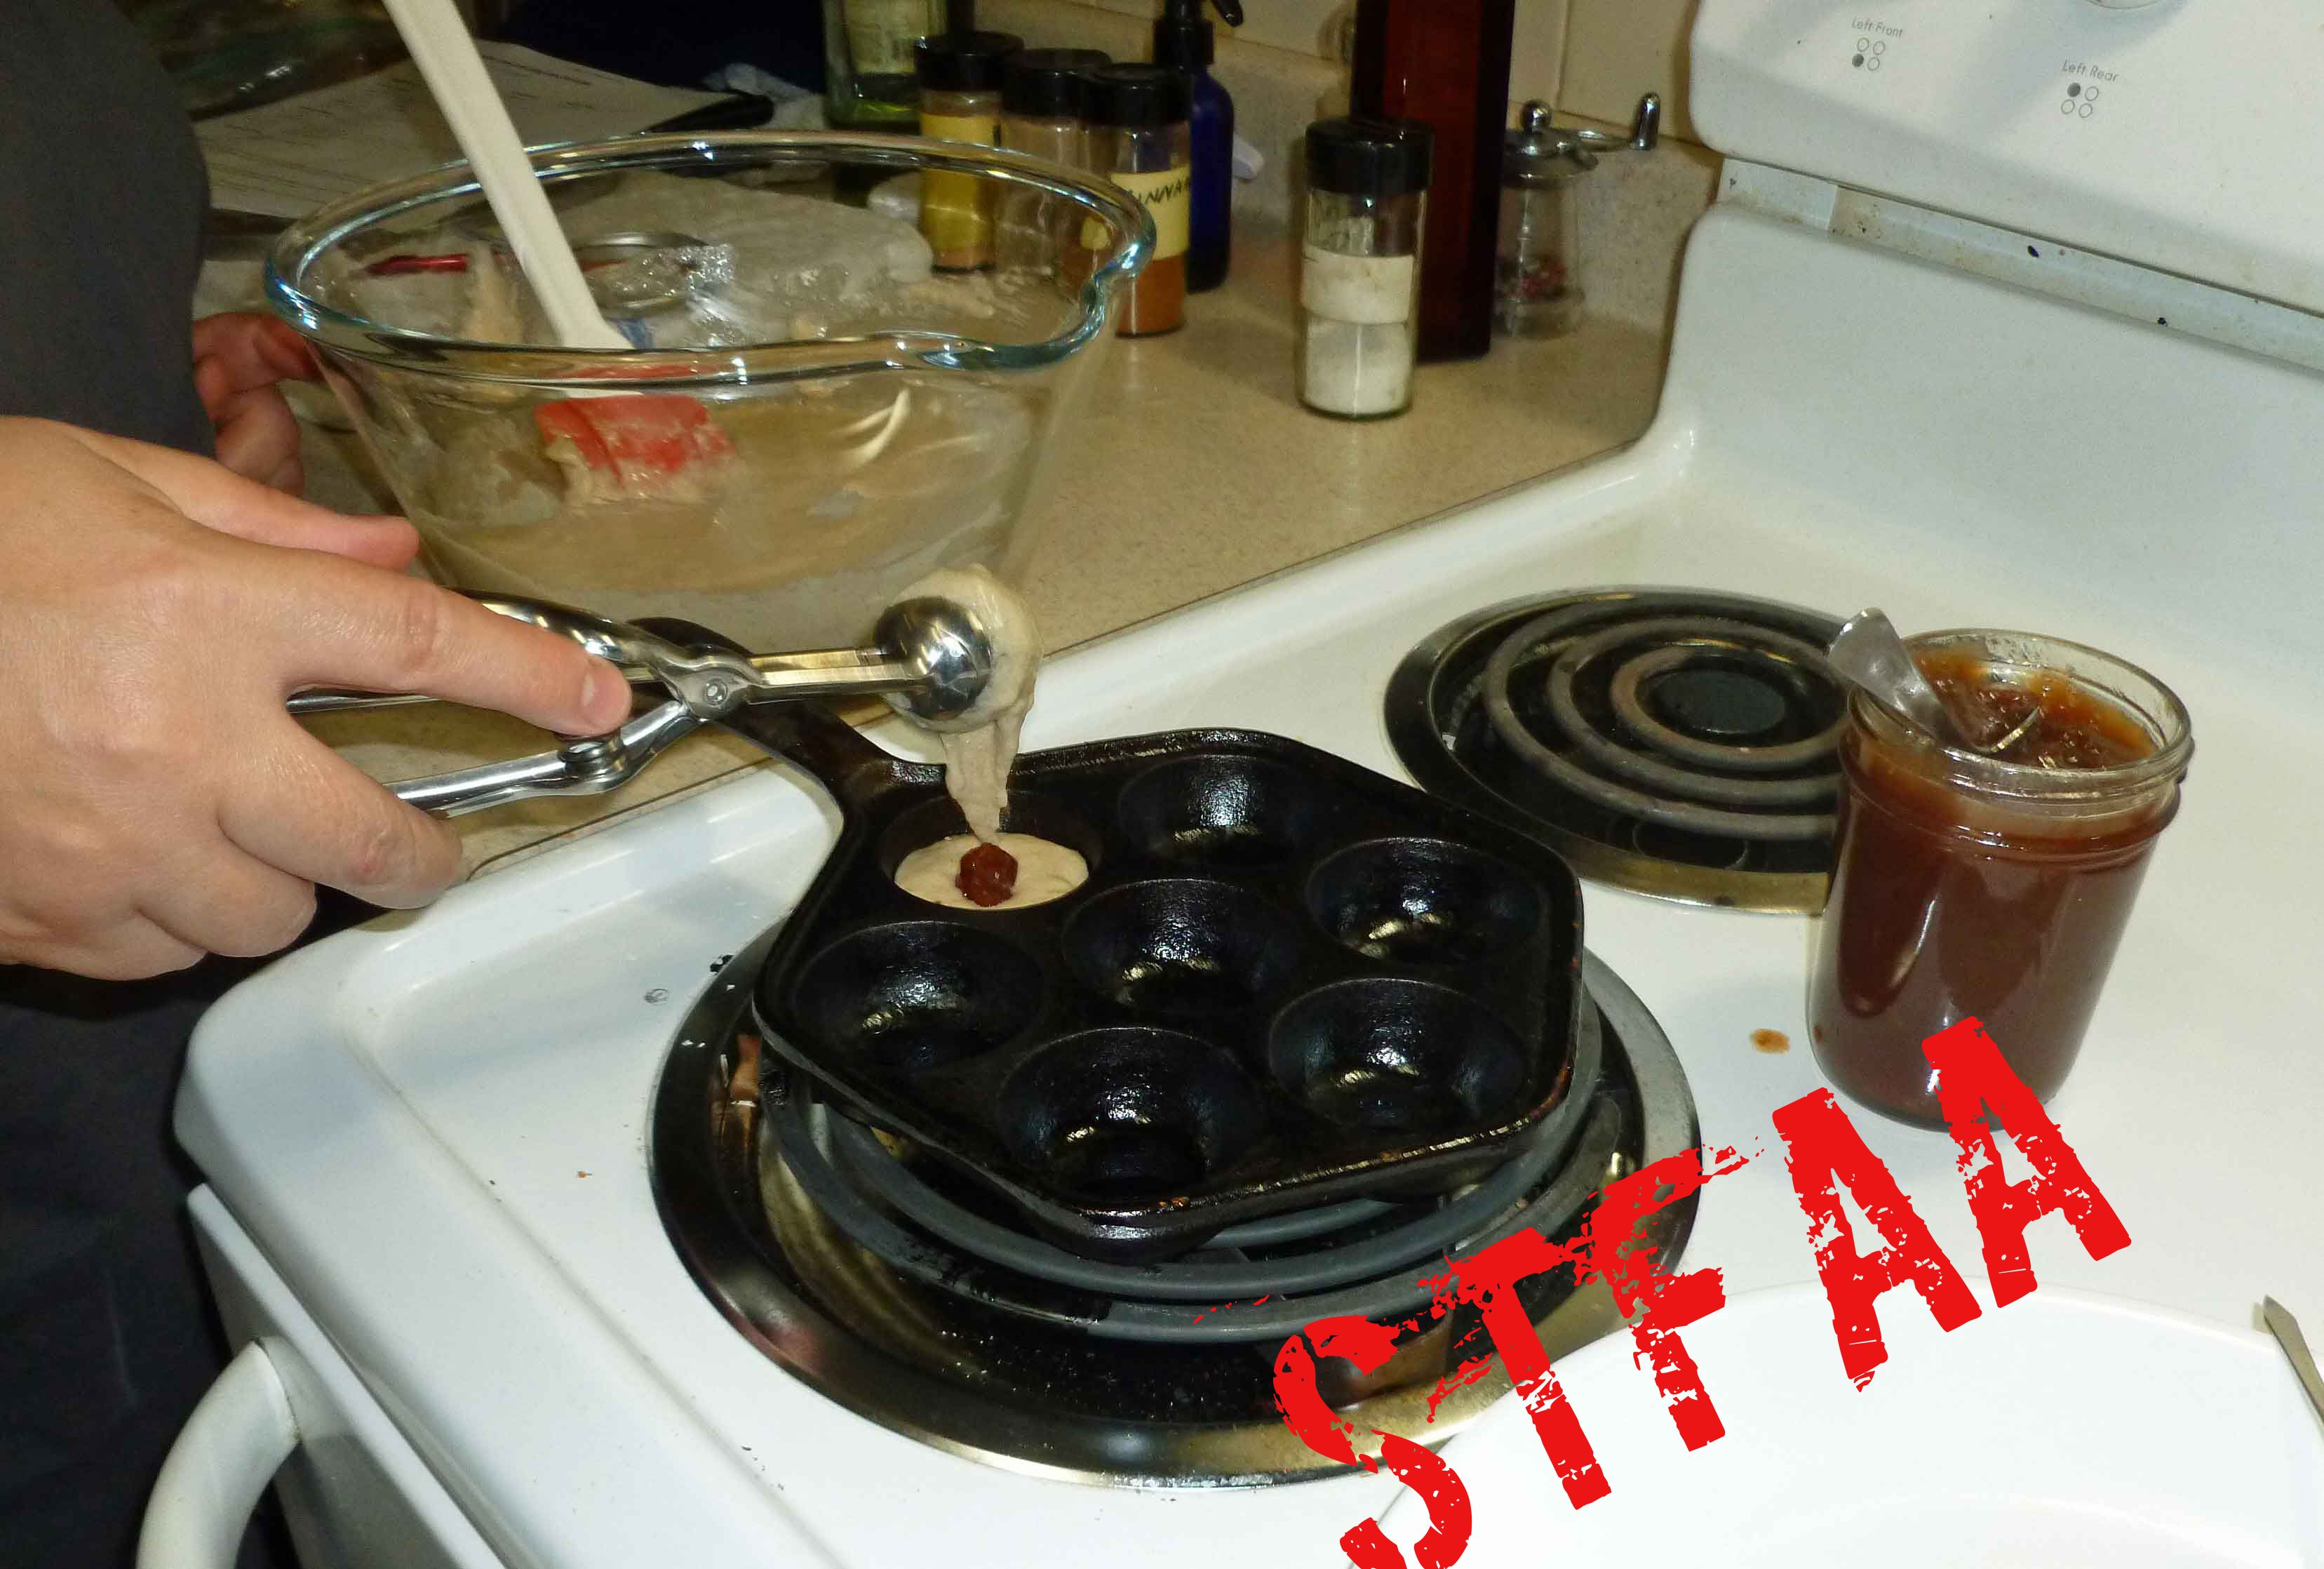
Scoop some of the pancake batter into one of the abeskiver wells. You want about 1/2 of a tablespoon, and then add about half of a teaspoon of apple butter, or your choice of jam. Then add about another 1/2 of a tablespoon of pancake batter. I used a Pampered Chef small scoop that holds about a tablespoon and only filled it halfway.
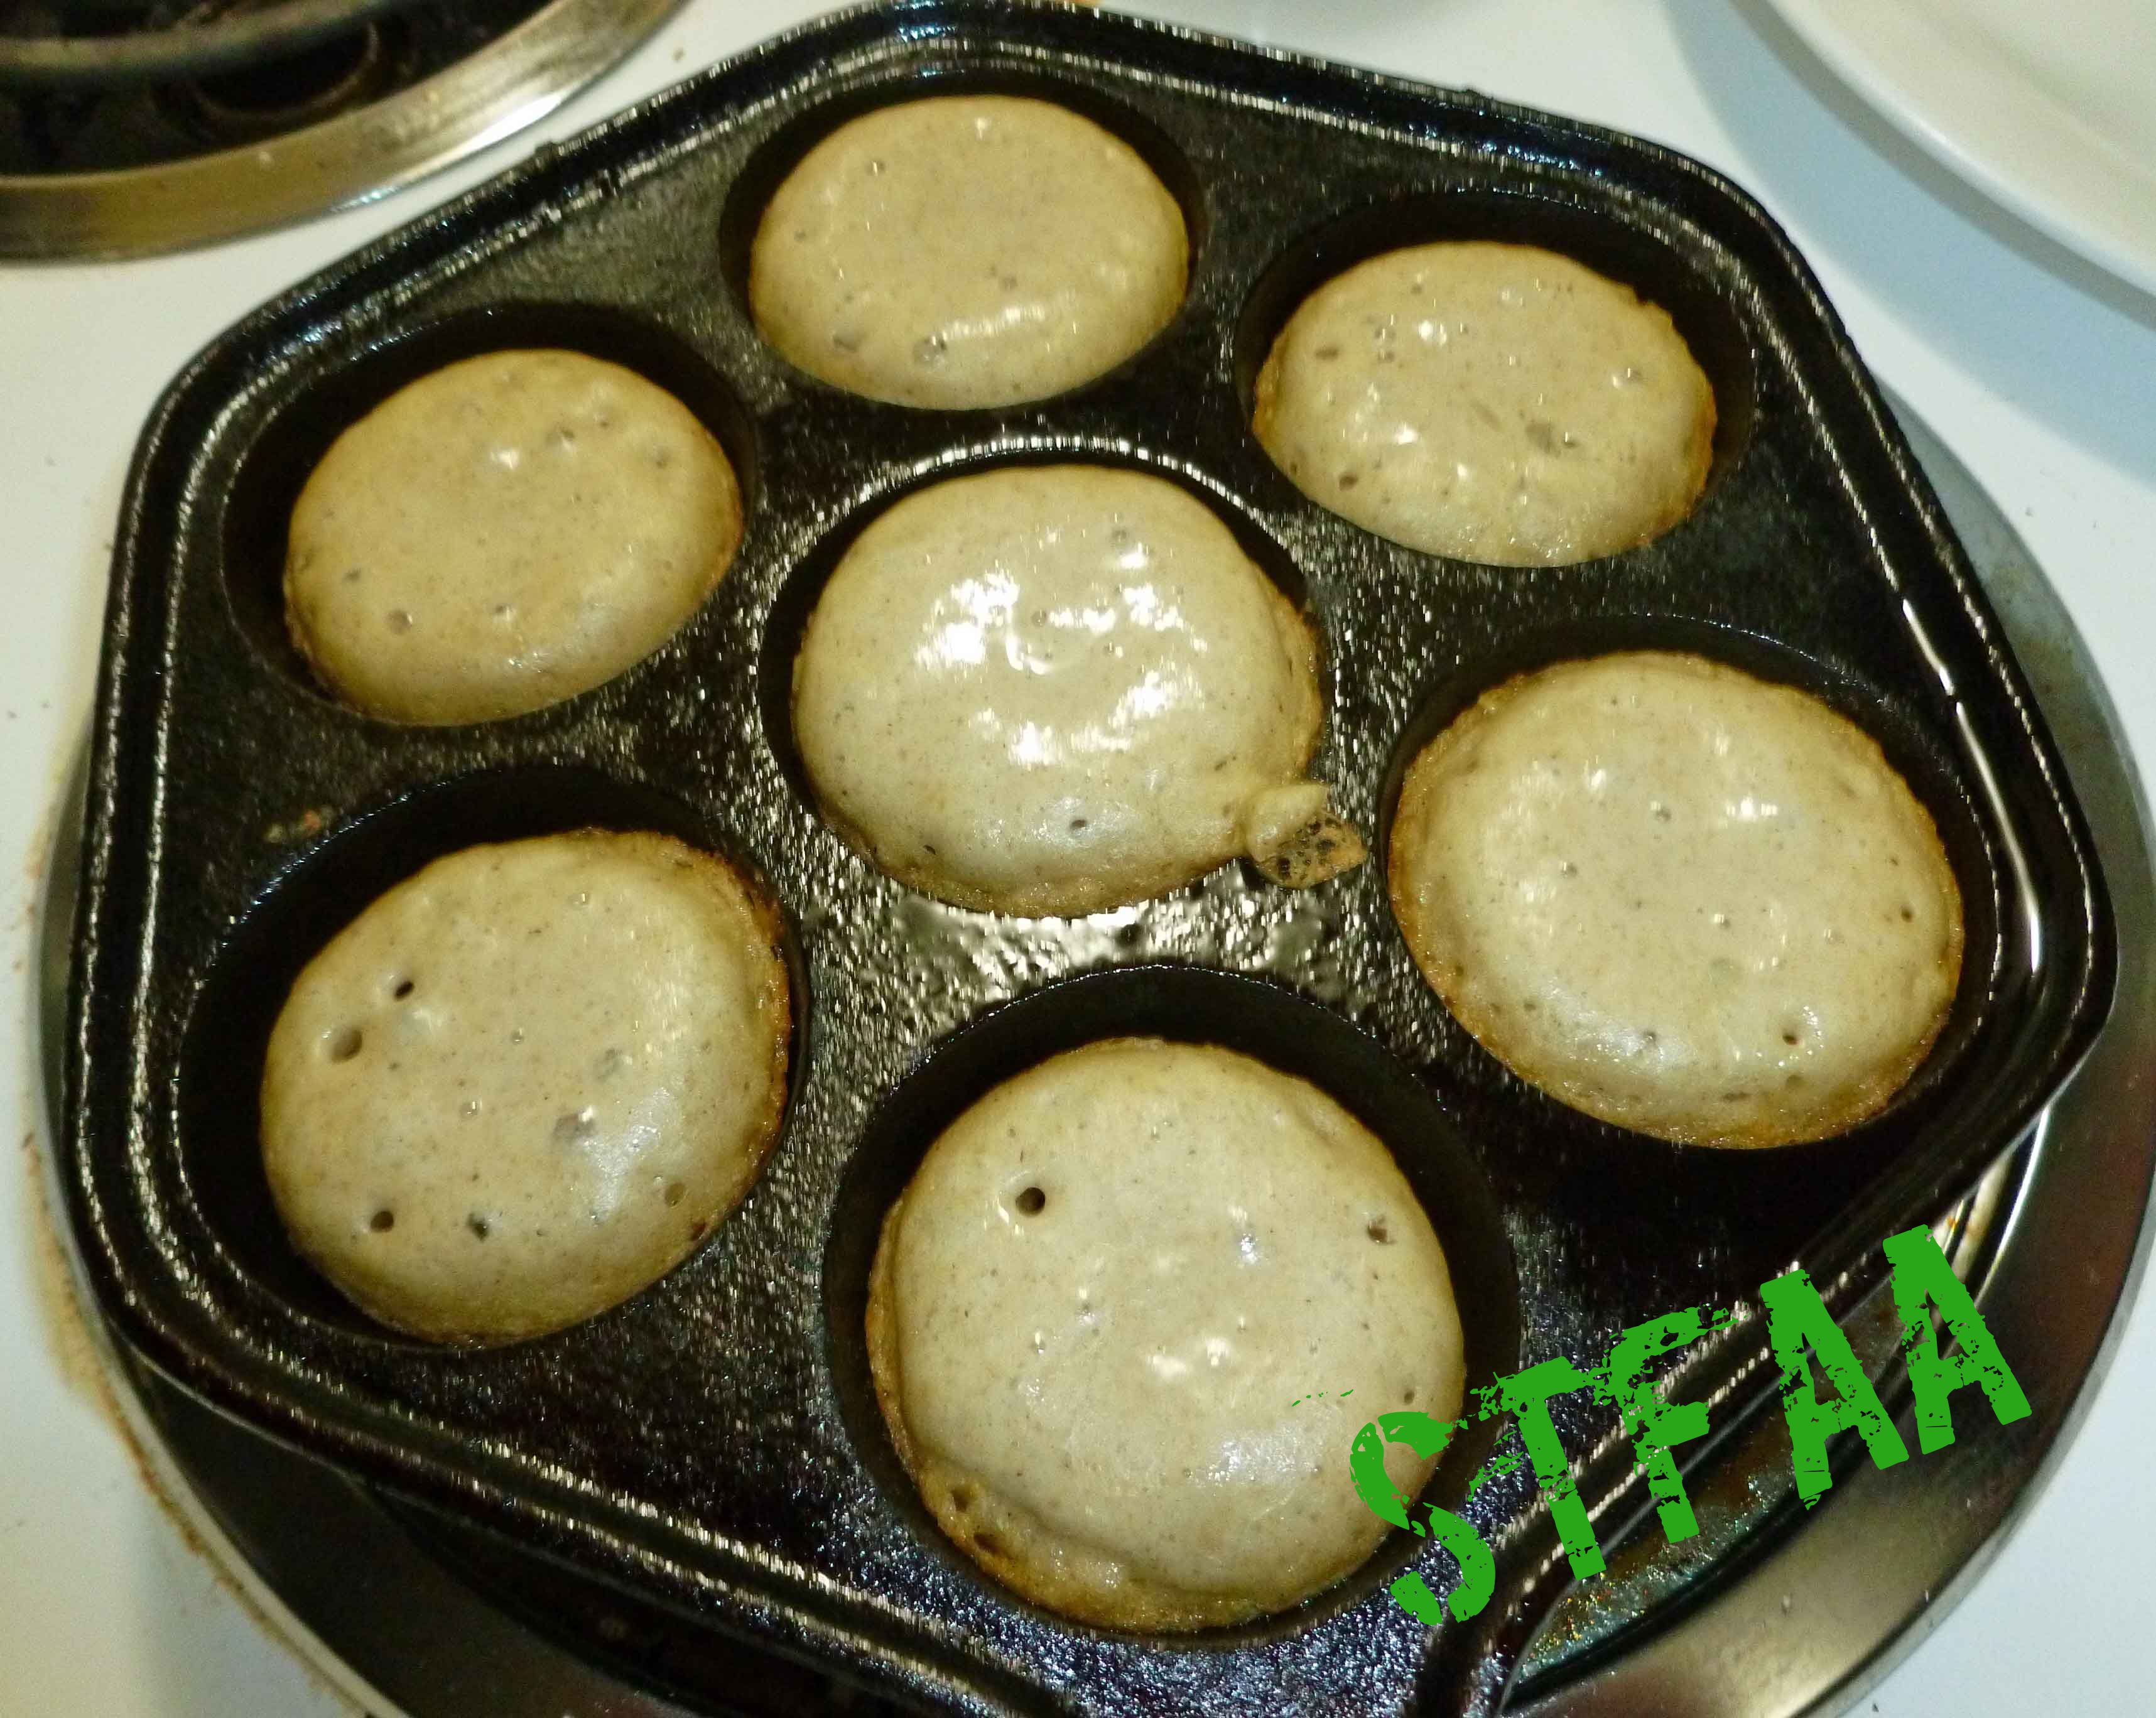
Cook until the edges of the ableskiver look dry and there are bubbles in the batter. You can use a small silverware spoon or a bamboo skewer to flip the abeskiver. Cook until the other side is a nice deep golden brown.
Notice: Trying to access array offset on value of type bool in /home/maryzahc/public_html/adultfoodallergies.com/wp-content/plugins/wp-ultimate-recipe/helpers/models/recipe.php on line 254
Measure all ingredients and place in a large mixing bowl. Using a whisk, mix the ingredients until well combined. Place in an air tight storage container and use in baking recipes.
Dry IngredientsWet IngredientsAbelskiver BatterAbelskiver pan with oil in each wellAdding first part of batterAdding apple butterAdding second part of batterAbelskiver ready to flipAbelskiver after flippingAbelskiver ready to eat!
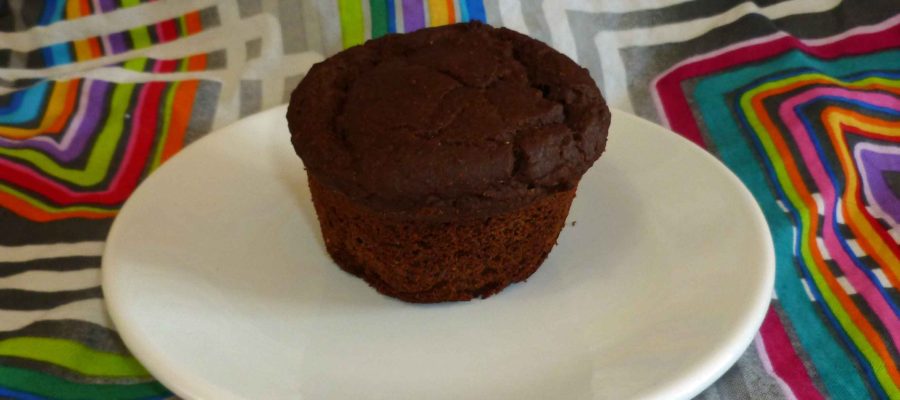
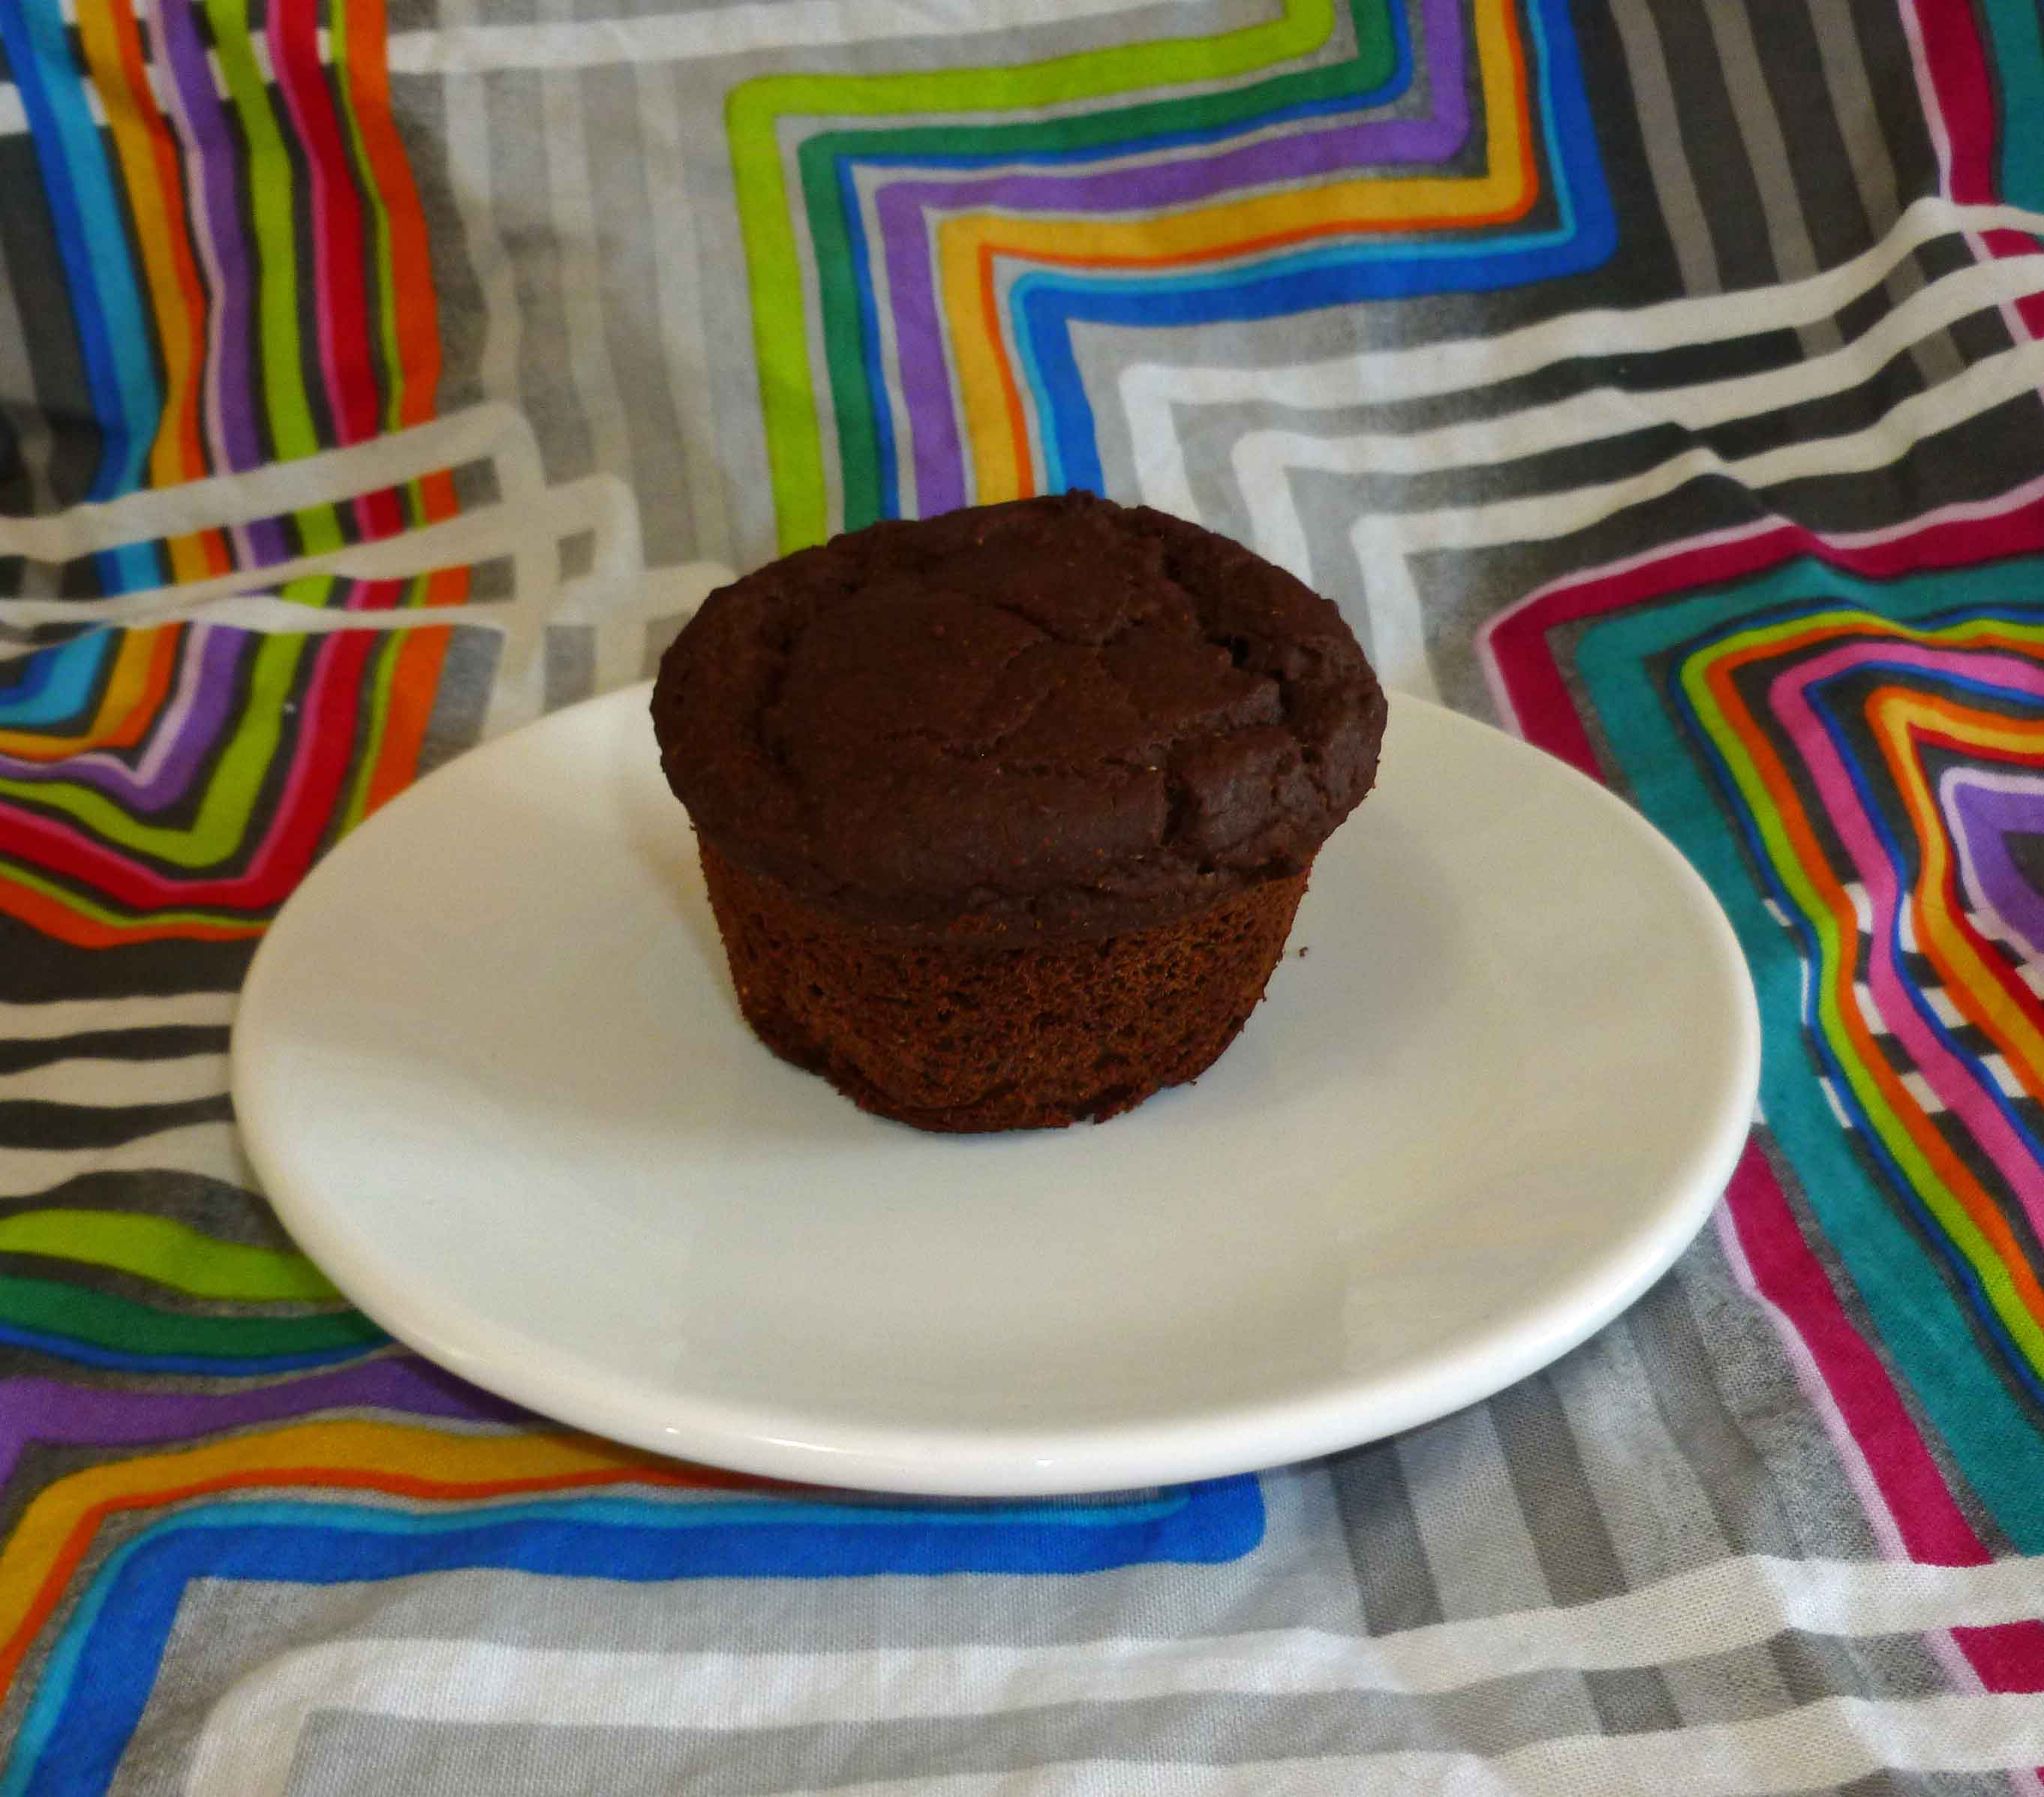
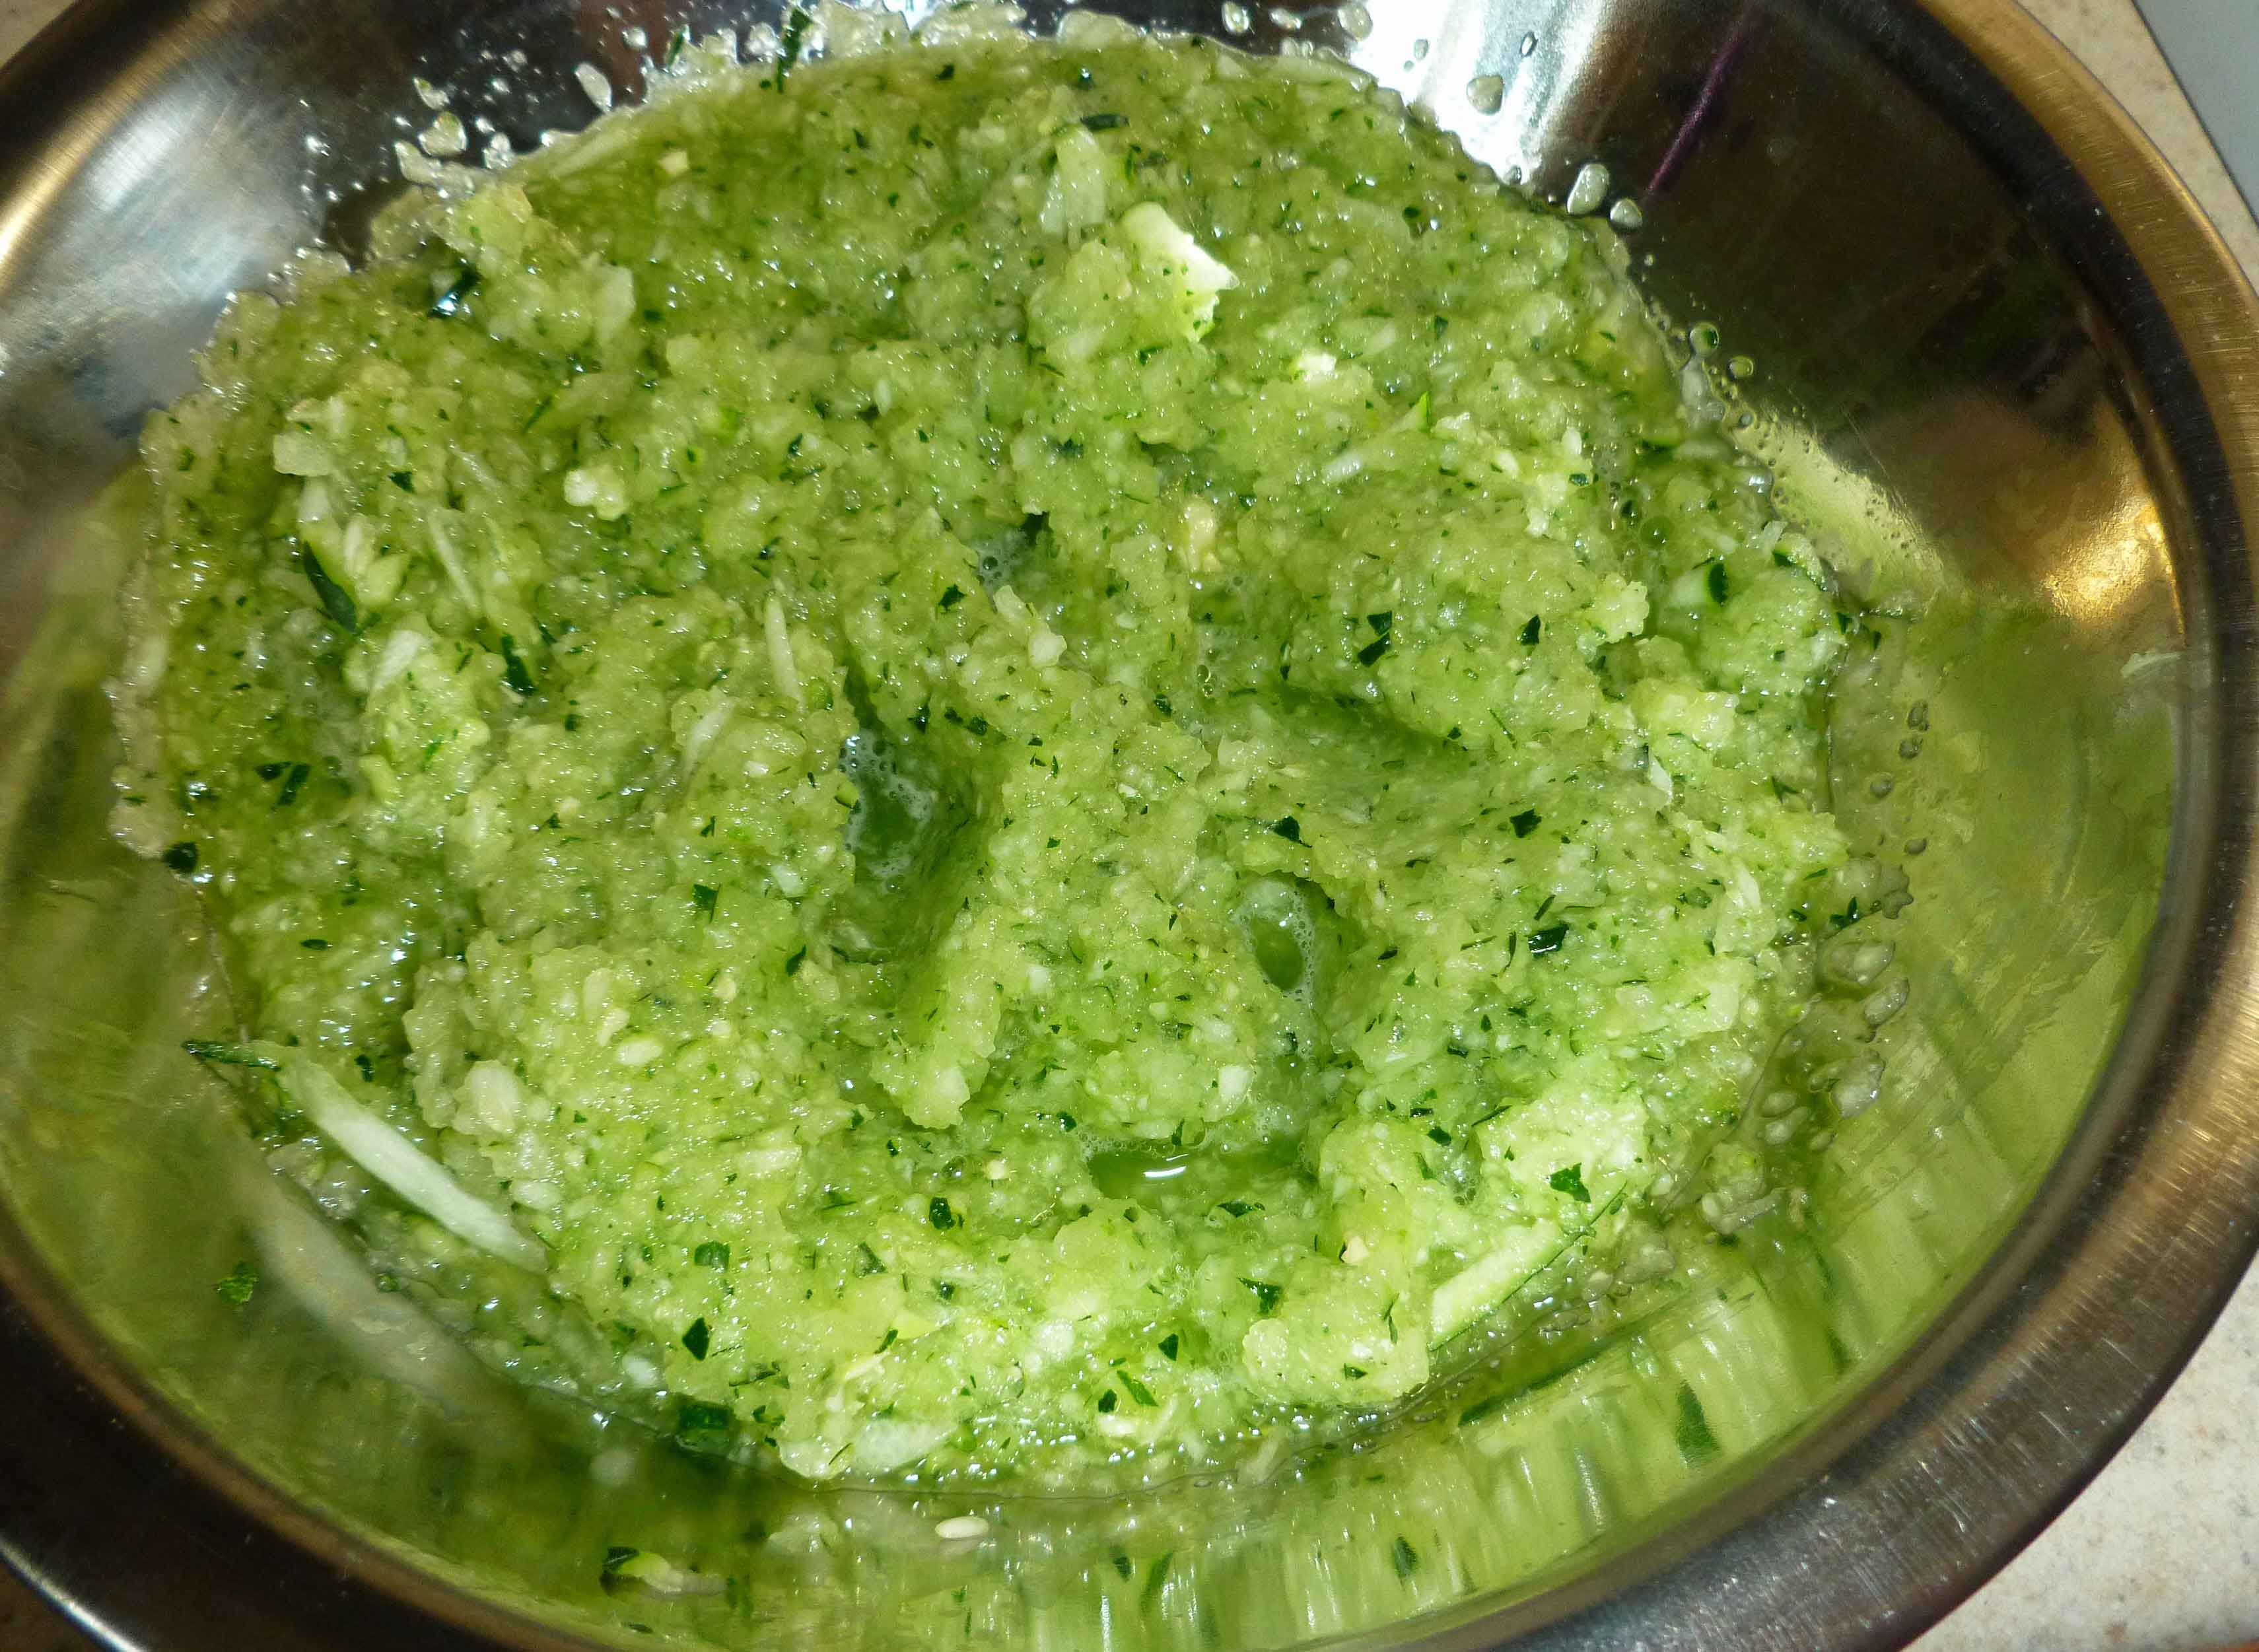
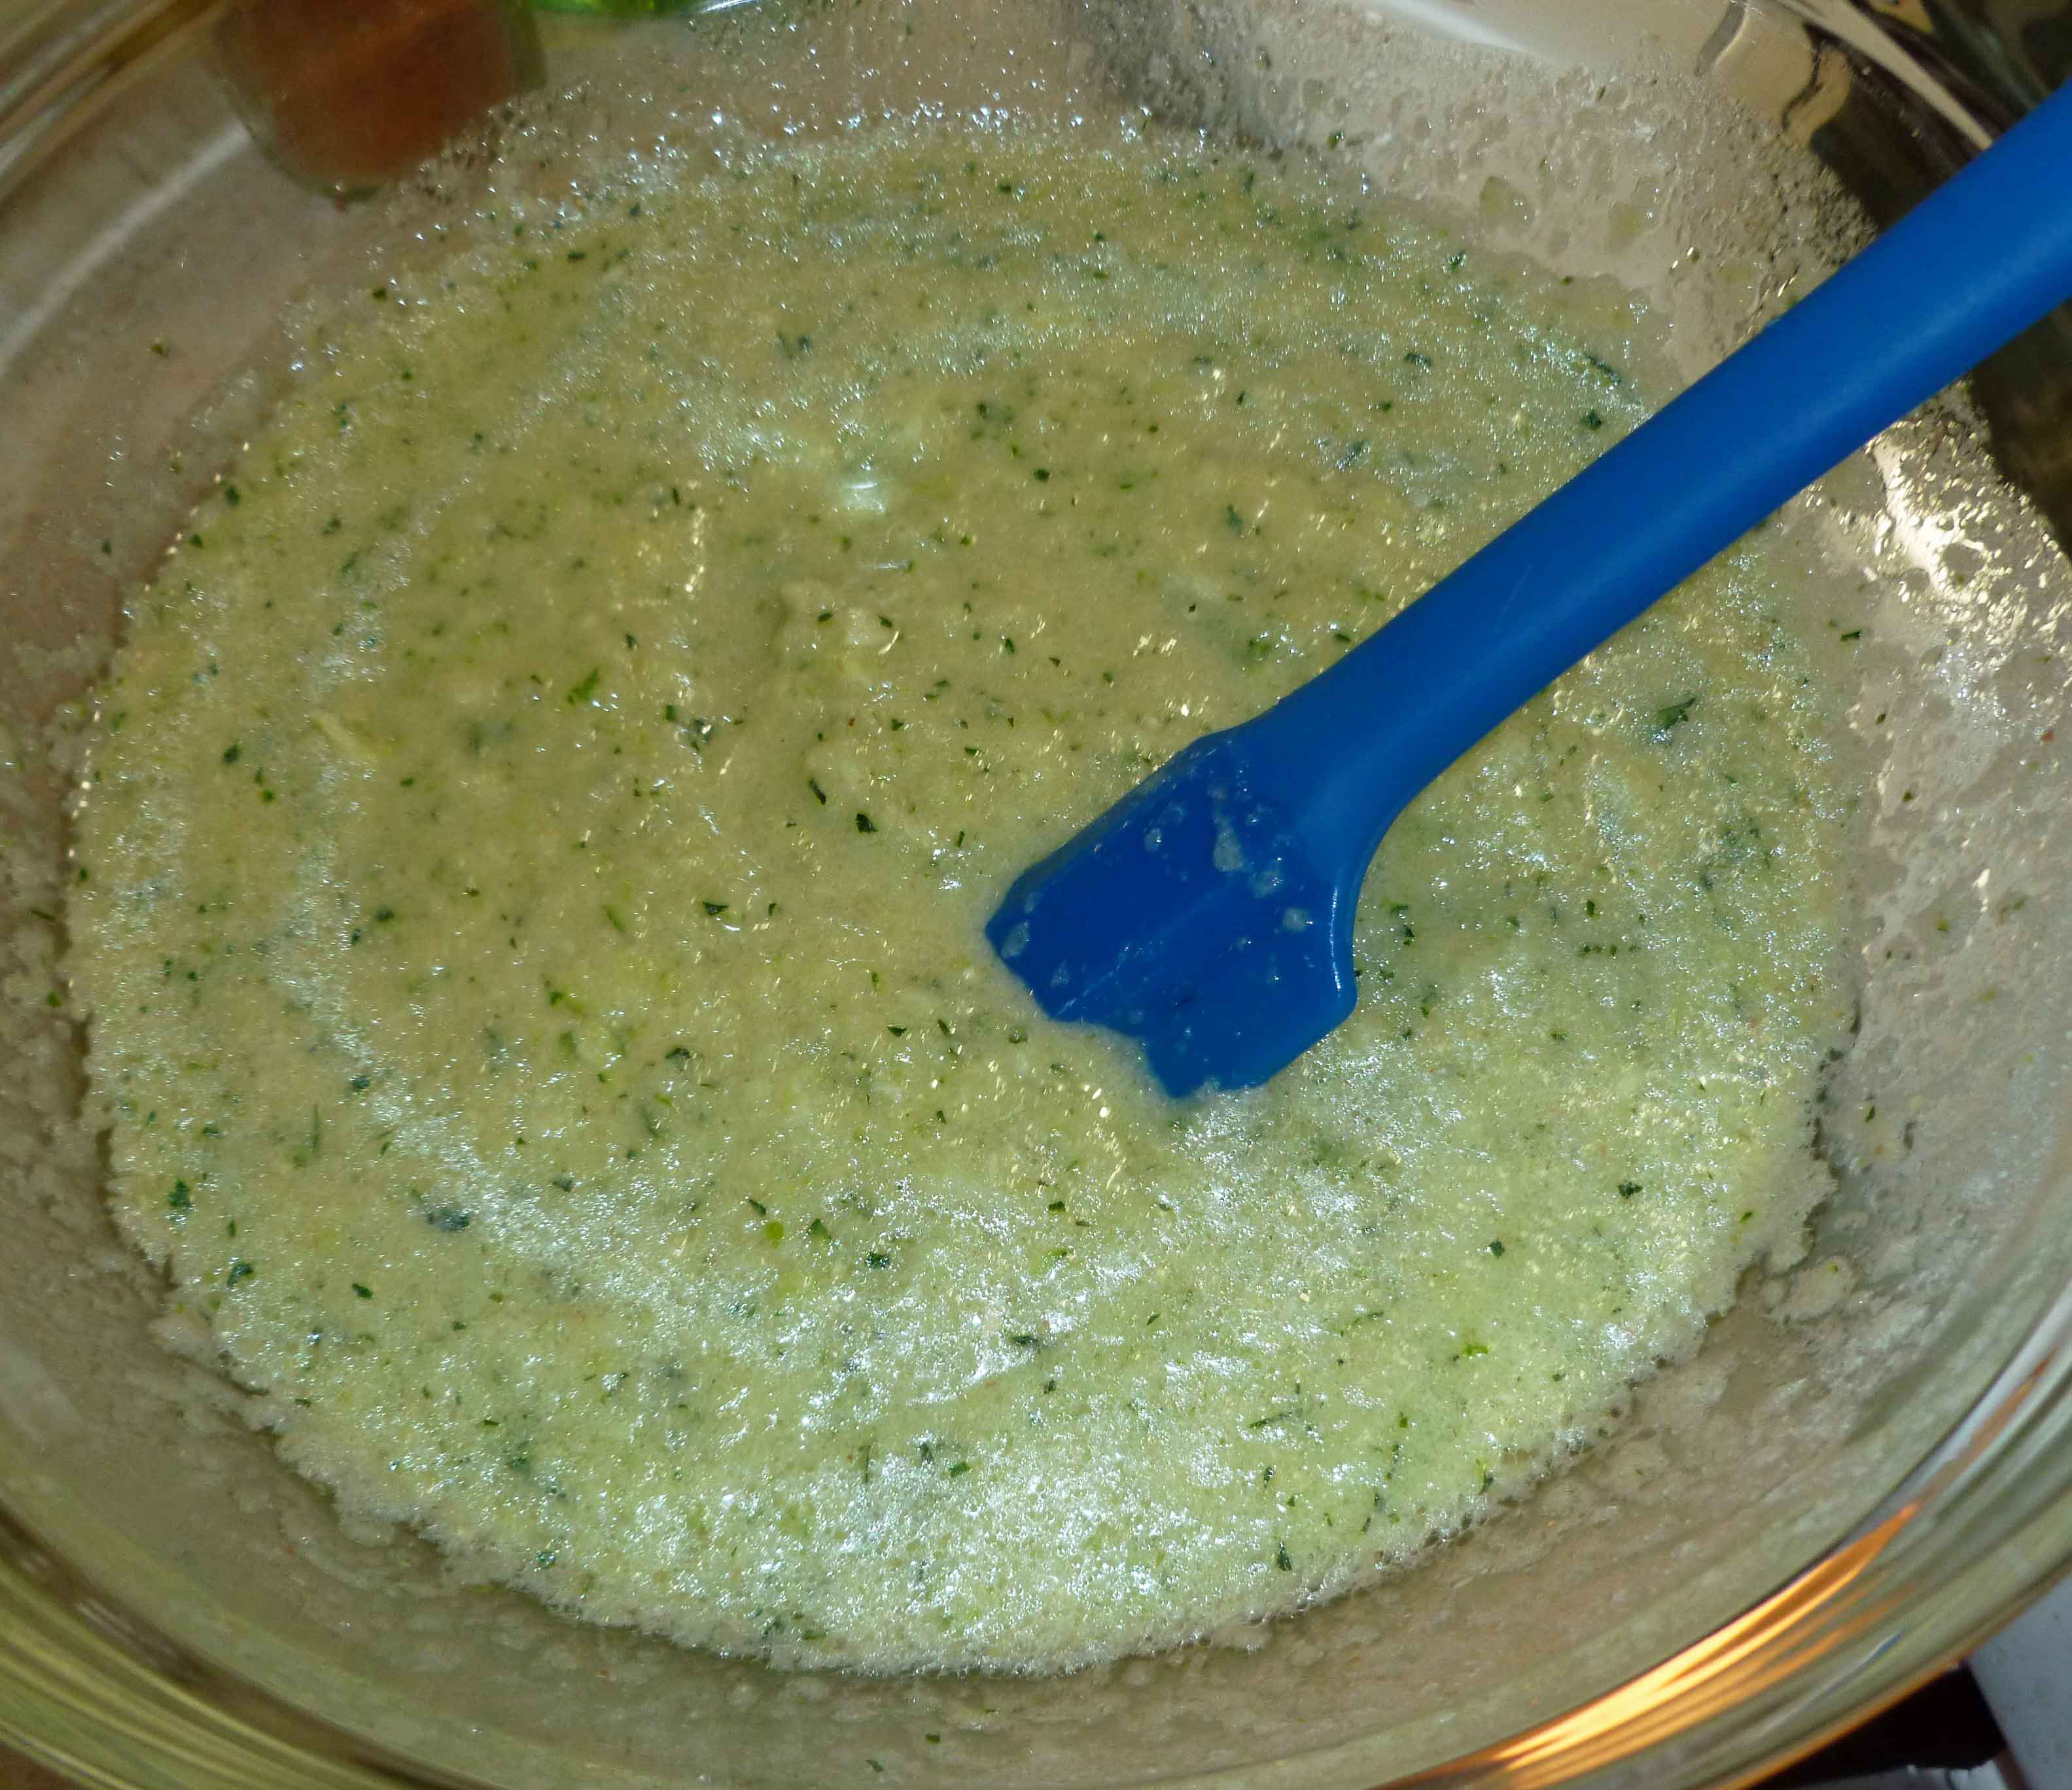
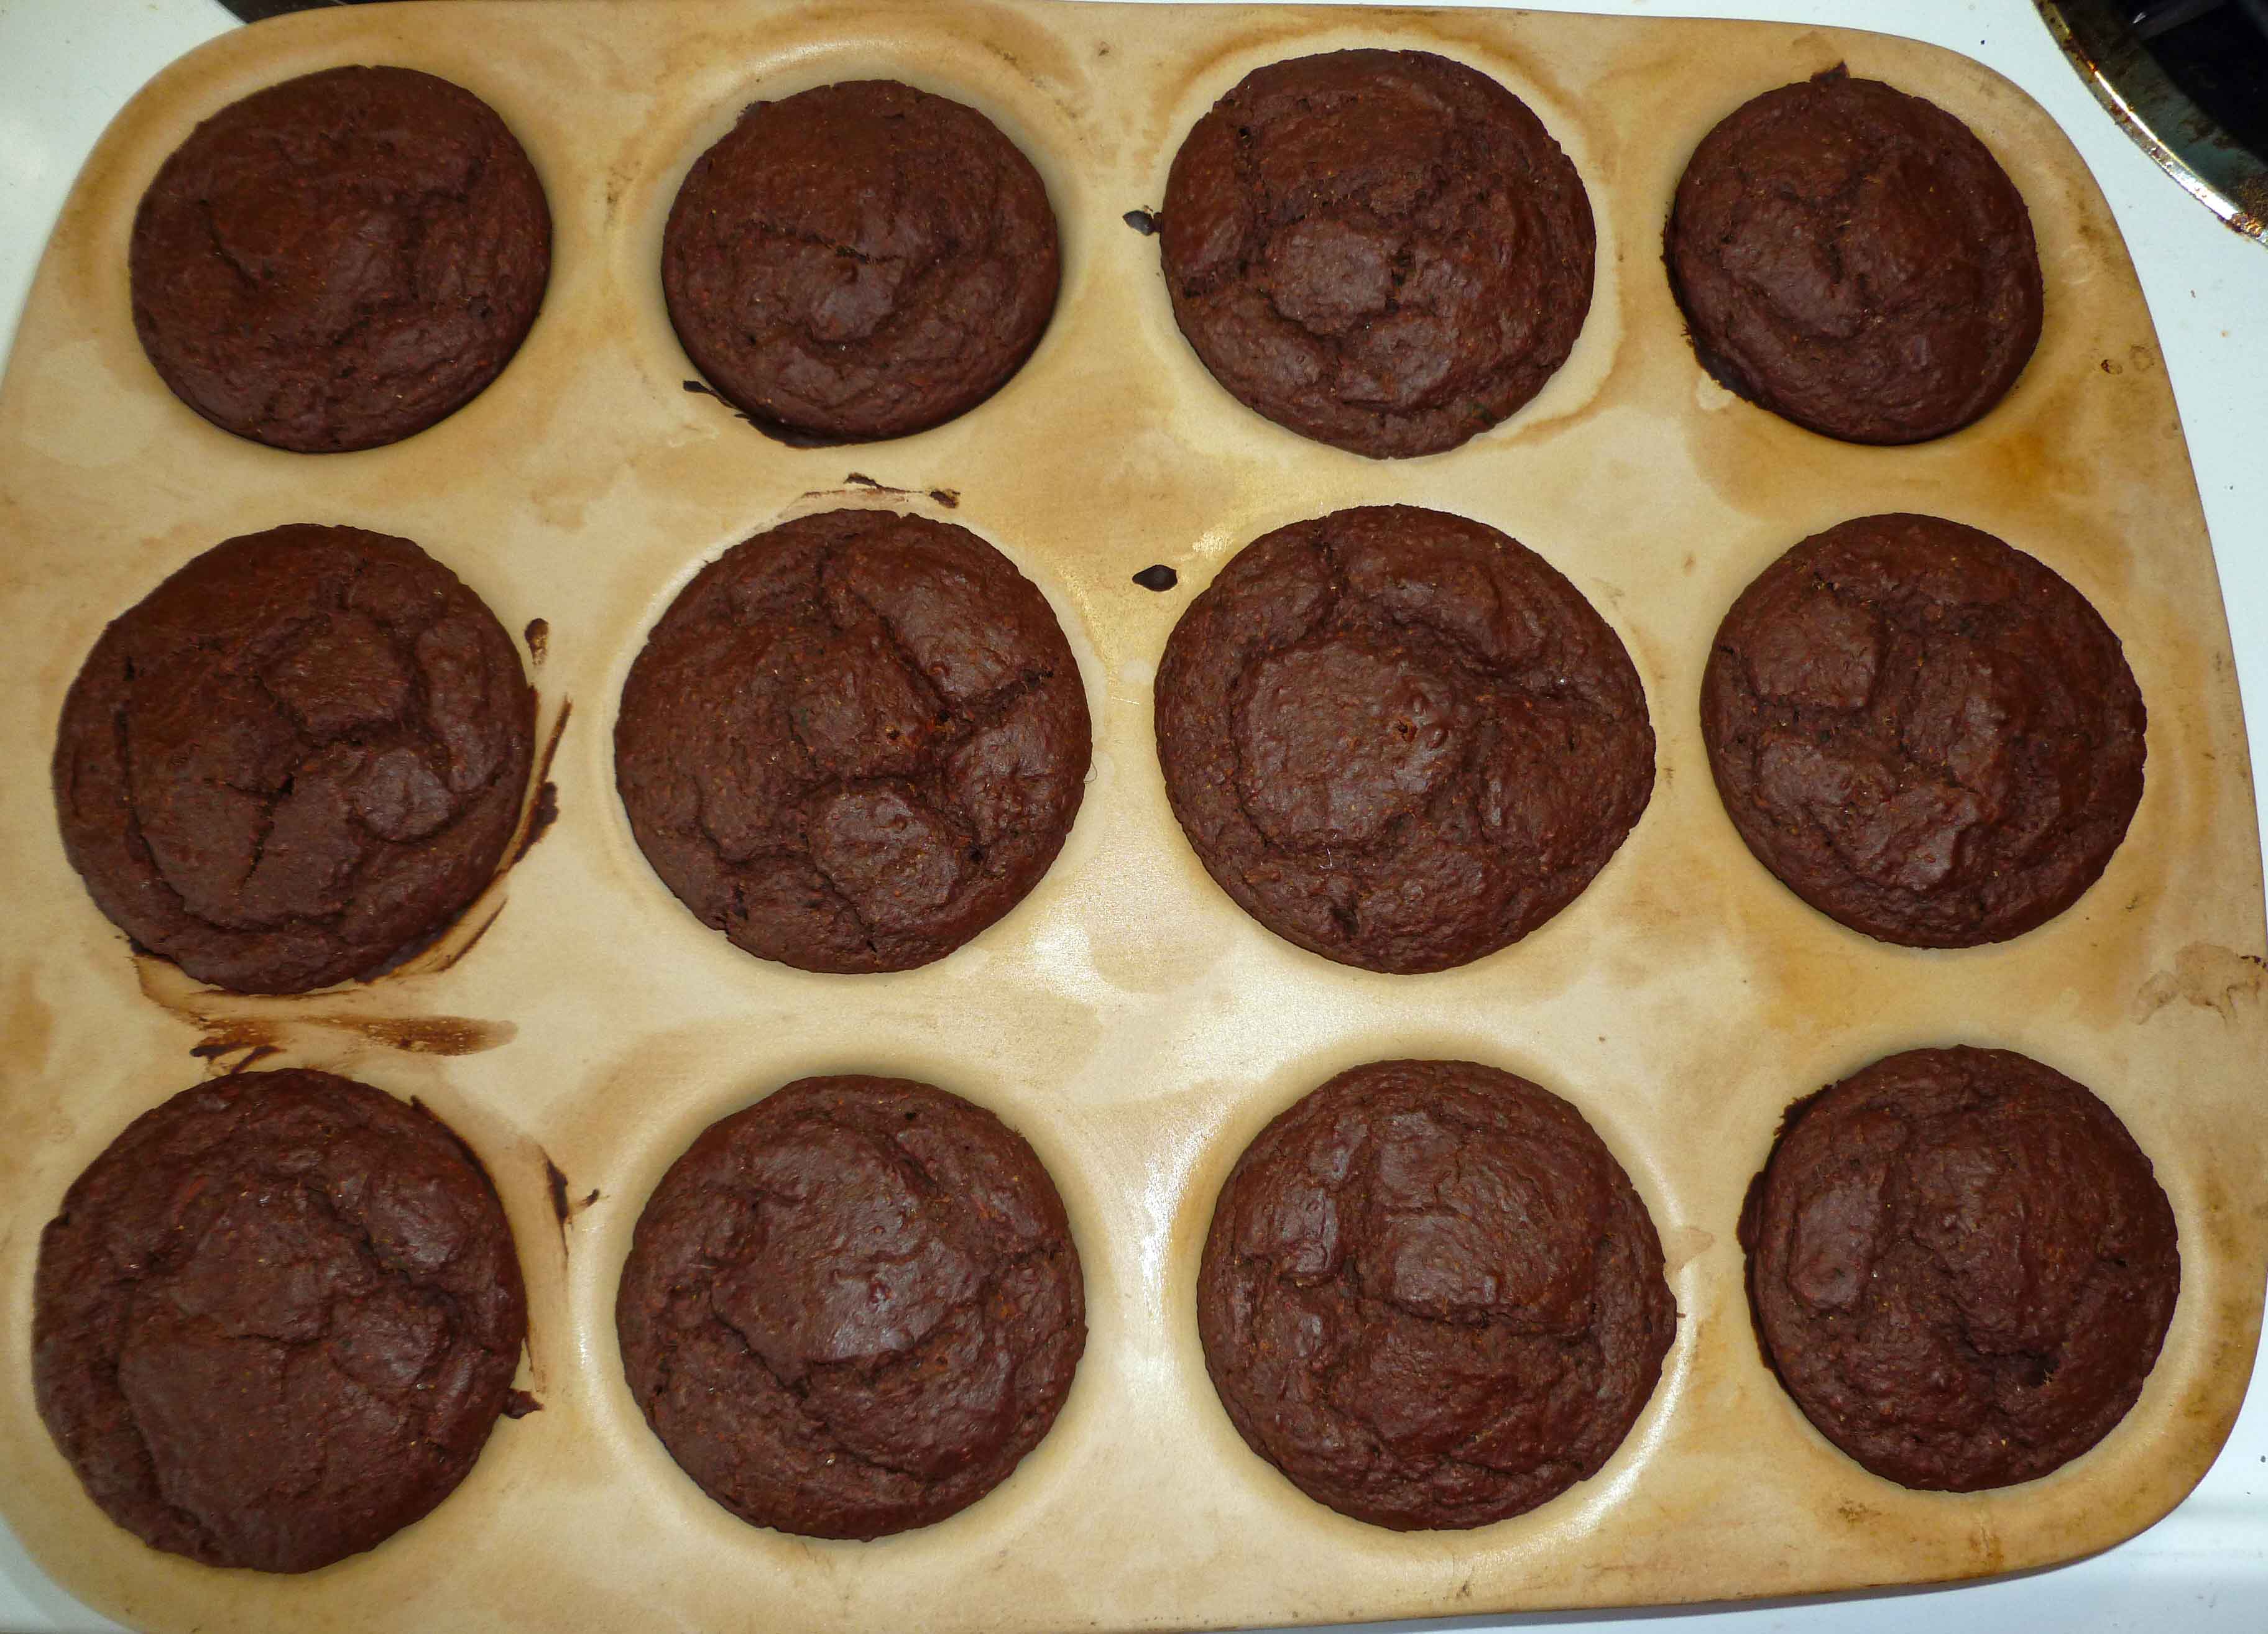
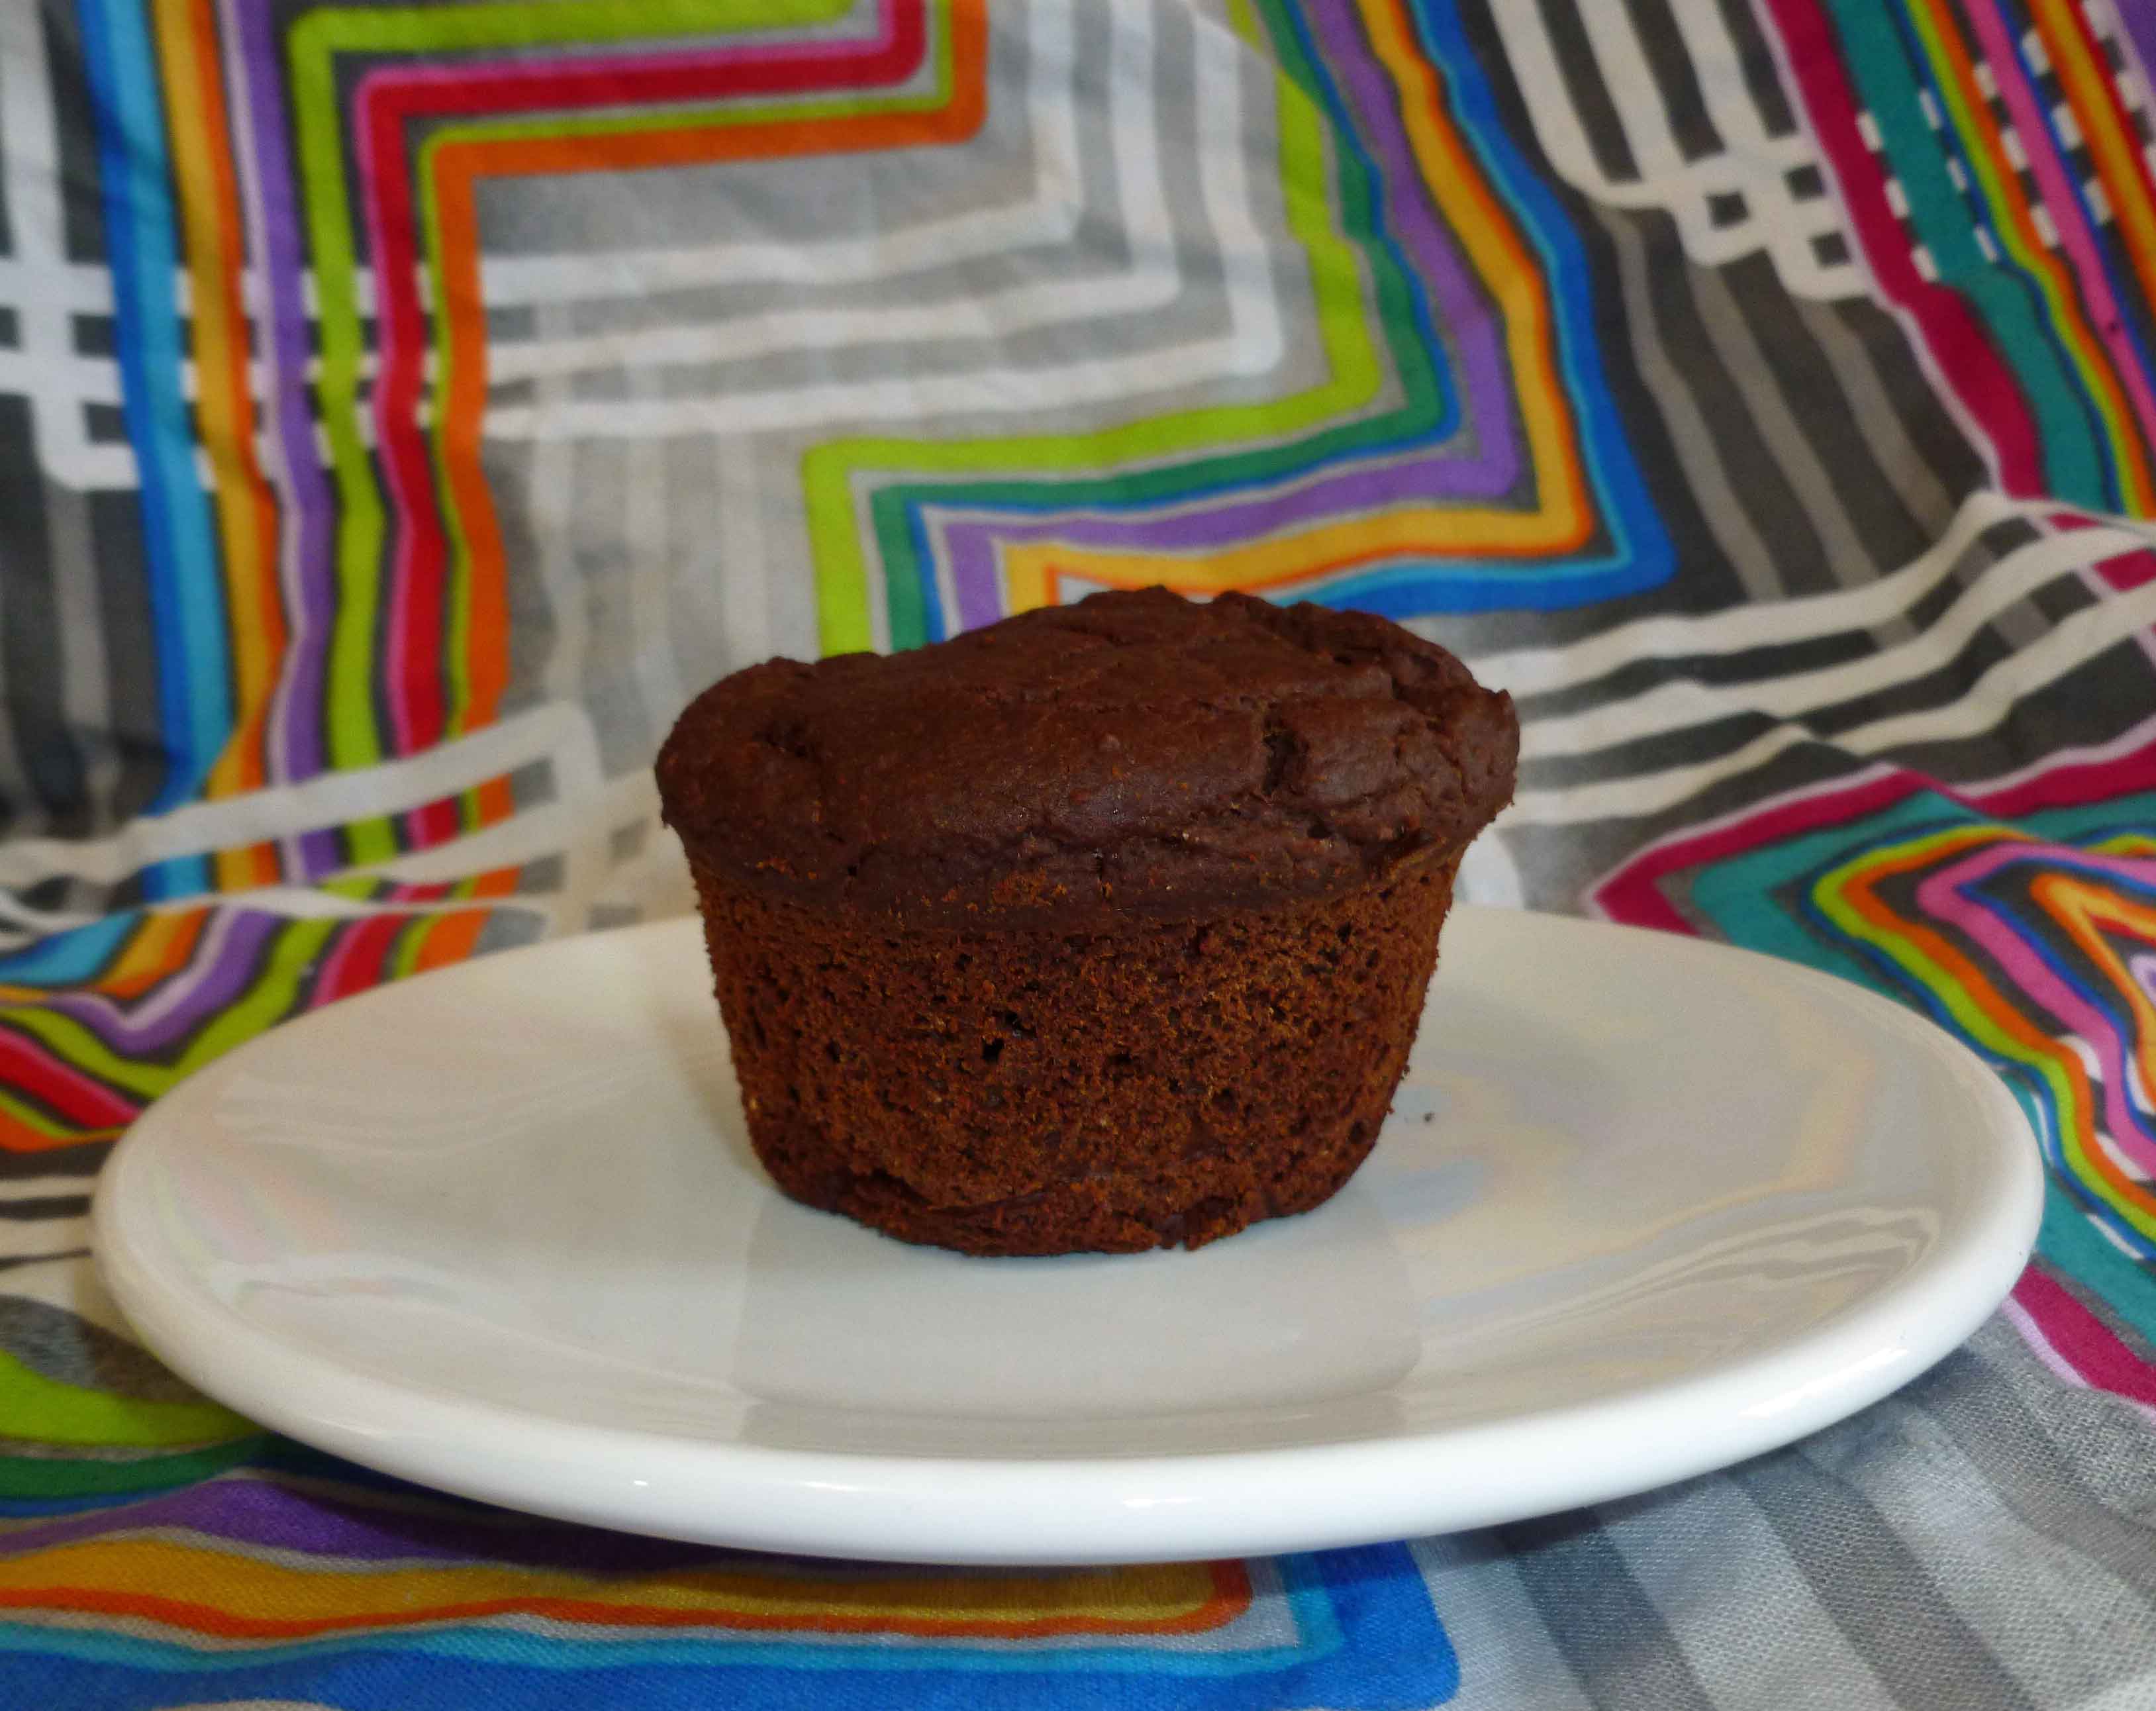
So it’s farmer’s market/garden produce theme month here on the blog, and I have some zucchini to use. Not as many as I would like as my squash plants are not cooperating this year, but many of you may be swimming in them. This recipe uses puréed zucchini. I grate it first, measure out two cups and then purée it in my food processor. For those of you with mini humans, this will be a great way to hide veggies if you have to do so, as you can’t really tell the zucchini is in there. This is definitely a muffin, not a cupcake, so there’s a fair bit less sugar, as I wanted to eat them for breakfast without a huge sugar high.
Enjoy!
Chocolate Zucchini Breakfast Muffins
Print Recipe
When you have too much zucchini, and you’d like a little chocolate with breakfast without so much sugar.
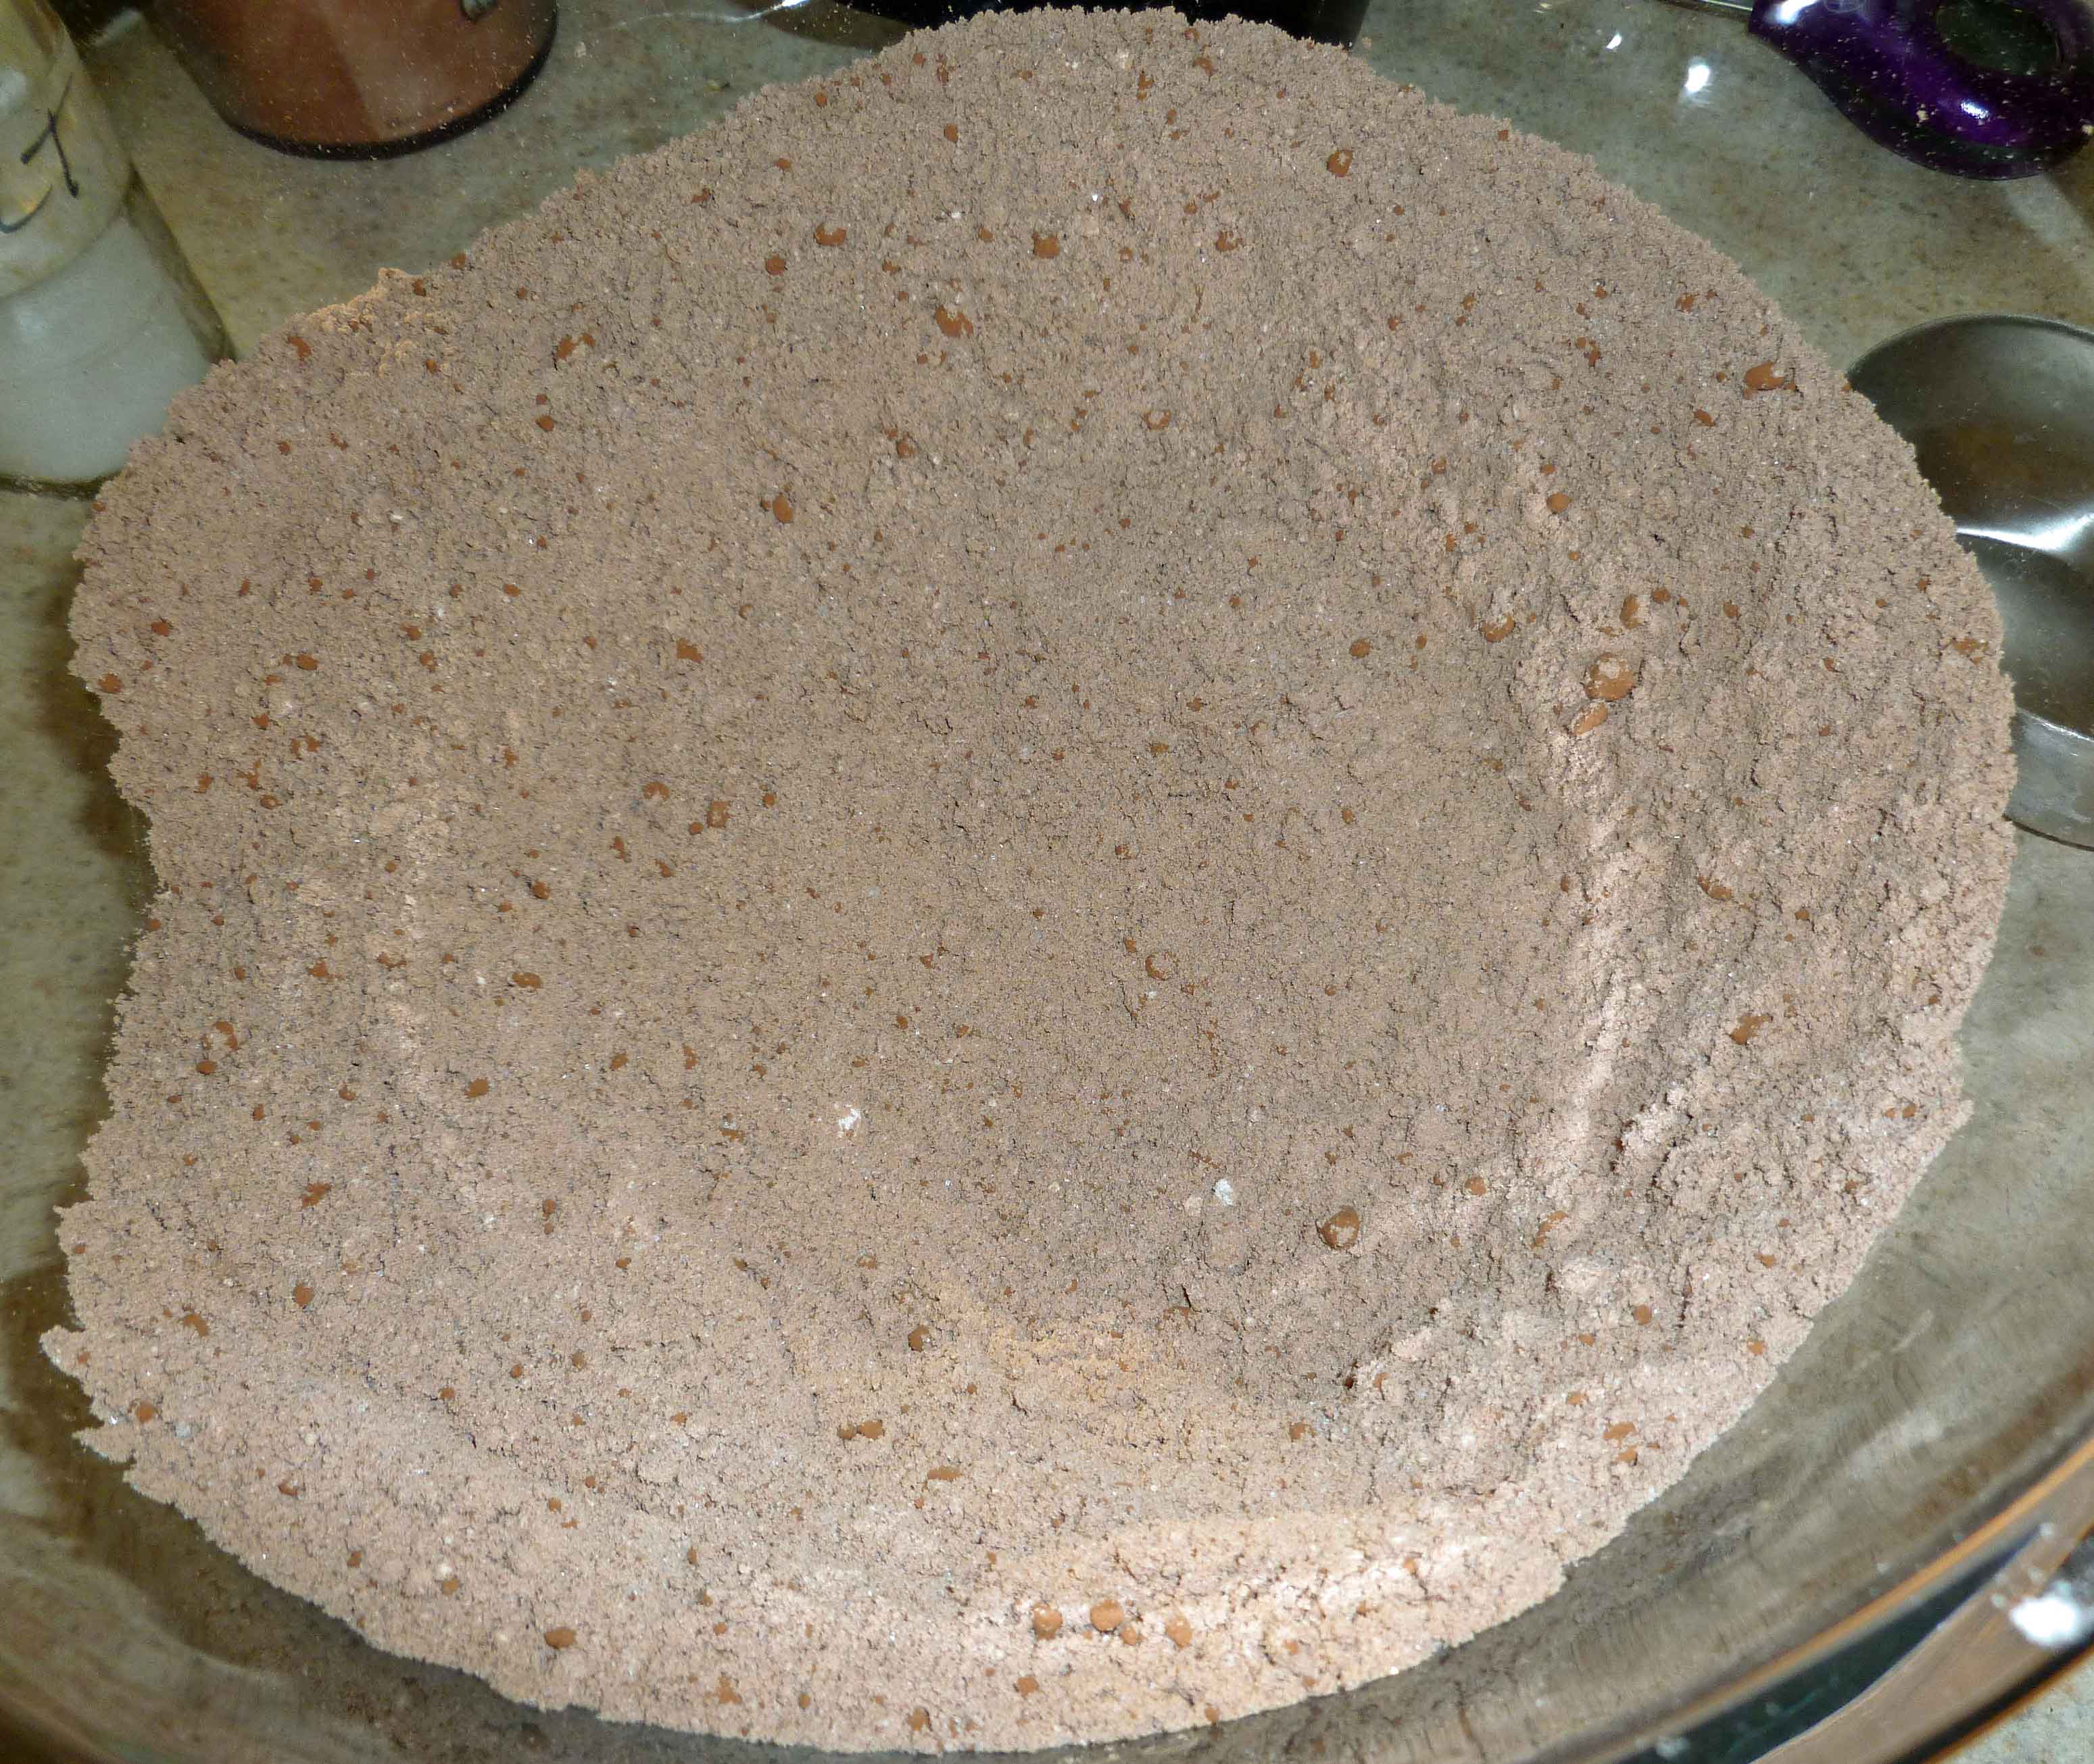
1 1/2cupsGluten-free, Rice-free, Potato-free flour mix(see our post here for the recipe – http://adultfoodallergies.com/whoopie-pies-gluten-free-with-vegan-option/
1/2 cup sorghum flour
3/4 cupcacao powder(I do well with Wilderness Family Naturals Cacao Powder)
1/2 cup sugar
1/2teaspoonsea salt
1Tablespoonbaking powder(here’s a recipe for a corn-free one – http://wholenewmom.com/health-concerns/make-your-own-baking-powder/)
Wet Ingredients
1cupnon-dairy milk(I used homemade cashew milk, but homemade rice milk will work too)
1/4cupsafe for you oil(I used grapeseed oil)
3Tablespoonsaquafaba(see http://aquafaba.com/)
1/2 teaspoonpsyllium husk
2cups grated zucchini which is then pureed
Servings: muffins
Instructions
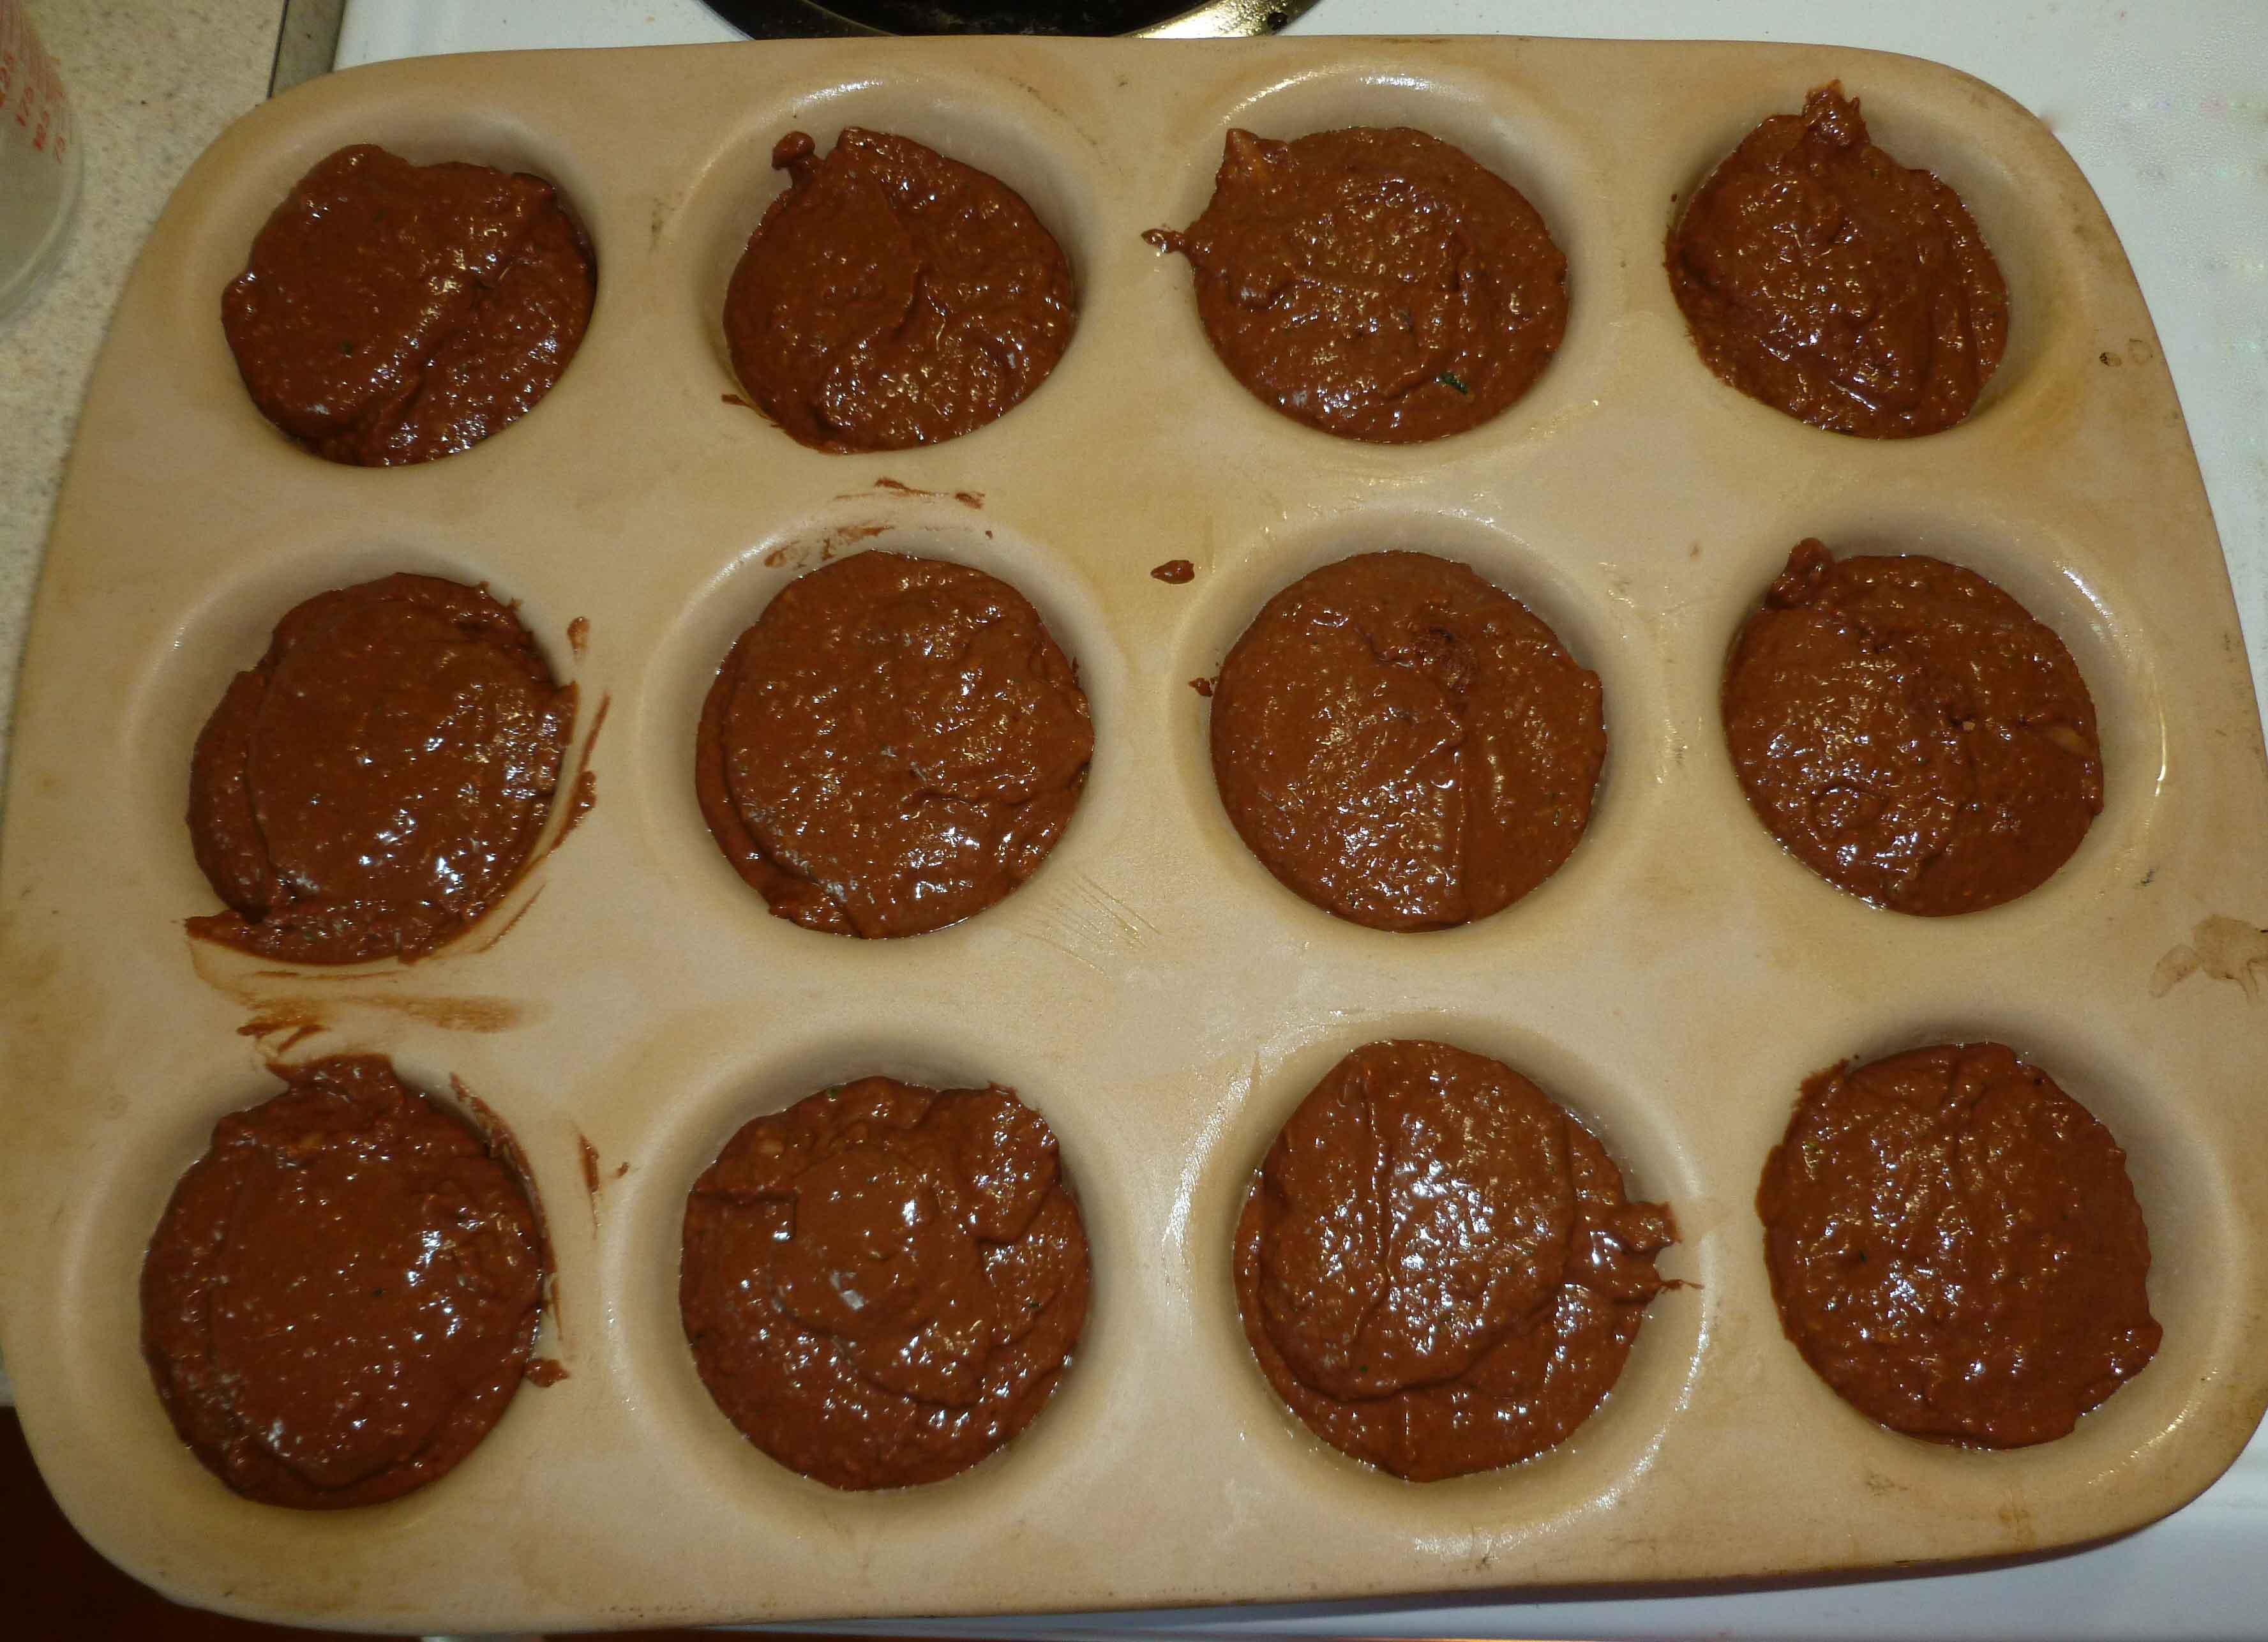
Preheat oven to 425°F. Grease a 12 cup muffin pan with some of your safe oil.
Add all the dry ingredients to a large bowl and whisk together until well combined. In another bowl, add all the wet ingredients and whisk until well combined.
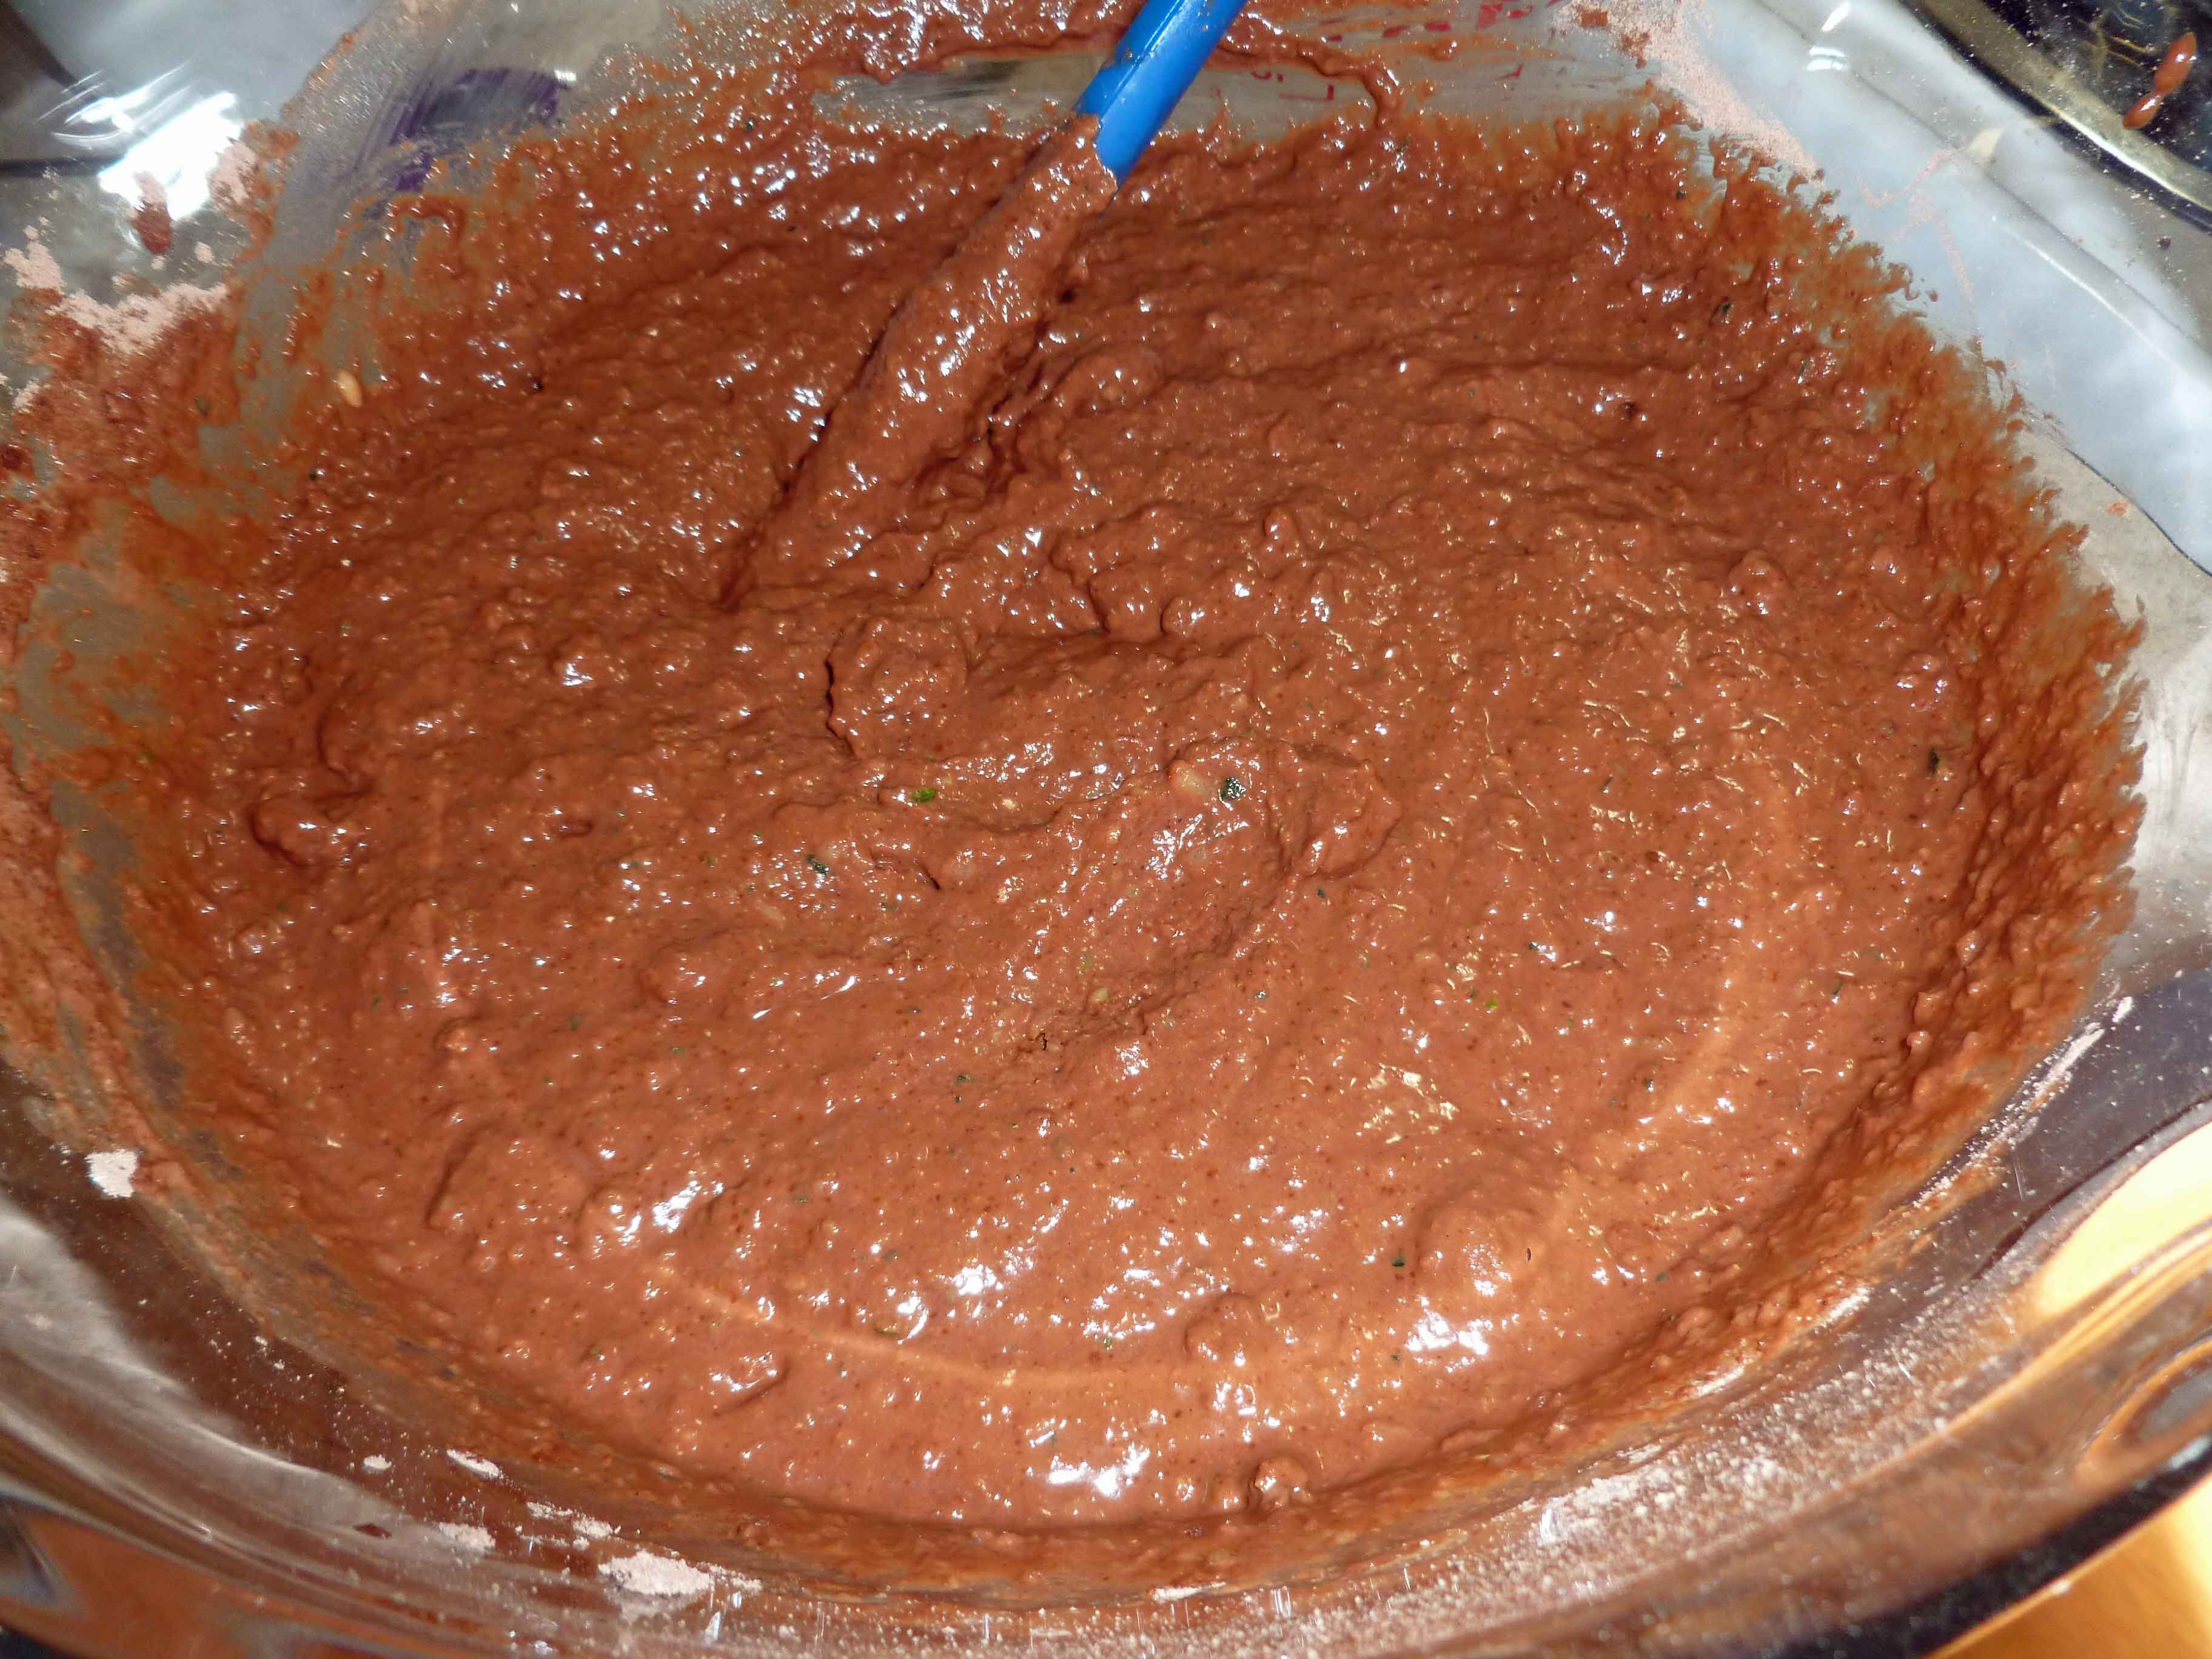
Pour the wet ingredients into the dry ingredients, and using a spoon or spatula, blend the two about 20 seconds or so, do not over mix. Fill the muffin cups about two thirds to three quarters full.
Bake 25-30 minutes depending on your pan (metal needs less time, stoneware needs more) or until a toothpick inserted into the middle of one of the center muffins comes out clean. Remove them from the oven, and as soon as they are cool enough to handle, turn them out of the pan onto a rack to cool.
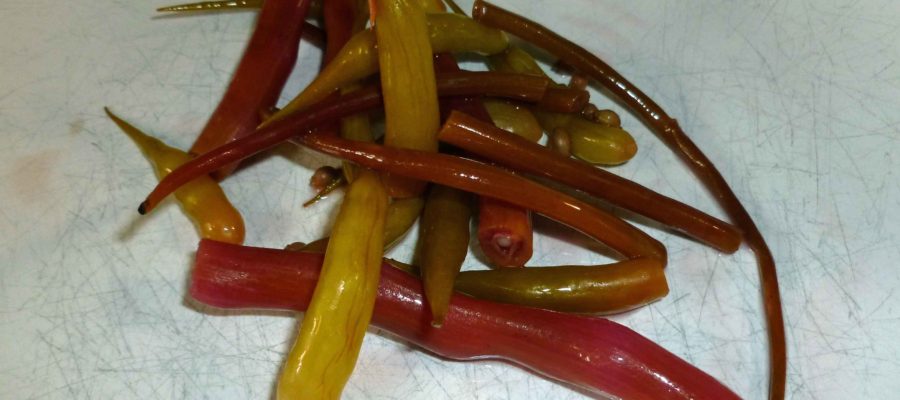
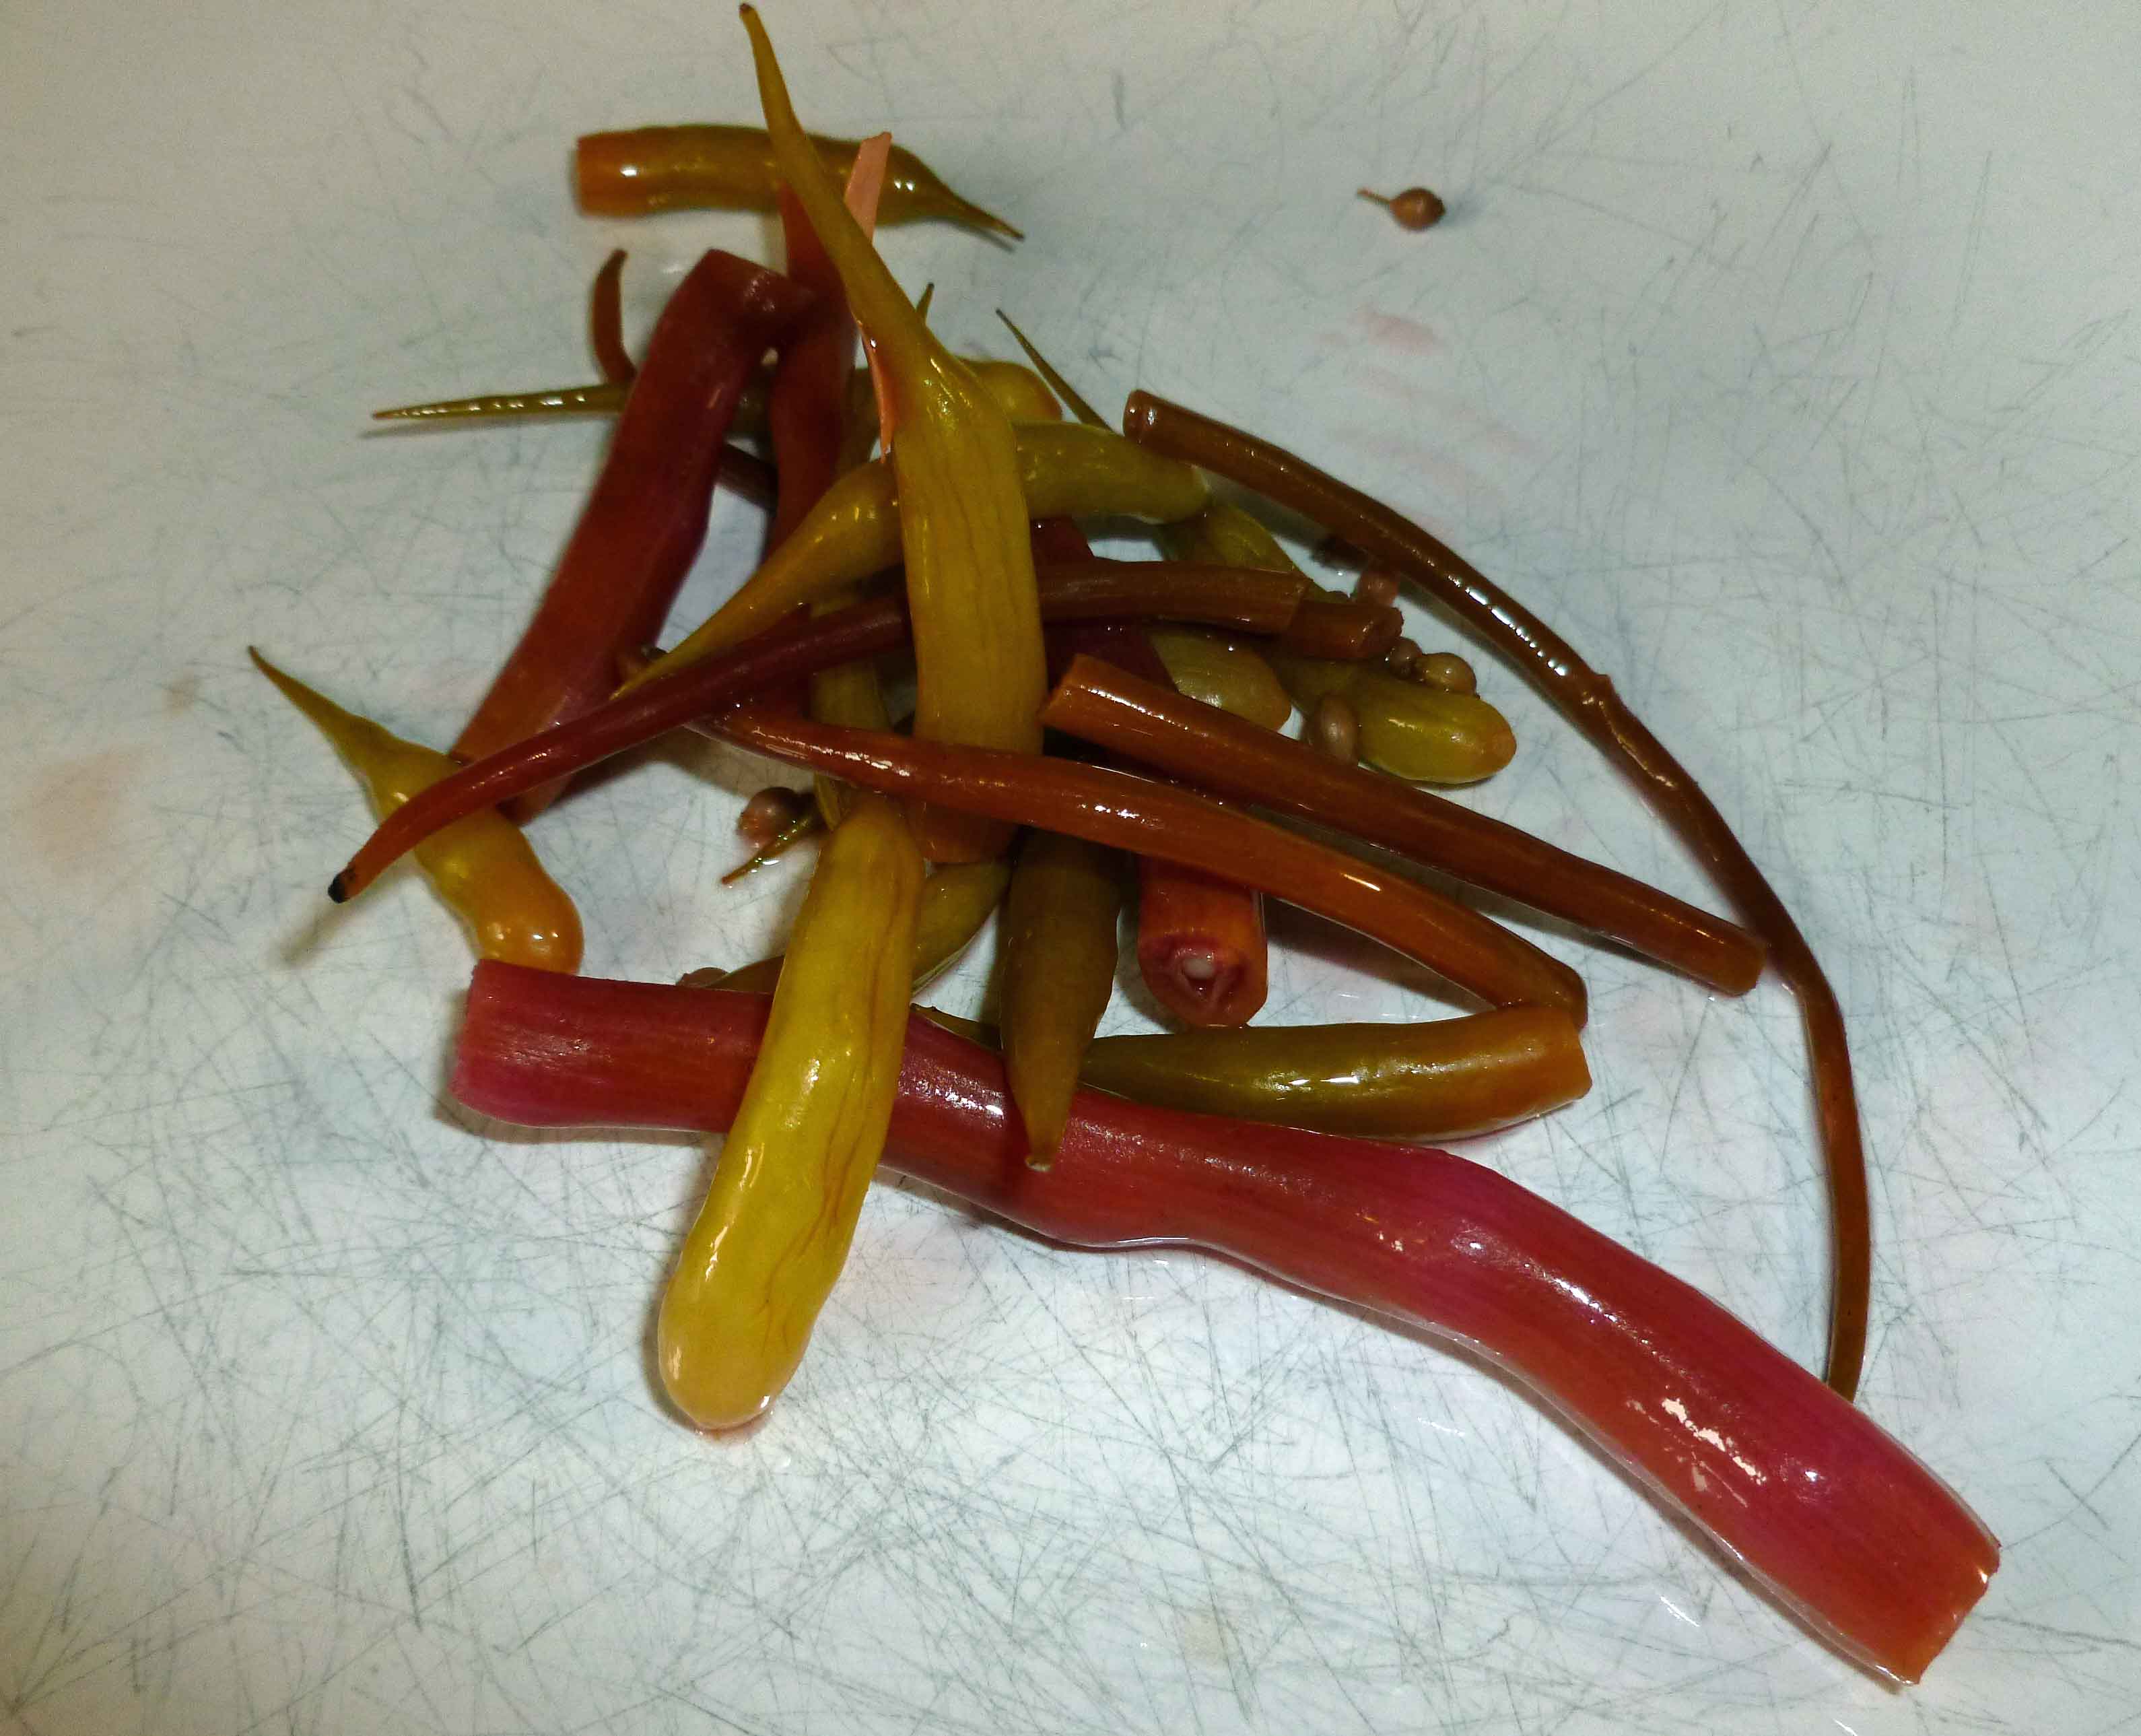
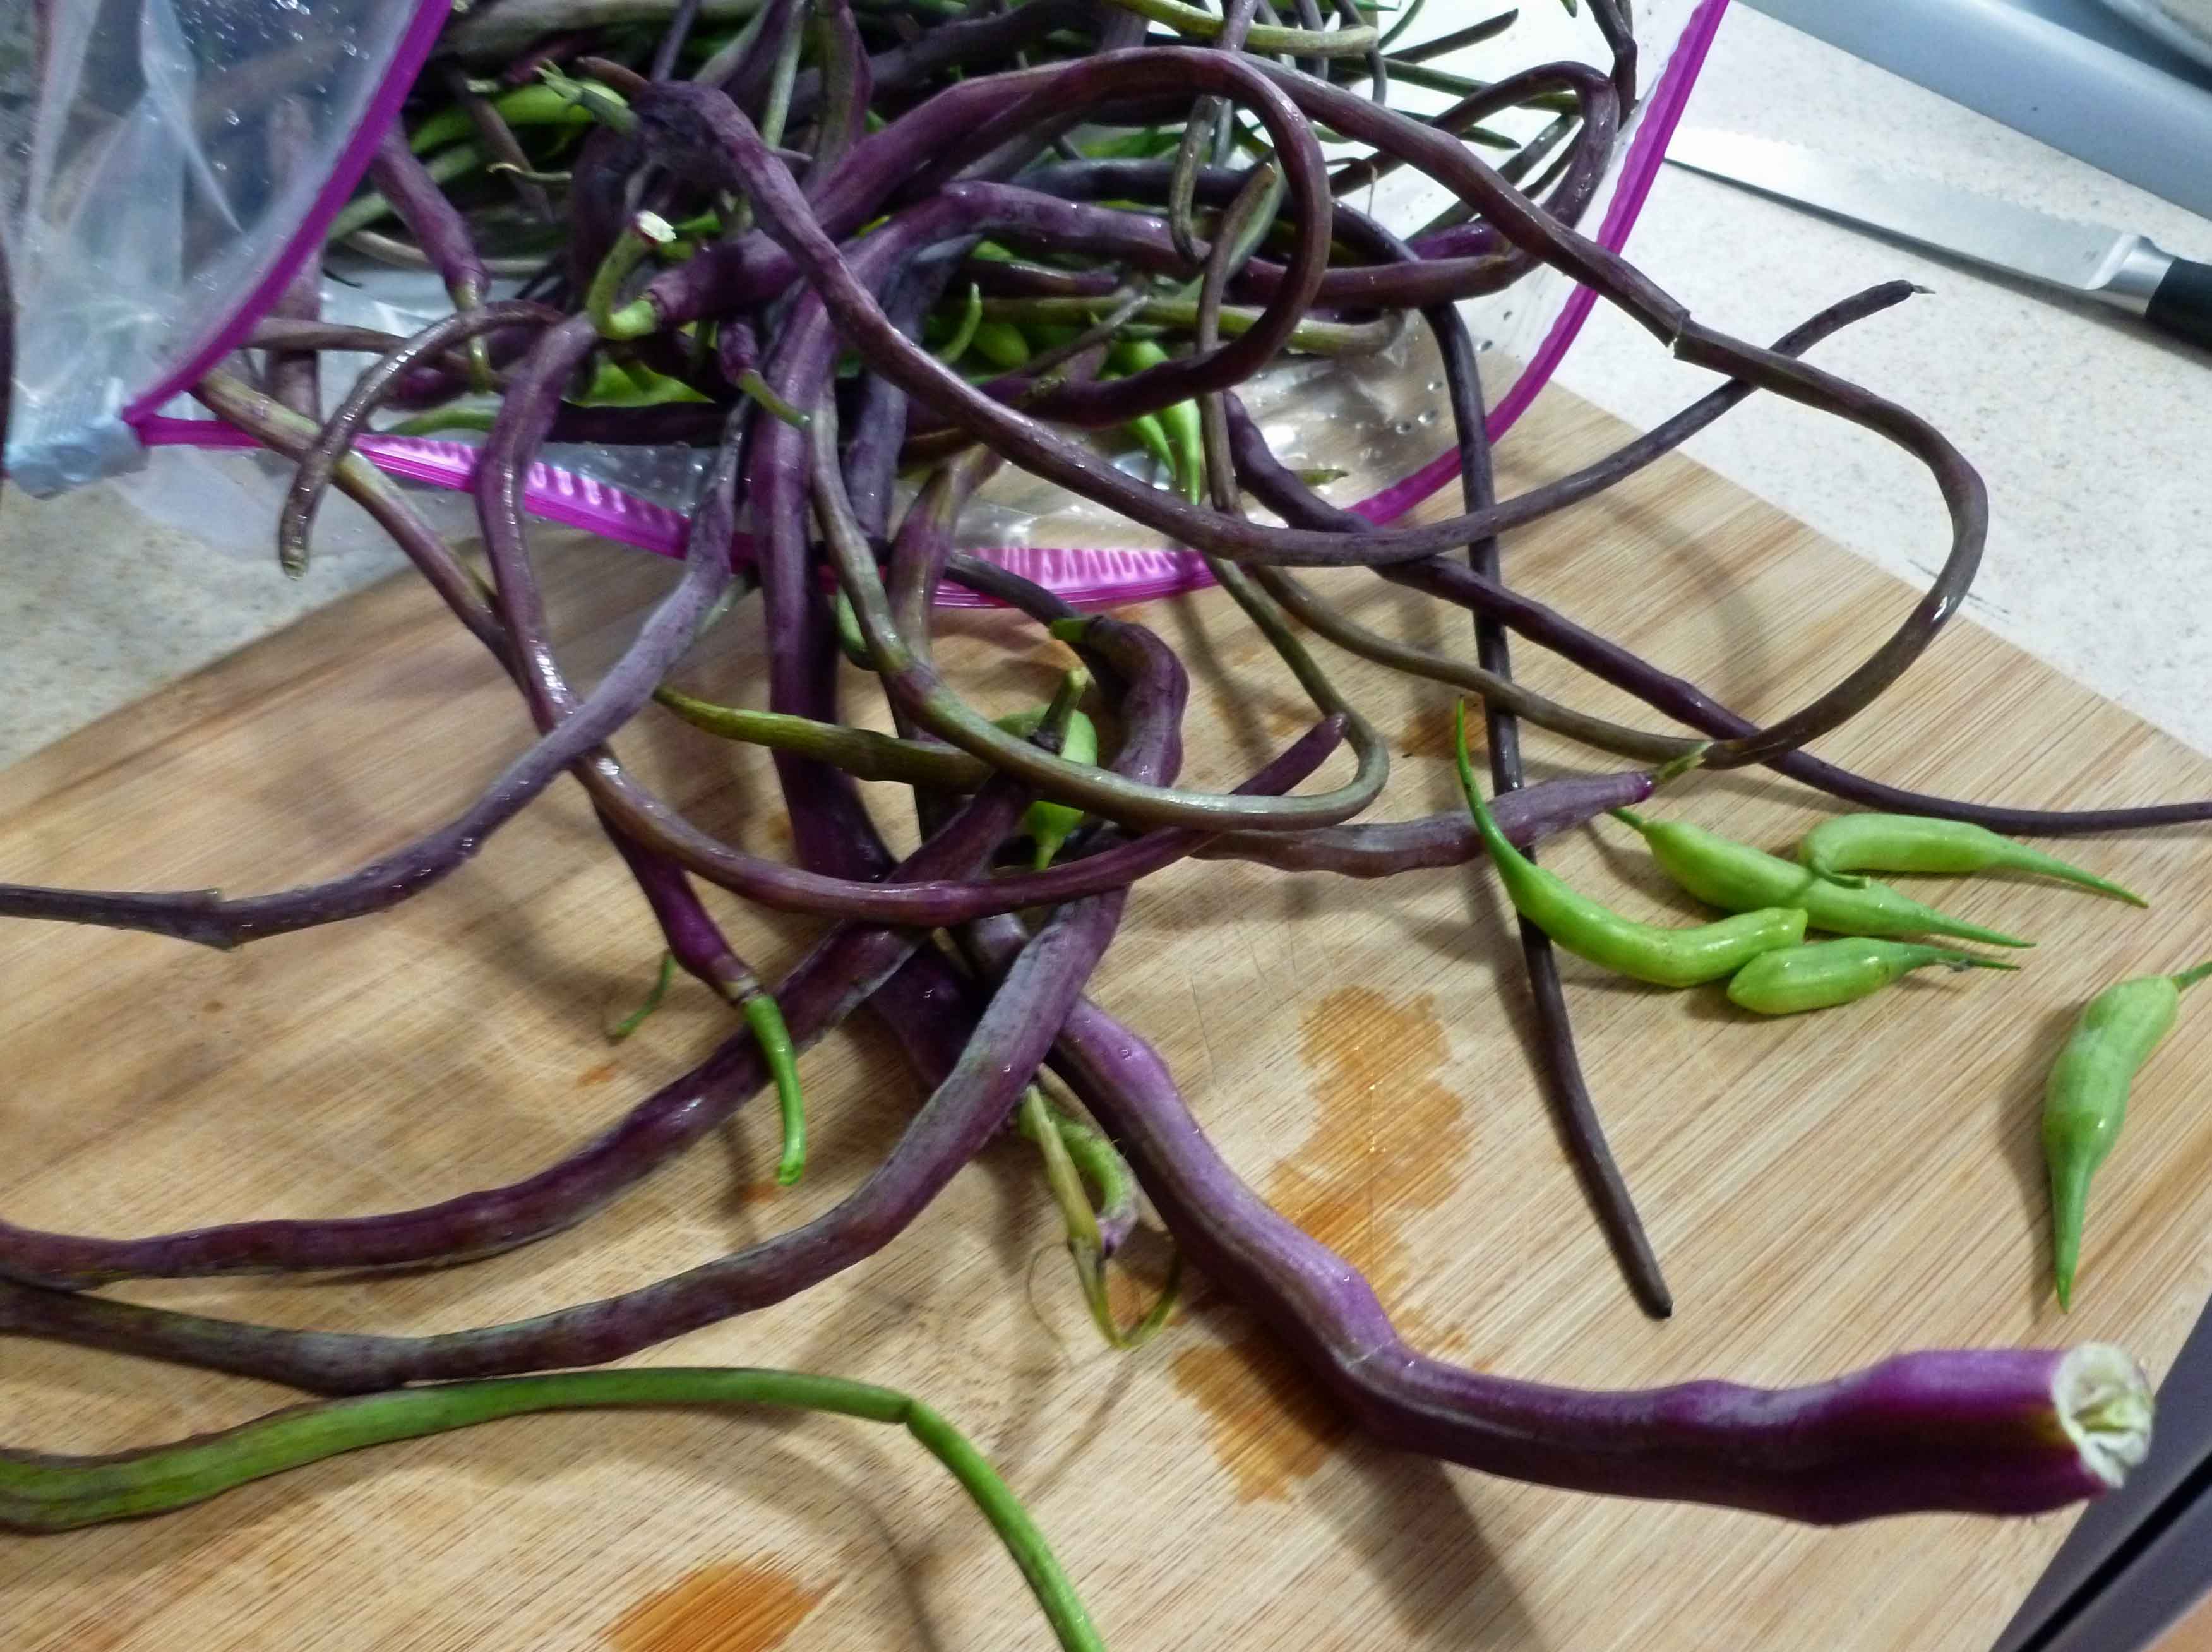
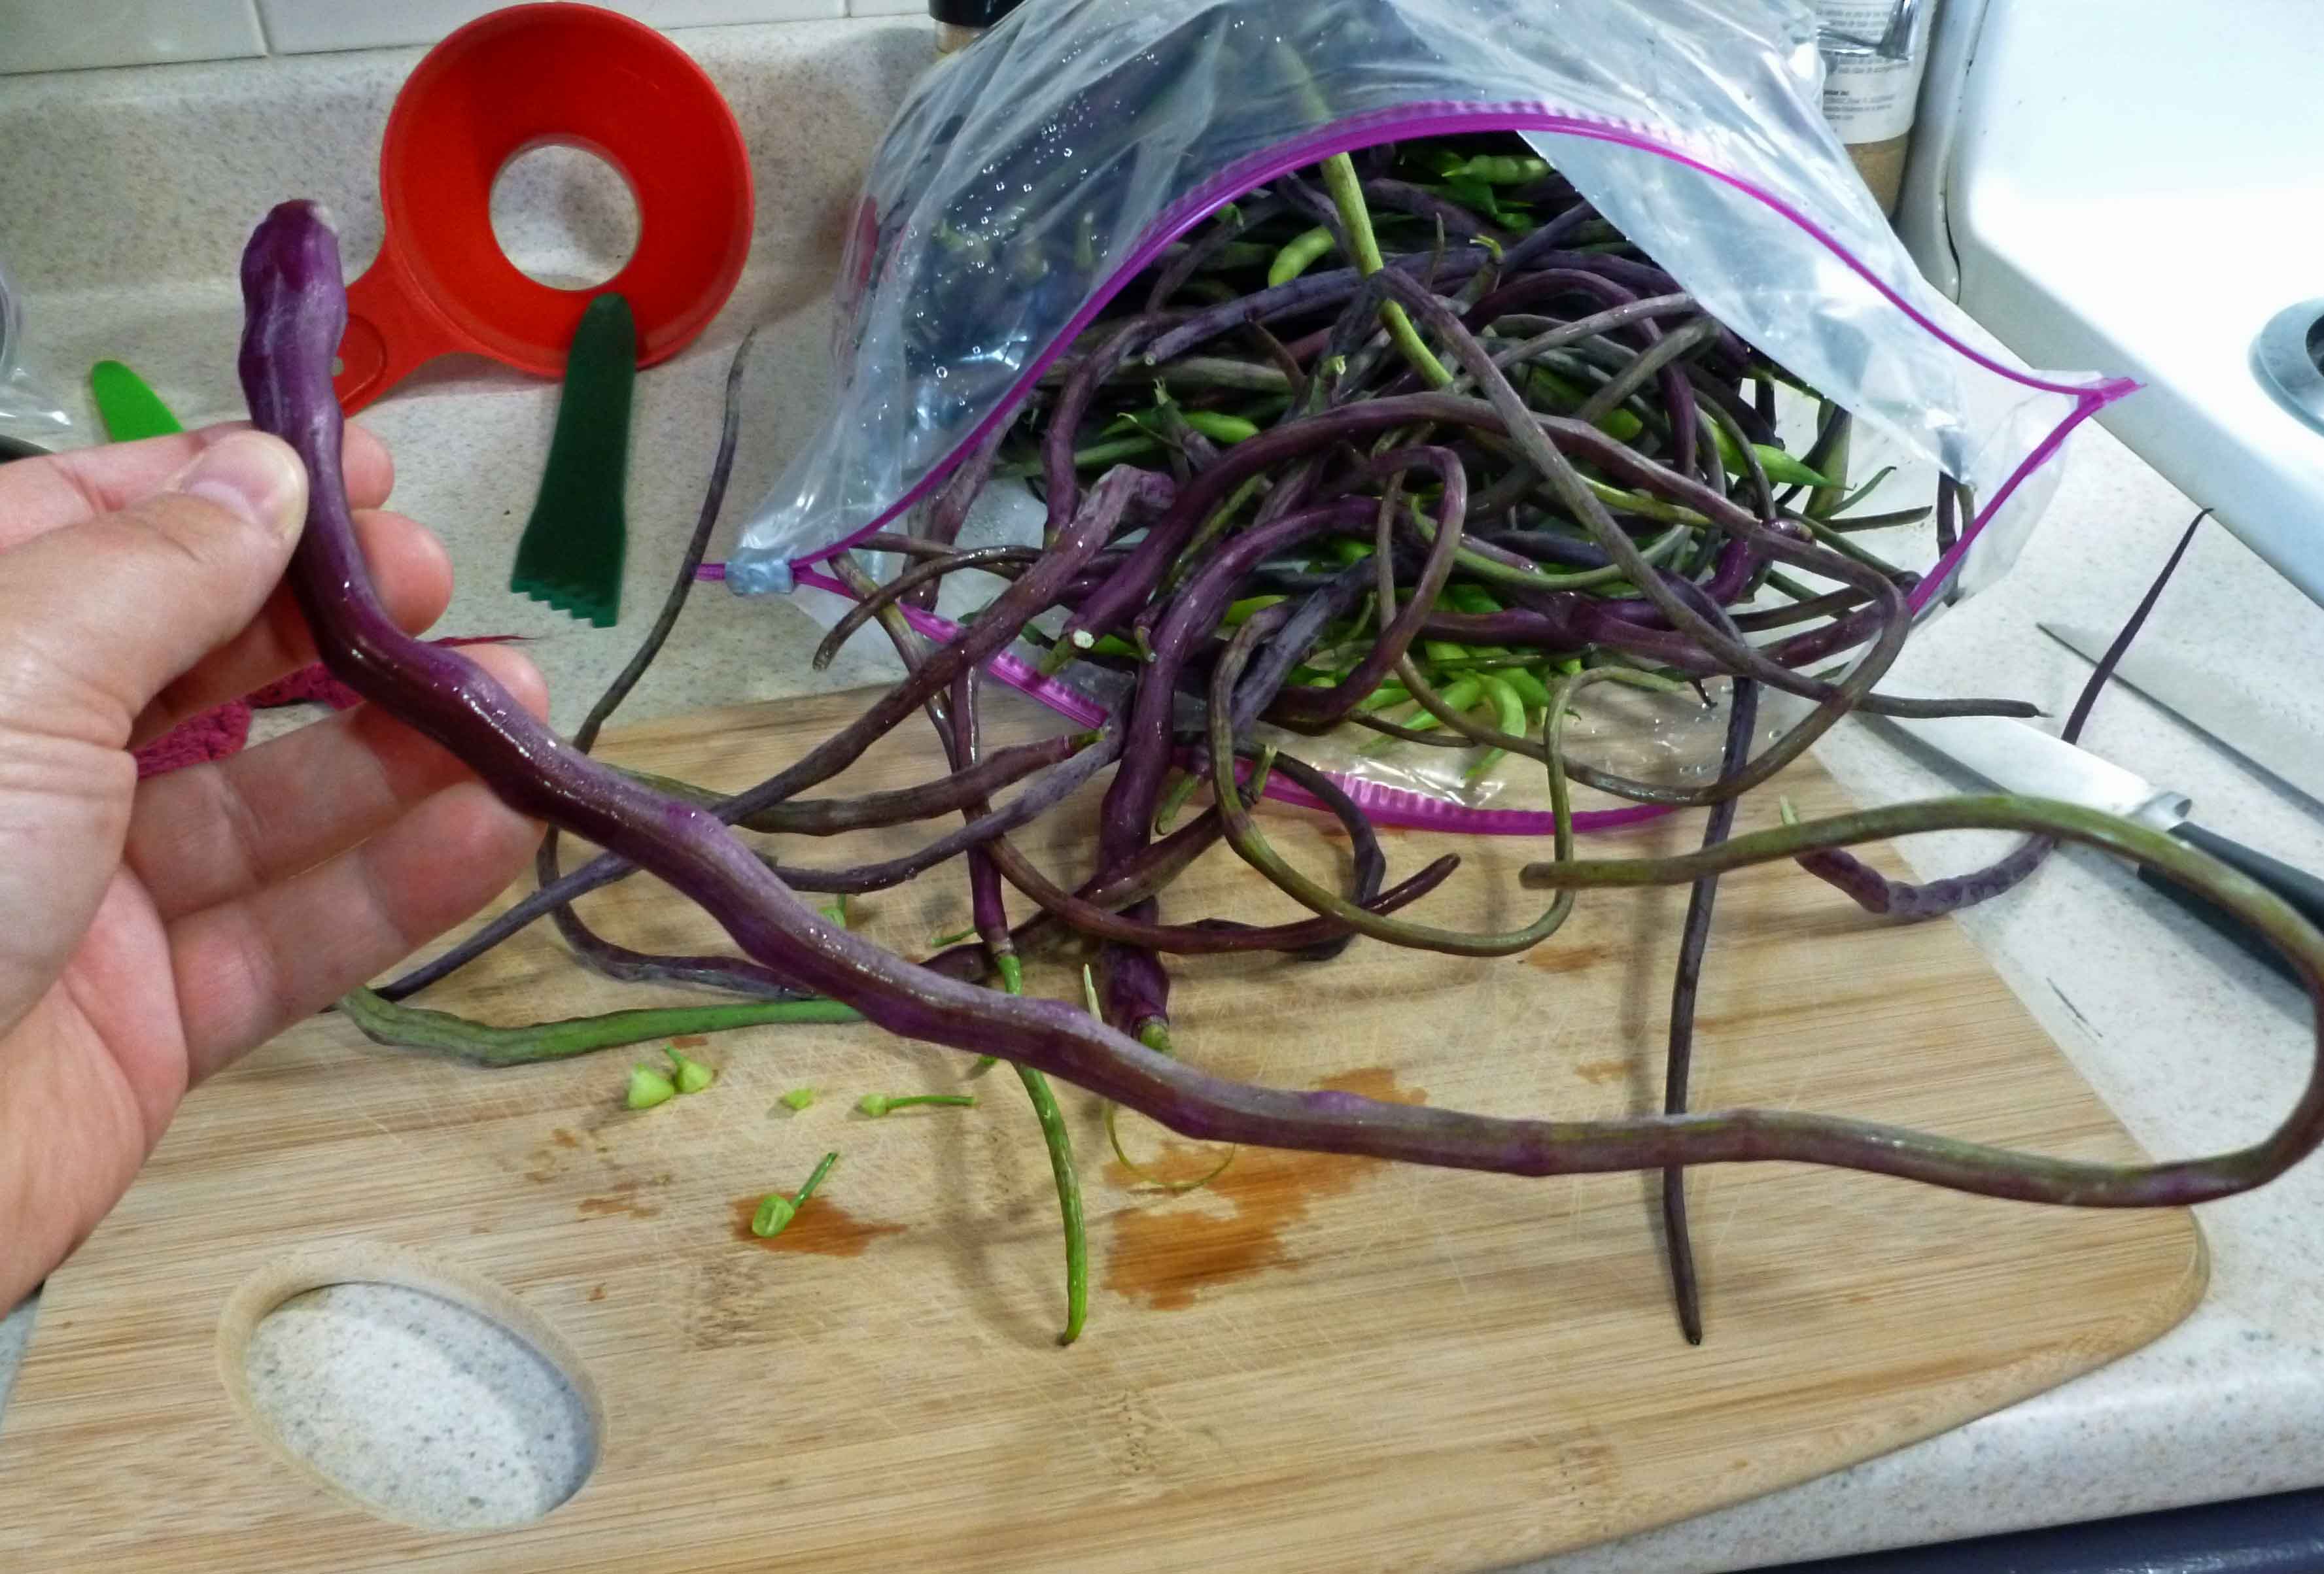
Last summer, I got behind in the garden and let some of the radishes go to seed. I was okay with that because the bees loved those flowers and I just let them be for the bees (yes, I know that’s an awful phrasing, but I couldn’t help it). So, doing what plants inevitably do after pollination, they produced seed pods. They looked so interesting, but I didn’t know what you could do with them or if they were edible. After they were hard, dried out, and nasty, and it was too late, I was paging through The Joy of Pickling by Linda Ziedrich (no affiliation with Amazon) to see if what else I could do with daikon radish, and discovered a radish pod pickle which supposedly dates from 1824. When I was pouring over seed catalogs to plan for spring in January, I found this purple Dragontail Radish (no affiliation with Burpee) that you grow just for the pod. It was purple, and I was already curious about it. What was I supposed to do? Of course I ordered some seeds. And I got purple radish pods ranging from 6 to 18 inches long. And then of course, I flaked on harvesting some of the regular radishes again, so I had a bunch of very pretty little green seed pods about 2 inches long.
Dragontail and regular radish seed podsDragontail and regular radish seed pods
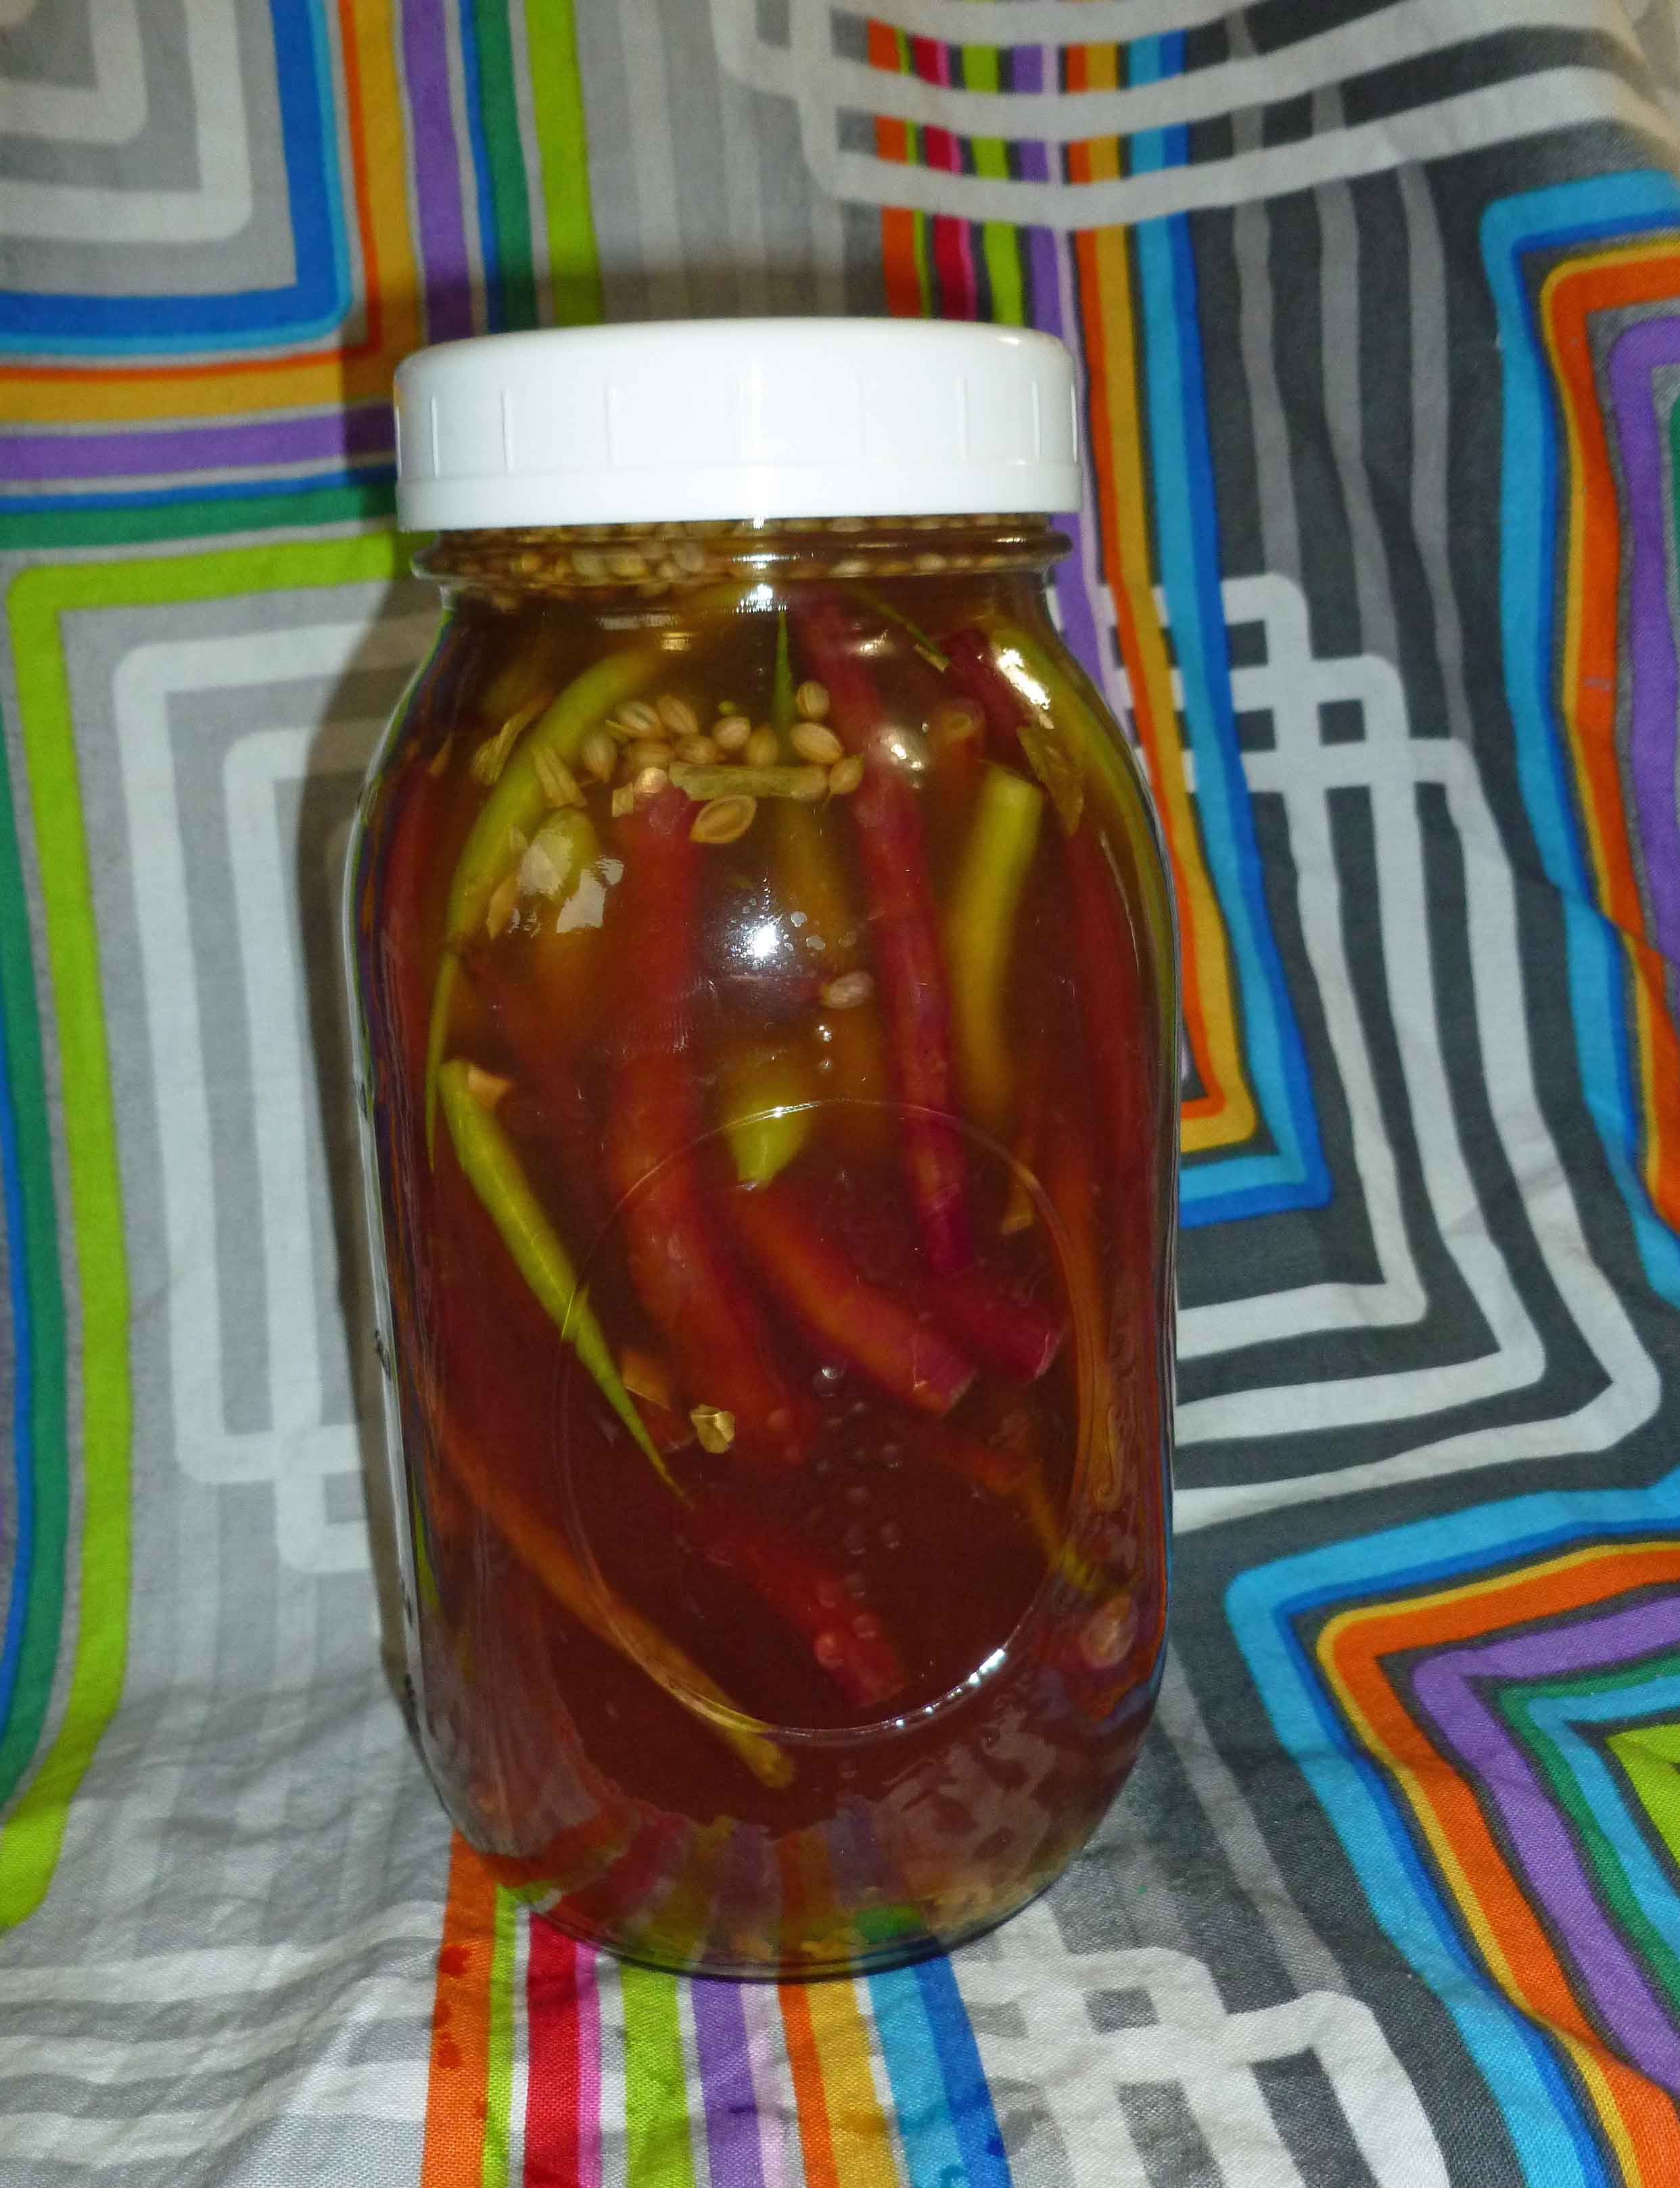
I modified the recipe in The Joy of Pickling by Linda Ziedrich to make it a fridge pickle for quick eating and added some whole coriander seed to give it a lemony taste. They are lovely. If you can’t find radish pods and want to give this recipe a go, I’d try it with sliced radishes as well, the flavor profile will be the same.
1dried arbol pepperSliced in half, you can use other dried chili peppers you may have on hand)
1clovegarlic, peeled and sliced(I used two garlic scapes because I had them to use up)
1 1/2cupsapple cider vinegar(Braggs is most tolerated for those allergic to corn)
1 1/2cupswater
2 1/2teaspoonssalt
1/2teaspoontarragon(If fresh, use one sprig)
1teaspoonwhole coriander seed
Servings: quart
Instructions
Place radish seed pods, chili peppers, garlic or garlic scapes, tarragon, and coriander seed in quart jar.
Place apple cider vinegar, water, and salt in a small sauce pan and bring to a boil.
Pour hot apple cider vinegar mixture into jar to covering radish pods. Place lid on jar, cool to room temperature and place in the refrigerator. You can eat them the next day, but for the full flavor to steep in it might take a day or two.
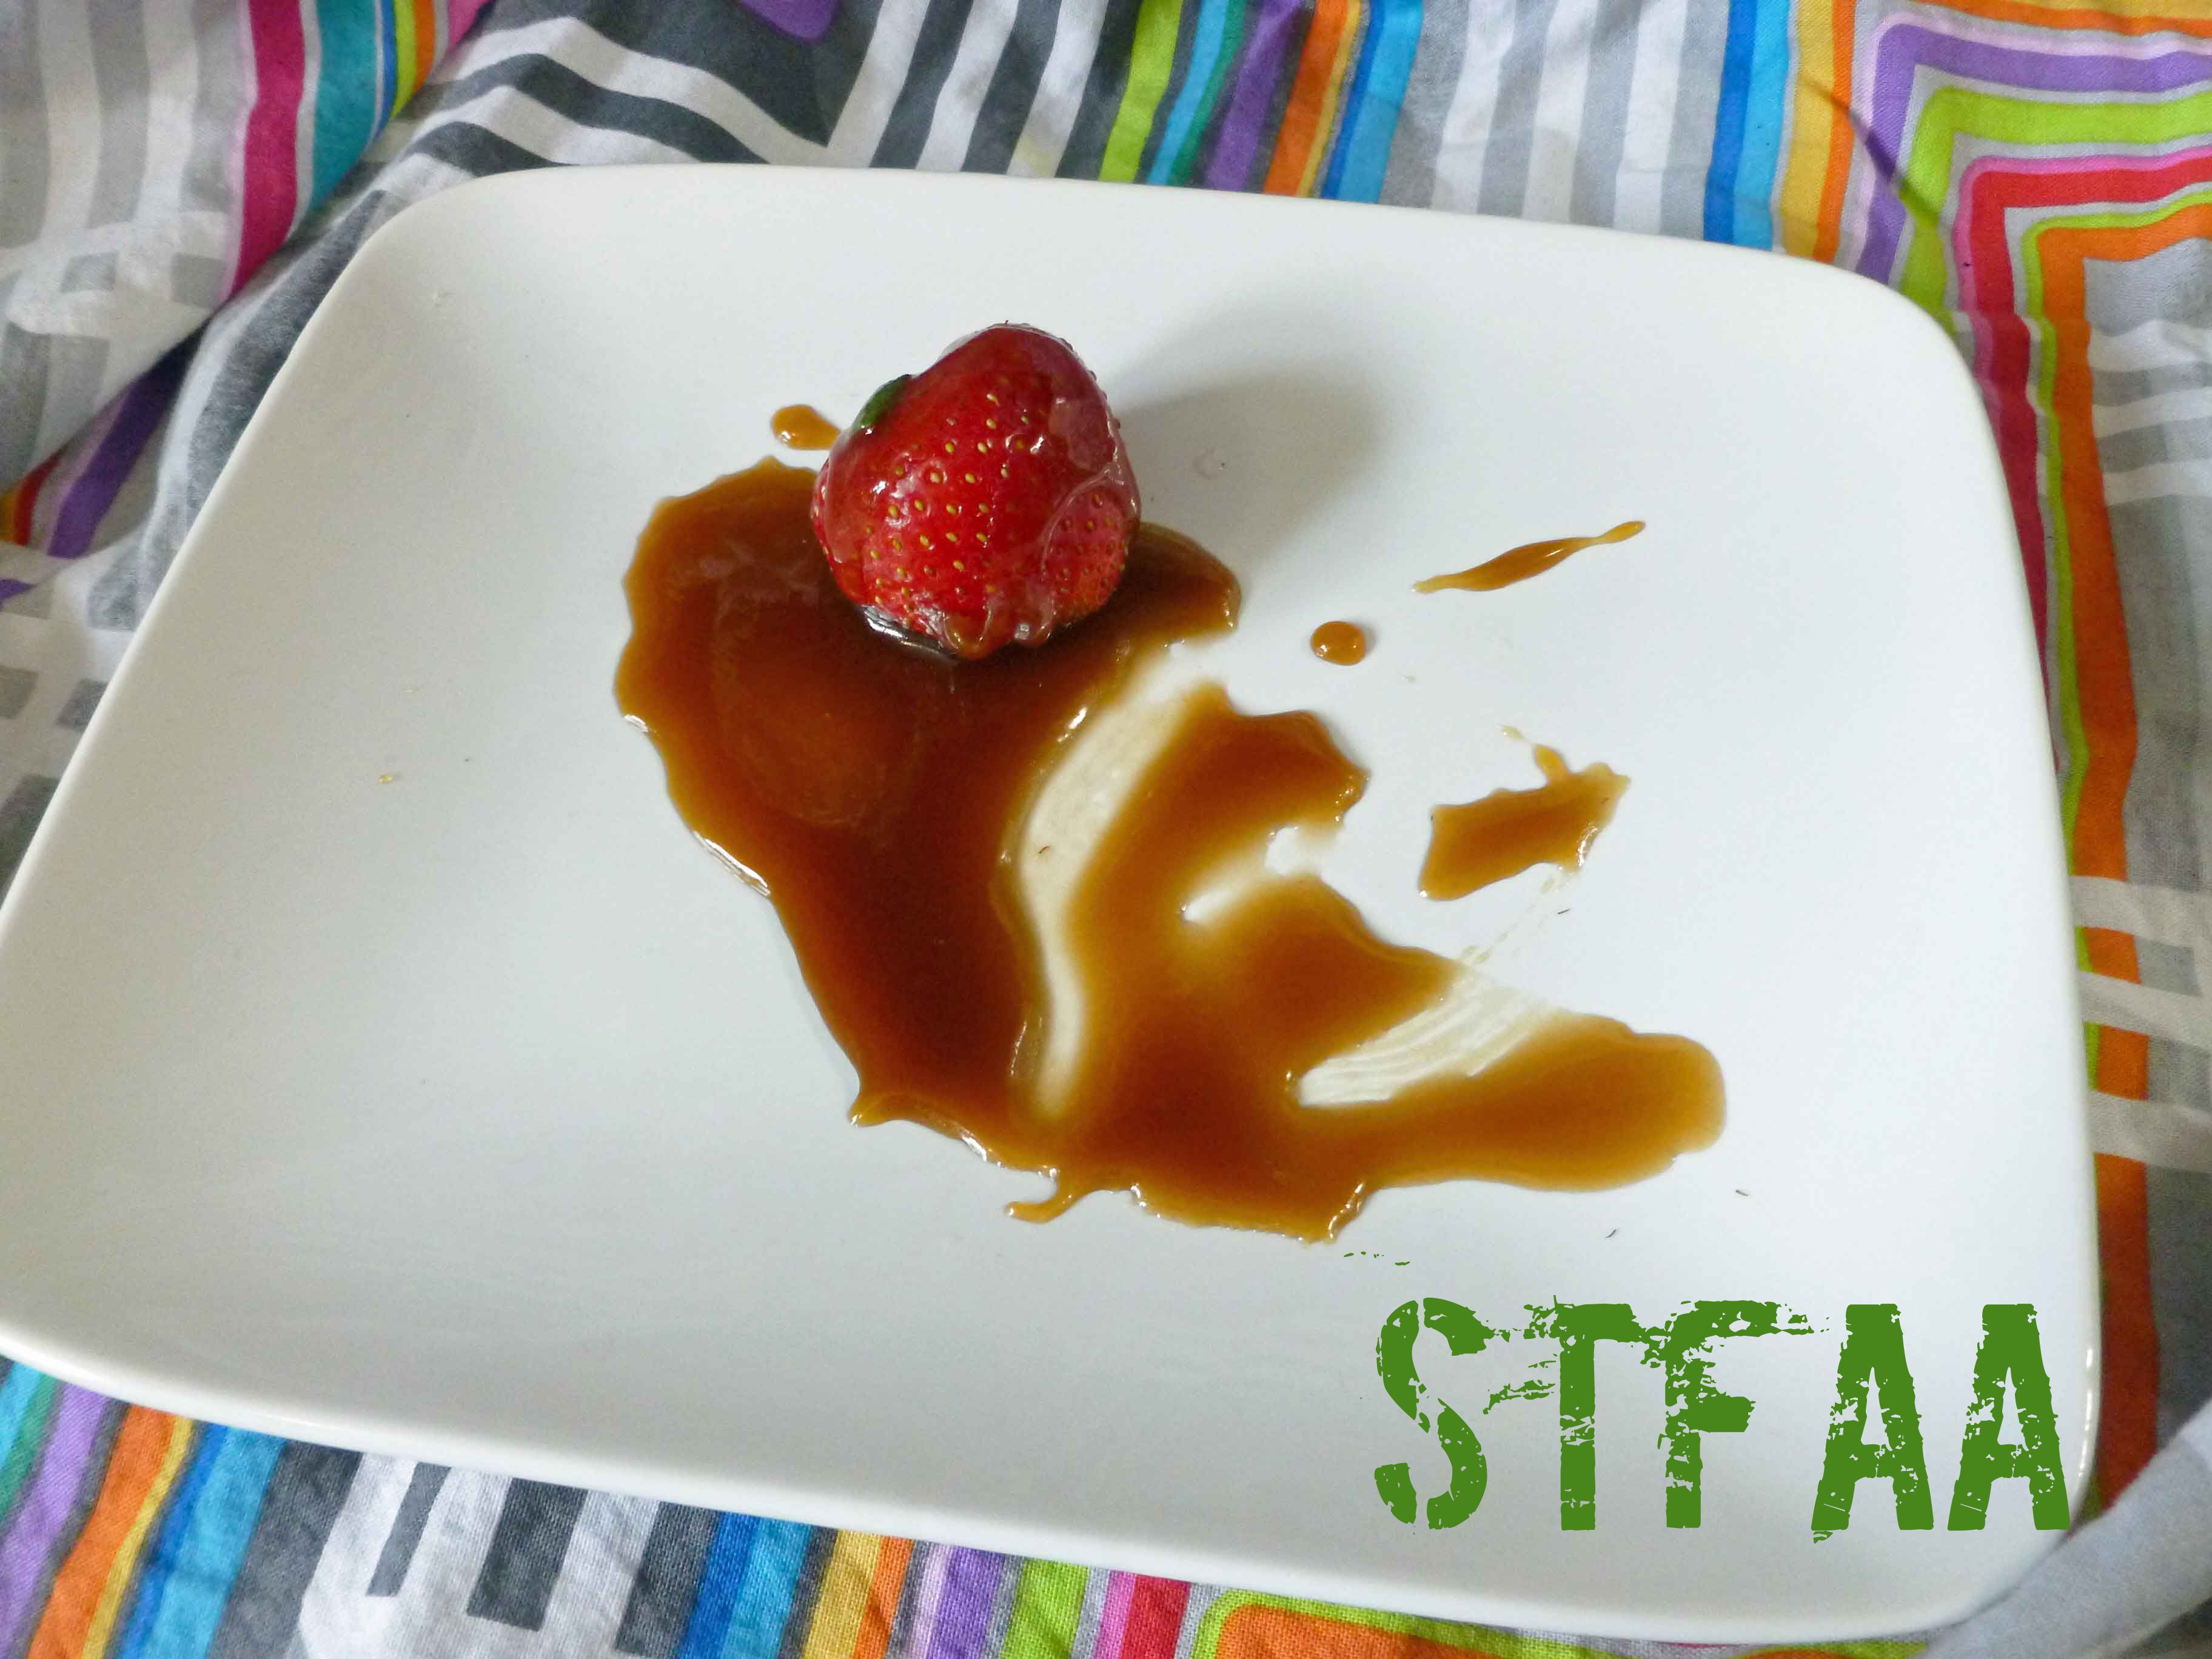
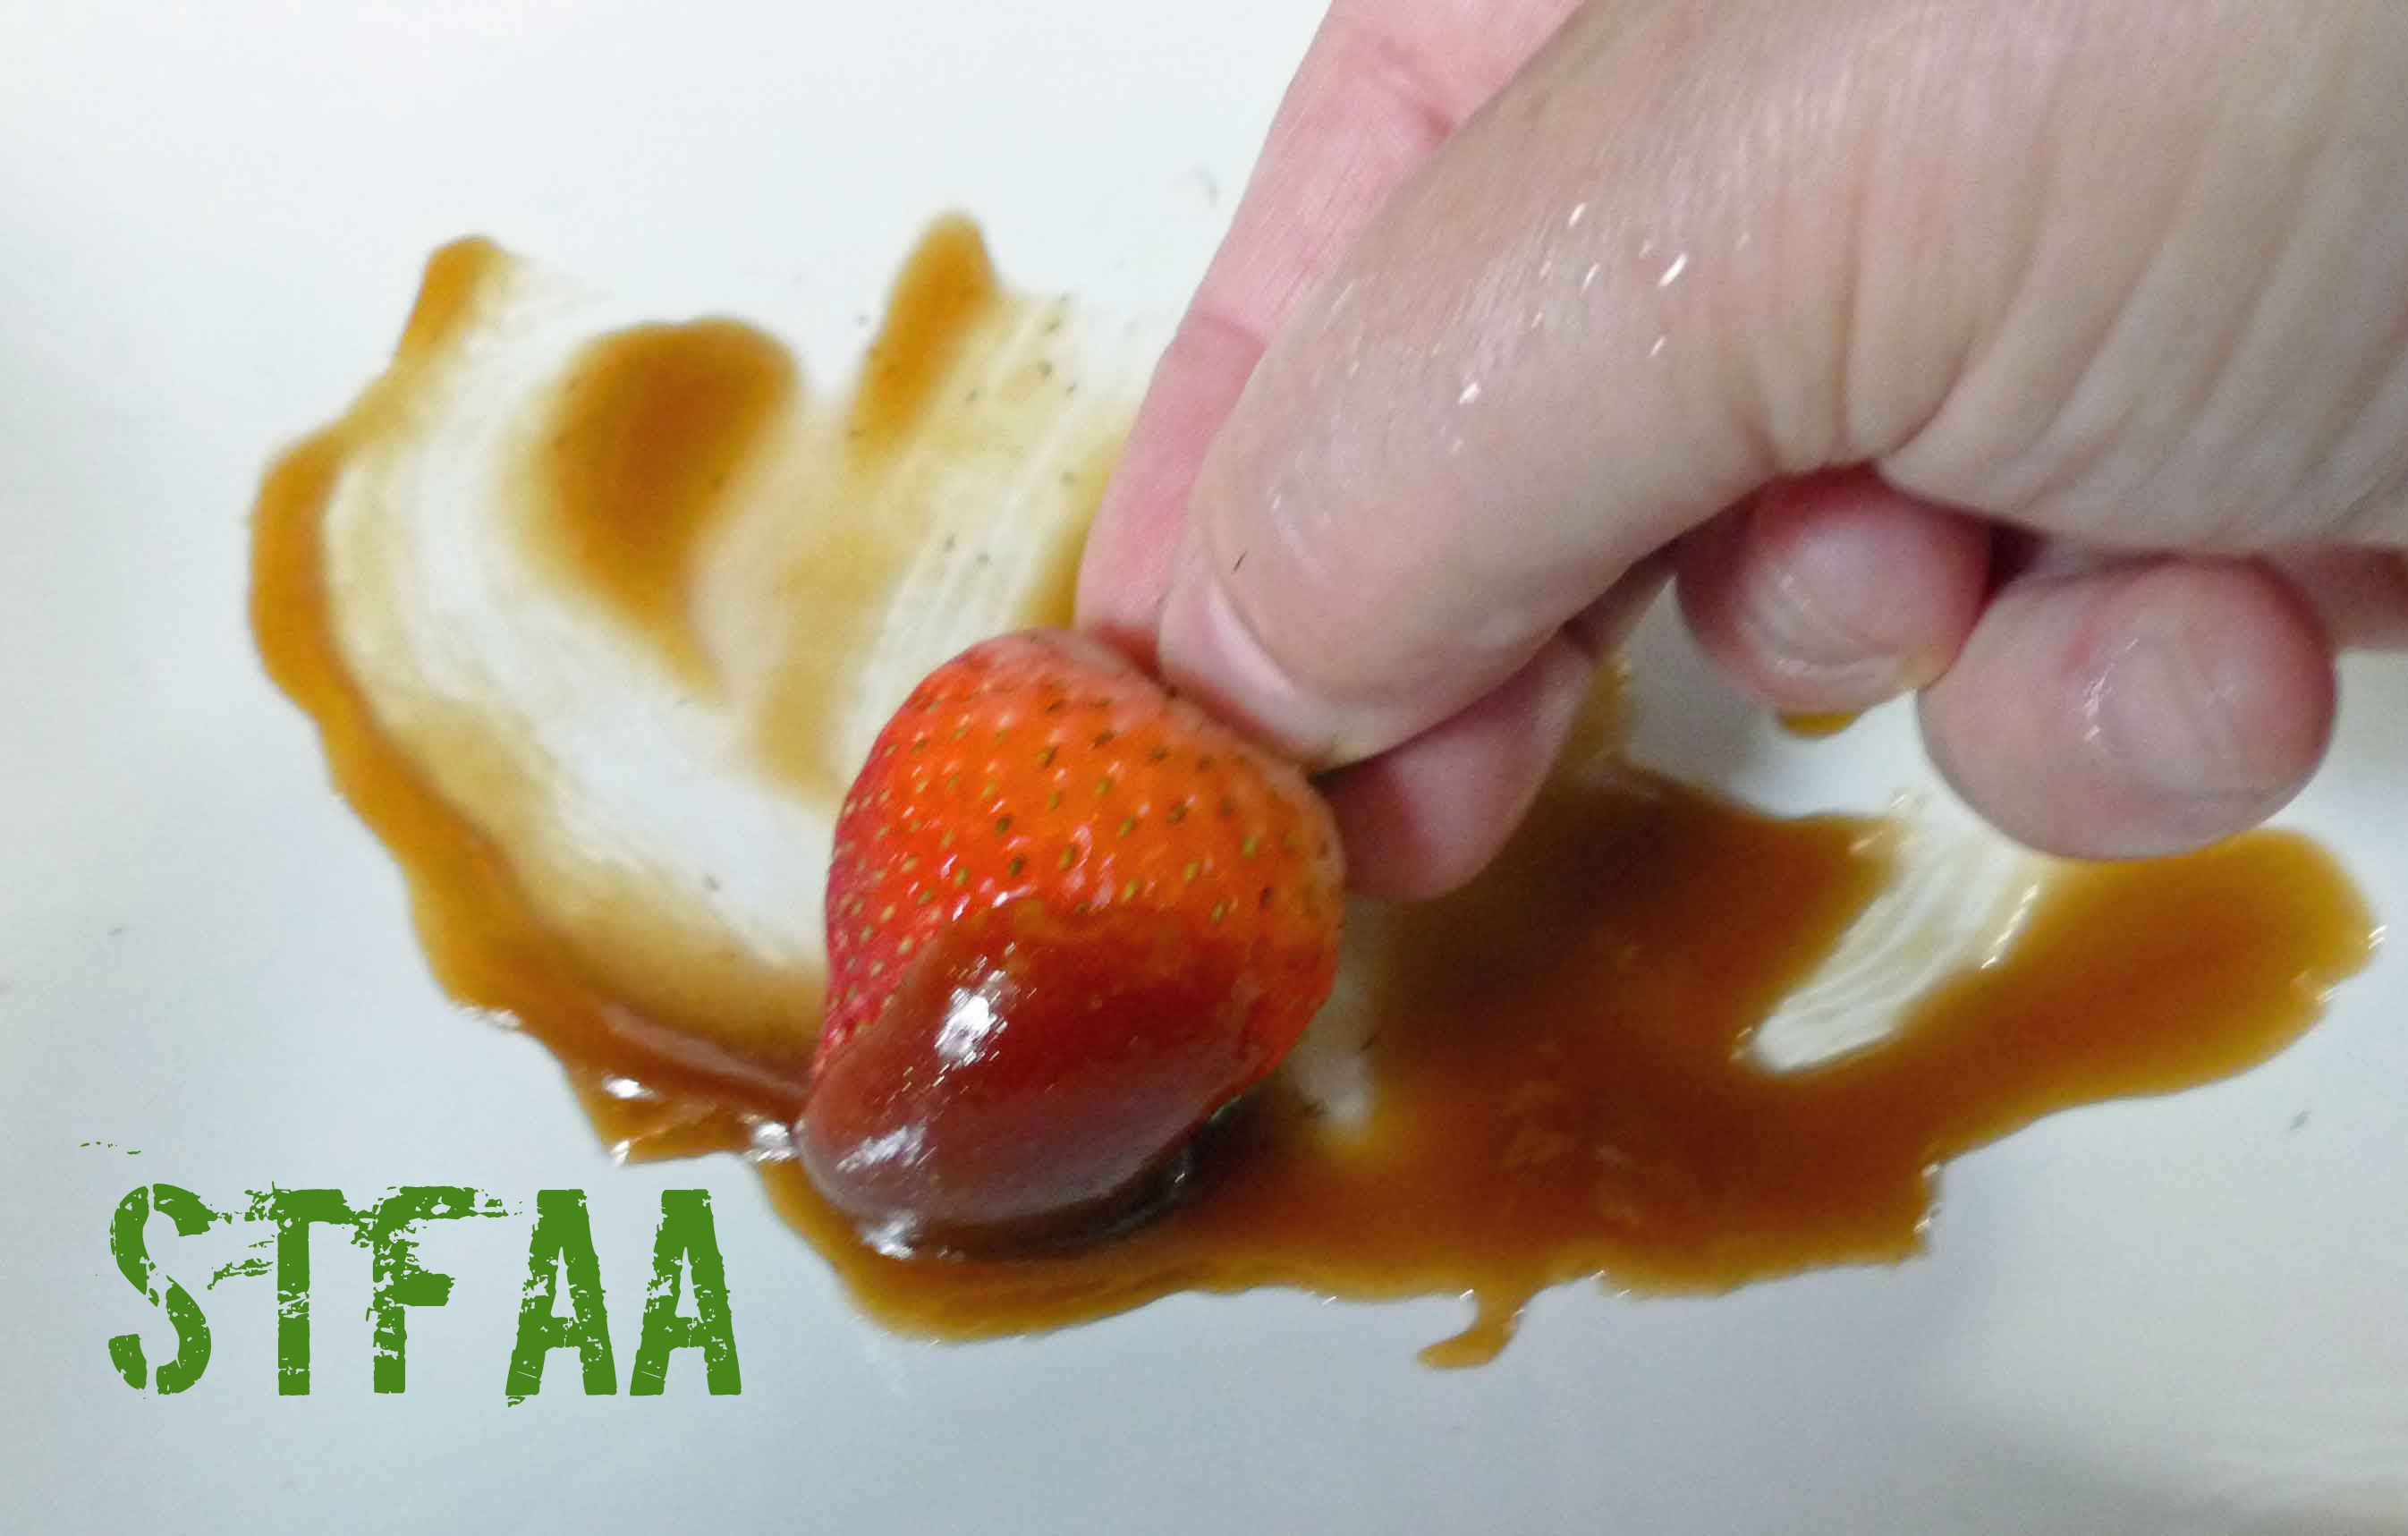
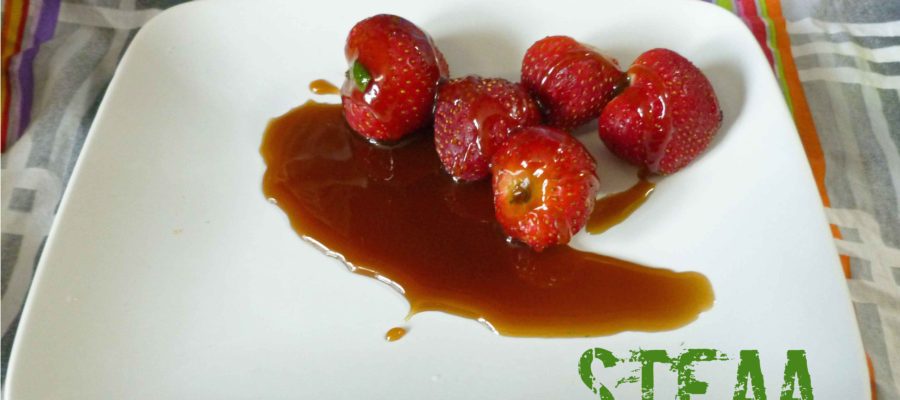
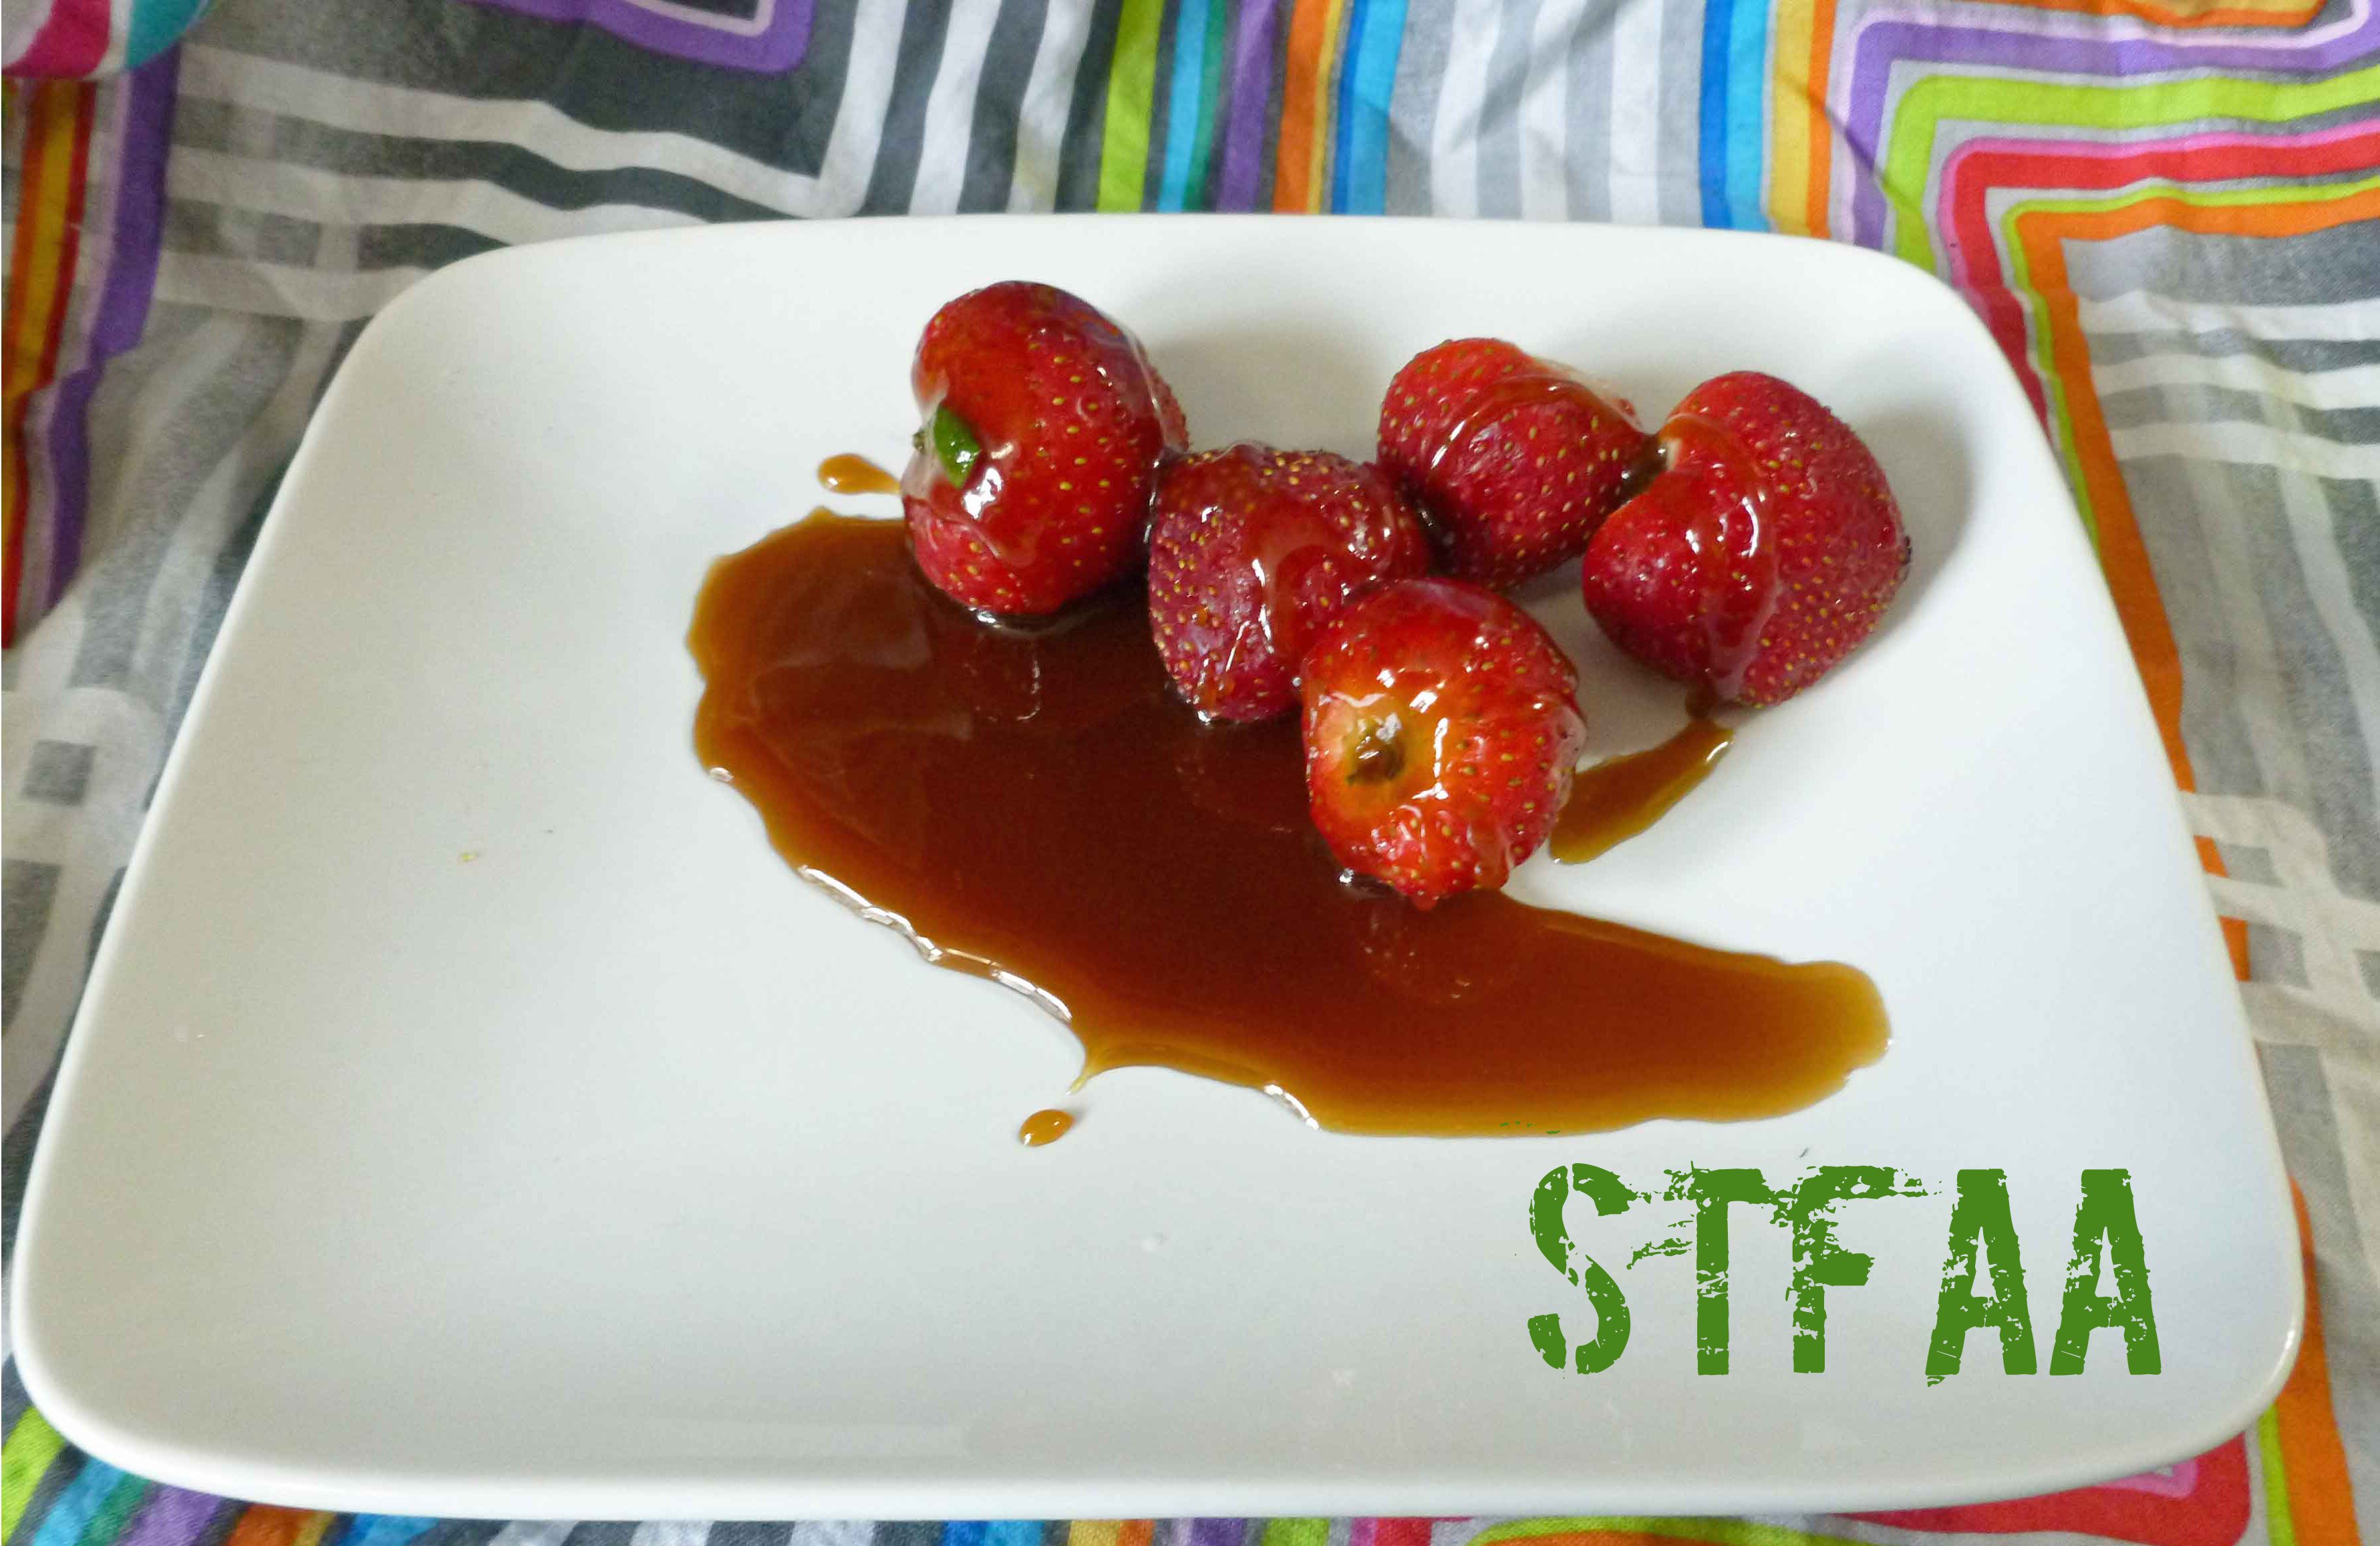
Well, I loved the original version of out Better Than Sex Vegan Rum Caramel Sauce. Loved it. Seriously. And then the corn allergy reared its ugly head, and then I had to put maple syrup on the suspect list because of a few odd reactions (and I’m already allergic to maple pollen), so using corn syrup, Earth Balance, and maple syrup became a problem for me. I still haven’t verified the maple issue because most maple syrups use dairy or canola (which is a problem for those with corn allergies) as a defoamer and I’ve not bothered to track down a producer that doesn’t use a defoamer yet. So since I had to rework the recipe due to corn anyway, I left out the maple syrup. If you don’t have issues with either corn or maple, feel free to use the old recipe — it was great. This recipe requires that you make dark cane syrup ahead of time, but the recipe makes extra so you can have it on hand.
Combine all ingredients in a saucepan which has a cover. Stir and bring to a boil. Reduce heat to simmer, place the lid on the saucepan, and simmer for three minutes.
Remove the lid of the saucepan, and using a candy thermometer, boil until the syrup reaches 235°F to 240°F (soft ball stage). It is better to be a few degrees under than to go over 240°F.
Once it has reached 240°F, remove the sauce pan from the heat, and allow to cool for at least an hour. Then pour the syrup into glass jars to store, place the lids on the jars, and store them in your cupboard.
1/2cupdairy free margarine(You can use Earth Balance, your own homemade vegan version, or if you aren’t vegan and have a corn and coconut allergy, you can use our homemade margarine – http://adultfoodallergies.com/homemade-margarine-new-and-improved/)
1/2cupdark cane syrup(See recipe in post.)
1Tablespoonvanilla extract(I make my own with vanilla beans and vodka made from potatoes, as most commercial extract contains corn)
4Tablespoons rum(Be very careful, as many alcohols can have corn and wheat/gluten. I do well with Rhum Barbancourt Reserve Speciale.)
Servings: cups
Instructions
Place all ingredients in sauce pan. Stir ingredients over low-medium heat and stir until all ingredients dissolve.
Sauce will thicken and it is ready when it coats the back of a metal spoon and drips off it in long slow drips. Do not let it get too hot or have it on the heat for too long or it will begin to sugar back out. If it does, lower the temperature and add a couple of teaspoons of water.
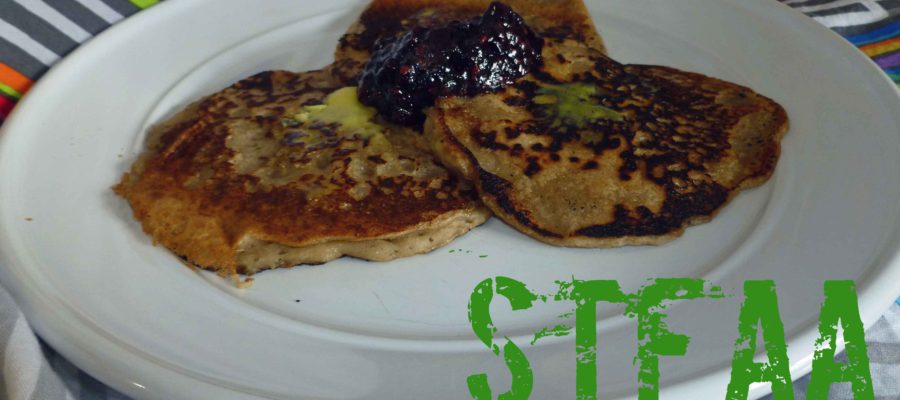
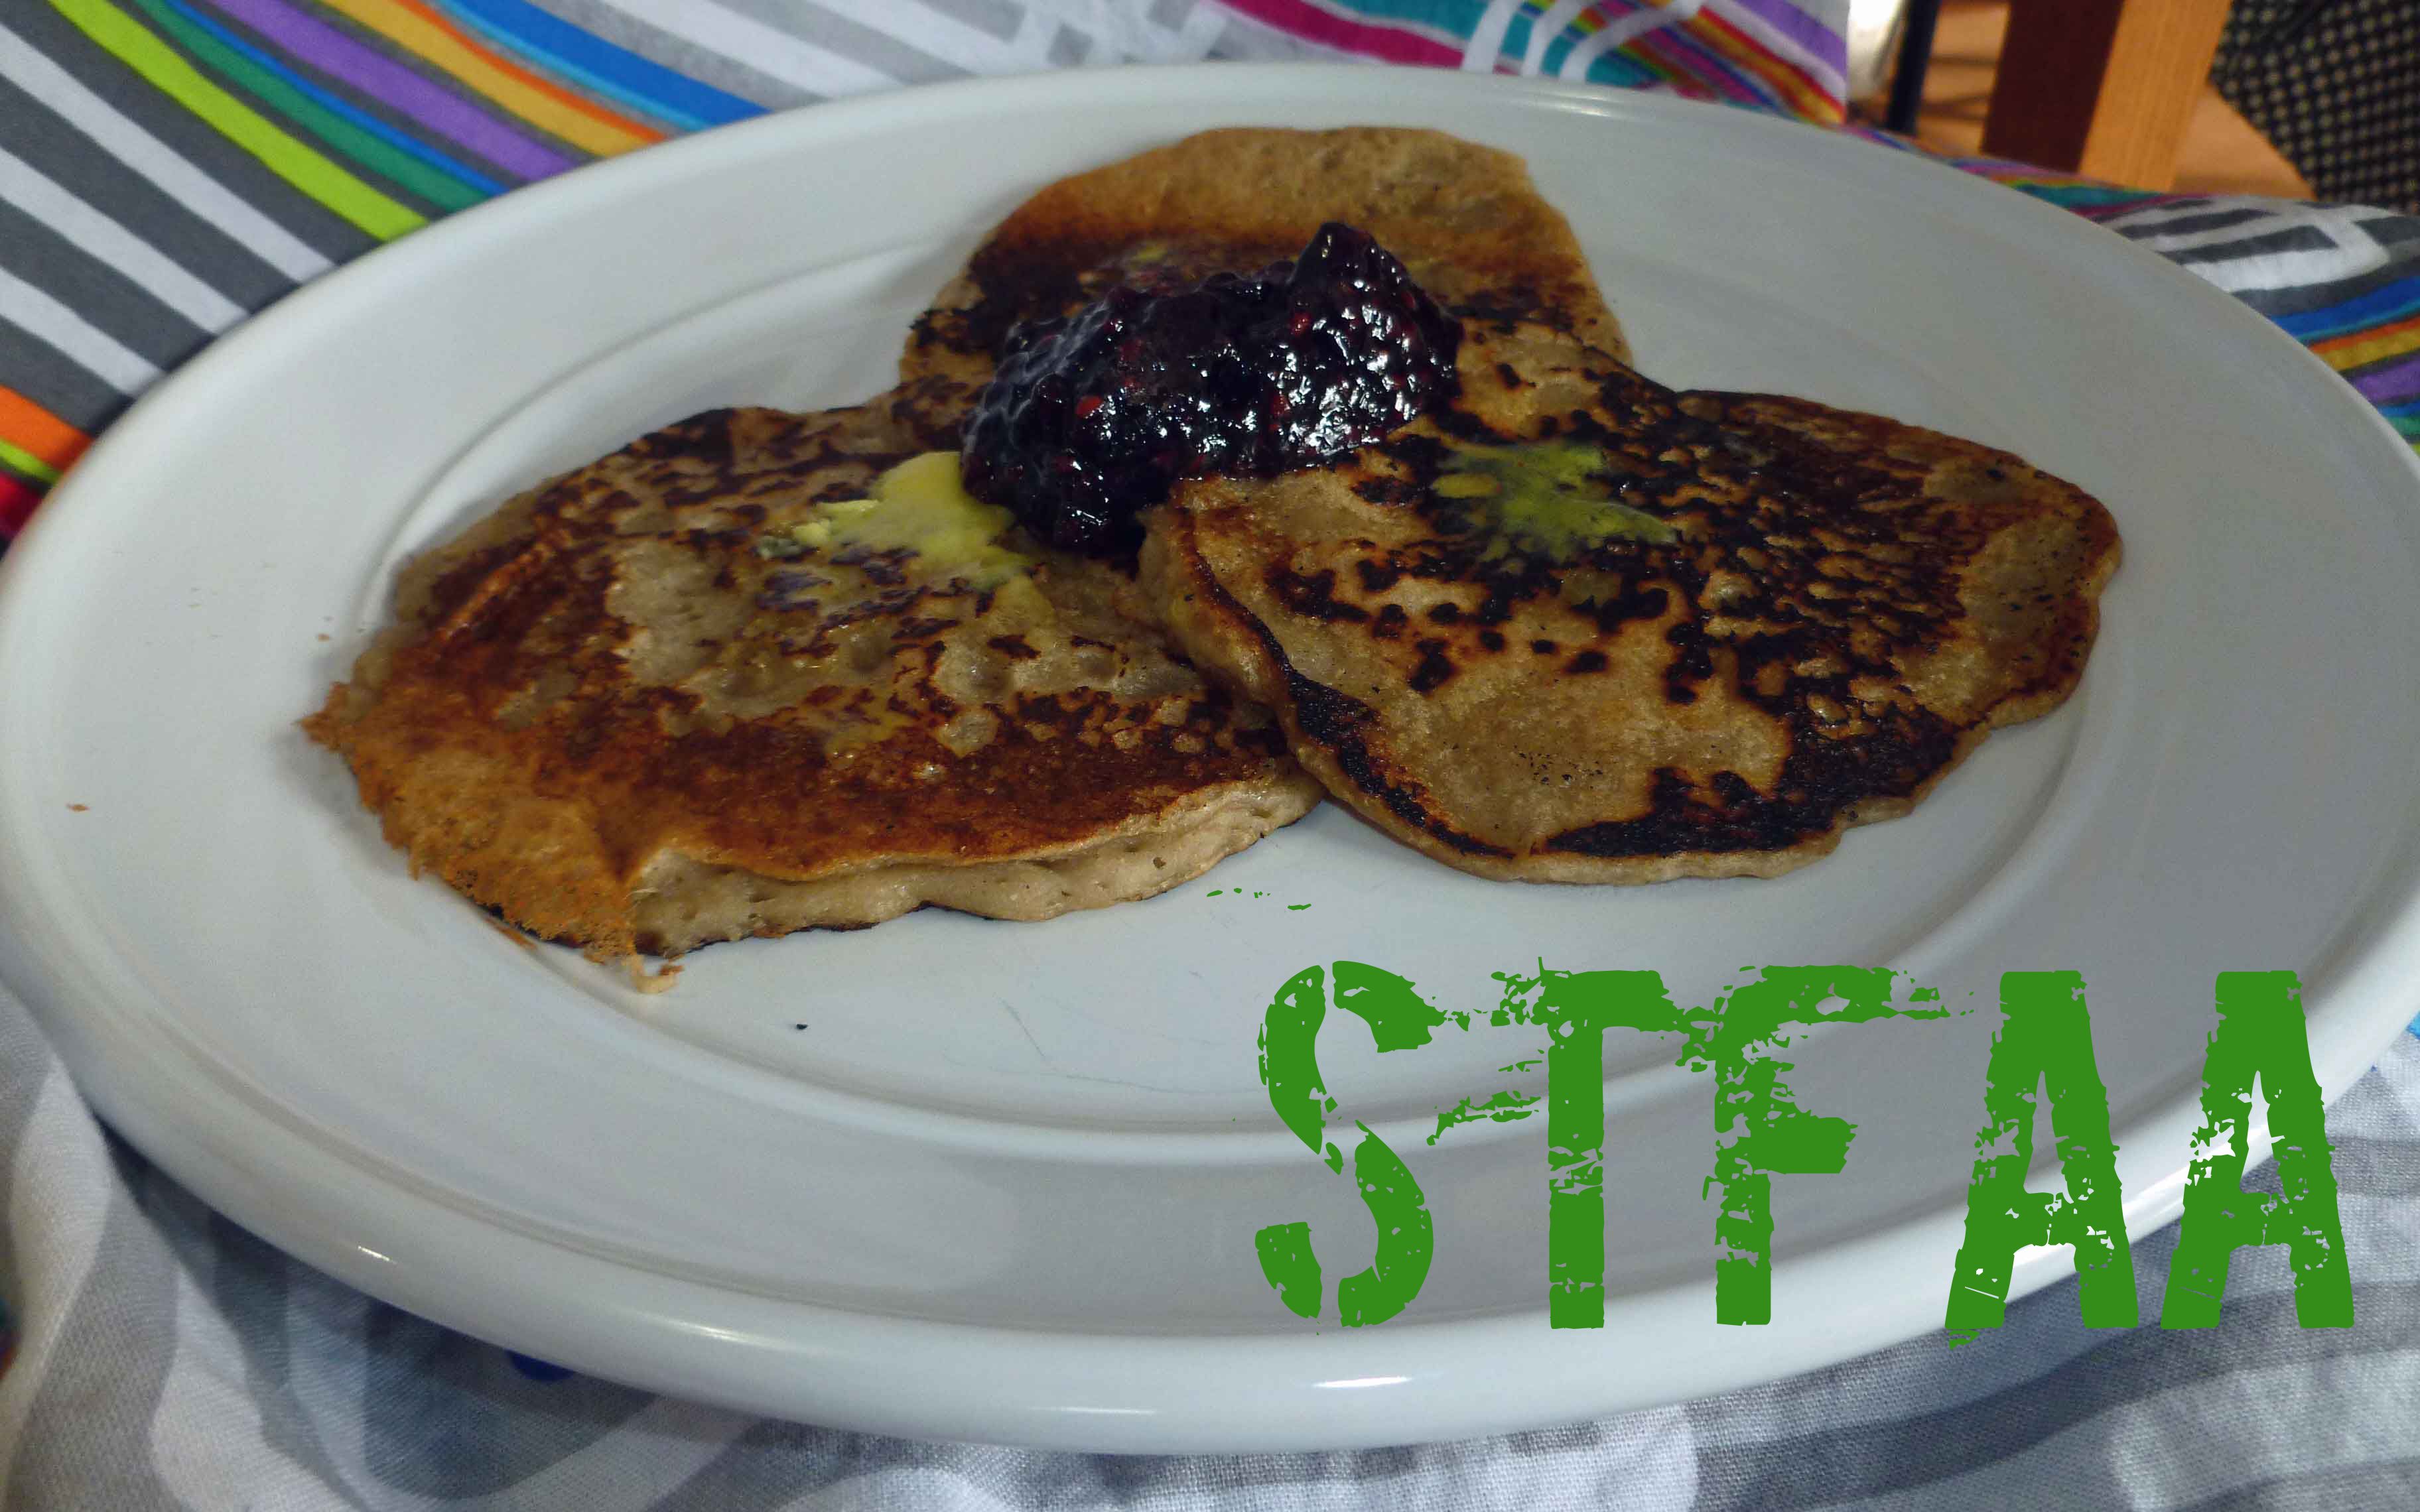
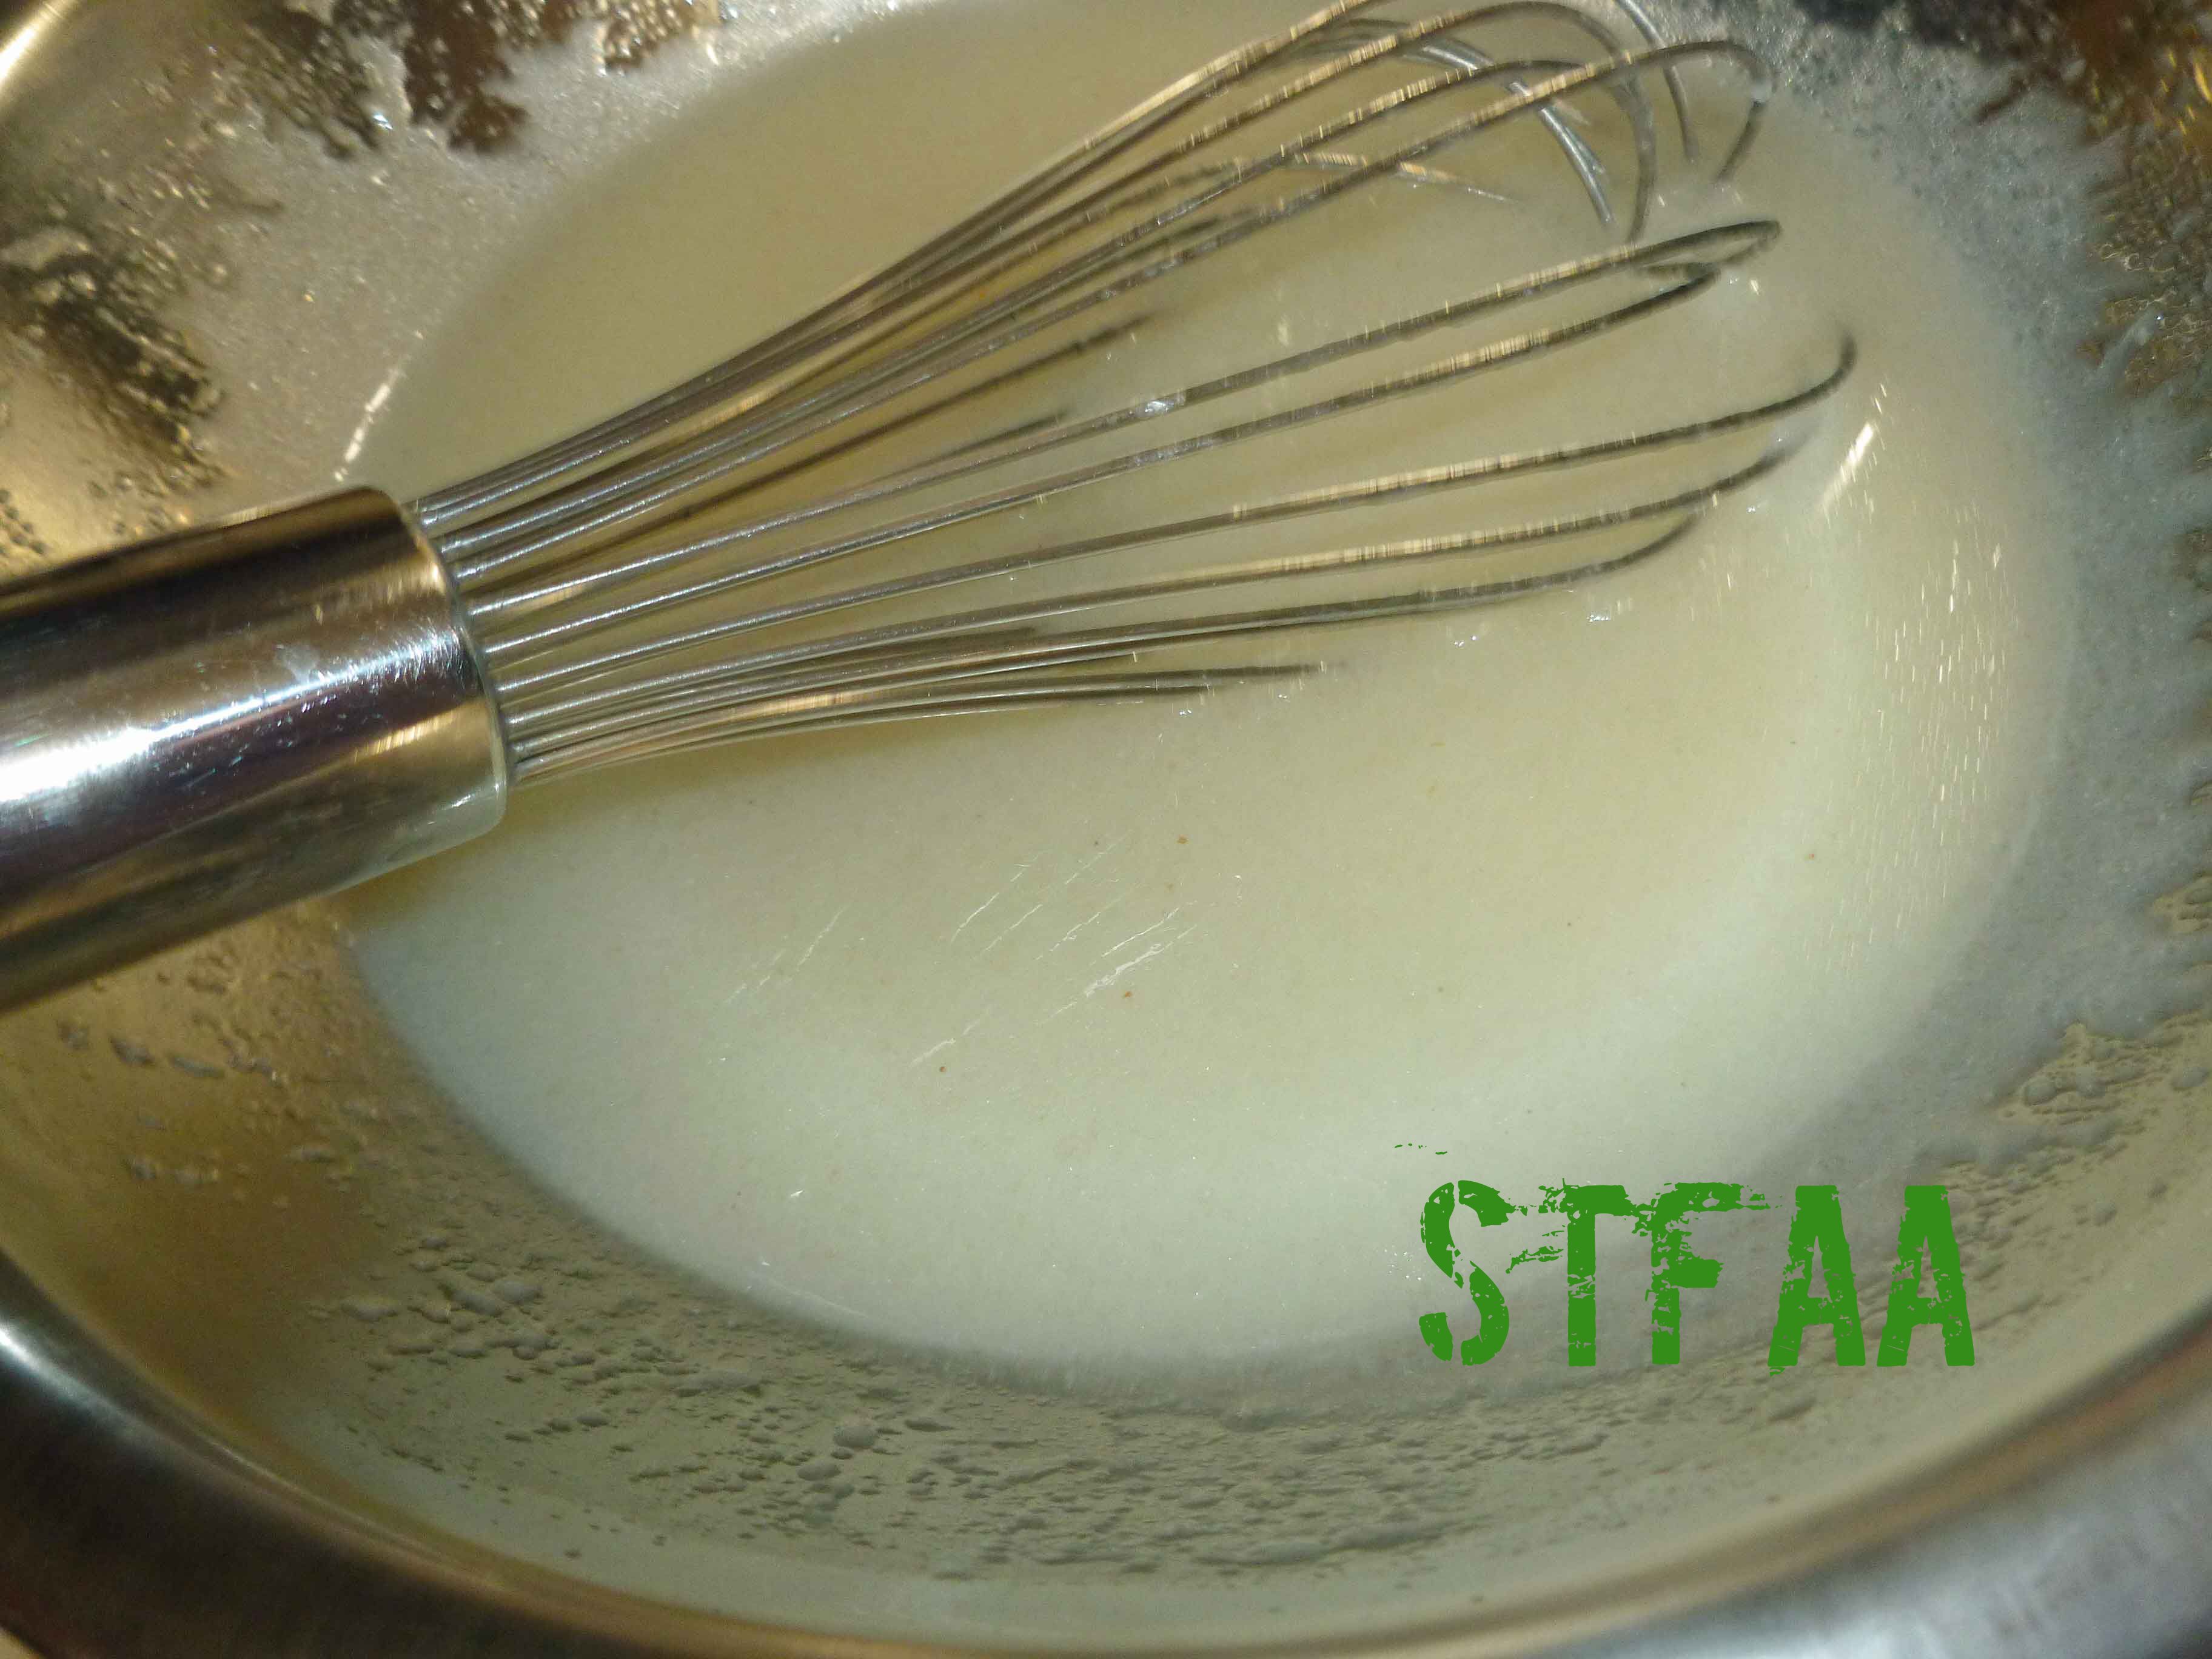
When we first started the blog, I was allergic to less stuff than I am now. When I first devised this recipe, I wasn’t allergic to corn yet, and I didn’t suspect chia seed as being potentially problematic (it’s on the suspect list, but I haven’t done a food challenge to verify yet). As a result, the original version of my Gluten-Free and Dairy-Free Pancakes recipe contains a bunch of stuff that I can’t eat now. Recently I was craving pancakes and realized that I hadn’t revised the recipe on the blog to be safe for my current allergies when I tried to harass my poor, long suffering husband into making them for me. So then, hey, pancake recipe revision! You can also dress these up anyway you want, add blueberries, apples and cinnamon, and use whatever jam, jelly or syrup might be safe for you as a topping. You can also make up a batch, let them cool, put plastic wrap or parchment paper in between them and put them in a container in the freezer and then warm them up in the oven or microwave when you want an easy breakfast.
I used the Gluten-free, Rice-free, Potato-free Flour Mix below, which I actually use as an all purpose flour, and I’m quite happy with it. I make a batch and store it in mason jars so that I have it on hand.
Notice: Trying to access array offset on value of type bool in /home/maryzahc/public_html/adultfoodallergies.com/wp-content/plugins/wp-ultimate-recipe/helpers/models/recipe.php on line 254
Measure all ingredients and place in a large mixing bowl. Using a whisk, mix the ingredients until well combined. Place in an air tight storage container and use in baking recipes.
1 1/2cupsGluten-free, Rice-free, Potato-free flour mix(see recipe card in the post or you can try your normal gluten free flour mix)
1teaspoonsea salt
3Tablespoonsbrown sugar
1 3/4 teaspoons baking powder(here’s a corn free version – https://wholenewmom.com/health-concerns/make-your-own-baking-powder/)
Wet Ingredients
1/3cup water
1teaspoonvanilla extract(I make my own with vanilla beans and vodka made from potatoes, as most commercial extract contains corn)
1 1/4 cup non-dairy milk(I use homemade cashew or rice milk)
3Tablespoonssafe oil(I used grape seed oil or olive oil)
1teaspoonpsyllium husk powder
Other equipment
oil for greasing the skillet
skillet
Servings: people
Instructions
Place water, vanilla extract, non-dairy milk, oil, and psyllium husk powder (Wet Ingredients) in a smaller bowl and whisk together until smooth. Let mixture sit for about 30 minutes so that the psyllium can gel.
Measure out flour, salt, baking powder and brown sugar (Dry Ingredients) and place in a large bowl. Whisk ingredients together until they are well incorporated into each other.
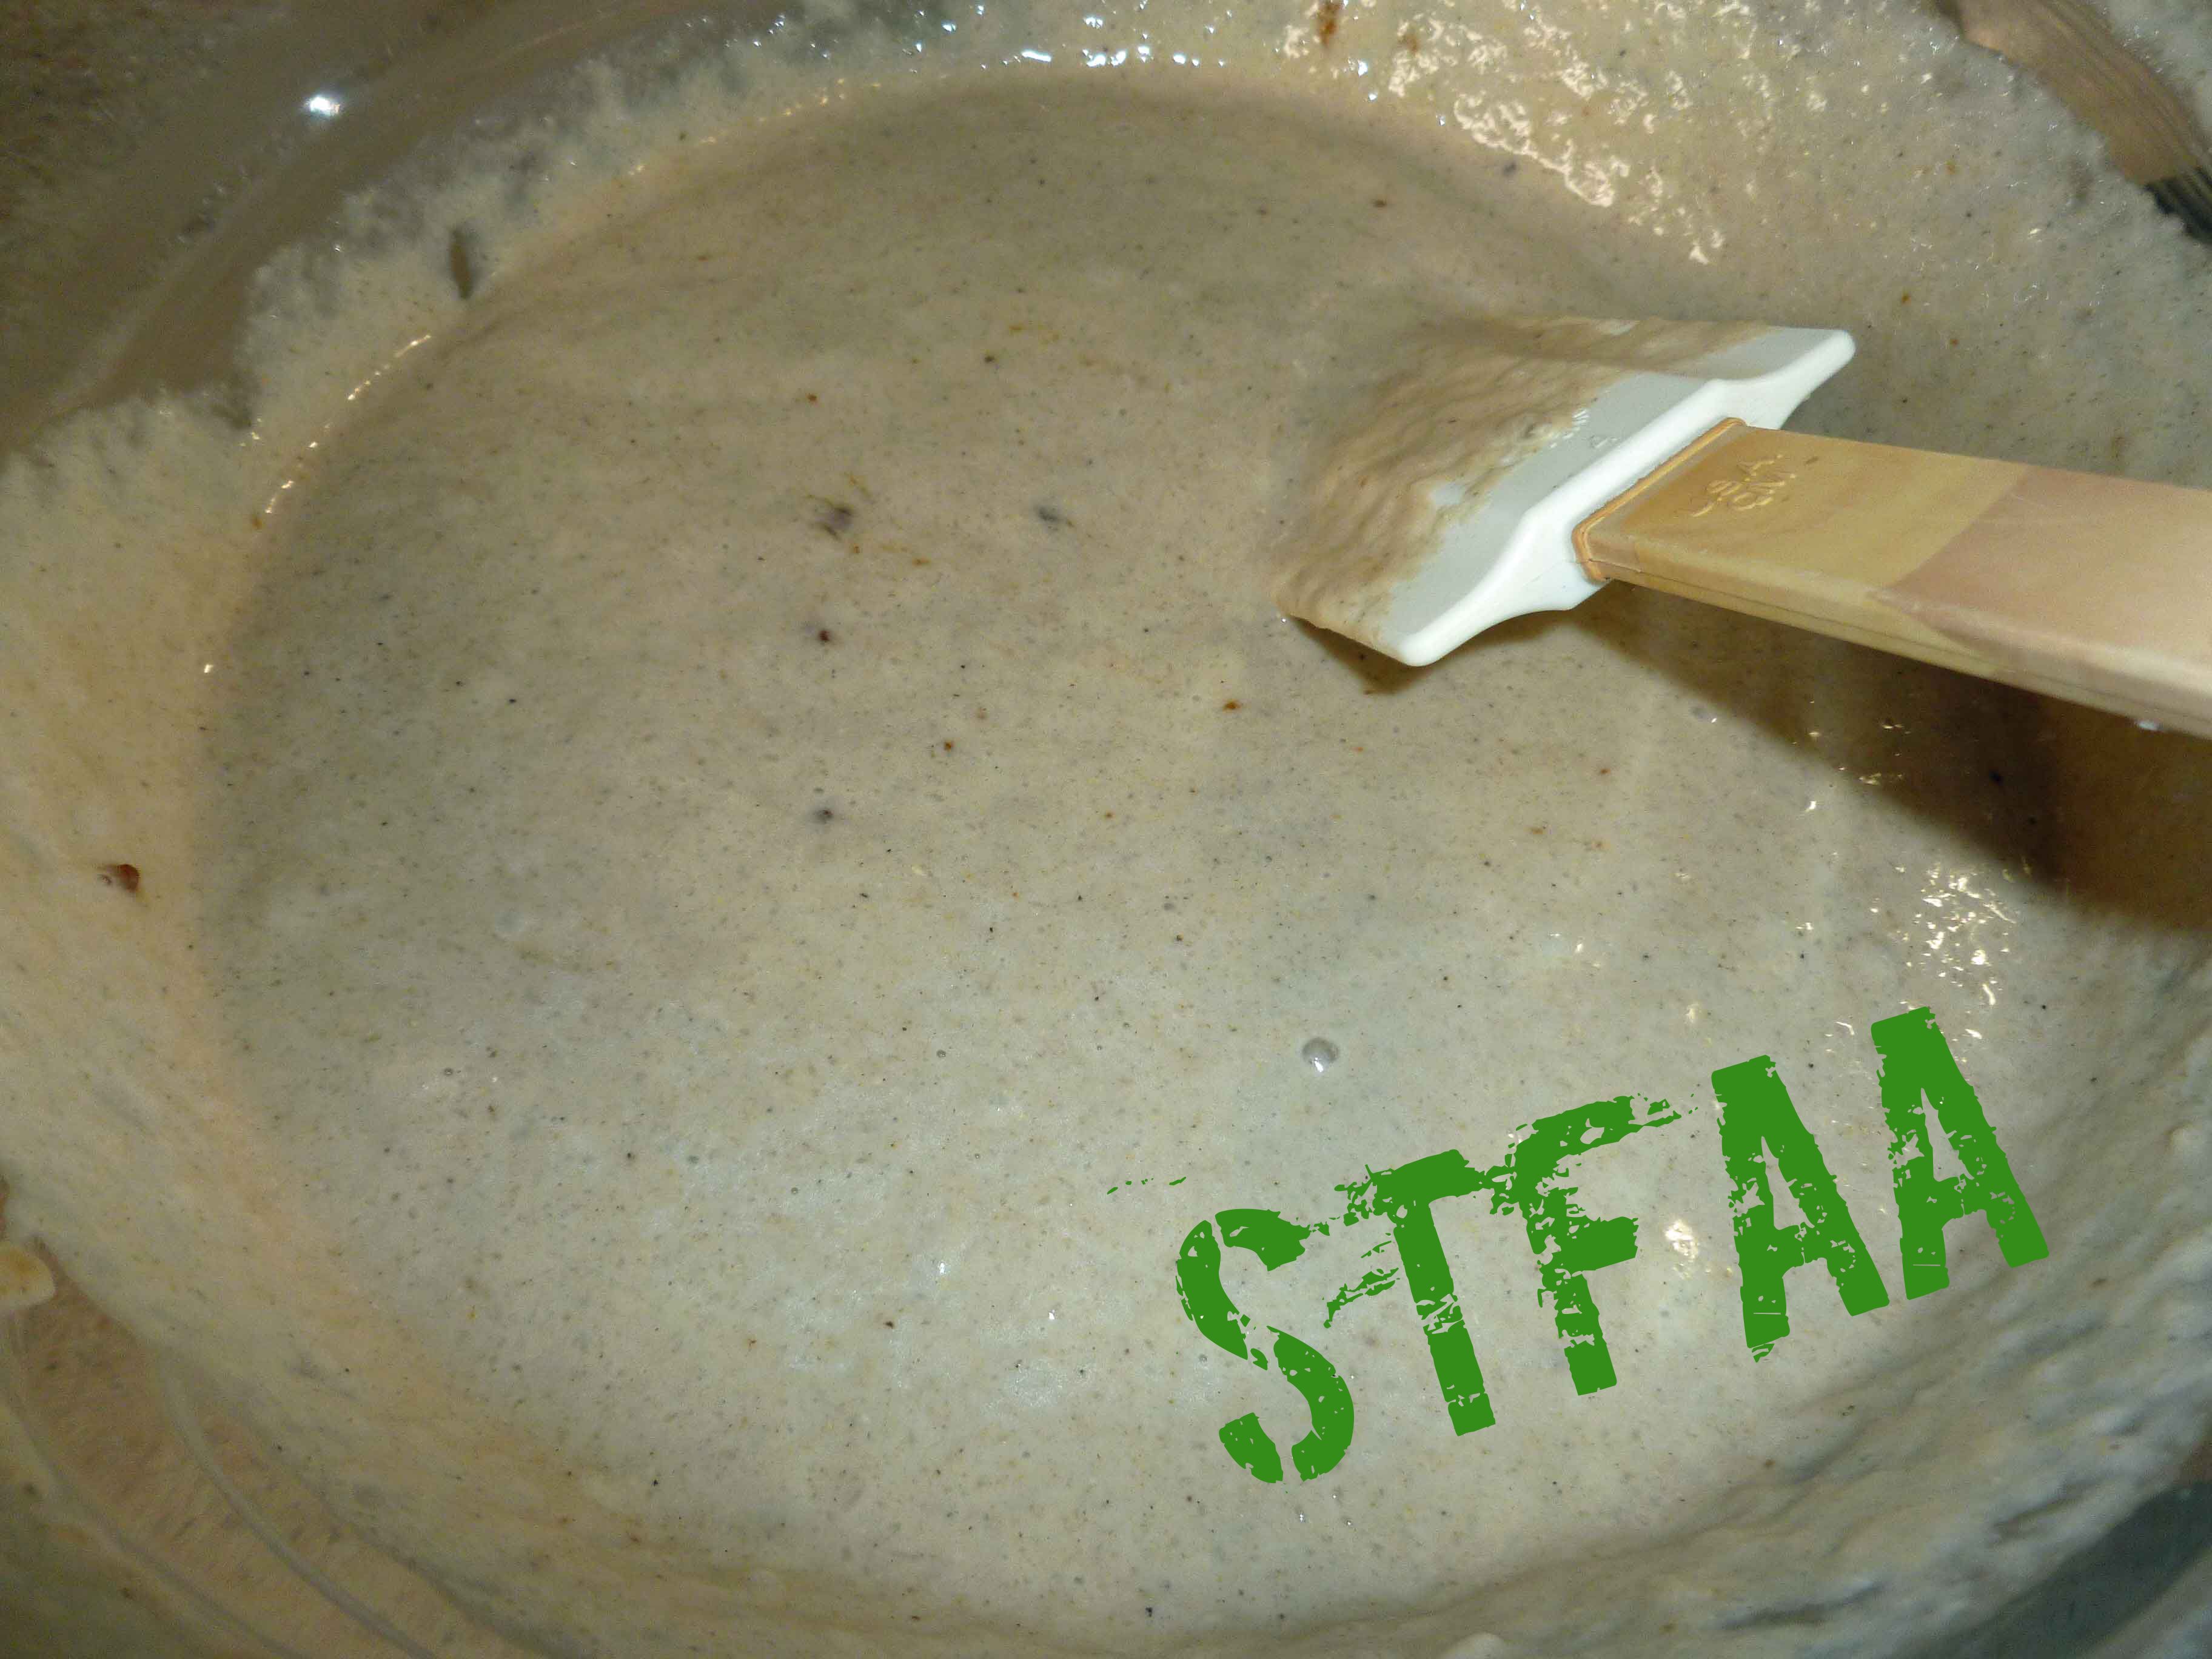
When psyllium in wet ingredients has gelled, pour wet ingredient mixture into the dry ingredient mixture and whisk them together until most of the lumps are gone.
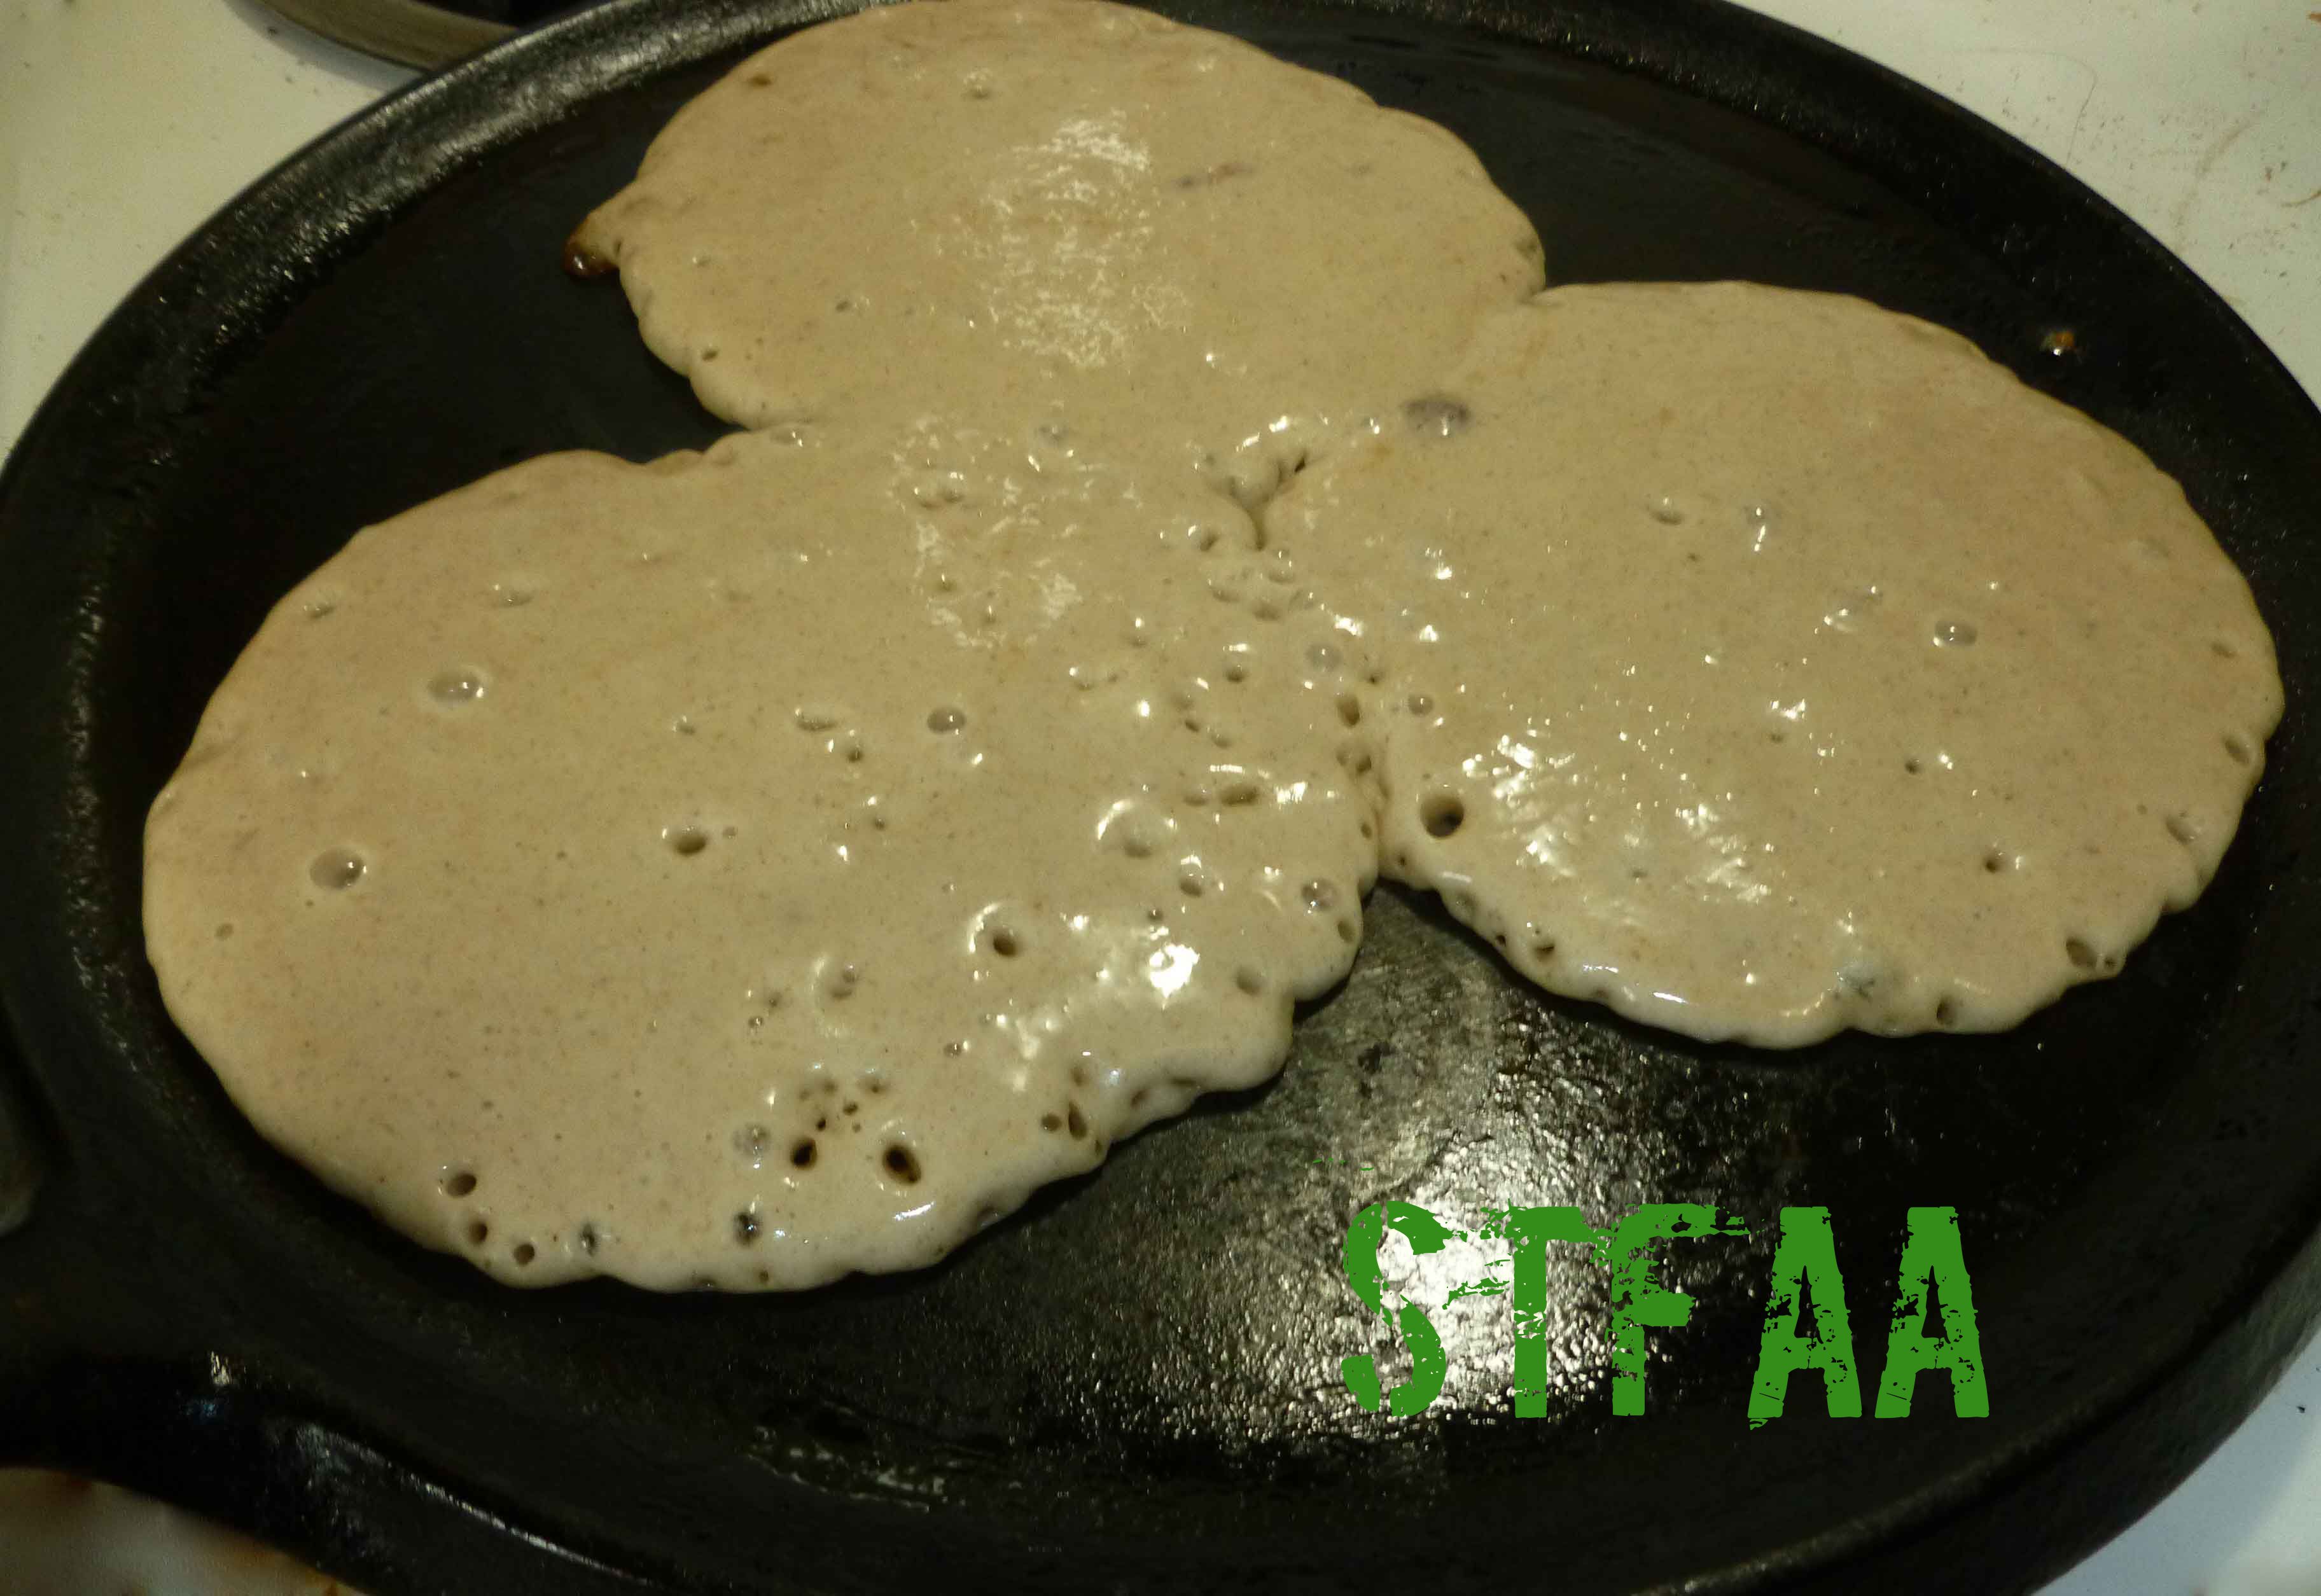
Heat your skillet over medium low to medium heat, depending on your burner strength. When your skillet is hot, add a bit oil to the skillet and grease it. Then scoop some of the pancake batter into the skillet. I used a Pampered Chef large scoop that holds about 3 Tablespoons of batter to portion out the pancakes into the skillet.
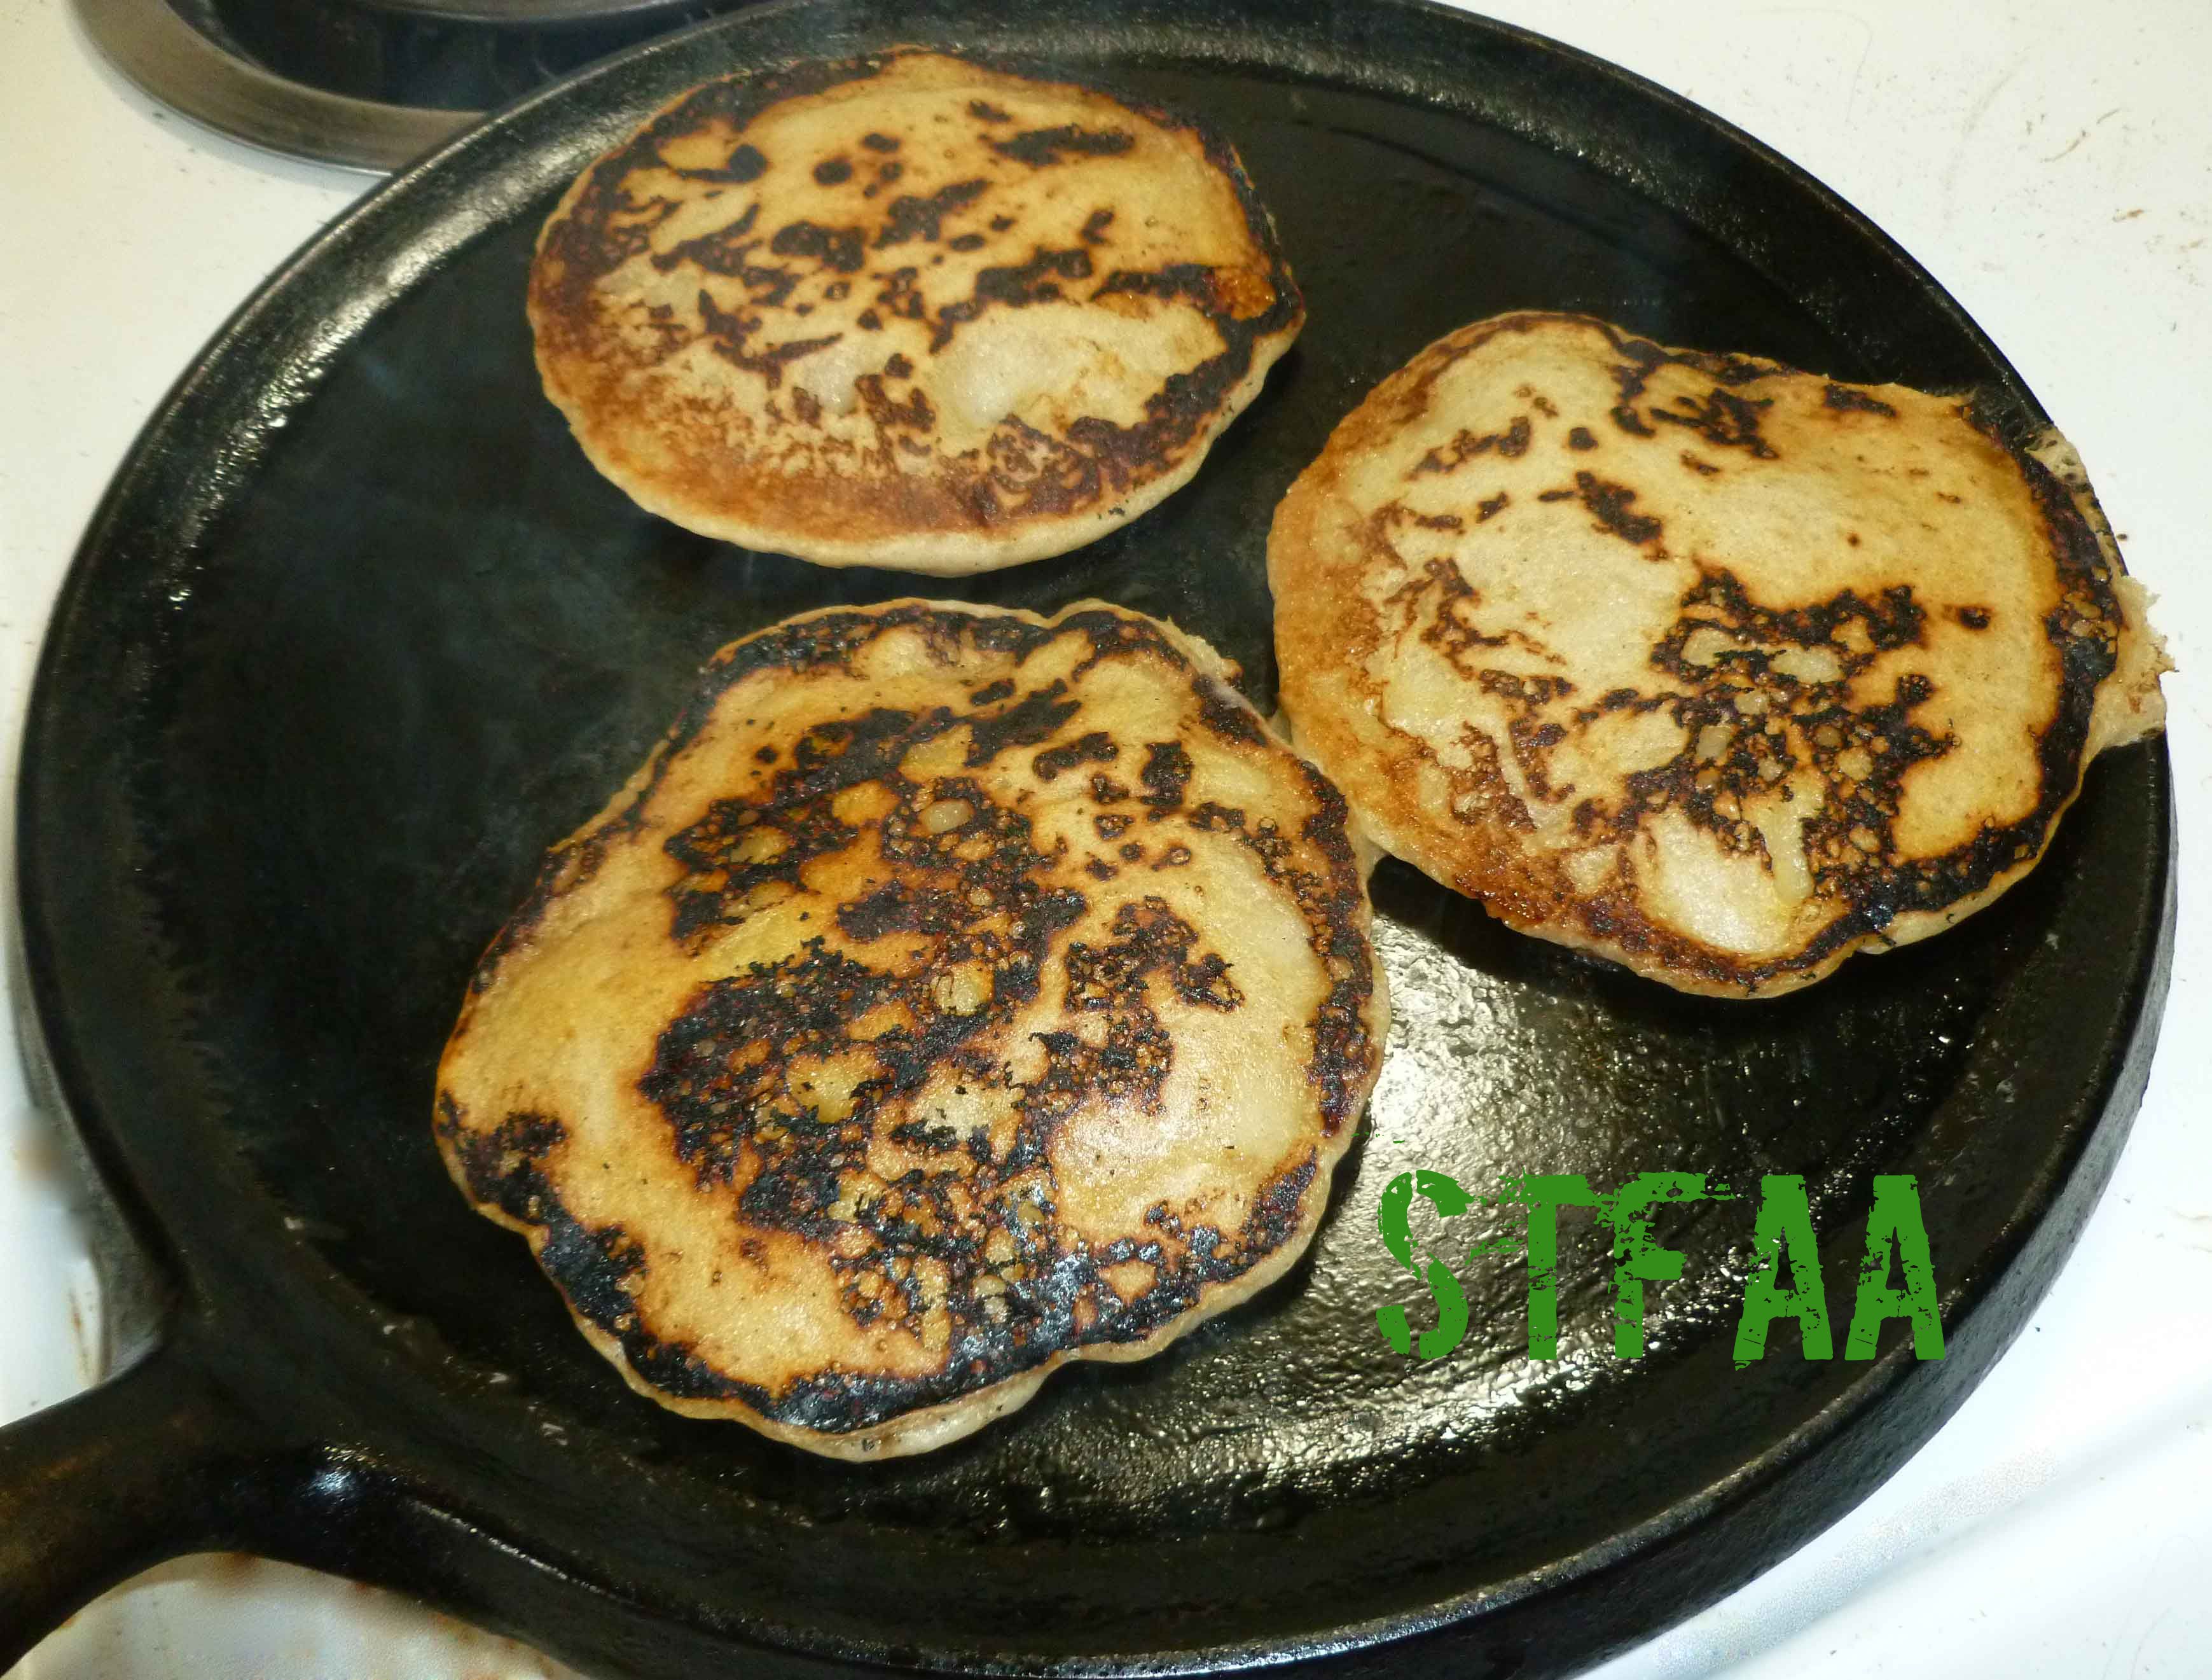
Cook until the edges of the pancake look dry and there are bubbles in the batter. You can use a spatula to gently lift up an edge to see how brown the pancakes are underneath. When they are a nice deep golden brown, flip them and cook until the other side is a nice deep golden brown.


")


")