Notice: Function _load_textdomain_just_in_time was called incorrectly. Translation loading for the wp-ultimate-recipe domain was triggered too early. This is usually an indicator for some code in the plugin or theme running too early. Translations should be loaded at the init action or later. Please see Debugging in WordPress for more information. (This message was added in version 6.7.0.) in /home/maryzahc/public_html/adultfoodallergies.com/wp-includes/functions.php on line 6131 WARNING – TREE NUTS – Page 4 – surviving the food allergy apocalypse (archive)
So the holiday season has brought with it the groaning tables of baked goods and candies, both homemade and not, and none suitable for the food allergic. So it’s time to make your own! I’ve made a few recipes of gluten-free vegan cookies, with mixed results (all edible, none outstanding, none of the recipes my own), but cookies are time-consuming and kitchen-consuming. So are cakes and pies.
Needing a last minute treat for the holidays, to satisfy my own sweet tooth, which spends a lot of time being teased these days, I wanted to try making truffles out of coconut milk and chocolate, with some added flavors to deepen the chocolate’s flavors. I had a great idea, but like so many great ideas, it didn’t pan out quite as planned — these didn’t set up the way I wanted them to, so I froze them. The result was a homemade version of those single bite ice cream treats that came out a few years ago.
They are super quick to make, with most of the time involved being cooling and freezing the chocolate. The dishes involved are minimal. These should keep for a few weeks in the freezer, and some of them are going to work with me for the mid-afternoon chocolate cravings.
Quick Chocolate Bites
Quick Chocolate Bites
10 oz of chocolate, chopped (or use chocolate chips)
13.5 oz of full-fat coconut milk (1 can)
3 Tablespoons good berry jam (strawberry, raspberry, black cherry), seedless recommended (and by “good,” I mean that I generally choose jam — and many food products — by looking for the one with the fewest number of ingredients. For jam, I prefer sugar be used rather than any other sweetener, and few or no preservatives)
1 teaspoon of basil, chopped finely, optional (the frozen cubes of herbs are great for recipes like this)
Put the chocolate in a heat-safe bowl, and set aside.
In a sauce pan, combine the coconut milk, jam, and basil, if using. Whisk together, and bring to a boil.
Pour the boiling coconut milk mix over the chopped chocolate, and stir until chocolate is fully melted. Let the mixture cool until it’s not steaming anymore, then cover and refrigerate until fully chilled (overnight is good).
Using a spoon or small cookie scoop, portion out approximately 1 Tablespoon dollops of the pudding consistency mixture onto a foil or parchment paper-covered cookie sheet, and freeze until solid, about an hour. Store in sealed containers or plastic bags. Use to satisfy chocolate or sugar cravings as they arise.
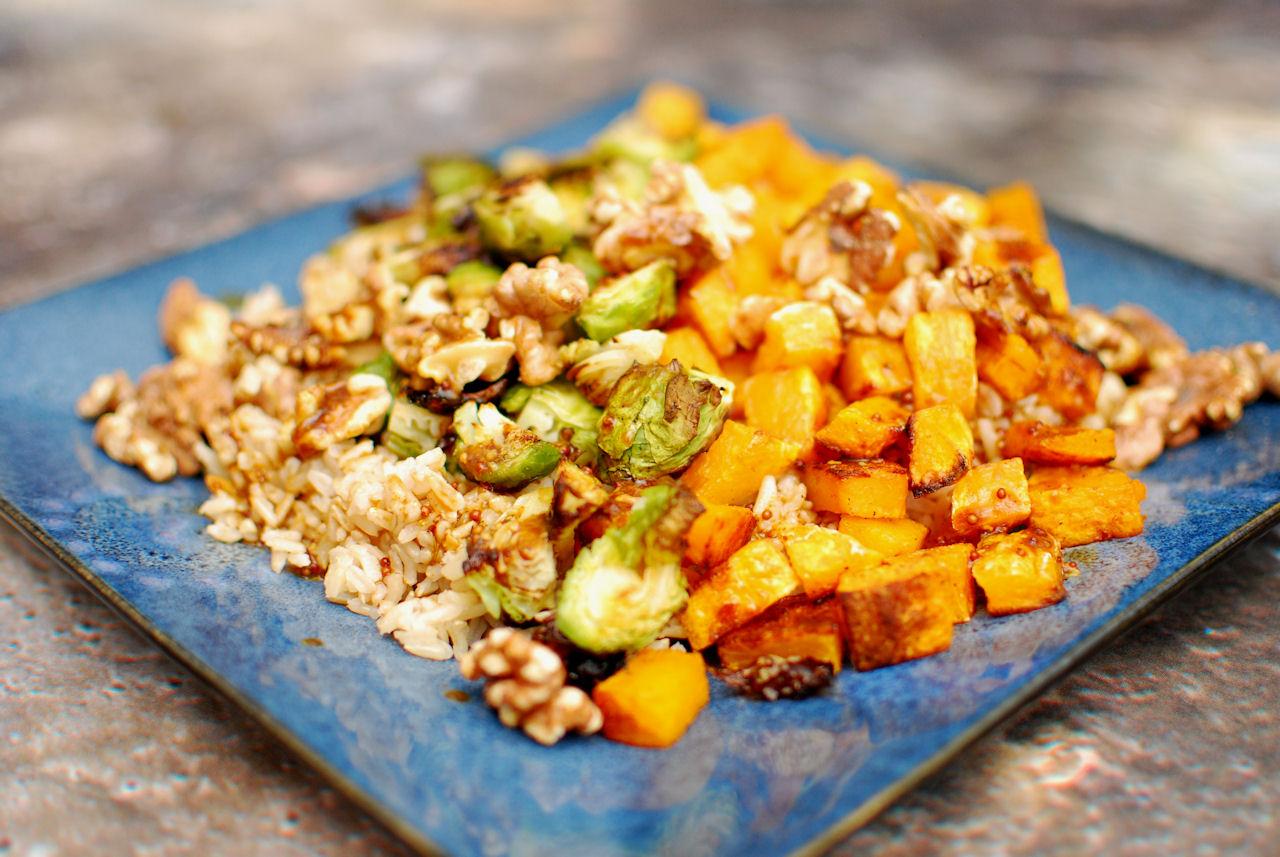
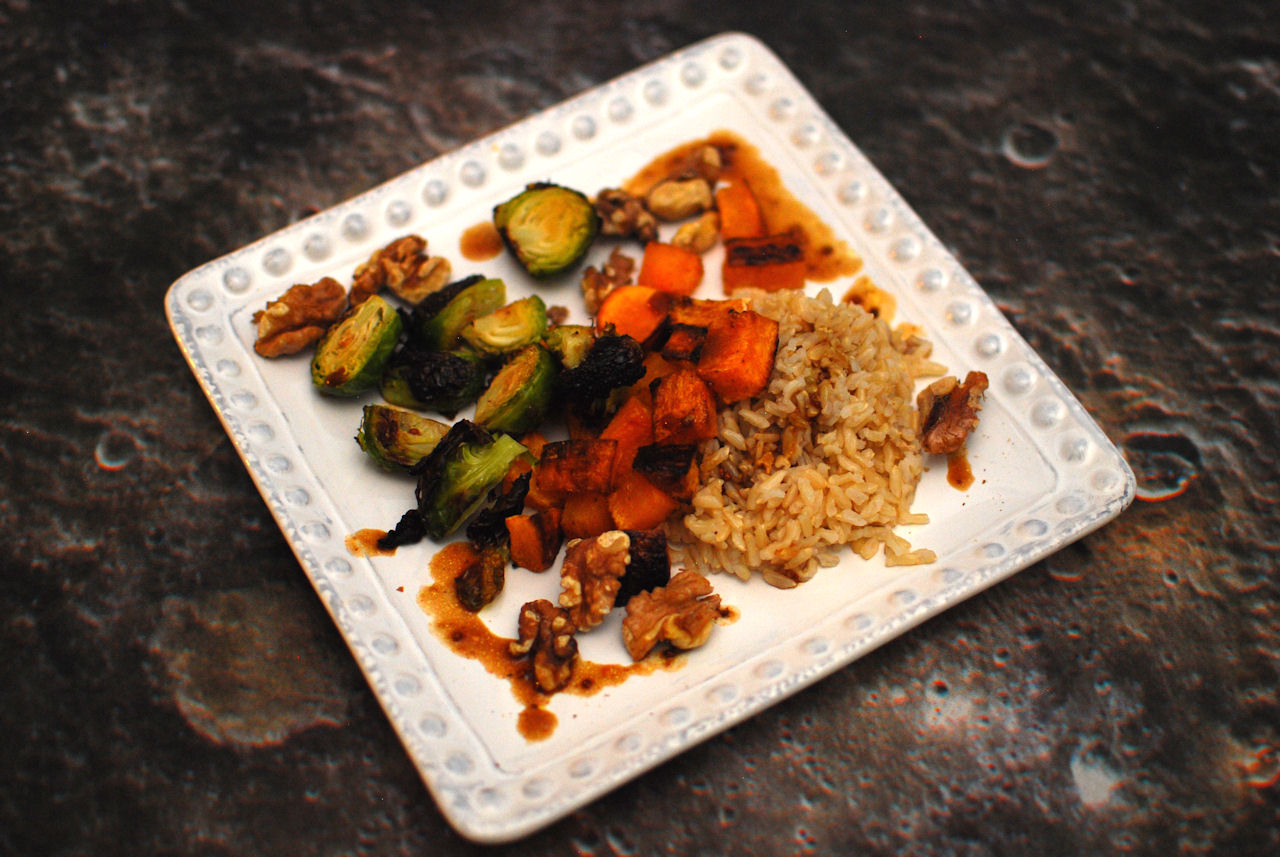
Squash and Sprout Rice Platter. Photo by J. Andrews
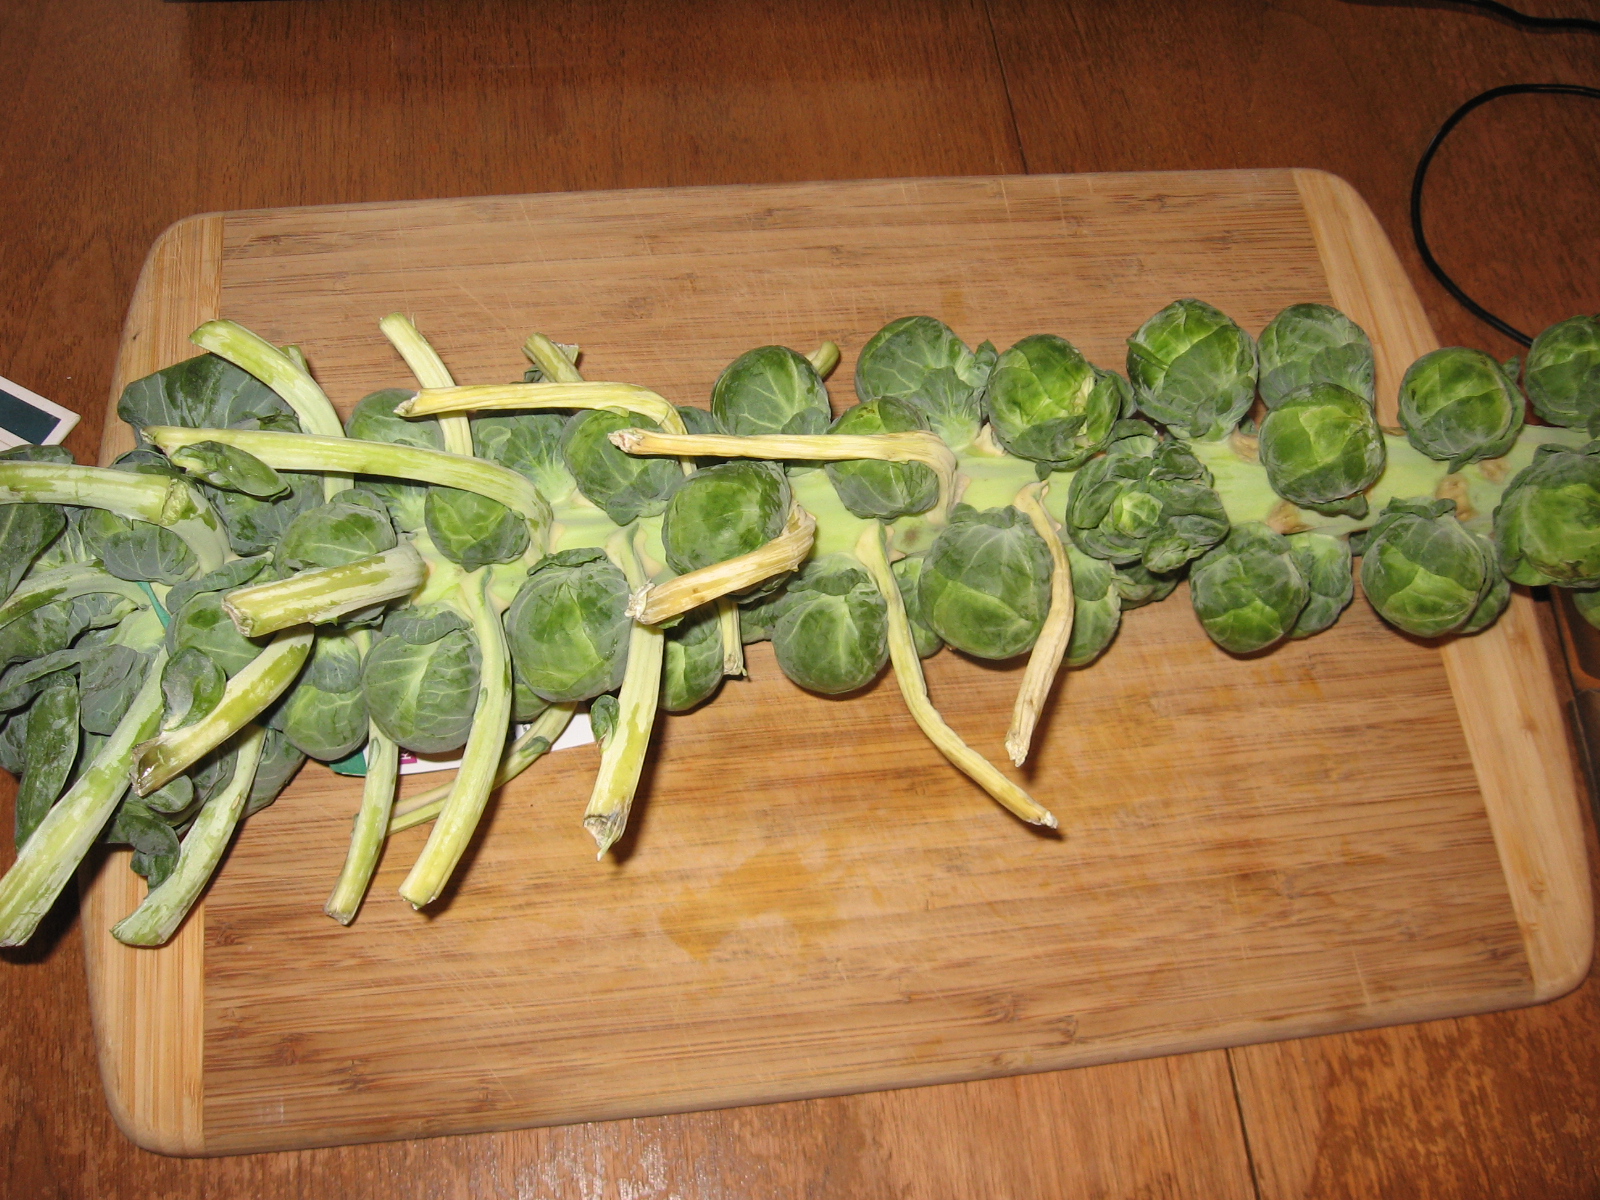
I started working on this particular dish about a year ago when I discovered this branch of Brussels sprouts at a Trader Joe’s and had to buy it. How do you not buy that?
Sprouts!
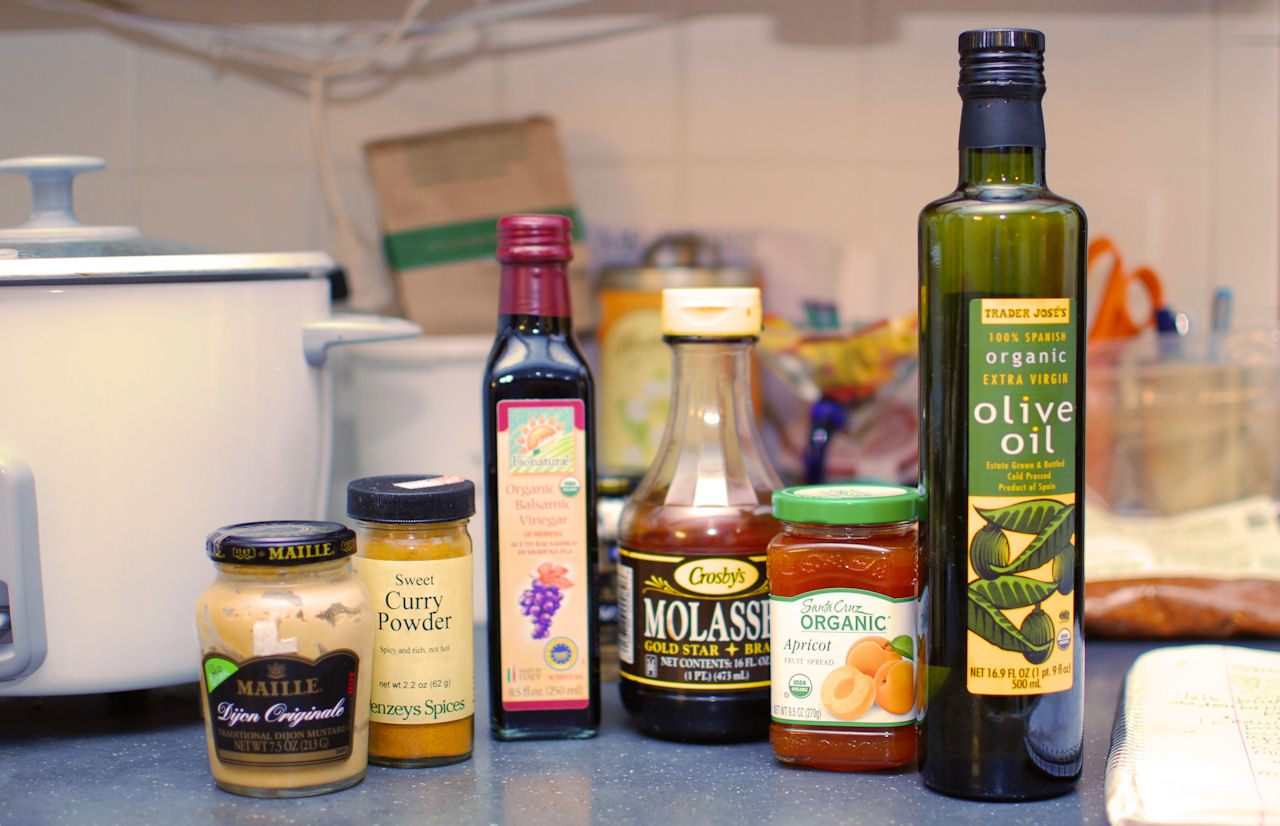
I made a lot of different Brussels sprouts recipes to use them all up, but most of them involved roasting the sprouts. There is no better way. Roasting is also really the only way to cook butternut squash, and I thought maybe these things would go together well, maybe with some rice and a sauce. I made a dressing using a magical mustard I’d brought back from Paris that was curried apricot mustard, and I’ve been trying to reproduce that flavor since. It took more than a few tries, but it was still cheaper than going back to Paris (where, I need to tell you, there is a whole store that just sells mustard. They have mustard on tap. That was absolutely a highlight of my trip.)
I wanted to call this a pilaf, but apparently a pilaf requires the rice to be cooked in a flavored broth. This dish calls for brown rice cooked in very exciting water, but the dressing you toss everything with at the end adds plenty of flavor, and the vegetables have their own flavors — plus carmelization (i.e. oxidization of the sugars) because of the roasting. Tasty.
Squash and Sprout Rice Platter
Preheat oven to 450F.
3/4 cup brown rice
1/4 cup wild rice
2 1/4 cups water
OR
1 cup brown rice
2 1/4 cups water
Cook rice however you normally cook rice. I throw it in my rice cooker. This takes about 40 minutes, and so will your vegetables, so start the rice first and then move on.
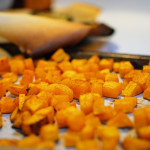
Butternut Squash
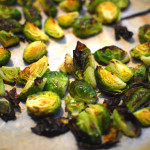
Brussels Sprouts
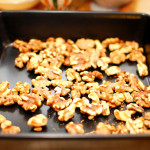
Walnuts
1/2 lb. butternut squash, peeled* and cut into 1/2 inch cubes — about the size of playing dice
1/2 lb. Brussels sprouts, ends trimmed off and any weird outer leaves removed, halved or quartered depending on your preference — make them bite-sized
1 cup raw walnut halves or pieces (optional)
2 Tablespoons to 1/4 cup oil of your choice (I use olive oil or safflower oil)
1 teaspoon seasoned salt (I use a spicy seasoned salt, but you can use regular — whatever is your favorite)
1/2 teaspoon salt
Line three separate baking sheets with parchment paper (or don’t, but this makes clean up easier).
Toss the squash with 1-2 Tablespoons of oil, lay out in a single layer on a baking sheet, and sprinkle with either salt, seasoned salt, or spicy seasoned salt. I prefer the latter. Throw them in the oven and set the time for 25 minutes.
Toss the sprouts with another 1 Tablespoon of oil, lay out on the second sheet, and sprinkle with about 1/2 teaspoon salt. When the time goes off for the squash, throw the sprouts in (don’t remove the squash!) and reset the timer for 10 minutes.
Spread the walnuts out on the third sheet. When the time goes off again, add the walnut pan to the oven and check the sprouts — remove if necessary. Set the timer for 5 minutes.
A note for the nut allergic: The walnuts are optional in this dish! If you aren’t allergic but just don’t like whole walnuts, chop them up some, as they do add a great flavor to this dish.
Your total cooking time is 45 minutes. The squash gets the full amount, the sprouts about 15, and the walnuts 5. This works out perfectly in my oven, but keep an eye out, especially for the nuts.
For the sauce:
4 Tablespoons balsamic vinegar
1 1/2 teaspoon molasses
2 teaspoons apricot jam
1/2 teaspoon curry powder (again, if you like the spice, get the spicy one)
3 1/2 teaspoons Dijon mustard — grainy if you wish, but smooth works best here
1 1/2 Tablespoons high-quality olive oil
Whisk all ingredients together.
Plate the rice, add the veggies, drizzle on the sauce, and sprinkle walnuts over the top. Dig in and enjoy.
Squash and Sprout Rice Platter. Photo by J. Andrews
It’s summer. It’s too hot to cook, but you need a mid-afternoon snack to get you through until dinner. Or it’s breakfast time but it’s 90 degrees in your apartment and food seems, well, heavy. There is a super simple solution to this cooking dilemma: Smoothies, people, smoothies.
I go through smoothie phases. I make them for a while, then get stuck in a rut, and then rediscover them. I’m personally a fan of really simple smoothies that rely primarily on actual fruit, maybe with some yogurt or milk (non-dairy, of course), and generally as few ingredients as possible. I’ve done the green smoothie thing occasionally, and I’ve followed recipes and master recipes. Mostly, though, it’s a way to dump all the stuff in the fridge into a simple healthy creation that just requires a blender.
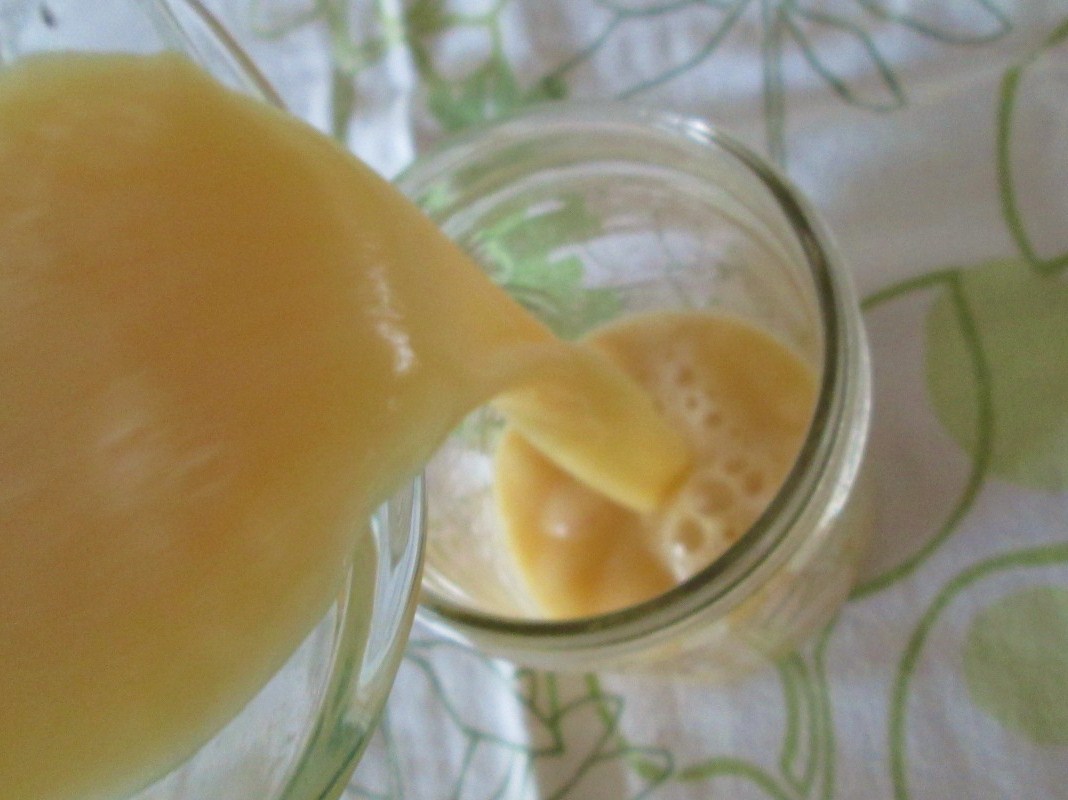
With this ridiculously simple recipe, a little prep work will give you a snack that taste like the ice cream truck of your childhood just stopped by.
The MANY ingredients
Creamsicle Smoothie
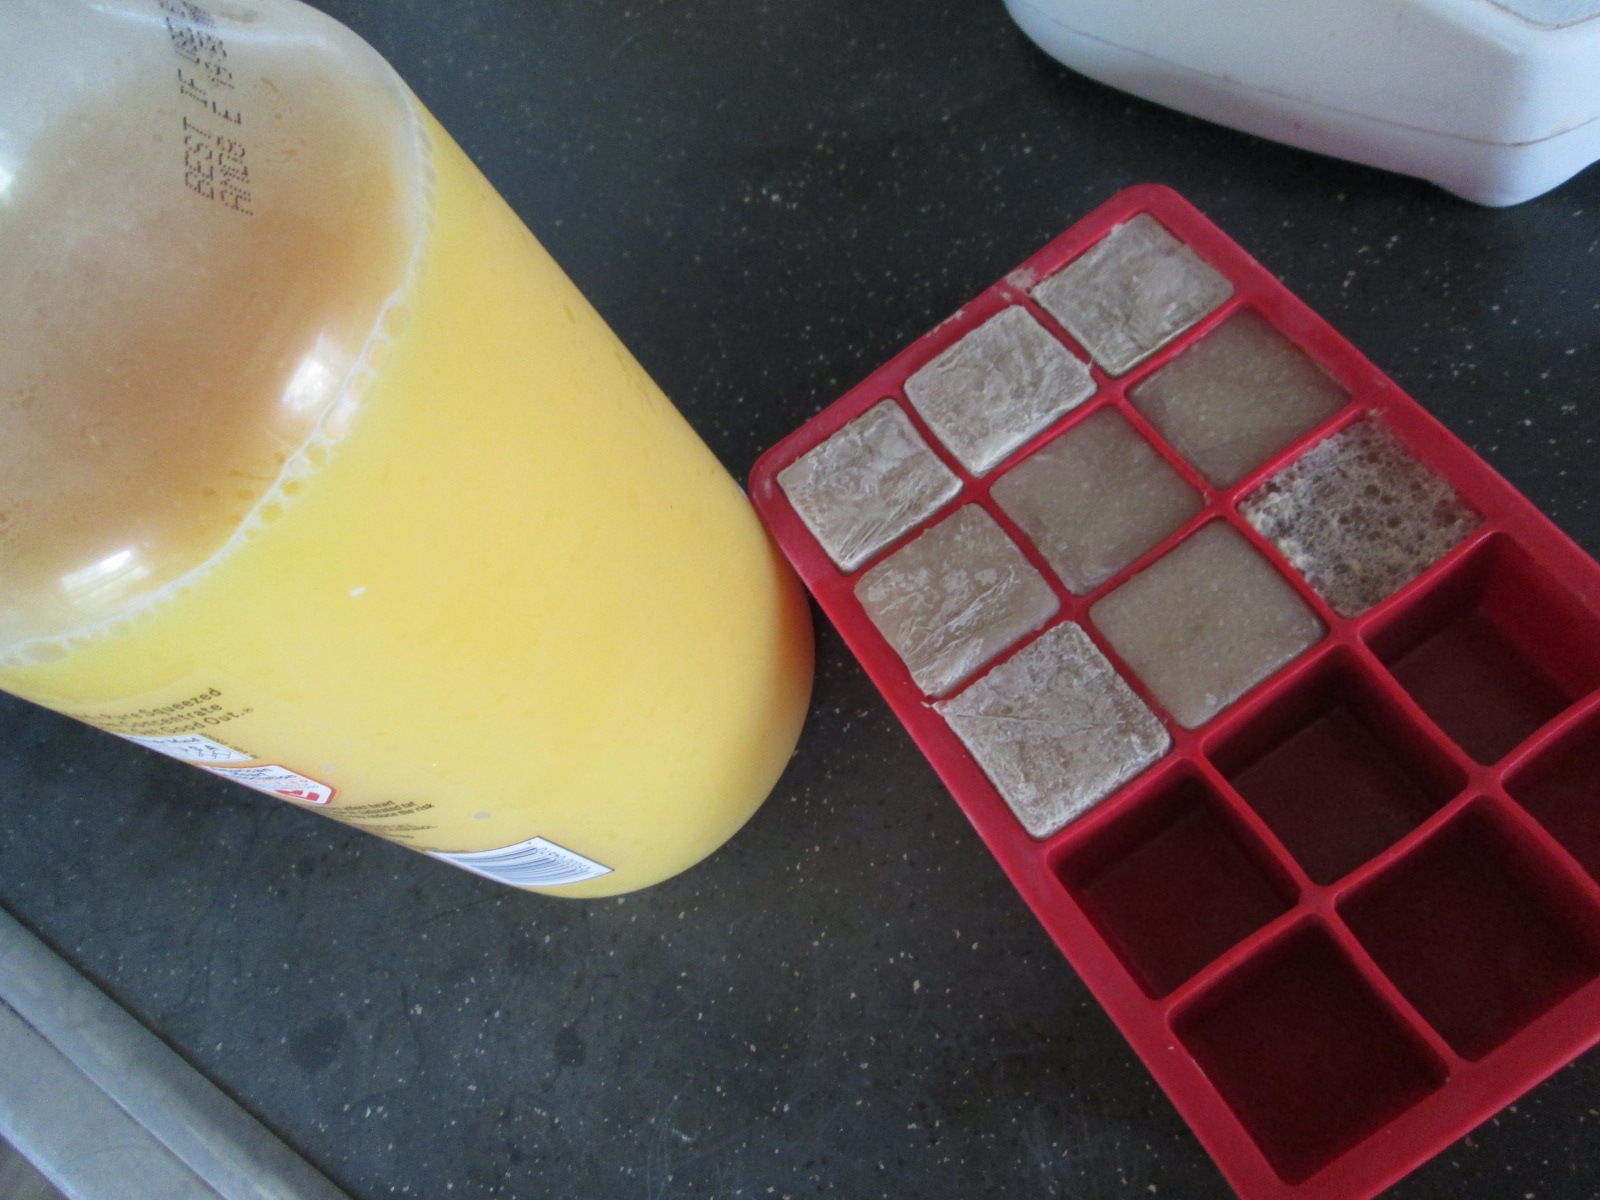
PREPARE AHEAD: Freeze some of your favorite vanilla non-dairy milk* in ice cube trays.**
*Note 1: You can use any non-dairy milk. You can probably even use cow’s milk, but frankly, then, go buy yourself a creamsicle! I have used almond milk, primarily, in the vanilla, unsweetened variety. I am sure soy or rice will work, too. This recipe can be nut-free and soy-free, if you want.
**Note 2: Measure your ice cube trays. I freeze a lot of ingredients in ice cube trays for ease of use later — tiny amounts of leftover broth or stock, sometimes herbs or pastes, fresh lemon or lime juice. All of my ice cube trays hold approximately 1 Tablespoon of liquid. It’s good to measure yours so that you know for the future recipes you’ll make with those ingredients.
In a blender, combine:
4 Tablespoons (4 cubes) of frozen vanilla almond or other non-dairy milk
1 1/4 cup of orange juice
Blend.
Yes, seriously, that’s it. It’s really that easy and that good.
When we were trying to think up something festive for this holiday week, we considered that ice cream seemed the best way to go. July 4th is a barbeque holiday, yes, (though why independence and charred tubes of mystery meat are so closely inter-related I will never understand), but we’ve covered barbeque pretty well up to now, and thought dessert was more appropriate. And it’s summer. So, ICE CREAM!
This was intended, originally, to be an ice cream recipe, but it ended up being more of a frozen pudding somehow. Which, what do you do with frozen pudding? Make popsicles, of course.
This is a plan ahead recipe! There are two pieces that need to sit OVERNIGHT, two separate nights, and then things need to freeze. We just want you to know, because, sometimes, maybe, people don’t read all the directions first. Not that we would ever start a recipe without reading all the directions…
This uses homemade cashew milk (I’m not actually sure there is a commercial version, but if there is, it’s probably expensive), so you will need to soak the cashews overnight. The water will look sort of scummy afterwards. Don’t worry! This is normal, and you’re getting rid of it anyway.
The next overnight is cooling your ice cream/frozen pudding mixture. The last is freezing your pops. So here you go.
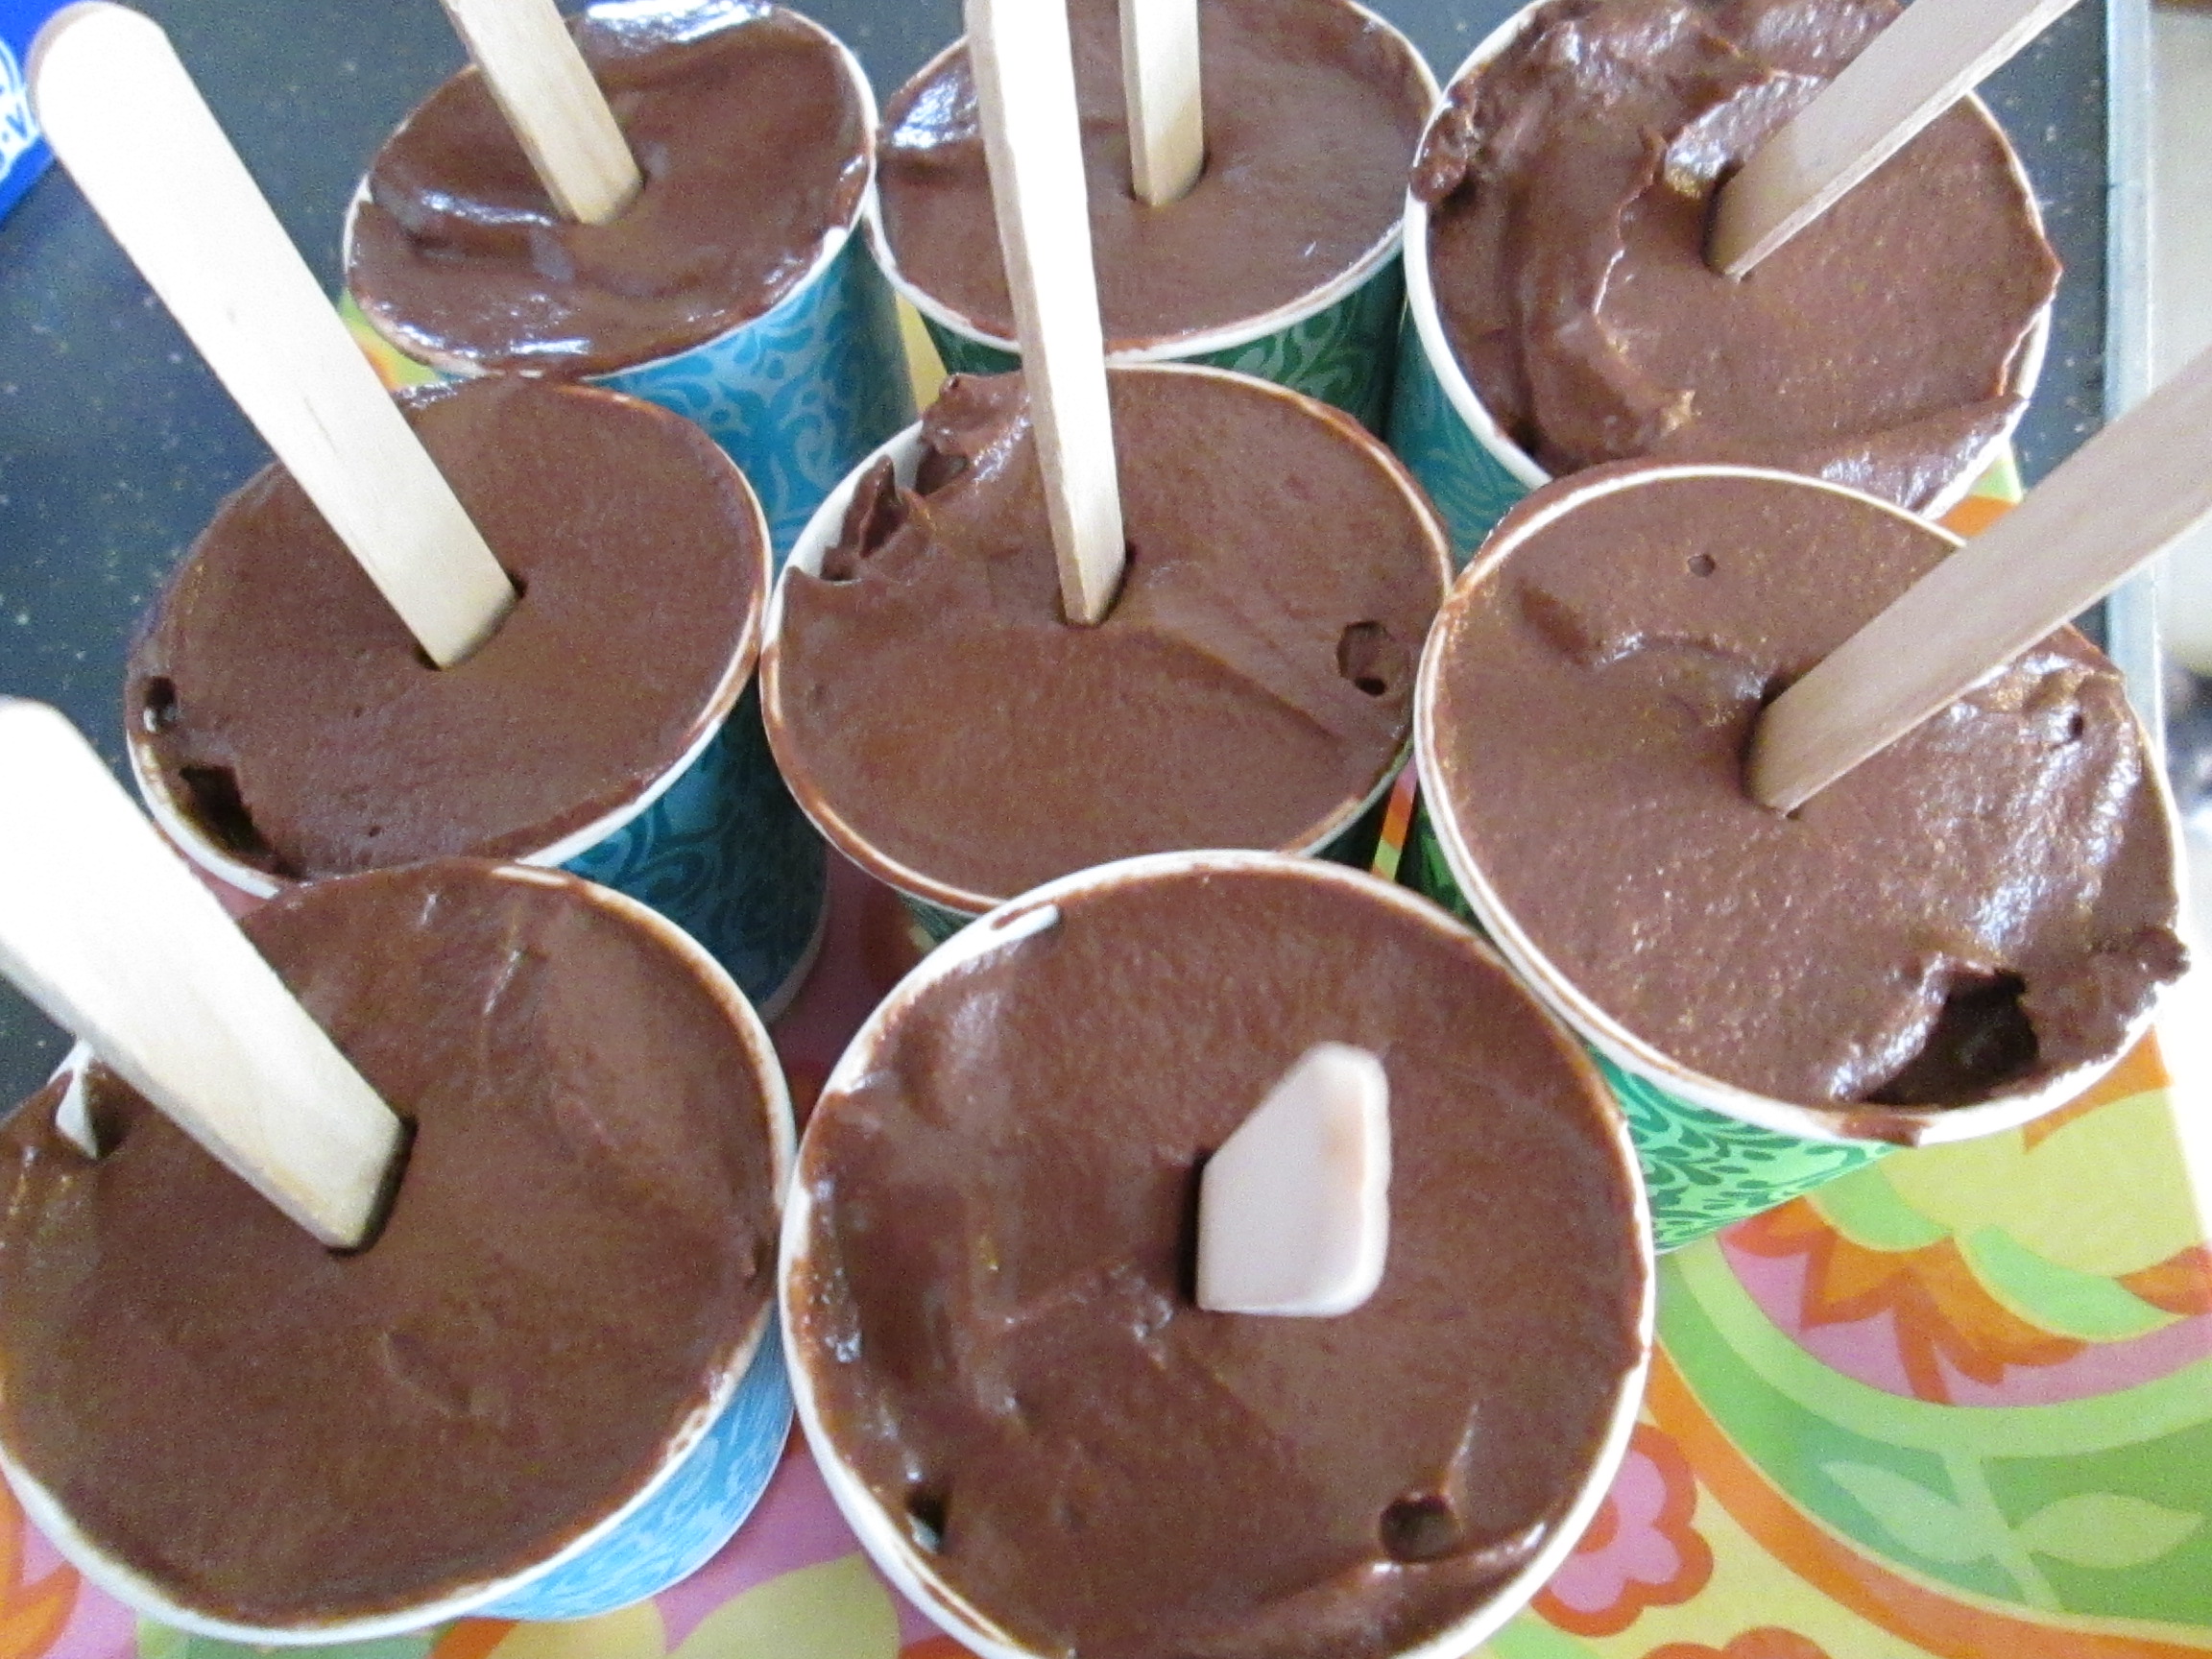
What do you do with frozen pudding? Make a fudgesicle. Duh.
Cashew-Chocolate Pudding Popsicles
1 1/4 cup cashew pieces, soaked overnight
1 1/4 cup water
Blend to death in a blender — seriously, just turn it on and let it go for 5 minutes or so. You will not be straining this, so you want it smooth. This should yield 2 cups or more of cashew milk — you need 2 cups for the recipe. Use the rest for coffee.
2 cups cashew milk, 1/4 cup of this set aside
1 Tablespoon + 1 teaspoon arrowroot starch/powder
3/4 cup sugar
1/4 cup cocoa powder
3 oz dark chocolate (check this for allergens)
1 oz food-grade cocoa butter
1 Tablespoon vanilla
Mix the arrowroot and the 1/4 cup cashew milk and set aside.
In a sauce pan over medium-low heat, mix the rest of the cashew milk, sugar, cocoa, dark chocolate, and cocoa butter. Melt the solids, whisk them in, and cook, whisking often, until the mixture reaches a low boil. Do not turn up the heat to achieve the boil. This takes time!
When the mixture is boiling, remove from the heat. Whisk in the arrowroot mixture and the vanilla.
Cool overnight in the fridge.
Now from here you can go one of two ways. We put this through the ice cream maker, following the maker’s instructions, and then decided it was better as pops. It’s likely that you can skip this step, but let’s be honest — some of us are a little superstitious, and since it worked right the first way (going through the ice cream maker), that’s how we did it.
Now for the pops, we used Dixie bathroom paper cups, 3 oz. each, leftover from a party we had last year, and they seemed to be the perfect size for this rich treat — no one really wanted a larger pop, and they do melt reasonably fast. If you have popsicle molds, give them a try, but we recommend the little cups. Perfect portions, and easy removal — just tear the cup off. Fill it to the top and add a popsicle stick (it’s thick enough to stay standing straight).
Makes about 12 pops, give or take a few, depending on how much of the pudding/frozen pudding you taste first.
Hey, it’s our second burger post! I really hope you’re finding some options or getting some ideas about what to bring to barbeques this summer — or what to serve at your own.
For some reason when Denise and I were discussing burgers, I was somewhat fixated on Indian spices. I love Indian food, but there are so many allergen pitfalls when ordering out that I’m finding it easier to make my own at home — and easier now that I can run some of my cooking choices by my Indian neighbor. He approved the spice mix I’m going to give you below, so it must be good, right?
You can buy tandoori spices. Tandoori chicken is a reasonably classic Indian dish, named for the clay oven in which chicken is baked after being marinated in yogurt and spices. By briefly marinating and then grinding the chicken, adding some cashew nuts for creaminess, we can skip the yogurt part, and in this case, a grill stands in for the fancy pointy-topped oven. By making your own spice, you can more carefully control the flavor of the burger, but if you’re not up to it, not interested, or in any way disinclined, seek it out pre-blended.
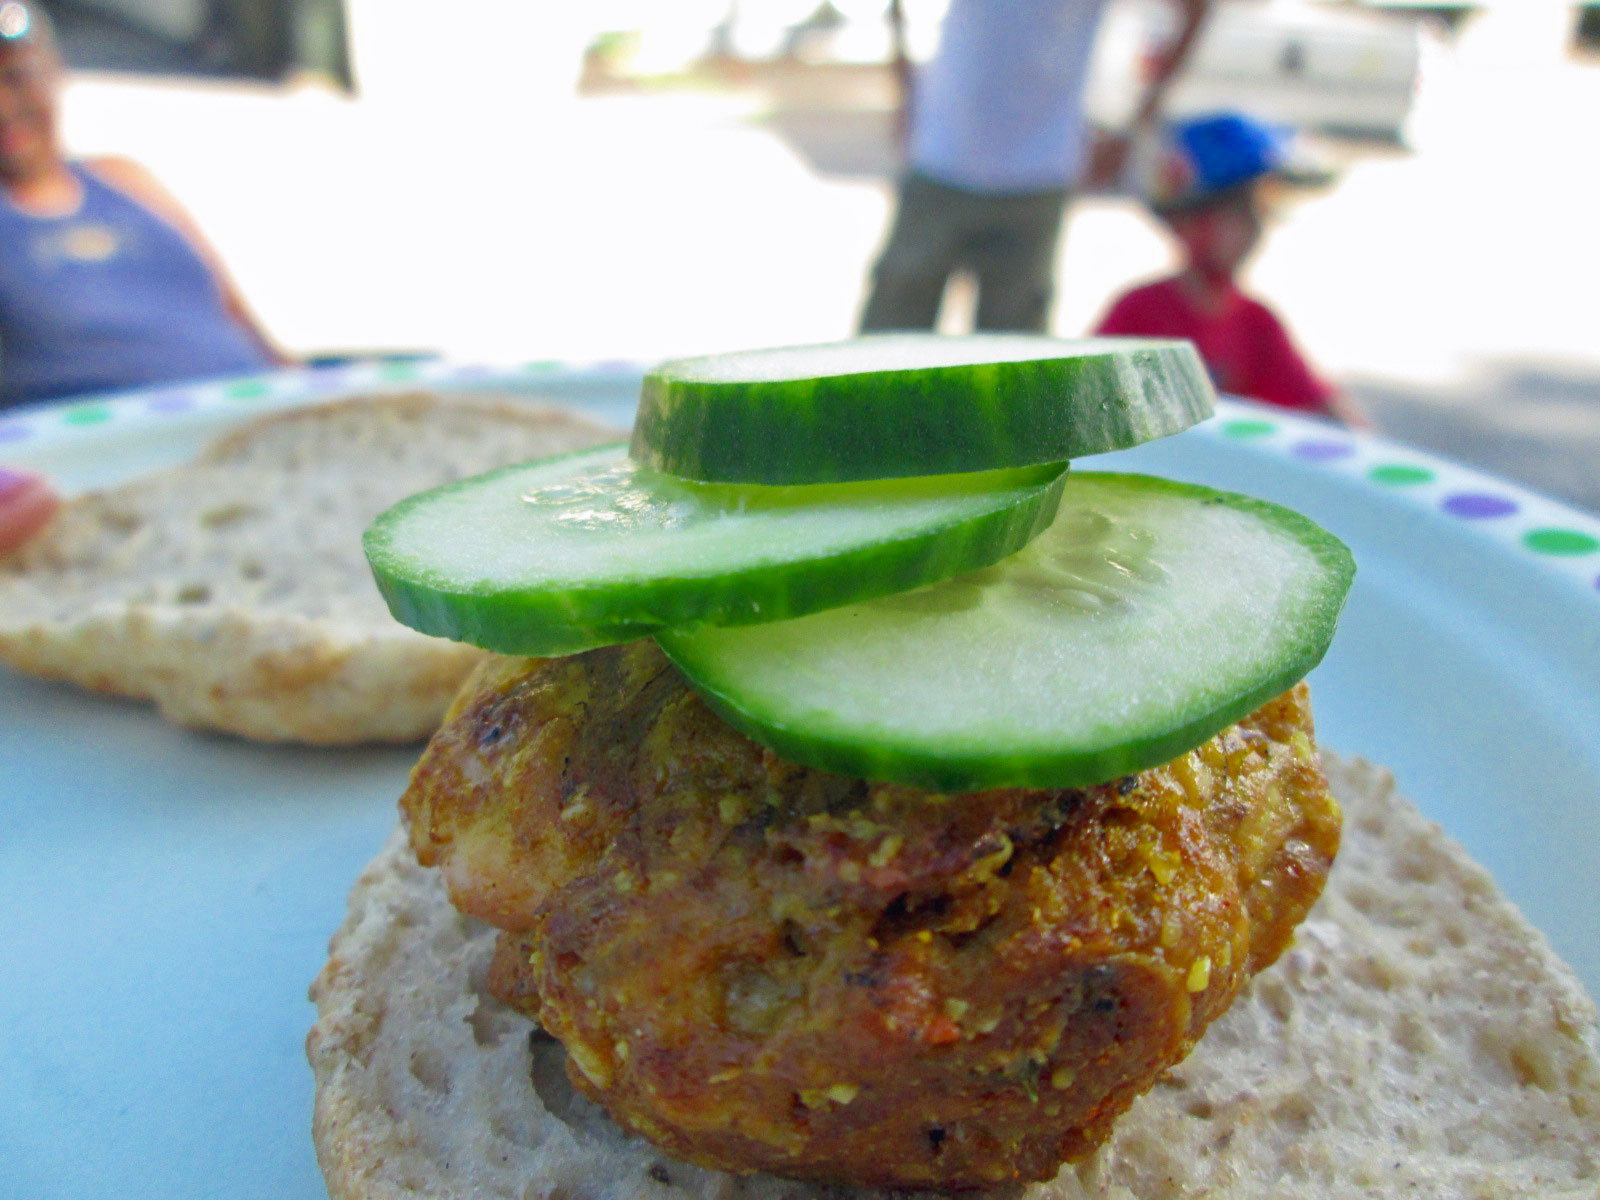
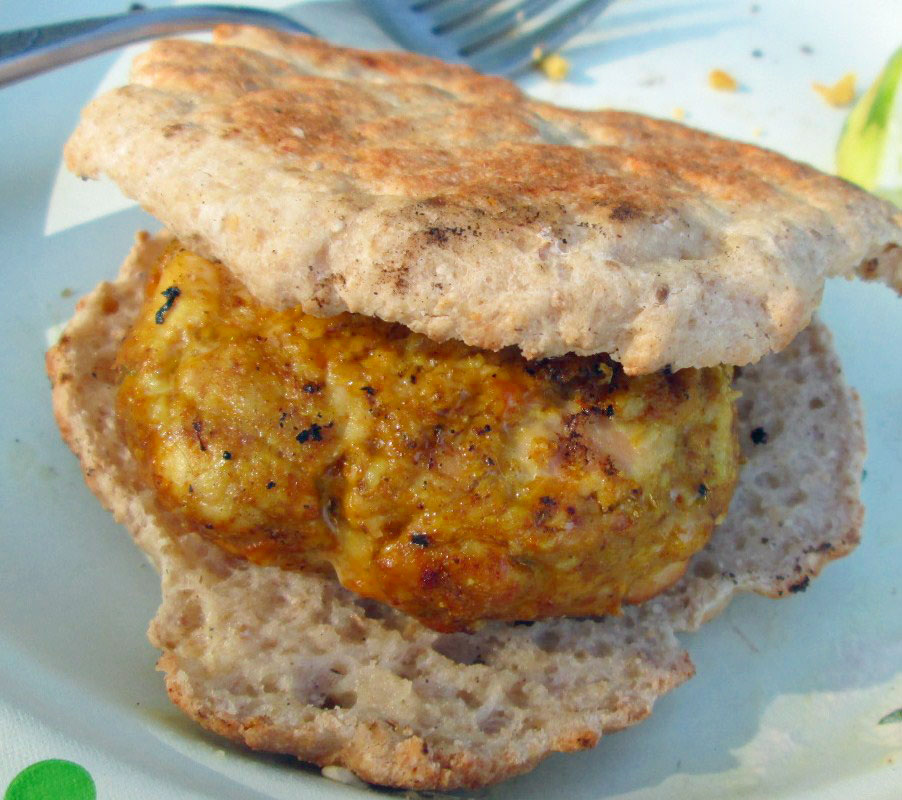
Mmmm, burger
Tandoori Chicken Burgers
Tandoori Spice — makes enough for 2-3 recipes of burgers
1 Tablespoon ground fenugreek
1 Tablespoon ground coriander
2 teaspoons onion powder
1-1/2 teaspoon cumin
1-1/2 teaspoon turmeric
1-1/2 teaspoon garlic powder
1 teaspoon cinnamon
1 teaspoon celery salt
1 teaspoon paprika (regular, not smoked)
1 teaspoon ground ginger
1/2 teaspoon freshly ground black pepper
1/2 teaspoon freshly ground nutmeg (you can buy this ground, but it’s worth it to grind your own)
1/4 teaspoon ground cloves
1/4 to 3/4 teaspoon cayenne, depending on your desire for heat, as well as spice
For Burgers:
1 lb. boneless, skinless chicken thighs
1/2 cup lemon or lime juice
1/2 cup rice wine vinegar
1/4 cup cashew pieces
zest of one lime (organic if you can get it)
2- 3 Tablespoons tandoori spice
lime wedges, for serving
First, marinate chicken thighs in the citrus juice and vinegar for about 30 minutes — if the marinade doesn’t quite cover the chicken, add water to cover.
Lay the chicken out on paper towels to drain and dry.
In your food processor, grind the cashews to a fine consistency. I find that I need to pulse my food processor, as just turning it on tends to make nut butter instead. Remove the nuts to a mixing bowl.
Grind the chicken in the food processor, then add it to the mixing bowl.
Add the lime zest and seasoning, and mix all the ingredients well. You can try using a spoon, but you really need to mix with your hands to get everything well-incorporated. Mix until you think it’s well-blended, then mix a little more. A note on the seasoning range — if you’re a lover of Indian food, or spices, or both, go all in with the 3 T measurement. If your company is a little more mixed (children, unadventurous eaters) ease them into the fun with the lower amount of spice.
Now shape the patties and lay them out on a parchment or plastic wrap covered platter and refrigerate for an hour or overnight. This recipe should make 4 regular burgers or 8 slider-sized burgers.
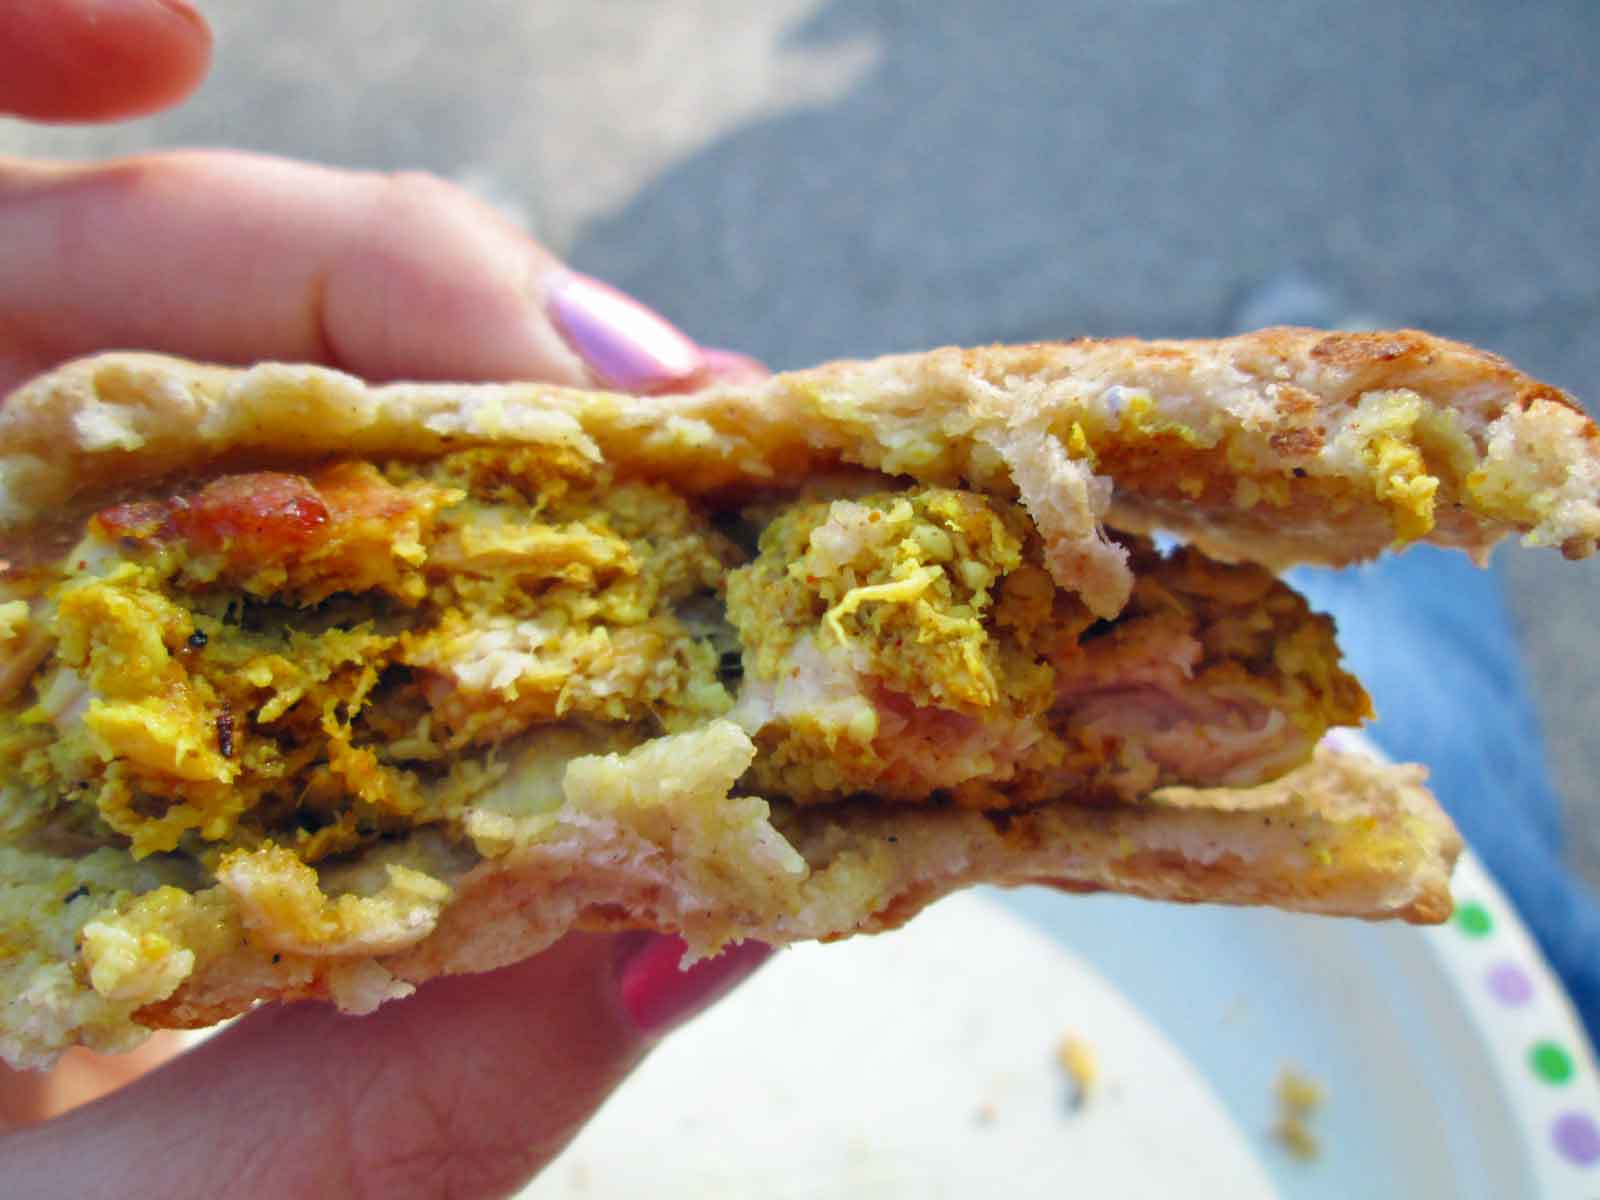
Grill until the interior temperature of the burger reaches approximately 160F. Serve with sliced cucumbers on a bun of your choice.
Since we can’t have falafel without Tzatziki Sauce (well, you can, but it’s better with), I had to get together a recipe. I started with a recipe at The Vedge, and added some additional things I like to it.
Tzatziki Sauce (Using a Cashew Base)
1 cup cashew pieces (raw, unsalted) and soaked overnight in water (covering cashews by 2-3 inches)
1 cup water
1 lemon, juiced
1 garlic clove
1 teaspoon of salt
1 teaspoon of dill weed (optional)
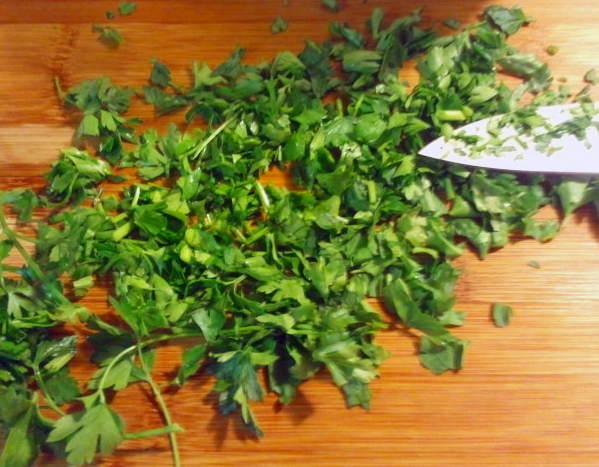
4 Tablespoons of fresh parsley, chopped
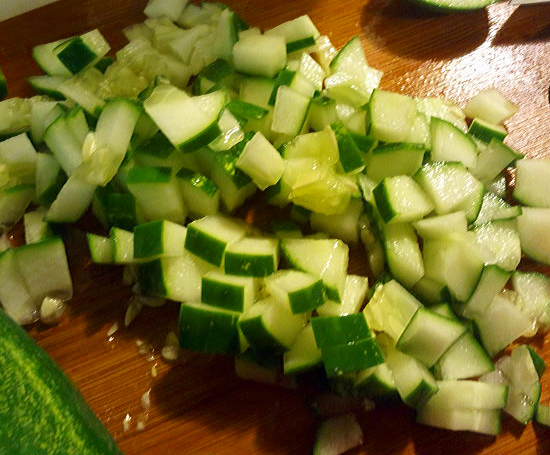
1 medium cucumber (peeled if waxed) and diced (I used two pickling cukes, and left the skin on)
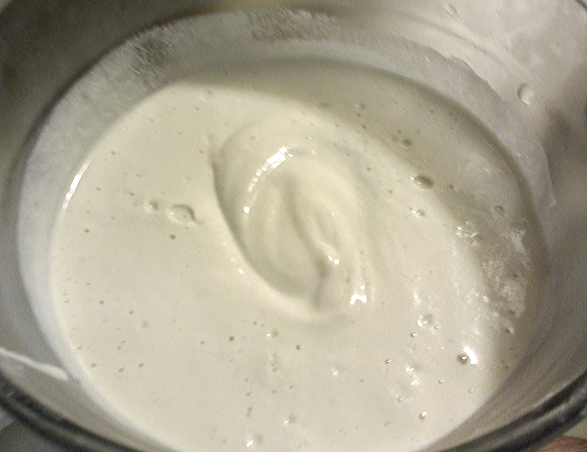
Drain the cashews and place in a blender. Add water, lemon juice, garlic, and salt to blender. Blend until completely pureed, better to over blend than to not blend enough. You want it as smooth as you can get it.
Cashew Mixture After Blending
Pour cashew mixture into a bowl that will hold it, the dill, the parsley and the cucumber. Add dill, parsley, and cucumber to the cashew mixture and stir to mix well.
Fresh parsley, choppedCucumbers diced
You can do all this in the blender if you want, but I like chunky cucumbers in this sauce. Refrigerate for at least an hour, and use on falafel, gyros, wraps, salads, as a dip and so on. Or you could use large slices or chunks for a salad or side dish, and do a much smaller dice or in the blender for a sandwich slather.
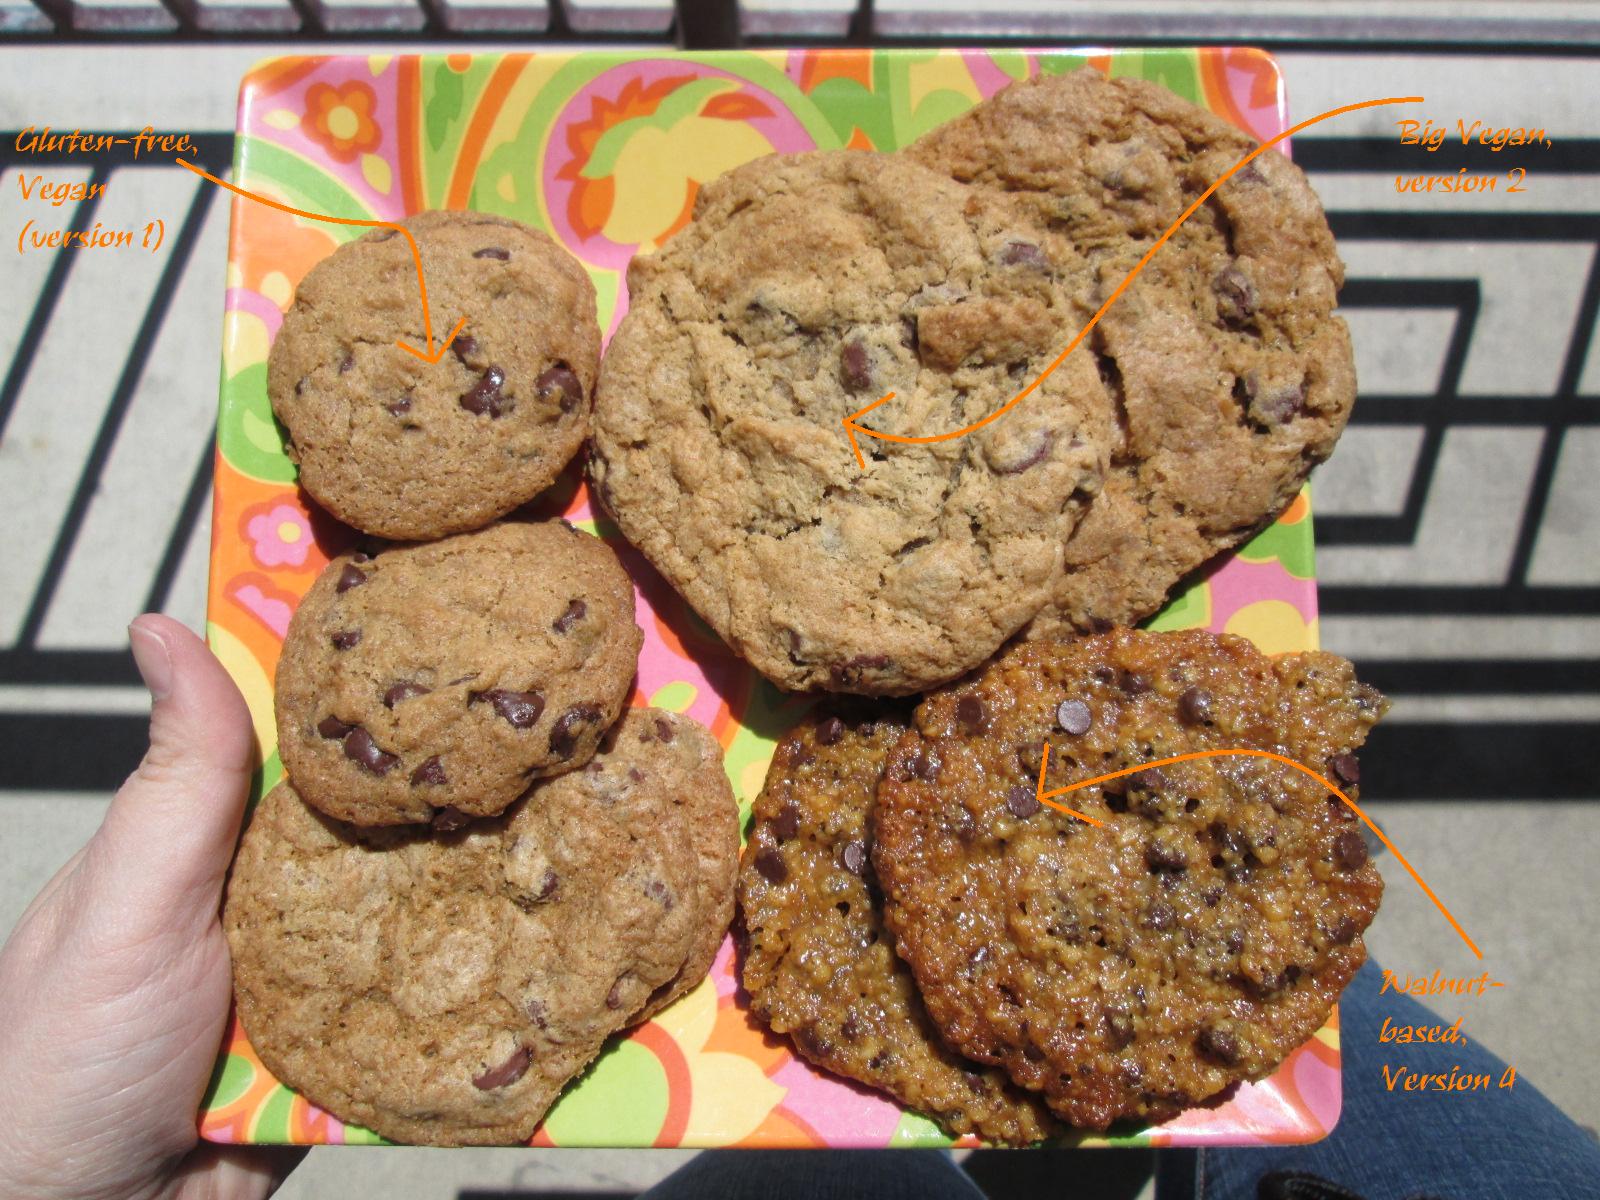
Plate of Chocolate Chipped Goodness — from top left, vegan GF, vegan, walnut
Because it’s Earth Day, and it’s our 100th post, we thought we should make cookies. Because cookies are round, like the Earth. And because making cookies and giving them to people makes you a hero. Or just sharing — you don’t have to give them all away, promise. You can eat them, too. Cookies are happiness, right?
Well, cookies are often not even close to happiness when you’re an allergen sufferer. If you have adult-onset allergies, you might remember making the classic Tollhouse cookie — wheat flour, eggs, butter, chocolate chips that contain milk. The recipe itself is almost a list of allergens. But it doesn’t have to be! We’re here to show you a few ways (but not quite 100).
The following recipes — there are 4 — are all variations on the chocolate chip cookie. The first two are classic; the very first is completely allergen-free — gluten-free, egg-free, dairy-free, nut-free, vegan. The rest are also vegan (no dairy, no eggs), but the second recipe contains gluten, and the last two contain nuts. One of these is bound to work for you. Read on for the details.
Vegan Gluten-free Chocolate Chip Cookies
Gluten-Free and Allergen-Free Chocolate Chip Cookies, Version 1
allergen-free.
Makes about 50-60 cookies using approximately 1 Tablespoon of dough for each cookie.
2 Tablespoons of ground chia seed meal
6 Tablespoons of water
315 grams of the Glutenfreegirl’s All Purpose Gluten Free Flour Mix for Cookies (see recipe here, I made a half batch and it was enough for this with 185 grams left over – I don’t know if this would work with other commercial gluten free mixes but if you want to try it, I’m using 140 grams to the cup so if you’re using cups because your mix is a 1:1 ratio, it’s 2 1/4 cups)
1 teaspoon of baking soda
1 teaspoon salt
1 cup of Soy-free Earth Balance (if you can have soy, 2 sticks Earth Balance buttery spread)
3/4 cup of brown sugar, packed
3/4 cup of granulated sugar
1 Tablespoon of vanilla extract
2 cups of allergen-free chocolate chips (Enjoy Life chocolate chips recommended)
Preheat your oven to 375°F.
In a small container mix ground chia seed meal and water thoroughly. Set aside until needed to let it gel.
Then measure out the Gluten Free Flour Mix for Cookies, salt, and baking soda and place in a bowl. Whisk ingredients together until they are well incorporated into each other, and set aside until its needed.
Using your mixer (preferably a stand mixer) beat the Earth Balance, sugar, brown sugar, and vanilla in a large bowl until it’s creamy, scraping down the sides as needed to make sure that all the ingredients are completely mixed together. The reason that you are using cold Earth Balance right out of the fridge is that (a) if you have a KitchenAid or other stand mixer it’ll take the punishment and beat the Earth Balance when it’s cold anyway, and I am way too impatient to wait to soften anything and doing it in the microwave is always a disaster, (b) Earth Balance seems to have a much lower melting point that regular margarine or butter, so you’re giving yourself a fighting chance to have your dough stay doughy when you’re waiting to bake cookies in multiple batches in the oven, and (c) I think it makes the cookies crispier, but I have no empirical evidence for that really.
Add one half of the chia mixture and beat it well to mix it in completely, again scraping down the sides as needed. Add the second half of the chia mixture and do the same.
Gradually add the Gluten Free Flour Mix for Cookies while beating well, again scraping down the sides as needed, until all of it is incorporated into the dough. Using a spoon, mix in the chocolate chips. (You don’t want to use the mixer because it’ll mash the chocolate chips into little bits.)
Drop dough (I used a scoop that holds one tablespoon) onto ungreased baking sheets. I used Pampered Chef stoneware so if you’re using a metal pan you may need to adjust the baking time. Gluten free baking takes longer than regular baking so even though these cookies are 1/3 the size of the other recipe I did with regular flour, they take just as long or longer to cook. Bake for 15-17 minutes (using the stoneware, I baked them for 17 minutes for the best results, with metal sheet pans, try the lower end of the range, but watch your cookies).
Once you have taken them out of the oven, let them cool on the baking sheet for 2-4 minutes or so to let them set up a bit, and then using a spatula, remove the cookies to a cooling rack to finish cooling. Enjoy!
Chocolate Chip Cookies – Vegan (not GF)
Classic Vegan Chocolate Chip Cookies, Version 2
contains gluten.
Makes about 20 three inch cookies using approximately 3 Tablespoons of dough for each cookie. (I like big cookies. If you like smaller cookies, use 1 Tablespoon of dough and adjust the cooking time to about 10 minutes, and you’ll get 5 dozen cookies).
2 Tablespoons of ground chia seed meal
6 Tablespoons of water
2 1/4 cups of all purpose flour
1 teaspoon of baking soda
1 teaspoon salt
1 cup of Earth Balance Natural Buttery Spread Soy Free or 2 sticks of Earth Balance Vegan Buttery Sticks, COLD
3/4 cup of brown sugar, packed
3/4 cup of granulated sugar
1 Tablespoon of vanilla extract
2 cups of vegan or allergy free for you chocolate chips (Enjoy Life chocolate chips recommended)
Preheat your oven to 375°F.
In a small container mix ground chia seed meal and water thoroughly. Set aside until needed to let it gel.
Then measure out flour, salt, and baking soda and place in a bowl. Whisk ingredients together until they are well incorporated into each other, and set aside until its needed.
Using your mixer (preferably a stand mixer) beat the Earth Balance, sugar, brown sugar, and vanilla in a large bowl until it’s creamy, scraping down the sides as needed to make sure that all the ingredients are completely mixed together. The reason that you are using cold Earth Balance right out of the fridge is that (a) if you have a KitchenAid or other stand mixer it’ll take the punishment and beat the Earth Balance when it’s cold anyway, and I am way too impatient to wait to soften anything and doing it in the microwave is always a disaster, (b) Earth Balance seems to have a much lower melting point that regular margarine or butter, so you’re giving yourself a fighting chance to have your dough stay doughy when you’re waiting to bake cookies in multiple batches in the oven, and (c) I think it makes the cookies crispier, but I have no empirical evidence for that really.
Add one half of the chia mixture and beat it well to mix it in completely, again scraping down the sides as needed. Add the second half of the chia mixture and do the same.
Gradually add the flour mixture while beating well, again scraping down the sides as needed, until all the flour is incorporated into the dough. Using a spoon, mix in the chocolate chips. (You don’t want to use the mixer because it’ll mash the chocolate chips into little bits.)
Drop dough (I used a scoop that holds three tablespoons) onto ungreased baking sheets. I used Pampered Chef stoneware so if you’re using a metal pan you may need to adjust the baking time. Bake for 15-17 minutes (using the stoneware, I baked them for 17 minutes for the best results, with metal sheet pans, try the lower end of the range, but watch your cookies).
Once you have taken them out of the oven, let them cool on the baking sheet for 2-4 minutes or so to let them set up a bit, and then using a spatula, remove the cookies to a cooling rack to finish cooling. Enjoy!
Almond-based Chocolate Chipper
Almond-based Chocolate Chip Cookies, Version 3
contains nuts. Makes about 16 cookies.
Preheat oven to 350F
1 1/4 cup almond meal/ground almonds
1/4 teaspoon salt
1/4 teaspoon cinnamon
1/2 cup allergen-free chocolate chips (Enjoy Life mini chocolate chips recommended — mini chips are best in this)
2 Tablespoons oil (I used canola — use what you like for baking, but if using coconut, melt it first)
1/4 cup agave syrup
2 teaspoons vanilla extract
Whisk almond meal, salt, cinnamon, chips, and coconut, if using, together in a medium bowl.
Whisk oil, agave, and vanilla together in a small bowl. It will be tempting to skip this step and just add the wet ingredients into the dry, but don’t. The oil mixed into the syrup will make it mix smoother in the end.
Mix the wet ingredients into the dry with a rubber spatula. You will have a pretty thick dough, but mix until there are no dry spots.
Drop by the tablespoon onto a cookie sheet lined with parchment paper. You don’t really need to space these, as they do not spread out. Bake for 12 minutes, until slightly browned on the bottom (baking time on a metal cookie sheet). Rest them on the cookie sheet for 3 minutes or so before CAREFULLY cooling completely on a wire rack. Be careful — these cookies are a little… loose. These cookies are MUCH better completely cooled — the flavors are muddled when warm. Enjoy!
Walnut-based Chocolate Chippers
Walnut-based Chocolate Chip Cookies, Version 4
contains nuts. Makes about 12-16 cookies.
Preheat oven to 350F.
1 1/4 cups ground walnuts (I have not seen walnut meal for sale. Pulse them in a food processor.)
1/4 teaspoon salt
1/2 cup mini chocolate chips (Enjoy Life recommended)
Whisk together the walnuts, salt, and chocolate chips.
Whisk together the oil, syrup, and vanilla. This will take a minute, as the brown rice syrup is thick, but it will come together. (A measuring tip — measure out the oil into the 1/3 cup measuring cup. Swirl it around before dumping it in the bowl, and then use that cup to measure the syrup, and it will come right out.)
Add the wet ingredients to the dry and mix with a rubber spatula.
Drop 1 Tablespoon scoops onto a baking sheet lined with parchment paper, about 1 inch apart. Bake 12-17 minutes or until cookies have spread and edges begin to brown (baking time on a metal sheet). Let rest only a few minutes on the cookie sheet before removing to a wire rack to cool. Unlike the almond-based cookies, these are even better warm. Enjoy!
Cookies from King Arthur GF box mix
If you are newly gluten-free, don’t want to buy 100 spendy new flours and want to make cookies, try the King Arthur box mix. It is a box mix, so it’s not as great as making them from scratch, but it is good. And early successes in gluten-free baking are worth it.
We hope that our happy 100th post has inspired you to venture up the cookie tree. You know, the tree that the elves live in? If you have no elves, you’ll have to bake your own cookies, but we promise, if we can do it, you can do it. Your friends will love you for it.
Got a favorite recipe? Tried one of ours and liked it? We’d love to hear from you.
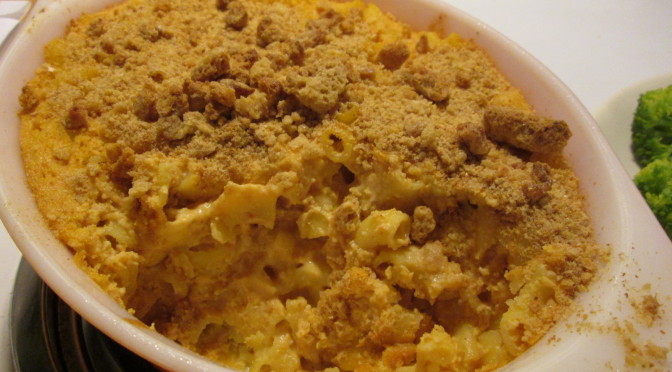
Is there anything better than good solid comfort food? In this dreary mid-winter, I’m drawn again to this casserole that my friend Corianne gave me back when I needed just to go dairy-free. The recipe is her mother’s, but it seems like food is a family affair — Corianne and her sister now run the vegan Treehouse Bakery in Phoenix (ask nicely — they do gluten-free! And if you’re in Phoenix or just a glutton for punishment, like them on Facebook to hear the list of flavors every day. Can I highly recommend the spicy chocolate cupcakes?).
Anyway, I’ve tweaked very few things over the years I’ve had this recipe, as it’s pretty much perfect. It was easy to make gluten-free with quinoa pasta.
Casserole of Awesome
Gluten-free, Soy-free, Vegan Cashew Mac and Cheese, courtesy of the Sizemore family
2 quarts water
1 teaspoon salt
2 cups gluten-free macaroni (I recommend quinoa pasta)
Cook mac according to package directions, to the shorter end of the cooking time. Do not overcook! Drain. Pour into greased casserole dish.
1 cup raw cashew pieces
2 cups water
Add to food processor and process until smooth.
2 oz jar of pimentos
2 Tablespoons lemon juice
2 teaspoons onion powder
2 teaspoons salt
1 teaspoon garlic powder
1/2 teaspoon dry mustard (optional — adds a tiny bit of kick)
Add these to the cashews, and process until smooth.
Pour sauce over mac.
Cover and bake for 30 minutes at 350F.
Uncover. Top with gluten-free bread crumbs, if desired (I prefer it without, personally) and bake another 15 minutes uncovered.
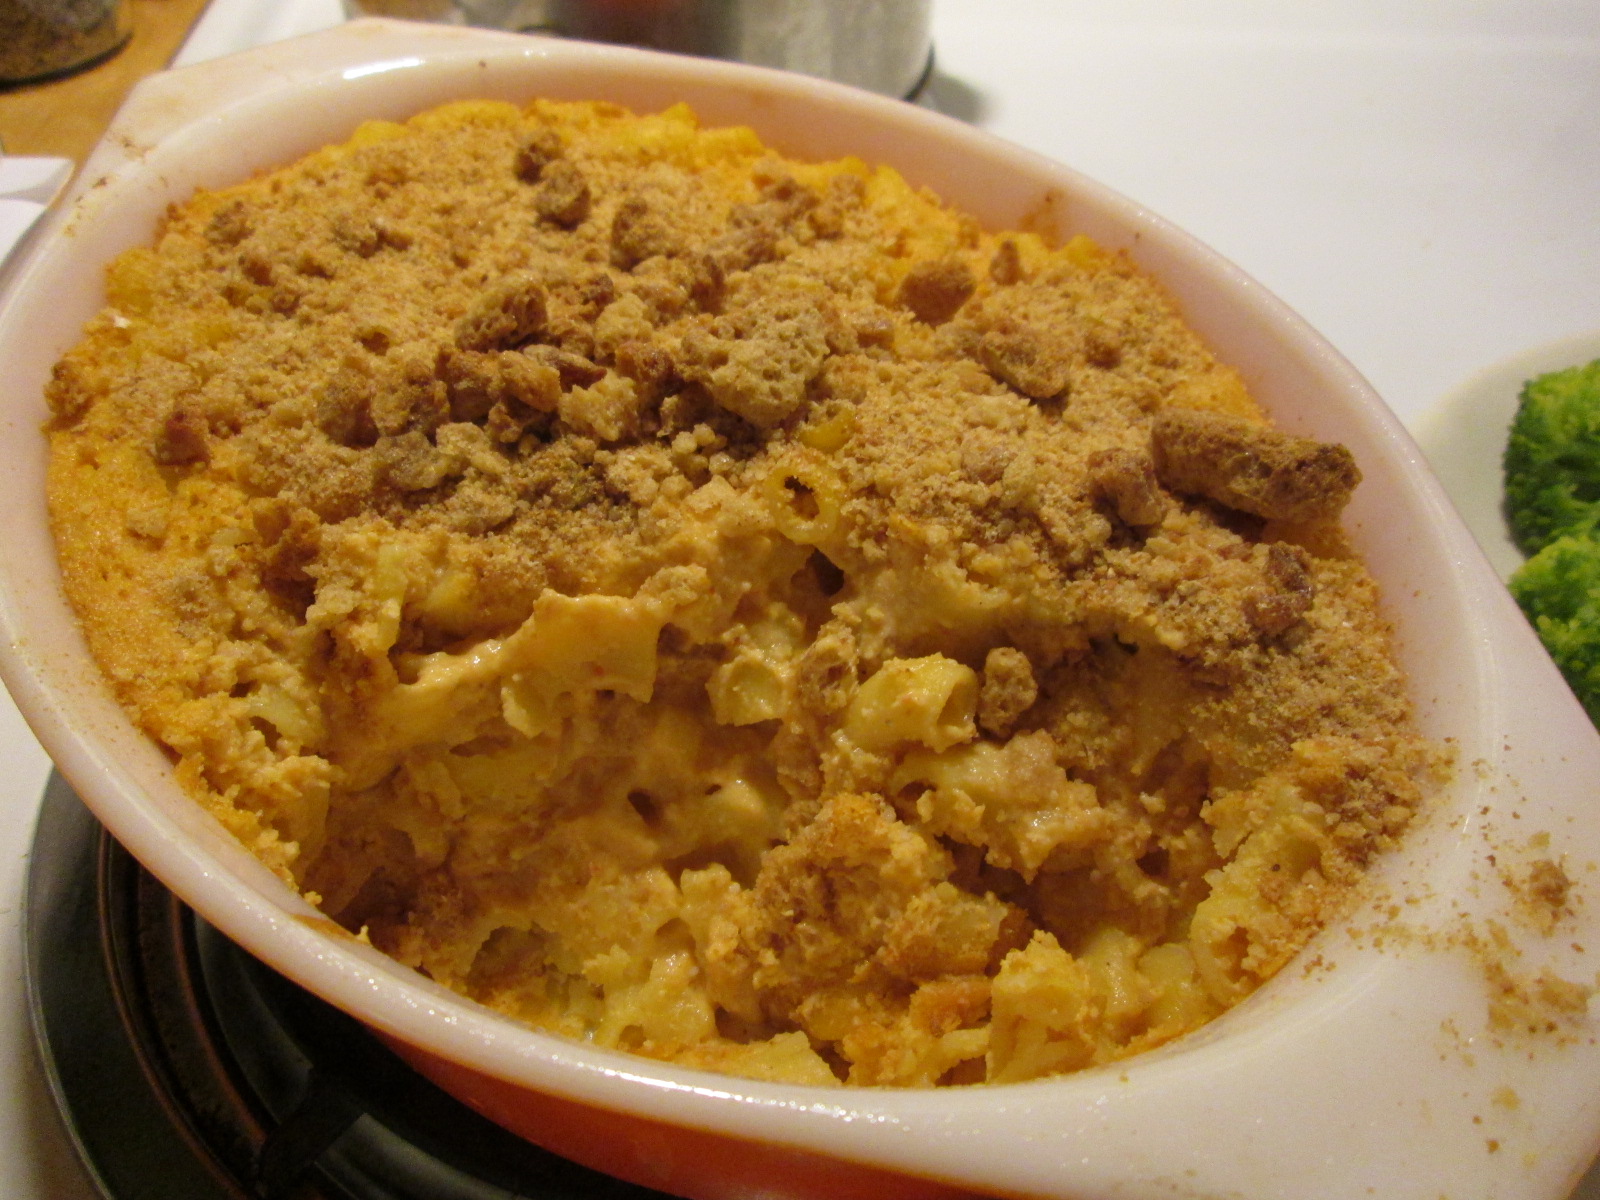
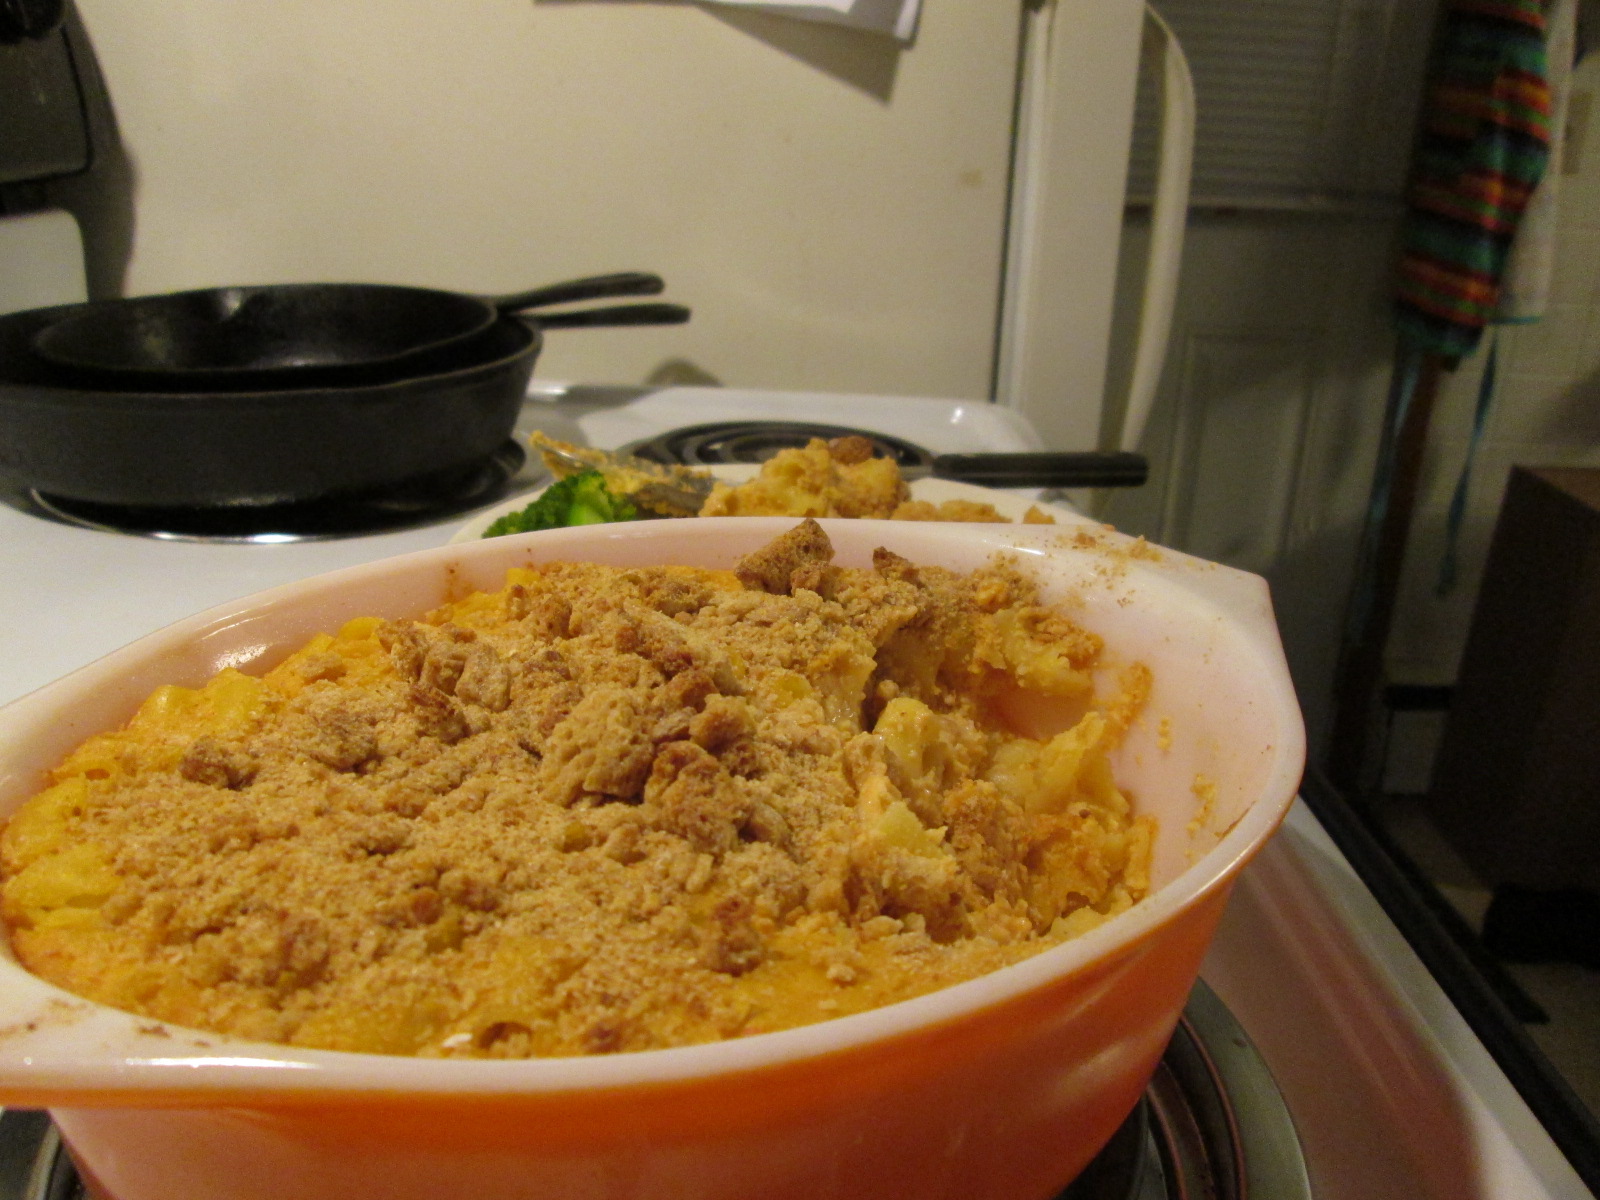
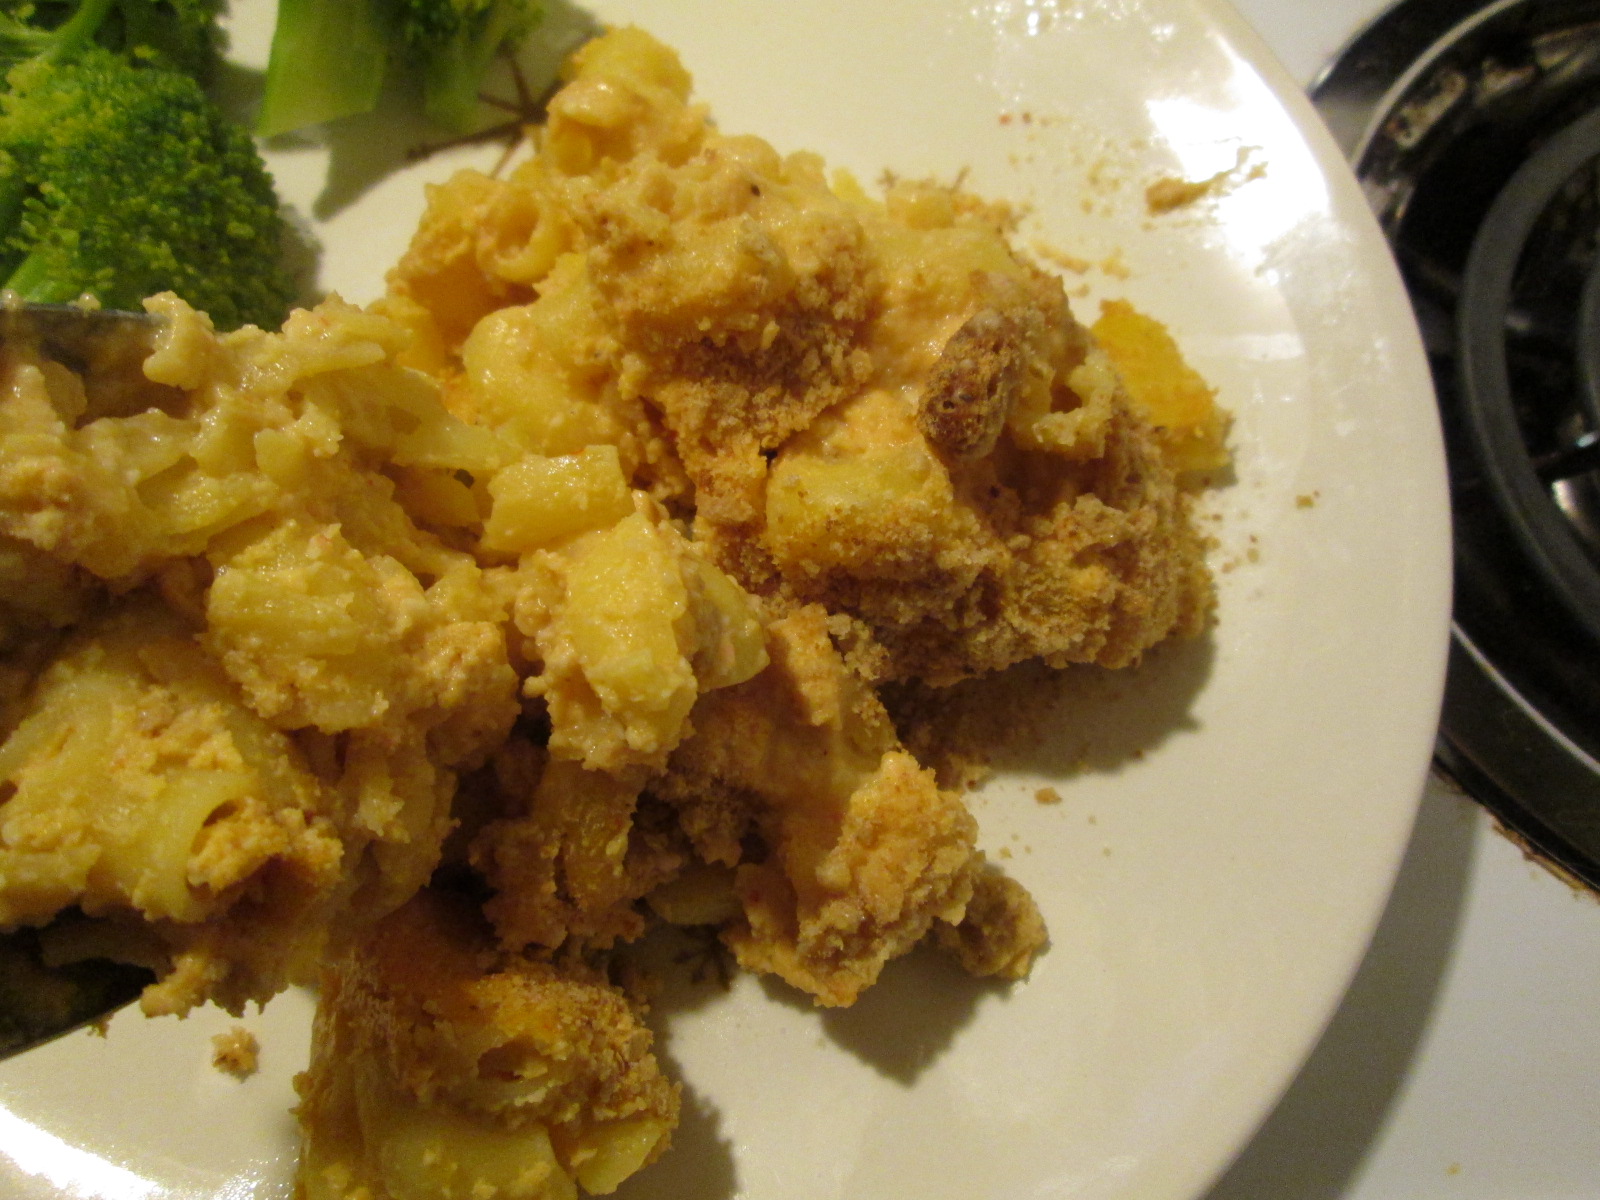
Close up Mmmmmm
Enjoy. I think this is best served cold, in the morning, for breakfast, with coffee. But your mileage may vary. I think plenty of people like their mac n’ cheez hot.
Notice: Trying to access array offset on value of type bool in /home/maryzahc/public_html/adultfoodallergies.com/wp-content/plugins/wp-ultimate-recipe/helpers/models/recipe.php on line 254