
I’ve been working on pizza crust, but I haven’t been able to get a nice yeasty dough that I can roll out that I like. The first attempt was as hard as a bathroom tile, although it tasted pretty good. Then I had the brainstorm that although I didn’t have a fresh dough recipe yet, I could make a deep dish pizza using the my Gluten-free Pie Crust recipe. So I did. And it was pretty good. For this recipe you’ll also need to make cashew cheese and Italian sausage a few days ahead. You’ll note that we do have an Italian sausage recipe already. However, I came up with it before the corn allergy, so if you have a corn allergy, substitute the canola for another safe-for-you oil. I used the basic cashew cheese from Miyoko Schinner’s Artisan Vegan Cheese but I used my home brewed kombucha instead of rejuvelac to culture it.
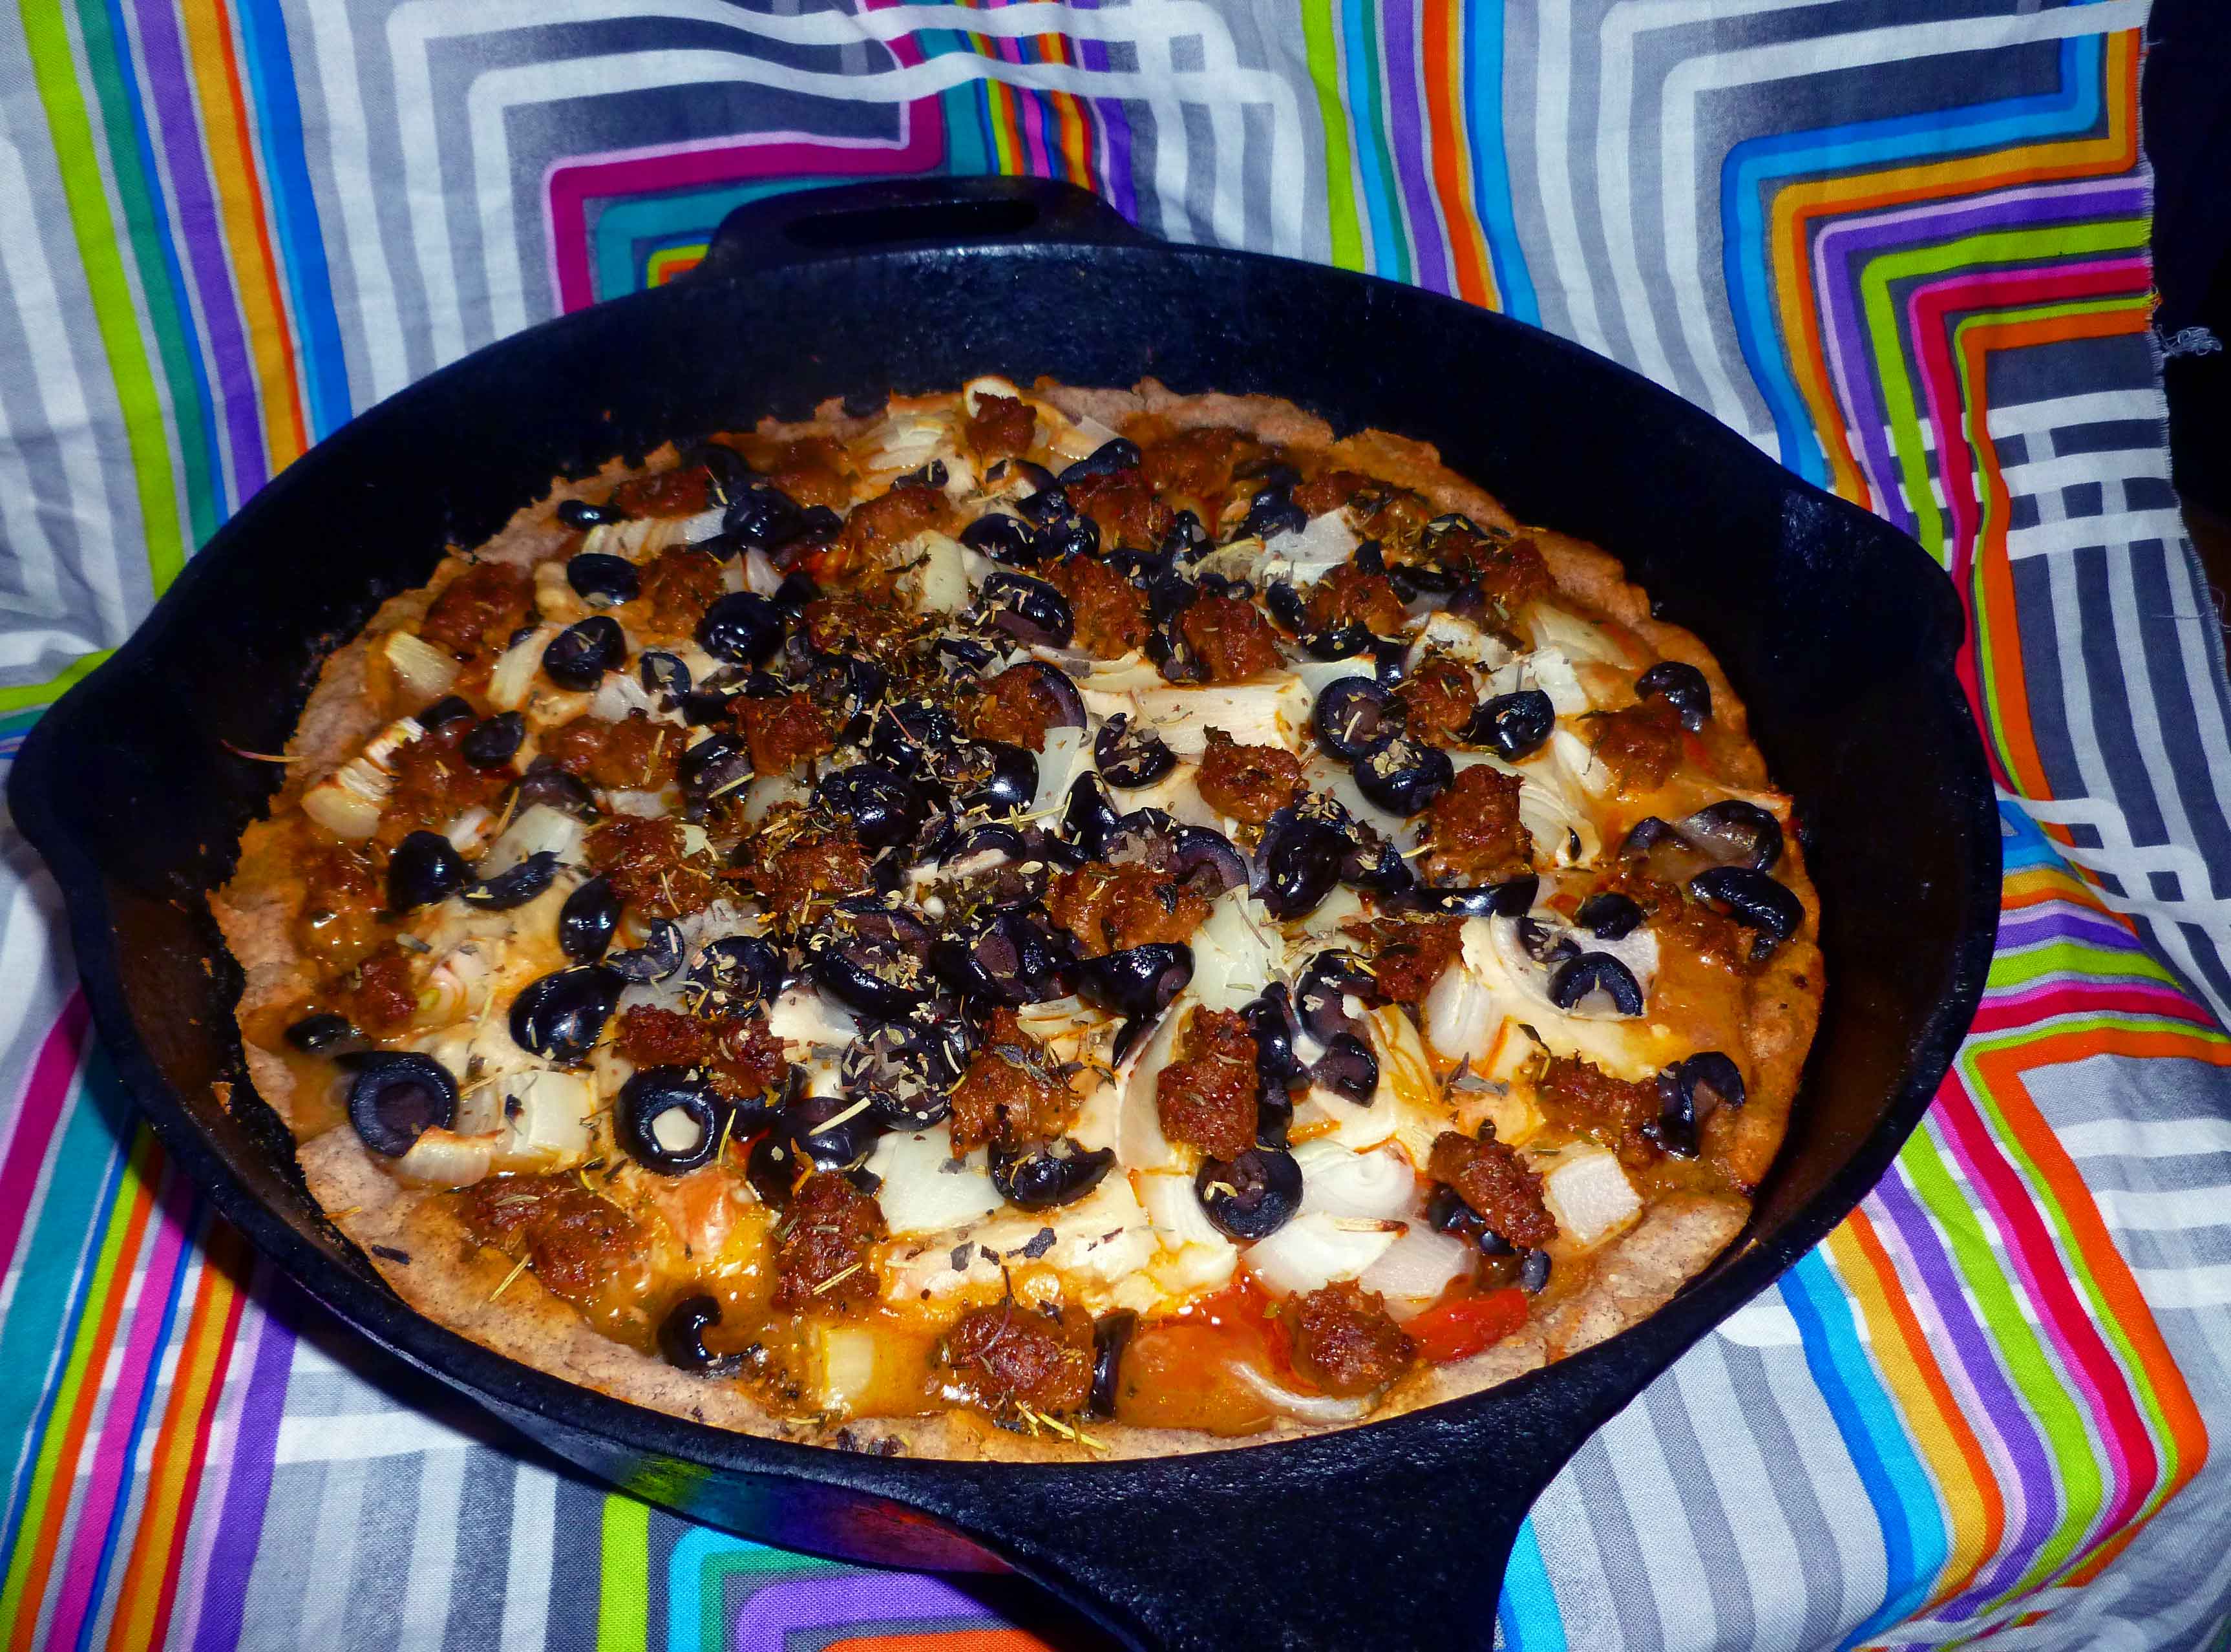
Deep Dish Cast Iron Skillet Pizza
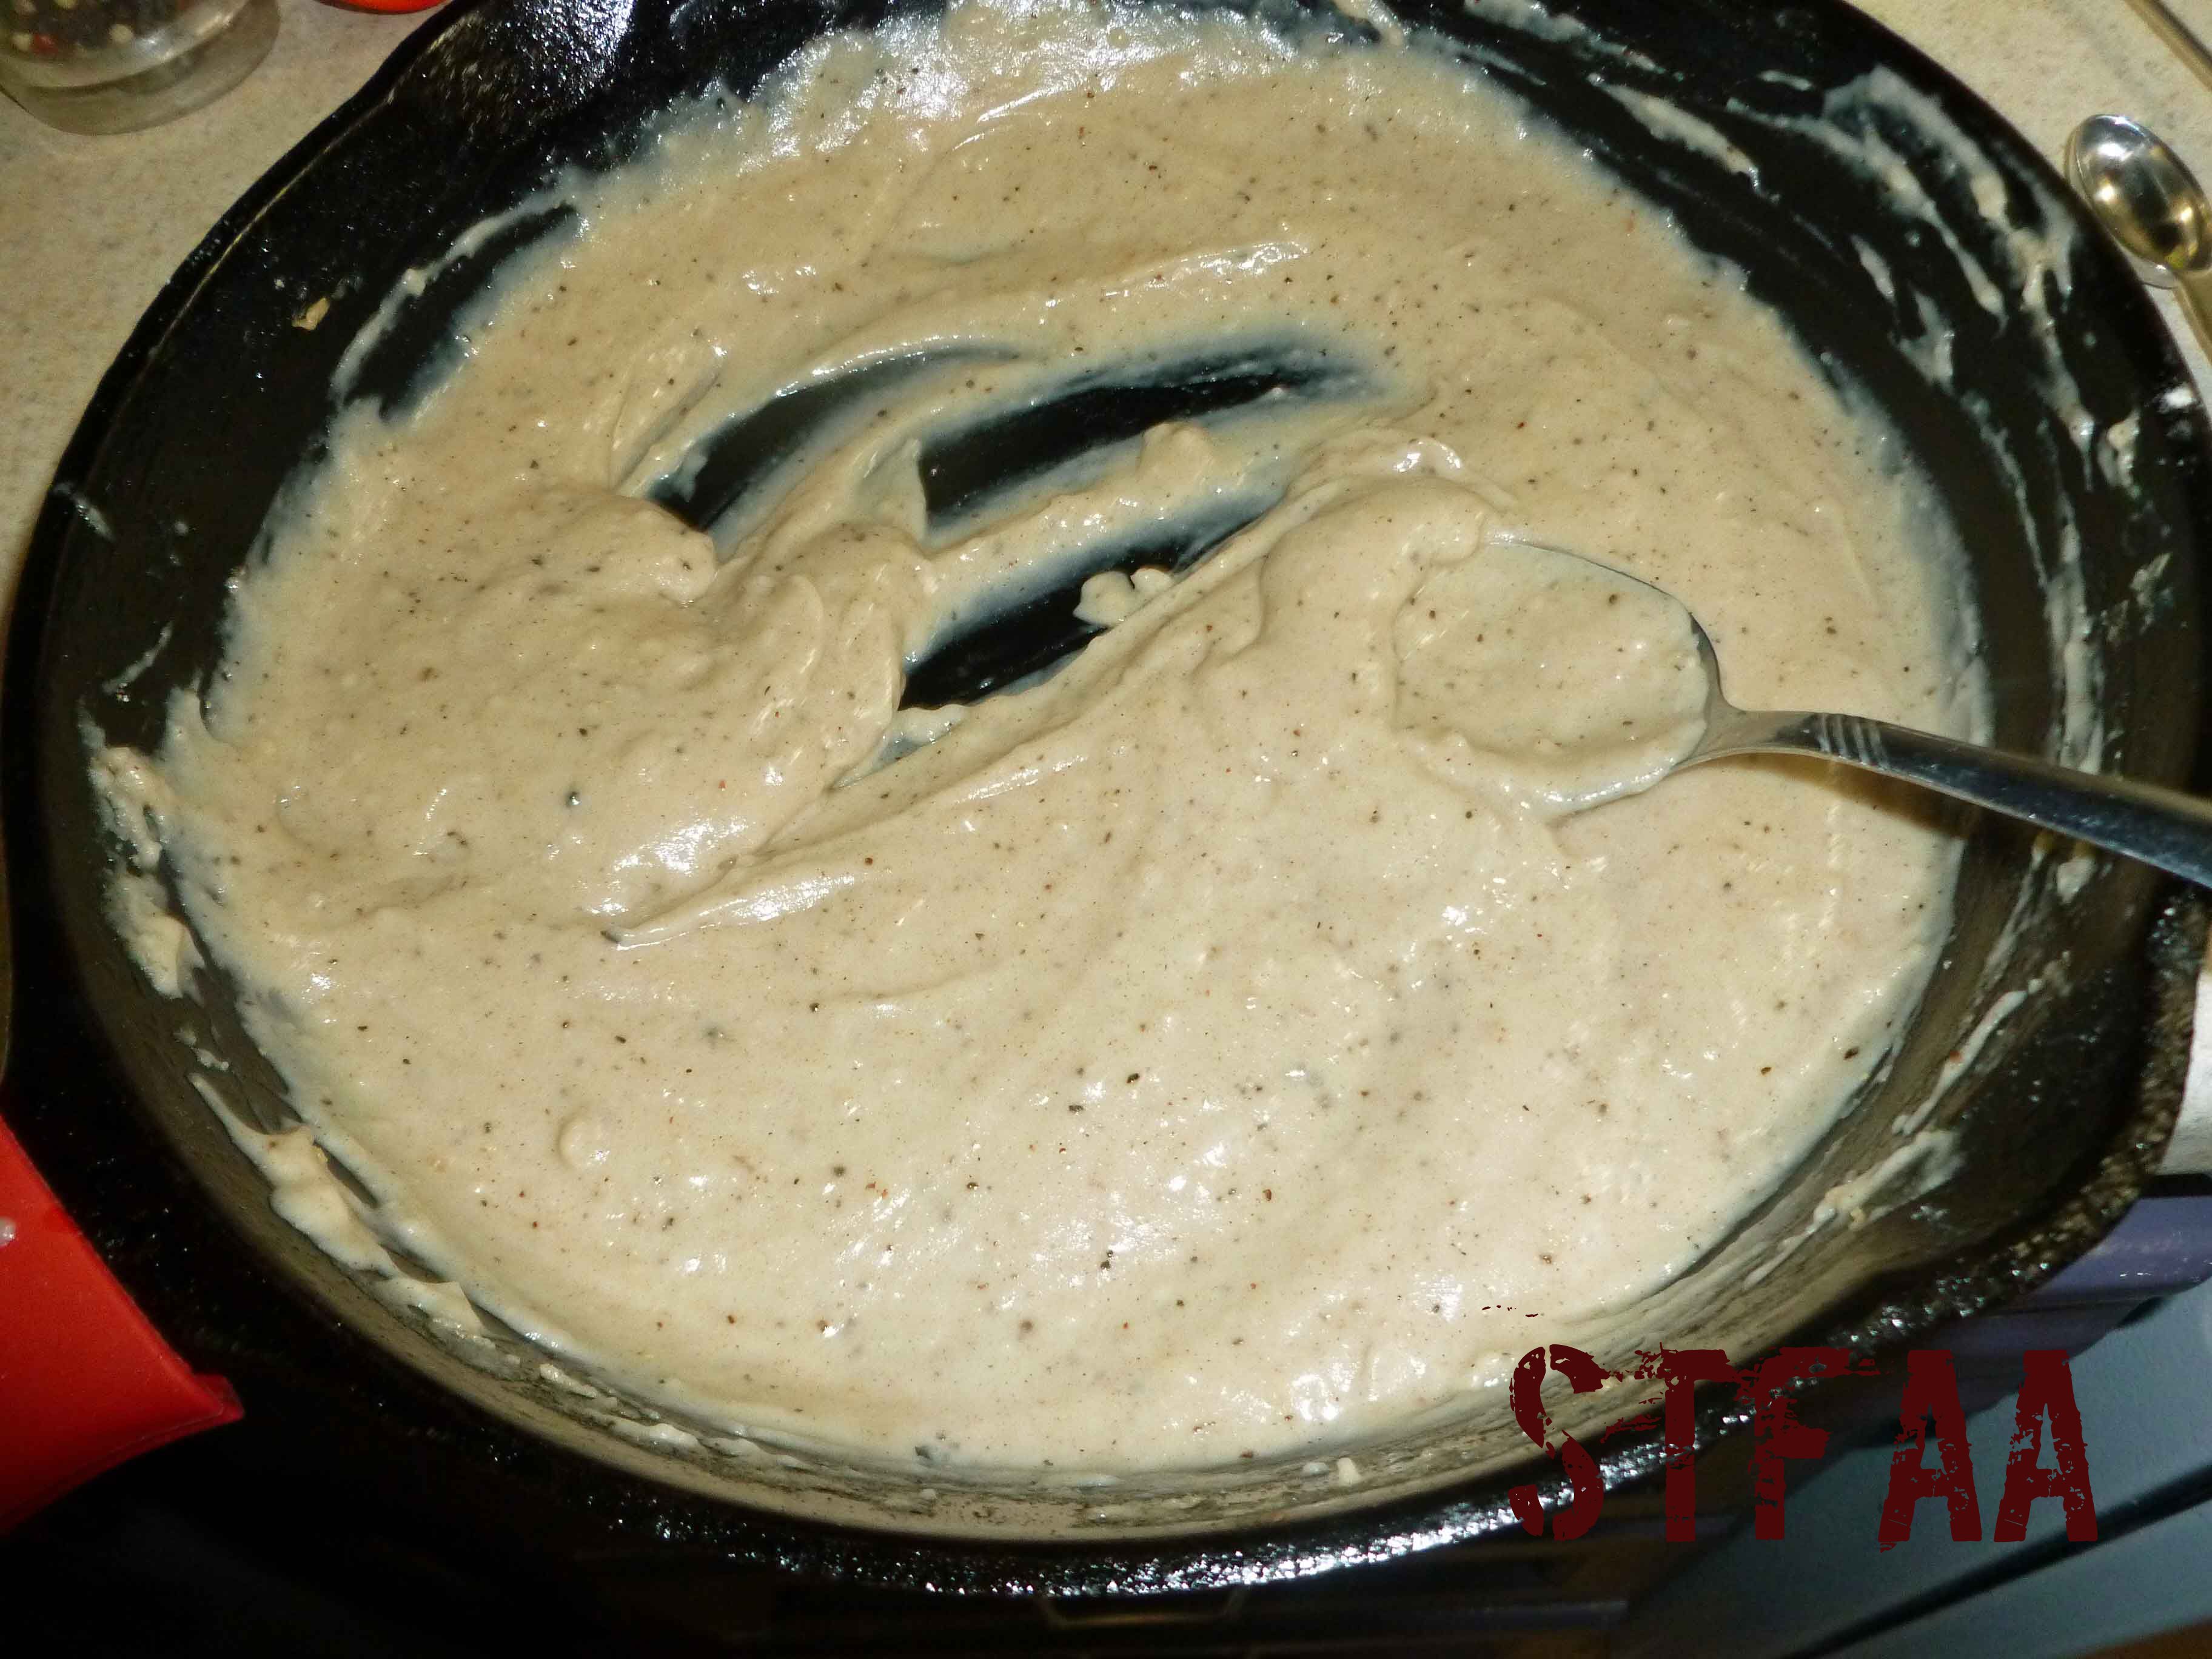
Cashew Cheese:
You’ll use about half of the batch for the pizza. If you don’t want leftovers, divide the recipe in half.
- 2 cups of raw cashews, soaked in water to cover overnight and drained
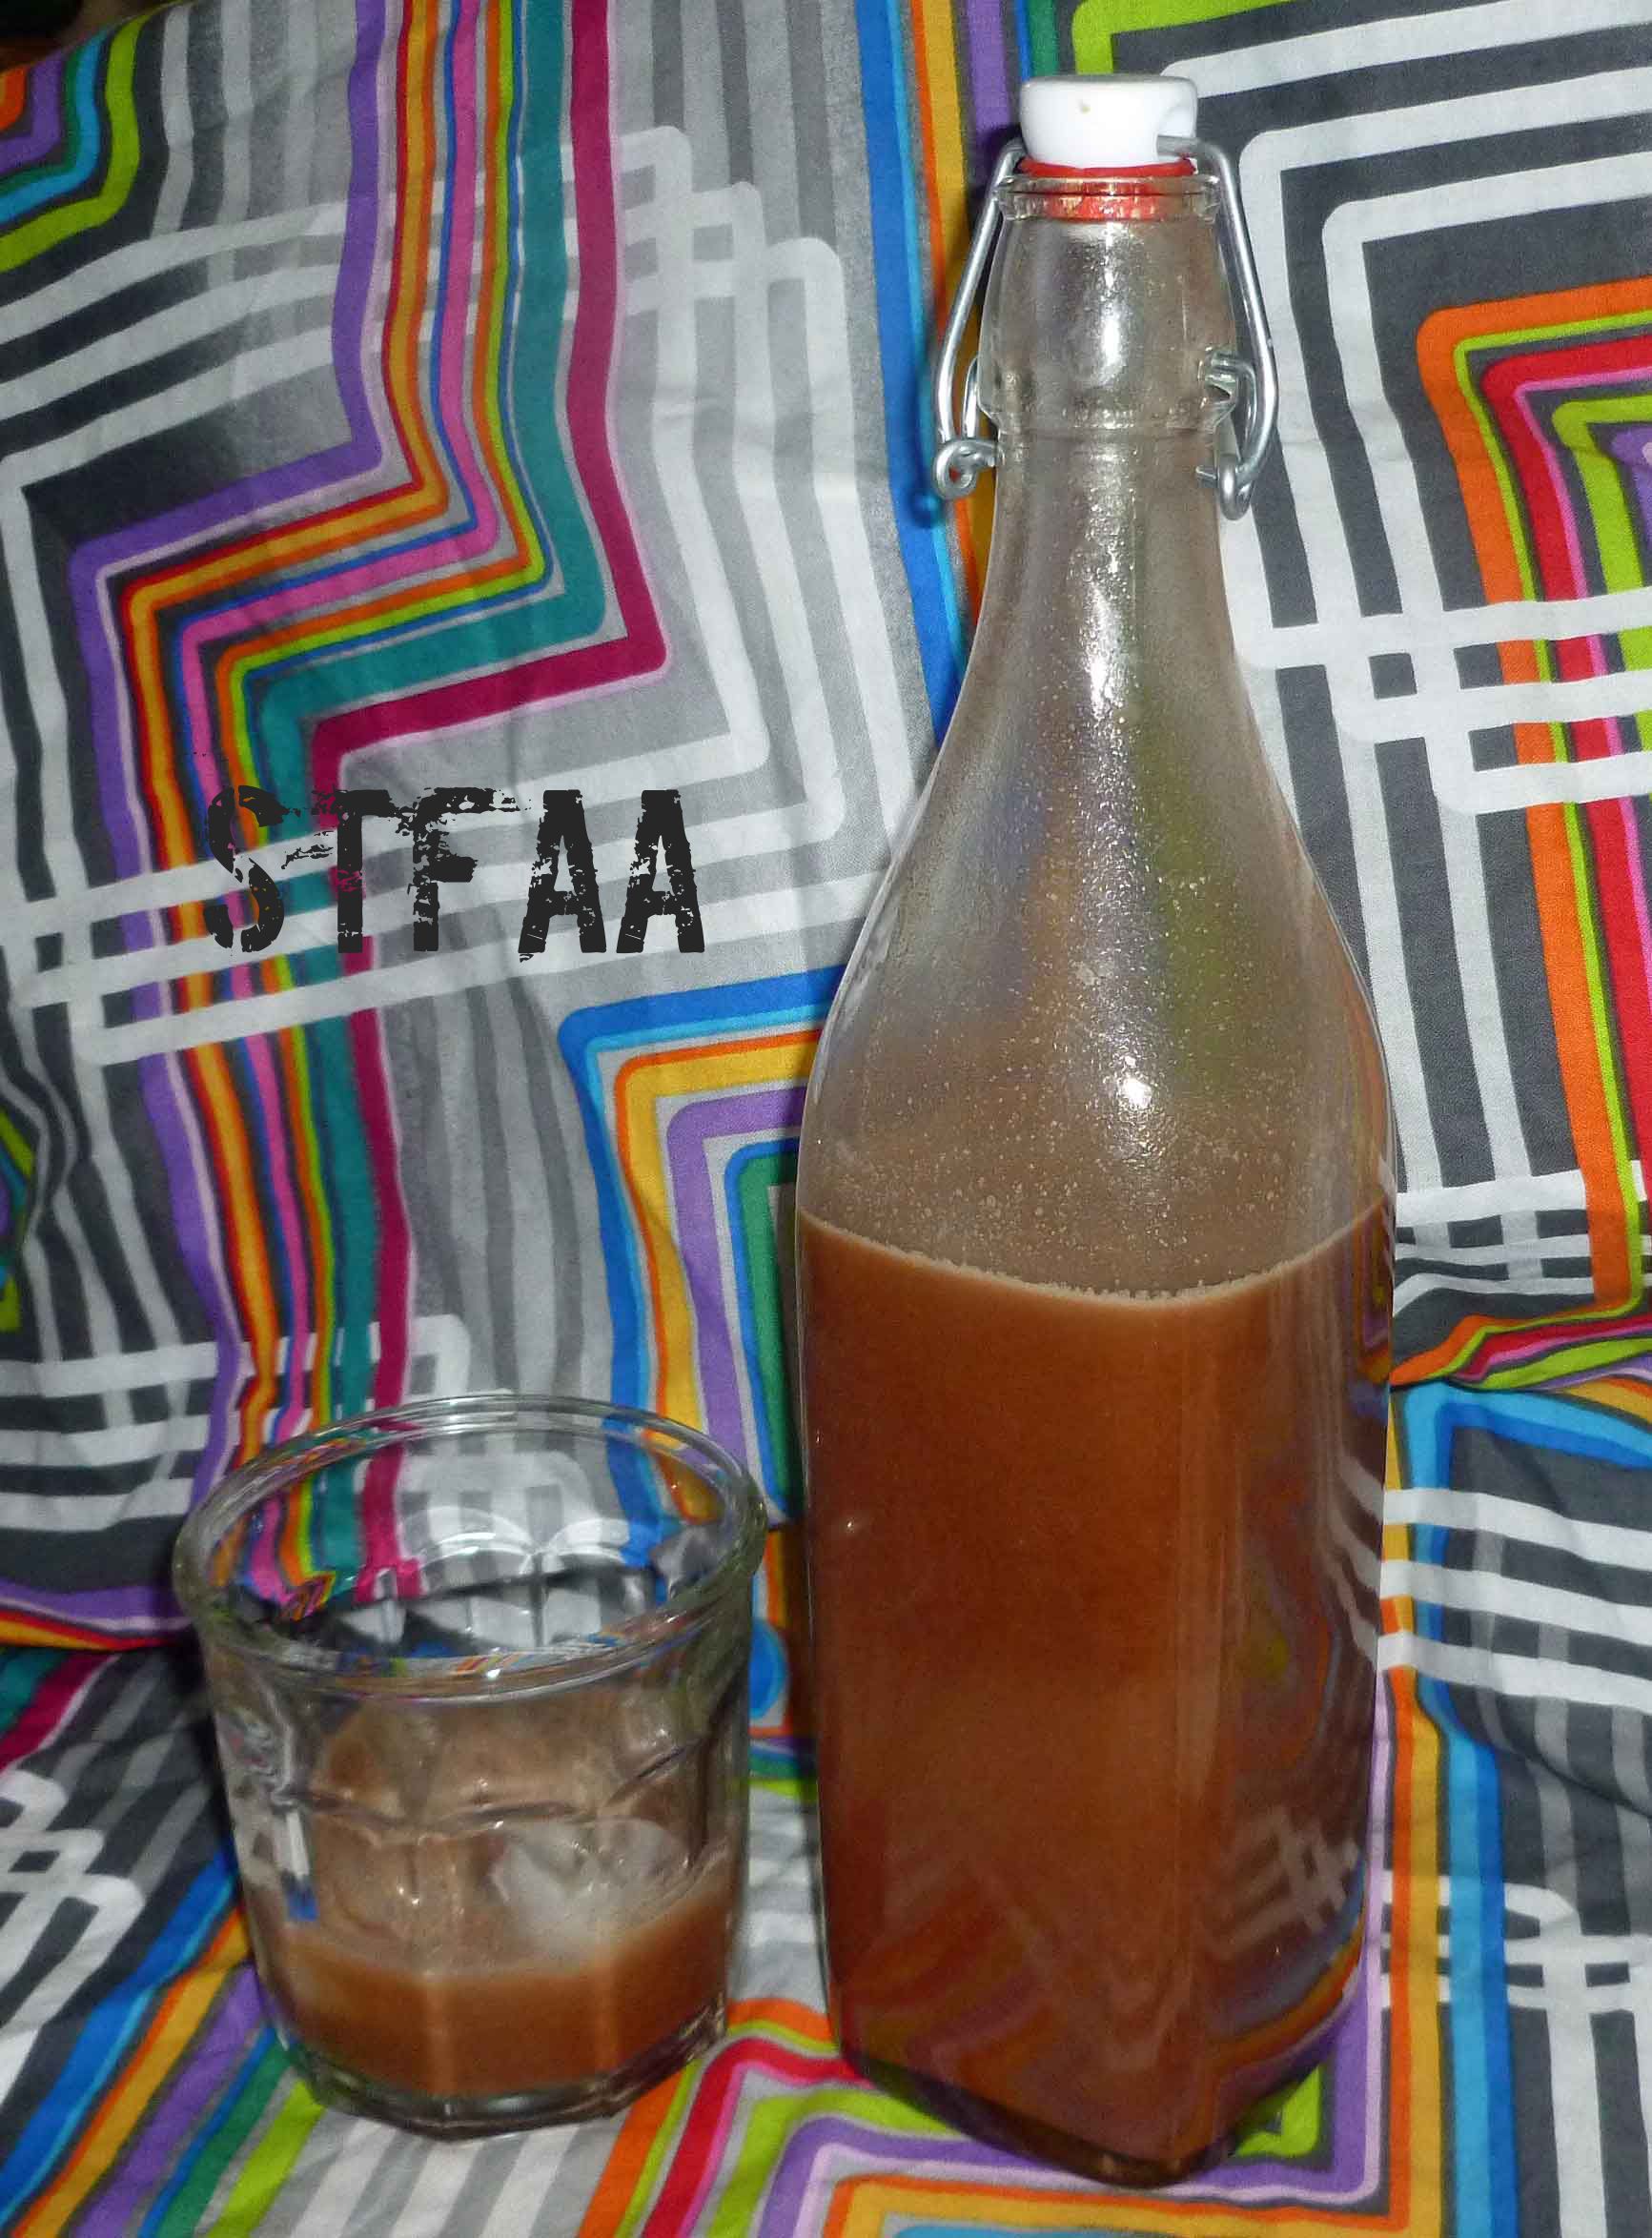
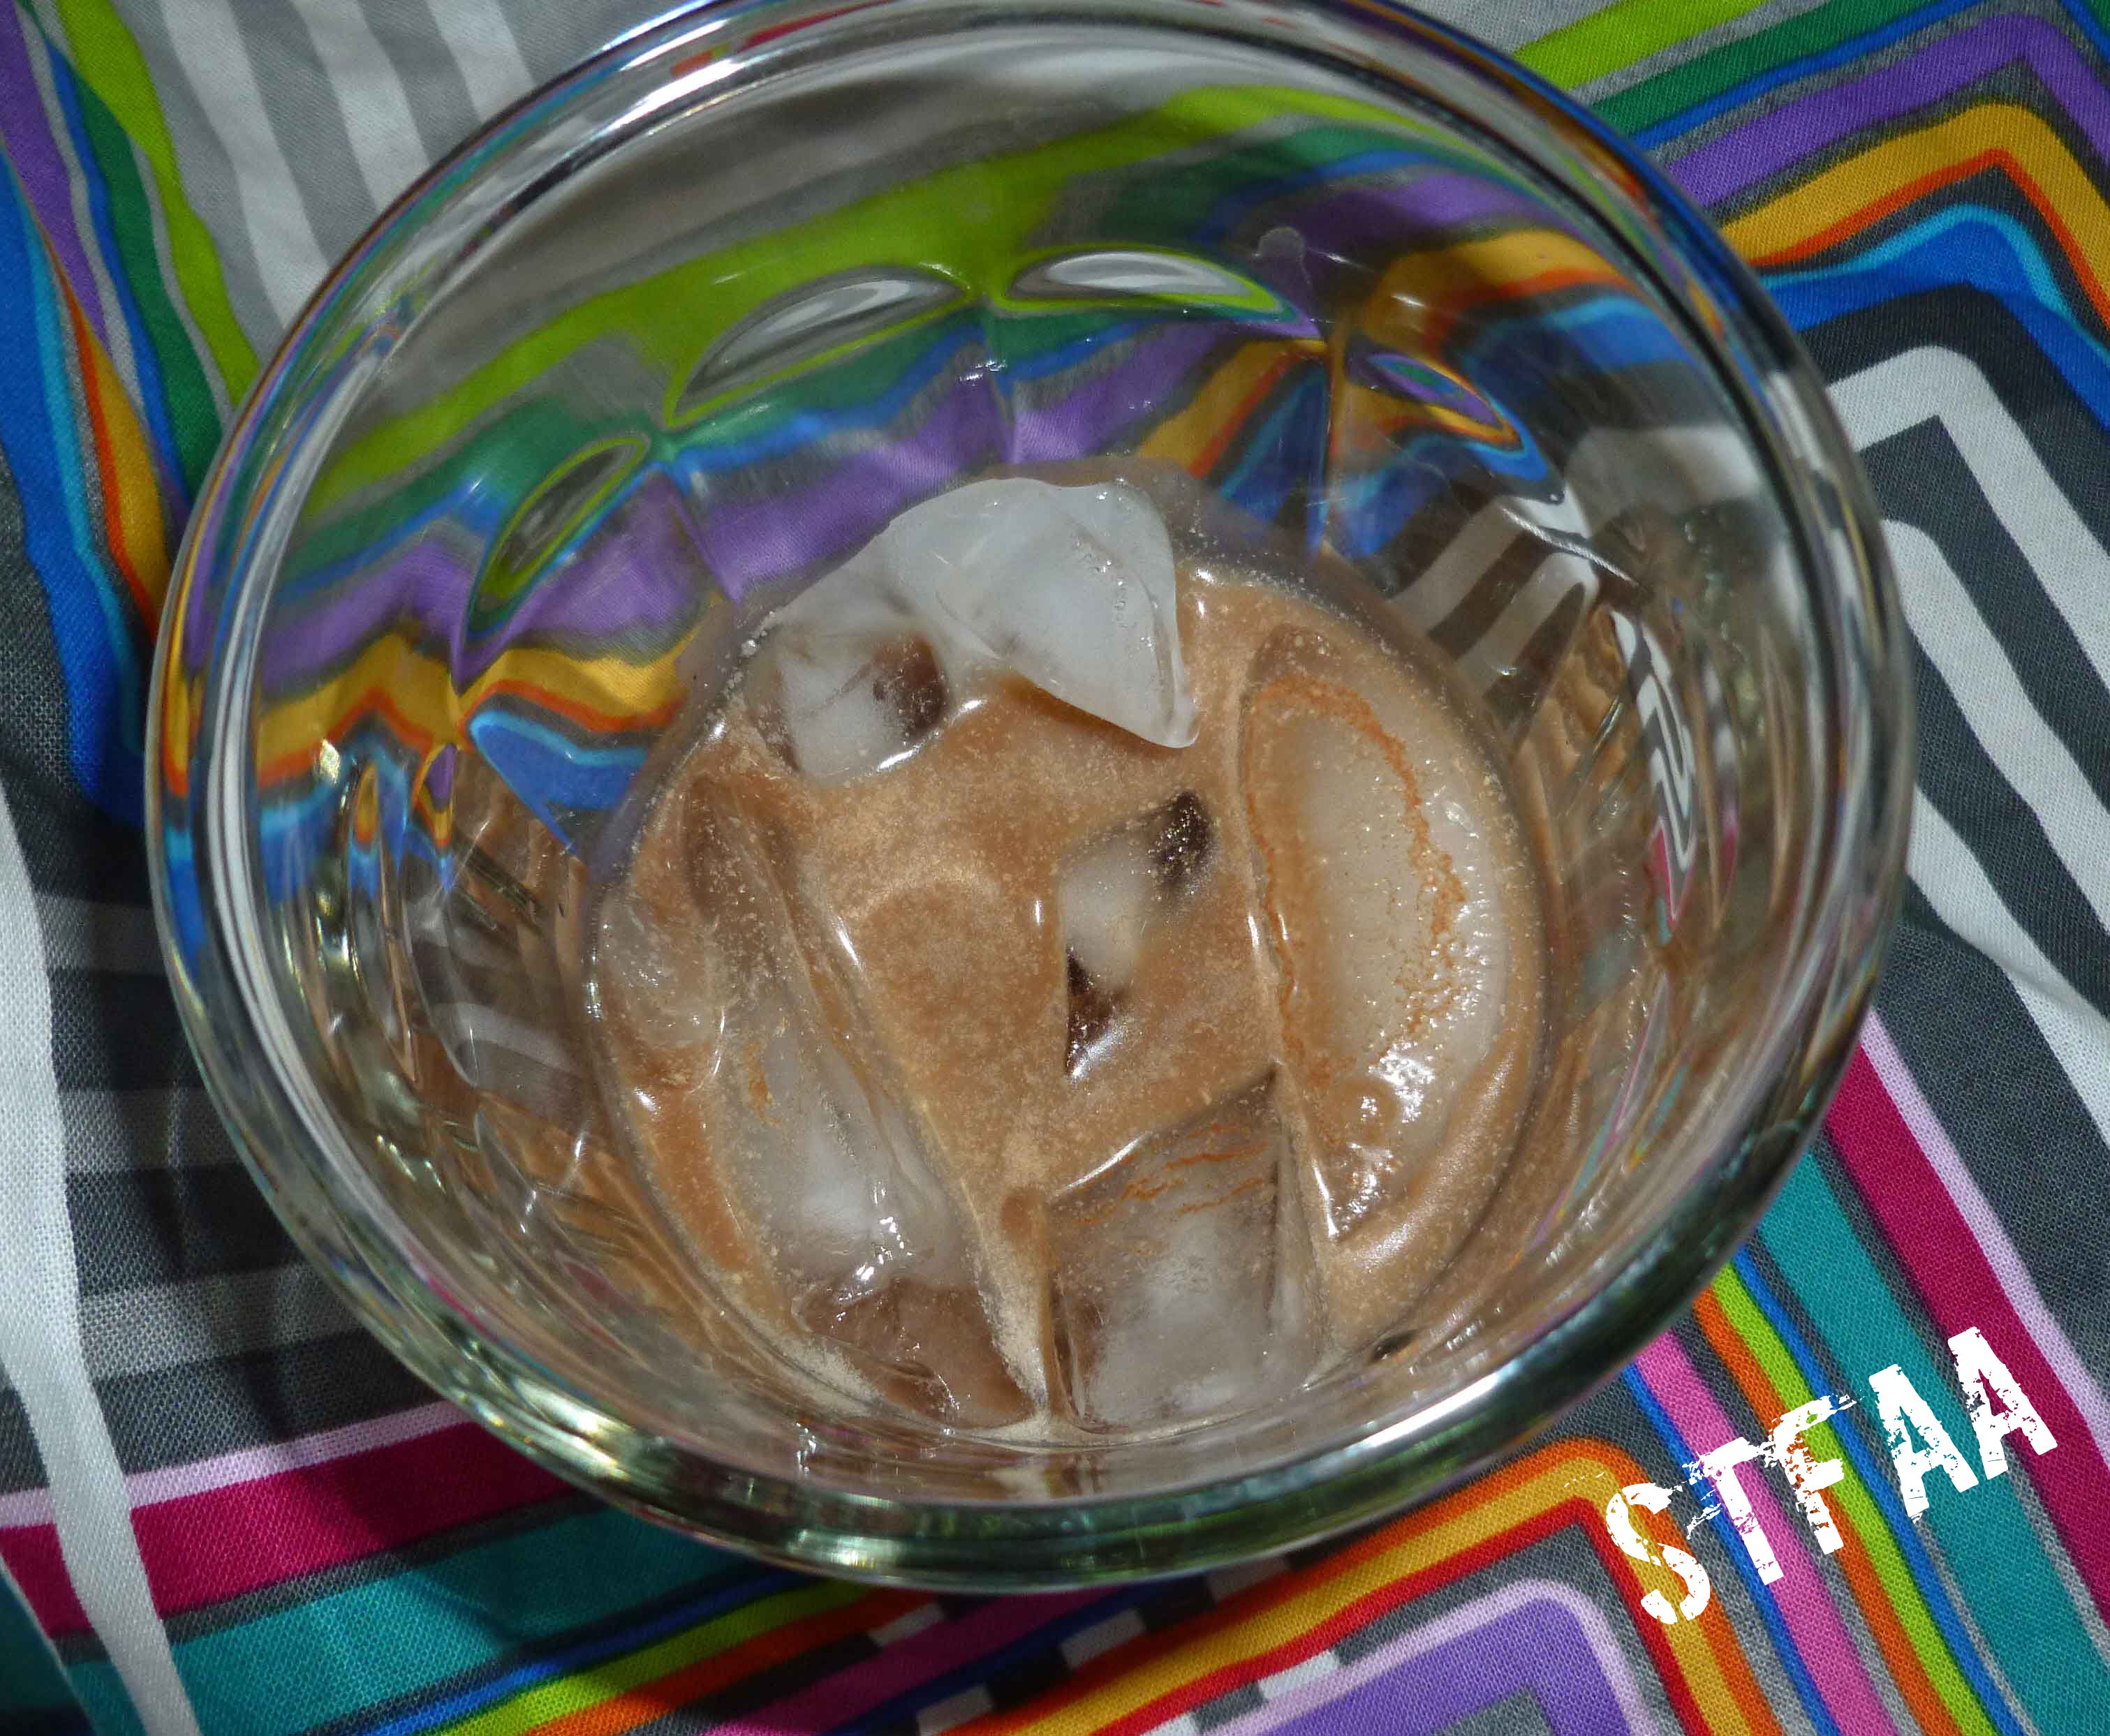
- 1/2 cup to 3/4 cups of kombucha
- pinch of salt
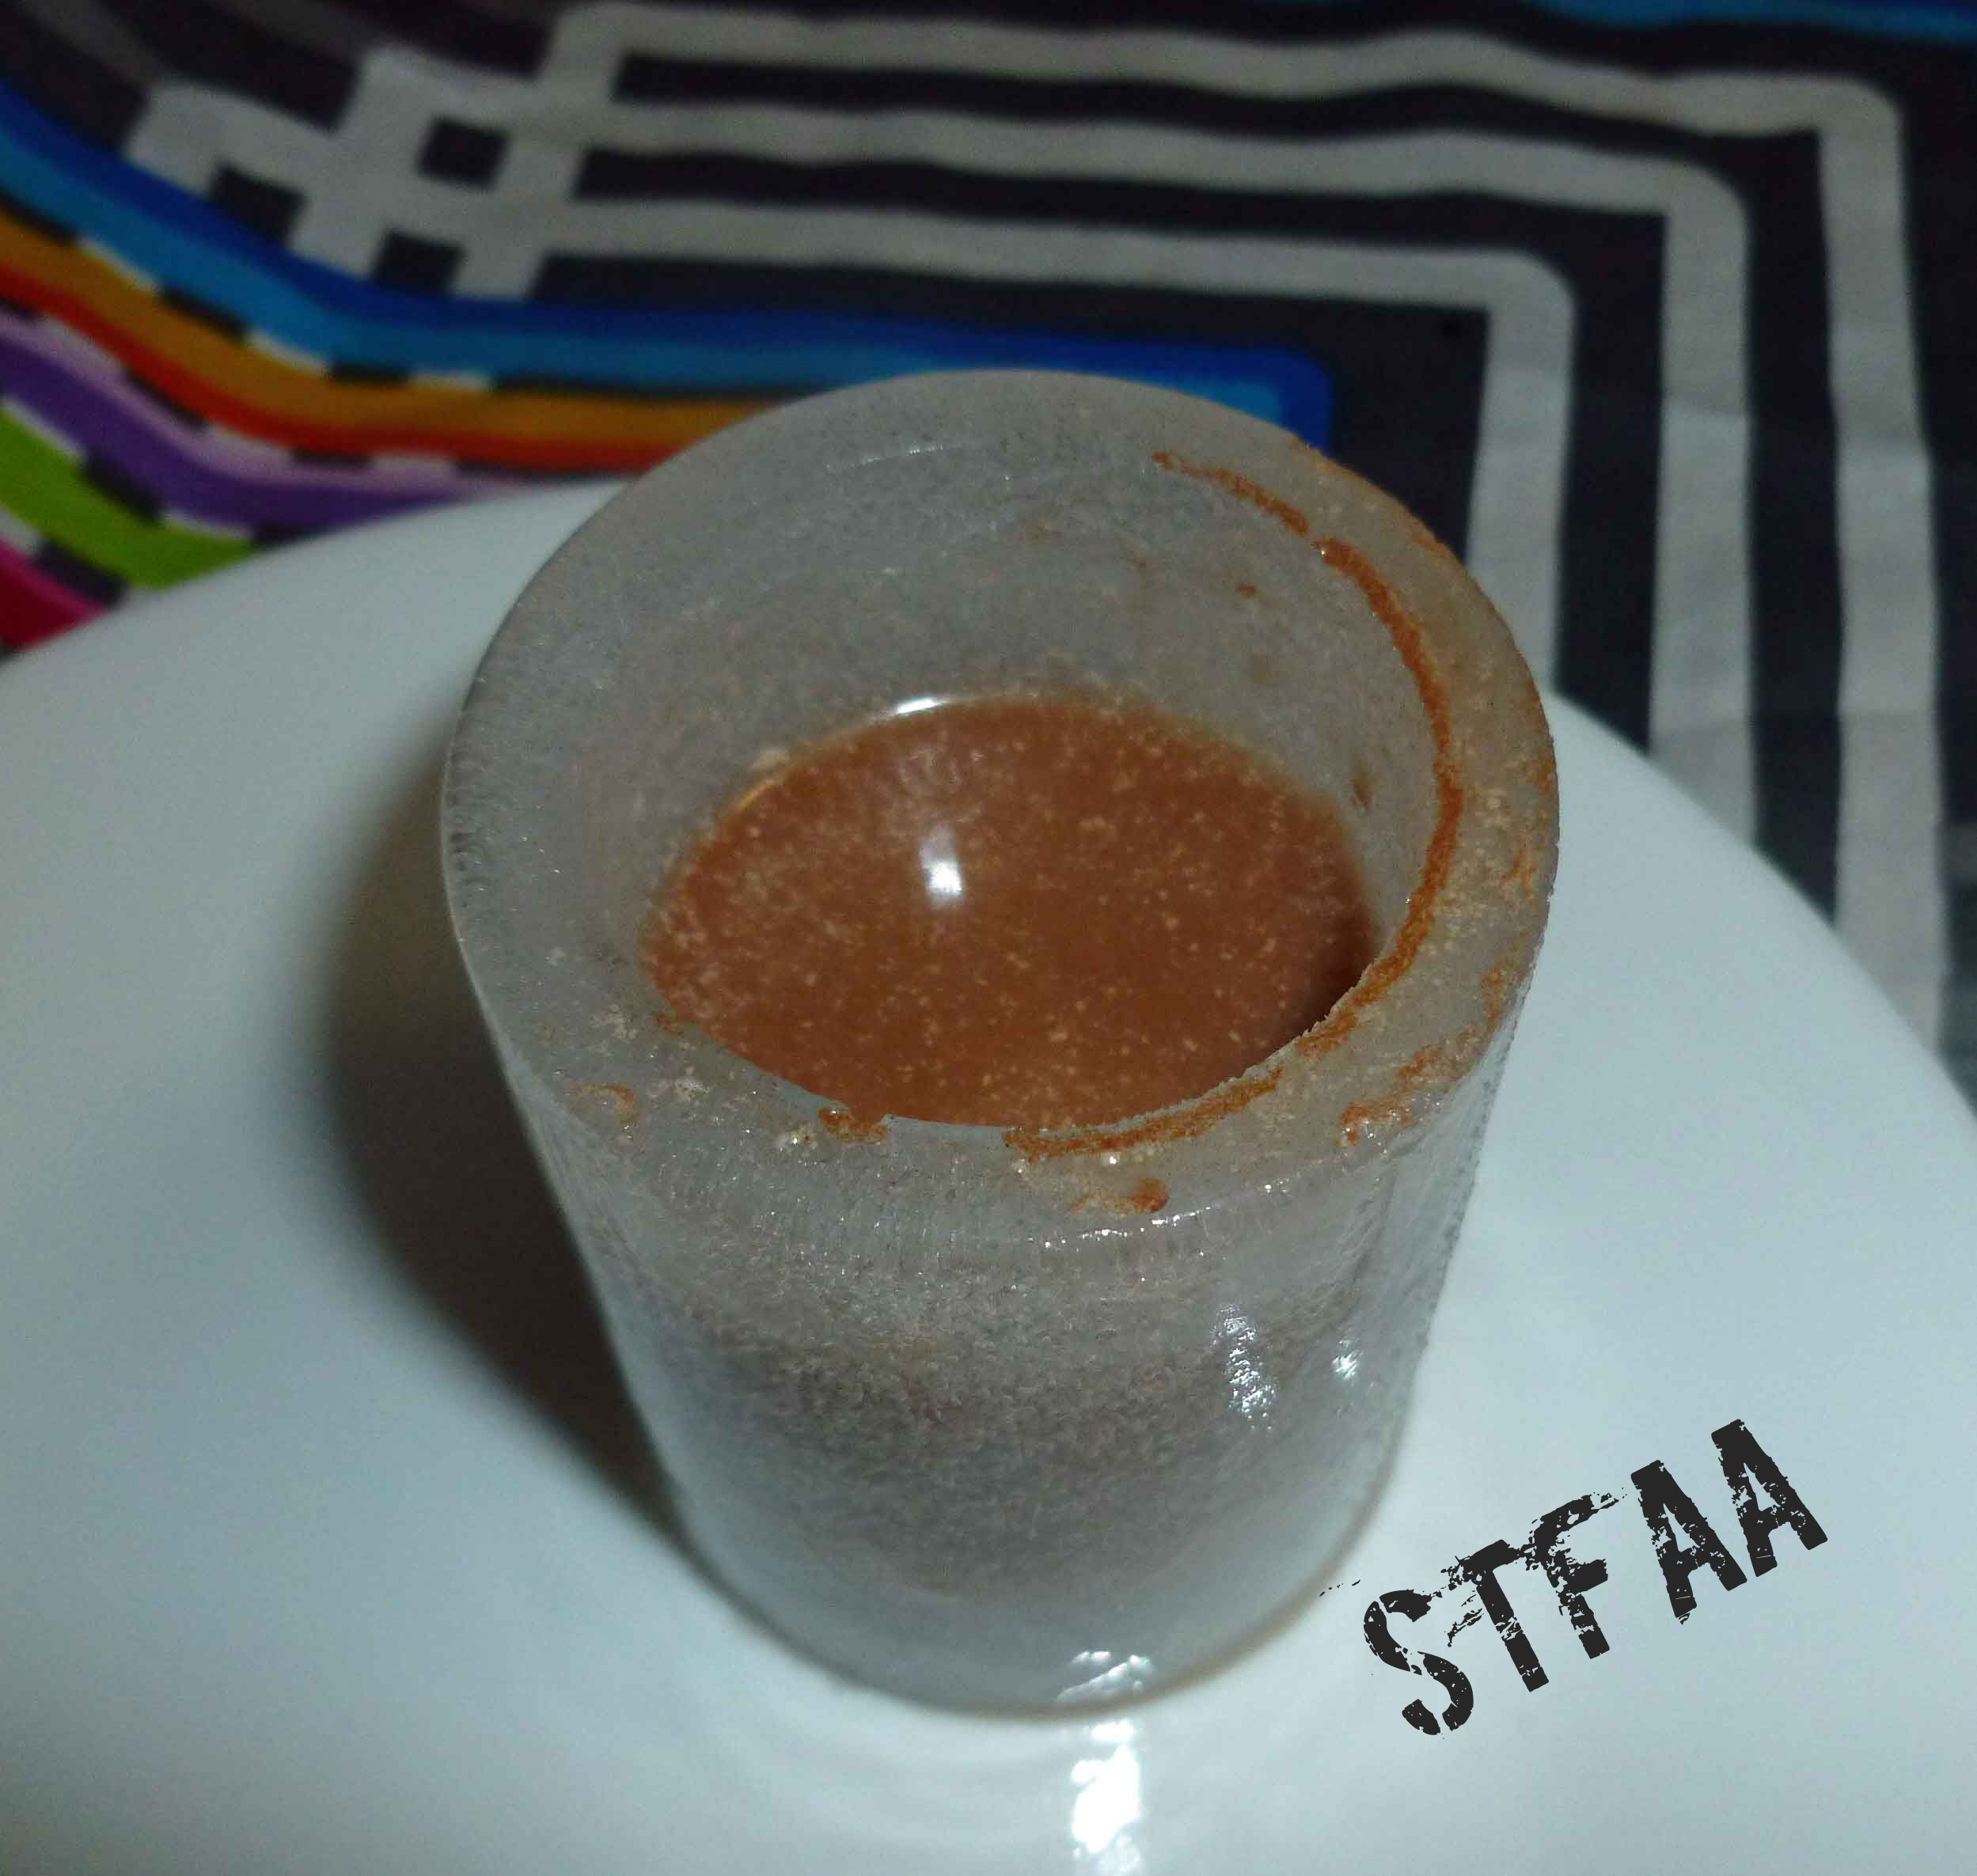
Put the cashews and salt in the blender. Turn on the blender and add enough kombucha through the opening in the blender lid to process the cashews. Blend until smooth and creamy, scraping down the sides as needed.
Empty the mixture into a glass bowl or container, cover it, and let it rest at room temperature for 8 to 36 hours, depending on your desired level of sharpness. It’ll thicken up as it cultures. I did 36 hours the first time and it was too sharp. Eight hours was too sweet, so taste it as it cultures to gauge your preference. Once it’s ready, cover it, and store it in the refrigerator for up to two weeks.
Pizza:
- 1/2 of a batch of the Italian Sausage in our Hot Italian Sausage Burgers with Peppers and Onions recipe (remember, use safe oil)
- 1 batch of our Gluten-free Pie Crust
- 2 cups of safe-for-you whole tomatoes, drained (I use my home canned tomatoes), or a safe-for-you marinara sauce
- 1 Tablespoon of Italian Seasoning mix (or a bit of oregano, basil, marjoram, sage, rosemary, and thyme to add up to 1 Tablespoon)
- 1/2 of a batch of the cashew cheese as made above
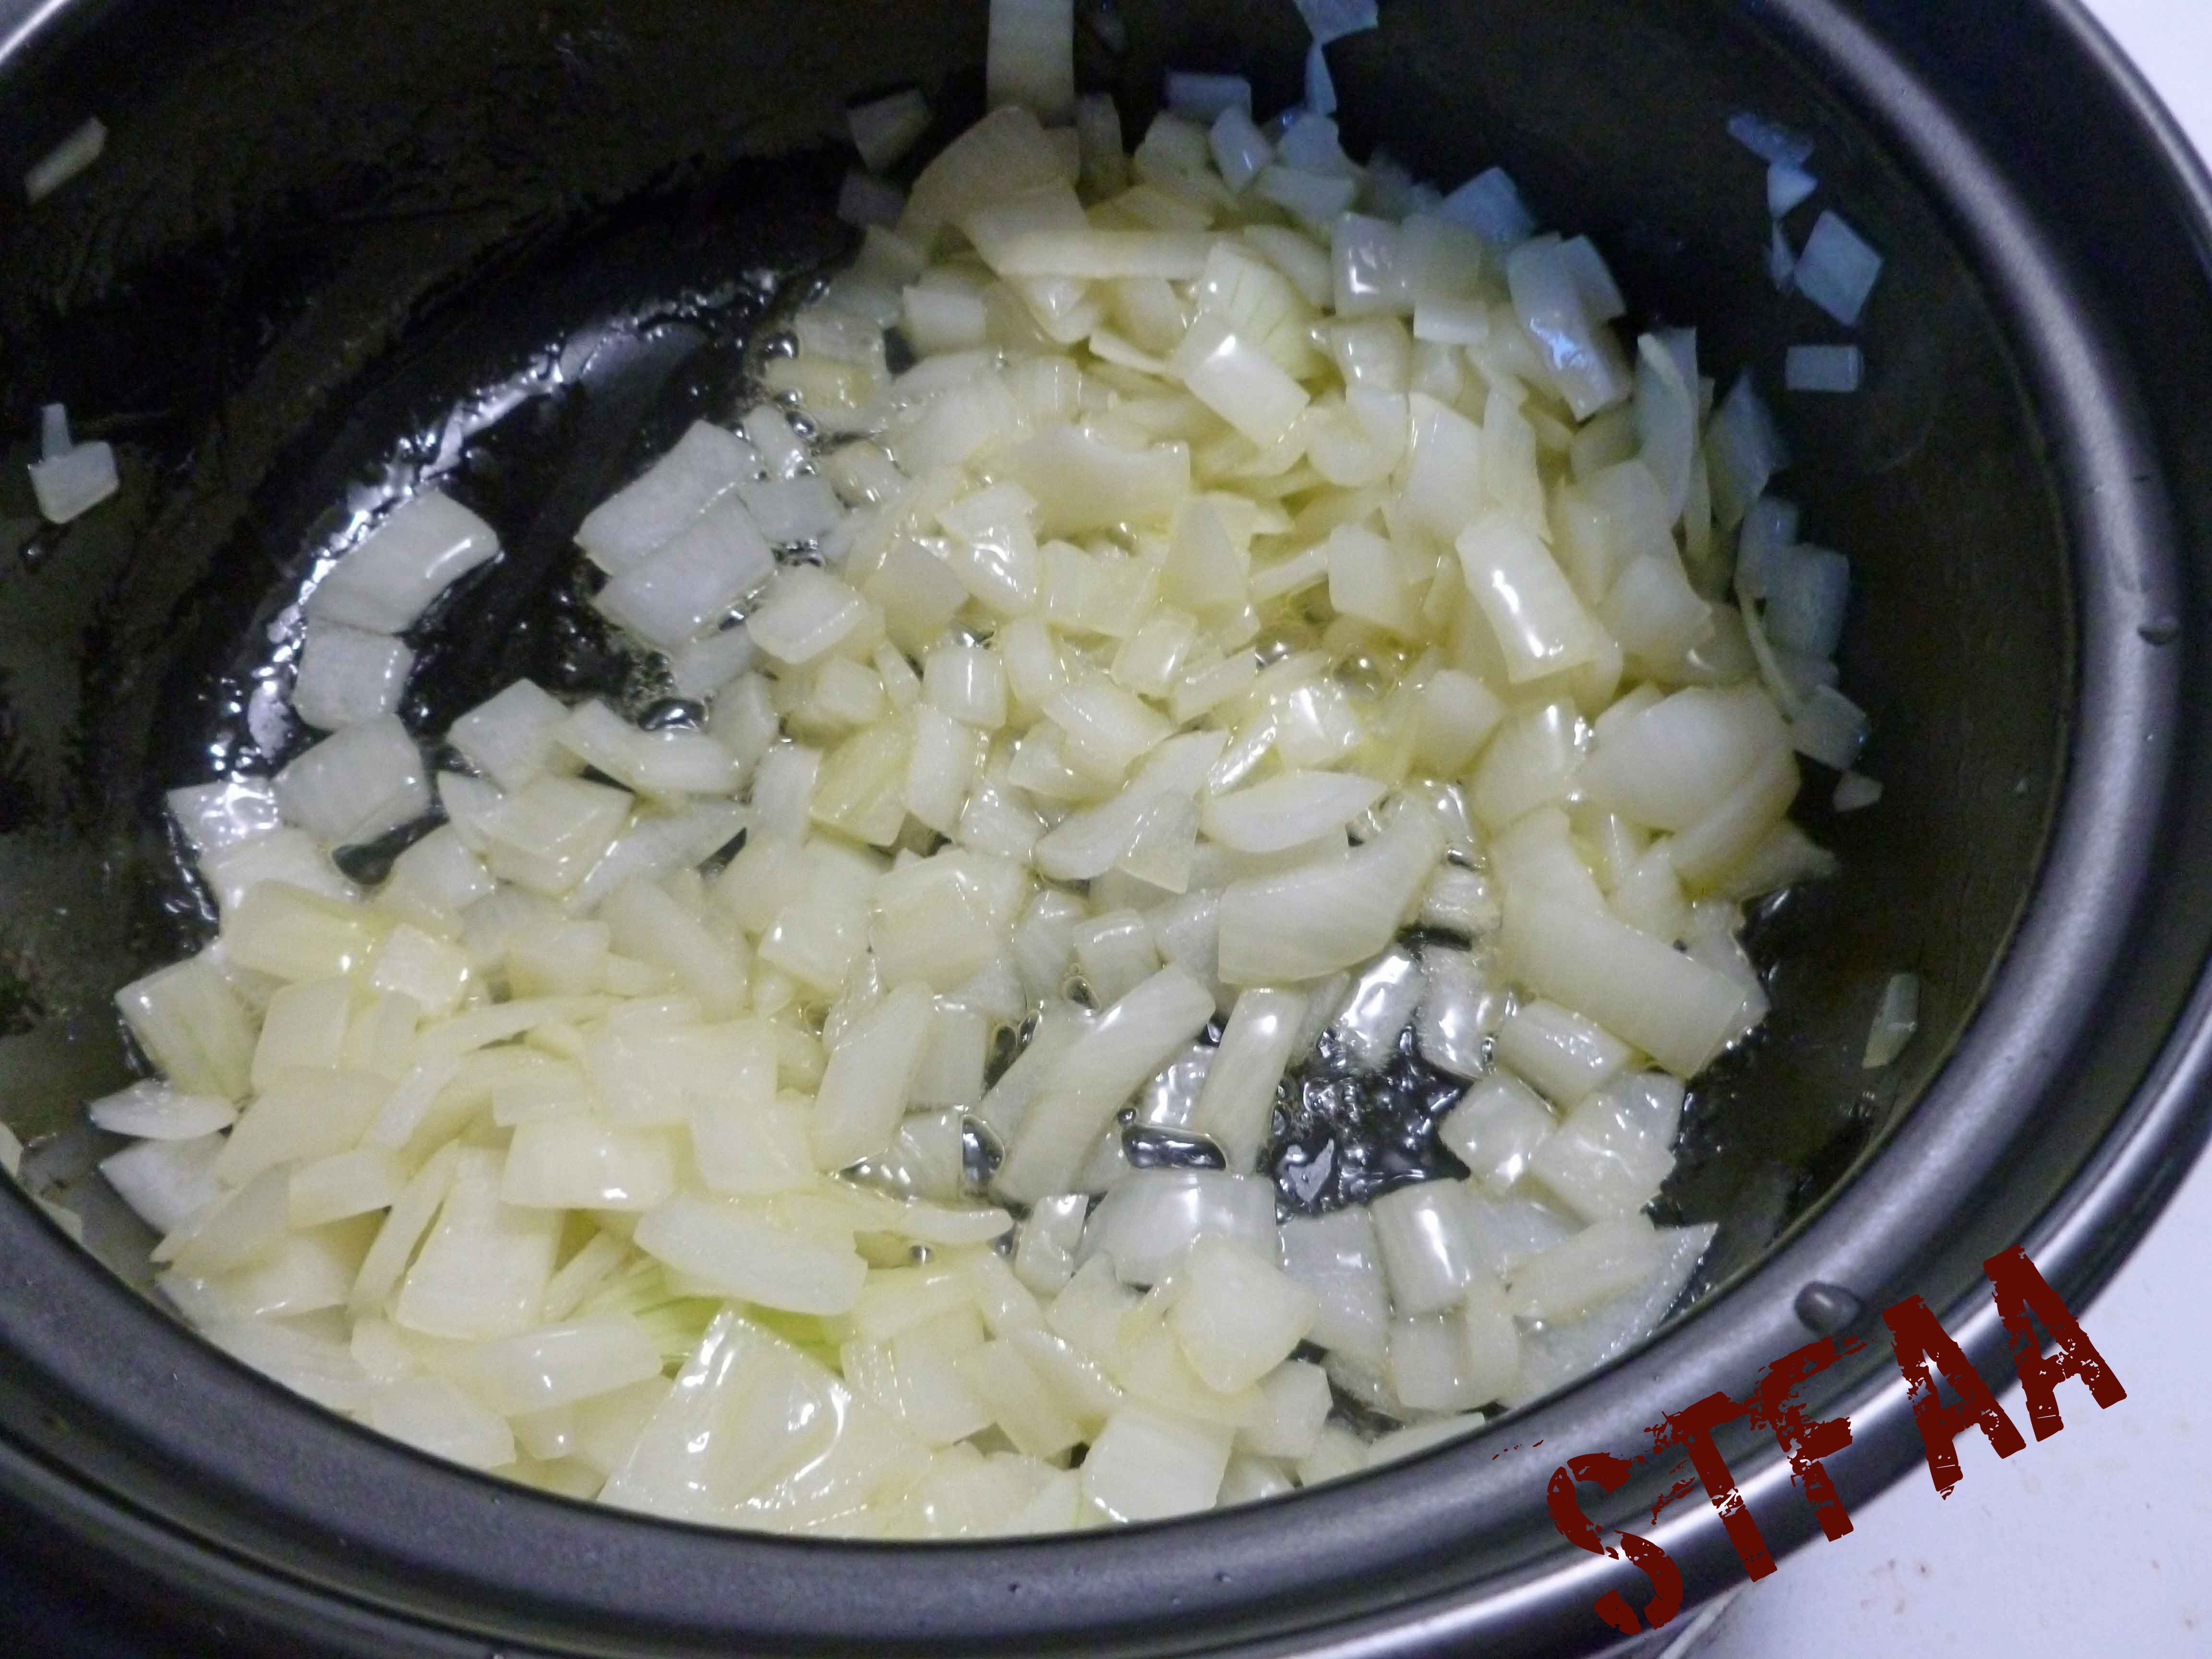
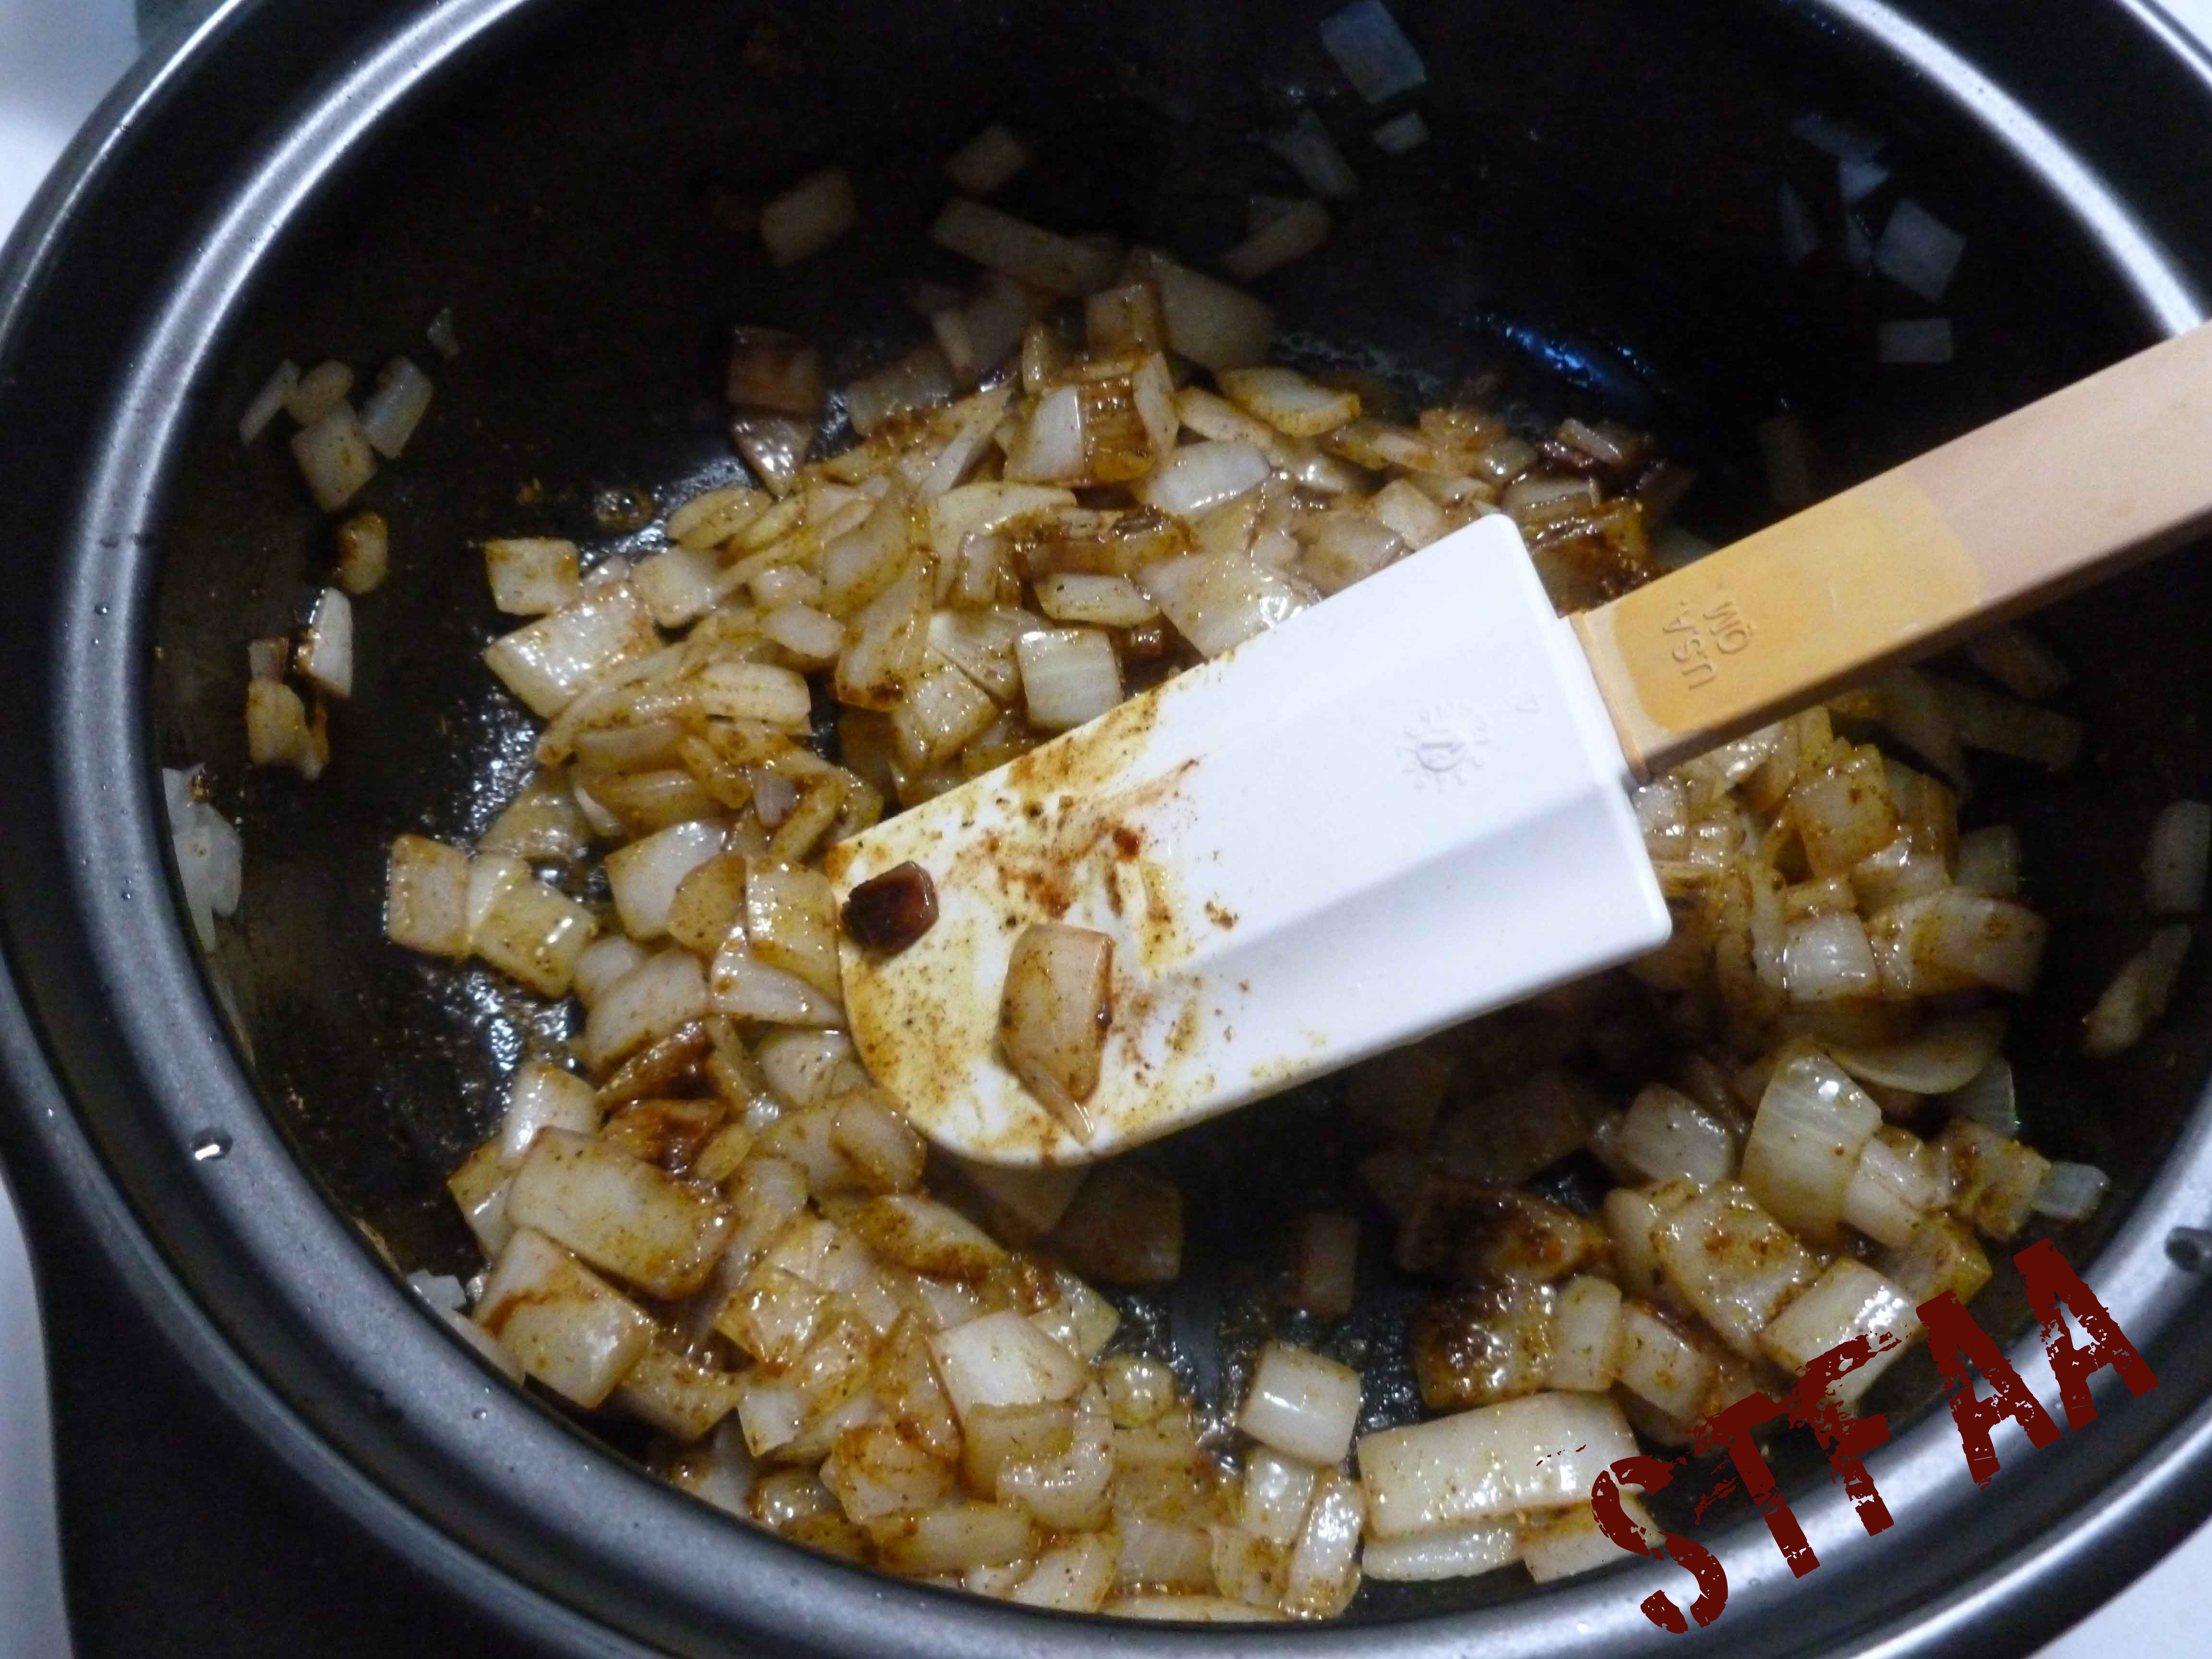
- a medium onion, peeled and diced
- a can of black olives, drained and sliced (I do okay with Pearls Olives, but your mileage may vary, use what’s safe for you. I use the whole olives for less chance of cross contamination.)
- a bit of safe-for-you oil for greasing the cast iron skillet
Preheat your oven to 450°F. Grease your 12 inch cast iron skillet with your oil.
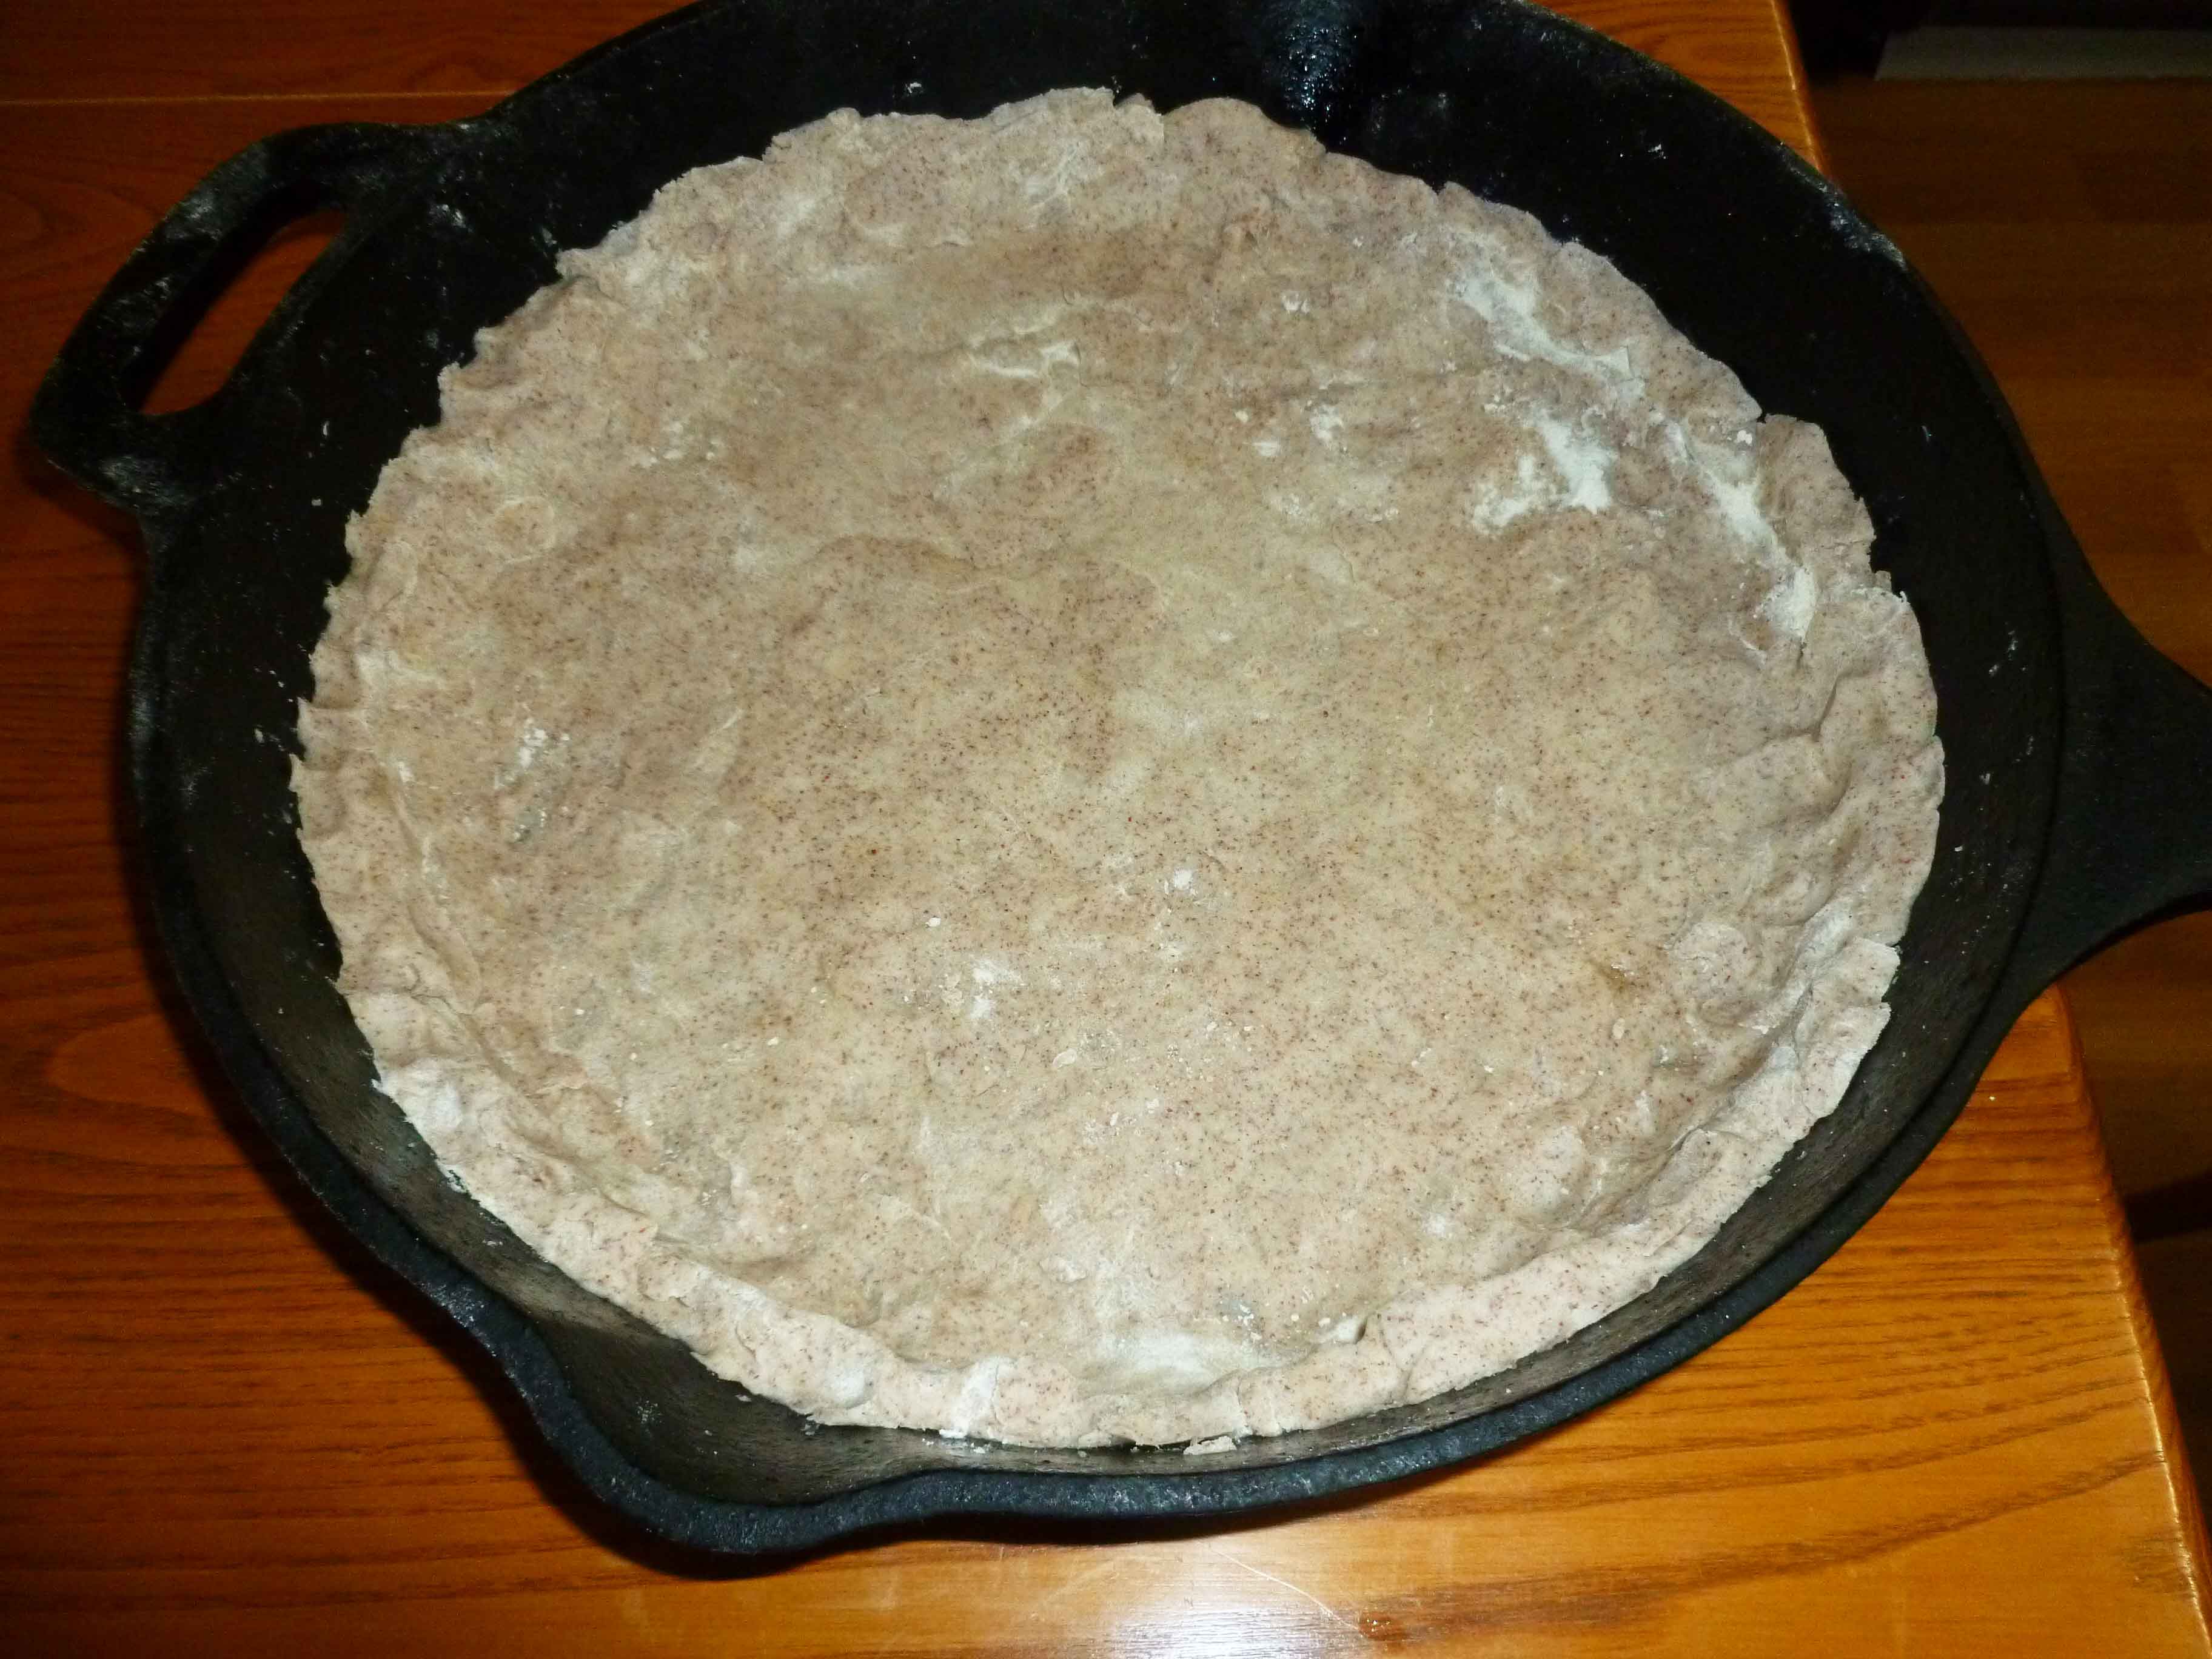
Roll out the dough and place in your skillet. I had trouble rolling out my dough and was impatient, so I added it to the skillet in patchwork bits, pressing the pieces together.
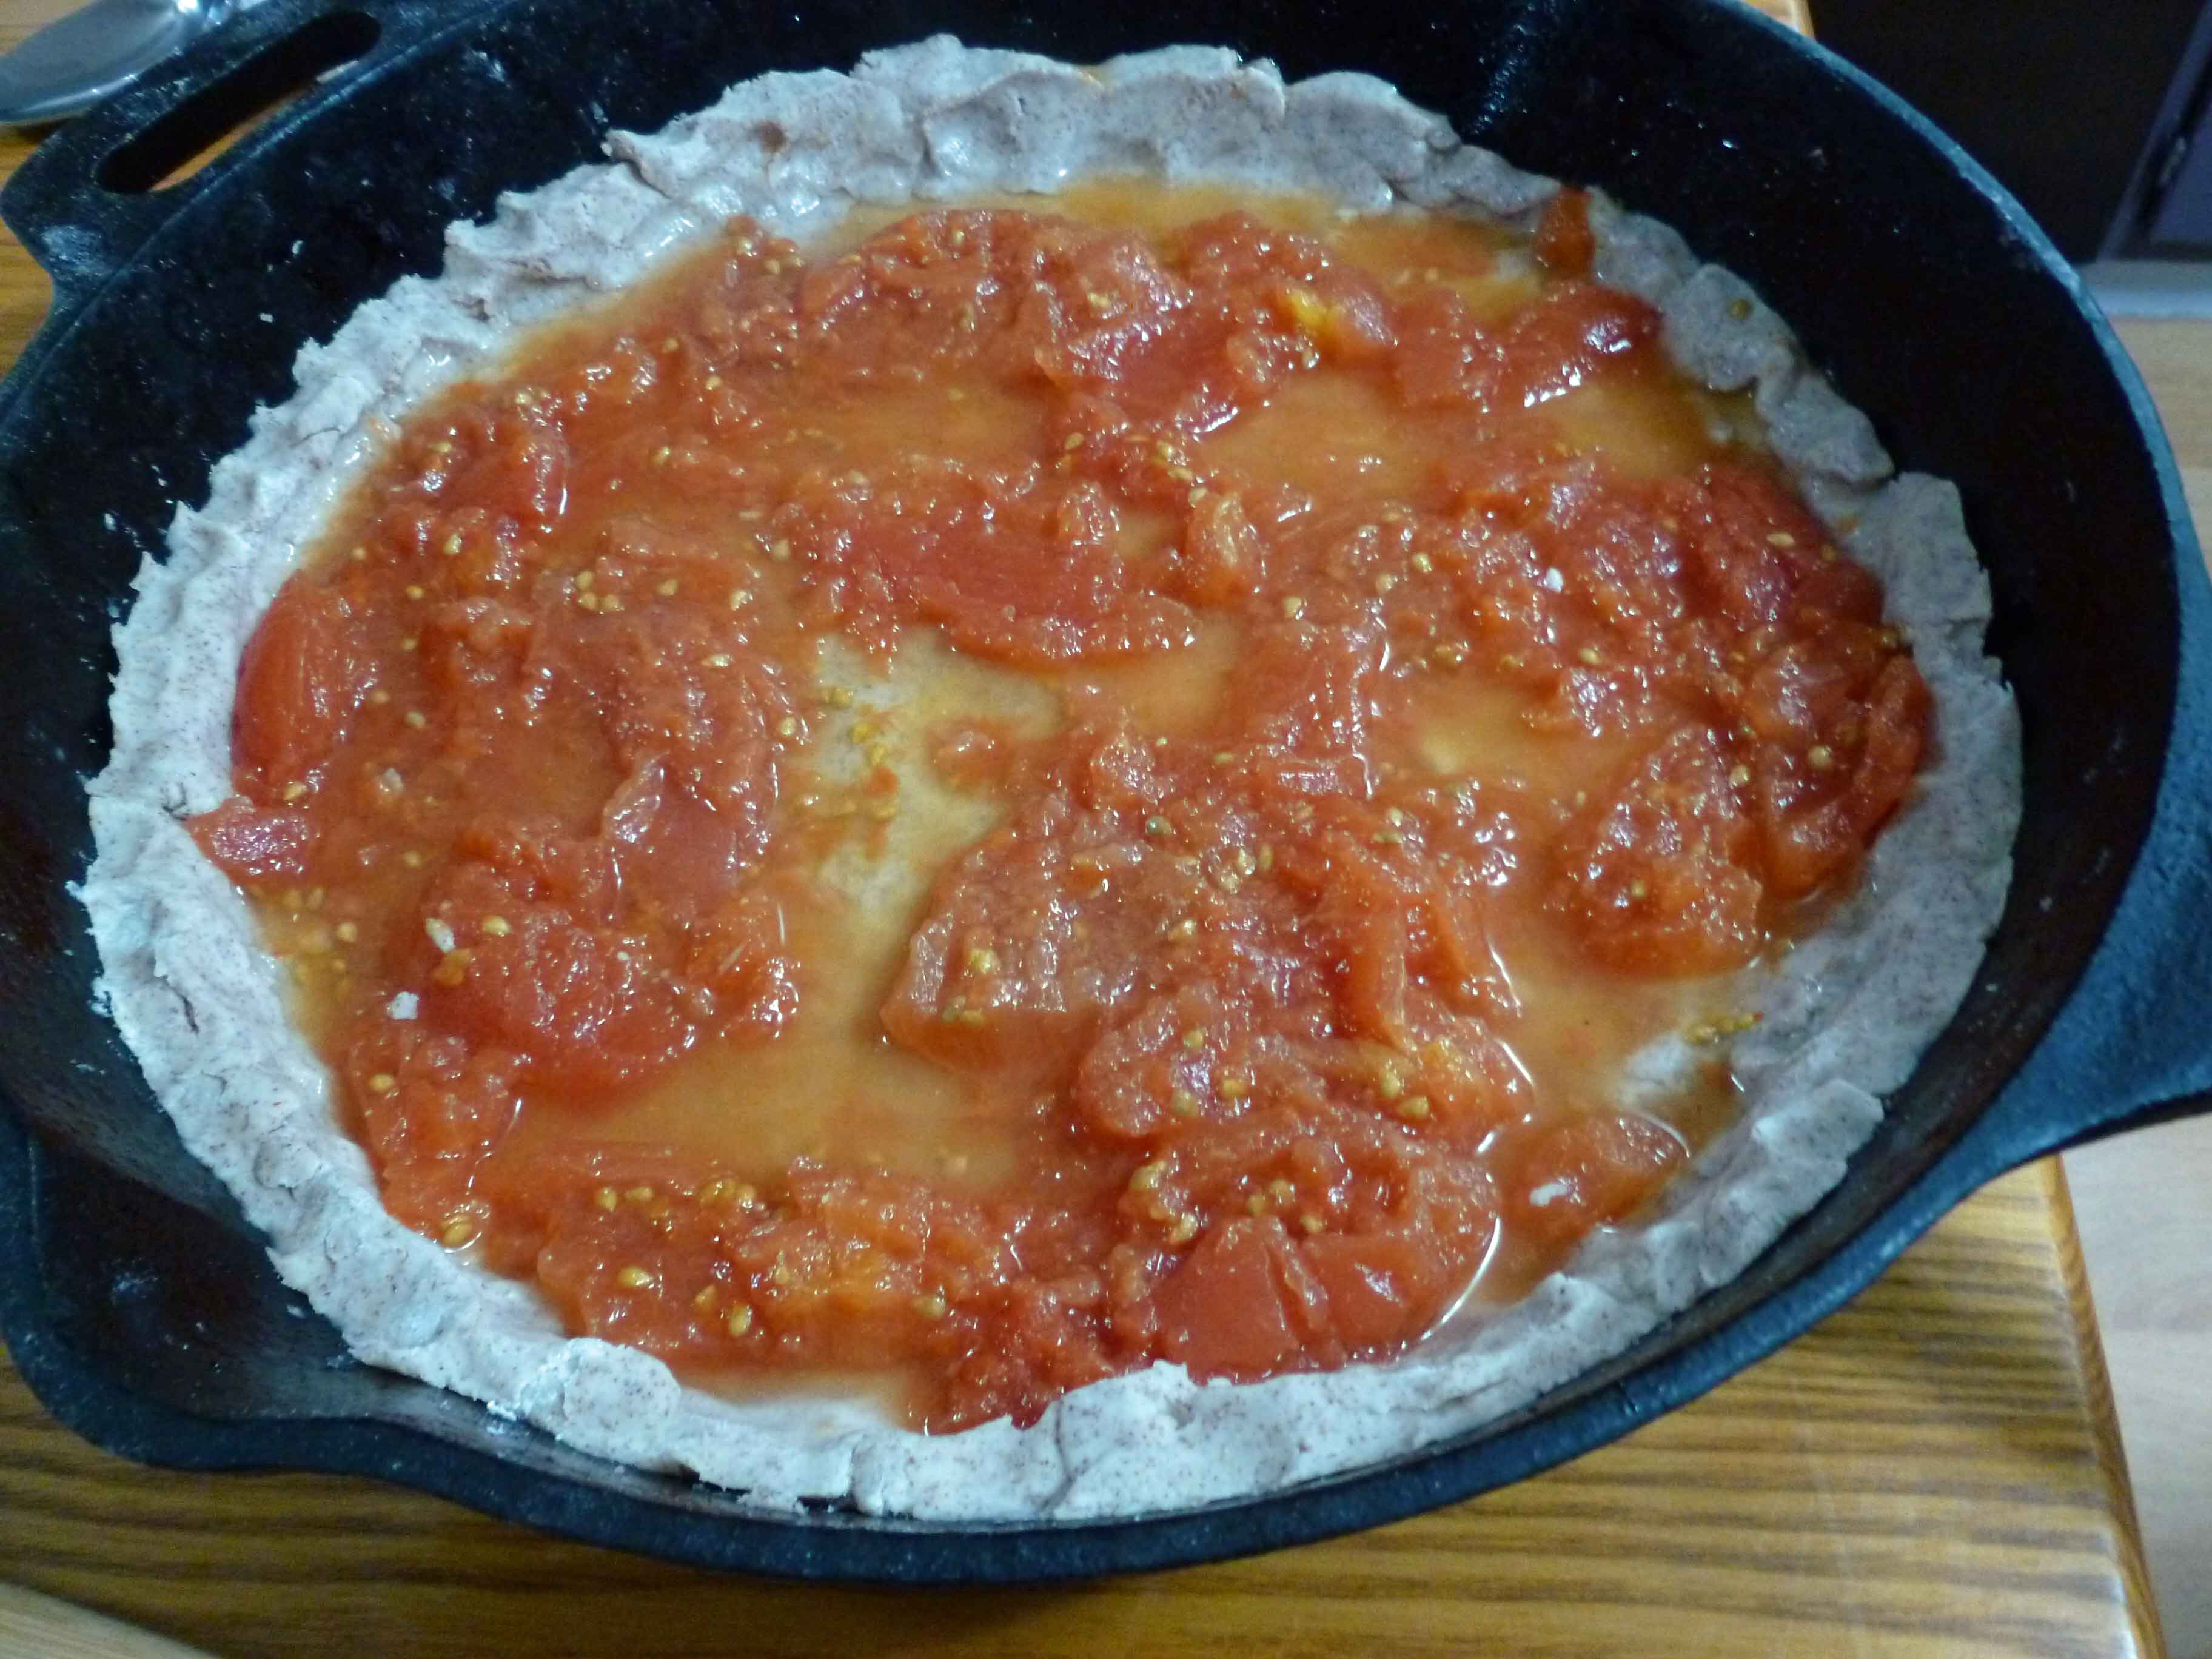
Once you’ve got your crust in, add the tomatoes or sauce and spread them over the surface of the crust.
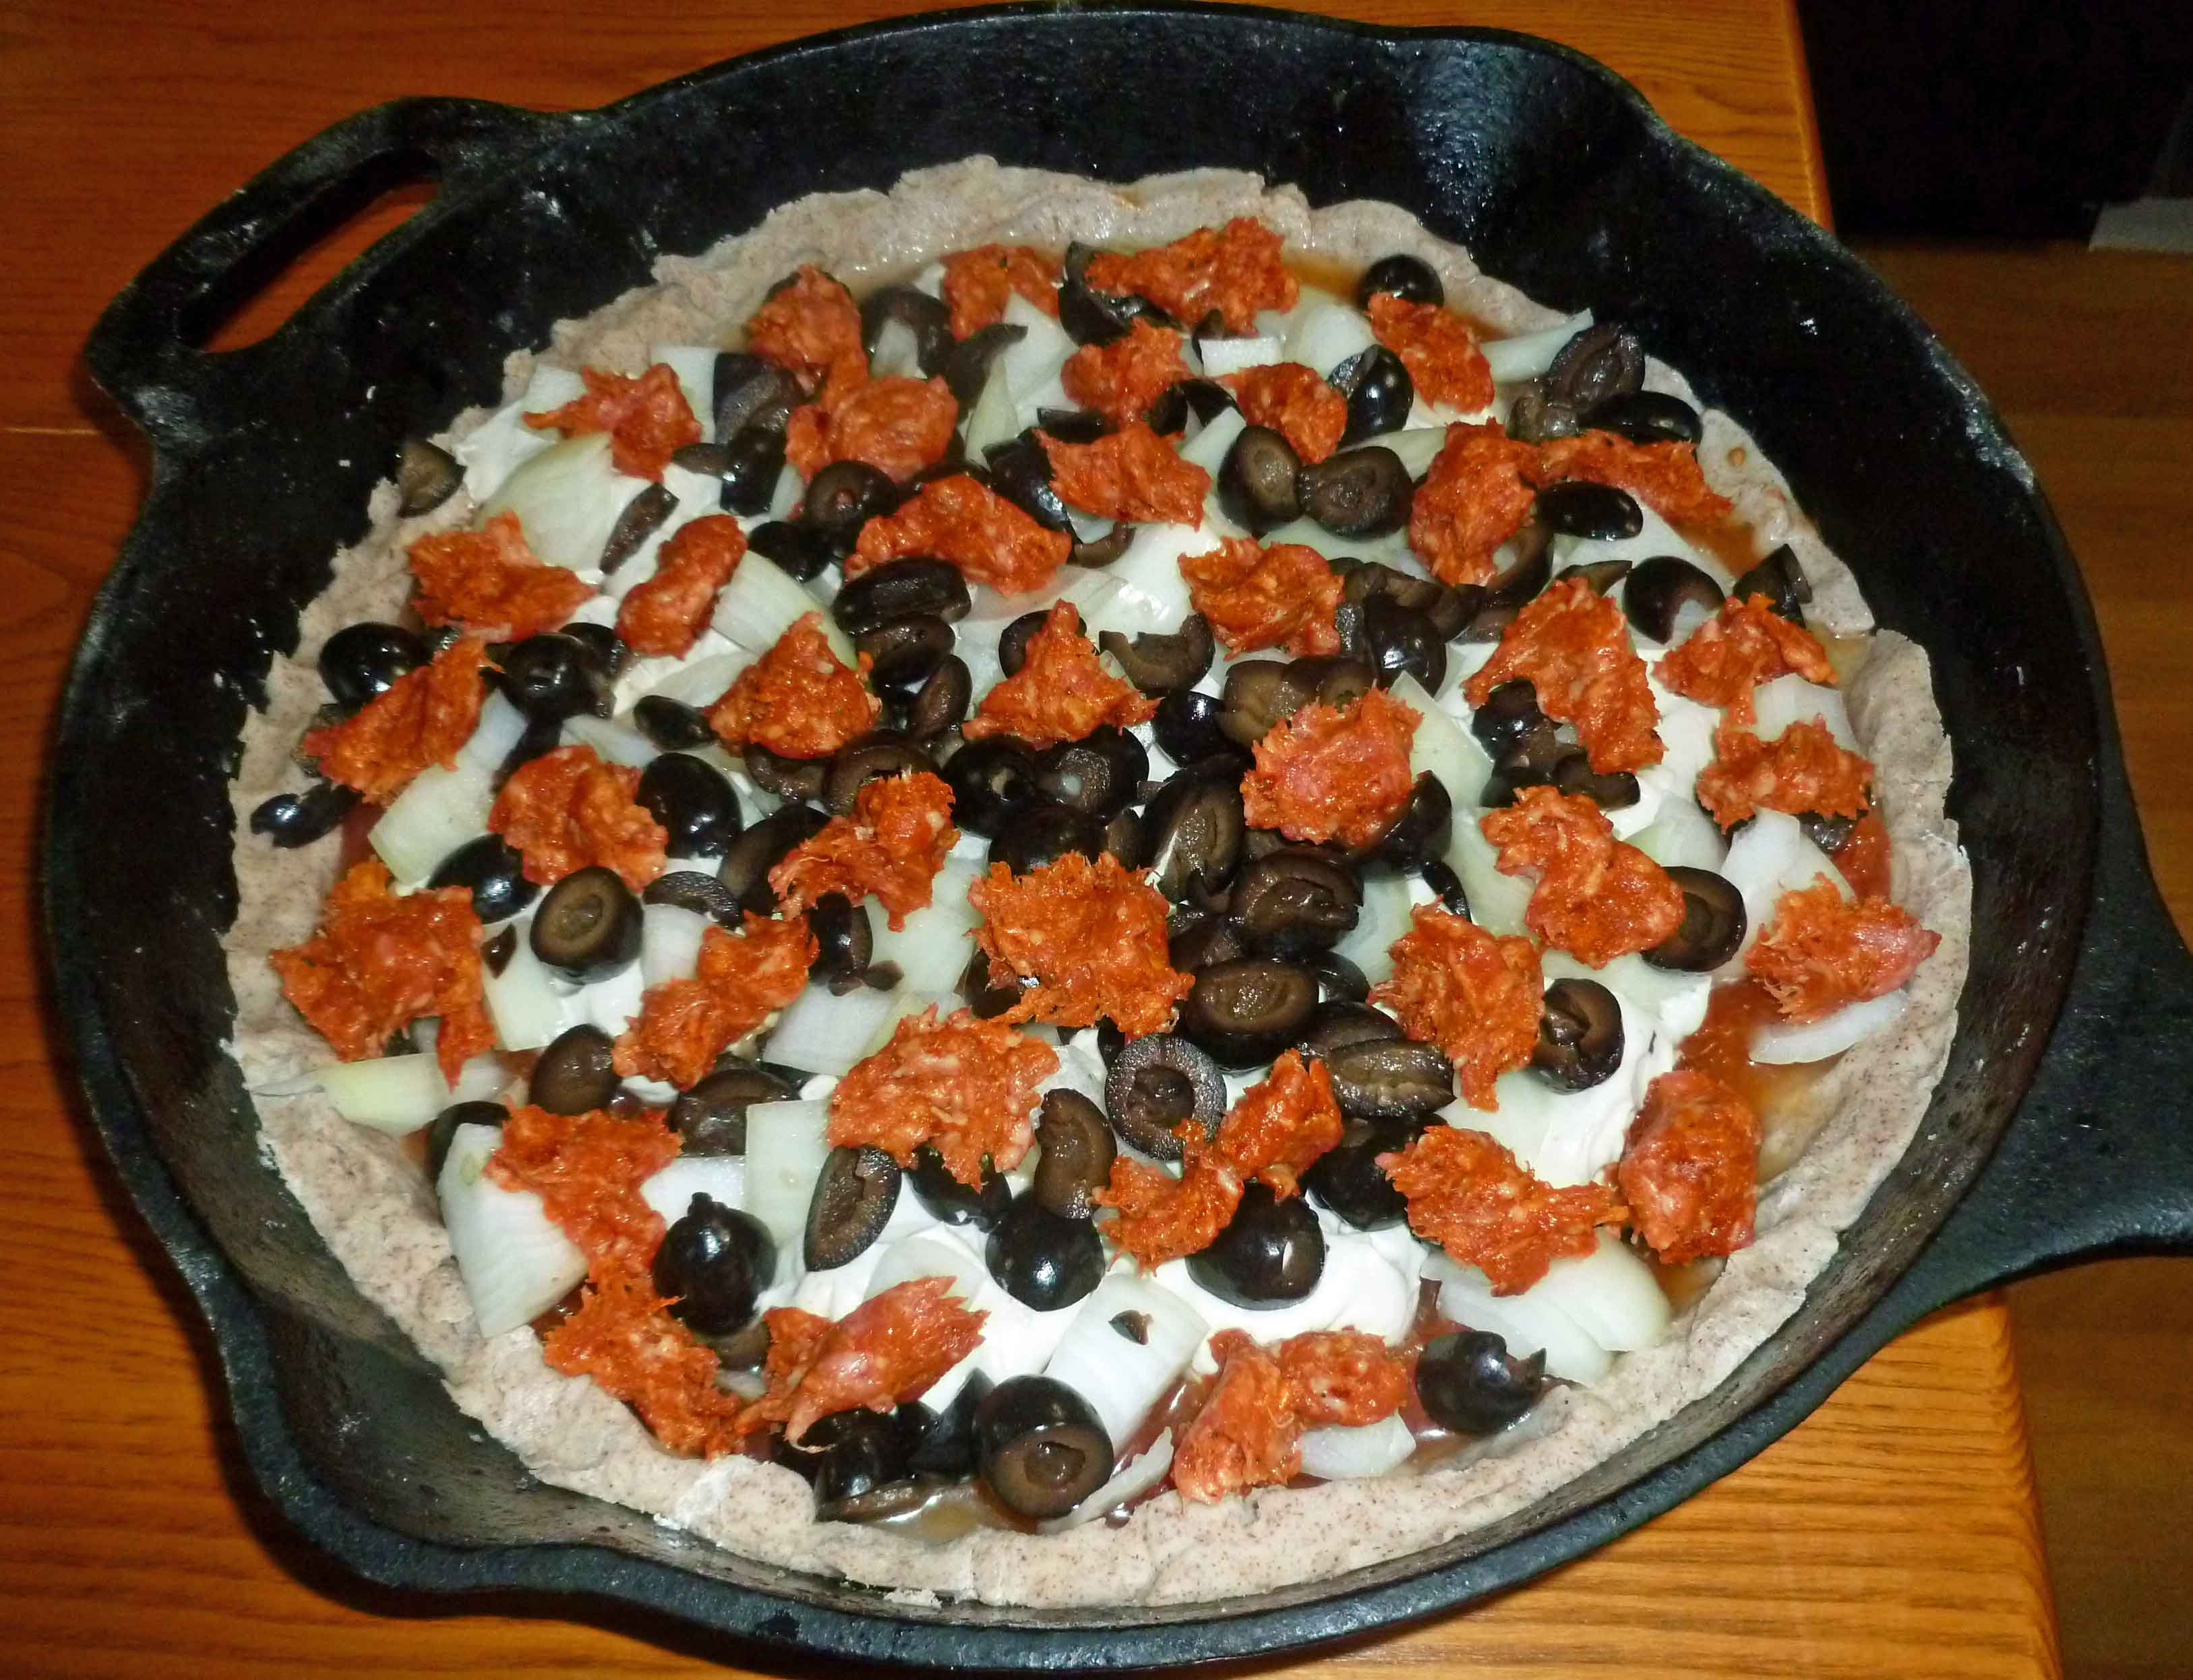
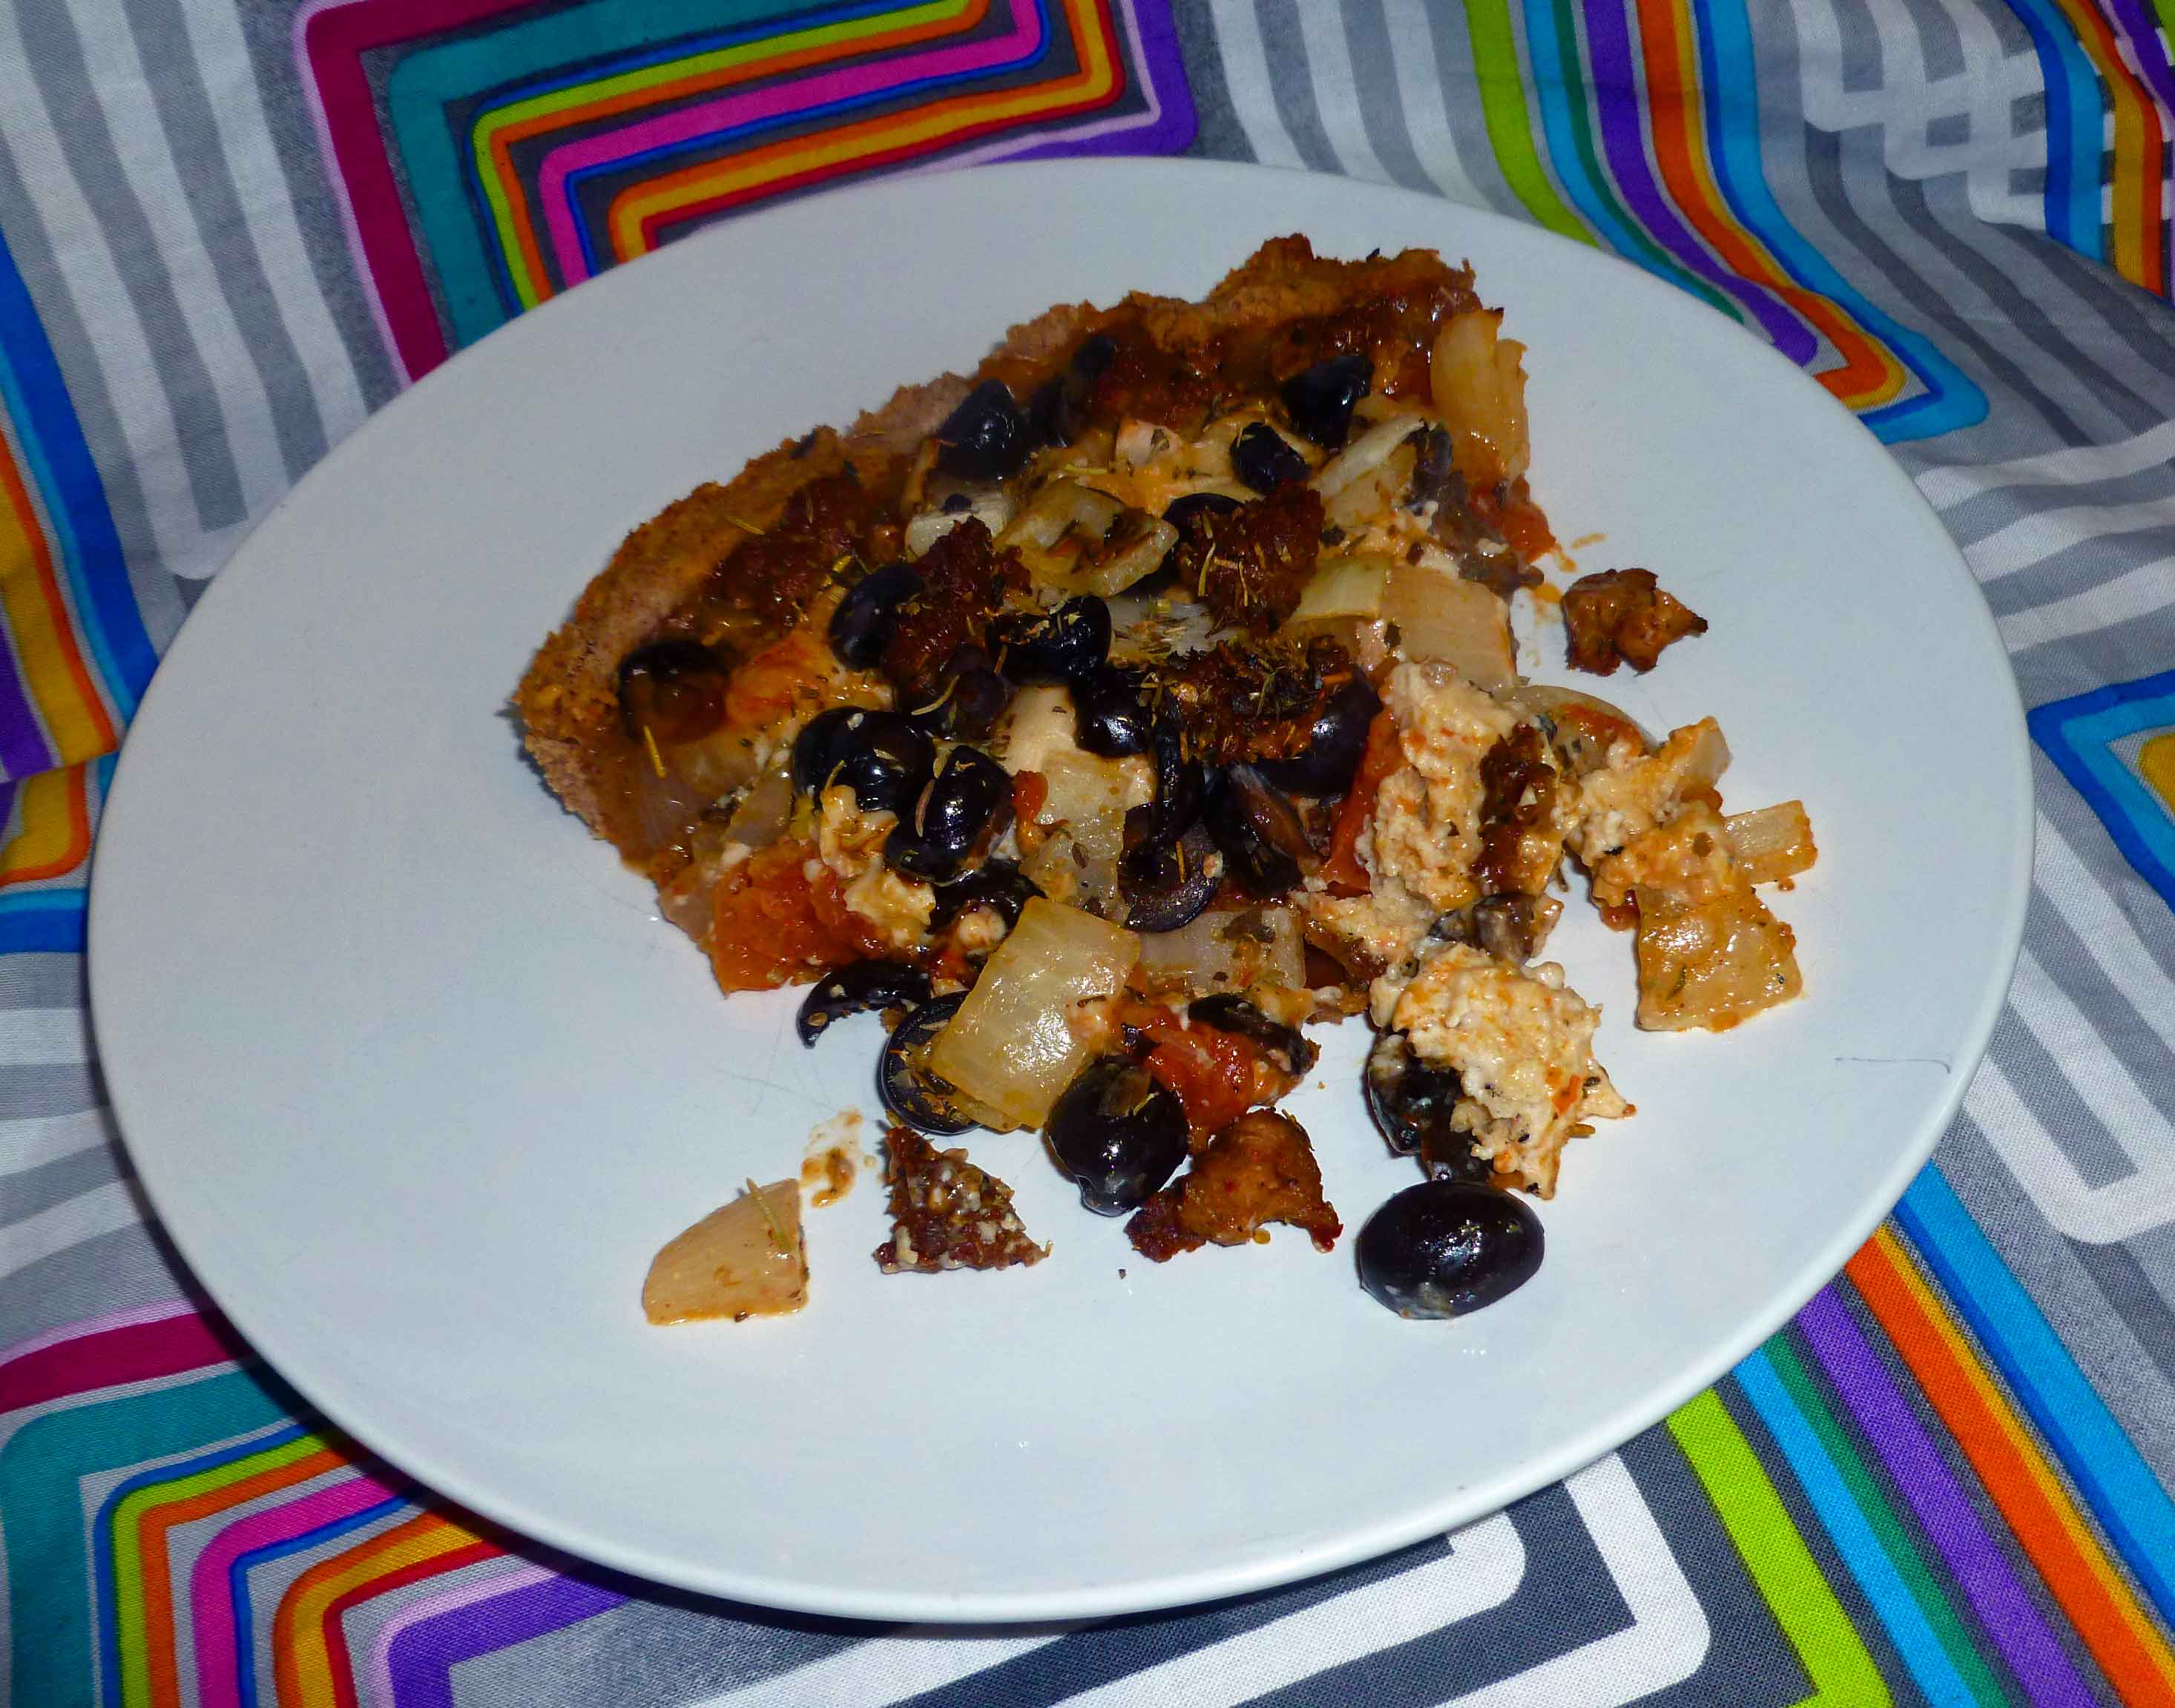
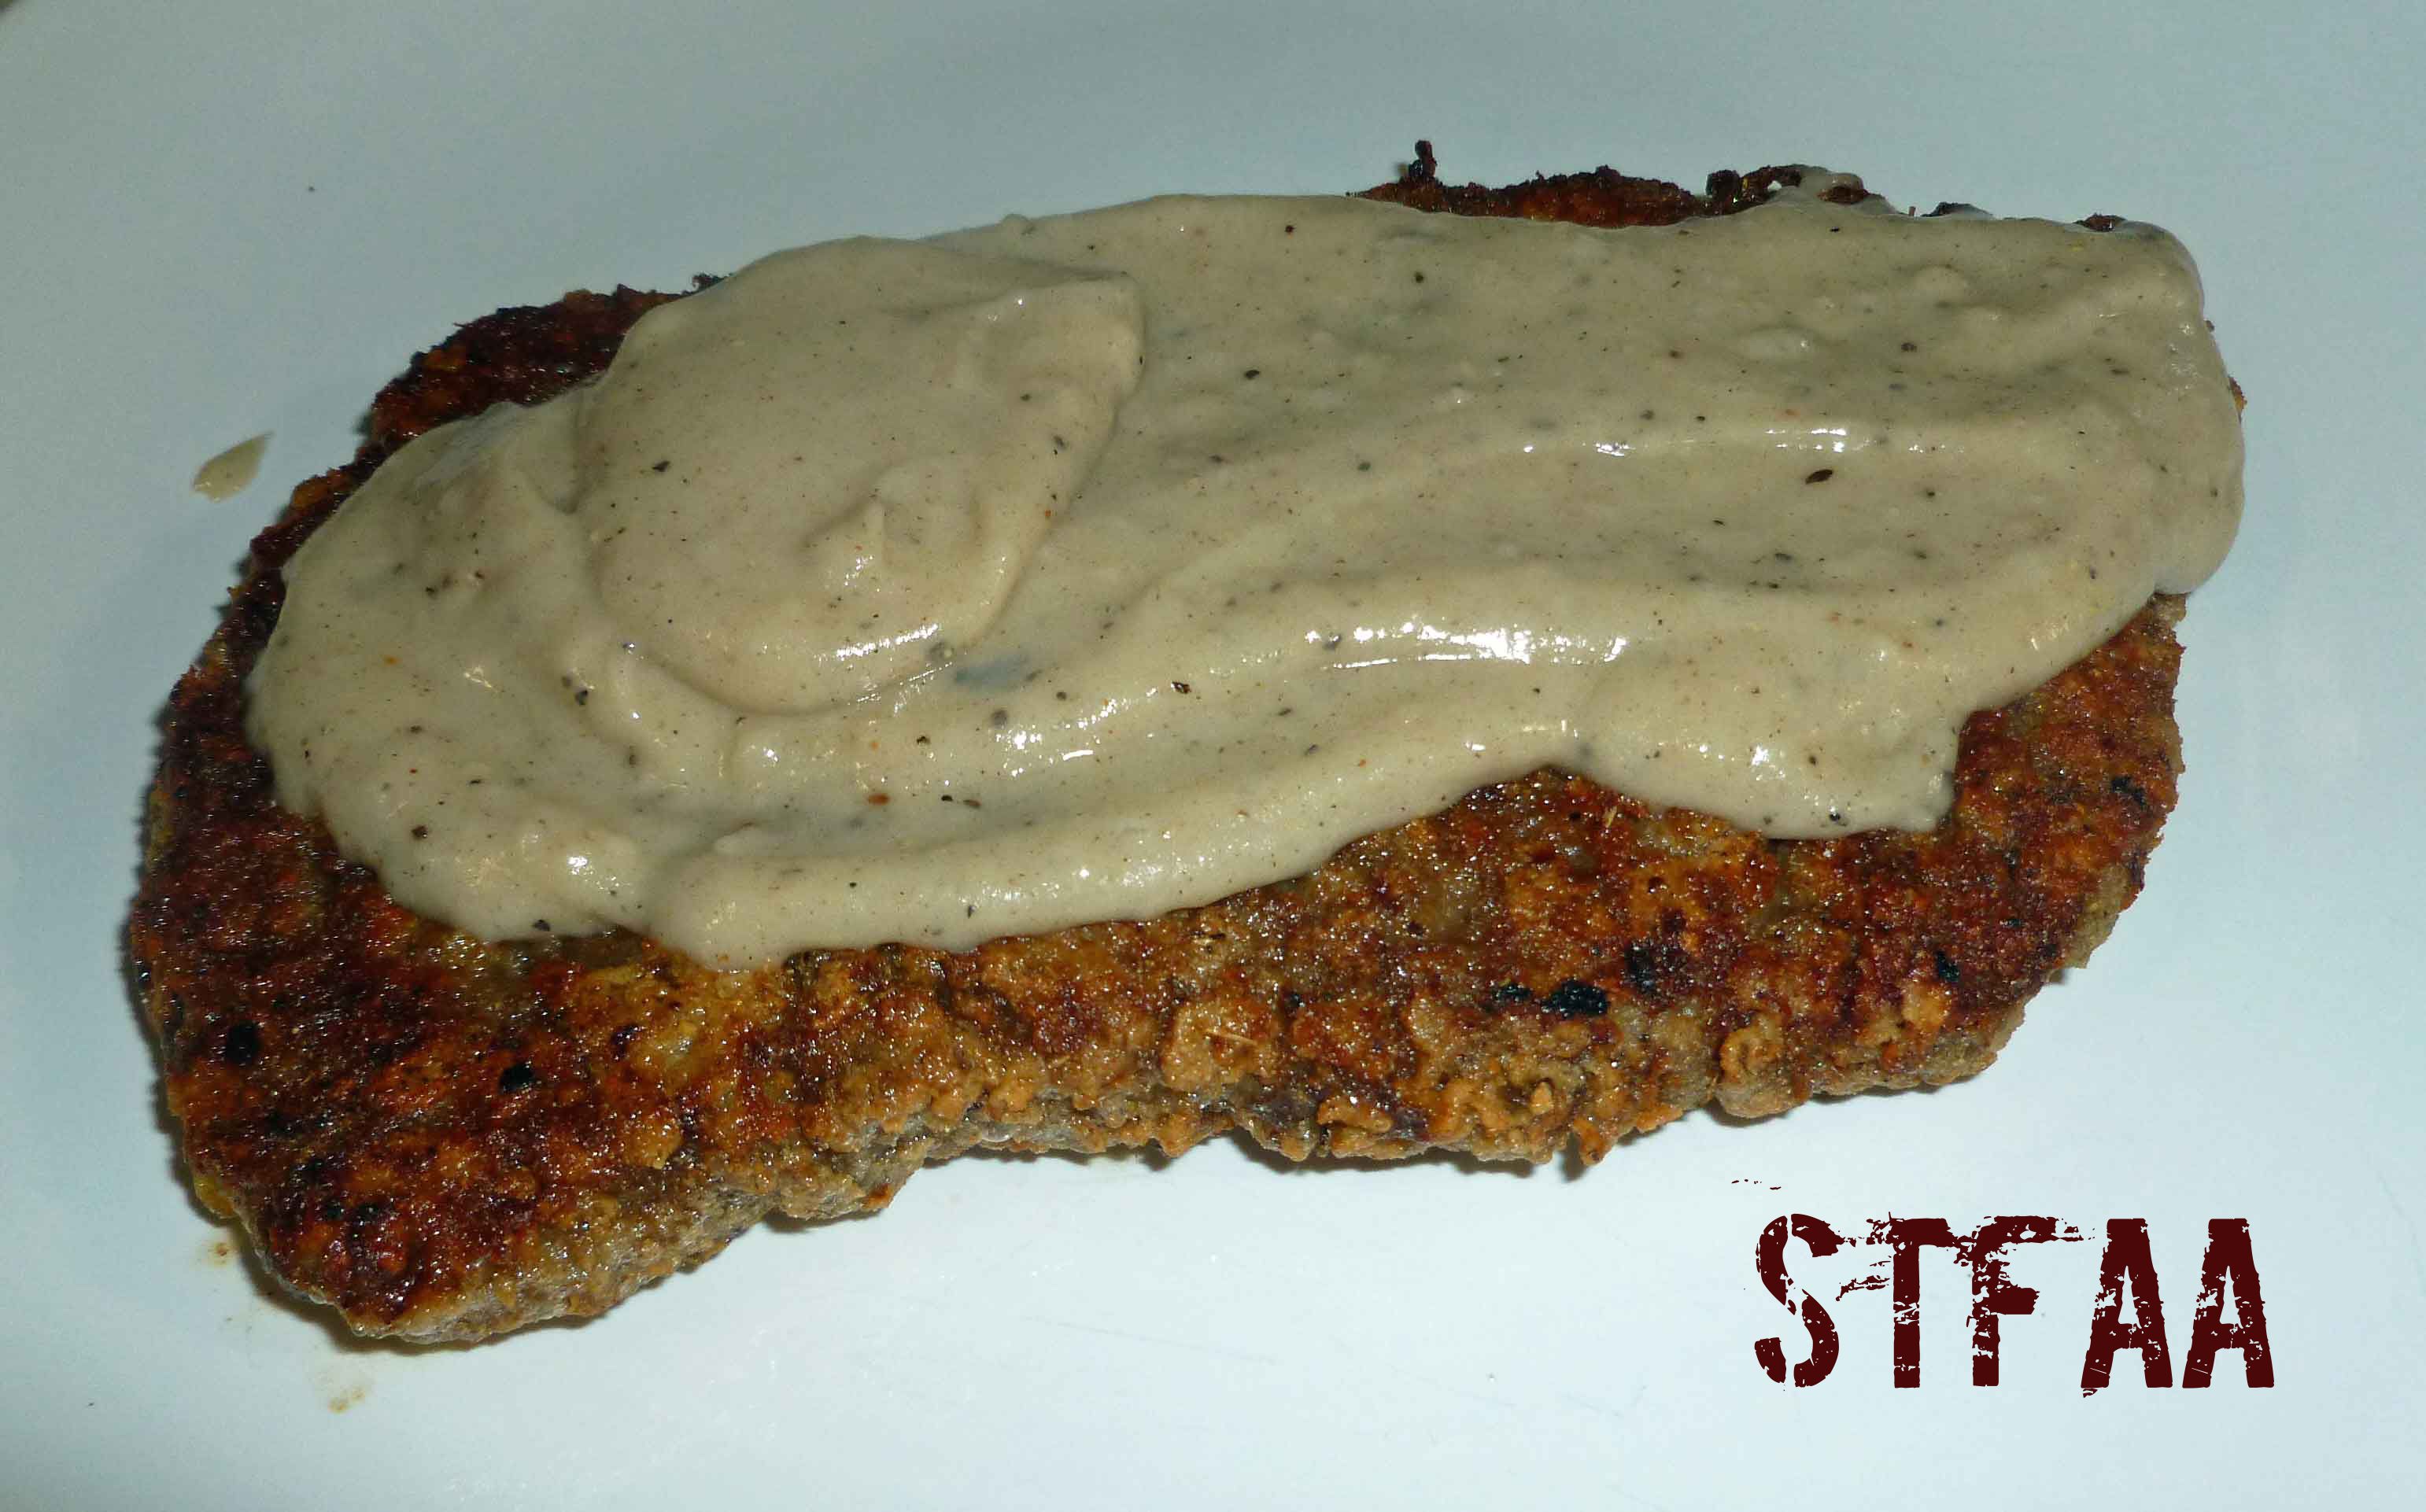
Sprinkle the Italian seasoning over the tomatoes or sauce. Add tablespoons of the cashew cheese over the surface at regular intervals. You’re aiming for something that looks like this. Sprinkle your onions and olives over the top of the pizza. Break off pieces of your sausage about the size of a grape and arrange them on the pizza.
Place the pizza in the oven and bake for 45 minutes.
Enjoy!
Notice: Trying to access array offset on value of type bool in /home/maryzahc/public_html/adultfoodallergies.com/wp-content/plugins/wp-ultimate-recipe/helpers/models/recipe.php on line 254
- 2 cups raw cashews, soaked in water to cover overnight and drained
- 1/2 to 3/4 cups kombucha
- 1 pinch salt
- Put the cashews and salt in the blender. Turn on the blender and add enough kombucha through the opening in the blender lid to process the cashews. Blend until smooth and creamy, scrapping down the sides as needed.
- Empty the mixture into a glass bowl or container, cover it, and let rest at room temperature for 8 to 36 hours, depending on your desired level of sharpness. It’ll thicken as it cultures. Once it’s done, cover and store in the refrigerator for up to two weeks.
Notice: Trying to access array offset on value of type bool in /home/maryzahc/public_html/adultfoodallergies.com/wp-content/plugins/wp-ultimate-recipe/helpers/models/recipe.php on line 254
- 1/2 batch Italian Sausage in our Hot Italian Sausage Burgers with Peppers and Onions recipe (remember, use safe oil) http://adultfoodallergies.com/hot-italian-sausage-burgers-with-peppers-and-onions/
- 1 batch Gluten-free Pie Crust http://adultfoodallergies.com/gluten-free-pie-crust-vegan-option/
- 2 cups whole canned tomatoes or marinara sauce use what is safe for you
- 1 tbsp Italian Seasoning Mix or a bit of oregano, basil, marjoram, sage, rosemary, and thyme to add up to 1 Tablespoon
- 1/2 batch Basic Cashew Cheese (Adapted from Miyoko Schinner’s Artisan Vegan Cheese) http://adultfoodallergies.com/recipe/basic-cashew-cheese-adapted-from-miyoko-schinners-artisan-vegan-cheese/
- 1 medium onion, peeled and diced
- 1 can black olives, drained and sliced
- 1 tsp olive or other safe-for-you oil
- Preheat your oven to 450°F. Grease your 12 inch cast iron skillet with your oil.
- Roll out the dough and place in your skillet. If you can’t roll it out smoothly, you can do it in patchwork bits, pressing the pieces together.
- Once you’ve got your crust in, add the tomatoes or sauce and spread them over the surface of the crust. Sprinkle the Italian seasoning over the tomatoes or sauce. Add tablespoons of the cashew cheese over the surface at regular intervals. Sprinkle your onions and olives over the top of the pizza. Break off pieces of your sausage about the size of a grape and arrange them on the pizza.
- Place the pizza in the oven and bake for 45 minutes

