Notice: Function _load_textdomain_just_in_time was called incorrectly. Translation loading for the wp-ultimate-recipe domain was triggered too early. This is usually an indicator for some code in the plugin or theme running too early. Translations should be loaded at the init action or later. Please see Debugging in WordPress for more information. (This message was added in version 6.7.0.) in /home/maryzahc/public_html/adultfoodallergies.com/wp-includes/functions.php on line 6121
WARNING – SHELLFISH – surviving the food allergy apocalypse (archive)

Tag: WARNING – SHELLFISH

Recipe contains shellfish or shellfish derivatives.

  • Cajun Seasoned Shrimp Skewers

    Cajun Seasoned Shrimp Skewers


    Cajun Seasoned Shrimp Skewers
    Cajun Seasoned Shrimp Skewers

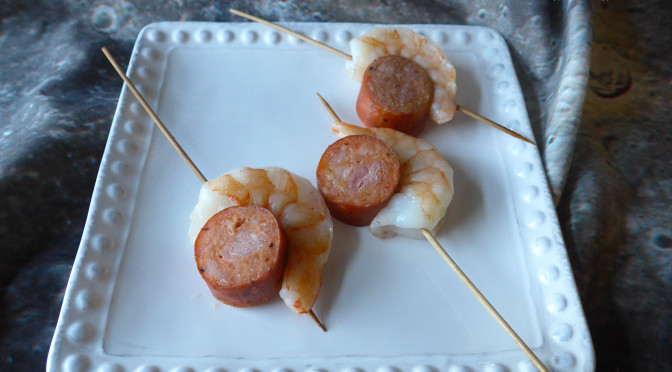
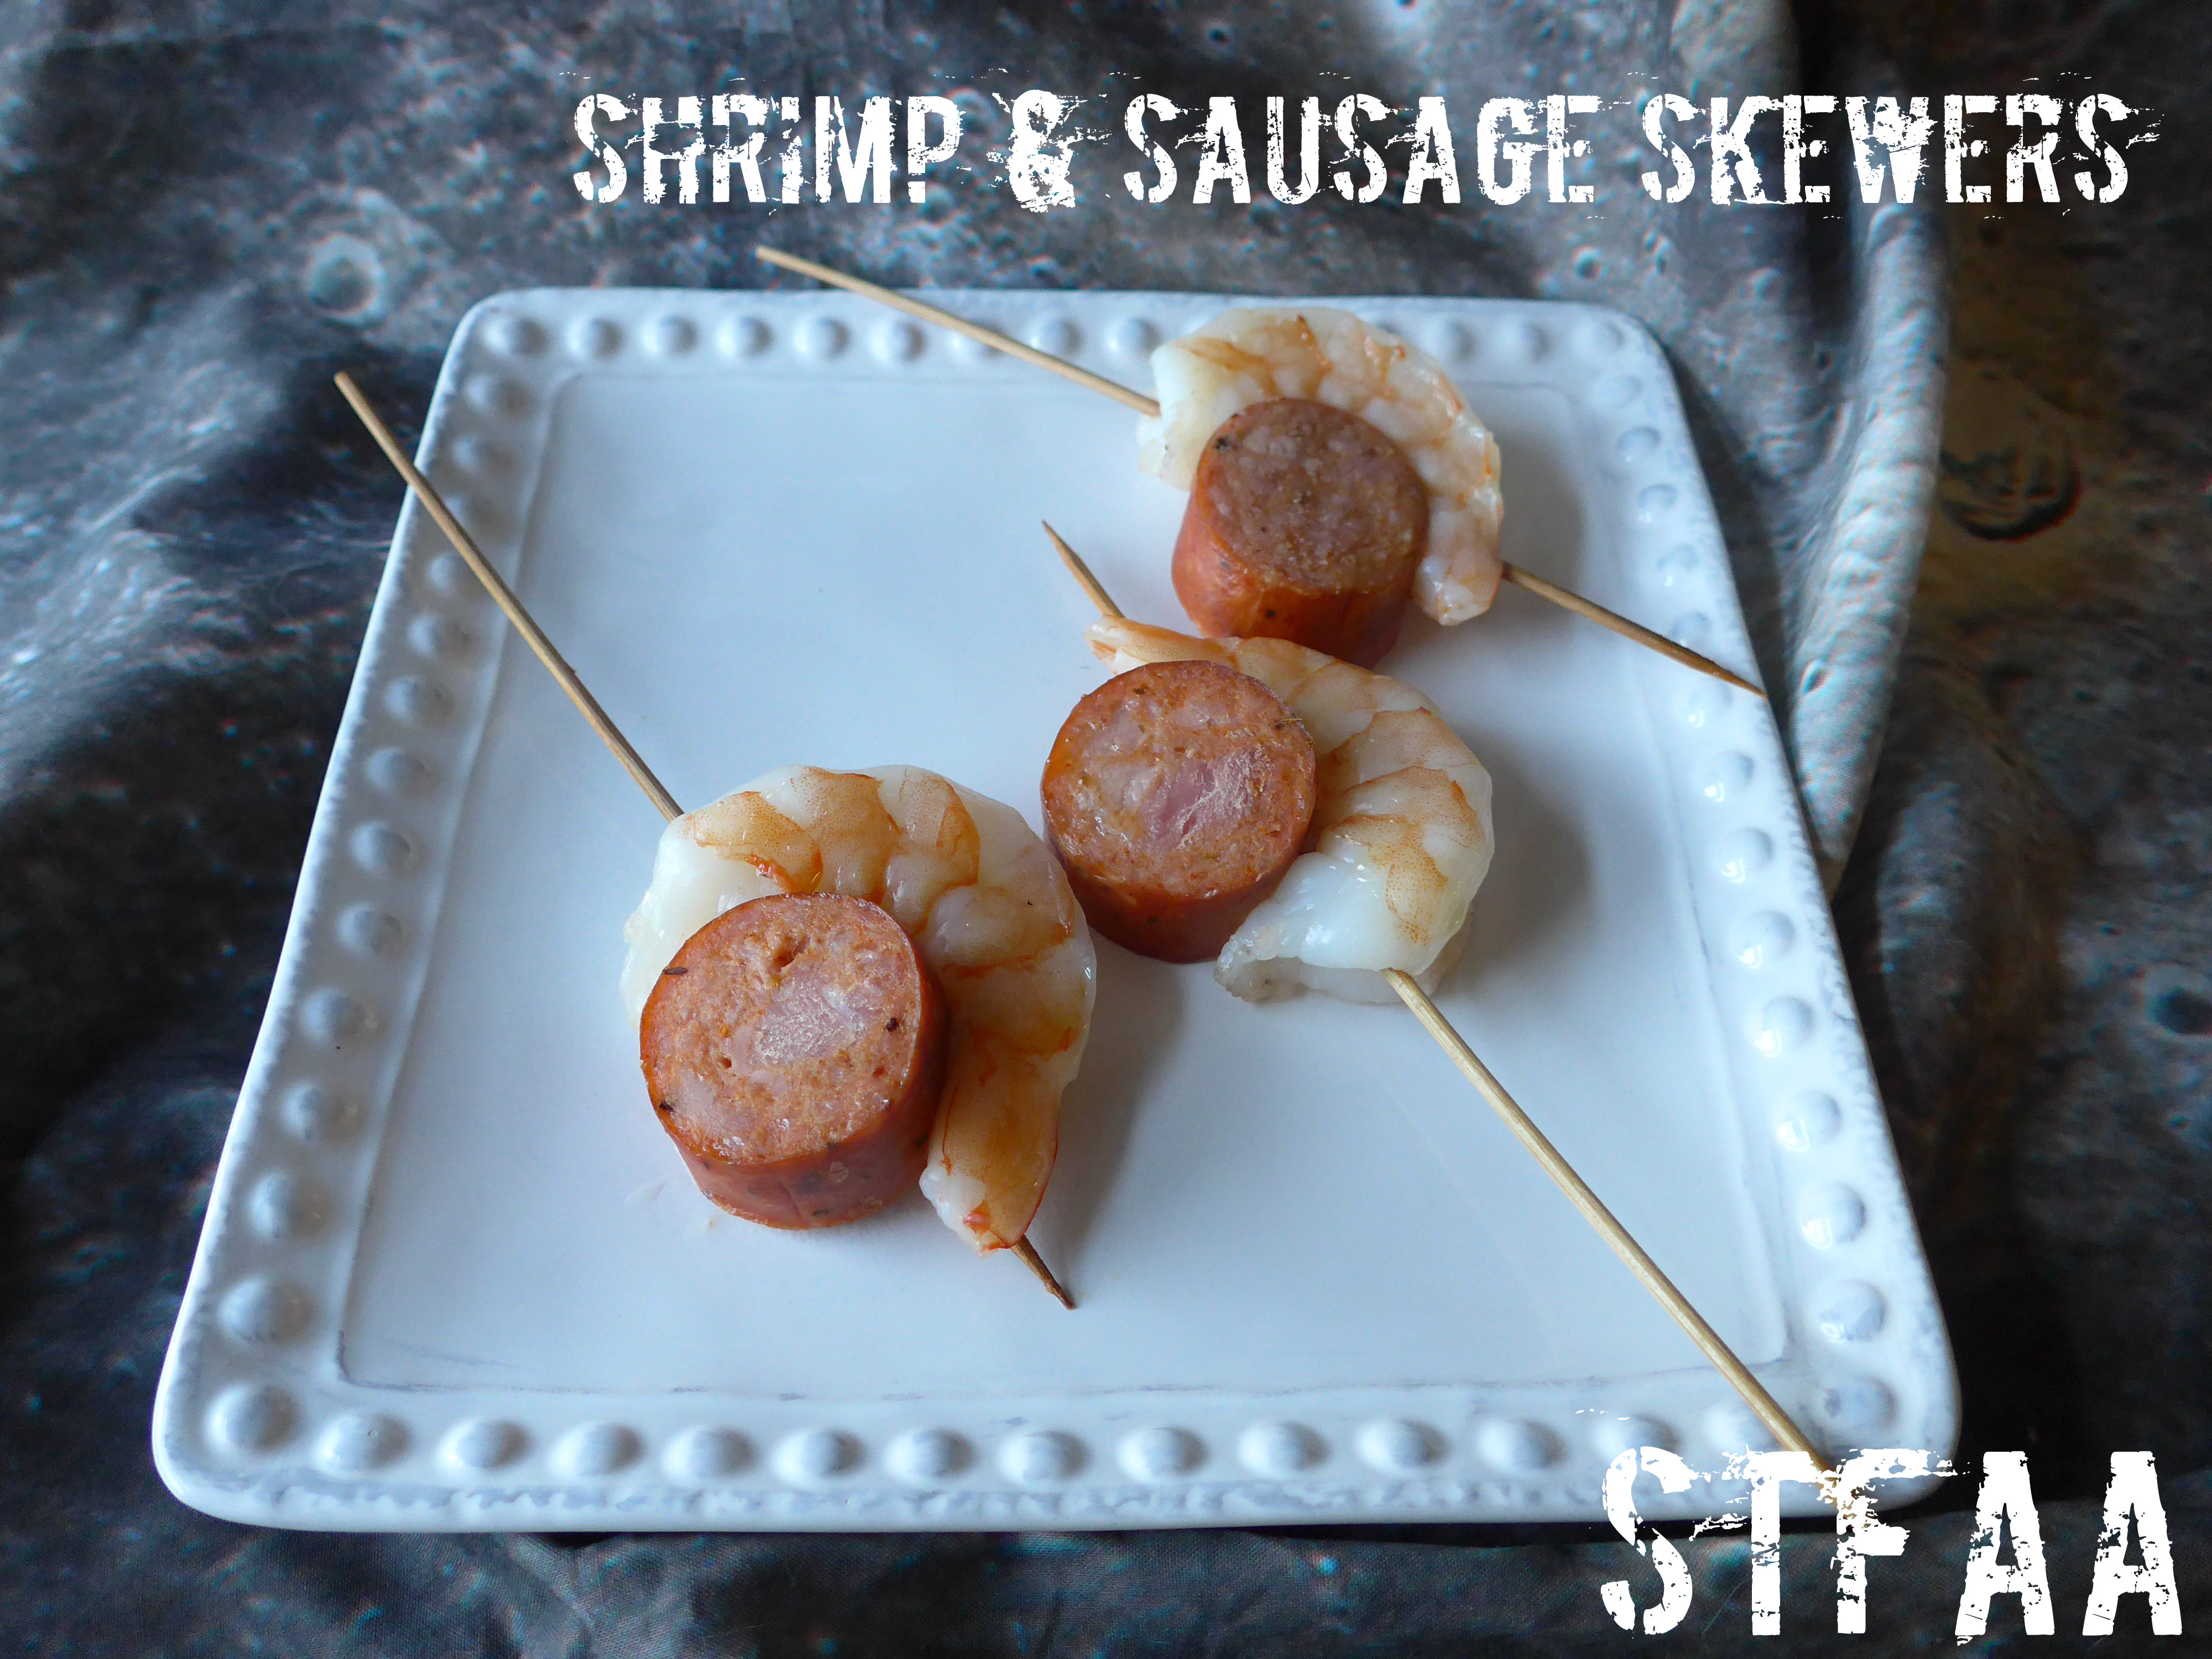
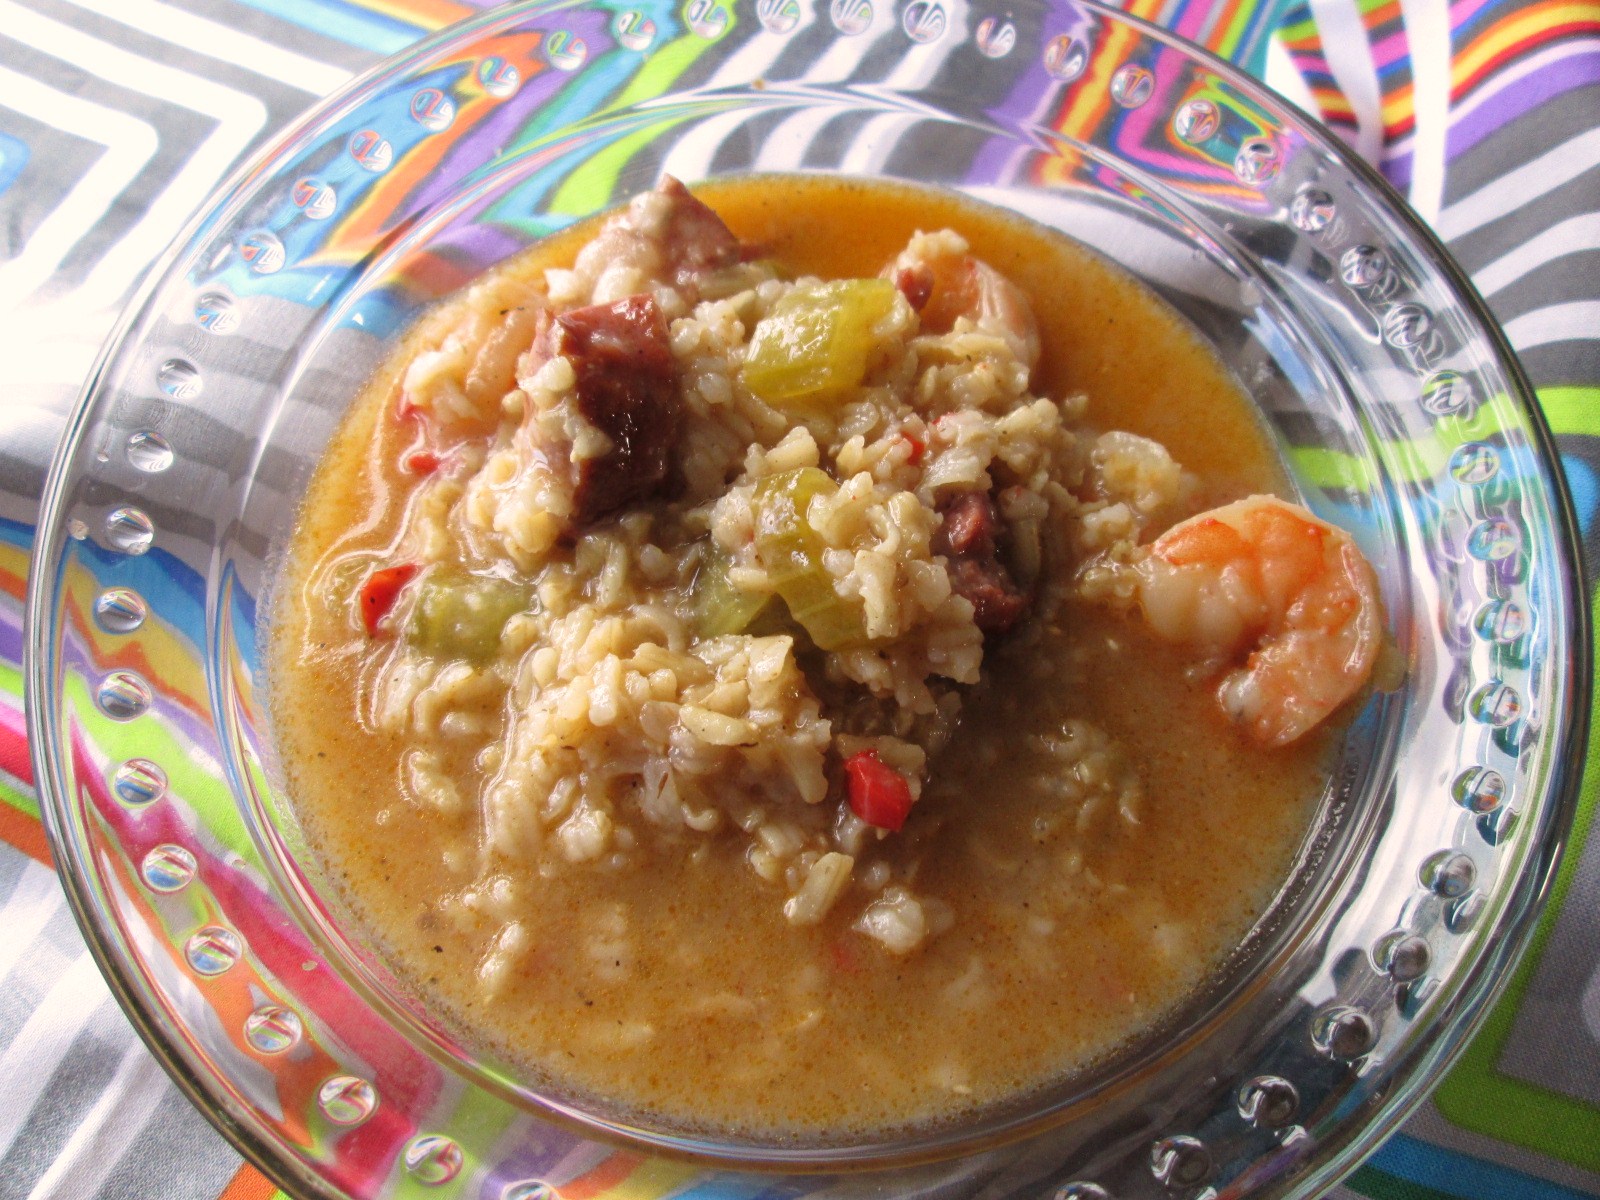
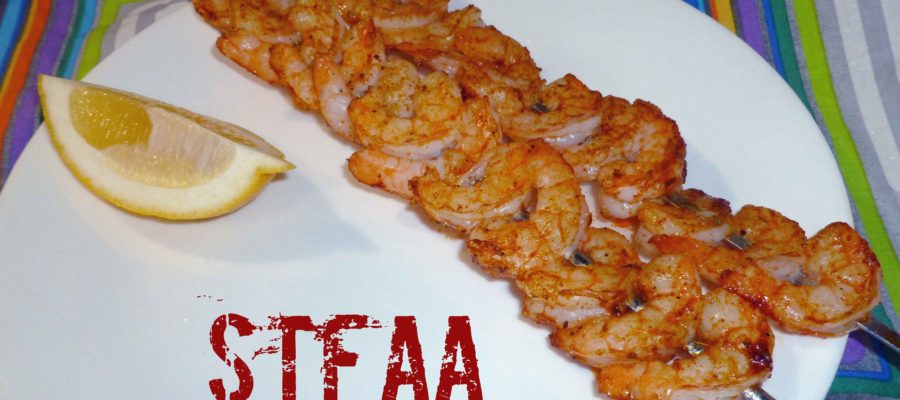
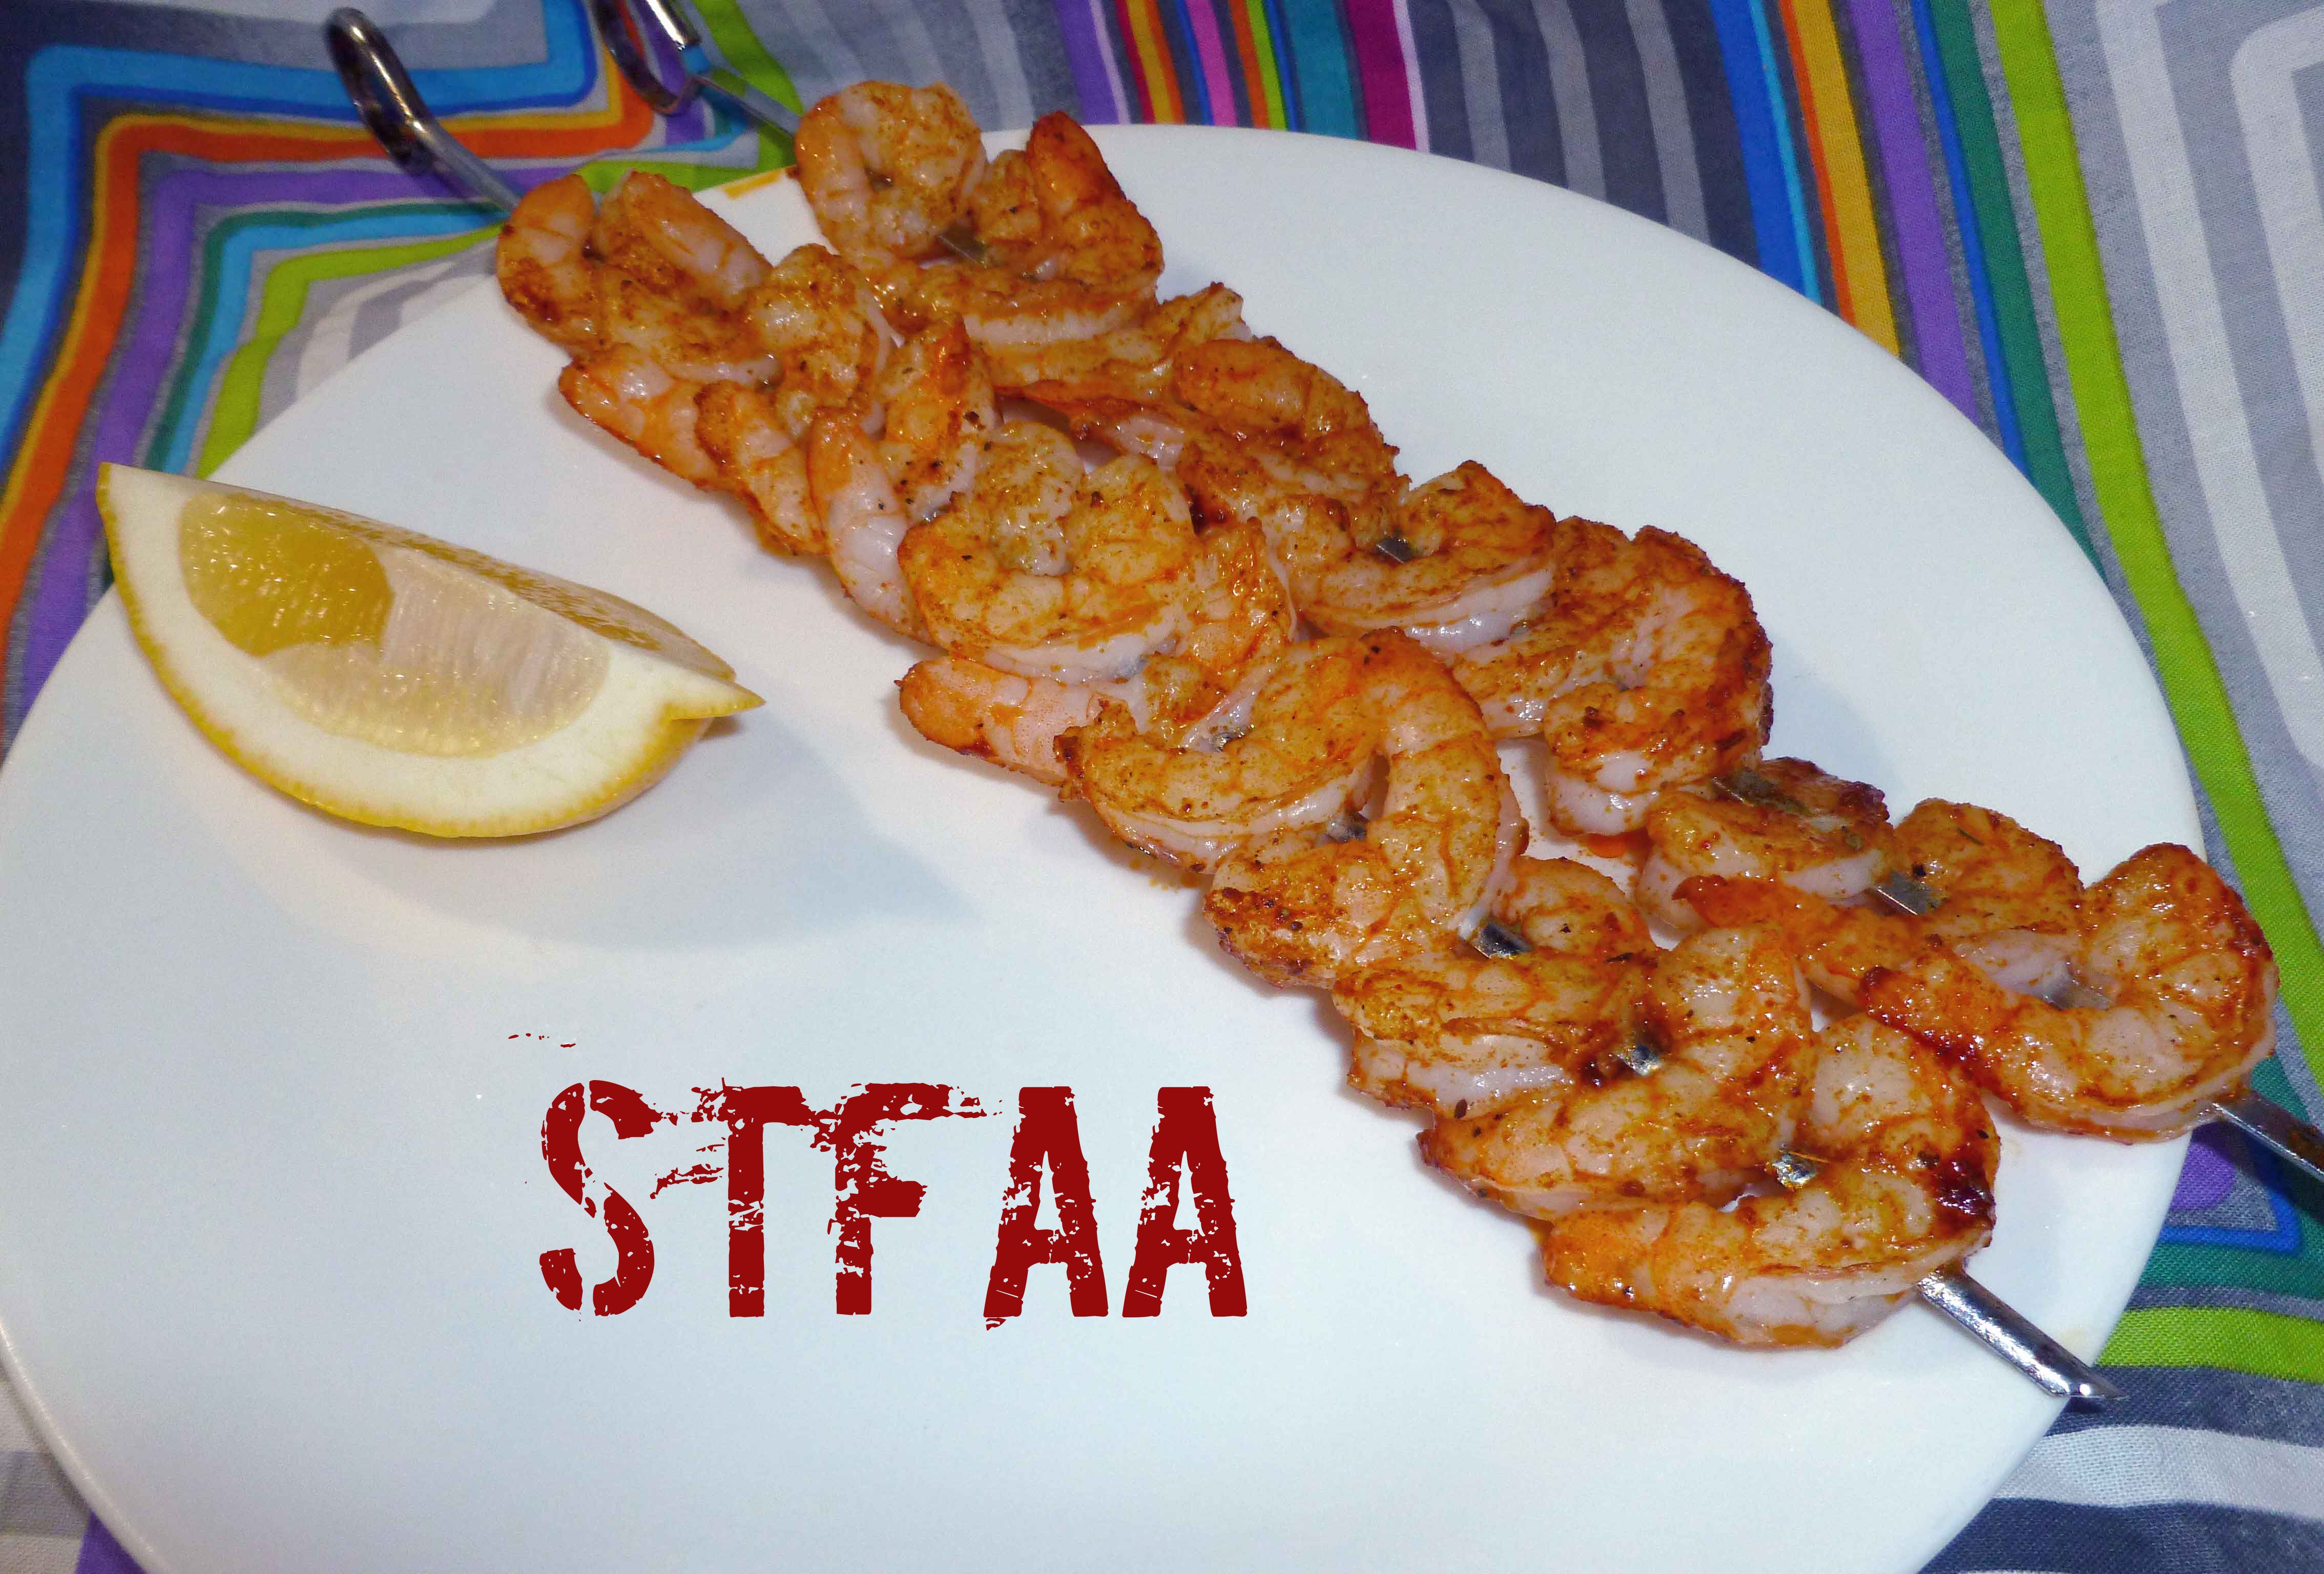
    As part of our Treat. Yo. Self. month, treating myself means seafood since I’m from Maine originally. I can still eat shrimp, but I have other shellfish allergies so I may lose shrimp eventually. But for now, I use them as an occasional treat. The recipe should be enough for about 8 skewers of shrimp with 6 or so shrimp on a skewer. But since I only had 4 stainless steels skewers and was too lazy to soak the bamboo ones in water for 30 minutes, the pictures show extreme shrimp skewers. So I really did treat myself, ha! This is a great appetizer dish for a dinner party or cook out and you can cook them under the broiler in your oven or on the grill. Or if you wish, use them in salad or as a special garnish on soup.

    This recipe isn’t for those of you who are allergic to shellfish or who are vegetarian or vegan. But if you are allergic to shellfish and you can eat chicken, try it with chicken. For those of you who are vegetarian or vegan, try it with veggies. The seasoning mix by itself should be vegan with appropriately sourced sugar. You will have to cook the skewers much longer if you chicken or veggies, shrimp cooks very quickly.

    For those of you that may have issues with buying spice blends due to anti-caking agents or cross contamination, I’ve developed a version of Cajun Seasoning below which I use now. If you can still use a blend, I recommend the Penzey’s Cajun Seasoning (no affiliation). I love Penzey’s and I can still use their single spices without issue.

    Cajun Seasoning:


    Notice: Trying to access array offset on value of type bool in /home/maryzahc/public_html/adultfoodallergies.com/wp-content/plugins/wp-ultimate-recipe/helpers/models/recipe.php on line 254
    Cajun Seasoning
    Print Recipe
    Here’s a blend to use if you don’t have a safe version. I usually double the recipe so I don’t have to mix it as often.
    Servings Prep Time
    2/3 cup 5 minutes
    Servings Prep Time
    2/3 cup 5 minutes
    Cajun Seasoning
    Print Recipe
    Here’s a blend to use if you don’t have a safe version. I usually double the recipe so I don’t have to mix it as often.
    Servings Prep Time
    2/3 cup 5 minutes
    Servings Prep Time
    2/3 cup 5 minutes
    Ingredients
    • 4 tbsp smoked paprika use regular paprika if you don’t have smoked
    • 2 tbsp salt
    • 1 tbsp sugar
    • 1/2 tsp celery seed
    • 1/2 tsp garlic powder
    • 1/2 tsp black pepper
    • 1/2 tsp onion powder
    • 1/2 tsp cayenne pepper
    • 1/2 tsp caraway seed
    • 1/2 tsp dill seed
    • 1/2 tsp turmeric
    • 1/2 tsp ground cumin
    • 1 bay leaf broken into small pieces
    • 1/2 tsp ground nutmeg
    • 1/4 tsp ground cardamom
    • 1/4 tsp basil
    • 1/4 tsp marjoram
    • 1/4 tsp rosemary
    Servings: cup
    Instructions
    1. Place all ingredients in a blender and blend until fine. You can also use a coffee grinder dedicated to spice grinding and do it in batches. If you do, pour all the spices into a bowl and mix well after grinding.
    Share this Recipe
     
    Powered byWP Ultimate Recipe

    Cajun Seasoned Shrimp Skewers:

    The whole recipe is in the recipe card below, but here’s my process pictures and some tips.

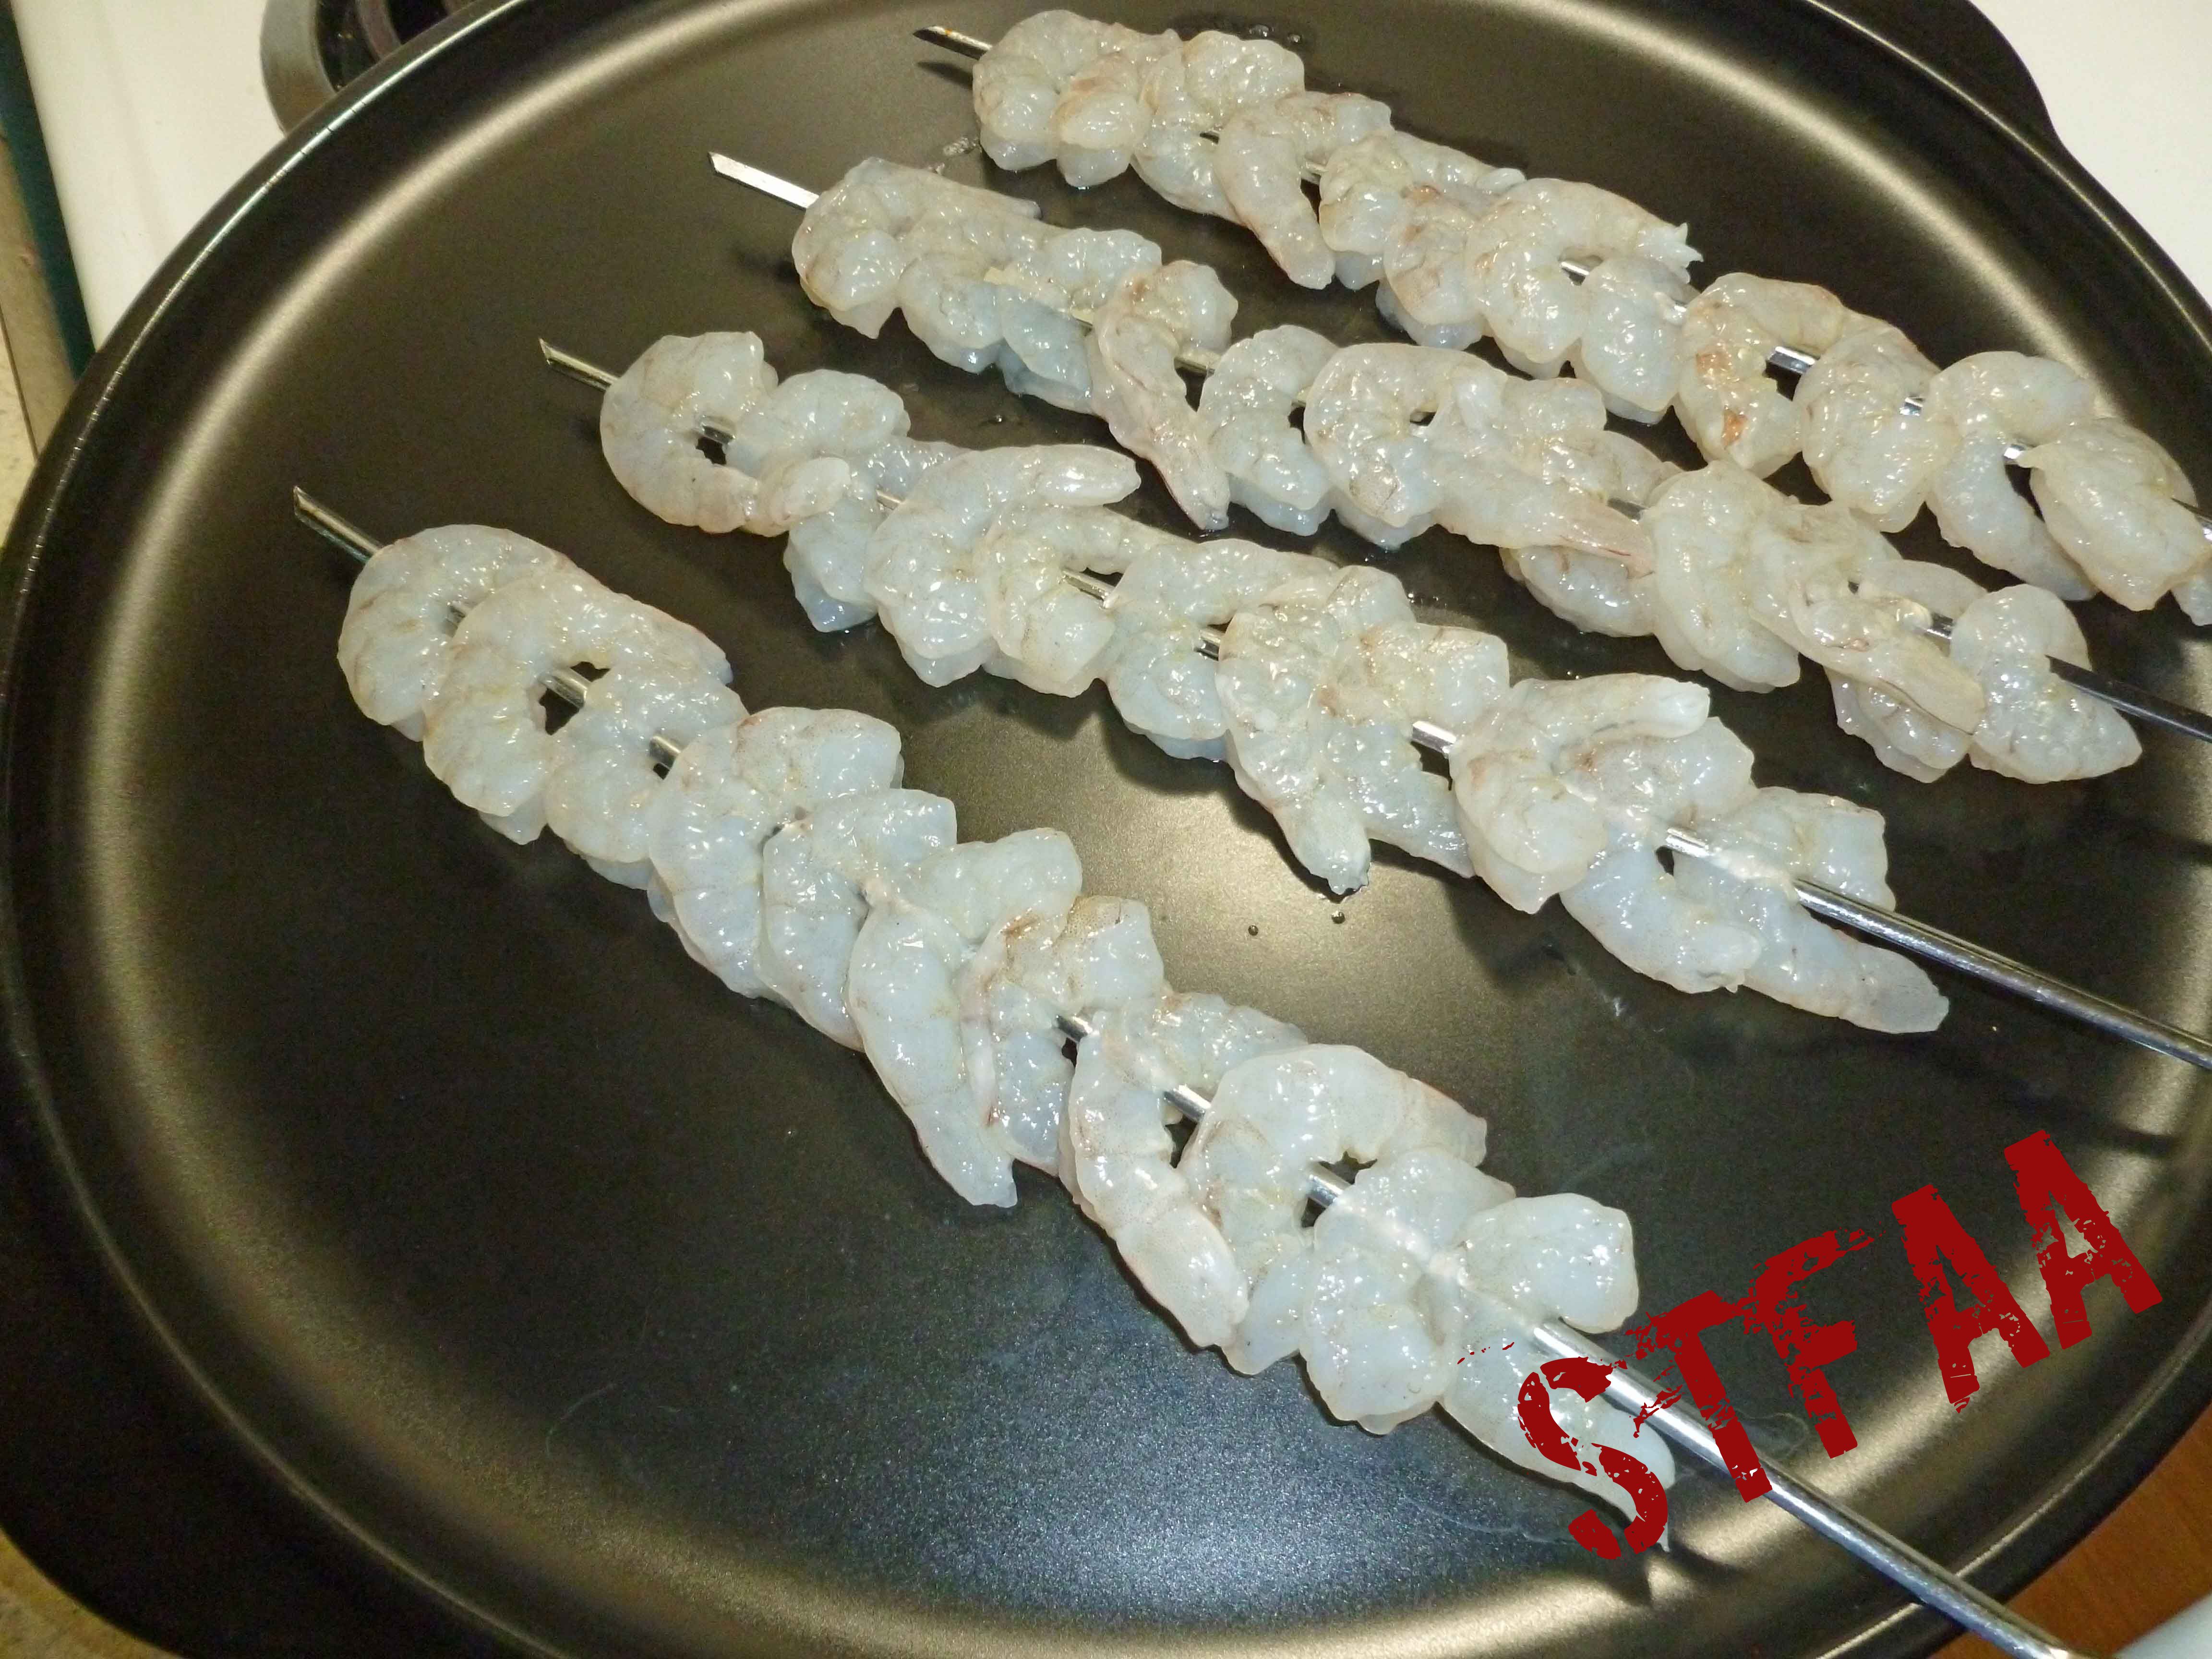
    I defrost my shrimp in a colander set in a bowl of cold water for about 10 minutes. Then I can just lift the colander out.

    Shrimp defrosting in cold water
    Shrimp defrosting in cold water

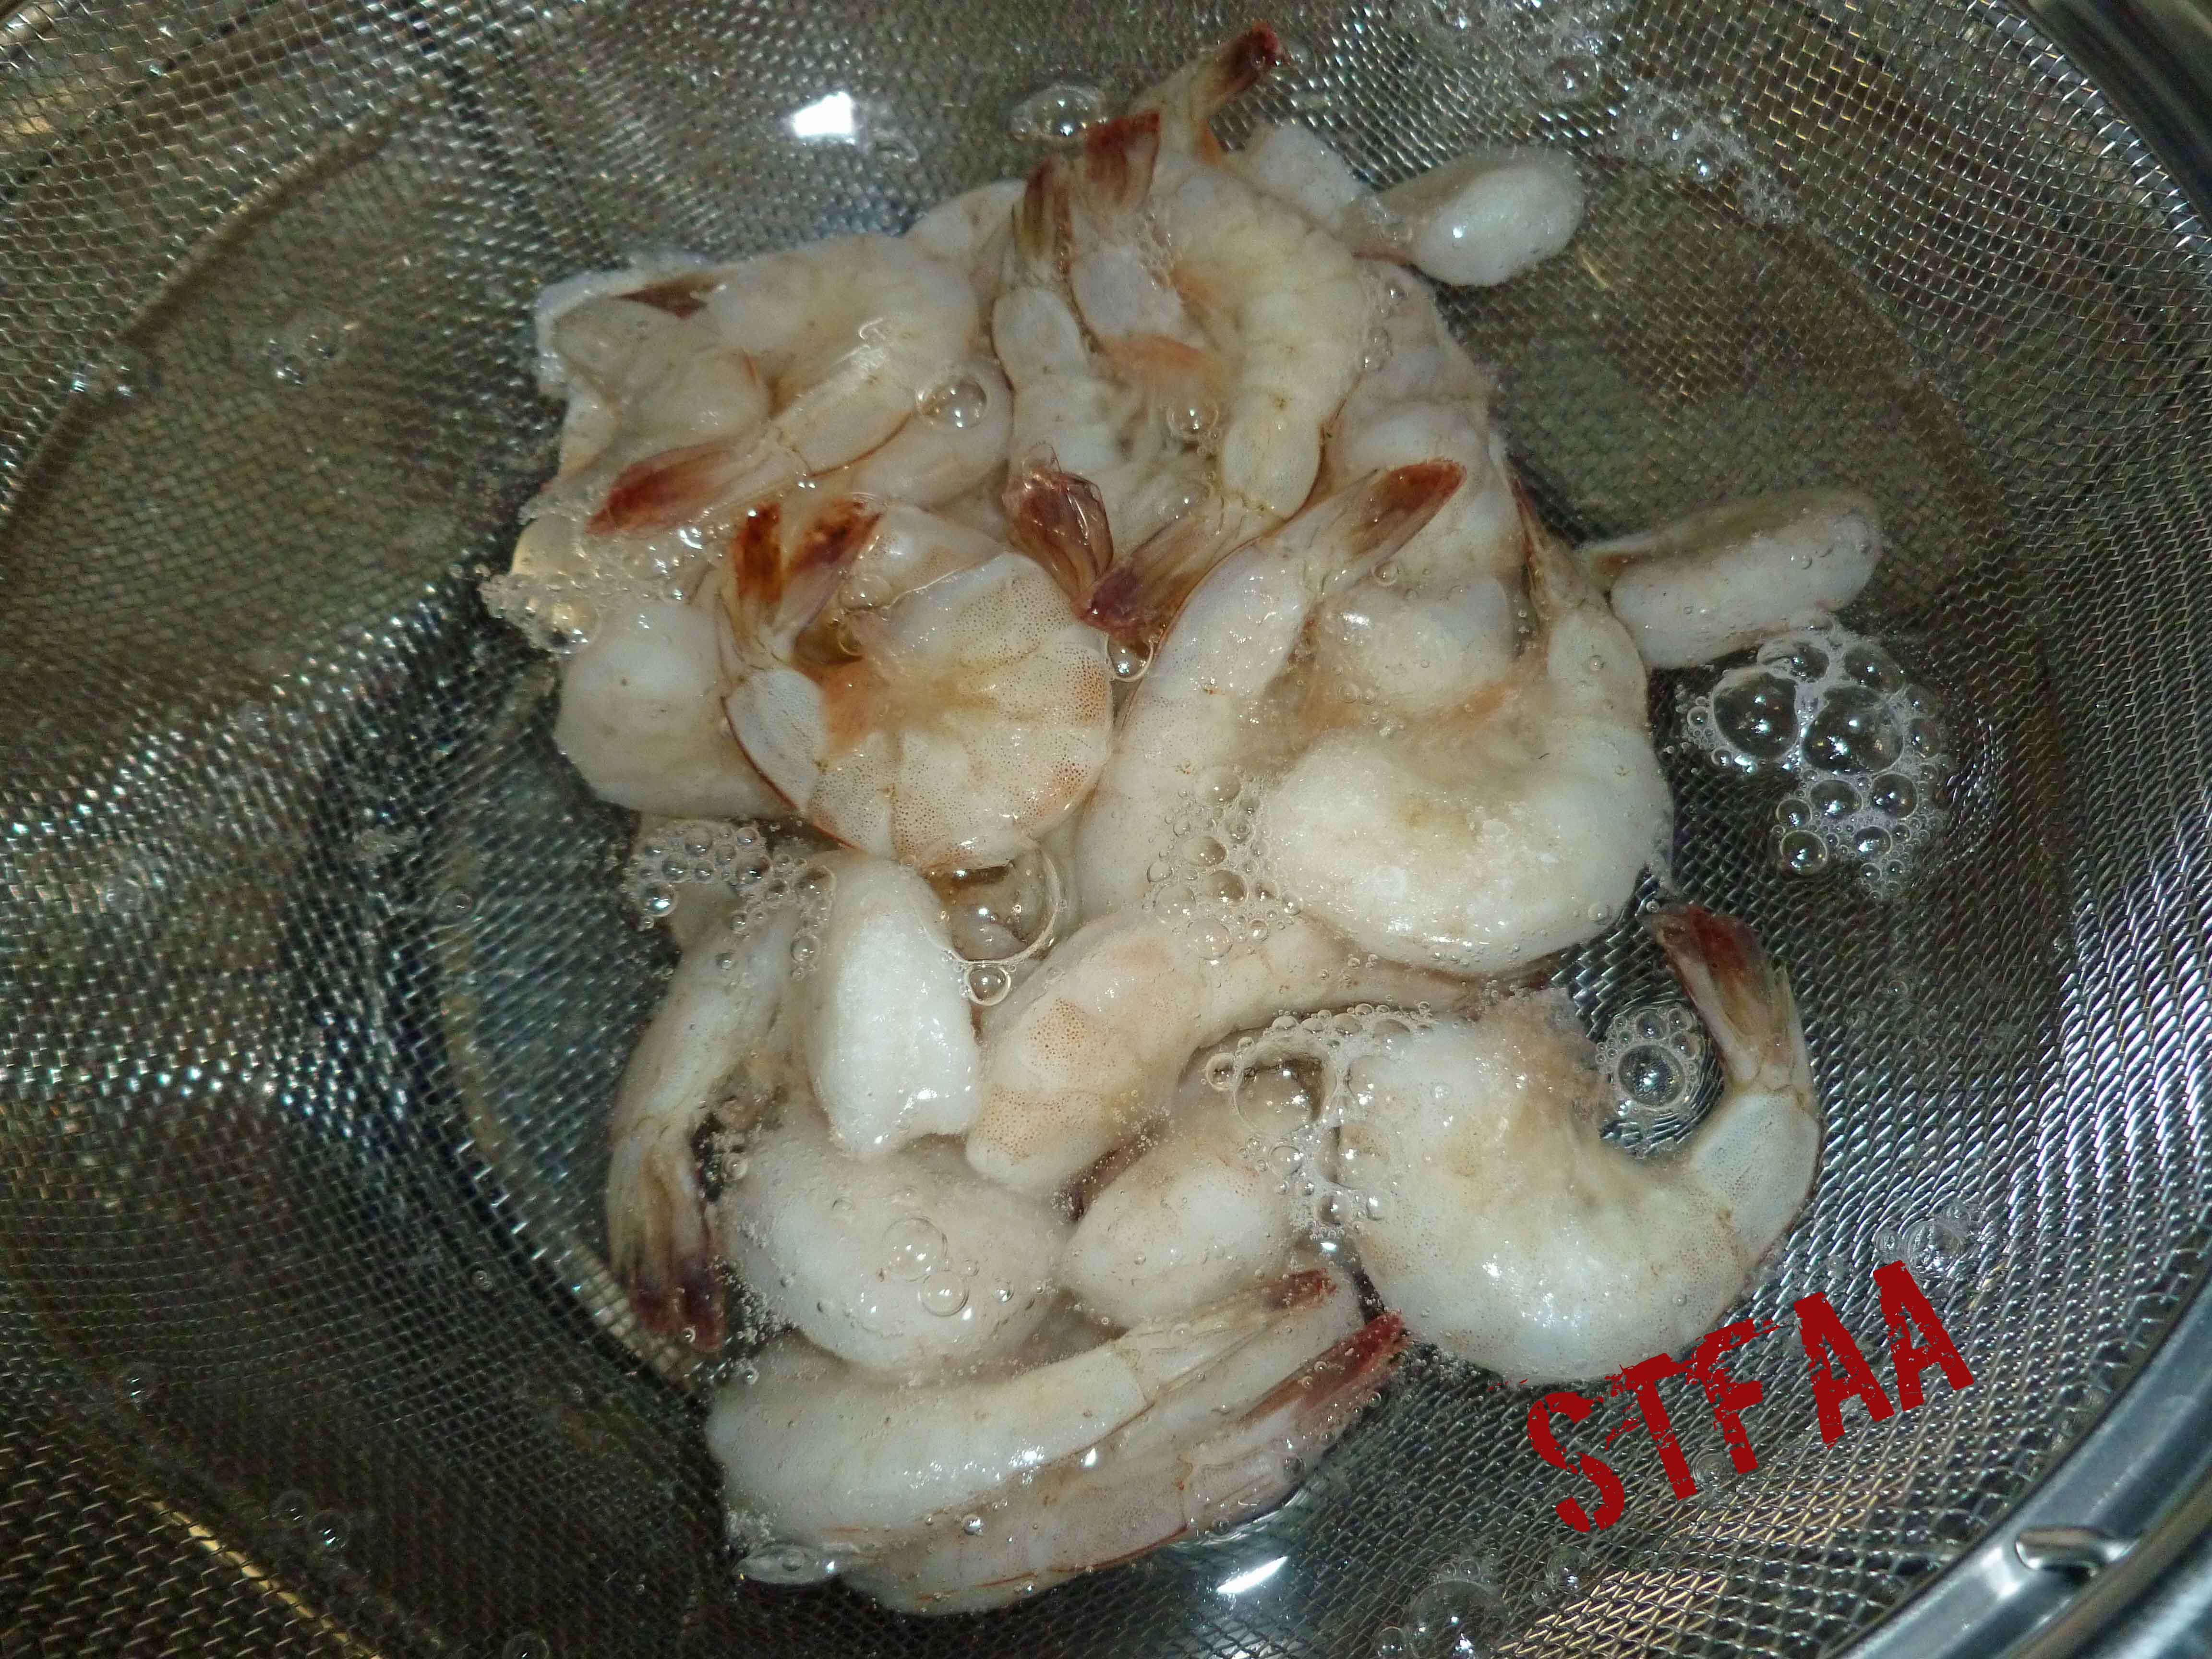
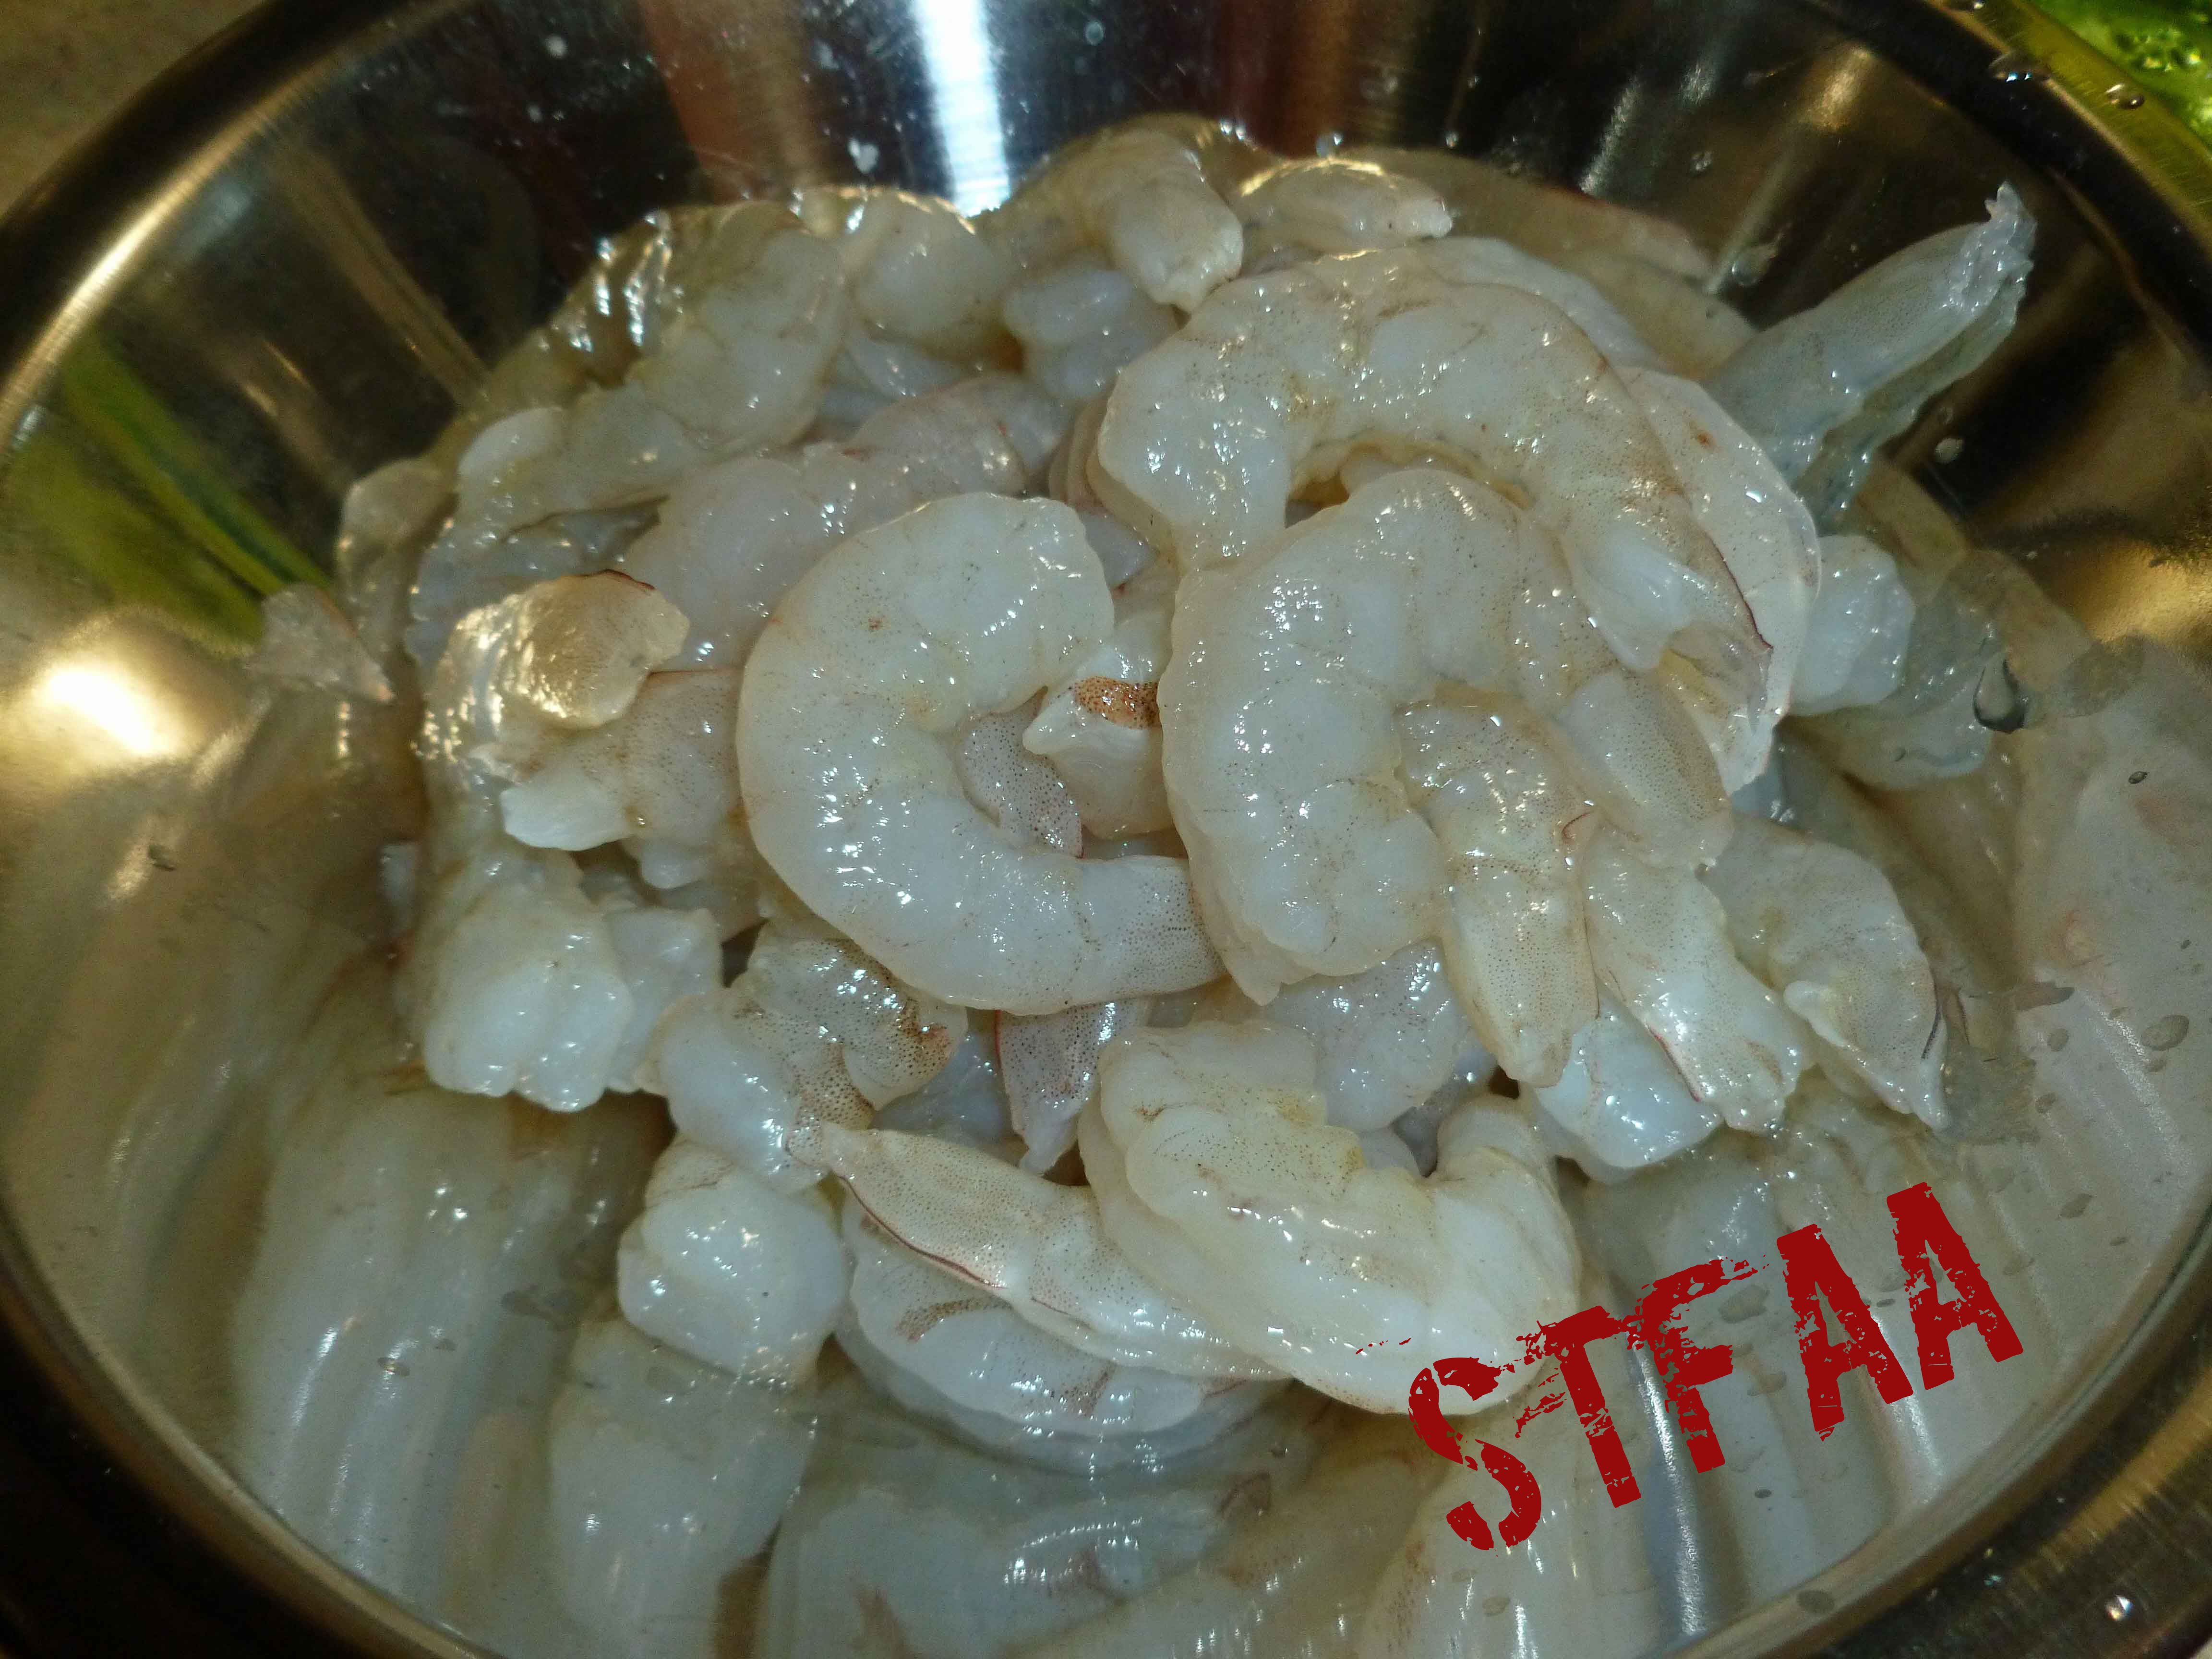
    When peeling the shells off the shrimp I take the tails off because I don’t want my guests to have to do it, and half the time they’ll just nibble up to the tail, and leave the tail meat in the tail shell. That’s a waste of seafood which is unconscionable to me. So I take the tails off. I usually buy my shrimp de-veined already, but if yours is not, here’s how to do it.

    Shrimp de-veined and peeled
    Shrimp de-veined and peeled
    Cajun Seasoning mixed with oil for shrimp
    Cajun Seasoning mixed with oil for shrimp

    I’m loving these stainless steel skewers. They are flat so that the food does not spin on them when you are turning them over. I’m not sure where I got these and why there are only four in my possession. However, I did go poking around and pop some more on my Amazon wish list (no affiliation) so I can get some for cook out season.

    Shrimp on stainless steel skewers
    Shrimp on stainless steel skewers
    Using a basting brush to coat shrimp with Cajun Seasoning oil mixture
    Using a basting brush to coat shrimp with Cajun Seasoning oil mixture

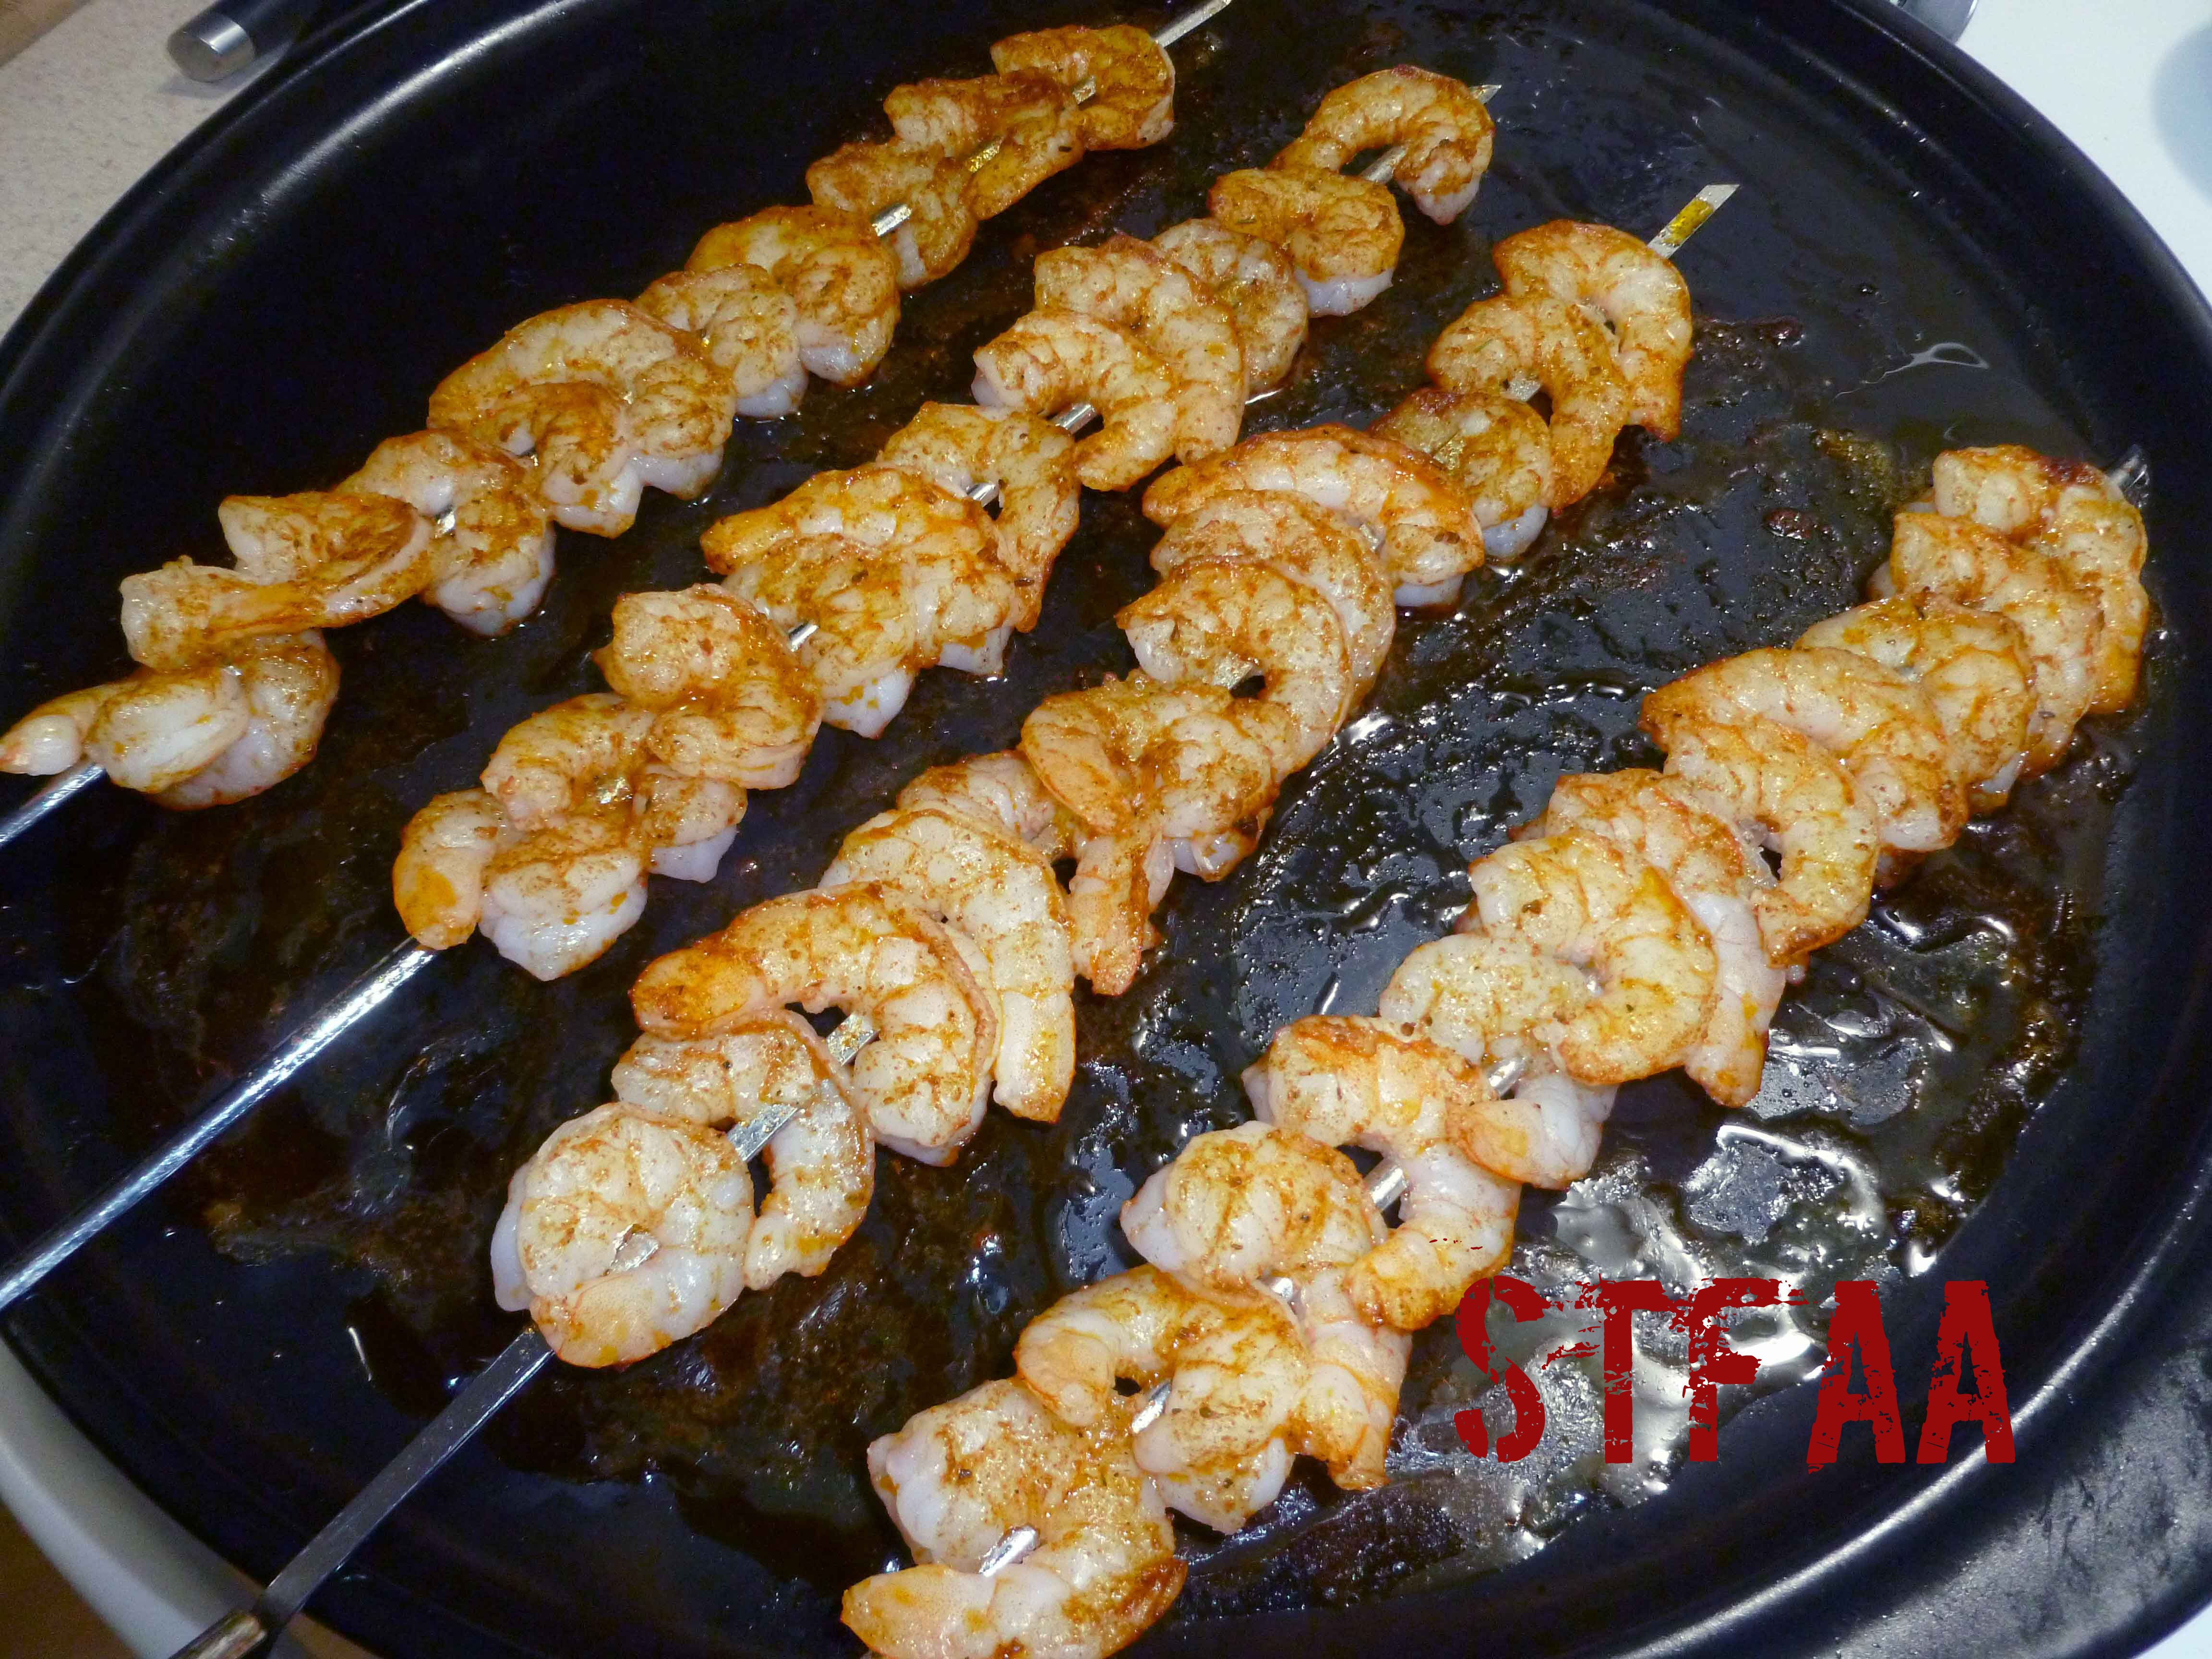
    Before you cook your shrimp you should notice that they have a translucent quality to them.  Once they are cooked they will look opaque. They really only need 2-3 minutes a side depending on your oven or grill. If you overcook them, they will become rubbery and unpleasant.

    Cajun Seasoned Shrimp Skewers after cooking
    Cajun Seasoned Shrimp Skewers after cooking

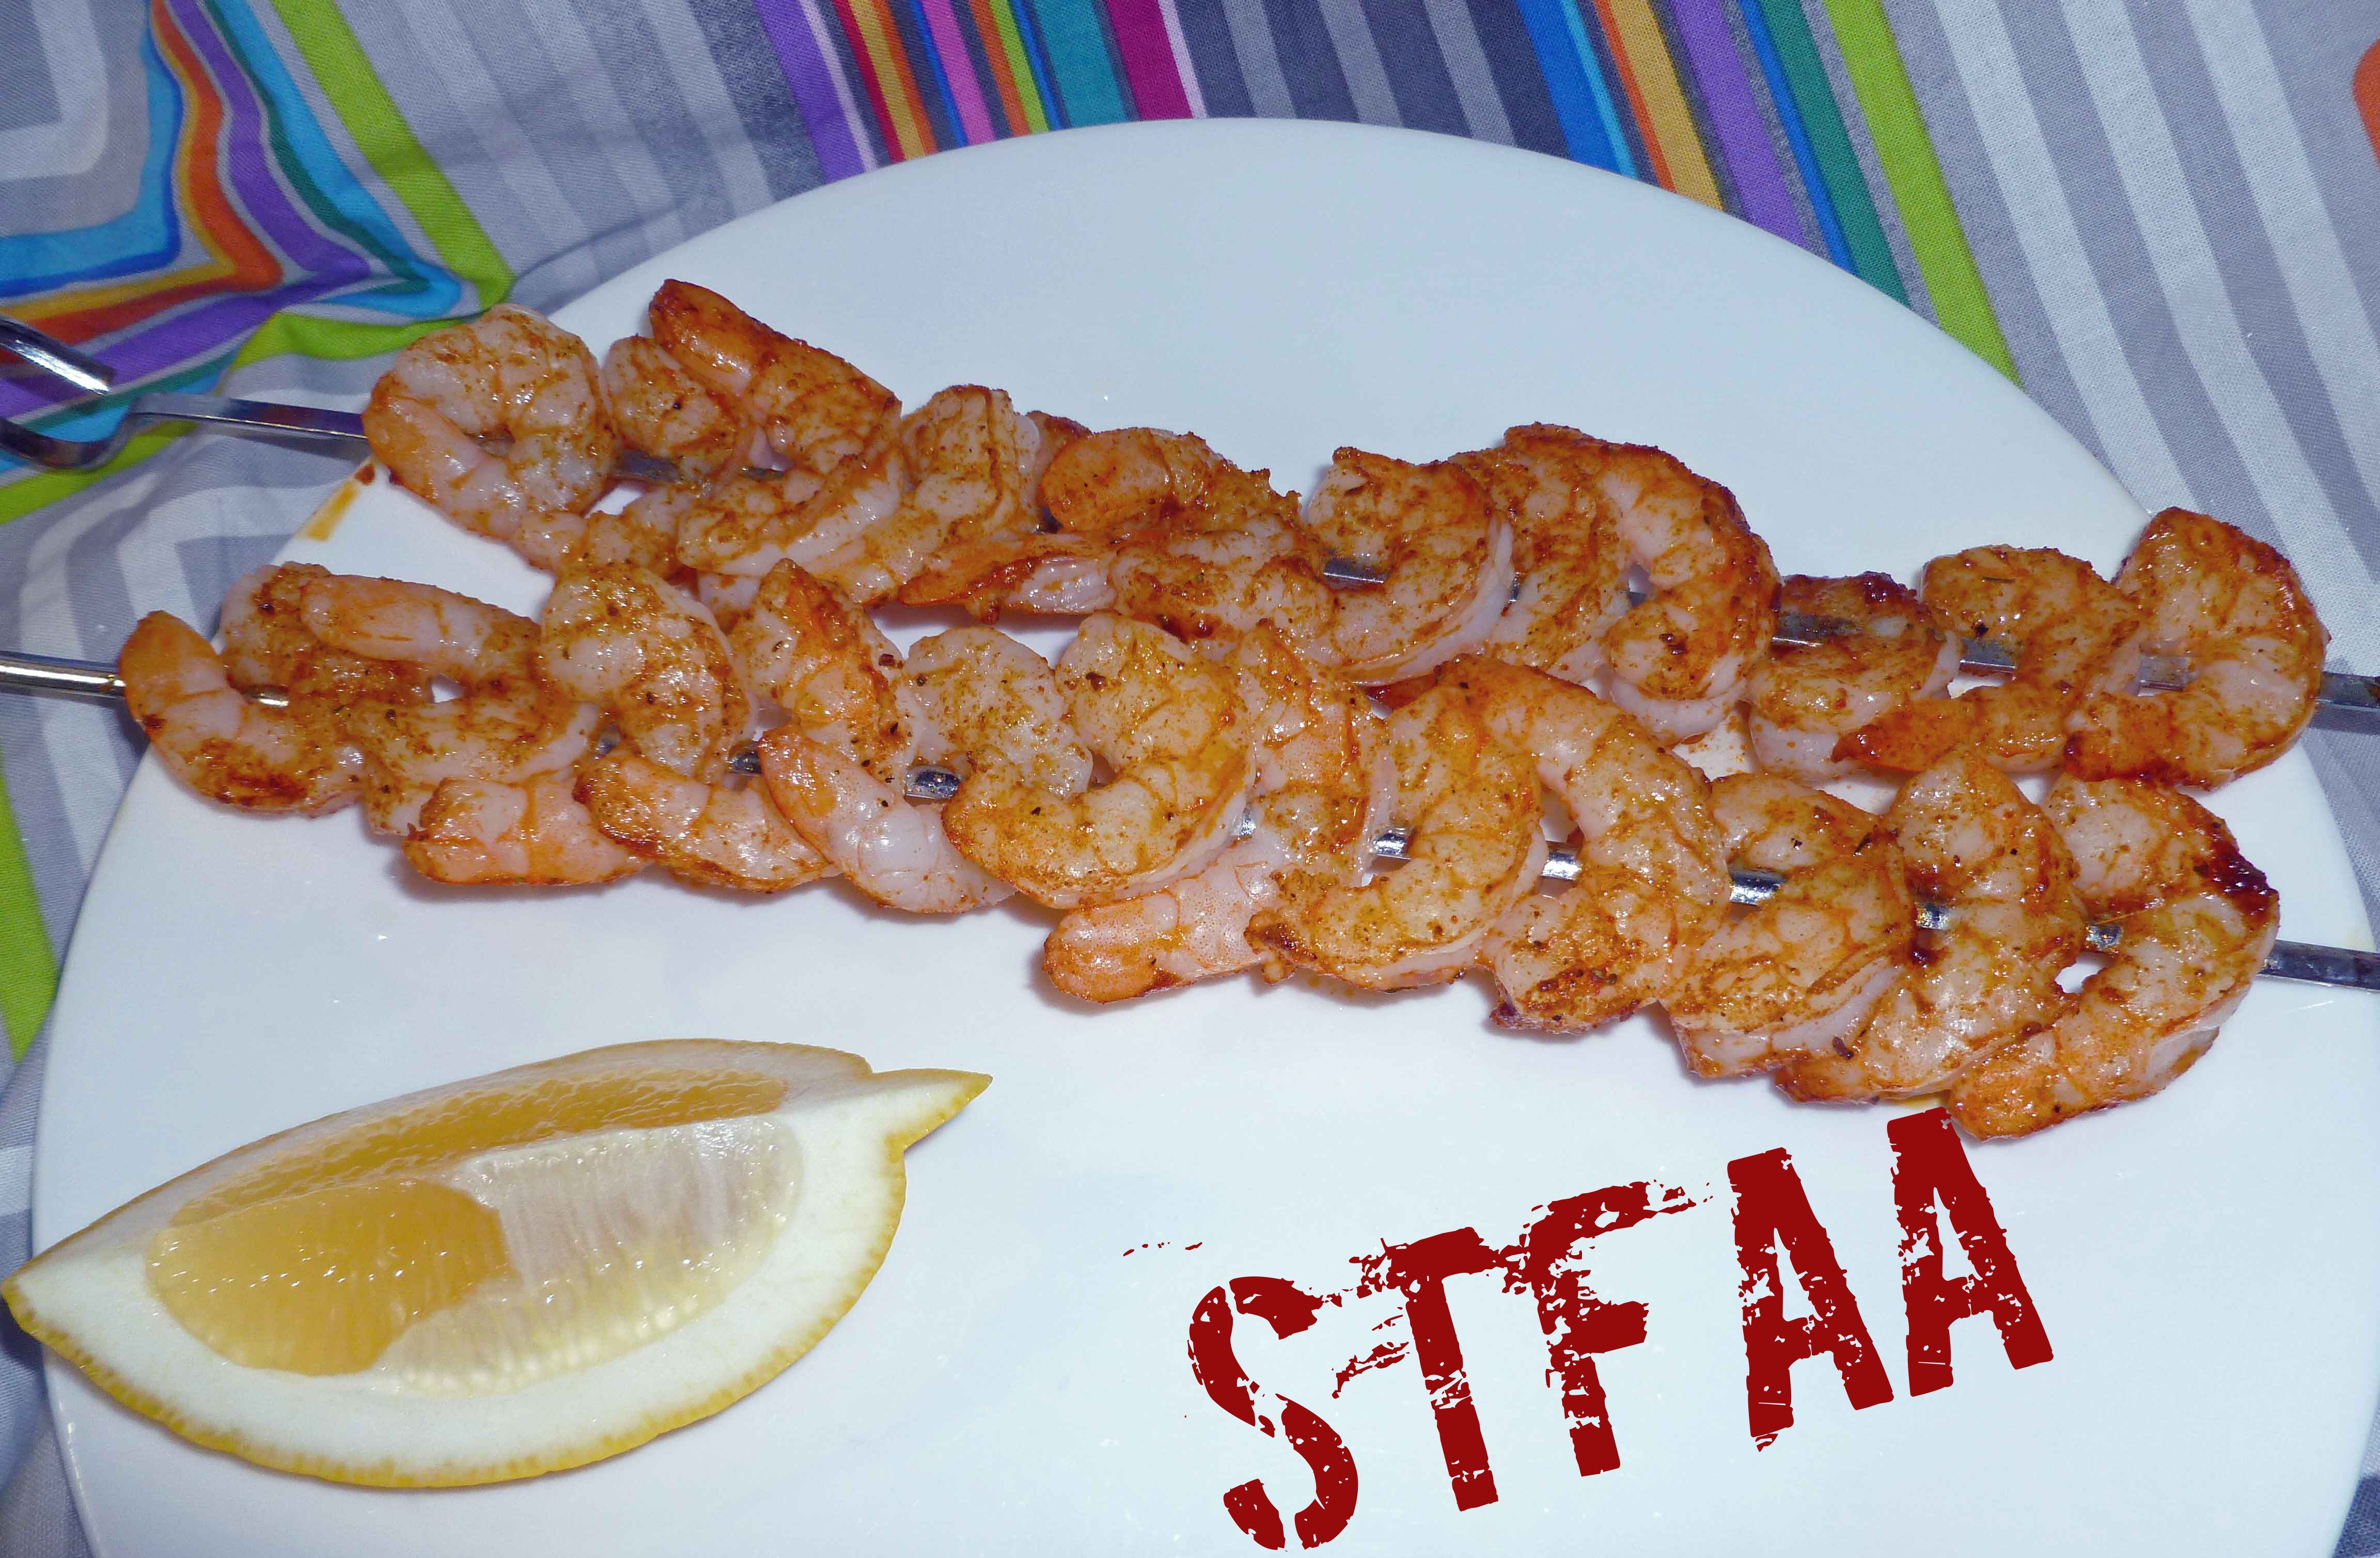
    When ready to serve, use one of the lemon quarters to squeeze lemon juice over the skewer or let your guests do it.

    Enjoy!

    Cajun Seasoned Shrimp Skewers with Lemon
    Cajun Seasoned Shrimp Skewers with Lemon

    Notice: Trying to access array offset on value of type bool in /home/maryzahc/public_html/adultfoodallergies.com/wp-content/plugins/wp-ultimate-recipe/helpers/models/recipe.php on line 254
    Cajun Seasoned Shrimp Skewers
    Print Recipe
    A nice appetizer to broil or grill to serve at dinner parties or cook outs.
    Servings Prep Time
    8 people 15 minutes
    Cook Time
    4-5 minutes
    Servings Prep Time
    8 people 15 minutes
    Cook Time
    4-5 minutes
    Cajun Seasoned Shrimp Skewers
    Print Recipe
    A nice appetizer to broil or grill to serve at dinner parties or cook outs.
    Servings Prep Time
    8 people 15 minutes
    Cook Time
    4-5 minutes
    Servings Prep Time
    8 people 15 minutes
    Cook Time
    4-5 minutes
    Ingredients
    • 1 pound raw shrimp peeled and de-veined
    • 2 tsp Cajun Seasoning (if you can use Penzey’s great! If not, we have a version on the blog.)
    • 3 tbsp grape seed oil (I used grape seed, but use what’s safe for you.)
    • dash salt
    • 1 lemon cut in quarters
    • 8 skewers stainless steel or bamboo
    Servings: people
    Instructions
    1. Preheat the broiler in your oven or your grill. If using a grill, preheat to 500°F. If you are using bamboo skewers, you will need to soak them in water for 30 minutes before using.
    2. Thaw shrimp if frozen. Peel shells and de-vein. I prefer to take the tail shells off, but that’s up to you. Place shrimp on skewers and place skewers on a broiler safe pan.
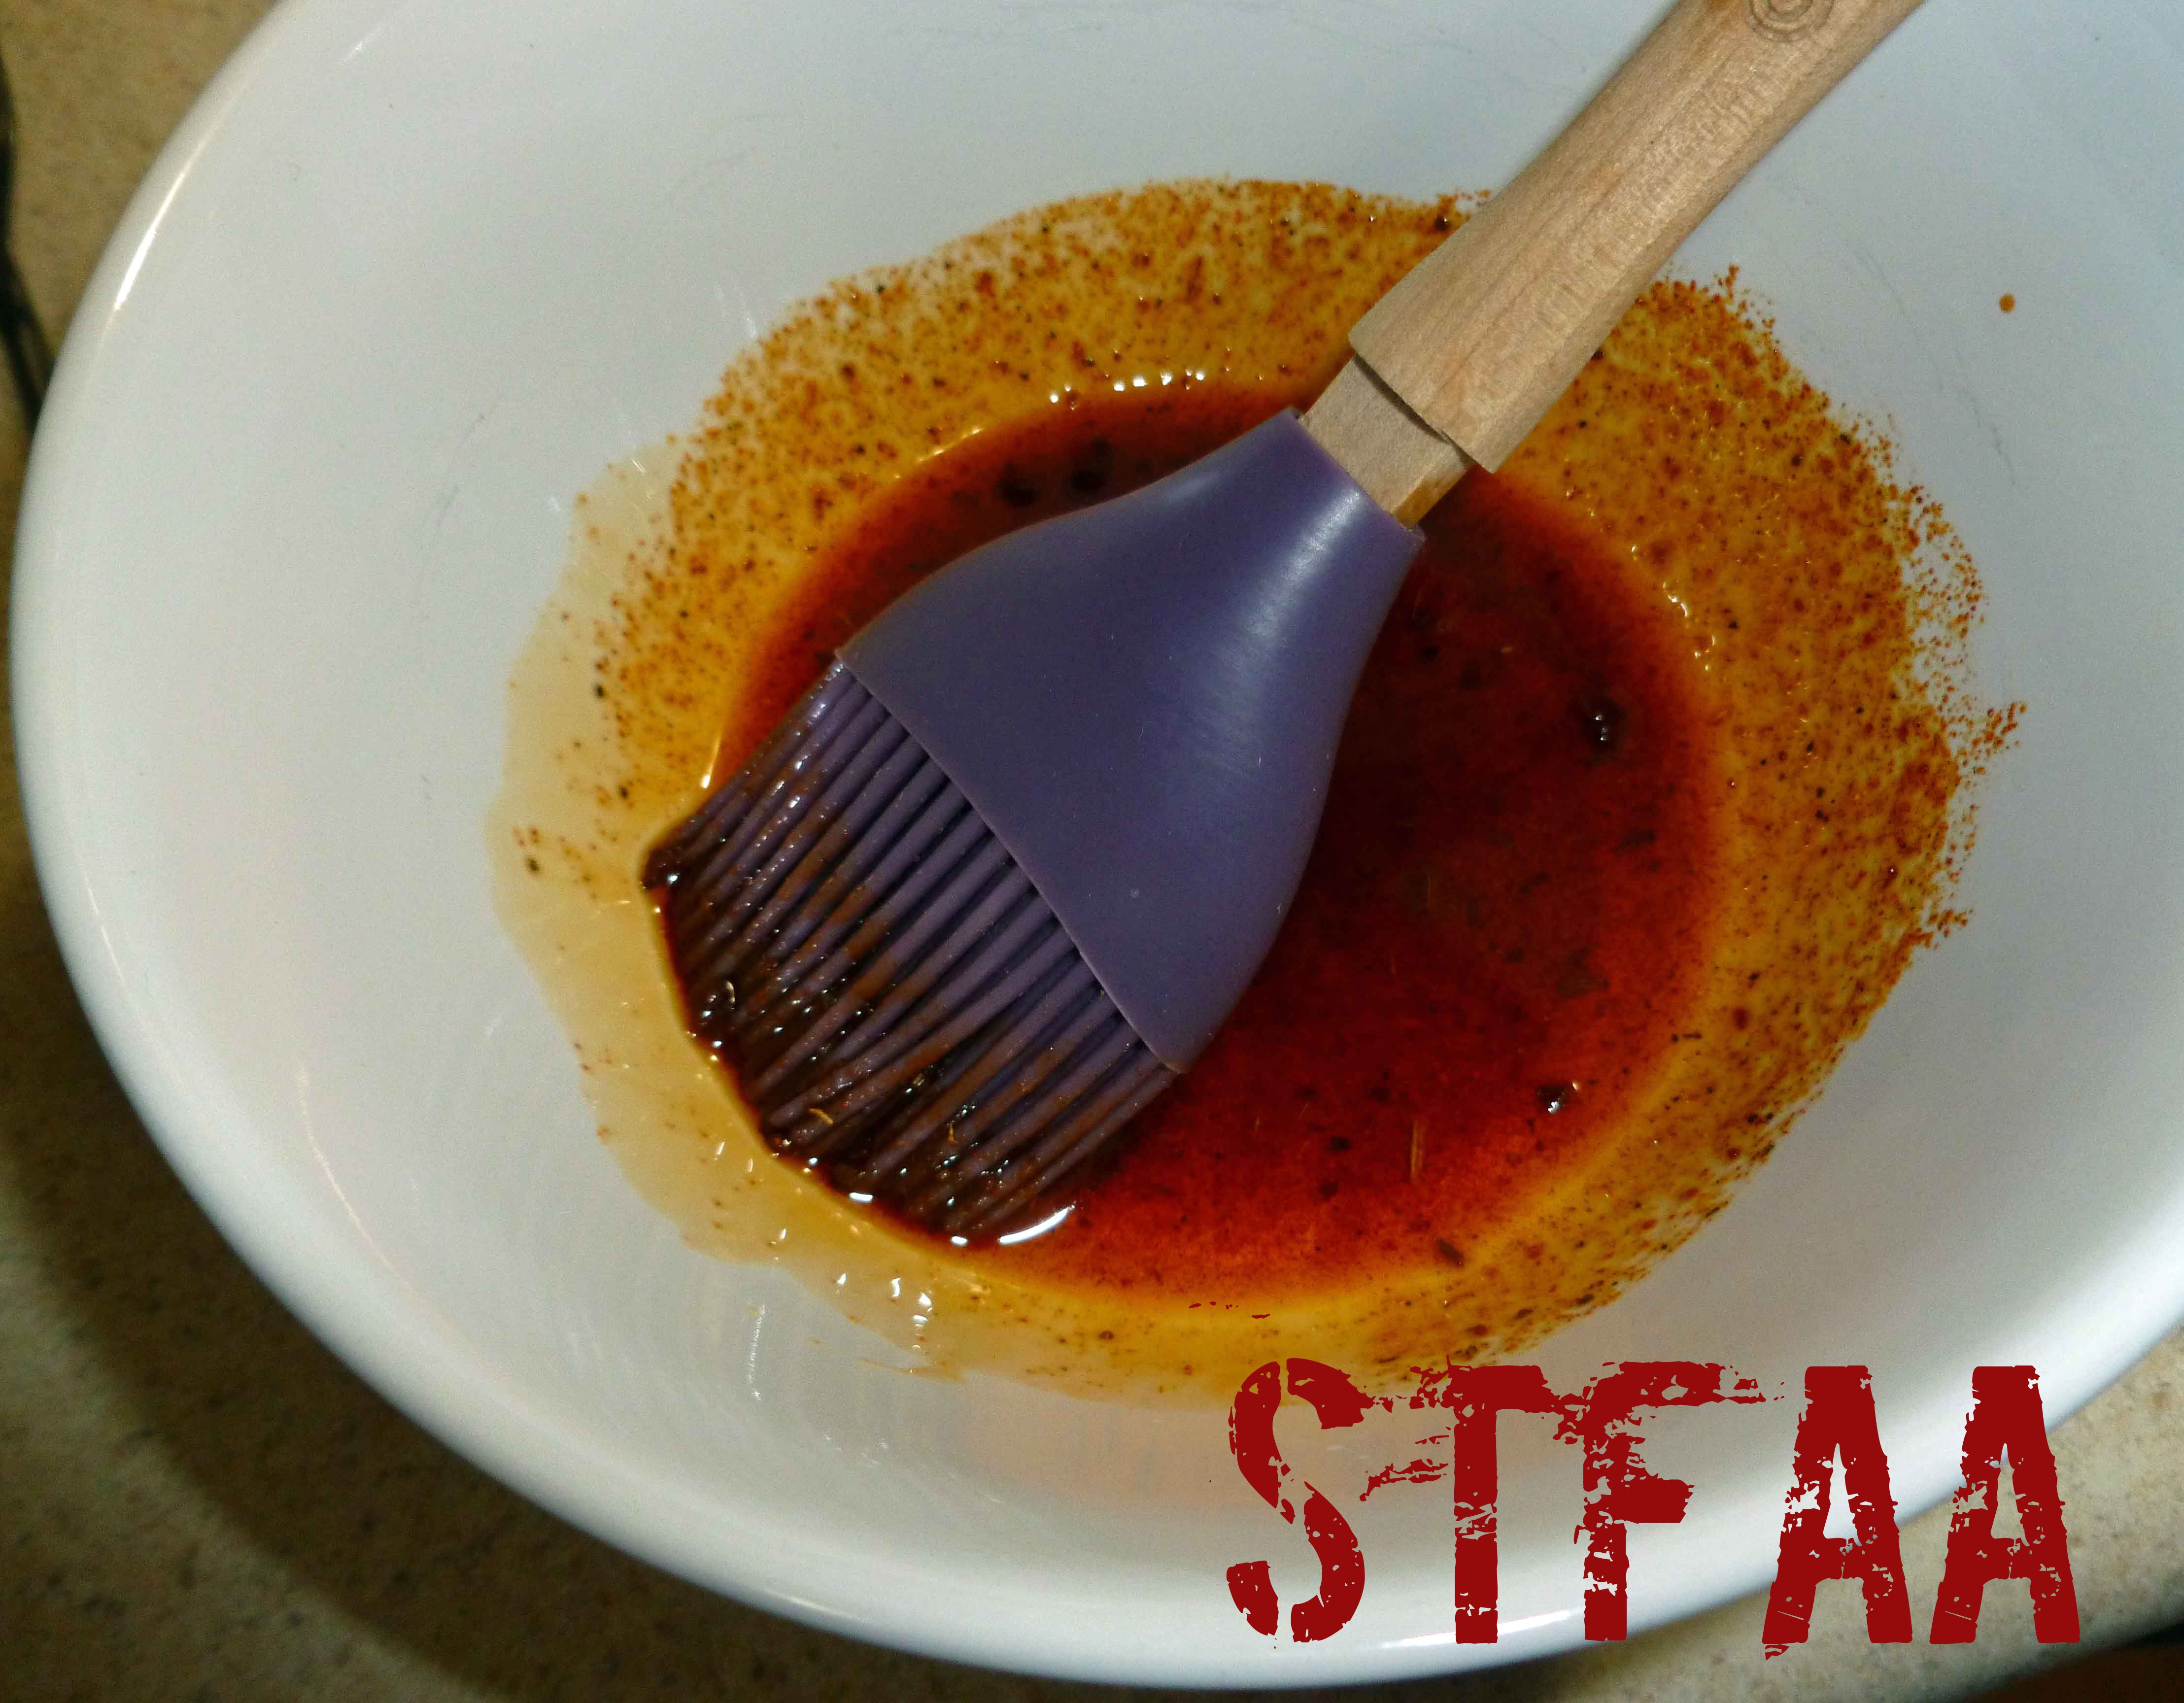
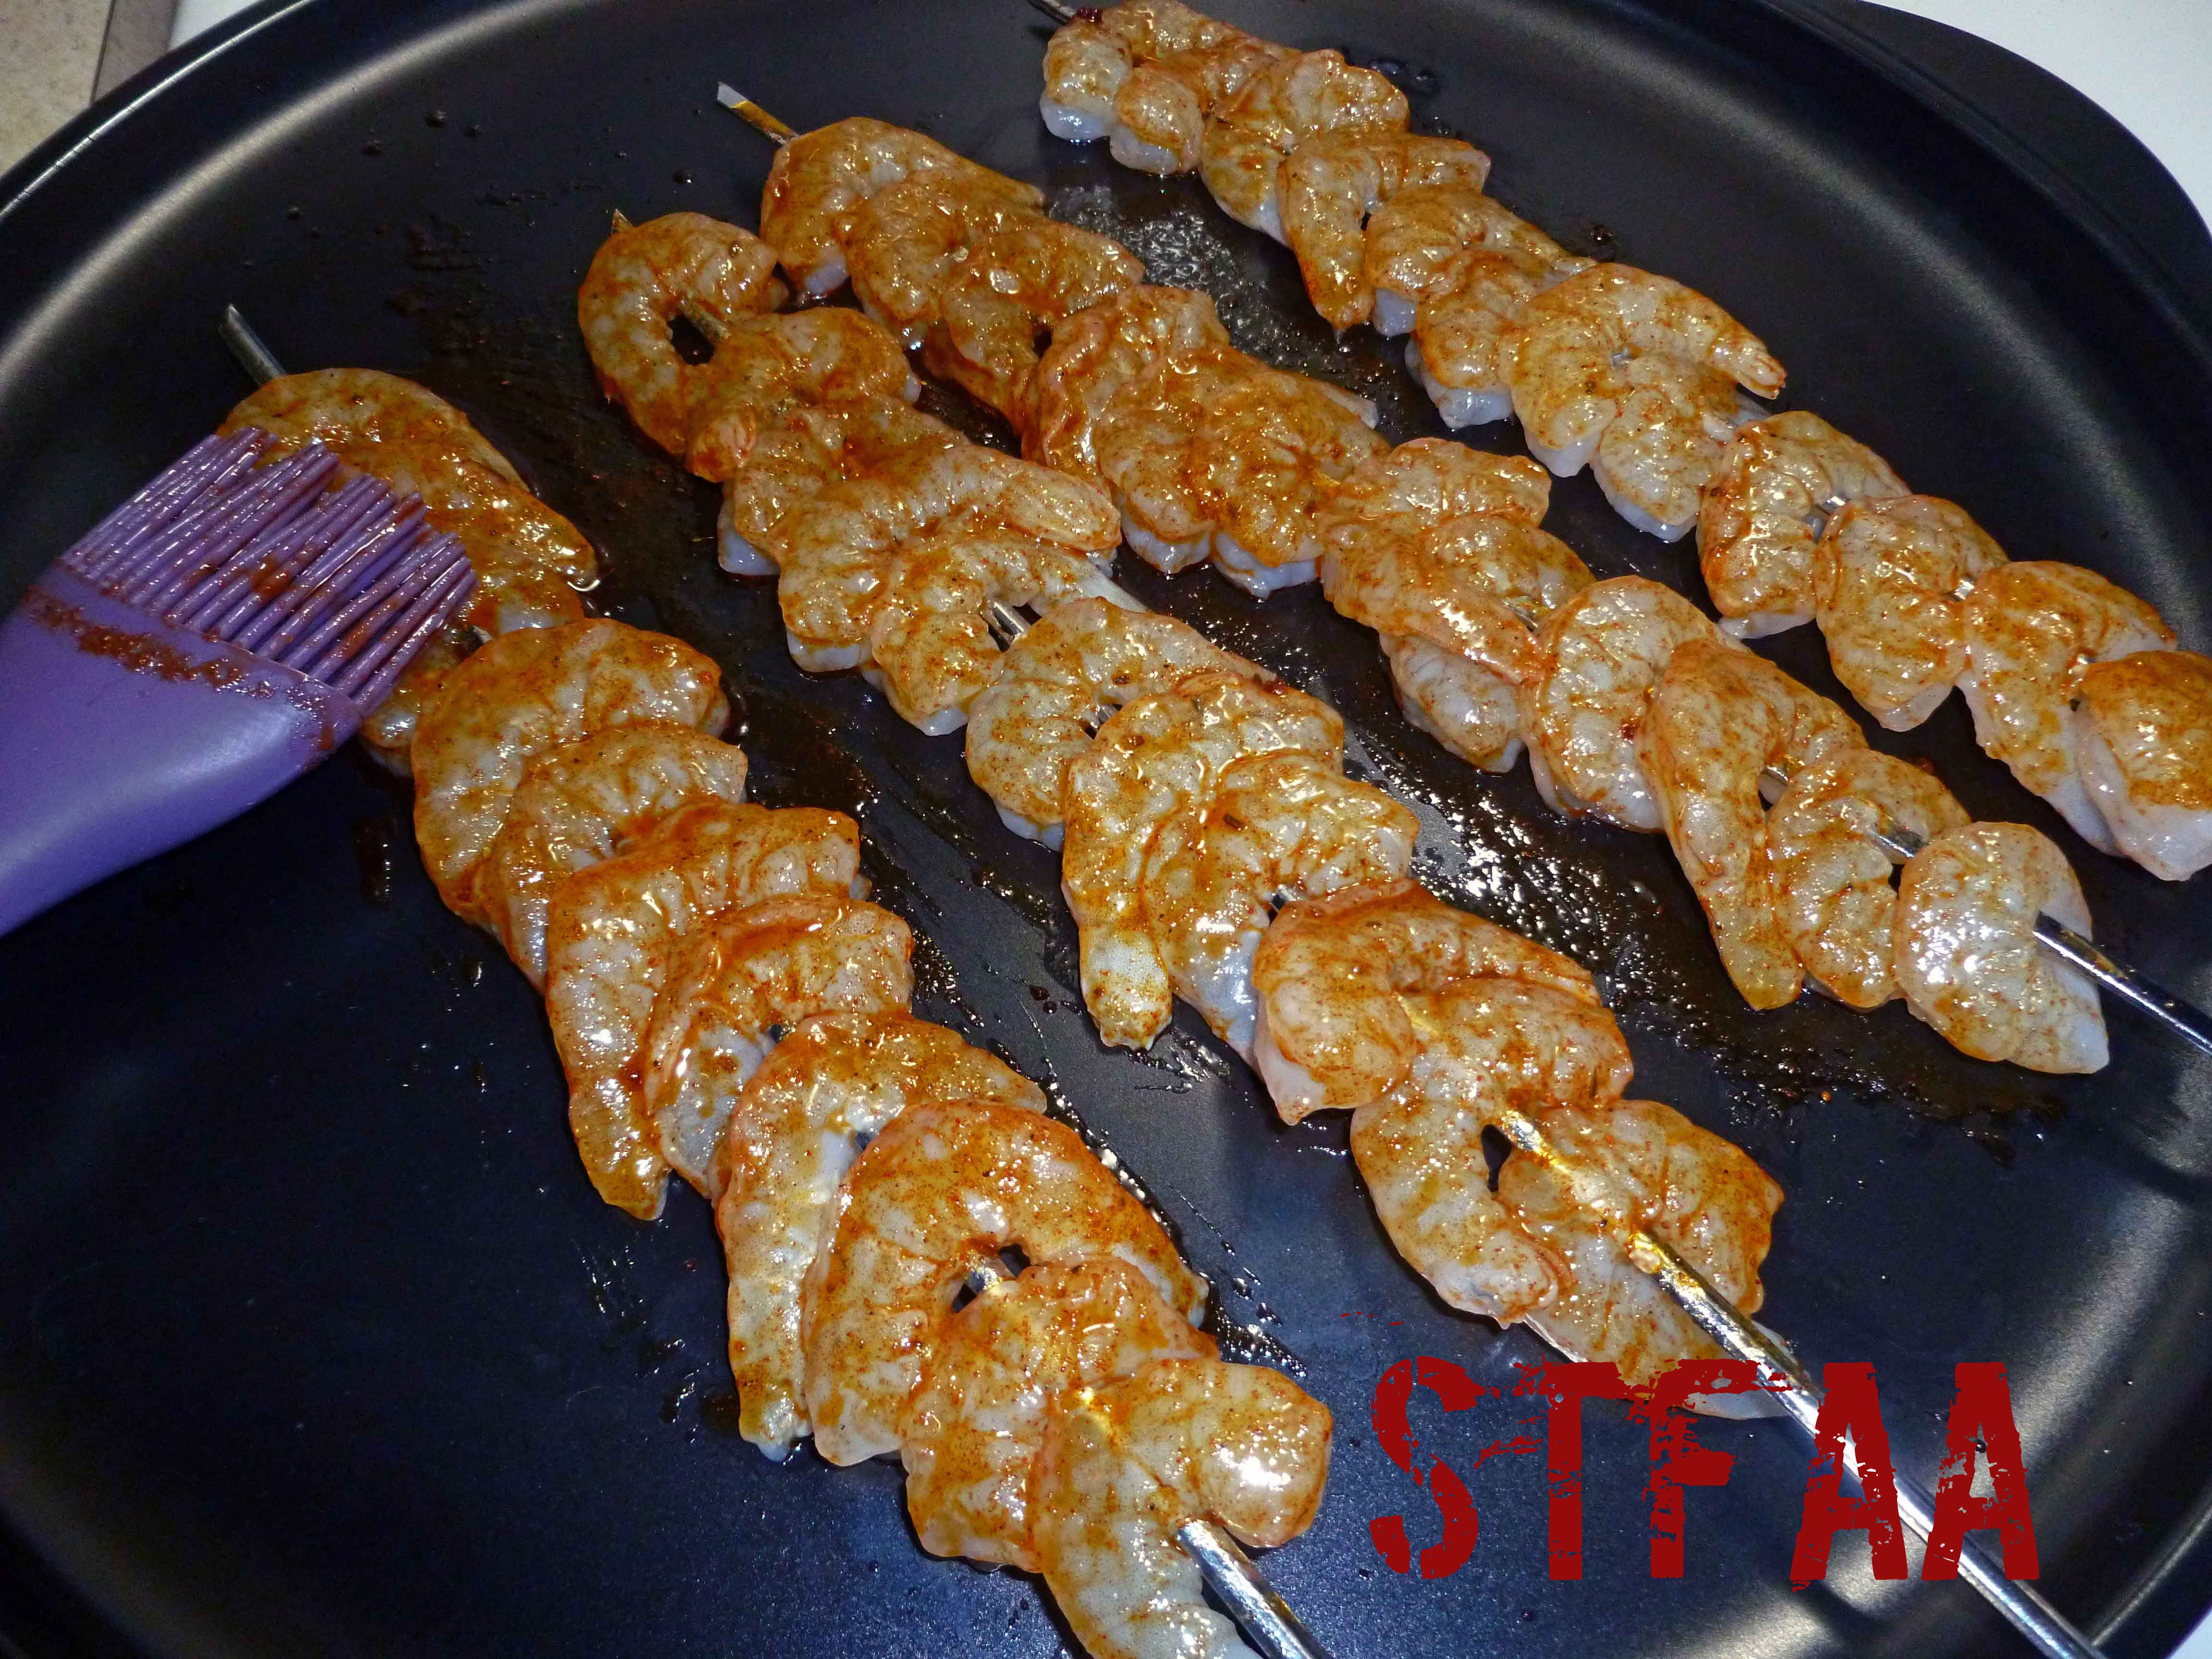
    3. Mix Cajun Seasoning and a dash of salt with the grape seed oil in a small bowl. Use a basting brush to brush the mixture on both sides of the shrimp skewers.
    4. Broil or grill 2 minutes on each side. The shrimp should turn opaque when cooked. Squeeze lemon quarter over shrimp before serving. Enjoy!
    Share this Recipe
     
    Powered byWP Ultimate Recipe
  • Shrimp and Sausage Skewers

    Shrimp and Sausage Skewers

    Shrimp & Sausage Skewers
    Shrimp & Sausage Skewers

    I know we don’t normally feature shellfish at all, given that it’s one of the top 8 allergens, but neither Denise nor I are allergic. If you are, I’m sorry. Come back next week.

    This is a quick and easy appetizer that’s pretty impressive. The key here is finding good spicy andouille sausage. I like Leidy’s, which is safe for me. The spicy sausage just slightly infuses the shrimp with flavor, but it’s also a great contrast texture-wise. Basically, your time is spent putting together the skewers (and peeling the shrimp, if you buy it with the shell on). Otherwise, this is super simple. Try it out for your next party.


    Notice: Trying to access array offset on value of type bool in /home/maryzahc/public_html/adultfoodallergies.com/wp-content/plugins/wp-ultimate-recipe/helpers/models/recipe.php on line 254
    Sausage and Shrimp Skewers
    Print Recipe
    Servings Prep Time
    4-6 people 10 minutes
    Cook Time Passive Time
    10 minutes 10 minutes
    Servings Prep Time
    4-6 people 10 minutes
    Cook Time Passive Time
    10 minutes 10 minutes
    Sausage and Shrimp Skewers
    Print Recipe
    Servings Prep Time
    4-6 people 10 minutes
    Cook Time Passive Time
    10 minutes 10 minutes
    Servings Prep Time
    4-6 people 10 minutes
    Cook Time Passive Time
    10 minutes 10 minutes
    Ingredients
    • 1 pound 16/20 count shrimp raw, devined, peeled
    • package andouille sausage sliced into 1/4 inch slices
    • olive oil
    Servings: people
    Instructions
    1. Soak wooden skewers in water for about 15 minutes.
    2. Preheat oven to 350ºF.
    3. Thread skewers through shrimp and sausage so that sausage is in the curve of the shrimp and the skewer goes through the shrimp twice.
    4. Brush a baking tray with olive oil, and then brush the skewered shrimp.
    5. Bake 8-10 minutes, until shrimp is opaque and pink.
    6. You could serve this with cocktail sauce, but the flavor the the sausage and shrimp should be enough. Add a pinch of salt at the end if you need it.
    Share this Recipe
     
    Powered byWP Ultimate Recipe


  • Tod Mun (Thai Fish Cakes)


    Tod Mun (Thai Fish Cakes)
    Tod Mun (Thai Fish Cakes)


    Have I ever said how much I love Thai food? And that my first date with my husband was at a Thai place?  Because of the corn, wheat, and coconut allergies, going out for Thai food really isn’t an option anymore. And I miss it, very much. I used to order this appetizer often in the long, long ago before food allergies, and when Mary Kate and I talked about doing a Fry-Day for Thanksgiving this year, I decided to give it a shot. I was very happy. I may have even teared up because it was just like our local Thai joint’s version.

    Tod Mun:

    Makes about 10-15 or so.

    Cucumber Salad/Dipping Sauce:

    • 1 cup of Thai Hot and Sweet Dipping Sauce
    • 1 cucumber peeled and diced
    • 1 cup of cashews, toasted in a skillet or roasted in the oven (If you can have peanuts, use roasted peanuts. If you can’t have nuts, just leave them out.)

    Tod Mun:

    • 1 pound of Haddock (or other mild white fish, such as Pollock or Halibut)
    • 5 ounces of uncooked shrimp, peeled and tail off.
    • 2 Tablespoons of Thai Red Curry Paste (If you can use a commercial version, great, but if not, here’s a recipe for it.)
    • 1 Tablespoon of safe for you fish sauce (If you don’t have one you can leave it out).
    • 1 bunch of scallions, trimmed and chopped into small pieces
    • 1 chia egg (1 Tablespoon of ground or milled chia seed mixed with 3 Tablespoons of water)
    • safe oil for frying enough to fill the pot about 3 to 4 inches deep

    For the frying:

    • A pot deep enough to accommodate about 3 inches of oil and the frying thermometer, a thick stainless steel stock pot or an enameled dutch oven would be best. You also want a pot that’s tall enough that the edge is 4 or more inches above the oil level. It’s safer and there’s less splatter all around. We do not recommend using anything with Teflon or nonstick coatings. Of course, if you have an actual deep fryer appliance, use that.
    • frying thermometer (the link goes to the one we used)
    • tongs and/or slotted frying spoon/spider  (we used a silicone one rather than the traditional wire and bamboo, but I can’t find a picture of ours)
    • plate or cookie sheet, lined with paper towels

    Set up your frying pot, add your safe oil, and set up your thermometer. Start heating your oil over medium heat, as it will take some time to reach the right temperature.  You are aiming for about 350ºF.

    Chop your toasted/or roasted cashews and place them in a bowl. Add your your peeled and diced cucumber and the Thai Hot and Sweet Dipping Sauce, and mix well to combine.  Set aside.

    Cucumber Salad/Dipping Sauce
    Cucumber Salad/Dipping Sauce

    Chop the haddock into pieces small enough to put in your food processor.  Place the haddock and the shrimp in a food processor with the regular cutting blade and process until the haddock and shrimp forms a smooth paste. Empty the mixture into a large mixing bowl, making sure you scrape down all the sides of the food processor bowl carefully.  Also, wash your food processor parts immediately. You really don’t want the fish mixture to dry to your food processor bowl, cover and blade.

    Mix in the Thai Red Curry Paste and fish sauce, until well combined. Then add the scallions and chia egg, and mix thoroughly.

    Tod Mun mixture before frying
    Tod Mun mixture before frying

    Once your oil is hot and has reached 350ºF.  Use two large spoons to form a rough patty, and drop it into the oil. Depending on the size of your pot, you may only be able to do a few at a time. I had a 10 quart stockpot and I was only able to do about five at time.

    Use large spoons to make rough patties
    Use large spoons to make rough patties

    Fry them for about 4-5 minutes or until golden brown.. Place them to drain on the paper towels.

    Fried Tod Mun (Thai Fish Cakes)
    Fried Tod Mun (Thai Fish Cakes)
    Fried Tod Mun (Thai Fish Cakes)
    Fried Tod Mun (Thai Fish Cakes)

    Once you have fried all of them, serve them with the cucumber salad/dipping sauce.

    Tod Mun (Thai Fish Cakes)
    Tod Mun (Thai Fish Cakes)


    Enjoy!


  • Simple Jambalaya Stew

    IMG_0833

    Are you sick of turkey, maybe not ready for chicken, but it’s cold outside? Maybe something completely different is in order? And it’s still really cold out?

    One of my favorite bad day “anywhere but here” fantasies involves the story my friend Jodi and I like to tell about our future retirement to New Orleans, where it is not cold (no matter what your definition of “cold” is, it’s usually warmer down there in the winter), where we’ll sit on the porch of the pink house and yell at squirrels and kids to get off the lawn. And we will eat. For all the croissants and beignets I can’t eat, there are plenty of shrimp that I can (aren’t we always pretty grateful for the food allergies we don’t have?). If you do have a shellfish allergy, consider substituting cooked chicken for the shrimp, adding it at the end and just heating it up.

    This stew is warm enough to take off the chill of a long day spent outside in the raw New England winter (well, this stew and some indoor heat), so hopefully it’ll make your winter warmer, too. Short warning — This is NOT a true traditional New Orleanian jambalaya. This is my quick tossing together of the flavors that remind me of my visits to the city.

    Simple Jambalaya (esque) Stew

    Serves 5-6

    • 1 Tablespoon oil
    • 1 1/2 cup onion, diced
    • 1/2 teaspoon salt
    • 1 bell pepper, chopped
    • 2-5 stalks celery, chopped
    • 12 oz (2 links, one package) andouille sausage, links cut in half lengthwise and then sliced
    • 1 1/2 cups brown jasmati rice**
    • 5-7 cups chicken or vegetable stock**
    • 1 Tablespoon adobo spice mix
    • 2 teaspoons tomato paste
    • 1 Tablespoon dry sherry
    • 1 lb. shrimp, raw, peeled, deveined (see note)

    Chop all the vegetables according to your likes — I like the flavor of onions and bell peppers, but in this dish, I don’t want to  taste a chunk of either at any time, so I dice those small. However, I want the crunch and flavor of celery, so I chop that in rather large pieces. I want the very flavorful sausage to flavor the entire dish, so I want them slightly smaller than the shrimp will be when cooked, and I leave the shrimp whole (but take off the tails because I don’t like to fuss — do what works for you). Try this, and then adjust it to suit your tastes.

    In a large stockpot, over medium heat, add oil and heat until shimmery hot. Add onions and salt, saute for a few minutes. Add bell pepper, stir, and again saute a few minutes. Add the celery and sausage, stir in well, then add the rice and mix to make sure it’s well-coated with the oil and vegetables. Add the chicken stock.

    **You will need to adjust the amount of stock based on the rice you choose. I prefer a brown rice in this, but I’m pretty sure that white rice would be more traditional. I used a jasmati blend (a cross of jasmine and basmati rices) because I had it on hand. It was pretty good. You want enough broth to fully cook the rice, and then a few extra cups for a good soupy finish.

    Bring the mixture to a boil and add the adobo, tomato paste, and sherry, turning down the heat to simmer over low for 30 minutes. Check to see if the rice is cooked. If it is, add the shrimp, turn off the heat, cover the pot, and let it sit covered for 15 minutes while the shrimp cooks. Taste, and adjust salt and pepper to taste. Serve warm.

    NOTE: If you do have a shellfish allergy, consider substituting chicken or leaving the shrimp out all together. The flavors will still be great.

    To reheat, go low and slow. In a large and flat saucepan, heat over low until its hot. In a microwave, short bursts and frequent stirring work best. You don’t want to overcook the shrimp, so low and slow.

    Jambalaya Stew
    Jambalaya Stew