Notice: Function _load_textdomain_just_in_time was called incorrectly. Translation loading for the wp-ultimate-recipe domain was triggered too early. This is usually an indicator for some code in the plugin or theme running too early. Translations should be loaded at the init action or later. Please see Debugging in WordPress for more information. (This message was added in version 6.7.0.) in /home/maryzahc/public_html/adultfoodallergies.com/wp-includes/functions.php on line 6121
WARNING – SESAME – surviving the food allergy apocalypse (archive)

Tag: WARNING – SESAME

Recipe contains sesame or sesame derivatives.

  • Kinpira Gobo

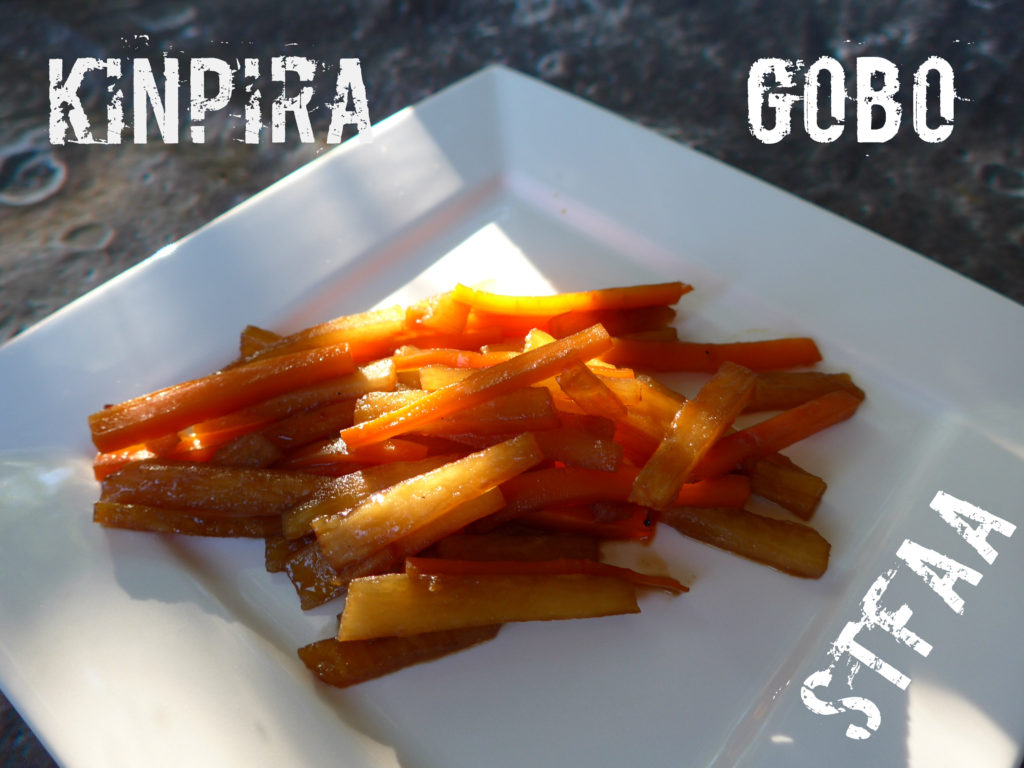
    Kinpira Gobo

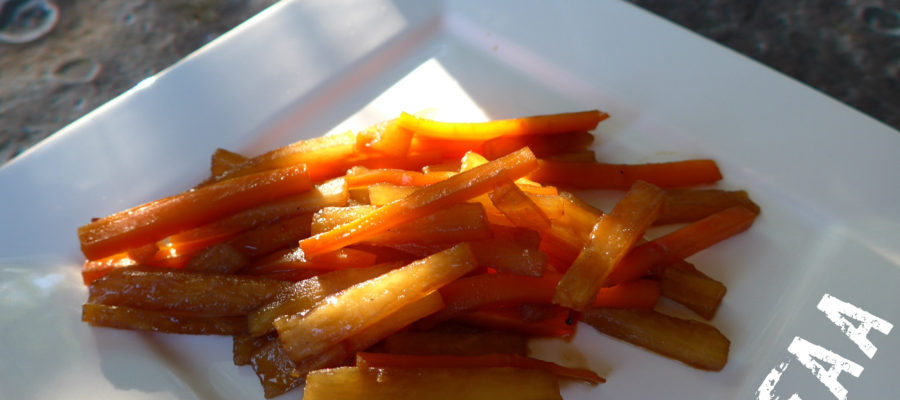
    Kinpira Gobo, in dramatic September lighting

    So given that we’re trying new cooking techniques this month, one of the ones that jumped out at me was kinpira, a Japanese technique involving a quick stir-fry followed by a braise, most commonly used on root vegetables. Now, I’ve likely done something like this at some point, but not on purpose as a technique. Since the technique itself seemed pretty simple, I thought I’d amp it up a bit and also find a new-to-me vegetable: enter burdock root.

    Burdock root is an odd root to work with, at least in this experience. It’s rather slimy when slicing, so be careful and use a sharp knife. I think that likely explains why you then soak the “matchsticks” (try as I did, my knife skills weren’t quite up to perfect julienne this weekend) before cooking them. In this recipe, the burdock is mixed with carrot, which seems common. The recipe is a quite complex-tasting vegetable side dish, which surprised me given how simple it was. But the seasonings let the vegetable flavors come to the forefront (behind a bit of saltiness from the tamari or faux soy) and they are quite good. And that is generally my experience of Japanese food — all techniques and seasonings seem designed to remind you why the main ingredient is a wonderful flavorful part of the world.

    As the technique and root were both knew to me, this is not an original STFAA recipe. It is very slightly modified from a recipe at JustBento.com, a site which is inspiring lunchbox shopping needs like you would not believe. The original kinpira gobo recipe is here.


    Notice: Trying to access array offset on value of type bool in /home/maryzahc/public_html/adultfoodallergies.com/wp-content/plugins/wp-ultimate-recipe/helpers/models/recipe.php on line 254
    Kinpira Gobo
    Print Recipe
    This is a very slightly modified version of the Kinpira Gobo recipe at JustBento.com. All photos, opinions, and modifications are mine.
    Servings Prep Time
    2 servings 10 minutes
    Cook Time
    10 minutes
    Servings Prep Time
    2 servings 10 minutes
    Cook Time
    10 minutes
    Ingredients
    • 1-2 burdock roots about 1 cup of matchsticks
    • 1-2 carrots about 1/3 cup matchsticks
    • 1 Tablespoon sesame oil if you can’t use sesame, rice bran, canola, or other high temp safe oil is good
    • 1/2-1 teaspoon red pepper flake
    • 1 Tablespoon sugar
    • 1 Tablespoon mirin
    • 2 Tablespoons tamari or soy sauce or other soy sauce substitute
    • 2 Tablespoons water
    Servings: servings
    Instructions
    1. Wash, peel, and chop burdock root and carrots into matchsticks or julienne.
    2. Soak the burdock root in cold water for a few minutes, rinsing and changing the water once or twice.
    3. In a cast iron skillet, heat up the sesame oil or other high smoke point oil over medium heat.
    4. When oil is hot, add burdock and stir well. Let cook for 1-2 minutes, then add carrot and stir well.
    5. Add other seasonings. Stir well and cook another 1-2 minutes.
    6. Add water, if needed to coat the bottom of the pan with a shallow layer. Reduce heat to medium low and simmer for 5-10 minutes, until vegetables are tender.
    Share this Recipe
     
    Powered byWP Ultimate Recipe
  • Seared Tuna Steak Salad

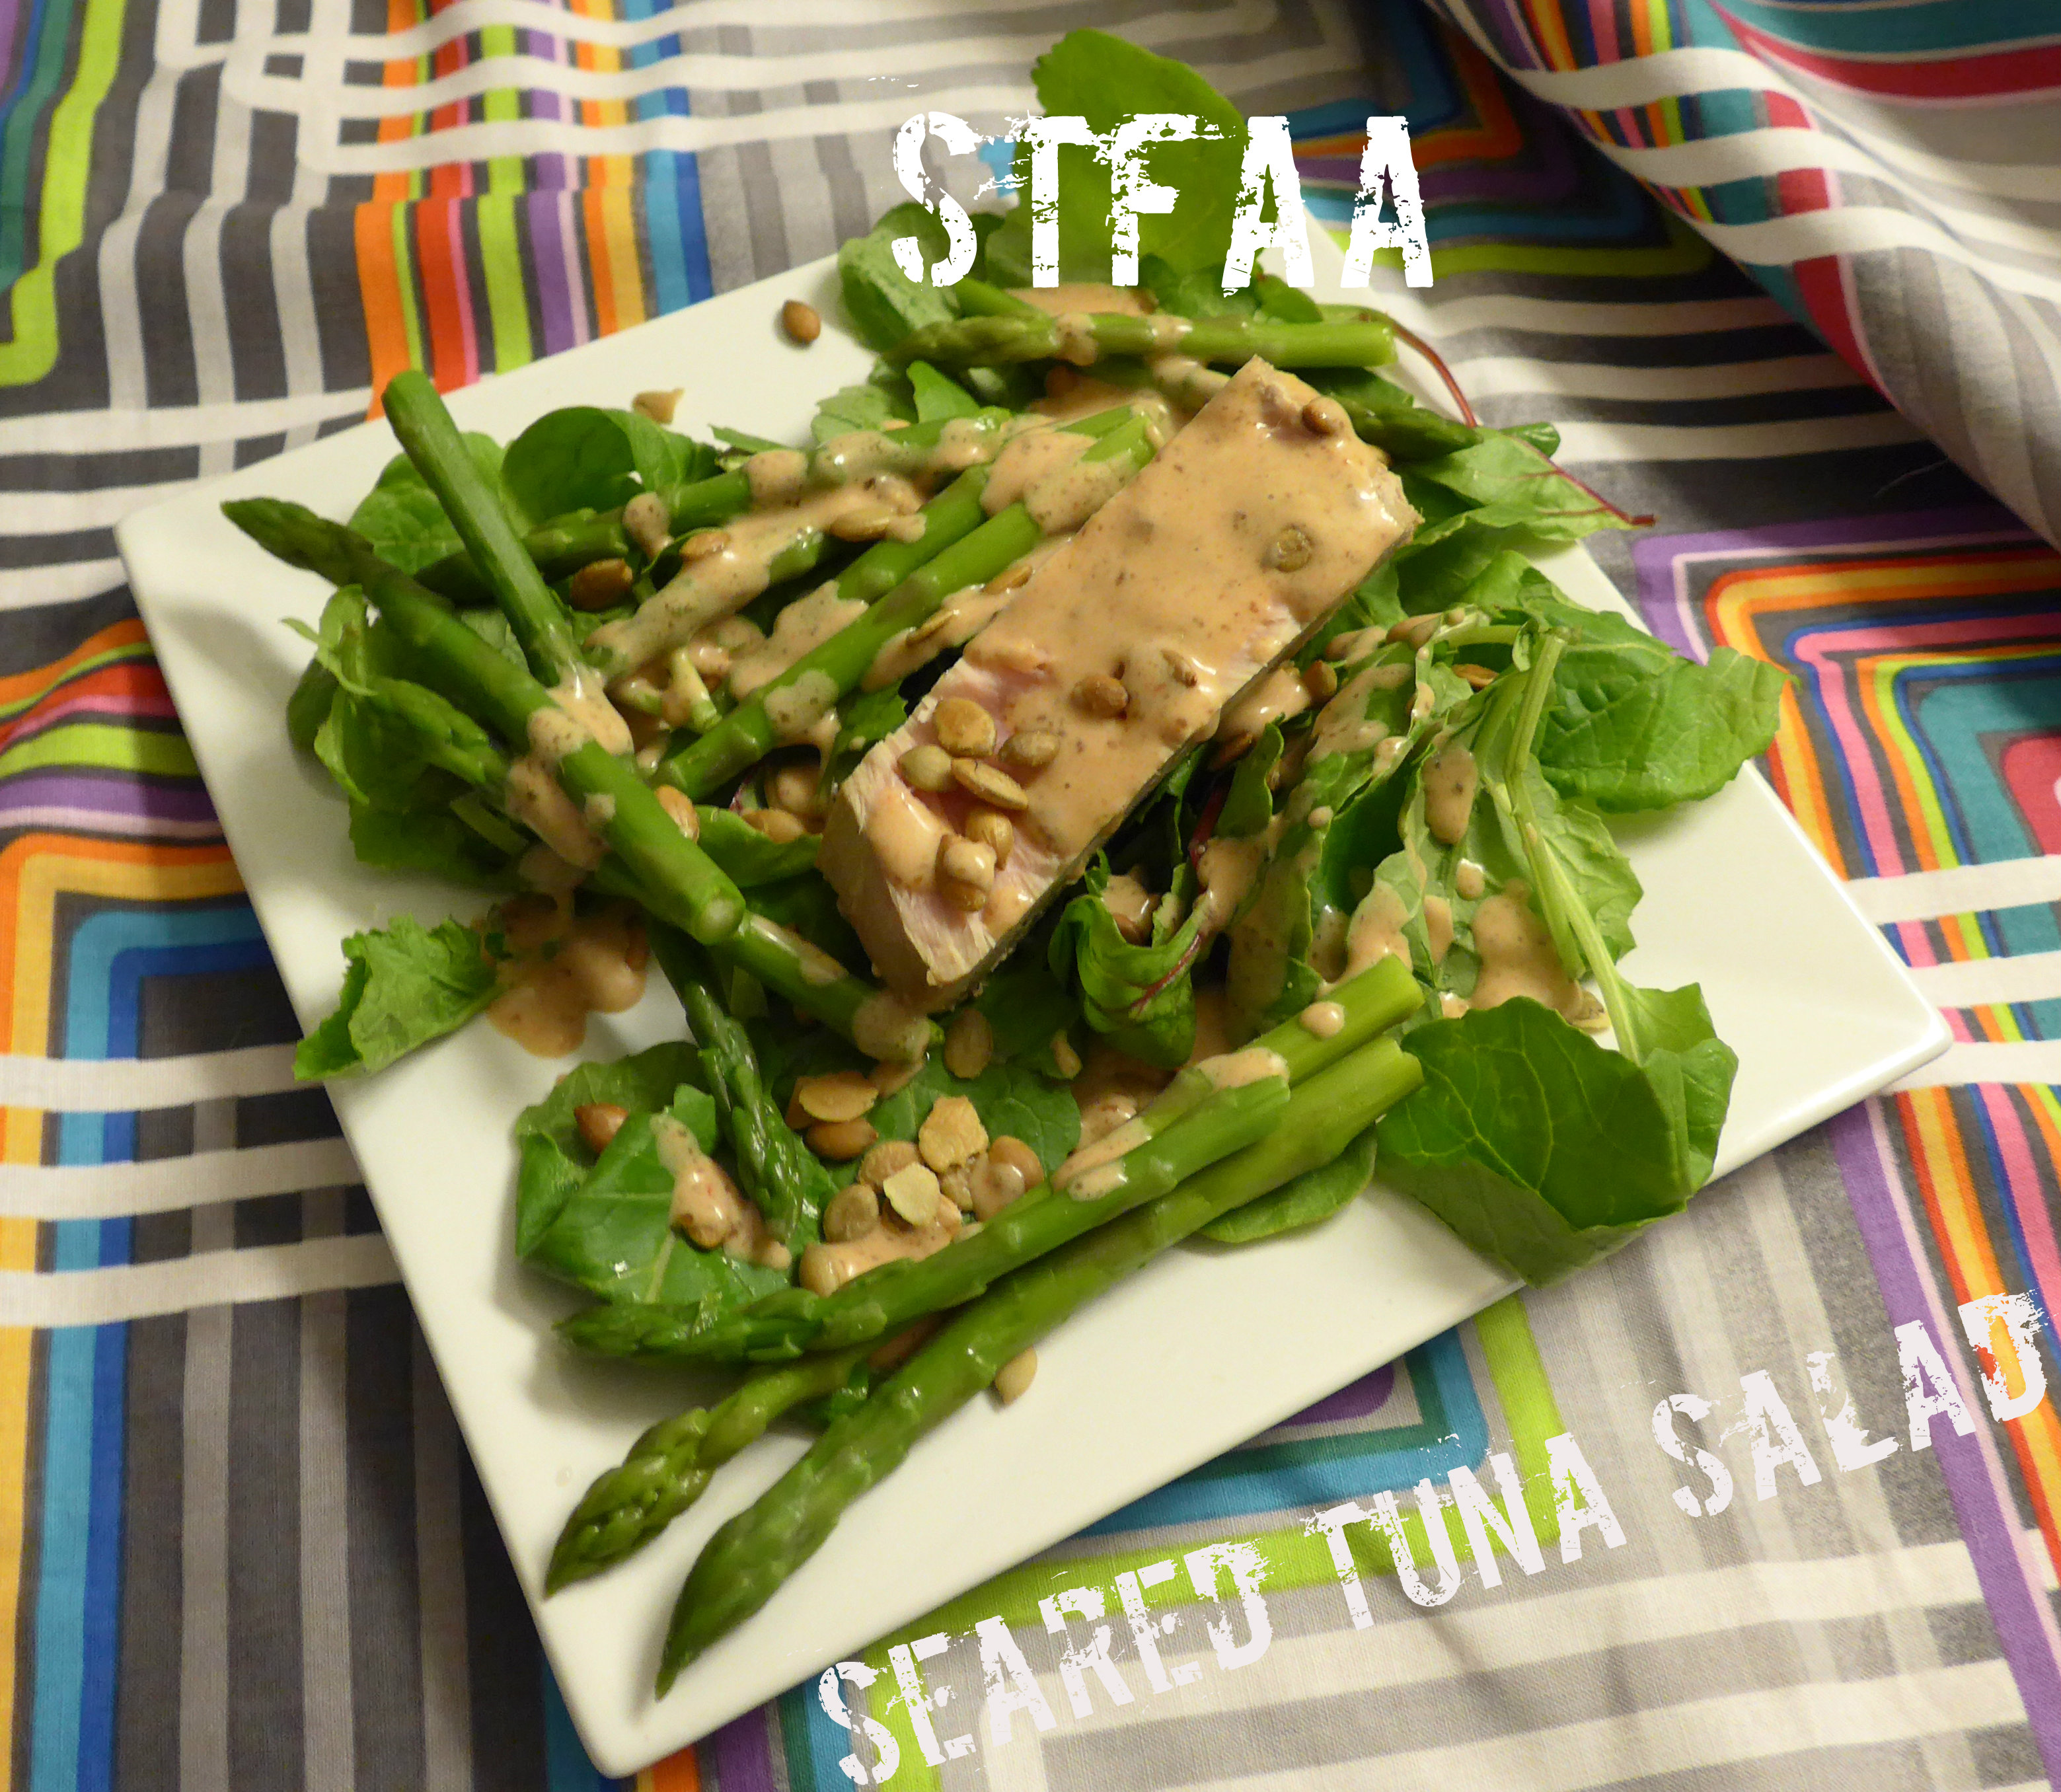
    Seared Tuna Steak Salad
    Seared Tuna Steak Salad

    This is one of those areas where Denise and I diverge — neither of us is allergic to fish, but I love tuna, and she hates it. Conversely, she loves haddock, and I, eh, can’t get excited about it. If you’re pro-tuna, this might be your recipe.

    The first time I had tuna — and liked it — was when I was in Greece in college. The whole experience was amazing, and so was the food. I had a simple salad one day, when I wasn’t feeling great and wanted something light. It was just lettuce, with canned tuna in oil and a few tomatoes. So simple, but so amazing. It was such a difference from the mayo-covered tuna salads I’d seen growing up, and it opened me up to tuna.

    I first tried fresh tuna in sushi, and it’s still one of my favorites. But ordering tuna at a restaurant made me  consider making it at home. Once you get more used to not cooking it all the way through (that dries it out!), it is SUPER EASY and seems pretty fancy.

    This dish actually came out of leftover seared tuna. Normally, I make tuna for just me, as an occasional indulgence. But my grocery store was having a sale on some great-looking frozen tuna steaks, so I thought I’d give it a whirl as a mid-week dinner for me and my boyfriend.  I cooked the fish and served it with steamed asparagus and bamboo rice — it was quick and easy, even though I got home late that night.

    I overshot the amount of fish I needed, though. I’ve never had a leftover tuna steak before! Turns out, fresh tuna also makes an amazing salad. THAT is the recipe you’re getting today. But feel free to just buy too much fish for one dinner and make this salad the next day. Just scale the marinade up.

    This recipe serves ONE. Scale up appropriately.

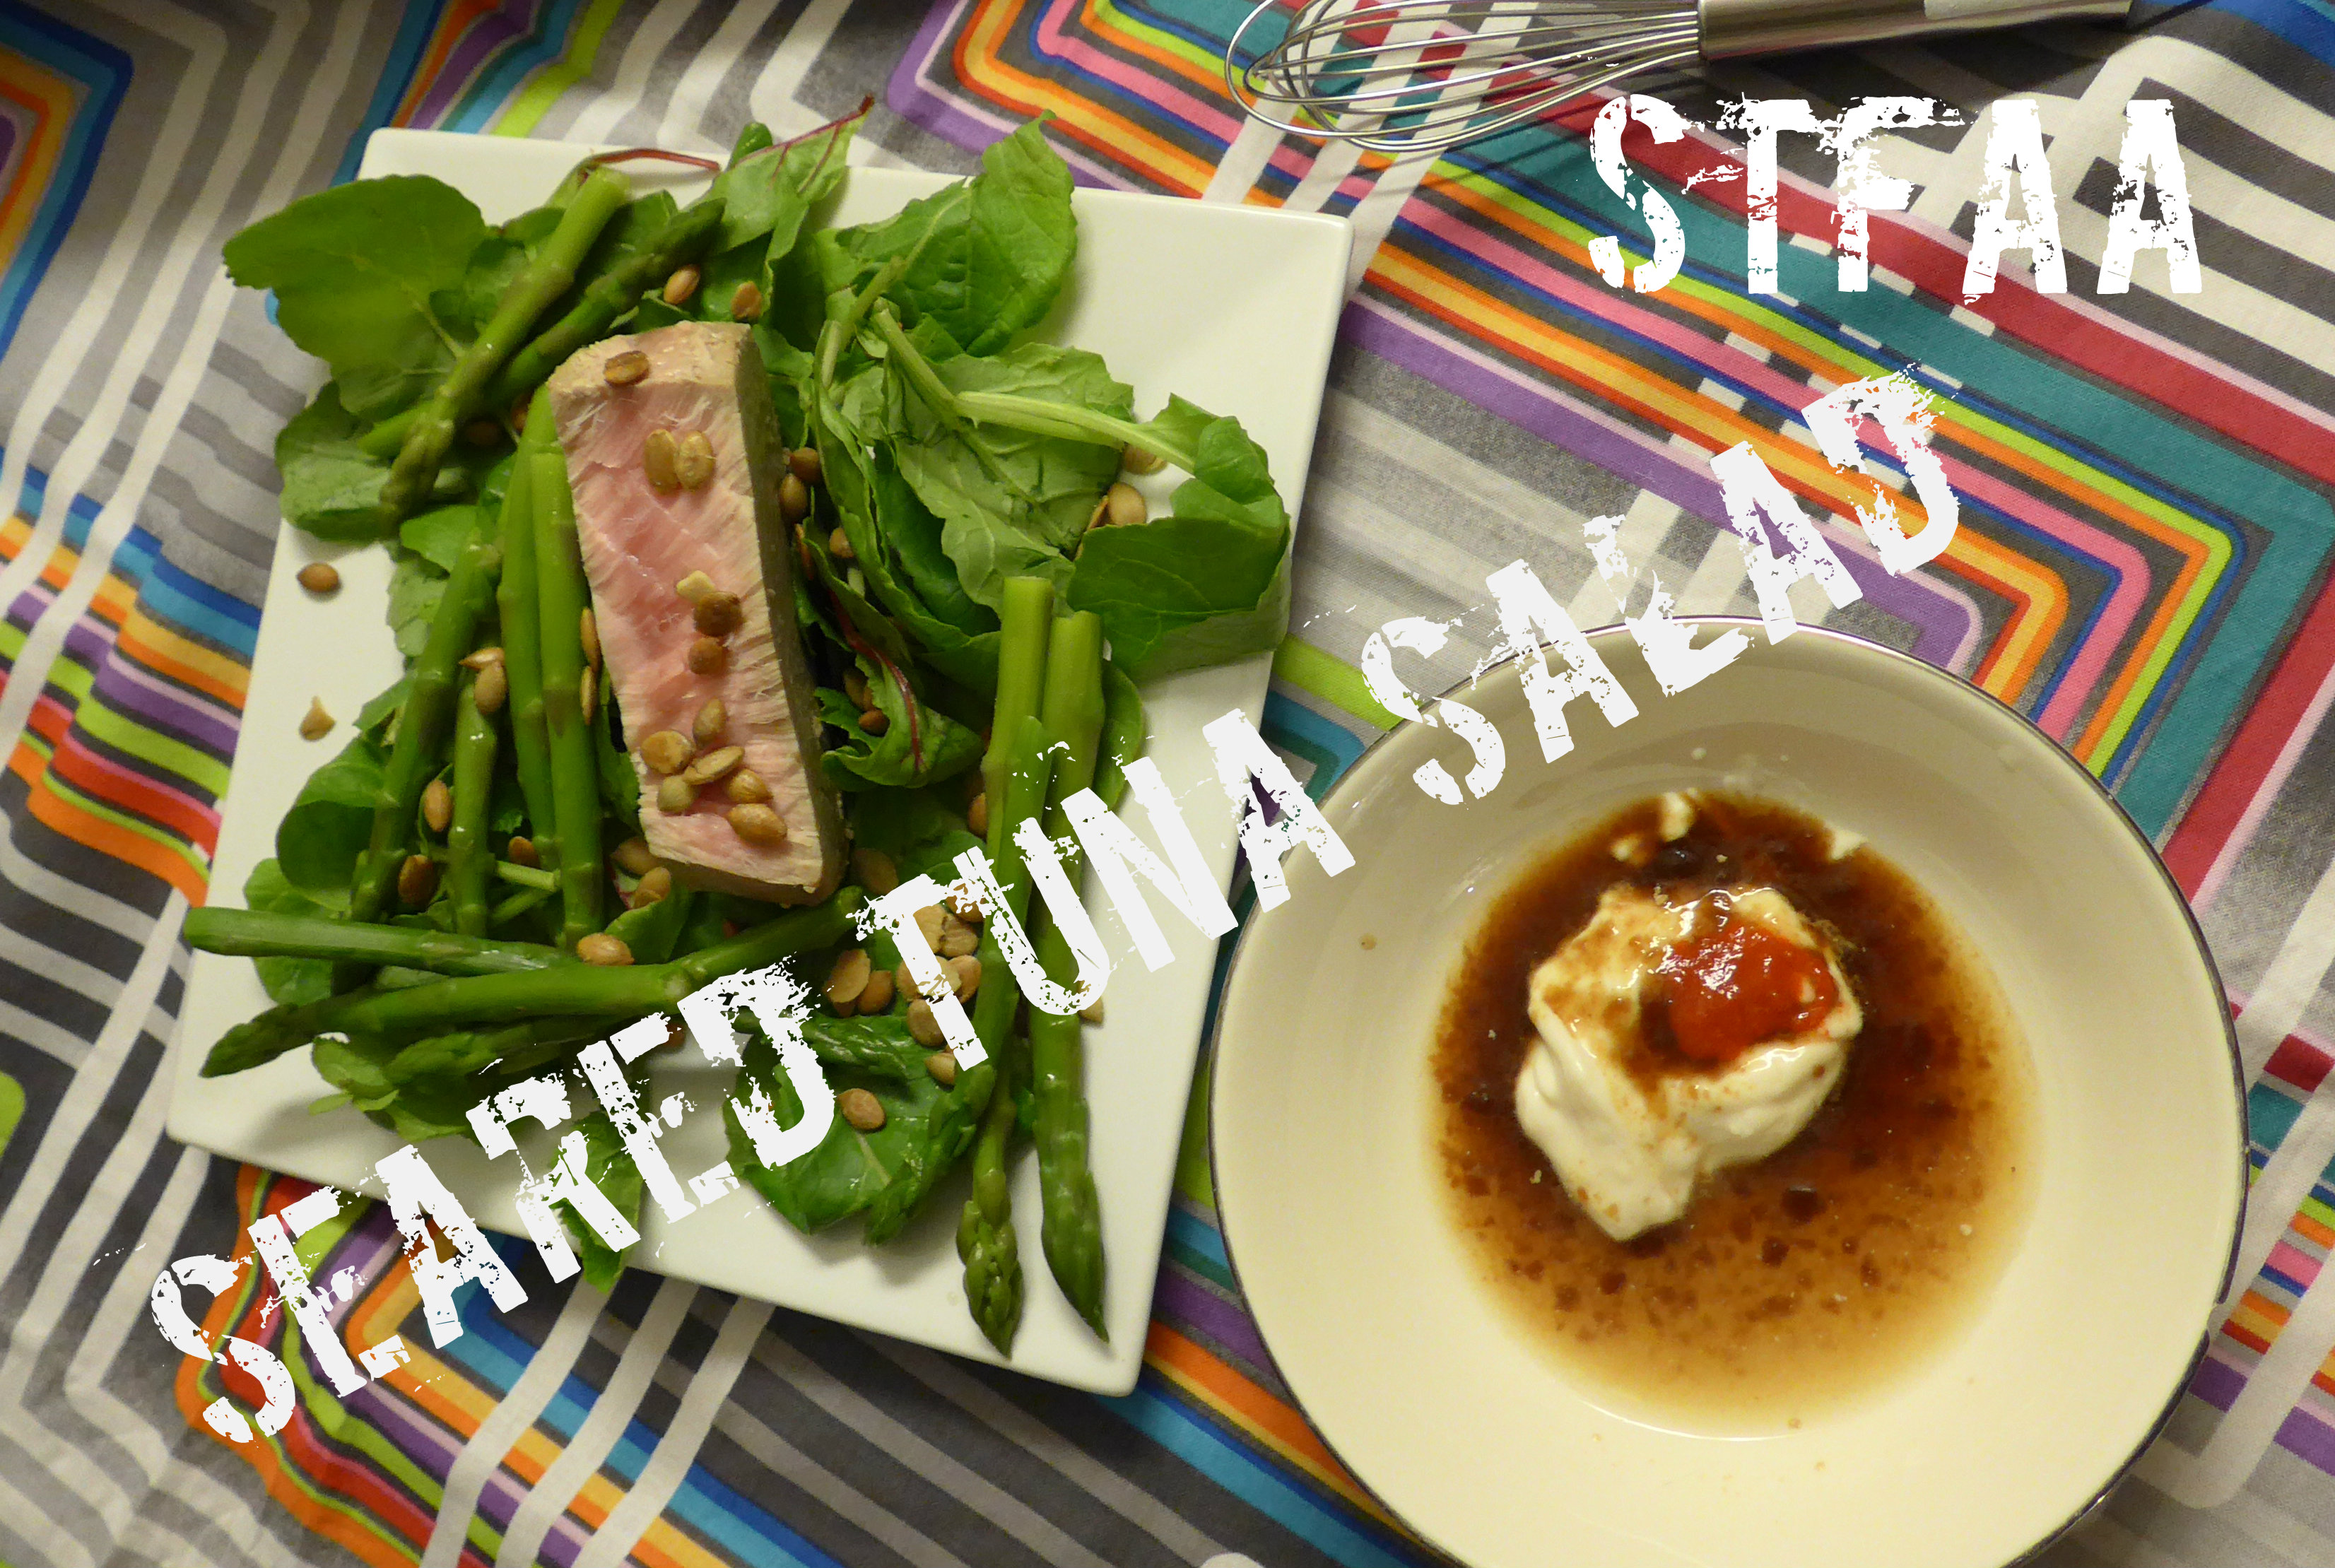
    Seared Tuna Salad with unmixed dressing
    Seared Tuna Salad with unmixed dressing

    Tuna Steak Salad

    • 1/3 lb. tuna steak, about 1 1/4 inch thick (the exact amount of tuna is up to you! But if your steak is substantially thicker or thinner, adjust your cooking time accordingly)

    Marinade

    • 1/4 cup rice wine vinegar (look for unsweetened, unseasoned, for the most flexible version)
    • 1/4 cup faux tamari, or gluten-free soy sauce
    • 1/4 teaspoon (generous) garlic powder (I used roasted, from Penzey’s, as it’s my new favorite)
    • 1/4 teaspoon powdered ginger

    Salad Ingredients

    • 10 stalks or so steamed asparagus
    • 1 cup mixed greens (I don’t like lettuce, so I used a mix of baby kale, baby Swiss chard, and baby spinach, but the crunch of lettuce would be great)
    • 1 Tablespoon of pumpkin seeds, roasted and salted

    Dressing

    If your fish is vacuum-packed, slit the packaging before you defrost it (put it on a plate first, of course) in the fridge. I usually take it out the night before and give it the night and day in the fridge.

    Marinate the fish for about 20 minutes, 10 minutes per side. If I’m serving the fish with rice, this is about the perfect cooking time for rice. The fish takes about 5 minutes to cook, so get everything else ready before you start the cooking.

    The salad is easy — steam the asparagus, heap it and the greens on a plate. Make the dressing by mixing all the ingredients together with a whisk or fork — taste and adjust the seasonings as needed. If you are using salted pumpkin seeds, you won’t need more salt. If you aren’t, you might want a dash of salt at the end.

    Heat a well-seasoned cast iron skillet over medium-high heat until it is good and hot. You are going to sear the fish quickly, so make sure the pan is hot. If it’s a well-seasoned pan, you won’t need to add more oil.

    Sear the first side of the fish. For cooking steaks an inch and a quarter thick, 3 minutes the first side and 2 minutes the second should be about perfect. Baste it with the marinade right before you flip it. Because tuna changes color as it cooks, you can watch the fish to get the timing correct — watch the cooking up the side and flip it when it’s cooked about 1/4 of the way through.  Then take it off when it’s 1/4 of the way through the other side. The center of your fish should be warm, but pink.  That is perfect tuna.

    Add the tuna to the salad, sprinkle the salad with pumpkin seeds, and drizzle on the dressing.

    Enjoy!


  • Vegan Sushi Rice Salad


    Vegan Sushi Rice Bowl, raw veg and soy-free sauce
    Vegan Sushi Rice Bowl, raw veg and soy-free sauce

    Denise and I both love sushi, and, with a little care, it’s something we both seem to be able to order out in relative comfort. But I could eat sushi a lot more often than I go out to eat. You can make sushi at home, but mostly, I’m too lazy to roll my own maki*, and I don’t trust my own judgement on sushi grade fish. When I do sushi at home, it’s always vegan.

    So my solution to weeknight laziness and/or heat is a sushi salad — flavors on the order of a California roll** or a veggie roll, which differs from restaurant to restaurant. I’m going to give a menu of options — the rice, cold avocado and cucumber, and dressing are necessary. Everything else is optional — I’m including some roasted veg, as an option, and some additional vegetables I’ve used and liked.

    This recipe makes one sushi rice bowl. Increase as needed to feed more people. The roasted veg will make enough mushrooms for one, but I would just roast the whole bunch of asparagus and use the leftovers for snacking the rest of the week.

    The recipe calls for sesame in the form of seeds in the dressing and toasted sesame oil in the rice and roasted vegetables — this is optional. It adds a nice bit of flavor, but if you’re allergic or just don’t have it, don’t worry about it; your sushi bowls will still be good.

    *(Side note: Want to learn to roll sushi? The internet has tons of videos, but the one I learned from is part of the sadly short-lived Post-Punk Kitchen video series: Episode 1: Sushi and Cupcakes, which I used years ago when living in Bismarck, North Dakota before they got a sushi restaurant — they have one now. If you can eat soy, try the tempeh “spicy tuna.” It’s so good.)

    **(Side note 2: Regarding California rolls, beware the imitation crab sticks. They can be rife with allergens, including dairy, soy, egg, and gluten, and likely they have corn derivatives. It would be generally safer to avoid it.)

    Vegan sushi rice bowl with just raw vegetables: cucumber, avocado, sugar snap peas
    Vegan sushi rice bowl with just raw vegetables: cucumber, avocado, sugar snap peas


    Vegan Sushi Rice Salad

    Rice:

    • 1/2 cup sushi rice
    • 1 cup water
    • 1 Tablespoon rice wine vinegar (set aside for after rice is cooked — and check this for additives!)
    • 1/2 teaspoon toasted sesame oil (optional)

    Cooked option veg:

    • 3 or so shitake mushrooms, washed and stemmed
    • 1 bunch asparagus, ends broken off and discarded (you will likely have leftovers of this, which is good!)
    • 1 teaspoons toasted sesame oil (optional)
    • 1 Tablespoon olive oil
    • salt (optional) and pepper, lightly applied

    Raw veg (use these with or without roasted vegetables):

    • 1/2 cup cucumber, cut into sticks or cubed
    • 1/2 avocado, cubed
    • 1/4 sheet nori, cut into thin strips and then into bits (use scissors for this)

    Additional raw veg options:

    • carrots, finely shredded
    • sugar snap peas, strings removed, cut in half

    Dressing:

    • 1 Tablespoon gluten-free tamari or soy sauce replacer, or coconut aminos (I have not tested coconut aminos in this recipe)
    • 1 teaspoon rice vinegar (check this for additives!)
    • 1 pinch of garlic powder
    • 1 pinch of ginger powder
    • 1 pinch of wasabi powder (optional)
    • 1 Tablespoon sesame seeds (optional)

    If you’re going to roast vegetables, preheat the oven to 425ºF.

    Start the rice. I always use a rice cooker, but if you don’t, you can do this on the stovetop. Just don’t ask me how. I can’t cook rice on the stove at all.

    Roast veg: Toss mushrooms and asparagus in oils, and sparingly sprinkle with salt and pepper. Place on a parchment paper-covered baking sheet, and bake for 15-20 minutes, until tender.

    While the rice is cooking, prepare your raw vegetables.

    Prepare the dressing by mixing everything together.

    When the rice is done, toss the rice with rice wine vinegar and toasted sesame oil, if using. If using raw carrots, I like to toss them in with the hot rice to soften them.

    Scoop the rice into a bowl. Top with the roasted and raw veg, sprinkling nori on top, then add the dressing.

  • Bison Chili

    Bison Chili with sliced avocado -- keeping you warm until spring really shows up
    Bison Chili with sliced avocado — keeping you warm until spring really shows up

    I know, I know, I know. It’s MAY. Which is more than officially spring. I should be posting fresh asparagus recipes, or greener than green salads, or something fresh and colorful, right? Instead, I have chili. Seriously? In May?

    But yes, chili. See spring is a rather evil season in most of the northern part of the US, especially this year. It’s been a fickle and bitchy season — teasing, taunting, and often freezing. So after spending a few days outside last week in this capricious weather, I am offering a mild and tasty chili (no 18 types of peppers in this version), made lighter with lean bison rather than beef, with a good mix of spices to warm you up and yet not remind you of winter. Hopefully.

    Oh, and if you want to vegetarianize the basic chili spice recipe here, I think TVP reanimated with mushroom broth might make a good substitute, but I didn’t try it because of the soy allergy. If you give it a go, will you let us know in the comments?


    Mmmm, spring chili. Why not?
    Mmmm, spring chili. Why not?

    Bison Chili

    • 2 Tablespoons oil
    • 2 cups chopped onion (about 1 1/2 medium onions)
    • 1/2 teaspoon kosher salt
    • 1 lb. ground bison
    • 2 Italian peppers, cleaned and chopped (these are more sweet than spicy, long and green)
    • 1 1/2 teaspoons oregano
    • 1 1/2 teaspoons cumin
    • 4 teaspoons chili powder
    • 1 can of chili beans (I’ve been using a can of mixed types of beans, which I kind of love)
    • 1 teaspoon fresh, minced garlic or 1/2 teaspoon garlic powder
    • 1 teaspoon zatar blend spice**
    • 1-24 oz can of fire-roasted tomatoes (or two smaller cans, or your own cooked tomatoes)
    • Optional toppings: avocado, diced tomatoes, crushed corn chips, non-dairy cheese

    Heat a large stock pot over medium heat. When the pan is hot, add the oil and let it heat until shimmering.

    Add the onion and salt, cook until translucent. Then add the peppers, cook for another minute or two, then add the garlic if you’re using fresh garlic. Stir well.

    Add the meat and break it up as it cooks. When the meat is broken up well and mostly cooked, add the dried seasoning (add garlic powder here if you’re using that).

    Add the beans, stir well, and then add the tomatoes. When the mixture is at a low boil, turn it down to low and simmer it for at least 40 minutes.

    Add toppings and serve! This chili really benefits from a little avocado on top — I think the richness and “green” flavor compliments the lean meat (add just a pinch of kosher salt to the avocado to make its flavor really pop). Leftovers are pretty great over baked sweet potato.

    **This spice blend contains sesame. You can leave it out.

  • Creamy Broccoli Soup

    Creamy Broccoli Soup
    Creamy Broccoli Soup

    I love soup season. Not only is soup just really good food, but a pot of soup makes 4-12 servings, depending on the recipe, which usually gives me lunch for the week. In one recipe. I love that.

    I’m not sure exactly what I was going for when I started working on this soup — cream of broccoli, broccoli potato, broccoli cheese, potato cheese? My notes are a little unclear. It sort of ended up being an intersection of all of them — a creamy, rich soup, with a tangy cheesiness, and lots of broccoli, which is by far one of my favorite vegetables ever. This soup is great for the cold nights we’re starting to have, and it makes about 6 servings.

    Creamy Broccoli Soup

    • 2 lbs. russet potatoes, peeled and roughly chopped
    • 1 lb. broccoli crowns, split into florets
    • 2 teaspoons salt, split
    • 1 Tablespoon sherry (could substitute red wine vinegar, but sherry’s flavor is better here)
    • 2 cups chicken or vegetable stock
    • 1/3 cup + 1/4 cup chicken or vegetable stock
    • 1 Tablespoon Earth Balance or other solid fat
    • 3 Tablespoons tahini
    • 3 Tablespoons ketchup
    • 1 teaspoon mustard
    • 6 Tablespoons nutritional yeast
    • 1 Tablespoon + 2 teaspoons lemon juice
    • 1/4 teaspoon garlic powder
    • 1/4 teaspoon salt (IF NEEDED)
    • pepper to taste
    • shredded cheddar style cheese/cheese sub of your choice, to top, optional

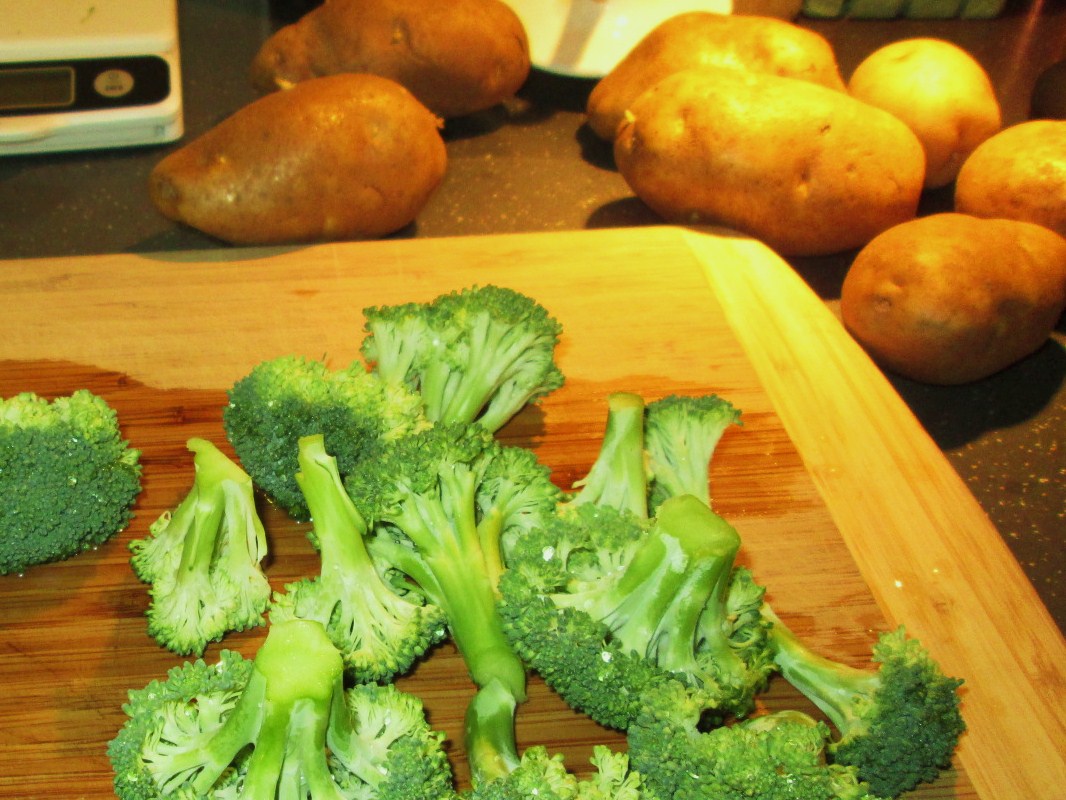
    Put roughly chopped potatoes in a saucepan, with water to cover, and about 1 teaspoon salt. Over high heat, boil until well done (test with a fork). Drain and mash roughly.

    In a separate pot, put broccoli florets and about 1/2 to 1 inch of water. Cover and bring to a boil.  Cook broccoli until bright green and JUST done — this takes just a few minutes. The broccoli should still be crisp, but tender. Even if you like your broccoli more well-done, take it out now — it will cook more in the soup. Immediately when done, drain into a colander and let cool. When cool enough to handle, chop it.

    Mix the potatoes, broccoli, 2 cups of vegetable stock, and sherry and set aside while you make the sauce.

    In a small sauce pan, mix the 1/3c + 1/4 cup stock, and the rest of the ingredients (minus the cheese for topping) over low heat until well combined. You may want to taste this before adding the salt, as your stock may be salty enough. I generally buy low-sodium broth or stock, though, and need this little bit of additional salt.

    Add to the pot with the rest of the ingredients, and heat over low, covered, 20-30 minutes. Add more stock if needed, and adjust the seasonings before serving, sprinkled with cheese if you like.

    Broccoli and Potatoes
    Broccoli and Potatoes