Notice: Function _load_textdomain_just_in_time was called incorrectly. Translation loading for the wp-ultimate-recipe domain was triggered too early. This is usually an indicator for some code in the plugin or theme running too early. Translations should be loaded at the init action or later. Please see Debugging in WordPress for more information. (This message was added in version 6.7.0.) in /home/maryzahc/public_html/adultfoodallergies.com/wp-includes/functions.php on line 6121
WARNING – GLUTEN – surviving the food allergy apocalypse (archive)

Tag: WARNING – GLUTEN

Recipe contains gluten or wheat products.

  • Pork Peking Ravioli (aka Potsticker, Wonton, Gyoza, etc.)

    Pork Peking Ravioli (aka Potsticker, Wonton, Gyoza, etc.) (Pan fried)
    Pork Peking Ravioli (aka Potsticker, Wonton, Gyoza, etc.) (Pan fried)

    Before the food allergy apocalypse hit, one of the things I really liked to do was to make my own Peking Ravioli (aka Potsticker, Wonton, Gyoza, etc.)  or whatever you want to call your basic Asian style dumpling.  Apparently you only call them Peking Ravioli if you live in the Northeast because that was what Joyce Chen called them in her restaurant in Boston in the 1950’s–the things you learn when blogging.  But in the before times, in the long, long ago, I liked to make them by buying pre-made wonton wrappers at the grocery store, which, at least for the grocery stores in New Hampshire, all contain egg.  So I thought I’d try to come up with a gluten free vegan wrapper so Mary Kate could eat some too. (I can have wheat, at least for now.  More food allergy testing later today.  Please cross your fingers for me that they don’t find any more food allergies, and if they do, it’s an easy to avoid one like a fruit.)  My gluten free vegan dough attempt was pretty much a spectacular failure, and it’s going to take some more research and some more work, but I’ll keep trying.  At the same time, I had decided to try an egg free dough that I had found using all purpose flour (warning: I mean a real wheat flour) and boiling water, because I knew I was going to have too much filling, and I like to do a lot of experiments at once because you’re more likely to have at least one success. The egg-free real wheat flour version worked. Again, I promise to keep trying for a gluten free version.

    Anyway, the really nice thing about this recipe is that you can make a bunch of them up, put them on parchment paper on a cookie sheet (this is prior to cooking them), making sure they don’t touch and then throw them in your freezer on the cookie sheet until they are frozen solid.  Then you can pop them into a ziploc freezer bag, and you can take a few out here and there to use whenever you want, to steam, to pan-fry or to put in soup, because they’re not frozen together in a lump. It’s labor intensive for an afternoon on the weekend, but then you’ll have lots and lots of dumplings for whenever you want!

    Pork Peking Ravioli (aka Potsticker, Wonton, Gyoza, etc.) 

    Makes about 35-38 dumplings if you roll out your wrappers to 3 inches in diameter and to an 1/8 of an inch thick.

    Dumpling Dipping Sauce (only if you pan fry or steam them, see directions below)

    Dough for Dumpling Wrappers

    • 2 cups of all purpose flour
    • 1 cup of boiling water
    • extra all purpose flour for rolling out dough

    Dumpling Filling

    • 1/2 lb of ground pork (try to get 80/20 if possible)
    • 2 cloves of garlic, crushed into a paste or very finely minced
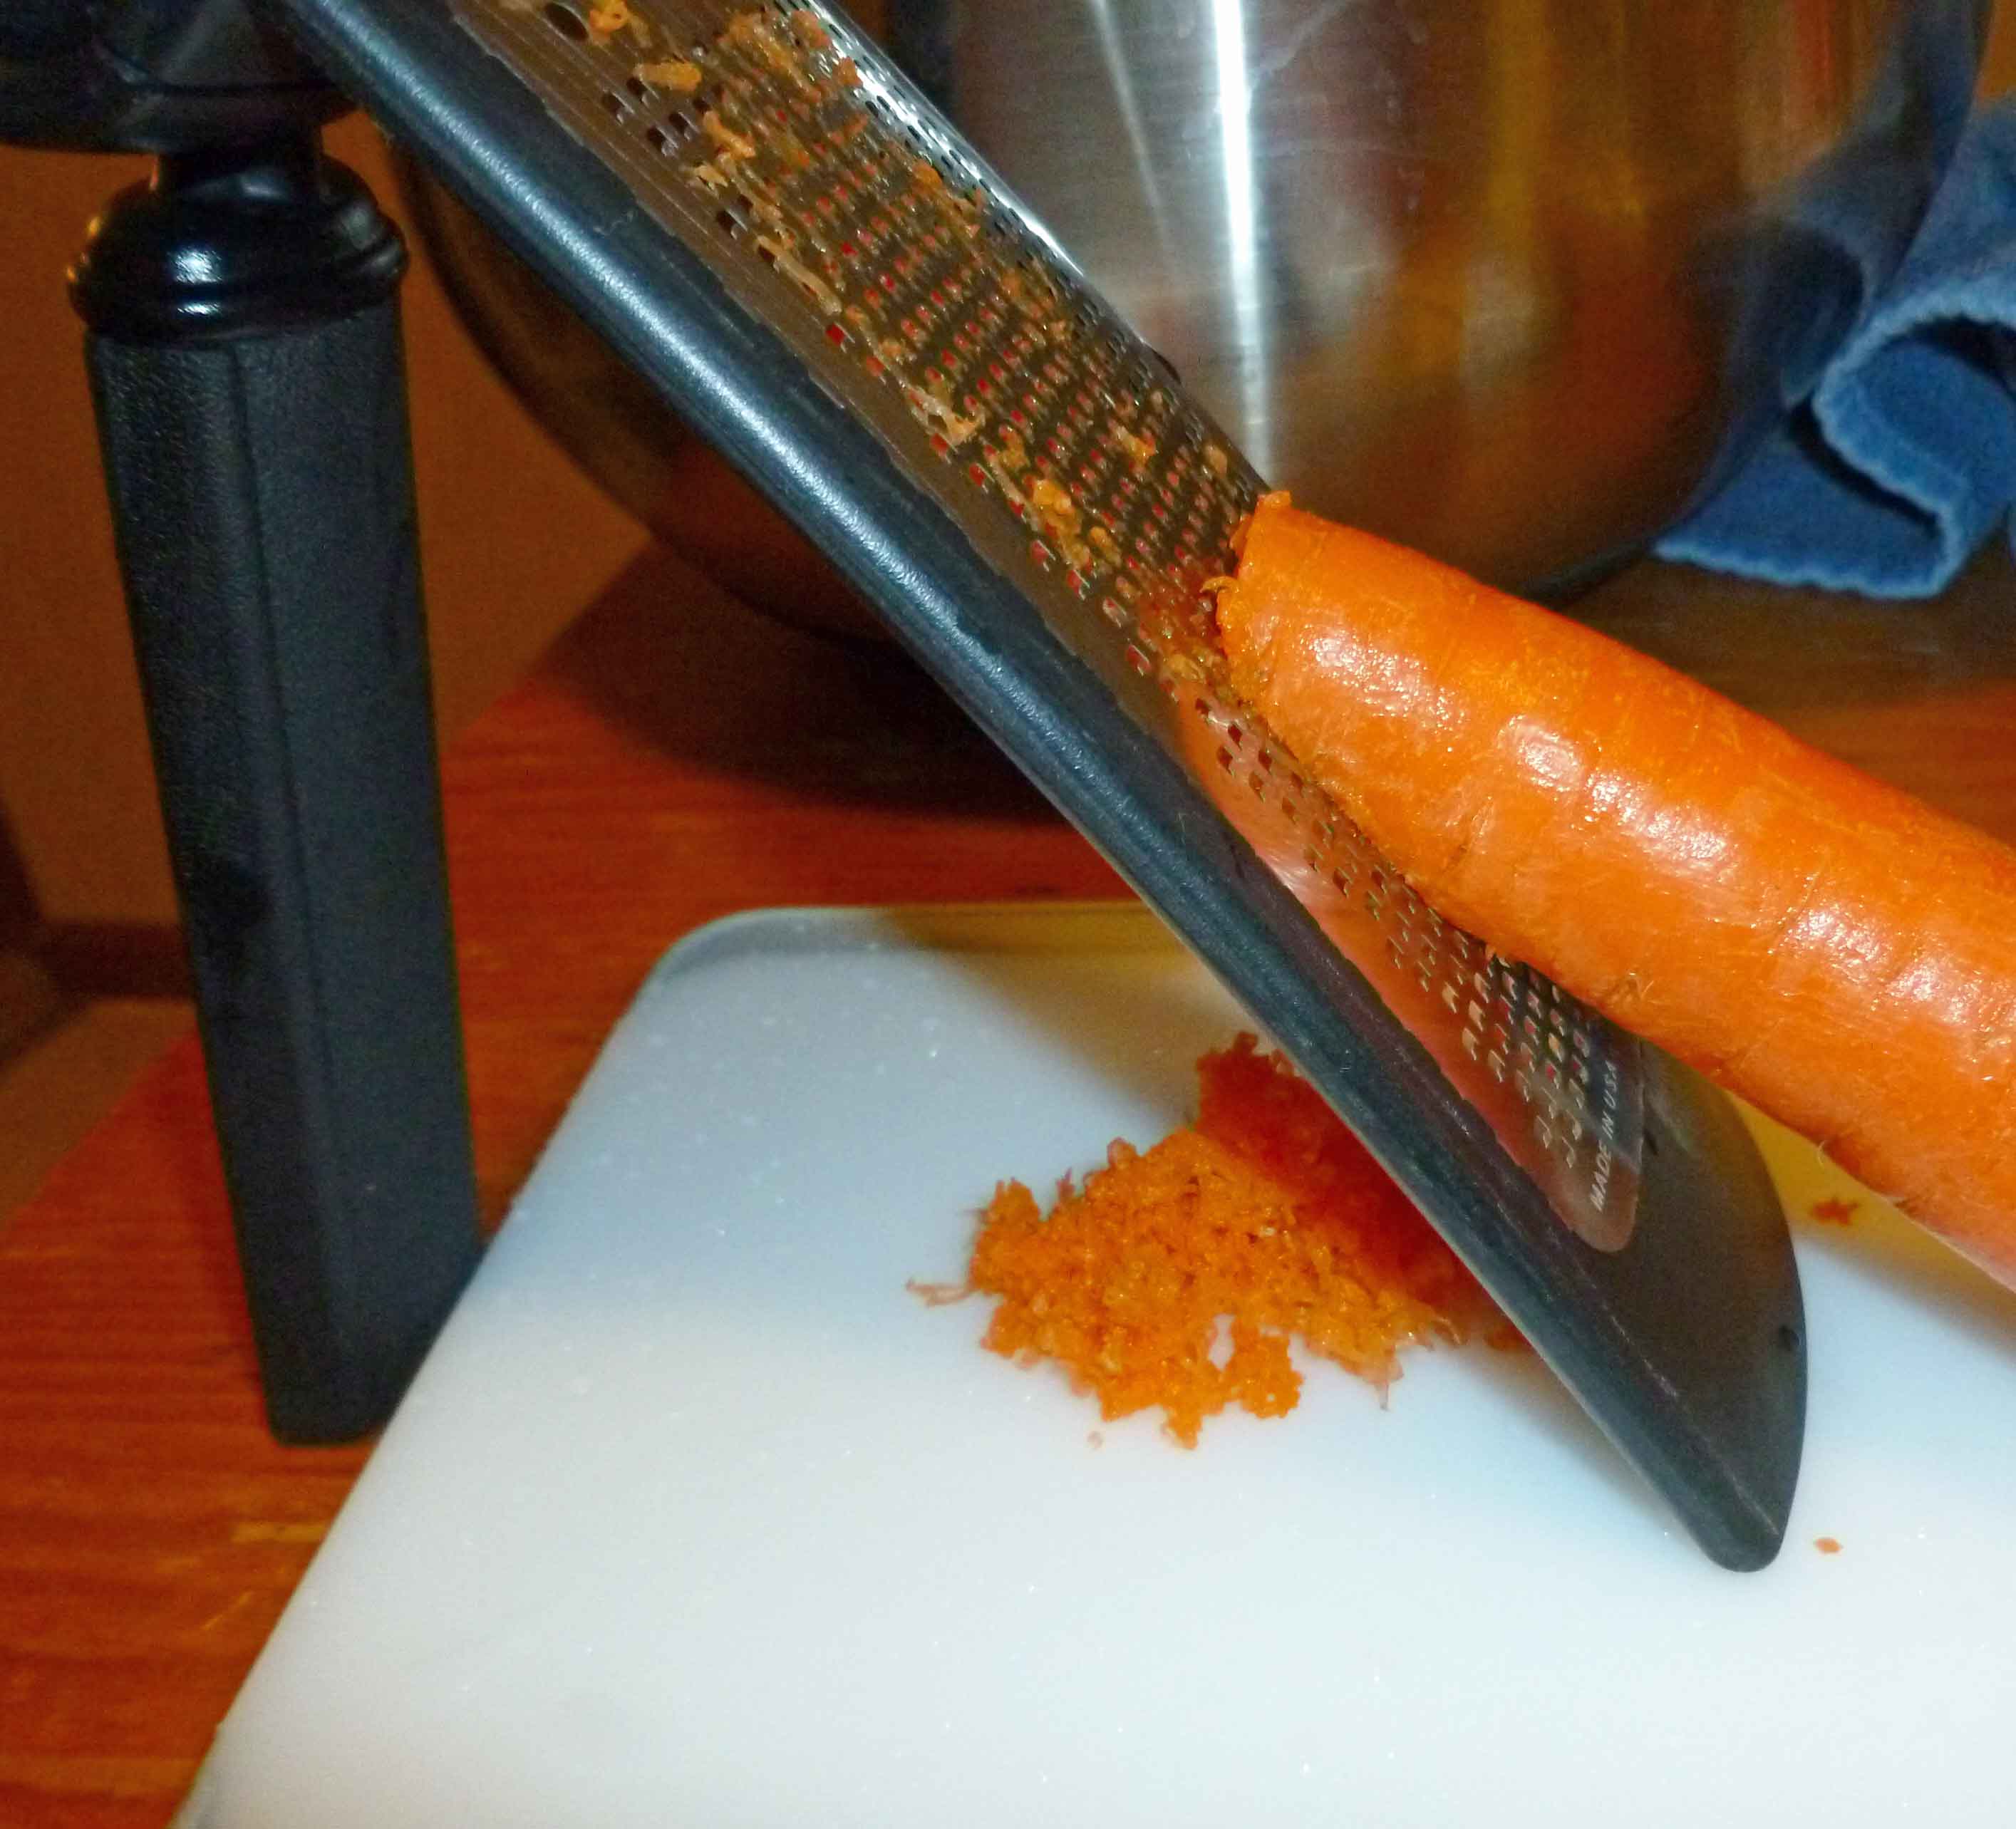
    • 1/2 medium carrot, very finely grated (I used a Pampered Chef Microplane Fine Grater so it was nearly mush)
    • 1 1/2 teaspoons fresh ginger, very finely grated (used the microplane grater again)
    • 2 green onions or scallions, finely chopped with green tops
    • 2 cups of Napa cabbage, shredded and very finely chopped
    • 1/4 cup of minced water chestnuts (I used a Pampered Chef food chopper, but a knife works too)
    • 2 teaspoons of soy sauce 
    • 1 teaspoon of sesame oil
    • 2 teaspoons of rice vinegar
    • 2 teaspoons of Huy Fong Vietnamese Chili Garlic Sauce
    • 2 teaspoons of cornstarch

    • 1/2 teaspoon of salt

    Pan frying Ingredients

    • 1 cup of chicken stock (check the label if using store bought)
    • 2-3 tablespoons of sesame oil

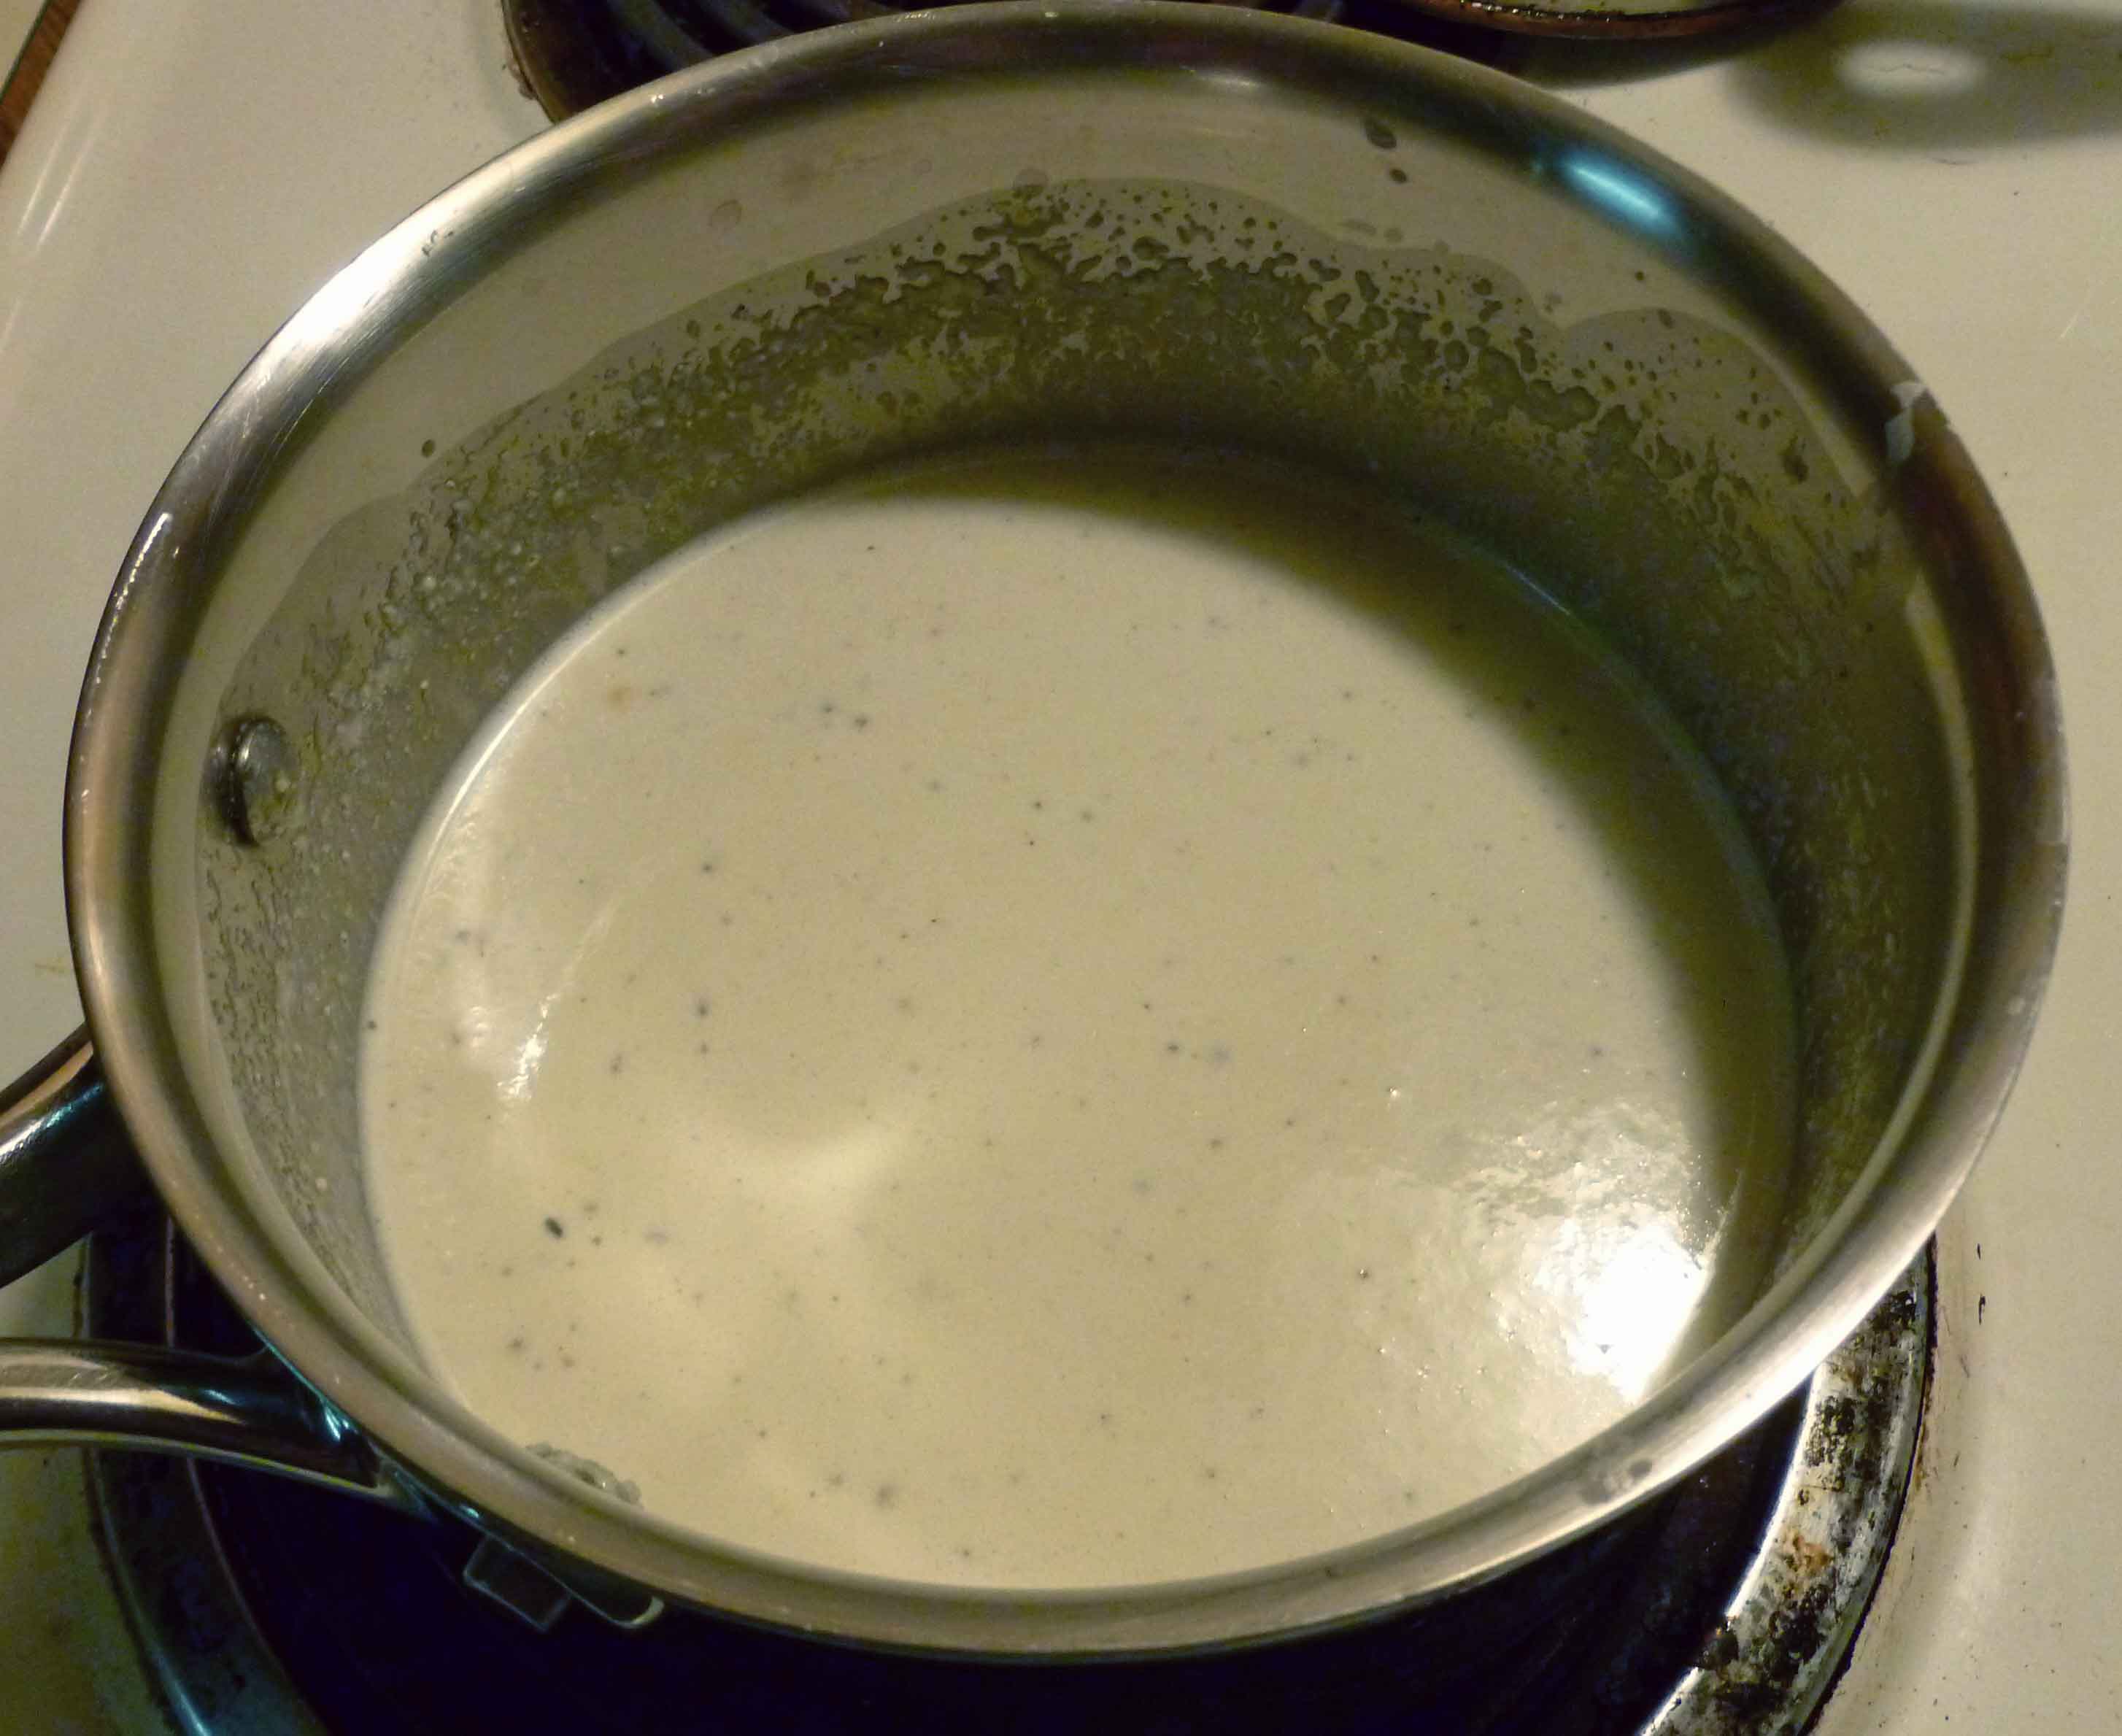
    First, if you are steaming or pan frying your dumplings and you need dipping sauce, put all the ingredients for the dipping sauce in a small bowl, whisk the ingredients together until they are well combined, and then put it aside until your dumplings are cooked.  (I forgot to take a picture, sorry.)

    To make the dough for the dumpling wrappers, I used my stand mixer with a dough hook, but you can just use a bowl and a spatula too.  Place the flour in the bowl and mix the boiling water in slowly until the dough forms a ball.  If using a mixer, continue on low speed to knead it for a few minutes. If using the low tech method, knead it with your hands for a few minutes.  Shape it into a smooth ball and place it in a ziploc bag to rest a bit while you make the filling.

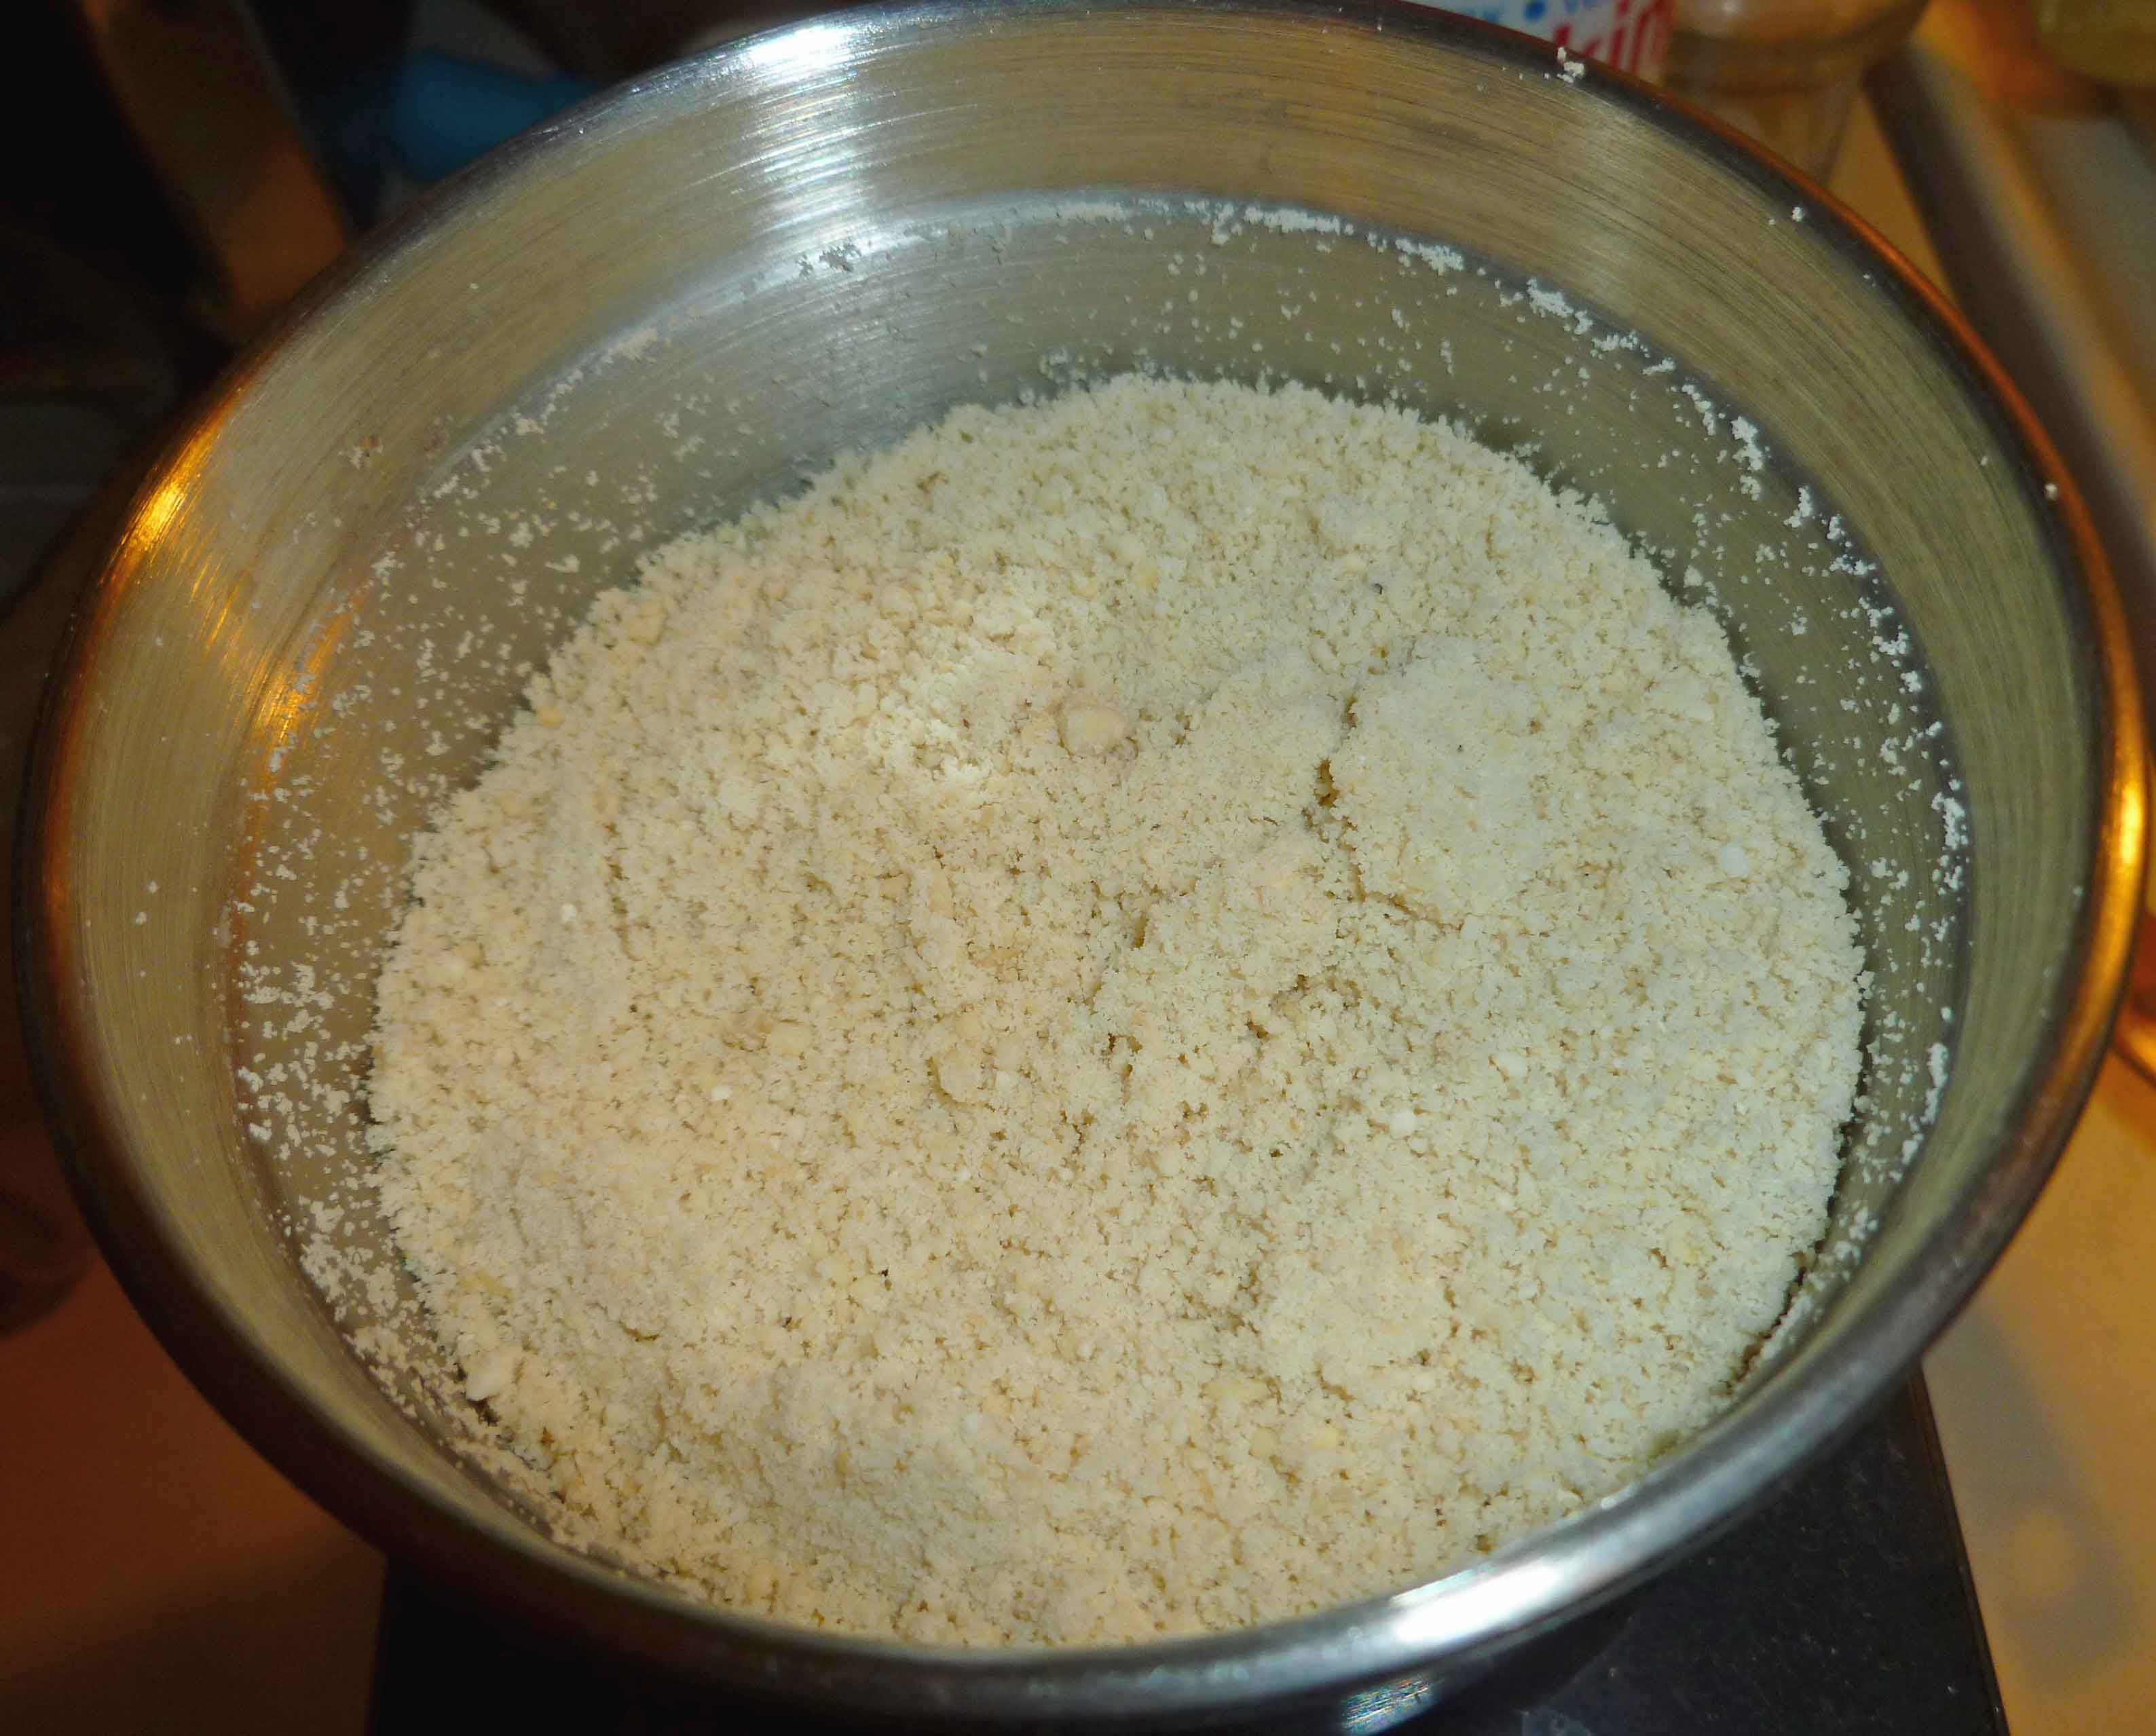
    To make the filling, prepare all the ingredients if you haven’t already.  I grated the carrot as finely as shown below:

    Carrots grated with a Microplane fine grater
    Carrots grated with a Microplane fine grater

    The Napa cabbage, I sliced very finely with a very sharp knife, aiming for a width of a quarter of an inch or less, and then chopped the slices into smaller pieces:

    Shredded Napa cabbage in bowl with other ingredients
    Shredded Napa cabbage in bowl with other ingredients

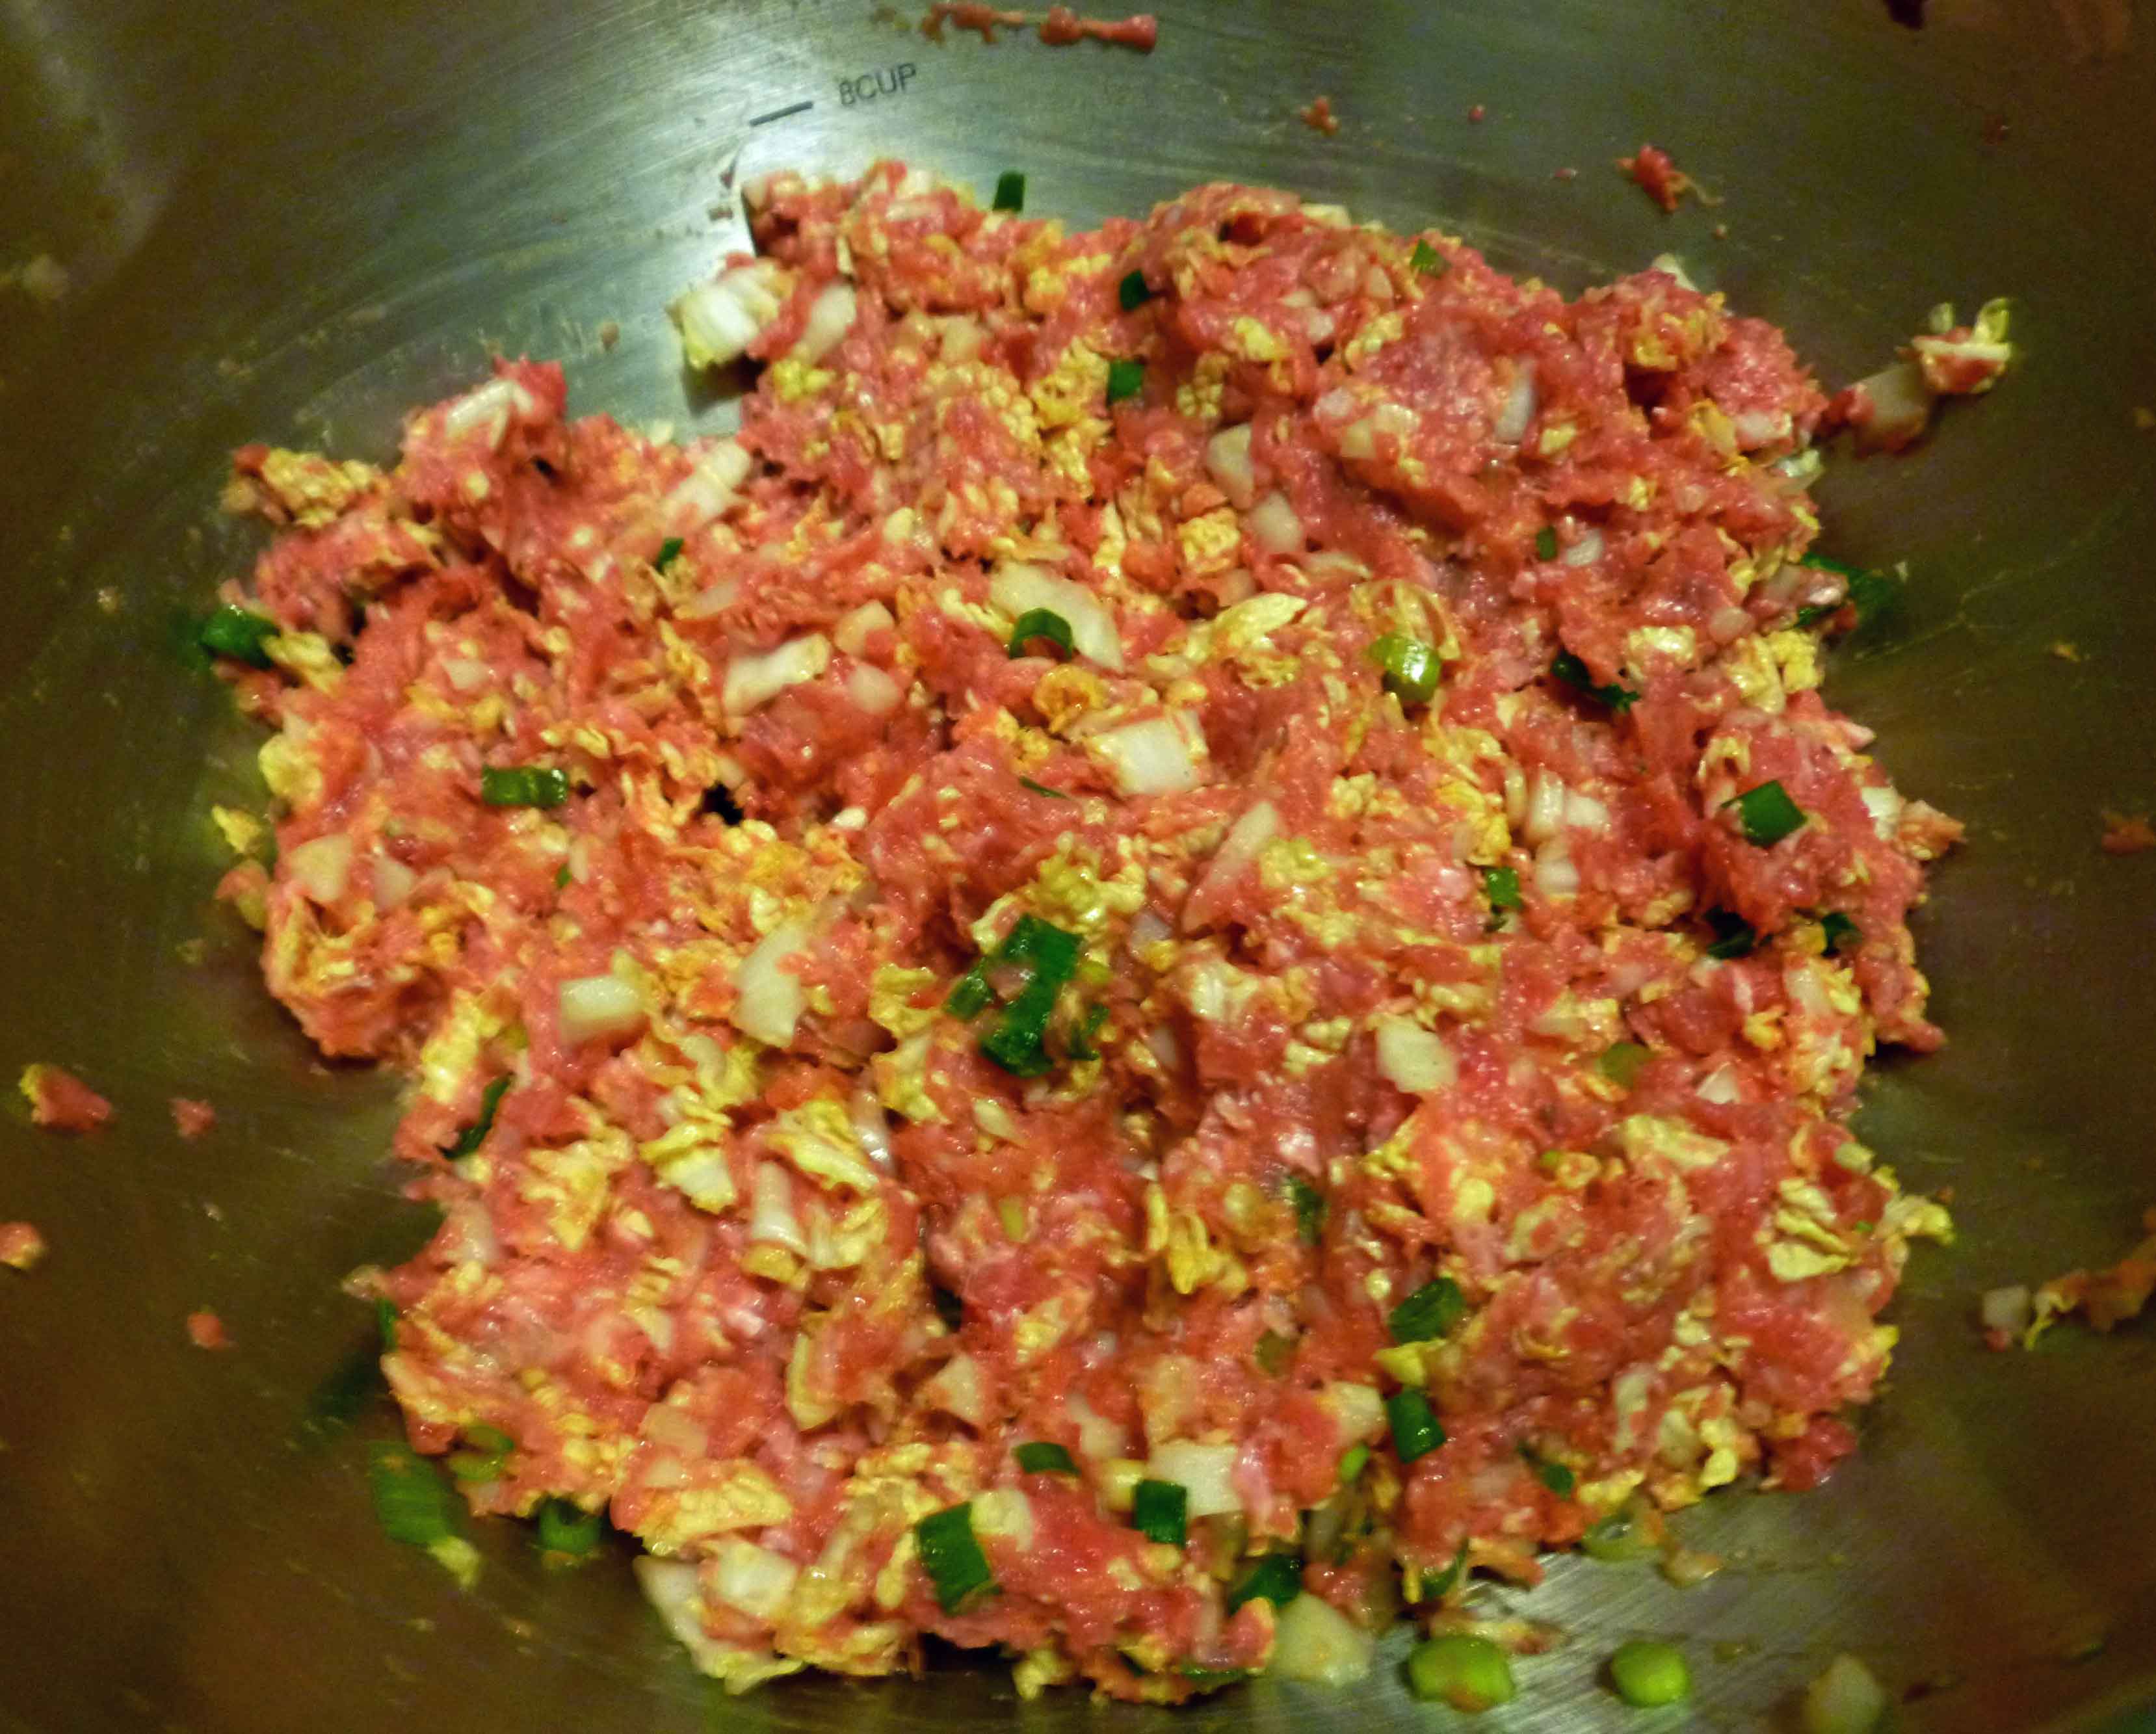
    Place ground pork, garlic, carrot, ginger, green onions, Nappa cabbage, water chestnuts, soy sauce, sesame oil, rice vinegar, chili garlic sauce, cornstarch, and salt in a bowl, and mix throughly using your hands. You might want to put it in your refrigerator while you roll out the wrappers.

    Pork Dumpling Filling
    Pork Dumpling Filling

    Now it’s time to make your wrappers. You can roll out your dough on a very clean counter top, a dough rolling mat, or a cutting board.  I used a rolling pin and a biscuit cutter which was three inches in diameter to make the wrappers.  Spread some flour over the surface of your work area.  This dough is very sticky, you’re going to need quite a bit of flour for dusting, and it’s much easier to do it in small pieces.  I only rolled out enough dough to cut out 2 or 3 wrappers at a time, as any larger attempts stuck to the mat too easily.  Take a piece of the dough about the size of a plum, and using your flour to dust liberally, roll the dough to about an 1/8 of an inch thick and use your biscuit cutter (cookie cutter, or even a water glass in a pinch) to cut out the wrapper.  Take your scraps and a bit more of the dough, and knead them together a bit and roll out a couple more wrappers.  Keep doing this until all the dough is gone.

    Dumpling Wrappers
    Dumpling Wrappers

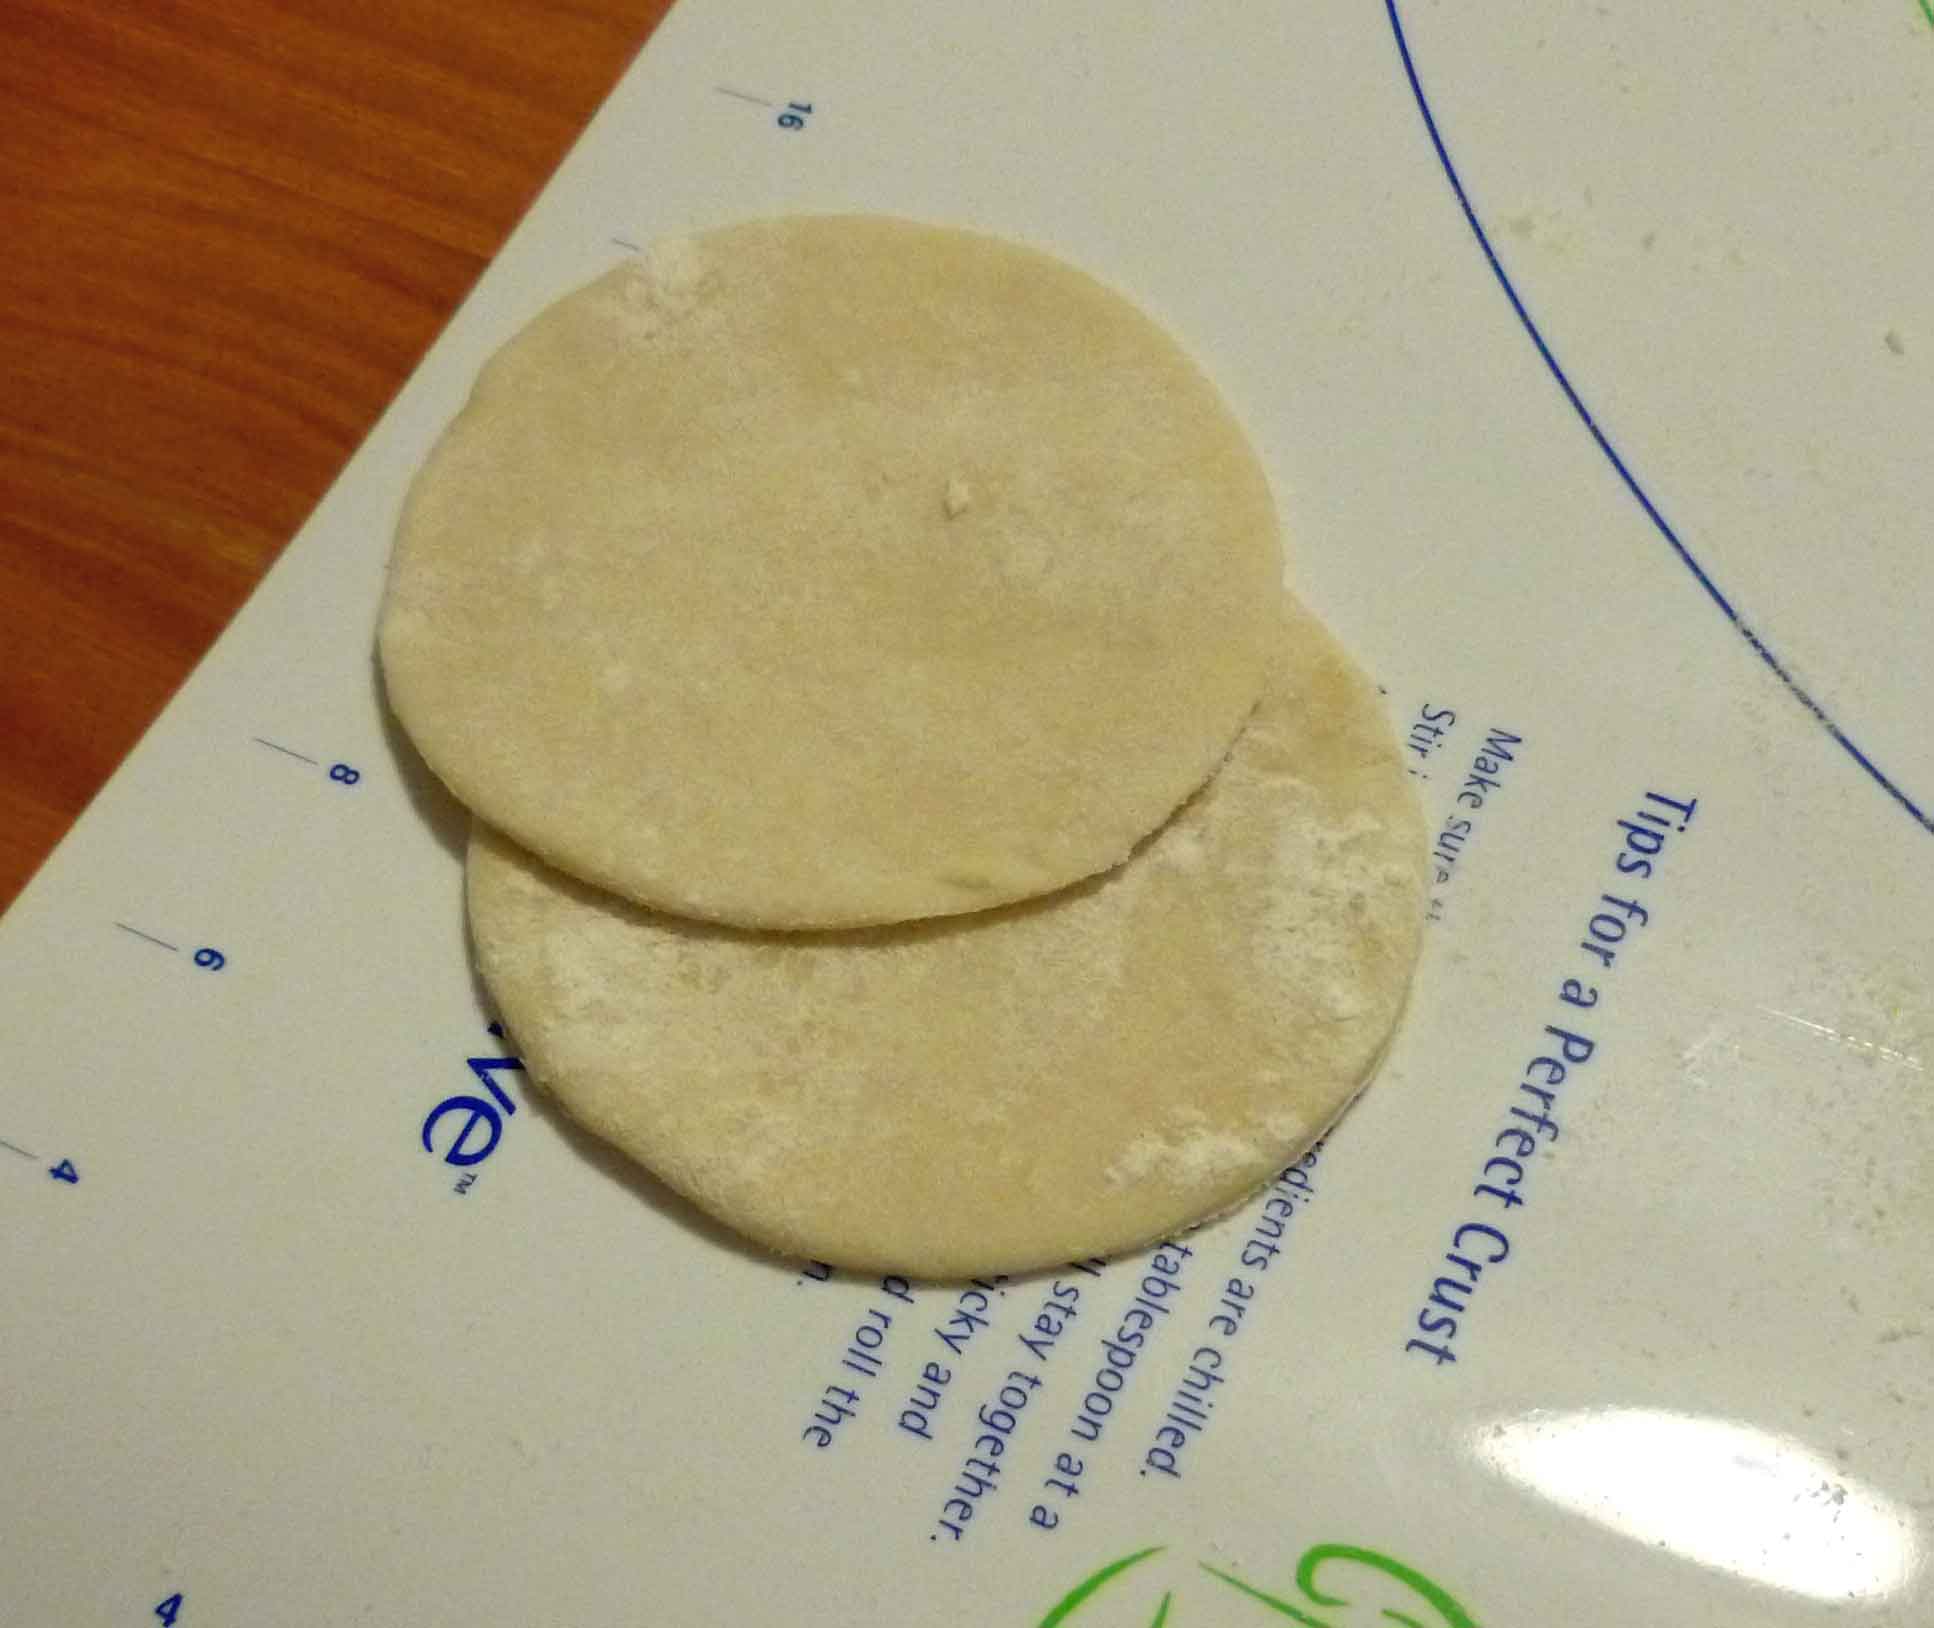
    Again, this dough is very sticky, make sure you dust them liberally before putting them in a pile.  I didn’t and I had several wrappers stick together, which I then had to roll out again when I tried to use them.

    Now it’s time to make your dumplings.  I just want to say that this is a much softer dough that your usual wonton wrapper you get from the grocery store, and it’s harder to get a “pretty” result.  And I’m not an expert by any means.  So go check out this video by an expert for different shapes and techniques if you need a better explanation than the one I’m about to attempt.  Especially once you see the picture of my completed ones below.  Take a wrapper, hold it open in the palm of your hand.  Place about a teaspoon or so of filling in the center of the dumpling and fold up the sides of the wrapper, pinching it shut, making little pleats if you have that kind of dexterity.

    Dumplings on a sheet pan covered with parchment paper
    Dumplings on a sheet pan covered with parchment paper

    Now you get to choose how to cook them.  I provide three methods below, but the first, Pan-frying, is what I used this time:

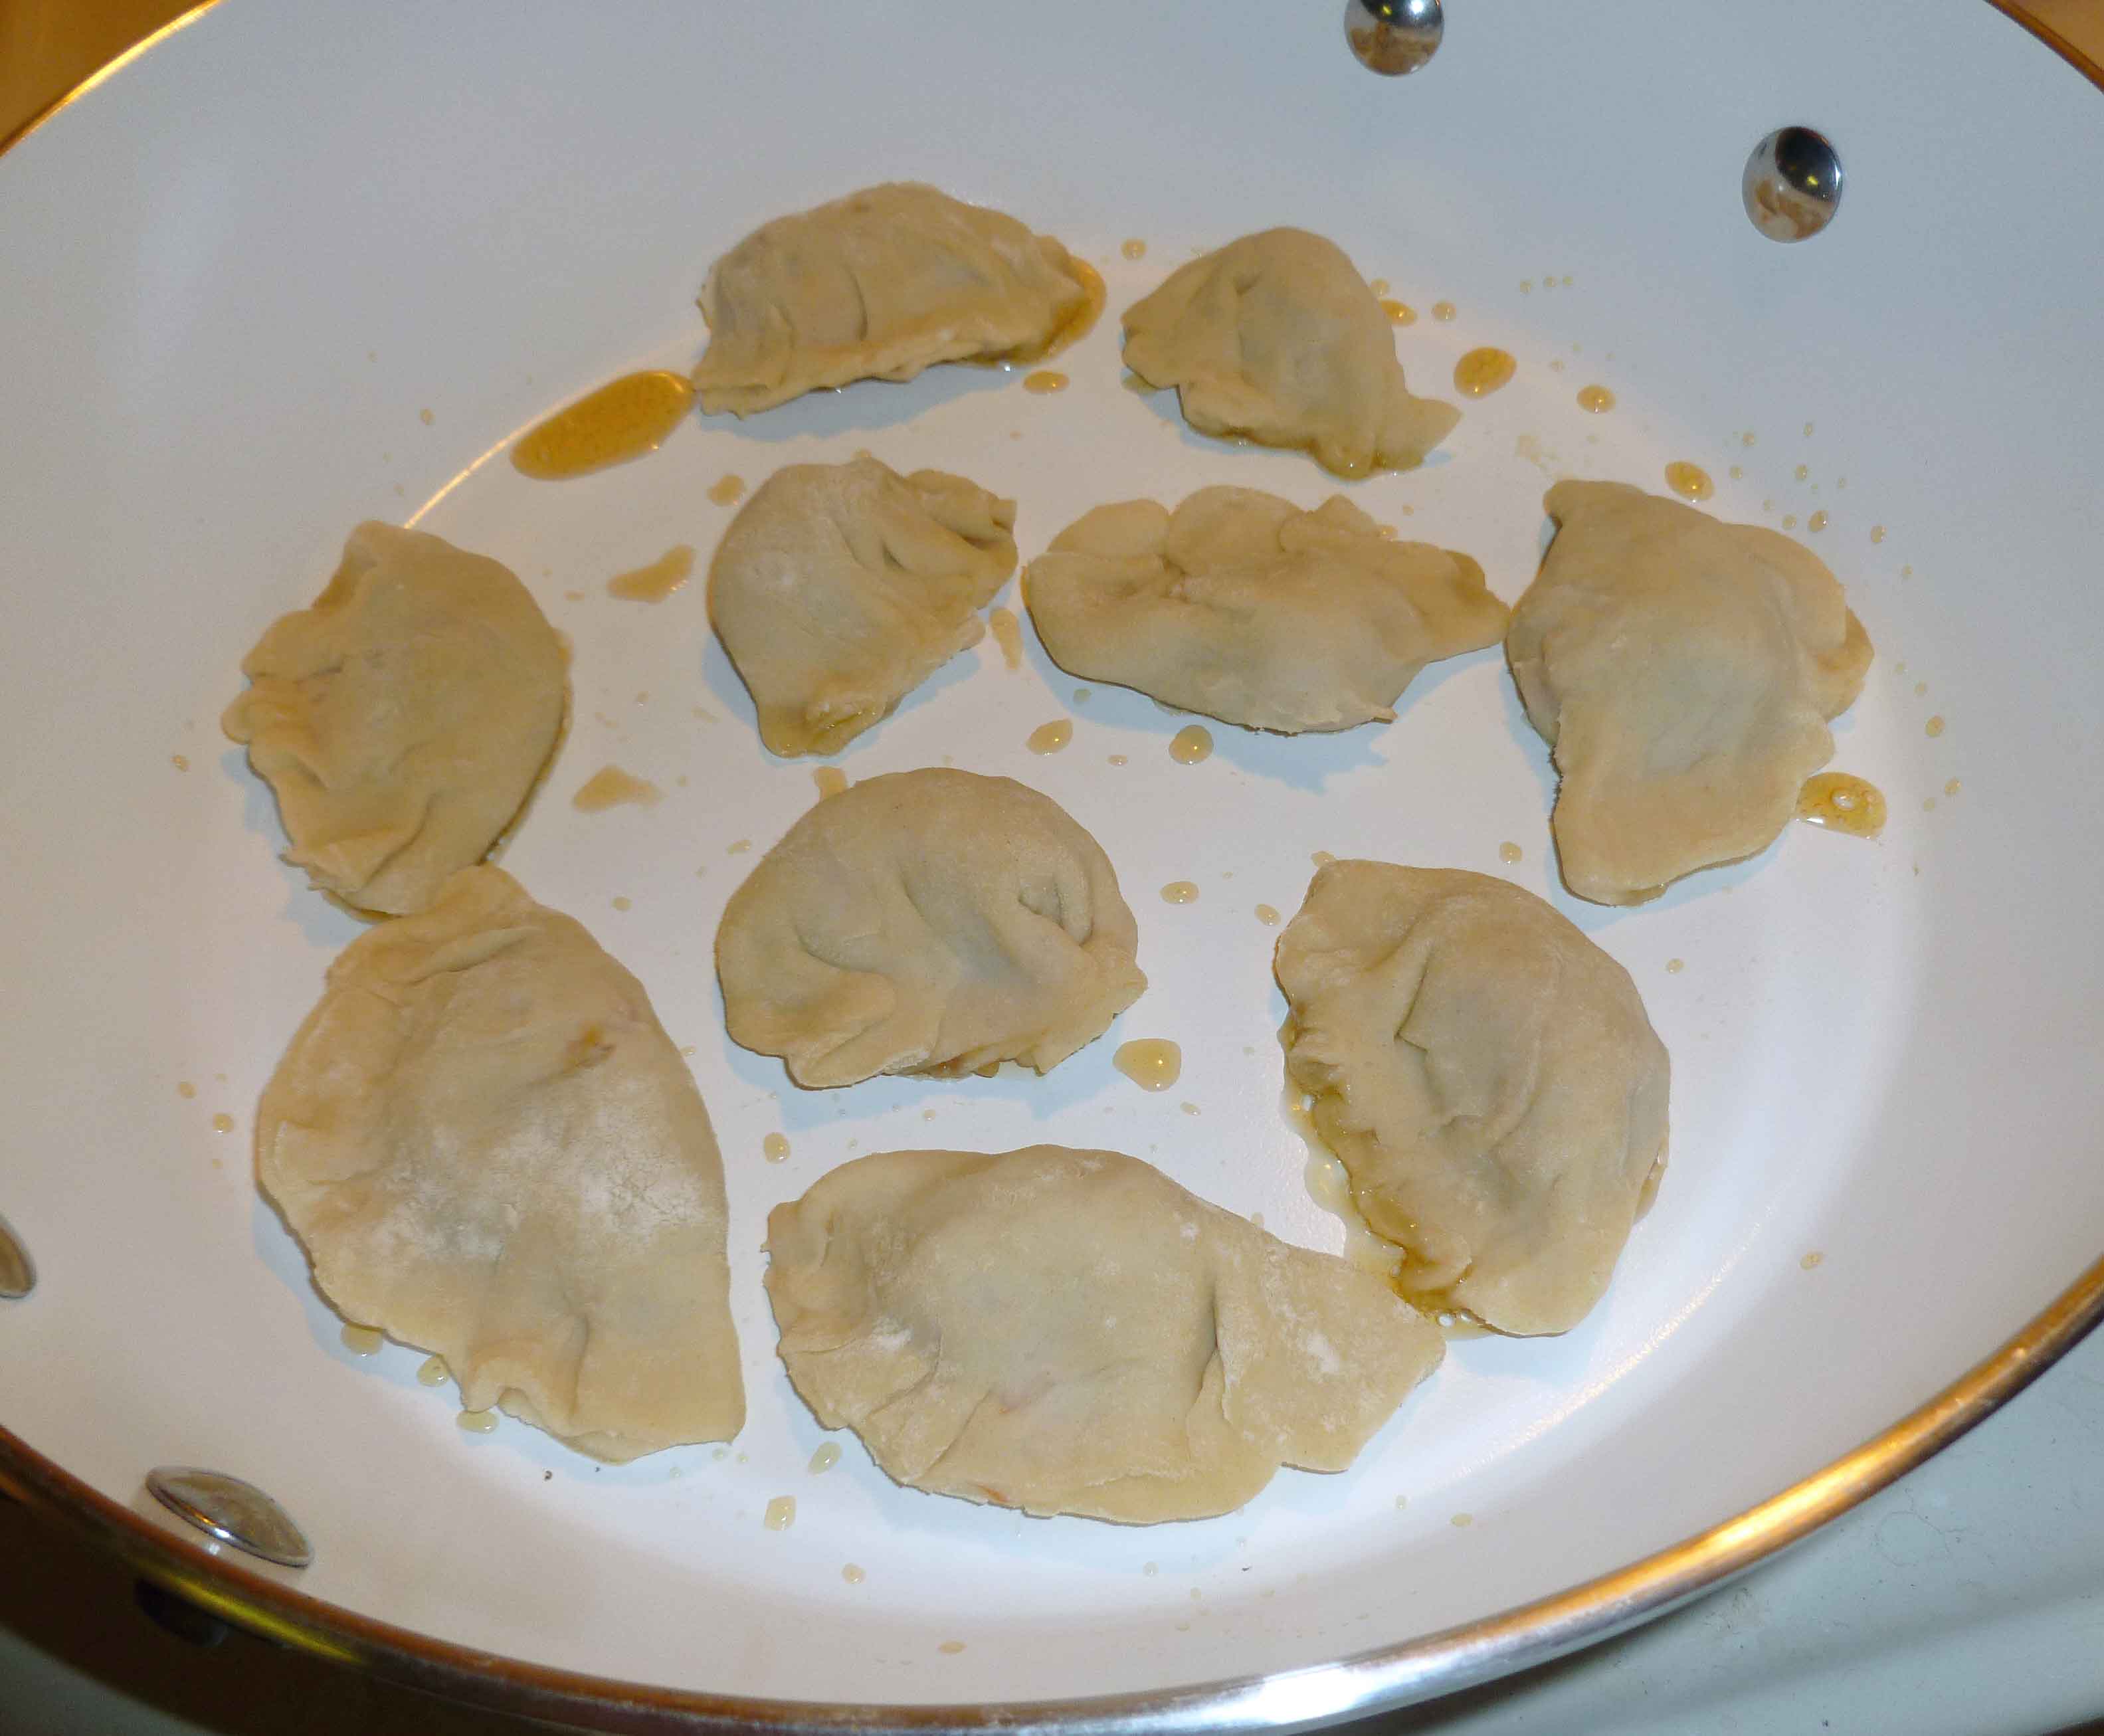
    Pan-frying Dumplings: Place a little sesame seed oil in a skillet (which must have a tight fitting lid) over medium heat.  Add dumplings, but so that they do not touch and have enough room to cook separately.

    Dumplings properly spaced in skillet
    Dumplings properly spaced in skillet

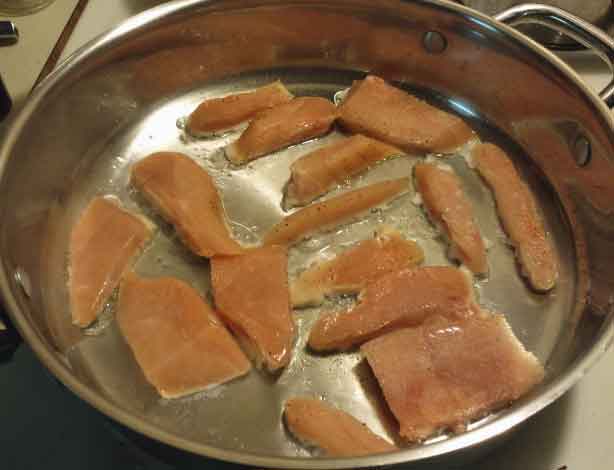
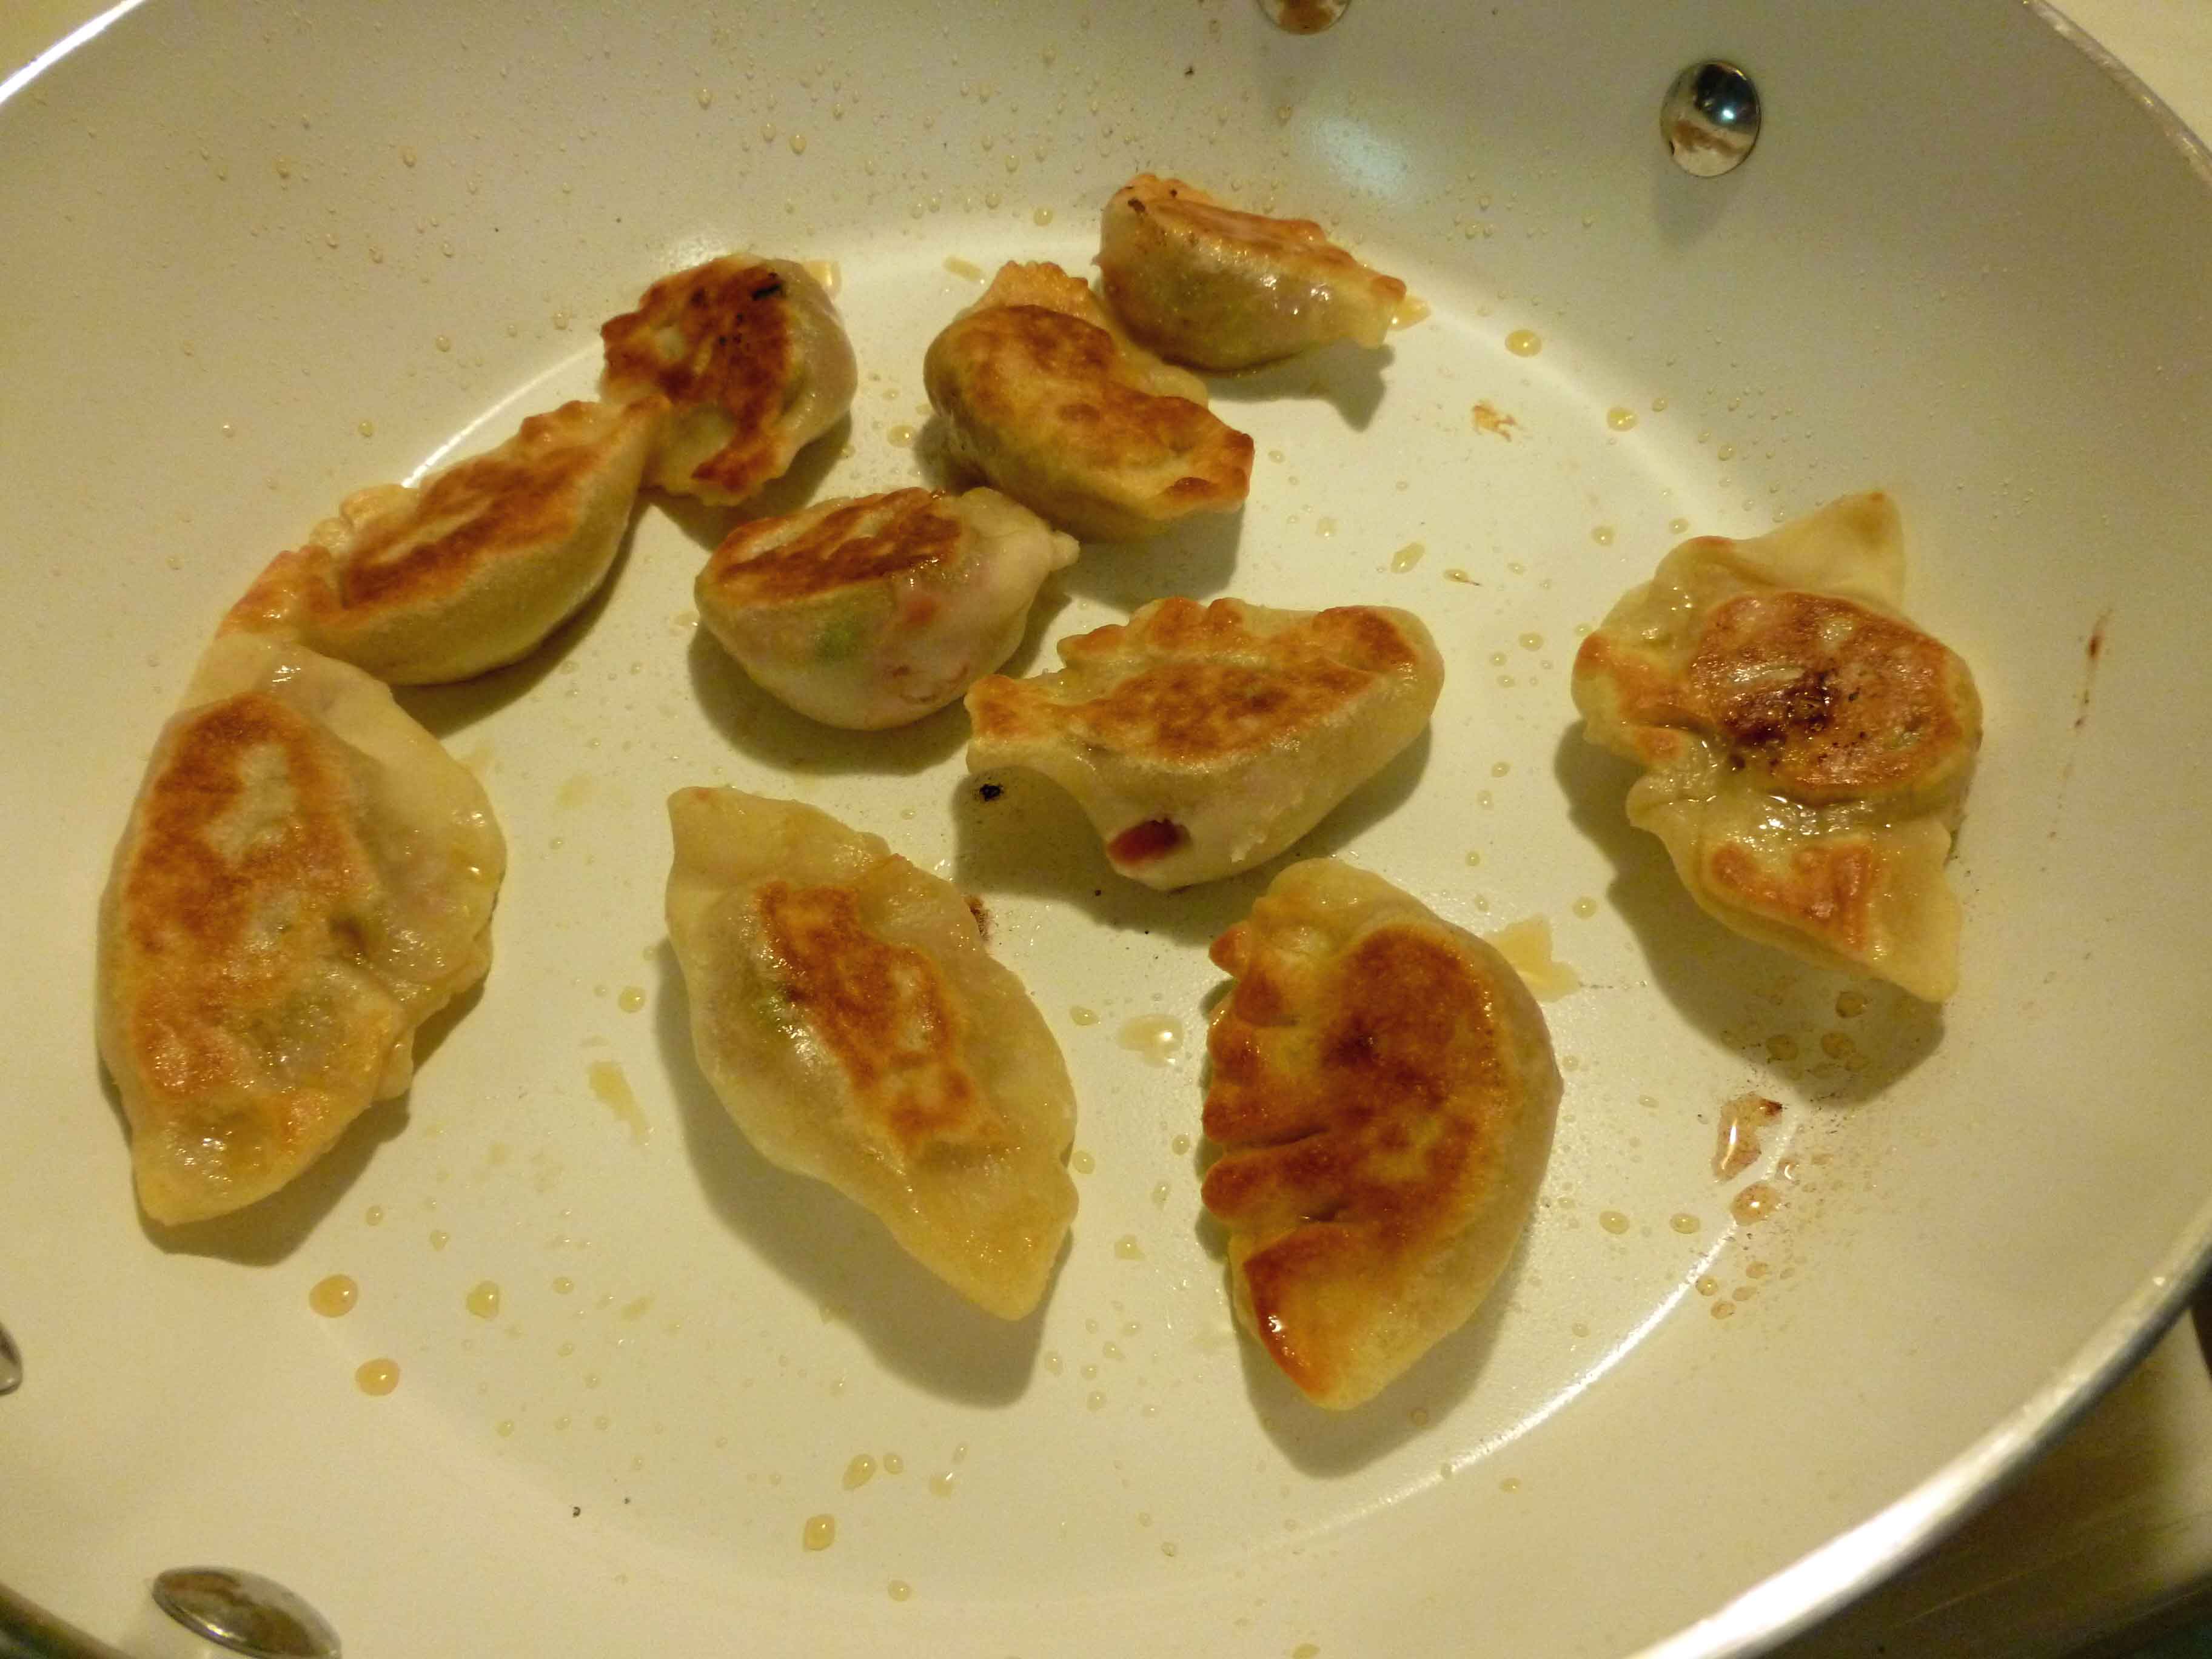
    Fry until golden brown, and then turn to fry the other side to the same golden brown color as shown below:

    Dumplings fried golden brown
    Dumplings fried golden brown

    Once both sides are golden brown, add a quarter cup of chicken stock and put the tight fitting lid on the skillet.  Continue to cook over medium heat while dumplings steam from chicken broth for another 3 – 7 minutes (depending on whether they were fresh or if they were dumplings you froze to use later) making sure to test one to see if they are done before serving.  You may need to adjust your cooking times. Continue to fry and then steam dumplings in batches until you have cooked all the dumplings you intend to serve.  Serve with dipping sauce.

    Pork Peking Ravioli (aka Potsticker, Wonton, Gyoza, etc.)  (Pan fried)
    Pork Peking Ravioli (aka Potsticker, Wonton, Gyoza, etc.) (Pan fried)

    Steaming Dumplings:  Use a metal steamer basket or a bamboo steamer in an appropriate size pot with a tight fitting lid with enough water so that it will not touch the dumplings.  Place the dumplings in a single layer in the steamer. Bring the water to a boil, then reduce the heat to medium and put the lid on the pot. If the dumplings are freshly made, cook for 5 minutes or so, but test one to see if they are done before serving.  If you froze your dumplings to use later, don’t thaw them, but cook them for about 15 to 20 minutes, testing to see if they are done before serving.  Serve with dipping sauce.

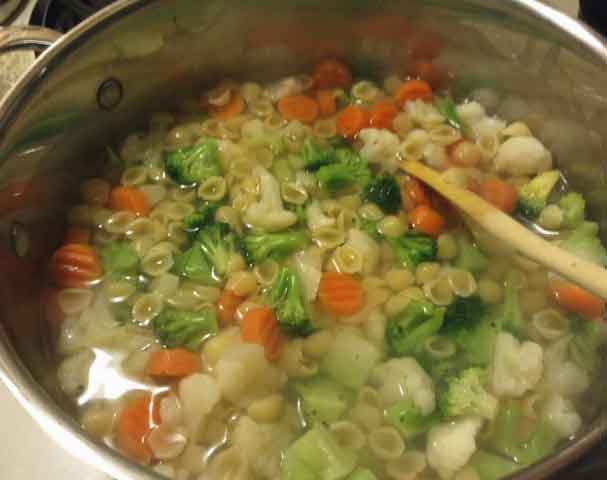
    Dumplings In Soup:  You can do a quick wonton soup, using some chicken broth, some green onions, some Napa cabbage, thinly sliced carrots and some of your dumplings.   Bring the chicken broth to a boil, add the dumplings and carrots, and then reduce the heat to medium.  When the dumplings and carrots are cooked, add the green onions, Napa cabbage and cook for a minute or two more.  I like to add some white pepper or Chinese Five Spice to season it as well.  This is a really quick dinner if you’re using dumplings you froze to use later, and some frozen homemade chicken stock, or a store bought version (checking the labels of course).

    Hope you like these, and I will keep trying for a gluten free version I like to share.

  • Happy President’s Day, Bread and Chocolate with Cherries

    Bread and Chocolate and Cherries
    Bread and Chocolate and Cherries

    And this is take two on cherries for our President’s day theme. Cherries go with chocolate. And there’s a place in Concord, New Hampshire that sells a pastry called Bread & Chocolate that I’ve been trying to replicate since the dairy allergy diagnosis, so I decided to add cherries to the mix this time.  This is like a jelly roll, except instead of cake and jelly or cream, you have bread and chocolate and cherries.  Although I’ve tagged a warning, just to be clear, this recipe contains wheat and gluten, and I’ve written it to be used with a bread machine.

    Bread and Chocolate with Cherries 

    • 1/4 cup of warm water (between 70ºF and 85ºF)
    • 3/4 cup of a milk alternative product of your choice (I used homemade oat milk)
    • 1 Tablespoon of Ener-G egg replacer, mixed with 6 Tablespoons of warm water
    • 1 1/4 teaspoons of salt
    • 1/3 cup and 1 teaspoon of dark brown sugar, packed firmly
    • 1/4 cup of shortening or Earth Balance Soyfree Natural Buttery Spreads
    • 2 teaspoons of cinnamon
    • 4 cups of bread flour
    • 2 1/2 teaspoons of bread machine yeast
    • 1 cup of Dole frozen Dark Sweet Cherries, chopped
    • 1 cup of Enjoy Life Mini Chocolate chips
    • 2 Tablespoons of melted Earth Balance Soyfree Natural Buttery Spreads
    Sunbeam Bread Machine
    Sunbeam Bread Machine

    Using my nicely inexpensive Sunbeam bread machine, add first three ingredients in order as listed to the bread machine pan. Then add the salt, brown sugar, shortening, cinnamon and flour to the bread machine pan, heaping the flour in a pile.

    Using a spoon, make a little indentation that you can put the yeast in, and then add the yeast.

    Ingredients in Bread Pan with Yeast in Indentation on Top
    Ingredients in Bread Pan with Yeast in Indentation on Top

    Set your bread machine menu to just make dough.  When its ready it should look something like this:

    Completed Dough in Bread Pan
    Completed Dough in Bread Pan

    Preheat oven to 375°F. Spread a little flour on your very clean counter top or on your dough mat, and dump dough on mat or counter.  Make sure you remove the paddle if it falls out of the bread pan.  Roll out dough using a rolling pin to a rectangular shape approximately 12 by 18 inches.

    Dough rolled to a rectangular shape
    Dough rolled to a rectangular shape

    Once you have rolled the dough to the correct shape, spread your chopped cherries over the surface.

    Dough with Cherries Spread over Surface
    Dough with Cherries Spread over Surface

    Then sprinkle the mini chocolate chips over the surface of the dough.

    Chocolate Chips and Cherries Spread over Surface of Dough
    Chocolate Chips and Cherries Spread over Surface of Dough

    Taking a small amount of water, dip fingers in water and run them around the edges of the dough to help it seal when you roll it up.  Take one edge of the shorter side and begin to roll it up, making sure that you seal up the edges as you go, and that the final seam is sealed by pressing the wet edges to the dough.  Carefully place the roll with the seam on the bottom on the pan you will bake it on.

    Completed Bread Roll
    Completed Bread Roll

    Taking the melted Earth Balance, brush it over the surface of the dough.

    Brushing Melted Earth Balance over Bread Roll
    Brushing Melted Earth Balance over Bread Roll

    Let dough rise for about an hour and half, until it nearly doubles in size.

    Bread Roll After Rising
    Bread Roll After Rising

    Place in oven preheated to 375°F, and bake for 30-35 minutes.  If you rolled your rectangle out a bit too wide, you’ll get the bent shape I did after baking 🙂

    Baked Bread Roll
    Baked Bread Roll

    Let cool for 30 minutes or more and then cut slices.  Enjoy!

    Bread Roll after Cutting
    Bread Roll after Cutting
  • Chicken Primavera Alfredo

    Chicken Primavera Alfredo
    Chicken Primavera Alfredo

    Okay, first things first.  My good camera’s battery hit the skids half way through cooking this recipe, so I had to resort to my cell phone camera. Which means that some of these pictures are more terrible than they usually are. Now on to the subject at hand.

    Alfredo sauce. Seriously, before the food allergy apocalypse, this was one of my very favorite things. When I was first diagnosed, I tried to make a soy based Alfredo sauce, and I took one bite, and dumped the rest of it down the sink. I may have also spit the bite I took in the sink. (Yes, I’m that classy.) You may remember that I have mentioned that I’m not a fan of soy milk. So when Mary Kate and I decided to do this blog, Alfredo sauce was one of the first things that I put on the infamous spreadsheet for us to find a solution to. I think I’m finally there. Even my husband, who can still eat dairy, says that this is amazingly close. This recipe will not help those of you with a nut allergy, as the base is made of cashews. Although the sauce itself is gluten free, I did use regular pasta, which is not. So if you want to make this recipe gluten free, just use gluten free pasta (MK suggests Schar pasta (I’ve only had the penne), Quinoa pasta (here, only had the macaroni), and Trader Joe’s corn pastas).  This recipe will probably feed about 4-6 people depending on portion size.

    Alfredo Sauce:

    • 1 cup of raw cashews or cashew pieces (pieces are cheaper, buy those) 
    • 4 teaspoons of lemon juice (fresh is better but the bottled will work in a pinch)
    • 1 teaspoon of roasted minced garlic (you can get it in a jar at the grocery store)
    • 1 teaspoon of salt
    • 1/2 teaspoon of fresh ground black pepper
    • 1/4 teaspoon of nutritional yeast
    • dash of nutmeg
    • dash of paprika
    • dash of sage
    • 1 1/2 cups of boiling water
    • 1 tablespoon of Earth Balance Natural Buttery Spread Soy-free
    • 2 teaspoons of cool water
    • 2 teaspoons of corn starch

    Chicken Primavera Ingredients:

    • 1 to 1 1/2 pounds of chicken breast, sliced into strips
    • seasoned salt
    • black pepper
    • 2 tablespoons of canola oil
    • 2 cups of pasta (small shells, macaroni, etc.)
    • 1 – 16 ounce bag of frozen mixed vegetables
    • enough water to cook the pasta

    First, make the Alfredo sauce:

    Put the tea kettle on to boil your 1 1/2 cups of water first.  You will need your blender. Take your 1 cup of cashews and grind them into a fine powder.  You can do this in the blender, but I like to grind them in a coffee grinder that I use specifically food and spices.

    Finely Ground Cashews
    Finely Ground Cashews

    It’s easier if you grind them in batches if you’re using the coffee grinder. Once they are finely ground, put the cashews in the blender. (If you’re grinding them up in the blender, put the cashews in blender and process them until they are finely ground before adding any other ingredients.)  Add the lemon, garlic, salt, black pepper, nutritional yeast, nutmeg, paprika, sage, and the boiling water in the blender with the cashews.  Put the cover on the blender and blend until smooth.  Let it blend for a while, the smoother the better.

    Once you think it’s blended enough, pour the mixture into a sauce pan, and put it on medium low.  Add the Earth Balance and let it melt into the mixture, while you mix the cornstarch and 2 teaspoons of cool water together in a small container.  Once the Earth Balance is melted, stir the mixture to incorporate the Earth Balance and then pour in the cornstarch mixture, while continually stirring (if you don’t stir continuously, you’ll have lumps). Put the sauce on the back burner on the lowest setting while you get everything else ready.

    Alfredo Sauce
    Alfredo Sauce

    Now it’s time to cook the chicken.  Slice the chicken breast into strips if you haven’t already done so, and season them with the seasoned salt and pepper (just sprinkle some over it).  Put the canola oil in a skillet and turn the burner onto medium high.  Put the chicken into the pan but don’t crowd the pieces.

    Chicken properly spaced in frypan
    Chicken properly spaced in frypan

    Sear the chicken so you get a nice golden brown on the outside, and make sure your pieces get cooked without being overcooked. Easy for me to say right? I prefer to use dark meat, because it’s really hard to over cook dark meat, and because I like it better.  But, since my husband likes the breast meat, and I got a wicked deal on some chicken breast, that’s what we’re using here.  However, next time I’d probably use boneless chicken thighs.  Anyway, the picture below shows what you’re trying to get for a nicely seared outside, as it’ll add flavor to the dish.

    Properly Seared Chicken
    Properly Seared Chicken

    Put the chicken aside once it is cooked.

    Now we need to cook the pasta and vegetables. Using a large pan, put enough water in to cook 2 cups of pasta, and a couple of dashes of salt. Bring the water to a boil, and add the two cups of pasta to the water.  When the pasta is almost ready but not quite tender enough to be considered done, pour the bag of frozen mixed vegetables into the pan with the pasta.

    Pasta and Vegetables Cooking
    Pasta and Vegetables Cooking

    Bring the water back to a boil and let it cook for two or three minutes after that.  Once the vegetables are done, the pasta should also be ready.  Drain the water.

    Spoon some of the pasta and vegetables onto a plate, and place some chicken on top of the pasta and vegetables.

    Chicken, Pasta and Vegetables on a plate
    Chicken, Pasta and Vegetables on a plate

    Then ladle some of the Alfredo sauce over your chicken, pasta and vegetables.  And Voila! Yay Alfredo Sauce!!

    Chicken Primavera Alfredo
    Chicken Primavera Alfredo
  • Whatever Wednesday Cookbook Review: Whole Grain Breads By Machine or Hand

    My dog-eared copy of Whole Grain Breads by Machine and Hand by Beatrice Ojakangas
    My dog-eared copy of Whole Grain Breads by Machine and Hand by Beatrice Ojakangas

    This is not a book for those of you who can’t have gluten.  This book does have five recipes in a chapter entitled “Nonwheat Breads” but two of them have spelt, and I think that spelt is still problematic for some folks.  In any case, this review is geared for those who can eat wheat and gluten, but not eggs and milk.

    When I first realized that I was really and truly going to have to cut all milk out of my life, I had a huge adjustment to face with respect to bread.  When it comes to every day bread, sandwich and toast bread, I’m cheap as hell.  I wanted to buy store brand or one step up from store brand sliced bread that you could get for less than two bucks (I haven’t bought a loaf of bread in two and half years, what’s a loaf of Country Kitchen Oatmeal Bread run these days??). Most of the breads out there fitting this description have milk in them. Now, I’m aware that I could buy artisan bread in the bakery section of the grocery store that would be milk free. It was also too expensive for my blood for day to day use, although I’d be happy to buy it for entertaining friends. So, according to my Amazon account, I bought my first bread machine on May 30, 2010.  It was very inexpensive, because I didn’t want to blow a whole lot of money on something I was trying for the first time and wasn’t sure I’d use. The first loaf of bread I made according to the recipes that came with the bread machine could have sunk a canoe if properly propelled. It was so dense that I felt like I had a brick in my stomach after eating it. After having read the reviews of the bread machine on Amazon, which stated that the thing worked great, but that the recipes in the manual were garbage and to go get a bread machine book, I asked around at my knitting group (Mary Kate and I are both knitters) which met at a bookstore. No one had any specific advice, but our friend Linda got up to go look around and came back with Whole Grain Breads by Machine or Hand by Beatrice Ojakangas.  I bought it at retail at a now defunct Borders store, but you can get it at Amazon, or ask your local retailer.

    I have used the recipes in this book so often, that I wore out the first bread machine and had to purchase a second on March 31, 2012, once again according to my Amazon account.  My copy is fairly dog-eared, stained and has some minor water damage, but since I can still read the recipe and my handwritten notes, it’s all good.  There are two hundred recipes in the book, and after paging through the book I would say that I’ve tried about 40 of the recipes.  There are very few recipes that need modification.  Of those that do, I’ve been able to substitute nonfat dry milk with with rice milk powder or soy milk powder (except that I’ve discovered I really don’t like soy), milk with the alternative milk replacement product of your choice (I use rice milk), butter with Earth Balance Soy Free Buttery Spread or Earth Balance Vegan Buttery Sticks, and buttermilk with the alternative milk replacement product of your choice and a little bit of vinegar. The very few recipes with cheese and egg, I’ve just ignored (although I’m considering attempting to use chia seed as an egg replacement). There are chapters on breads made with sourdough starters and with sponges, but that just takes more planning than I’m normally able to manage, so I have not tried those recipes either. Maybe during my staycation at the end of the month, I’ll manage a long yearned-for sourdough…ha..haha..ha.

    In any case, I love, love this book.  And one of the things that I love most about it, is that each recipe tells you how to make the bread by hand, by using a heavy-duty mixer (like a KitchenAid), using a food processor, using the bread machine and baking it in the bread machine, and using the bread machine to make the dough and baking it in your conventional oven.  How cool is that? So when I wear out the bread machine again, I can make it in my mixer until the new one shows up. (No disrespect to my bread machine.  For what I paid for it, and the kind of work out it gets, it’s a miracle it lasted that long the first time, and I liked it so much I bought the same one the second time around.)  The other really cool thing is that each recipe has the ingredients for three different size loaves, a sampler loaf, a regular loaf, and an large loaf.  I use the regular loaf for the 1.5 pound loaf setting on my bread machine and the large loaf for the 2 pound loaf setting.

    Our two standby recipes are Maple Oatmeal Bread and Country White Bread. We pretty much make a loaf from each of these recipes once a week.  These are great with any kind of sandwich and for toast. I eat a lot of toast because I pretty much gave up dry cereal as I can’t find a milk alternative that I can stand on cereal.

    We’ve also made some of the more elaborate recipes, like the Beer and Mustard Rye Bread, Eleven Grain Buckwheat Bread, Ten Grain Cereal Bread, Chocolate Walnut and Wheat Bread (yummy!!), Cinnamon Pecan Wheat and Rye Bread,  Caraway Onion Rye Bread, Rustic Grains Bread, and Oatmeal Seed Bread.  There really hasn’t been a bread we didn’t like.

    This is a great book for anyone (except anyone who can’t eat gluten or wheat).  However, for those of us with food allergies to dairy and egg, there are so many recipes without either ingredient, and the substitutions I described above work so well, that I can recommend this book wholeheartedly.