Notice: Function _load_textdomain_just_in_time was called incorrectly. Translation loading for the wp-ultimate-recipe domain was triggered too early. This is usually an indicator for some code in the plugin or theme running too early. Translations should be loaded at the init action or later. Please see Debugging in WordPress for more information. (This message was added in version 6.7.0.) in /home/maryzahc/public_html/adultfoodallergies.com/wp-includes/functions.php on line 6131 Vietnamese-inspired – surviving the food allergy apocalypse (archive)
Hoisin sauce was just another well-loved condiment no longer within my grasp until I found a recipe and modified it to be safe for me. If you have a soy allergy (I don’t) try this with Mary Kate’s Soy-Free, gluten-free “Tamari Sauce” and let us know how it worked out for you.
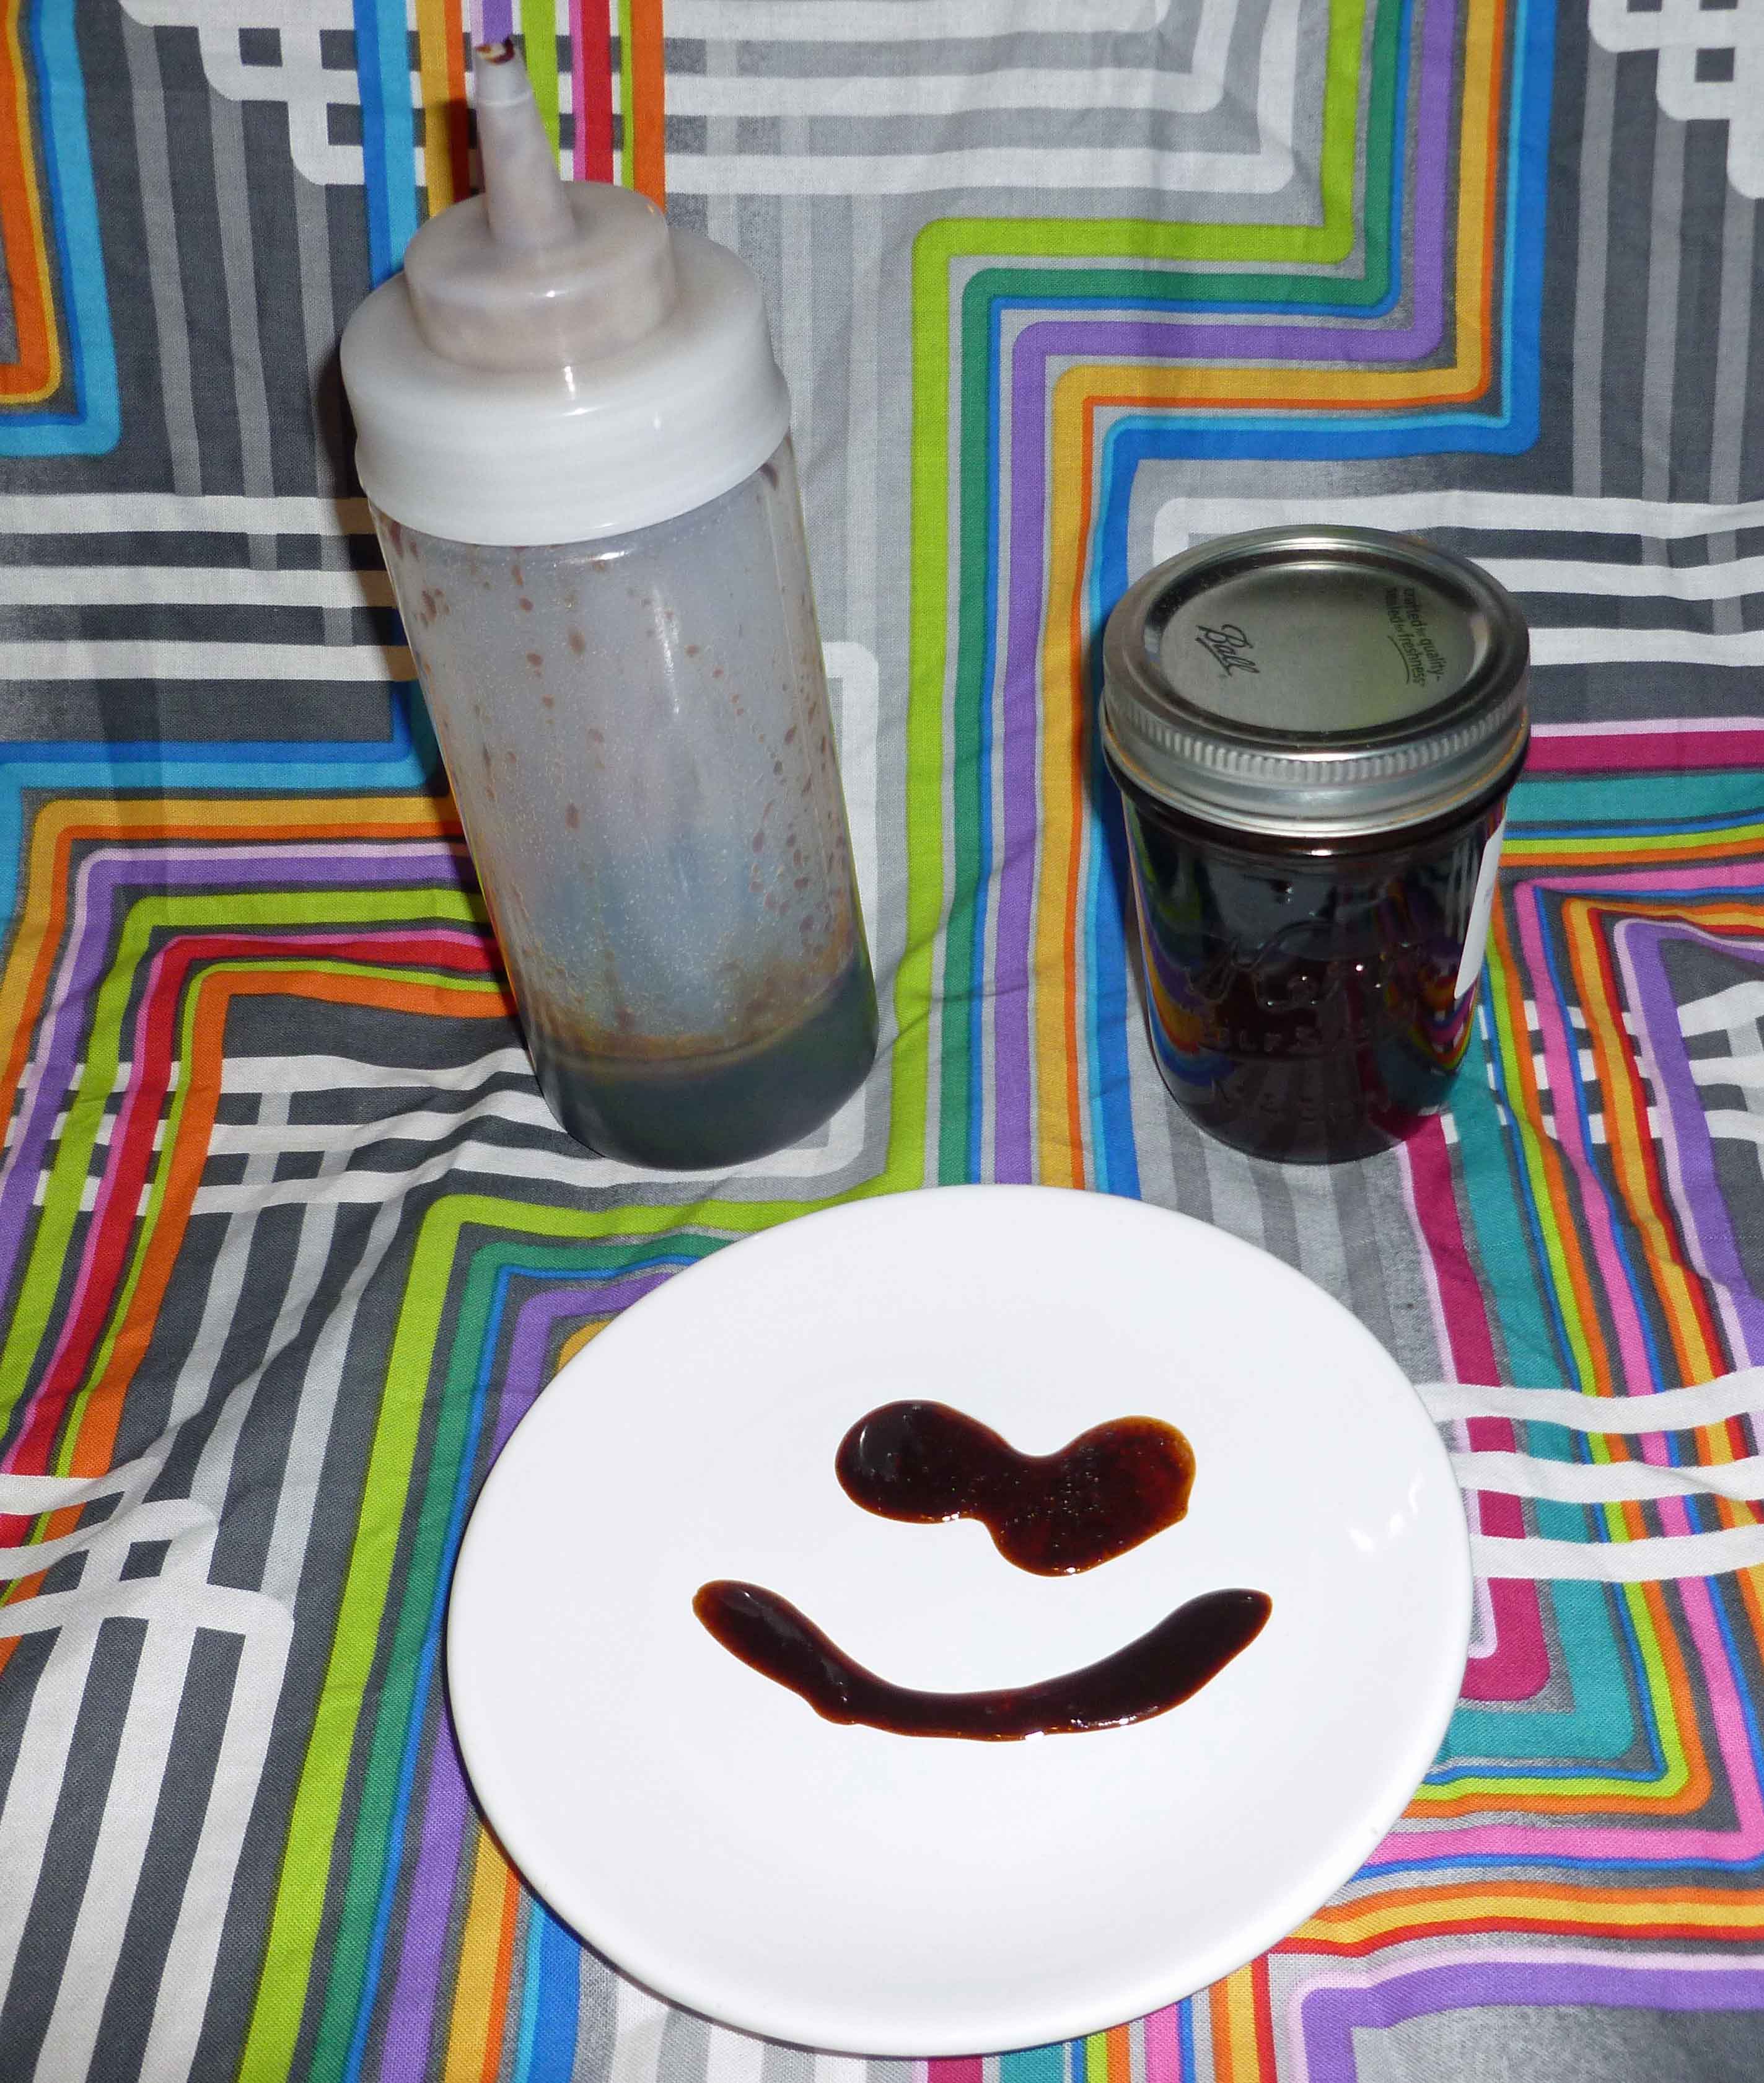
Hoisin Sauce – Gluten-free with Soy-free option
Makes 1 cup.
1/2 of a 15 ounce can of Black Beans, rinsed and drained (I use my home canned, but use what’s safe for you.)
1 Tablespoon of either Sesame Oil, Chili Oil or other safe for you oil (I can’t use Sesame, so I made a homemade Chili oil with my safe oil.)
1/2 Tablespoon of minced Garlic
1/2 cup brown sugar
1/2 Tablespoon of Molasses
2 Tablespoons of Apple Cider Vinegar (Bragg’s is generally safest for those with corn allergies)
2 Tablespoons of Rice Vinegar
2 1/2 Tablespoons of Soy Sauce (I do well with San-J Tamari Gluten Free Soy Sauce, the alcohol is from cane sugar not corn, but if you can’t use soy, try Mary Kate’s recipe for a Soy-Free, gluten-free “Tamari Sauce” )
1 Tablespoon of water
1/8 teaspoon of crushed red pepper
In a food processor, purée the black beans into a fine paste. If it is too thick and doesn’t process well, add a little bit of water (1 teaspoon at a time) until you can continue to pulse the black beans. They should be puréed into mush.
In a non-reactive pan (I used an enameled cast iron pan), heat the oil until it is hot, but not yet smoking. Add the garlic and cook for about 2 minutes (don’t let it turn brown).
Once the garlic is cooked, add all ingredients to your pan and stir together really well. Bring to a boil, and then reduce heat to medium-low and simmer for 15 to 20 minutes. The sauce should coat and stick to the back of a wooden spoon when it is ready.
Remove from heat immediately and let it cool before placing it a container in the refrigerator. I put mine in a squeeze bottle so I can use it easily whenever I want.
Enjoy with all your favorite Asian and Asian-inspired dishes!
I love Vietnamese food. Seriously, I love it. Before the corn allergy, our local Vietnamese joint could recognize my voice before I even finished stating that I wanted to order takeout. The owner knew my name and my husband’s name, and what we generally ordered. If Shawn forgot what I wanted when stopping in to pick up dinner on his way home from work, the owner could reel off my five or so favorite dishes until Shawn heard the one that jogged his memory. I used to get #23 with Beef, i.e. Steamed Vermicelli Patties or Banh Hoi, that you wrap up in rice paper yourself, probably more than fifty percent of the time. So it was inevitable that I figure out how to make it myself in a way that’s safe for me. However, I didn’t actually do the rice paper and make my own fresh/salad rolls, because it’s winter (yes, I know it’s technically spring, but that’s not what’s outside and it snowed yesterday), I just moved, and I’m really tired. It’s all the good stuff without the rice paper wrapper, that’s all.
Rice Vermicelli Salad Bowls with Beef
Serves 4 or 2 really hungry people with maybe enough for a bit of lunch the next day.
Beef and Marinade:
1 and 1/2 pounds of beef sirloin beef tips, sliced across the grain into pieces about 1 1/2 to 2 inches long and 1/4 inch wide
1 garlic clove, minced and crushed to a paste (if you don’t have a garlic crusher, just mince it and smoosh it with a metal spoon)
1 shallot, finely minced, or 1/4 of a small onion, finely minced
1 Tablespoon of brown sugar
2 Tablespoons of oil (make sure it’s safe for you, I used grape seed oil)
1 Tablespoon of soy sauce (I do well with San-J Tamari Gluten Free Soy Sauce, the alcohol is from cane sugar not corn), but if you can’t use soy, try Mary Kate’s recipe for a Soy-Free, gluten-free “Tamari Sauce”
1 Tablespoon of Sriracha (I use my own homemade from this recipe, but I use rice vinegar instead of distilled)
a bit of oil for frying
Salad Fixings:
1 – 8 ounce package of fine rice vermicelli (for reference, this is what I used, no affiliation with Amazon, just ease of linking)
Scallion Oil Garnish (here’s the recipe, although I used grape seed oil)
fresh mint or fresh thai basil or both
Spring Mix lettuce
tomatoes, sliced
cucumbers, sliced
bean sprouts (I didn’t use them, but just because the grocery store didn’t have them today)
Slice your beef to the correct thinness and length if you haven’t already.
Sirloin beef tips, sliced into smaller pieces, cut across the grain
Place garlic, shallot (or onion), brown sugar, oil, soy sauce and Sriracha in a bowl large enough to place the sirloin tips. Mix the ingredients well so that the sugar dissolves.
Marinade, well combined.
Add the beef and stir well. Set the beef aside let it marinate while you work on the rest of the dish.
Beef combined with marinade.
Fill a large pot with 3 quarts of water and bring to a boil. Once boiling, add your rice vermicelli and let boil for 3 minutes. Drain and place in a bowl to cool.
Rice vermicelli cooling.
In a skillet (I used a cast iron wok, because it’s new and I wanted to play with it, but you can use a cast iron skillet or other skillet), heat a bit of oil over medium heat. When the oil is hot, place the beef in the skillet, making sure not to crowd, or have more than one layer.
Beef cooking in cast iron wok
You may (will) need to do it in batches. When you have a nice sear on one side, flip the beef over and sear the other side. Tongs really help for this. Depending on your skillet and your stove, it’ll take 2-4 minutes a side to sear (this make take some experimentation on your part). You might want to put the beef on a plate as you do batches.
Beef on a plate after being cooked in batches
Once you have finished cooking the beef, it’s time to assemble your salad bowl. Place some of the vermicelli in the bowl (you may need to cut it, as the noodles are long). Add the other salad fixings of your choice, and some of the beef. Then add the condiments of your choice and voila!
As many of you know, I’ve been canning for well over a year now because it was the only way to replace commercial condiments that I could no longer buy at the grocery store because of the whole corn thing. When I saw this recipe in the Ball Complete Book of Home Preserving (you can also find it at this link) I knew I had to make it because I loved that sauce. And I made it, and it was good. Really good. So good that you want to dip all fried food in it. Seriously, dairy-free, gluten-free, fried onion rings are so good dipped in this stuff). I shared a jar with Mary Kate, and she discovered that it’s awesome when used as a salad dressing. So when she ran out, she asked me for help in converting the recipe to a reasonable amount that she could just put in the fridge, as she did not want to learn to can and have nine 8 ounce jars hanging around her apartment. (If you do want to make it in quantity and can it, follow the recipe at the link above.) Since it’s free of the top eight allergens, complies with each of our restrictions, and is fantastic, I thought I’d share the refrigerator version.
Thai Hot and Sweet Dipping Sauce
Makes a little less than 2 cups.
4 1/2 teaspoons of finely chopped garlic
1/2 teaspoon and a pinch of salt
1 cup, 3 Tablespoons, and 1 teaspoon of apple cider vinegar (safest for those allergic to corn is probably Bragg’s)
1 cup, 3 Tablespoons, and 1 teaspoon of sugar
4 1/2 teaspoons of hot pepper flakes
Combine the garlic and salt in a small bowl, and set it aside.
In a non-reactive (stainless steel or ceramic or enamel, do not use aluminum or cast iron) sauce pot, add the apple cider vinegar and bring it to a boil. Add your sugar and stir with a non-reactive utensil (wooden, rubber, nylon or silicone spatula or spoon), until the sugar is fully dissolved into the vinegar. Reduce the heat and boil gently for about 5 minutes or so. Add the garlic mixture and hot pepper flakes and stir well. Reduce the heat to medium low, and simmer for 15 minutes. Remove the sauce pan from the heat and let it cool until it is safe to put it into a storage container. Place it in the refrigerator to store.
Thai Hot and Sweet Dipping Sauce
Go fry all the things, and dip the fried things in this stuff, or dump it on your salad. You won’t be sorry.
Quick-ish Beef Pho, with Sriracha and Hoisin sauce
So one of my pet peeves about the corn thing is no more going out for Vietnamese food, which is one of my favorite things ever. I actually made and pressure canned my own safe Hoisin sauce, and fermented my own Sriracha sauce so that I could still eat them. But you have to have stuff to eat the Hoisin and Sriracha on, and it’s winter, and we need pho. And we need an easy, quick-ish pho that it doesn’t kill you to make on a weeknight. You could do it the more traditional way, but again, we need dinner fast on a weeknight. This is why it’s good to have some of the Roasted Beef Stock around, either pressure canned, or in your freezer.
Quick-ish Beef Pho
Serves two really hungry people.
For the broth:
2 shallots (peeled, cut in half and broiled until browned)
6 cups of Roasted Beef Stock or a commercial variety if you can get some that’s safe for your allergies
1 cinnamon stick
1 ounce (or a nice thick piece between an inch and two inches long) of fresh ginger root, peeled and sliced into a few pieces
2 star anise (whole)
5 cloves (whole)
1 Tablespoon of fish sauce (optional) – make sure it’s safe for you
1 Tablespoon of sugar
For the fixings:
one half of a 16 oz package of rice noodles
a half pound of extra lean shaved steak
mung bean sprouts
a lime, sliced into wedges
fresh basil leaves or fresh chopped cilantro, or both
one half of a small red onion sliced very thinly
a Thai chili or two, sliced thinly
Turn your oven to its broil setting or preheat your oven to 500°F. Move your oven rack to the highest setting, and place your peeled and halved shallots on a baking sheet and put them in the oven. Check them every three to five minutes until they are browned as shown below.
Broiled Shallots on baking sheet
While the shallots are broiling, place the Roasted Beef Stock in a stockpot, along with the cinnamon stick, sliced ginger, star anise, cloves, fish sauce, and sugar. Bring it to a boil, then turn it down to a simmer. When the shallots having finished broiling, slice them into pieces and add them to the stock.
Pho broth simmering away
In another stockpot, bring enough water to cover your rice noodles to a boil. Add the rice noodles to the water and boil for 3-5 minutes or so until they are cooked to your liking, and then strain them. At this point, I parcel them out in the bowls I intend to serve them in, as the noodles may stick together too much if you let them sit in one container (they will un-stick when you add the broth). Wash your mung bean sprouts and then put your preferred amount of sprouts in each soup bowl. Slice your red onion finely, and then add some to each soup bowl.
Sliced red onion
Bring your pho broth back to a boil. At this point I scoop out the cinnamon, ginger, star anise, and cloves. There are two ways to approach your beef depending on your comfort level. First, you can add the raw shaved steak to the bowls and allow the heat of the pho broth being poured over it to cook it. Second, you can put the beef in the pho stock and let it cook for just a bit before ladling it into the bowls. I tend to go for the first approach, but it’s up to you. Pick an approach and add your beef and pho broth to the bowls. Place a couple of basil leaves, a lime wedge, some of the chopped cilantro, and the sliced thai chilis on top of the soup.
Quick-ish Beef Pho before adding condiments
Garnish with safe Hoisin, Sriracha, or chili garlic sauce to your taste, if you have safe versions. Enjoy!