Notice: Function _load_textdomain_just_in_time was called incorrectly. Translation loading for the wp-ultimate-recipe domain was triggered too early. This is usually an indicator for some code in the plugin or theme running too early. Translations should be loaded at the init action or later. Please see Debugging in WordPress for more information. (This message was added in version 6.7.0.) in /home/maryzahc/public_html/adultfoodallergies.com/wp-includes/functions.php on line 6131 vegetables – Page 4 – surviving the food allergy apocalypse (archive)
When I was in graduate school, we had a lot of parties. I’m a nerdy sort, so these weren’t “trash can punch” kind of parties, but beer and wine and mostly lots of food kind of parties. And they were always potluck, because no one had any money. Certain things became favorites, so people never had to much thing about what to bring — they were requested. This was definitely one of the group favorites, and I’ve held on to the recipe. Goes well with bread, tortilla chips, crackers, even veggies, and the leftovers make a great, if chunky, sandwich spread. Plus, it looks impressive and gourmet but is incredibly easy.
This version replaces the mayo and cheese to give you a really tasty, vegan and allergen-free version that will also please the people you know who can eat everything.
Tiffany’s Artichoke Dip
Tiffany’s Artichoke Dip
Preheat oven to 350F.
Grease casserole dish.
16 oz. of canned or jarred artichoke hearts, drained and chopped
1 small can of chopped green chiles or jalapenos
1 cup of Earth Balance Mindful Mayo, original
3 Tablespoons of nutritional yeast
3 Tablespoons of garbanzo bean flour
Mix all ingredients together in the casserole dish, smooth out evenly. Bake 20-25 minutes, serve warm.
Disclaimer: This is not an original recipe. But it’s the best curry I’ve ever made at home, and as such, I want to share it with all of you today. With full credit to the author and cookbook, of course.
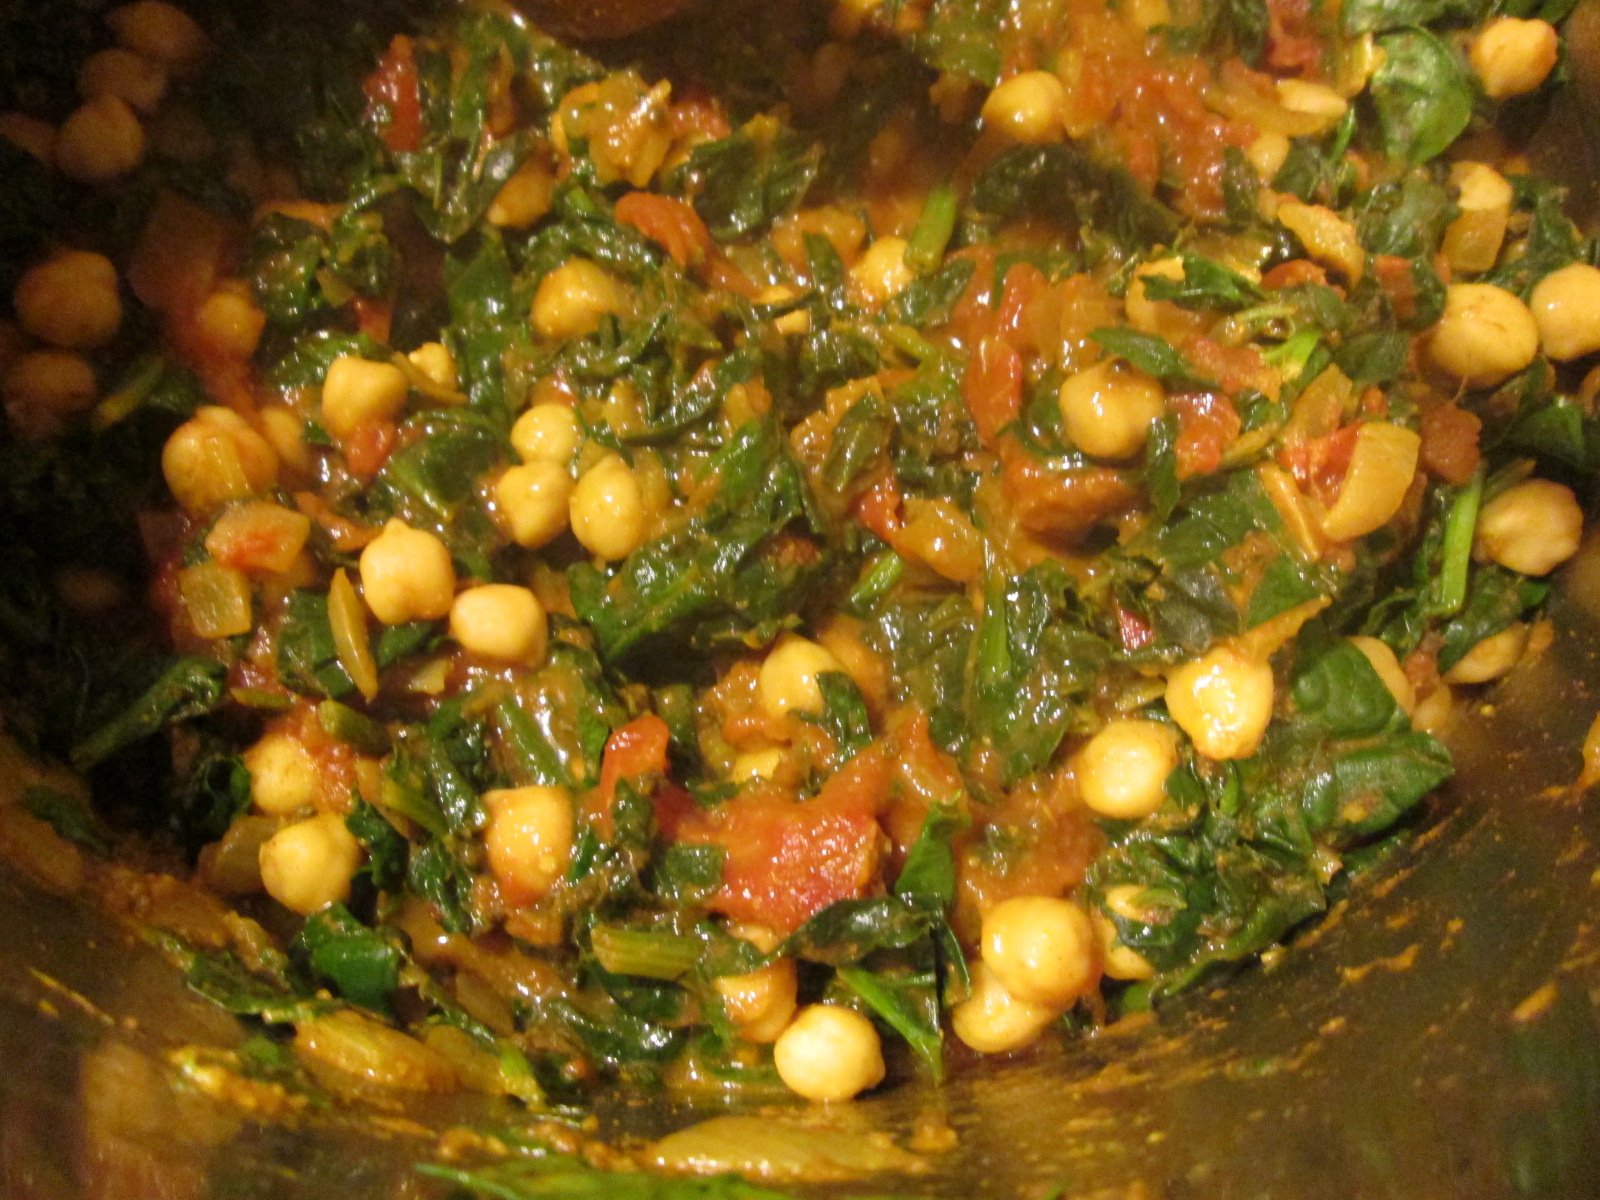
The Chickpea and Spinach Curry comes from one of my all-time favorite cookbooks, Isa Chandra Moskowitz’s Vegan with a Vengeance. This is the first cookbook I purchased after my first intolerance-related diagnosis — lactose intolerance. While I ate a strictly vegan diet for a while, and don’t at the moment, I still love vegan cookbooks. They correlate with my preferred way of eating — heavy on the vegetables — and a good vegan cookbook relies mostly on whole foods, not processed foods. In a completely non-compensated way, I can highly and heartily endorse this whole cookbook (though, honestly, if you’re brand new to vegan cooking, consider starting with Veganomicon, as it’s got more basic information in it and a broader range of recipes). Most vegan cookbook authors are very aware of ingredients and a great place to learn to cook without — no matter what you’re cooking without.
And it’s a big hit at potlucks — with vegans and omnivores alike. The recipe below is kind of huge. If it’s just for me, I made a half-recipe.
So, without further ado:
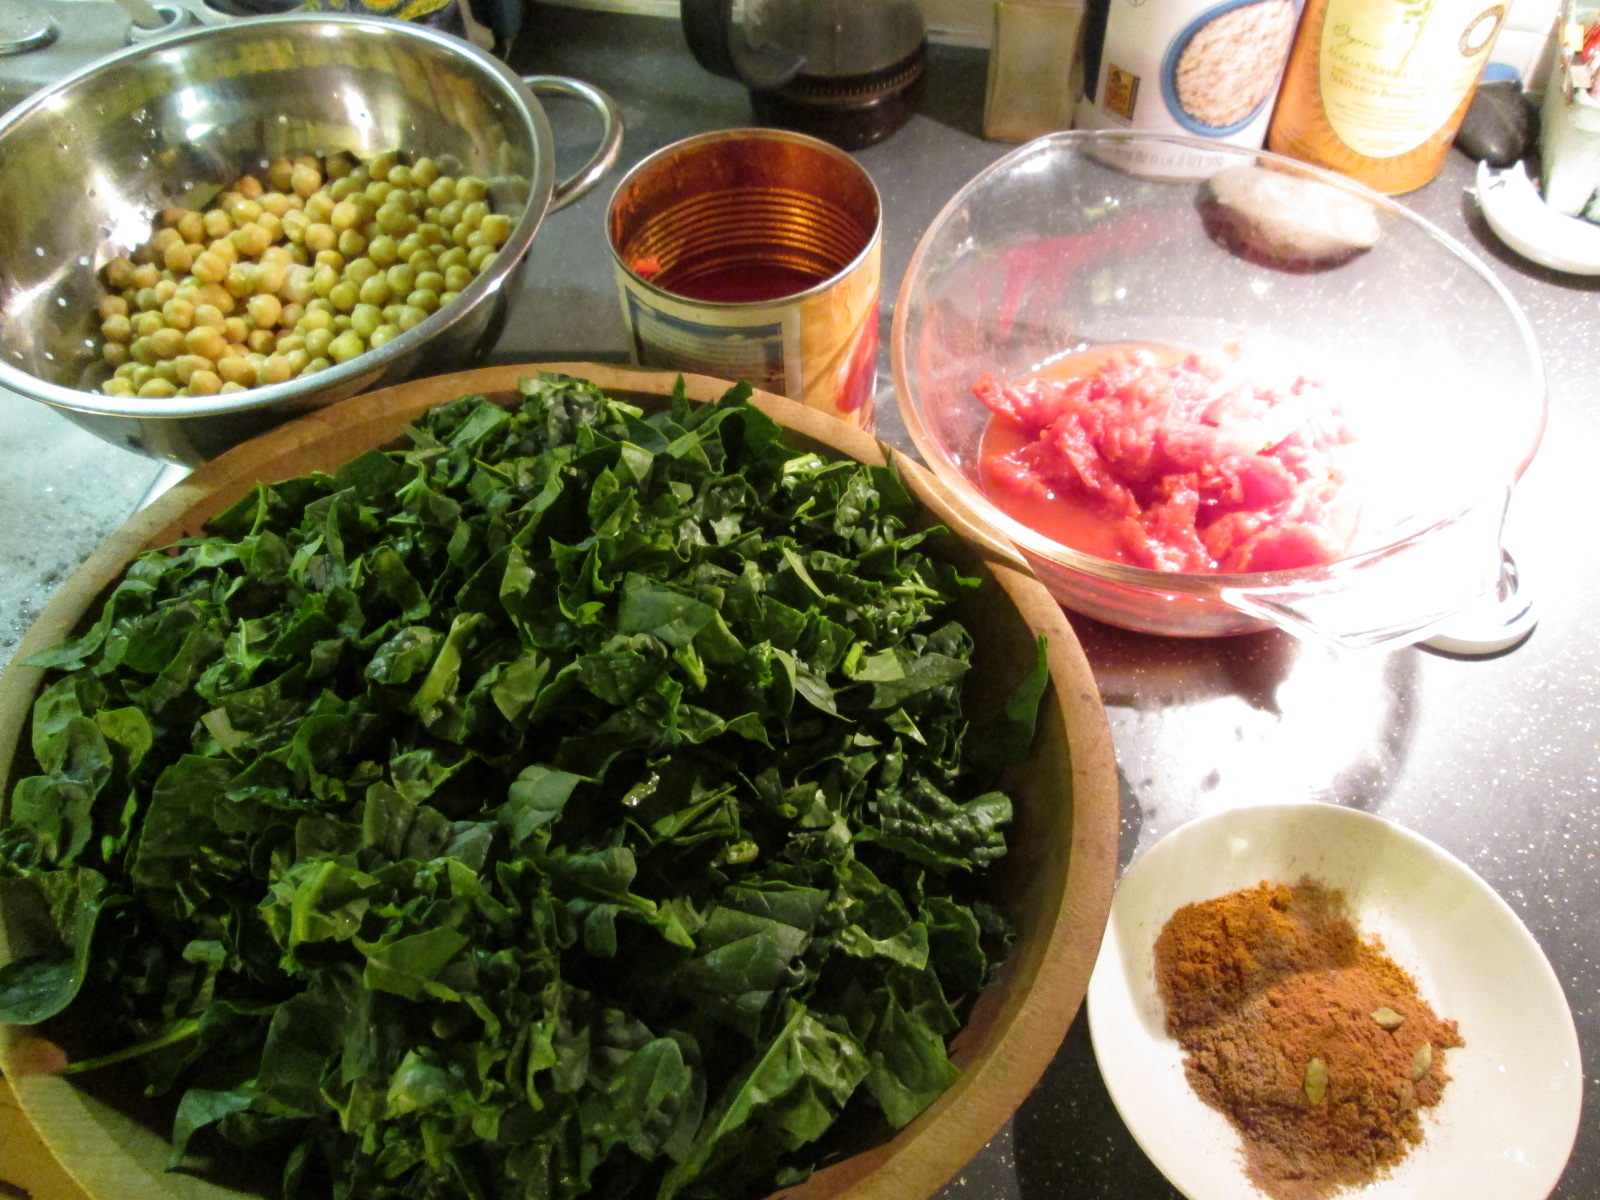
Mise en place
Chickpea and Spinach Curry, from Vegan with Vengeance by Isa Chandra Moskowitz
Preheat a pot over medium heat. A good Dutch oven would work, if you have one, or a large sauce pan, but to minimize the mess I generally make with cooking (and because I don’t have a Dutch oven), I use my stock pot. When the pot is hot, add
3 Tablespoons oil (not olive, vegetable, as this is kind of hot for olive oil)
2 teaspoons mustard seeds
Cover the pot and let the seeds pop for about a minute. They do pop, like popcorn. It’s cool.
Turn the heat up to medium-high. Add the following:
1 large onion, chopped (about 2 cups)
Sautee until it starts to brown — 5-10 minutes, depending on your heat level.
1/4 cup of juice drained from can of diced tomatoes
14 oz can of diced tomatoes, with juice drained and reserved*
Rinse and drain, then chop
10 cups of spinach, chopped. Yes this seems like a TON, but it really will all incorporate perfectly. Add this in handsful, stirring each addition until wilted.
When all the spinach is wilted, add:
2 cans of chickpeas (15 oz. each), rinsed and drained (4 cups if you cook your own)
Stir, cover and turn heat to low. If you’re planning to make rice, start it now. Let the stew simmer for 10 minutes.
Uncover, stir, taste. Adjust the seasonings if necessary (I’ve only ever needed a tiny pinch of salt), and let simmer for another 10 minutes, until its all thickened and wonderous. Enjoy it over rice.
*The single asterisk represents minor alterations I’ve made to the original recipe.
**Curry powder is amazing, but it’s a blend of ground spice, so quality can vary widely. To get a good curry, the spices must be fresh when they’re combined and reasonably fresh when you use it. And your curry dish will only be as good as your curry spice is. As you might already know, both of us believe the post-apocalypse relies heavily on Penzey’s Spices, based in Wisconsin. They have a variety of curries; if you’re new to curry, try the sweet curry. Curry is NOT inherently spicy hot, so don’t be scared if you don’t like spicy. If you do like spicy, try the hot curry.
So that’s the best curry I know how to make. Let us know what you think.
For the many years where the only allergen I needed to avoid was dairy, Asian restaurants of most types were a saving grace. With the exception of Indian cuisine, which uses cream and butter, most cuisines of the Asian continent use little to no dairy.
Now that there are more allergens in my arsenal, it’s not quite as simple. But what is reasonably simple is learning to adapt recipes at home. I like that stir fry is an excellent way to incorporate a lot of vegetables into one dish, with meat as a flavoring rather than the focus — and you can make a vegan version by either substituting tofu or seitan for the meat. This marinade should work well for either, but I have not tried it since I can’t eat either anymore.
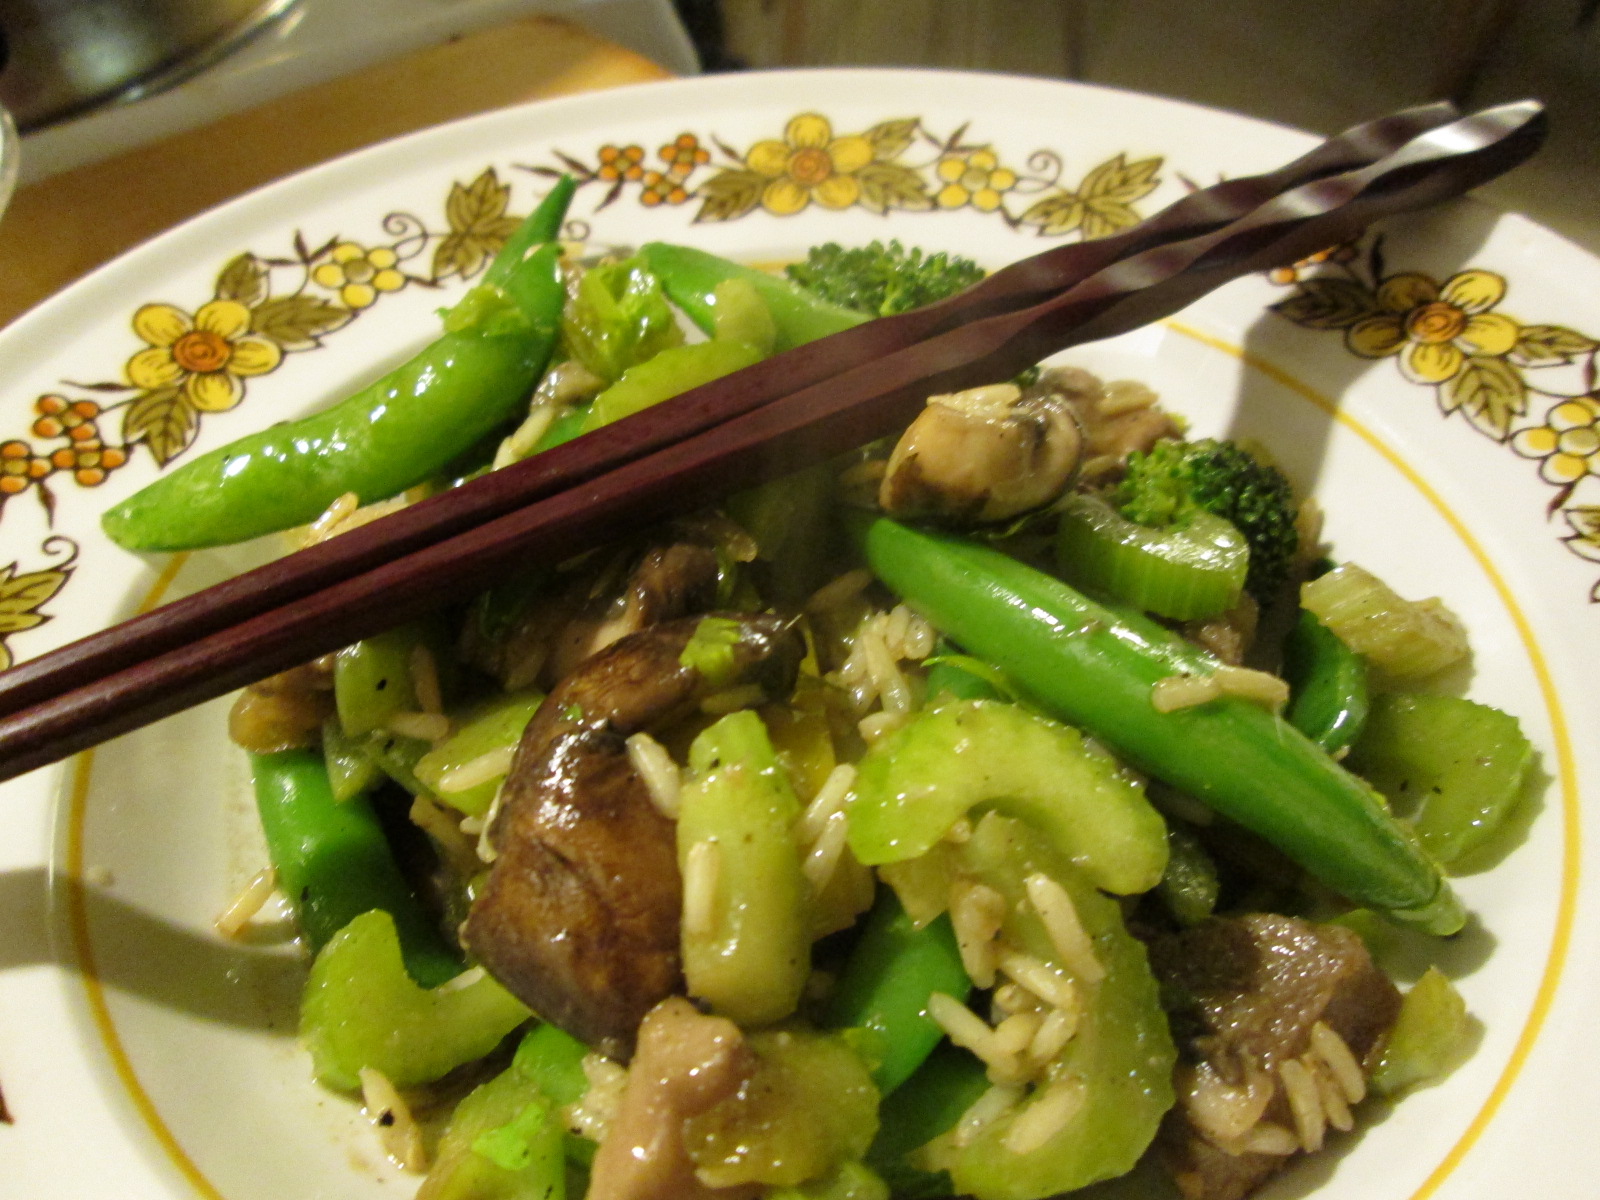
Year of the Snake Stir Fry
For marinade:
1 teaspoon toasted sesame oil
1 1/4 teaspoon crushed garlic (2-3 cloves)
1 Tablespoon, rounded, crushed or grated ginger
2 Tablespoons gluten-free tamari (soy sauce)
3 Tablespoons rice wine vinegar
4 Tablespoons mirin (Japanese cooking wine) or dry cooking sherry
Add
1/2 to 3/4 of a pound of thin cut pork sirloin, cut into bite-sized chunks
1 cup thinly sliced onions.
Marinate overnight.
Get rice cooking. I can’t give you a recipe or time — read your package or your rice cooker directions. I am generally hopeless at cooking rice. My Chinese ancestors would be less than best pleased.
Stir fry with
1/4 cup yellow bell pepper, sliced thin
1 cup celery, chopped
1 cup broccoli florets
1 cup of sugar snap peas, whole
1 cup of mushroom pieces, broken instead of sliced
1/4 cup of celery leaves, chopped
This makes a lot of stir fry. I tend to stir fry the ingredients in rounds, each ingredient separately — meat first, and then through the veggies. Strain the marinade out — you want to fry the meat, not boil it — and discard. Stir fry until cooked through, and then remove from pan. Cook the peppers. Remove. I stir fry in canola oil, and use it sparingly adding a tiny bit with each ingredient.
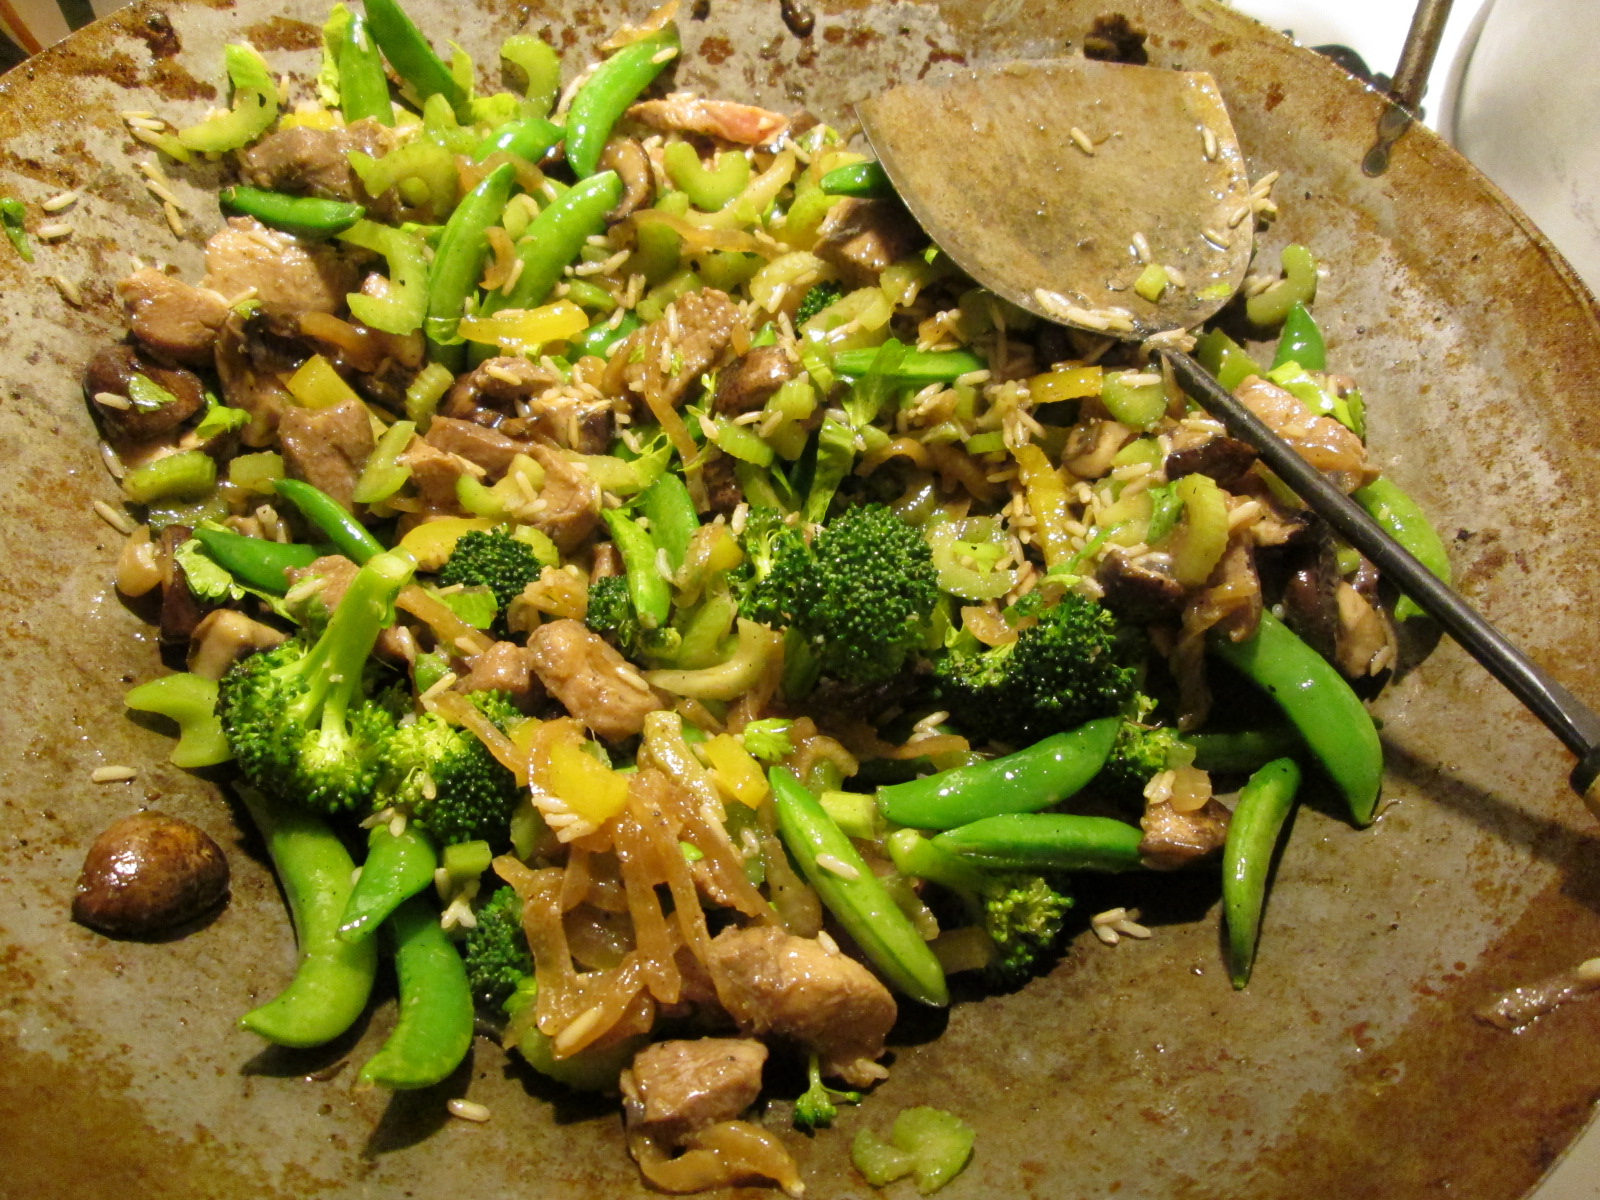
Stir Fry Flavor Meld
When all your food is cooked, dump it all back in the wok, turn the burner off, and give it a few minutes to meld.
Serve over rice. Or, you know, dump some rice in to flavor meld, too.
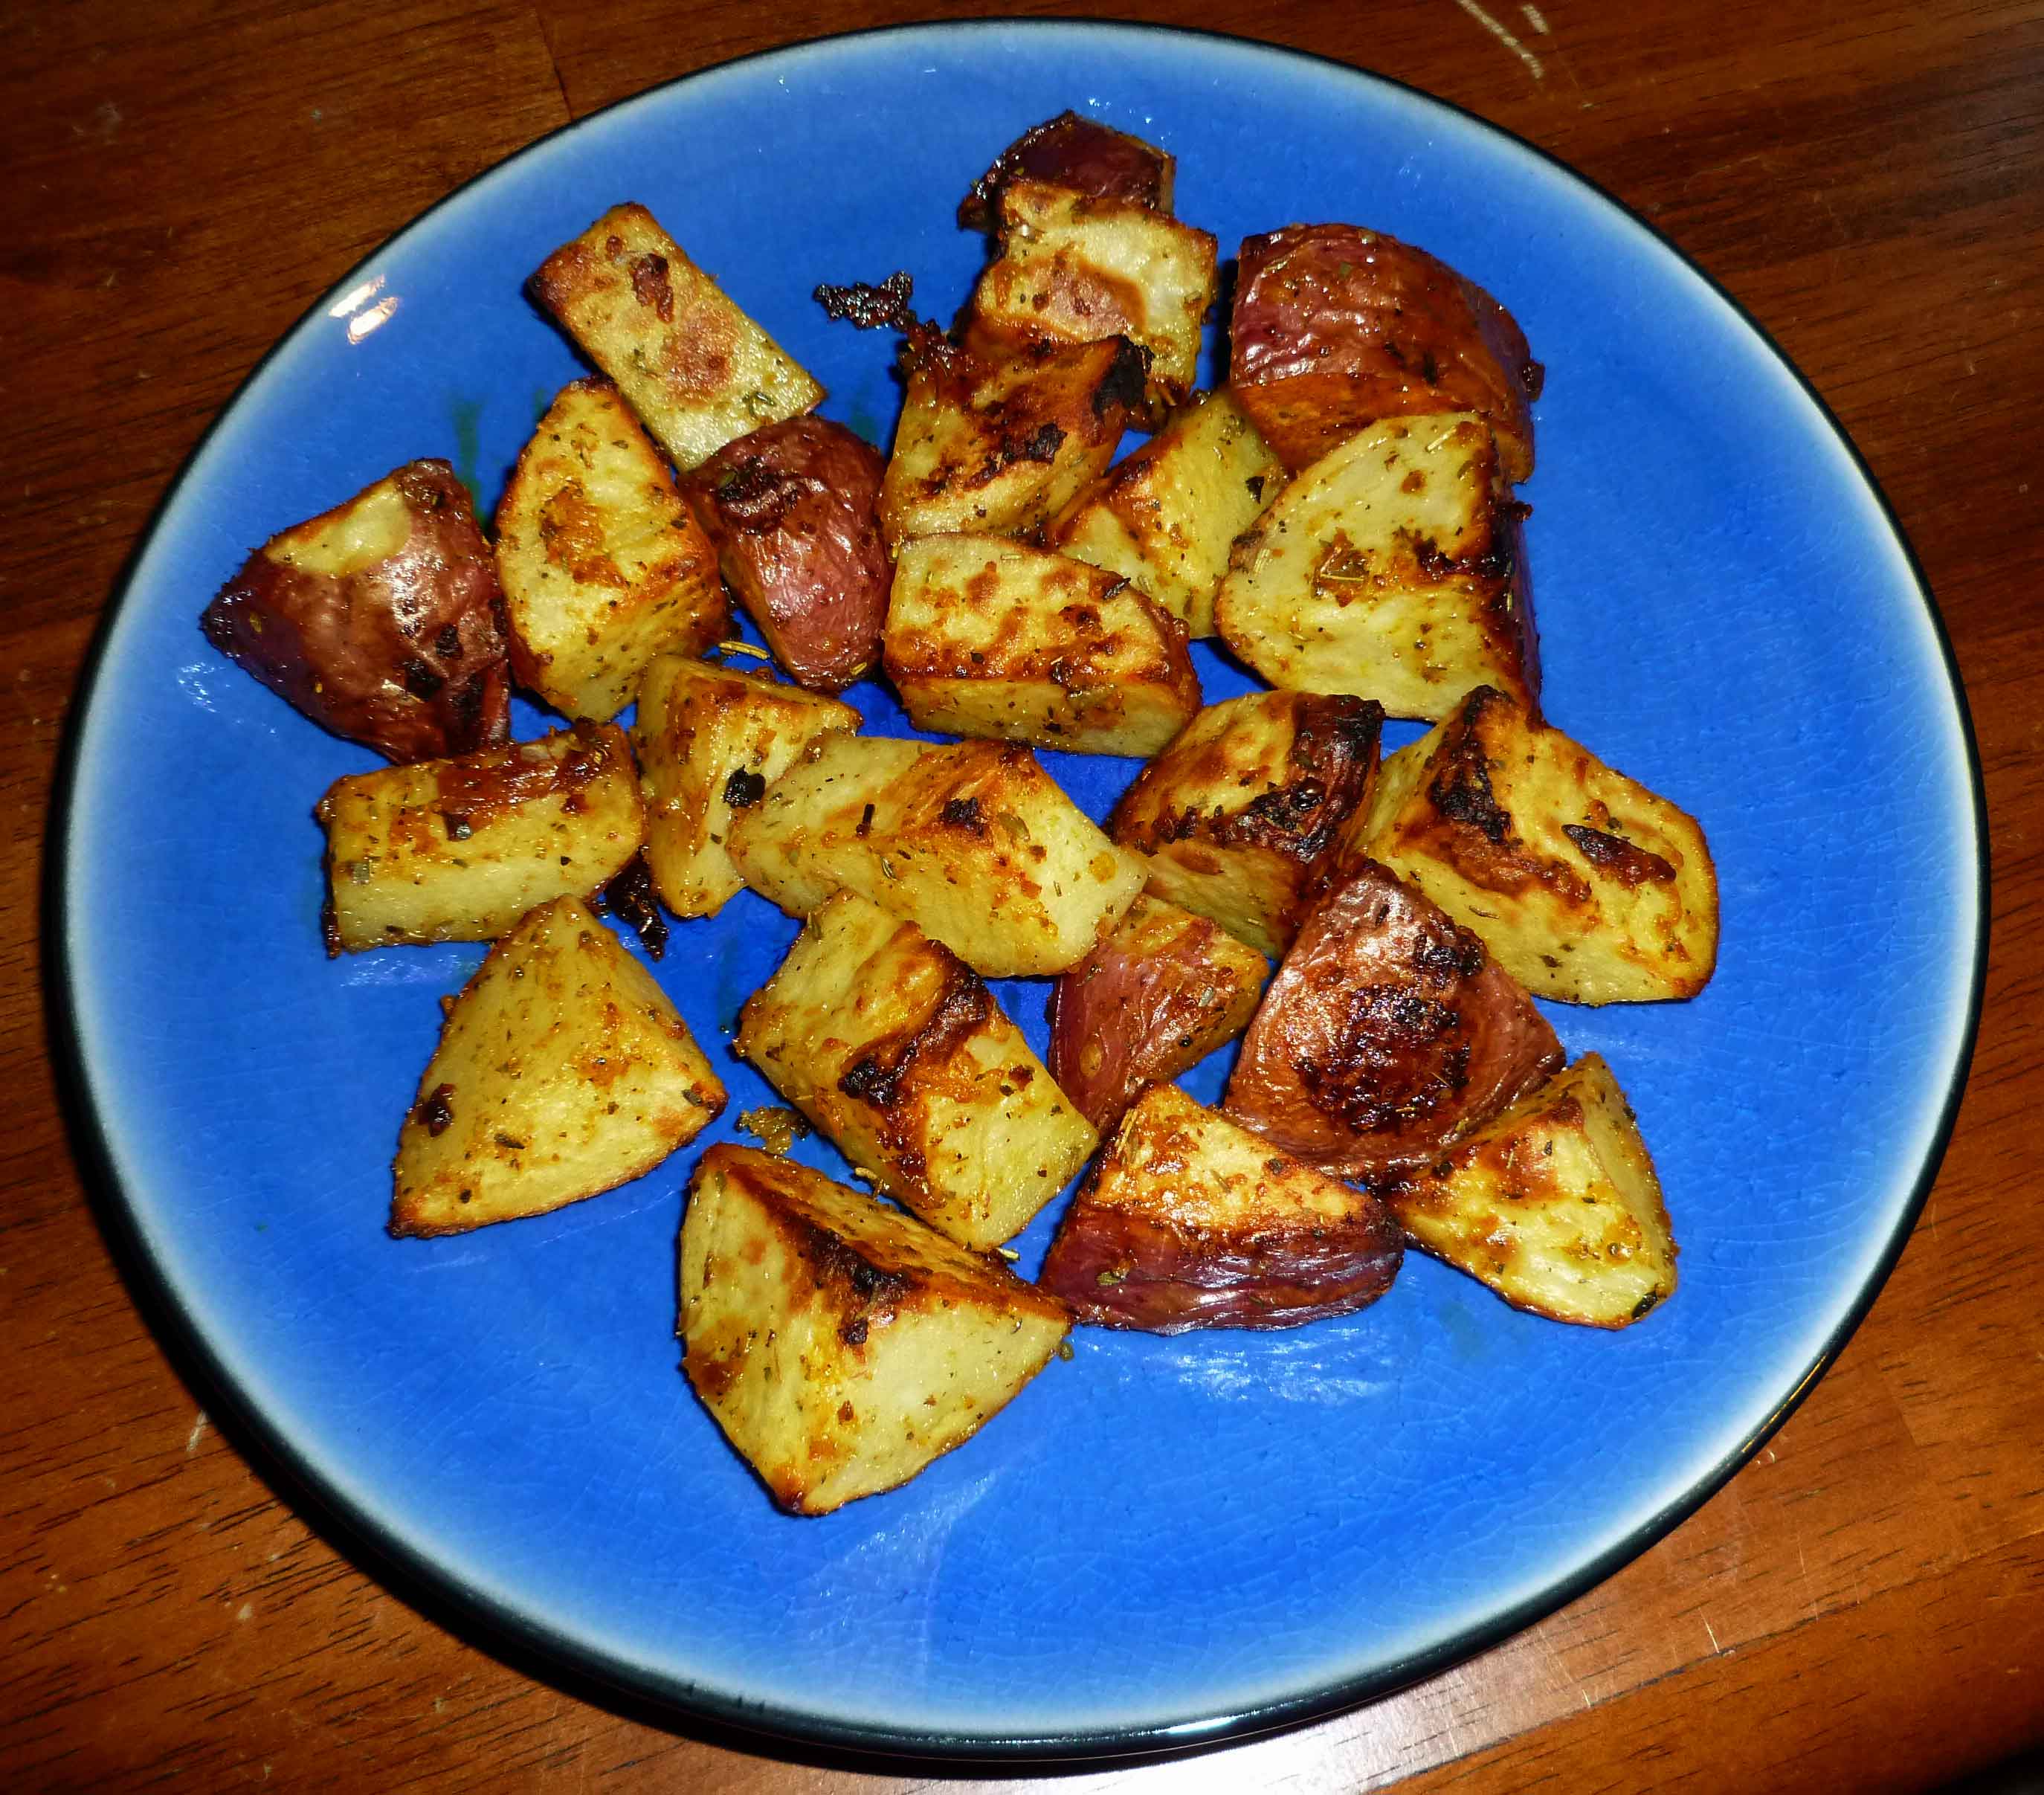
For the second post in our Hangover Breakfast series, what breakfast is complete without home fries? But on the morning after (or pretty much all the time if I’m honest about it), I’m going to be pretty lazy about what I actually cook on the stove top that requires constant attention. Therefore, I like my home fries oven roasted.
Sriracha Oven Roasted Potatoes
1/8 c. of olive oil
1 Tablespoon of fresh minced garlic (3-4 cloves or go nuts)
1 teaspoon of Italian Seasoning (it’s a mix of the usual suspects, marjoram, thyme, rosemary, savory, sage, oregano and basil, if you don’t have it, just use a dash of each.)
1/2 teaspoon of Penzey’s Forward (if you don’t have this, use 1 teaspoon of Lawry’s Seasoning Salt or any other brand of season salt, and omit the salt below)
1/2 teaspoon of salt
1 teaspoon of Sriracha (if you don’t have Sriracha, BUY SOME, or substitute any hot sauce, or if you don’t like spicy, omit it altogether)
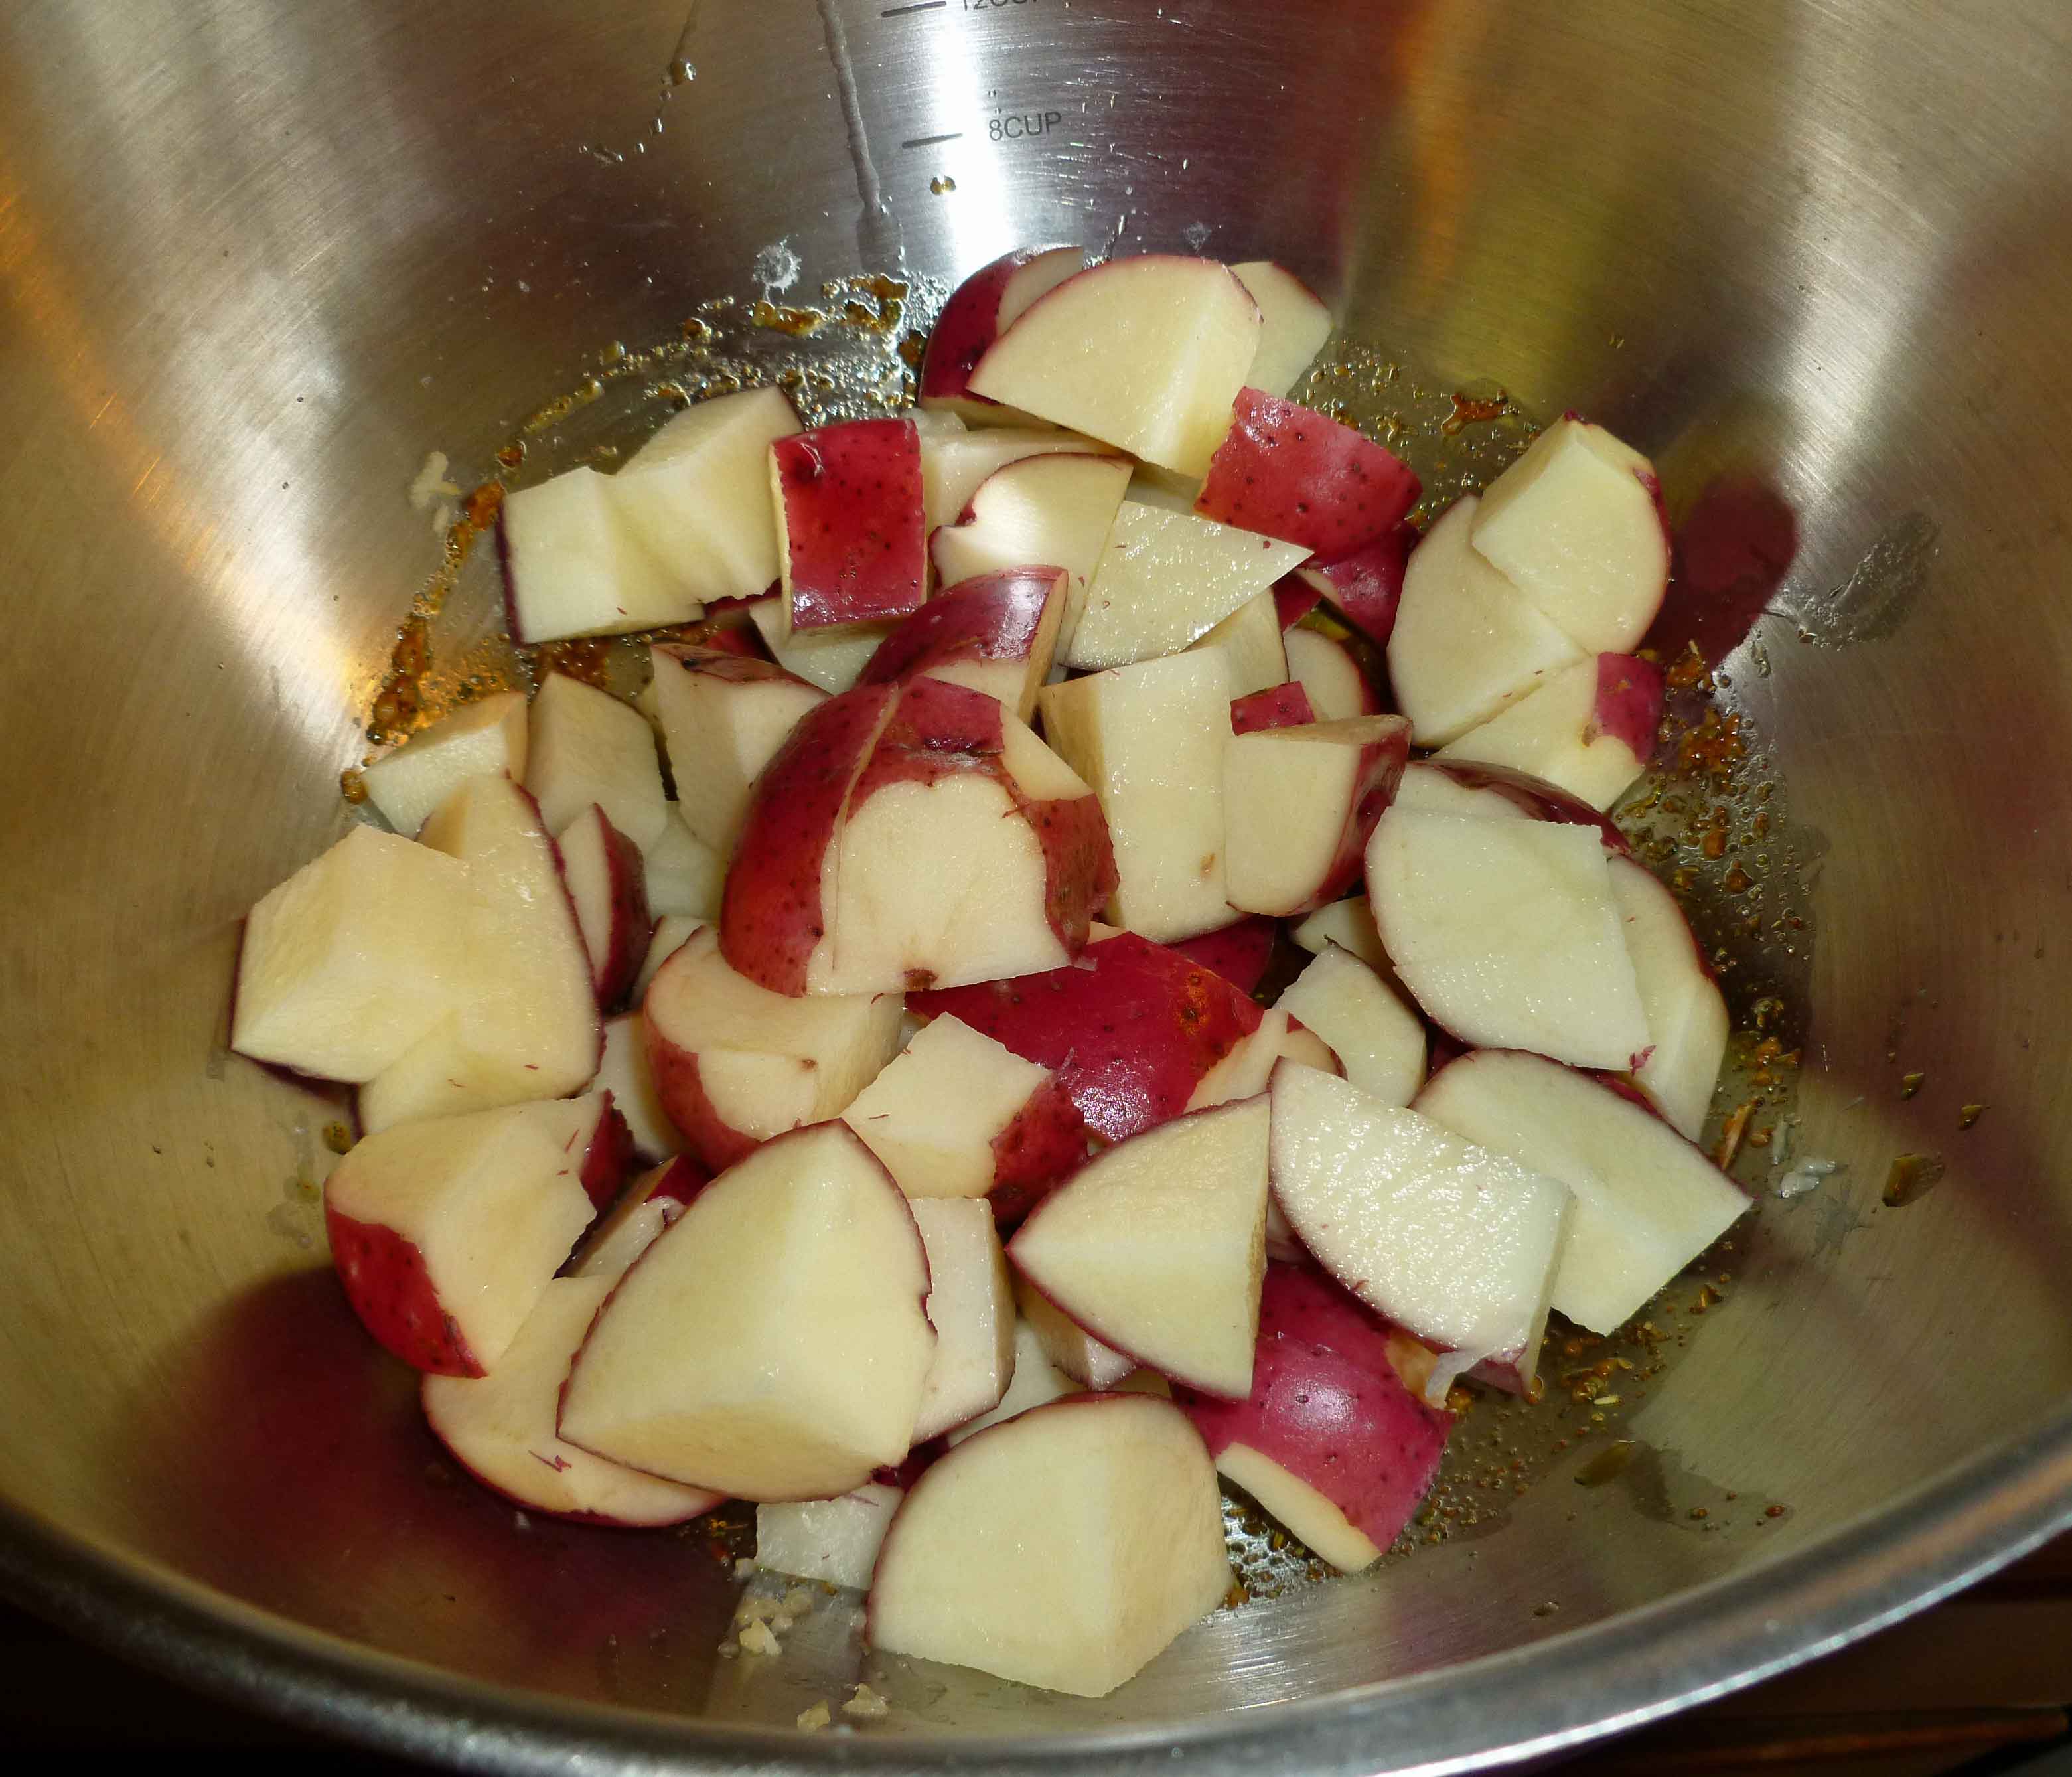
4-5 potatoes, washed and scrubbed and trimmed of any scars or bad spots, but otherwise unpeeled.
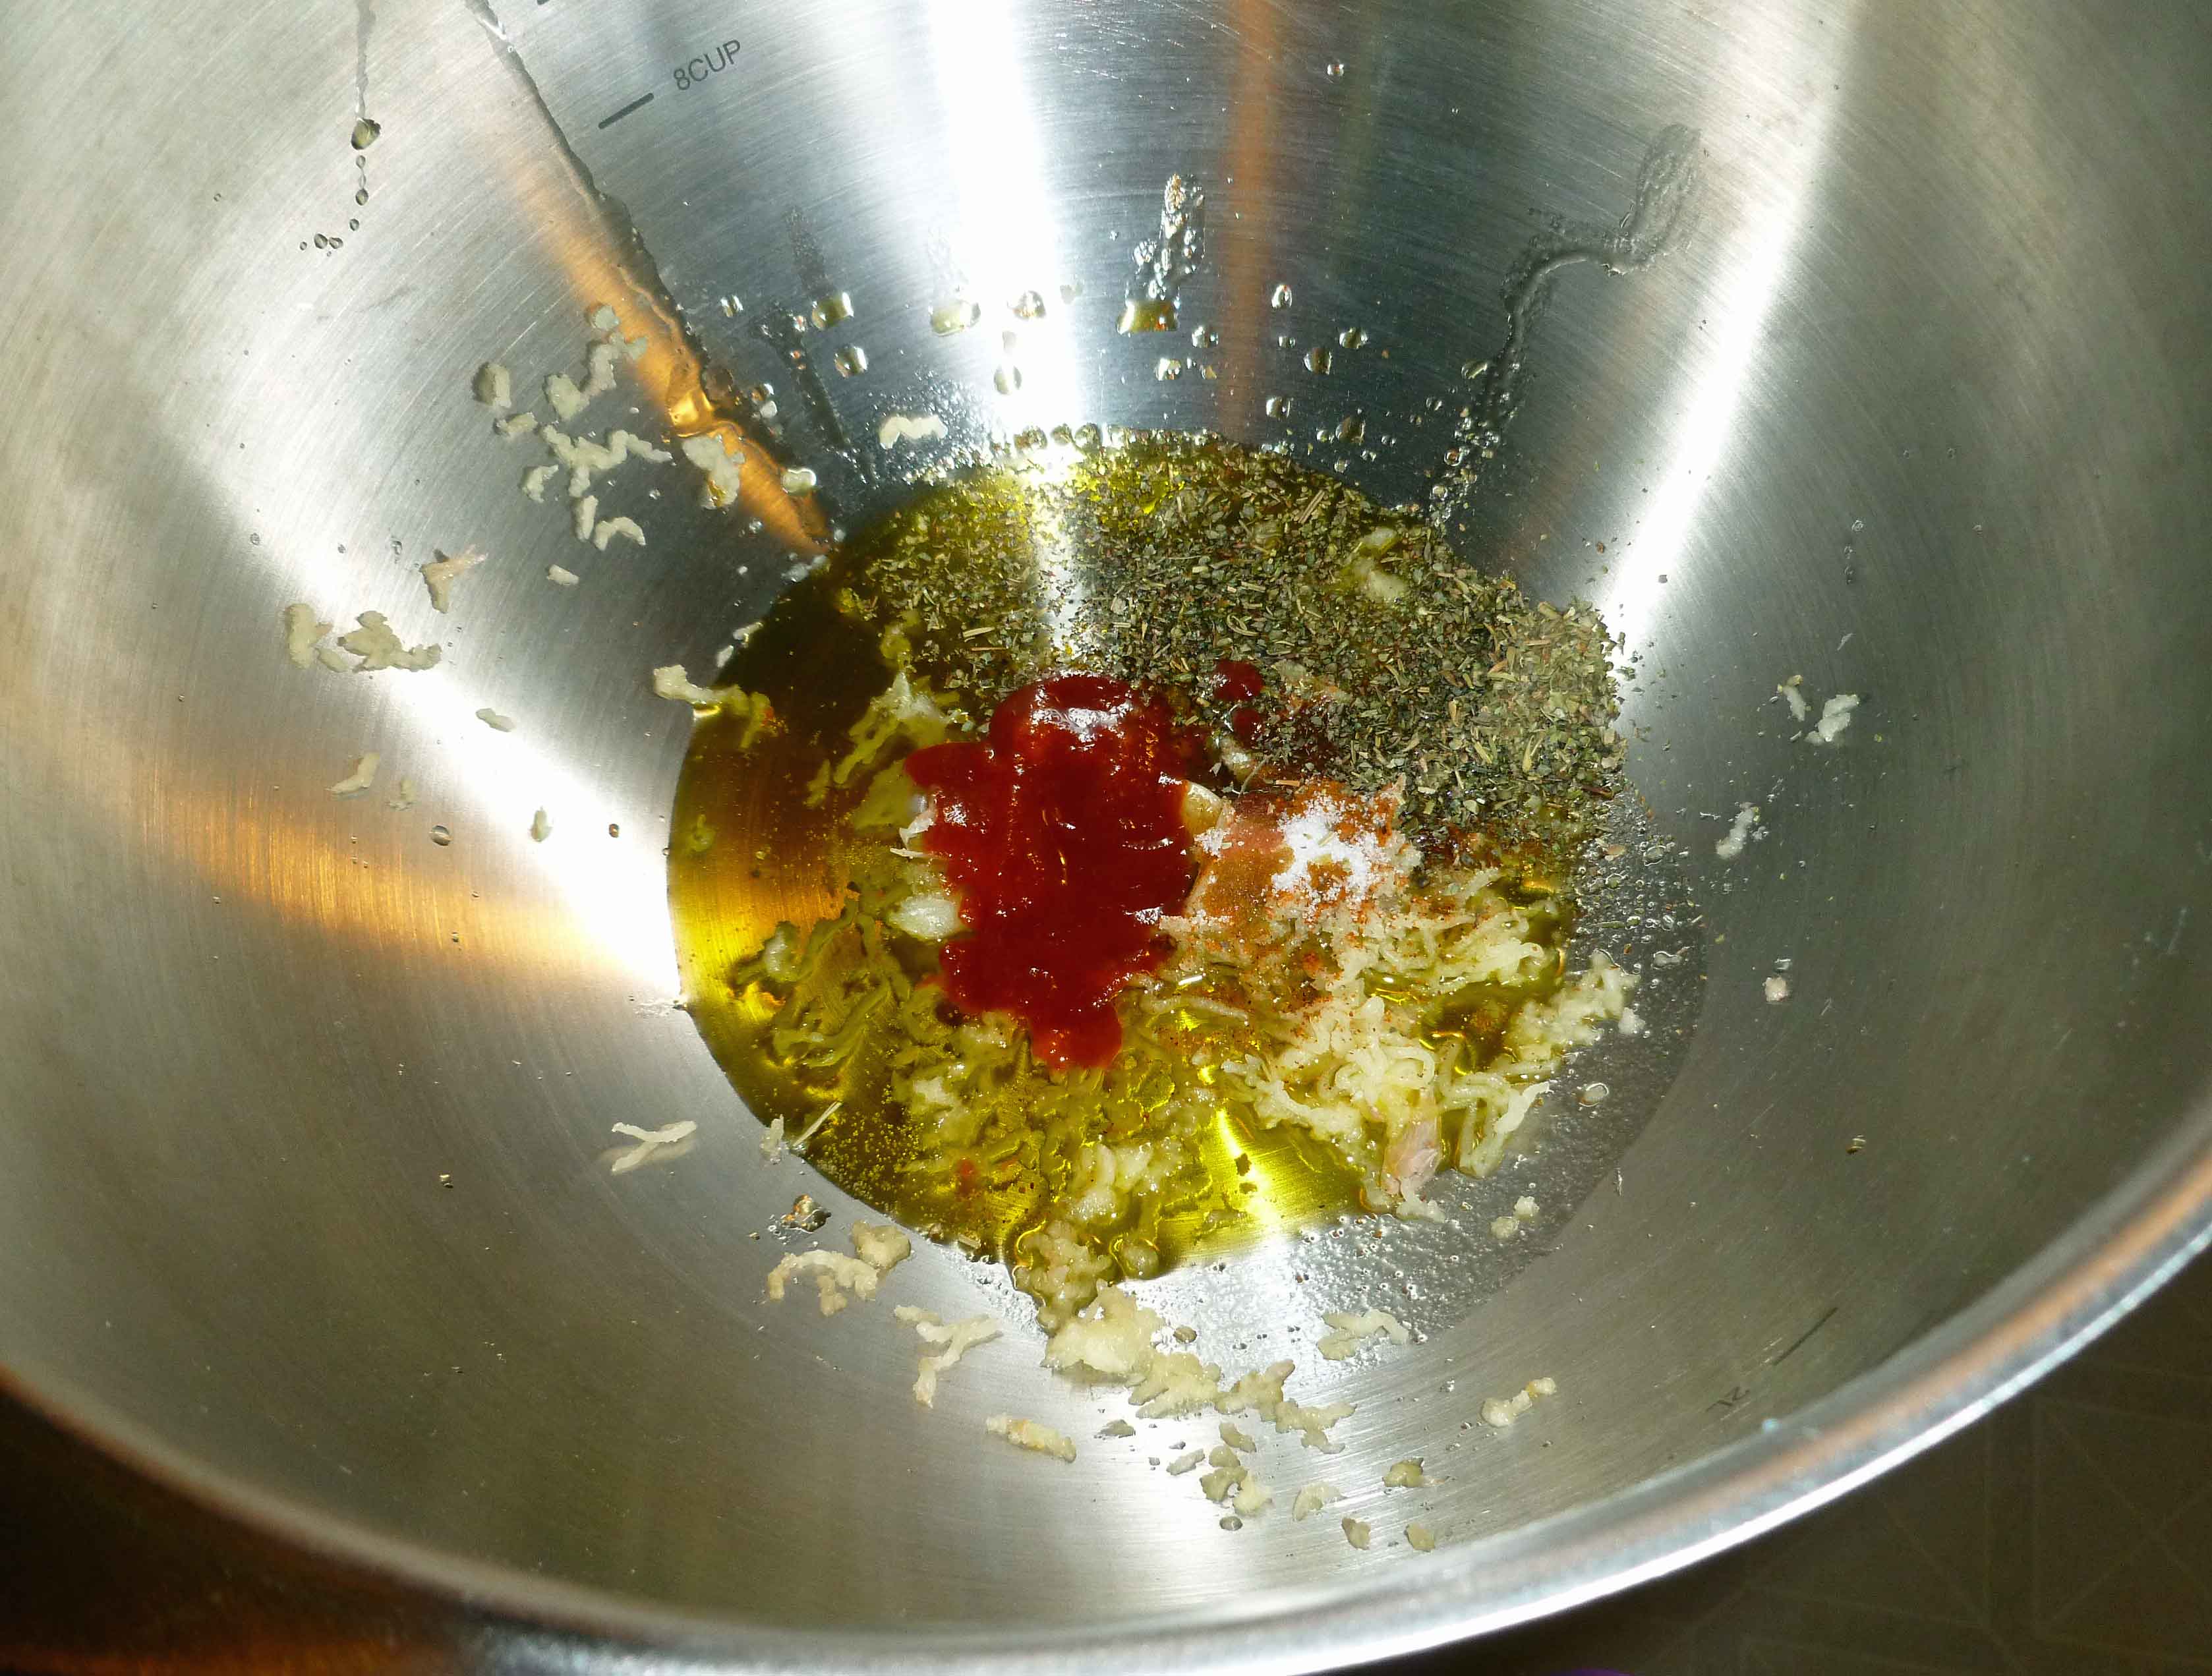
Preheat oven to 475º degrees. Place all the ingredients except the potatoes into a bowl.
Olive Oil and Spices in Bowl
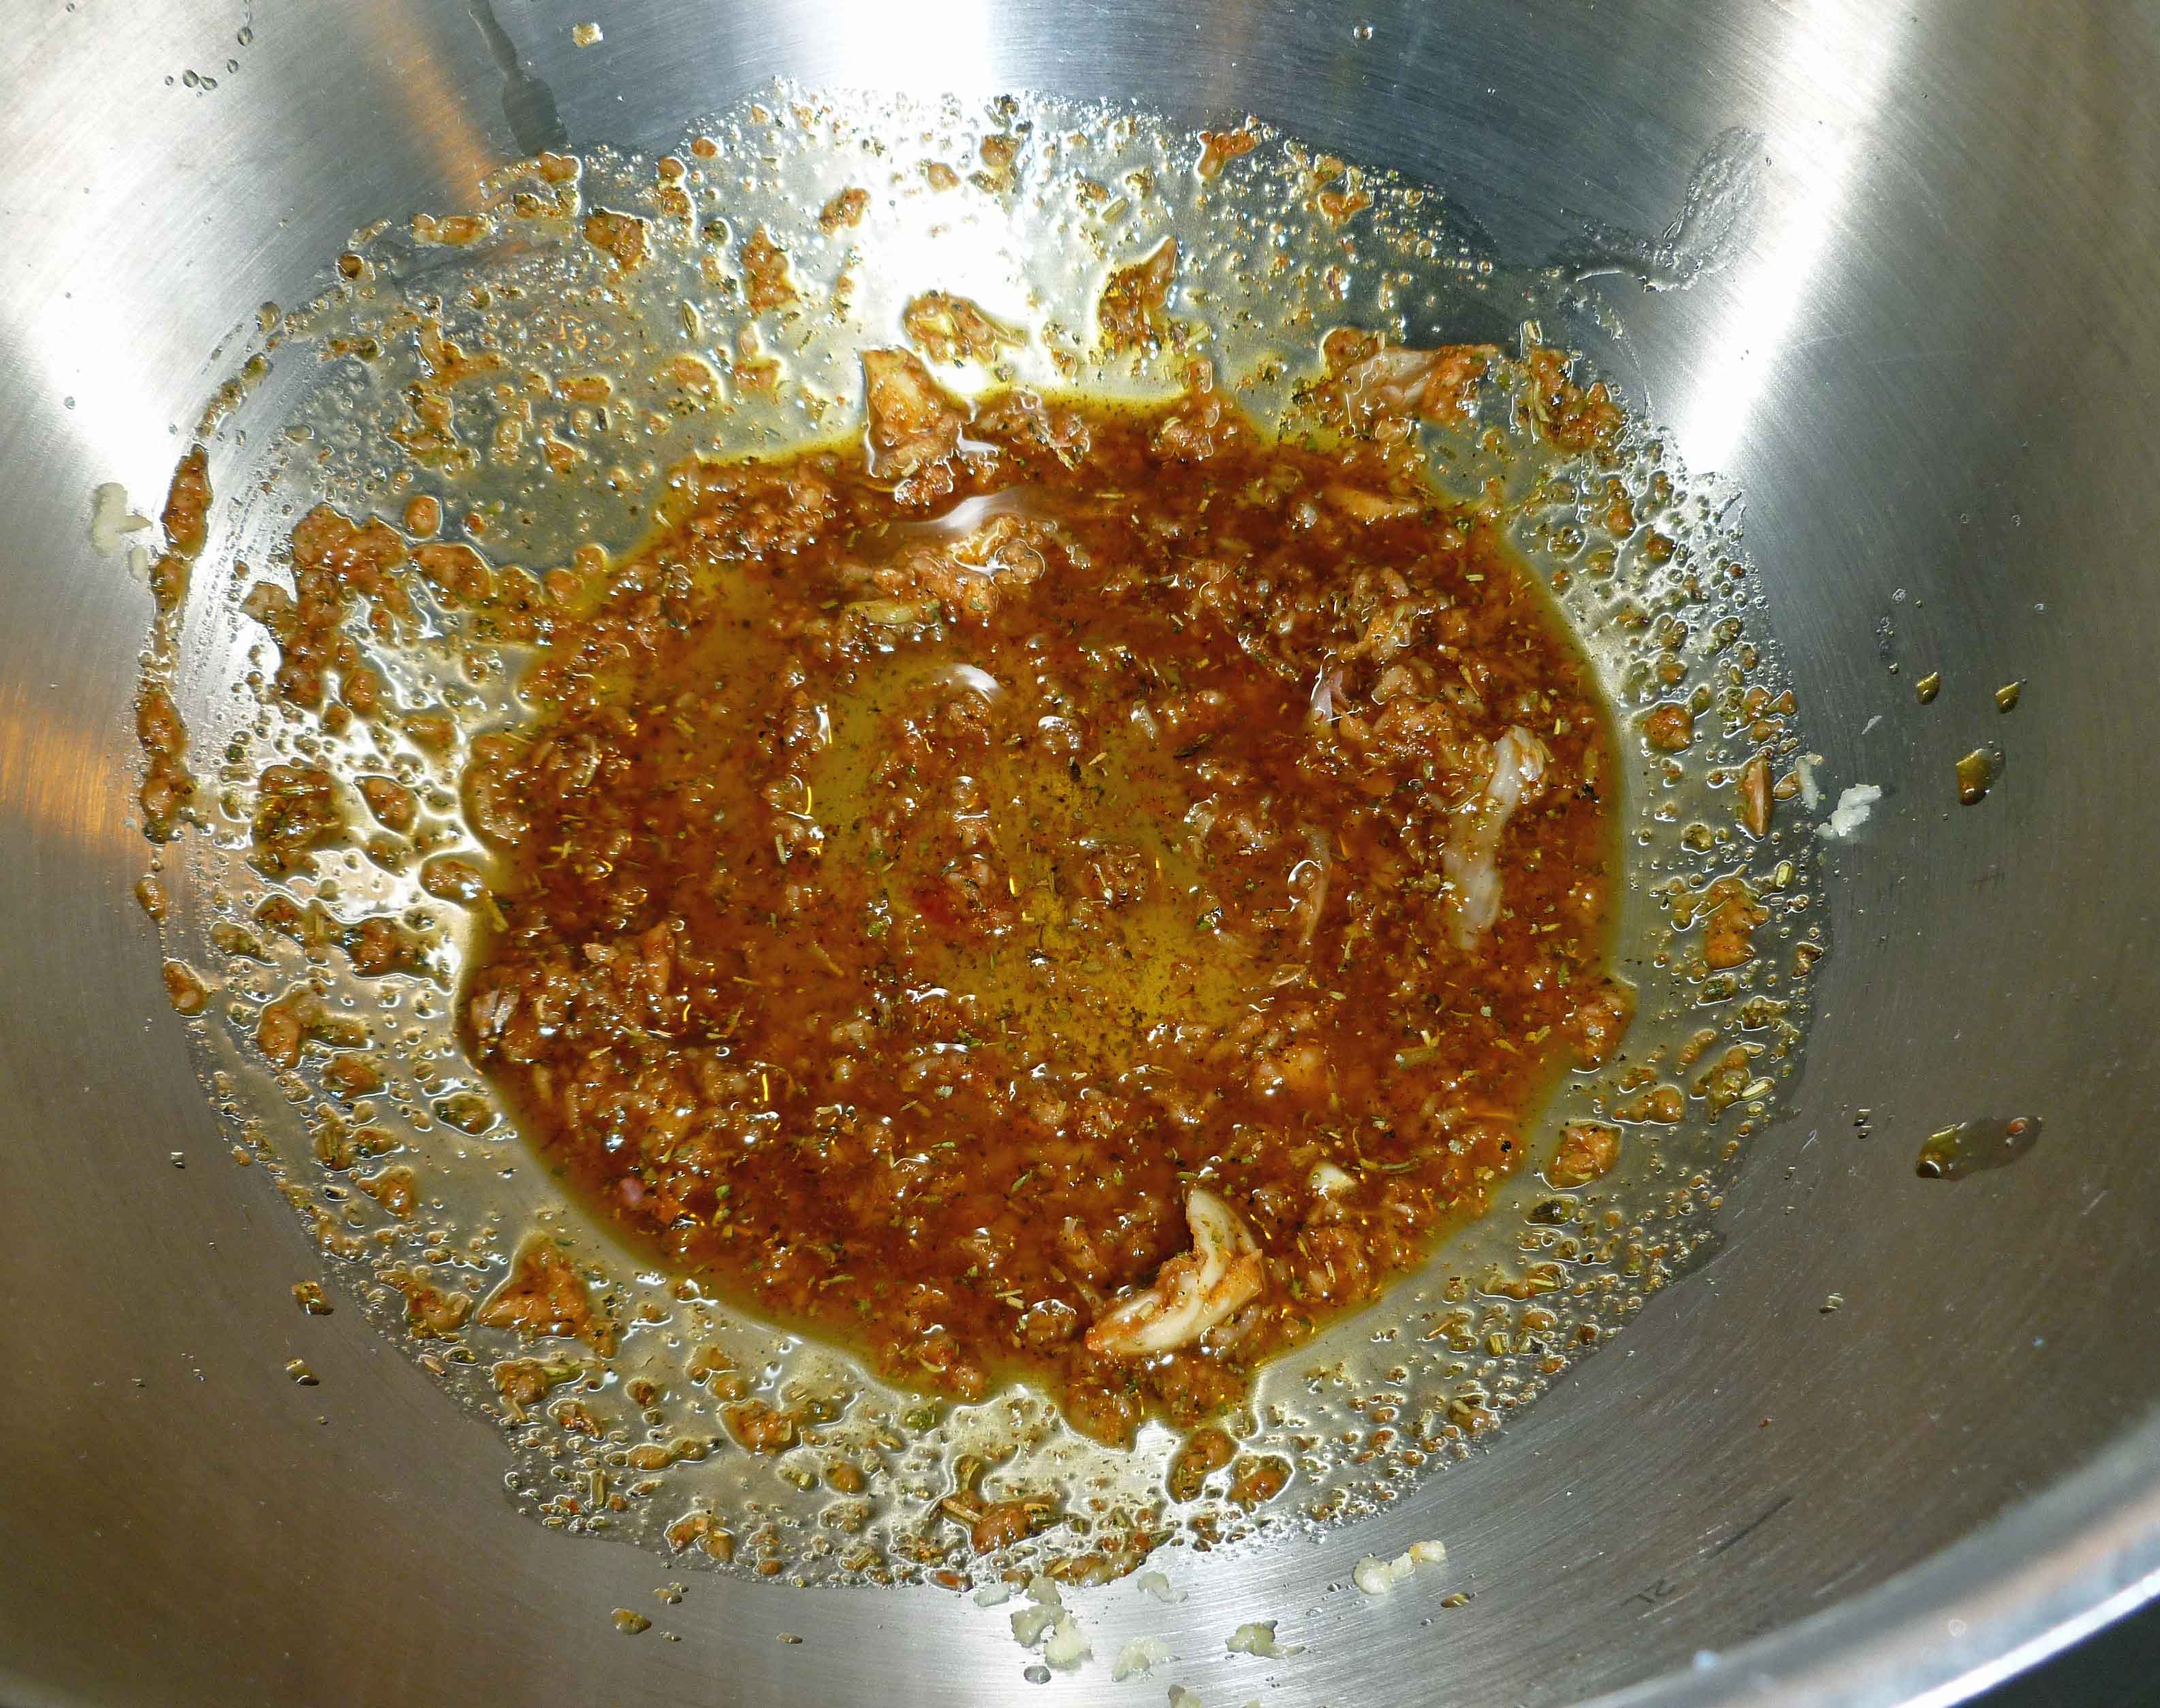
Whisk oil and spices together so they are well incorporated.
Well mixed olive oil and spices
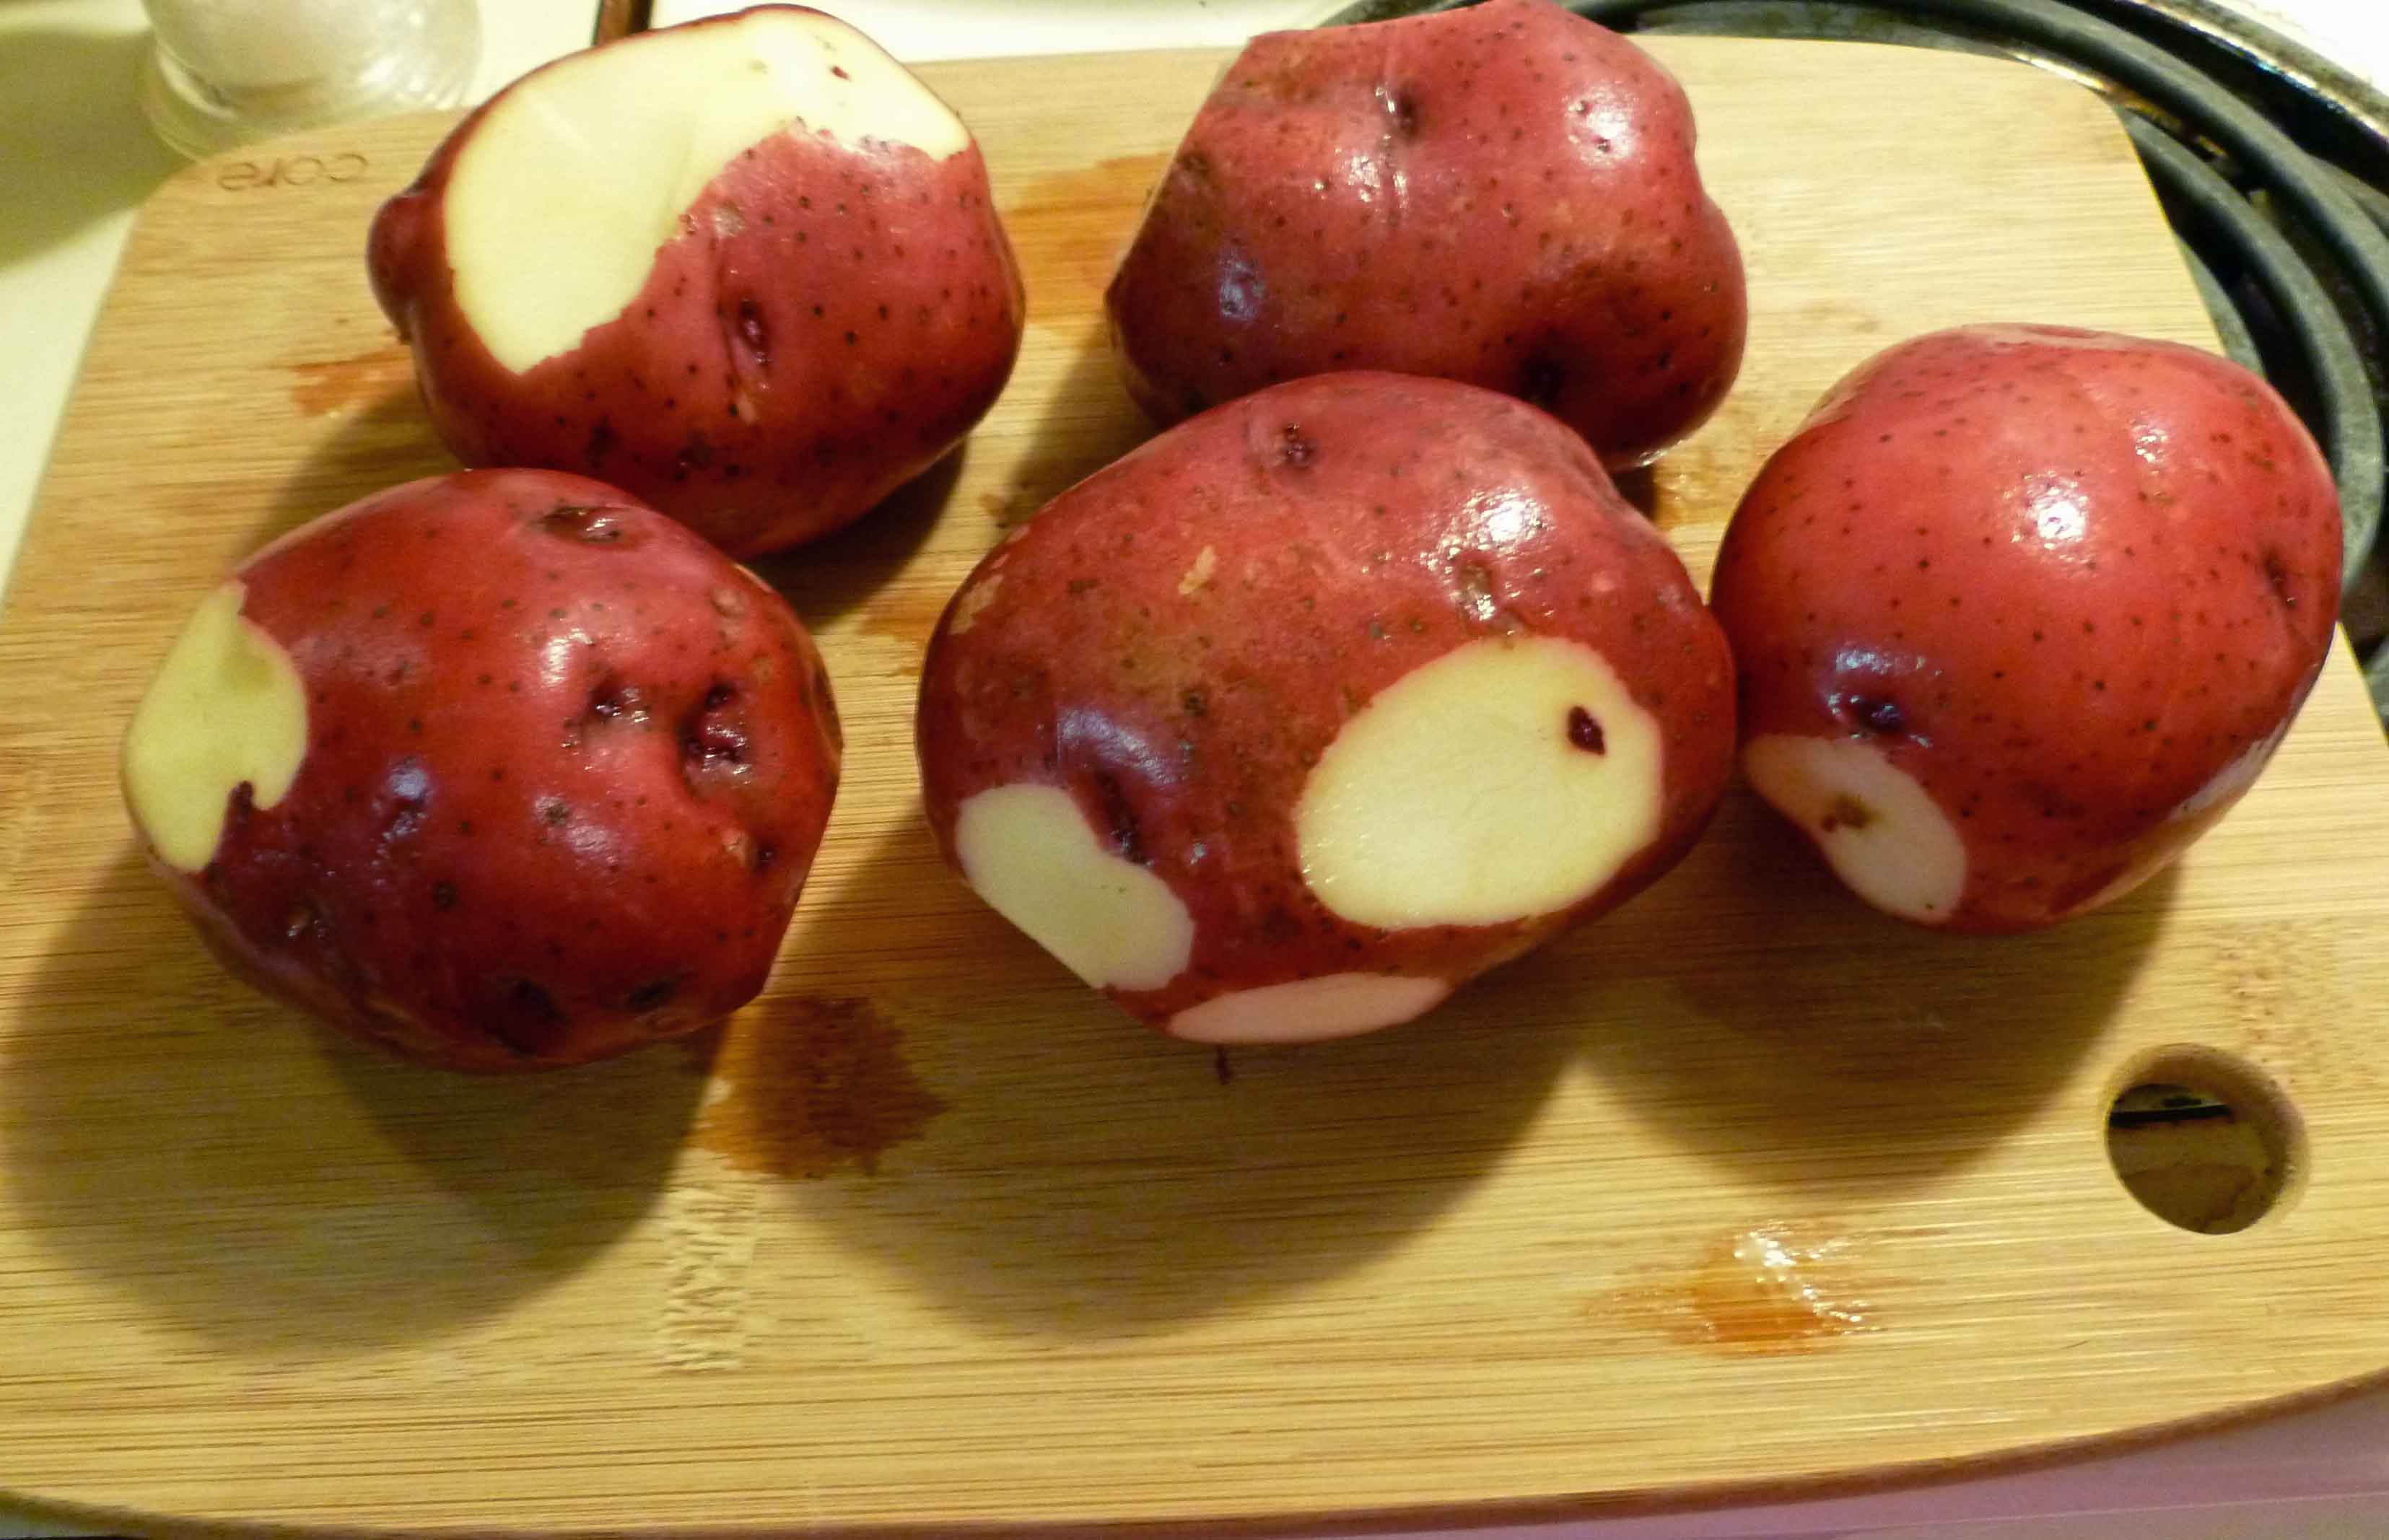
Wash, scrub and trim potatoes if you haven’t already.
Washed, Scrubbed and Trimmed Potatoes
Cut potatoes into 3/4 inch pieces and place into the bowl with the olive oil and spices.
Potatoes cut into 3/4 inch pieces
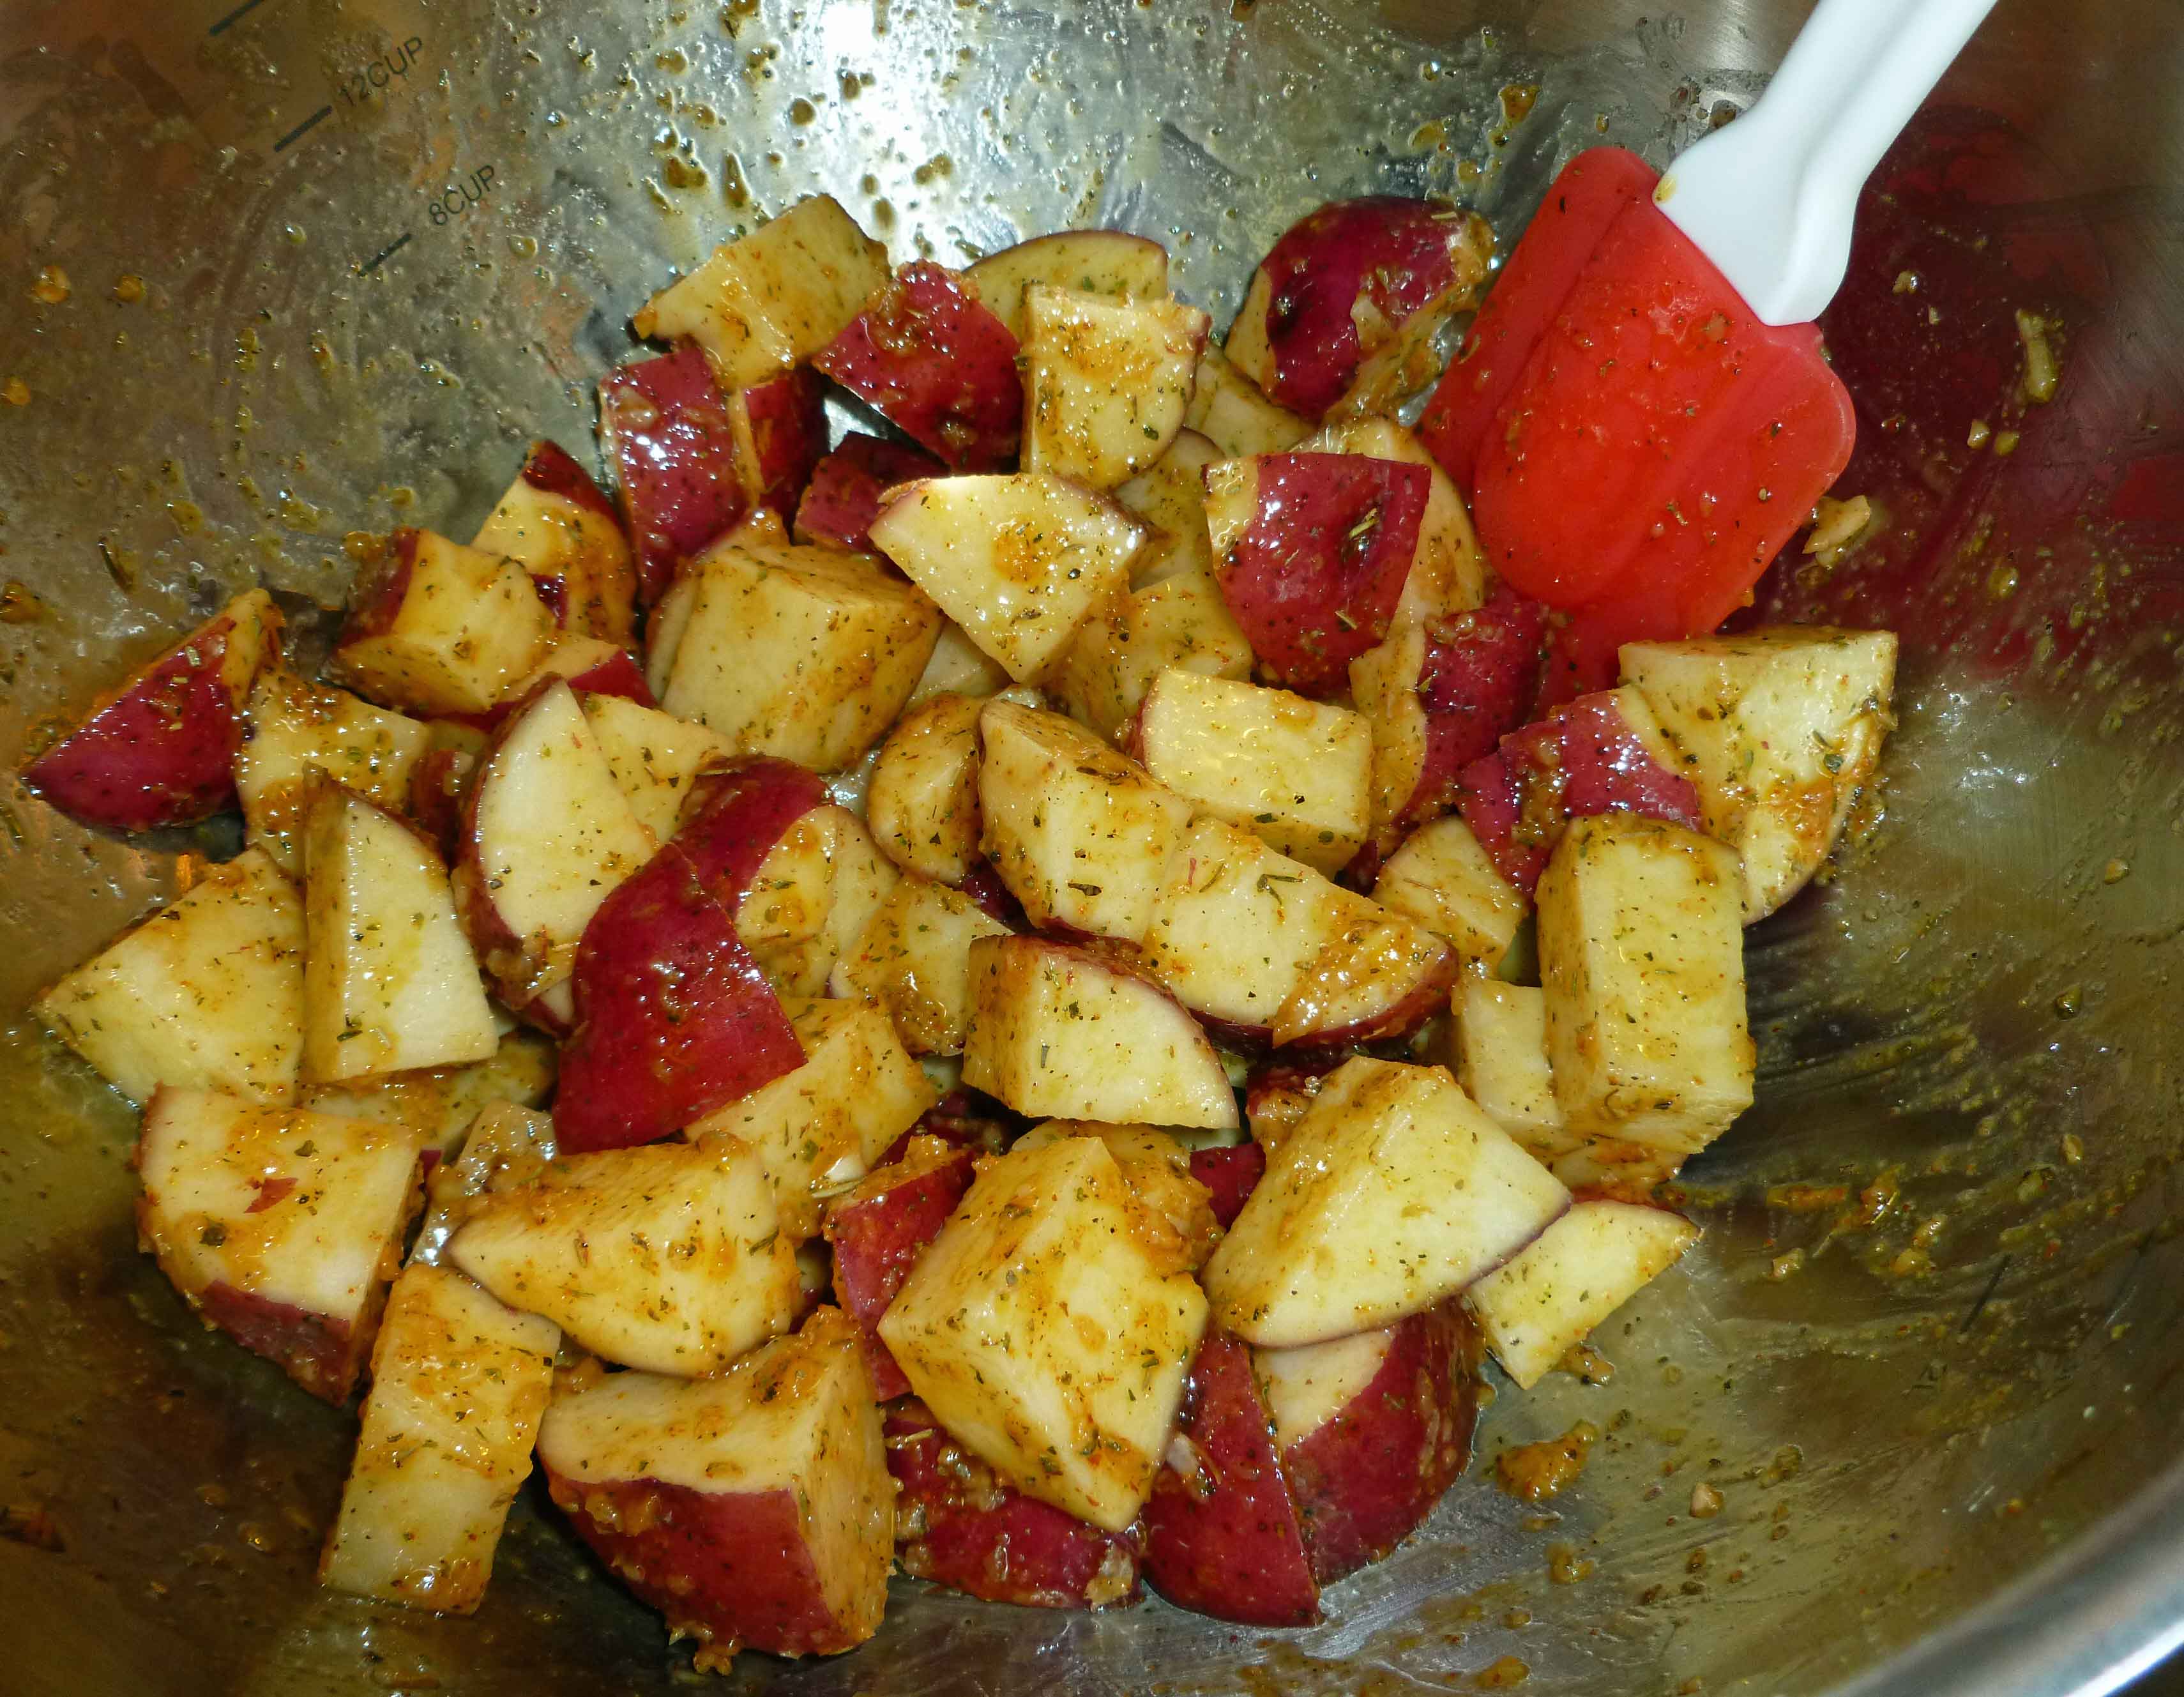
Once you have finished cutting up all the potatoes, mix the potatoes with the oil and spice mixture until they are well coated.
Potatoes coated with spice mixture
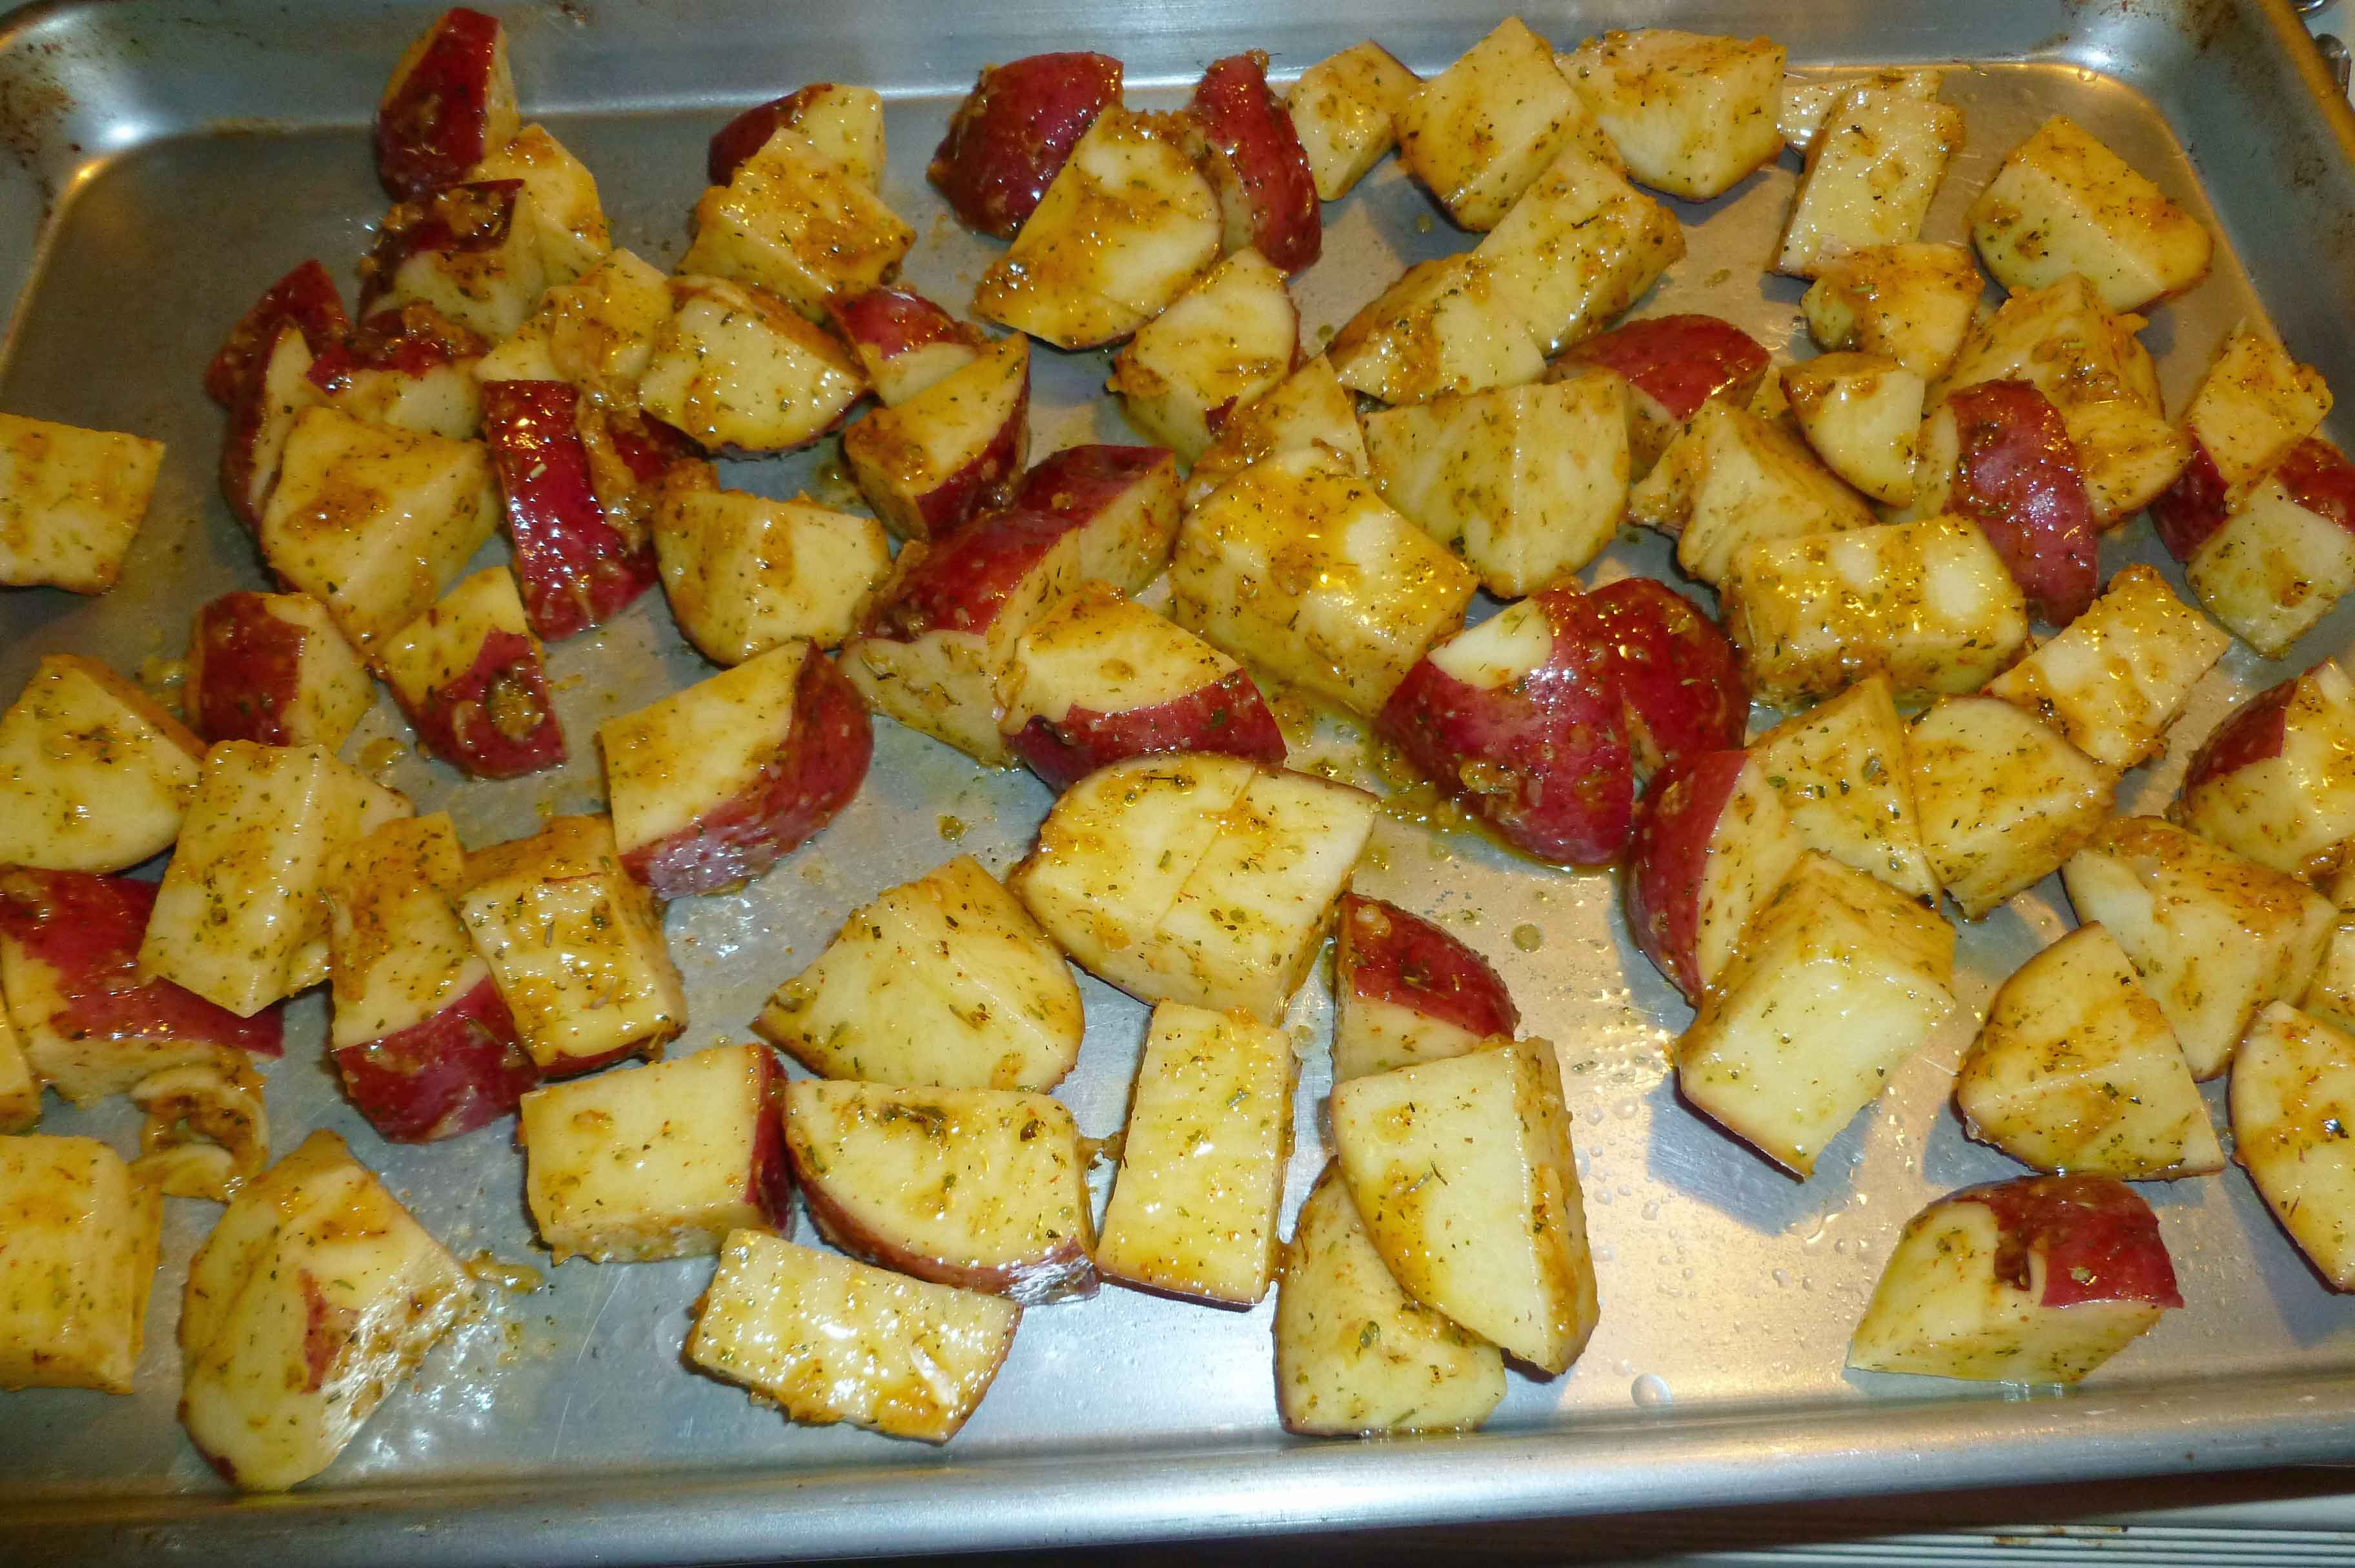
Place coated potatoes on a baking sheet in a single layer. Scrape the bowl and drizzle any of the remaining spice mixture on top of the potatoes.
Coated Potatoes on baking sheet in single layer
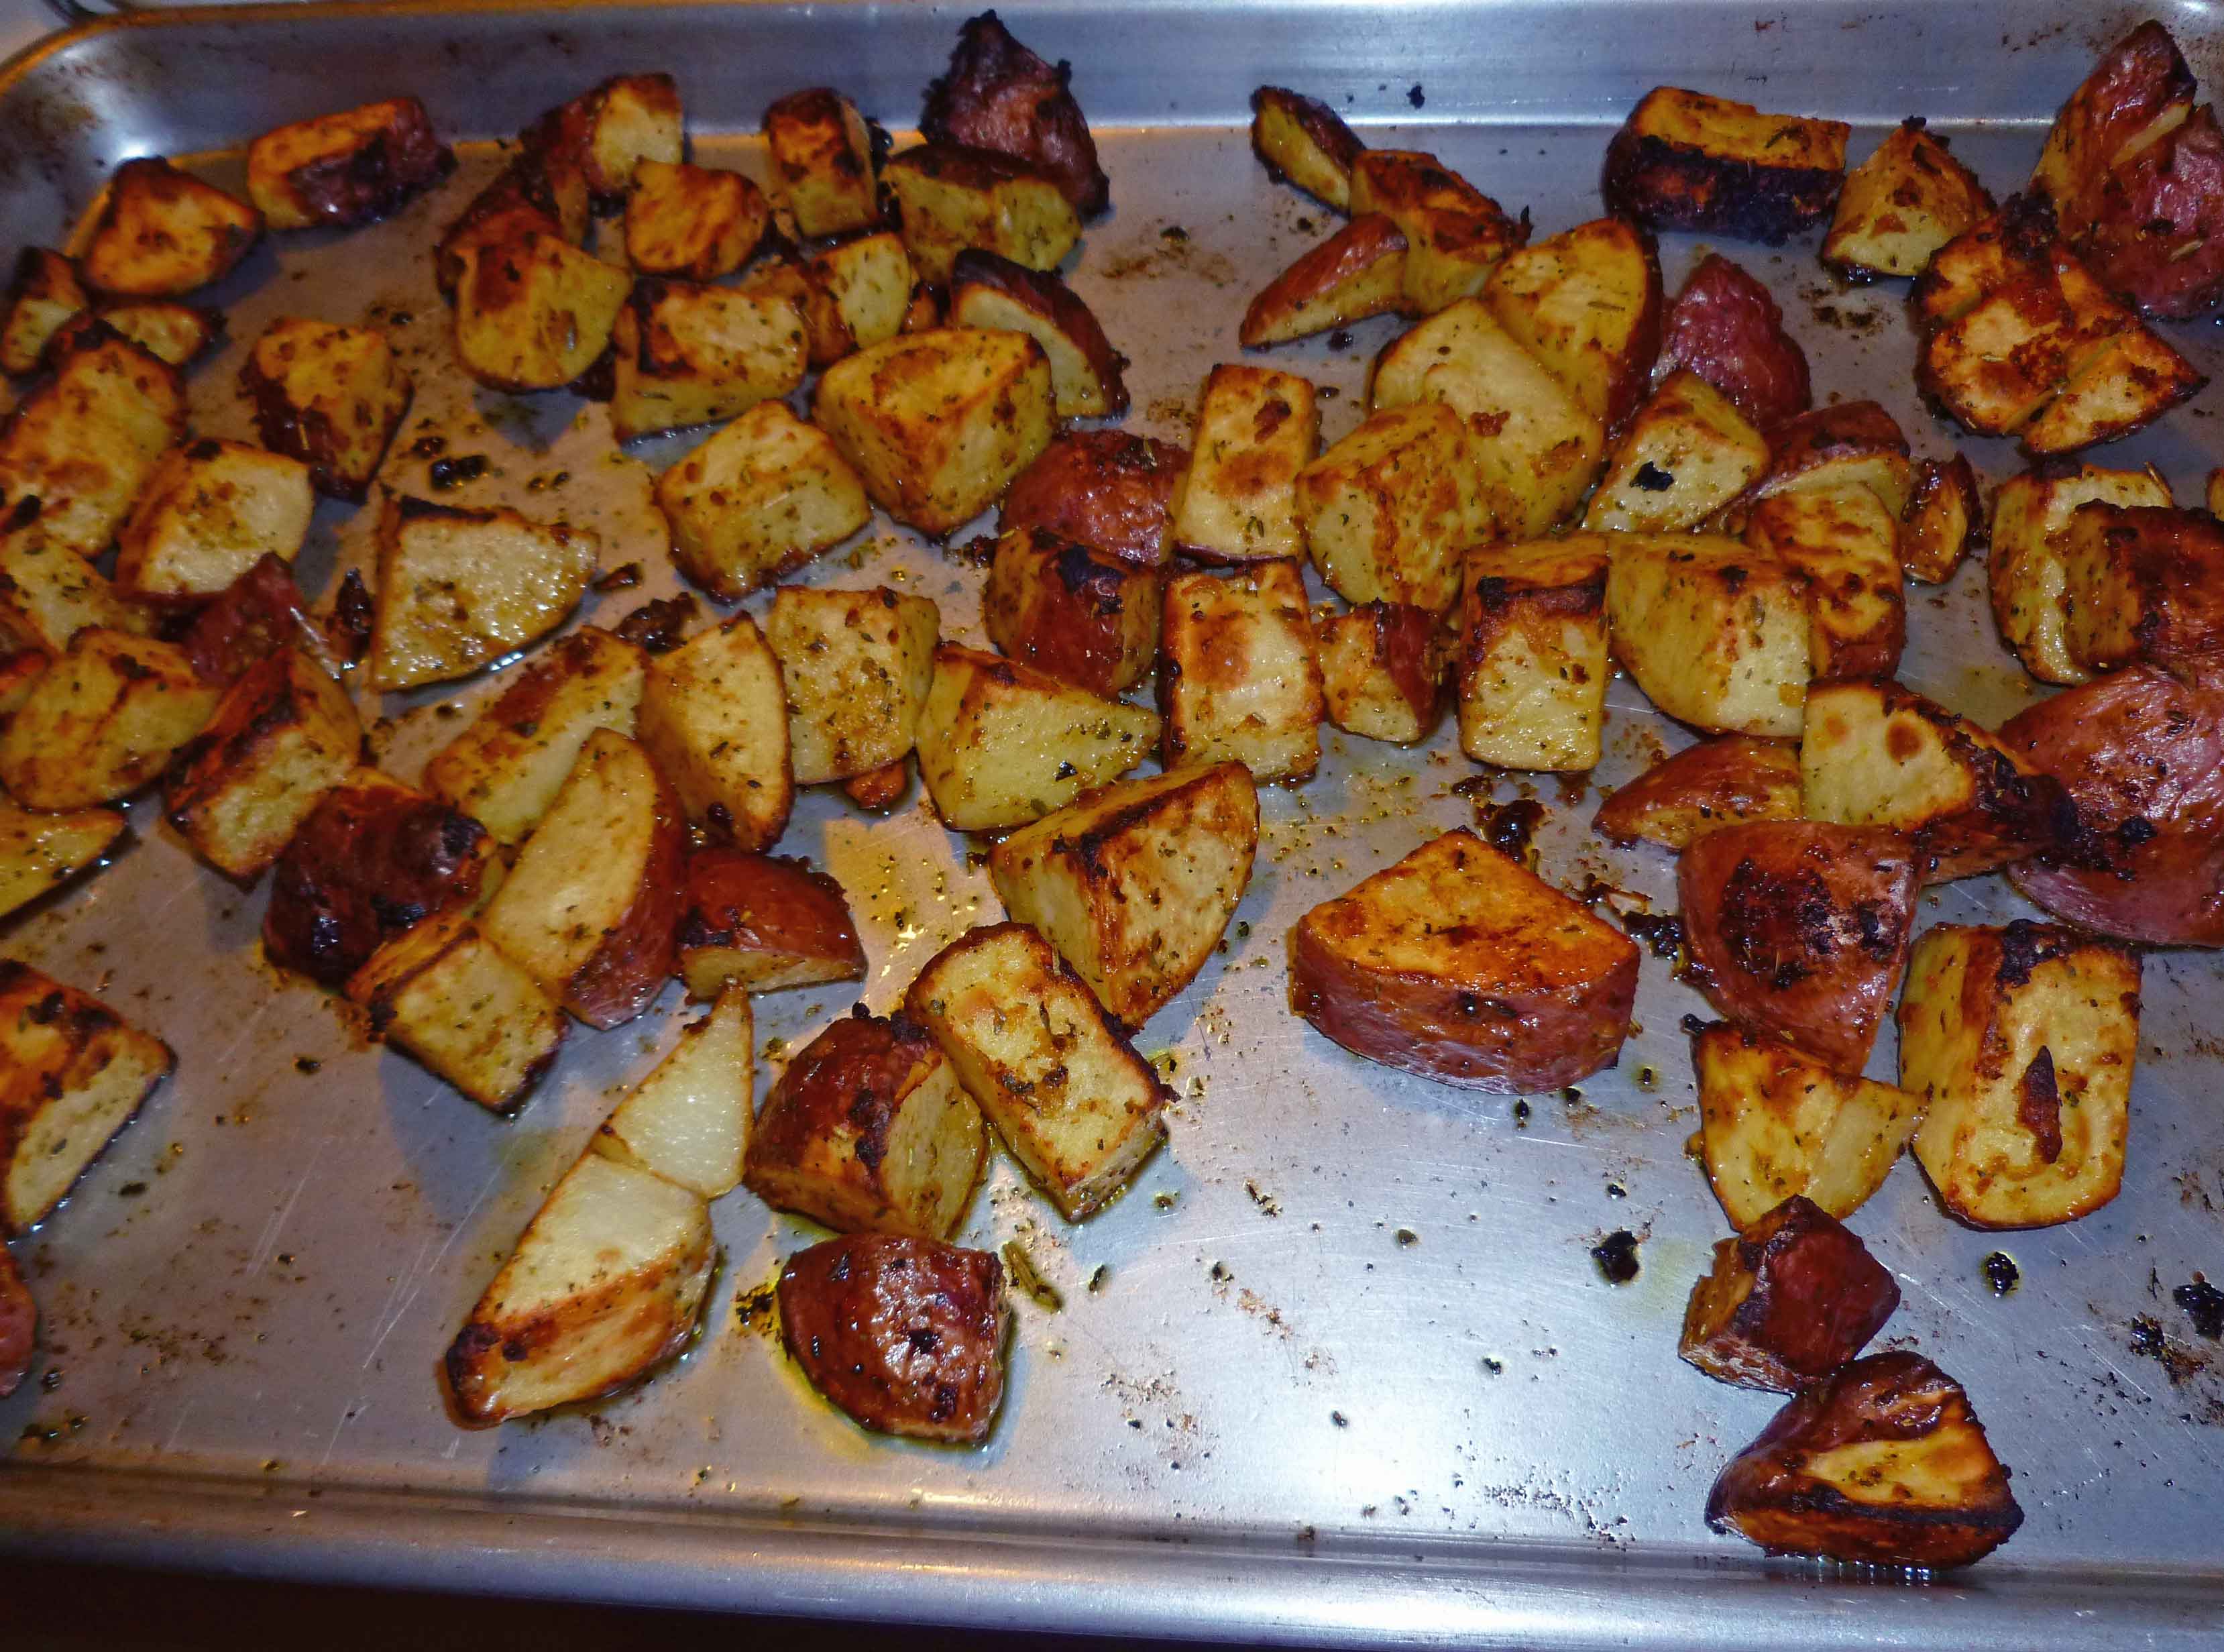
Put potatoes in preheated oven and roast for 20-30 minutes, turning occasionally to brown on all sides.
Sriracha Oven Roasted Potatoes just out of the oven!
Okay, first things first. My good camera’s battery hit the skids half way through cooking this recipe, so I had to resort to my cell phone camera. Which means that some of these pictures are more terrible than they usually are. Now on to the subject at hand.
Alfredo sauce. Seriously, before the food allergy apocalypse, this was one of my very favorite things. When I was first diagnosed, I tried to make a soy based Alfredo sauce, and I took one bite, and dumped the rest of it down the sink. I may have also spit the bite I took in the sink. (Yes, I’m that classy.) You may remember that I have mentioned that I’m not a fan of soy milk. So when Mary Kate and I decided to do this blog, Alfredo sauce was one of the first things that I put on the infamous spreadsheet for us to find a solution to. I think I’m finally there. Even my husband, who can still eat dairy, says that this is amazingly close. This recipe will not help those of you with a nut allergy, as the base is made of cashews. Although the sauce itself is gluten free, I did use regular pasta, which is not. So if you want to make this recipe gluten free, just use gluten free pasta (MK suggests Schar pasta (I’ve only had the penne), Quinoa pasta (here, only had the macaroni), and Trader Joe’s corn pastas). This recipe will probably feed about 4-6 people depending on portion size.
Alfredo Sauce:
1 cup of raw cashews or cashew pieces (pieces are cheaper, buy those)
4 teaspoons of lemon juice (fresh is better but the bottled will work in a pinch)
1 teaspoon of roasted minced garlic (you can get it in a jar at the grocery store)
1 teaspoon of salt
1/2 teaspoon of fresh ground black pepper
1/4 teaspoon of nutritional yeast
dash of nutmeg
dash of paprika
dash of sage
1 1/2 cups of boiling water
1 tablespoon of Earth Balance Natural Buttery Spread Soy-free
2 teaspoons of cool water
2 teaspoons of corn starch
Chicken Primavera Ingredients:
1 to 1 1/2 pounds of chicken breast, sliced into strips
seasoned salt
black pepper
2 tablespoons of canola oil
2 cups of pasta (small shells, macaroni, etc.)
1 – 16 ounce bag of frozen mixed vegetables
enough water to cook the pasta
First, make the Alfredo sauce:
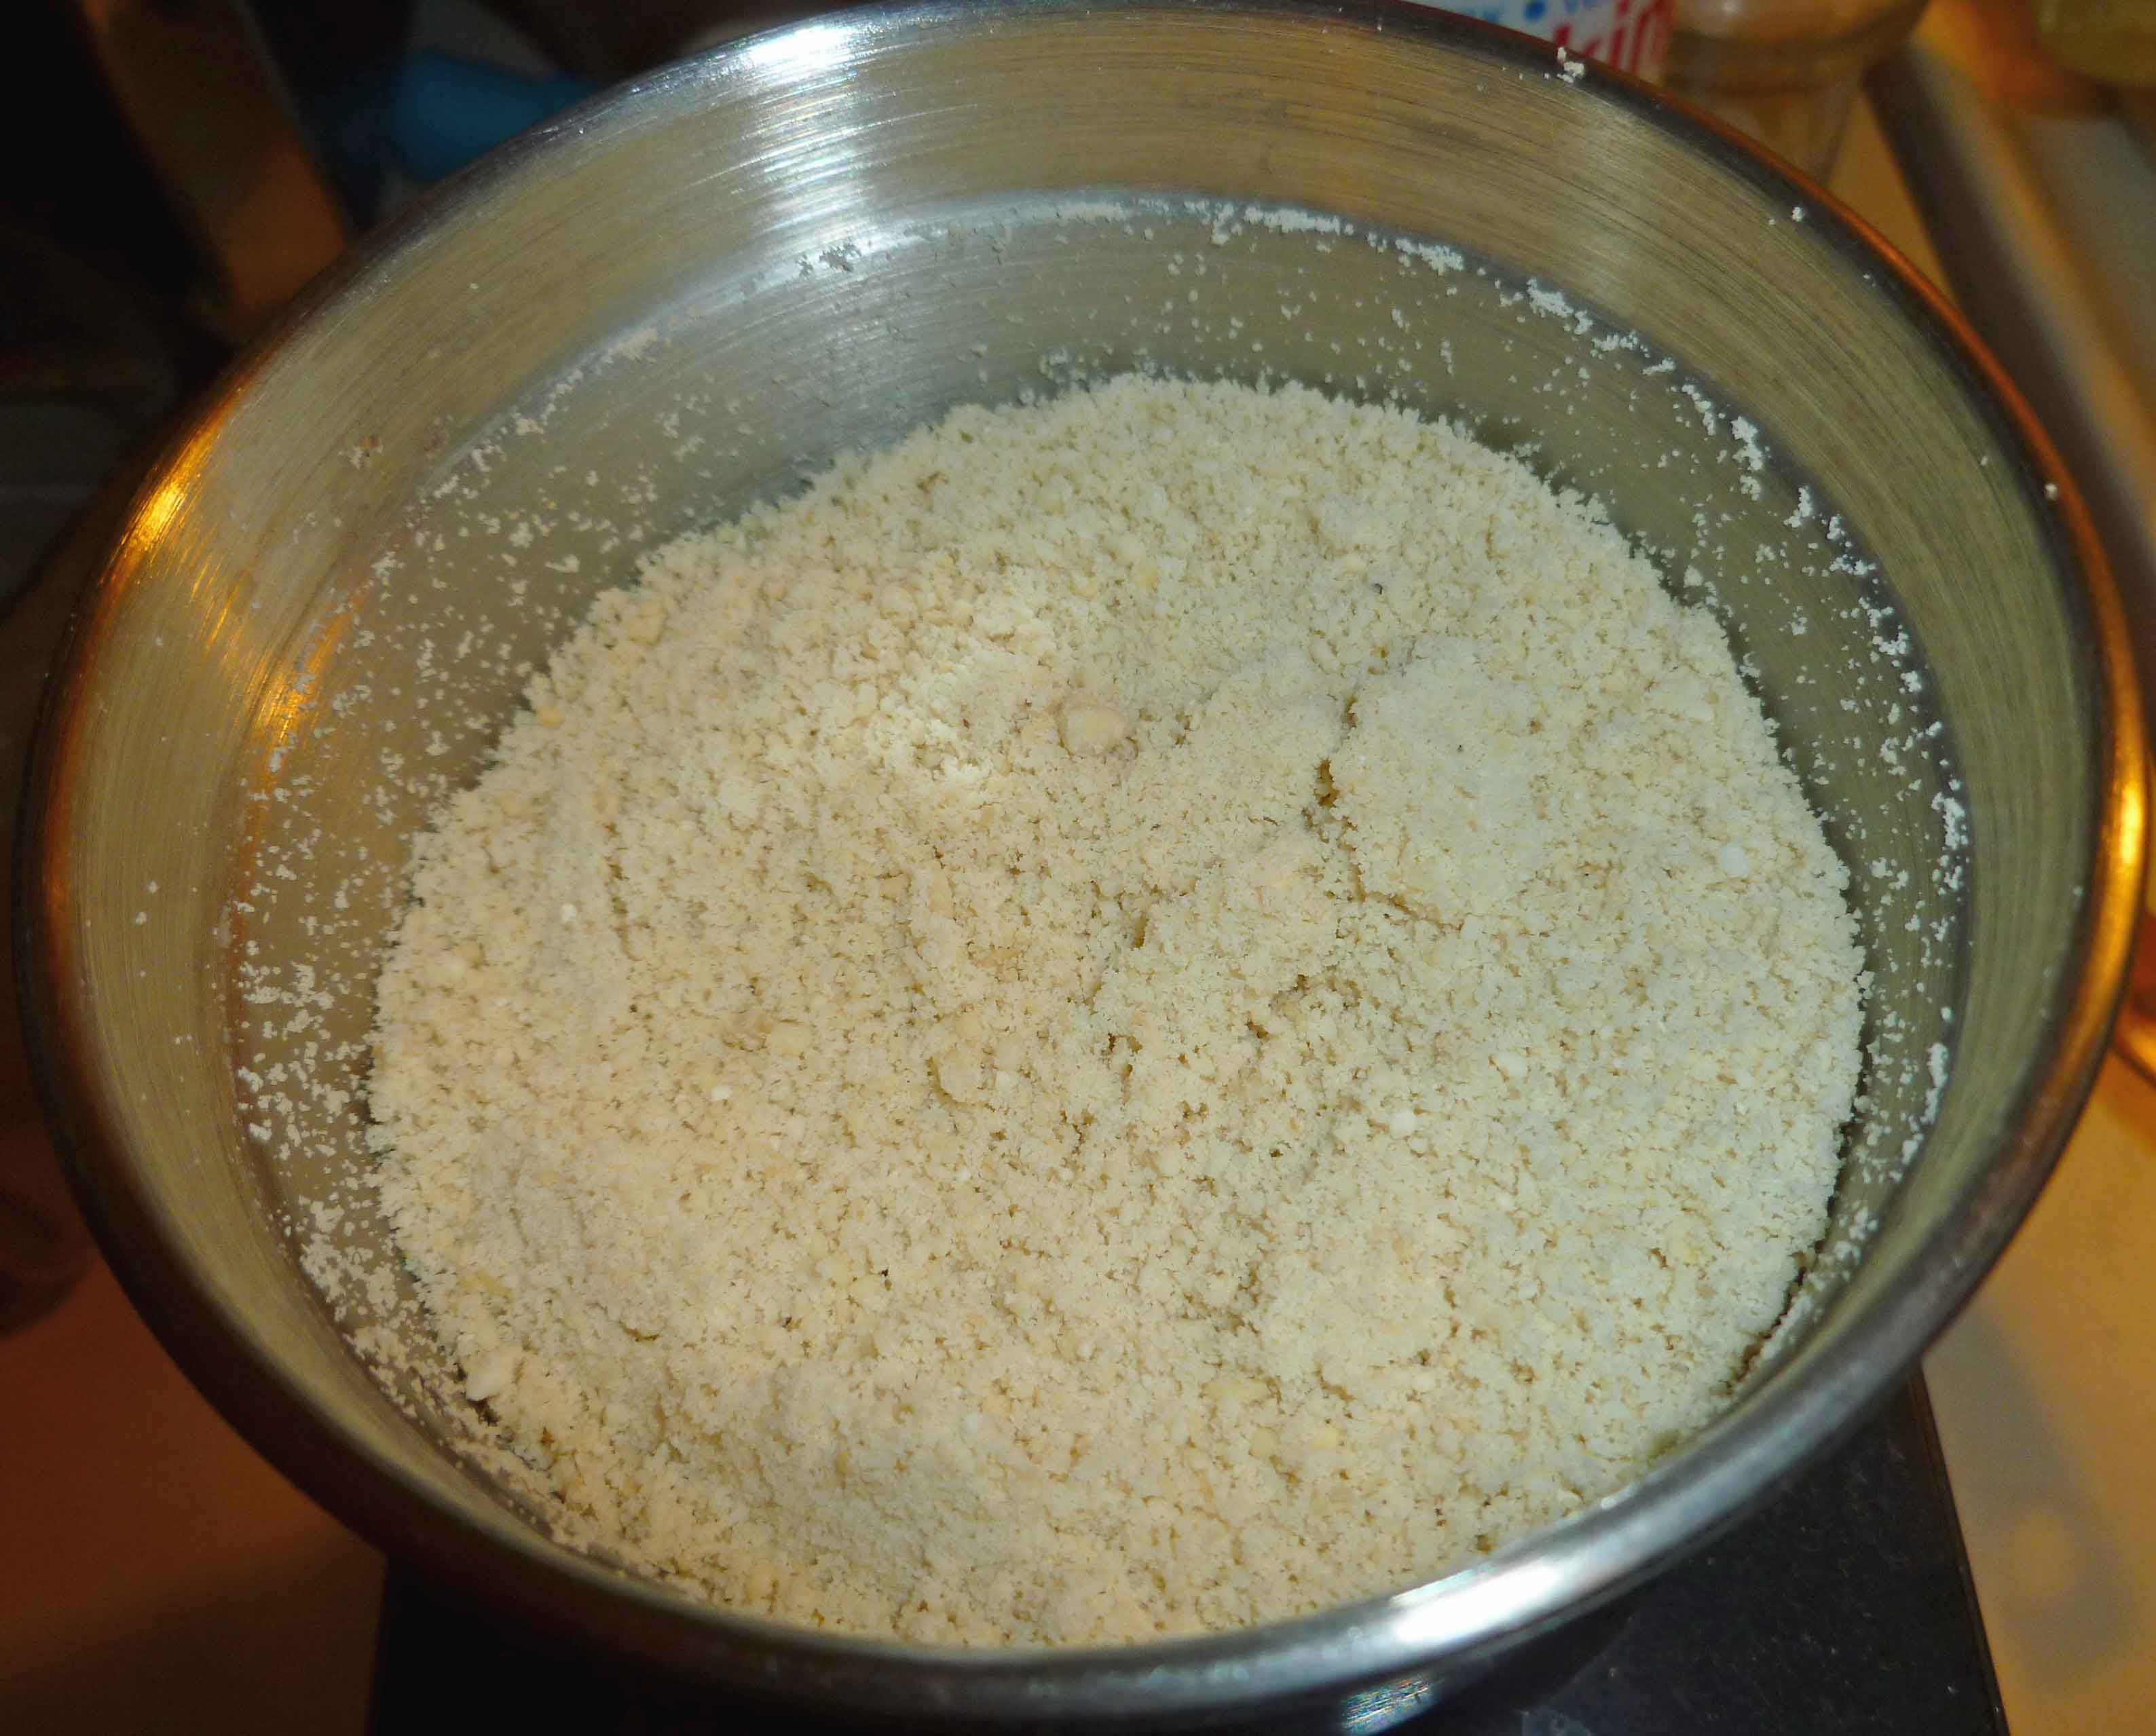
Put the tea kettle on to boil your 1 1/2 cups of water first. You will need your blender. Take your 1 cup of cashews and grind them into a fine powder. You can do this in the blender, but I like to grind them in a coffee grinder that I use specifically food and spices.
Finely Ground Cashews
It’s easier if you grind them in batches if you’re using the coffee grinder. Once they are finely ground, put the cashews in the blender. (If you’re grinding them up in the blender, put the cashews in blender and process them until they are finely ground before adding any other ingredients.) Add the lemon, garlic, salt, black pepper, nutritional yeast, nutmeg, paprika, sage, and the boiling water in the blender with the cashews. Put the cover on the blender and blend until smooth. Let it blend for a while, the smoother the better.
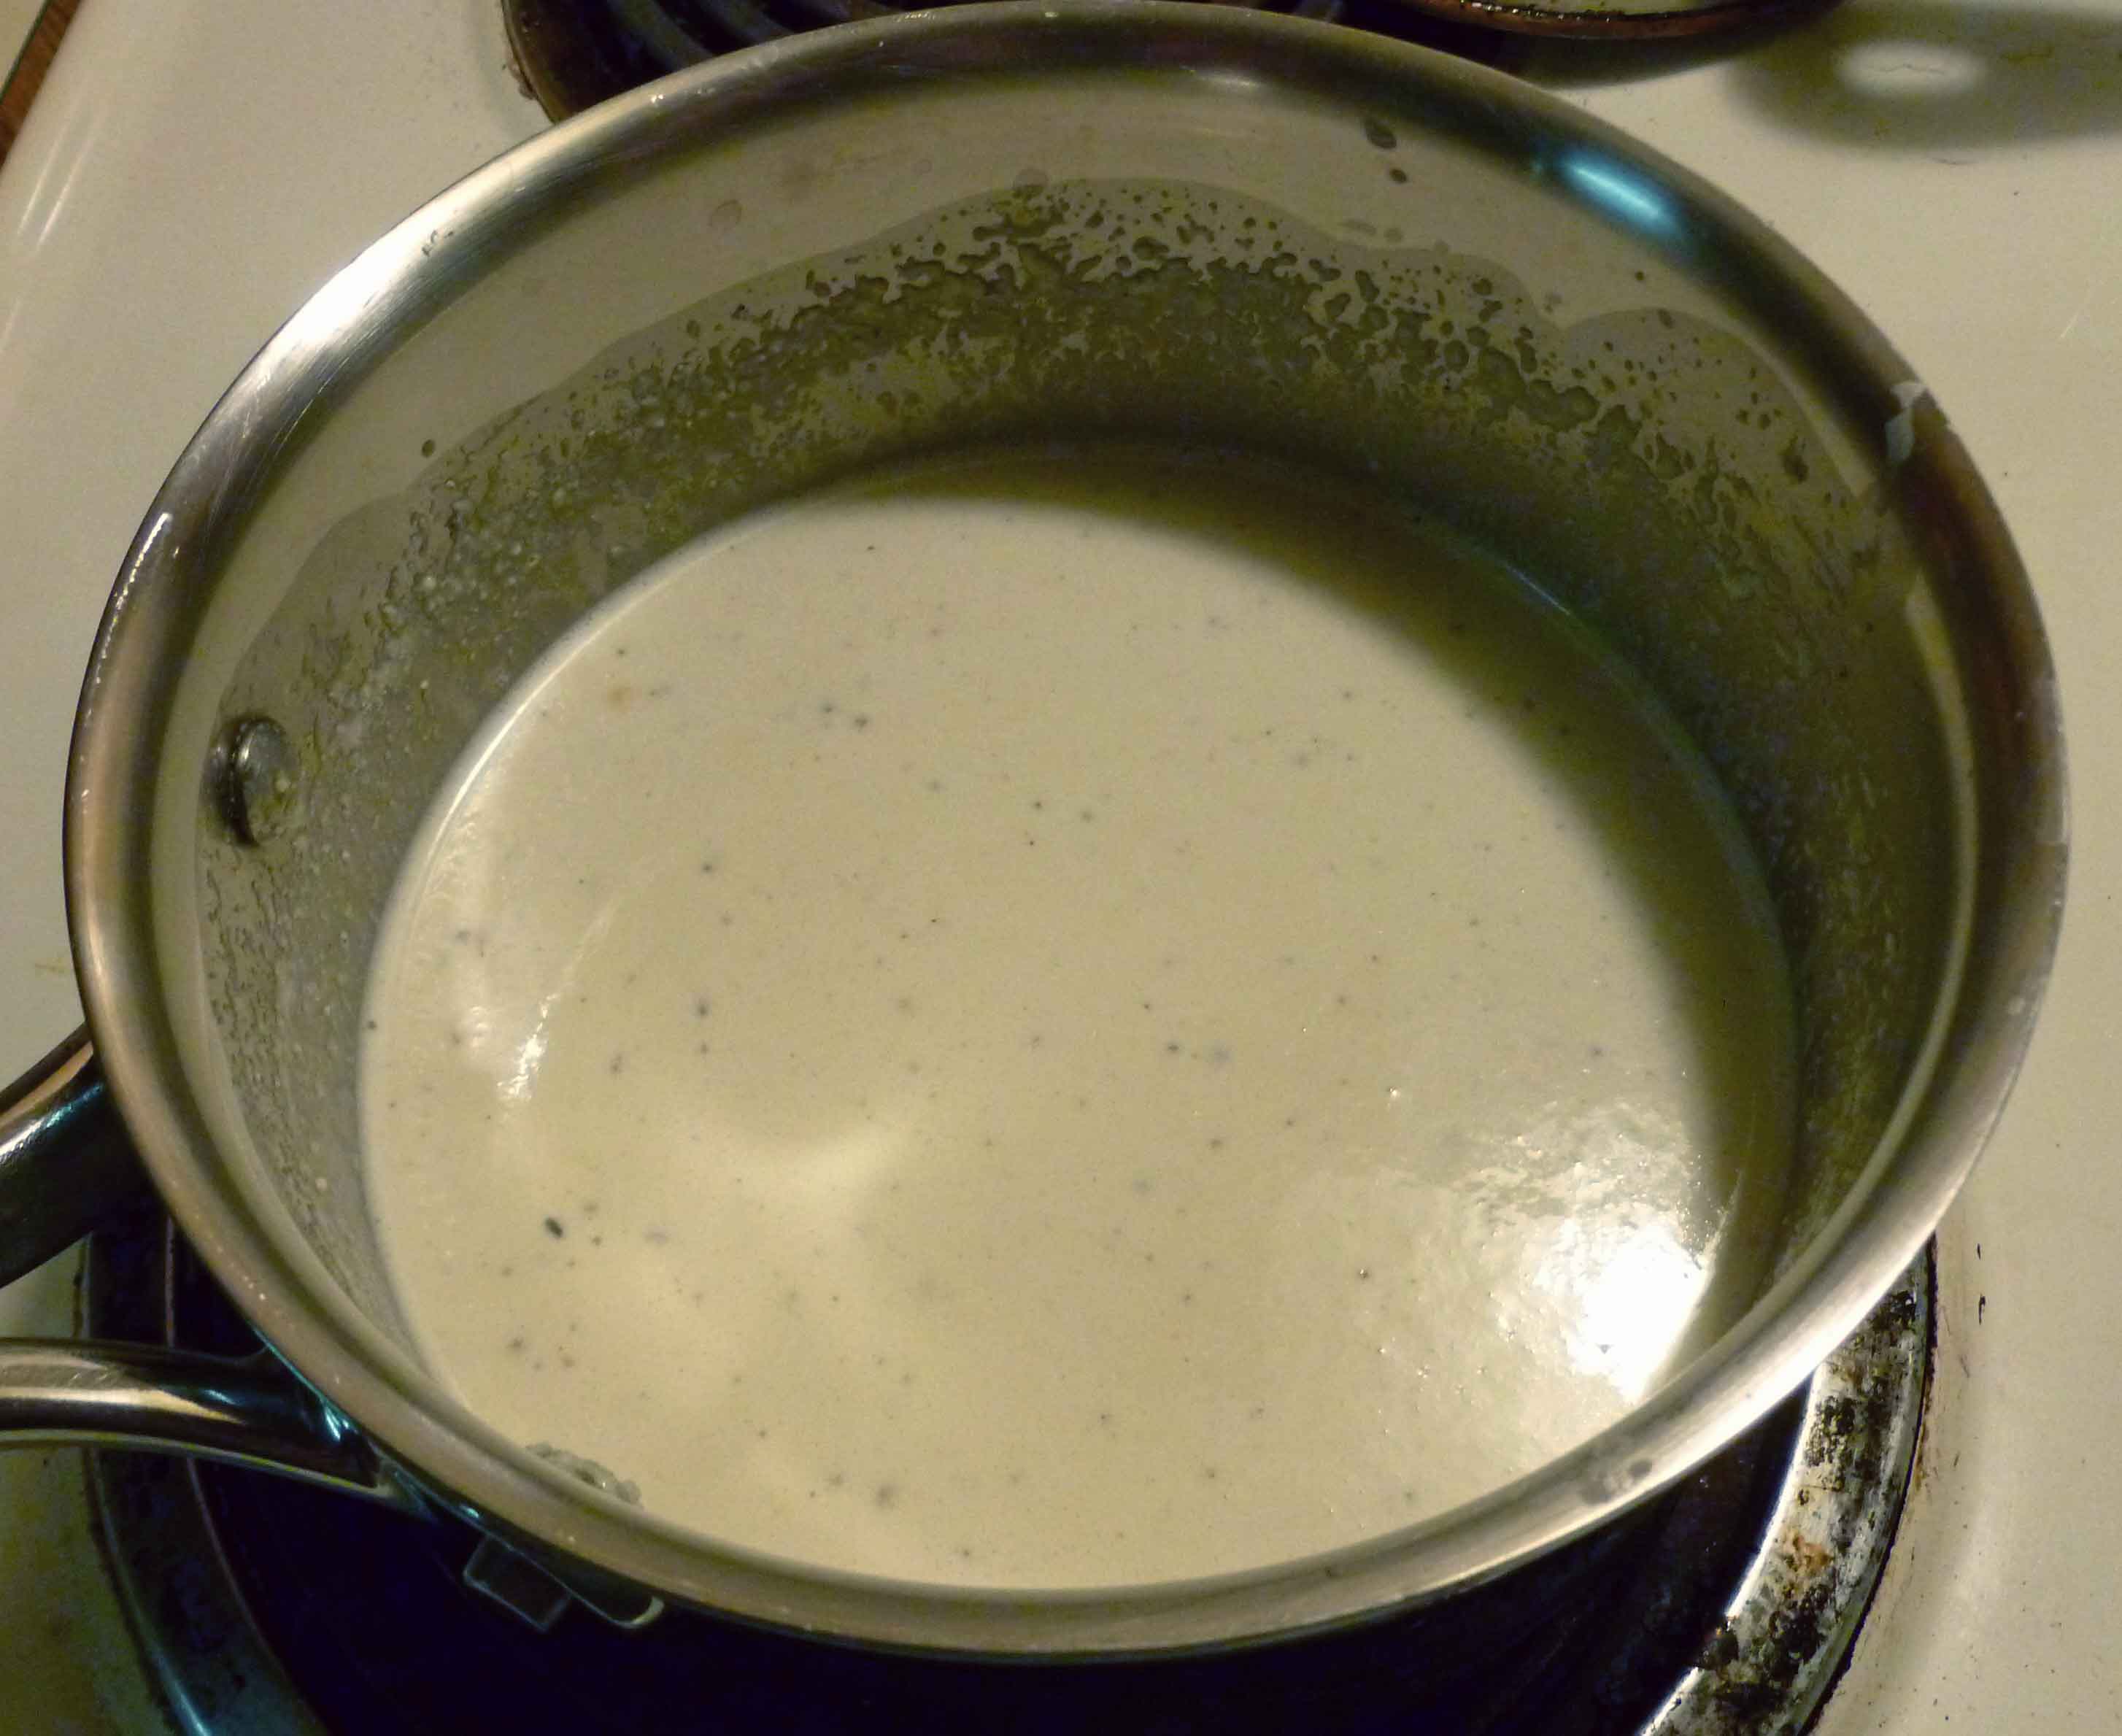
Once you think it’s blended enough, pour the mixture into a sauce pan, and put it on medium low. Add the Earth Balance and let it melt into the mixture, while you mix the cornstarch and 2 teaspoons of cool water together in a small container. Once the Earth Balance is melted, stir the mixture to incorporate the Earth Balance and then pour in the cornstarch mixture, while continually stirring (if you don’t stir continuously, you’ll have lumps). Put the sauce on the back burner on the lowest setting while you get everything else ready.
Alfredo Sauce
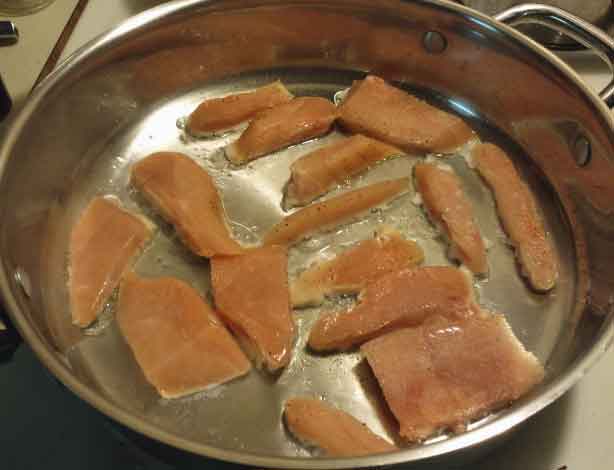
Now it’s time to cook the chicken. Slice the chicken breast into strips if you haven’t already done so, and season them with the seasoned salt and pepper (just sprinkle some over it). Put the canola oil in a skillet and turn the burner onto medium high. Put the chicken into the pan but don’t crowd the pieces.
Chicken properly spaced in frypan
Sear the chicken so you get a nice golden brown on the outside, and make sure your pieces get cooked without being overcooked. Easy for me to say right? I prefer to use dark meat, because it’s really hard to over cook dark meat, and because I like it better. But, since my husband likes the breast meat, and I got a wicked deal on some chicken breast, that’s what we’re using here. However, next time I’d probably use boneless chicken thighs. Anyway, the picture below shows what you’re trying to get for a nicely seared outside, as it’ll add flavor to the dish.
Properly Seared Chicken
Put the chicken aside once it is cooked.
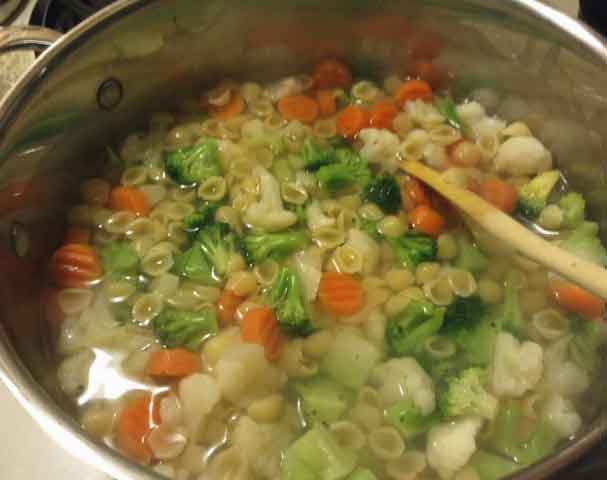
Now we need to cook the pasta and vegetables. Using a large pan, put enough water in to cook 2 cups of pasta, and a couple of dashes of salt. Bring the water to a boil, and add the two cups of pasta to the water. When the pasta is almost ready but not quite tender enough to be considered done, pour the bag of frozen mixed vegetables into the pan with the pasta.
Pasta and Vegetables Cooking
Bring the water back to a boil and let it cook for two or three minutes after that. Once the vegetables are done, the pasta should also be ready. Drain the water.
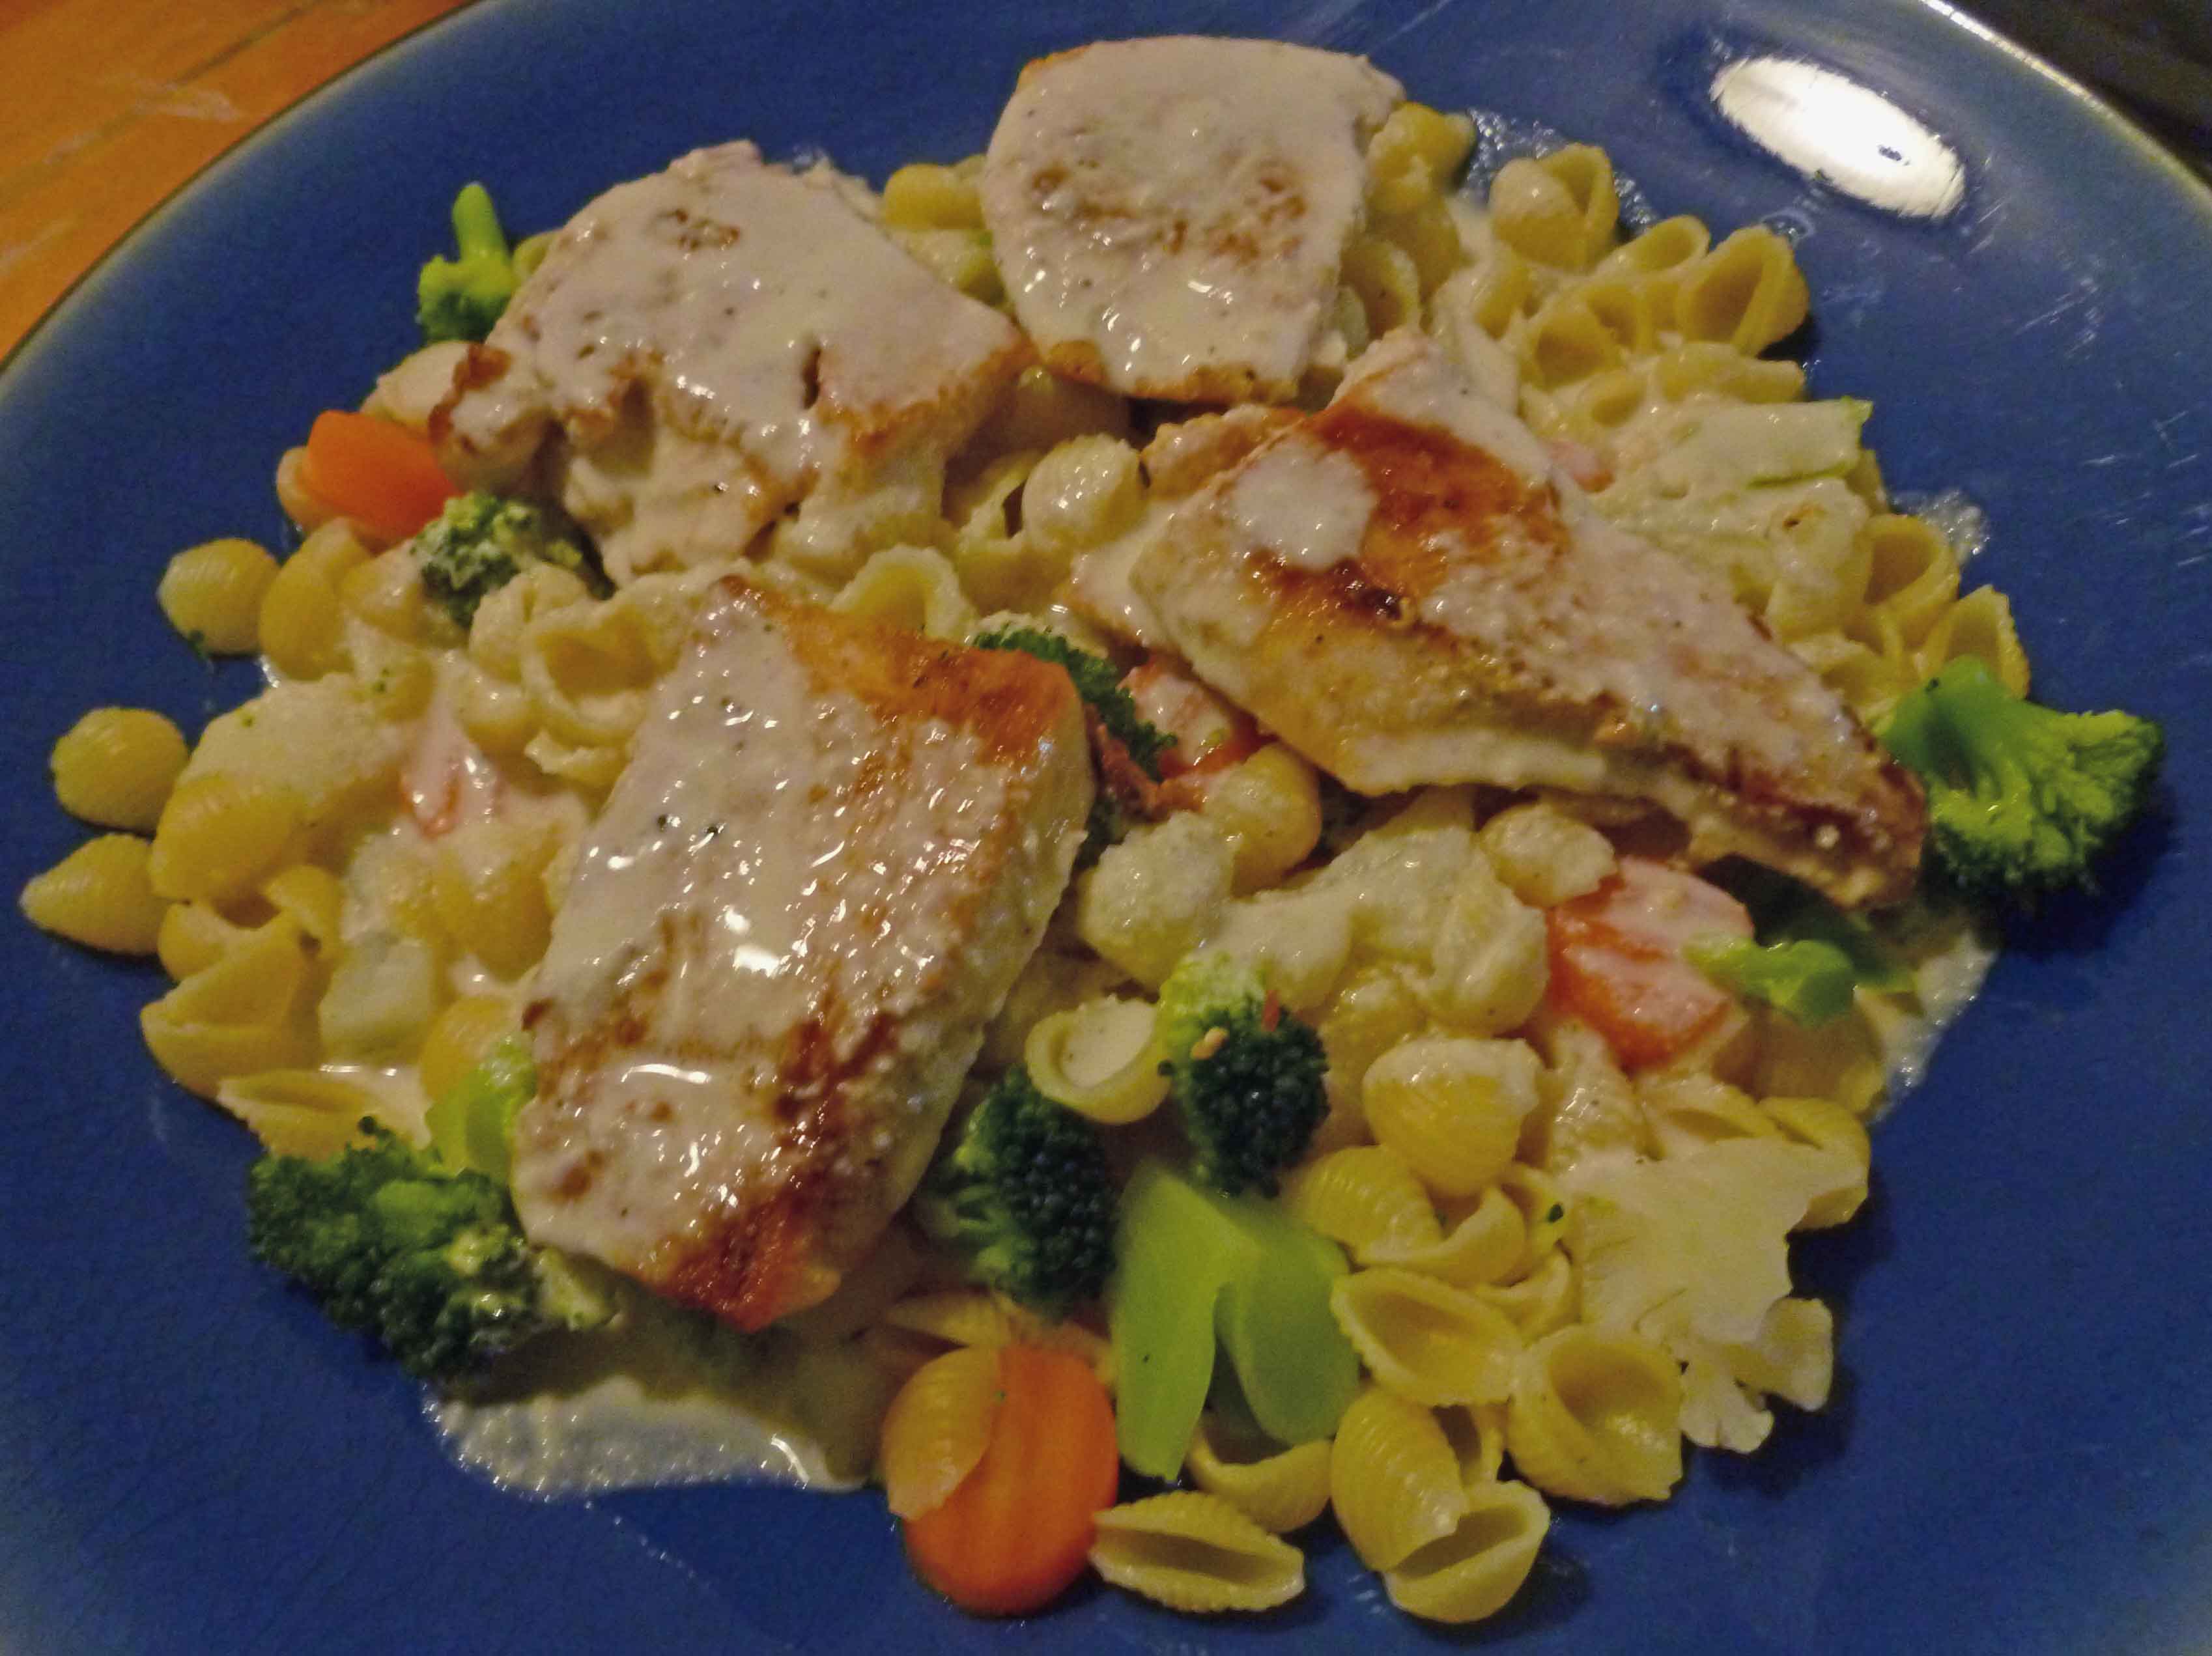
Spoon some of the pasta and vegetables onto a plate, and place some chicken on top of the pasta and vegetables.
Chicken, Pasta and Vegetables on a plate
Then ladle some of the Alfredo sauce over your chicken, pasta and vegetables. And Voila! Yay Alfredo Sauce!!
Note (note 1): This post seems to have a lot of notes.
My last year of grad school, my two roommates and I hosted somewhere in the neighborhood of 20 people for Thanksgiving. We added all the leaves of my drop-leaf table (I’m the last of the grandkids to get it, and it seats 12), plus several desks and side tables and created this huge banquet table that took up our whole living room. It was honestly possibly the best Thanksgiving dinner ever. There was SO MUCH food, and it was all amazing — and all done on grad school food budgets.
[Vaguely related side-note (note 2): It did not hurt the situation that apparently, people don’t love pumpkin pie as much as I do, and leftovers consisted of an entire pie that no one else in my house wanted. I ate it. All of it. To our lovely readers: if anyone knows of a gluten-free, dairy-free, egg-free, SOY-free pumpkin pie recipe that works, please please please please share. I will be forever in your debt.]
This amazing recipe was made by my friends Amanda and Ken (who also brought something else reasonably gourmet for grad school. It involved fancy cheese and mushrooms, I think.) Neither of them remembers where the recipe came from, and apparently neither one has a copy anymore. This isn’t the original anyway, but it’s still perfect — thick and creamy, smoky and sweet, and possibly the most perfect welcome to fall soup ever.
Note about measurements (note 3): This is not a recipe in which all ingredients must be precisely measured. It’s more about proportions. If you get stuck buying a threesome of leeks (like I did) and can’t see where the left-out leek will get used in your weekly meals, add it and cut back the onion a bit. Adjust the seasonings to your preferences (For example, I often double the amount of nutmeg in this soup, but when making it for other people, who find that overpowering, this is the recipe I use).
Amanda & Ken’s Smoky Sweet Potato Soup
In large sauce pan over medium heat, melt:
3 tablespoons olive oil
1 tablespoon soy-free Earth Balance
Add:
1 ⅓ cup chopped sweet onion (about 1 medium onion)
2 ¼ cup chopped leek, white and light green only (about 2)*
1 teaspoon chopped garlic (about 2 cloves)
¼ teaspoon thyme, crushed
½ teaspoon freshly grated nutmeg
Nutmegs
Cover and cook about 15 minutes, stirring occasionally, until vegetables are tender.
**(note 5): Leeks. If you’ve used them before, skip this mini-tutorial. If you’ve never used them before, I think you may love them. But know before hand that they are dirty dirty vegetables, full of grittiness. Here’s how I prep them.
Leeks cut up.
Cut off the tops and bottoms. Anything above the light green is really tough.
Sliced lengthwise.
Slice them lengthwise.
Washing leeks.
Soak them in the sink. If you have any doubt if this is necessary, look at the grit left in the sink when you drain it.
Proceed by draining the leeks (or just shaking them over the sink if you have little patience) and slice thinly.
**Spice (note 4): chipotle peppers in adobo sauce come in a can, usually from the Mexican foods section of the grocery store. Chipotle are smoked jalapeño peppers and adobo sauce is a smoky, spicy tomato and vinegar sauce. This stuff has a good kick to it, so if you haven’t used it before, start conservatively and add more as needed.
What you add from this can will depend on your taste and dining companions, but if you like things a bit spicy (or more than a bit), add one chipotle chili from the can — the chilis vary in size, so root around in there and find one that’s about your current level of courage. If you like things a little less hot, add 1-2 tablespoons of just the adobo sauce. If you have a mix of spice needs in your audience, serve the adobo sauce on the side.
Even if you like things crazy hot, you will have leftovers! I often store the sauce and peppers separately — the sauce can go in the fridge for about 4 or 5 days (it’s got vinegar in it, but usually no other preservatives). It also freezes well. I lay the chilis themselves out on wax paper or parchment over a plate, and throw it in the freezer. When the peppers are frozen, throw them in a plastic bag.
I am not a religious person, but if there is one thing that makes me believe there might be some grand design to the world, it’s potatoes. They are a wonderful, versatile, almost perfect food (only “almost” because they don’t greatly lend themselves to dessert, Grand Forks’ chocolate-covered potato chips notwithstanding). I feel as though I could do a pretty good Irish potato-lover’s version of the Forest Gump shrimp monologue, and I’ve prepared potatoes about a hundred million different ways.
But for picnics, for the upcoming Labor Day festivities, for an end-of-summer celebration? Potato salad is where it’s at. Potato salad is the one socially-acceptable way to eat cold potatoes; it’s perfect for a hot day, travels well, and in a mayo-free version, is both allergen-free and pretty temperature stable. As an added bonus, this one fries up into amazing home fries if any makes it to the next morning.
I developed this recipe in my friend Cathy’s kitchen, adapting the random ideas in my head to what happened to be in her pantry at the time, and it turned out better than all my previous attempts. This is definitely a tweakable recipe (ask my mother, who asked for the recipe and then proceeded to make it with nearly none of the same ingredients. She’s like that sometimes).
Somewhat Germanic Potato Salad, Two Ways!
A note on notations — I use the “~” to indicate approximate measurements, indicating that exact measuring for these ingredients is not necessary. Actually, exact measuring is not necessary for this recipe, but this is how I’ve made it.
4-6 strips of bacon (whatever fits in your skillet, adjusted to how much bacon you like)
1 Tablespoon of bacon fat, reserved
2-4 Tablespoons onion, chopped
One bunch of scallions/green onions, chopped and separated (greens from whites)
2 teaspoons dried mustard or 1 Tablespoon prepared mustard
3 teaspoons dried dill or up to 1/4 cup chopped fresh dill
1/4 cup white wine vinegar
Olive oil as needed
Salt and pepper as needed
Somewhat Germanic Potato Salad, Vegan Version
~2 lbs. potatoes, your choice, washed
Water to cover
~1 Tablespoon of salt
1 Tablespoon of vegan margarine (I’ve used Earth Balance soy-free)
2-4 Tablespoons onion, chopped
scant 1/4 teaspoon liquid smoke
1/2 teaspoon of salt
One bunch of scallions/green onions, chopped and separated (greens from whites)
2 teaspoons dried mustard or 1 Tablespoon prepared mustard
3 teaspoons dried dill or up to 1/4 cup chopped fresh dill
1/4 cup white wine vinegar
Olive oil as needed
Salt and pepper as needed
Step 1: Cook potatoes. This step is the same no matter which version you’re going to make. Now there are many types of potatoes out there, and any one of them will work for this recipe. Some will just work better than others. I personally prefer a more waxy potato for salads, as I think they hold together better. The local fingerlings that are coming in now are just about perfect. Red potatoes are probably the best out of the “typical” finds in a grocery store.
Fingerling Potatoes
Don’t peel your potatoes unless you really really hate potato skin or maybe are using the thick-skinned Idaho russet potatoes (baking potatoes). There are lots of vitamins and fiber in the skin, plus it adds texture. Just wash and scrub the potatoes and boil them in salted water. I’ve never measured the water or salt I use for this step — cover the potatoes with water, plus about another inch. For this batch of two pounds, I probably used a tablespoon of salt.
Cover and bring this to a boil on high heat, turn down to medium or low, depending on your stove, but make sure the water keeps boiling. How long the potatoes will take to cook depends on the size of your potatoes. Cooking them whole retains more nutrients, but it’s harder to give you a time. Smaller potatoes take about 15 -20 minutes, larger baking potatoes could take 40 — you might want to cut those in half.
Drain and cool the potatoes, then chop them into bite-sized chunks.
Step 2: Here’s where things diverge into two tracks — the bacon lover’s edition, and the vegan version. The final effect is mostly the same, but how you get there differs.
Bacon Lover’s Edition, step 2:
Cook bacon. Chop or crumble. You could chop the bacon ahead of time, but I think it turns out crispier if I cook it in strips and then crumble it.
Dump out most of bacon grease, leaving about 1 T.
Vegan Version, step 2:
Melt about 1.5 T of Earth Balance (I use their soy-free version, but whatever works for you) in a skillet. Wait until it gets a little sizzle to it.
Back together again, steps 3-6:
Step 3: Saute onion in your chosen fat. If making the vegan version, add the salt and liquid smoke once the onion has started cooking.
Add white part of scallions when onion is translucent, cook another few minutes.
Step 4: Sauce it up.
Turn off the heat but leave the skillet on the burner.
Add mustard and dill. If using prepared mustard, add the vinegar before mixing (trust me). If using just dry spice, mix before adding vinegar and let the mustard and dill soak up the oil.
Stir in the green parts of the scallions (1/2 cup or so, depending on your bunch).
Add a dash or two of olive oil if needed. You want the end result to be a bit saucy, as the potatoes will soak up the vinaigrette. I’ve added about 1 Tablespoon in the photo.
Add potatoes, stir, taste — add salt and pepper to taste.
Serve warm. Or chill and serve, up to you.
Eat. Re-fry leftovers and call them “George.” No, really, call them home fries. They are awesome.
It’s still summer and there’s lots of good stuff to pick up at farmstands. So Mary Kate and I got the bright idea to buy a bunch of vegetables and experiment with grilling them this weekend. Although we spent a marathon day grilling, one of the things we wanted to share with you all, was the grilled vegetable salsa we put together. If you don’t want to do this on the grill, I have also made this salsa by roasting the vegetables in the oven and in my rotisserie.
Grilled Salsa
Our score at the farm stand
1 red bell pepper, cut into quarters and seeded
1 jalapeno, cut into halves and seeded
1 bulb of garlic, with top cut off and with most of the outer layer peels removed
2-3 tomatoes, cut into quarters and seeded (if you wish reserve the juice and the seeds to mix in with the salsa at the end.)
2 small onions, cut in slices (so they form rings about 1/2 inch thick)
Do what you would normally do with your grill to bring it to cooking temperature, light the charcoal, light the propane, or start the fire, depending on what you have for tools and equipment. If you do have a grilling basket, feel free to use it if it will make things easier on you.
Once your grill is hot, place garlic, cut end up, on a piece of aluminum foil large enough to wrap around the garlic and seal it shut. Drizzle garlic bulb with olive oil, and wrap foil around bulb.
Garlic after grilling
Place on indirect heat out of the way so that it can cook slowly while you grill the other vegetables. You want the garlic to be fork tender and easily mash-able.
Grilled Red Bell Pepper
Place other vegetables on the grill to cook. It might be best to place the onions and jalapeno in the grill basket to cook. This will take several minutes and you will want to watch the vegetables carefully. You may not want your vegetables quite as charred as our red bell pepper got (whoops!).
Grilled Tomatoes
The vegetables will also cook at different rates. Once each vegetable becomes tender, or is cooked the way you like it, take it off the grill and place them on a plate or a bowl until all the vegetables are done, checking the garlic last.
Chop the red bell pepper, onions, tomatoes, and jalapeno finely and place in a bowl (with juice and tomato seeds if you reserved them.)
Add 3 to 4 cloves (or more if you like) of the roasted garlic and mash it in with chopped vegetables. (You can freeze the remainder of the roasted garlic if you wish for use at another time, such as mashing it into potatoes or as a spread.)
Grilled Salsa after mixing
Add the red wine vinegar, the Cholula Chili lime hot sauce, cilantro, and adobo seasoning. You may also add a splash of olive oil if you wish. Mix well, or if you like your salsa to be more saucy, use a stick blender or a regular blender to process it a bit. Enjoy!