Notice: Function _load_textdomain_just_in_time was called incorrectly. Translation loading for the wp-ultimate-recipe domain was triggered too early. This is usually an indicator for some code in the plugin or theme running too early. Translations should be loaded at the init action or later. Please see Debugging in WordPress for more information. (This message was added in version 6.7.0.) in /home/maryzahc/public_html/adultfoodallergies.com/wp-includes/functions.php on line 6121
vegetables – Page 2 – surviving the food allergy apocalypse (archive)

Tag: vegetables

  • Seared Tuna Steak Salad

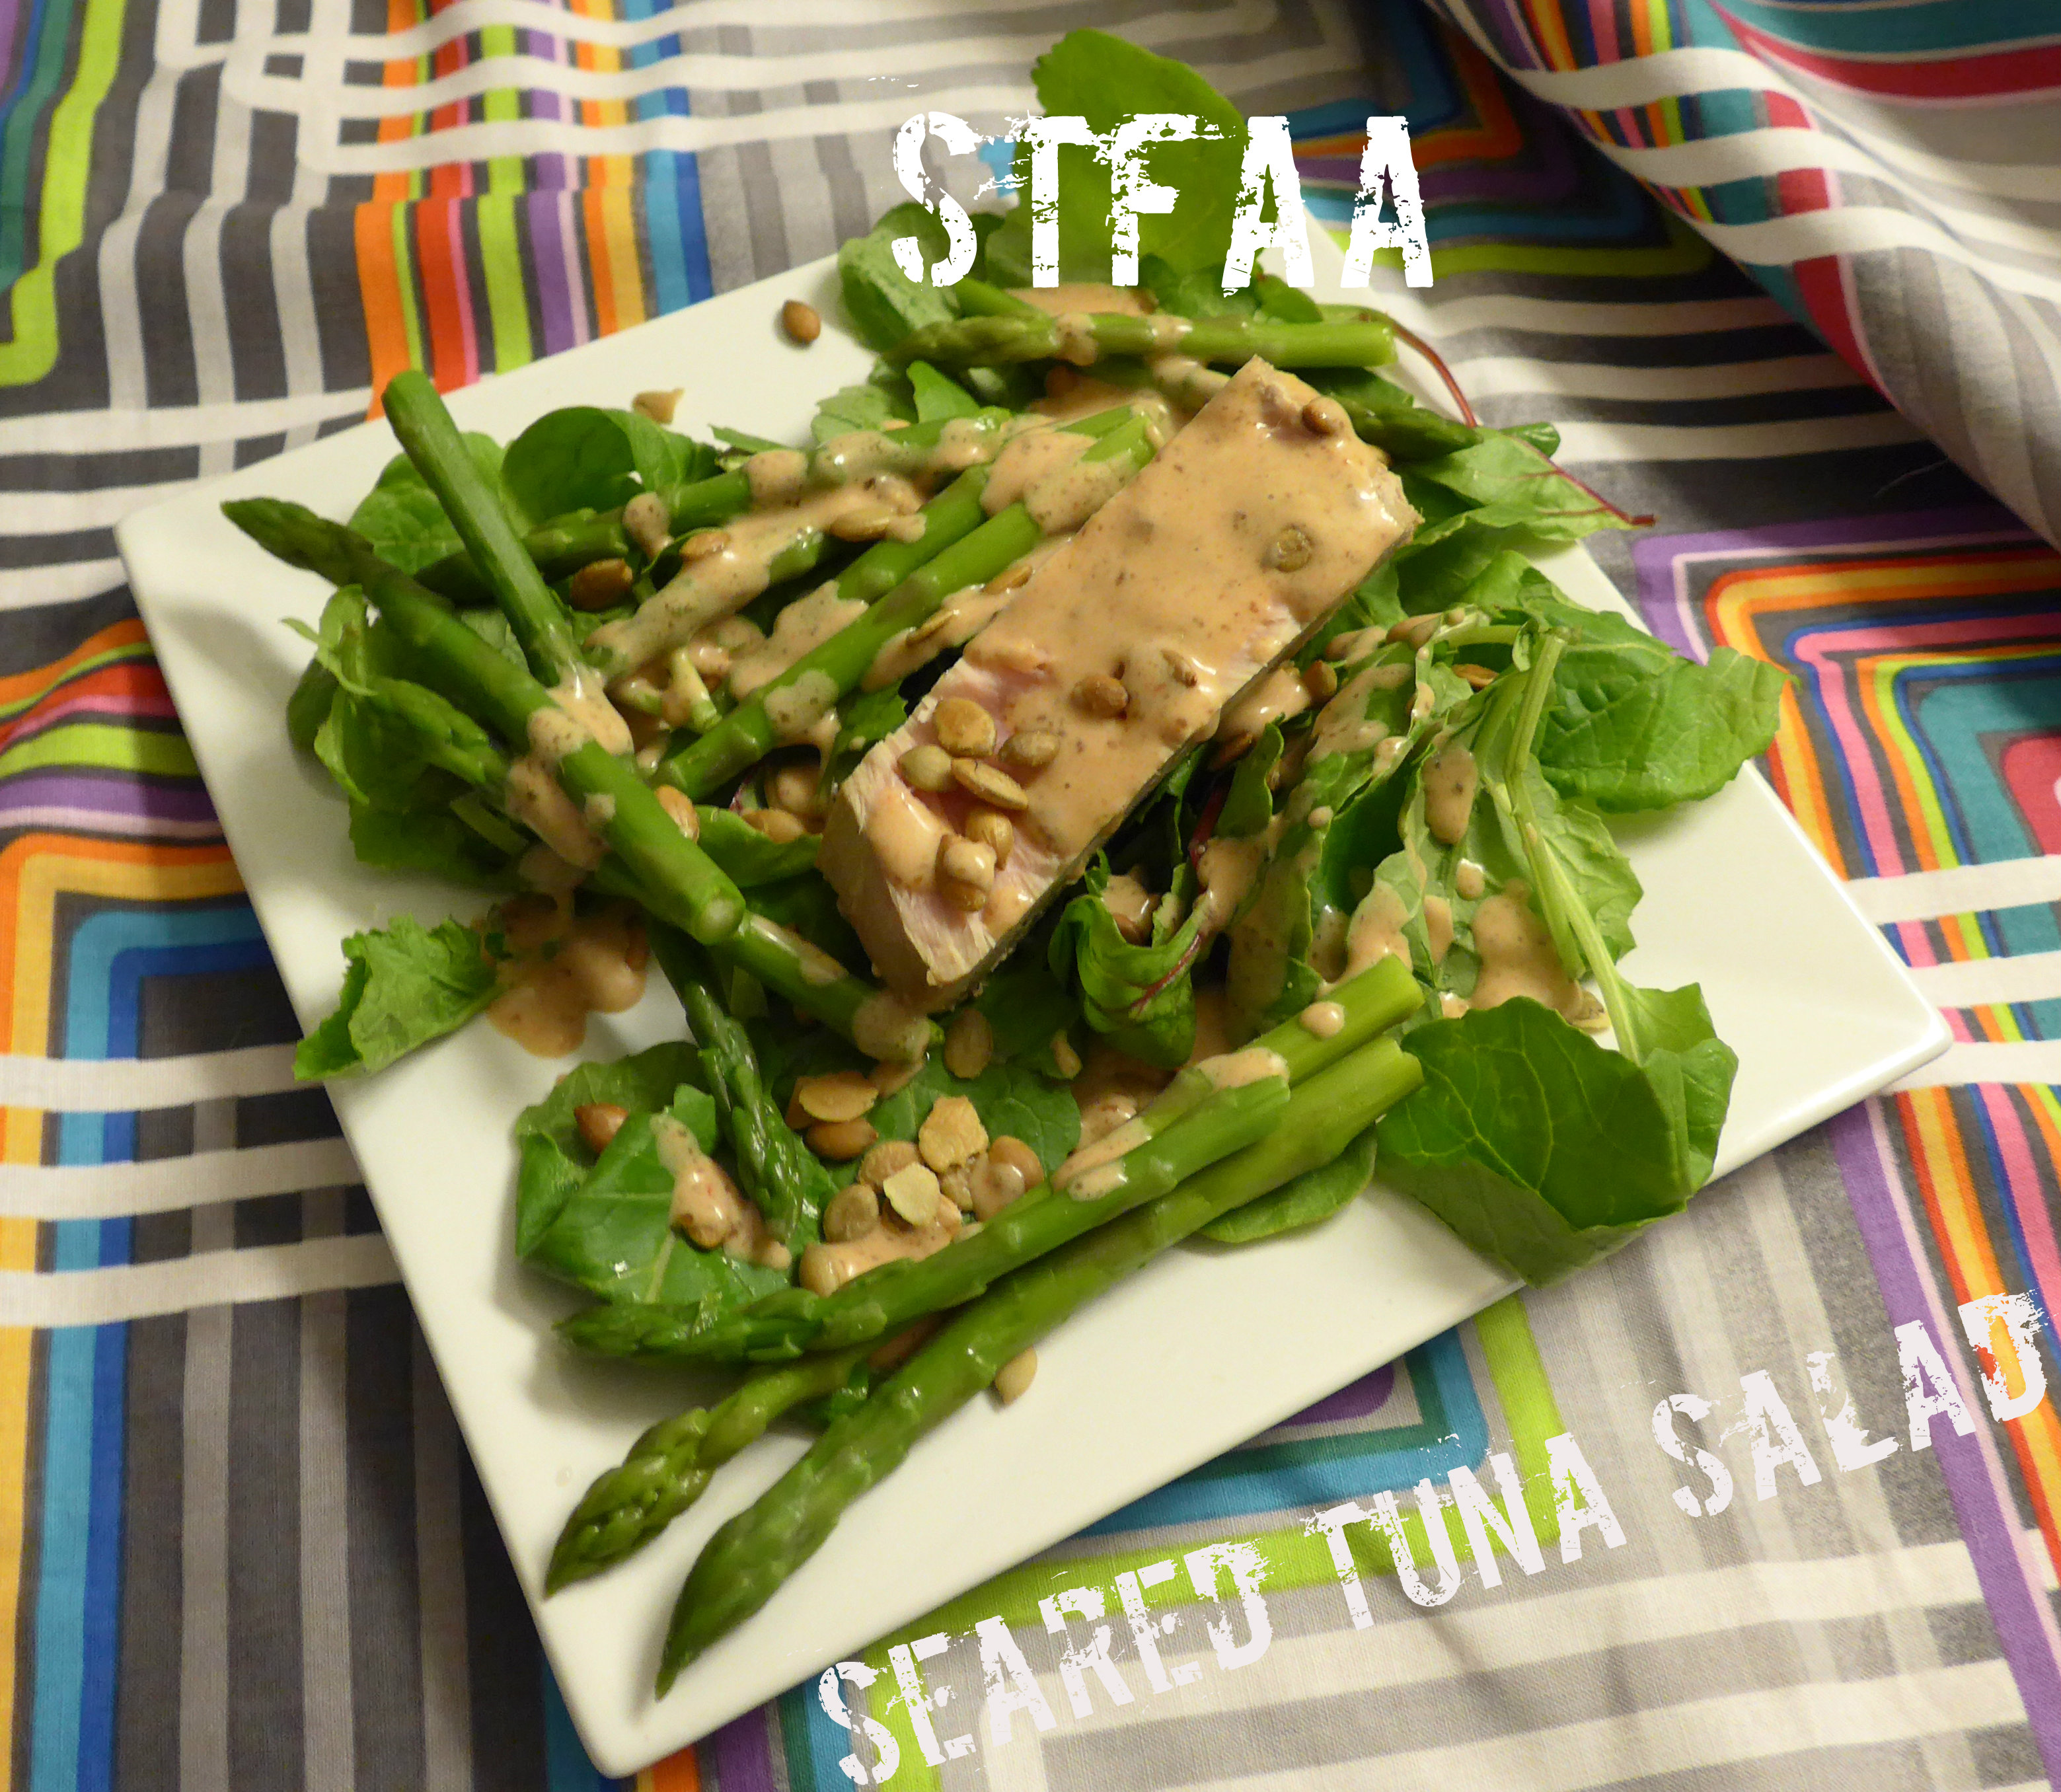
    Seared Tuna Steak Salad
    Seared Tuna Steak Salad

    This is one of those areas where Denise and I diverge — neither of us is allergic to fish, but I love tuna, and she hates it. Conversely, she loves haddock, and I, eh, can’t get excited about it. If you’re pro-tuna, this might be your recipe.

    The first time I had tuna — and liked it — was when I was in Greece in college. The whole experience was amazing, and so was the food. I had a simple salad one day, when I wasn’t feeling great and wanted something light. It was just lettuce, with canned tuna in oil and a few tomatoes. So simple, but so amazing. It was such a difference from the mayo-covered tuna salads I’d seen growing up, and it opened me up to tuna.

    I first tried fresh tuna in sushi, and it’s still one of my favorites. But ordering tuna at a restaurant made me  consider making it at home. Once you get more used to not cooking it all the way through (that dries it out!), it is SUPER EASY and seems pretty fancy.

    This dish actually came out of leftover seared tuna. Normally, I make tuna for just me, as an occasional indulgence. But my grocery store was having a sale on some great-looking frozen tuna steaks, so I thought I’d give it a whirl as a mid-week dinner for me and my boyfriend.  I cooked the fish and served it with steamed asparagus and bamboo rice — it was quick and easy, even though I got home late that night.

    I overshot the amount of fish I needed, though. I’ve never had a leftover tuna steak before! Turns out, fresh tuna also makes an amazing salad. THAT is the recipe you’re getting today. But feel free to just buy too much fish for one dinner and make this salad the next day. Just scale the marinade up.

    This recipe serves ONE. Scale up appropriately.
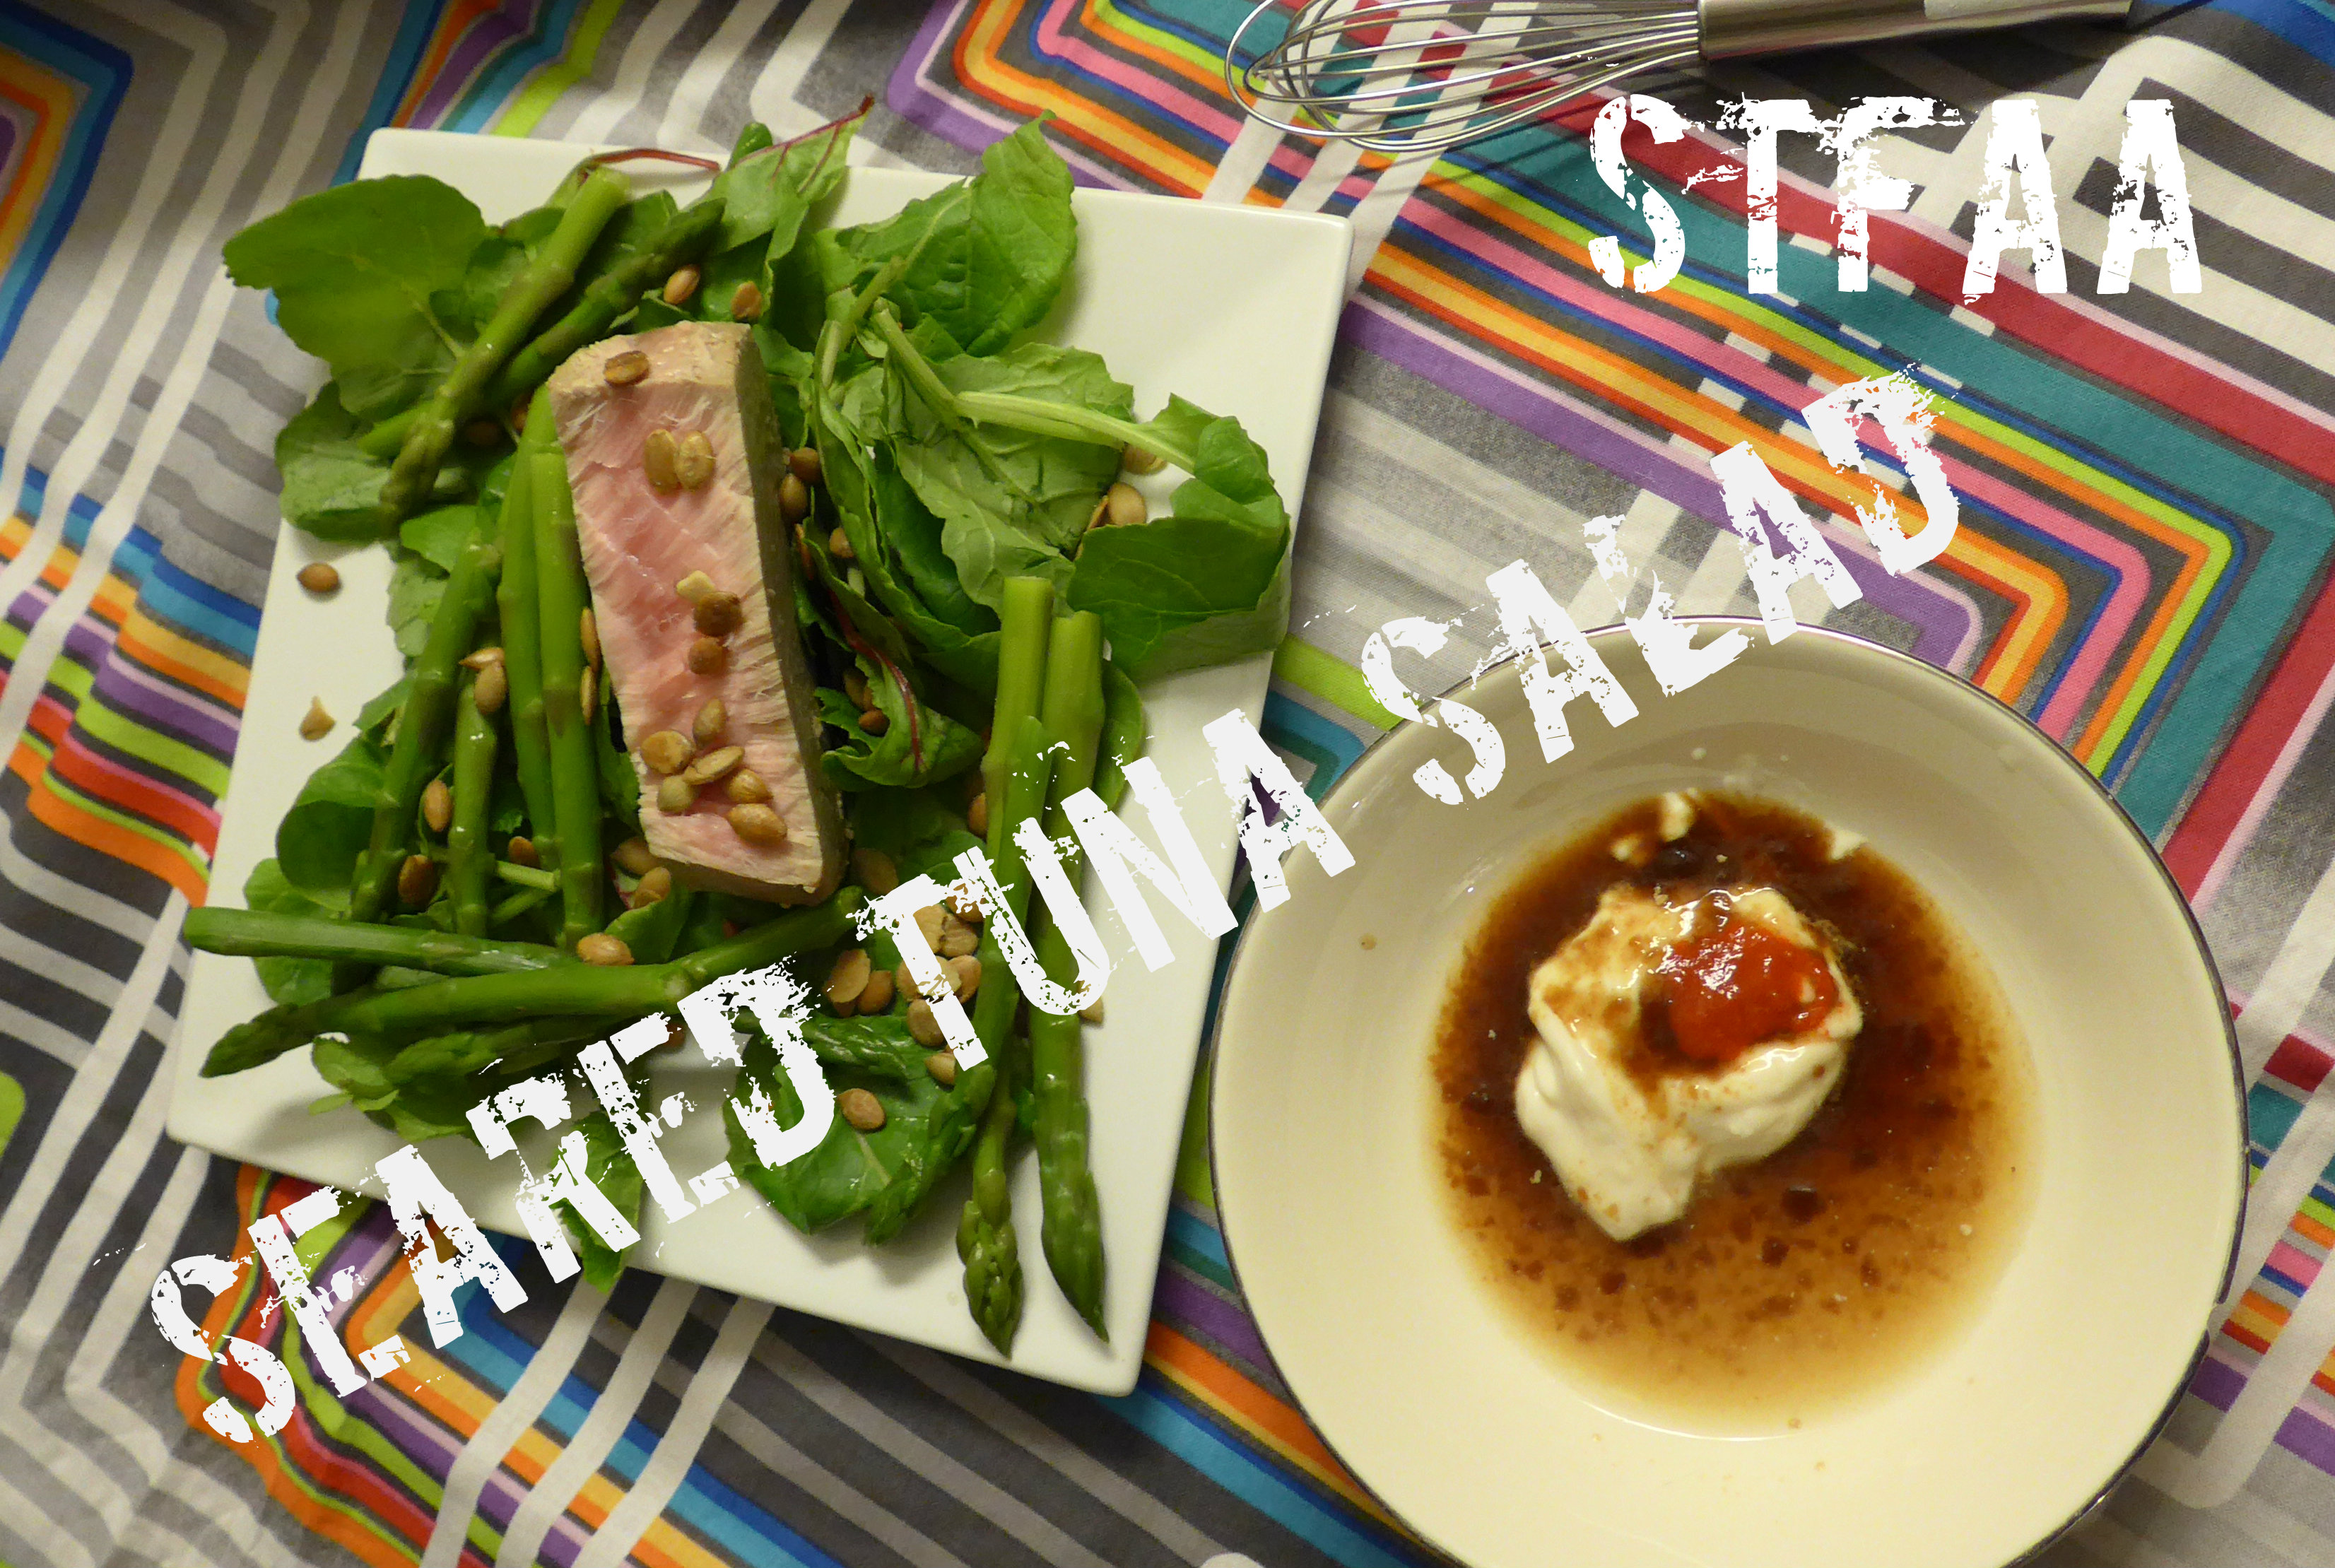
    Seared Tuna Salad with unmixed dressing
    Seared Tuna Salad with unmixed dressing

    Tuna Steak Salad

    • 1/3 lb. tuna steak, about 1 1/4 inch thick (the exact amount of tuna is up to you! But if your steak is substantially thicker or thinner, adjust your cooking time accordingly)

    Marinade

    • 1/4 cup rice wine vinegar (look for unsweetened, unseasoned, for the most flexible version)
    • 1/4 cup faux tamari, or gluten-free soy sauce
    • 1/4 teaspoon (generous) garlic powder (I used roasted, from Penzey’s, as it’s my new favorite)
    • 1/4 teaspoon powdered ginger

    Salad Ingredients

    • 10 stalks or so steamed asparagus
    • 1 cup mixed greens (I don’t like lettuce, so I used a mix of baby kale, baby Swiss chard, and baby spinach, but the crunch of lettuce would be great)
    • 1 Tablespoon of pumpkin seeds, roasted and salted

    Dressing

    If your fish is vacuum-packed, slit the packaging before you defrost it (put it on a plate first, of course) in the fridge. I usually take it out the night before and give it the night and day in the fridge.

    Marinate the fish for about 20 minutes, 10 minutes per side. If I’m serving the fish with rice, this is about the perfect cooking time for rice. The fish takes about 5 minutes to cook, so get everything else ready before you start the cooking.

    The salad is easy — steam the asparagus, heap it and the greens on a plate. Make the dressing by mixing all the ingredients together with a whisk or fork — taste and adjust the seasonings as needed. If you are using salted pumpkin seeds, you won’t need more salt. If you aren’t, you might want a dash of salt at the end.

    Heat a well-seasoned cast iron skillet over medium-high heat until it is good and hot. You are going to sear the fish quickly, so make sure the pan is hot. If it’s a well-seasoned pan, you won’t need to add more oil.

    Sear the first side of the fish. For cooking steaks an inch and a quarter thick, 3 minutes the first side and 2 minutes the second should be about perfect. Baste it with the marinade right before you flip it. Because tuna changes color as it cooks, you can watch the fish to get the timing correct — watch the cooking up the side and flip it when it’s cooked about 1/4 of the way through.  Then take it off when it’s 1/4 of the way through the other side. The center of your fish should be warm, but pink.  That is perfect tuna.

    Add the tuna to the salad, sprinkle the salad with pumpkin seeds, and drizzle on the dressing.

    Enjoy!


  • Chopped Cobbish Salad in a Jar, gluten-free, allergy-friendly

    Chopped Cobbish Salad in Jars
    Chopped Cobbish Salad in Jars

    This recipe comes from two sources. First, a salad I read about on a menu and was really excited to try — until I was informed by our knowledgeable server that all the sauces and dressings at the restaurant were unsafe for me. How is it possible that not a single sauce was allergy-friendly? I don’t know. I was grateful to be steered away from food that would make me ill, and I ate my boring but properly cooked plain food instead. But I was still thinking about it, and figured I could absolutely whip up an awesome chopped salad. Secondly, after all the ingredients were chopped, it was so gorgeous that I thought I could use the “salads in mason jars” technique that is all over the food internets to make a) better photos, and b) lunch.

    Keeping salad in a mason jar allows you to put the dressing on the bottom and layer the ingredients so they do not get smushed or soggy. Layer something that won’t absorb the dressing and get soggy on the bottom — I put the chicken down there. Carrots, celery, corn, bacon on top of that. Avocado under tomato (so the acid would keep the avocado green), a sprinkle of Daiya cheddar shreds (absolutely optional), and some sprouts on top. Instead of croutons, I’ve used roasted fingerling potato slices. I served it all over spinach, but use whatever greens you prefer. The dressing in this case is a super simple cilantro-lime vinaigrette, using frozen chopped cilantro (but use fresh if you’ve got it!).

    Chop everything up. Add or replace ingredients as you choose — go for color. Think about your layers a bit, but layer it into jars and go to town. Lunch for days, in the time for one meal prep. It’s color, freshness, and portable flavor. This recipe makes about 4 pint jar salads (with the greens kept separate). You will likely have leftover potatoes and chicken.

    Plated salad over spinach
    Plated salad over spinach

    Chopped Cobbish Salad, in a jar, gluten-free, allergy-friendly

    • 4 teaspoons chopped cilantro (thawed, if previously frozen)
    • 2 teaspoons dijon mustard
    • 4 Tablespoons lime juice
    • 6 Tablespoons best-quality olive oil
    • 1/4 teaspoon salt
    • olive oil to coat
    • seasoned salt or spice mix of your choice
    • fingerling or other small potatoes, sliced thin or chopped small
    • chicken breast
    • mixed herb seasoning of your choice
    • 6 slices bacon, cooked
    • 3 carrots, peeled and chopped small, or shredded
    • 3 stalks celery
    • 1 ear corn, cooked and removed from cob, or 1/2 cup defrosted
    • grape or cherry tomatoes, sliced in half
    • 1 avocado, cubed
    • sprouts
    • spinach or other greens
    Can you see why this needed to be layered into a jar?
    Can you see why this needed to be layered into a jar?

    First, cook your cooked ingredients.

    Roasted potatoes for “croutons”: Pre-heat oven to 425°F. Wash and slice. Toss potatoes with olive oil and sprinkle with seasoned salt or other spice of your choice. Bake 20 minutes or until crispy. I can’t tell you how many of these to make — I always make a full pan because they make great snacks.

    Cook your chicken breasts. I prefer to grill them on my little electric grill, but you can always use this method.

    Cook your bacon until crispy, drain and crumble.

    Okay. Now on to the vegetables. You’re looking for about 1/2 a cup of each vegetable, divided up into 4 servings. Given that the corn and tomatoes are sort of pre-sized, aim to get everything else between those two sizes.

    Now mix up your dressing — whisk or put all the ingredients in a jar and shake. Add about 1-2 Tablespoons of dressing to each jar, depending on how much dressing you like (and remember you’ll be putting this over additional greens). Then layer in the rest of the food. I put the sprouts on top so I could pack them in. Cap it, put it in the fridge, and look forward to your next meal. When ready to serve, I tipped the jars over and shook them a little. Put the greens down on a plate and pour over the rest of the goodies. I pulled the sprouts aside so that I could use them to swipe the rest of the dressing out of the jar.

    The longest I’ve kept a jar salad around was 2 days — they might last a bit more, but I haven’t tried it yet.

    Jars flipped upside down to let the dressing mix in
    Jars flipped upside down to let the dressing mix in
  • Chimichurri Spiced DIY Tater Tots


    Chimichurri Spiced DIY Tater Tots
    Chimichurri Spiced DIY Tater Tots

    Here’s another more adult tater tot flavor, because I love cilantro and I made a whole lot of chimichurri sauce by accident, so this seemed like a good way to use up the extra. Again you could probably pan fry these instead of baking them, but baking seems a bit easier to me.

    Chimichurri Spiced DIY Tater Tots

    Chimichurri sauce:

    • 2 cups of tightly packed chopped cilantro
    • 2 garlic cloves
    • 1/4 cup of olive oil
    • 1/4 cup of white wine vinegar
    • 1 teaspoon of Adobo seasoning – optional (If you don’t have Adobo seasoning or you don’t have a safe version, mix 1/8 cup of paprika, 1 1/2 Tablespoons of ground black pepper, 1 Tablespoon of onion powder, 1 Tablespoon of dried oregano, 1 Tablespoon of ground cumin, 1/2 Tablespoon of ground chipotle, and 1/2 Tablespoon of garlic powder, this makes half a cup of seasoning)
    • salt to taste

    Put all the ingredients in the blender and puree it. You may not use all of it in this recipe. Marinate meat in it or coat vegetables with it and grill it or roast it, or put it in rice to flavor the rice. If you are worried you can’t use it all up, put it in an ice cube tray, freeze it, and store the cubes in a zip top bag in the freezer until you have a use for it.

    Tater Tots:

    • 4 large potatoes (I used russet)
    • 1/4 cup of Chimichurri sauce (see above)
    • safe oil in a mister to grease pan and tater tots.

    Preheat your oven to 400°F.  Peel and wash your potatoes. Place the potatoes on a small baking sheet.  Bake the potatoes for about an hour.

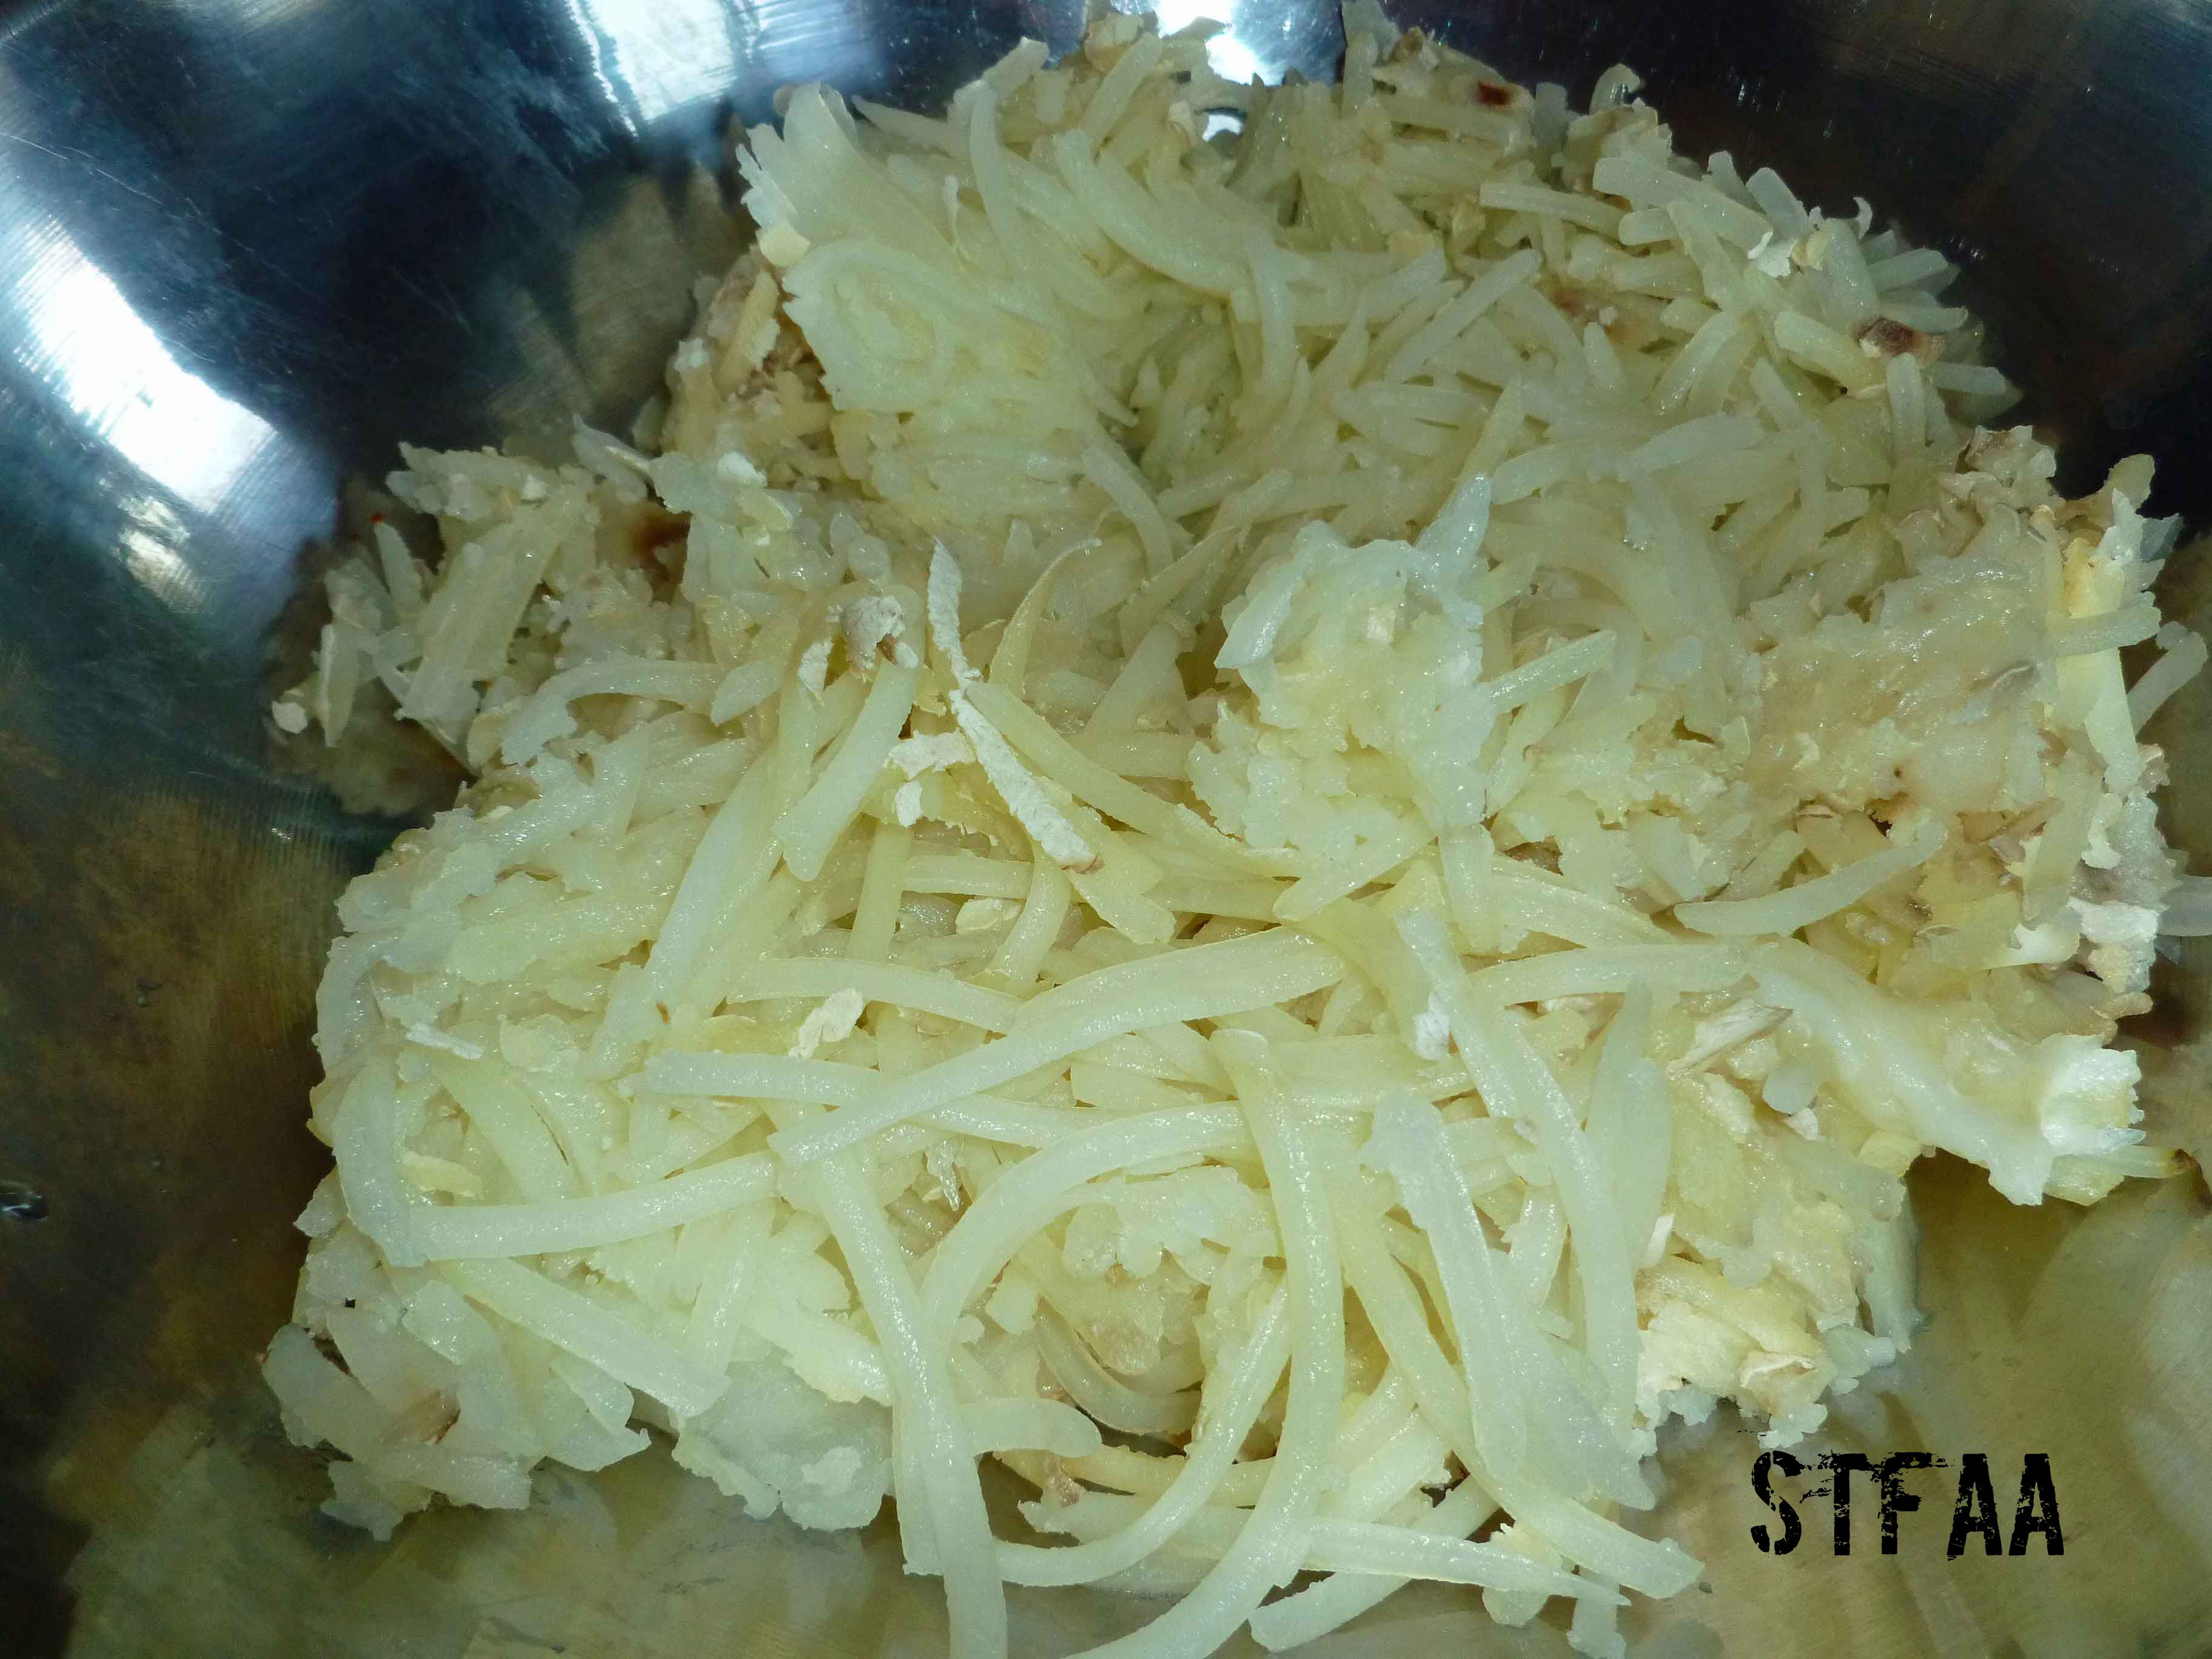
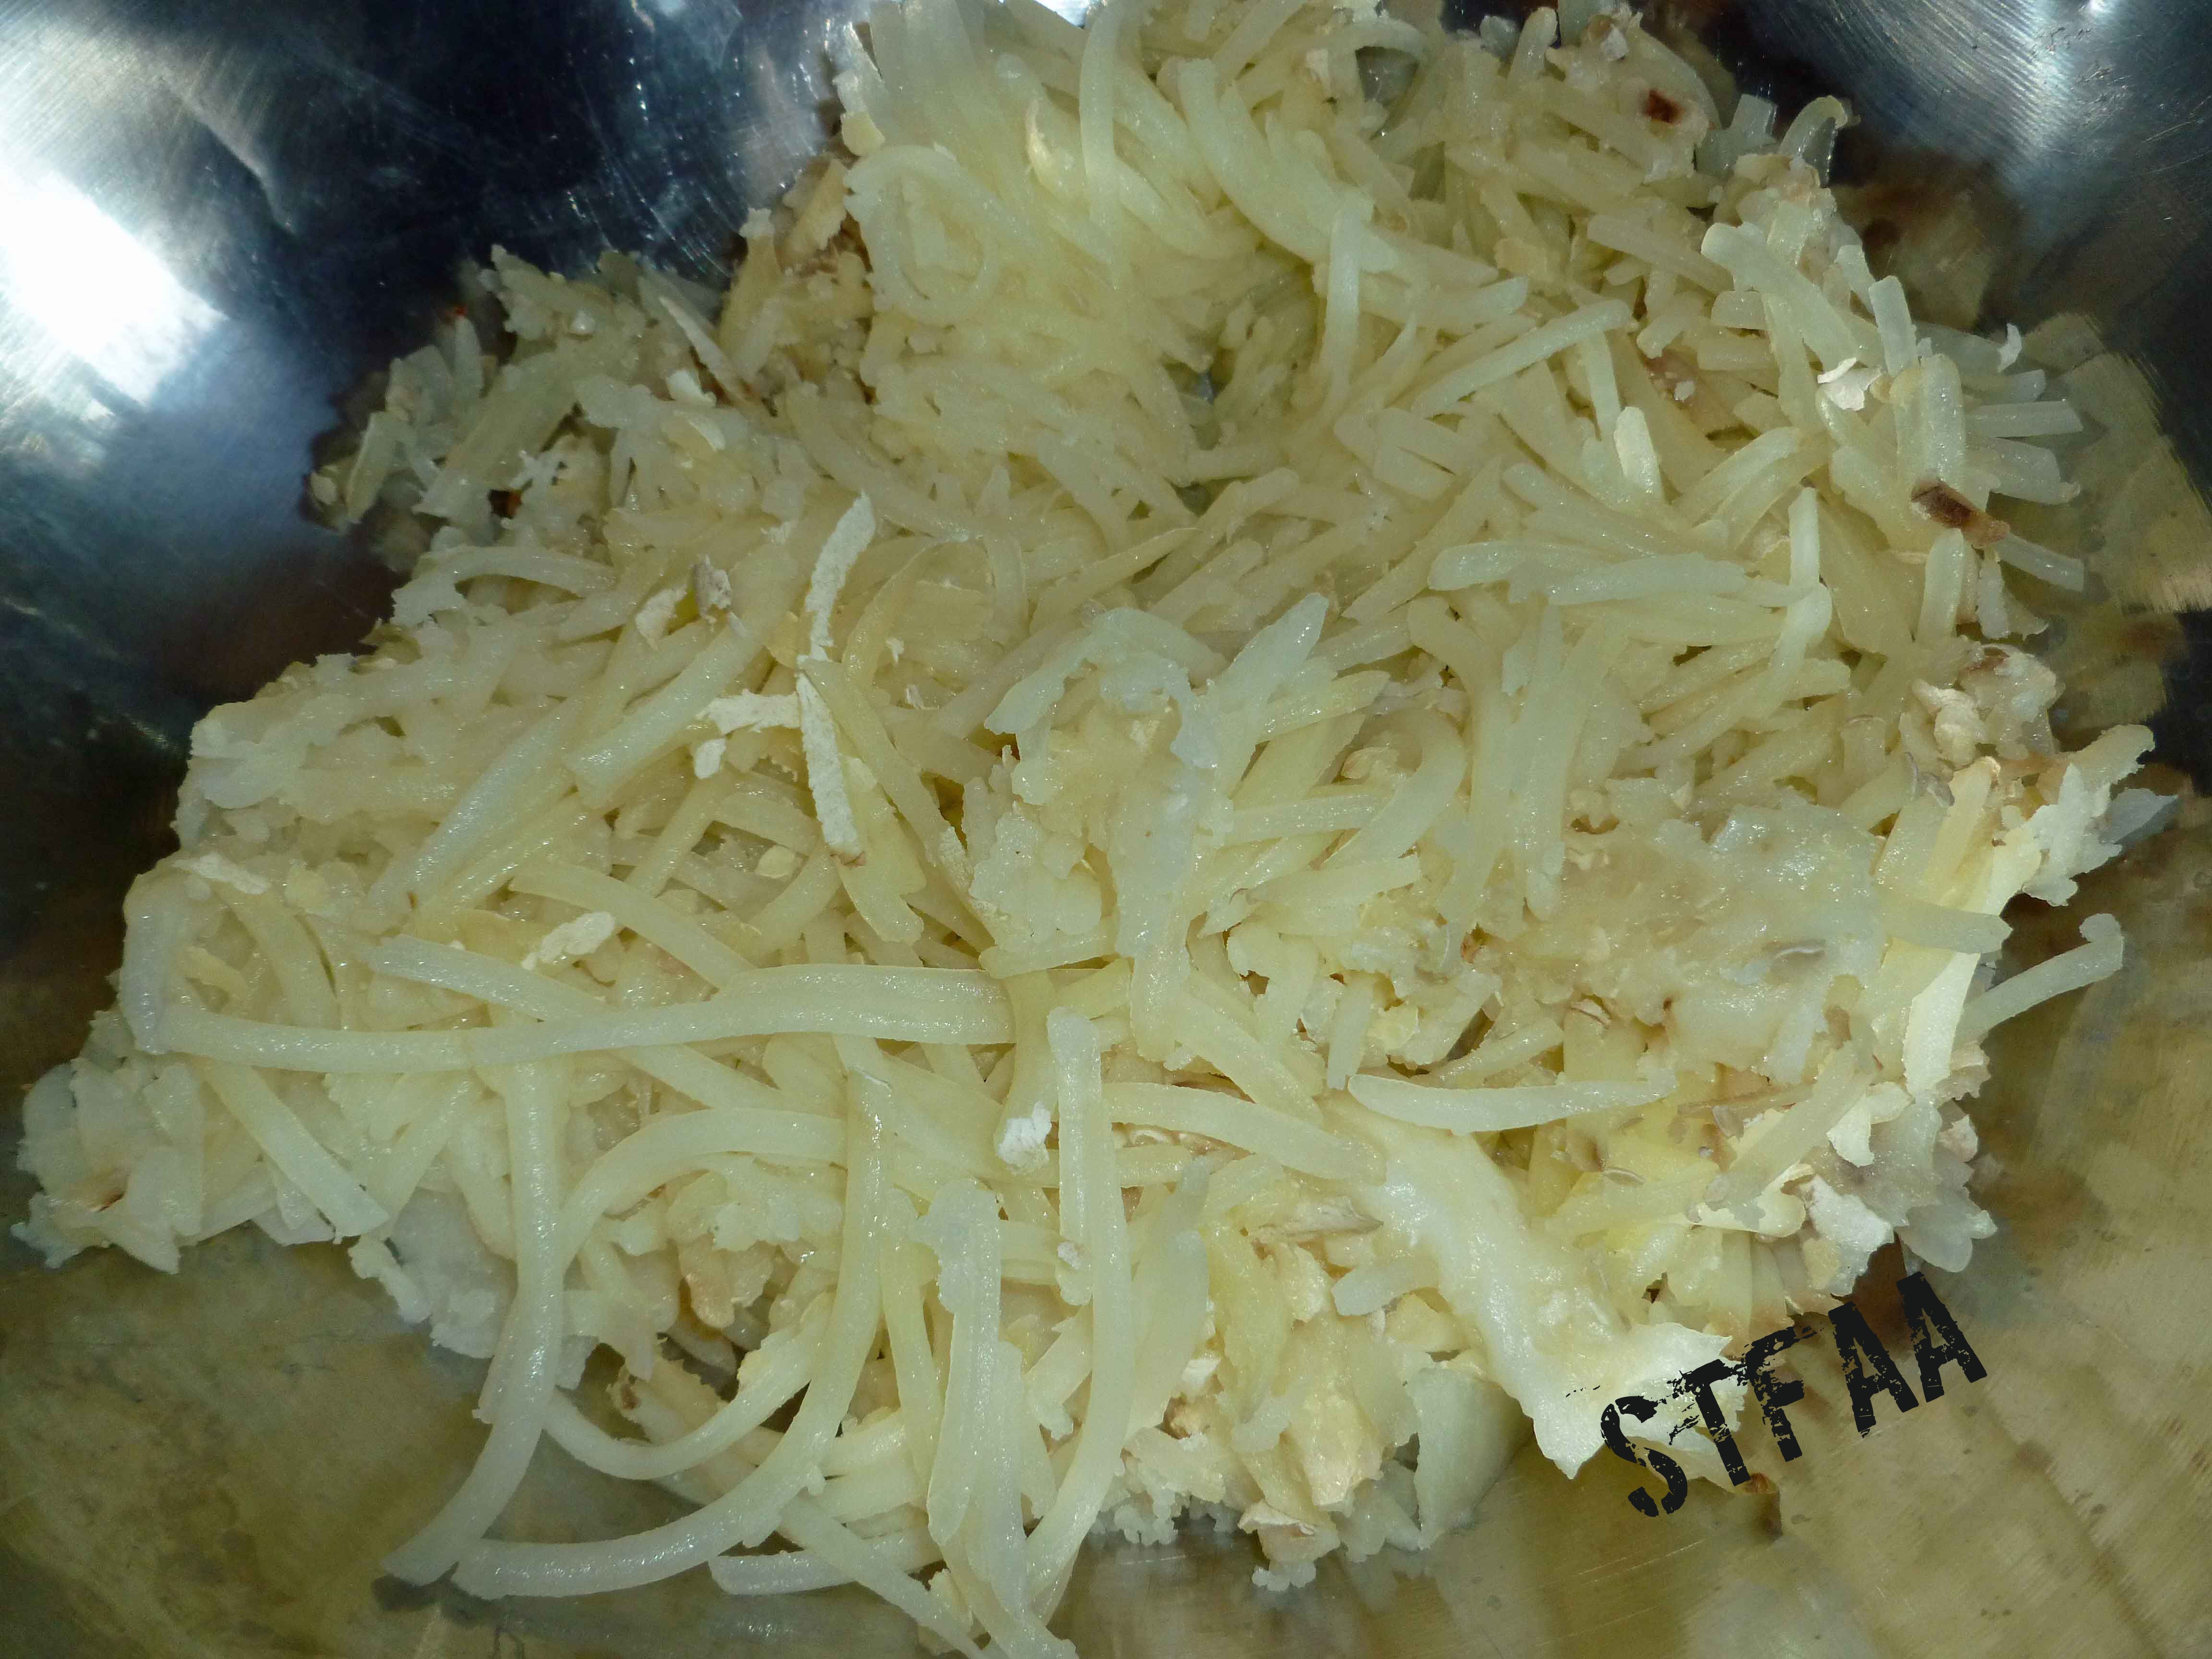
    When the potatoes are ready to come out of the oven, remove the potatoes and turn the temperature on the oven to 425°F.  If you’re using a large hand grater, you need to wait until the potatoes are cool so you don’t burn your fingers. Since I was using the grating blade on my food processor to grate the potatoes, I grated them while they were still hot. I sliced them lengthwise just enough to get them in the food processor, and grated them up.

    Grated potato after baking
    Grated potato after baking

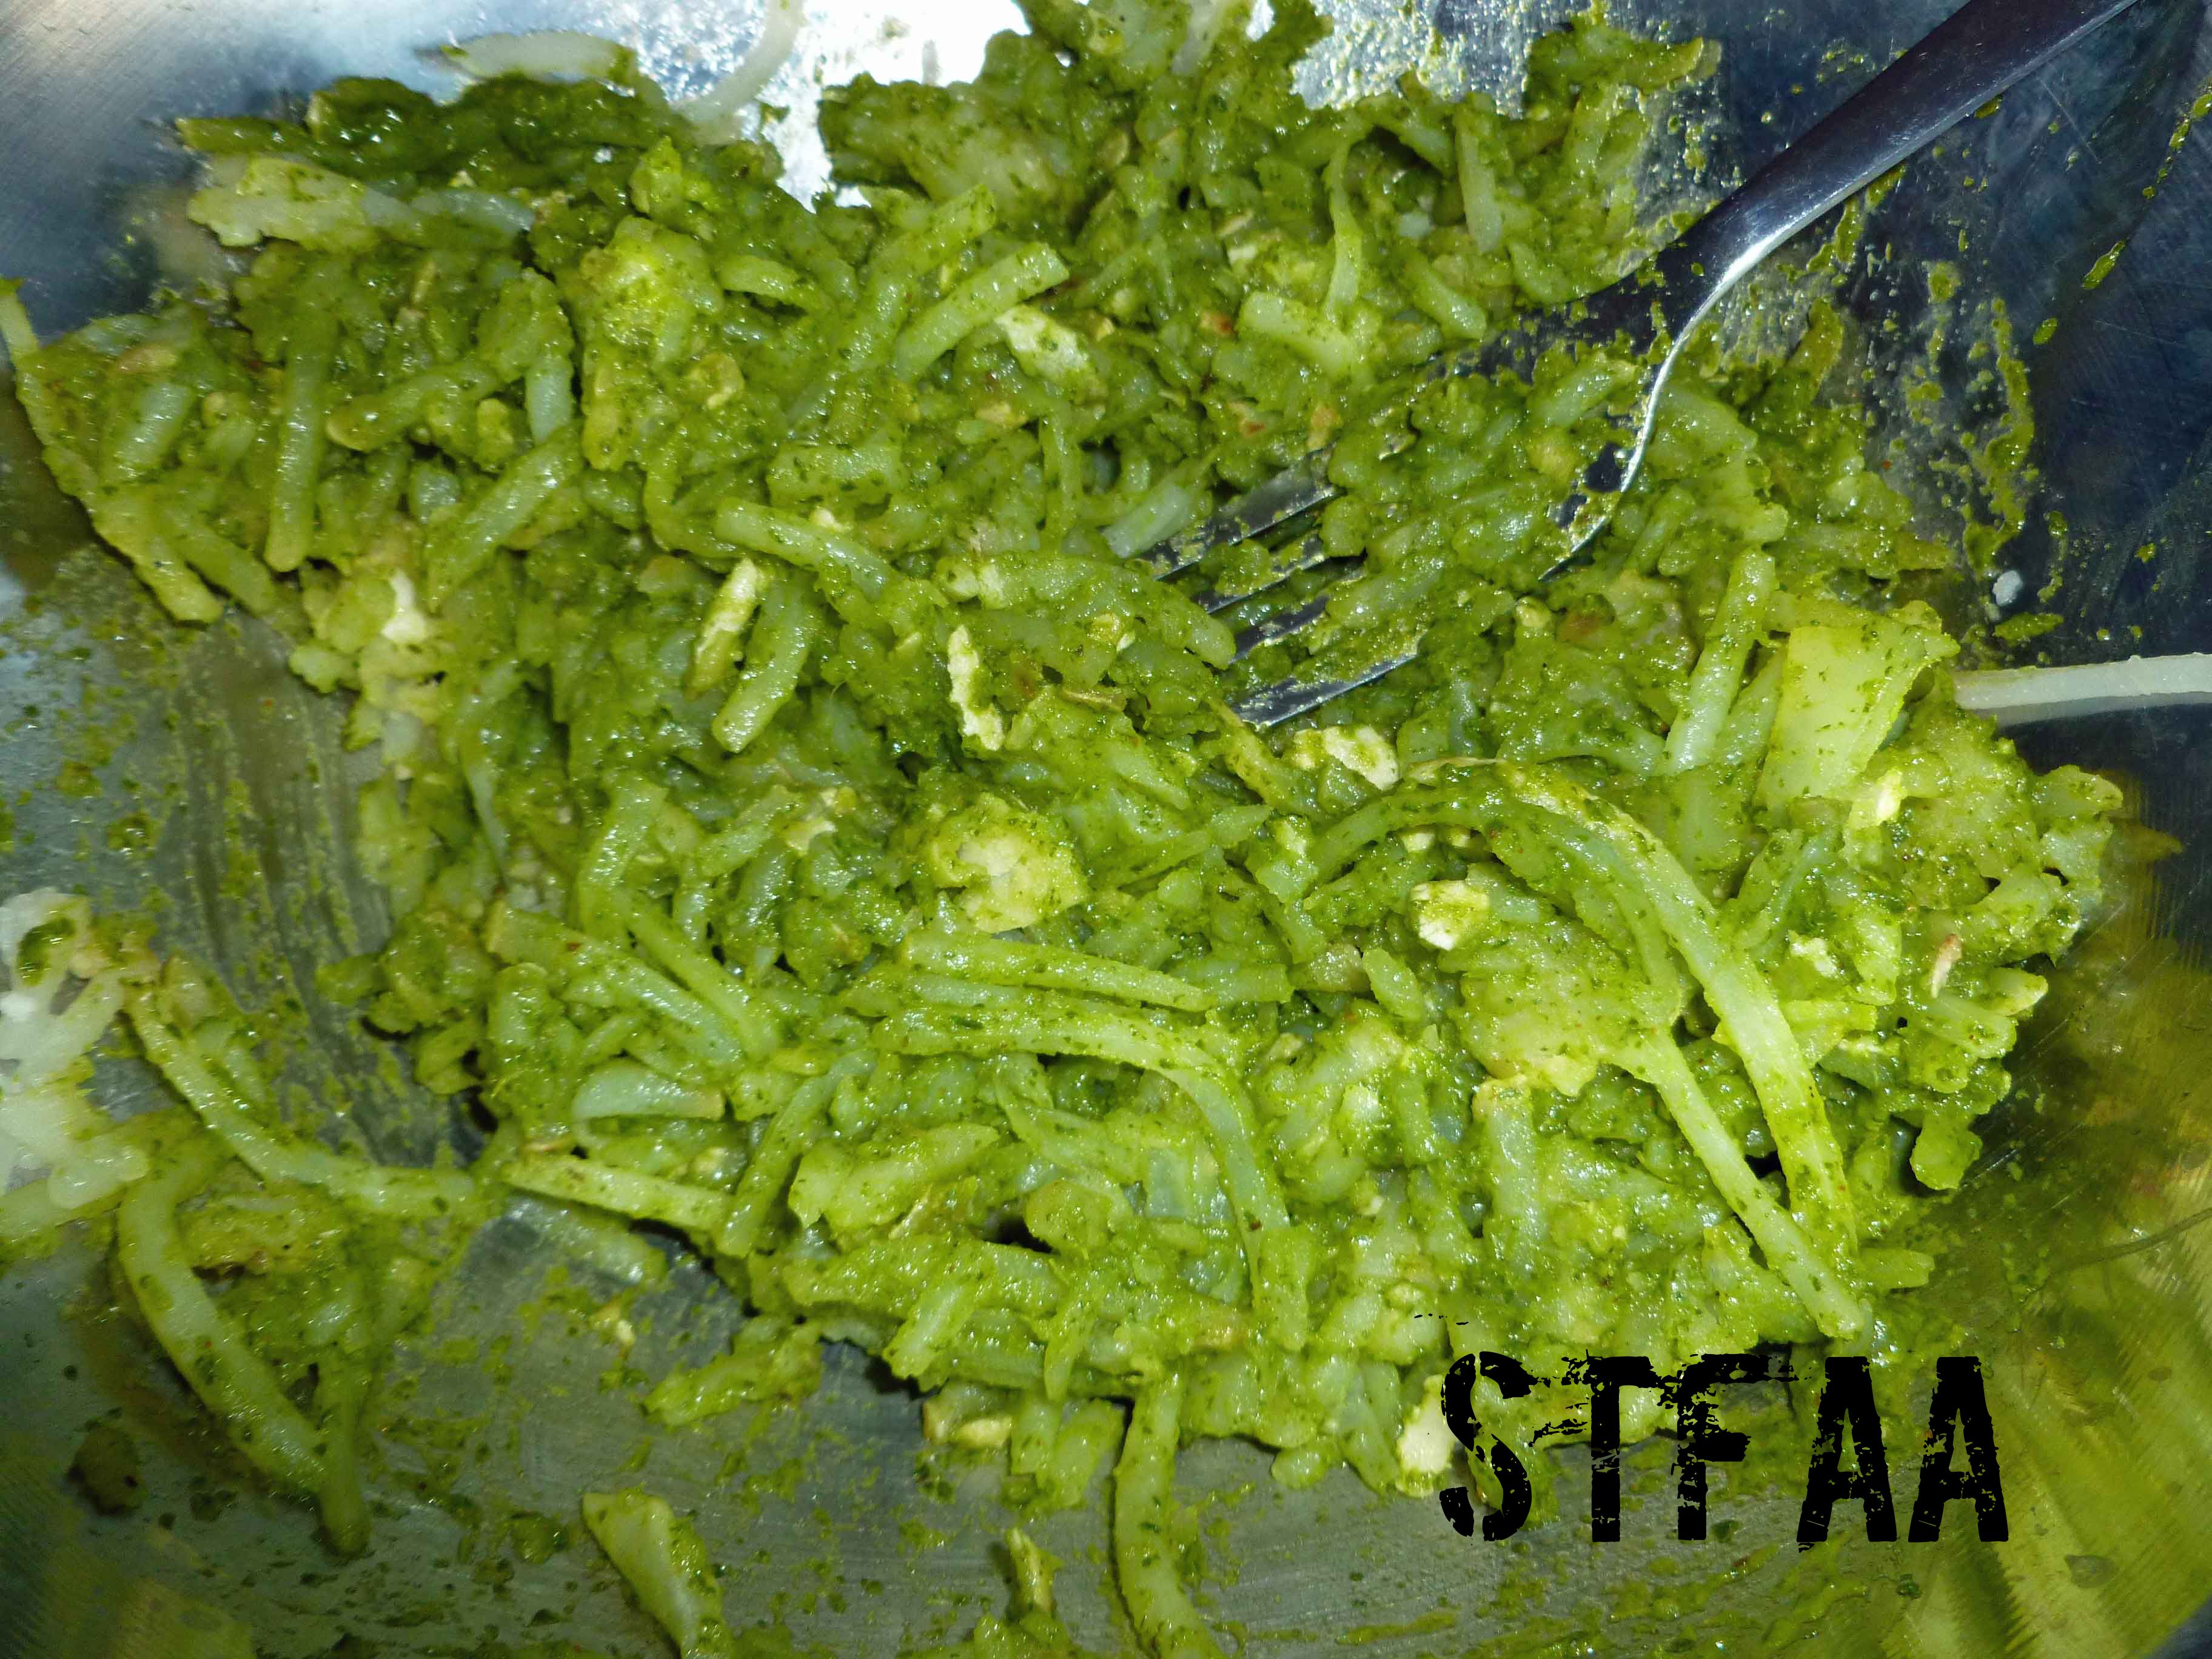
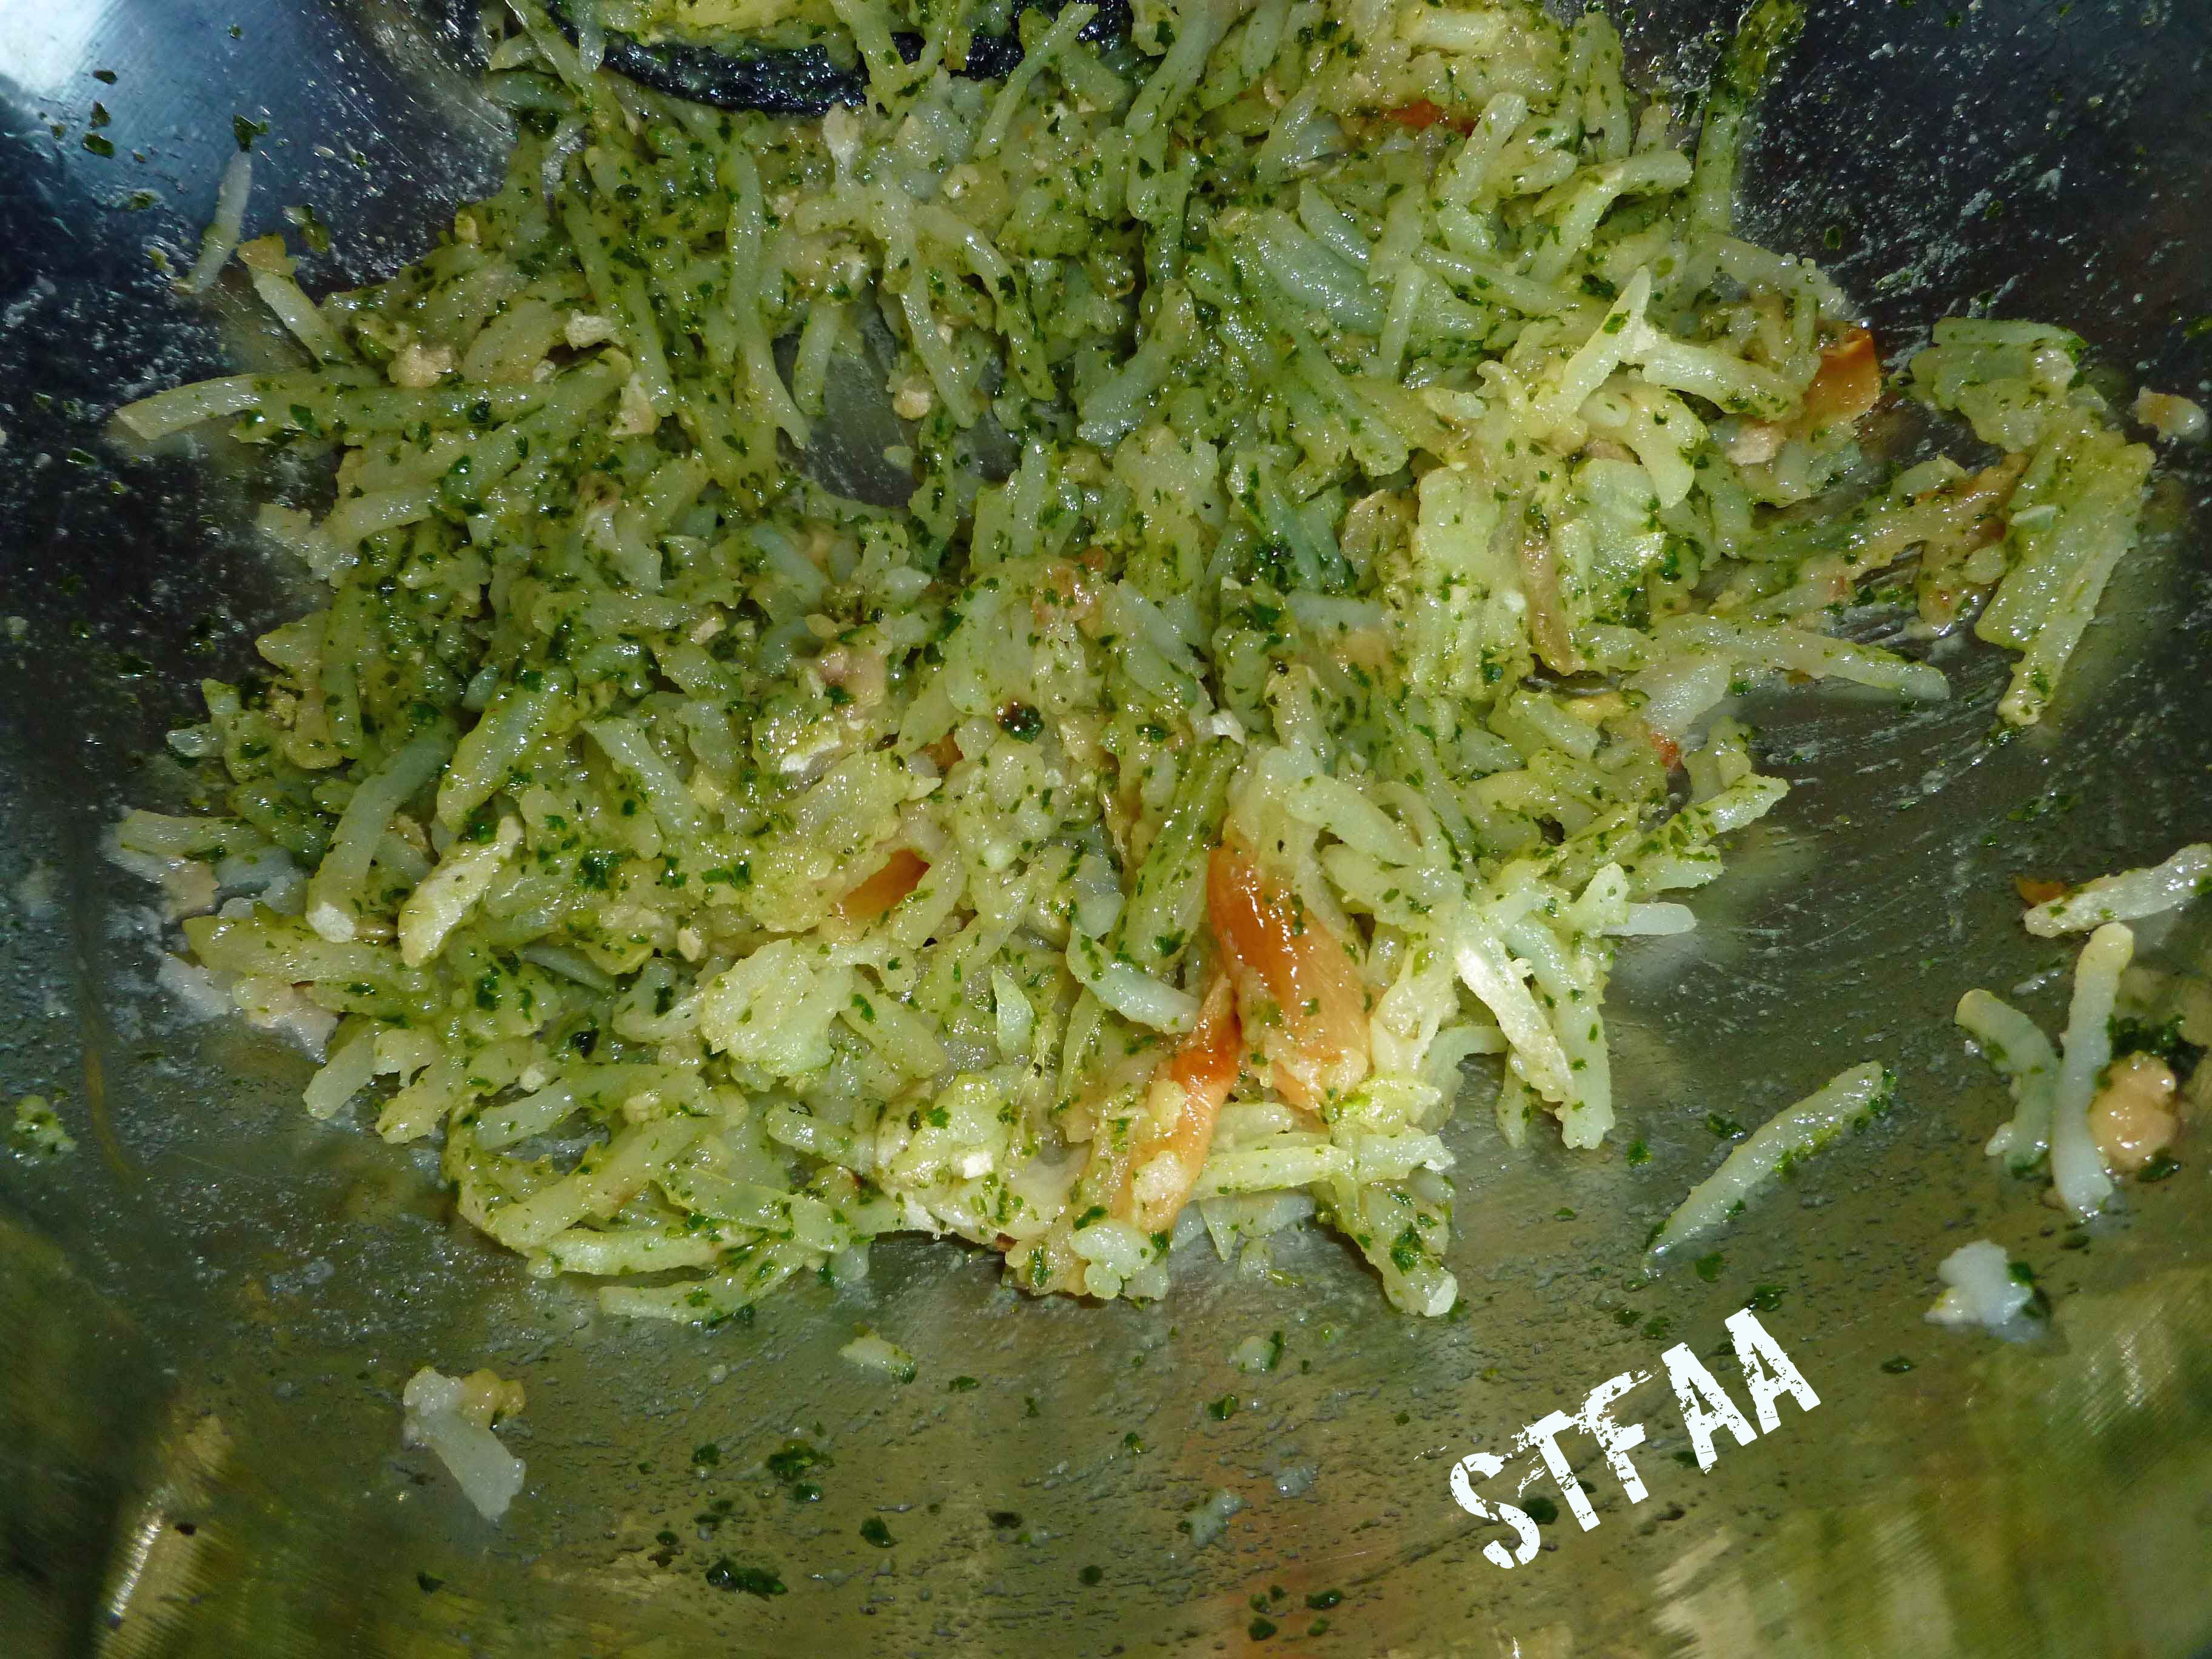
    Some of the grated pieces may be too long, Feel free to chop them up a bit either with a knife or a potato masher.  When the pieces are small enough for you, mix the chimichurri sauce into the potatoes until they are well combined.

    Potato and chimichurri sauce mixture
    Potato and chimichurri sauce mixture

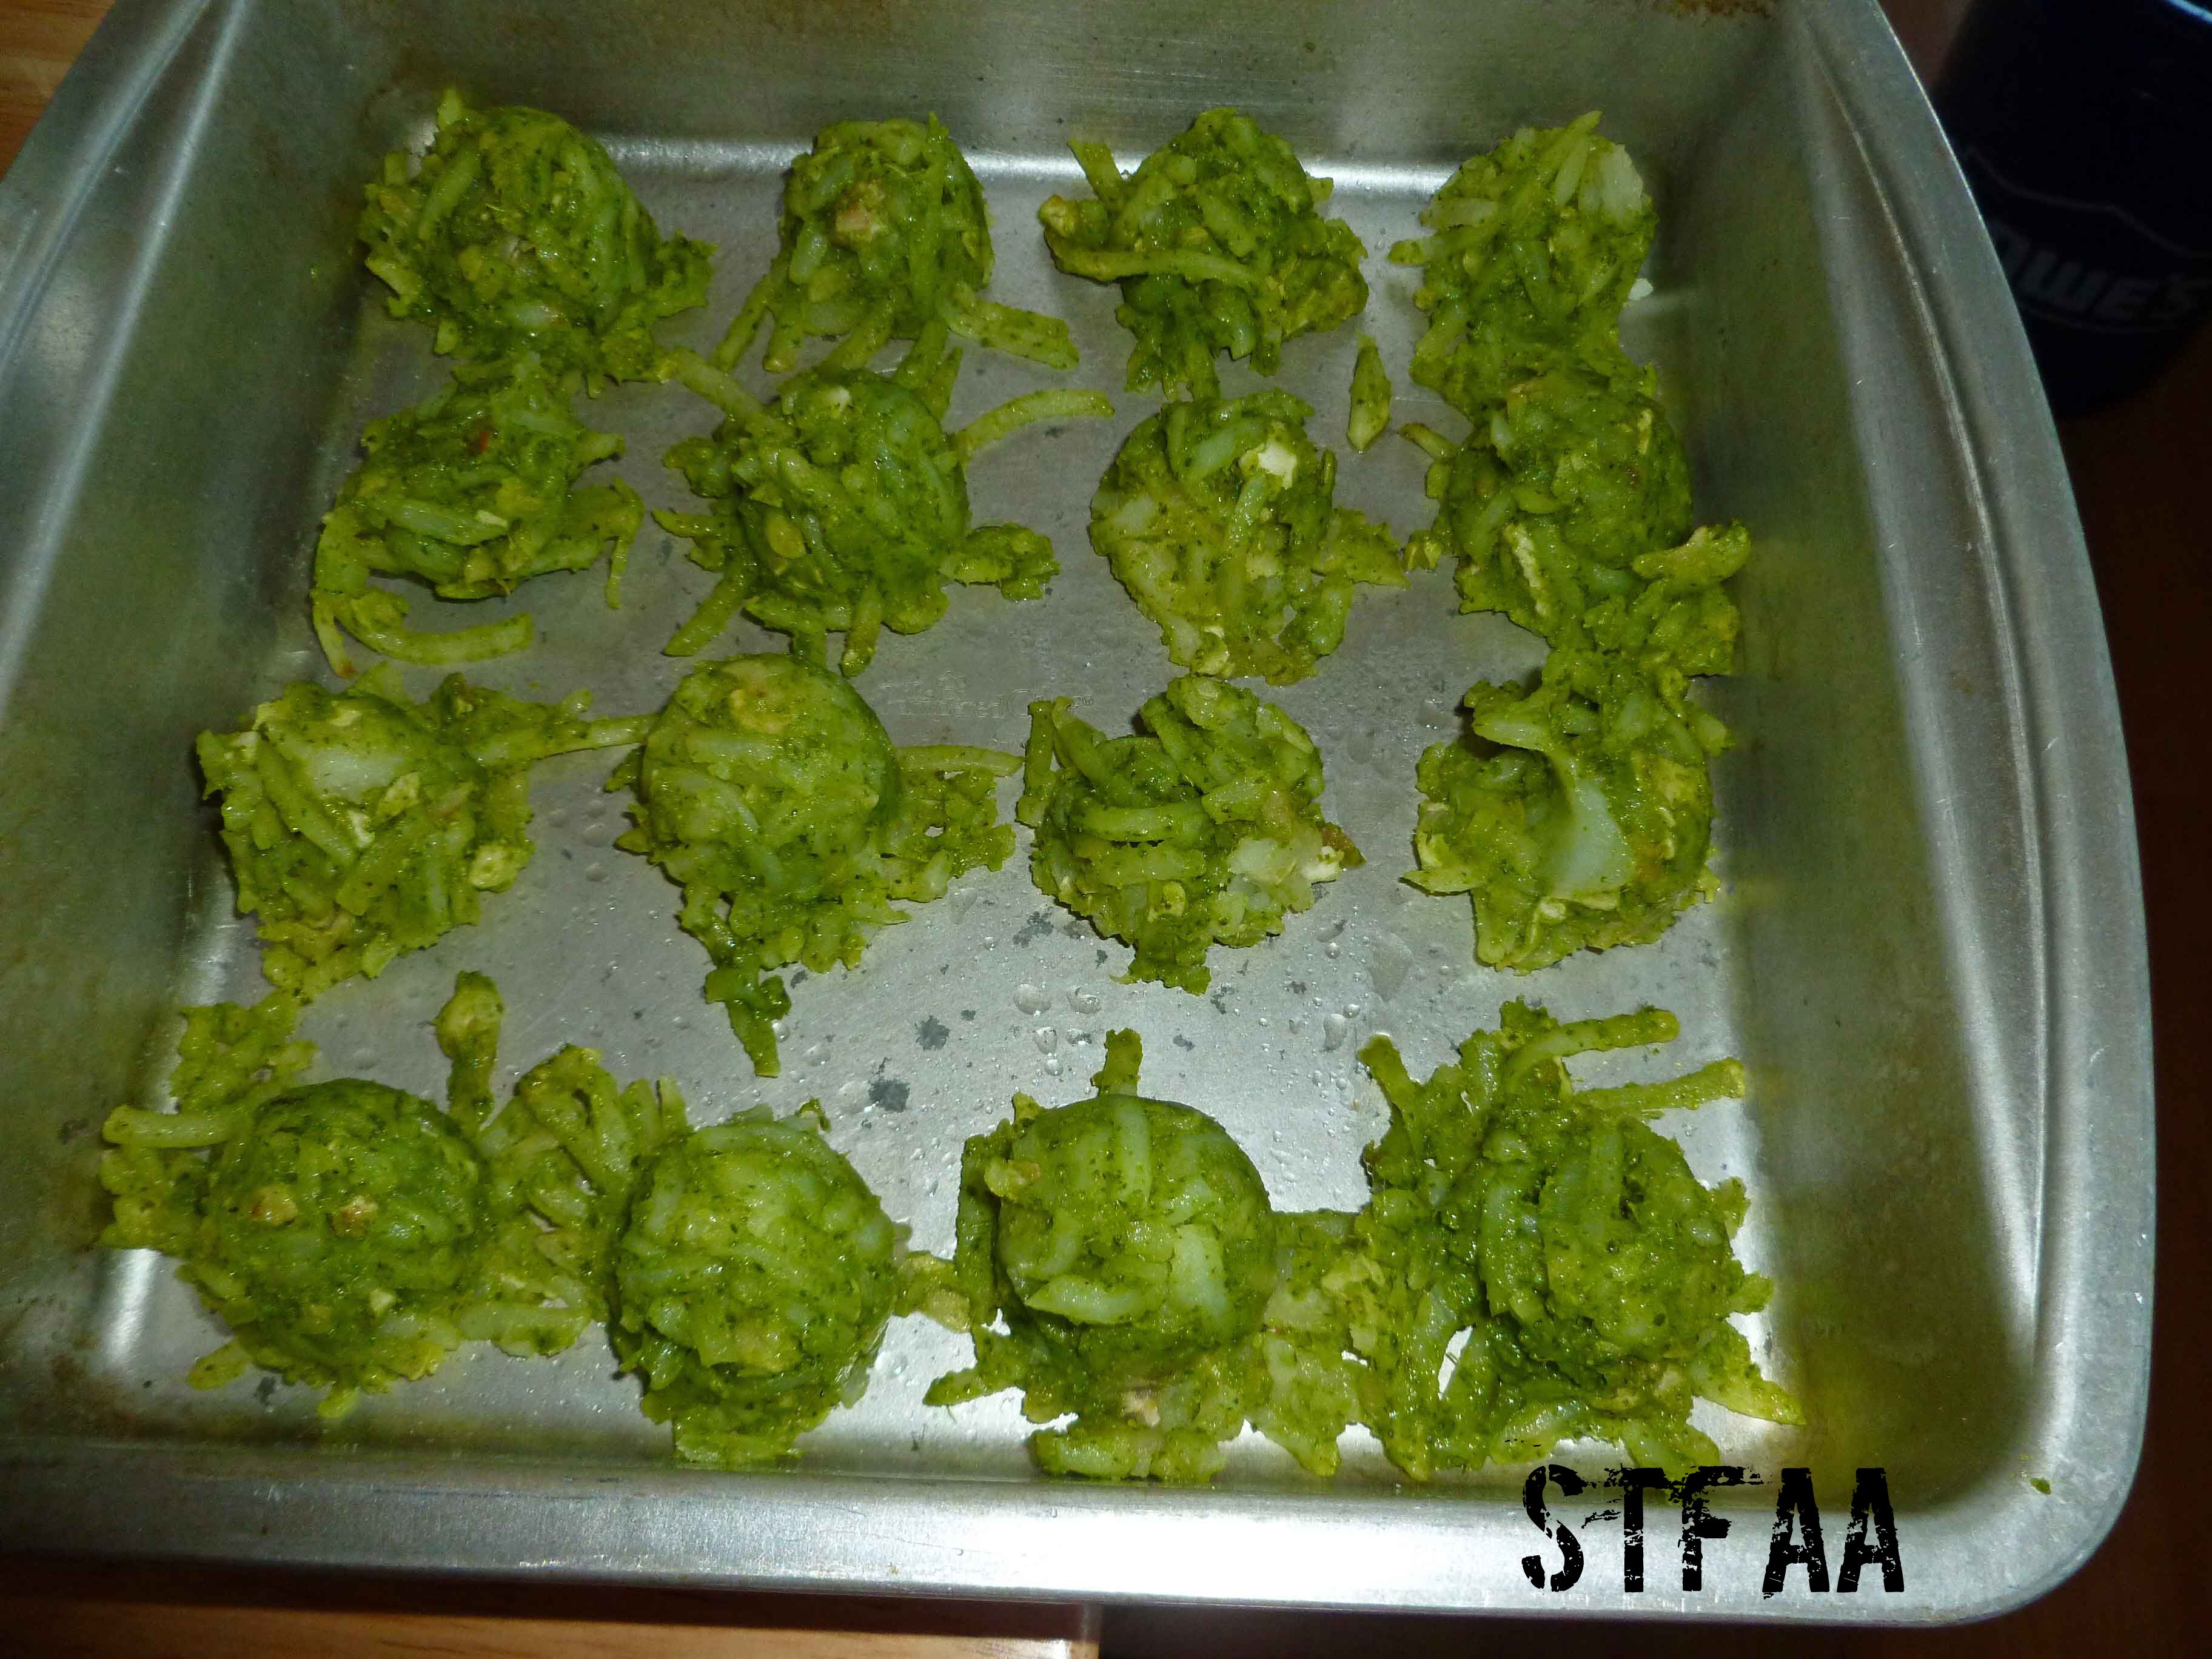
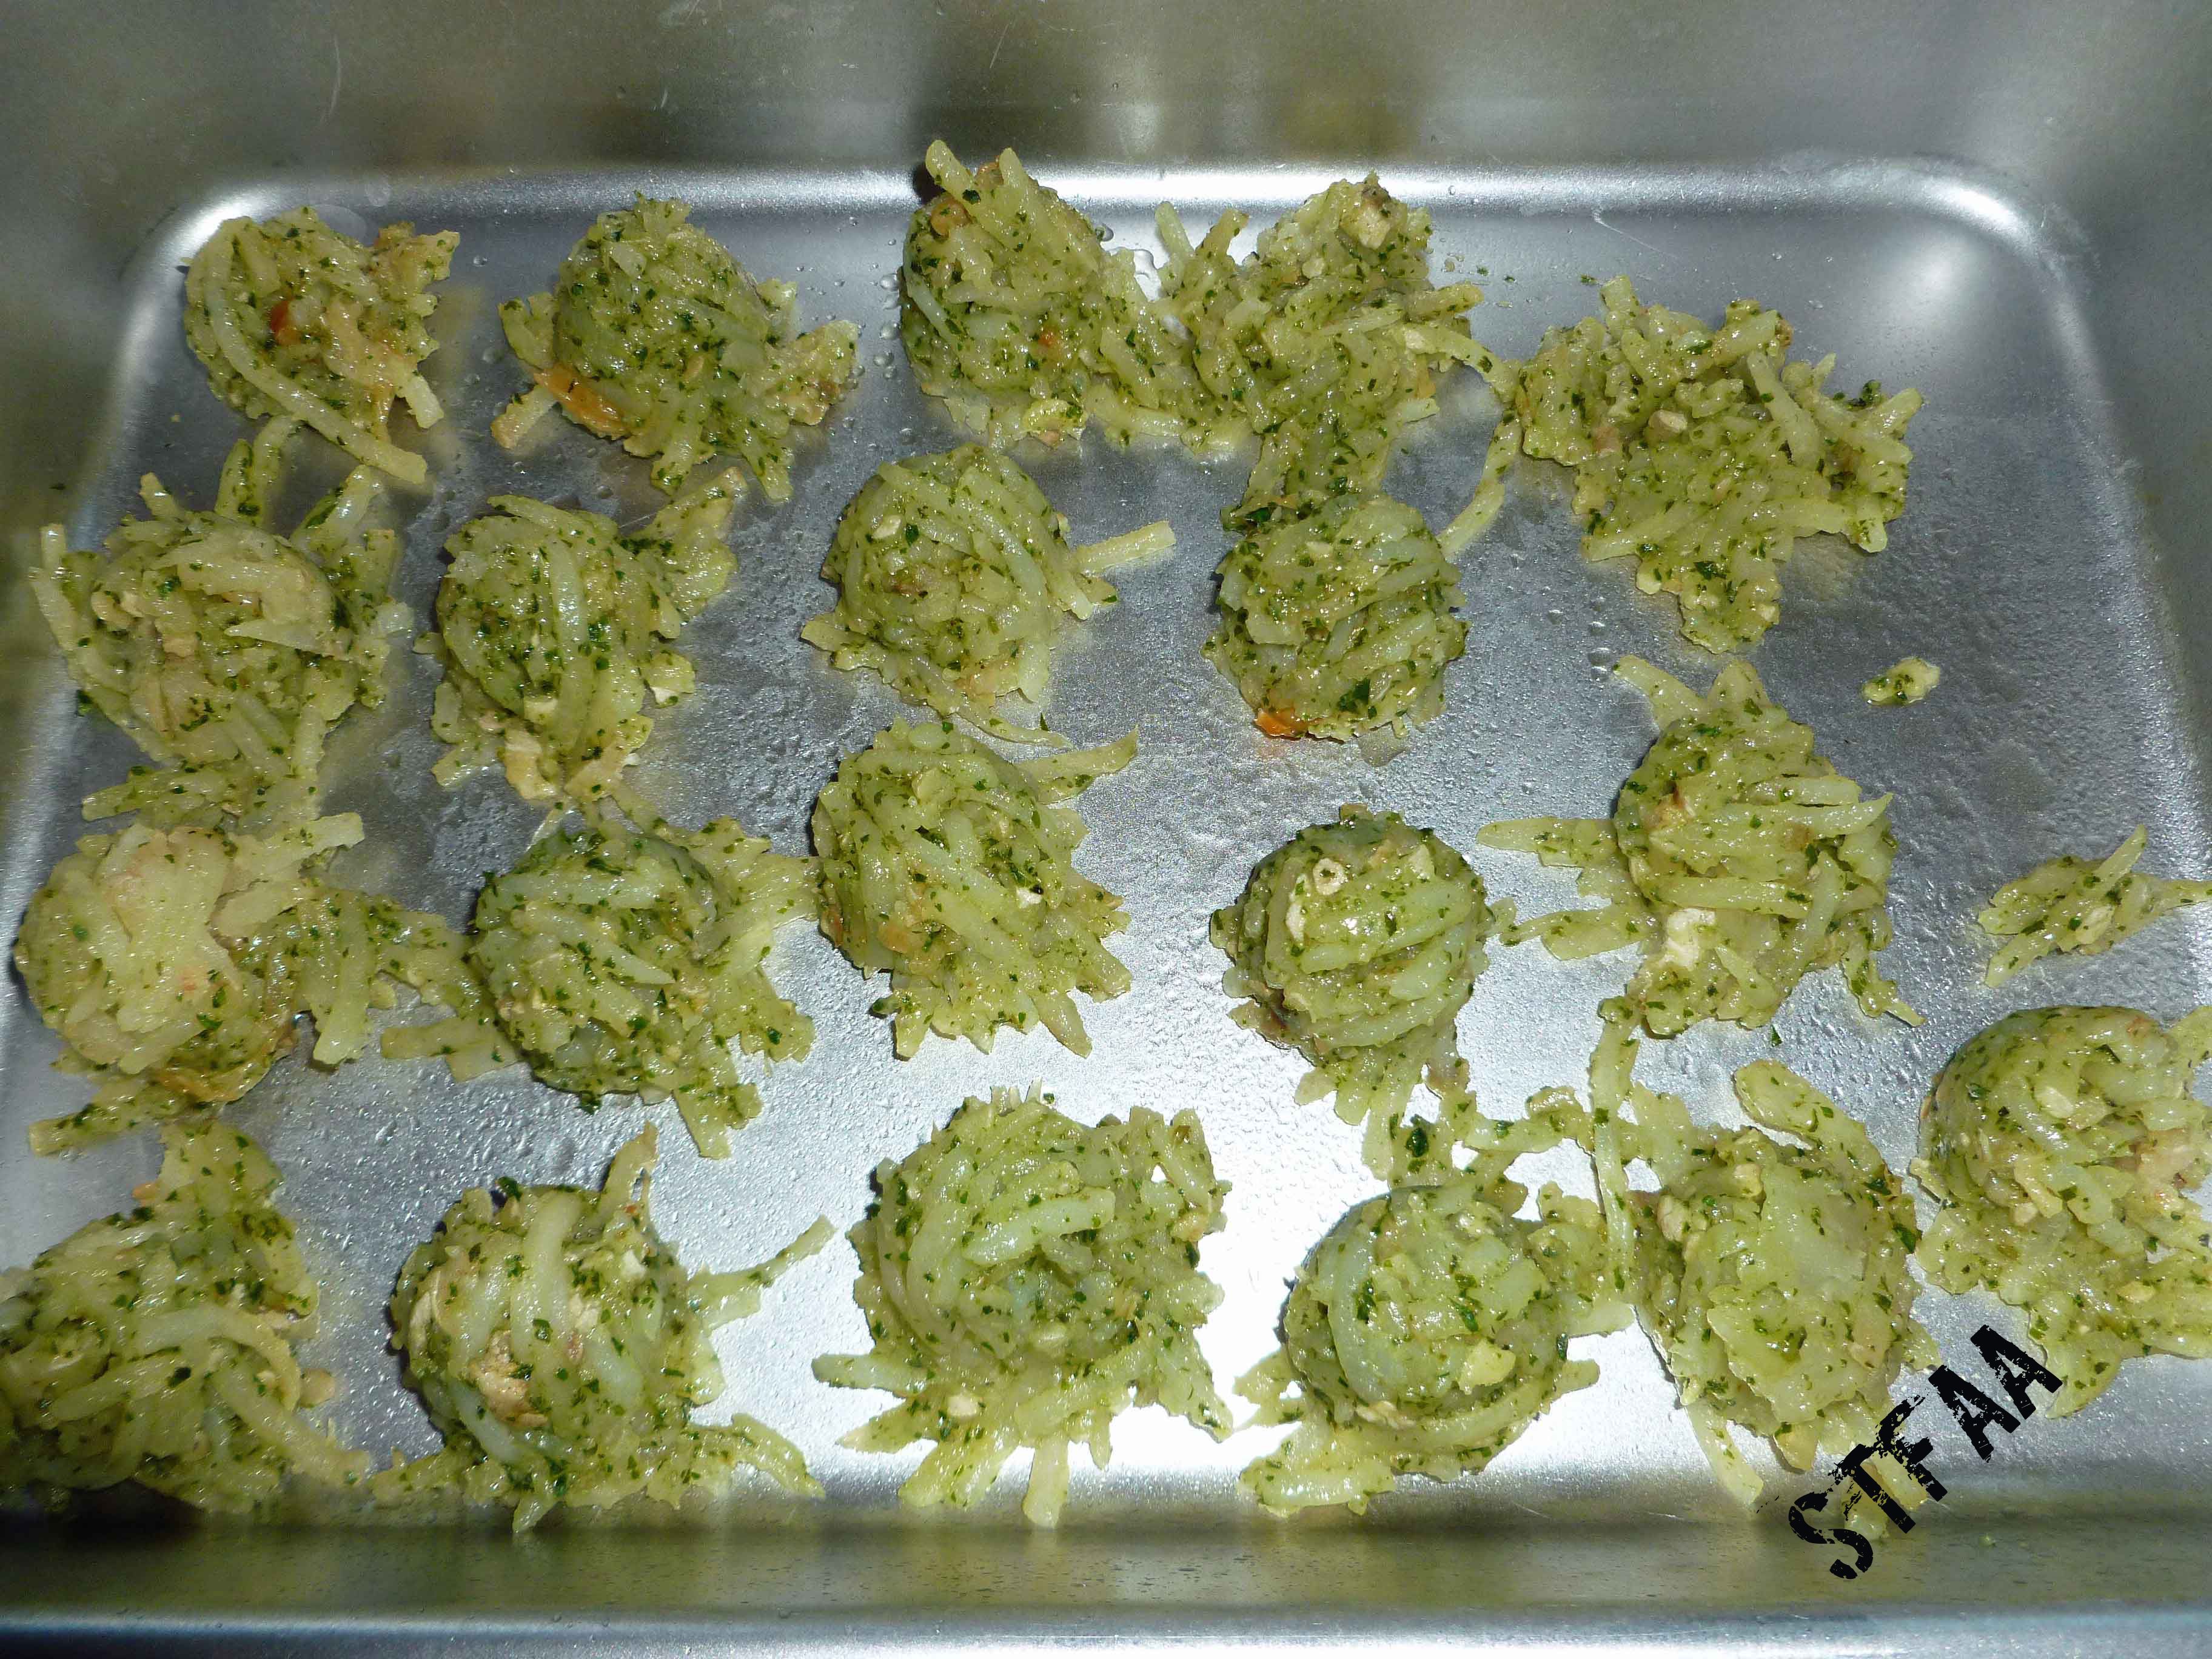
    Spray your baking sheet with your safe oil in a mister. I used a small cookie scoop to portion out the tater tots, but you could use two teaspoons to drop the mixture on your baking sheet.

    Chimichurri Spiced DIY Tater Tots before baking
    Chimichurri Spiced DIY Tater Tots before baking

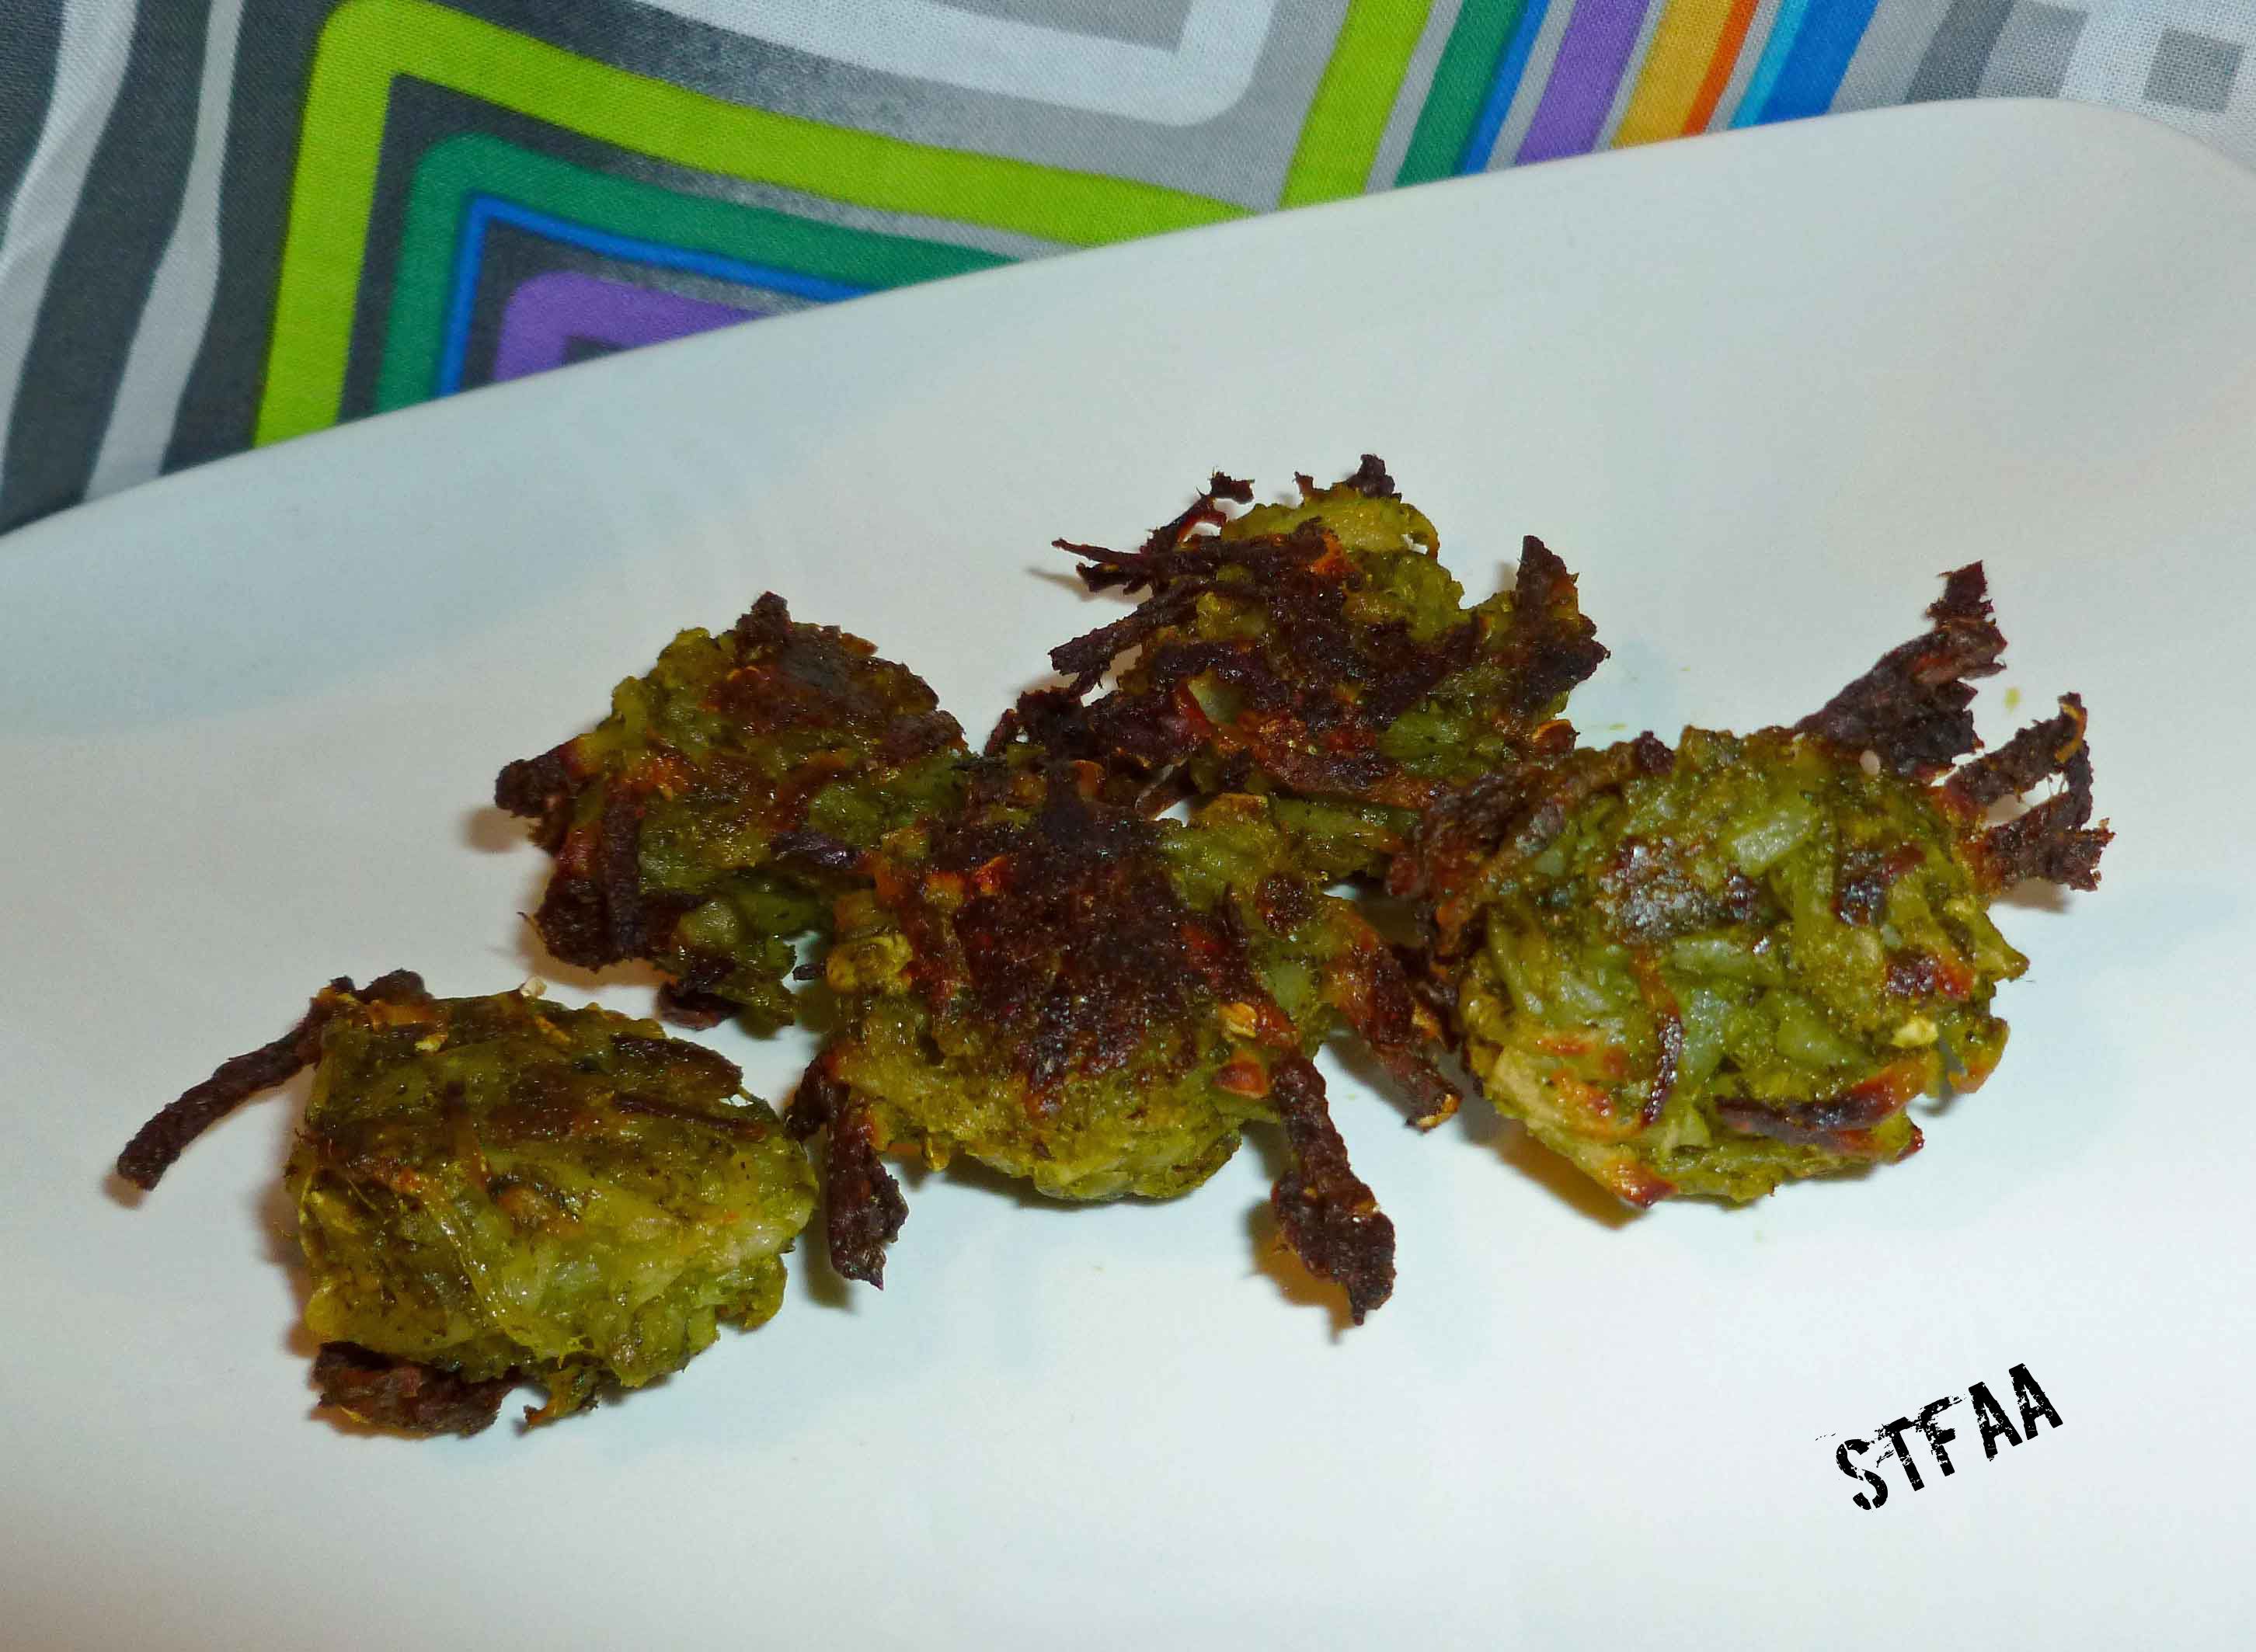
    Use your oil mister to mist the top of the tater tots, and place the baking sheet in the oven for 25-30 minutes. Use some tongs or a spatula to turn them over, and then bake them for another 25-30 minutes. You want to watch them closely, as you’ll notice mine were a little on the brown side.

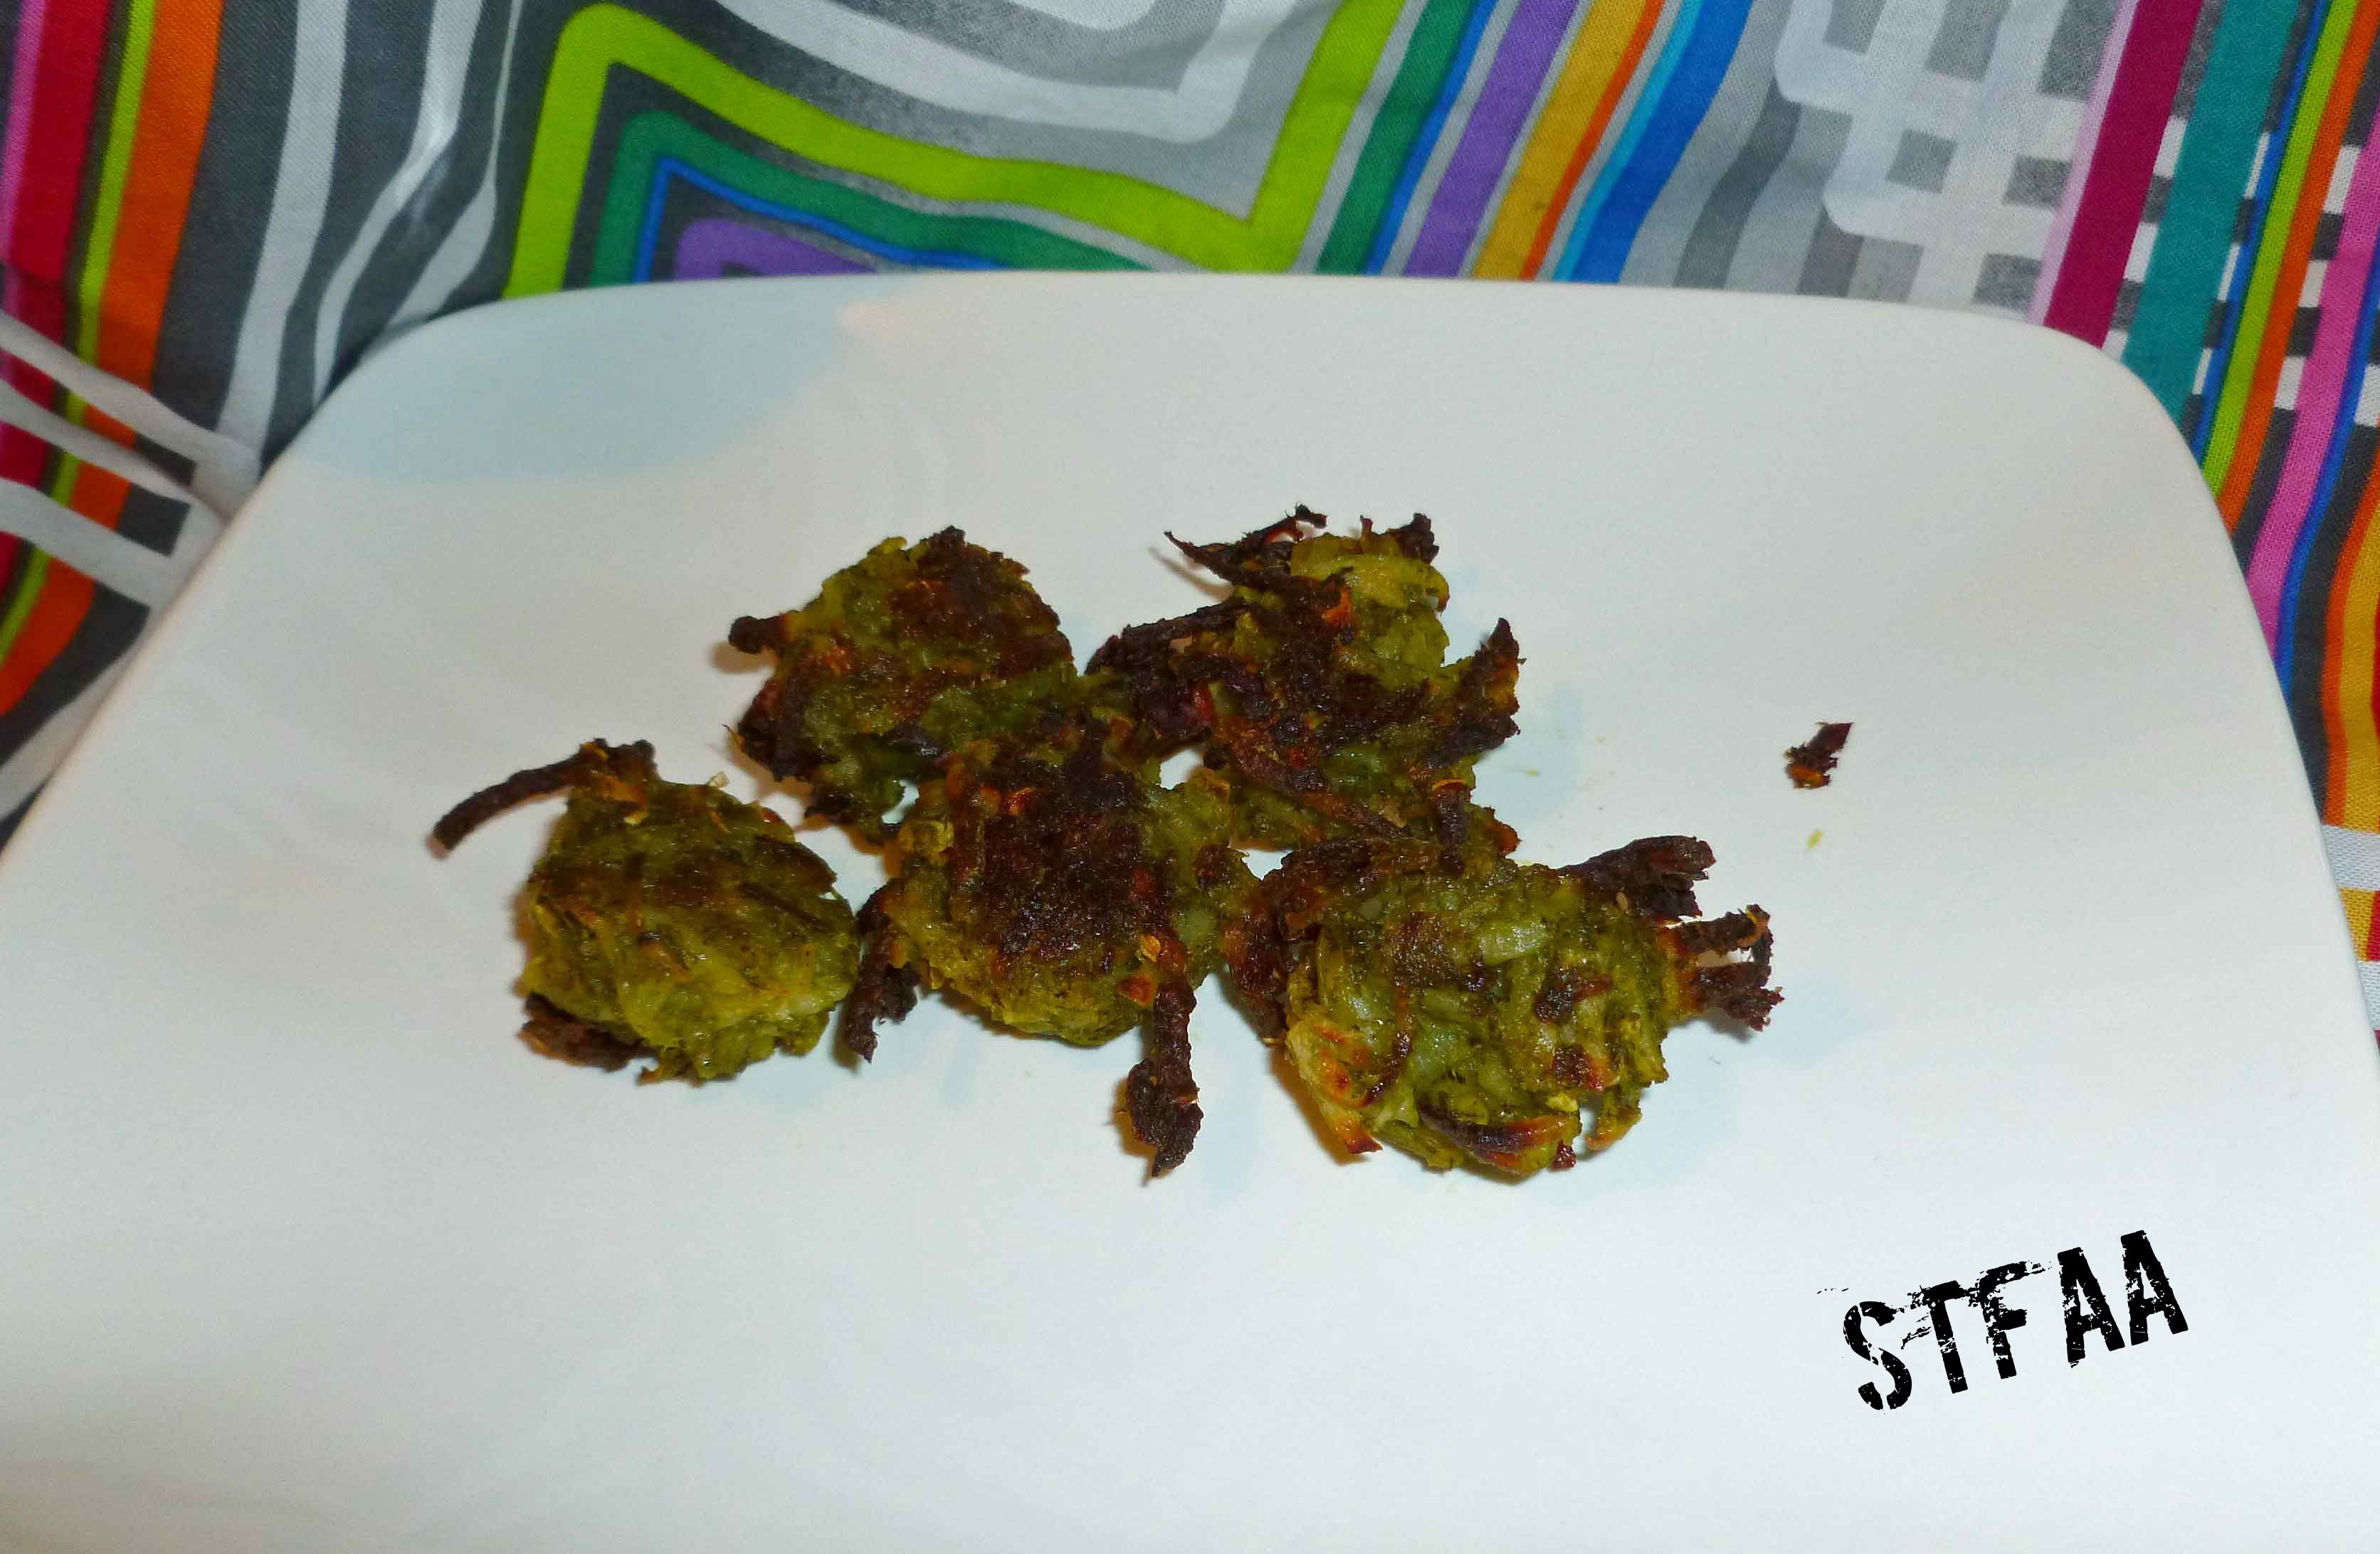
    Chimichurri Spiced DIY Tater Tots after baking
    Chimichurri Spiced DIY Tater Tots after baking

    Take them out of the oven, salt to taste, and enjoy!

  • Roasted Garlic and Pesto DIY Tater Tots


    Roasted Garlic and Pesto DIY Tater Tots
    Roasted Garlic and Pesto DIY Tater Tots

    I just planted a whole bunch of potatoes in the garden, so I’m going to need some recipes to deal with them. I decided to try to make some adult flavored tater tots.  You’ll need a food processor or a blender, and if you don’t have food processor, a grater. I baked these, but you could also try pan frying them in safe oil.

    Roasted Garlic and Pesto DIY Tater Tots

    Pesto:

    • 1 cup of tightly packed fresh basil leaves
    • 1/4 teaspoon of salt
    • 1/4 cup and 1 Tablespoon of olive oil

    Put all ingredients in the blender or food processor and blend/process until pureed.

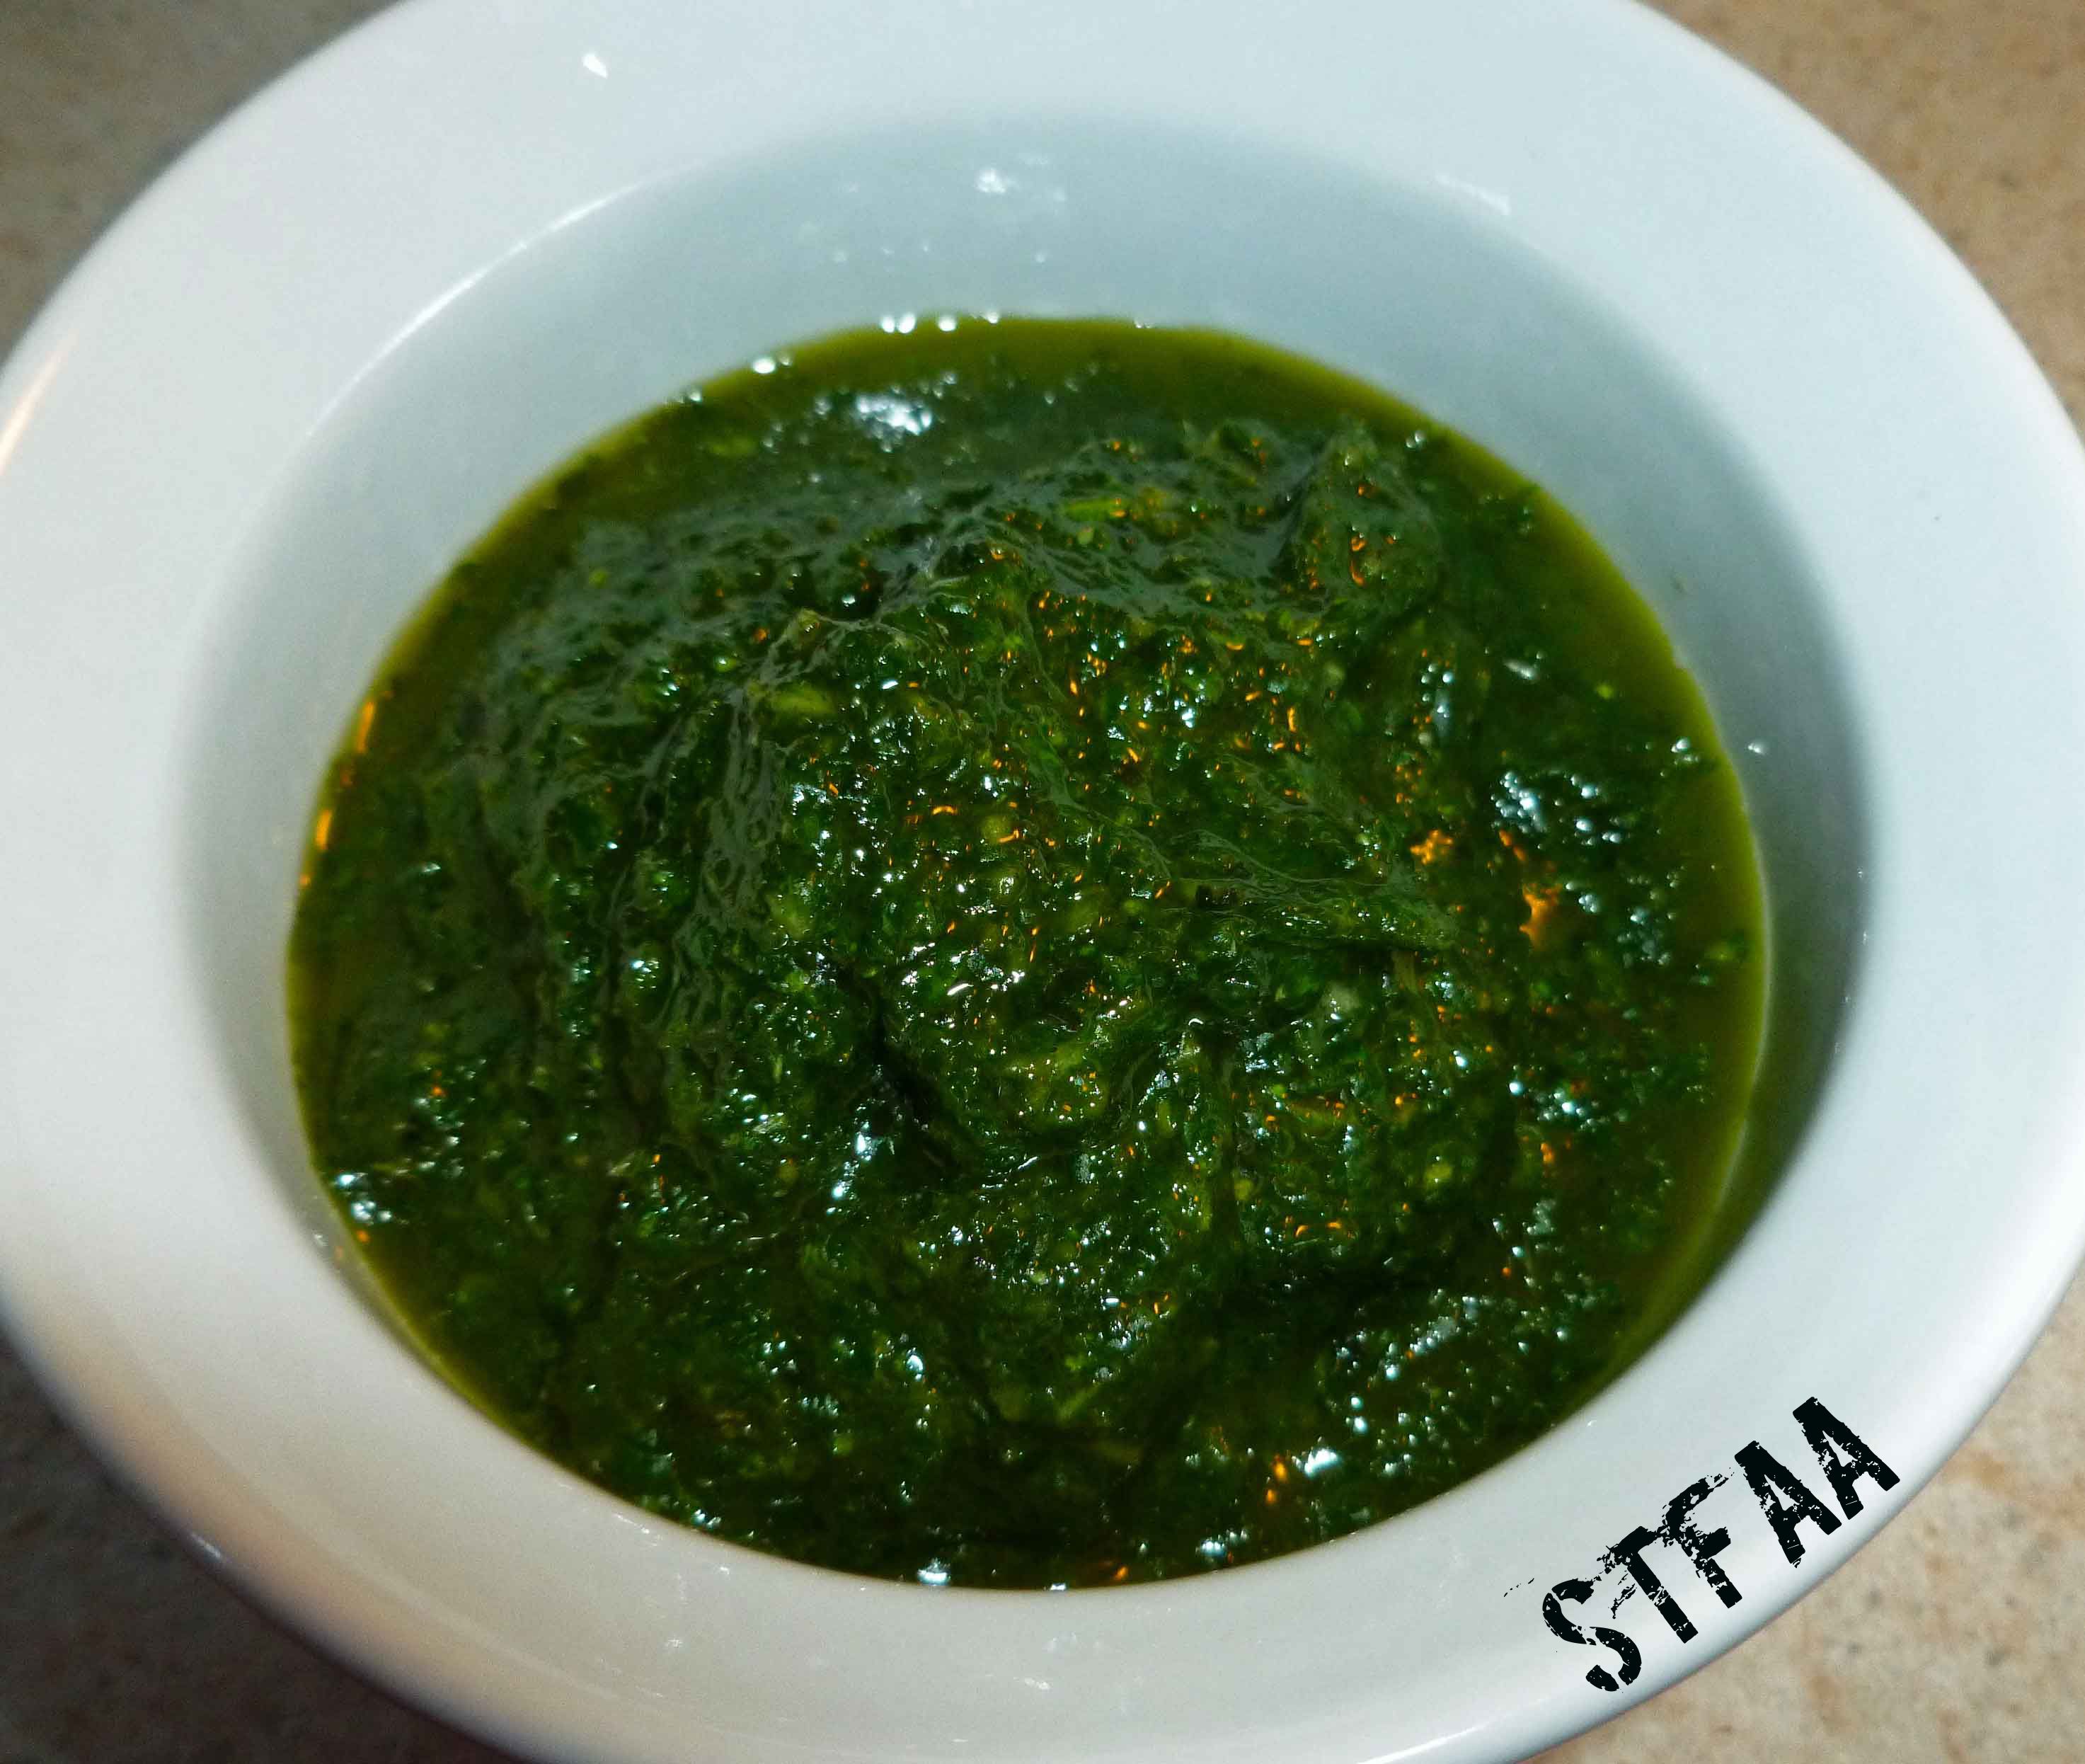
    Pesto after blending or processing
    Pesto after blending or processing

    Tater Tots:

    • 4 large potatoes (I used russet)
    • 2 Tablespoons of Pesto (see above)
    • 1/4 cup of roasted garlic (here’s how to do it)

    Preheat your oven to 400°F.  Peel and wash your potatoes. Place the potatoes on a small baking sheet.  Bake the potatoes for about an hour.

    (NOTE: If I don’t already have roasted garlic, I prep the garlic as described in the link above and bake it at the same time as the potatoes.)

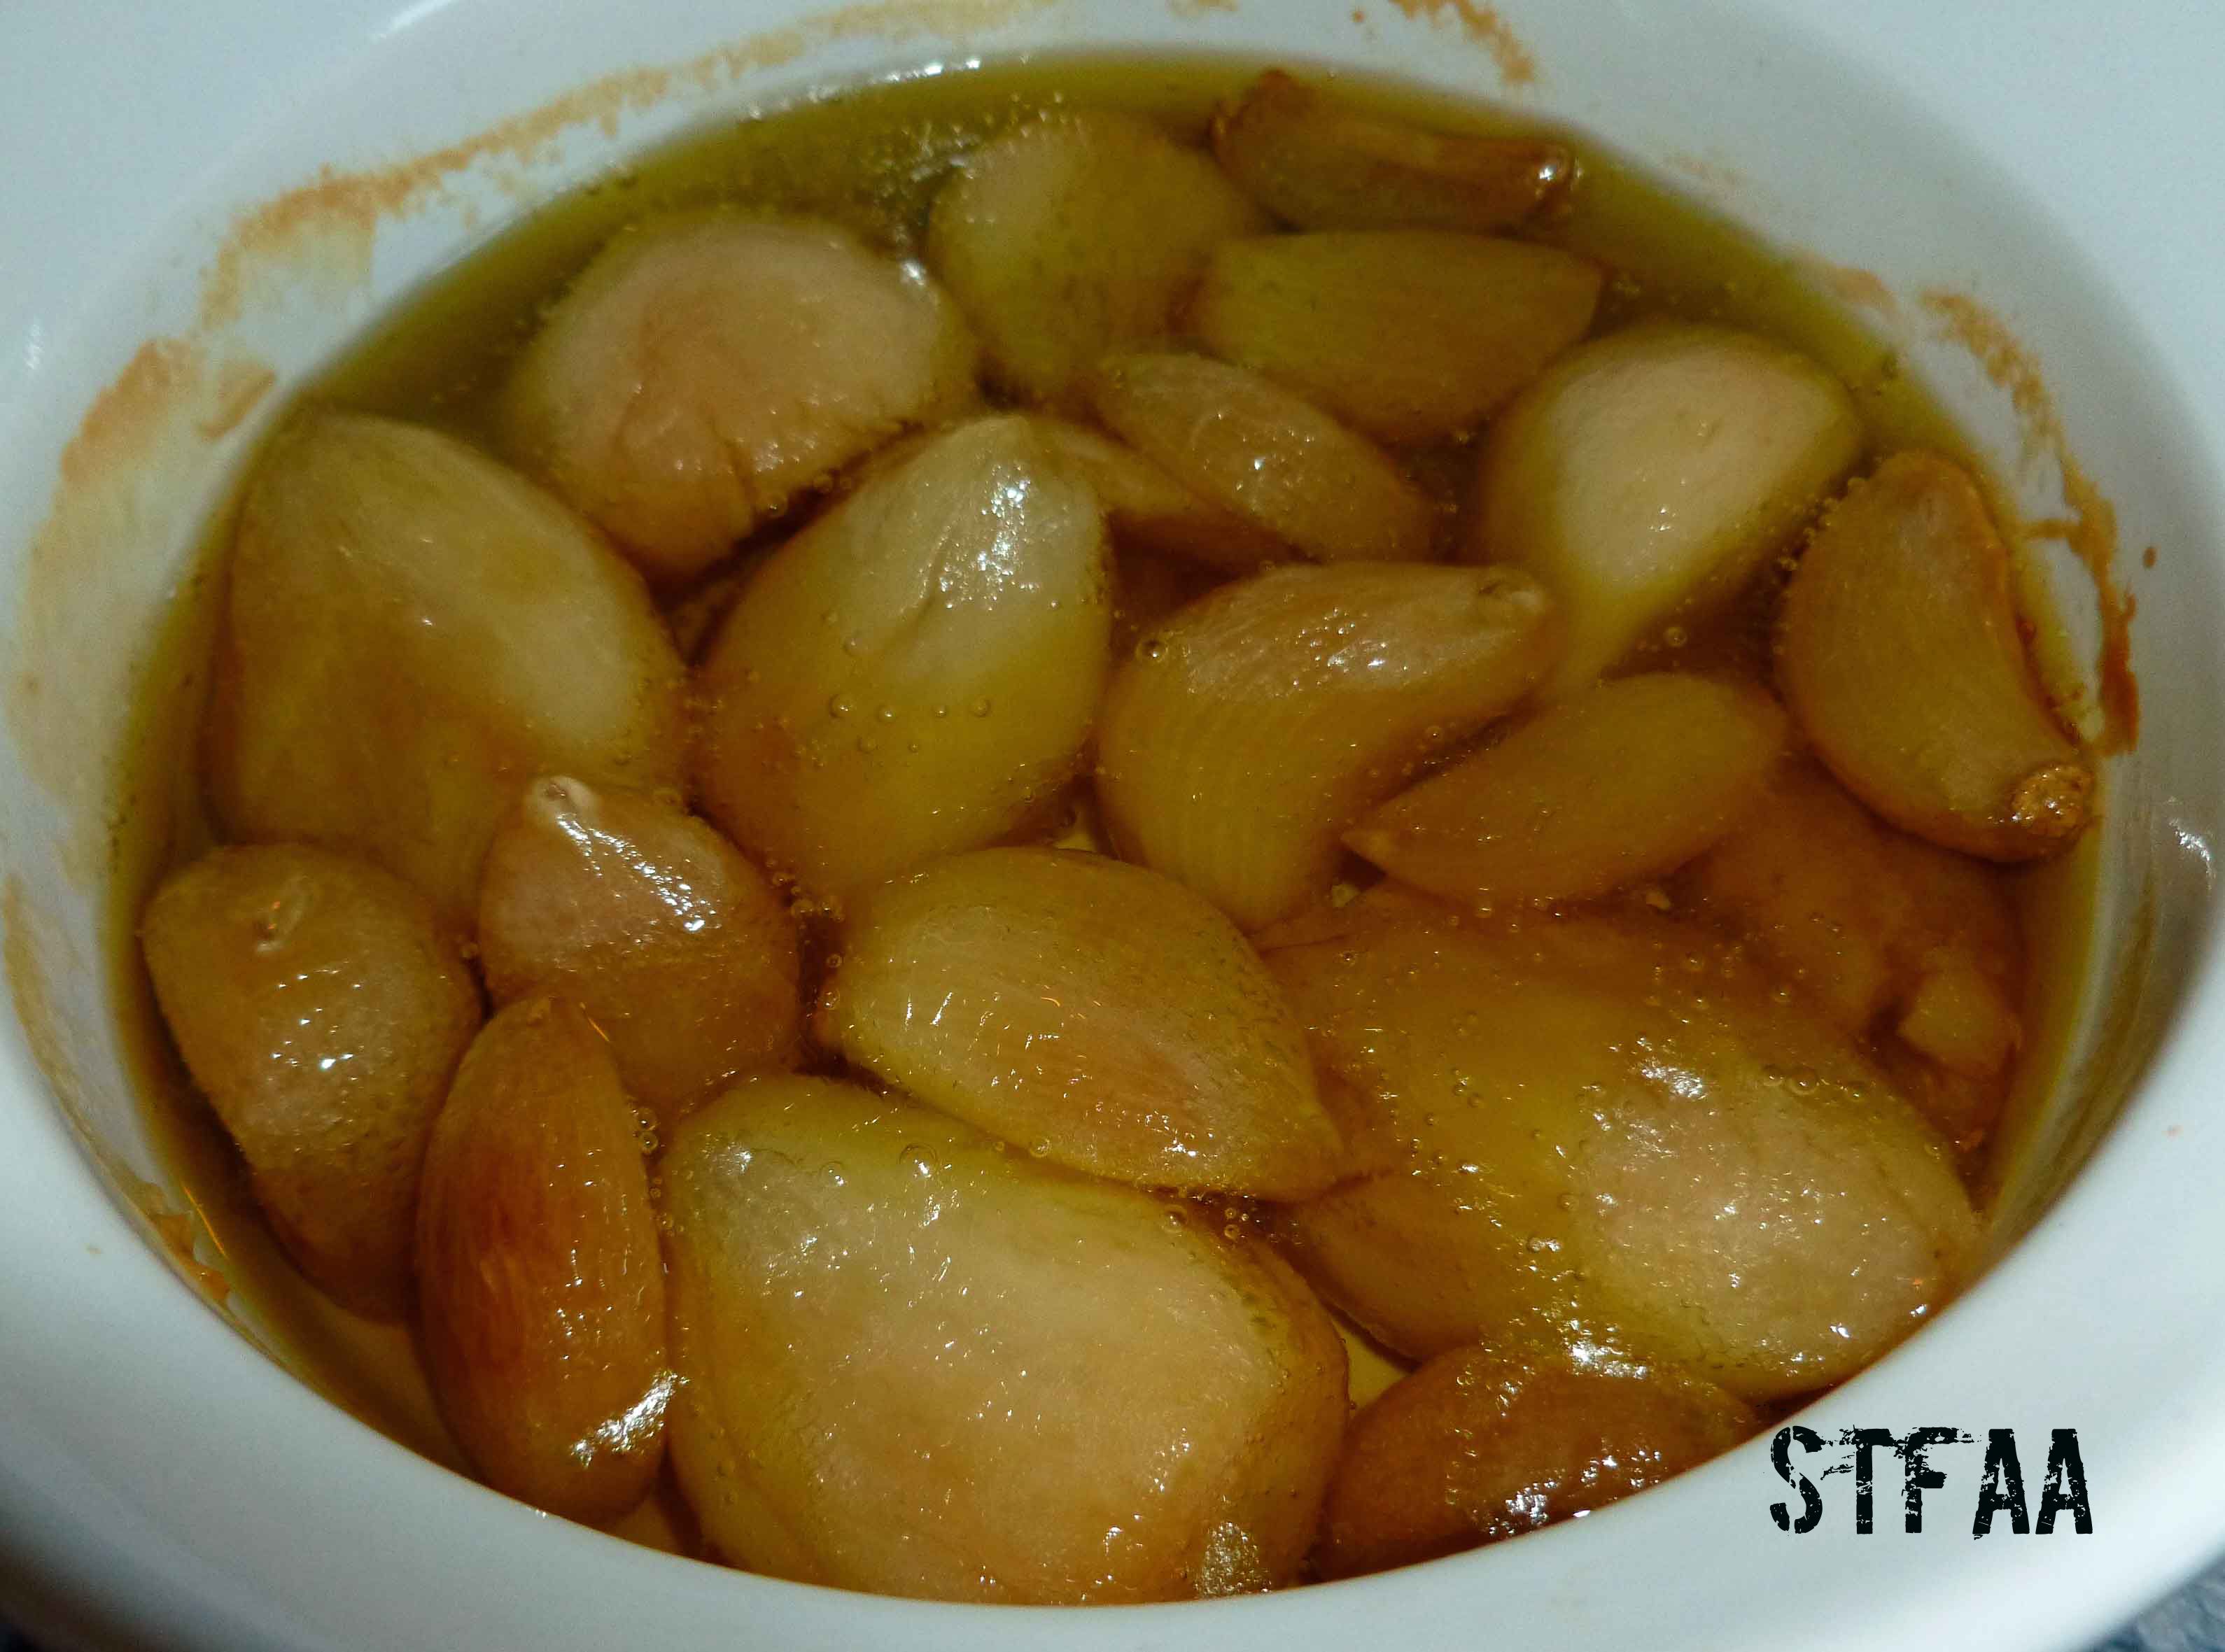
    Garlic roasted in olive oil
    Garlic roasted in olive oil

    When the potatoes (and possibly the garlic) are ready to come out of the oven, remove the potatoes and garlic and turn the temperature on the oven to 425°F.  If you’re using a large hand grater, you need to wait until the potatoes are cool so you don’t burn your fingers. Since I was using the grating blade on my food processor to grate the potatoes, I cheated and did them hot. I sliced them lengthwise just enough to get them in the food processor, and grated them up.

    Potatoes after grating
    Potatoes after grating

    Some of the grated pieces may be too long, and you may want to chop them up a bit either with a knife or a potato masher.  Mix the pesto sauce and the roasted garlic into the potatoes until they are well combined.

    Potato, roasted garlic and pesto mixture
    Potato, roasted garlic and pesto mixture

    Spray your baking sheet with your safe oil in a mister. I used a small cookie scoop to portion out the tater tots, but you could use two teaspoons to drop the mixture on your baking sheet.

    Roasted Garlic and Pesto DIY Tater Tots before baking
    Roasted Garlic and Pesto DIY Tater Tots before baking

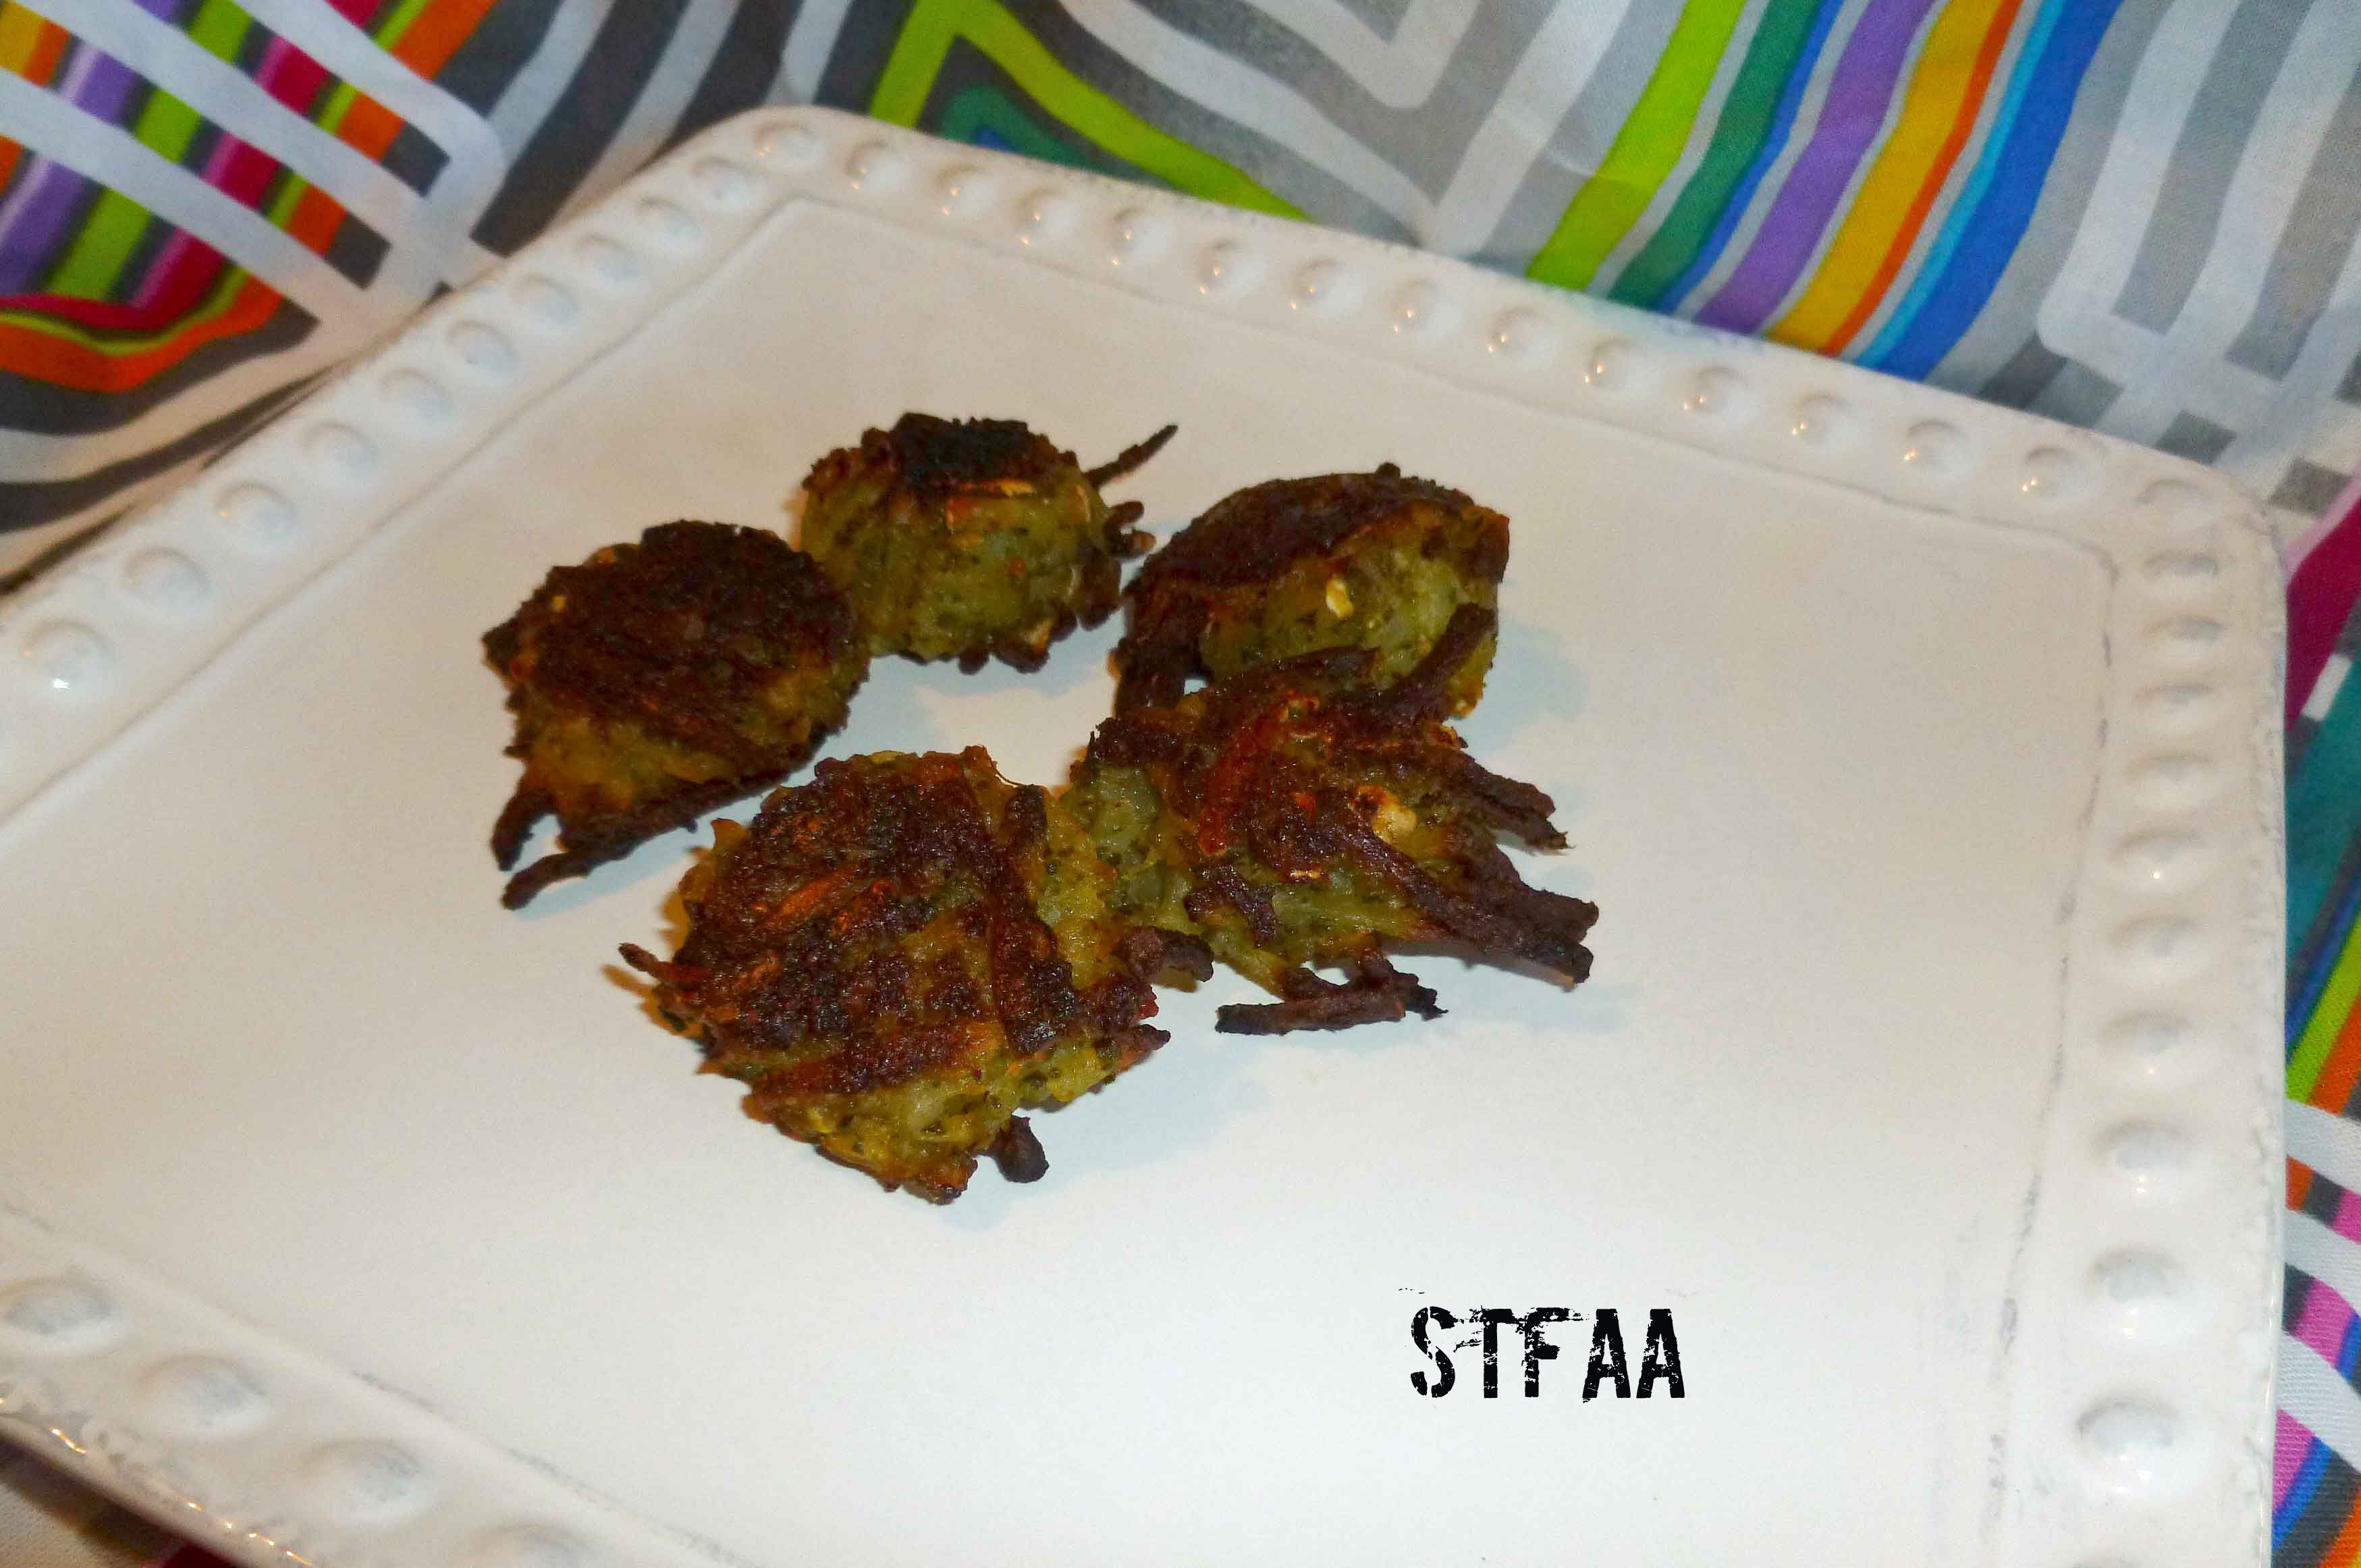
    Use your oil mister to mist the top of the tater tots, and place the baking sheet in the oven for 25-30 minutes. Use some tongs or a spatula to turn them over, and then bake them for another 25-30 minutes. You want to watch them closely, as you’ll notice mine were a tad overcooked.

    Take them out of the oven, salt to taste, and enjoy!


  • Carrot Chickpea Curry

    Carrot Chickpea Curry
    Carrot Chickpea Curry

    So I went away for a week and came back to New Hampshire summer. To be honest, as much as we complained about the cold, I wasn’t ready for full-on summer temperatures. If it stays this way, I’ll need to dig out the AC sooner, not later, just to get some sleep. It’s hot! It doesn’t help that my apartment holds the heat like an oven.

    Why, if it’s hot, would I give you hot food — hot in temperature as well as full of spices? Well, first off, it’s not hot everywhere — I hear that if you live in either of the Dakotas or Wyoming, you got snow this weekend. Secondly, hot food is a great way to make it feel cooler. It’s all about contrasts. Actually, this curry tastes great hot or cold, so make it for dinner and eat the leftovers for lunches. Oh! And whether this is “spicy” or “full of spices” is entirely up to you — if you like spicy foods, buy a spicy curry powder. Otherwise, buy a regular or “sweet” curry powder and you get all the flavor without the heat. I always buy sweet curry powder because I can add some cayenne if I want things spicy. There IS coconut in here — Denise and I have both made curry with cashew milk, but never successfully without a nut milk. Let us know if you have a nut-free way to make an Indian-style curry.

    This curry passes all my tests for a weeknight dinner — it takes less than 10 minutes to prep, and while cooking takes about 45 minutes total, only a few of those are active. You will need a skillet with a lid or a cover of foil. I have one skillet with a lid (finally), but I’ve found that because my cast iron skillet holds the heat better and is a slightly different shape, it works better than my lidded skillet. A sheet of heavy duty foil stands in for a lid here and lets the carrots steam to perfection.

    Carrot Chickpea Curry
    Carrot Chickpea Curry

    Carrot Chickpea Curry

    • 1 Tablespoon olive oil
    • 1/2 sweet onion (about 1/2 cup), chopped
    • 1/4 teaspoon kosher salt
    • 1 teaspoon chopped garlic (about 2 cloves)
    • 5 carrots, peeled and sliced in rounds
    • 1 can (15 oz.) chickpeas/garbanzo beans, drained and rinsed
    • 1 Tablespoon curry powder
    • 1 teaspoon cinnamon
    • 4 teaspoons cilantro
    • 3 Tablespoons coconut milk
    • 1 teaspoon ginger
    • rice to serve curry over, if desired

    Heat your pan over medium heat. When the pan is hot, add the olive oil. When the oil is hot, add the onions. Stir well to coat with oil, then sprinkle with salt. Cook, stirring occasionally, until the onions start to lightly brown.

    Add the garlic and stir until fragrant. Then add the carrots and beans, and the curry and cinnamon. Stir everything well until the spices are fully spread over everything.

    Now cover and cook for 15 minutes. There are two ways to do this — if you like browned bits, just let it go for the full 15 minutes. And I do mean browned, not burned. If you prefer no browned carrots or onions, stir it once or twice during the cooking time.

    Then add the cilantro, coconut milk, and ginger. Stir well, and cook another 5-10 minutes, stirring every few minutes.

    Serve over rice, or if you’re feeling less like rice, over greens for a salad.

  • Vegan Black Bean Pumpkin Taco Salad

    Vegan Black Bean Pumpkin Taco Salad
    Vegan Black Bean Pumpkin Taco Salad

    During the holidays, I fully explored that cookie obsession that was in evidence in all of our Friday posts. Overall? They weren’t too bad, though the results were a little mixed. Turns out that parchment paper is an amazing invention that no gluten-free baker should be without, and keeping the dough cold is important. Also, I’m pretty bad at rolling out dough. Luckily, I had help.

    But because gluten-free baked goods don’t last as long as other baked goods (they dry out and/or mold rather quickly), I ate. And ate, and ate, and ate. Mmmmm, cookies. ALL the cookies. Thing is that sugar, when consumed in great quantities for a week or so, makes me crave vegetables, and this time around, particularly spinach. Mostly, I eat a little spinach salad here and there, or I saute it with garlic, and I’m frankly bored with both. I was planning to make tacos, but since I had the spinach, taco salad seemed the thing to do. The hot topping balances out the cold salad part, giving a great balance between wanting the raw spinach and needing hot food for dinner when it’s cold out.

    This recipe is perfect for a quick weeknight meal, as it comes together in a matter of maybe 10 minutes. Honestly, it takes as long to assemble the salad as it does to cook the topping, and the salad can incorporate whatever you have around. I’ve written it up as I’ve made it and like it, but you know we’re all about tinkering around here.

    Vegan Black Bean Pumpkin Taco Salad
    Vegan Black Bean Pumpkin Taco Salad

    Vegan Black Bean Pumpkin Taco Salad 

    Makes 2 large, meal-sized salads

    For the cooked taco topping:

    • 1 Tablespoon oil (I’ve been using safflower)
    • 1/2 cup chopped onion (this is where having extra chopped onion in the freezer is really a time-saver)
    • 1 Tablespoon of taco, Mexican, or southwest-style seasoning mix (I used Arizona Dreaming)
    • 1/2 can (8 oz.) canned pumpkin (I am pretty sure that mashed butternut squash or sweet potatoes would also work well here — let me know if you try it)
    • 1 can (15 oz) black beans, drained and rinsed well

    Heat a saucepan over medium heat. When hot, add the onion and cook, stirring occasionally, until translucent. Add the seasoning, and stir well into the oil and onions. Add the pumpkin, stirring well, and then the black beans. Lower the heat to medium-low, and cook, stirring occasionally, for 5-10 minutes, or until everything is heated through.

    Then, make your salad.

    • 2 large handfuls of baby spinach, roughly chopped (or salad greens of your choice)
    • 1/4 cup of shredded vegan cheddar (optional)
    • 1/2 of a Hass avocado, sliced (optional)
    • sprouts, if you’ve got them and like them (I do, but optional)
    • any other fun salad toppings you might dream up
    • 1/4 cup of red salsa (recipes from us here and here, if you want to make your own)

    Lay out your spinach, lettuce, or greens on two plates or in large bowls. Top each with half the taco mixture, in several dollops to spread it out over the salad. Add the cheese (if using) and other vegetables or toppings, and pour the salsa on top as a dressing. If you’re using the avocado, I suggest a sprinkle of salt on just that.

  • Butternut Squash Soup

    Butternut Squash Soup
    Butternut Squash Soup

    If I’m completely honest, I have some mixed feelings about butternut squash. In some preparations, its earthy and fruity and warming. In others, I don’t know, but I don’t like it. For our holiday potluck, though, one of my coworkers made an apple and squash soup that was quite lovely and tasty. She share the recipe, but I ended up not really following it, tweaking the flavors to my own liking. This is a pureed soup, so a stick blender is really helpful. Though it has other uses, the stick blender shines when pureeing hot soups — and it is way easier to clean than the regular blender.

    The apples bring out the fruity quality of the squash, and I really like the flavor of butternut with some spice, so the cayenne provides a bit of heat. The use of celery leaves adds flavor and uses a typically wasted part of the vegetable. If you want to make this easy, buy peeled and cubed squash.

    Happy Squash
    Happy Squash

    Butternut Squash Soup

    • 1 Tablespoon oil (I’ve been using safflower)
    • 1 sweet white onion, quartered and sliced
    • 1 teaspoon salt
    • 20 oz butternut squash, cubed (about one medium squash, but I frequently buy it chopped)
    • 2 tart apples, peeled, cored, and quartered
    • 1 3/4 cup vegetable stock
    • 1/4 cup celery leaves, chopped
    • 1 teaspoon cardamom
    • 1/8-1/2 teaspoon cayenne

    In a large hot sauce pan, add oil and then onion and salt. Cook, stirring occasionally, until the onion begins to brown.

    Add the squash and then the apples, and cover, without stirring, cooking about 10 minutes with the lid on (steaming the squash and apples).

    Add stock and stir well. Cover, bring to a boil, and reduce the heat to low. Simmer until squash is soft and tender, 15-30 minutes, depending on the size of the squash cubes.

    Add celery leaves, cardamom, and cayenne (adjust to suit your tastes), stir, and cover again. Remove from heat and let the soup cool a bit. Using a stick blender, puree the soup — or do it in a blender or food processor, in smaller batches, being careful with the steam build-up.

    Reheat to serving temperature, or cool completely and reheat to serve the next day. The latter really allows the flavors to meld, so I’d recommend making it ahead if possible.

  • Roasted Autumn Vegetables with a Balsamic Glaze

    Roasted Autumn Vegetables with Balsamic Glaze
    Roasted Autumn Vegetables with Balsamic Glaze

    It’s fall (I’m not discussing the “winter” word yet, although it snowed here yesterday) with all those yummy, carbohydrate-filled veggies available. This dish is pretty easy but seems complicated to those who aren’t in the know.  Also, although this may seem like a lot, it’s great as leftovers.  I even love it cold over a tossed salad a day or two later. Try it as a new side dish for Thanksgiving, or for other potlucks this winter.

    Roasted Autumn Vegetables with a Balsamic Glaze

    Serves at least 4 in generous portions.

    Balsamic Glaze:

    • I cup of balsamic vinegar (be careful, get one without caramel color, which could be dairy, wheat or corn.)
    • 1 1/2 Tablespoons of Italian Seasoning (or a bit of oregano, basil, marjoram, sage, rosemary, and thyme to add up to 1 1/2 Tablespoons)
    • 2 Tablespoons of brown sugar
    • 2 Tablespoons of olive oil

    Vegetables:

    • 2 carrots, peeled and chopped into 1 inch chunks
    • 2 small onions, peeled, cut in half and then each half cut into quarters
    • 1 sweet potato, peeled and chopped into 1 inch chunks
    • 1 small turnip (about the size of a large tomato), peeled and chopped into 1 inch chunks
    • 1/2 of a butternut squash (or 1 20 oz bag of fresh peeled butternut squash), peeled and chopped into 1 inch chunks
    • 2-3 cups of brussel sprouts, outer leaves removed if necessary and stems trimmed, and cut in half

    Preheat your oven to 400°F.  Using an oil mister, or a bit of oil and a paper towel, grease a sheet pan.

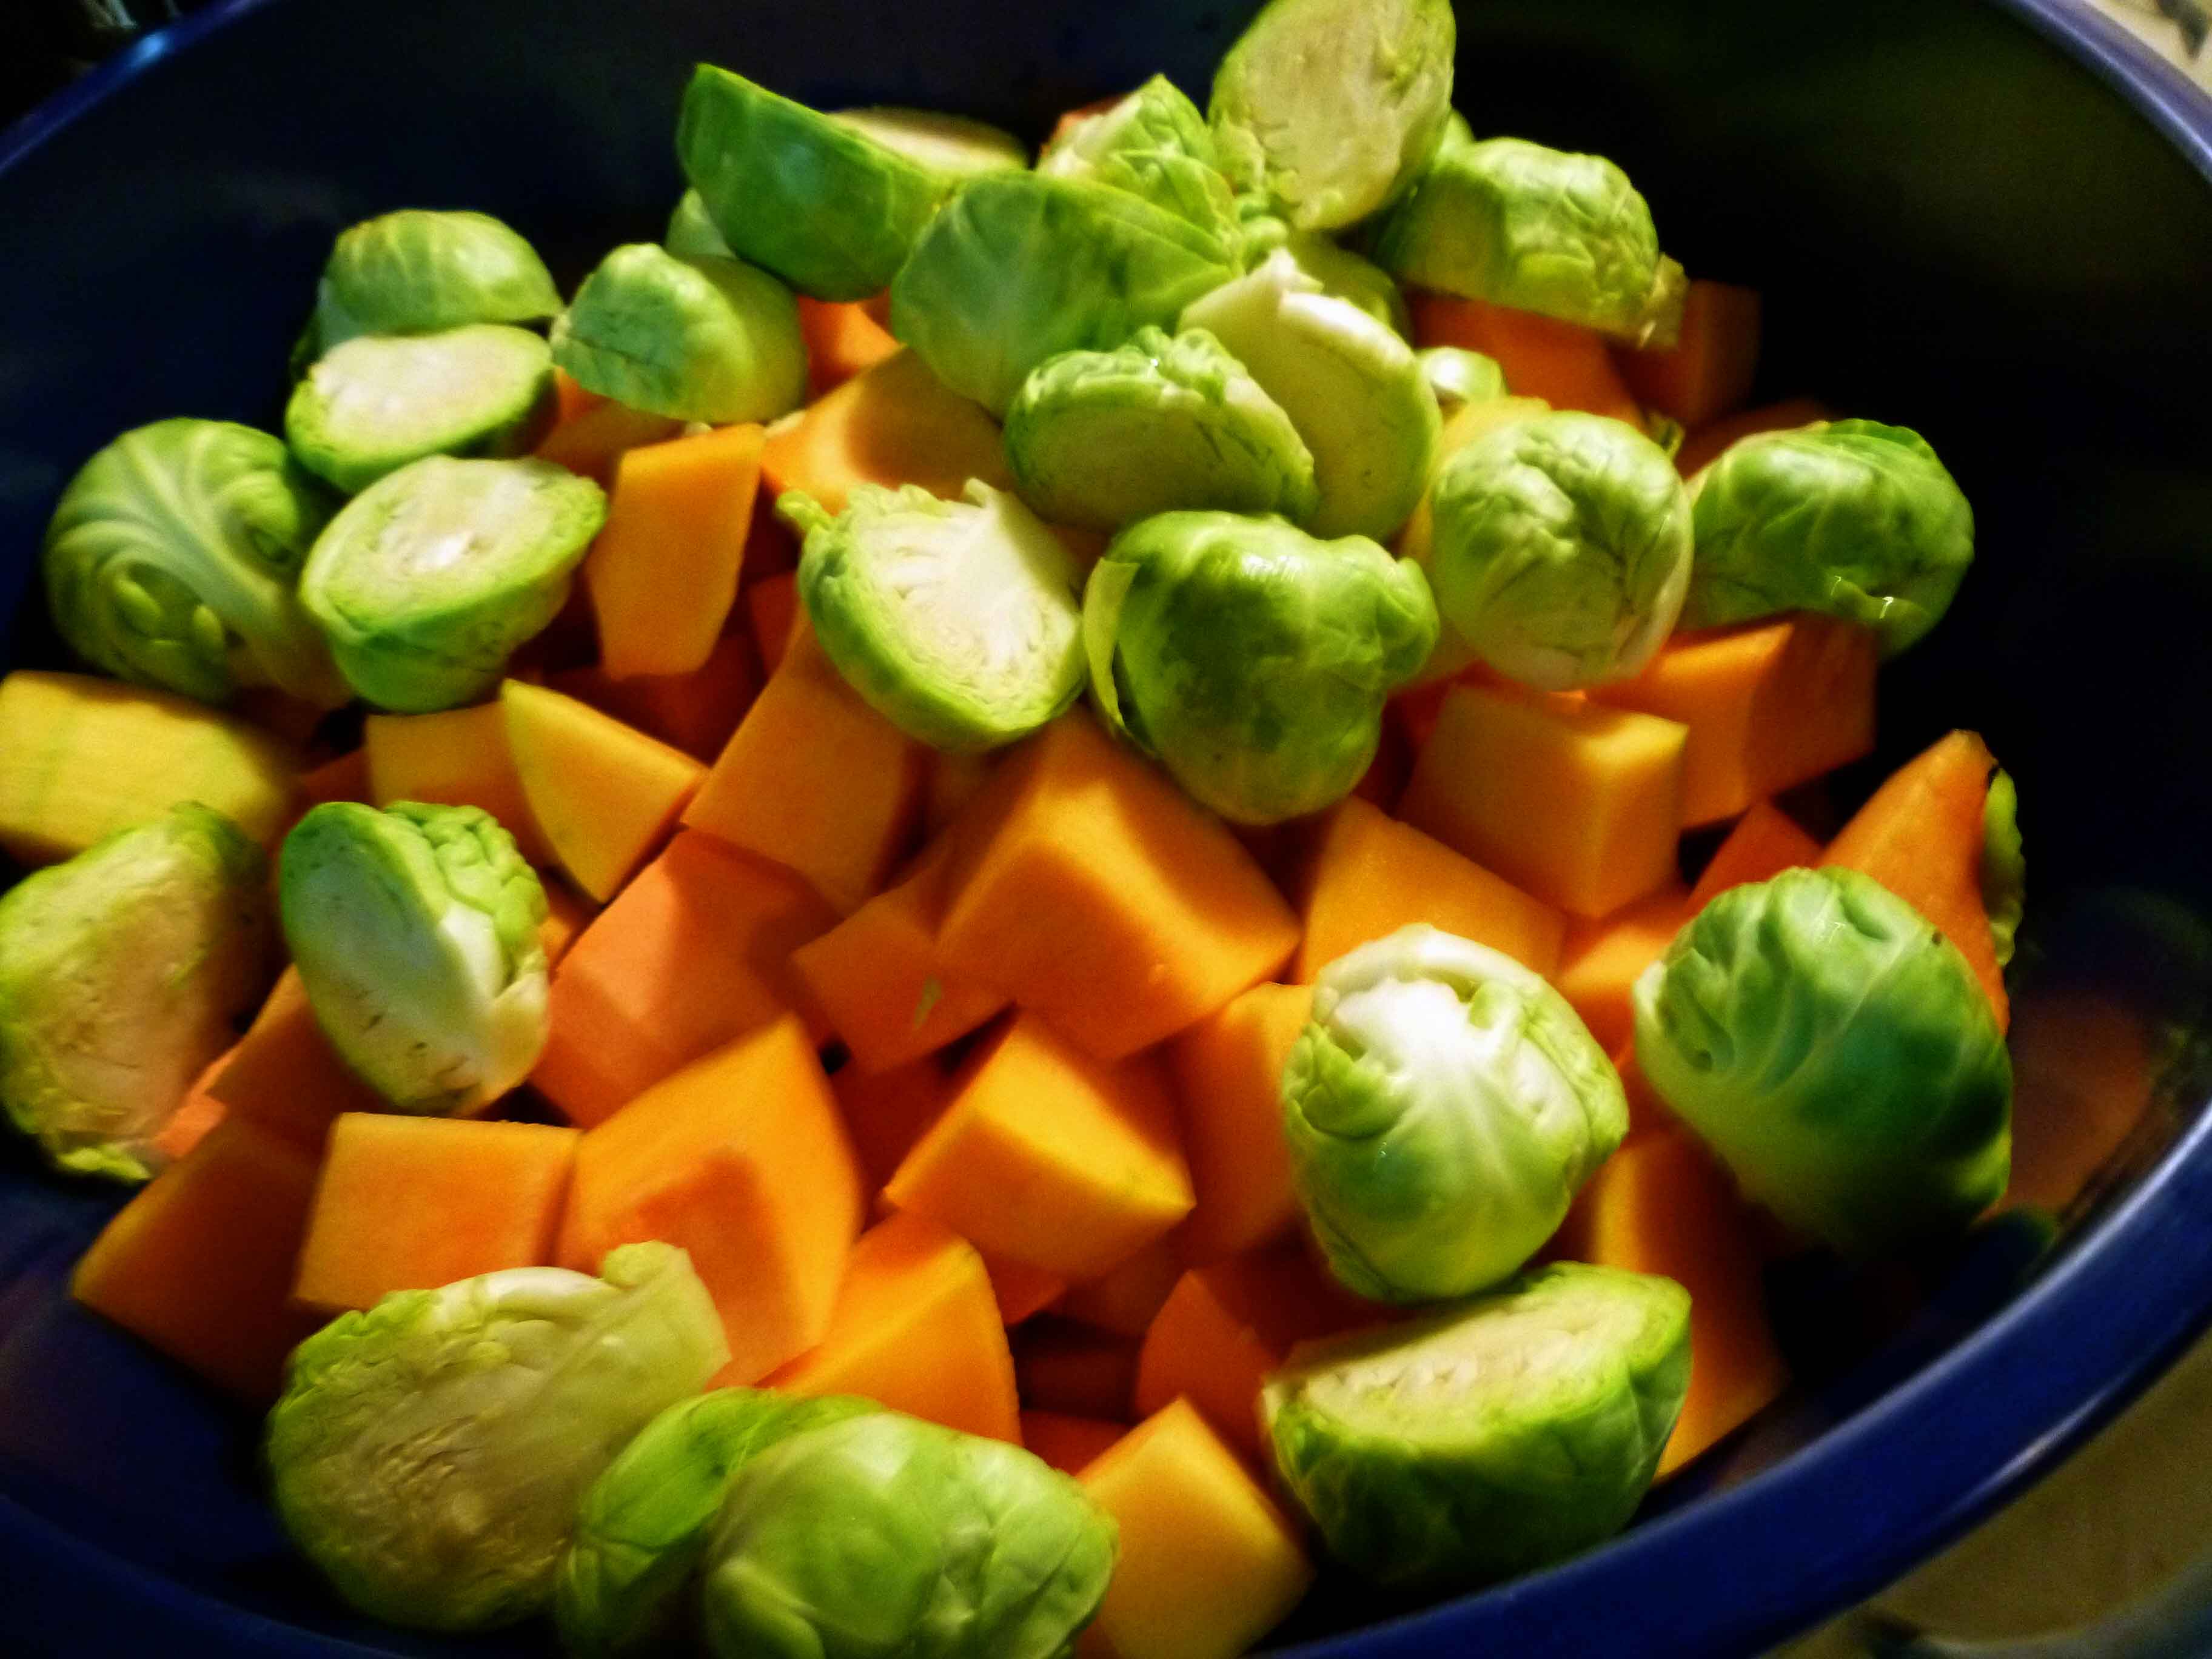
    Prepare all your vegetables as discussed above and put them in a large heat safe bowl.  You’re going to be tossing them with the glaze, so make sure you have room to stir and work. Put the bowl aside.

    Veggies in Bowl
    Veggies in Bowl

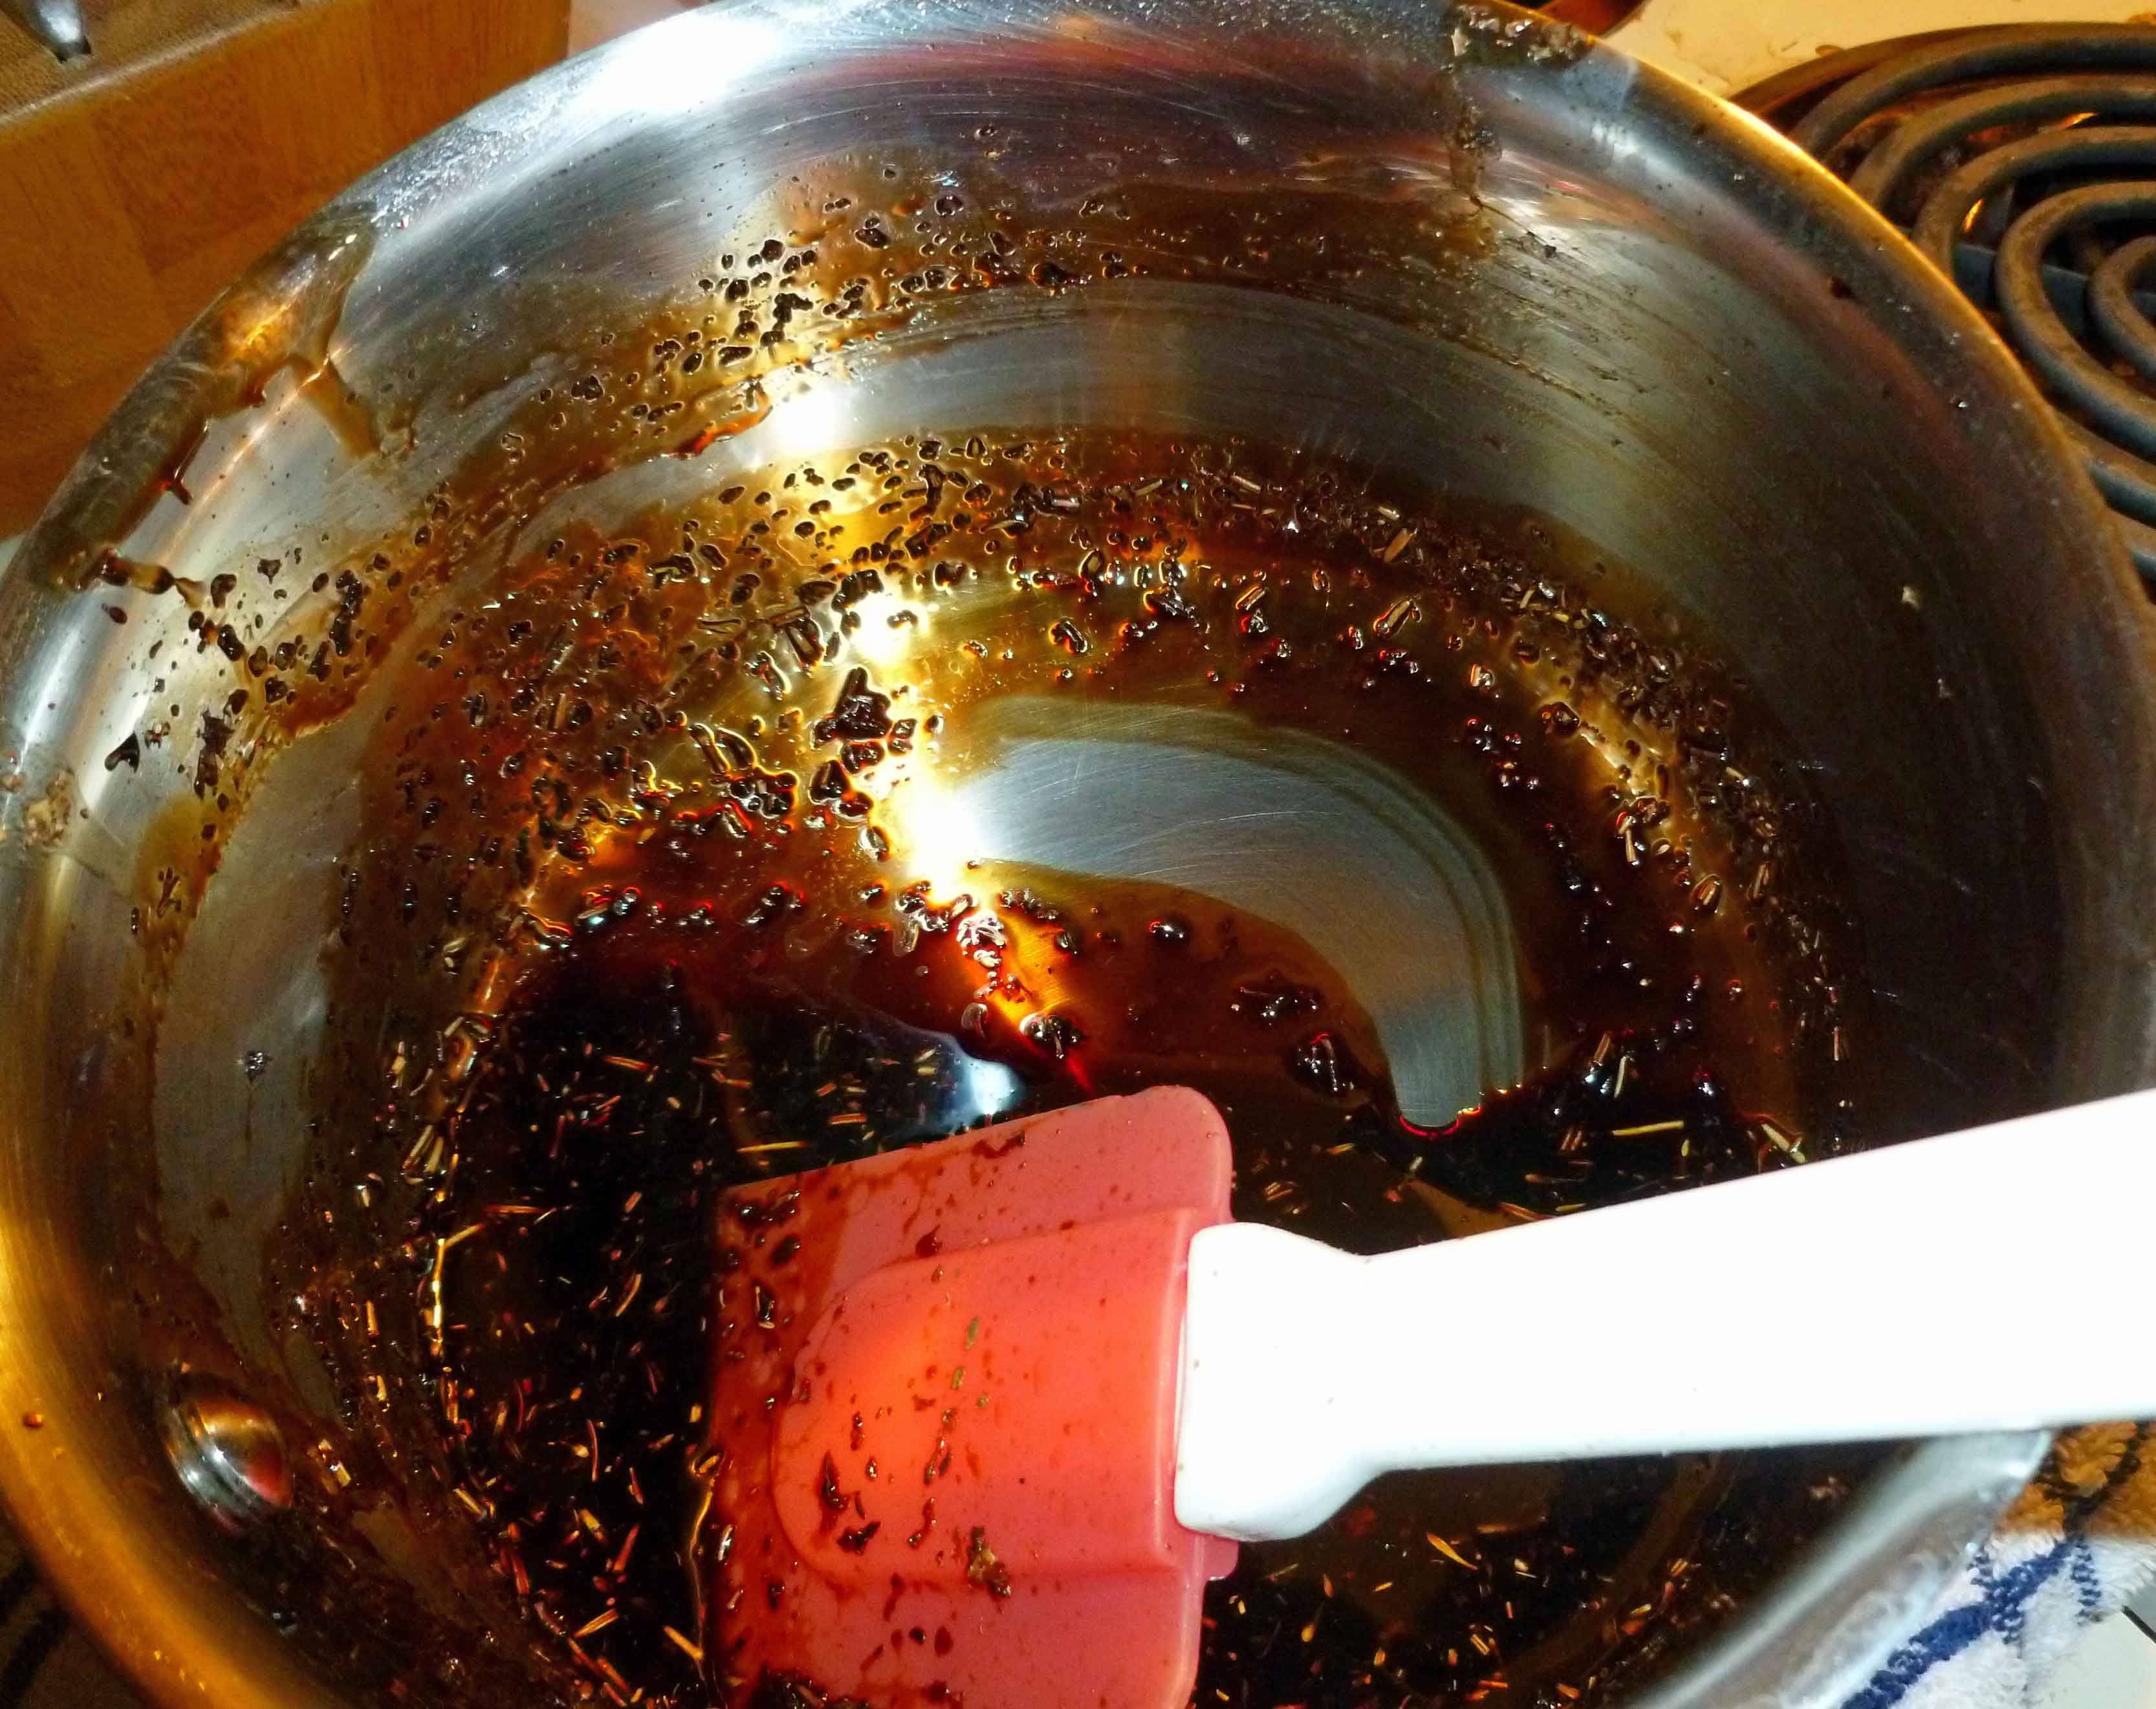
    Using a small non-reactive saucepan, add your balsamic vinegar, Italian seasoning or spices, and the brown sugar.  Over medium high heat, simmer the glaze at a low boil until the vinegar has reduced down to a slightly thicker syrupy consistency, as shown:

    Balsamic Glaze after reducing
    Balsamic Glaze after reducing

    Once the glaze has reduced down, remove it from the heat and add the olive oil.  Stir thoroughly.

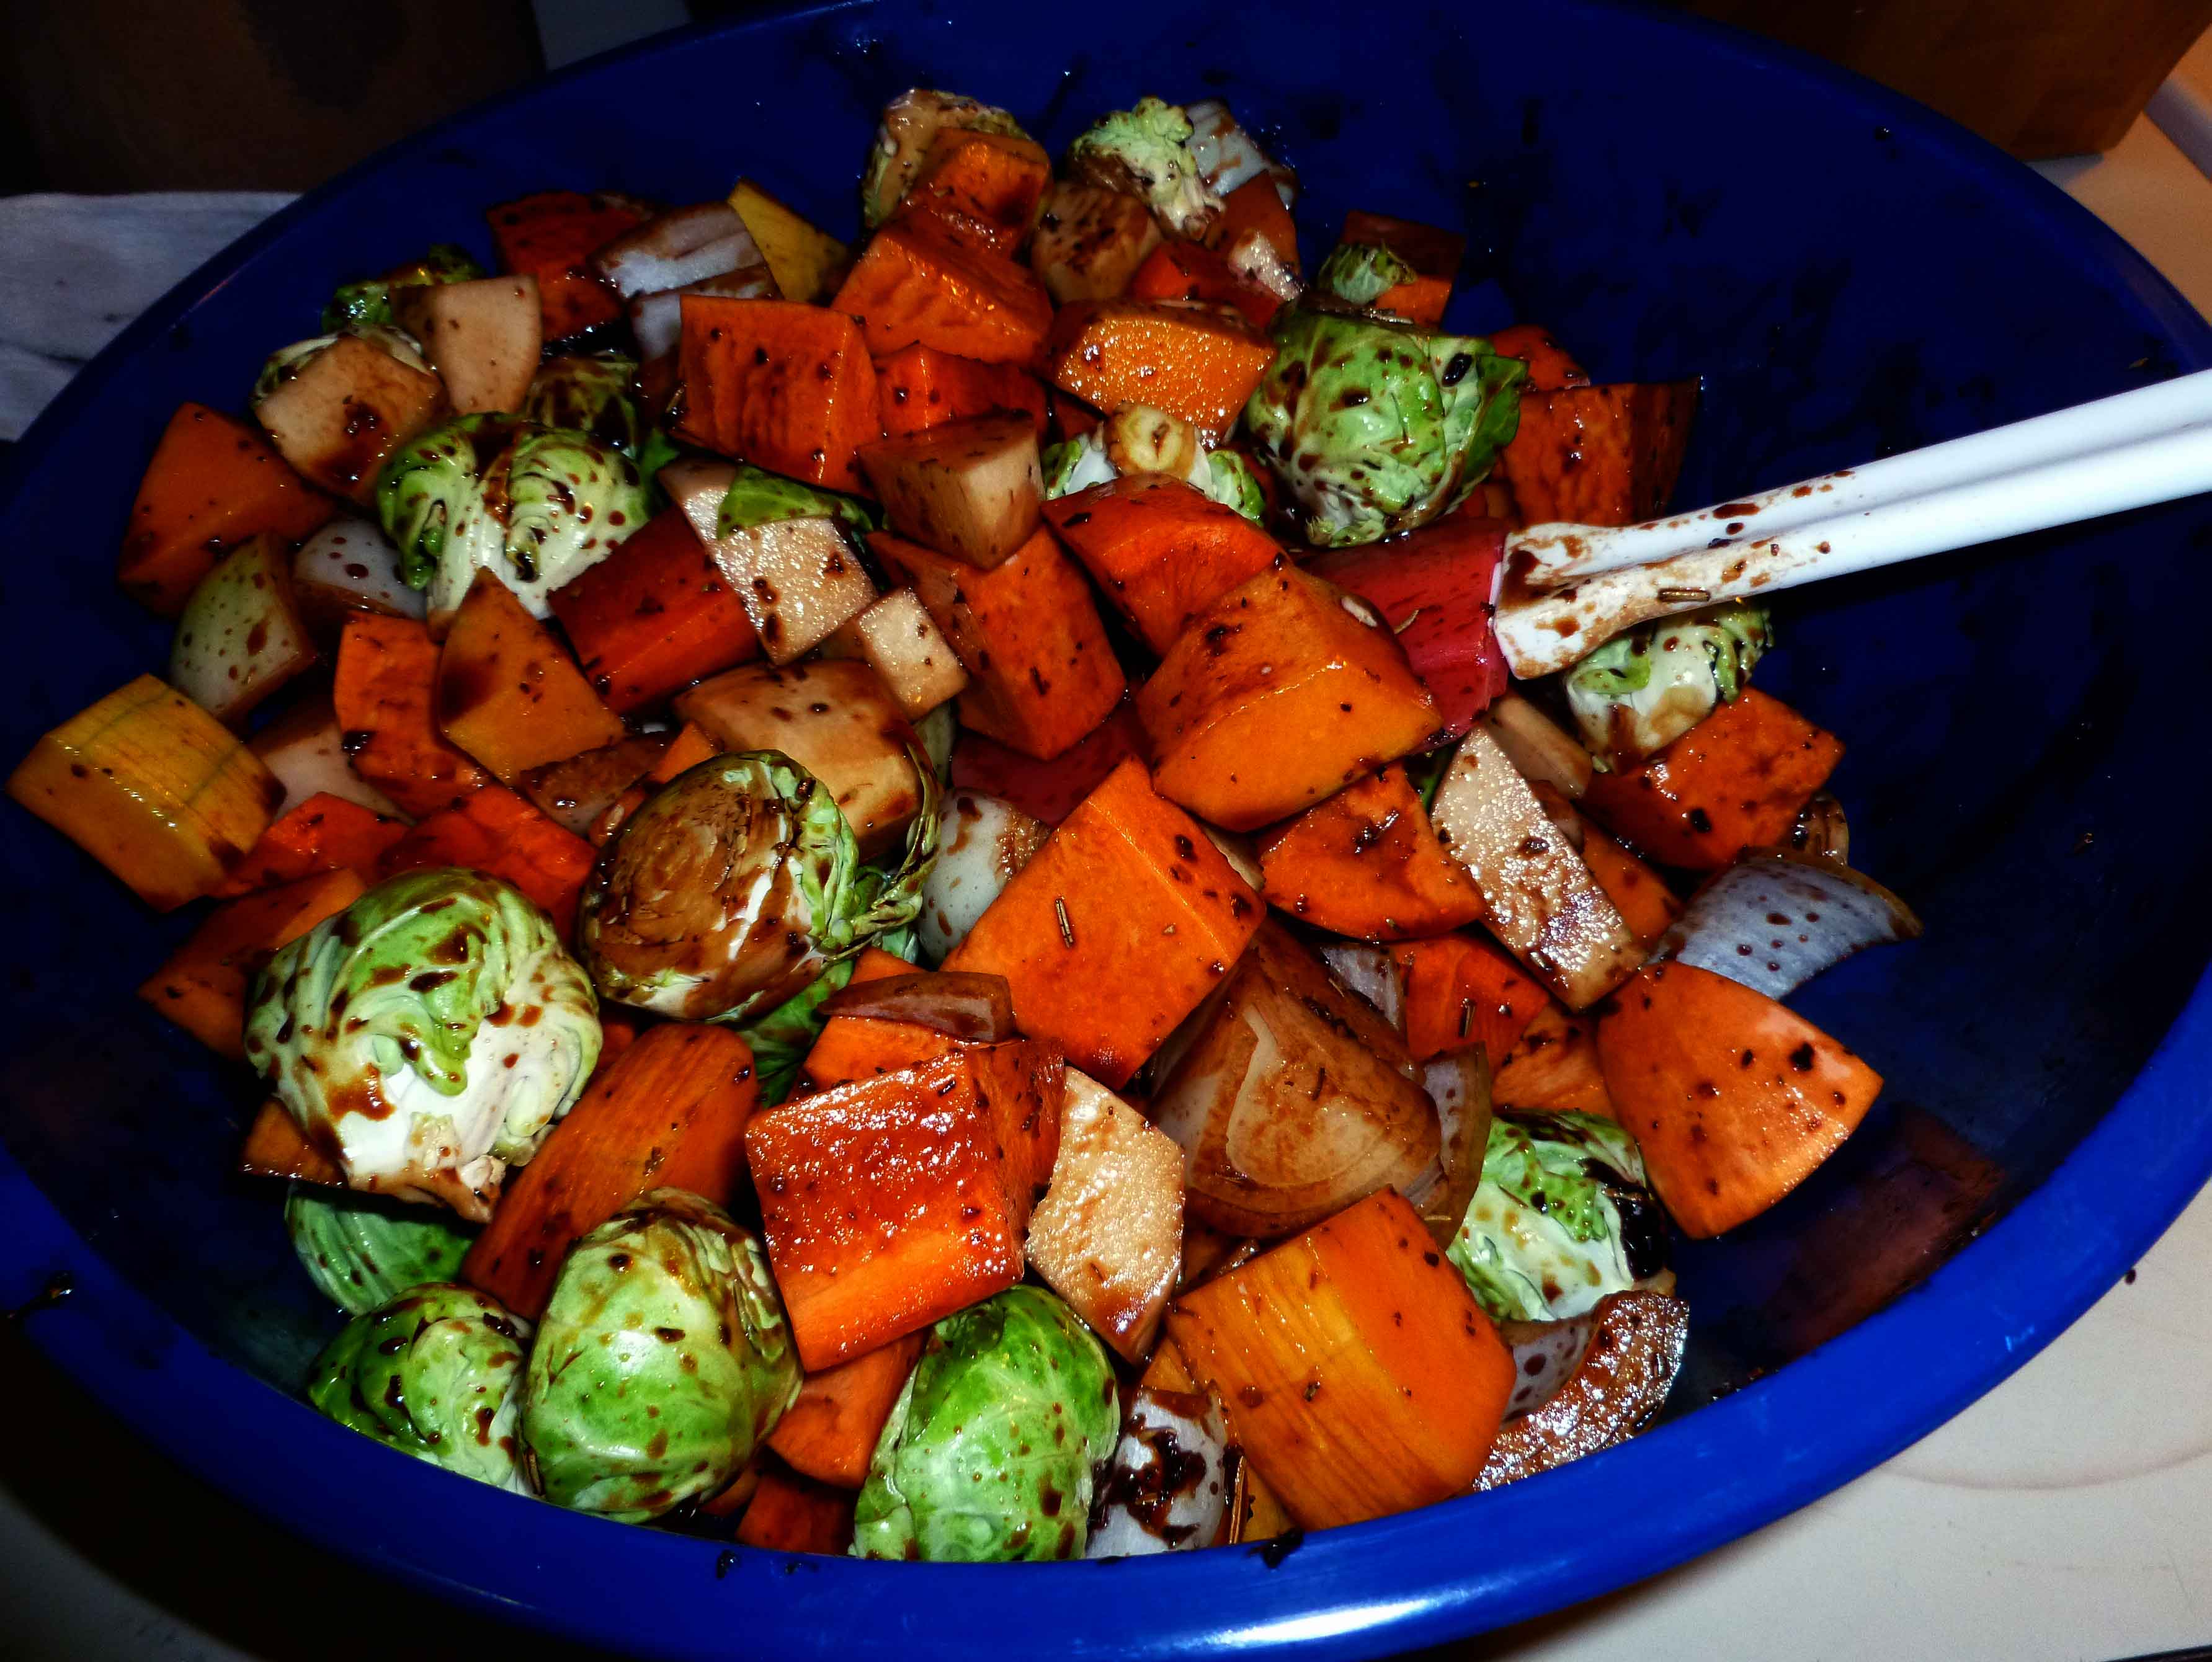
    Pour the glaze over the vegetables, scraping down the sauce pan so that all the glaze ends up in the bowl.  Mix the vegetables and glaze thoroughly so that all the vegetables are coated.

    Mixing Veggies and Glaze to coat
    Mixing Veggies and Glaze to coat

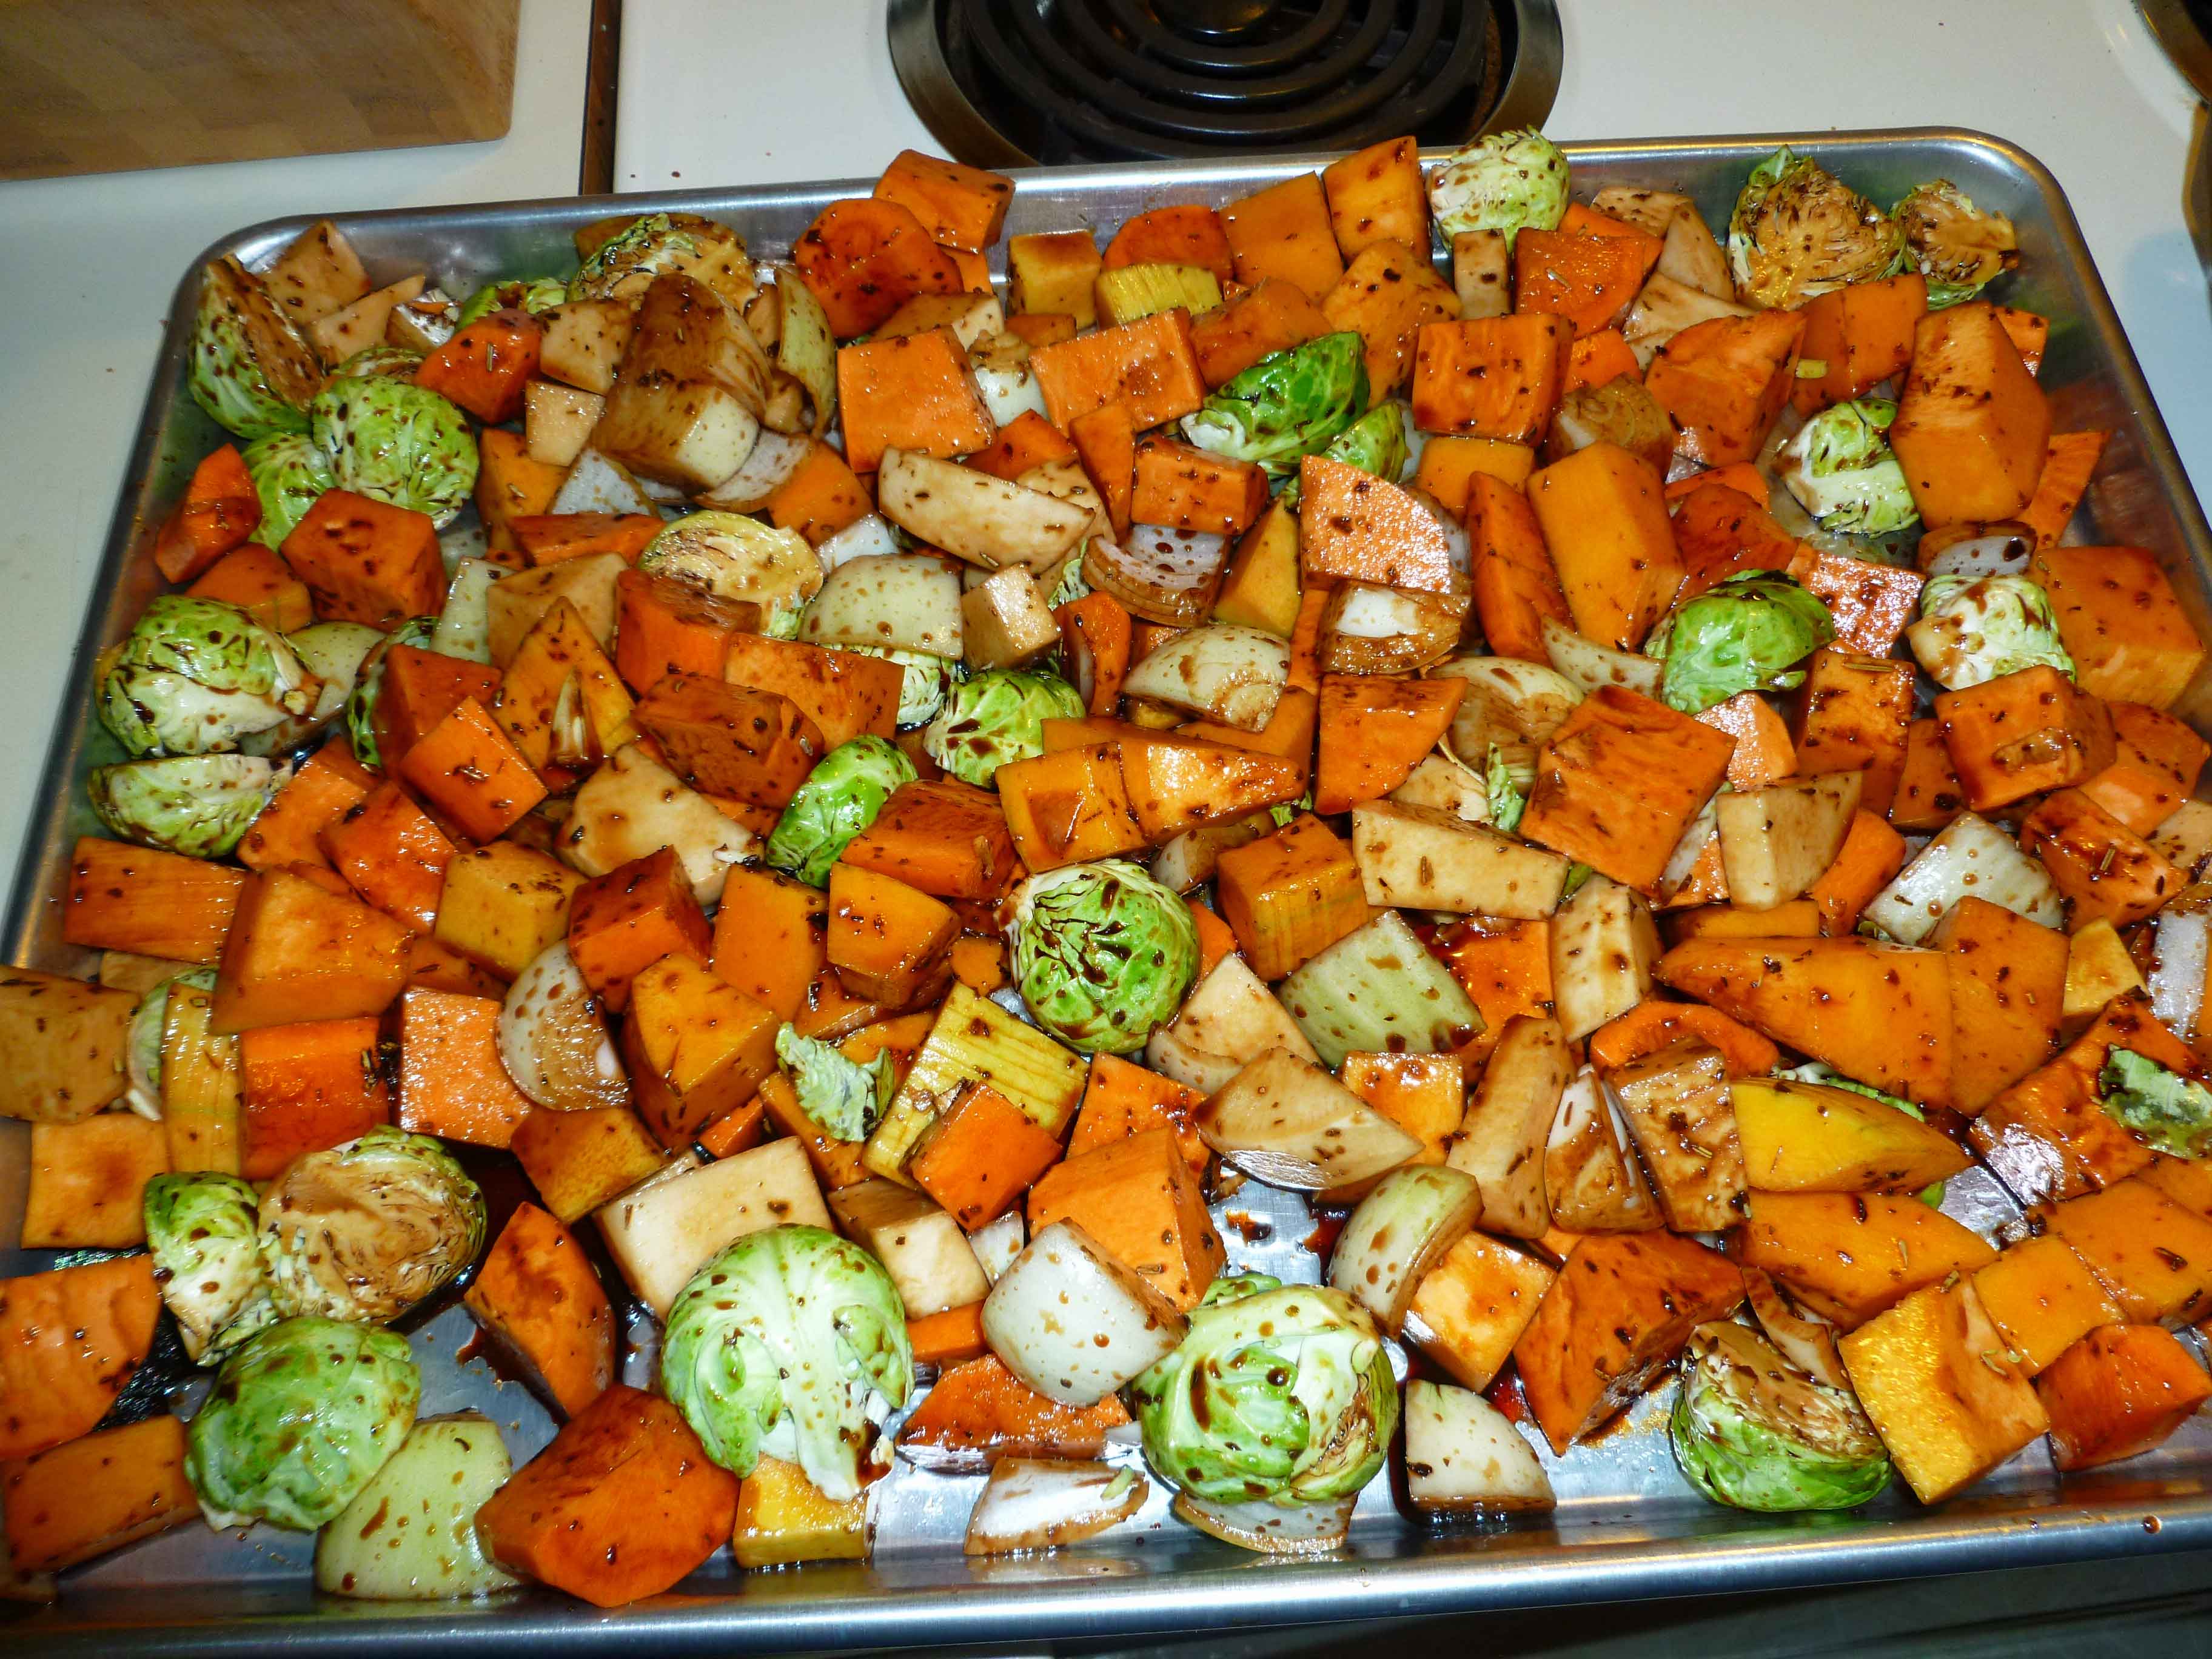
    Pour the coated vegetables on the sheet pan and distribute them evenly.

    Veggies spread evenly on pan
    Veggies spread evenly on pan

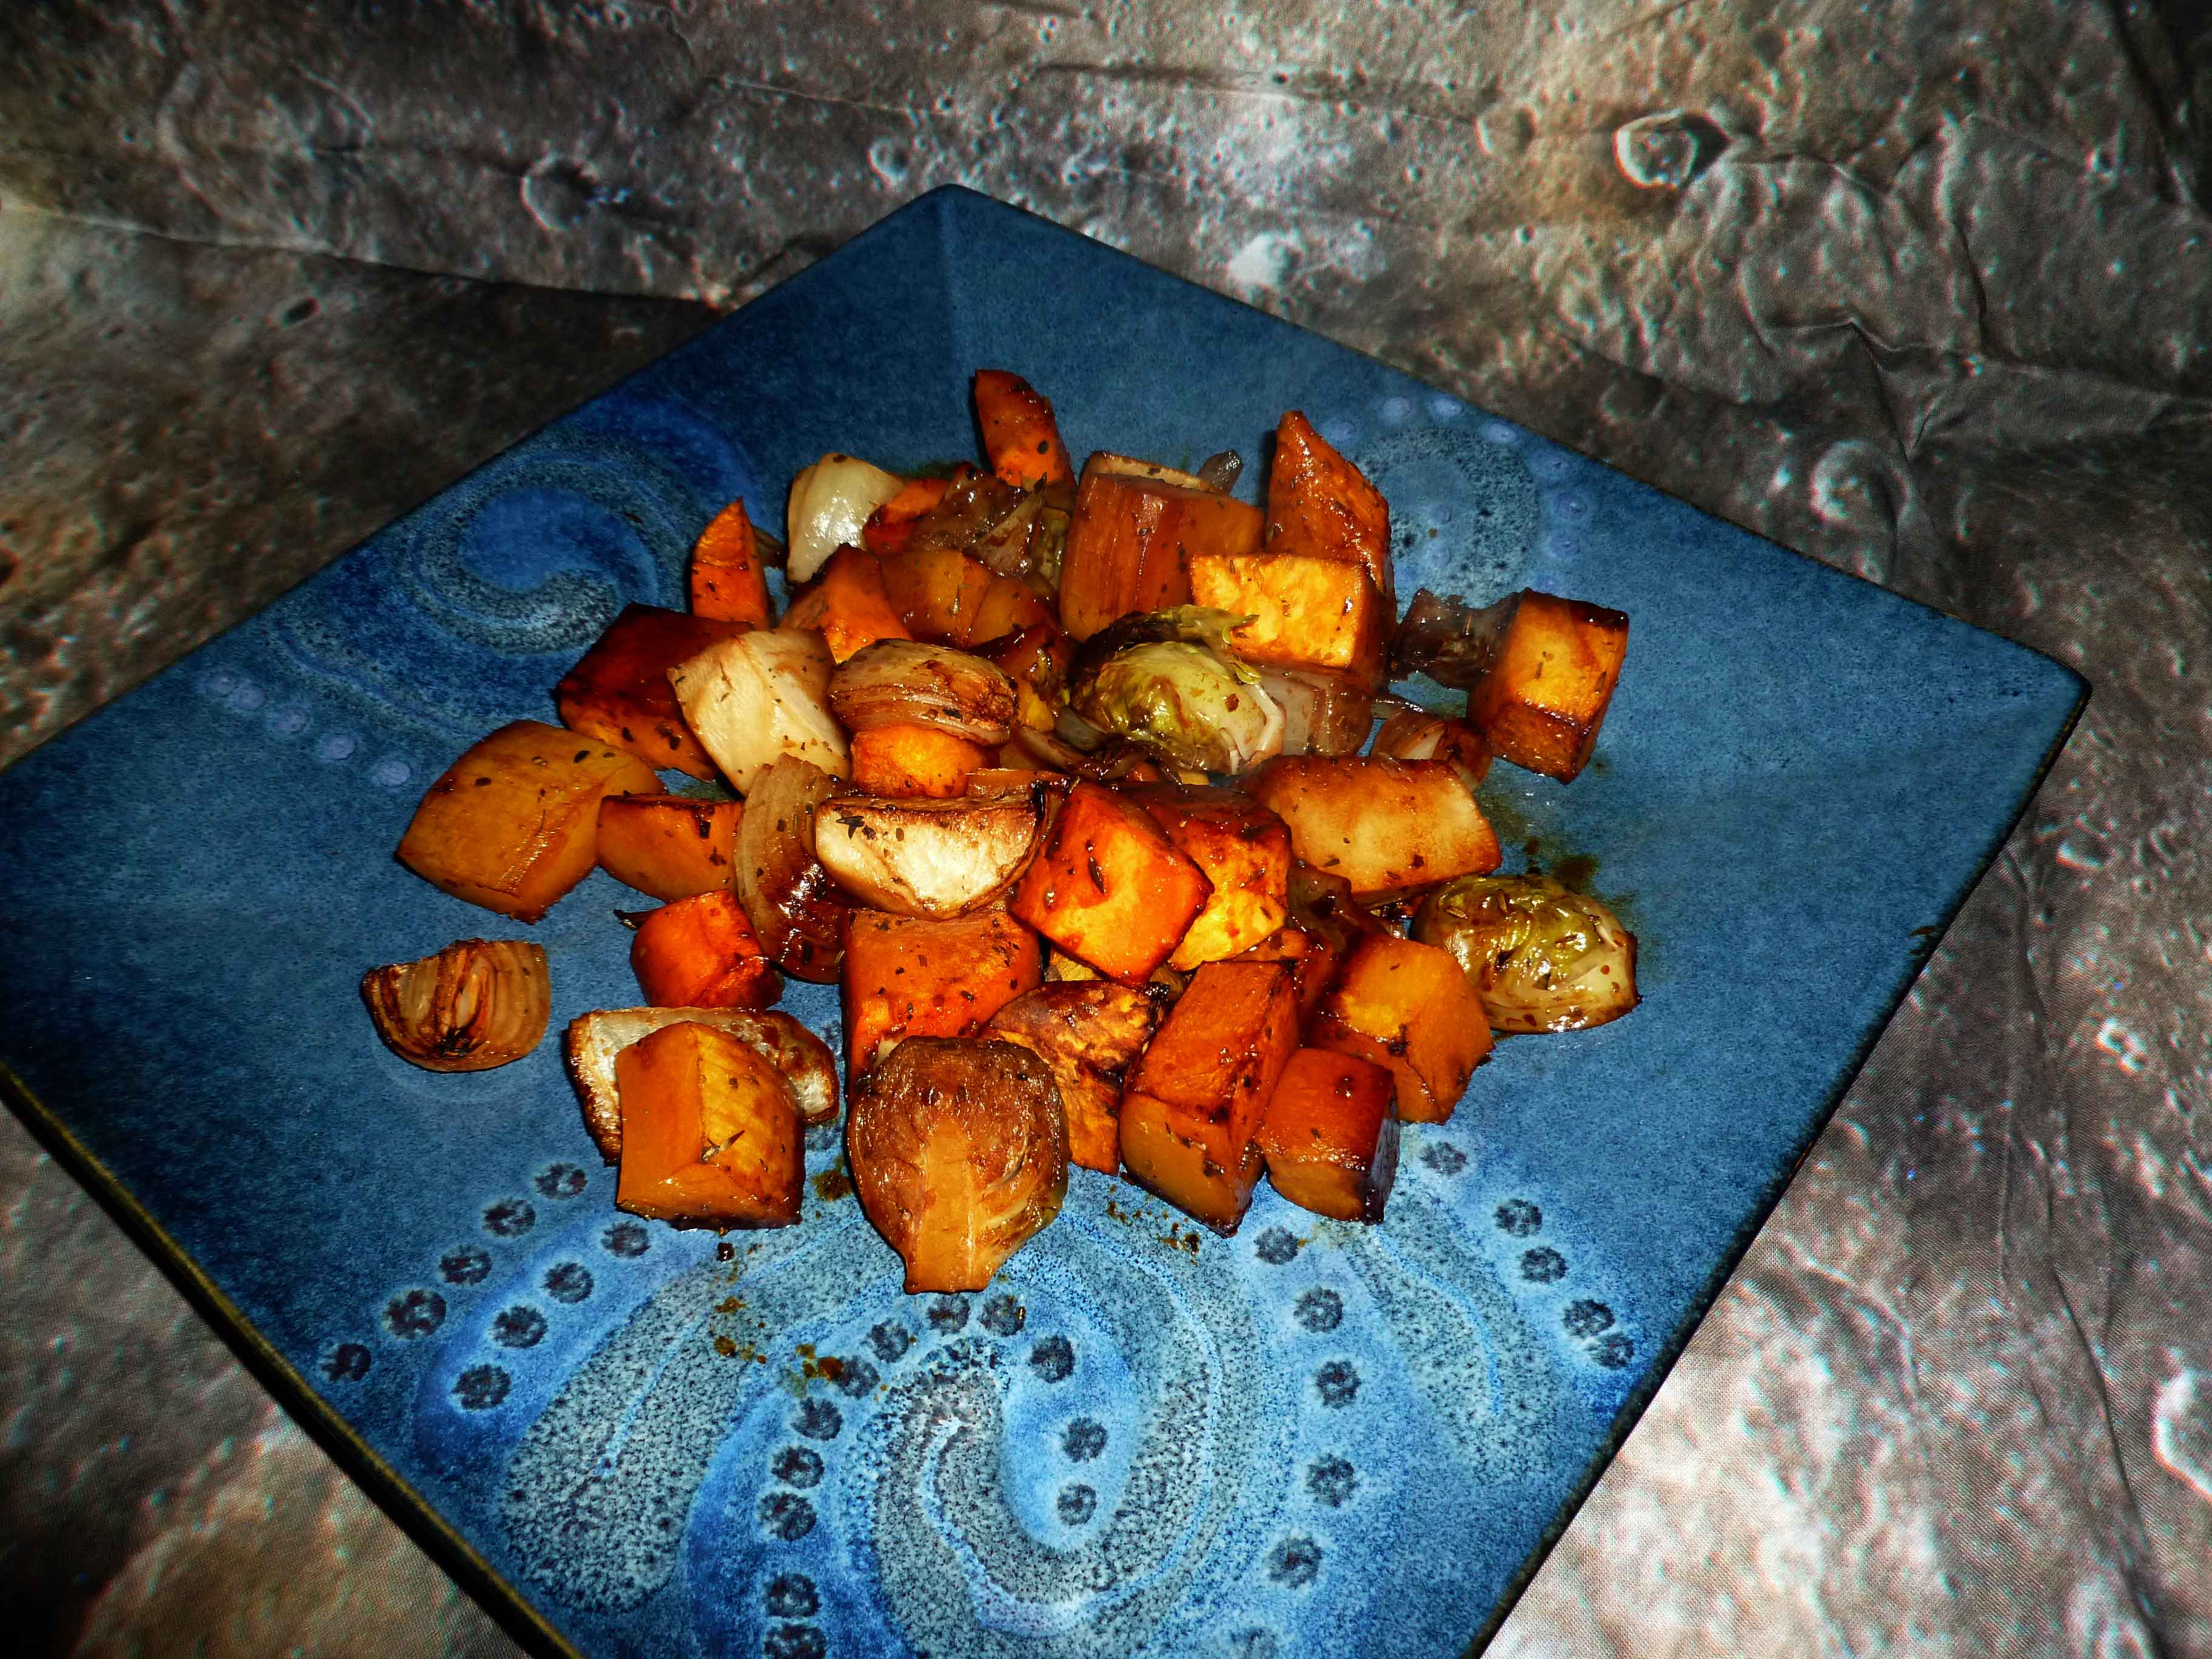
    Place them in the oven and cook until the vegetables are tender, about 45 minutes to an hour depending on how large your pieces are. You might want to test them with a fork.

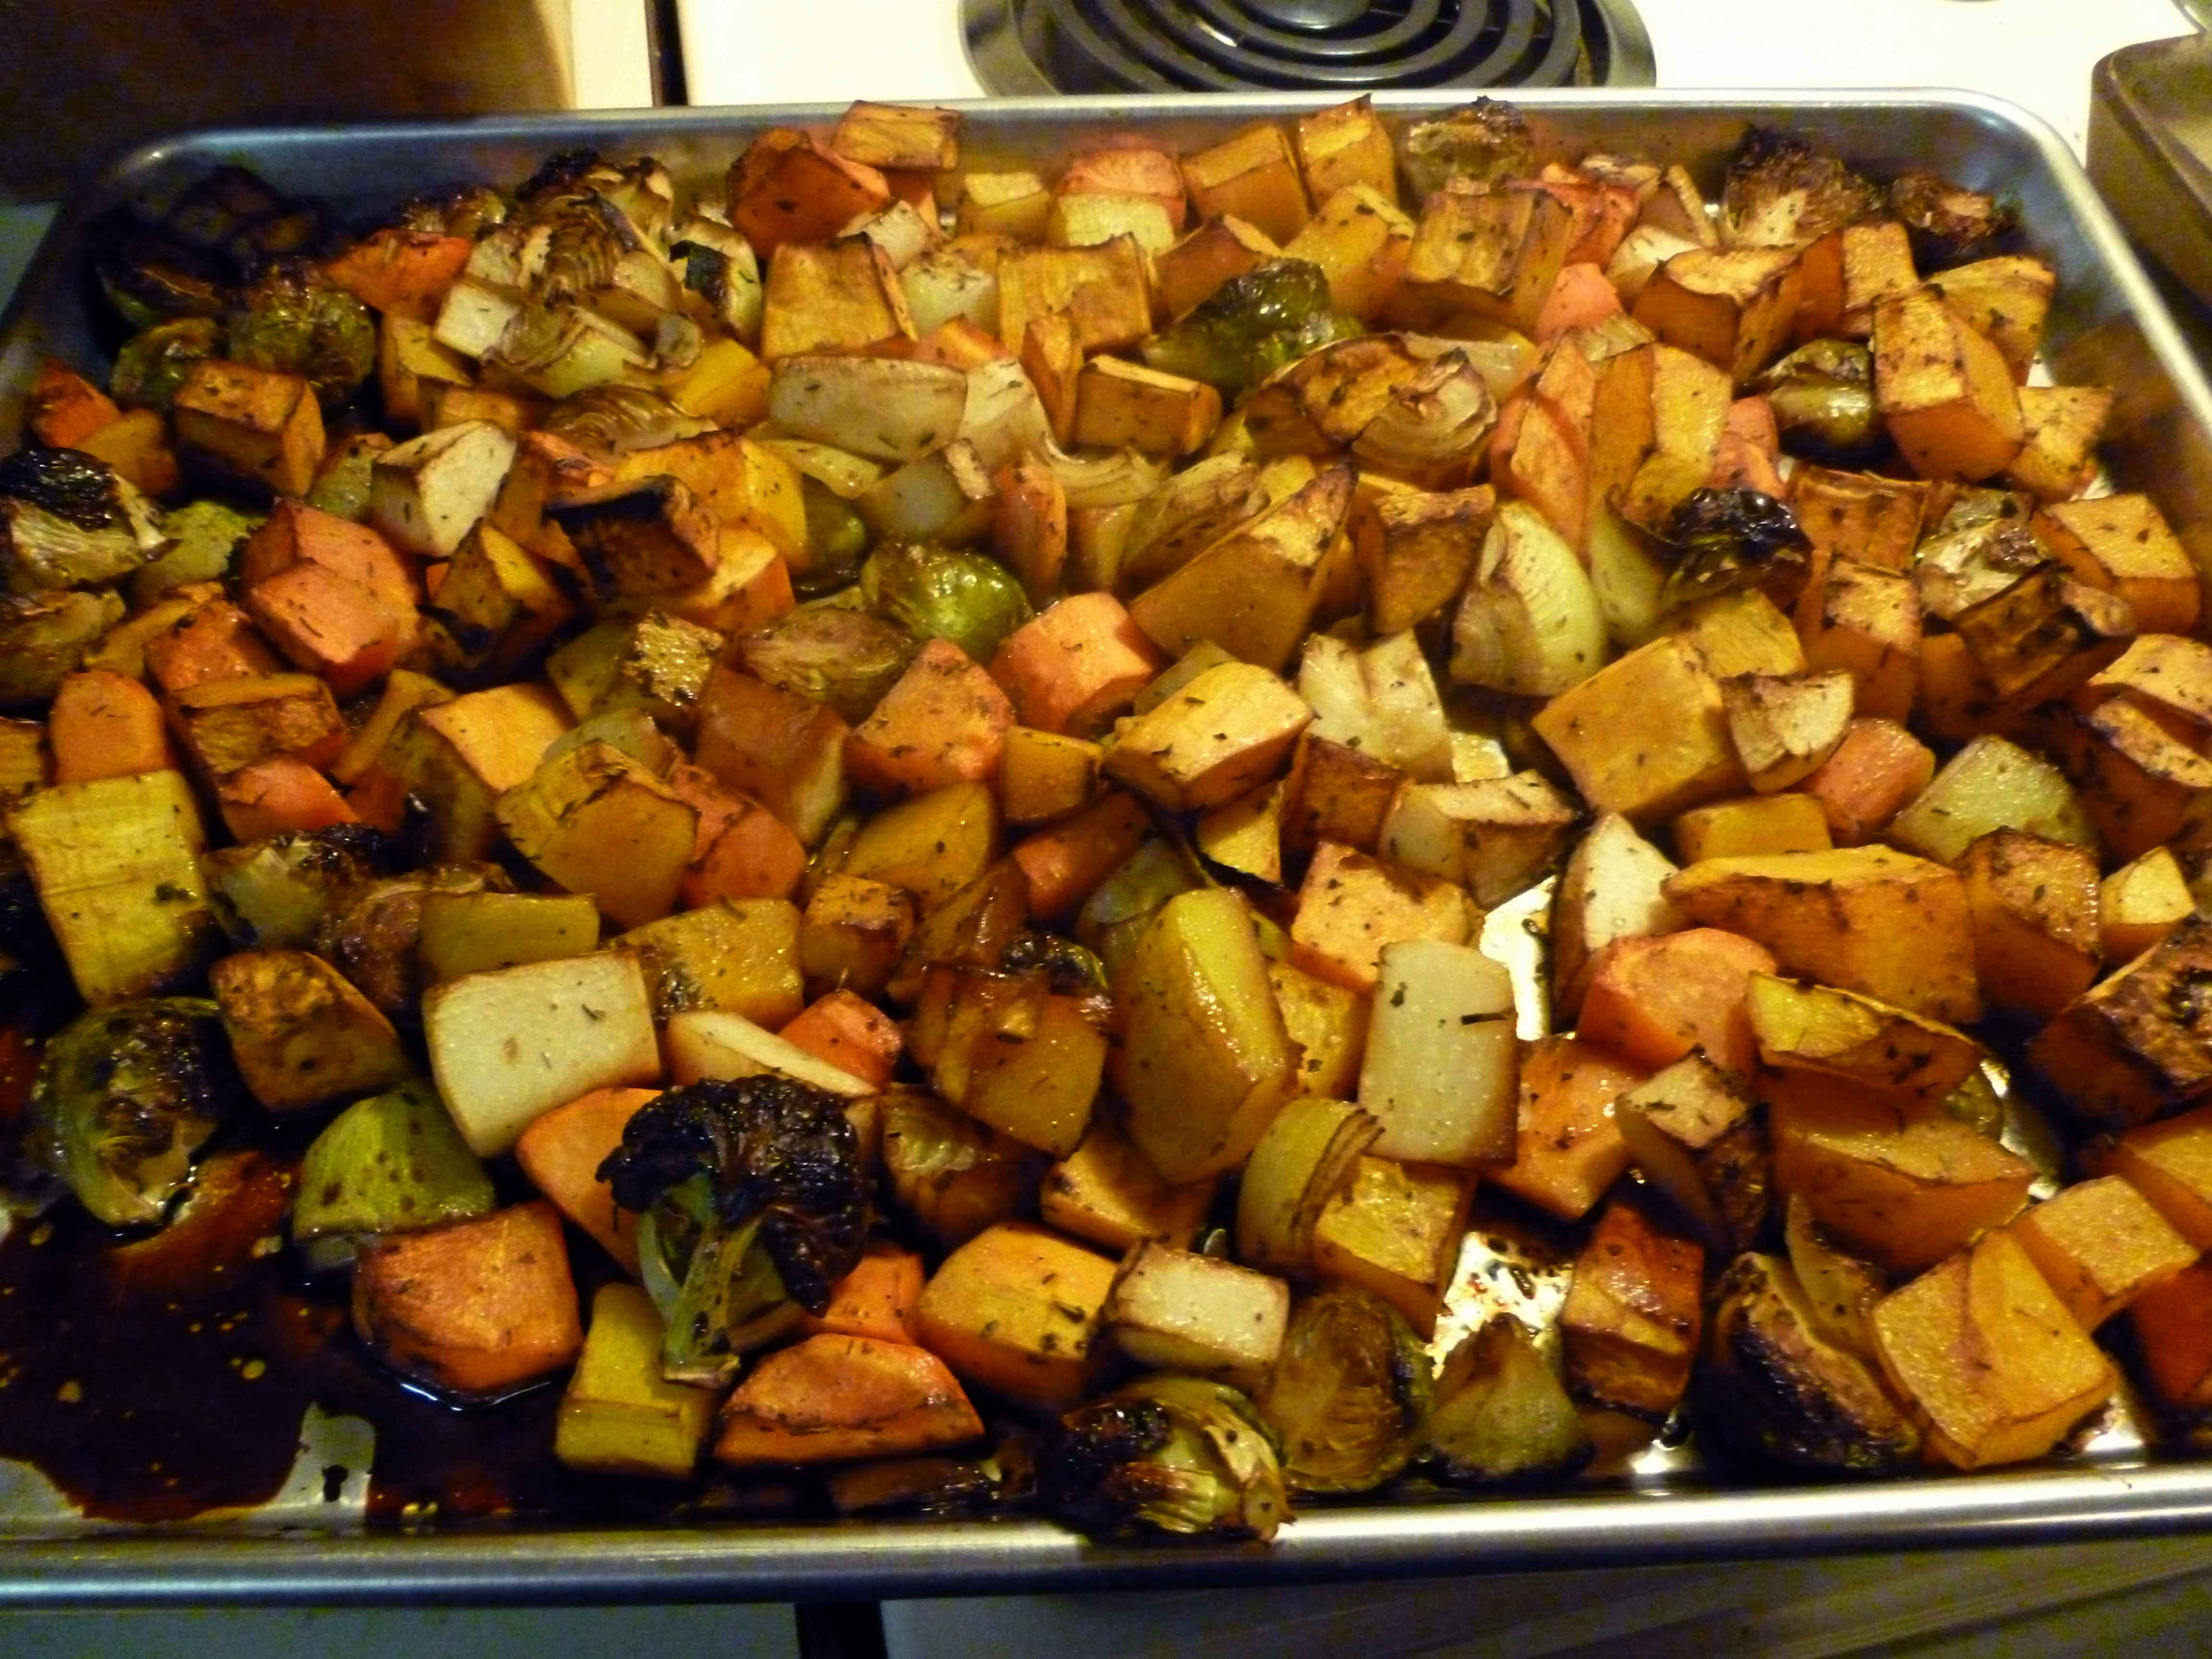
    Veggies after roasting
    Veggies after roasting

    Enjoy!