Notice: Function _load_textdomain_just_in_time was called incorrectly. Translation loading for the wp-ultimate-recipe domain was triggered too early. This is usually an indicator for some code in the plugin or theme running too early. Translations should be loaded at the init action or later. Please see Debugging in WordPress for more information. (This message was added in version 6.7.0.) in /home/maryzahc/public_html/adultfoodallergies.com/wp-includes/functions.php on line 6121
Tree Nut-free – Page 21 – surviving the food allergy apocalypse (archive)

Tag: Tree Nut-free

Does not contain any tree nuts or coconut.

  • Potato and Roasted Garlic Soup

    Potato and Roasted Garlic Soup
    Potato and Roasted Garlic Soup

    Before the food allergy apocalypse hit, I was a sucker for those huge 9 x 12 inch gorgeously photographed 200 page cookbooks that were always on sale for 5 or 6 bucks on the clearance tables at Borders (when it still existed) or Barnes & Noble. I have about six of them.  When Mary Kate and I were talking about what we should develop for the coming months, it fell to me to develop a soup from the Roasted Vegetable Stock that Mary Kate was going to post. I tend to use more beef and pork (no more chicken for me, sigh) in my every day “normal” cooking and most of my standard soups have a protein in them. So to get ideas, I went looking through my cookbook collection and found Best Ever Soups: Over 200 Brand New Recipies for Delicious Soups, Broths, Chowders, Bisques, Consommes on the shelf. I took it out and went for a spin through it. Now, about half of the recipes in the book are now off limits to me, but I can see a lot of room for modification and de-allergizing, which is a lesson in and of itself. I don’t have to look at the cookbooks as off limits because I can’t eat that stuff anymore, I can use them to get inspiration for my new way of eating. I can look at them as a way to say, “hey, I still want to eat something like that, how do you think I can tweek it?”

    So using the recipe in the book and making a few minor tweeks, I give you a soup with potatoes, Mary Kate’s Roasted Vegetable Stock, and roasted garlic. Because how can that be bad? Other than roasting the garlic, the rest of the prep is relatively simple. This would make a good weeknight dinner if you threw the garlic in the oven while you read the mail, check your email and change into your pajamas (oh wait…does everyone else do that just after you walk in the door too?). Or it’d make a nice side or appetizer for a weekend dinner. I’m serving it with a mustard and maple syrup marinated pork loin and a green salad.

    Potato and Roasted Garlic Soup

    Serves 4

    • 2 bulbs of garlic with the tops trimmed off, but unpeeled (or 1/2 cup of already roasted garlic that you may have on hand, see below)
    • 1 Tablespoon of olive oil
    • 4 large potatoes or 5 small to medium potatoes, peeled and diced
    • 8 cups of Roasted Vegetable Stock (I’d avoid using the dill in the stock for this soup, but any of the other herbs should work fine)
    • 1 small onion or one half of a large onion, peeled and diced
    • salt and pepper to taste
    • a dash or two of hot sauce (a Tabasco style hot sauce would be lovely)
    • fresh parsley to garnish

    Pre-heat your oven to 375°F. Trim the top of the garlic bulbs just so the tops of the cloves are showing.

    Garlic bulb with its top trimmed
    Garlic bulb with its top trimmed

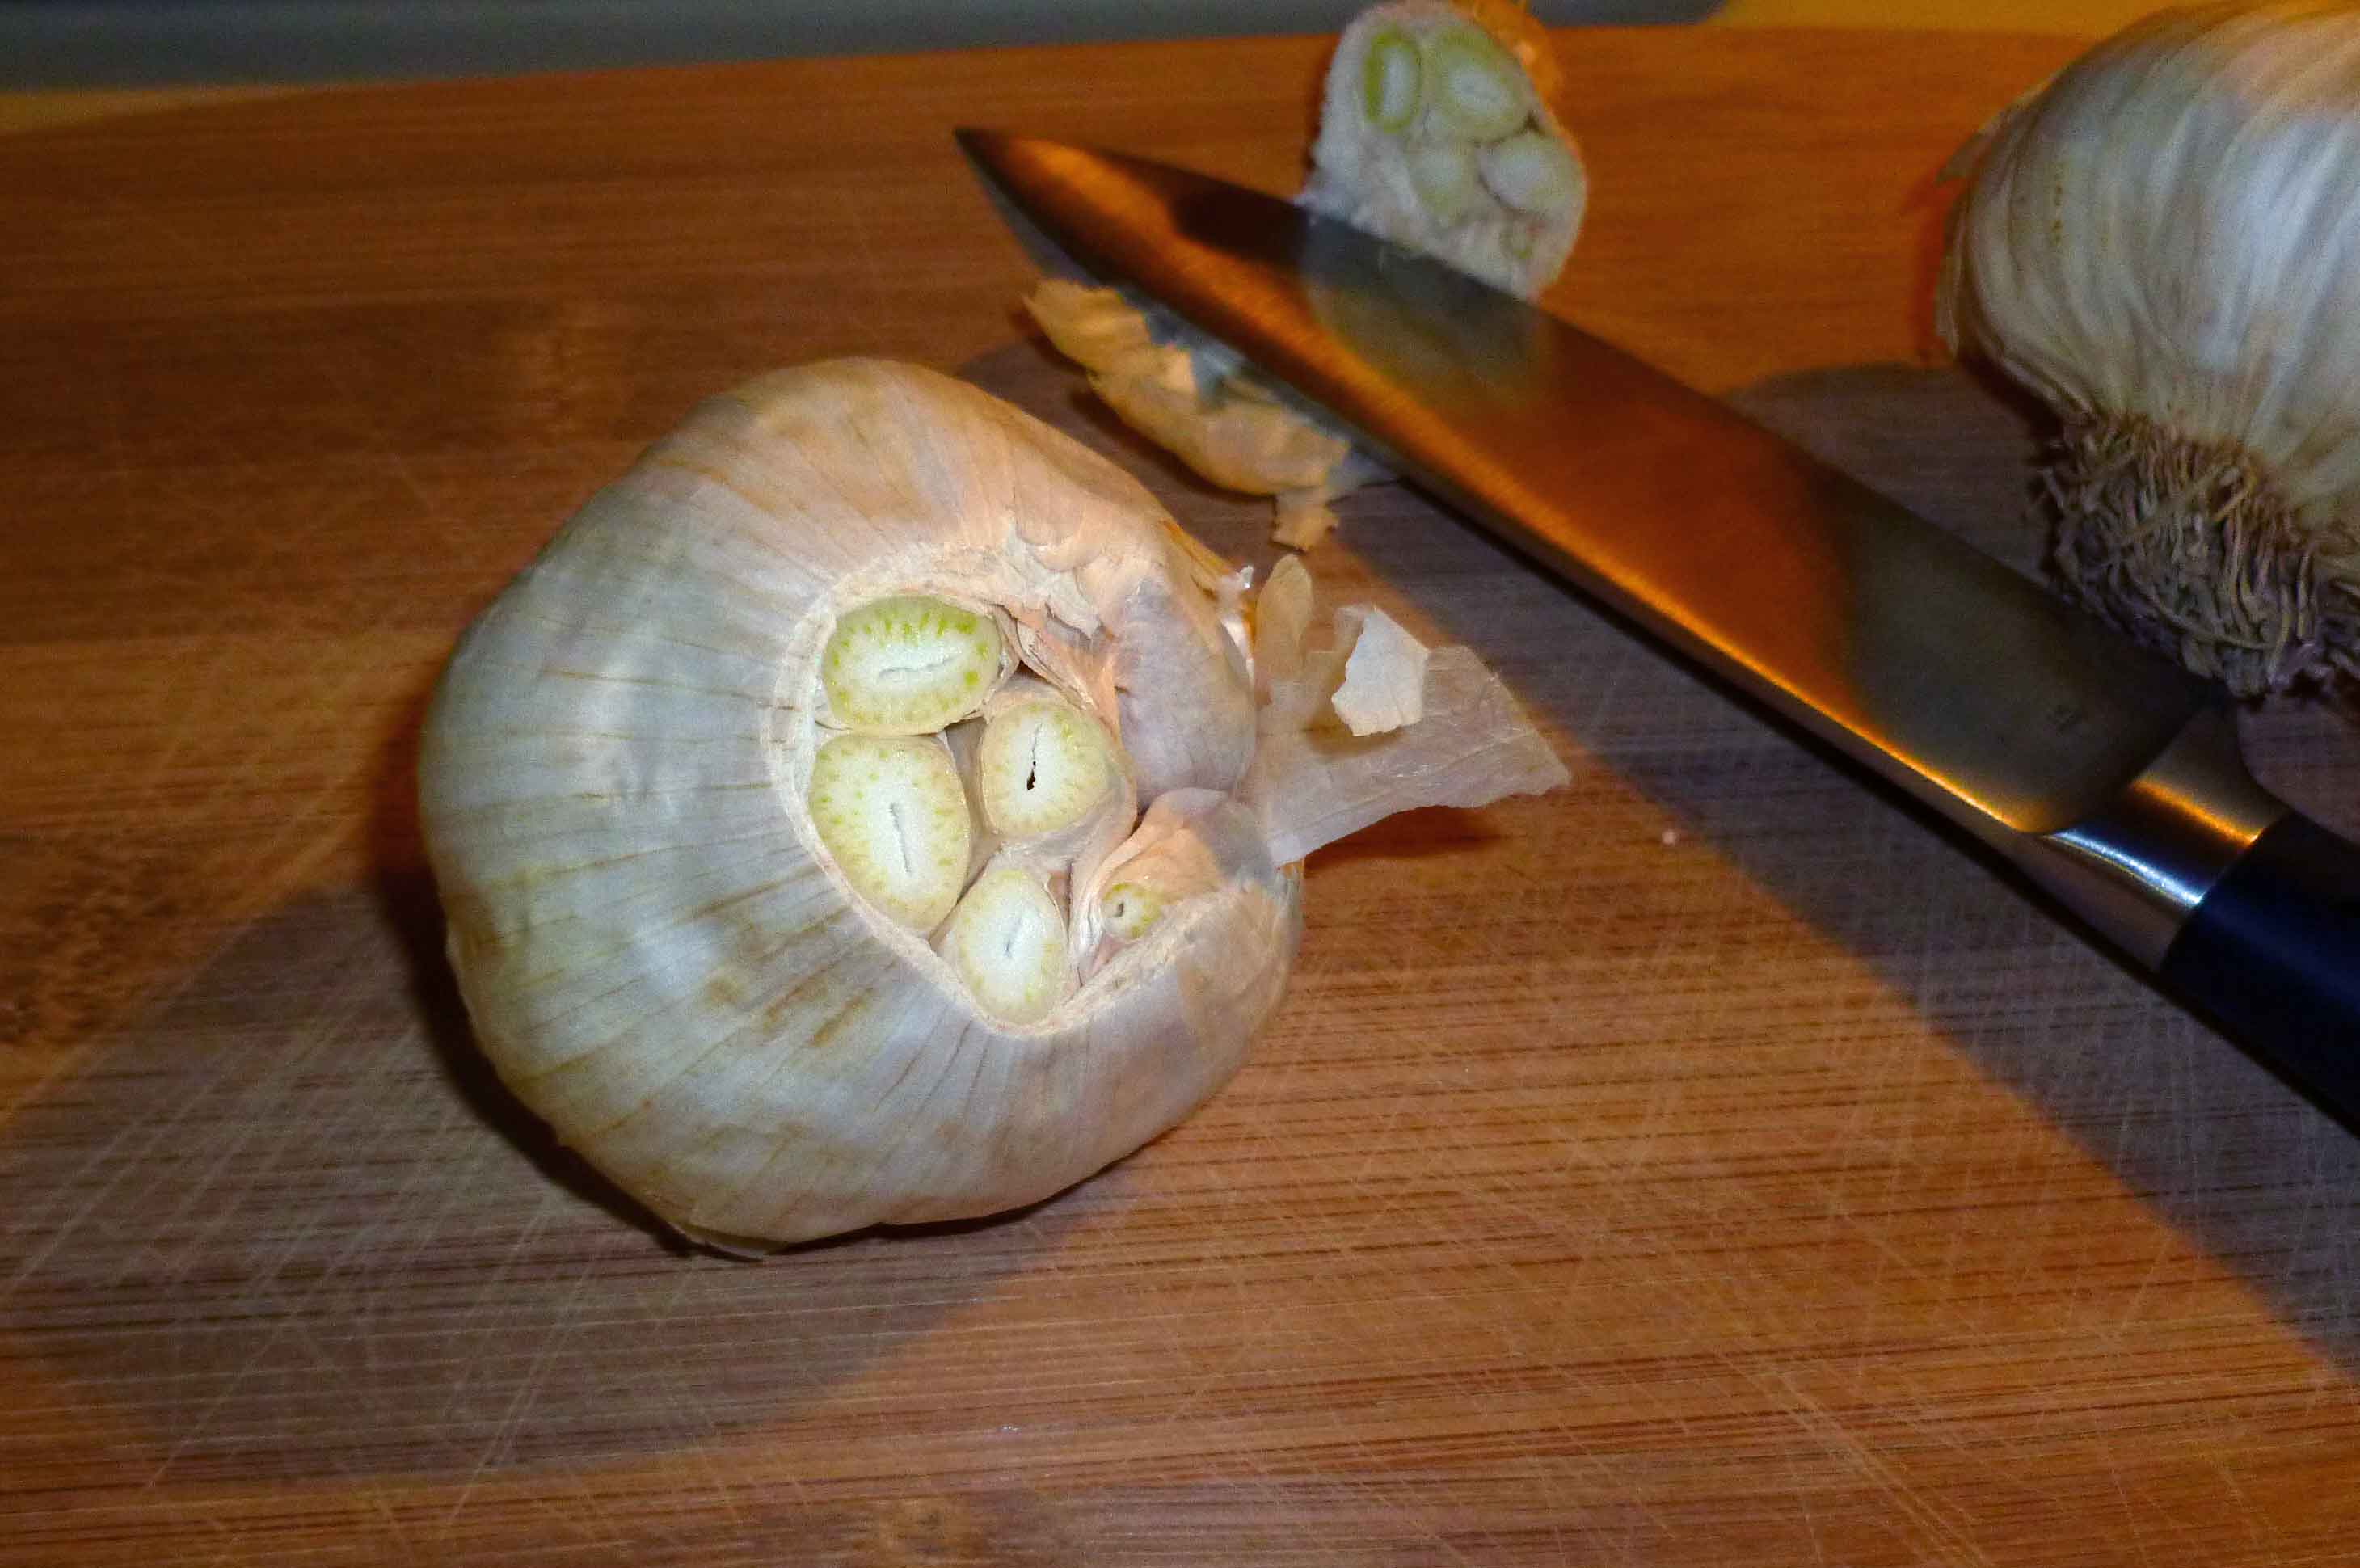
    Place the bulbs on a small roasting pan or sheet pan and drizzle the olive oil over the trimmed garlic bulbs.

    Garlic bulbs drizzled with olive oil
    Garlic bulbs drizzled with olive oil

    Roast the garlic until for 45 minutes or until it’s soft in the center of the cloves. (Or if you want to make your life really easy, if you have some roasted garlic already prepared {here’s how to do it, takes an hour, do a bunch ahead of time and store it in a jar in your fridge or freeze it so you can use when you want it without the aggravation}, use half a cup and mash it up before adding to the soup.) Once your bulbs have roasted, take them out of the oven and set them aside to cool a bit.

    Roasted Garlic Bulbs
    Roasted Garlic Bulbs

    Add your roasted vegetable stock and the peeled and diced onion to a large stock pot, and simmer on medium high.

    Stock and onions in stock pot
    Stock and onions in stock pot

    Then peel and dice your potatoes.

    Peeled and diced potatoes
    Peeled and diced potatoes

    Par-boil the potatoes in another pot in salted boiling water for 10 minutes.

    While the potatoes are cooking, squeeze the cooked garlic out of the bulbs (I found it easiest to do it a couple of cloves at a time) into a prep bowl.

    Roasted Garlic removed from bulbs
    Roasted Garlic removed from bulbs

    When all the cooked garlic has been separated from the bulbs, add the cooked garlic to your roasted vegetable stock, and stir it well.

    Once your potatoes have finished cooking, drain them.

    Par-boiled potatoes after draining
    Par-boiled potatoes after draining

    After draining, add them to the roasted vegetable stock. Simmer for 20 minutes and then season to taste with salt, pepper and hot sauce. Serve topped with a bit of parsley to make it look pretty, and enjoy!

    Potato and Roasted Garlic Soup
    Potato and Roasted Garlic Soup
  • Roasted Vegetable Stock

    Garnished Broth. Photo by Jack Andrews
    Garnished Broth. Photo by Jack Andrews

    I know. It’s spring. Or, rather, “spring.” The thing is? It’s still pretty cold here, and on top of that, damp. So, basically, it’s still soup weather, and rather than being cranky about it, let’s just make some good veggie stock to cook up some of the vegetables that might, in a perfect world, soon be coming out of the ground. Or, maybe, going into the ground. Man, this whole seasonal blah is really not inspiring me! But I’m hungry, and soup is good.

    So. Soup stock. As with Denise’s Roasted Beef Stock, this vegetable stock gets a lot of its flavor from caramelizing the sugars in the vegetables by roasting them first. Deglazing the roasting pan with white wine or sherry adds a little extra hit of flavor, but if you don’t have or don’t want to use alcohol, water will work. Just make sure to scrape the bits up really well — there’s flavor in there.

    This stock can be the base for pretty much any soup, though if you’re going for a specific flavor profile, consider that when choosing your herbs. I’ve given very specific measurements here because part of the reason we’re posting basics like stock is that we know that some people have always purchased stock, either in bouillon cubes or in boxes or cans. Allergies take away that option (damn allergies) or make it difficult, so if soup stock is part of your learning curve, we’ve got it covered. BUT. Stock is inherently flexible, so feel free to play with the recipe. You do not need exactly what I’ve used, and the measurements are overly precise (unnecessarily so) just in case you’re a newbie and want that. I weighed everything that was roasted, just for you, and since I was doing that, did metric and US weights. I don’t actually know metric measurements otherwise, so they aren’t included other than that. Sorry about that.

    A note on ingredients and prep: in a stock, you’re extracting flavor. So you want the best produce you can buy, and you want to alter it as little as possible. Because of this, when possible, I buy organic vegetables to roast, and I wash them well. I don’t peel them. Chop them roughly, and remove only parts that are bad or brown, and any parts that might burn (onion skin).

    Ungarnished Broth. Photo by Jack Andrews
    Ungarnished Broth. Photo by Jack Andrews

    Roasted Vegetable Stock

    There are two sets of ingredients in this recipe. The first set get roasted. The second set go straight into the stock pot.

    Roasted Ingredients
    Roasted Ingredients

    To go into the oven:

    • 7 carrots (9.5 oz, 269g)
    • 7 stalks of celery, plus core (15 oz, 425g)
    • 2 apples (12 oz, 345g)
    • 1 onion (8.5 oz, 237g)
    • 4 large shallots (1 lb., 453g)
    • a handful of garlic cloves, about half a head on a typical US-sized clove (2 oz, 64g)
    • 1/4 to 1/3 cup olive oil
    • 1/2 Tablespoon salt
    • 1/4 cup of white wine, red wine, sherry, or water (reserved — use this after roasting)

    Preheat your oven to 400°F.

    Chop the carrots and celery into about 1 inch chunks — remove any greenery from carrots, and remove and reserve all the celery leaves (see below). Quarter the apples and remove the part of the core containing the seeds. Quarter the onion and halve each quarter — remove all the papery skin. Same with the shallots (note — I used shallots here because they looked good at the store when I was buying the veg — you could just use another onion or two here, but less in weight than shallots, as shallots are milder). Remove the skin on the garlic cloves.

    Place all the veg in a baking pan or roasting pan with sides, metal is preferred. Douse them with olive oil and salt, and turn everything around in the oil until it’s well-coated.

    Put the pan in the oven and set the timer for 30 minutes. You’ll need an hour, possibly an hour and a half to get a good caramelized brown all over all your veg, so plan accordingly. Check every 30 minutes, and beware of sticking your head close to the oven as you open it — there’s a lot of steam in there. And yes, I forget that every.single.time.

    Now, your second set of ingredients for the stock — the ones that do not get roasted.

    Into the stockpot:

    • another handful of garlic cloves
    • all of the celery leaves — don’t waste them!
    • 1/2 a bunch of parsley
    • 3-4 sprigs of dill, or another fresh herb that looks good at your store and is soup-appropriate (rosemary, basil, oregano, thyme — all would be good options)(optional, but adds freshness)
    • 2 bay leaves
    • 2 teaspoons dried thyme
    • 1 Tablespoon whole peppercorns (this does NOT make your stock hot — the peppercorns aren’t broken, so most of the oil stays in, but it adds a nice flavor) (if you are Denise and you’re making this, you would likely add dried chilies here instead, but those will be hot — if that’s your thing, do it!)
    • about 10 cups of water

    Get all this (MINUS the water) ready in your pot while everything else roasts.

    When the roasting is done, scrape the roasted veg directly into the stockpot. Deglaze your pan with your water or wine by pouring the cold liquid on the hot pan and using that to scrape up all the roasted bits stuck to the pan. Add that to the stock pot.

    Then add water, enough cover all the stuff in the pan by about two inches. Bring this to a boil, then reduce and simmer for 30-45 minutes.

    Strain out and discard the vegetables and herbs, and either use it to make soup right away, or store it. This should keep in the fridge for about a week, or store it in the freezer. With 10 cups of water, I got not quite 3 full quart jars of stock.

  • Lime Lollipops

    Lime Lollipops
    Lime Lollipops

    This recipe is part of my campaign to get some candy back in my life, although in all likelihood, at a much reduced rate of intake than was so prior to the corn thing. To start out with, I used a recipe for No Corn Syrup Lollipops from Snappyliving.com, but since I can’t use artificial flavoring or vegetable food coloring (problematic for people allergic to corn), I modified the recipe to use fruit juice and my homemade extracts to give the lollipops their flavor. (Most extracts use corn alcohol to make the extract.  I used the zests of the citrus fruit and Luksusowa Vodka because it’s made only from potatoes, whereas some vodkas may also use grain or corn. See this post for directions.)  The color is naturally occurring from the carmelization of the sugars and lime juice together. It’s best to have a candy thermometer to use to make this recipe.

    Lime Lollipops

    • 2 cups of sugar
    • 2/3 cups of lime juice (about 3-4 limes)
    • 1/8 teaspoon of cream of tartar
    • 1 Tablespoon of lime extract

    Put the sugar, lime juice, cream of tartar, and lime extract in a sauce pan with a candy thermometer. Over medium heat, stir until the sugar is dissolved.

    Candy Mixture before boiling
    Candy Mixture before boiling

    Bring the heat to medium high, and continue to stir, boiling the mixture until it reaches 290°F, or until it forms a hard bead when dropped in cold water.

    Candy mixture boiling
    Candy mixture boiling

    Spray silicone molds or ice cube trays with a neutral, safe for you cooking oil. I used a light olive oil in a mister.  You don’t want an oil that tastes like anything. Carefully pour the mixture into your molds and add Popsicle sticks, as the mixture hardens enough to hold the sticks in position.

    Candy in Silicone Muffin tray with Popsicle sticks
    Candy in Silicone Muffin tray with Popsicle sticks

    Let them cool overnight before taking them out of the molds. If not properly hardened, they stick to everything like cement. Ask me how much fun it was to get them off the plate below, once I was done taking the picture…Enjoy!

    Lime Lollipops
    Lime Lollipops
  • Hamburger Green Bean Hot Dish

    Hamburger Green Bean Hot Dish
    Hamburger Green Bean Hot Dish

    So, in North Dakota (and, I think, Minnesota), a casserole is called “hot dish.” It’s a simple descriptive name, but it can be said so evocatively — and hot dish is exactly what this raw end of winter needs, if you ask me. Last week was, if I can be blunt, a bit of a bitch, and warm comfort food was definitely called for, for sanity’s sake. And all comfort food in my world must include potatoes. This hot dish features a casserole staple — ground beef — mixed with green beans and seasoned tomato sauce, topped with mashed potatoes. It’ll chase the winter chill right out of you.

    This is a recipe from my childhood, but apparently it pre-dates my parents’ marriage, too. When I called my mother to ask about a weird direction in the recipe, she admitted she’d been making the recipe since she was in high school and no longer has a written recipe. It’s cheap, quick, and easy, on top of being comfort food, and I needed to alter only a few things to make it allergy-friendly.

    Brilliant Ring of Mashed Potato
    Brilliant Ring of Mashed Potato

    Hamburger Green Bean Hot Dish

    • 3-4 medium potatoes, peeled and cubed
    • 1/4-1/3 cup non-dairy milk (I use almond — any of them should work)
    • 1 Tablespoon Earth Balance margarine (or other safe-for-you option)
    • 1 small onion, chopped
    • 1/2 lb. ground beef
    • 2-1/2 teaspoons oregano
    • 1 teaspoon dill
    • 1/2 teaspoon garlic powder
    • 1 can tomato sauce
    • 1/2 lb frozen green beans
    • one bunch of scallions, chopped, green parts only
    • salt and pepper, to taste

    Boil potatoes in salted water until tender.

    Brown onion and beef in a skillet over medium heat. You don’t need to add oil — let the grease from the beef come out, then add the onions, and they will cook in the beef fat. Cook until onions are fully translucent. Drain off grease.

    Add salt and pepper. Add oregano, dill, and garlic, and stir well.

    Add tomato sauce, green beans, and scallions. Bring mixture to a boil. If you do this over medium, it gives you time to mash the potatoes.

    Mash potatoes adding the margarine and milk — you may not need it all, so only add about 1/4 cup to start with, and see if you need the rest. The mashed potatoes should be a little stiff, as they will absorb some of the tomato sauce while cooking, and more when served.

    Taste the beef mixture and the potatoes. Add more salt and pepper if you need it.

    Pour beef mixture into a greased casserole dish. Top with mashed potatoes. By family tradition, I piled the mashed potatoes in a pretty ring around the edge of the dish, but I’m sure this is not necessary.

    Bake at 350°F for 30 minutes, uncovered.

    Eat hot. Also reheats well.

    Hamburger Green Bean Hot Dish
    Hamburger Green Bean Hot Dish
  • Gluten-free Vegan Italian Herb Crackers

    Gluten-free Vegan Italian Herb Crackers
    Gluten-free Vegan Italian Herb Crackers

    Gluten-free Vegan Italian Herb Crackers

    • 1/4 cup of Denise’s All Purpose Gluten Free Flour Mix (I used the Gluten Free Girl’s post on gluten-free holiday baking and modified it a bit – to make 500 grams of the mix, you’ll have a bit extra to use for other recipes, whisk together thoroughly 50 grams of oat flour, 50 grams of teff flour, 75 grams of sorghum flour, 25 grams of potato flour, 125 grams of sweet or glutinous rice flour, 75 grams of potato starch, 50 grams of arrowroot, and 50 grams of tapioca starch) or use a safe for you commercial gluten free all purpose flour.
    • 1/4 cup of brown rice flour
    • 1/4 teaspoon of salt
    • 1/4 teaspoon of ground chia seed
    • 1 teaspoon of Italian Seasoning mix or (or a bit of oregano, basil, marjoram, sage, rosemary, and thyme to add up to 1 teaspoon)
    • 2 teaspoons of olive oil or a safe oil for you
    • 4 Tablespoons of water.

    Preheat oven to 375°F.

    Put all dry ingredients in a bowl and whisk to combine.

    Dry ingredients in bowl
    Dry ingredients in bowl

    Then add the oil and water and mix with a silicone spatula until the dough holds together in a ball.

    Dough after adding wet ingredients and mixing
    Dough after adding wet ingredients and mixing

    Flatten the ball to a frisbee-like shape, and then place it on a sheet of parchment paper.

    Dough in Frisbee shape on parchment paper
    Dough in Frisbee shape on parchment paper

    Place another sheet of parchment paper over the dough and roll out the dough between the two sheets to about an eighth of an inch.

    Dough being rolled between two sheets of parchment paper
    Dough being rolled between two sheets of parchment paper

    Peel off top layer of parchment, and use a knife to cut lines in the dough (don’t cut through parchment). The picture shows that I used a ravioli cutter to get the squiggly lines, but at the end it started getting clogged and stopped doing the squiggly lines because it all gummed up in the wheel, which was a pain to clean.  Which is why I suggest a knife.

    Dough after rolling and cut up into cracker size pieces
    Dough after rolling and cut up into cracker size pieces

    Transfer the parchment with the dough on it to a sheet pan.

    Dough and parchment paper on sheet pan
    Dough and parchment paper on sheet pan

    Bake for 15-20 minutes. Leave the crackers on the pan to cool. Once completely cool, transfer to an airtight container to store, or just eat them all.  That’s a viable option too. Enjoy!

    Crackers after baking
    Crackers after baking


  • Twice-Baked Meal Potatoes — Tuna Casserole Style

    Tuna Casserole Twice Baked Potato
    Tuna Casserole Twice Baked Potato

    This is another one of those posts that is a recipe, but more an idea than a straight-up, dictatorial recipe. When I was a kid, my mother would sometimes make “potato boats” for special occasions. It’s not that twice-baked potatoes are hard, but the baking things twice part does take time — and there’s the cooling off in between so that you can handle the potato. In college, a friend told me her family used to make meals of these potatoes. A meal made up of potatoes is right up my alley, and I was thinking all sorts of possibilities come out of this.

    So this is a tuna casserole-style potato boat meal, but there have to be an infinite number of other options. How big  is your imagination? How about a leftover chili twice-baked, topped with some vegan cheese? Or a jambalaya potato, stew potato, curried spinach potato? What do you have leftover in your fridge? (Bonus suggestion: While I tried really hard to do a twice-baked sweet potato, structurally, it was not possible. But leftover chili over a sweet potato is an incredible lunch combo.)

    For this recipe, though, I’m going with a reimagined classic, tuna casserole. In this version, the mashed potato takes the place of noodles, and I’ve made a mushroom duxelle sauce to use in place of the can of cream of mushroom soup, relying on a herbes de provence blend of herbs to elevate this to a more adult palate of flavor while not destroying the comfort food base. These can be prepared the day before and just baked the final time before serving.

    Potatoes in Process
    Potatoes in Process

    Tuna Casserole Twice-Baked Meal Potatoes

    Makes 4 potatoes

    • 4 large baking potatoes
    • 1 1/4 cup cooked chopped broccoli
    • 5 Tablespoons Earth Balance or other fat
    • 1/2 cup onion, diced
    • 8 oz white button mushrooms (one small package), cleaned and chopped
    • 1 Tablespoon herbes de provence blend of herbs
    • 1/2 teaspoon dry mustard
    • 1/2 cup + 1 Tablespoon non-dairy milk
    • Salt and Pepper to taste
    • 6 oz of safe for you tuna (watch out for soy, particularly, if that’s an allergen)

    Bake potatoes at 350°F for 90 minutes.

    If you need to, cook and chop the broccoli.

    In a large skillet, melt 3 tablespoons of your fat. Add the chopped onion and cook until translucent. Add the mushrooms, and cook until they’ve shrunk and released their moisture. Then add the herbs, dry mustard, and stir thoroughly. Add the additional 2 tablespoons of fat, melt it, and then add the non-dairy milk and cook for a few minutes. Taste and adjust the salt and pepper.

    When the potatoes are baked and then cool enough to handle, cut a slim slice off the top, length-wise, and scoop the cooked potato out into a bowl, being careful not to destroy the skin. Do this for all the potatoes. Add the mushroom mixture and mash the potatoes thoroughly, adding more non-dairy milk if needed. Mix in the broccoli and the tuna.

    Spoon the mixture back into your prepared potato skin shells, making a pretty mound on top of each.

    At this point, you can either cover these and refrigerate them, or you can proceed straight to the second baking.

    If you are baking potatoes that you’ve just prepared, they are at room temperature or warmer, so bake them at 350°F for 25 minutes uncovered.

    If you have refrigerated the potatoes overnight, cover them with foil and bake for 25 minutes at 350°F. Then uncover and bake 25 minutes longer.

    Enjoy with a little side salad — or just on their own.

  • Quick-ish Beef Pho

    Quick-ish Beef Pho, with Sriracha and Hoisin sauce
    Quick-ish Beef Pho, with Sriracha and Hoisin sauce

    So one of my pet peeves about the corn thing is no more going out for Vietnamese food, which is one of my favorite things ever. I actually made and pressure canned my own safe Hoisin sauce, and fermented my own Sriracha sauce so that I could still eat them. But you have to have stuff to eat the Hoisin and Sriracha on, and it’s winter, and we need pho. And we need an easy, quick-ish pho that it doesn’t kill you to make on a weeknight. You could do it the more traditional way, but again, we need dinner fast on a weeknight. This is why it’s good to have some of the Roasted Beef Stock around, either pressure canned, or in your freezer.

    Quick-ish Beef Pho

    Serves two really hungry people.

    For the broth:

    • 2 shallots (peeled, cut in half and broiled until browned)
    • 6 cups of Roasted Beef Stock or a commercial variety if you can get some that’s safe for your allergies
    • 1 cinnamon stick
    • 1 ounce (or a nice thick piece between an inch and two inches long) of fresh ginger root, peeled and sliced into a few pieces
    • 2 star anise (whole)
    • 5 cloves (whole)
    • 1 Tablespoon of fish sauce (optional) – make sure it’s safe for you
    • 1 Tablespoon of sugar

    For the fixings:

    • one half of a 16 oz package of rice noodles
    • a half pound of extra lean shaved steak
    • mung bean sprouts
    • a lime, sliced into wedges
    • fresh basil leaves or fresh chopped cilantro, or both
    • one half of a small red onion sliced very thinly
    • a Thai chili or two, sliced thinly

    Turn your oven to its broil setting or preheat your oven to 500°F. Move your oven rack to the highest setting, and place your peeled and halved shallots on a baking sheet and put them in the oven. Check them every three to five minutes until they are browned as shown below.

    Broiled Shallots on baking sheet
    Broiled Shallots on baking sheet

    While the shallots are broiling, place the Roasted Beef Stock in a stockpot, along with the cinnamon stick, sliced ginger, star anise, cloves, fish sauce, and sugar. Bring it to a boil, then turn it down to a simmer.  When the shallots having finished broiling, slice them into pieces and add them to the stock.

    Pho broth simmering away
    Pho broth simmering away

    In another stockpot, bring enough water to cover your rice noodles to a boil.  Add the rice noodles to the water and boil for 3-5 minutes or so until they are cooked to your liking, and then strain them.  At this point, I parcel them out in the bowls I intend to serve them in, as the noodles may stick together too much if you let them sit in one container (they will un-stick when you add the broth). Wash your mung bean sprouts and then put your preferred amount of sprouts in each soup bowl. Slice your red onion finely, and then add some to each soup bowl.

    Sliced red onion
    Sliced red onion

    Bring your pho broth back to a boil. At this point I scoop out the cinnamon, ginger, star anise, and cloves. There are two ways to approach your beef depending on your comfort level. First, you can add the raw shaved steak to the bowls and allow the heat of the pho broth being poured over it to cook it.  Second, you can put the beef in the pho stock and let it cook for just a bit before ladling it into the bowls. I tend to go for the first approach, but it’s up to you. Pick an approach and add your beef and pho broth to the bowls.  Place a couple of basil leaves, a lime wedge, some of the chopped cilantro, and the sliced thai chilis on top of the soup.

    Quick-ish Beef Pho before adding condiments
    Quick-ish Beef Pho before adding condiments

    Garnish with safe Hoisin, Sriracha, or chili garlic sauce to your taste, if you have safe versions.  Enjoy!

  • Be My Vegan Valentine Dinner

    Be My Vegan Valentine Dinner
    Be My Vegan Valentine Dinner

    So Denise posted a Meat-Eater’s Menu for Romance last week. But we know that not all of our readers are meat eaters — and I tend to vacillate. What if you or your significant other don’t eat meat? No fear! I’ve got a tasty vegan menu for sharing — or indulging in by yourself. This is my version of a refined plate, with subtle and complimentary flavors for a fine dining feel in your safe, allergen-free home: Grilled Coriander-Cumin Portabella Mushrooms, Toasted Garlic Green Beans, and Wine-Baked Red Potatoes.

    There is nothing hard about this menu, but the timing is important to get everything to come out at the same time. So I’m going to give you each dish’s ingredients up front, then break down the timing by doing all the instructions for the meal as a whole instead of each dish. Hopefully that won’t be too confusing since I’ve told you up front, and timing’s always the hardest part for me.

    Since I’ve not made a dessert either, I’d echo Denise in suggesting a fine bar of chocolate to share, a pint of your favorite safe ice cream, or check out our desserts category for ideas. I’d tell you that this is heart-healthy or some other such cheesy pun-age, but who knows? It’s tasty, and allergen-free, plus animal-free. Enjoy.

    Artistic Plating, my best attempt
    Artistic Plating, my best attempt

    Be My Vegan Valentine Dinner

    Wine-Baked Red Potatoes (adapted from an Edward Espe Brown recipe)

    • 2 pounds small red potatoes — look for about ping-pong ball size or smaller
    • 10 cloves of garlic, peeled
    • 5-10 sprigs of fresh herbs (dill, rosemary, or thyme are recommended — buy whatever you like best and looks freshest)
    • about half a bottle of red or white wine, your choice (but don’t get something sweet). I had some of each, so I used about 1/4 a bottle of red table wine, and about the same amount of a chardonnay. Pick something you like OR if you don’t drink wine regularly, get a table wine — a blend of wines that should be neither too dry nor sweet.
    • 3/4 cup non-dairy milk or cream — if you make your own, just cut the amount of water in half

    Toasted Garlic Green Beans

    • 1/2 pound (be generous with this) green beans
    • 1/4 cup oil (I used olive oil — you will use about half of this for the mushrooms)
    • 2 Tablespoons chopped garlic
    • salt to taste

    Grilled Cumin-Coriander Portabella Mushrooms

    • 4 mushrooms, washed and de-stemmed
    • 2 Tablespoons brown sugar
    • 1/2 teaspoon salt
    • 1/2 teaspoon ground cumin
    • 1 teaspoon ground coriander
    • pinch of cayenne (optional, but adjust for your desired spice-level)
    • (you will be adding some oil to this from the green bean recipe)

    Cooking times:

    • The potatoes are going to take about 2 hours — they can go more, if you want, but do not plan for less.
    • The green beans themselves will take maybe 10 minutes, but the garlic will take about a half an hour before you cook the beans.
    • The mushrooms will take about 8 minutes if you have a two-sided grill (like a Foreman grill), and about 13 if you’re using a skillet or grill pan.
    • IF you time it right, this will all be done in 2 hours, with a few periods of activity but a lot of downtime. We’re working in the order of these bullets — potatoes, garlic, green beans, mushrooms.

    To begin, preheat the oven to 375F. Wash and scrub your potatoes. If you were unable to find smaller red potatoes, cut the ones you have down to approximately the size of ping-pong balls. You need a baking dish that will hold all of your potatoes in a single layer with a little space around them — I have an 8.5″ by 11″ glass dish that is perfect for this.

    IMG_0929Lay your herbs out on the bottom of the baking dish so that you have an evenly dispersed layer. Put your potatoes on top. Throw the whole garlic cloves in scattered around the dish. Then add your wine — it should come about halfway up the potatoes, which is why I haven’t given you an actual measurement — just pour it in until you have enough.

    IF your potatoes are cut, add salt and pepper now. If they aren’t, I prefer to add the salt and pepper at the table. Cover the dish with foil, but don’t scrunch it too tight — you want some of the steam to escape, but not most of it. Put the potatoes in the oven and set the timer for an hour. Now go find something to do for an hour. You are not needed here.

    One hour later …

    Reset your timer for 30 minutes. Leave the potatoes alone. They still don’t need you.

    Put a skillet, cast iron if you’ve got it, over medium low heat and let it heat empty. When the skillet is hot, add 1/4 cup of olive oil. Let the oil heat up, and then turn it down to low. Add your 2 Tablespoons of chopped garlic and stir. Stir it every 10 minutes or so over the next half hour — you are aiming for a golden brown garlic here.

    Golden brown garlic, almost perfect
    Golden brown garlic, almost perfect

    While the garlic cooks, rinse your green beans and trim the ends off. Set these aside to drain and dry while the garlic cooks.

    Depending on your speediness, you probably have 15 minutes or so to clean up some dishes or go read some internet.

    When your timer goes off, check on your garlic first — is it golden brown? If so, tilt your pan and skim out the garlic, leaving the oil behind. Set the toasted garlic aside. If it’s not quite done yet, move on to the potatoes, but keep an eye on the garlic.

    Take your potatoes out of the oven, or just open the oven and slide the rack out so you can reach the potatoes. Remove the foil. Add the cashew or almond or soy cream or milk, whatever you’re using. Put or push the potatoes back in the oven, leaving the foil off. Set the timer again, for another 30 minutes.

    If you haven’t removed the garlic, it should be done now. You can safely leave the oil on over the heat — you’ll be cooking the beans in about 15 minutes.

    Turn on your grill or put your grill pan over medium to medium-high heat.

    If you need to wash your mushrooms, do so. Then mix up the spice mix, making sure to incorporate the spices into the brown sugar. Tip your skillet up and scoop out about half of the oil into the spice mix. You don’t need to be exact here, but it should be about 2 Tablespoons if you’d rather measure. Mix the oil into the spices well. Brush the tops of the mushrooms well with this mix, and then liberally baste the interiors of the mushrooms with the oil-spice mix.

    Turn the heat in the skillet for the green beans up to medium, and add the green beans. Stir occasionally.

    If you’re using the grill pan or skillet for cooking the mushrooms, start now — tops down. You’ll cook them for 6-10 minutes on the first side, and another 5-8 on the other. If you’re using an electric grill, you only need about 7 or 8 minutes total. Plan accordingly.

    This should net you three lovely decadent vegetable dishes all done at the same approximate time. Slice the mushrooms, sprinkle the garlic over the green beans, and cut the potatoes in half and salt if they weren’t salted before cooking. Light some candles for ambiance, add some amusing conversation, and enjoy a nice dinner with someone special — or add a good movie and call yourself special. Hey, no judgements.

    Happy Dinner
    Happy Dinner — good food is for everyone