Notice: Function _load_textdomain_just_in_time was called incorrectly. Translation loading for the wp-ultimate-recipe domain was triggered too early. This is usually an indicator for some code in the plugin or theme running too early. Translations should be loaded at the init action or later. Please see Debugging in WordPress for more information. (This message was added in version 6.7.0.) in /home/maryzahc/public_html/adultfoodallergies.com/wp-includes/functions.php on line 6121
Thai-inspired – surviving the food allergy apocalypse (archive)

Tag: Thai-inspired

  • Thai Style Green Curry Paste

    Thai Style Green Curry Paste

    Thai Style Green Curry Paste in use for a quick dinner
    Thai Style Green Curry Paste in use for a quick dinner

    This past summer, I ended up harvesting a lot of chilies. When I say a lot, I estimate that I harvested about 50 pounds of chilies based on what I canned, fermented, dehydrated whole, dehydrated and ground into powders, froze, and so on. I grew 20 different kinds of peppers. I grew half in the greenhouse and half in the garden, and I started an obscene amount of seedlings because some of them were saved seed and I didn’t know if they would grow. (They did. All of them.) The greenhouse experiment went well. I harvest probably 3 to 5 times what I harvested in the garden. At the end of the pepper harvest, I was running out of things to do, and it occurred to me while I was scouring recipes that I could make Thai style curry pastes.

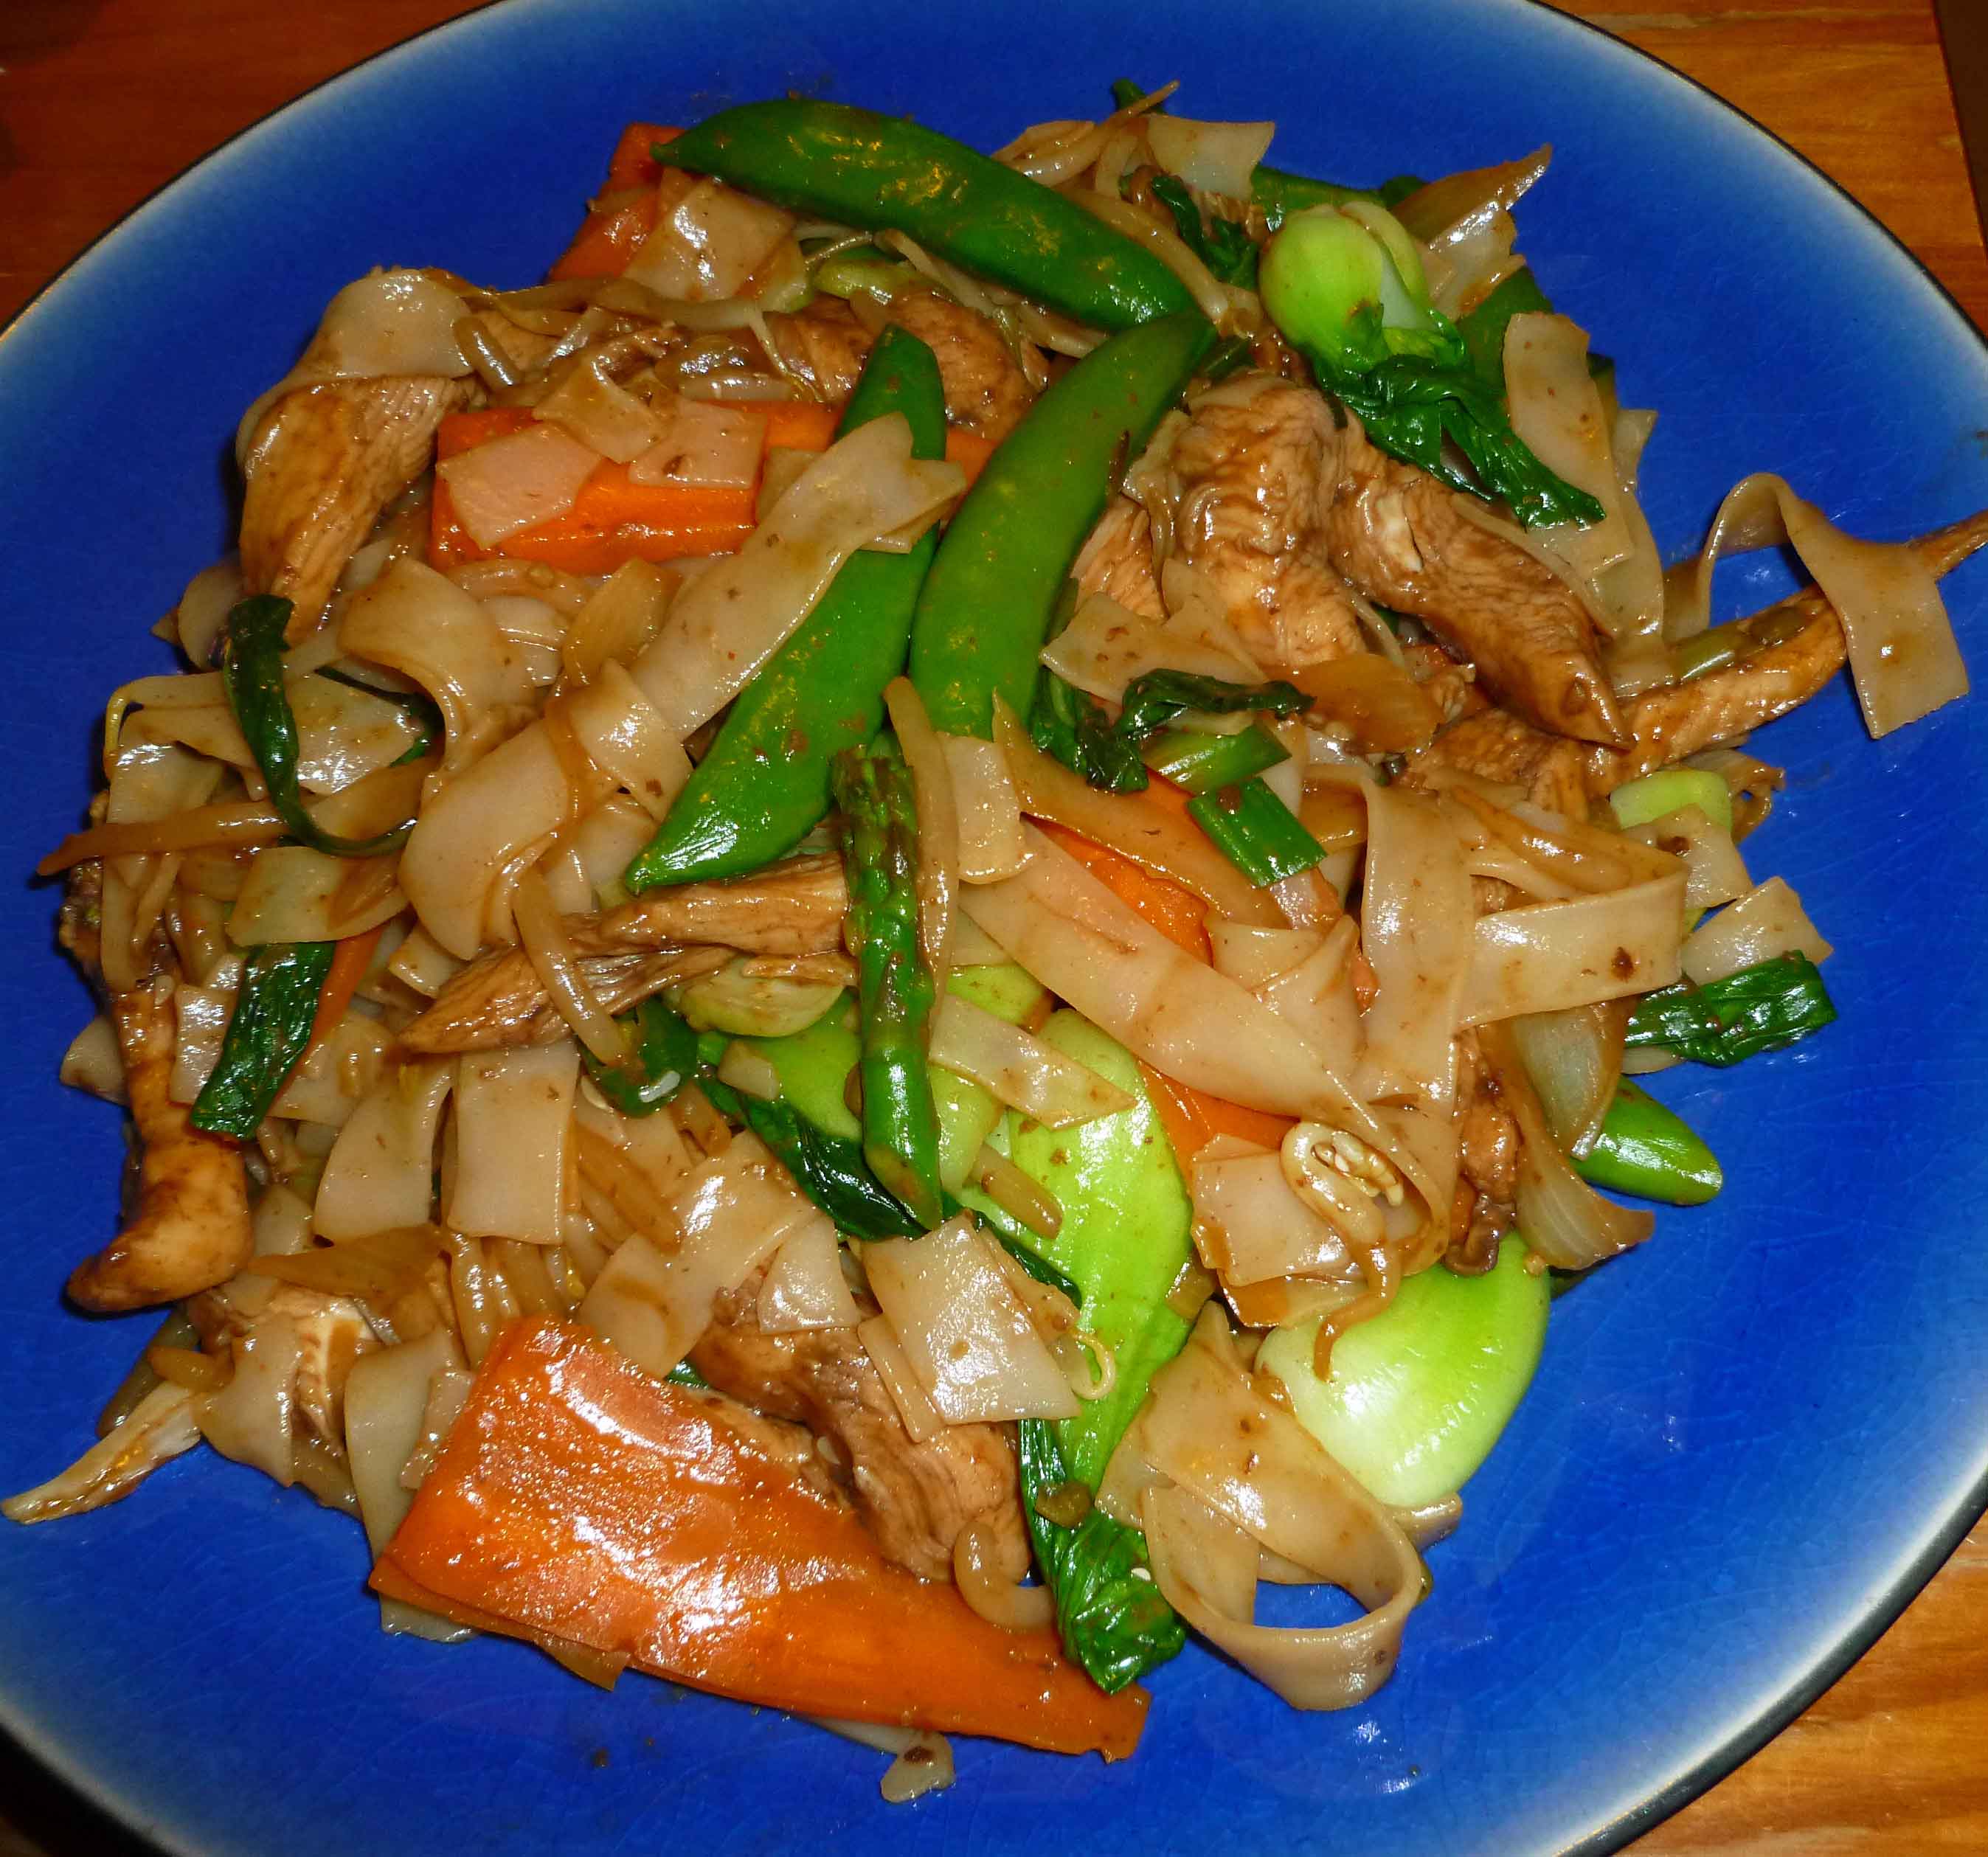
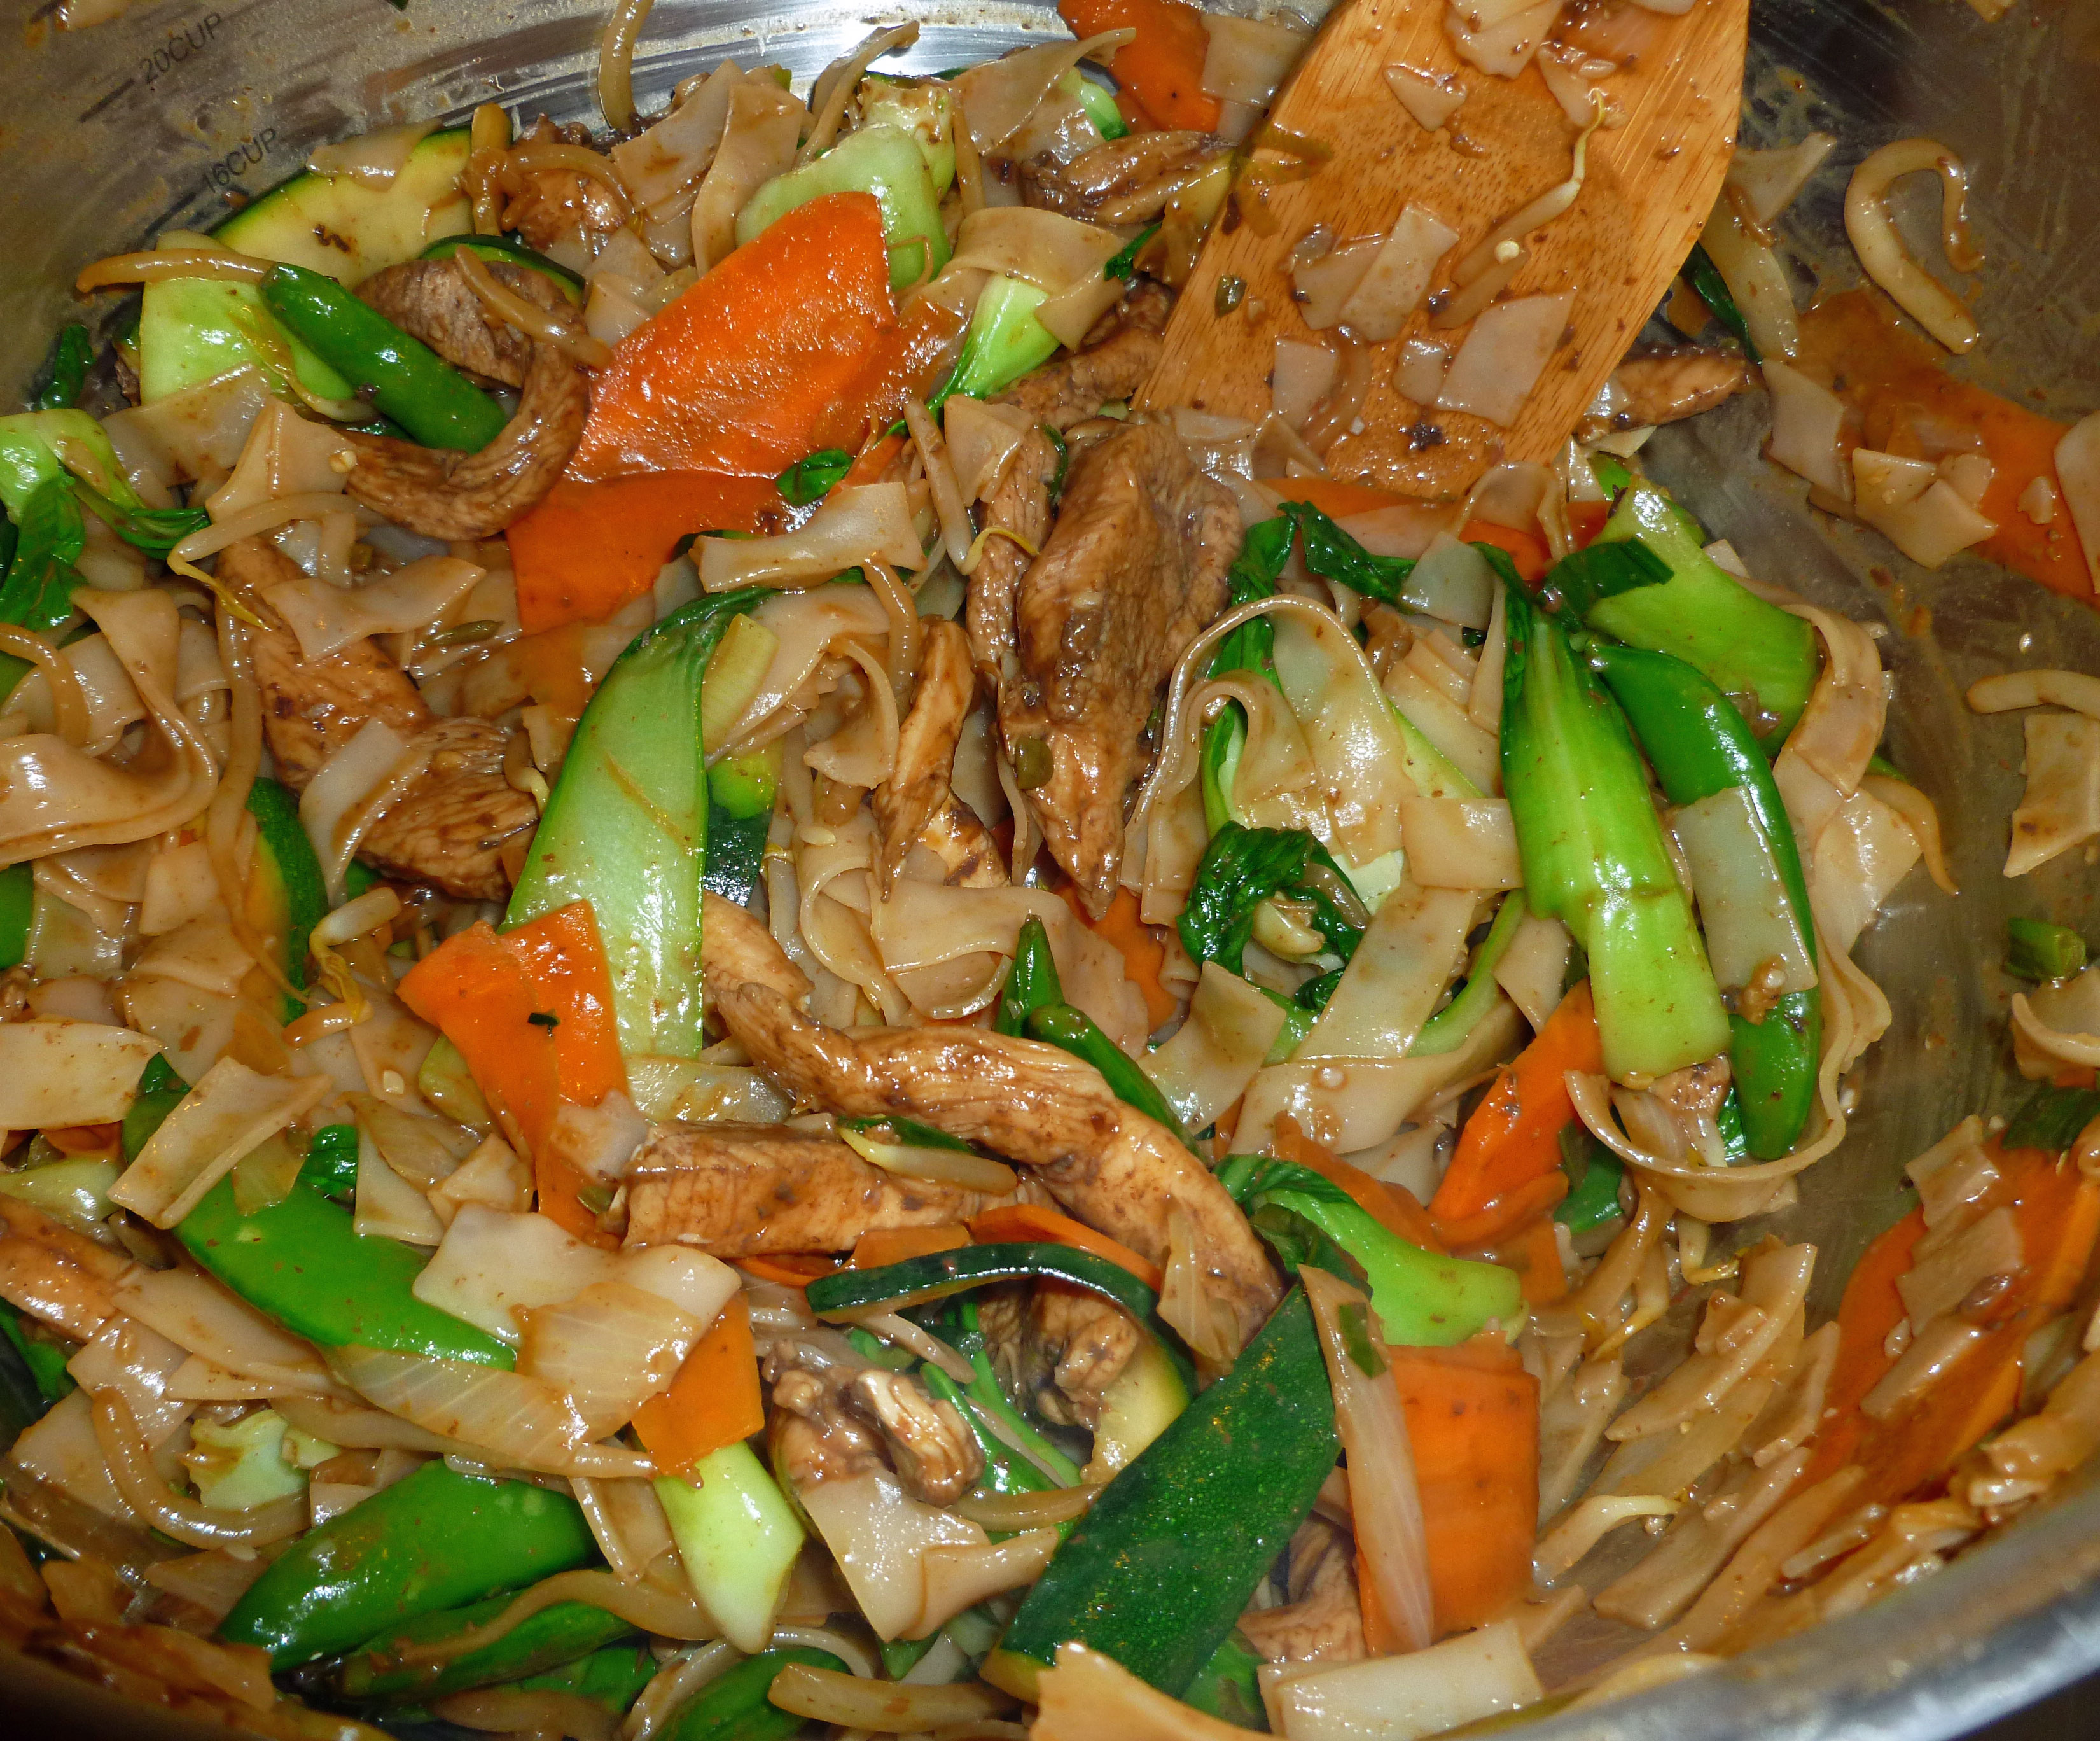
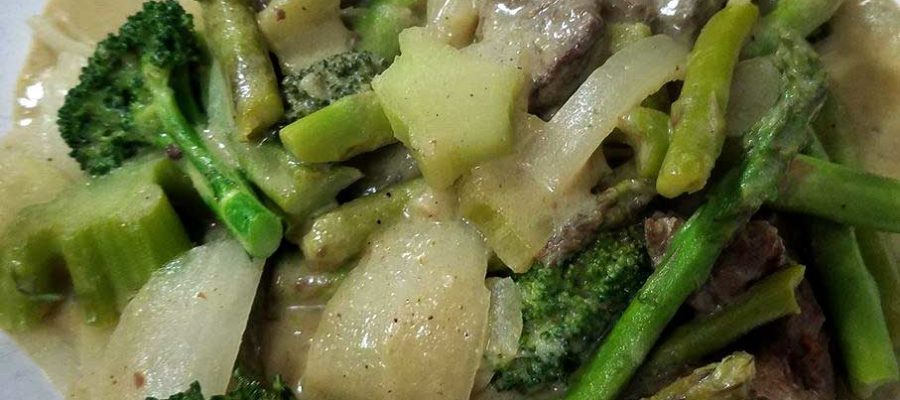
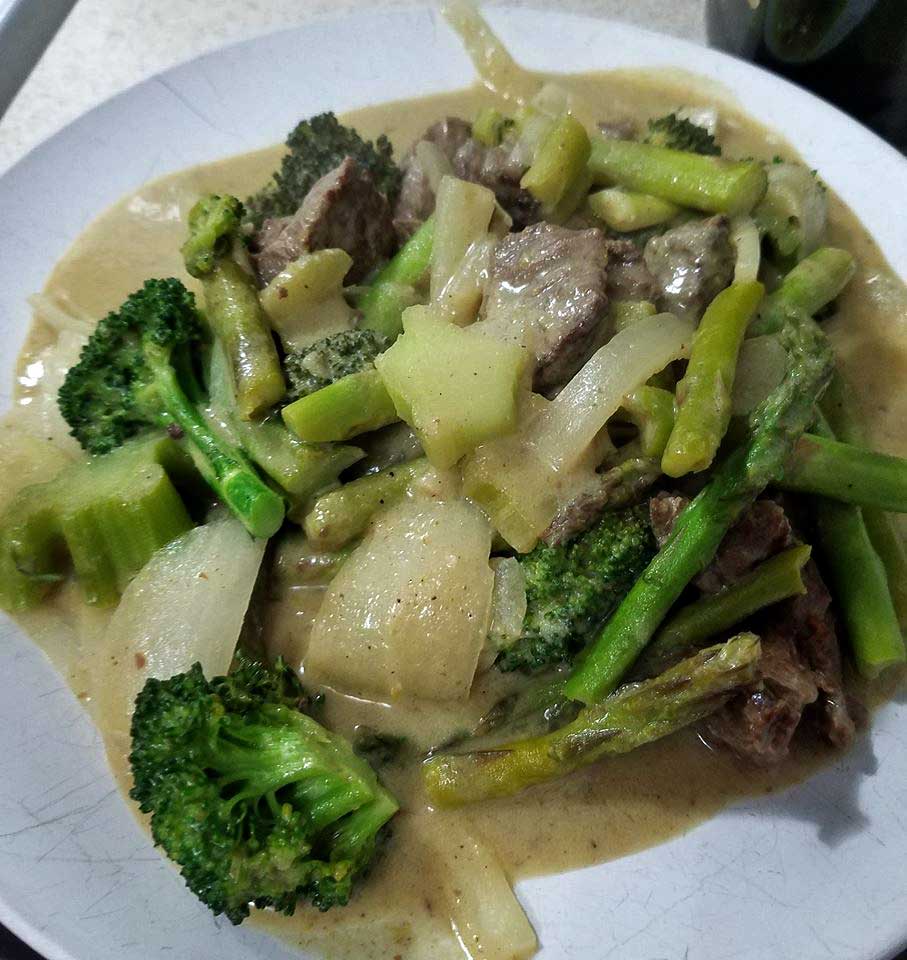
    In the beginning of my corn allergy journey, the denial was strong and I decided that I was tolerating some commercial Thai curry pastes. The reality was, yeah, not so much. This summer also resulted in more freezer space as I had a new bigger chest freezer in addition to my small chest freezer, my friend Kristin’s family had given me another fridge, and so now I had room to freeze some curry pastes. So I did some research, cobbled together the things I liked from several recipes, and voila, Thai Style Green Curry Paste. You can use it this recipe for Quick Thai-Inspired Curry Noodle Stir Fry (rice is no longer safe for me, but feel free to try it with sweet potato or mung bean noodles) or just put a cube or two of curry paste in some safe non-dairy milk, add veggies and/or a protein, and go to it.

    Thai Style Green Curry Paste before cooking down to a thick paste
    Thai Style Green Curry Paste before cooking down to a thick paste
    Thai Style Green Curry Paste after cooking down and in a silicone ice cube tray for freezing
    Thai Style Green Curry Paste after cooking down and in a silicone ice cube tray for freezing
    Thai Style Green Curry Paste in silicone ice cube tray ready to freeze
    THAI STYLE GREEN CURRY PASTE
    Print Recipe
    Thai style green curry paste to use in Thai dishes calling for green curry paste.
    Servings Prep Time
    1 cup 20 minutes
    Cook Time
    20 minutes
    Servings Prep Time
    1 cup 20 minutes
    Cook Time
    20 minutes
    Ingredients
    • 1 green bell pepper chopped and seeded
    • 2 stalks lemongrass trimmed and chopped
    • 2 inch piece ginger peeled and chopped (or substitute galangal if you can find it)
    • 15 Green Bird Thai Chilies chopped and seeded (or other hot green chilies)
    • 2 shallots peeled and diced (or 1 small red onion if you can’t get shallots)
    • 6-8 cloves garlic peeled and roughly chopped
    • 1 lime, zest and juice
    • 1/2 cup cilantro chopped
    • 1 inch piece fresh turmeric peeled and chopped (or substitute 1/2 teaspoon dry ground turmeric)
    • 1 teaspoon ground white pepper
    • 1 Tablespoon ground coriander seed
    • 2 Tablespoons kosher salt
    Servings: cup
    Instructions
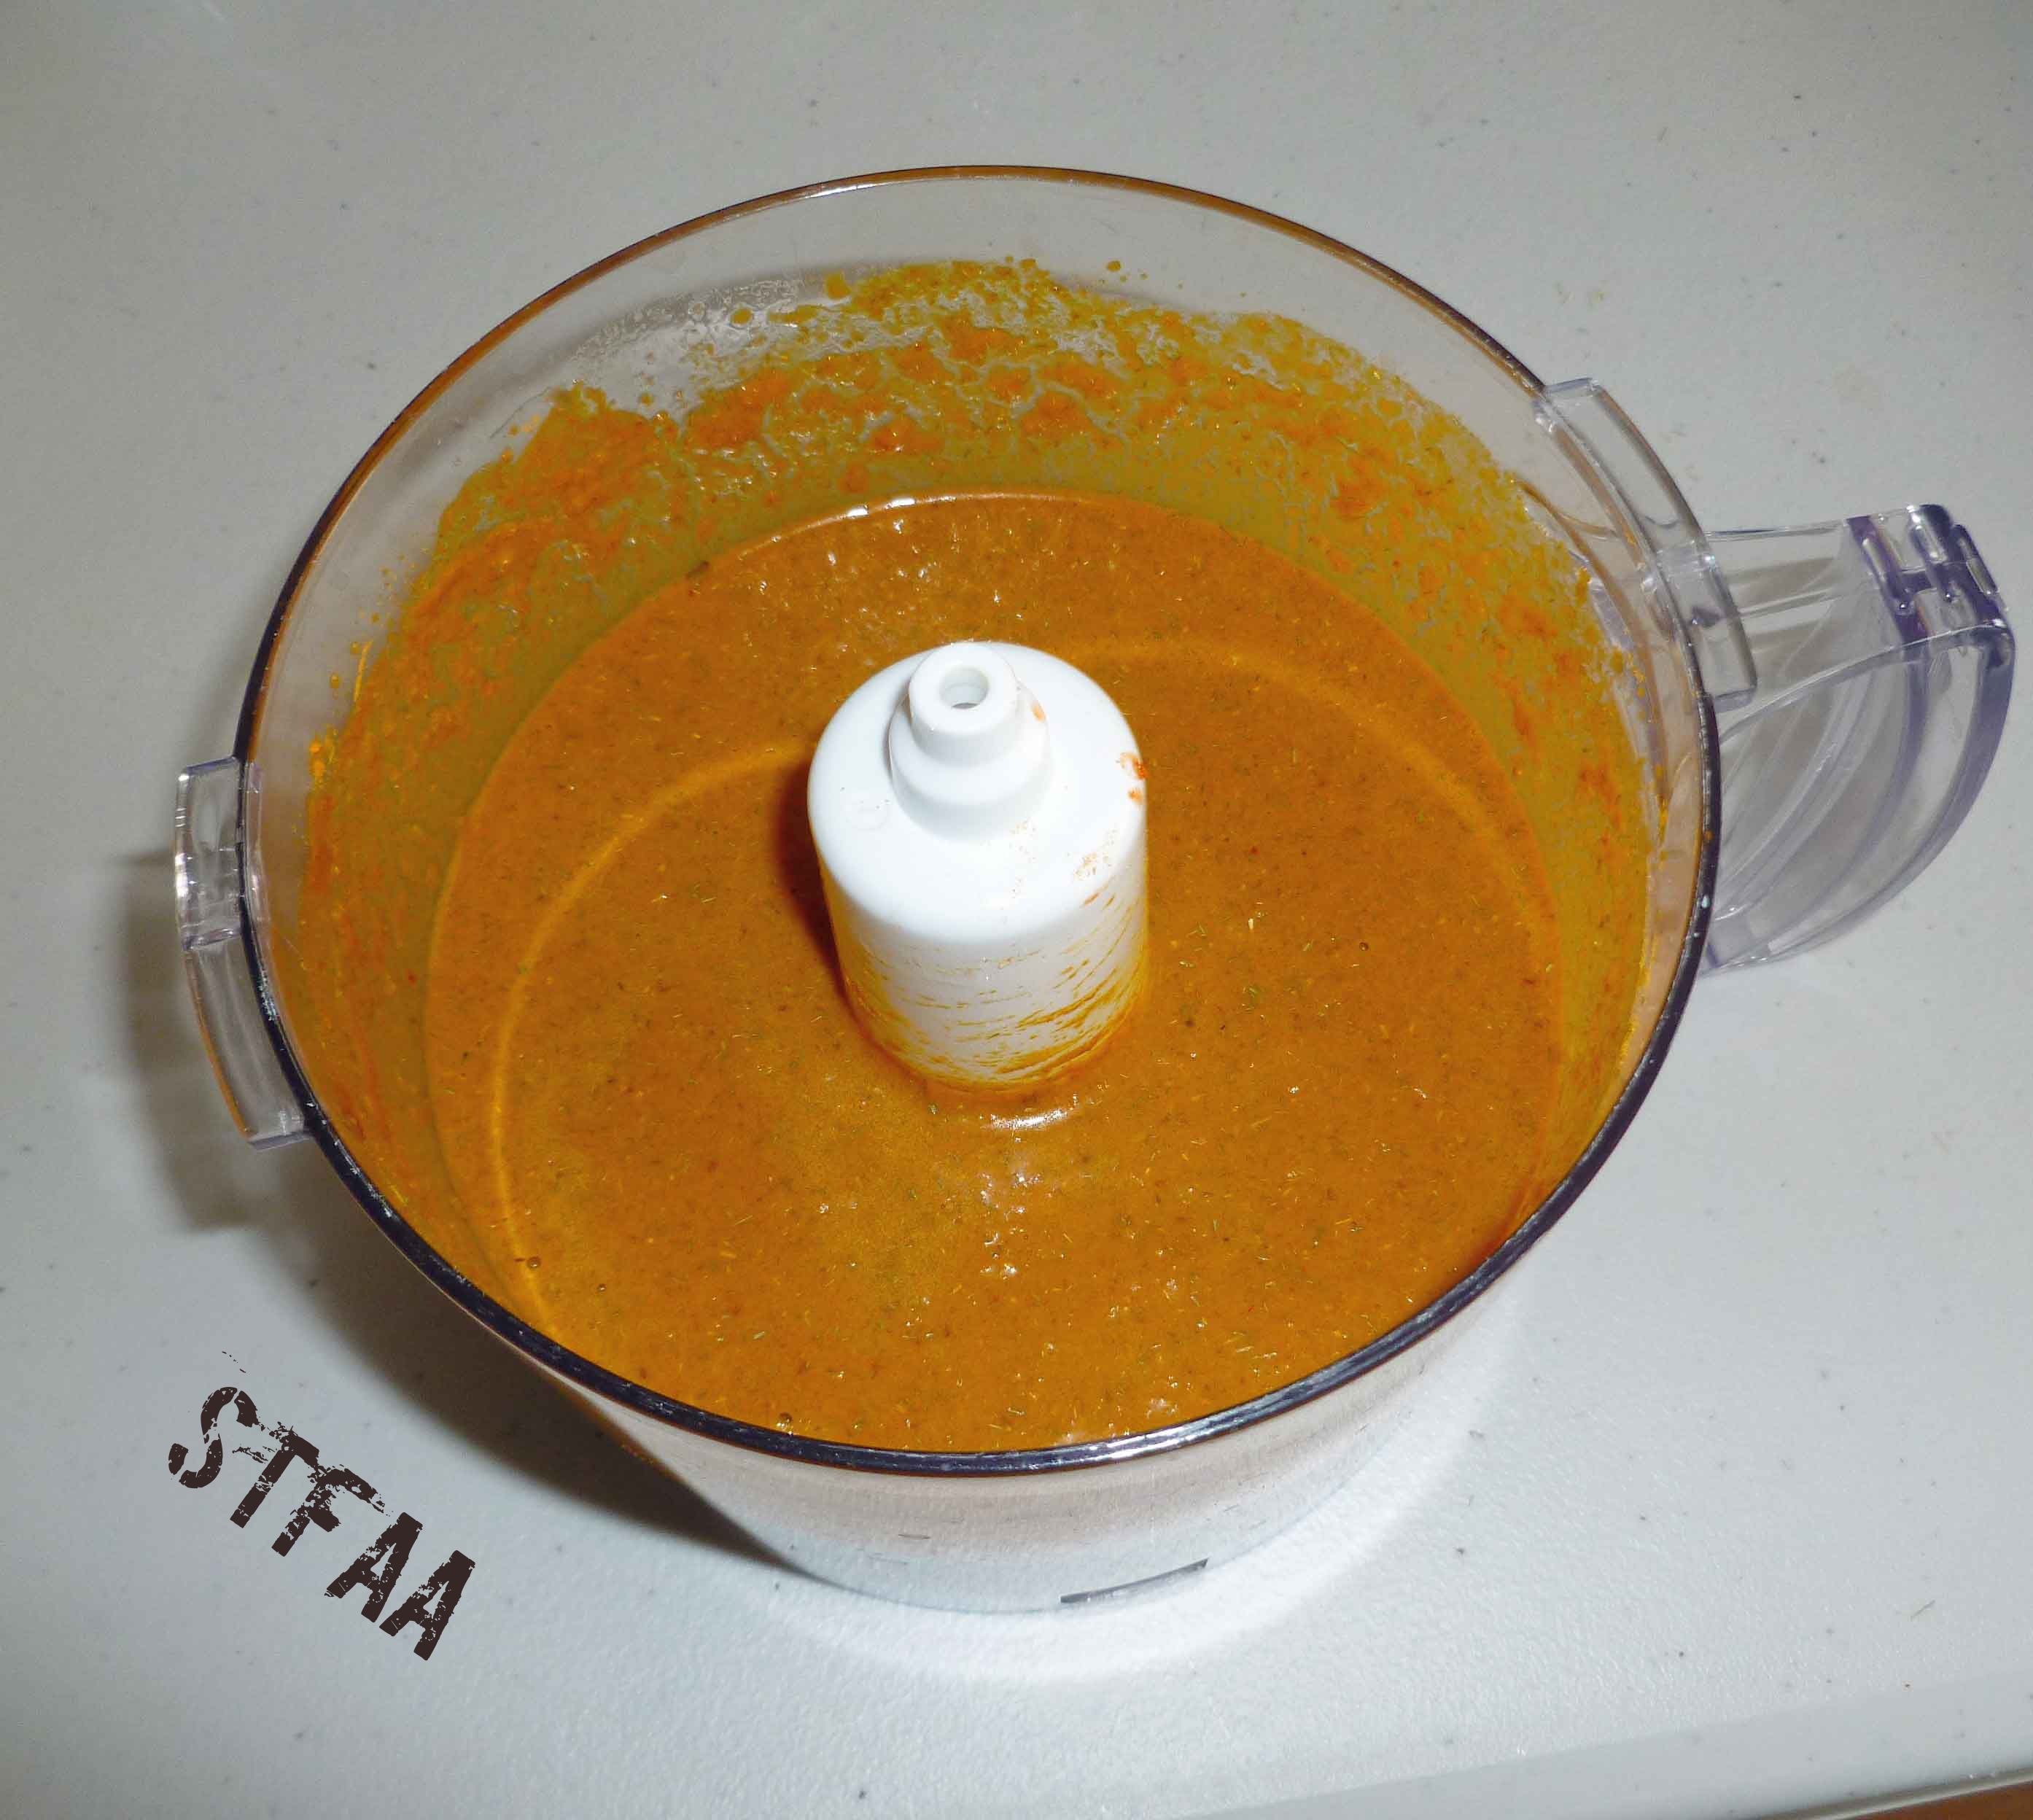
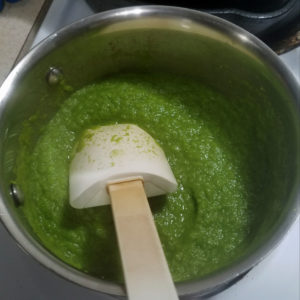
    1. Place all ingredients in a blender or food processor, and blend until you have a smooth paste.
    2. Place in a saucepan over medium low heat. Simmer until it has reduced to a thick paste, about 20 minutes or so.
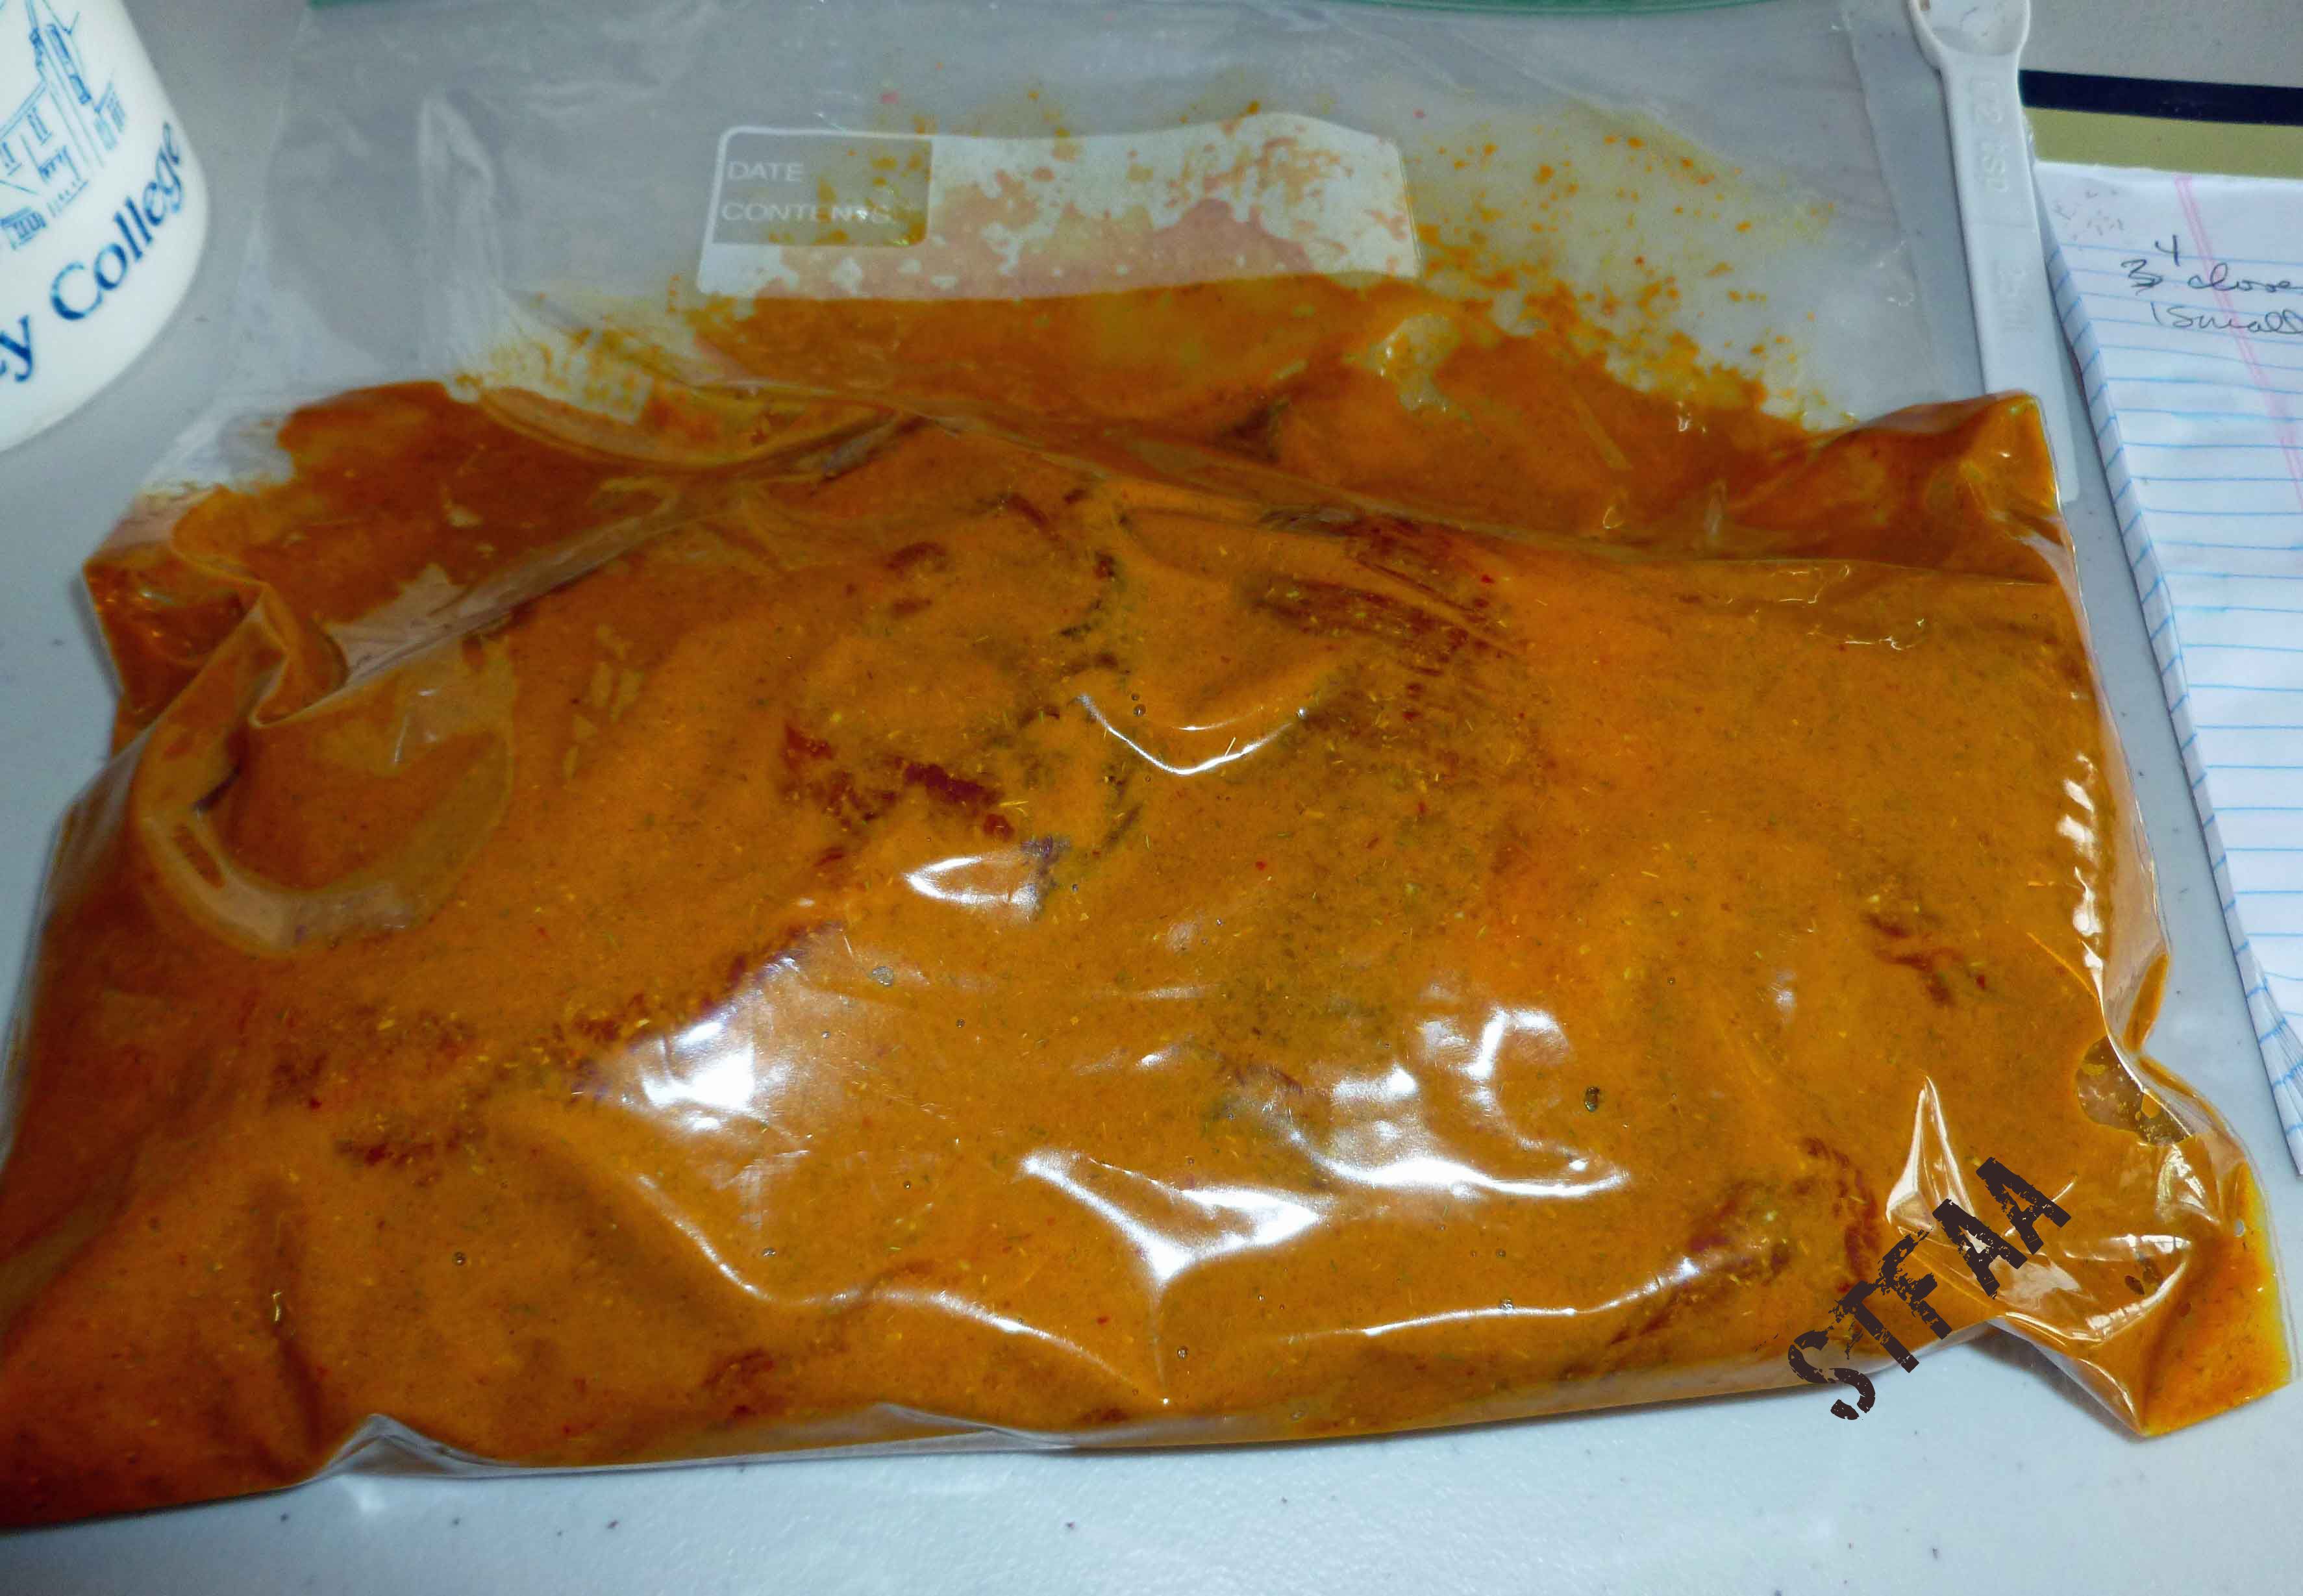
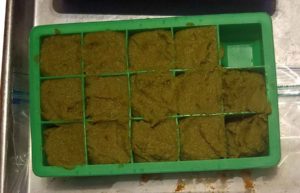
    3. For ease of use, freeze in silicon ice cube trays, and store in a zip top bag in your freezer for up to a year.
    Share this Recipe
    Powered byWP Ultimate Recipe
  • Beef Satay – Gluten-free with Soy-free option

    Beef Satay - Gluten-free with Soy-free option
    Beef Satay – Gluten-free with Soy-free option

    I used to order chicken satay all the time, before the chicken and corn allergies reared their ugly heads. Since I can’t have chicken, and I’ve been craving satay, I decided to try the beef version to see if that would get rid of the craving, which it did. It was so yummy. If you can have chicken, try it with chicken too and let me know how it was, so I can live through you vicariously. If you have a soy allergy (I don’t), try this with Mary Kate’s Soy-Free, gluten-free “Tamari Sauce” and let us know how it worked out for you.

    Beef Satay – Gluten-free with Soy-free option

    • 1 to 2 pound flank steak

    Beef Satay Marinade:

    • 4 cloves of garlic, peeled
    • 1 small onion, peeled and diced roughly (it’s going in the blender or food processor, so don’t stress over it)
    • 1 Tablespoon of Sriracha (use a safe version for you, I ferment my own at home, since I don’t have a safe version)
    • 3 Tablespoons of Soy Sauce (I do well with San-J Tamari Gluten Free Soy Sauce, the alcohol is from cane sugar not corn, but if you can’t use soy, try Mary Kate’s recipe for a Soy-Free, gluten-free “Tamari Sauce” )
    • 4 Tablespoons of a safe oil for you (I used grape seed and olive oil because I ran out of grape seed in the middle)
    • 3 Tablespoons of brown sugar
    • 1 teaspoon of dried lemongrass (if you’ve got fresh, use it, but it’s often hard to get here)
    • 1 1/2 Tablespoons of ground coriander
    • 2 Tablespoons of ground turmeric

    Equipment:

    • food processor or blender
    • a baking rack
    • a sheet pan safe for the broiler
    • bamboo skewers (optional)
    • food safe and safe for you food prep gloves – you’ll need them to put the beef on skewers or you’ll have really yellow fingers as turmeric stains, which is a vast understatement.

    Place all the marinade ingredients in a food processor or blender, and puree them into oblivion. They should be the consistency of a smoothie when you’re finished.

    Beef Satay marinade pureed into oblivion
    Beef Satay marinade pureed into oblivion

    Cut your flank steak across the grain into long strips about an inch and a half wide, as these will end up going onto skewers. Place the flank steak and the marinade into a zip top bag, making sure that the marinade covers all pieces of the flank, and squeezing out any air.

    Beef Satay marinating in a zip top bag
    Beef Satay marinating in a zip top bag

    Marinate overnight, or at least 4-5 hours. When I made them, I marinated them in the morning for that evening’s dinner. I’d say that they marinated for about 10 to 11 hours and that worked fine.

    If you’re using the bamboo skewers, it’d be a really good idea to soak them in water for an hour or two before cooking them. I soaked them for about 15 minutes and it was clearly not enough time, as some of the sticks charred and burned a bit (okay, a lot).

    Once your flank steak is finished marinating, turn on your oven’s broiler and let it heat up. I put the oven rack in the top-most position, but you may need to move it down one depending on the height of your baking rack and baking sheet. Place the baking rack on the baking sheet, and put on your food safe prep gloves. Over a surface that won’t stain, or you don’t care if it stains (I used a cutting board), slide the strips of beef on to the skewers and put them on the rack.

    Flank steak skewered but before cooking
    Flank steak skewered but before cooking

    When you have skewered all the beef strips, place the baking sheet in the oven and broil for 5 minutes, or until you see some crispy bits and then flip the skewers over, and broil on the other side for 5 minutes. It make take more or less time depending on how hot your oven is, or how thick your flank steak is, but you’re looking for an internal temperature of 135°F for medium rare if you’ve got a thermometer.

    Beef Satay after broiling
    Beef Satay after broiling

    It make take more or less time depending on how hot your oven is, or how thick your flank steak is, but you’re looking for an internal temperature of 135°F for medium rare if you’ve got a thermometer.

    Beef Satay - Gluten-free with Soy-free option
    Beef Satay – Gluten-free with Soy-free option

    Enjoy!


  • Tod Mun (Thai Fish Cakes)


    Tod Mun (Thai Fish Cakes)
    Tod Mun (Thai Fish Cakes)


    Have I ever said how much I love Thai food? And that my first date with my husband was at a Thai place?  Because of the corn, wheat, and coconut allergies, going out for Thai food really isn’t an option anymore. And I miss it, very much. I used to order this appetizer often in the long, long ago before food allergies, and when Mary Kate and I talked about doing a Fry-Day for Thanksgiving this year, I decided to give it a shot. I was very happy. I may have even teared up because it was just like our local Thai joint’s version.

    Tod Mun:

    Makes about 10-15 or so.

    Cucumber Salad/Dipping Sauce:

    • 1 cup of Thai Hot and Sweet Dipping Sauce
    • 1 cucumber peeled and diced
    • 1 cup of cashews, toasted in a skillet or roasted in the oven (If you can have peanuts, use roasted peanuts. If you can’t have nuts, just leave them out.)

    Tod Mun:

    • 1 pound of Haddock (or other mild white fish, such as Pollock or Halibut)
    • 5 ounces of uncooked shrimp, peeled and tail off.
    • 2 Tablespoons of Thai Red Curry Paste (If you can use a commercial version, great, but if not, here’s a recipe for it.)
    • 1 Tablespoon of safe for you fish sauce (If you don’t have one you can leave it out).
    • 1 bunch of scallions, trimmed and chopped into small pieces
    • 1 chia egg (1 Tablespoon of ground or milled chia seed mixed with 3 Tablespoons of water)
    • safe oil for frying enough to fill the pot about 3 to 4 inches deep

    For the frying:

    • A pot deep enough to accommodate about 3 inches of oil and the frying thermometer, a thick stainless steel stock pot or an enameled dutch oven would be best. You also want a pot that’s tall enough that the edge is 4 or more inches above the oil level. It’s safer and there’s less splatter all around. We do not recommend using anything with Teflon or nonstick coatings. Of course, if you have an actual deep fryer appliance, use that.
    • frying thermometer (the link goes to the one we used)
    • tongs and/or slotted frying spoon/spider  (we used a silicone one rather than the traditional wire and bamboo, but I can’t find a picture of ours)
    • plate or cookie sheet, lined with paper towels

    Set up your frying pot, add your safe oil, and set up your thermometer. Start heating your oil over medium heat, as it will take some time to reach the right temperature.  You are aiming for about 350ºF.

    Chop your toasted/or roasted cashews and place them in a bowl. Add your your peeled and diced cucumber and the Thai Hot and Sweet Dipping Sauce, and mix well to combine.  Set aside.

    Cucumber Salad/Dipping Sauce
    Cucumber Salad/Dipping Sauce

    Chop the haddock into pieces small enough to put in your food processor.  Place the haddock and the shrimp in a food processor with the regular cutting blade and process until the haddock and shrimp forms a smooth paste. Empty the mixture into a large mixing bowl, making sure you scrape down all the sides of the food processor bowl carefully.  Also, wash your food processor parts immediately. You really don’t want the fish mixture to dry to your food processor bowl, cover and blade.

    Mix in the Thai Red Curry Paste and fish sauce, until well combined. Then add the scallions and chia egg, and mix thoroughly.

    Tod Mun mixture before frying
    Tod Mun mixture before frying

    Once your oil is hot and has reached 350ºF.  Use two large spoons to form a rough patty, and drop it into the oil. Depending on the size of your pot, you may only be able to do a few at a time. I had a 10 quart stockpot and I was only able to do about five at time.

    Use large spoons to make rough patties
    Use large spoons to make rough patties

    Fry them for about 4-5 minutes or until golden brown.. Place them to drain on the paper towels.

    Fried Tod Mun (Thai Fish Cakes)
    Fried Tod Mun (Thai Fish Cakes)

    Fried Tod Mun (Thai Fish Cakes)
    Fried Tod Mun (Thai Fish Cakes)

    Once you have fried all of them, serve them with the cucumber salad/dipping sauce.

    Tod Mun (Thai Fish Cakes)
    Tod Mun (Thai Fish Cakes)


    Enjoy!


  • Quick Thai-Inspired Curry Noodle Stir Fry


    Quick Thai-Inspired Curry Noodle Stir Fry
    Quick Thai-Inspired Curry Noodle Stir Fry

    Thai food was one of the biggest losses for me.  My husband and I had our first date at a Thai restaurant, and I used to get delivery there so often that the staff knew it was me just from my voice on the telephone. It was not uncommon for us to have Thai once or twice a week, especially when I was still in private practice. But Thai’s kind of hard without coconut.

    This recipe’s kind of concept more than a recipe, because there are so many variables and and you can make so many curries, i.e. green, red, yellow, Massaman, etc. I used a commercial curry paste because it looked relatively safe for me, although we’ll see in the next few days whether I got corned or not (corned is like being gluten-ed but obviously with corn). However, there are tons of curry paste recipes on the internet that people can modify for their own diets, if the suggestions are not safe for you. Or you can use use a curry powder spice mix you like. I’ve also used the DIY Singapore Seasoning from our DIY Spice Mix Day post. Also, if you make curry paste, freeze it in an ice cube tray so you can grab a chunk when you want. You can use any meat you want, or not. You can also use whatever vegetables strike your fancy.

    Quick Thai-Inspired Curry Noodle Stir Fry

    Makes about 3-4 servings, depending on serving size.

    • 1/2 of a 1 pound package of rice noodles (I used the kind that I would use for pho, but you can pick the width of rice noodle you like)
    • 2 Tablespoons of olive oil, grape seed oil, or an oil that’s safe for you
    • 1 cup of cashew milk or other non-dairy milk (If you can have coconut milk, by all means use it. I can’t use commercial cashew milk so I make my own, soaking 1 cup of cashews in hot water for a couple of hours, draining the water, and putting them in the blender with two cups of new water. It’ll make more than you need, but it freezes well.)
    • 1/2 cup of water
    • 1 package of Kanokwan Green Curry Paste (they have other flavors too, make sure you read labels); or 1 or 2 Tablespoons of Thai Kitchen Green Curry Paste (they have other flavors as well, read labels); or 1 or 2 Tablespoons of Mae Ploy Thai Green Curry Paste (ditto, other flavors, read labels) or 1 or 2 Tablespoons of a curry spice mix you like, similar to those available from Penzey’s.
    • 1/2 pound of beef, pork or chicken cut into stir fry sized strips (Chicken’s out for me, but if you can eat it go for it.)
    • 3 scallions, sliced into quarter inch pieces
    • 1/2 cup of snow peas
    • 10-12 asparagus stalks, trimmed and cut into 1″ pieces
    • 2 carrots, julienned
    • 1 small onion or half a medium onion, cut in half and sliced thinly crosswise to form slices in a curved shape
    • 1 medium bok choy (about 6-8 inches long), sliced crosswise to form small bite size pieces
    • 2 Thai chilies, de-stemmed and sliced (optional, leave out if really spicy is not your thing)
    • 5-6 Thai basil leaves

    First up, prepare all your vegetables. Keep the bok choy or any other greens separated from the rest of the vegetables because they will cook quicker and need to be added at end. To do the carrots, I cheat and use a peeler that juliennes.

    Julienne Peeler
    Julienne Peeler


    Fill a large stock pot with water and bring to a boil. Add your rice noodles, boil for 6-8 minutes and then drain. If you’re using smaller rice noodles, you might not need as much cooking time, so check your package’s instructions. Place the noodles aside until the curry is finished.

    Prepared Rice Noodles
    Prepared Rice Noodles

    In a large skillet, add the oil, the cashew milk, water, and curry paste or spice mix.  Stir to combine over medium heat.

    Curry Paste and Cashew Milk Mixture
    Curry Paste and Cashew Milk Mixture

    Add your meat if you’re using it, and cook until the meat is cooked through. Then add your vegetables with the exception of the bok choy (or other green of choice).

    Curry before adding greens
    Curry before adding greens

    Cover your skillet with its lid and let it simmer for a few minutes to let the asparagus and carrots cook. Then add your bok choy and simmer until the bok choy is ready. When the bok choy is ready, mix in your Thai basil leaves.

    Completed Curry/Stir Fry Thing
    Completed Curry/Stir Fry Thing

    Place a bed of rice noodles on a plate and spoon your curry over it. If you have extra Thai basil leaves and want to be fancy, garnish your dish with them.

    Quick Thai-Inspired Curry Noodle Stir Fry
    Quick Thai-Inspired Curry Noodle Stir Fry

    Hope you enjoy it!


  • Hot & Crazy Noodles Apocalypse Style

    Hot & Crazy Asian Noodles Apocalypse Style
    Hot & Crazy Asian Noodles Apocalypse Style

    Before the food allergy apocalypse hit, one of the things I really liked was Thai food, and one of the dishes I really enjoyed at Siam Orchid, our local Thai place, was Hot & Crazy Noodles, which is a spicy version of Pad Sei Ew (or whatever spelling variant of Thai anglicized you might find).  It’s probably a safe-ish dish for me still, but going to Thai places reminds me of all the curry and satay and other yummy dishes that I now cannot eat because of the whole coconut thing, so I just don’t go.  But I’ve been thinking a lot about it lately, so I thought I’d try to do my own version.

    Hot & Crazy Asian Noodles Apocalypse Style

    Makes 4-6 servings (if you are cooking for one or two people and don’t want tons of leftovers, cut the portion amounts in half).

    Marinade for Chicken

    Other Ingredients

    • 1 lb of sliced chicken breast
    • 8 oz of dry rice noodles (check labels, make sure only ingredients are rice and water)
    • 1 teaspoon of canola oil
    • 1-2 Tablespoons of chili oil (make sure it’s gluten free, I used Hokan Chili Oil )
    • 1 carrot, sliced thinly
    • 1 small to medium onion, sliced thinly
    • 1 cup of snow peas or sugar snap peas, washed
    • 1 small zucchini, sliced thinly
    • 2-4 stalks of asparagus, cut in bite size pieces
    • 1-2 green onions, both green and white parts, sliced
    • 2 cups of mung bean sprouts approximately
    • 2 Thai chilis
    • 2 cups of baby bok choi leaves, washed and detached from heads of baby bok choi
    • 10-15 Thai basil leaves to taste

    Sauce for Noodles

    First, mix the soy sauce and the baking soda for the chicken marinade in a small bowl and then add the sliced chicken, mixing it well.  Put it aside.

    Bring a large pot of water to a boil. Add the rice noodles and cook according to the directions on the package (mine said about 6-8 minutes). When done, drain the noodles using a colander and then place them back in the pot, tossing them with the canola oil so that they are less likely to stick together.

    Cooked and Drained Rice Noodles
    Cooked and Drained Rice Noodles

    Using some of the chili oil, coat the bottom of your wok (or skillet in my case, I know I used to have a wok, but I have no idea where it went), turn the heat to medium high and cook the chicken in batches so it fries and doesn’t just steam.  Once you have finished one batch, place it aside in a large bowl and cook then next batch, again placing it the large bowl when it’s cooked.

    Chicken cooked in batches
    Chicken cooked in batches

    Using a bit more of the chili oil if needed, start stir frying the carrot, onion, peas, zucchini, asparagus, green onion, bean sprouts, thai chili, baby bok choi leaves, and thai basil leaves in batches, adding them to the large bowl when cooked.

    Stir-fried Veggies
    Stir-fried Veggies

    Stir-fried Veggies
    Stir-fried Veggies

    Stir-fried Baby Bok Choi and Basil
    Stir-fried Baby Bok Choi and Basil

    To make the sauce for the noodles, whisk the garlic, ginger, soy sauce, Sriracha, Hoisin sauce, rice wine vinegar, corn starch, sugar and szechuan peppercorns together in a little bowl.  Using a little of the chili oil, stir fry the cooked noodles in your wok/skillet and add the sauce for the noodles, mixing well, until the noodles are hot and thoroughly coated with the sauce.

    Cooked Noodles Coated in Sauce
    Cooked Noodles Coated in Sauce

    Once the noodles are coated and nice and hot, place them in the large bowl with the other ingredients and mix all the ingredients in the bowl thoroughly.

    All cooked ingredients being mixed in bowl
    All cooked ingredients being mixed in bowl

    Once mixed, serve them immediately while they are nice and hot, and have some of the Sriracha and Hoisin available as condiments so your family and/or guests can doctor their portions to their taste.  Enjoy!

    Hot & Crazy Asian Noodles Apocalypse Style
    Hot & Crazy Asian Noodles Apocalypse Style