Notice: Function _load_textdomain_just_in_time was called incorrectly. Translation loading for the wp-ultimate-recipe domain was triggered too early. This is usually an indicator for some code in the plugin or theme running too early. Translations should be loaded at the init action or later. Please see Debugging in WordPress for more information. (This message was added in version 6.7.0.) in /home/maryzahc/public_html/adultfoodallergies.com/wp-includes/functions.php on line 6131 Soy-free – Page 28 – surviving the food allergy apocalypse (archive)
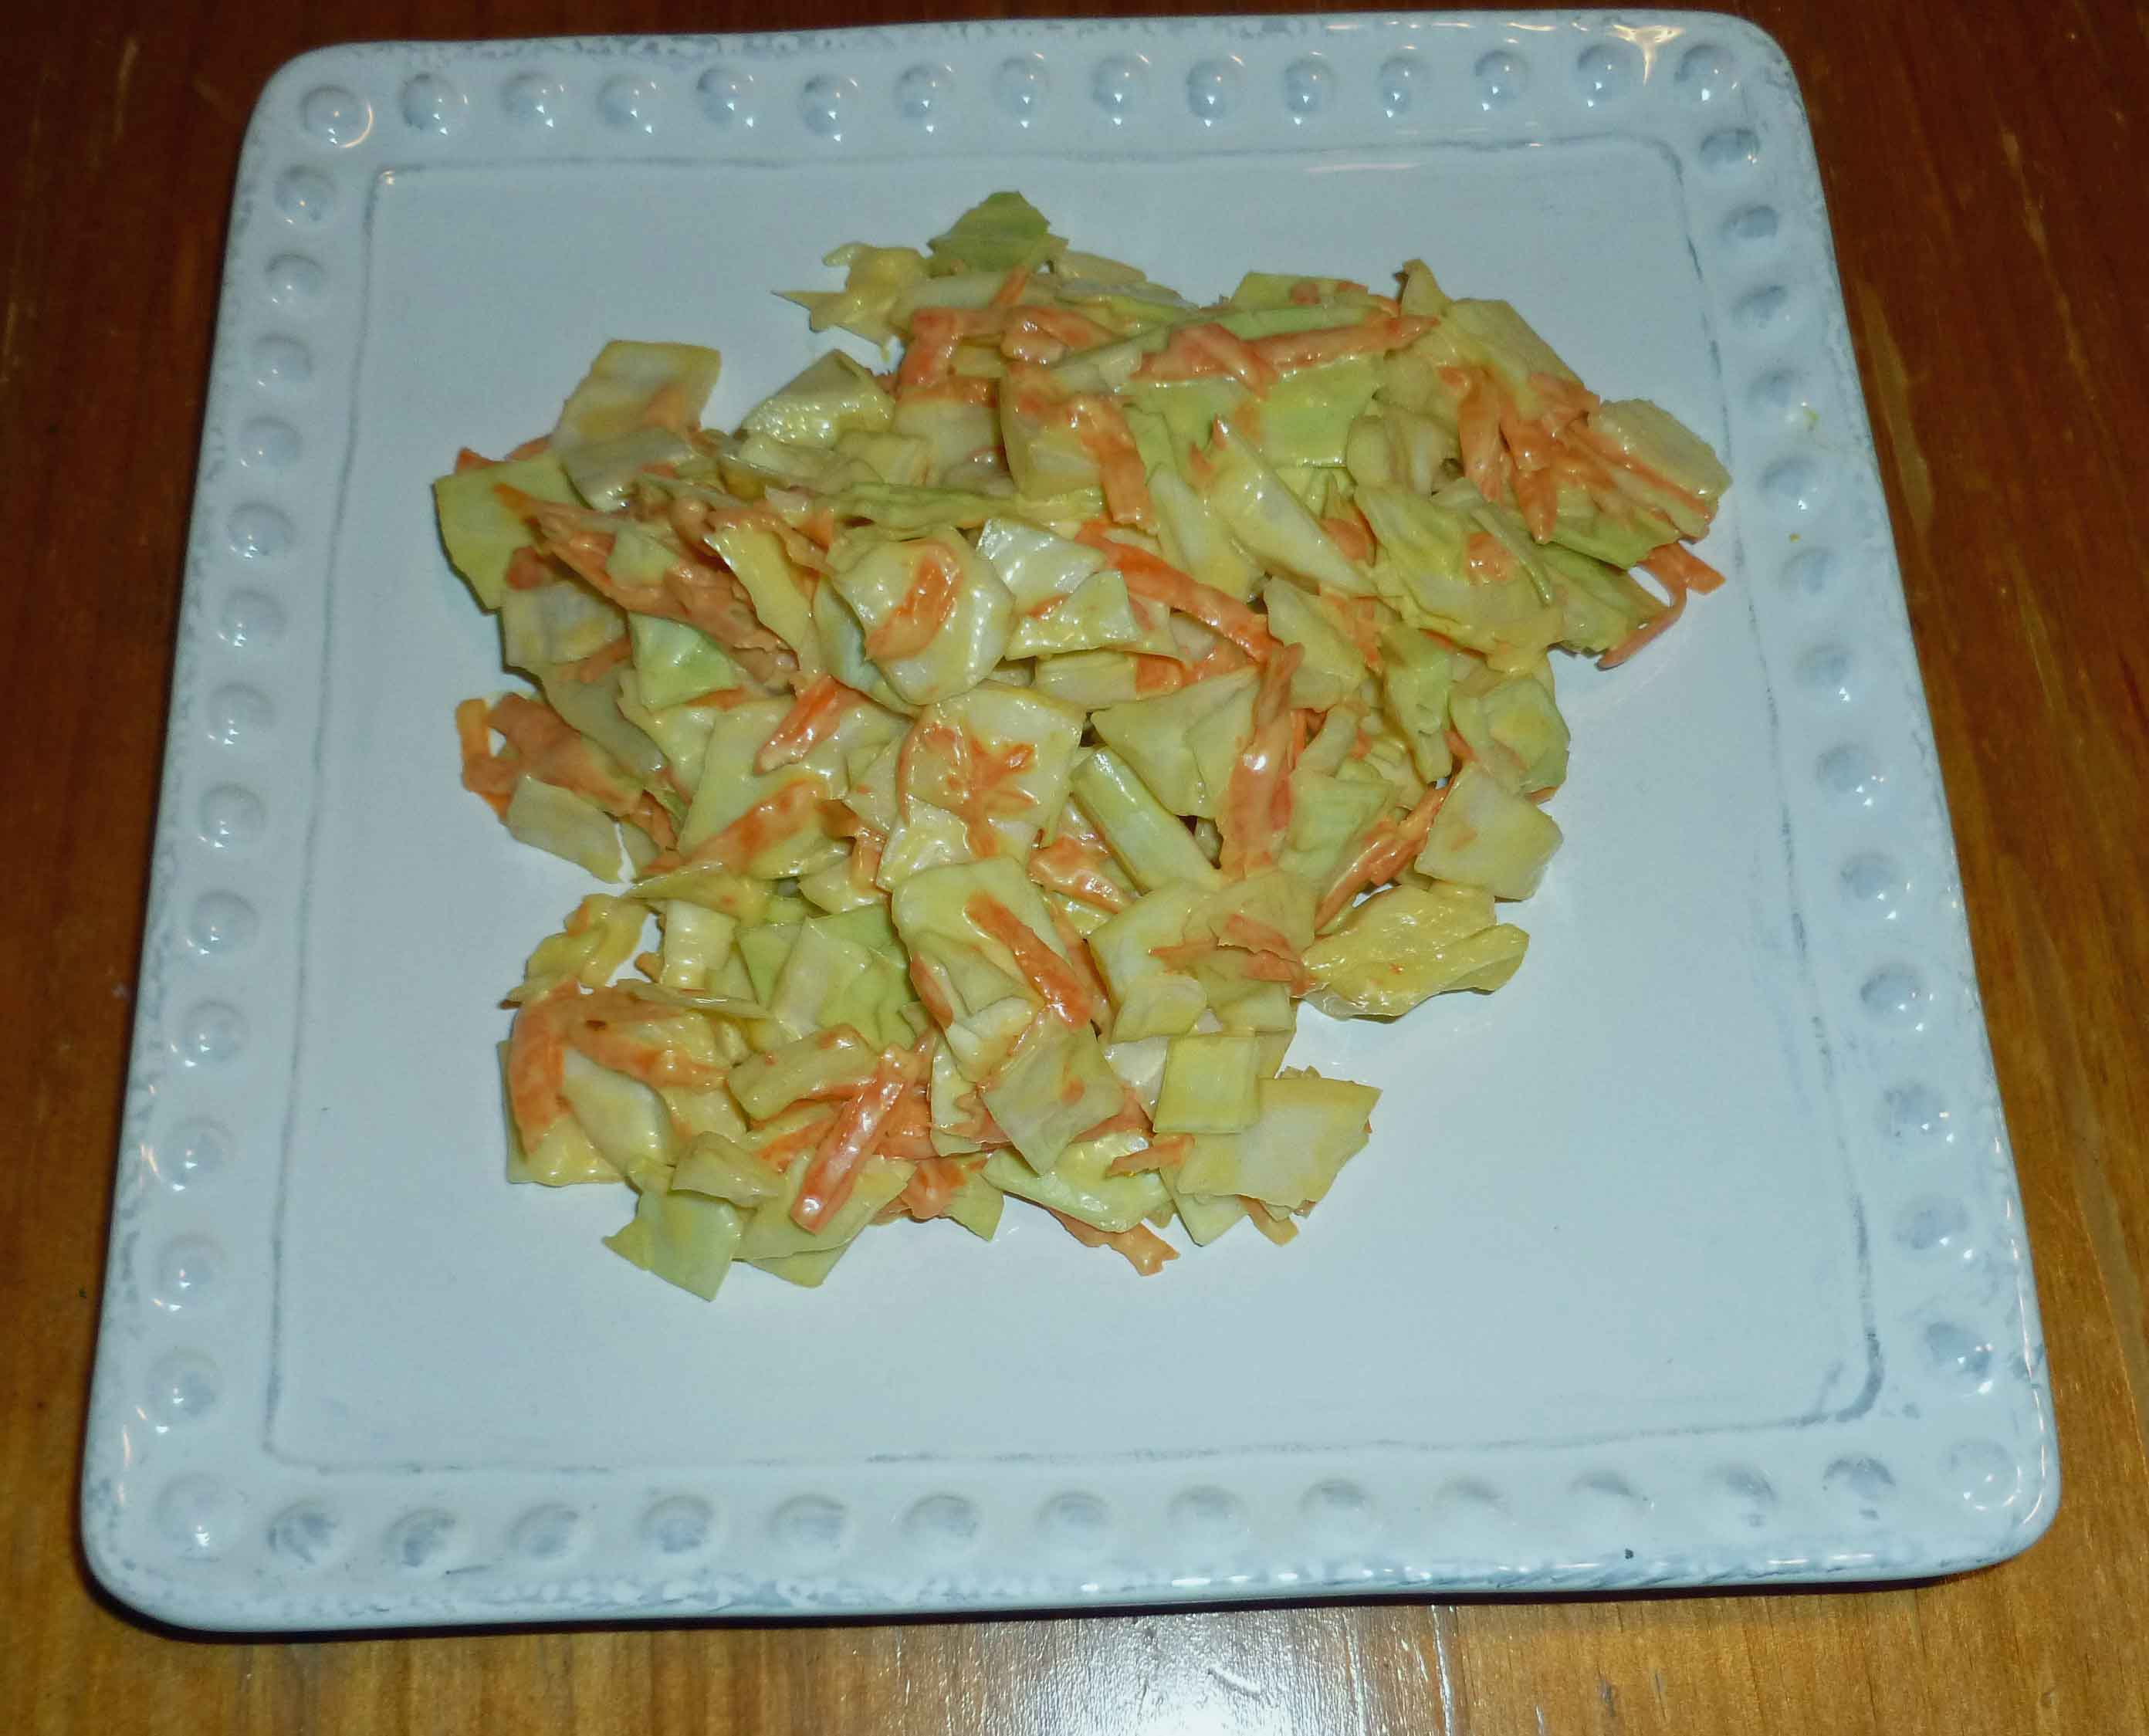
It’s summer still, although there’s been a fall-like chill in the air lately. So there’s still opportunities for cookouts and potlucks and all sorts of communal eating, and sometimes you need coleslaw. And with a dairy and egg allergy that can be challenging. Especially if one is anti-coleslaw with vinegar and oil dressing. As far as I’m concerned, coleslaw with vinegar and oil dressing is a salad with cabbage, it’s not coleslaw. Am I the only one with deeply held beliefs on coleslaw? (Yeah, probably.) In any case, my mom used to make this coleslaw dressing with Miracle Whip with a bit of milk, orange juice, and sugar that was the right sort of tangy, creamy and sweet all at the same time. And my mom doesn’t really cook, but seriously this dressing was perfect. I could eat buckets of this coleslaw back in the day before food allergies reared their ugly heads.
Now that Earth Balance has a vegan mayo that’s really good, I’ve been able to recreate my mom’s coleslaw dressing (see our review here). And it’s good and pretty close to the original.
3 Tablespoons of orange juice (or lemon or lime if you like your dressing more tart)
1 teaspoon of sugar
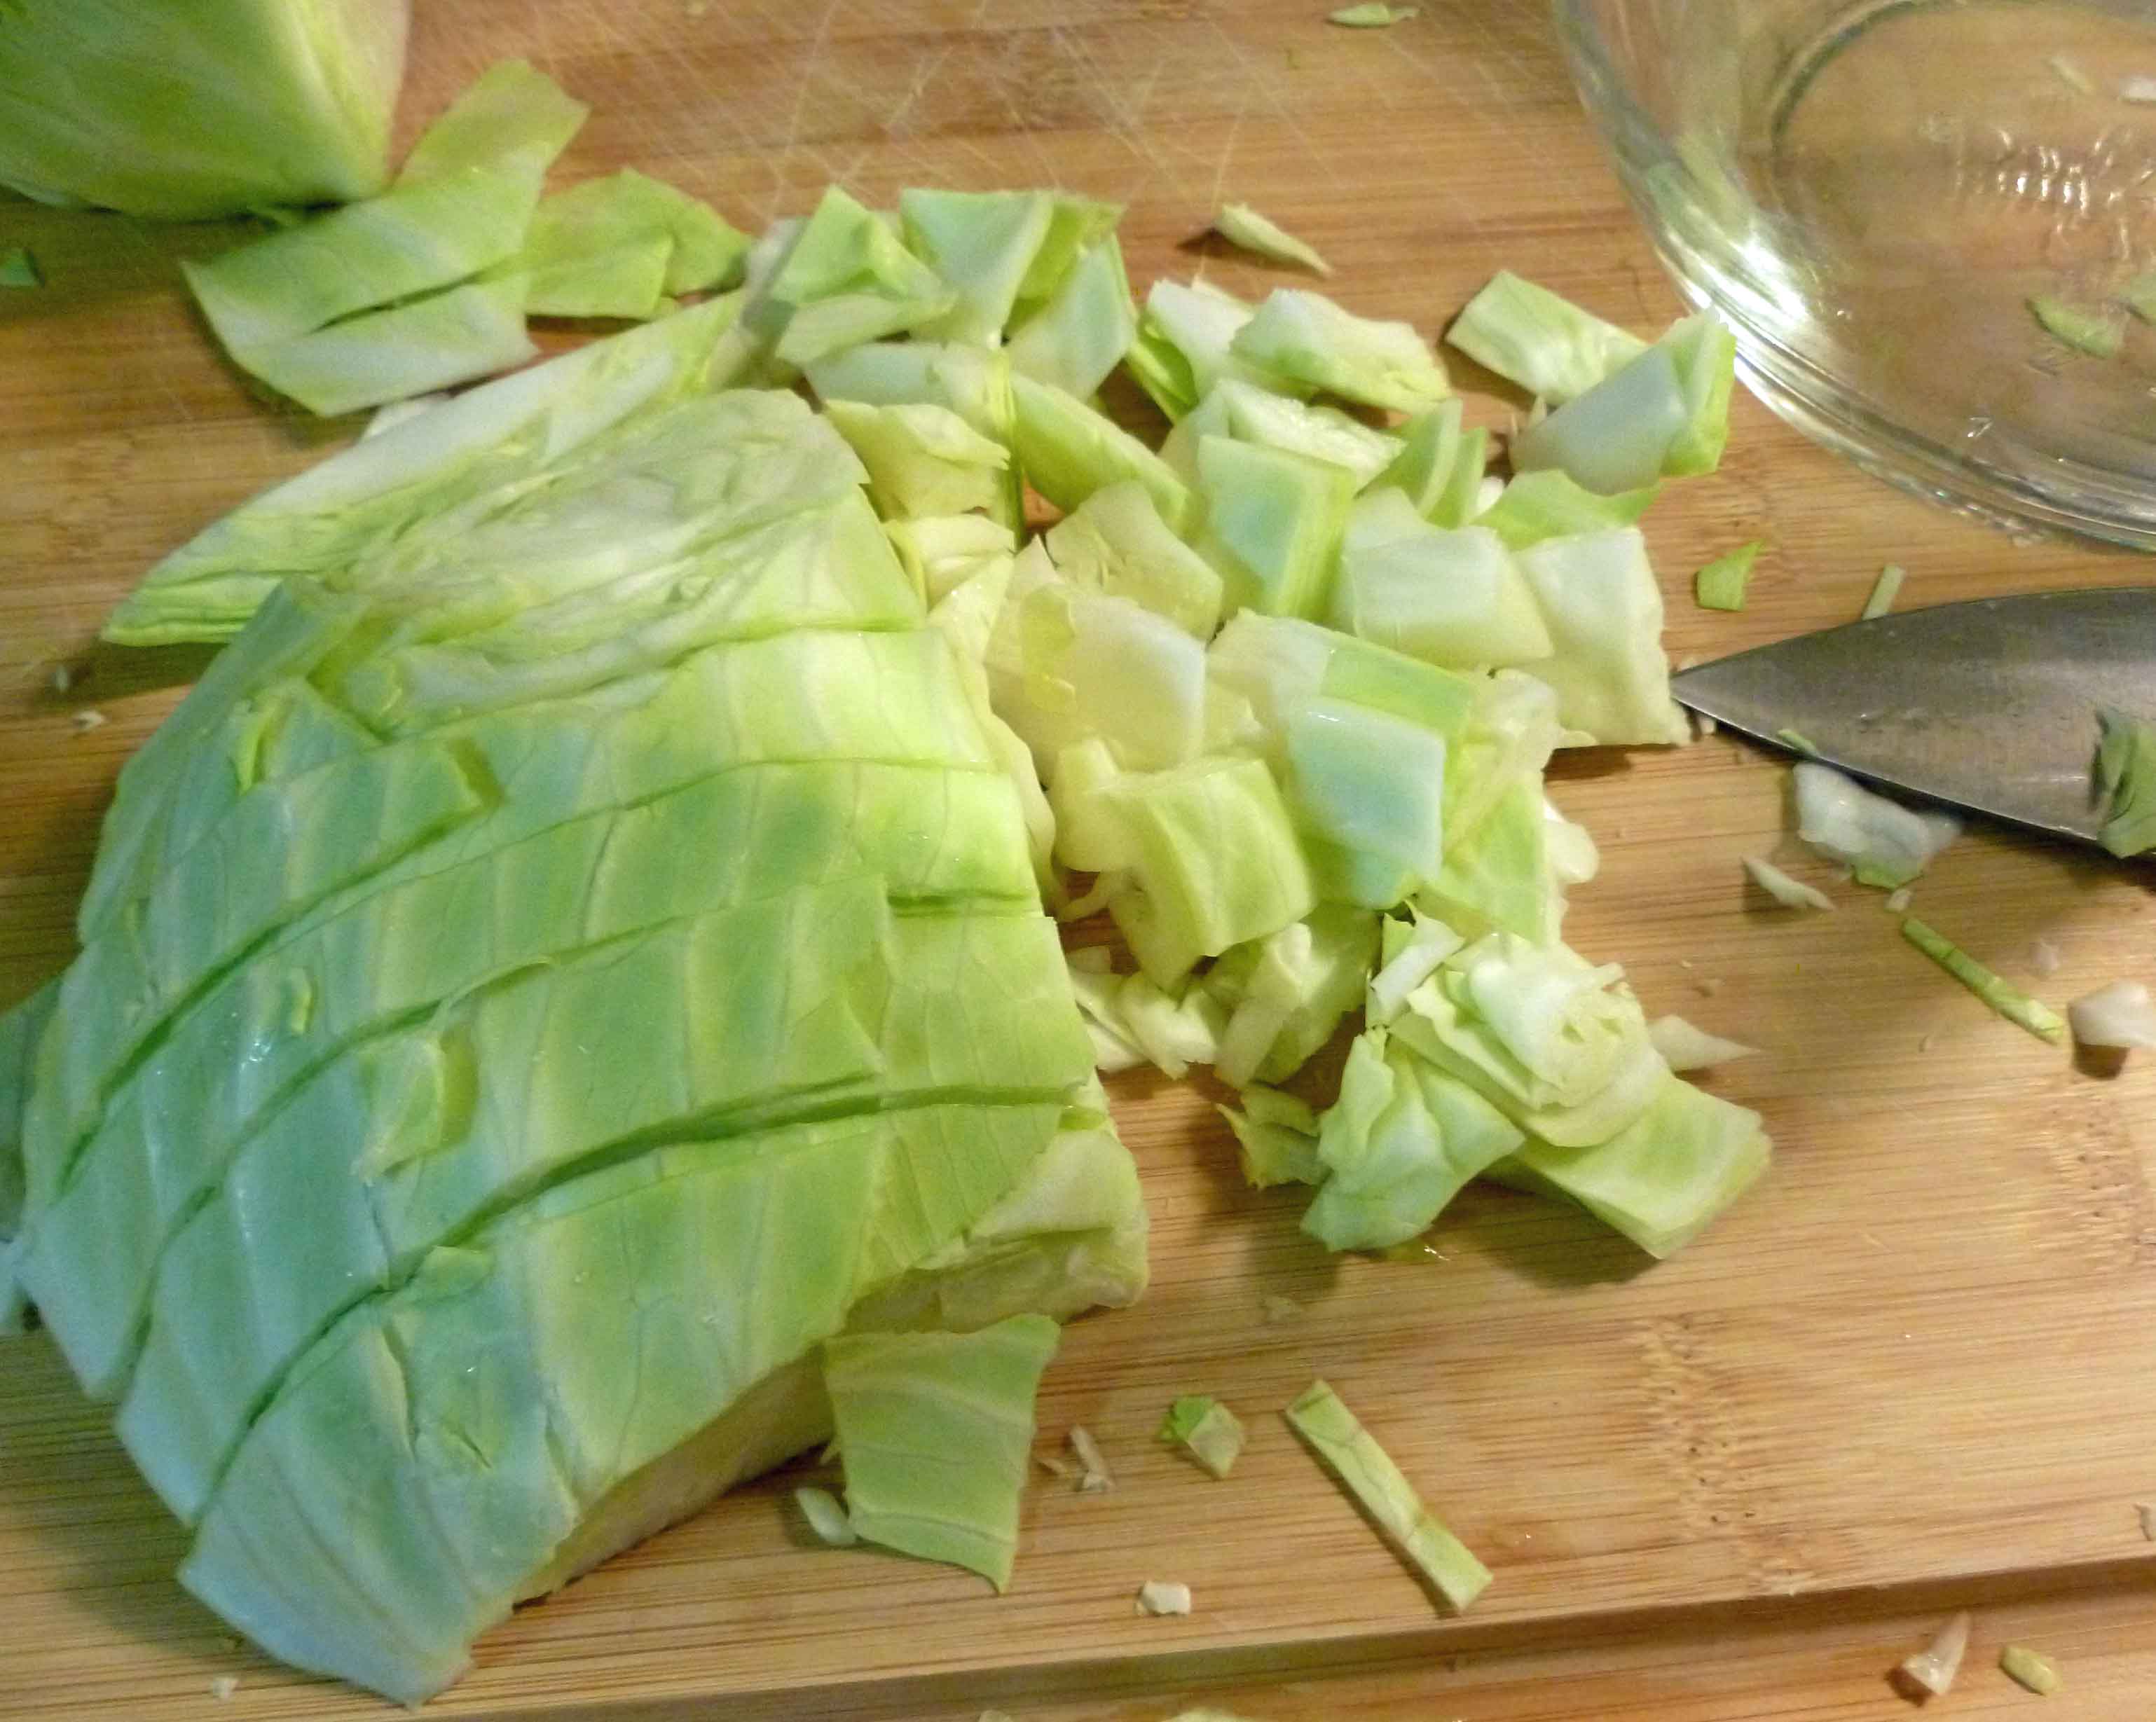
Chop your cabbage however you like cabbage to be in coleslaw, but I like mine to be diced, about a half inch by a half inch.
Chopped cabbage
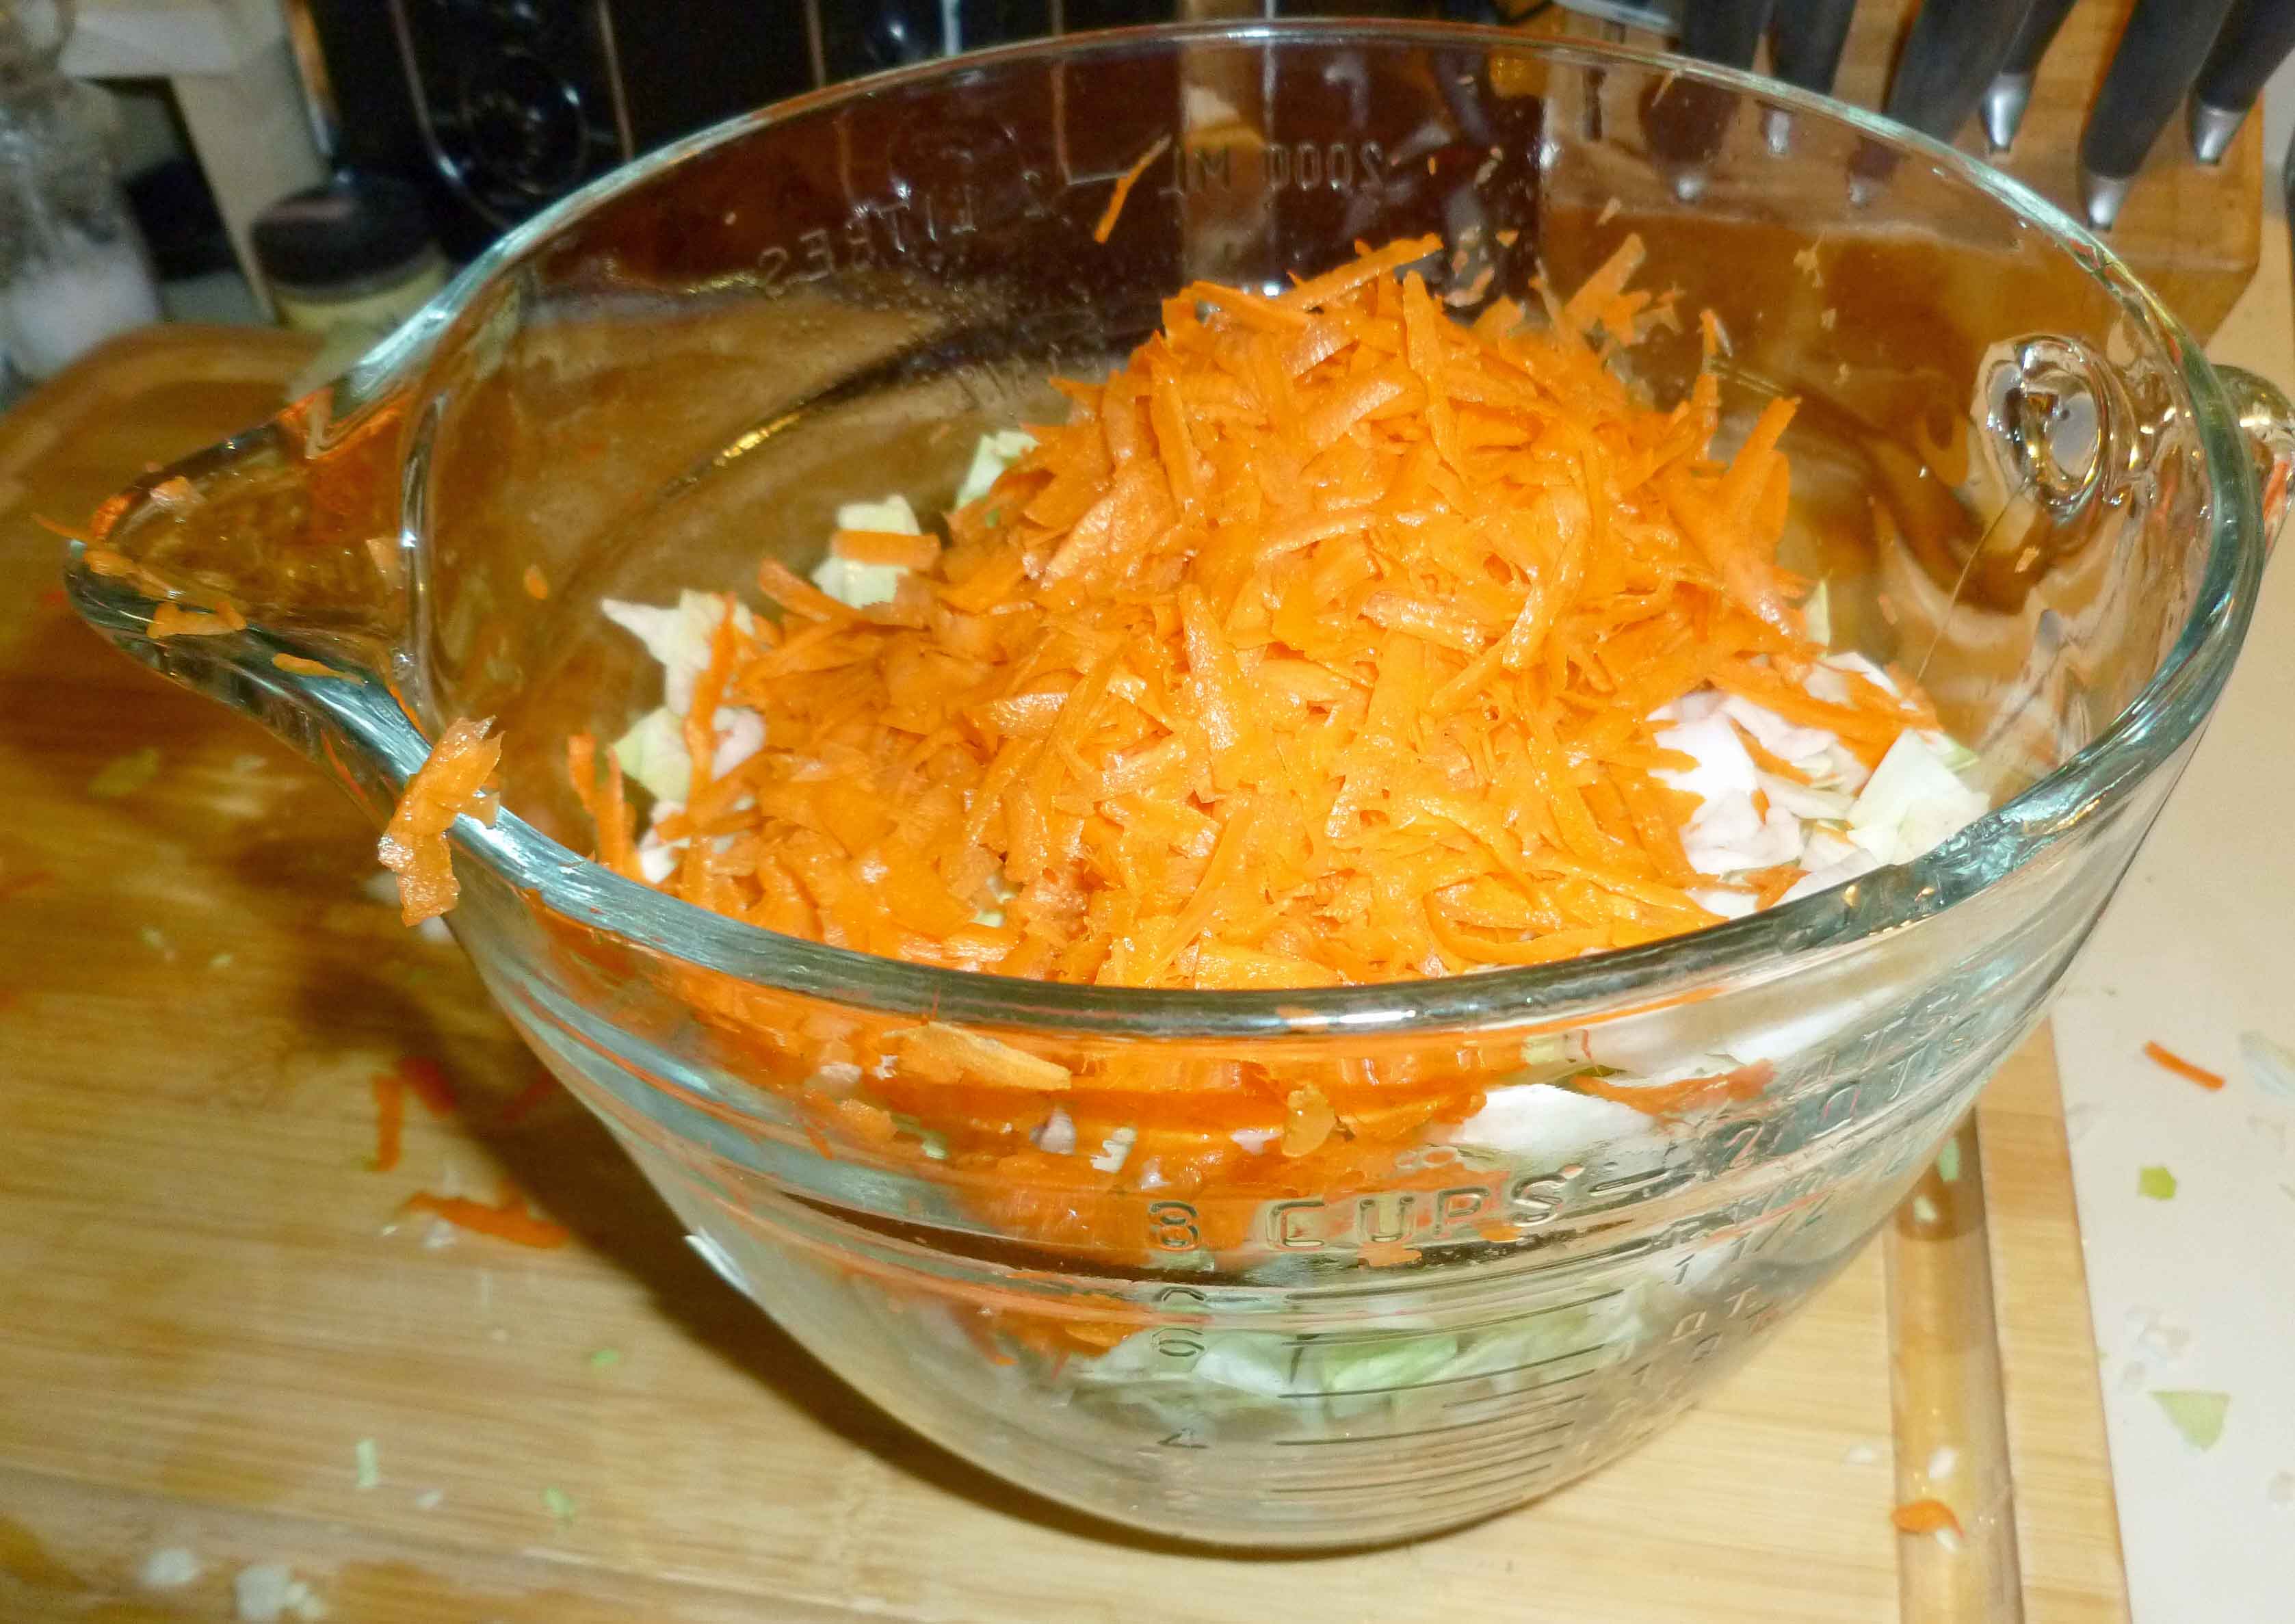
Once you have six cups of chopped cabbage, peel your carrots and use a large grater to grate them.
Grated Carrot and Chopped Cabbage
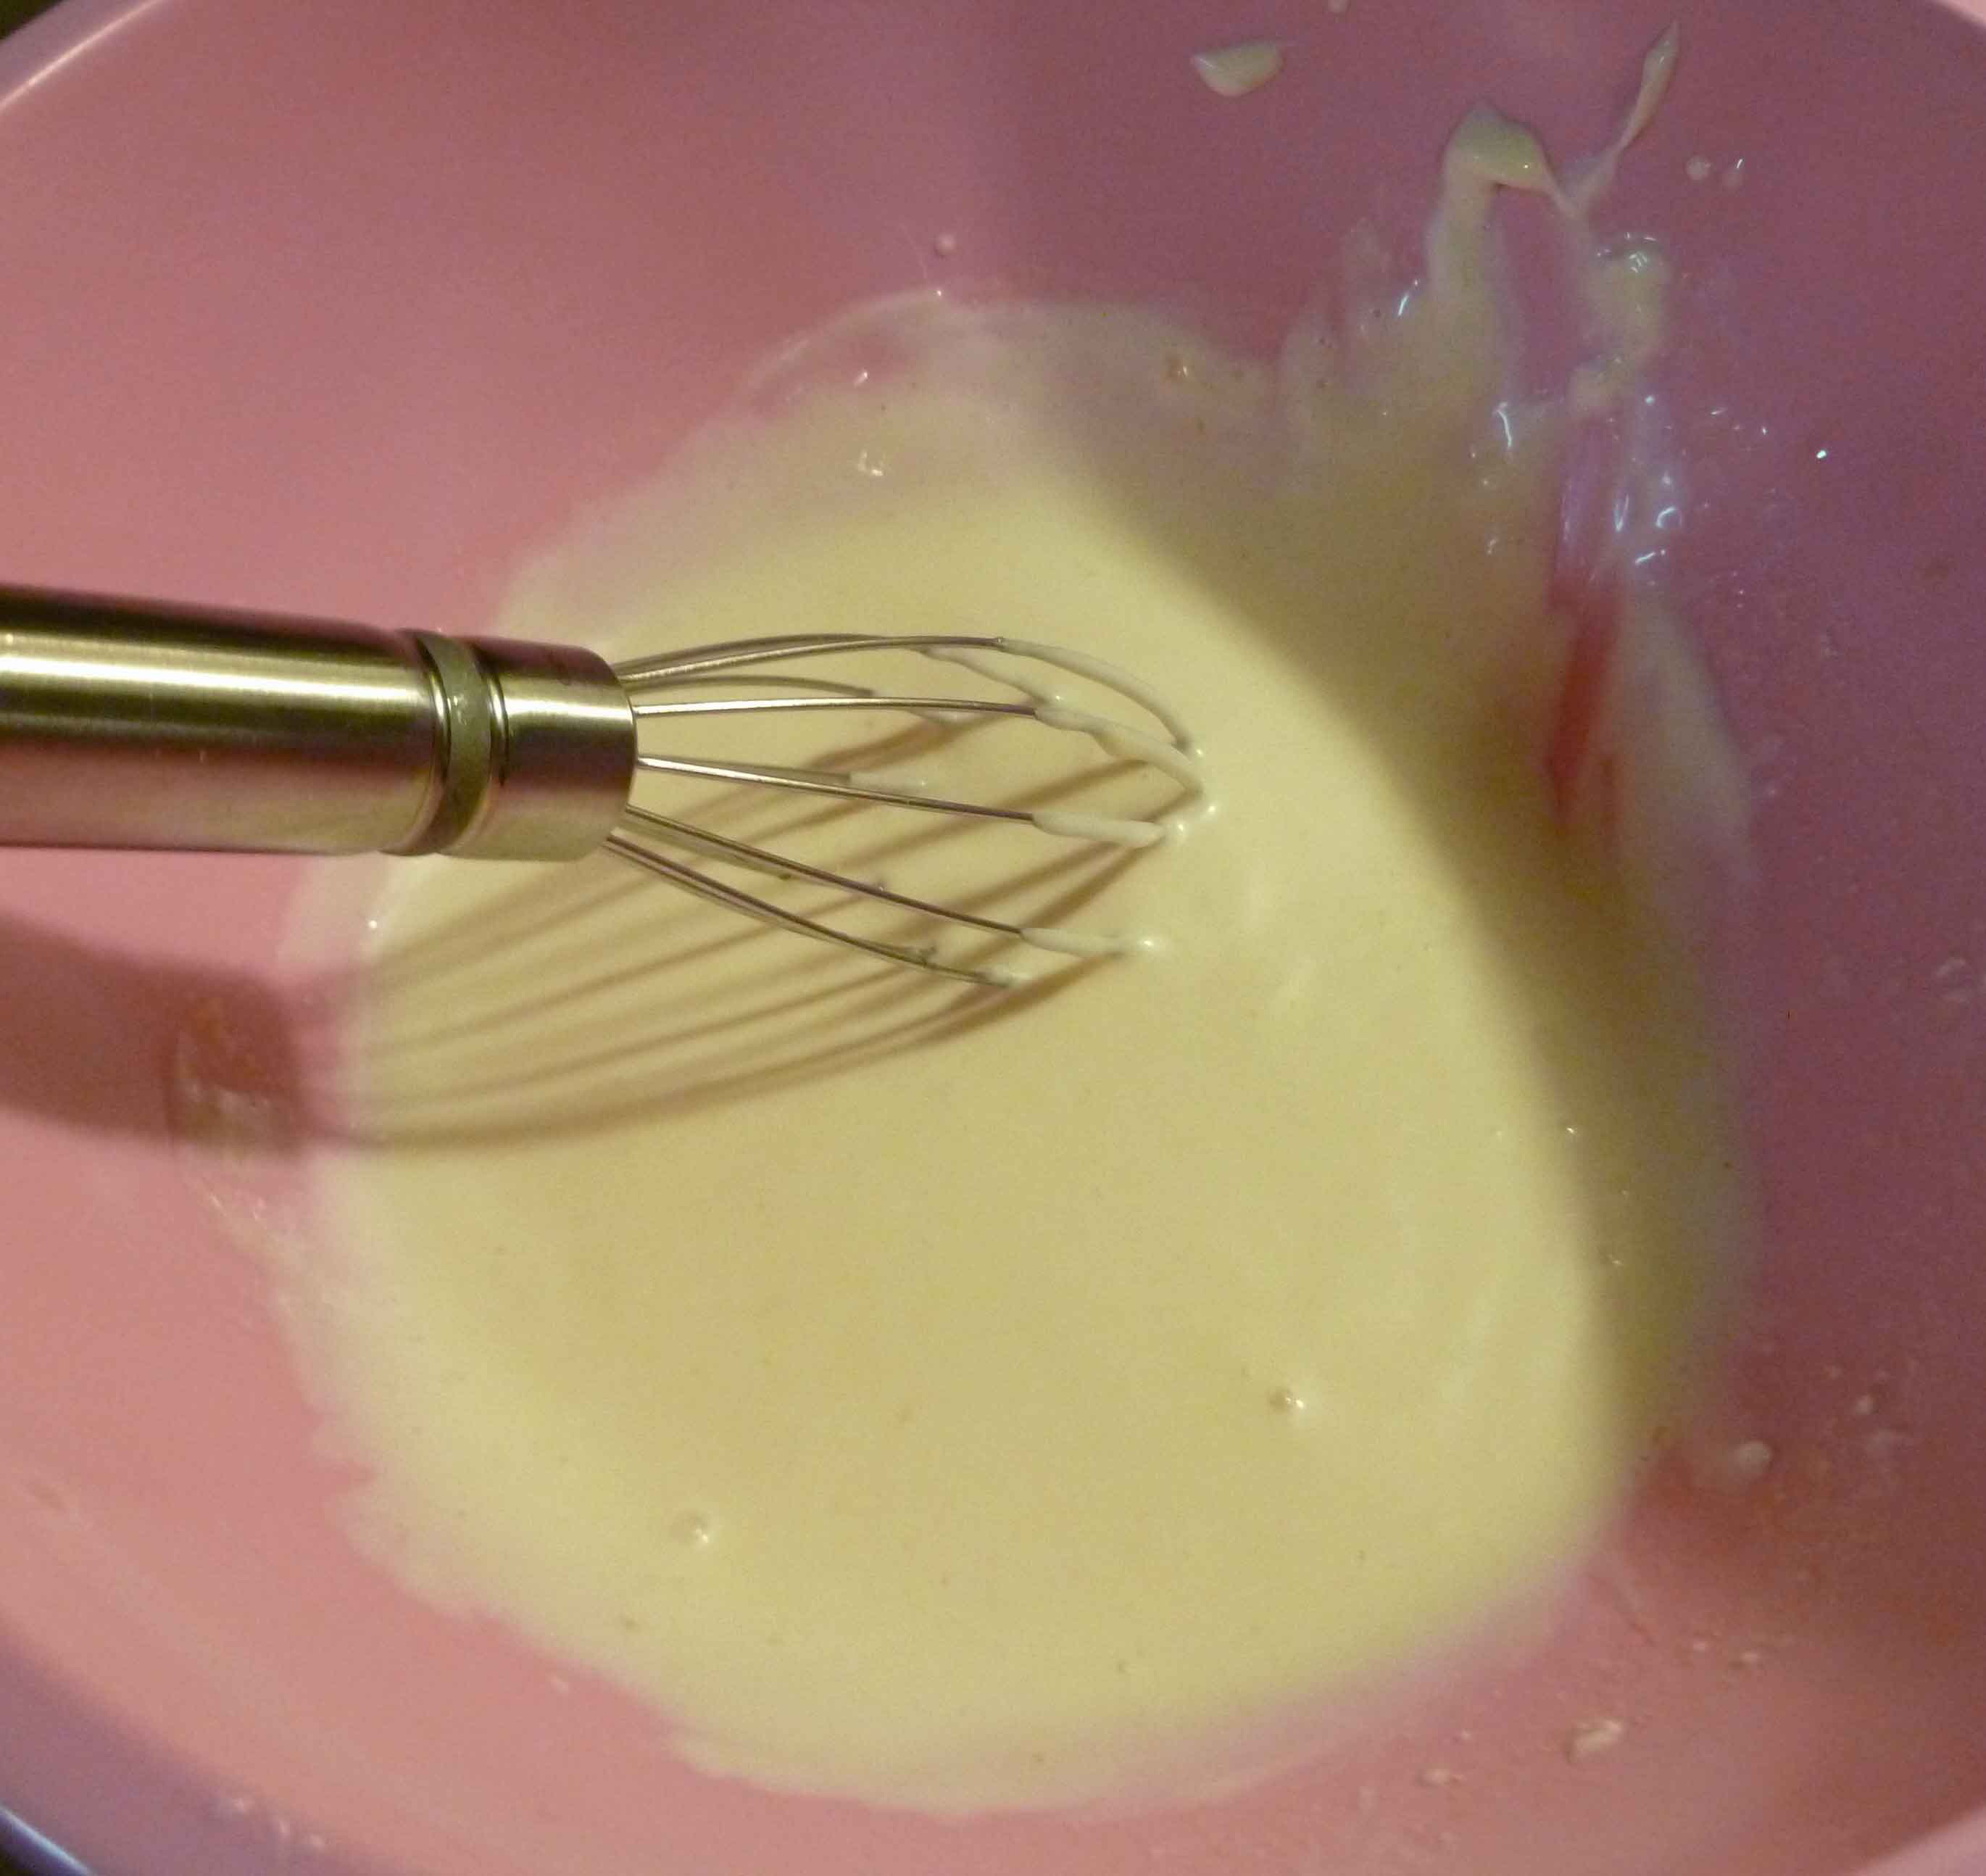
Then place your Earth Balance Mindful Mayo Original, the orange juice and the sugar into a small bowl and whisk the ingredients together until smooth.
Dressing after whisking
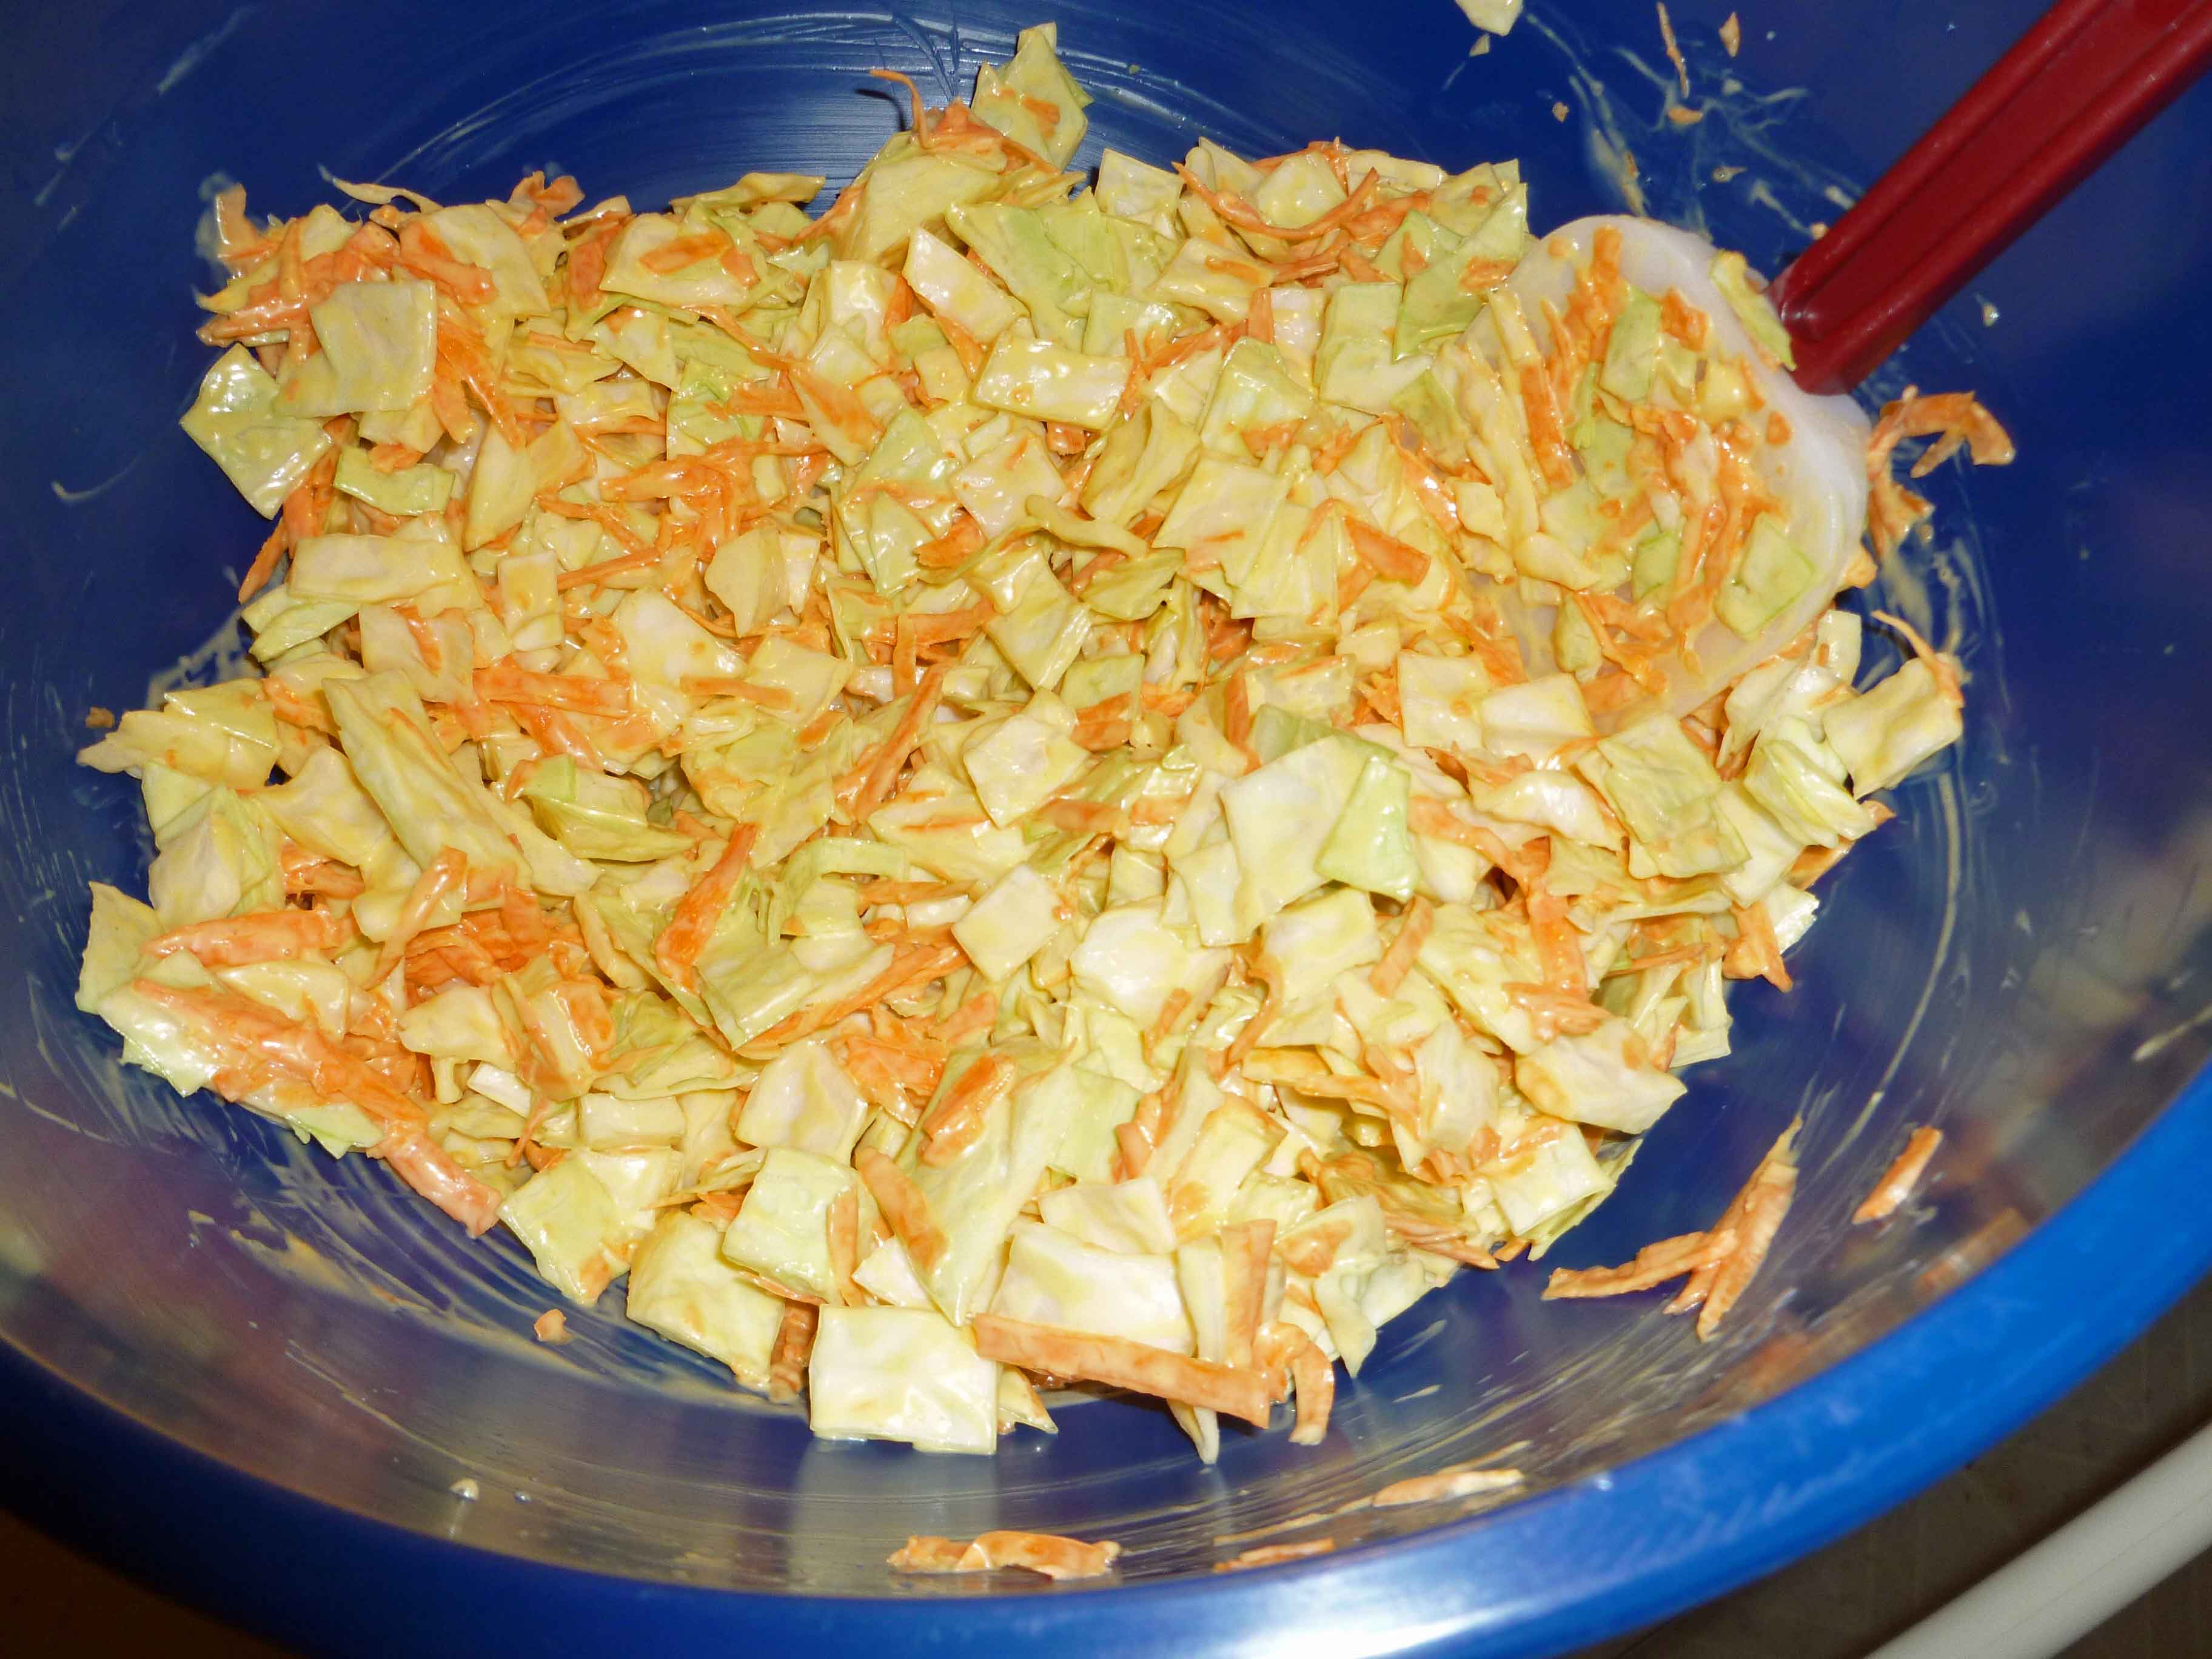
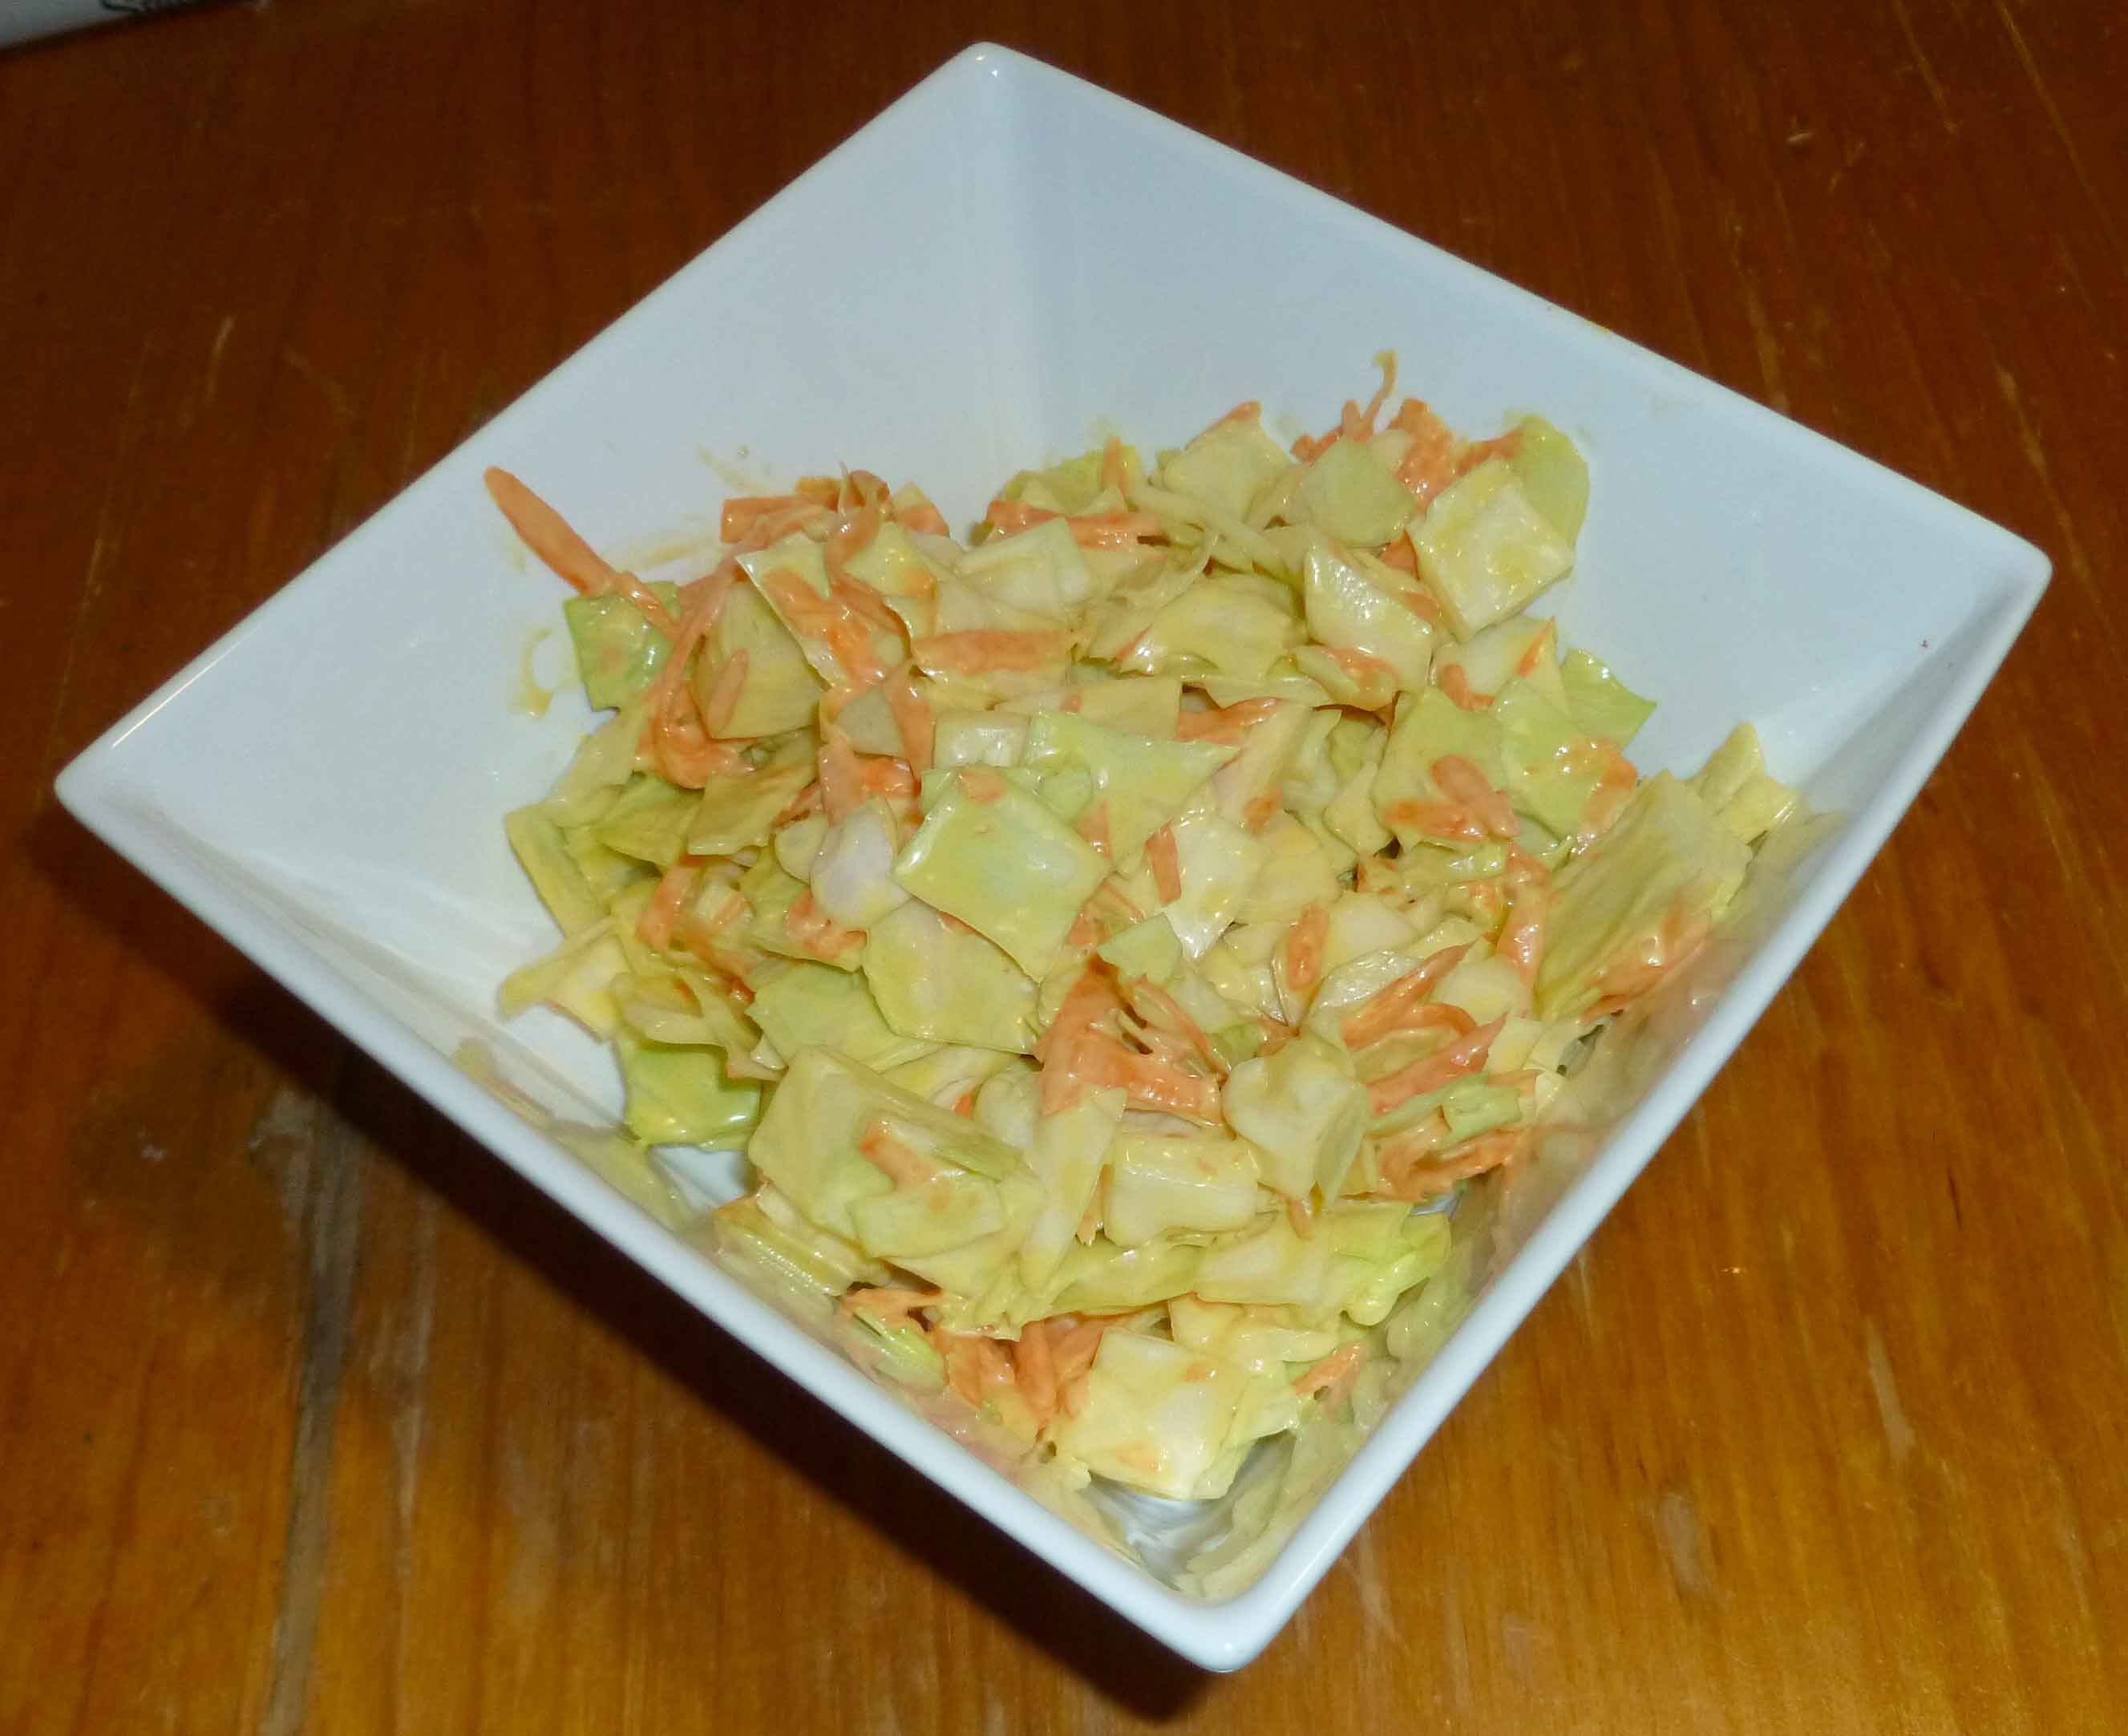
Combine cabbage, carrots and dressing in a large bowl and mix together well. The orange color to the dressing doesn’t actually come from the orange juice, it comes from the grated carrots.
Generally those of us with multiple food allergies can rely on very little in the way of packaged or convenience foods. Given that both Denise and I also work full-time, sometimes feeding oneself on a serious time budget becomes, well, problematic. When I still ate wheat, couscous was something I always had on hand because it cooked quickly and was a good neutral base for an easy saute of whatever was in the fridge at the time. I operated on the easy model of “beans, greens, and grain.”
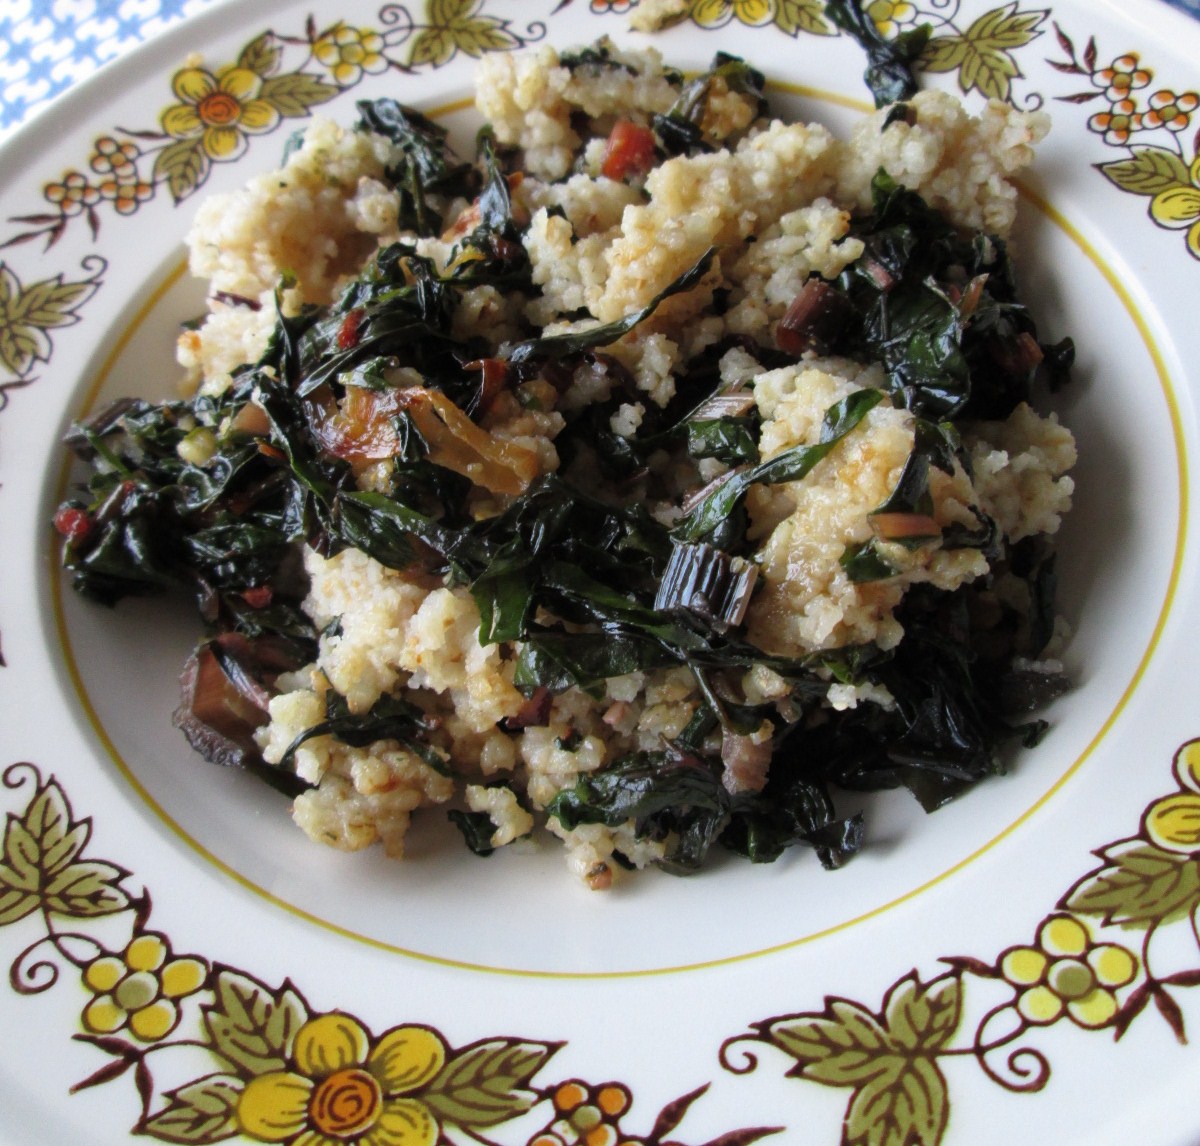
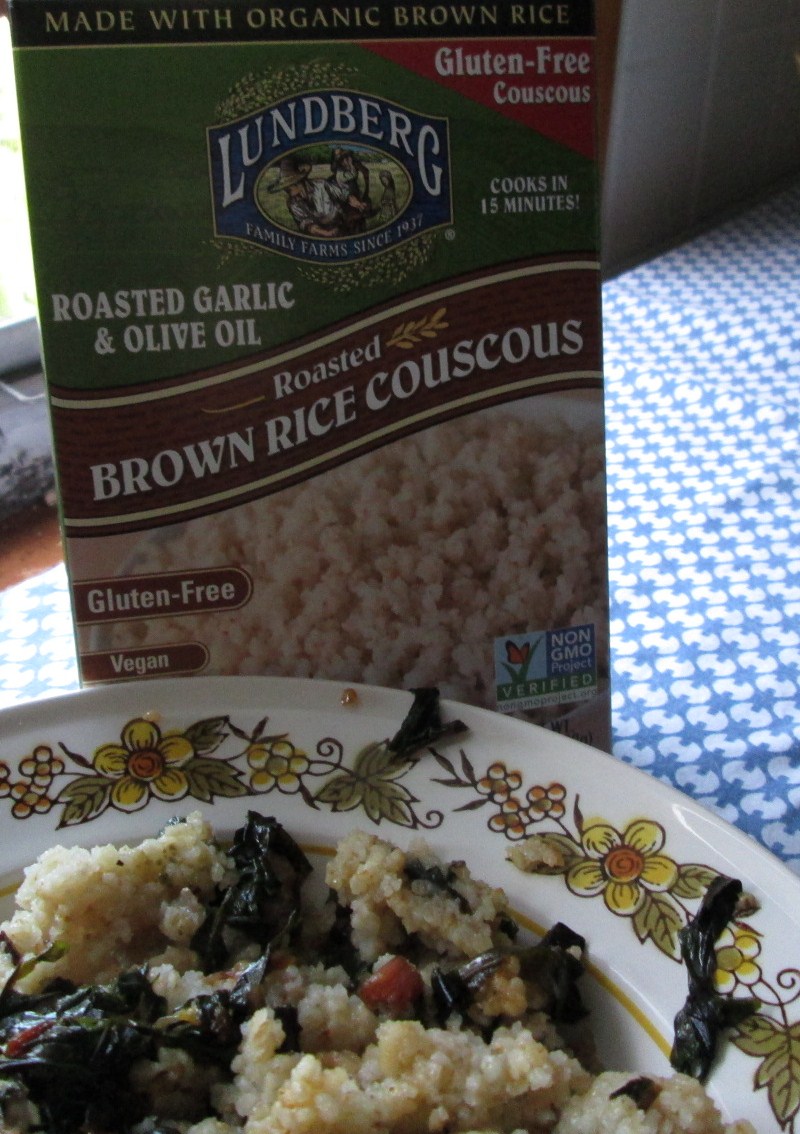
This is a version of that — using a Lundberg brown rice couscous with roasted garlic flavor as the “grain” base for a nice stir fry of Swiss chard from my friend Mary’s garden. Add in a leftover sweet potato and a caramelized Vidalia onion and I had a good dinner with three lunch portions leftover. Add a can of white beans or some leftover meat for a protein boost, serve this as a side dish, or think up your own variation — this is more of a formula than a recipe, really, and one I honestly repeat over and over throughout the year for easy weeknight meals.
Gluten-free Veggie Couscous Bowl
Makes 4 servings
1 large Vidalia onion, halved and sliced thin
1 Tablespoon some form of fat
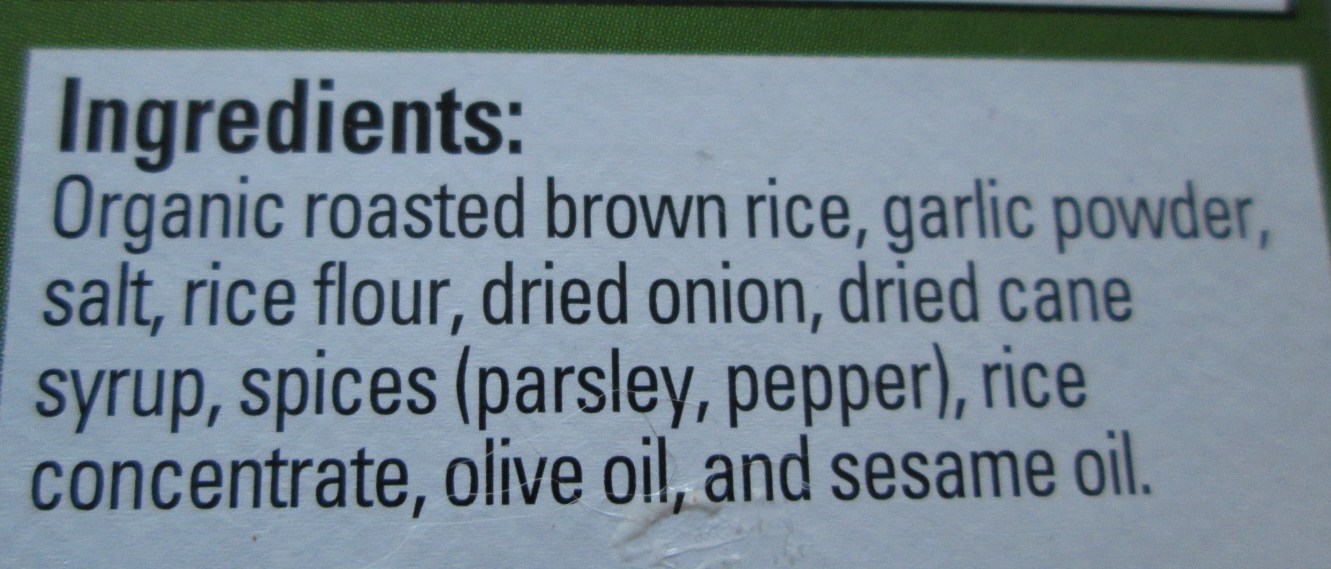
I box Lundberg brown rice couscous
1 bunch of Swiss chard, washed, rolled, sliced, and then chopped
1-2 teaspoons olive oil
1-3 cloves garlic, chopped
1 sweet potato, cooked
salt and pepper to taste
Melt shortening/butter/margarine/bacon fat/olive oil in large skillet over medium low heat. When sizzling hot, add onions. Stir thoroughly to coat with oils, and cook low and slow until well-browned, about 45 minutes or so. Stir occasionally.
If you need to cook the sweet potato, throw it in the oven at 375F after washing it and poking vent holes in the skin. I’d personally suggest making more than one and use the leftovers in another dish later in the week.
In a separate stockpot, bring water to a boil as directed on the box of the couscous. When the water is boiling, add the seasonings (if you can have them) and the couscous. Cover, reduce heat, and set the timer — again, basically follow the directions on the box, omitting the seasoning if you cannot have them.
While these things cook, wash and drain the chard leaves. Chop off the stems. Slice these thinly like celery and set aside. Stack the leaves, and then roll them up tightly to slice thinly to create small ribbons of chard. Cut lengthwise along the leaves next, to make the ribbons shorter.
When the onions are finished cooking, remove them from the skillet. Add a tiny amount of olive oil to the fat left in the pan, if needed, and then add the garlic and chard in quick succession. Stir thoroughly, and cook until the chard is fully wilted (4-8 minutes).
In a large serving bowl, mix all ingredients — couscous, chard, sweet potato, and onion. Taste, and then season appropriately with salt and pepper.
My apologies in advance to those of you with fish and shellfish allergies, but I’m from Maine originally, and I love, love seafood. Although I have three confirmed shellfish allergies (crab, scallops, and clams), and one additional positive scratch test in the elimination/challenge confirmation process (lobster, I better not be allergic), I only appear to be anaphylactic with respect to soft-shell crab. I still avoid the other confirmed seafood allergies, because you never know (past reactions don’t predict future reactions) and because the symptoms I do get are bad enough, but I’m stubborn enough to continue eating fish or shellfish that aren’t on my confirmed or positive scratch test list. However, if a medical professional or your symptoms have made it clear that you can’t eat any shellfish or fish, don’t follow my lead because I can be an idiot when it comes to doing what I’m supposed to do for my own personal health, as we’ve previously established on this blog.
With that said, let’s move on to the dish of the day. I’m a shellfish girl primarily, meaning I like(d) crabs, scallops, clams, shrimp, and lobster. For me seafood really doesn’t mean fish, but I don’t mind a good piece of haddock. Haddock has to be cooked right or you get this dried out, tasteless piece of mushy cardboard. Since most of my shellfish favs are off limits these days, and the only way I can have haddock cooked at a restaurant is broiled with some lemon (since I’m allergic to dairy, wheat, and eggs) which tends to result in cardboard, I started buying some and cooking it at home. Haddock is also a standard offering in most fish departments in New England grocery stores.
Haddock can be a tricky thing to cook because it’s really easy to overcook, and over-cooked haddock is, as stated above, a dried-out piece of mushy cardboard. I’ll do my best to explain, but it’s sort of a continuing learning process/practice makes perfect kind of thing.
Pan-Fried Haddock
Serves 4 adults
2 pounds of fresh haddock (you can get previously frozen, but it won’t stay together as well and may fall apart as you’re frying it)
1 cup of whole grain gluten-free flour mix (see recipe below or use what you like that you have already, or if you can have wheat this works with all-purpose flour as well, as I used to make this before the wheat thing)
spice mixture for flour (see below)
2 Tablespoons of canola oil (or other oil safe for you and suitable for frying)
Canola oil (or other oil safe for you and suitable for frying), enough to fill the bottom of your skillet to the depth of a quarter of an inch
Whole Grain Gluten-Free Flour Mix
This makes several cups of a whole grain gluten-free flour mix, but you only need a cup for this recipe. If you want, save it for another use, or cut back the amounts proportionately so that you make less. Place the following ingredients in a large bowl and whisk them together thoroughly. Take out one cup for the recipe, and put the rest into an airtight container to store to use for anything that calls for gluten-free flour.
100 grams of millet flour
125 grams of white sorghum flour
125 grams of oat flour
75 grams of sweet or glutinous rice flour
75 grams of tapioca starch
Spice Mixture for flour
Mix the following ingredients in a little bowl:
1/2 teaspoon of salt
1/8 teaspoon of paprika
1/8 teaspoon of ground chipotle pepper
1/8 teaspoon of ground black pepper
1/8 teaspoon of rosemary (you might want to crunch it up into smaller pieces)
1/8 teaspoon of cayenne pepper
1/8 teaspoon of garlic
1/8 teaspoon of thyme
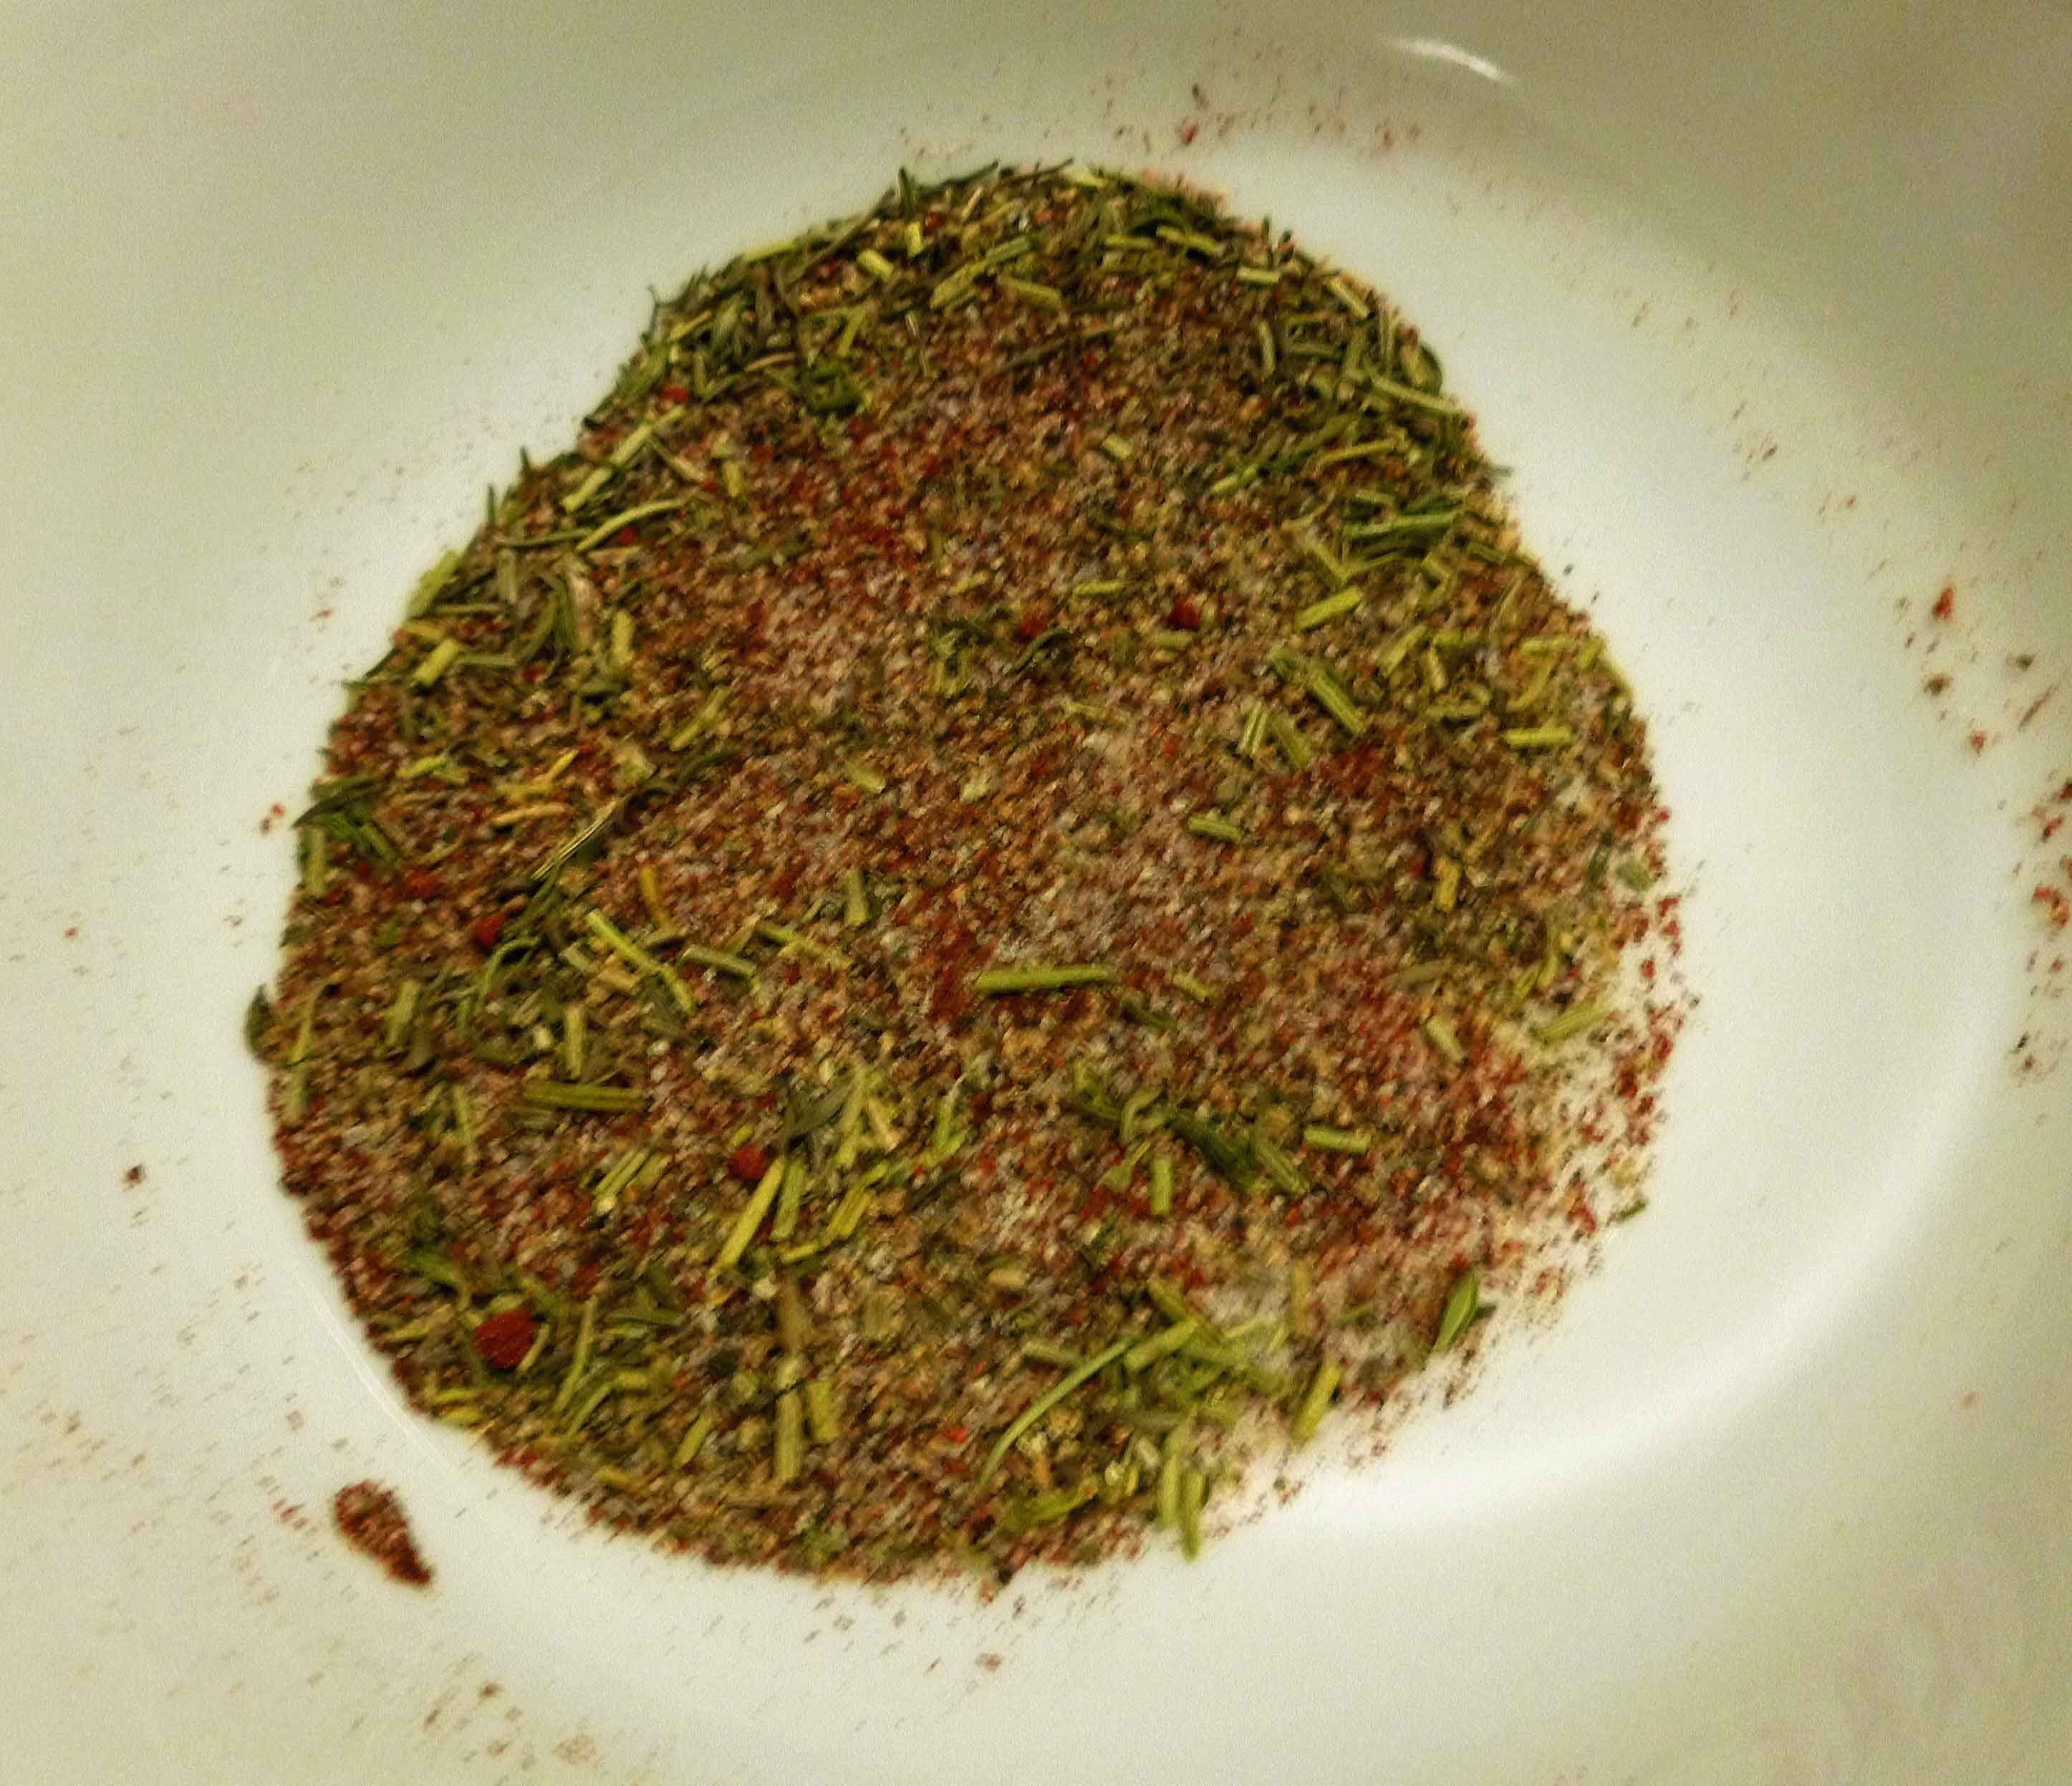
Spice Mixture for Flour
Take a large gallon ziploc bag, or a large bowl and mix the cup of whole grain gluten free flour and the spice mixture together. I use a ziploc bag because I can just seal and shake after putting the fish in it without having to handle the fish (I use tongs) or get my hands all covered in flour. Put the bag or the bowl aside for now.
Put your skillet on the burned and pour enough oil in it so that there is about a quarter of an inch of oil in the bottom. If you use a thick pan like my cast iron skillet and it’ll take a while to heat up, turn the heat on now to medium (about 5 or 6 on the dial).
Take your haddock fillets, and cut them into pieces about 3-4 inches long. I find that pan-frying a whole fillet is messy, somewhat dangerous (think splashing oil), and doesn’t work well because of the variable thicknesses of the fillet, resulting in either under-cooked fish in some parts or overcooked fish in others. I choose where to cut based on the thickness trying to get pieces that are a consistent thickness. Then I can fry the thinner pieces for less time and the thicker pieces longer so that hopefully nothing gets overcooked.
Place your haddock pieces in a large bowl with the 2 Tablespoons of oil and toss them carefully to coat the haddock pieces with oil.
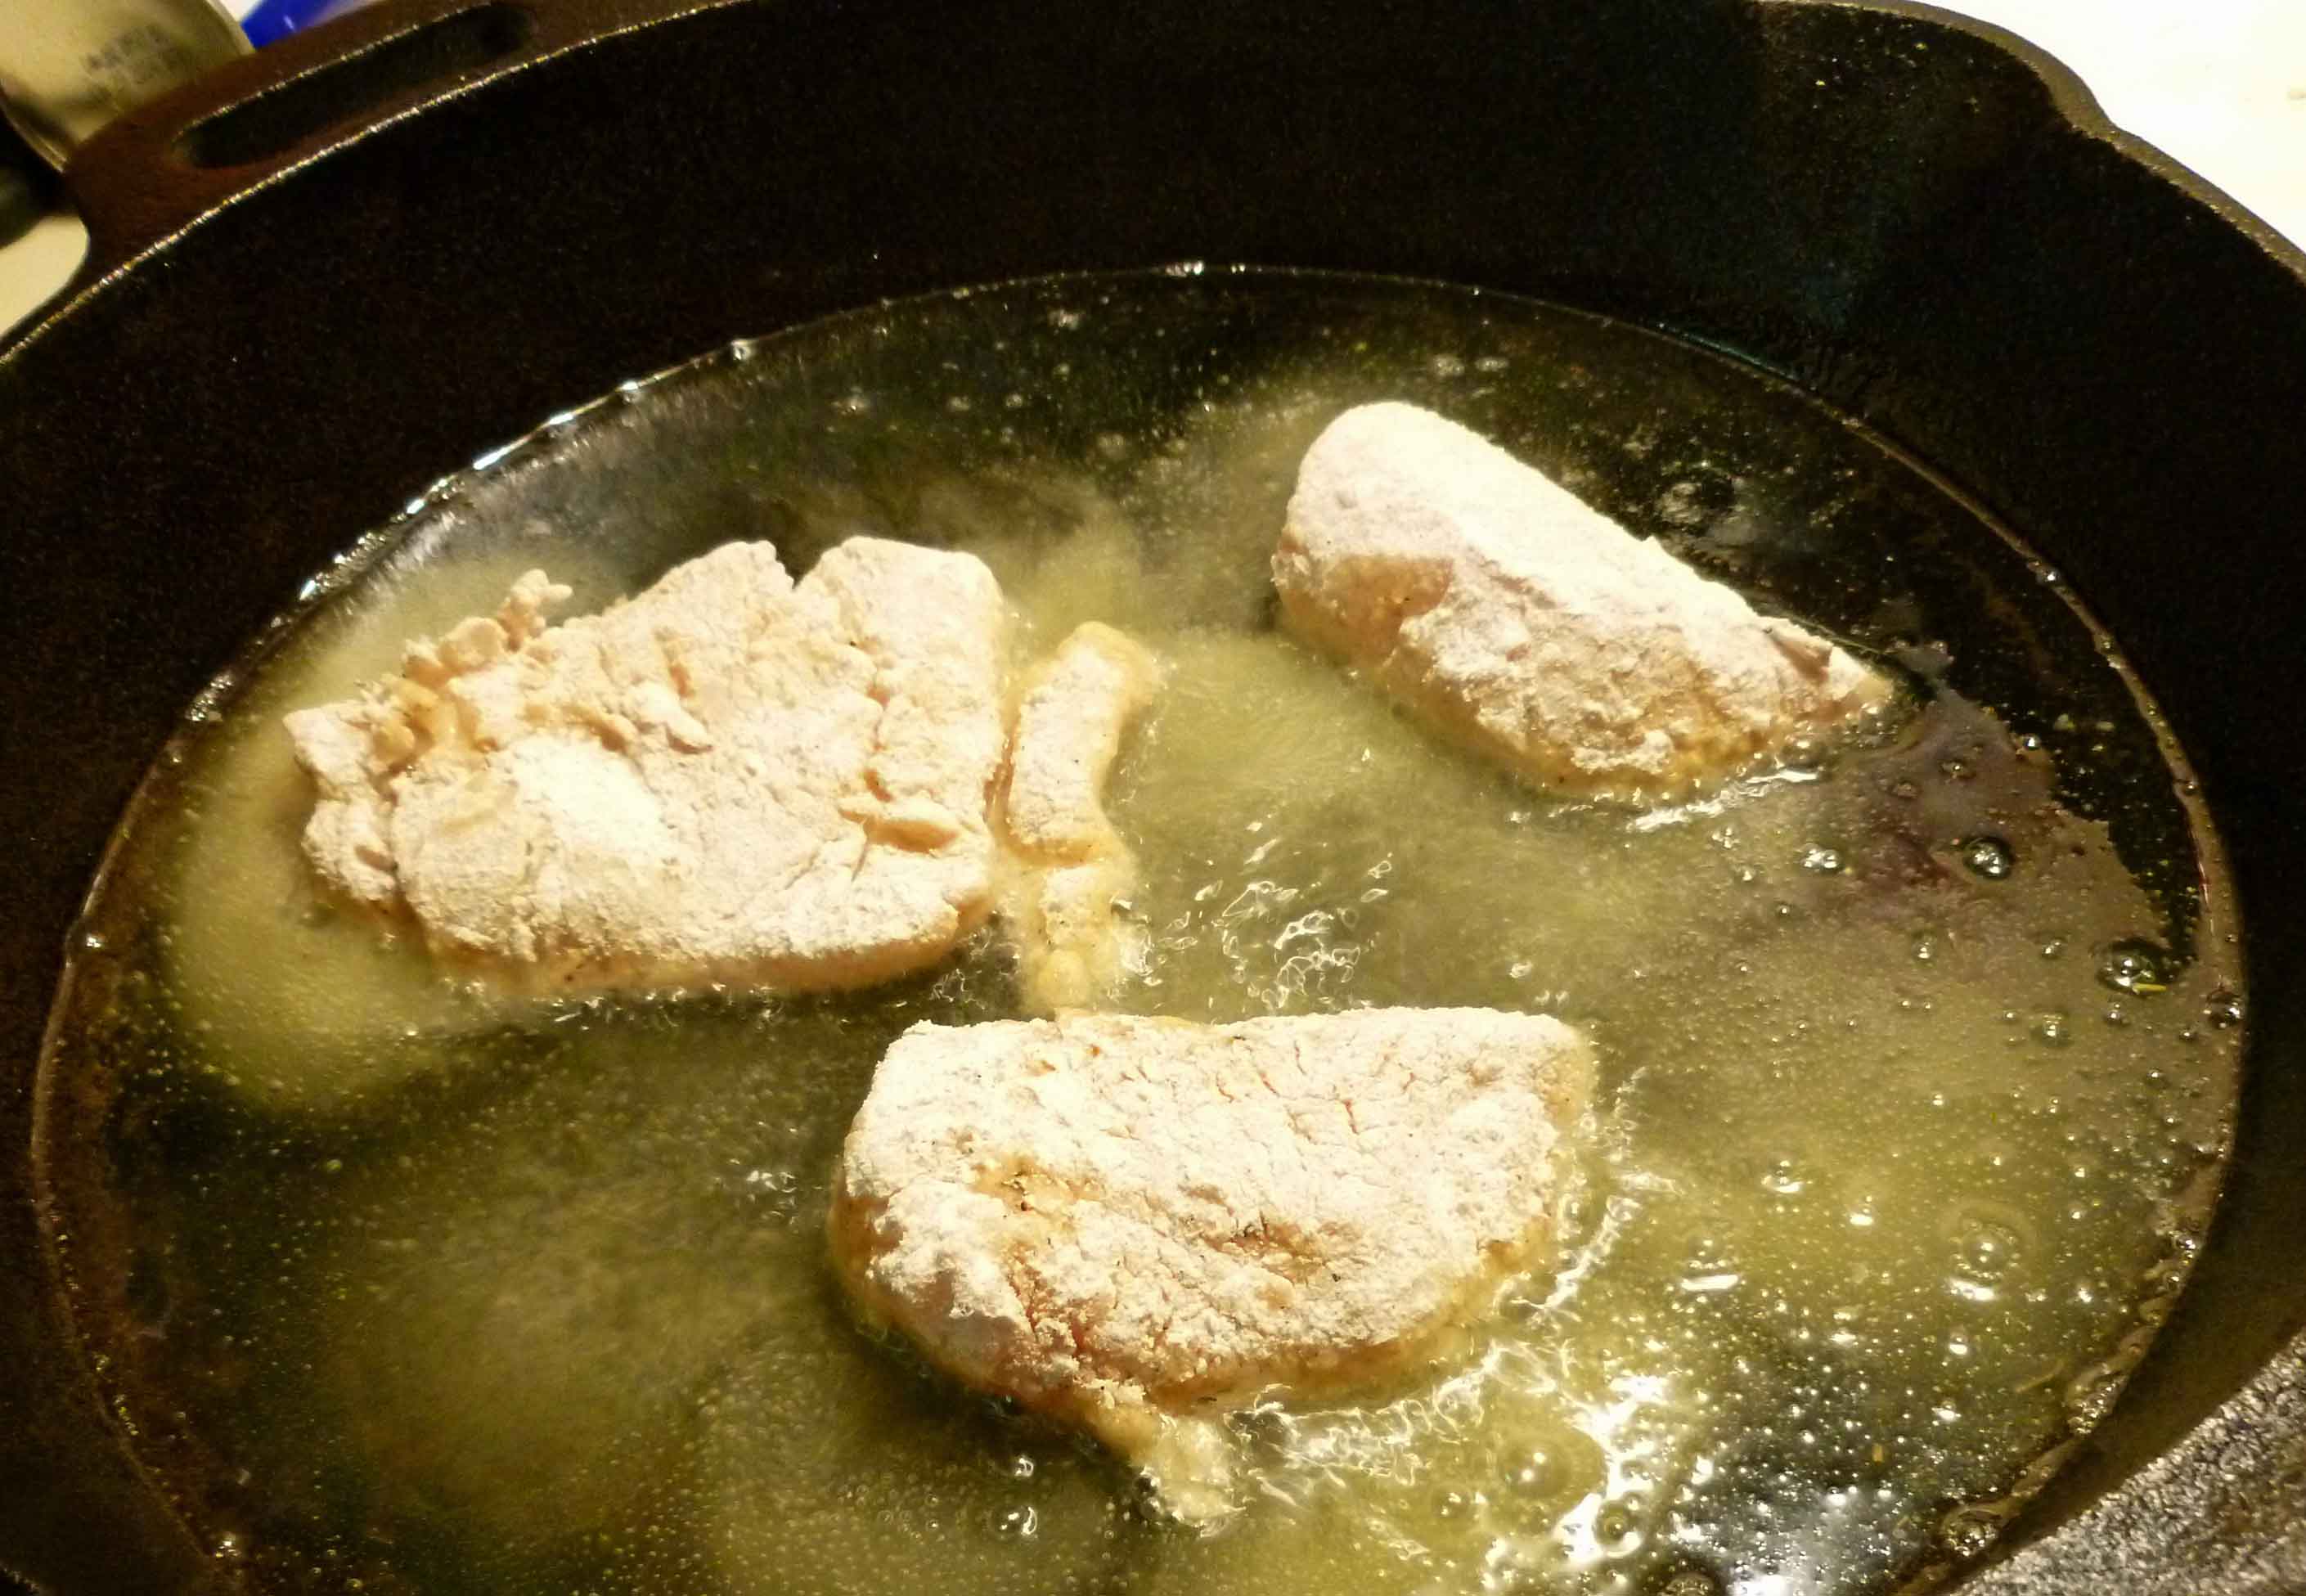
You can test your oil to see if it’s hot enough by taking a tiny piece of the fish and putting it in the oil to see if it bubbles and sizzles (see the picture below for bubbling and sizzling around the edges of the fish). If your oil is hot and ready to fry, take 3 pieces of the haddock, and put them in the ziploc, and shake it to coat the pieces. (Or put them in the bowl if that’s what you’re using and cover them with flour.) Take the pieces and shake off the excess flour (I use tongs) and place the pieces of fish in the skillet.
Haddock pieces frying in skillet
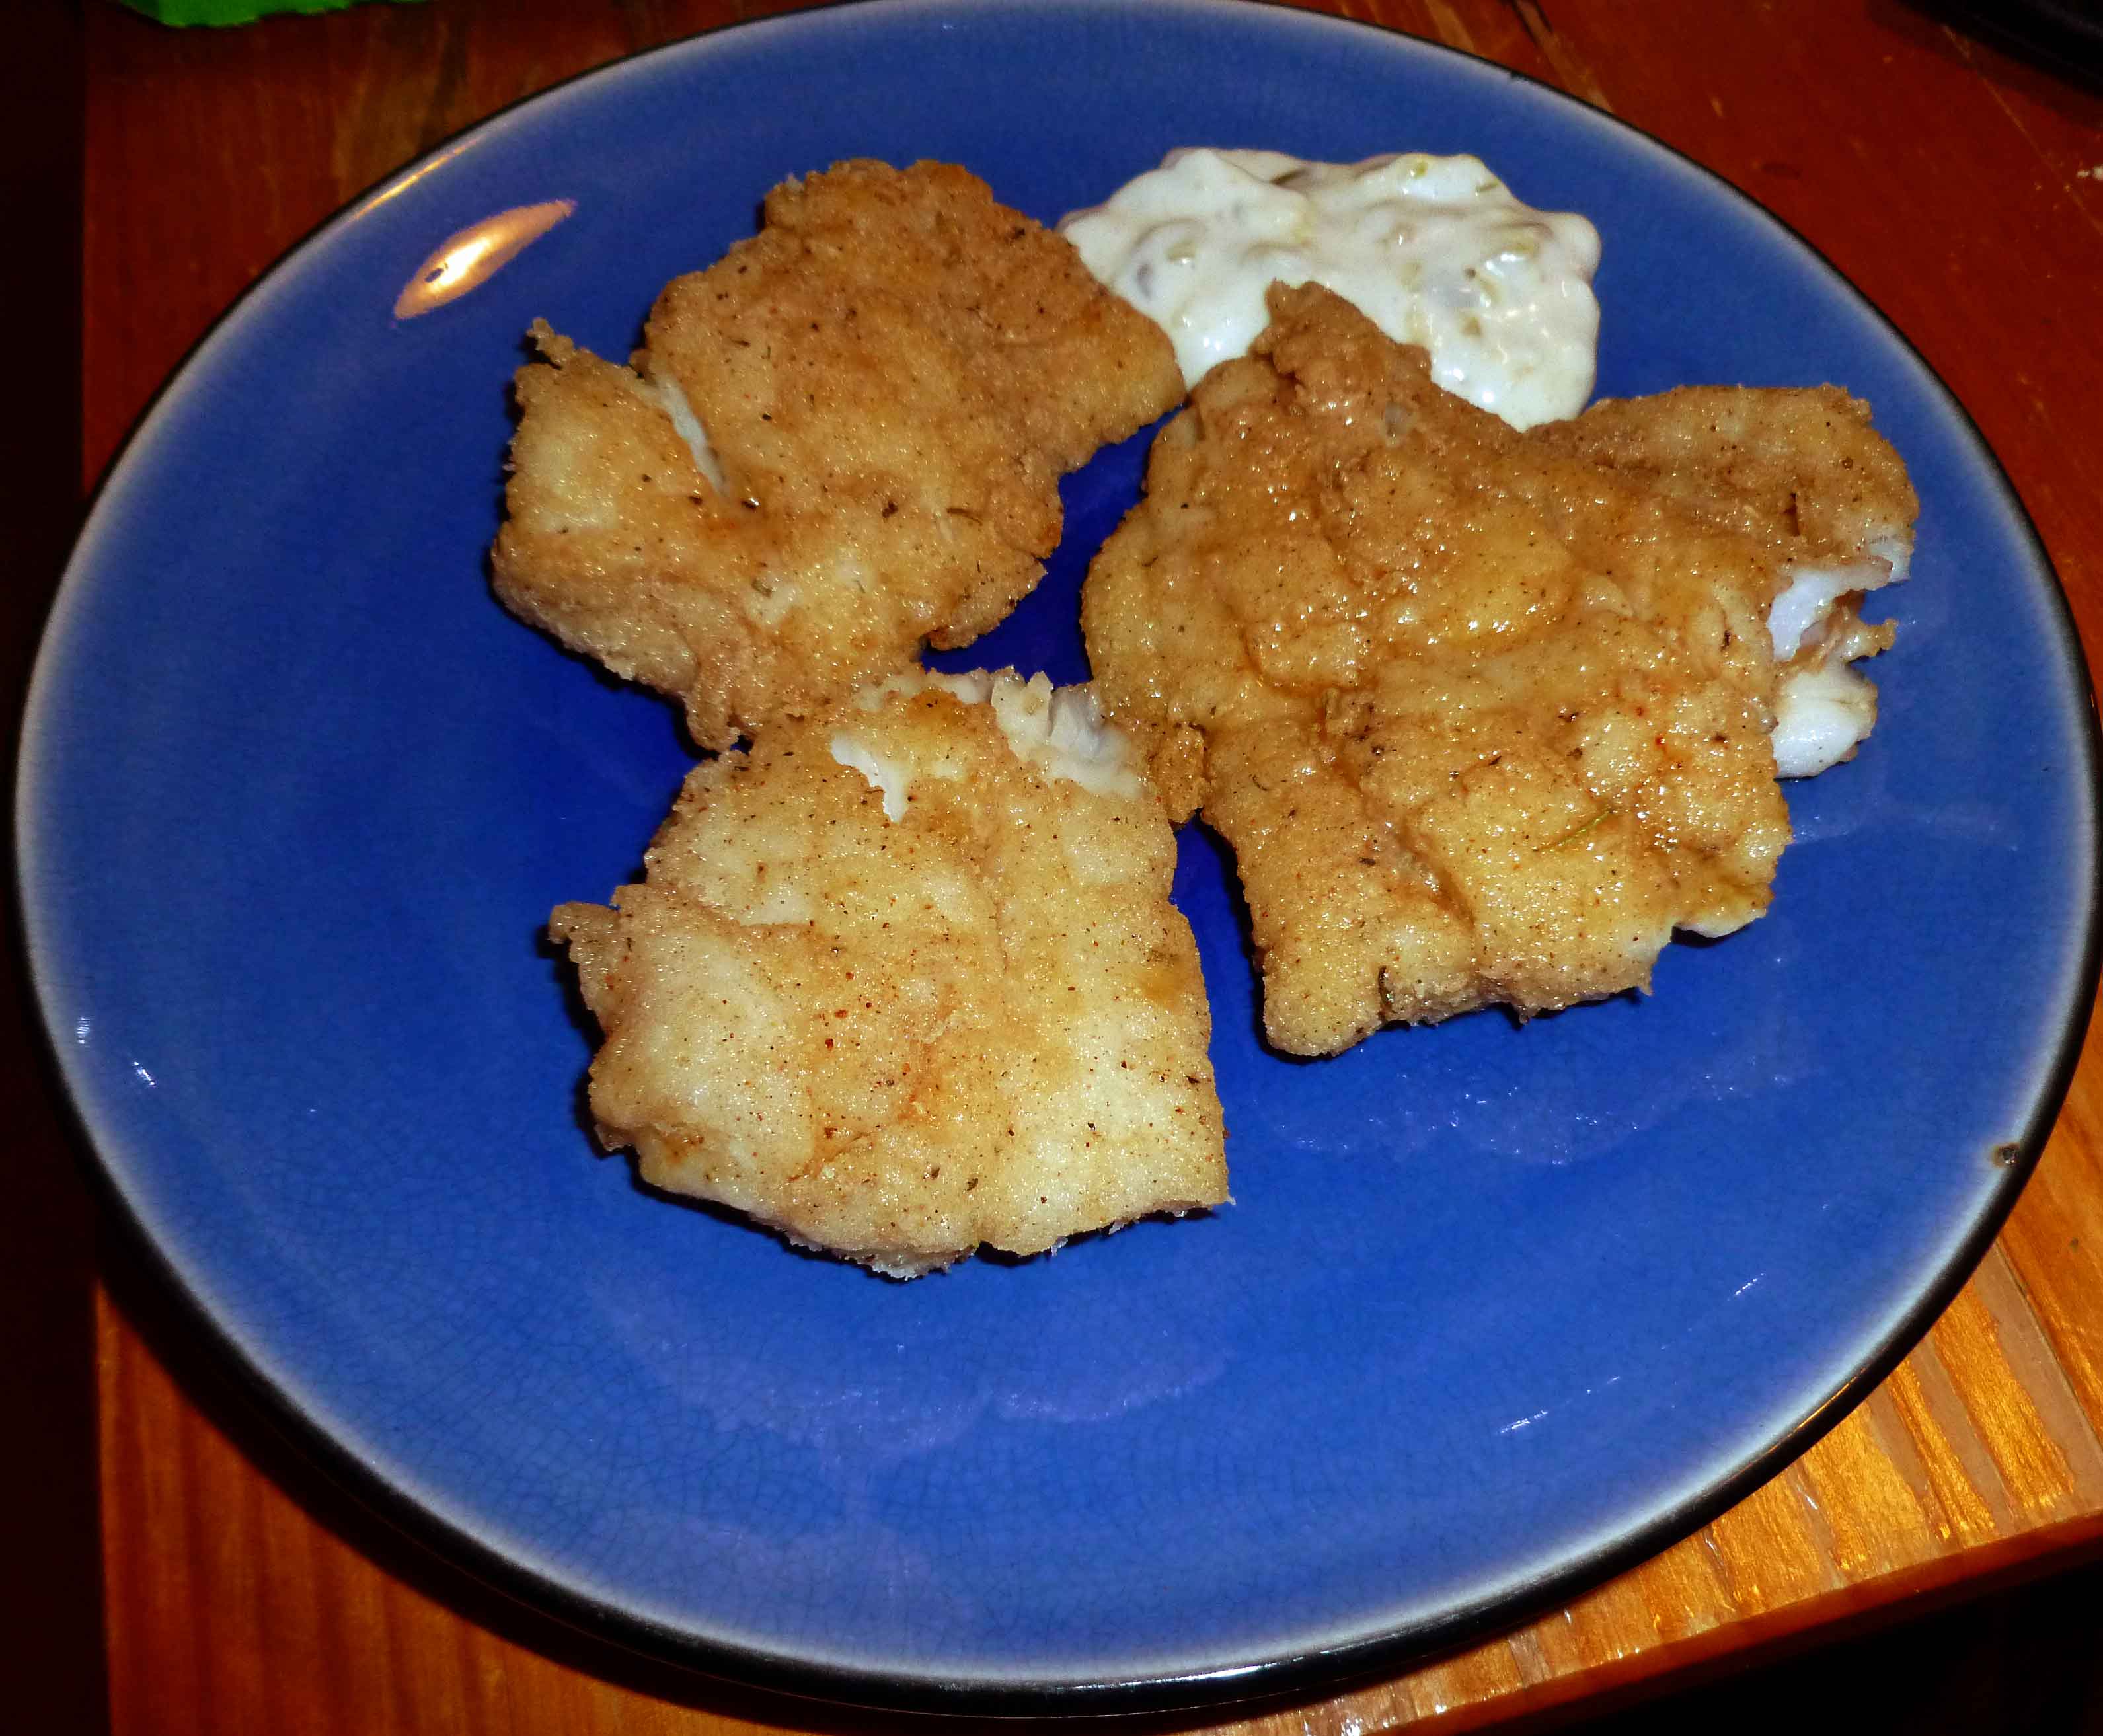
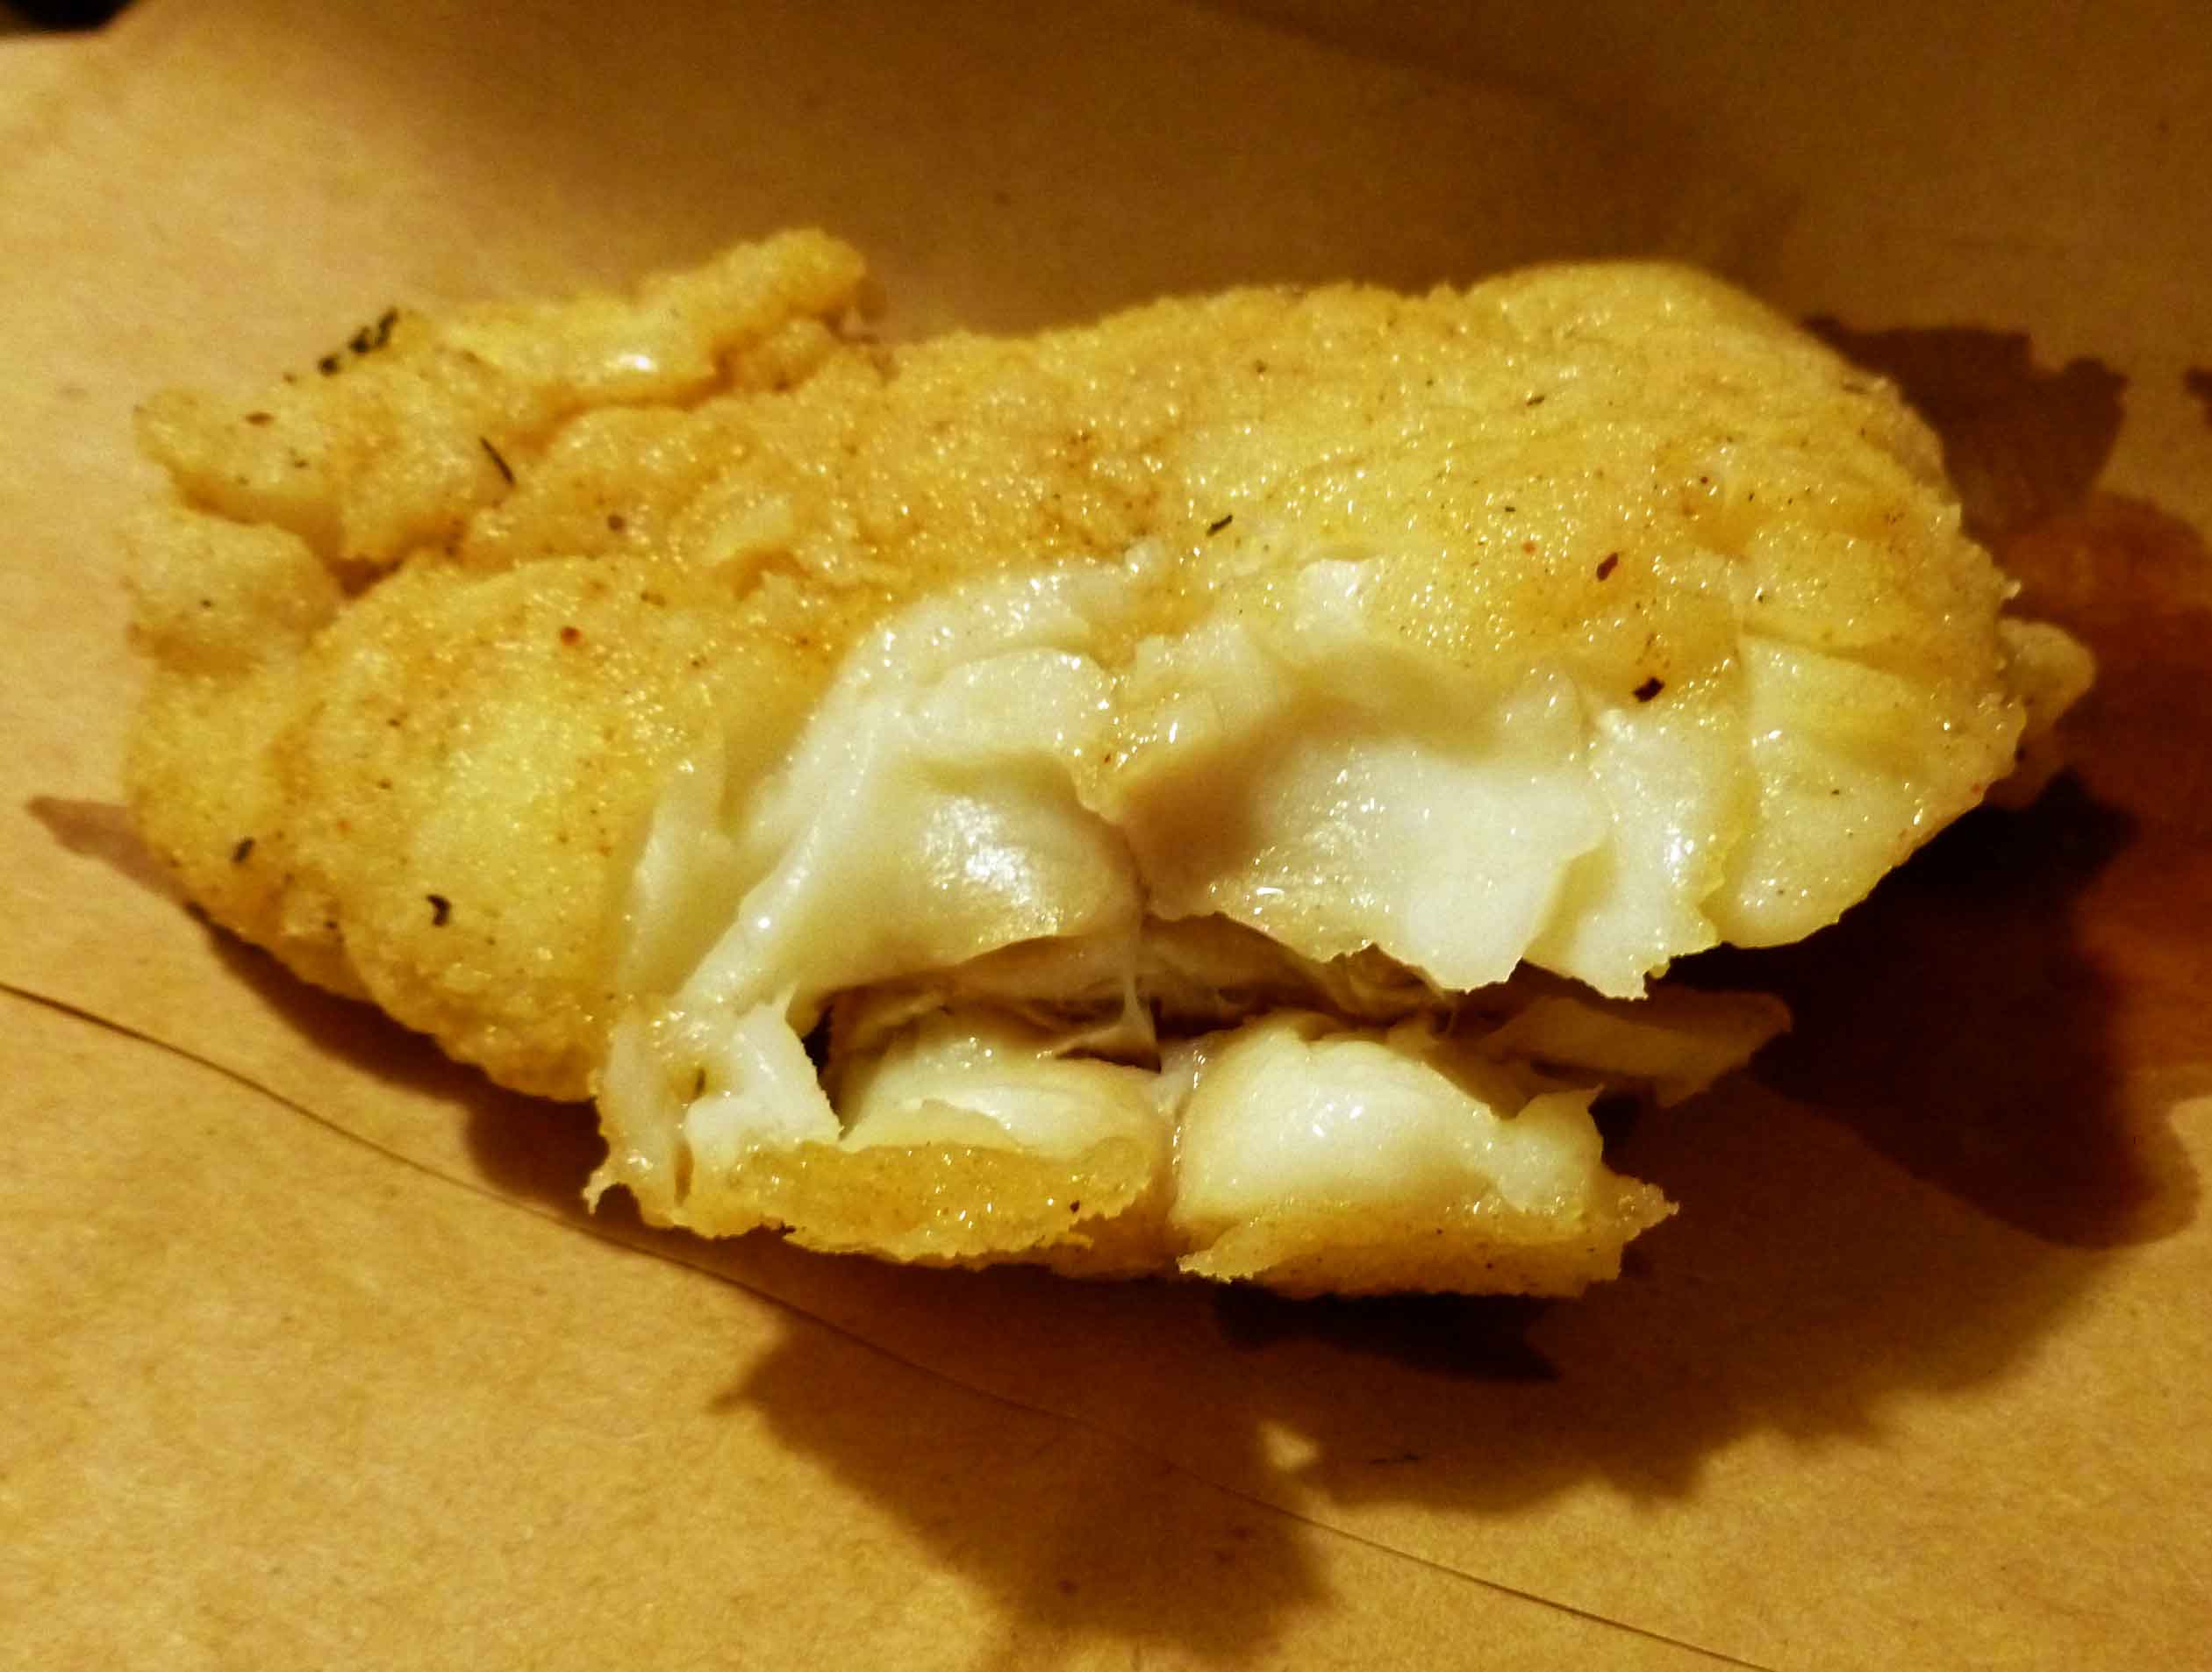
You should fry them, turning them once, until they are golden brown on each side, and so that the fish is just barely opaque, like this:
Haddock after frying
It should no longer be translucent, but it should not be a bright solid white either, and the haddock should just flake away in layers at a touch as shown above. If it’s overcooked, it won’t do that, it’ll be stiff at the touch and you’ll have to put effort into breaking off pieces with a fork. I’d tell you how many minutes per side, but that’s dependent on how thick your haddock piece is, so I can’t really do that. So again, it’s a practice makes perfect thing. Once the pieces are cooked, put them on a plate or cookie sheet lined with paper towels (this works best, I used paper lunch bags in the photo because I was out of paper towels), and let the oil drain off. (Also, you can take a tip from Alton Brown, as offered by Mary Kate, and put a cookie rack upside down on the paper towels, because it keeps the food off of the oil-soaked paper towels but it still drains the oil. I’ll definitely try this next time.)
Once all your haddock is fried, you can serve it with a little tartar sauce, which I make by mixing some Earth Balance Mindful Mayo, some relish, and a couple of drops of hot sauce. Enjoy!
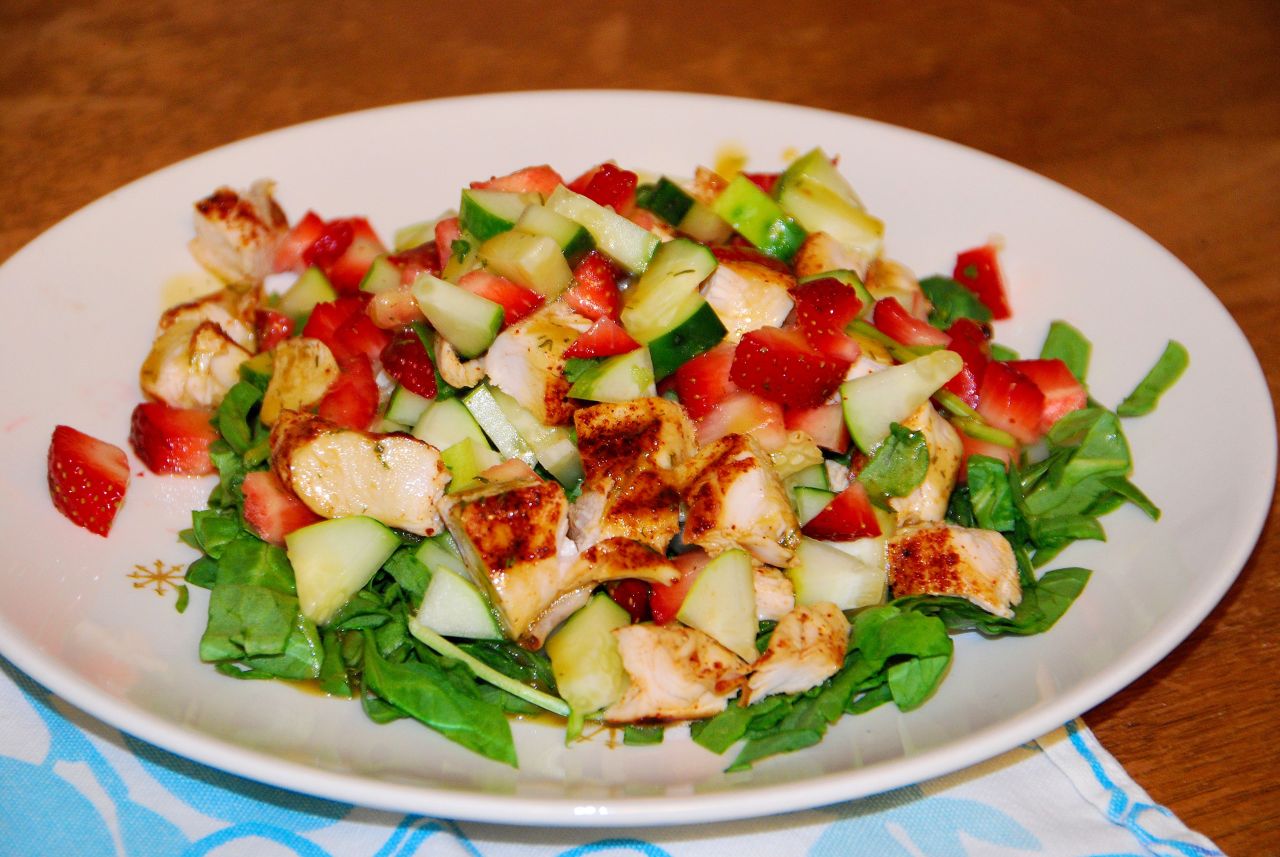
Summer Strawberry Spinach Salad, photo by J. Andrews
So far this summer in New Hampshire, we’ve had sweltering heat interspersed with rainy cool weather. Given the quick changes, it’s been hard to grocery shop effectively — who knows when it’s going to be way too hot to cook? Part of my solution has been to buy things that I can cook ahead, sometime when the heat isn’t too bad, and then use in multiple dishes. Like grilling a bunch of chicken on the indoor grill (which is relatively cool). Or roasting a bunch of veggies to eat all week. Or, sometimes, just buying something someone at the co-op made (they are good about listing ingredients).
This salad started as a “this is what’s left in the fridge” kind of meal, but I loved it and spent some time refining the elements for what I think is a pretty perfect flavor profile. The particular combination of fresh baby spinach, ripe sweet summer strawberries, crisp and fresh cucumbers, and a honey mustard dressing just works for me.
pinch or more of cayenne pepper — adjust to suit your tastes, but probably no more than 1/4 t, even if you’re Denise
Mix up the spices, and then sprinkle evenly over the chicken strips, both sides. You may have leftovers, which you can bag and save for another meal. Grill chicken until done. Cut the strips into cubes. You can use this hot, if you’ve just grilled it, or grill ahead and chill it for an even quicker weeknight meal.
Honey Dijon Dressing
1 Tablespoon Dijon mustard (I used this), (Denise has made this)
1 Tablespoon honey
1 teaspoon dried dill
1/8 teaspoon garlic powder
1 Tablespoon red wine vinegar
2 Tablespoons high-quality olive oil
Whisk first four ingredients together until the mustard and honey are smoothly blended. Then whisk in the vinegar, followed by the olive oil.
Salad Base
Two large handfuls of baby spinach, roughly chopped
1 medium cucumber, chopped
1/2 lb. strawberries, stemmed and chopped
Compose your salad by creating a bed of spinach topped by the chopped cucumber, strawberries, and chicken, drizzled with the dressing.
This amount of ingredients makes two generous salads or three slightly smaller salads, with a good bit of leftover chicken that you can use for another meal.
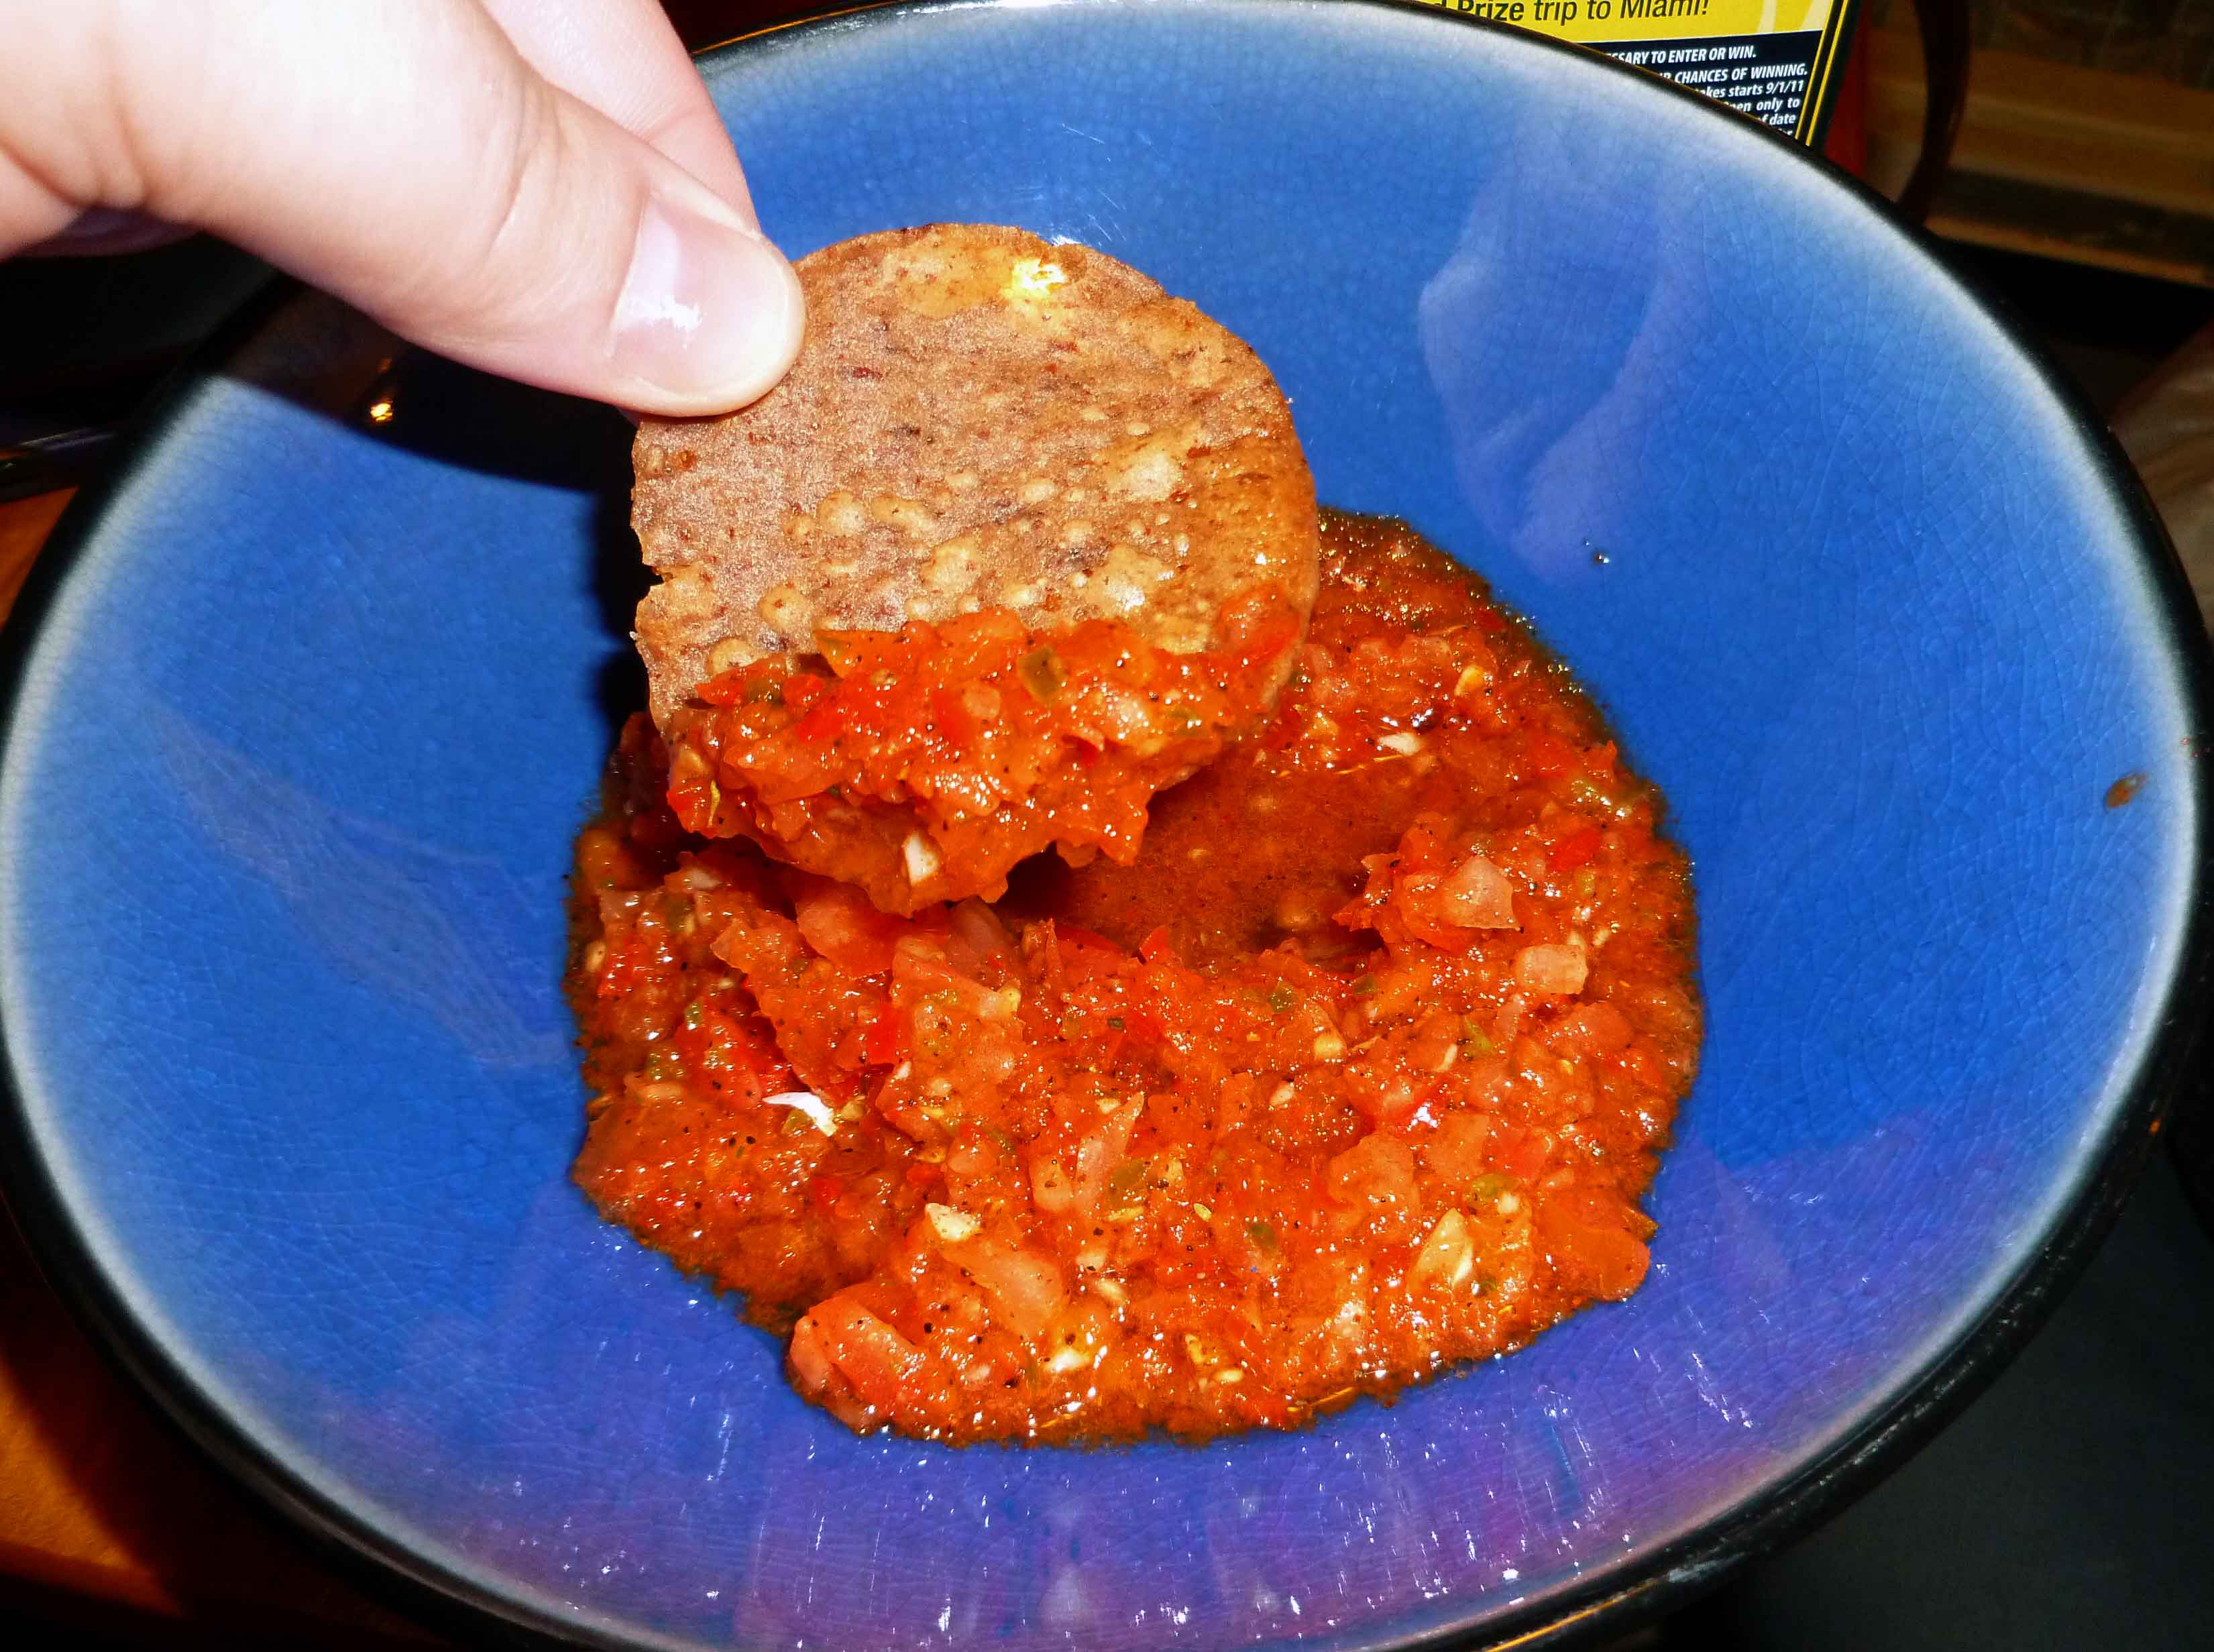
Since I also cannot buy salsa during this whole elimination torture thing (most have celery and onion, which are two no-no’s at the moment), I whipped this up so I’d have something to eat at my book group, since I’d gotten “regular” allergen-filled food for everyone else. I wasn’t going for culinary genius, but just something incredibly quick that wouldn’t be awful, based on what I had in the fridge and cupboards. And when it was done, I was surprised that it came out so well, and Mary Kate suggested I write it up on the blog. If you are not avoiding onion, you can add an small onion to this and I’m sure it would be lovely. You need a food processor to do this one. I tried it in a blender, but I just didn’t get the result I wanted. This is also a fast one, the fifteen minutes includes washing the food processor (if you have the jar of taco seasoning made up ahead of time).
15 Minute Salsa
1 red bell pepper, de-stemmed and de-seeded, and cut into large chunks.
1 jalapeno pepper, de-stemmed and de-seeded, and cut into large chunks.
4-5 cloves of garlic, peeled with the stem end trimmed
5 tomatoes, stem end trimmed, and cut into eighths (I don’t seed my tomatoes because I don’t mind seeds, but if you do, feel free to take them out, but you might want to add another tomato)
De-stem, de-seed and cut red bell pepper and the jalapeno pepper into chunks. Trim stem ends of garlic.
Red bell pepper, jalapeno pepper and garlic
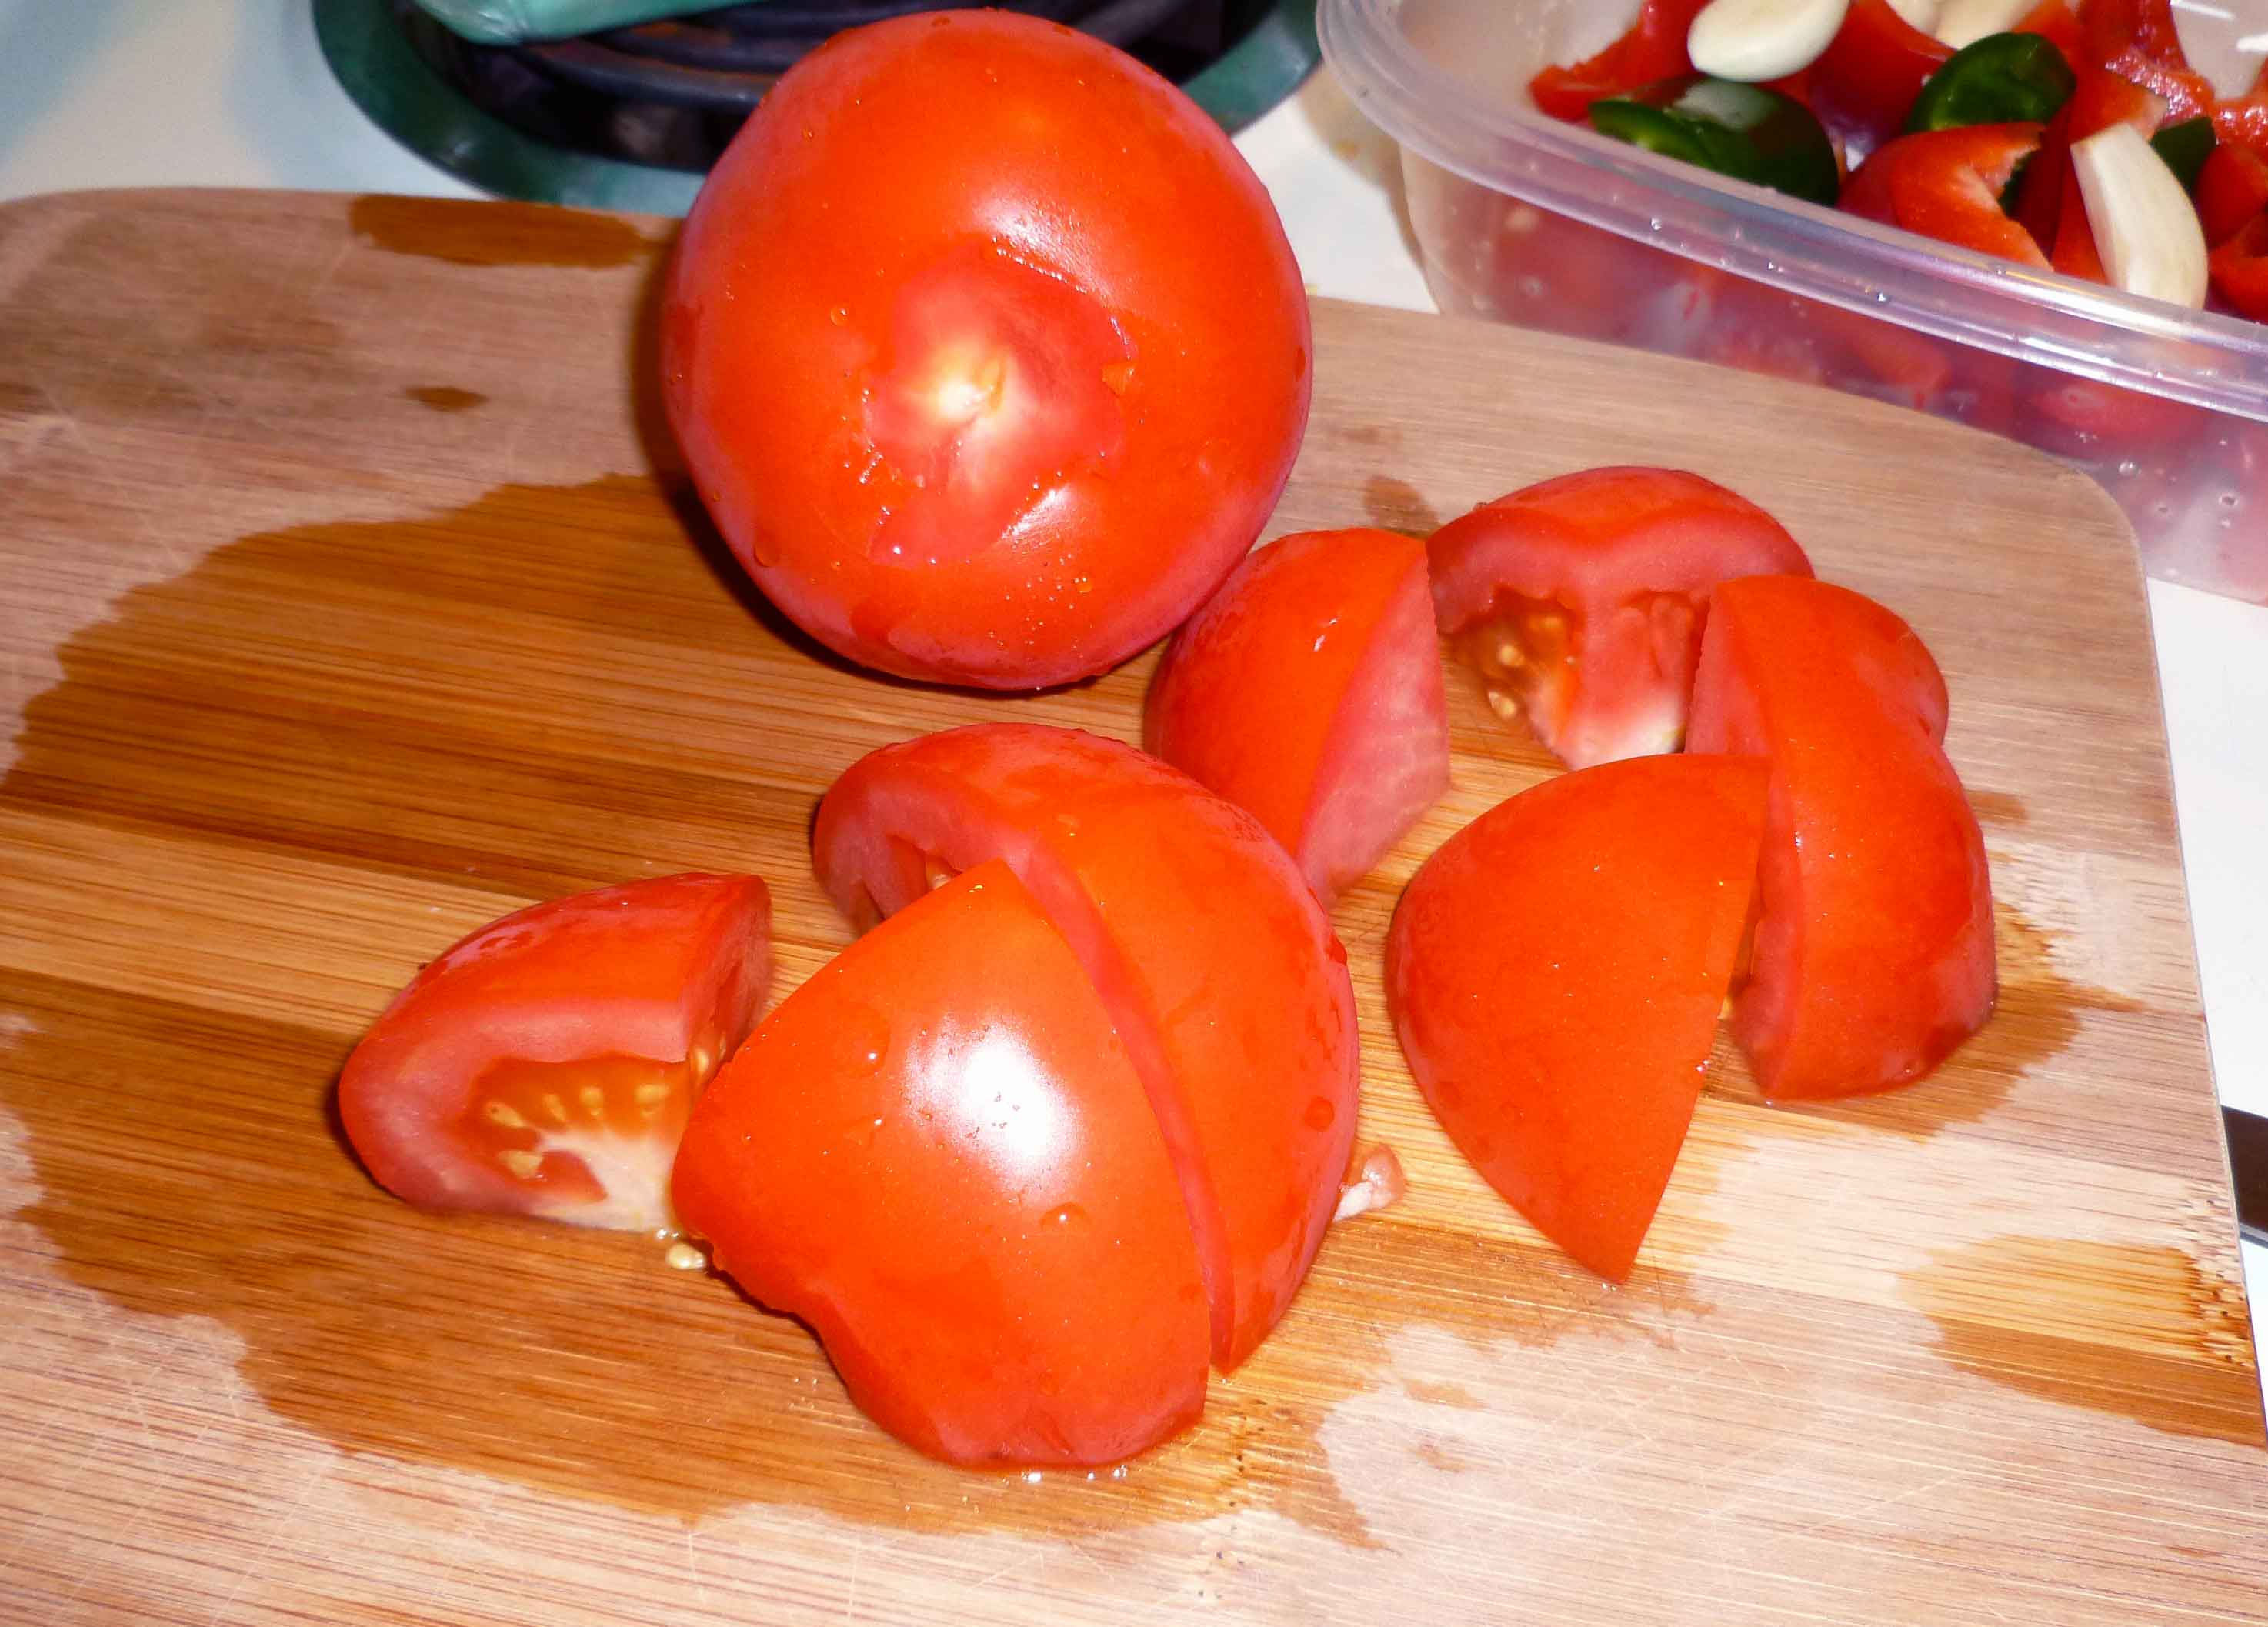
Core tomatoes and cut them into eighths.
Tomatoes, showing cored and cut into eighths
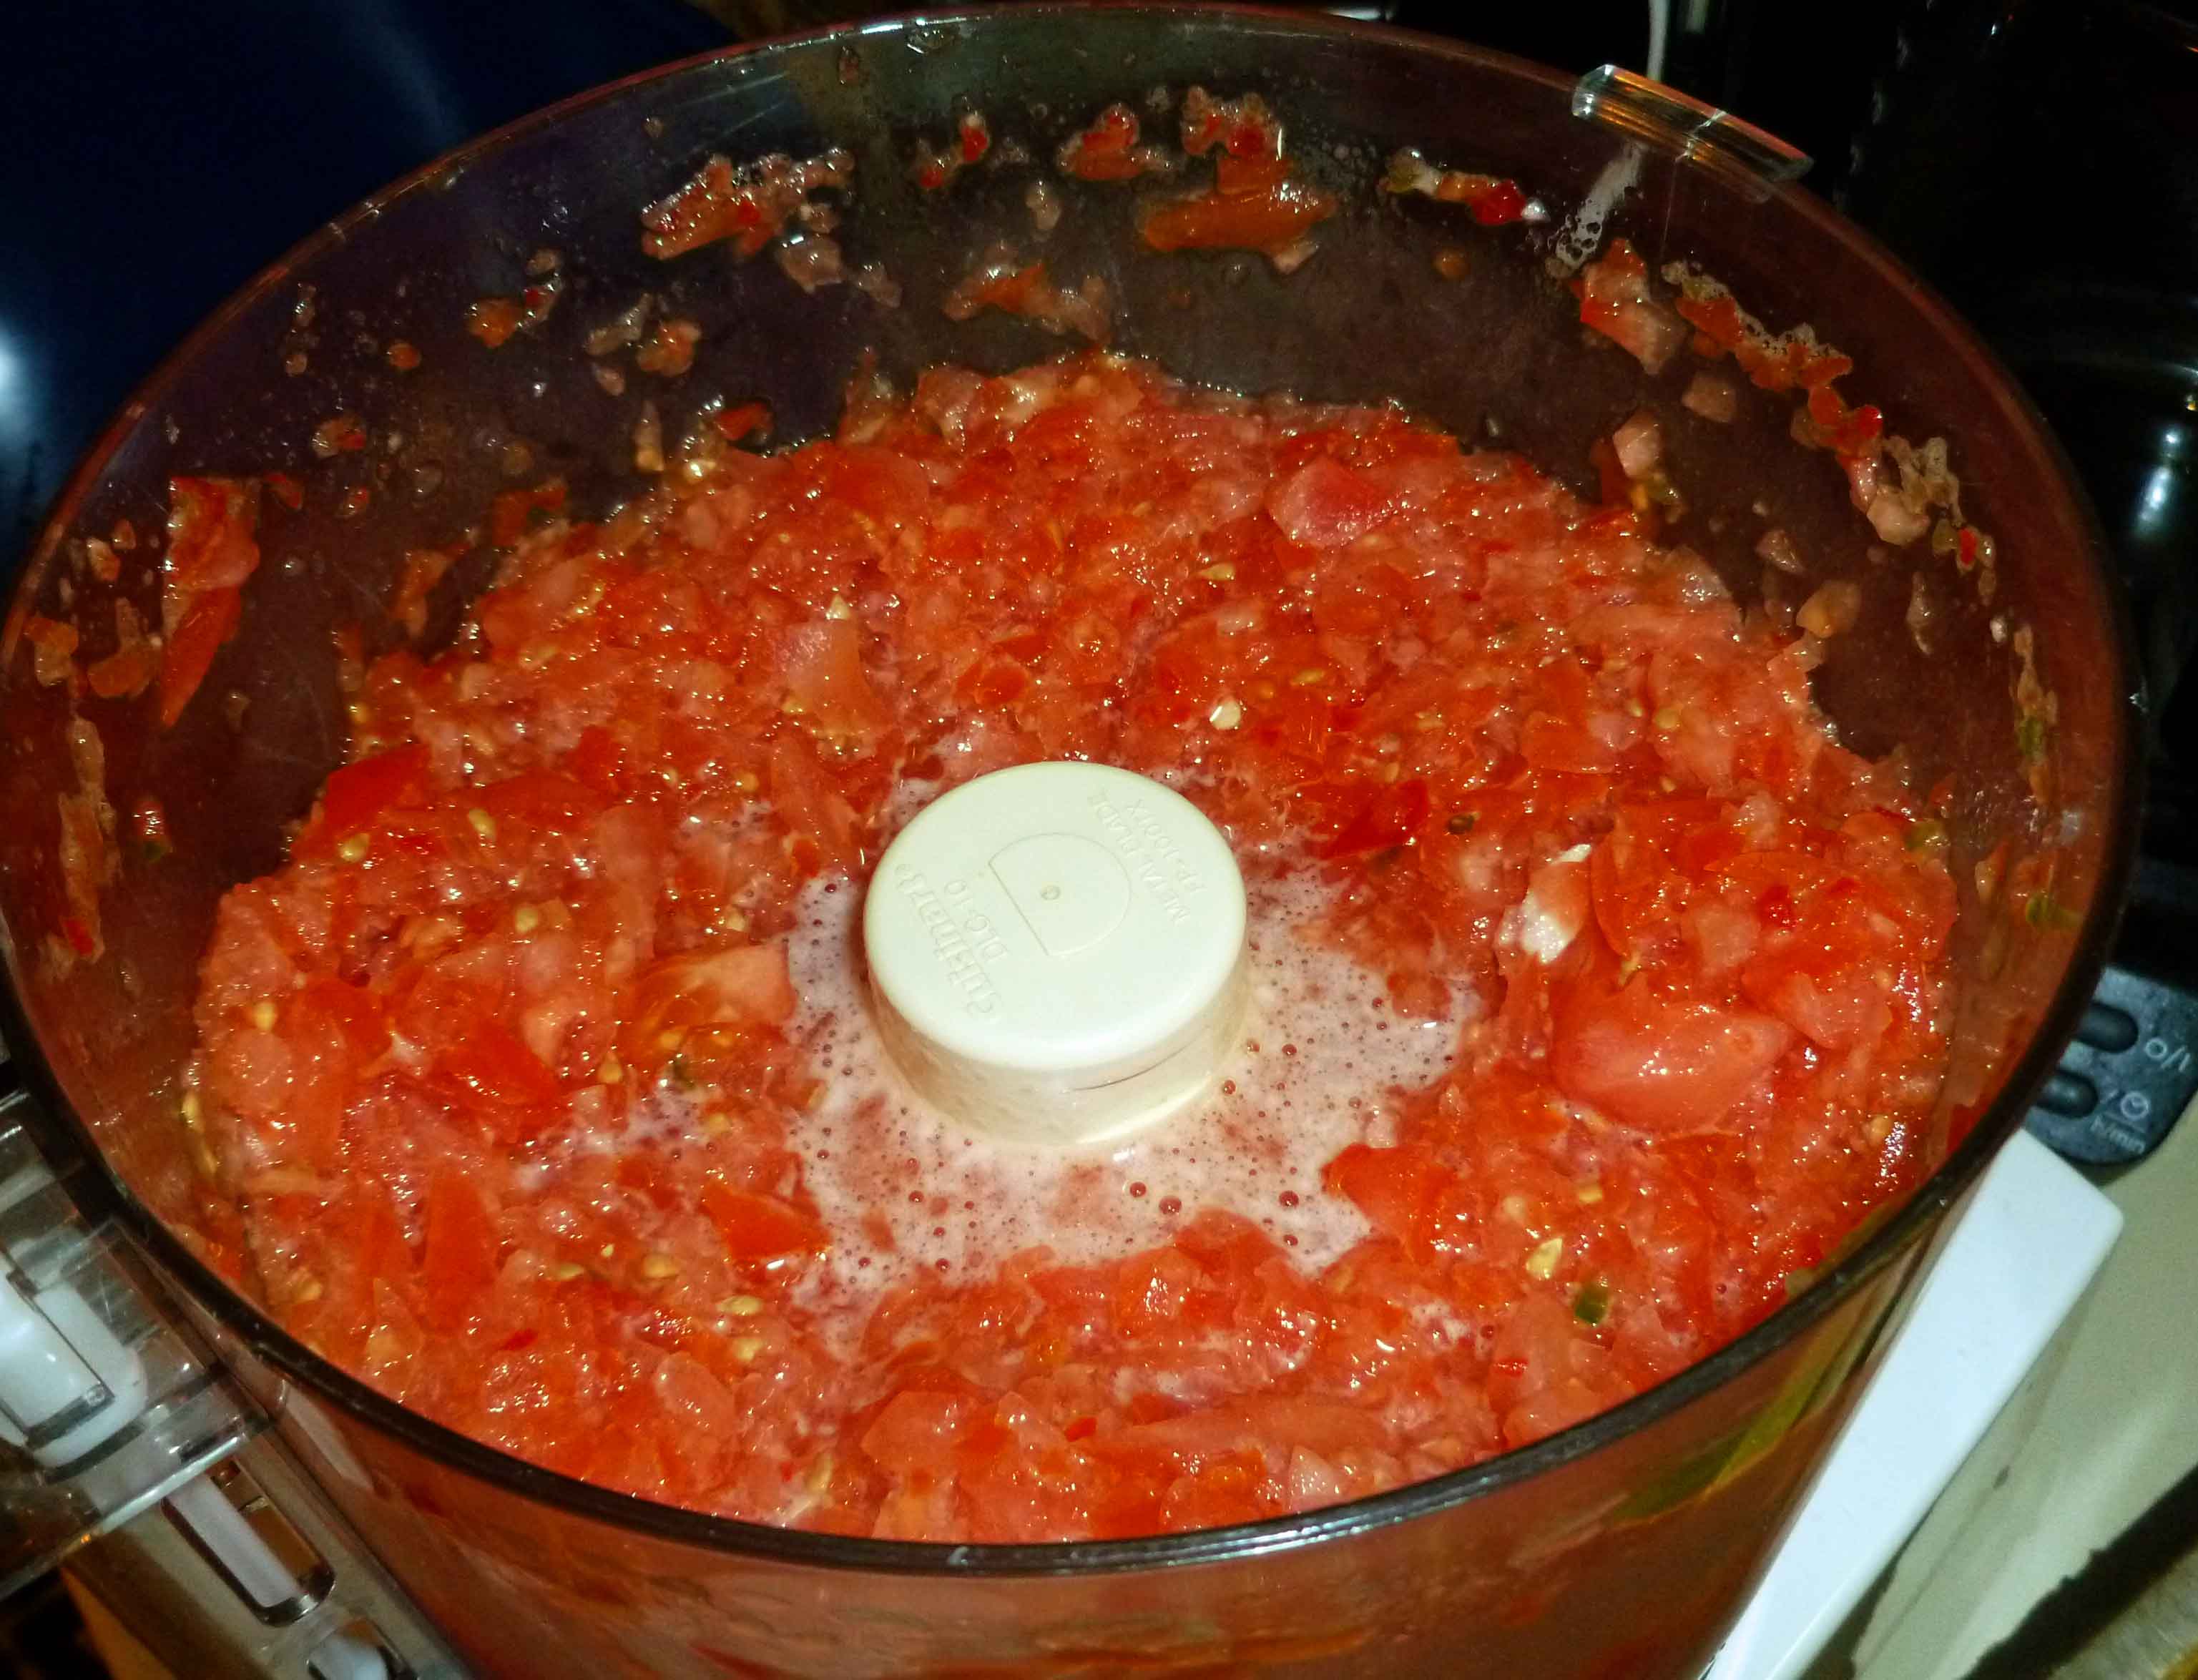
Put peppers, garlic and tomatoes into your food processor. You may need to do this in batches, I have to because my food processor is on the small size. Have a large bowl read to dump your batches in. Pulse until you get the consistency you like. I prefer it a little more processed.
Salsa in food processor
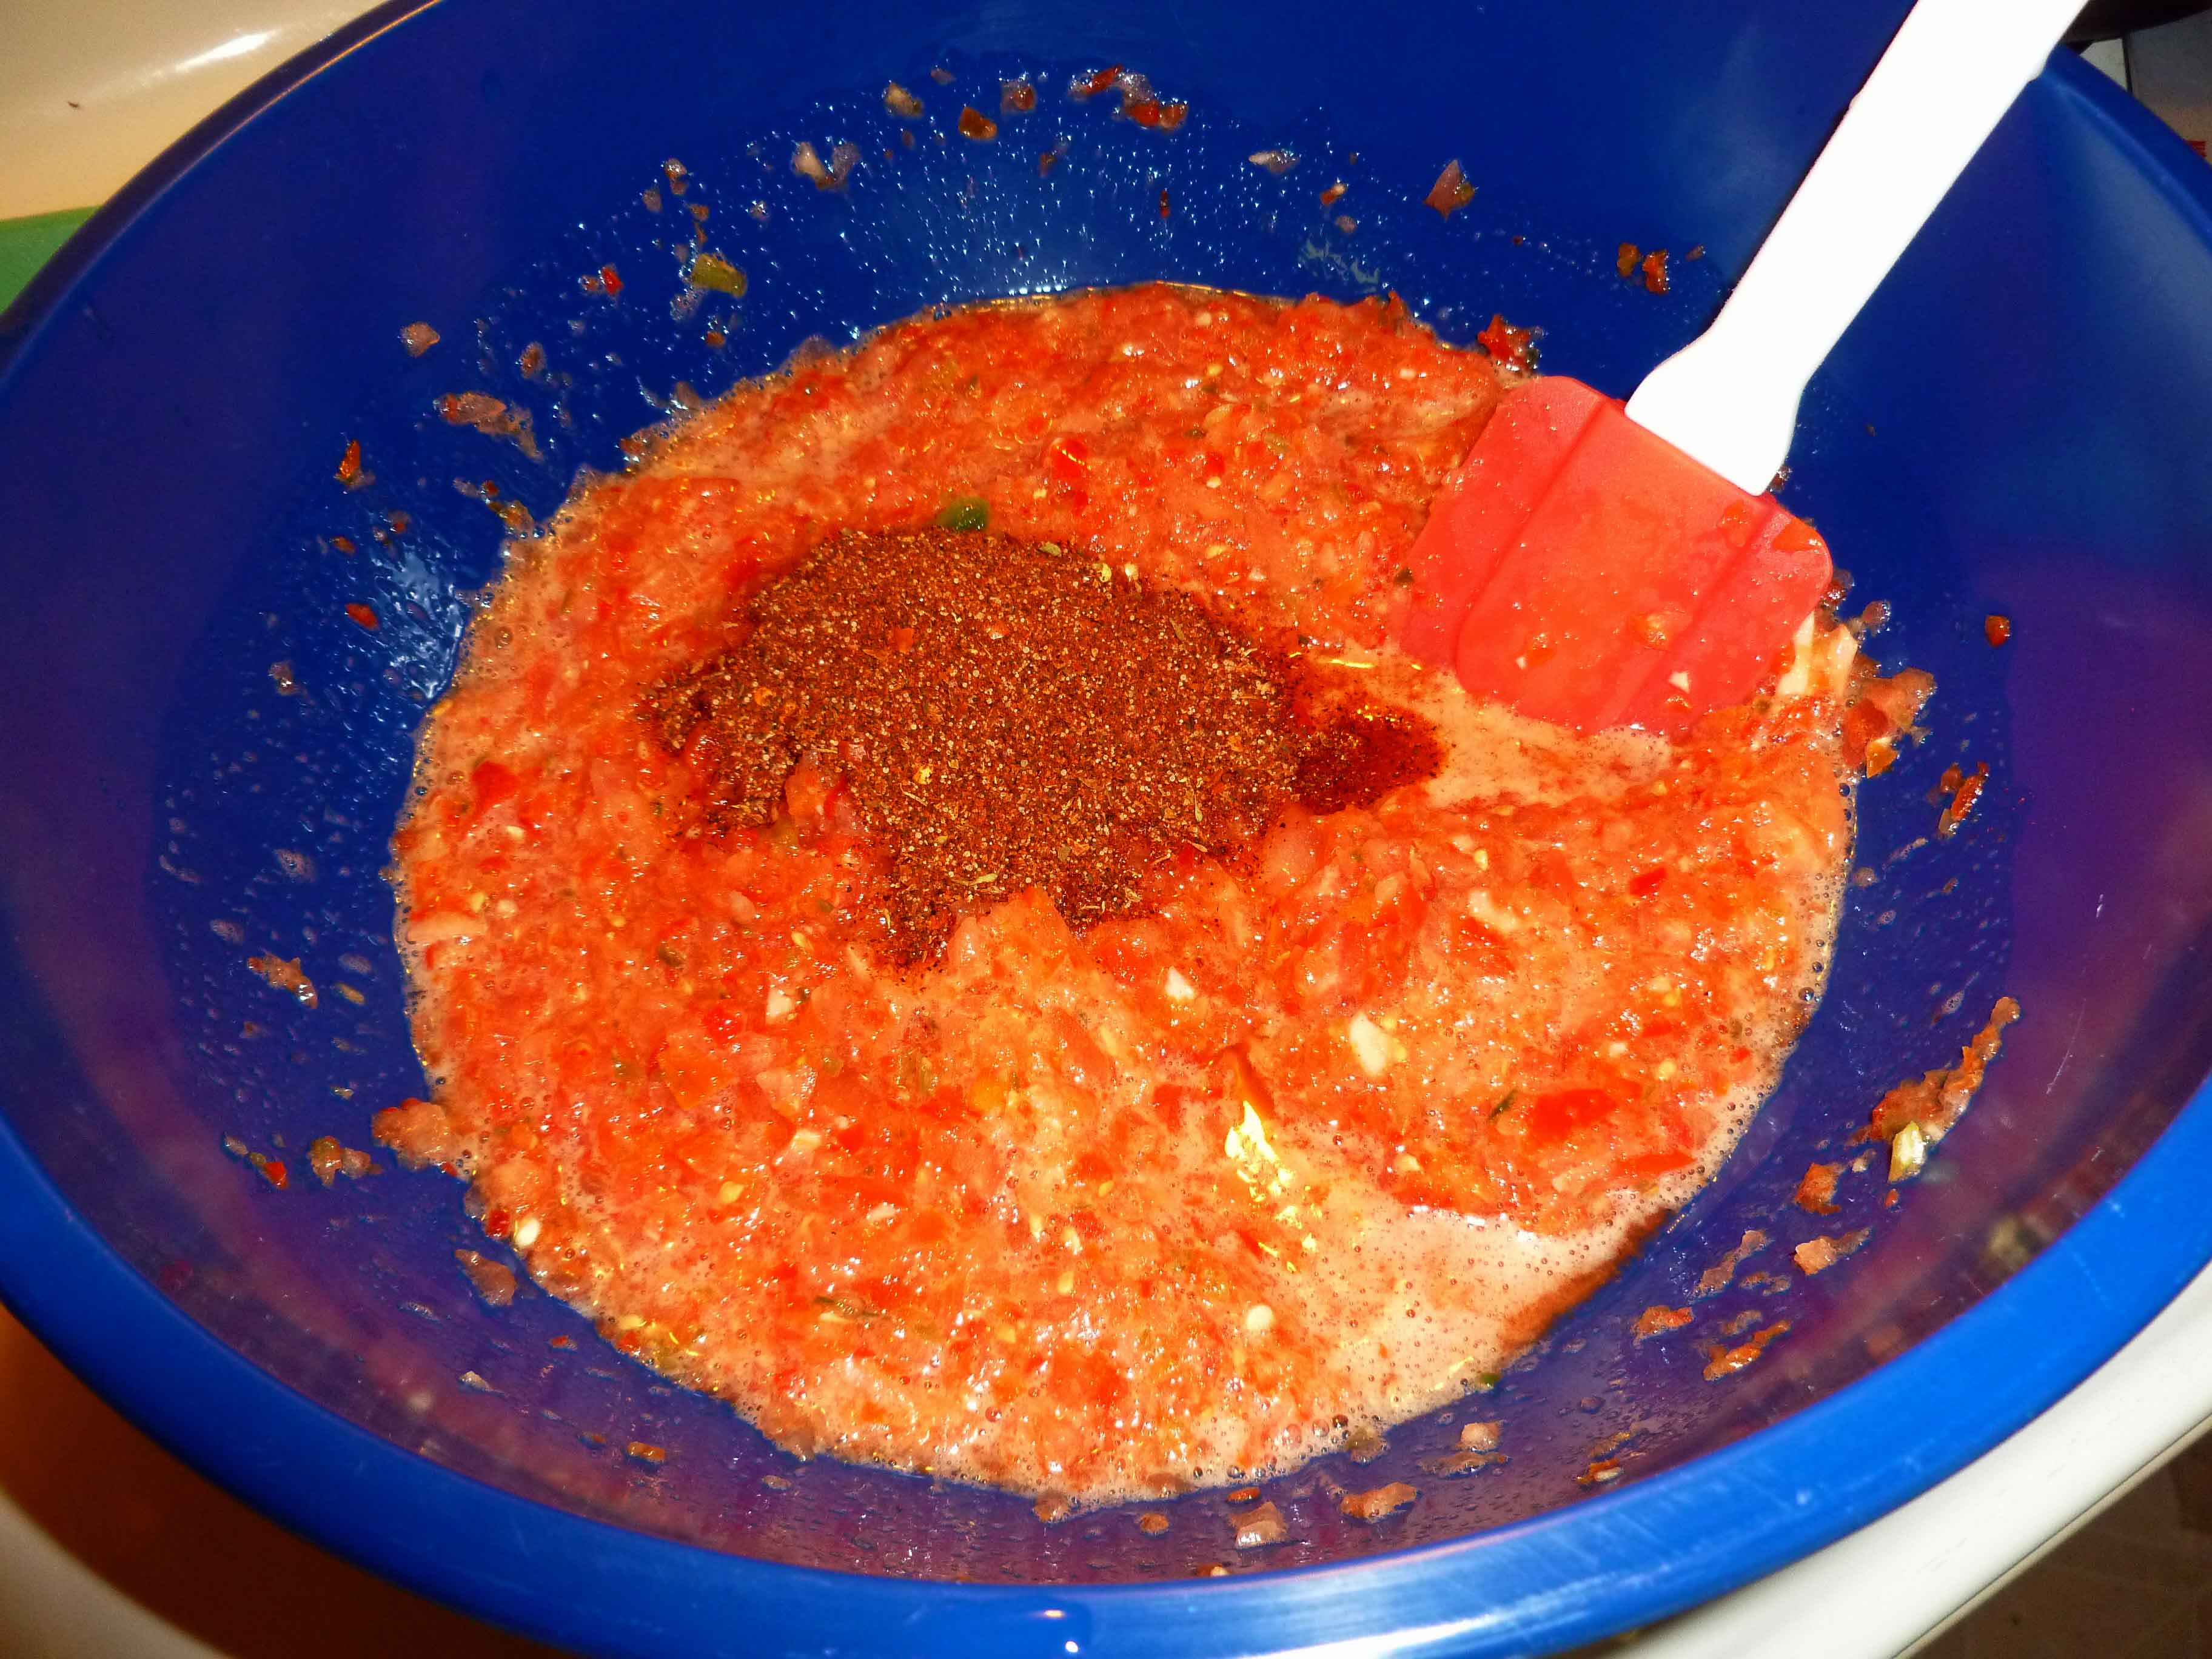
Once you have all your processing batches in the large bowl, stir it well so that all the peppers, garlic and tomatoes are well mixed through out the salsa. Your veggies may look a little frothy, but that’ll sort out once you add the remaining ingredients. Add the taco seasoning, red wine vinegar, and olive oil.
Salsa before seasoning, vinegar and oil are mixed in.
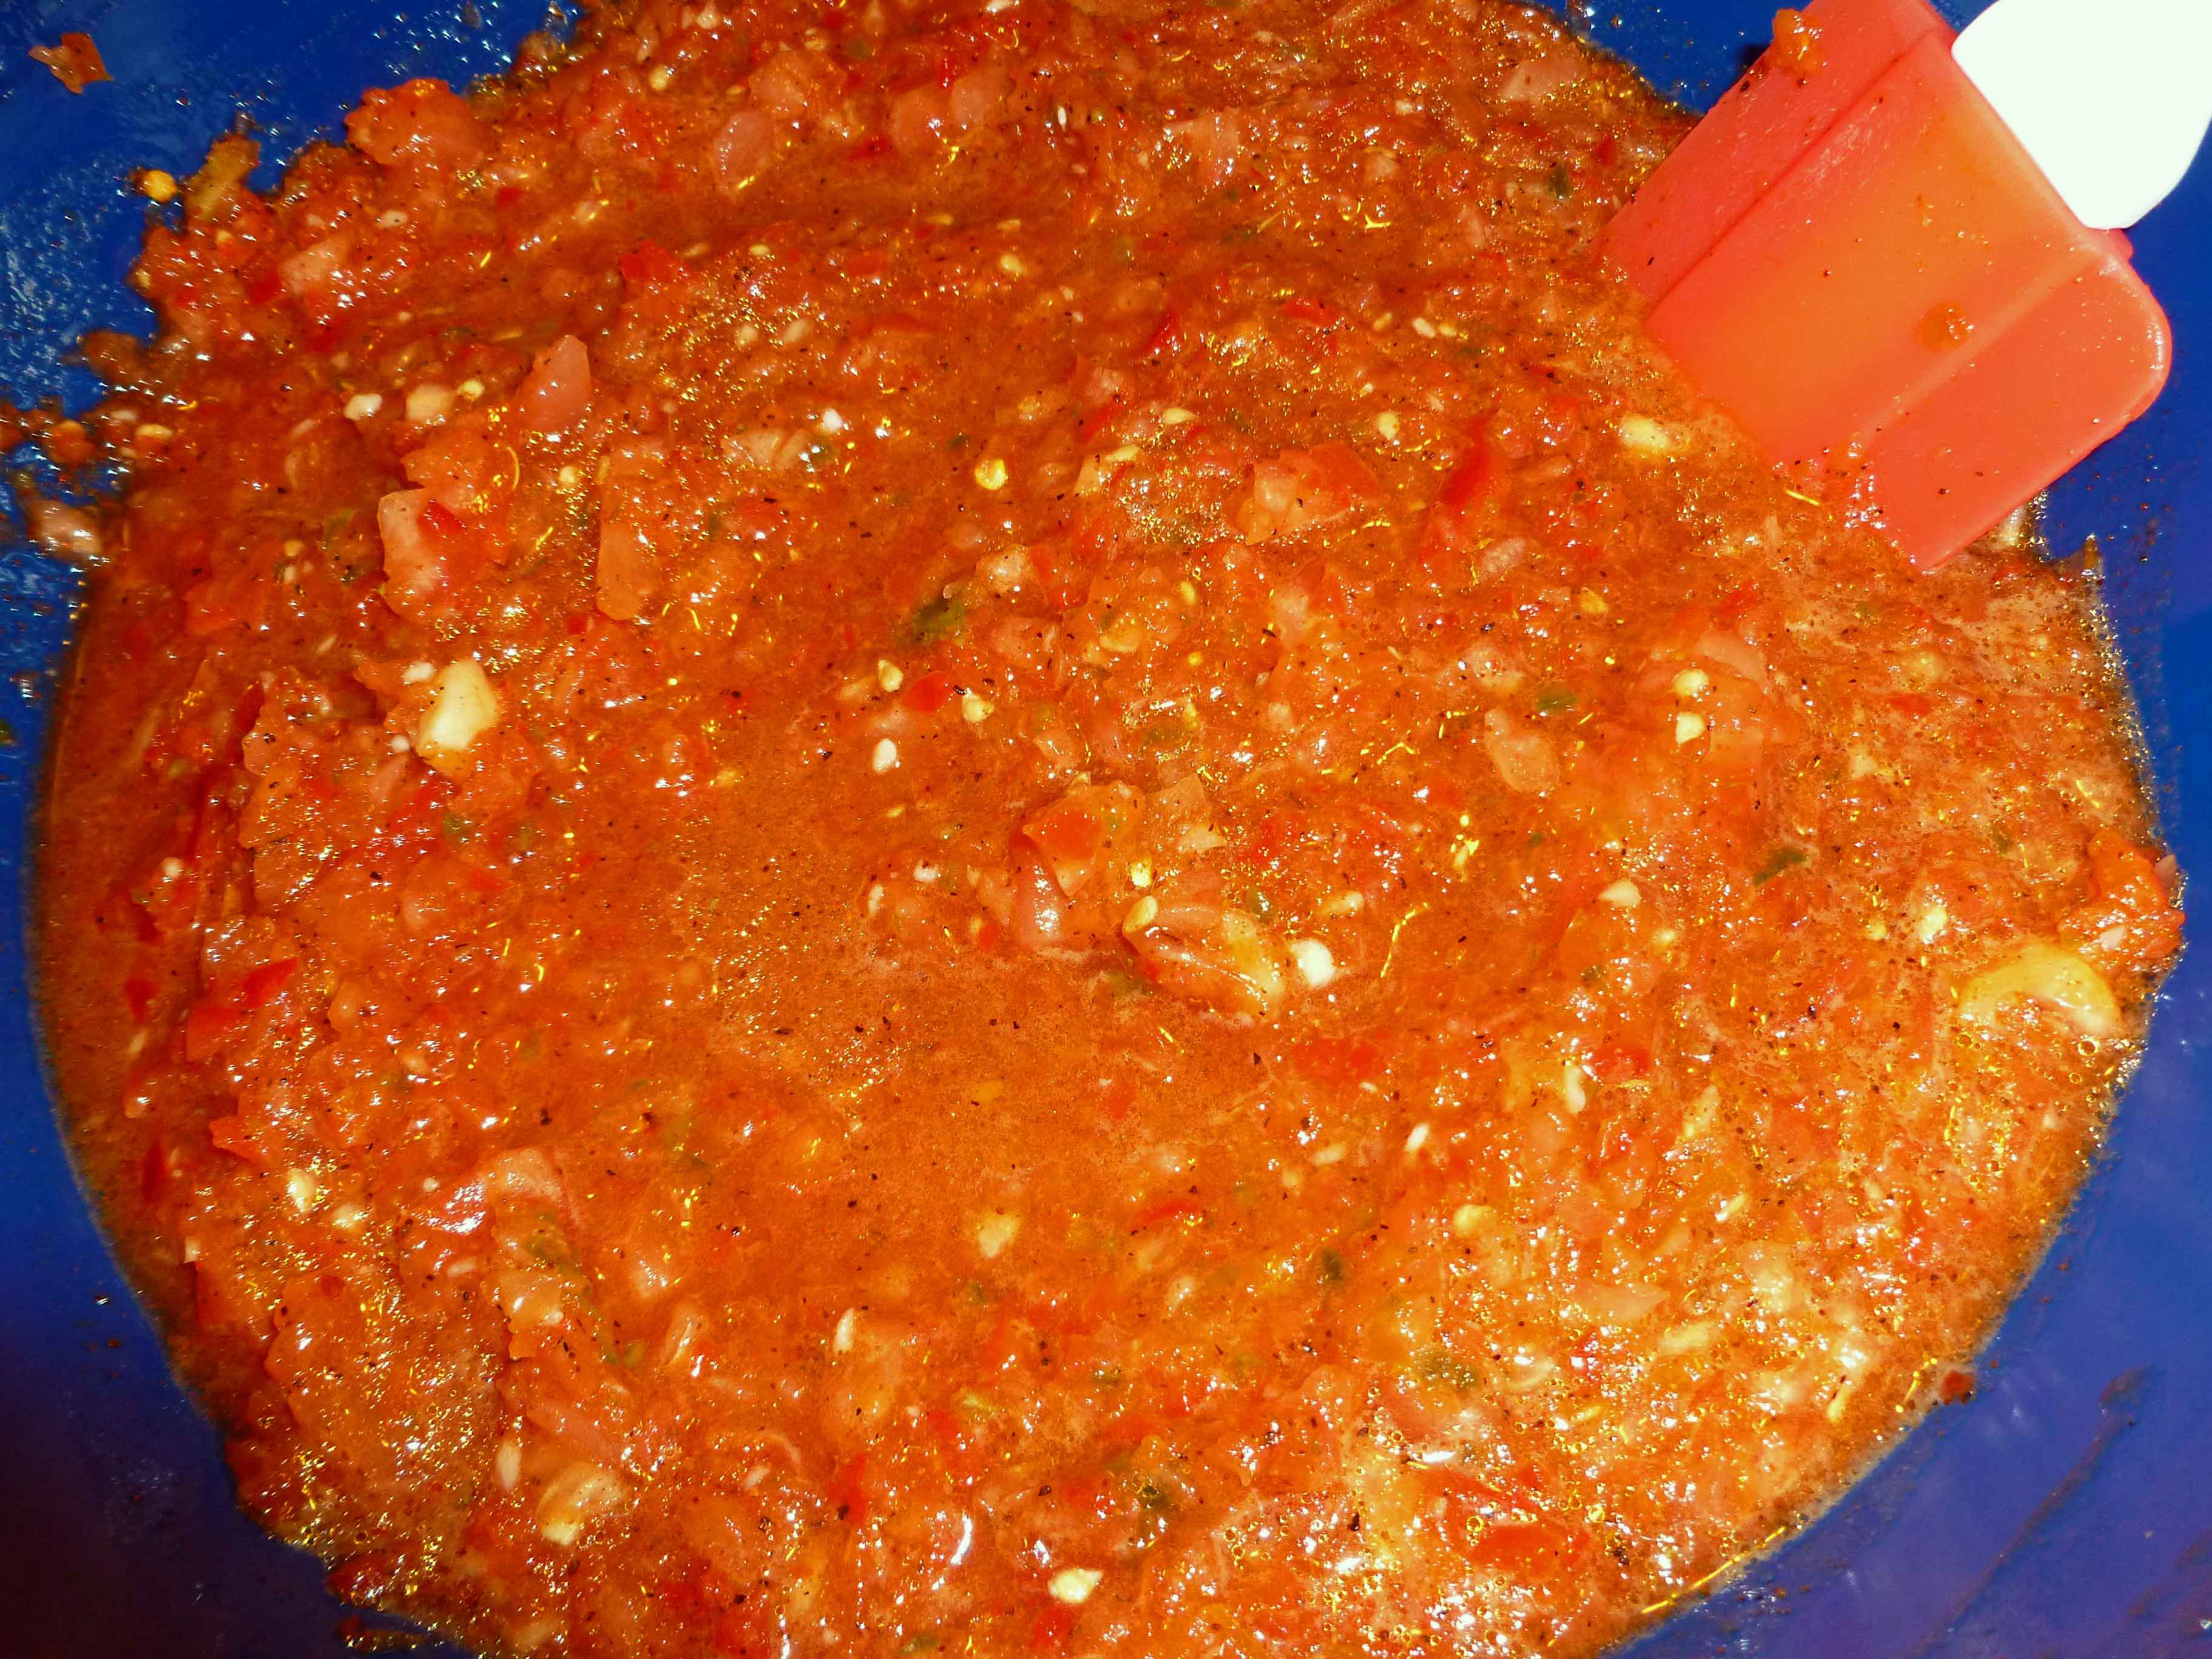
Mix all the ingredients together with a spatula making sure that all the spice mixture gets evenly distributed. This makes about 5-6 cups of salsa so it’s a great recipe for a party. Enjoy!
It’s summer. It’s too hot to cook, but you need a mid-afternoon snack to get you through until dinner. Or it’s breakfast time but it’s 90 degrees in your apartment and food seems, well, heavy. There is a super simple solution to this cooking dilemma: Smoothies, people, smoothies.
I go through smoothie phases. I make them for a while, then get stuck in a rut, and then rediscover them. I’m personally a fan of really simple smoothies that rely primarily on actual fruit, maybe with some yogurt or milk (non-dairy, of course), and generally as few ingredients as possible. I’ve done the green smoothie thing occasionally, and I’ve followed recipes and master recipes. Mostly, though, it’s a way to dump all the stuff in the fridge into a simple healthy creation that just requires a blender.
With this ridiculously simple recipe, a little prep work will give you a snack that taste like the ice cream truck of your childhood just stopped by.
The MANY ingredients
Creamsicle Smoothie
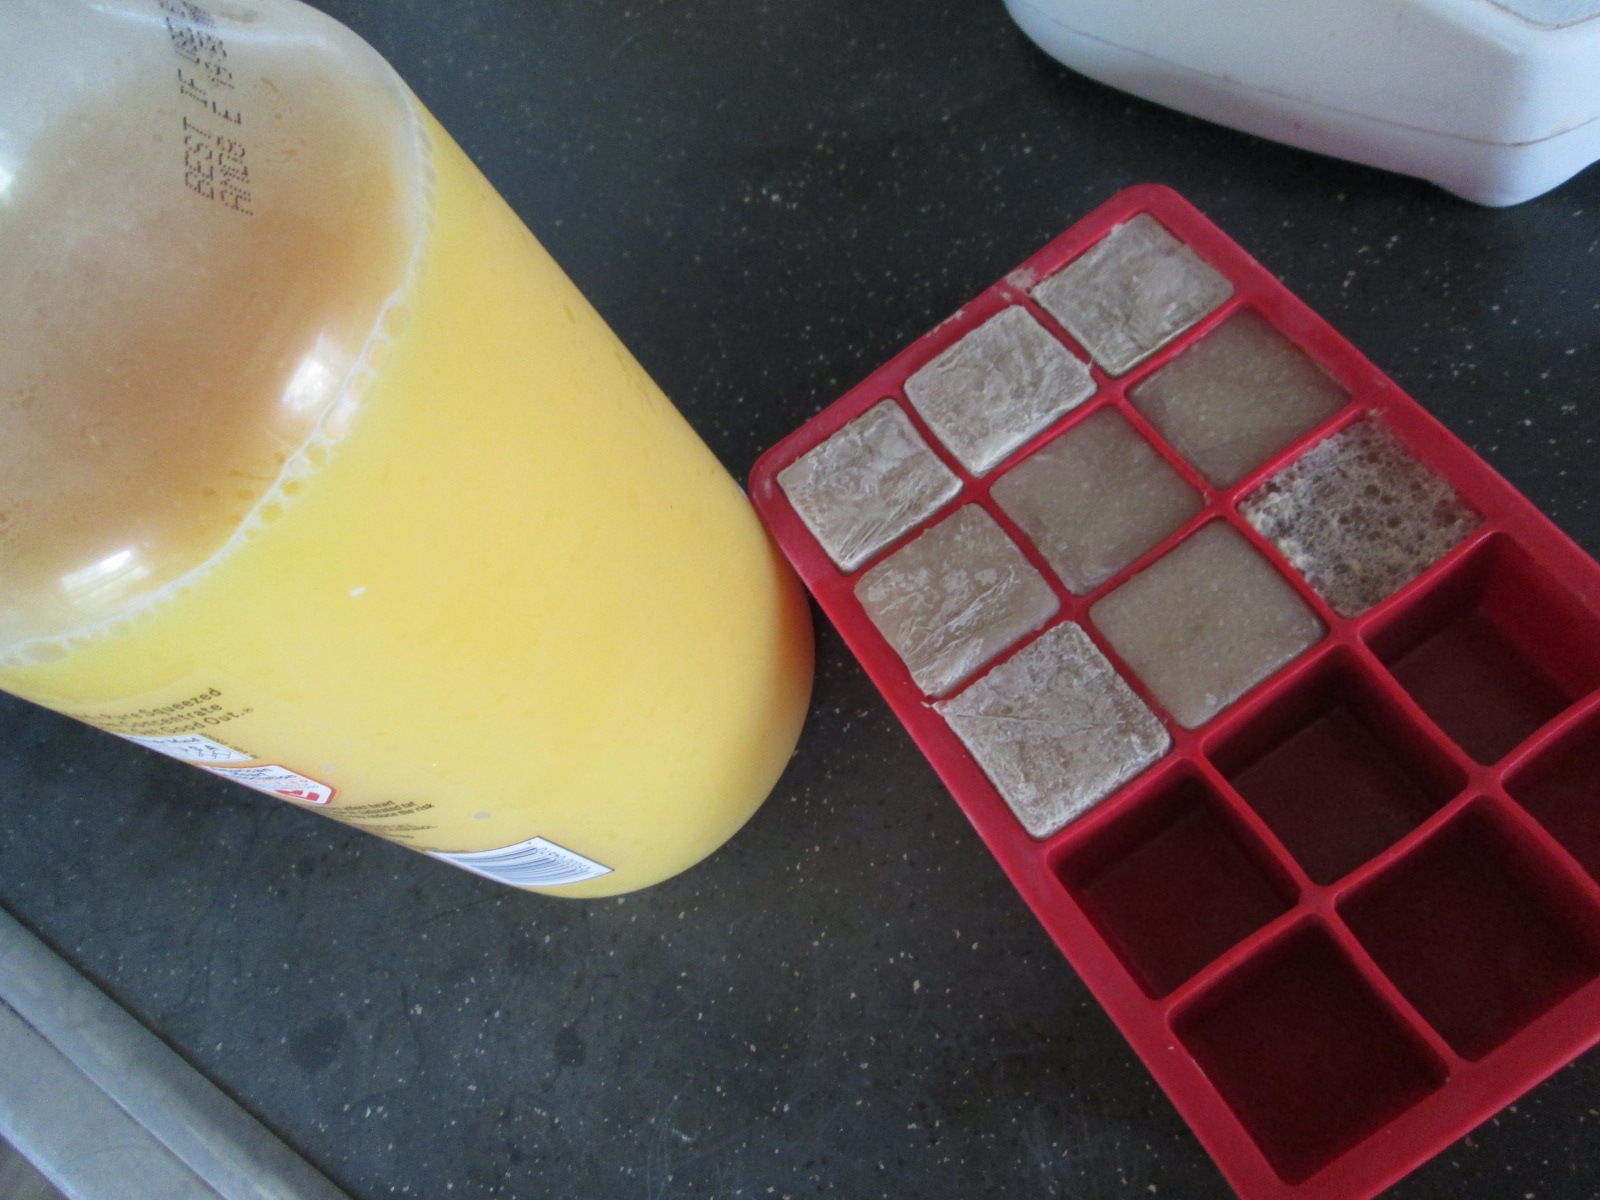
PREPARE AHEAD: Freeze some of your favorite vanilla non-dairy milk* in ice cube trays.**
*Note 1: You can use any non-dairy milk. You can probably even use cow’s milk, but frankly, then, go buy yourself a creamsicle! I have used almond milk, primarily, in the vanilla, unsweetened variety. I am sure soy or rice will work, too. This recipe can be nut-free and soy-free, if you want.
**Note 2: Measure your ice cube trays. I freeze a lot of ingredients in ice cube trays for ease of use later — tiny amounts of leftover broth or stock, sometimes herbs or pastes, fresh lemon or lime juice. All of my ice cube trays hold approximately 1 Tablespoon of liquid. It’s good to measure yours so that you know for the future recipes you’ll make with those ingredients.
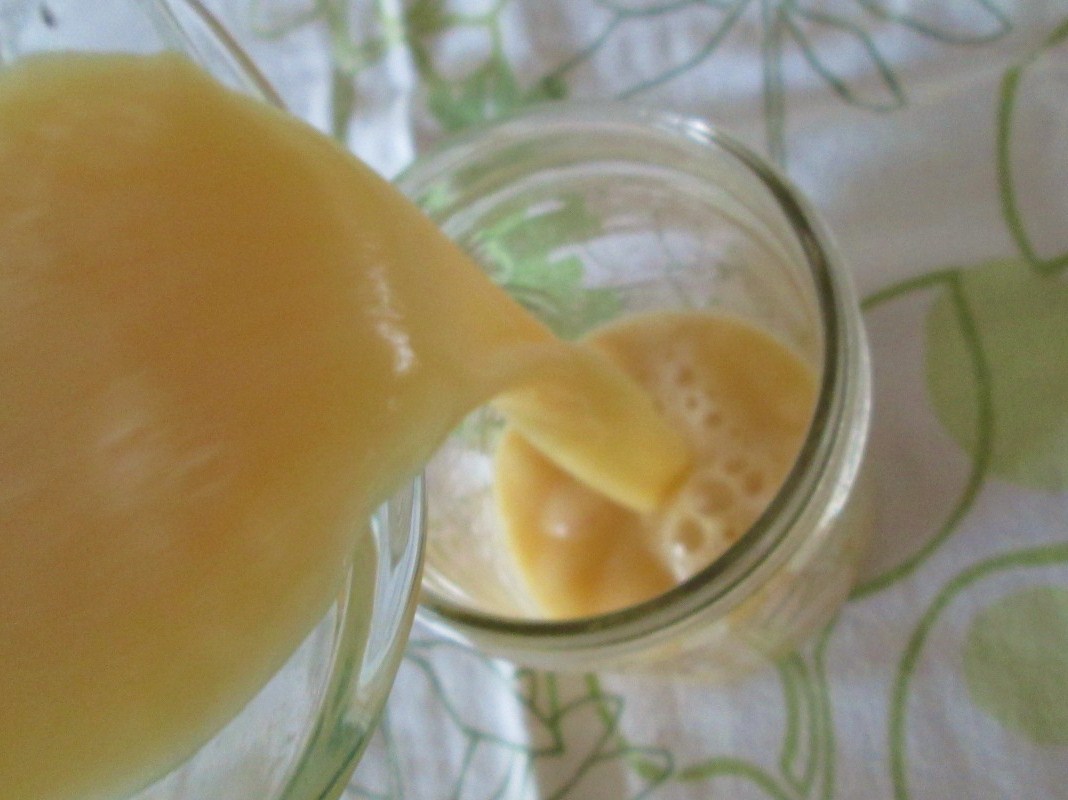
In a blender, combine:
4 Tablespoons (4 cubes) of frozen vanilla almond or other non-dairy milk
1 1/4 cup of orange juice
Blend.
Yes, seriously, that’s it. It’s really that easy and that good.
So I was going totally nutty because I’ve not been eating much except rice, salad, steamed or roasted vegetables and broiled beef and pork during this whole food elimination torture thing. I’m not good at eating the same thing all the time. And I love spice. I wanted something different to eat. Something that had taste! So I was dubbing around my Pinterest boards and realized that I could make homemade taco seasoning and leave out any onion powder (still waiting to challenge onions to see if I am truly allergic to them). I double checked my chili powder to make sure it didn’t have any onion and I went to town. I made up a large batch of it so I could use it again easily, and you’ll see me use it to make a quick salsa in a couple of weeks.
First, we have to make up the taco seasoning:
Taco Seasoning – Onion Free Version (for a version with onion, see a recipe here)
1/4 cup and 1 Tablespoon of chili powder (I used Hot Chili Powder from Penzey’s, has no onion)
1 and 1/2 teaspoons of garlic powder
1 and 1/2 teaspoons of red pepper flakes
1 and 1/2 teaspoons of oregano
1 and 1/2 teaspoons of paprika
1/8 cup and 1 and 1/2 teaspoons of cumin
1/8 cup of salt (less or more to your taste)
1/8 cup of finely ground pepper
Mix the ingredients in a bowl and store in a glass jar.
Taco Seasoning saved in re-purposed Earth Balance Mindful Mayo Jar
Taco Beef
1 pound of ground beef
2-3 Tablespoons of Taco Seasoning
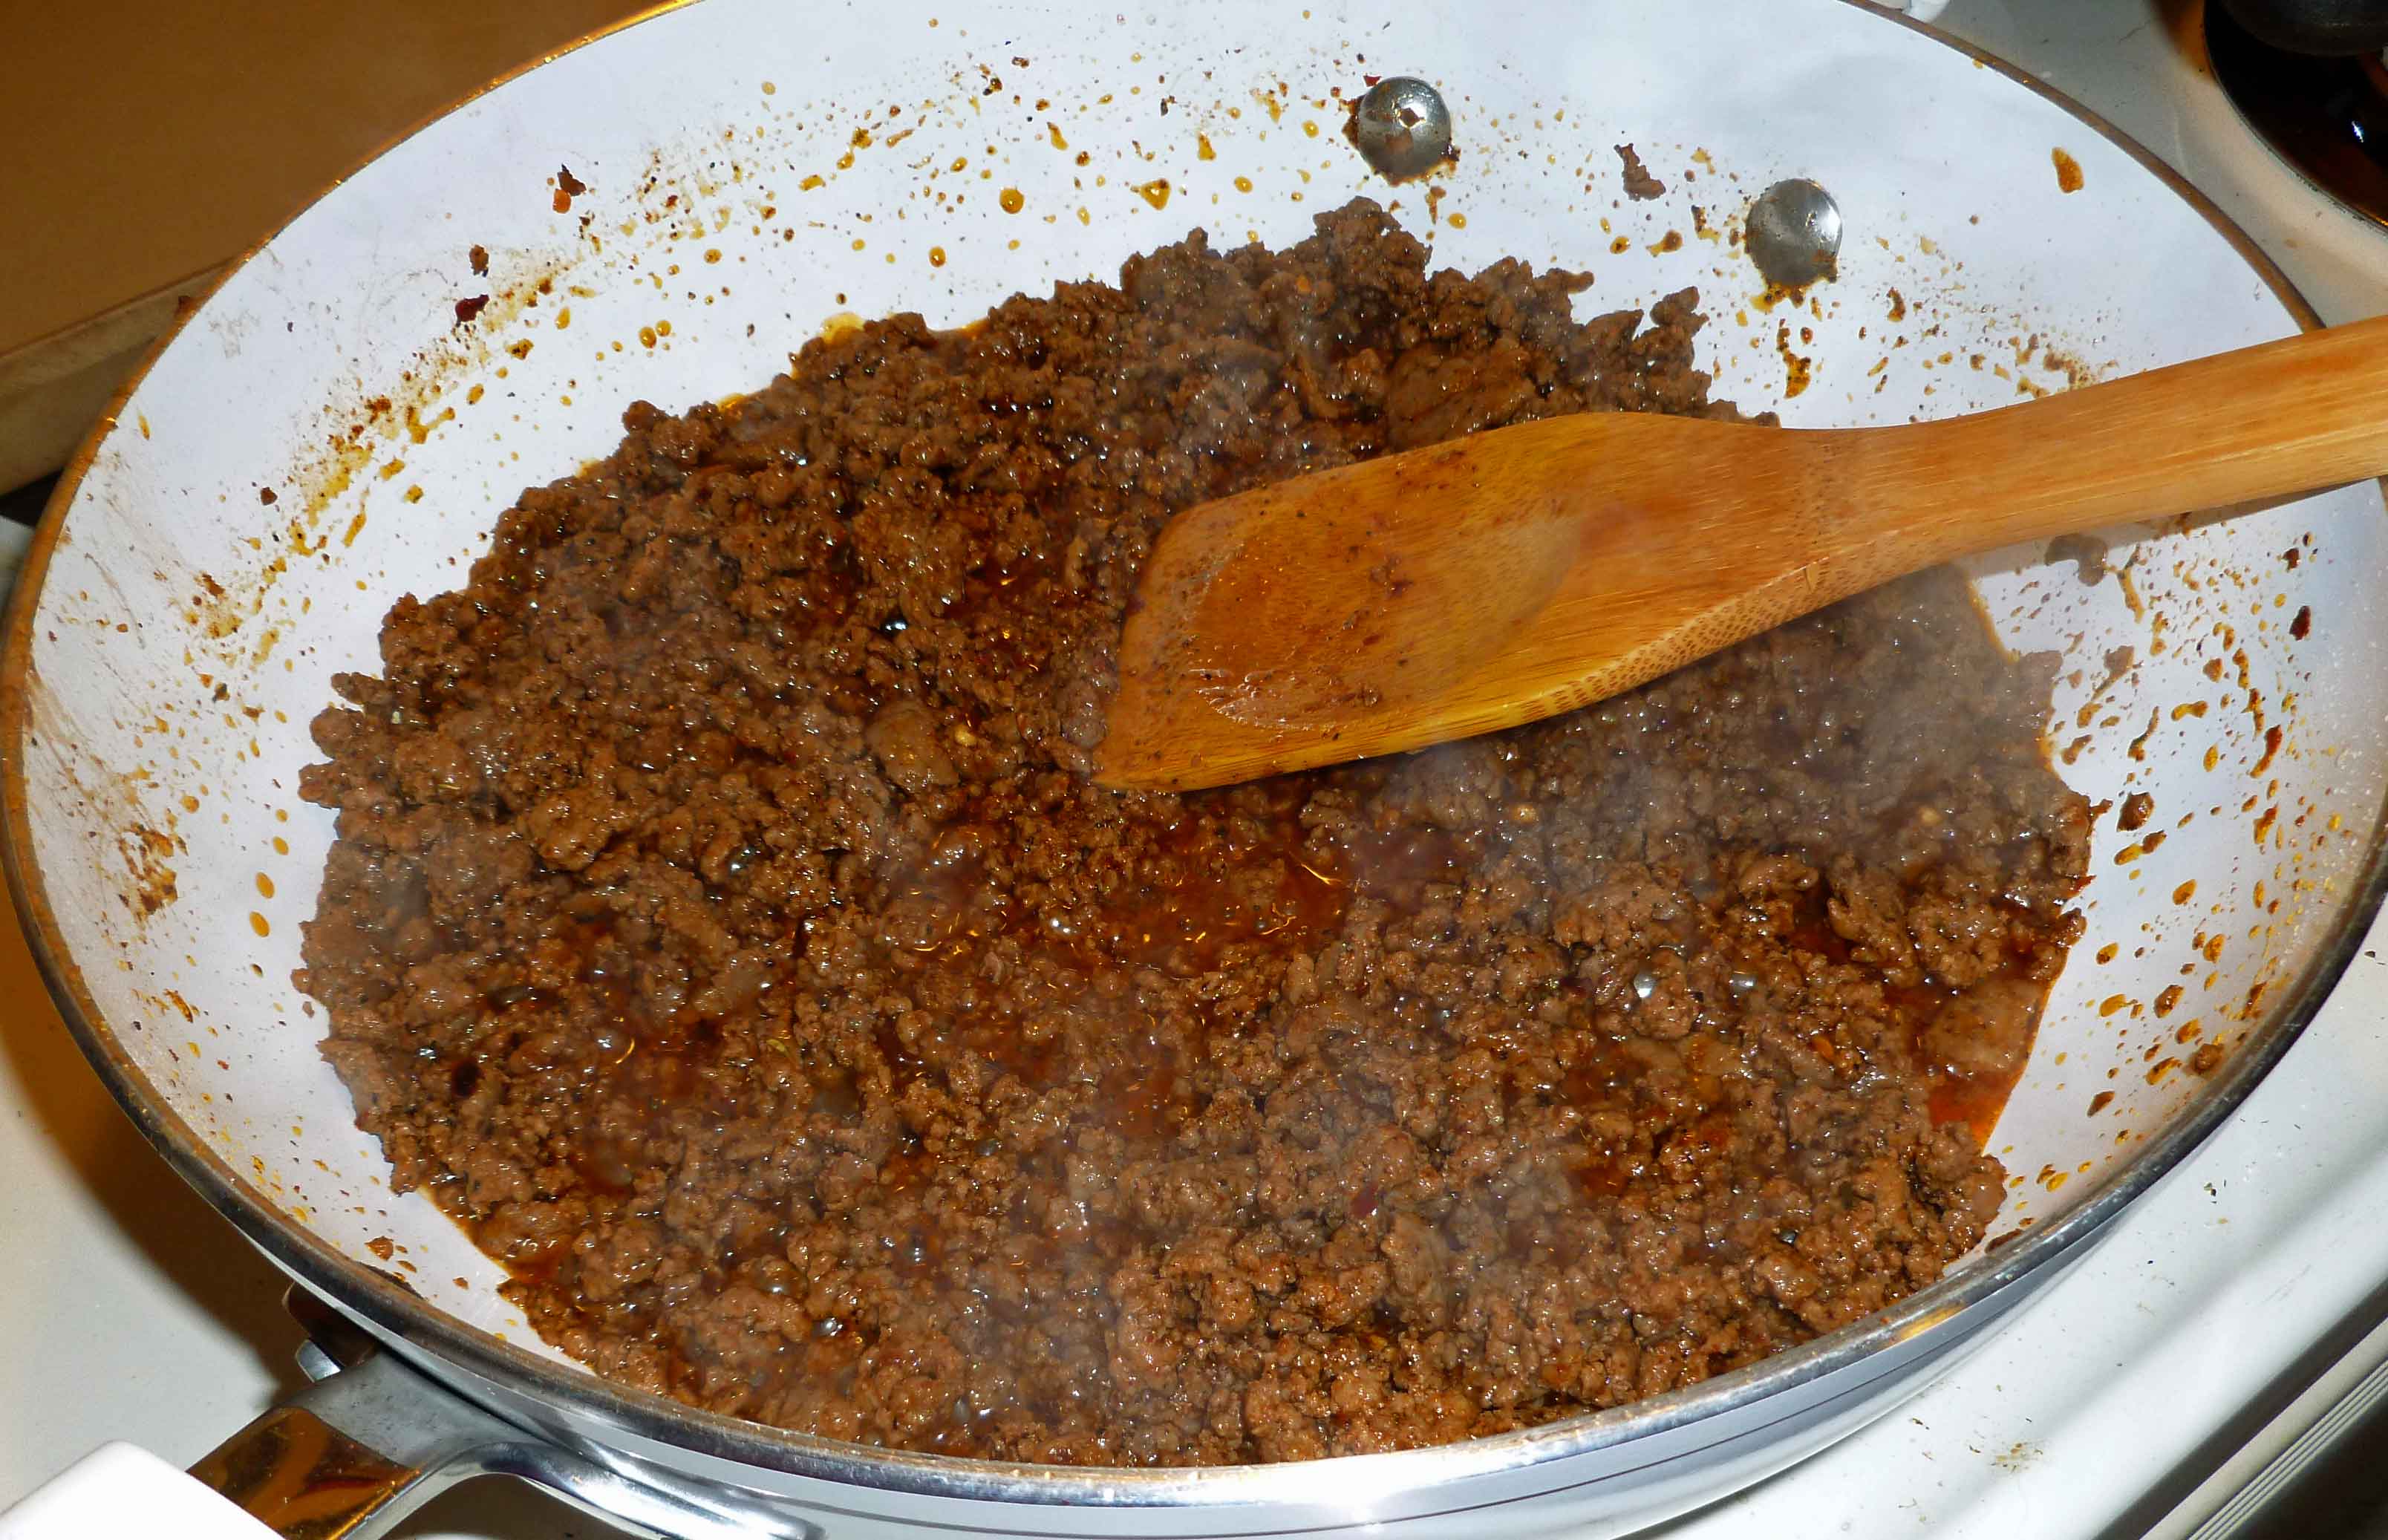
Brown one pound of ground beef in a skillet. Drain off any excess fat. Mix 2 to 3 Tablespoons of Taco Seasoning and 1/2 cup of water into the ground beef until it’s well combined, and then simmer it over medium heat until there is little liquid left in the skillet.
Taco Meat simmering in skillet
You can now use your taco meat for tacos, nachos, or salads. Enjoy!
When we were trying to think up something festive for this holiday week, we considered that ice cream seemed the best way to go. July 4th is a barbeque holiday, yes, (though why independence and charred tubes of mystery meat are so closely inter-related I will never understand), but we’ve covered barbeque pretty well up to now, and thought dessert was more appropriate. And it’s summer. So, ICE CREAM!
This was intended, originally, to be an ice cream recipe, but it ended up being more of a frozen pudding somehow. Which, what do you do with frozen pudding? Make popsicles, of course.
This is a plan ahead recipe! There are two pieces that need to sit OVERNIGHT, two separate nights, and then things need to freeze. We just want you to know, because, sometimes, maybe, people don’t read all the directions first. Not that we would ever start a recipe without reading all the directions…
This uses homemade cashew milk (I’m not actually sure there is a commercial version, but if there is, it’s probably expensive), so you will need to soak the cashews overnight. The water will look sort of scummy afterwards. Don’t worry! This is normal, and you’re getting rid of it anyway.
The next overnight is cooling your ice cream/frozen pudding mixture. The last is freezing your pops. So here you go.
What do you do with frozen pudding? Make a fudgesicle. Duh.
Cashew-Chocolate Pudding Popsicles
1 1/4 cup cashew pieces, soaked overnight
1 1/4 cup water
Blend to death in a blender — seriously, just turn it on and let it go for 5 minutes or so. You will not be straining this, so you want it smooth. This should yield 2 cups or more of cashew milk — you need 2 cups for the recipe. Use the rest for coffee.
2 cups cashew milk, 1/4 cup of this set aside
1 Tablespoon + 1 teaspoon arrowroot starch/powder
3/4 cup sugar
1/4 cup cocoa powder
3 oz dark chocolate (check this for allergens)
1 oz food-grade cocoa butter
1 Tablespoon vanilla
Mix the arrowroot and the 1/4 cup cashew milk and set aside.
In a sauce pan over medium-low heat, mix the rest of the cashew milk, sugar, cocoa, dark chocolate, and cocoa butter. Melt the solids, whisk them in, and cook, whisking often, until the mixture reaches a low boil. Do not turn up the heat to achieve the boil. This takes time!
When the mixture is boiling, remove from the heat. Whisk in the arrowroot mixture and the vanilla.
Cool overnight in the fridge.
Now from here you can go one of two ways. We put this through the ice cream maker, following the maker’s instructions, and then decided it was better as pops. It’s likely that you can skip this step, but let’s be honest — some of us are a little superstitious, and since it worked right the first way (going through the ice cream maker), that’s how we did it.
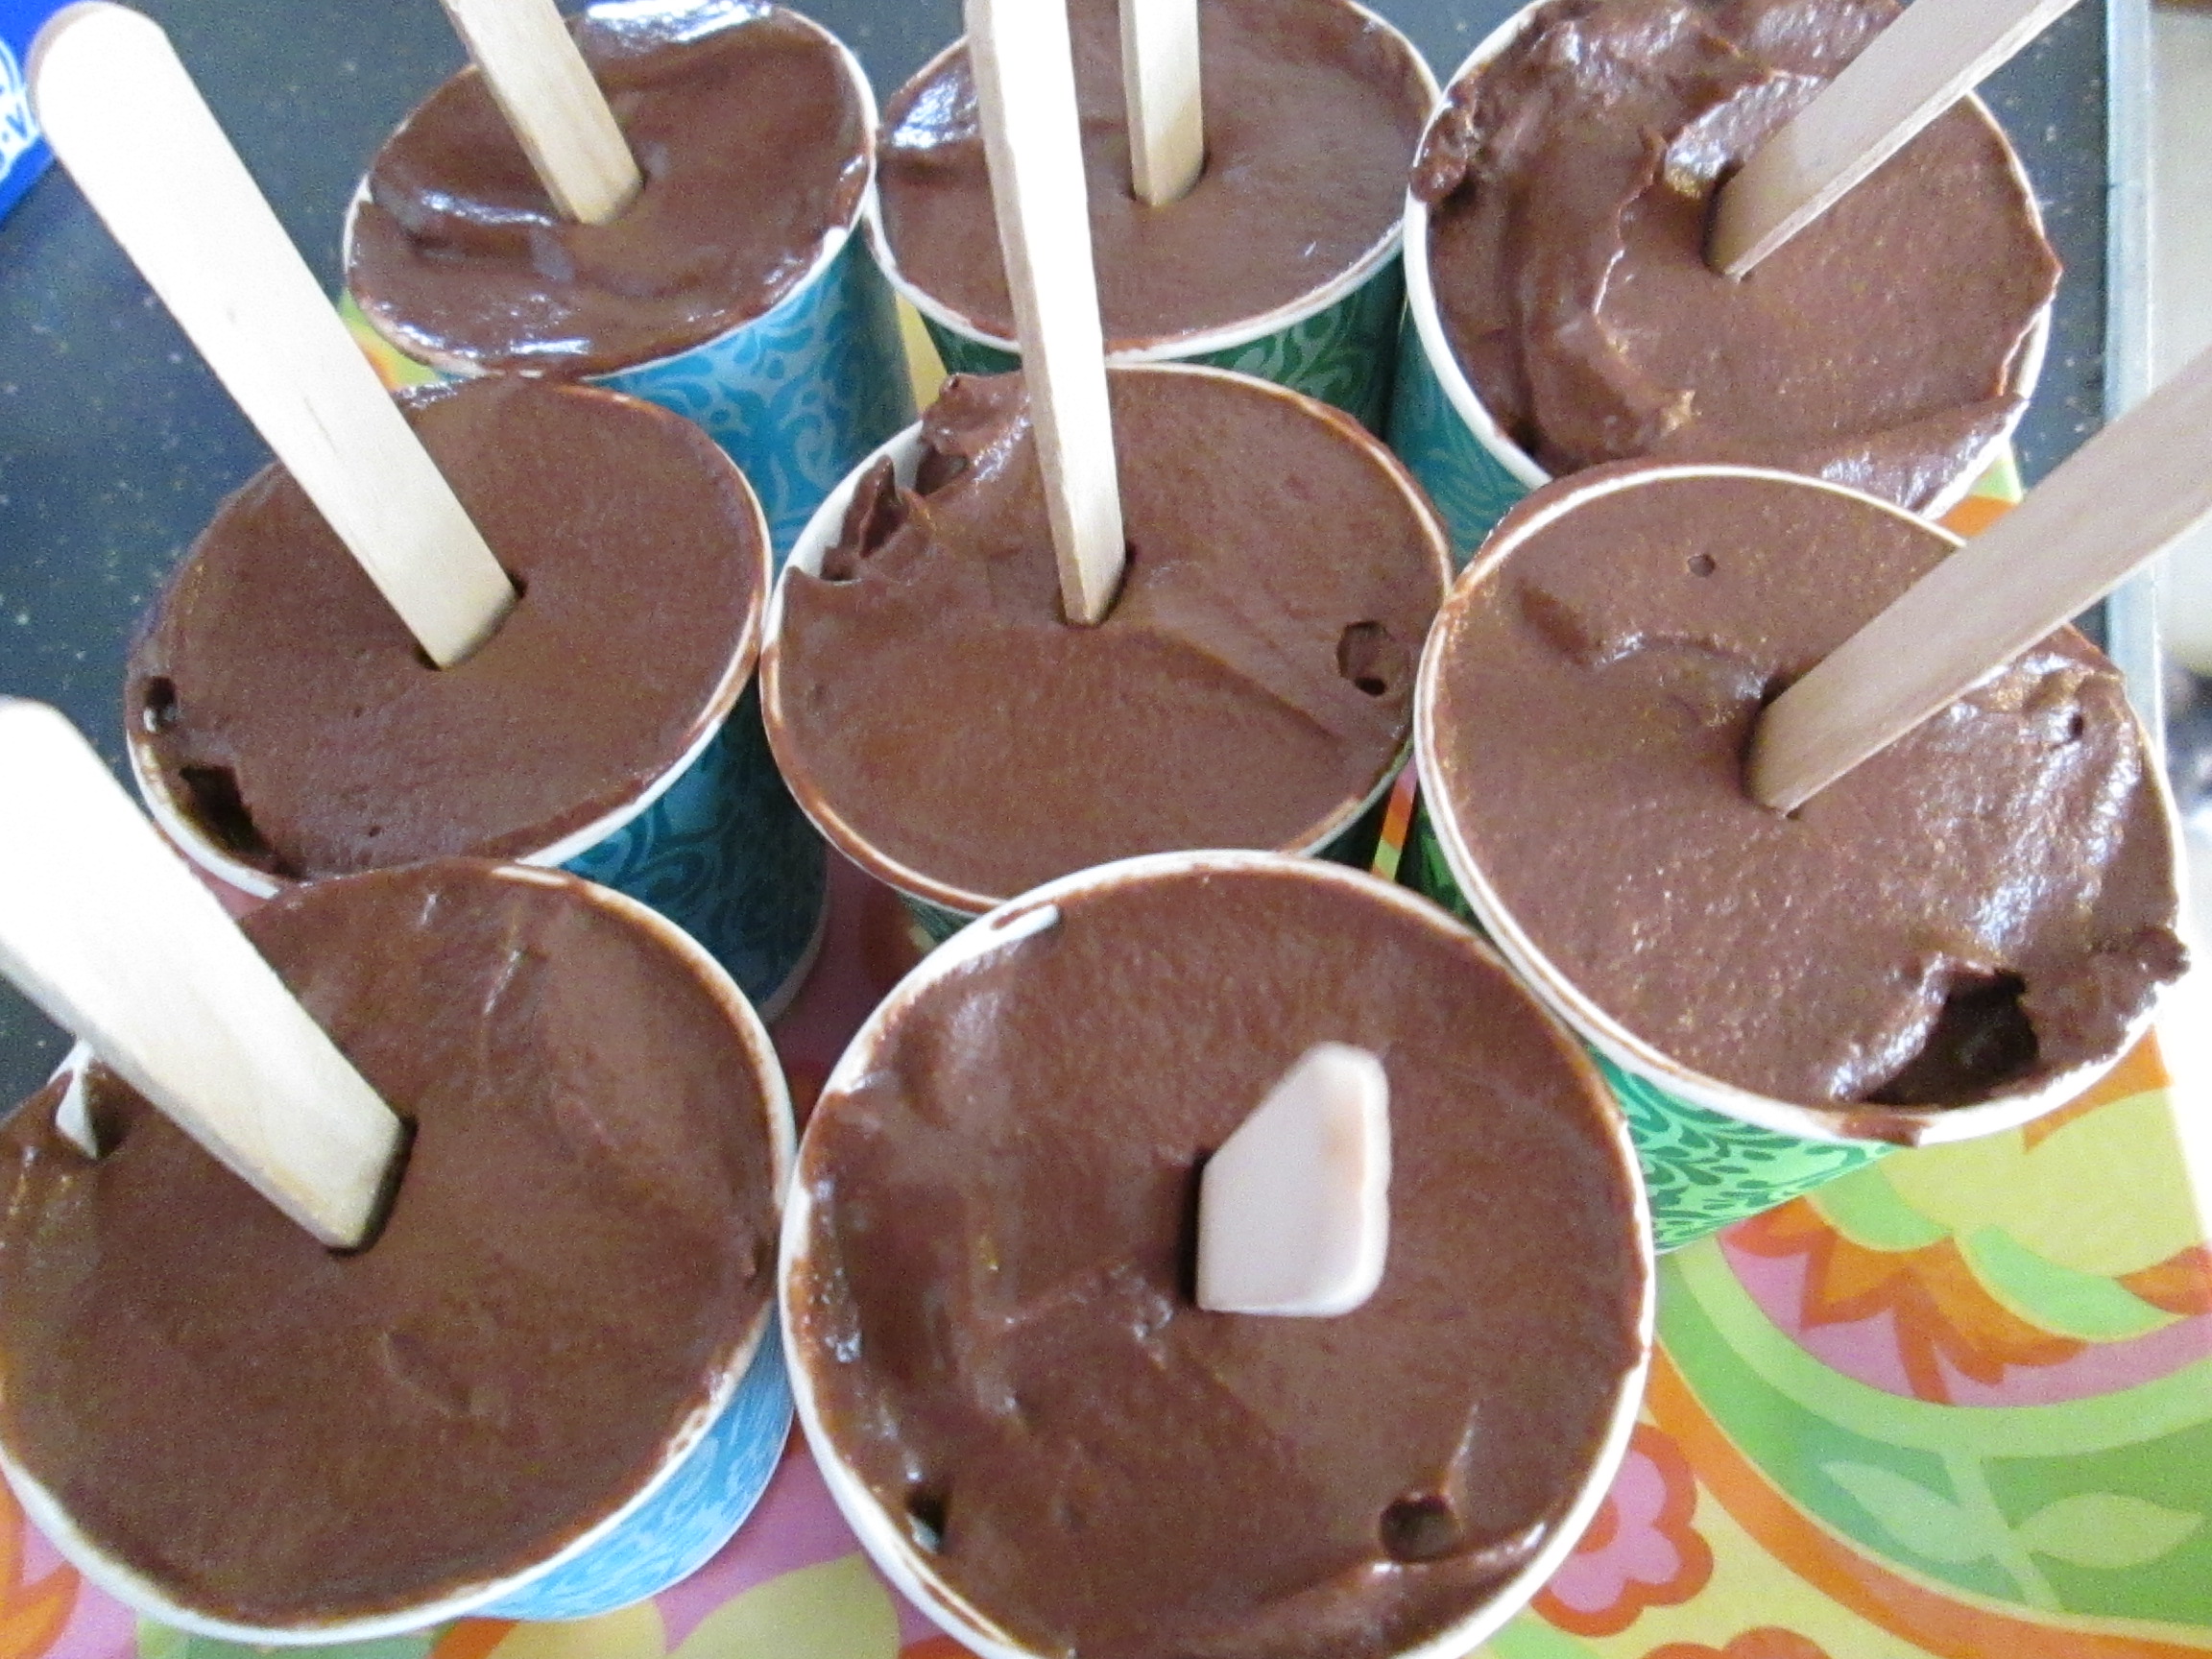
Now for the pops, we used Dixie bathroom paper cups, 3 oz. each, leftover from a party we had last year, and they seemed to be the perfect size for this rich treat — no one really wanted a larger pop, and they do melt reasonably fast. If you have popsicle molds, give them a try, but we recommend the little cups. Perfect portions, and easy removal — just tear the cup off. Fill it to the top and add a popsicle stick (it’s thick enough to stay standing straight).
Makes about 12 pops, give or take a few, depending on how much of the pudding/frozen pudding you taste first.