So, if you’ve got leftover cranberries in the freezer from Turkey Day, this is a great way to use them up. And it doesn’t involve turkey, which you’re probably heartily sick of at this point. I couldn’t resist adding a bit of spice to this recipe, but it’s minimal in the finished product. If spice bothers you, leave the Red Fresno pepper out of the cranberry sauce. If you like it hotter, use a habanero.
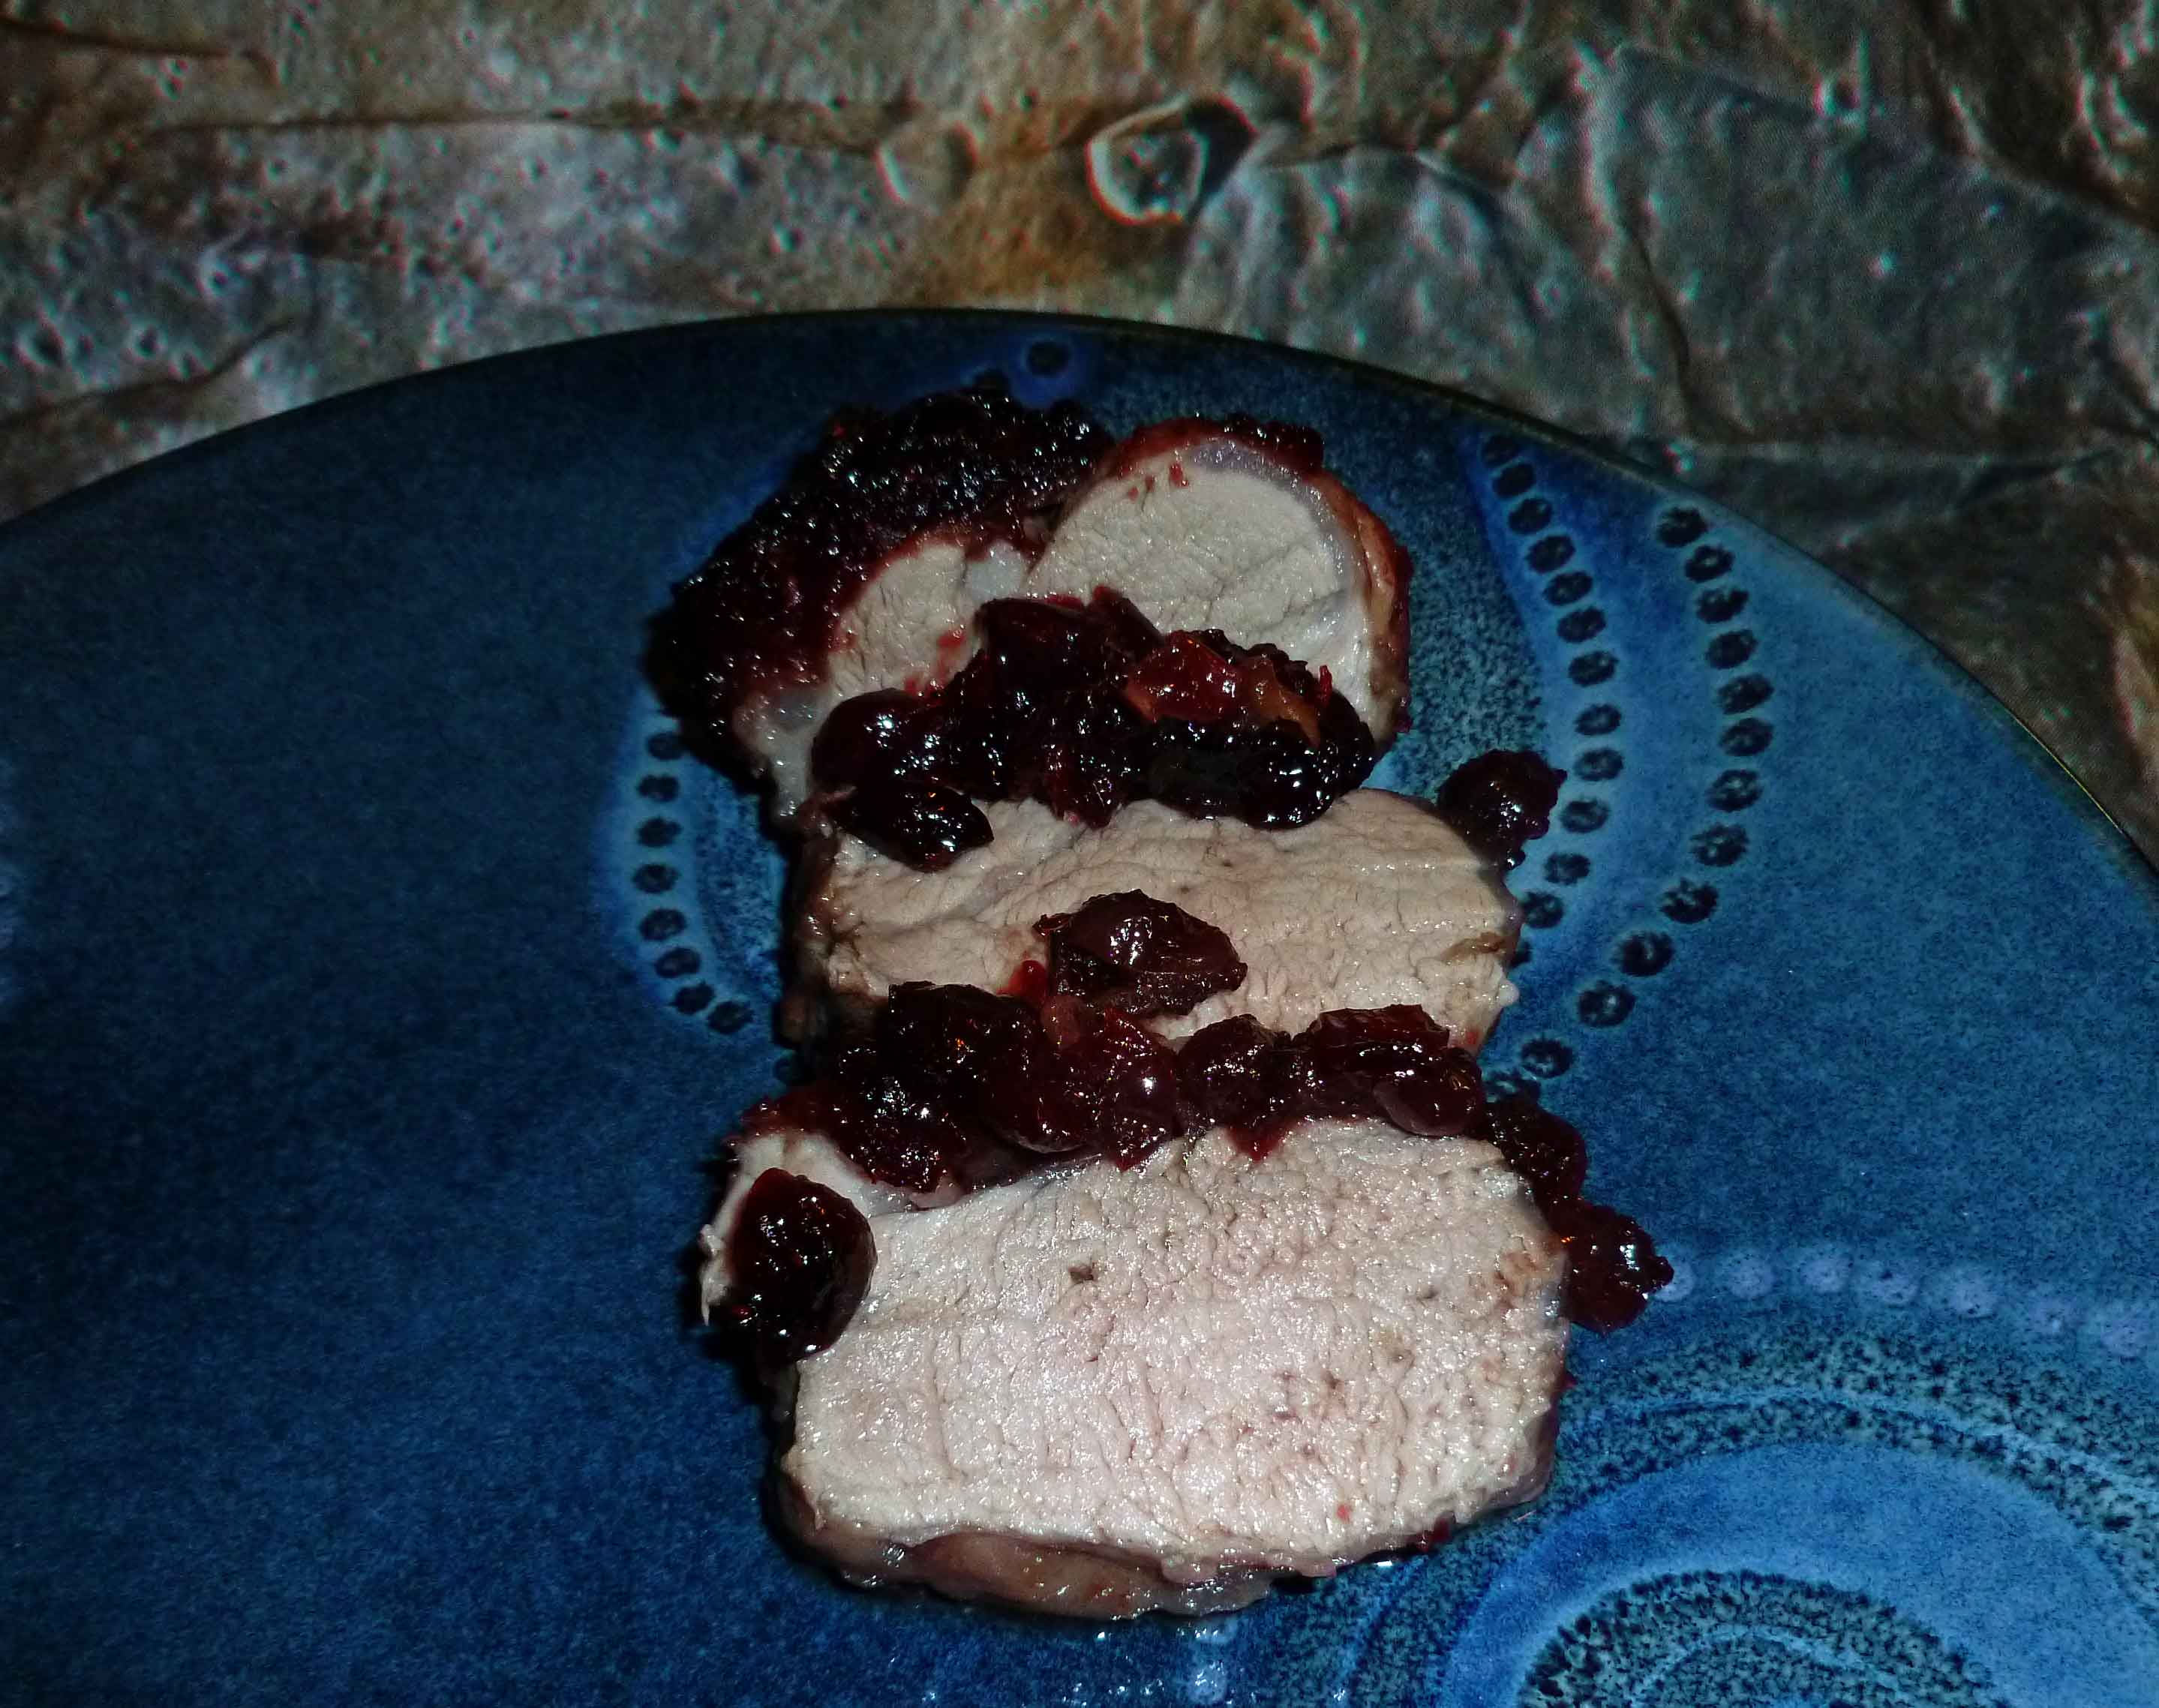
Spicy Red Wine Cranberry Crusted Pork Loin
Serves about 4.
- 1 cup of red wine
- 1 cup of brown sugar
- 1 Red Fresno chile pepper, de-stemmed, seeded, and minced.
- 1 12 ounce bag of cranberries, either fresh or frozen
- 1 1-2 pound pork loin
Preheat your oven to 400°F. Using an oil mister, or a bit of oil and a paper towel, grease a sheet pan.
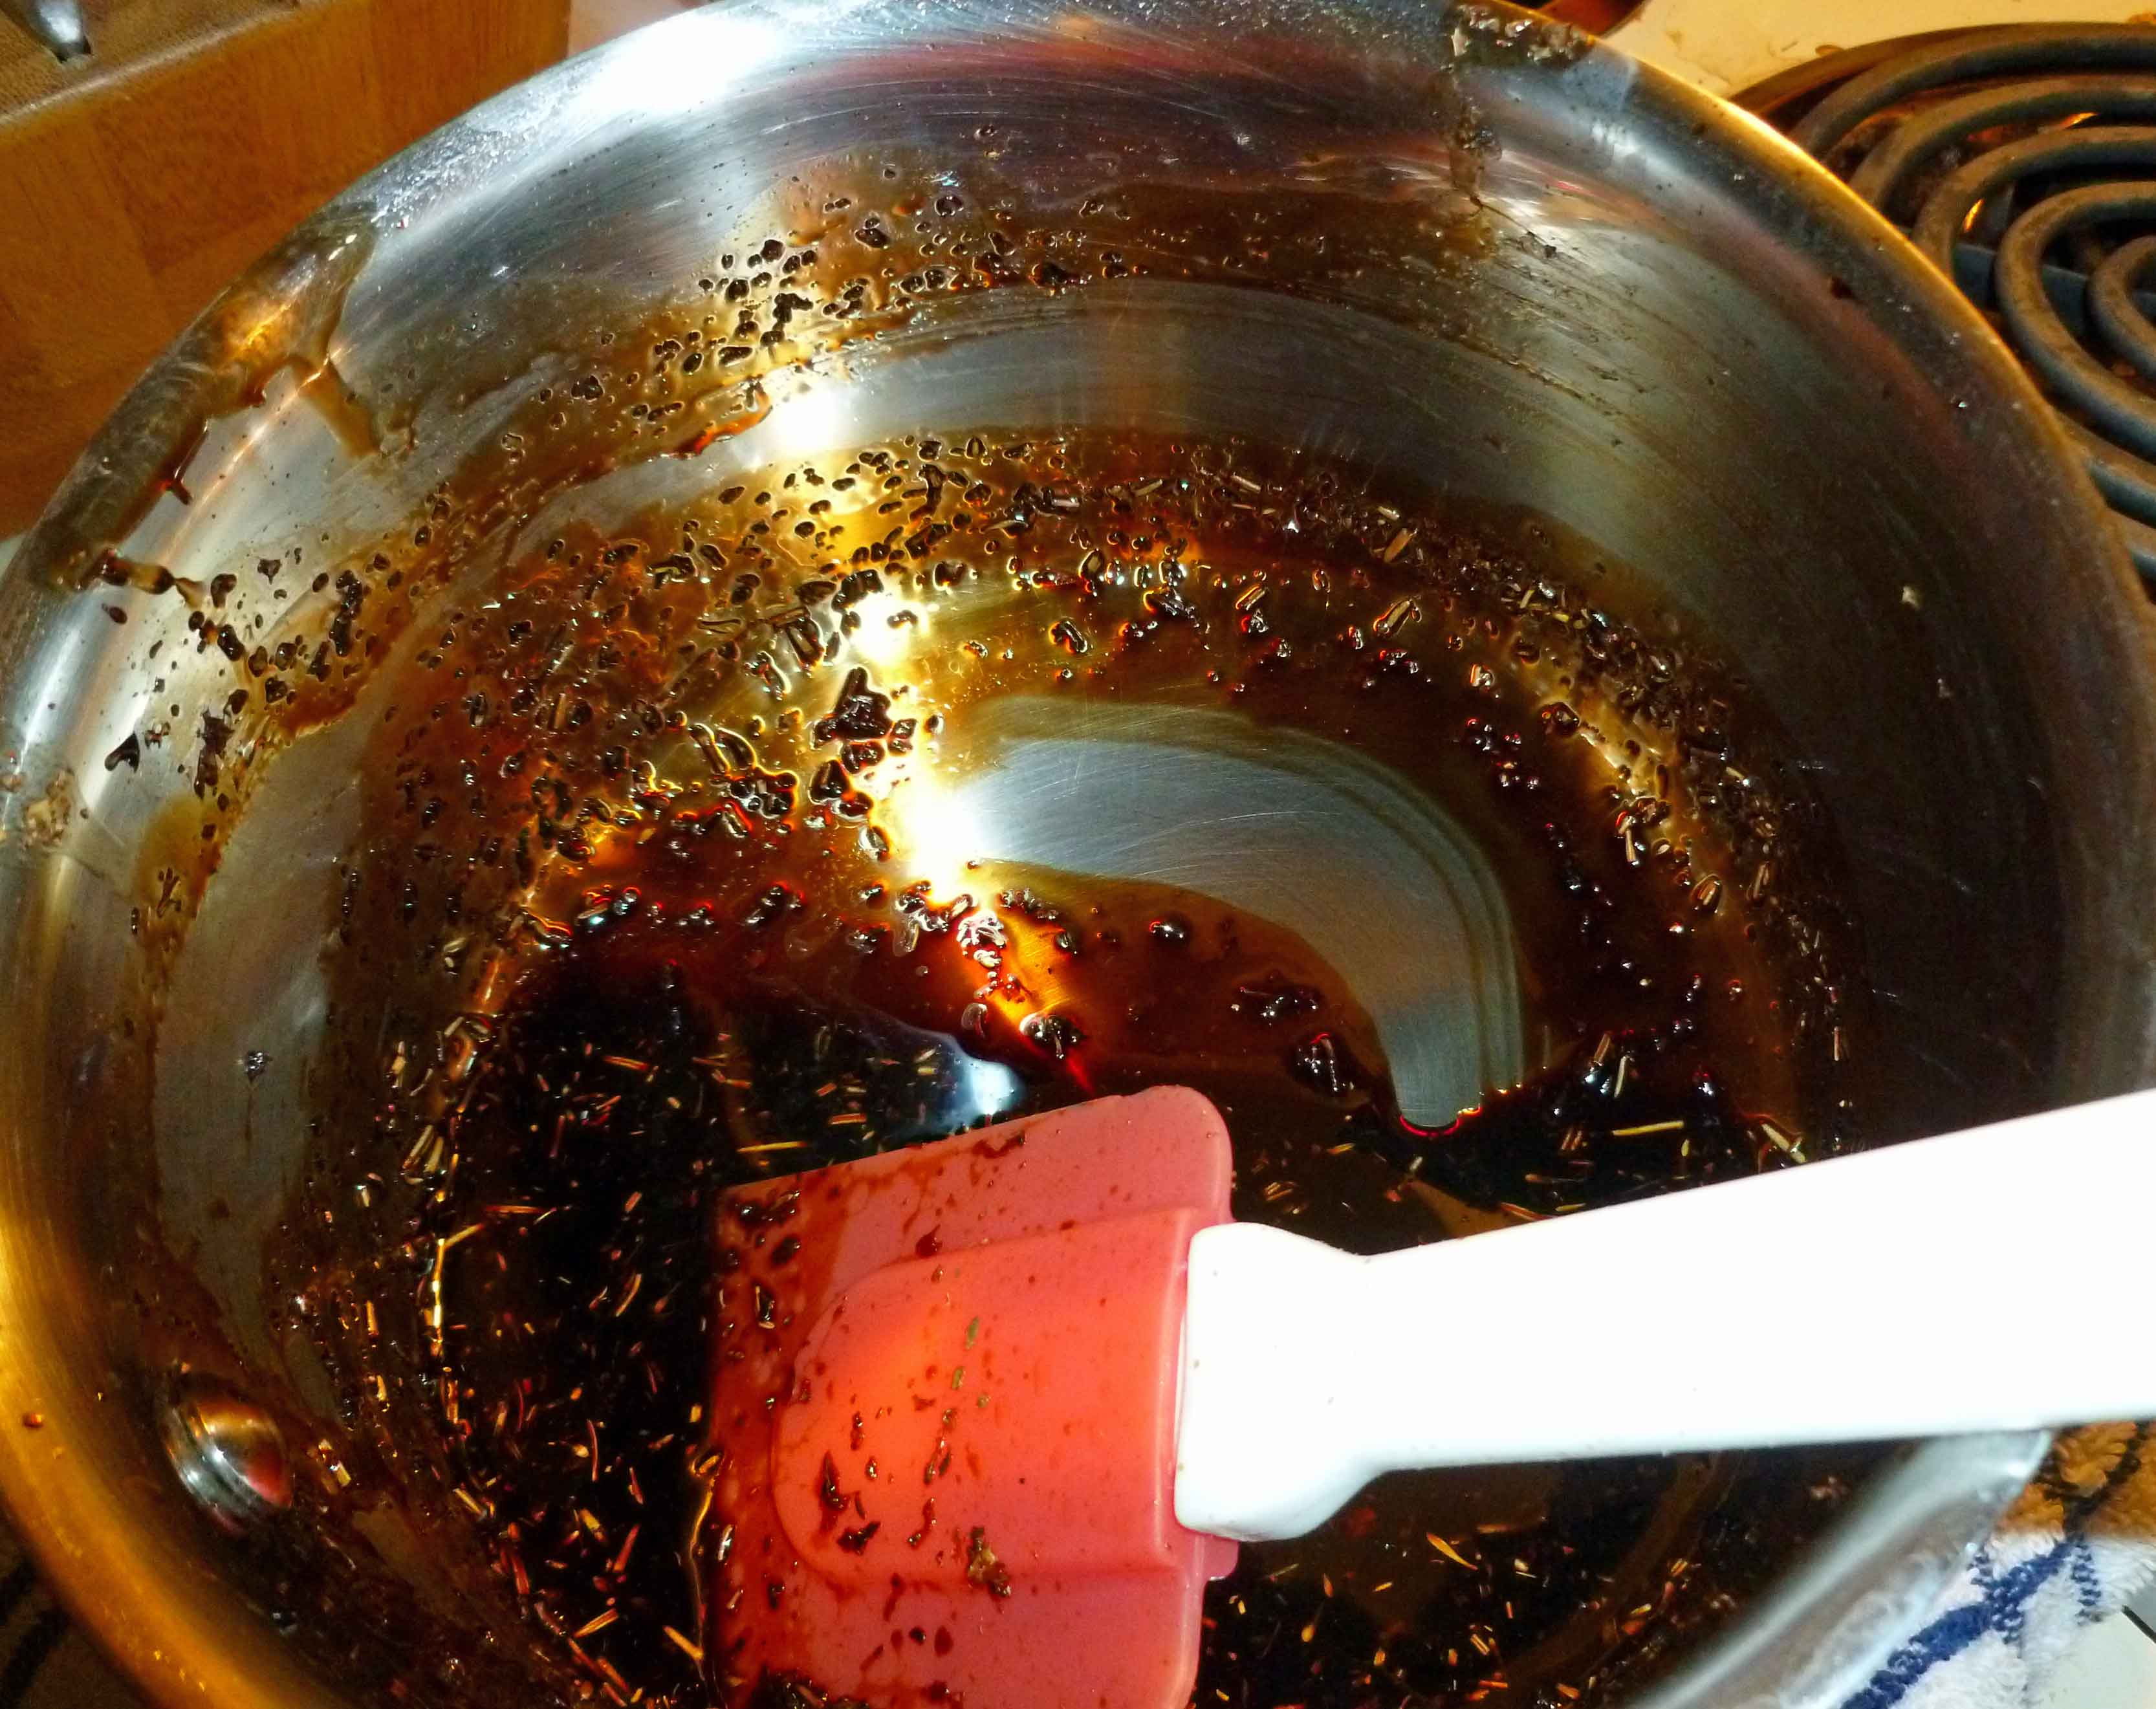
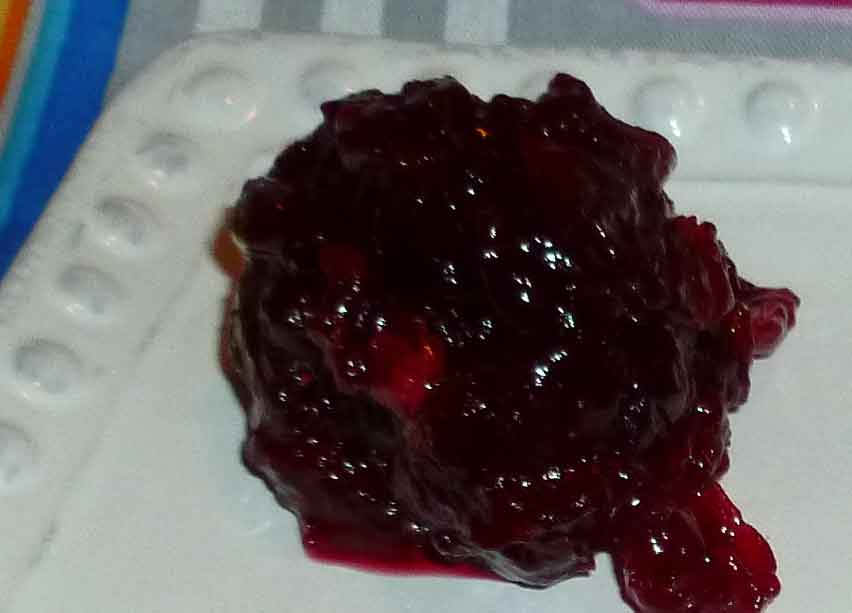
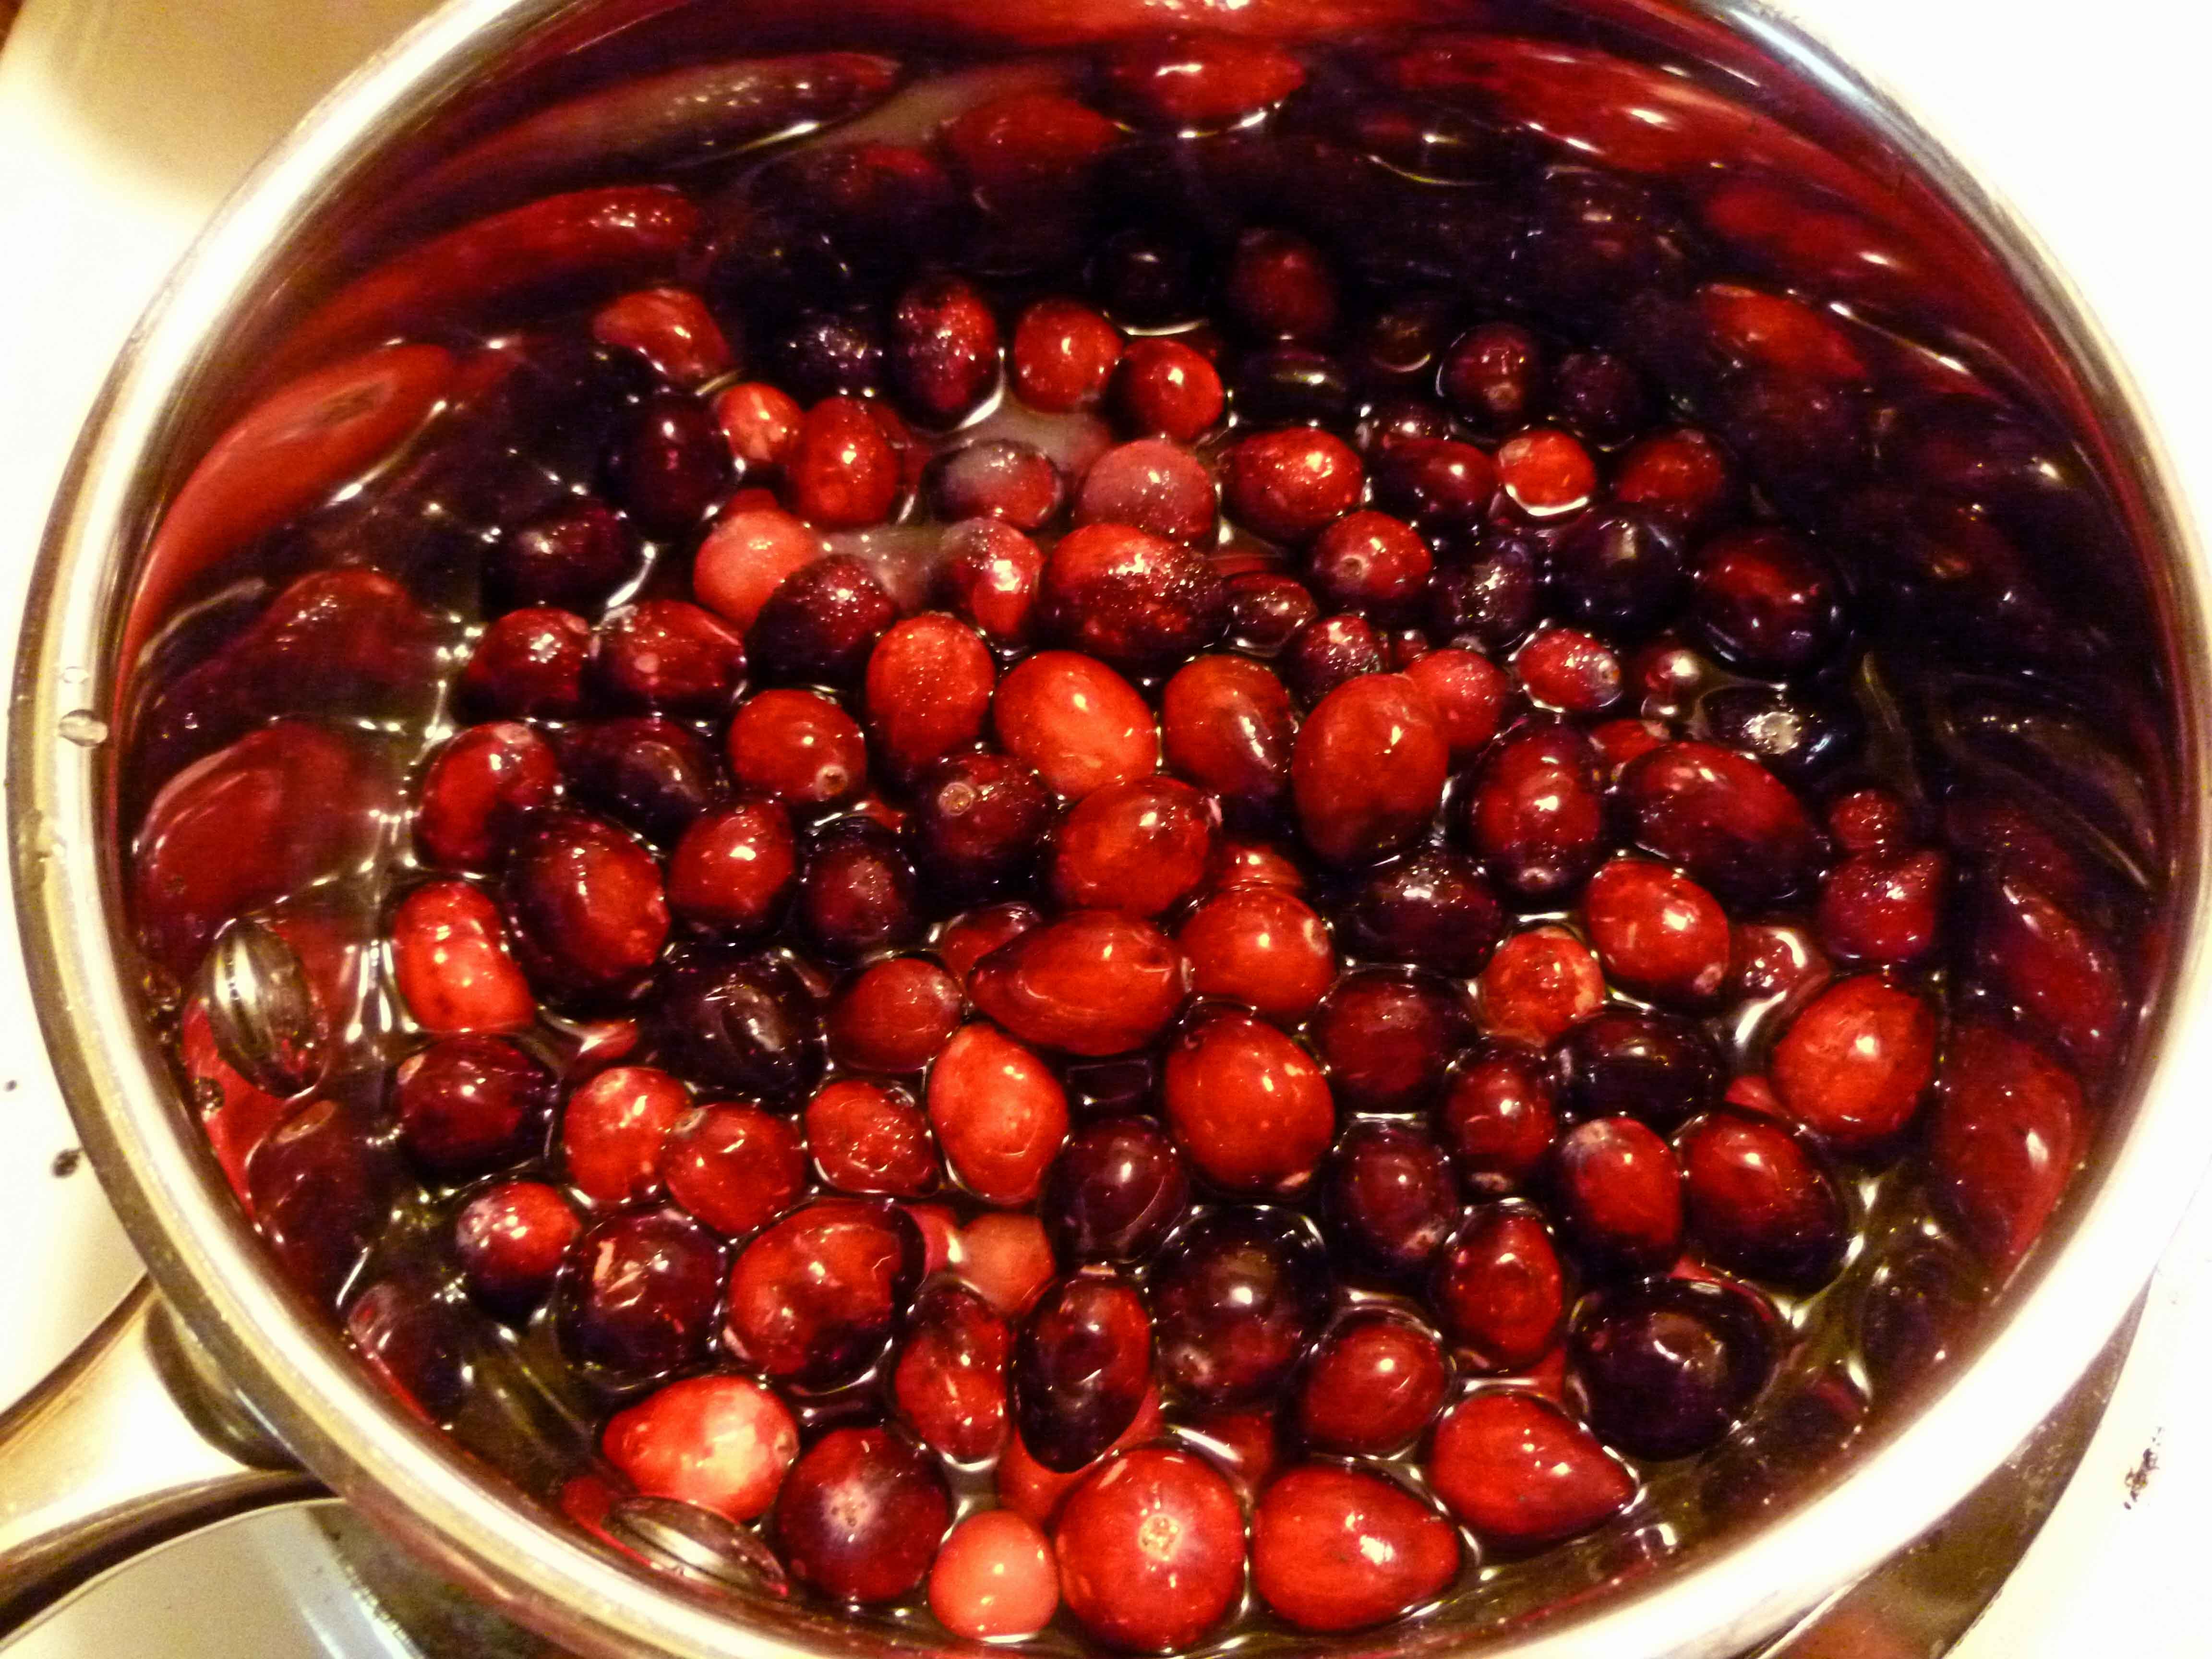
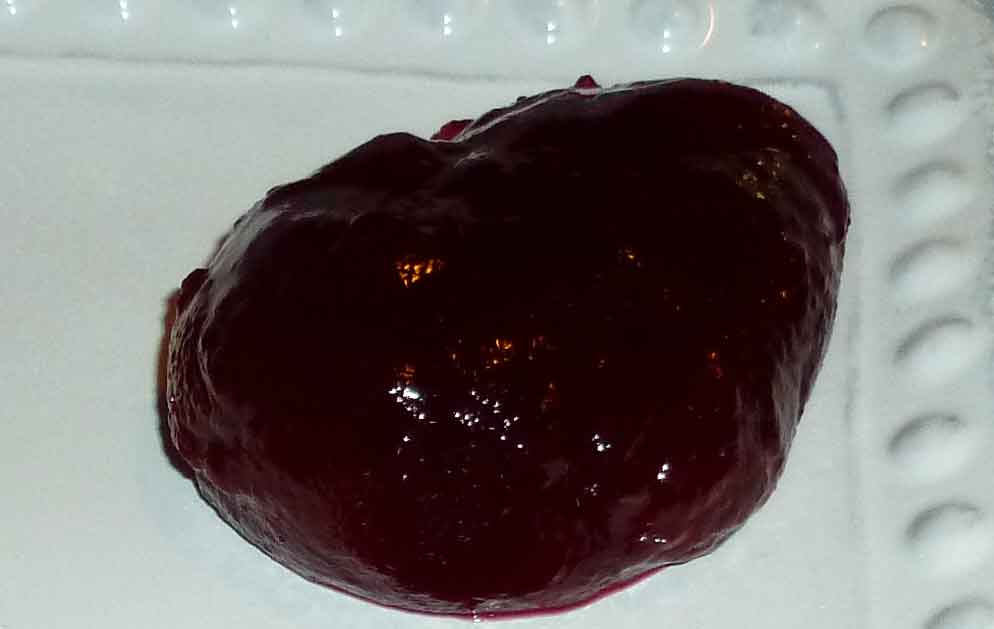
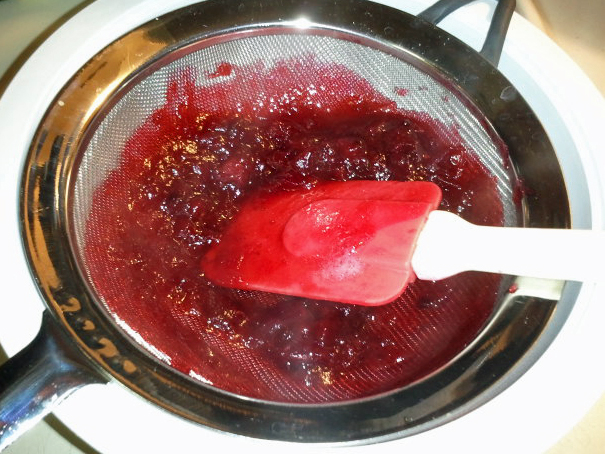
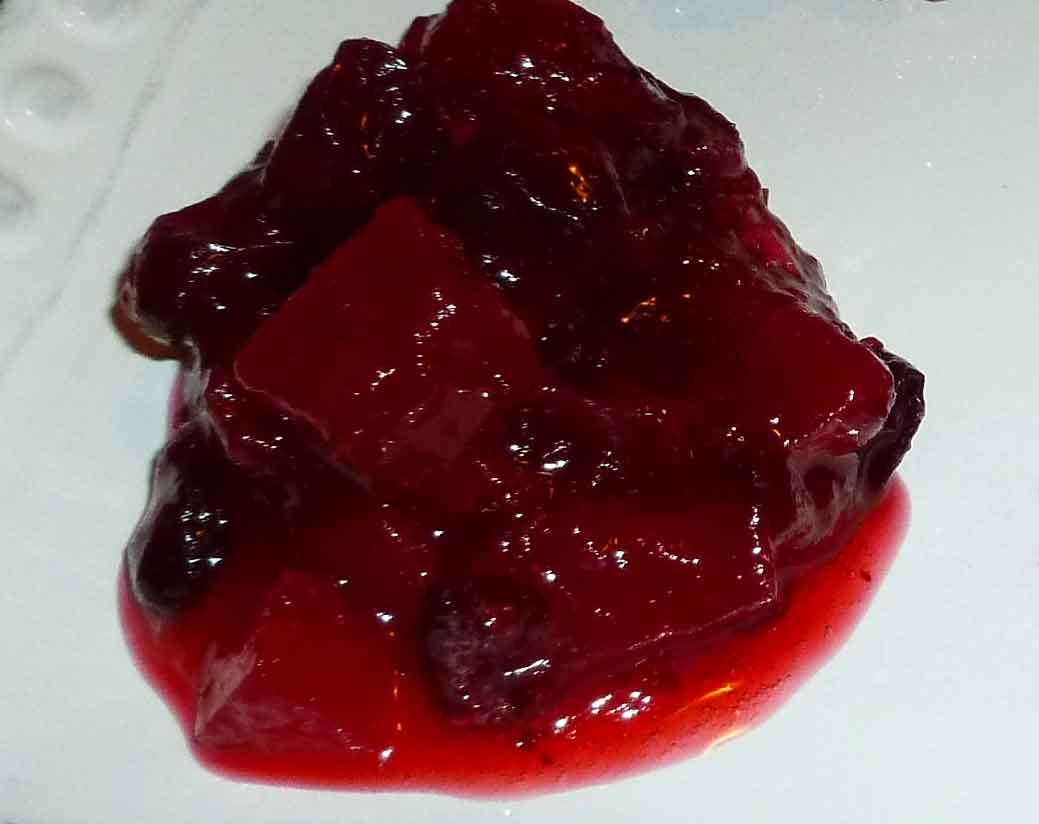
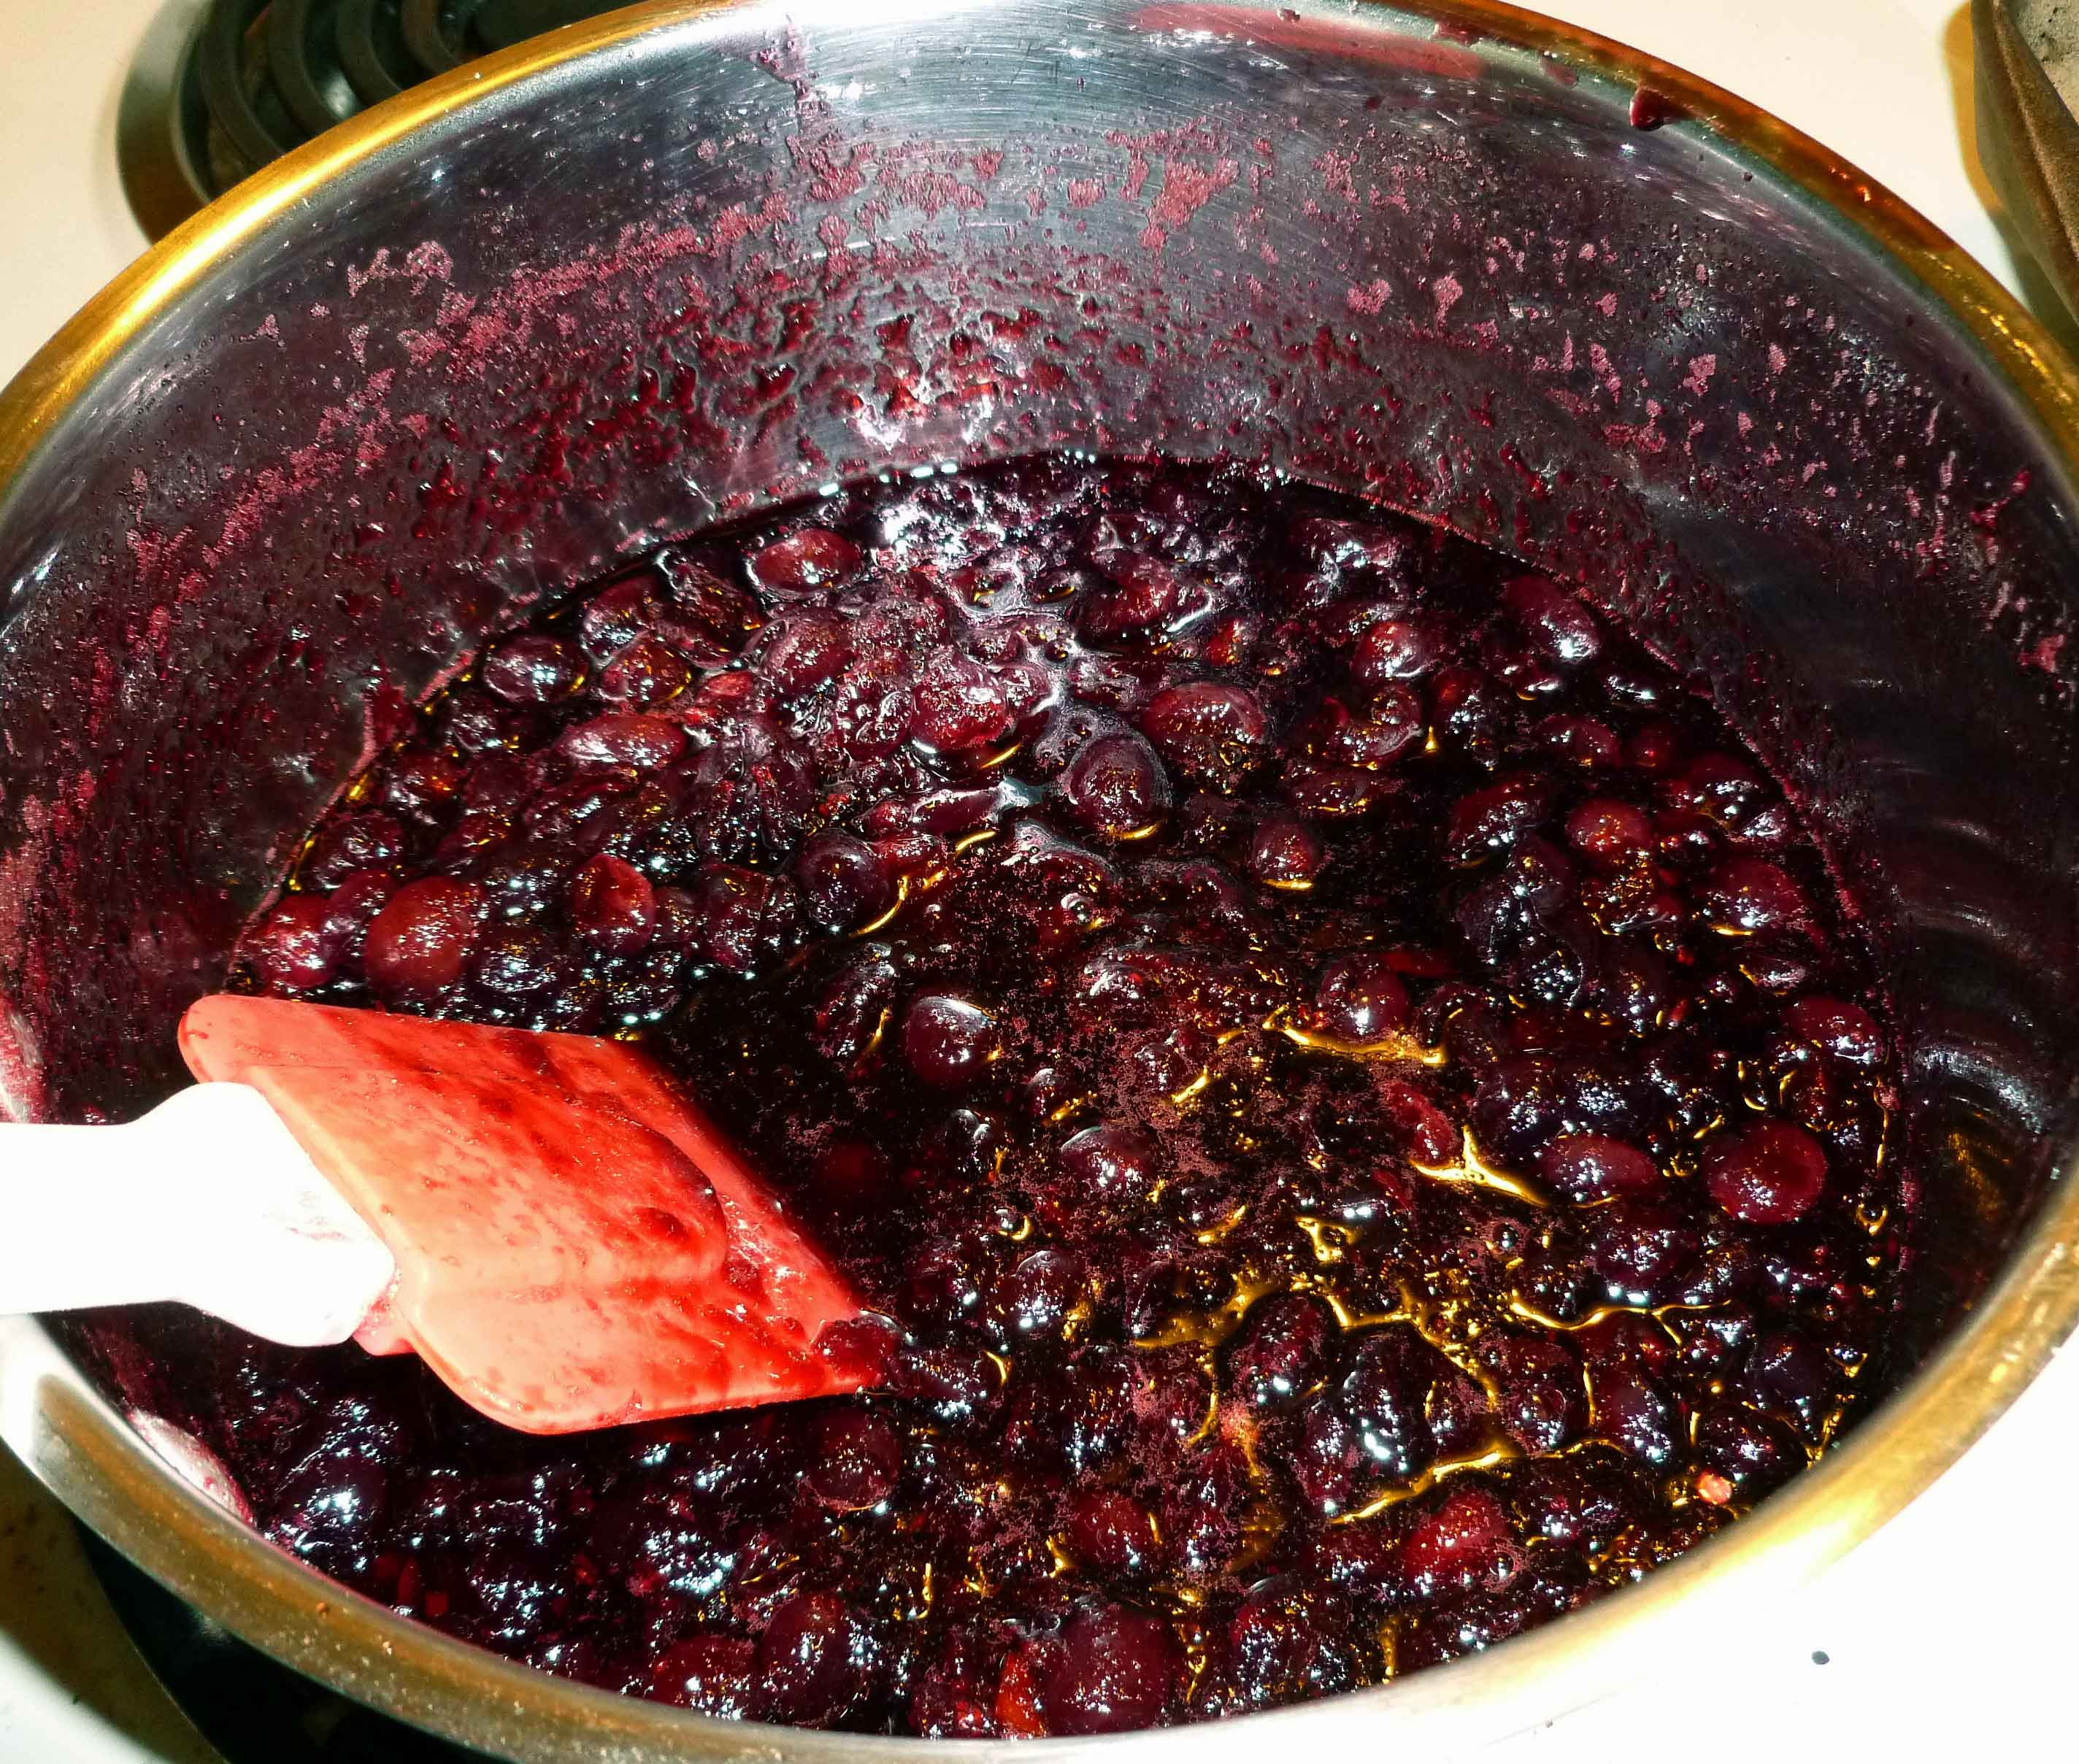
Wash the cranberries and pick out the soft, crushed and/or bad ones. In a small non-reactive sauce pan, add the wine, brown sugar, and minced Red Fresno chile pepper, and bring it to a boil. Once the wine, brown sugar, and chile pepper are boiling, add the cranberries and let it come back to a boil. Reduce to the heat to medium and boil gently for 10 minutes. Basically you’re making red wine cranberry sauce with some chile in it. It’s really good by itself, just saying.
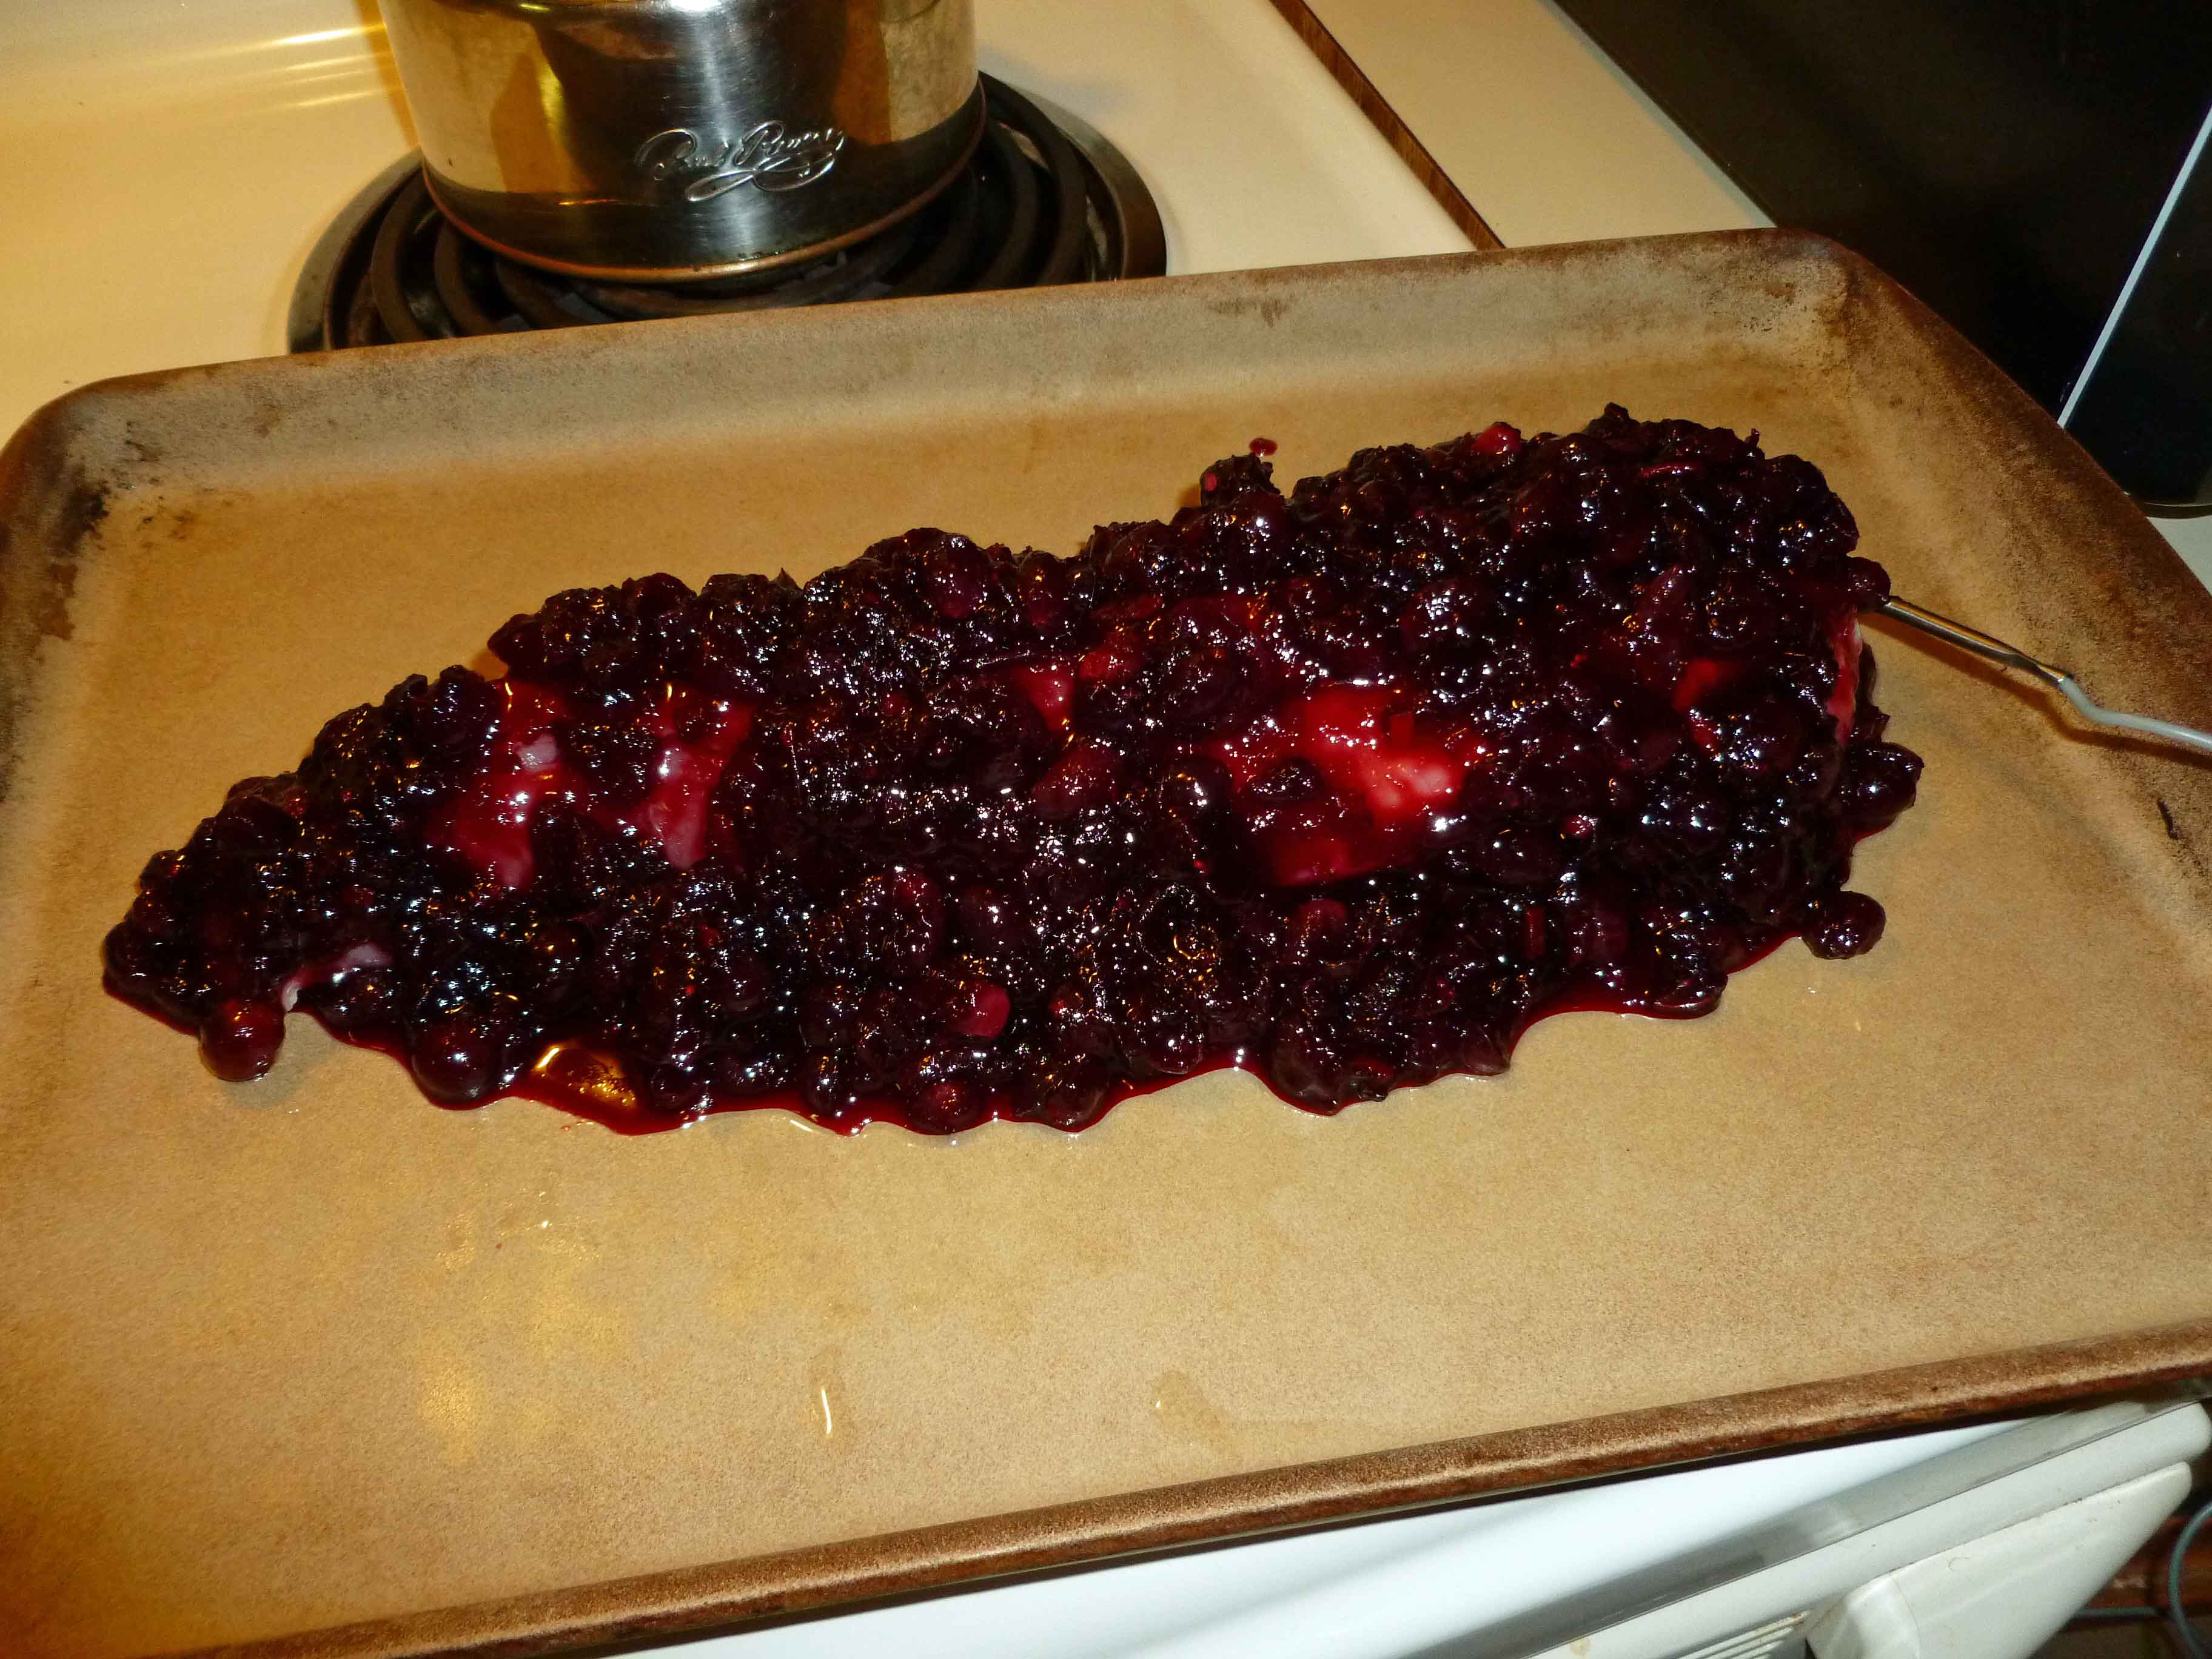
Once you’ve finished the sauce, spread out a little bit of it on the pan, to match the general length and width of your pork loin, so that your pork loin will be resting in a bed of the cranberries.

Place the pork loin on top of the cranberries, so that if there is a fat layer on the pork loin that the layer rests on the bed of cranberries (or remove it), and then cover the pork loin with the remaining cranberries. You’ll note I have a probe thermometer in the pork loin. It’s one of the best kitchen tools I ever bought, no more overcooked meat.
Put the pork loin in the oven. I set the probe thermometer for an internal temp of 161°F, which is what the FDA says is safe. The actual cooking time was about 45 minutes, but this may vary depending on the size of your pork loin and how well, or not, your oven works.

Let it rest a couple of minutes and then slice it up and serve with some of the cranberries and drippings. It’s really yummy!