Notice: Function _load_textdomain_just_in_time was called incorrectly. Translation loading for the wp-ultimate-recipe domain was triggered too early. This is usually an indicator for some code in the plugin or theme running too early. Translations should be loaded at the init action or later. Please see Debugging in WordPress for more information. (This message was added in version 6.7.0.) in /home/maryzahc/public_html/adultfoodallergies.com/wp-includes/functions.php on line 6121
Product Review – surviving the food allergy apocalypse (archive)

Tag: Product Review

  • Product Review: Cuisinart 3-Piece Specialty Disc Set & French Fry Method Taste Test

    Product Review: Cuisinart 3-Piece Specialty Disc Set & French Fry Method Taste Test

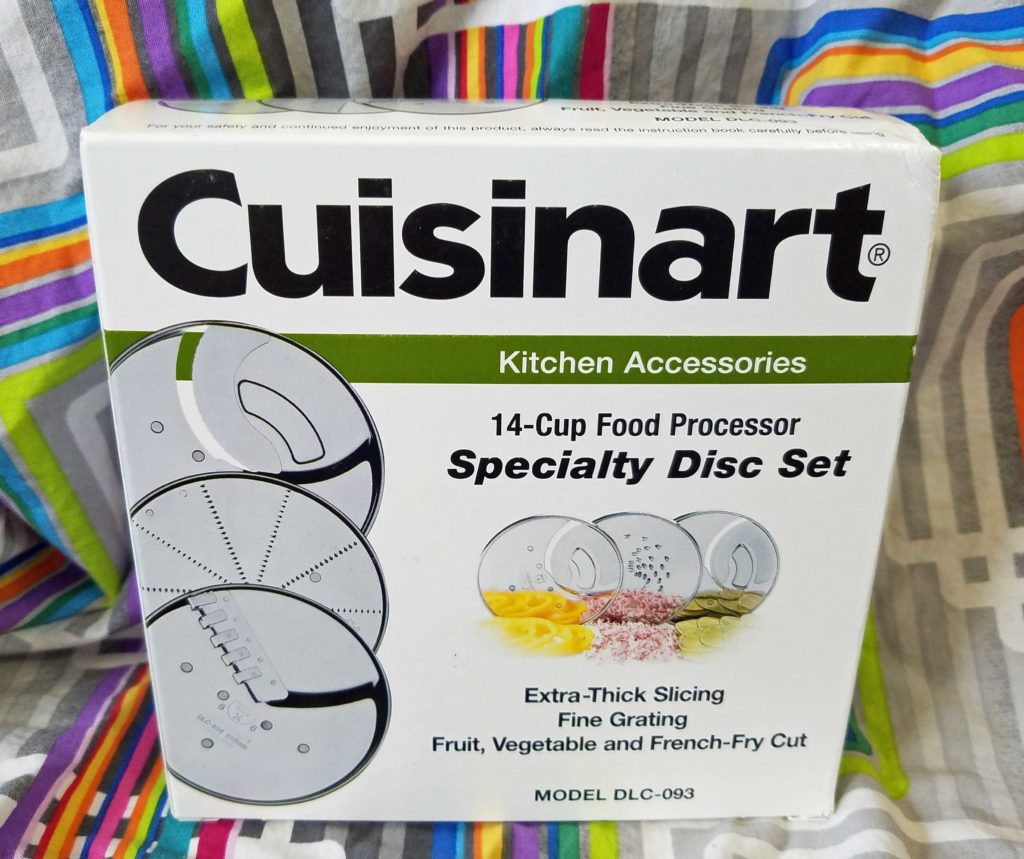
    Cuisinart 3-Piece Specialty Disc Set - Extra Thick Slicing disc, Fine Grating disc, and French-Fry Cut disc.
    Cuisinart 3-Piece Specialty Disc Set – Extra Thick Slicing disc, Fine Grating disc, and French-Fry Cut disc.

    Let me start out by saying, I’m fundamentally lazy. Many of my friends would disagree with me because I do a ton of work to make safe food, and yeah, maybe I could eat with less variety, so that I don’t have as much I have to do. The thing is, I love food and I love variety, and the thought of eating the same thing day after day after day, just makes me shudder. So yeah, I do the work, but anything I can do to lessen the work, I’m going to do. Or maybe I should say, anything I can do to be more efficient, I’m going to do. I do use my 14 cup Cuisinart food processor for canning season, but I wasn’t happy with using it for pickles because the slices were coming out too thin on the slicing disc I had. So when I saw this specialty disc set, I thought it might be worth a try since it had a thicker slicing disc. And it didn’t hurt that it came with a french fry cutter disc either. The last blade is a fine grating disc.

    The first thing I did was try the thicker slicing disc and compare it to the one that came with the food processor. The thicker disc is labeled as 8 millimeters and the original disc is labeled as 4 millimeters. It may not look like much of a difference, but I think it’s enough that I won’t have to use a knife to slice my cucumbers for pickles this year.

    Thicker slices on left, thinner slices on right.
    Thicker slices on left, thinner slices on right.

    The second thing I did was try the fine grating disc. I didn’t really have anything to finely grate. The box said that fine grater is used with especially hard foods such as nutmeats, Parmesan cheese, ginger, and horseradish. Well, I didn’t have any fresh ginger and or anything else it suggested and I’m allergic to cheese, so I tried a potato. Yeah, that didn’t work out so much.

    Potato mush after using the fine grater.
    Potato mush after using the fine grater.

    Since I did have some ginger I had peeled and frozen solid in chunks, I dug it out of the freezer and tried it with the fine grating disc. It worked out pretty well. I also think the next time I get fresh ginger, I’ll just peel the whole thing, run it through the fine grater disc and freeze it in an ice cube tray so that I’m not throwing old ginger away or trying to cut frozen pieces up. It also occurred to me as I write this, that this might be a good way to grate nutmeg as well.

    Frozen ginger after going through the fine grating disc.
    Frozen ginger after going through the fine grating disc.

    Okay, now the part that everyone has been waiting for: the french fry disc. I was very curious about this. I have a french fry cutter from Pampered Chef and there’s nothing wrong with it, except it is manual, very sharp, and I cut myself when I wash it most of the time. You also have to use a fair amount of muscle to force your way through the potato. The french fry disc for the food processor worked pretty well. There are some odd thin cuts, and some broken pieces, but given how fast it goes through three potatoes, I have no objections.

    Fries cut using the french fry disc.
    Fries cut using the french fry disc.

    Of course, once I have potatoes cut like fries, I had to make fries. I had chatted with MaryKate as the potato aficionado and/or obsessed one in our duo about an experiment I intended to undertake, and she proposed a counter method, so I did both to see what liked better. I soaked the potatoes cut like fries in water for a few minutes, drained them, and then dried them with a towel.

    When I first lost dairy, I also lost McDonald’s fries because they coat them with powdered dry milk to give them extra crisp. I don’t know if that’s still true, but it was at the time I lost milk, which was years ago. So I wondered if I could use tapioca starch to do the same thing, because I hate double frying, and if there is a way to shortcut the process, I’m going to take it. So I tossed the fries with a bit of tapioca starch in a strainer so I wouldn’t have any clumping.

    Potatoes cut like fries tossed with tapioca starch.
    Potatoes cut like fries tossed with tapioca starch.

    I heated my oil to 350° F and fried them until they were golden brown. They were good, crisp, and I didn’t have to fry twice.

    Next, I did the double frying method. I heated my oil to 325° F and cooked them for 6 minutes in batches. When I had cooked them all, I heated my oil to 400° F and refried them in batches until they were golden brown. I admit that MaryKate was right and this version was better. A little bit better color, a little bit more crisp, but not worth the pain of double frying for one who is less obsessed with potatoes.

    I don’t think this set is essential if you are a standard cook, but it’s a nice thing to have. And for me, the thicker slicing disc alone is worth it for me for canning season. All in all, I’m pleased I bought it.

  • Product Review: STX-4000-TB2 Turboforce II Quad Air Cooled Electric Meat Grinder

    Product Review: STX-4000-TB2 Turboforce II Quad Air Cooled Electric Meat Grinder


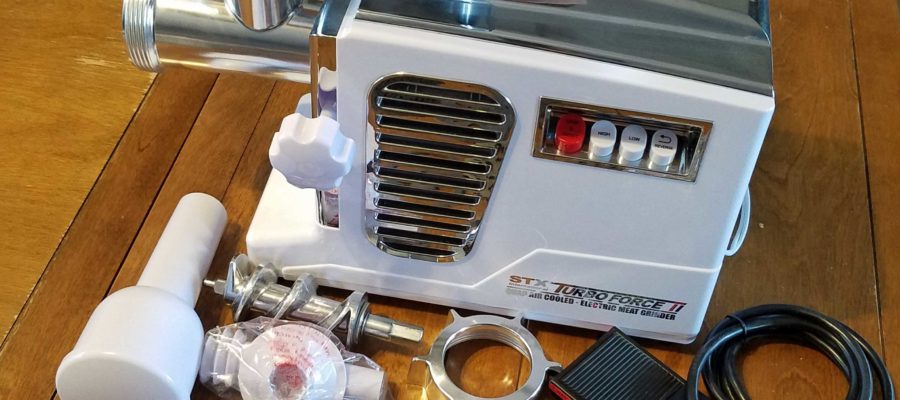
    STX Turboforce II 4000 Series Quad Air Cooled Electric Meat Grinder

    As some of you may know, in order to have a margarine/butter like spread, I end up rendering my own lard and tallow from pork leaf lard and beef suet, respectively, and I use my home rendered lard often in my baking as I don’t have a safe shortening. I’d been using a KitchenAid meat grinder attachment on my stand mixer to grind the pork leaf lard and suet, which is great for regular, normal occasional meat grinding, but I’m not regular or normal anymore. I pushed it a little too hard with the suet (which is very solid and waxy at room temperature) and cracked the plastic housing. It still works (yay KitchenAid!) and I can use it with the vegetable strainer for apple sauce and tomato sauce just fine, but I thought maybe it was time to stop tempting fate and get a real meat grinder. My KitchenAid is only 30+ years old, and I want it to keep plugging.

    STX Turboforce II 4000 Series Quad Air Cooled Electric Meat Grinder set up and ready to roll with a pan set under the grinder head.
    STX Turboforce II 4000 Series Quad Air Cooled Electric Meat Grinder set up and ready to roll with a pan set under the grinder head.

    So I bought the STX Turboforce II 4000 Series Quad Air Cooled Electric Meat Grinder in December of 2017. This model now appears to be unavailable on Amazon and sold out on the manufacturer’s website (no affiliation with either), but there are other models available. I meant to do this review last summer, but you all know how that goes. I used it to grind pork leaf lard before rendering it in crock pots (grinding it helps with clean up exponentially, just cubing it is a disaster to scrub off the crock pots). I used it to grind pork liver up to mix with ground pork to make pork liver meatballs. But both pork leaf lard and pork liver are pretty easy to grind, so I felt like I hadn’t really had a fair test yet. I needed to grind something a little tougher.

    Frankly, as someone with a corn allergy, buying ground meat is really not a good idea. There’s just an exponential increase in the chances for corn contamination due to the cleaners and sanitizers used on the grinders, and on the meat itself (see article where they allow ammonia gas to be puffed on the meat). And even if I get ground beef from what I consider a reputable source that would not use “lean finely textured beef” with puffs of ammonia gas on it, I’m still risking cross contamination from cleaners since I don’t have safe commercial products I can use. So now that the USDA is allowing “lean finely textured beef” to be classified “ground beef,” I’ve finally hit my threshold. It was time to face reality and let the convenience of pre-ground meat go.

    When I used up my last package of ground beef from a store in the freezer, I decided it was time to give the meat grinder a workout. I purchased 12 pounds of chuck roast, and 2 pounds of suet to make sure I had a sufficient fat ratio. You need some fat to have a decent tasting burger. I cut everything up into 1 inch chunks. spread them to a single layer on sheet pans, and threw them in the freezer for an hour. It’s also a good idea to throw the grinder head pieces, the worm, the blade, grind plate, in the freezer too so that they are very cold when you start grinding. I didn’t do this for the beef, but it really helped with grinding pork. On high, I was able to grind all 14 pounds within 20 minutes. I carefully interspersed the suet with the meat so it would be mixed in.

    Beef and Suet ready to grind
    Beef and Suet ready to grind

    When I decided to go ahead and do some ground pork to have on hand to use in recipes and so I can eventually make some sausage, I used a Boston butt, a fresh picnic ham/pork shoulder, and some fatback I had in the freezer. Once I had thawed them out in the fridge for a few days, I skinned the picnic ham and boned the Boston butt and picnic ham, and cut the pieces into 1 inch chunks, following the same procedure as I did for the ground beef, and putting the grinder head pieces in the freezer with the chunks beforehand. On high, I ground what ended up being 13 and half pounds in less than 20 minutes.

    Beef and Suet after grinding
    Beef and Suet after grinding

    I’ve been fairly impressed with the ease of use, and it has very little left in the worm at the end. It’s a workhorse and for me, that’s important. I know that most people would grind their meat as they use it, but I don’t have time for that. I’m going to grind a ton at once and package it in one pound increments in the freezer, because then I’m only grinding once, and cleaning the meat grinder once. I’m sure most of our regular readers have guessed, but I’m all about economies of scale.

    The meat left in the grinder after grinding
    The meat left in the grinder after grinding

    My only quibbles are that it is loud, the grinder head is not dishwasher safe as it’s aluminum and would discolor, and that it has to be hand washed and dried immediately for the same reason. The foot pedal is a nice option, so that you can operate hands free and not get meat all over the push buttons. I haven’t used the sausage stuffing tubes or the kubbe/kibbe attachments, as I’ve not yet found safe casings, and most kubbe recipes contain wheat. Maybe I’ll work on sourcing safe casings this summer, in between gardening, food preservation, and soap making (or it’ll get put off again, hahaha).

    Video of STX Turboforce II 4000 Series Quad Air Cooled Electric Meat Grinder in operation

    The verdict: Great machine for me, might be too much for most users.

  • Product review: Vitamix 5200 Super Package

    Product review: Vitamix 5200 Super Package

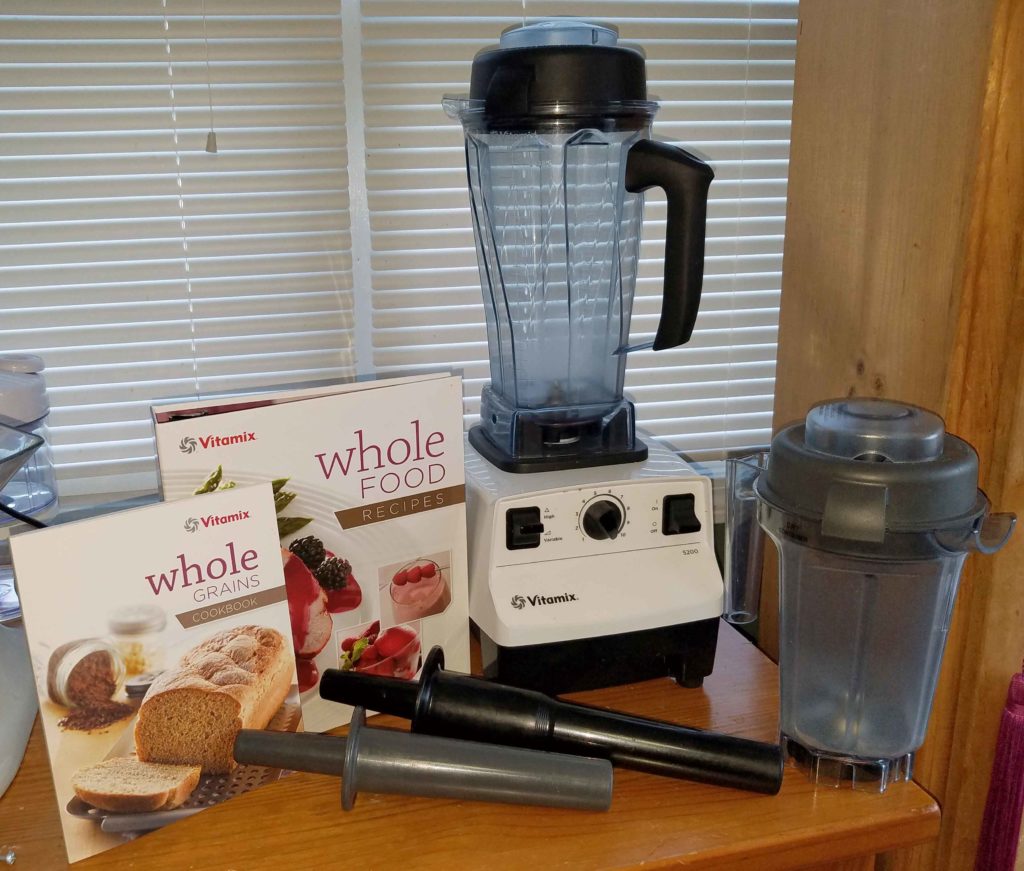
    My Vitamix
    My Vitamix

    I’m still in the final throes of planting season. This means that if it’s daylight, I’m pretty much outside, unless I’m too exhausted and/or my legs are in too bad shape to keep going without giving out (long story, some other time), in which case, I’m not cooking stuff either. So you all get to benefit from a product review of my Vitamix blender. I know I discussed my Vitamix in my post on Money, but I wanted to do something more in depth. I purchased the Vitamix 5200 Blender Super Package from Costco (no affiliation, or even a membership) almost three years ago. The package currently includes:

    • Introduction to High Performance Blending book – includes over 60 recipes
    • Whole Grains Cookbook – it does include some gluten-free foods
    • Accelerator tool –  used to assist the blender in processing thicker mixtures
    • 64-oz. wet-blade container with stainless steel hammermill and cutting blades
    • 32-oz. dry-blade container with stainless steel hammermill and cutting blades designed for dry-grinding
    • One 2-part vented lid with measurements for the 64-oz. container – this is the “wet” container
    • One 2-part vented lid with measurements designed for the 32-oz. container – this is the “dry” container for grinding grains, beans, rice and soybeans into fresh flour
    • 7-year warranty

    Mine came with a different book which is the Whole Food Recipe book, which appears to have a lot more recipes than the books that come with the current version of the package.

    As I said in my post on Money, it’s the the one thing that honestly I probably should have bought from day one of food allergy life. If you’ve never used a high performance blender, compared to the $20-30 blender you had in college, or even the $100 Cuisinart that that I killed in a year, this thing is like driving a brand new loaded Porsche after driving a 15 year old Subaru that you had to add two quarts of oil a week, that you could put several fingers through the rust holes without touching the sides of the holes, and that the brakes that were so bad you had to downshift to slow down because the rotors were gone.

    I use the Vitamix wet container to make cashew milk and I don’t even have to soak or strain any more. I may soak for 20 minutes just to make sure they are clean, but the Vitamix obliterates the cashews so thoroughly that you don’t have to soak them. Same thing with rice milk. Cooked rice and water, and no more straining, the rice is just completely gone into the rice milk. I also use the wet container to make salad dressings. It emulsifies vinaigrette so well that it stays together in the fridge for days with the help of a little mustard (I use my home canned). I use the wet container to make hot sauces, it does an amazing job of pureeing peppers and other ingredients into a beautiful, consistent sauce.  (See Chili Lime Hot Sauce,  Cilantro Lime Green Cayenne Hot SaucePink Grapefruit Sarit Gat Hot Sauce, and Curry Spiced Hot Sauce) I also use the wet container to make batters, such as for deep frying or when I make my “fake eggs” from garbanzo bean flour and black salt. If I use a bowl and a whisk, it takes me forever to get the lumps out. If I just throw everything in the Vitamix for a minute, it’s perfectly blended. I also use the wet container to make fruity drinks from my safe vodka or rum, my homemade jams, and ice. The wet container can almost make blackberry seeds in jam disappear when you put it in a fruity drink. You can also make soup in it, as the blender will heat the contents if processed long enough, although I’ve not tried this feature.

    I use the dry container to make my own flours from dried beans and rice. You can literally throw a cup of dried black beans into the dry container blender, and presto, black bean flour. I use these flours to do gluten free baking. I’ve also used them in cooking, and I’ve used ground soy bean flour to make my own corn free tofu. I also use the dry container to make my own chili powder, curry powder, and garam masala from whole spices and dried chilies. I often toast the whole spices, let them cool and then grind them in the dry container. I also grind my own whole spices into powders as needed. (Powdered spices are often cross contaminated or have anti-caking agents which are a problem.) I often break up cinnamon sticks into pieces and grind the pieces into powder. I also grind my own cumin seed, cardamom, and coriander.  Once my spices are ground, I use the wet container to make my own spice blends. I make my own versions of Montreal steak seasoning, taco seasoning, Greek seasoning, Italian seasoning, and so on. (See Another DIY Spice Blend Round Up: Greek Seasoning, Prime Rib Seasoning, and Italian SeasoningDIY Spice Mix Day: Montreal Steak, Creamy Peppercorn, Singapore, and Full of Flavor Herb Mix,  and Taco Beef for Tacos, Salads, and Nachos)

    I know that there are other high performance blenders out there, but I haven’t used them. If you don’t need to grind your own flour, you might want to choose something not quite so high test.  But that being said, this blender is in my top three for kitchen tools I would bring to a desert island, presuming that the desert island had electricity.

    Let us know if you’ve got suggestions for blenders for our readers in the comments!


  • Product Review: Cuisinart Spice and Nut Grinder – Model SG-10

    Product Review: Cuisinart Spice and Nut Grinder – Model SG-10

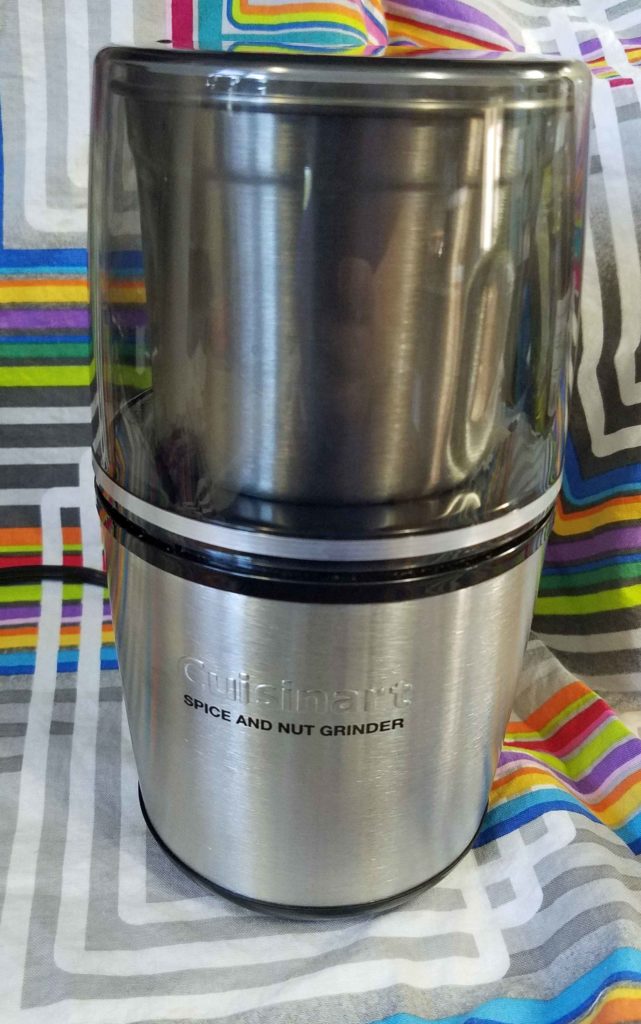
    Cuisinart Spice and Nut Grinder - Model SG-10
    Cuisinart Spice and Nut Grinder – Model SG-10

    So when your food allergies cause you have concerns about anti-caking agents or you’re just tired of hearing about stuff in the news where food is counterfeited, or cut with unknown products (think the cumin and peanut problem a few years ago), you end up grinding your own spices. I end up grinding spices in two ways: just a when I need a bit for something, and when I grind larger amounts for to have on hand for convenience.  For example, I don’t generally use ground coriander. But when I make pastrami, I need some for the rub, and I’ll grind a couple of tablespoons or so. In contrast, I use chili powder all the time. Making chili powder is a process, as I toast many of the ingredients and whole dried peppers first, then let them cool, and then grind them. So I tend to make chili powder in large quantities, so that it’s available when I need it. When I’m grinding in large quantities, I’m going to use my Vitamix.  That being said, there are times when you just need a bit of something and it isn’t enough to grind well in the Vitamix.

    I had a KitchenAid Coffee and Spice Grinder Combo Pack before I broke it. I liked the idea of it having two spice grinding cups, but coffee cup was only good for grinding coffee, and I had a Krups already that I liked so I didn’t use it for coffee. The mechanism to attach the cups to the motor was not designed well, and had rubbery fins that spun the blades. Which easily ended up degrading if you didn’t get the cup attached right and then it would only grind for a bit before the cup detached itself and so on. Suffice it to say, it was not a grinder built for people like me in mind.
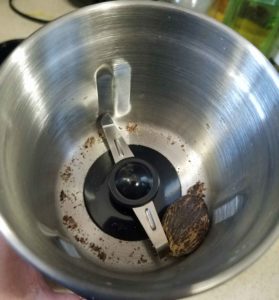
    Once I killed the KitchenAid, I decided that I’d look for a different grinder this time. I ended up with the Cuisinart Spice and Nut Grinder – Model SG-10. Supposedly you can grind a whole nutmeg into a powder. It does, sort of. It ended up being more of a paste, and the large piece of nutmeg kept getting stuck on the cutting blades. I would have been surprised if this had actually worked well though. I think I’ll stick to my microplane grater for nutmeg.

    Nutmeg before grinding
    Nutmeg before grinding

    Nutmeg after grinding
    Nutmeg after grinding

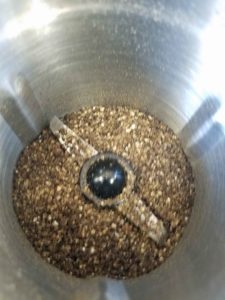
    Next I tried two tablespoons of black peppercorns. It did a respectable job.

    Ground Black Peppercorns
    Ground Black Peppercorns

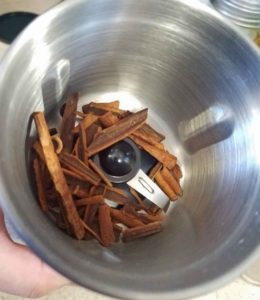
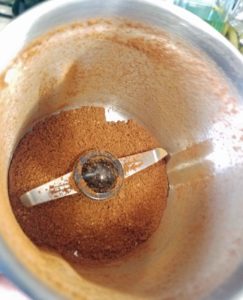
    Then I did two cinnamon sticks, broken up into pieces. Again, not too bad.

    Cinnamon Sticks
    Cinnamon Sticks

    Broken cinnamon sticks
    Broken cinnamon sticks

    Ground Cinnamon
    Ground Cinnamon

    I like that the size of the cup is larger (half a cup capacity), but I’m not sure about the drive mechanism on it. I guess time will tell as to whether I manage to break it or not. I also note that a little bit of the spice dust gets on the lip of the base and in the base, although this was a problem with the KitchenAid as well. As of yet, I haven’t been wowed with any spice grinder/coffee grinder that I’ve owned up to this point. If you have a great one out there, let me know.