Notice: Function _load_textdomain_just_in_time was called incorrectly. Translation loading for the wp-ultimate-recipe domain was triggered too early. This is usually an indicator for some code in the plugin or theme running too early. Translations should be loaded at the init action or later. Please see Debugging in WordPress for more information. (This message was added in version 6.7.0.) in /home/maryzahc/public_html/adultfoodallergies.com/wp-includes/functions.php on line 6121
Peanut-Free – Page 32 – surviving the food allergy apocalypse (archive)

Tag: Peanut-Free

  • Stout Braised Corned Beef and Cabbage

    Stout Braised Corned Beef and Cabbage
    Stout Braised Corned Beef and Cabbage

    St. Patrick’s Day is coming, and what says St. Patrick’s day better than beer and corned beef and cabbage? Other than bedecking yourself with green leprechaun hats, buckled shoes, and carrying around fake pots of gold, not much. The recipe as I made it has gluten in it, because I used Guinness since I can have wheat, and I also used Beef Reduced Sodium Better than Bouillon to cheat and make my beef broth, which also has gluten in it. To make the recipe gluten free, try Pacific Natural Foods Organic Beef Broth which is gluten free, dairy free, wheat free and soy free, and Green’s Endeavor Double, which is a stout-like gluten free beer.

    Stout Braised Corned Beef & Cabbage

    • 1 large dutch oven
    • 2 – 12 oz bottles of Guinness (or Green’s Endeavor Double, gluten free beer)
    • 2 cups of beef broth (if you use commercially made, make sure it’s gluten free and dairy free)
    • 1 Tablespoon of pickling spice (I used Penzey’s pickling spice blend) or use spice packet that came with corned beef if it’s safe for your allergies
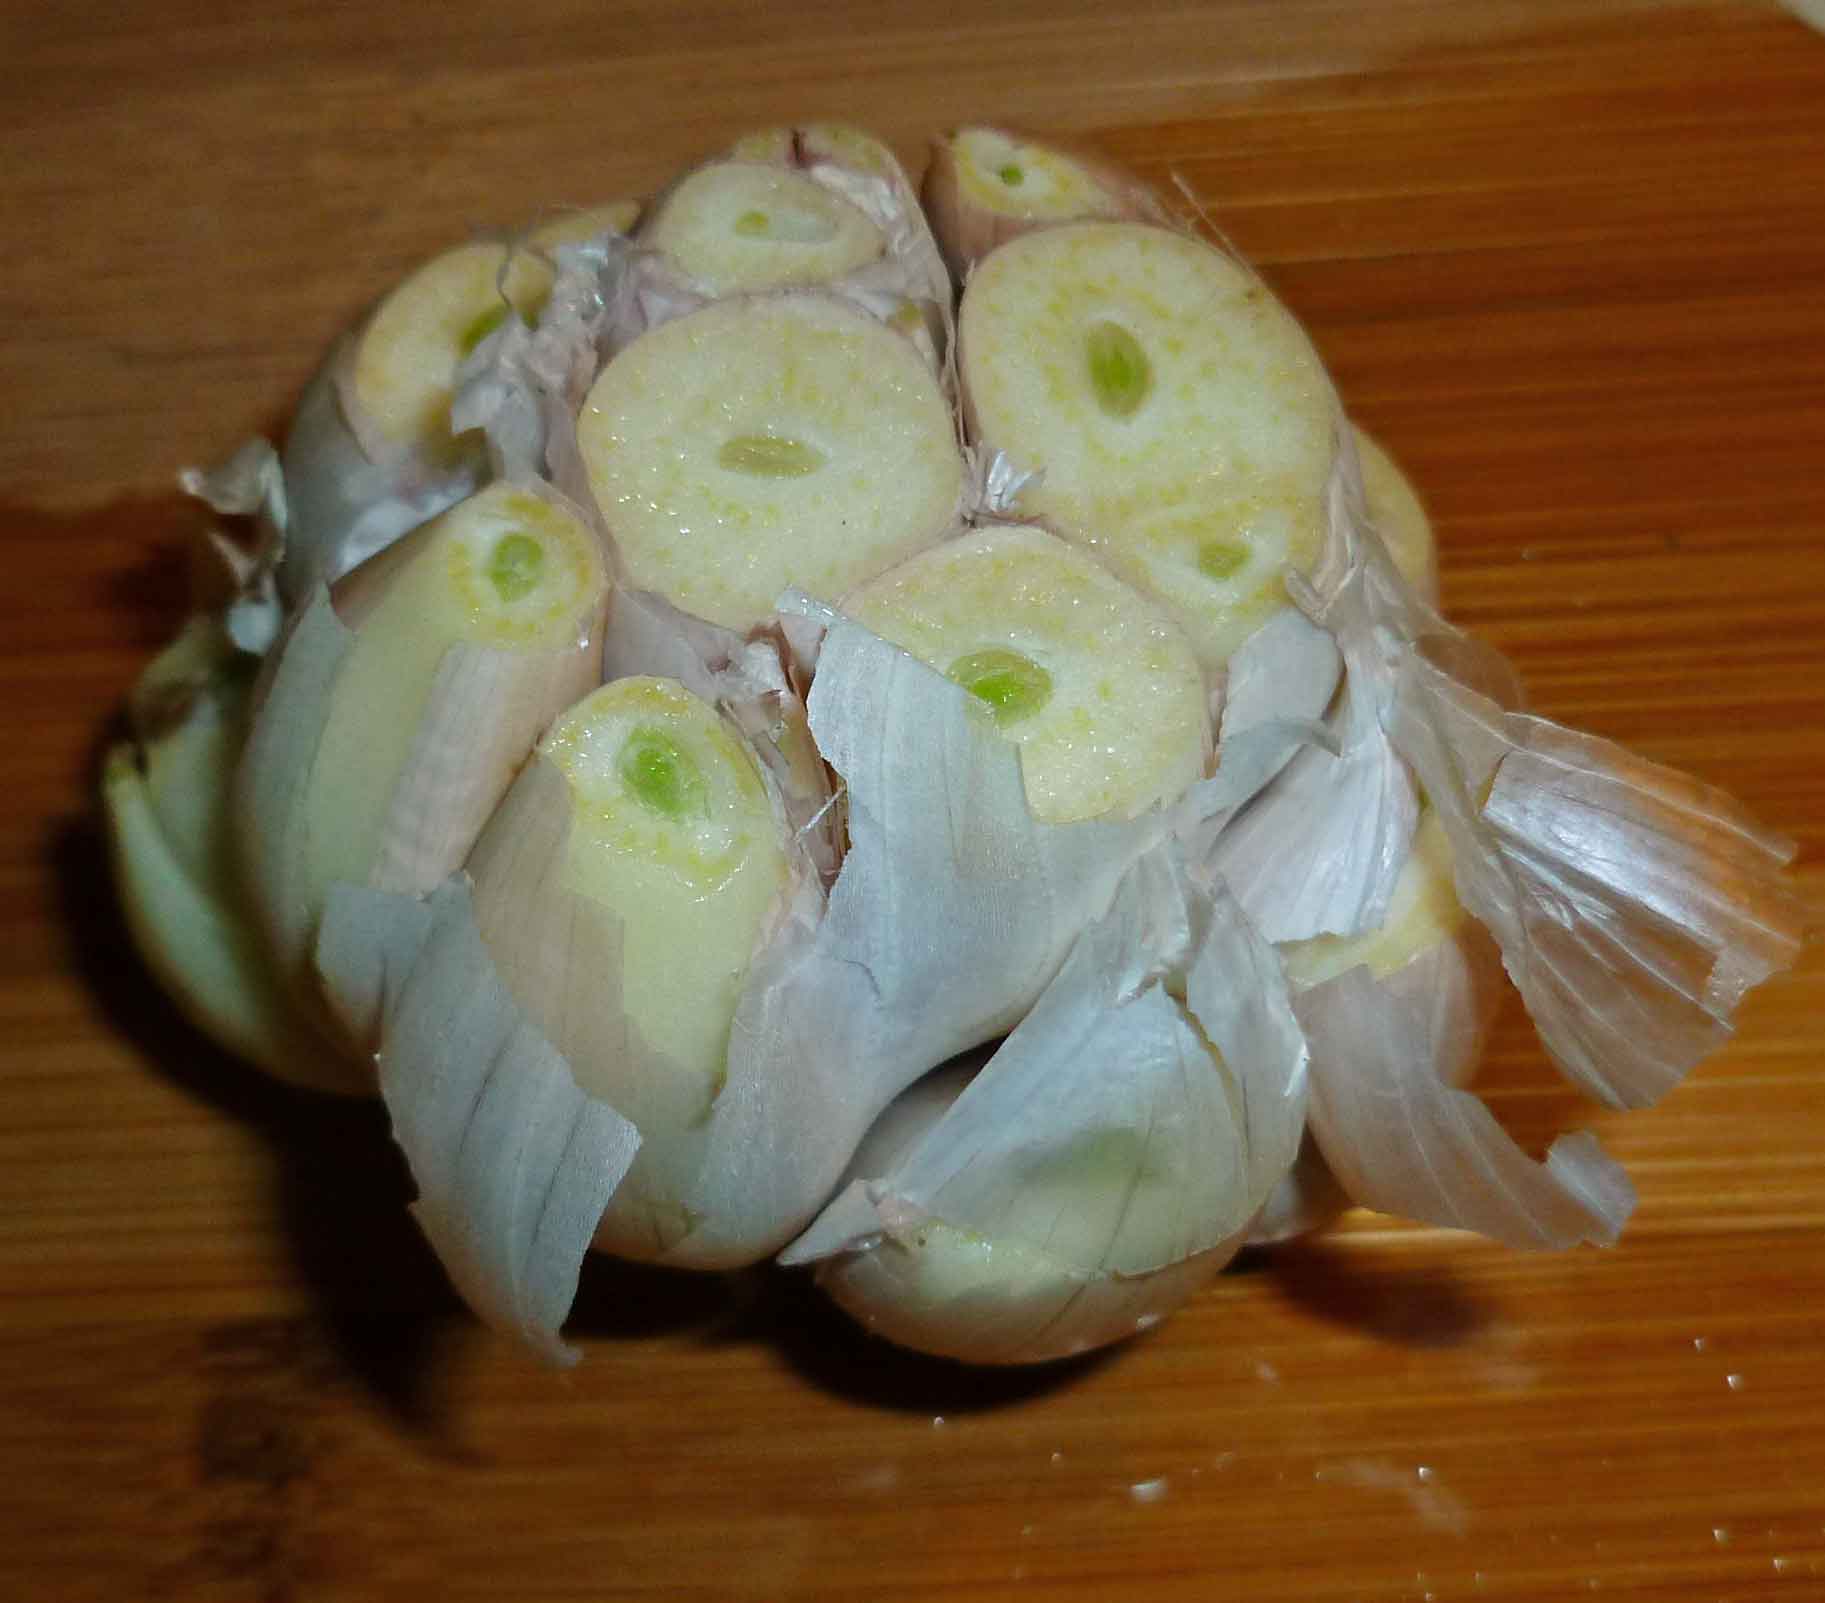
      Garlic bulb cut so all cloves are open
      Garlic bulb cut so all cloves are open
    • 1 bulb of garlic, cut as shown
    • 1/2 a medium or large onion, or one small onion, peeled and sliced
    • 3-4 lb corned beef (the one I used was Freirich Certified Angus Beef® Corned Beef Brisket, Mary Kate was awesome and called the company and the natural flavorings were only spices, and they verified that it was dairy, soy and gluten free)
    • enough to water to cover corned beef in dutch oven
    • 1-2 Tablespoons of bacon fat, shortening or cooking oil
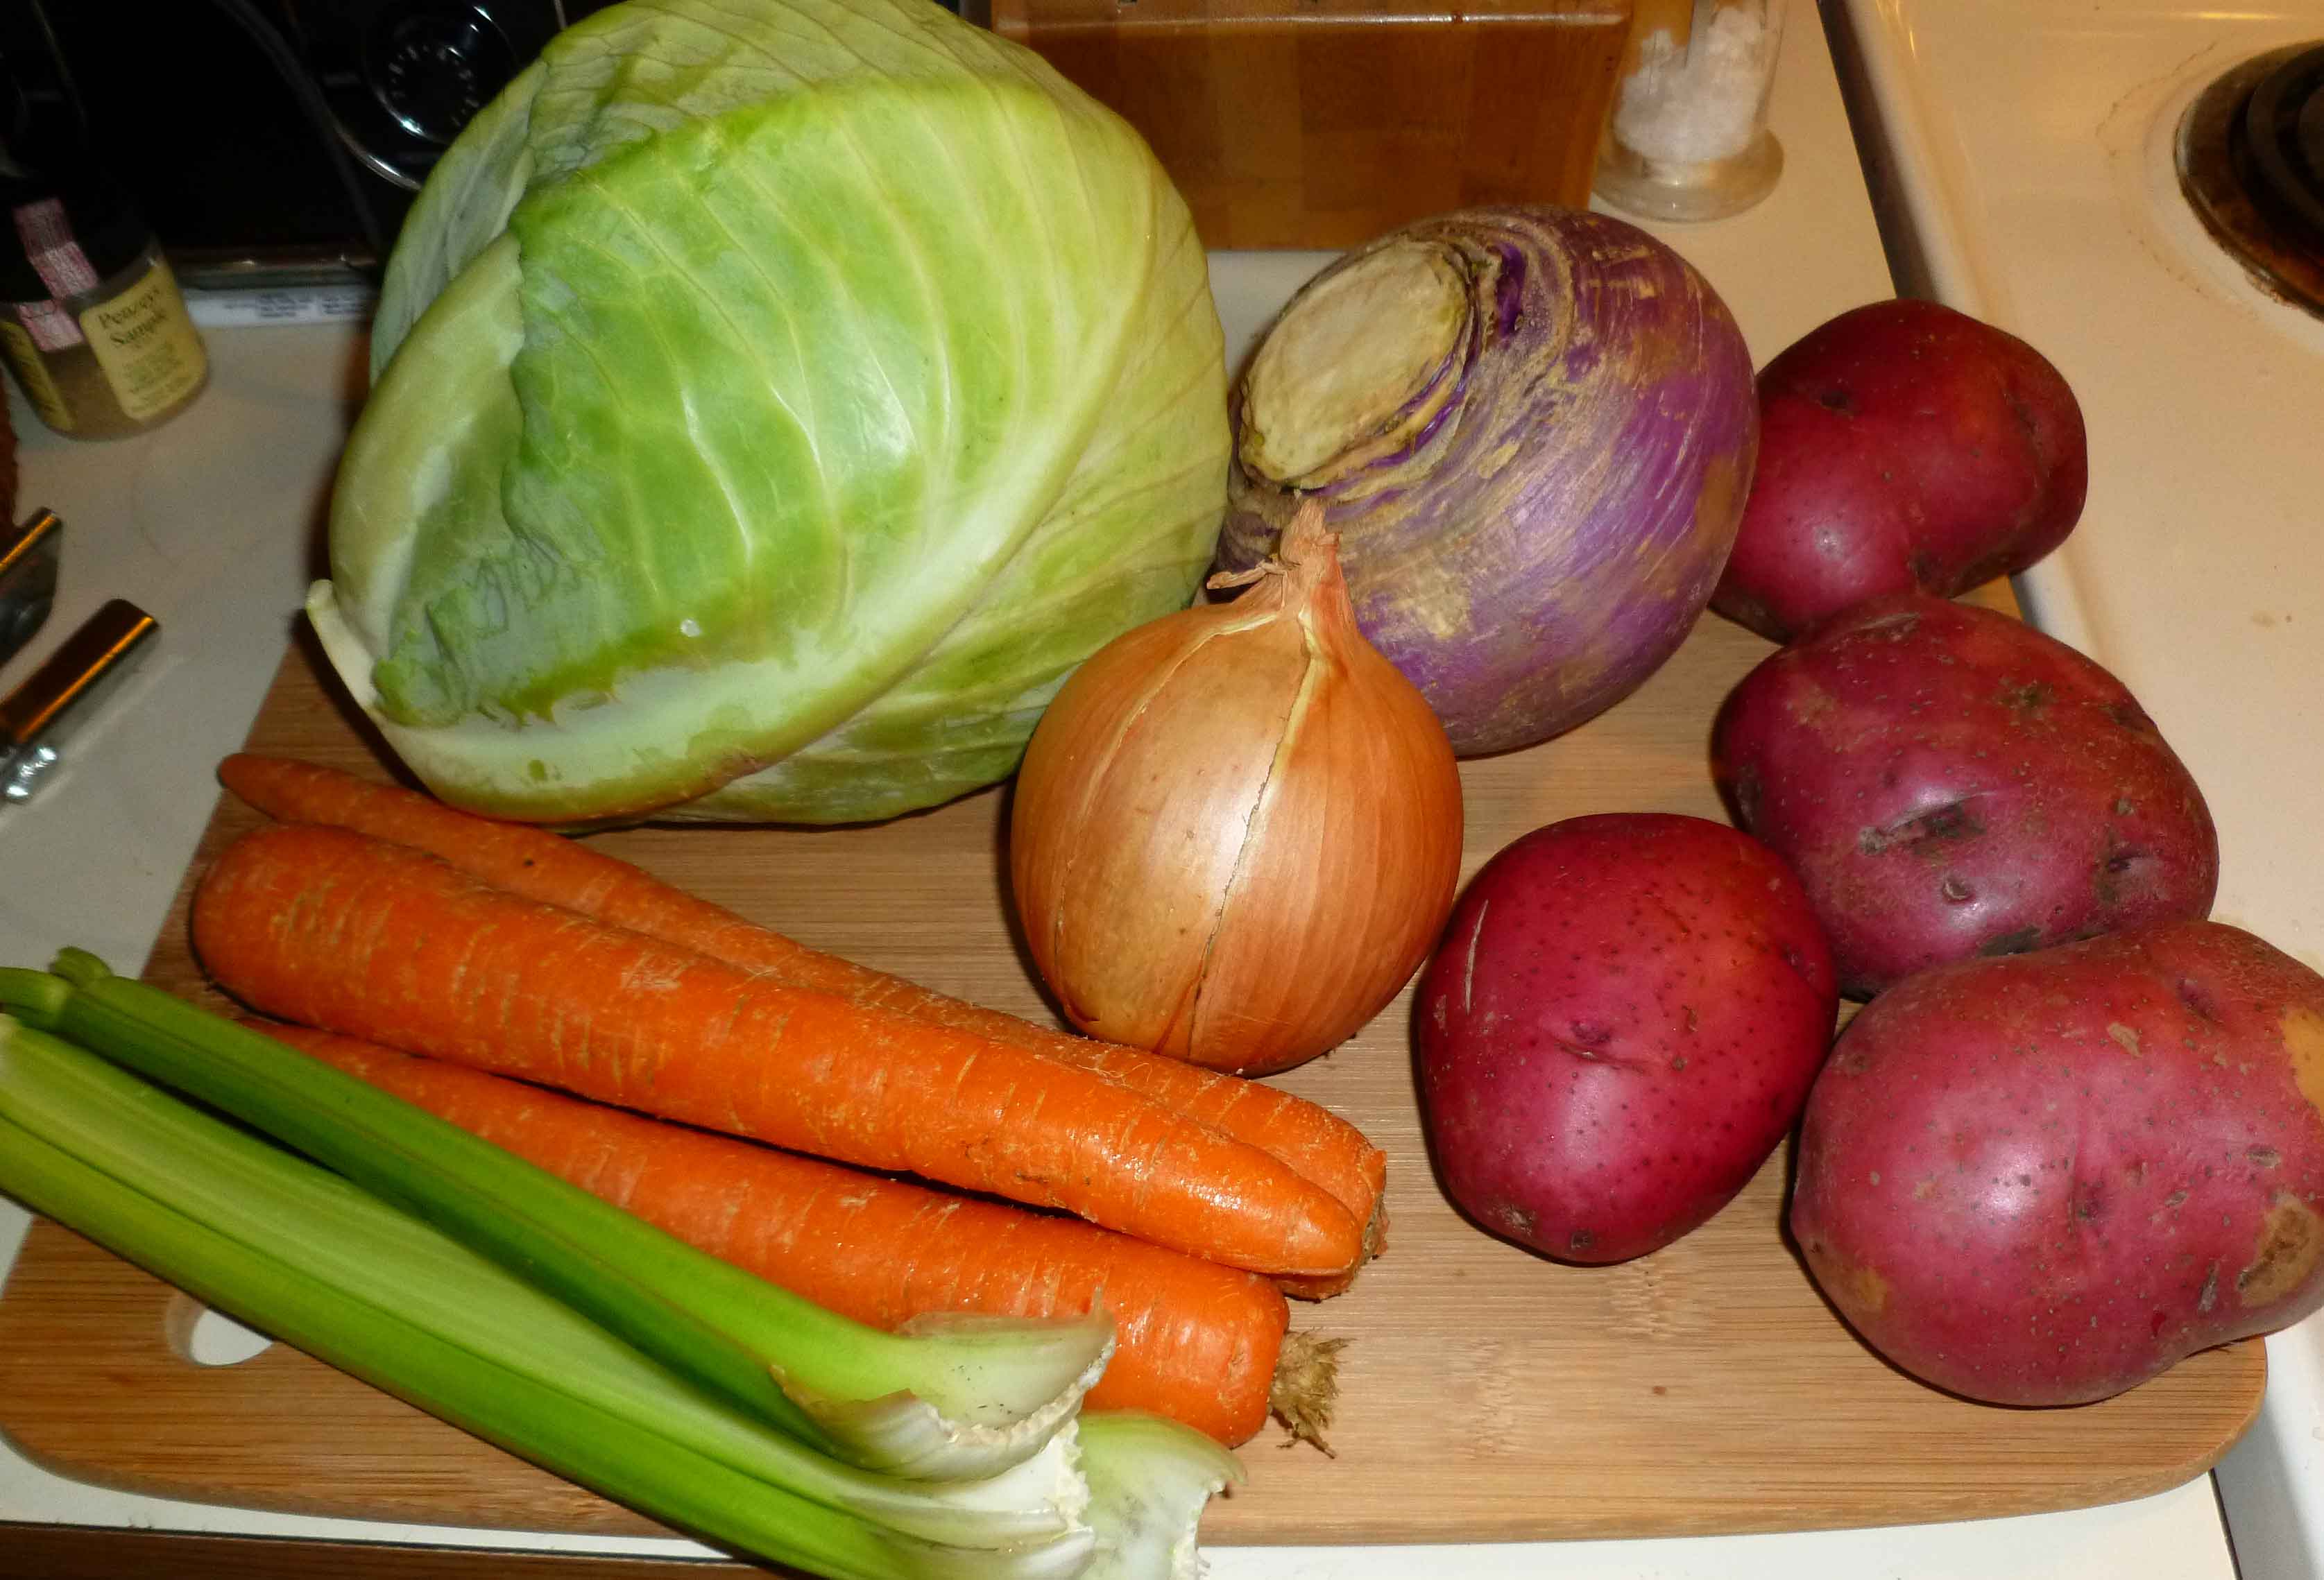
    • 4 red skinned potatoes, scrubbed and trimmed, but not peeled, cut into 1 inch pieces
    • 3 carrots, peeled and trimmed, cut into 3/4 inch pieces
    • 1 small turnip, peeled and cut into 1 inch pieces
    • 3-4 stalks of celery, de-stringed, and cut into 3/4 inch pieces
    • 1 large onion, skin removed and cut in half and then each half into quarters
    • 1 small head of cabbage

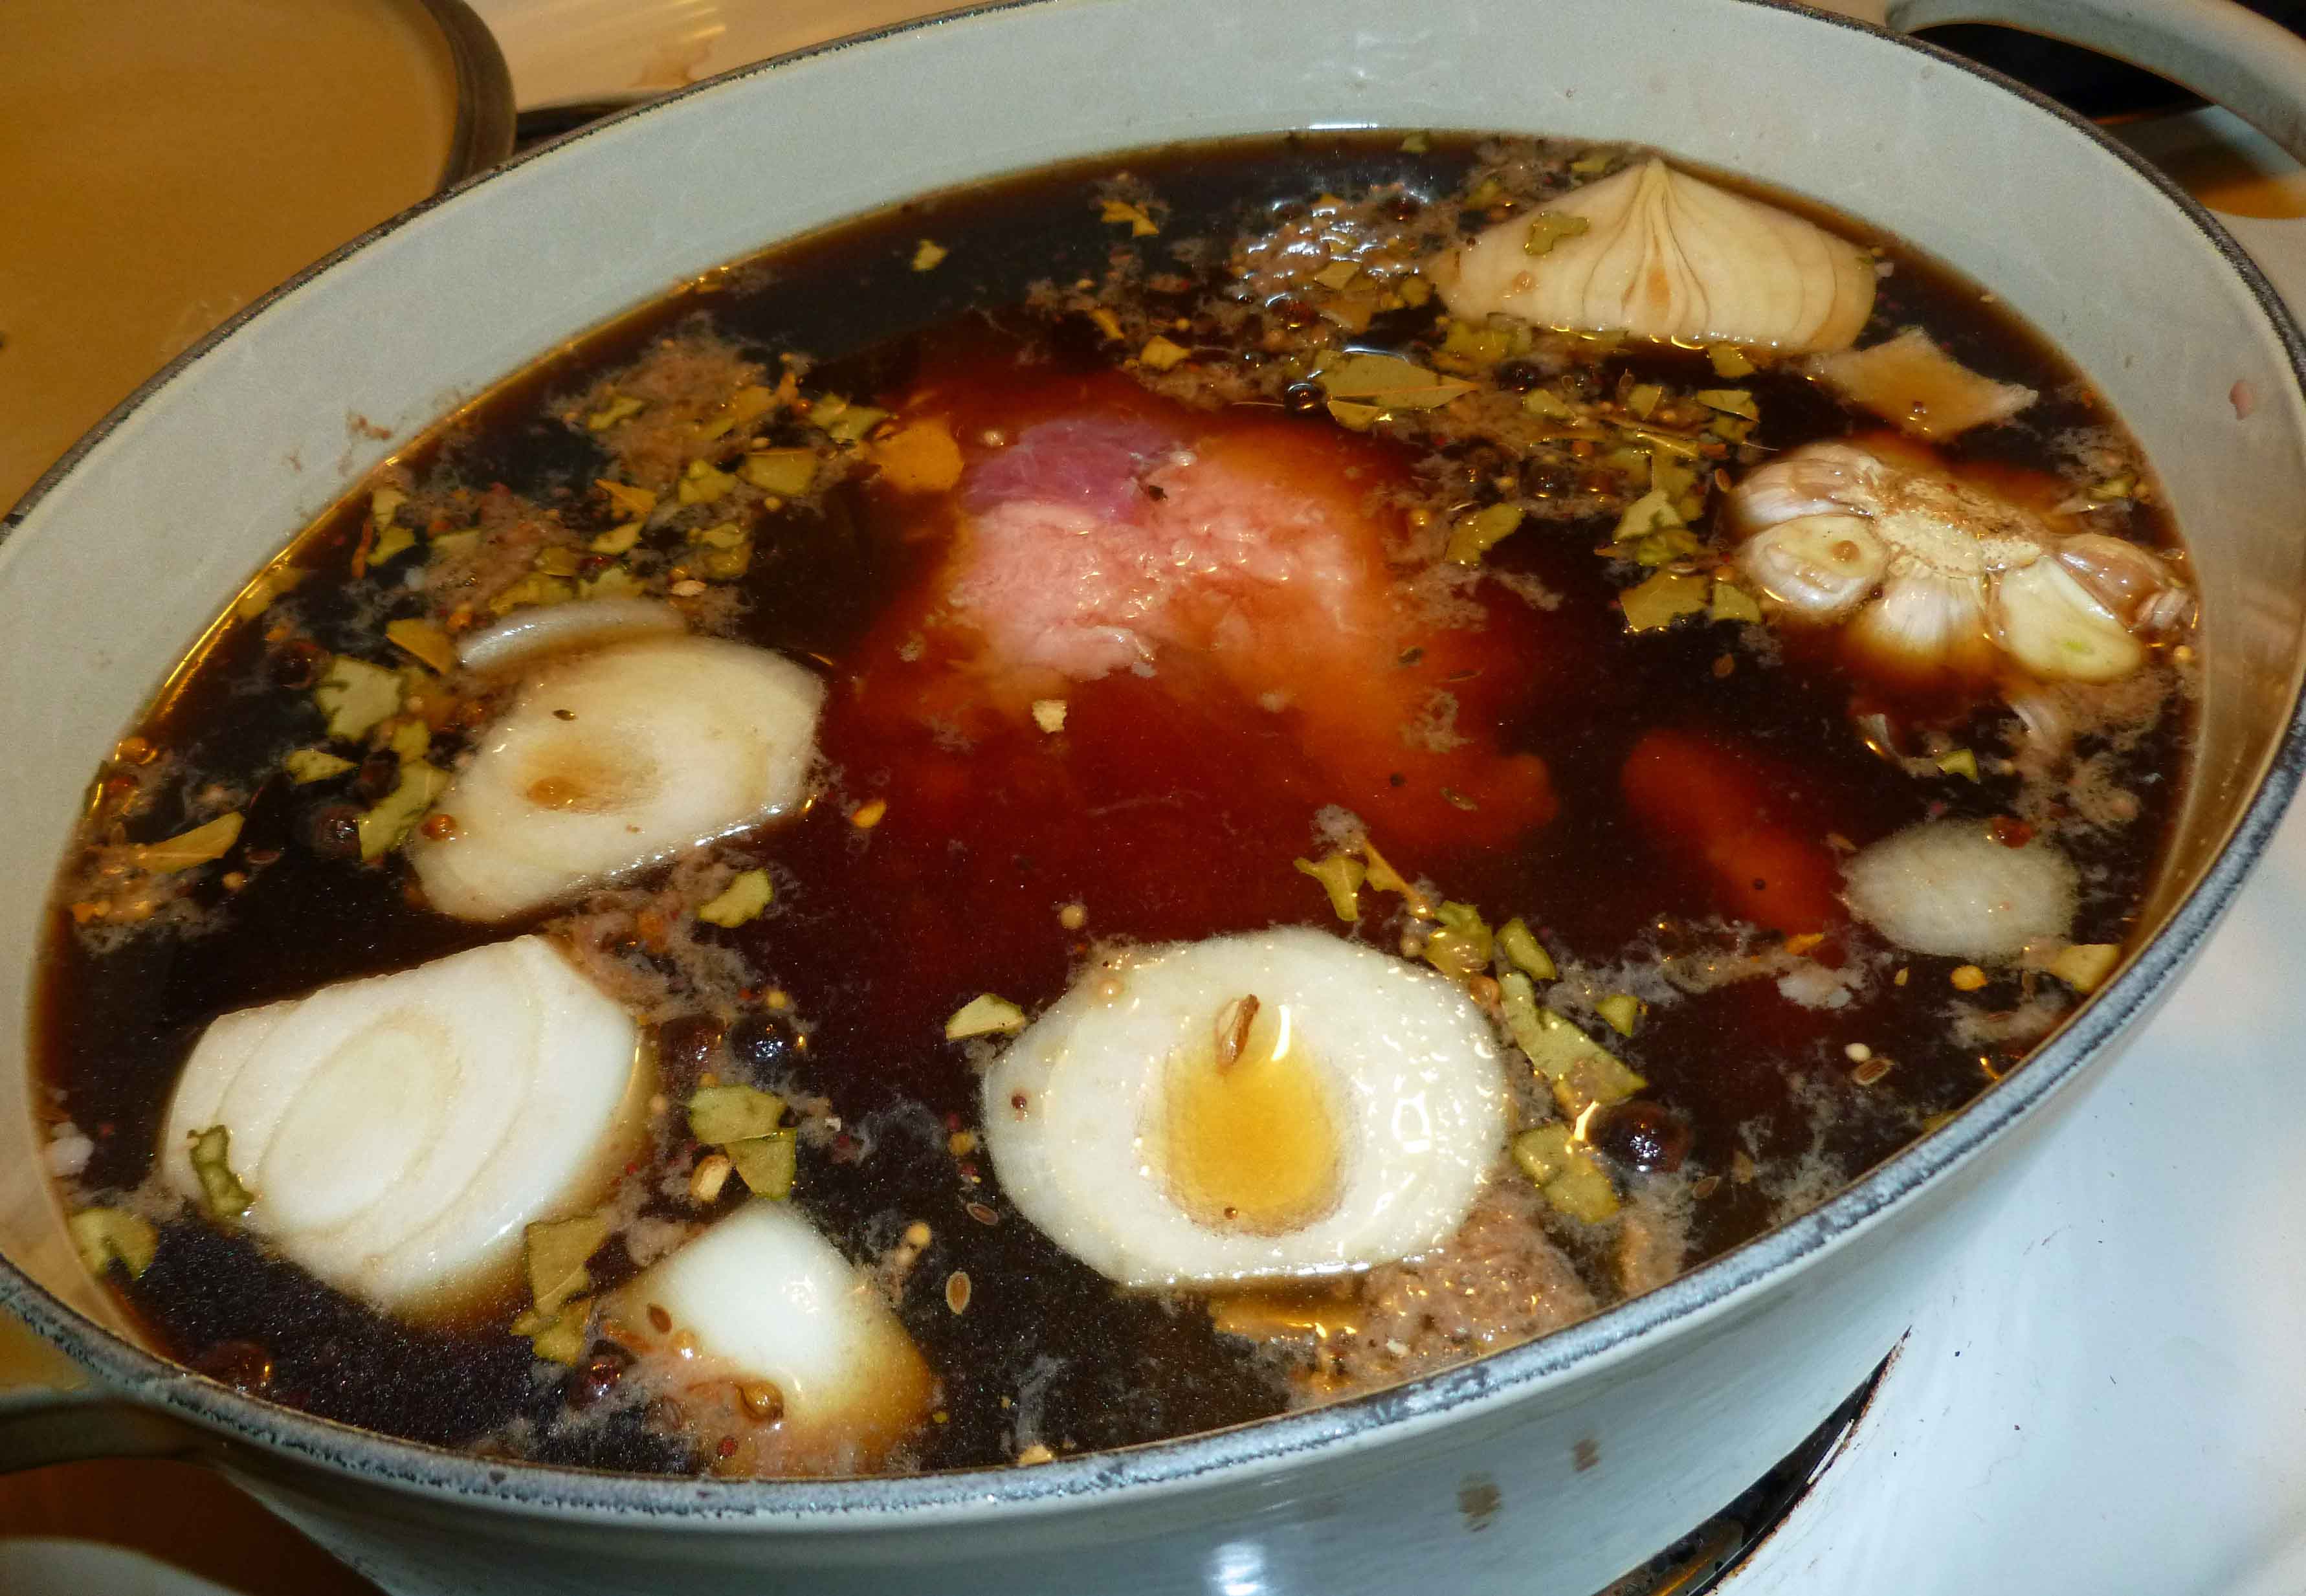
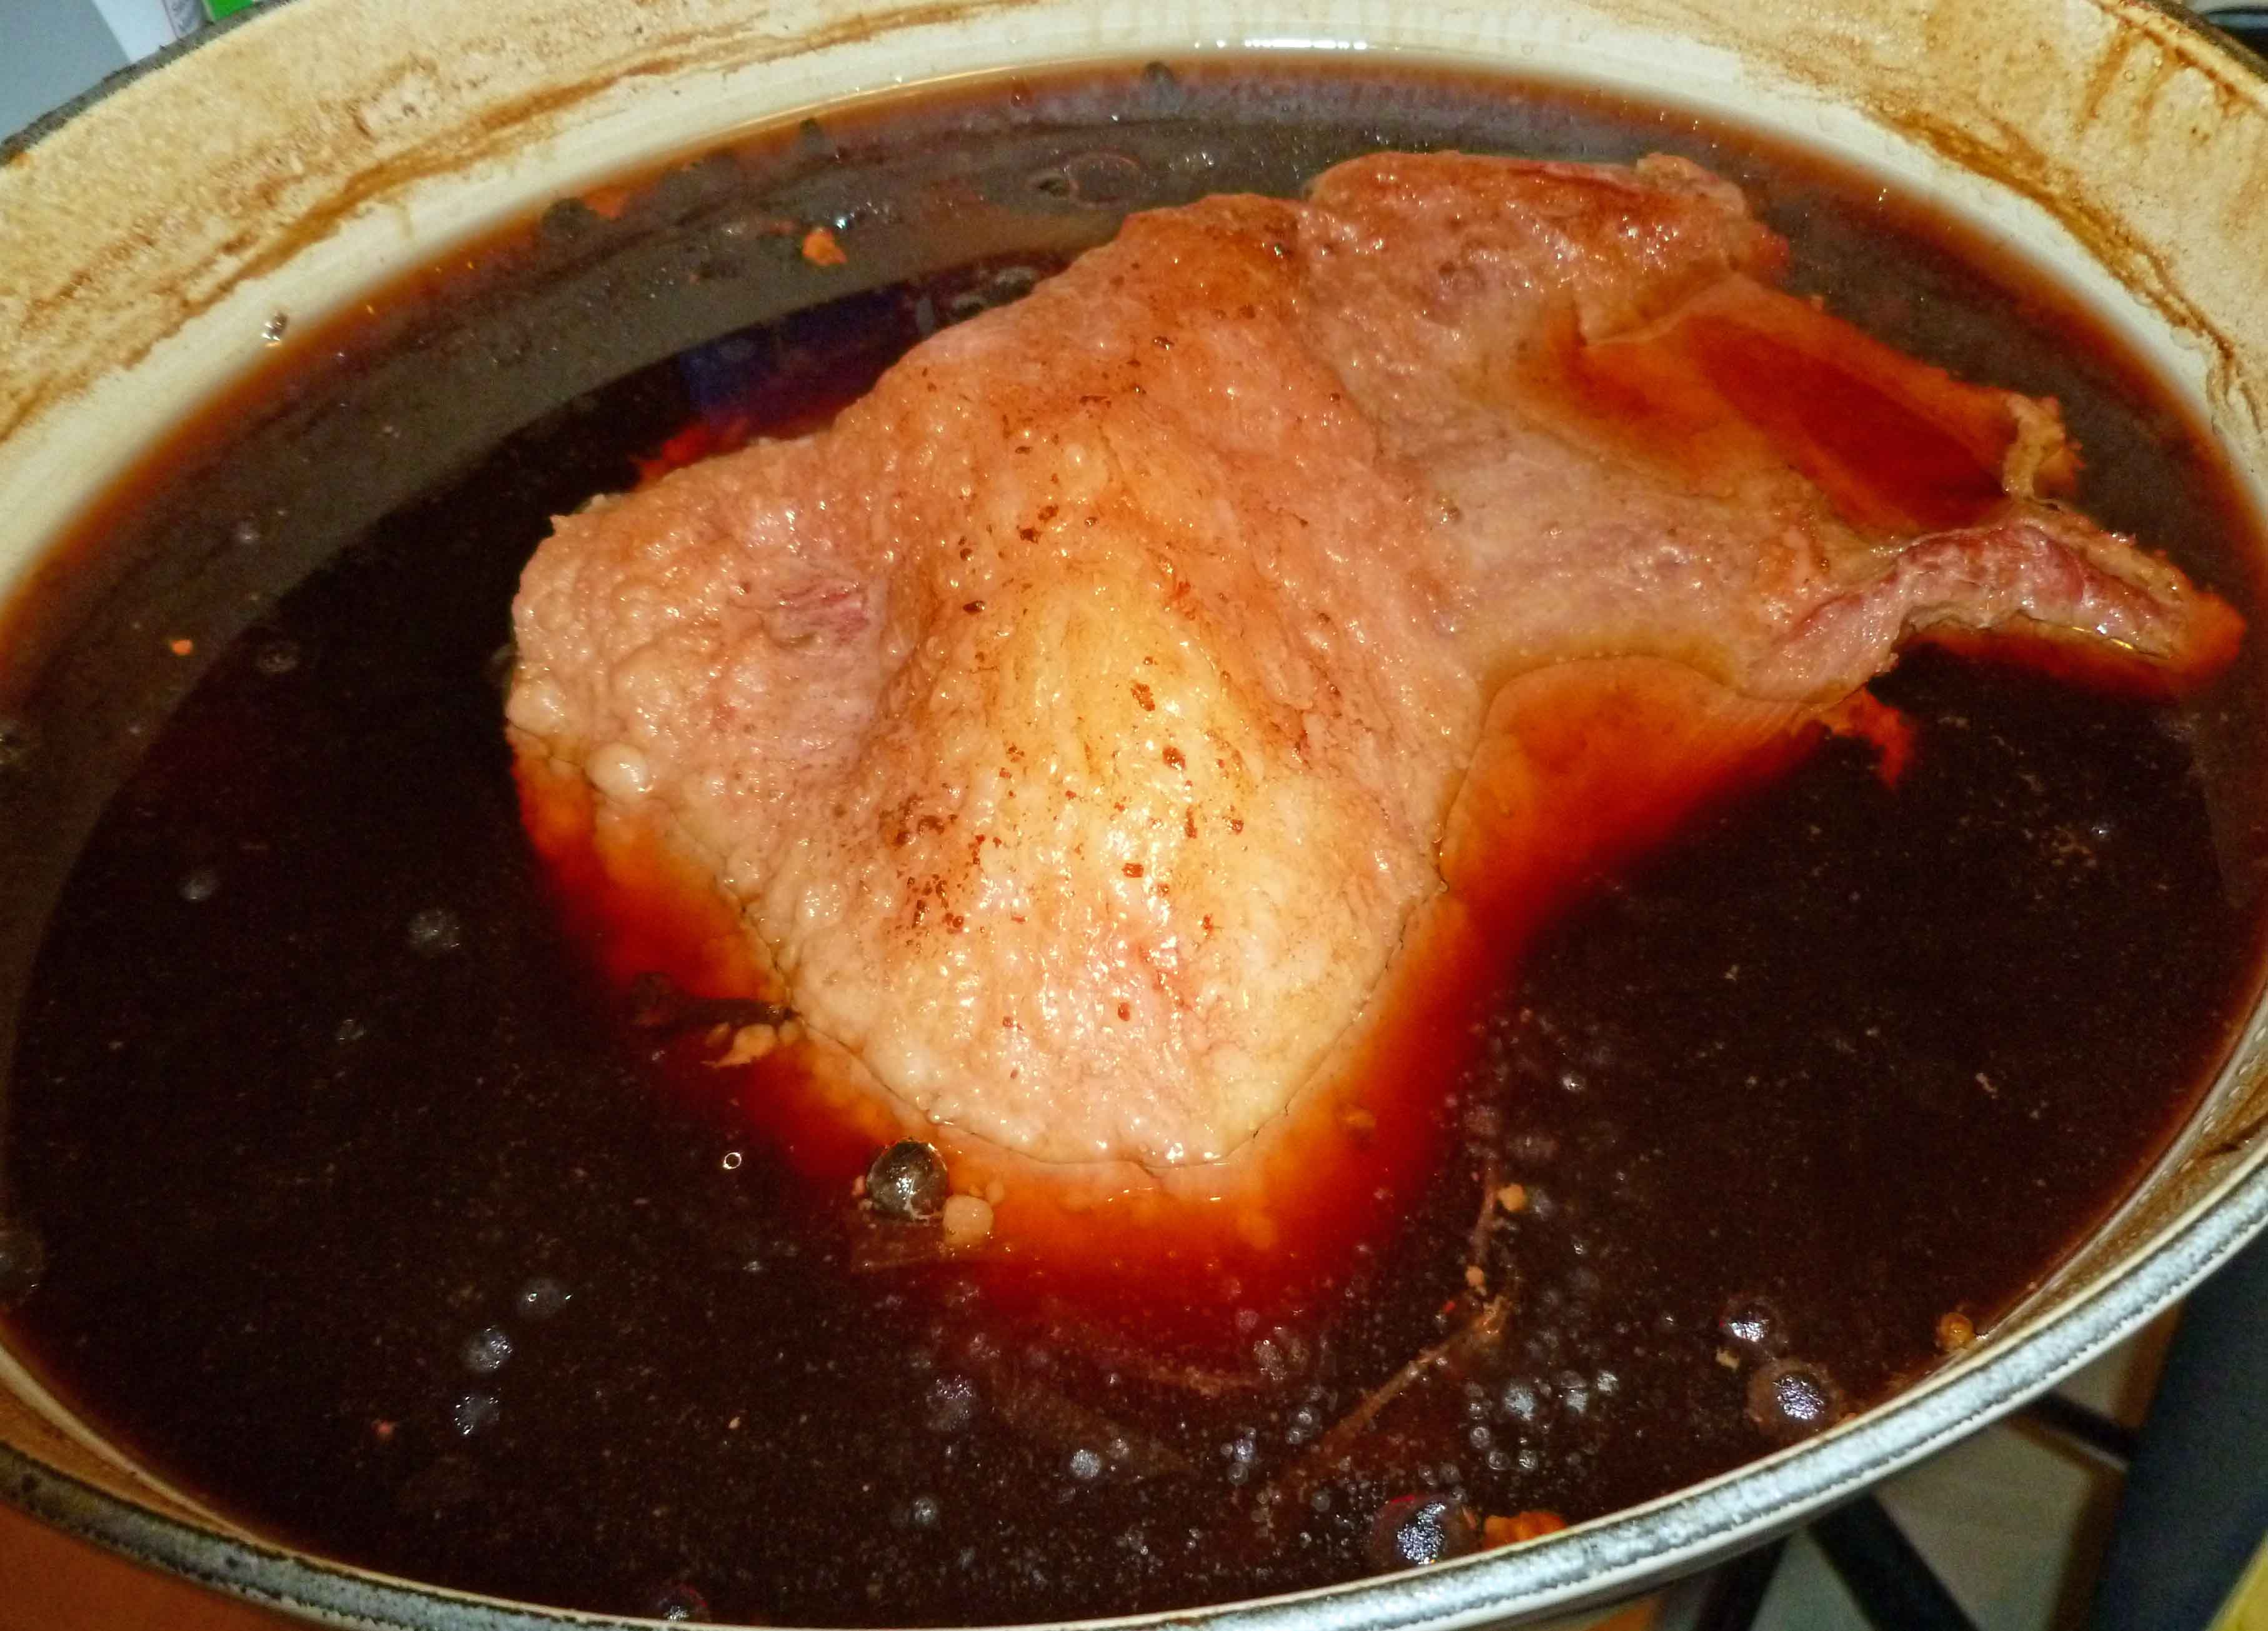
    Preheat oven to 300°F. Place dutch oven on large burner on top of stove. Add beer, beef broth, pickling spice, sliced onion, and garlic bulb to dutch oven. Stir to combine all ingredients. Carefully place corned beef into dutch oven, so as not to splash the beer mixture all over yourself like I did. If necessary add enough water that corned beef is covered with liquid.

    Corned Beef with Braising Liquid
    Corned Beef with Braising Liquid

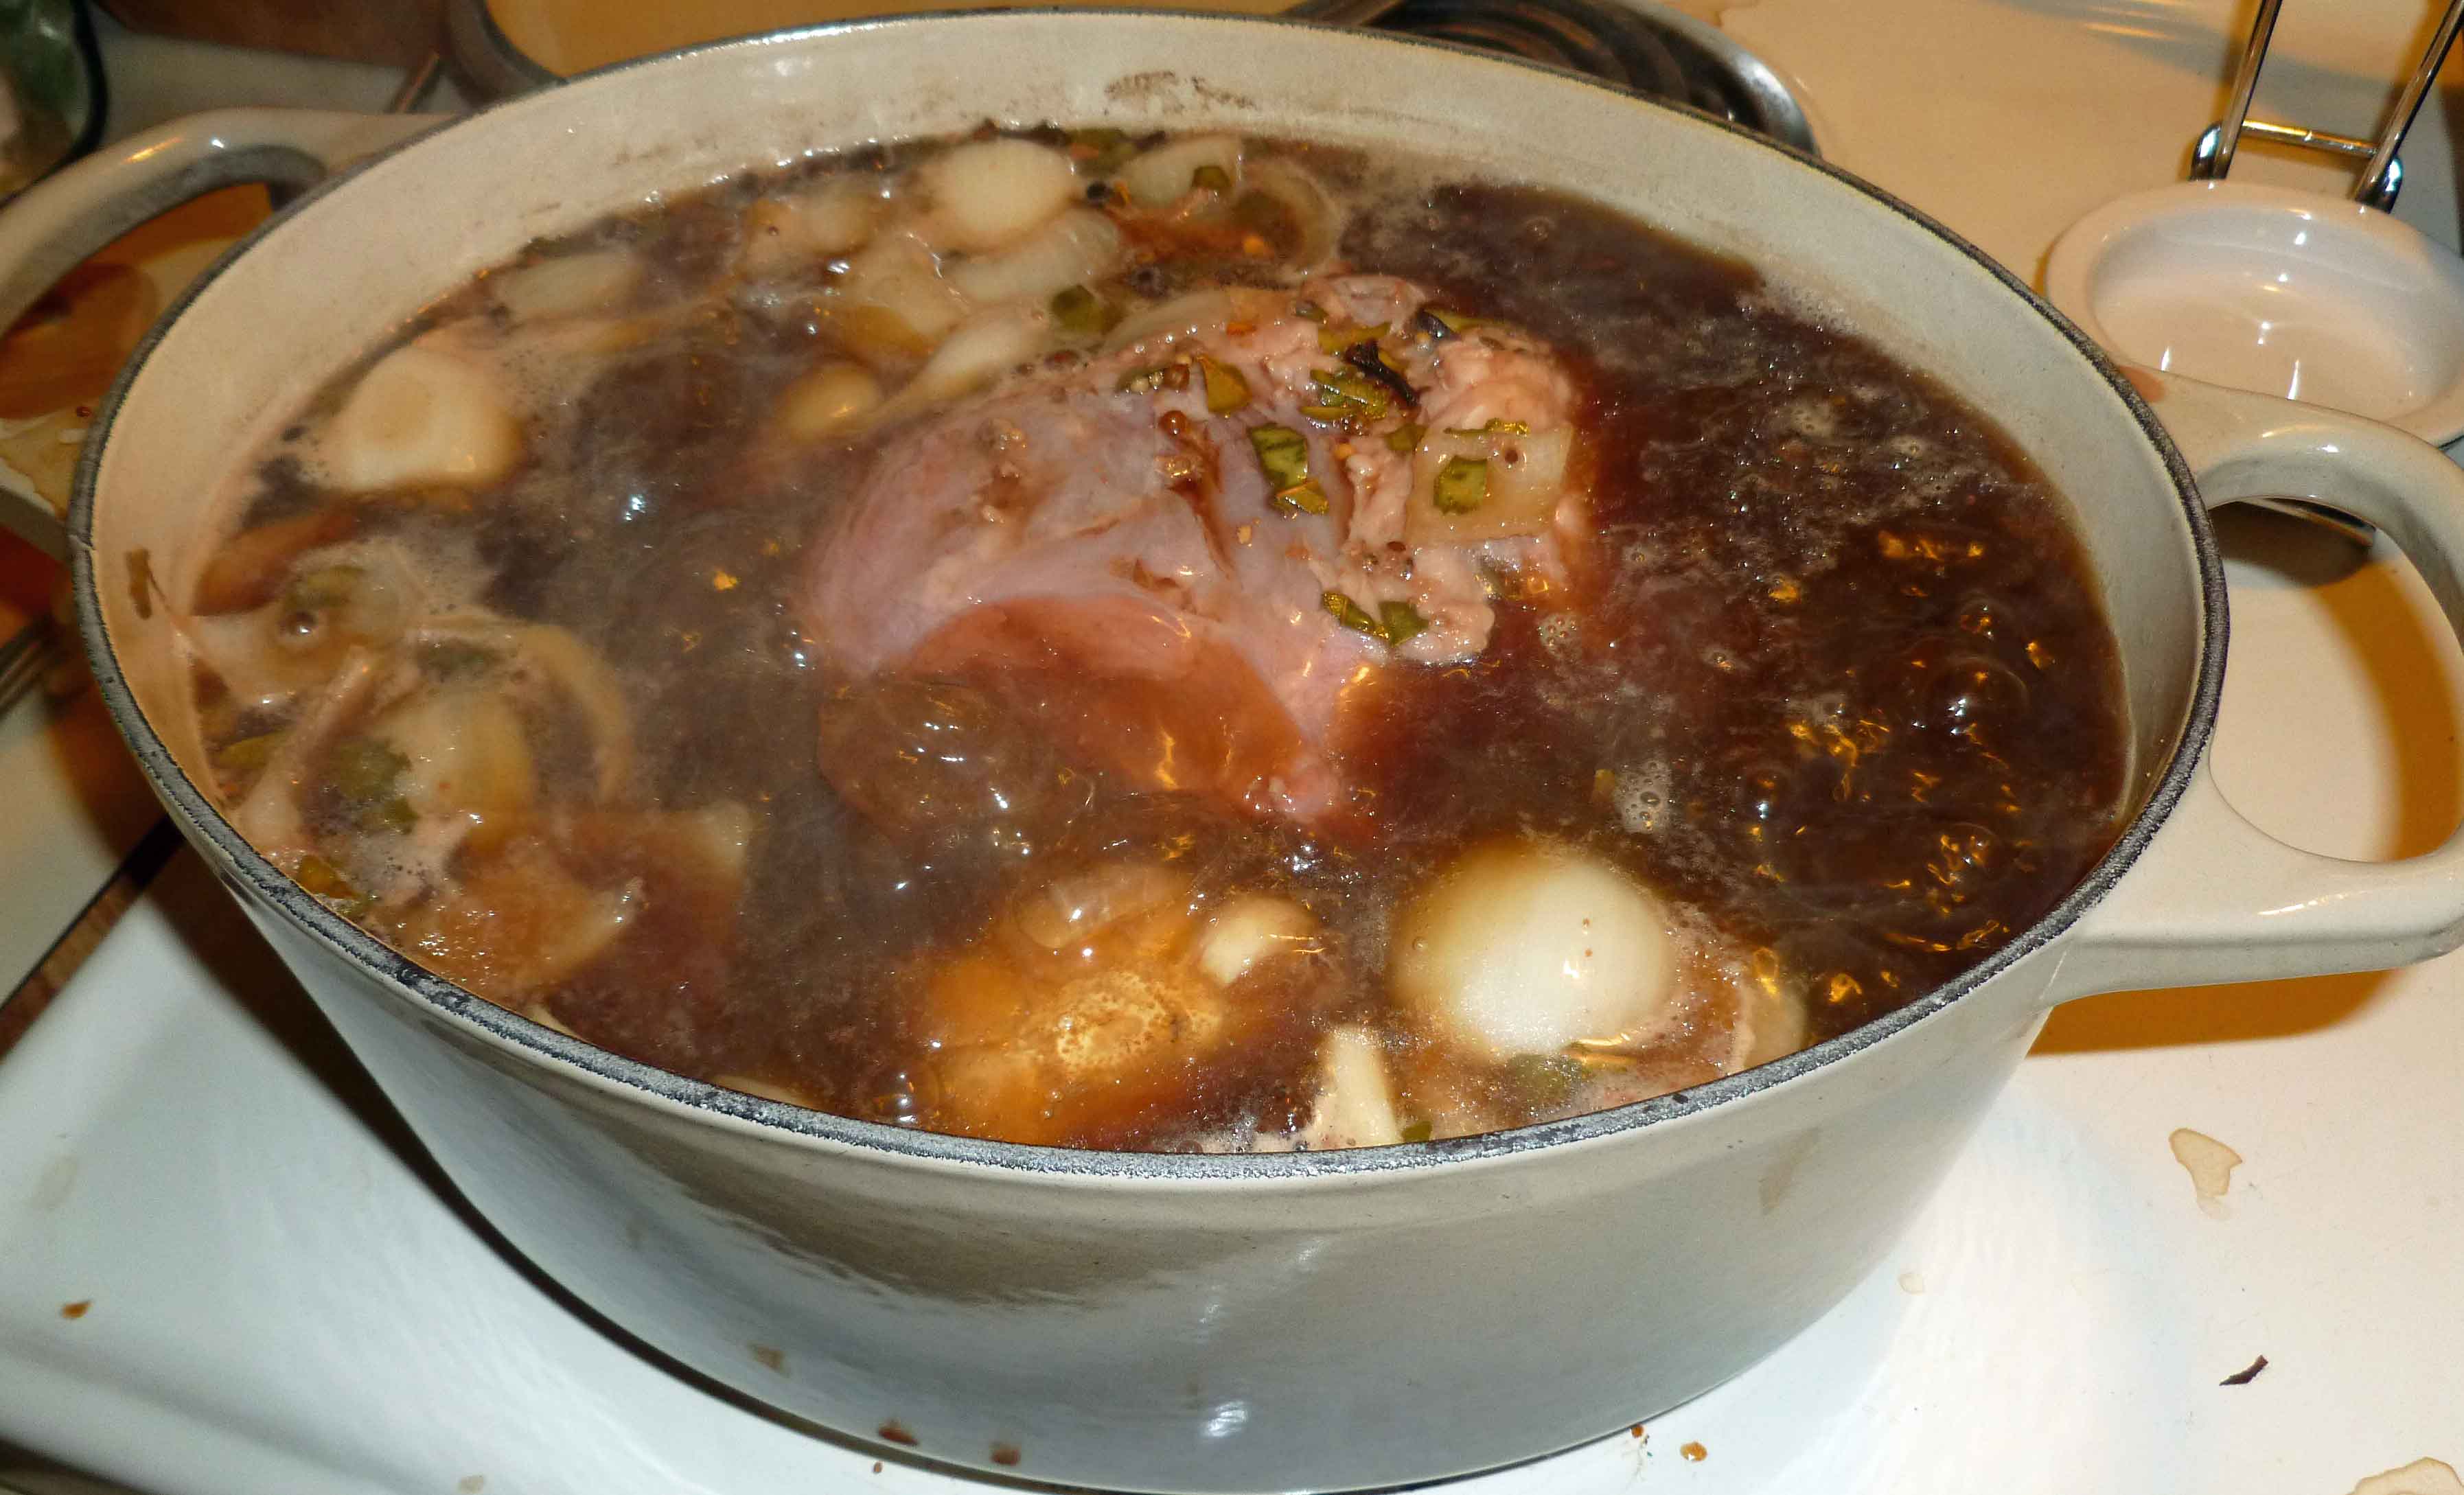
    On the stove top, bring to a boil over medium high heat. When you have a big rolling boil, turn the burner off, place the lid on the dutch oven and put it in the oven.

    Corned Beef in Braising Liquid at Rolling Boil
    Corned Beef in Braising Liquid at Rolling Boil

    Bake in the oven for 1 and 1/2 hours, and then flip the corned beef over carefully in the dutch oven, add more water to cover if necessary, and bake for another 1 and 1/2 hours. You may need to add more time if your corned beef is larger than the one called for here.

    Corned Beef after Braising in Oven for 3 hours
    Corned Beef after Braising in Oven for 3 hours

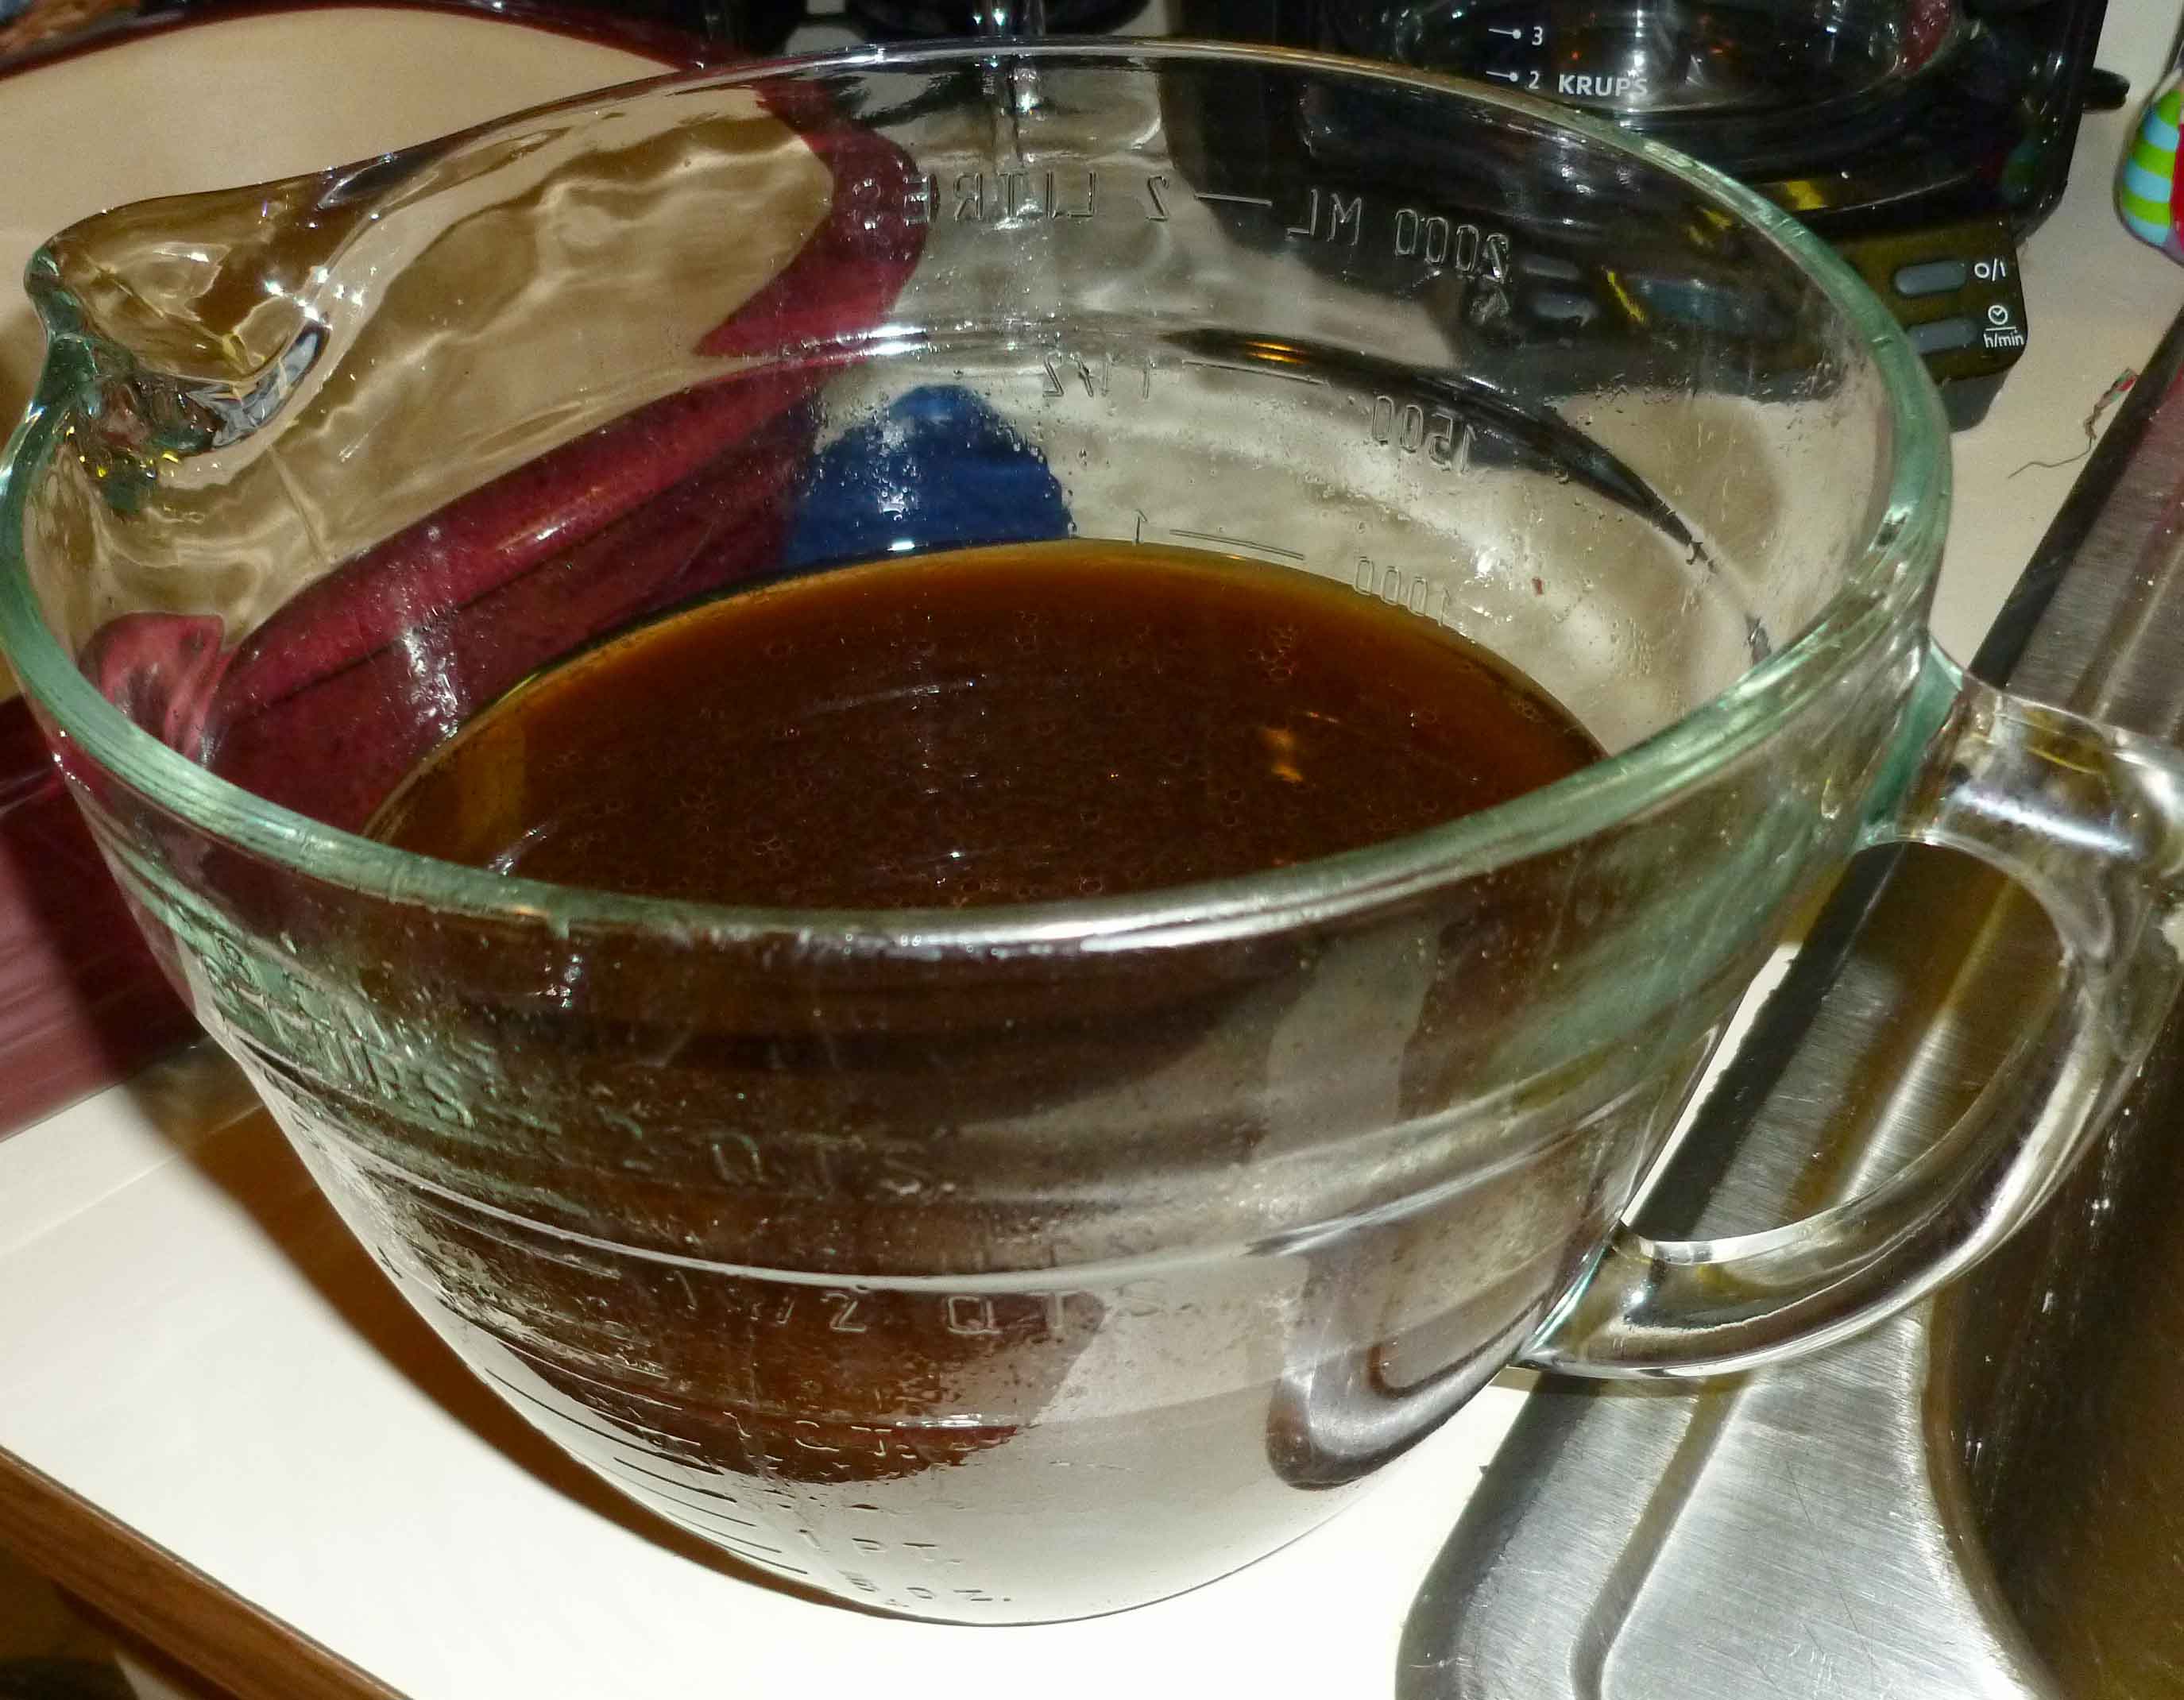
    Once the corned beef is cooked, take it out of the braising liquid and put in an oven safe dish, cover it with a lid or foil, and place it back in the oven, turning it down to 200°F just to keep it warm until the veggies are cooked. Using a strainer, strain out 4 cups of braising liquid from the pan (removing the bits of onion and pickling spice) and set it aside.

    Strained Braising Liquid
    Strained Braising Liquid
    Vegetables
    Vegetables
    Chopped Veggies
    Chopped Veggies

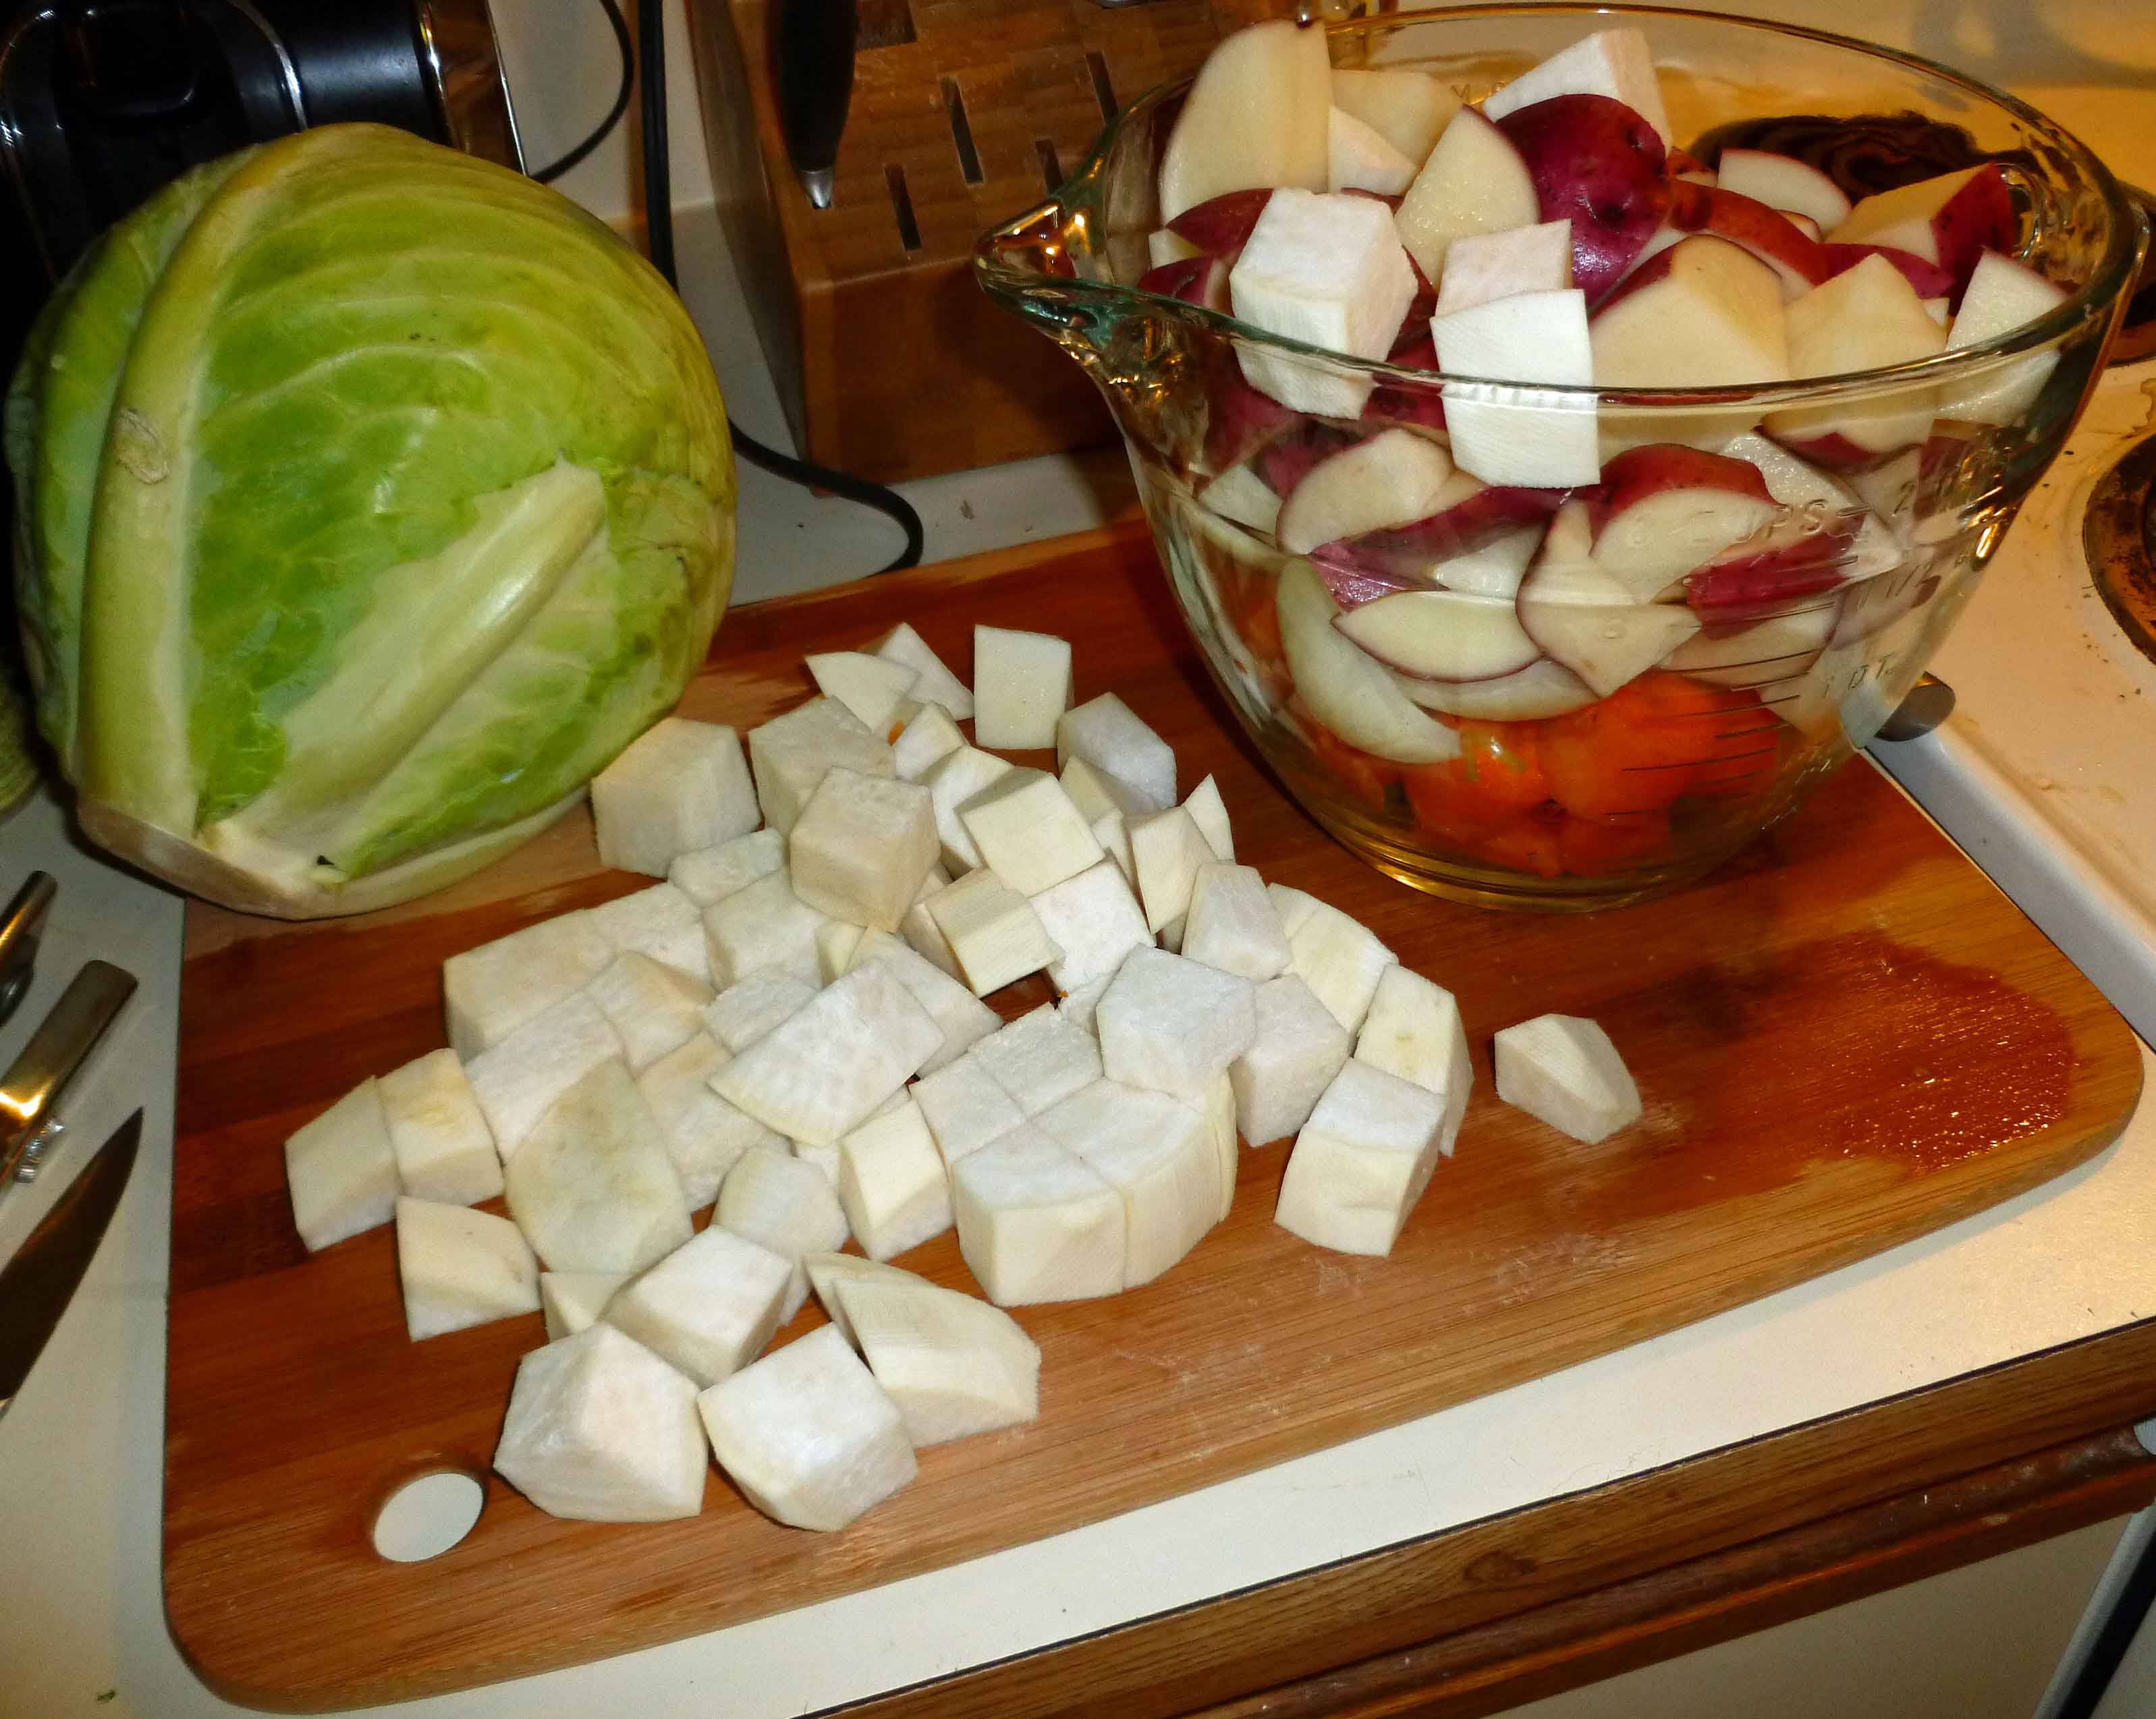
    If you have not already prepared the vegetables, now’s the time. Cut the potatoes into 1 inch pieces. Remove the ends and skin from the onion, then cut it in half, and then each half into quarters. If the carrots need to be peeled, peel them and then cut in to 3/4 inch pieces.  String the celery and cut into 3/4 inch pieces. Peel the turnip and chop into 1 inch pieces. Cut the cabbage into halves and then each half into quarters.

    Browned Vegetables in Fry Pan
    Browned Vegetables in Fry Pan
    Browned Vegetables in Fry Pan
    Browned Vegetables in Fry Pan

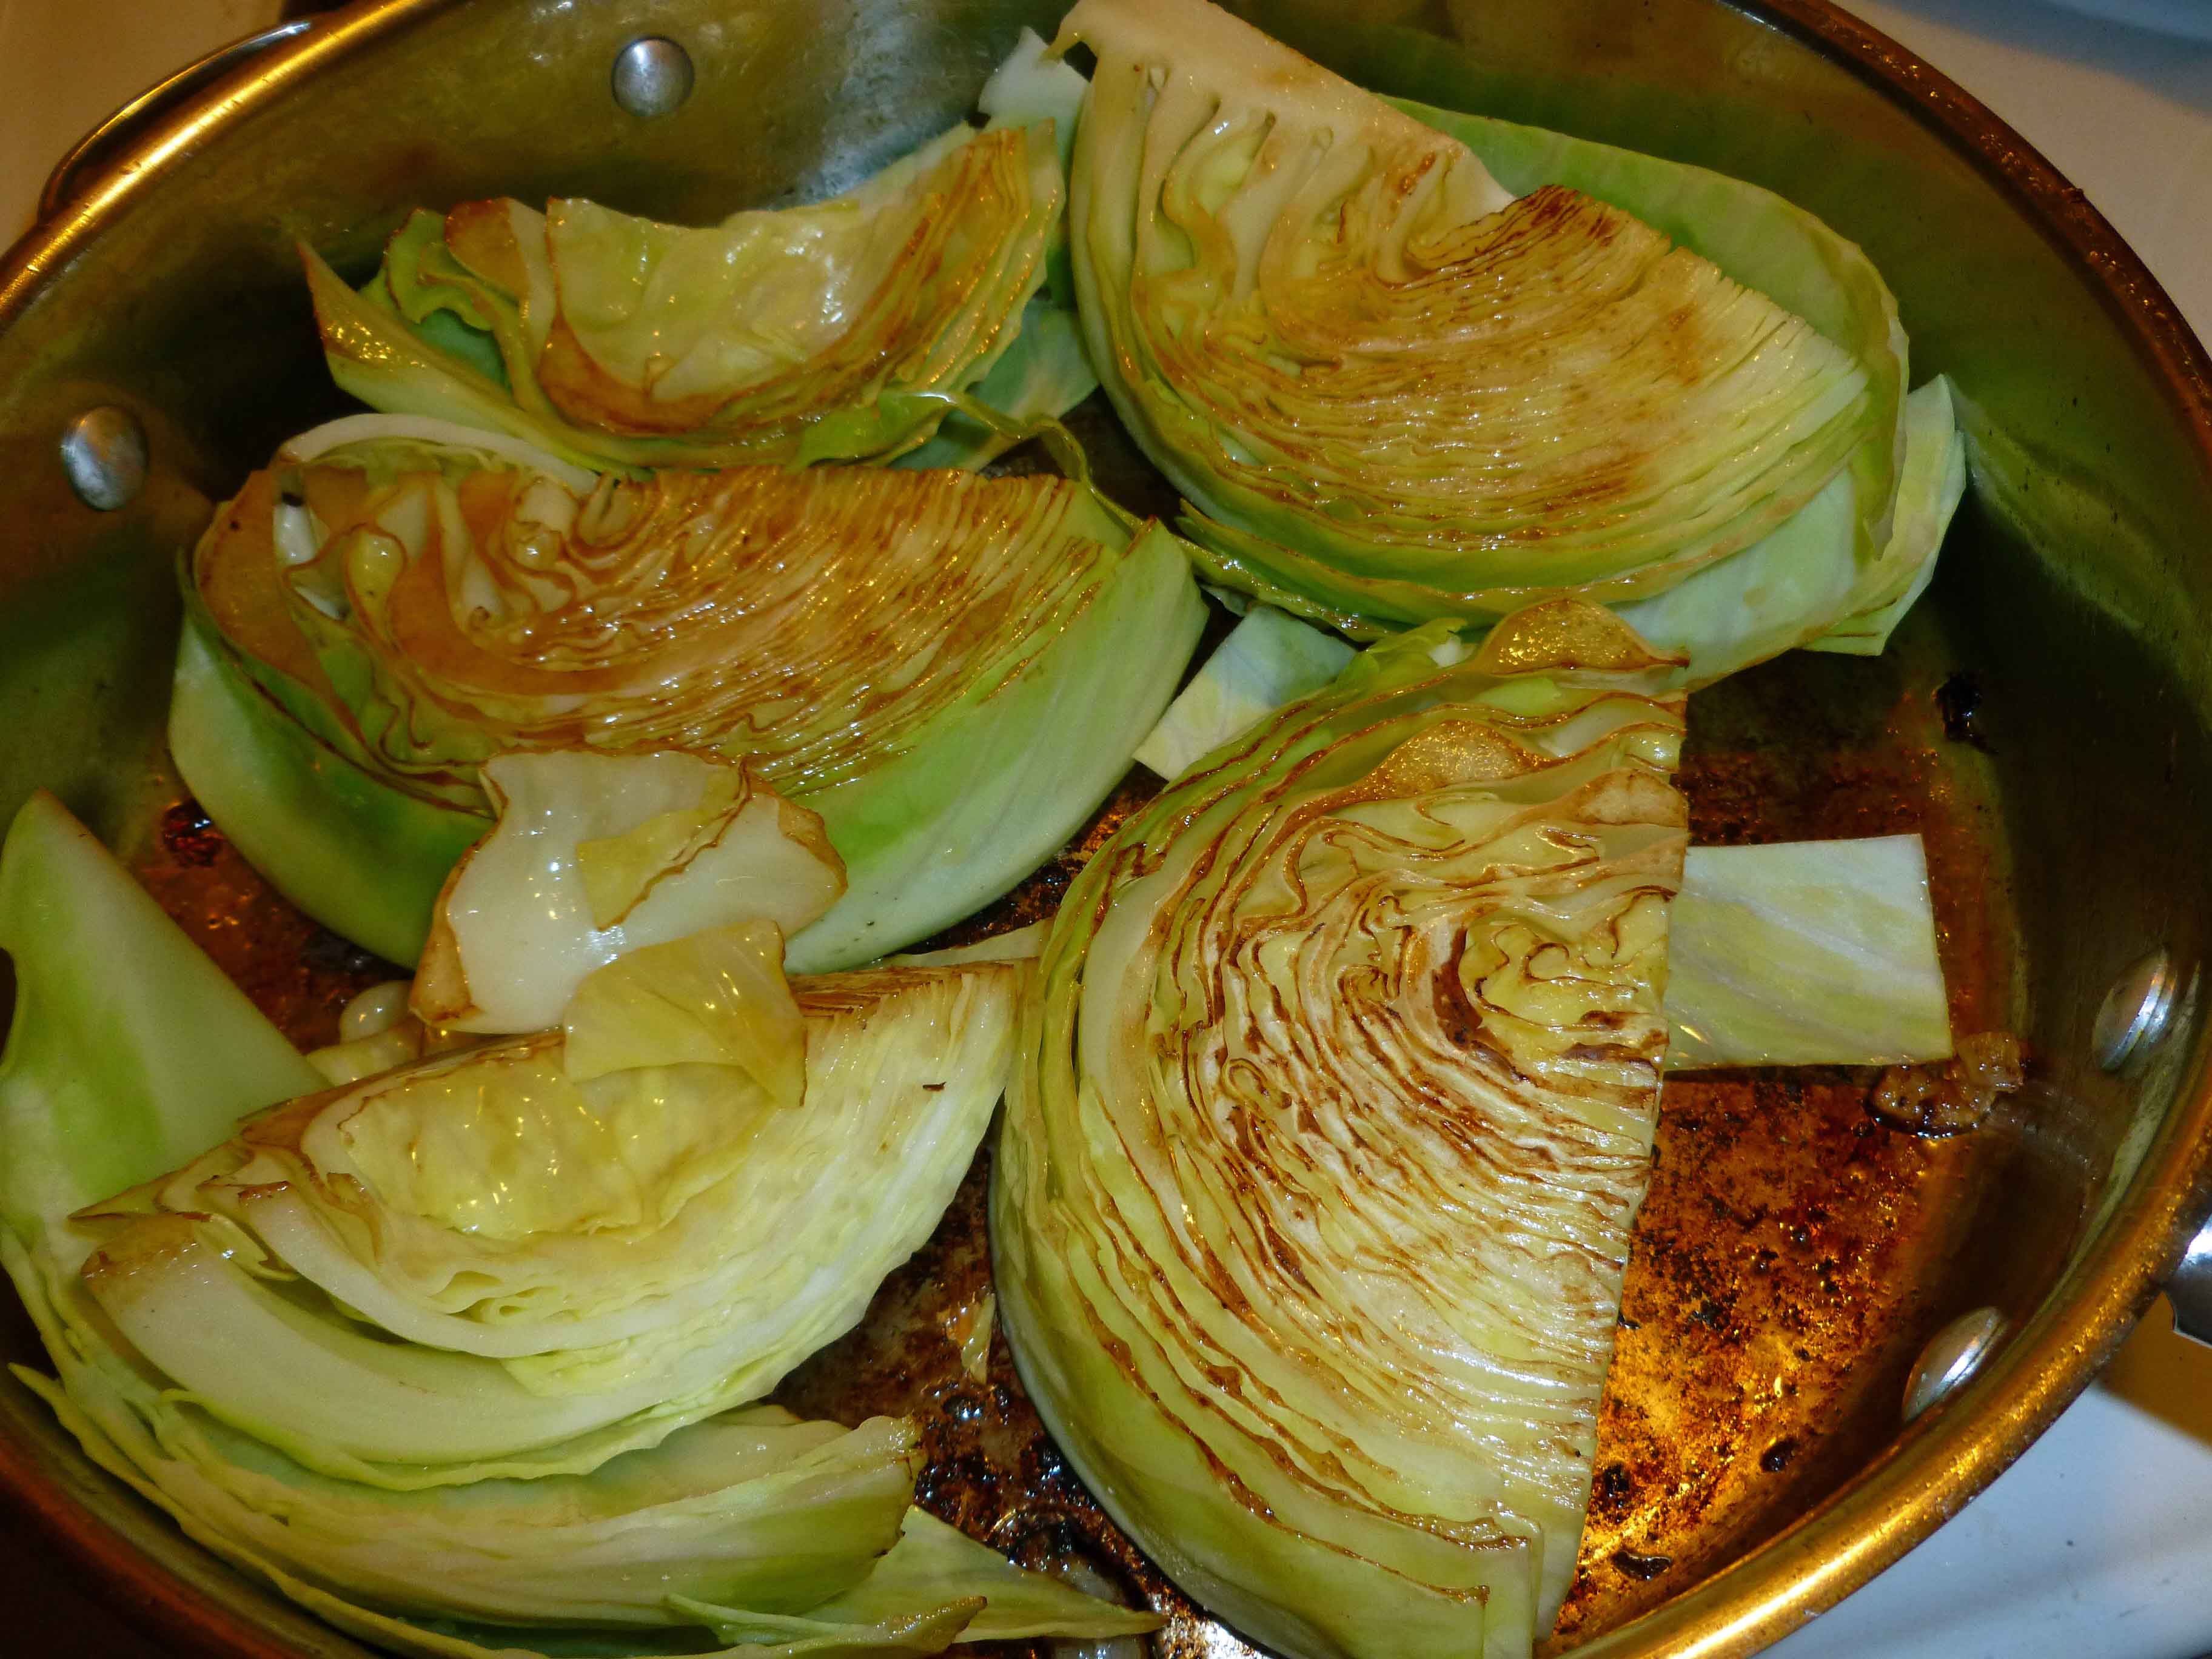
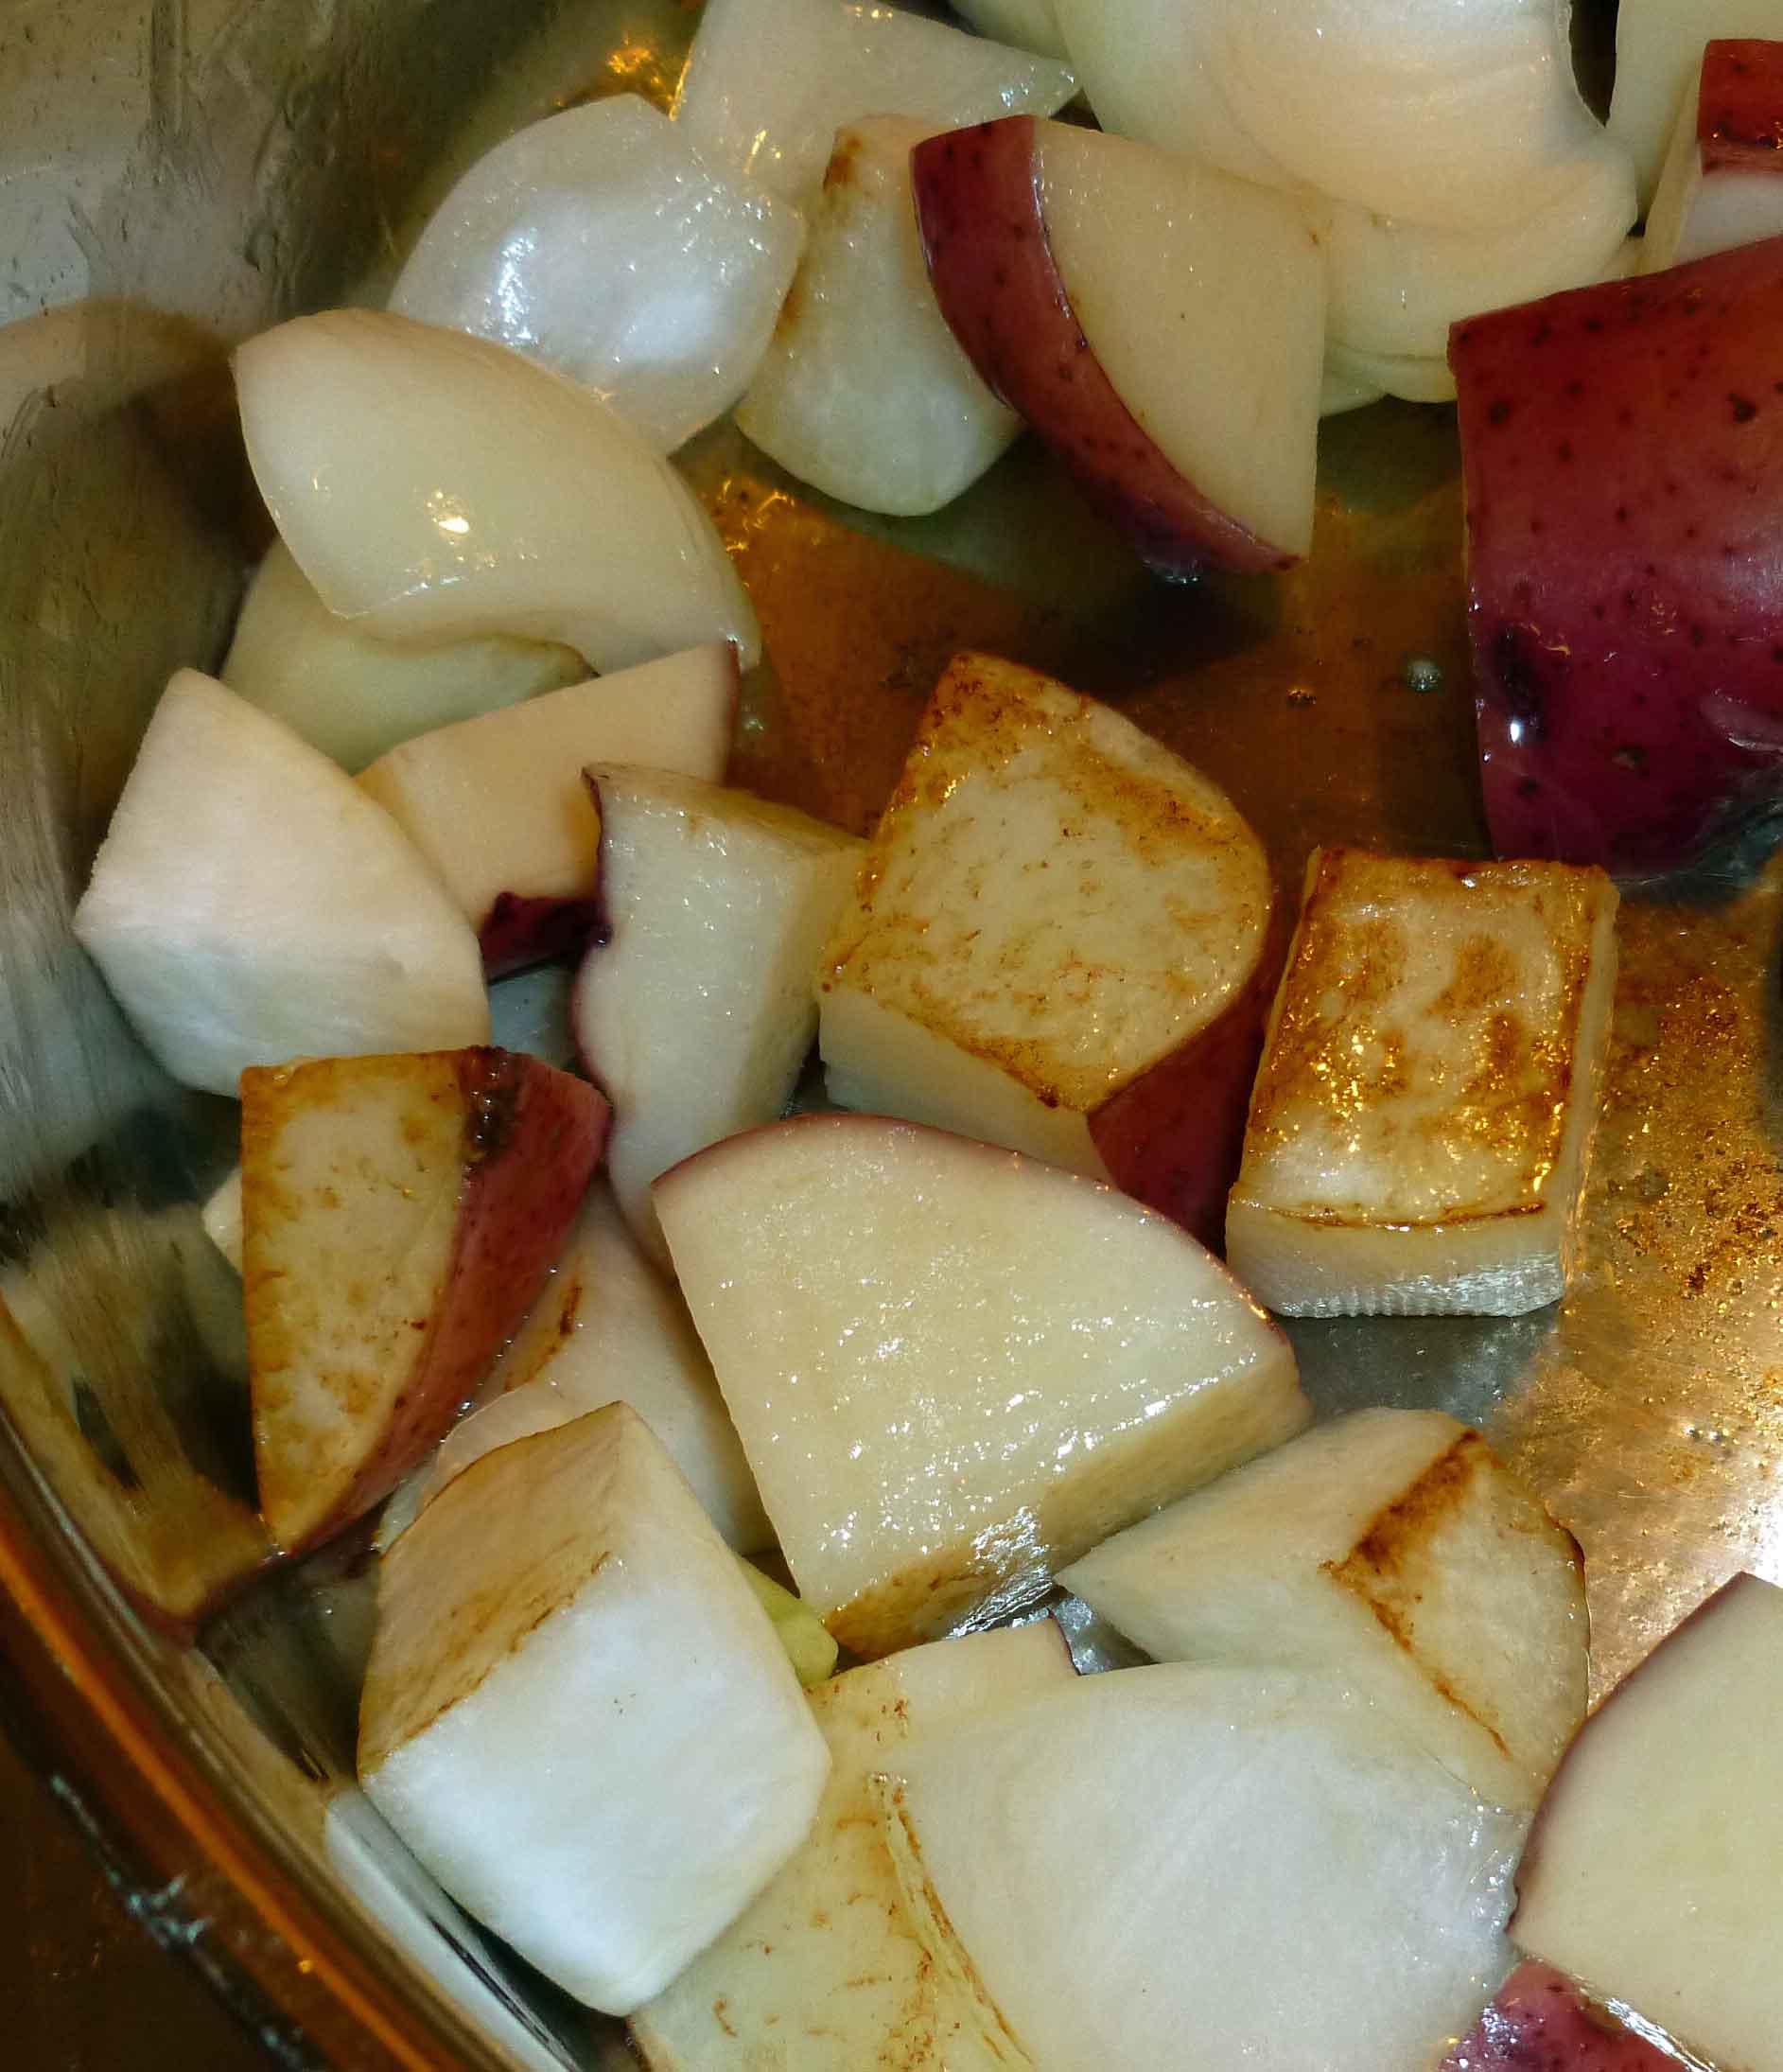
    Once the vegetables are chopped, take a frying pan and melt some of the bacon fat (or shortening or cooking oil) over medium low heat. In smaller batches, brown the vegetables, do not crowd them too much or they won’t get golden brown.


    Deglazing frypan with braising liquid
    Deglazing frypan with braising liquid

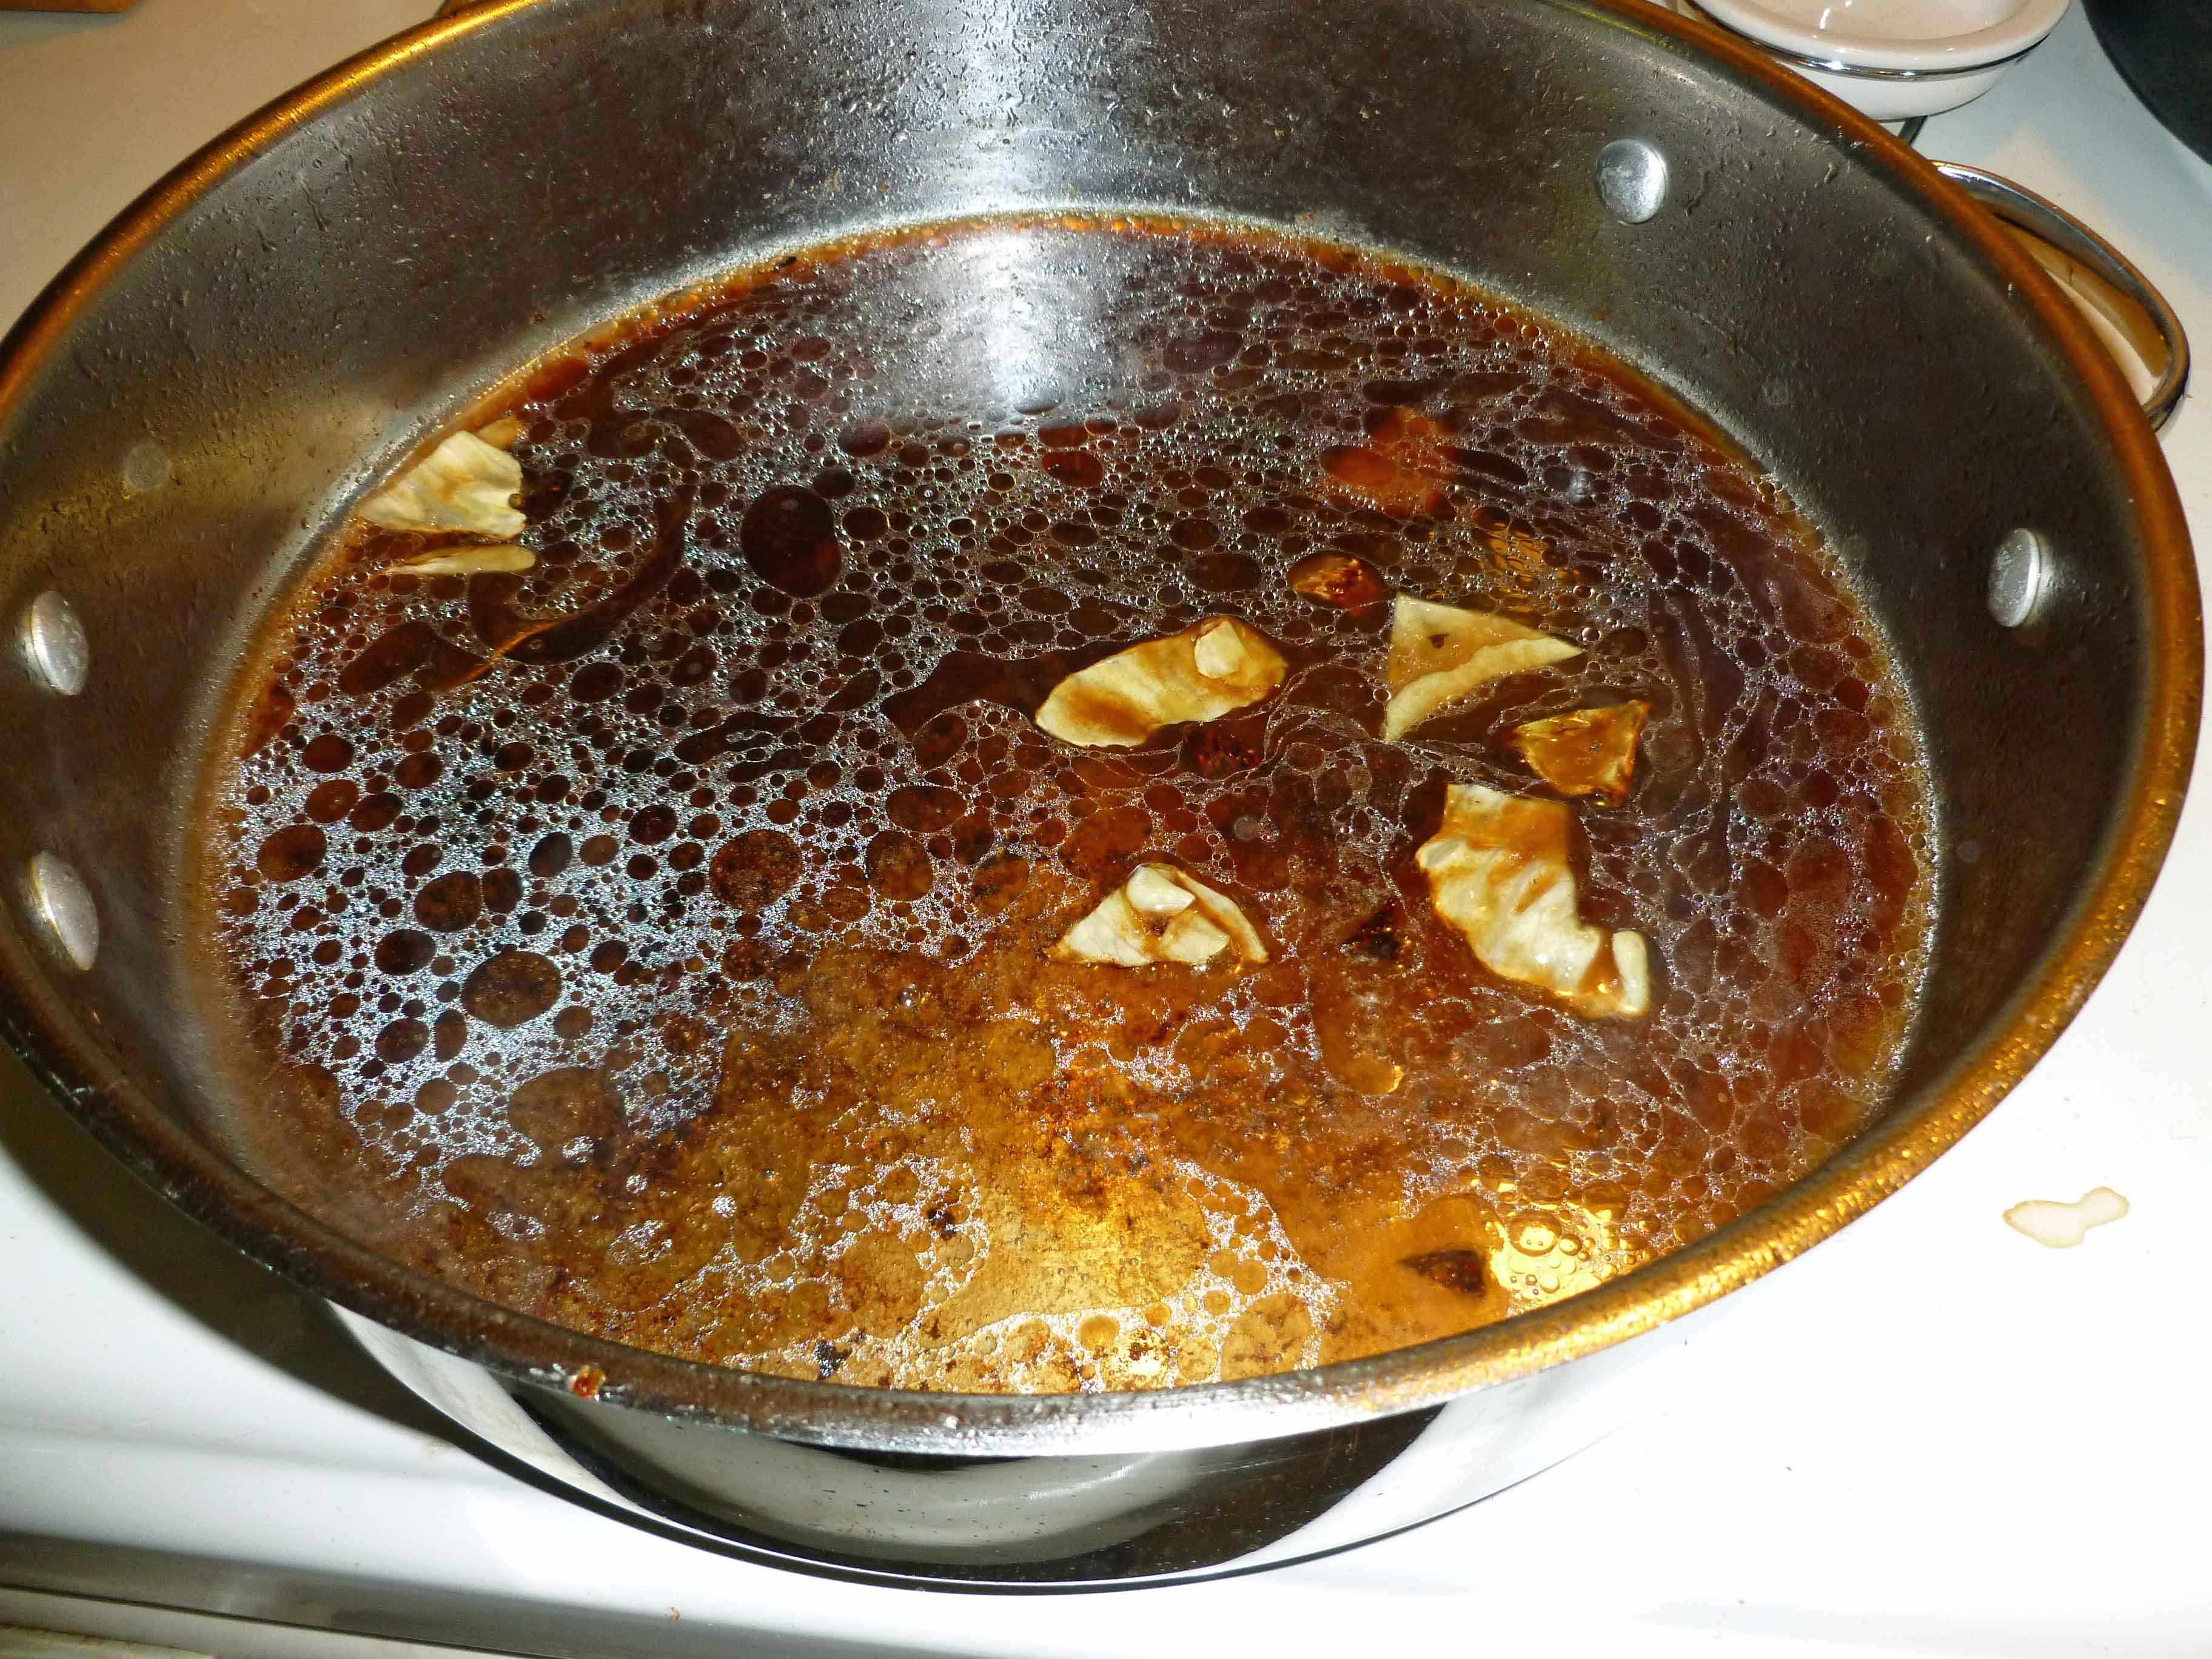
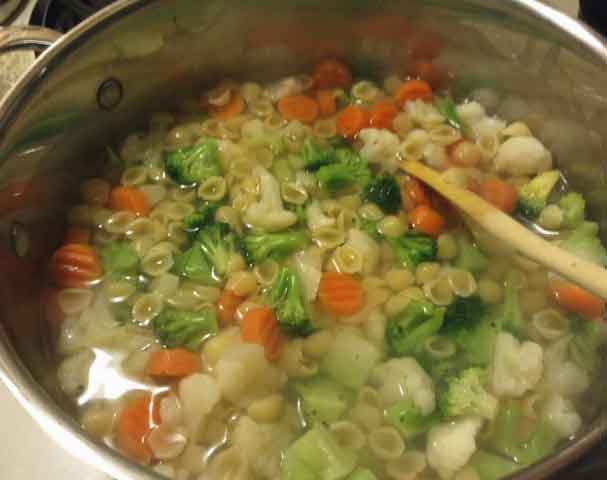
    Once you have browned all the vegetables, place all vegetables in a stock pot. Deglaze the fry pan with some of the reserved braising liquid, and then using the strainer, strain the deglazed liquid into the stock pot with the vegetables along with the remainder of the 4 cups of reserved braising liquid in the pot.

    Bring to the vegetables to a simmer over medium heat and cook about 20 minutes or so until vegetables are tender. Once they are ready, turn the heat off, and slice the corned beef against the grain.

    Cooked Corned Beef on Cutting Board
    Cooked Corned Beef on Cutting Board
    Sliced Corned Beef
    Sliced Corned Beef

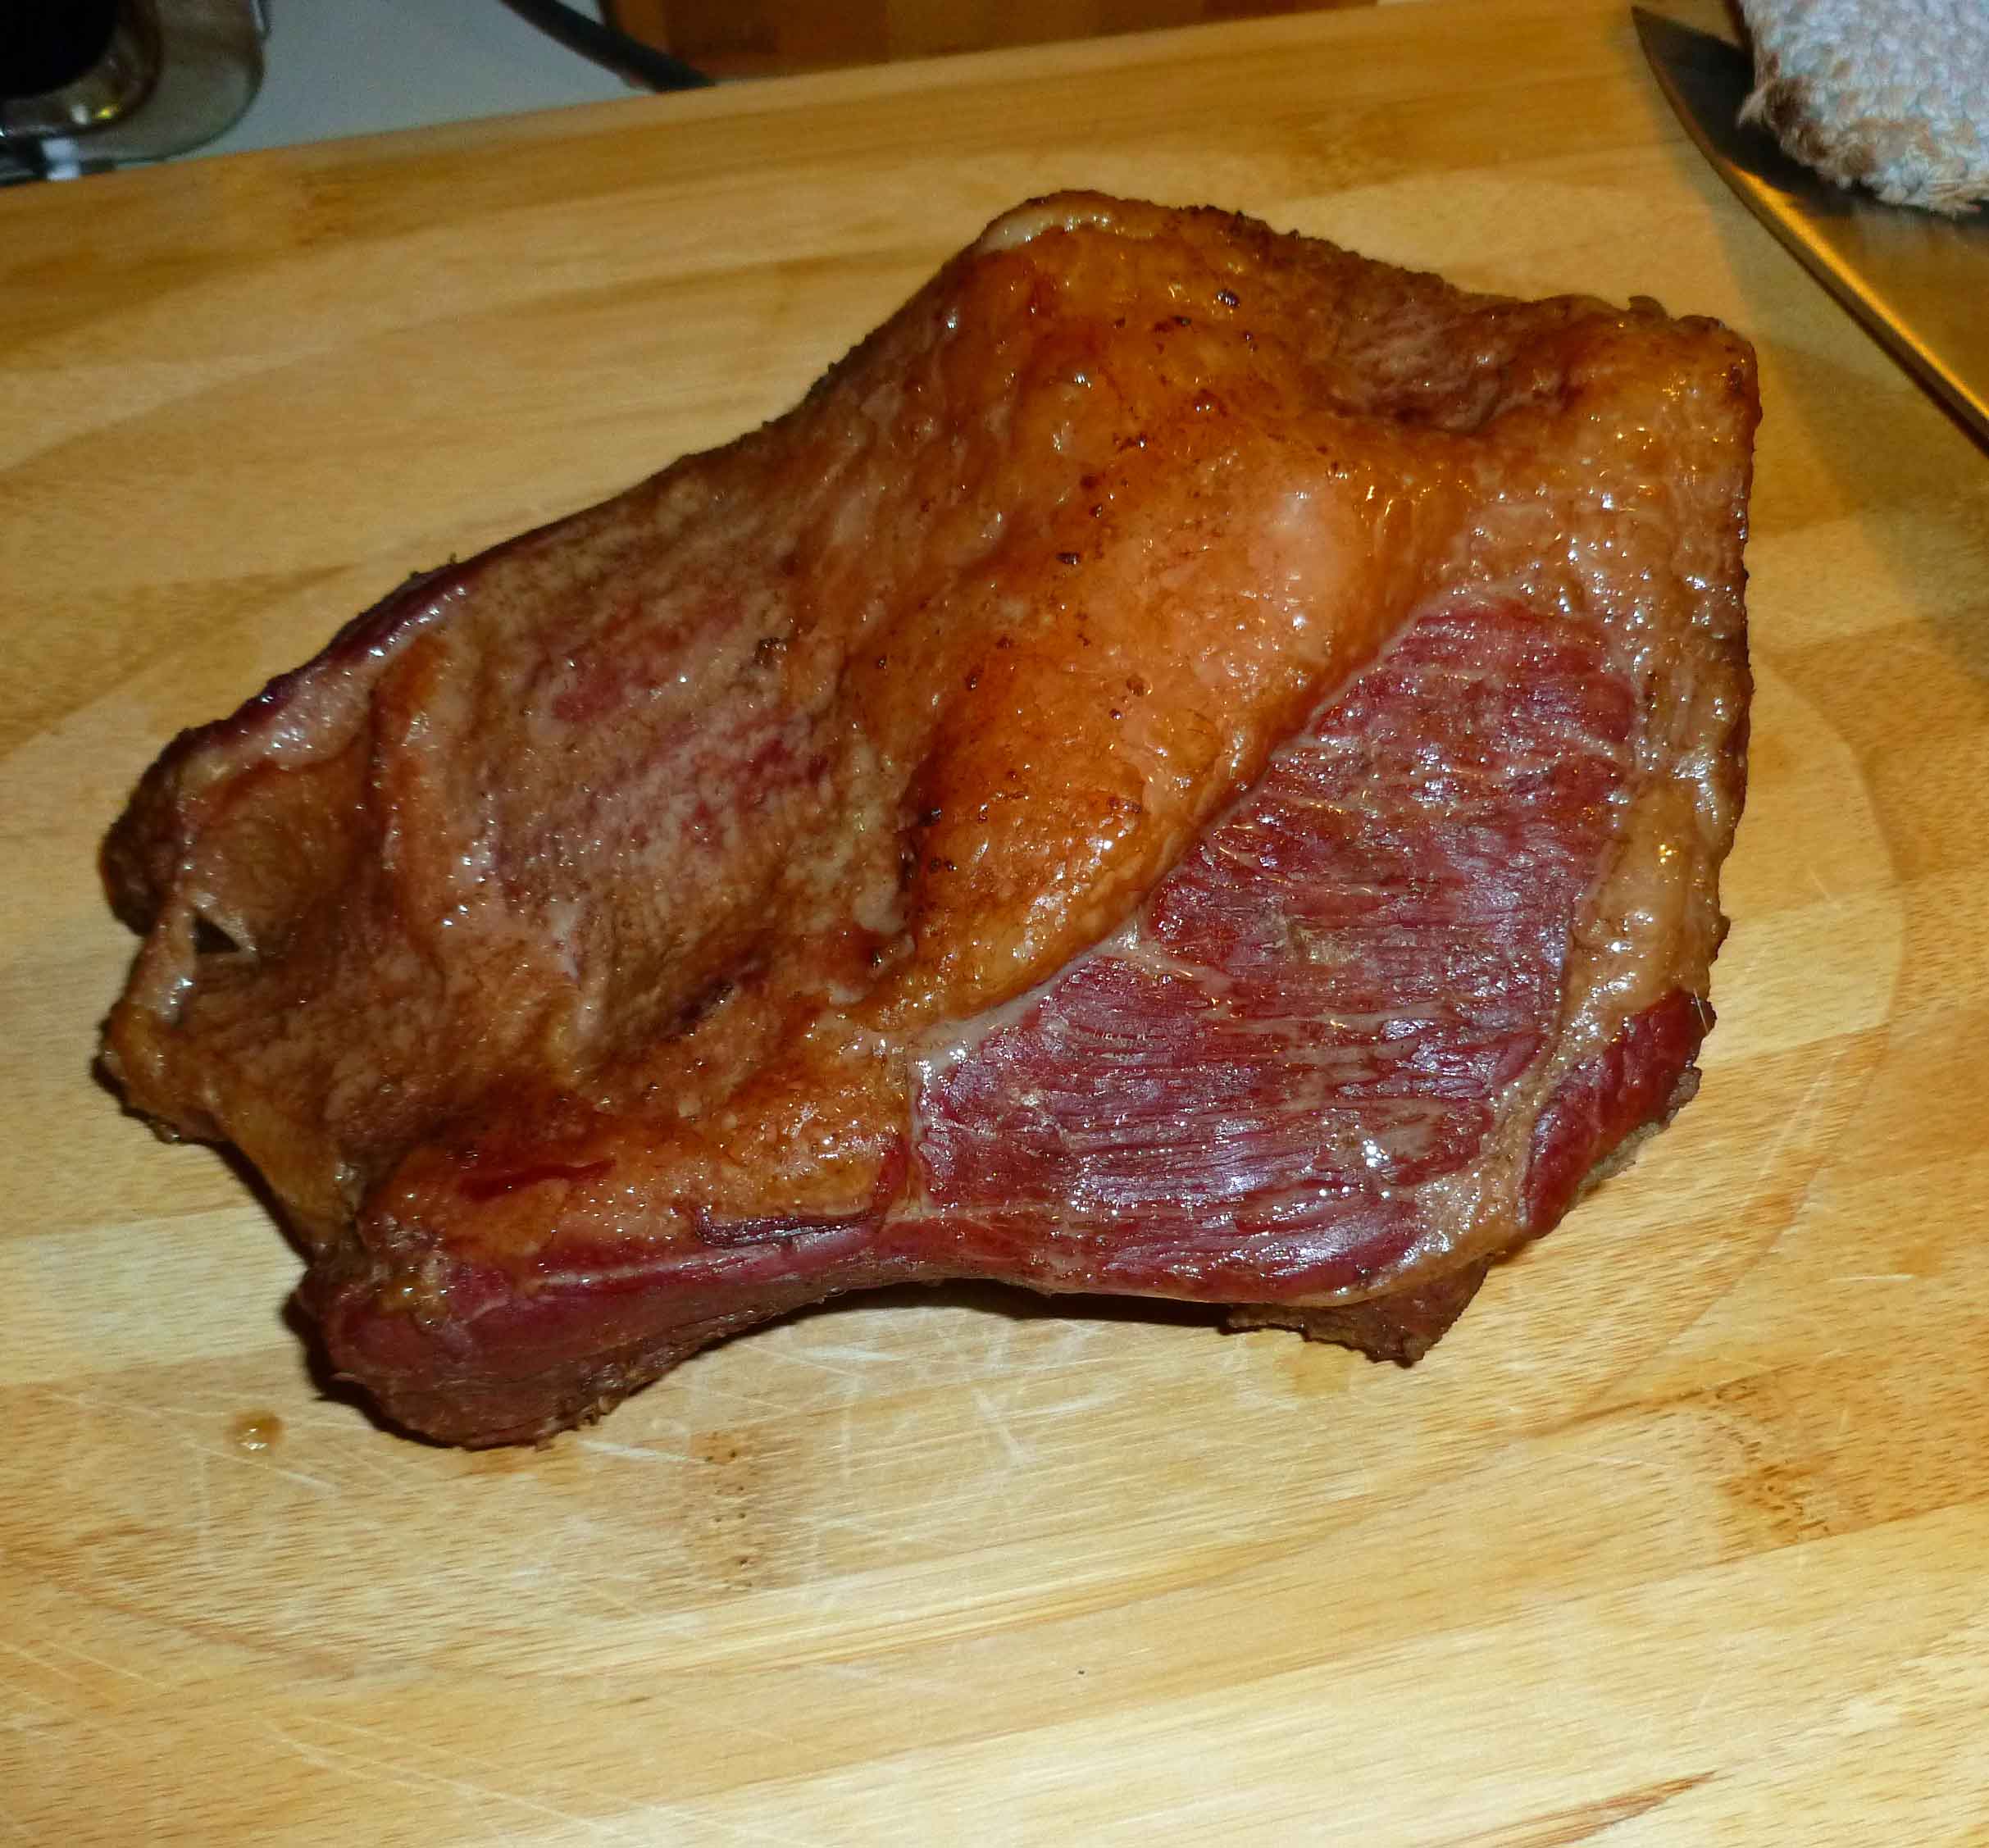
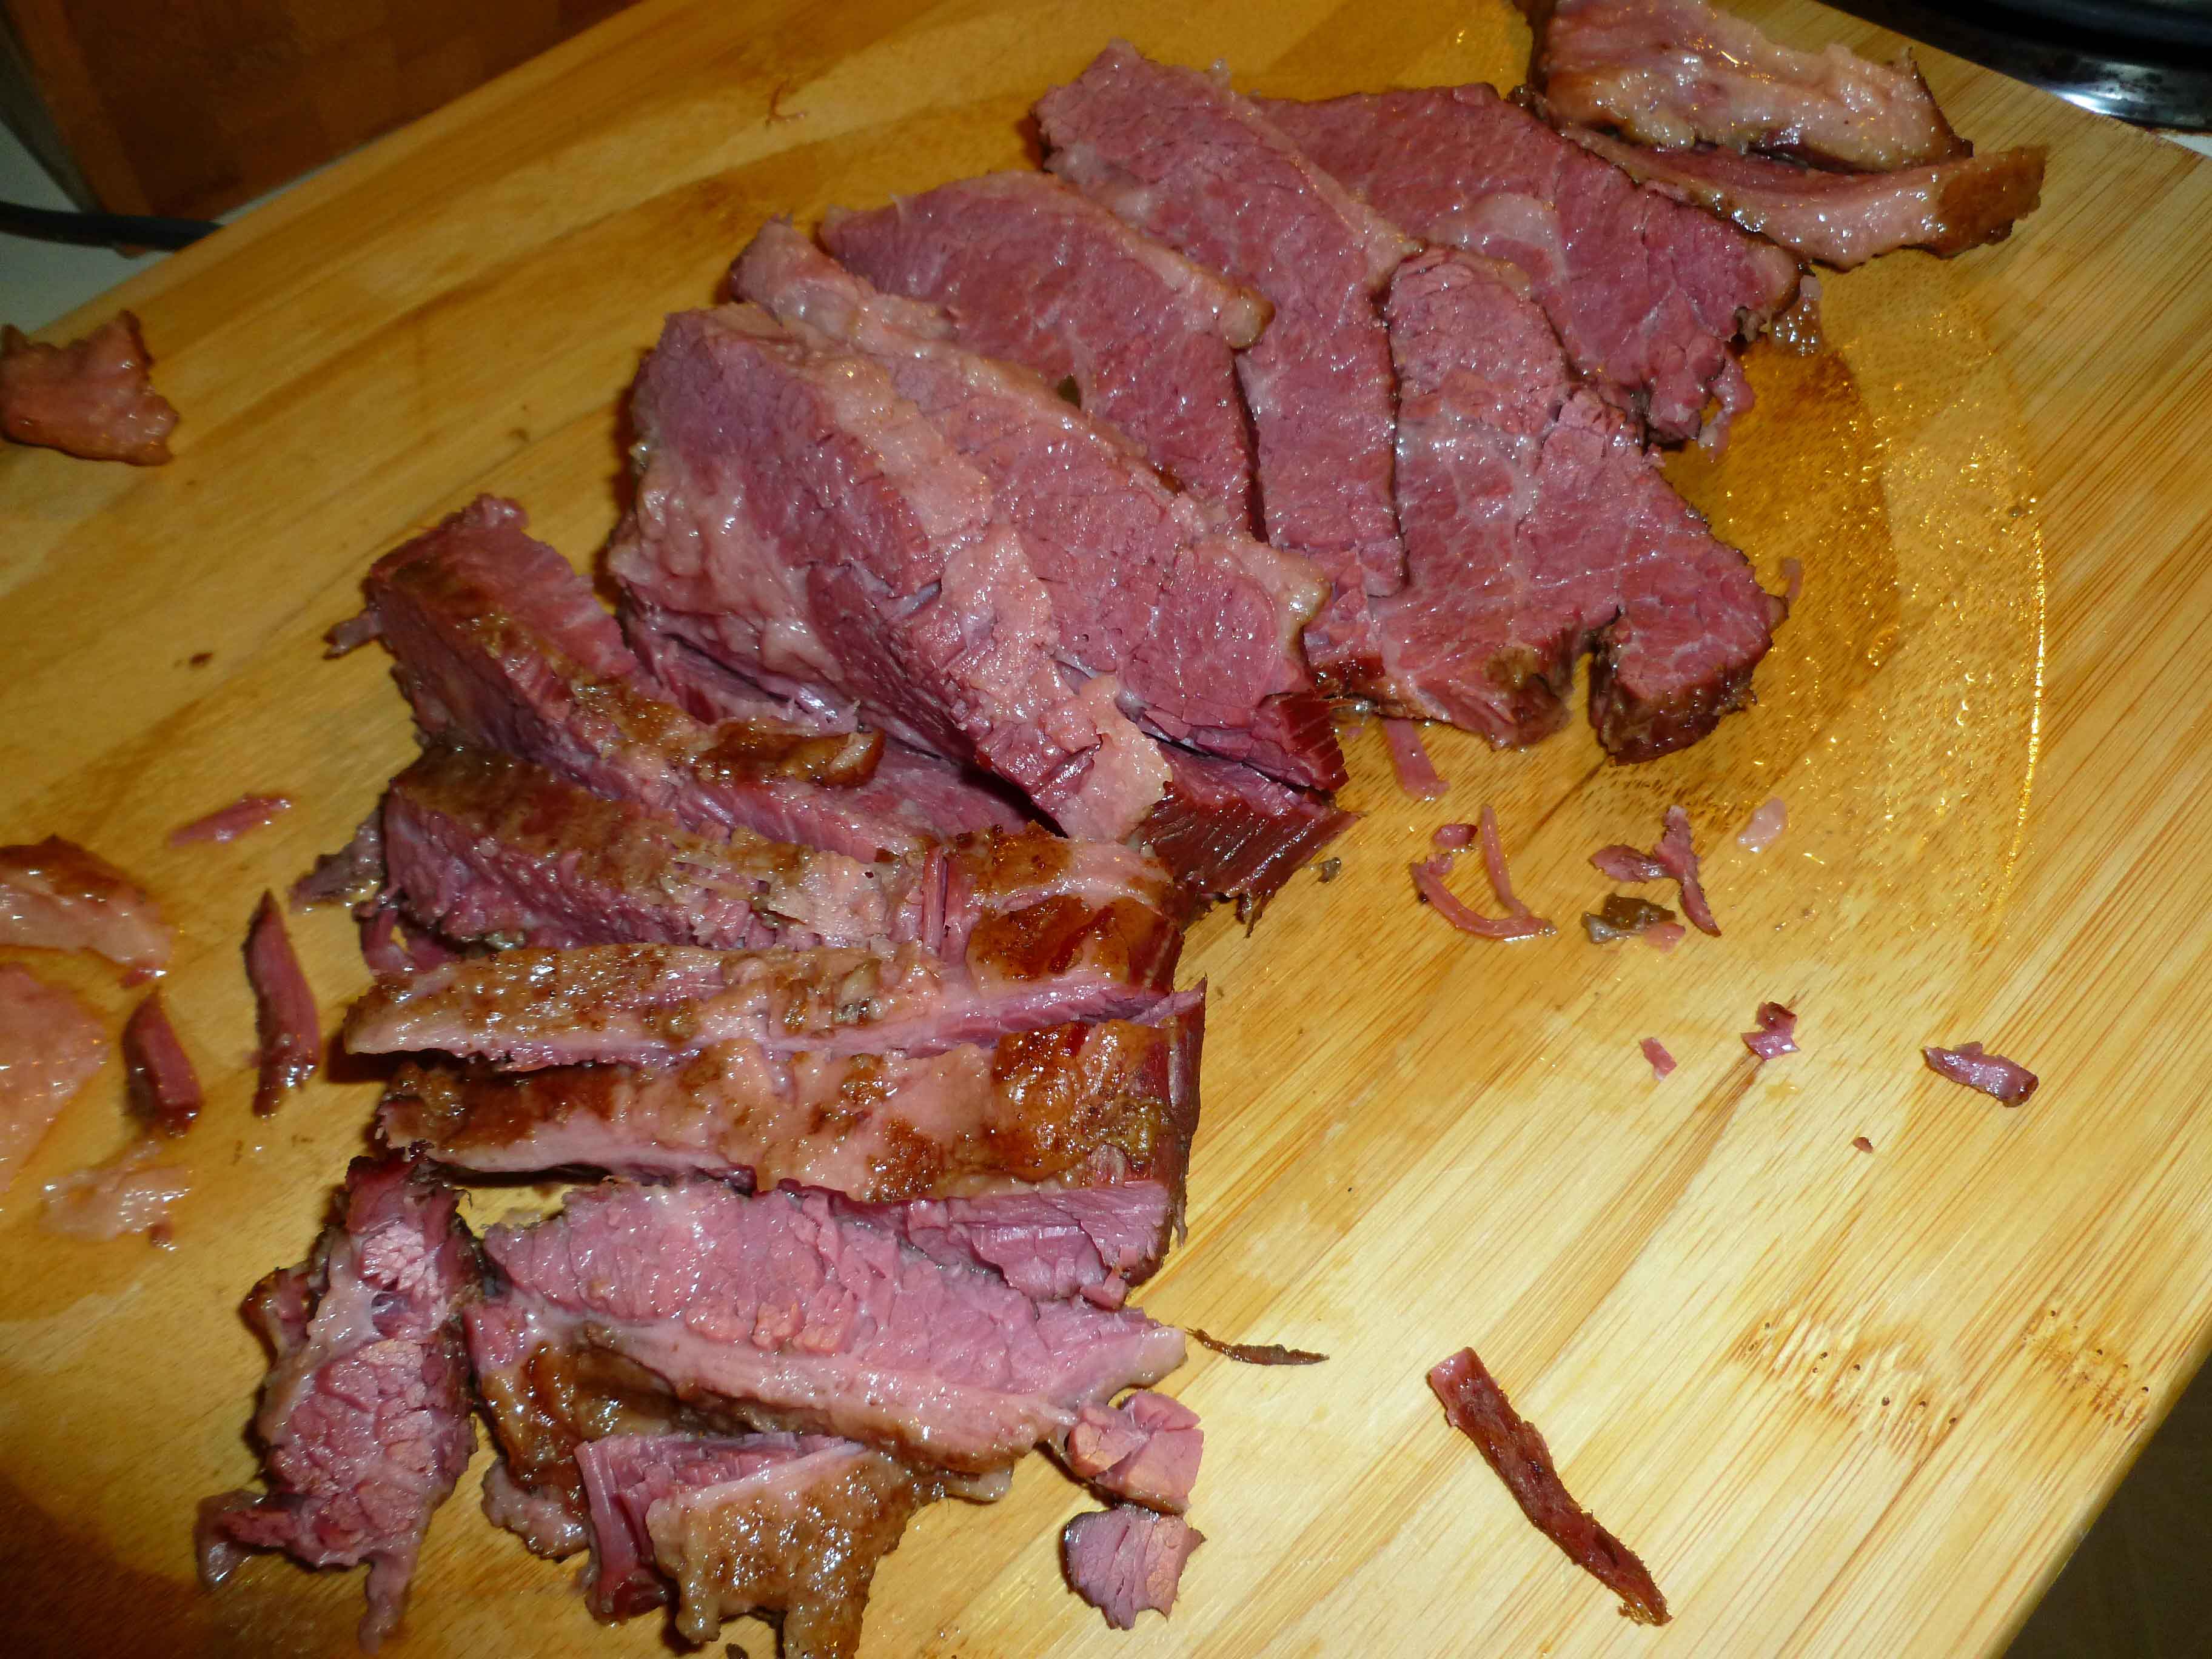
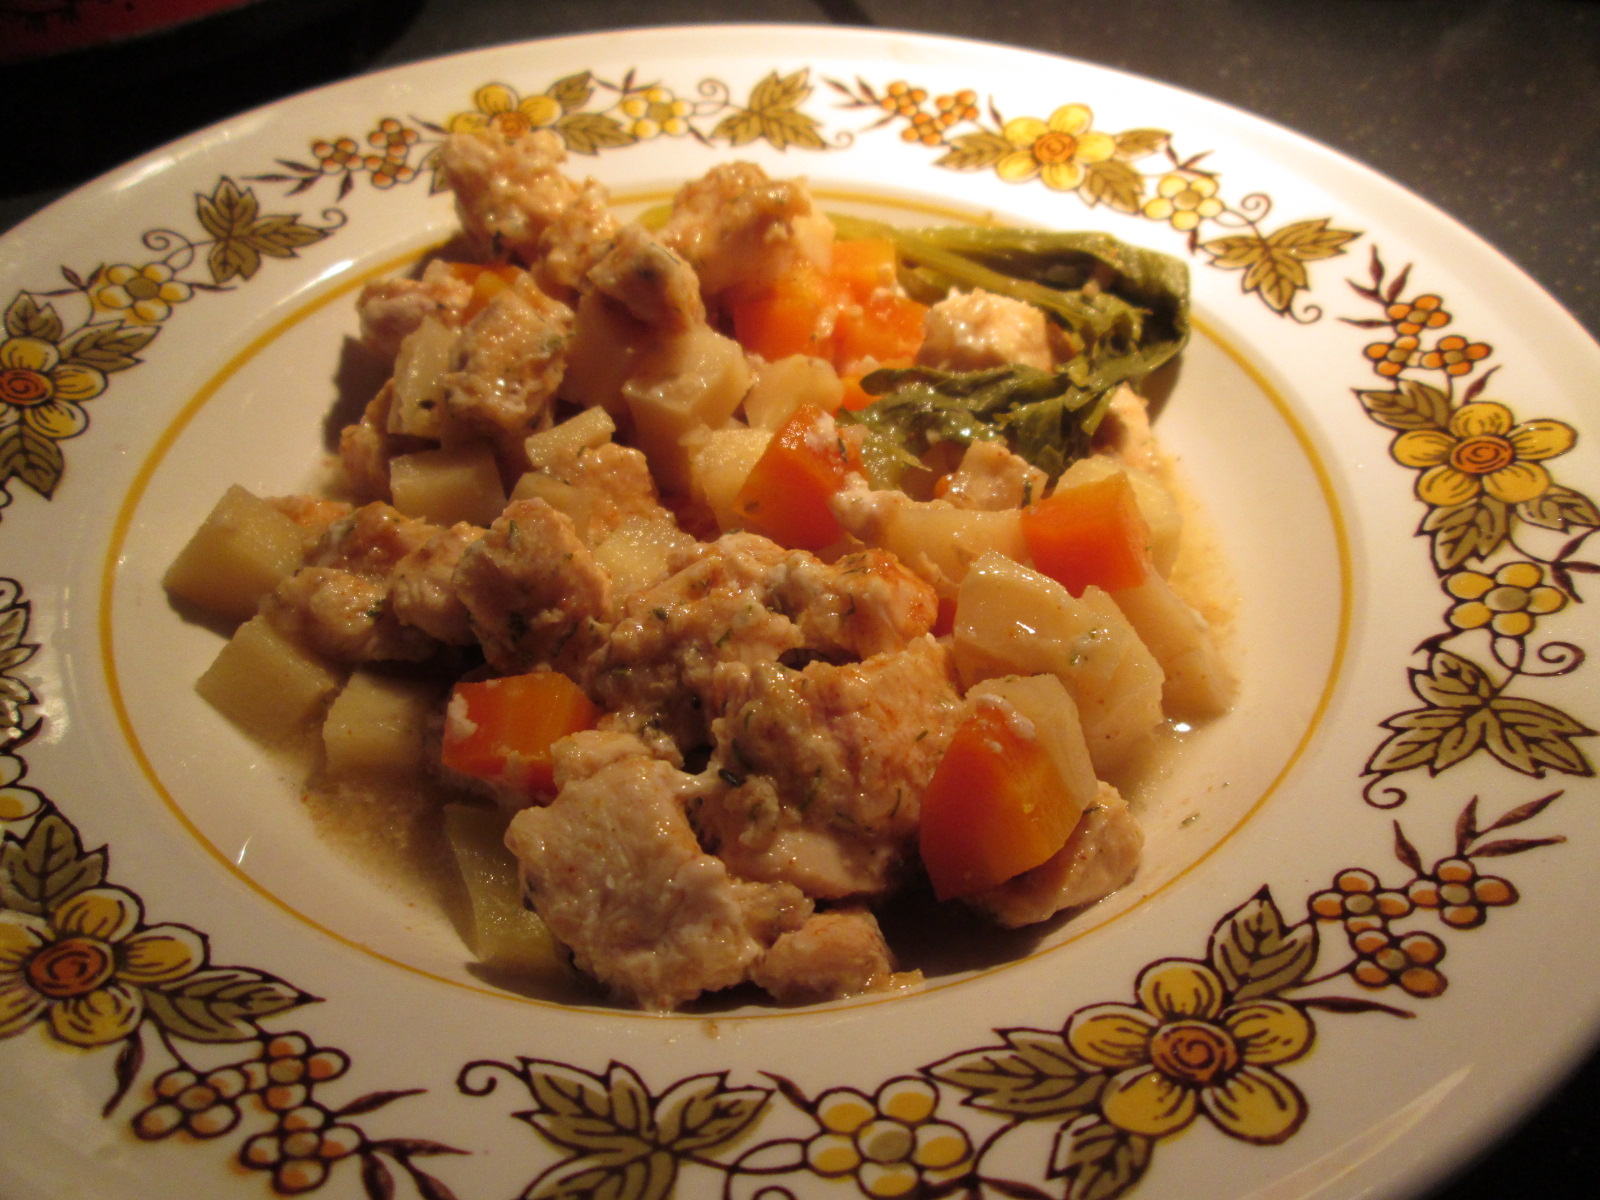
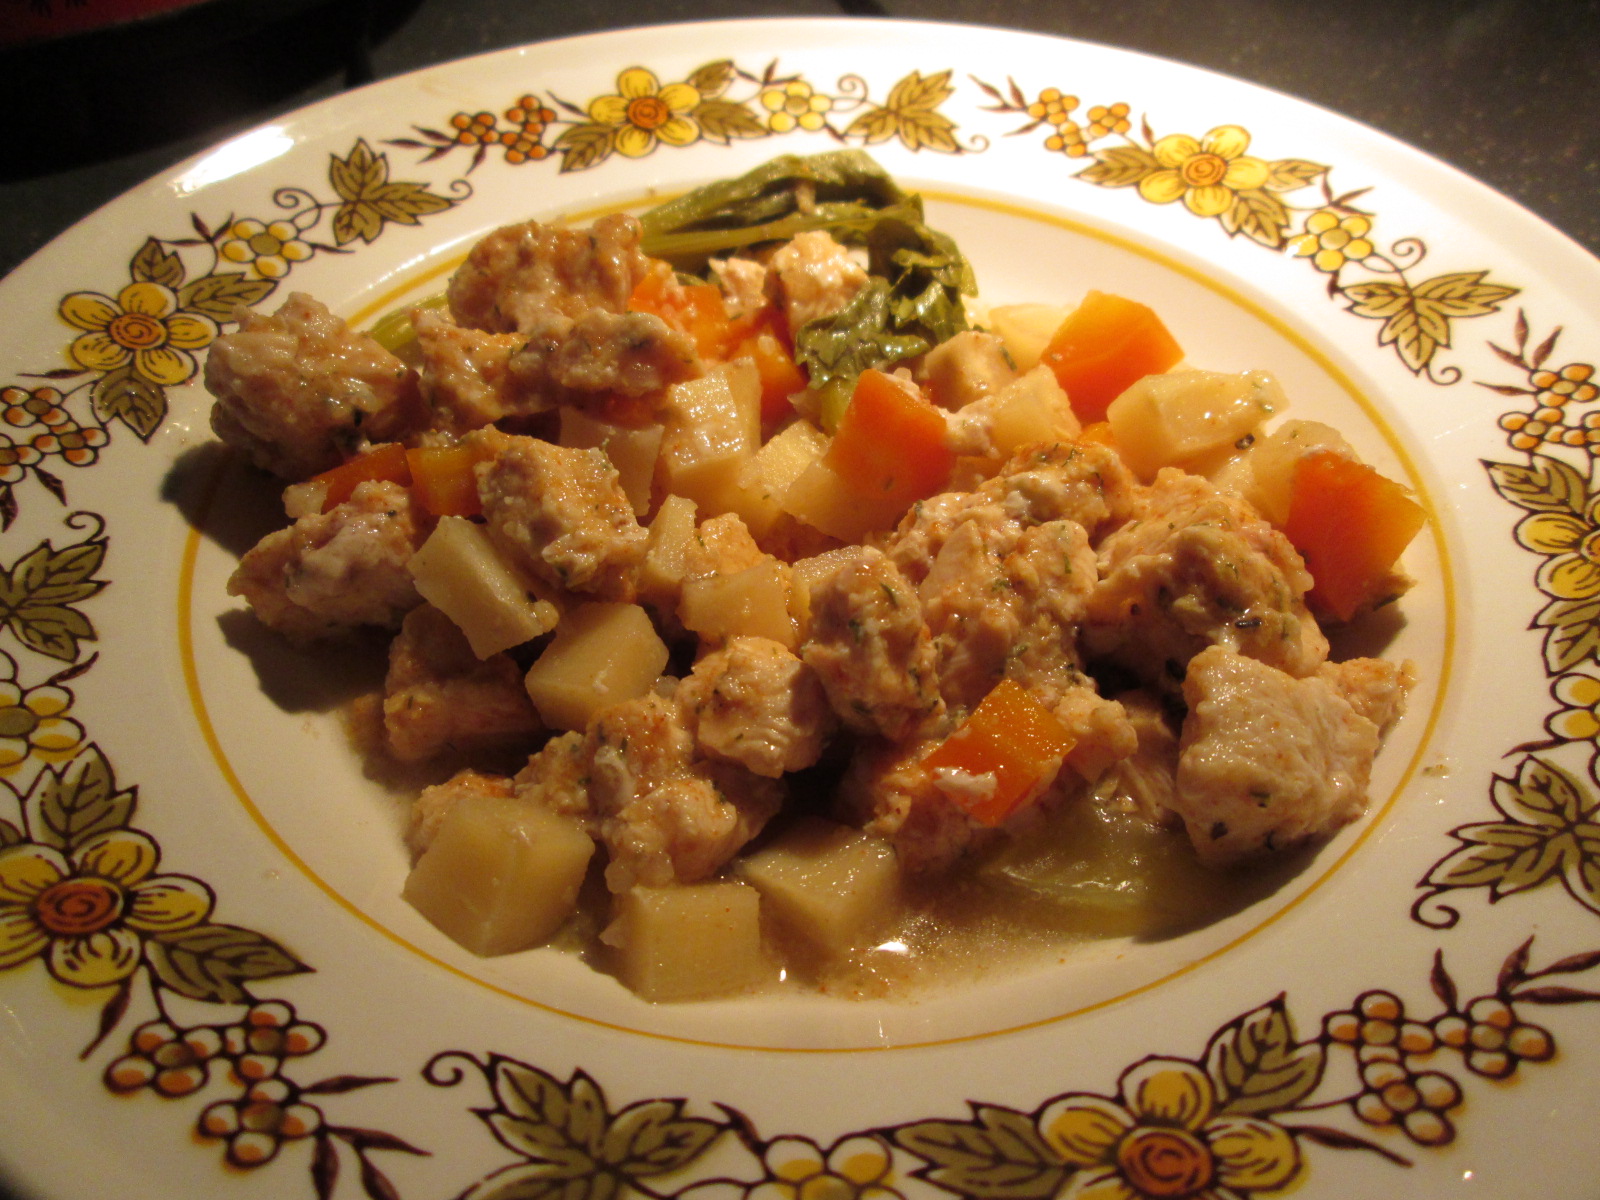
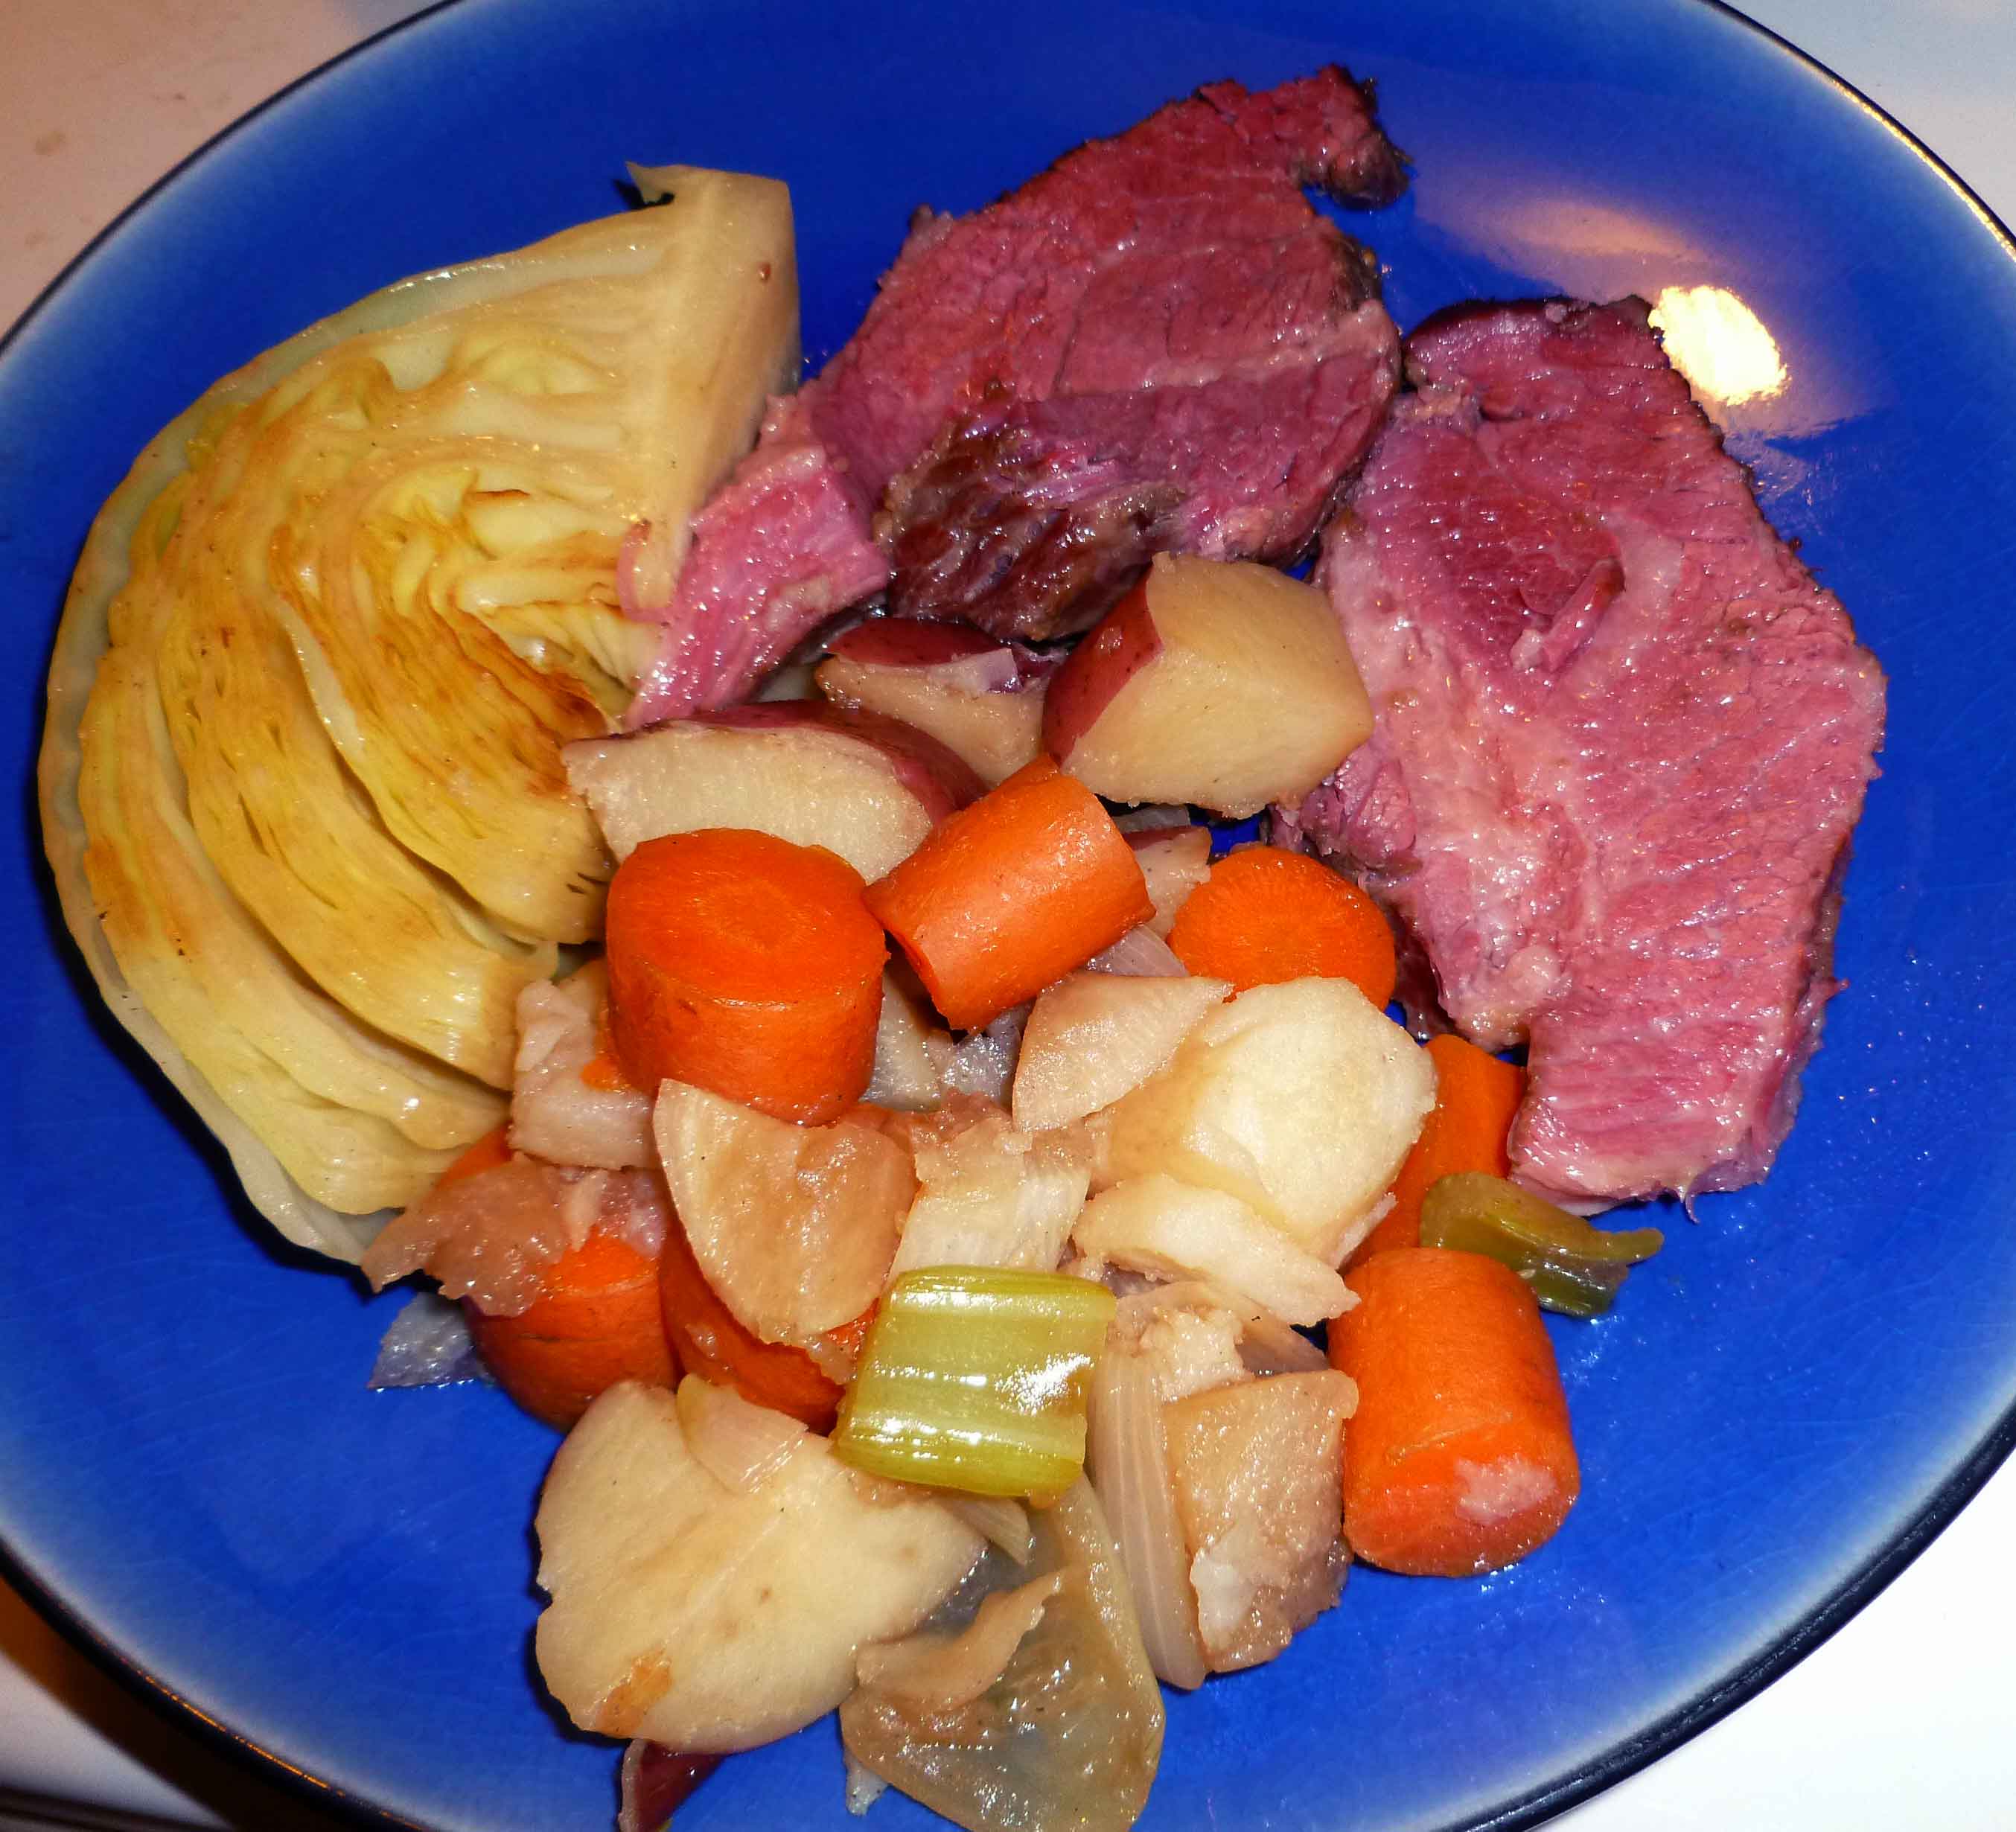
    Plate corned beef with cabbage and other vegetables, and some of the braising liquid used to cook the veggies. Enjoy!!

    Stout Braised Corned Beef and Cabbage
    Stout Braised Corned Beef and Cabbage
  • Come Home to Chicken Stew

    Chicken Stew
    Chicken Stew

    Who likes coming home to dinner already made?  ME!  But hey, I’m single and I work full-time.  Wait.  I have a crock pot.  If you don’t have a house-spouse, your best friend would be the crock pot.  Plug it in as you leave, come home to dinner.  It’s happiness in an appliance.

    Feel free to mess with the vegetables — this recipe is pretty forgiving, and you can have what you like.  If you do not like parsnips, cannot find parsnips, or don’t want to go look, use potatoes instead of them.  If you’ve never had them, give parsnips a go — they’re surprising in flavor, and add something good to this stew.

    Come Home to Chicken Stew

    • 1 pound of chicken breast, cut in 1 inch cubes (could use thighs, too, if you prefer)
    • 2-3 Tablespoons all-purpose gluten-free flour mix (I used Bob’s, more or less depending on how wet your chicken is)
    • 2 teaspoons dried minced onion
    • 1/4 teaspoon thyme
    • 1 teaspoon sweet or Hungarian paprika
    • 1 teaspoon dry mustard
    • 1/2 teaspoon salt*
    • 1/2 teaspoon dill
    • freshly ground pepper, to taste

    Spray or oil your crock.  Add all the above ingredients, and mix thoroughly so chicken is coated and there’s no clumps of flour at the bottom.  If you think your stock is salty, hold off on the salt.

    Add your veg and stock:

    • 2-3 carrots, chopped
    • 2-3 small parsnips, chopped  (or potatoes, see above)
    • 3 ribs celery, chopped
    • 3 cups chicken broth or stock (check for allergens here, unless you make your own)
    • 1 teaspoon balsamic vinegar
    • 2 small or 1 large bay leaves
    • Handful of celery leaves, optional

    Cook on low 8-10 hours or high 4-5 hours.

    Come home and add 1 cup of green beans or peas, if desired, about 1 hour before serving.

    Serve with roasted potatoes, or some sort of roll or bread.

    Hot dinner
    Hot dinner

    What do you do with your crock pot?

  • Happy President's Day! All-American Chicken Ranch Burgers

    Chicken Ranch Burger
    Chicken Ranch Burger

    So Denise and I decided to go theme-ways for this particular Monday holiday.  What does the theme of “Presidents’ Day” conjure up for you?  Let me tell you, I had IDEAS.  Many of them were particularly complicated, some were elaborate, and my fridge is still full of ingredients I bought while over-thinking my options.

    What I ended up with is in homage to our sitting leader, Barack Obama, 44th president.  His love of burgers is well-documented, and our First Lady’s initiatives include promoting healthy eating partly through family time.  This is a quick, easy, and healthy weeknight burger recipe that takes about 15 minutes to prepare.  With sides, this will feed four.  Or it will feed you for a few meals.

    mmmmm
    mmmmmm

    All-American Chicken Ranch Burgers
    Makes 4 quarter pound burgers

    Preheat either indoor grill, grill pan, or cast iron skillet.

    • 1 lb. ground chicken
    • 1 teaspoon crushed garlic (2-3 cloves)
    • 2 teaspoons minced dried onion
    • 1 teaspoon dill
    • ½ teaspoon basil
    • ½ teaspoon dried red bell pepper
    • ¼ teaspoon crushed red pepper flakes (OPTIONAL! For those who like a kick)
    • 1 teaspoon kosher salt
    • 2 Tablespoons potato starch

    Grease your hands, and then mix the spice mix into the ground chicken well.  Divide into 4 balls and compact it.  This is a bit squishier than, say, beef burgers, so it doesn’t form into patties as well.  It seems to work best to leave it in a larger ball and then flatten it once you’ve put it on the heat — or automatically in a two-sided grill.  These take about 5 minutes on a George Foreman grill, and I’m guessing about 3-4 minutes per side in a skillet over medium heat.

    The two flavors of ranch dressing that these ranch burgers are missing are a hit of acid and a creaminess.  So make up for both with an avocado smash.  While the burgers are cooking, make your sauce/topping:

    • 1 ripe avocado
    • 1 lime
    • pinch of salt

    Smash avocado.  Drizzle in a bit of the lime juice to get a guacamole-type consistency.  Sprinkle on just a bit of salt.

    To make up your burger, toast whatever you’re using as a bun.  I used Deland Bakery’s Millet Potato Bread.  If you eat gluten, surely you have a favorite.  If you want a bun, Schar makes some decent ones.

    To this I added:

    • Daiya cheddar block, sliced very thin
    • raw baby spinach, about a handful
    • topped with the burger
    • and then the avocado sauce

    To continue the theme, maybe serve with broccoli, least favorite vegetable of our 41st president, George H.W. Bush?  And jelly beans for dessert, favorite candy of our 40th president, Ronald Reagan?

    Do you enjoy celebrating “minor” holidays?  How?

    (And if anyone tries these on a regular outdoor grill, please let me know how it works out!)

  • Happy President’s Day, Bread and Chocolate with Cherries

    Bread and Chocolate and Cherries
    Bread and Chocolate and Cherries

    And this is take two on cherries for our President’s day theme. Cherries go with chocolate. And there’s a place in Concord, New Hampshire that sells a pastry called Bread & Chocolate that I’ve been trying to replicate since the dairy allergy diagnosis, so I decided to add cherries to the mix this time.  This is like a jelly roll, except instead of cake and jelly or cream, you have bread and chocolate and cherries.  Although I’ve tagged a warning, just to be clear, this recipe contains wheat and gluten, and I’ve written it to be used with a bread machine.

    Bread and Chocolate with Cherries 

    • 1/4 cup of warm water (between 70ºF and 85ºF)
    • 3/4 cup of a milk alternative product of your choice (I used homemade oat milk)
    • 1 Tablespoon of Ener-G egg replacer, mixed with 6 Tablespoons of warm water
    • 1 1/4 teaspoons of salt
    • 1/3 cup and 1 teaspoon of dark brown sugar, packed firmly
    • 1/4 cup of shortening or Earth Balance Soyfree Natural Buttery Spreads
    • 2 teaspoons of cinnamon
    • 4 cups of bread flour
    • 2 1/2 teaspoons of bread machine yeast
    • 1 cup of Dole frozen Dark Sweet Cherries, chopped
    • 1 cup of Enjoy Life Mini Chocolate chips
    • 2 Tablespoons of melted Earth Balance Soyfree Natural Buttery Spreads
    Sunbeam Bread Machine
    Sunbeam Bread Machine

    Using my nicely inexpensive Sunbeam bread machine, add first three ingredients in order as listed to the bread machine pan. Then add the salt, brown sugar, shortening, cinnamon and flour to the bread machine pan, heaping the flour in a pile.

    Using a spoon, make a little indentation that you can put the yeast in, and then add the yeast.

    Ingredients in Bread Pan with Yeast in Indentation on Top
    Ingredients in Bread Pan with Yeast in Indentation on Top

    Set your bread machine menu to just make dough.  When its ready it should look something like this:

    Completed Dough in Bread Pan
    Completed Dough in Bread Pan

    Preheat oven to 375°F. Spread a little flour on your very clean counter top or on your dough mat, and dump dough on mat or counter.  Make sure you remove the paddle if it falls out of the bread pan.  Roll out dough using a rolling pin to a rectangular shape approximately 12 by 18 inches.

    Dough rolled to a rectangular shape
    Dough rolled to a rectangular shape

    Once you have rolled the dough to the correct shape, spread your chopped cherries over the surface.

    Dough with Cherries Spread over Surface
    Dough with Cherries Spread over Surface

    Then sprinkle the mini chocolate chips over the surface of the dough.

    Chocolate Chips and Cherries Spread over Surface of Dough
    Chocolate Chips and Cherries Spread over Surface of Dough

    Taking a small amount of water, dip fingers in water and run them around the edges of the dough to help it seal when you roll it up.  Take one edge of the shorter side and begin to roll it up, making sure that you seal up the edges as you go, and that the final seam is sealed by pressing the wet edges to the dough.  Carefully place the roll with the seam on the bottom on the pan you will bake it on.

    Completed Bread Roll
    Completed Bread Roll

    Taking the melted Earth Balance, brush it over the surface of the dough.

    Brushing Melted Earth Balance over Bread Roll
    Brushing Melted Earth Balance over Bread Roll

    Let dough rise for about an hour and half, until it nearly doubles in size.

    Bread Roll After Rising
    Bread Roll After Rising

    Place in oven preheated to 375°F, and bake for 30-35 minutes.  If you rolled your rectangle out a bit too wide, you’ll get the bent shape I did after baking 🙂

    Baked Bread Roll
    Baked Bread Roll

    Let cool for 30 minutes or more and then cut slices.  Enjoy!

    Bread Roll after Cutting
    Bread Roll after Cutting
  • Happy President’s Day, Can’t Tell a Lie Cherry and Chocolate Chip Quick Bread

    Can't Tell a Lie Cherry and Chocolate Chip Quick Bread
    Can’t Tell a Lie Cherry and Chocolate Chip Quick Bread

    You know how hard it is to find a food theme for President’s Day? It’s hard. Which is why I’m using cherries out of desperation, even though I was a history major and I know that story about George Washington and the cherry tree is a crock. Despite that I decided to do it up, and make two versions of a chocolate and cherry bread dish that could be breakfast and dessert. This one is gluten free, and doesn’t have all that pesky rising and all that. I couldn’t find fresh cherries, so I used frozen ones, and was surprised at the blue tones I got in the finished dish. It’s almost like it had blueberries in it. In any case, since I’m not one who has to be gluten free, and since I’m not a gluten free baking genius, I started with a recipe from the gluten-free goddess®, and modified it a bit.

    Can’t Tell a Lie Cherry and Chocolate Chip Quick Bread

    • 1 cup of sorghum flour
    • 1 cup of tapioca starch
    • 1/2 cup of millet flour
    • 2 teaspoons of baking powder
    • 1/2 teaspoon of baking soda
    • 3/4 teaspoon of xanthan gum
    • 1/2 teaspoon of salt
    • 2 teaspoons of cinnamon
    • 1/4 teaspoon of nutmeg
    • 1 cup of dark brown sugar, firmly packed.
    • 1 cup of applesauce
    • 1/3 cup of Canola oil
    • 1 1/2 teaspoons of Ener-G egg replacer, mixed with 3 Tablespoons of water
    • 2 teaspoons of vanilla
    • 1 cup of Dole frozen Dark Sweet Cherries, chopped
    • 1/2 cup of Enjoy Life Mini Chocolate chips
    • 9 inch loaf pan
    • parchment paper

    Preheat your oven to 350°, and line the loaf pan with parchment paper so that you can lift the loaf out of the pan in order to cool it.

    Loaf Pan Lined with Parchment Paper
    Loaf Pan Lined with Parchment Paper

    Place sorghum flour, tapioca starch, millet flour, baking powder, baking soda, xanthan gum, salt, cinnamon and nutmeg in a bowl (I used my KitchenAid stand mixer).  Whisk together these ingredients until they are completely mixed.  Add the brown sugar and whisk it into the other ingredients.

    Now add the applesauce, oil, Ener-G mixture, and vanilla, and beat to combine and then continue beating the mixture on medium high until the batter is smooth.

    Fold in the cherries and chocolate chips by hand with a spatula.

    Folding in Cherries and Chocolate Chips
    Folding in Cherries and Chocolate Chips
    Completed Batter
    Completed Batter

    Pour batter into the parchment lined loaf pan, scraping down the sides of the bowl and smoothing out the top of the loaf.

    Batter in Parchment Lined Loaf Pan
    Batter in Parchment Lined Loaf Pan

    Bake for approximately 65 to 75 minutes or until you can insert a tooth pick and it comes back clean, except if you hit a chocolate chip and you have chocolate chip goo.  If this happens, try again in a different place.

    Baked Loaf in Parchment Lined Pan
    Baked Loaf in Parchment Lined Pan

    Once done,  let the loaf cool for 15 minutes or so, and then use the parchment paper to lift the loaf out of the pan and onto a wire rack.  Peel down the sides of the parchment paper and let the loaf cool.

    Baked Loaf on Wire Rack with Parchment Peeled Down
    Baked Loaf on Wire Rack with Parchment Peeled Down

    Once cooled to down to slightly warm, slice yourself a piece and enjoy!

    Slice of Can't Tell a Lie Cherry and Chocolate Quick Bread
    Slice of Can’t Tell a Lie Cherry and Chocolate Quick Bread
  • Microwave Popcorn, lots and lots of flavors (and allergy-friendly!)

    Popcorn

    So this isn’t the post that was originally supposed to be here. I was supposed to have concocted this wonderful braised pork chop recipe, but Winter Storm Nemo happened and shot my plans to go to the grocery store to hell. I tried to make a go of it with what I had in the apartment, and it wasn’t bad, it just wasn’t worthy of you all. So then I was left to find something else to do at the last minute. And what else do people do when there’s no food, and you don’t feel like cooking? Microwave popcorn. Except for those of us that are dairy free, there’s no microwave popcorn that we can buy without milk or milk derivatives in it. So, the internet to the rescue! I can’t remember where I found the link on how to cook popcorn in a paper lunch bag in the microwave, but I want to thank them fervently.

    Also, for those of you who are Valentine’s Day abstainers, popcorn is a good thing to have while you do a movie marathon to ignore the fact that the rest of the planet is participating in a corporate-manufactured holiday.

    Basic Microwave Popcorn

    • ⅓ c of popping corn
    • ½ tsp of canola oil
    • ¼ tsp of Lawry’s Seasoned Salt, or Penzey’s 4/S salt.
    • 1 paper lunch bag
    • 1 piece of tape (optional) or a plastic clip like these from Pampered Chef

    Variations:

    Cajun – Replace seasoned salt with  1/4 tsp Penzey’s Spicy 4/S Salt, or Slap Ya Mama Cajun Seasoning to taste. If your Cajun Seasoning does not have salt, leave the seasoned salt in the basic recipe in as well.

    Cheez – Add 1-2 Tablespoons of nutritional yeast to the basic recipe.

    Ranch – Add 1 Tablespoon of nutritional yeast, and a dash of each of the following: garlic powder, onion powder, basil, dill weed, and red pepper flakes to the basic recipe.

    Curry – Add 1/4 teaspoon Garam Masala, and 1/4 teaspoon of curry powder to the basic recipe.  If you want to add some heat, add a dash of cayenne pepper.

    Open paper lunch bag. Add the popcorn kernels and all the seasonings to the bag. Add the oil, and then hold the bag closed and shake quickly to distribute oil and seasoning around popcorn kernels.  Either fold the top of the bag over twice, use tape, or the clip to seal the bag tightly. Put the bag in the microwave on its side. Because all microwaves are different and everyone has figured out the optimum time to nuke microwave popcorn without burning it, try it at your normal setting and see if that works, and adjust the time as needed. In my microwave, it takes 1 minute 45 seconds to pop the popcorn without burning it. Shake the bag after taking it out of the microwave and dump the popcorn in a bowl, shaking any seasonings left in the paper bag out over the popcorn.

    This would really work with any combination of seasonings you want to try. Let us know how any experiments you do work out. Enjoy!

    All the Single People!

    And for those who are single or anti-holiday, whatever your reason, here’s Mary Kate’s current V-Day At Home Alone, currently available via streaming Netflix, movie night plan:

    Thor

    Captain America

    and to remember that sometimes romance gets in the way of your future plans,

    Dr. Horrible’s Sing-Along Blog

    Anyone watching along with me?

  • Almost-Instant Black Bean Soup

    Almost Instant Black Bean Soup
    Almost Instant Black Bean Soup

    It’s winter, so it’s already dark when you get home, late, hungry. and cold.  There’s probably some sandwich stuff in the fridge, and there’s cereal, but again, it’s cold.  And you’re hungry.  NOW.

    You need this soup.

    In about 15 minutes, with very minimal effort, you have fresh wondrous HOT satisfying soup.

    This Is How Easy Dinner Can Be
    This Is How Easy Dinner Can Be

    Black Bean Soup

    • 1 can of black beans, drained and rinsed
    • 1 can of tomatoes, either chopped or crushed, with seasonings if you like
    • 1 cup of frozen corn
    • 1 small can of tomato juice or V8 (I use low sodium V8) OR about 6 oz of water
    • 1-2 teaspoons chili powder
    • 1/2 teaspoon cumin
    • pinch of cayenne or dash of hot sauce

    Mix in sauce pan, heat.  That takes about 10 minutes.  Eat.

    The basic recipe is so easy that it’s possible to easily dress this up, but the basic recipe is excellent and all the ingredients are shelf-stable, so you can always have them on hand.

    Other potential add-ins before cooking: 1/4 teaspoon oregano, a cube or two of frozen cilantro (or fresh, if you have it), leftover cooked rice, leftover cooked sweet potato, leftover shredded or cubed chicken.

    Potential toppers for after cooking: crush a handful of tortilla chips on top, add some sliced avocado before serving, add some fresh chopped cilantro, or sprinkle on some shredded cheese, vegan or not.

    Almost Instant Black Bean Soup, ungarnished
    Almost Instant Black Bean Soup, ungarnished
  • Chicken Primavera Alfredo

    Chicken Primavera Alfredo
    Chicken Primavera Alfredo

    Okay, first things first.  My good camera’s battery hit the skids half way through cooking this recipe, so I had to resort to my cell phone camera. Which means that some of these pictures are more terrible than they usually are. Now on to the subject at hand.

    Alfredo sauce. Seriously, before the food allergy apocalypse, this was one of my very favorite things. When I was first diagnosed, I tried to make a soy based Alfredo sauce, and I took one bite, and dumped the rest of it down the sink. I may have also spit the bite I took in the sink. (Yes, I’m that classy.) You may remember that I have mentioned that I’m not a fan of soy milk. So when Mary Kate and I decided to do this blog, Alfredo sauce was one of the first things that I put on the infamous spreadsheet for us to find a solution to. I think I’m finally there. Even my husband, who can still eat dairy, says that this is amazingly close. This recipe will not help those of you with a nut allergy, as the base is made of cashews. Although the sauce itself is gluten free, I did use regular pasta, which is not. So if you want to make this recipe gluten free, just use gluten free pasta (MK suggests Schar pasta (I’ve only had the penne), Quinoa pasta (here, only had the macaroni), and Trader Joe’s corn pastas).  This recipe will probably feed about 4-6 people depending on portion size.

    Alfredo Sauce:

    • 1 cup of raw cashews or cashew pieces (pieces are cheaper, buy those) 
    • 4 teaspoons of lemon juice (fresh is better but the bottled will work in a pinch)
    • 1 teaspoon of roasted minced garlic (you can get it in a jar at the grocery store)
    • 1 teaspoon of salt
    • 1/2 teaspoon of fresh ground black pepper
    • 1/4 teaspoon of nutritional yeast
    • dash of nutmeg
    • dash of paprika
    • dash of sage
    • 1 1/2 cups of boiling water
    • 1 tablespoon of Earth Balance Natural Buttery Spread Soy-free
    • 2 teaspoons of cool water
    • 2 teaspoons of corn starch

    Chicken Primavera Ingredients:

    • 1 to 1 1/2 pounds of chicken breast, sliced into strips
    • seasoned salt
    • black pepper
    • 2 tablespoons of canola oil
    • 2 cups of pasta (small shells, macaroni, etc.)
    • 1 – 16 ounce bag of frozen mixed vegetables
    • enough water to cook the pasta

    First, make the Alfredo sauce:

    Put the tea kettle on to boil your 1 1/2 cups of water first.  You will need your blender. Take your 1 cup of cashews and grind them into a fine powder.  You can do this in the blender, but I like to grind them in a coffee grinder that I use specifically food and spices.

    Finely Ground Cashews
    Finely Ground Cashews

    It’s easier if you grind them in batches if you’re using the coffee grinder. Once they are finely ground, put the cashews in the blender. (If you’re grinding them up in the blender, put the cashews in blender and process them until they are finely ground before adding any other ingredients.)  Add the lemon, garlic, salt, black pepper, nutritional yeast, nutmeg, paprika, sage, and the boiling water in the blender with the cashews.  Put the cover on the blender and blend until smooth.  Let it blend for a while, the smoother the better.

    Once you think it’s blended enough, pour the mixture into a sauce pan, and put it on medium low.  Add the Earth Balance and let it melt into the mixture, while you mix the cornstarch and 2 teaspoons of cool water together in a small container.  Once the Earth Balance is melted, stir the mixture to incorporate the Earth Balance and then pour in the cornstarch mixture, while continually stirring (if you don’t stir continuously, you’ll have lumps). Put the sauce on the back burner on the lowest setting while you get everything else ready.

    Alfredo Sauce
    Alfredo Sauce

    Now it’s time to cook the chicken.  Slice the chicken breast into strips if you haven’t already done so, and season them with the seasoned salt and pepper (just sprinkle some over it).  Put the canola oil in a skillet and turn the burner onto medium high.  Put the chicken into the pan but don’t crowd the pieces.

    Chicken properly spaced in frypan
    Chicken properly spaced in frypan

    Sear the chicken so you get a nice golden brown on the outside, and make sure your pieces get cooked without being overcooked. Easy for me to say right? I prefer to use dark meat, because it’s really hard to over cook dark meat, and because I like it better.  But, since my husband likes the breast meat, and I got a wicked deal on some chicken breast, that’s what we’re using here.  However, next time I’d probably use boneless chicken thighs.  Anyway, the picture below shows what you’re trying to get for a nicely seared outside, as it’ll add flavor to the dish.

    Properly Seared Chicken
    Properly Seared Chicken

    Put the chicken aside once it is cooked.

    Now we need to cook the pasta and vegetables. Using a large pan, put enough water in to cook 2 cups of pasta, and a couple of dashes of salt. Bring the water to a boil, and add the two cups of pasta to the water.  When the pasta is almost ready but not quite tender enough to be considered done, pour the bag of frozen mixed vegetables into the pan with the pasta.

    Pasta and Vegetables Cooking
    Pasta and Vegetables Cooking

    Bring the water back to a boil and let it cook for two or three minutes after that.  Once the vegetables are done, the pasta should also be ready.  Drain the water.

    Spoon some of the pasta and vegetables onto a plate, and place some chicken on top of the pasta and vegetables.

    Chicken, Pasta and Vegetables on a plate
    Chicken, Pasta and Vegetables on a plate

    Then ladle some of the Alfredo sauce over your chicken, pasta and vegetables.  And Voila! Yay Alfredo Sauce!!

    Chicken Primavera Alfredo
    Chicken Primavera Alfredo