Notice: Function _load_textdomain_just_in_time was called incorrectly. Translation loading for the wp-ultimate-recipe domain was triggered too early. This is usually an indicator for some code in the plugin or theme running too early. Translations should be loaded at the init action or later. Please see Debugging in WordPress for more information. (This message was added in version 6.7.0.) in /home/maryzahc/public_html/adultfoodallergies.com/wp-includes/functions.php on line 6131 Gluten-free – Page 9 – surviving the food allergy apocalypse (archive)
So because I’m moving and combining households, I got rid of my rice cooker. THE HORROR. I think I may have mentioned before that I cannot, for the life of me, cook rice on the stovetop. This is why a friend gave me a rice cooker years ago. But I’m now without it for about three weeks until our households are actually combined. I still have rice, though.
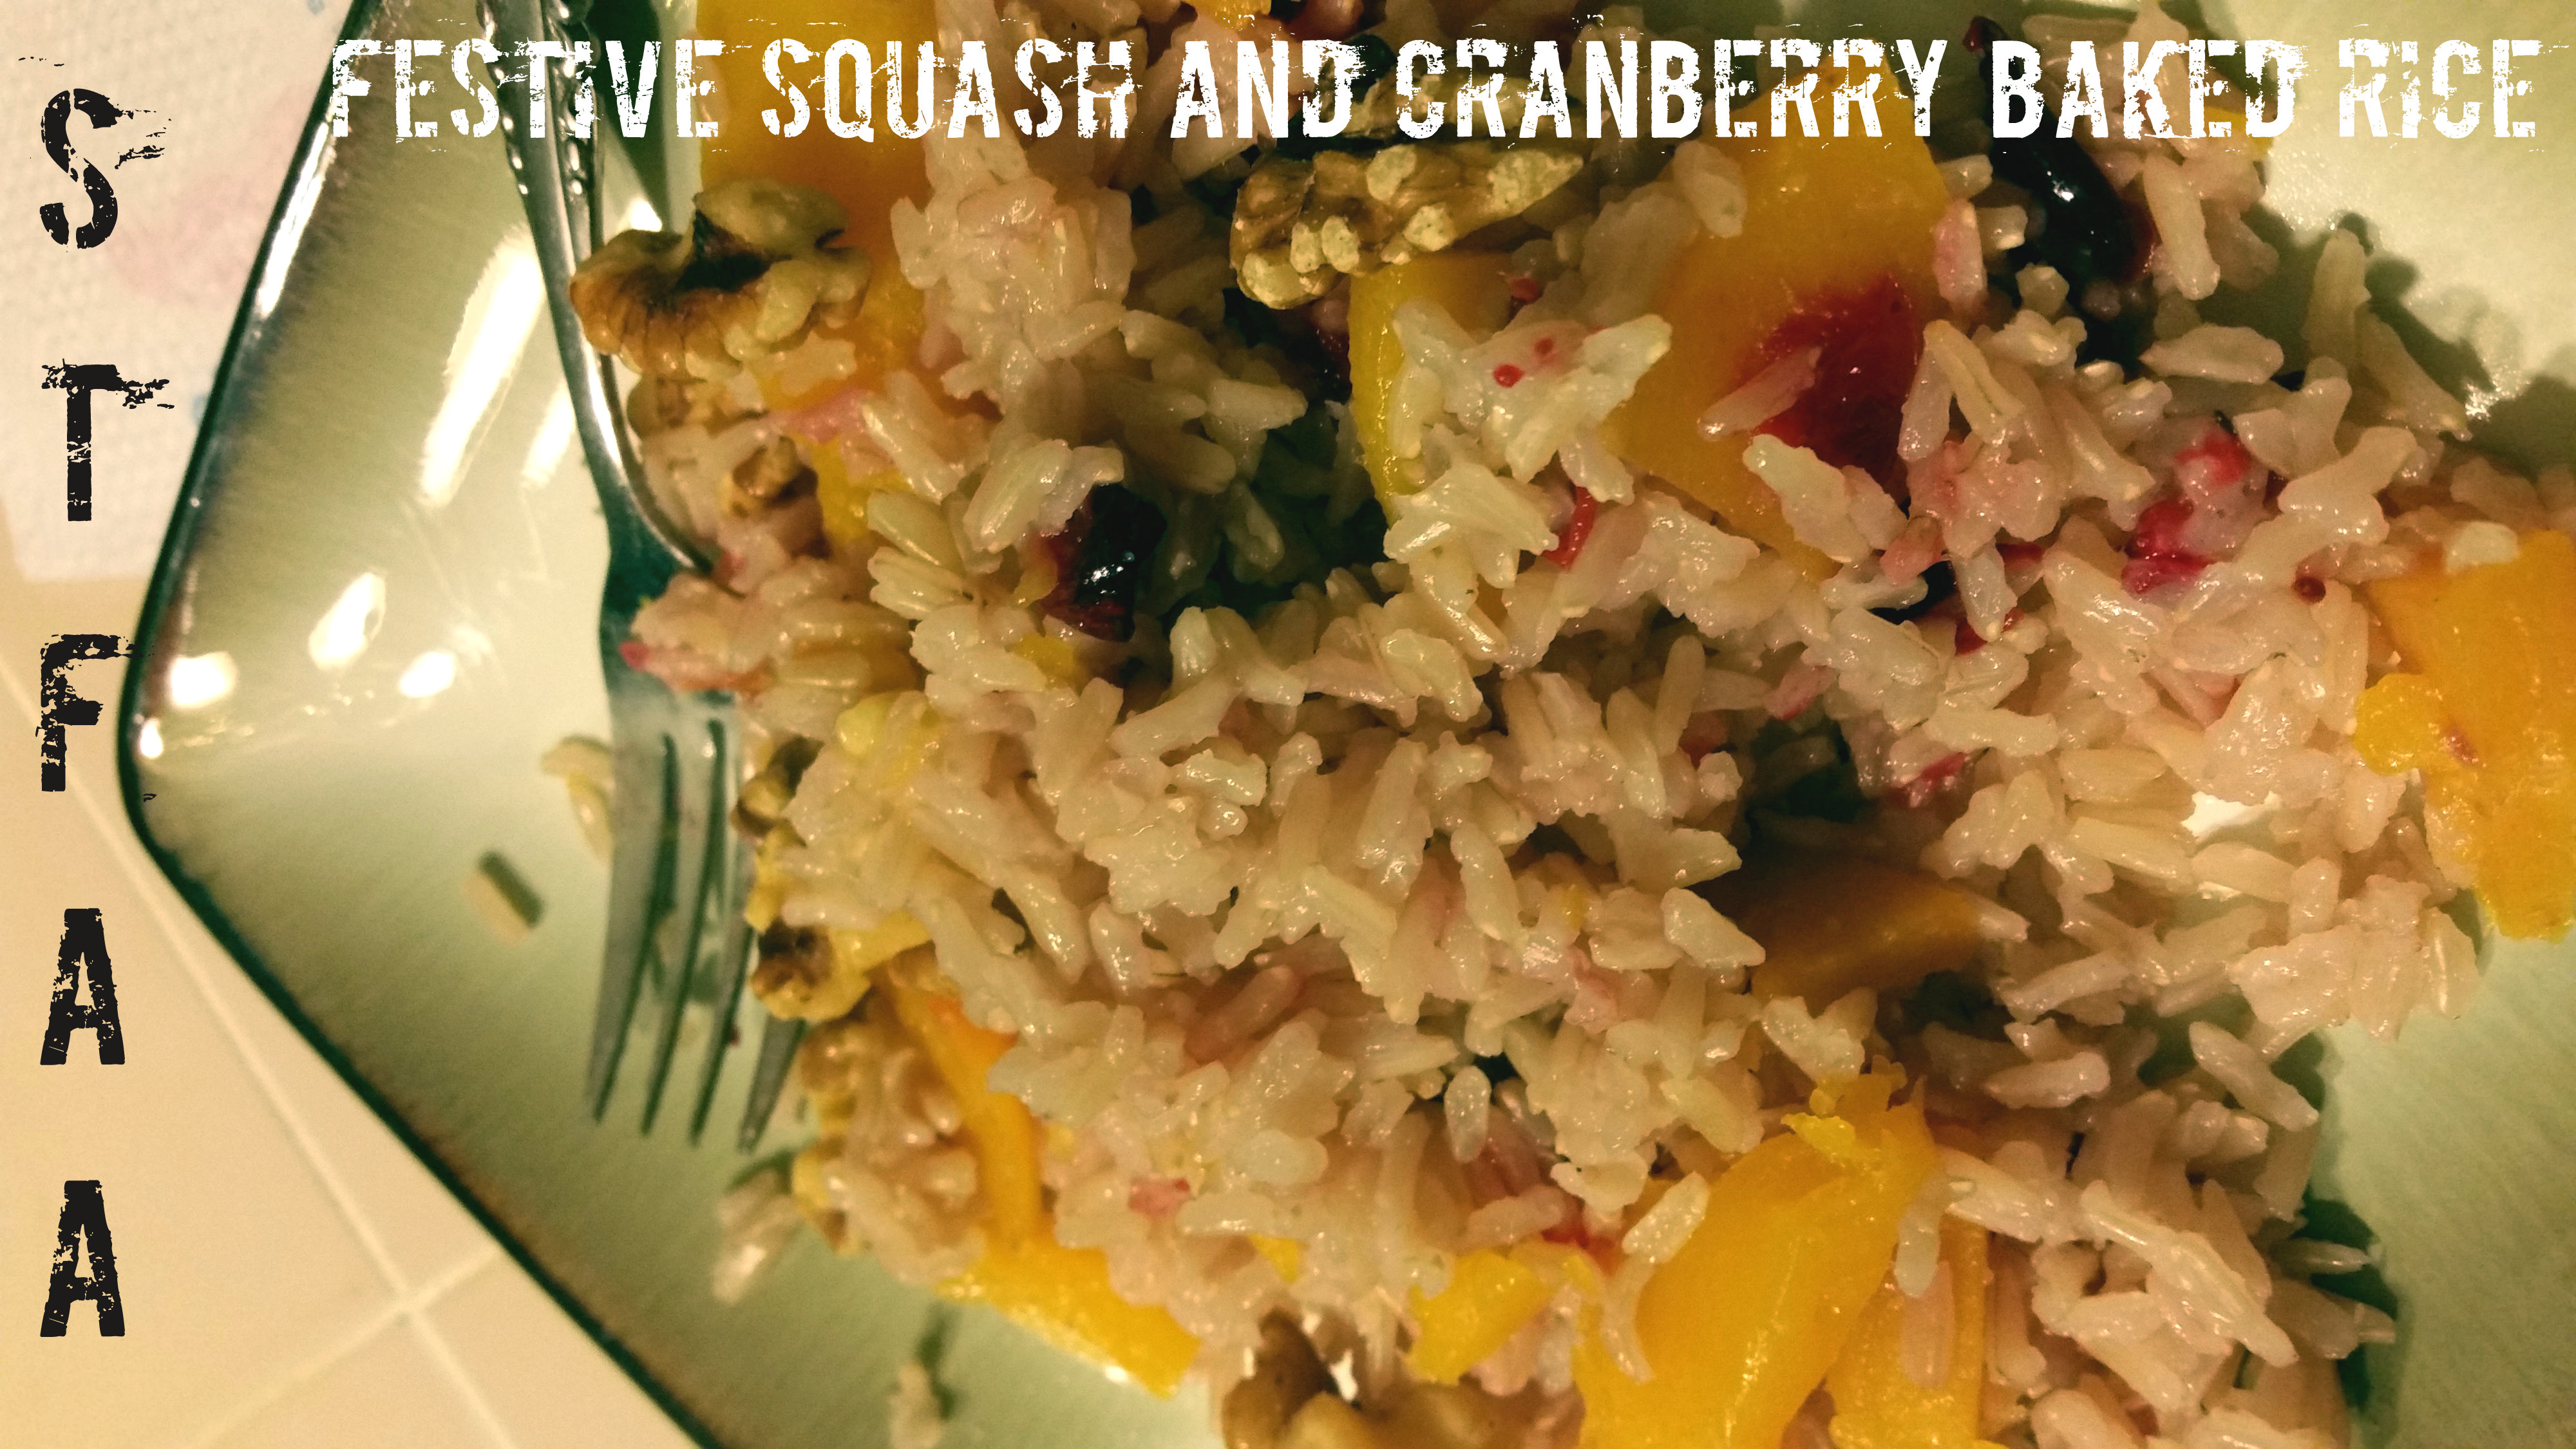
Years ago, I got a pamphlet from (I think) the canola oil council out in North Dakota, and it had a baked rice dish in it. I remember it being greasy, though, probably because the pamphlet was about oil, not rice. So I looked up “baked rice” on the great wide internet, and I found Alton Brown’s recipe. I used this as the basis for a rice side dish full of fall flavors — butternut squash is earthy and a bit sweet, brown jasmine rice is worth hunting down, as it’s nutty but smoother than “regular” brown rice, and cranberries are fruity and tart and bright.
I’ll apologize for the photos, as everything is in disarray right now. Denise and I have recipes for you through September, but we’re going to take a few weeks off in October to regroup as the blog goes bi-coastal.
Notice: Trying to access array offset on value of type bool in /home/maryzahc/public_html/adultfoodallergies.com/wp-content/plugins/wp-ultimate-recipe/helpers/models/recipe.php on line 254
Festive Squash and Cranberry Baked Rice
Print Recipe
Servings
Prep Time
6servings
5minutes
Cook Time
Passive Time
45minutes
45minutes
Servings
Prep Time
6servings
5minutes
Cook Time
Passive Time
45minutes
45minutes
Festive Squash and Cranberry Baked Rice
Print Recipe
Servings
Prep Time
6servings
5minutes
Cook Time
Passive Time
45minutes
45minutes
Servings
Prep Time
6servings
5minutes
Cook Time
Passive Time
45minutes
45minutes
Ingredients
1cupbrown jasmine rice
1 3/4cupboiling water
1Tablespoonolive oil or vegan margarine
1/2teaspoonsalt
1/2cupcranberries
1 1/2cupsbutternut squash chunks
1-2Tablespoonsnutsoptional
Servings: servings
Instructions
Preheat oven to 375℉
Add all the ingredients except water and nuts (optional!) to an oven-safe casserole dish. My cranberries are always frozen, but this is fine — just pick out any mushy ones.
Bring water to a boil and pour over rice and other stuff.
Cover tightly. This is easiest with a glass or glass-topped casserole dish as you can check it without letting the steam out, but if you don’t have one, foil works, too.
Bake for about 45 minutes. The water should be completely absorbed. Remove from the oven, remove the lid, and fluff the rice with a fork so that the underside doesn’t over-steam.
Top with nuts, if using, and serve.
Recipe Notes
**You can substitute white rice in this dish, but decrease the water to 1:1 (1 cup, in this case) and decrease the cooking time to 30 minutes. I like the brown jasmine rice, in particular, as it has the nuttiness of regular brown rice without the more fibrous texture, and the flavor compliments the squash.
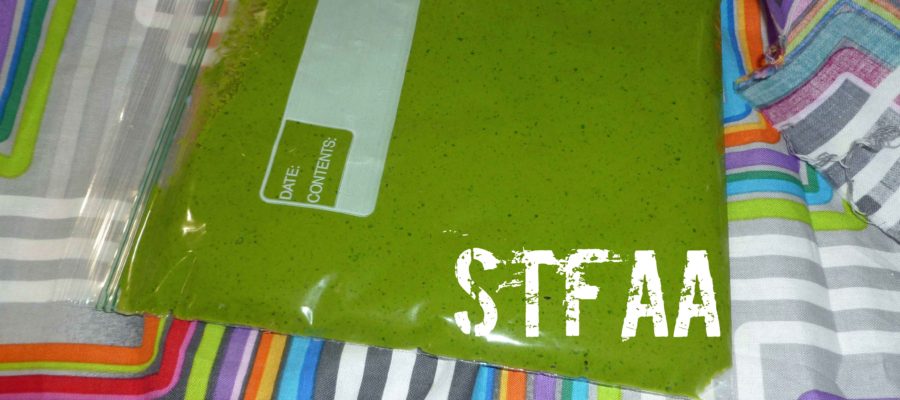
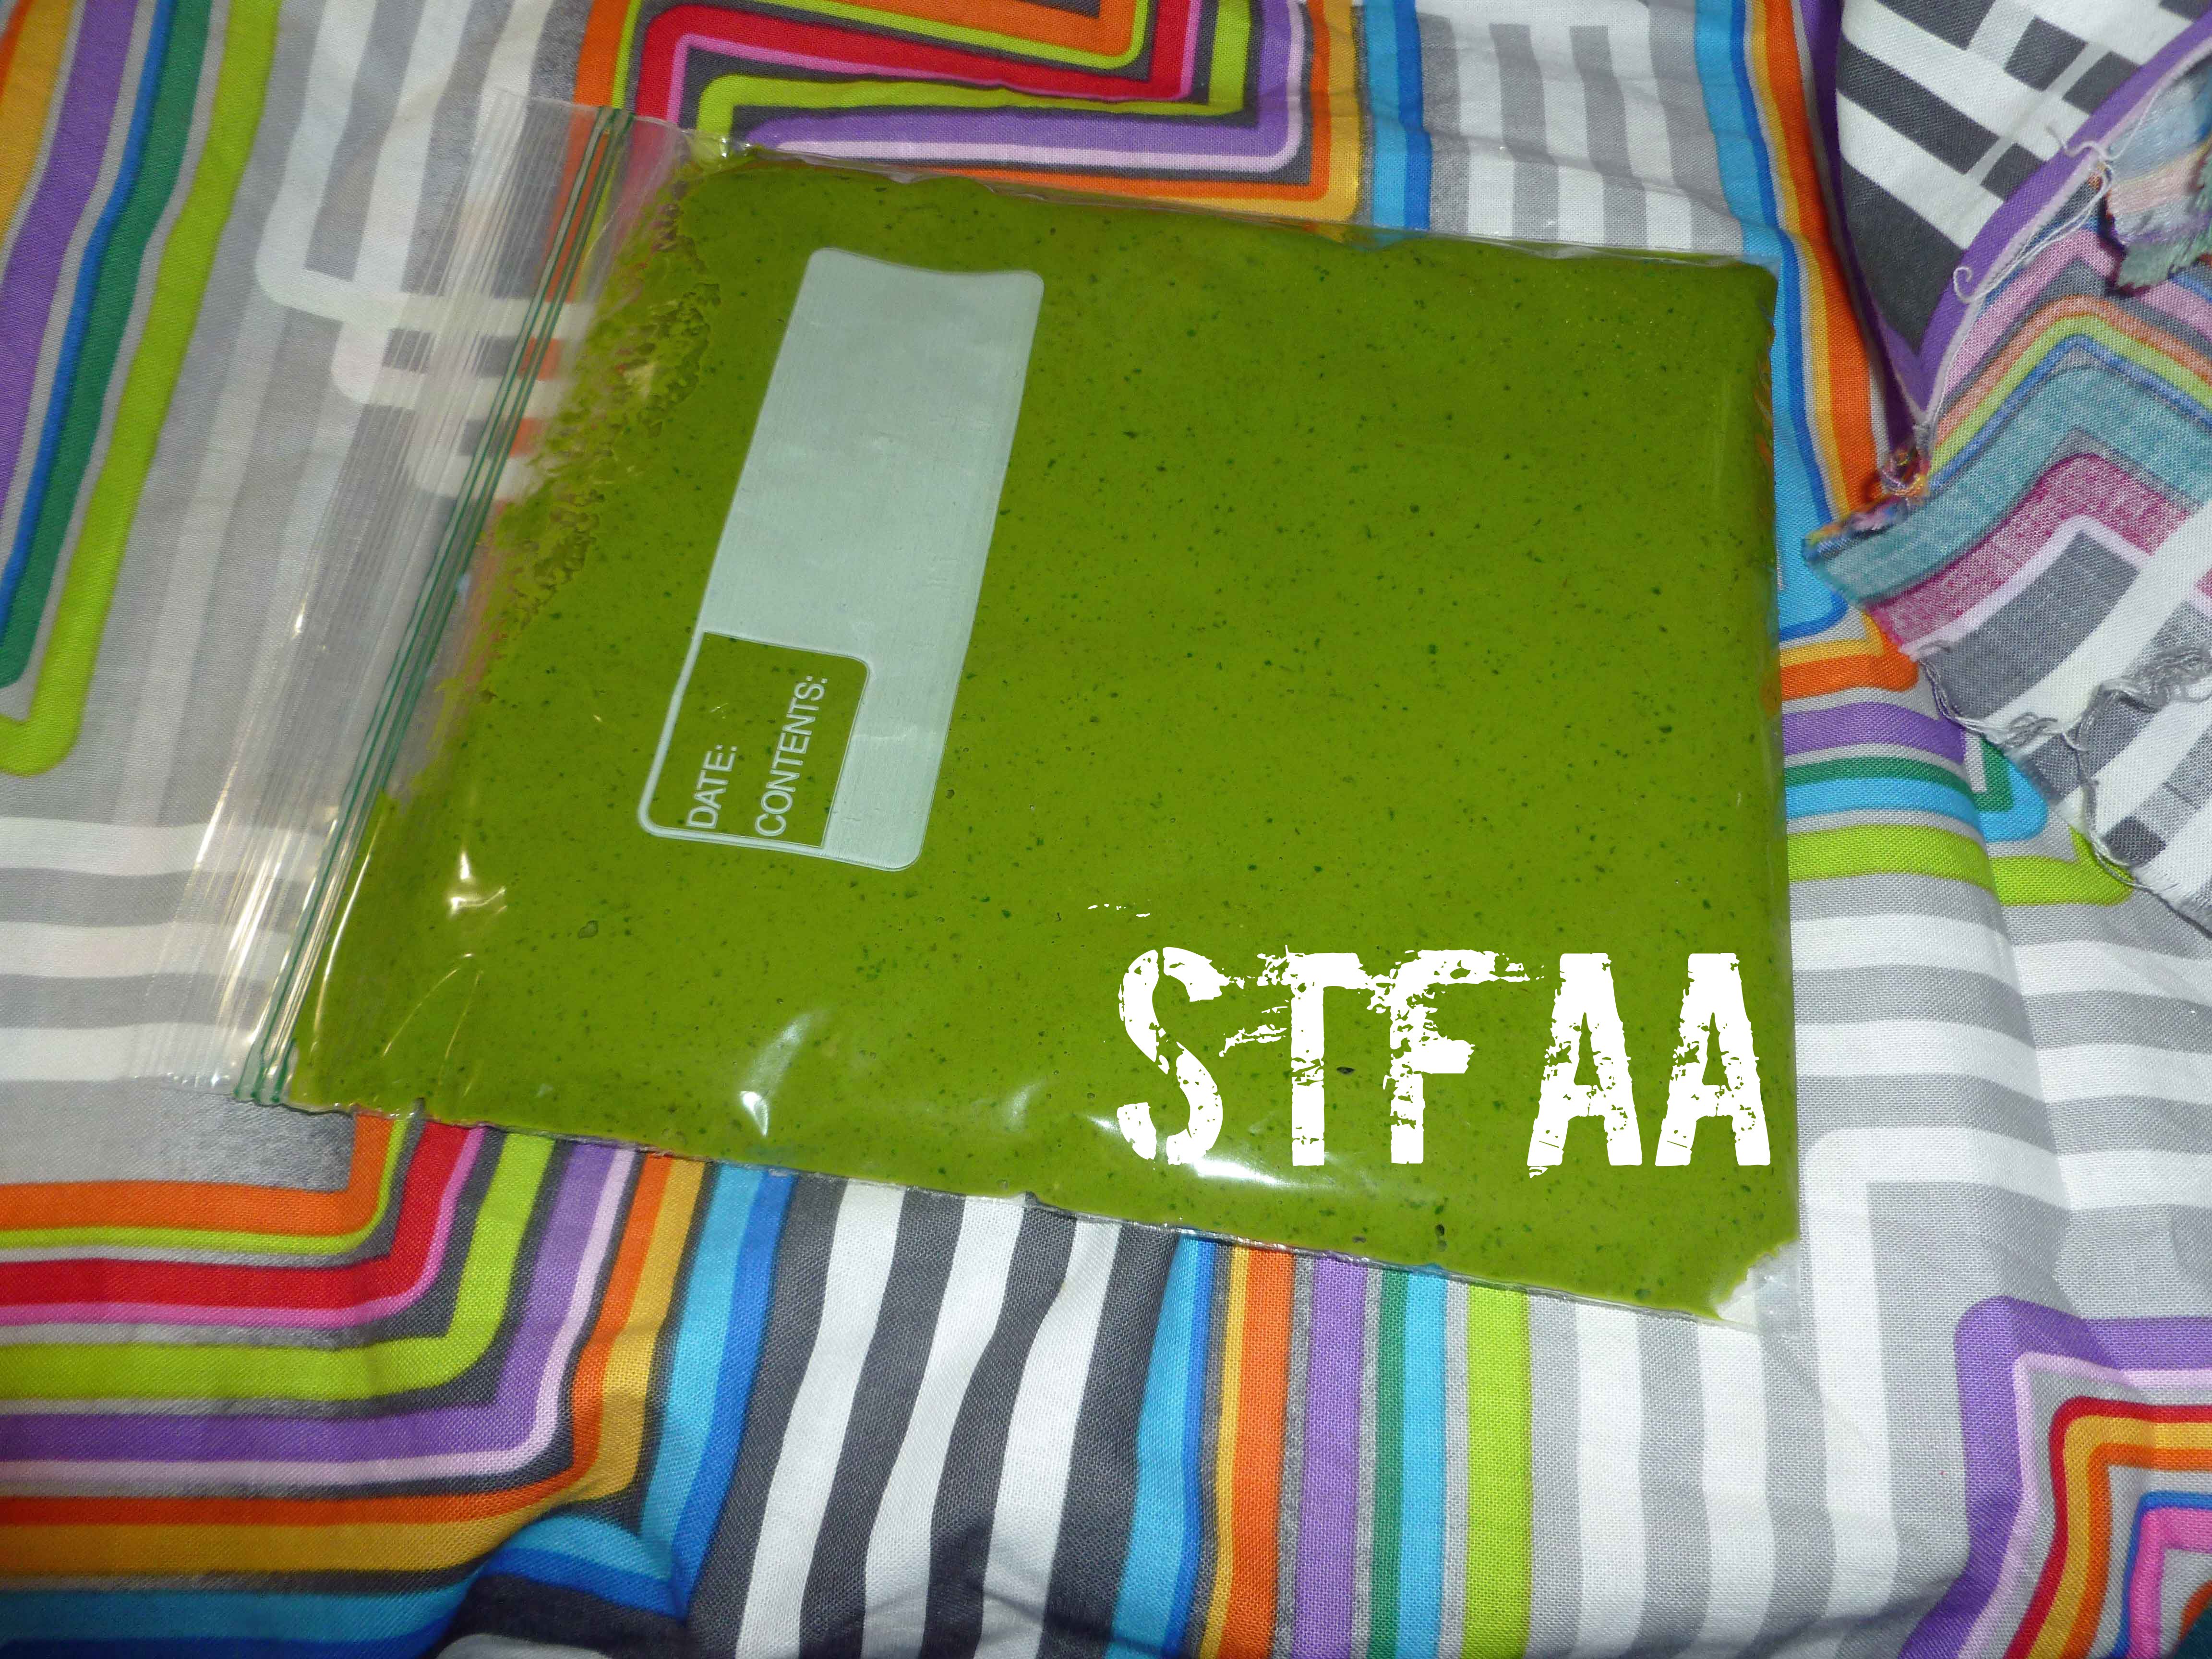
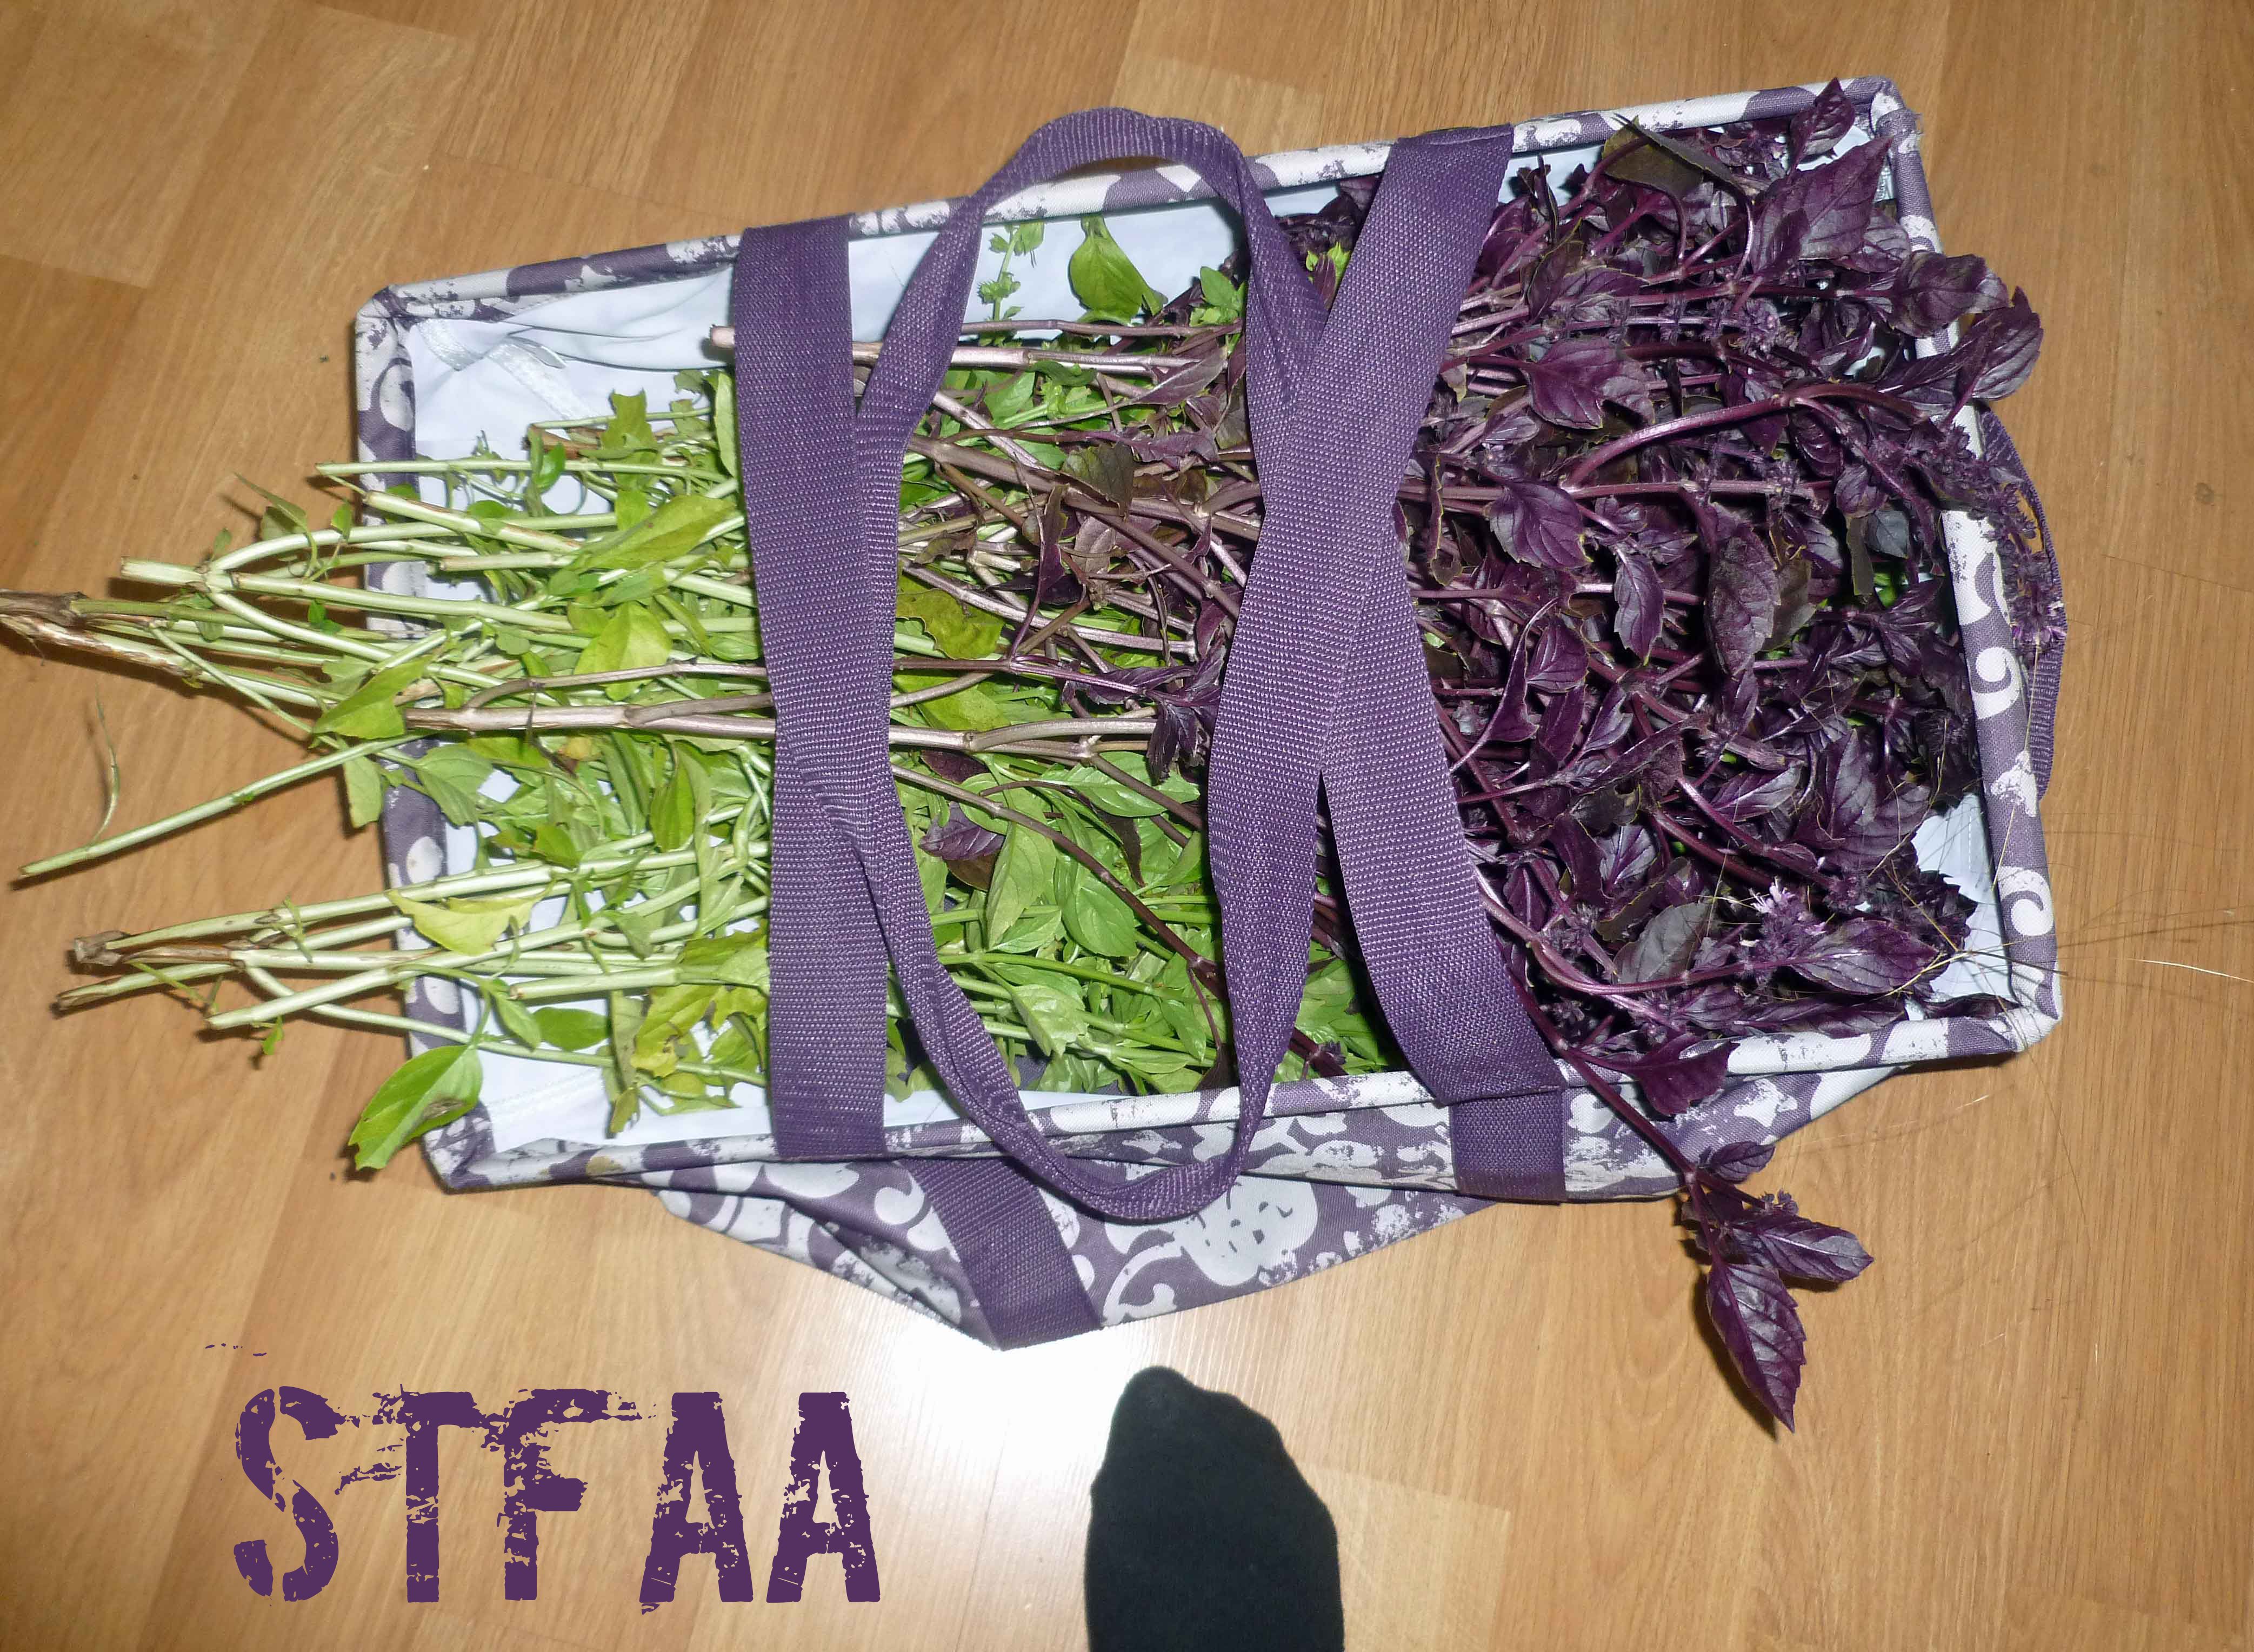
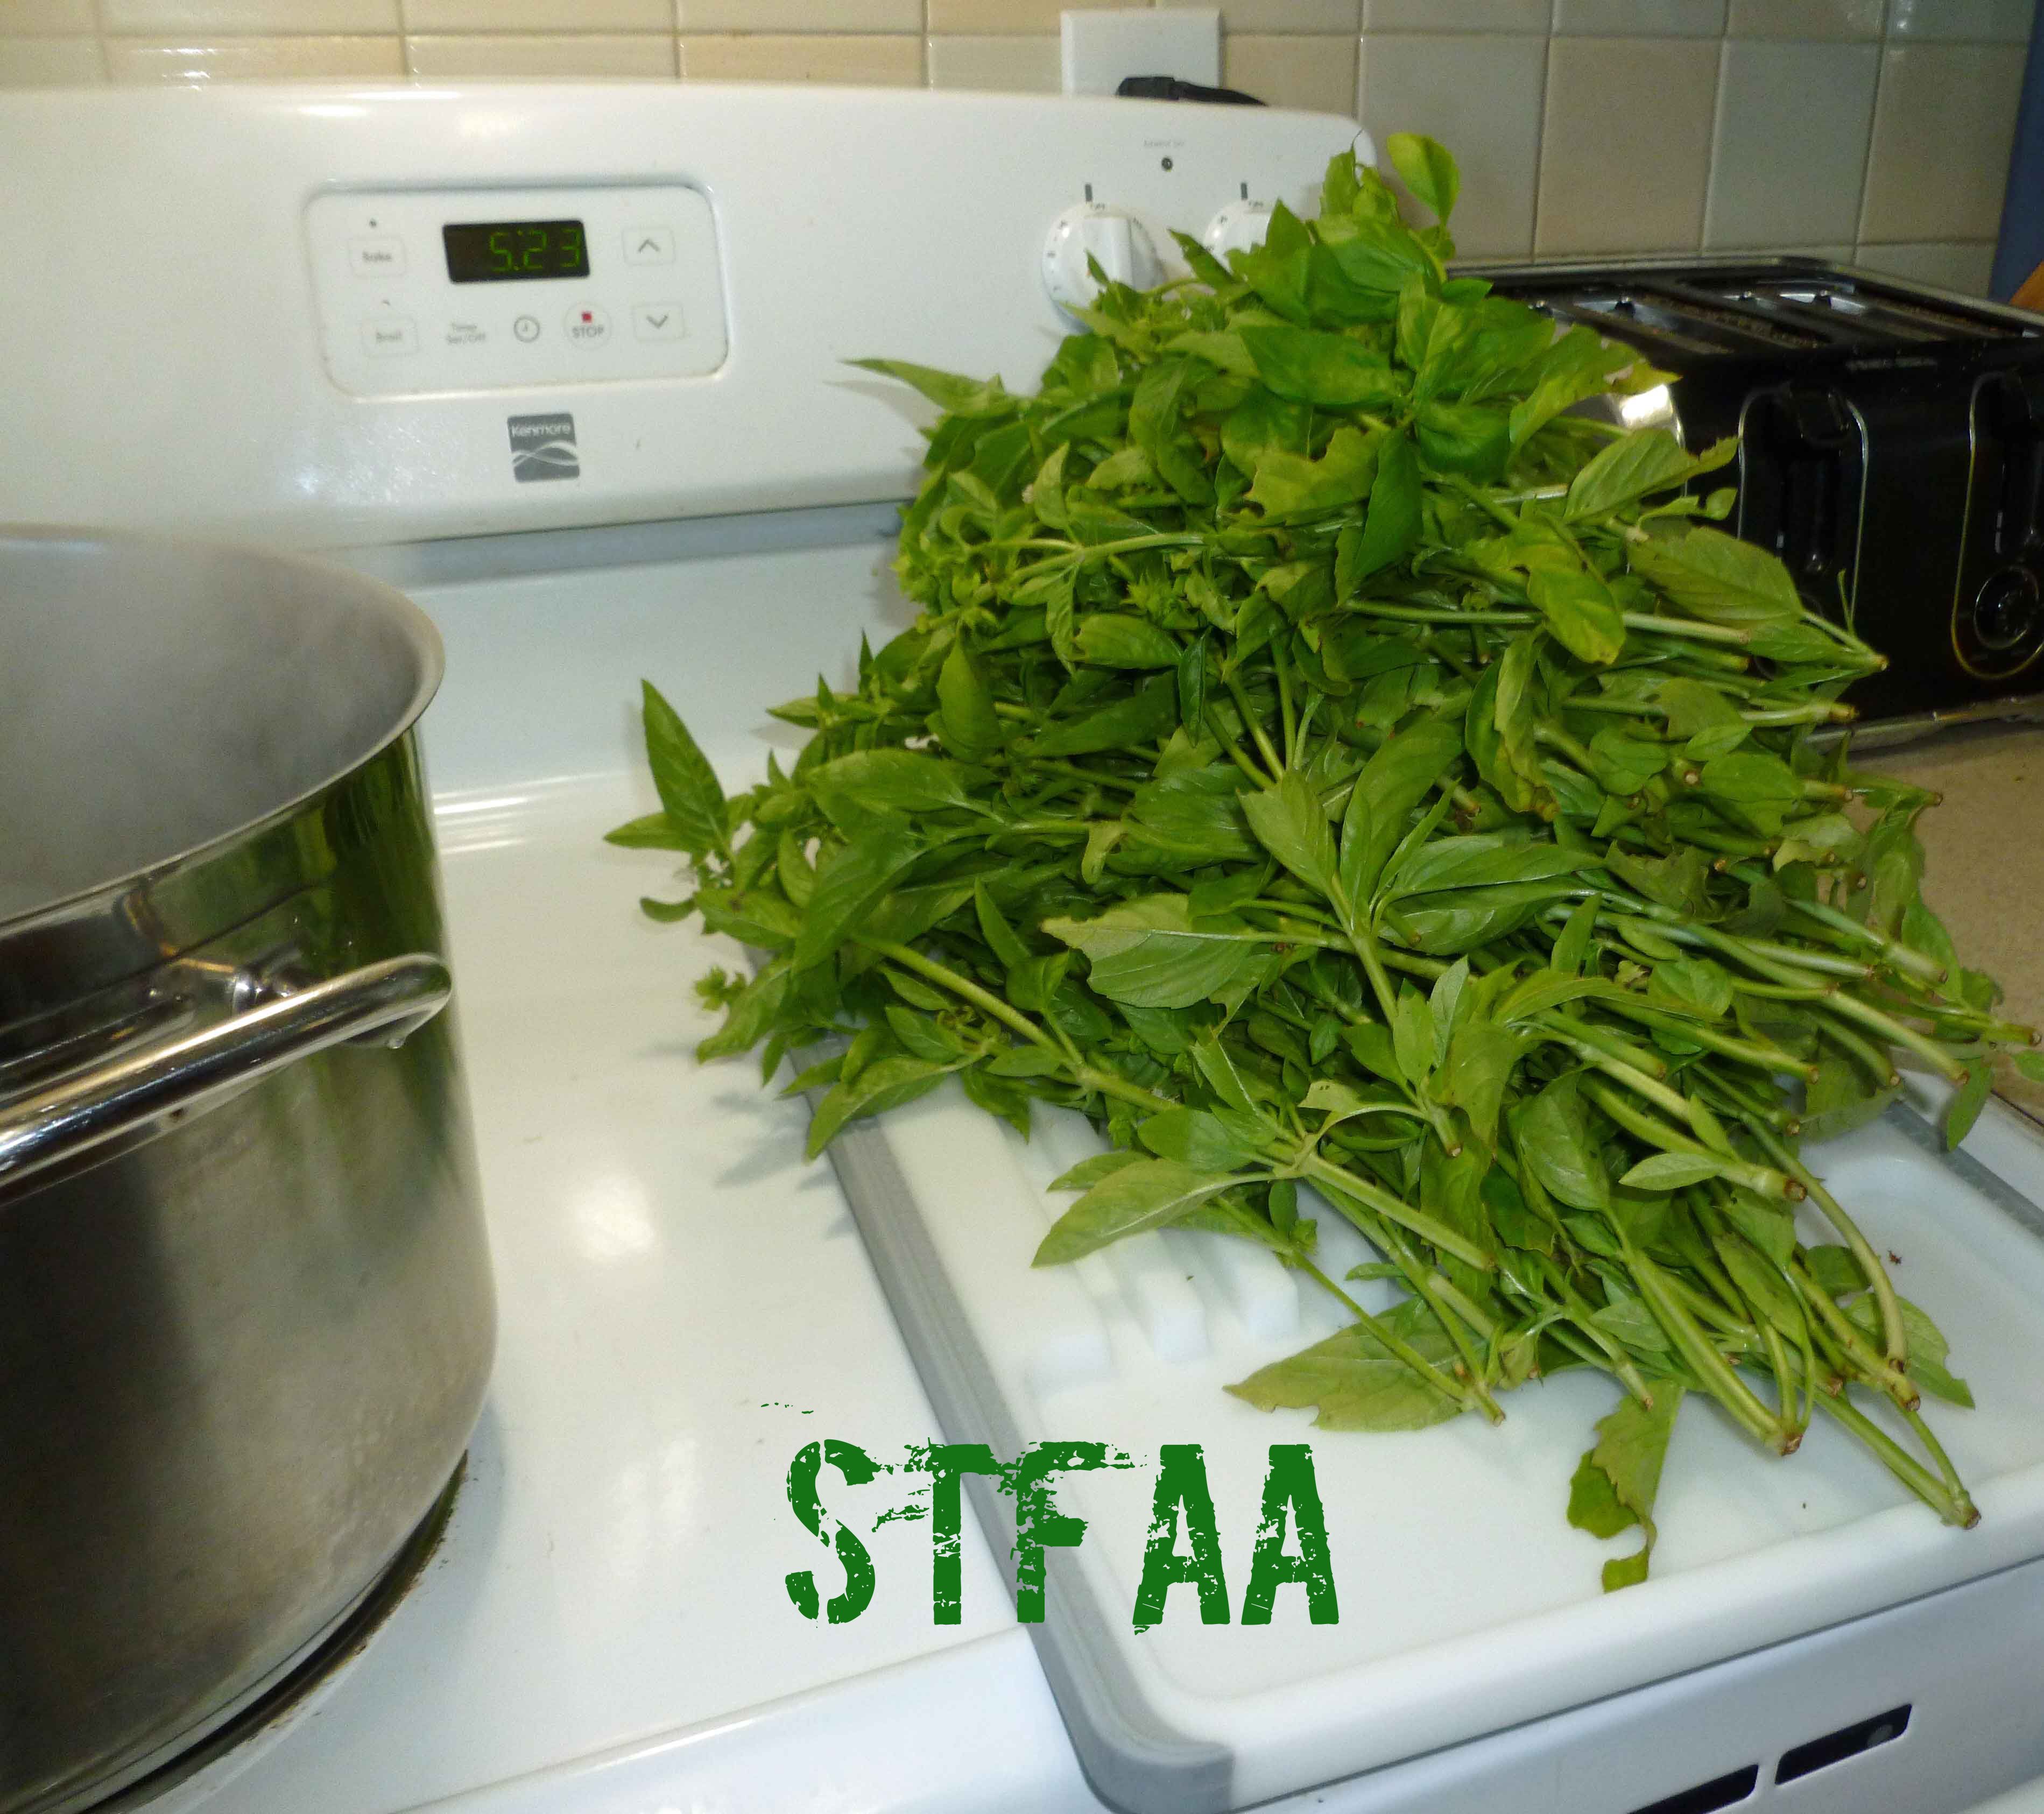
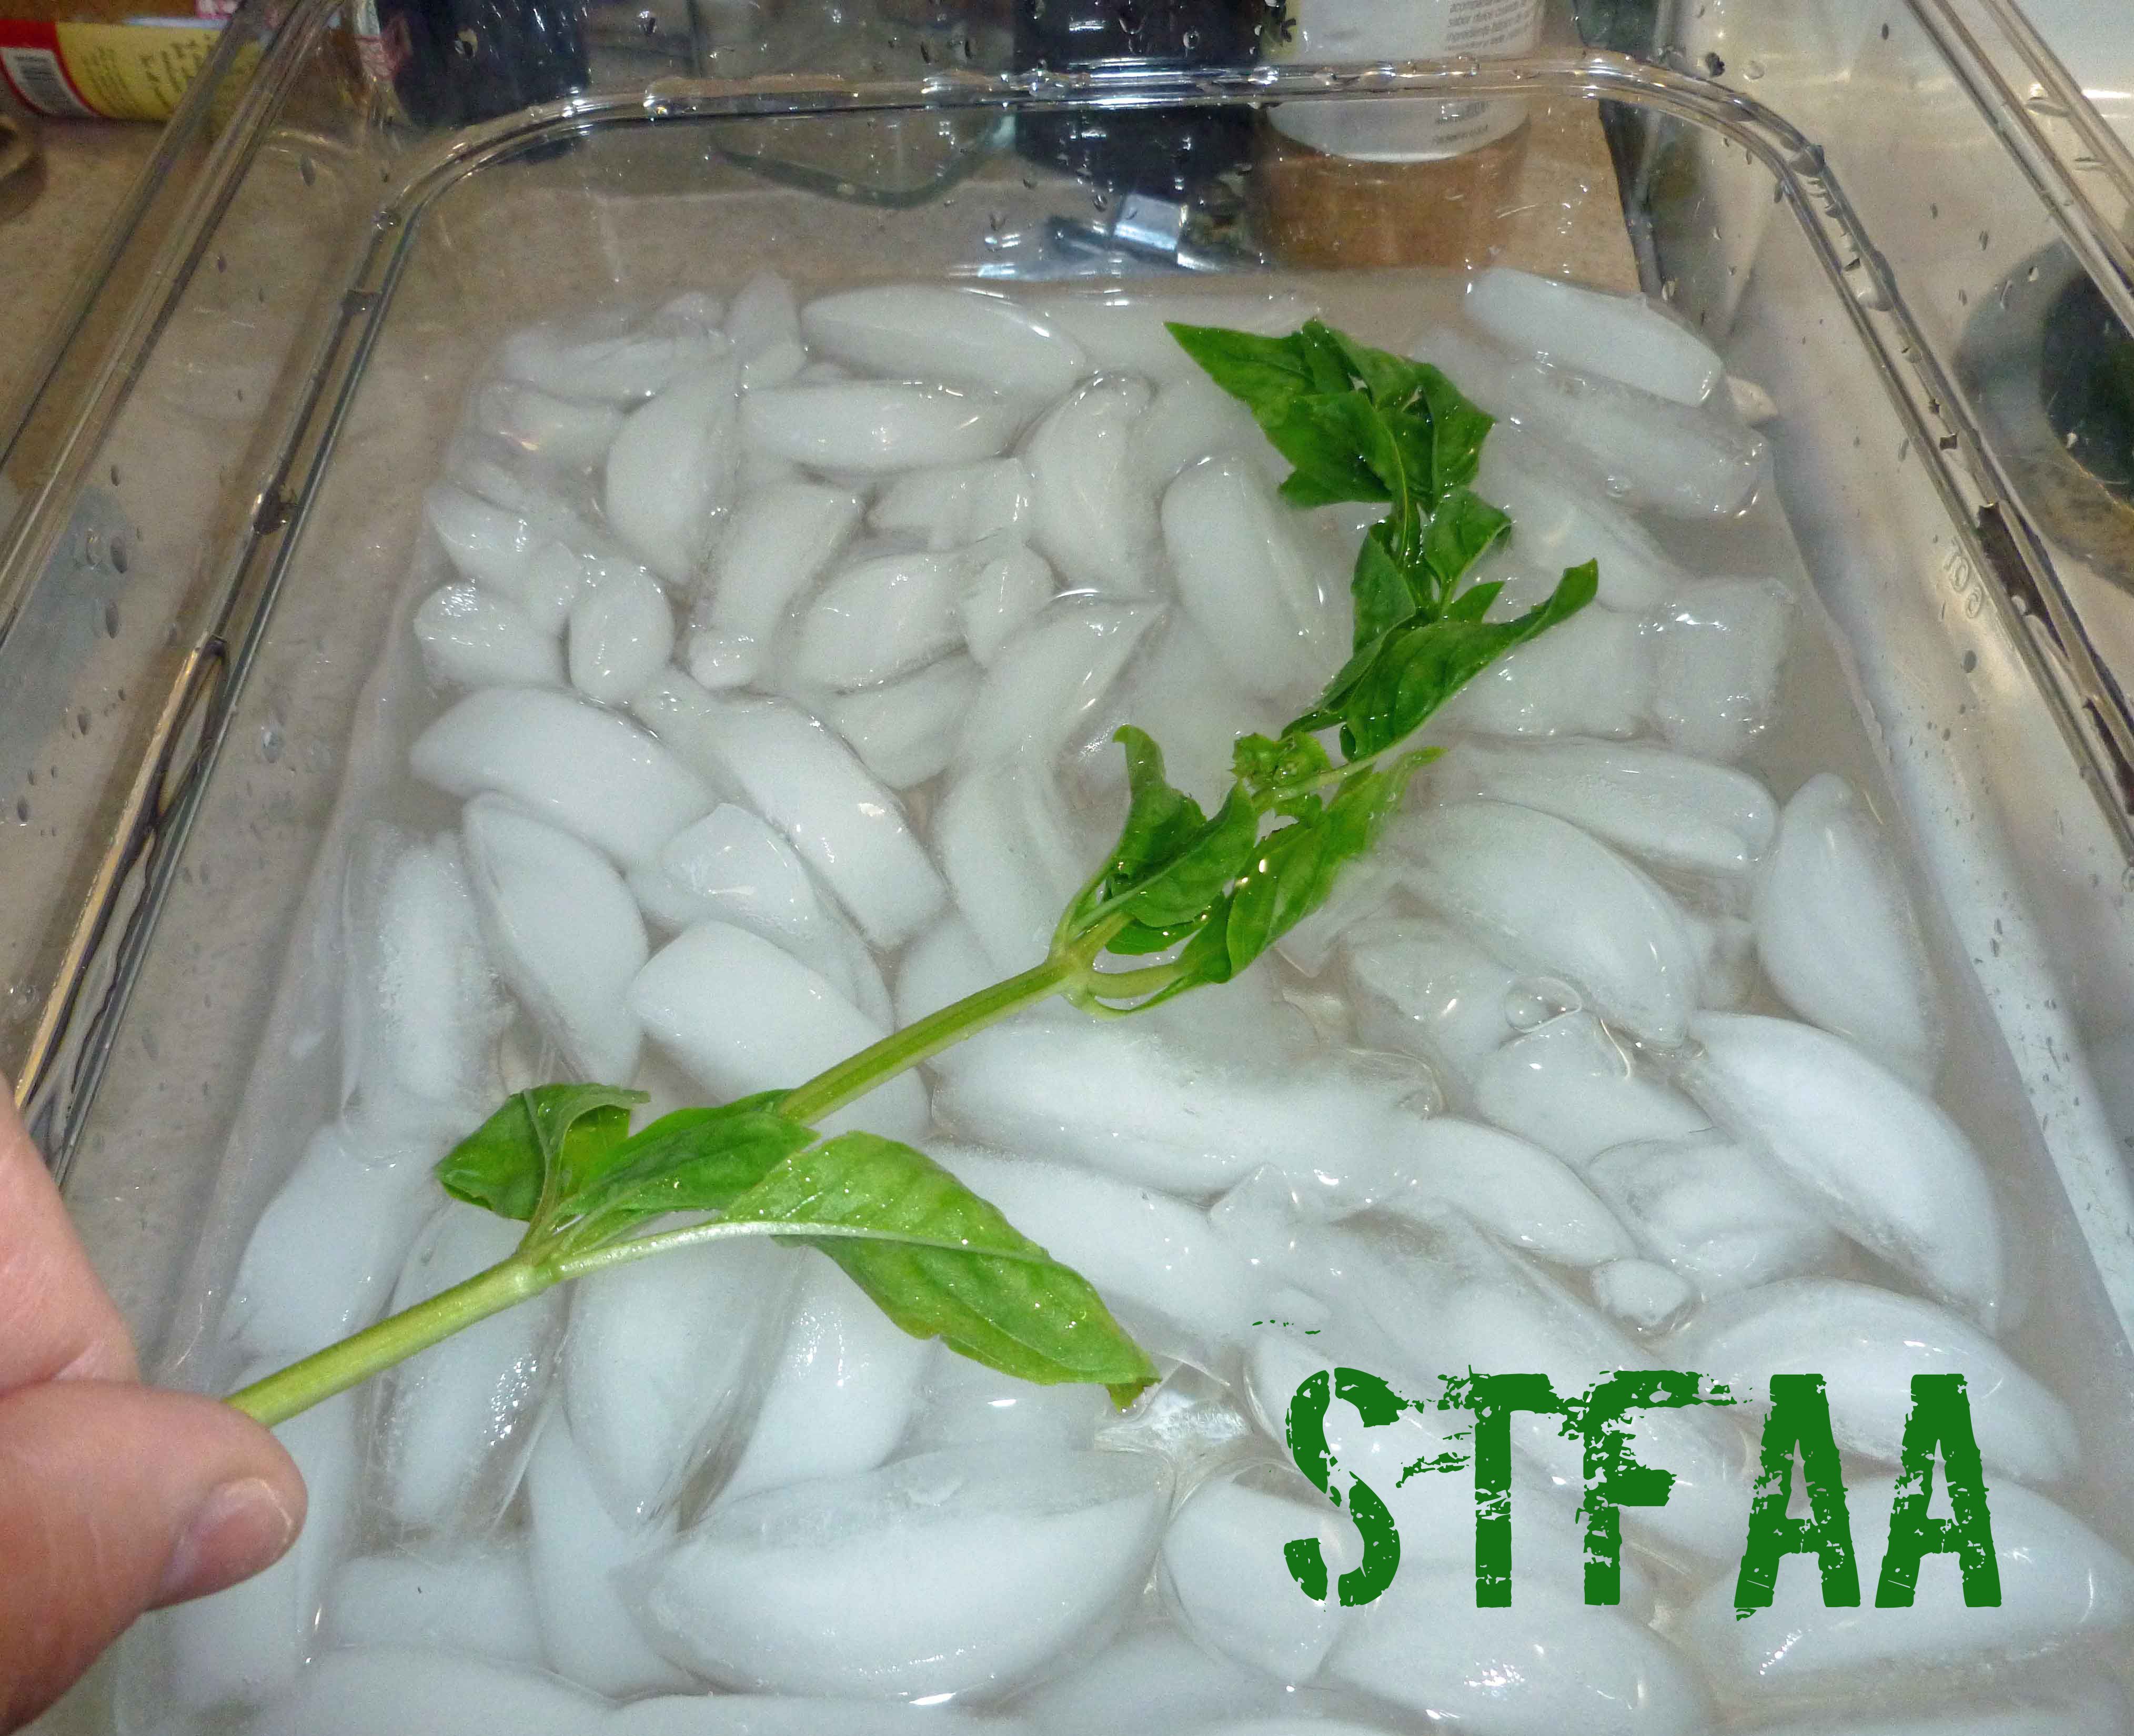
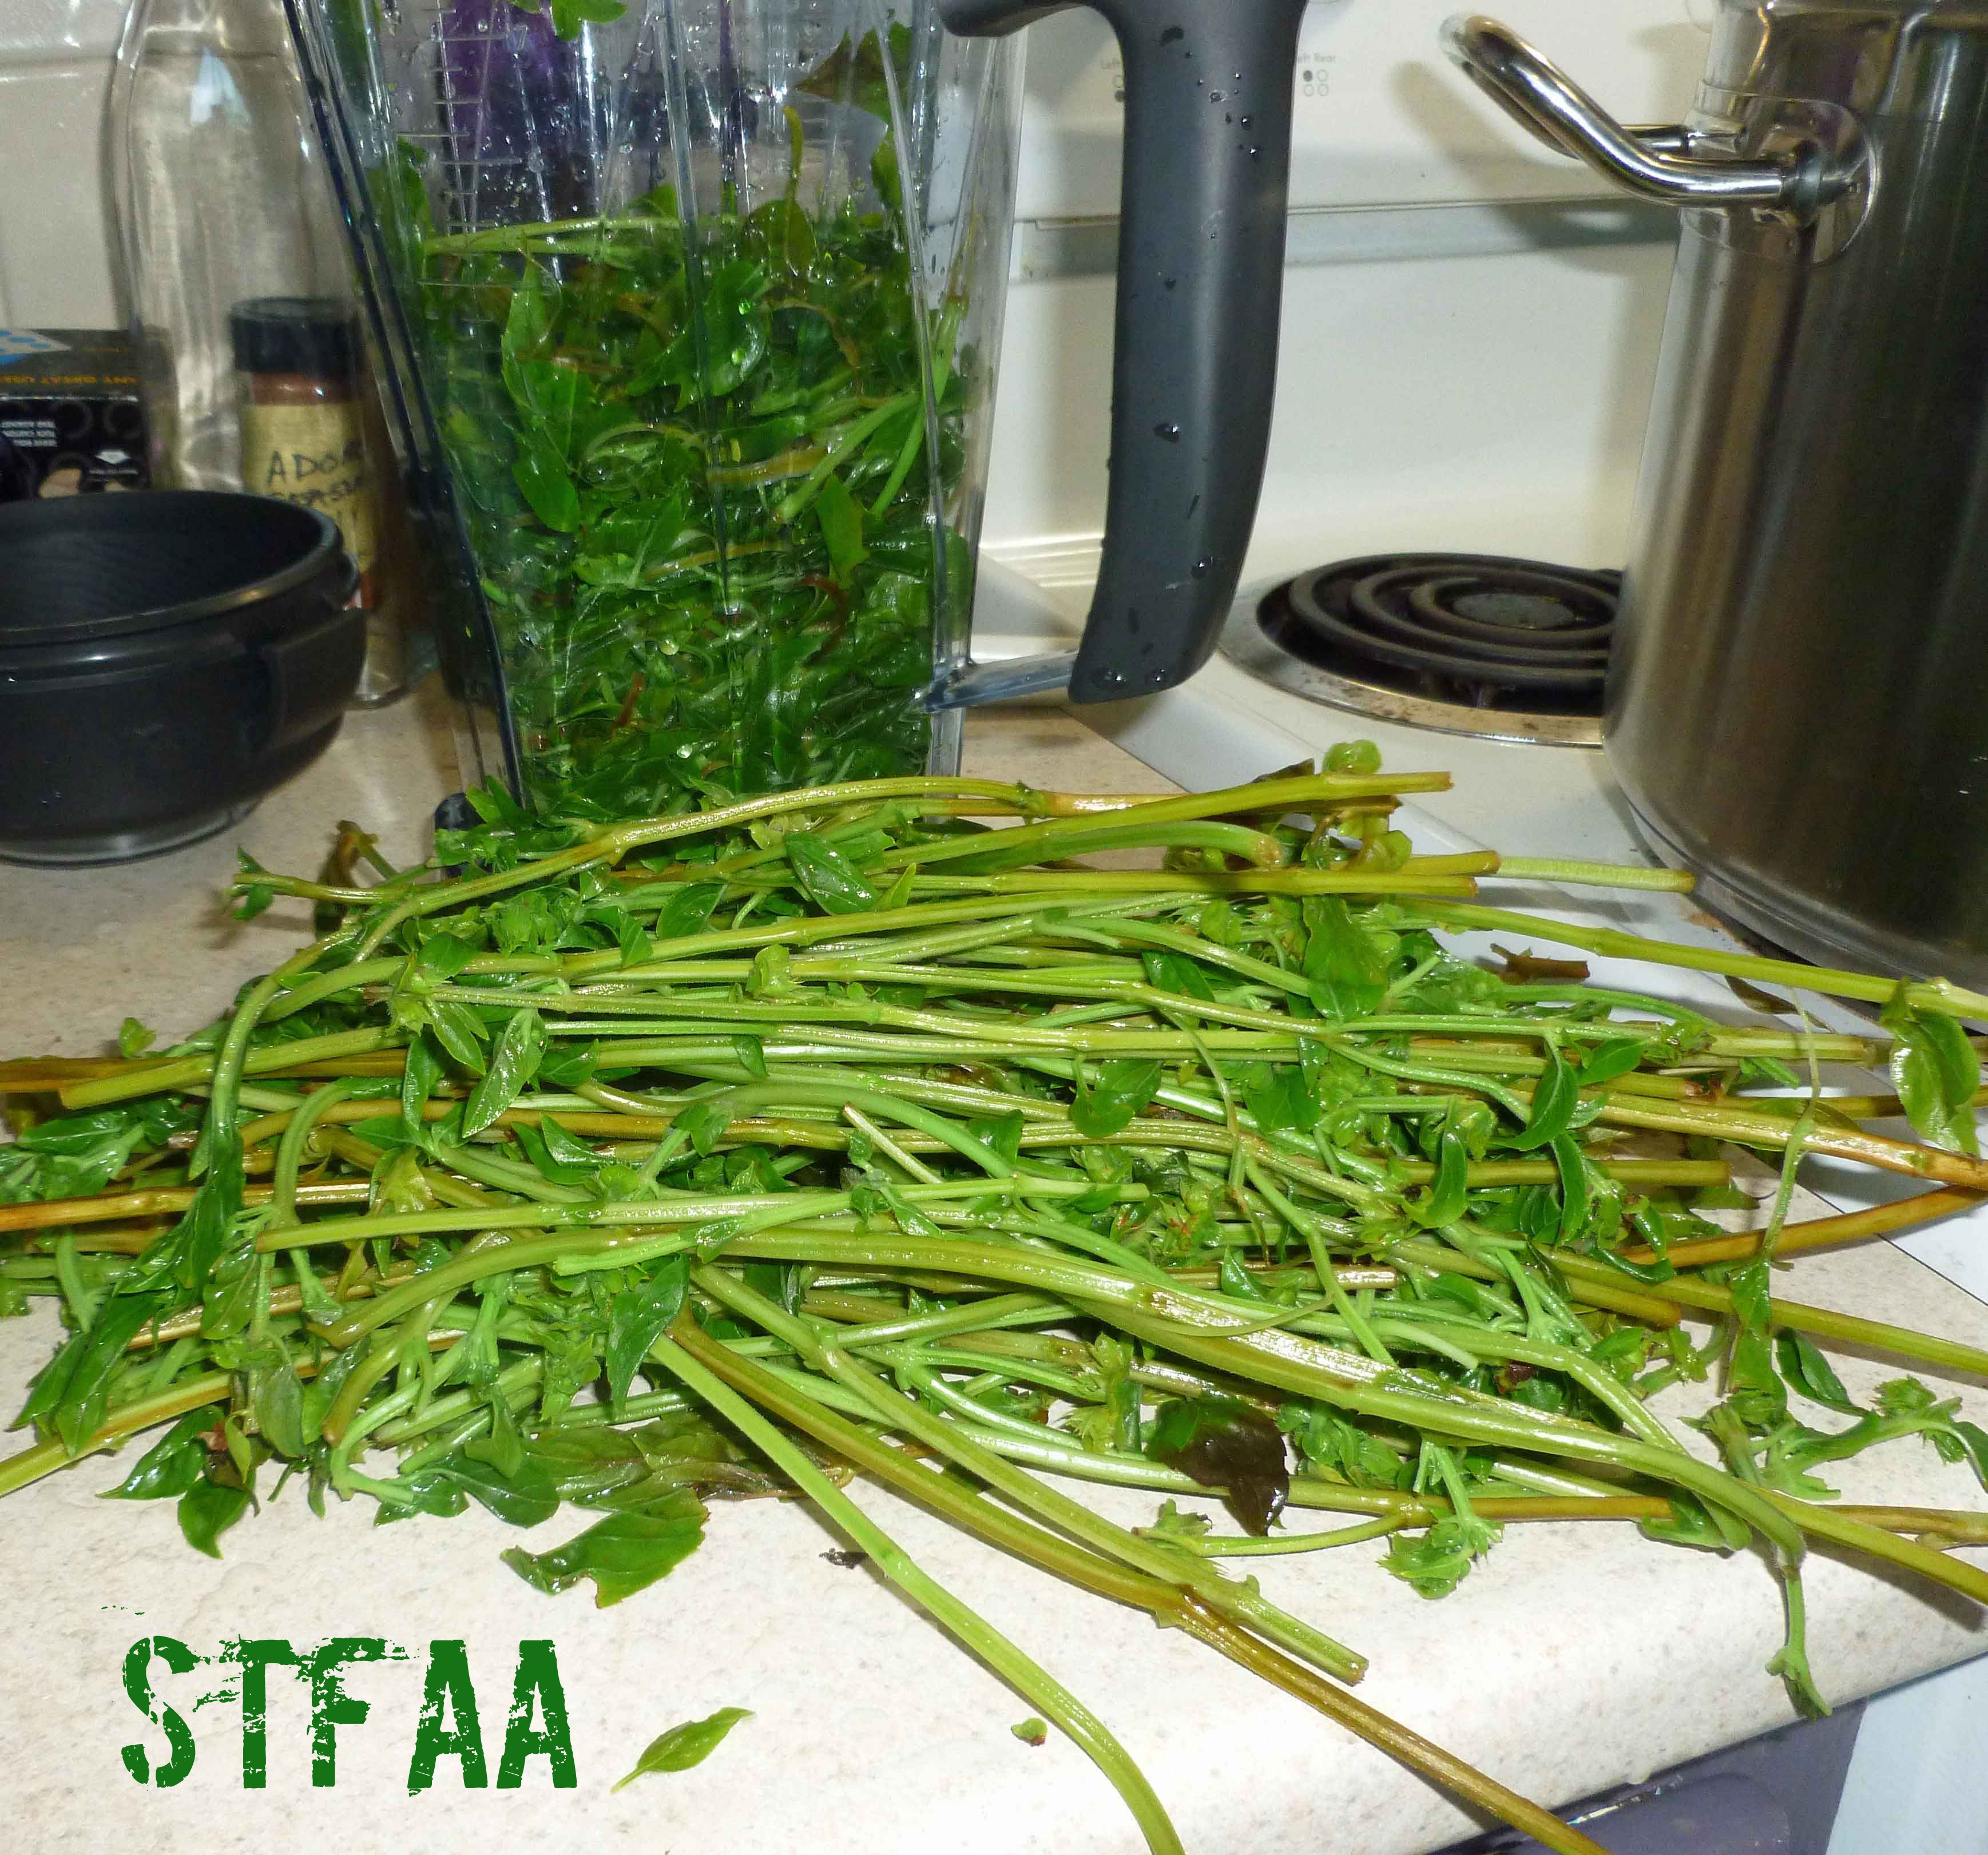
Say that it’s the end of summer and you have unwisely planted roughly 30 green basil plants and 30 purple basil plants in your garden. Now some of them didn’t make it because of transplant shock, the drought, or they got eaten by voles, slugs, or Japanese beetles, but that’s still a crap ton of basil. And say you didn’t make it any better by pinching diligently this year so that some of the plants are two to three feet high. What do you do? You don’t want to waste this basil. The basil I froze last year in oil turned dark and icky looking. So I went poking about the internet and found this post about preserving your basil and how to keep it green, including making pesto to freeze. I thought I could make pesto and freeze it, but then it’s pesto forever, and given my propensity for developing new allergies, I figured two ingredients in the freezer is safer. Then later on I can add garlic or cashew nuts when I’m ready to use it. Or I can use in it applications where you just want some basil, but not necessarily pesto. So basically what I’ve made is a basil and olive oil paste that will store in the freezer easily and not turn black and icky looking.
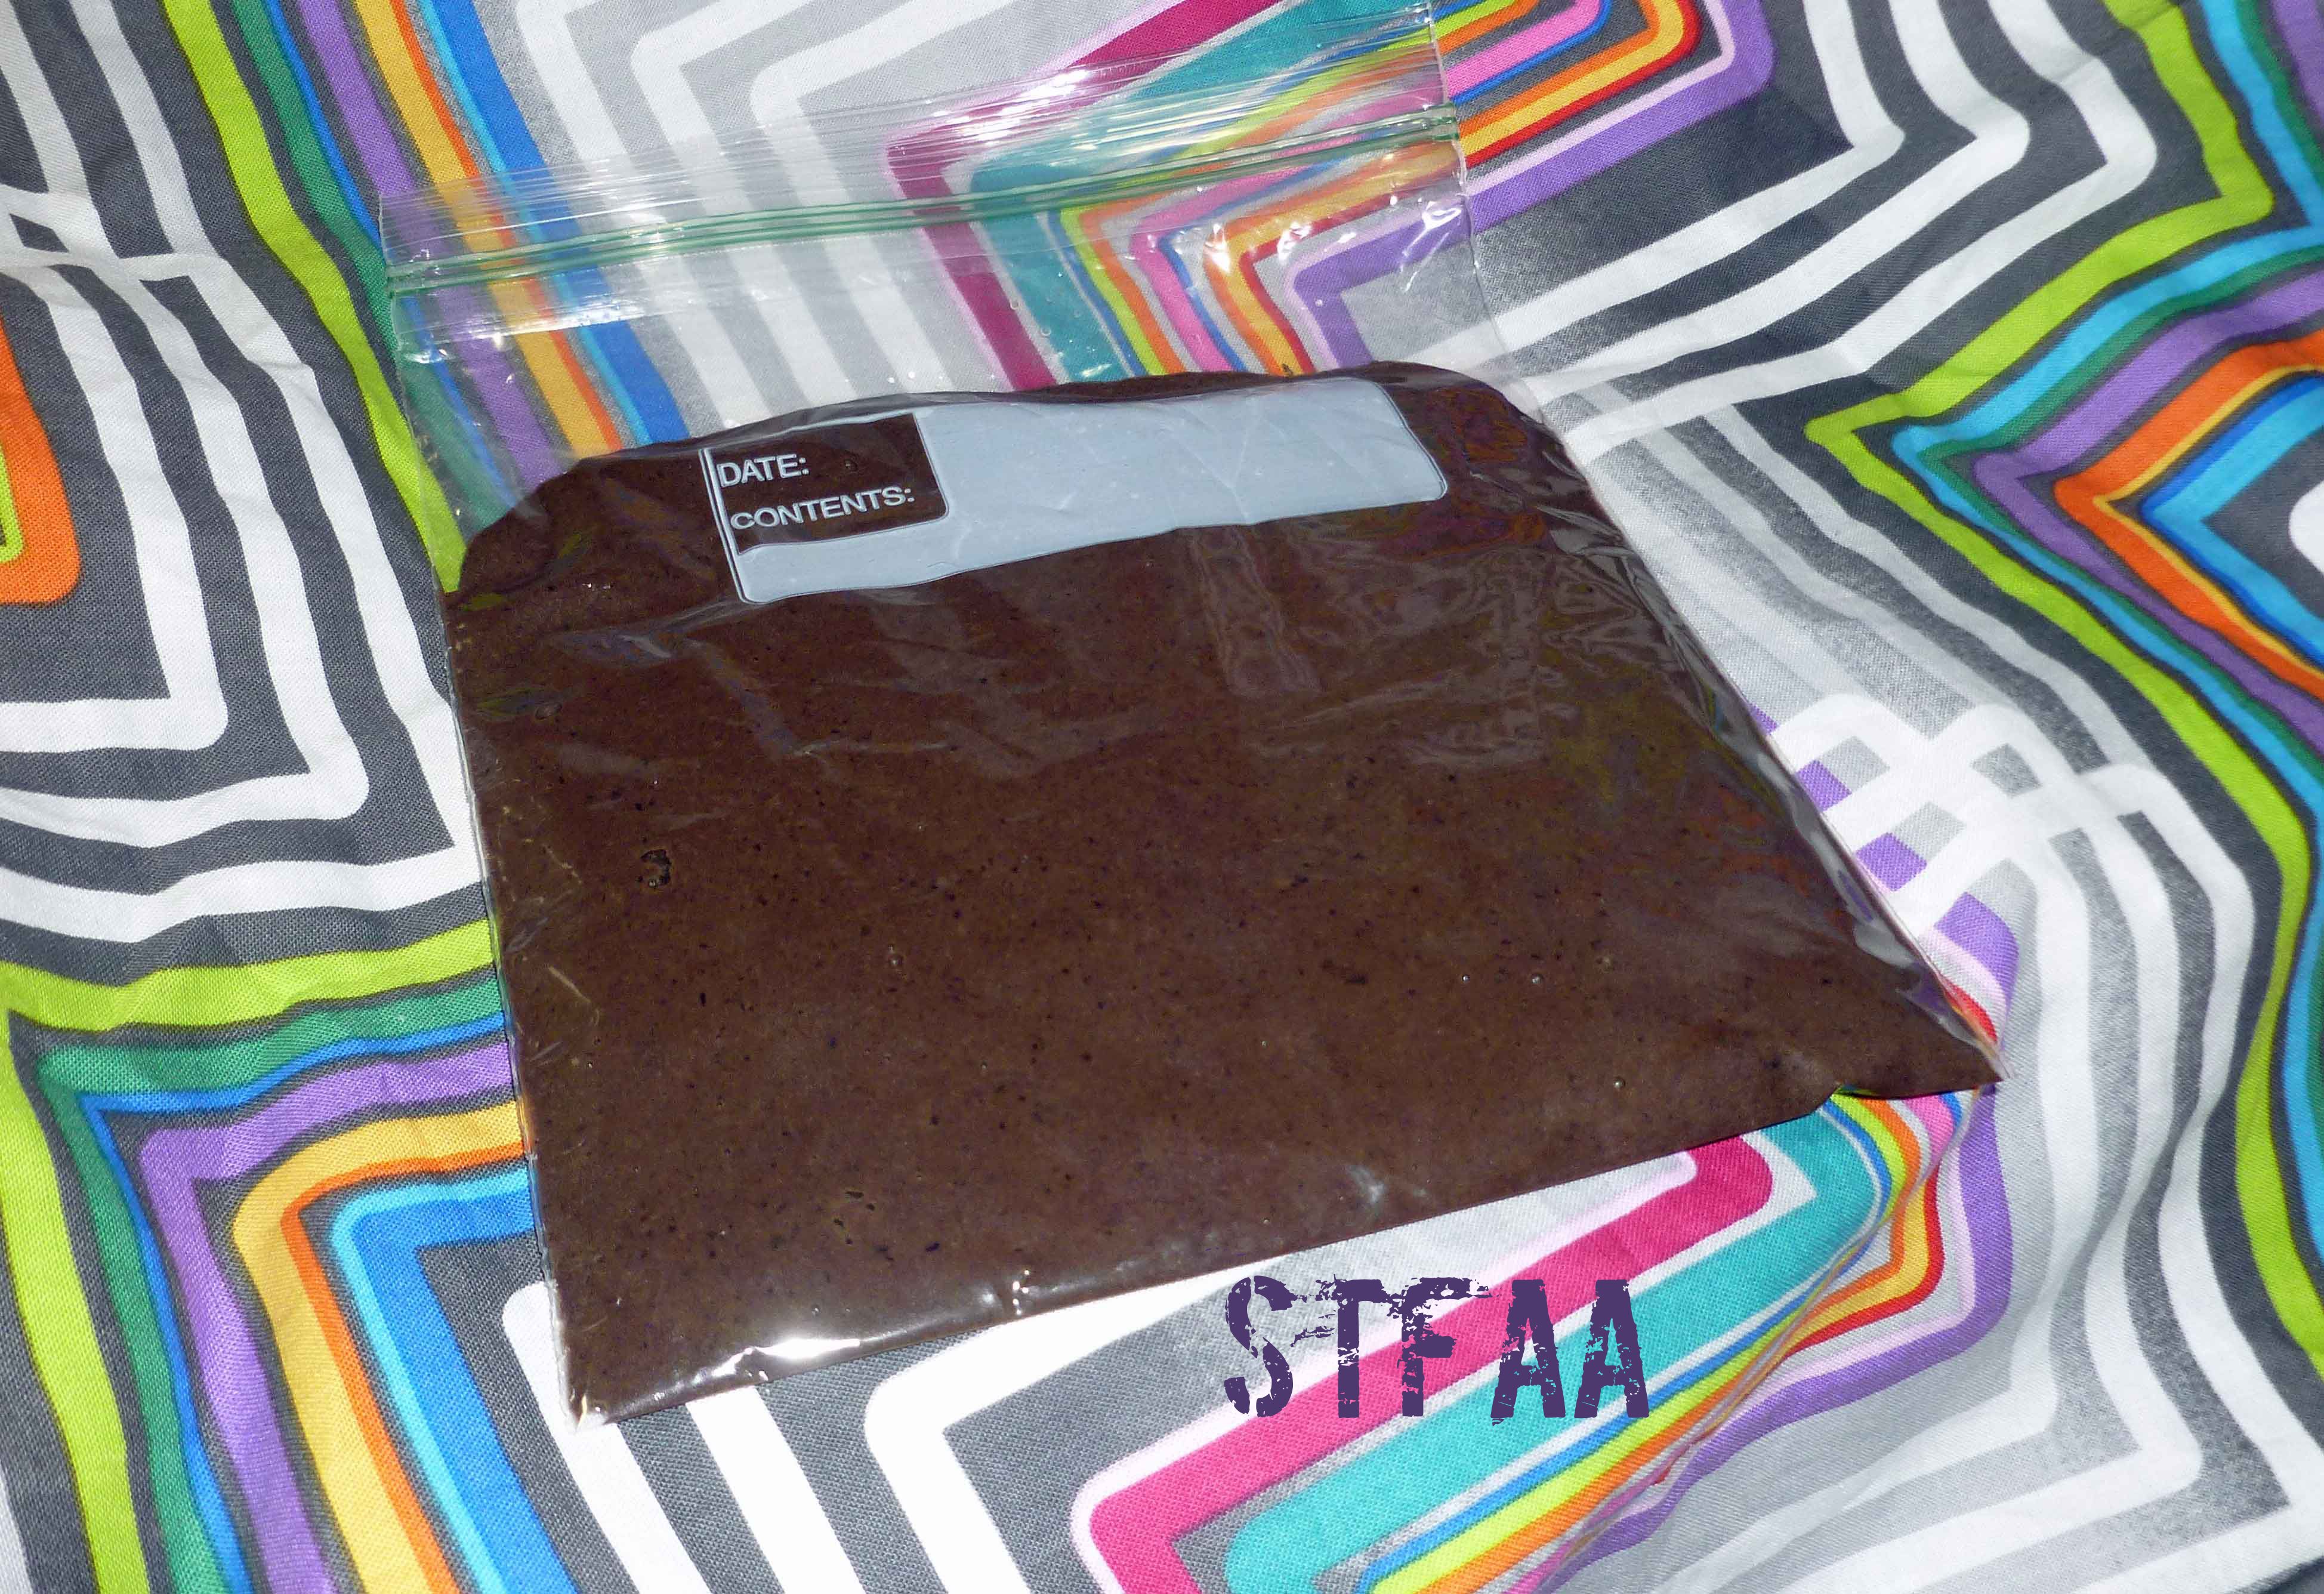
Yeah, this isn’t necessarily a normal recipe for us, but I’m pressed for time with harvest stuff, and some of you might be wanting to save a bit of summer for later if you’ve got an overabundance of basil in your garden or if you see some at a farmer’s market. I’ve got a step by step recipe card below, but here’s the photo play by play first.
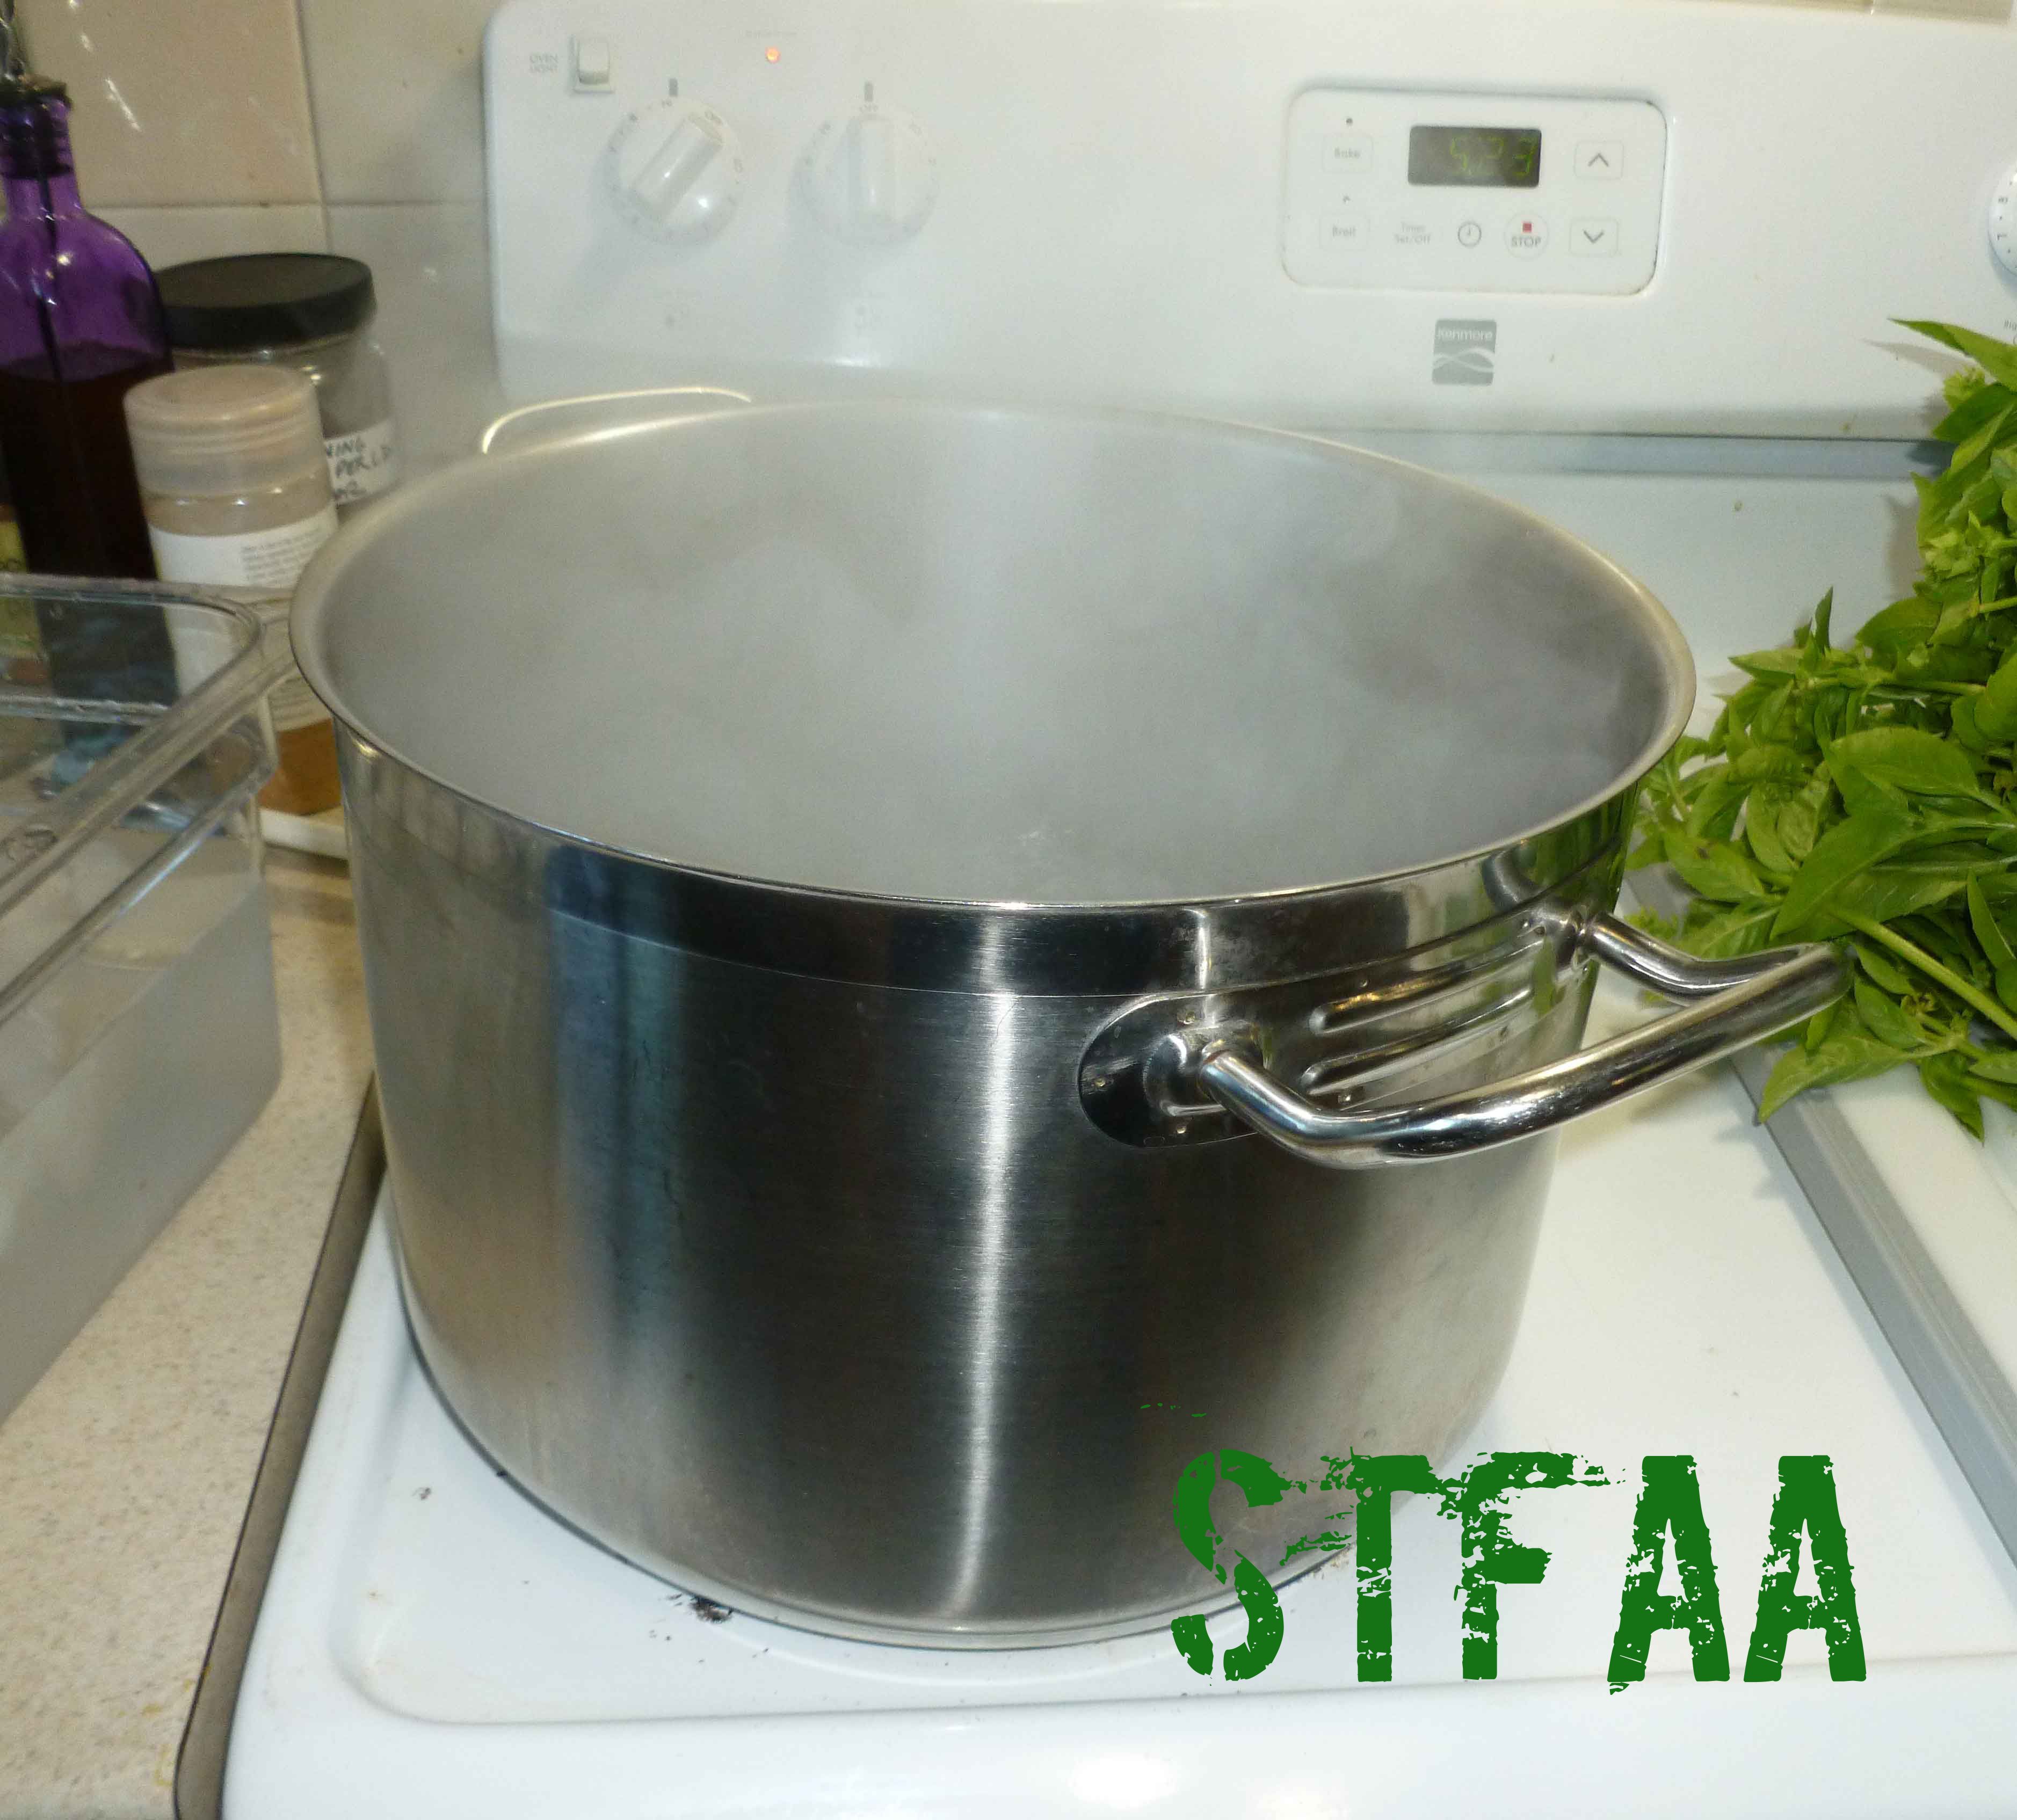
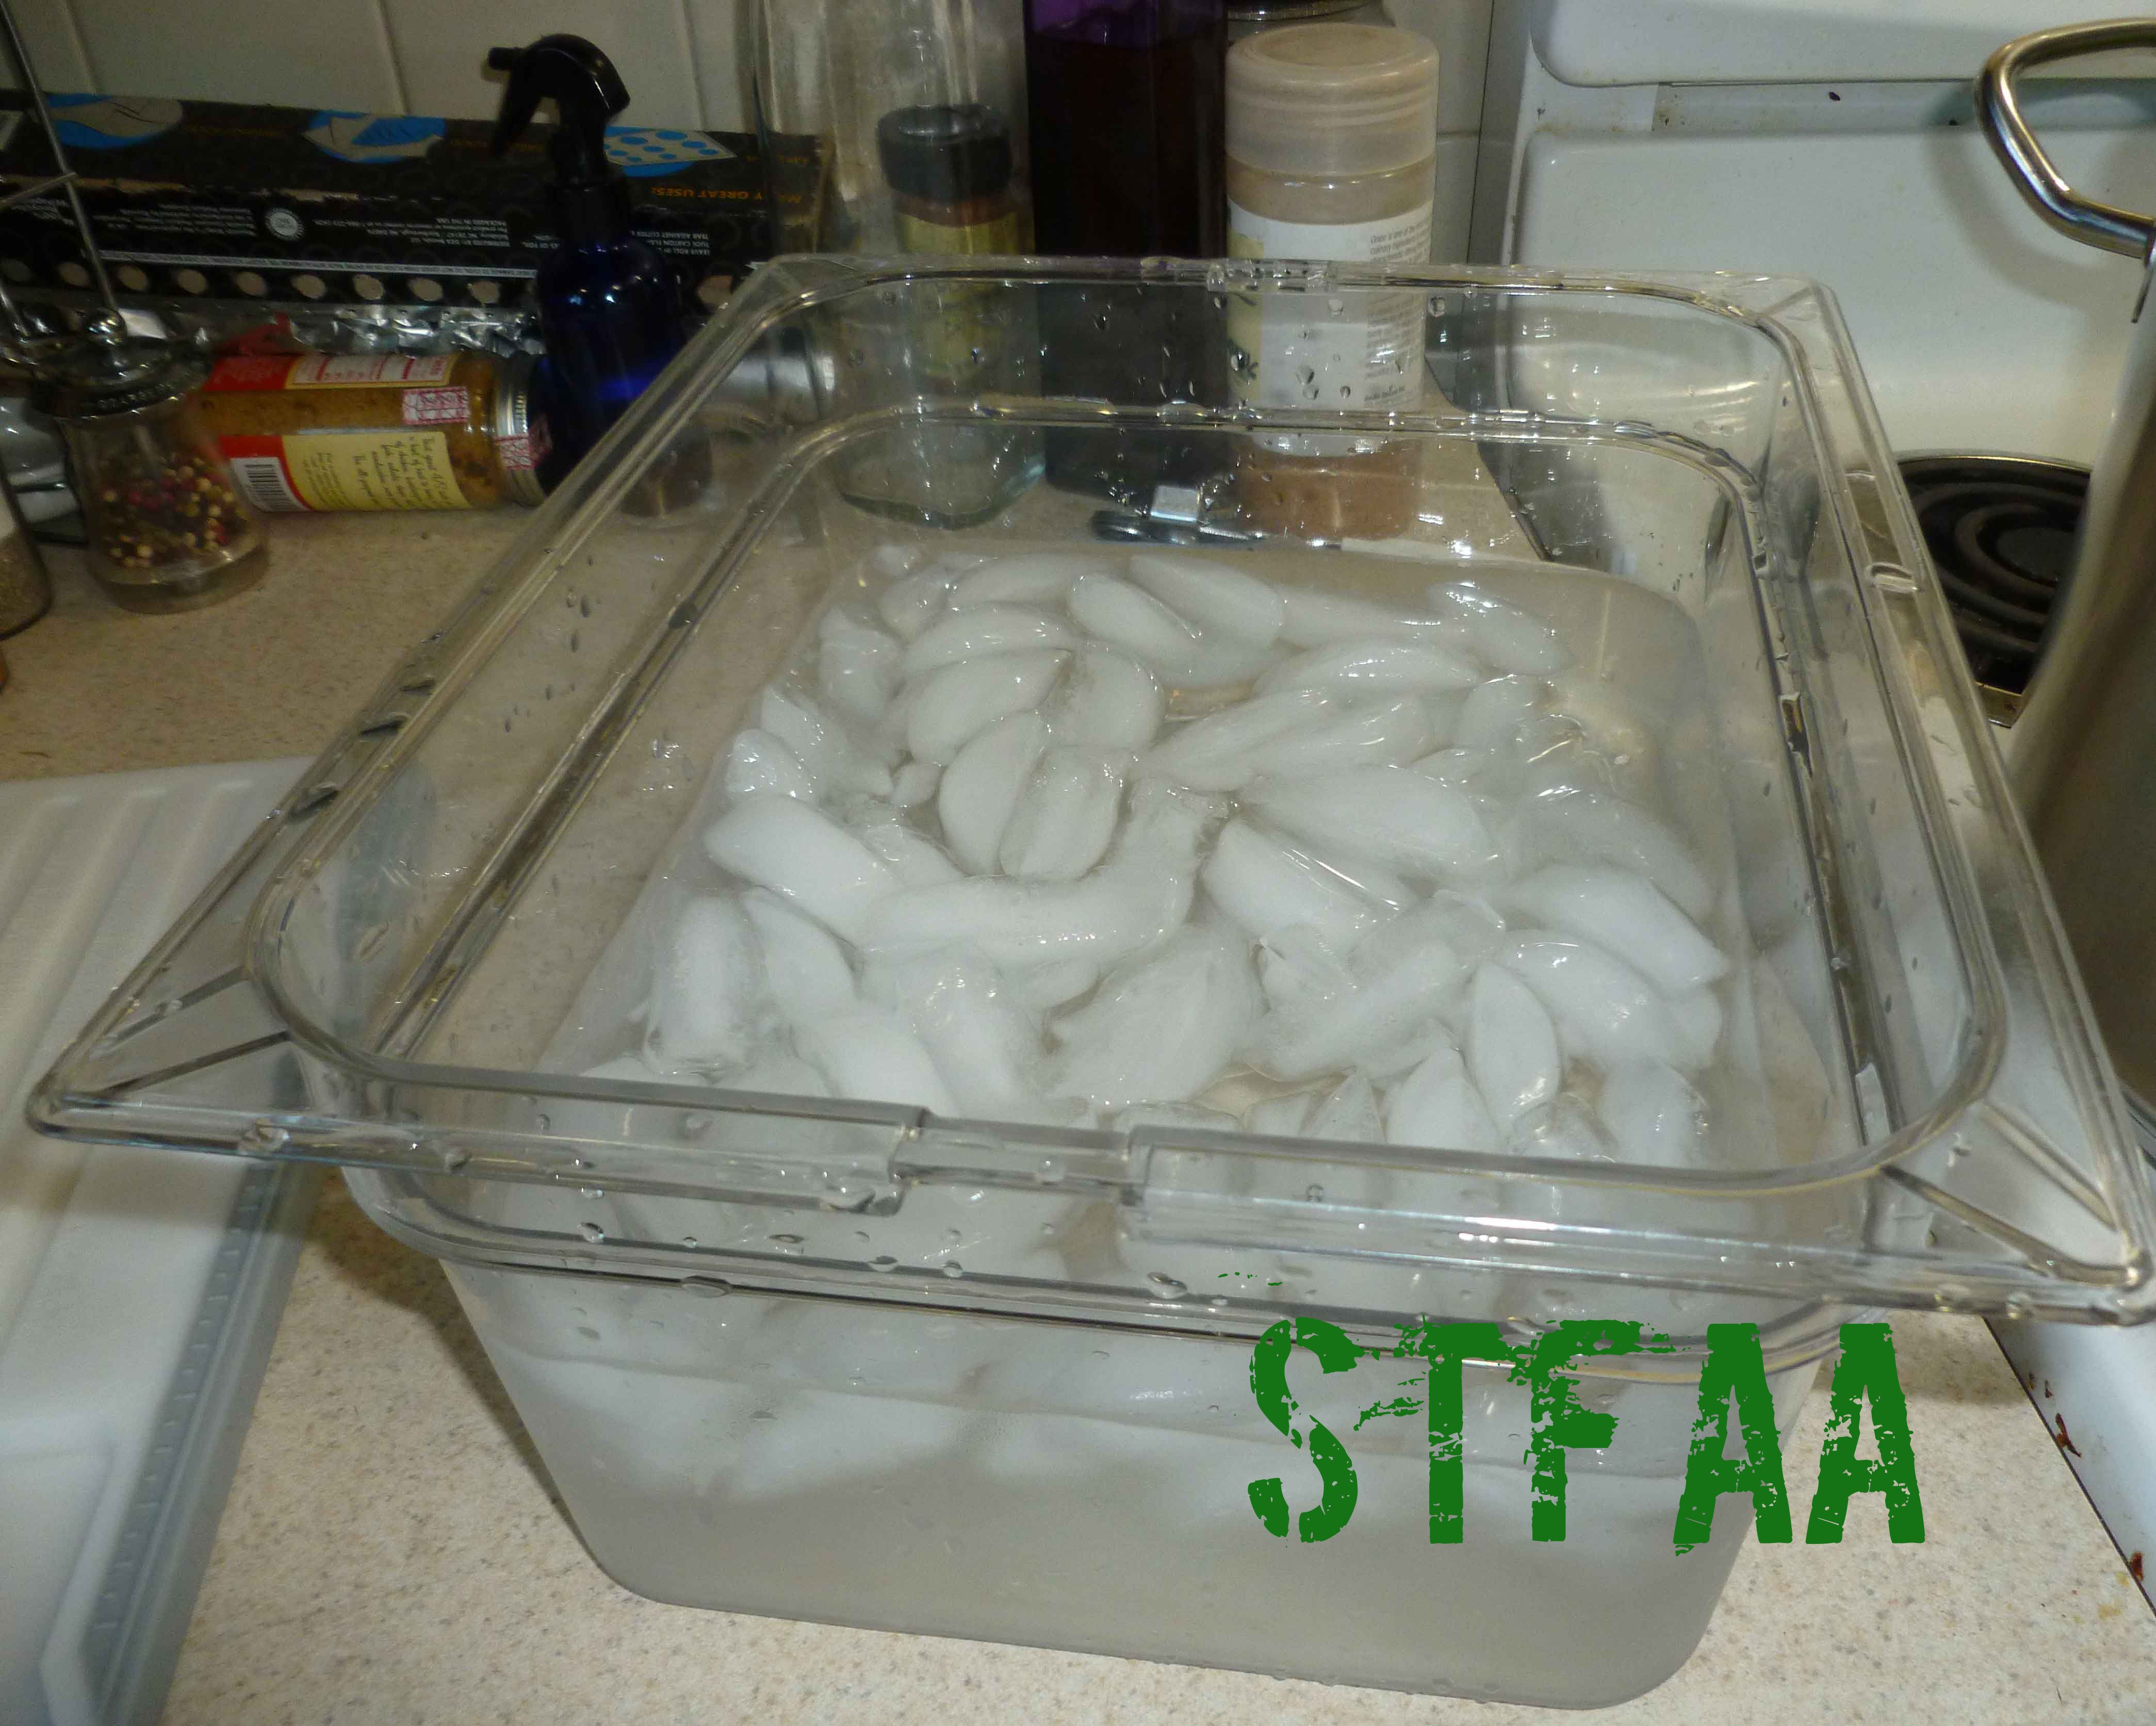
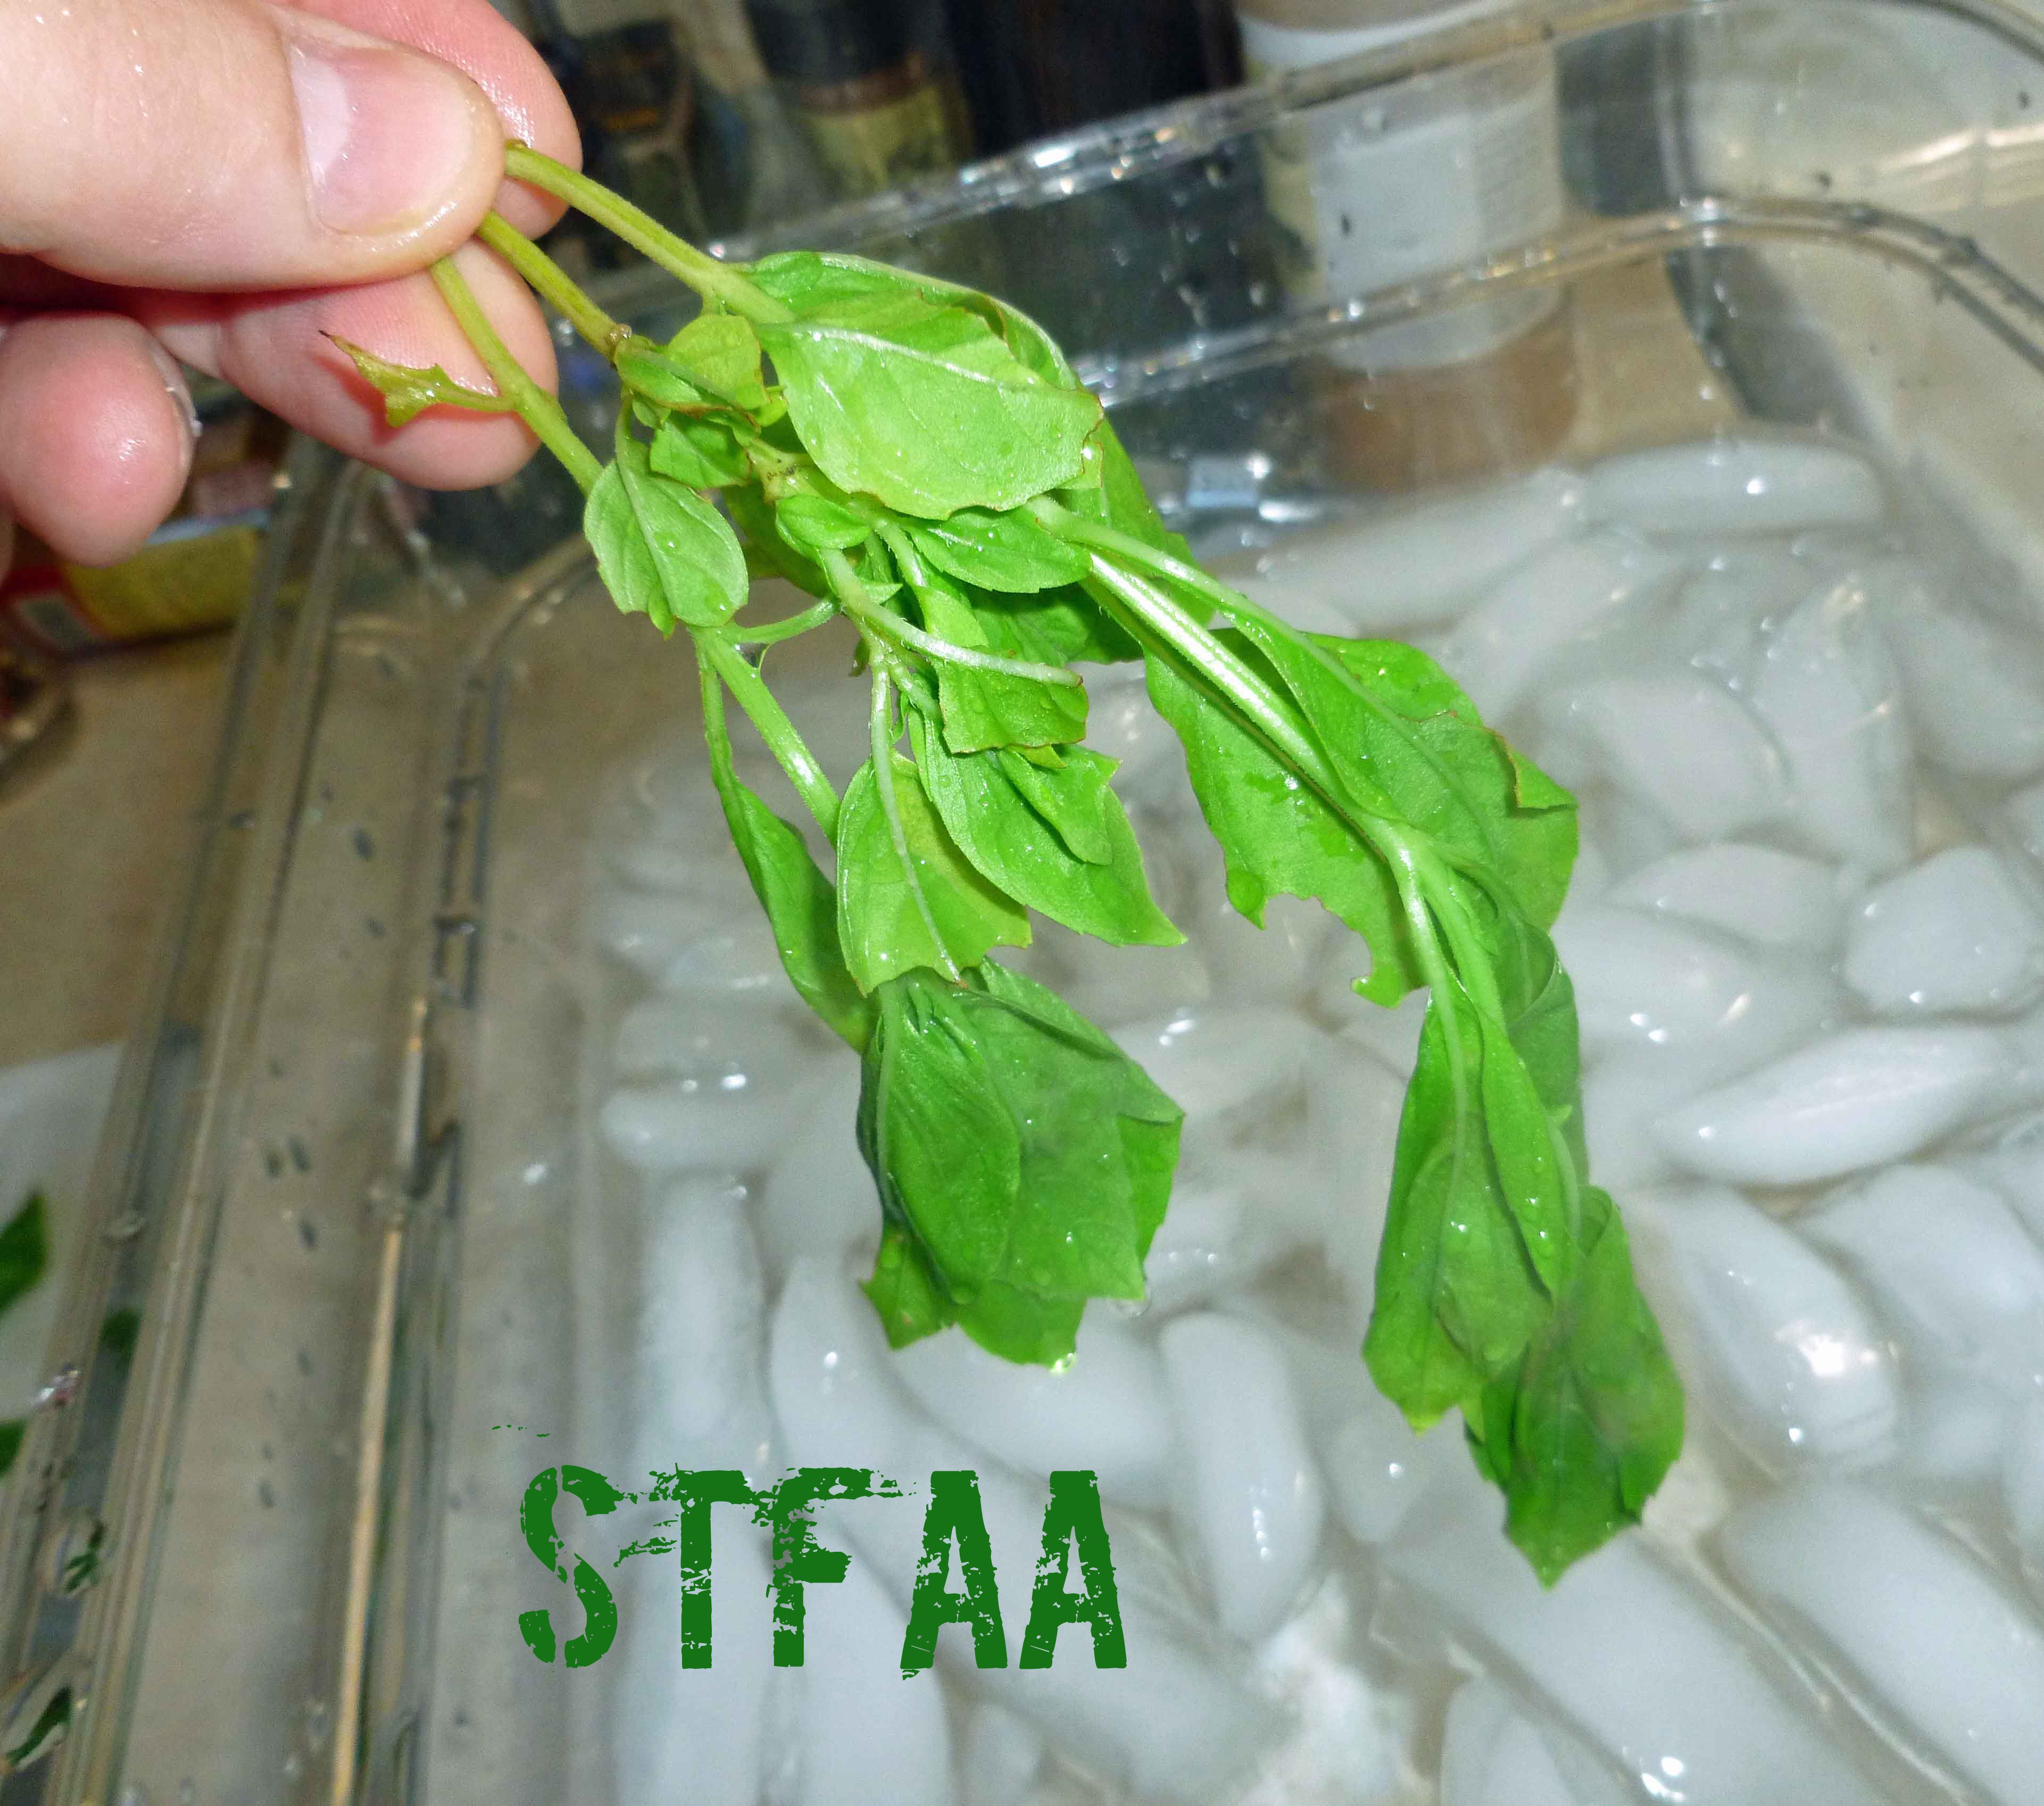
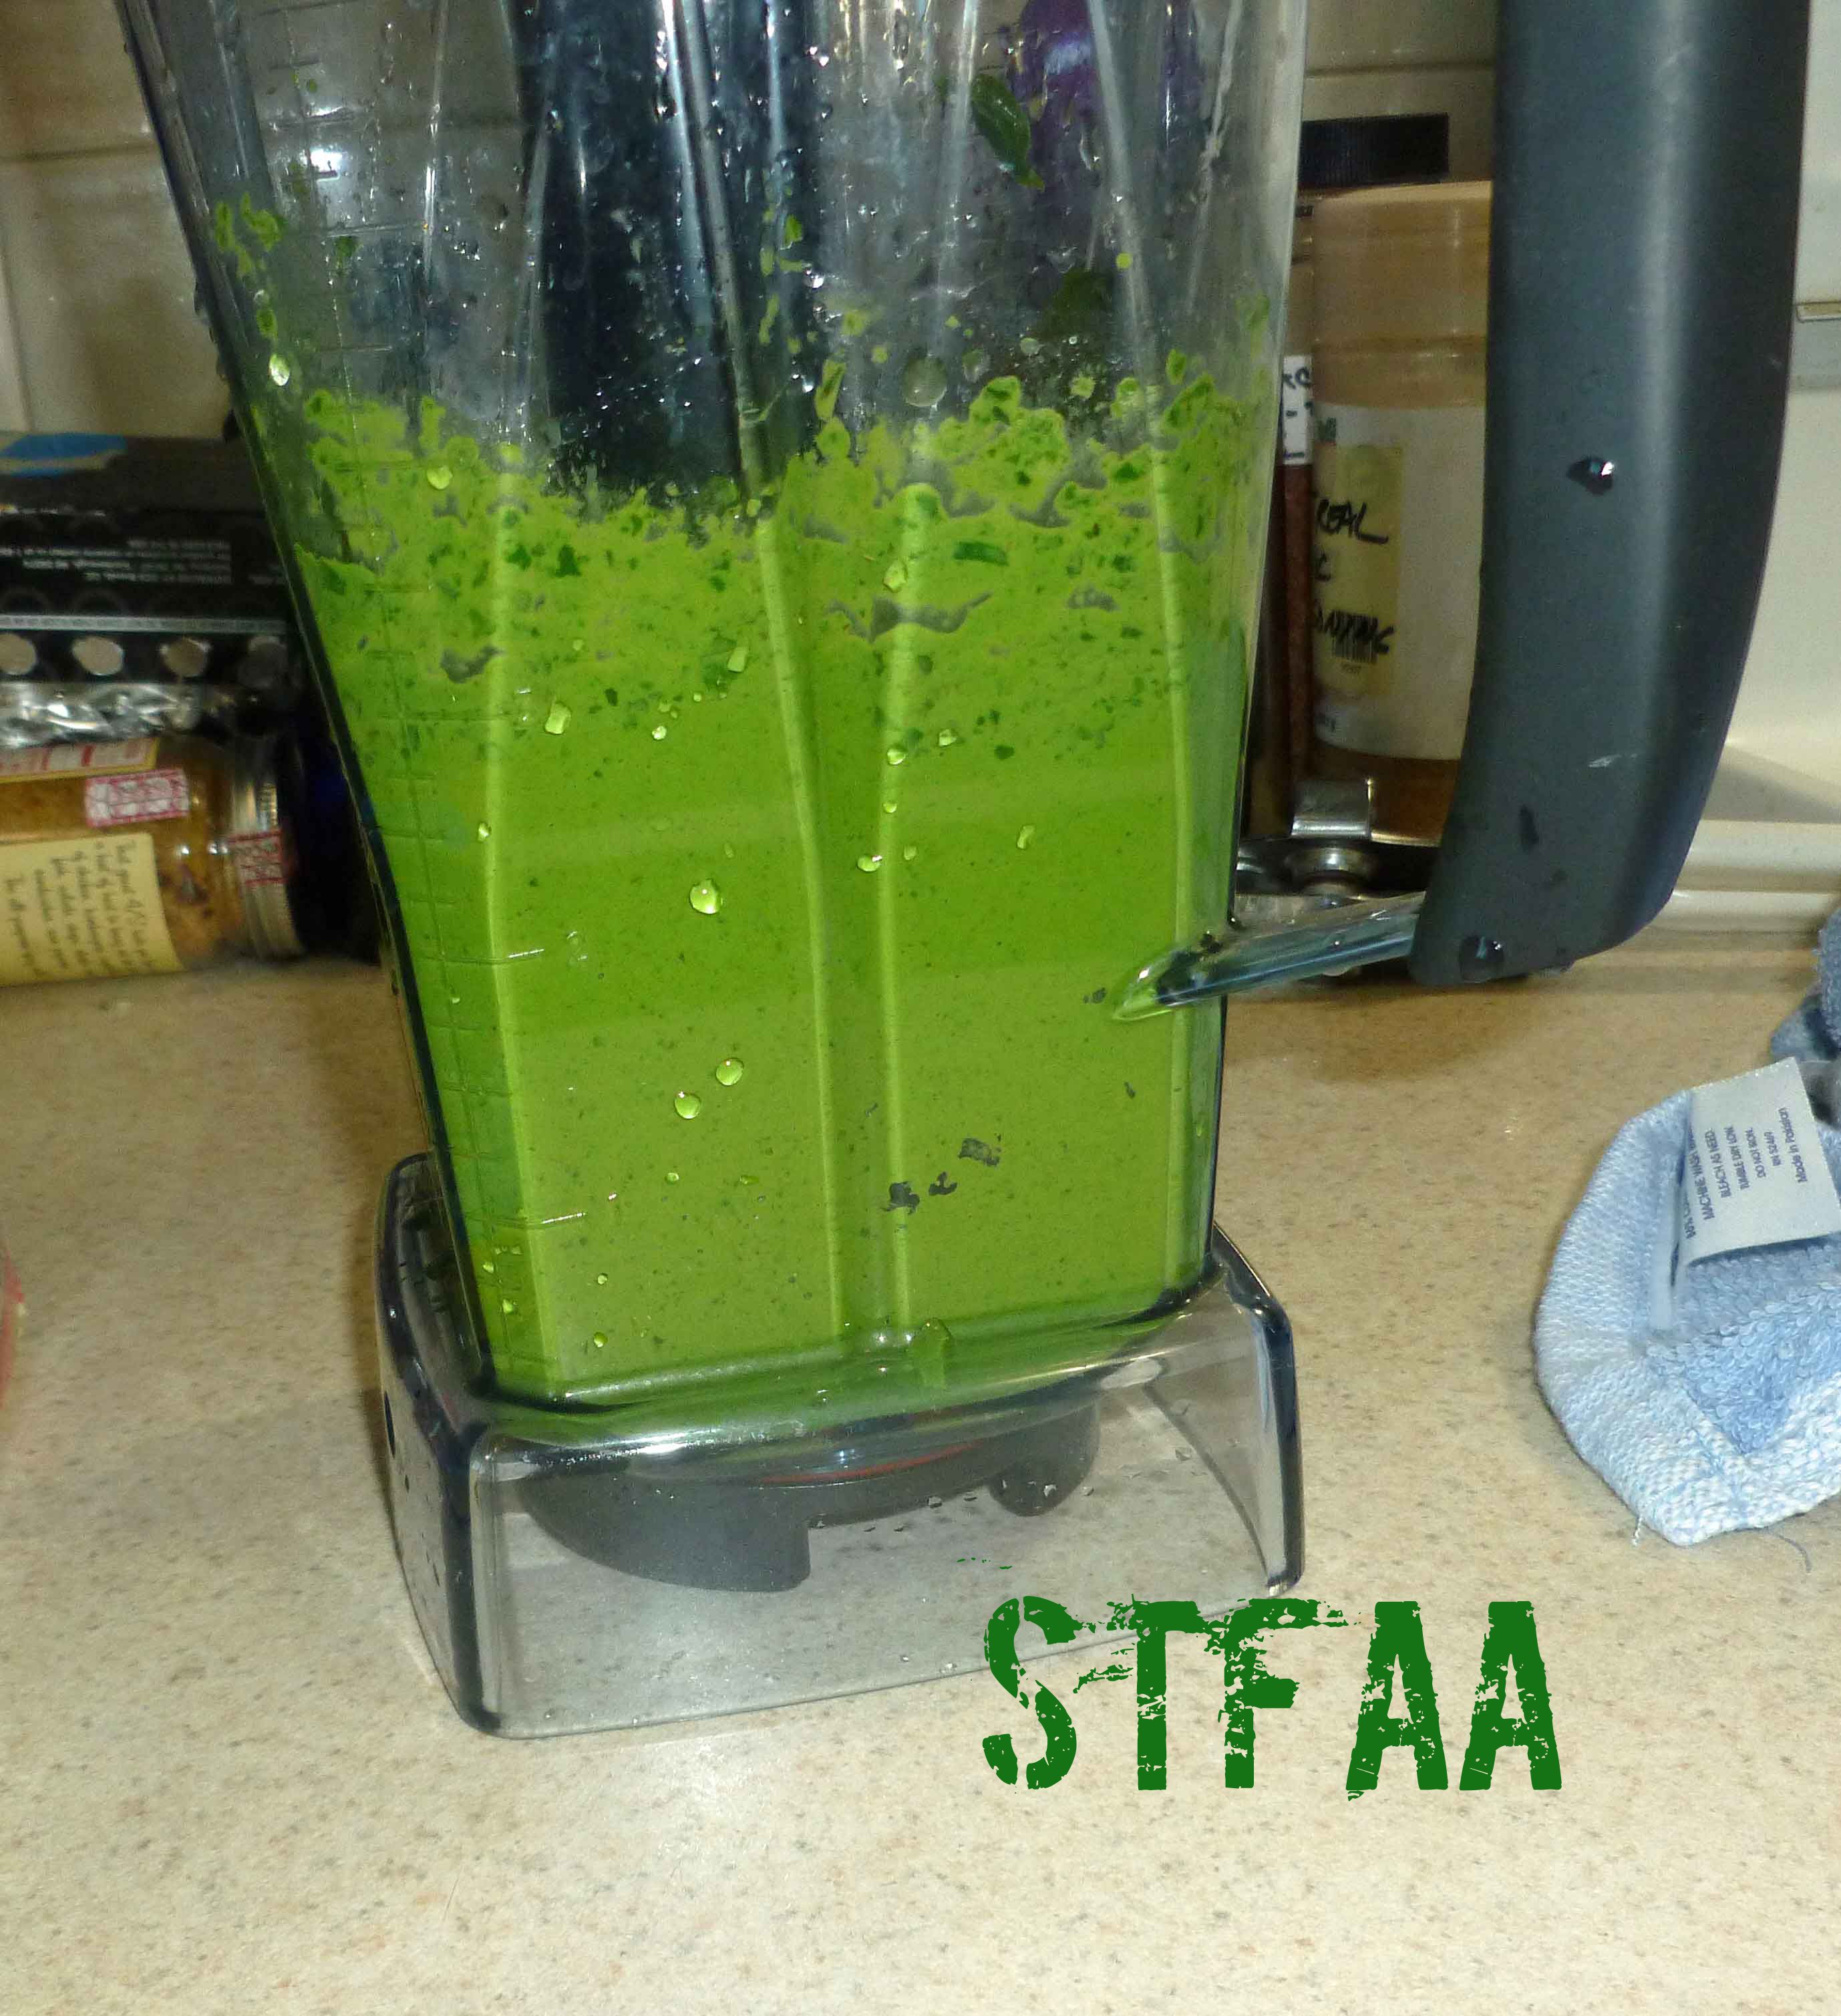
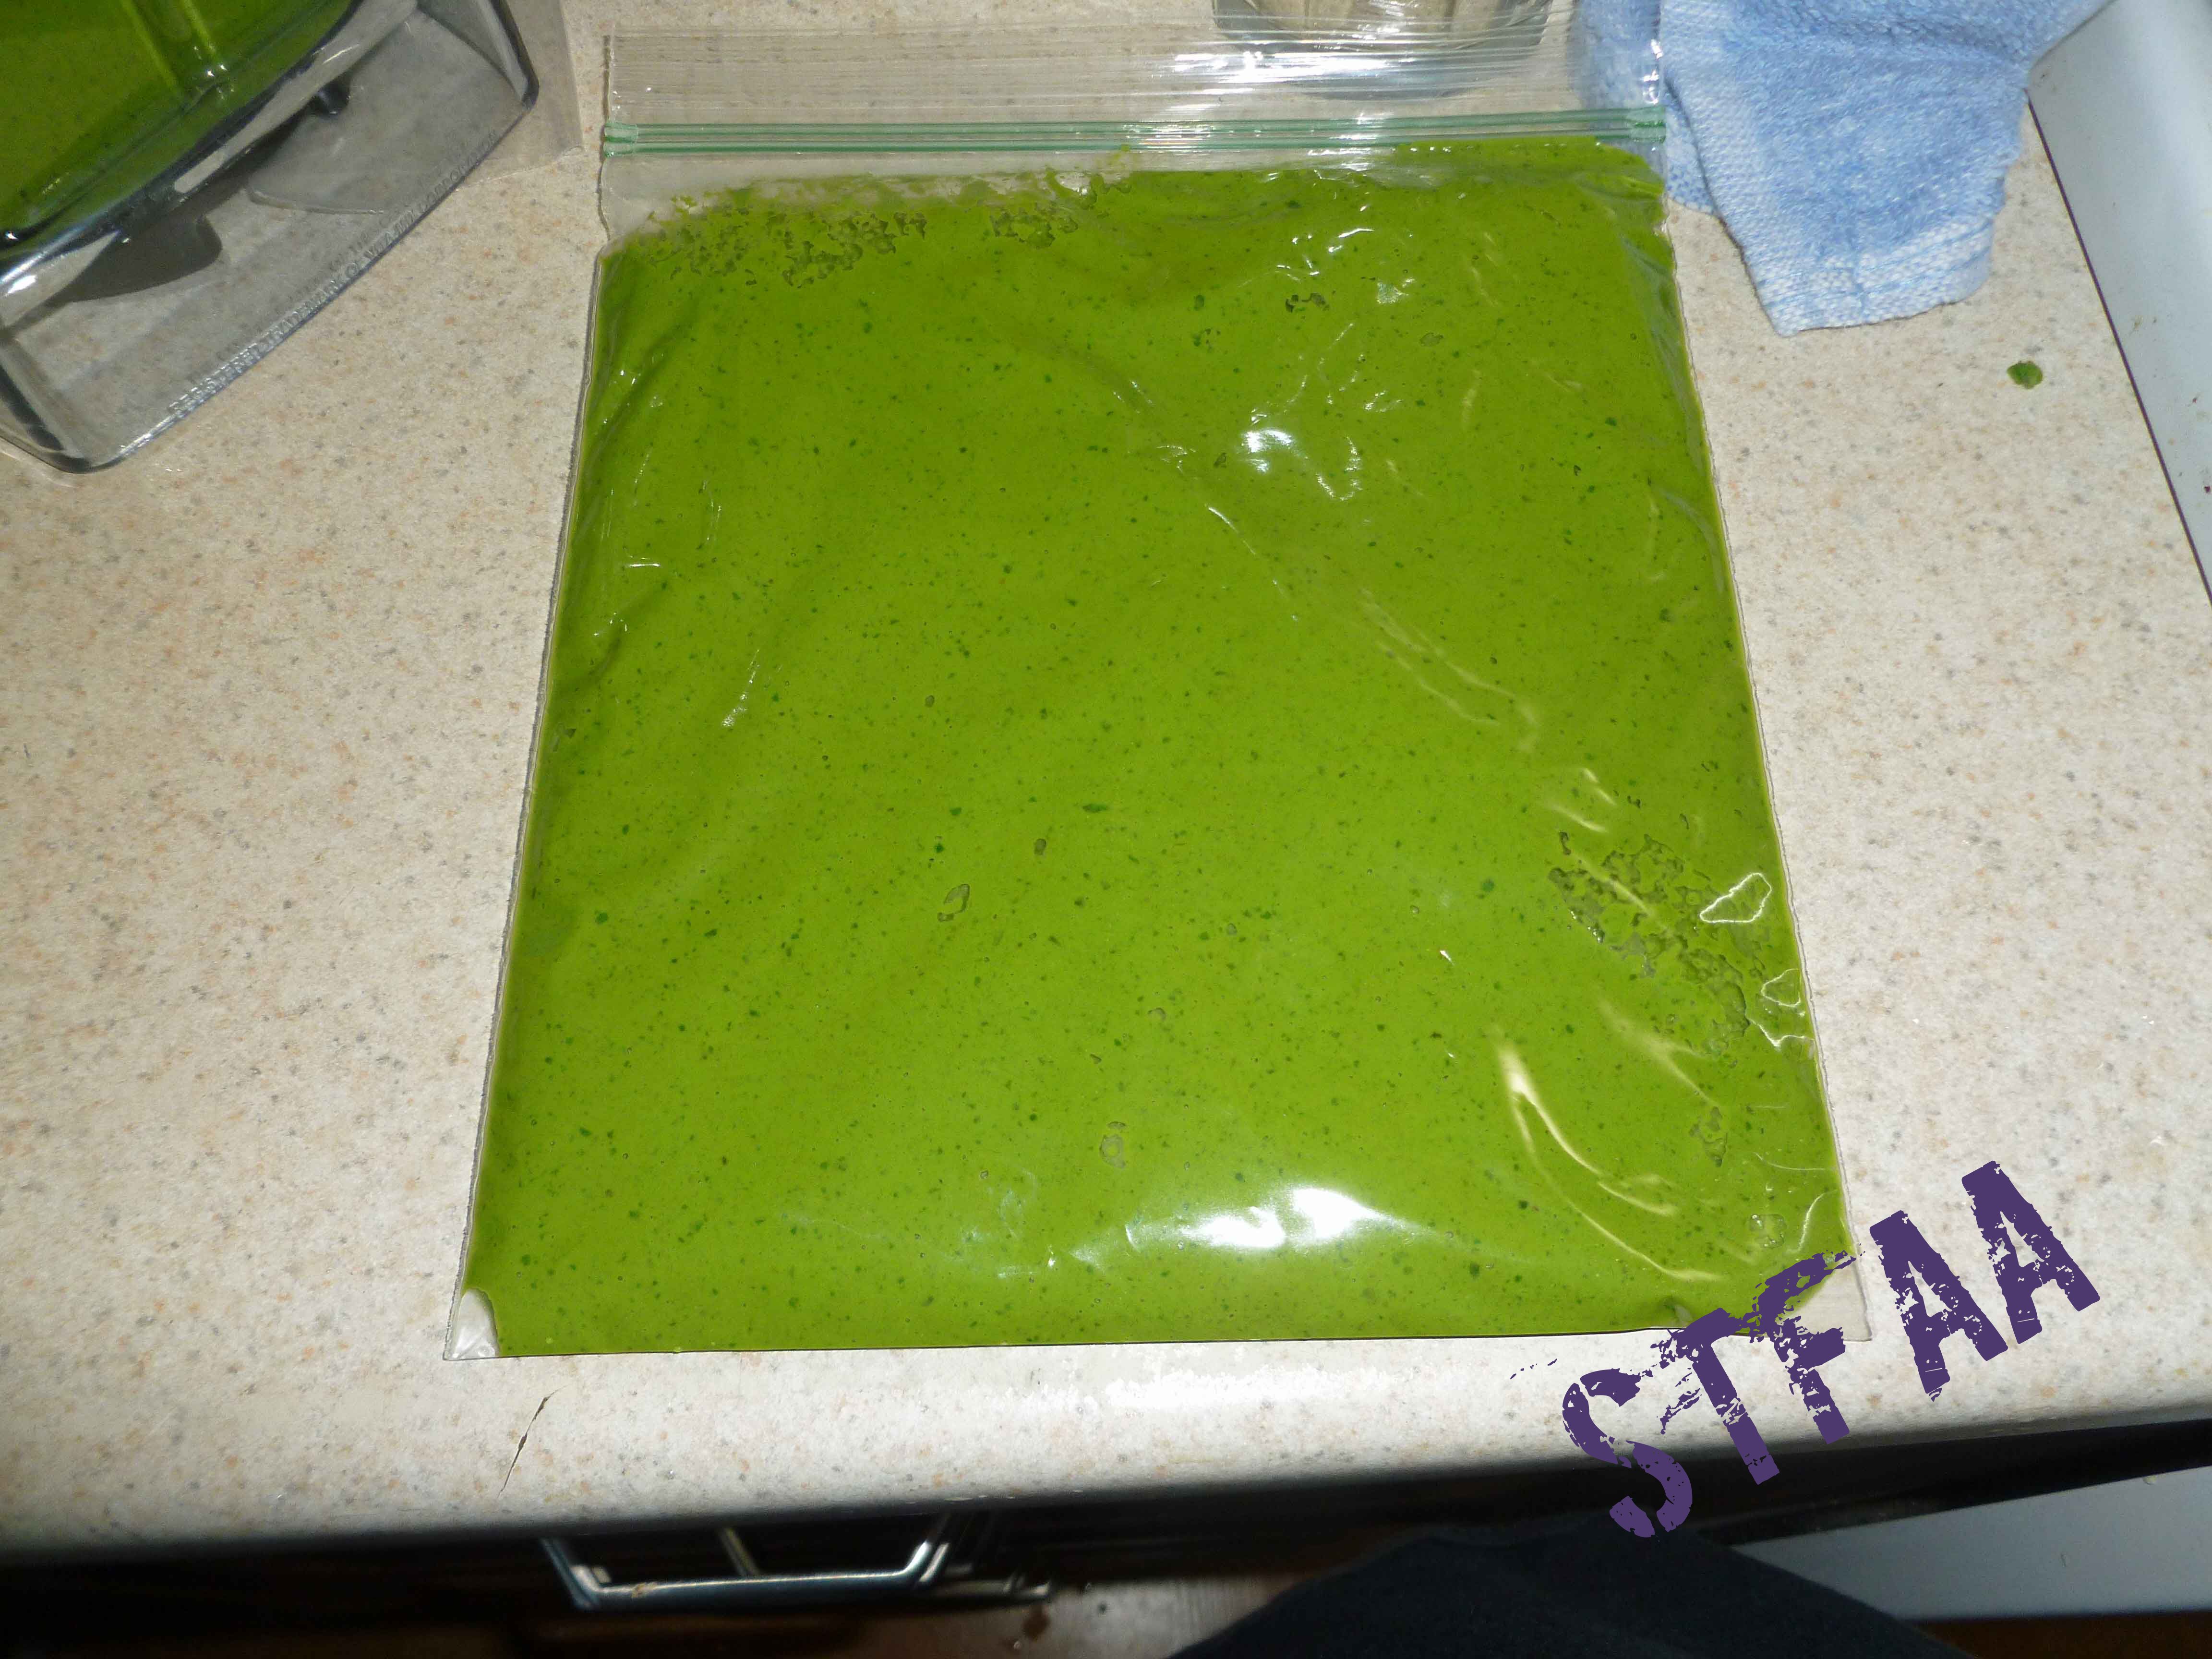
This is the basil I picked yesterday (there is so much more in the garden, and I’ve included my foot for scale, ha)Green basil after trimming out woody stems and discolored leavesPot of boiling water for me to dip the basil inContainer of ice water to cool basil inBasil after dipping in boiling water just to the point that the leaves wiltBasil being cooled off in ice water (submerge it fully though)All green basil after blanching and coolingBasil leaves in blender after being stripped from stemsPesto starter (basil leaves with olive oil) after blendingPesto started placed in zip top freezer bag ready to freezeFrozen Pesto Starter using purple basil
Frozen Pesto Starter
Print Recipe
Frozen fresh basil and olive oil paste to preserve the flavors of summer
fresh basil(you need enough that the leaves will blend in the blender)
olive oil(just enough to blend with the basil to form a paste)
Servings:
Instructions
Rinse fresh basil and trim off any discolored leaves. Make sure remaining stems will fit the diameter of your pot.
Place enough water in a pot, so that the water is three inches deep. Bring water to a boil.
In another container, bowl or pot, add cold water and plenty of ice, making sure you can fit the stems of the basil it in submerged.
Using tongs, place the basil in your boil water making sure it gets submerged until the leaves wilt. You will likely need to do this in batches. Using tongs, remove the basil and plunge it into the ice water until it has cooled. Take basil out of the ice water and set aside.
Strip leaves off the stems and add the leaves to the blender. Add enough oil to make a paste and blend.
Place paste in ice cube trays or in quart zip top freezer bags. Only fill the zip top bags half full so that you can spread the paste out to freeze in a thin, flat sheet so you can break off what you need without thawing the whole thing.
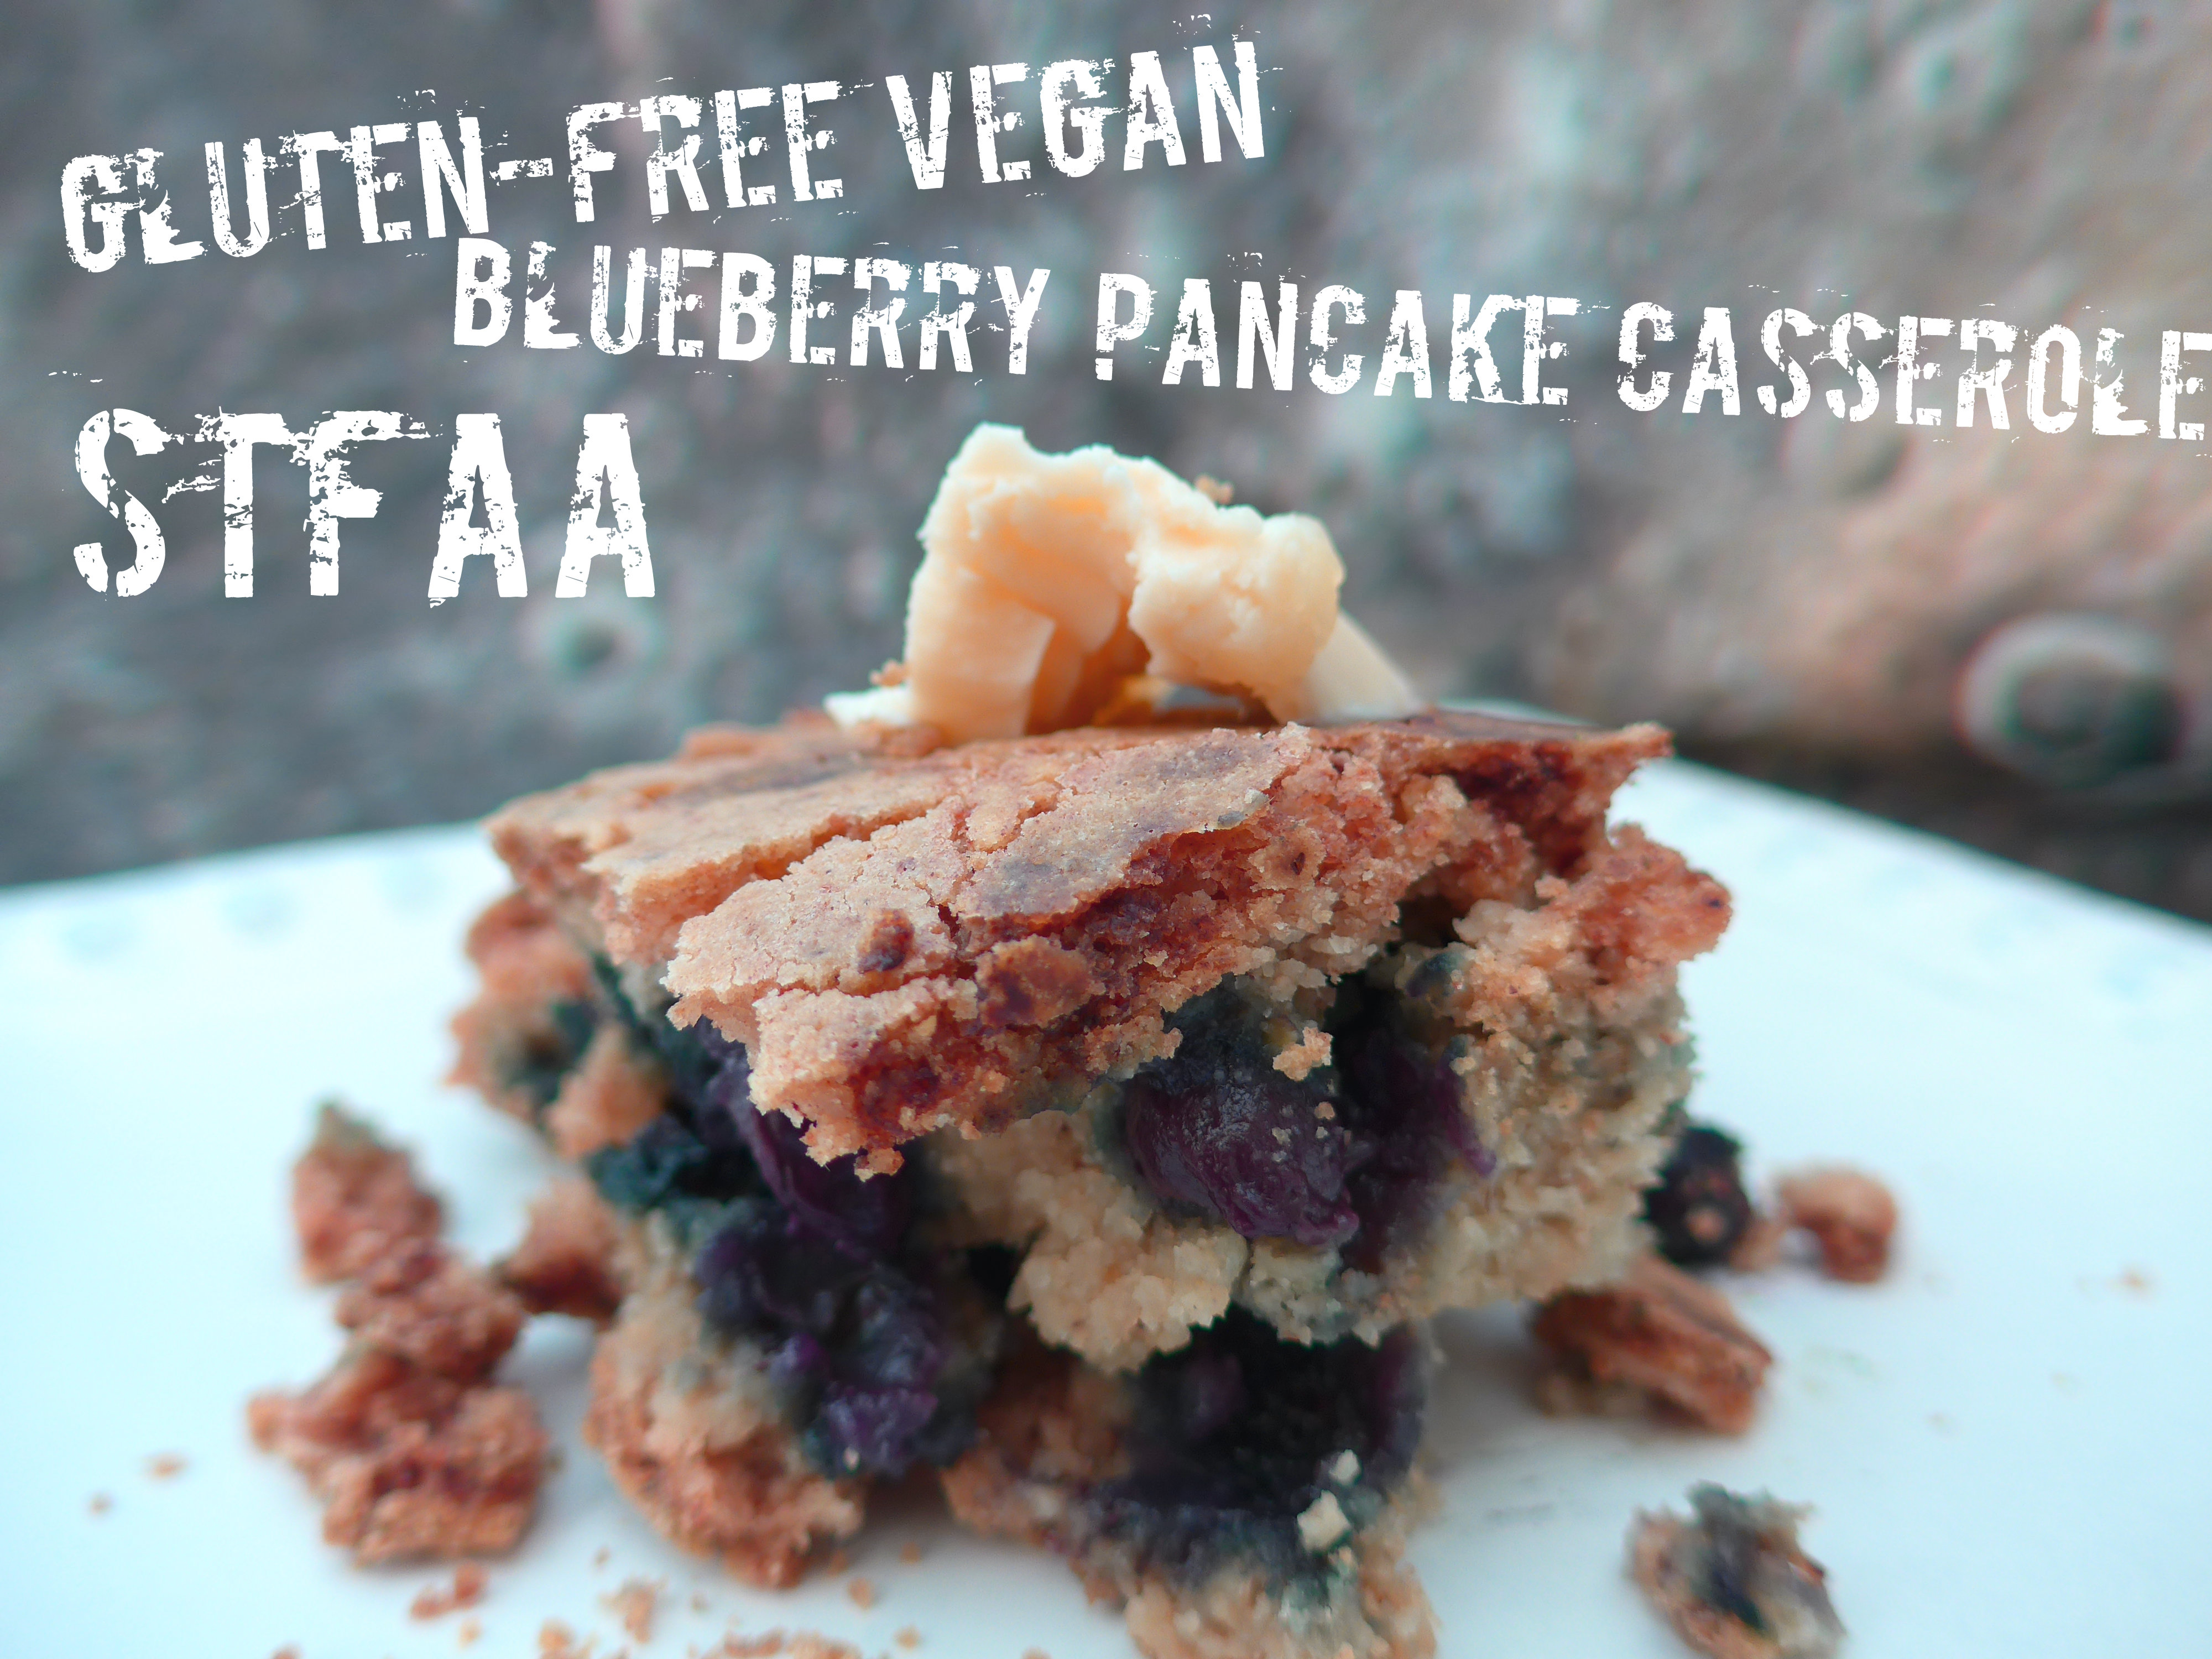
This is a recipe re-make. As I posted on Friday, I do use existing recipes as starting points for creating allergy-friendly dishes sometimes. I read this blueberry pancake casserole recipe on The Kitchn and could not. stop. thinking. about. it. Drooling.
I love pancakes, but after I’ve made the second one, I’m ready to eat and be done cooking. Casserole seemed the perfect fix. But the recipe. It’s probably great, but it was mostly made up my things that make me ill. All-purpose (wheat) flour. Eggs. Buttermilk. Whole Milk. More flour. Butter. It did seem like a lot of things to fix.
After a few experiments, let me say that it’s possible. Also, for some wonderful reason, this casserole actually tastes better re-heated. So you can absolutely make it the night before — I encourage you to.
To be clear: This is not an original recipe. This is a heavily-modified version of this recipe at The Kitchn. I really wanted to eat this pancake casserole, so I figured out how to make it safe for me. Maybe you can do the same. I have not listed this as a tree nut-free recipe, as I used almond milk in every test, and I used creamed coconut in at least one version as a replacement for vegan margarine (weird sub, I know, but it worked). I have not noticed substantially different outcomes using different non-dairy milks, and if you can use soy milk, I have a feeling it will work well in this recipe. But if you try something different, please tell me how it works!
Notice: Trying to access array offset on value of type bool in /home/maryzahc/public_html/adultfoodallergies.com/wp-content/plugins/wp-ultimate-recipe/helpers/models/recipe.php on line 254
2Tablespoonsground flax seeds or ground chia seeds
6Tablespoons water
2 1/2cupsgluten-free flour blenddivided — 2 c and 1/2 cup
1teaspoonbaking powder
1 teaspoonbaking soda
1teaspooncinnamon
2Tablespoonssugar
1/2teaspoonkosher salt
2 1/2cupsnon-dairy milk(I usually use almond)
2Tablespoonslemon juice
4Tablespoonsvegan margarine or creamed coconut(I know this seems like an odd alternative, but it works)
1 1/2cupsblueberries(works okay with fresh or frozen — do not defrost)
Servings: servings
Instructions
Grease a 13×9 baking dish. Pre-heat oven to 350°F.
In a small bowl, mix the chia or flax seeds with the 6T water. Set aside.
In a separate small bowl, whisk together the 1/2 cup GF flour, the baking soda, the baking powder, and the cinnamon.
In a large bowl, mix 2 cups of gluten-free flour, sugar, salt, non-dairy milk, lemon juice, and the flax or chia “gel.” When well mixed, fold in the second flour mix.
Pour into the prepared pan, and then sprinkle the blueberries over the top.
Bake for about 45 minutes, until the top is dry. This casserole doesn’t pass the touch test (where the “cake” springs back if you poke it lightly) or the toothpick test (the blueberries mess it up, especially if they were frozen), but it should looke baked and done. Let it rest 10-15 minutes before cutting into it if you plan to eat right now. Otherwise, let it cool completely and cover it. Then re-heat for 10 minutes (if at room temp) or 20 minutes (if it was in the refrigerator) at 300°F in the morning.
Serve with vegan margarine, if desired, and maple syrup (really not optional, as maple syrup is the point of pancakes).
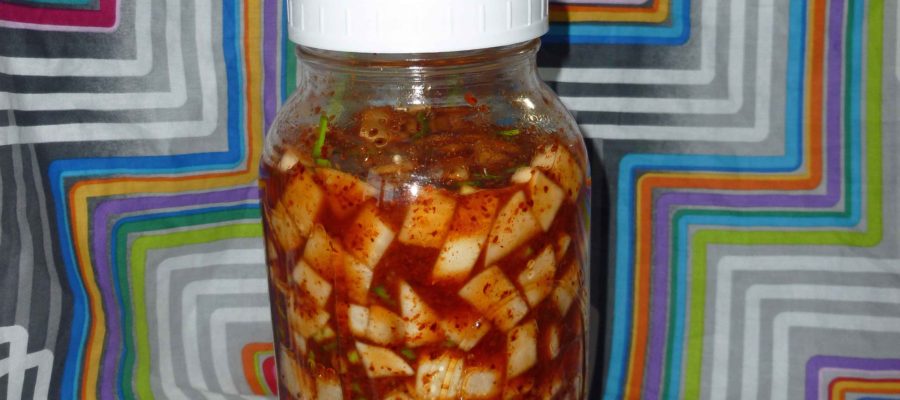
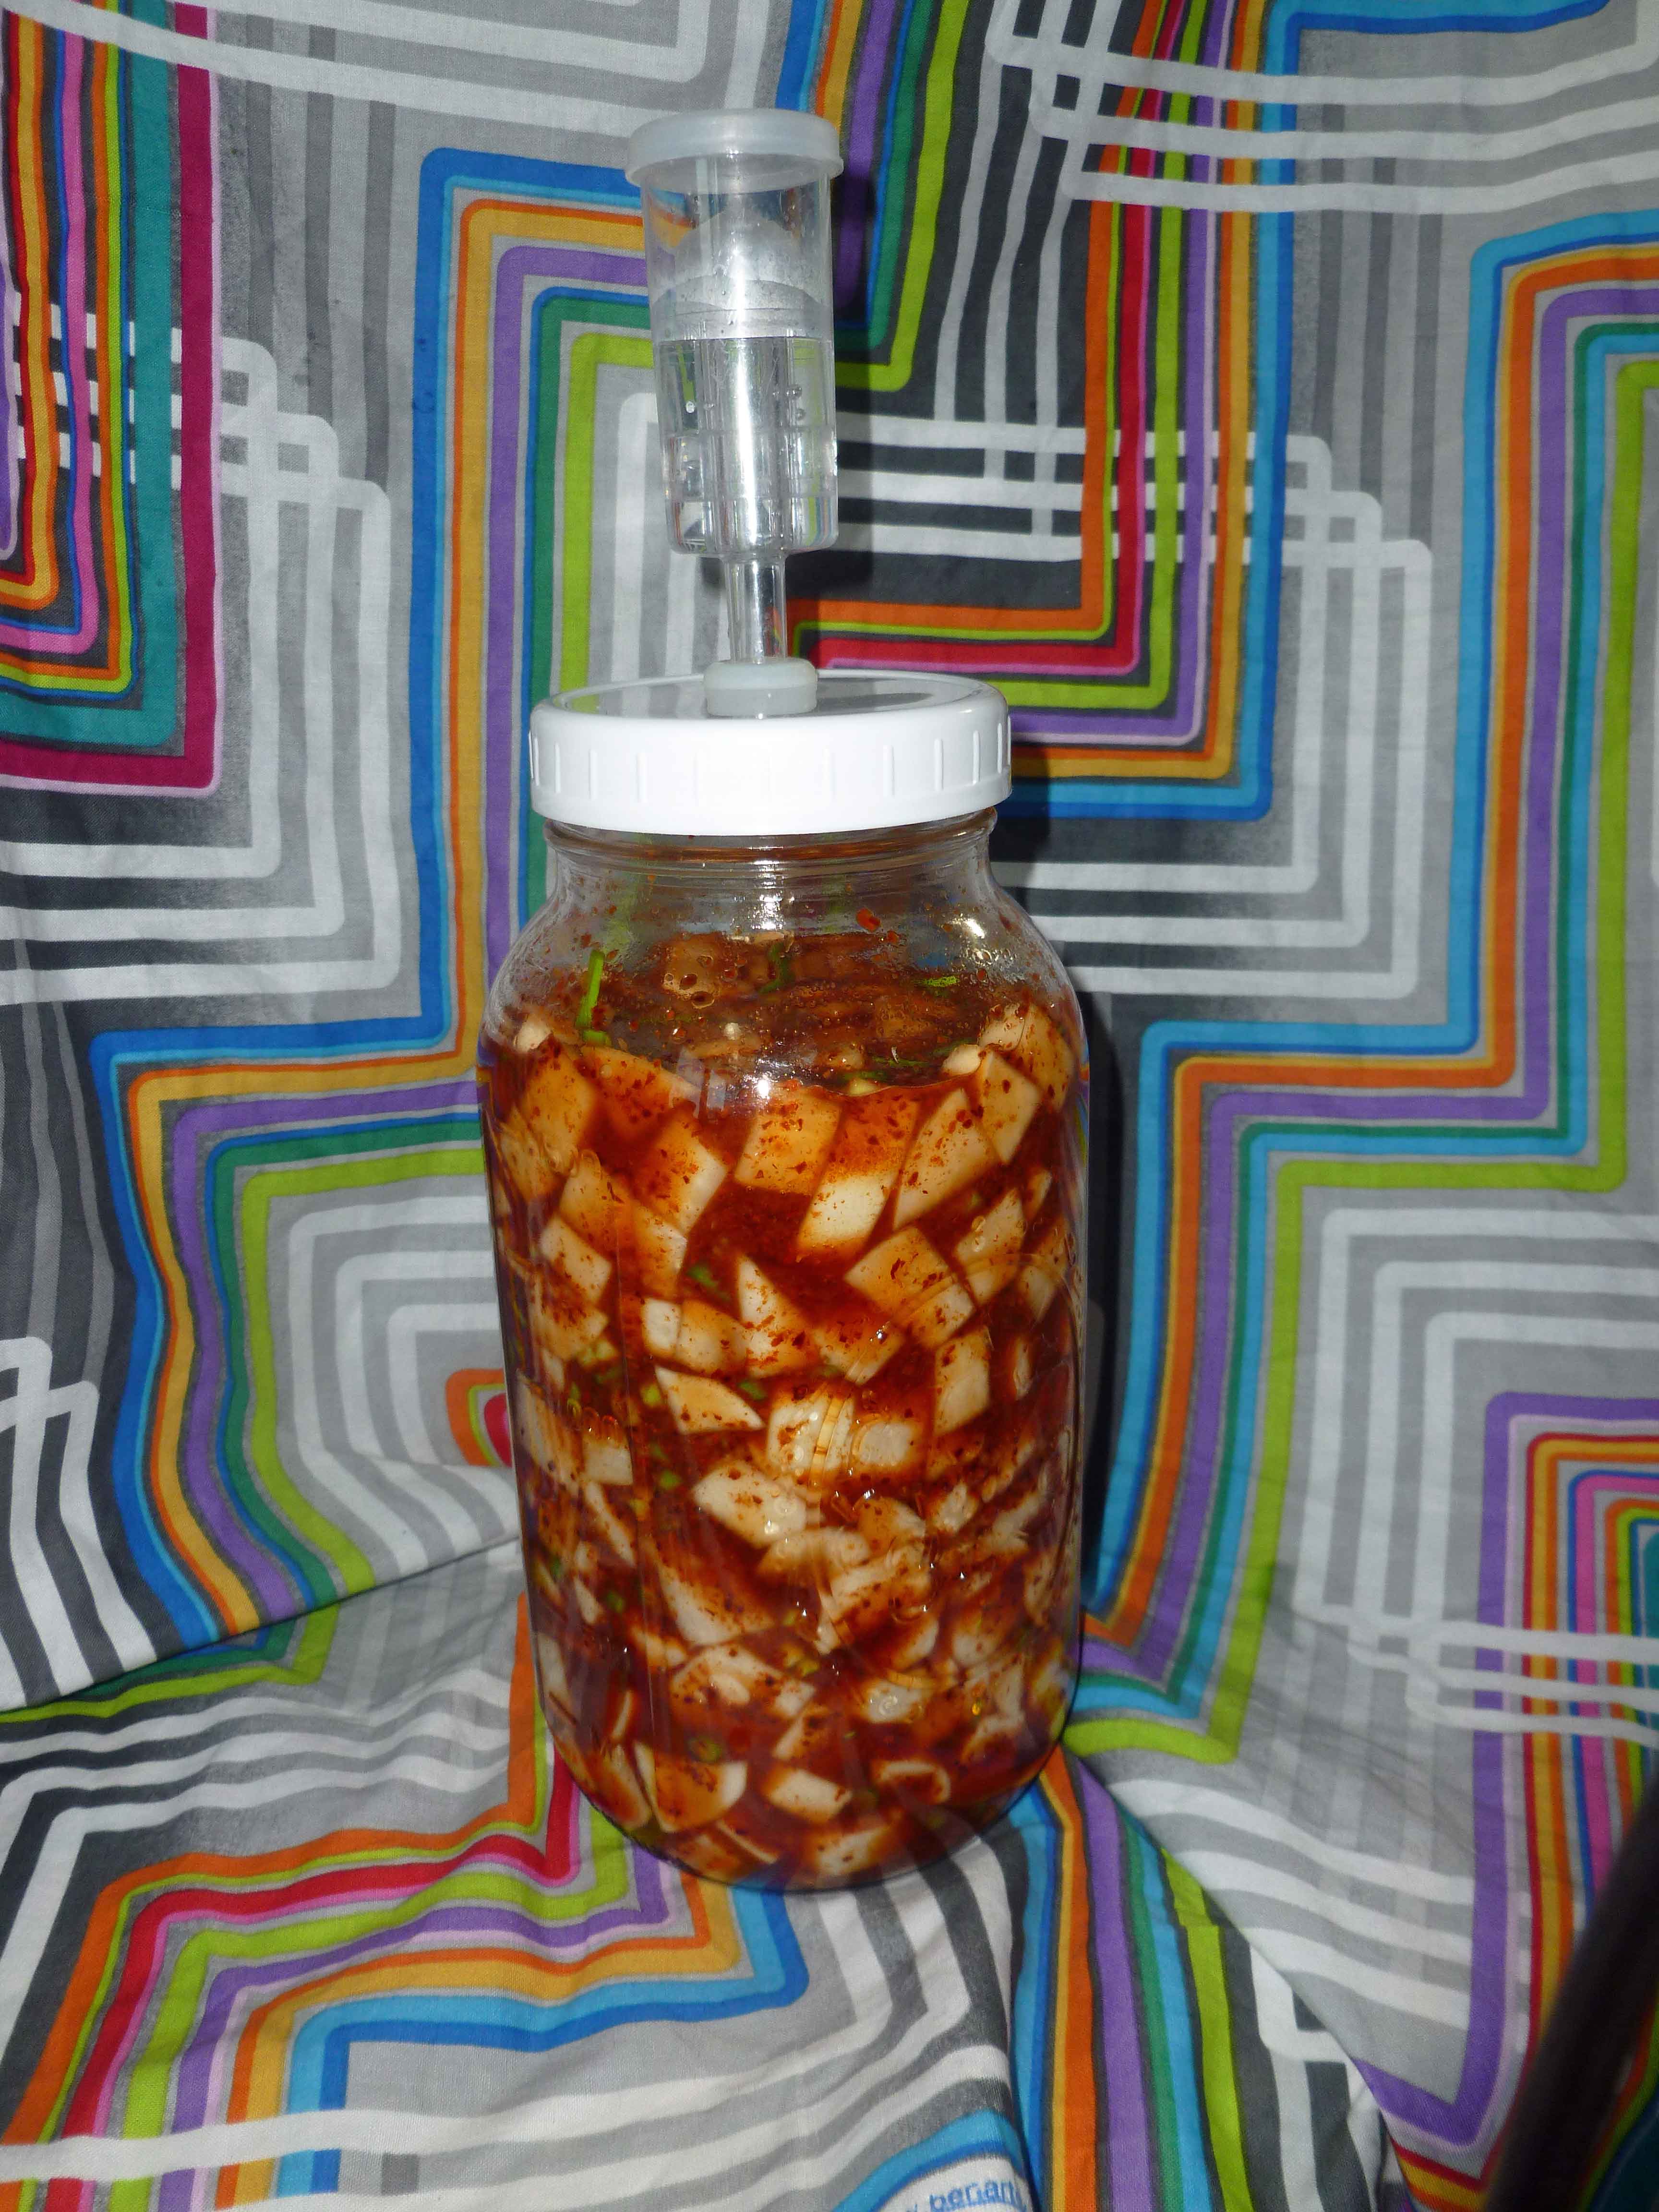
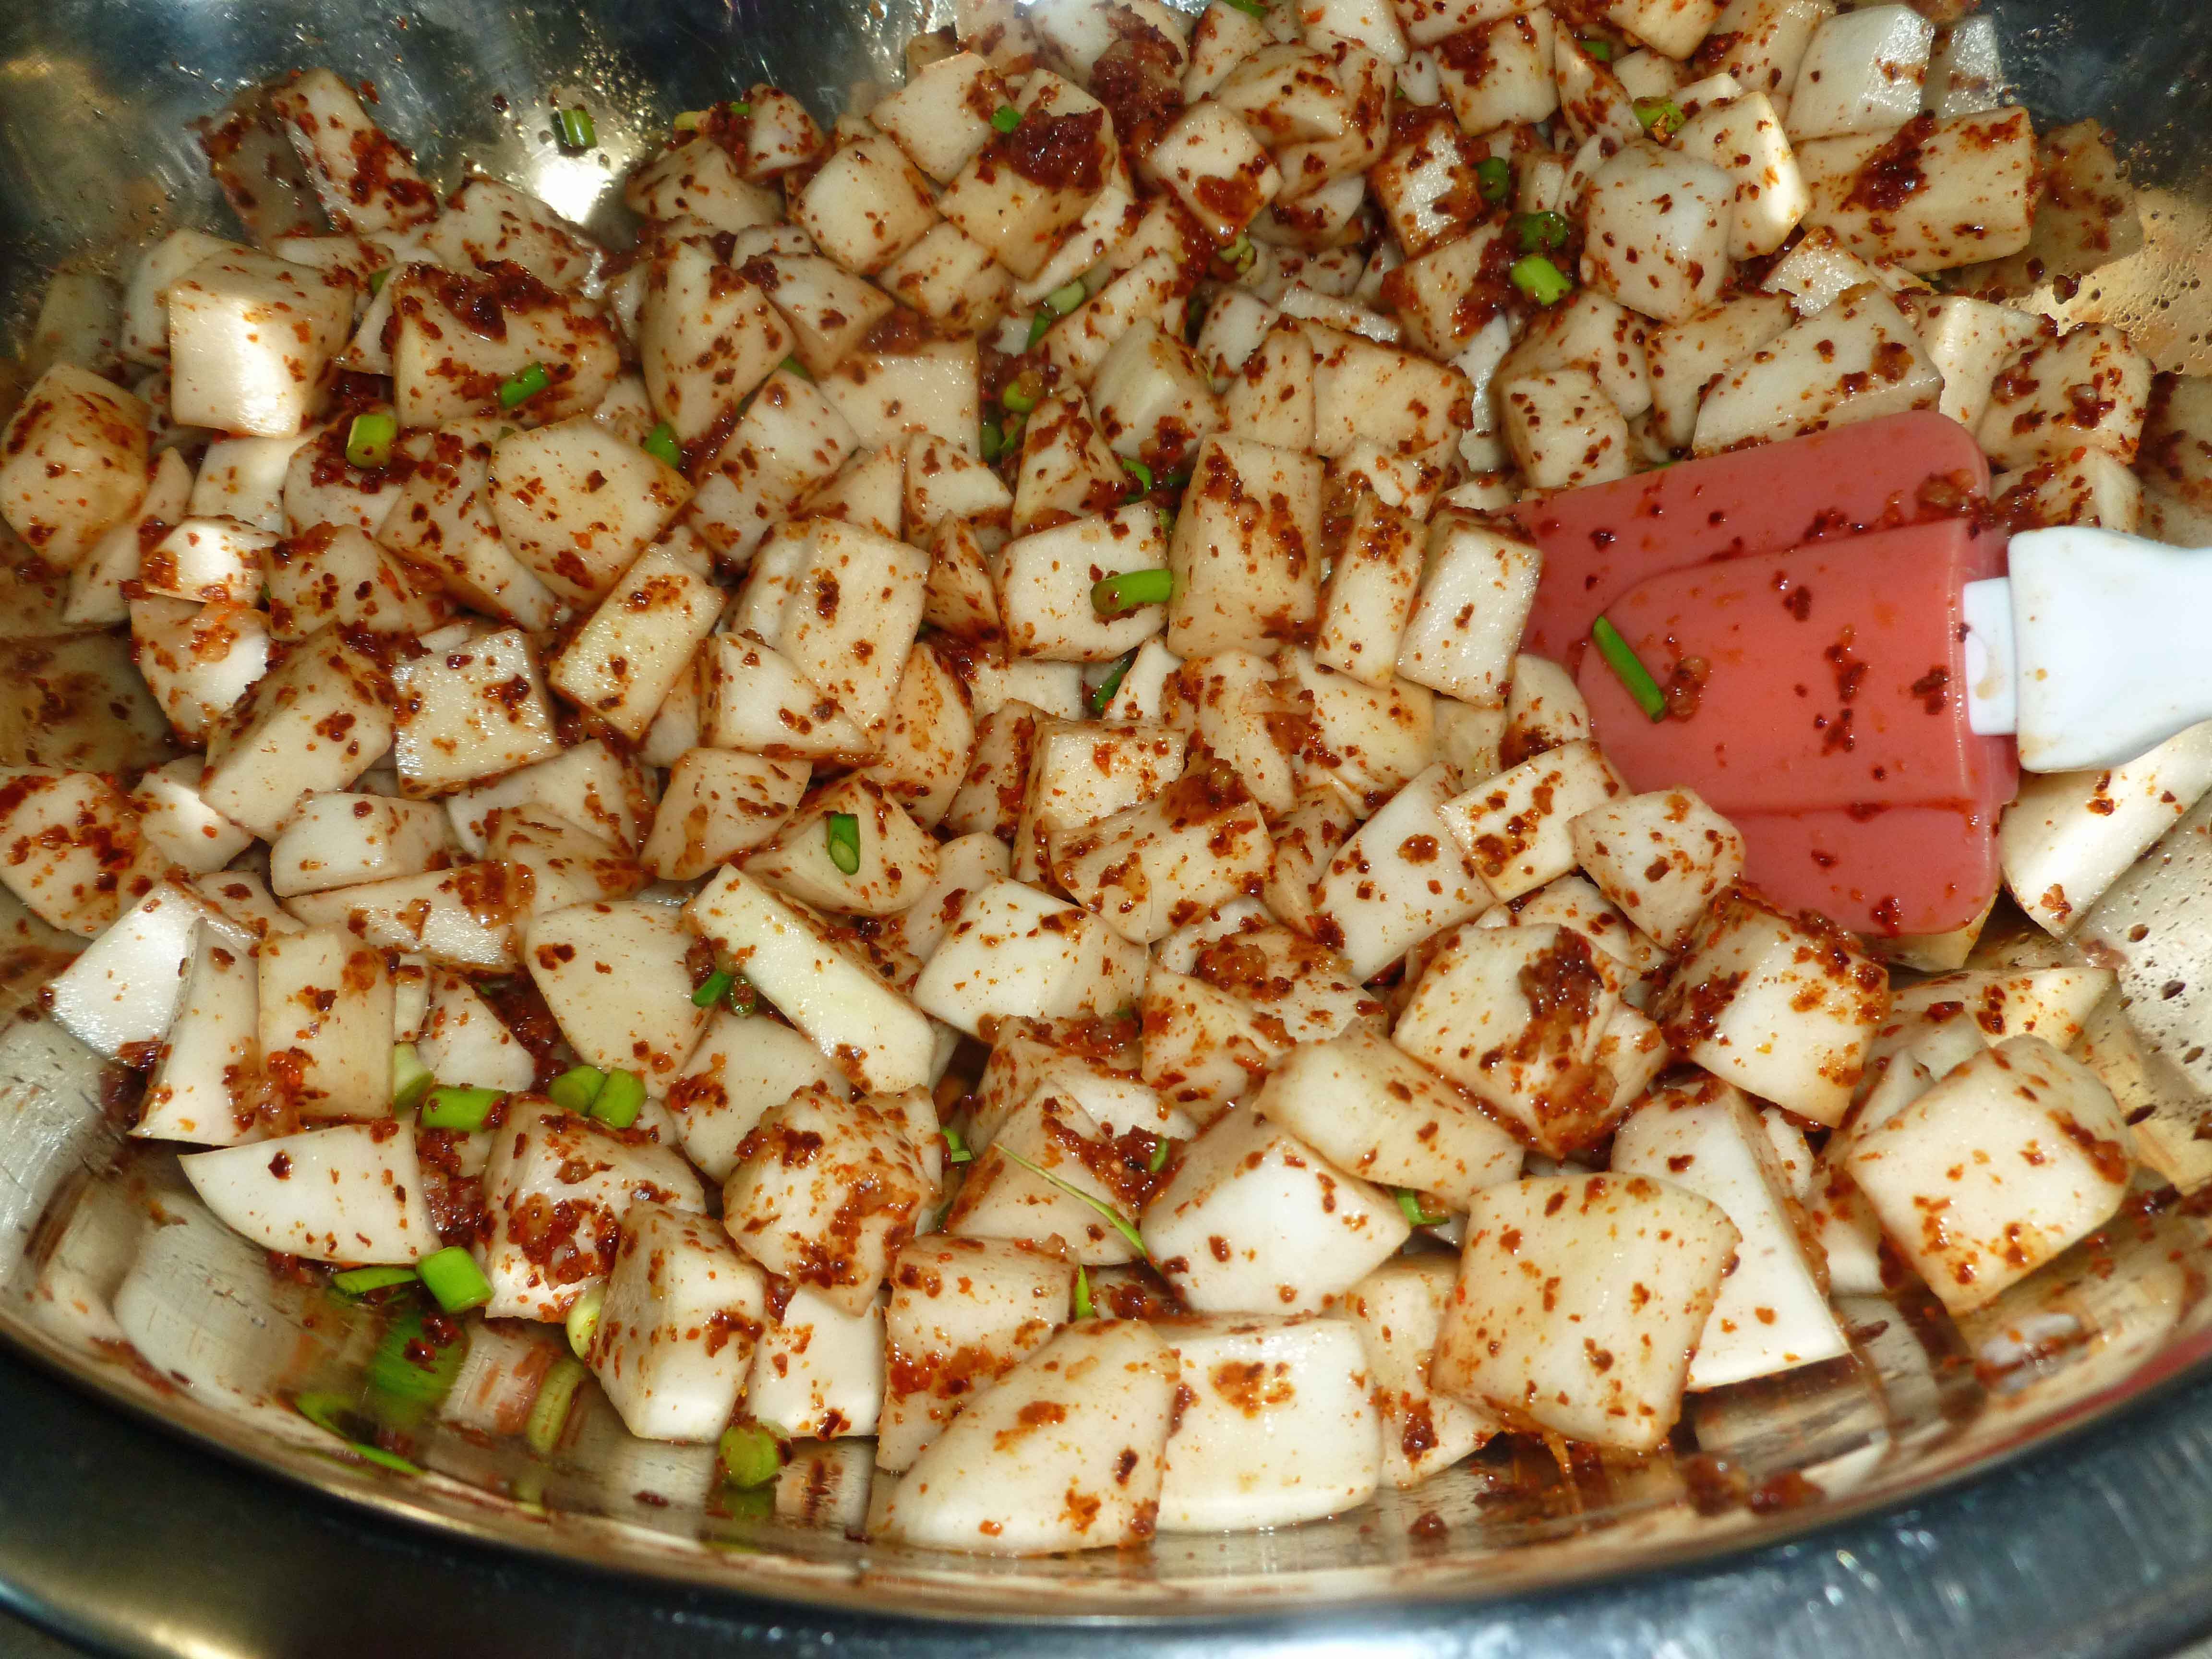
As some of you, who know me in real life and who read the blog regularly, know, I *may* have planted a little bit too much turnip in the garden this year. I planted Purple Top White Globe variety because hello, purple. They are more radishy than the turnip I normally eat from the grocery store. I tried to make a couple of different things in hopes that (a) it would work for the blog and (b) use up some turnip. The attempt at Cajun seasoned baked turnip curly fries were just so-so, not blog-worthy. The scalloped turnip recipe I tried was okay, but I think it will be a whole lot better if I throw it in the Vitamix and call it a turnip bisque once it’s pureed to oblivion, and if I add some Sriracha (my homemade version of course). So since the turnip is radishy, I decided to make a version of cubed radish kimchee, which usually uses daikon radish. So if you can’t find fresh daikon in your area, get yourself some Purple Top White Globe turnips and go to town. I used this recipe as a starting point. If you do not like spicy/hot food, maybe pass on this recipe. If you need it to be vegan or you’re allergic to fish, you can sub out the fish sauce with soy sauce or a soy sauce substitute if you have issues with soy, or or you can just use some extra juice from the turnip mixture, as explained below.
Turnip Kimchee
Normally, I do the step by step instructions with photos, but I have to go can a bunch of turnip in the pressure canner. So here’s some of the in-process photos, and the recipe card.
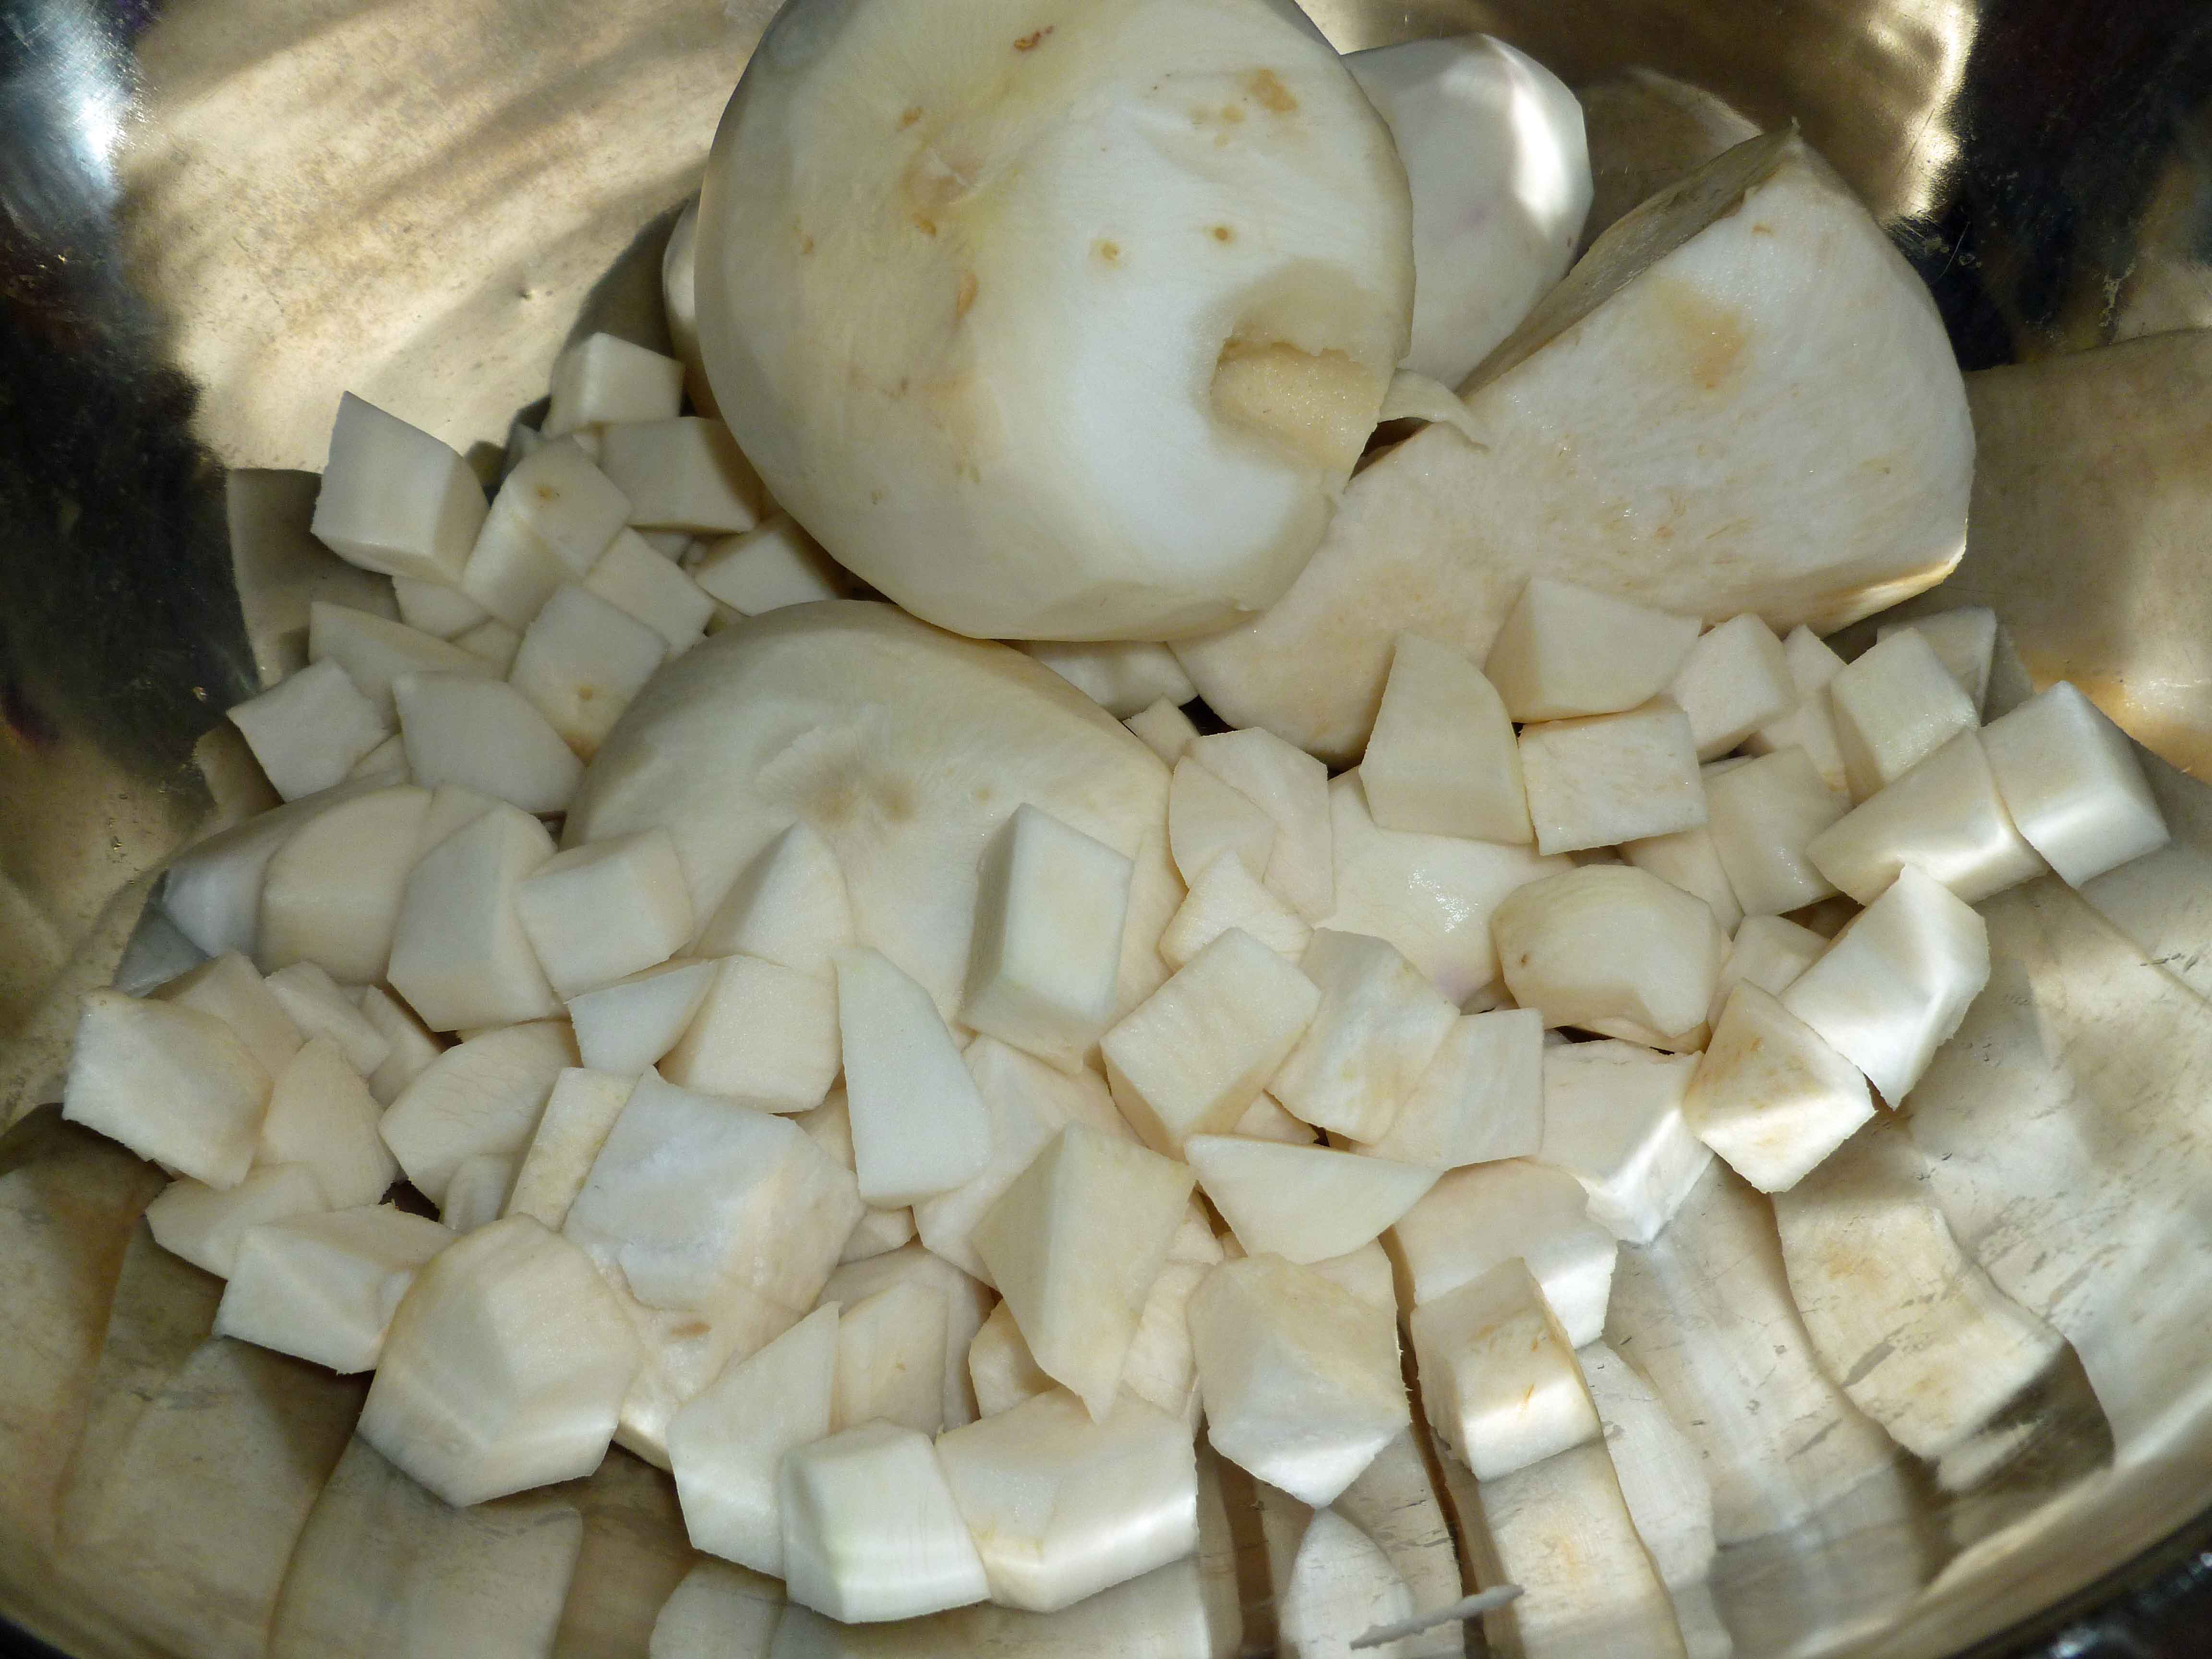
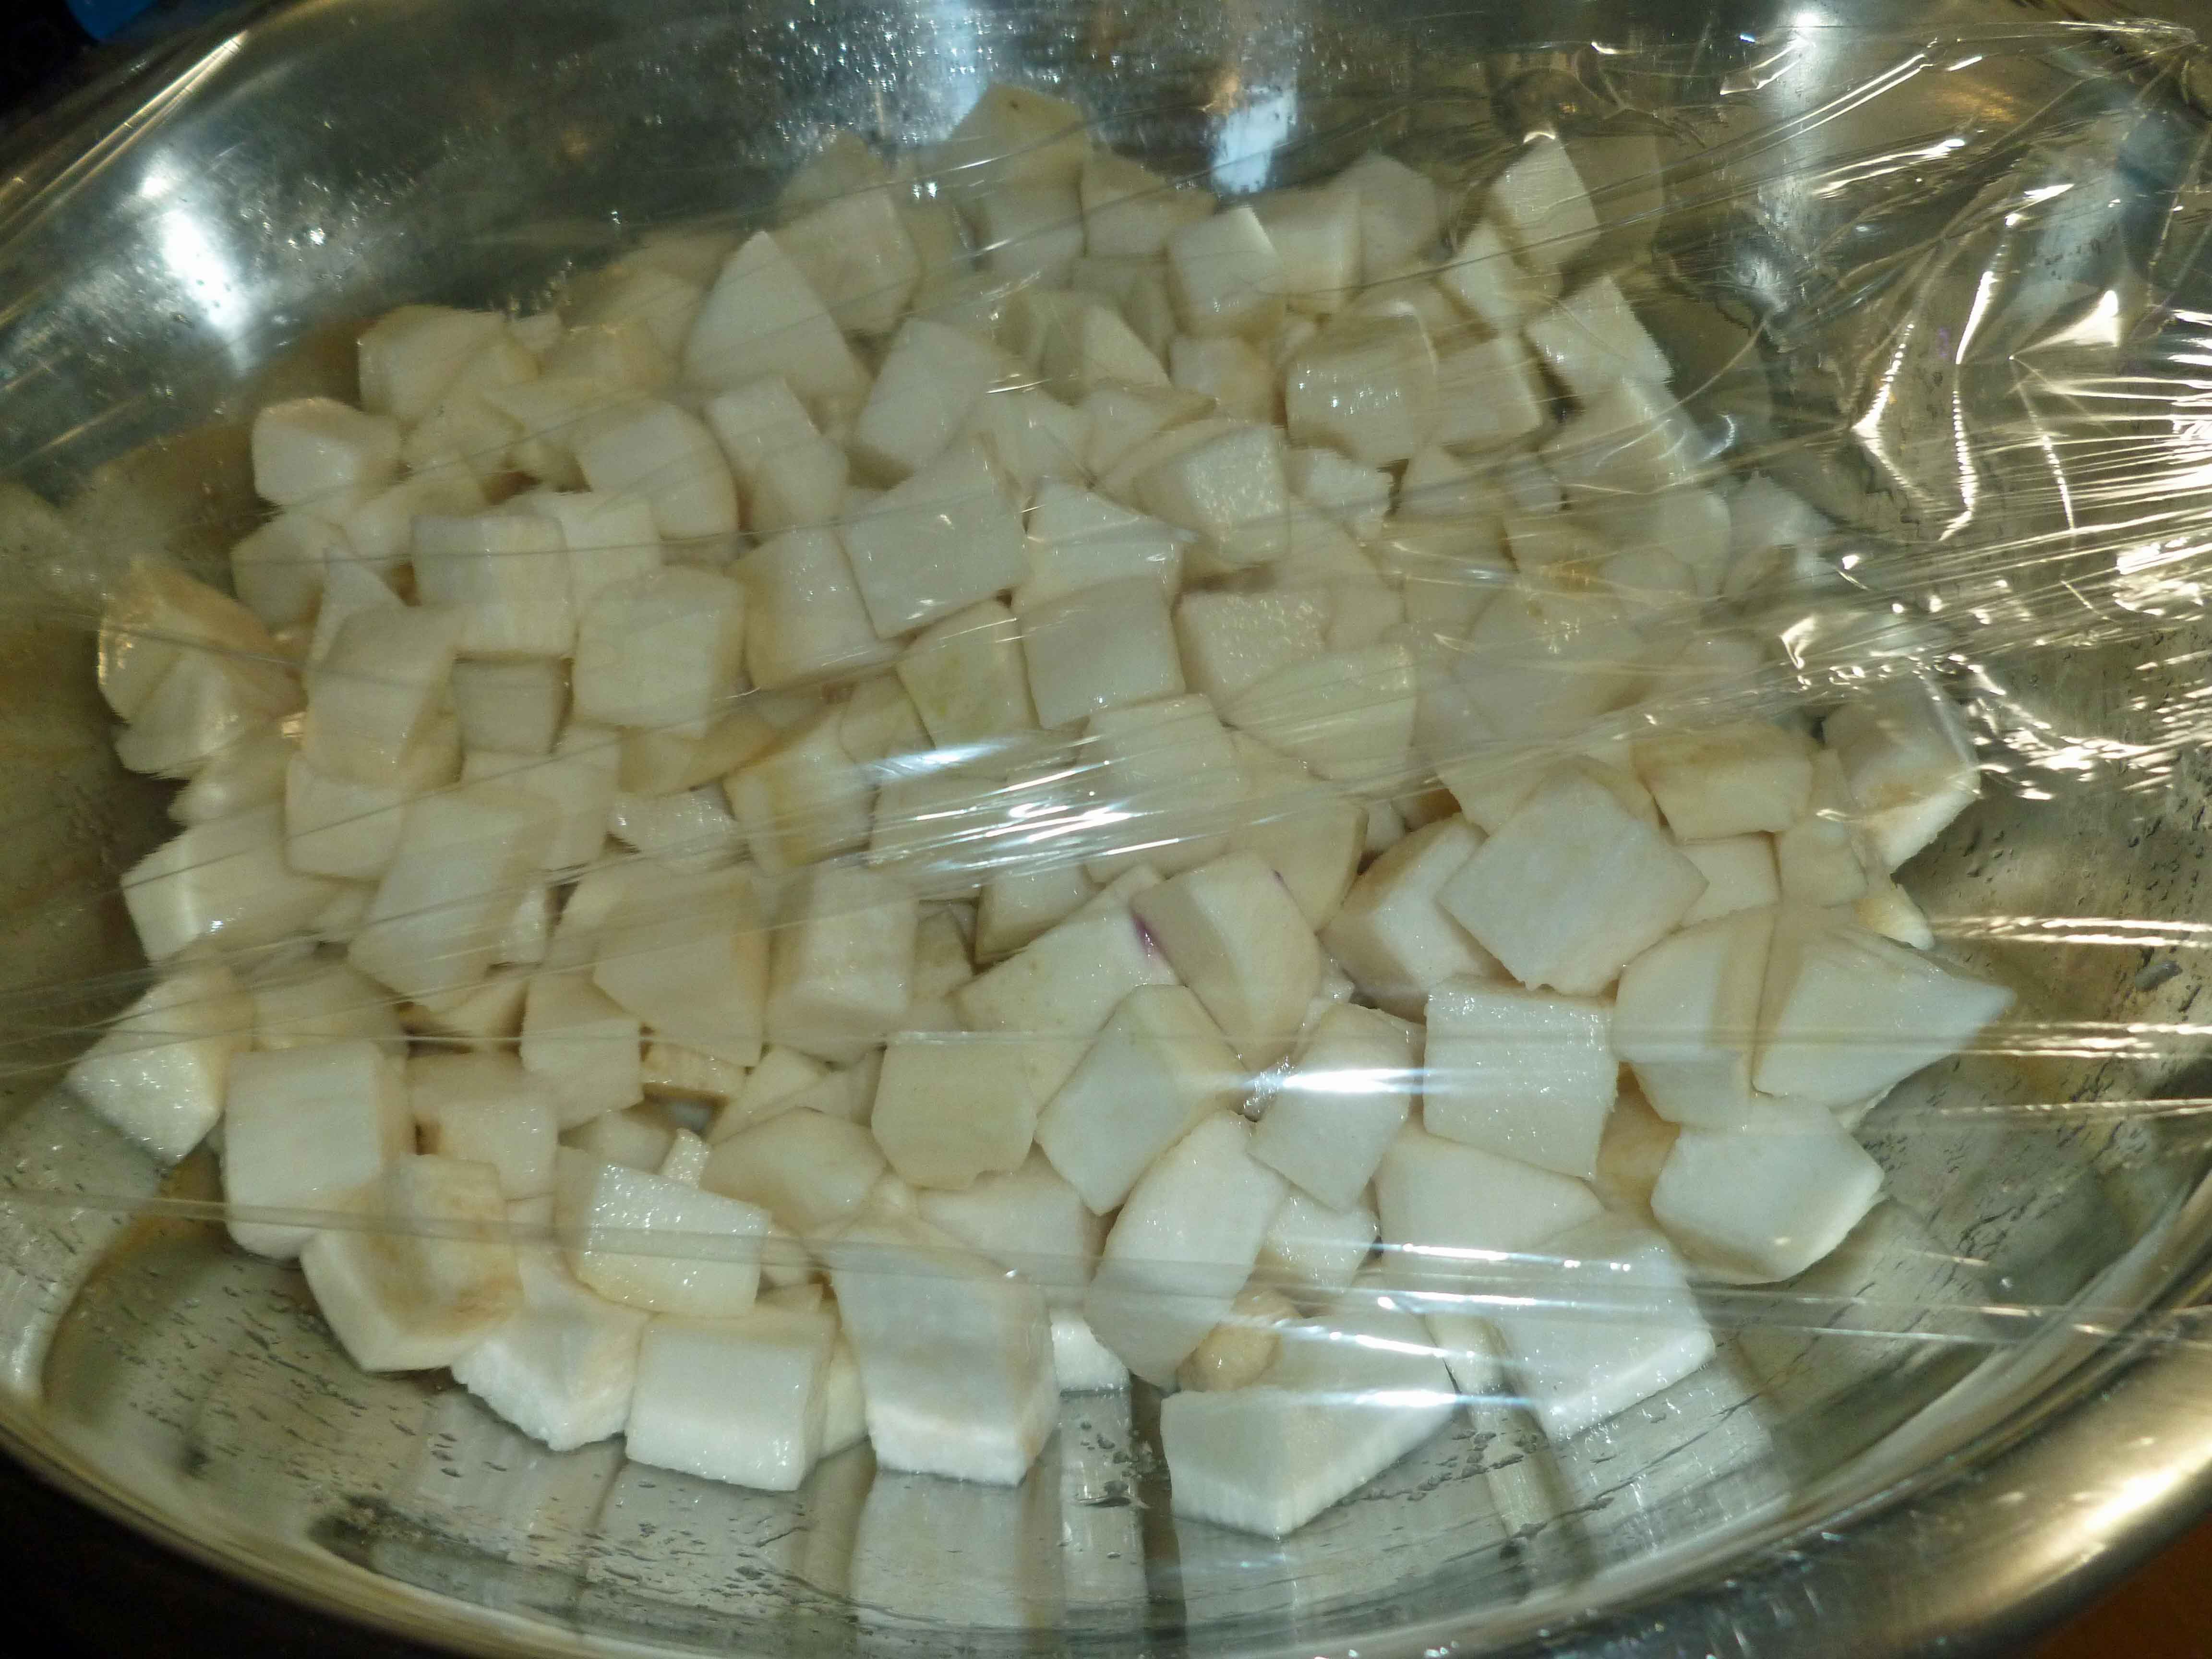
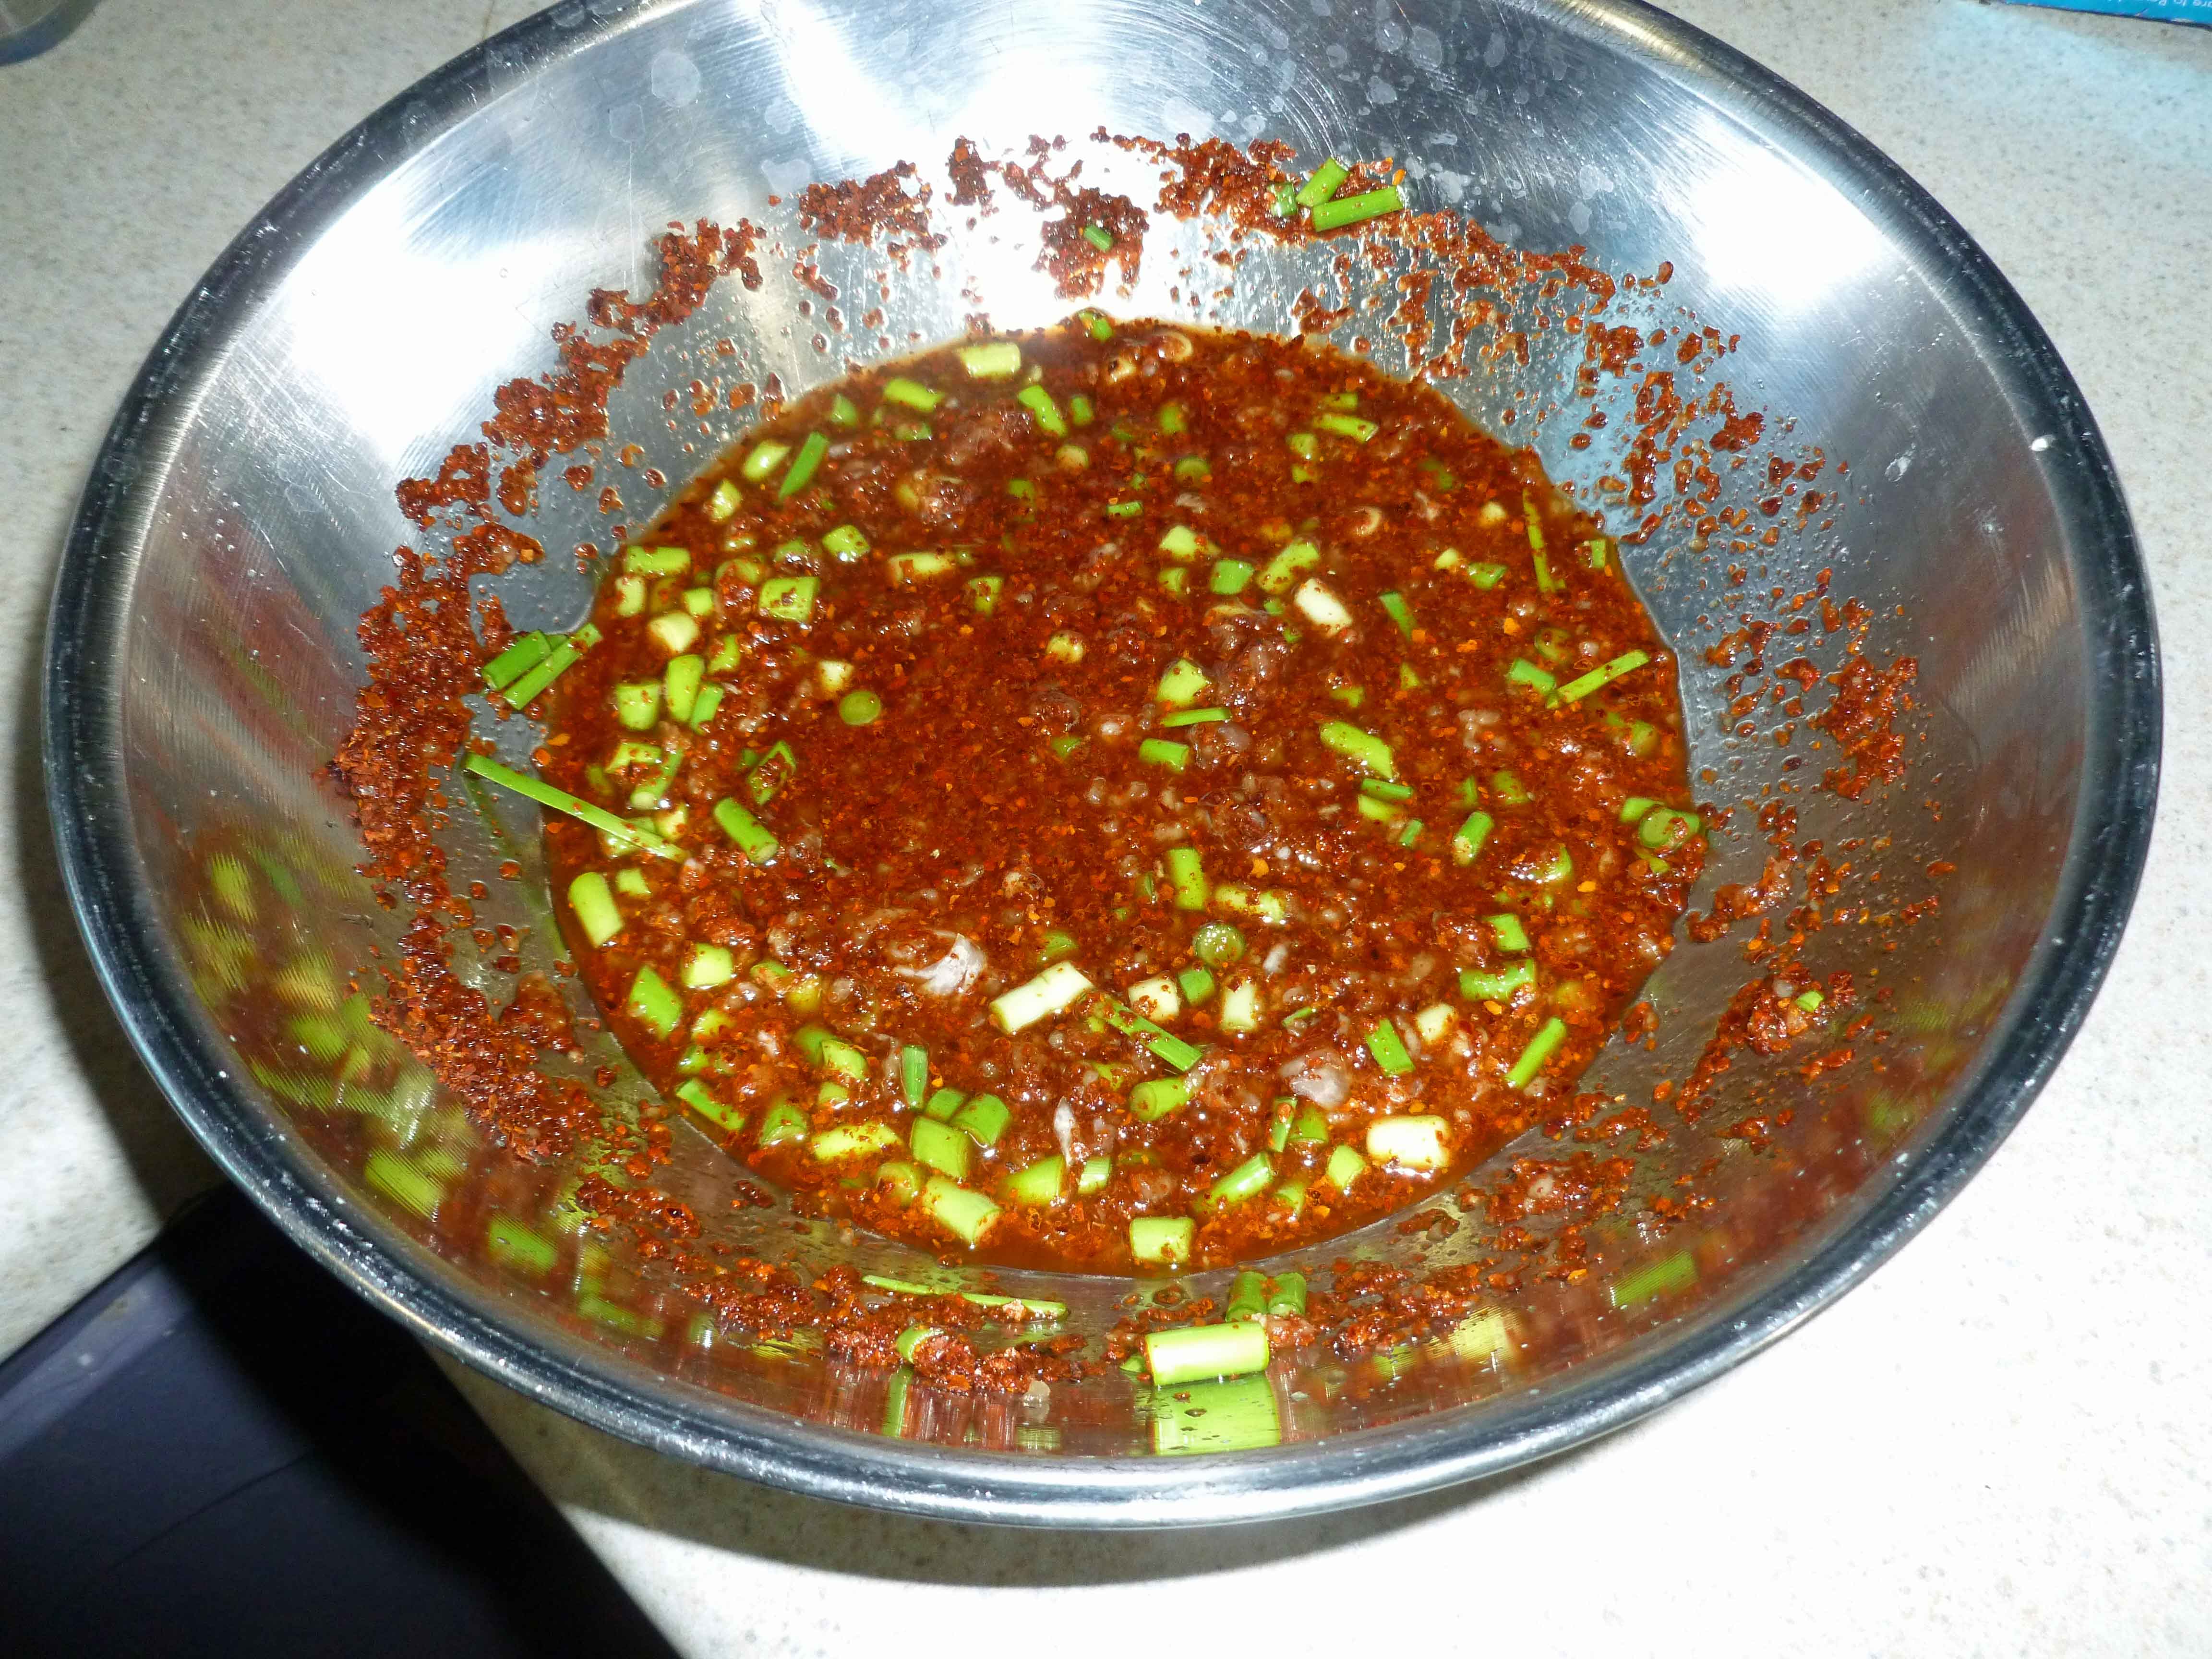
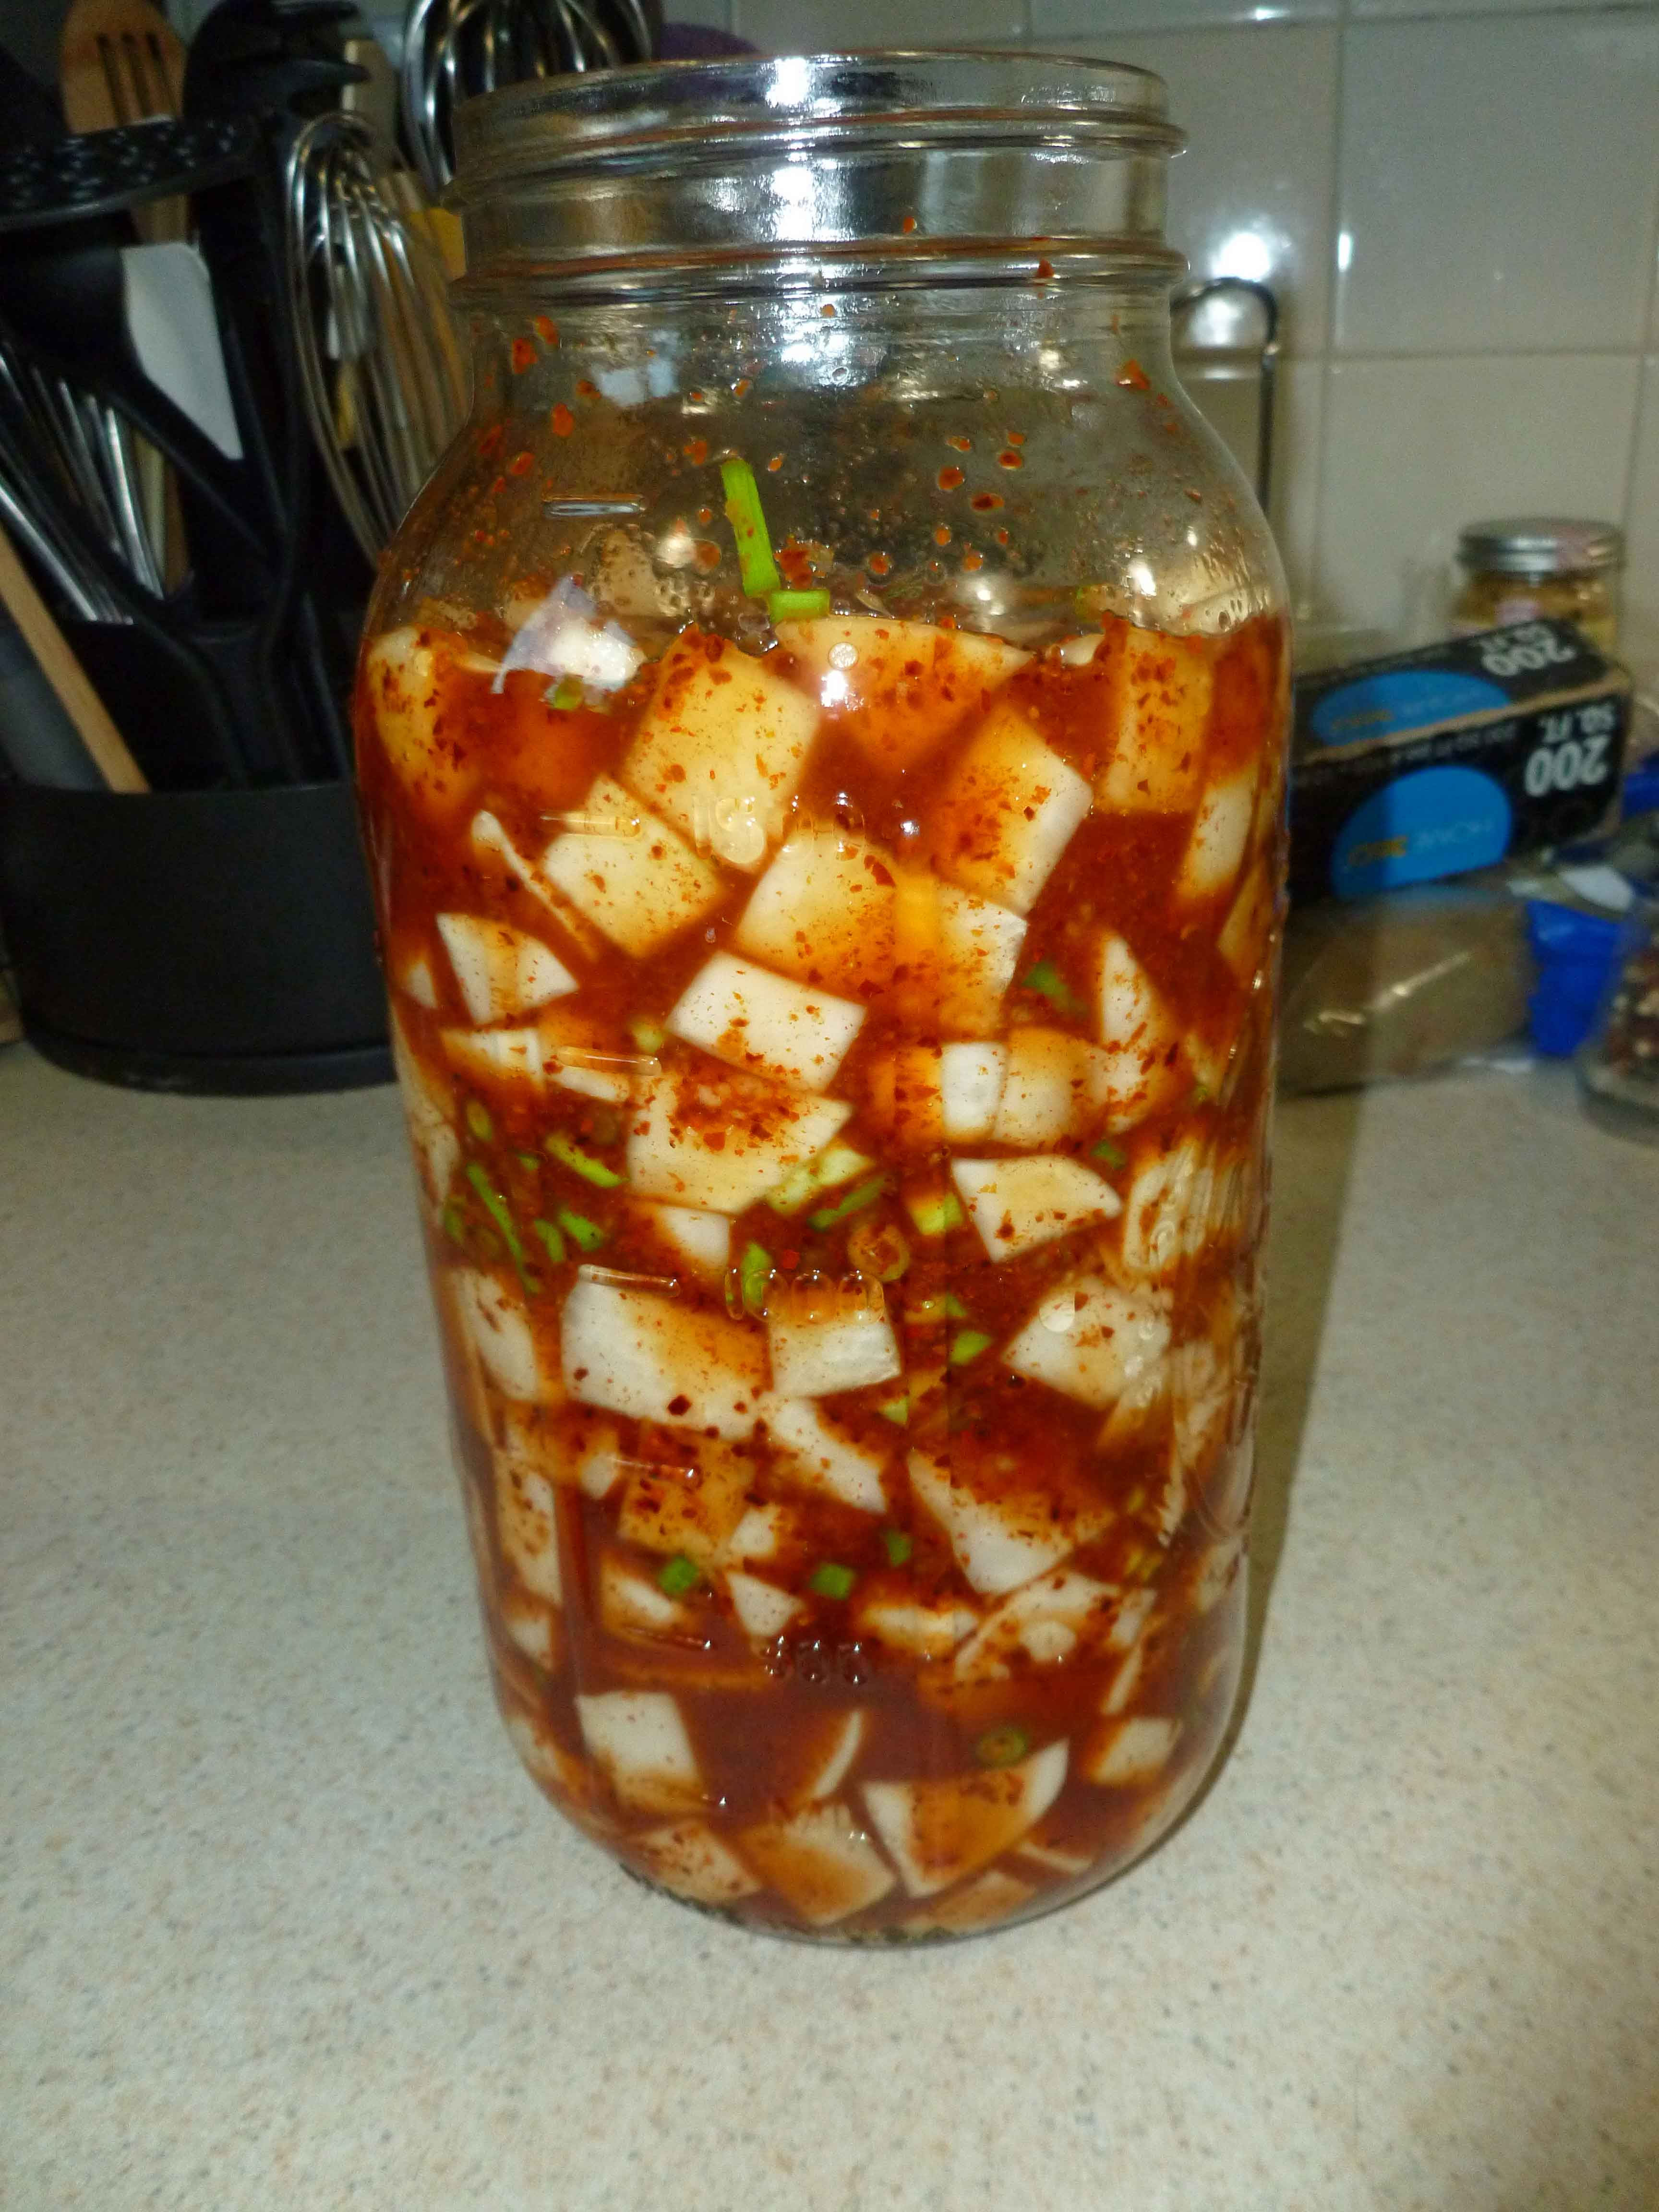
Peeled turnip being cut into cubesTurnip with salt and sugar resting to bring the water outKorean red pepper flake mixtureTurnip combined with Korean red pepper flake mixtureTurnip combined with Korean red pepper flake mixture in jar, pressed down so there are no air pocketsTurnip Kimchi
Turnip Kimchee
Print Recipe
A cubed kimchee using purple top white globe turnips instead of daikon
4poundspurple top white globe turnipspeeled, washed and diced in 3/4 inch pieces
2Tablespoons sea salt
3Tablespoonssugar
6clovesgarlicminced
1teaspoon fresh gingergrated (use a ginger grater or a microplane zester)
4-5stalksspring onion or garlic scapeschopped (I had garlic scapes on hand, so that’s what I used)
1/4cupfish sauce(use a version safe for you, or substitute with soy sauce, soy sauce substitute, or more of the radish liquid)
1/3cupKorean red pepper flakes
1/3cupjuice from turnip mixture(explained below)
Servings: half gallon jar
Instructions
Peel turnips and rinse in cold water and pat dry. Cut the turnip into cubes about 3/4 of an inch. Place them in a large bowl.
Sprinkle salt and sugar over the turnip and mix well. Place a cover or plastic wrap over the bowl and let it sit for 30 minutes. The salt and sugar will pull water out of the turnip. Once the 30 minutes is up, drain the juice from the turnip into a small bowl and set it aside. Leave the turnip cubes in the large bowl.
In another small bowl, add the minced garlic, the grated ginger, the chopped green onions, the fish sauce, the Korean red pepper flakes, and 1/3 of a cup of the drained turnip juice. Whisk these ingredients together until well combined.
Pour Korean red pepper flake mixture over the turnip cubes in the large bowl, scraping the small bowl clean so that all the Korean red pepper flake mixture gets added to the turnips. Mix the turnips and the Korean red pepper flake mixture well until the turnips are completely coated.
Put the turnip mixture into a glass jar (I used a half gallon Ball mason jar), making sure that you scrape the bowl clean and all the Korean red pepper flake mixture goes into the jar with the turnips. Use a spoon or a spatula to press down the cubes to remove any air between them.
You can either place it in the refrigerator and eat it right away or you can let it ferment by leaving it outside of the refrigerator for a few days. I use an airlock with a plastic cap and silicone gasket, but you can use a lid if you just remember to open it (burp it) twice a day, so that the pressure doesn’t build and the glass jar does not crack. When it starts fermenting, you may see little bubbles. After three to five days, store it in the refrigerator and enjoy.
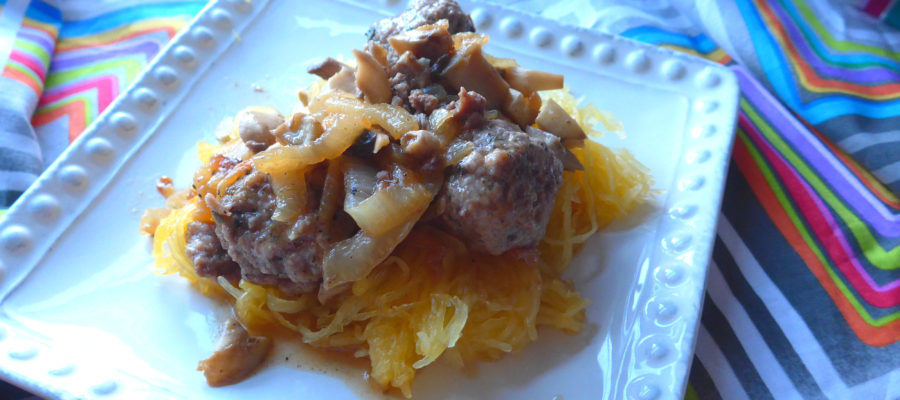
I’m not sure if you’re ready for hot food, but I really am. In order to get ready for work after a week of vacation, I needed something hearty but not heavy. Spaghetti squash seemed to fit the bill with some meatballs and mushrooms and onions. It seems I reach over and over again for mushrooms and caramelized onions every time I need comfort food or hearty food — do you have go-to ingredients that help you face the world? Because mine are apparently mushrooms (which Denise hates) and onions. They’re so earthy and grounded.
Spaghetti squash is weird, and while I don’t think it’s actually a substitute for pasta, it is a good vehicle for some thinner sauces. Putting the squash in the pan to soak up the meatball fats and the onion oil means you lose none of the flavors. It’s possible that this dish is even paleo-friendly, but I won’t claim to know the rules behind that diet. If you want a little less fat in the sauce, drain the pan after sauteing the meatballs or scoop up the onions, mushrooms, and meatballs with a slotted spoon and put them on the squash.
This dish will fortify you and make you ready to face the rest of summer.
Notice: Trying to access array offset on value of type bool in /home/maryzahc/public_html/adultfoodallergies.com/wp-content/plugins/wp-ultimate-recipe/helpers/models/recipe.php on line 254
Meatballs with Mushrooms, Onions, and Spaghetti Squash
Print Recipe
An earthy but not too heavy dish to make you ready to face anything.
1/2teaspoonkosher saltdivided into two 1/4t servings
18 oz. packagemushroomsbroken into pieces
1/2poundground beef(I prefer 85/15 mix)
1/2 poundground pork
1teaspoonoregano
1 1/2teaspoonbasil
2Tablespoonsfine bread crumbs or starch-based gluten-free flour
fresh ground pepper,to taste
1 Tablespoon water
Servings: people
Instructions
Pre-heat oven to 400°F. Poke a hole in a spaghetti squash and throw it in the oven, on the rack. Bake for an hour. (You can also slice it in half and bake it for 30-45 minutes. I prefer the lazier approach. Learn more from the link in the notes.)
Heat the olive oil in a skillet over medium-low heat (cast iron is best for making great caramelized onion). When it’s hot, add the onions and 1/4 teaspoon salt. Stir well, to coat all the onion with oil, and then cook, stirring occasionally, for about 45 minutes.
Meanwhile, make the meatballs by mixing the beef, pork, oregano, basil, and bread crumbs or starchy gluten-free flour. Because they will be more tender if you work the meat less, I break up the meats first, sprinkle the seasonings over, and then lightly mix before forming ping-pong ball-sized meatballs. I get about 14 meatballs from a pound of meat.
Your squash is likely done now. Take it out and let it cool. As soon as you can, slice it in half to let it cool more.
When the onions are beginning to get a pretty caramel brown, push them all to the sides and add the meatballs. You might need to do this in two batches to have enough room to stir.
When the meatballs are browned on most sides, add the mushrooms, the second 1/4 teaspoon of salt, pepper, and the water. Stir well (but gently — the meatballs are still delicate) and cover for about 5 minutes. When the mushrooms have started to cook, stir again, and cover for another 5 minutes.
Taste and adjust seasonings if necessary.
Scoop out the seeds and pulp. Then scoop out the squash and stir it in to the skillet. You will be able to see when it’s soaked up the sauce, and then it’s ready to serve.
Recipe Notes
If you’ve never cooked spaghetti squash before, check out this lesson from The Kitchn. You can also check out Denise’s Meatball Sub Meatballs recipe, if you like a more substantial meatball. Mine is a streamlined version for a quick meal.
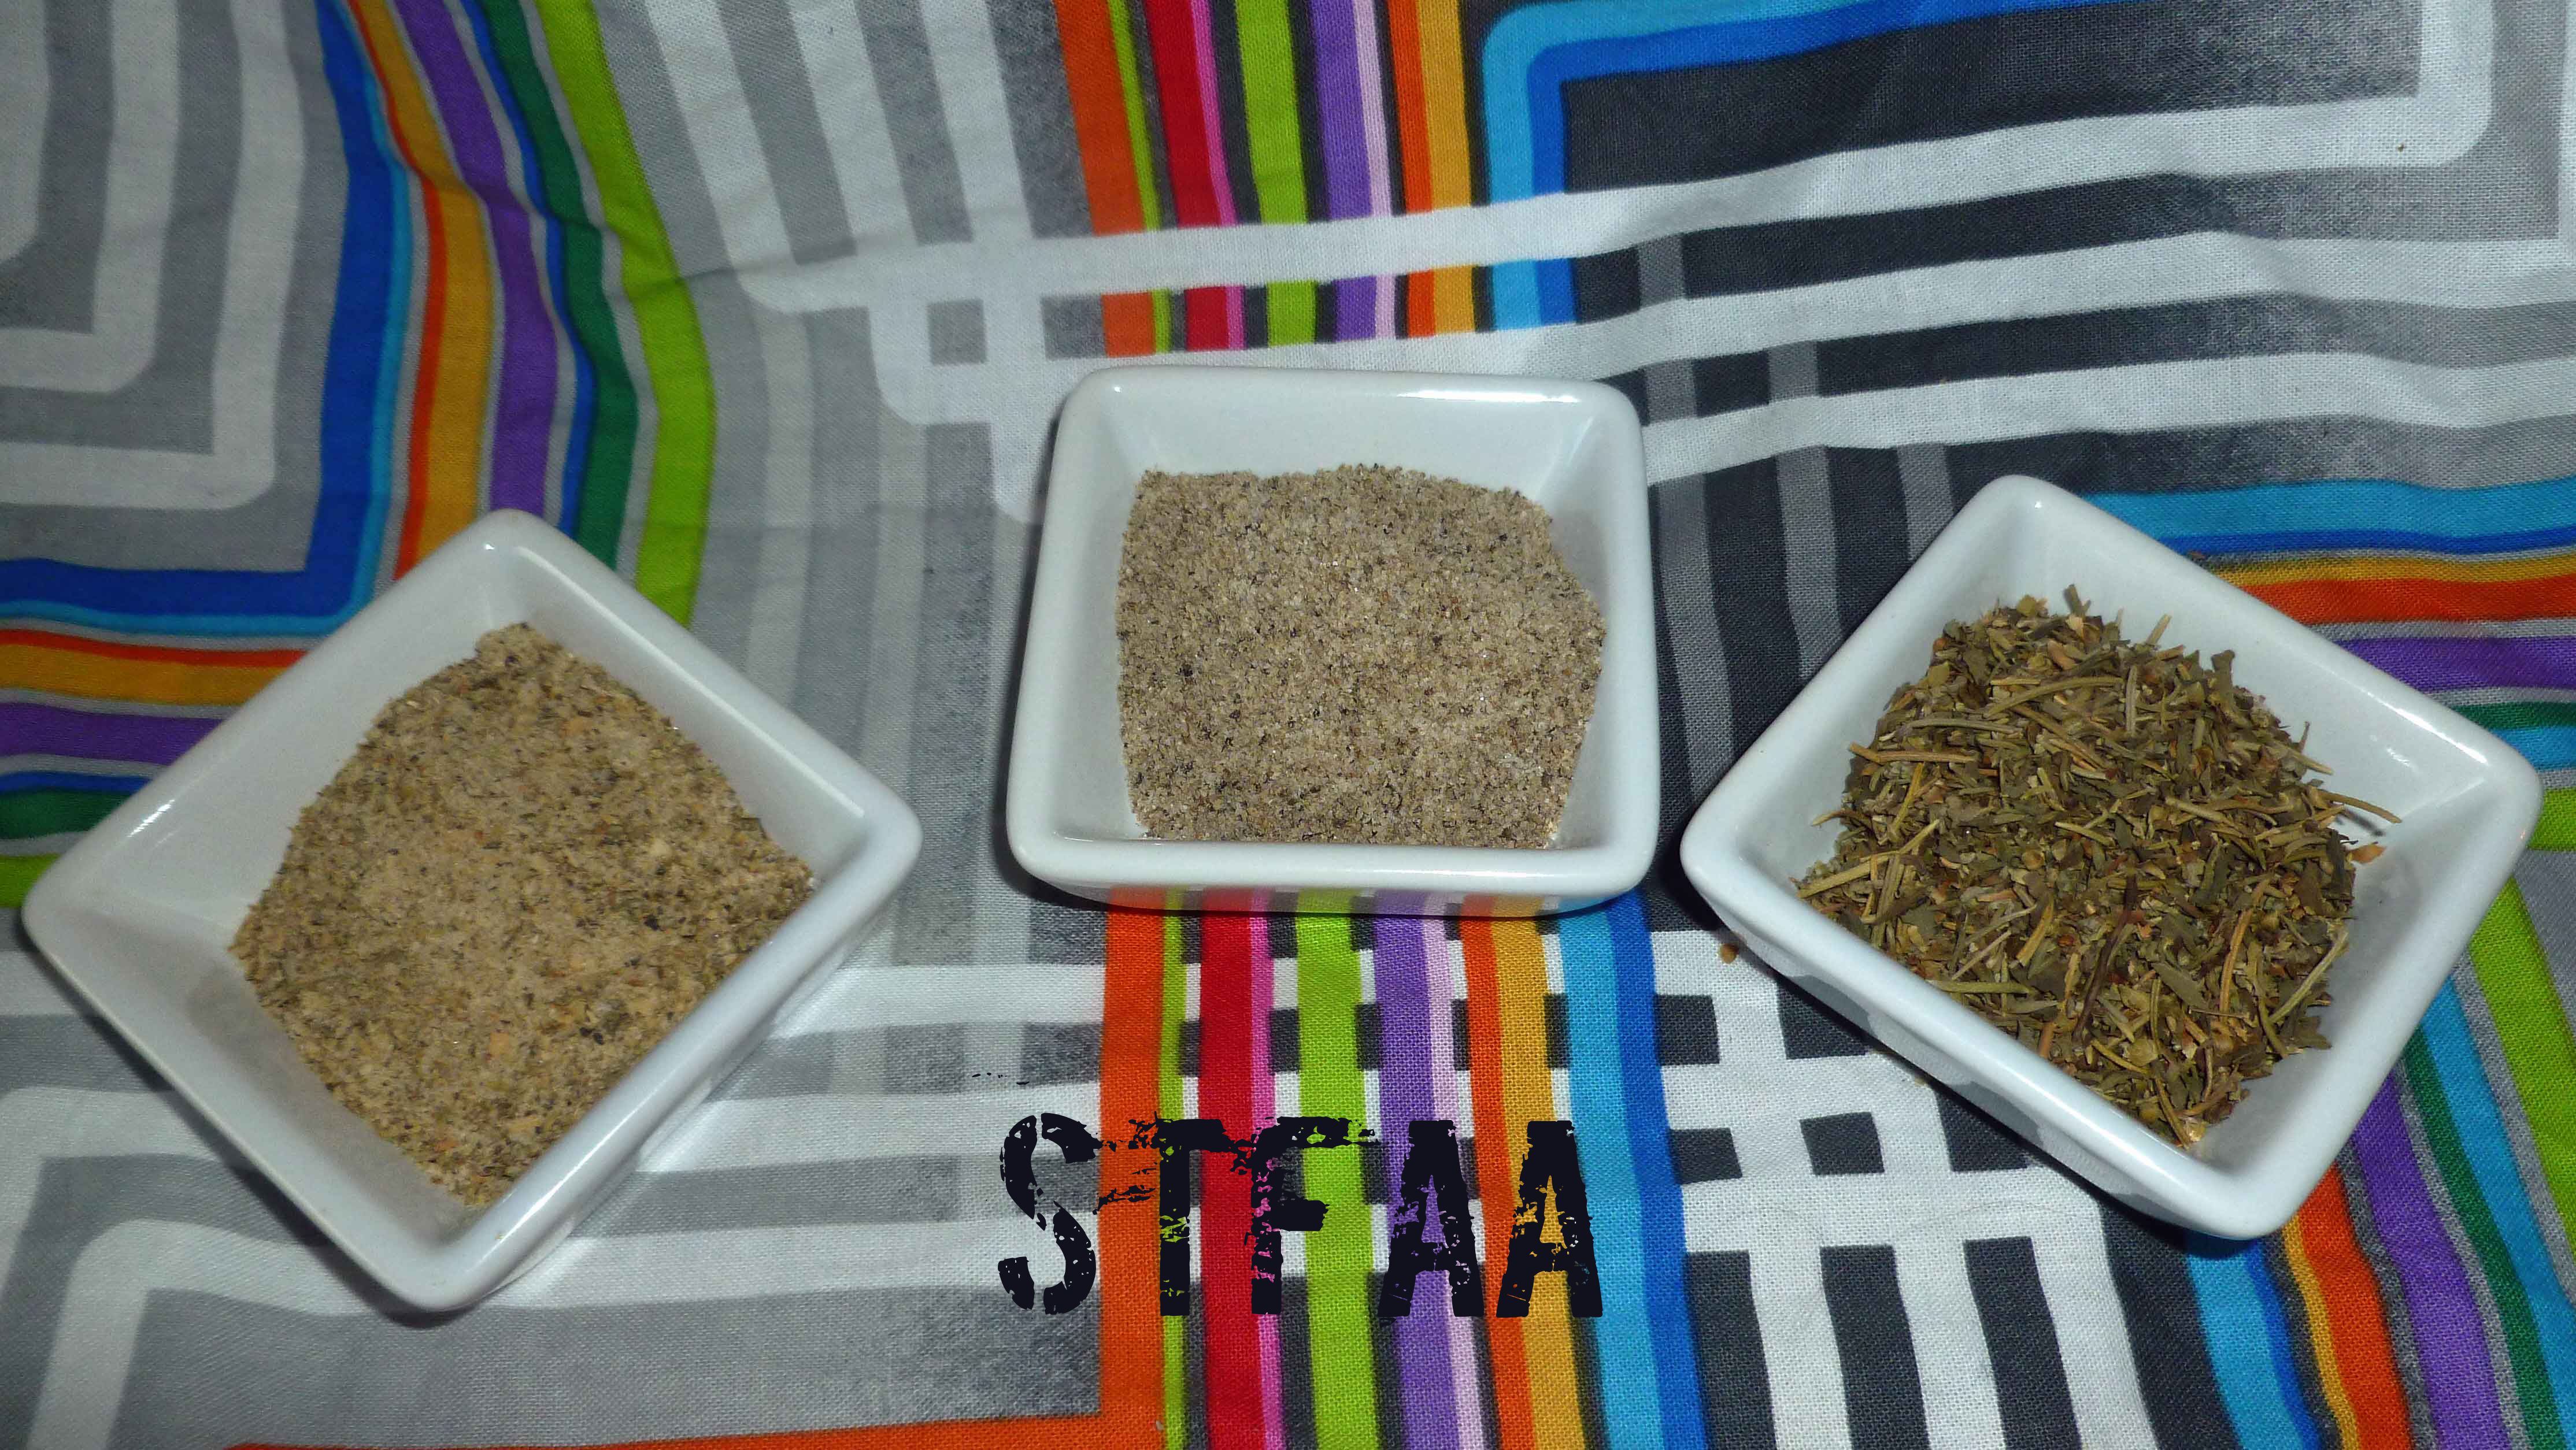
From left to right: Greek Seasoning, Prime Rib Seasoning & Italian Seasoning
Well, I’m a bit overwhelmed with other projects in real life right now and the recipe I wanted to make for you guys is not really going well. It needs at least two more attempts before I get it to a place that’s blog worthy. But fear not, there will be a post.
Regular readers and my friends in real life are aware of my spice addiction. My collection has 186 entries on my google docs inventory spreadsheet and is housed by a bookshelf, a spice cabinet that’s 12″x12″x48″, and half an armoire style cabinet. One of the problems I encountered when the corn allergy hit was that many of my spice blends were no longer safe due to anti-caking agents and actual ingredients (citric acid) on the label, or that many of them I didn’t tolerate well anymore due to cross contamination issues. I do very well with Penzey’s or Frontier single spices, but blends can be an issue. So I recreate my favorite blends. You may remember a prior post I did on spices DIY Spice Mix Day – Montreal Steak, Creamy Peppercorn, Singapore, and Full of Flavor Herb Mix. Since I thought it might be helpful for other people, I decided to share three more of my mixtures that I use constantly.
Greek seasoning is something I use almost daily. I put it in vinaigrette salad dressings, I toss vegetables with it and some olive oil and roast them, and I use it on steamed vegetables with a bit of olive oil instead of butter (I have a dairy allergy and I only use my homemade margarine for special occasions as it’s a pain to make). I keep a shaker on the table at home and one at work for lunches there. I make a pint jar of this at a time, but this recipe is a little less than cup and it’s easy to cut in half if you just want to try it.
Notice: Trying to access array offset on value of type bool in /home/maryzahc/public_html/adultfoodallergies.com/wp-content/plugins/wp-ultimate-recipe/helpers/models/recipe.php on line 254
Greek Seasoning
Print Recipe
Great for vegetables, salad dressings, and just as an every day seasoning in place of salt or pepper (although it has salt and pepper in it).
Prime Rib Seasoning is a blend that I use primarily for beef roasts. It’s unbelievable as a rub on prime rib roasts or other beef oven roasts, great to season stew beef before searing it and to season the beef stew itself, and I also use it to season pot roasts before searing and braising in the oven.
Notice: Trying to access array offset on value of type bool in /home/maryzahc/public_html/adultfoodallergies.com/wp-content/plugins/wp-ultimate-recipe/helpers/models/recipe.php on line 254
Prime Rib Seasoning
Print Recipe
Seasoning to use on prime rib and other beef roasts, beef stew, and pot roasts. (The blend itself is vegan, it’s the use that isn’t, but I bet it’d be great in a root vegetable stew).
Seasoning to use on prime rib and other beef roasts, beef stew, and pot roasts. (The blend itself is vegan, it’s the use that isn’t, but I bet it’d be great in a root vegetable stew).
Italian Seasoning is a blend that was always in your spice cabinet if you grew up where I did. It got added to all manner of crock pot creations, soups, stews, and tomato sauces. It was an easy way of adding basic seasonings, such as oregano, basil, thyme, rosemary, marjoram and sage, without actually having to buy all those seasonings. Since my husband does a lot of crock pot recipes, and since I still use Italian seasoning as a crutch at times, even though I have all that stuff in my spice cabinet, and since I’m concerning about cross contamination in blends, I mix up my own now. This recipe makes about a cup, but we make a quart at a time because we do fly through it pretty quickly. A quart might last us three months.
Notice: Trying to access array offset on value of type bool in /home/maryzahc/public_html/adultfoodallergies.com/wp-content/plugins/wp-ultimate-recipe/helpers/models/recipe.php on line 254
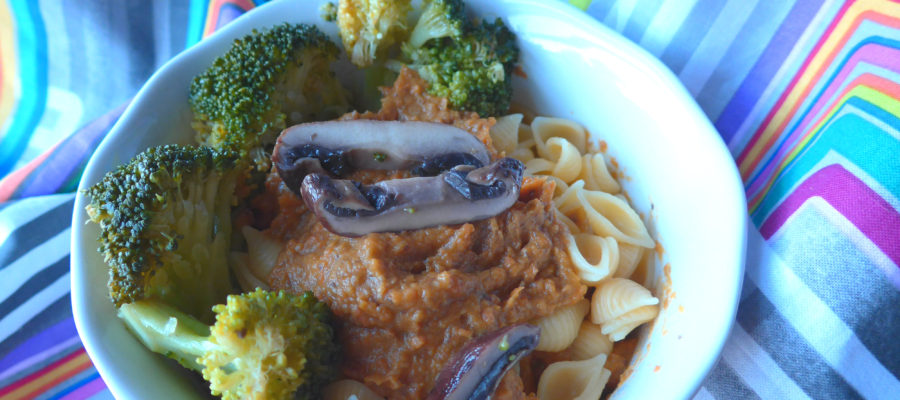
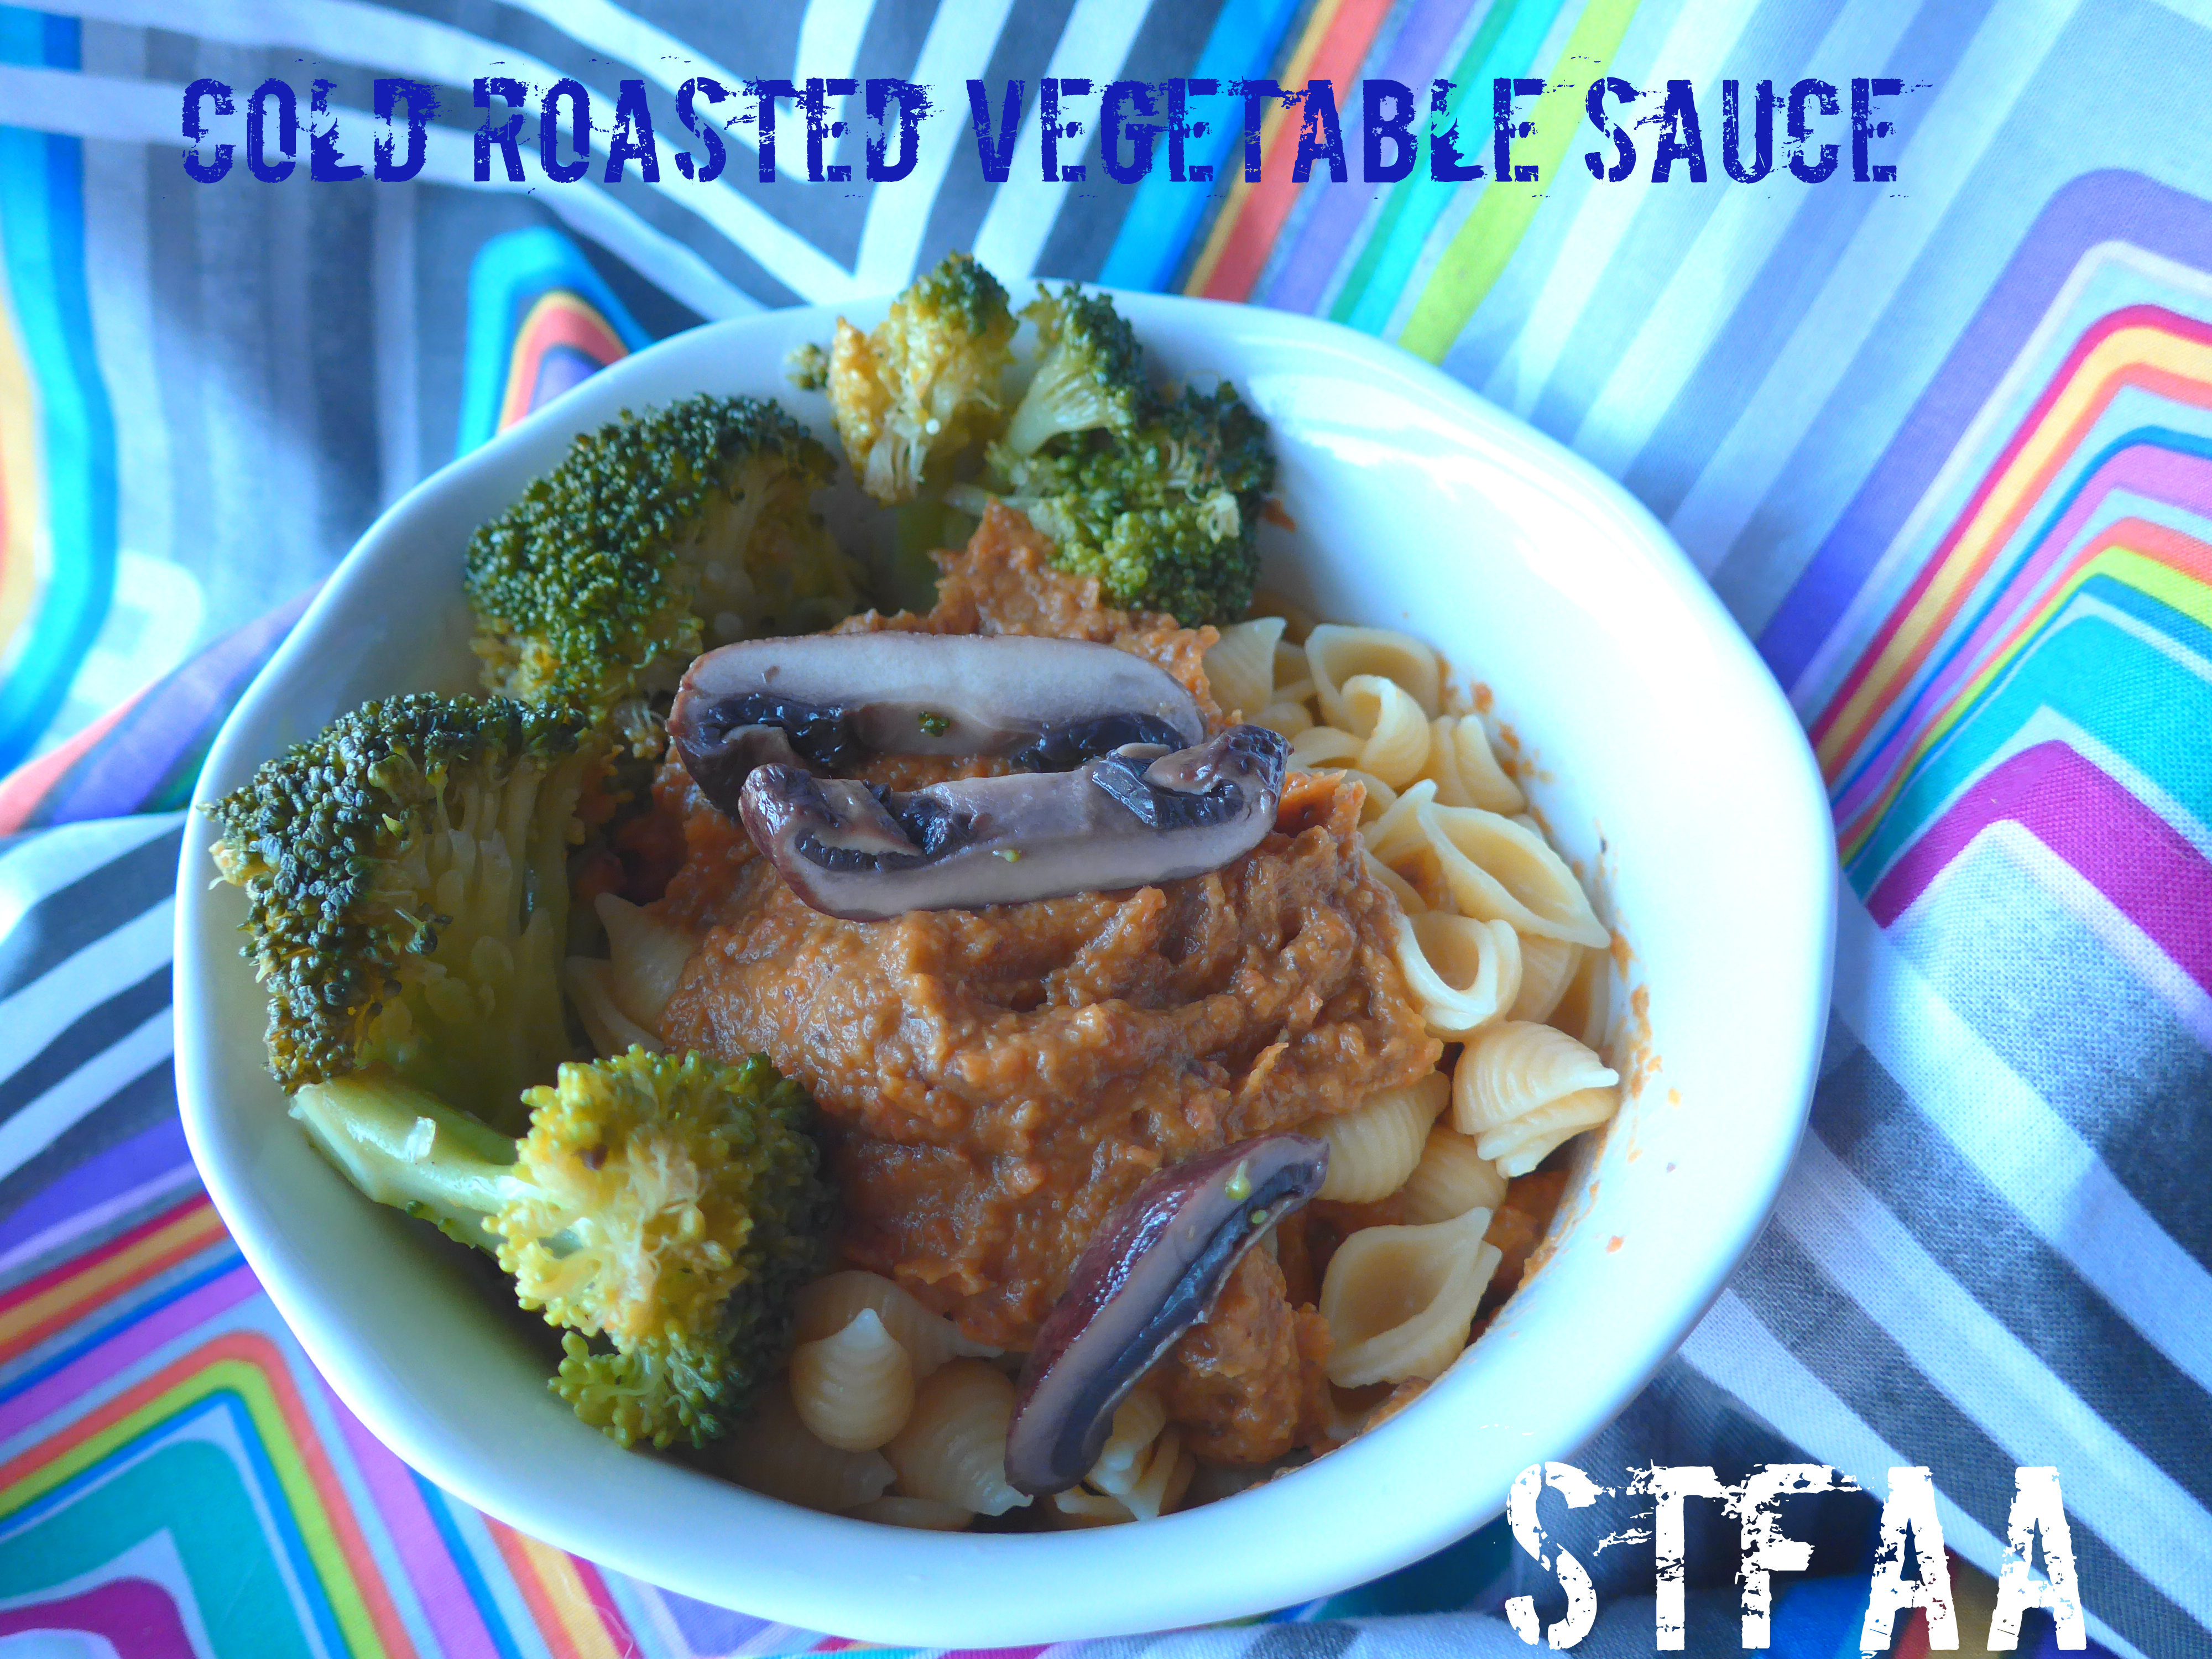
Cold Roasted Vegetable Sauce, over quinoa pasta, with broccoli and a bit of mushroom
It has been hot this summer. Hotter than normal, longer than normal, and I am frankly rather sick of hearing the AC drone on. I want to cook food! I want to want to eat hot food. But I don’t. It’s hot. So what I’ve been doing is heating the kitchen way up one day, cooking a bunch of food, and remixing it all week. So several pans of roasted veg, a big pot of grains, a bunch of spinach, and a few proteins. But I have gotten SO BORED with it.
This week, I decided to mix it up and make a pasta salad with the roasted vegetables used as the sauce. It turned out rather well. You could add beans or meat for protein, and if you wanted extra greens, mix them in or serve them over top. Also, this is absolutely more of a recipe concept than a recipe, so use whatever vegetables you have around.
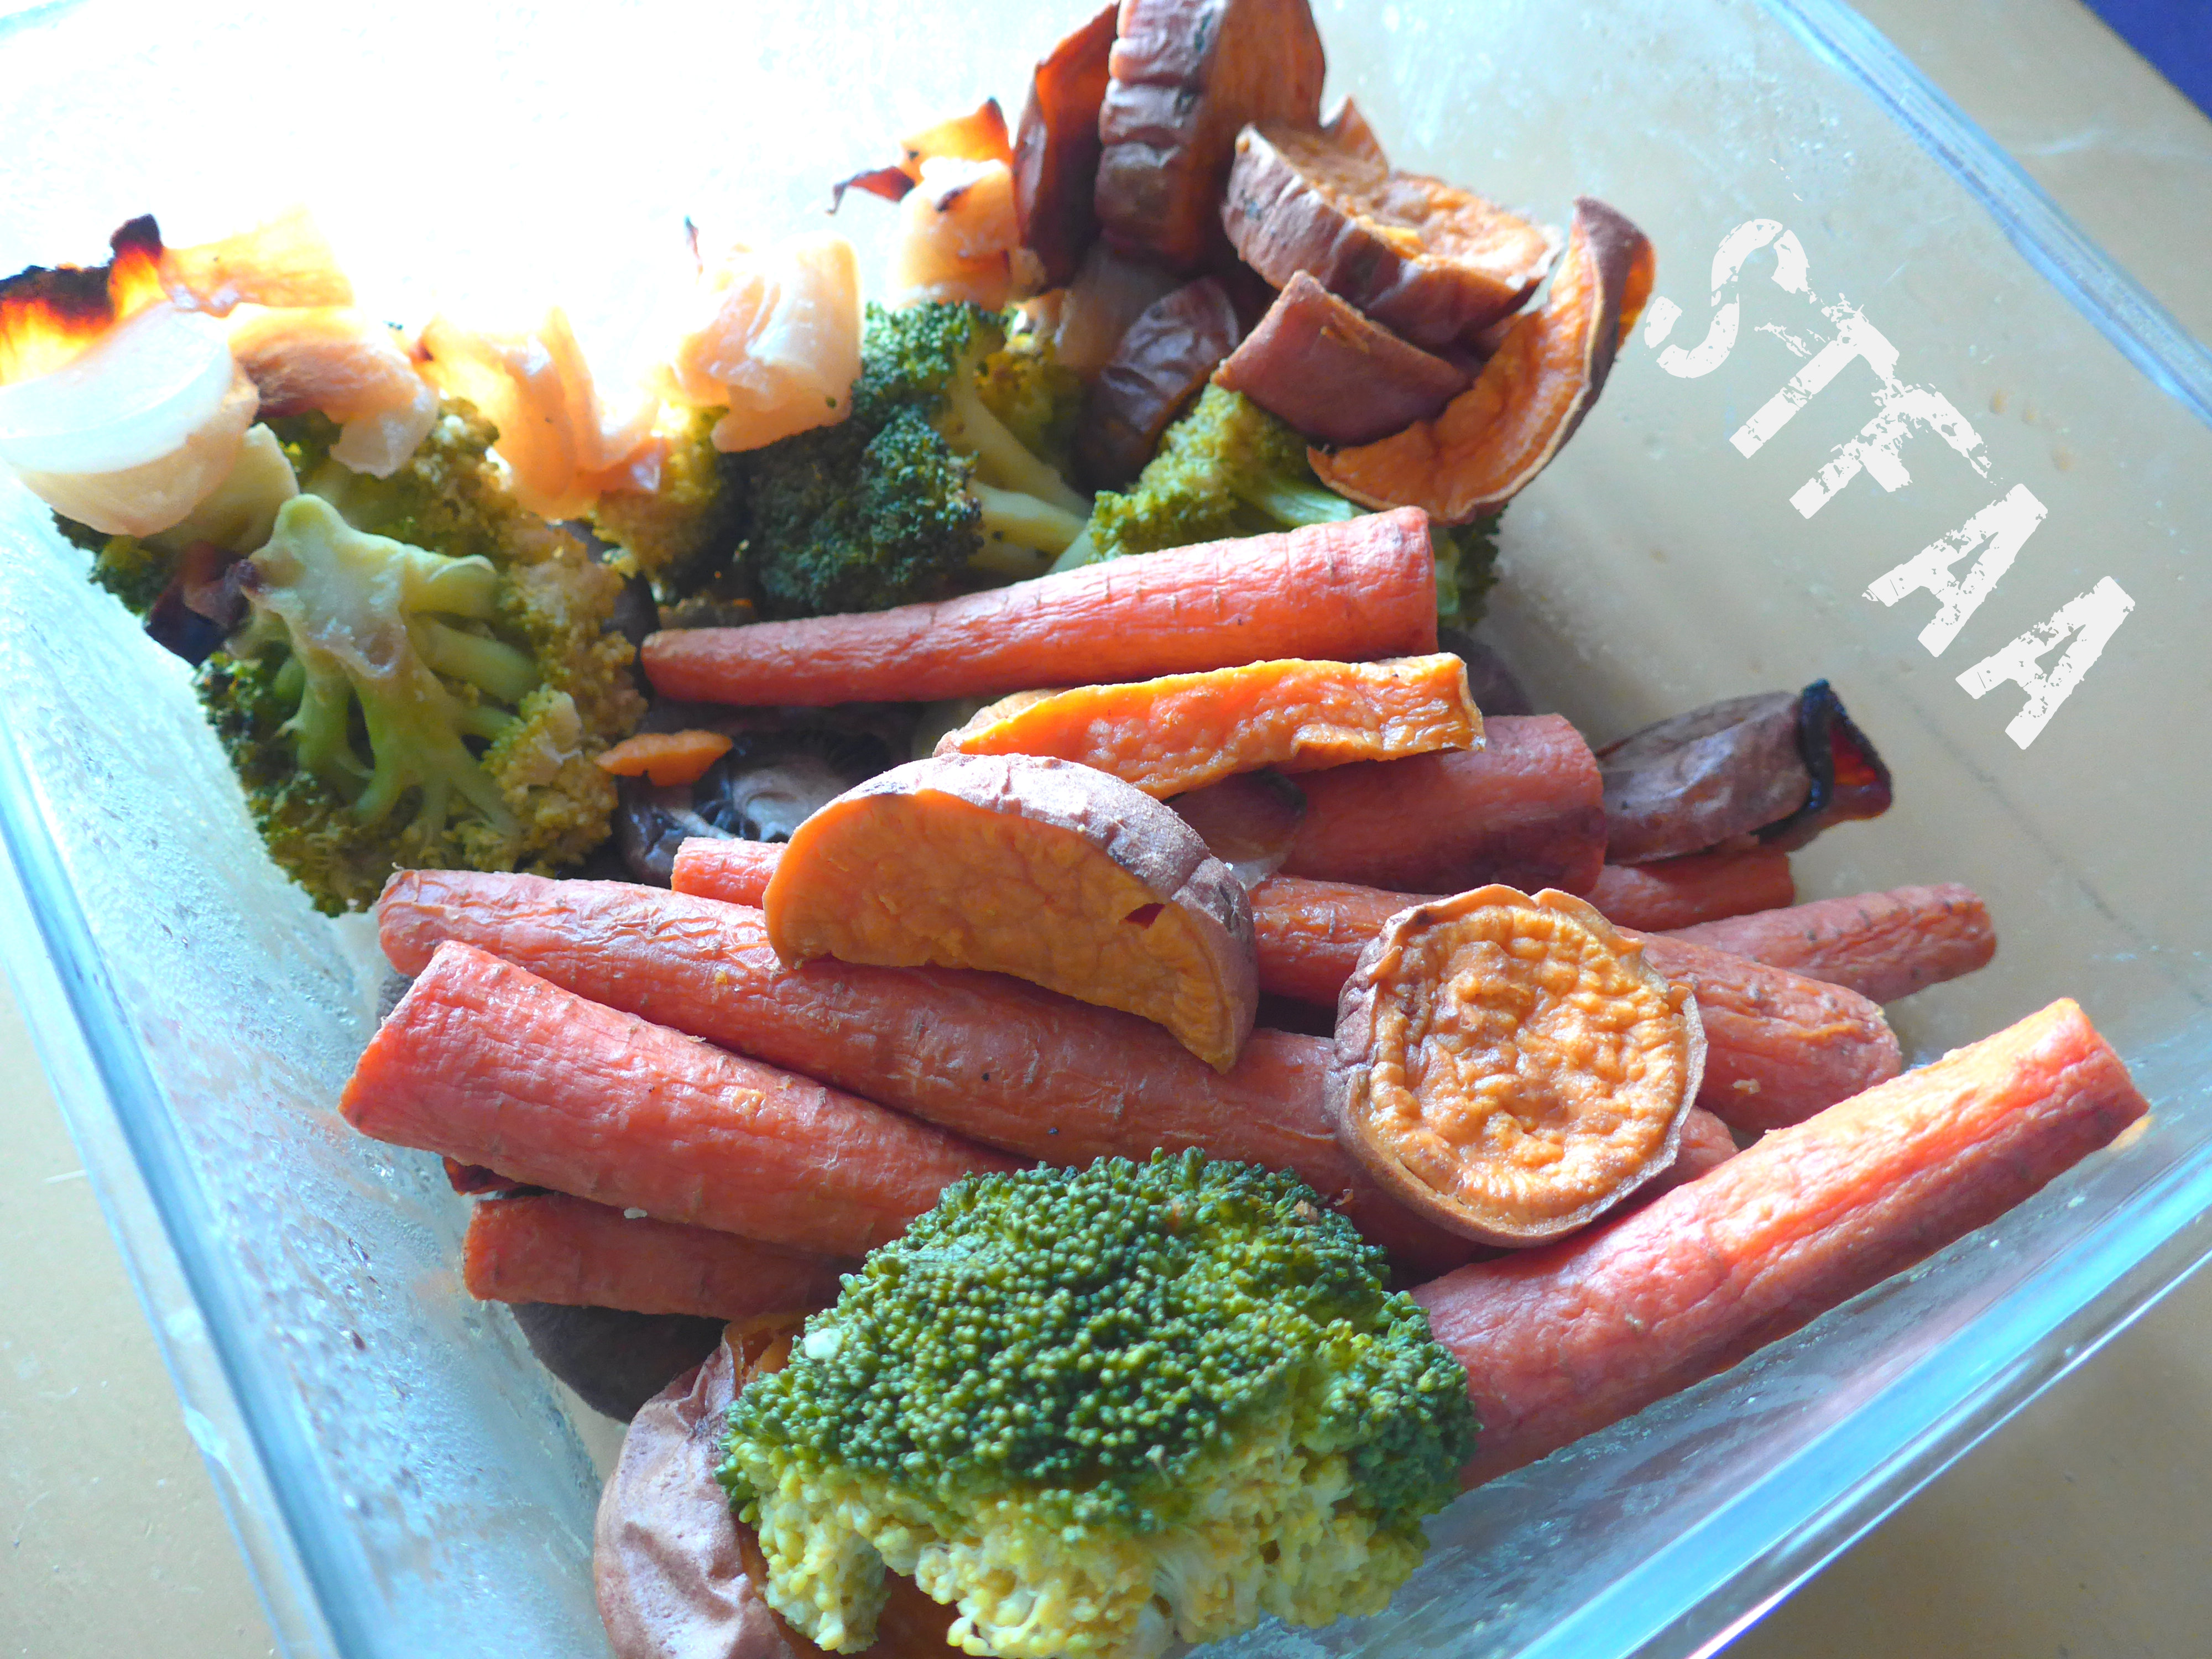
I generally roast my vegetables at 425ºF on big sheet pans. I toss everything in a bit of olive oil and dust it with salt. Size varies greatly, so if I don’t have a full pan of something, I try to group things that will cook in about the same amount of time. In less than an hour, I can do 3 or 4 pans, and it’s a ton of vegetables. I almost always throw a sweet potato in the mix, and I always, always, always roast onions because I love them and they add good base flavors to any dish.
A slightly depleted batch of roasted veg for the week
This recipe used about 1 sweet potato, about 1/2 of an onion, 4 skinnier carrots, and about half a package of mushroom caps (4 oz). I did not want to blend the broccoli in, but I chopped it up instead, maybe a cup of it. Serve over any pasta or grain of your choice, with added protein if that’s what you’re up for. The sauce isn’t pretty, but it tastes great.
Notice: Trying to access array offset on value of type bool in /home/maryzahc/public_html/adultfoodallergies.com/wp-content/plugins/wp-ultimate-recipe/helpers/models/recipe.php on line 254
Cold Roasted Vegetable Sauce
Print Recipe
Servings
Prep Time
3meal-sized servings
10 minutes
Servings
Prep Time
3meal-sized servings
10 minutes
Cold Roasted Vegetable Sauce
Print Recipe
Servings
Prep Time
3meal-sized servings
10 minutes
Servings
Prep Time
3meal-sized servings
10 minutes
Ingredients
1cupsweet potato,roasted
1/2cuponionroasted
4carrotssmall, roasted
1/2-3/4cupmushroom caps,roasted
1/2cupwater
1/4cupolive oil
Servings: meal-sized servings
Instructions
If you need to roast your vegetables, do so — see the post above for how I do it. Cool them.
Add all vegetables and water to blender, gently puree, stirring as needed. When you need more liquid, add the olive oil. Blend until smooth. Taste and adjust seasonings. If you want a thinner sauce, add more water until you get the consistency where you want it.
Serve over whatever sounds good — pasta or grains would be my suggestion (as that’s all I’ve tried). Add other vegetables to the mix as desired.
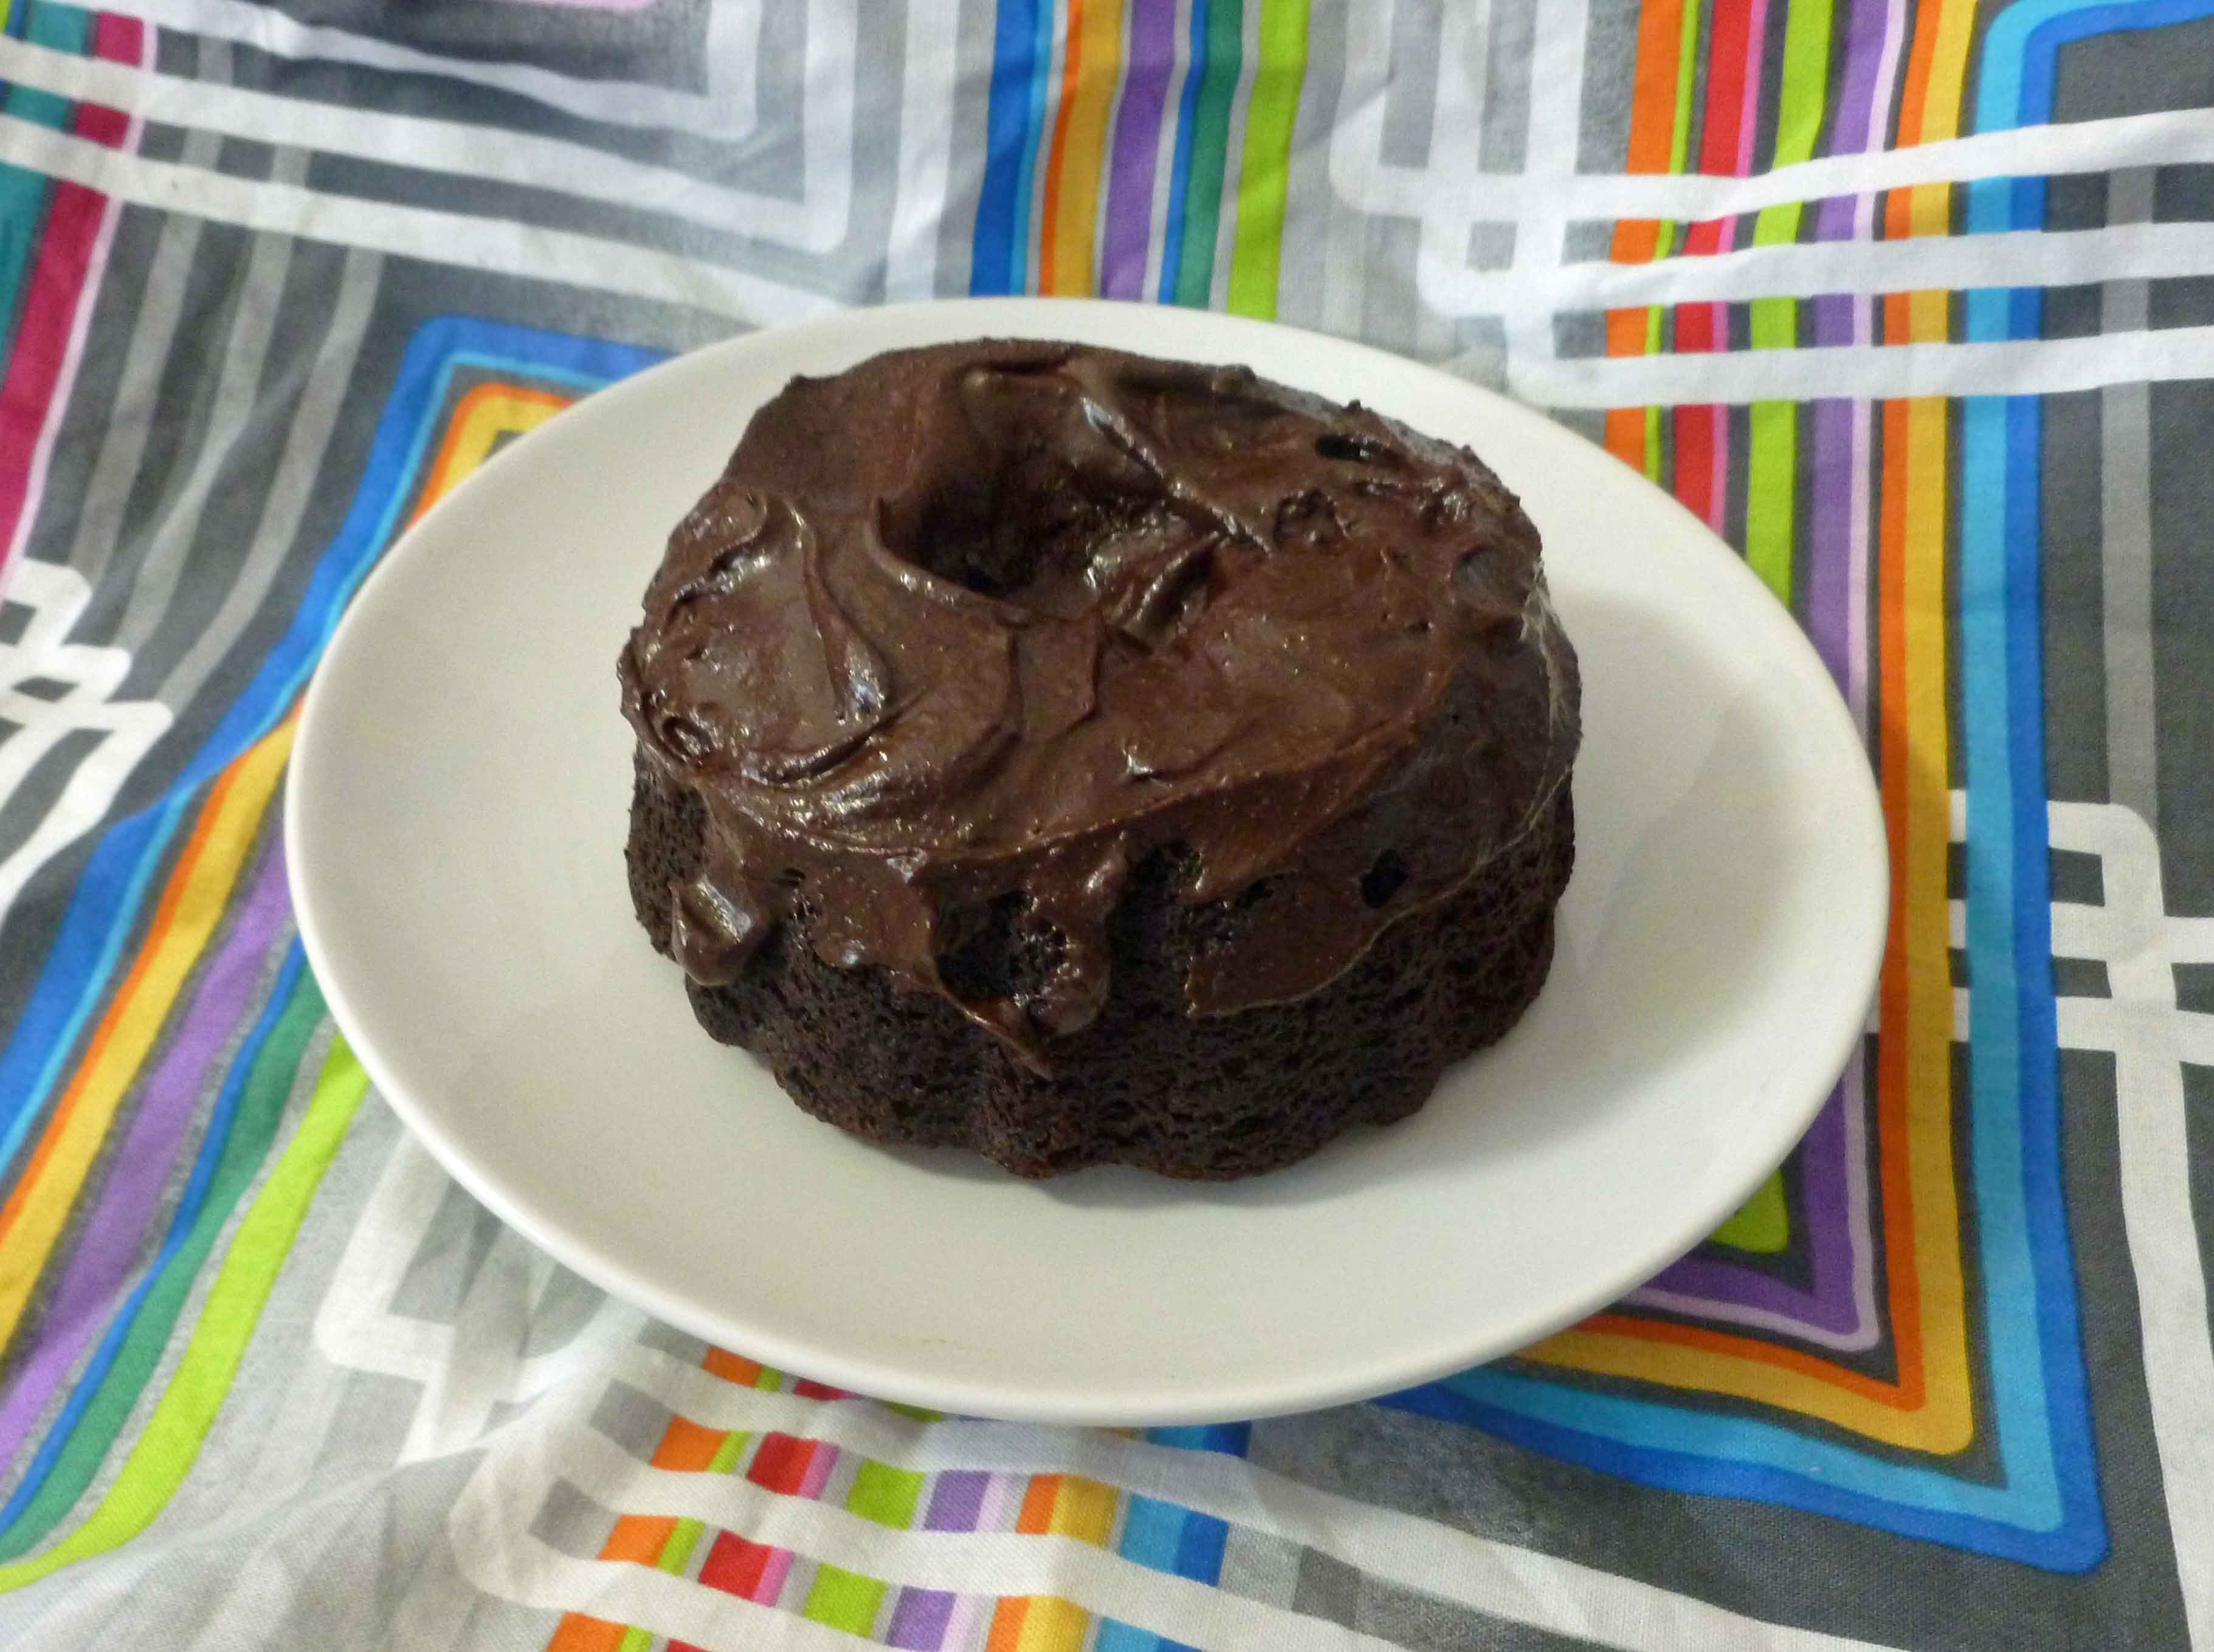
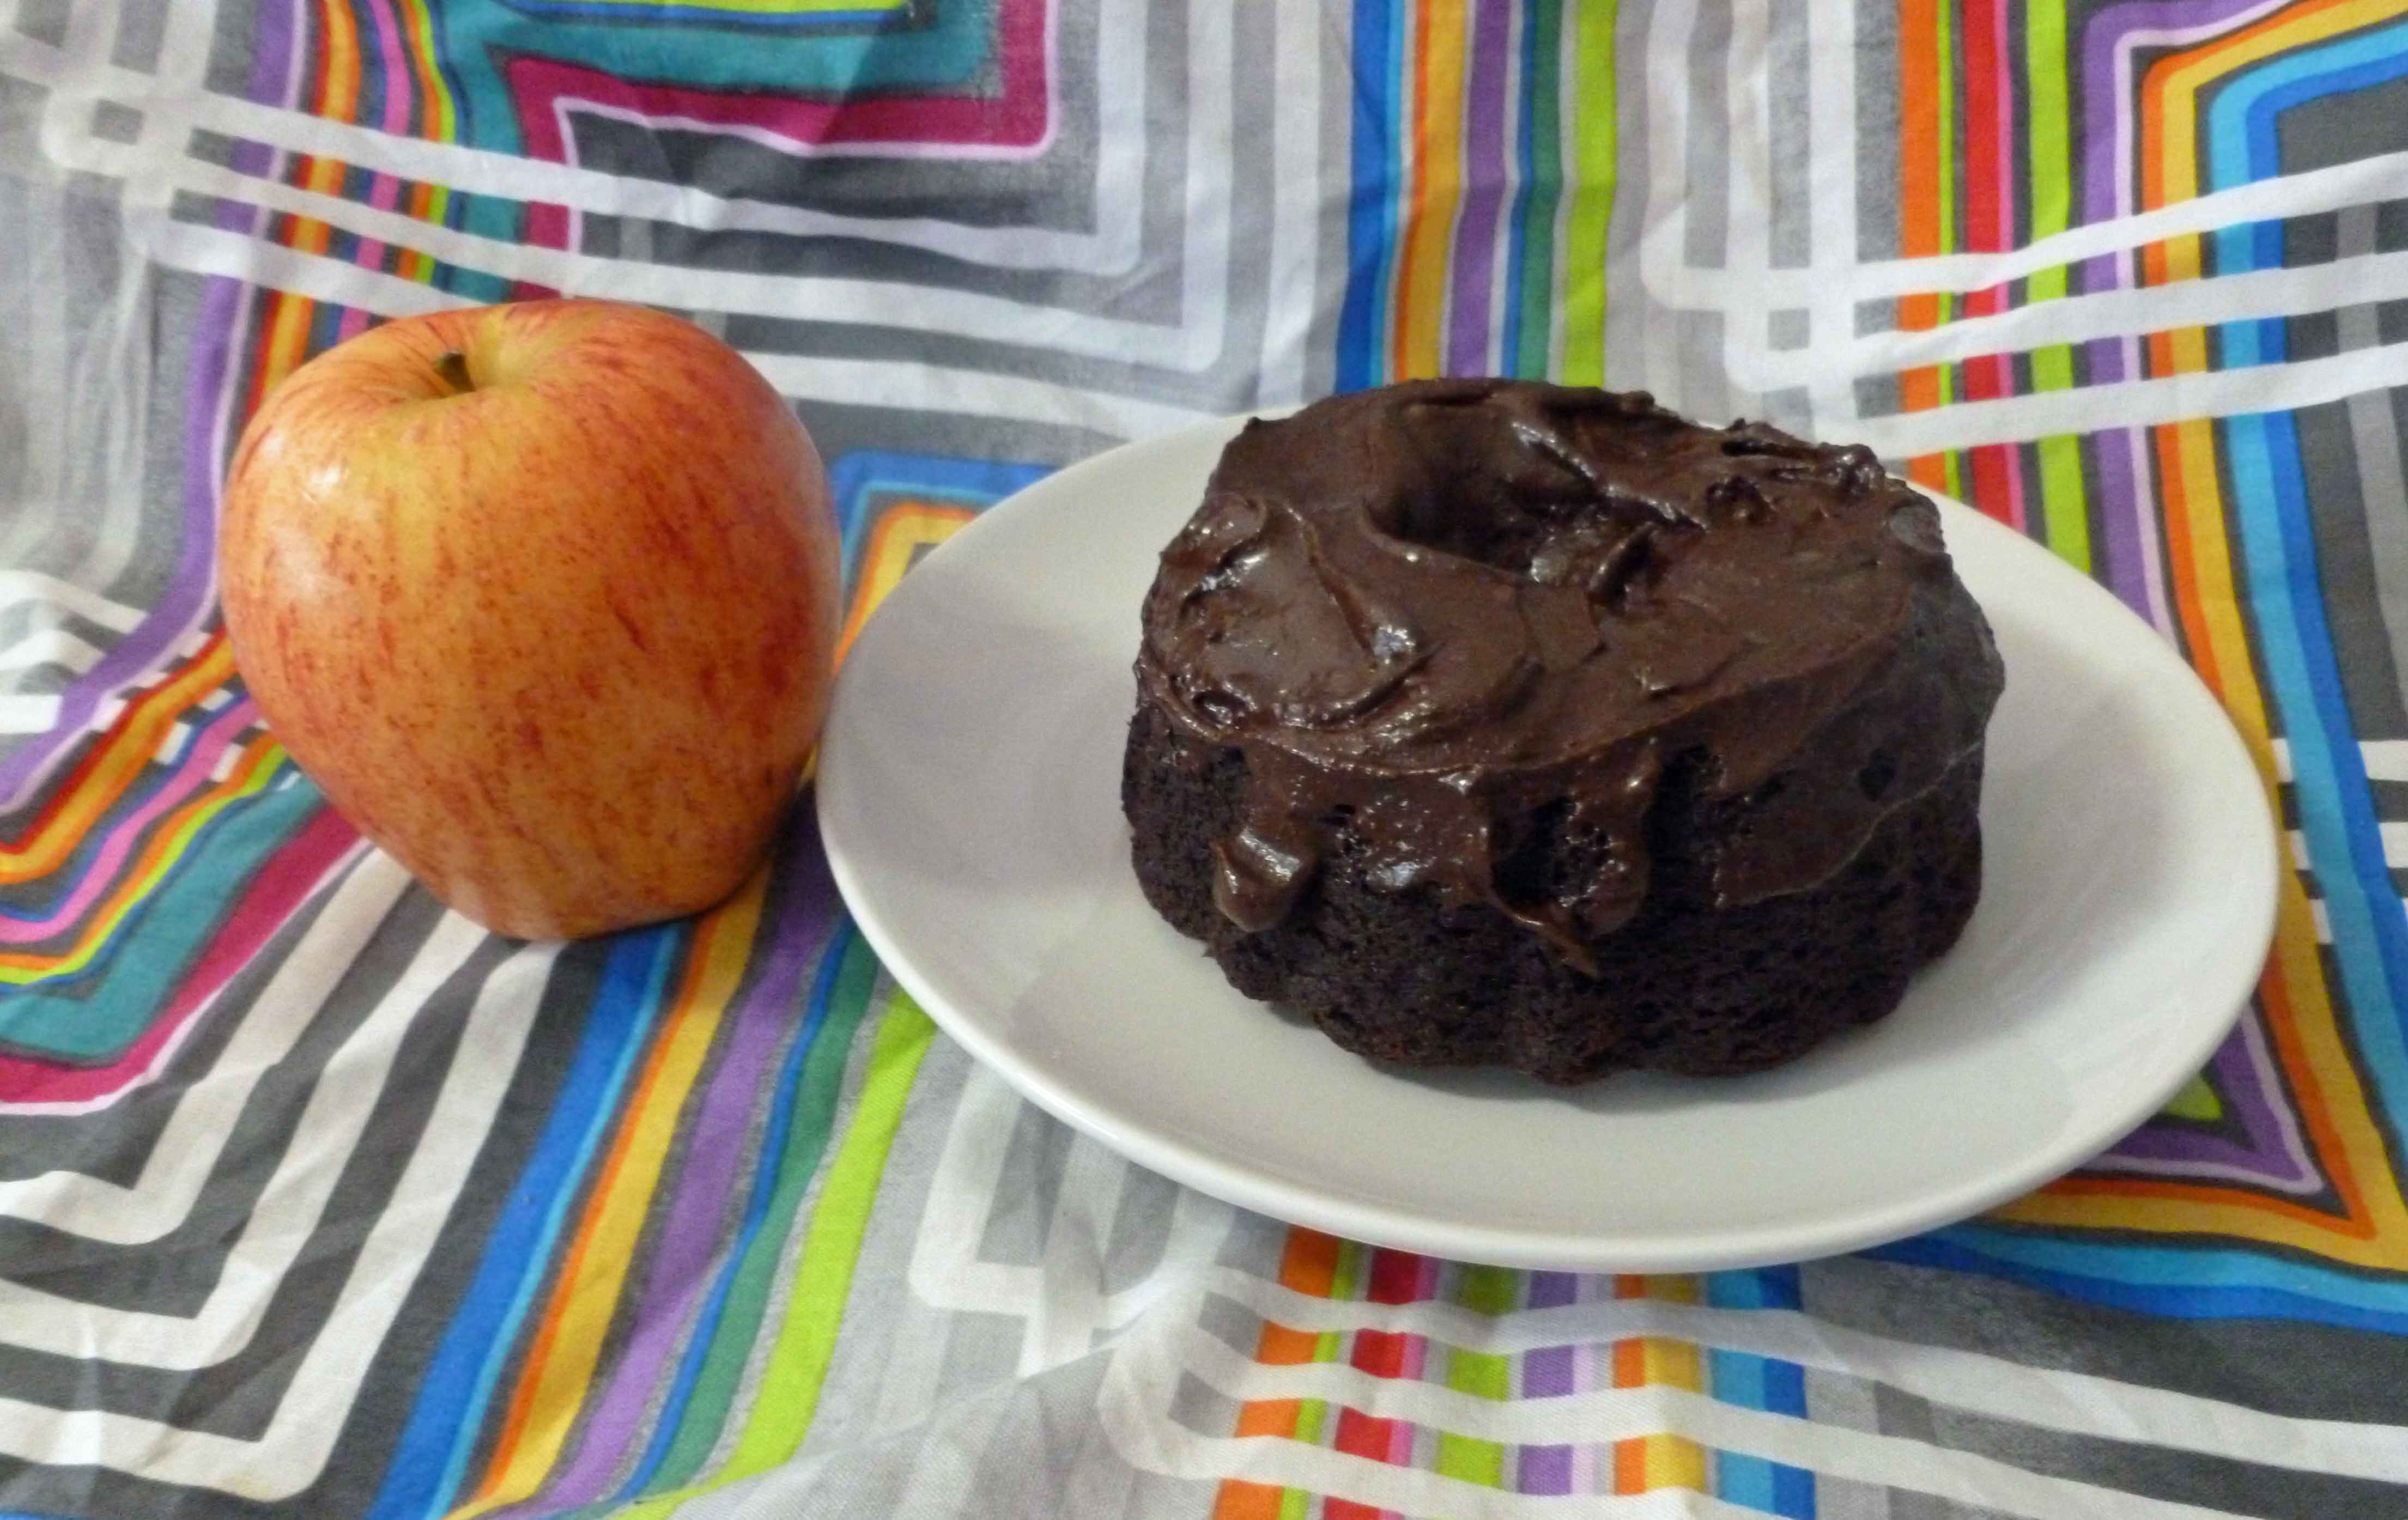
Chocolate Mini Bundt Cake with Chocolate Cinnamon Frosting
Making a chocolate cake without wheat, eggs, dairy, and a safe solid fat when you can’t have coconut, palm, or corn, that doesn’t end up tasting weird is a bit tough. I started with Allyson Kramer’s Dark Chocolate Chipotle Cake, which is gluten-free and vegan, for which I’ve previously made modifications to make it safe for me and which is awesome, but I just wanted a plain really chocolaty cake. I think I got there finally. So I took my prior modifications, tweeked the levels of sugar and chocolate some more, and de-veganized it, as I don’t have a safe solid fat that’s plant based. But I couldn’t leave well enough alone with the frosting, so there’s a bit of cinnamon in it, and it’s good.
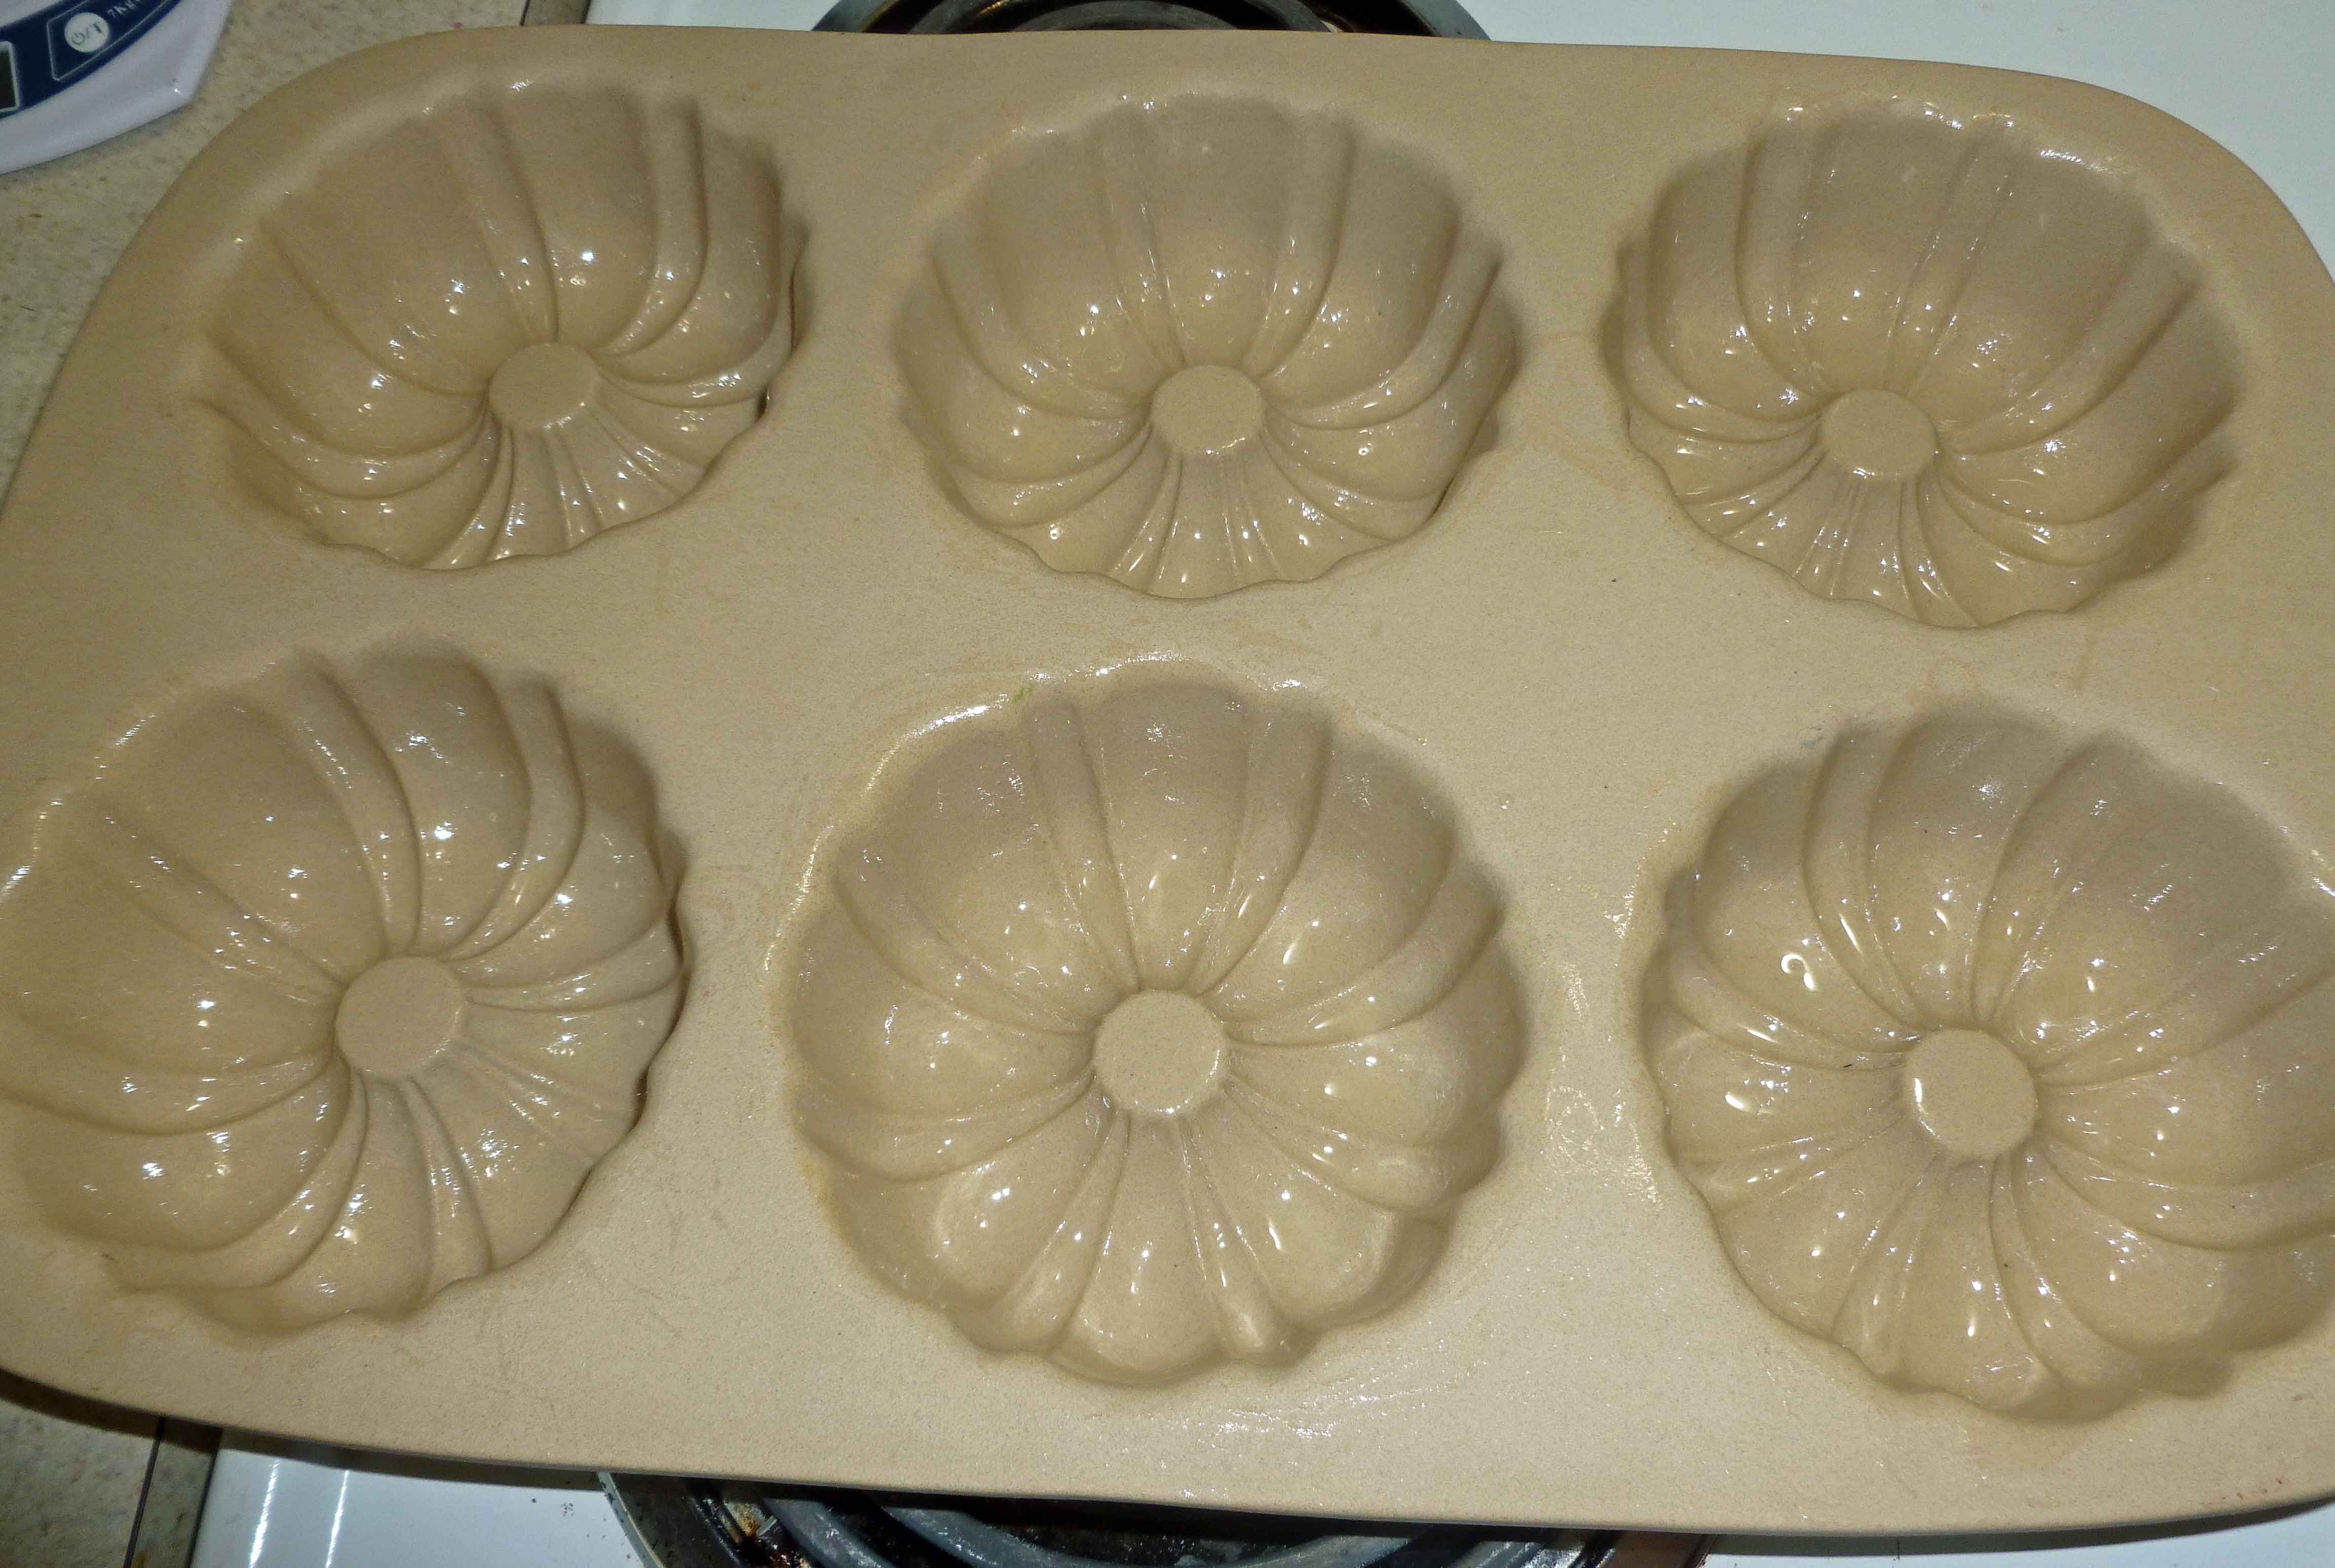
Feel free to try it with shortening instead of lard, I just don’t have a safe one I can use. Also, the coffee just brings out the chocolate flavor, but you won’t really taste it. You will need a mini bundt pan, like the one shown here:
Greased mini bundt pan
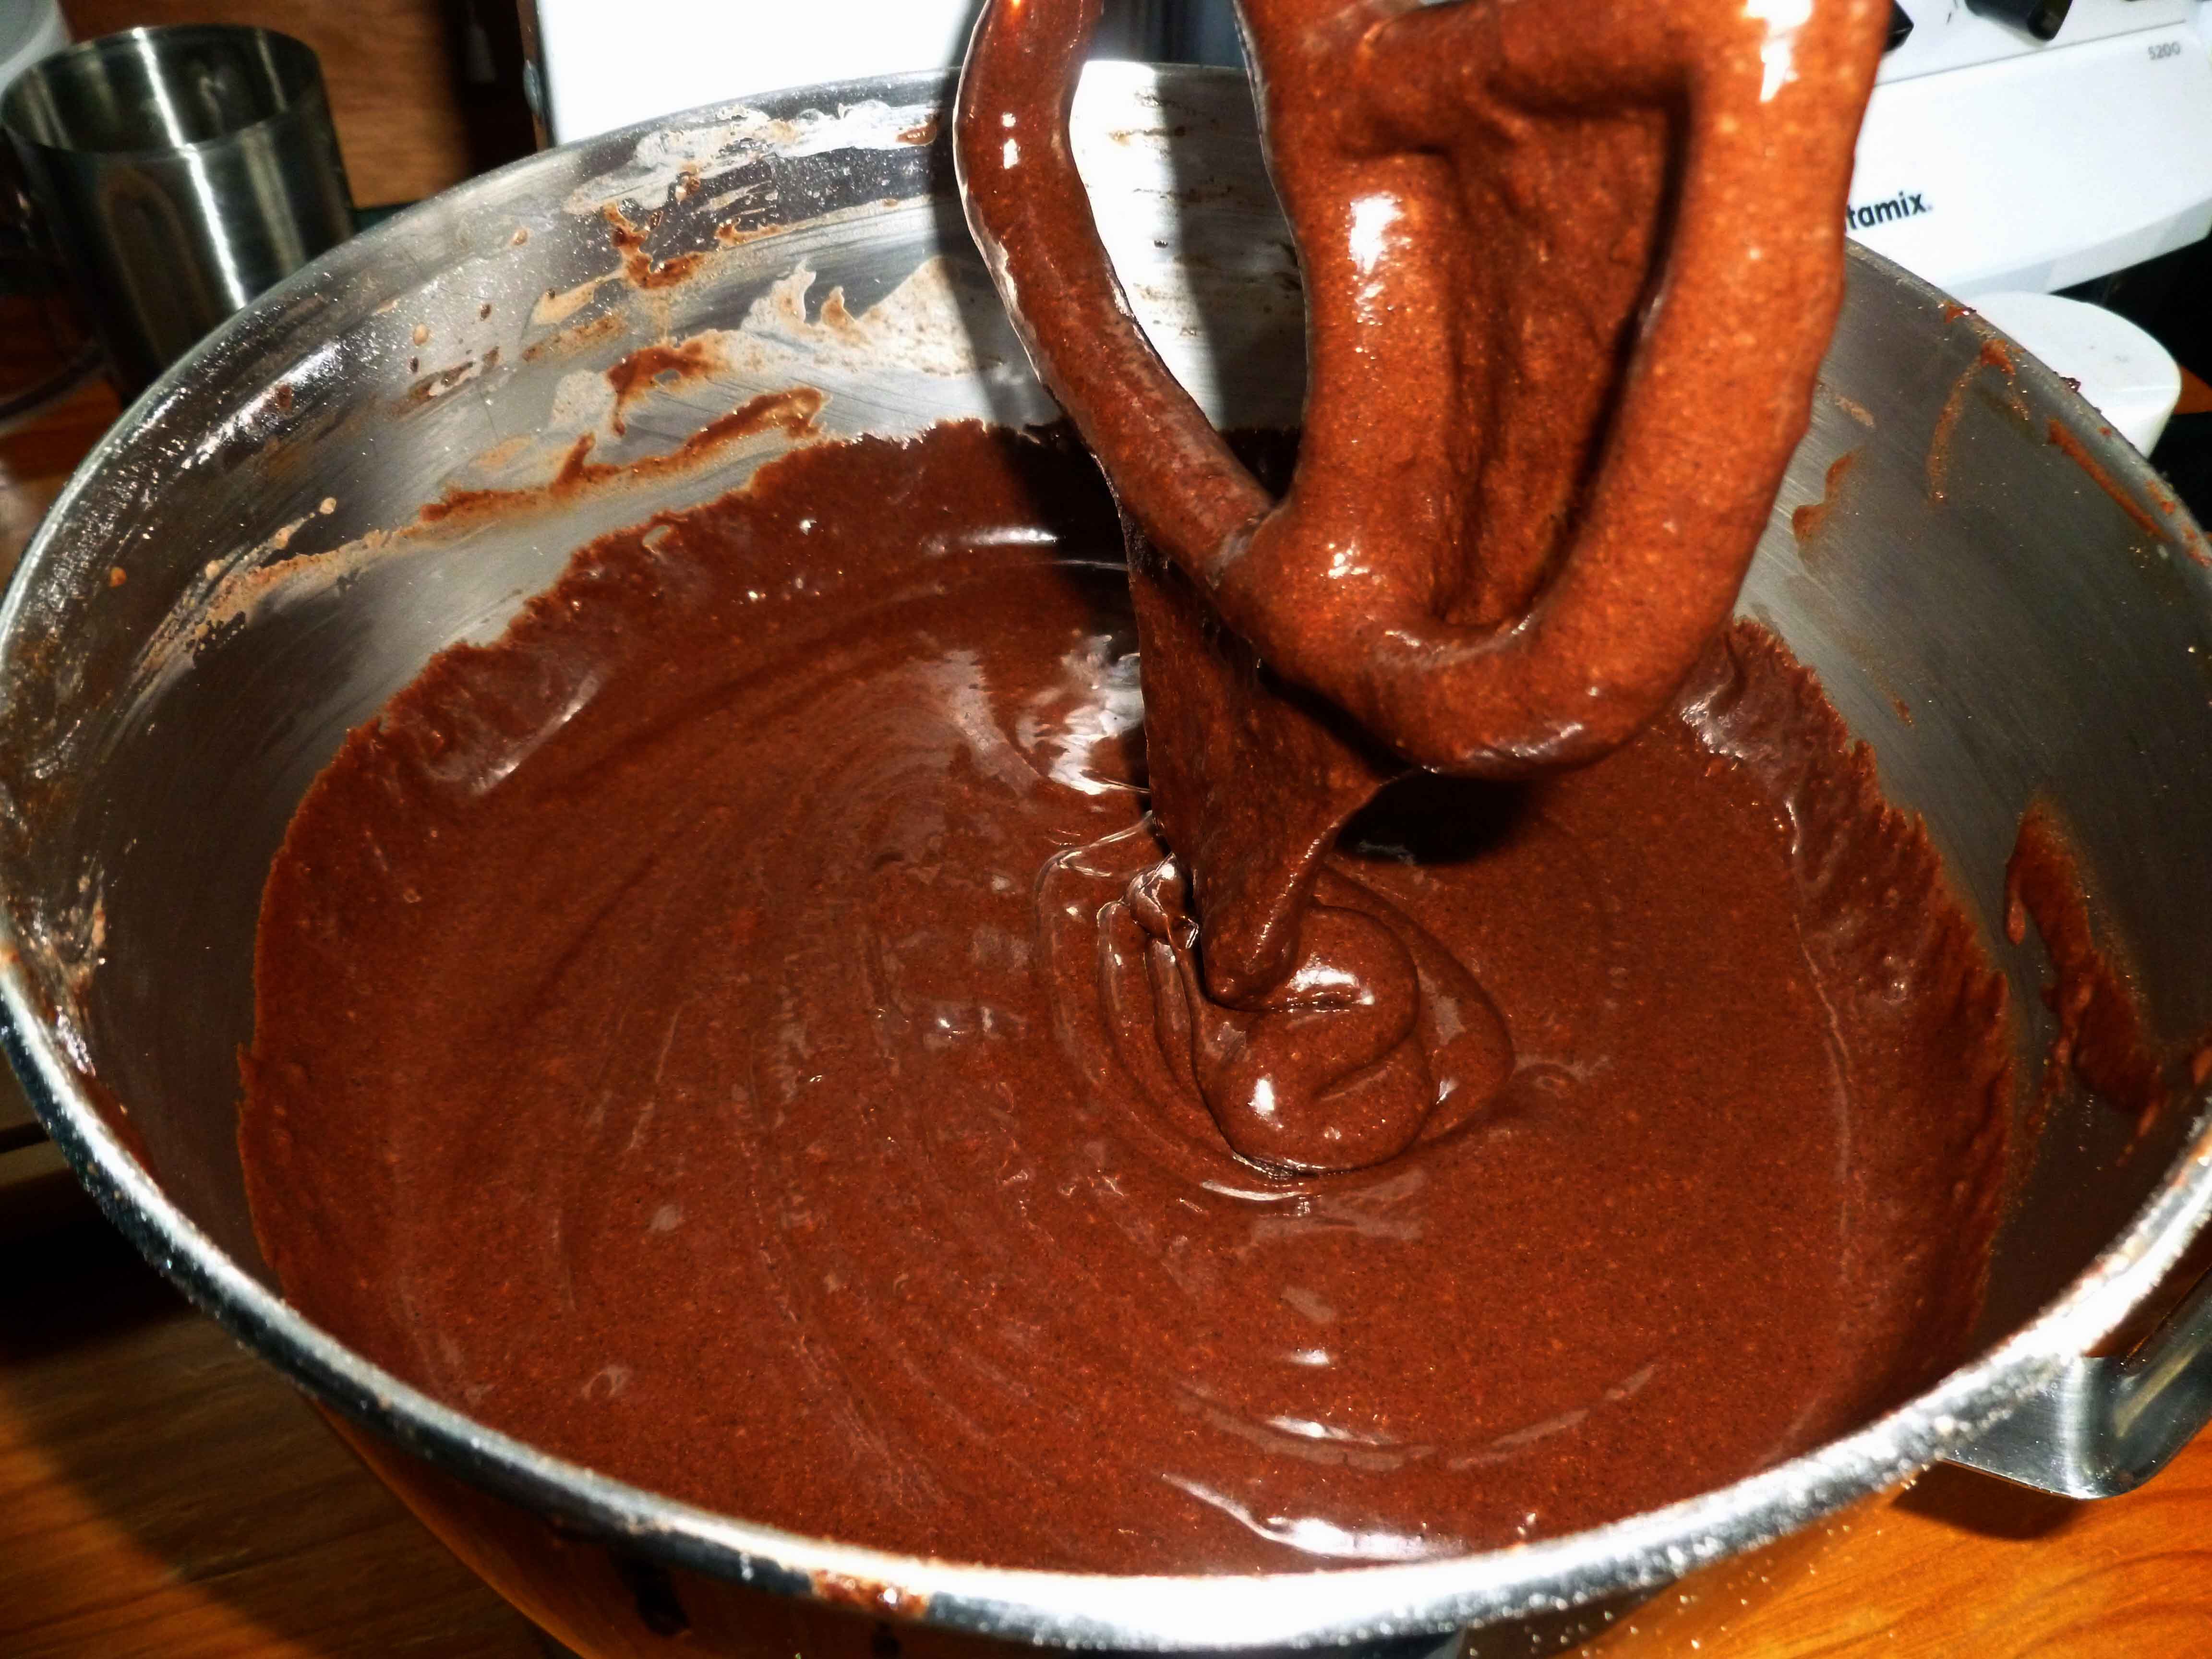
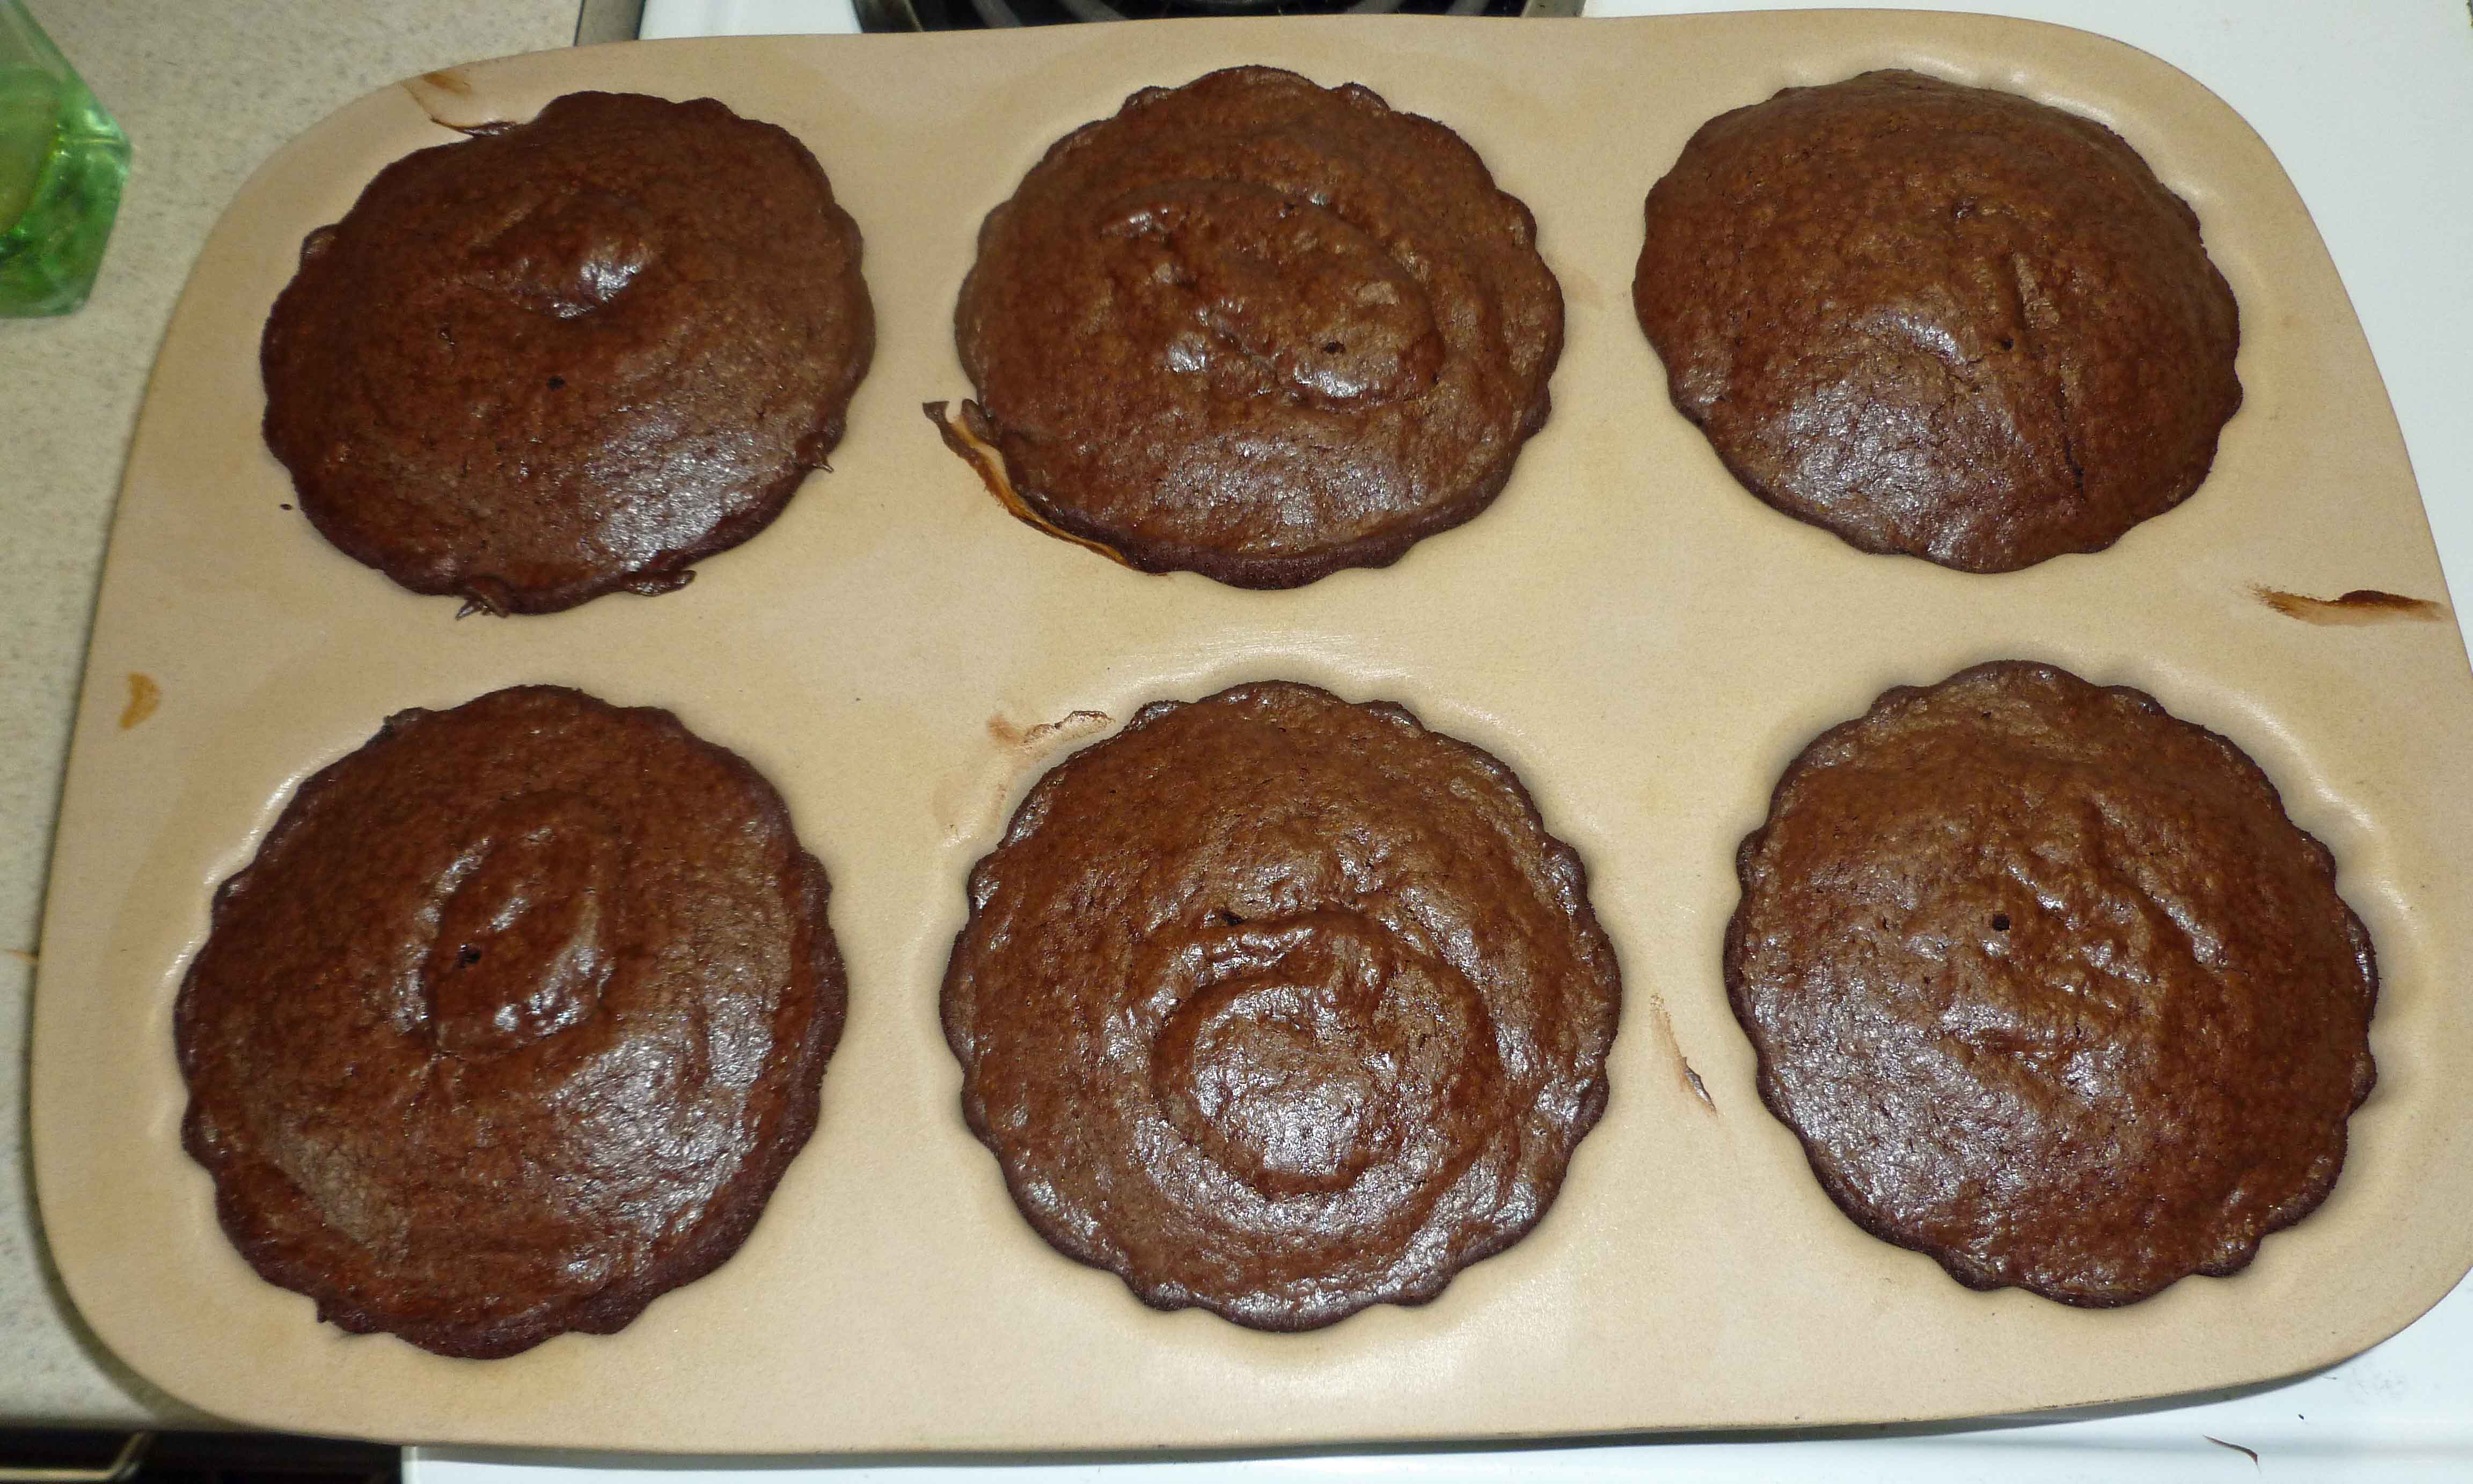
While normally I’d do a play by play of the whole recipe, things are a bit crazed here, and cake is not very hard, so the recipe card should suffice. But here are some of the in-process photos:
Completed chocolate cake batterChocolate Mini Bundt Cakes just out of the oven Notice: Trying to access array offset on value of type bool in /home/maryzahc/public_html/adultfoodallergies.com/wp-content/plugins/wp-ultimate-recipe/helpers/models/recipe.php on line 254
1 cup lard or shortening, melted(I use my home rendered lard)
1/2cup safe for you oil(I used olive and you’ll need a bit extra to grease the pan)
1 1/2cupscacao powder(I used Wilderness Family Naturals Raw Organic)
1 1/4 cupssorghum flour
1/2cup tapioca flour
1/2cup glutinous rice flour
1tspsalt
2tsp baking powder(I use a homemade version)
1cupnon-dairy milk(I used homemade cashew milk)
1/3cup brewed coffee
3 Tbspaquafaba(See aquafaba.com)
1Tbspground chia seed
1Tbsp apple cider vinegar(Bragg’s is usually the safest option corn allergy wise)
1mini bundt pan
Servings: cakes
Instructions
Preheat your oven to 350°F. Grease your mini bundt pan well.
Using a stand mixer or hand mixer, mix together the sugar, brown sugar, melted lard or shortening, olive oil, and cacao powder, until the ingredients are completely incorporated and the mixture is smooth.
Place your sorghum flour, tapioca flour, glutinous rice flour, salt, and baking powder in another bowl. Whisk well until completely combined.
In small bowl, place your chia seed and aquafaba. Mix well until combined. Then add your non-dairy milk and coffee, and mix well.
With your mixer set on low speed, alternate between adding your flour mixture, and your non-dairy milk mixture to the rest of the cake batter in small portions, scraping the sides of the bowl as needed.
Once the flour and non-dairy milk mixtures are fully incorporated into the batter, add your apple cider vinegar, and mix well.
Divide the batter evenly between the mini bundt cake wells of the greased mini bundt cake pan.
Bake in your pre-heated oven for 45-55 minutes or until a toothpick inserted in the middle of the cake comes clean. I used a stoneware pan, which is much thicker than metal pans, so you may want to check it at 35 minutes just to be sure.
When the cake has cooled completely, remove it from the pan. You may need to loose it a bit with a butter knife.
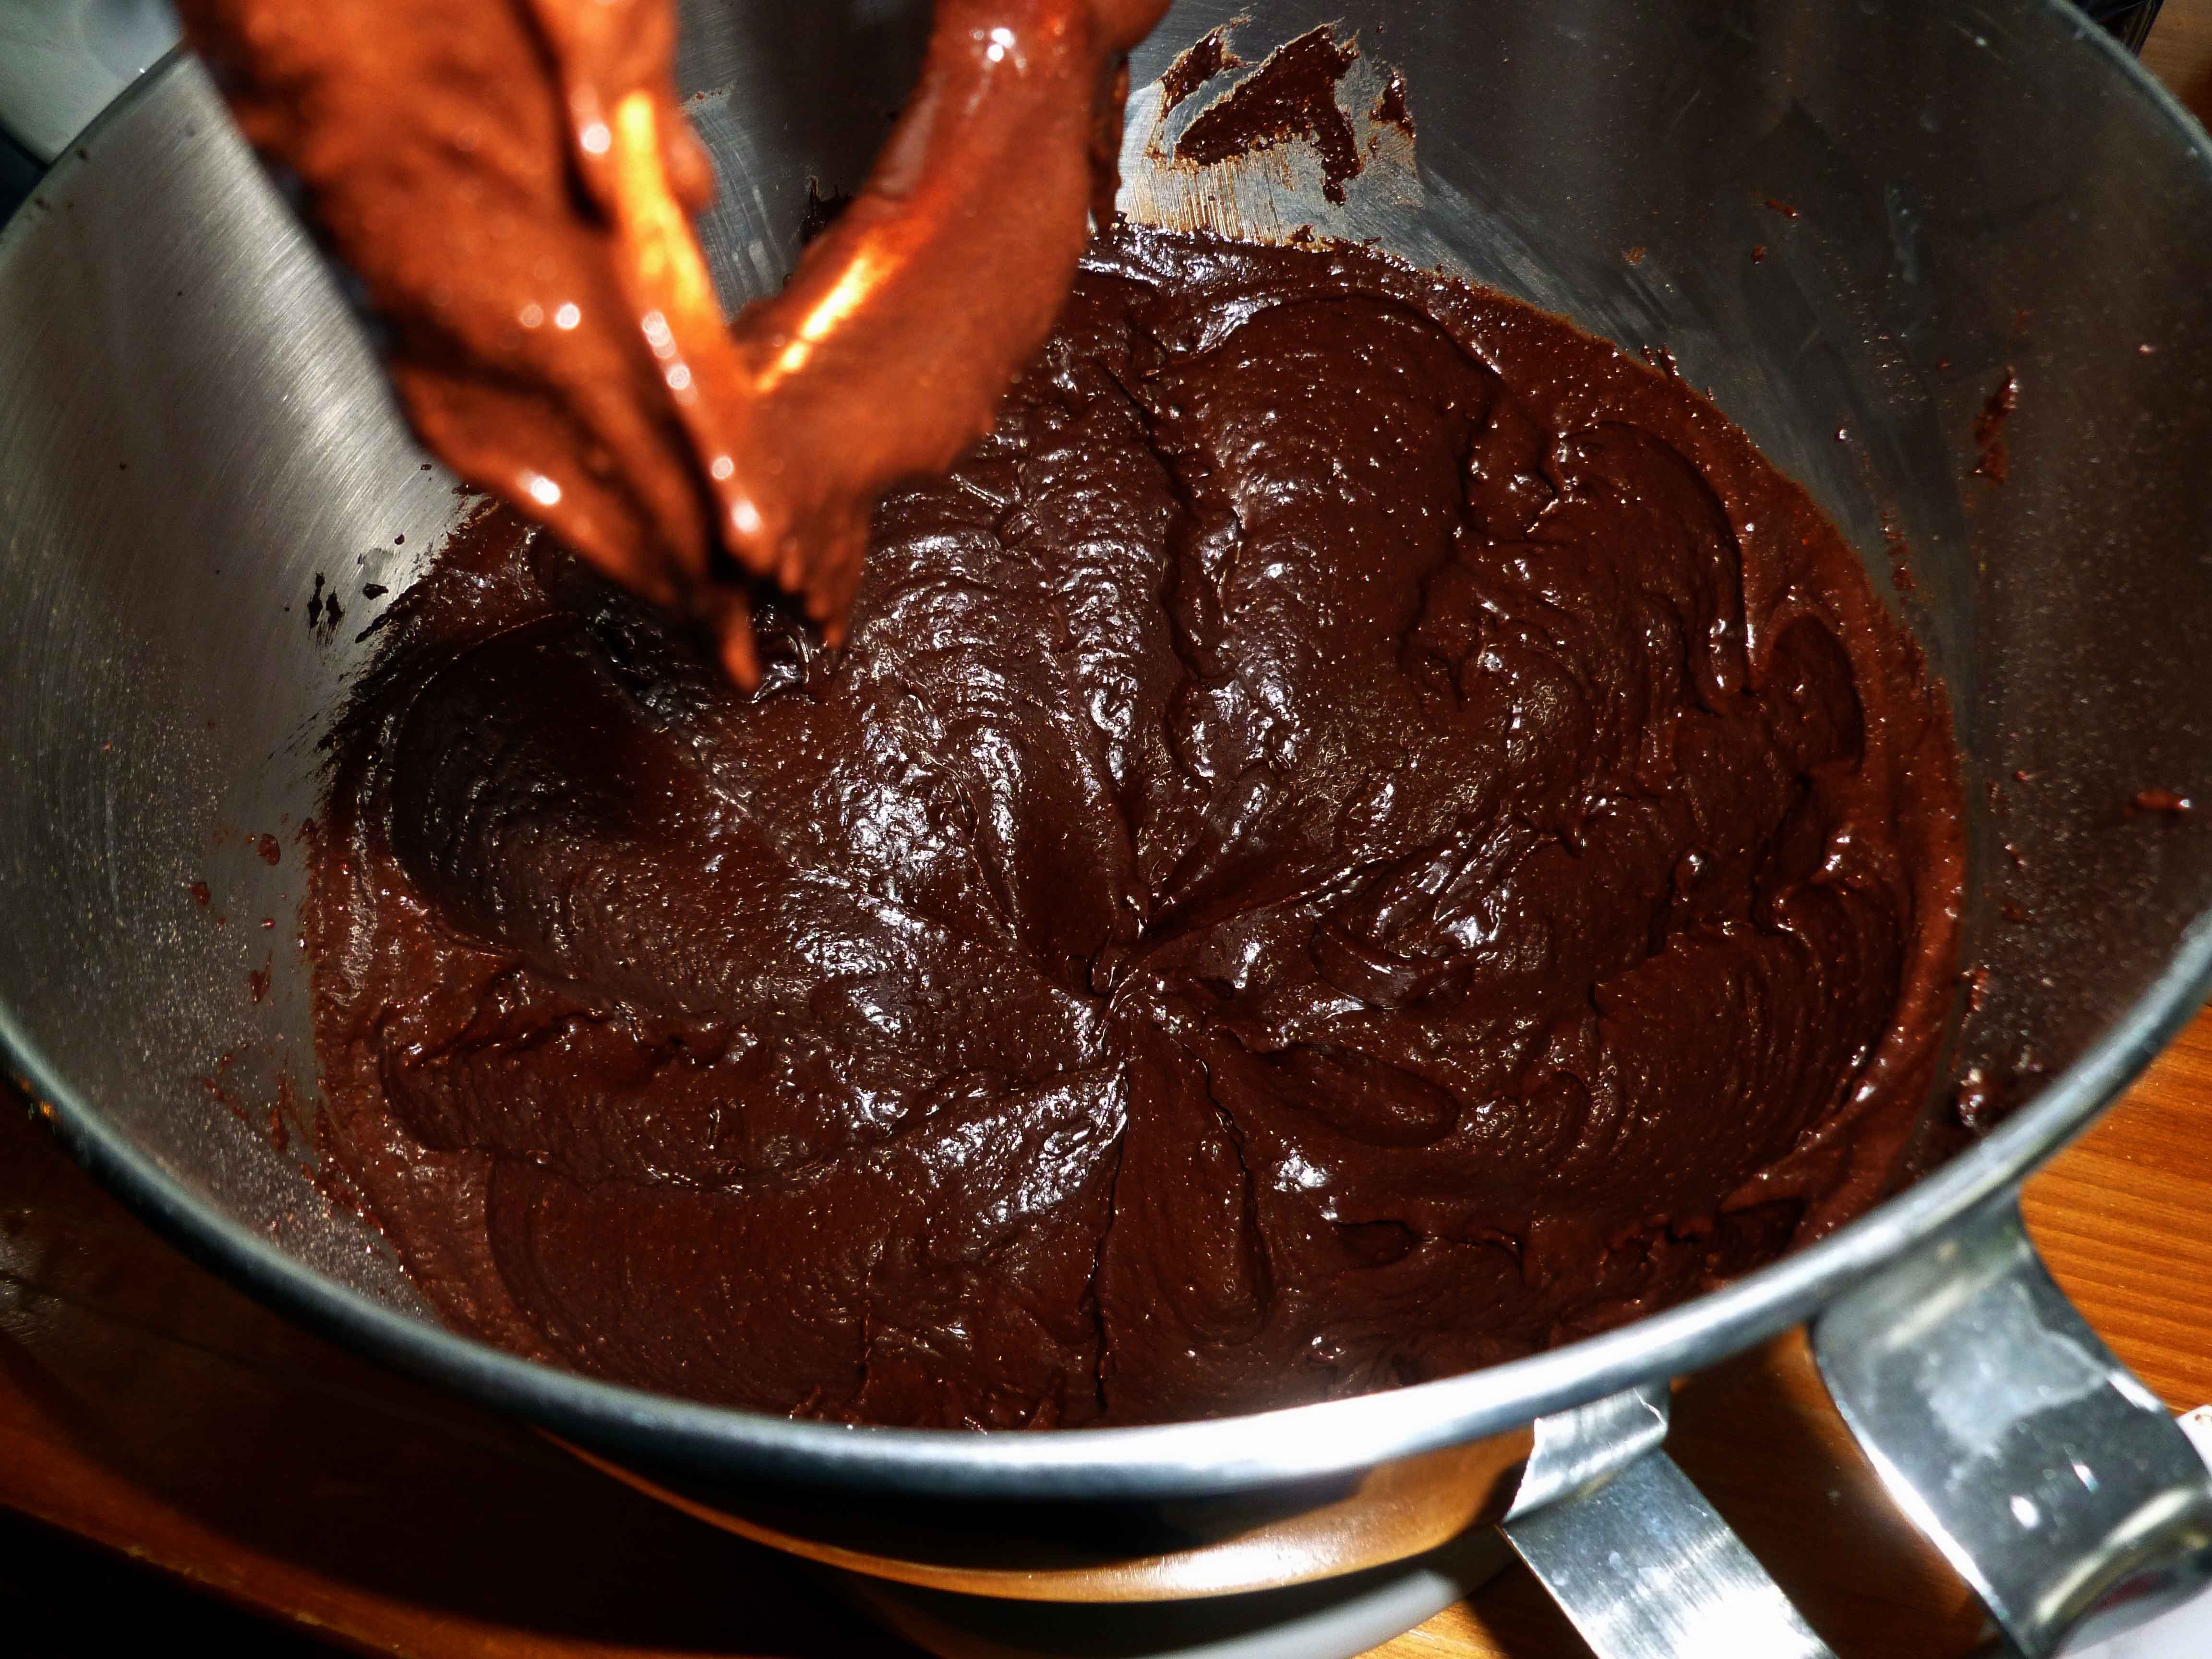
Completed Frosting Notice: Trying to access array offset on value of type bool in /home/maryzahc/public_html/adultfoodallergies.com/wp-content/plugins/wp-ultimate-recipe/helpers/models/recipe.php on line 254
Chocolate Cinnamon Frosting
Print Recipe
Enough frosting for an 8×8 cake pan or a bundt cake, or 6 mini bundt cakes.
1cuppowdered sugar(I make mine in my blender with a bit of tapioca flour)
4Tbspnon-dairy milk(I used homemade cashew milk)
1/2 cup cacao powder(I use Wilderness Family Naturals Raw Organic Cacao powder)
2Tbspsoftened lard, or safe for you shortening or vegan margarine(I use my home rendered lard)
1Tbspbrewed coffee
1tspsafe for you oil
1/8tspcinnamon
Servings:
Instructions
Place all ingredients in a bowl and using a stand mixer with beater attachment or a hand mixer, blend the ingredients until smooth. This frosting will harden, so wait to make the frosting until the cake is cool and you are ready to frost it.