Notice: Function _load_textdomain_just_in_time was called incorrectly. Translation loading for the wp-ultimate-recipe domain was triggered too early. This is usually an indicator for some code in the plugin or theme running too early. Translations should be loaded at the init action or later. Please see Debugging in WordPress for more information. (This message was added in version 6.7.0.) in /home/maryzahc/public_html/adultfoodallergies.com/wp-includes/functions.php on line 6121
Gluten-free – Page 6 – surviving the food allergy apocalypse (archive)

Tag: Gluten-free

Contains no wheat or gluten.

  • Apple Cinnamon Muffins

    Apple Cinnamon Muffins

    Apple Cinnamon Muffins
    Apple Cinnamon Muffins

    It’s breakfast month on the blog. And let’s face it, when you have multiple allergies (17 so far), and they include, dairy, eggs, wheat, and corn, breakfast can be a major problem. Many allergy peeps argue that it’s just better to get past the idea of breakfast food, and just eat safe food in the morning no matter what it is, but I still have a mental block about it–I just don’t want to eat dinner food or lunch for breakfast. This is kind of ridiculous given that I used to eat breakfast food for dinner or lunch all the time in the long, long ago before food allergies. But anyway, given the above constraints, my easy breakfast food has been cooked oatmeal, which I am frankly sick to death of at this point. So when we decided to make April be breakfast month, I decided I needed another easy breakfast that I could make ahead and carry with me.

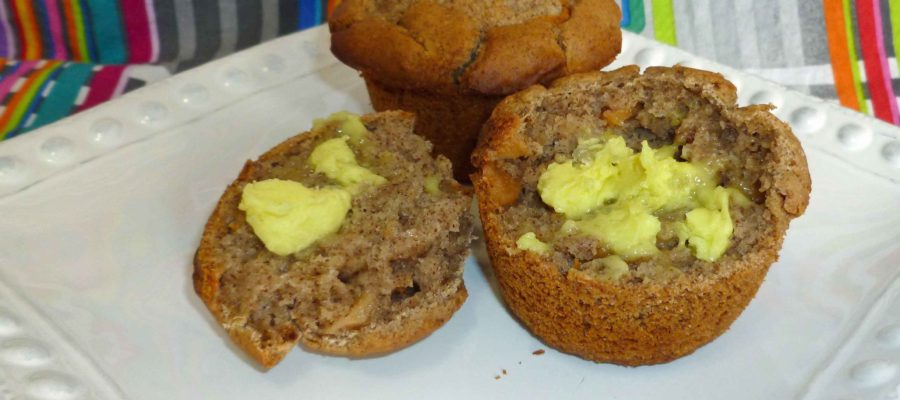
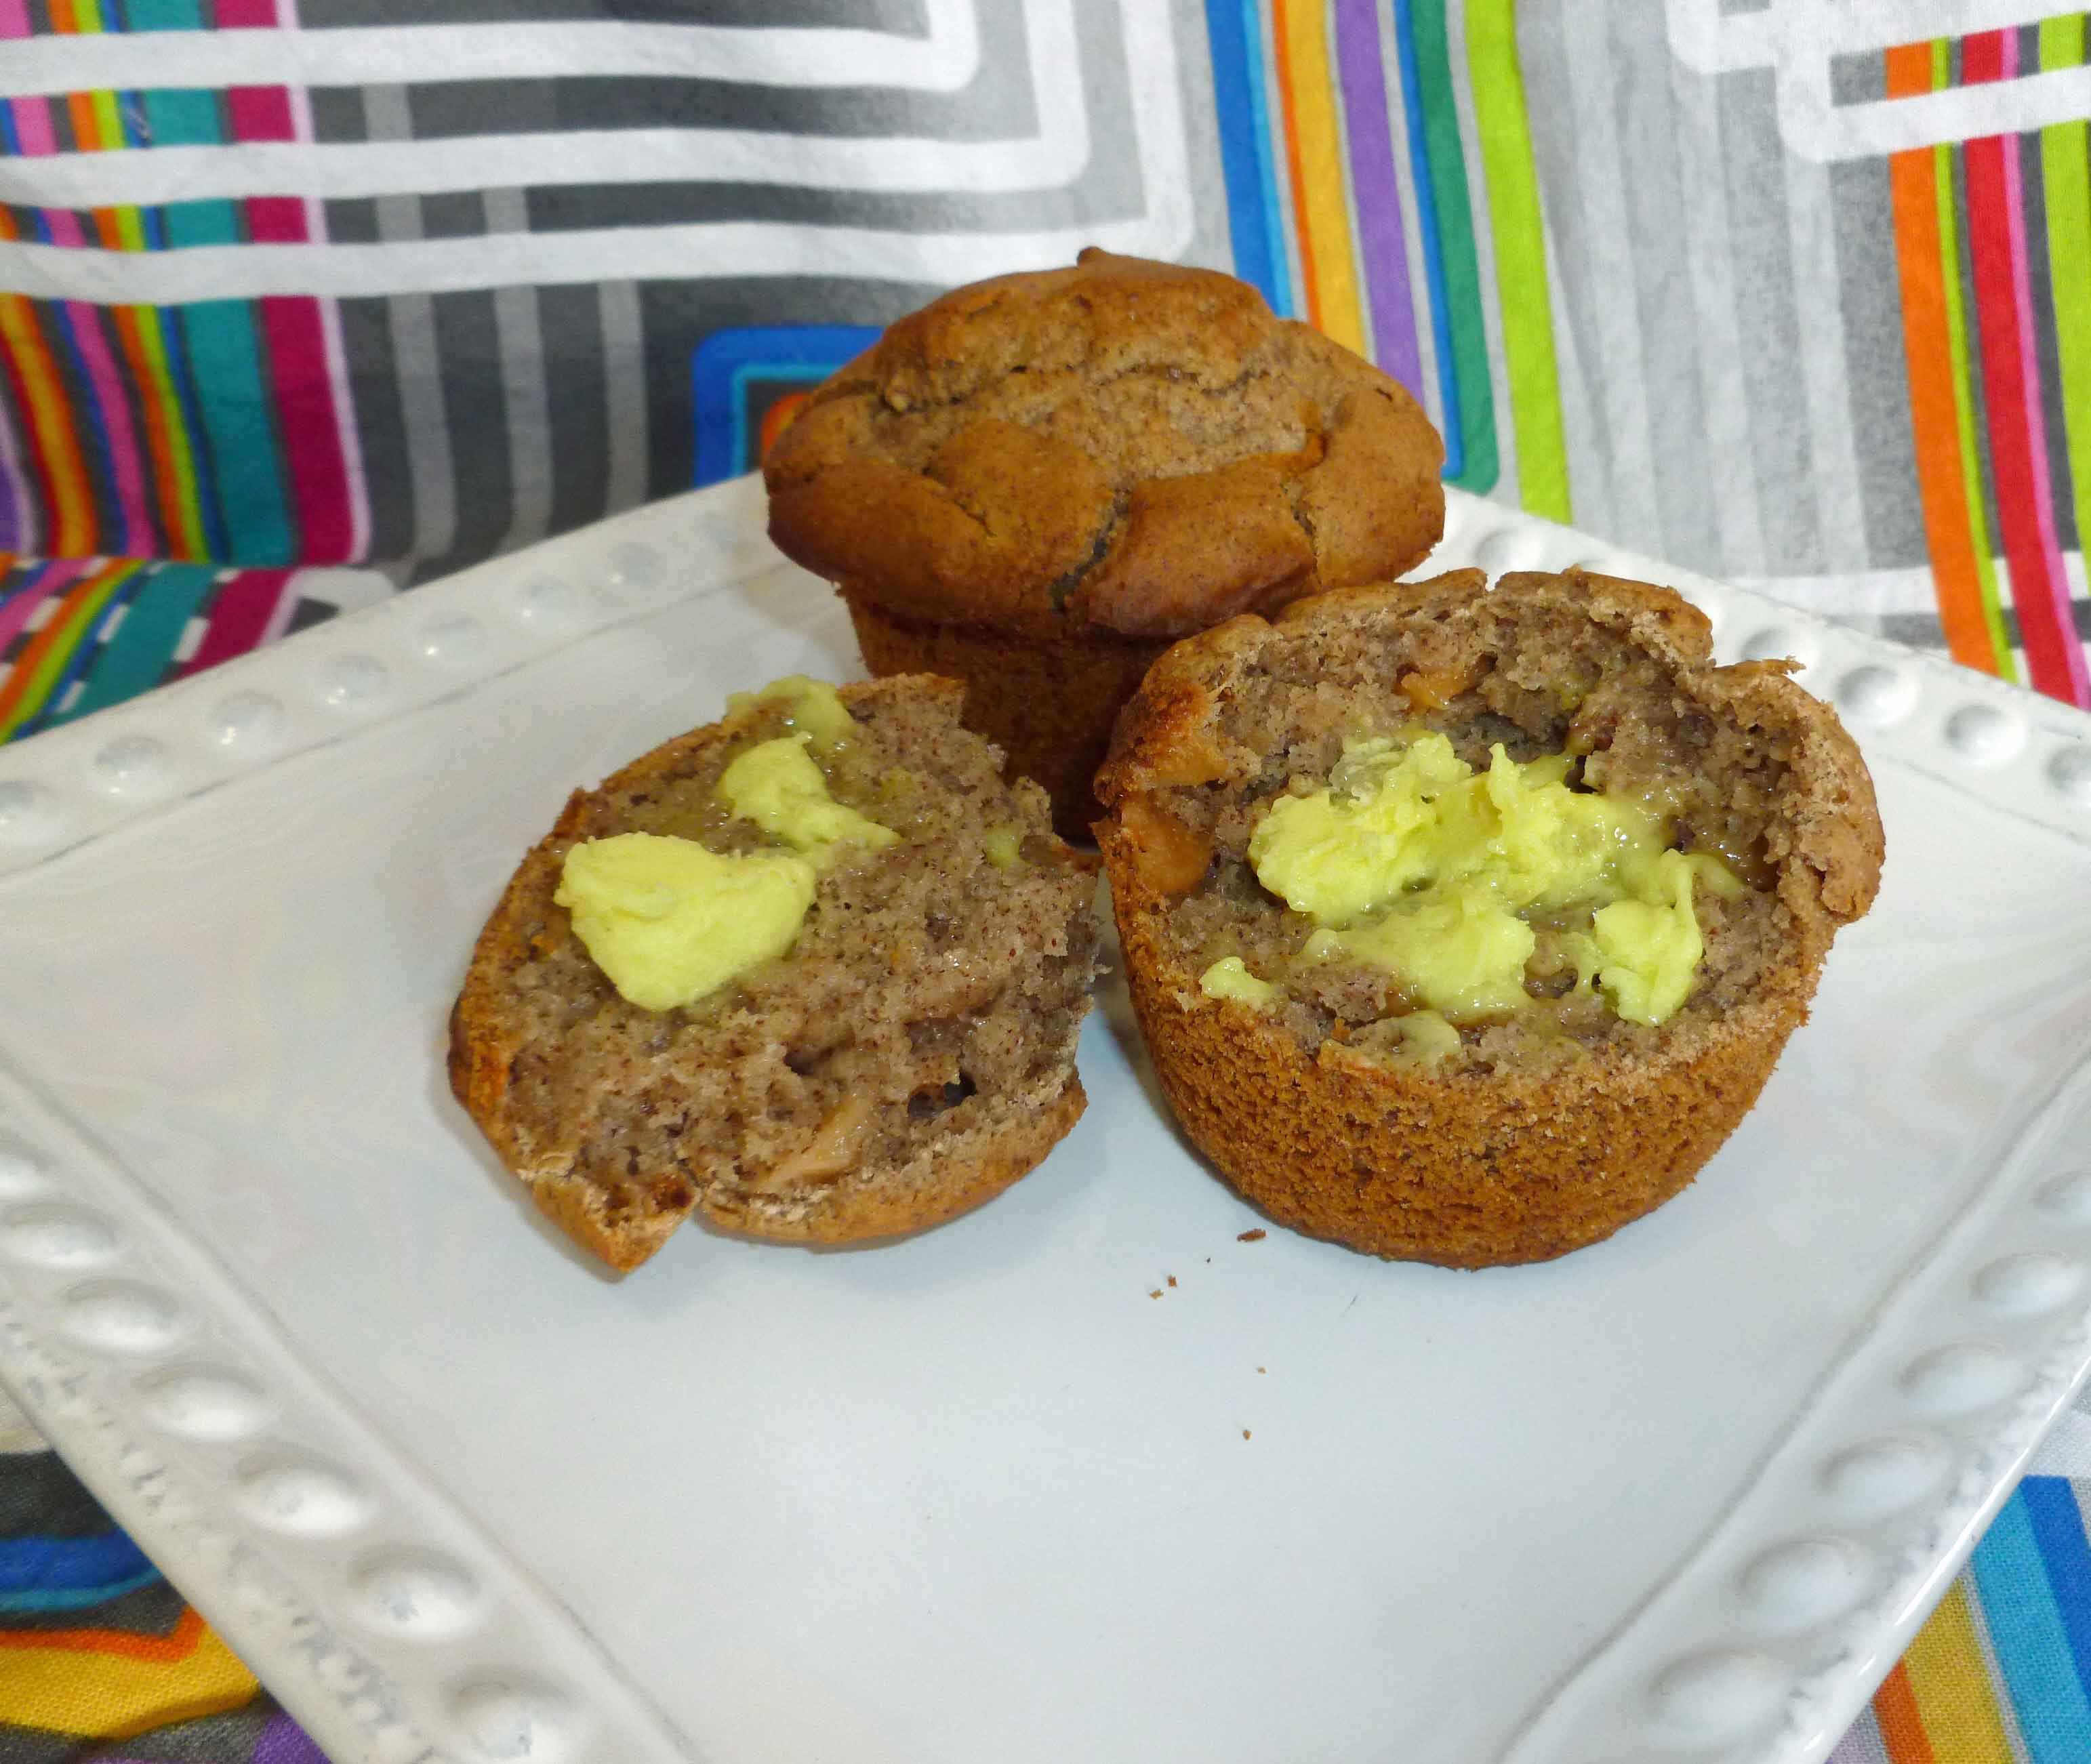
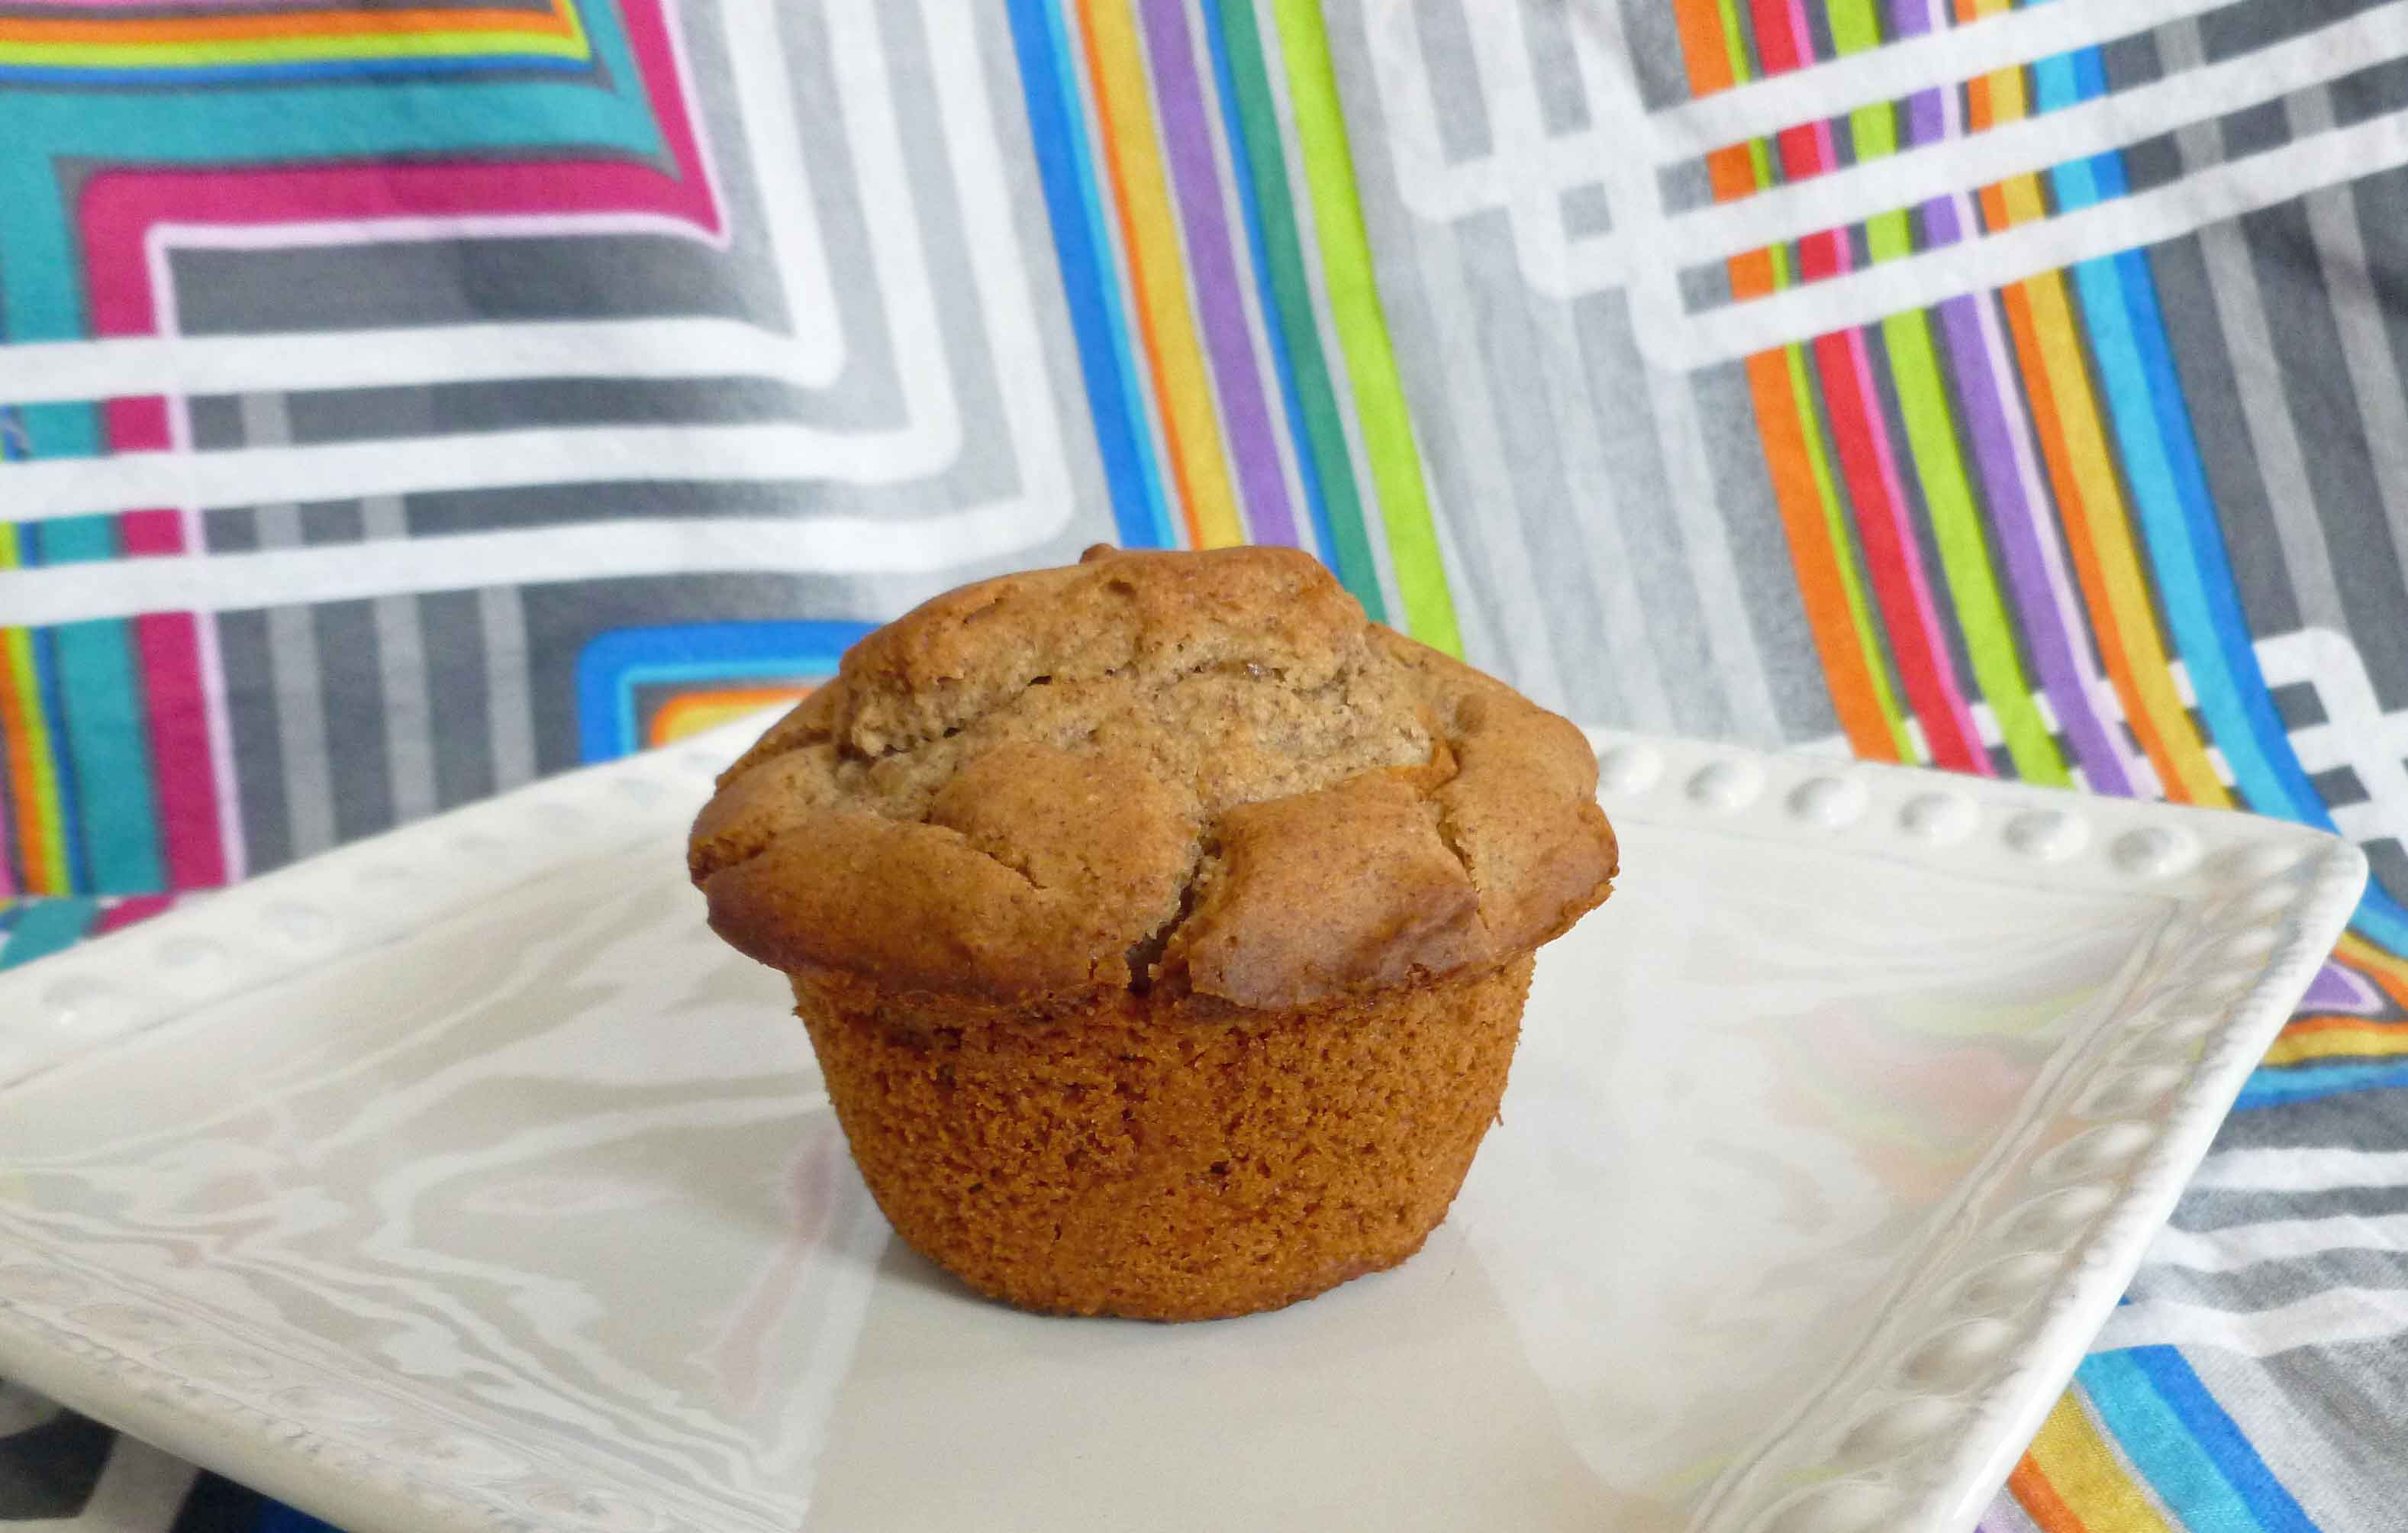
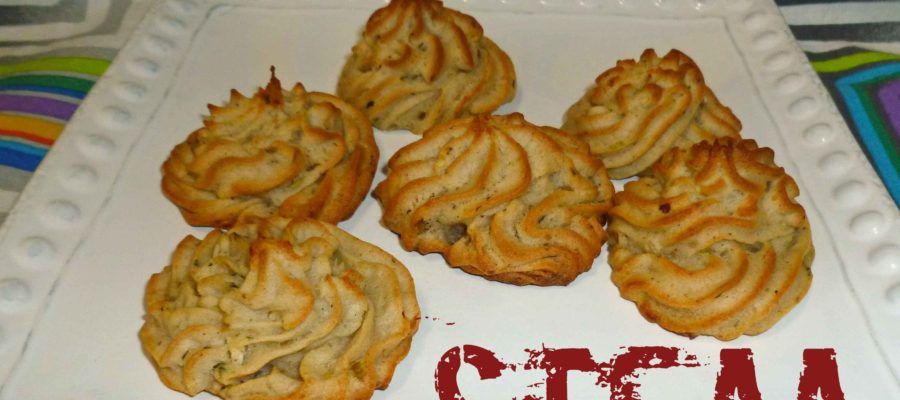
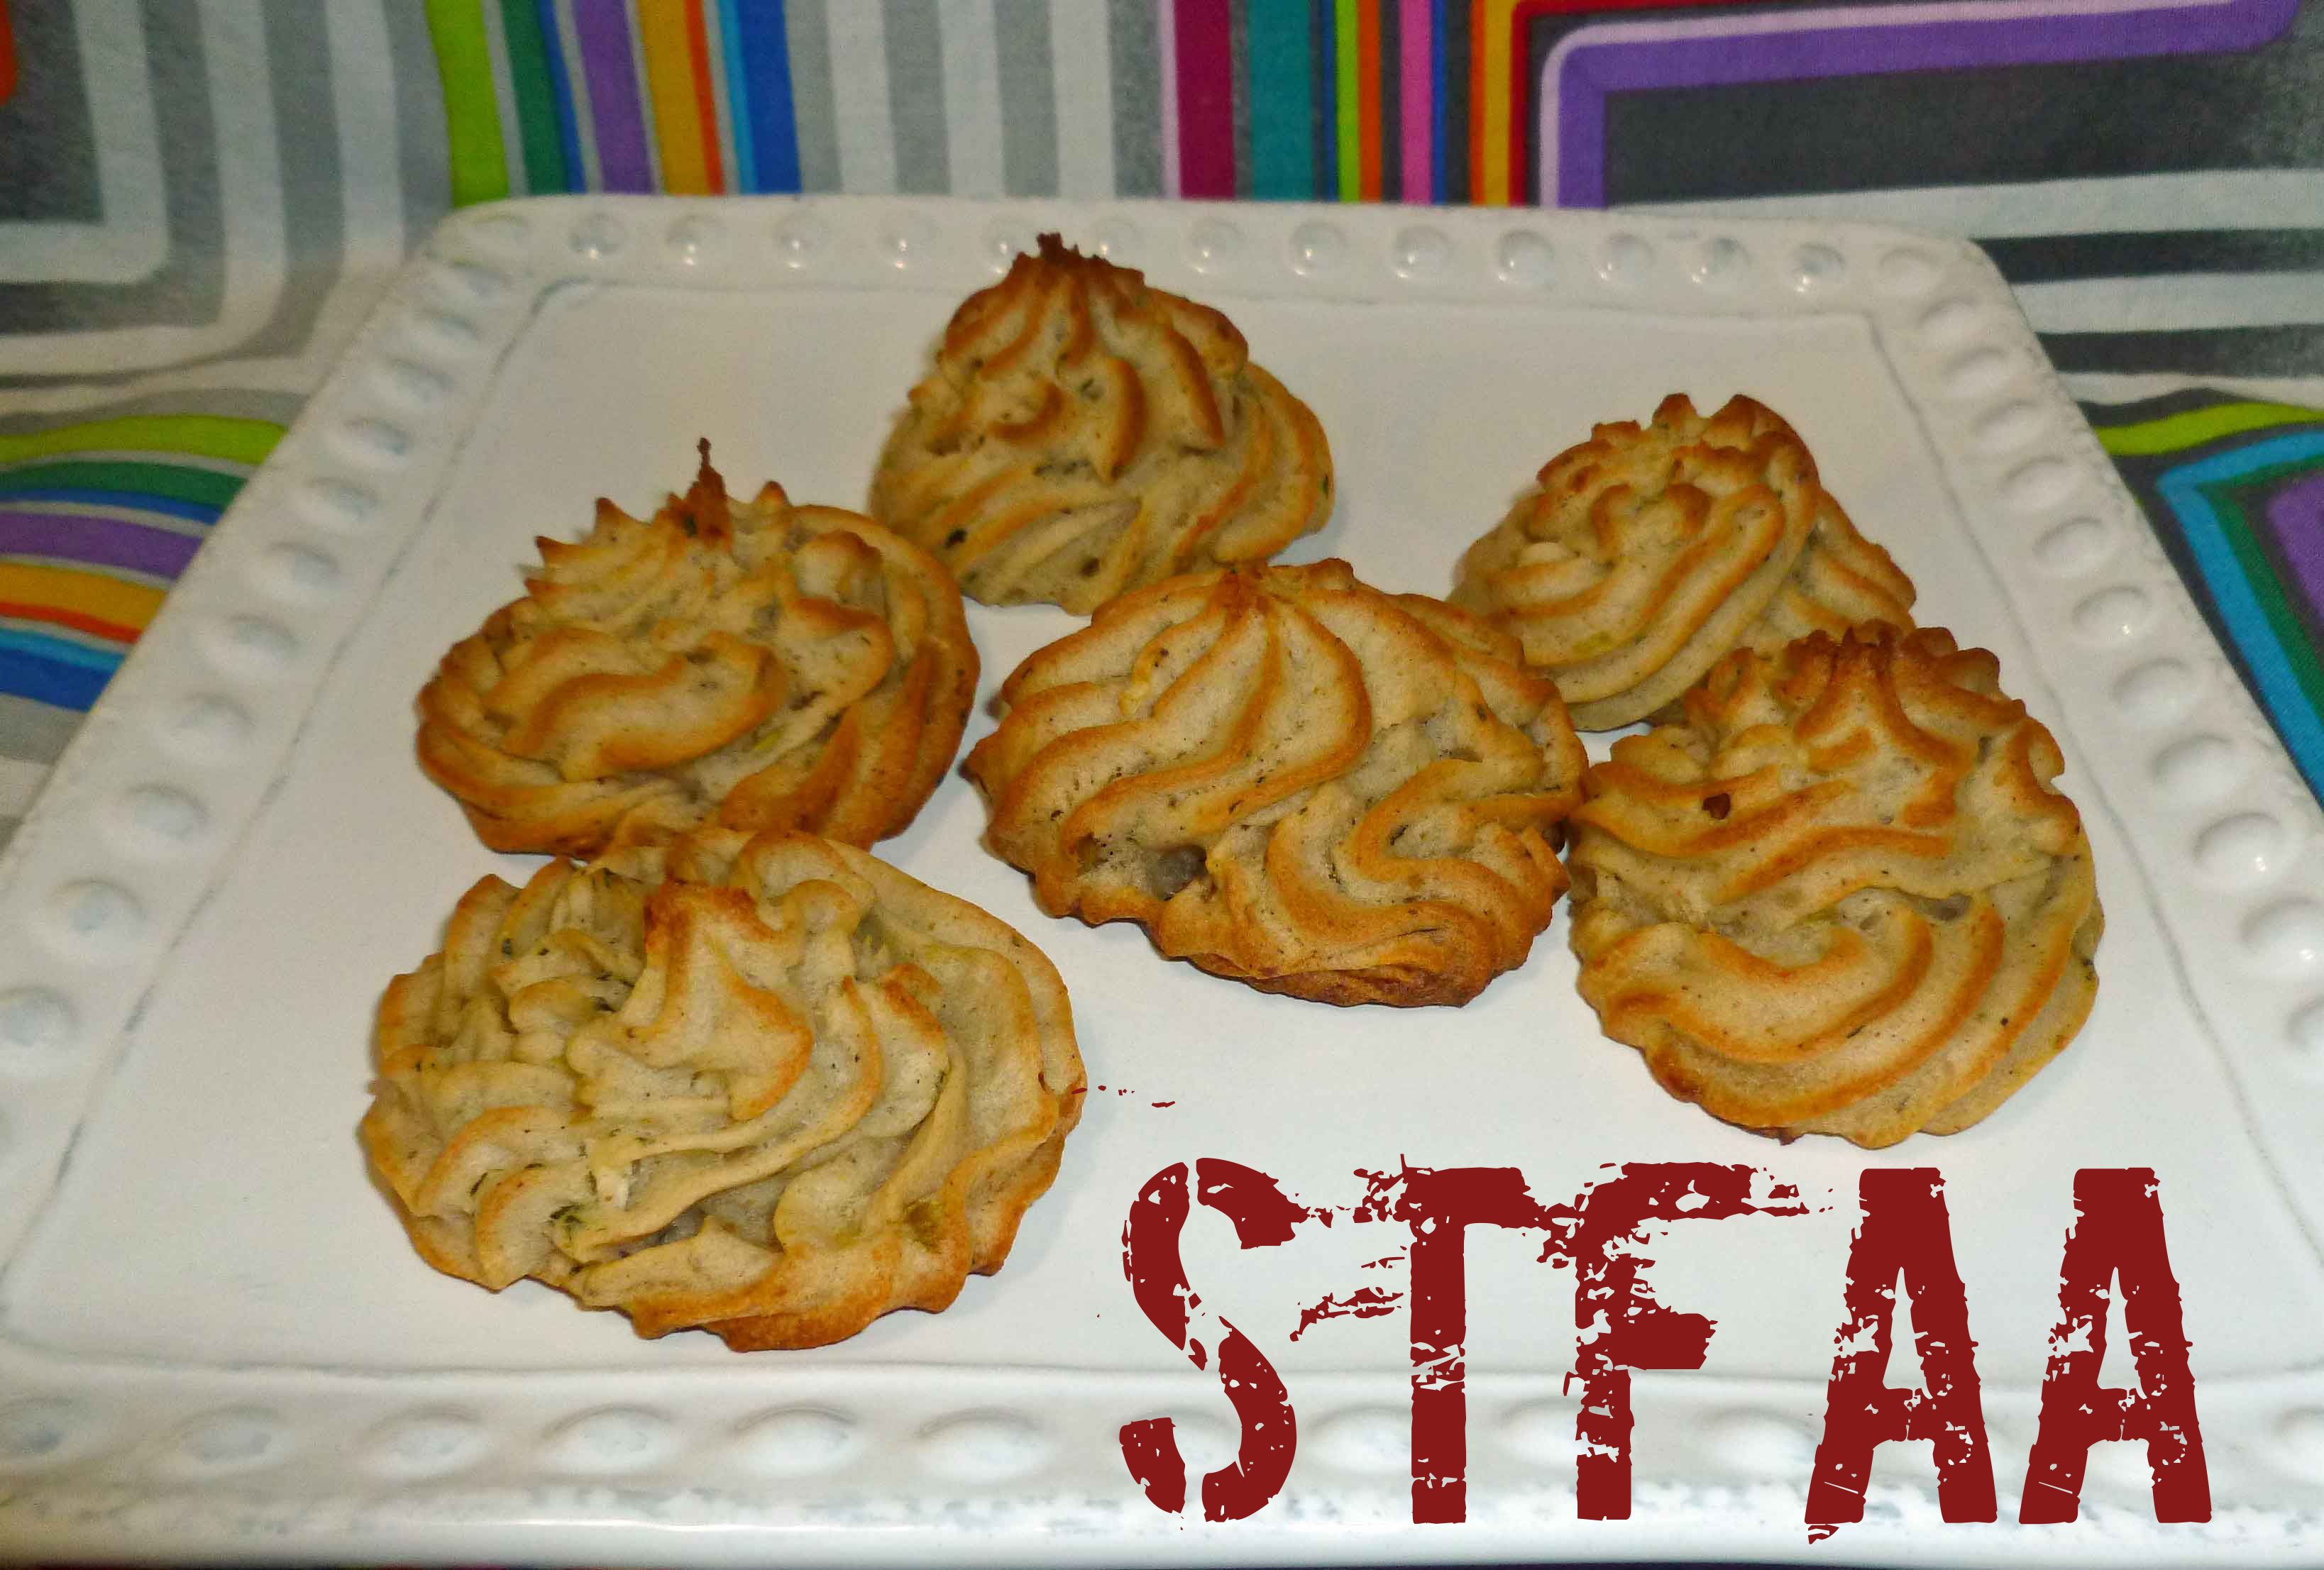
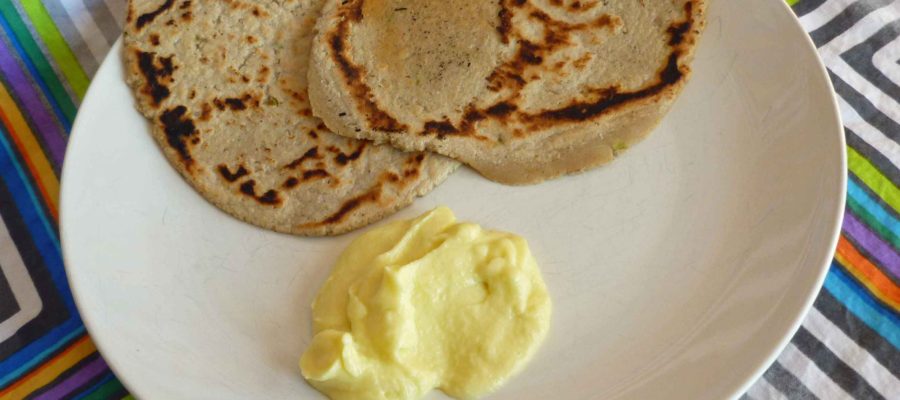
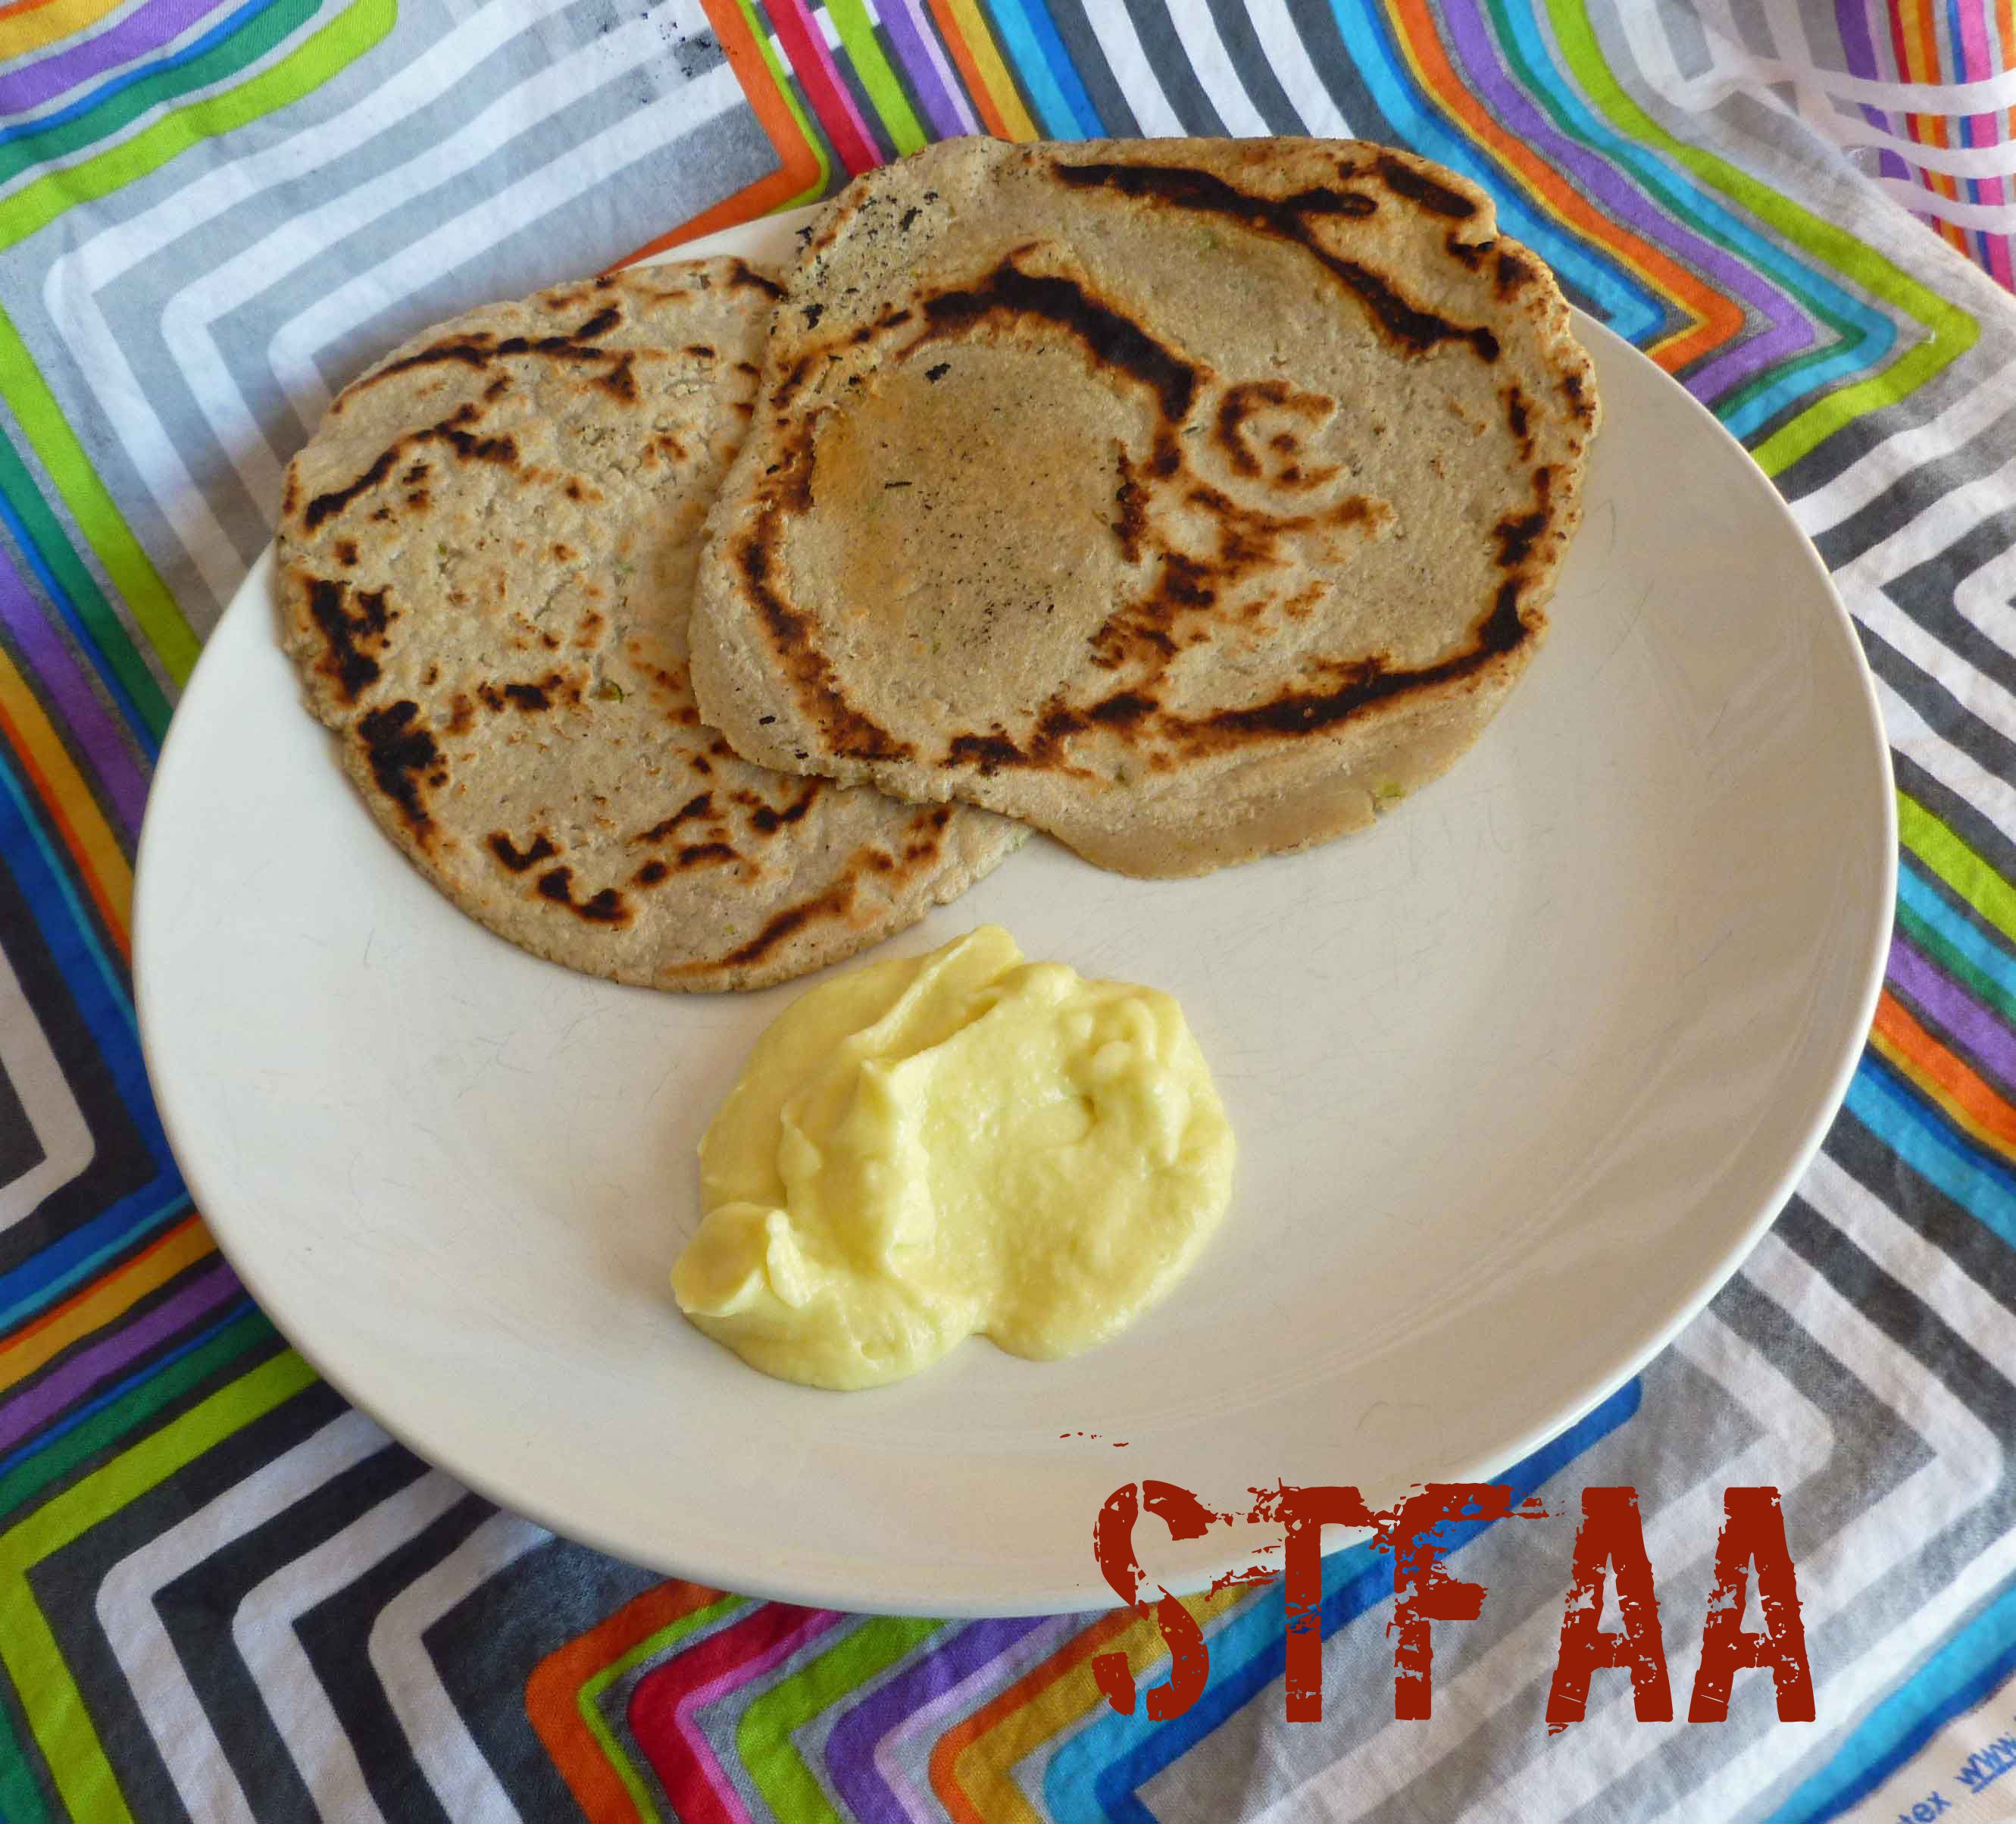
    I started with the Basic Muffin Recipe from King Arthur Flour, which is actually a real wheat, real dairy, real egg, and real butter recipe, and converted it to something safe for my allergies. I had to give it a couple of tries, but I have it where I want it now, and it rises and looks like real muffins instead of sadly deflated hockey puck looking things. I used my Homemade Margarine, New and Improved (which is not vegan for our vegan followers) on them, and it was bliss! Yay! Also they are really good cut in half and grilled on a cast iron skillet, diner style as well.

    Apple Cinnamon Muffins
    Apple Cinnamon Muffins
    Print Recipe
    A quick breakfast food to have on the go.
    Servings Prep Time
    12 muffins 10 minutes
    Cook Time
    20-30 minutes
    Servings Prep Time
    12 muffins 10 minutes
    Cook Time
    20-30 minutes
    Apple Cinnamon Muffins
    Apple Cinnamon Muffins
    Print Recipe
    A quick breakfast food to have on the go.
    Servings Prep Time
    12 muffins 10 minutes
    Cook Time
    20-30 minutes
    Servings Prep Time
    12 muffins 10 minutes
    Cook Time
    20-30 minutes
    Ingredients
    Dry Ingredients
    • 1 1/2 cups Gluten-free, Rice-free, Potato-free flour mix (see our post here for the recipe – http://adultfoodallergies.com/whoopie-pies-gluten-free-with-vegan-option/
    • 1/2 cup sorghum flour
    • 1/2 teaspoon cake spice (I use Penzey’s but blends are not always safe for all those allergic to corn. Use a blend of ground cinnamon, cloves, nutmeg, allspice, ginger, and star anise.)
    • 1/4 cup sugar
    • 1/4 cup brown sugar
    • 1/2 teaspoon sea salt
    • 1 Tablespoon baking powder (here’s a recipe for a corn-free one – http://wholenewmom.com/health-concerns/make-your-own-baking-powder/)
    Wet Ingredients
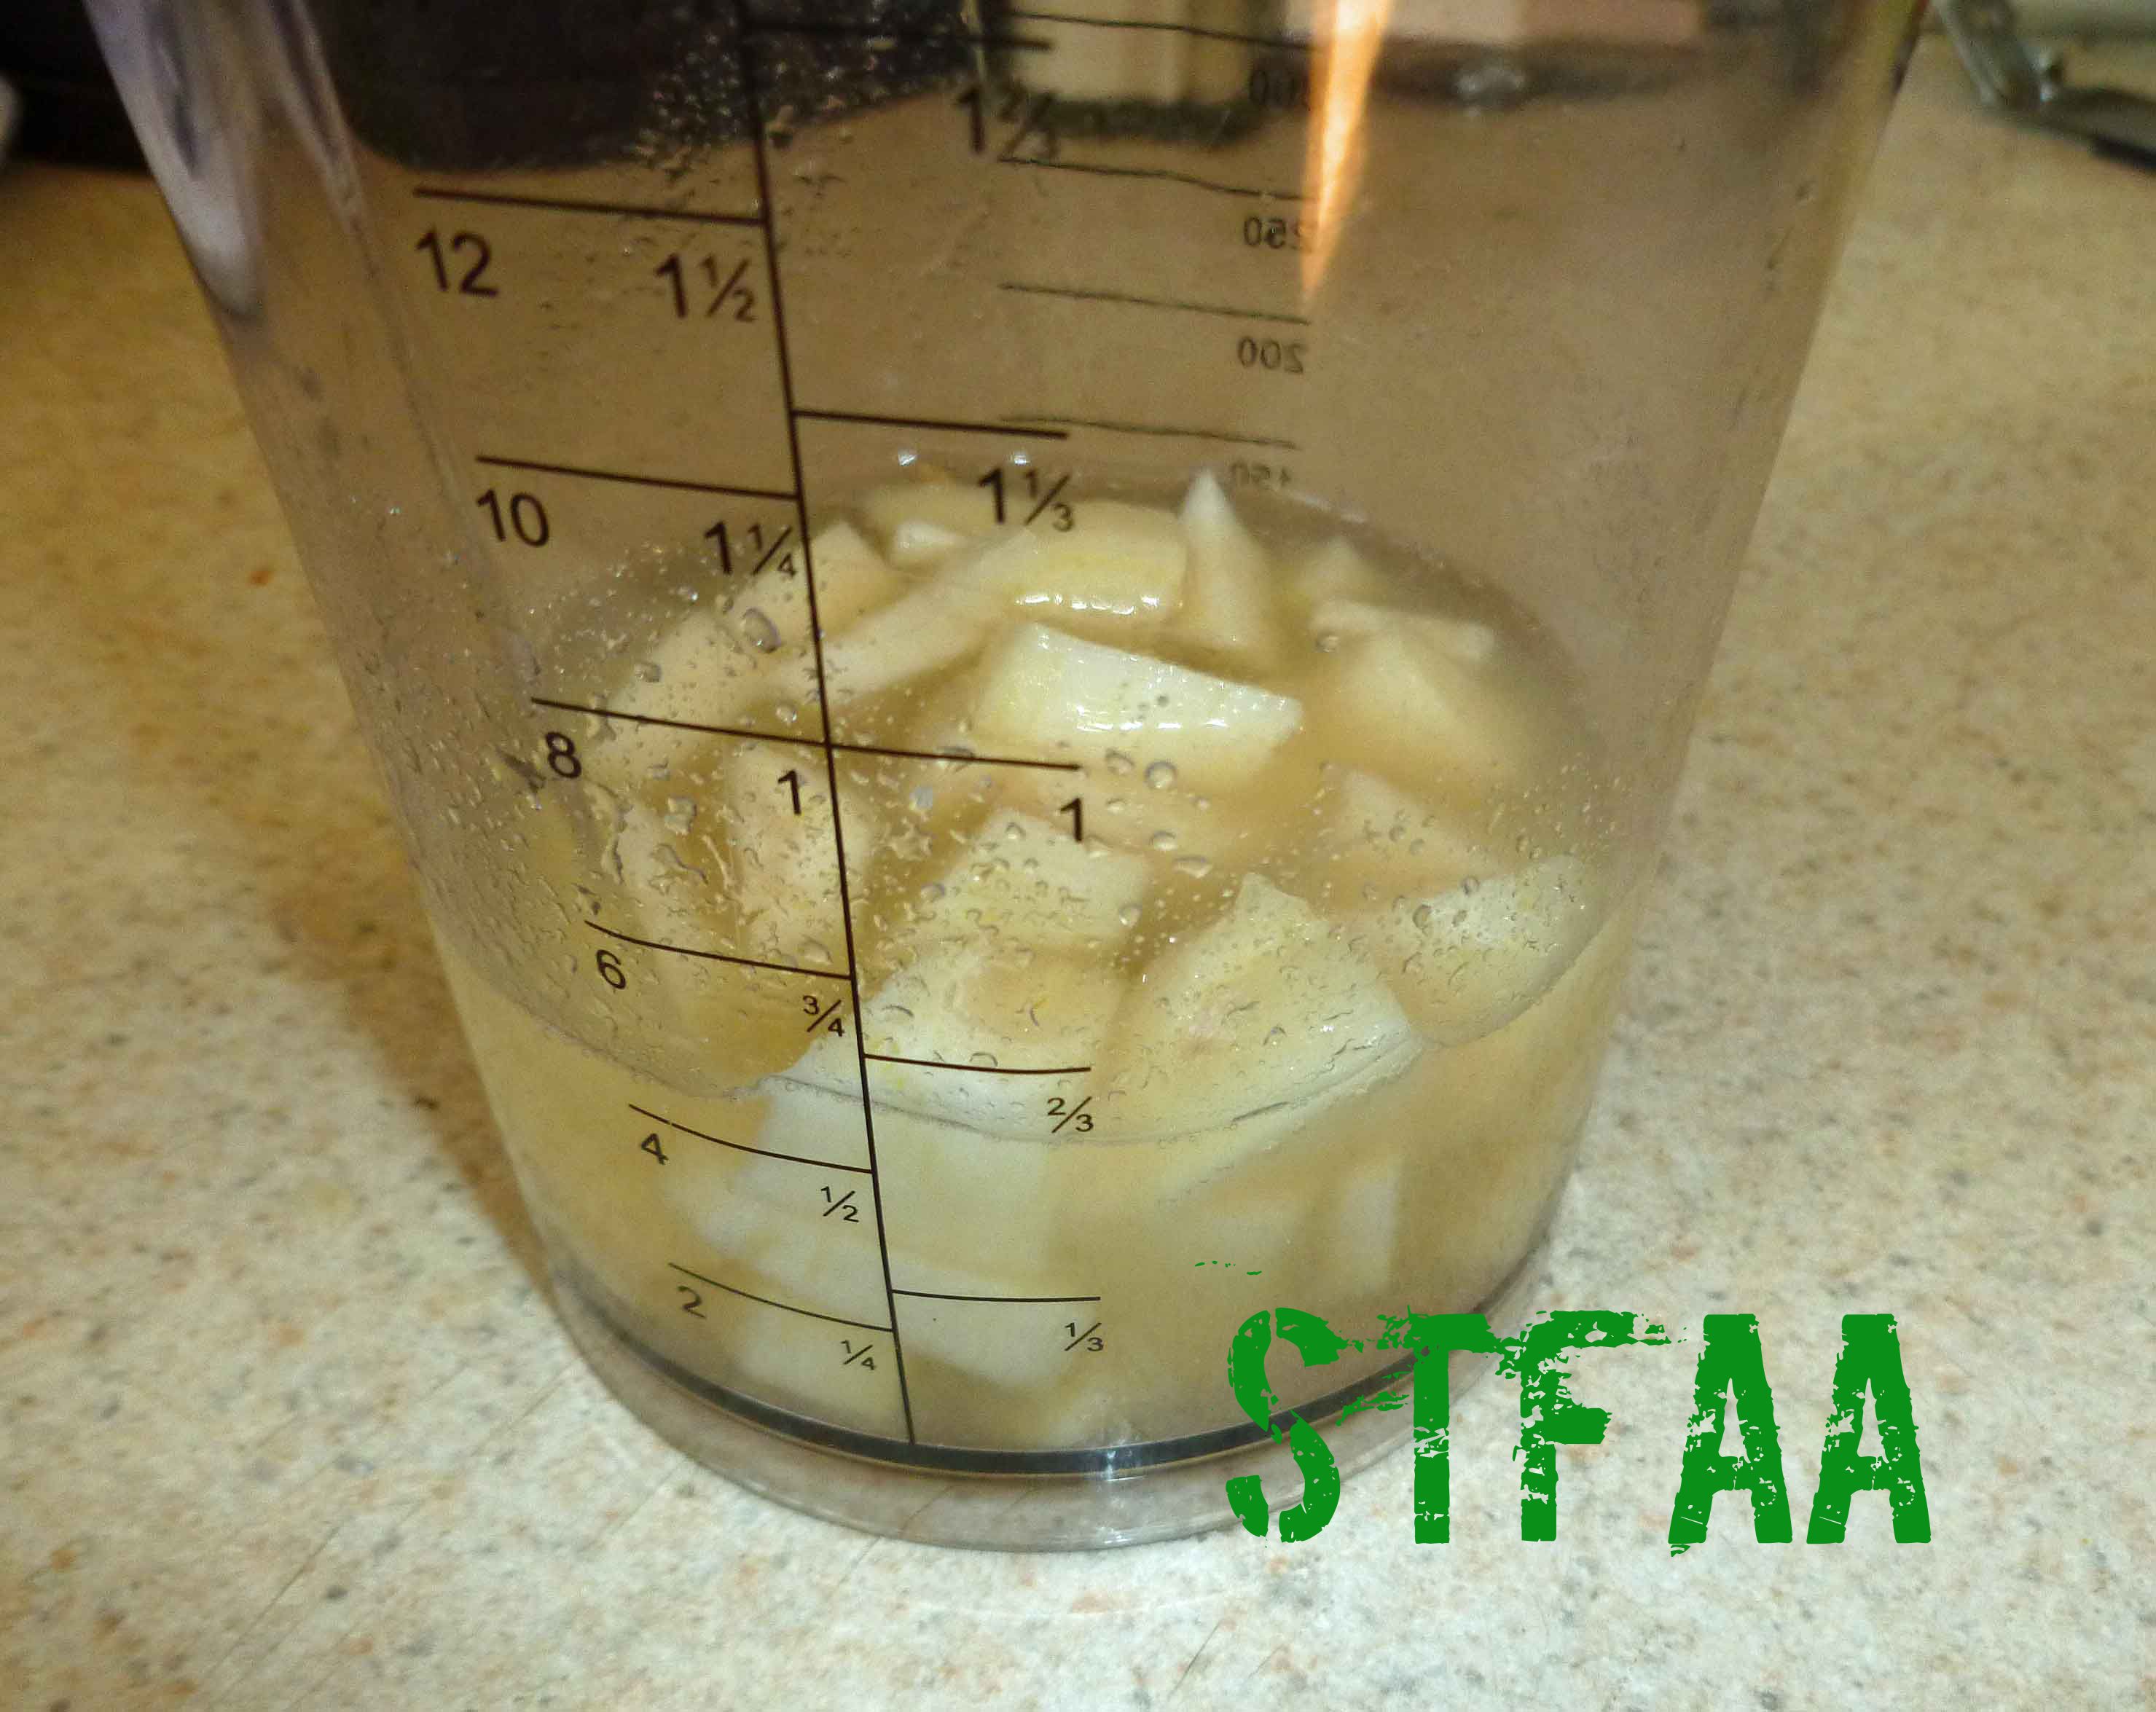
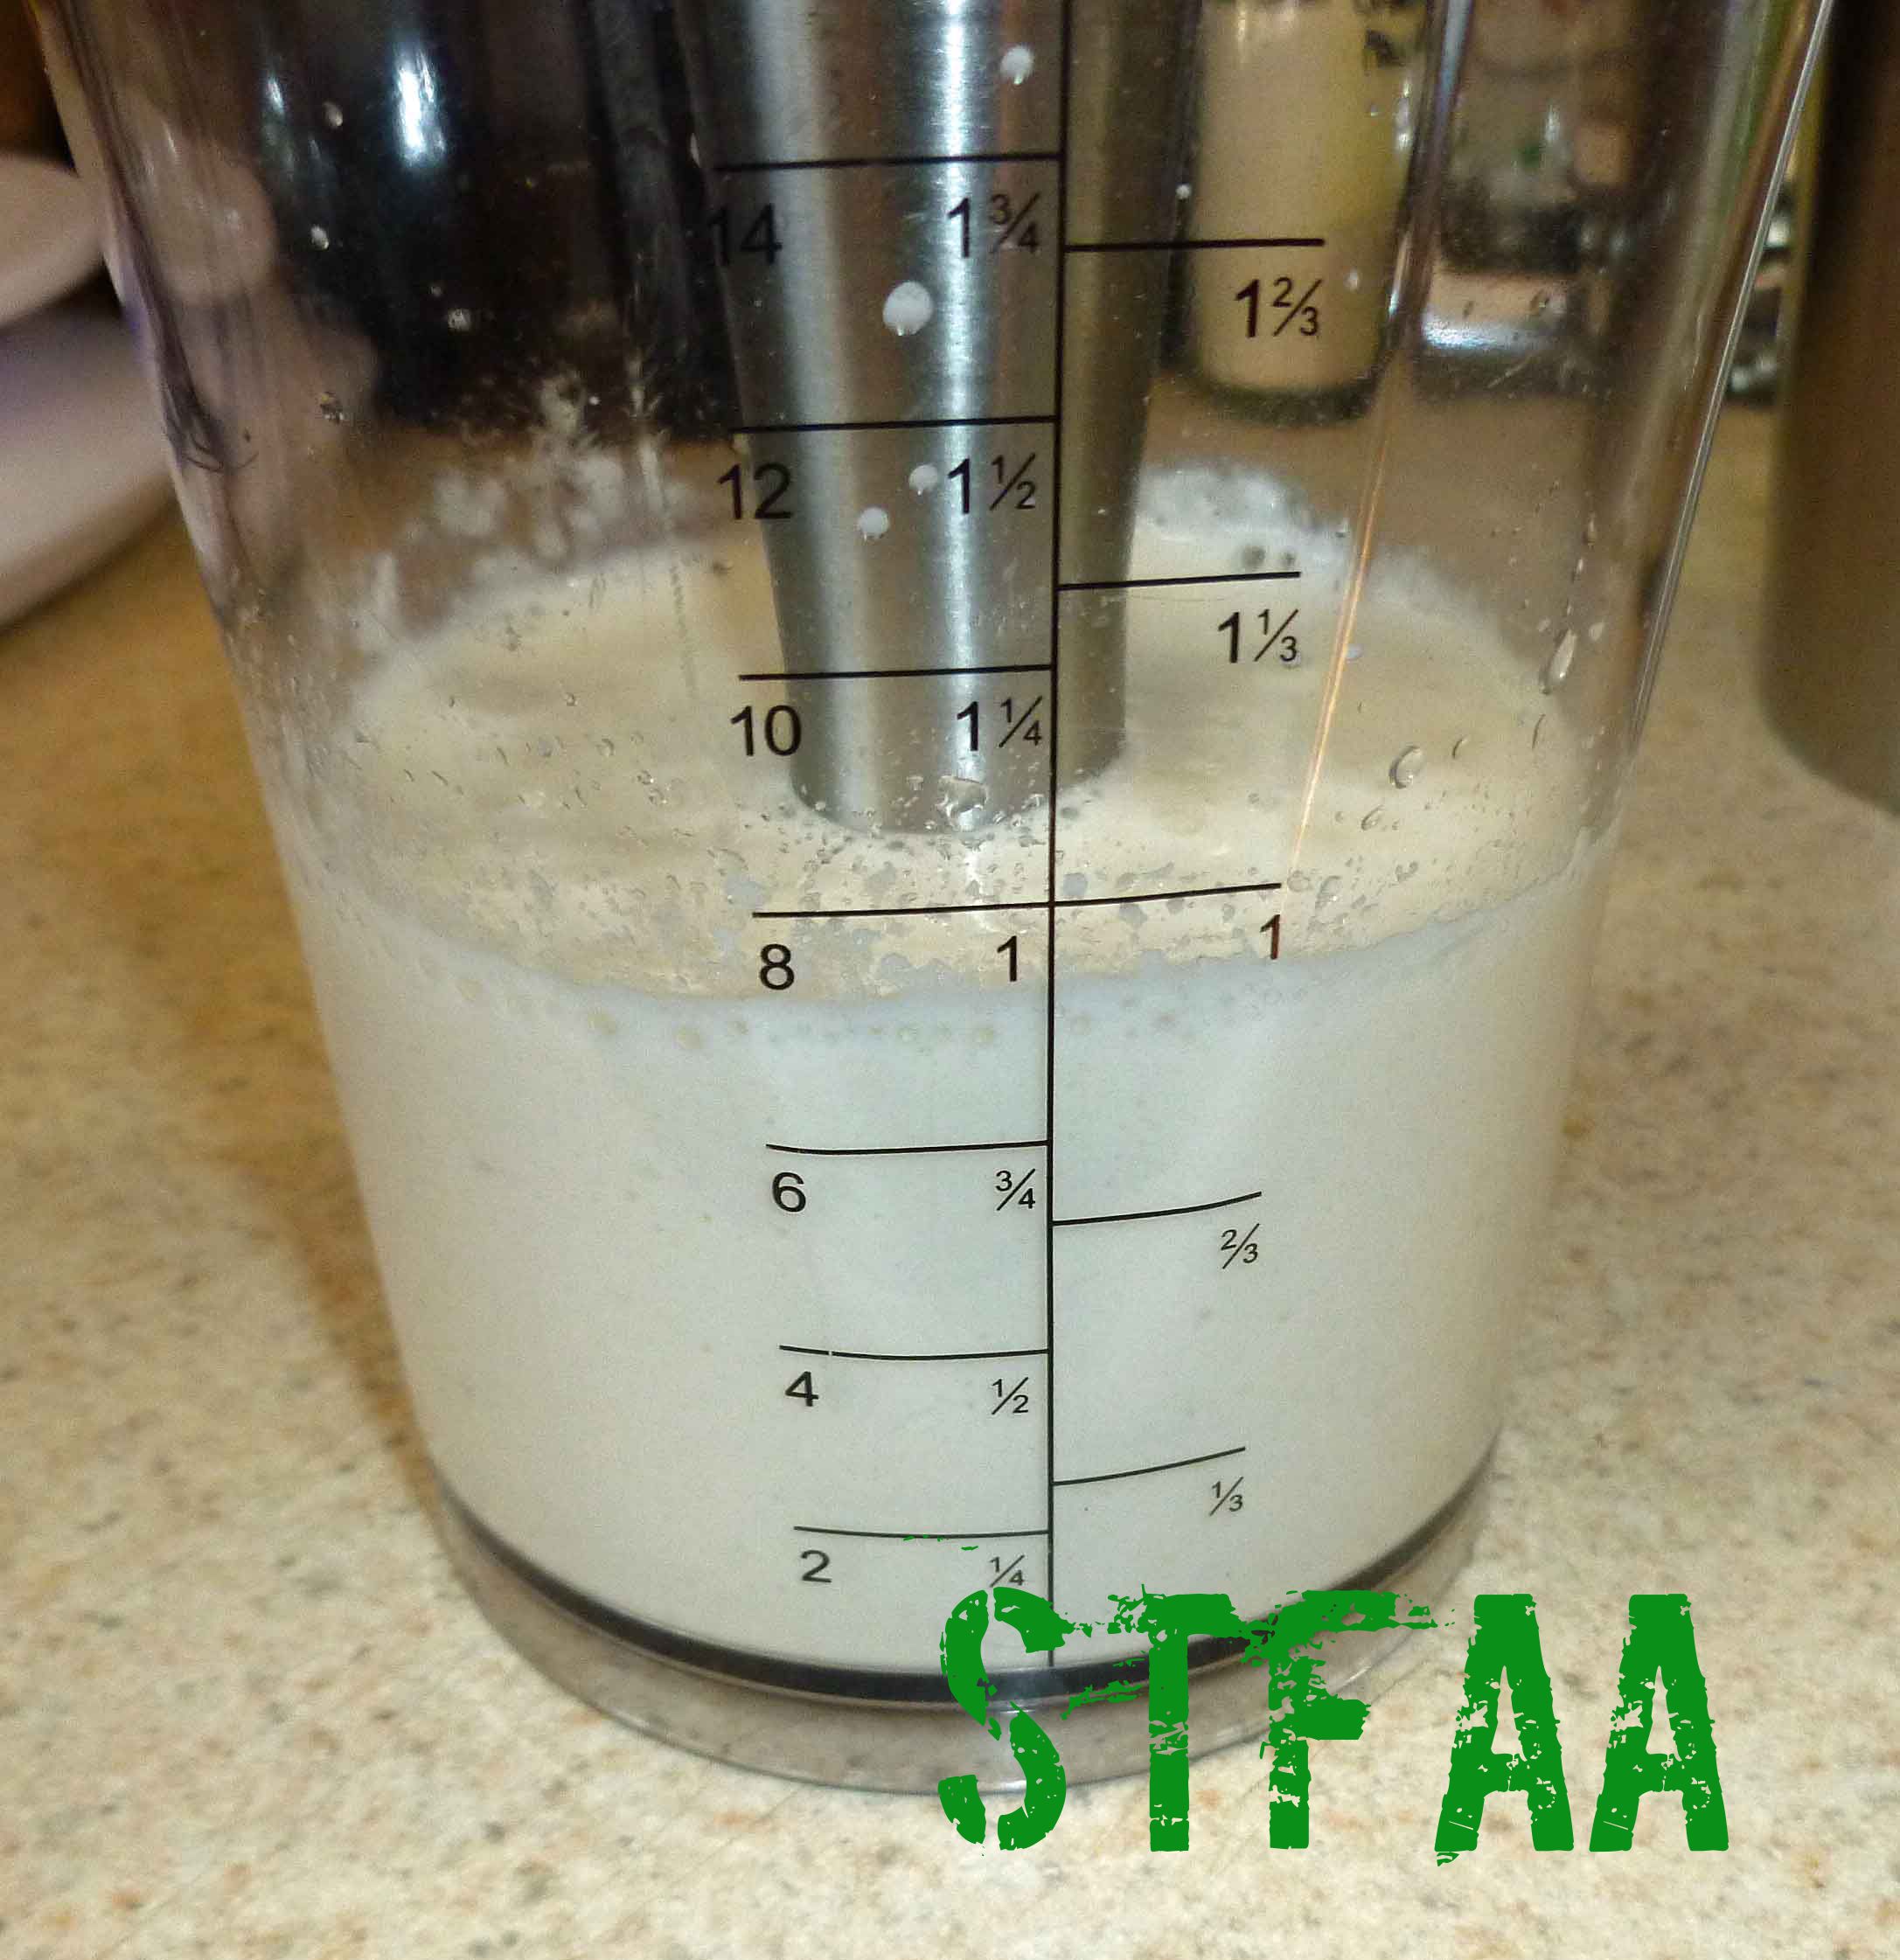
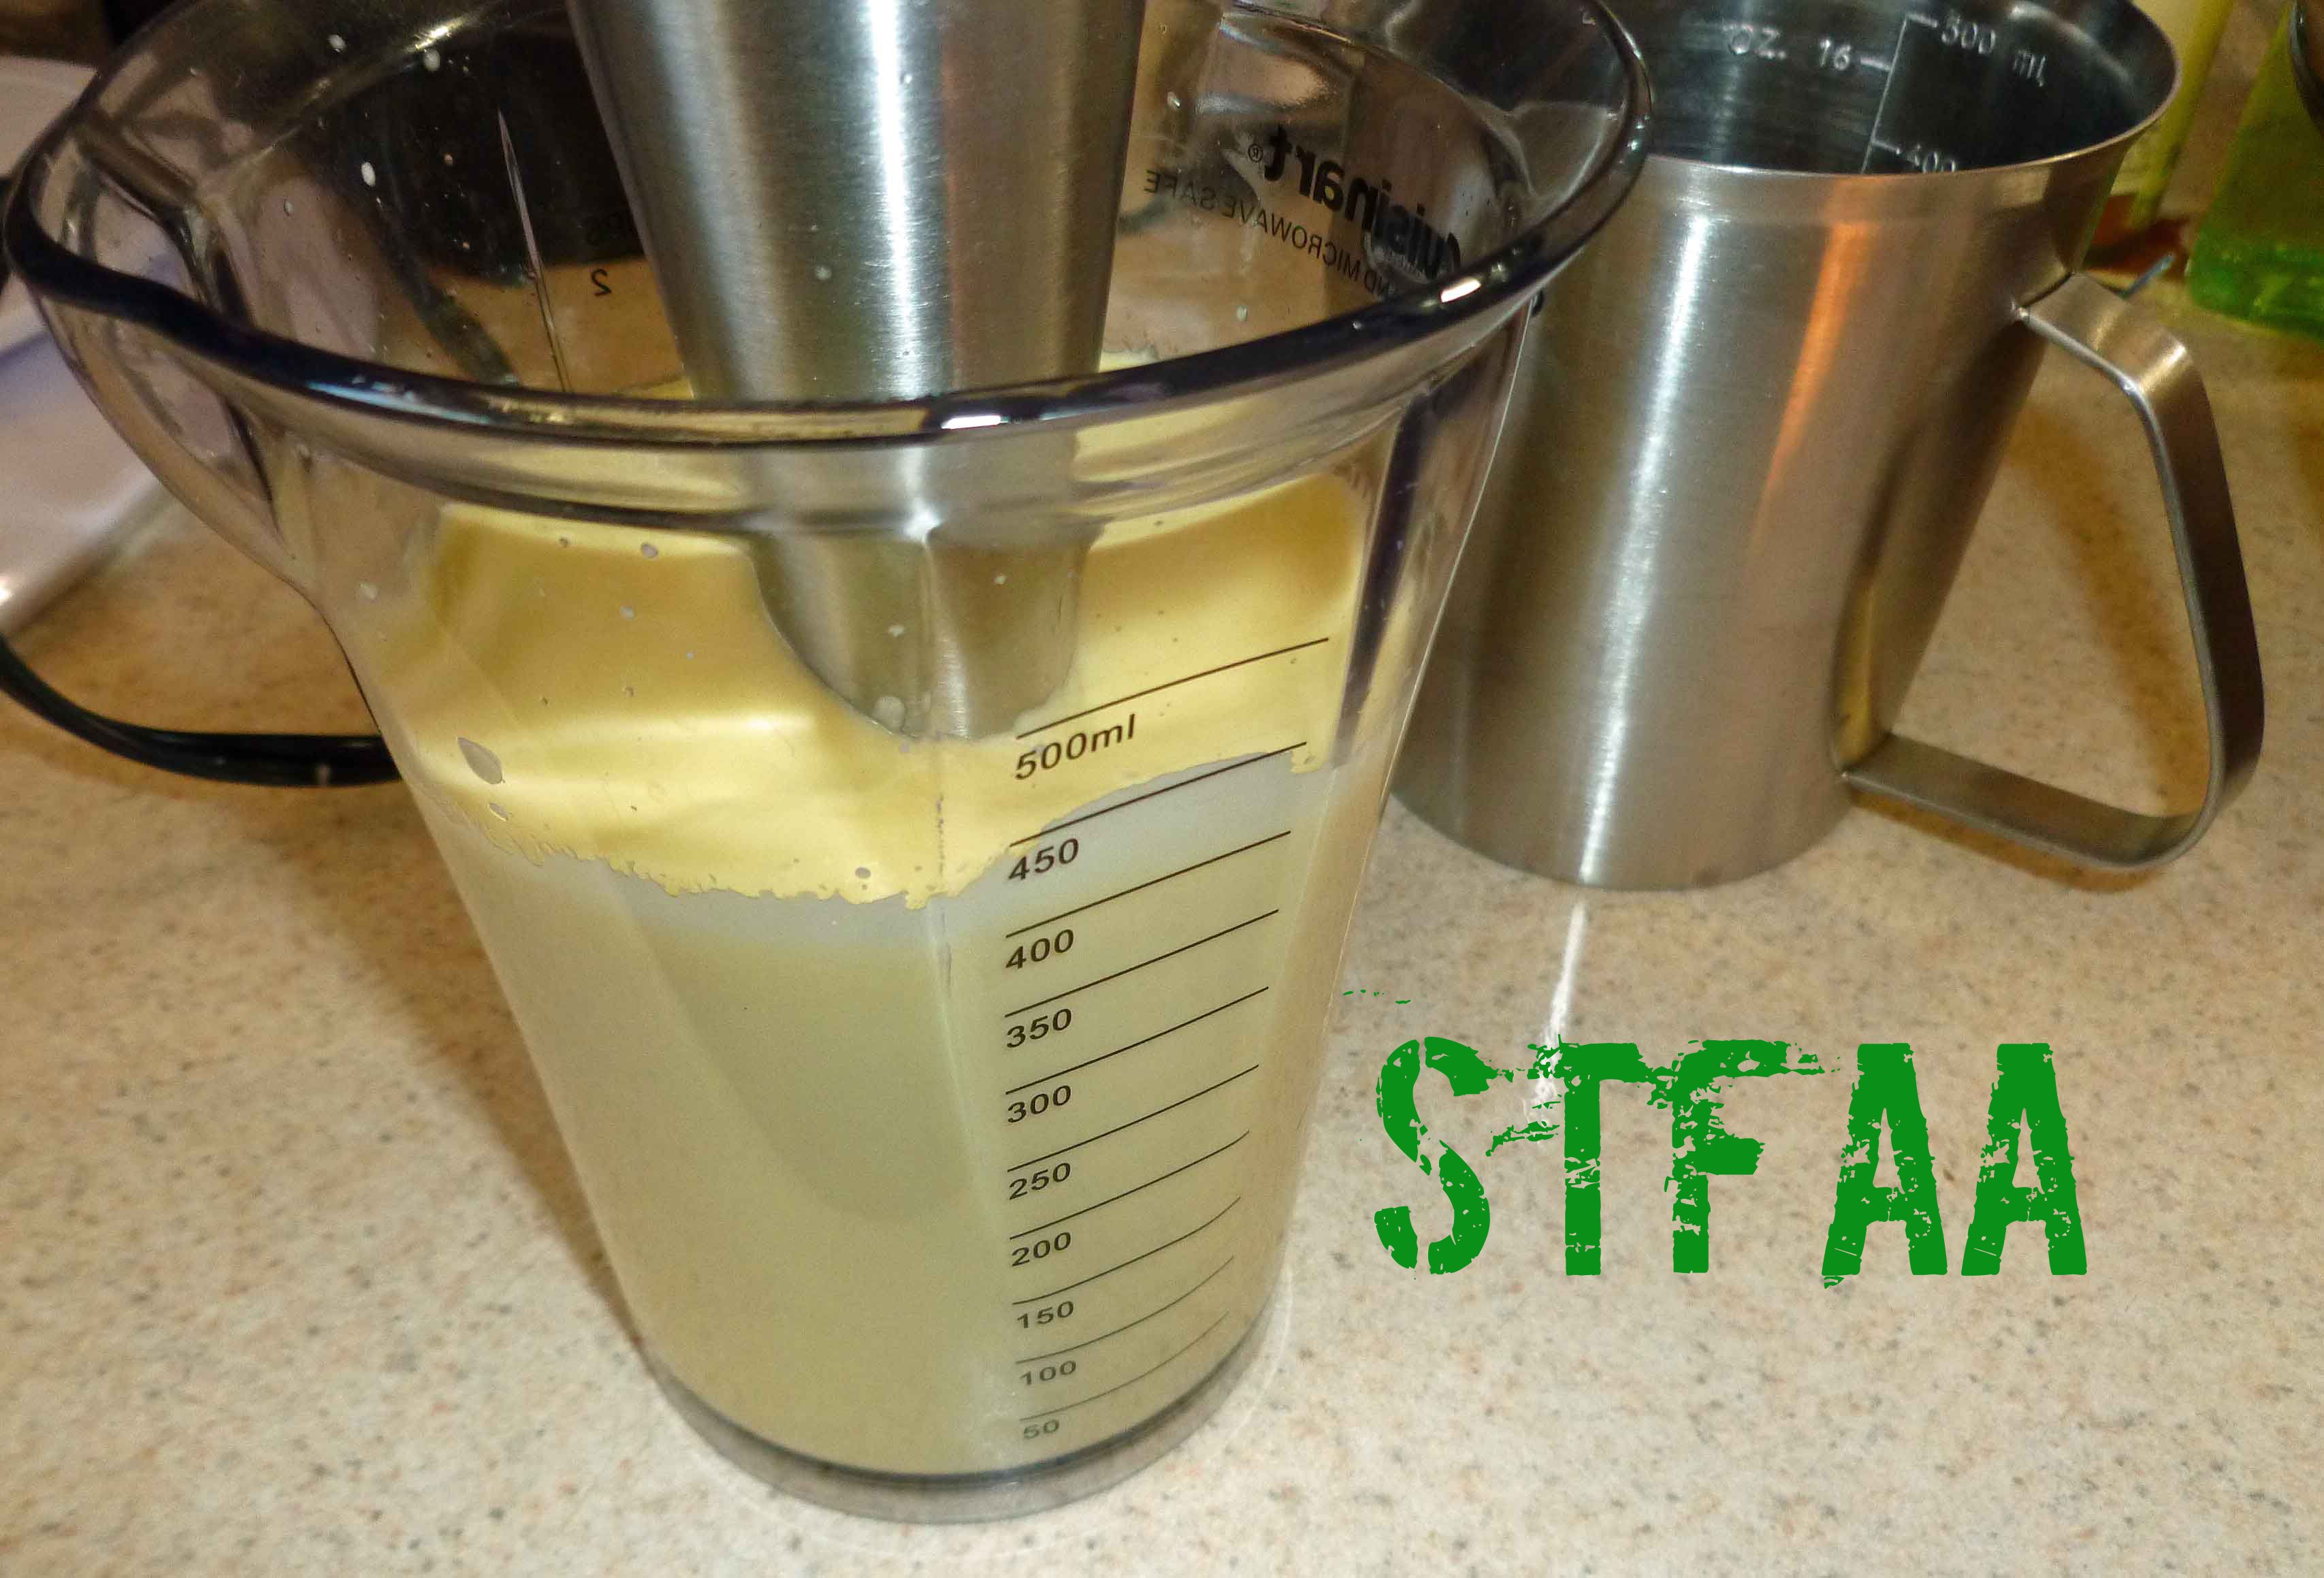
    • 1 cup non-dairy milk (I used homemade rice milk)
    • 1/4 cup safe for you oil (I’ve used both olive and grapeseed oil)
    • 1/4 cup applesauce (I use my homemade, home canned applesauce)
    • 3 Tablespoons aquafaba (see http://aquafaba.com/)
    • 1 teaspoon vanilla extract vanilla extract (I make my own with vanilla beans and vodka made from potatoes, as most commercial extract contains corn)
    Muffin additives
    • 1 apple peeled, cored, and diced (or 1/2 cup of dehydrated apples, soaked in water for half an hour and drained, or any other fruit or berry you want to use)
    Servings: muffins
    Instructions
    1. Preheat oven to 425°F. Grease a 12 cup muffin pan with some of your safe oil.
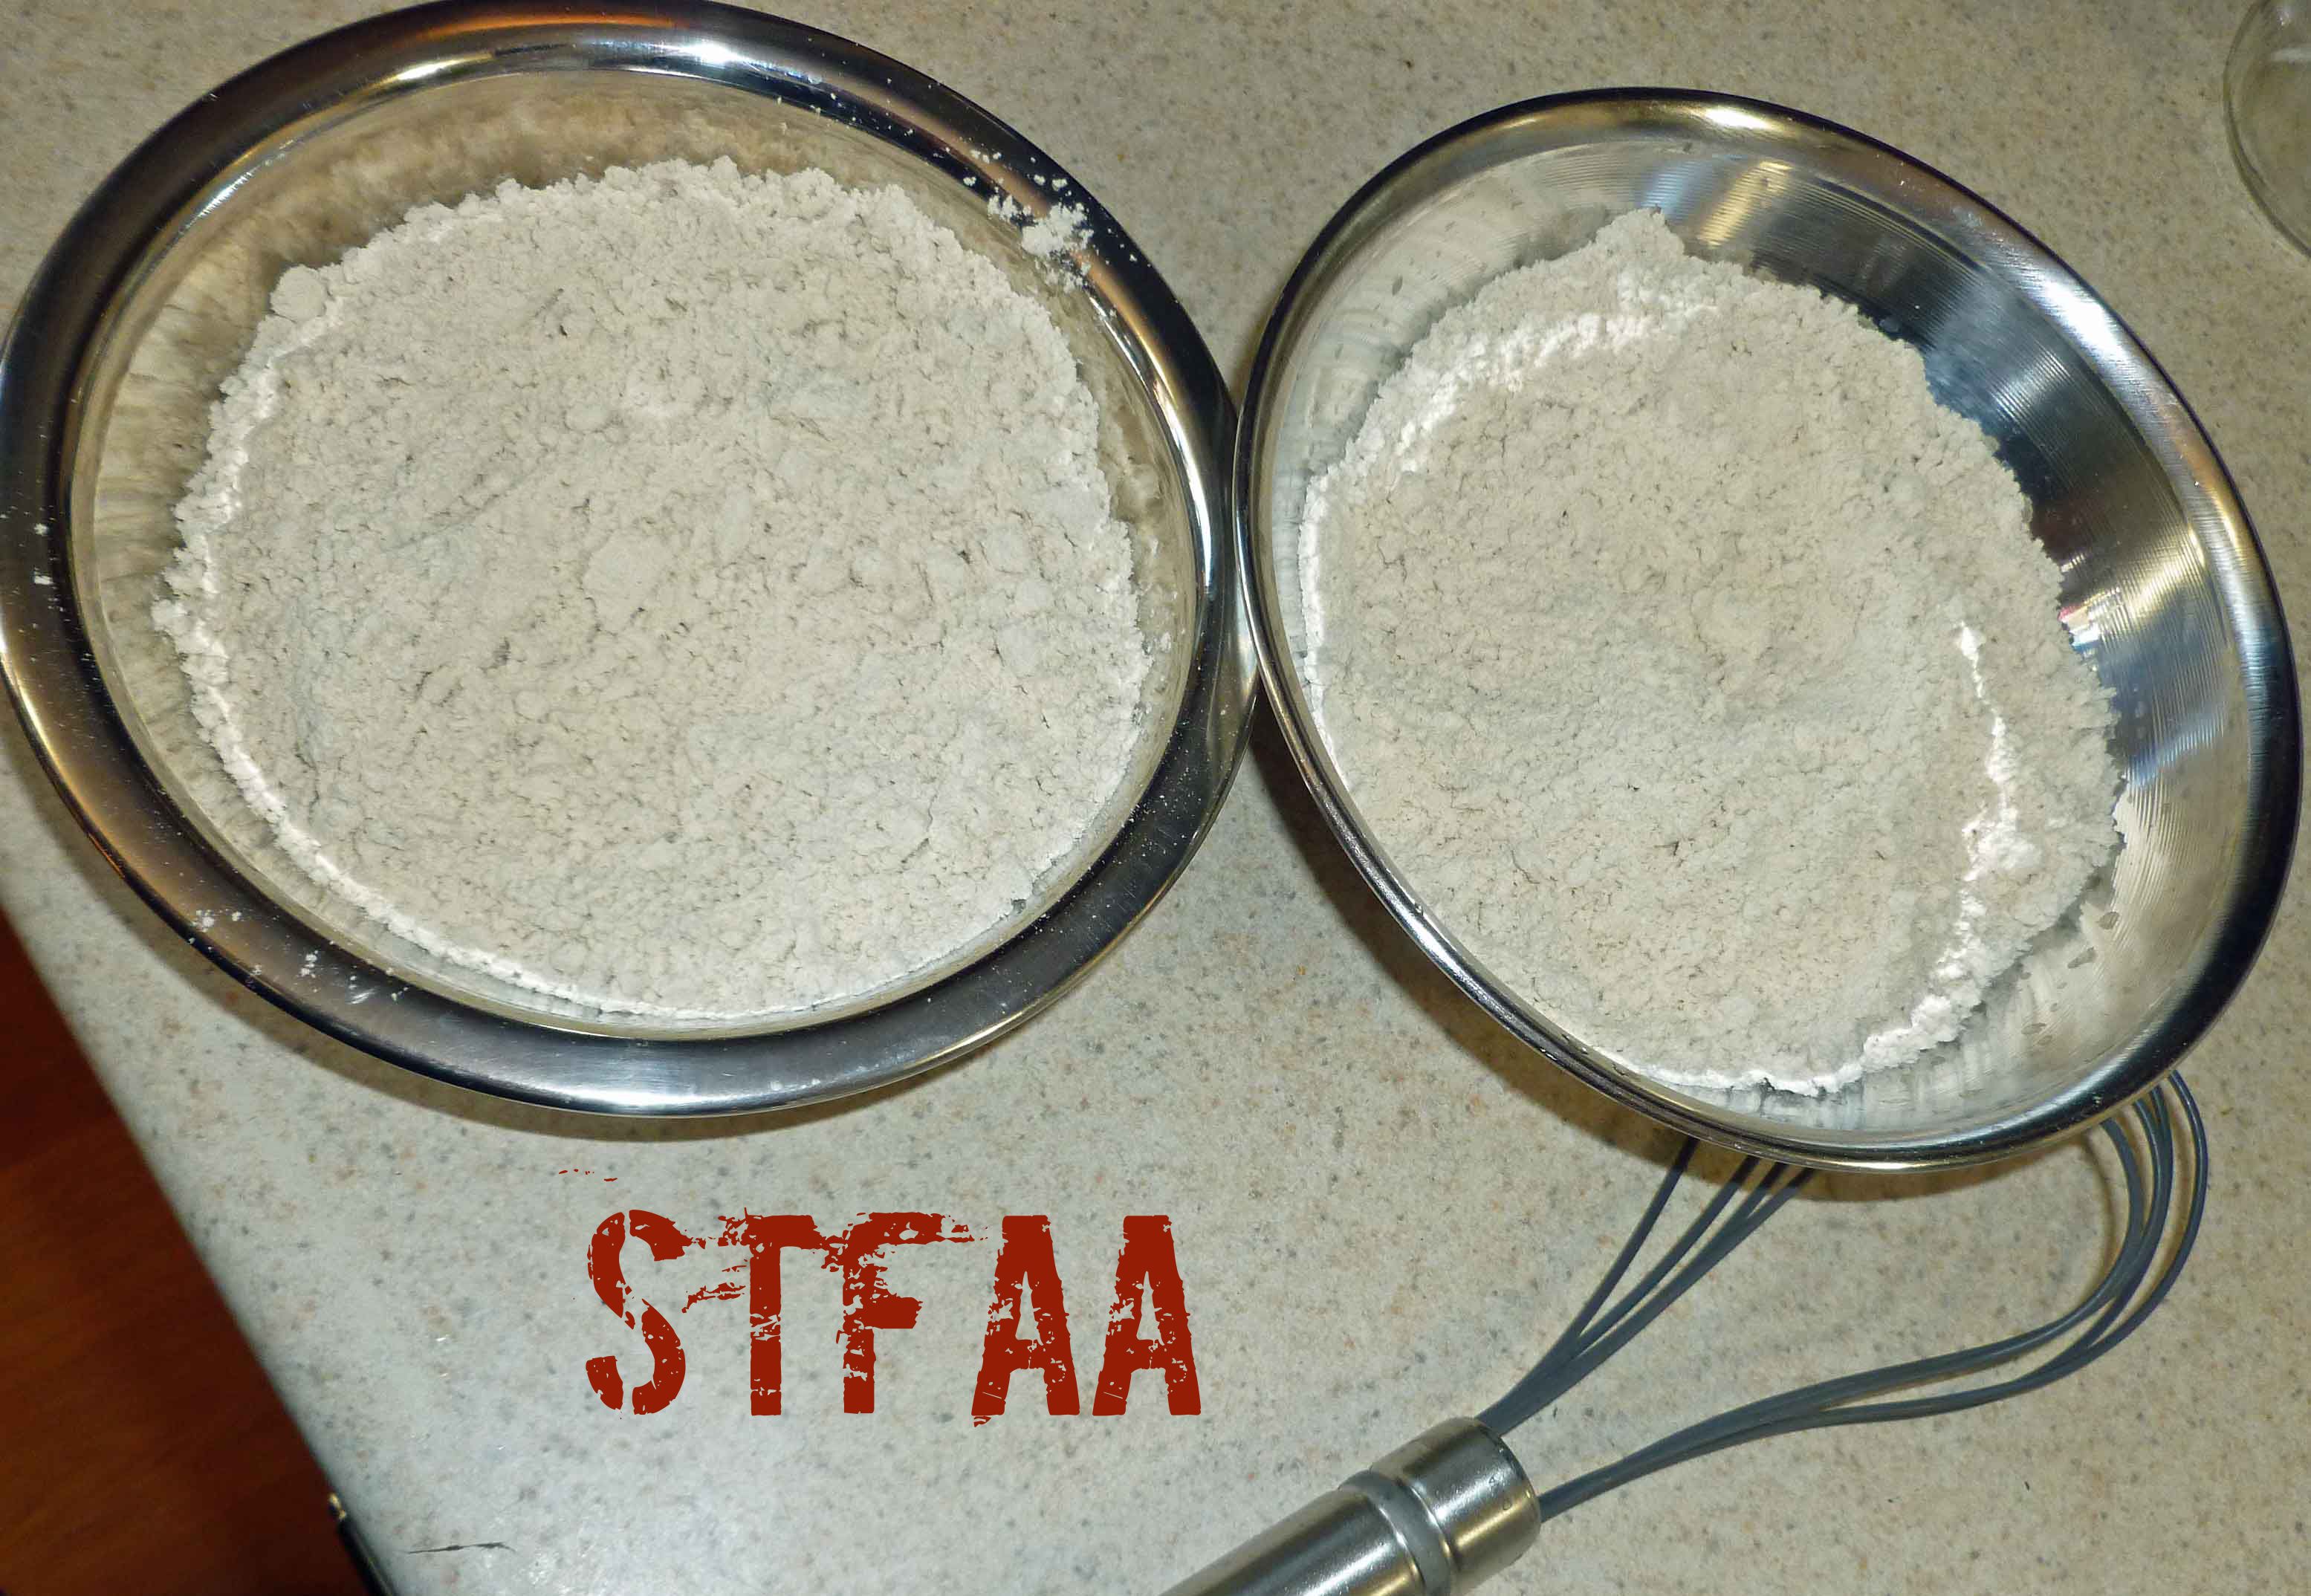
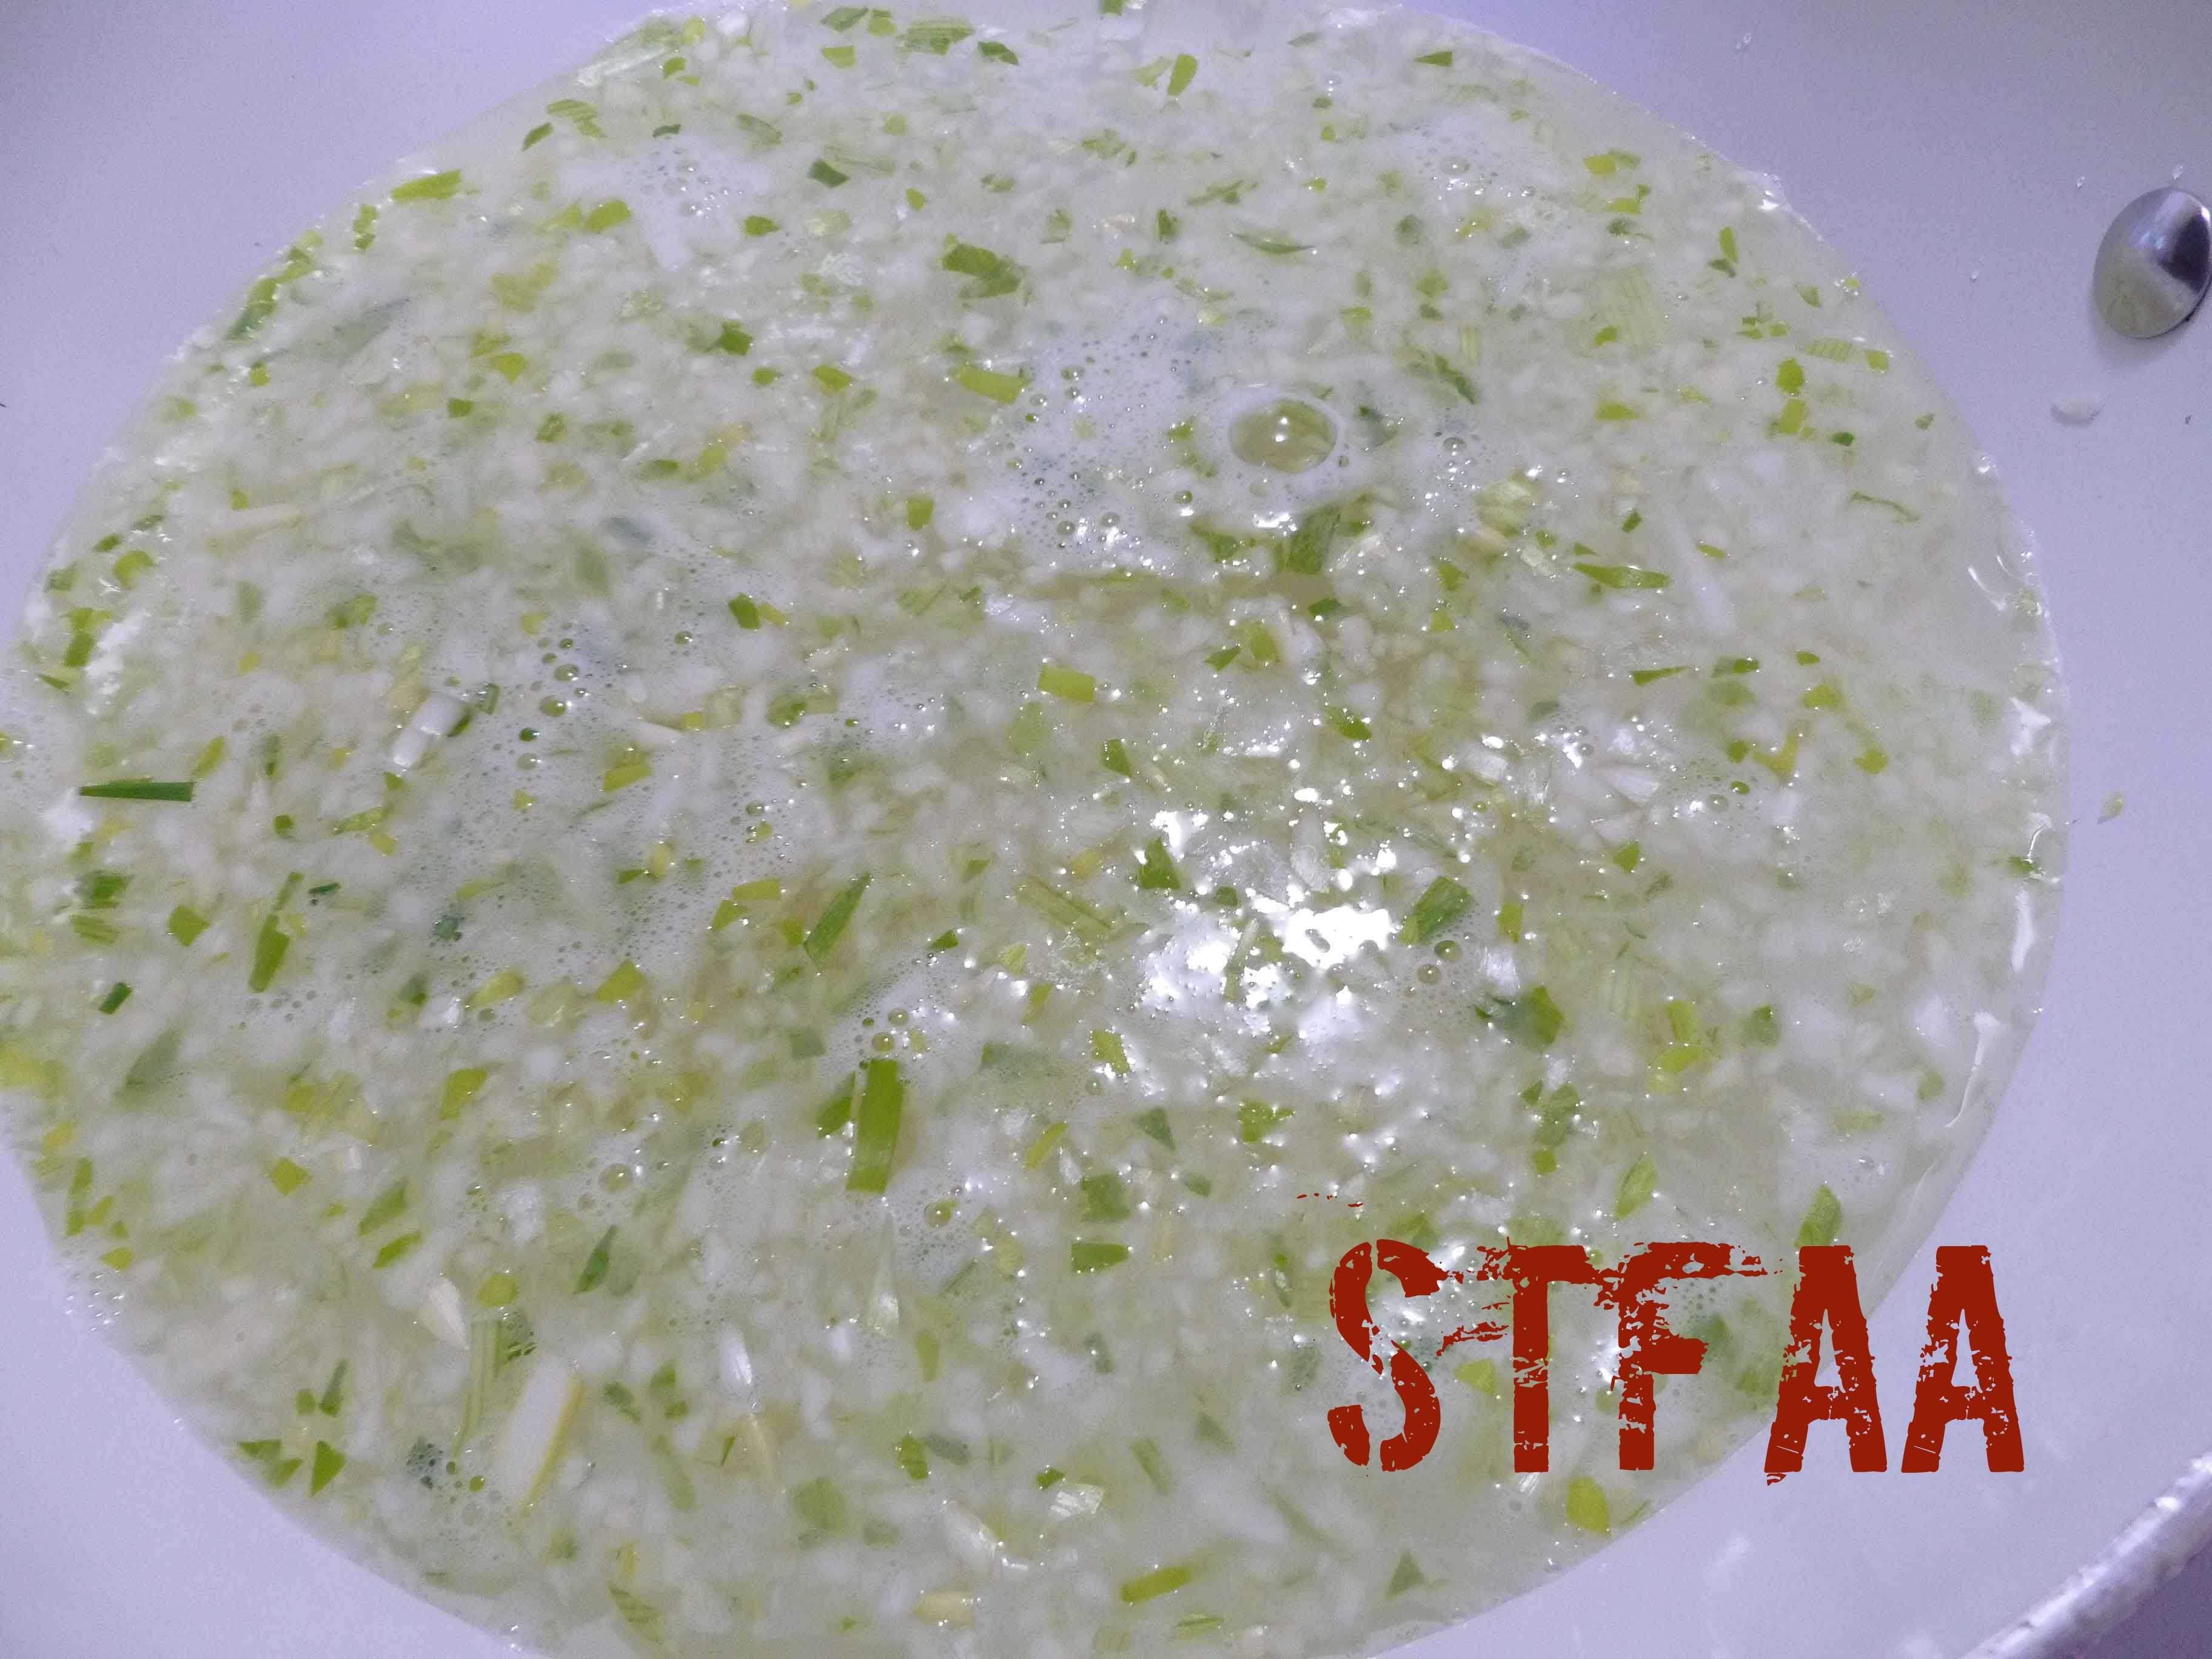
    2. Add all the dry ingredients to a large bowl and whisk together until well combined. In another bowl, add all the wet ingredients and whisk together until well combined.
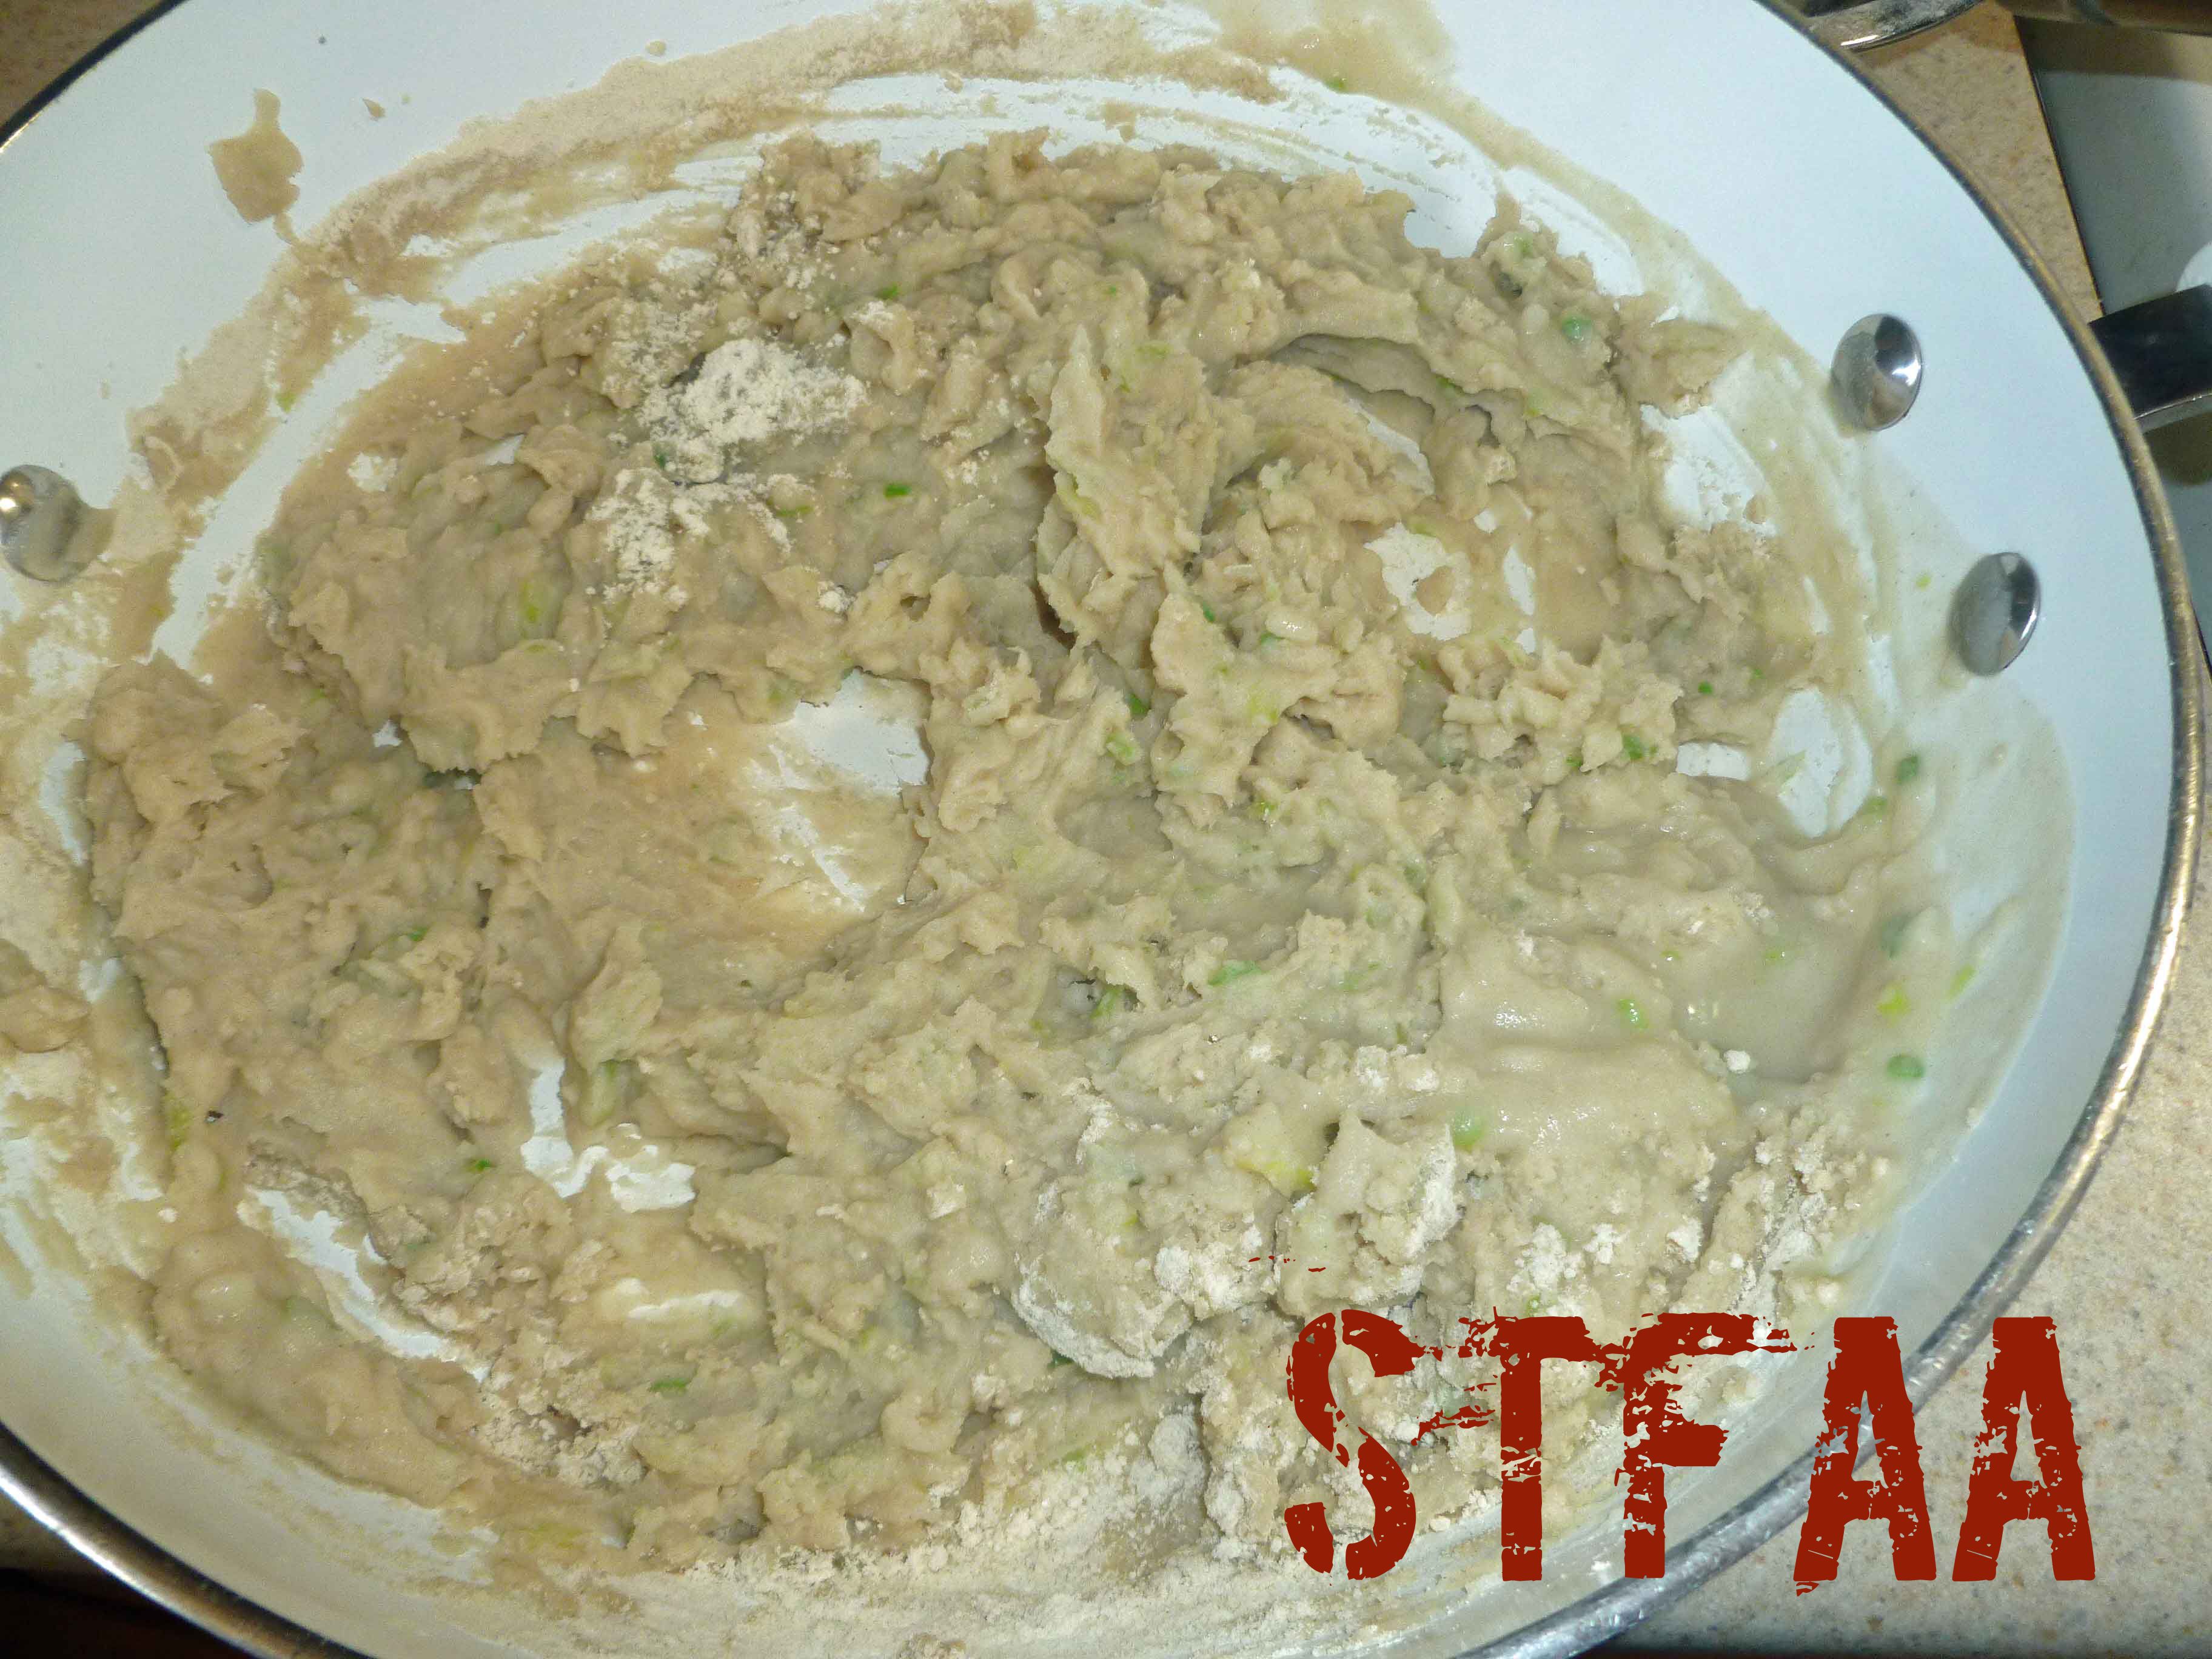
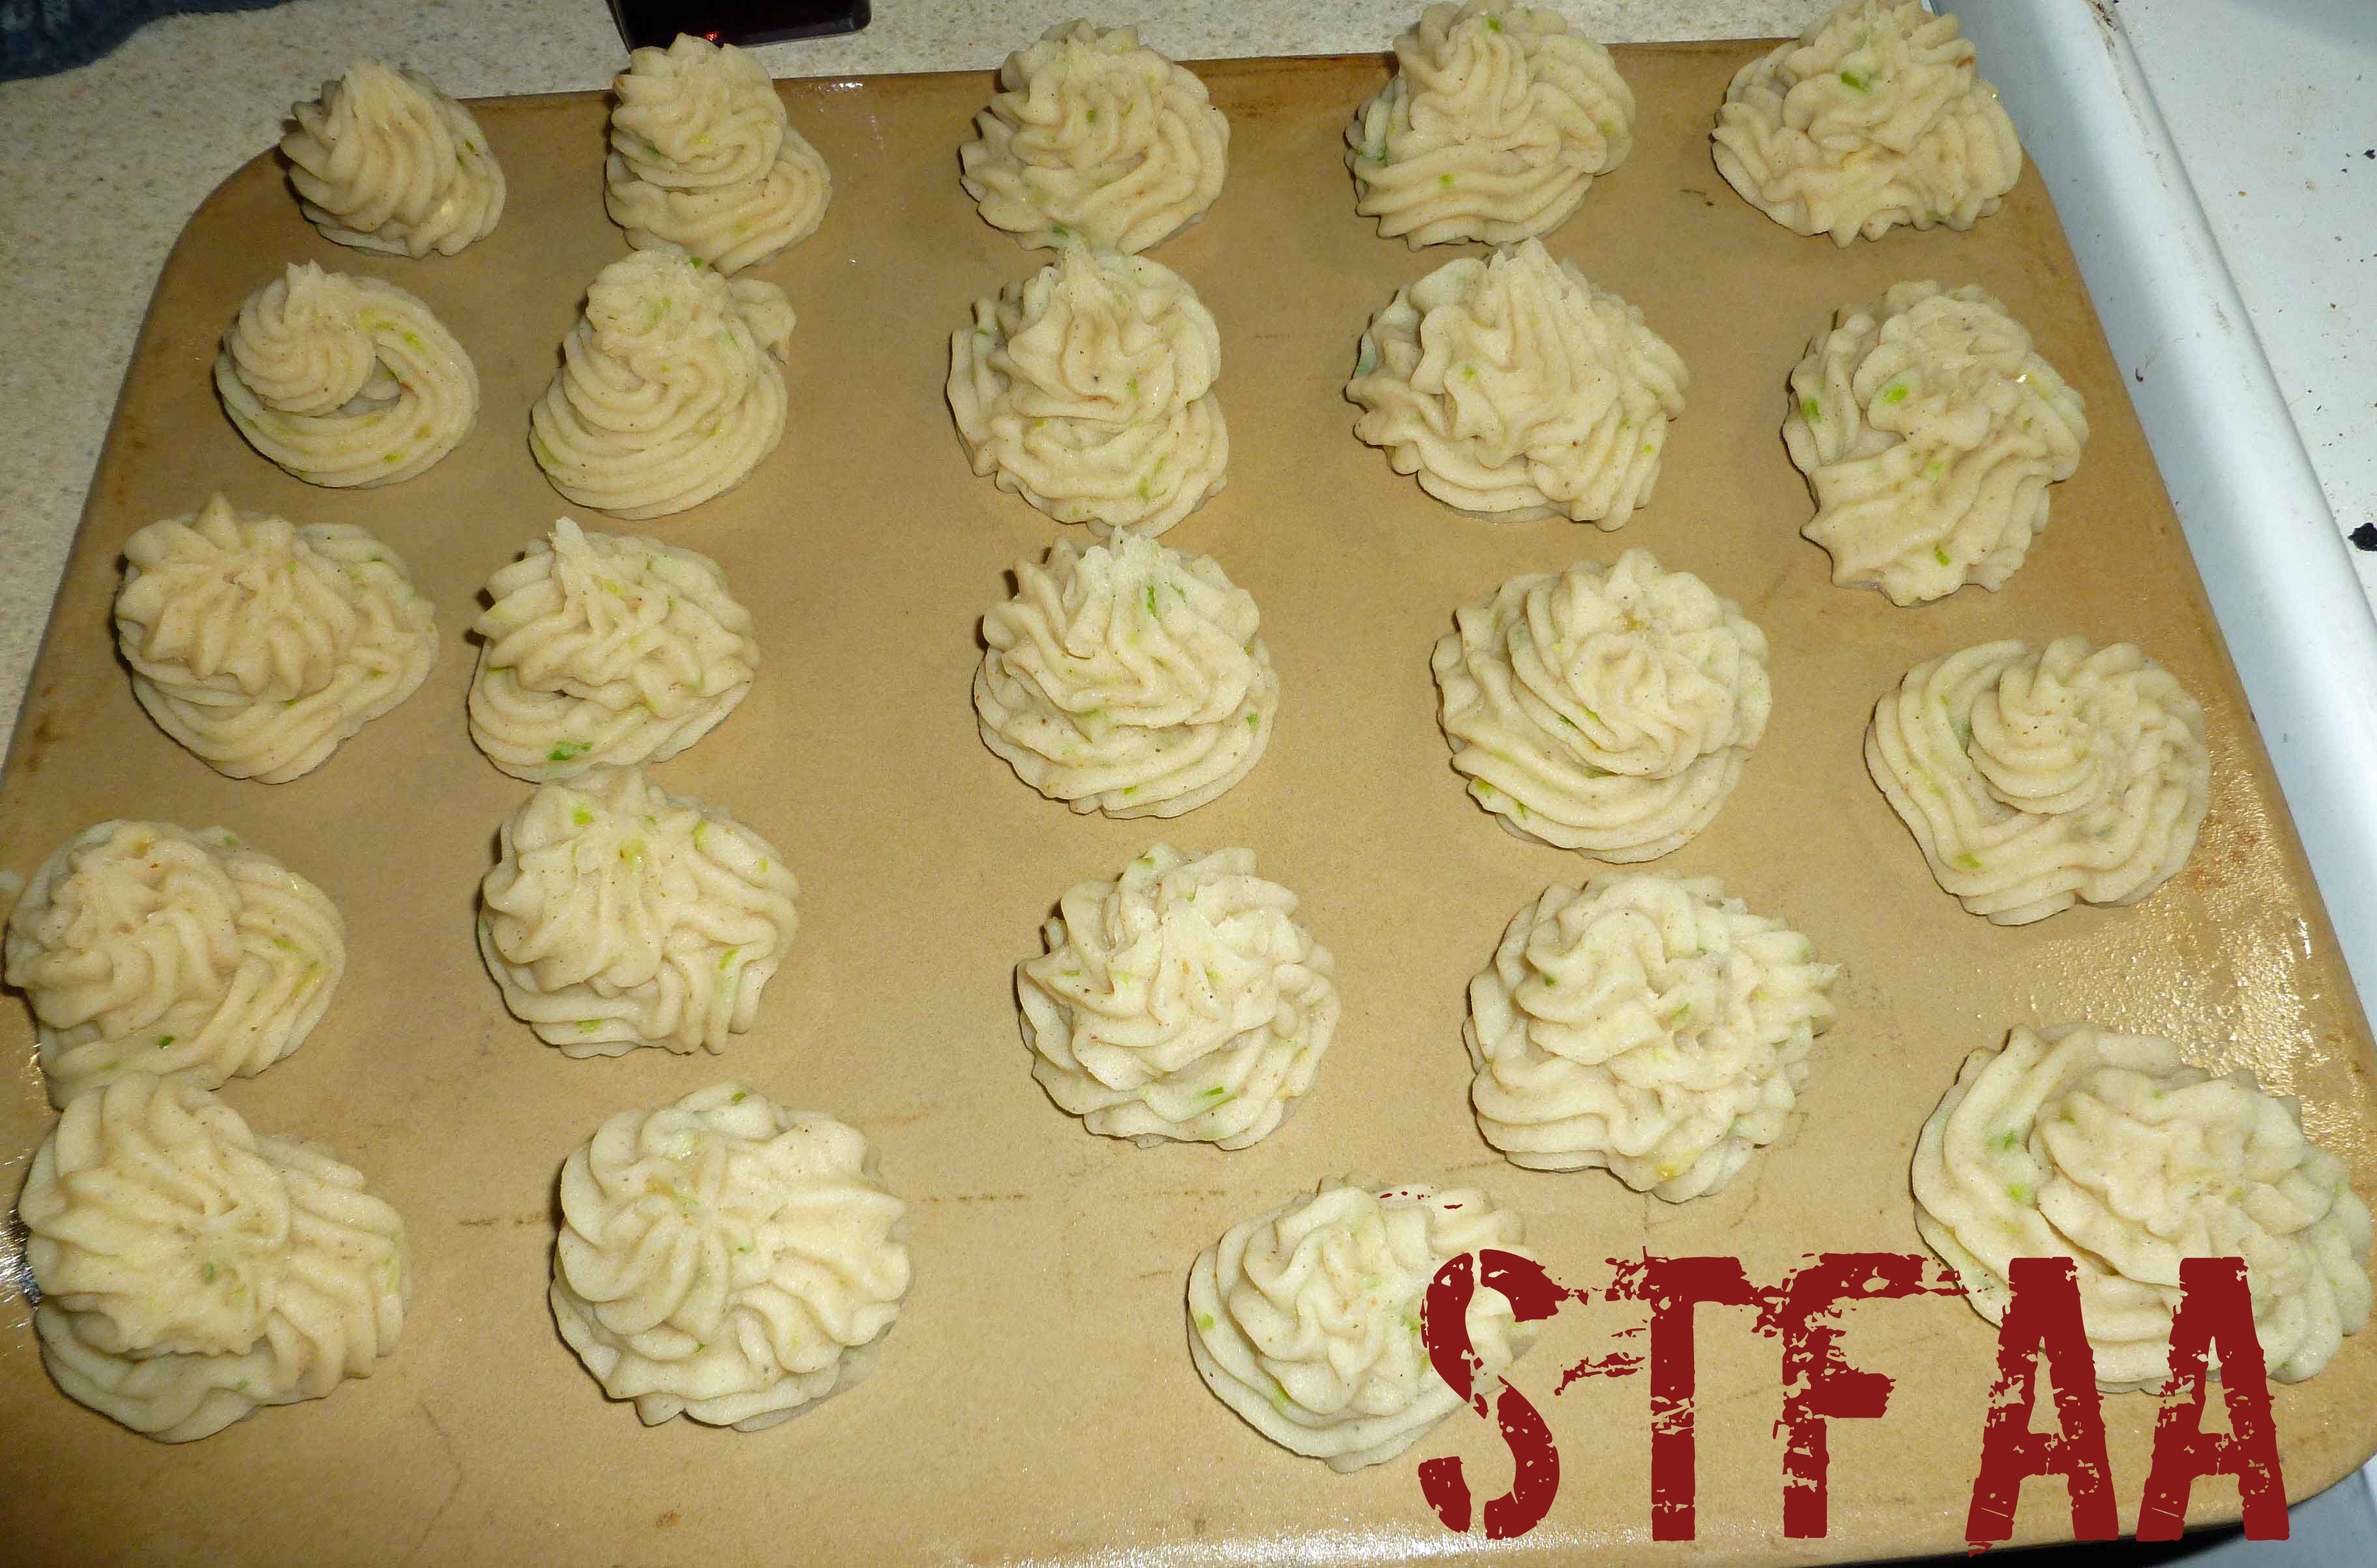
    3. Pour the wet ingredients into the dry ingredients, and using a fork or a wire whisk, blend the two about 20 seconds or so, do not over mix. Add the apples, and fold in gently, don’t over mix. Fill the muffin cups about two thirds to three quarts full.
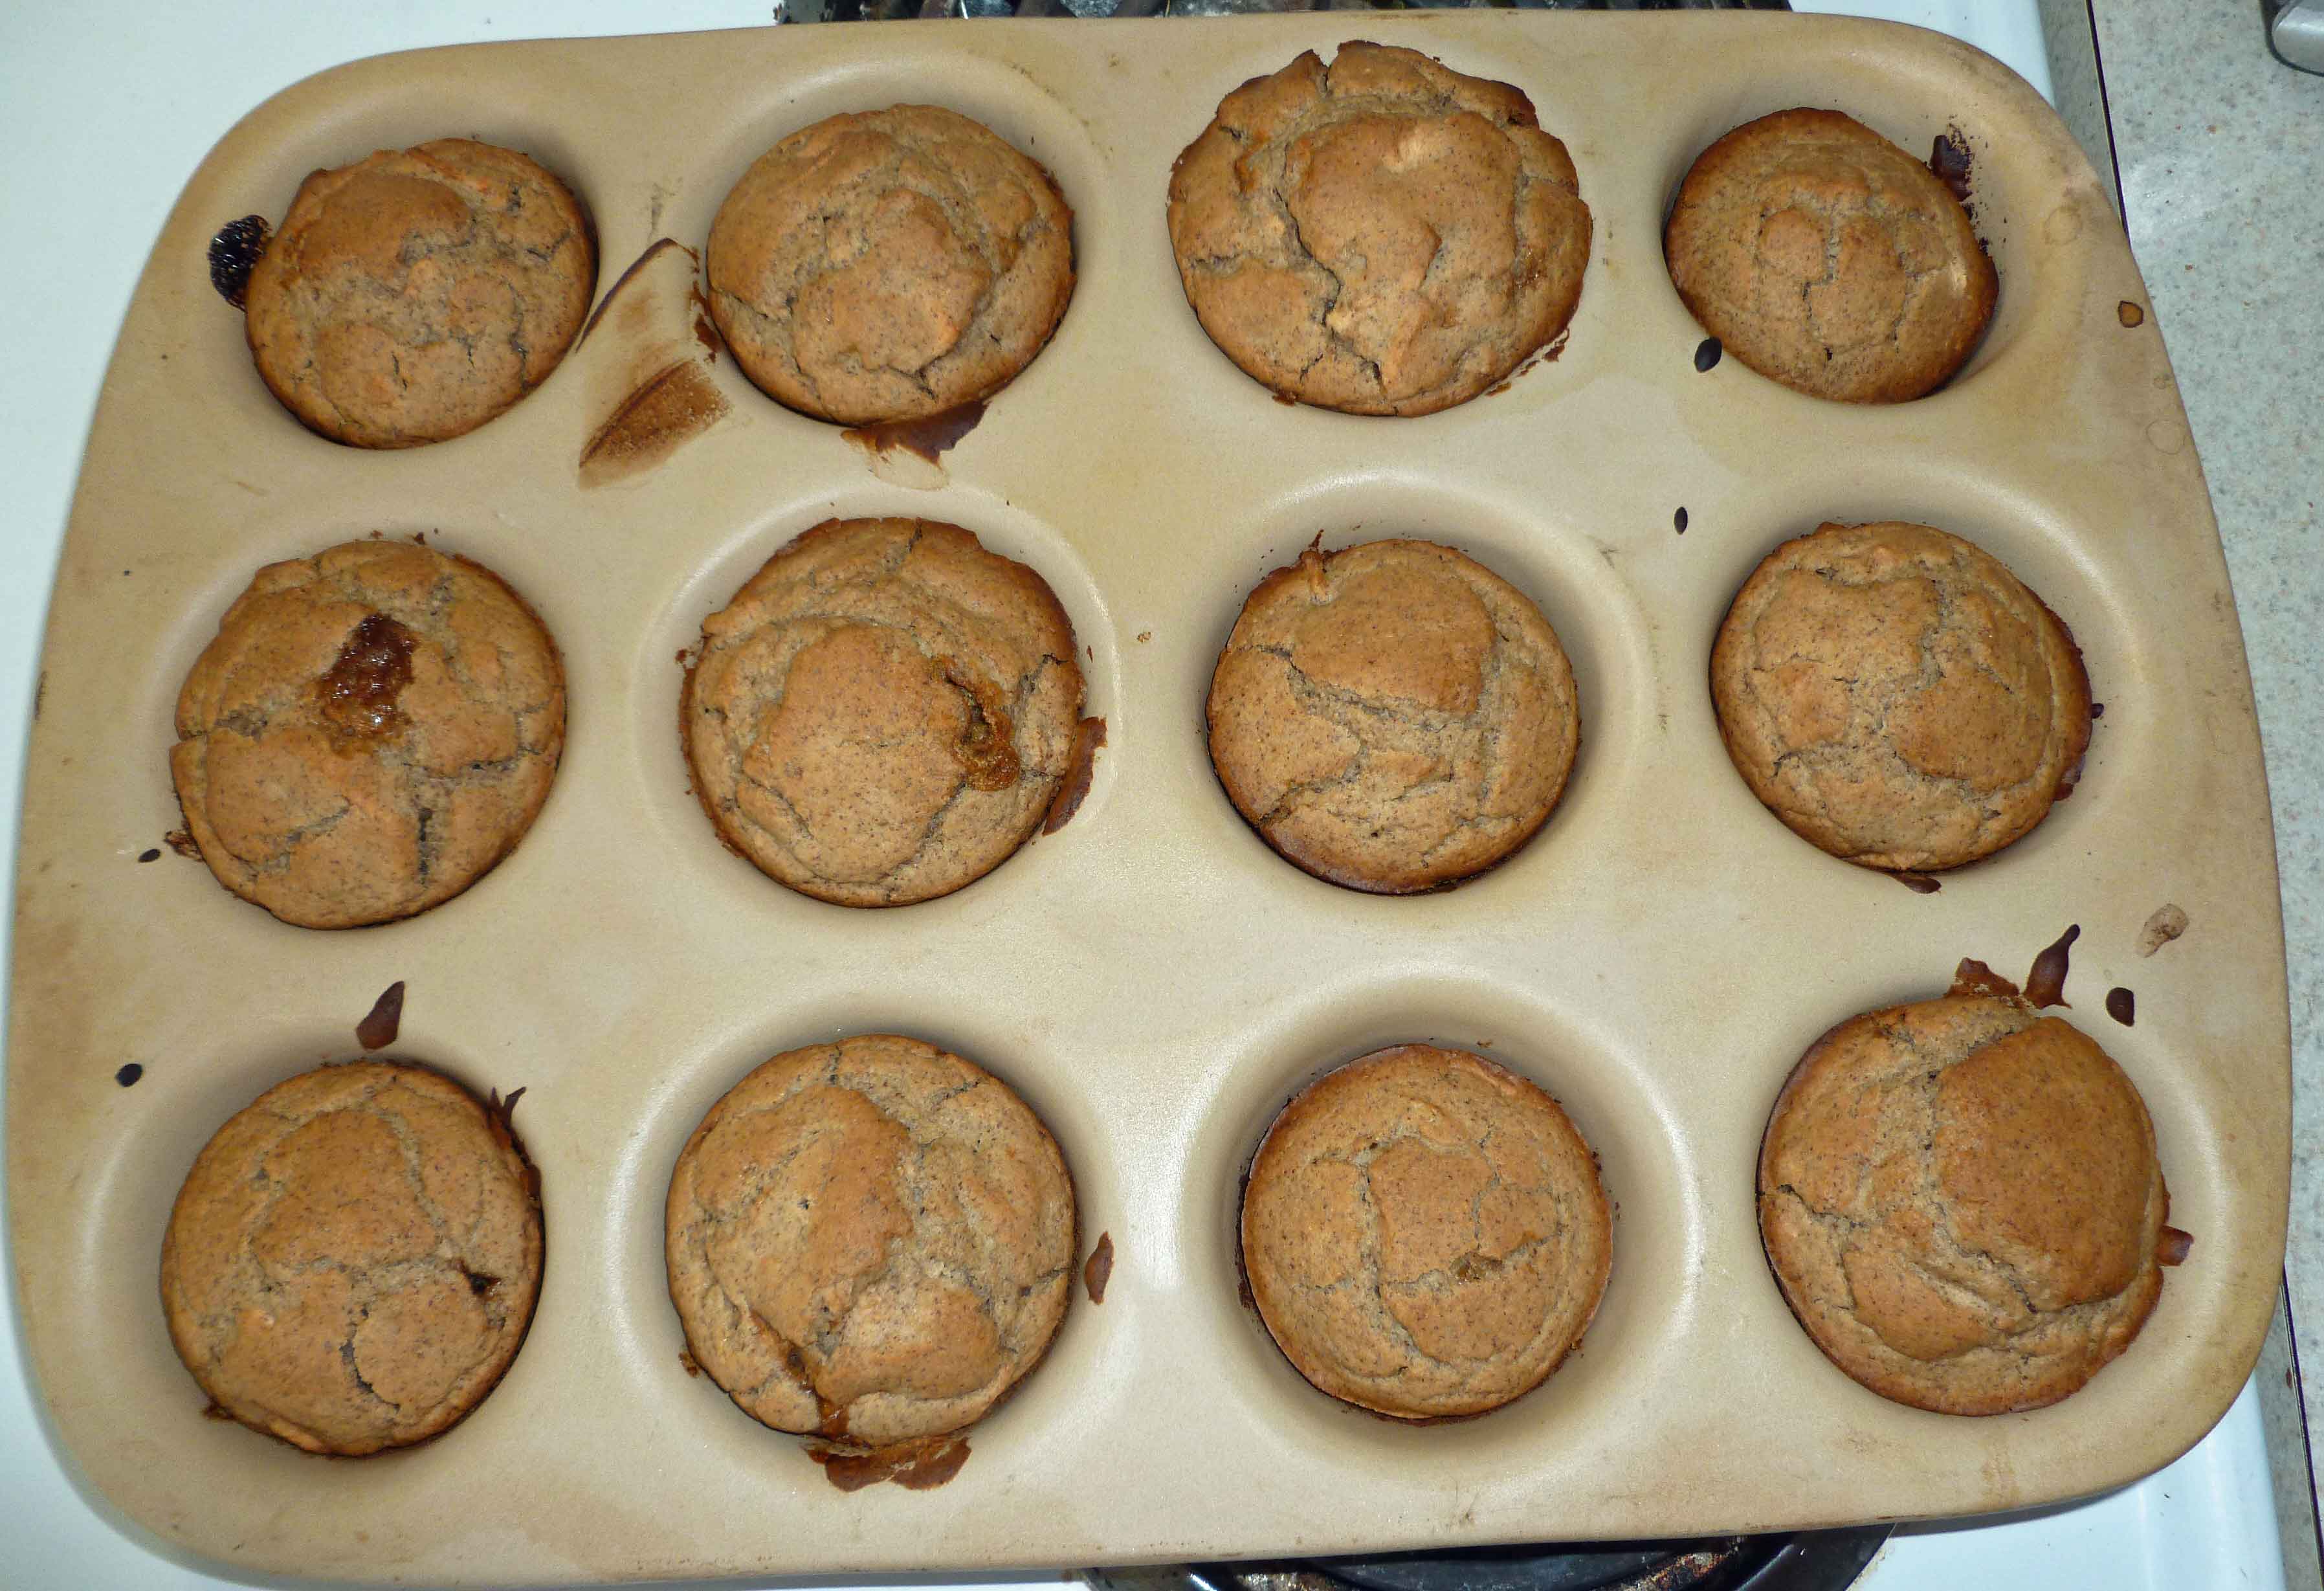
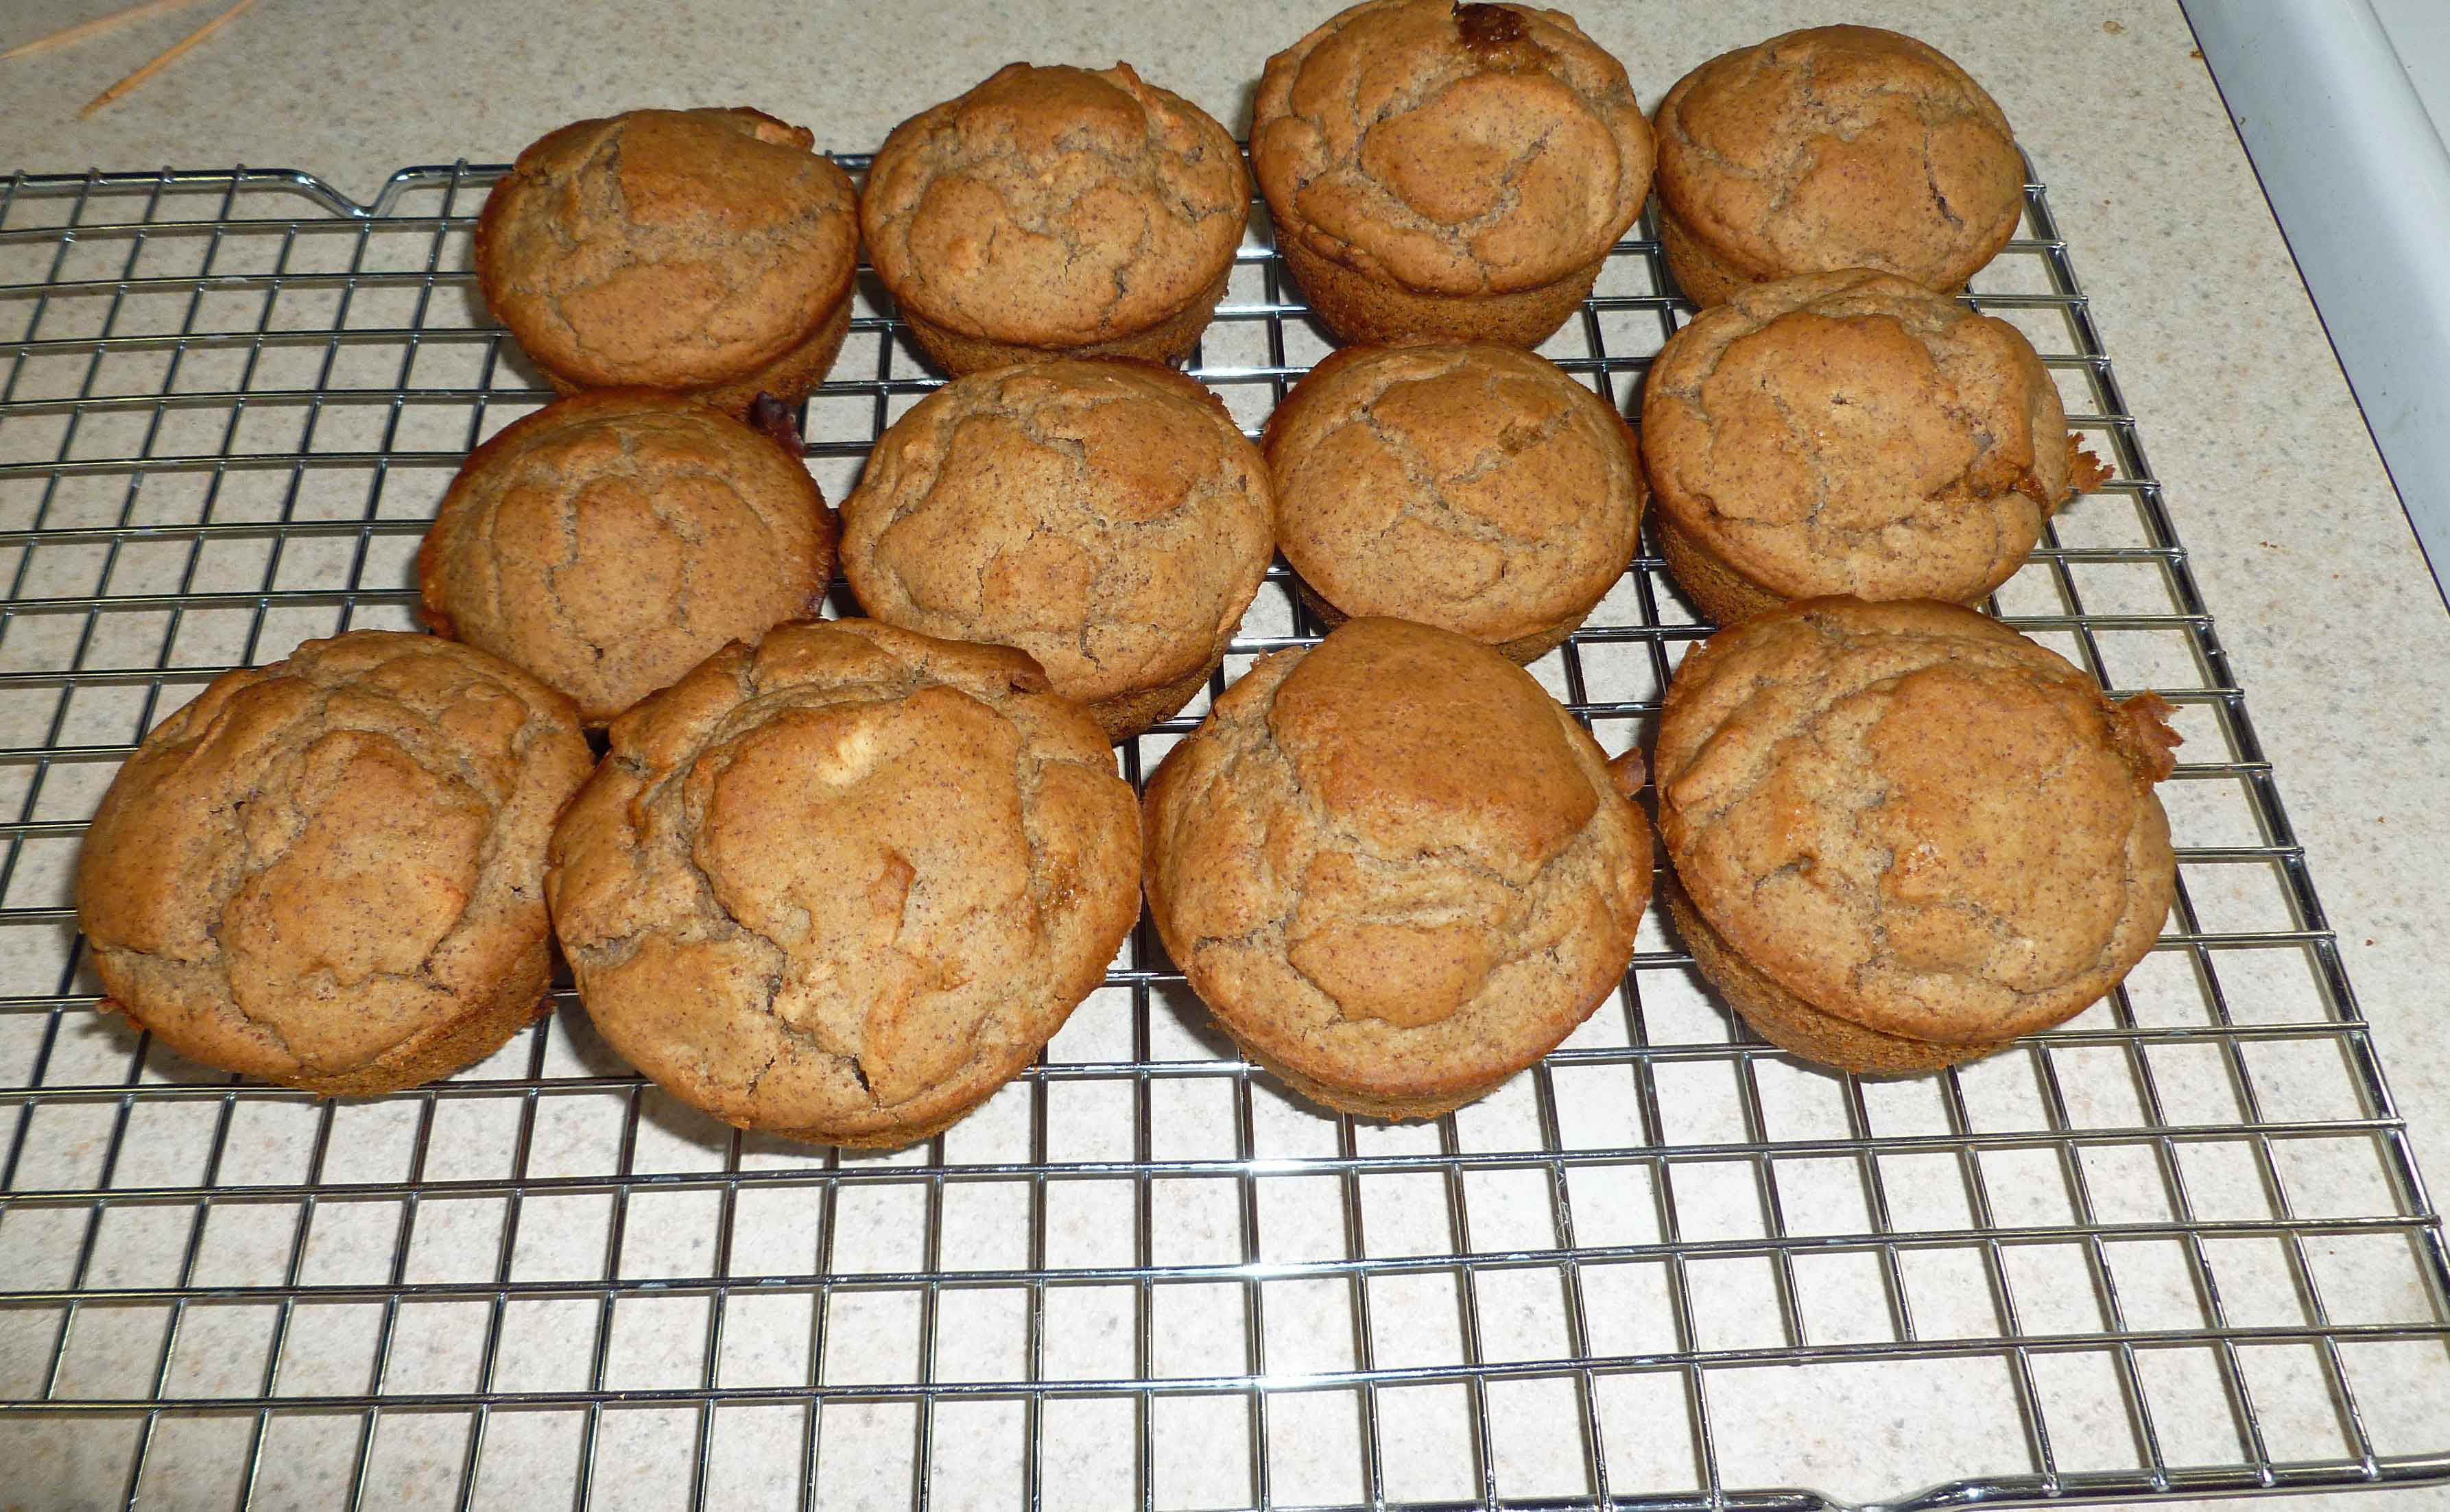
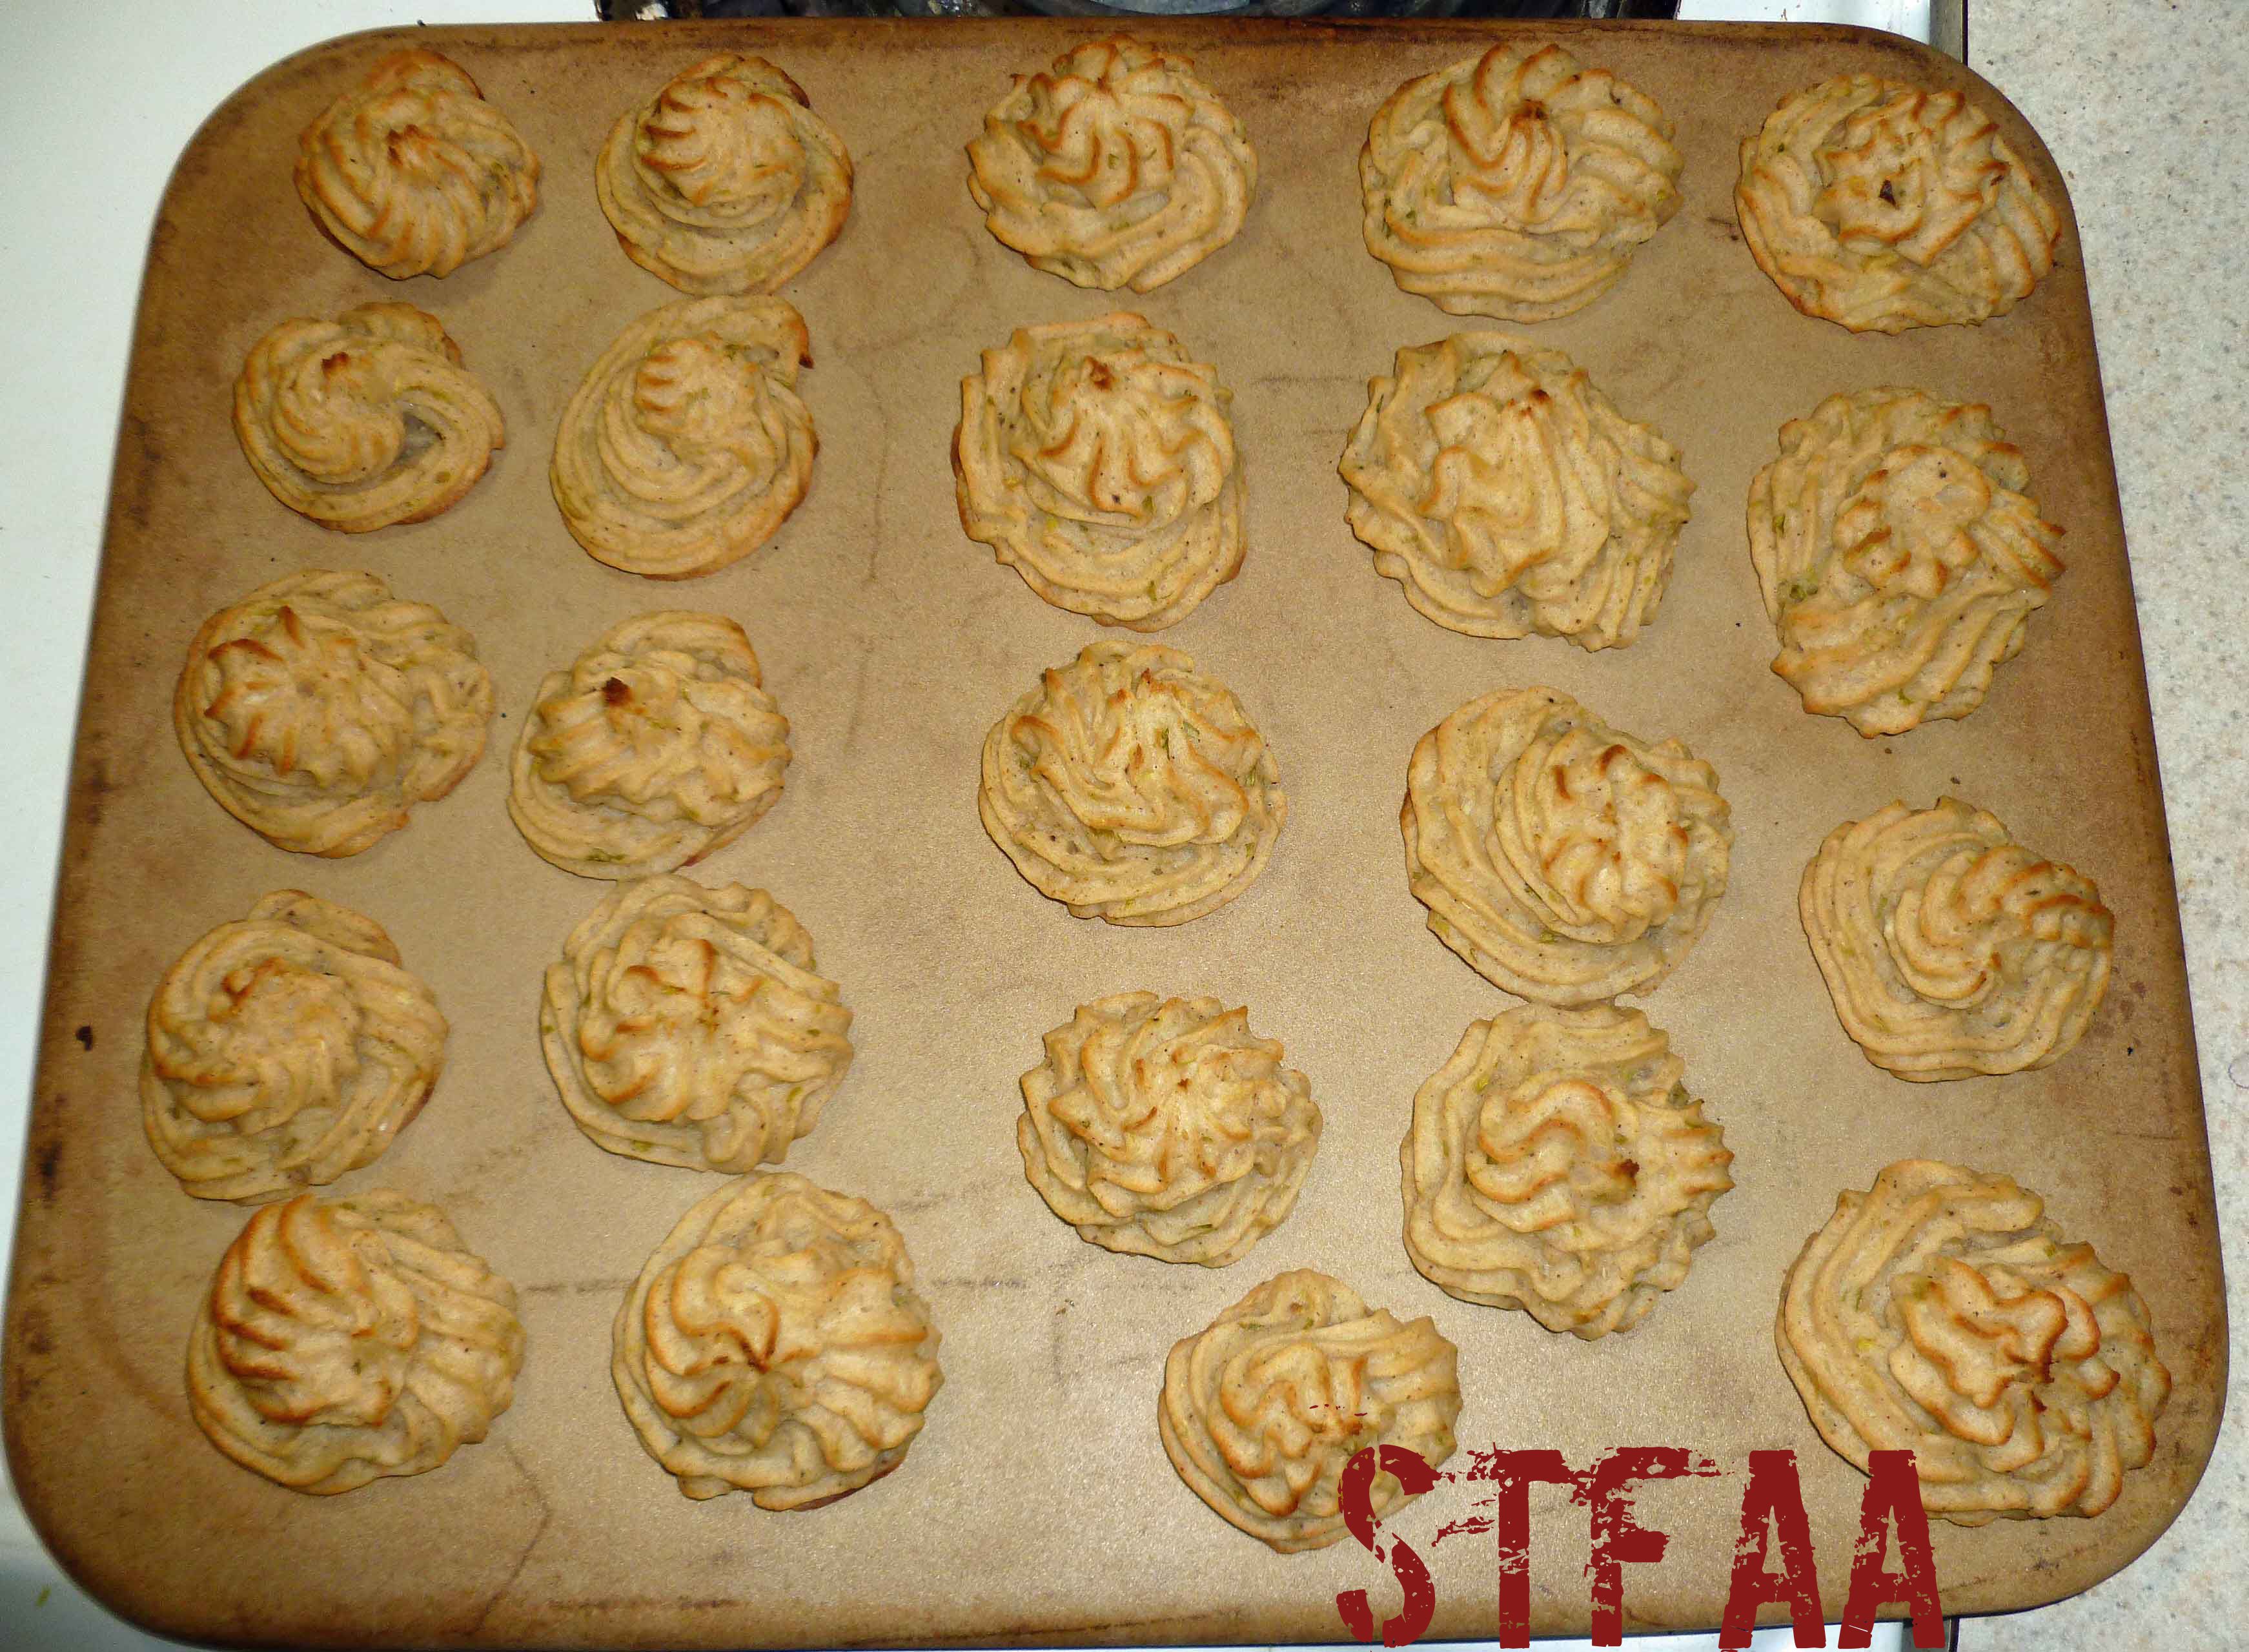
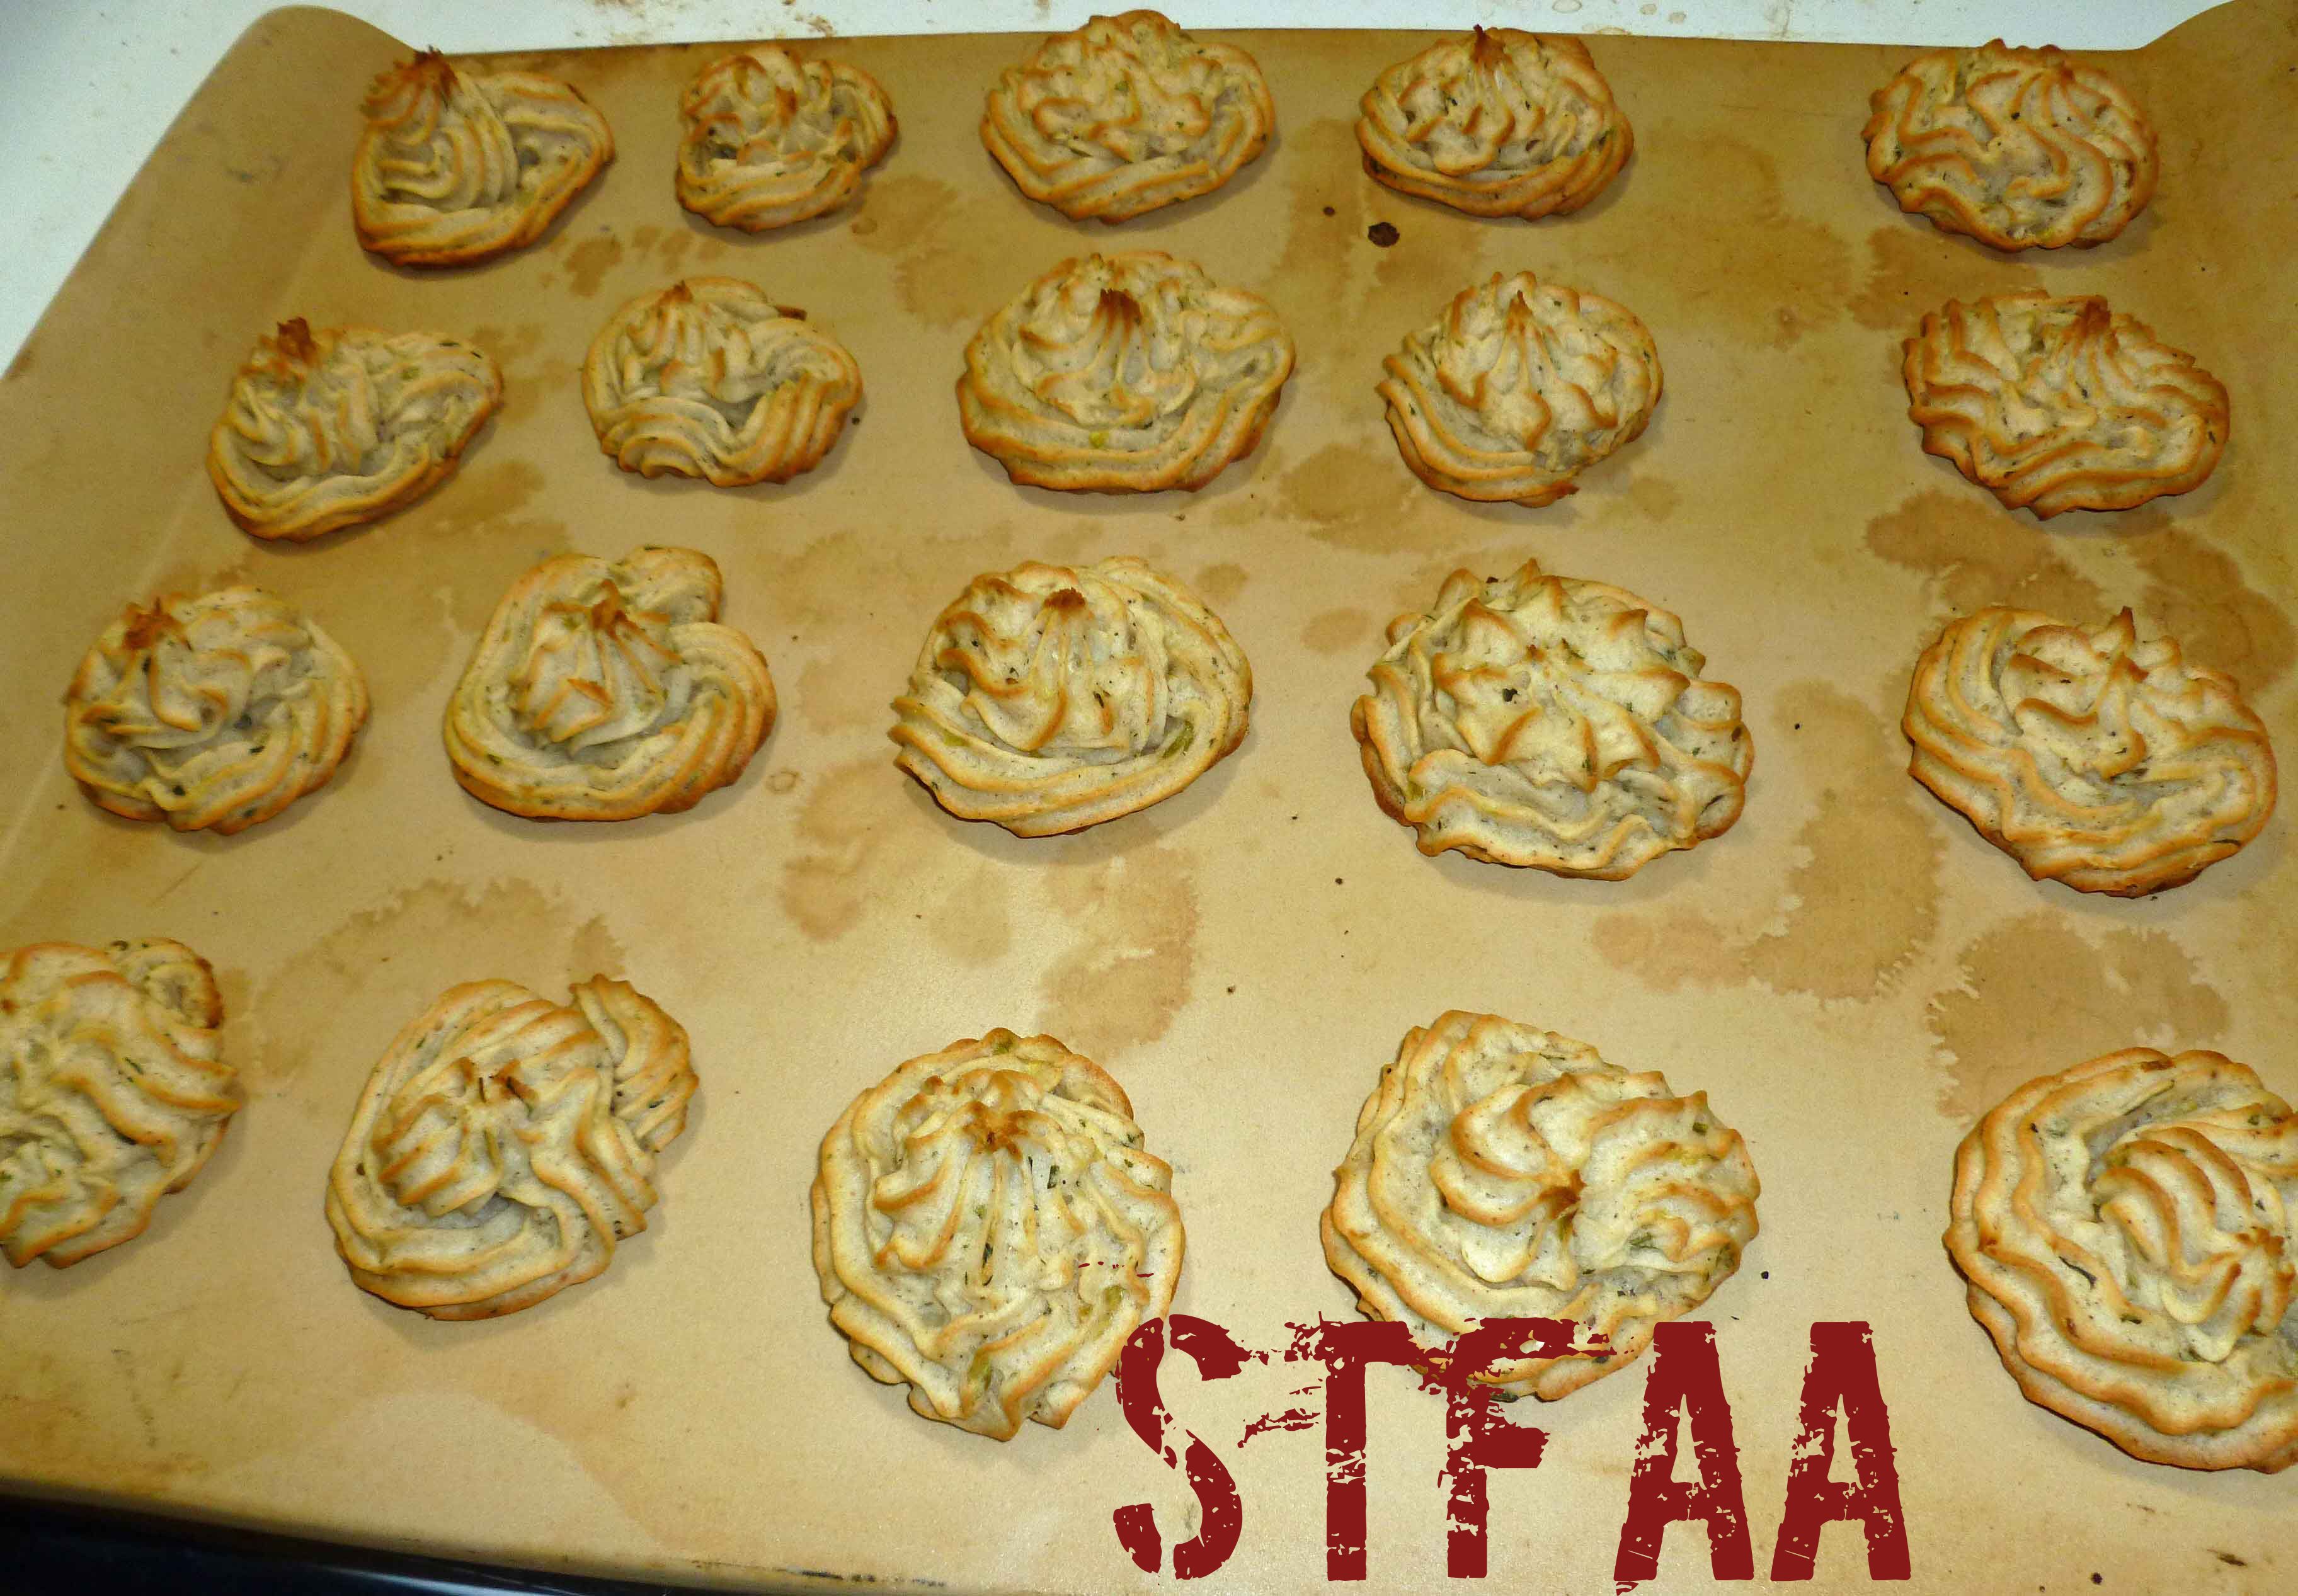
    4. Bake 20-30 minutes depending on your pan (metal needs less time, stoneware needs more) or until a toothpick inserted into the middle of one of the center muffins comes out clean. Remove them from the oven, and as soon as they are cool enough to handle, turn them out of the pan onto a rack to cool.
    Share this Recipe
    Powered byWP Ultimate Recipe
    Apple Cinnamon Muffins just out of the oven
    Apple Cinnamon Muffins just out of the oven
    Apple Cinnamon Muffins cooling on a rack
    Apple Cinnamon Muffins cooling on a rack
    Apple Cinnamon Muffins
    Apple Cinnamon Muffins

    Enjoy!

  • Eliza’s Breakfast Chili

    Eliza’s Breakfast Chili

    Breakfast Chili
    Breakfast Chili

    Welcome to BREAKFAST MONTH here at Surviving the Food Allergy Apocalypse. While Denise is generally up way before I am (and not just because she’s in a time zone that is three hours earlier), neither of us is big on cooking first thing in the morning. How do you cook before coffee? But we’re both big on eating first thing in the morning. Denise’s go-to is oatmeal. Mine is hash brown patties from the freezer, although when I find the time to make them, I love these Eat Your Veggies for Breakfast Patties). Most of the time, that’s fine, but I do occasionally get bored.

    This recipe was for Eliza, not from Eliza. One morning at work, while waiting for the coffee, she was considering whether or not to eat chili for breakfast, and we wondered why there wasn’t a thing that actually was breakfast chili. I spent the next three weeks thinking about it, and then I had to make breakfast chili. And it was good.

    This recipe uses ground pork, seasoned with molasses, garlic, onion, and fennel for a sausage-esque flavor. The chili part comes from ancho chili powder, tomatoes, and beans — though you could skip the beans if they aren’t your thing. I do highly suggest that you find plain chili powder. I guess that most people don’t know that “chili powder” is actually a blend of spices that usually includes onion, garlic, and oregano — ancho chili powder is just the chilis, which gives you more latitude on other seasonings. You can order if from Penzey’s if you can’t get it locally.

    I highly suggest serving this with hash browns if you’re like me. Toast would also work if you have some. Toppings could include the typical chili things — I think avocado would be particularly nice, though I haven’t tried it. It doesn’t NEED anything else, but feel free.


    Notice: Trying to access array offset on value of type bool in /home/maryzahc/public_html/adultfoodallergies.com/wp-content/plugins/wp-ultimate-recipe/helpers/models/recipe.php on line 254
    Eliza’s Breakfast Chili
    Print Recipe
    Servings
    6 servings
    Servings
    6 servings
    Eliza’s Breakfast Chili
    Print Recipe
    Servings
    6 servings
    Servings
    6 servings
    Ingredients
    • 1 large sweet onion chopped, about 2 cups
    • 1 lb ground pork
    • 2 teaspoon garlic minced (about 1 medium clove)
    • 4 oz can of green chiles
    • 2 teaspoons ancho chili powder NOT regular chili powder!
    • 1 teaspoon cinnamon
    • 1/4 teaspoon fennel seeds, crushed with mortar and pestle or flat side of large knive
    • 1 Tablespoon molasses
    • 15 oz can of diced tomatoes
    • 1.5-2 lb sweet potatoes, cubed
    • 1/4 cup water
    • 1 can white beans if desired
    • 1 handful spinach per serving if desired
    Servings: servings
    Instructions
    1. Over medium heat, add onions to a large pan. If the pan is non-stick, don’t add any oil. If it isn’t non-stick, either add a bit of the pork or a bit of oil. Stir well and sautee for 2-3 minutes to get the onions started cooking.
    2. Add pork and stir frequently to break up the meat.
    3. When the pork is mostly cooked (there is little to no pink left, add the rest of the ingredients in the order listed, from garlic through the beans, if you’re using them. Don’t add the spinach. Stir well after each addition, and the cover until the pot begins to simmer.
    4. When your chili is simmering, turn the heat down to low and cook, covered but stirring regularly, until the sweet potato cubes are cooked. Depending on the size of your cubes, you’re looking at 20-45 minutes.
    5. For serving, I originally conceptualized this to be served with hashbrown patties, but I threw it over spinach to add more vegetables to the dish. Avocado on top would also be great. It’s your breakfast — top it up your way.
    Recipe Notes

    Peel the sweet potatoes if you want — I didn’t, as I like the texture of the peel.

    Share this Recipe
     
    Powered byWP Ultimate Recipe
  • Stuffed Potatoes (Papas Rellenas inspired)

    Stuffed Potatoes (Papas Rellenas inspired)

    Stuffed Potatoes (Papas Rellenas inspired)
    Stuffed Potatoes (Papas Rellenas inspired)

    It’s the last recipe day of our potato themed month. And once again, I’m ignoring Irish cuisine despite my intent. I’ve taken inspiration from a Puerto Rican version of Papas Rellenas, but modified it to be safe for me, and cheated a bit by using salsa and taco seasoning for the ground beef mixture. But it still tastes really good. I’ve used my home canned salsa, but you can pick and choose your own salsa if you have a safe one you can purchase. I’ve also used my own home mixed taco seasoning, but again if you have a safe commercial one, have at it.

    The potato mixture should be dough like. If you have to add a bit more tapioca starch to get there, add another tablespoon or two if necessary. Make sure that the potato balls are really sealed, if not, they will open when deep frying and make a good bit of mess in the oil (ask me how I know). Also, I think they would be really good pan fried if you want to flatten them a bit, and skip the deep frying. If you would like to make them vegan, you could use a can of pinto beans or black beans instead of the ground beef, which would work just as well and be just as yummy.

    Stuffed Potatoes (Papas Rellenas inspired)
    Stuffed Potatoes (Papas Rellenas inspired)
    Print Recipe
    A comfort food you can deep fry or pan fry. If you wish to make this vegetarian or vegan, use a can of pinto beans or black beans in place of the beef.
    Servings Prep Time
    4 people 1 hour
    Cook Time
    5 minutes
    Servings Prep Time
    4 people 1 hour
    Cook Time
    5 minutes
    Stuffed Potatoes (Papas Rellenas inspired)
    Stuffed Potatoes (Papas Rellenas inspired)
    Print Recipe
    A comfort food you can deep fry or pan fry. If you wish to make this vegetarian or vegan, use a can of pinto beans or black beans in place of the beef.
    Servings Prep Time
    4 people 1 hour
    Cook Time
    5 minutes
    Servings Prep Time
    4 people 1 hour
    Cook Time
    5 minutes
    Ingredients
    Potato Mixture
    • 2 pounds russet potatoes washed, peeled and cubed
    • 3 Tablespoons tapioca starch
    • 3 Tablespoons aquafaba (see http://aquafaba.com/)
    • 1/2 teaspoon sea salt
    Beef Mixture
    • 1/2 pound ground beef or use one can of drained and rinsed pinto or black beans
    • 1/2 cup salsa (I used my homemade canned salsa)
    • 1 Tablespoon taco seasoning (see spice mix in our post on Taco Beef for Tacos, Salads, and Nachos) http://adultfoodallergies.com/taco-beef-for-tacos-salads-and-nachos/)
    Frying Ingredients
    • 1/2 cup tapioca starch to be used for flouring your hands while forming balls
    • oil for frying
    • stainless steel pot or skillet
    • thermometer
    Servings: people
    Instructions
    Potato Mixture
    1. Place potatoes in a pot of lightly salted water. Cover the pot, bring to a boil, then reduce heat to a simmer for 15-20 minutes, or until potatoes are soft. Or use your Instant Pot to cook them if you have one, using a trivet and a bowl or a steamer, adding a cup of water, and cooking on high pressure for 9 minutes.
    2. Mix 3 tablespoons of tapioca starch, salt, and aquafaba in a small bowl and set aside.
    3. Drain potatoes. You can also mix ingredients together manually but I used a stand mixer. Add the potatoes and mash them a bit before using your mixer. Using your mixer and the beater blade, mix until smooth. Slowly add the tapioca starch, salt, and aquafaba mixture while mixing. Scrape down the bowl as needed and mix until well combined. Set aside
    Beef Mixture
    1. Brown ground beef in a skillet. When brown, drain fat, and then add the taco seasoning and salsa to the browned ground beef. Mix the ingredients well, simmering for a few minutes. Set aside.
    Forming and Frying Stuffed Potatoes
    1. Dust your hands in tapioca starch, and flatten about 1/2 cup of the potato mixture into a disk in the palm of your hand. Add a heaping tablespoon of the beef mixture into the center of the disk, and bring the edges of the potato around the beef mixture. Seal the edges and roll into a smooth ball. Repeat until all the potato mixture has been used, making sure to keep your hands dusted in tapioca starch. Make sure that you seal them very well, if the seams open, it will be very messy.
    2. Heat oil to 375°F and deep fry the potato balls about 5 minutes, turning as needed until golden brown. You could also flatten them a bit and pan fry them.
    Share this Recipe
    Powered byWP Ultimate Recipe
    Potatoes after quick mashing before mixing
    Potatoes after quick mashing before mixing
    Tapioca starch and aquafaba mixture
    Tapioca starch and aquafaba mixture
    Completed potato mixture
    Completed potato mixture
    My homemade salsa (ta da, haha!)
    My homemade salsa (ta da, haha!)
    Completed beef mixture
    Completed beef mixture
    Forming potato balls
    Forming potato balls
    Forming potato balls
    Forming potato balls
    Forming potato balls
    Forming potato balls
    Completed potato balls
    Completed potato balls
    Frying the stuffed potatoes
    Frying the stuffed potatoes
    Stuffed potatoes after frying
    Stuffed potatoes after frying
    Stuffed Potatoes (Papas Rellenas inspired)
    Stuffed Potatoes (Papas Rellenas inspired)

    These are great as an appetizer, as a snack or as bar food.  You could serve them with a hot sauce spiked mayo, a mojo de ajo sauce, or a chili sauce. Enjoy!

  • Stir-fried Potatoes with pork and cabbage

    Stir-fried Potatoes with pork and cabbage

    Stir-fried Potatoes with pork and cabbage

    This recipe is very loosely inspired by northern Chinese Hunan province recipes for spicy potatoes. I think it was end of winter, but I just wanted hot potatoes and cabbage with pork, and this dish definitely fit the bill.

    Finding the right meat was harder than I thought it would be — pork was the proper meat for the taste I was going for, but it does need to be a fatty cut. At one of our local grocers, I can get what I call “not bacon” because it looks just like bacon but isn’t. Side pork is the right cut for bacon, but this is unprocessed. It’s just the meat before it is seasoned and brined and aged or smoked or whatever you do for bacon (This. This is how you make bacon.) This cut is fatty, chewy, and with the added saltiness from tamari (the naturally gluten-free soy sauce) or amino acids, it is the perfect contrast to crunchy cabbage and creamy potatoes. Adjust the amount of pepper to suit your tastes, but go as spicy as you’ll eat it, as that’s kind of the point of the dishes that inspired this one. 1 teaspoon is about right for us.


    Notice: Trying to access array offset on value of type bool in /home/maryzahc/public_html/adultfoodallergies.com/wp-content/plugins/wp-ultimate-recipe/helpers/models/recipe.php on line 254
    Stir-fried Potatoes with pork and cabbage
    Print Recipe
    Servings
    3 people
    Servings
    3 people
    Stir-fried Potatoes with pork and cabbage
    Print Recipe
    Servings
    3 people
    Servings
    3 people
    Ingredients
    • .5 lb. thin-sliced side pork cut into chunks
    • 1 lb. marble potatoes or larger potatoes cut into 1/4 inch dice
    • 3 cups chopped napa or Chinese cabbage
    • 1 bunch scallions chopped, white and greens separated
    • 1 teaspoon tamari or amino acids
    • 1 teaspoon red pepper flakes (or less if you would like it to be not spicy)
    • 1 Tablespoon oil may not need this
    Servings: people
    Instructions
    1. The meat in this dish is not-bacon. What I mean is that it’s side pork, and where I buy it, it comes sliced like bacon, but it hasn’t been processed into bacon. It’s just thin fatty pork, and that’s what you want for this dish. You’ll use the rendered fat, but the remaining pork is a bit chewy and wonderful.
    2. Pre-cook your potatoes. I did this in the microwave, cooking them on high until they were fork-tender, about 8 minutes. You can also boil and drain them. Be cautious and undercook them slightly if you’re using larger cubed potatoes, as you don’t want them to fall apart as you fry them.
    3. Chop your meat into small bite-sized pieces and cook over medium heat in a skillet or wok. When it is almost done, add the tamari and pepper flakes and stir well.
    4. Remove cooked meat from pan to a paper towel-lined plate to drain. Leave the fat in the pan. If needed, add up to another tablespoon of oil to make about 2 Tablespoons total of oil.
    5. Add potatoes to oil — be careful, as they are wet and will splatter a bit if you’re not careful. Stir well and then cook until they brown, 10-15 minutes.
    6. Add cabbage and scallion whites and cook until cabbage starts to wilt.
    7. Add the pork back, along with the scallion tops, and stir until everything is good and hot.
    8. Serve with additional hot sauce if desired.
    Share this Recipe
     
    Powered byWP Ultimate Recipe
  • Samosa Spiced Potato Puffs

    Samosa Spiced Potato Puffs

    Samosa Spiced Potato Puffs
    Samosa Spiced Potato Puffs

    When I suggested to MaryKate when we were planning our theme months for the year (yes, we know we’re crazy) that we should do potatoes for March, I was kinda thinking potatoes fit with March because of St. Patrick’s Day. Somehow, instead of an Irish themed dish, I’ve managed to come up with an Indian inspired one instead.

    This recipe’s got a lot of fiddly bits, but they would be nice as appetizers for a party, or as a side dish for dinner party if you’re trying to be all fancy. And they’re quite yummy.

    Samosa Spiced Potato Puffs
    Samosa Spiced Potato Puffs
    Print Recipe
    Great as an appetizer or a side for a nice dinner party.
    Servings Prep Time
    24-30 puffs 35 minutes
    Cook Time
    45 minutes
    Servings Prep Time
    24-30 puffs 35 minutes
    Cook Time
    45 minutes
    Samosa Spiced Potato Puffs
    Samosa Spiced Potato Puffs
    Print Recipe
    Great as an appetizer or a side for a nice dinner party.
    Servings Prep Time
    24-30 puffs 35 minutes
    Cook Time
    45 minutes
    Servings Prep Time
    24-30 puffs 35 minutes
    Cook Time
    45 minutes
    Ingredients
    • 2 pounds russet potatoes peeled and cut into large pieces
    • 1 jalepeno or other hot green chile seeded and destemmed
    • 1 teaspoon fresh ginger finely grated
    • 3 scallions trimmed
    • 1 clove garlic
    • 2 Tablespoons olive oil (or other safe for you oil) and some extra to grease baking sheet
    • 1 Tablespoon lemon juice (I use fresh squeezed)
    • 2 Tablespoons aquafaba (see http://aquafaba.com/)
    • 1 teaspoon sea salt
    • 1 teaspoon coriander, dried or fresh cilantro (optional, if fresh, chop finely)
    • 1 teaspoon garam masala
    • 1/2 teaspoon ground cumin
    Servings: puffs
    Instructions
    1. Place potatoes in a pot of lightly salted water. Cover the pot, bring to a boil, then reduce heat to a simmer for 15-20 minutes, or until potatoes are soft. Or use your Instant Pot to cook them if you have one, using a trivet and a bowl or a steamer, adding a cup of water, and cooking on high pressure for 9 minutes.
    2. Preheat oven to 400°F. Chop scallions, garlic, and jalapeno pepper very finely. I used a Pampered Chef Manual food processor, but you can use a knife.
    3. You can also mix ingredients together manually but I used a stand mixer. Add all ingredients except the potatoes to the mixer bowl, and stir to combine well. Add the potatoes and mash them a bit before using your mixer. Using your mixer and the beater blade, mix until well combined and smooth.
    4. Grease a baking sheet. Spoon the potato mixture into to a pastry bag or a decorator set fitted with a large star shaped tip, and pipe the potato mixture into puffs on the baking sheet. You could also use a tablespoon or cookie scoop. Bake until golden, about 35 minutes on metal cooking sheets and 45 minutes on stoneware.
    Share this Recipe
    Powered byWP Ultimate Recipe
    Scallions, garlic and jalapeno chopped finely
    Scallions, garlic and jalapeno chopped finely
    All ingredients except potato combined well in mixer bowl
    All ingredients except potato combined well in mixer bowl
    Potatoes mashed
    Potatoes mashed
    Potatoes mixed with other ingredients in stand mixer
    Potatoes mixed with other ingredients in stand mixer
    Completed Potato Mixture
    Completed Potato Mixture
    Piping potato puffs onto baking sheet
    Piping potato puffs onto baking sheet
    Samosa Spiced Potato Puffs before baking
    Samosa Spiced Potato Puffs before baking
    Samosa Spiced Potato Puffs after baking
    Samosa Spiced Potato Puffs after baking
    Samosa Spiced Potato Puffs after baking
    Samosa Spiced Potato Puffs after baking
    Samosa Spiced Potato Puffs
    Samosa Spiced Potato Puffs
  • Potato Corn Chowder

    Potato Corn Chowder

    Potato Corn Chowder
    Potato Corn Chowder

    We are definitely experiencing soup weather here in Seattle. I keep making the mistake of looking at the high temperature for the day and dressing as though it wouldn’t be cold and damp somehow. Seattle is more prone to wild swings of weather than I expected (thundersnow, anyone?), and I think soup weather might be around for a while. That works for me — soup is one of the easiest dishes to make ahead and eat all week. I have made a corn soup before, a brothy stew that capitalized on the end of summer fresh corn. This is an end-of-winter stew, hearty chowder, but using the breaking down potato starch and a can of creamed corn (which contains corn starch) to thicken up the soup and make it creamy.

    This soup is quick enough for a weeknight meal, but reheats amazingly well so it also makes good lunch leftovers. I’ve said the recipe makes 3 servings, as that seems to be how it works out for us, but if you’re lighter eaters, or if this is an appetizer or side, it might make 4.


    Notice: Trying to access array offset on value of type bool in /home/maryzahc/public_html/adultfoodallergies.com/wp-content/plugins/wp-ultimate-recipe/helpers/models/recipe.php on line 254
    Potato Corn Chowder
    Print Recipe
    An easy, creamy, dairy-free vegan chowder
    Servings Prep Time
    3 servings 10 minutes
    Cook Time Passive Time
    30 minutes 30 minutes
    Servings Prep Time
    3 servings 10 minutes
    Cook Time Passive Time
    30 minutes 30 minutes
    Potato Corn Chowder
    Print Recipe
    An easy, creamy, dairy-free vegan chowder
    Servings Prep Time
    3 servings 10 minutes
    Cook Time Passive Time
    30 minutes 30 minutes
    Servings Prep Time
    3 servings 10 minutes
    Cook Time Passive Time
    30 minutes 30 minutes
    Ingredients
    • 1 Tablespoon olive oil
    • 1 whole leek white and light green only
    • 4 cups red potatoes diced
    • 1 teaspoon dill
    • 1/2 teaspoon roasted garlic powder (or 1/4 teaspoon garlic powder)
    • 4 cups vegetable stock
    • 1 can (15oz) creamed corn
    • 1 cup corn fresh or frozen
    • scallion tops
    • freshly ground pepper
    Servings: servings
    Instructions
    1. Heat oil over medium heat in a large saucepan. When hot, add chopped leeks and sautee 5-10 minutes.
    2. Chop the potatoes unevenly. Cut about half of a cup of potatoes into a smaller dice so that they will start to break down by the time the larger potato cubes are cooked.
    3. Add potatoes and spices and stir well. Then add stock. Bring to a boil and then turn down to a simmer. Cook until potatoes are soft, and then another 5-10 minutes until the smaller ones start breaking down.
    4. Add the creamed corn and stir well. Then add the frozen or fresh corn. When the soup has returned to a boil, serve topped with scallion tops and pepper.
    Recipe Notes

    NOTE: In a pinch, you can replace the leek with the bottoms of the scallions with only a small difference in taste. I think the leek is a smoother taste, but the scallions were fine in a pinch. If you DO just use the tops, go ahead and regrow them by putting the root ends in a cup of water.

    Share this Recipe
     
    Powered byWP Ultimate Recipe
  • Garlic Double Header: Toum Sauce and Garlic Sorghum Flatbread

    Garlic Double Header: Toum Sauce and Garlic Sorghum Flatbread

    Toum Sauce & Garlic Sorghum Flatbread
    Toum Sauce & Garlic Sorghum Flatbread

    It’s our last garlic post of Keeping the Vampires Away month, so I decided to do a double header. And they actually go great together, although you’re going to have to make heroic efforts to get rid of the aroma once you’re finished eating. The great thing about these two recipes is that they use very few ingredients, which is fairly infrequent in allergy cooking.

    Toum Sauce (Lebanese Garlic Sauce)

    The toum sauce is pretty easy and the only ingredient that’s a bit out of the mainstream is the aquafaba which helps it emulsify easily. In researching recipes for toum sauce, some state that using extra virgin olive oil can result in the sauce having a bit of a bite and that grape seed oil doesn’t emulsify well. Since those are my only two safe oils, I chose extra virgin olive oil, and I didn’t mind a bit of a bite.  However, if you have a lighter safe oil, you might want to try it. It’s great to use on sandwiches, falafel, grilled foods, and flatbread. I even put it on salad.

    I didn’t want to make huge amounts so I used an immersion blender, but I think there is enough volume that you can try it in a regular blender as well. I also used the elephant garlic that MaryKate sent me from Seattle, but regular garlic will work.

    Toum Sauce (Lebanese Garlic Sauce)
    Toum (Lebanese Garlic Sauce)
    Print Recipe
    An allergy friendly version to use on shawarma, falafel, grilled foods, and flatbread. I even put it on salad.
    Servings Prep Time
    1 1/2 cups 15 minutes
    Servings Prep Time
    1 1/2 cups 15 minutes
    Ingredients
    • 6-8 cloves garlic (or 1 clove of elephant garlic)
    • 1 teaspoon salt
    • 2 Tablespoons aquafaba (see http://aquafaba.com/)
    • 1 Tablespoon water
    • 1 teaspoon lemon juice (I used freshly squeezed)
    • 1 cup olive oil
    Servings: cups
    Instructions
    1. Peel and trim ends of garlic cloves and roughly chop. Place in small container if using a stick blender or in the blender if using a regular blender. Add salt, aquafaba, water, and lemon juice.
    2. Blend until the garlic, salt, aquafaba, water, and lemon juice is a thick paste. You want the garlic to be completely pureed.
    3. Once the garlic is completely pureed, continue to blend, and very slowly pour olive oil into the mixture as it blends, and the mixture will thicken. Store in the refrigerator.
    Share this Recipe
    Powered byWP Ultimate Recipe
    One clove of the elephant garlic MaryKate sent me with a steak knife for size reference
    One clove of the elephant garlic MaryKate sent me with a steak knife for size reference
    Garlic, salt, aquafaba, water, and lemon juice before blending
    Garlic, salt, aquafaba, water, and lemon juice before blending
    Garlic, salt, aquafaba, water, and lemon juice after blending
    Garlic, salt, aquafaba, water, and lemon juice after blending
    Blending garlic mixture with olive oil
    Blending garlic mixture with olive oil
    Finished toum sauce after blending
    Finished toum sauce after blending
    Toum Sauce (Lebanese Garlic Sauce)
    Toum Sauce (Lebanese Garlic Sauce)

    Garlic Sorghum Flatbread

    Although I’ve modified this recipe from Book of Yum a bit by adding garlic and scallions, I’ve got to give credit where credit is due. I’ve made flatbreads (or roti in Indian cuisine) from other recipes and have not been as successful. Although the recipe is very simple, the technique of cooking half the flour with water is what makes the resulting flatbread nicely pliable. I was able to make them very thin and wrap them around some veggies without them breaking. Plus they were really awesome just dipped in the toum sauce by themselves.

    Garlic Sorghum Flatbreads except the two I ate while cooking :)
    Garlic Sorghum Flatbread
    Print Recipe
    A simple flatbread you can use as a wrap, tortilla, or just to munch on.
    Servings Prep Time
    6-8 flatbreads 20 minutes
    Cook Time Passive Time
    3-5 minutes 10-15 minutes
    Servings Prep Time
    6-8 flatbreads 20 minutes
    Cook Time Passive Time
    3-5 minutes 10-15 minutes
    Ingredients
    • 2 cups sorghum flour
    • 2 cups water
    • 1 teaspoon salt
    • 6-8 cloves garlic or 1 clove of elephant garlic
    • 2 scallions
    • roux whisk (helpful to have)
    Servings: flatbreads
    Instructions
    1. Peel and trim your garlic. Trim the ends of the scallions and any wilted bits of green. Chop garlic and scallions very finely, you want very small pieces but not a paste. I used a manual food processor but you can do it with a knife.
    2. Measure place one cup of the sorghum flour in two bowls, so that the flour is divided to add as needed. In a sauce pan or deep skillet, add the garlic and scallions, salt, and two cups of water. Bring the water to just below a boil in the pan, and add one cup of the flour to the water in a slow stream, using the roux whisk to blend in the flour.
    3. Reduce the heat to low. Using a wooden spoon, stir the other cup of flour into the pan, until it forms a dough ball. Keep stirring and mixing until the dough forms a rubbery texture. Remove the dough and place in a heat safe bowl. Let the dough rest for 10-15 minutes or until it is cool enough to touch.
    4. Form into small balls, a little bigger than the size of a ping pong ball, and place back into the bowl. I used a gallon size freezer safe ziptop bag, with the sides cut out to roll the dough out between with a rolling pin. You could also use a tortilla press, but I don’t have one. Roll the dough out to about an 1/8th of an inch.
    5. Place a cast iron skillet over medium-low to medium heat (depends on your stove and your skillet, you may need to adjust. Cook until the texture changes on the top of the flatbread (it will look a bit dry and cracked) and until you have light brown spots on the side being cooked. Turn the flat bread and cook the other side. Repeat until all your flatbreads are cooked.
    Share this Recipe
    Powered byWP Ultimate Recipe
    Mince garlic and scallions very finely
    Mince garlic and scallions very finely
    Measure out sorghum, one cup in each bowl and get roux whisk ready
    Measure out sorghum, one cup in each bowl and get roux whisk ready
    Add water to saucepan and add garlic and water, bringing just below boiling.
    Add water to saucepan and add garlic and water, bringing just below boiling.
    Slowly add one cup of sorghum flour and mix in with whisk
    Slowly add one cup of sorghum flour and mix in with whisk
    Turn heat to low and mix in second cup with wooden spoon until it forms a rubbery dough
    Turn heat to low and mix in second cup with wooden spoon until it forms a rubbery dough
    Let dough rest in heat safe container
    Let dough rest in heat safe container
    Roll out dough between a ziptop bag with the sizes cut out once cool enough to handle
    Roll out dough between a ziptop bag with the sizes cut out once cool enough to handle
    Cook on cast iron skillet over medium heat
    Cook on cast iron skillet over medium heat
    Flatbread ready to flip (note dry texture around edges)
    Flatbread ready to flip (note dry texture around edges)
    Flatbread after flipping
    Flatbread after flipping
    Garlic Sorghum Flatbreads except the two I ate while cooking :)
    Garlic Sorghum Flatbreads except the two I ate while cooking 🙂

    Enjoy!

  • Kale-Bison Cups

    Kale-Bison Cups

    Kale-Bison Cups
    Kale-Bison Cups

    In this dish, I’ve taken a technique we got out of a Thai cookbook, where this was one of many ingredients and didn’t really shine, and made it the main flavor star of a completely different dish. What you do is chop garlic and cilantro together until it makes almost a paste, or alternately, you can grind them together in a mortar and pestle. The paste is then cooked into a dish. I’ve been messing with different iterations of this for about a month, trying to find the perfect way to feature it. I know this is a kind of odd way to feature garlic, but it is SO GOOD.

    Here, the garlic and cilantro, along with a bit of onion, flavor ground bison, which is then served in a take on the lettuce cup. I don’t like lettuce, but also, I think the earthiness of bison and kale suit each other. A little dab of something creamy — yogurt, if you can find a not-sweet one, mayo or mayo substitute, even a sour cream, if you have a safe one — brings the flavors out just a little more. This recipe is simple and straightforward, and if you’re anything like me, you might find all your recipes featuring cilantro and garlic for a while.

    cilantro garlic blending stages
    cilantro garlic blending stages

    Notice: Trying to access array offset on value of type bool in /home/maryzahc/public_html/adultfoodallergies.com/wp-content/plugins/wp-ultimate-recipe/helpers/models/recipe.php on line 254
    Kale-Bison Cups
    Print Recipe
    Servings
    9 “cups”
    Servings
    9 “cups”
    Kale-Bison Cups
    Print Recipe
    Servings
    9 “cups”
    Servings
    9 “cups”
    Ingredients
    • 1 bunch lacinto or dinosaur kale
    • 1 teaspoon oil
    • 1/4 cup onion rough chopped
    • 1/2 teaspoon kosher salt
    • 1 cup rough chopped cilantro (just chop off the top — stems and leaves)
    • 6 cloves garlic small cloves OR use less. Maybe think 2T volume of garlic cloves?
    • 1 lb. ground bison
    • freshly ground pepper to taste
    • creamy condiment, optional (e.g. mayo, sour cream, yogurt)
    Servings: “cups”
    Instructions
    1. Wash kale and shake leaves mostly dry. Microwave for 10 seconds, twice, moving the leaves around between cooking. You just want to soften and barely cook the kale leaves. Chop off the leaves where the leave starts to narrow towards the bottom, leaving the top 4 or so inches for the “cup.”
    2. Over medium heat, heat the oil, adding the onion and salt when it is hot. Stir well.
    3. Chop the garlic roughly. Add the cilantro. Keep chopping until you have a finely chopped mess where you can barely pick the garlic out of the cilantro. Alternately, you can grind these together in a mortar and pestle, but I like the chopping.
    4. Add the cilantro-garlic mess to your onion after the onion is translucent and beginning to brown. Stir well and cook for about 1 minute.
    5. Add the bison and chop/stir well, breaking up the meat. Cook until just not pink, but don’t overdo it. Drain on a paper towel lined plate. Season lightly with pepper.
    6. To serve, add the meat mixture and condiment to each kale “cup” and enjoy like a taco. For this recipe, we tried Earth Balance mayo and a Greek yogurt as condiments, and both worked well. Use whatever you like that is safe for you, or enjoy without the condiment.
    Share this Recipe
     
    Powered byWP Ultimate Recipe