Notice: Function _load_textdomain_just_in_time was called incorrectly. Translation loading for the wp-ultimate-recipe domain was triggered too early. This is usually an indicator for some code in the plugin or theme running too early. Translations should be loaded at the init action or later. Please see Debugging in WordPress for more information. (This message was added in version 6.7.0.) in /home/maryzahc/public_html/adultfoodallergies.com/wp-includes/functions.php on line 6131 Gluten-free – Page 30 – surviving the food allergy apocalypse (archive)
When I was in graduate school, we had a lot of parties. I’m a nerdy sort, so these weren’t “trash can punch” kind of parties, but beer and wine and mostly lots of food kind of parties. And they were always potluck, because no one had any money. Certain things became favorites, so people never had to much thing about what to bring — they were requested. This was definitely one of the group favorites, and I’ve held on to the recipe. Goes well with bread, tortilla chips, crackers, even veggies, and the leftovers make a great, if chunky, sandwich spread. Plus, it looks impressive and gourmet but is incredibly easy.
This version replaces the mayo and cheese to give you a really tasty, vegan and allergen-free version that will also please the people you know who can eat everything.
Tiffany’s Artichoke Dip
Tiffany’s Artichoke Dip
Preheat oven to 350F.
Grease casserole dish.
16 oz. of canned or jarred artichoke hearts, drained and chopped
1 small can of chopped green chiles or jalapenos
1 cup of Earth Balance Mindful Mayo, original
3 Tablespoons of nutritional yeast
3 Tablespoons of garbanzo bean flour
Mix all ingredients together in the casserole dish, smooth out evenly. Bake 20-25 minutes, serve warm.
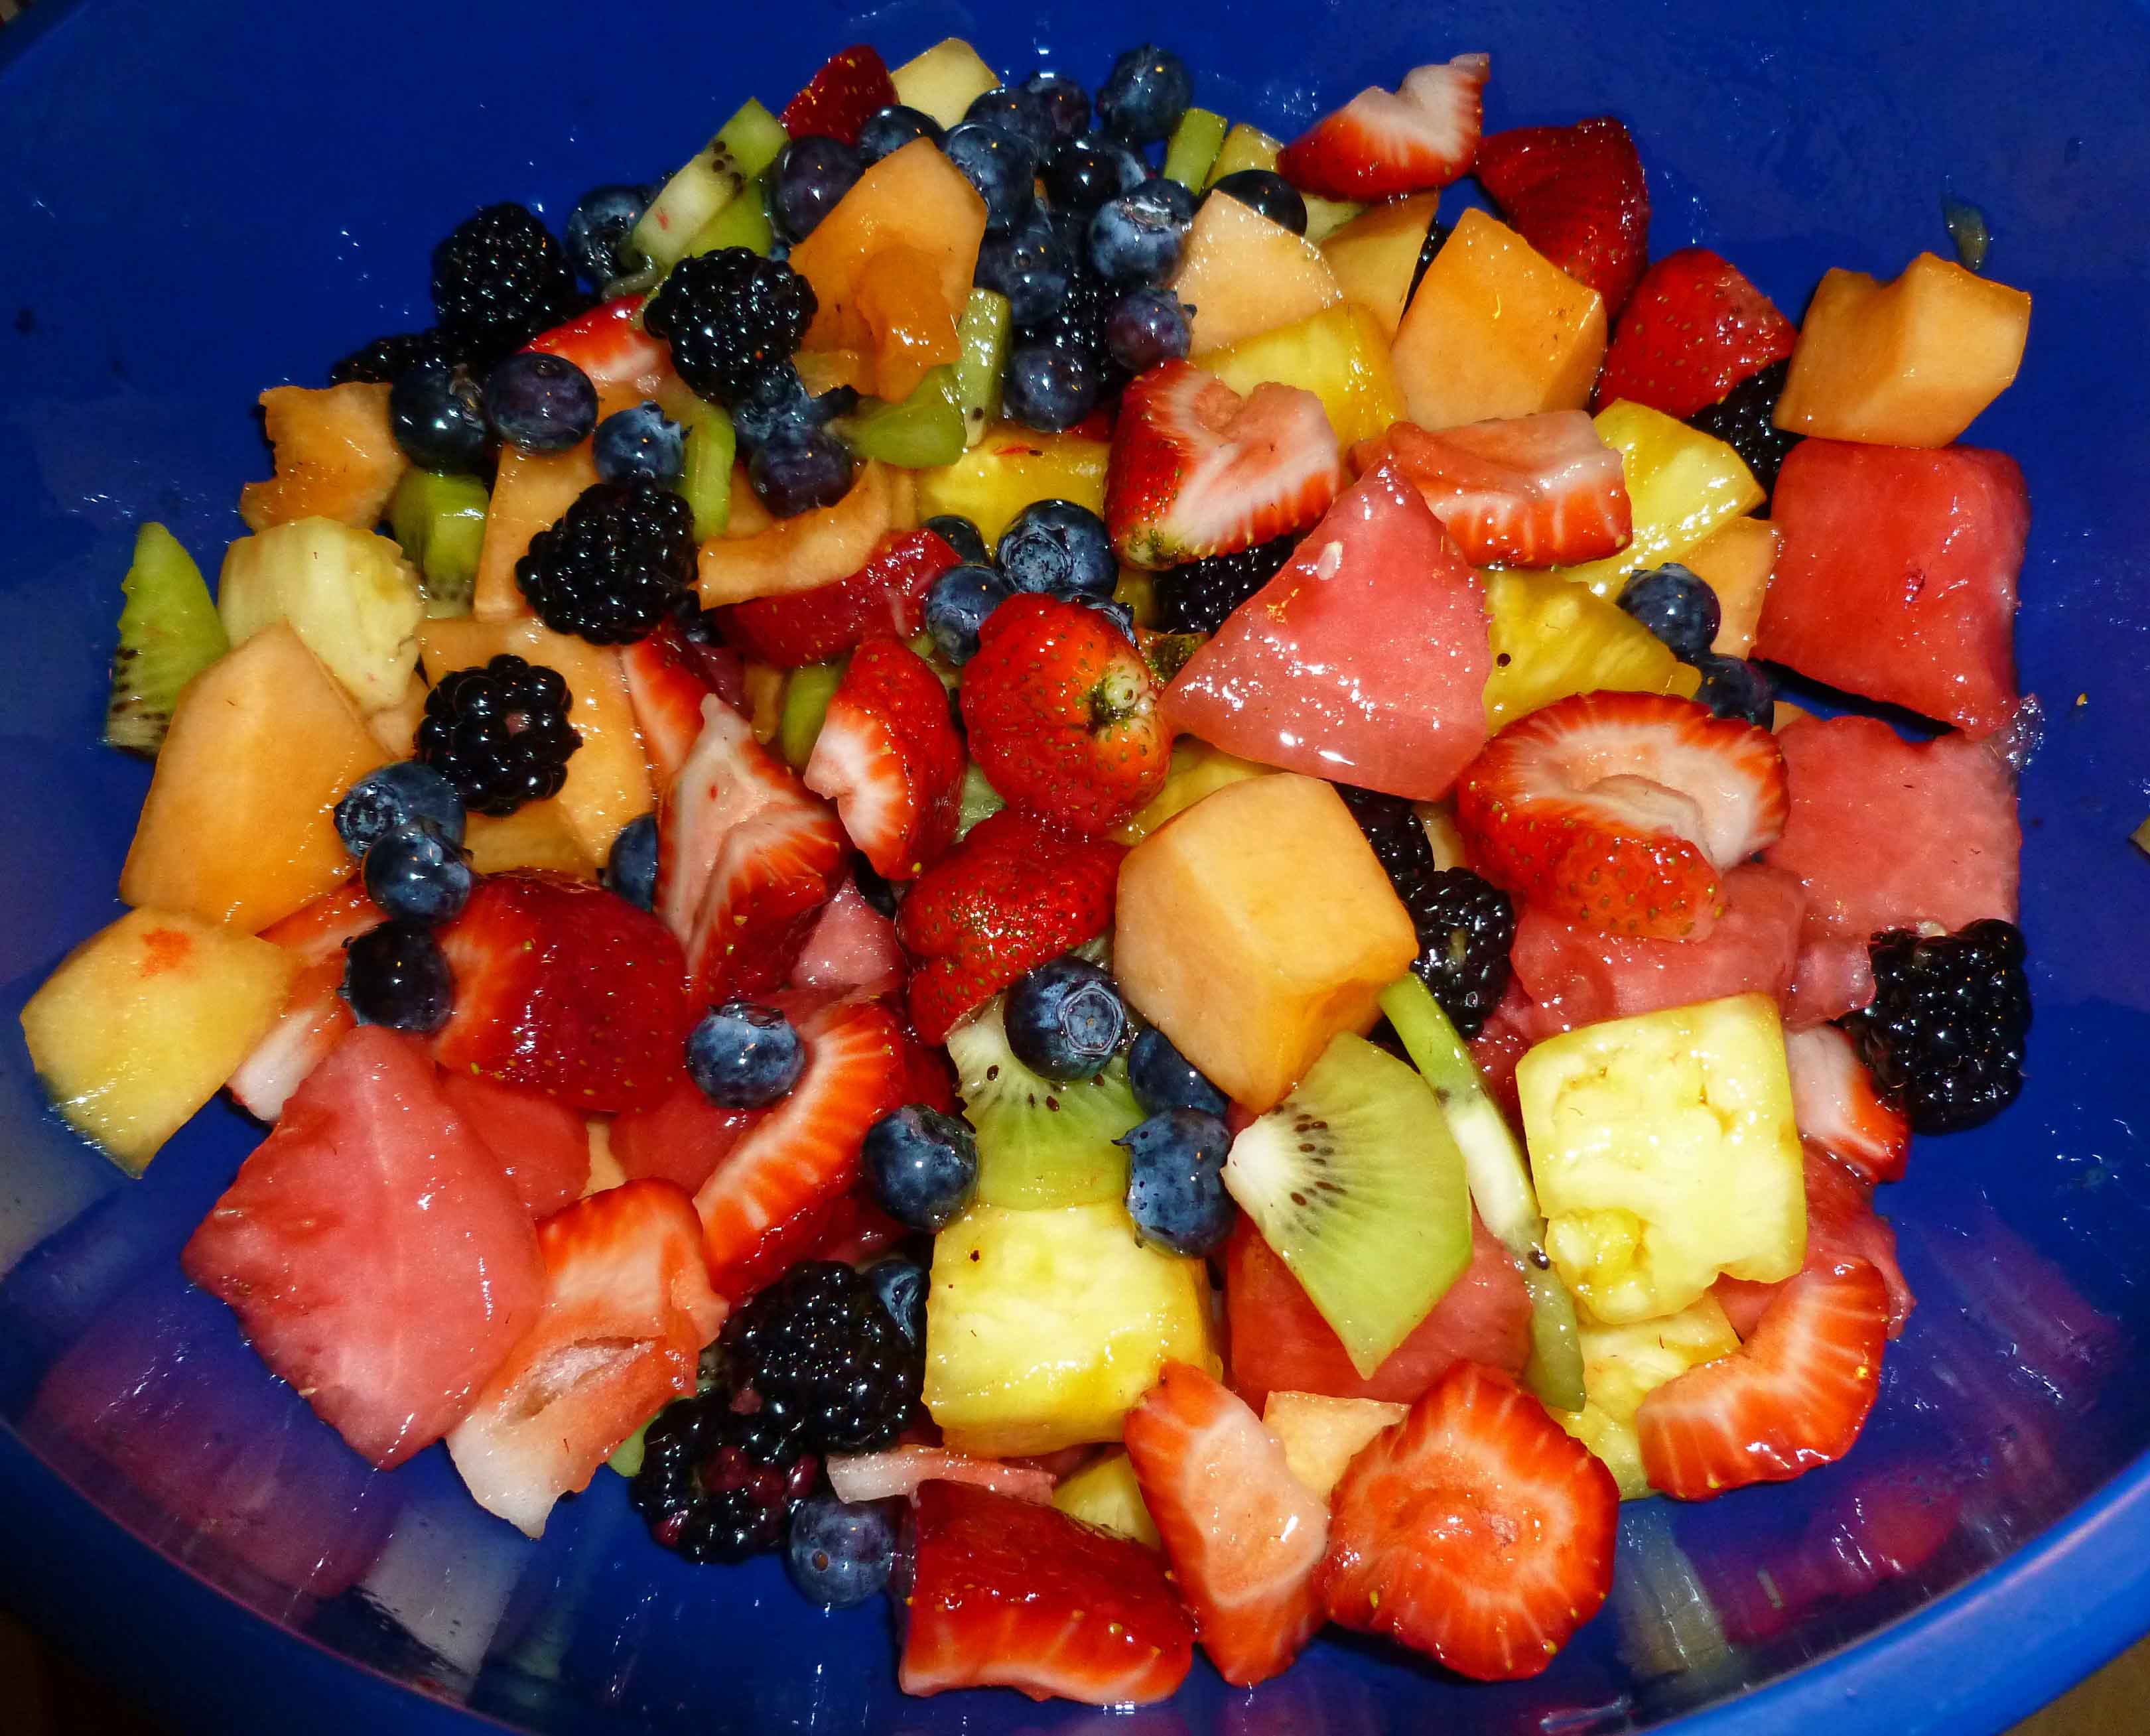
So, last weekend it snowed in New Hampshire, and this weekend it’s been 95°F all weekend. Hilarious. I don’t handle the heat well, if at all, nor do I handle the crazy freaking changes well. The humidity and corresponding air quality in New Hampshire has been known to send me right into an asthma attack. We’ve got the air conditioners cranked, but I don’t want to heat the apartment up any more than necessary, so we’ve been eating salads and fruit. And since it’s the time of year that you might be heading to potluck type gatherings, here’s a spruced up fruit salad you can take with you. Also, this can be made much much easier by doing what I did and buying a fruit tray and some berries and using it, so you don’t have to peel melons and pineapple. You can do it the night before and let the dressing soak in, but it’s yummy either way.
Margarita Tropical Fruit Salad
1/2 cup of freshly squeezed lime juice (about 4-5 limes)
1/2 cup of agave syrup
1/2 cup of tequila
2 1/2 teaspoons of arrowroot
2 Tablespoons of water
About 6-8 cups of fruit cut in bite size pieces, filling a large salad bowl. The mixture is up to you, but I used cantaloupe, watermelon, strawberries, pineapple, kiwi, strawberries, blueberries, and blackberries.
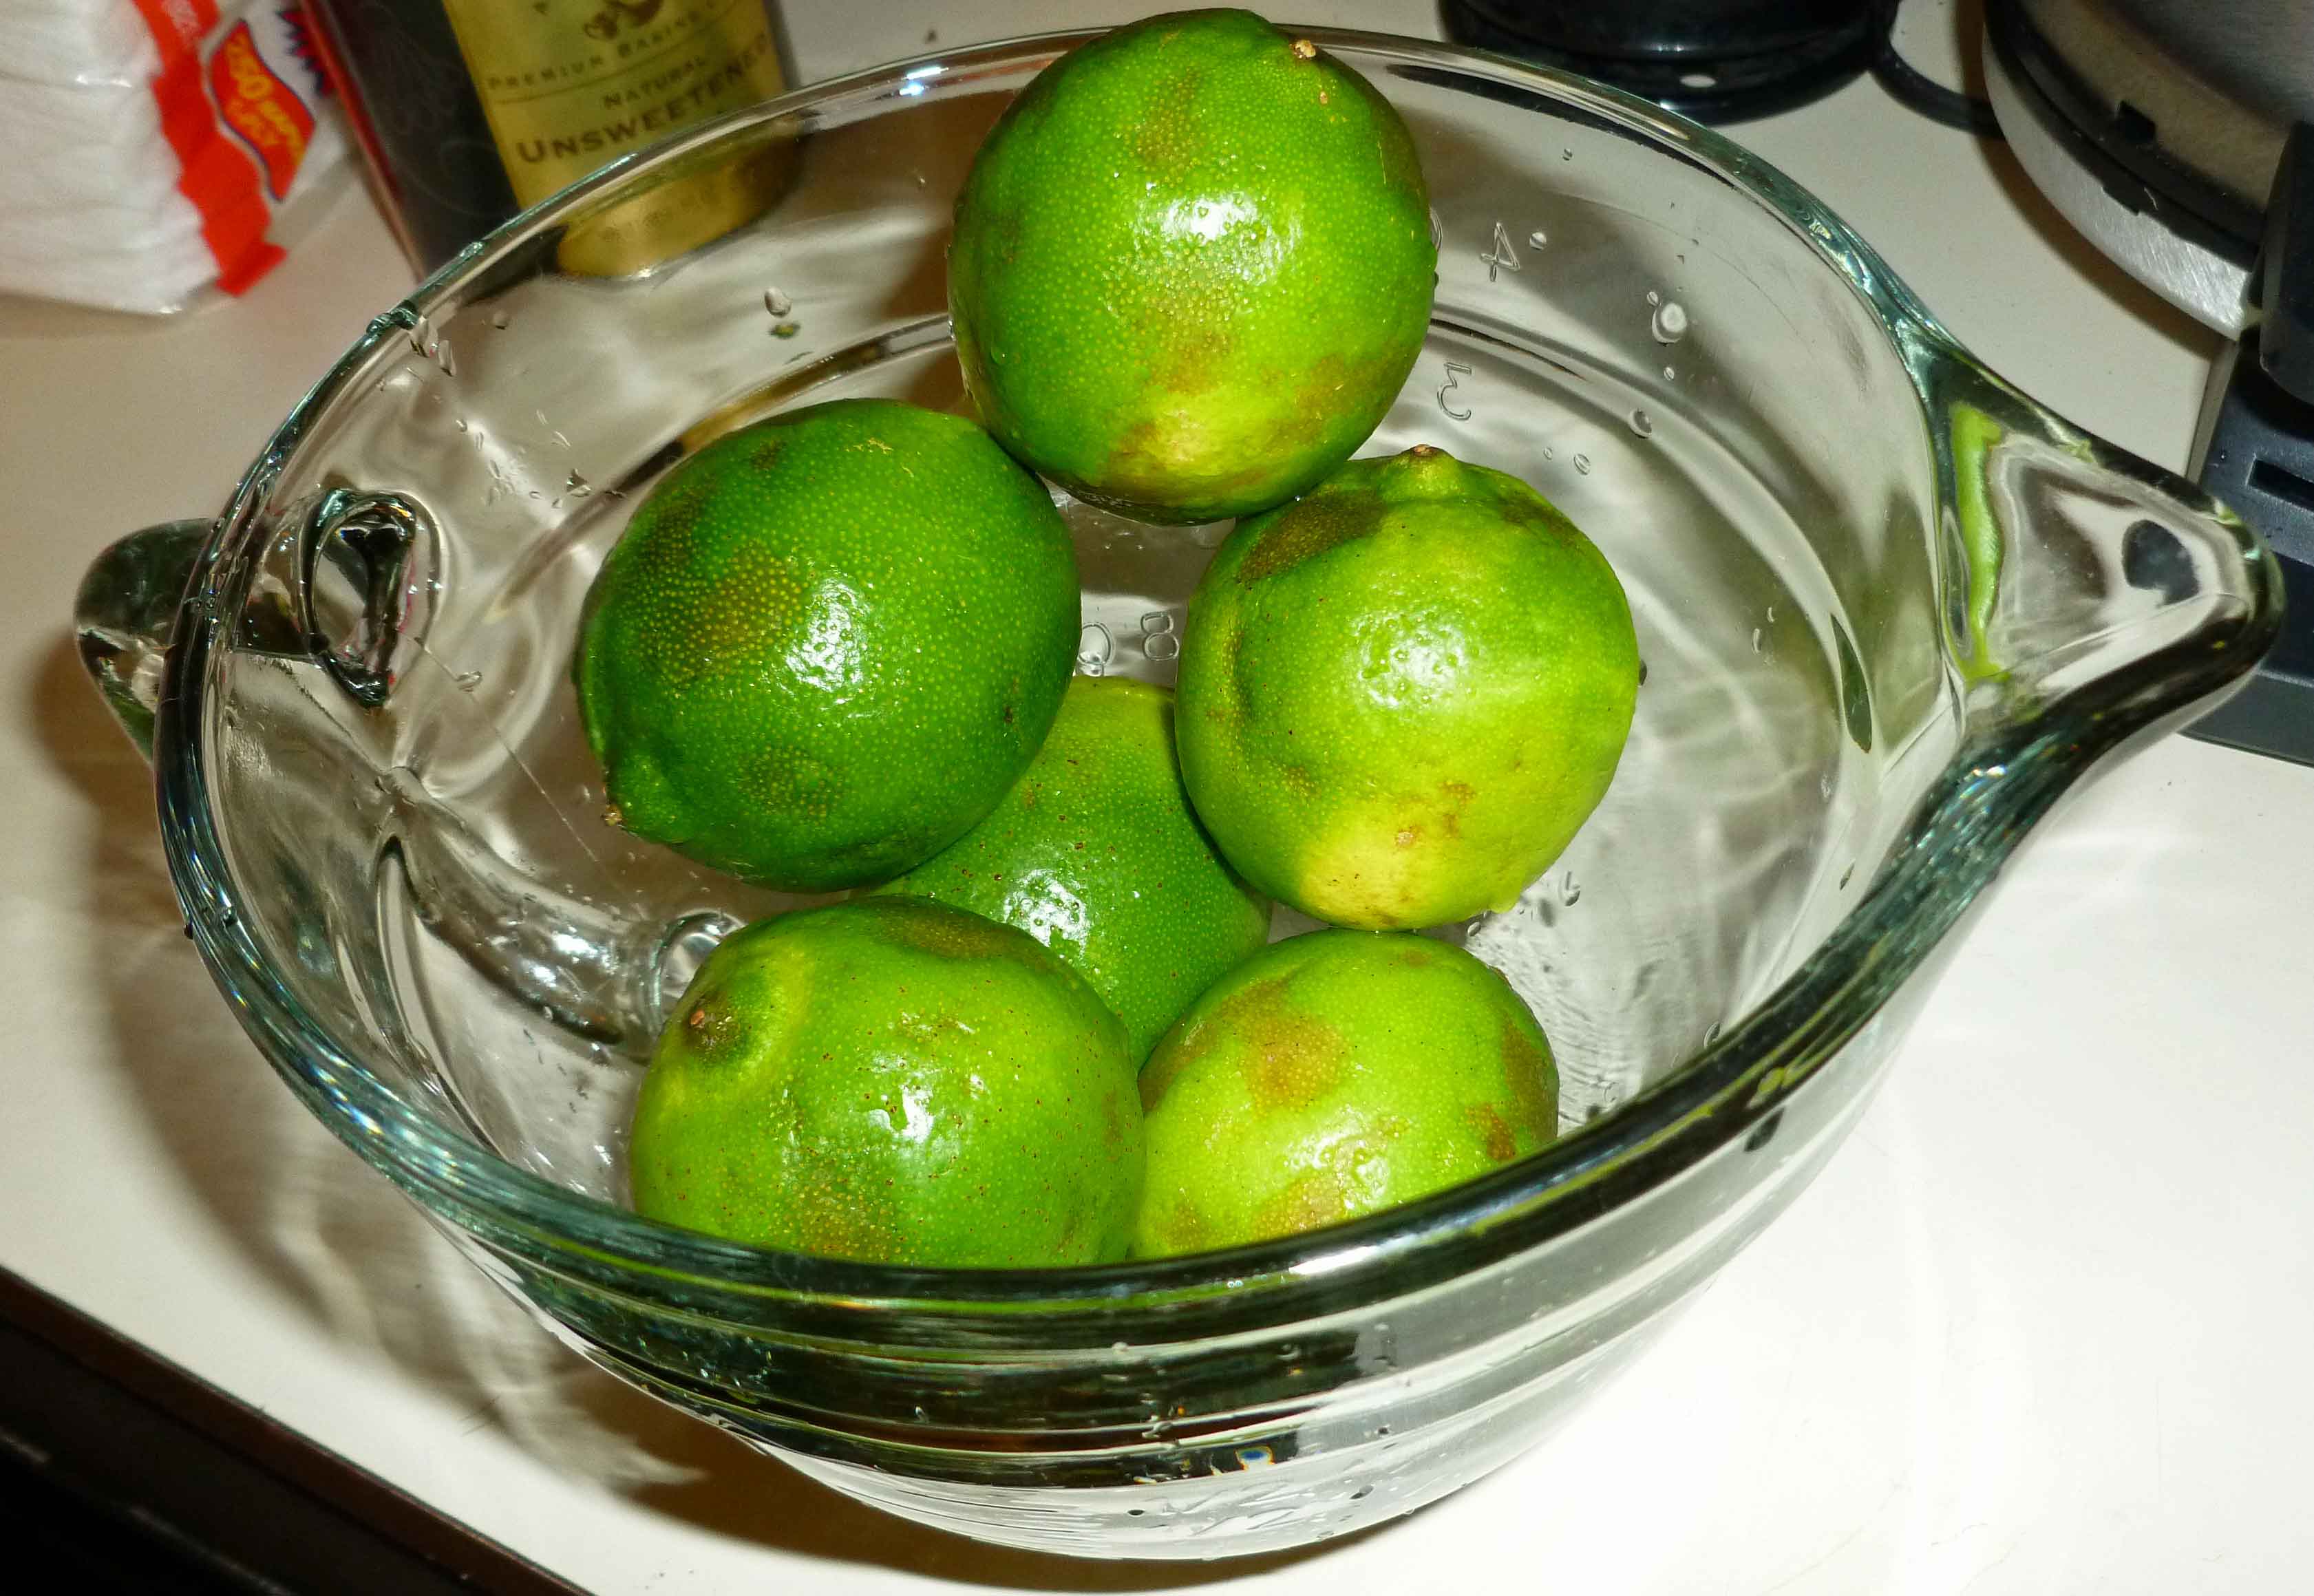
First, wash your limes carefully under hot water to get rid of the wax they put on them. To get the most juice out of them, I’ve found two tips that really help. Put your limes in a microwave safe container and nuke them on high for one minute.
Limes in microwave safe bowl
Then put them on a cutting board, and using the palm of your hand roll the limes back and forth, putting enough pressure on them so that you can feel the lime squeeze against the board, but not enough so you break the lime against the cutting board. Now juice your limes.
Denise awkwardly rolling limes with her left while she takes pictures with her right
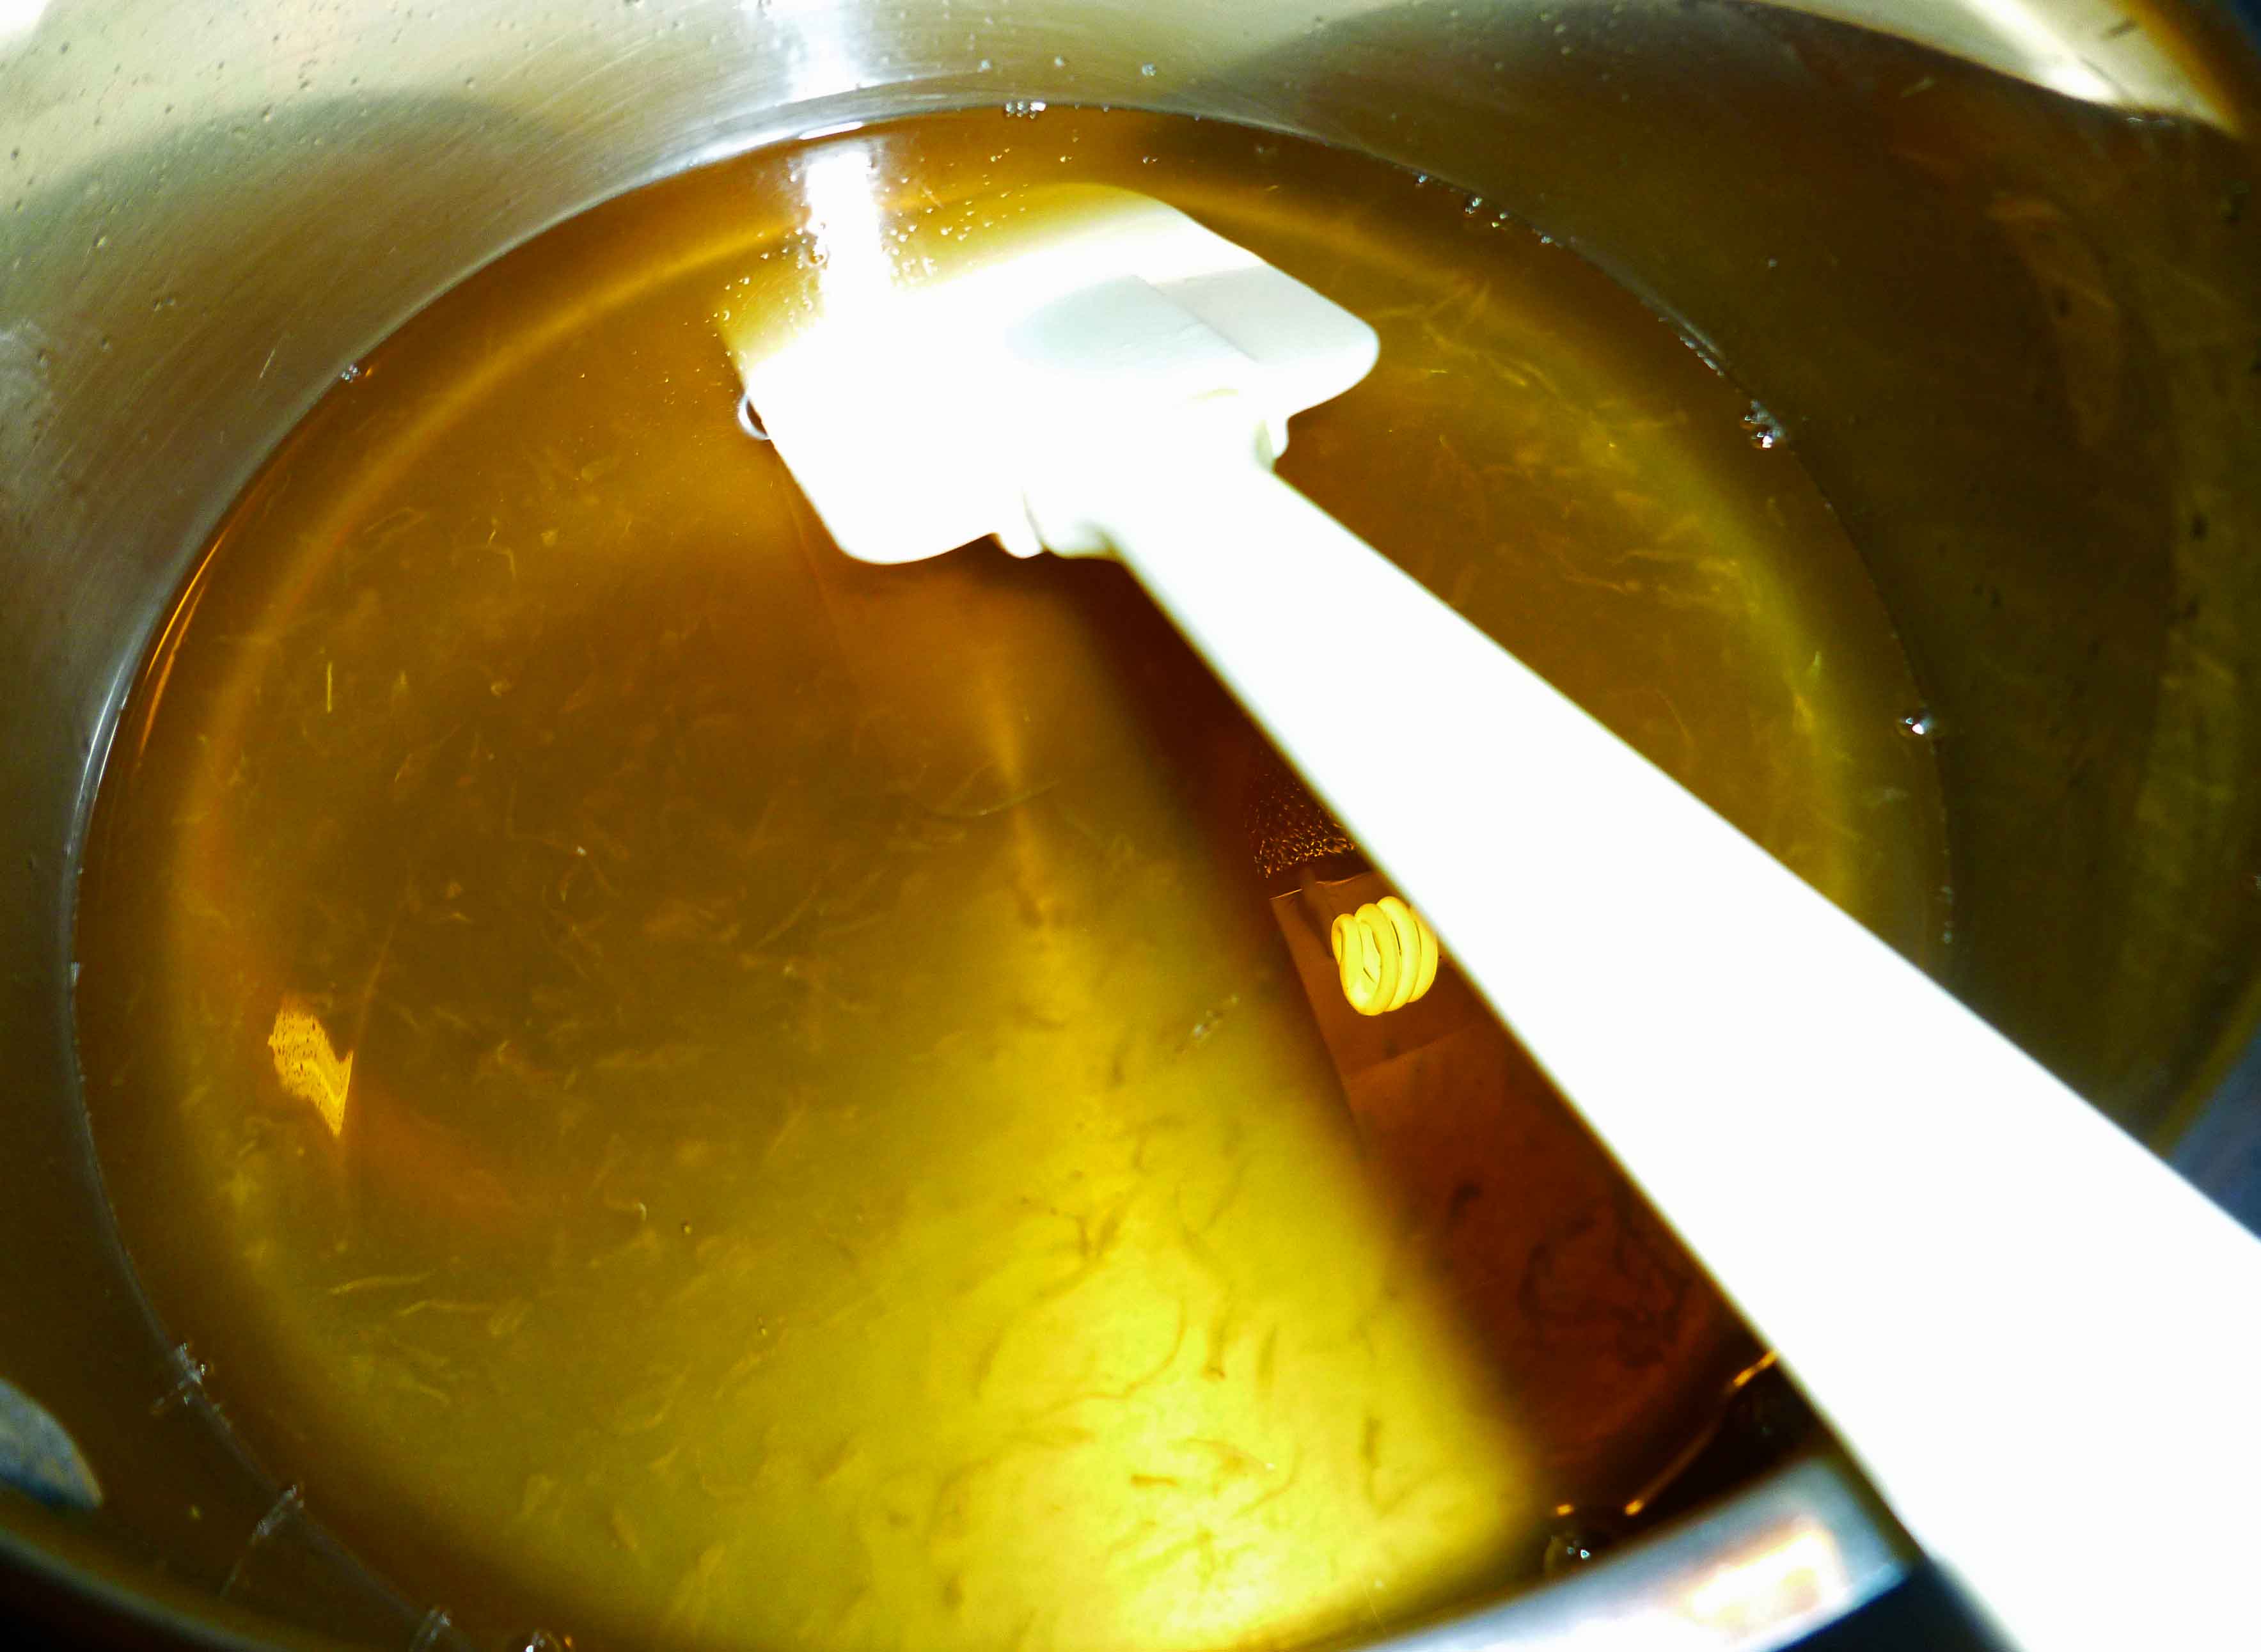
Make sure you don’t have any seeds in with the lime juice and pour it into a sauce pan. Add the agave syrup and the tequila to the sauce pan, mix until thoroughly combined, and then bring it to a boil for about two minutes. Turn the heat to low, and in a small container (I used a glass measuring cup) mix the arrowroot and water together. Pour the water and arrowroot mixture into the sauce pan, stirring quickly so that it doesn’t clump. Turn to medium low heat and let it simmer for 15 minutes or so, and then remove from the heat.
Agave Lime Tequila dressing in sauce pan
When the agave lime tequila dressing has cooled (you can cheat by sticking it the freezer for a few minutes if you need to), pour it over the cut fruit and toss to combine. Enjoy!!
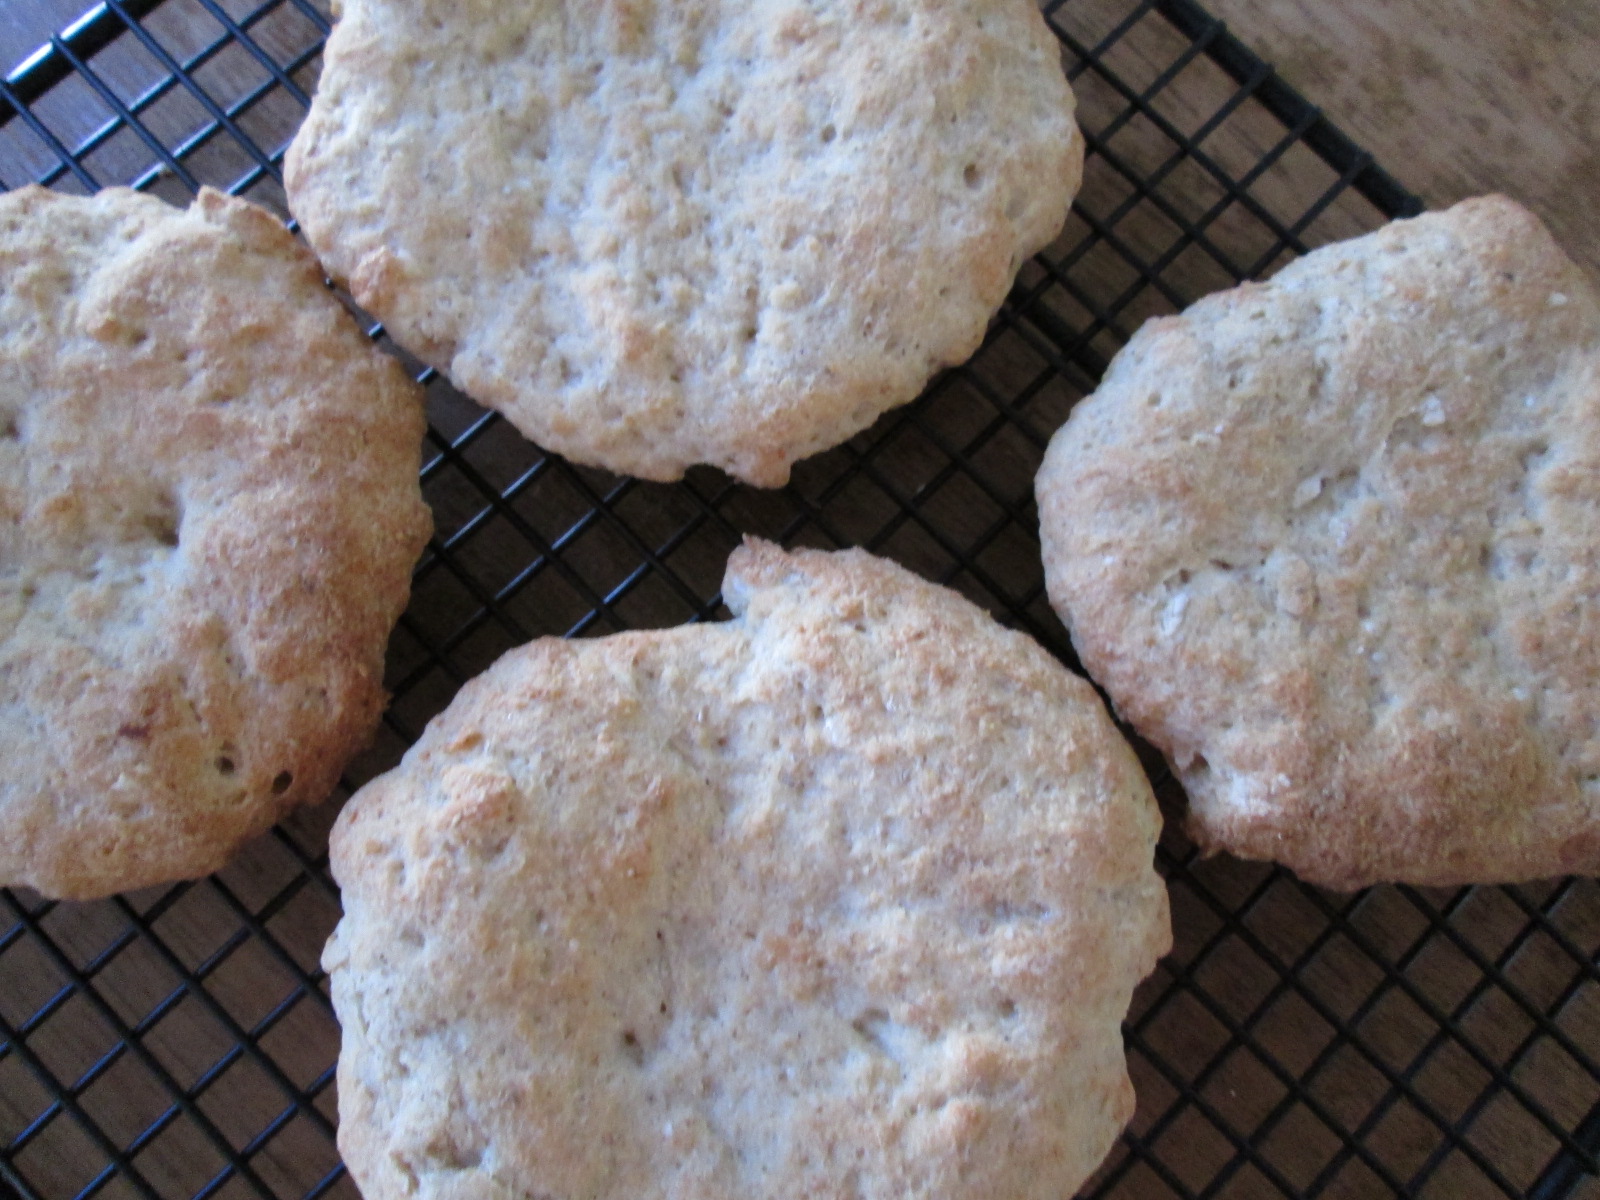
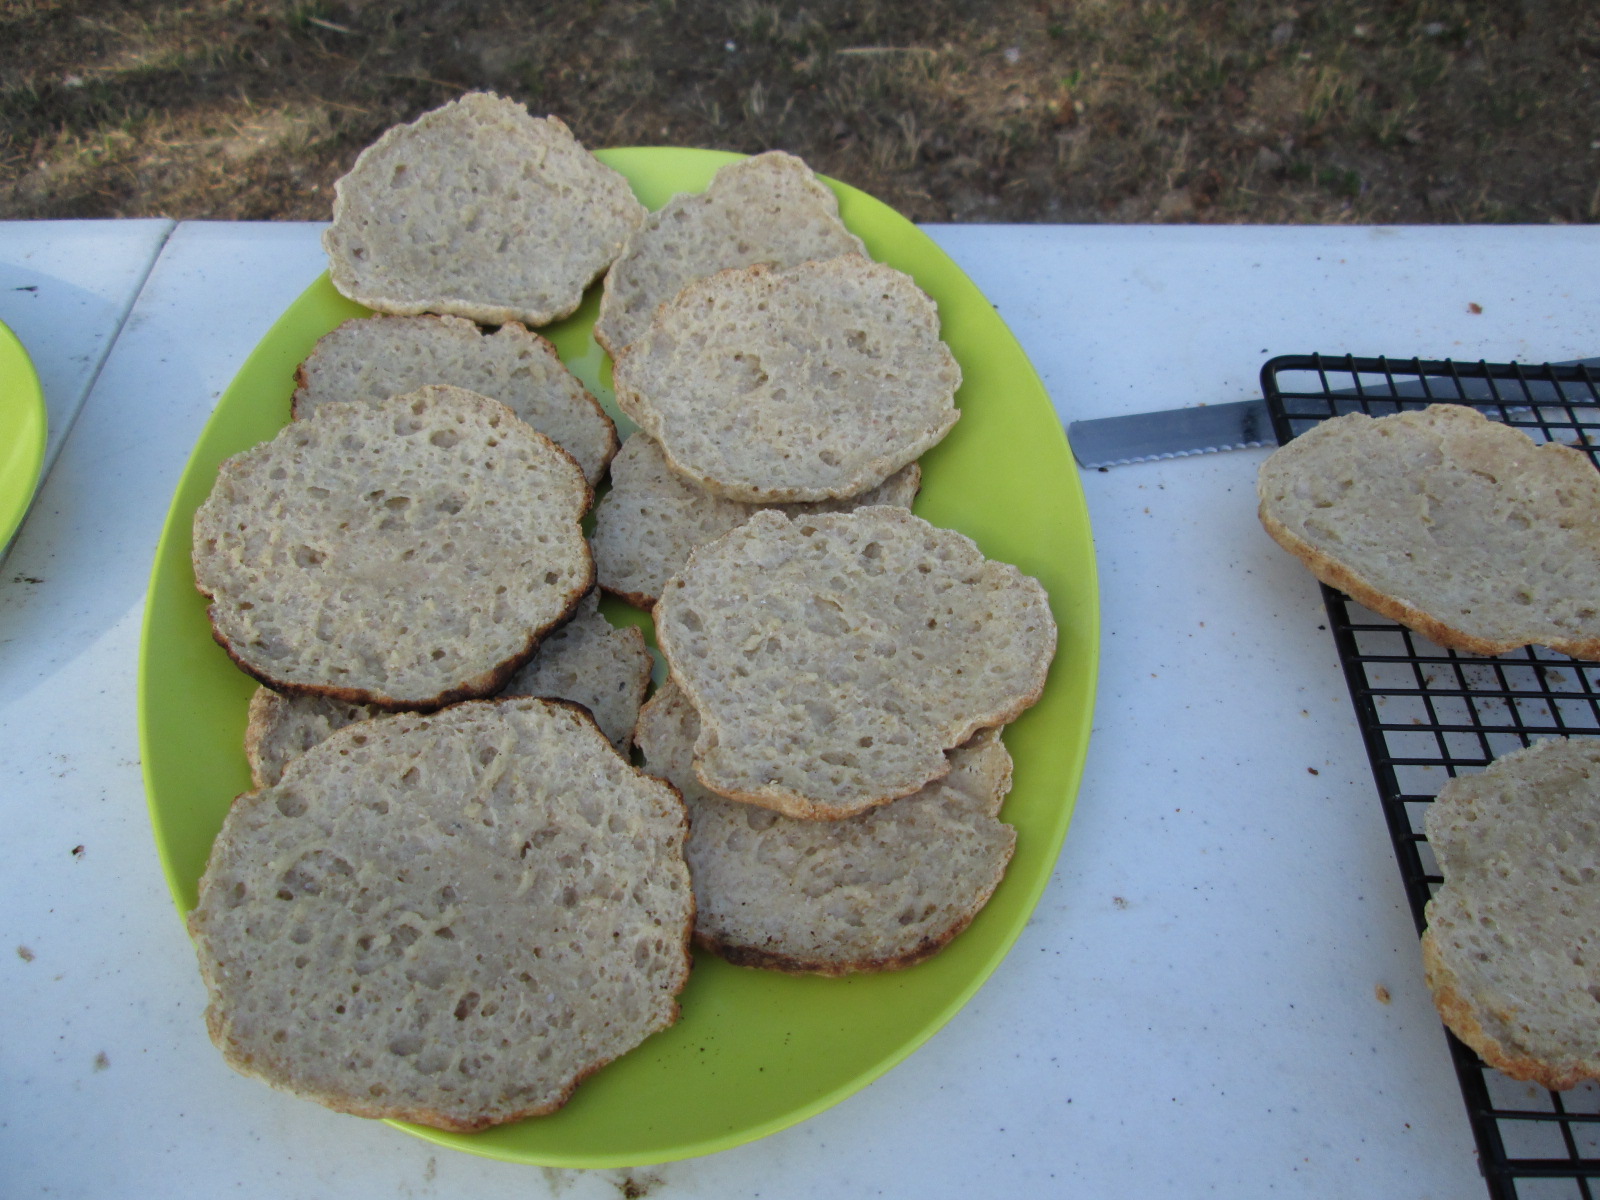
I was trying to make pita bread. Which, this really isn’t. Mainly in that it’s not as dry as pita bread (which is kind of weird, because you can usually count on gluten-free bread being drier than wheat bread), nor as puffy, and without the cavity in the middle. And they’re smaller — given the structural integrity issues that gluten-freeness can cause, I’d suggest staying on the smaller side.
So basically these are nothing like pita bread. Sorry for the misdirection there. They are small sandwich round bread things which are tasty, allergen-free, and seem to please the few non-allergenic people I’ve fed them to (i.e. my neighbors). So you should try them!
Gluten-free Bread Round Things
You’re going to make three mixes and then mix them all together. With me?
First, mix:
2 Tablespoons active dry yeast
2 teaspoons sugar
1 cup + 2 Tablespoons warm — not hot — rice milk
Second, in a separate bowl, mix:
1/4 cup rice milk
2 Tablespoons ground chia seeds
4 teaspoons apple cider vinegar
Third, in a large mixing bowl or the bowl of your stand mixer, mix:
1 cup sorghum flour
1 cup tapioca starch
2 Tablespoons rice milk powder
4 teaspoons xanthan gum
1 teaspoon salt
2 Tablespoons olive oil
yeast mixture (should be foamy!)
chia mixture (should be gelled somewhat)
Mix until you have a pretty solid dough, reasonably thick and pulling away from the sides of the bowl. The nice thing (“nice”) about gluten-free baking is that you really can’t overmix things. There’s no gluten to get tough. I let my mixer go and make up the dishwater while it’s working, so maybe 5 minutes or so.
With well-oiled hands, scoop out 1/4 cup of dough and shape into a smooth ball. Press out to form the round — aiming for 1/8 — 1/4 inch or so in thickness, but all about the same (thickness is more important than exact size for cooking time). Place the round on a parchment covered baking sheet. Repeat until you’ve used all the dough.
Place into a COLD OVEN and turn the oven on to 400F. The timing from here on out will depend on how fast your oven heats up — mine takes almost 20 minutes to reach 400F. Check these out at about 20 minutes, but it will likely take 35-45 minutes for them to fully bake, depending on the thickness of your rounds.
Now the one thing that you’re missing are the toasted bubbled bits that a real pita bread has — if you want these, throw the pita on a grill or into a hot skillet, a few minutes on each side. This is not necessary, but does add flavor and visual texture.
When the bread rounds are completely cooled, you will be able to slice them, but carefully! Don’t expect to make pita pockets, but honestly these hold up better than most gluten-free bread for sandwiches (or at least the ones that are also egg and dairy free), so give it a try.
Hey, it’s our second burger post! I really hope you’re finding some options or getting some ideas about what to bring to barbeques this summer — or what to serve at your own.
For some reason when Denise and I were discussing burgers, I was somewhat fixated on Indian spices. I love Indian food, but there are so many allergen pitfalls when ordering out that I’m finding it easier to make my own at home — and easier now that I can run some of my cooking choices by my Indian neighbor. He approved the spice mix I’m going to give you below, so it must be good, right?
You can buy tandoori spices. Tandoori chicken is a reasonably classic Indian dish, named for the clay oven in which chicken is baked after being marinated in yogurt and spices. By briefly marinating and then grinding the chicken, adding some cashew nuts for creaminess, we can skip the yogurt part, and in this case, a grill stands in for the fancy pointy-topped oven. By making your own spice, you can more carefully control the flavor of the burger, but if you’re not up to it, not interested, or in any way disinclined, seek it out pre-blended.
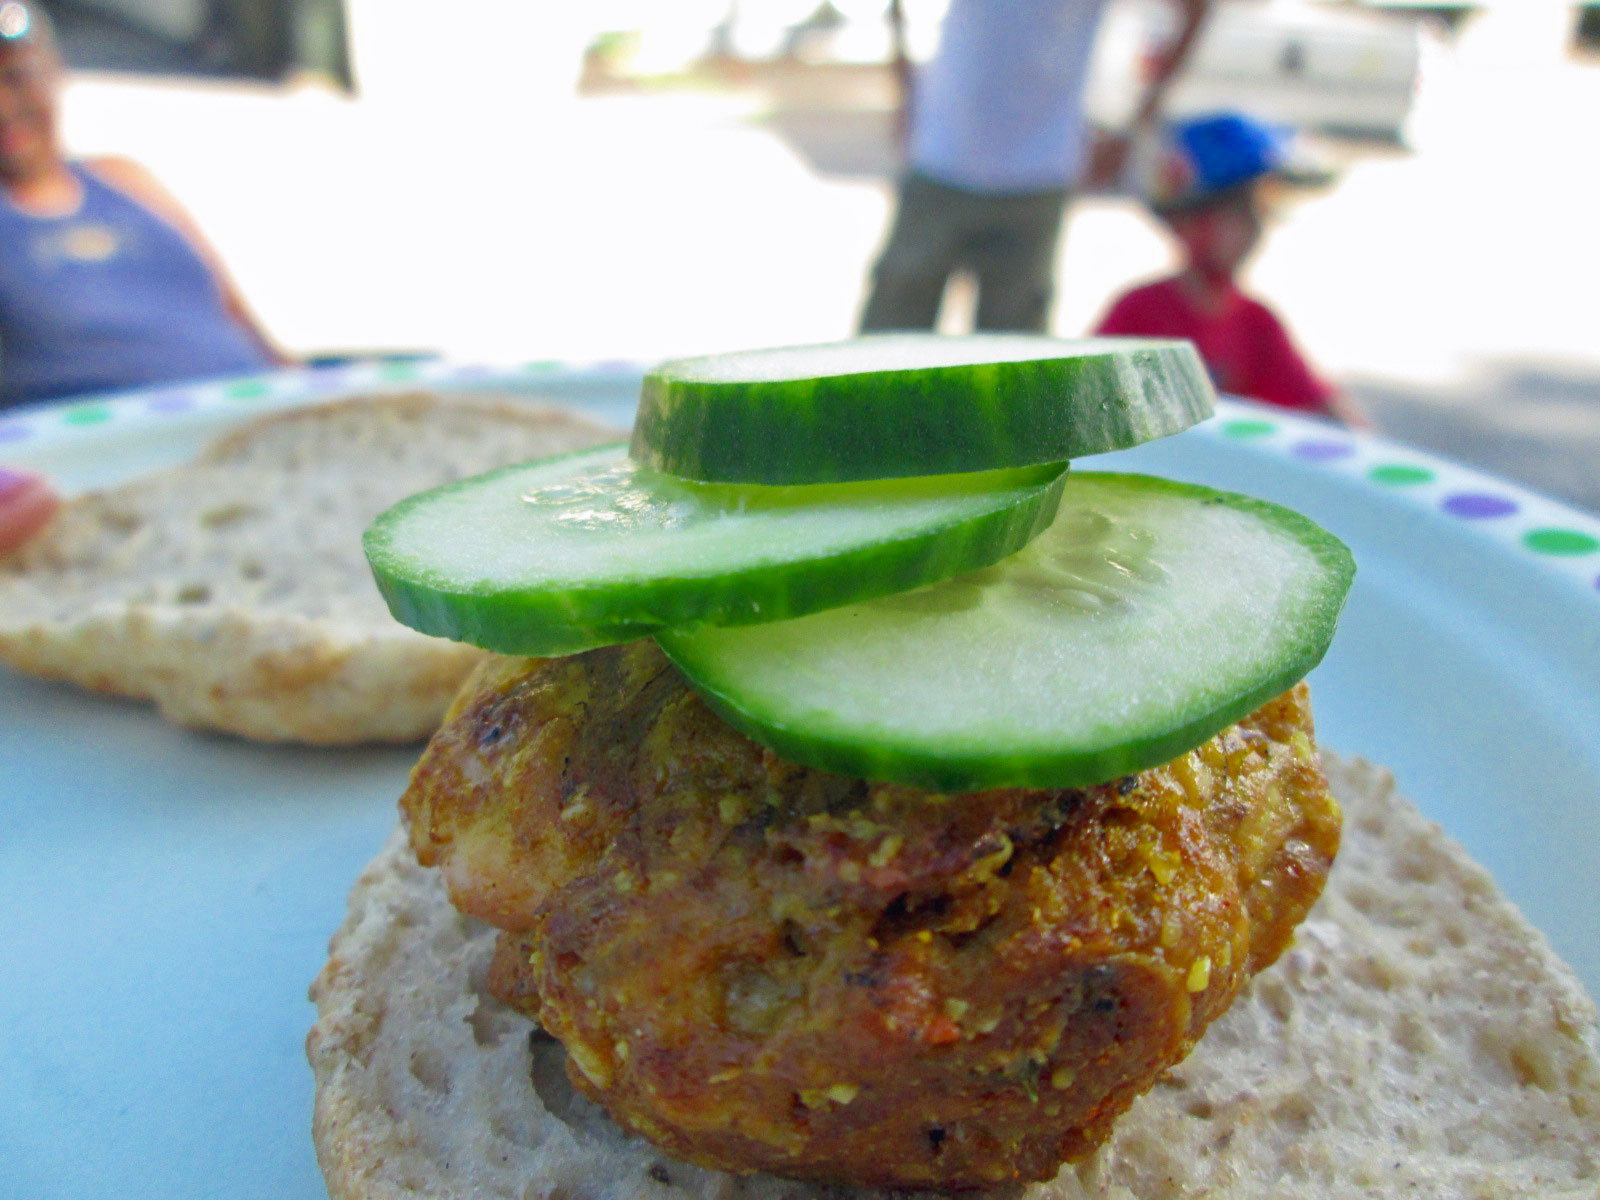
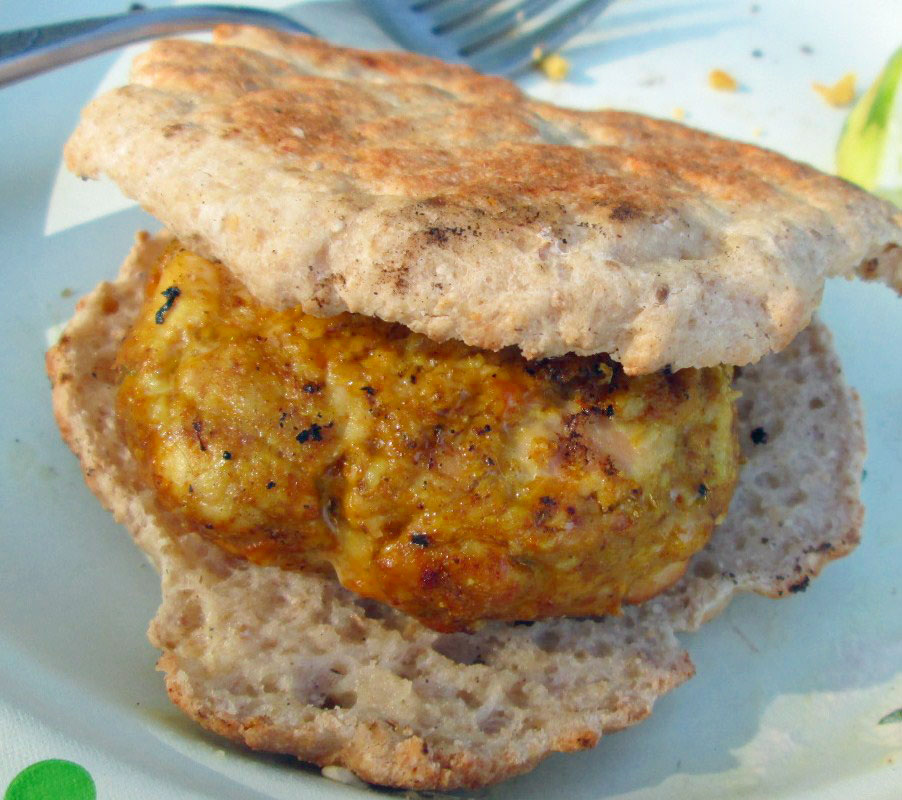
Mmmm, burger
Tandoori Chicken Burgers
Tandoori Spice — makes enough for 2-3 recipes of burgers
1 Tablespoon ground fenugreek
1 Tablespoon ground coriander
2 teaspoons onion powder
1-1/2 teaspoon cumin
1-1/2 teaspoon turmeric
1-1/2 teaspoon garlic powder
1 teaspoon cinnamon
1 teaspoon celery salt
1 teaspoon paprika (regular, not smoked)
1 teaspoon ground ginger
1/2 teaspoon freshly ground black pepper
1/2 teaspoon freshly ground nutmeg (you can buy this ground, but it’s worth it to grind your own)
1/4 teaspoon ground cloves
1/4 to 3/4 teaspoon cayenne, depending on your desire for heat, as well as spice
For Burgers:
1 lb. boneless, skinless chicken thighs
1/2 cup lemon or lime juice
1/2 cup rice wine vinegar
1/4 cup cashew pieces
zest of one lime (organic if you can get it)
2- 3 Tablespoons tandoori spice
lime wedges, for serving
First, marinate chicken thighs in the citrus juice and vinegar for about 30 minutes — if the marinade doesn’t quite cover the chicken, add water to cover.
Lay the chicken out on paper towels to drain and dry.
In your food processor, grind the cashews to a fine consistency. I find that I need to pulse my food processor, as just turning it on tends to make nut butter instead. Remove the nuts to a mixing bowl.
Grind the chicken in the food processor, then add it to the mixing bowl.
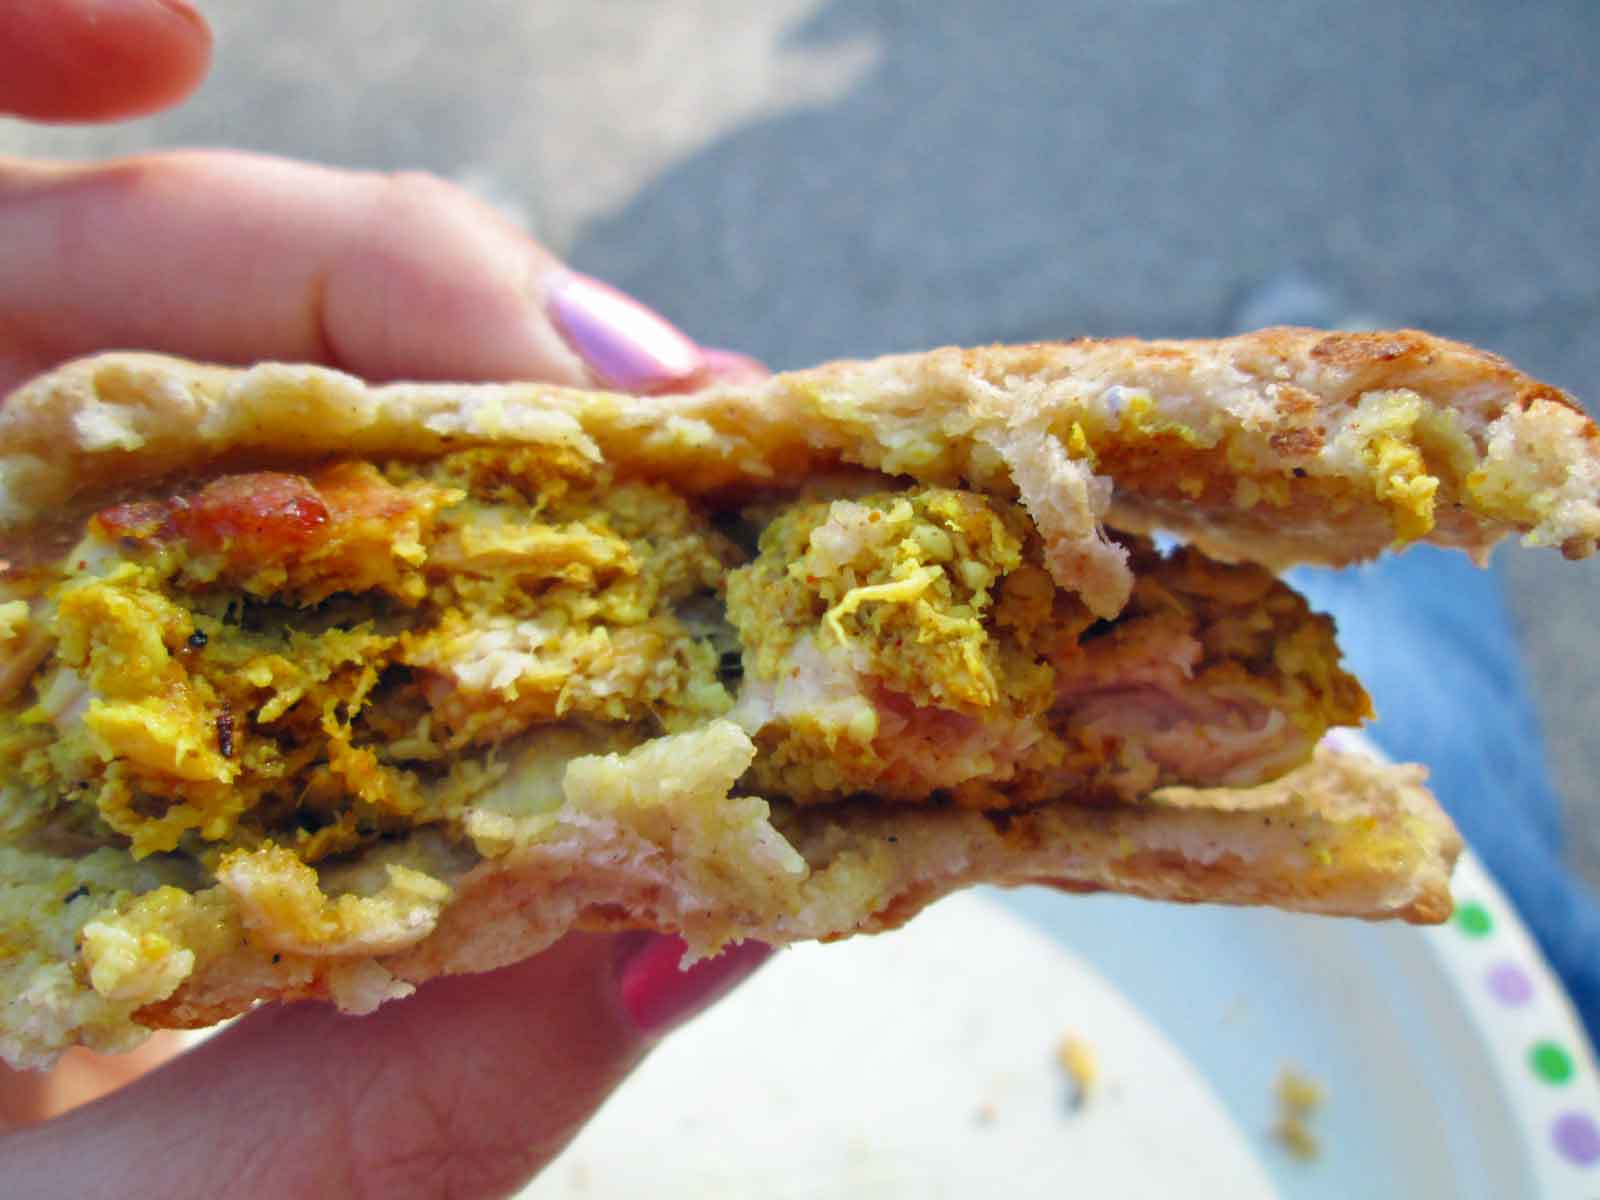
Add the lime zest and seasoning, and mix all the ingredients well. You can try using a spoon, but you really need to mix with your hands to get everything well-incorporated. Mix until you think it’s well-blended, then mix a little more. A note on the seasoning range — if you’re a lover of Indian food, or spices, or both, go all in with the 3 T measurement. If your company is a little more mixed (children, unadventurous eaters) ease them into the fun with the lower amount of spice.
Now shape the patties and lay them out on a parchment or plastic wrap covered platter and refrigerate for an hour or overnight. This recipe should make 4 regular burgers or 8 slider-sized burgers.
Grill until the interior temperature of the burger reaches approximately 160F. Serve with sliced cucumbers on a bun of your choice.
So we’re heading into picnic and cookout weather, and we have some holidays coming up that might result in you getting invited to some cookouts. Mary Kate and I thought it’d be a good idea to have some burgers that are safe for those of us allergies that we can prep ahead of time and bring with us to throw on a grill. Now you may be saying, Denise and Mary Kate, why wouldn’t ground beef be safe? Well, it is–unless someone decides to season it with ranch dressing. And unless you’ve seen the package for the hot dogs, they might have milk in them. And I know people who soak their chicken in buttermilk before grilling or frying it. It’s a lot easier to bring your own food and be sure you can eat something, than to sit at a cookout all afternoon looking at food you can’t eat. So with that in mind, we’ve come up with some great recipes that you’re going to be seeing pop up here and there over the next few months. Because it’s going to be summer, and we need to cook stuff outside with fire!
Falafel Burgers
l lb bag of garbanzo beans/chick peas (soaked overnight, see below)
1 medium onion, chopped
6-8 cloves of garlic
1/2 cup of parsley, chopped
2 teaspoons of salt
1 teaspoon of coriander
1/2 teaspoon of black pepper
2 teaspoons of cumin
1 teaspoon of paprika
1/4 to 1/2 teaspoon of cayenne pepper (depending on your spice tolerance)
2 Tablespoons of garbanzo bean/chick pea flour
A food processor (you really can’t do this in a blender)
Place the garbanzo beans in a large bowl and cover them by 3-4 inches of water. Let them soak overnight. They should double in size.
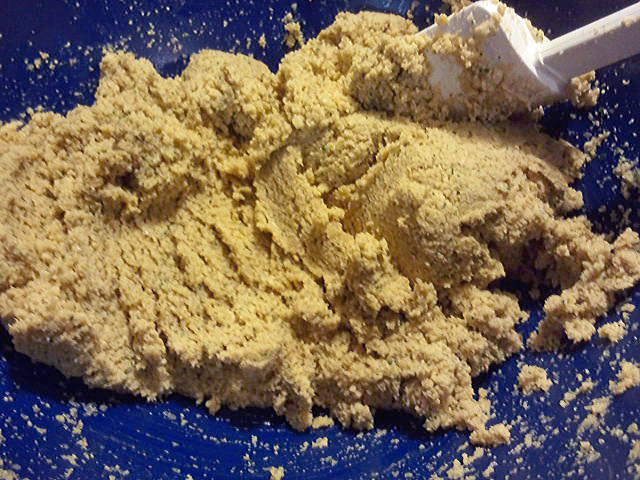
Drain and rinse the garbanzo beans thoroughly. Unless your food processor is a heck of a lot bigger than mine, you’re going to have to do the following in batches. Place the garbanzo beans, onion, garlic, parsley, salt, coriander, black pepper, cumin, paprika, cayenne pepper, and flour in the food processor and process until a rough coarse meal forms, so that it’s somewhere between a paste and the size of millet or quinoa. To do this, I had to process garbanzo beans in three batches, leaving them a bit rough, dumping the processed garbanzo beans into an appropriately sized holding bowl. Then I put about half a cup of the processed garbanzo beans back in the food processor along with the onion, garlic, parsley, salt, coriander, black pepper, cumin, paprika, cayenne pepper, and flour, and processed it. Then I dumped the completed mix back into the bowl and stirred it with the plain garbanzo beans and then ran the whole mixture back from the food processor to ensure that the spice mixture was evenly mixed with all the garbanzo beans.
Garbanzo bean mixture after processing
You can make the garbanzo bean mixture the day before you intend to serve the burgers to make the day of cooking easier. If you do, cover the mixture with plastic wrap and put it in the refrigerator until you need it.
If you’re cooking these on a grill (yes, it is possible), make your burgers slightly smaller, more like sliders because they’ll hold together easier. Spray down your grill with grilling spray, checking to make sure it’s safe for your allergies. Depending on the heat of your grill, cook each side 2-3 minutes at least each side. Only turn them once otherwise you make make a mess. To get them golden brown, we cooked them on a hotter grill that we thought appropriate at first.
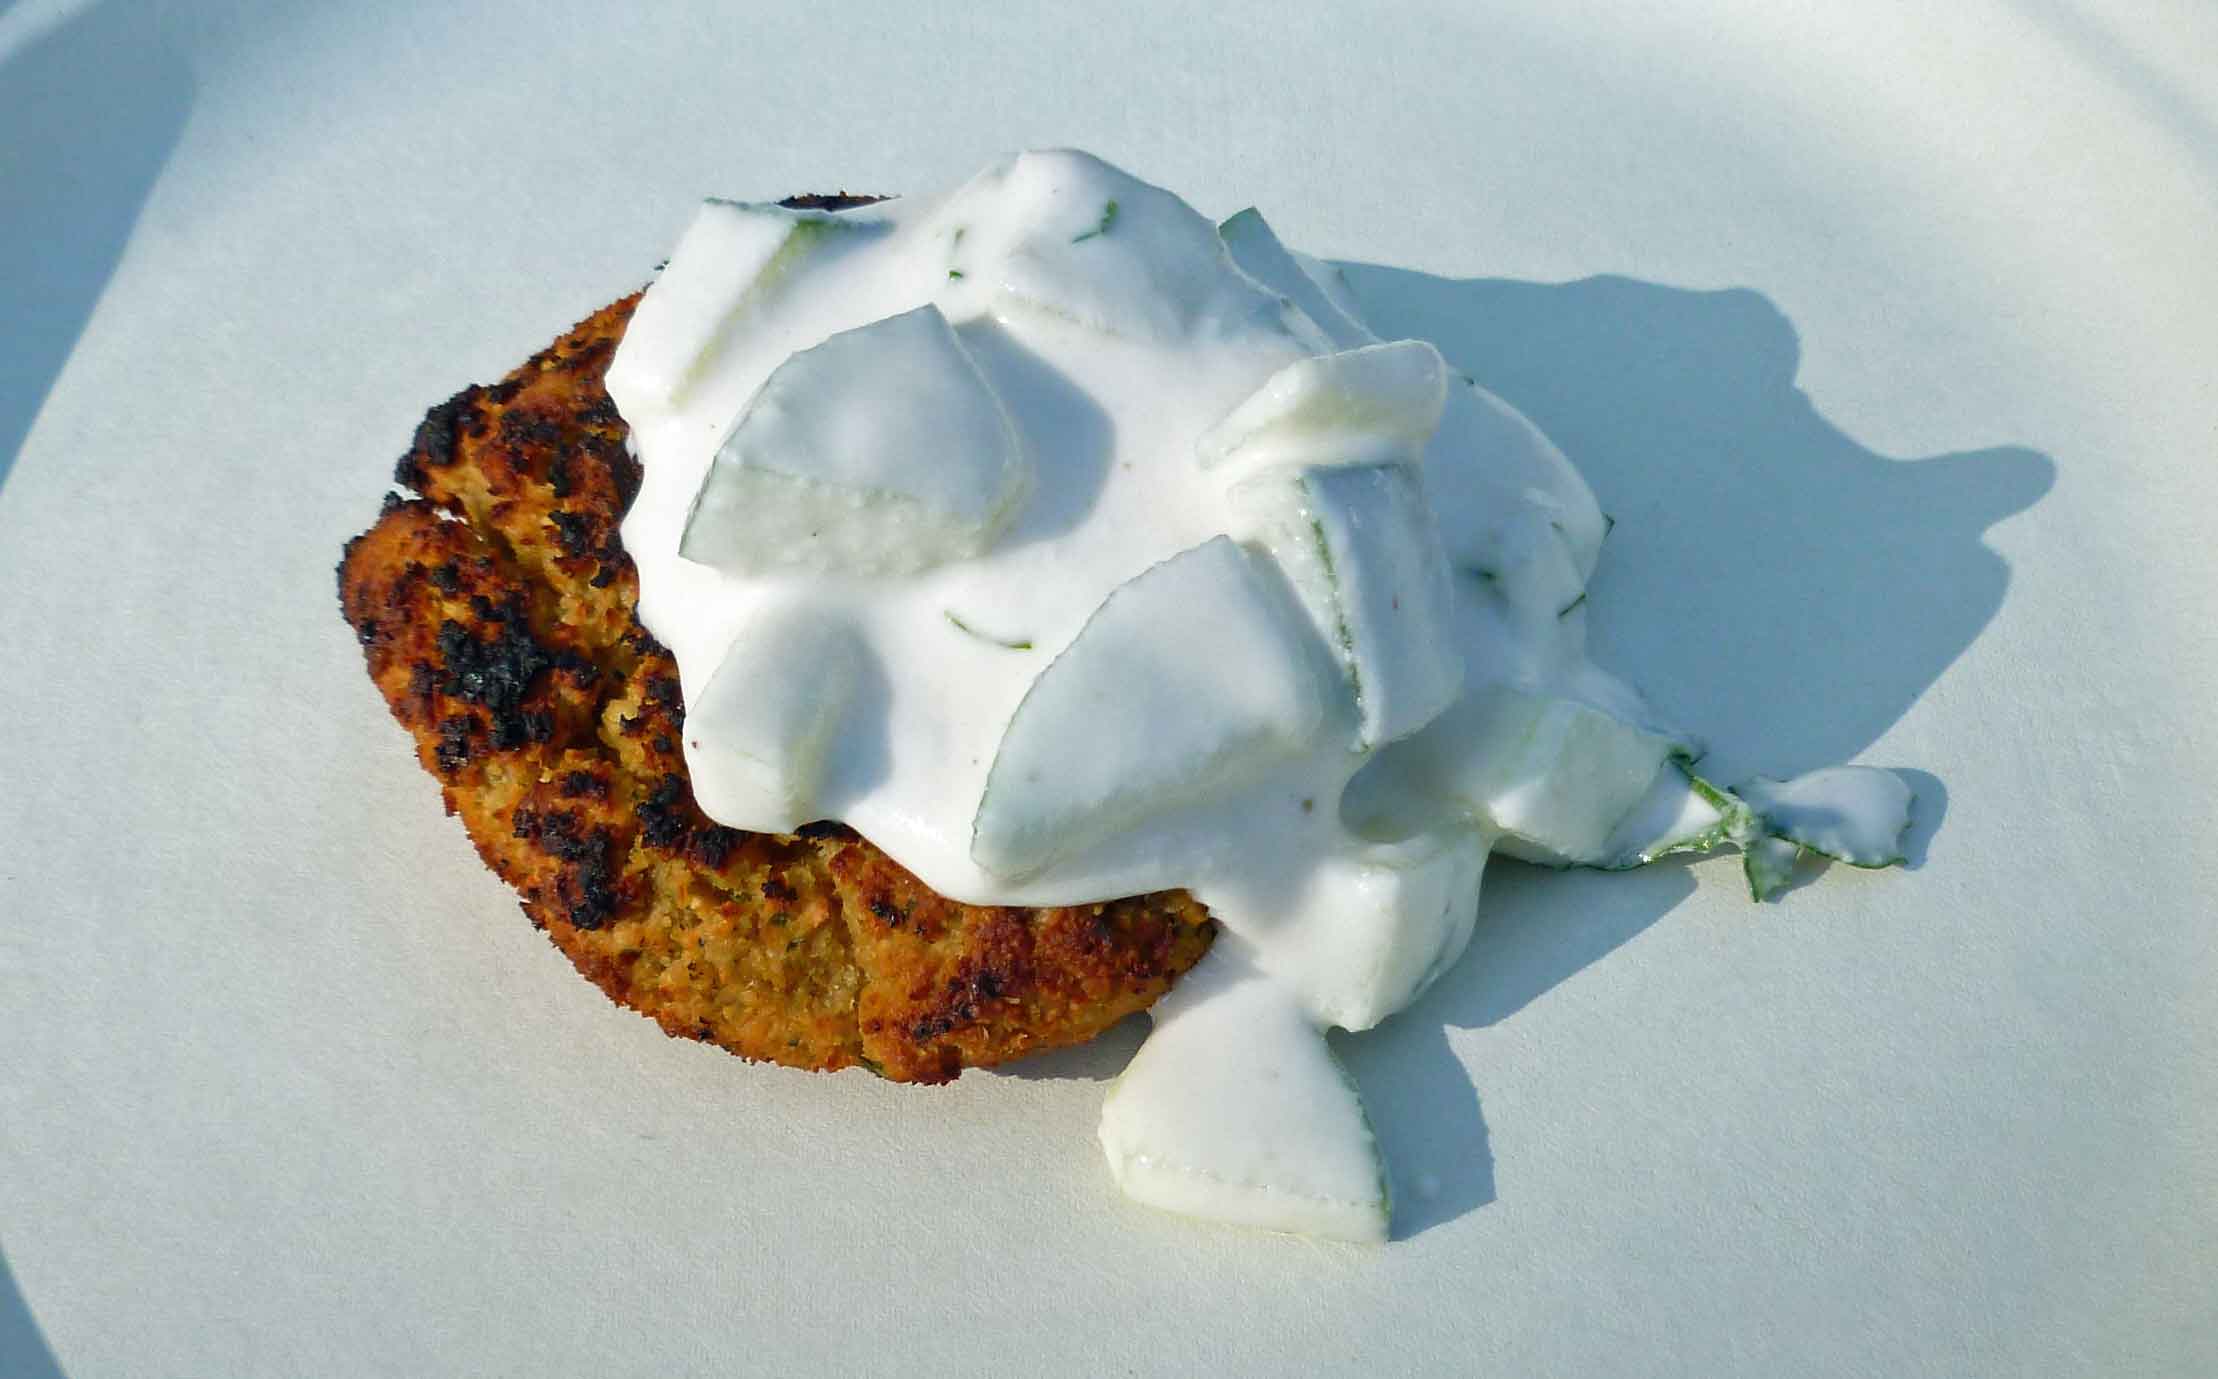
Grilled Falafel Burgers
If you don’t have a grill, you can cook them in a skillet with some vegetable oil. Fill a skillet with about a inch of vegetable oil and heat the oil at medium heat. Cook them for 2-3 minutes per side until they are golden brown. Remove them from the oil with a slotted spoon and drain them on paper towels.
Serve your falafel in a wrap with Tzatziki Sauce, some lettuce, and other veggies or put it on a burger bun with the Tzatziki Sauce.
Since we can’t have falafel without Tzatziki Sauce (well, you can, but it’s better with), I had to get together a recipe. I started with a recipe at The Vedge, and added some additional things I like to it.
Tzatziki Sauce (Using a Cashew Base)
1 cup cashew pieces (raw, unsalted) and soaked overnight in water (covering cashews by 2-3 inches)
1 cup water
1 lemon, juiced
1 garlic clove
1 teaspoon of salt
1 teaspoon of dill weed (optional)
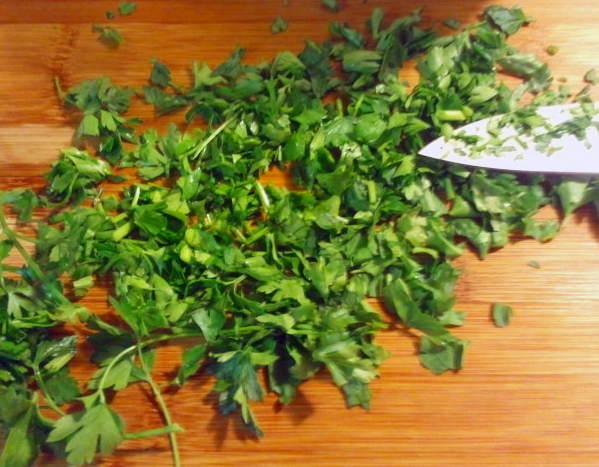
4 Tablespoons of fresh parsley, chopped
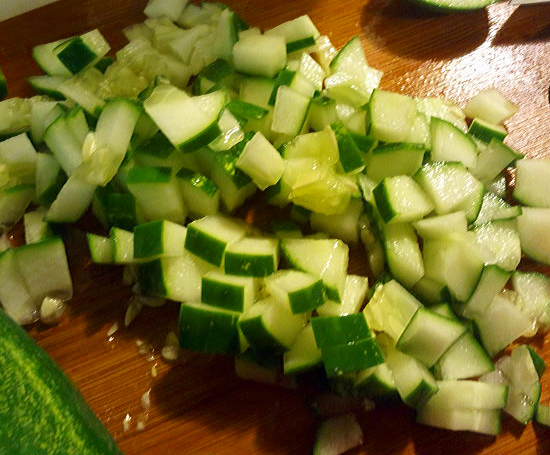
1 medium cucumber (peeled if waxed) and diced (I used two pickling cukes, and left the skin on)
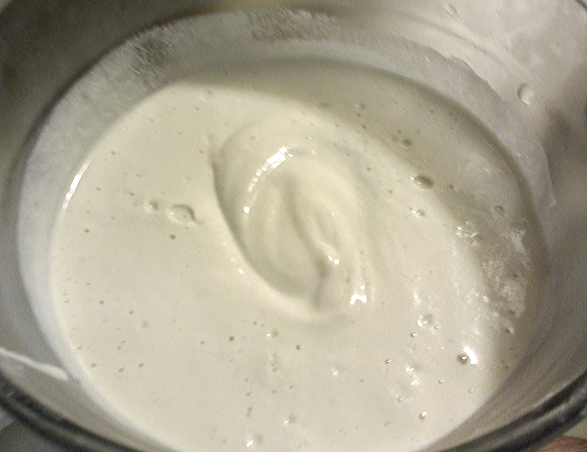
Drain the cashews and place in a blender. Add water, lemon juice, garlic, and salt to blender. Blend until completely pureed, better to over blend than to not blend enough. You want it as smooth as you can get it.
Cashew Mixture After Blending
Pour cashew mixture into a bowl that will hold it, the dill, the parsley and the cucumber. Add dill, parsley, and cucumber to the cashew mixture and stir to mix well.
Fresh parsley, choppedCucumbers diced
You can do all this in the blender if you want, but I like chunky cucumbers in this sauce. Refrigerate for at least an hour, and use on falafel, gyros, wraps, salads, as a dip and so on. Or you could use large slices or chunks for a salad or side dish, and do a much smaller dice or in the blender for a sandwich slather.
You know, if you have a good list of allergies, as Denise and I both do, breakfast can be one of the worst meals. If you eat meat, bacon is usually safe, though sausage might or might not be. Take out eggs, gluten for pancakes and waffles… well, you get the picture. I miss going out for breakfast. And as much as I love them, I’m actually getting bored of cereal and hash browns for breakfast.
So why not polenta? I have eaten leftover corn polenta for breakfast (the kind that comes in a nice tube at the grocery store), and it’s great as a savory breakfast, but I started thinking of the millet polenta in Vegan with a Vengeance — that was the first polenta I ever made and the first time I’d eaten millet. We used to buy it for the parakeets we had growing up, and I still sort of think of it as bird food. But it’s really tasty!
This recipe easily doubles into a 9×11 pan, but for one breakfast or one person who doesn’t want to eat it for 9 days, do this in an 8×8 pan. My favorite part is that all the work is done ahead of time, with maybe 10 minutes of work in the morning — and most of those are what some recipes call “inactive” time. I am not a morning person.
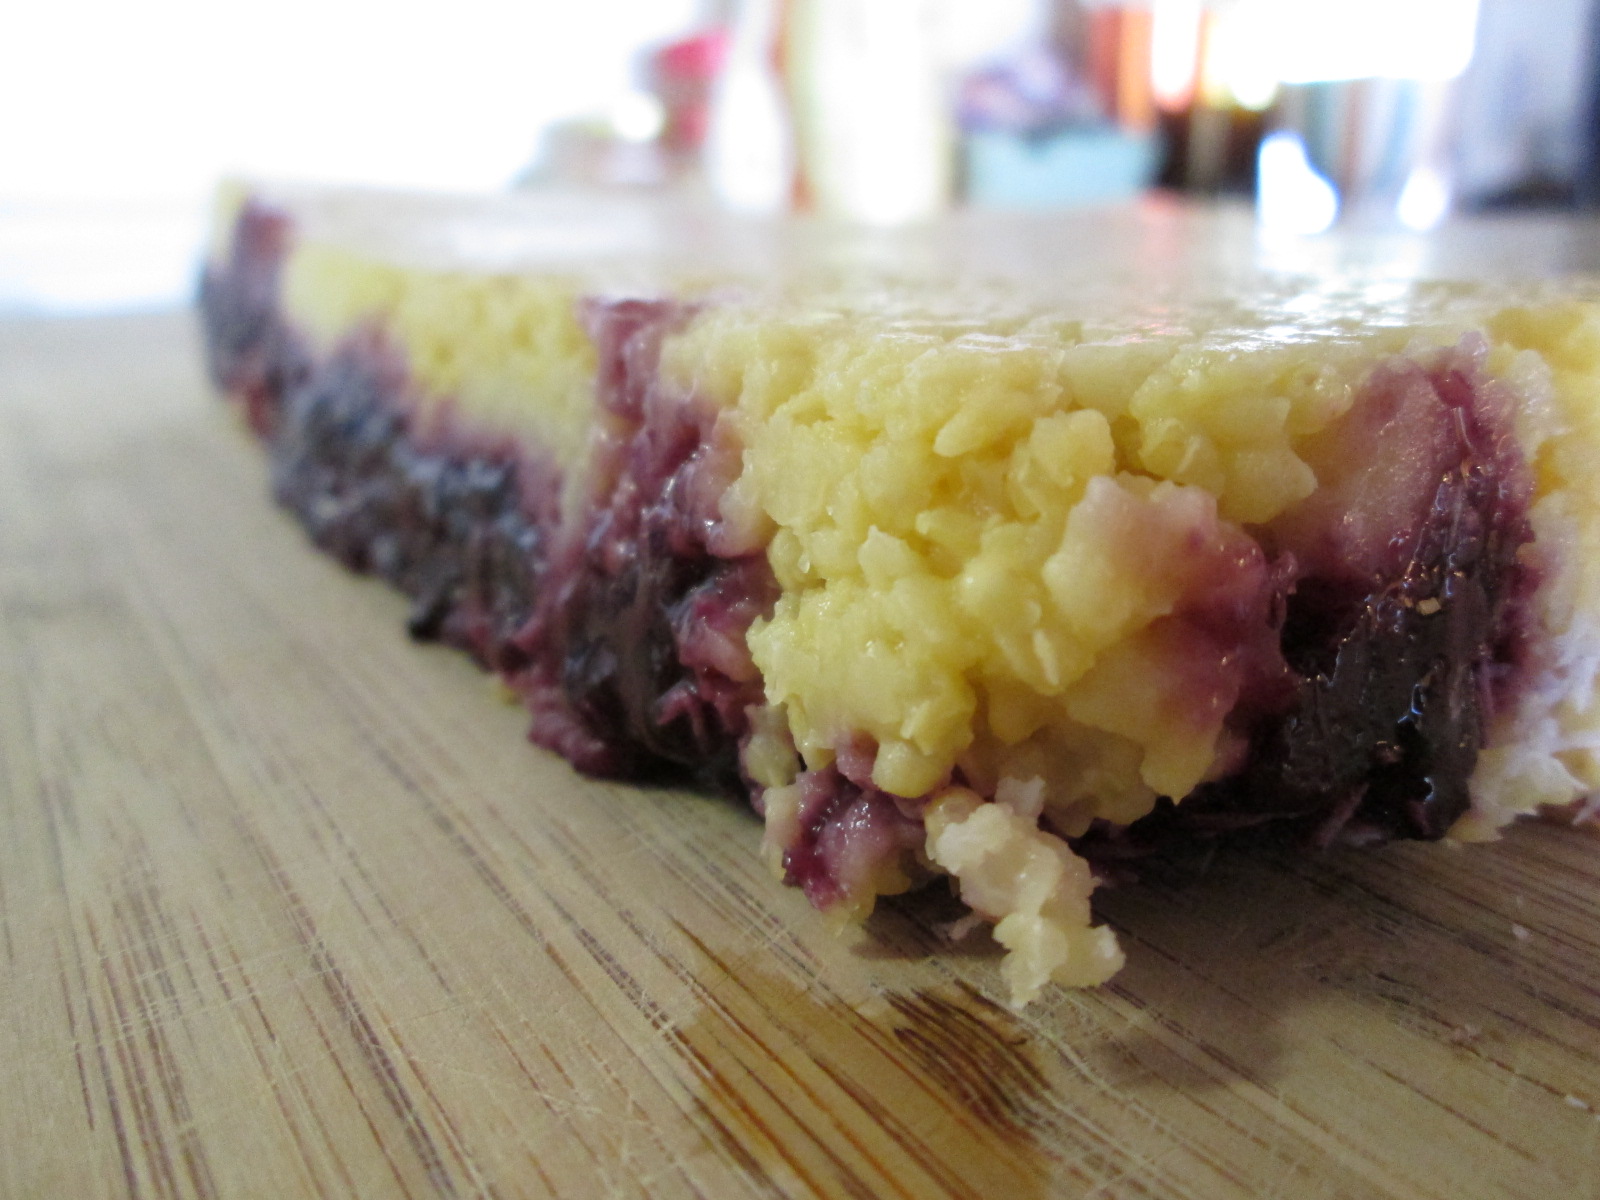
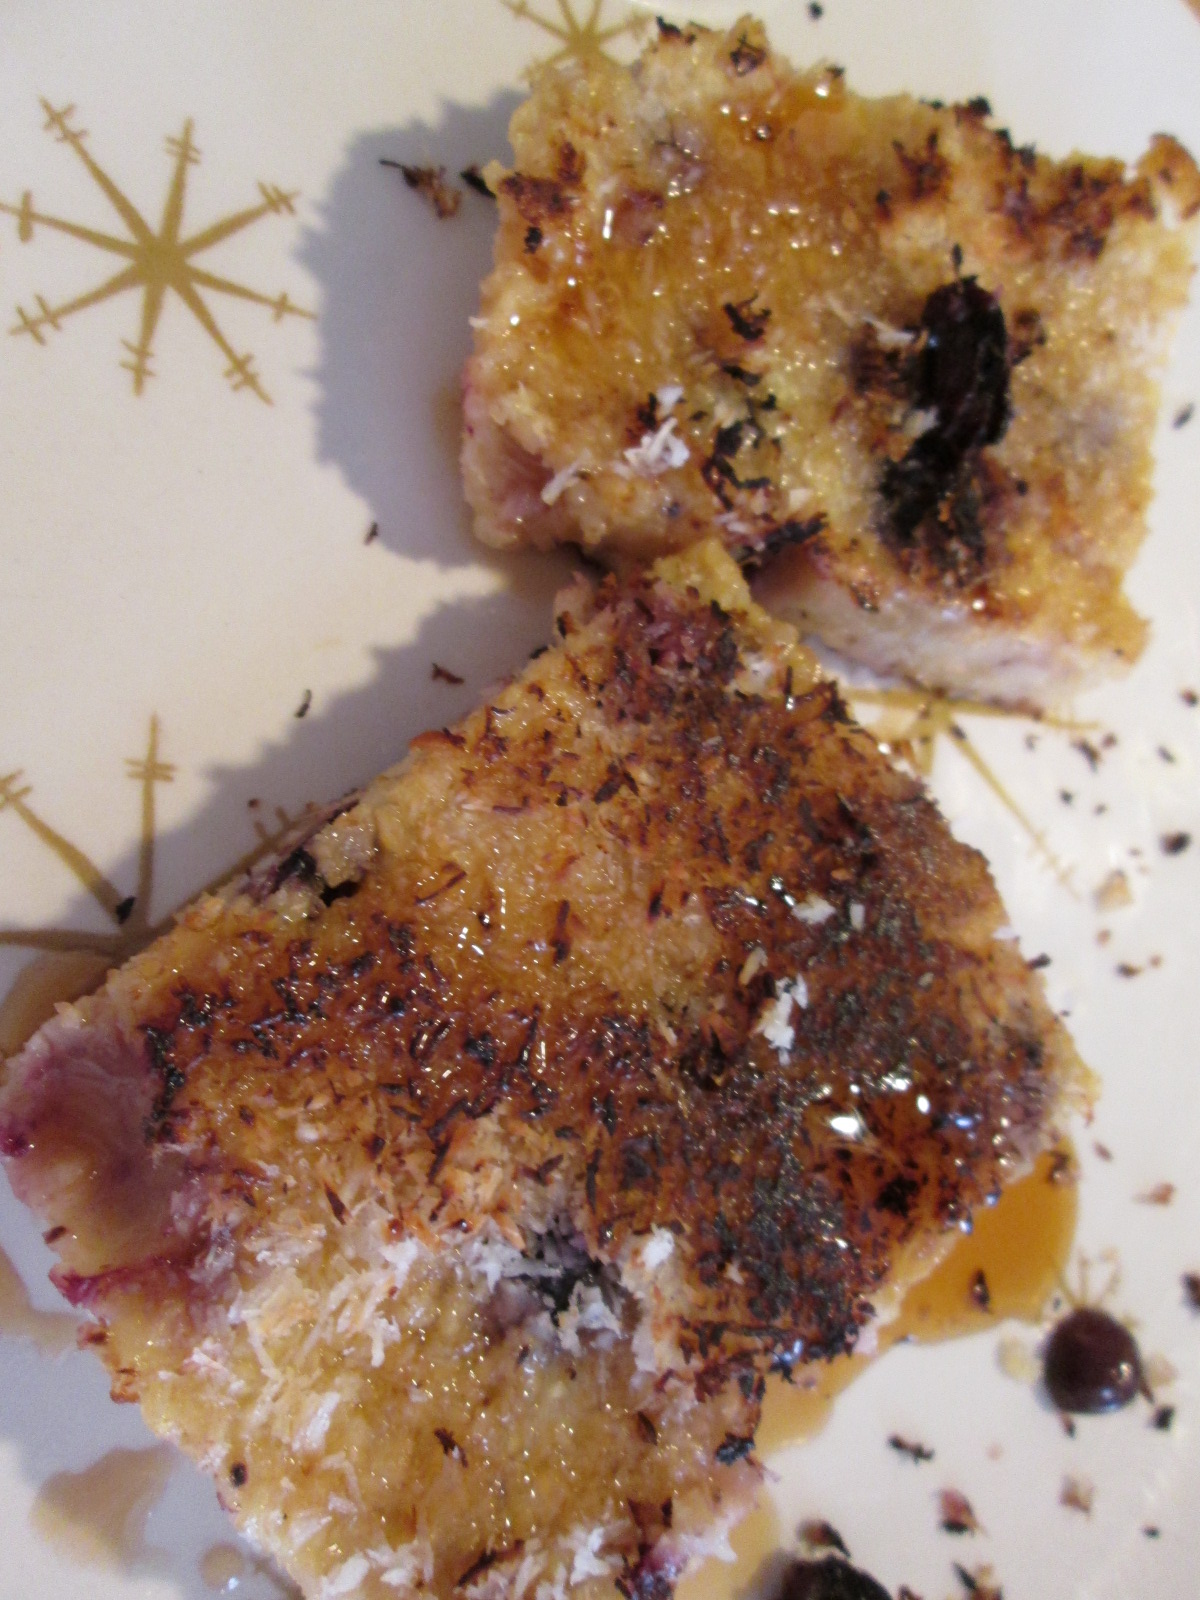
Millet polenta with blueberries and maple syrup
Breakfast Polenta
Make-ahead preparation:
In a sauce pan, mix
1 cup millet, rinsed
1 1/2 cups orange juice
1 1/2 cups water
1 Tablespoon oil, shortening, or Earth Balance (use coconut oil if you can)
1 or 2 cinnamon sticks
Bring this mixture to a boil, turn it down, and let it simmer for 30-35 minutes.
In a separate small pan, heat
1/2 cup frozen blueberries
1 Tablespoon orange juice
1/4 cup unsweetened shredded coconut (optional)
When the blueberries are soft, mash them with a fork or potato masher, just until you have a rough jelly.
Into a greased 8×8 pan, put half the millet mixture in the pan, smooth down, spread the blueberry mix on top, and then add the second half of millet mix and smooth it out.
Allow it to cool at room temperature and then refrigerate.
Morning preparation:
You will need
1 teaspoon to 1 Tablespoon of coconut oil, Earth Balance, or other oil of your choosing (just enough to coat the bottom of your skillet)
In the morning, heat a skillet over medium heat. Add your oil — this isn’t absolutely necessary, but it will promote a good browning, which really makes the polenta to me. Pan fry on both sides, 5-7 minutes per side.
Plate and drizzle with maple syrup. Pour it on slowly to allow it to soak in. Oh, and get the real stuff — you’re worth it.
What do you eat for breakfast? Do you rely on the same standards, over and over, or do you mix it up?
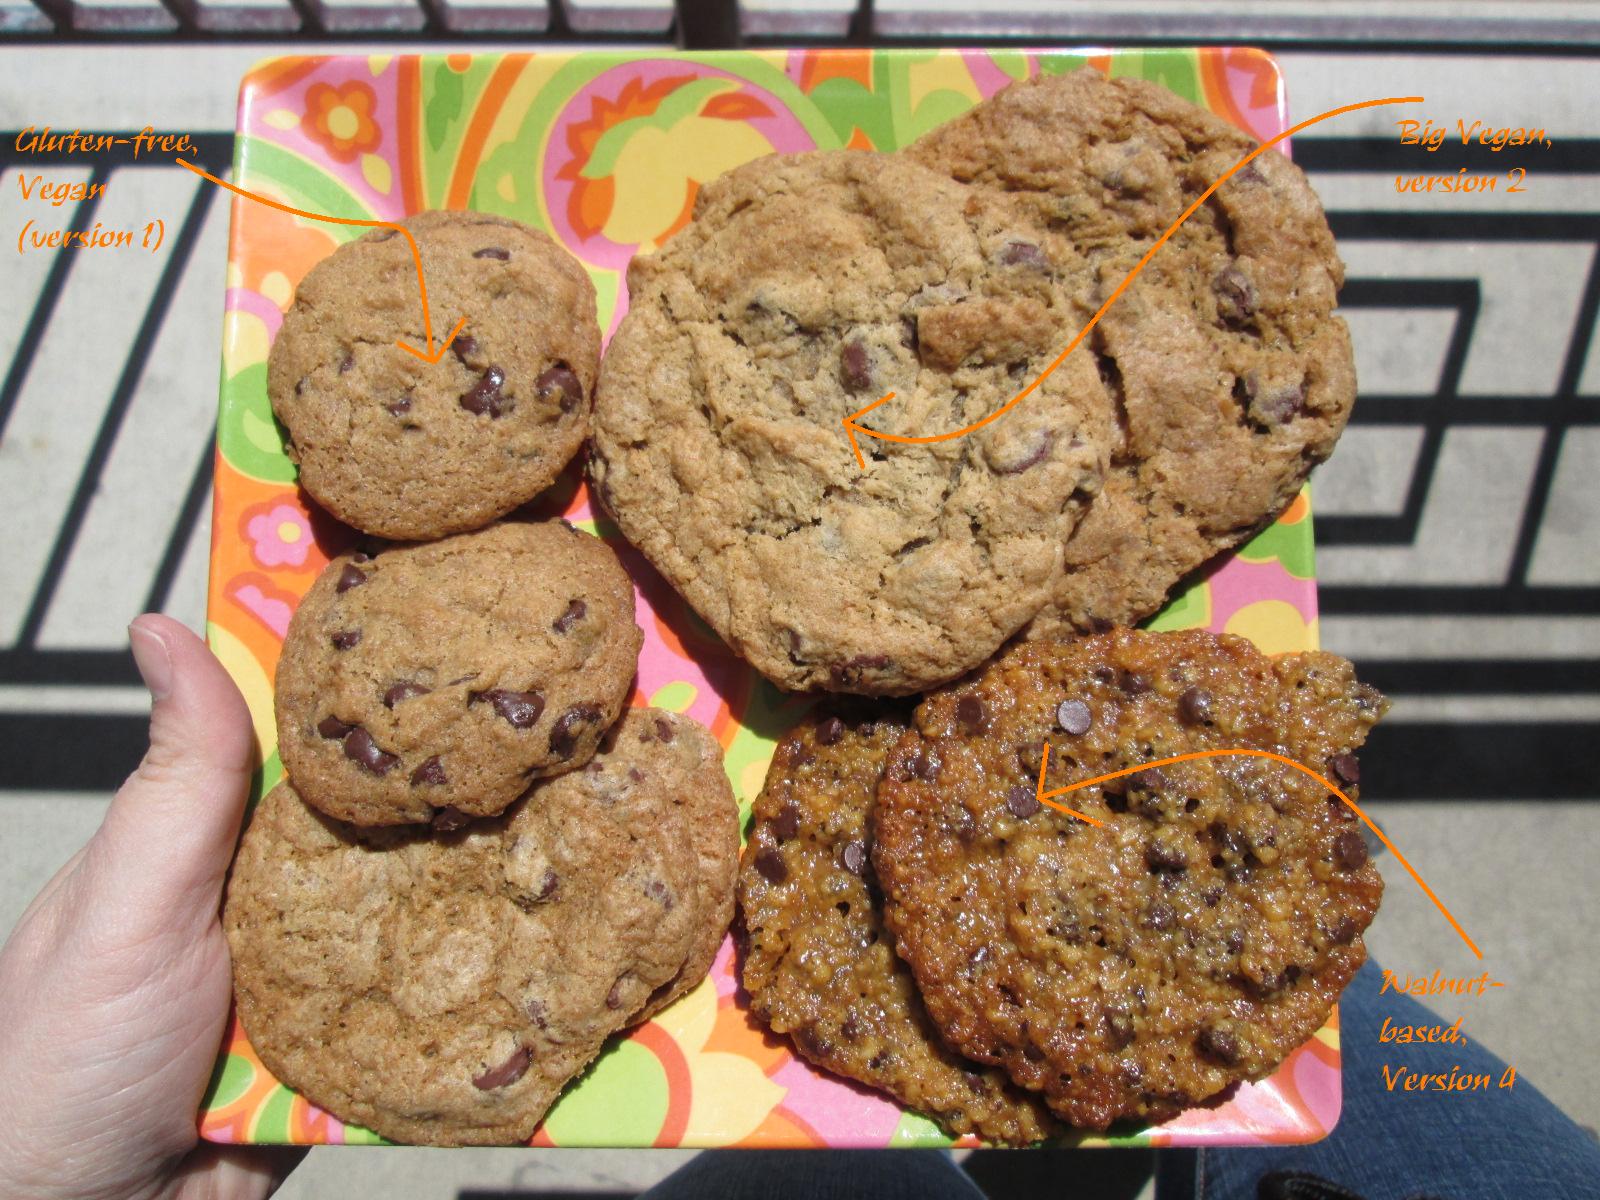
Plate of Chocolate Chipped Goodness — from top left, vegan GF, vegan, walnut
Because it’s Earth Day, and it’s our 100th post, we thought we should make cookies. Because cookies are round, like the Earth. And because making cookies and giving them to people makes you a hero. Or just sharing — you don’t have to give them all away, promise. You can eat them, too. Cookies are happiness, right?
Well, cookies are often not even close to happiness when you’re an allergen sufferer. If you have adult-onset allergies, you might remember making the classic Tollhouse cookie — wheat flour, eggs, butter, chocolate chips that contain milk. The recipe itself is almost a list of allergens. But it doesn’t have to be! We’re here to show you a few ways (but not quite 100).
The following recipes — there are 4 — are all variations on the chocolate chip cookie. The first two are classic; the very first is completely allergen-free — gluten-free, egg-free, dairy-free, nut-free, vegan. The rest are also vegan (no dairy, no eggs), but the second recipe contains gluten, and the last two contain nuts. One of these is bound to work for you. Read on for the details.
Vegan Gluten-free Chocolate Chip Cookies
Gluten-Free and Allergen-Free Chocolate Chip Cookies, Version 1
allergen-free.
Makes about 50-60 cookies using approximately 1 Tablespoon of dough for each cookie.
2 Tablespoons of ground chia seed meal
6 Tablespoons of water
315 grams of the Glutenfreegirl’s All Purpose Gluten Free Flour Mix for Cookies (see recipe here, I made a half batch and it was enough for this with 185 grams left over – I don’t know if this would work with other commercial gluten free mixes but if you want to try it, I’m using 140 grams to the cup so if you’re using cups because your mix is a 1:1 ratio, it’s 2 1/4 cups)
1 teaspoon of baking soda
1 teaspoon salt
1 cup of Soy-free Earth Balance (if you can have soy, 2 sticks Earth Balance buttery spread)
3/4 cup of brown sugar, packed
3/4 cup of granulated sugar
1 Tablespoon of vanilla extract
2 cups of allergen-free chocolate chips (Enjoy Life chocolate chips recommended)
Preheat your oven to 375°F.
In a small container mix ground chia seed meal and water thoroughly. Set aside until needed to let it gel.
Then measure out the Gluten Free Flour Mix for Cookies, salt, and baking soda and place in a bowl. Whisk ingredients together until they are well incorporated into each other, and set aside until its needed.
Using your mixer (preferably a stand mixer) beat the Earth Balance, sugar, brown sugar, and vanilla in a large bowl until it’s creamy, scraping down the sides as needed to make sure that all the ingredients are completely mixed together. The reason that you are using cold Earth Balance right out of the fridge is that (a) if you have a KitchenAid or other stand mixer it’ll take the punishment and beat the Earth Balance when it’s cold anyway, and I am way too impatient to wait to soften anything and doing it in the microwave is always a disaster, (b) Earth Balance seems to have a much lower melting point that regular margarine or butter, so you’re giving yourself a fighting chance to have your dough stay doughy when you’re waiting to bake cookies in multiple batches in the oven, and (c) I think it makes the cookies crispier, but I have no empirical evidence for that really.
Add one half of the chia mixture and beat it well to mix it in completely, again scraping down the sides as needed. Add the second half of the chia mixture and do the same.
Gradually add the Gluten Free Flour Mix for Cookies while beating well, again scraping down the sides as needed, until all of it is incorporated into the dough. Using a spoon, mix in the chocolate chips. (You don’t want to use the mixer because it’ll mash the chocolate chips into little bits.)
Drop dough (I used a scoop that holds one tablespoon) onto ungreased baking sheets. I used Pampered Chef stoneware so if you’re using a metal pan you may need to adjust the baking time. Gluten free baking takes longer than regular baking so even though these cookies are 1/3 the size of the other recipe I did with regular flour, they take just as long or longer to cook. Bake for 15-17 minutes (using the stoneware, I baked them for 17 minutes for the best results, with metal sheet pans, try the lower end of the range, but watch your cookies).
Once you have taken them out of the oven, let them cool on the baking sheet for 2-4 minutes or so to let them set up a bit, and then using a spatula, remove the cookies to a cooling rack to finish cooling. Enjoy!
Chocolate Chip Cookies – Vegan (not GF)
Classic Vegan Chocolate Chip Cookies, Version 2
contains gluten.
Makes about 20 three inch cookies using approximately 3 Tablespoons of dough for each cookie. (I like big cookies. If you like smaller cookies, use 1 Tablespoon of dough and adjust the cooking time to about 10 minutes, and you’ll get 5 dozen cookies).
2 Tablespoons of ground chia seed meal
6 Tablespoons of water
2 1/4 cups of all purpose flour
1 teaspoon of baking soda
1 teaspoon salt
1 cup of Earth Balance Natural Buttery Spread Soy Free or 2 sticks of Earth Balance Vegan Buttery Sticks, COLD
3/4 cup of brown sugar, packed
3/4 cup of granulated sugar
1 Tablespoon of vanilla extract
2 cups of vegan or allergy free for you chocolate chips (Enjoy Life chocolate chips recommended)
Preheat your oven to 375°F.
In a small container mix ground chia seed meal and water thoroughly. Set aside until needed to let it gel.
Then measure out flour, salt, and baking soda and place in a bowl. Whisk ingredients together until they are well incorporated into each other, and set aside until its needed.
Using your mixer (preferably a stand mixer) beat the Earth Balance, sugar, brown sugar, and vanilla in a large bowl until it’s creamy, scraping down the sides as needed to make sure that all the ingredients are completely mixed together. The reason that you are using cold Earth Balance right out of the fridge is that (a) if you have a KitchenAid or other stand mixer it’ll take the punishment and beat the Earth Balance when it’s cold anyway, and I am way too impatient to wait to soften anything and doing it in the microwave is always a disaster, (b) Earth Balance seems to have a much lower melting point that regular margarine or butter, so you’re giving yourself a fighting chance to have your dough stay doughy when you’re waiting to bake cookies in multiple batches in the oven, and (c) I think it makes the cookies crispier, but I have no empirical evidence for that really.
Add one half of the chia mixture and beat it well to mix it in completely, again scraping down the sides as needed. Add the second half of the chia mixture and do the same.
Gradually add the flour mixture while beating well, again scraping down the sides as needed, until all the flour is incorporated into the dough. Using a spoon, mix in the chocolate chips. (You don’t want to use the mixer because it’ll mash the chocolate chips into little bits.)
Drop dough (I used a scoop that holds three tablespoons) onto ungreased baking sheets. I used Pampered Chef stoneware so if you’re using a metal pan you may need to adjust the baking time. Bake for 15-17 minutes (using the stoneware, I baked them for 17 minutes for the best results, with metal sheet pans, try the lower end of the range, but watch your cookies).
Once you have taken them out of the oven, let them cool on the baking sheet for 2-4 minutes or so to let them set up a bit, and then using a spatula, remove the cookies to a cooling rack to finish cooling. Enjoy!
Almond-based Chocolate Chipper
Almond-based Chocolate Chip Cookies, Version 3
contains nuts. Makes about 16 cookies.
Preheat oven to 350F
1 1/4 cup almond meal/ground almonds
1/4 teaspoon salt
1/4 teaspoon cinnamon
1/2 cup allergen-free chocolate chips (Enjoy Life mini chocolate chips recommended — mini chips are best in this)
2 Tablespoons oil (I used canola — use what you like for baking, but if using coconut, melt it first)
1/4 cup agave syrup
2 teaspoons vanilla extract
Whisk almond meal, salt, cinnamon, chips, and coconut, if using, together in a medium bowl.
Whisk oil, agave, and vanilla together in a small bowl. It will be tempting to skip this step and just add the wet ingredients into the dry, but don’t. The oil mixed into the syrup will make it mix smoother in the end.
Mix the wet ingredients into the dry with a rubber spatula. You will have a pretty thick dough, but mix until there are no dry spots.
Drop by the tablespoon onto a cookie sheet lined with parchment paper. You don’t really need to space these, as they do not spread out. Bake for 12 minutes, until slightly browned on the bottom (baking time on a metal cookie sheet). Rest them on the cookie sheet for 3 minutes or so before CAREFULLY cooling completely on a wire rack. Be careful — these cookies are a little… loose. These cookies are MUCH better completely cooled — the flavors are muddled when warm. Enjoy!
Walnut-based Chocolate Chippers
Walnut-based Chocolate Chip Cookies, Version 4
contains nuts. Makes about 12-16 cookies.
Preheat oven to 350F.
1 1/4 cups ground walnuts (I have not seen walnut meal for sale. Pulse them in a food processor.)
1/4 teaspoon salt
1/2 cup mini chocolate chips (Enjoy Life recommended)
Whisk together the walnuts, salt, and chocolate chips.
Whisk together the oil, syrup, and vanilla. This will take a minute, as the brown rice syrup is thick, but it will come together. (A measuring tip — measure out the oil into the 1/3 cup measuring cup. Swirl it around before dumping it in the bowl, and then use that cup to measure the syrup, and it will come right out.)
Add the wet ingredients to the dry and mix with a rubber spatula.
Drop 1 Tablespoon scoops onto a baking sheet lined with parchment paper, about 1 inch apart. Bake 12-17 minutes or until cookies have spread and edges begin to brown (baking time on a metal sheet). Let rest only a few minutes on the cookie sheet before removing to a wire rack to cool. Unlike the almond-based cookies, these are even better warm. Enjoy!
Cookies from King Arthur GF box mix
If you are newly gluten-free, don’t want to buy 100 spendy new flours and want to make cookies, try the King Arthur box mix. It is a box mix, so it’s not as great as making them from scratch, but it is good. And early successes in gluten-free baking are worth it.
We hope that our happy 100th post has inspired you to venture up the cookie tree. You know, the tree that the elves live in? If you have no elves, you’ll have to bake your own cookies, but we promise, if we can do it, you can do it. Your friends will love you for it.
Got a favorite recipe? Tried one of ours and liked it? We’d love to hear from you.