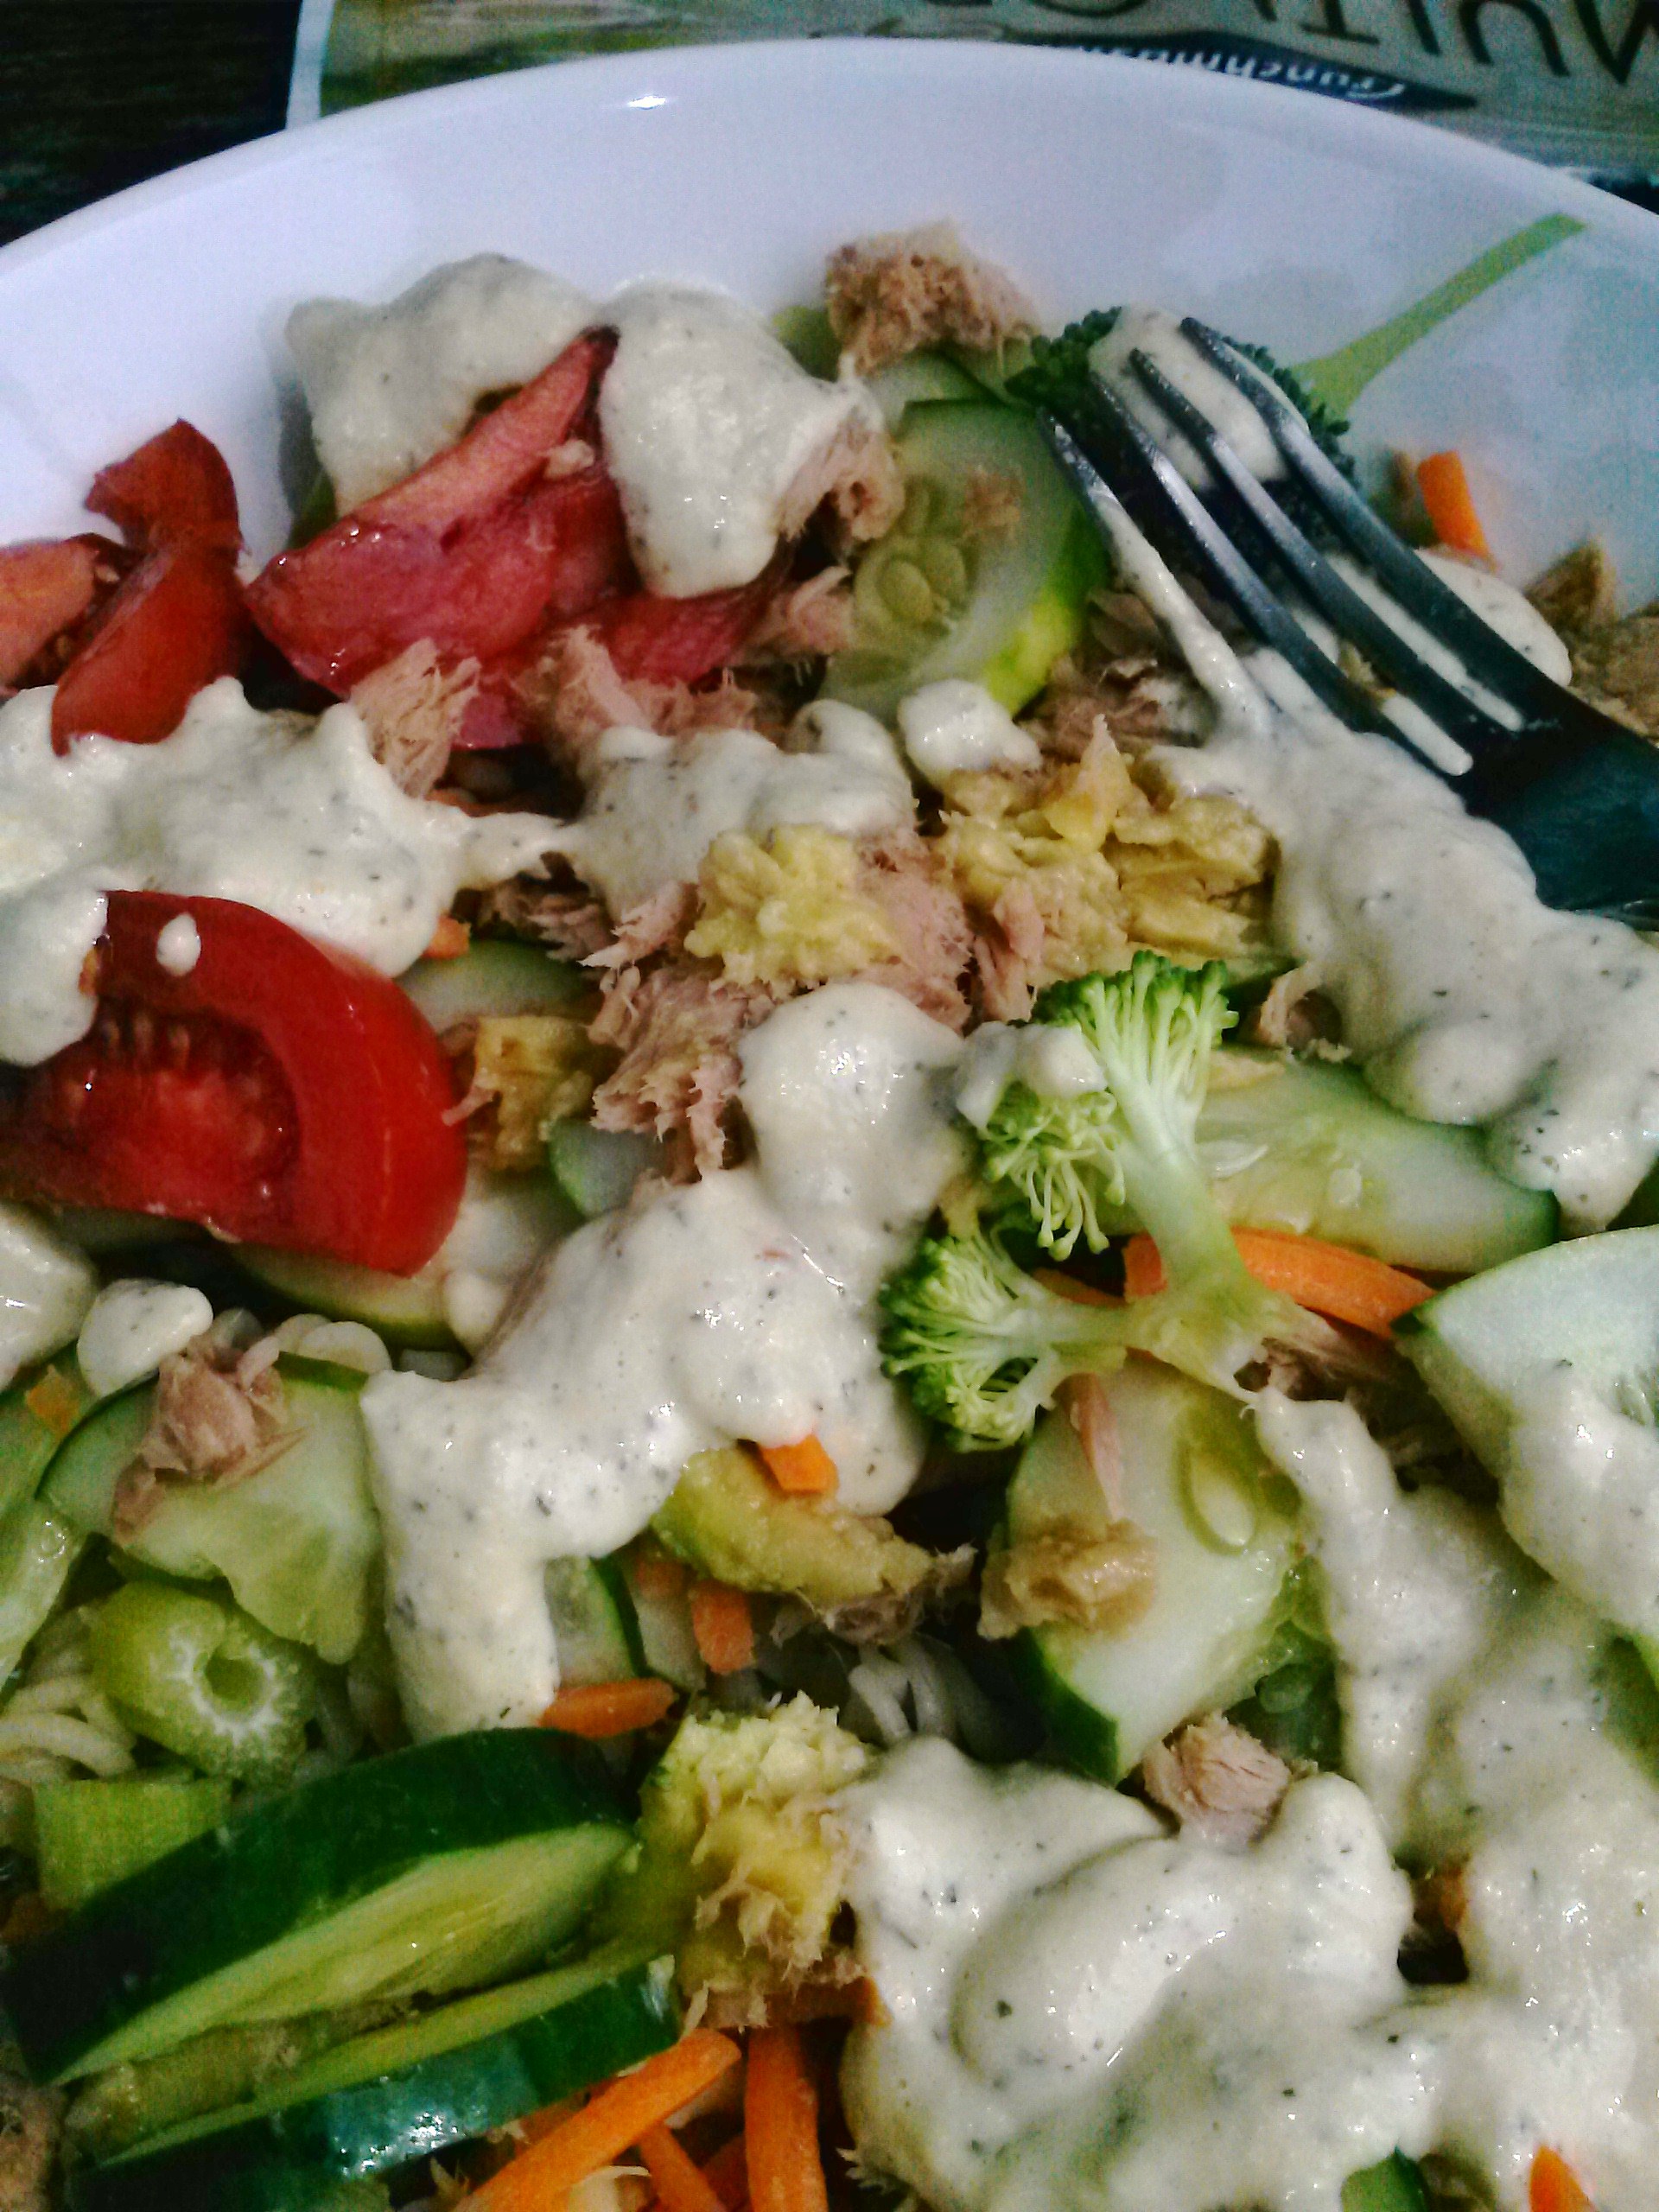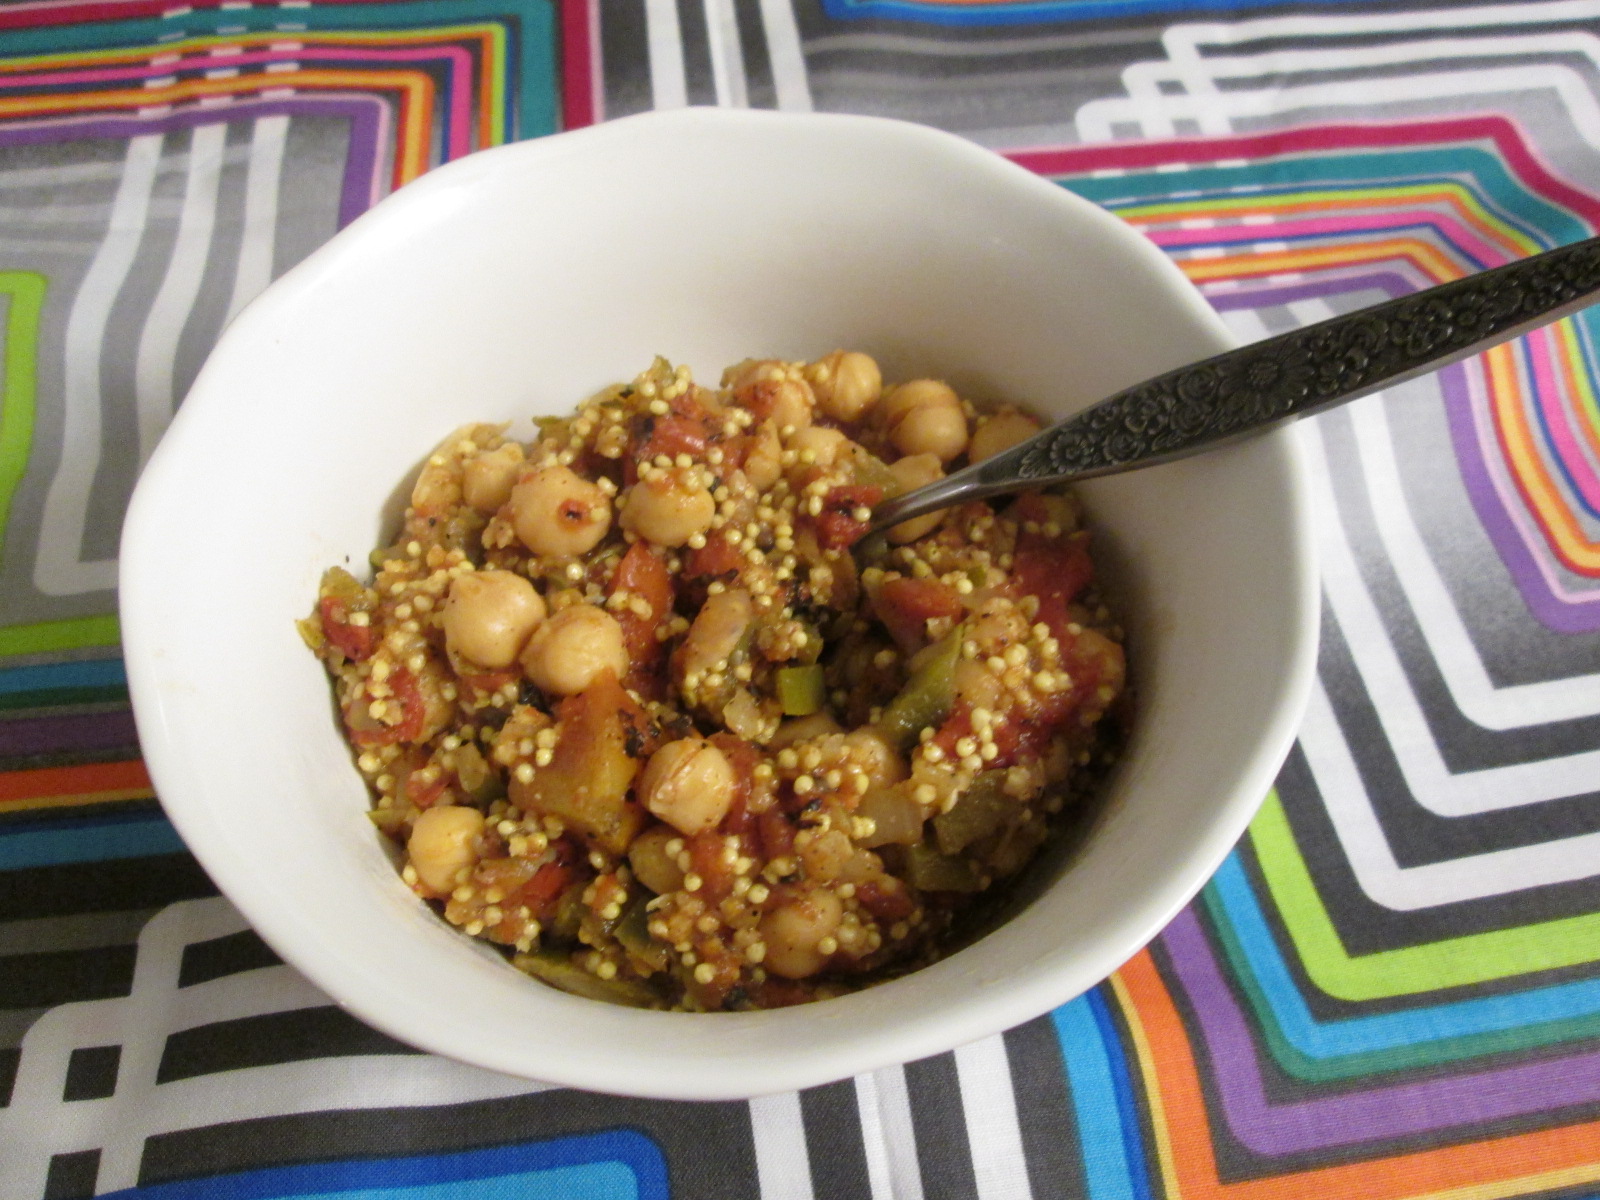
Yes, I know, it’s about a week late for the end of summer, but then, the zucchini is still around, isn’t it? The zucchini lasts through the end of summer, garbanzo beans always remind me of summer salads and hummus, and the adobo seasoning and fire-roasted tomatoes taste of grilling season. This quick hot meal has some of the great flavors of summer, but is warm and filling (and made indoors).
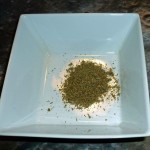
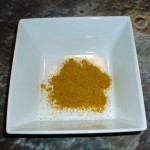
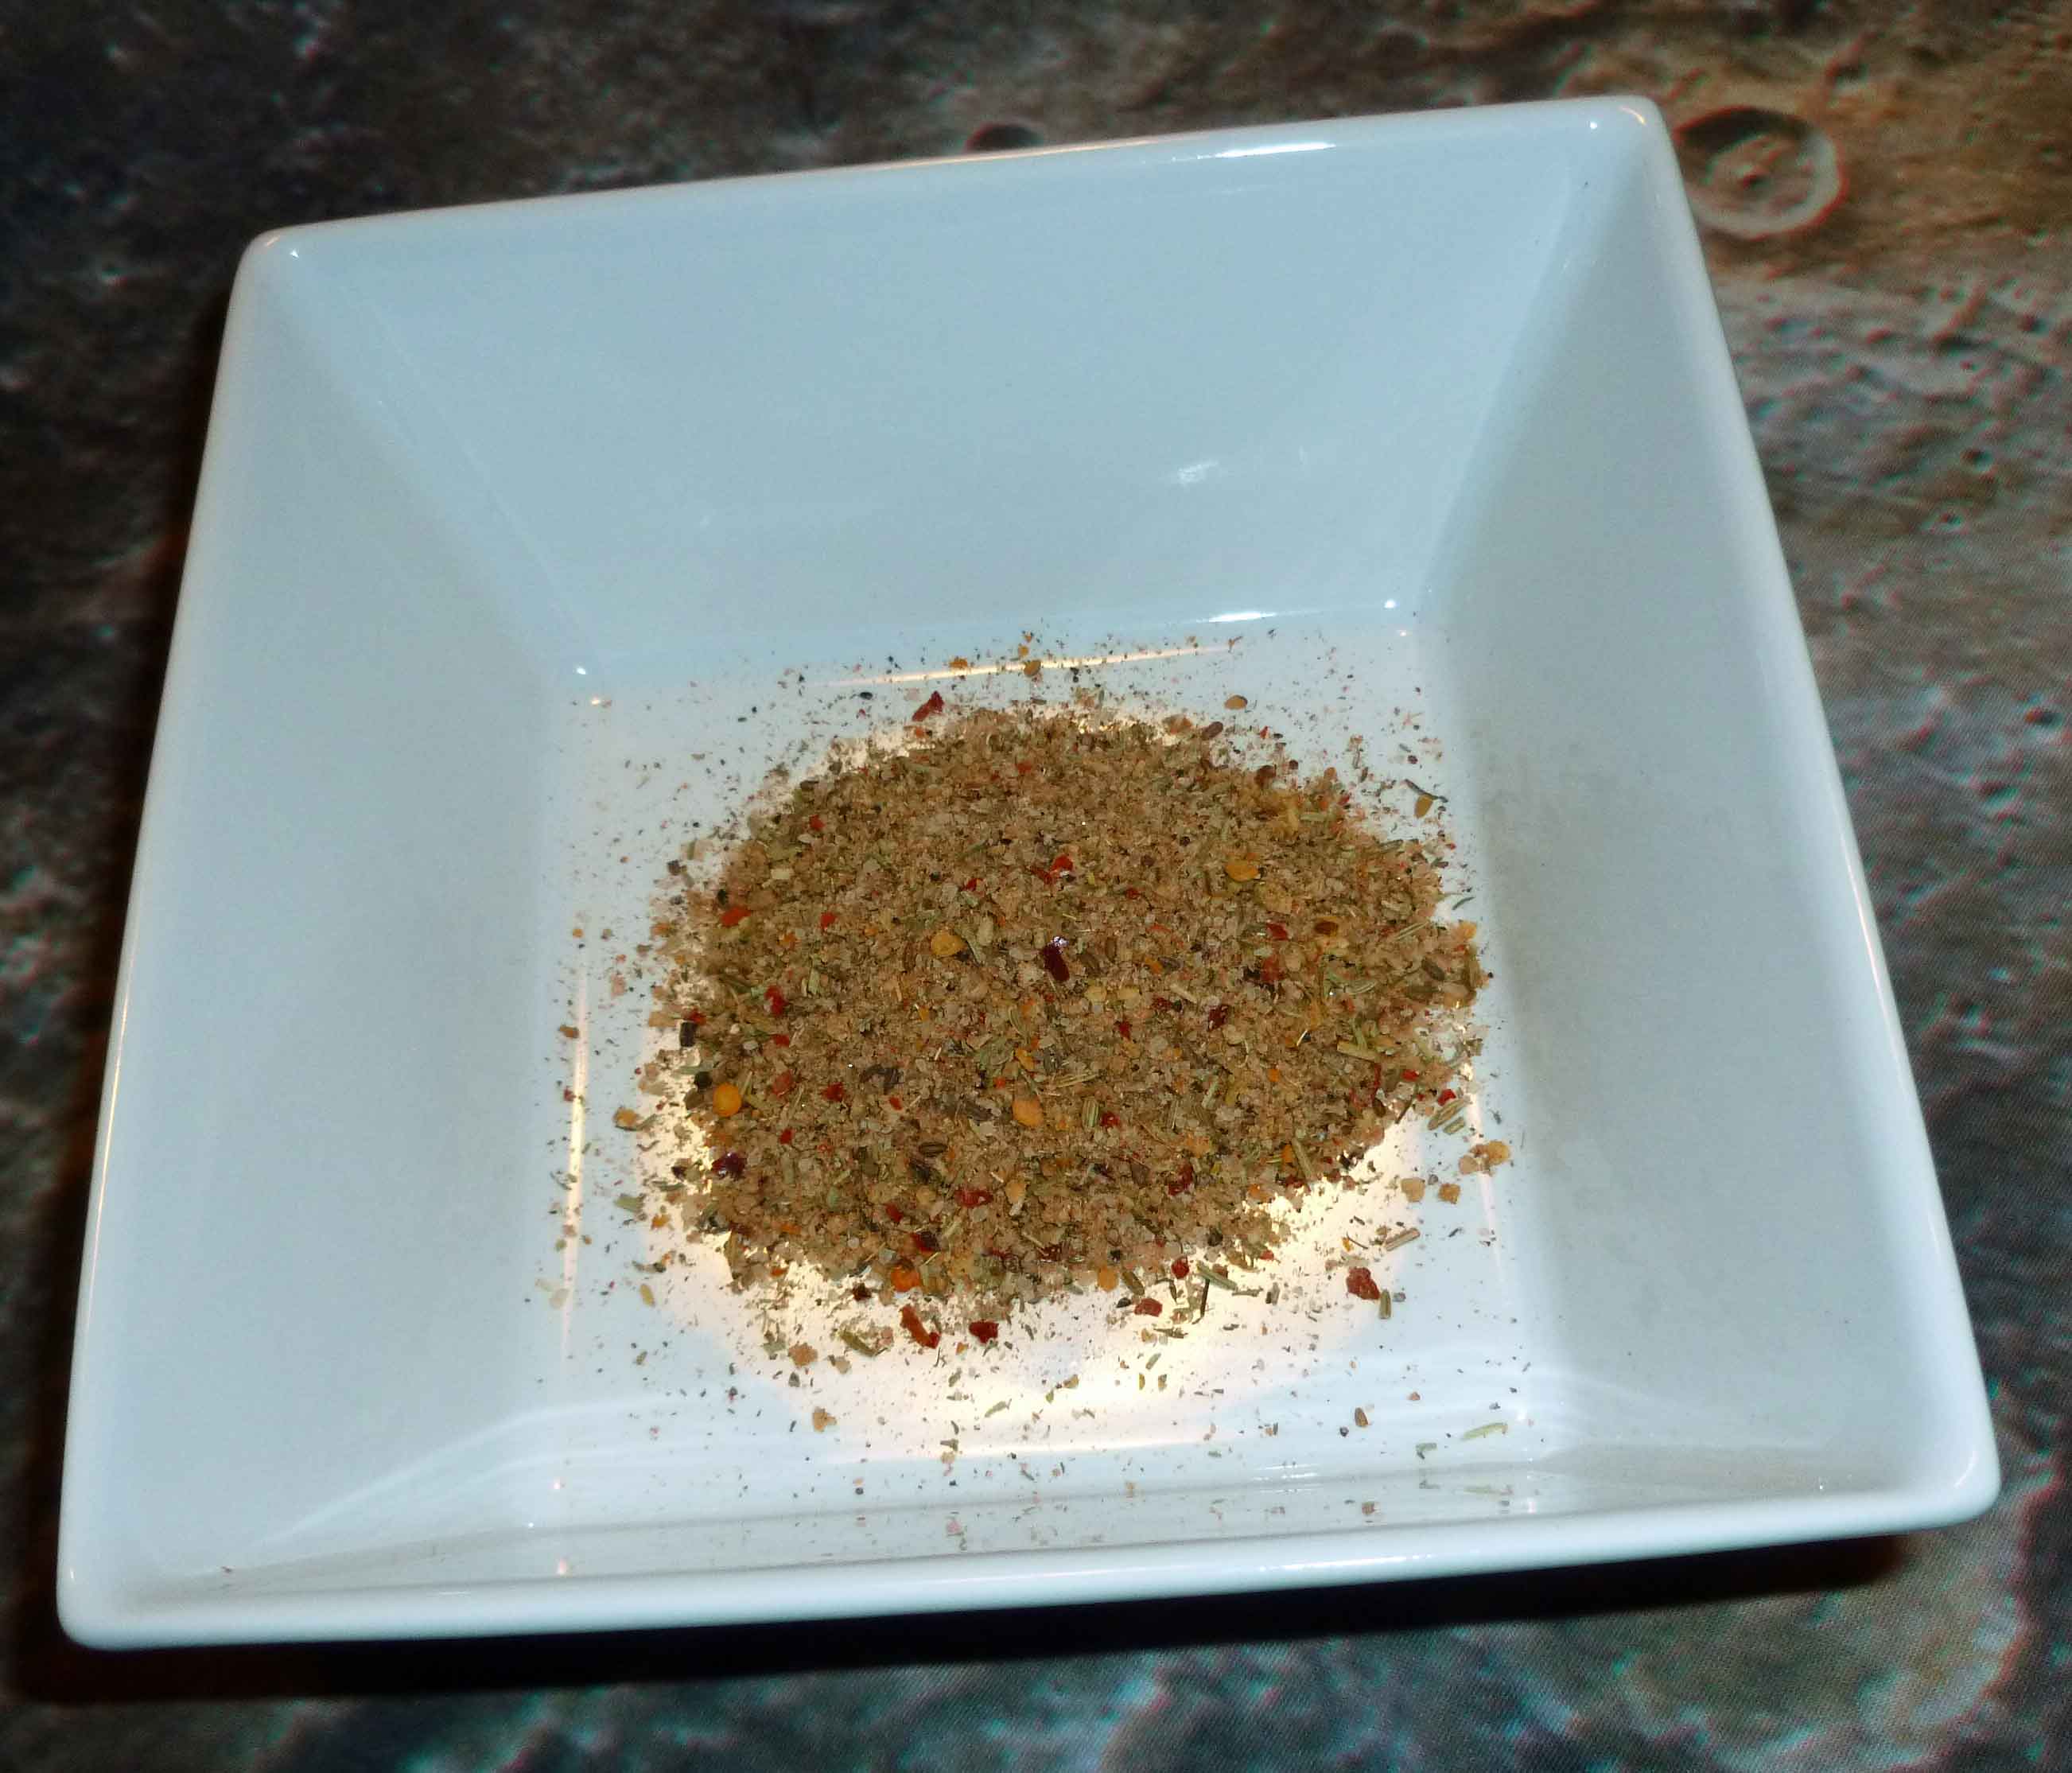
Adobo seasoning is one of my recent favorites, as there is a ton of flavor in it, but it’s not really spicy. There are varieties of adobo, but the one I’m referring to appears to be Puerto Rican in origin — a dry spice mix, often used to rub on meats, that consists of onion, garlic, Tellicherry black pepper, Mexican oregano, cumin, and cayenne pepper. My version is from Penzey’s Spices, but I have seen it at the grocery store, so I’m assuming it’s not too hard to find in the US. It makes almost everything better.
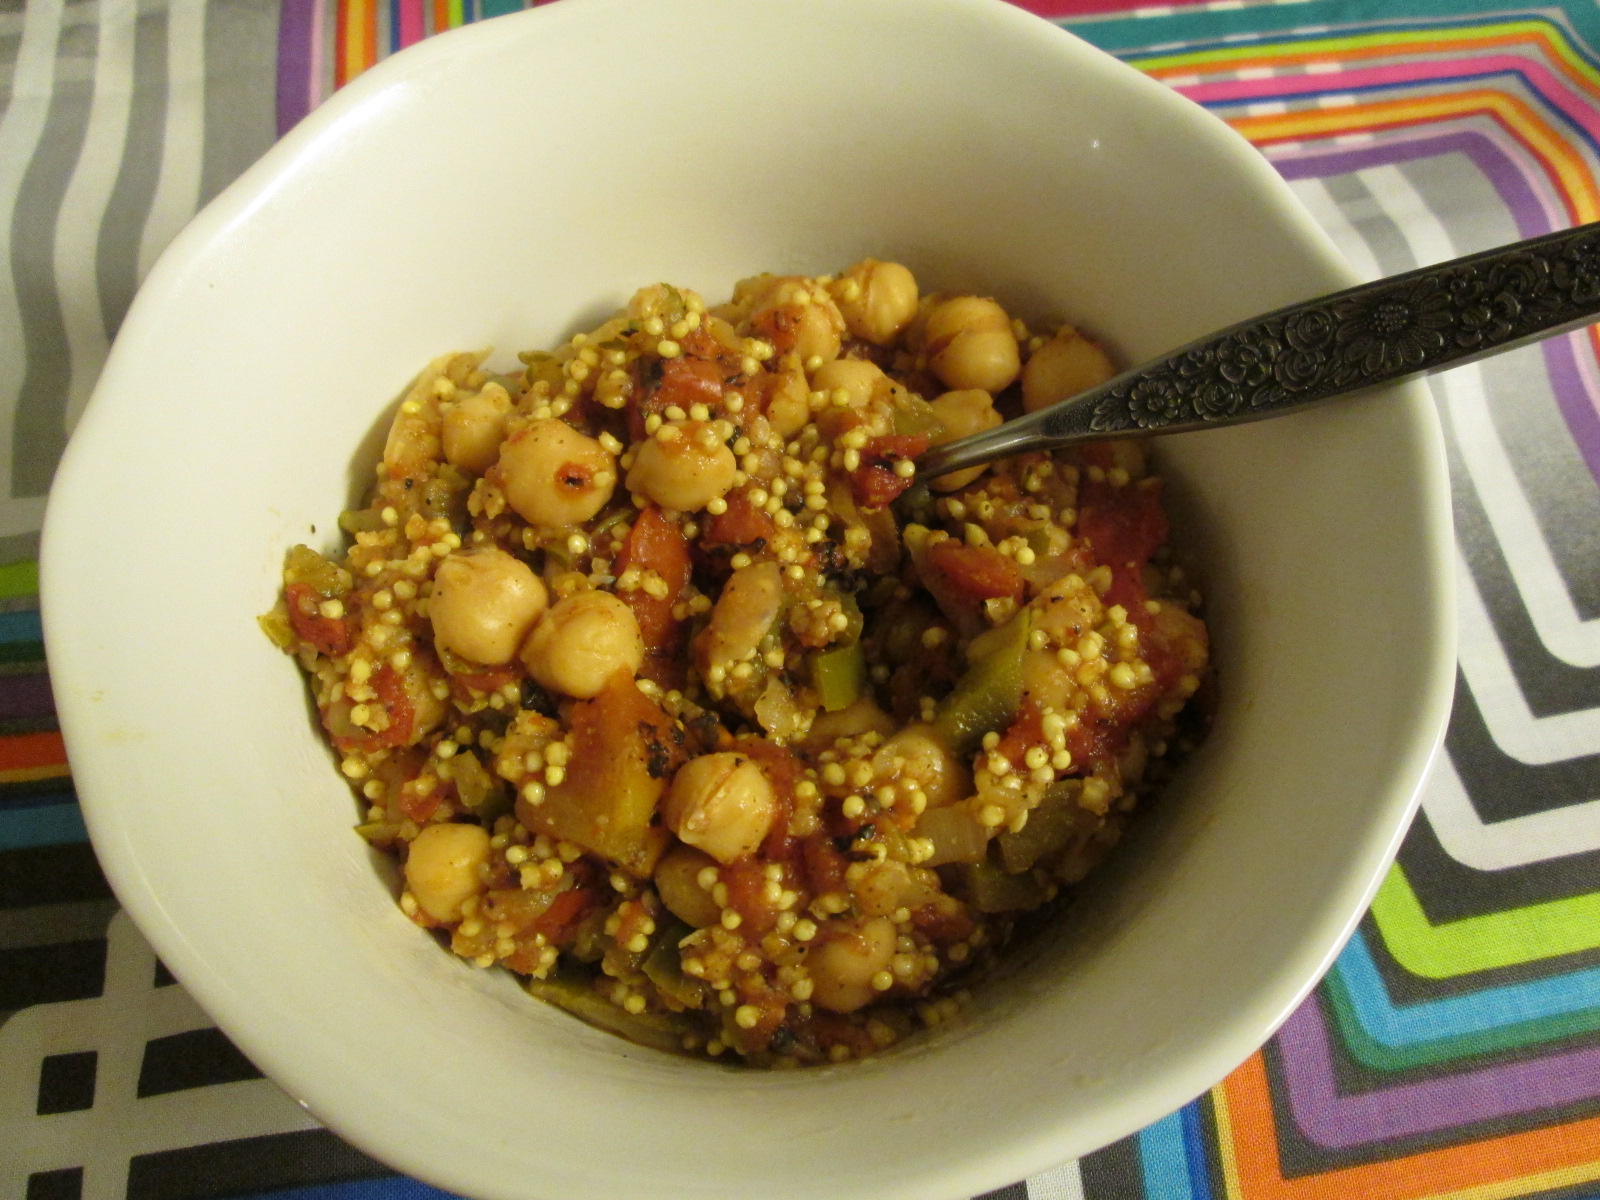
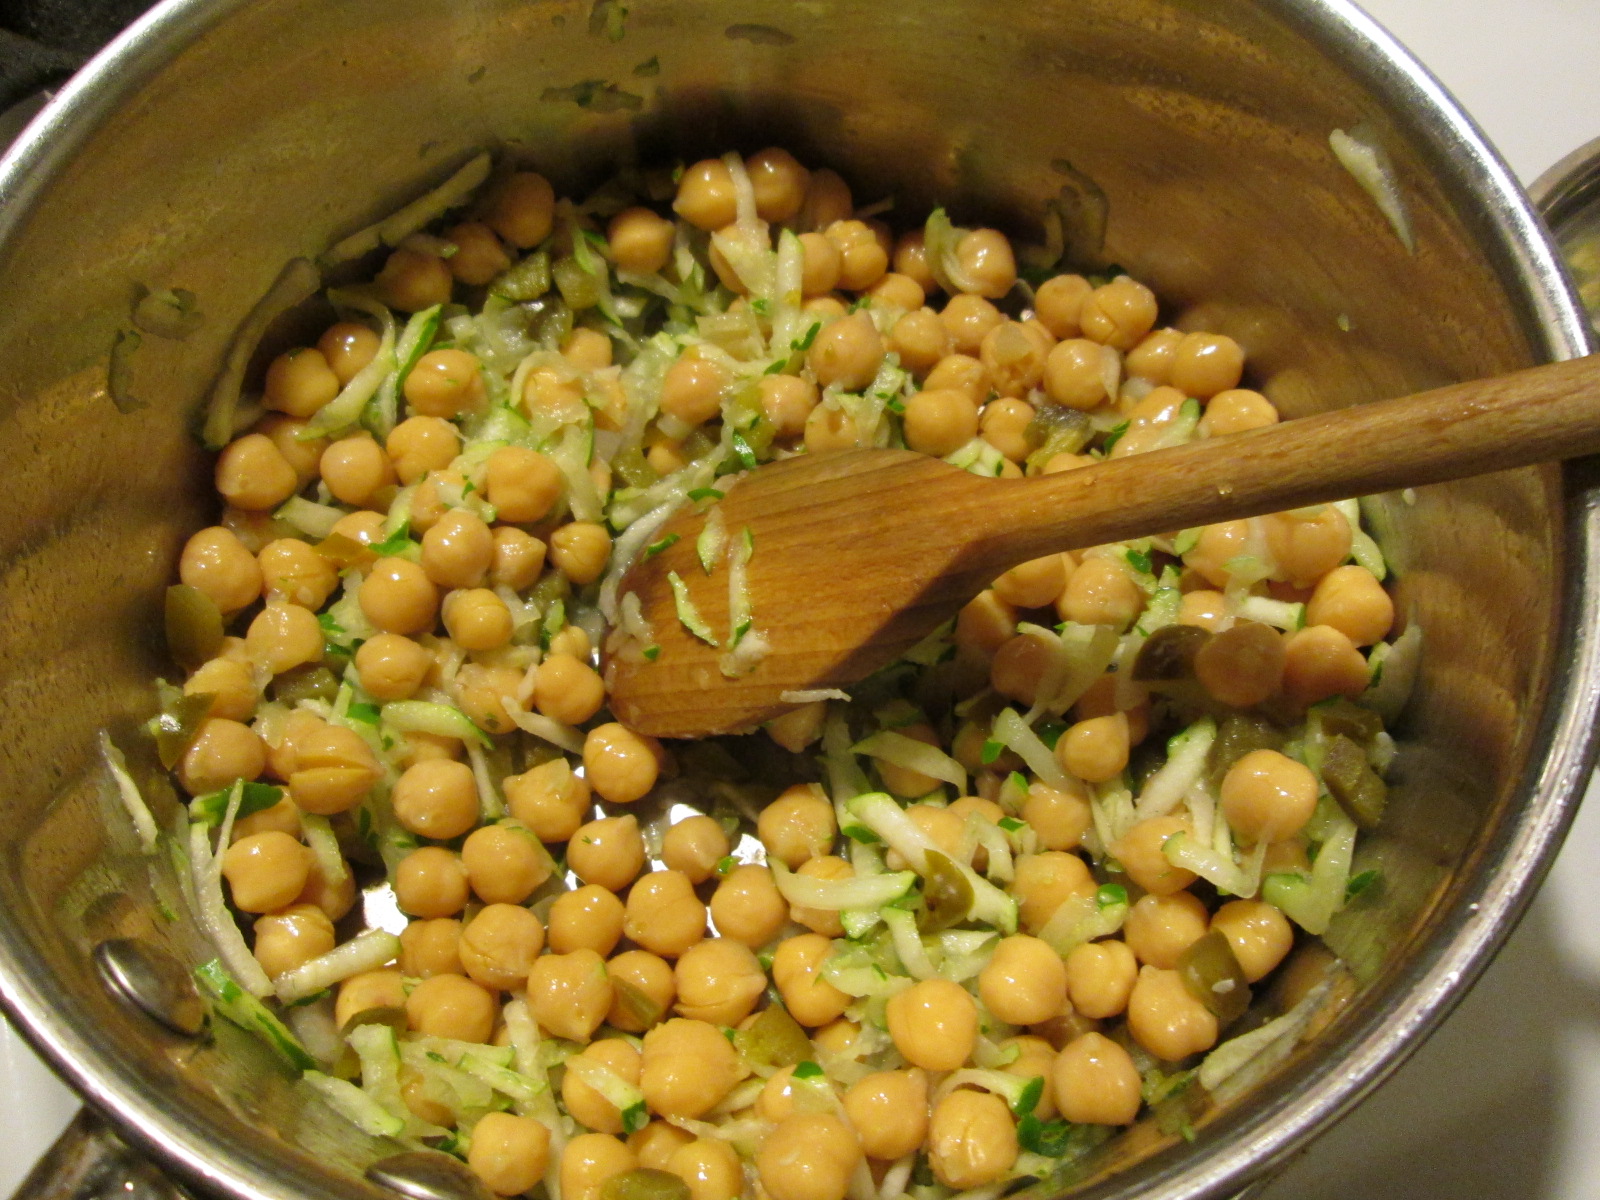
End-of-Summer Garbanzo Chili
Makes 3-4 servings, depending on how hungry you are.
- 2 teaspoons oil
- 3 Tablespoons chopped onion
- 2 small zucchini, grated (“small” being about 6 inches long, 1 inch diameter — the most common size found in your average US grocery store. Honestly, a little more or less won’t hurt here.)
- 2 oz. (1/2 half a small can) of diced jalapeños OR one fresh, diced jalapeño pepper OR a small can of green chiles (or if you’re Denise, all of the above, possibly)
- 1 can (15 oz.) garbanzo beans, drained and rinsed
- 1 can (15 oz.) diced tomatoes, fire-roasted if you wish
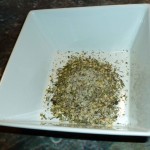
- 1 Tablespoon adobo seasoning
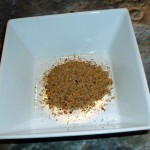
- 1/4 cup + 2 Tablespoons millet
- 3 Tablespoons water
- salt to taste
In a pan heated over medium-low heat, add your oil to the warmed pan. When it shimmers, add the onions. I always chop whole onions, even when I need only half for a recipe, and the rest goes into a bag in the freezer just for meals like this. Add it straight from the freezer to the hot oil, but be careful of the splatters.
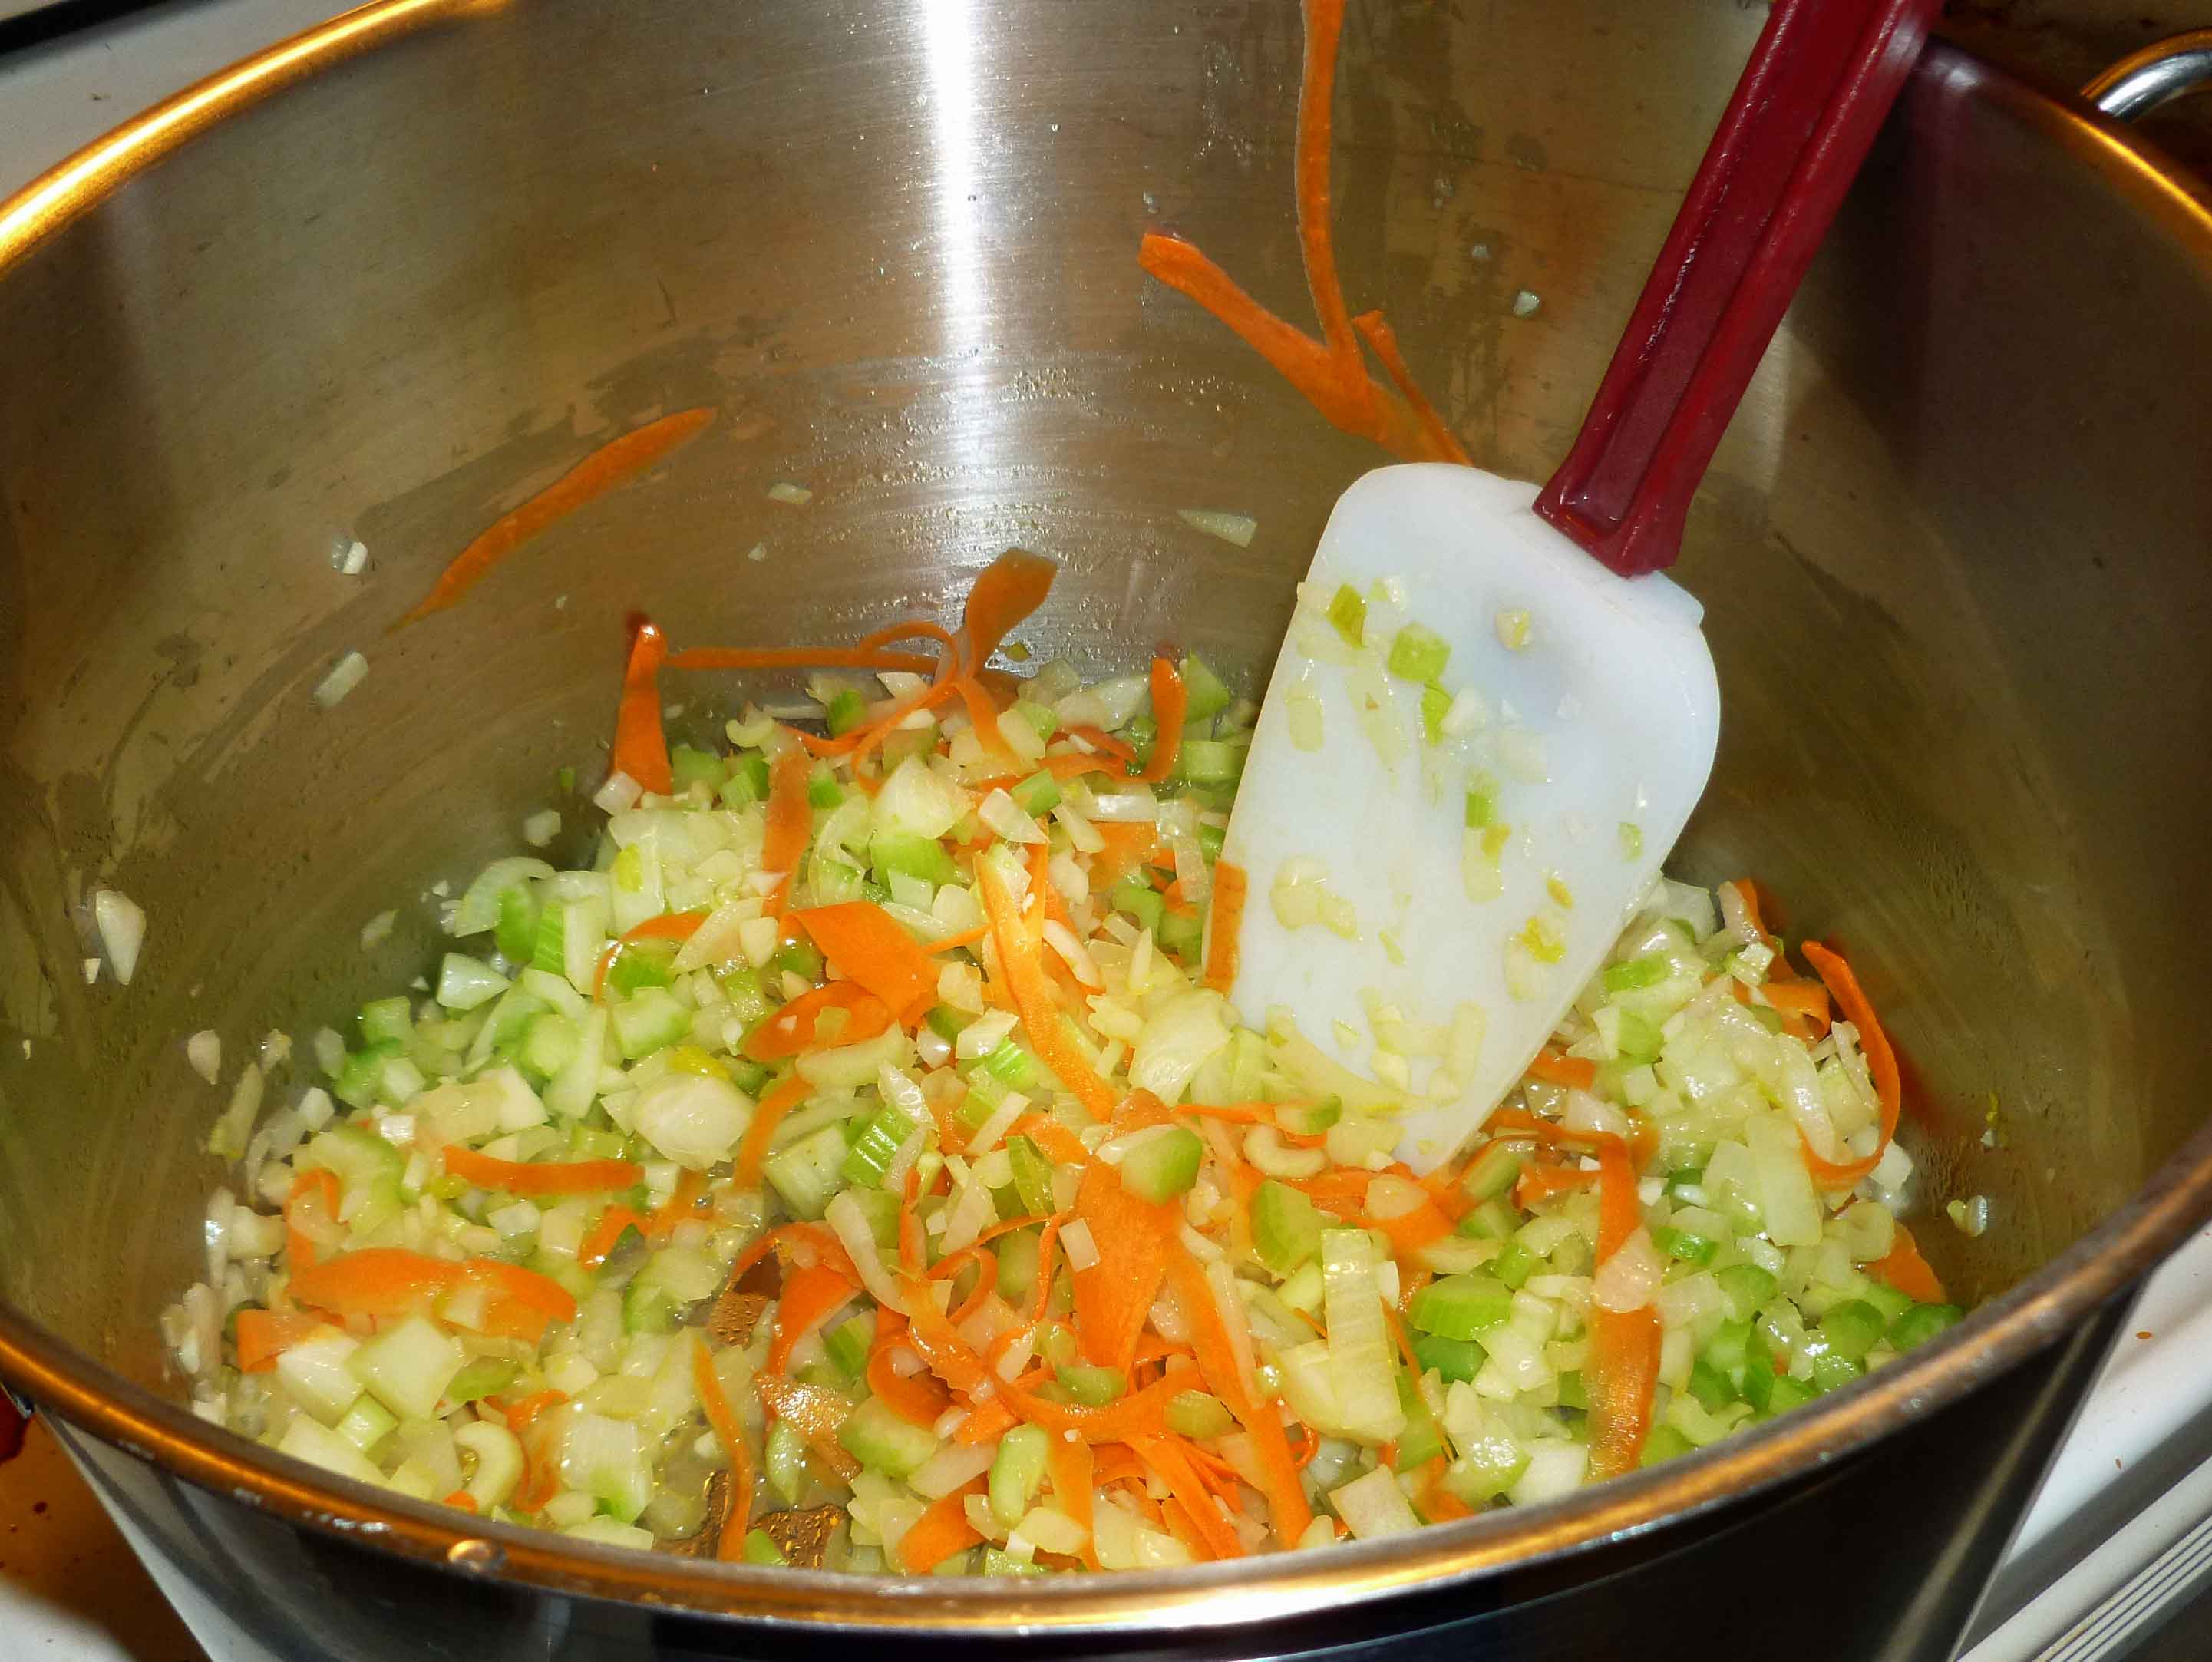
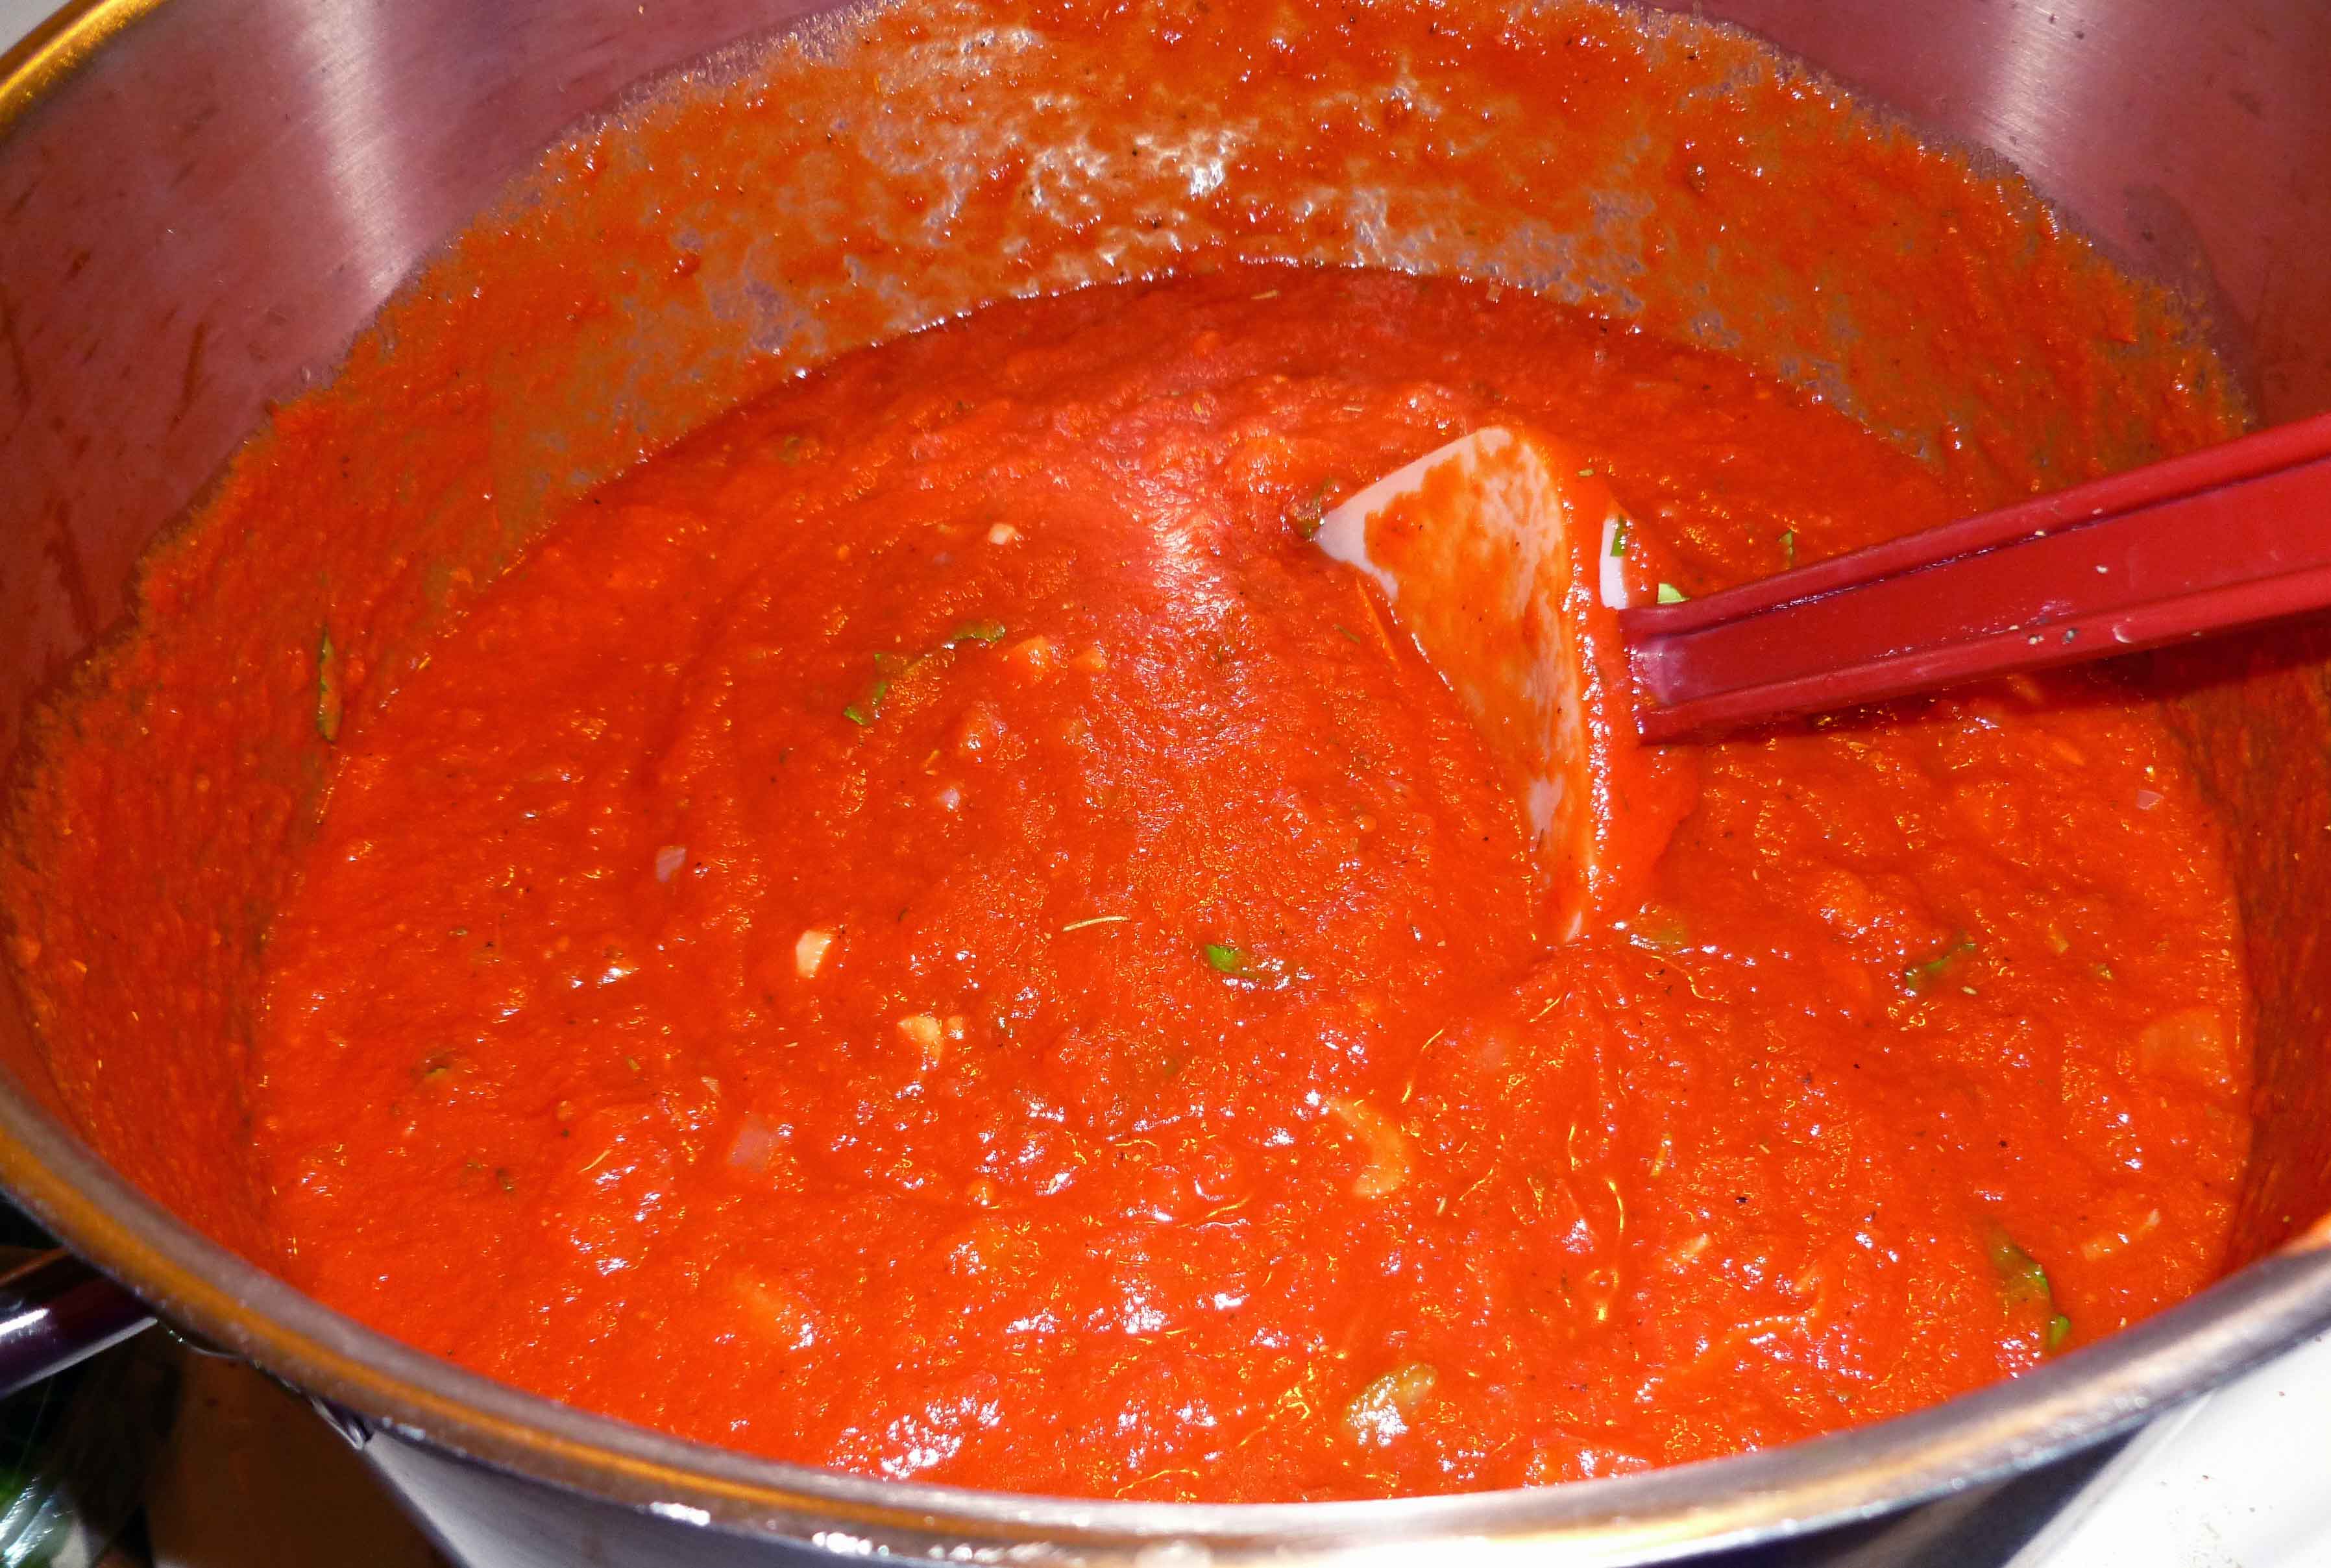
Cook onion until translucent, then add the zucchini and stir until fully coated with oil and integrated with onions, a minute or two. Then add the beans, tomatoes, and adobo, stirring each into the dish. Bring to a low boil, then reduce heat and simmer 5 minutes uncovered.
Add the millet and water, and cover, simmering another 20 minutes, covered. Check the millet to see if it’s done, and if needed, add a bit more water (go 1 Tablespoon at a time) and time (say, 5 minutes at a go). Millet should be firm, but not crunchy, when done.
This is also good with a sprinkle of shredded Daiya mozarella on top, if you have it, but you don’t need it.