Notice: Function _load_textdomain_just_in_time was called incorrectly. Translation loading for the wp-ultimate-recipe domain was triggered too early. This is usually an indicator for some code in the plugin or theme running too early. Translations should be loaded at the init action or later. Please see Debugging in WordPress for more information. (This message was added in version 6.7.0.) in /home/maryzahc/public_html/adultfoodallergies.com/wp-includes/functions.php on line 6131 Gluten-free – Page 13 – surviving the food allergy apocalypse (archive)
I’m not a big holiday celebration person, but I do like cooking special food for special occasions. Christmas, growing up, was always a special meal, but it wasn’t one specific thing. For years, Christmas Eve was Welsh Rarebit (something like this recipe — completely not allergy-friendly beer cheese sauce over toast), and then it was stir fry.
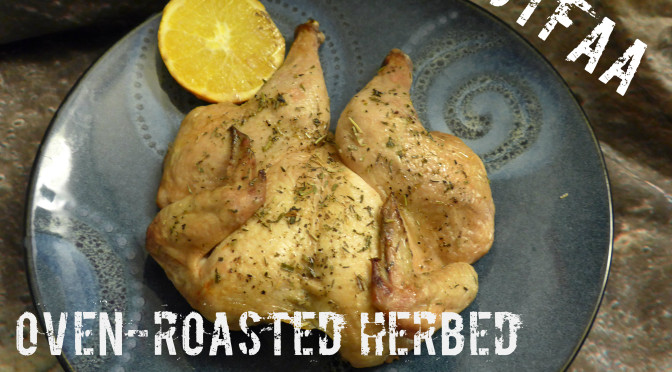
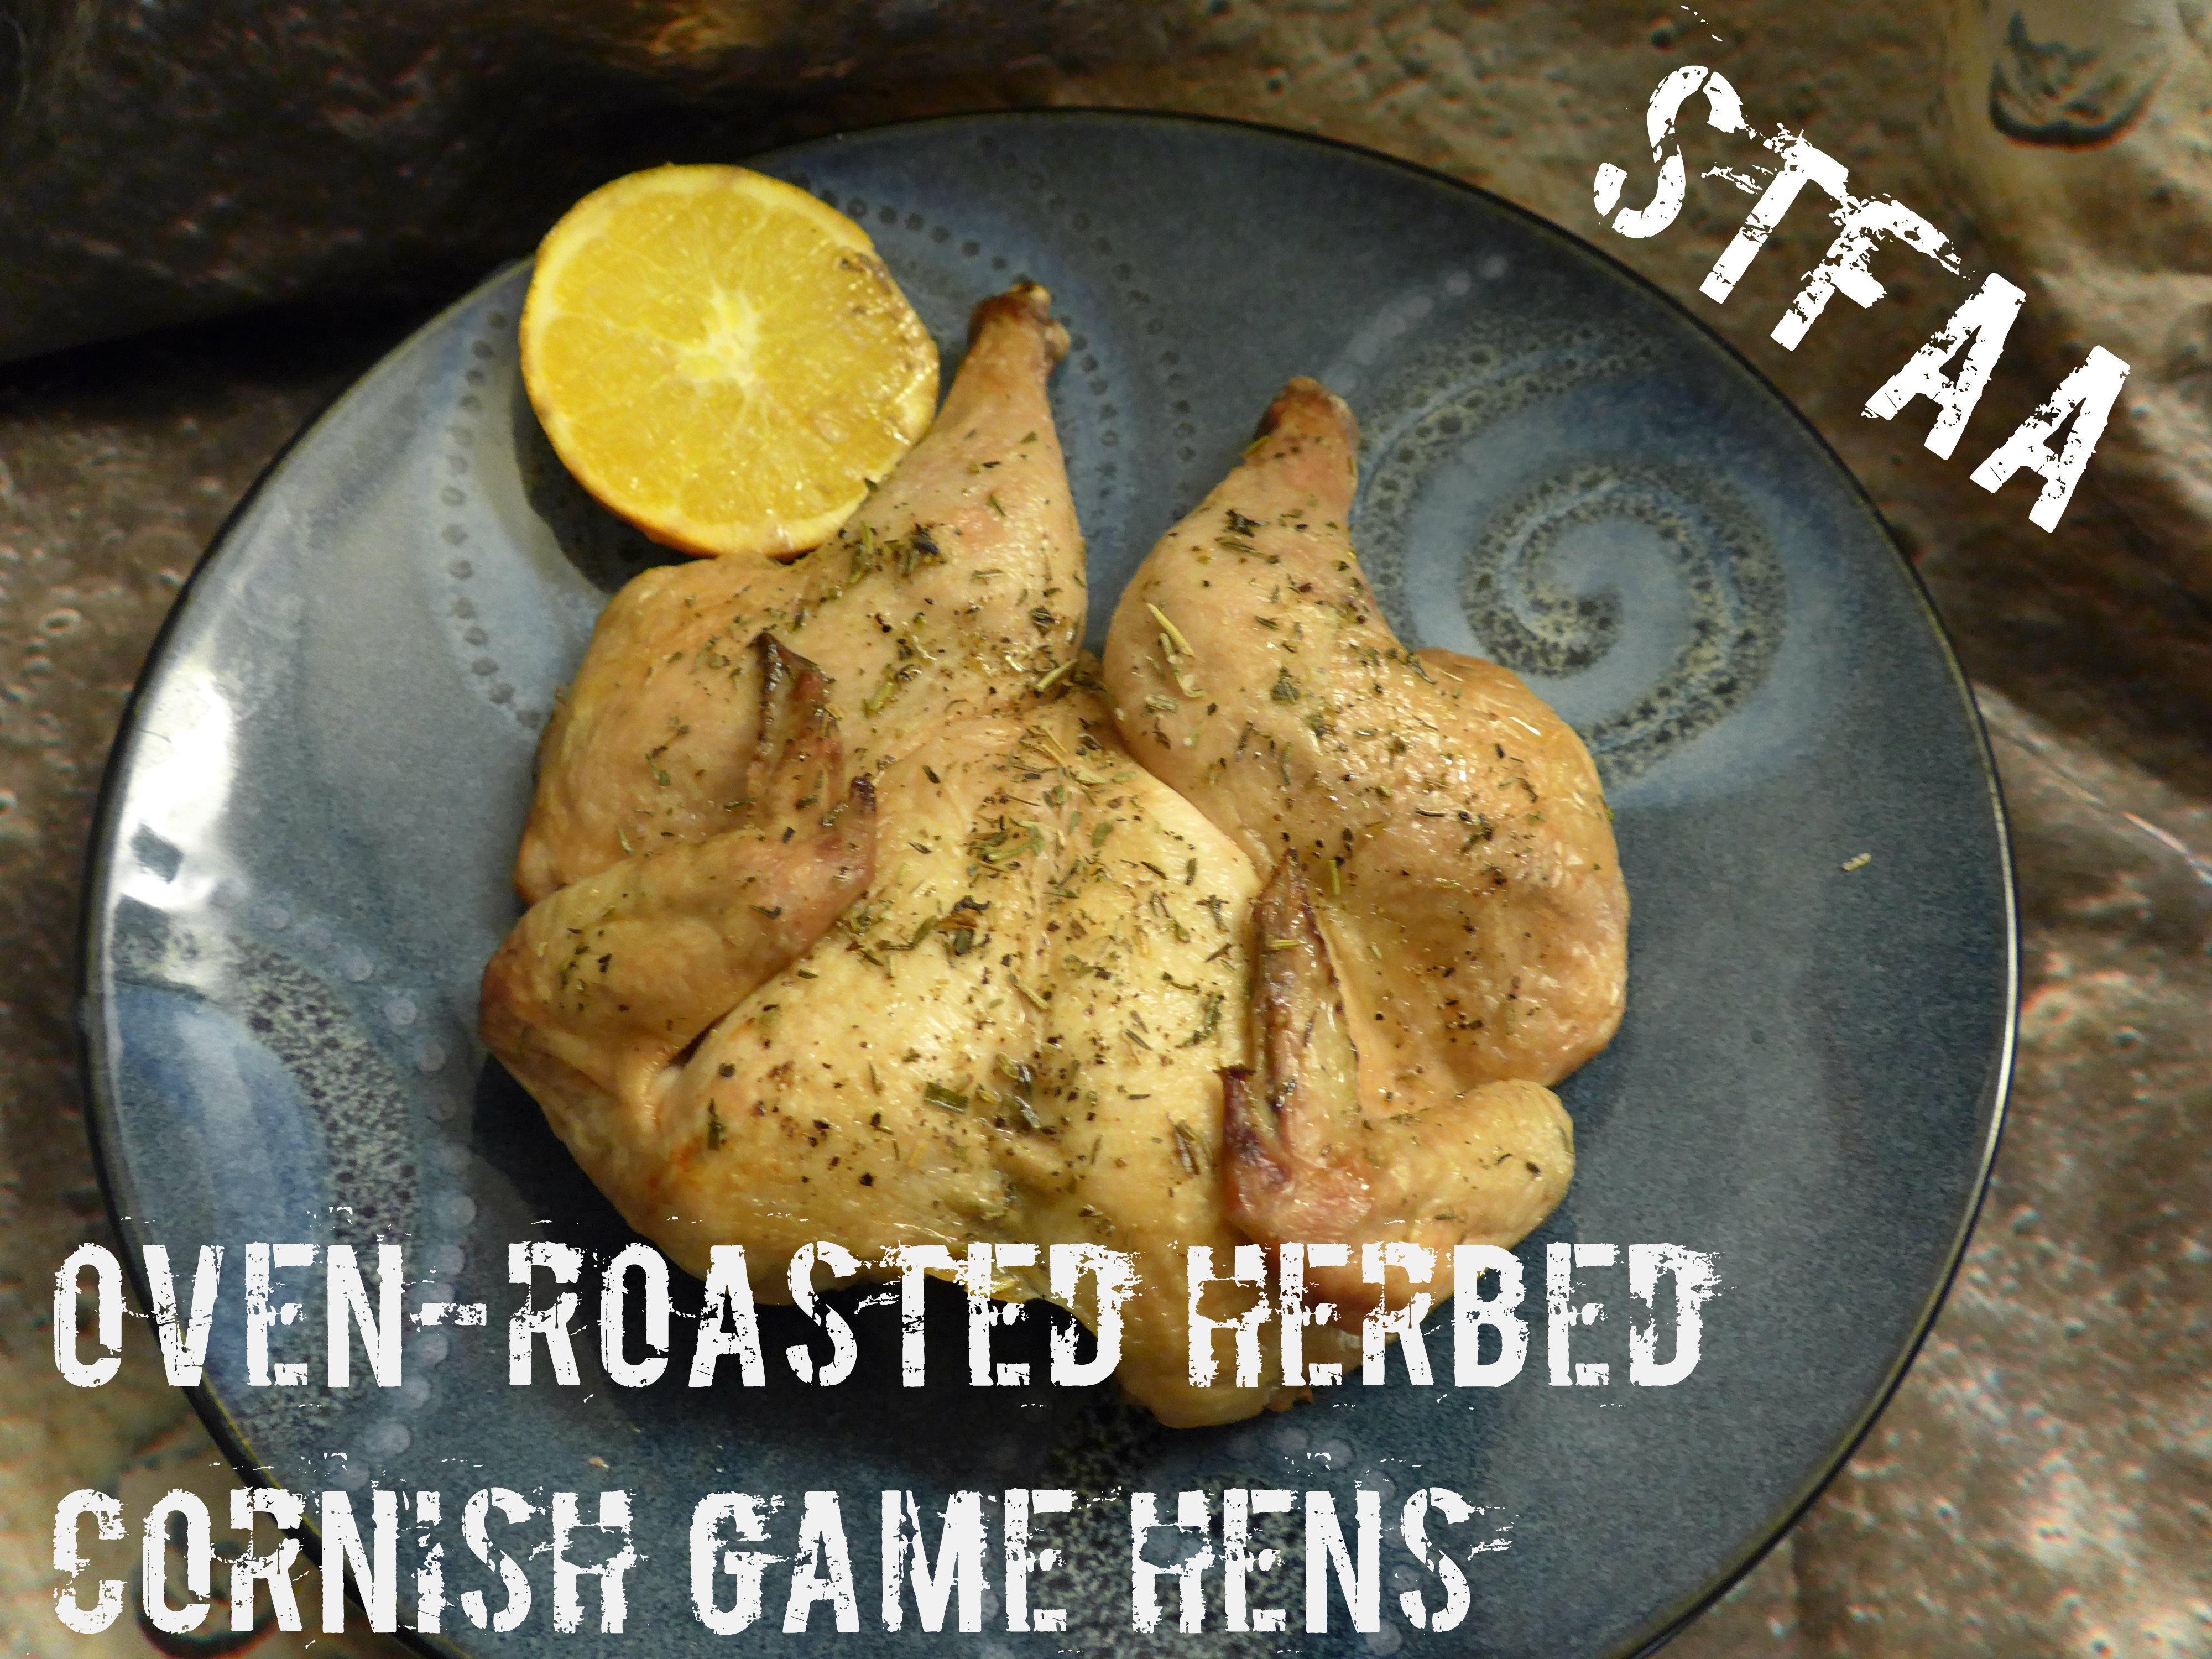
This year, I wanted something special but not large, and when Cornish game hens were on sale at the grocery store, I decided that this would be perfect for Christmas Eve. There were two birds in my package, but it turns out that about half a bird is a single serving. I knew I wanted to spatchcock the birds (although it doesn’t cut the cooking time down much here) so that they might stay juicy, and also so that I didn’t have to worry about stuffing them. I cooked them over thick slices of orange, coated in herbes d’provence, and served them with dressing, mashed potatoes, green beans, and a mushroom gravy. The dressing and gravy can be found as part of an previous post, my Thanksgiving casserole.
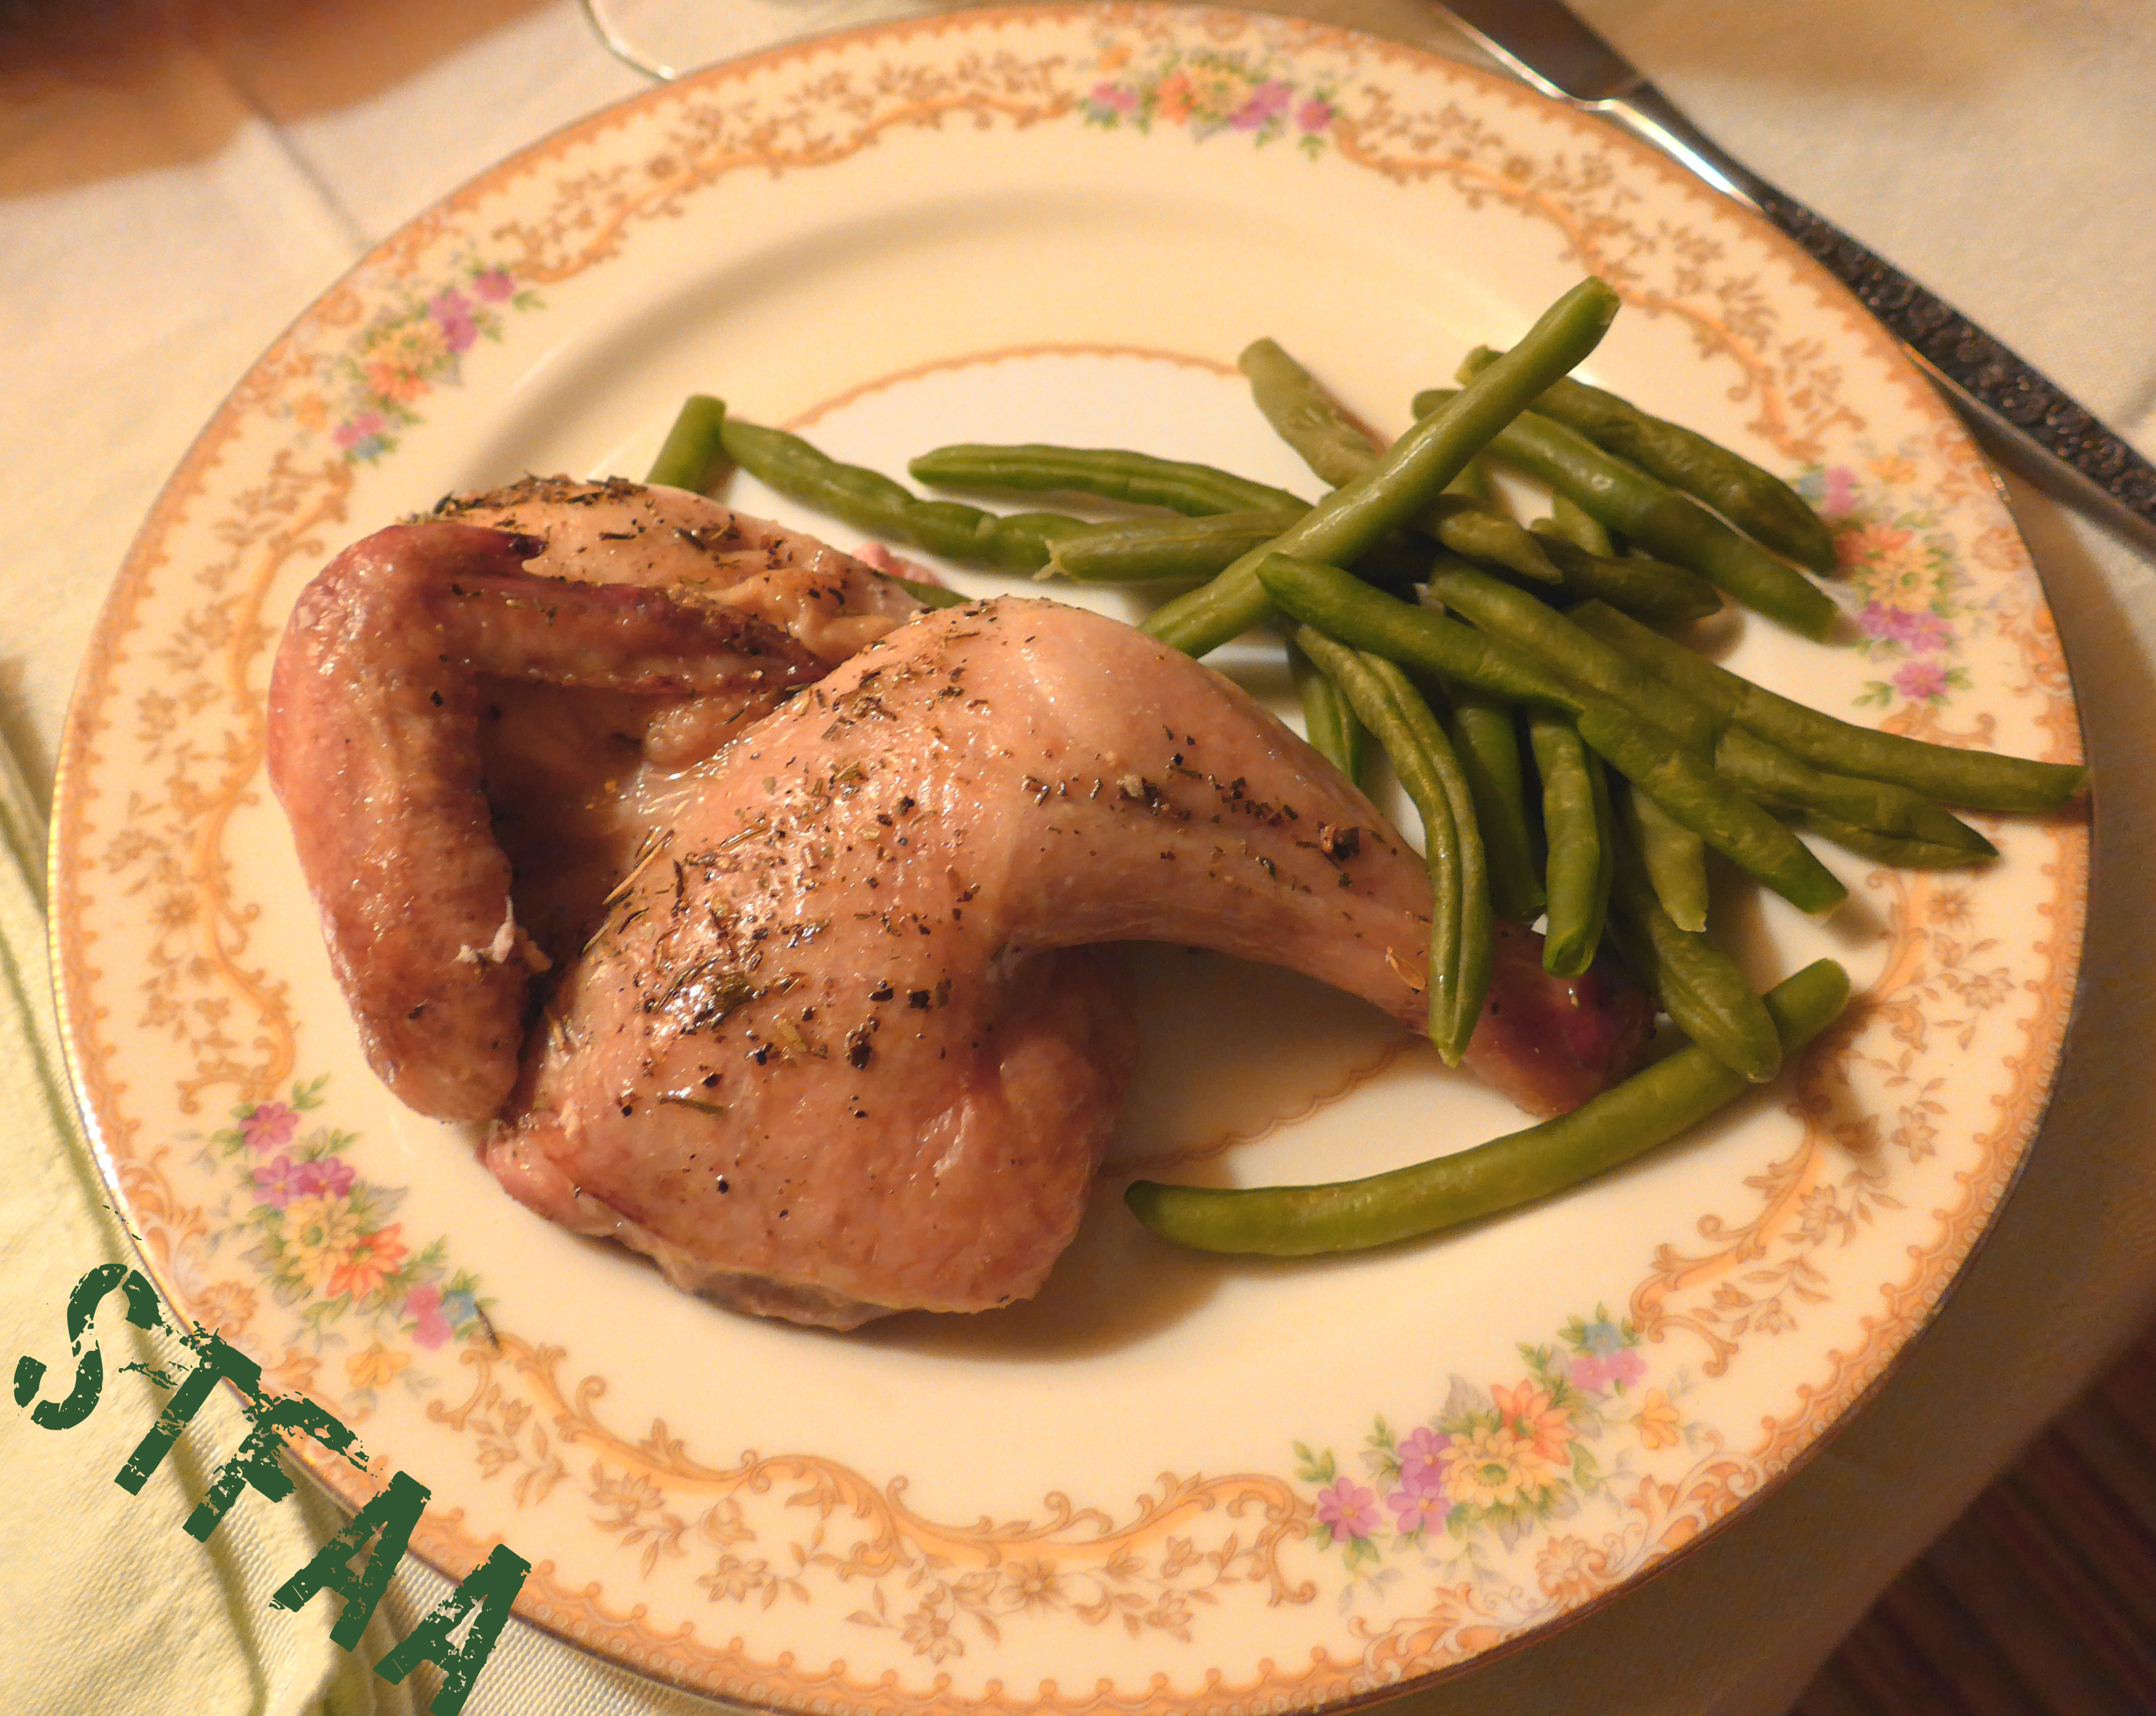
This is what the bird looked like “carved” and plated with lovely green beans on my china (of which I own four whole pieces).
This bird did look elegant for dinner, but eating the parts is a little fussy. Maybe don’t make this for when you need your table manners to be most impressive? Unless you’re really good eating a tiny drumstick with a knife and fork? Cornish game hens are a nice change from chicken, but they are also a little fussy to eat.
Notice: Trying to access array offset on value of type bool in /home/maryzahc/public_html/adultfoodallergies.com/wp-content/plugins/wp-ultimate-recipe/helpers/models/recipe.php on line 254
Baked Herbed Spatchcocked Cornish Game Hens
Print Recipe
That is a LOT of qualifiers! But this recipe is really straightforward and requires only one sort of specialized piece of equipment — kitchen shears. Otherwise, use your oven just go.
I am NOT going to talk you through spatchcocking. Try our turkey post here, or this post, which has tons of photos.
Servings
Prep Time
4people (with sides)
10 minutes
Cook Time
Passive Time
45minutes, approximately
45minutes
Servings
Prep Time
4people (with sides)
10 minutes
Cook Time
Passive Time
45minutes, approximately
45minutes
Ingredients
2wholeCornish game hens
1whole orange, cut into 1/2 inch slices
2teaspoonsherbes d’provence blend
1teaspoon olive oil
Servings: people (with sides)
Instructions
Spatchcock and wash your hens.
Place hens over a thick slice of orange on a rimmed baking tray with a rack.
Pat the skin dry, then rub with olive oil and sprinkle on herb blend.
Bake at 325ºF for 30-45 minutes, or until a meat thermometer reaches 160ºF. You are aiming for a final temperature of 165ºF, but when you rest the birds for a few minutes outside the oven, it will keep climbing. Rest meat, and then carve.
So the 15 food allergy thing, two of which are wheat and corn, ends up cutting out a whole lot of alcoholic beverages out of my diet. It’s looking like I may have another possible allergy (or three) on the horizon that may make my safe vodka no longer safe, so I was poking around at trying to find a potential safe rum, and I got one to trial. At the same time, I’ve been missing stuff like Baileys Irish Cream and Godiva Chocolate Liqueur because it’s the holidays. Since I bought the rum to trial, I thought rum would be a better choice than vodka to make an attempt at a creamy liqueur, as it would give it additional flavor. I chose to do the chocolate first, because chocolate.
I used Rhum Barbancourt Reserve Spéciale which is supposed to be made from 100% pure sugar cane juice. We’ll see how I do with it, corn-wise. I also used Pacori Organic Cacao Powder for the cocoa powder. I do okay with it, but trial with caution. Because I don’t have any safe commercial non-dairy milks, I used homemade cashew milk. (Soak a cup of cashew pieces overnight, drain, and then put them in a blender with 3 cups of water, voilà!) Feel free to use whatever non-dairy milk is safe for you. Or if you can use dairy, I think a whole milk or a light cream would be great.
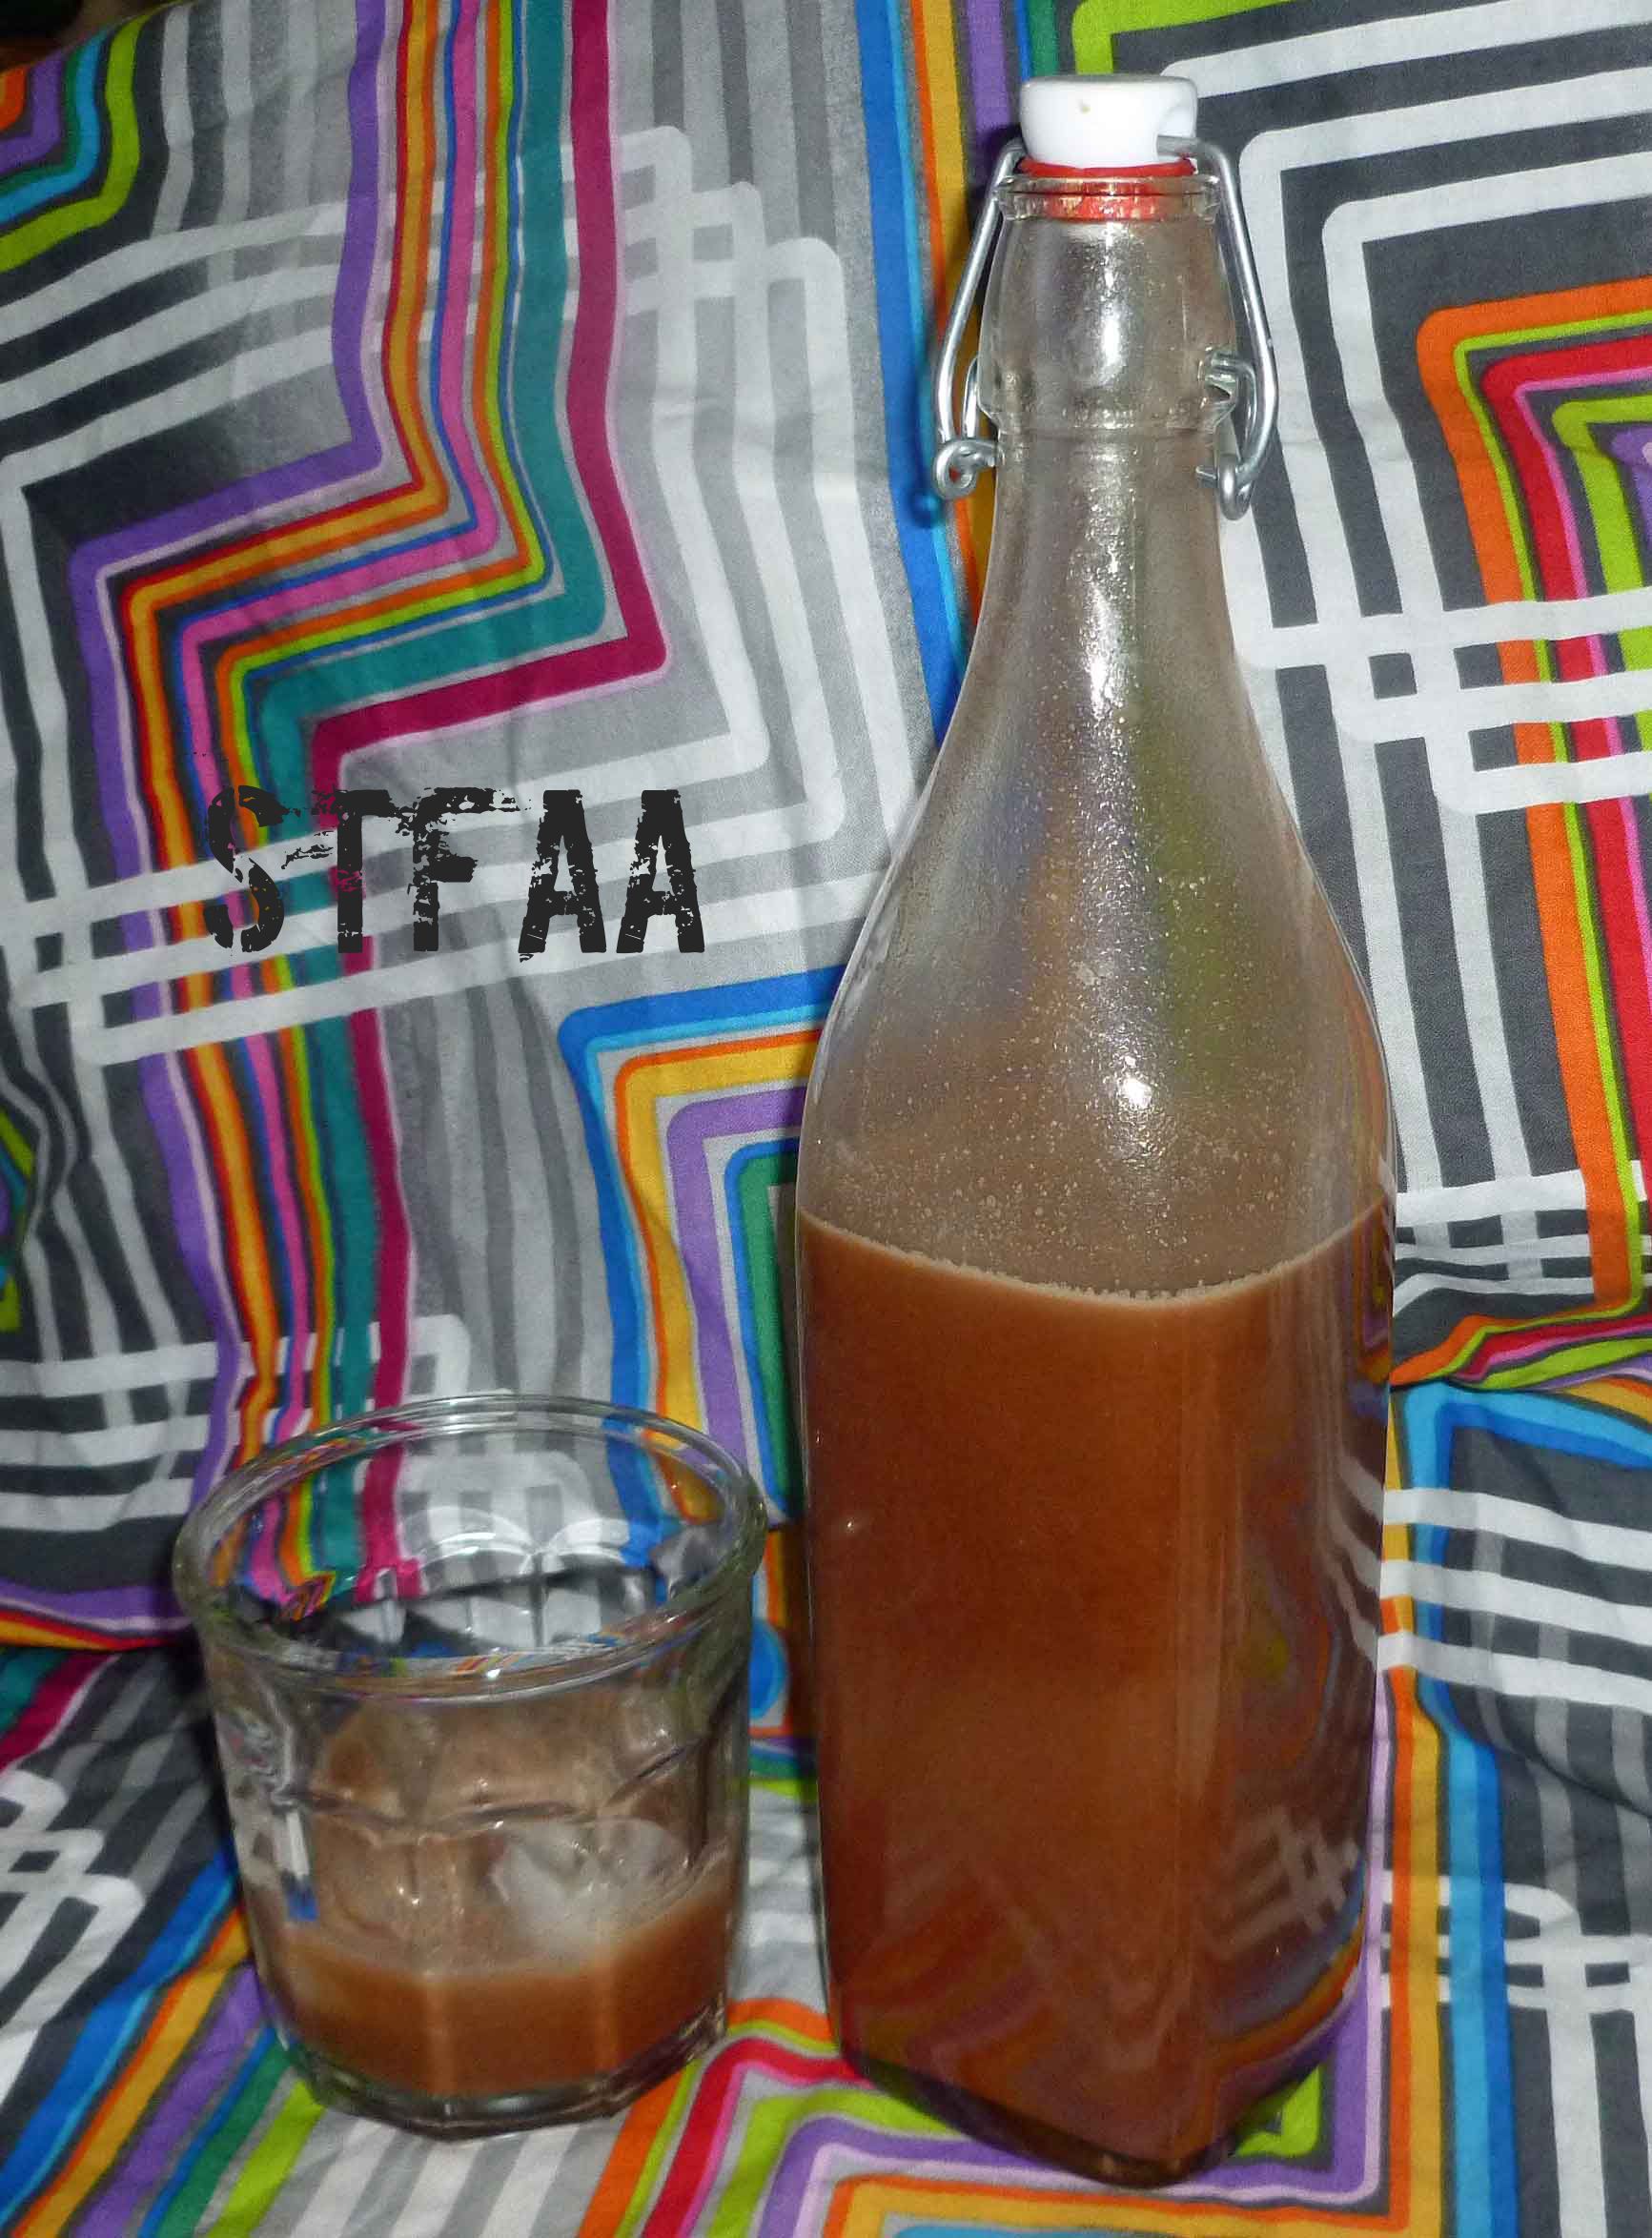
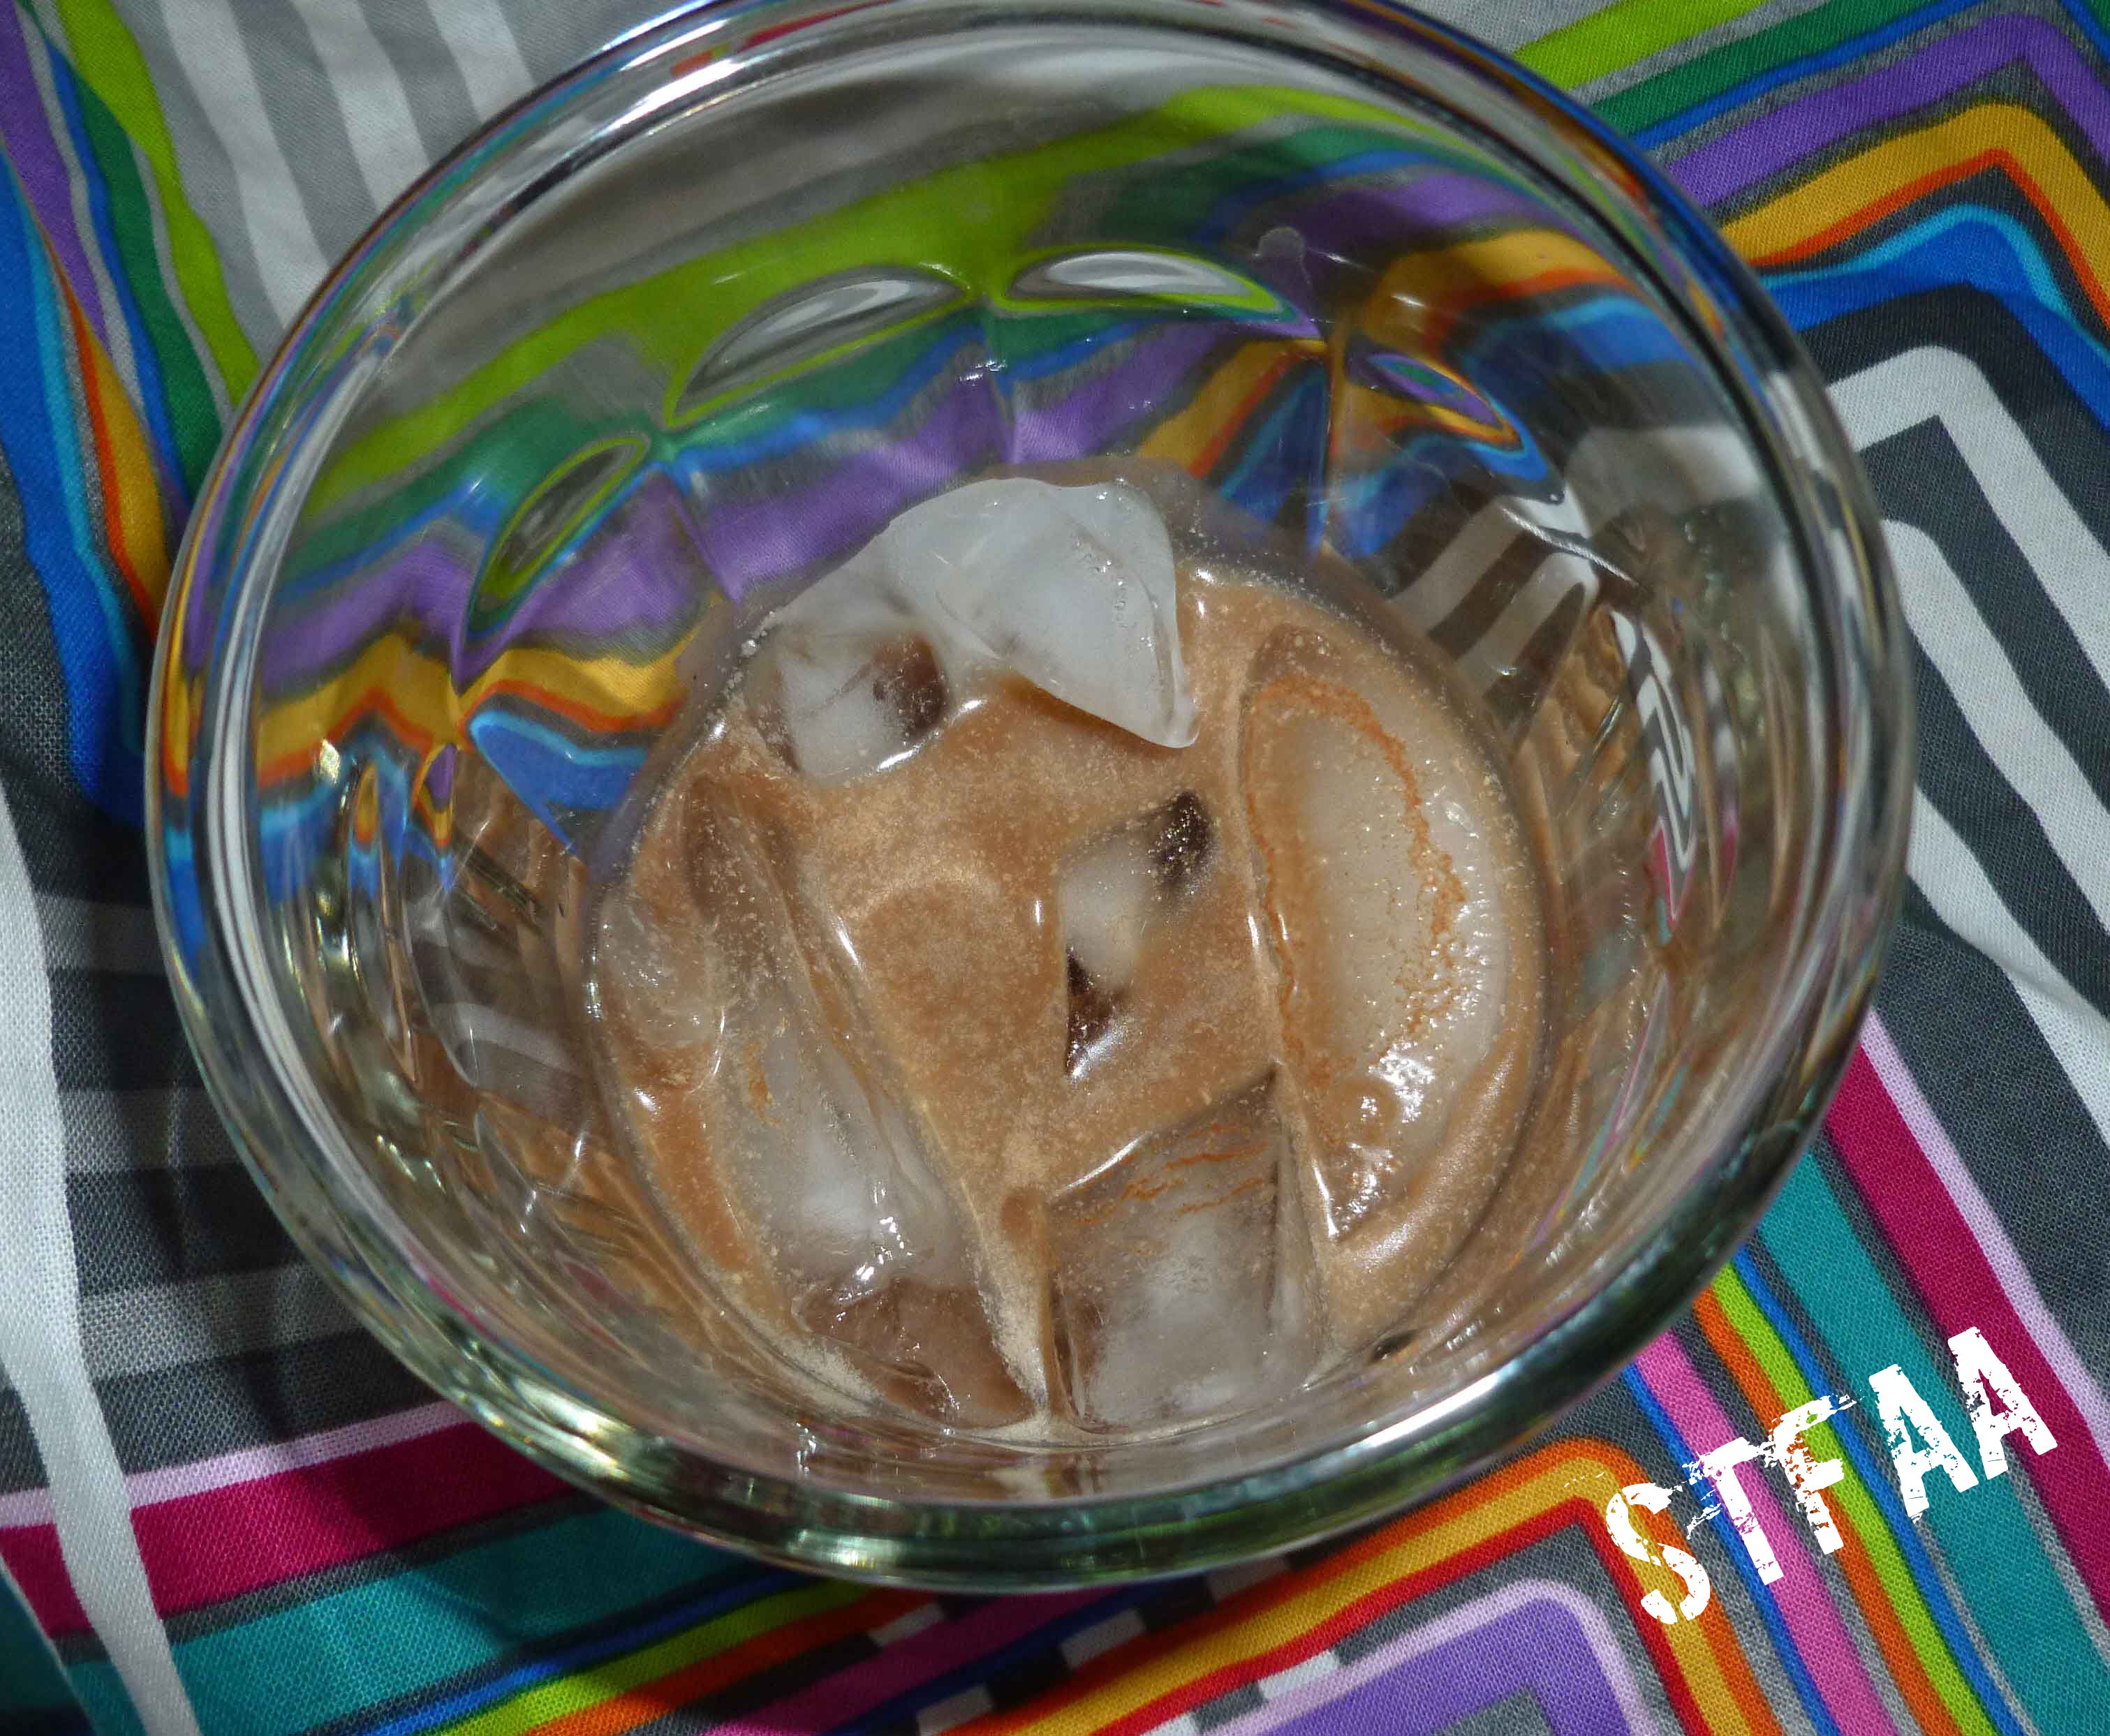
DIY Creme de Cacao Liqueur on the rocks
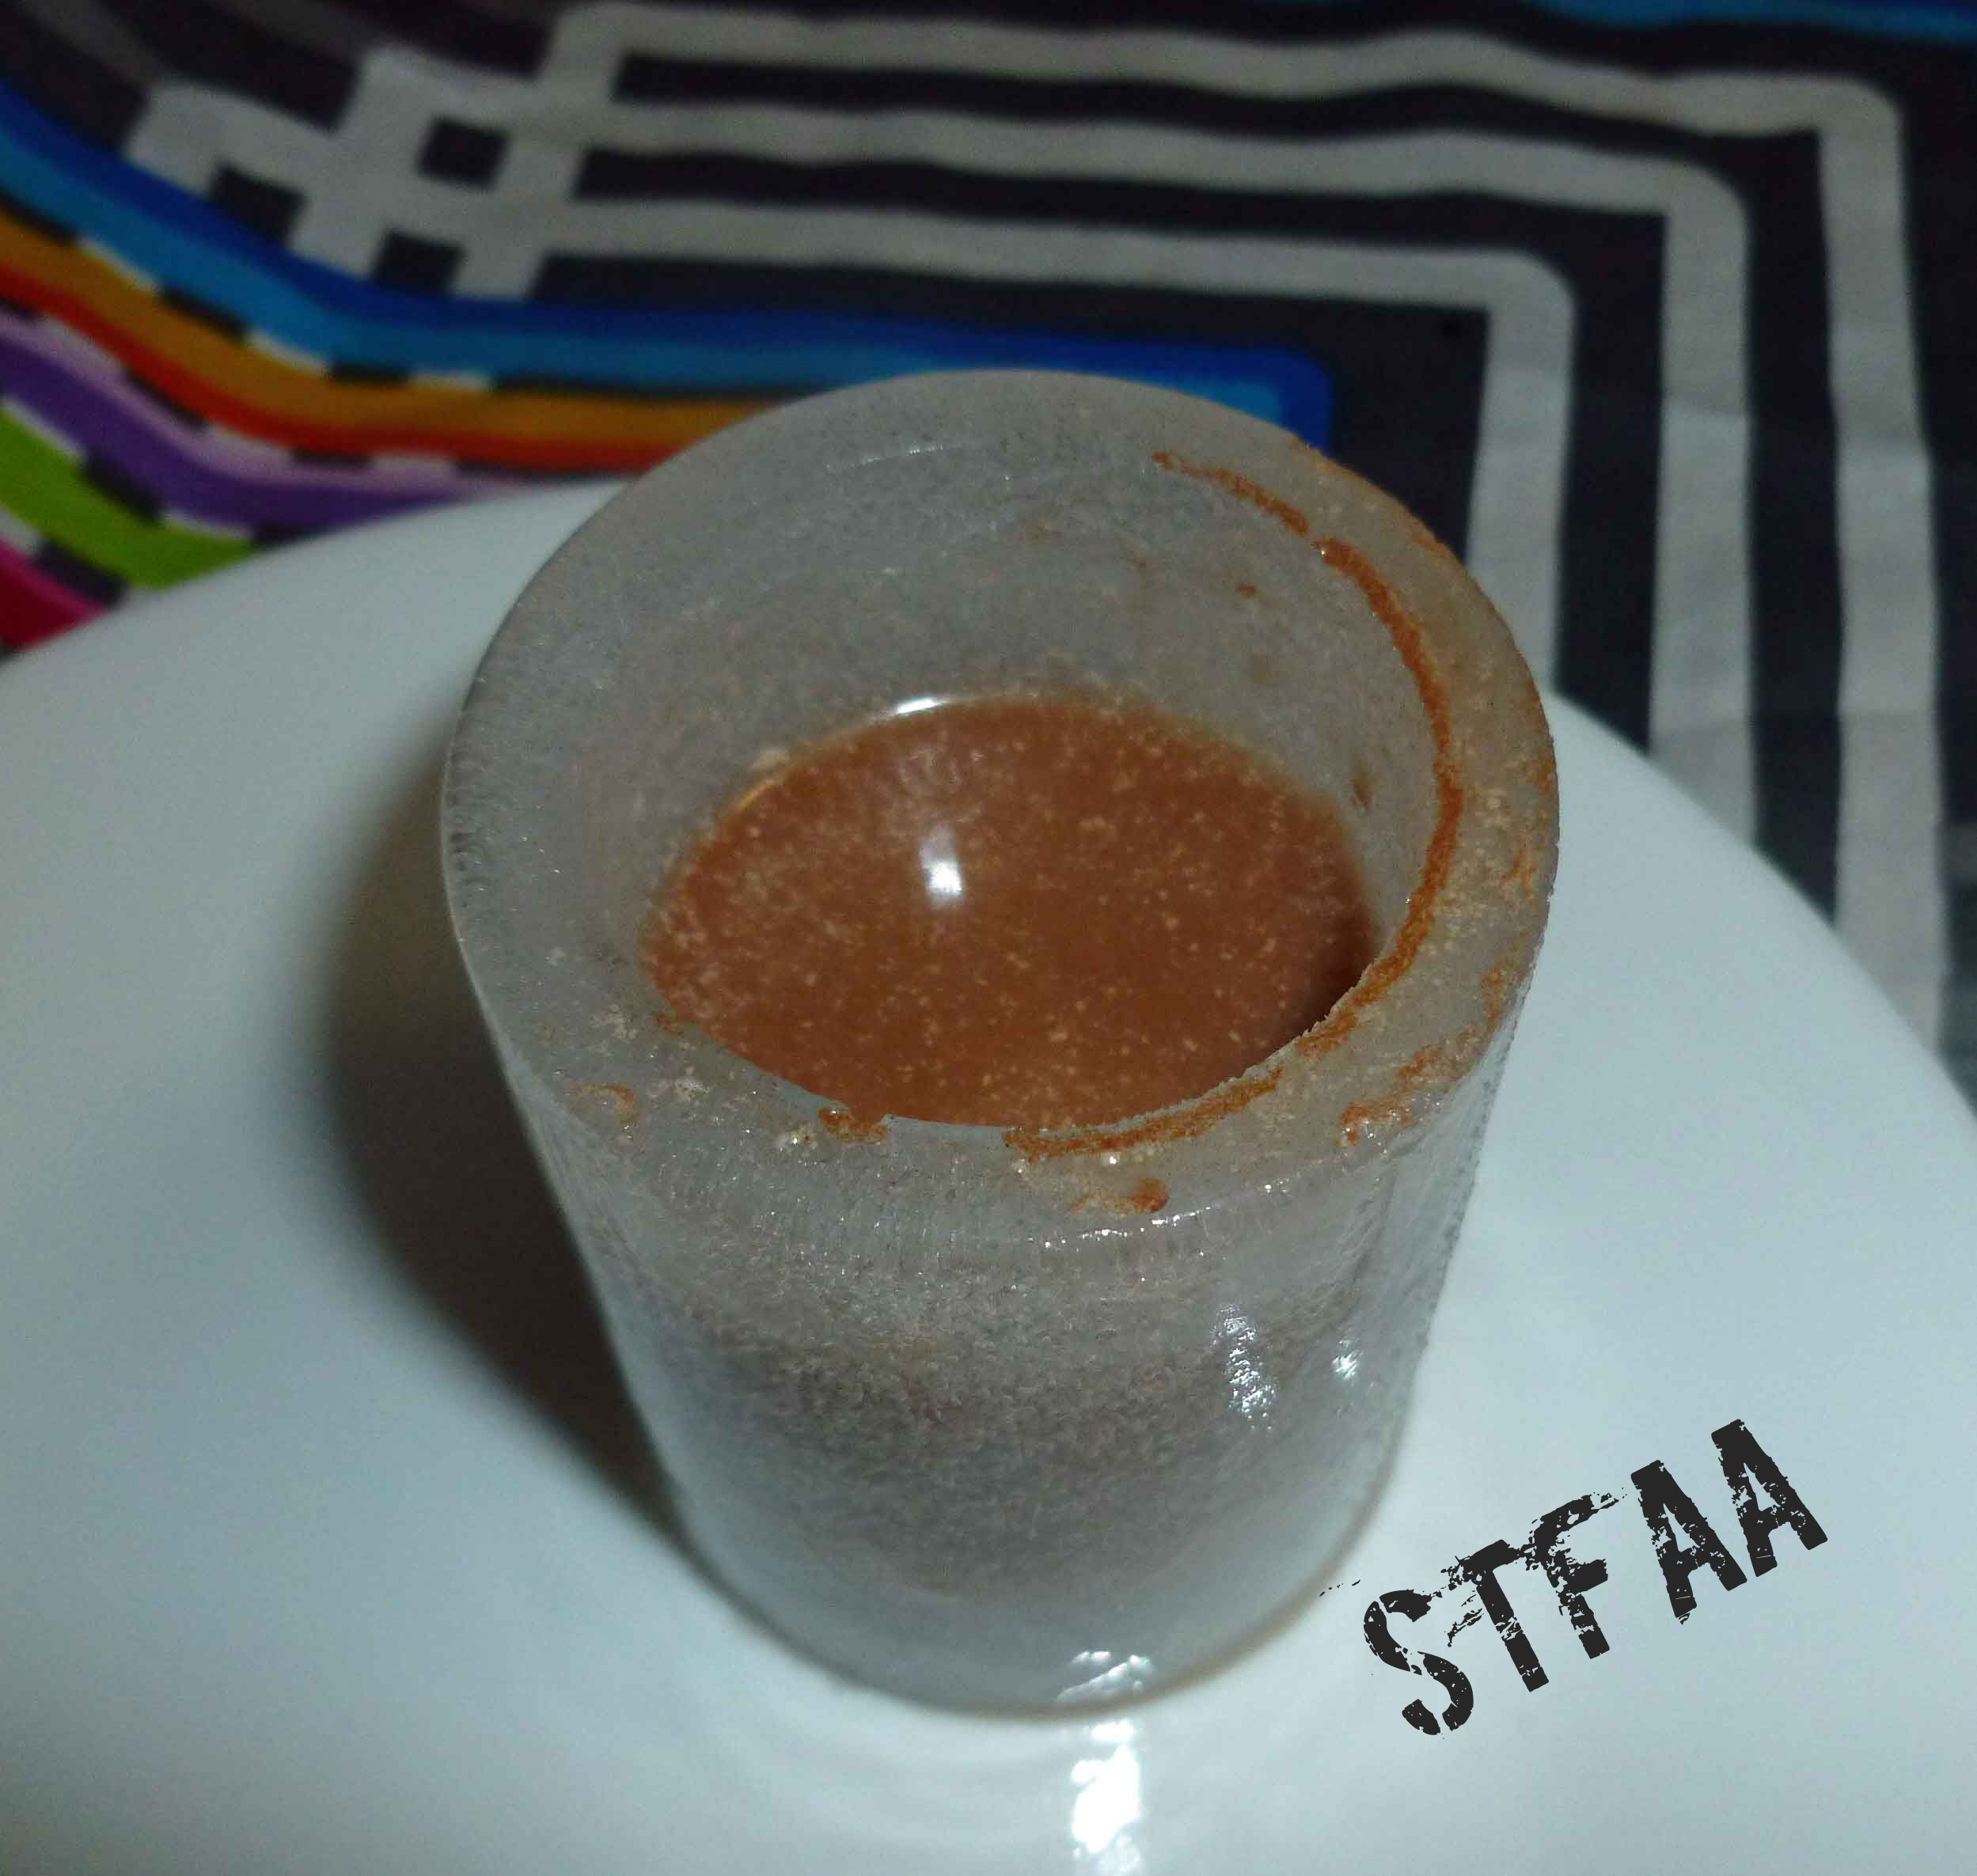
It’s awesome on the rocks, it’s great in coffee, and it’s pretty easy to make. I bought a silicone ice cube tray that makes solid ice shot glasses, but it’s actually pretty hard to drink that way, although it’s a cool picture.
DIY Creme de Cacao Liqueur in a solid ice shot glass
Enjoy!
Notice: Trying to access array offset on value of type bool in /home/maryzahc/public_html/adultfoodallergies.com/wp-content/plugins/wp-ultimate-recipe/helpers/models/recipe.php on line 254
1/4 cup of cacao powder(I do okay with Pacari Organic Cacao Powder)
3/4cupvodka or rumin a safe for you variety
1/2 cup of cashew milk or other dairy free milk(I use homemade cashew milk)
Servings: quart
Instructions
In a small sauce pan, boil 1 cup of water with the sugar until the sugar is complete dissolved. Remove the sauce pan from the burner, and add the cacao powder. Stir to dissolve the cacao powder, and add the remaining 1 cup of water.
Let the cacao mixture cool. Once cool, add the cashew milk and vodka or rum to the cacao mixture and stir. Pour into a mason jar or a bottle using a funnel, and place it in the refrigerator, letting it steep for two to three days before use. Be sure to shake it to mix well before using and store it in the refridgerator.
Cake. I adore cake. Cake is the whole point of birthdays, right? But allergies, man, they make cake harder. Gluten, dairy, eggs — all of these have structural properties in baking, and while it’s very possible to make cake without these things, when you take them all out, there are a lot of adjustments.
If you’re new to gluten-free baking, or new to gluten-free vegan baking, or even if you’ve been doing gluten-free baking for a long time, sometimes things will fall apart. You will fail. You will try a new recipe, or you will alter a recipe, or the stars will not be aligned.
Wait! Failure doesn’t have to ruin dessert! This is more of a process or an idea than a recipe, but it will save dessert, so it’s important.
This method of dessert preservation came about this past summer, when Jack made me a birthday cake. Well, he tried. I sometimes buy Cherrybrook Kitchen cake mixes, which are safe for me and formulated to be made without eggs. Jack found another cake mix that was safe, but it called for three eggs, which are not. He tried a sub, but here’s a GF vegan baking tip : Don’t try to substitute more than 2 eggs. It’s not that it is always impossible, but it’s an advanced baking move. Don’t try it when you really want a recipe to work the first time.
That cake had no structural integrity. It came out of the pan a nice tasty pile of cake crumbs. We “fixed” it by sandwiching layers of cake crumbs between layers of ice cream, freezing it and frosting the whole thing. It wasn’t pretty, but it tasted amazing. So, see, he did make me a cake. Just not the one originally intended.
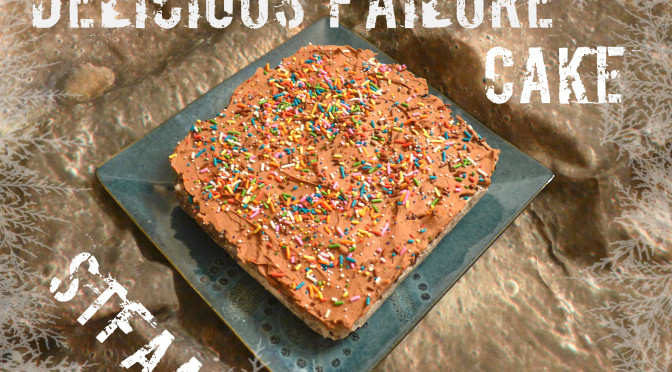
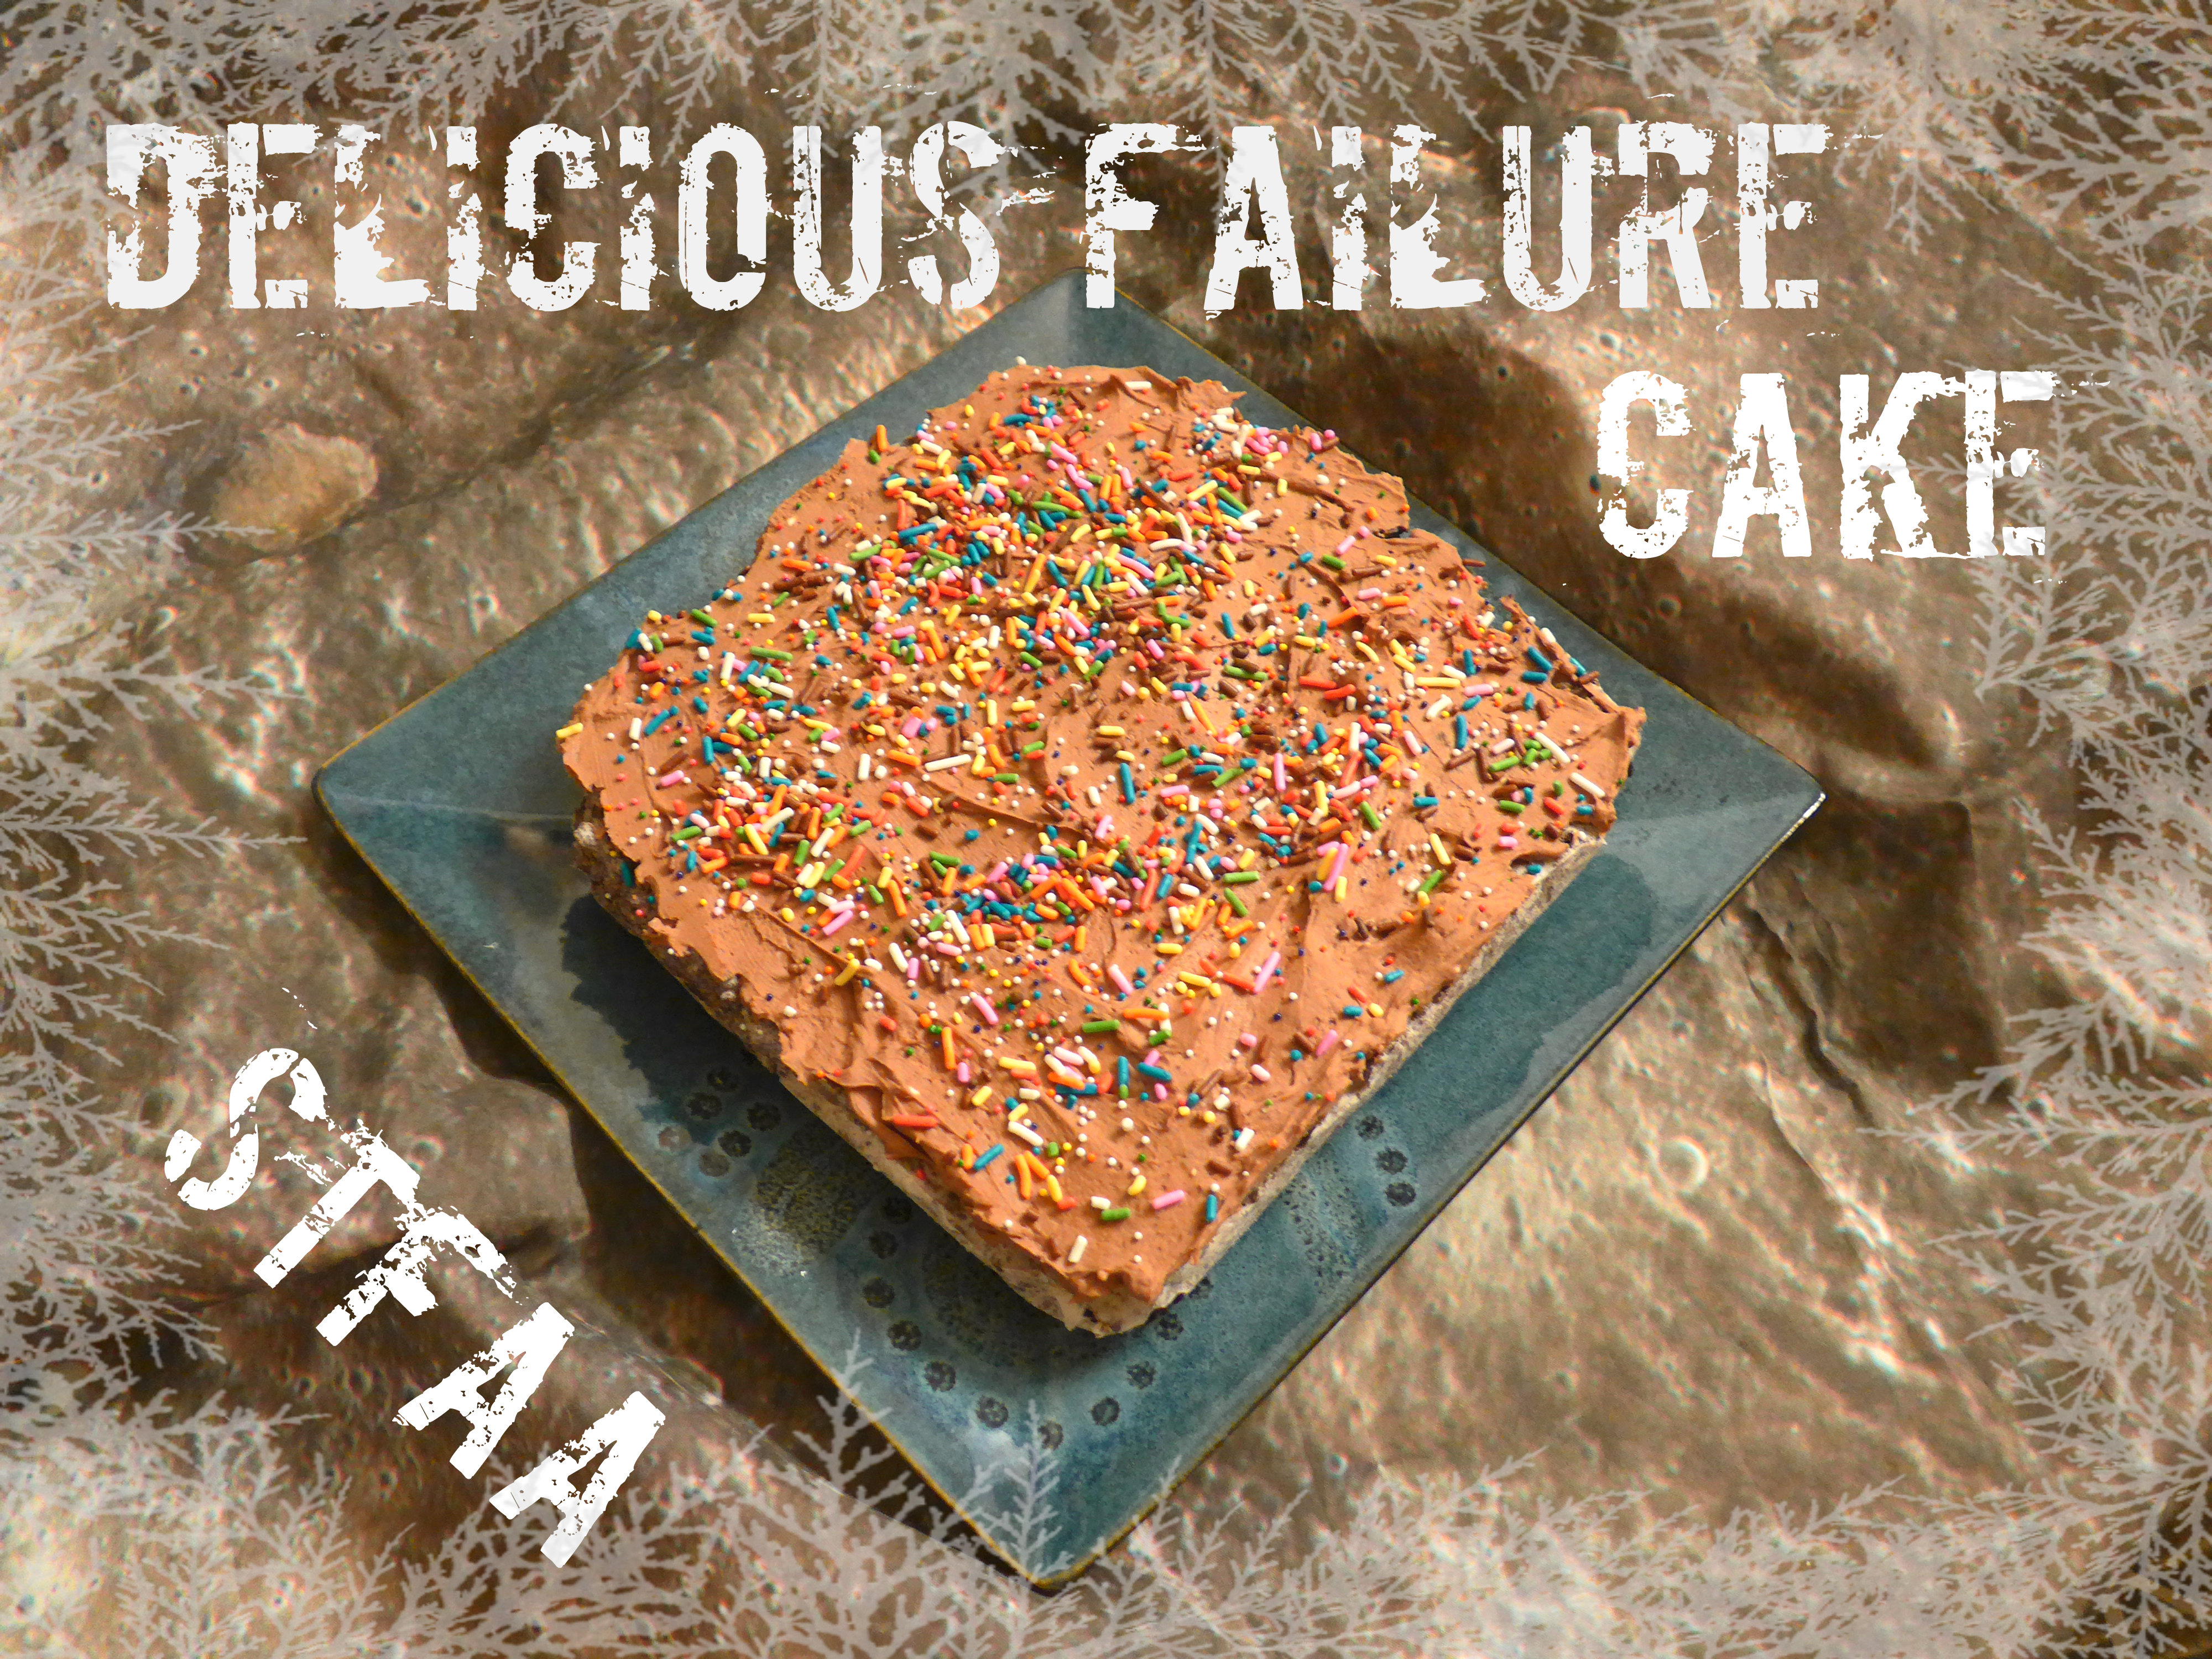
What’s funny is that I never associate ice cream cake with my summer birthday. Ice cream cake is for winter — for my brother’s birthday, mostly, which is in a week and a half. I was working on an ice cream cake that would replicate those Baskin Robbins roll cakes — you know, the ones that either look like a train or a plane? Do you remember those? The thing is that, so far, I don’t yet have a cake that survives the jelly rolling process of bending and being flexible and round. So I saved this cake the same way we saved my own birthday cake — and this is officially now the amazing decadent failure cake. It is SO GOOD that I’ll be planning to fail on purpose going forward.
So pick a recipe. Make a cake. If it doesn’t hold up, make an ice cream cake (note: you will need a safe-for-you ice cream, so consider that in advance. Lucky for me, coconut milk is not an issue, and I like the options that exist. Cashew milk and soy milk are also commercially available options. But I’m thinking that this strawberry ice cream would also be awesome, with chocolate or vanilla cake!)
Notice: Trying to access array offset on value of type bool in /home/maryzahc/public_html/adultfoodallergies.com/wp-content/plugins/wp-ultimate-recipe/helpers/models/recipe.php on line 254
1recipefrosting(Most Duncan Hines flavors are gluten and dairy-free)
Sprinkles or other decorations
Servings: (ish)
Instructions
Slightly soften ice cream by leaving it out while your failed cake cools.
Crumble cake slightly, if it needs help.
Mix ice cream to a consistently soft consistency.
In a cake pan lined with parchment (a 9-inch round works, as does an 8×8 square pan, but this will depend on what your original cake was intended to be)
Two options —
Either mix cake and ice cream (works best if cake pieces are really small or you want one texture throughout)
OR
Layer cake and ice cream in thin layers, beginning and ending with cake.
Freeze ice cream cake until solid at least on the outside (45 minutes or so).
Add frosting over entire cake OR just on top. Add sprinkles if using. Re-freeze, another hour is good, or overnight. Really, just go distract yourself while the cake freezes. Watch a movie or do something fun.
Let thaw enough to cut (how long that is will depend on many things, from weather to how you layered the cake and what ice cream you used). Enjoy the salvation of your baking failure enough that you purposely make cakes that don’t work just to have an excuse to make ice cream cake again.
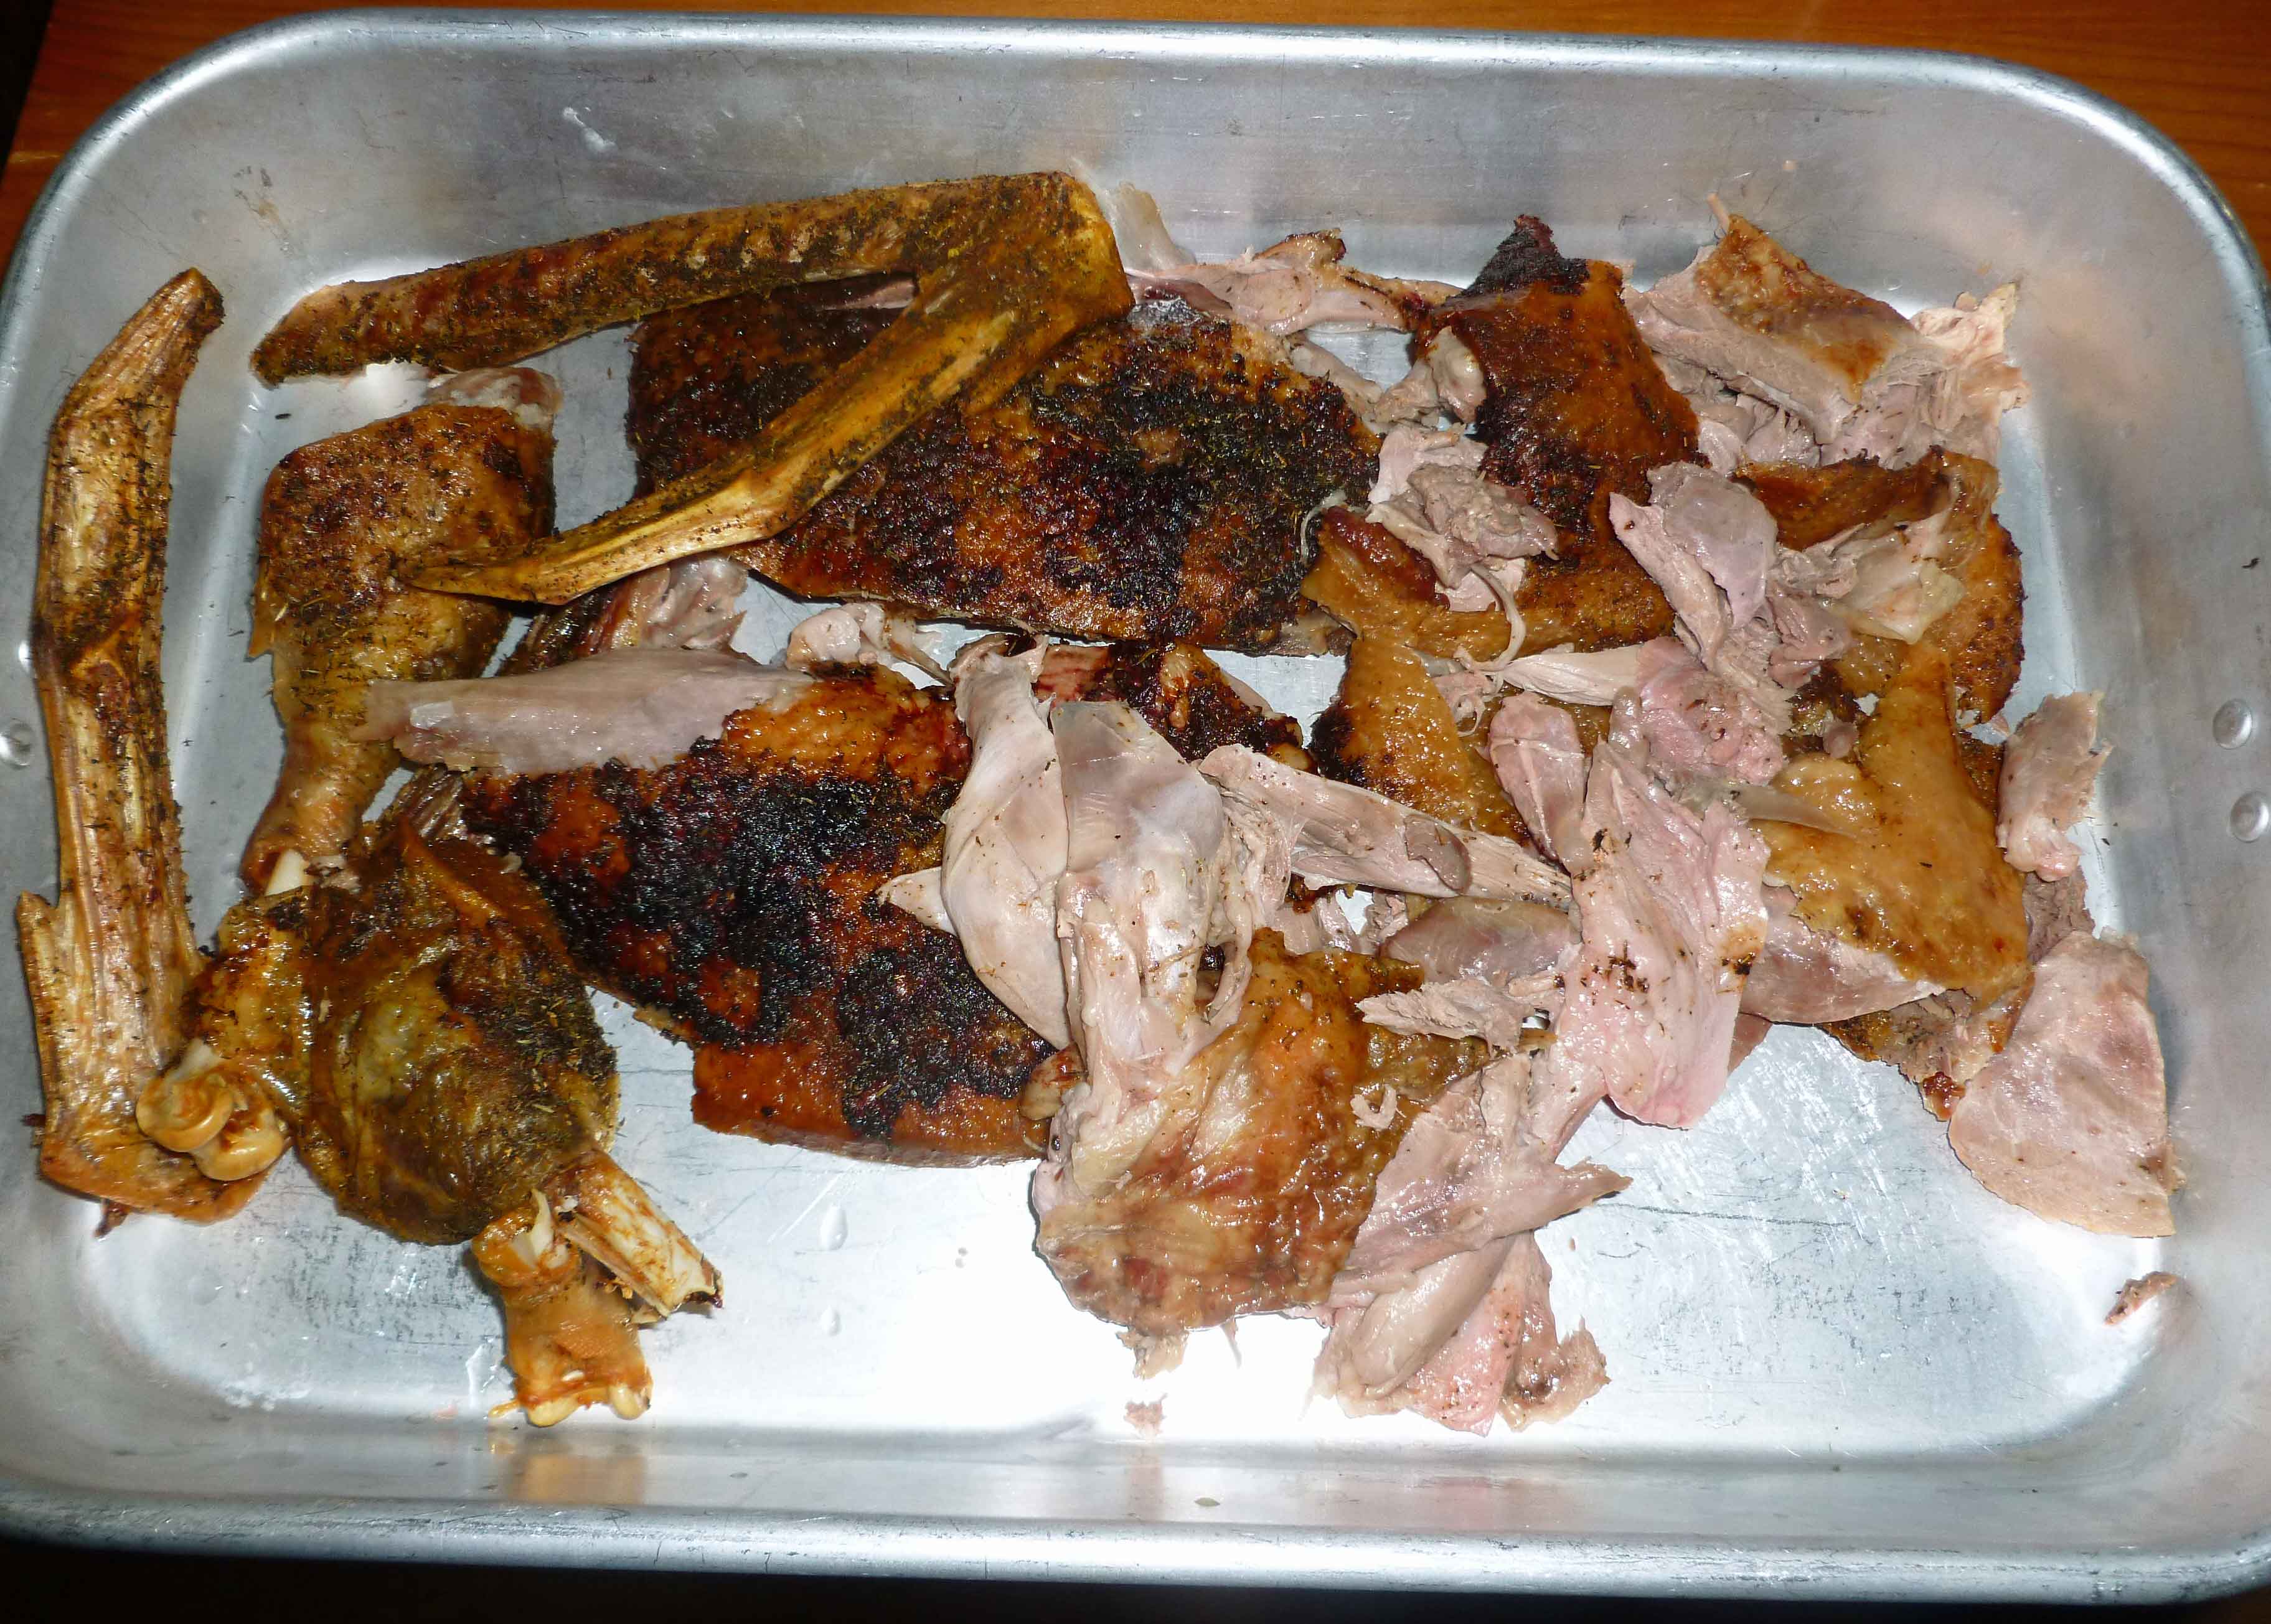
Why Roast Goose? I’m sure some of you are asking that question. Well, I’m allergic to chicken and I reacted to turkey when I challenged it. However, I don’t appear to react to duck and I like it. After further research it turns out that chicken and turkey are both in the Phasianidae family, and duck is in the Anatidae family. Goose is also in the Anatidae family, and when I saw a relatively clean one (no solutions, added water, etc.), I decided to buy it to see if I reacted and see if I liked it, because having two poultry options would not be a bad thing. The Verdict: I did not react in a significant manner (weird ear pressure?), but. . . I did not like it either. So goose and I will part ways at this point as duck is easier to find and I like it. Although I am not picky, I like venison, and I much prefer dark meat if I could still eat chicken or turkey, goose was too gamy for me. But I liked the poultry rub I used, and hey, you might like goose if you tried it, so I present this recipe. If you can eat chicken or turkey, try the poultry rub.
Goose Ingredients:
1 fresh or frozen goose (10-12 pounds)
2-3 stalks of celery cut in 1 inch pieces
1 head of garlic, cloves peeled and cut in half
1headgarliccloves peeled and cut in half
1mediumonion, peeled anddiced
1Tablespoon of dried thyme
1Tablespoon of rubbed sage
Poultry Rub Ingredients:
1 Tablespoon of rubbed sage
1 Tablespoon of dried thyme
1/2teaspoon of paprika
1/2teaspoon ofturmeric
1/2teaspoon ofcelery salt (I use a home made version from home ground celery seed and salt)
1/2teaspoon ofground black pepper
If your goose is frozen, thaw it in the the refrigerator before cooking. This may take a least a day or two. Preheat your oven to 400°F. Remove the goose from the packaging and make sure you remove the giblets from the cavity of the bird.
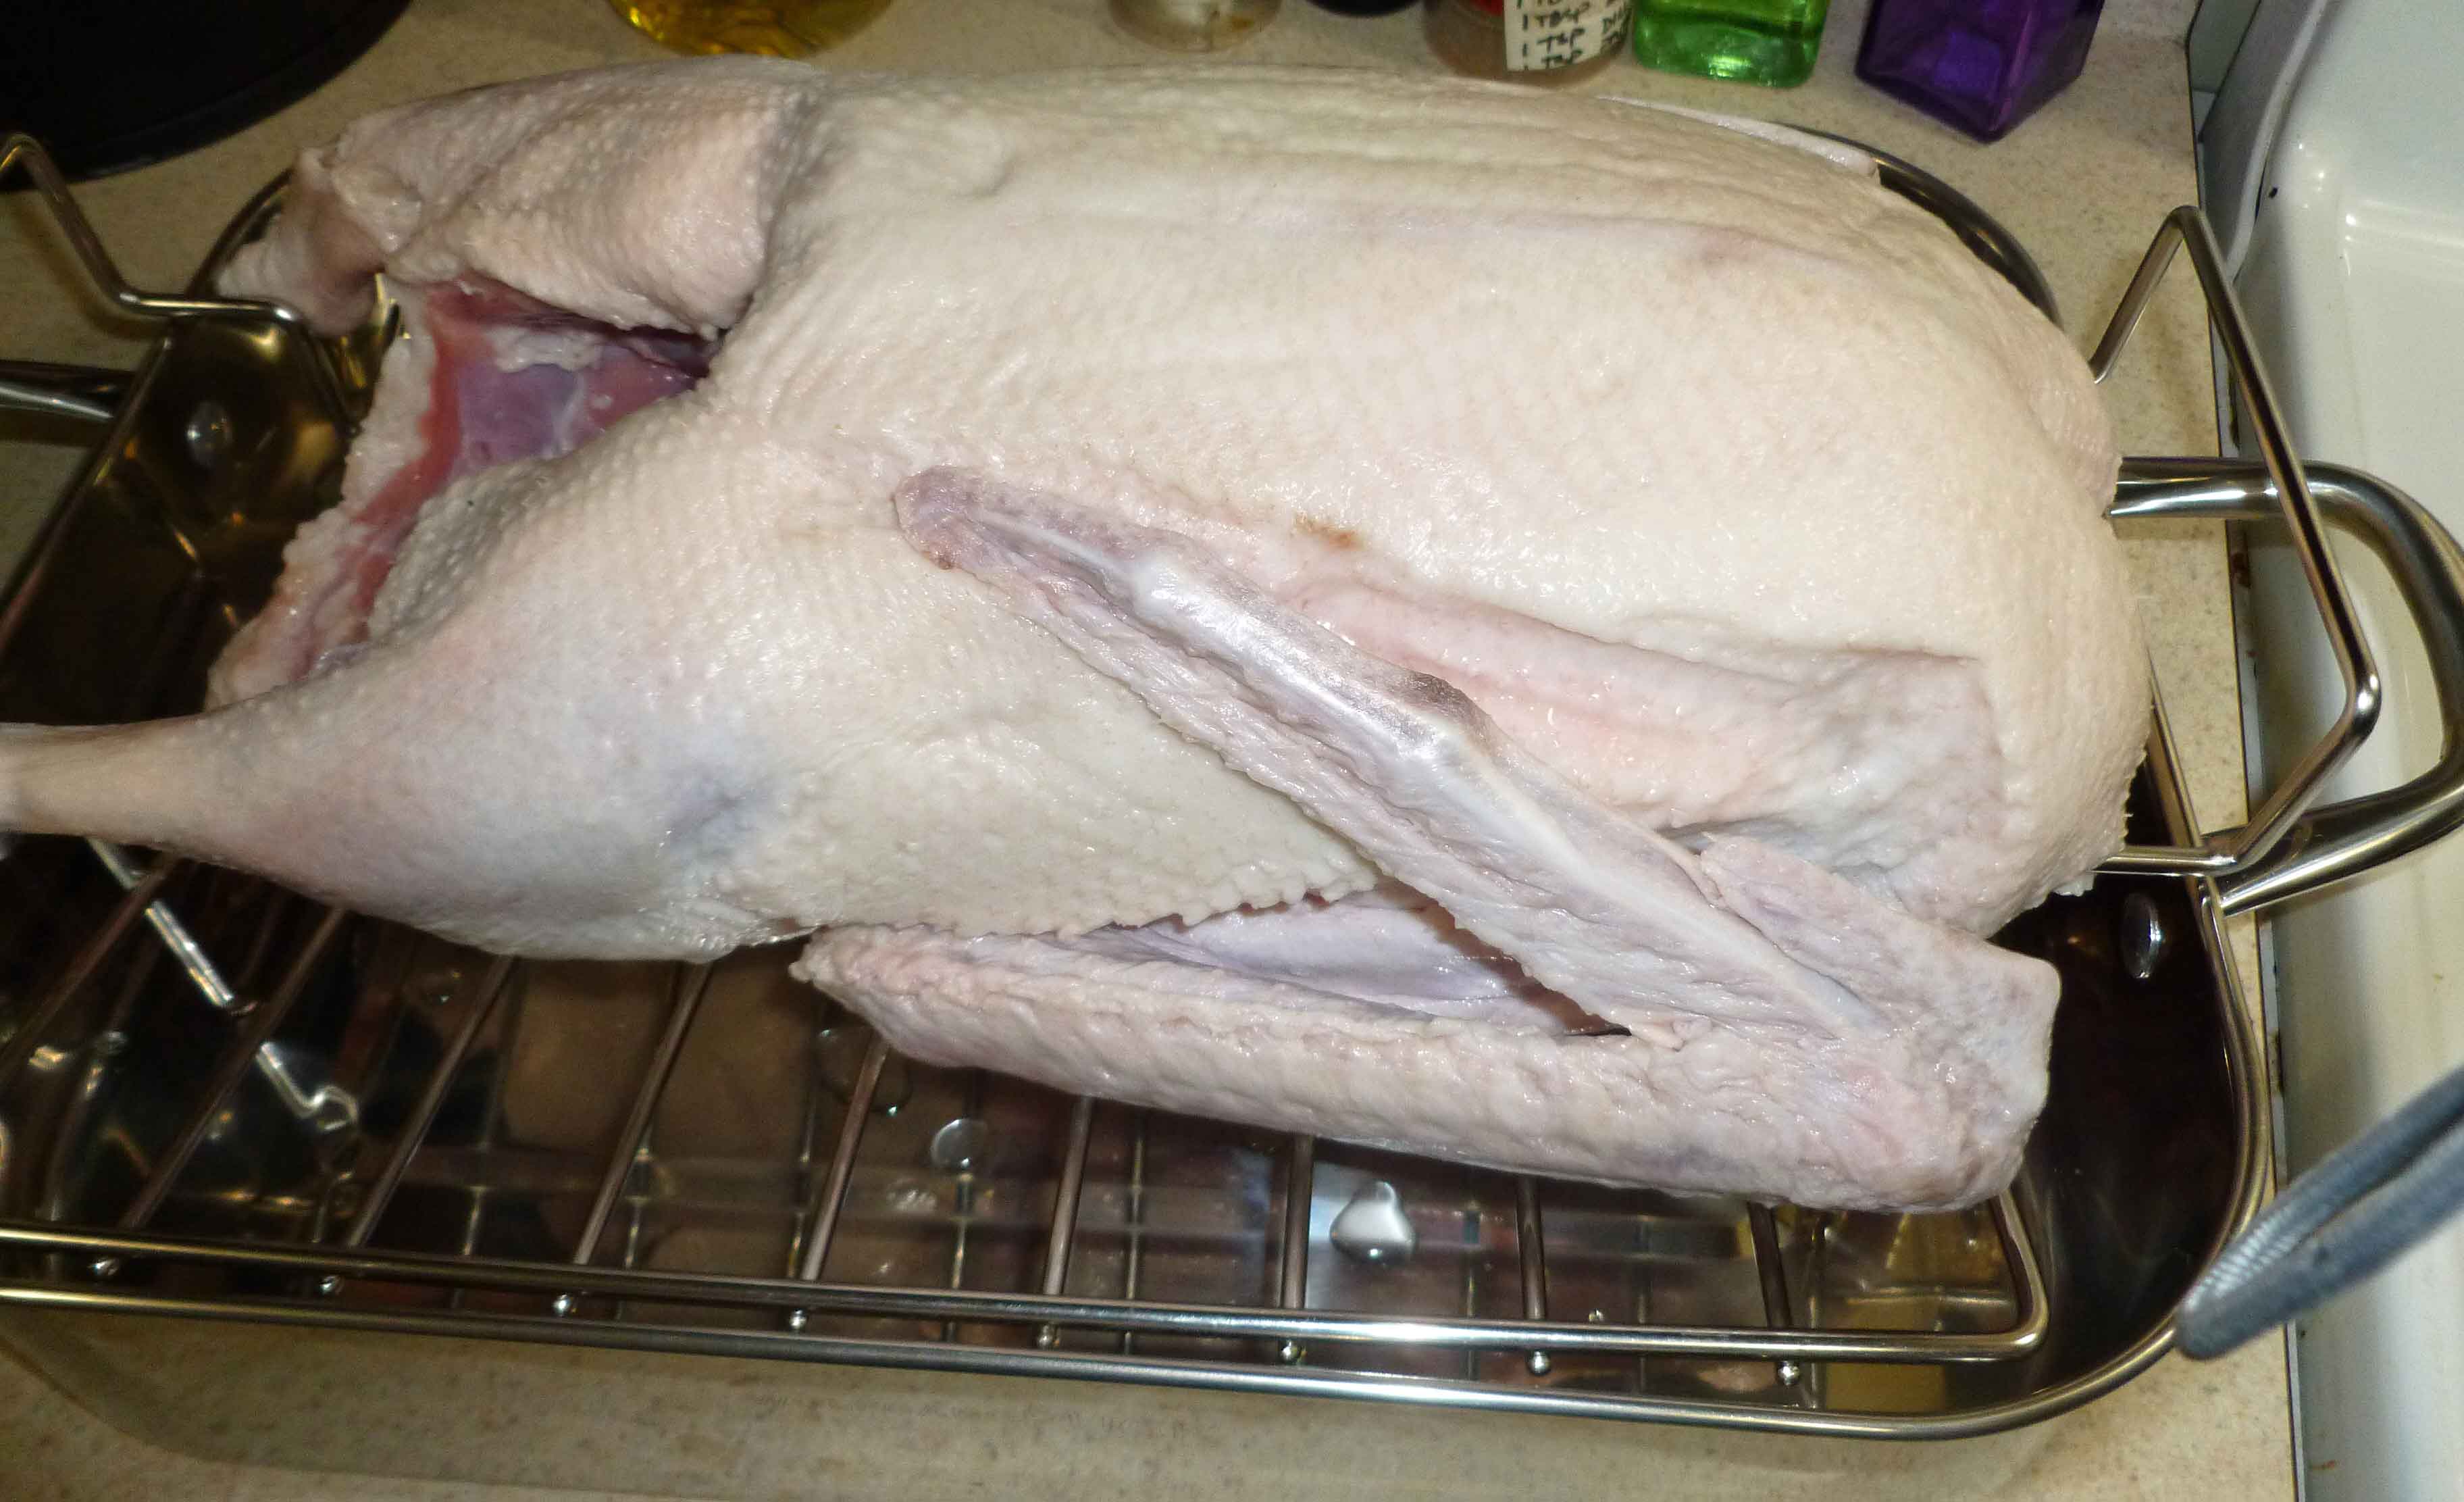
Place the goose in roasting pan with a rack, and trim off the excess fat around the cavities. (For those of you with low access to safe cooking fats, I rendered the excess fat in a crock pot as you would for lard or tallow, and got about a pint of goose fat.) Prick the surface of the goose skin, with a sharp knife, but be careful not to go past the skin into the goose.
Goose in Roasting Pan with Rack
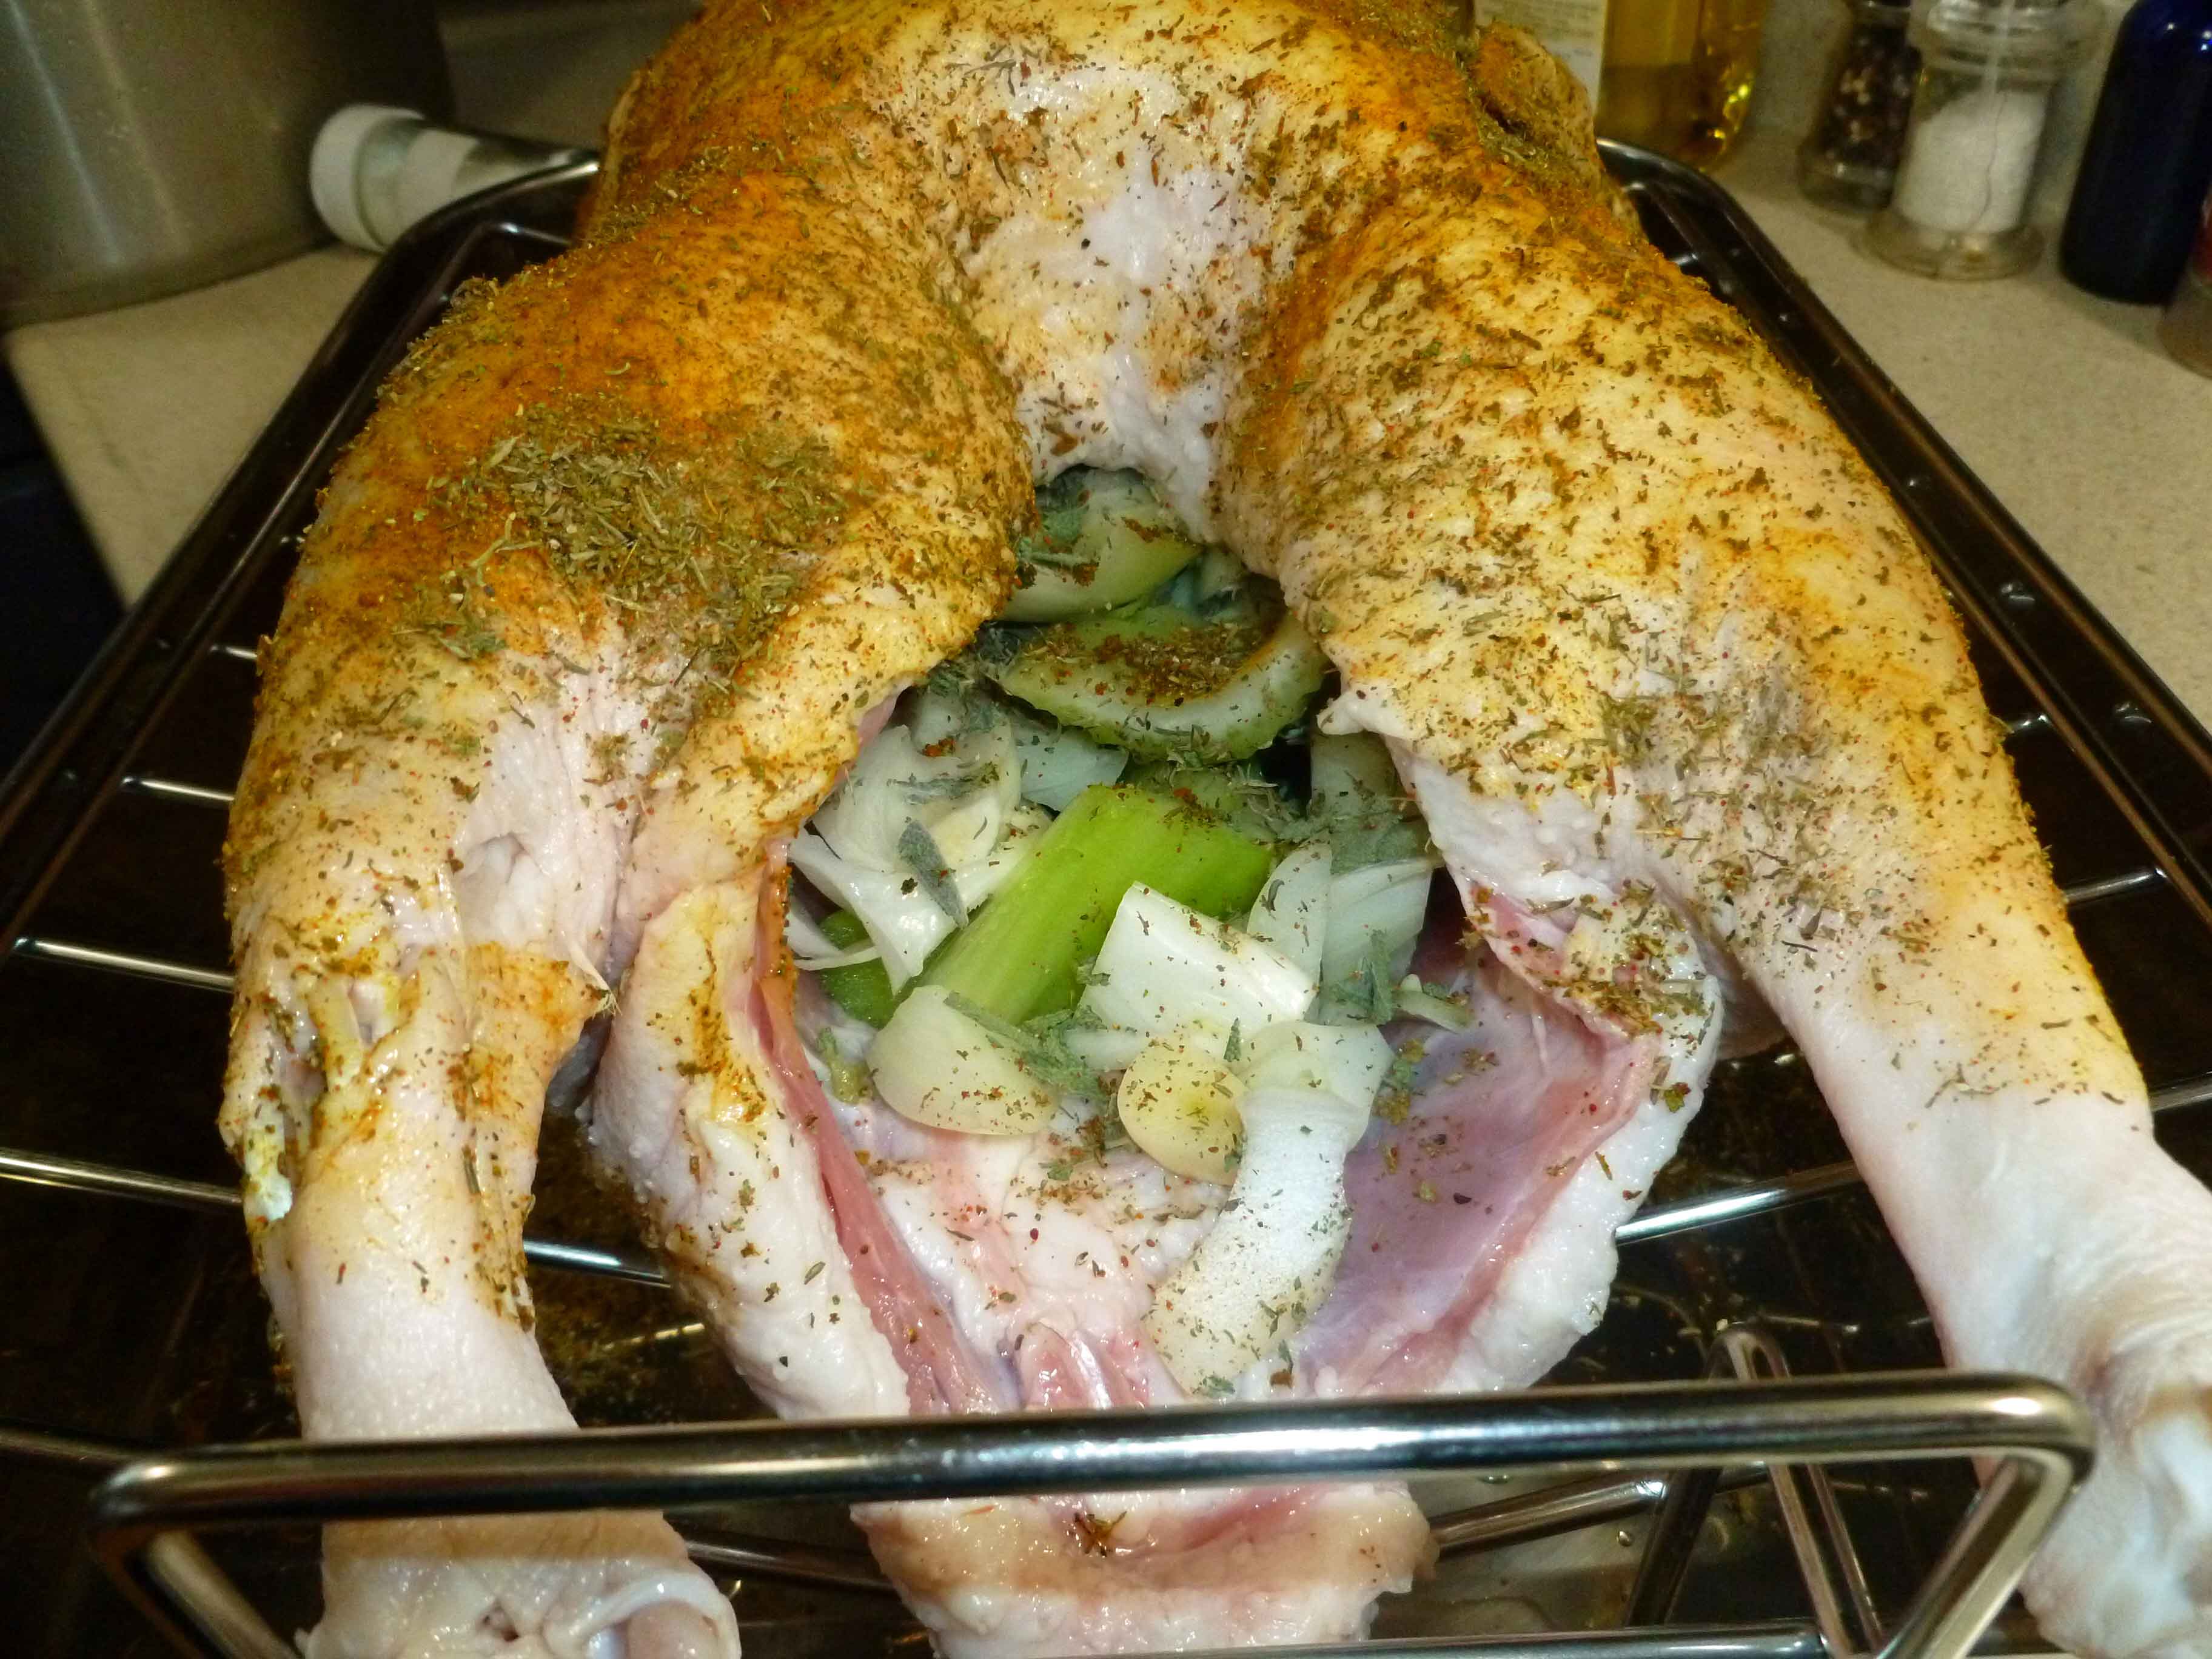
Sprinkle the goose cavity with 1 Tablespoon of the dried sage and 1 Tablespoon of the dried thyme. Place the celery, garlic, and onion into the cavity of the goose.
Celery, Onion, Garlic, Sage and Thyme in Goose Cavity
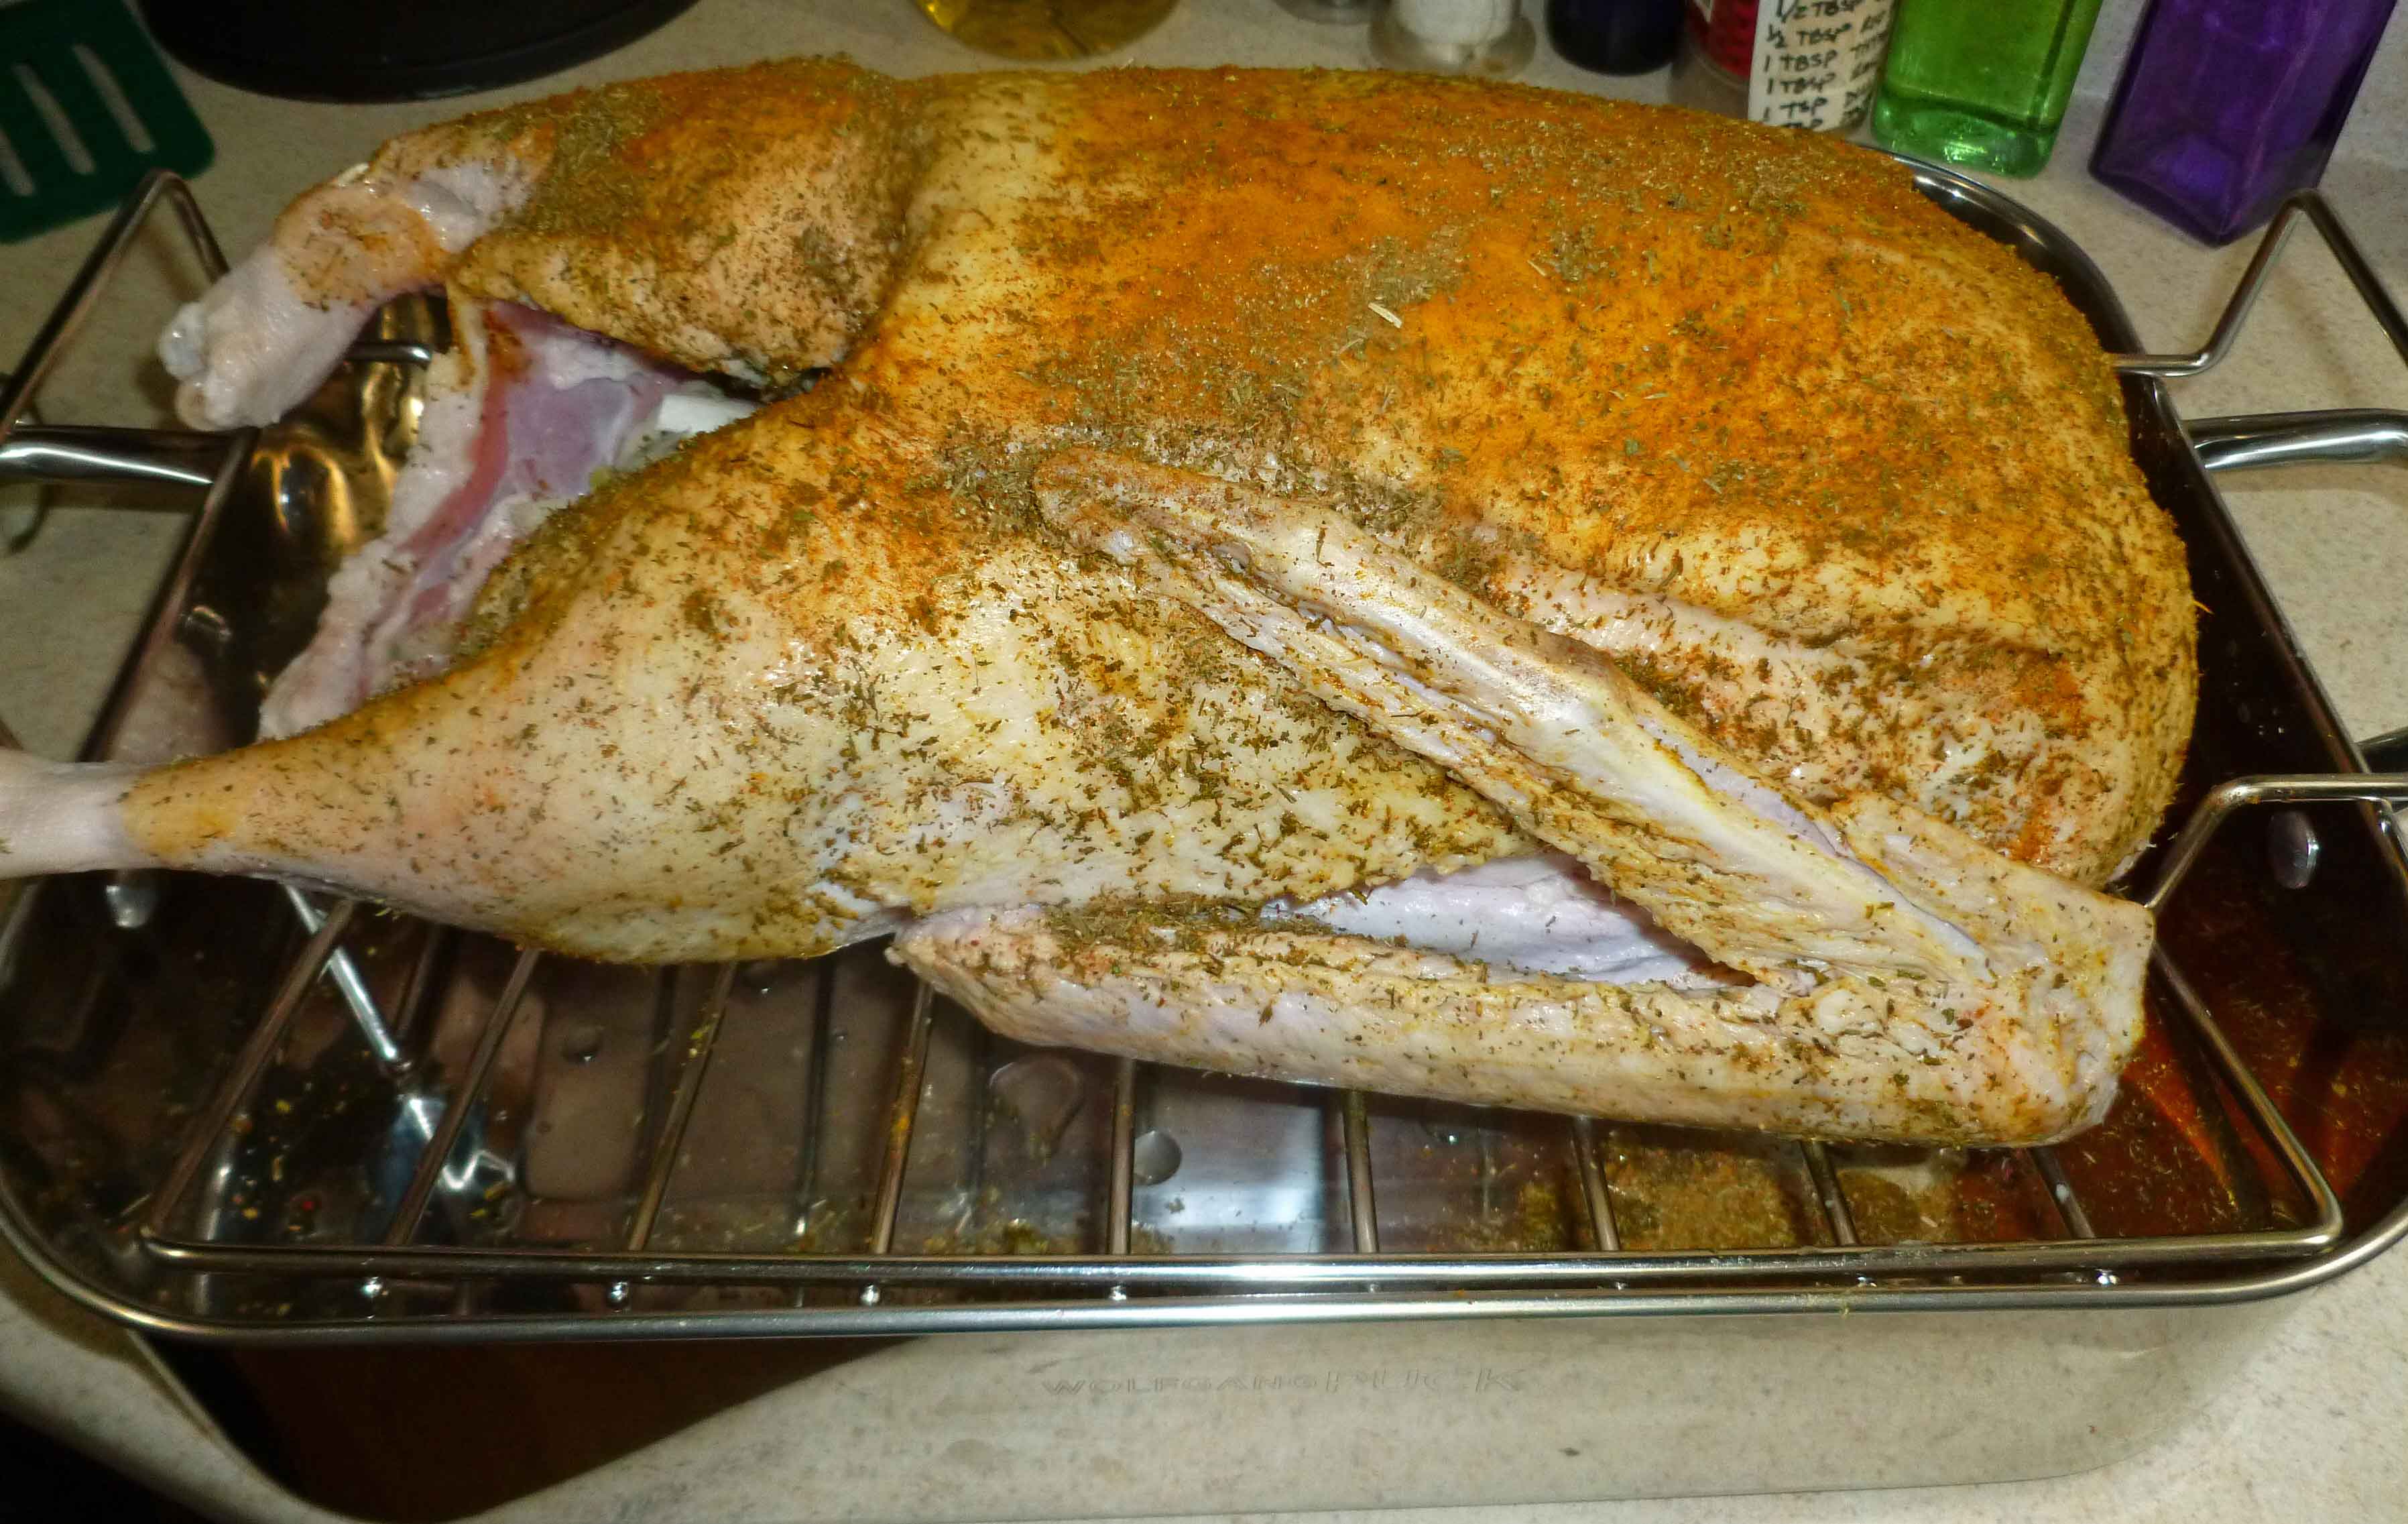
Place the ingredients for the poultry rub in a bowl and mix them well. Coat the outside of the goose with the rub.
Goose coated with Poultry Rub
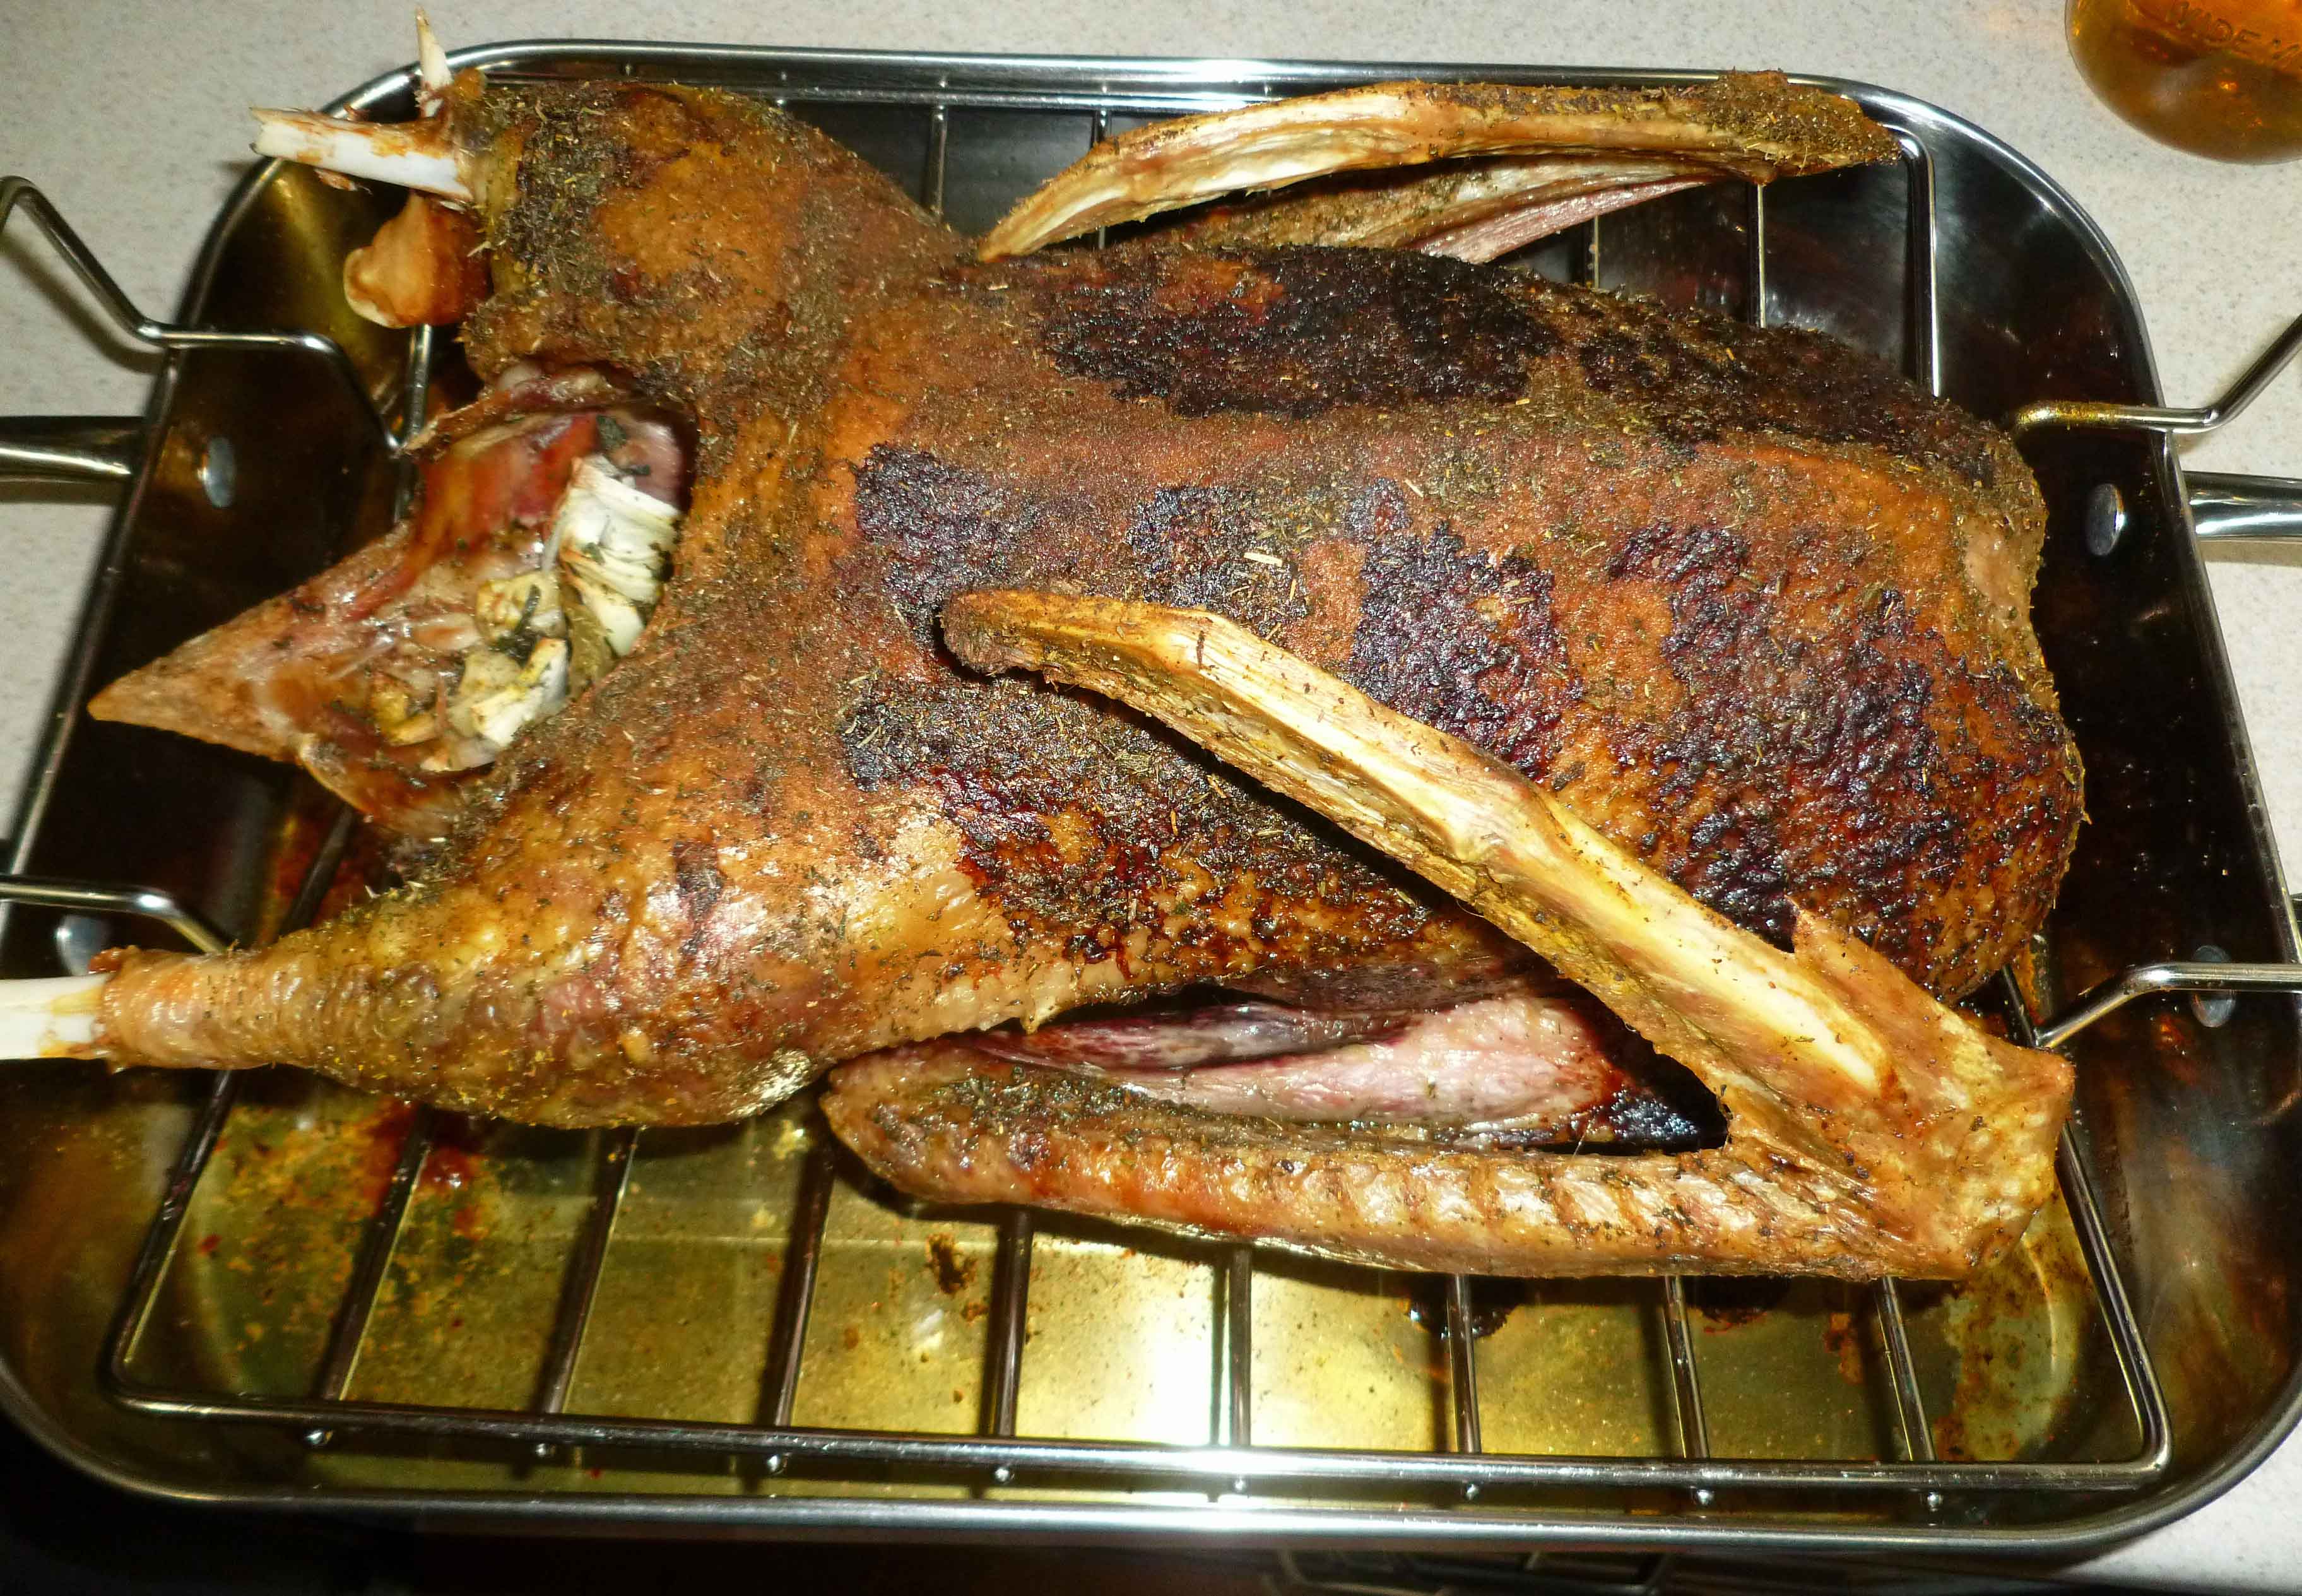
Roast the goose at 400°F in the oven for about an hour until it turns golden brown, while at the same time removing the goose fat from the roasting pan using a turkey baster every 30 minutes. (I saved the fat obtained and got almost a quart of goose fat from the pan that I’ll use as a cooking fat later.) Reduce the temperature to 325°F and roast until well browned, and the internal temperature reaches 180°F (about an hour to an hour and half after reducing the temperature depending on the size of your goose.)
I like to let my poultry rest a bit before carving, 15 or so minutes. Carve and serve.
Roast Goose, carved
If you decide to try goose, let me know what you think. I really thought I would like it and was surprised when I didn’t.
Notice: Trying to access array offset on value of type bool in /home/maryzahc/public_html/adultfoodallergies.com/wp-content/plugins/wp-ultimate-recipe/helpers/models/recipe.php on line 254
Roast Goose
Print Recipe
A basic roast goose recipe for the holiday season.
If your goose is frozen, thaw it in the the refrigerator before cooking. This may take a least a day or two. Preheat your oven to 400°F. Remove the goose from the packaging and make sure you remove the giblets from the cavity of the goose.
Place the goose in roasting pan with a rack, and trim off the excess fat around the cavities. Prick the surface of the goose skin, with a sharp knife, but be careful not to go past the skin into the goose.
Sprinkle the goose cavity with 1 Tablespoon of the dried sage and 1 Tablespoon of the dried thyme. Place the celery, garlic, and onion into the cavity of the goose. Place the ingredients for the poultry rub in a bowl and mix them well. Coat the outside of the goose with the rub.
Roast the goose at 400°F in the oven for about an hour until it turns golden brown, while at the same time removing the goose fat from the roasting pan using a turkey baster every 30 minutes. Reduce the temperature to 325°F and roast until well browned, and the internal temperature reaches 180°F (about an hour to an hour and half after reducing the temperature depending on the size of your goose.)
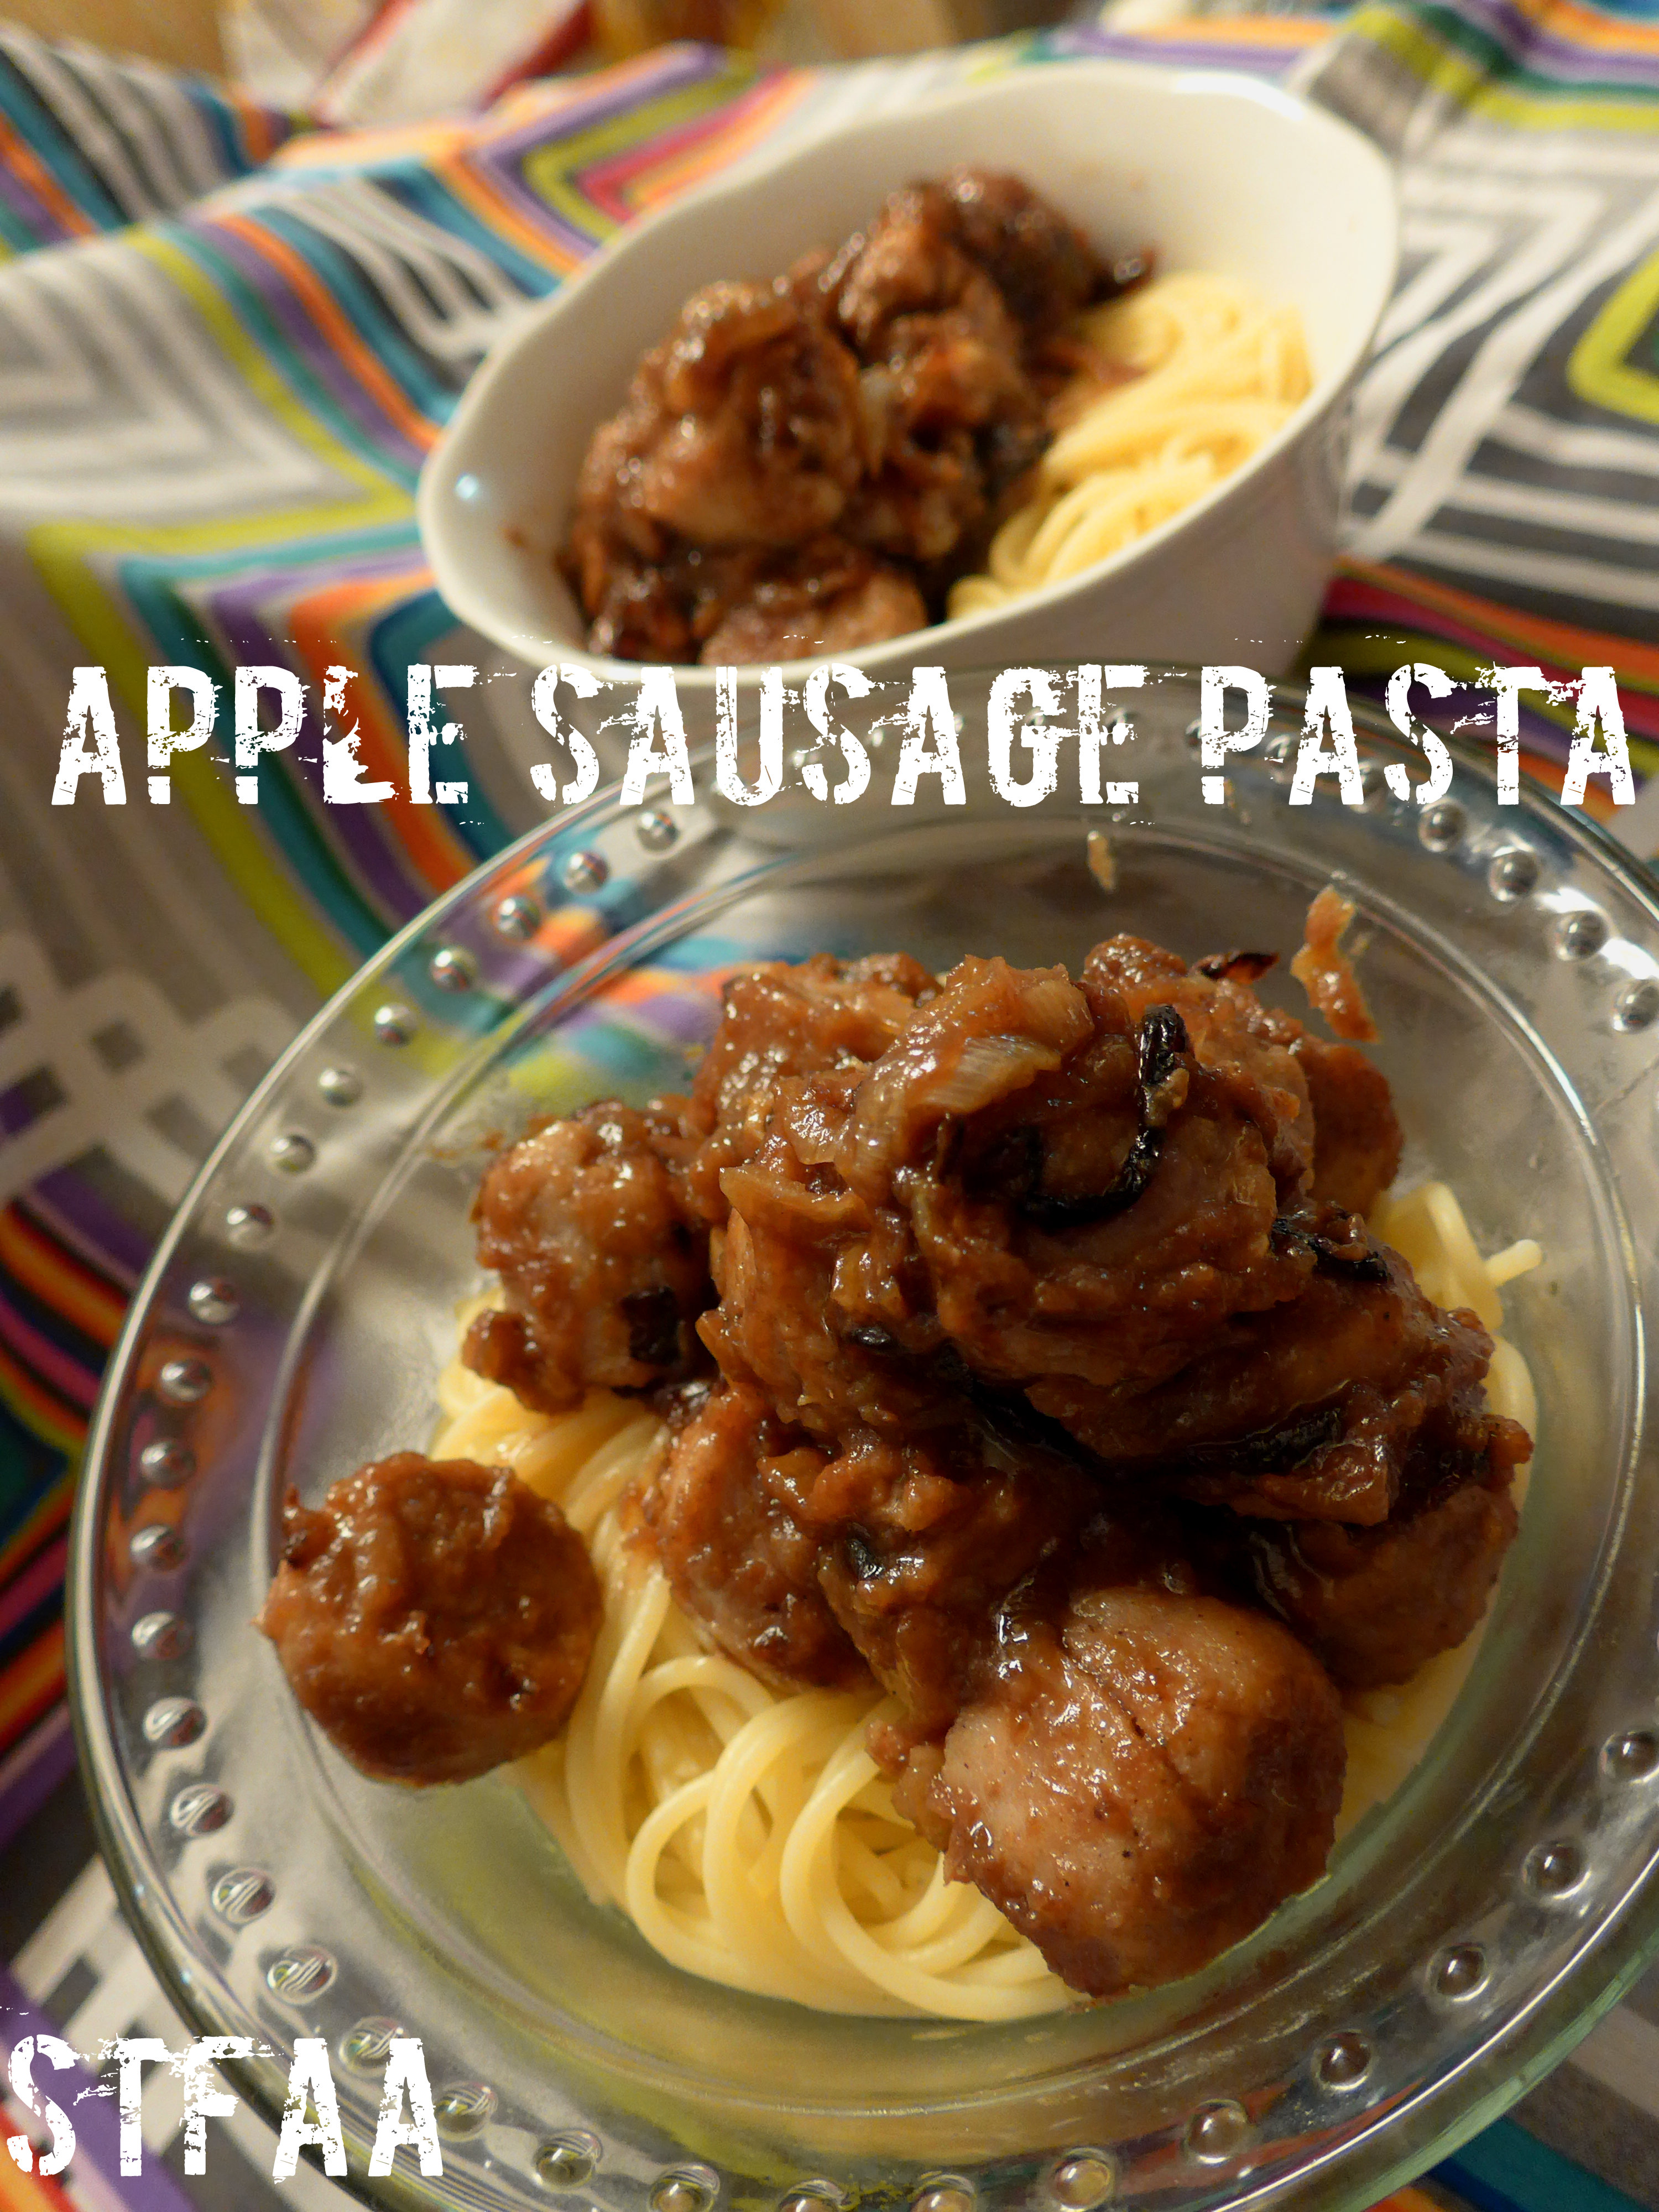
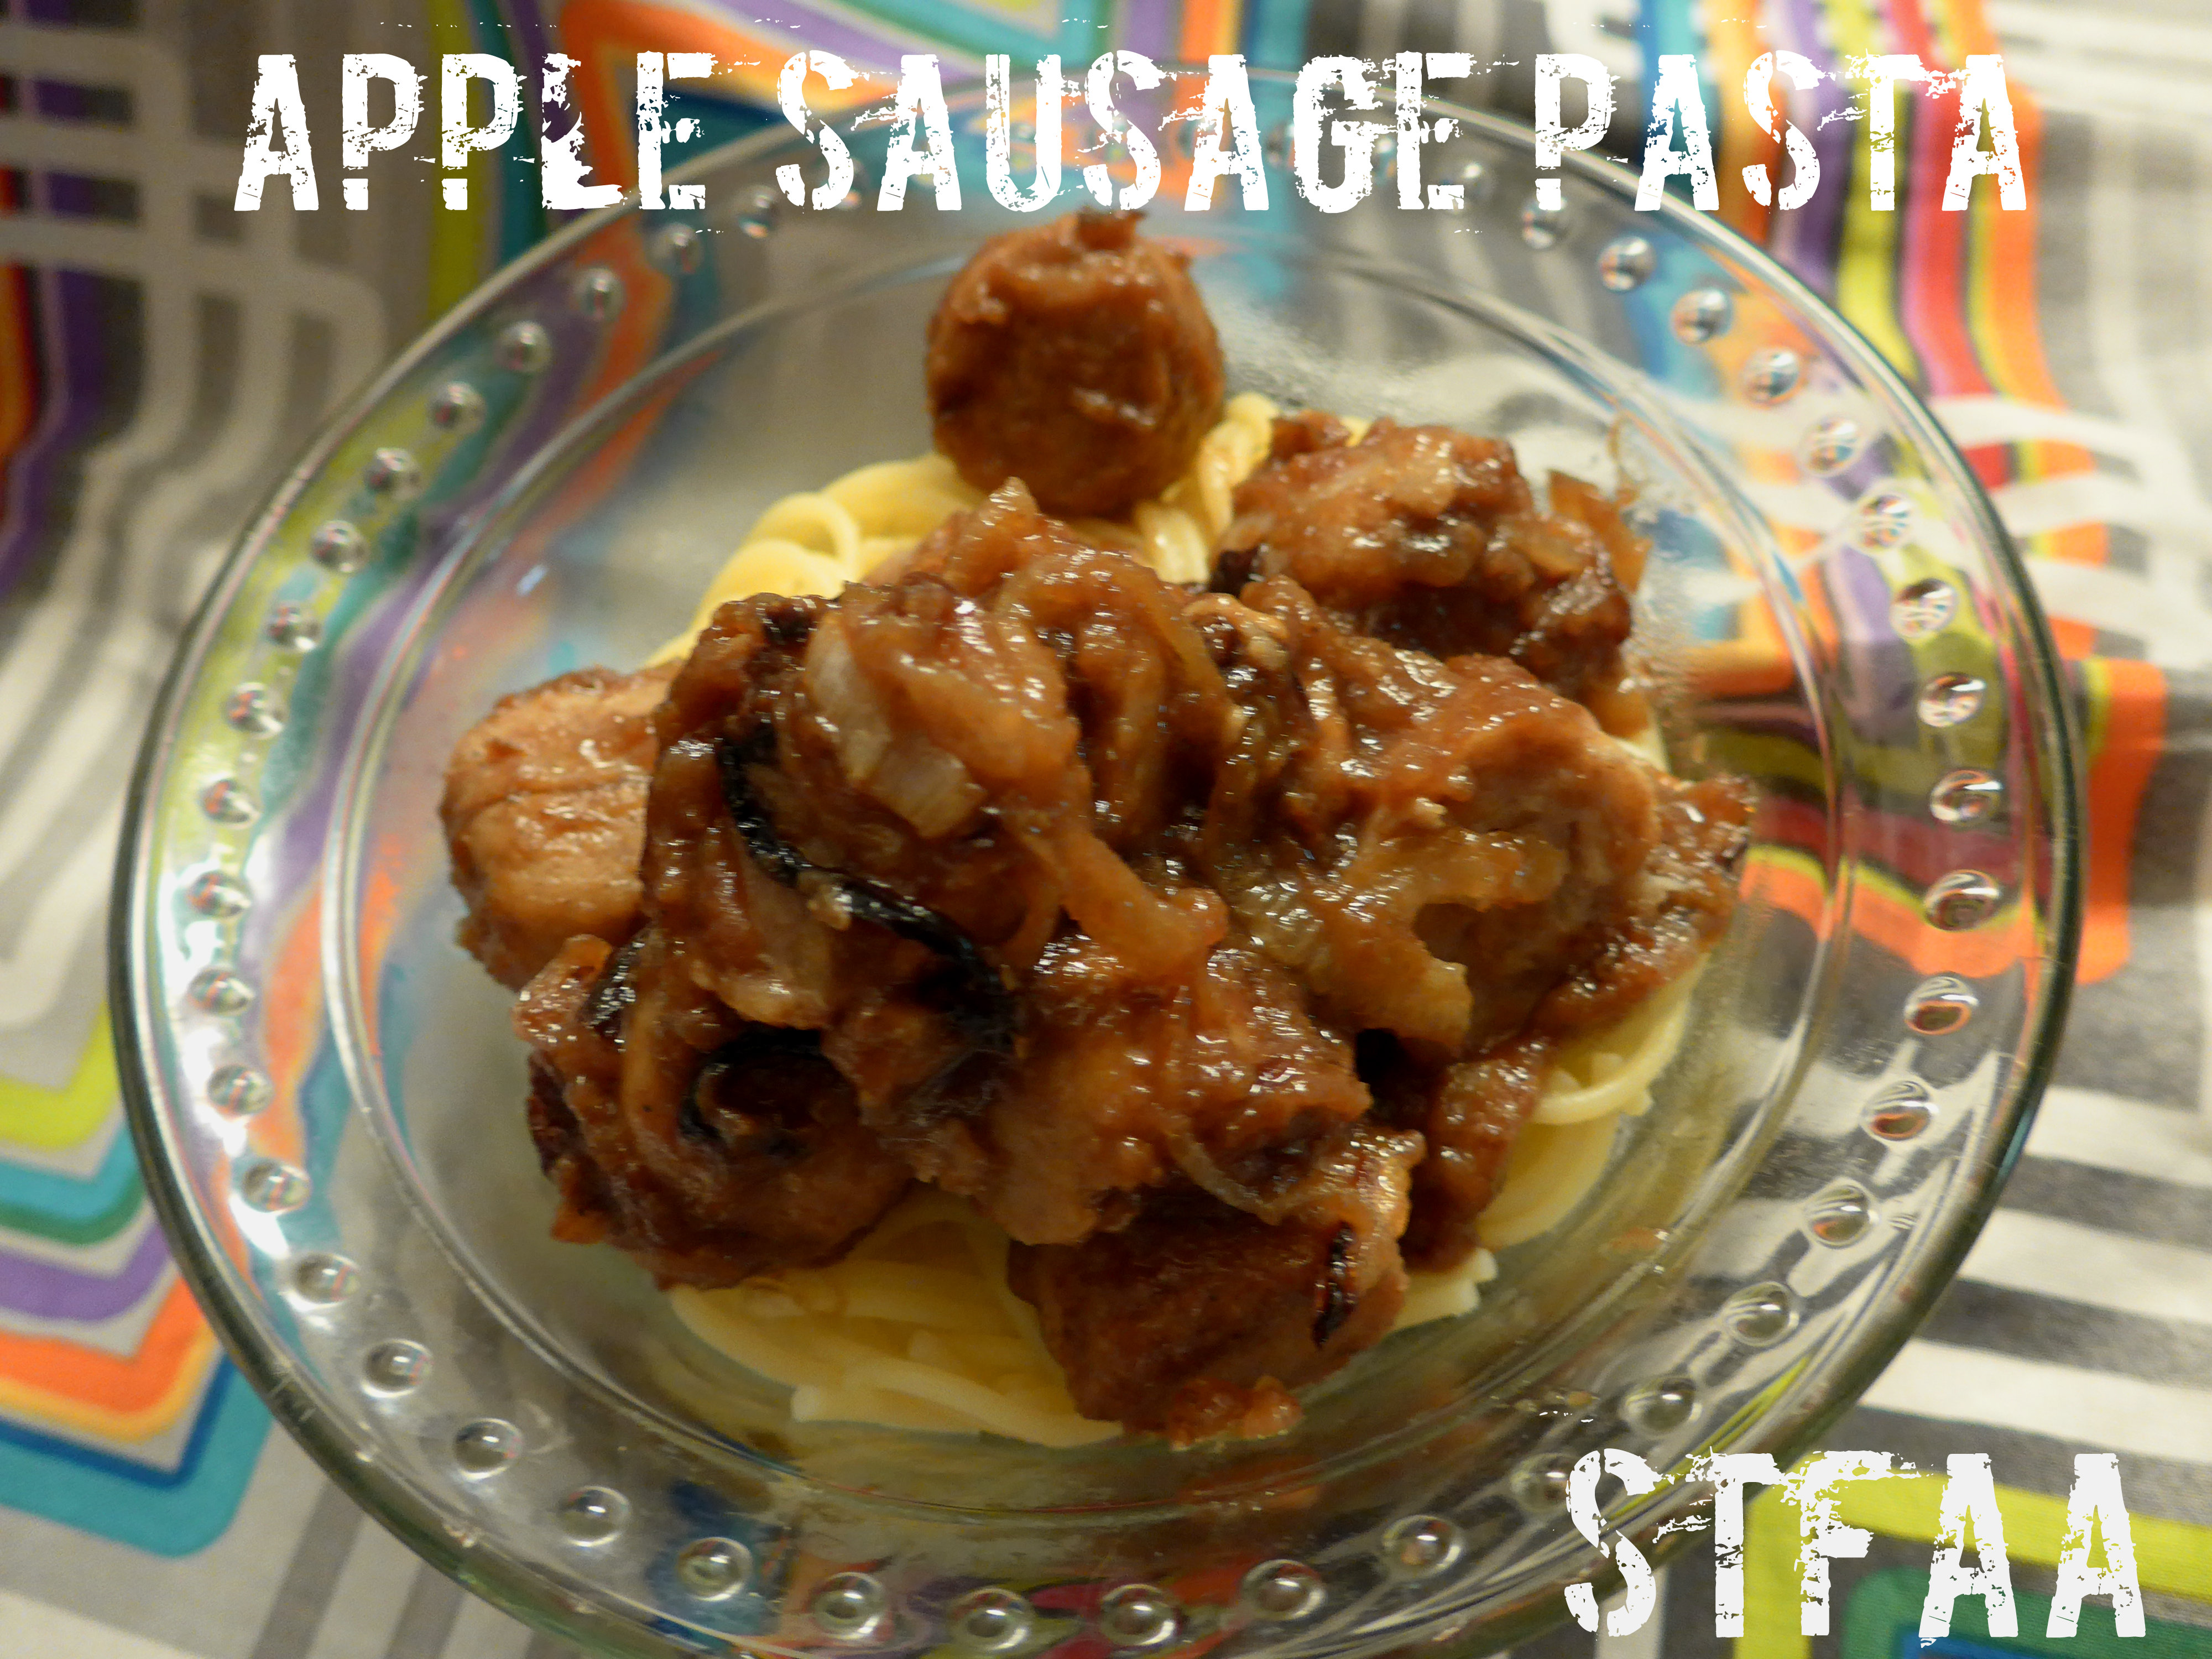
This dish is kind of an accident. I like to keep chicken sausages around as they are quick and easy for nights where I don’t really want to cook but want hot food. I started buying the apple sausages recently just for something different, and they seemed to beg for a different treatment than my normal sausages and caramelized onions. Because I had apple butter from Denise’s huge apple tree stash, I figured if I could balance the sweetness, I might have a winner. Caramelized onions, a hit of garlic and a bit of vinegar, and we have a winner. This is a really different dish — it’s not overly sweet, but it’s a different tenor from anything else I make regularly, and I like the break.
Apple Sausage Pasta Notice: Trying to access array offset on value of type bool in /home/maryzahc/public_html/adultfoodallergies.com/wp-content/plugins/wp-ultimate-recipe/helpers/models/recipe.php on line 254
Apple Sausage Pasta
Print Recipe
This sweet and savory apple-based pasta sauce is good over whatever pasta you may enjoy. Make it gluten-free by using the gluten-free pasta of your choice. This works best with a chicken and apple sausage, but would likely work great with a straightforward pork sausage as well.
This sweet and savory apple-based pasta sauce is good over whatever pasta you may enjoy. Make it gluten-free by using the gluten-free pasta of your choice. This works best with a chicken and apple sausage, but would likely work great with a straightforward pork sausage as well.
2servingspasta of your choicecooked according to package directions
Servings: large servings
Instructions
Heat olive oil in a heavy skillet over medium heat.
Add onions and stir well to coat with oil. Sprinkle with salt. Cook until caramelized, about 40 minutes, stirring about every 10 minutes. You’re looking for golden brown.
Add sliced sausages and cook for about 5 minutes until browned on one side, stir to flip around. If you need to cook your pasta and it takes about 10 minutes, start it now while the sausage browns.
Add garlic powder, apple cider vinegar, apple butter, and applesauce. Stir well until all incorporated, and turn heat down to low.
When the pasta is done, decide if you need to thin down your sauce a bit and reserve a bit of pasta water to do so. Drain your pasta and scoop the sauce over top. Mix well and enjoy.
Recipe Notes
This dish reheats pretty well, so if there’s just one of you, you now have lunch.
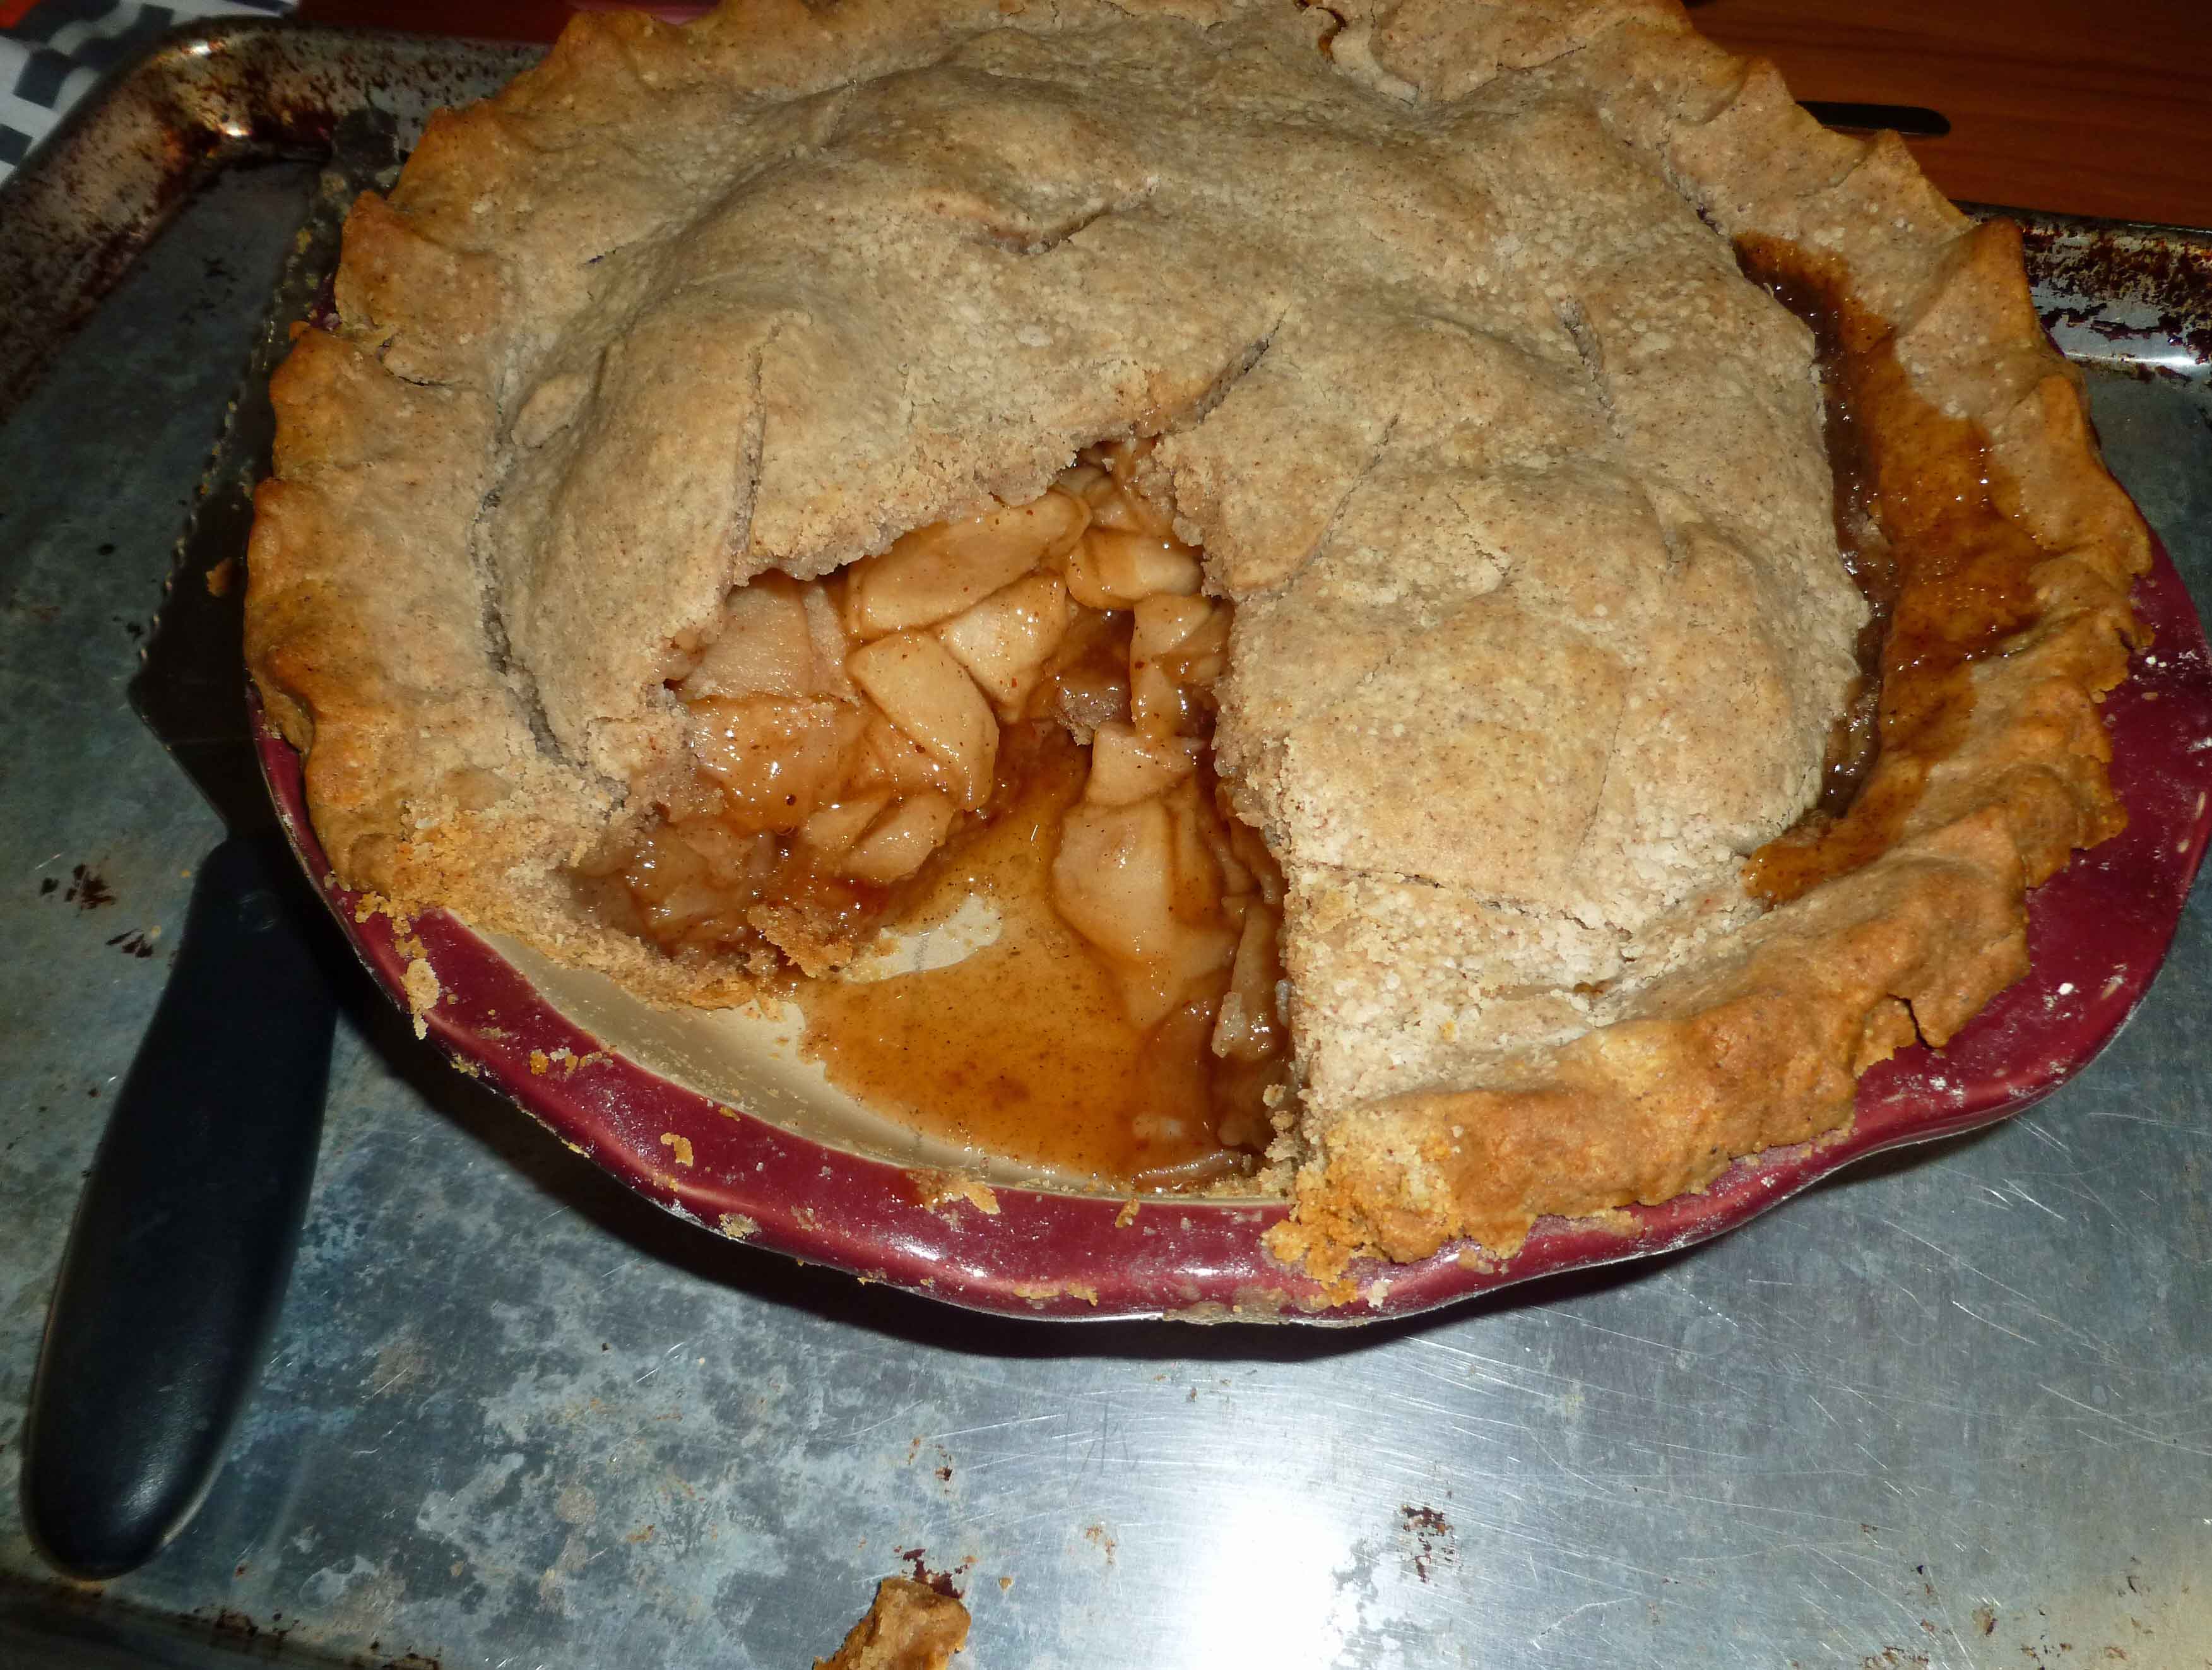
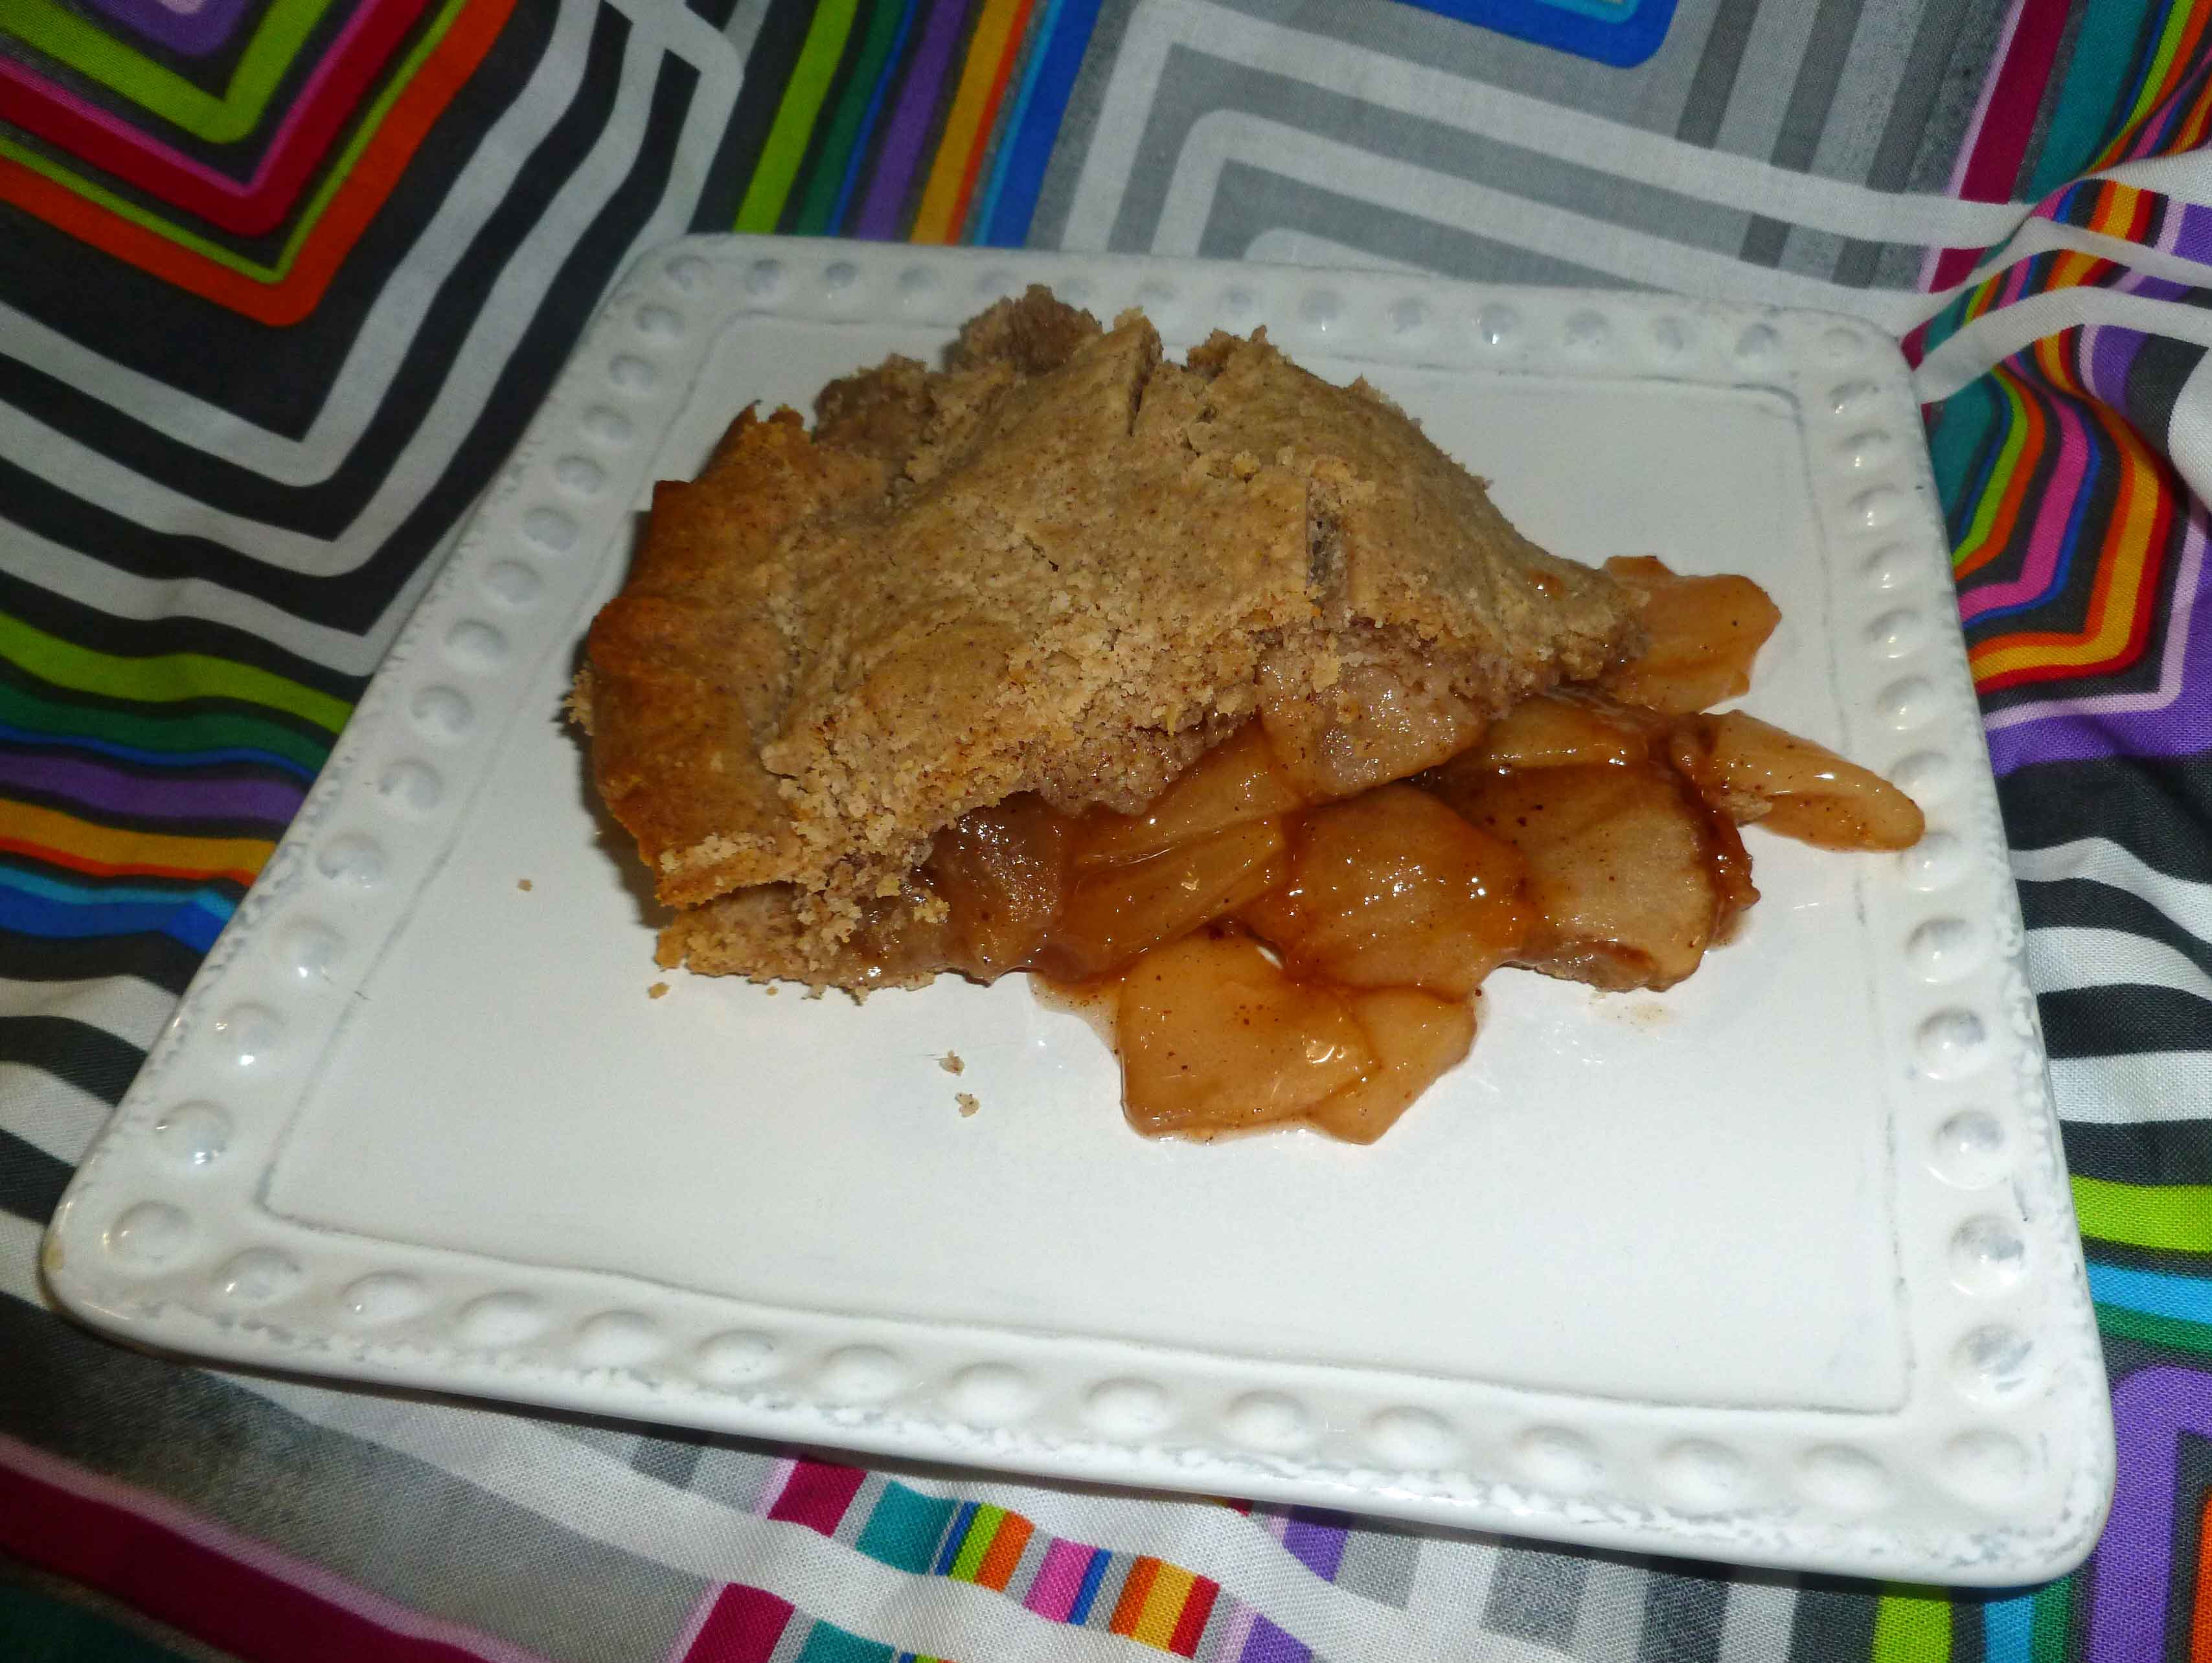
Now that we have have a pie crust that works, of course I had to make apple pie. Because most of you won’t have the copious amount of home canned apple pie filling that is currently sitting in my garage, I made one up using fresh apples.
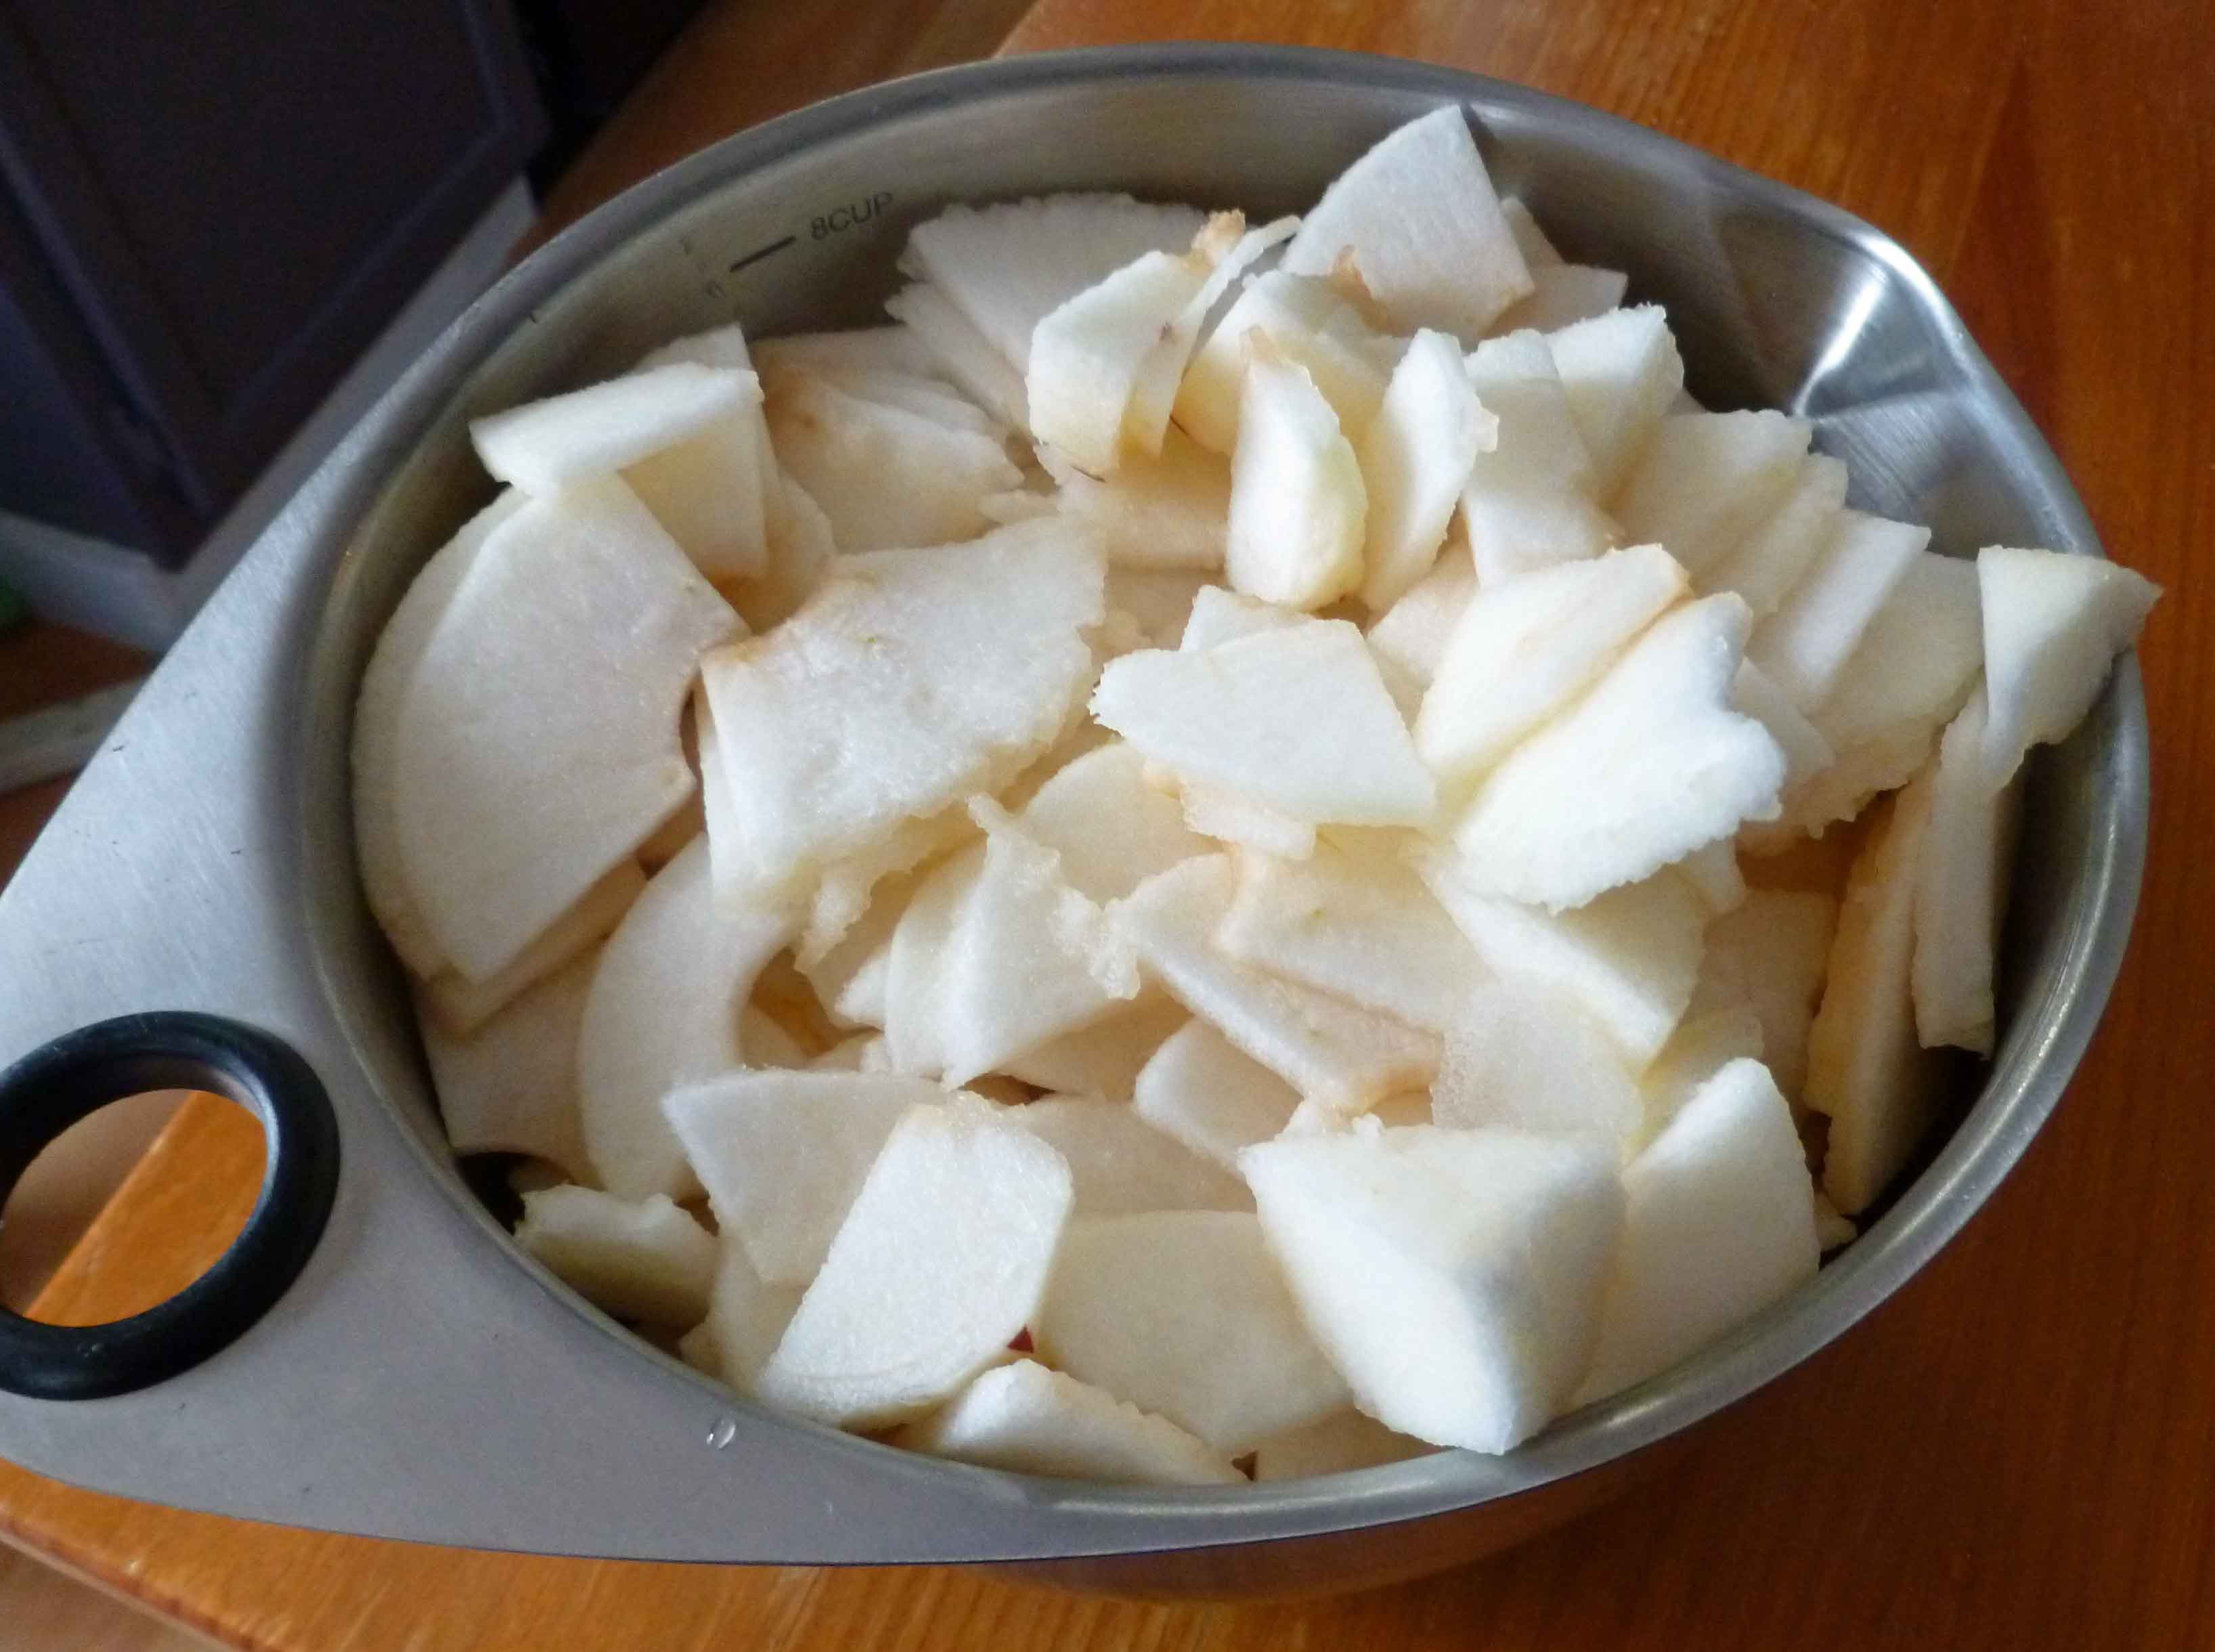
7-8 cups thinly sliced, peeled apples (I used Cortland apples)
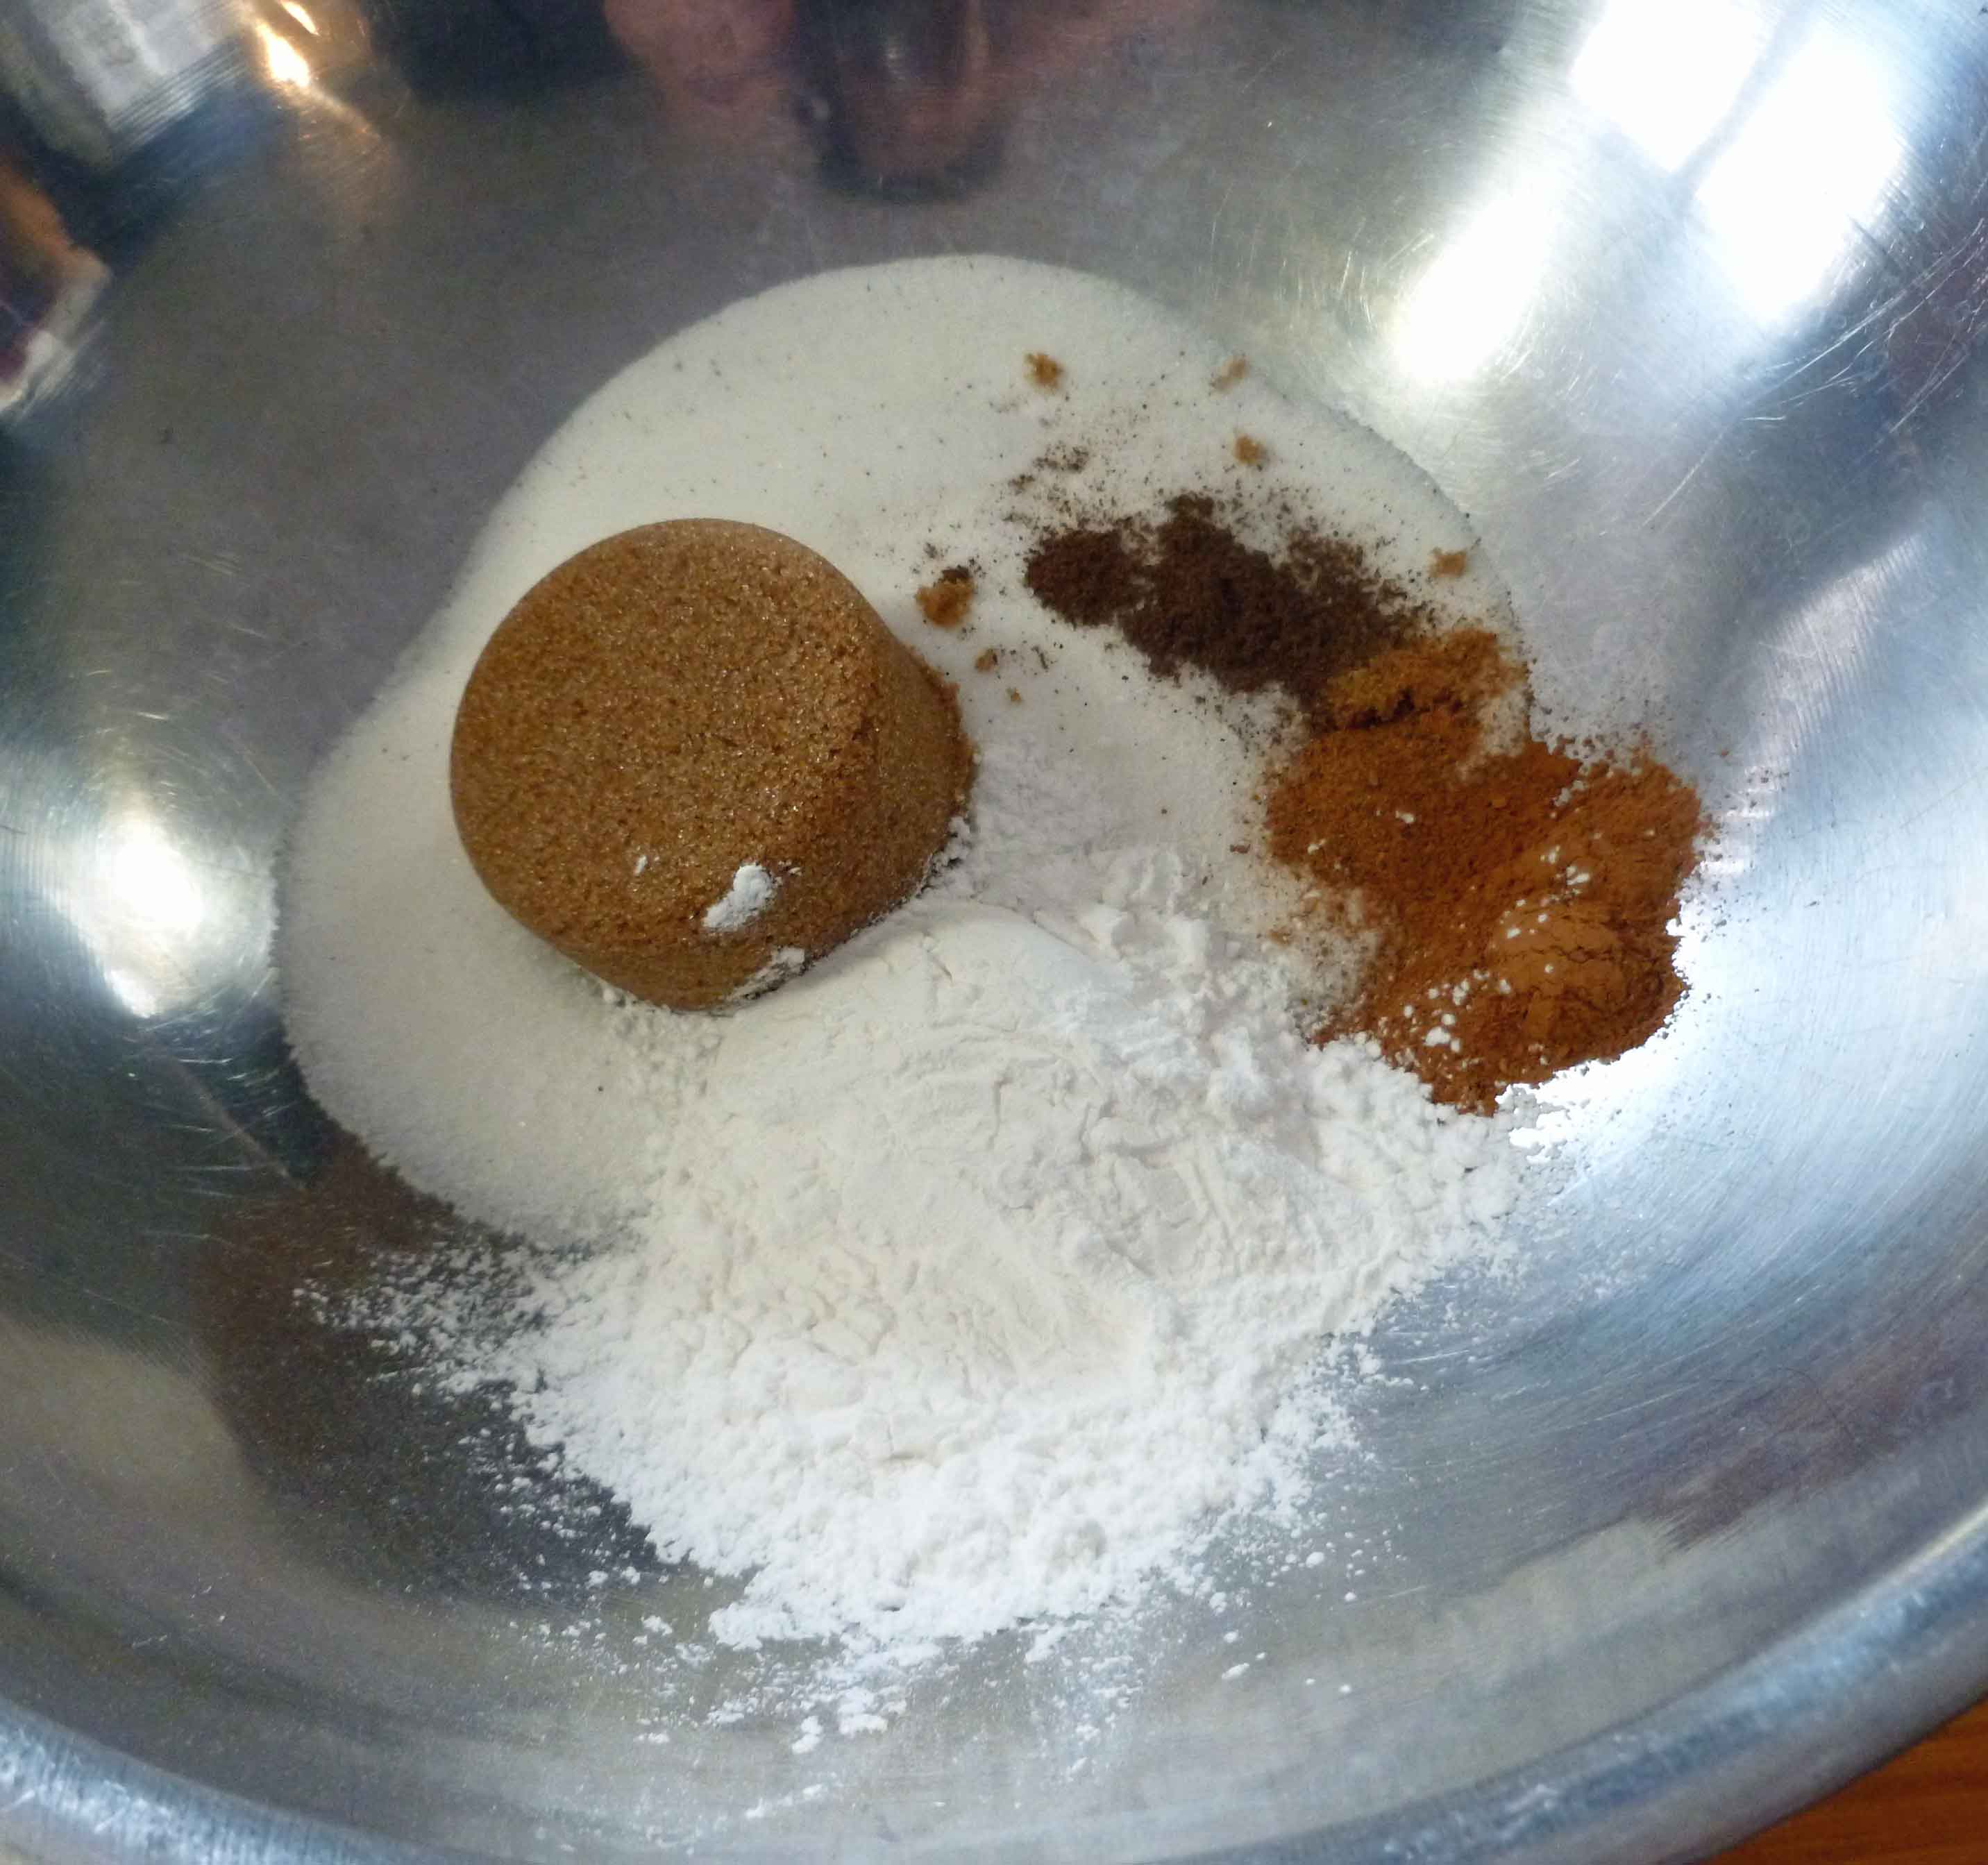
1/2 cup sugar
1/4 cup of brown sugar tightly packed
2 tablespoons tapioca starch or arrowroot starch
3/4 teaspoon ground cinnamon
1/8 teaspoon ground allspice
1/8 teaspoon ground nutmeg
Make two batches of our Gluten-free Pie Crust (vegan option) recipe and chill the resulting dough balls as described until you’re ready for them.
Preheat oven to 400° F. Peel, core and slice your apples if you haven’t already.
Peeled, cored and sliced apples
Place sugar, brown sugar, tapioca starch or arrow root, cinnamon, nutmeg and allspice into a large bowl.
Dry ingredients
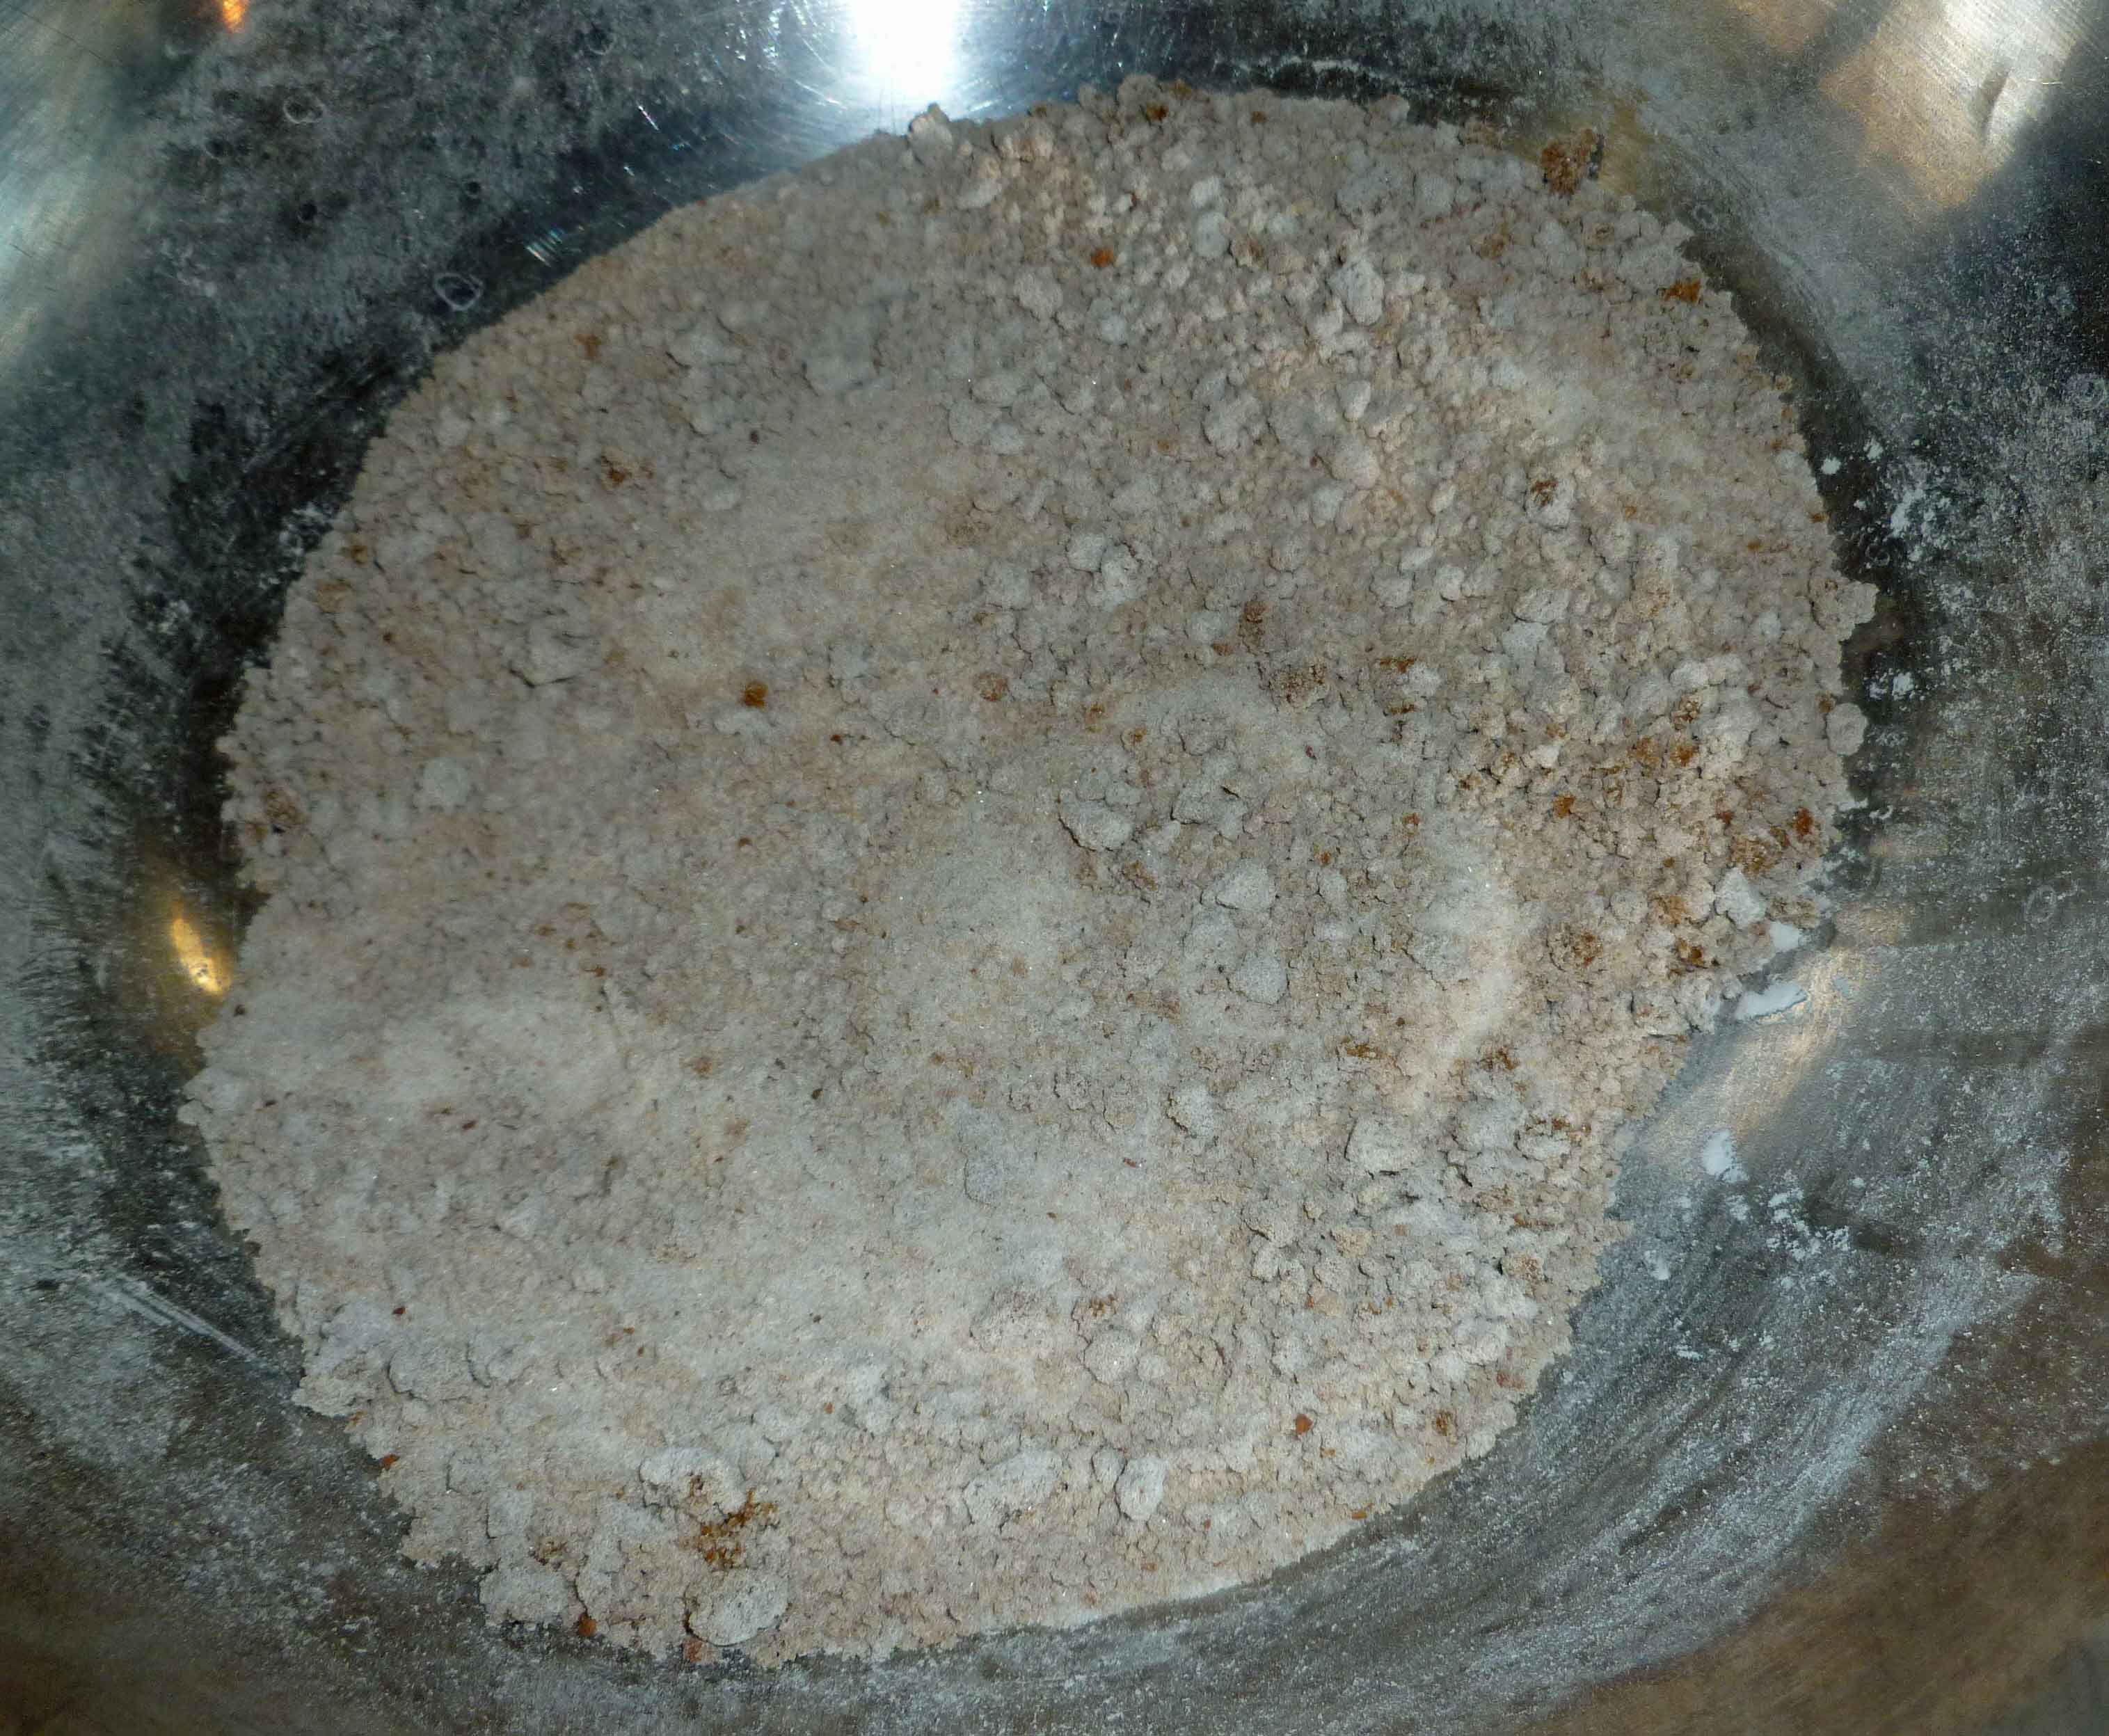
Mix dry ingredients until well combined.
Dry ingredients well combined
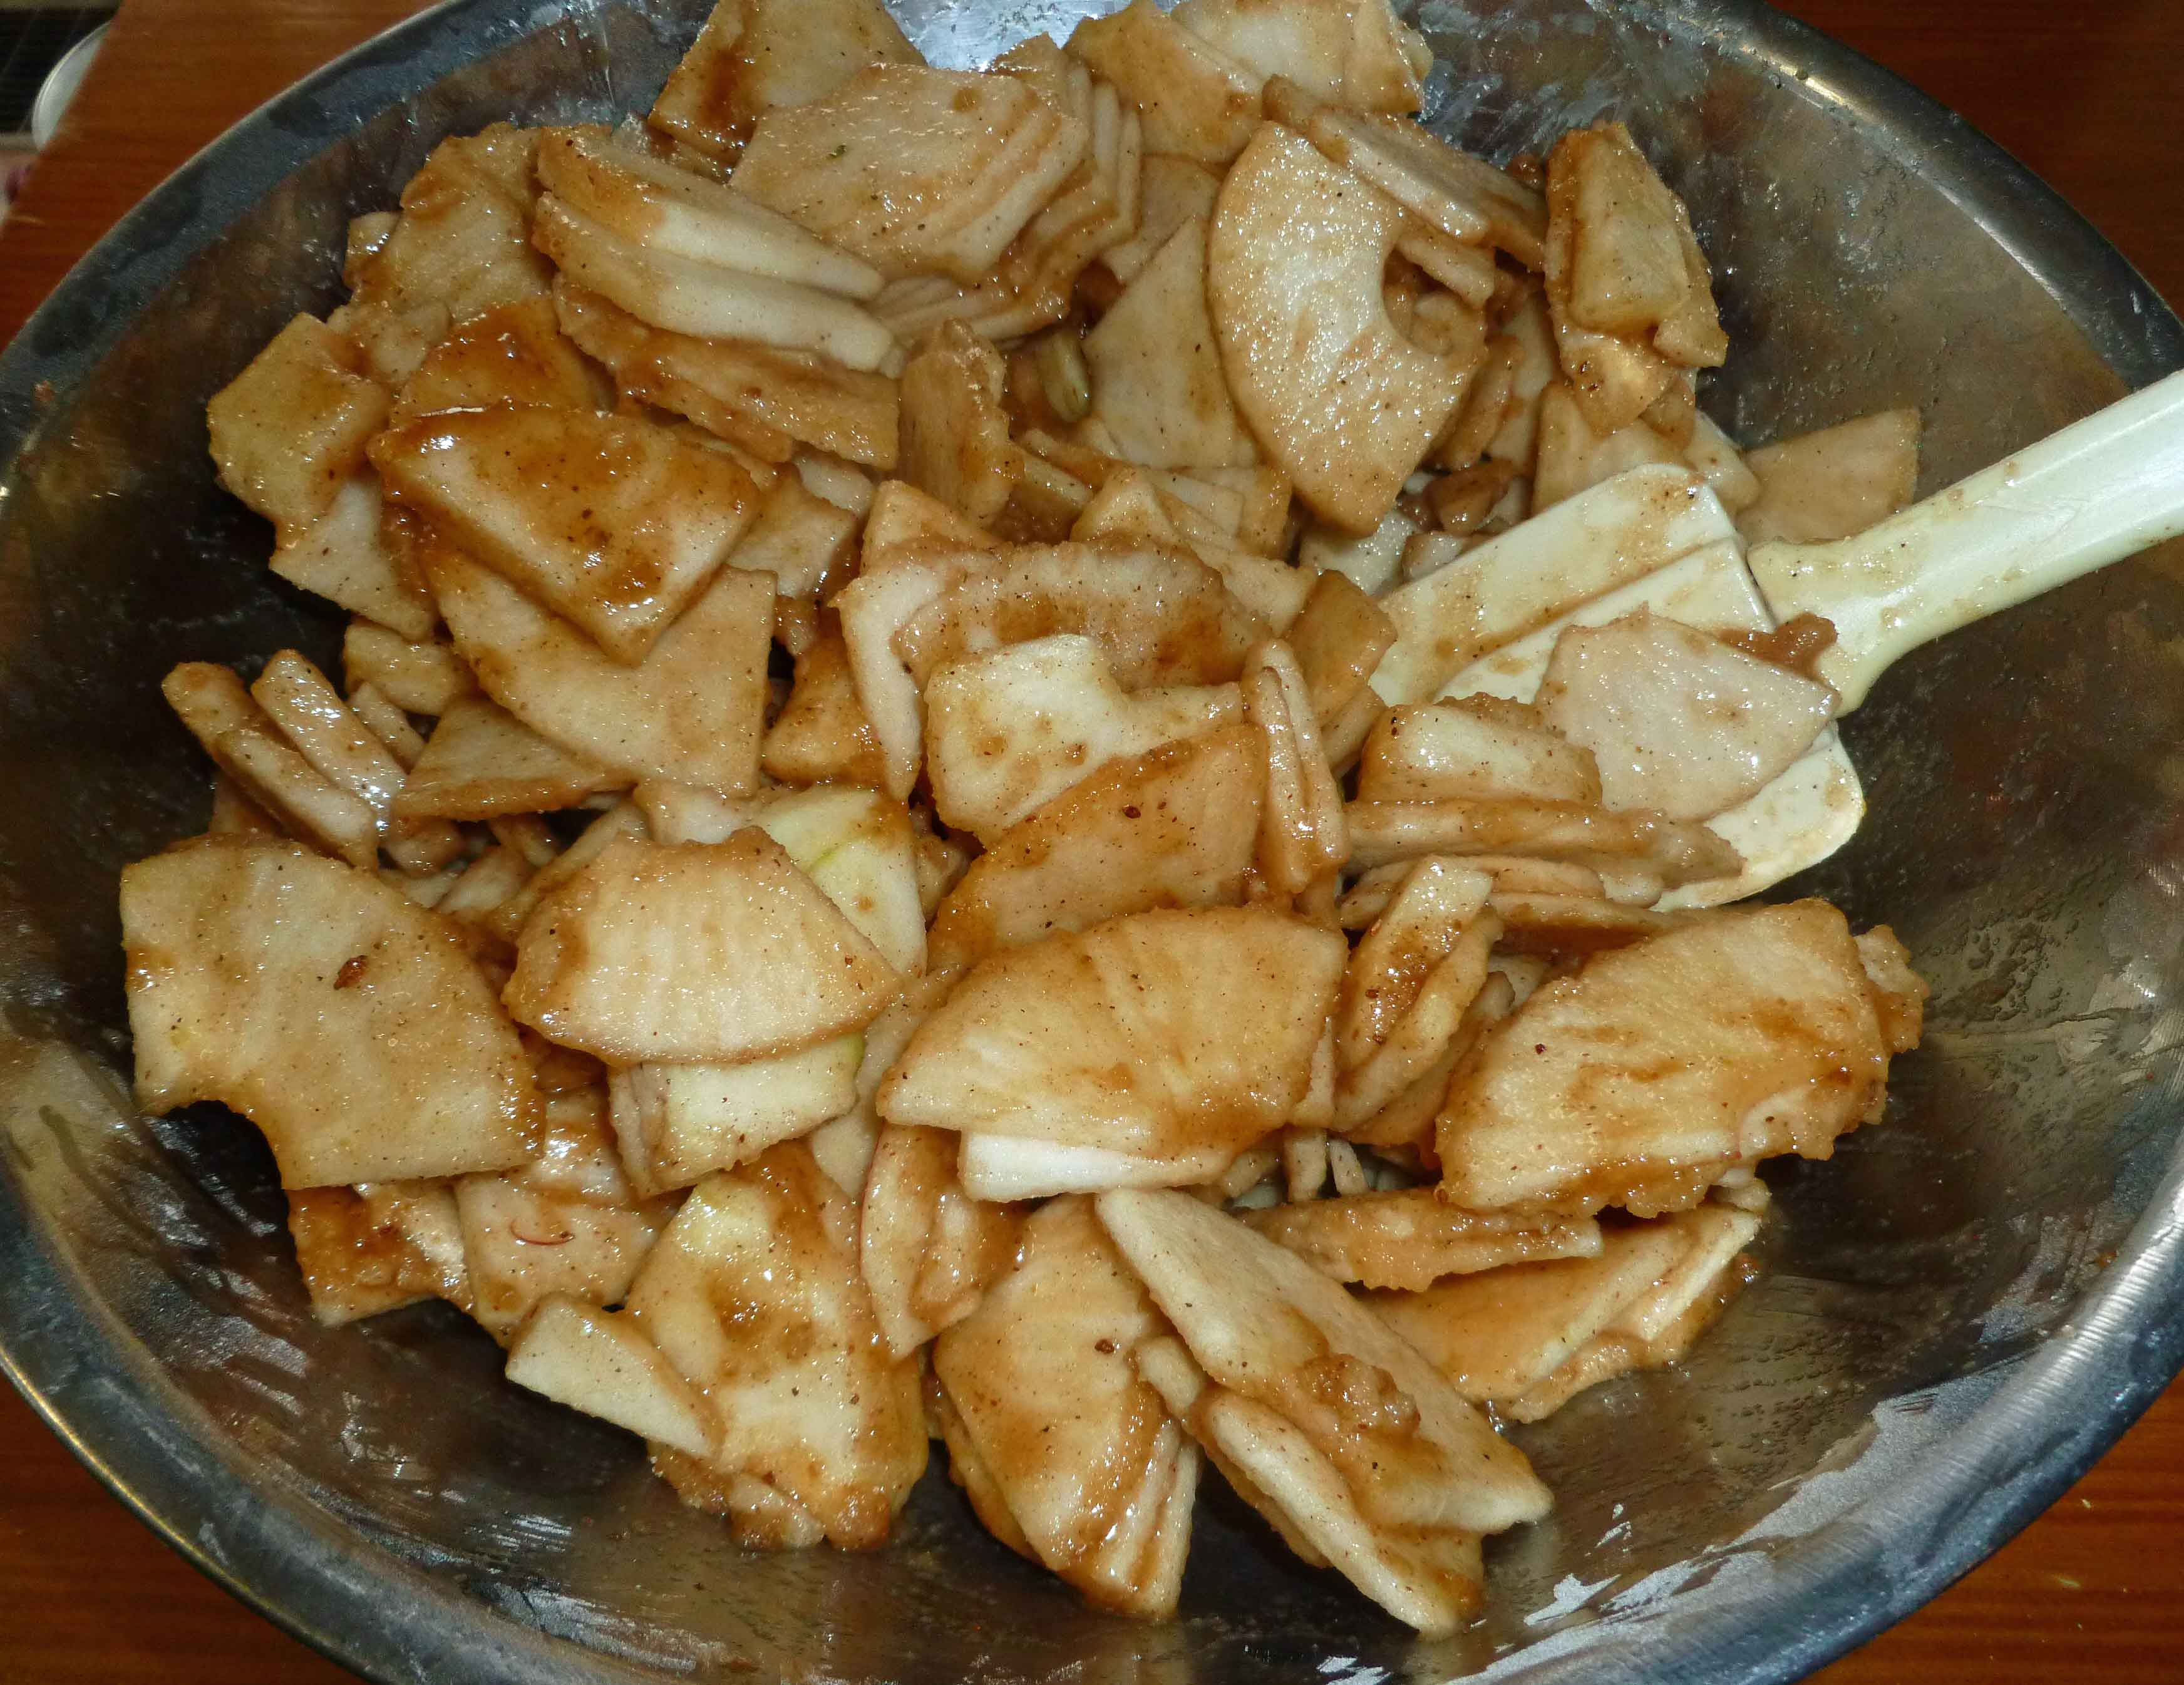
Mix apples into dry ingredients until combined and set aside.
Dry ingredients mixed with apples
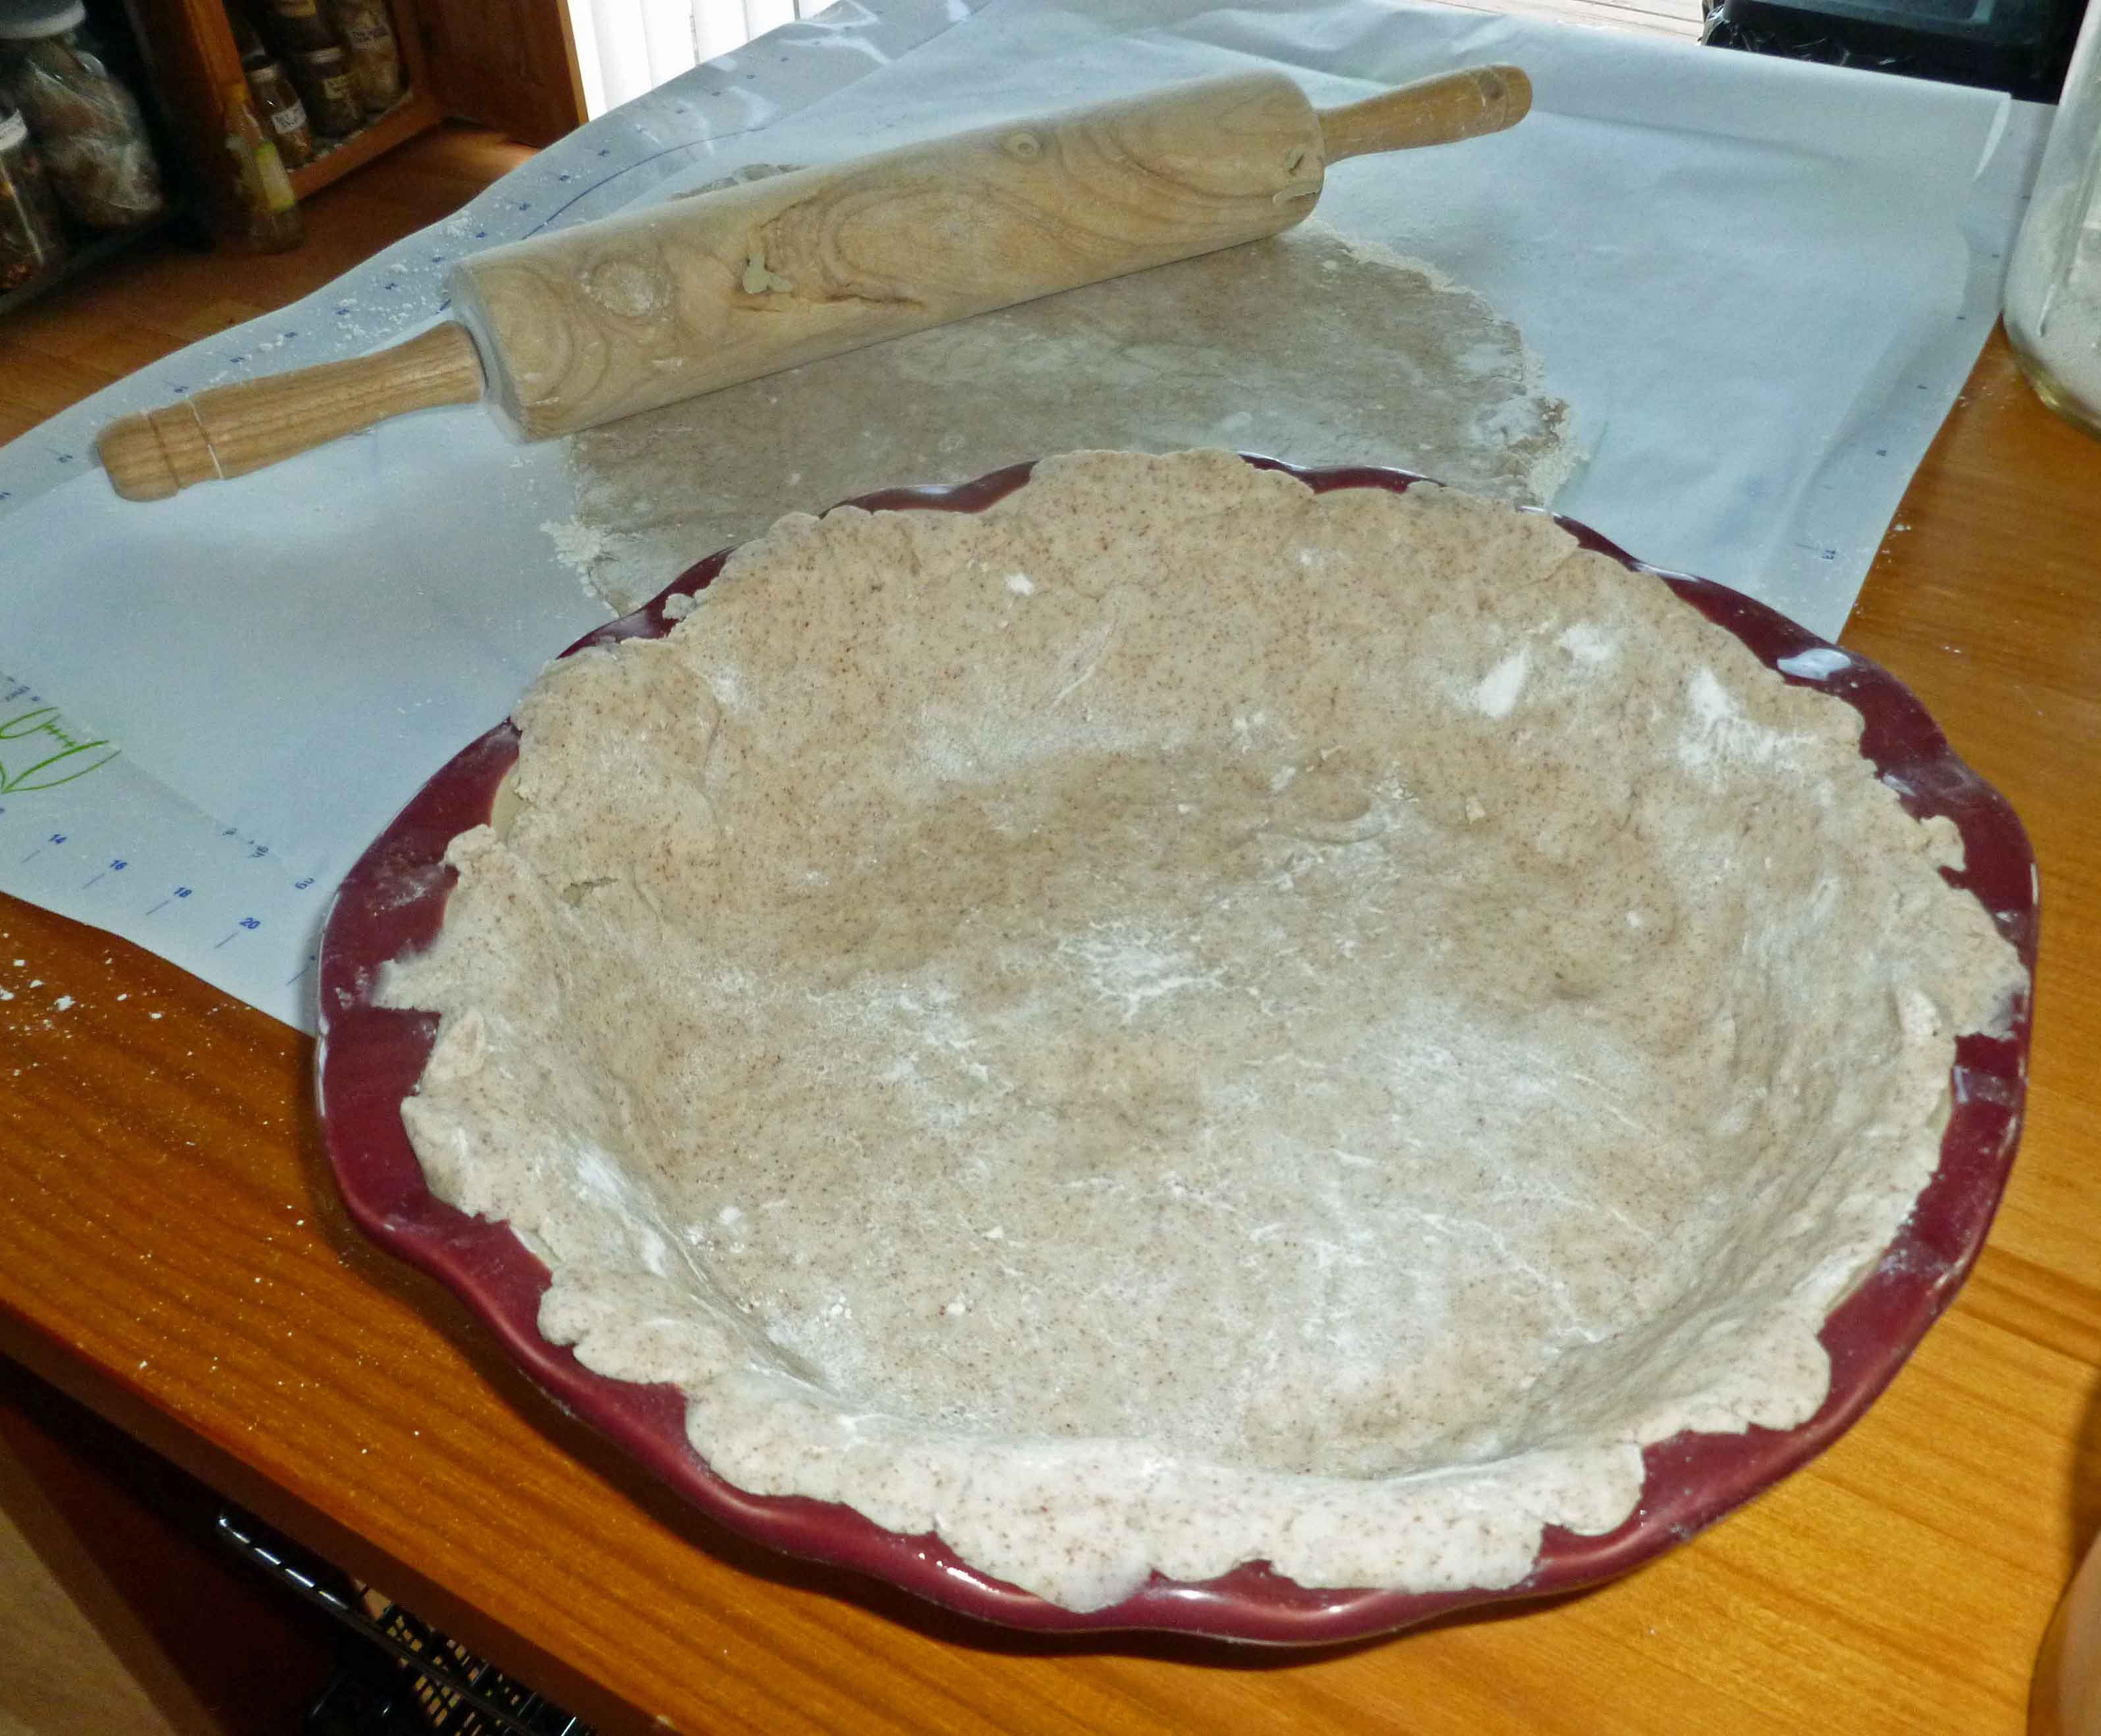
Take chilled dough balls and use one to roll out bottom crust for pie. Place in pie pan, making sure that the rolled crust is wide enough to cover the sides of the pie pan.
Bottom crust placed in pie pan
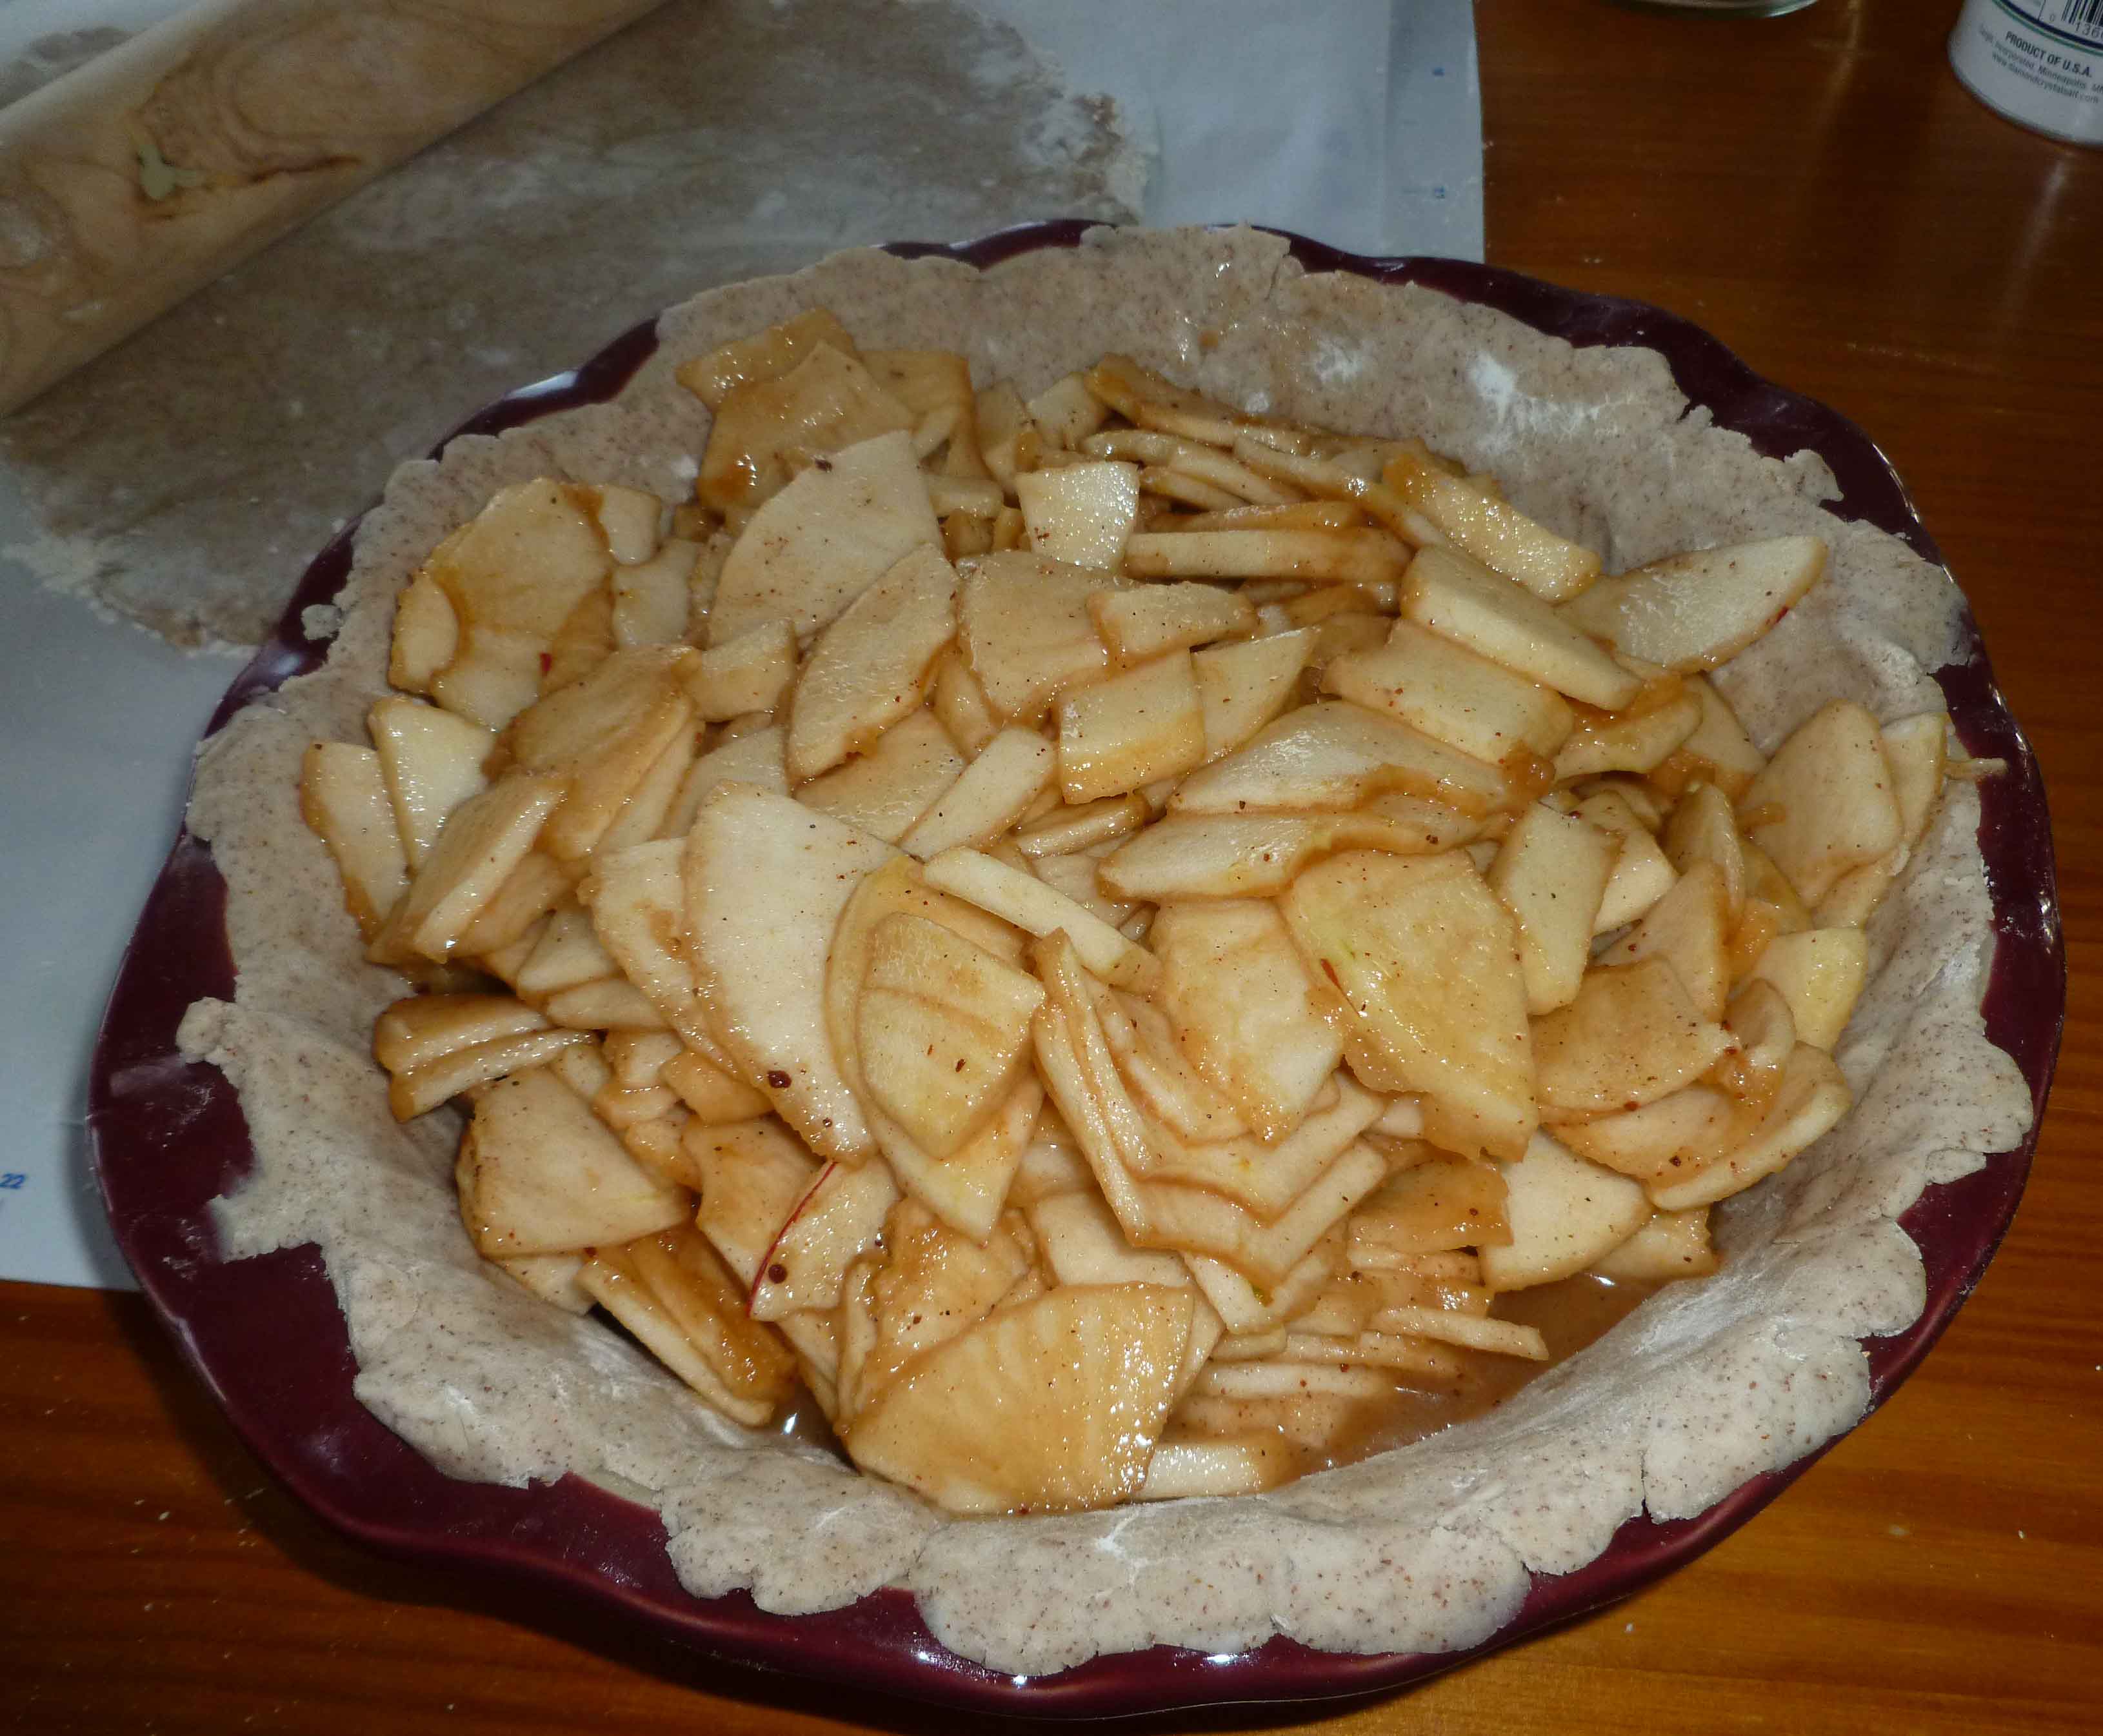
Place apples in pie pan.
Apples placed in pie pan
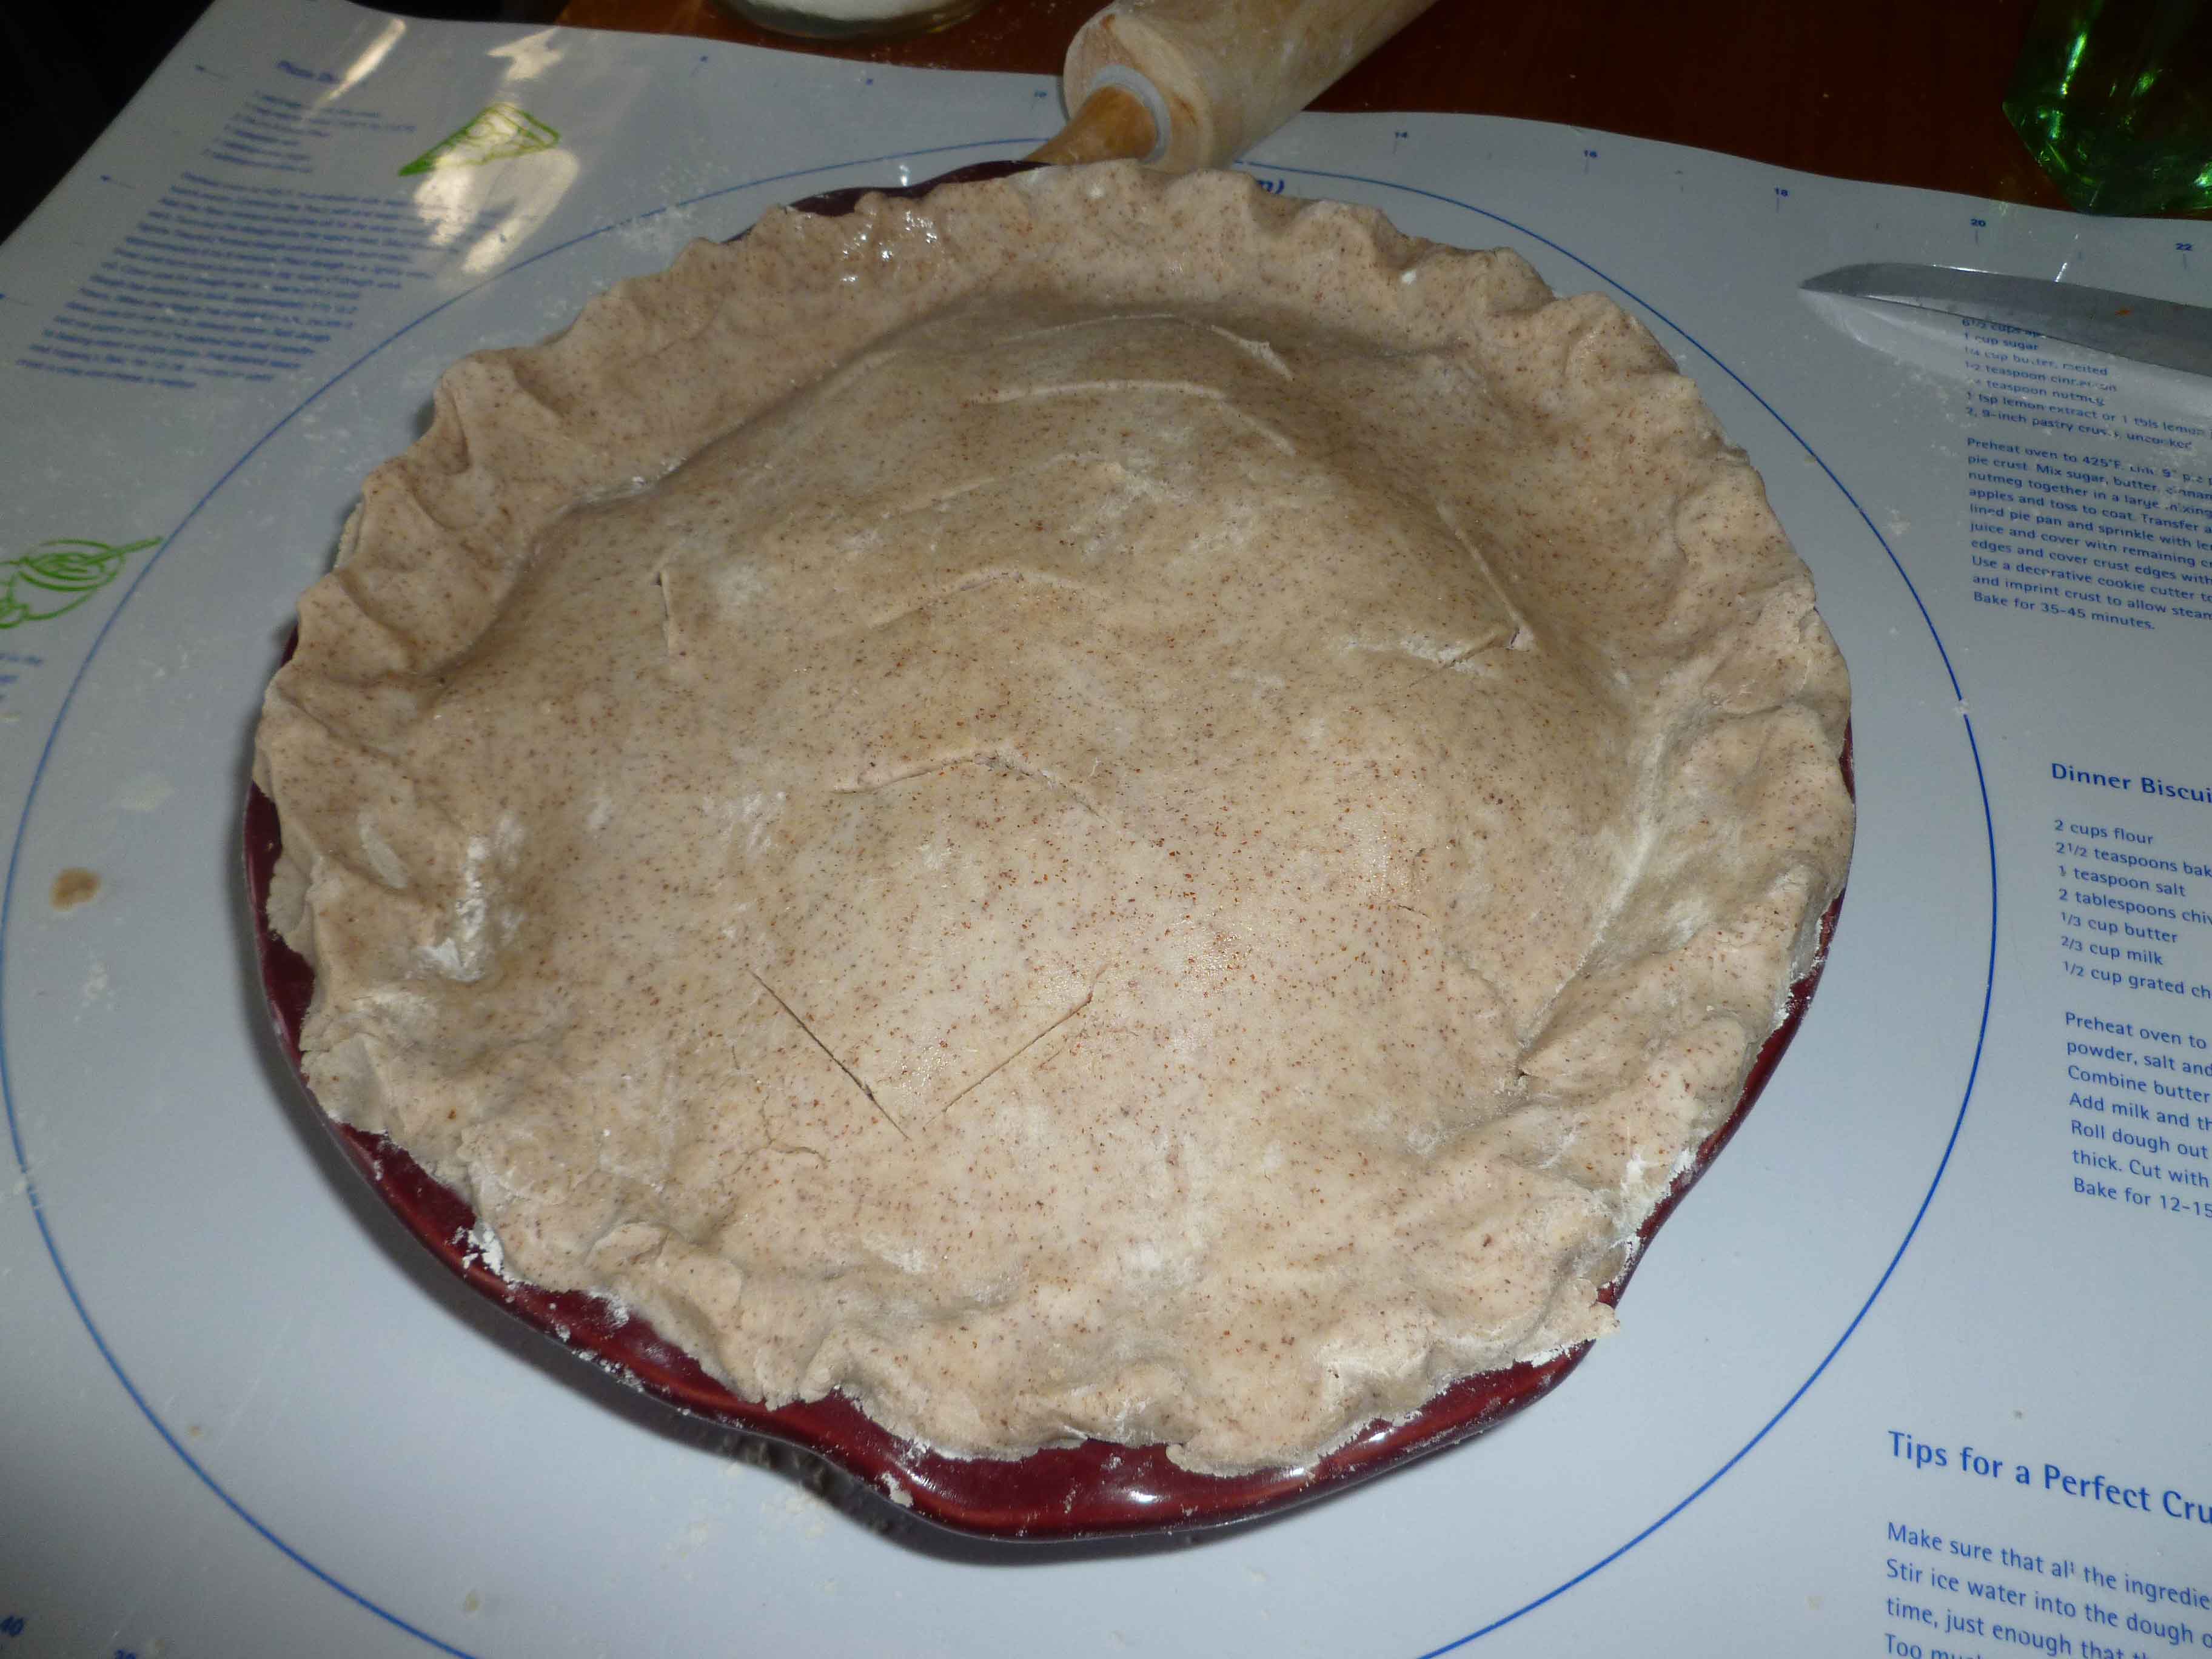
Use other dough ball to roll out top crust and place over top of pie pan, sealing top crust over bottom crust. Using a knife, cut a few vent holes in the top of the pie crust.
Top crust placed in pan and edges sealed
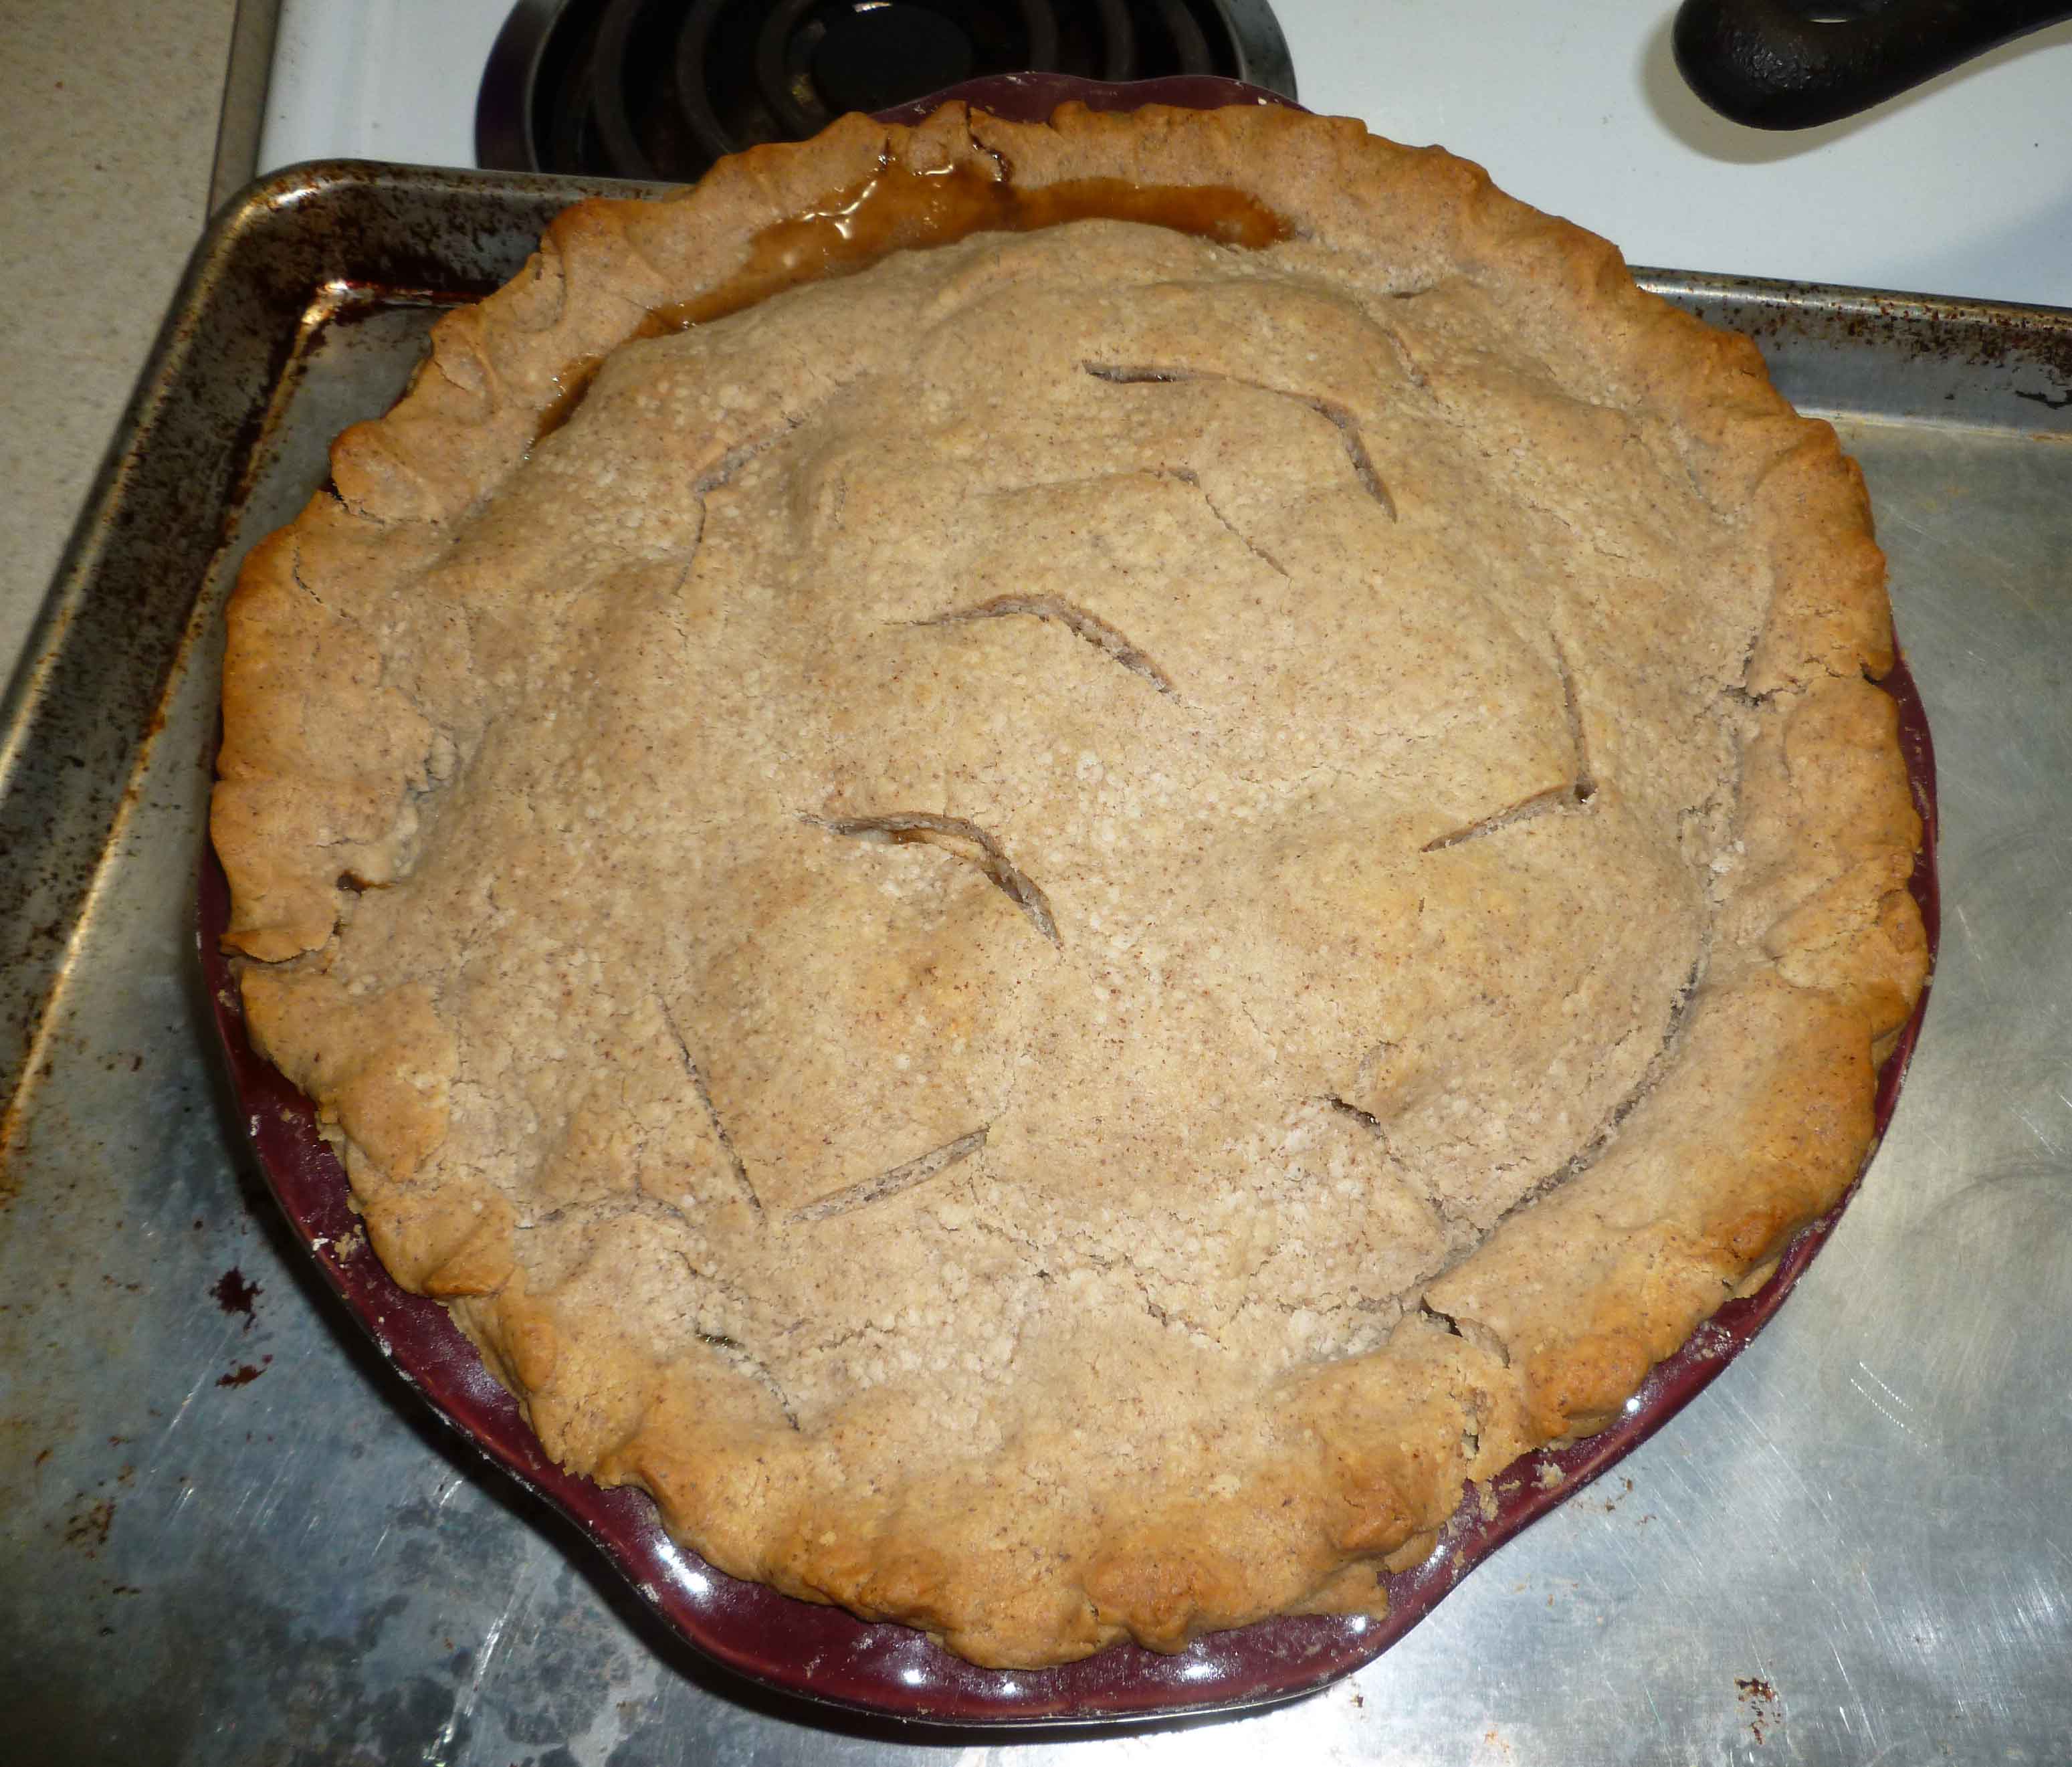
Bake for 60 to 75 minutes until the crust is browned to your liking.
Gluten-free Apple Pie (vegan option)
This cooks longer than a “regular” pie, because of the increased amount of apples (a standard recipe calls for 6 cups but I like mine with more) and the gluten-free crust.
Enjoy!
Notice: Trying to access array offset on value of type bool in /home/maryzahc/public_html/adultfoodallergies.com/wp-content/plugins/wp-ultimate-recipe/helpers/models/recipe.php on line 254
2batches Gluten-free Pie Crust (vegan option) recipehttp://adultfoodallergies.com/gluten-free-pie-crust-vegan-option/
6cupsthinly sliced, peeled applesI used Cortland apples
1/2cupsugar
1/4 cupbrown sugar
2tbsptapioca starch
3/4tspground cinnamon
1/8tspground nutmeg
1/8tspallspice
Servings: slices depending on size
Instructions
Make two batches of our Gluten-free Pie Crust (vegan option) recipe at http://adultfoodallergies.com/gluten-free-pie-crust-vegan-option/ and chill the resulting dough balls as described until you’re ready for them.
Preheat oven to 400° F. Peel, core and slice your apples if you haven’t already.
Place sugar, brown sugar, tapioca starch or arrow root, cinnamon, nutmeg and allspice into a large bowl. Mix dry ingredients until well combined. Mix apples into dry ingredients until combined and set aside.
Take chilled dough balls and use one to roll out bottom crust for pie. Place in pie pan, making sure that the rolled crust is wide enough to cover the sides of the pie pan. Place apples in pie pan.
Use other dough ball to roll out top crust and place over top of pie pan, sealing top crust over bottom crust. Using a knife, cut a few vent holes in the top of the pie crust.
Bake for 60 to 75 minutes until the crust is browned to your liking. This cooks longer than a “regular” pie, because of the increased amount of apples and the gluten-free crust.
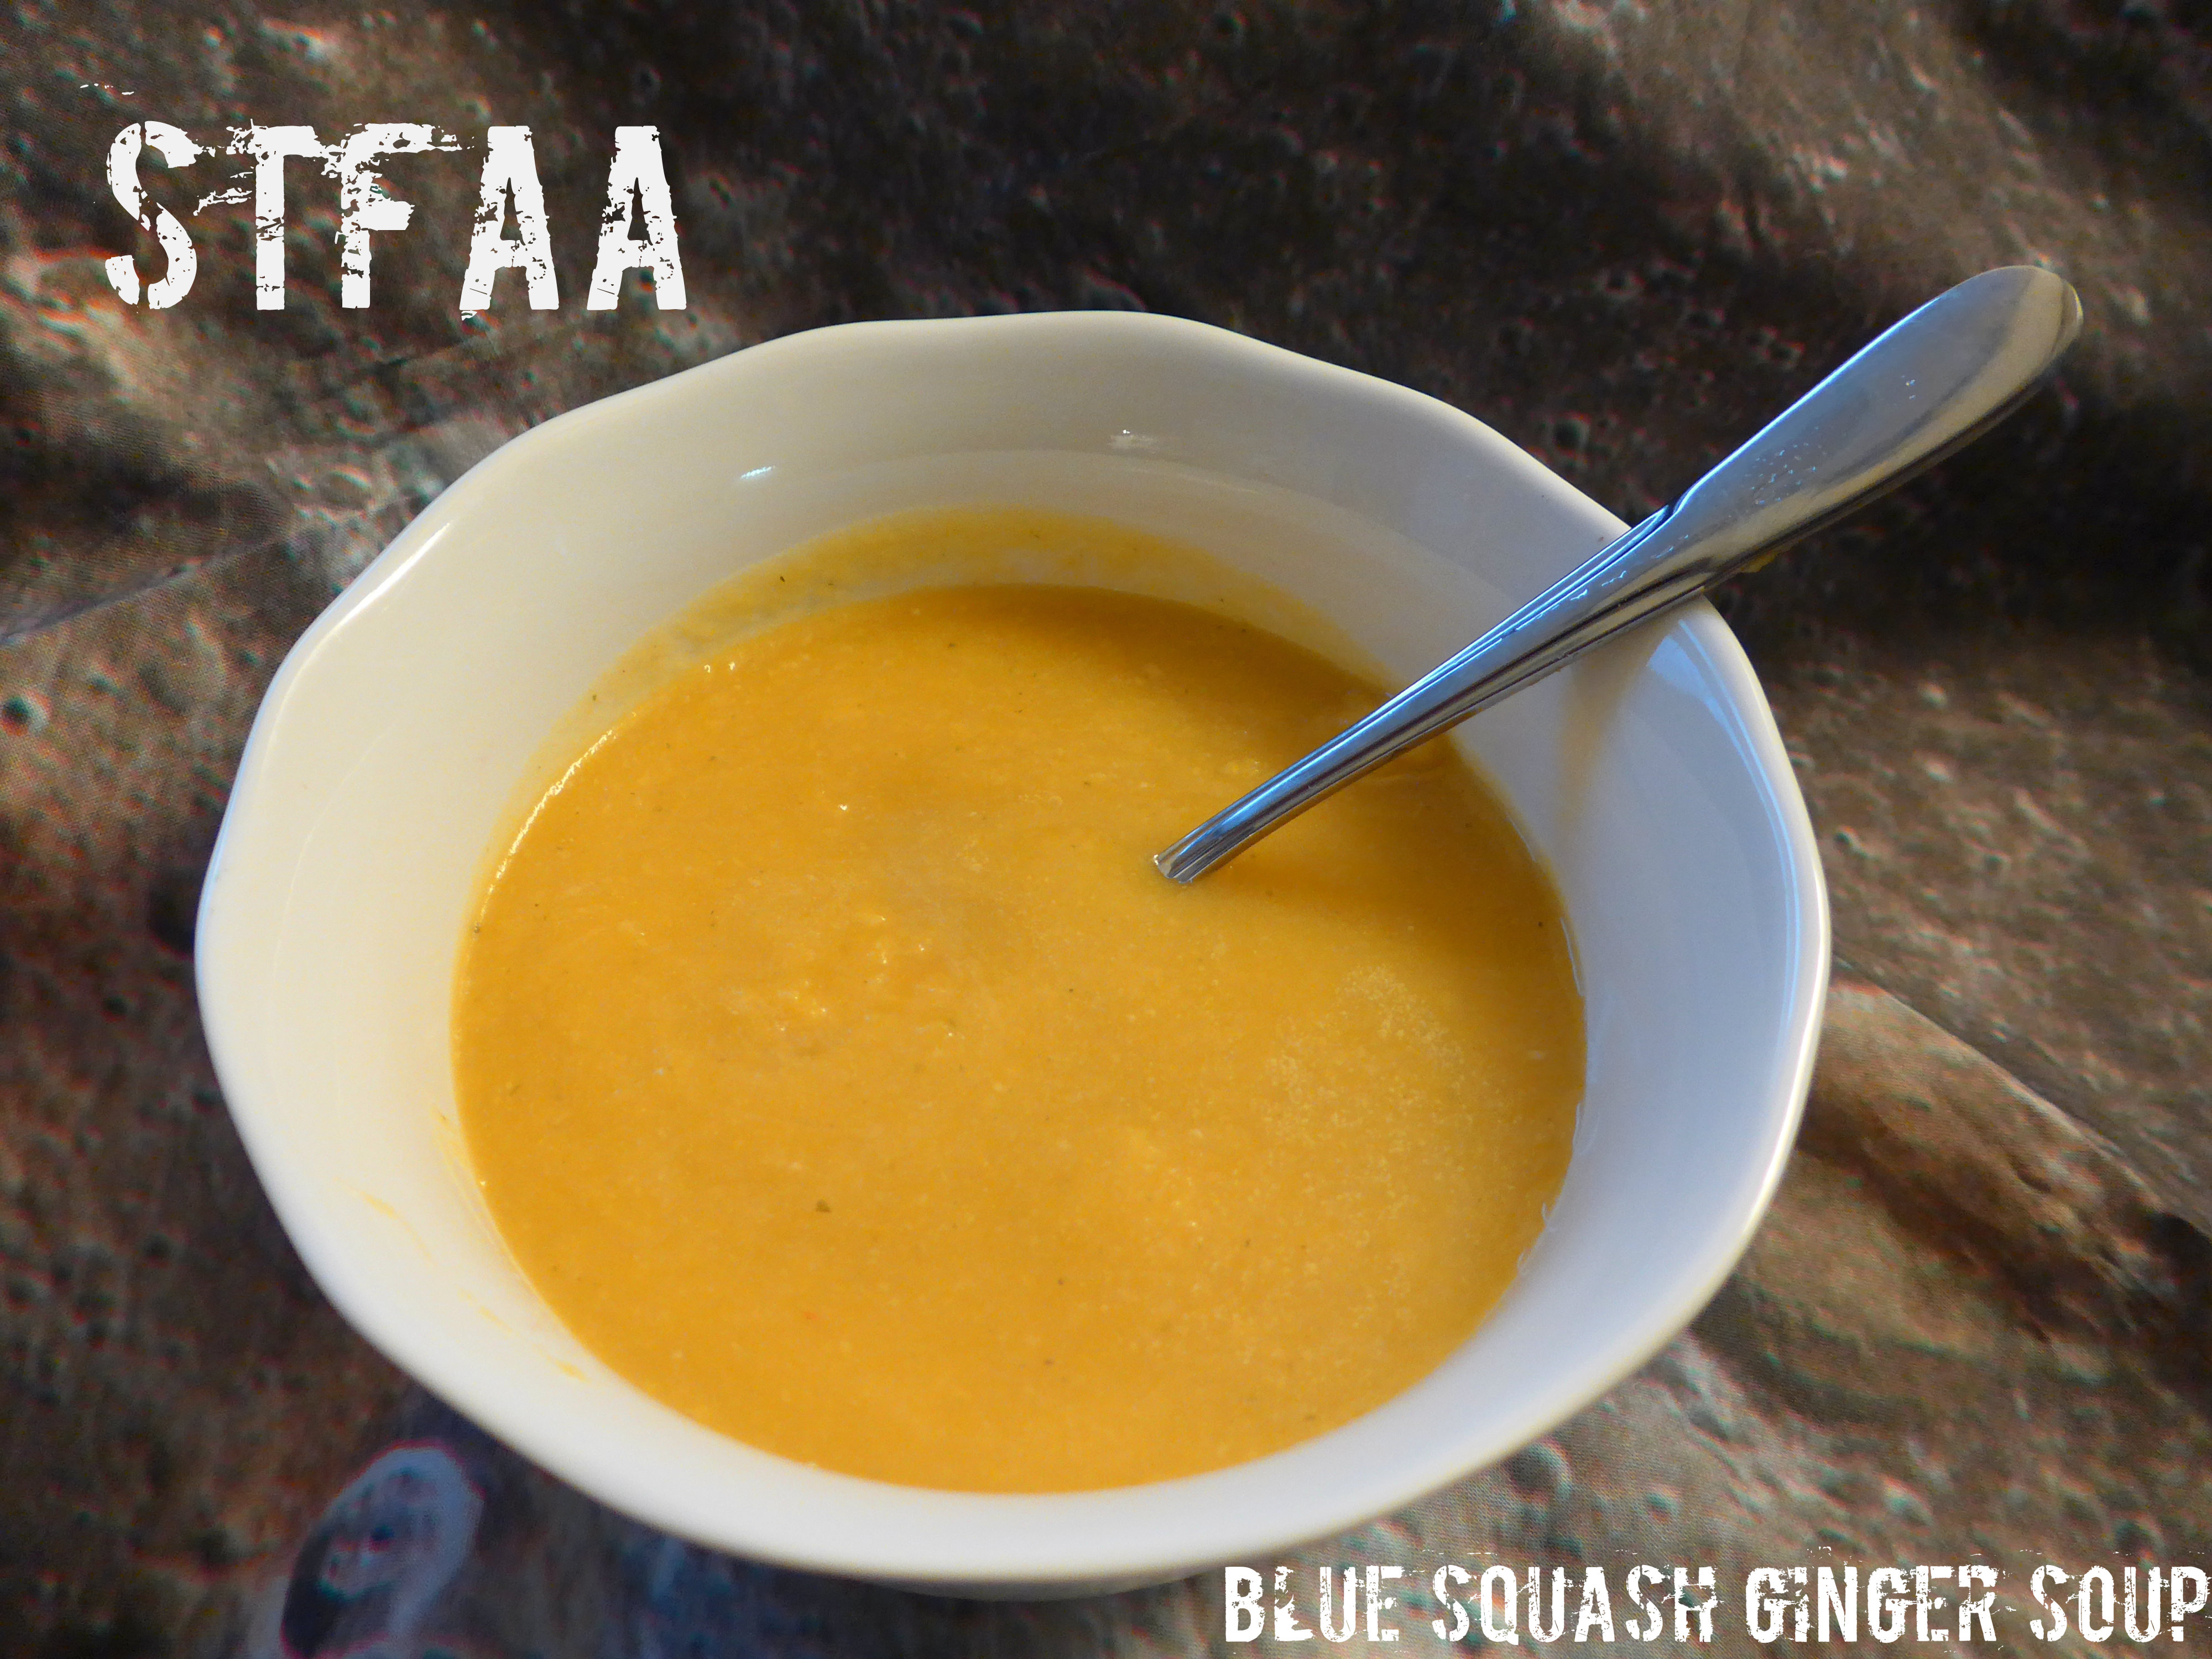
This soup was inspired by the huge fragment of a Blue Hubbard Squash I bought because I wanted to try one. But then I had to figure out what to do with 3.5 lbs of squash. That’s too much roasted squash to be reasonable, so I figured why not soup.
Blue hubbard is weirdly blue-ish on the outside, and lighter and yellower than butternut squash on the inside. It’s a subtler flavor than butternut, in the best way possible. For lack of a better description, it’s a “cleaner” squash taste. It’s really good. I really liked the blue hubbard, and despite the fact that hacking it up is a bit of a chore, I will definitely buy more of it.
Because it’s chock full of ginger, I think this would also be a soothing soup if you weren’t feeling well. It’s a pretty straightforward recipe, but plan a little time for hacking at the squash with your biggest, sharpest knife. It’s light enough that it might make a good opener for Thanksgiving if soup or squash are on the menu, but a big bowl with a salad would also make a decent lunch.
Notice: Trying to access array offset on value of type bool in /home/maryzahc/public_html/adultfoodallergies.com/wp-content/plugins/wp-ultimate-recipe/helpers/models/recipe.php on line 254
Ginger Squash Soup
Print Recipe
A nice soup for a first course (if you are inclined to serve first courses) or any cold winter day. The coconut milk is nice, but completely optional, so feel free to omit it.
A nice soup for a first course (if you are inclined to serve first courses) or any cold winter day. The coconut milk is nice, but completely optional, so feel free to omit it.
6cupsvegetable stockcheck for allergens if using commercial stock
3.5poundsblue hubbard squash(weight prior to removing rind)
2Tablespoonsolive oil
2mediumonionssliced thin for quicker cooking, about 2 cups
2inchesfresh gingerpeeled and grated
1Tablespoongarlicminced
2Tablespoons coconut milkOR other non-dairy milk, optional
Servings: quarts
Recipe Notes
Cut large squash chunk into smaller chunks. Then cut rind off and cut remaining squash into large — 2 inch cube — chunks.
Bring 6 cups of vegetable stock (or water and bouillon) to a boil in a large soup or stock pot. Add squash and cook until tender, about 20-30 minutes, but could vary based on the size of your chunks.
Drain the squash, but reserve the liquid. Either scoop out the squash with a slotted spoon, or put a colander into a large heat-safe bowl and dump. You will use most, but not all, of the stock to make the soup.
Saute the onions in the olive oil. When the onions are translucent and beginning to brown, add the ginger, stirring well, and the garlic, also stirring well. When these are fragrant, add the squash; stir well.
Add about 4 cups of the reserved stock, more if needed to cover all the squash, and bring the entire pot to a boil. Simmer for about 20 minutes.
Puree the soup, preferably using an immersion blender, but carefully in a blender or food processor if you need to. Add the soup back to the pot if you removed it, and add the coconut milk or other non-dairy milk if using. Taste, and add salt or pepper if needed. Allow to simmer a few more minutes to blend in the milks, and serve hot.
When I first was diagnosed with my wheat allergy (yep, actually allergic, not celiac), I tried to do a pie crust. I figured that all I’d have to do is mix some rice flour with shortening (I still had a safe-ish one at that point) and a bit of salt and voila, it’d all work out. So that’s what I did and made a pot pie. Ummm…not so much. It was like eating a pot pie with a layer of very fine beach sand on it. Appetizing, right?
Pie crust has been a much bigger struggle than I originally anticipated. I ended up not having a safe shortening, and I can’t buy commercial lard. So I have to render the lard at home. Xanthan gum is problematic for me on a number of levels, and I don’t care for guar gum. So I put off the problem for a while. However, after hearing about aquafaba, I decided to give it another go, and used this recipe as a starting point. I switched out a flour and switched amounts around, got rid of the gum, used cold aquafaba (I refrigerated it) instead of water, and used lard instead of shortening (if you have a safe shortening to use instead of the lard, go for it; it should work).
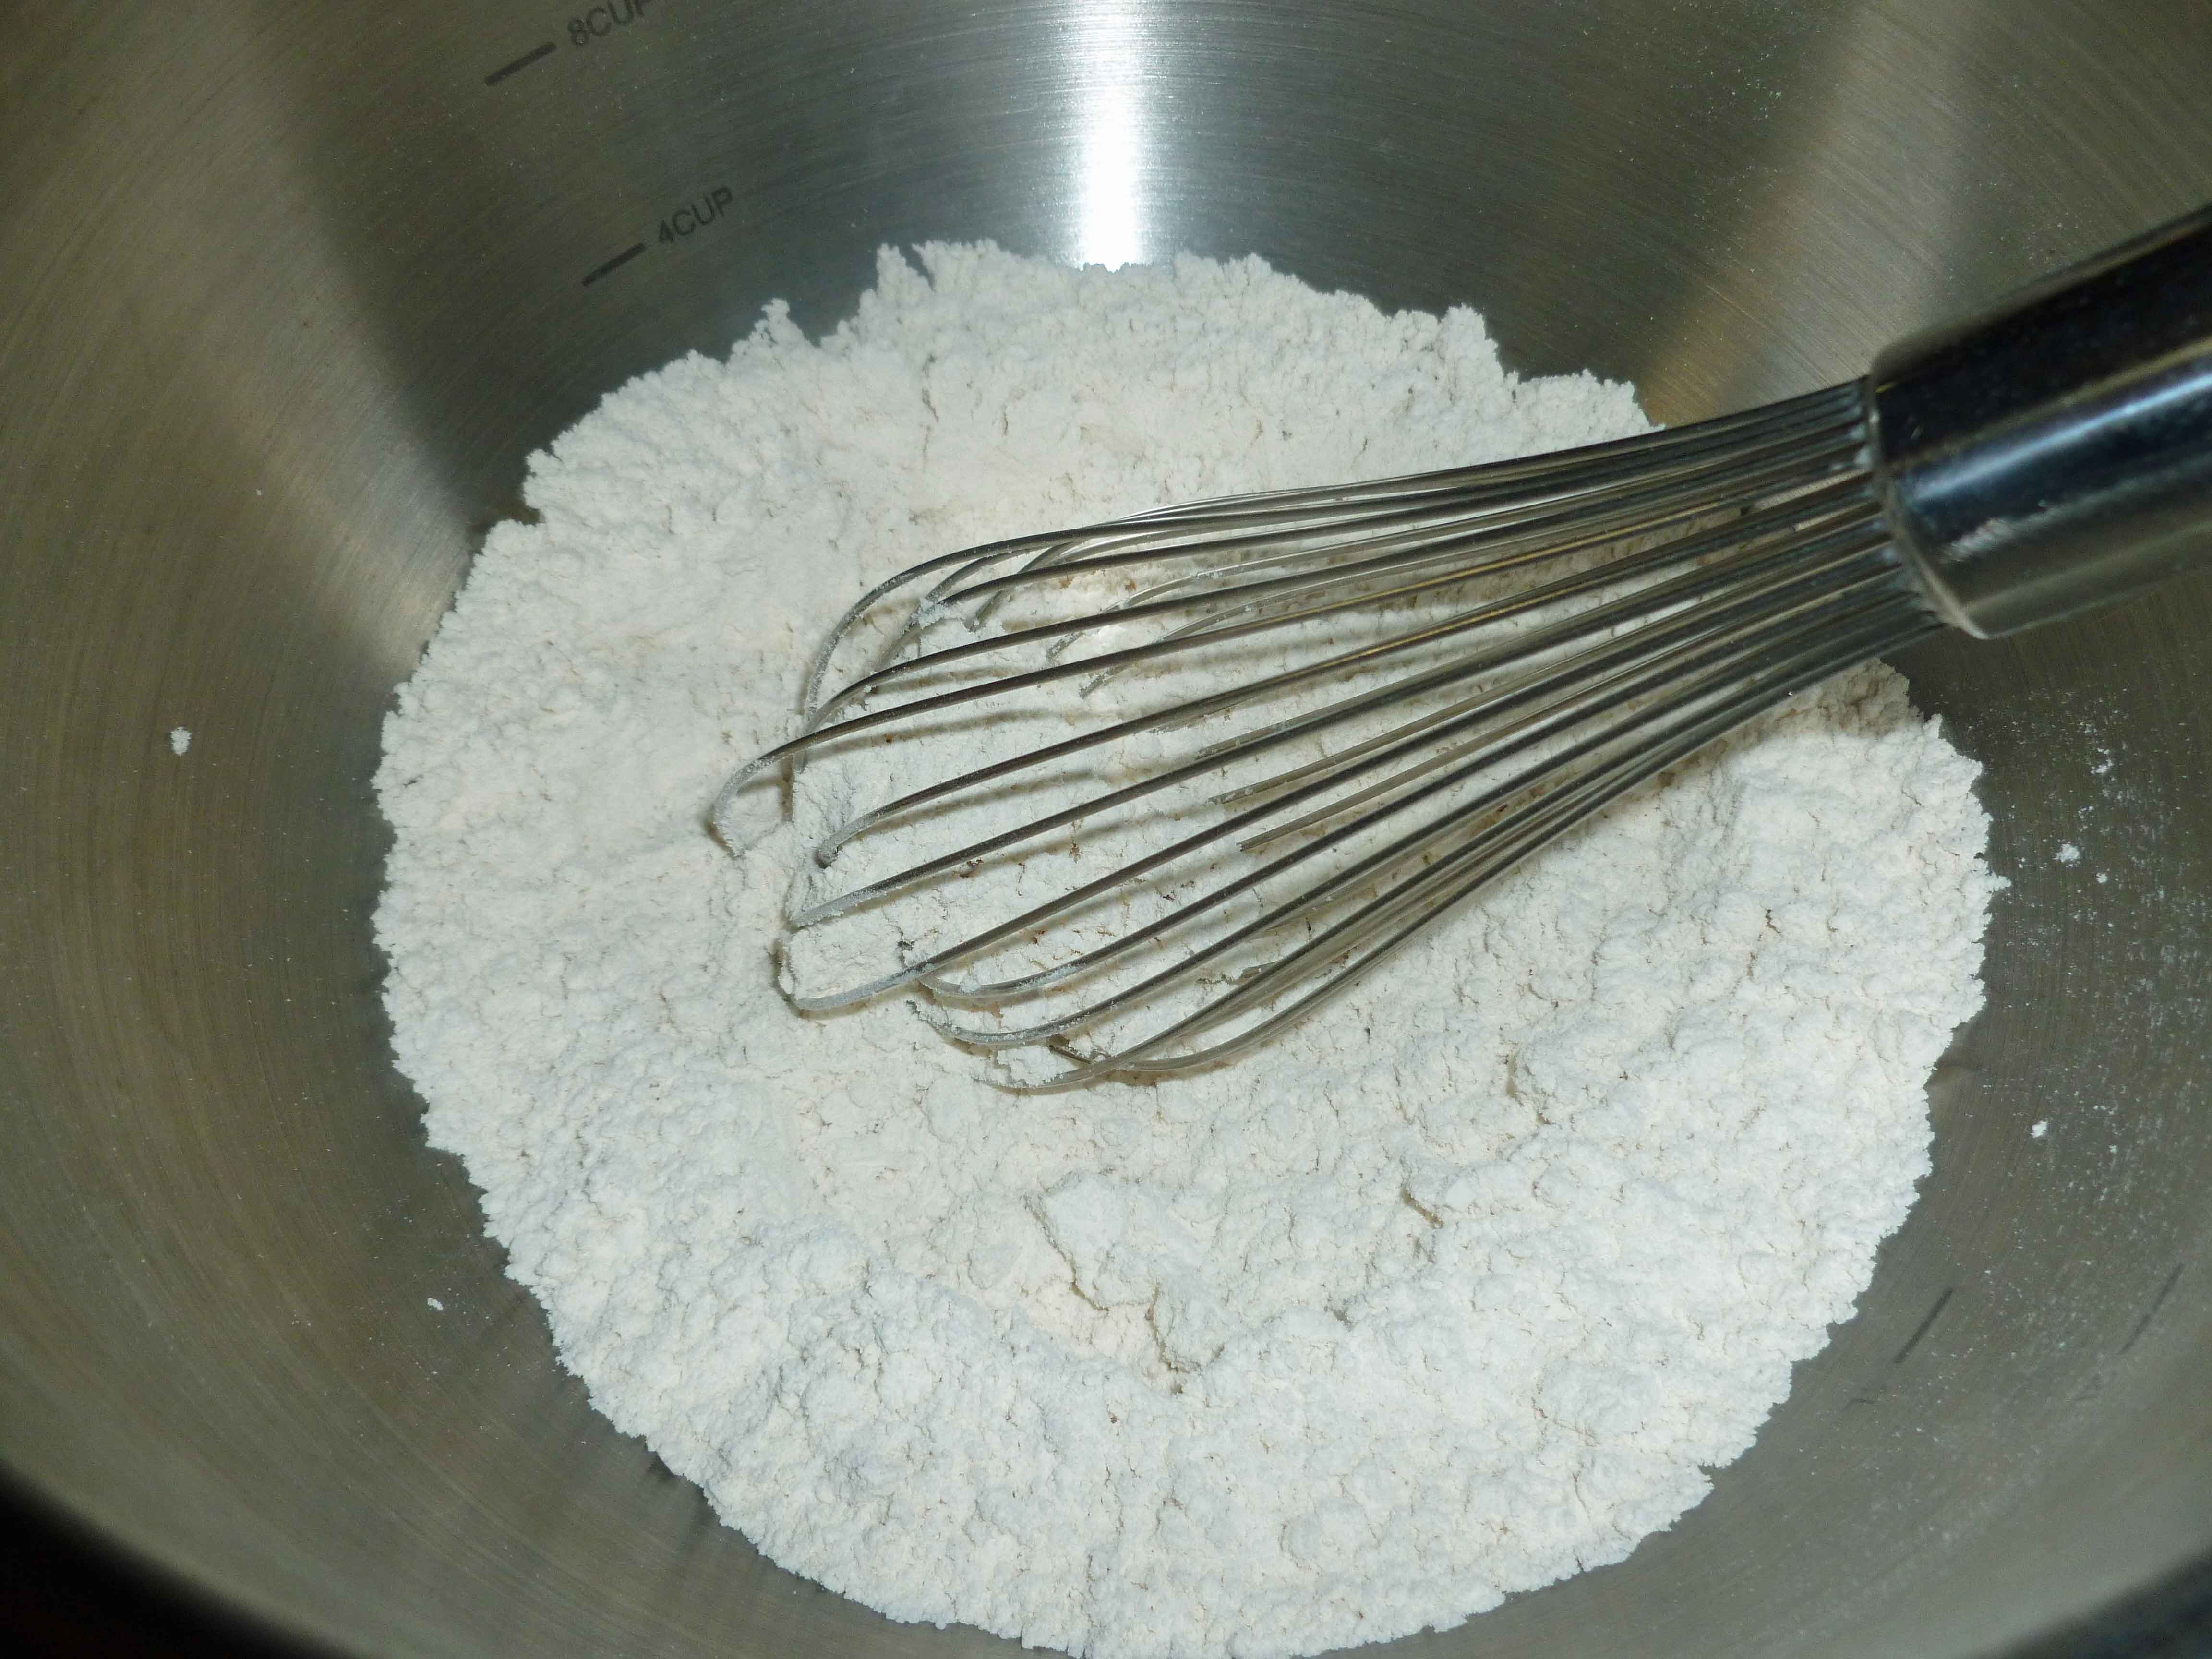
Whisk together the sorghum flour, cassava flour, arrowroot starch, millet flour and salt in a large mixing bowl.
Flour mixture
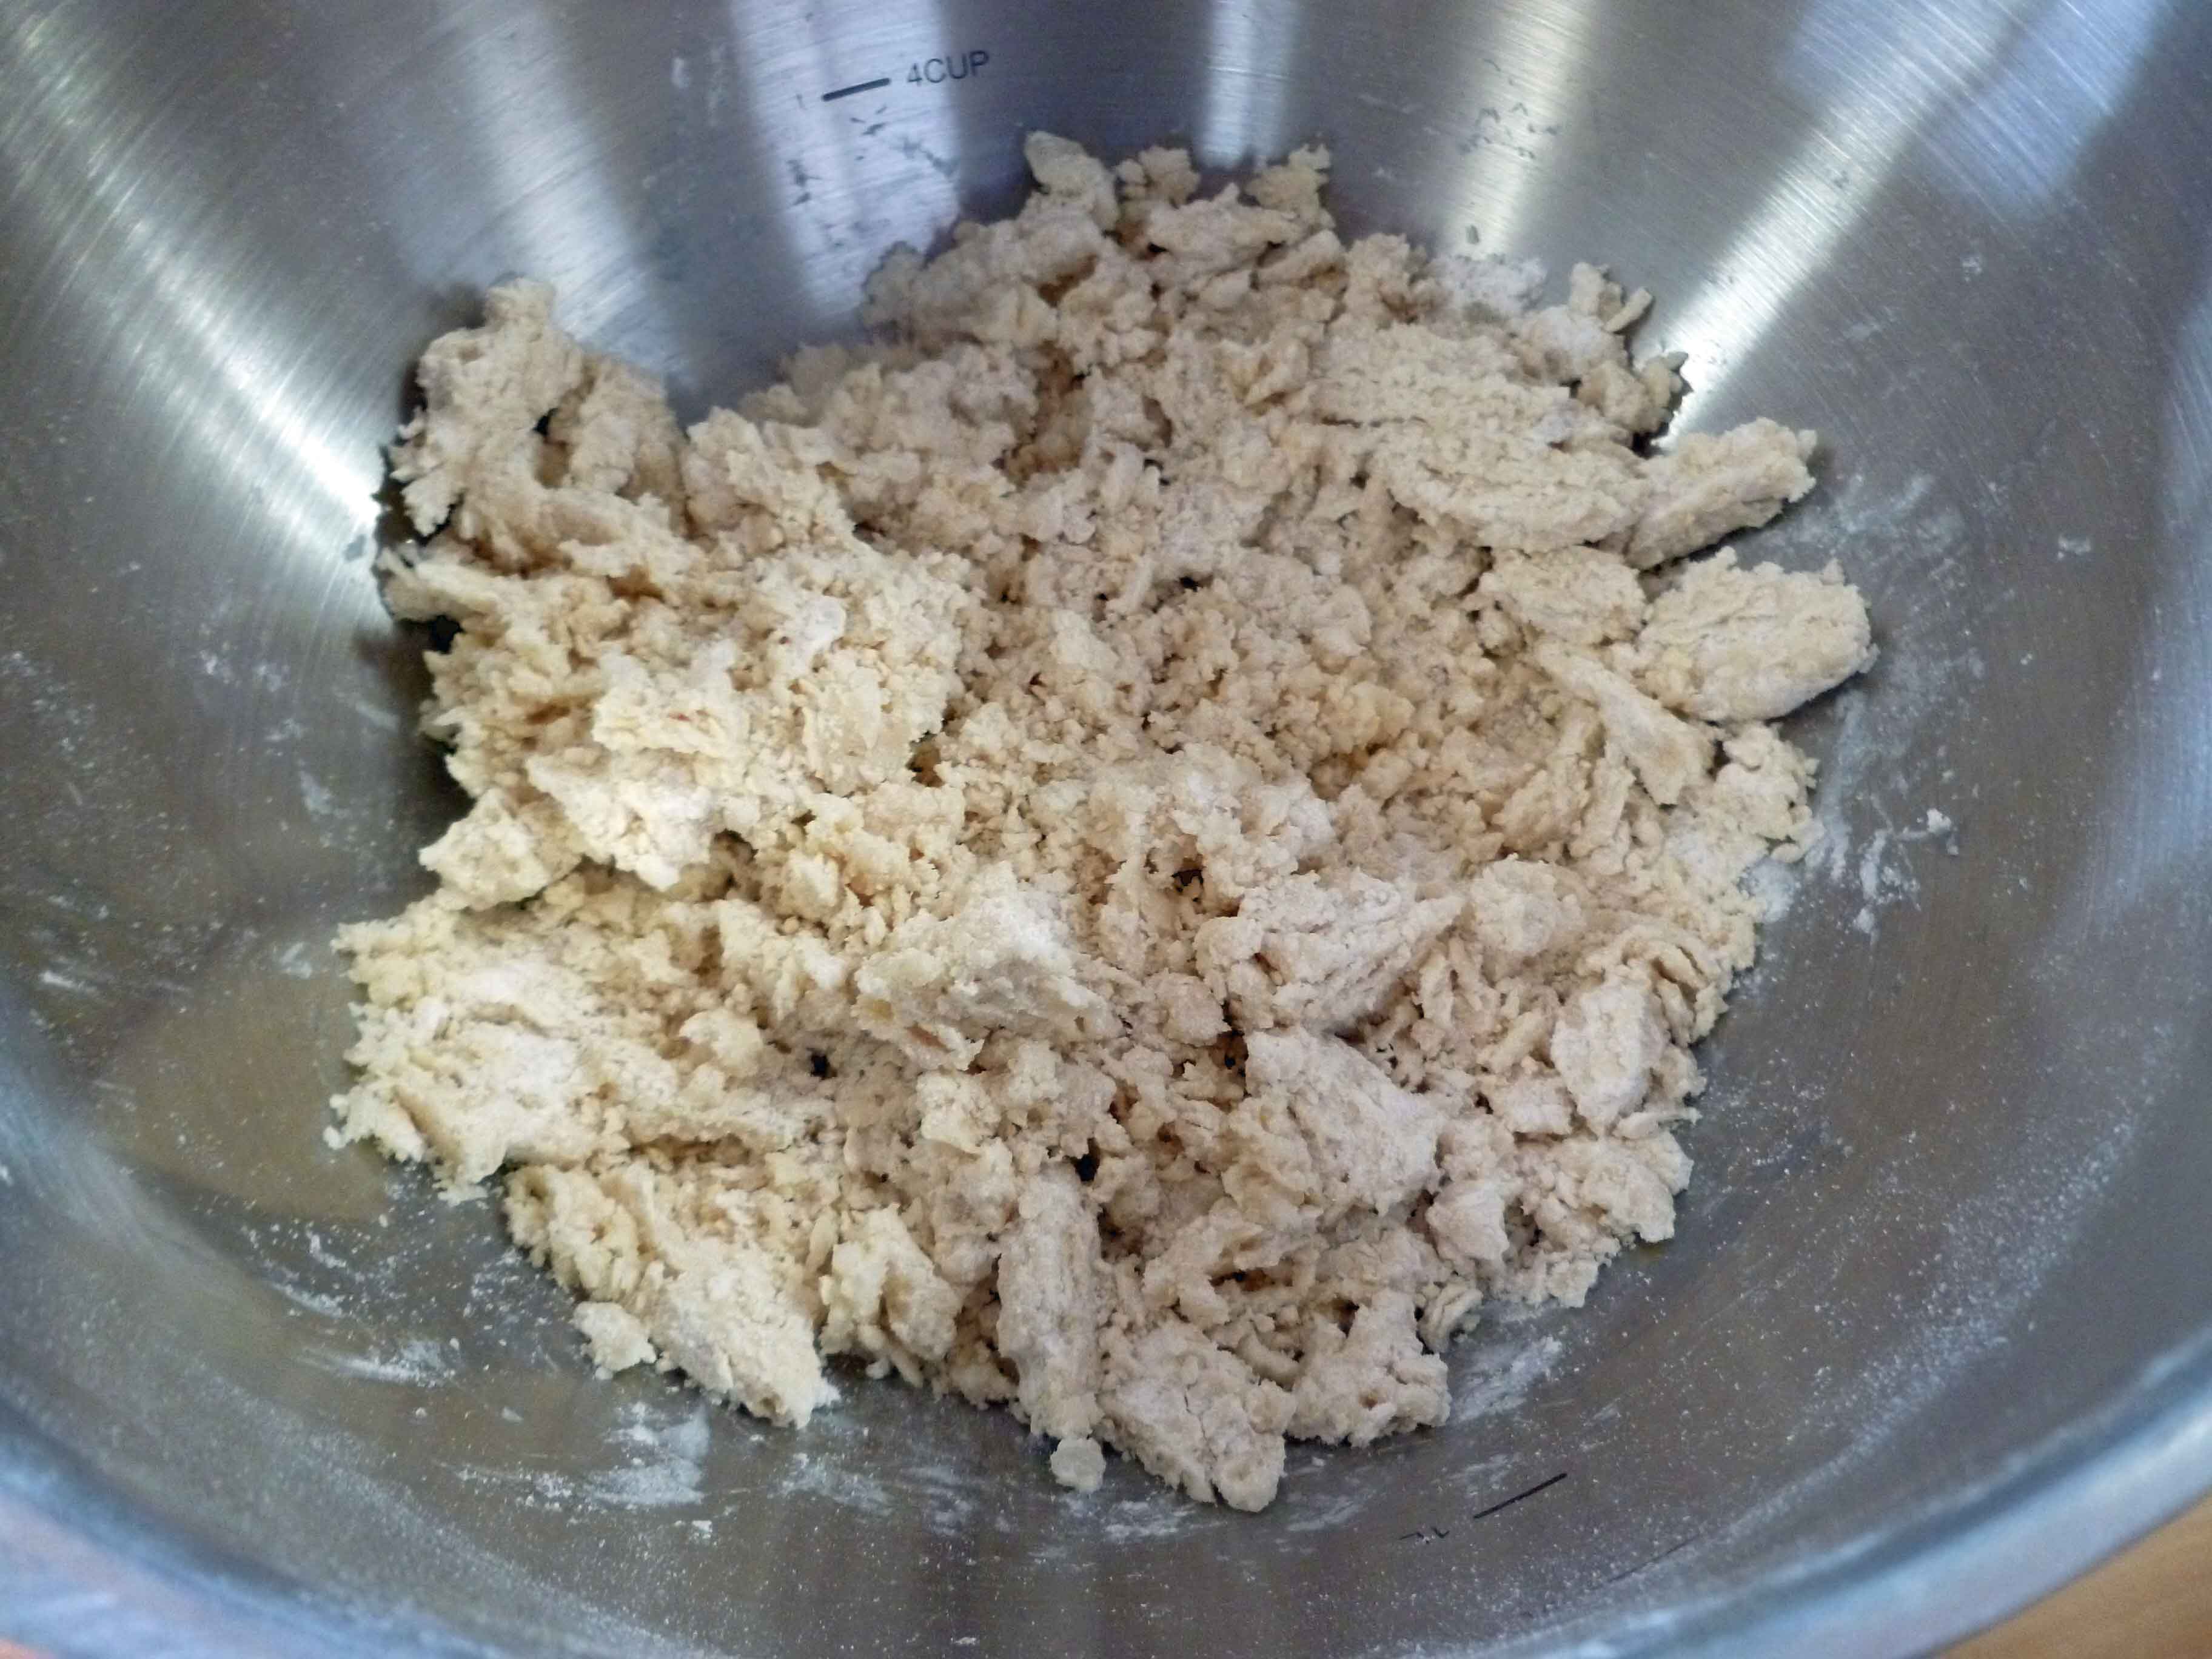
Using a pastry blender or a fork, cut in the lard or shortening until the mixture looks like crumbs.
Flour mixture after cutting in lard or shortening
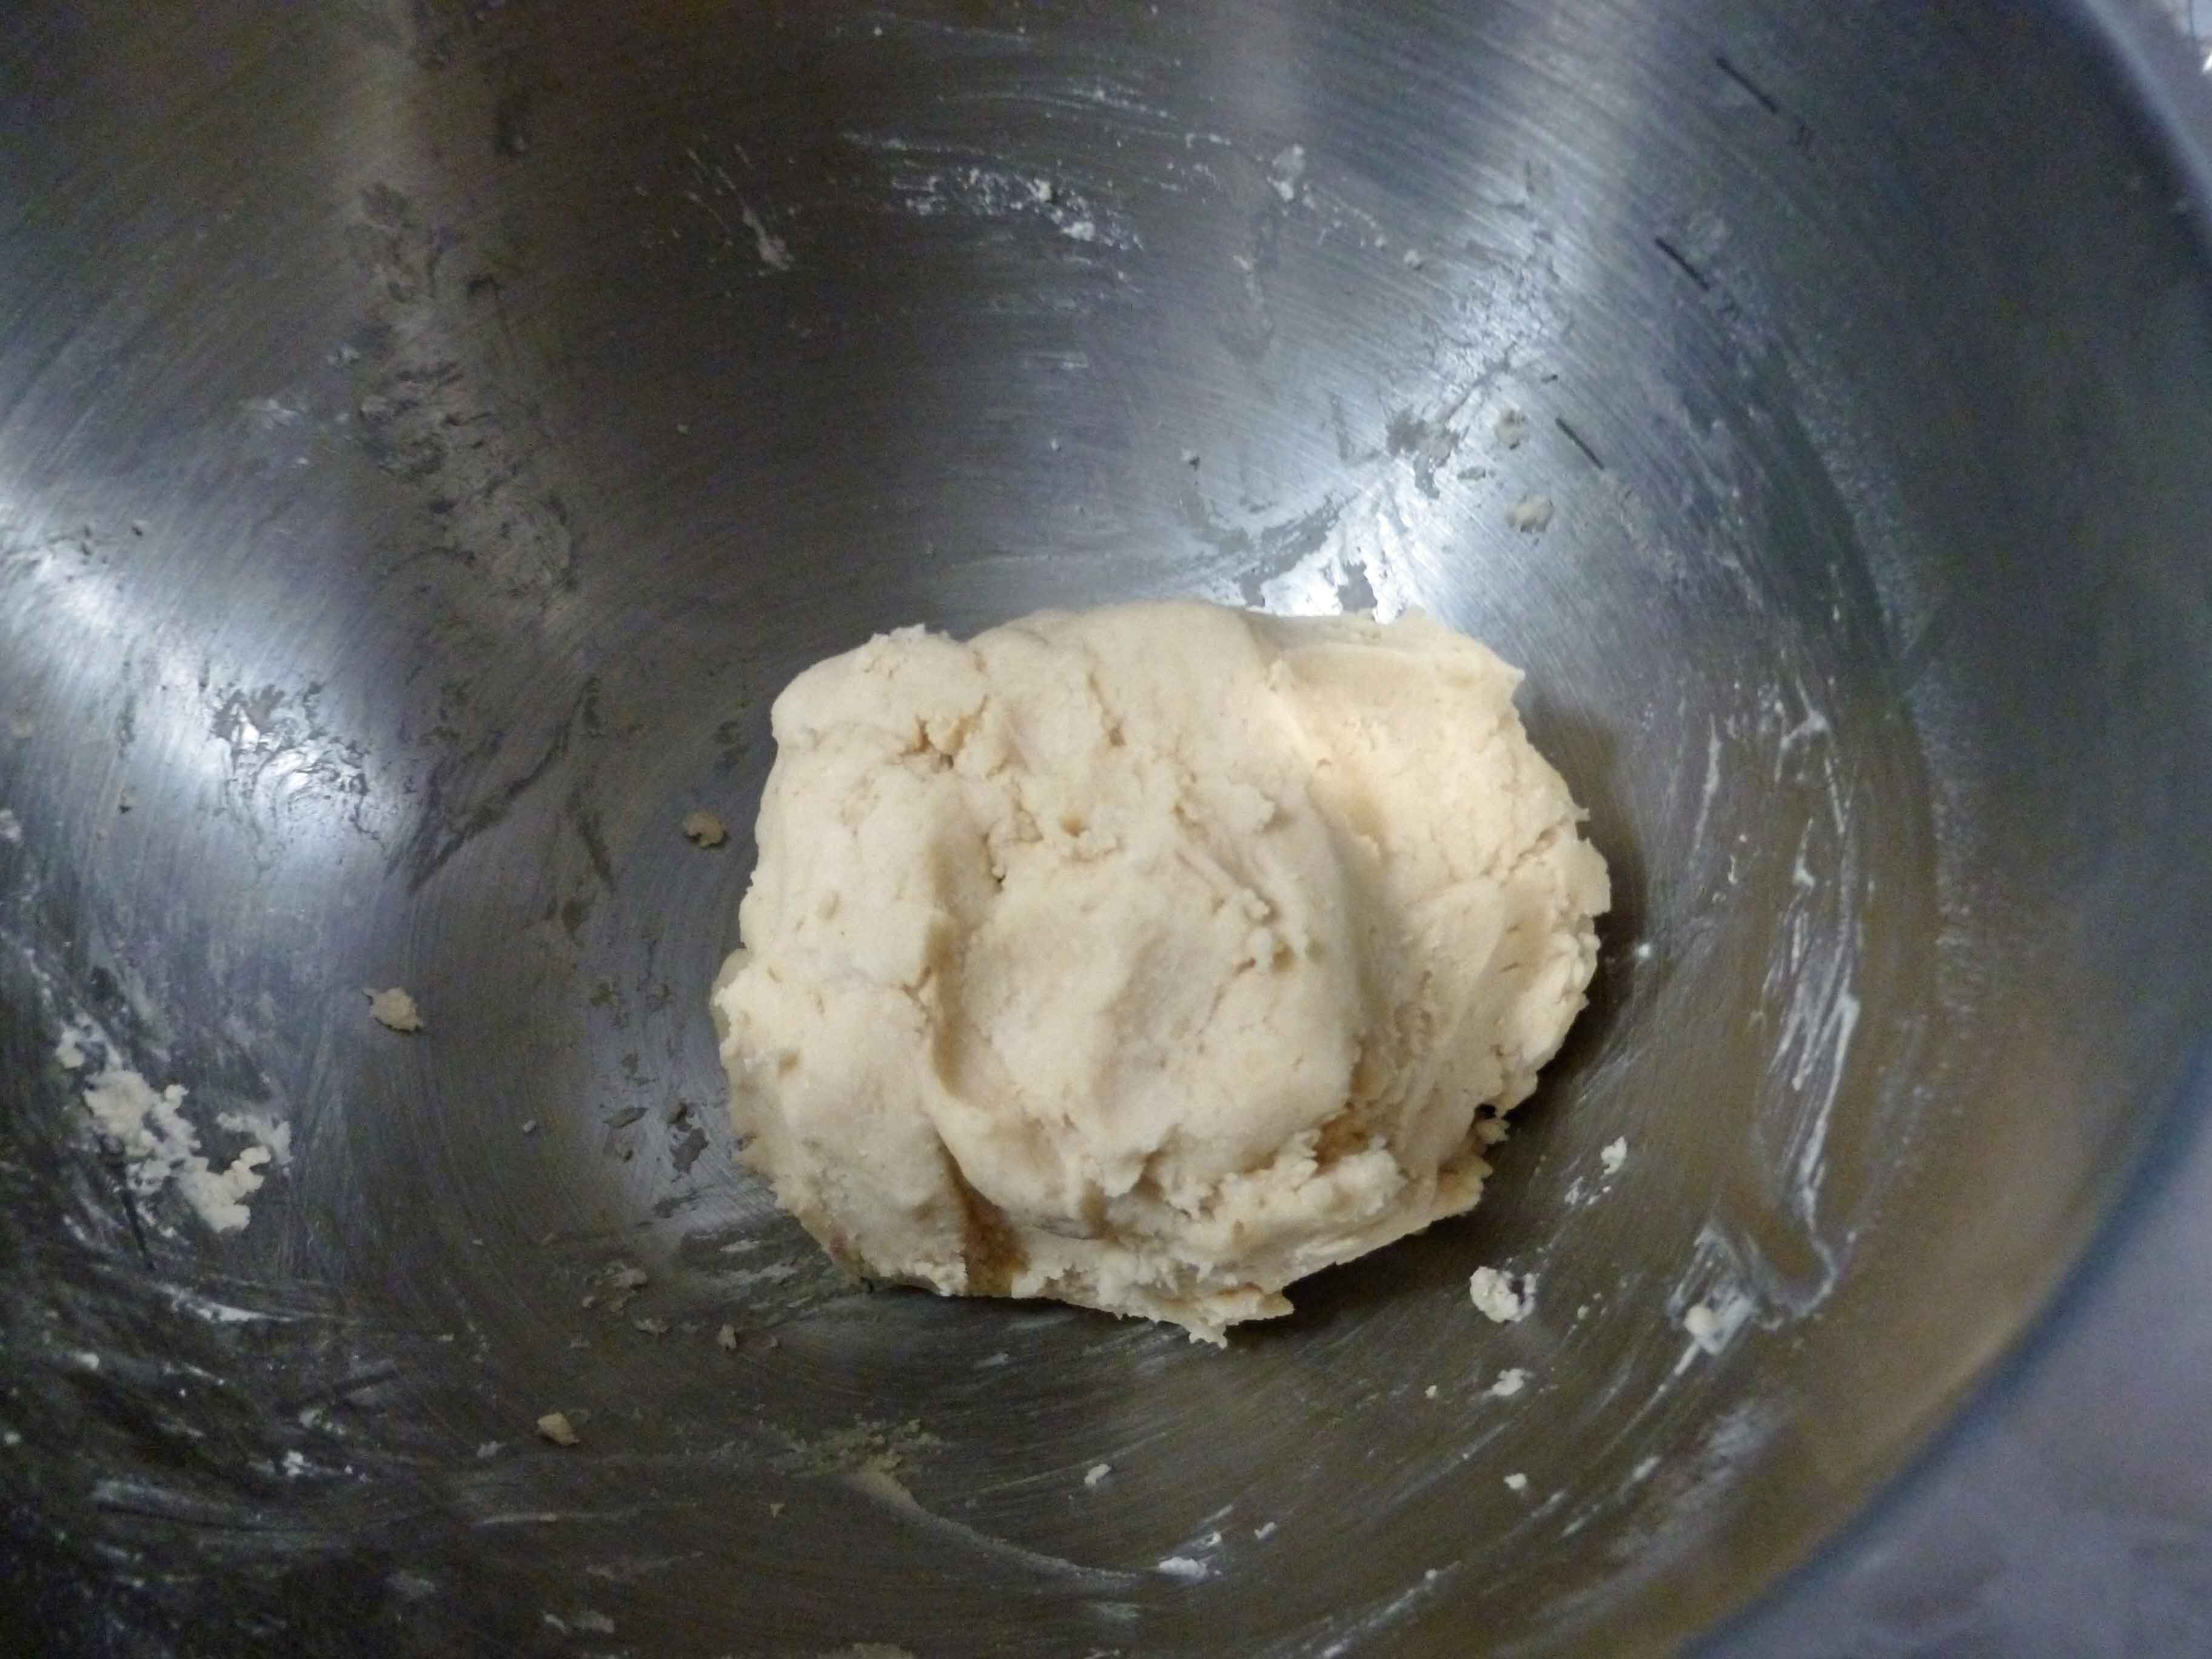
Mix the water, aquafaba and apple cider vinegar together until blended thoroughly in a small bowl or glass measuring cup, and add it to the flour mixture, stirring until it comes together to form a dough.
Mixture formed into dough ball
Shape the dough into a smooth ball, and put the dough ball into the freezer to chill for 30 minutes. You can chill it for longer, it’ll help make the pie crust more flaky and crisp.
Using some of your other flours (I used sorghum) dust the surface of your rolling space. I was able to roll out my pie crust on a rolling mat and use my rolling pin to transfer the pie crust to the pie plate without too much difficulty. However, if you like your crust thin, try doing rolling your crust out on parchment paper to make it easier to transfer to the pie pan. Make sure you use plenty of dusting flour so that it doesn’t stick to the rolling surface or parchment paper.
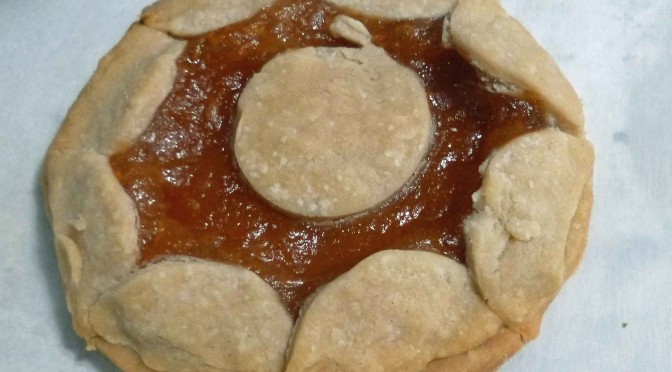
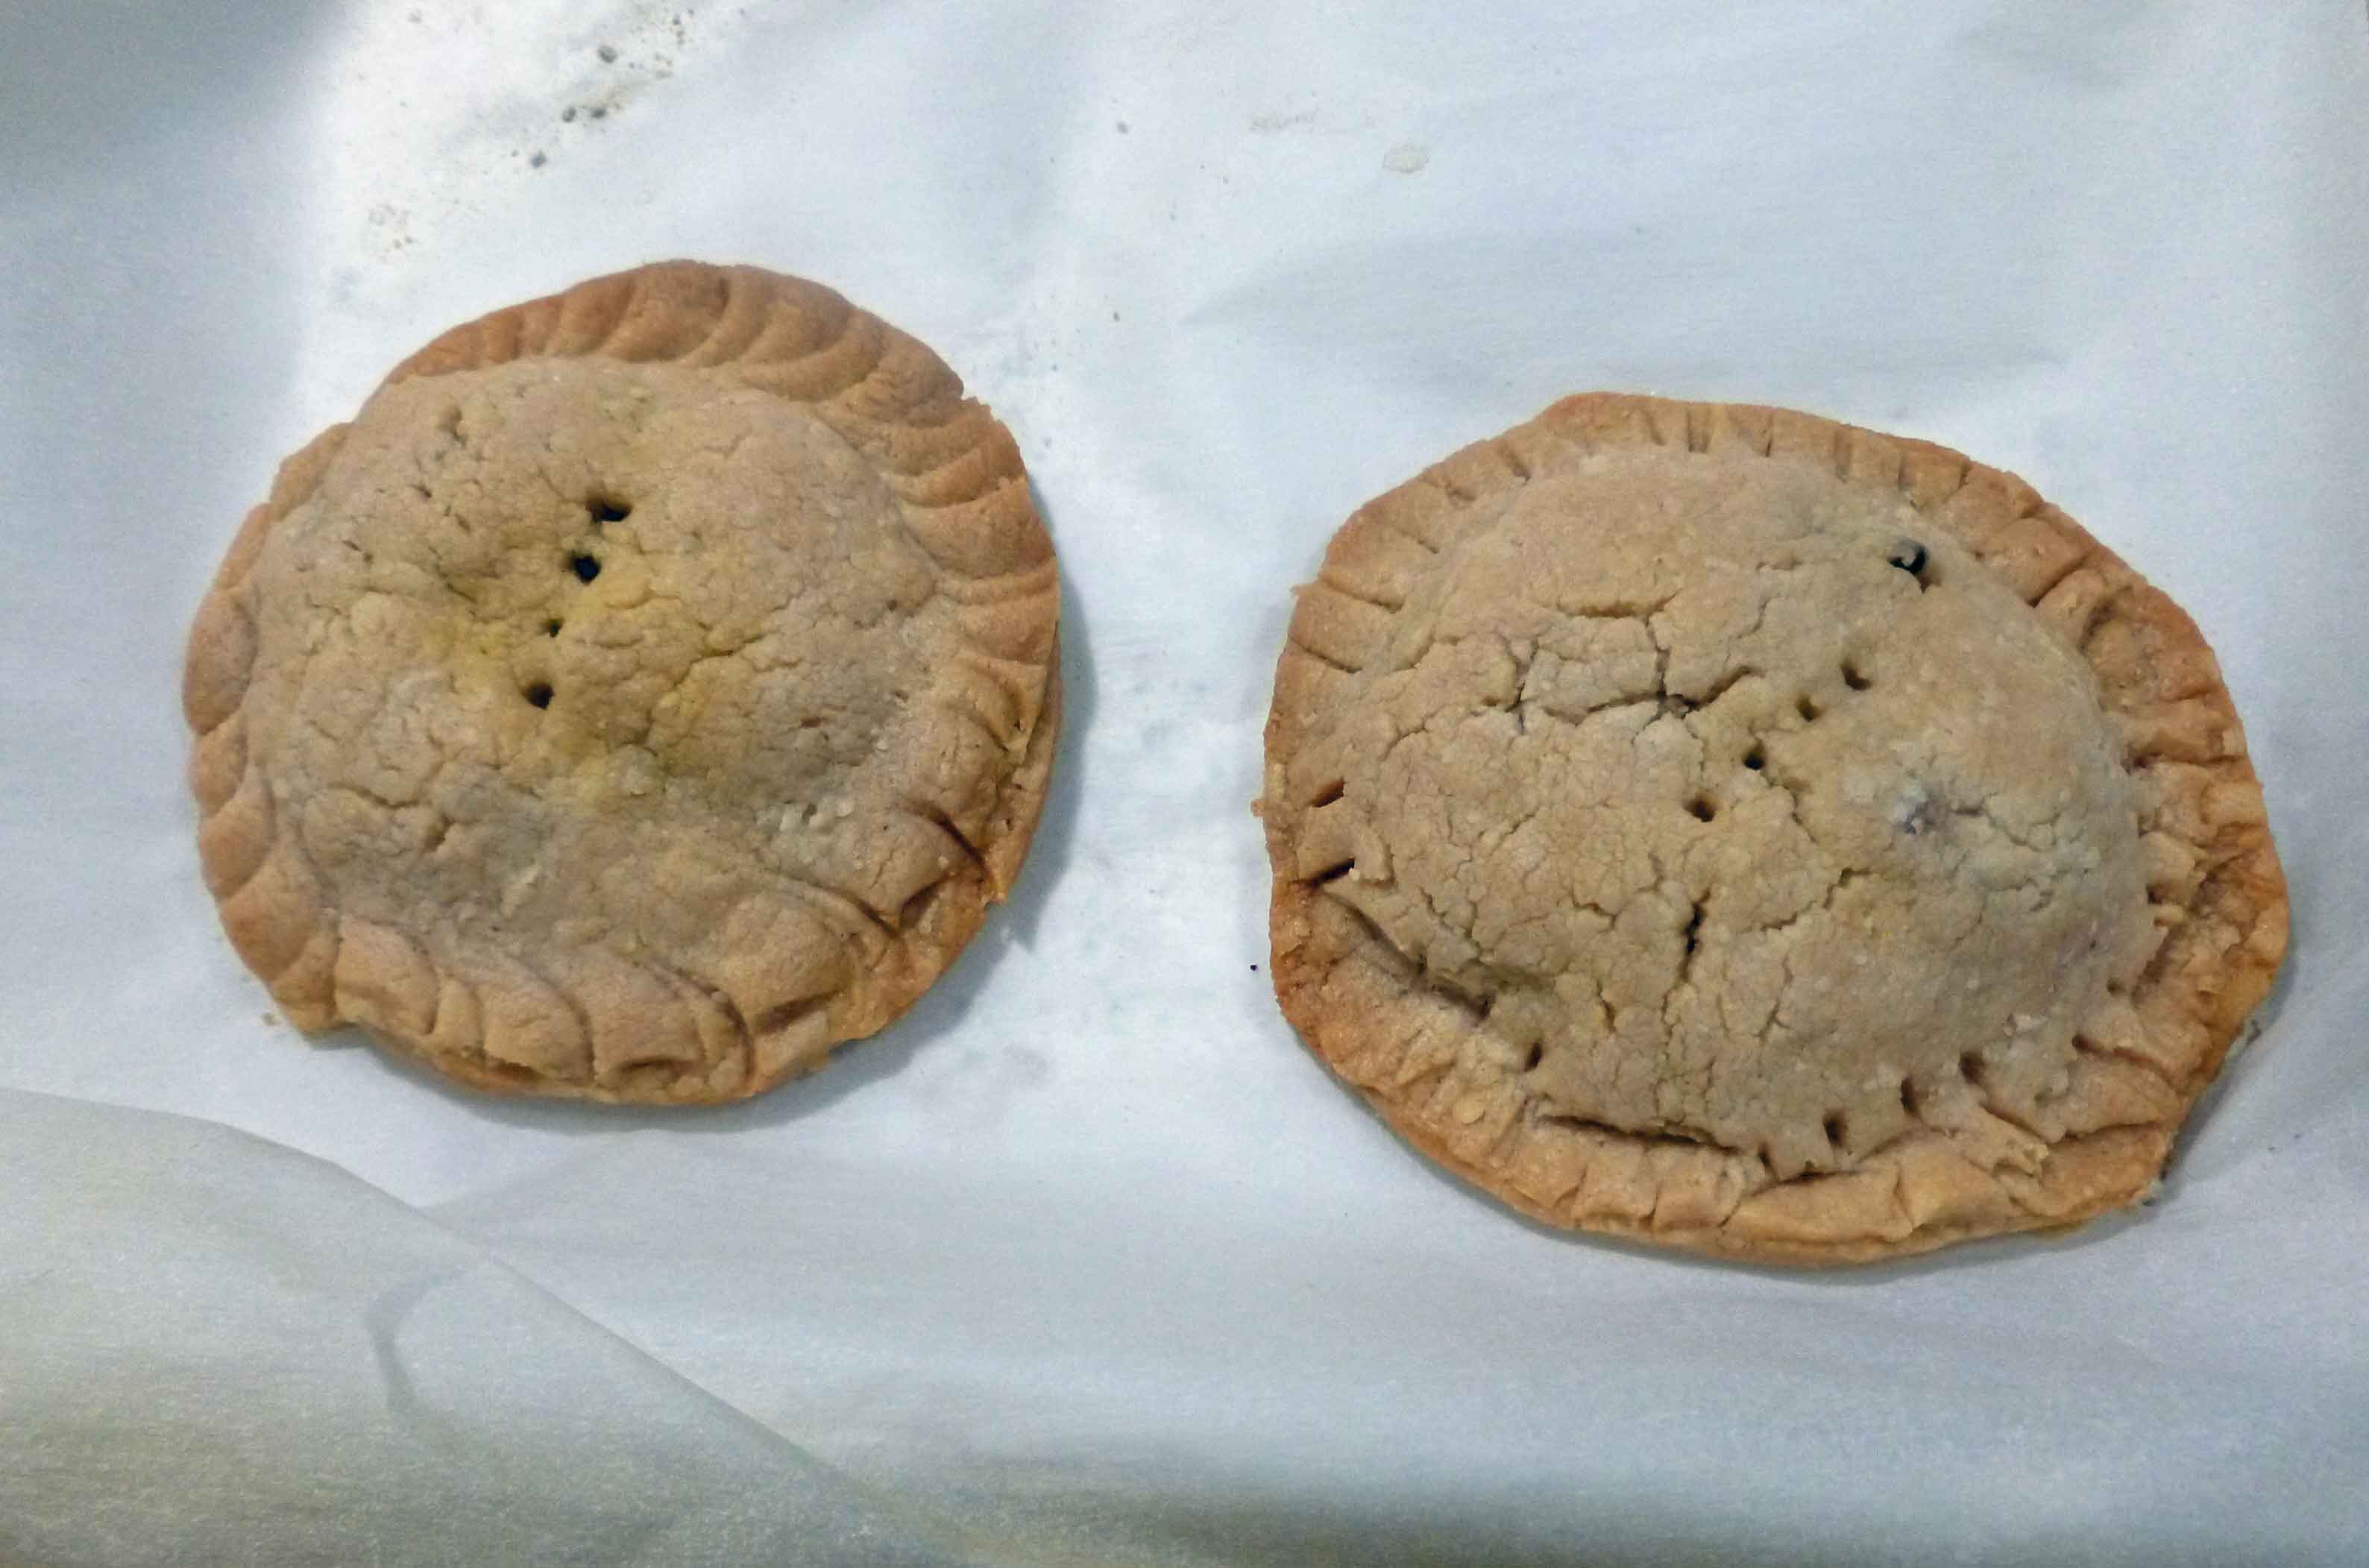
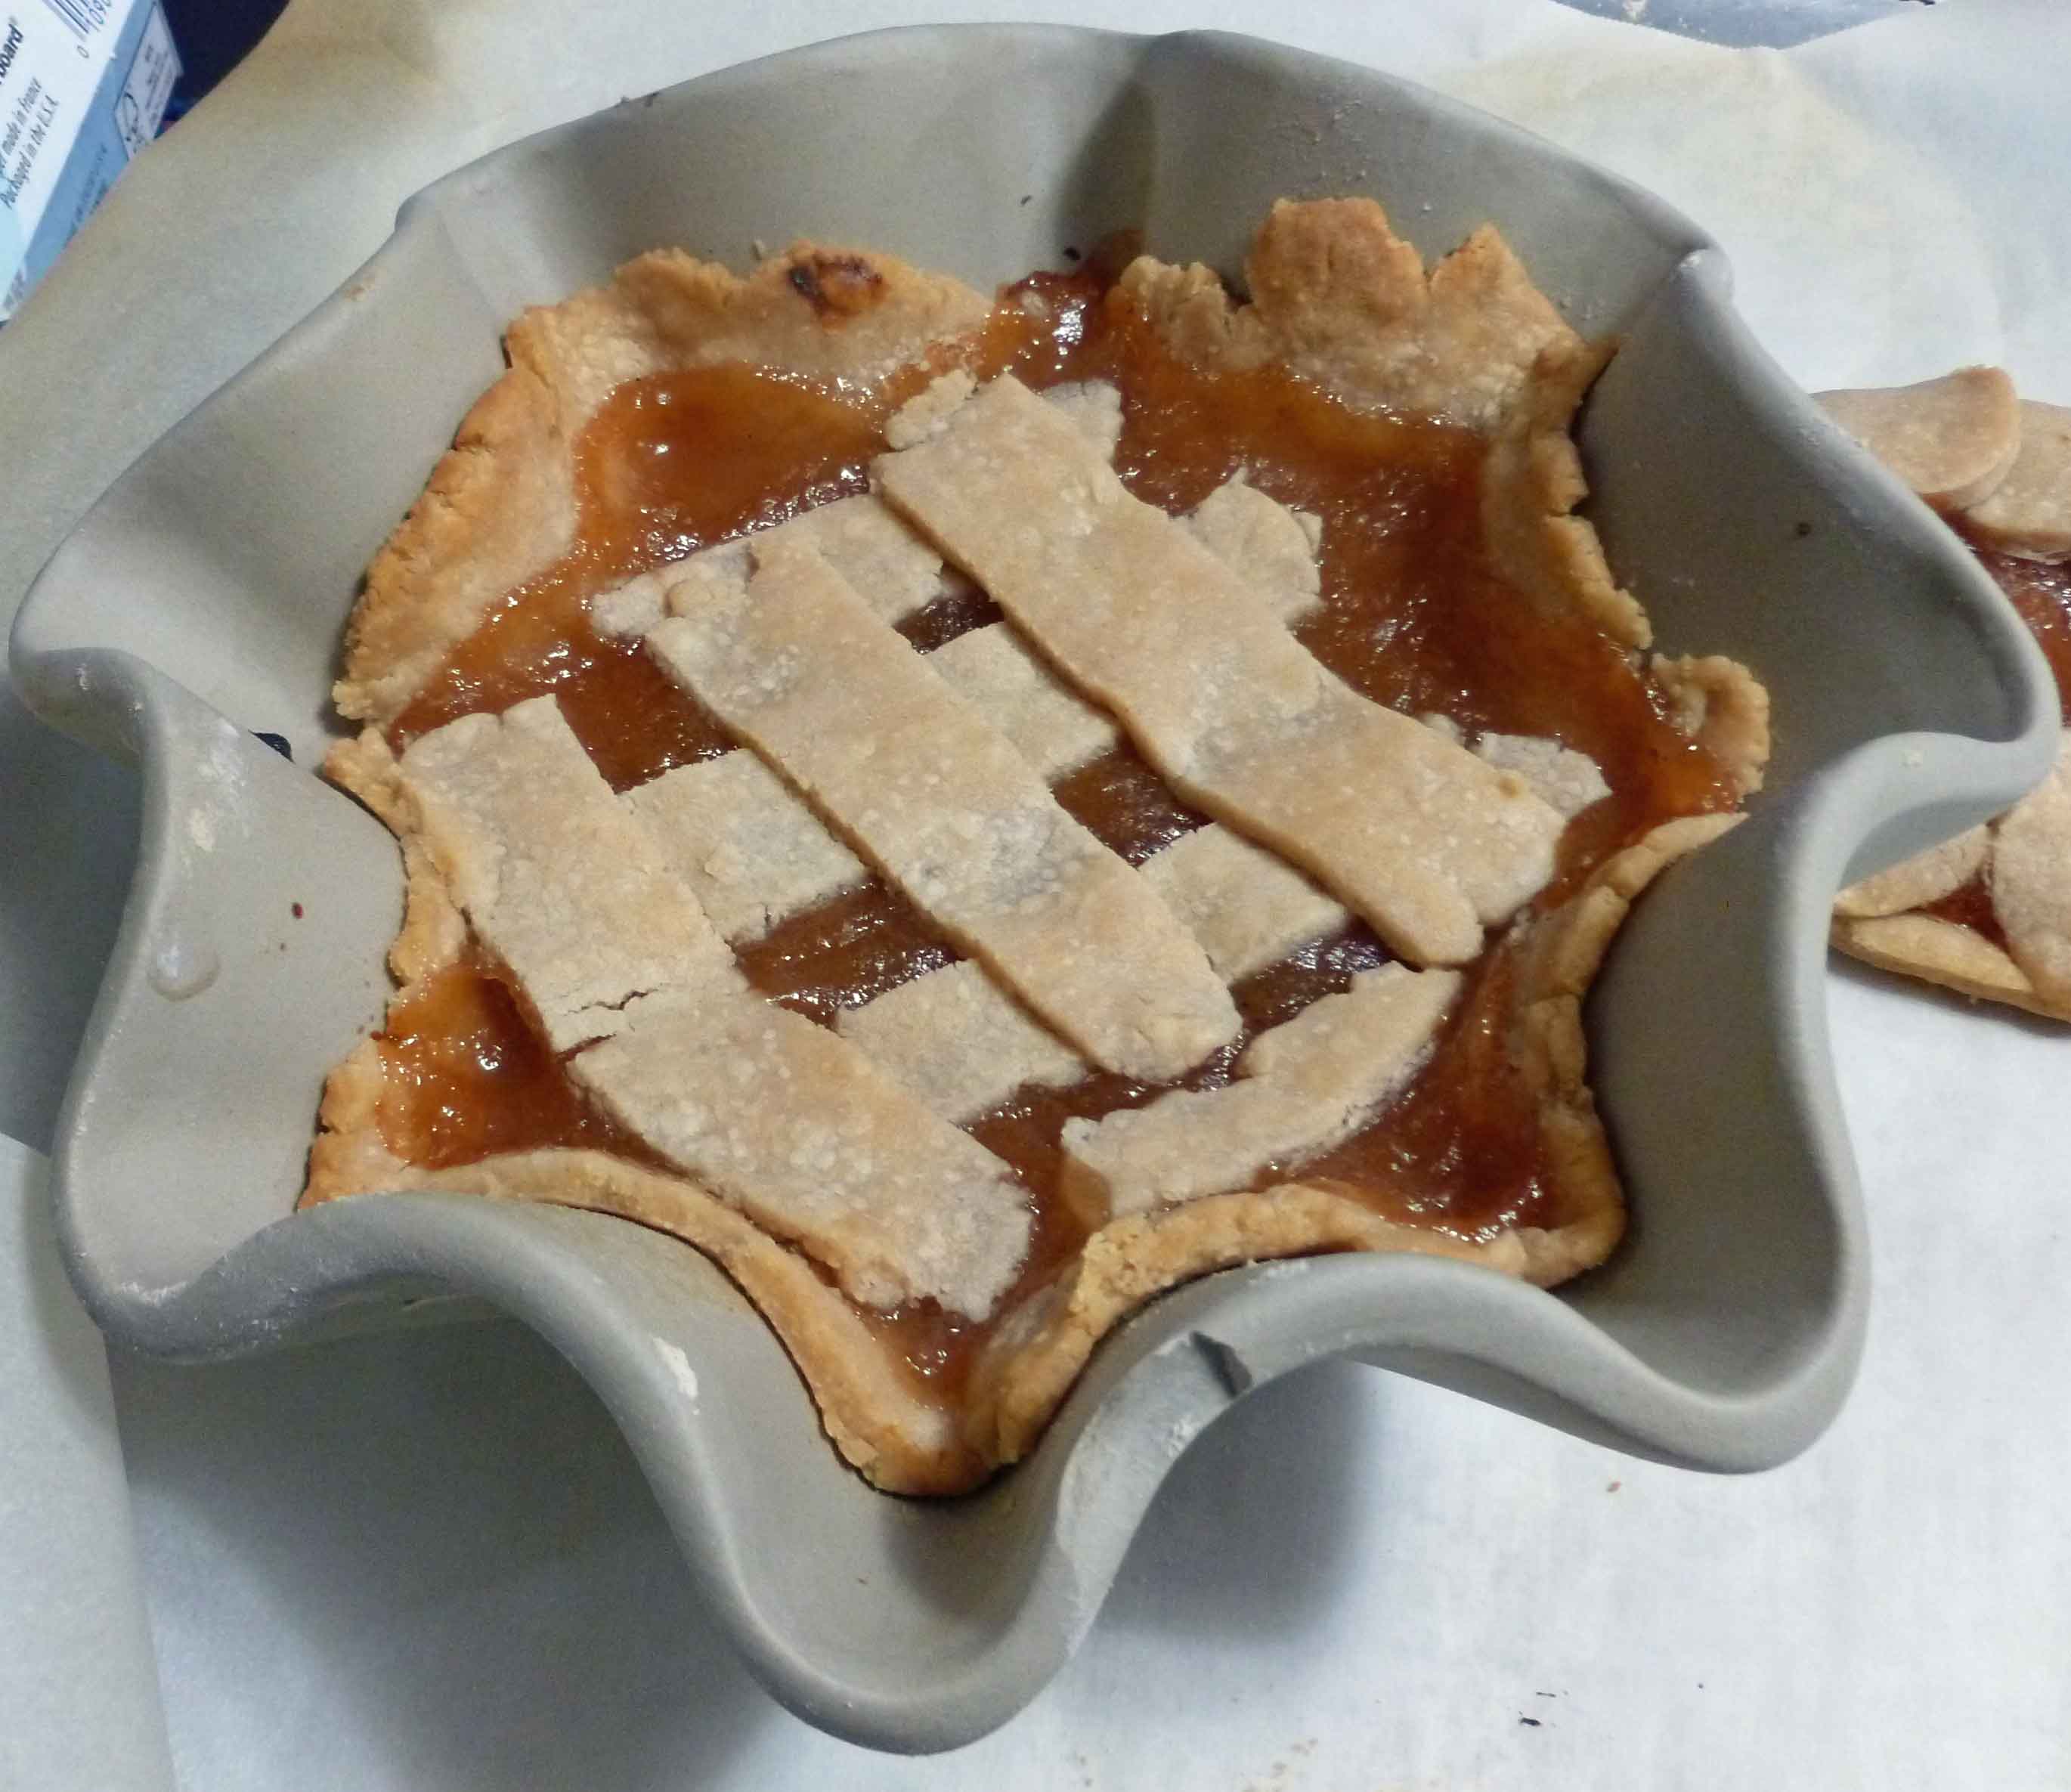
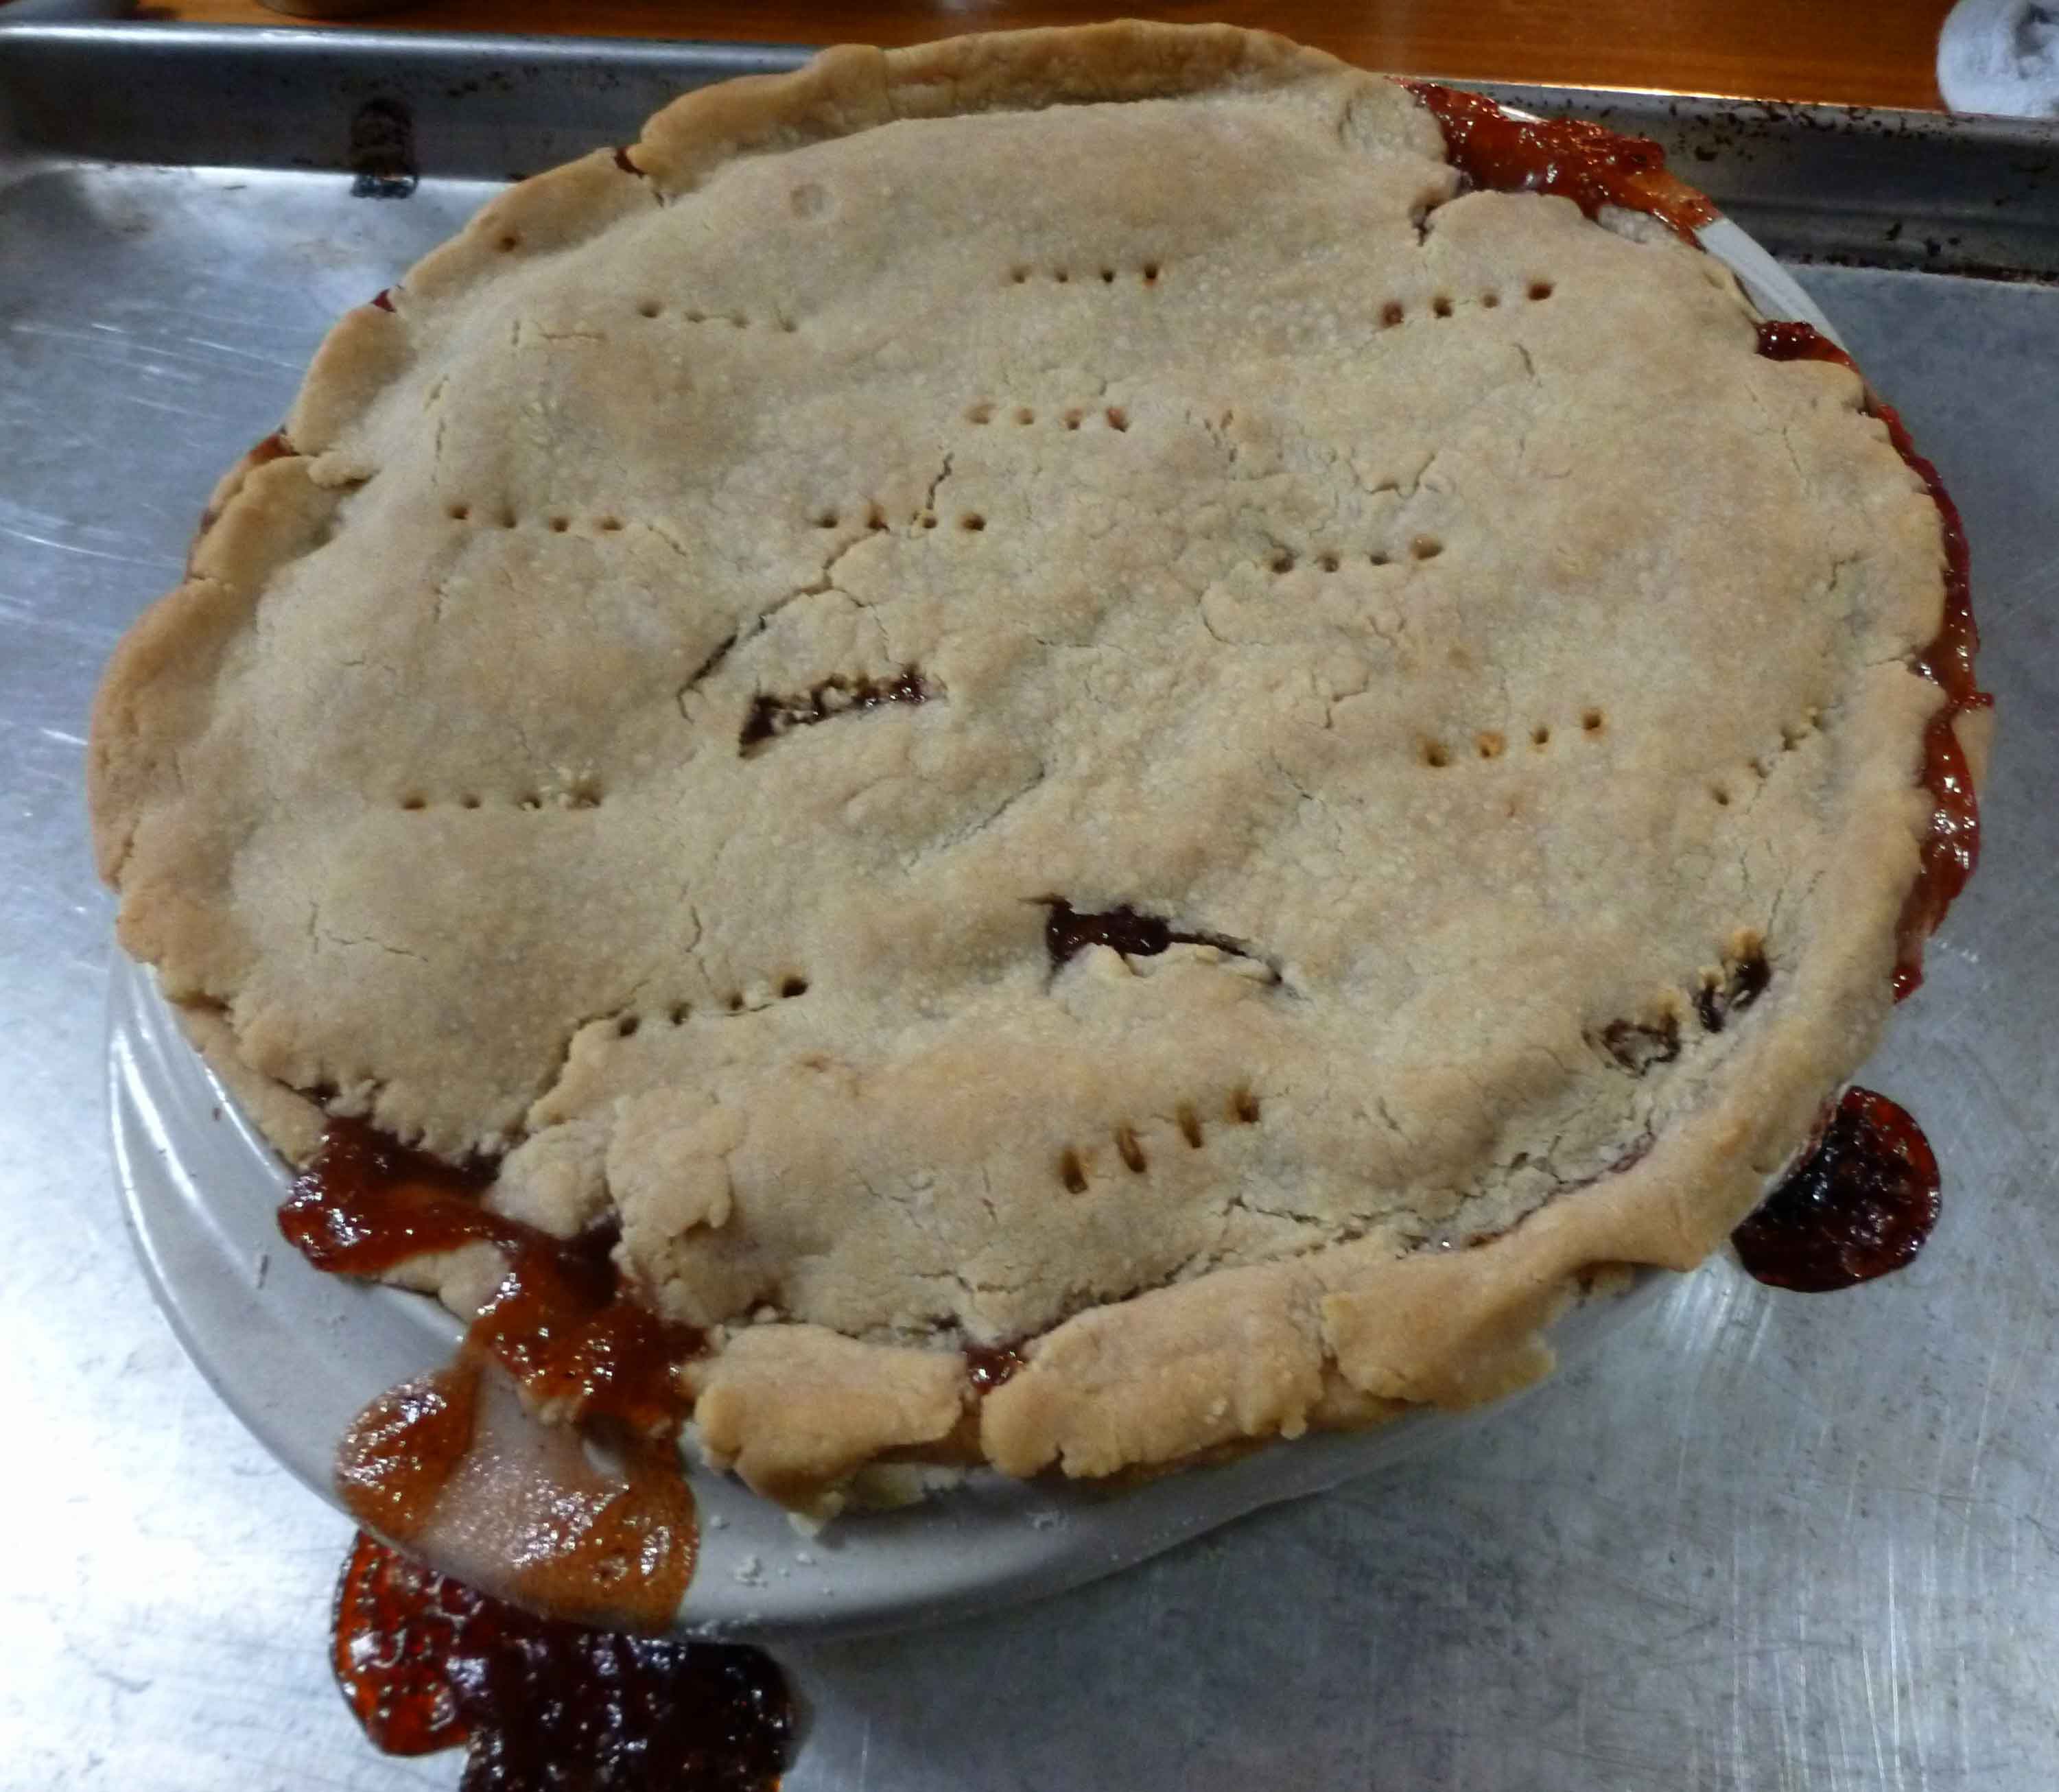
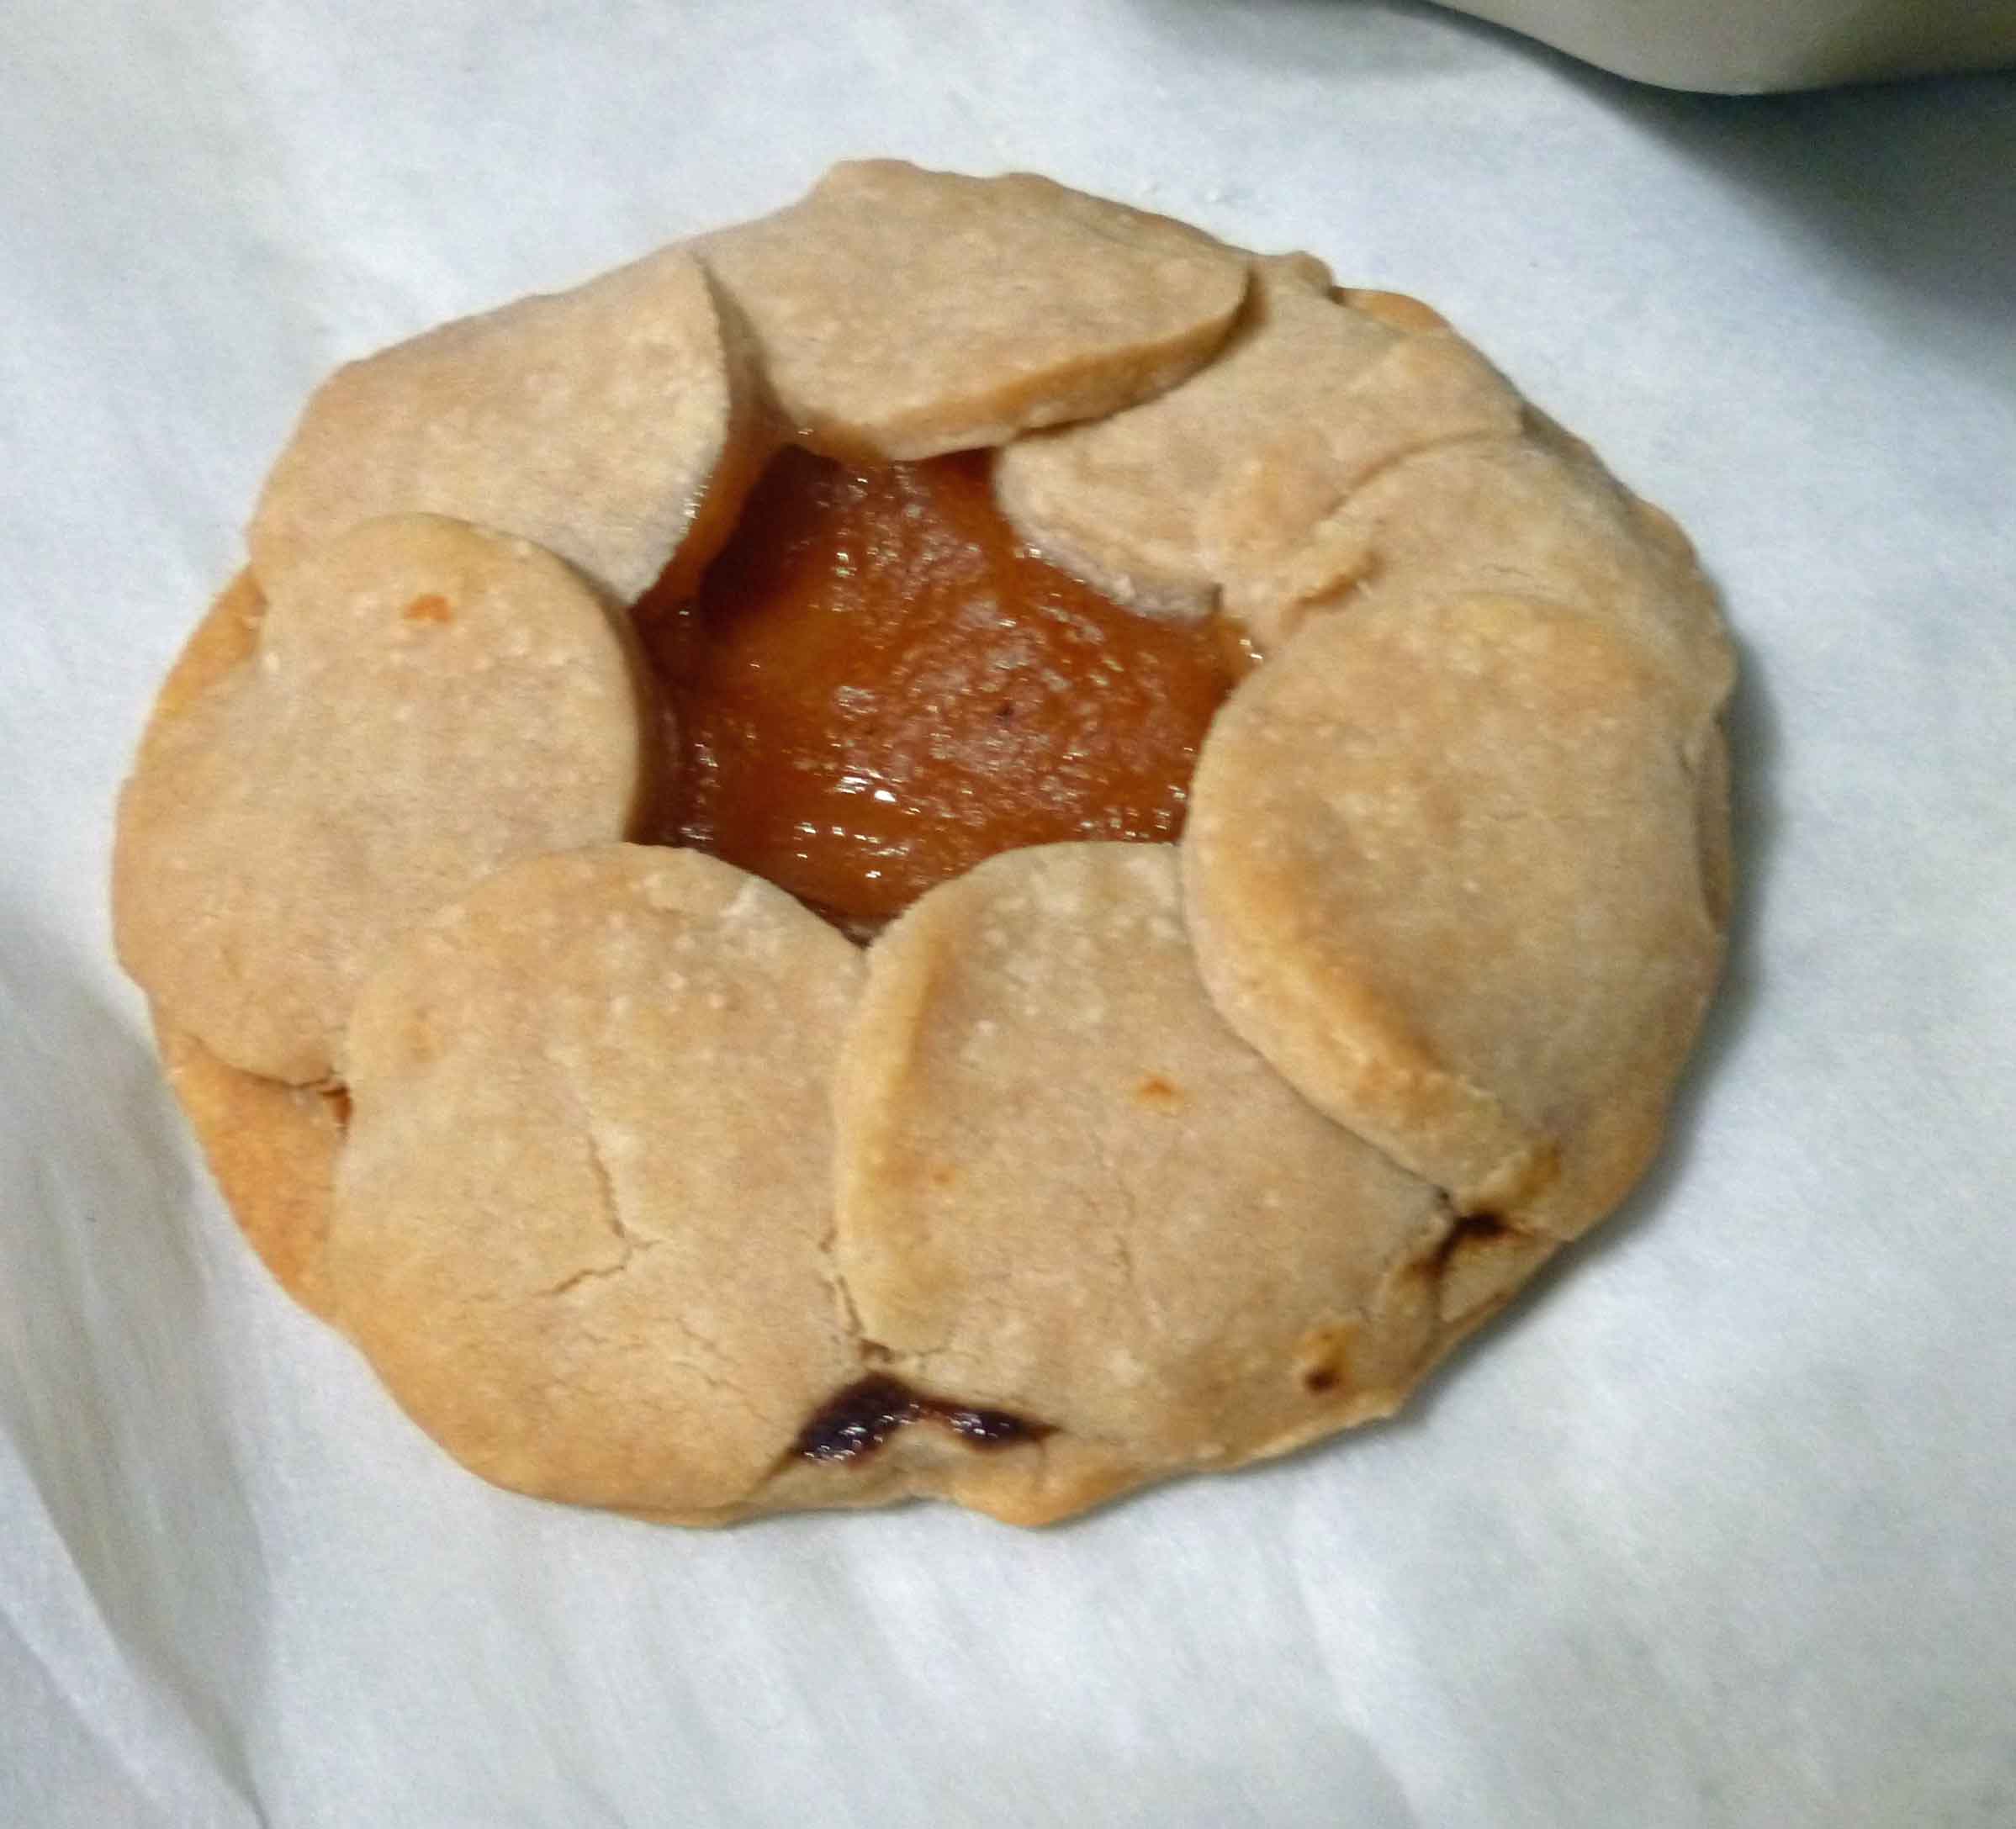
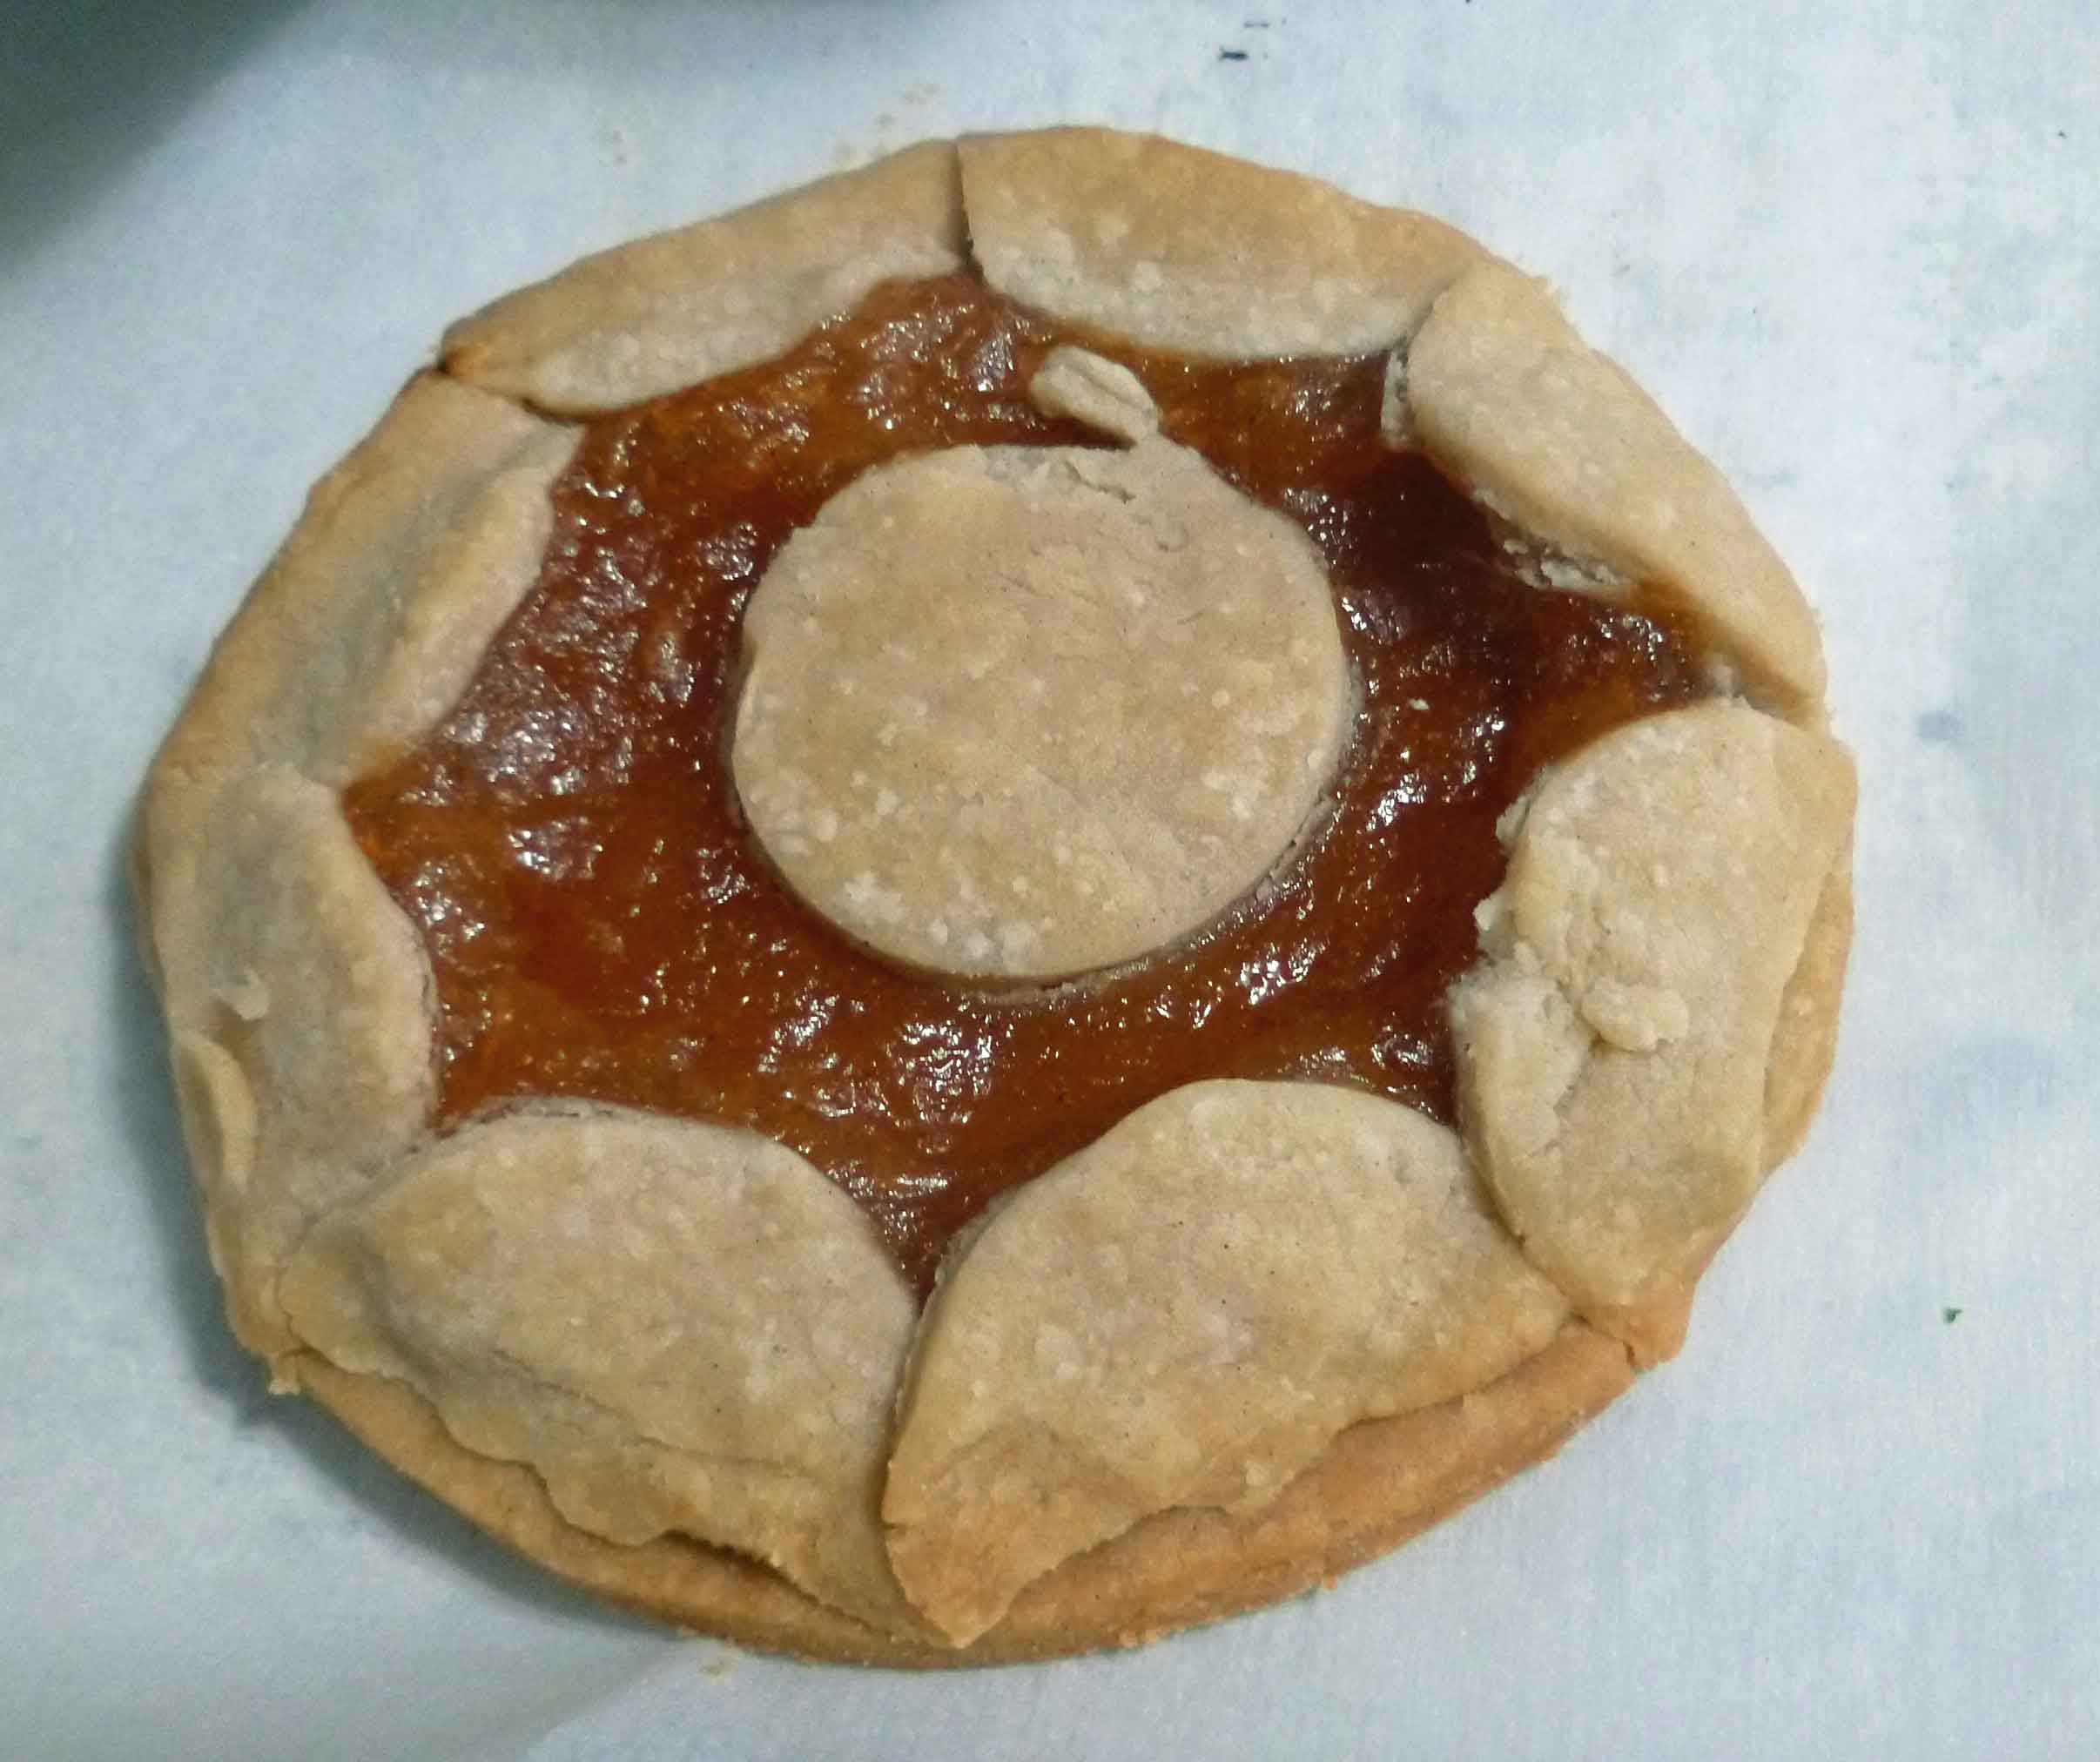
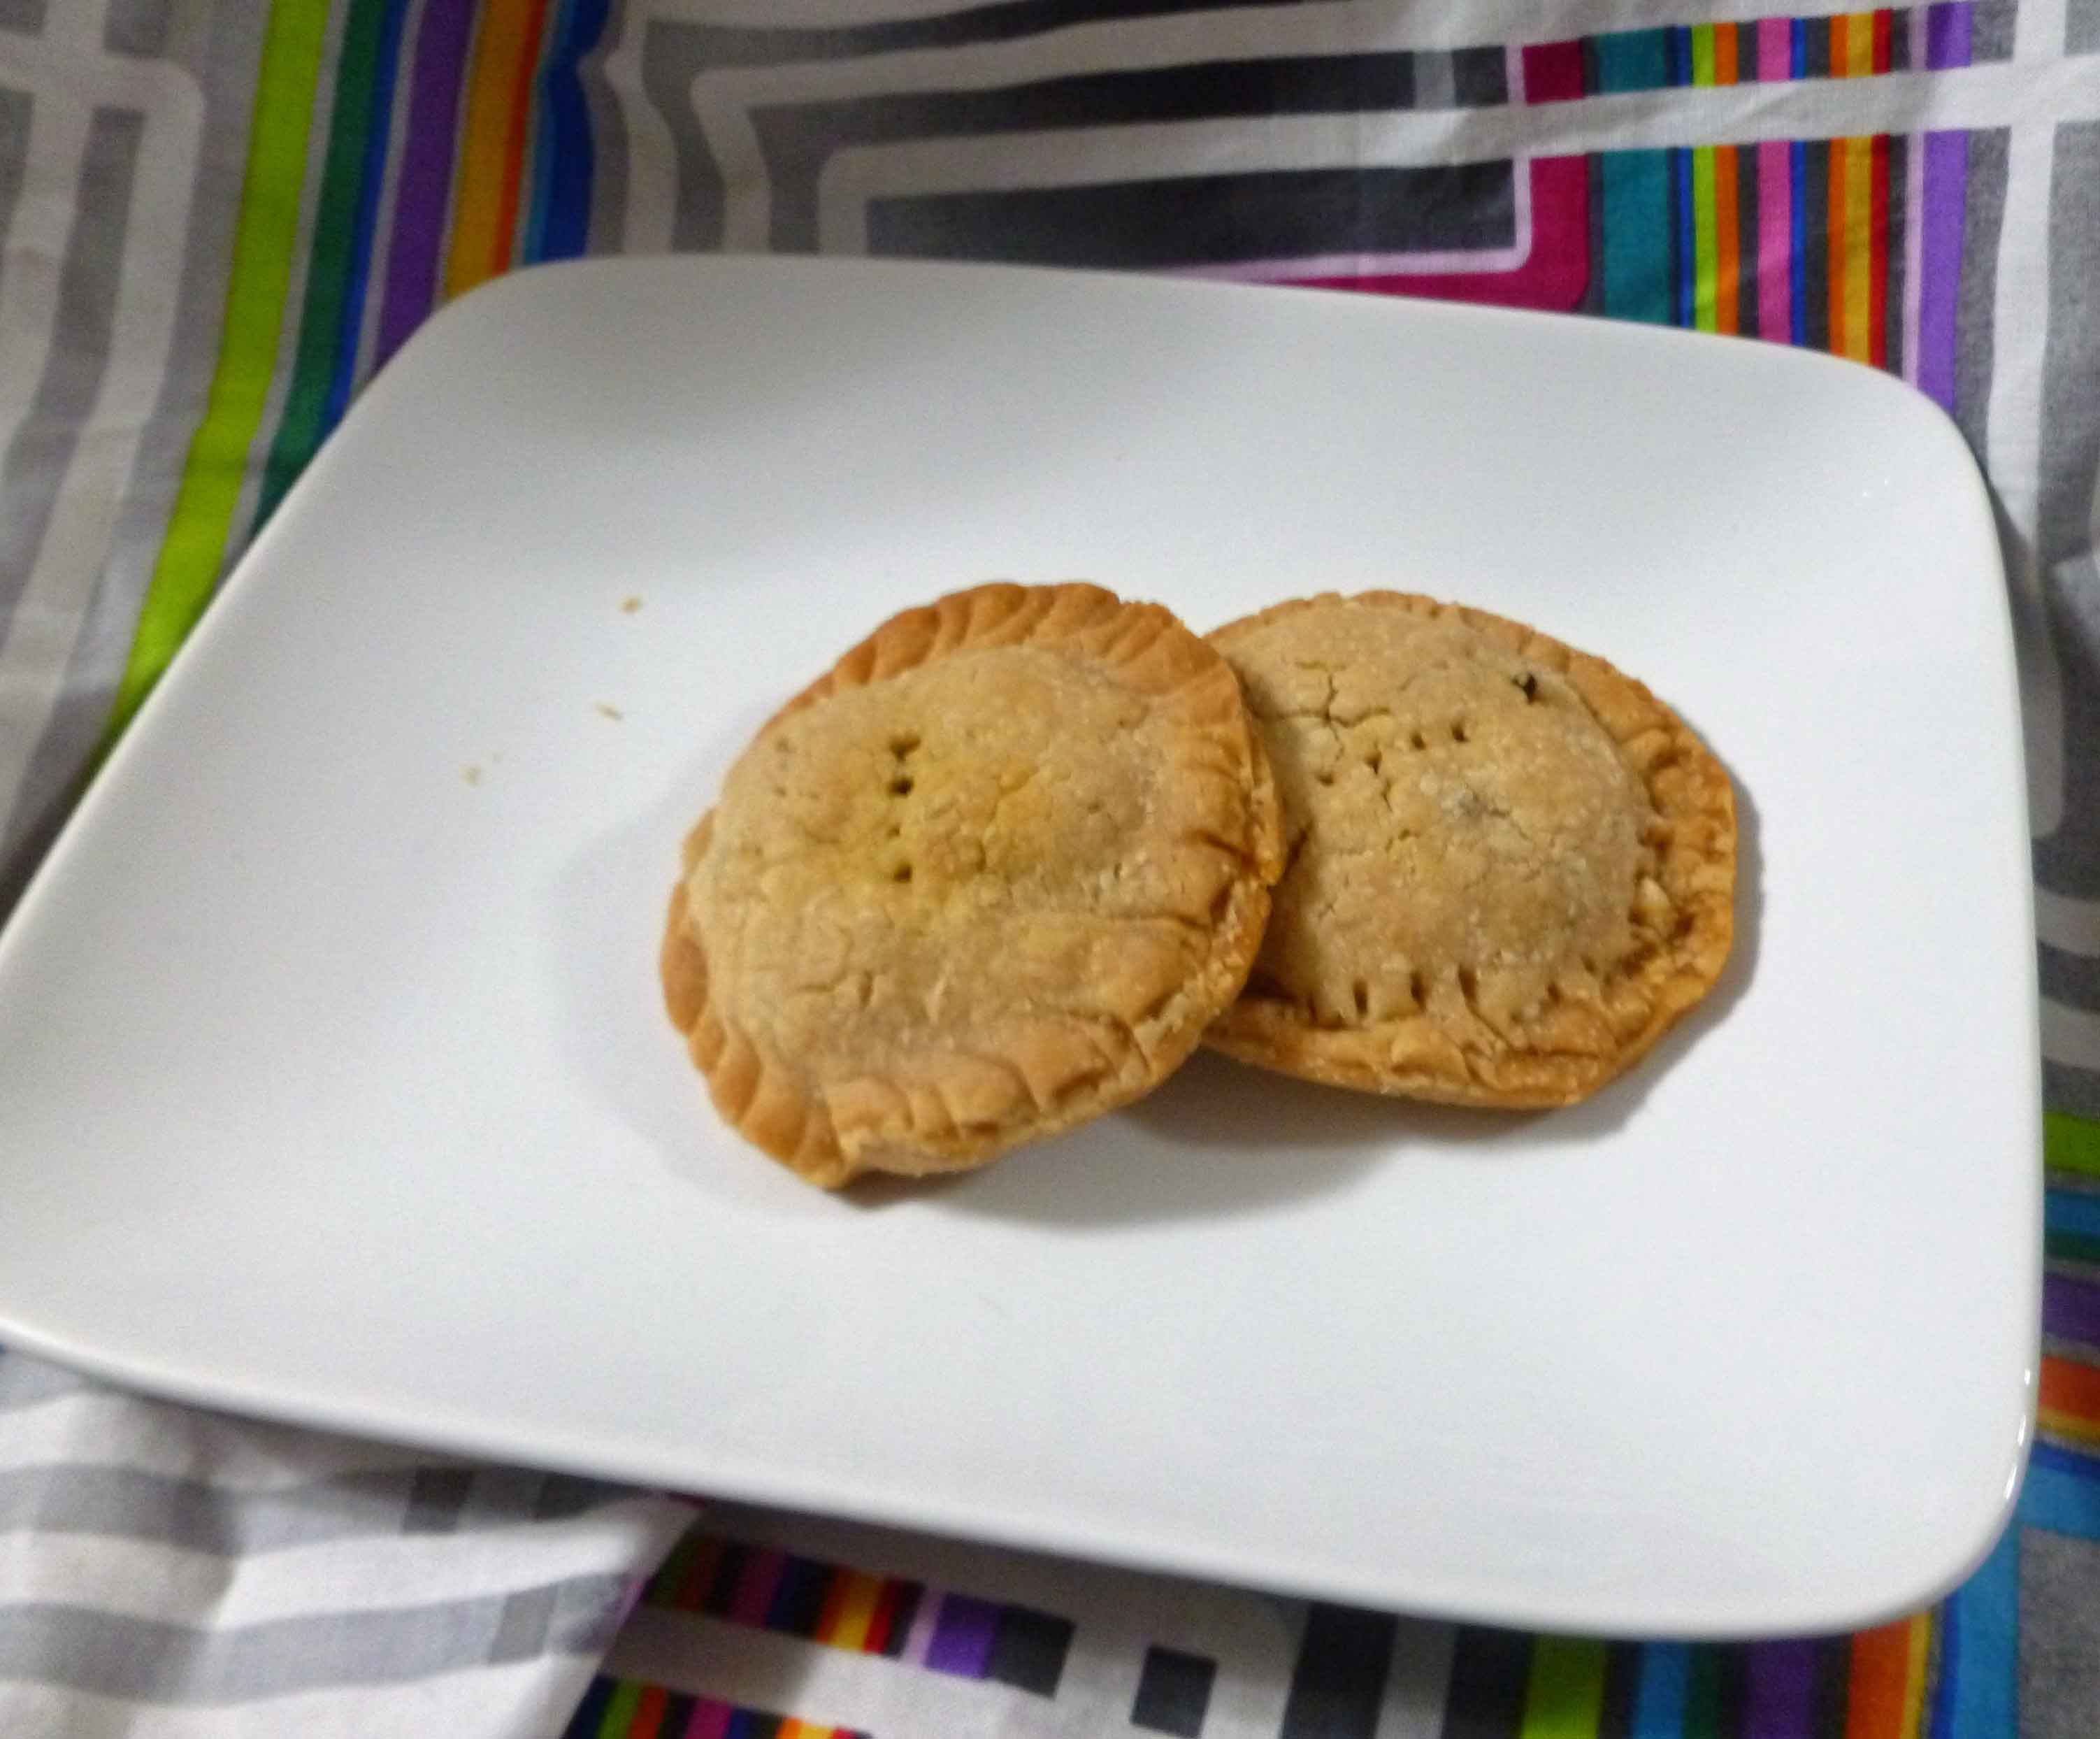
You can also use the crust to make tarts or stuffed pastries. The dough does not have the same elasticity as normal pie dough, but you can work with it a little, You can’t bend it in half because it will break. but you can stack pieces of dough on top of each other as long as the filling isn’t too tall. Next time I might experiment with larger top pieces to accommodate more filling.
Bake your pie crust according to your pie recipe. Since I was winging it, I cooked my little pies, tarts, and pastries in the slide slow above for about 45 to 60 minutes. If you’re worried about soggy crusts, you can try blind baking your bottom crust. The Kitchn explains here much better than I can.
Have fun, and send us pictures of your creations!
Notice: Trying to access array offset on value of type bool in /home/maryzahc/public_html/adultfoodallergies.com/wp-content/plugins/wp-ultimate-recipe/helpers/models/recipe.php on line 254
Gluten-free Pie Crust (vegan option)
Print Recipe
A lovely crust for both dessert and savory applications. Double the recipe to make a top and bottom pie crust.
Servings
Prep Time
1single crust
45minutes
Passive Time
30minutes
Servings
Prep Time
1single crust
45minutes
Passive Time
30minutes
Gluten-free Pie Crust (vegan option)
Print Recipe
A lovely crust for both dessert and savory applications. Double the recipe to make a top and bottom pie crust.
Servings
Prep Time
1single crust
45minutes
Passive Time
30minutes
Servings
Prep Time
1single crust
45minutes
Passive Time
30minutes
Ingredients
1/3cupsorghum flour
1/3 cup Otto’s Naturals cassava flour
1/3cup arrowroot starch
1/4cupmillet flour
1/2 tspsalt
1/2cupcold lard or cold vegetable shortening
1 1/2tspapple cider vinegar
5tbspcold aquafaba
Servings: single crust
Instructions
In a large bowl, whisk together the sorghum flour, the cassava flour, arrowroot starch, millet flour, and salt, until they are thoroughly mixed.
Using a pastry blender or a fork, cut in the lard or vegetable shortening until the mixture looks like crumbs.
In a small bowl or glass measuring cup, mix the aquafaba and apple cider vinegar together until it is well blended. Add the liquid mixture to your flour mixture and stir until it comes together to form a dough.
Shape the dough into a smooth ball, and put the dough ball into the freezer to chill for 30 minutes before rolling it out.
Using some of your other flours (I used sorghum) dust the surface of your rolling space. I was able to roll out my pie crust on a rolling mat and use my rolling pin to transfer the pie crust to the pie plate without too much difficulty. However, if you like your crust thin, try doing rolling your crust out on parchment paper to make it easier to transfer to the pie pan. Make sure you use plenty of dusting flour so that it doesn’t stick to the rolling surface or parchment paper.
Place pie crust in pie plate, and fill pie. Bake according to pie recipe. If you’re concerned about soggy crust, you may wish to blind bake your bottom crust first.