Notice: Function _load_textdomain_just_in_time was called incorrectly. Translation loading for the wp-ultimate-recipe domain was triggered too early. This is usually an indicator for some code in the plugin or theme running too early. Translations should be loaded at the init action or later. Please see Debugging in WordPress for more information. (This message was added in version 6.7.0.) in /home/maryzahc/public_html/adultfoodallergies.com/wp-includes/functions.php on line 6131 Gluten-free – Page 11 – surviving the food allergy apocalypse (archive)
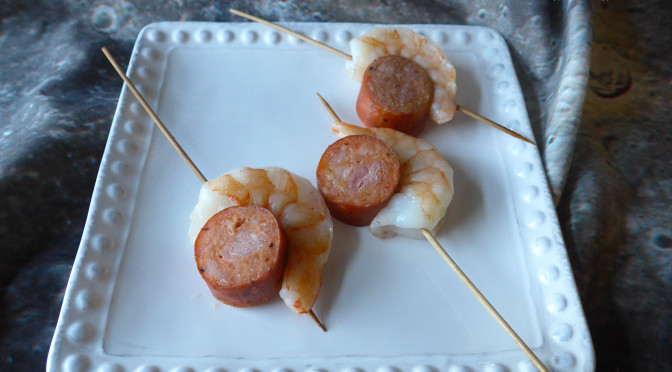
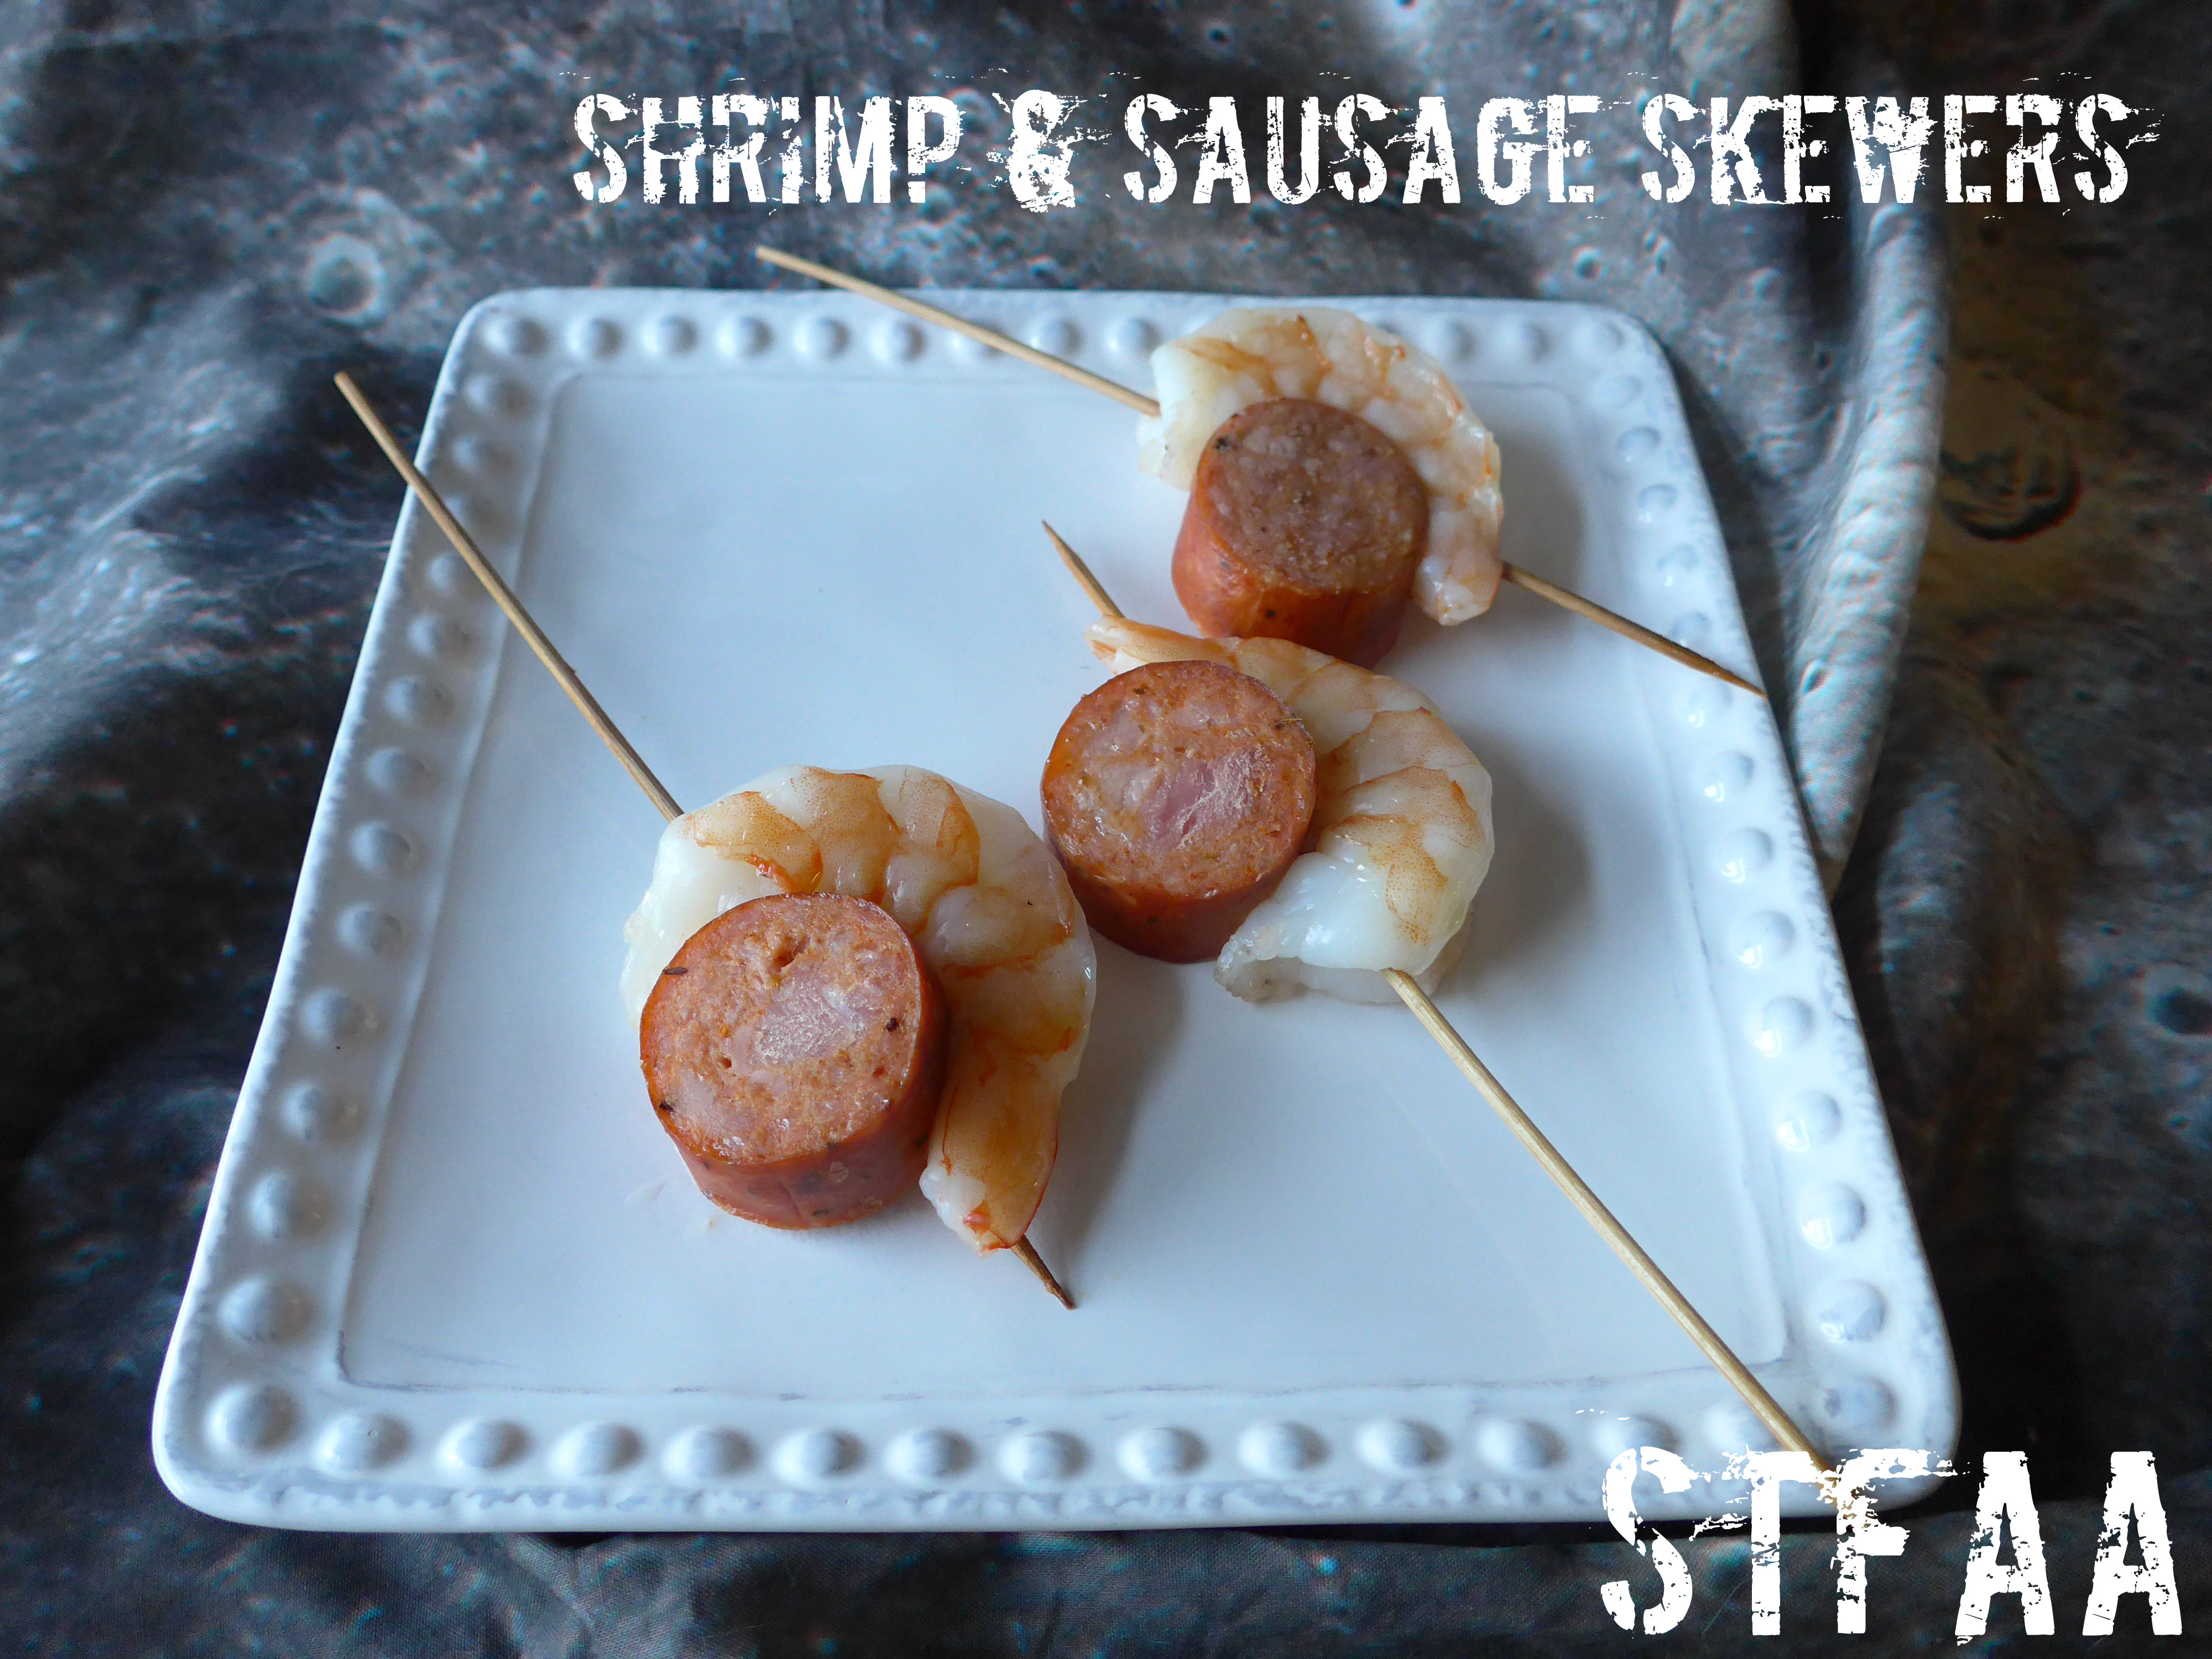
I know we don’t normally feature shellfish at all, given that it’s one of the top 8 allergens, but neither Denise nor I are allergic. If you are, I’m sorry. Come back next week.
This is a quick and easy appetizer that’s pretty impressive. The key here is finding good spicy andouille sausage. I like Leidy’s, which is safe for me. The spicy sausage just slightly infuses the shrimp with flavor, but it’s also a great contrast texture-wise. Basically, your time is spent putting together the skewers (and peeling the shrimp, if you buy it with the shell on). Otherwise, this is super simple. Try it out for your next party.
Notice: Trying to access array offset on value of type bool in /home/maryzahc/public_html/adultfoodallergies.com/wp-content/plugins/wp-ultimate-recipe/helpers/models/recipe.php on line 254
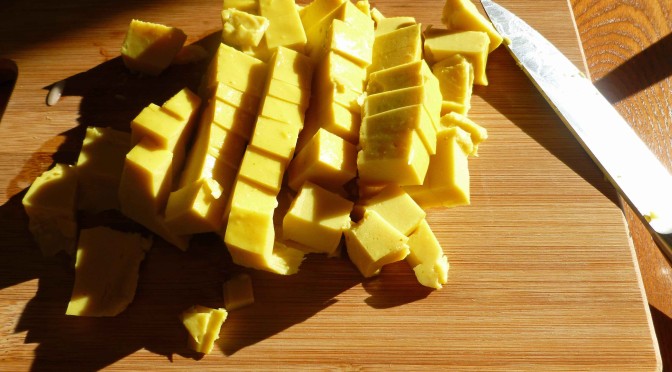
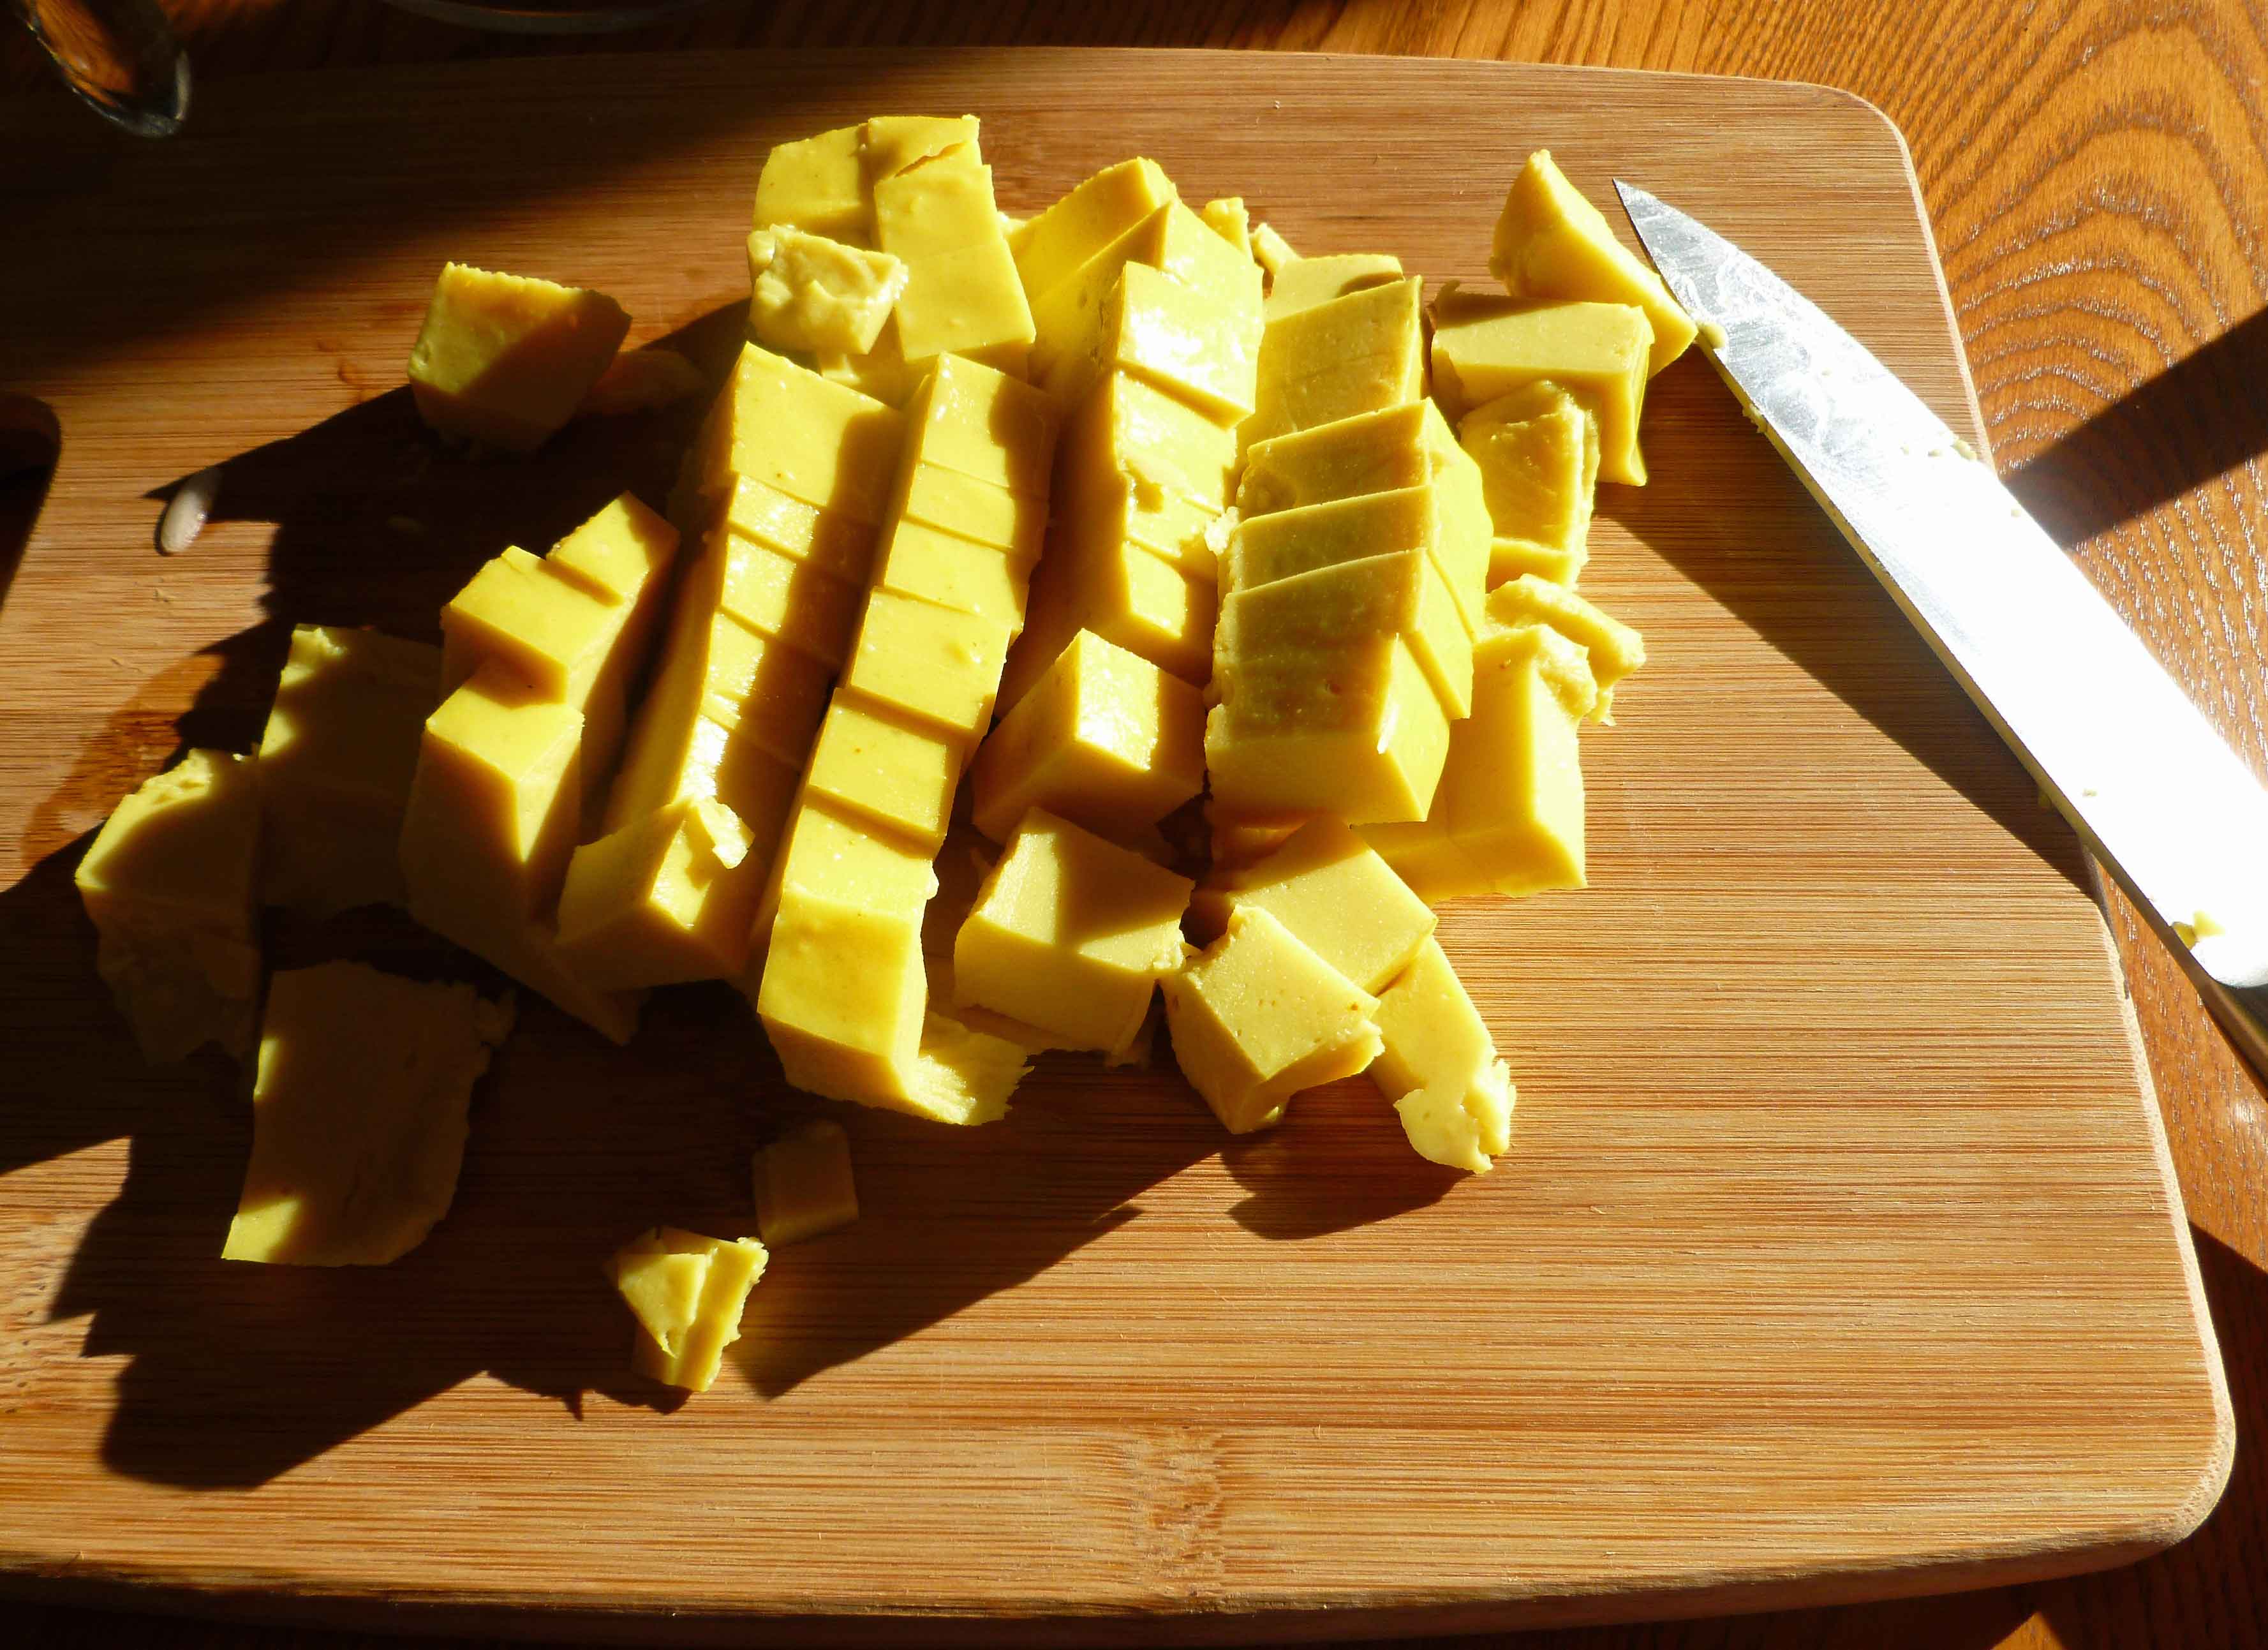
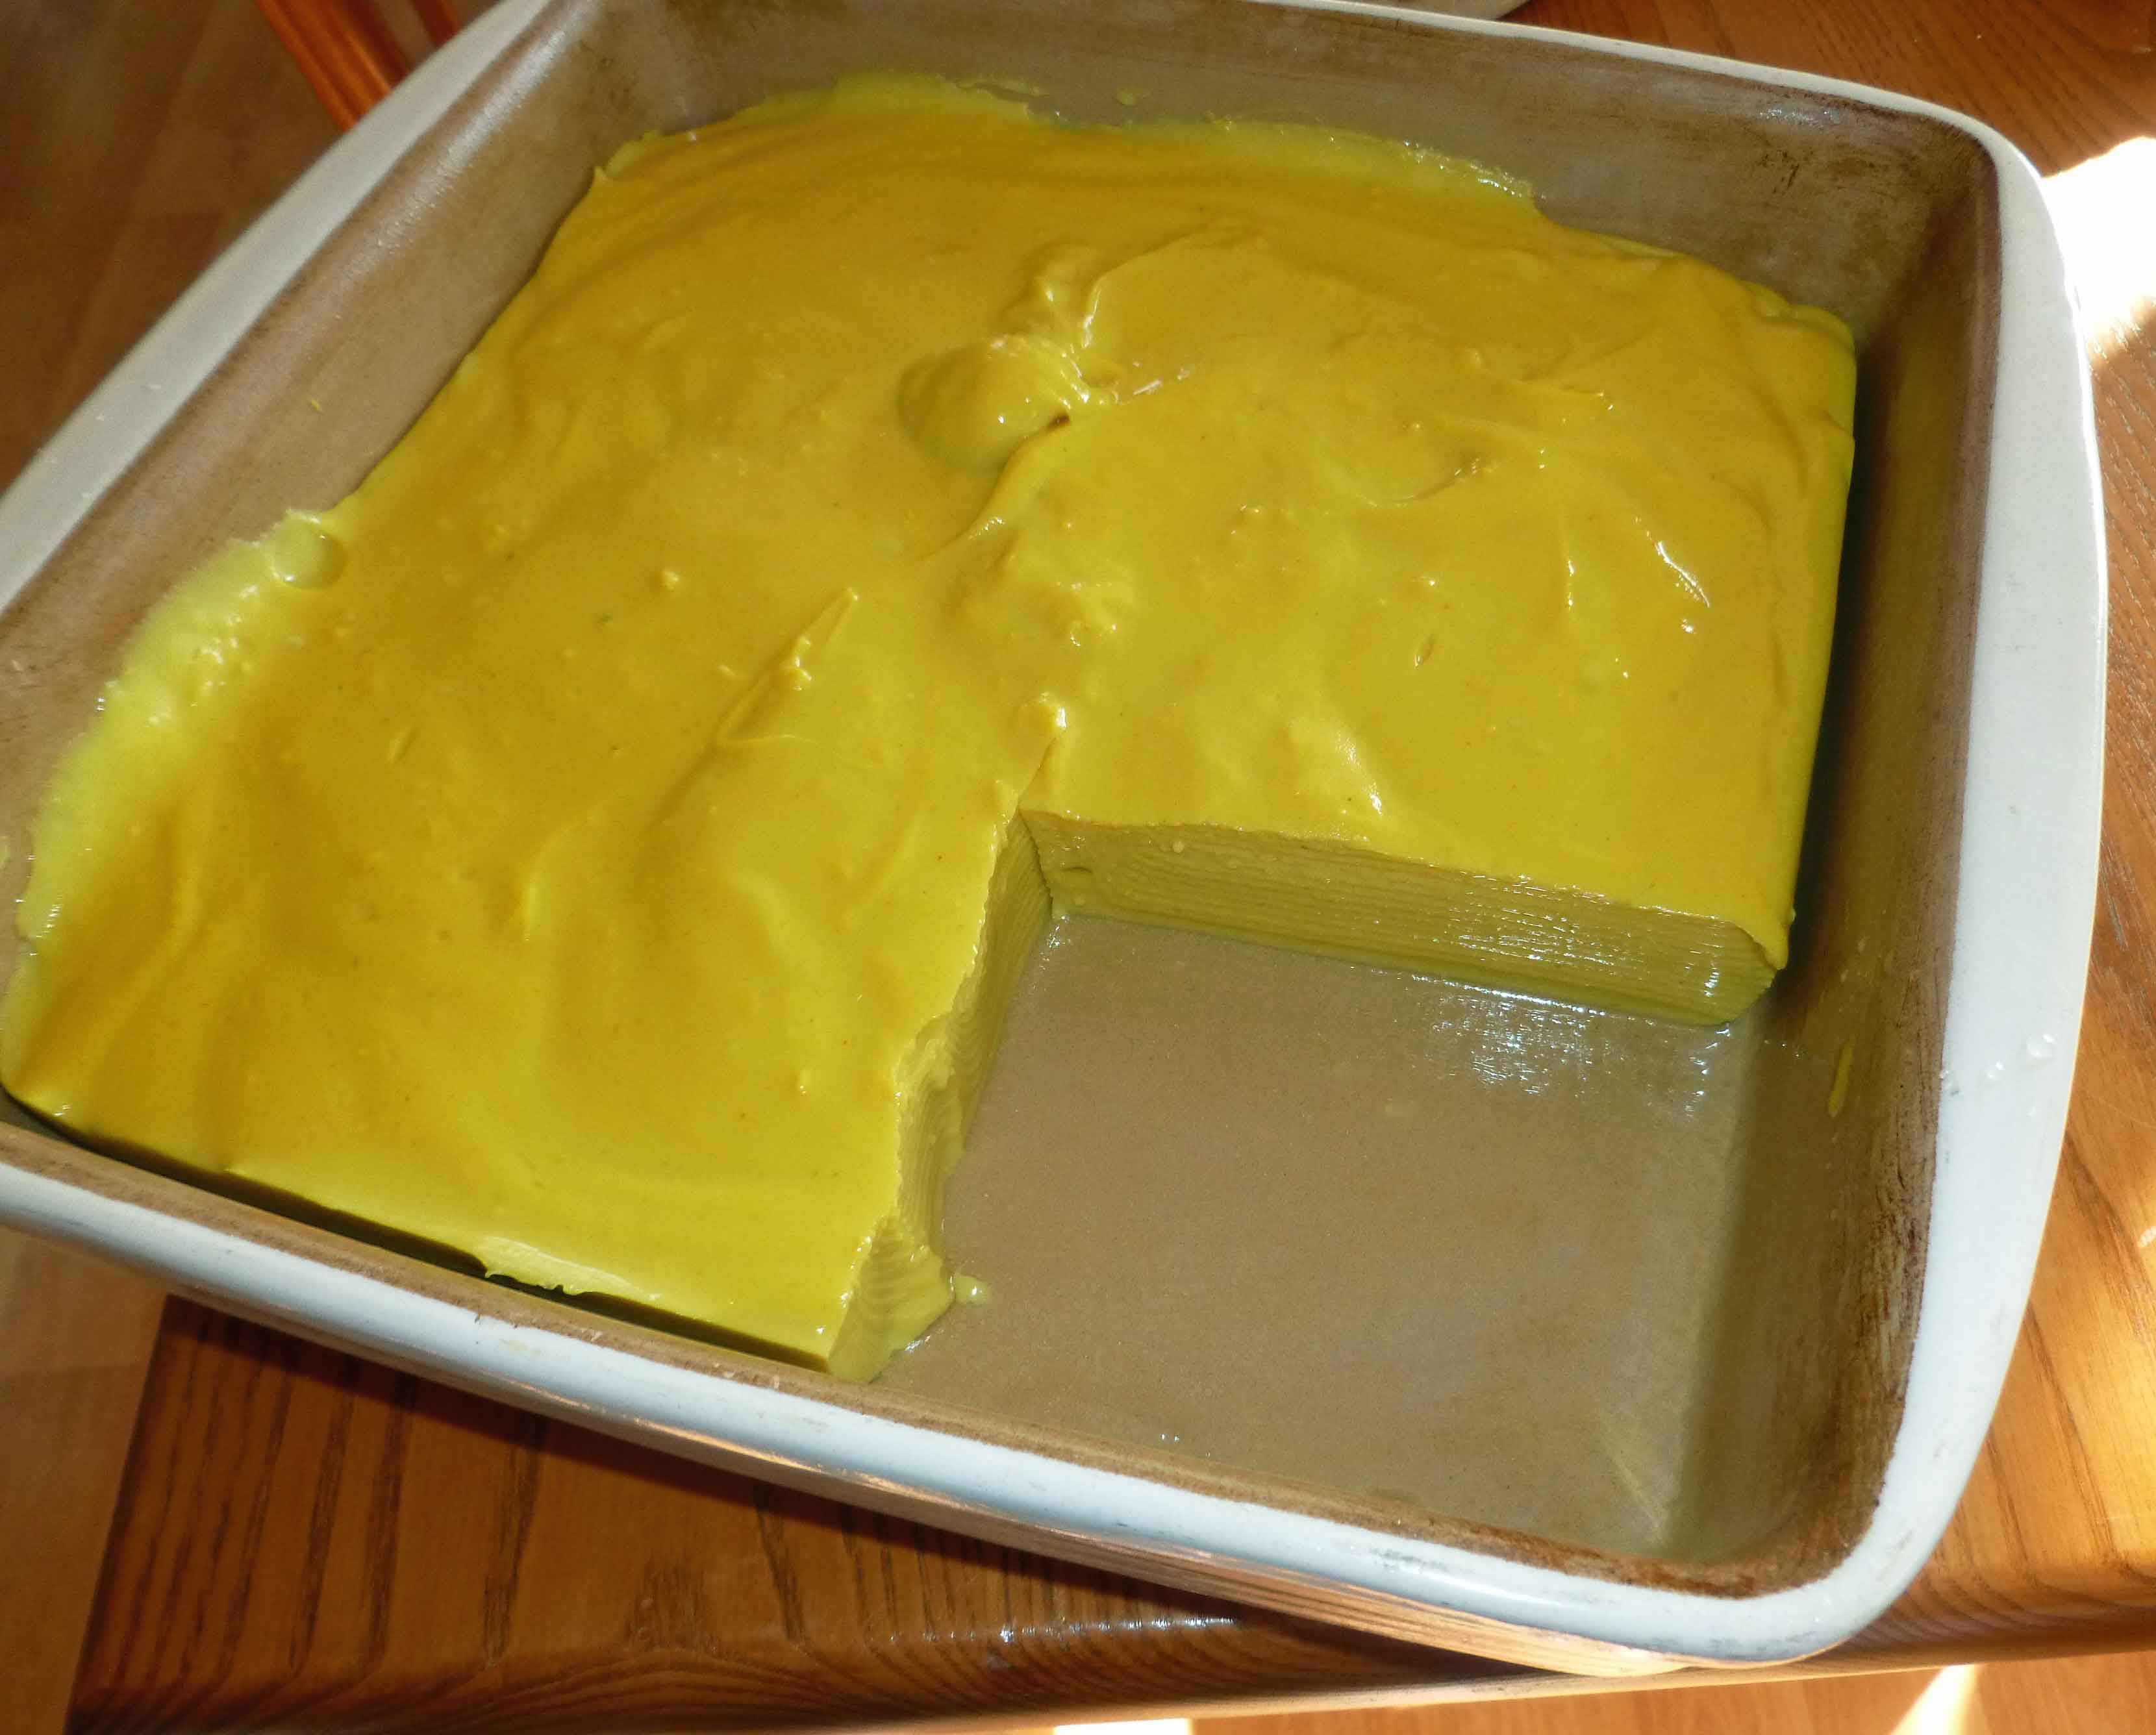
I made this recipe from Girl Cooks World as part of a weekend of making random tofu experiments. I used besan flour (very finely ground chickpeas) and got a very smooth tofu, but it was more like a silken tofu. When I fried it in sticks, trying to emulate panisee, the interior got soft and gooey, and the outside was crispy but sort of flaked off. When I ate it, it reminded me of vaguely of egg. So I decided to try to capitalize on that and try to improve upon it, to try to get an egg substitute to use in dishes that were pretty egg-y, quiche for example. I thought the original texture was a little soft for what I wanted to use it for, so I kicked up the amount of flour a bit, added some Kala Namak Salt/Indian Black Salt to make it more “egg-y”, and added a bit more turmeric for color.
I’ve pan fried it with onions for a “scrambled” egg breakfast, and made a breakfast casserole/quiche-like dish with it, which will appear on the blog soon. In the meantime, if anyone else experiments with it, and finds some good stuff to do with, please let us know!
“Eggy” Burmese Tofu
Makes a 8 inch by 8 inch baking pan of tofu.
2 1/2 cups of chickpea/garbanzo bean/besan flour
2 teaspoons of Kala Namak Salt/Indian Black Salt
1/2 teaspoon of turmeric
6 cups of water, divided
grape seed oil (or other safe-for-you-oil) for greasing the pan
Place the chickpea/garbanzo bean/besan flour, Kala Namak Salt/Indian Black Salt, turmeric, in a large bowl. Using a whisk, mix the ingredients until they are thoroughly combined. Then add 2 cups of the water and whisk until the mixture is smooth, making sure there are no lumps.
Grease your 8 inch by 8 inch baking dish with the grape seed oil.
In a wide, heavy bottomed, shallow pot, bring the remaining 4 cups of water to a boil. Once your water is boiling reduce the heat to medium. After stirring your flour mixture to be sure it hasn’t settled, slowly pour the mixture into the boiling water, while you stir it with a wooden spoon. Lower the heat to medium-low, and continue stirring until the mixture has thickened and is glossy. This will take about 3-5 minutes.
Once the mixture has thickened and is glossy, pour it into your greased baking pan, scraping down the pot to get all of it into the baking pan. Smooth the top down a bit, and let it cool to room temperature. Once at room temperature, put it in the fridge for at least an hour before using. However, the longer it sits in the fridge, the more water will drain out and the tofu will become firmer. Although my modifications to the original recipe make it a bit firmer to start, I generally let my version sit at least 24-48 hours before using it.
“Eggy” Burmese Tofu
Enjoy!
Notice: Trying to access array offset on value of type bool in /home/maryzahc/public_html/adultfoodallergies.com/wp-content/plugins/wp-ultimate-recipe/helpers/models/recipe.php on line 254
Place the chickpea/garbanzo bean/besan flour, Kala Namak Salt/Indian Black Salt, turmeric, in a large bowl. Using a whisk, mix the ingredients until they are thoroughly combined. Then add 2 cups of the water and whisk until the mixture is smooth, making sure there are no lumps.
In a wide, heavy bottomed, shallow pot, bring the remaining 4 cups of water to a boil. Once your water is boiling reduce the heat to medium. After stirring your flour mixture to be sure it hasn’t settled, slowly pour the mixture into the boiling water, while you stir it with a wooden spoon. Lower the heat to medium-low, and continue stirring until the mixture has thickened and is glossy. This will take about 3-5 minutes.
Once the mixture has thickened and is glossy, pour it into your greased baking pan, scraping down the pot to get all of it into the baking pan. Smooth the top down a bit, and let it cool to room temperature. Once at room temperature, put it in the fridge for at least an hour before using, but is best at 24-48 hours.
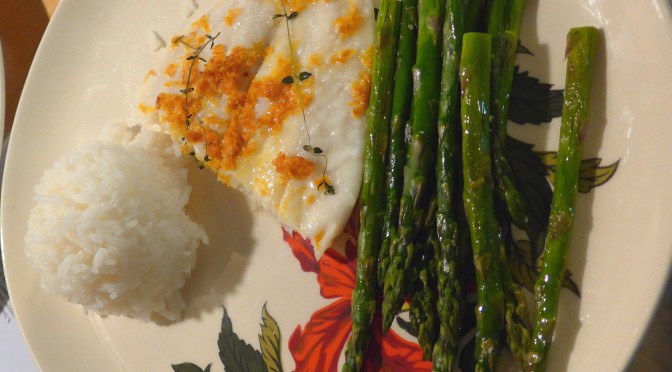
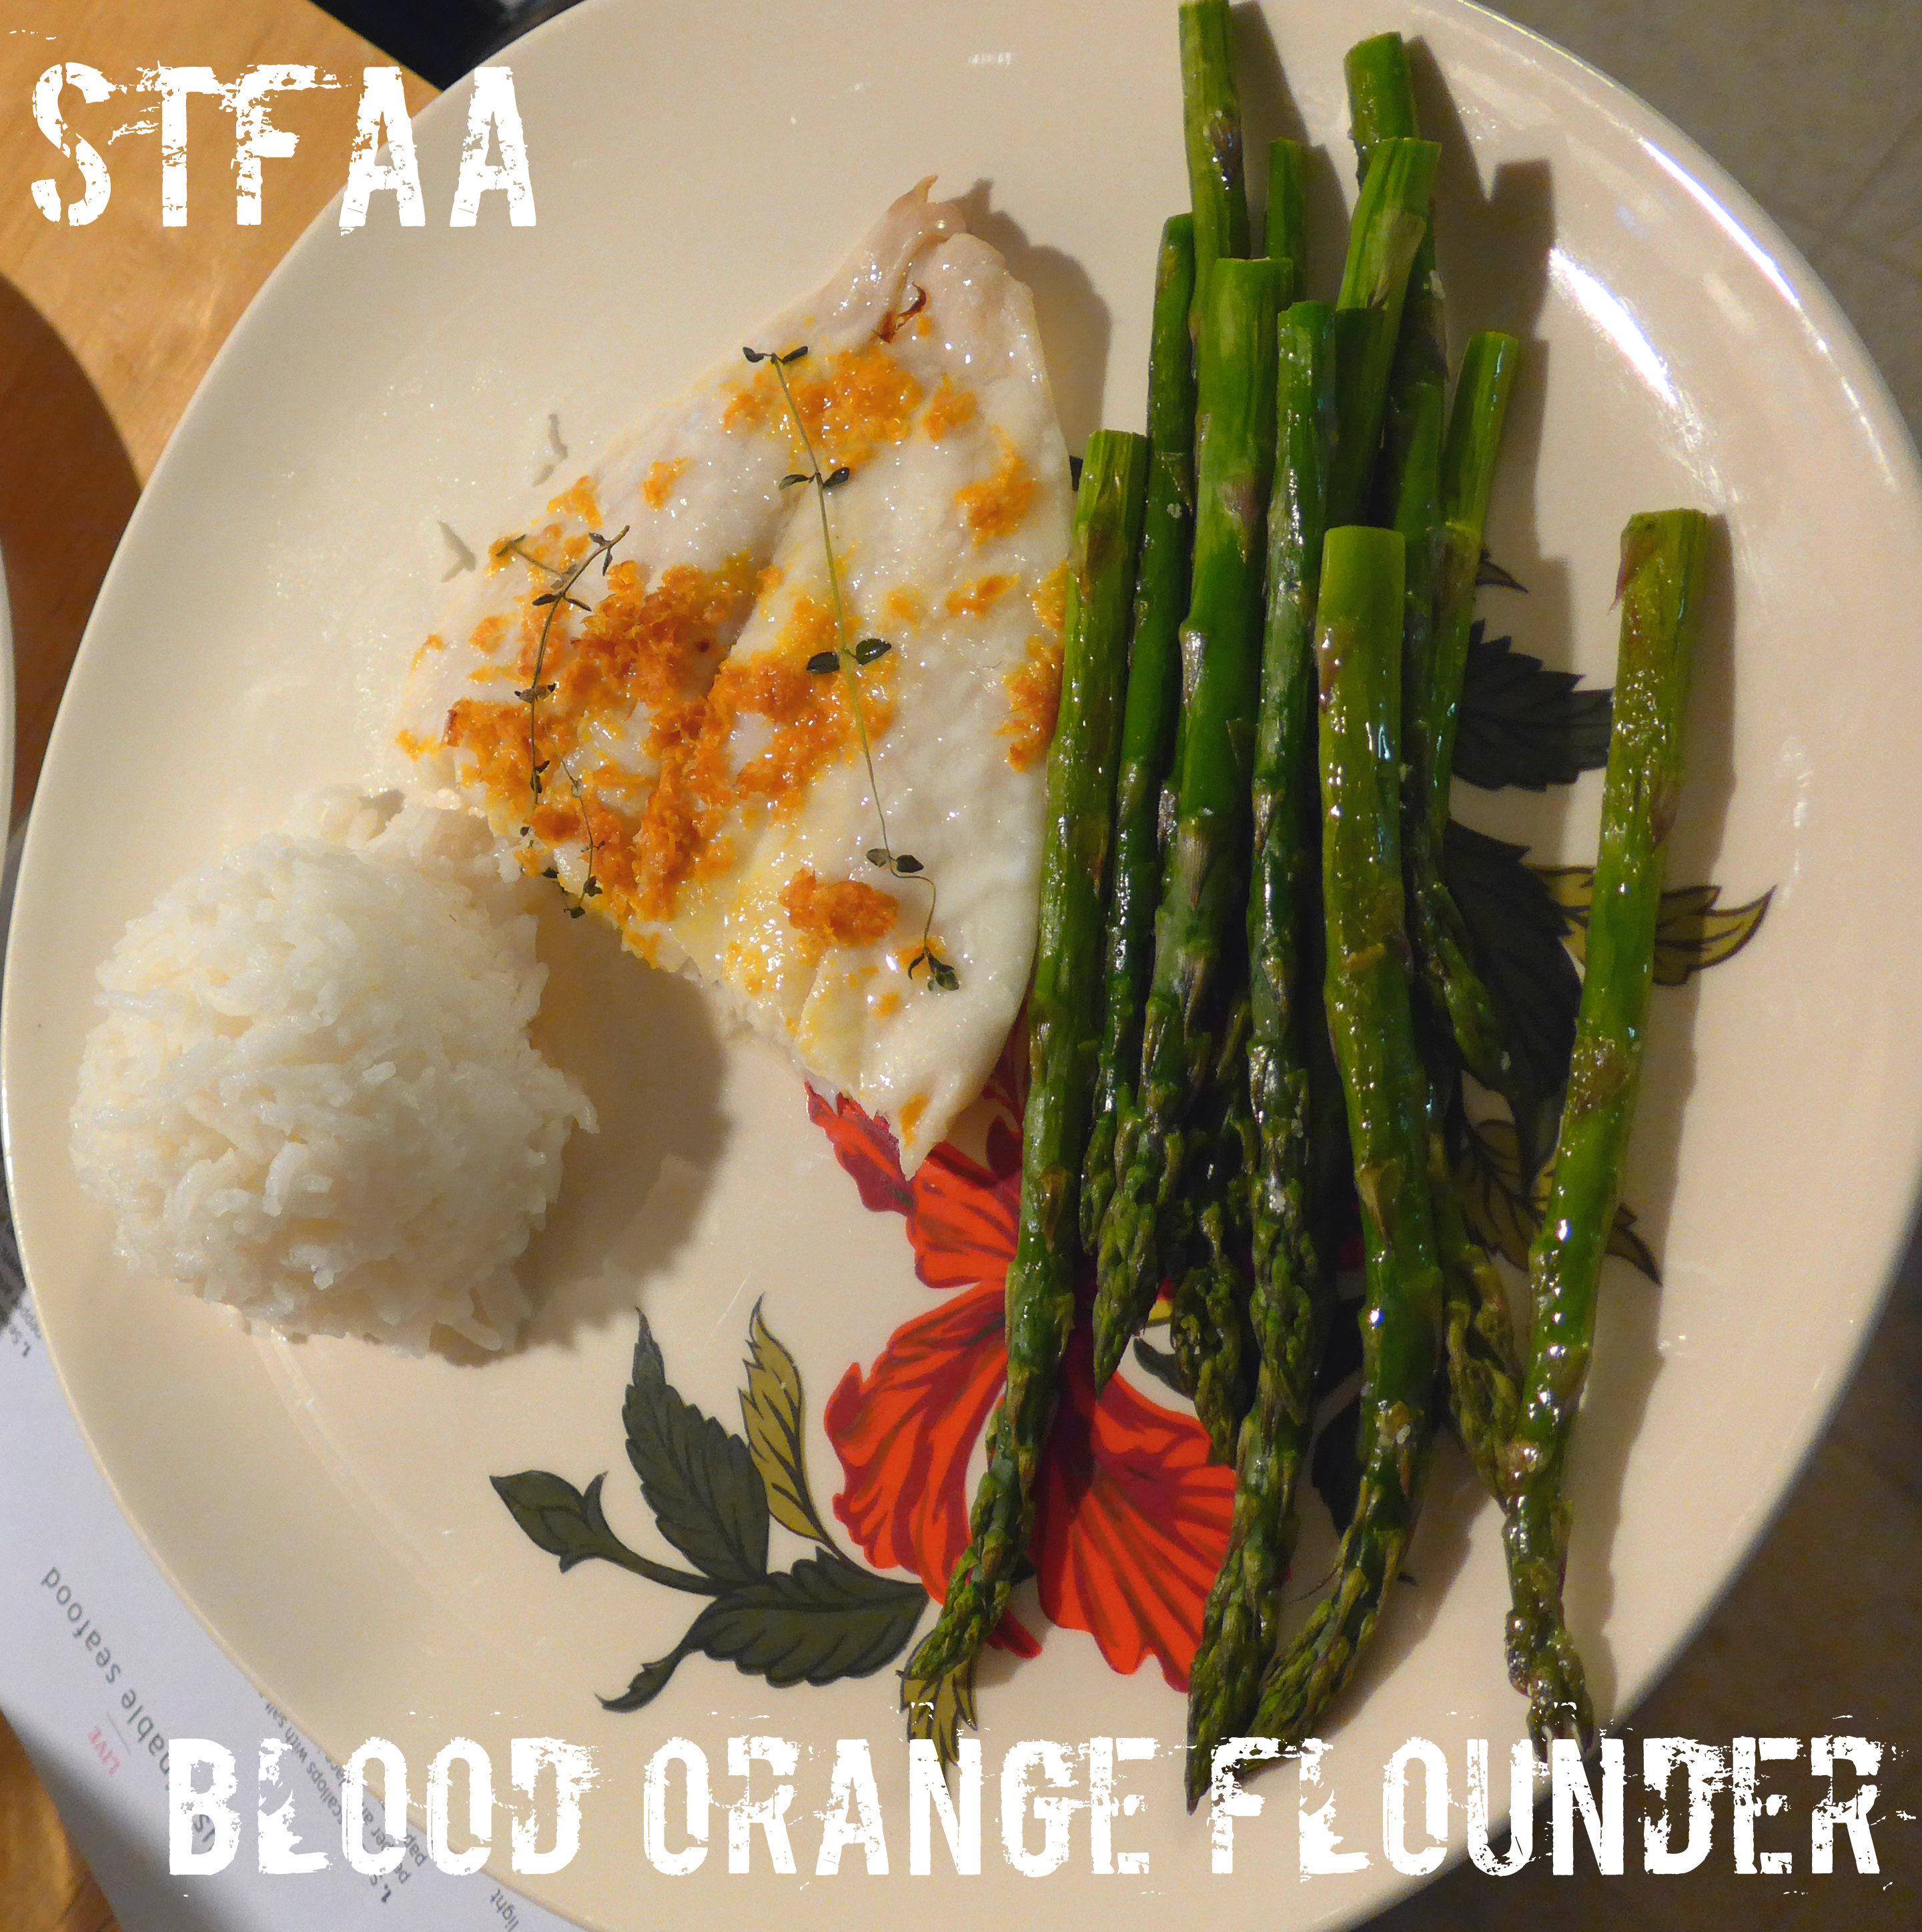
Blood Orange Flounder with baked asparagus and jasmine rice
Fish! I’m sorry for any of you who have fish allergies. I promise that we have plenty of non-fish recipes for you — hit the search bar up in the right-hand corner.
I’ve recently discovered the Yankee Fisherman’s Co-operative in Seabrook — I’m pretty sure that the fish comes in the dock off the back and you take it right out the front door. It is FRESH. So when I was there and the flounder looked amazing, I figured I should learn how to cook flounder. Even if he was Ariel’s best friend.
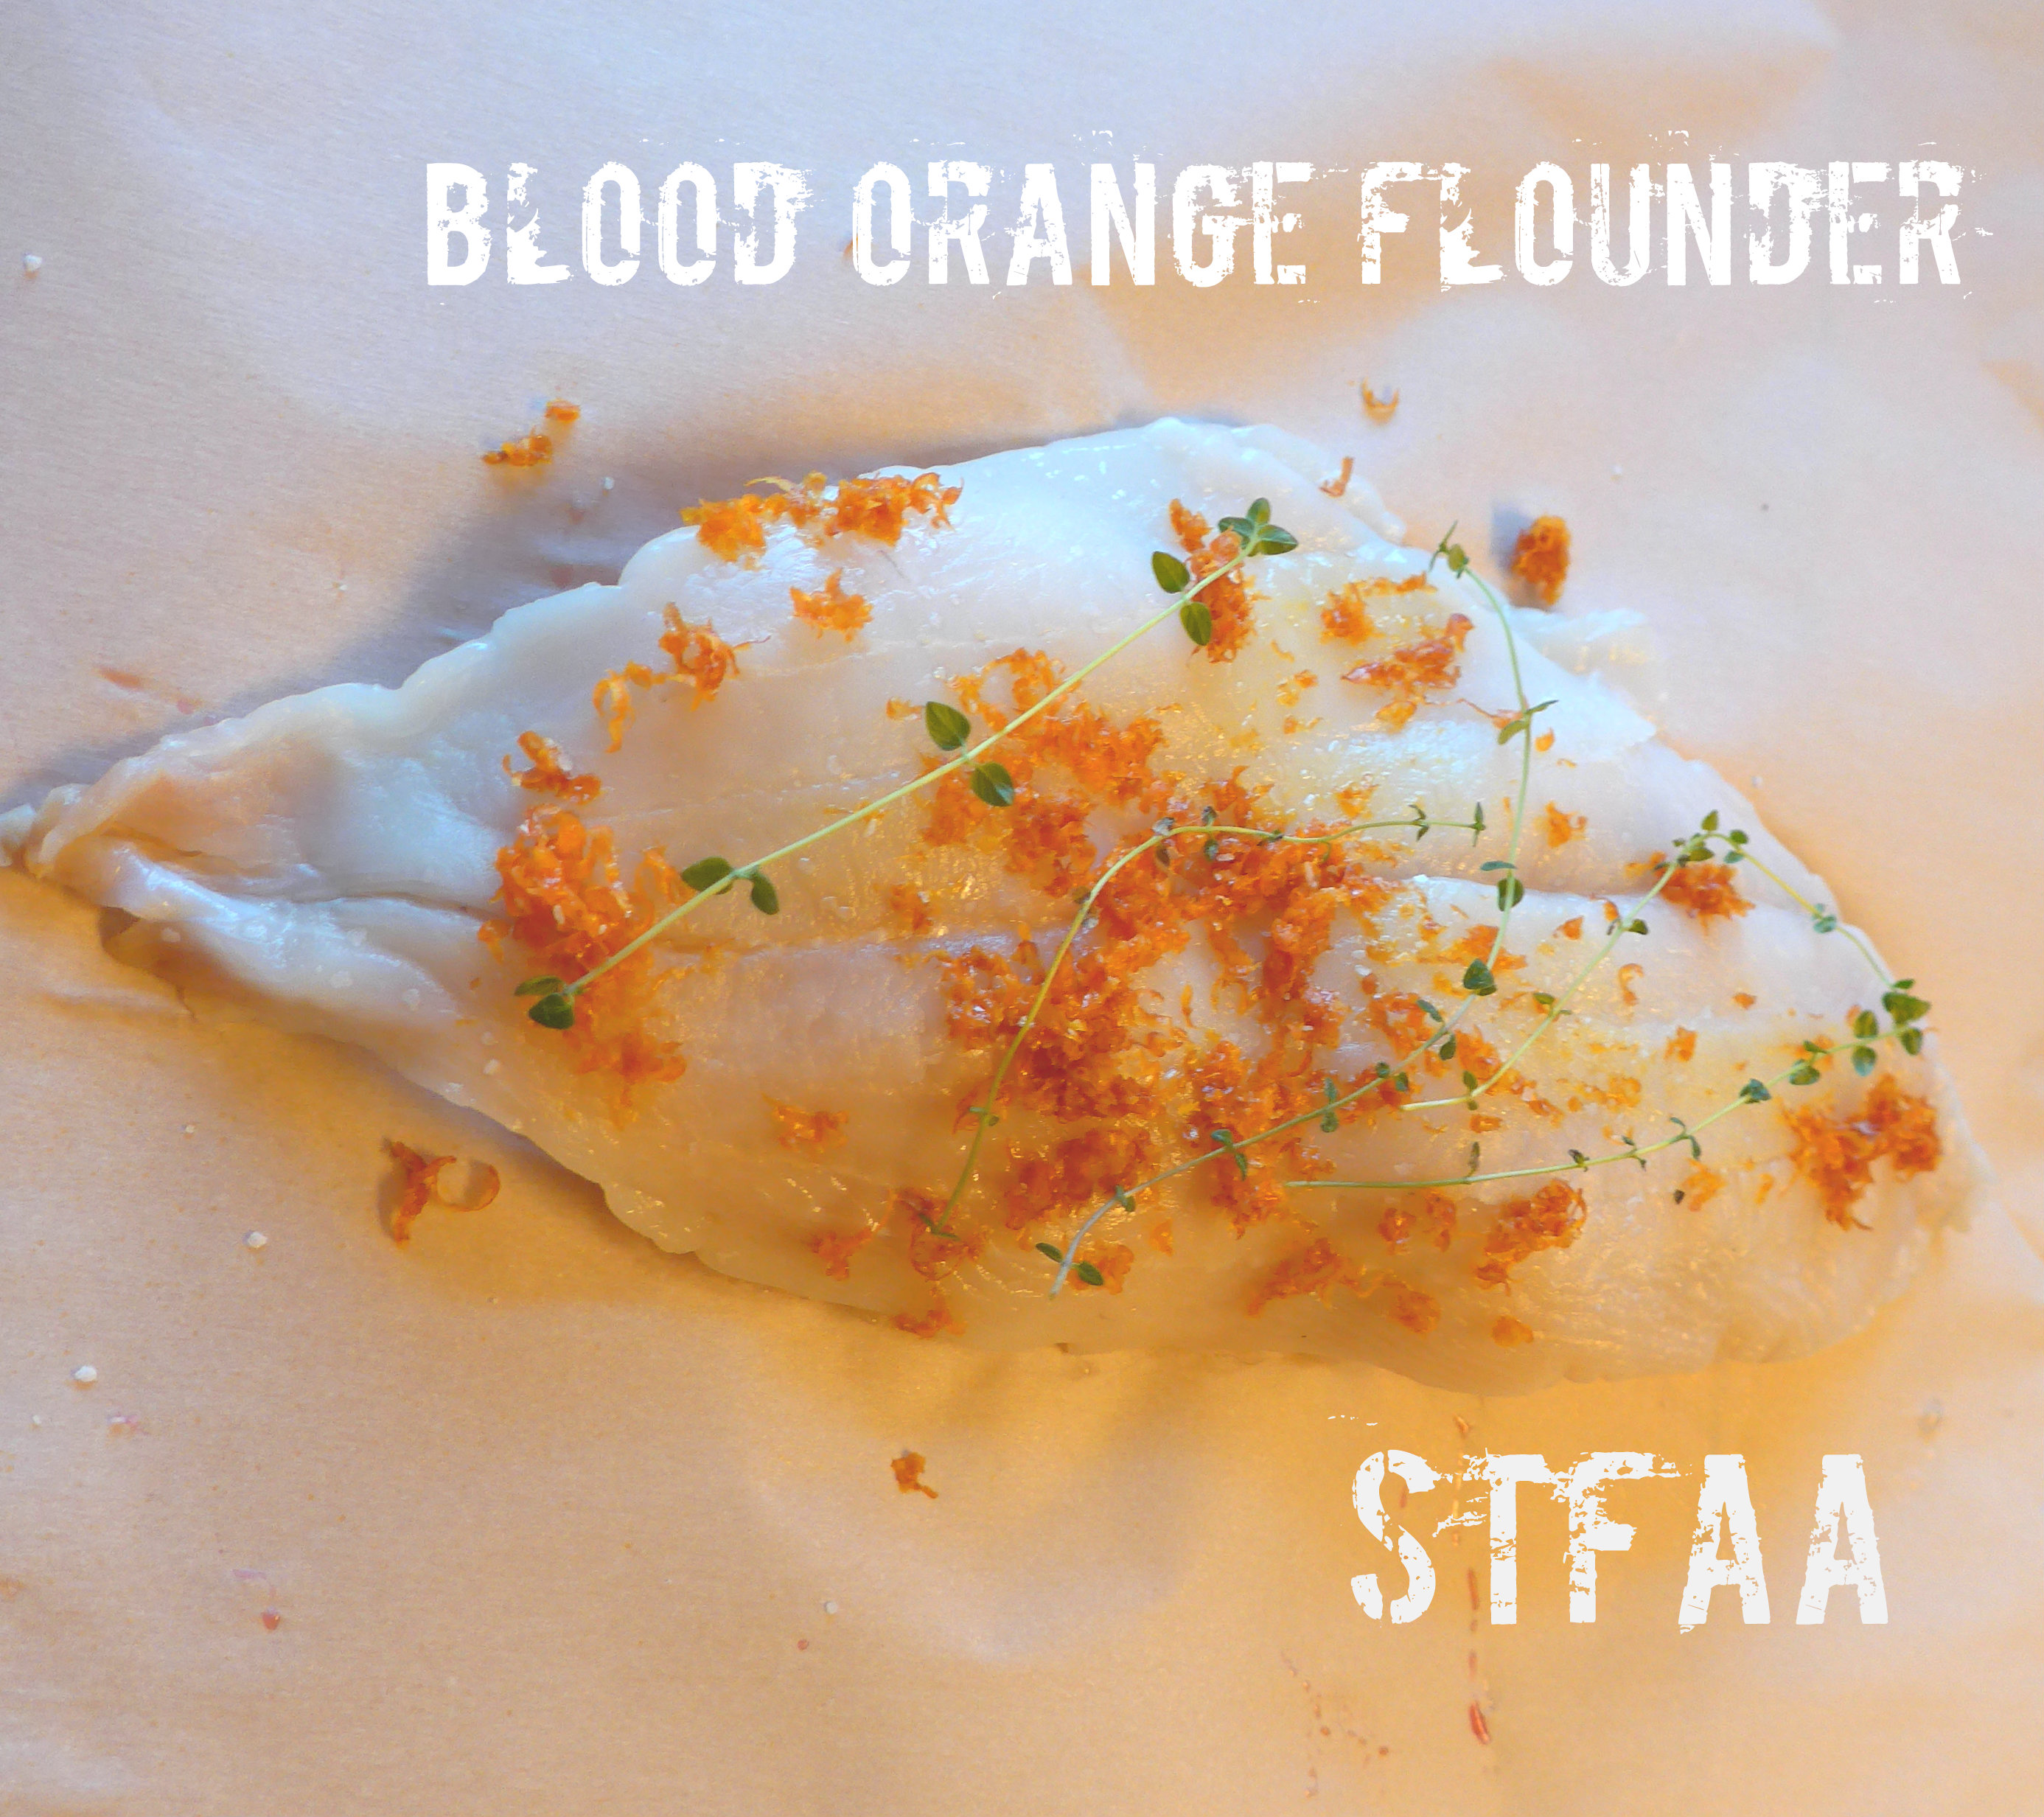
Flounder’s a very light-flavored fish, but it’s denser than tilapia, but not as “stiff” as cod. I liked it a lot. Because it’s a thin fillet, I decided to do parchment paper packets and citrus to add some flavor and keep the fish moist. I’ve layered the fish fillets over slices of blood orange, used the zest and some fresh thyme over top. Wrapped in parchment, the fish takes only about 15 minutes to cook to tender perfection.
(I wrote directions for folding the parchment in the recipe, but if you want it to be really pretty, check out this tutorial.)
Blood Orange Flounder, pre-baking. Zest and fresh thyme on top, and I swear there are whole orange slices beneath. Notice: Trying to access array offset on value of type bool in /home/maryzahc/public_html/adultfoodallergies.com/wp-content/plugins/wp-ultimate-recipe/helpers/models/recipe.php on line 254
Blood Orange Flounder
Print Recipe
This light, tender fish is cooked in parchment paper packets with citrus to infuse flavor and prevent drying out.
My flounder was two fillets, so I made two separate parchment paper packets. You need sheets that will fit your fillet, longways, with at least 4 inches at either end.
Layer 2-3 slices of orange (enough to support most of the fillet), with the fish fillet on top. Then sprinkle zest and fresh thyme over the top of each fillet.
Fold the parchment packets. This is what I did — pull the width-wise edges together and fold over twice. At each end, fold the corners in (like wrapping a present) and fold under at least two times, more if your length allows.
Place the packets on a baking sheet. Bake 15 minutes, and then test the fish with a fork to see if it is flaky. I served this with jasmine rice and asparagus baked at the same time as the fish.
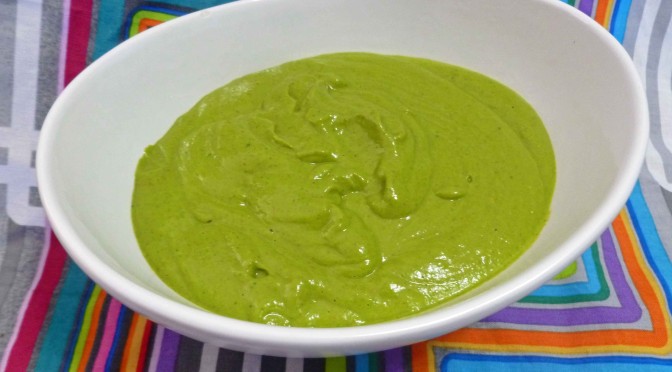
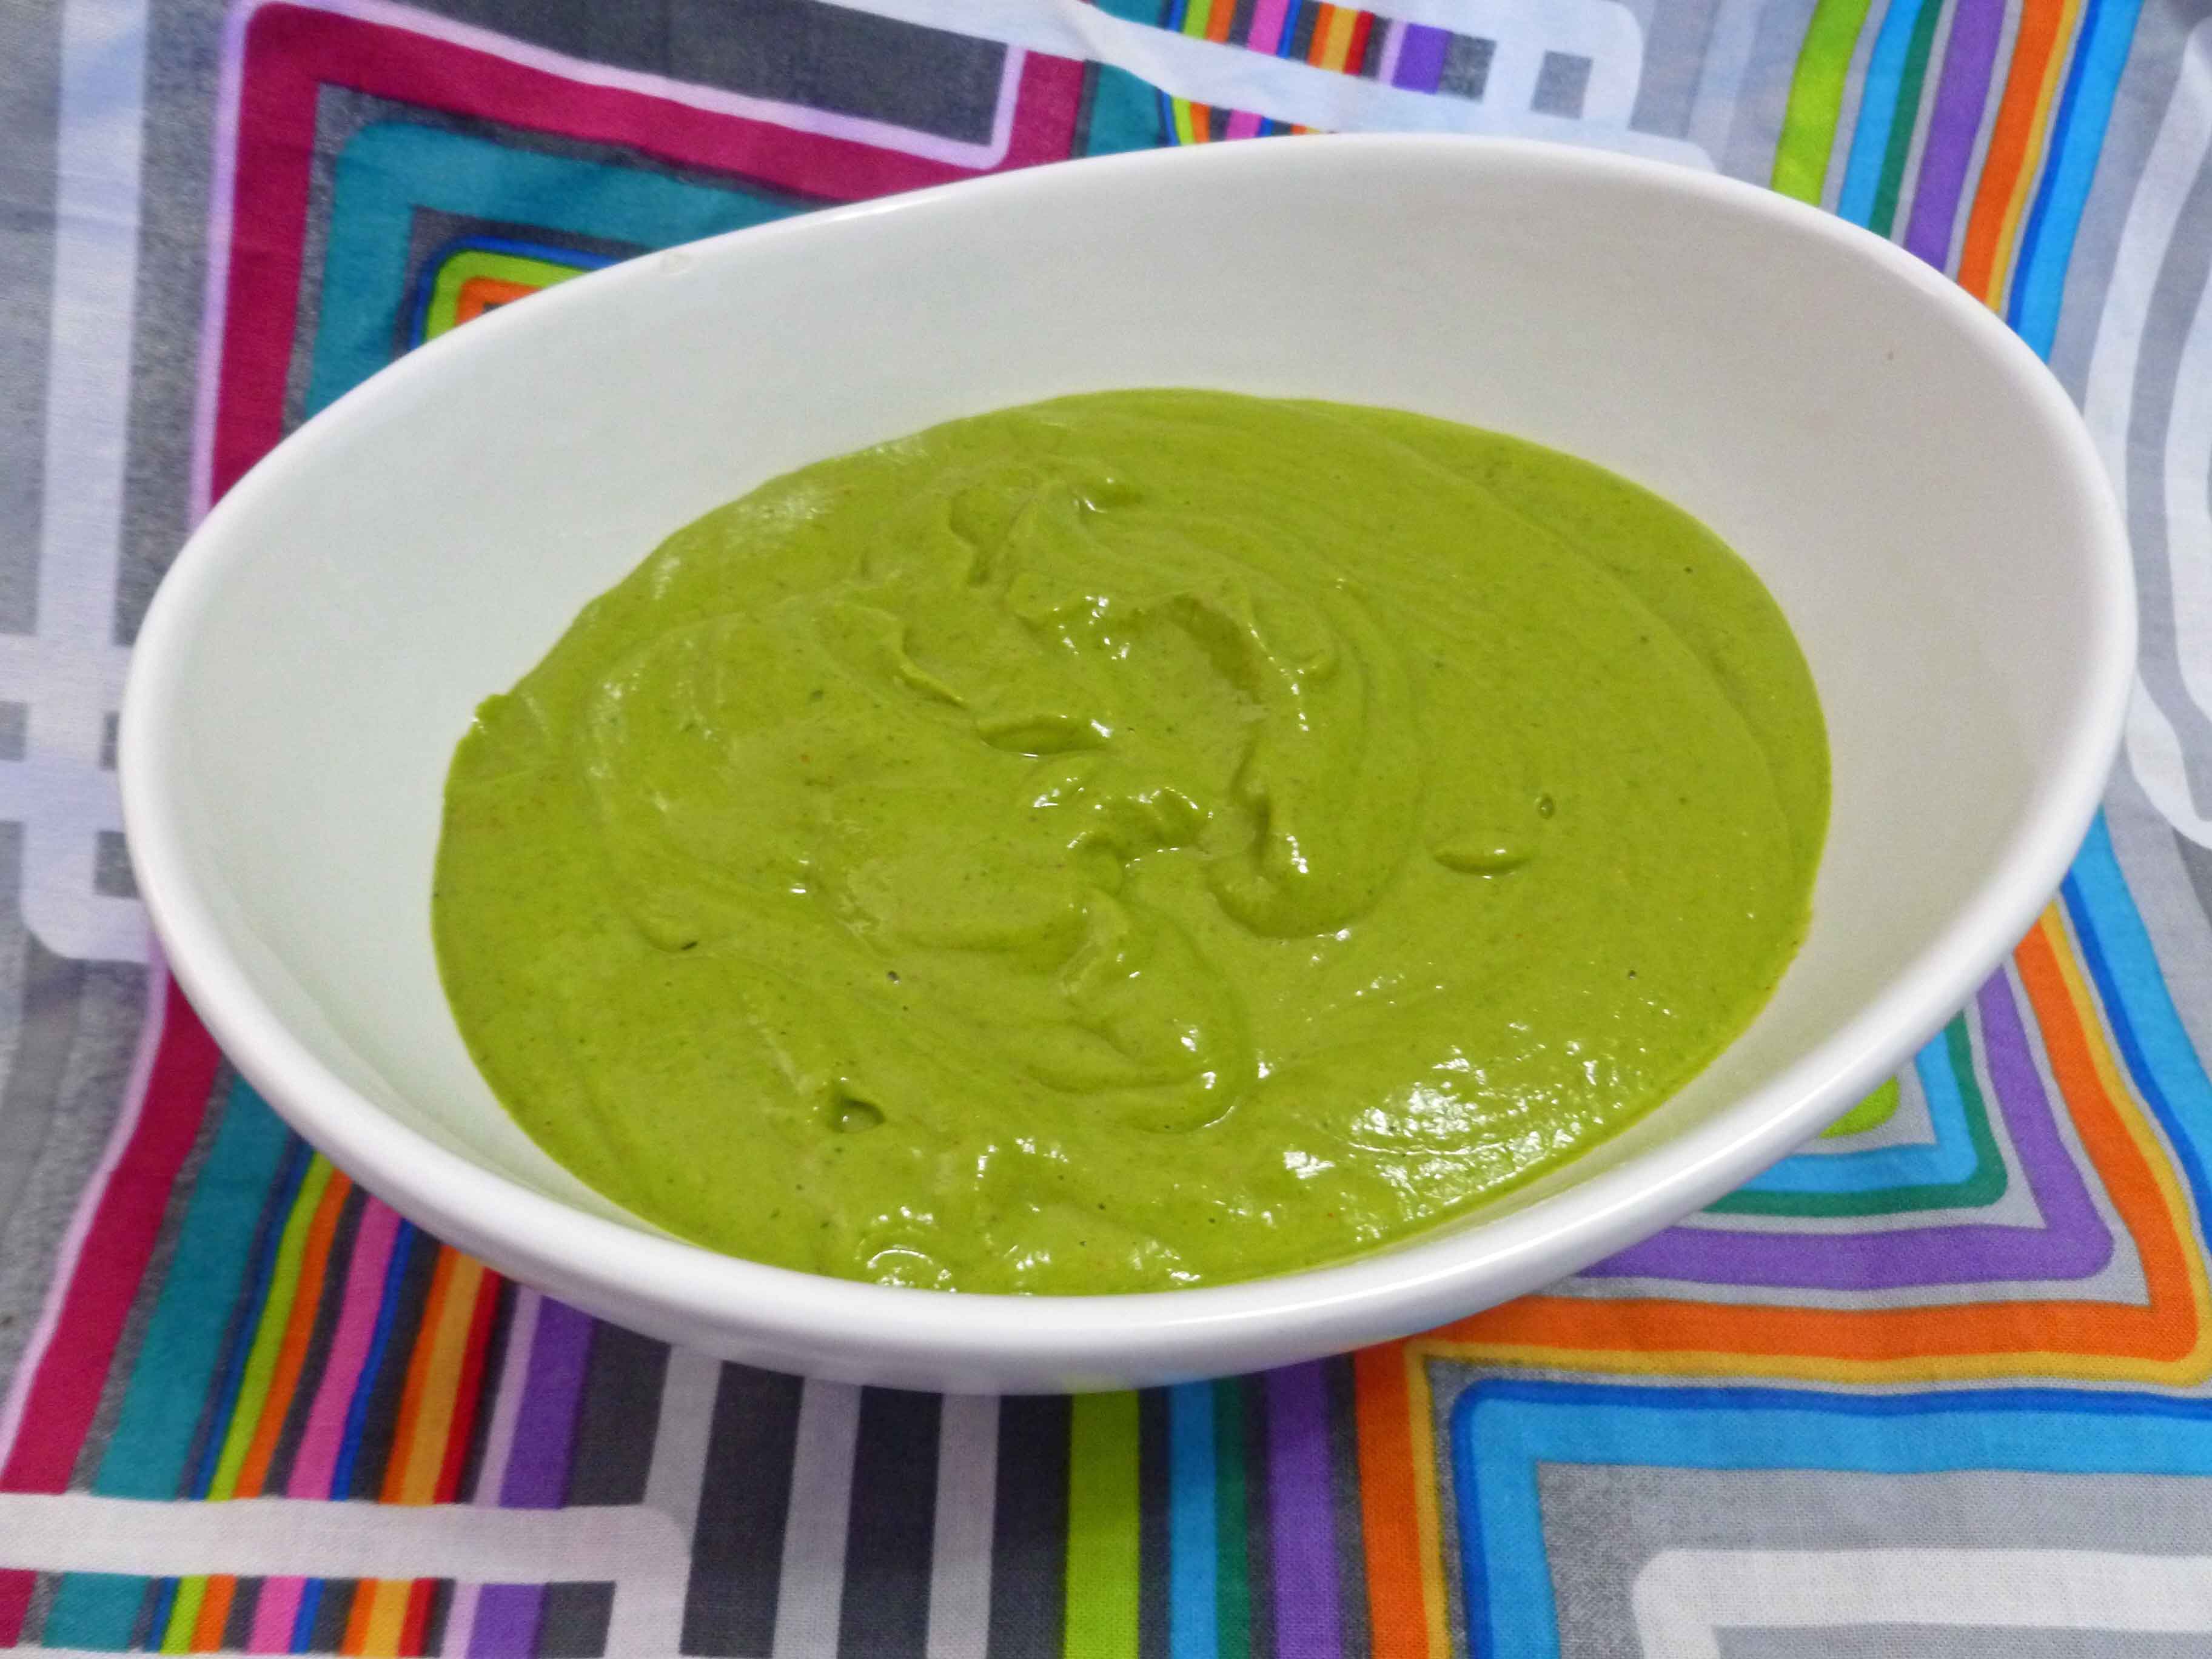
I love cilantro and avocado, and I was looking for a new salad dressing because I have a tendency to fall into a rut. I either make my standard vinaigrette out of habit or use my Thai Hot and Sweet Dipping Sauce because I’ve got a bunch of it canned up and it’s easy, and really good on salad. So I decided I’d try something different. If you like cilantro and avocado, it’s yummy and will be pretty much great on everything you can think of.
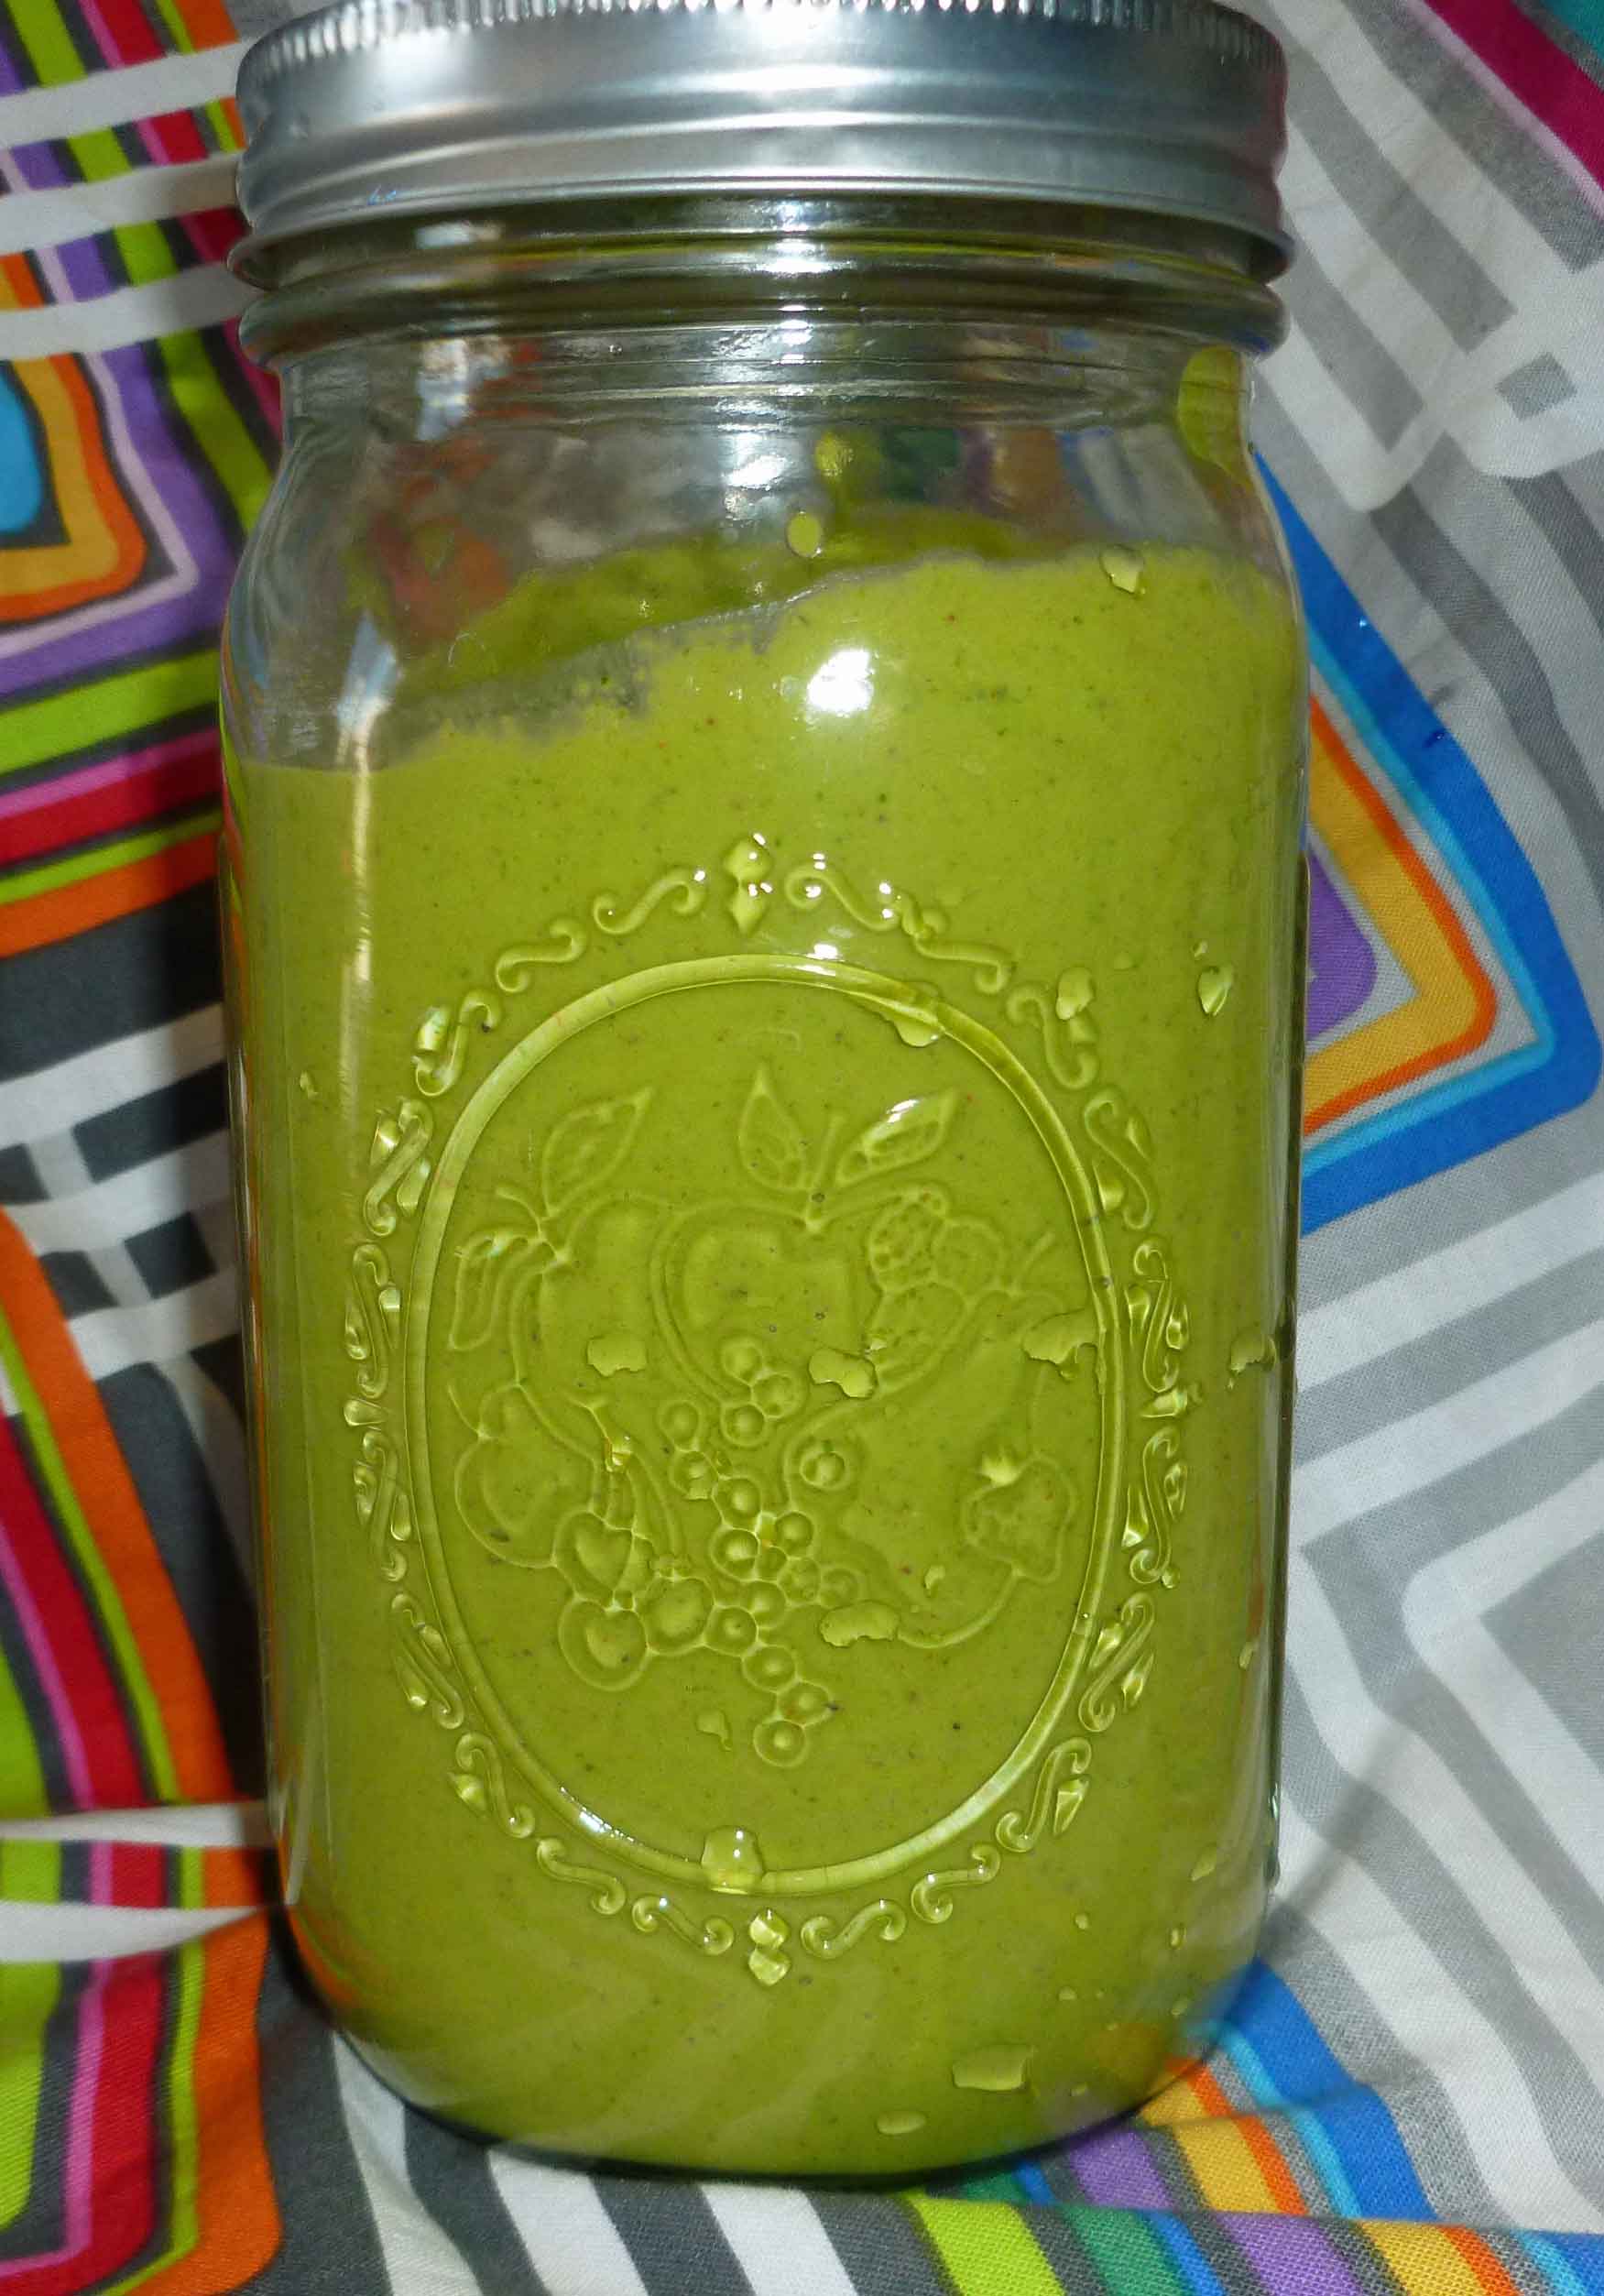
Cilantro Avocado Salad Dressing or Sauce
Makes 3 cups
2 cups of tightly packed chopped cilantro
2 garlic cloves, peeled and trimmed
1/4 cup of olive oil
1/2 cup of white wine vinegar
1/4 cup of water
1/2 cup fresh squeezed lime juice (I used two limes)
2 Tablespoons of Adobo seasoning – optional (If you don’t have Adobo seasoning or you don’t have a safe version, mix 1/8 cup of paprika, 1 1/2 Tablespoons of ground black pepper, 1 Tablespoon of onion powder, 1 Tablespoon of dried oregano, 1 Tablespoon of ground cumin, 1/2 Tablespoon of ground chipotle, and 1/2 Tablespoon of garlic powder, this makes half a cup of seasoning)
salt to taste
2 avocados
Put all the ingredients in the blender and puree it. I went overboard with my Vitamix so you can’t see the cilantro. If you want larger pieces of cilantro, put all the ingredients except for 1 cup of cilantro in the blender first, blend, and then add the reserved cilantro and blend judiciously to leave more visible bits.
Use it on tossed salads, as a dipping sauce for fries or chips, or a garnishing sauce for fajitas, tacos, or burritos if you have safe tortillas, or on baked potatoes or sweet potatoes. Use it as condiment sauce for steak, pork, or chicken. If you are worried you can’t use it all up, it freezes well.
Cilantro Avocado Salad Dressing or Sauce Notice: Trying to access array offset on value of type bool in /home/maryzahc/public_html/adultfoodallergies.com/wp-content/plugins/wp-ultimate-recipe/helpers/models/recipe.php on line 254
1/2cupwhite wine vinegaror use other safe for you vinegar
1/4 cupwater
1/2 cuplime juicefresh squeezed
2tbspAdobo seasoningIf you don’t have Adobo seasoning or you don’t have a safe version, mix 1/8 cup of paprika, 1 1/2 Tablespoons of ground black pepper, 1 Tablespoon of onion powder, 1 Tablespoon of dried oregano, 1 Tablespoon of ground cumin, 1/2 Tablespoon of ground chipotle, and 1/2 Tablespoon of garlic powder, this makes half a cup of seasoning
1pinchsaltto taste
Servings: cups
Instructions
Put all the ingredients in the blender and puree it. If you want larger pieces of cilantro, put all the ingredients except for 1 cup of cilantro in the blender first, blend, and then add the reserved cilantro and blend judiciously to leave more visible bits.
Use it on tossed salads, as a dipping sauce for fries or chips, or a garnishing sauce for fajitas, tacos, or burritos if you have safe tortillas, or on baked potatoes or sweet potatoes. Use it as condiment sauce for steak, pork, or chicken. If you are worried you can’t use it all up, it freezes well.
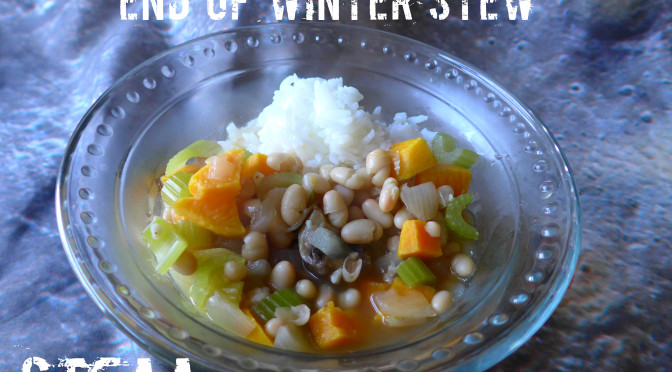
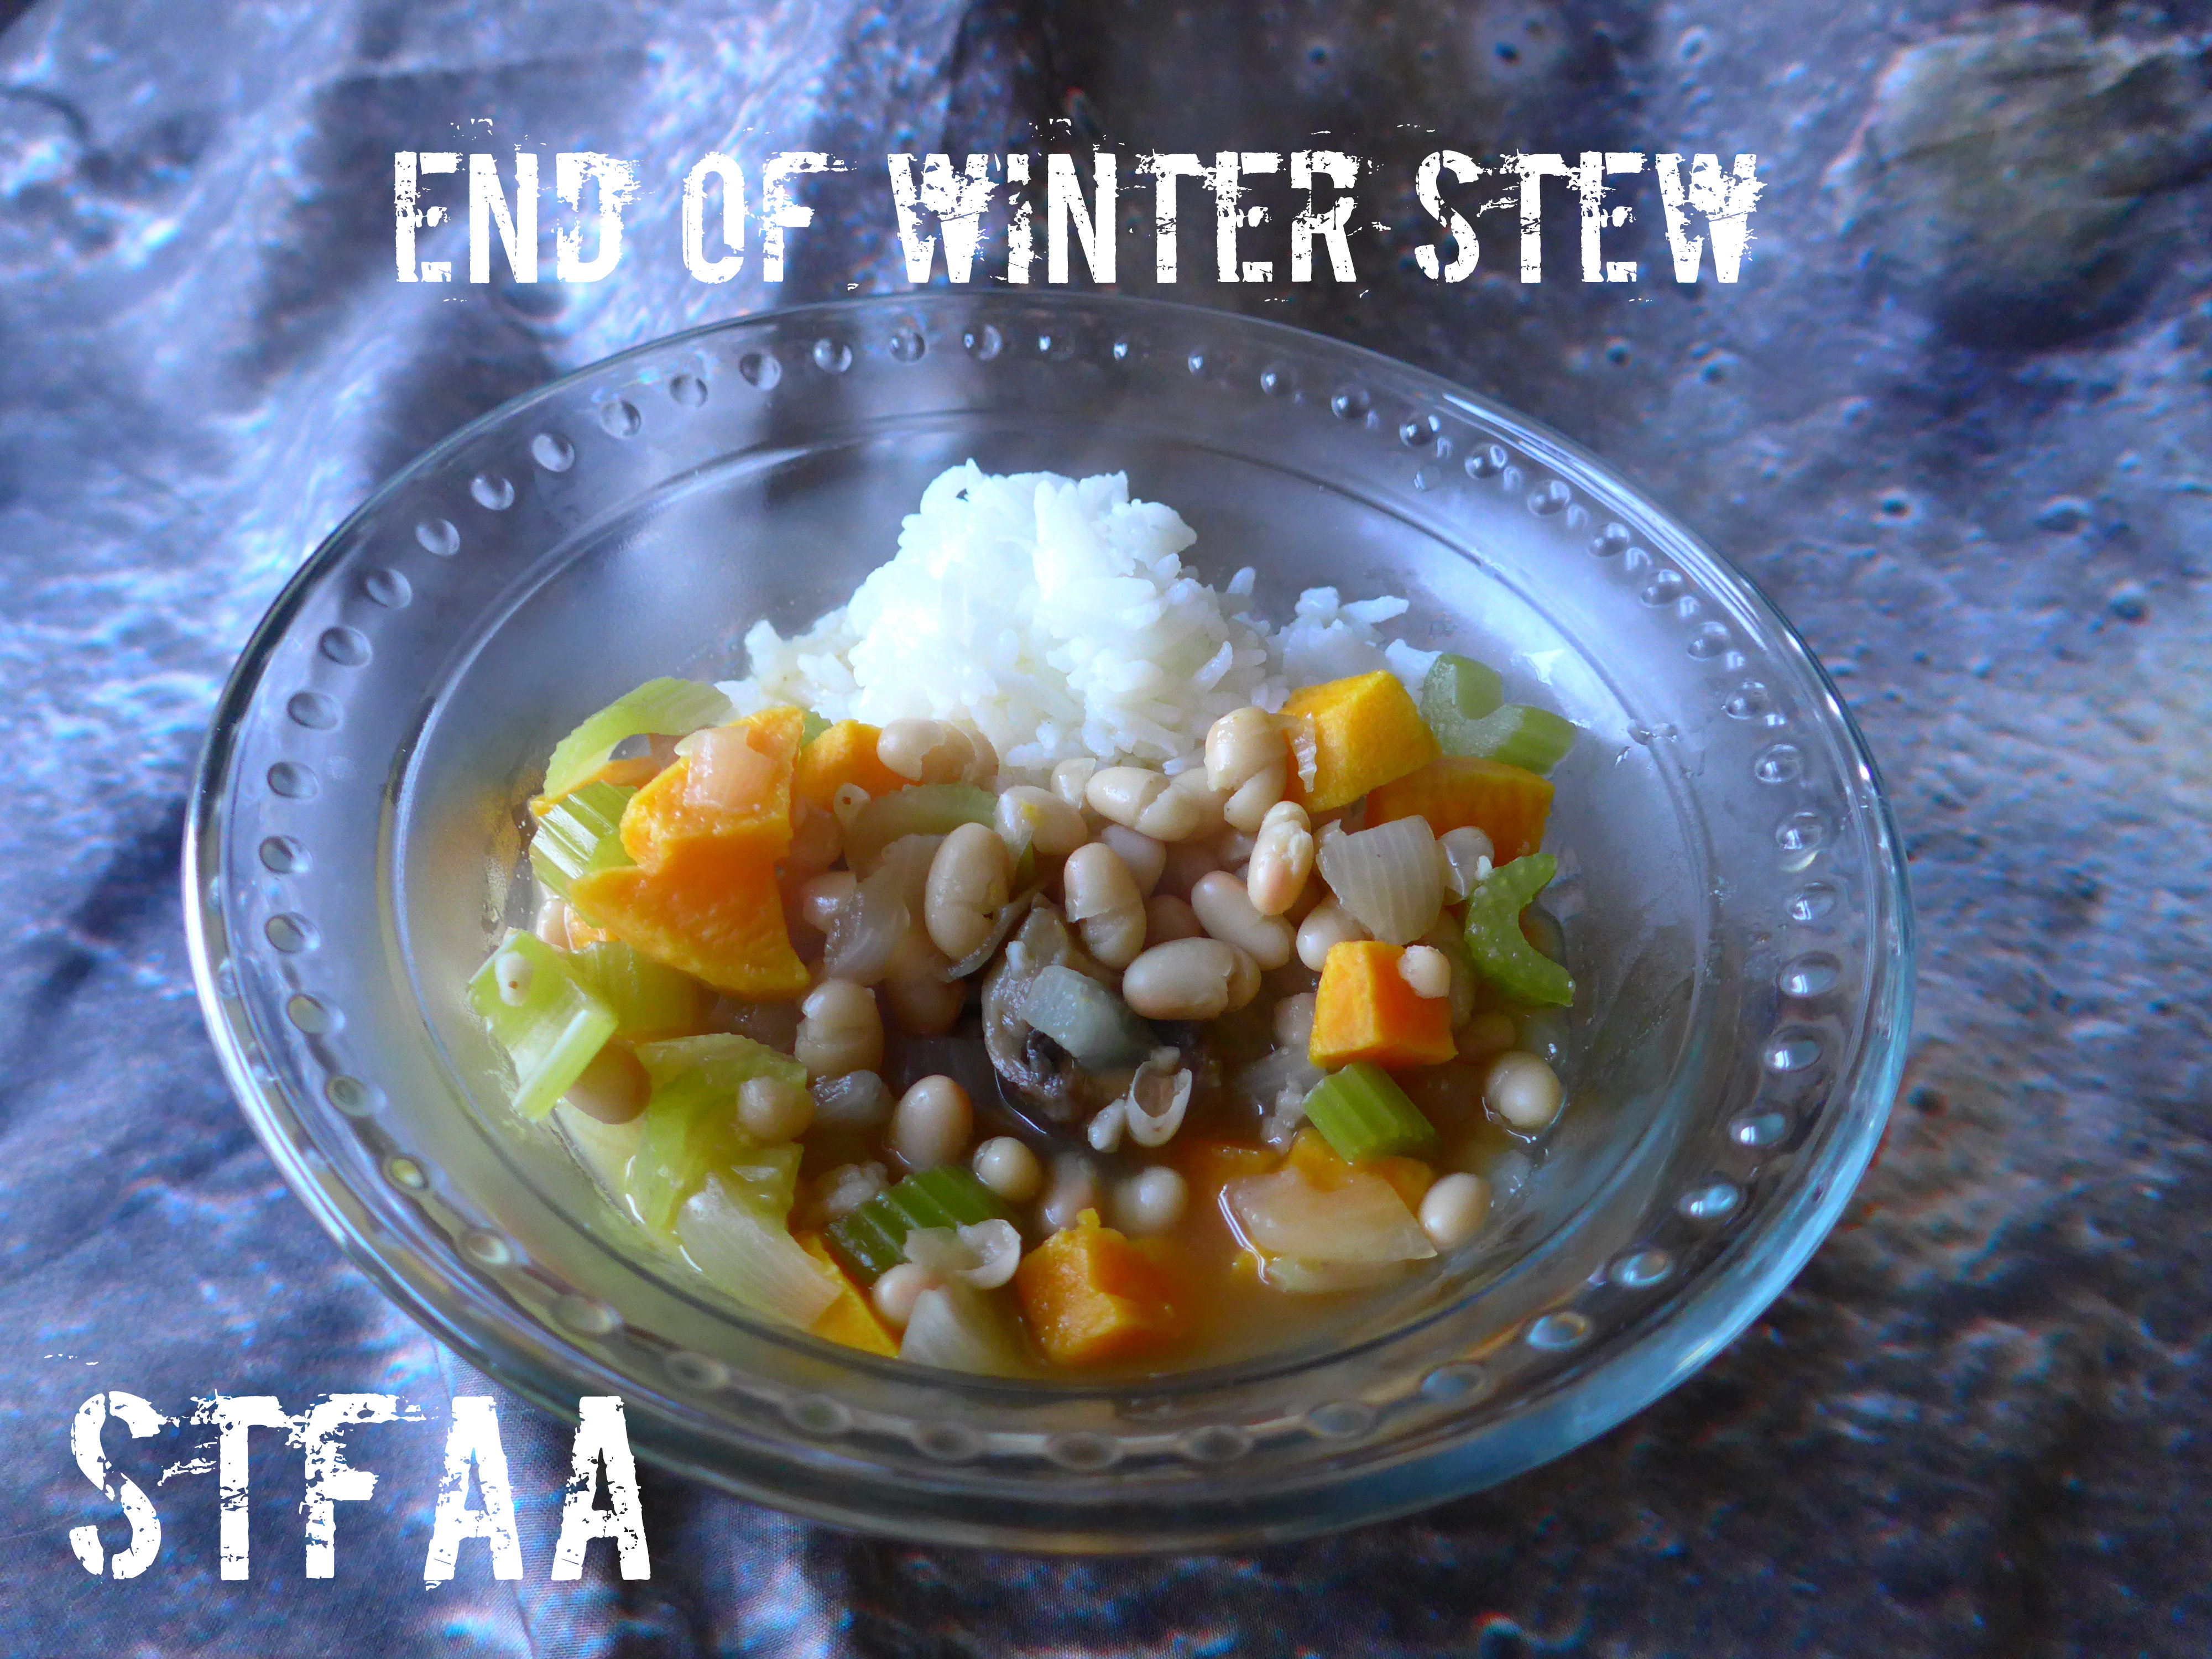
I made this for our first day of spring blizzard. Because in New England, we have a first day of spring blizzard, right? Basically, it’s a bunch of what I’d consider staple ingredients that I nearly always have in the house, spiced up with a small amount of spicy sausage I had leftover and froze.
So it’s a veg-forward, but not vegetarian, dish. If you wanted to make it vegan, leave out the sausage, make sure you use vegetable broth, and up the spices by a good bit (add some hot sauce, if that’s your thing).
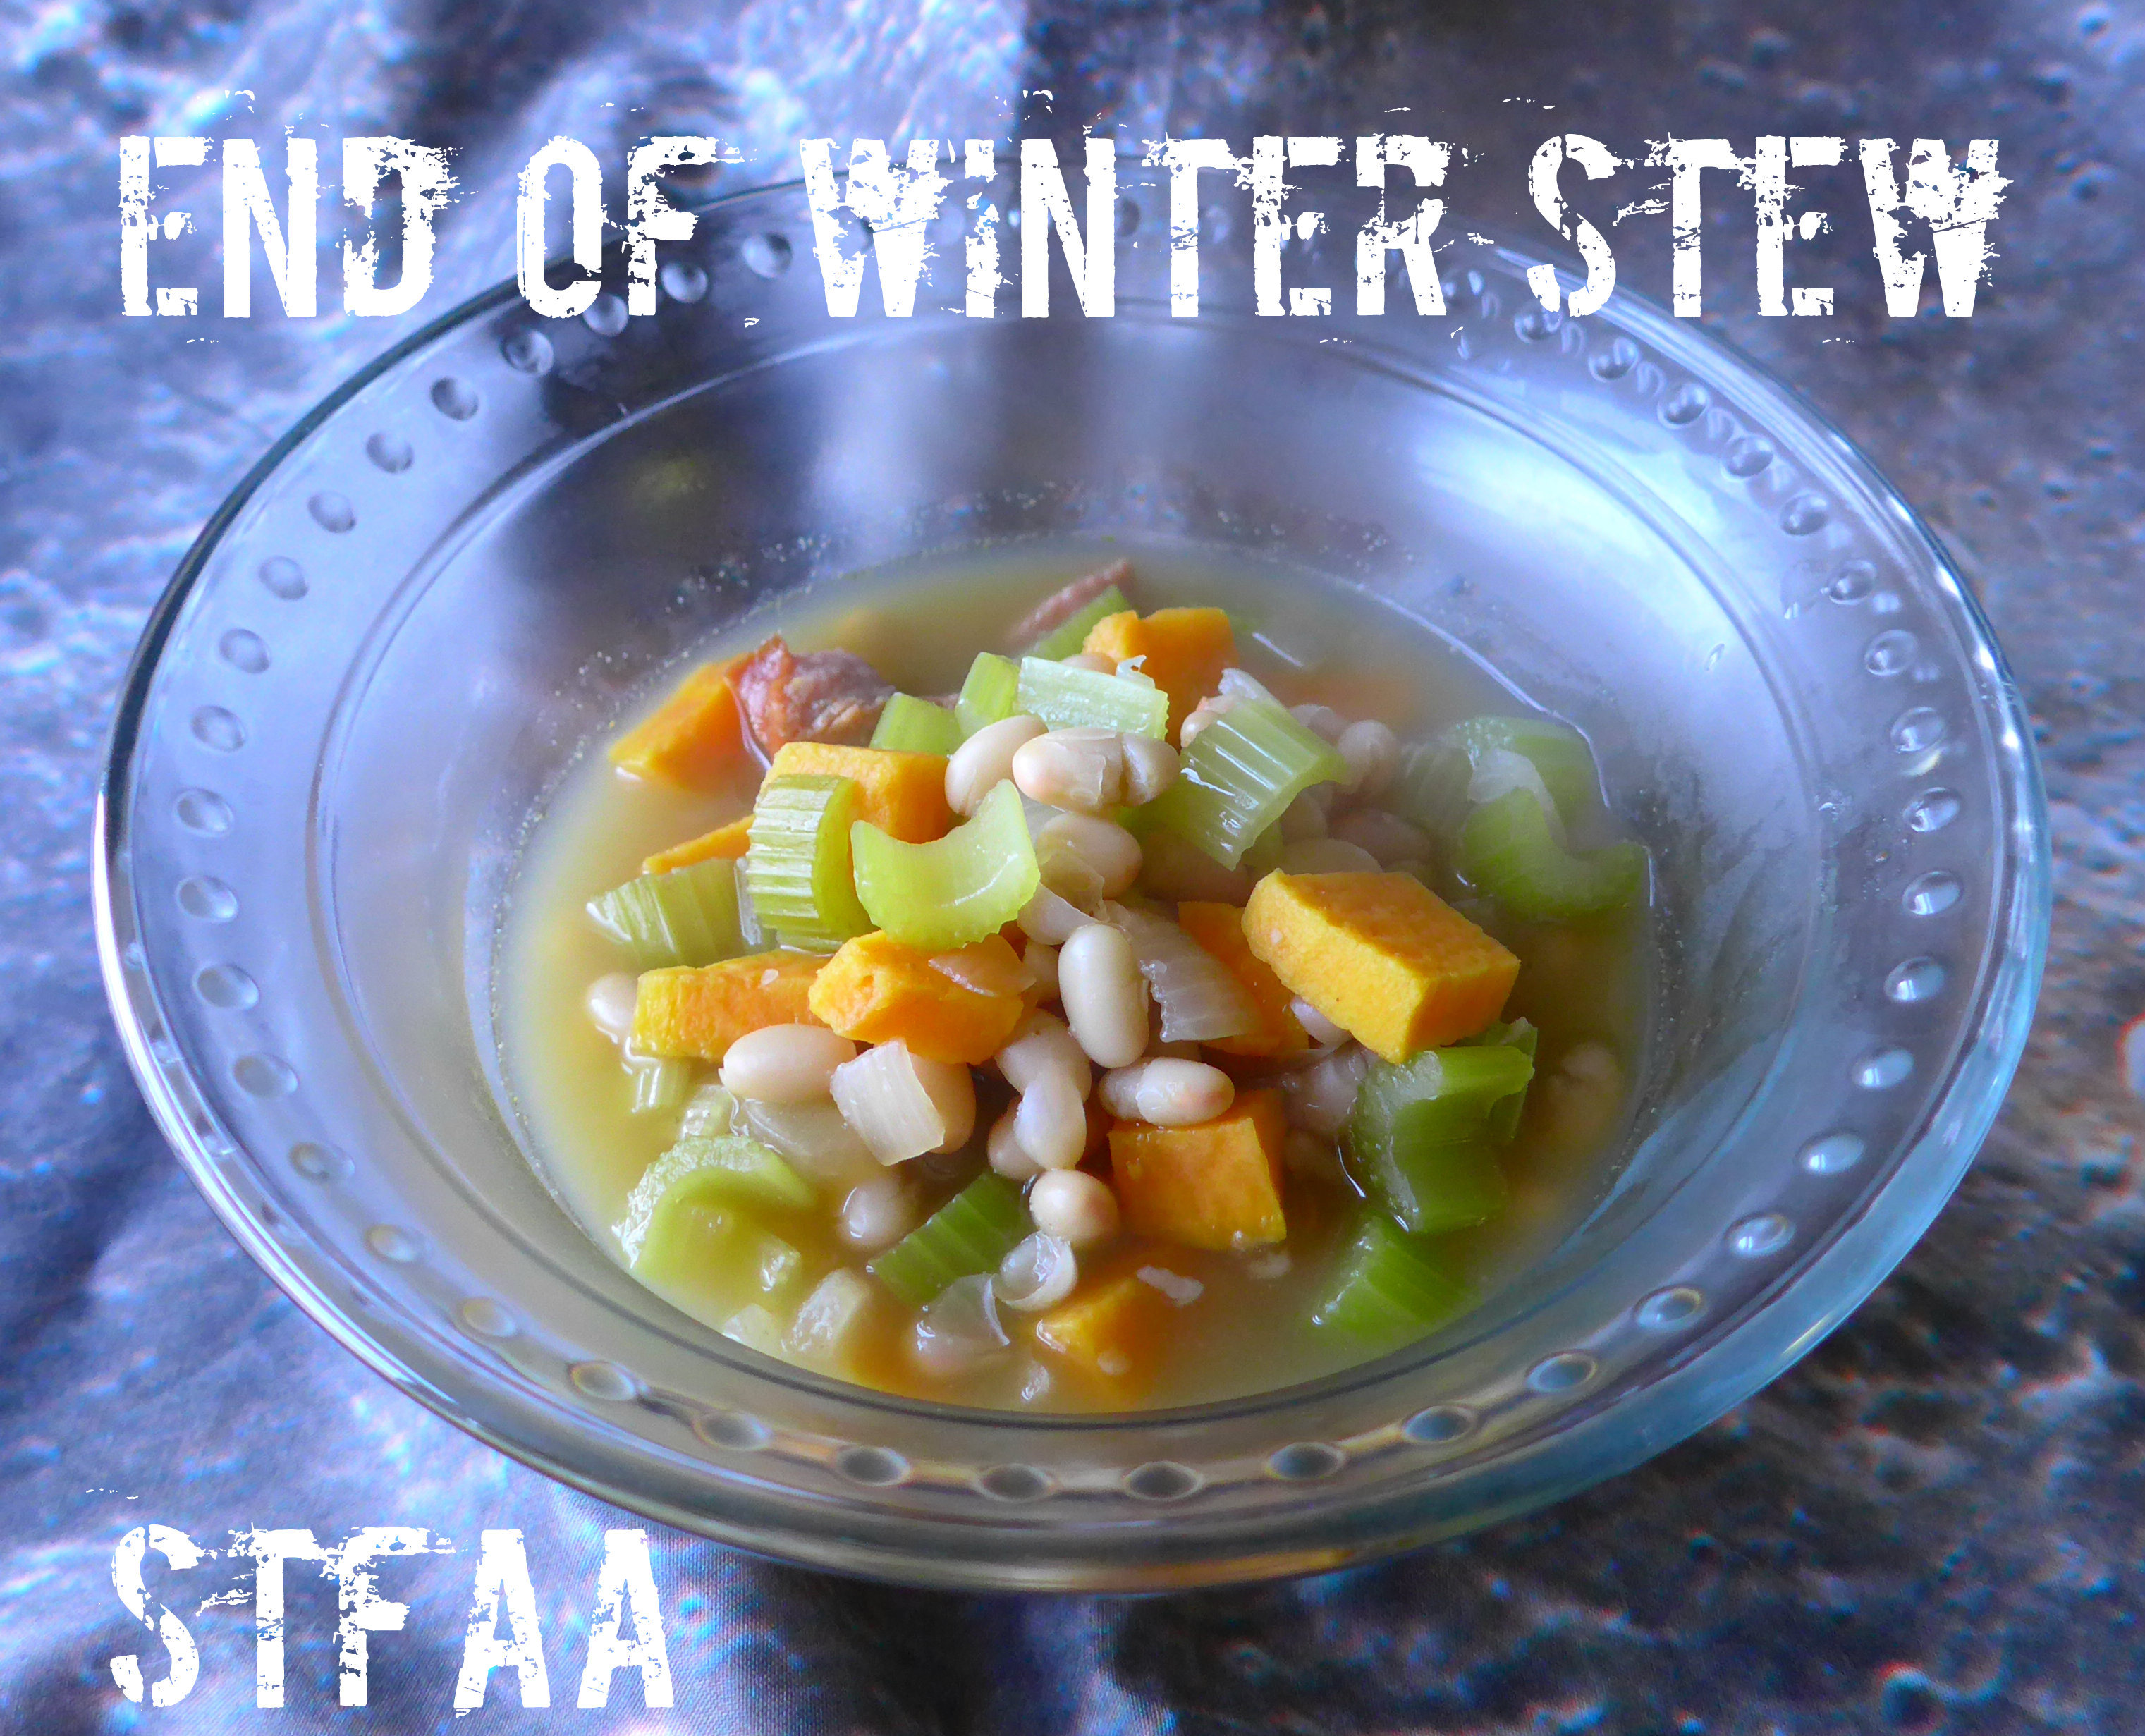
This was a great soup/stew for that week where it was a little cold in the mornings and merely chilly at noon. It’s warm and warming, but it is also rather light. Serve with or without rice.
End of Winter Stew without Rice Notice: Trying to access array offset on value of type bool in /home/maryzahc/public_html/adultfoodallergies.com/wp-content/plugins/wp-ultimate-recipe/helpers/models/recipe.php on line 254
3.5-4cupssoup stockvegetable or chicken, your preference
1 1/4teaspoonsseafood seasoningI used Penzey’s Chesapeake Bay
15ouncesnavy beans, cooked(drained and rinsed if canned)
1/2+cupandouille sausage, chopped(make sure this is safe for you), also, optional if you want to make it vegan
Servings: people
Instructions
In a large stock pot over medium heat, add the onion, olive oil, and salt, stirring well. You may need more olive oil if you are using a larger pot than I did, or one with a “stickier” surface.
When the onion begins to brown, add the rest of the ingredients in the order listed. Between each addition, pause to stir well. When adding the garlic, give it an extra minute — add more when you can smell the garlic cooking.
When all of your ingredients have been added, cover the pot and let it come to a boil. Texture-wise, letting it come to a boil from medium heat seems to turn out a less mushy stew than turning the heat up to high.
Once you’ve reached boiling, turn the heat down to low (but still simmering) and remove the lid. Cook 10-15 minutes, stirring occasionally, until the sweet potato is soft.
This is really good served over rice, which will stretch the number of servings, but is also great alone.
Recipe Notes
If you plan to leave out the sausage for a vegan version, add more of the seafood seasoning and a pinch of cayenne or a few dashes of hot sauce to get the warming heat of the spicy sausage. It’s there for flavor, not protein.
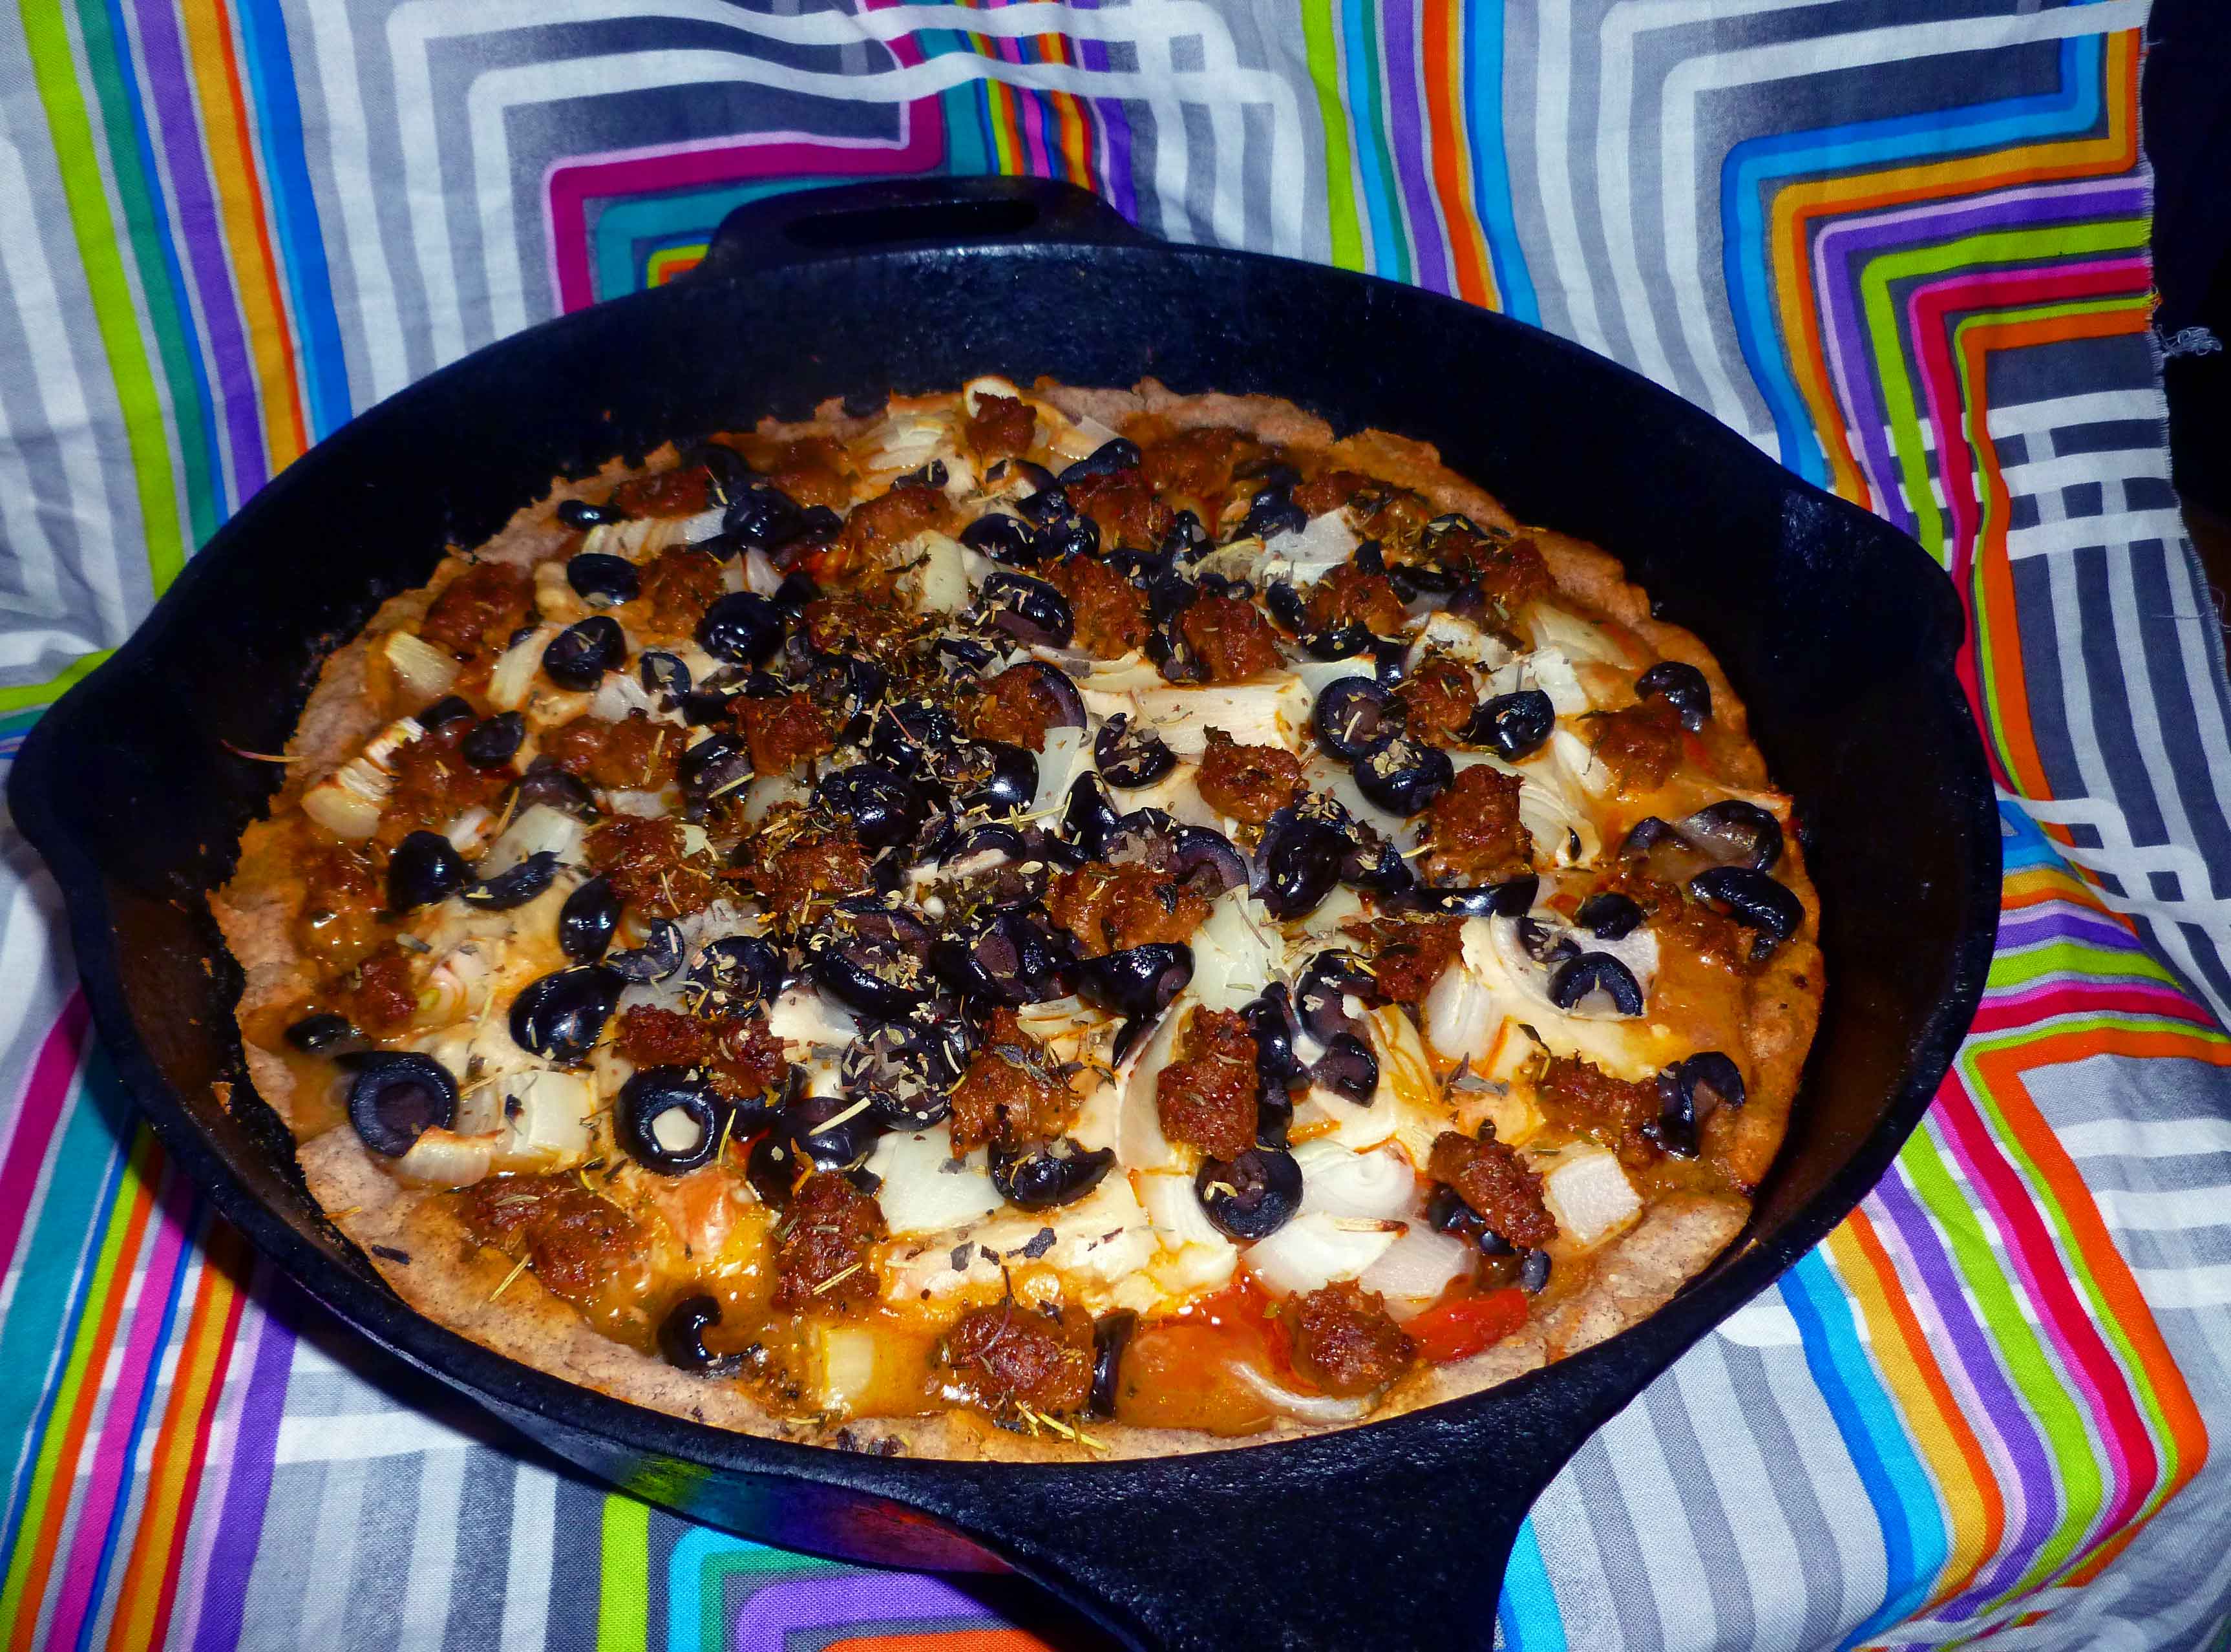
I’ve been working on pizza crust, but I haven’t been able to get a nice yeasty dough that I can roll out that I like. The first attempt was as hard as a bathroom tile, although it tasted pretty good. Then I had the brainstorm that although I didn’t have a fresh dough recipe yet, I could make a deep dish pizza using the my Gluten-free Pie Crust recipe. So I did. And it was pretty good. For this recipe you’ll also need to make cashew cheese and Italian sausage a few days ahead. You’ll note that we do have an Italian sausage recipe already. However, I came up with it before the corn allergy, so if you have a corn allergy, substitute the canola for another safe-for-you oil. I used the basic cashew cheese from Miyoko Schinner’s Artisan Vegan Cheese but I used my home brewed kombucha instead of rejuvelac to culture it.
Deep Dish Cast Iron Skillet Pizza
Cashew Cheese:
You’ll use about half of the batch for the pizza. If you don’t want leftovers, divide the recipe in half.
2 cups of raw cashews, soaked in water to cover overnight and drained
1/2 cup to 3/4 cups of kombucha
pinch of salt
Put the cashews and salt in the blender. Turn on the blender and add enough kombucha through the opening in the blender lid to process the cashews. Blend until smooth and creamy, scraping down the sides as needed.
Empty the mixture into a glass bowl or container, cover it, and let it rest at room temperature for 8 to 36 hours, depending on your desired level of sharpness. It’ll thicken up as it cultures. I did 36 hours the first time and it was too sharp. Eight hours was too sweet, so taste it as it cultures to gauge your preference. Once it’s ready, cover it, and store it in the refrigerator for up to two weeks.
2 cups of safe-for-you whole tomatoes, drained (I use my home canned tomatoes), or a safe-for-you marinara sauce
1 Tablespoon of Italian Seasoning mix (or a bit of oregano, basil, marjoram, sage, rosemary, and thyme to add up to 1 Tablespoon)
1/2 of a batch of the cashew cheese as made above
a medium onion, peeled and diced
a can of black olives, drained and sliced (I do okay with Pearls Olives, but your mileage may vary, use what’s safe for you. I use the whole olives for less chance of cross contamination.)
a bit of safe-for-you oil for greasing the cast iron skillet
Preheat your oven to 450°F. Grease your 12 inch cast iron skillet with your oil.
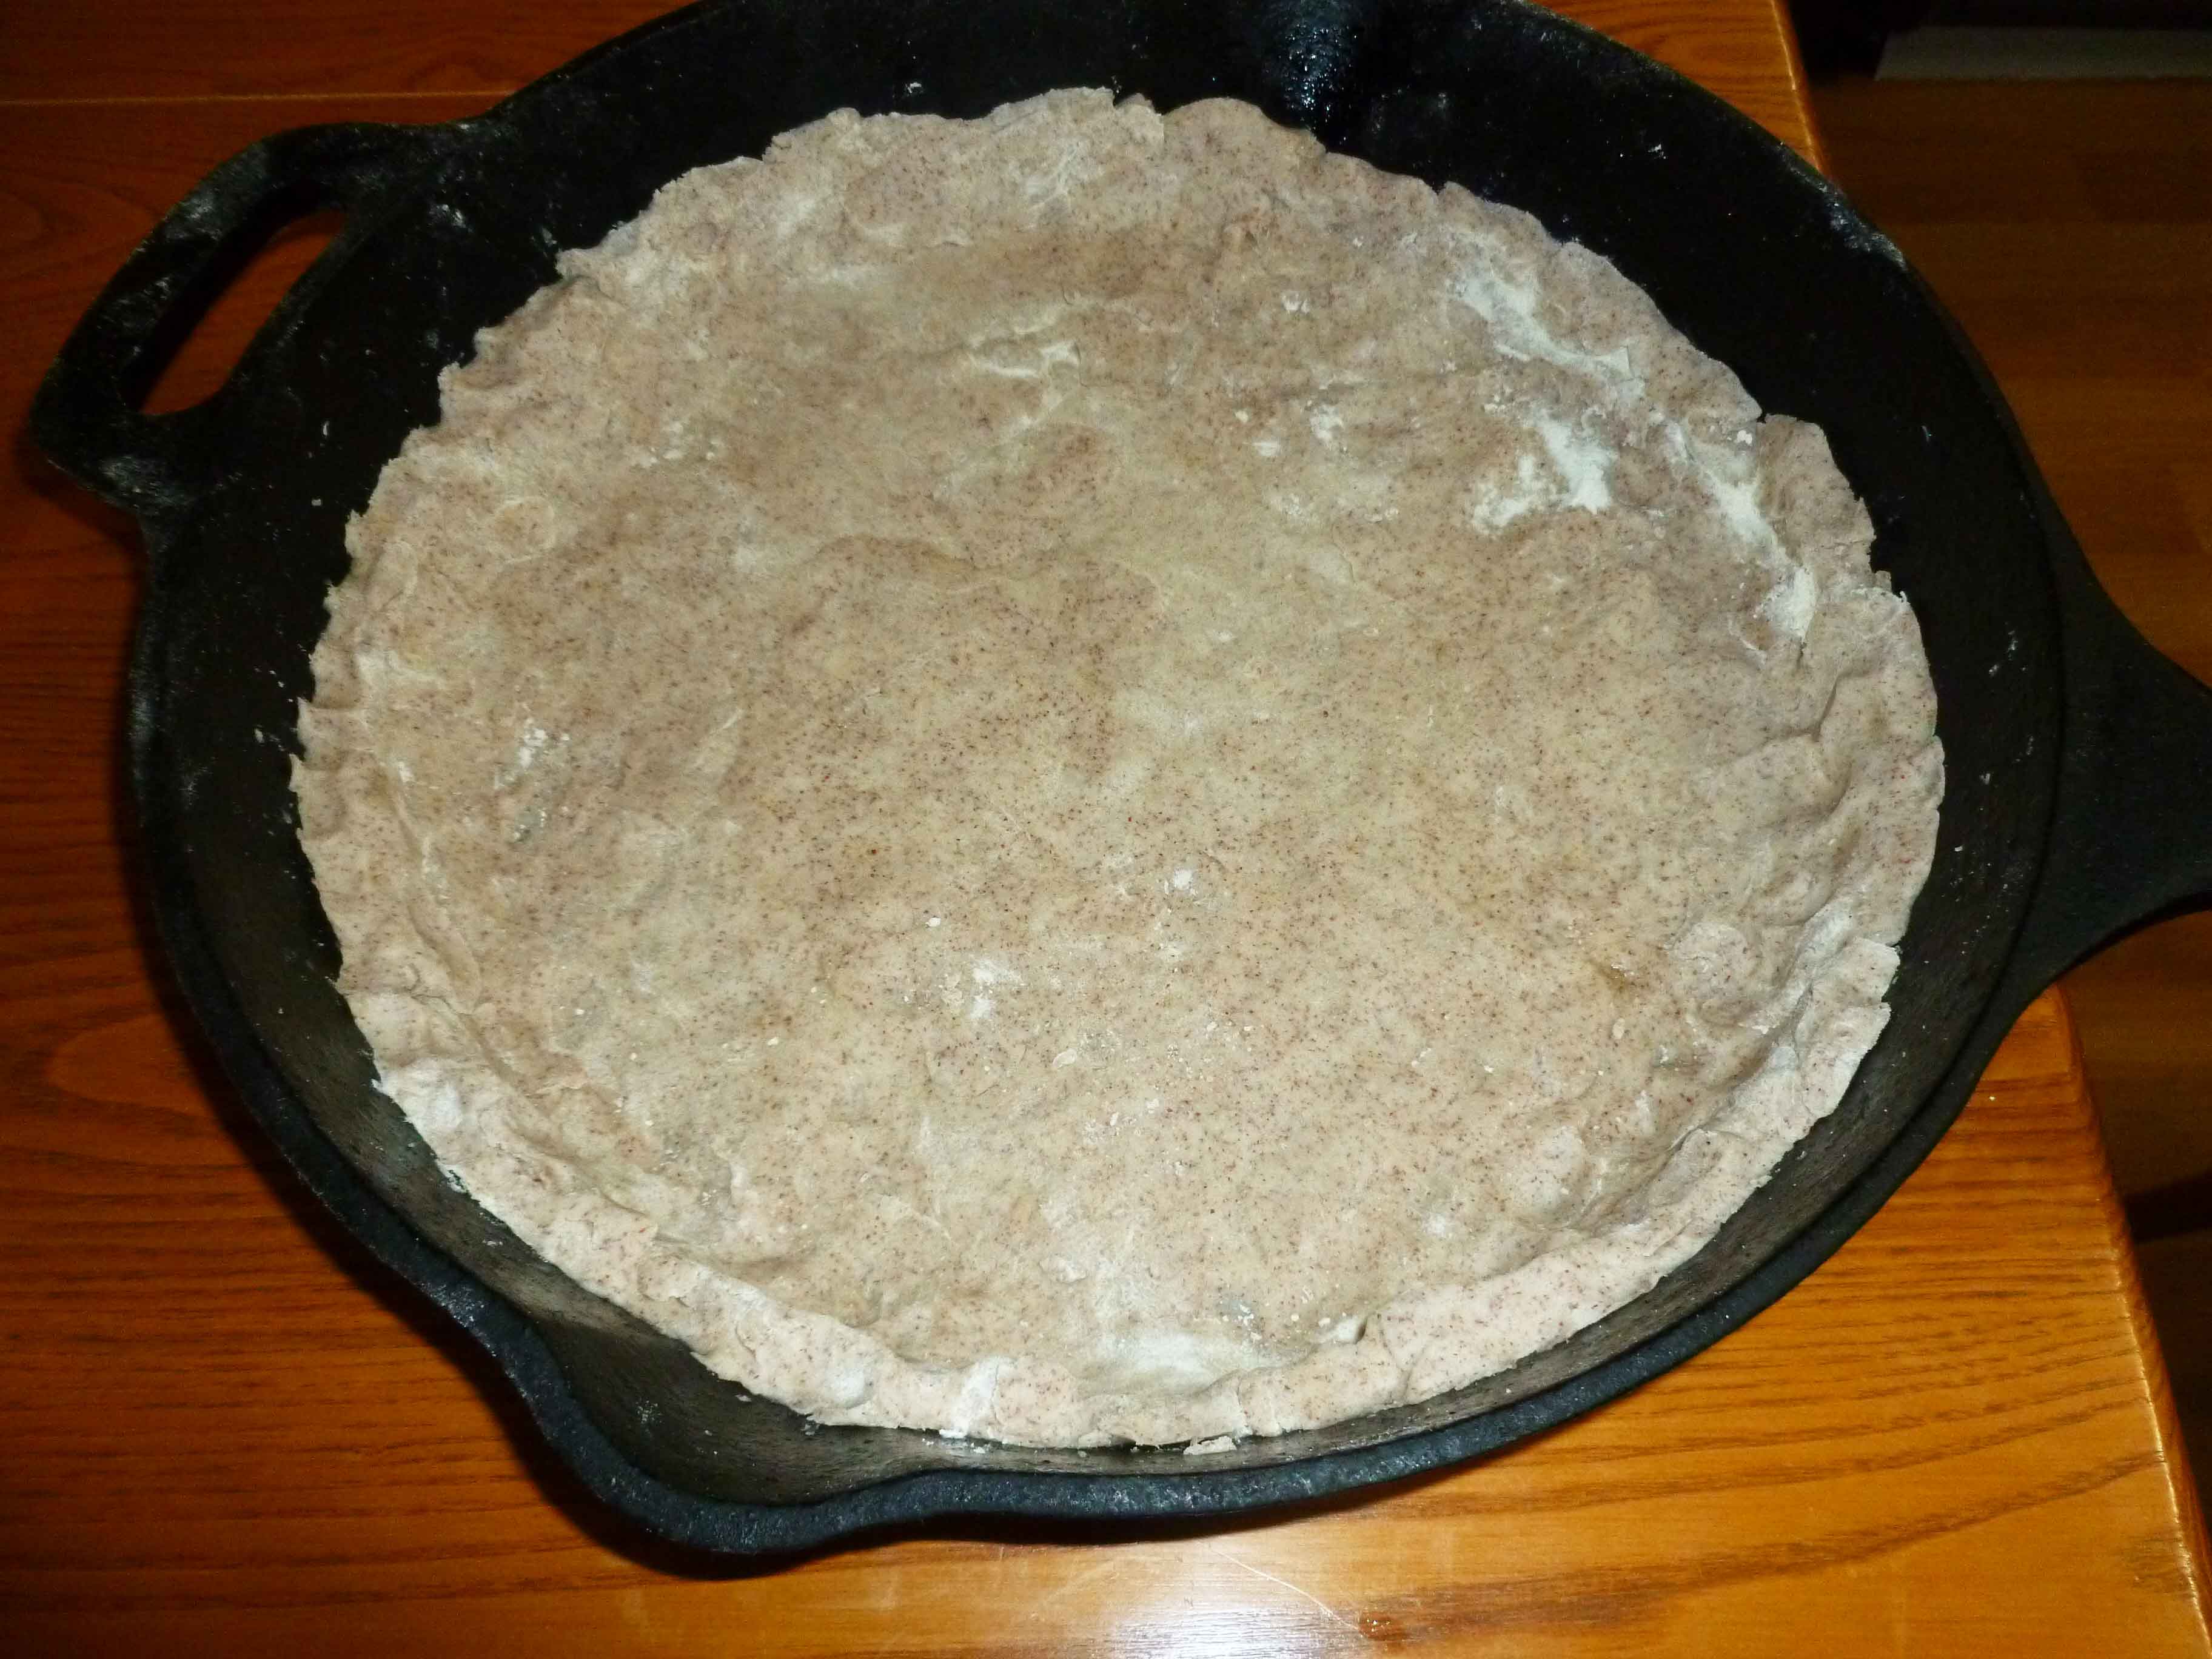
Roll out the dough and place in your skillet. I had trouble rolling out my dough and was impatient, so I added it to the skillet in patchwork bits, pressing the pieces together.
Crust in skillet, piecemeal style
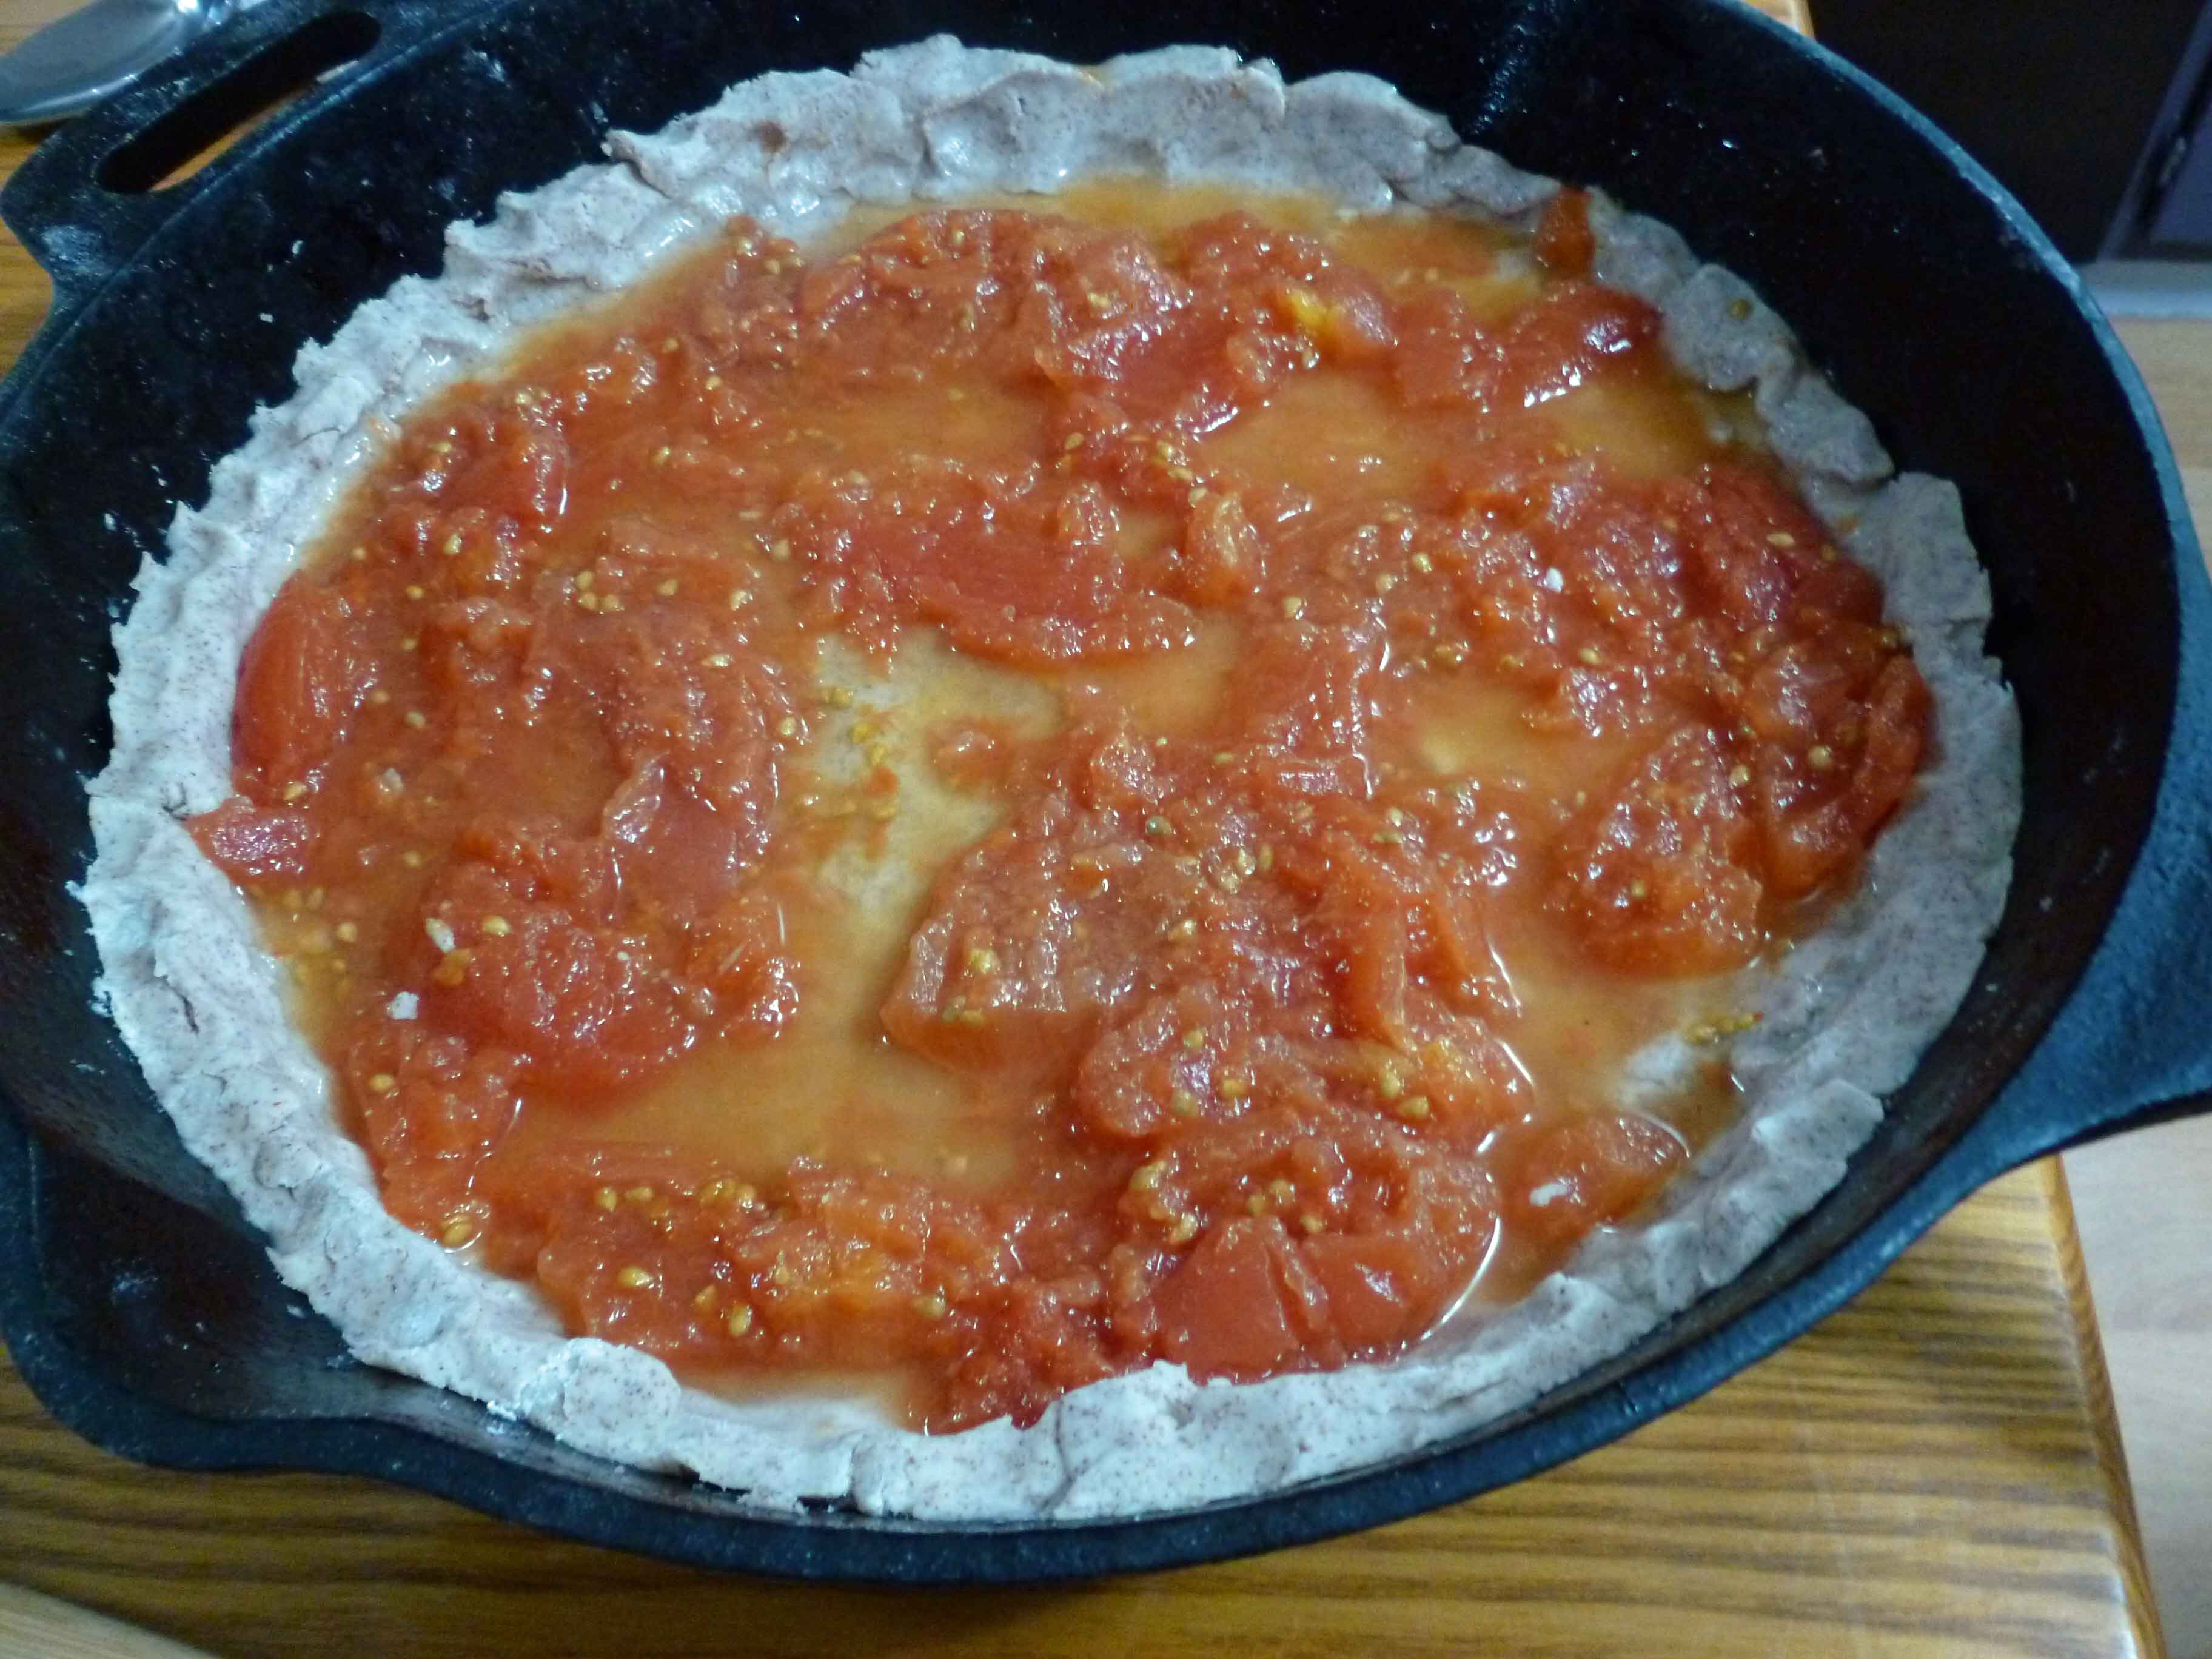
Once you’ve got your crust in, add the tomatoes or sauce and spread them over the surface of the crust.
Whole tomatoes over crust
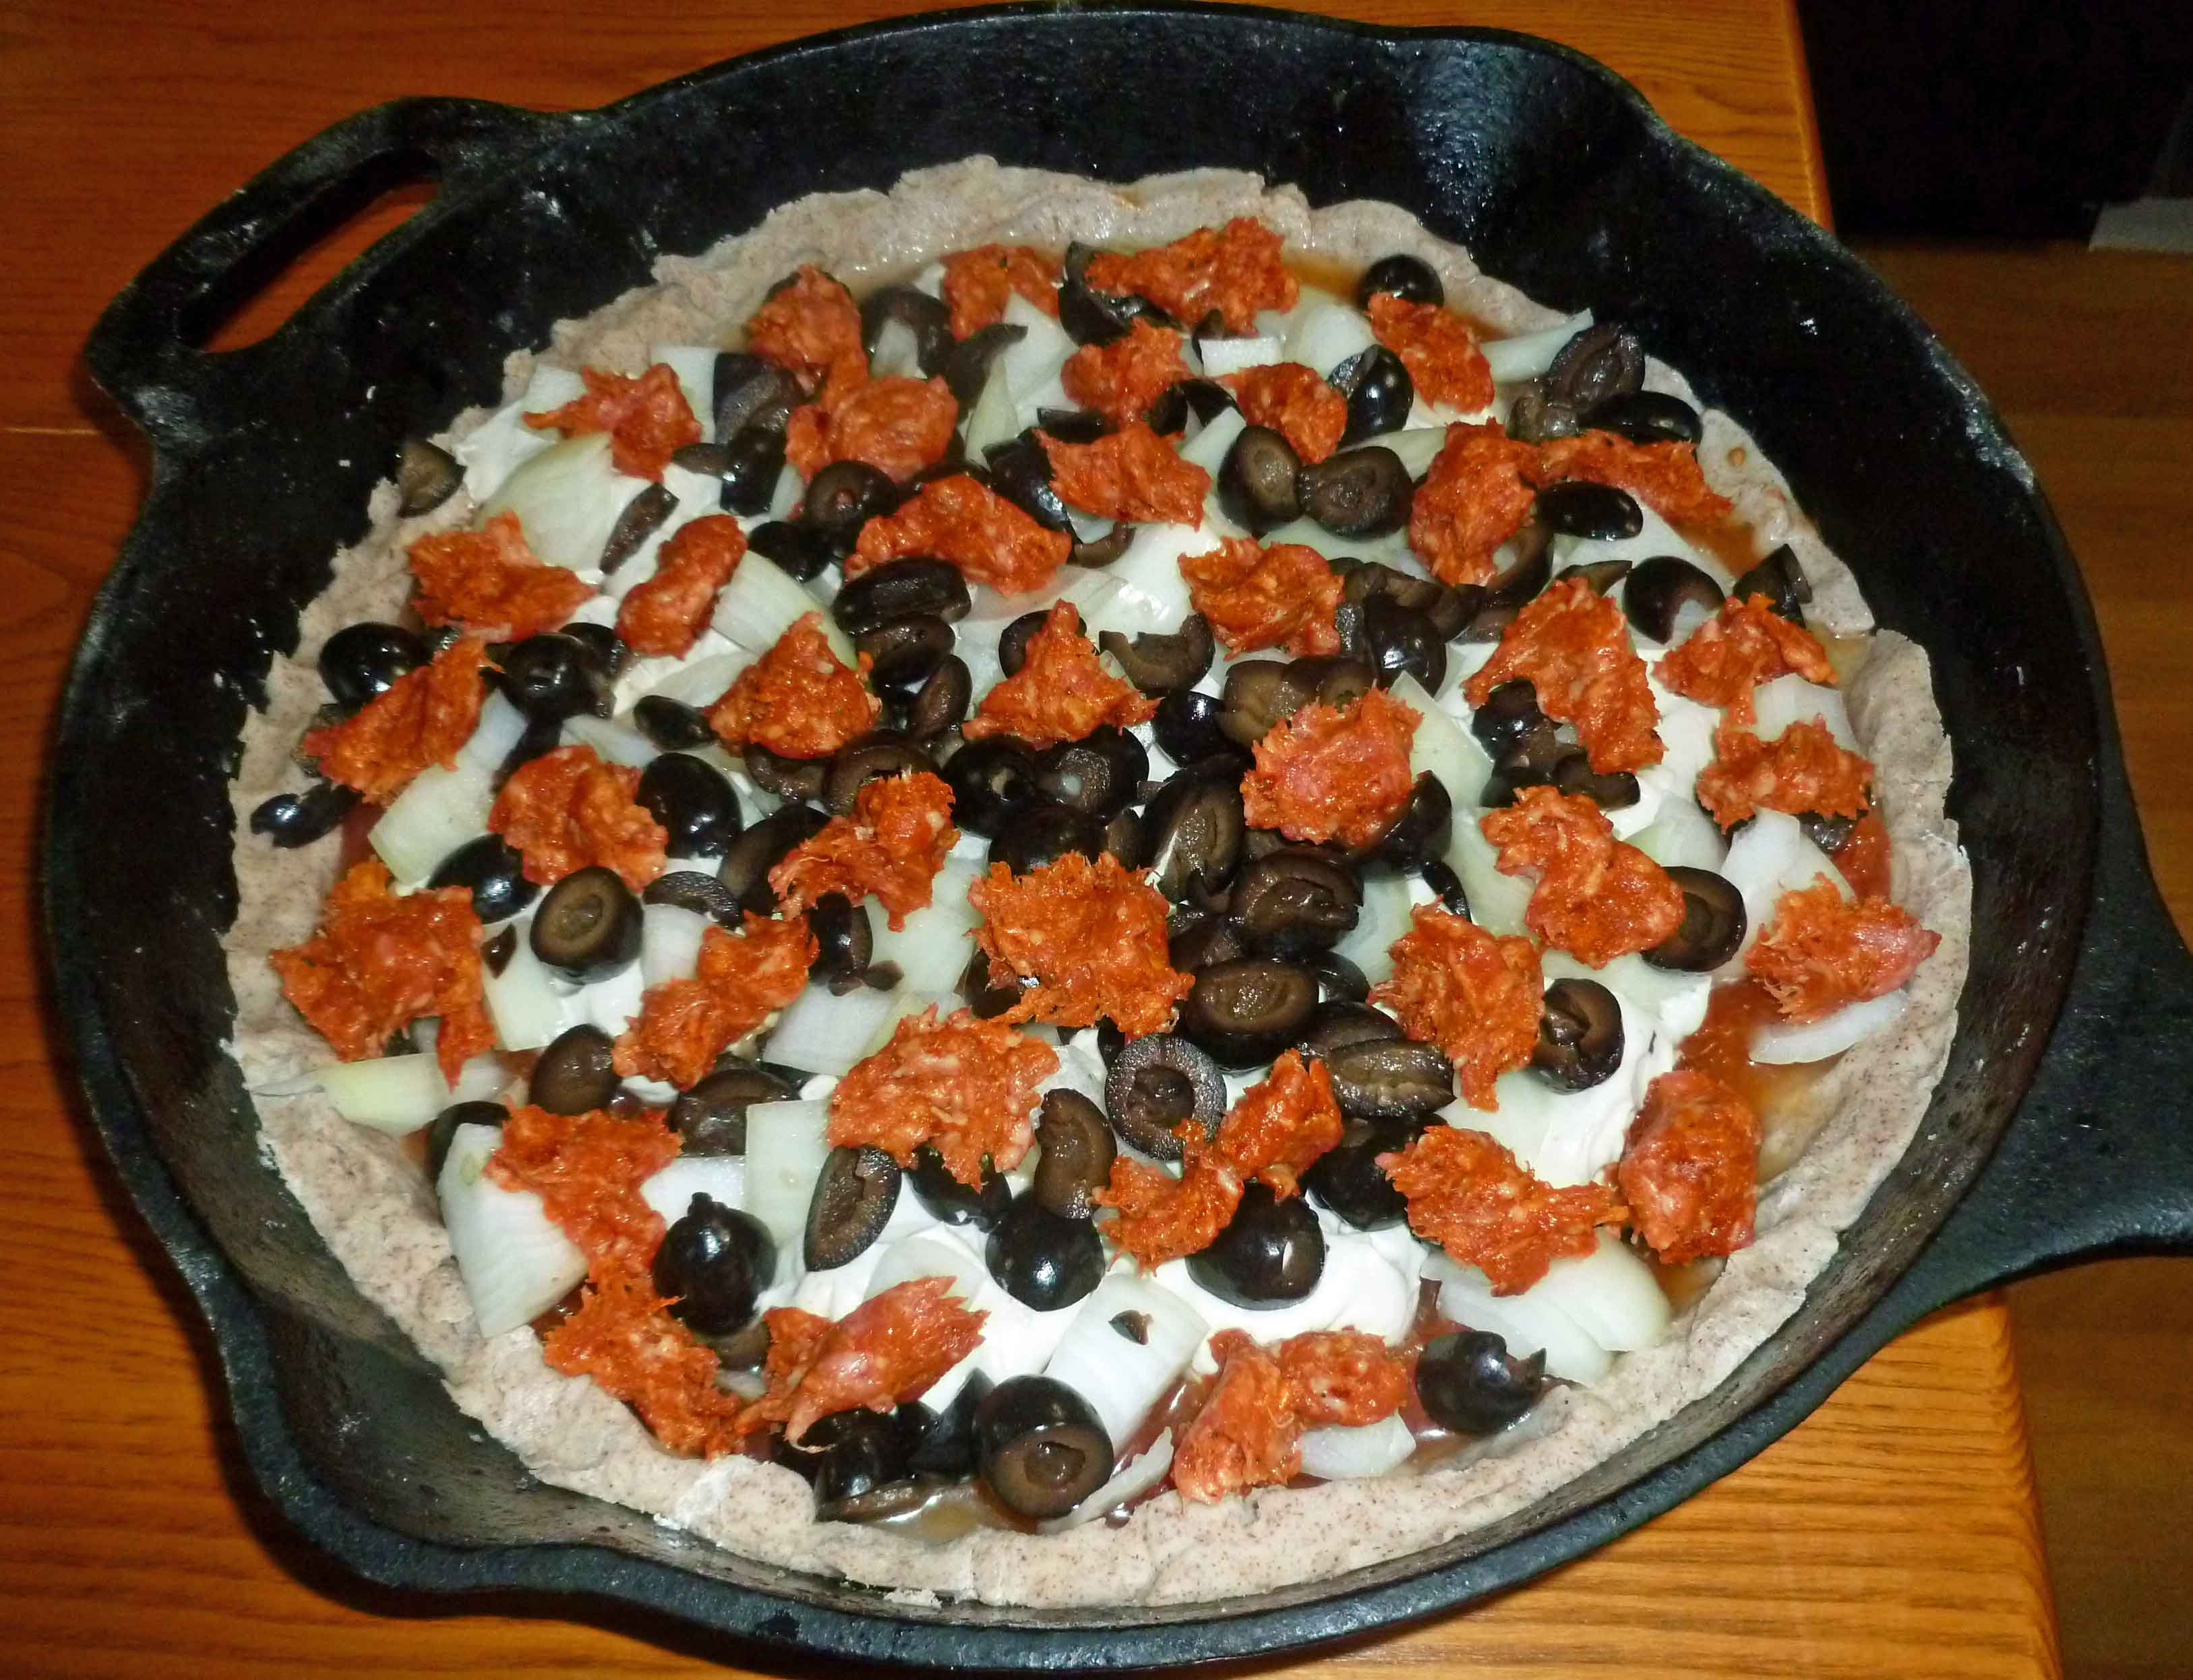
Sprinkle the Italian seasoning over the tomatoes or sauce. Add tablespoons of the cashew cheese over the surface at regular intervals. You’re aiming for something that looks like this. Sprinkle your onions and olives over the top of the pizza. Break off pieces of your sausage about the size of a grape and arrange them on the pizza.
Pizza with toppings before baking
Place the pizza in the oven and bake for 45 minutes.
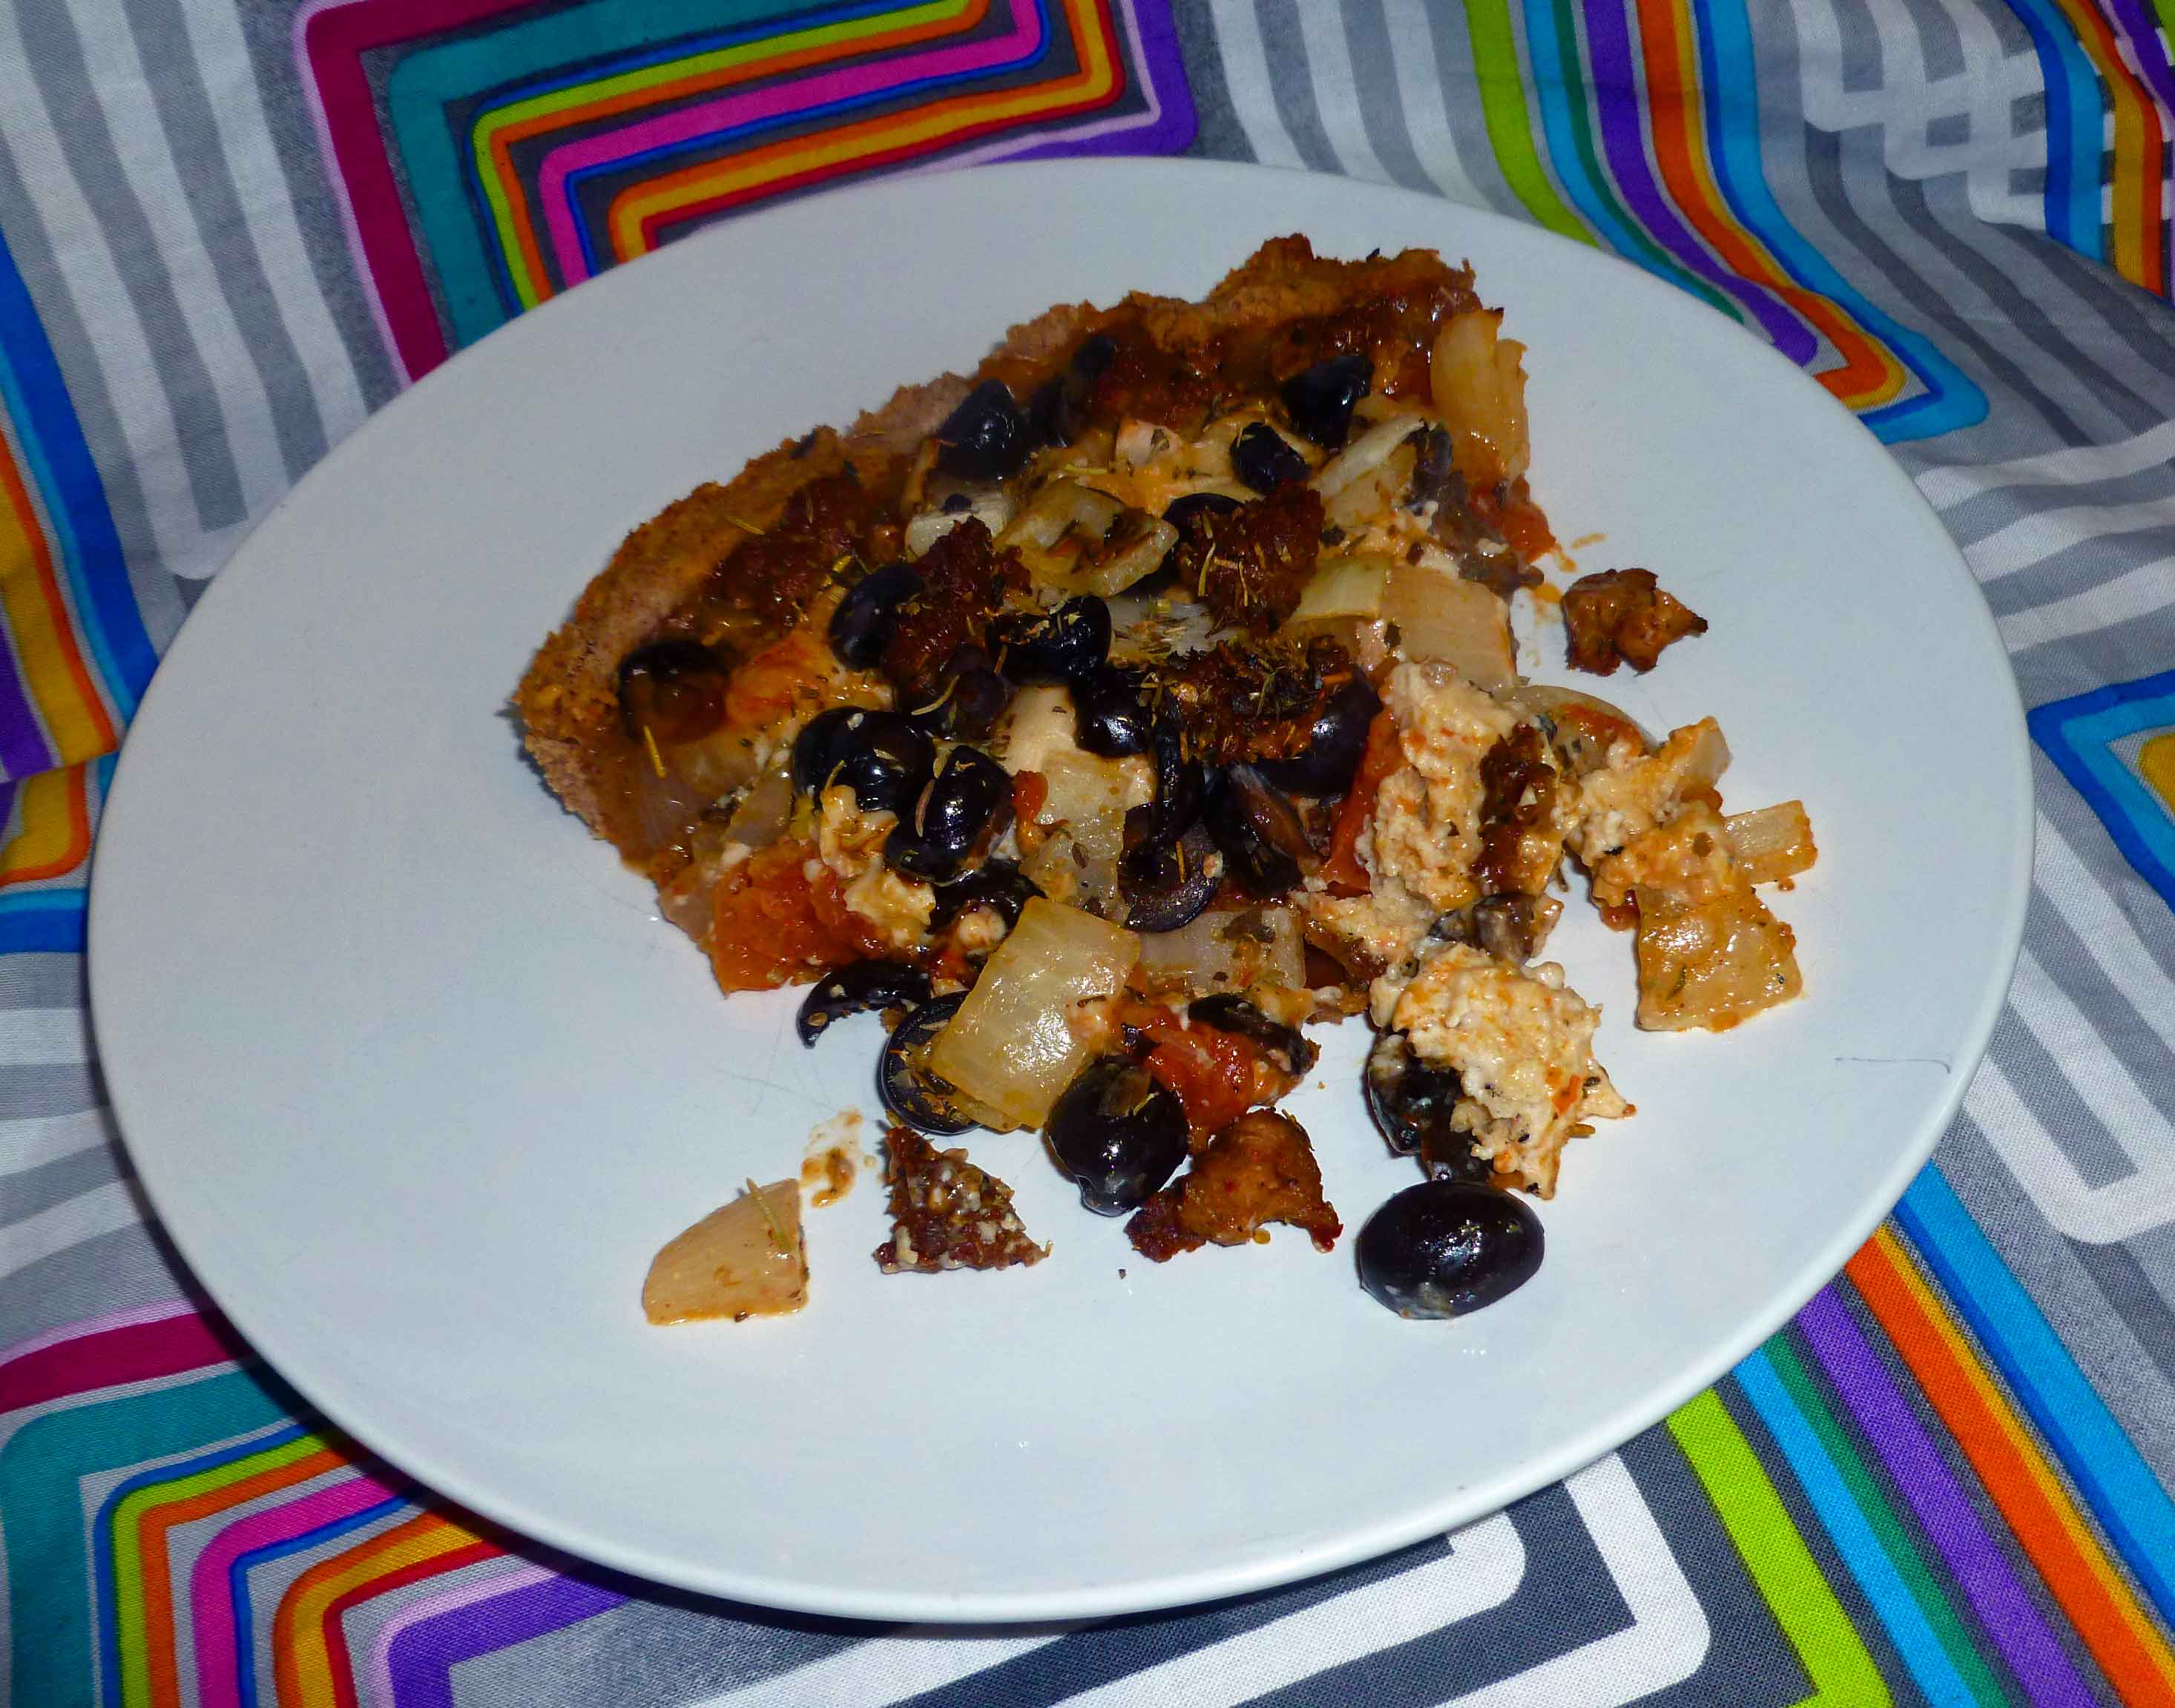
Deep Dish Cast Iron Skillet Pizza
Enjoy!
Notice: Trying to access array offset on value of type bool in /home/maryzahc/public_html/adultfoodallergies.com/wp-content/plugins/wp-ultimate-recipe/helpers/models/recipe.php on line 254
Basic Cashew Cheese (Adapted from Miyoko Schinner’s Artisan Vegan Cheese)
2cupsraw cashews,soaked in water to cover overnight and drained
1/2 to 3/4cups kombucha
1pinchsalt
Servings: cups
Instructions
Put the cashews and salt in the blender. Turn on the blender and add enough kombucha through the opening in the blender lid to process the cashews. Blend until smooth and creamy, scrapping down the sides as needed.
Empty the mixture into a glass bowl or container, cover it, and let rest at room temperature for 8 to 36 hours, depending on your desired level of sharpness. It’ll thicken as it cultures. Once it’s done, cover and store in the refrigerator for up to two weeks.
Notice: Trying to access array offset on value of type bool in /home/maryzahc/public_html/adultfoodallergies.com/wp-content/plugins/wp-ultimate-recipe/helpers/models/recipe.php on line 254
1/2batchItalian Sausage in our Hot Italian Sausage Burgers with Peppers and Onions recipe (remember, use safe oil)http://adultfoodallergies.com/hot-italian-sausage-burgers-with-peppers-and-onions/
1batchGluten-free Pie Crusthttp://adultfoodallergies.com/gluten-free-pie-crust-vegan-option/
2 cupswhole canned tomatoes or marinara sauceuse what is safe for you
1tbspItalian Seasoning Mixor a bit of oregano, basil, marjoram, sage, rosemary, and thyme to add up to 1 Tablespoon
1/2batchBasic Cashew Cheese (Adapted from Miyoko Schinner’s Artisan Vegan Cheese)http://adultfoodallergies.com/recipe/basic-cashew-cheese-adapted-from-miyoko-schinners-artisan-vegan-cheese/
1medium onion, peeled and diced
1can black olives, drained and sliced
1tspolive or other safe-for-you oil
Servings: pieces
Instructions
Preheat your oven to 450°F. Grease your 12 inch cast iron skillet with your oil.
Roll out the dough and place in your skillet. If you can’t roll it out smoothly, you can do it in patchwork bits, pressing the pieces together.
Once you’ve got your crust in, add the tomatoes or sauce and spread them over the surface of the crust. Sprinkle the Italian seasoning over the tomatoes or sauce. Add tablespoons of the cashew cheese over the surface at regular intervals. Sprinkle your onions and olives over the top of the pizza. Break off pieces of your sausage about the size of a grape and arrange them on the pizza.
Place the pizza in the oven and bake for 45 minutes
Sometimes I struggle with what is blog-worthy food and what isn’t. As anyone with food sensitivities knows, we cook a lot. Most of my dinners aren’t really recipes, as most weeknights, I make recipes up based on “what’s in the house” and “what can I make before I starve?”
This is really one of those dinners, but I was able to plate it up nicely. It took less than 20 minutes to make, used only one pan, a cutting board, and a few utensils, and is made up of food that I generally have in the house.
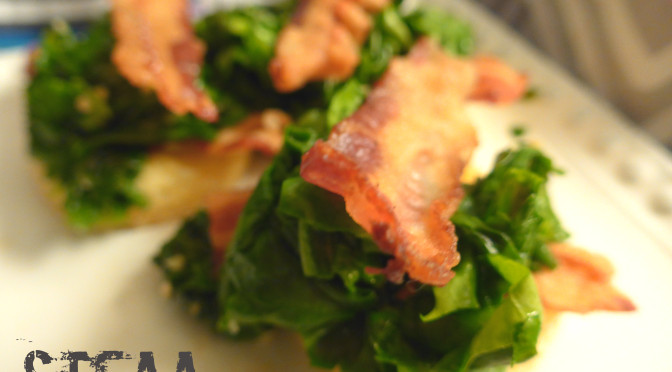
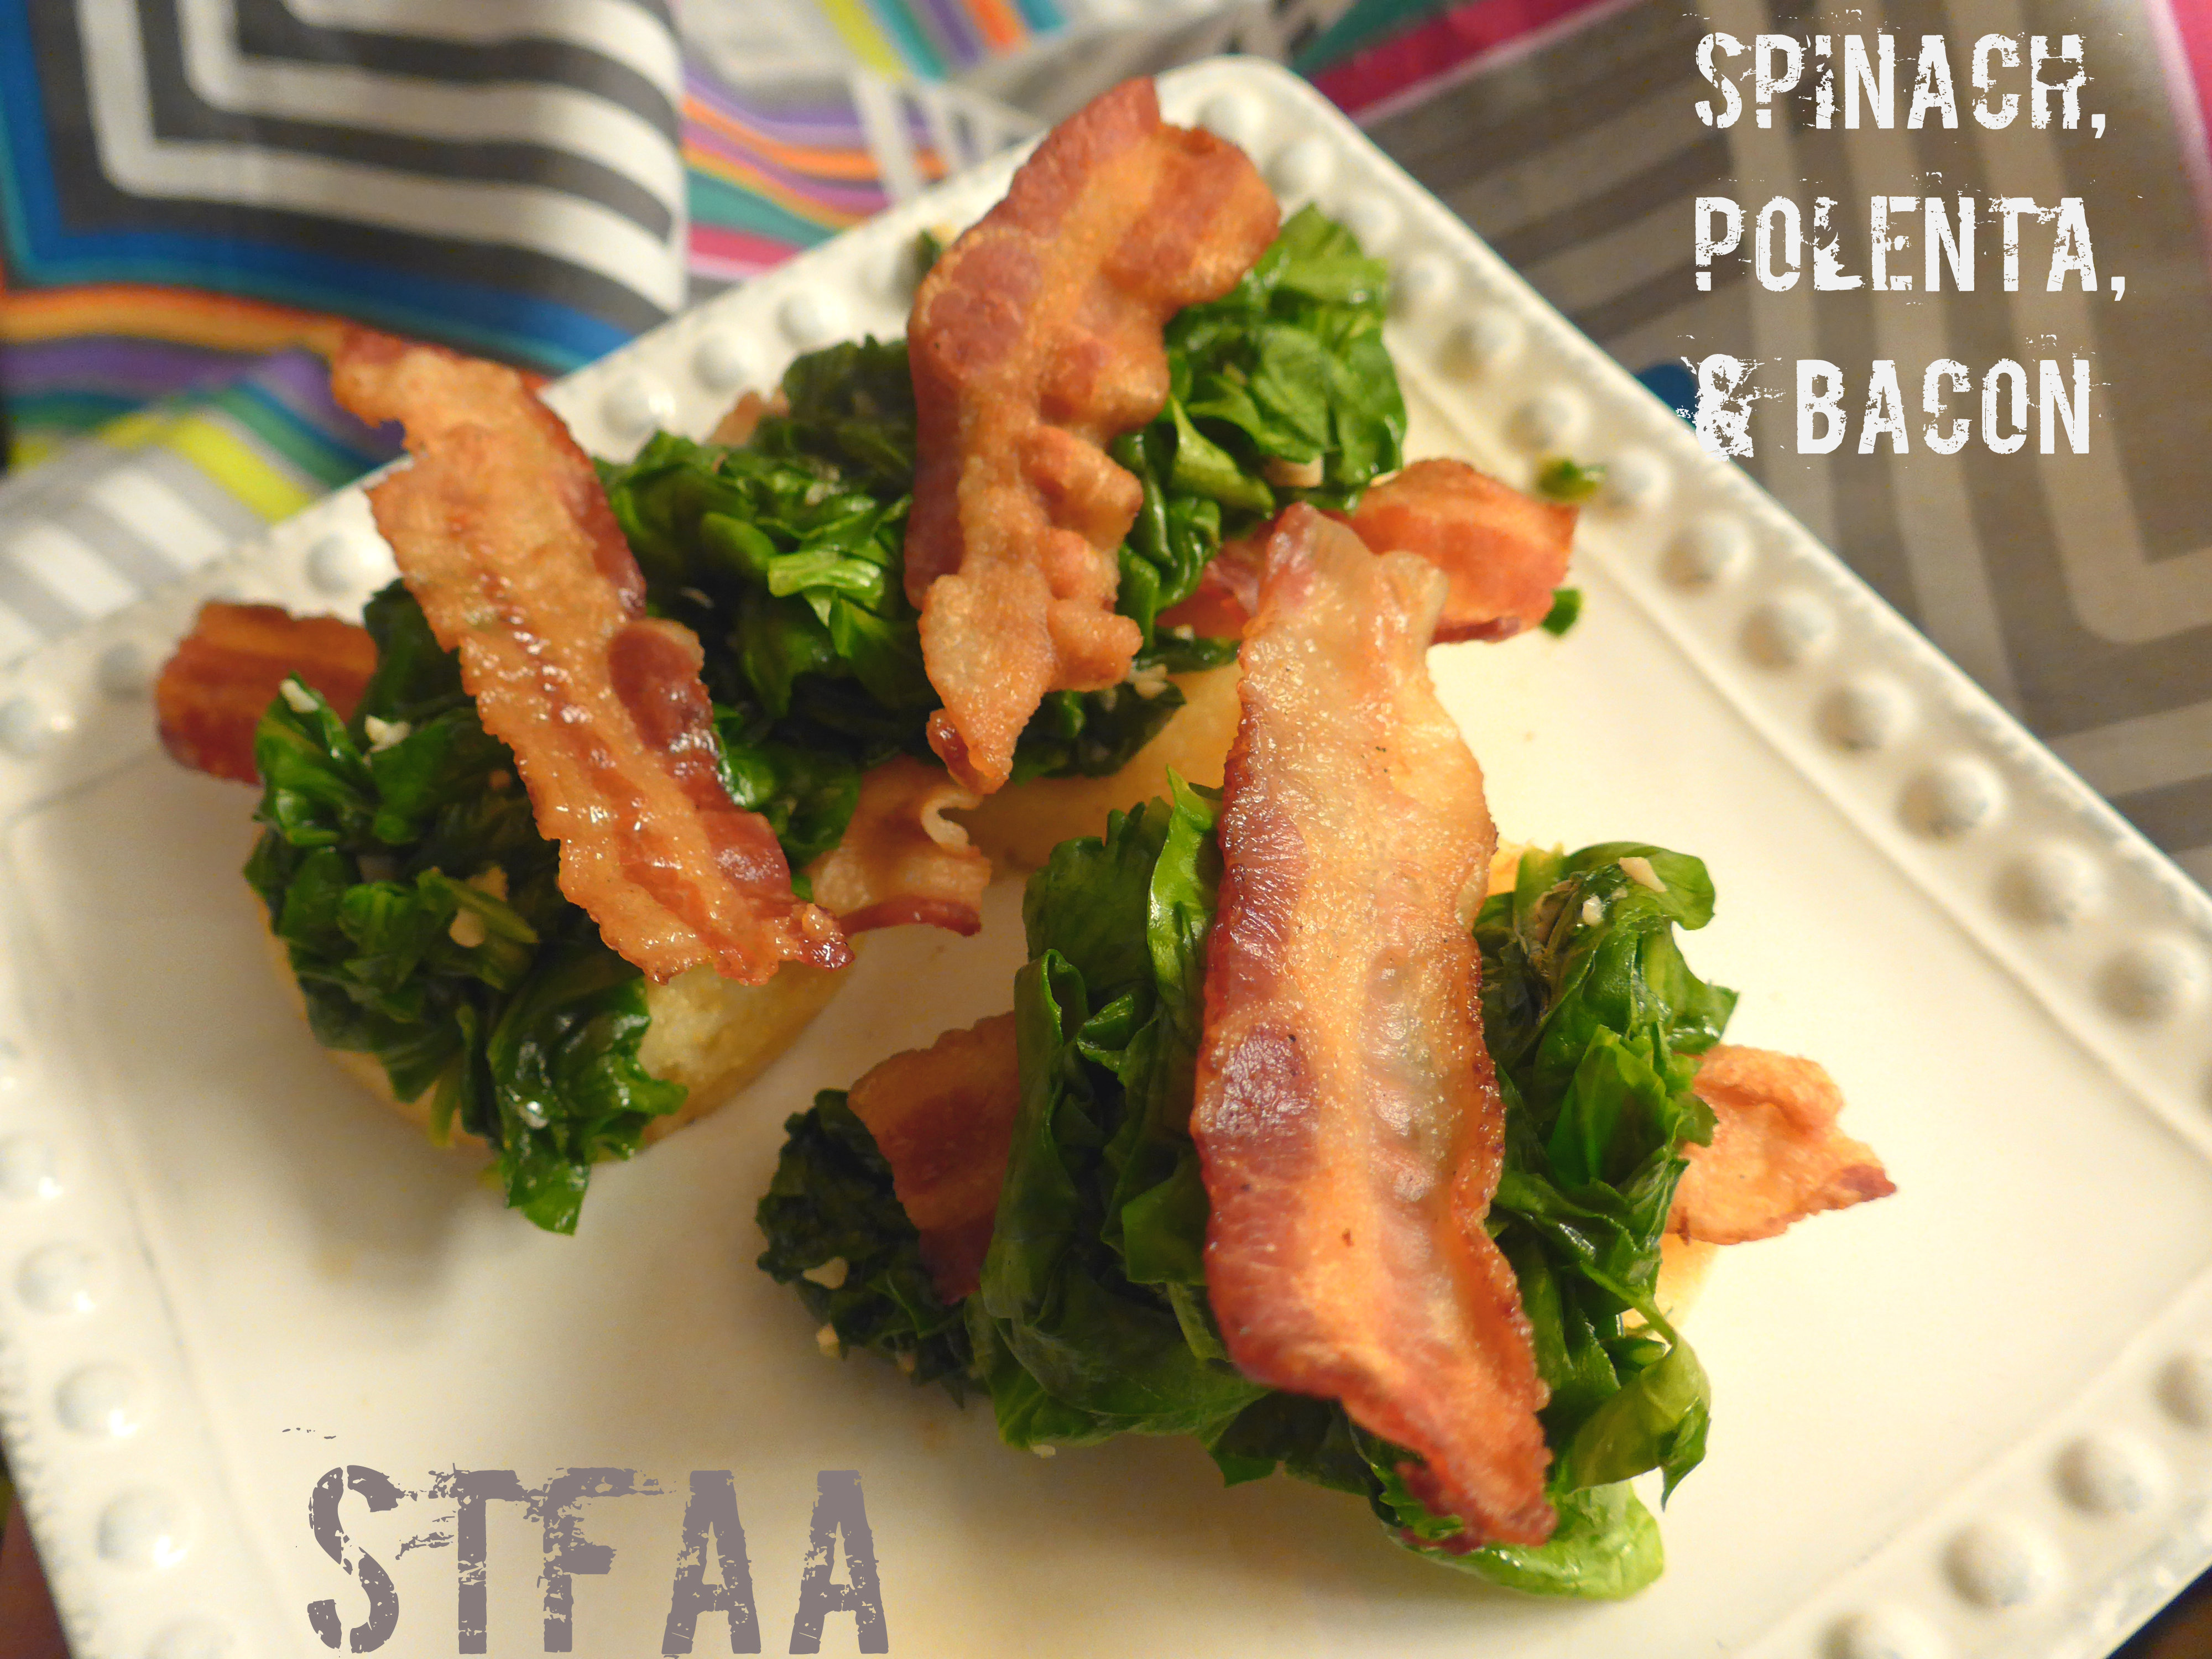
I always forget about polenta — a naturally gluten-free food (obviously not safe for the corn sensitive!), that some of us can buy prepared in shelf-stable tubes. Polenta is an excellent way to fill a biscuit-type craving. It isn’t a biscuit, no. But it’s great texture for a bread craving. I cooked a pan of bacon, first, crisped and warmed the polenta in a bit of the fat, and then quickly wilted some garlic and spinach over the top. This is the type of quick and satisfying meal I want after a busy work day. I hope you enjoy it, too.
(If you cannot eat regular polenta, made of corn, consider making a savory version of millet polenta. Our sweet breakfast version of millet polenta can be modified by leaving out the sugar and fruit.)
Spinach and bacon is a winning combo. Notice: Trying to access array offset on value of type bool in /home/maryzahc/public_html/adultfoodallergies.com/wp-content/plugins/wp-ultimate-recipe/helpers/models/recipe.php on line 254
Spinach, Polenta, and Bacon
Print Recipe
Servings
Prep Time
2people
20 minutes
Cook Time
20 minutes
Servings
Prep Time
2people
20 minutes
Cook Time
20 minutes
Spinach, Polenta, and Bacon
Print Recipe
Servings
Prep Time
2people
20 minutes
Cook Time
20 minutes
Servings
Prep Time
2people
20 minutes
Cook Time
20 minutes
Ingredients
6stripsbacon
1tubepolenta,sliced into 1/4-inch to 1/2-inch slices
10cupsspinachroughly chopped
1-2teaspoonsgarlicminced
Servings: people
Instructions
Heat a cast iron skillet over medium heat. When hot, add the bacon.
While the bacon is cooking, wash and drain the spinach. Open the polenta and slice it. Chop the spinach and garlic.
When the bacon is done, remove it to drain on a paper towel-covered plate. Drain most of the rendered fat, leaving a thin skim of bacon grease to cook the rest of dinner.
Lay polenta slices in a single layer in the hot skillet. Cook 2-3 minutes per side, then remove to the serving dish.
Add the garlic to the hot pan, stirring, and when it becomes fragrant (1-2 minutes) add the spinach and stir until wilted.
Top each polenta slice with a slice of bacon (I broke mine in half, but also consider crumbling the slices if you’ve made them crispy). Top with a good solid mound of spinach, and enjoy your dinner.
Recipe Notes
I’m pretty sure this would work with most greens, but I have spinach on hand more often than any other green, plus it cooks quickly.
When Mary Kate and I sit down to plan posts ahead, we look at the calendar and try to pick things to develop that go with upcoming holidays. When we were looking at St. Patrick’s Day, we were sort of stumped, because we’ve already got a corned beef recipe, and we really weren’t that familiar with Irish dishes that we could do. So we decided that something with lamb would be good because we thought lamb dishes were vaguely Irish in our very limited experience. I was tasked with developing the lamb dish. I reviewed an Irish cookbook, looked around on the internet, checked The Joy of Cooking and The Better Home and Gardens New Cook Book, and talked to a friend, Nancy B, who makes lamb. This is a combination of a couple of approaches and might not quite be authentic Irish cuisine, but let’s just call it Irish cuisine inspired. Also, you could make it for Easter if you wanted.
Herbed Leg of Lamb
Serves 6-8 people.
Lamb:
4poundboneless leg of lamb roast
2clovesgarlic, thinly sliced
1tspolive oil or other safe for you oil to grease baking dish
Herb Wet Rub:
3clovesgarlic, peeled and stem end trimmed off
1/2cuplemon juice, fresh squeezed
2tbspdried parsley
3tbspolive oil or other safe for you oil
1 1/2tbspDijon mustard (I use my own homemade, home canned mustard, but use what’s safe for you.)
1tspdried basil
1tspdried rosemary
1/2tsponion powder
1/4tspground black pepper
1/4tspsalt
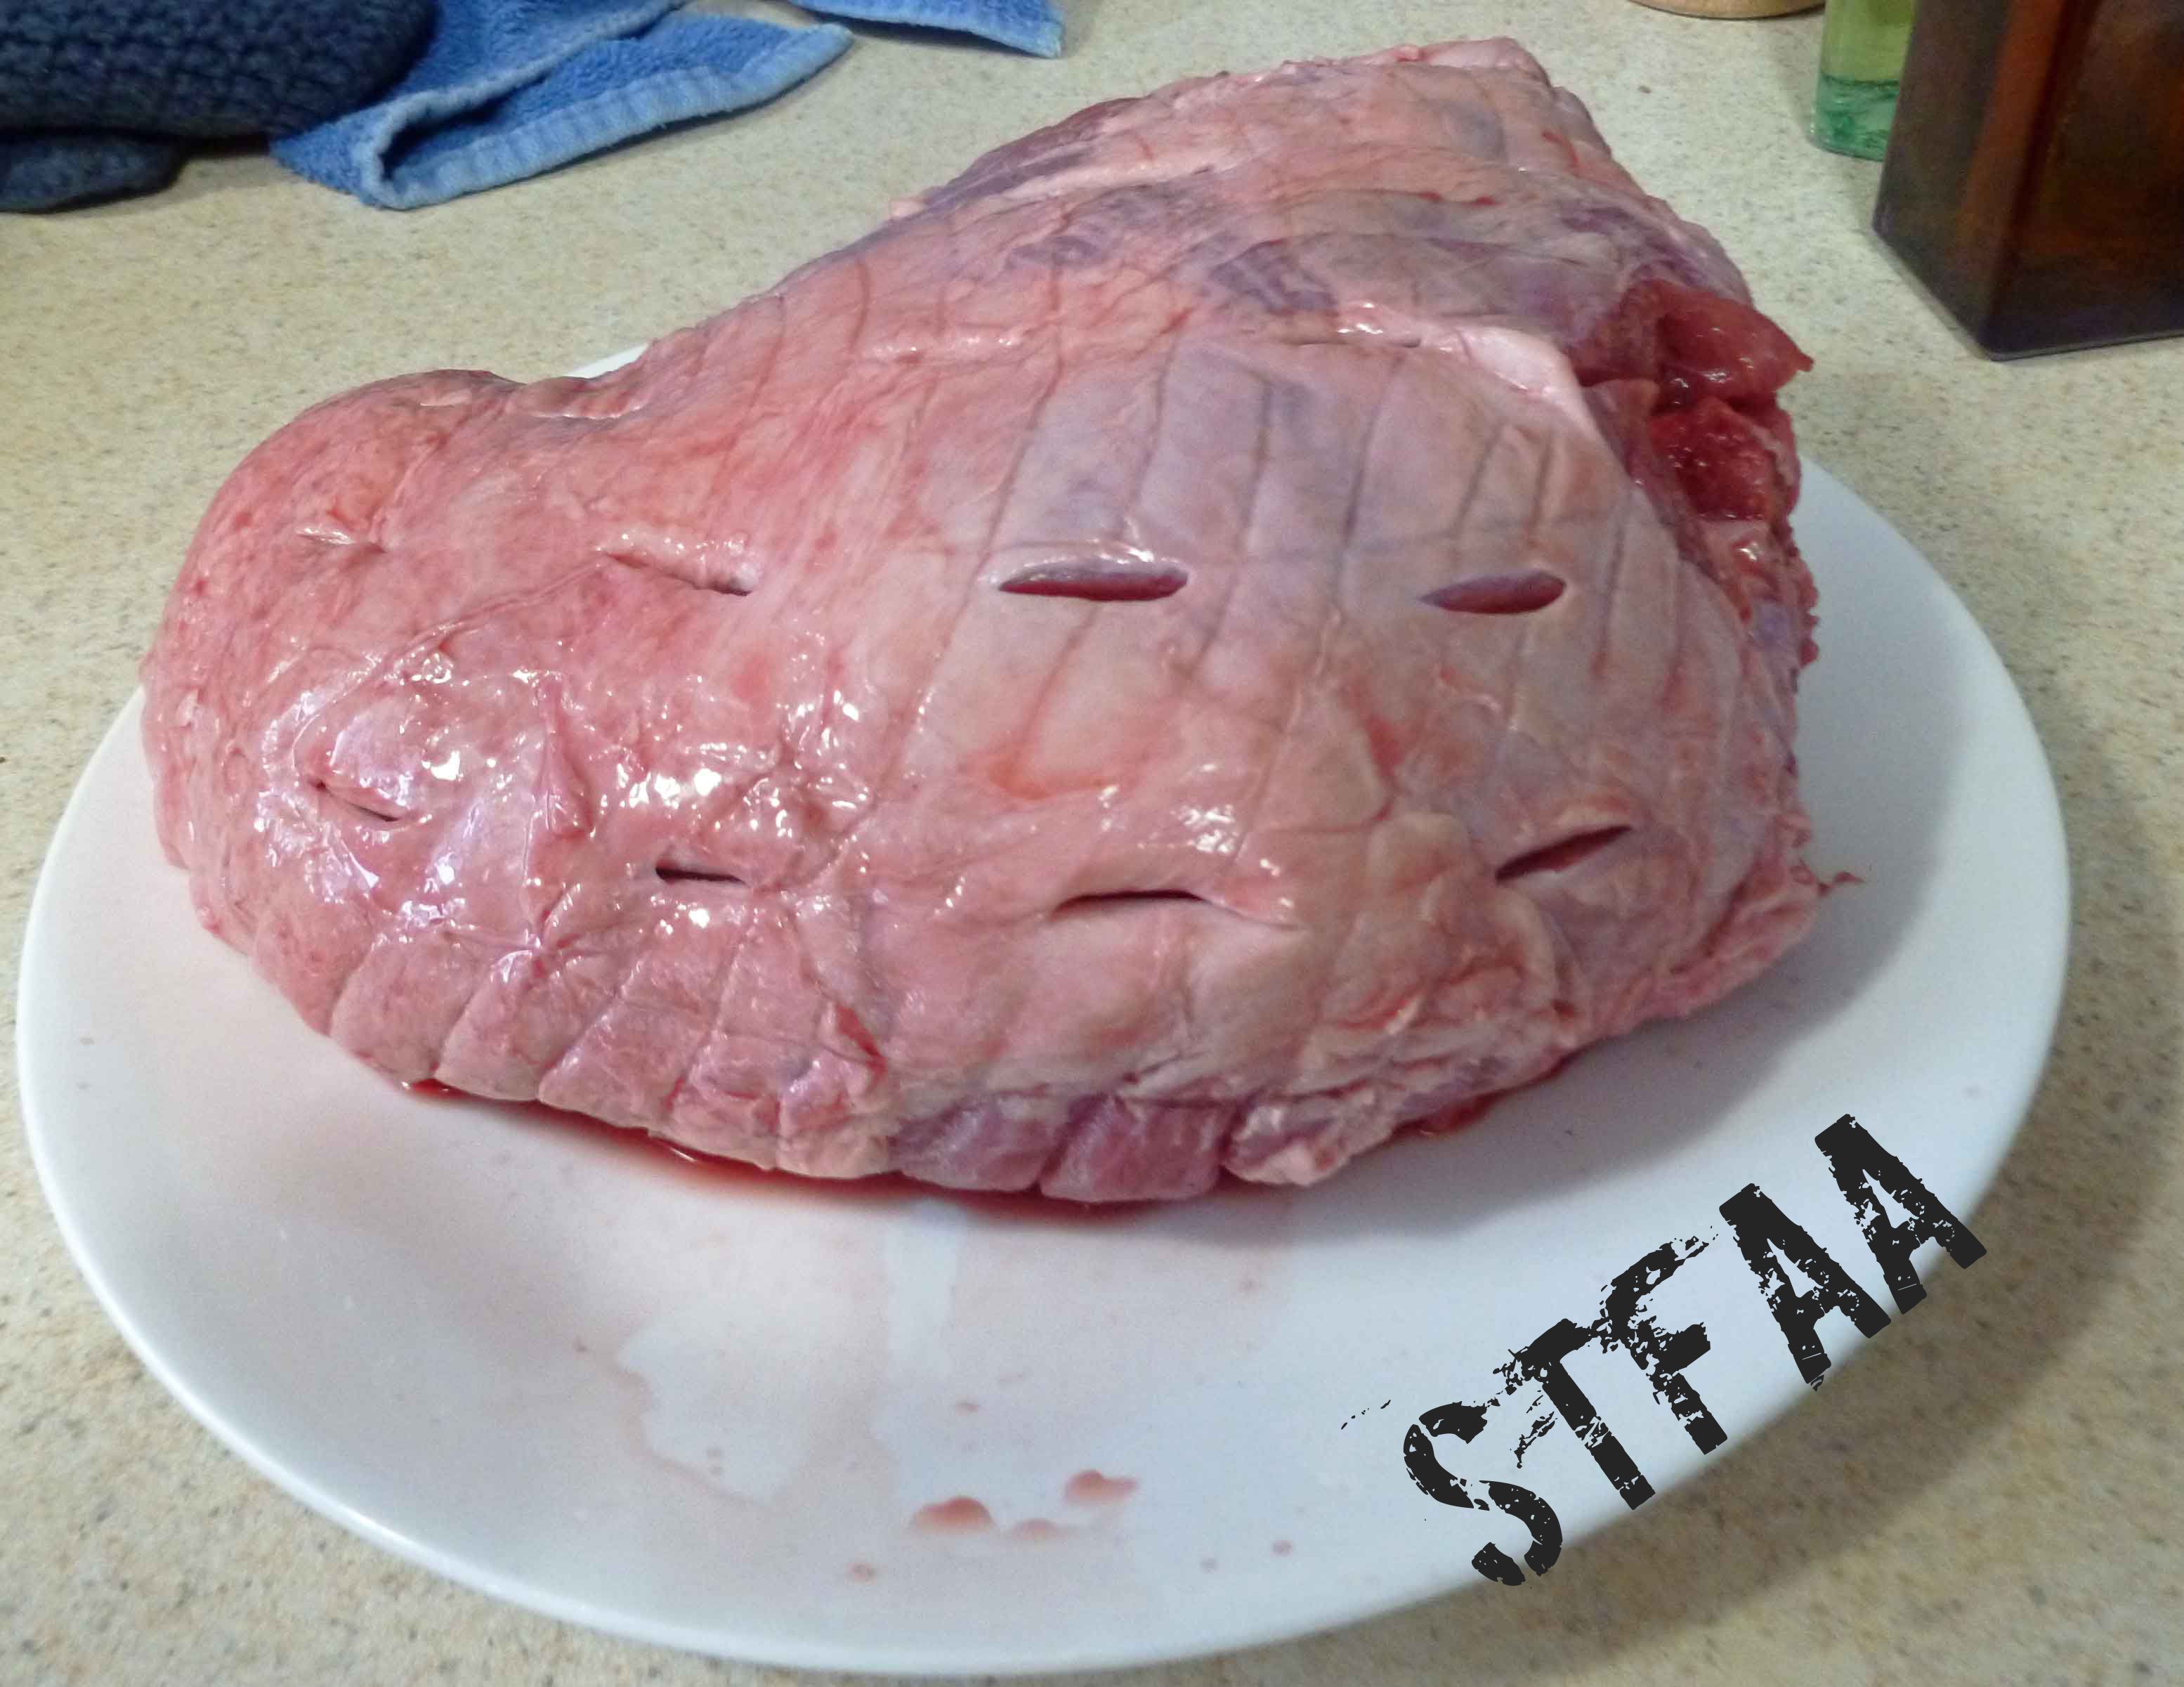
Preheat oven to 450°F. Remove boneless leg of lamb from packaging and remove netting. Cut 1/2 inch wide slits into the lamb at 1 inch intervals on the top (fat side) of the lamb.
Leg of lamb with 1/2 slits
Peel and slice two cloves of garlic thinly, and set aside.
Thinly sliced cloves of garlic
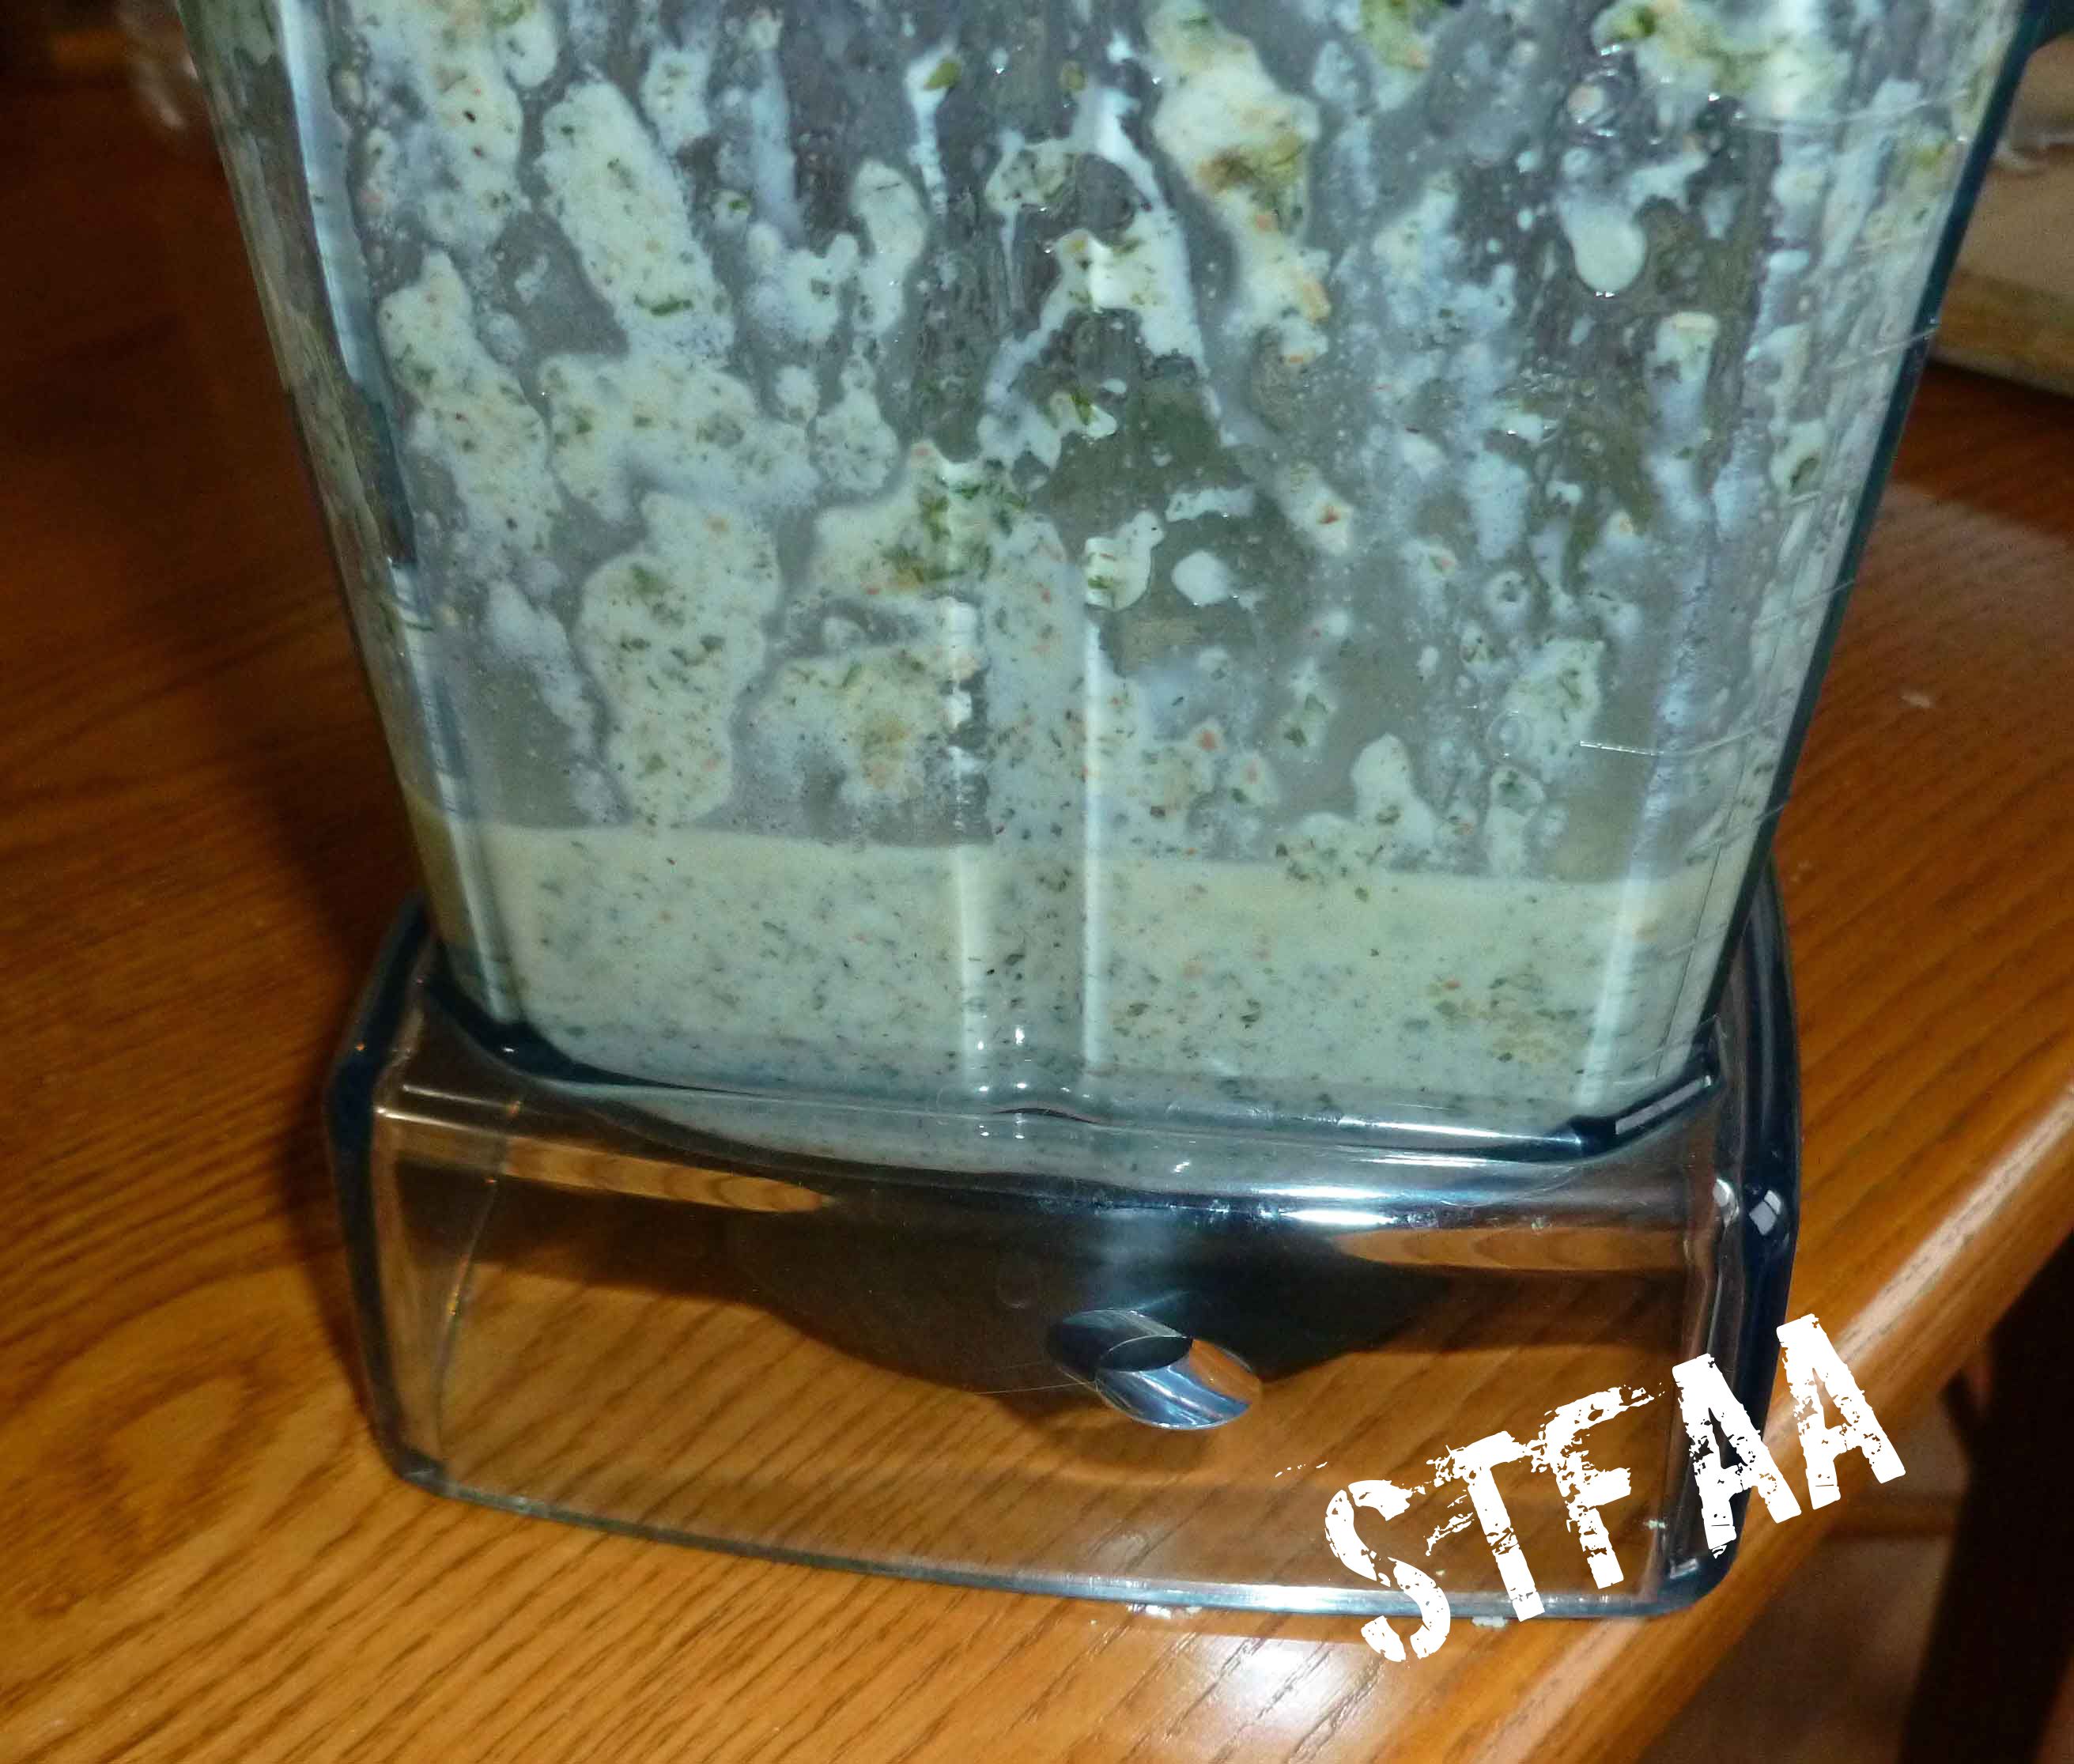
Peel remaining garlic cloves and place in blender with the remaining wet rub ingredients: lemon juice, parsley, olive oil, mustard, basil, rosemary, onion powder, black pepper and salt. Process until mixture is fairly finely blended, but not completely smooth.
Herb Wet Rub after processing
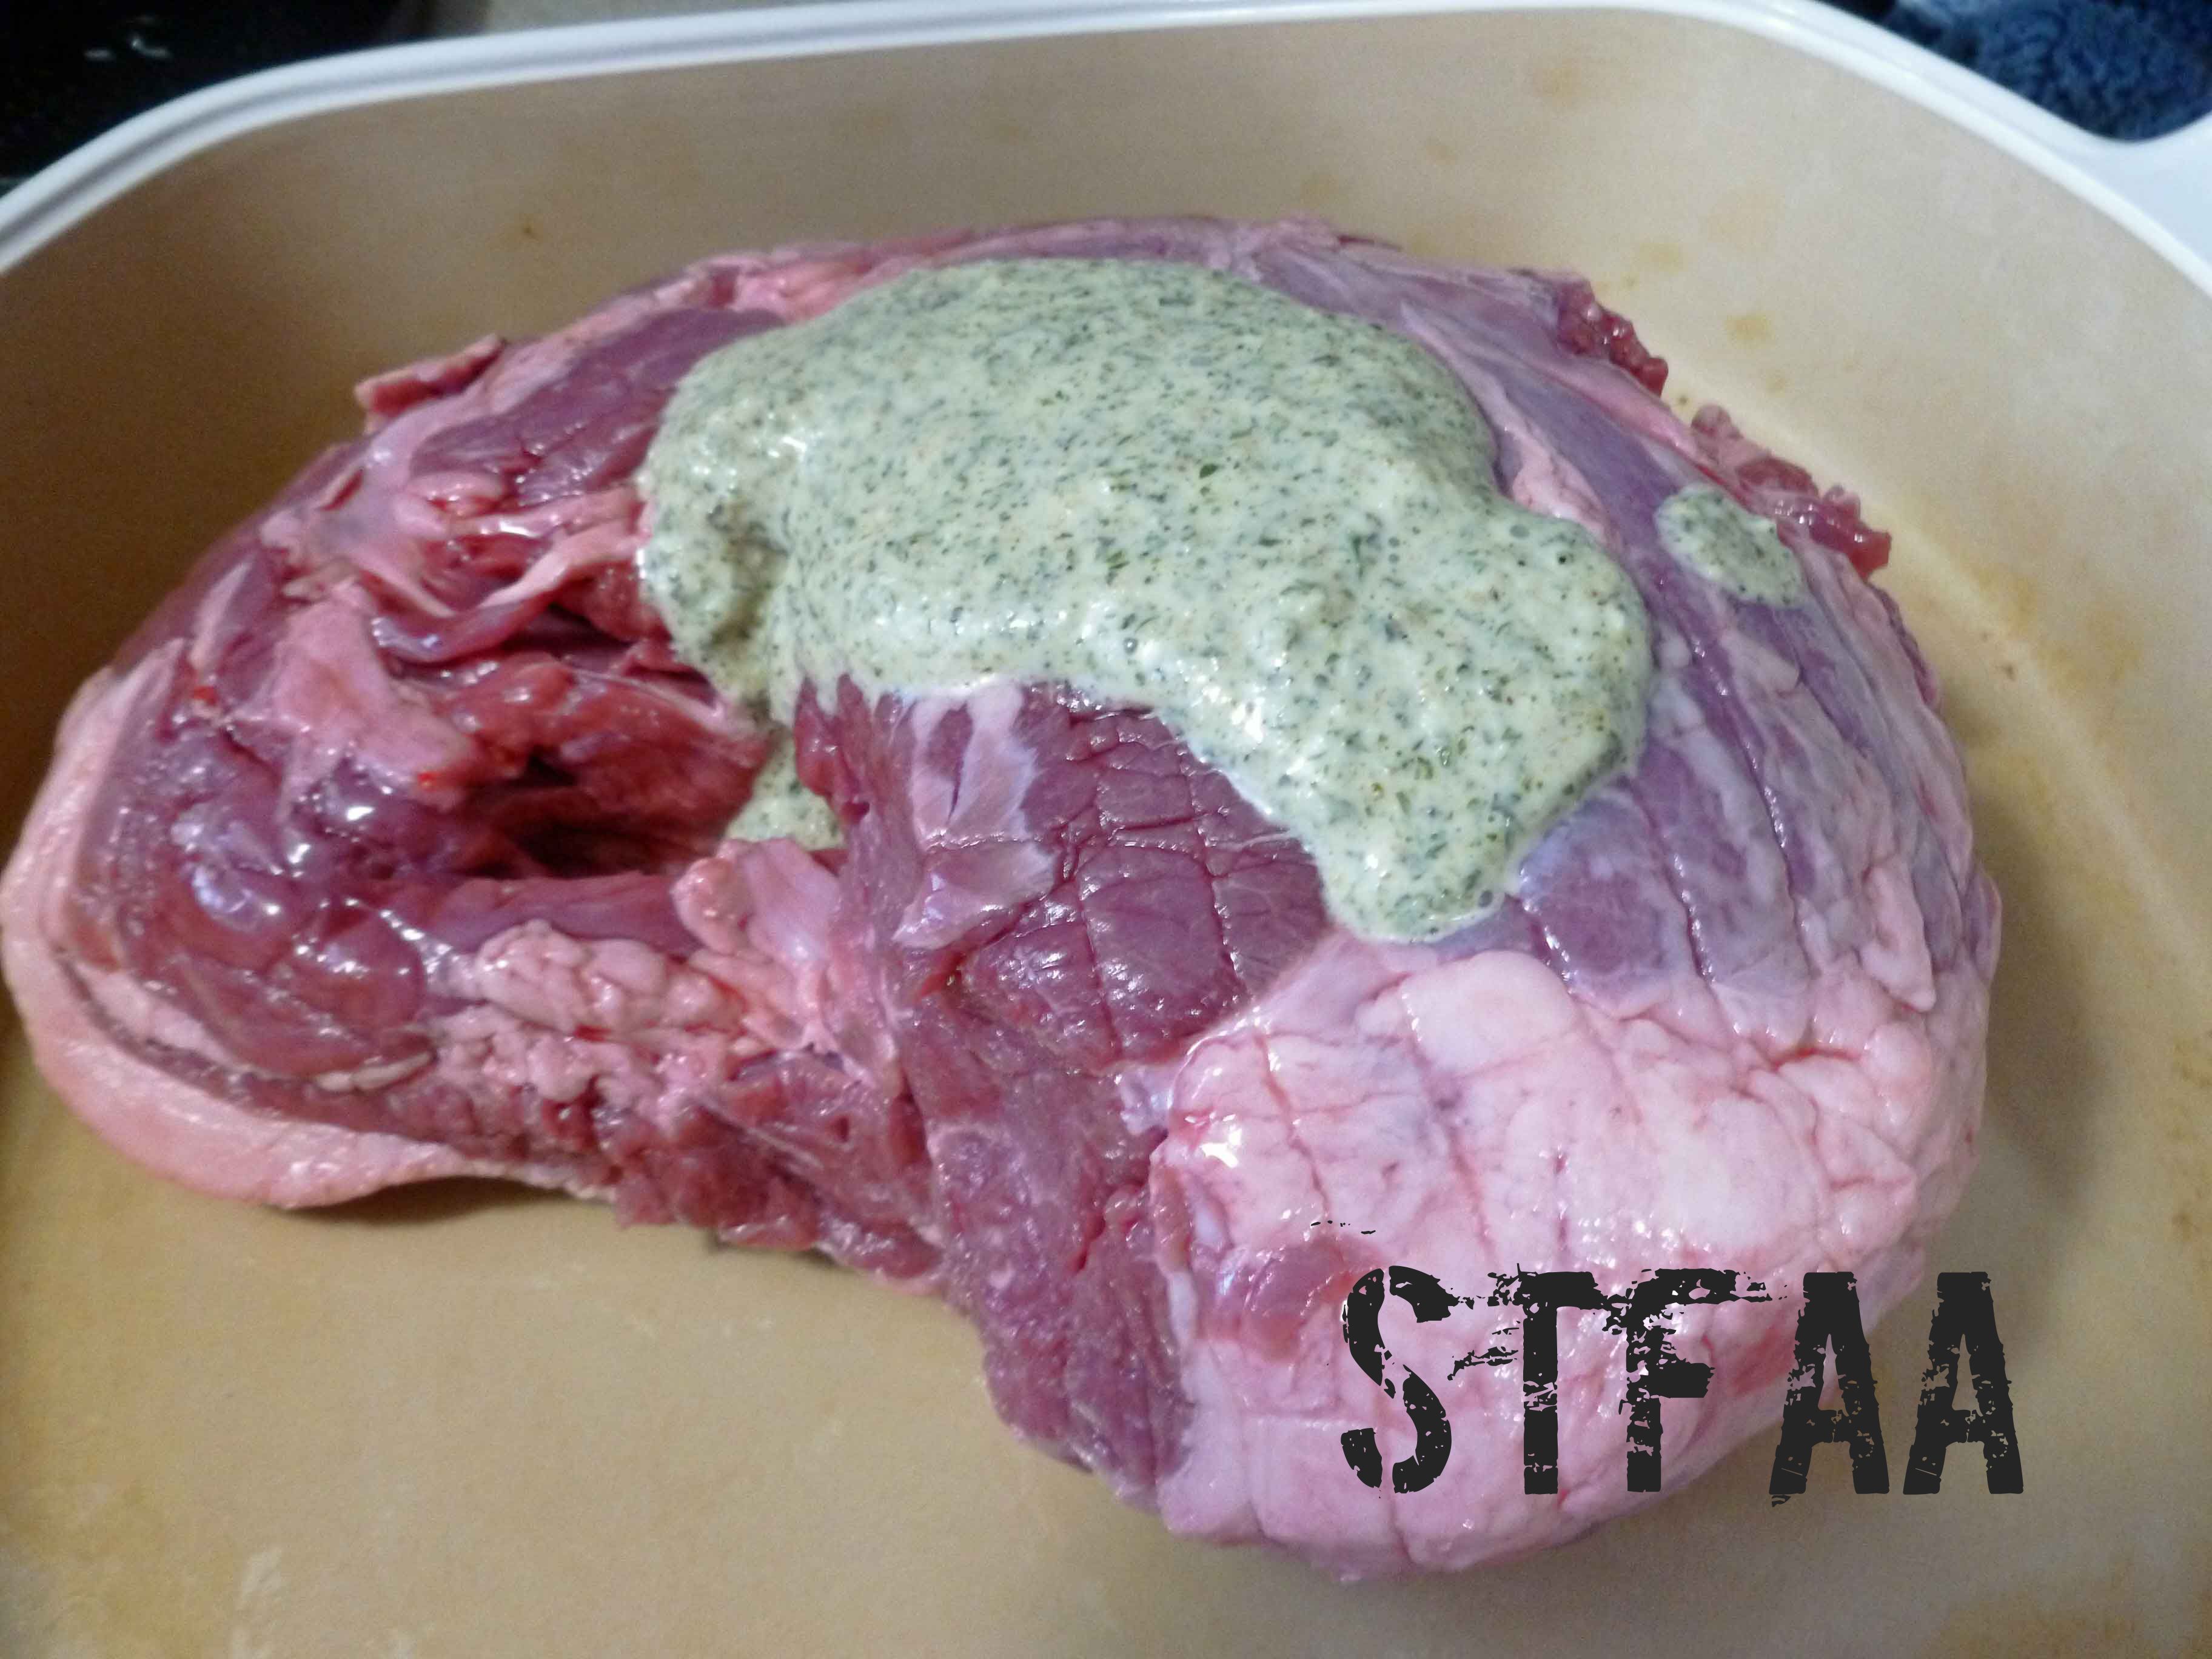
Grease a shallow baking dish with a teaspoon of olive oil. Place lamb in shallow roasting dish upside down and pour approximately a third of the wet rub on the lamb. Use your hands or a basting brush to spread the wet rub over the entire surface of the bottom of the lamb.
Bottom of lamb with a third of the wet rubBottom of lamb coated with wet rub
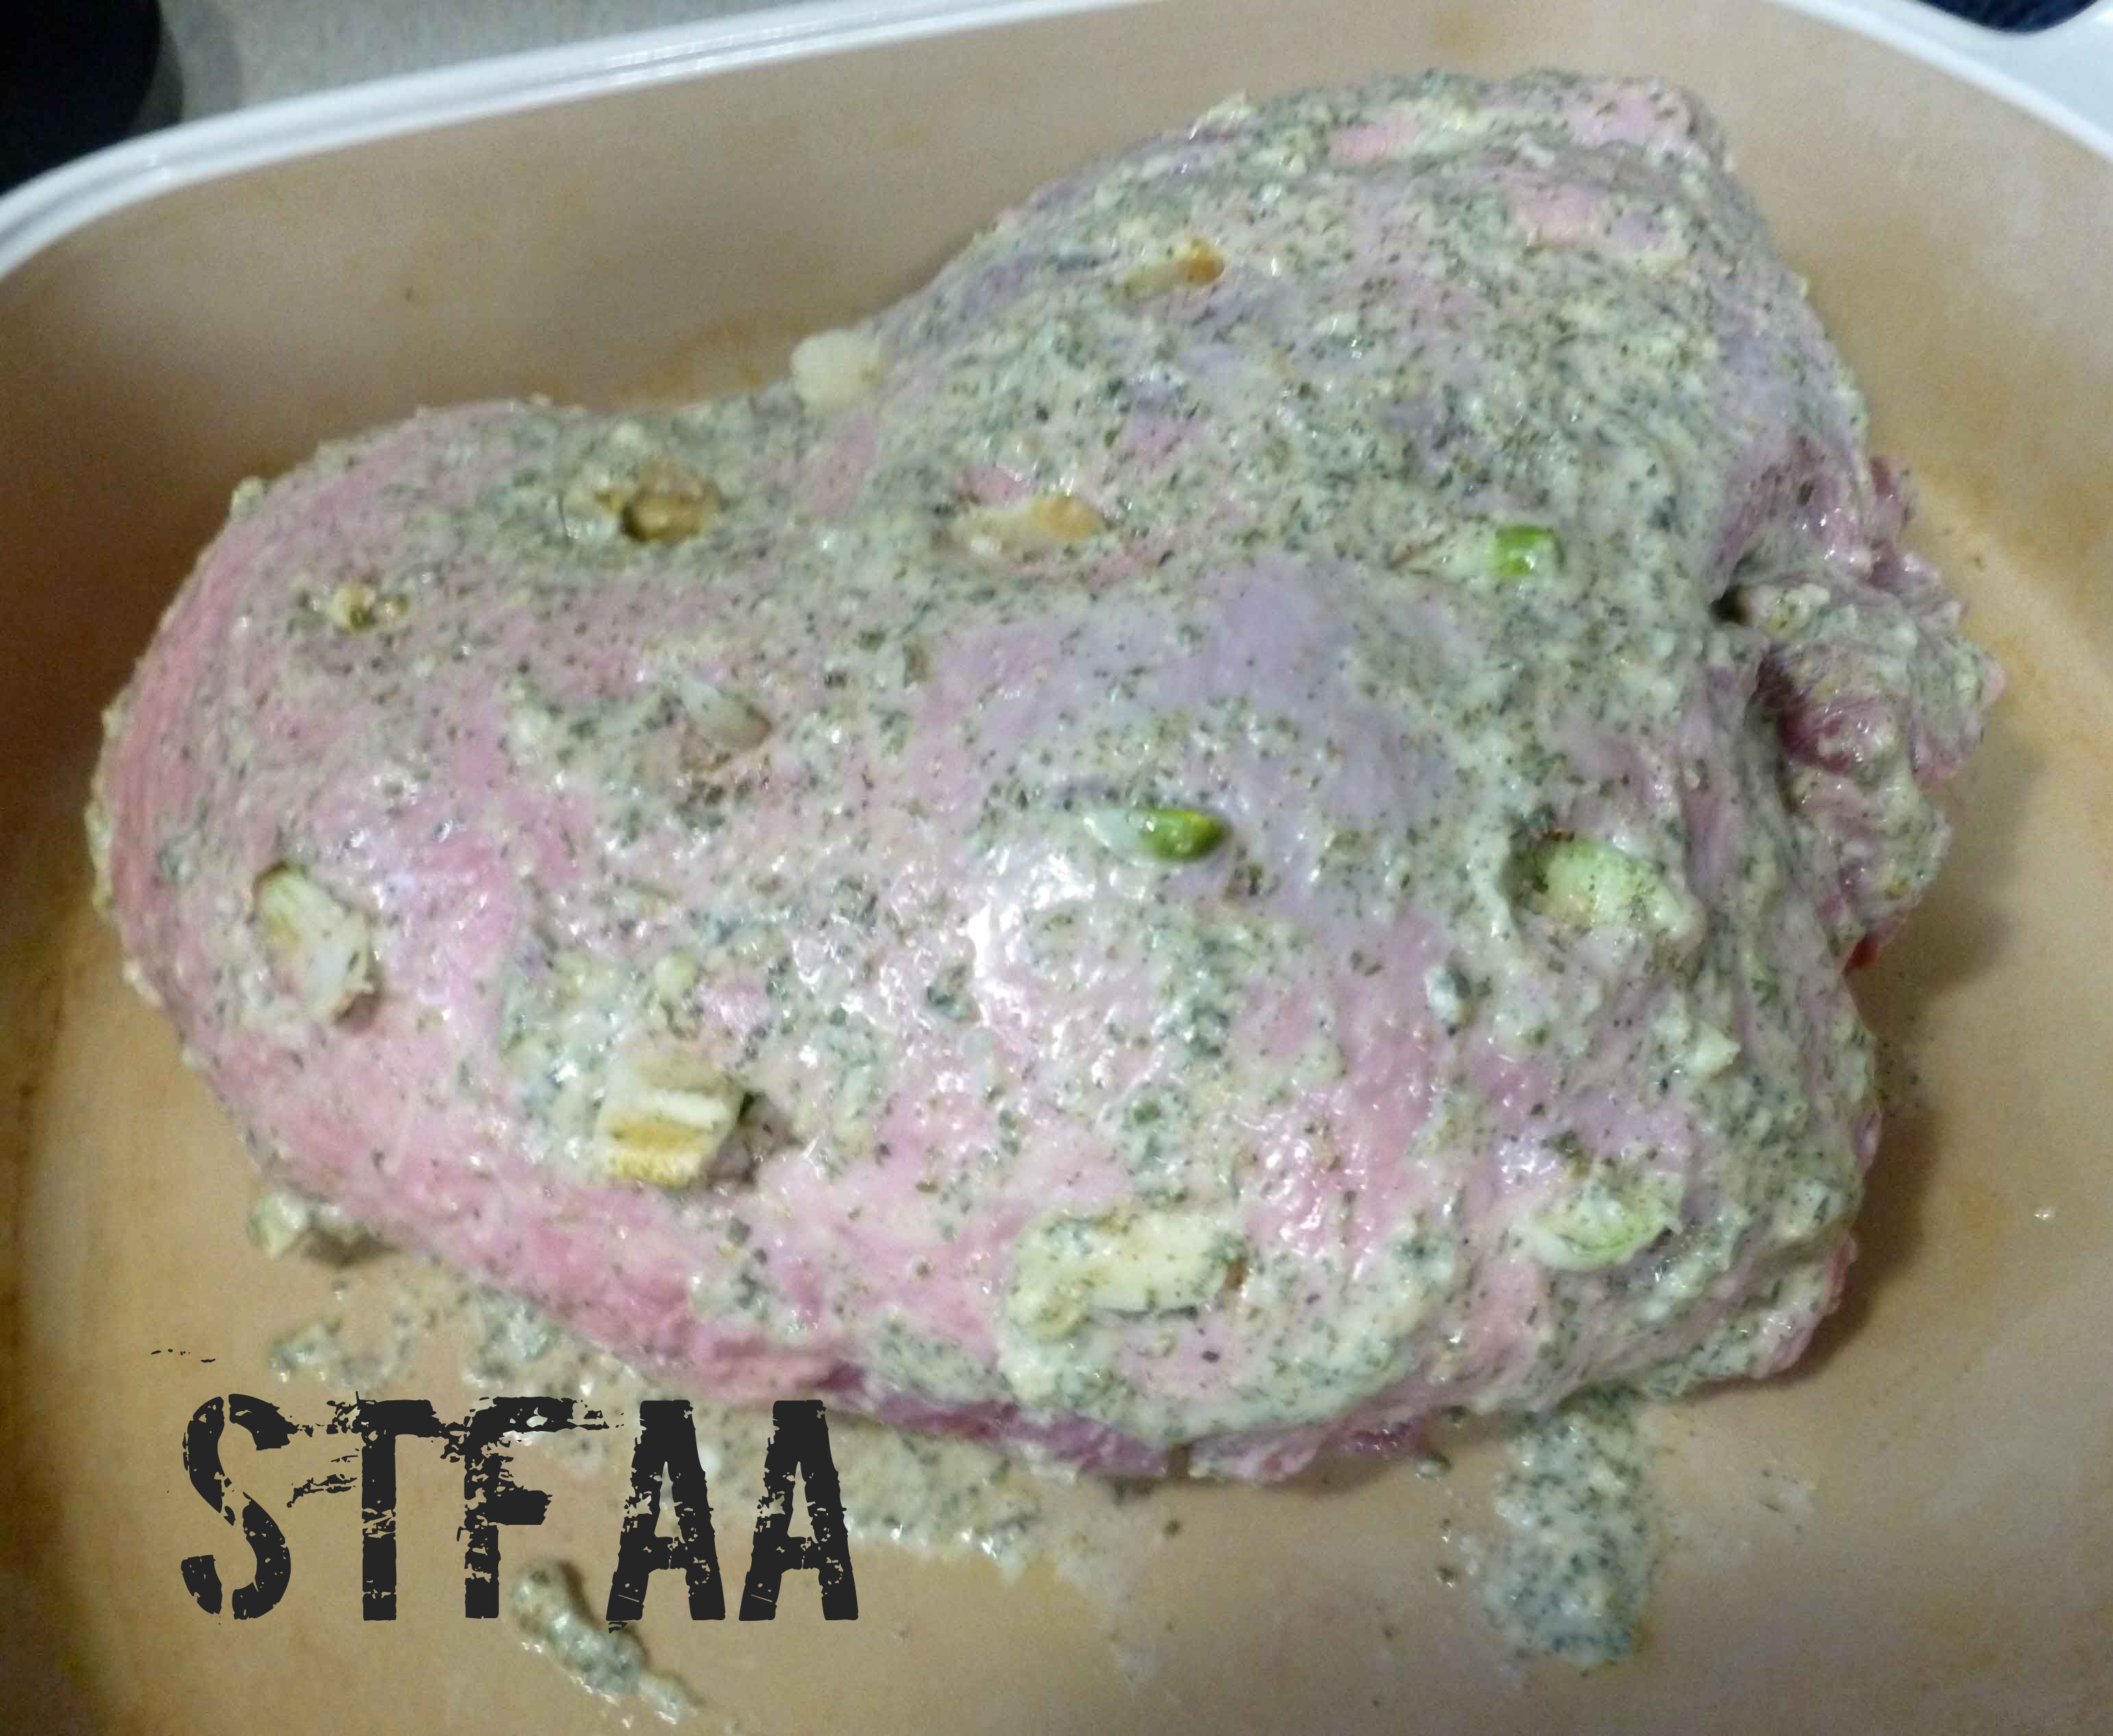
Flip the lamb over, and pour a third of the wet rub on the lamb, rubbing it into the surface, the slits and any pockets. Take the two cloves of sliced garlic and push a slice of garlic clove into each slit you cut into the lamb.
Top of lamb coated with first layer of wet rub and garlic slices inserted in slits
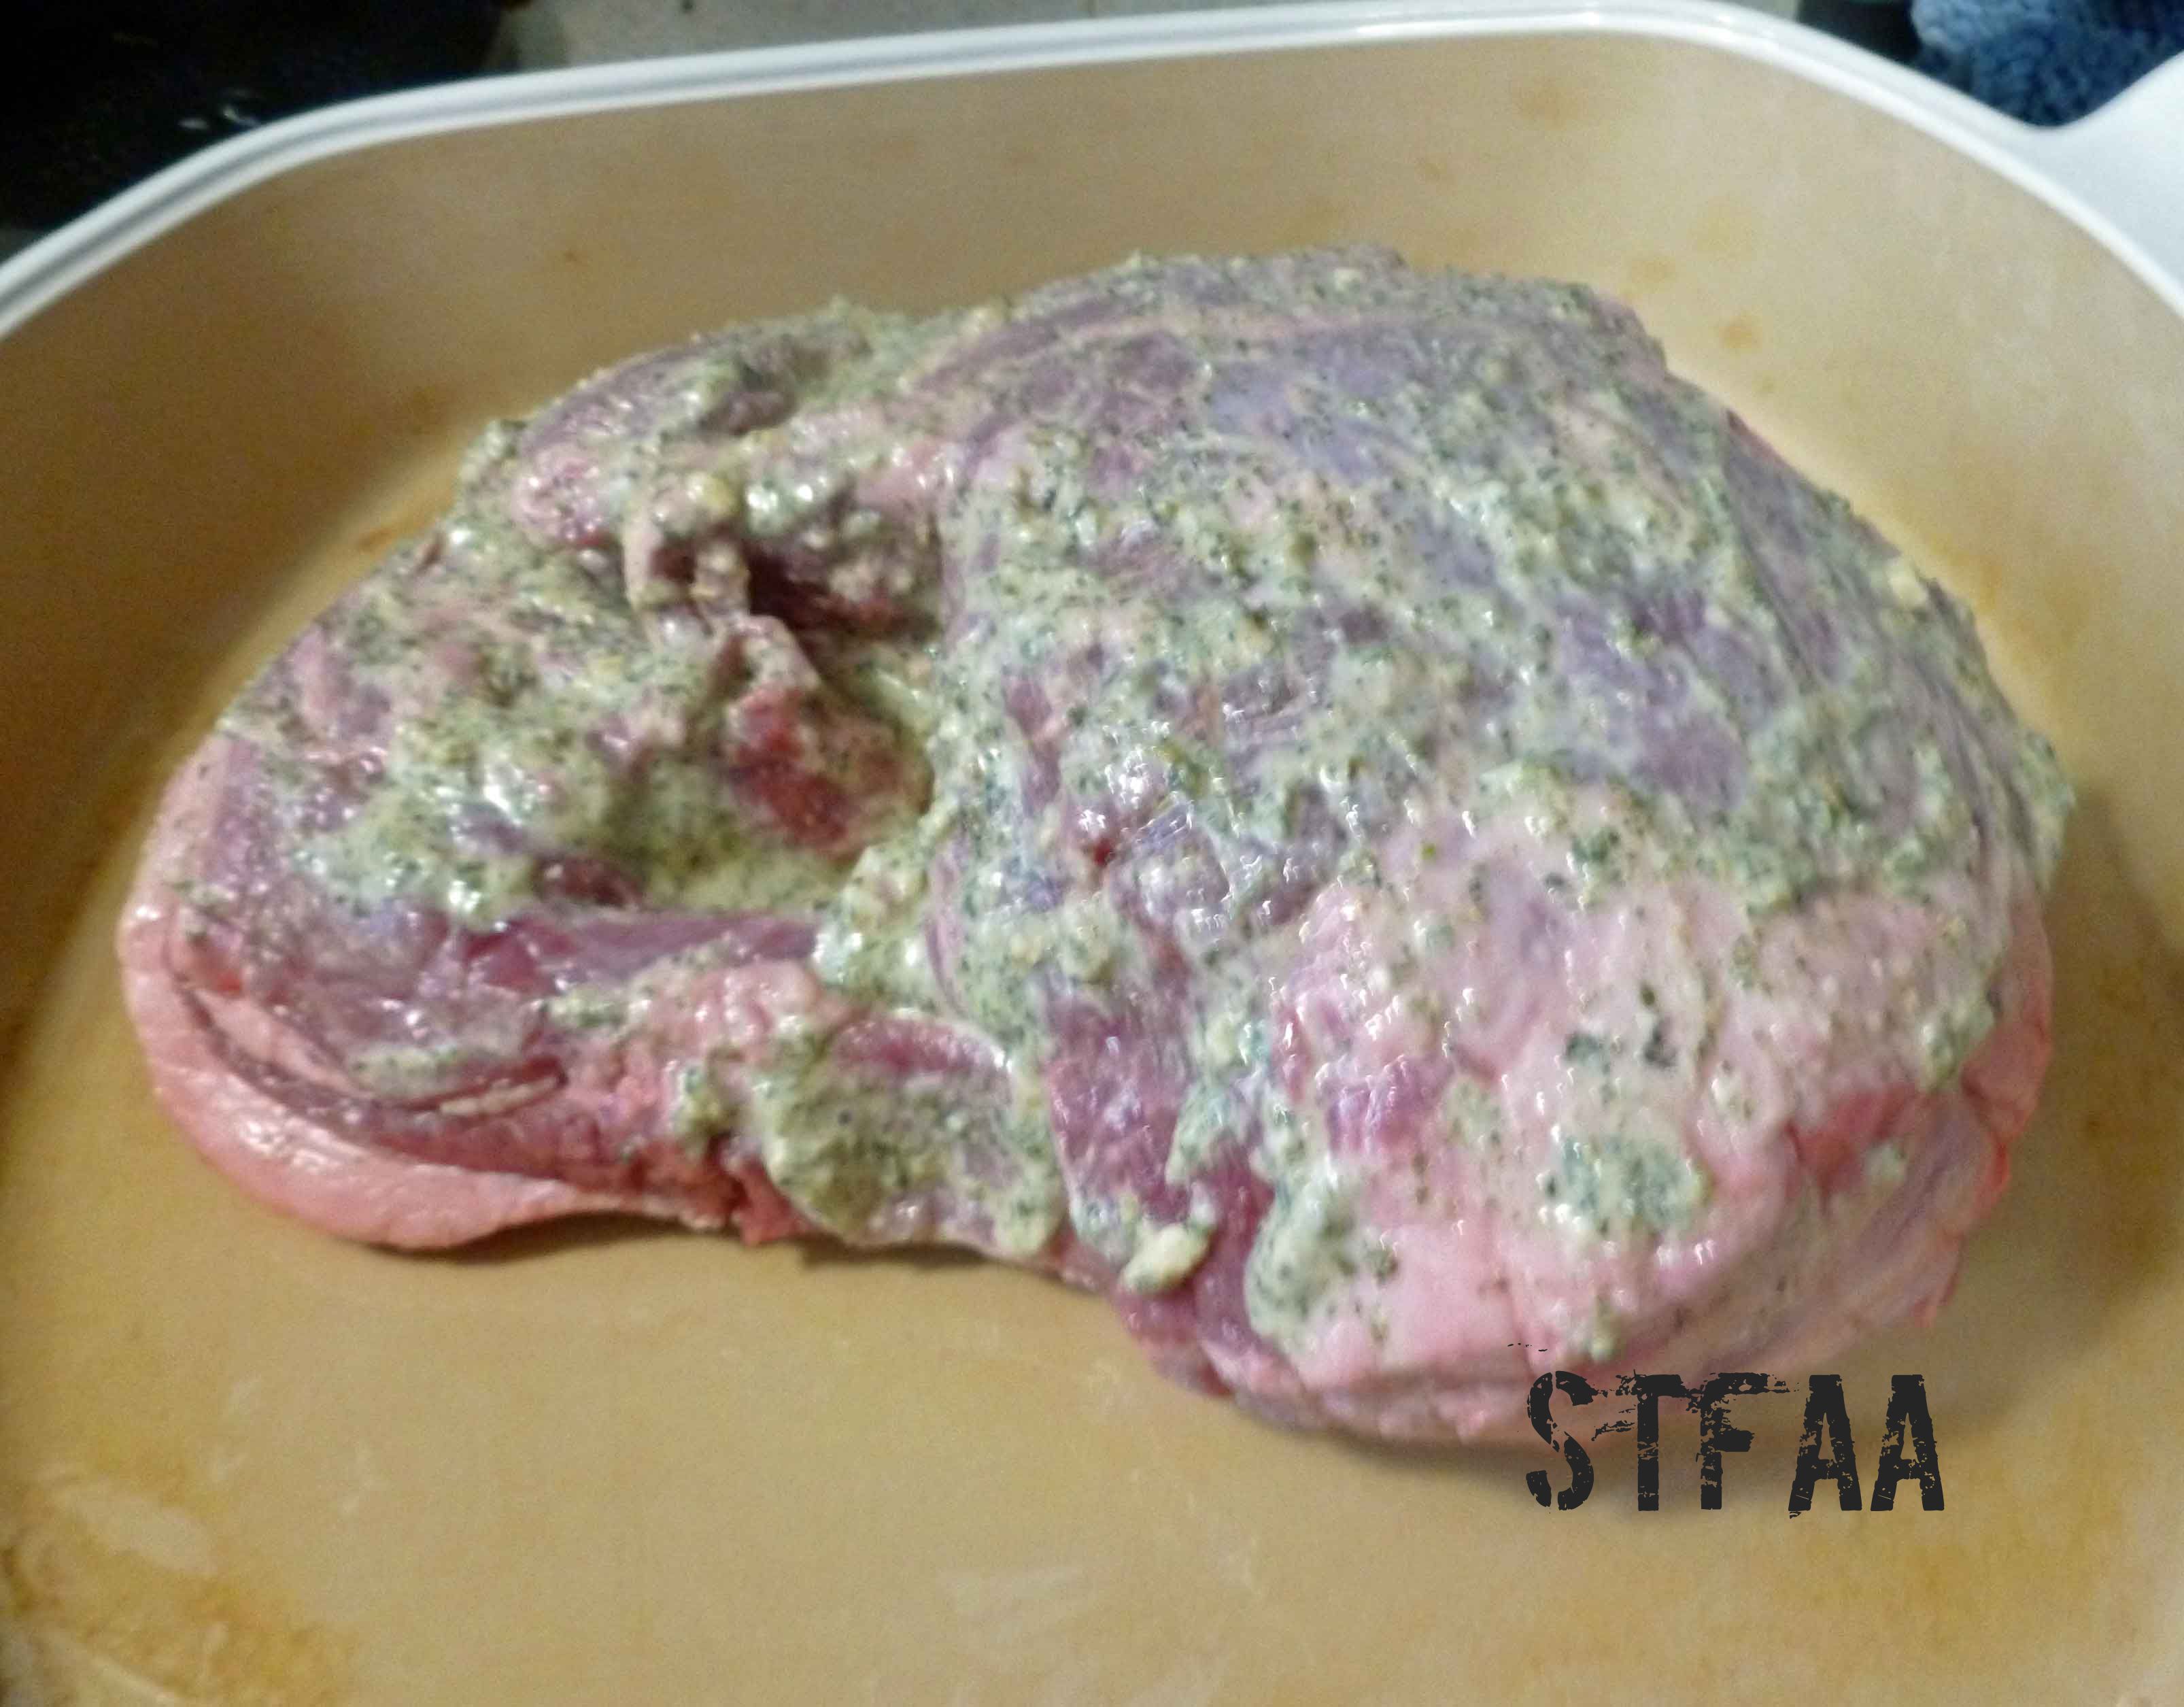
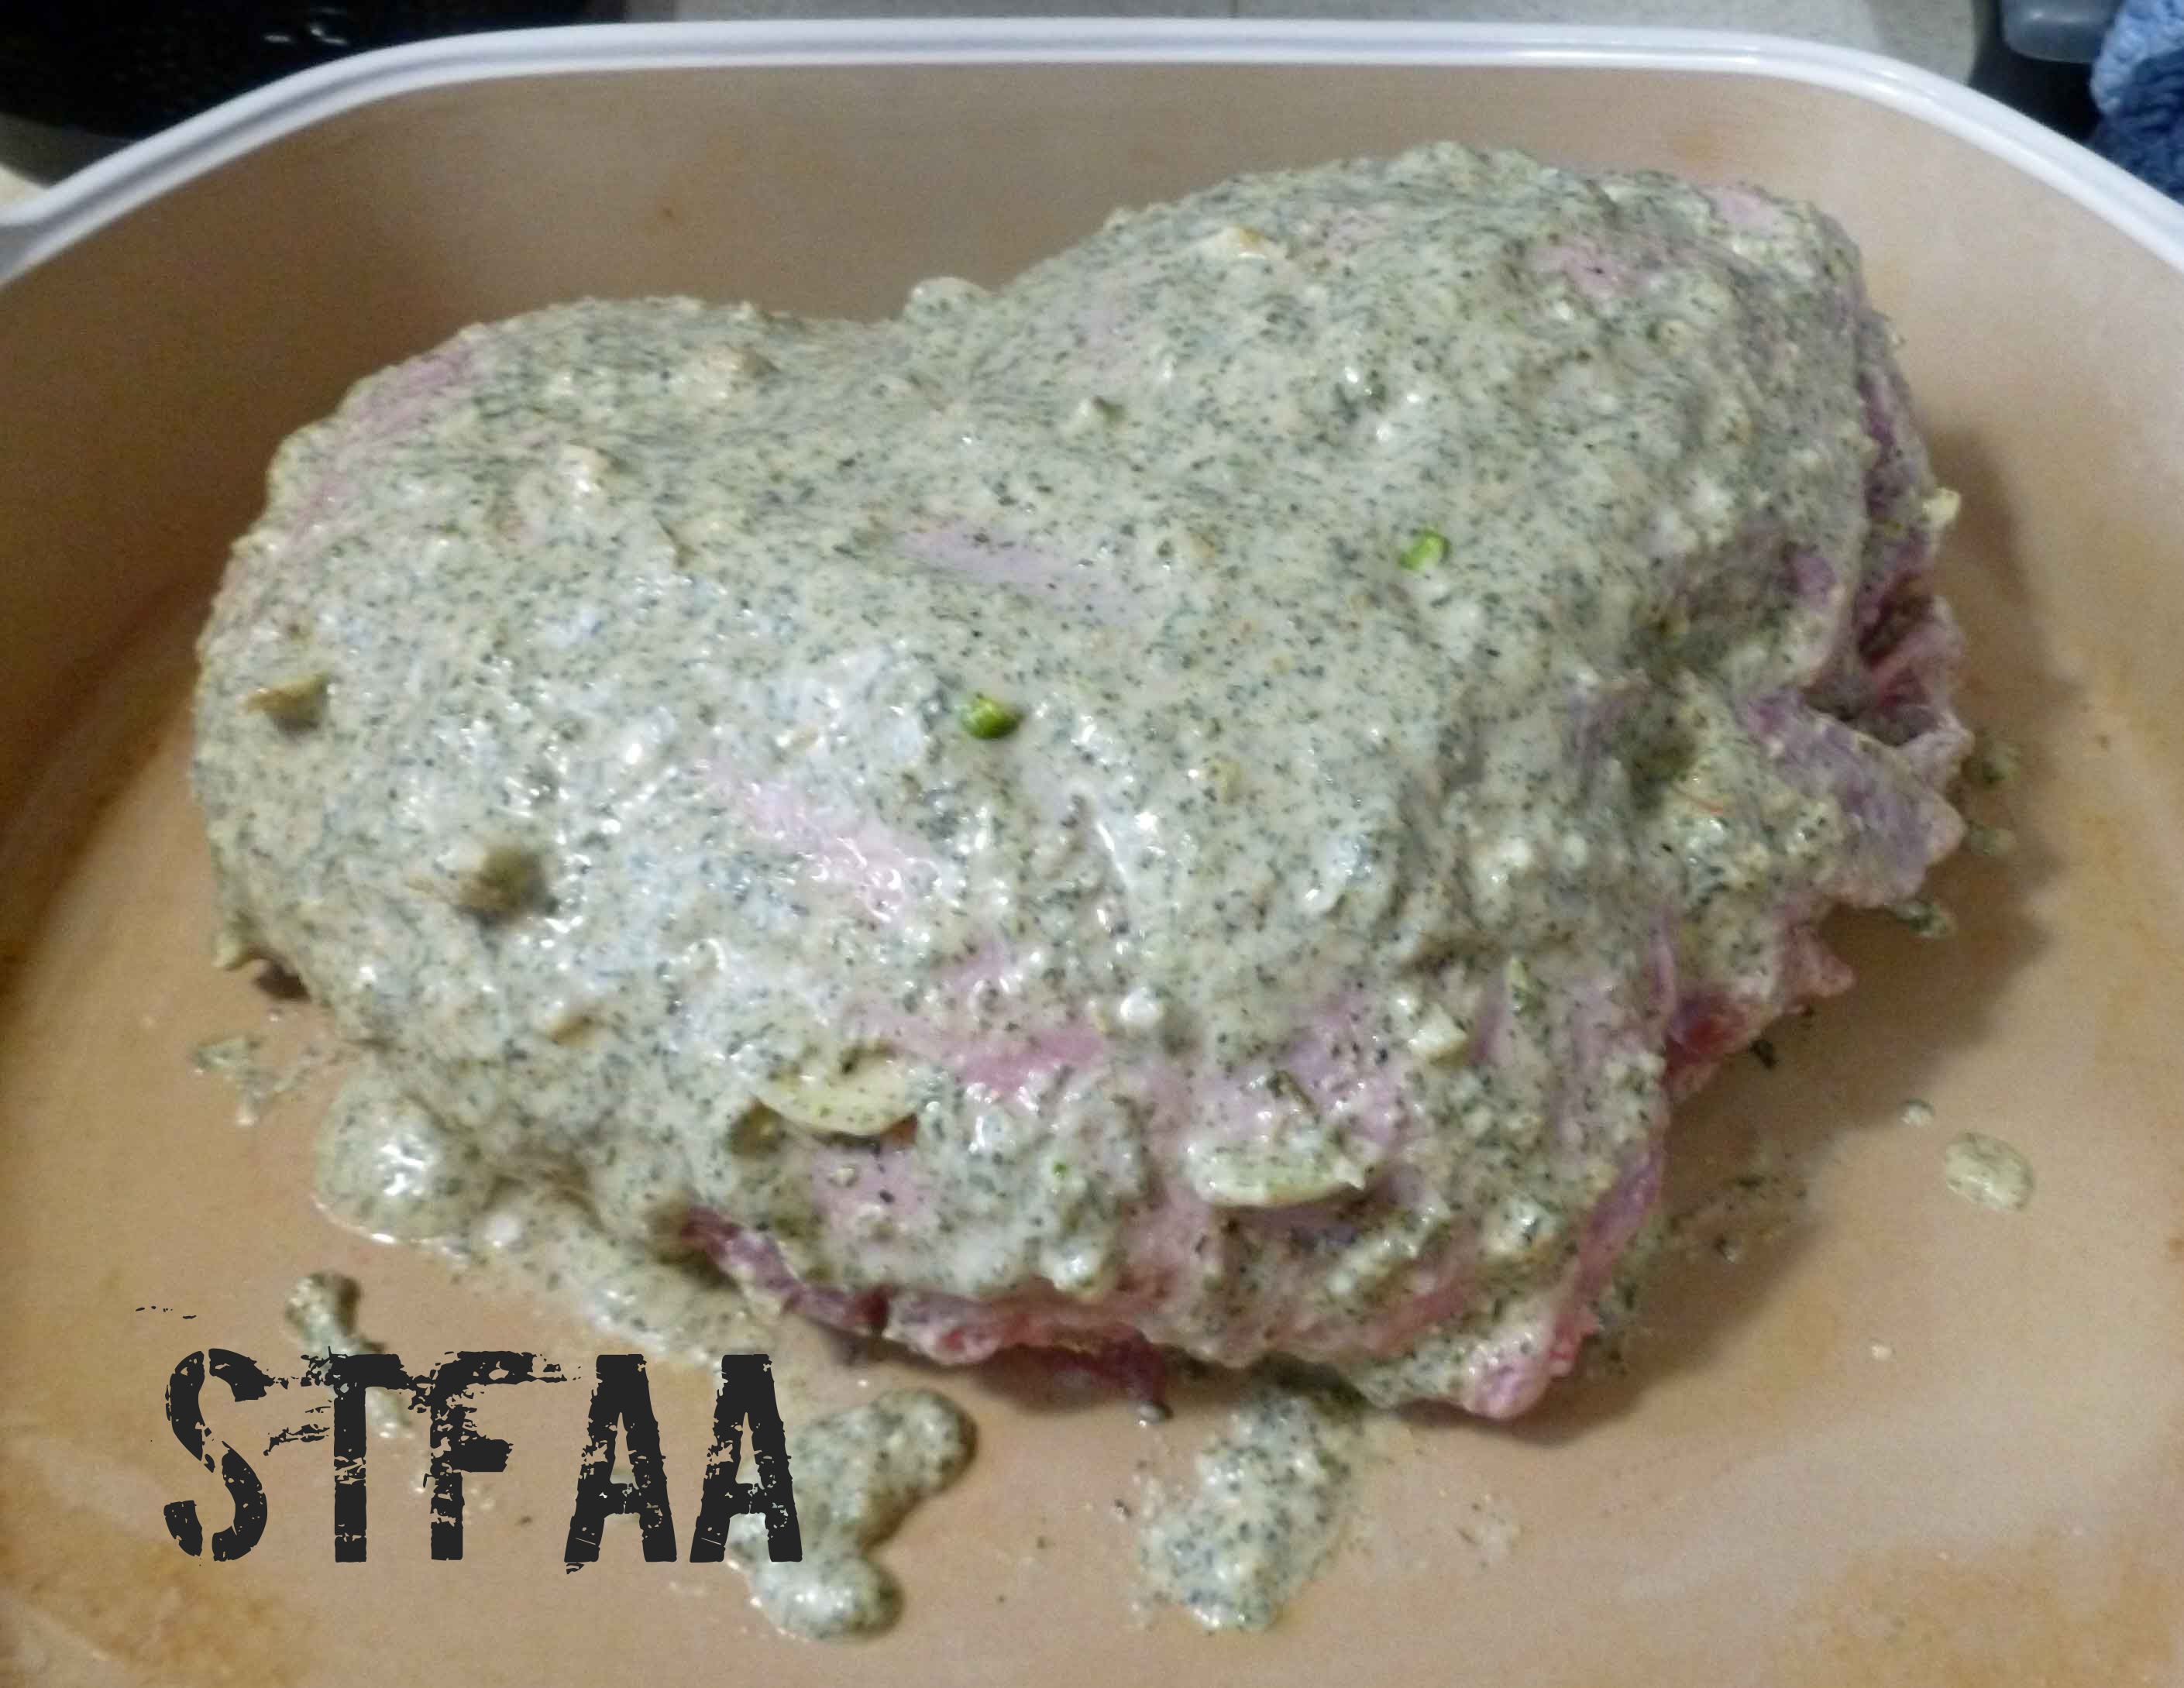
Then pour the remaining wet rub onto the lamb and spread it over the surface.
Lamb with remaining wet rub coating added
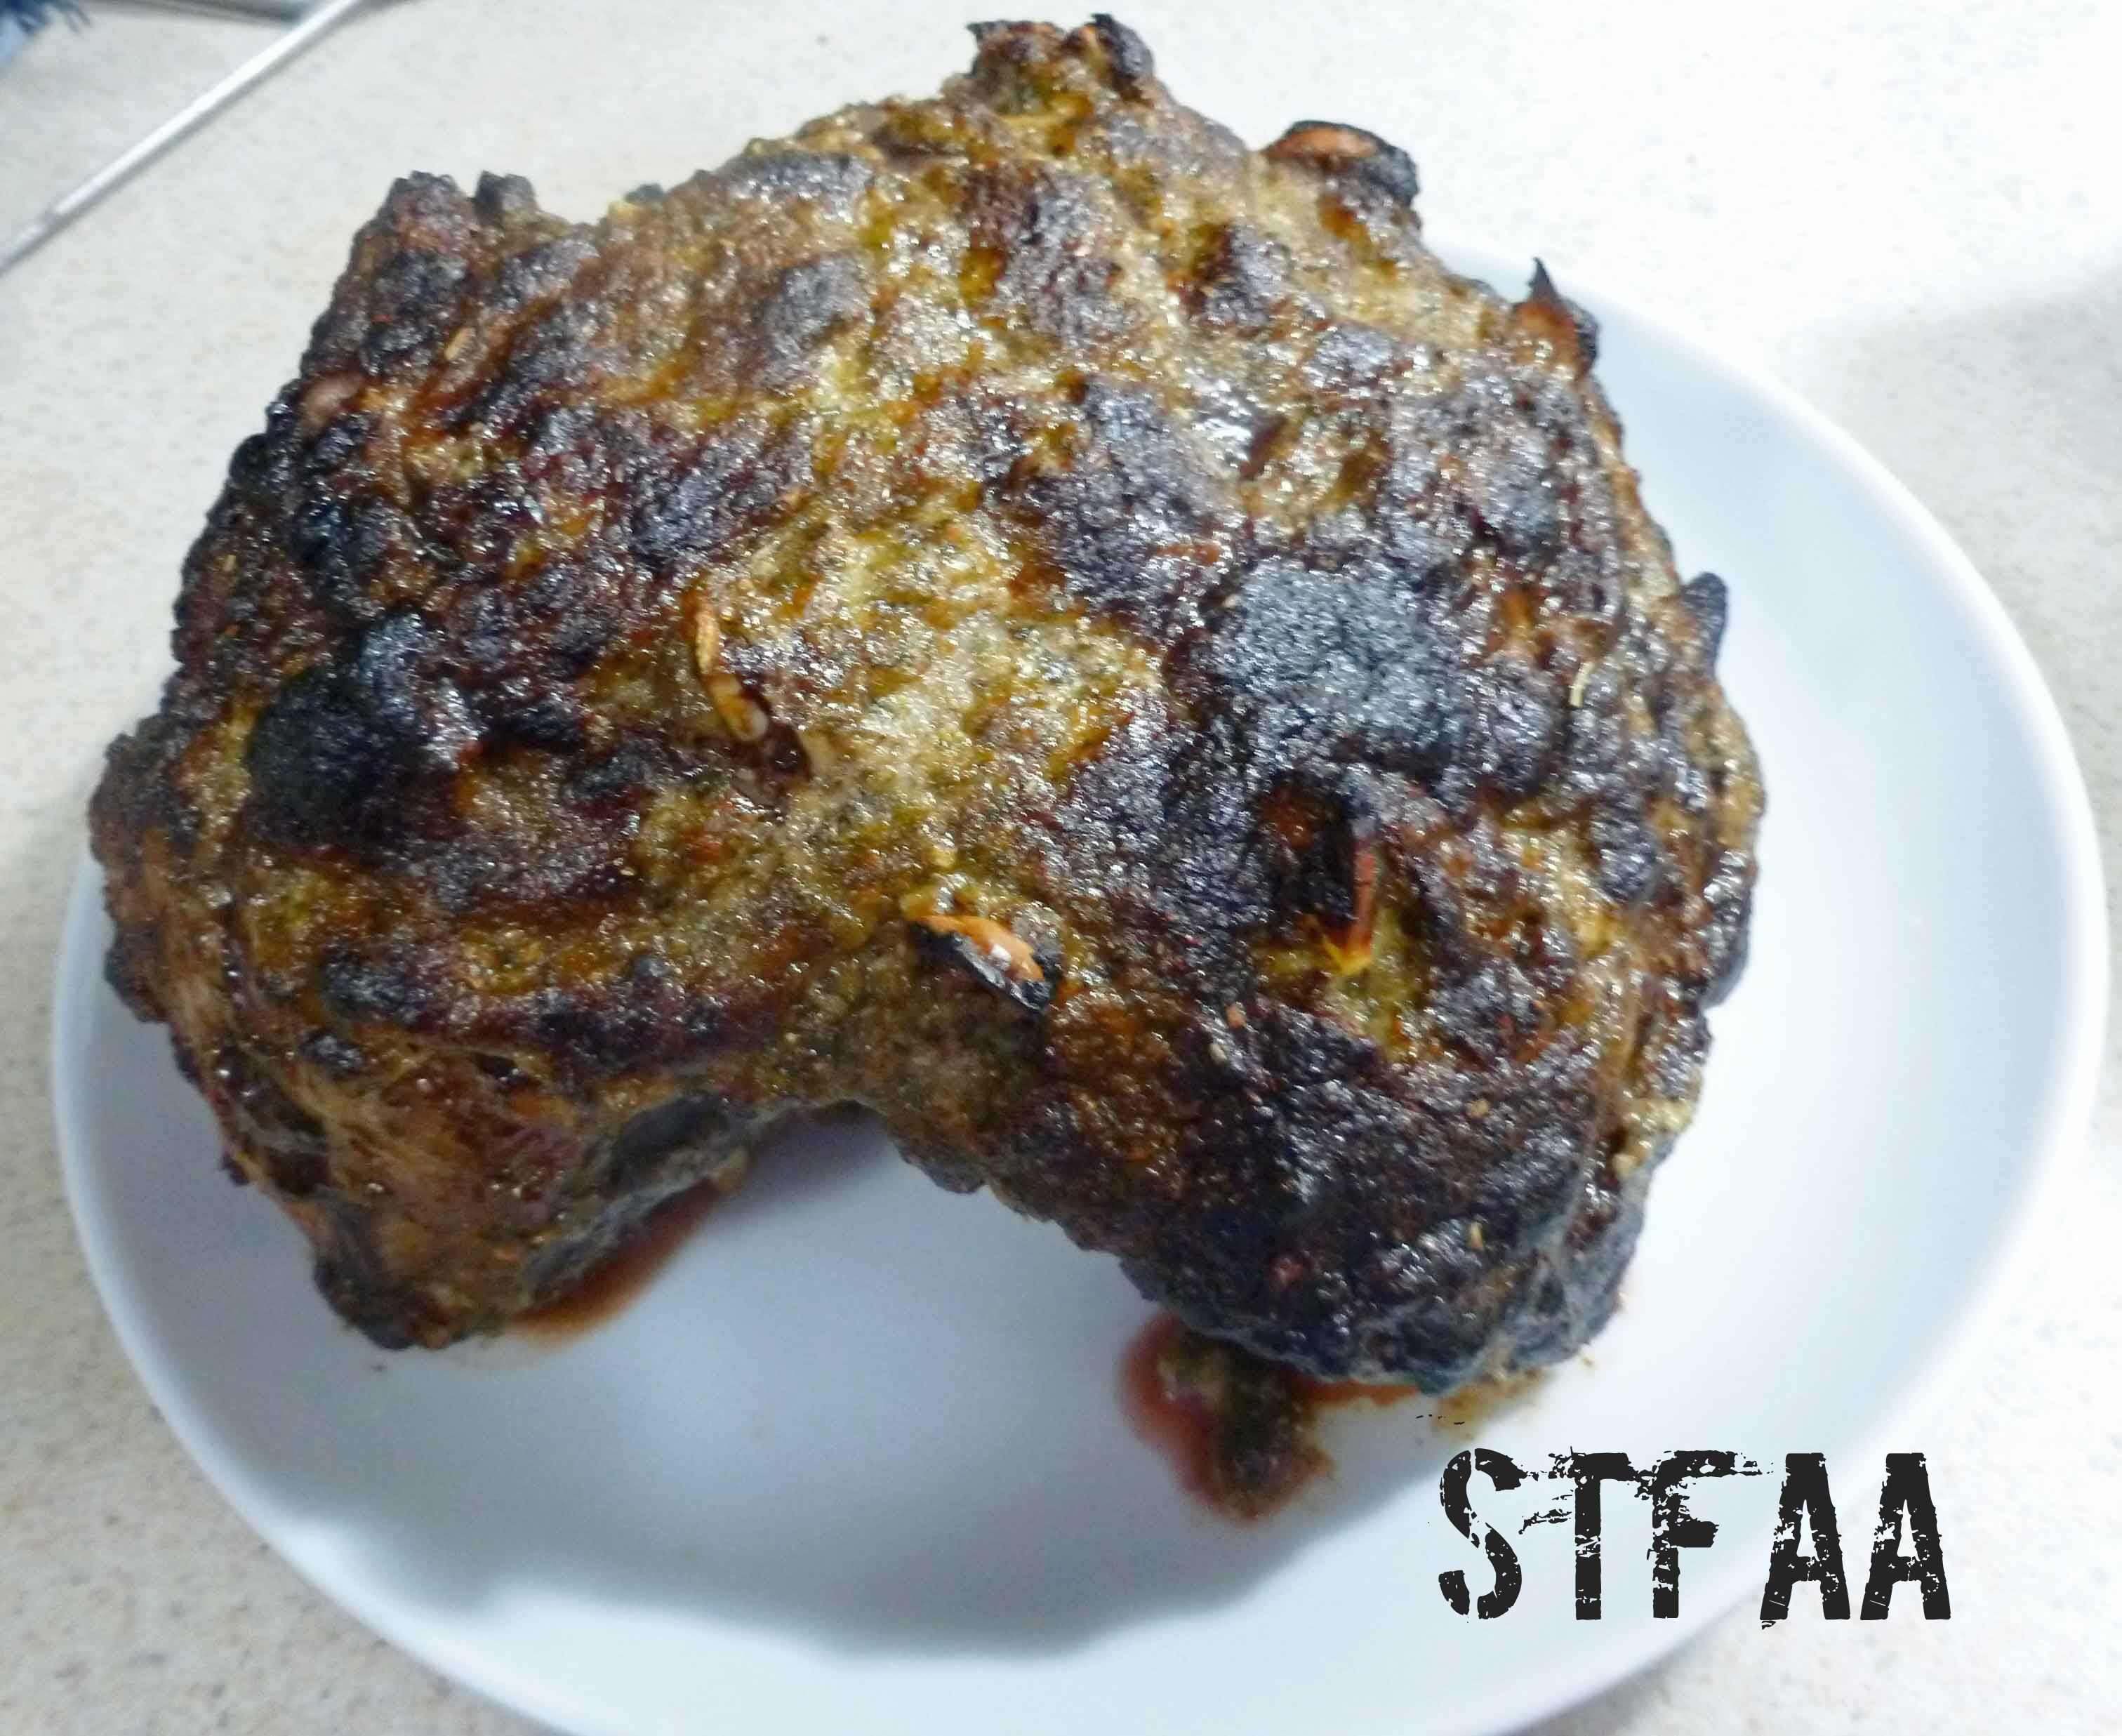
Roast the lamb at 450°F for 30 minutes, then reduce the oven temperature to 350°F. Continue roasting the lamb for about 15 minutes for each pound, until the internal temperature reaches 140°F for medium rare, or 155°F for medium, using a meat thermometer or a probe thermometer. To reach 155°F, I ended up cooking my lamb for an additional 75 minutes after the initial 30 minutes, for a total of an hour and 45 minutes of cooking time.
Lamb removed from roasting pan to rest
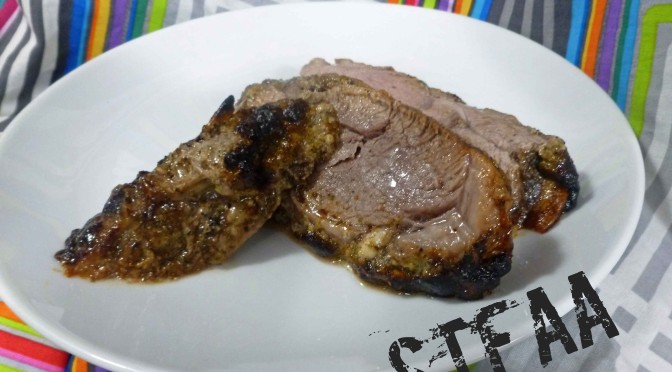
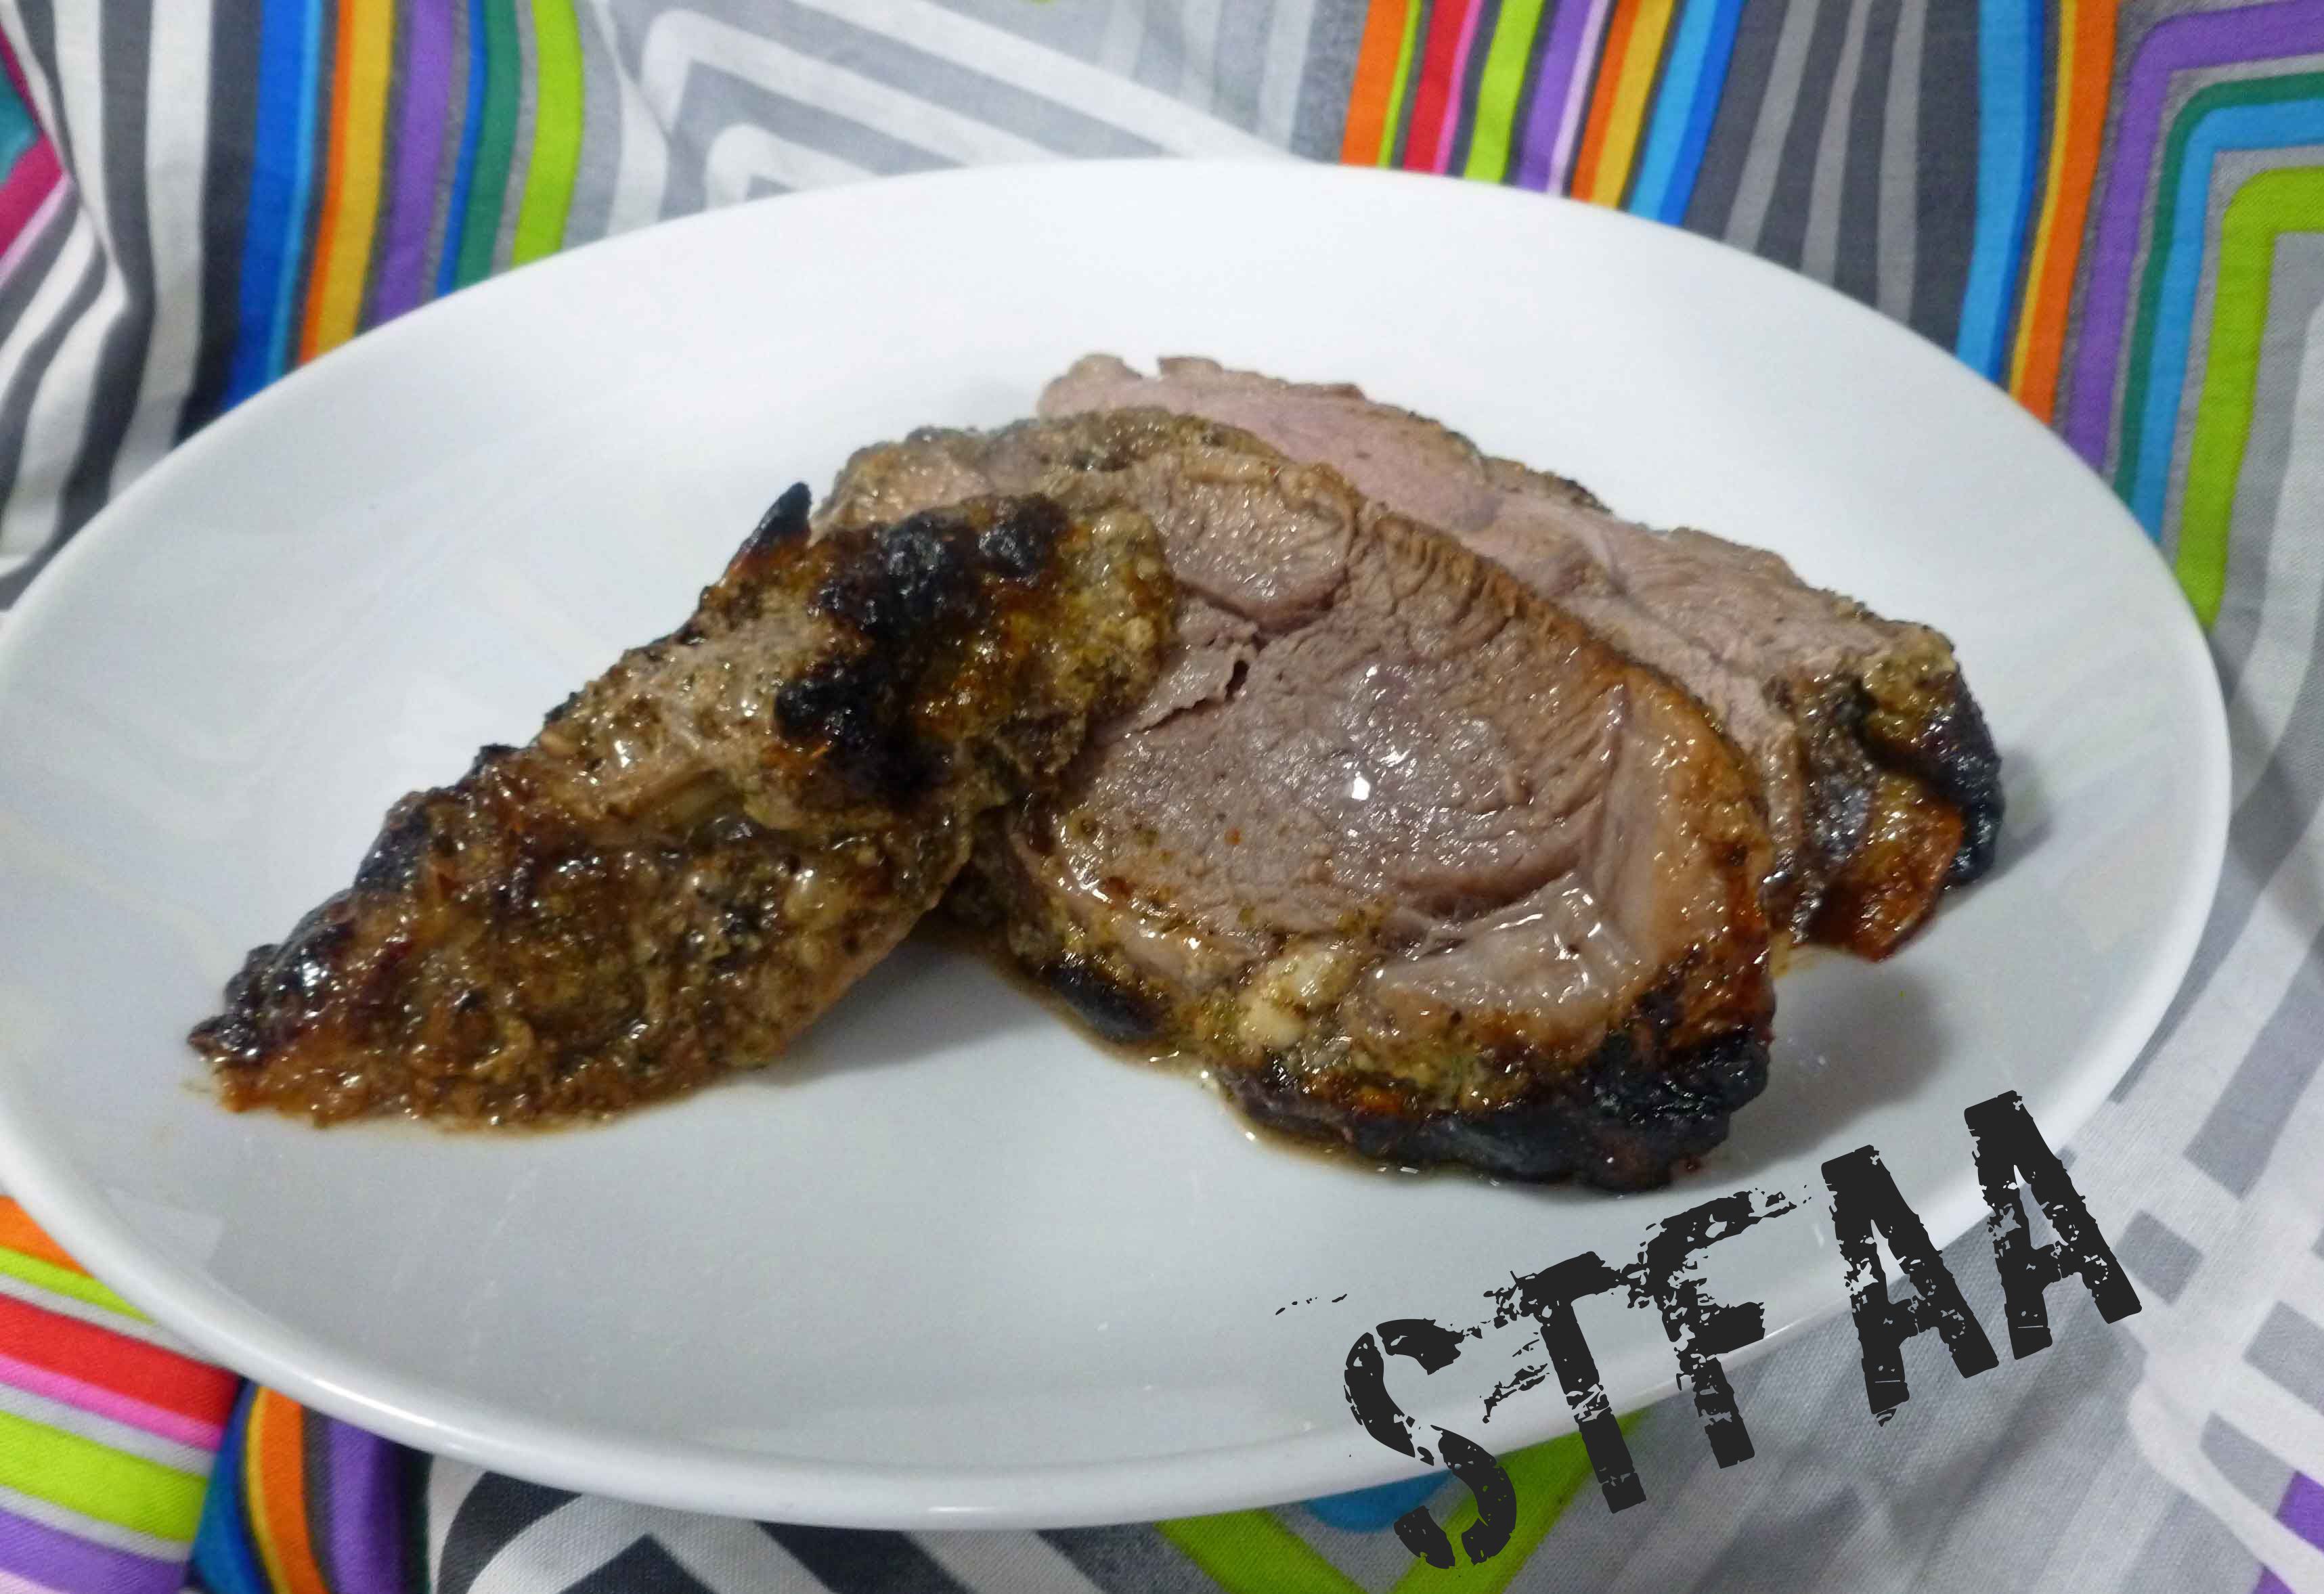
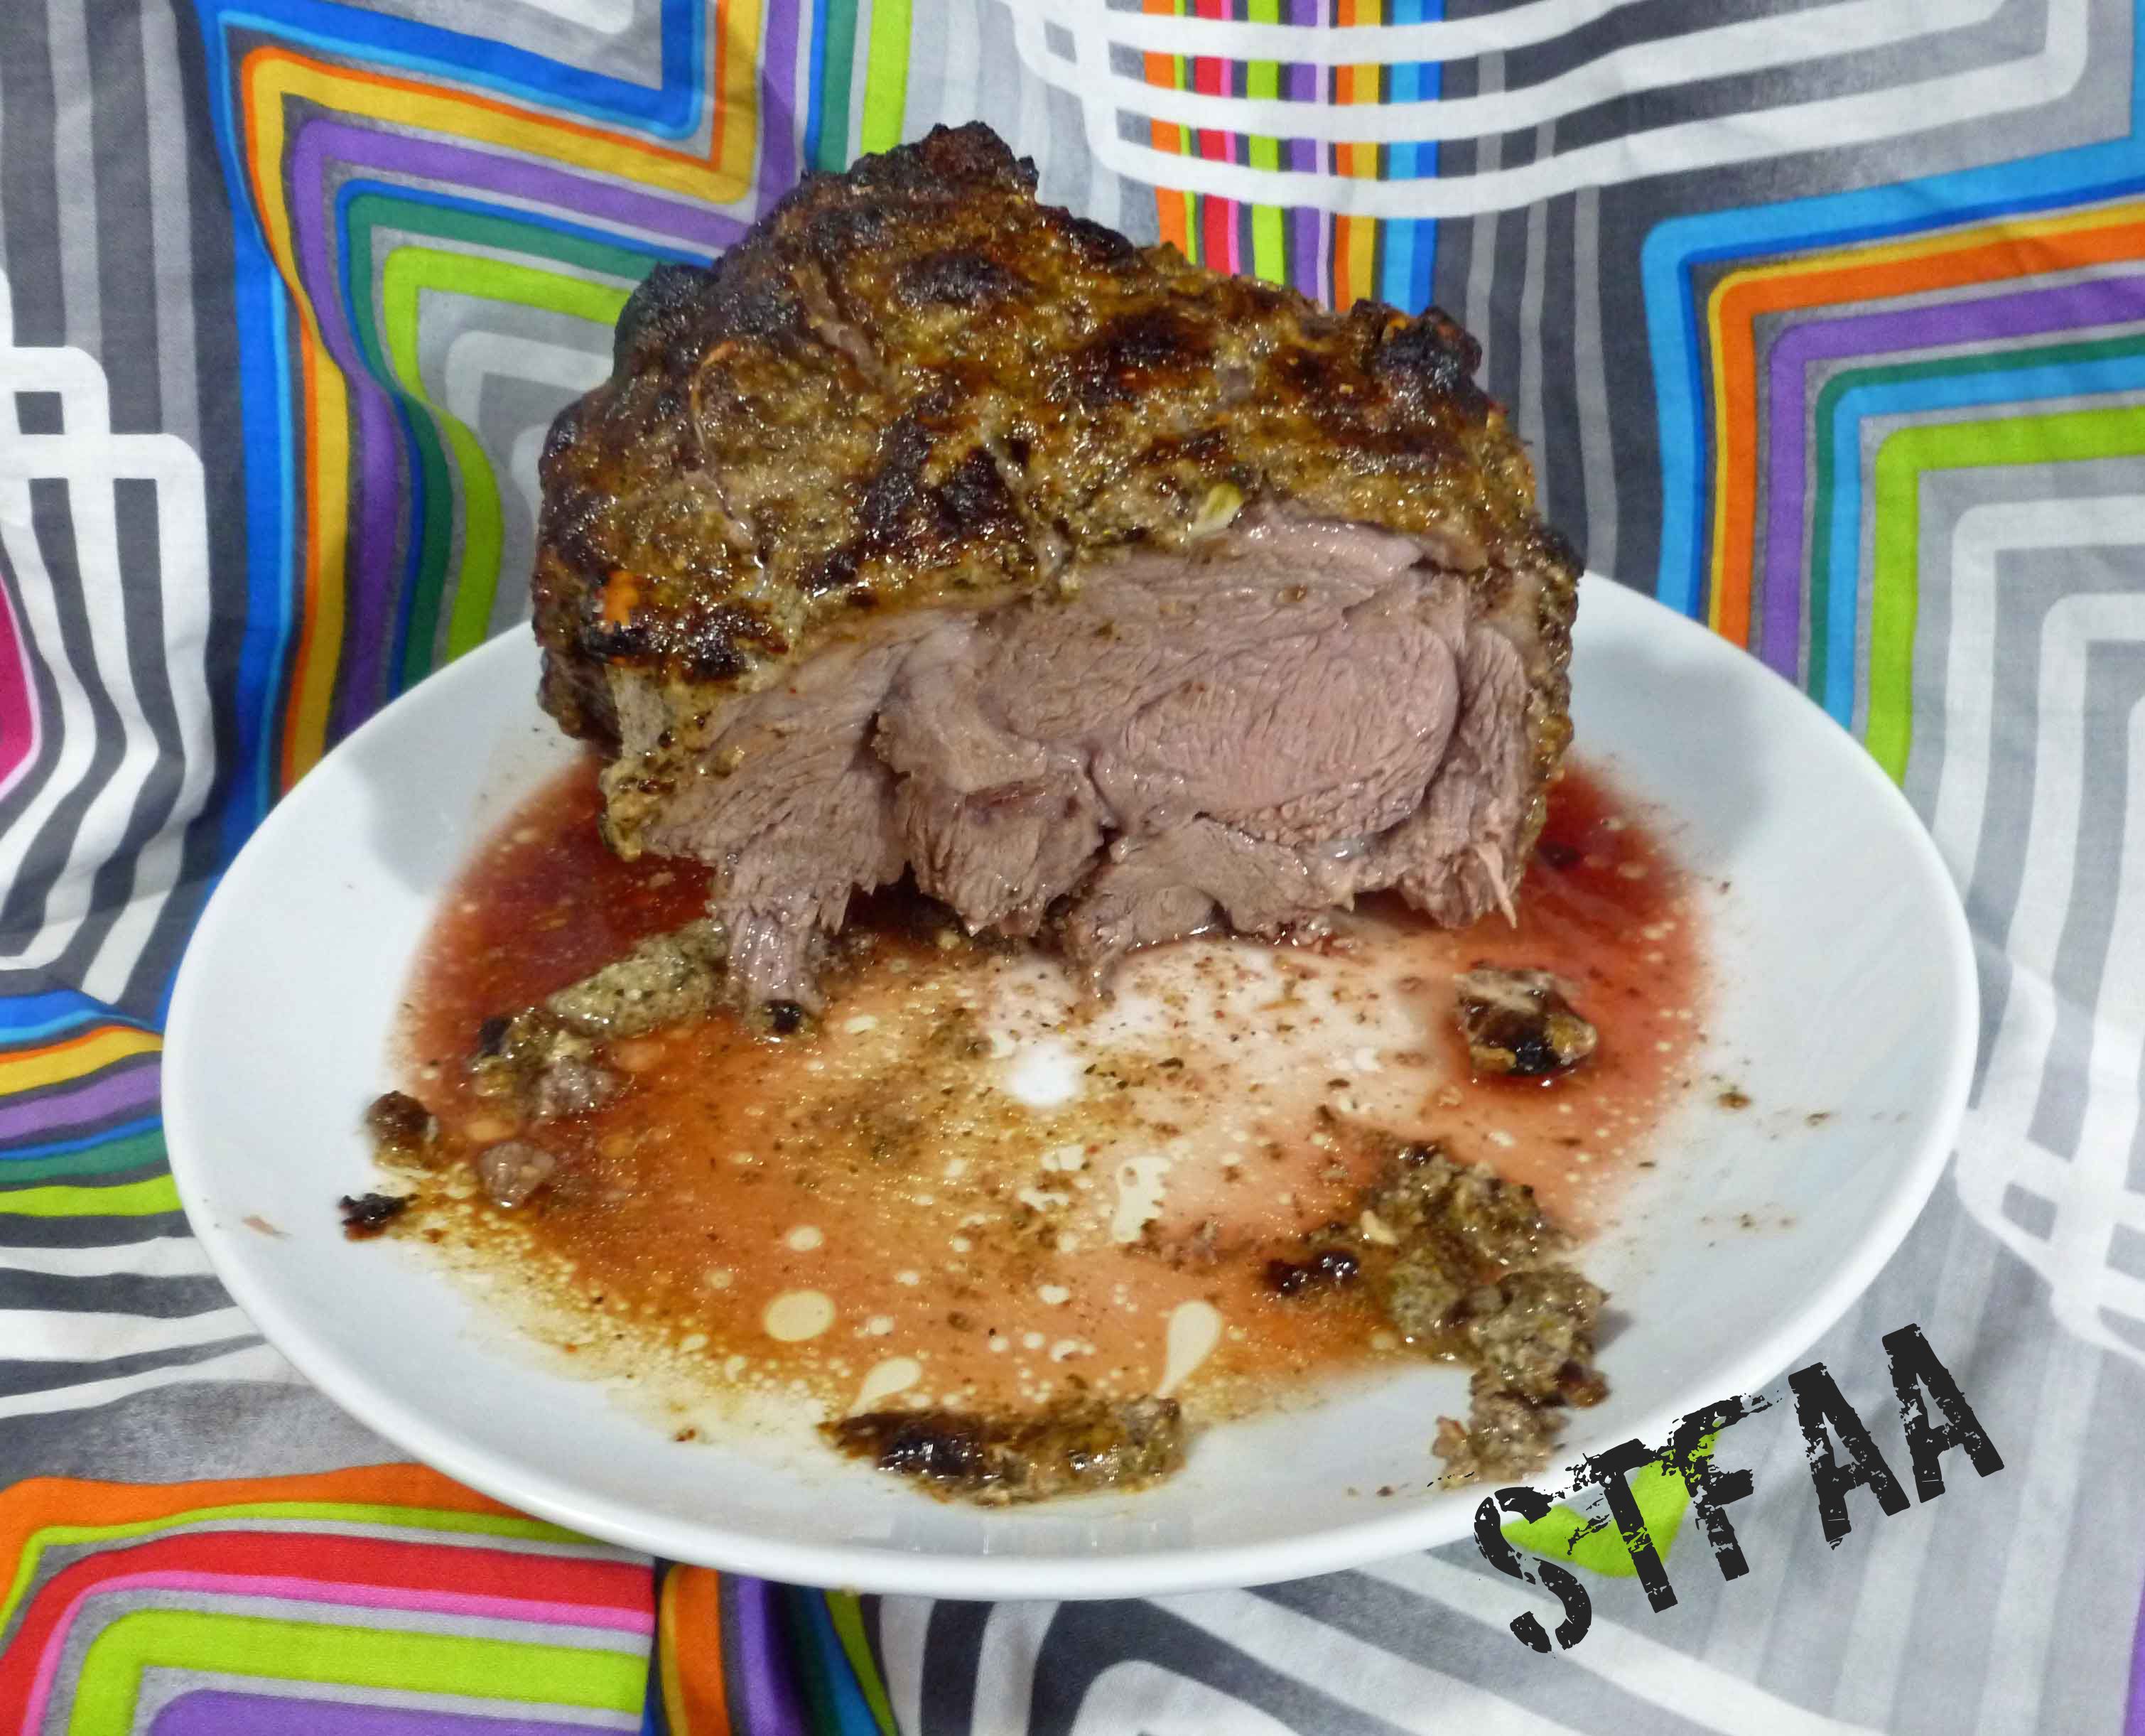
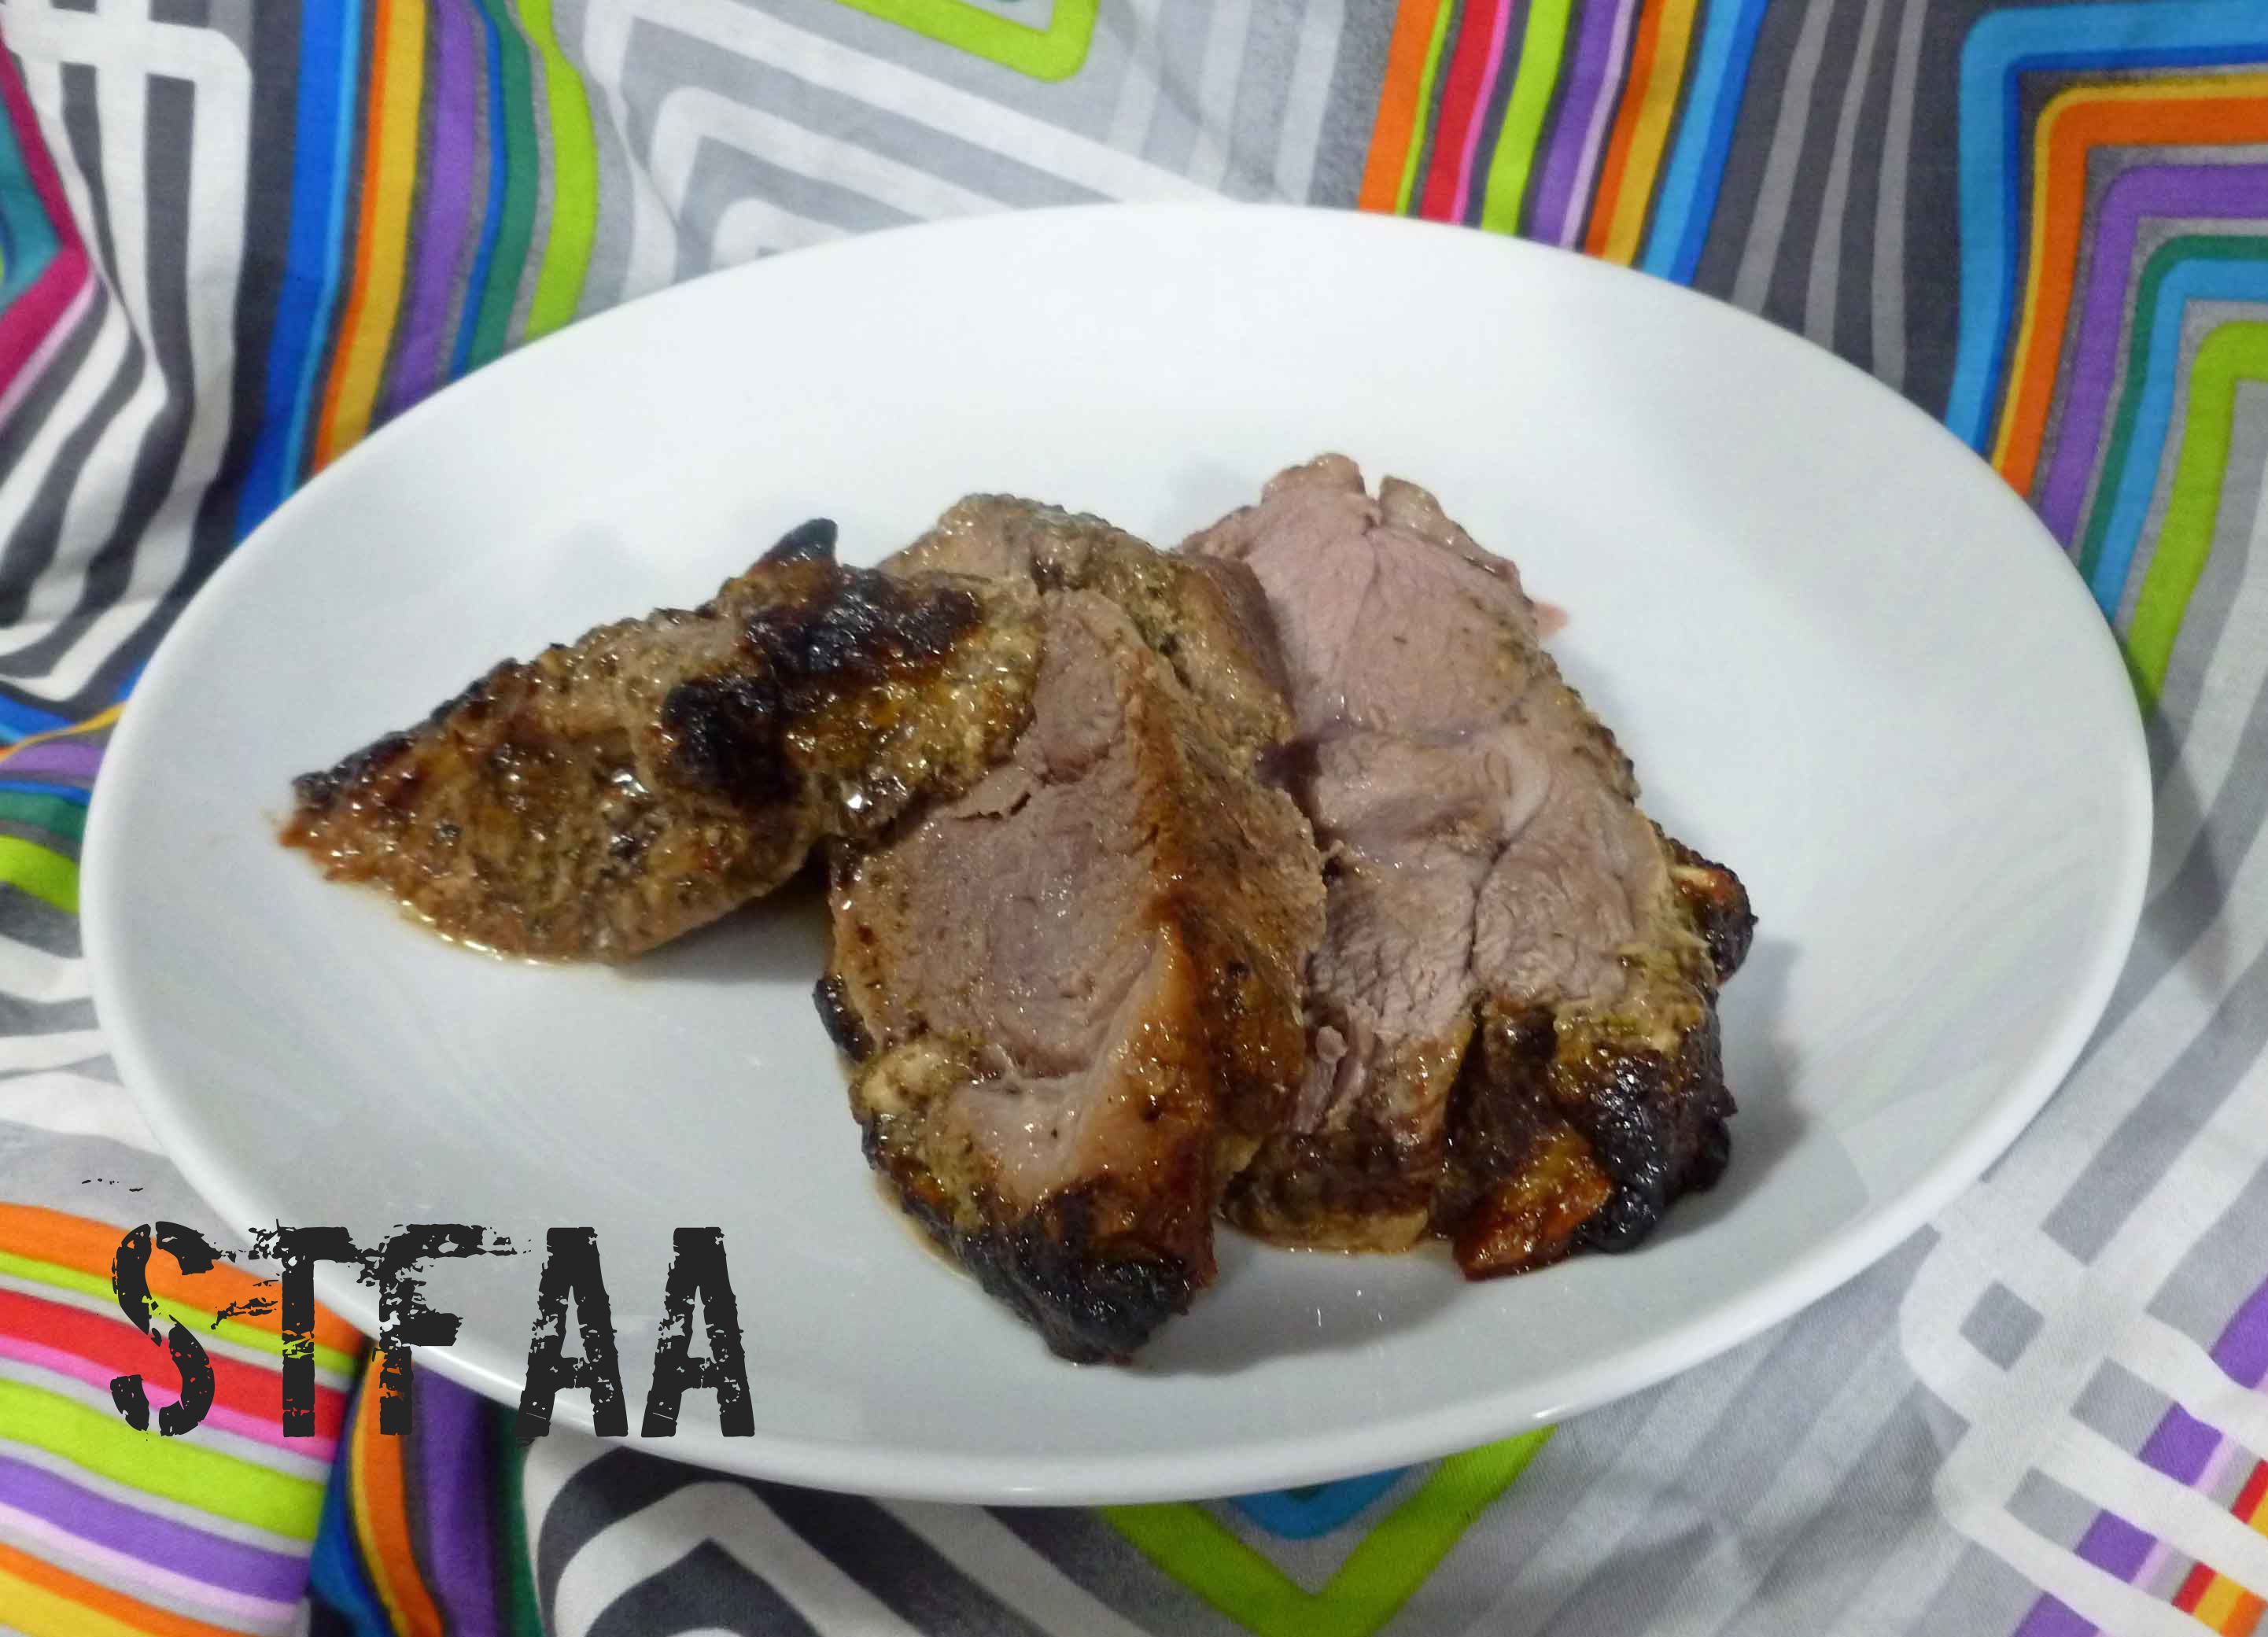
Let lamb rest for about 15 minutes or so and then carve.
Herbed Leg of Lamb in process of being carvedCarved Herbed Leg of Lamb slices
Enjoy!
Notice: Trying to access array offset on value of type bool in /home/maryzahc/public_html/adultfoodallergies.com/wp-content/plugins/wp-ultimate-recipe/helpers/models/recipe.php on line 254
Herbed Leg of Lamb
Print Recipe
A boneless leg of lamb recipe for St. Patrick’s Day or Easter
Preheat oven to 450°F. Remove boneless leg of lamb from packaging and remove netting. Cut 1/2 inch wide slits into the lamb at 1 inch intervals on the top (fat side) of the lamb. Peel and slice two cloves of garlic thinly, and set aside.
Peel remaining garlic cloves and place in blender with the remaining wet rub ingredients: lemon juice, parsley, olive oil, mustard, basil, rosemary, onion powder, black pepper and salt. Process until mixture is fairly finely blended, but not completely smooth.
Grease a shallow baking dish with a teaspoon of olive oil. Place lamb in shallow roasting dish upside down and pour approximately a third of the wet rub on the lamb. Use your hands or a basting brush to spread the wet rub over the entire surface of the bottom of the lamb. Flip the lamb over, and pour a third of the wet rub on the lamb, rubbing it into the surface, the slits and any pockets. Take the two cloves of sliced garlic and push a slice of garlic clove into each slit you cut into the lamb. Then pour the remaining wet rub onto the lamb and spread it over the surface.
Roast the lamb at 450°F for 30 minutes, then reduce the oven temperature to 350°F. Continue roasting the lamb for about 15 minutes for each pound, until the internal temperature reaches 140°F for medium rare, or 155°F for medium, using a meat thermometer or a probe thermometer. To reach 155°F, I ended up cooking my lamb for an additional 75 minutes after the initial 30 minutes, for a total of an hour and 45 minutes of cooking time.
Let lamb rest for about 15 minutes or so and then carve. Enjoy!

