Notice: Function _load_textdomain_just_in_time was called incorrectly. Translation loading for the wp-ultimate-recipe domain was triggered too early. This is usually an indicator for some code in the plugin or theme running too early. Translations should be loaded at the init action or later. Please see Debugging in WordPress for more information. (This message was added in version 6.7.0.) in /home/maryzahc/public_html/adultfoodallergies.com/wp-includes/functions.php on line 6131 fruit – surviving the food allergy apocalypse (archive)
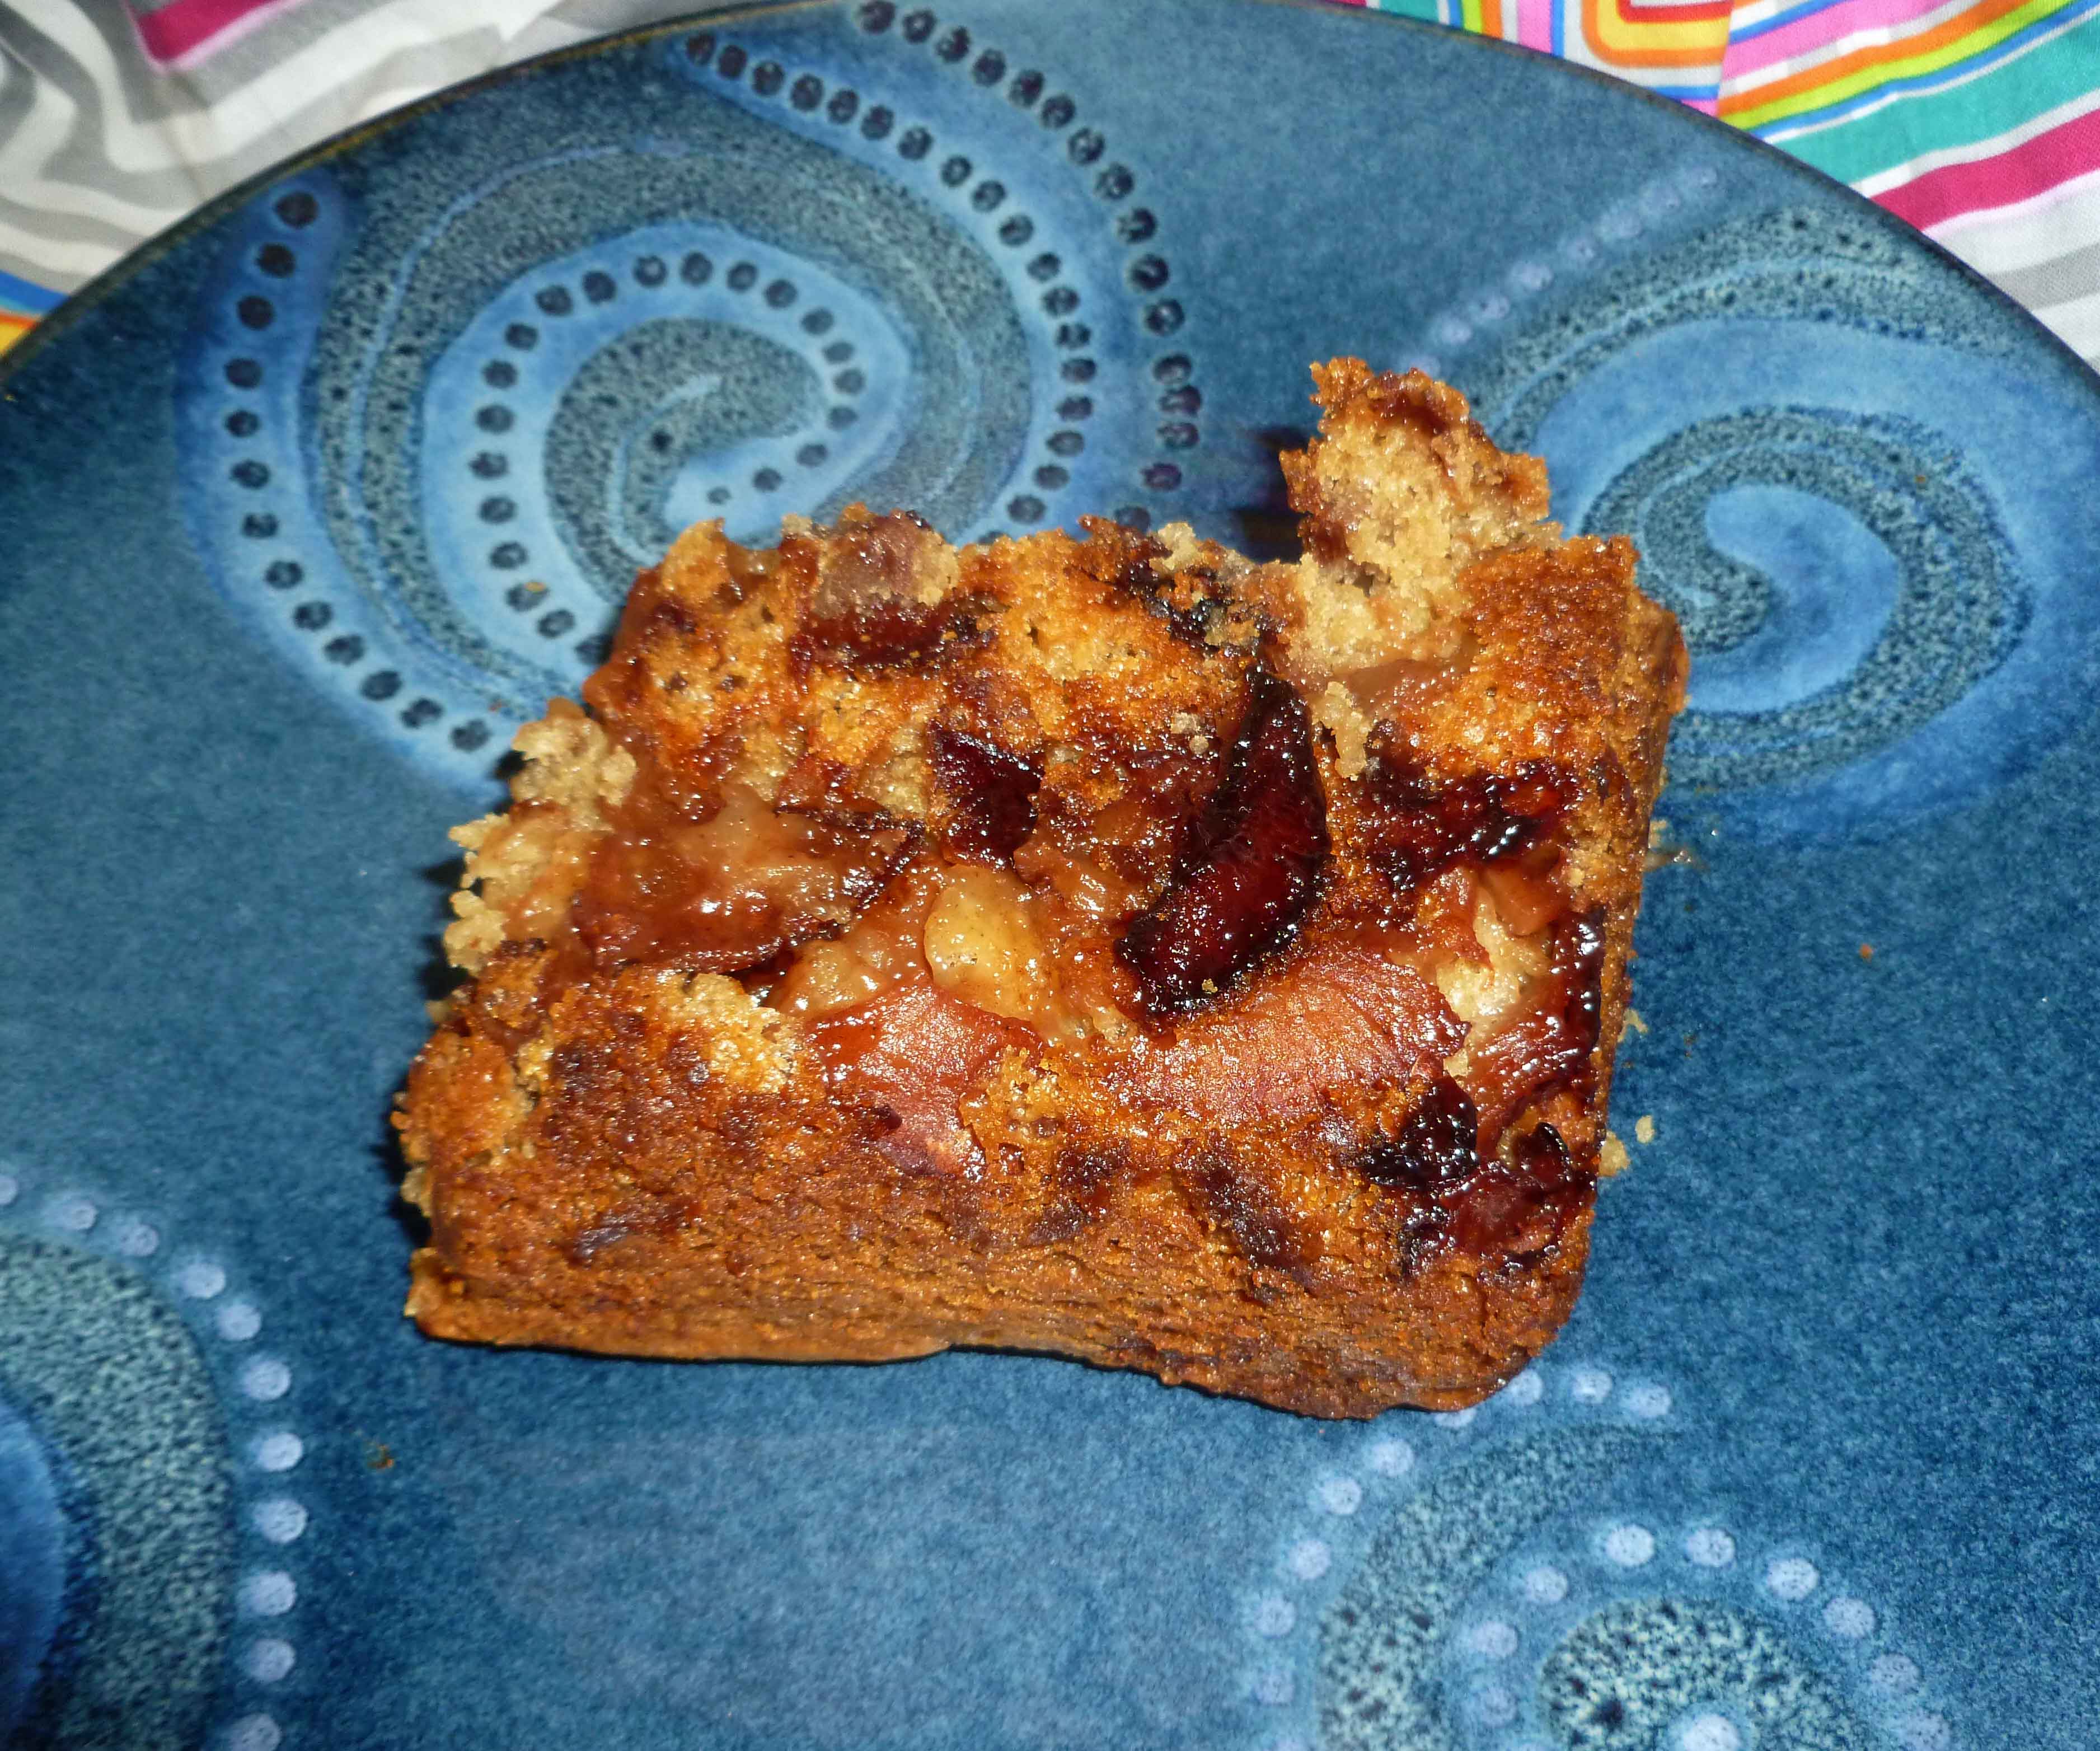
You guys are noticing a trend, right? It’s apparently a bumper crop year for apples. When I was trying to figure out how to use up apples, my friend Erika sent me a link for this recipe for Mom’s Apple Cake from Smitten Kitchen. For obvious reasons, I had to change the original, and I tried making it more like an upside down cake. It took a couple of tries, but I have it where I like it now.
Apple Cake, Vegan and Gluten-Free
Apple mixture:
6 large apples or 7 medium apples (I used a mix from my apple trees out back, mostly McIntosh and Galas.)
1 Tablespoon of ground cinnamon
5 Tablespoons of brown sugar
Cake batter:
2 and 3/4 cups of all purpose gluten-free flour mix (I used Cara Reed’s mix from her blog, Fork and Beans)
1 Tablespoon of baking powder (For corn free baking powder you can use this recipe.)
1 teaspoon of salt
1 cup of safe for you oil (I used olive oil and grape seed oil, mostly because I ran out of olive oil and had to top it off with grape seed oil.)
1 cup of sugar
1 cup of brown sugar
1/4 cup of orange juice (I don’t have a safe orange juice so I squeezed mine myself.)
1 Tablespoon vanilla extract (Here’s a bunch of recipes for vanilla extract, make sure to use safe alcohol if corn or wheat are an issue for you. I used a vodka made only from potatoes, be careful as some vodkas may also use grain or corn.)
1/2 cup of applesauce (I used my home canned but use any safe applesauce you have.)
1/4 cup of aquafaba(The liquid from a can of garbanzo beans or chick peas. I used my home canned garbanzo bean liquid.)
1 Tablespoon of ground chia seed
Preheat oven to 350°F. Grease an 8 inch by 8 inch baking pan with some safe for you oil.
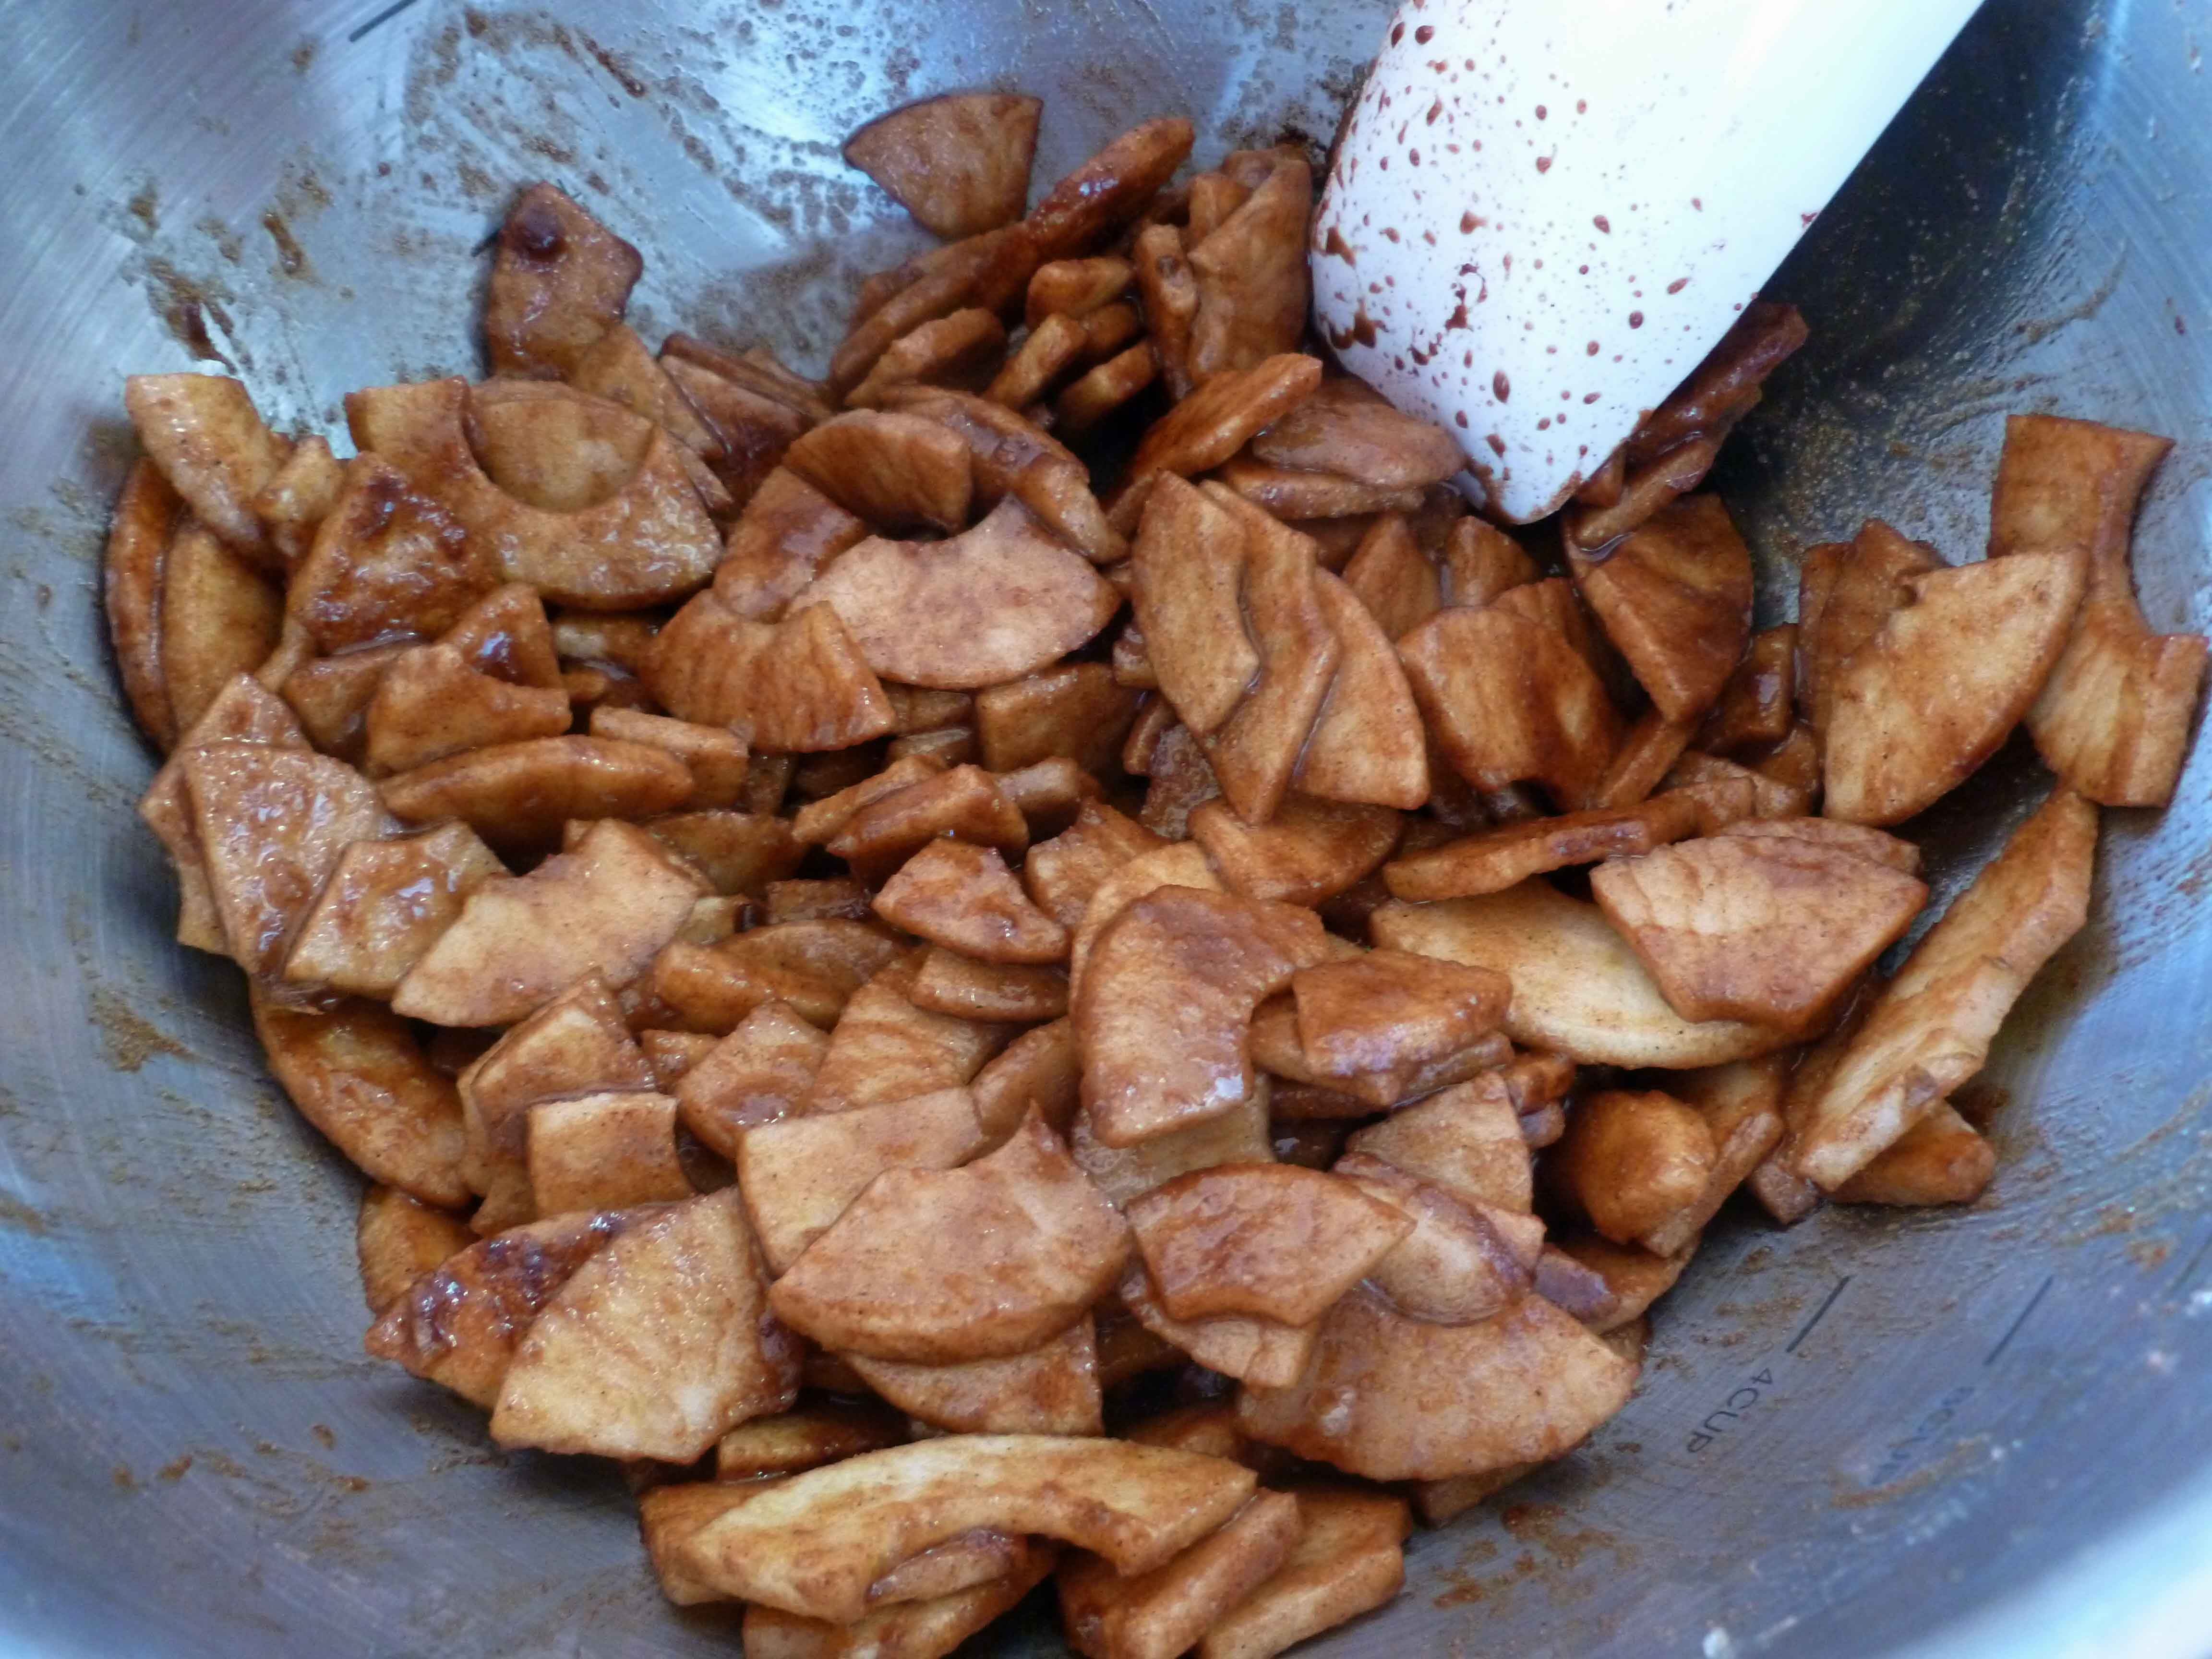
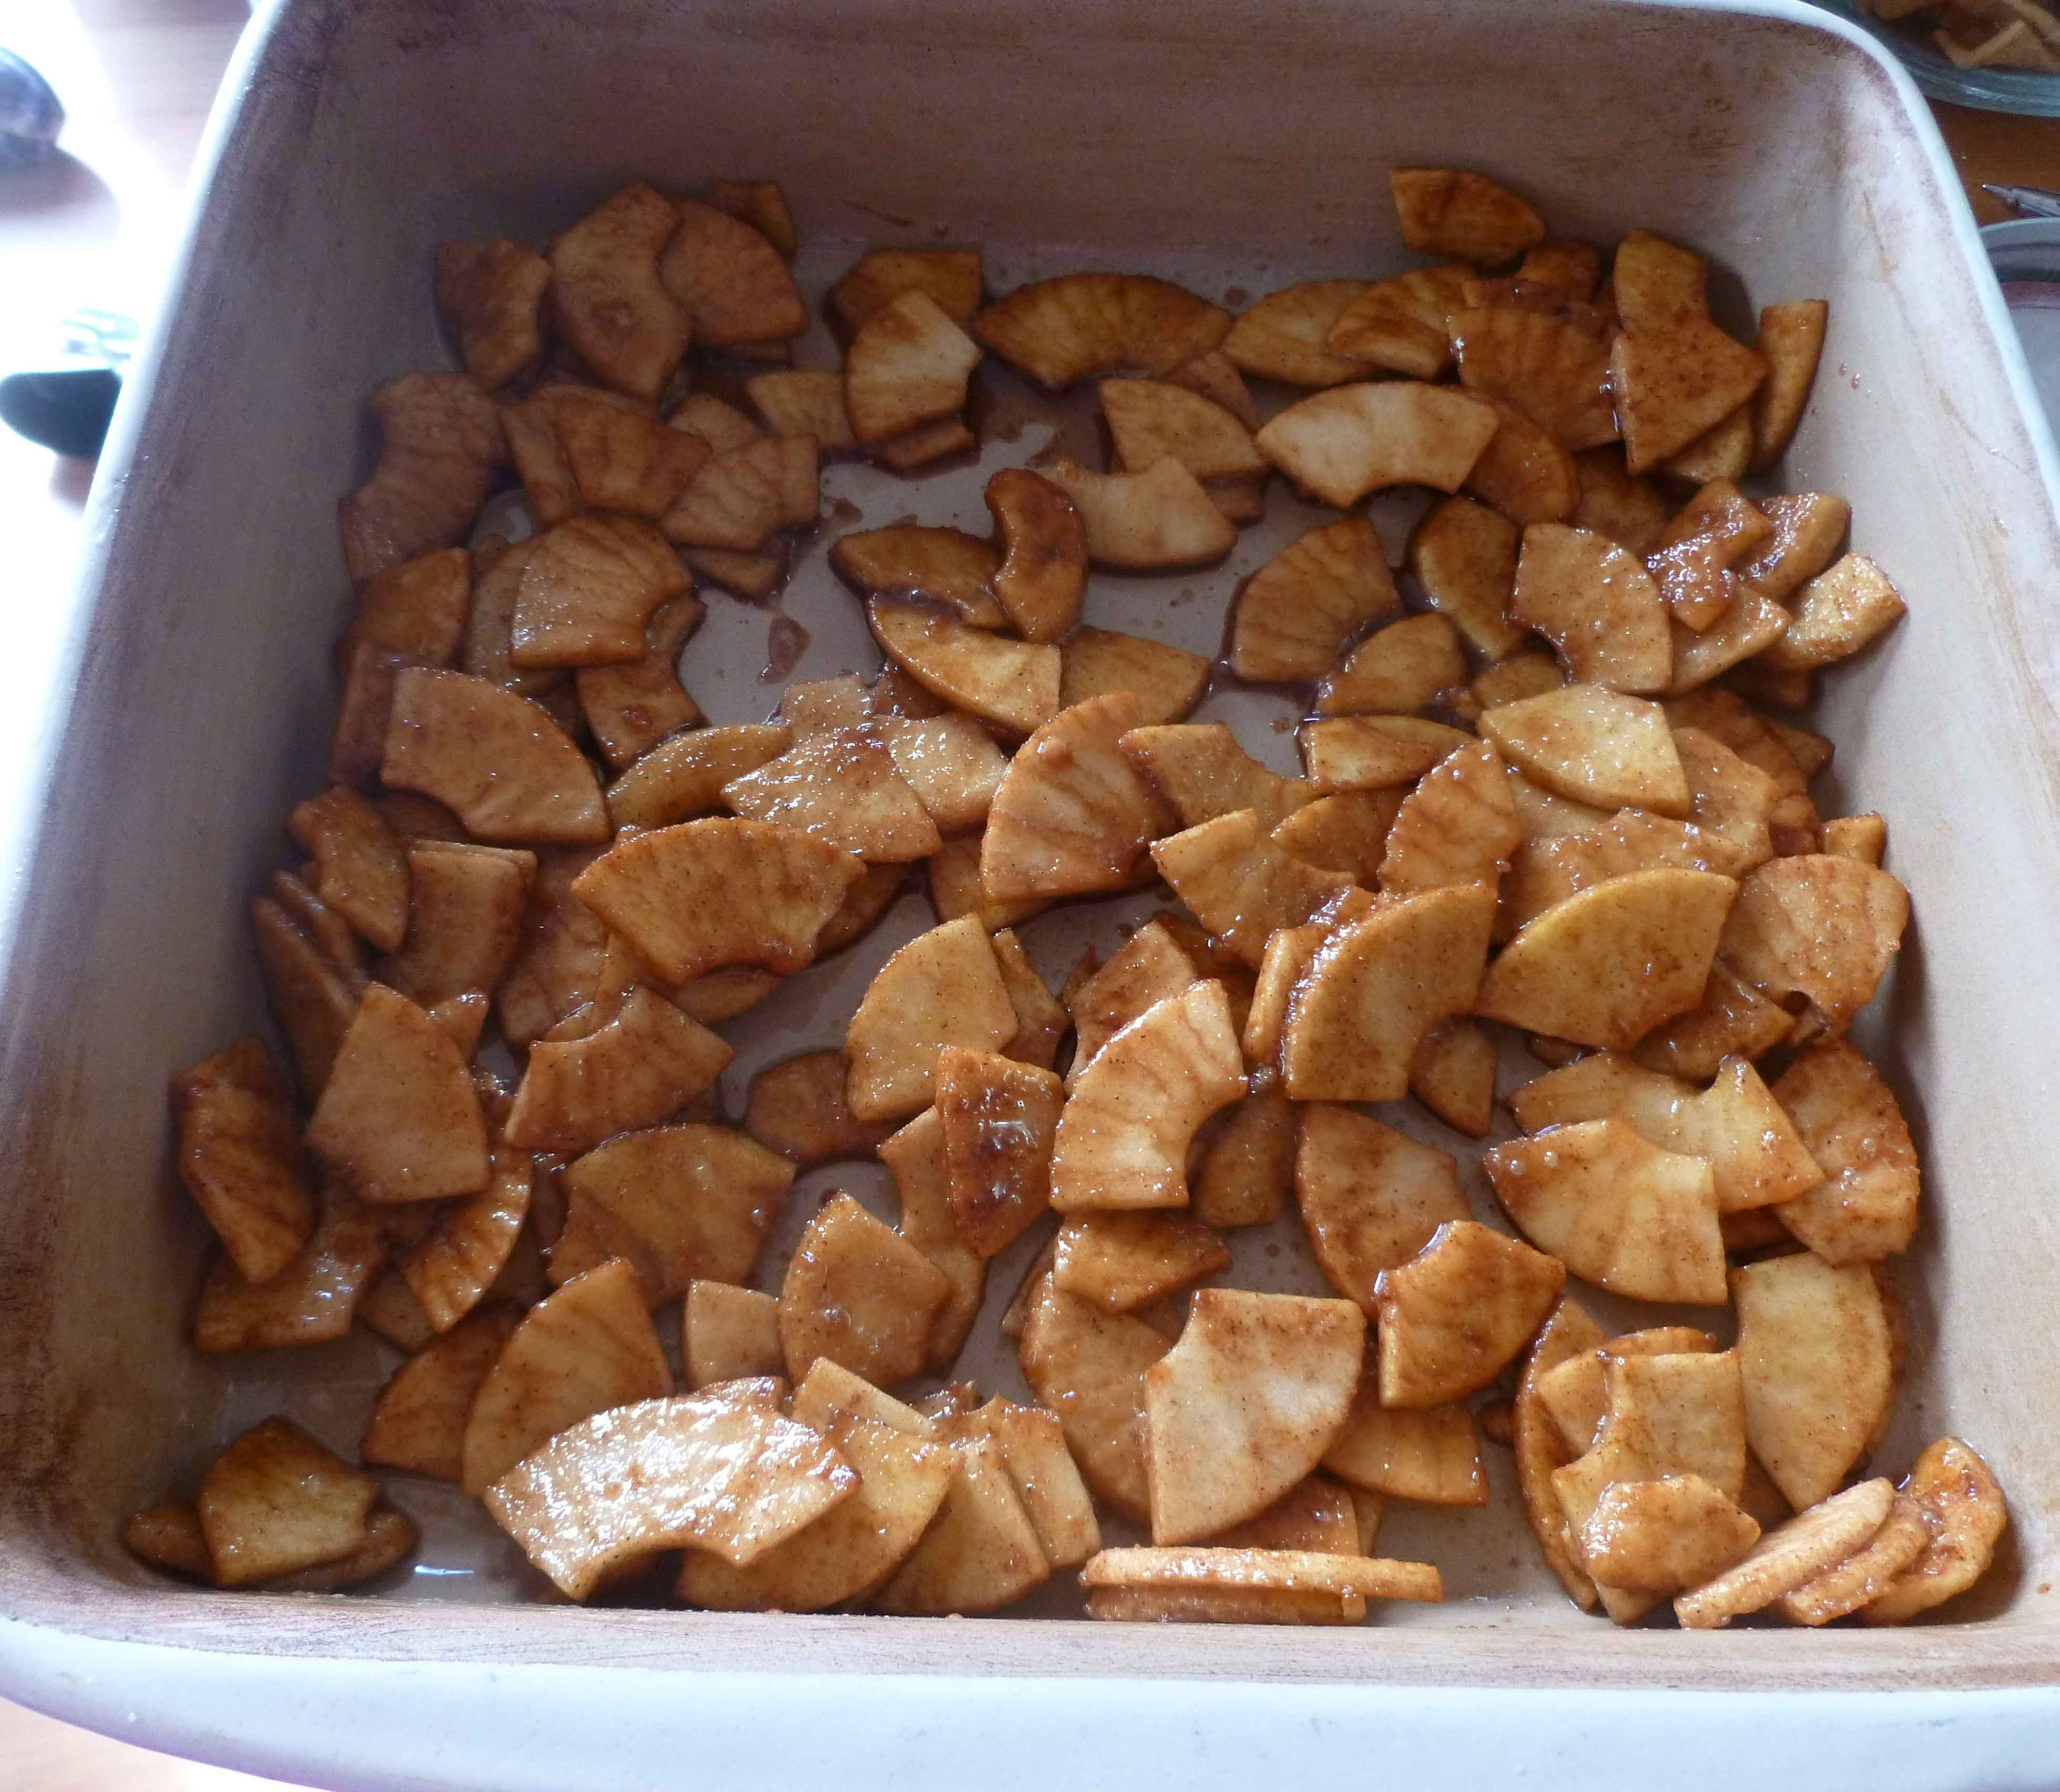
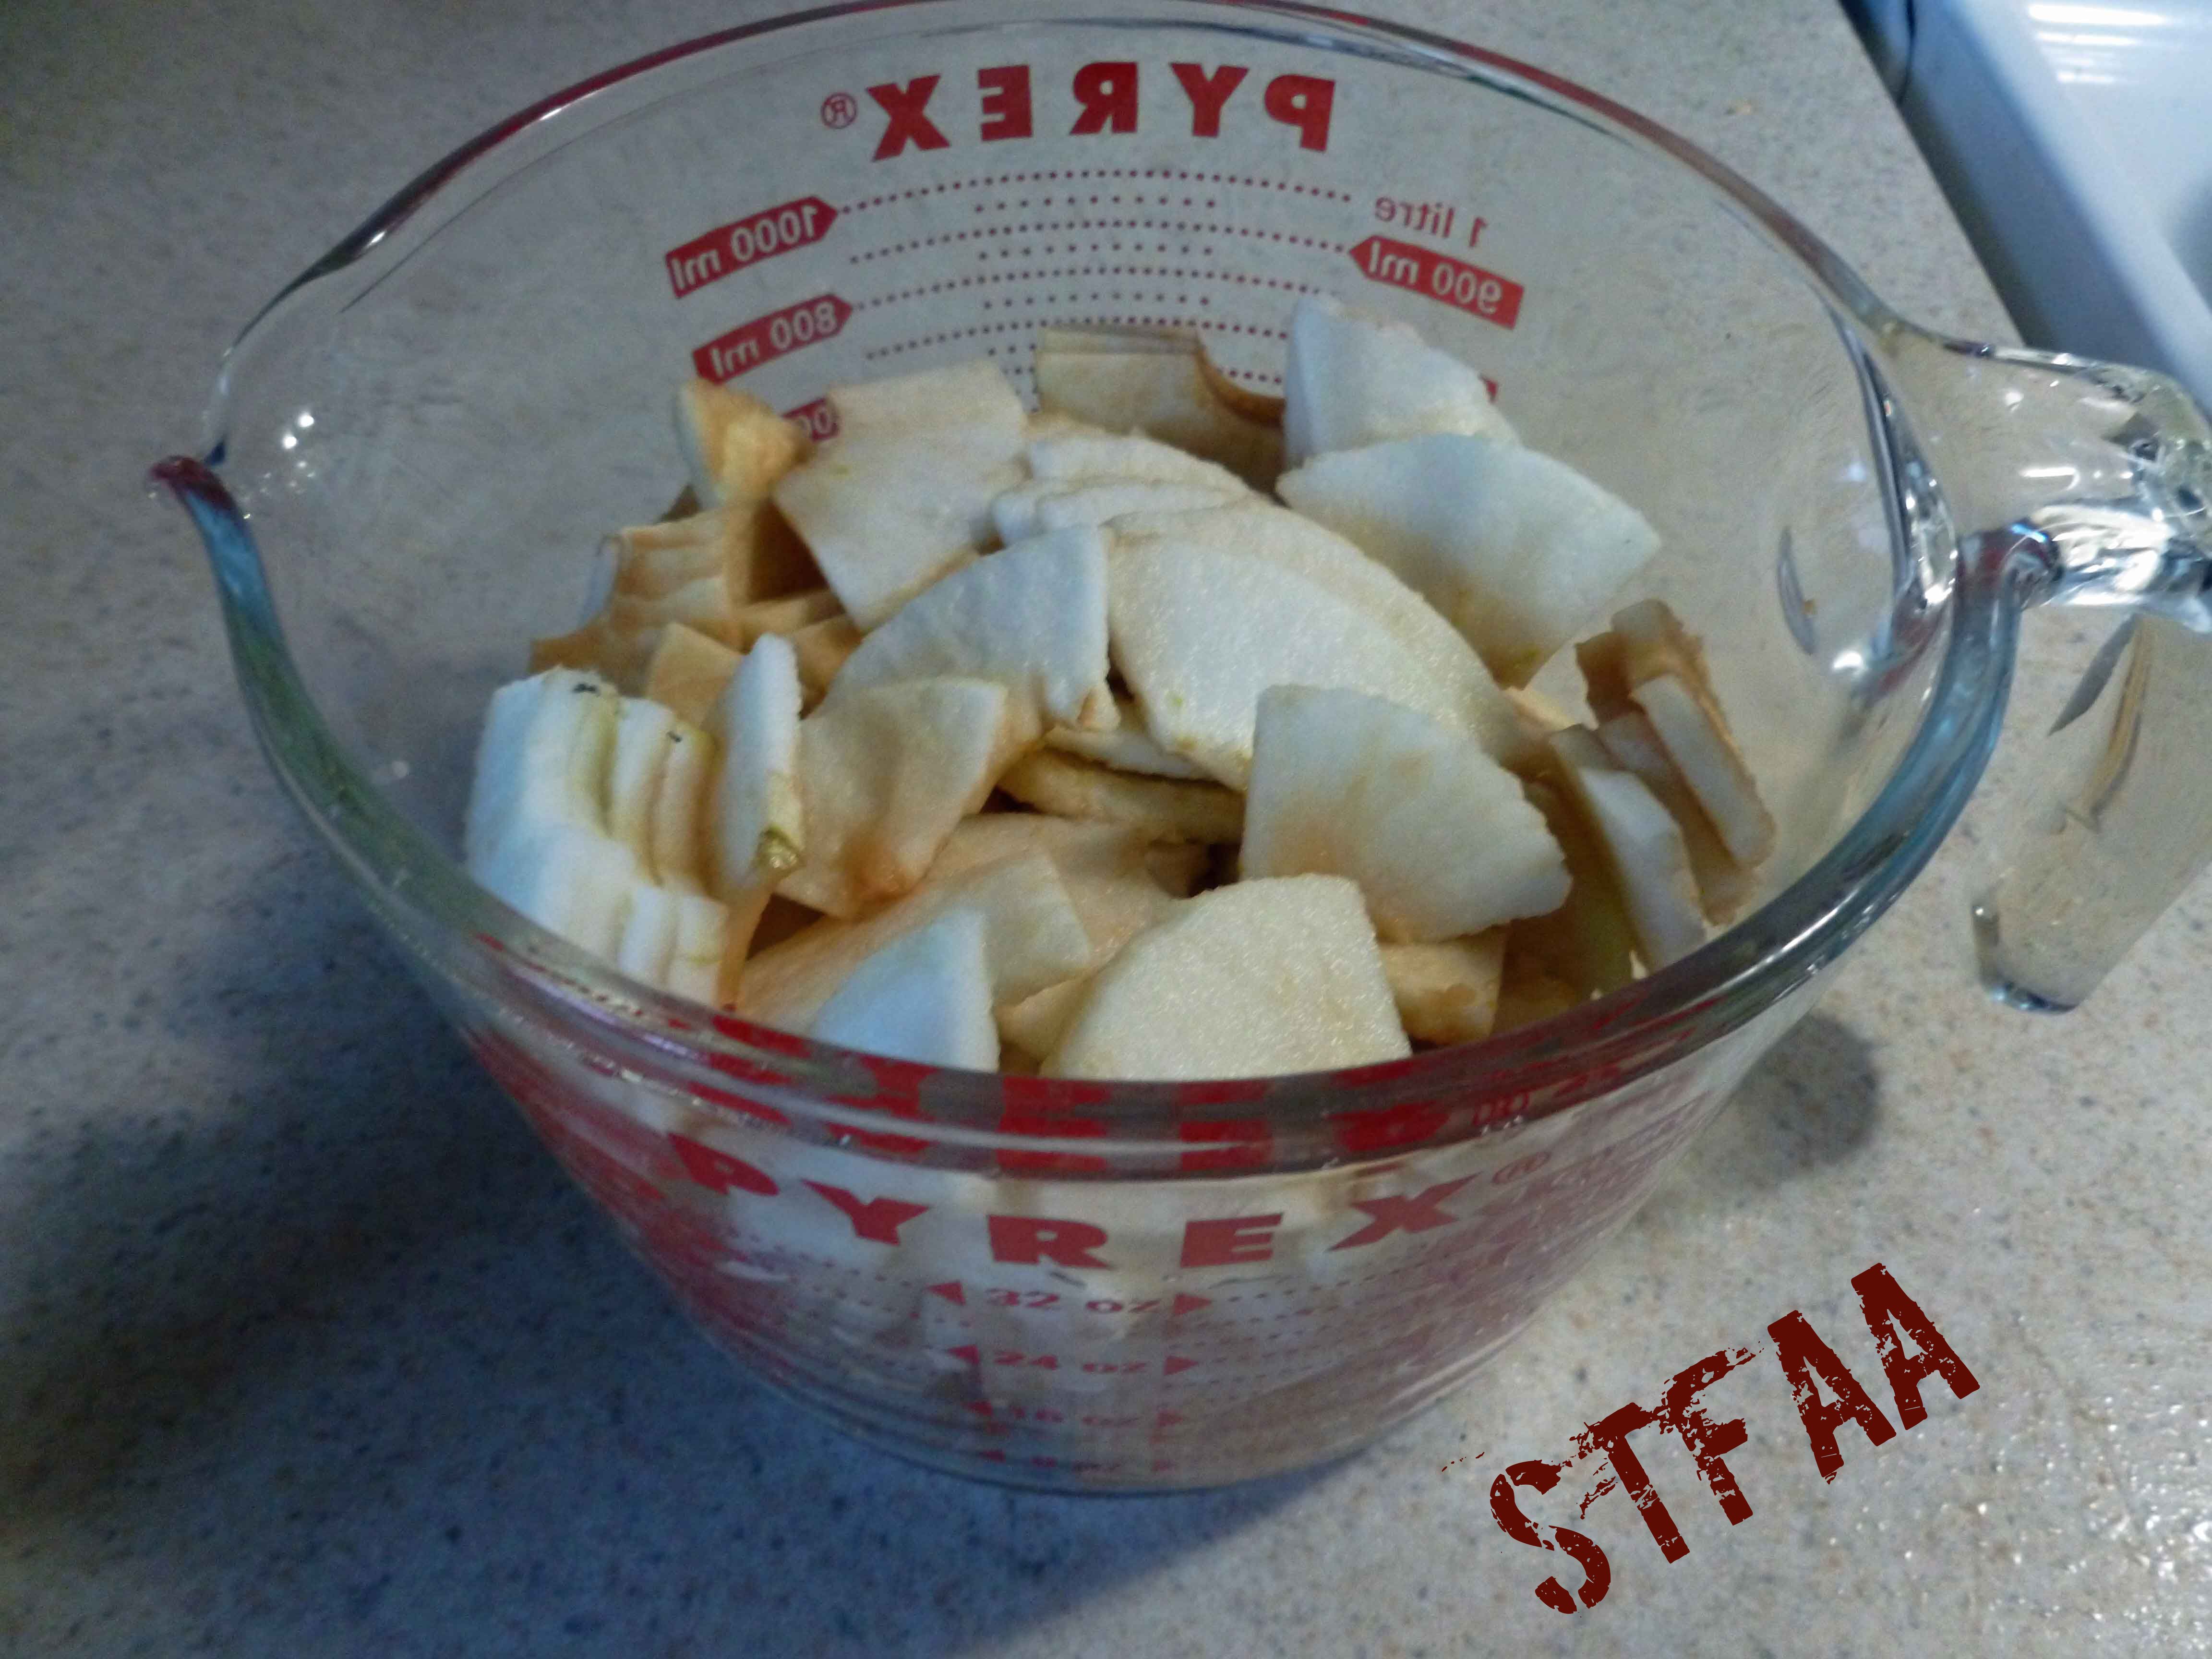
Peel, core and slice apples. Place them in a bowl and toss them with the 5 tablespoons of brown sugar and the cinnamon. Set the apple mixture aside for now.
Apple mixture
Stir gluten-free flour mix, baking powder and salt together in a bowl.
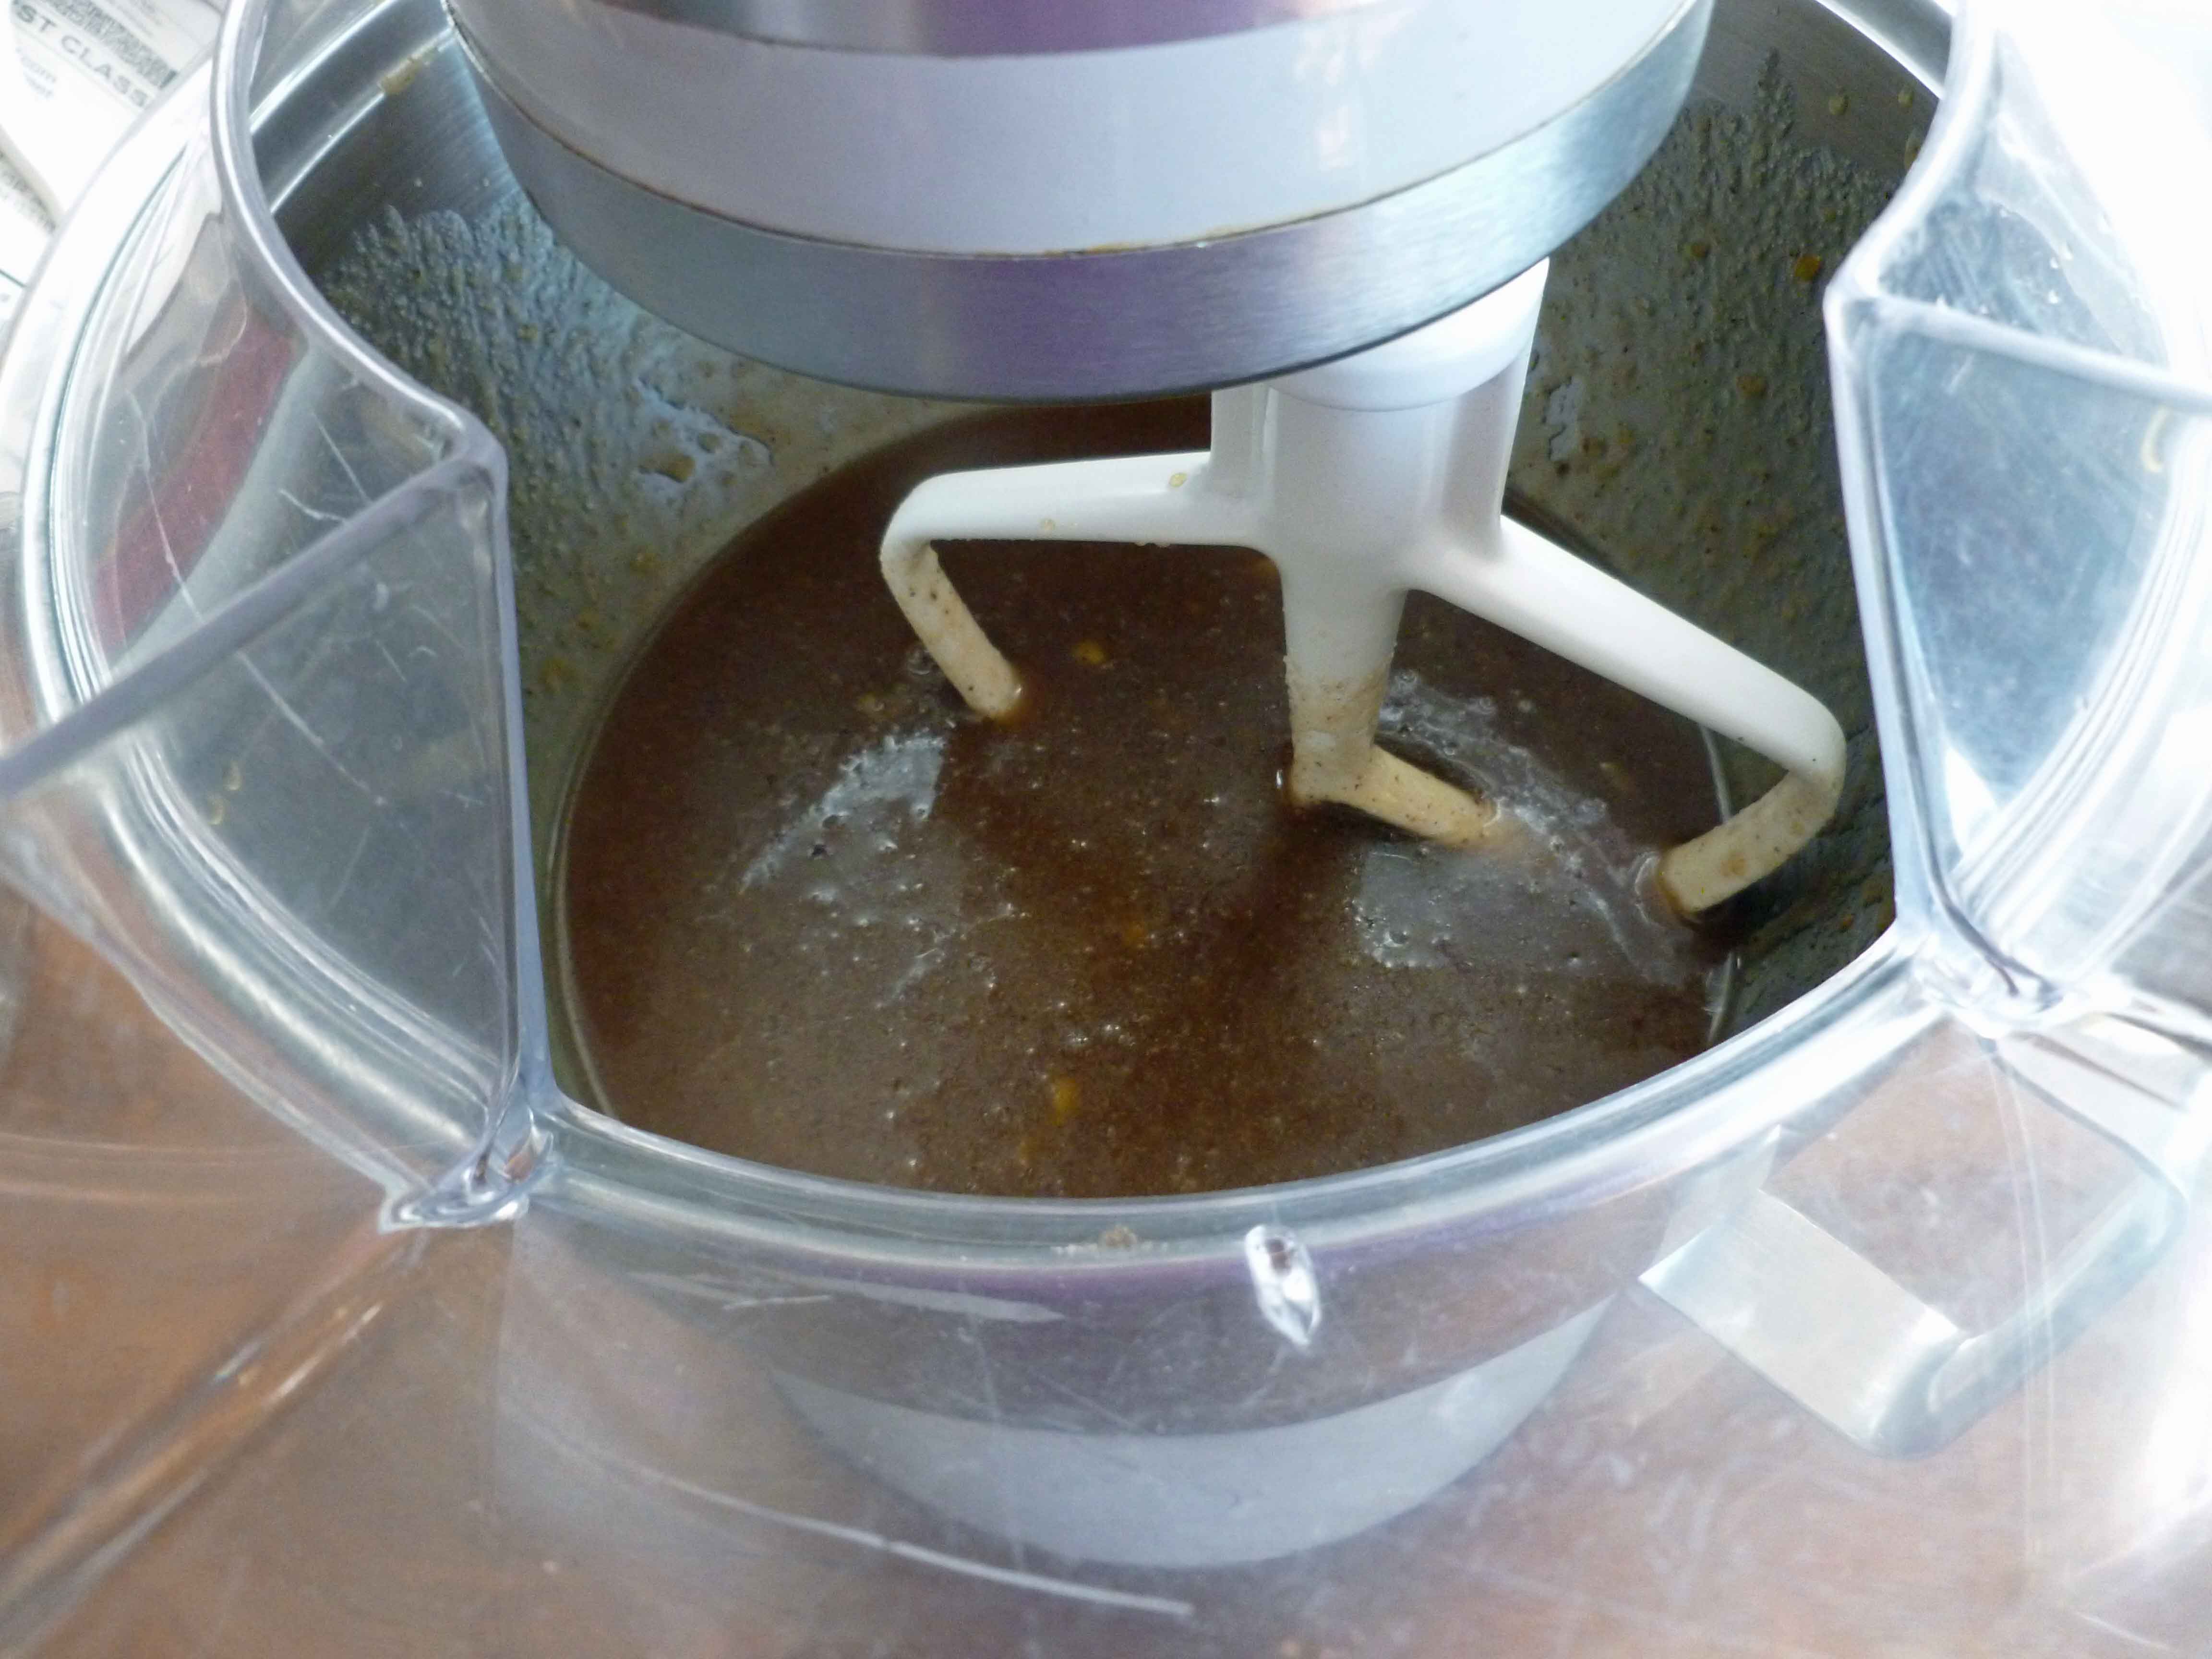
In a separate bowl, mix together the oil, orange juice, sugar, the remaining brown sugar, vanilla, applesauce, aquafaba and ground chia seed. I use a stand mixer with flat beater to do this.
Wet mixture
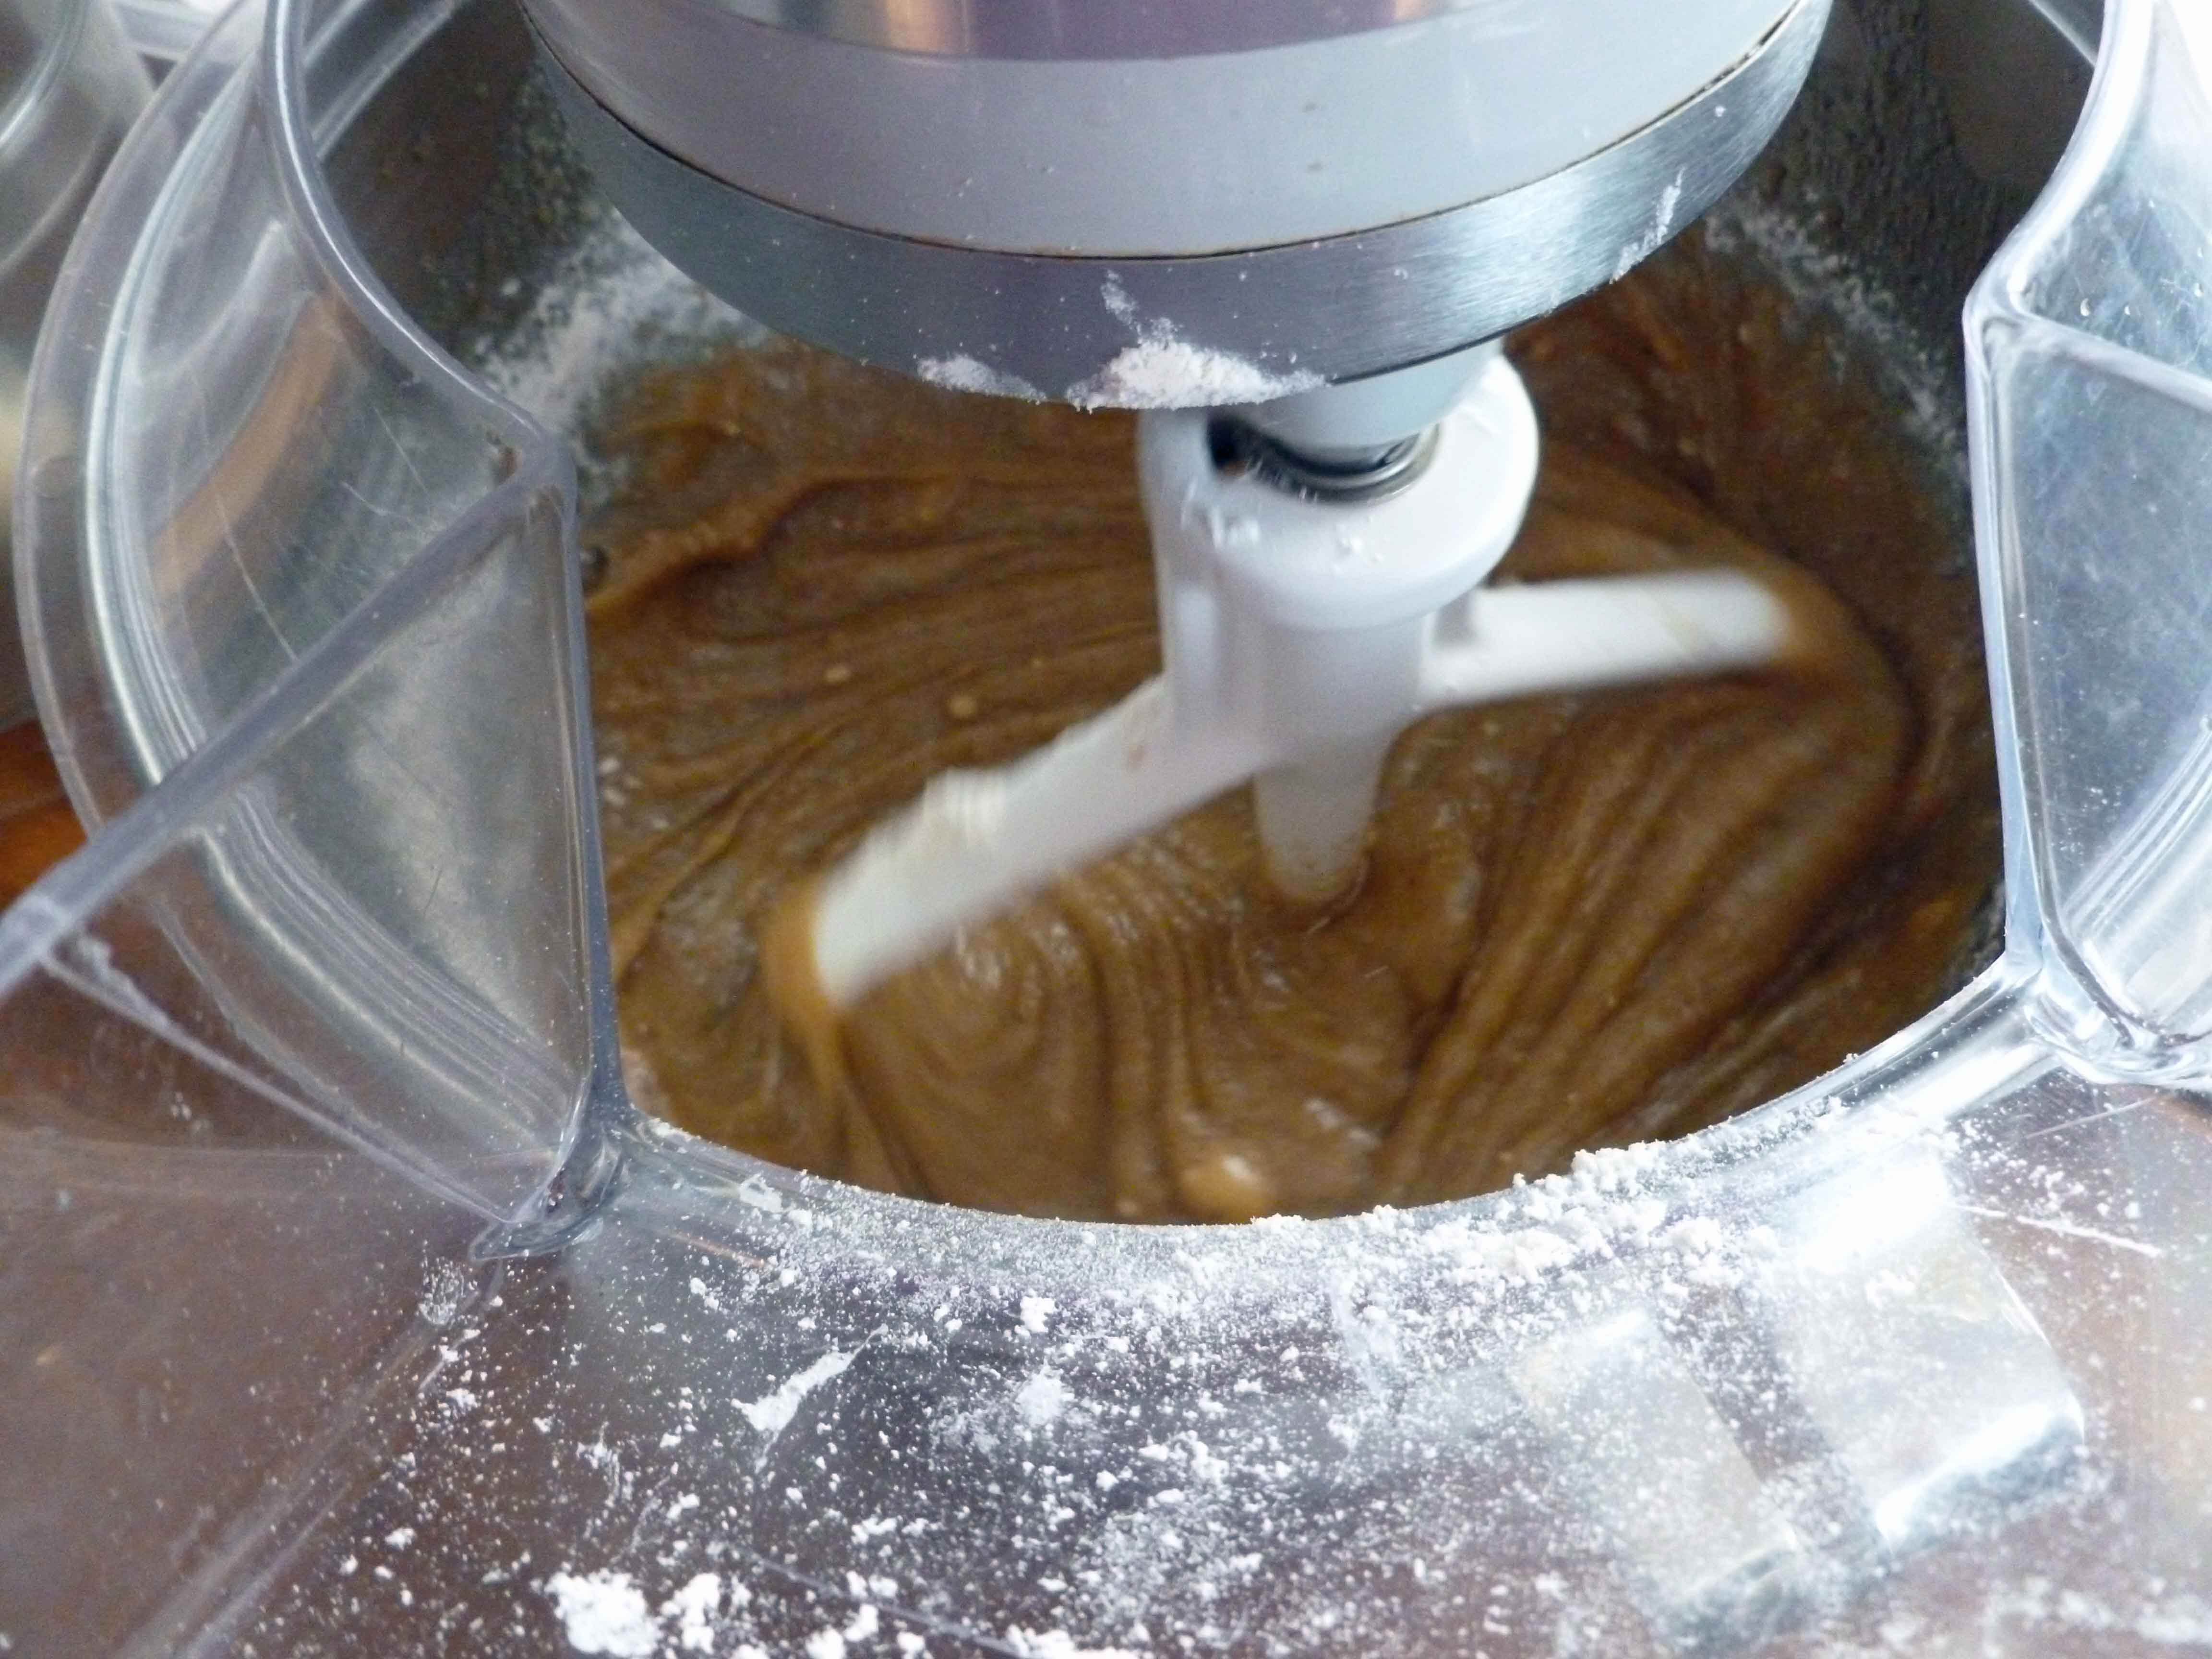
Once these ingredients are fully incorporated together, add the flour mixture slowly to your wet mixture, with the mixer speed on low. You could also mix this manually, but the stand mixer makes my life a lot easier.
Cake batter after mixing wet and dry ingredients
Pour half of the apple mixture into your greased baking pan, spreading them evenly across the bottom of the pan.
Pouring half apples in bottom of baking pan
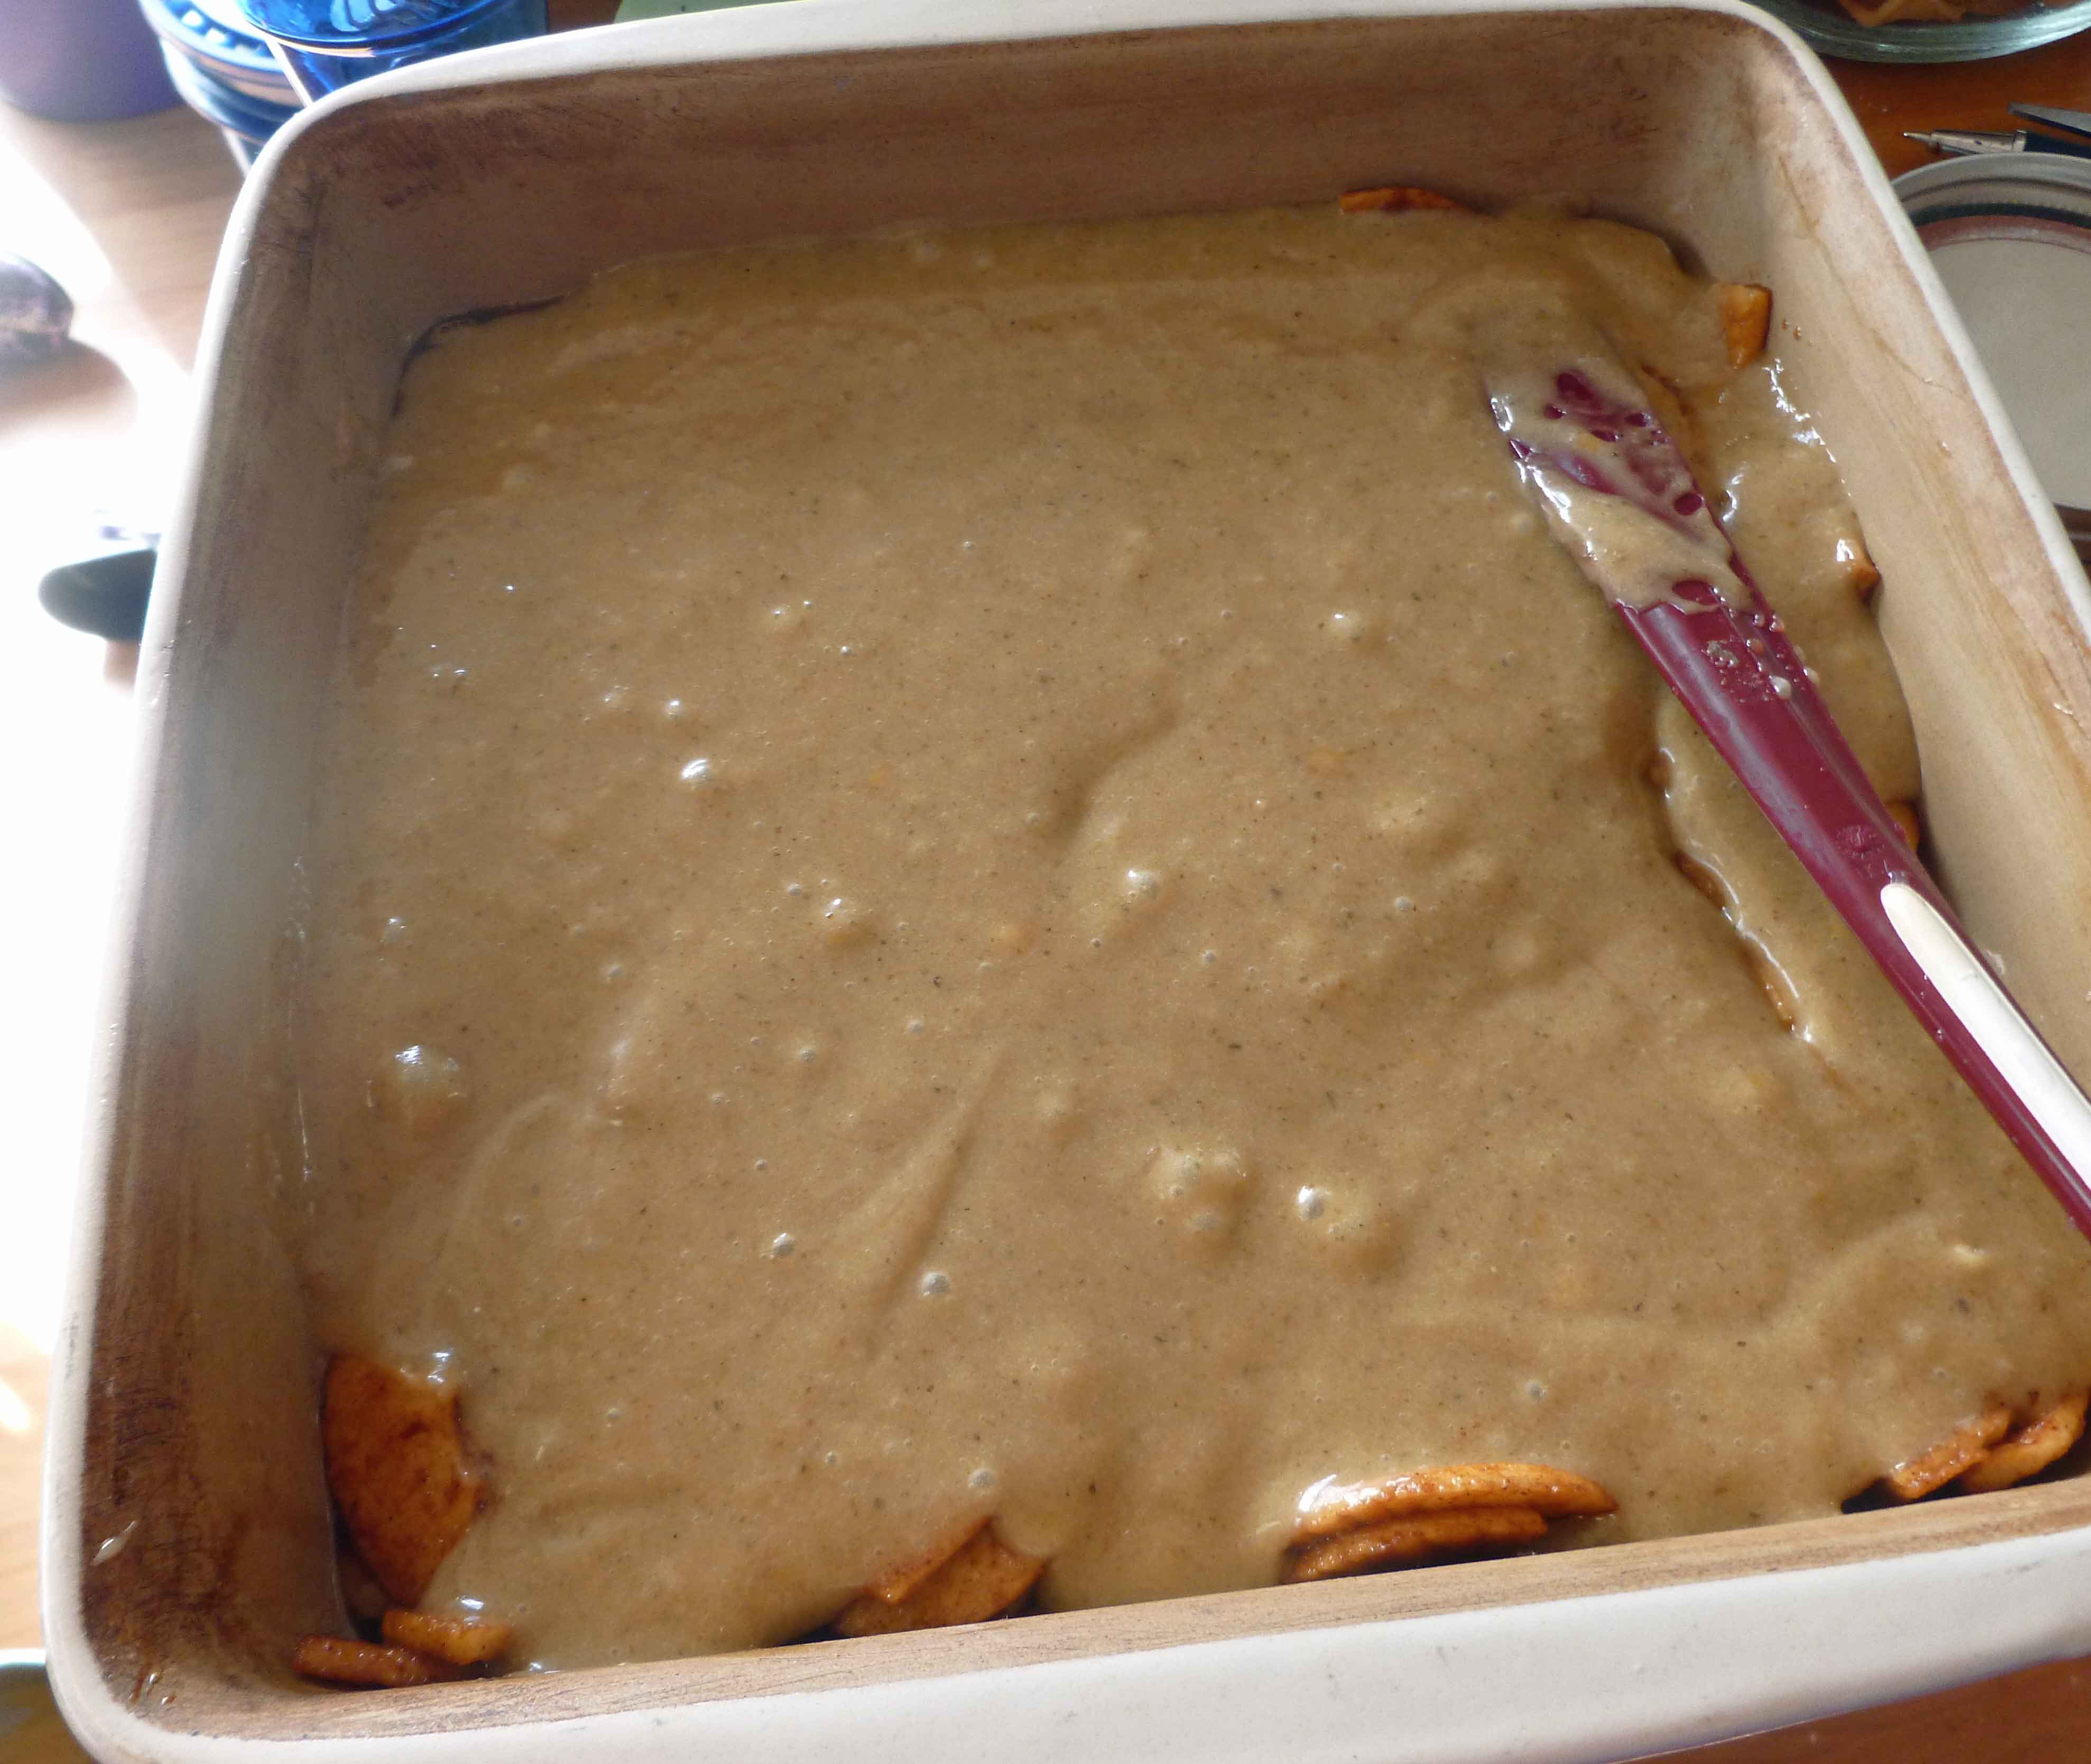
Pour half of the cake batter over the apples, spreading it evenly across the pan.
First layer of batter over apples
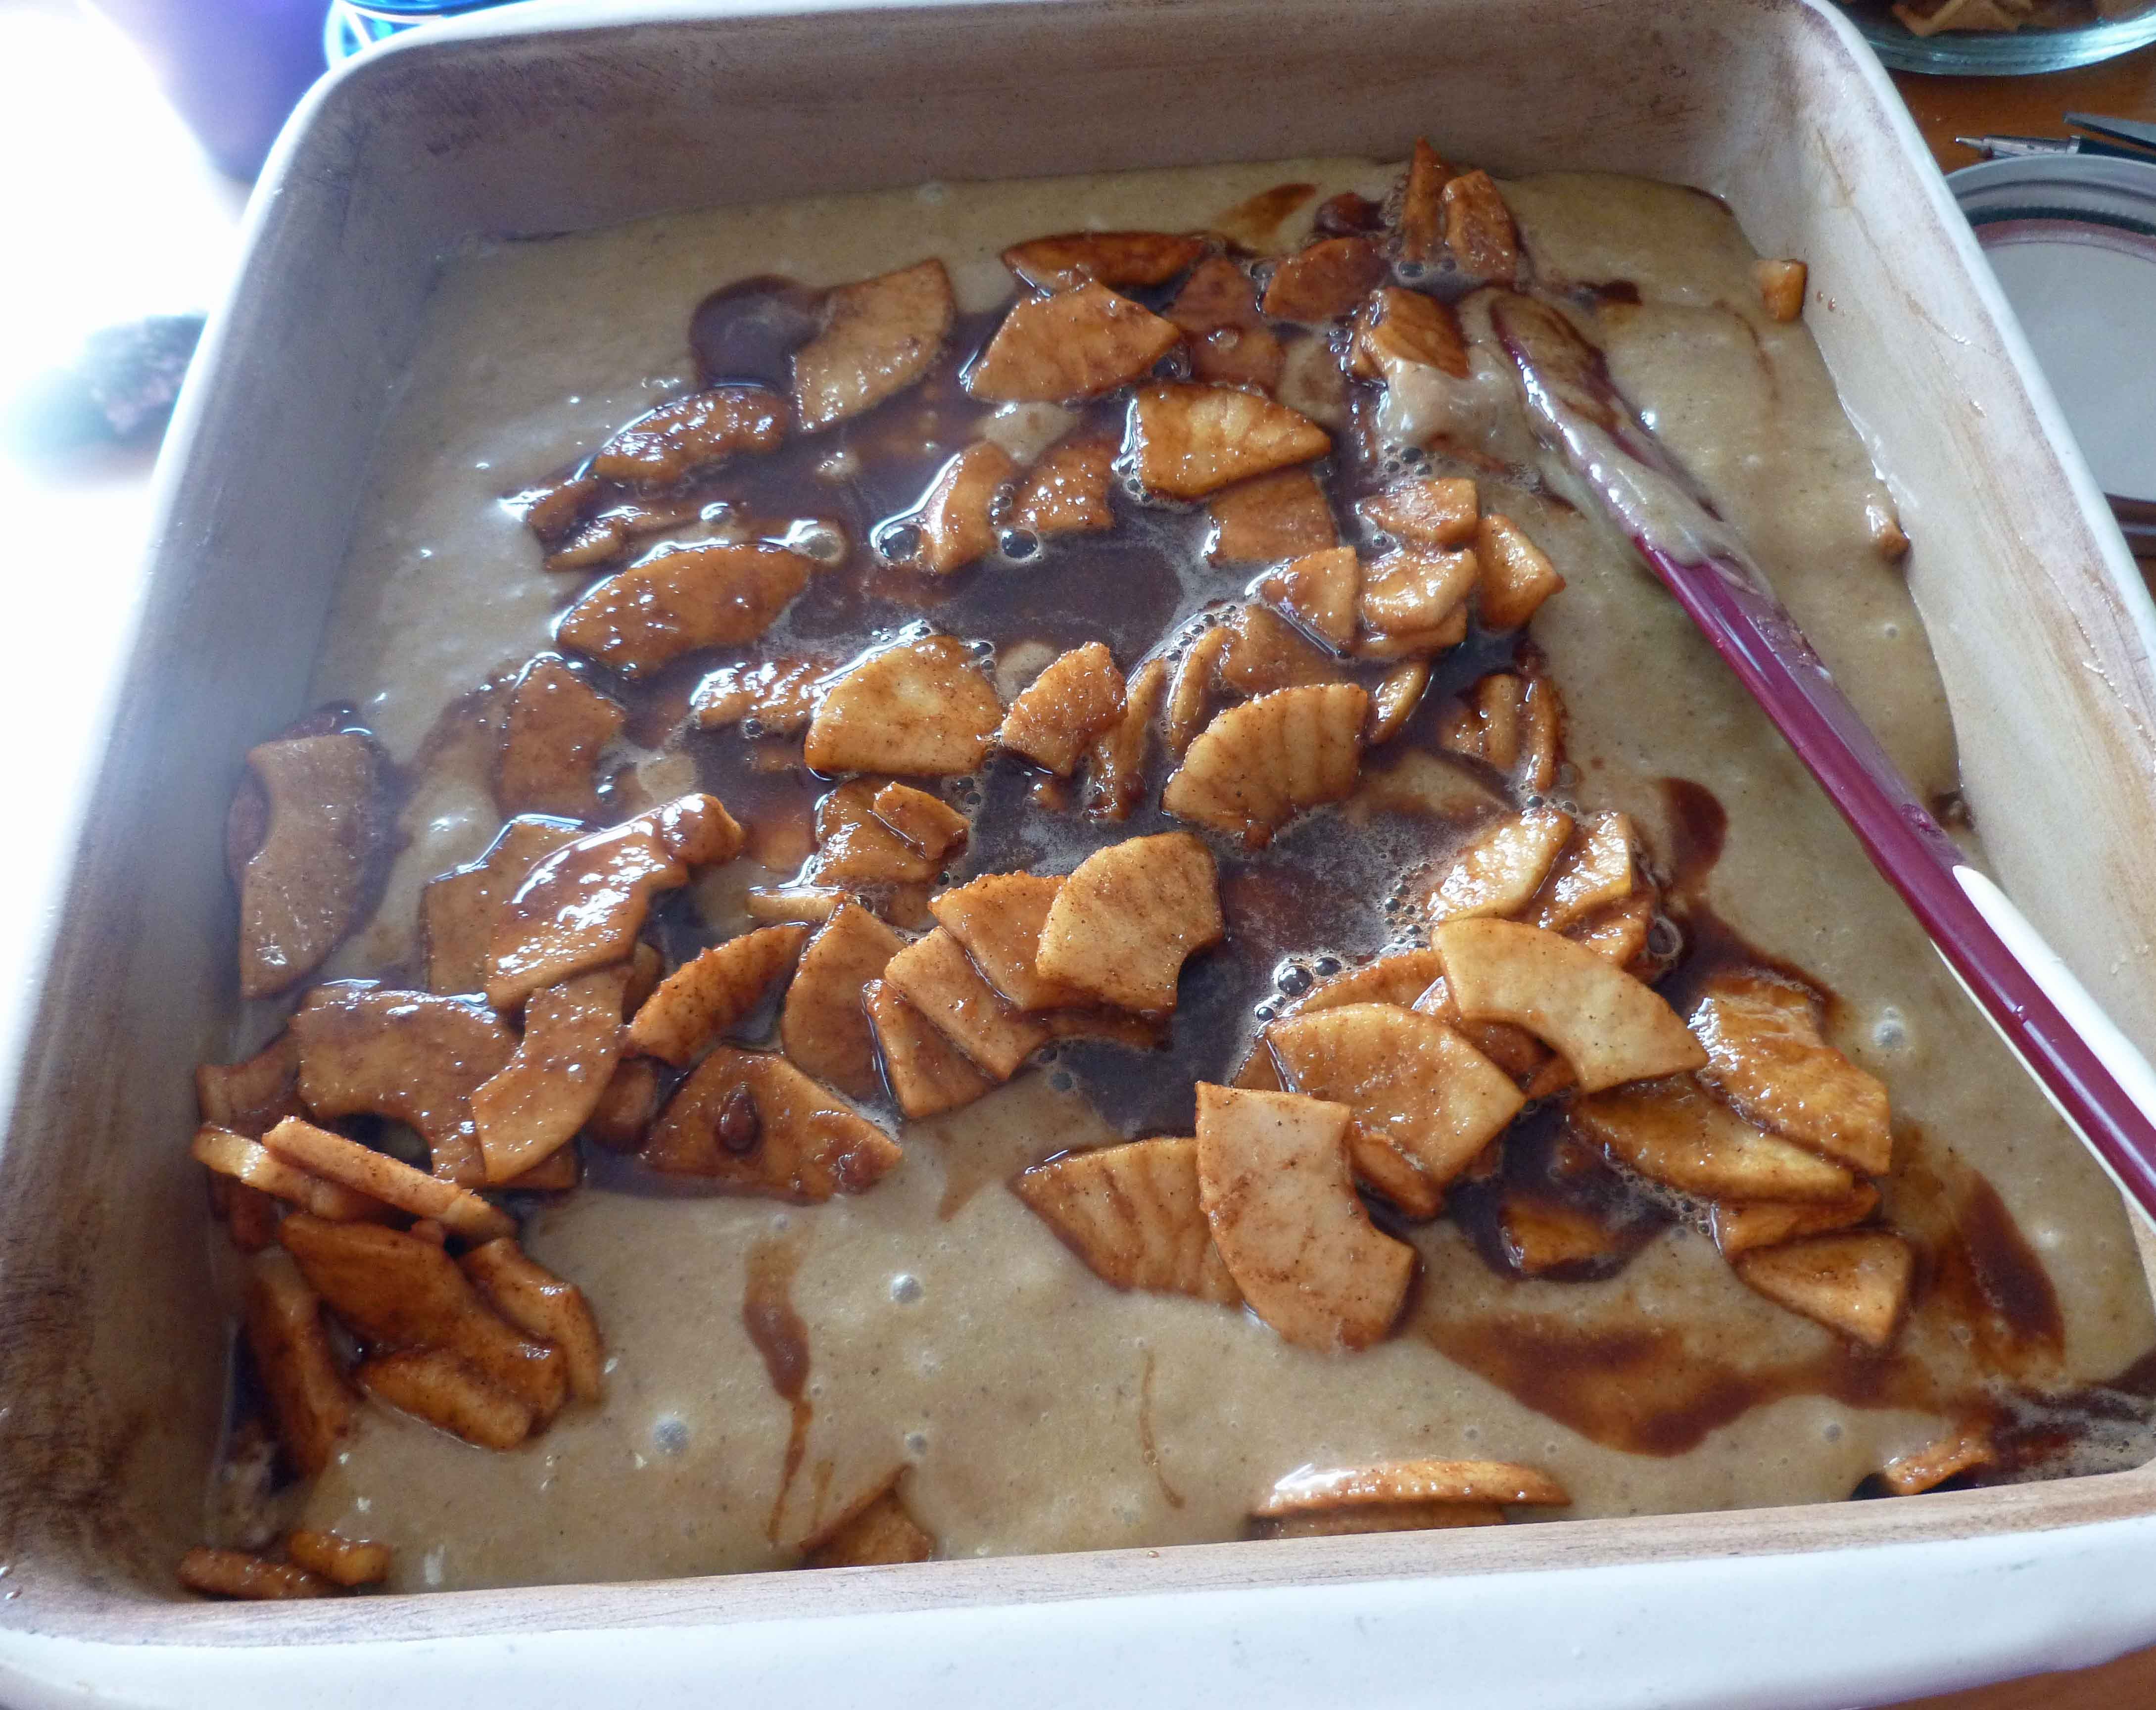
Then pour the remaining apple mixture over the batter evenly.
Second layer of apples over first layer of batter
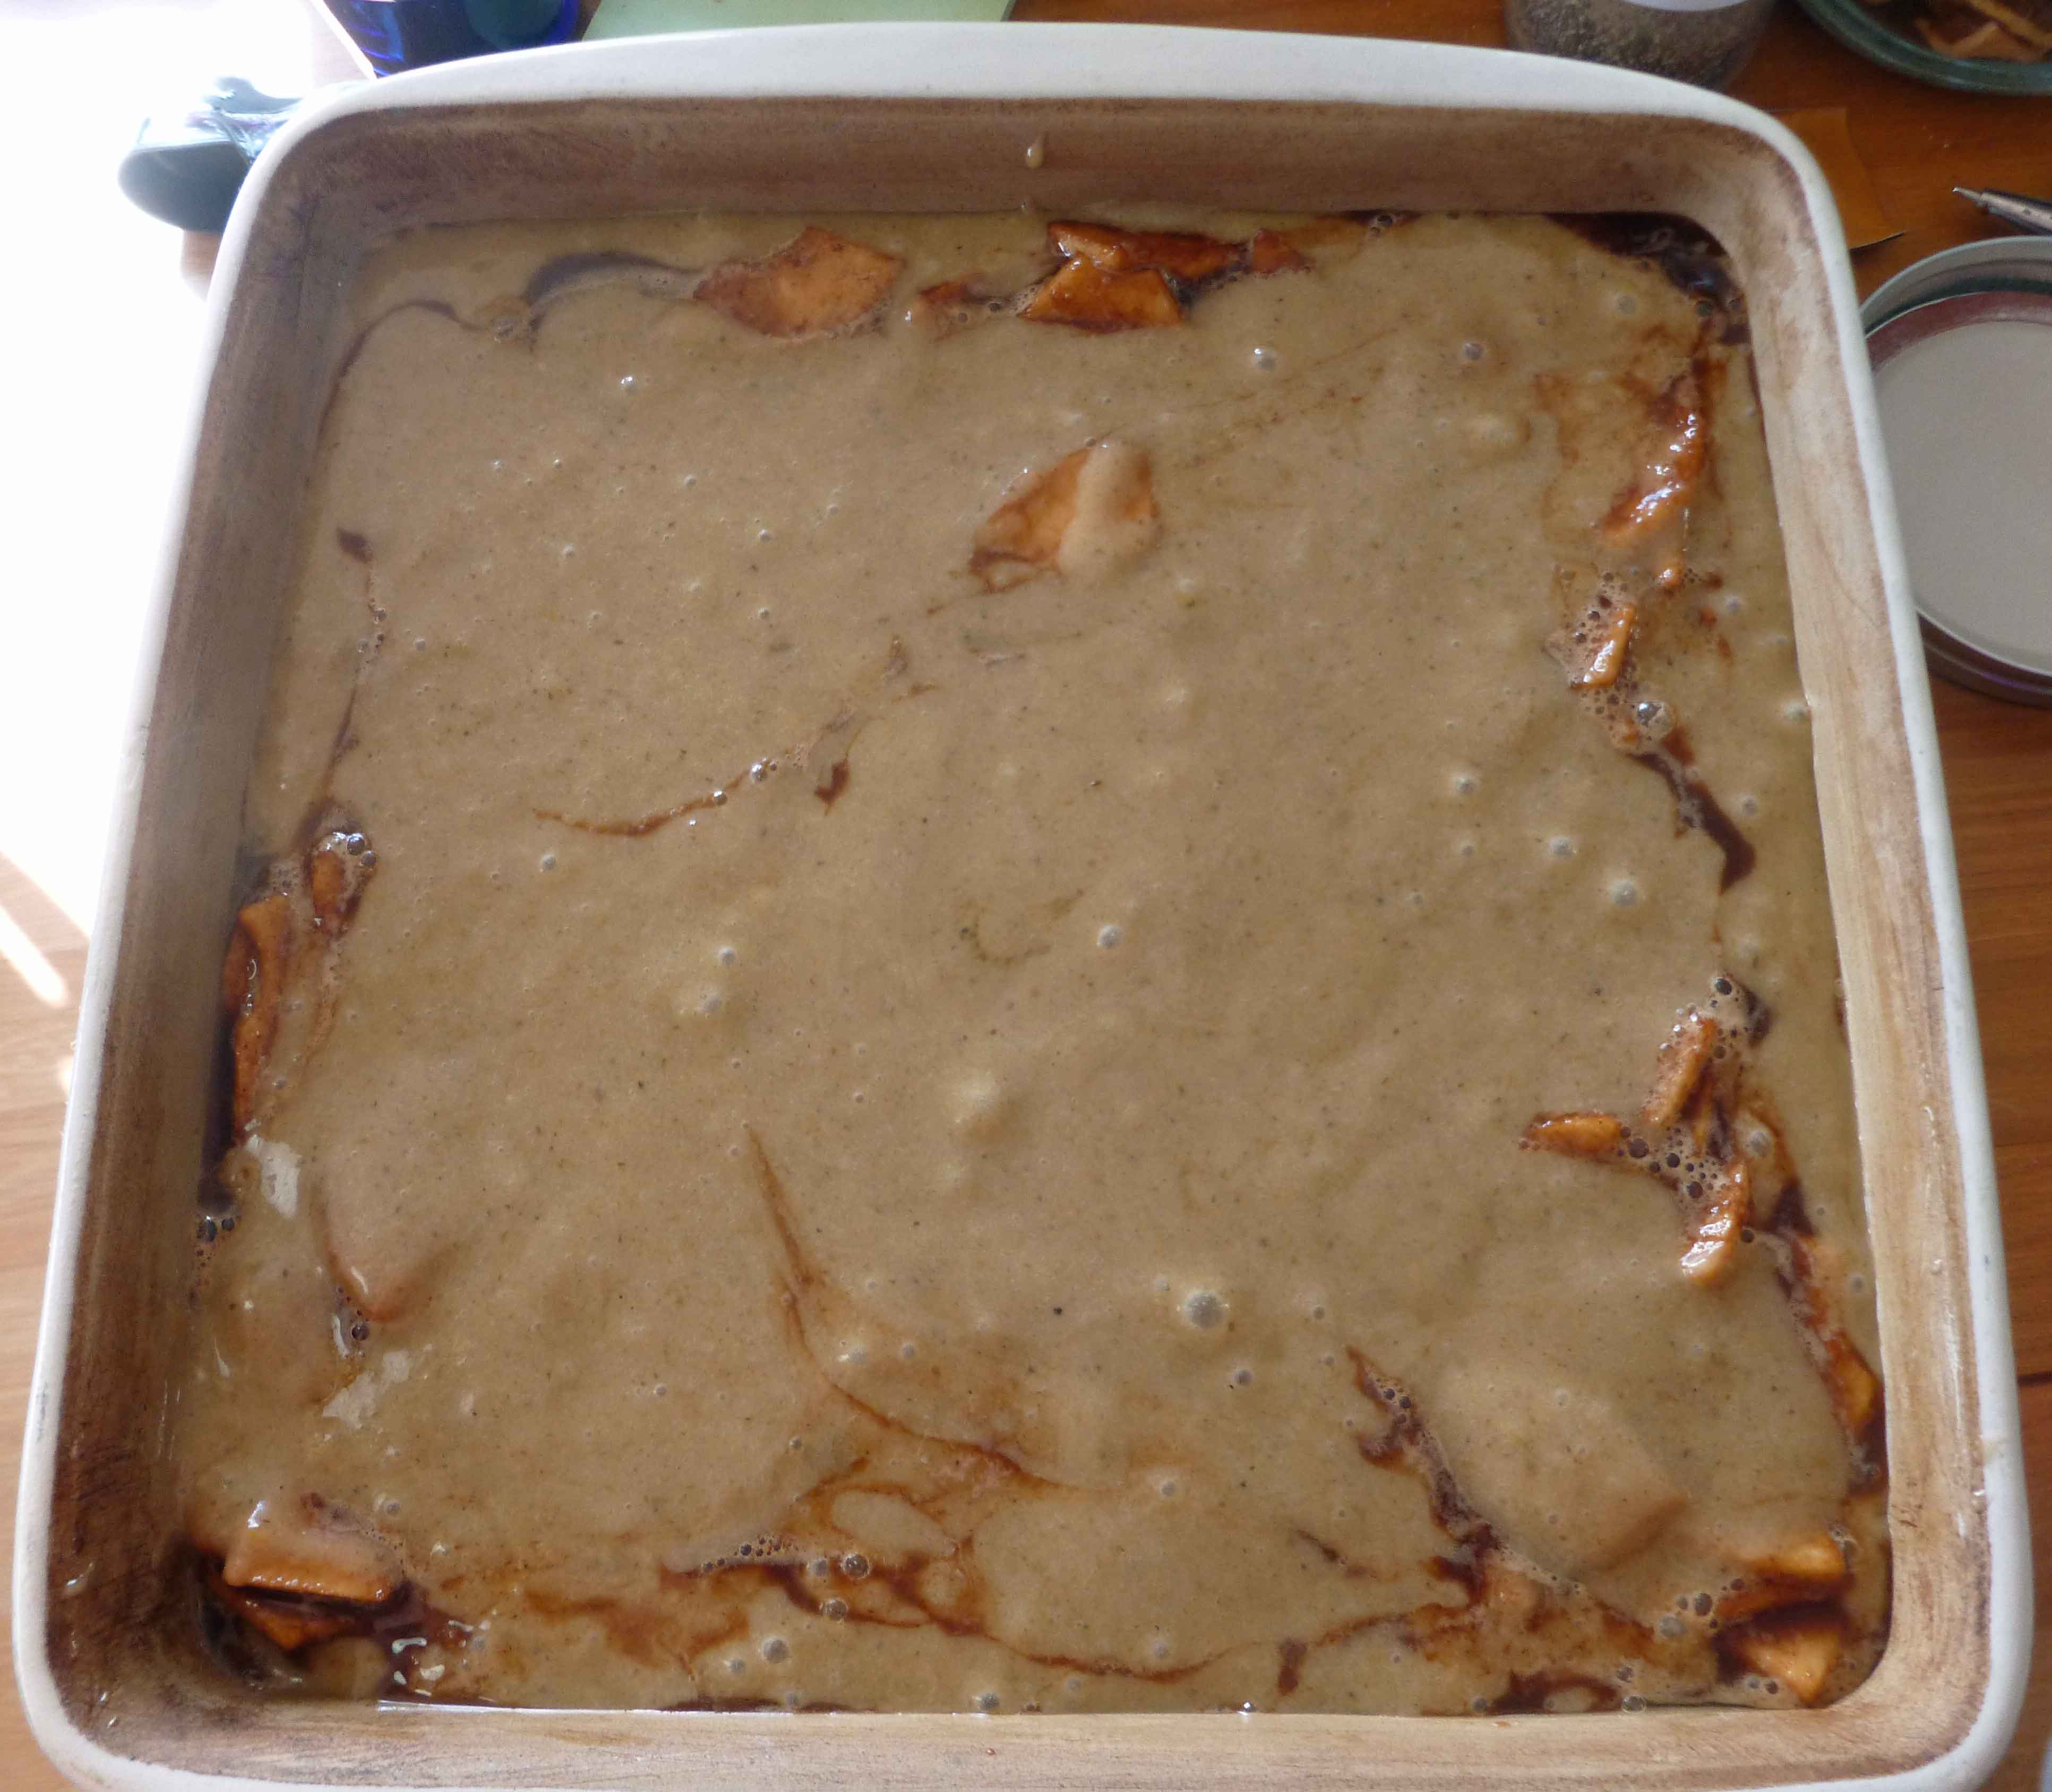
Cover the apple mixture with the remaining cake batter.
Second layer of batter over second layer of apples
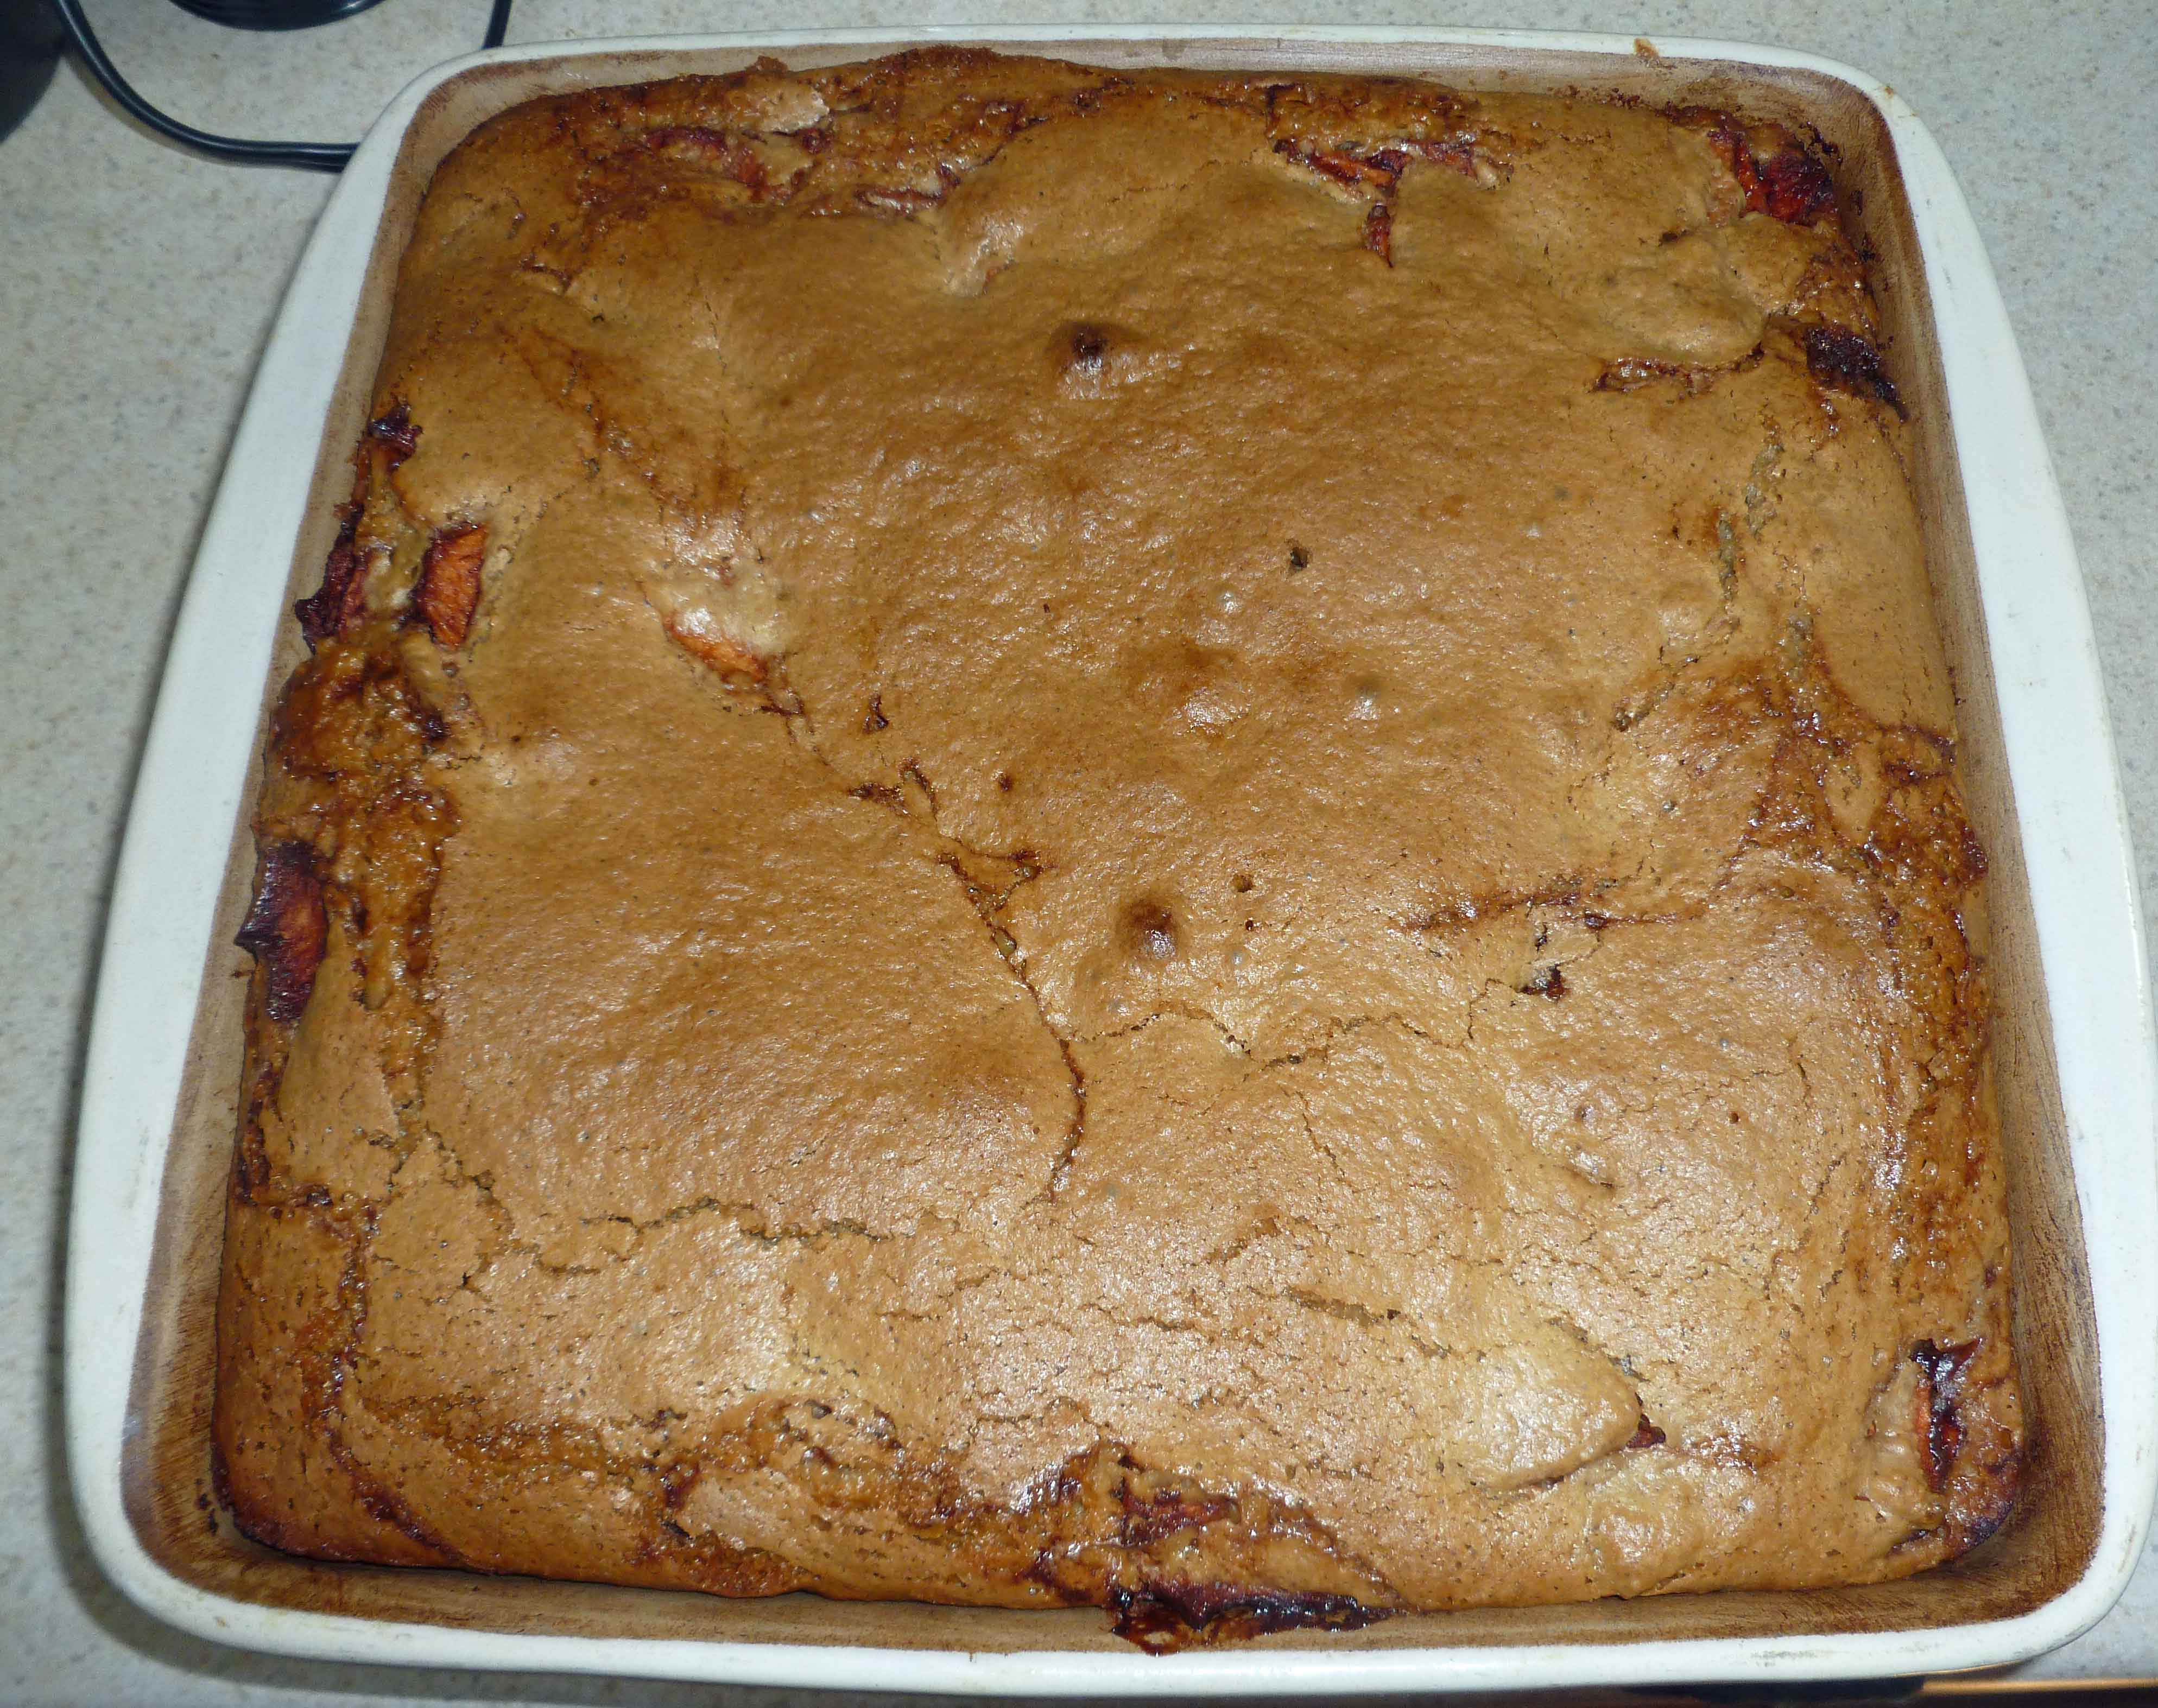
Bake for about an hour and half or until a tooth pick comes out clean.
Apple Cake after baking
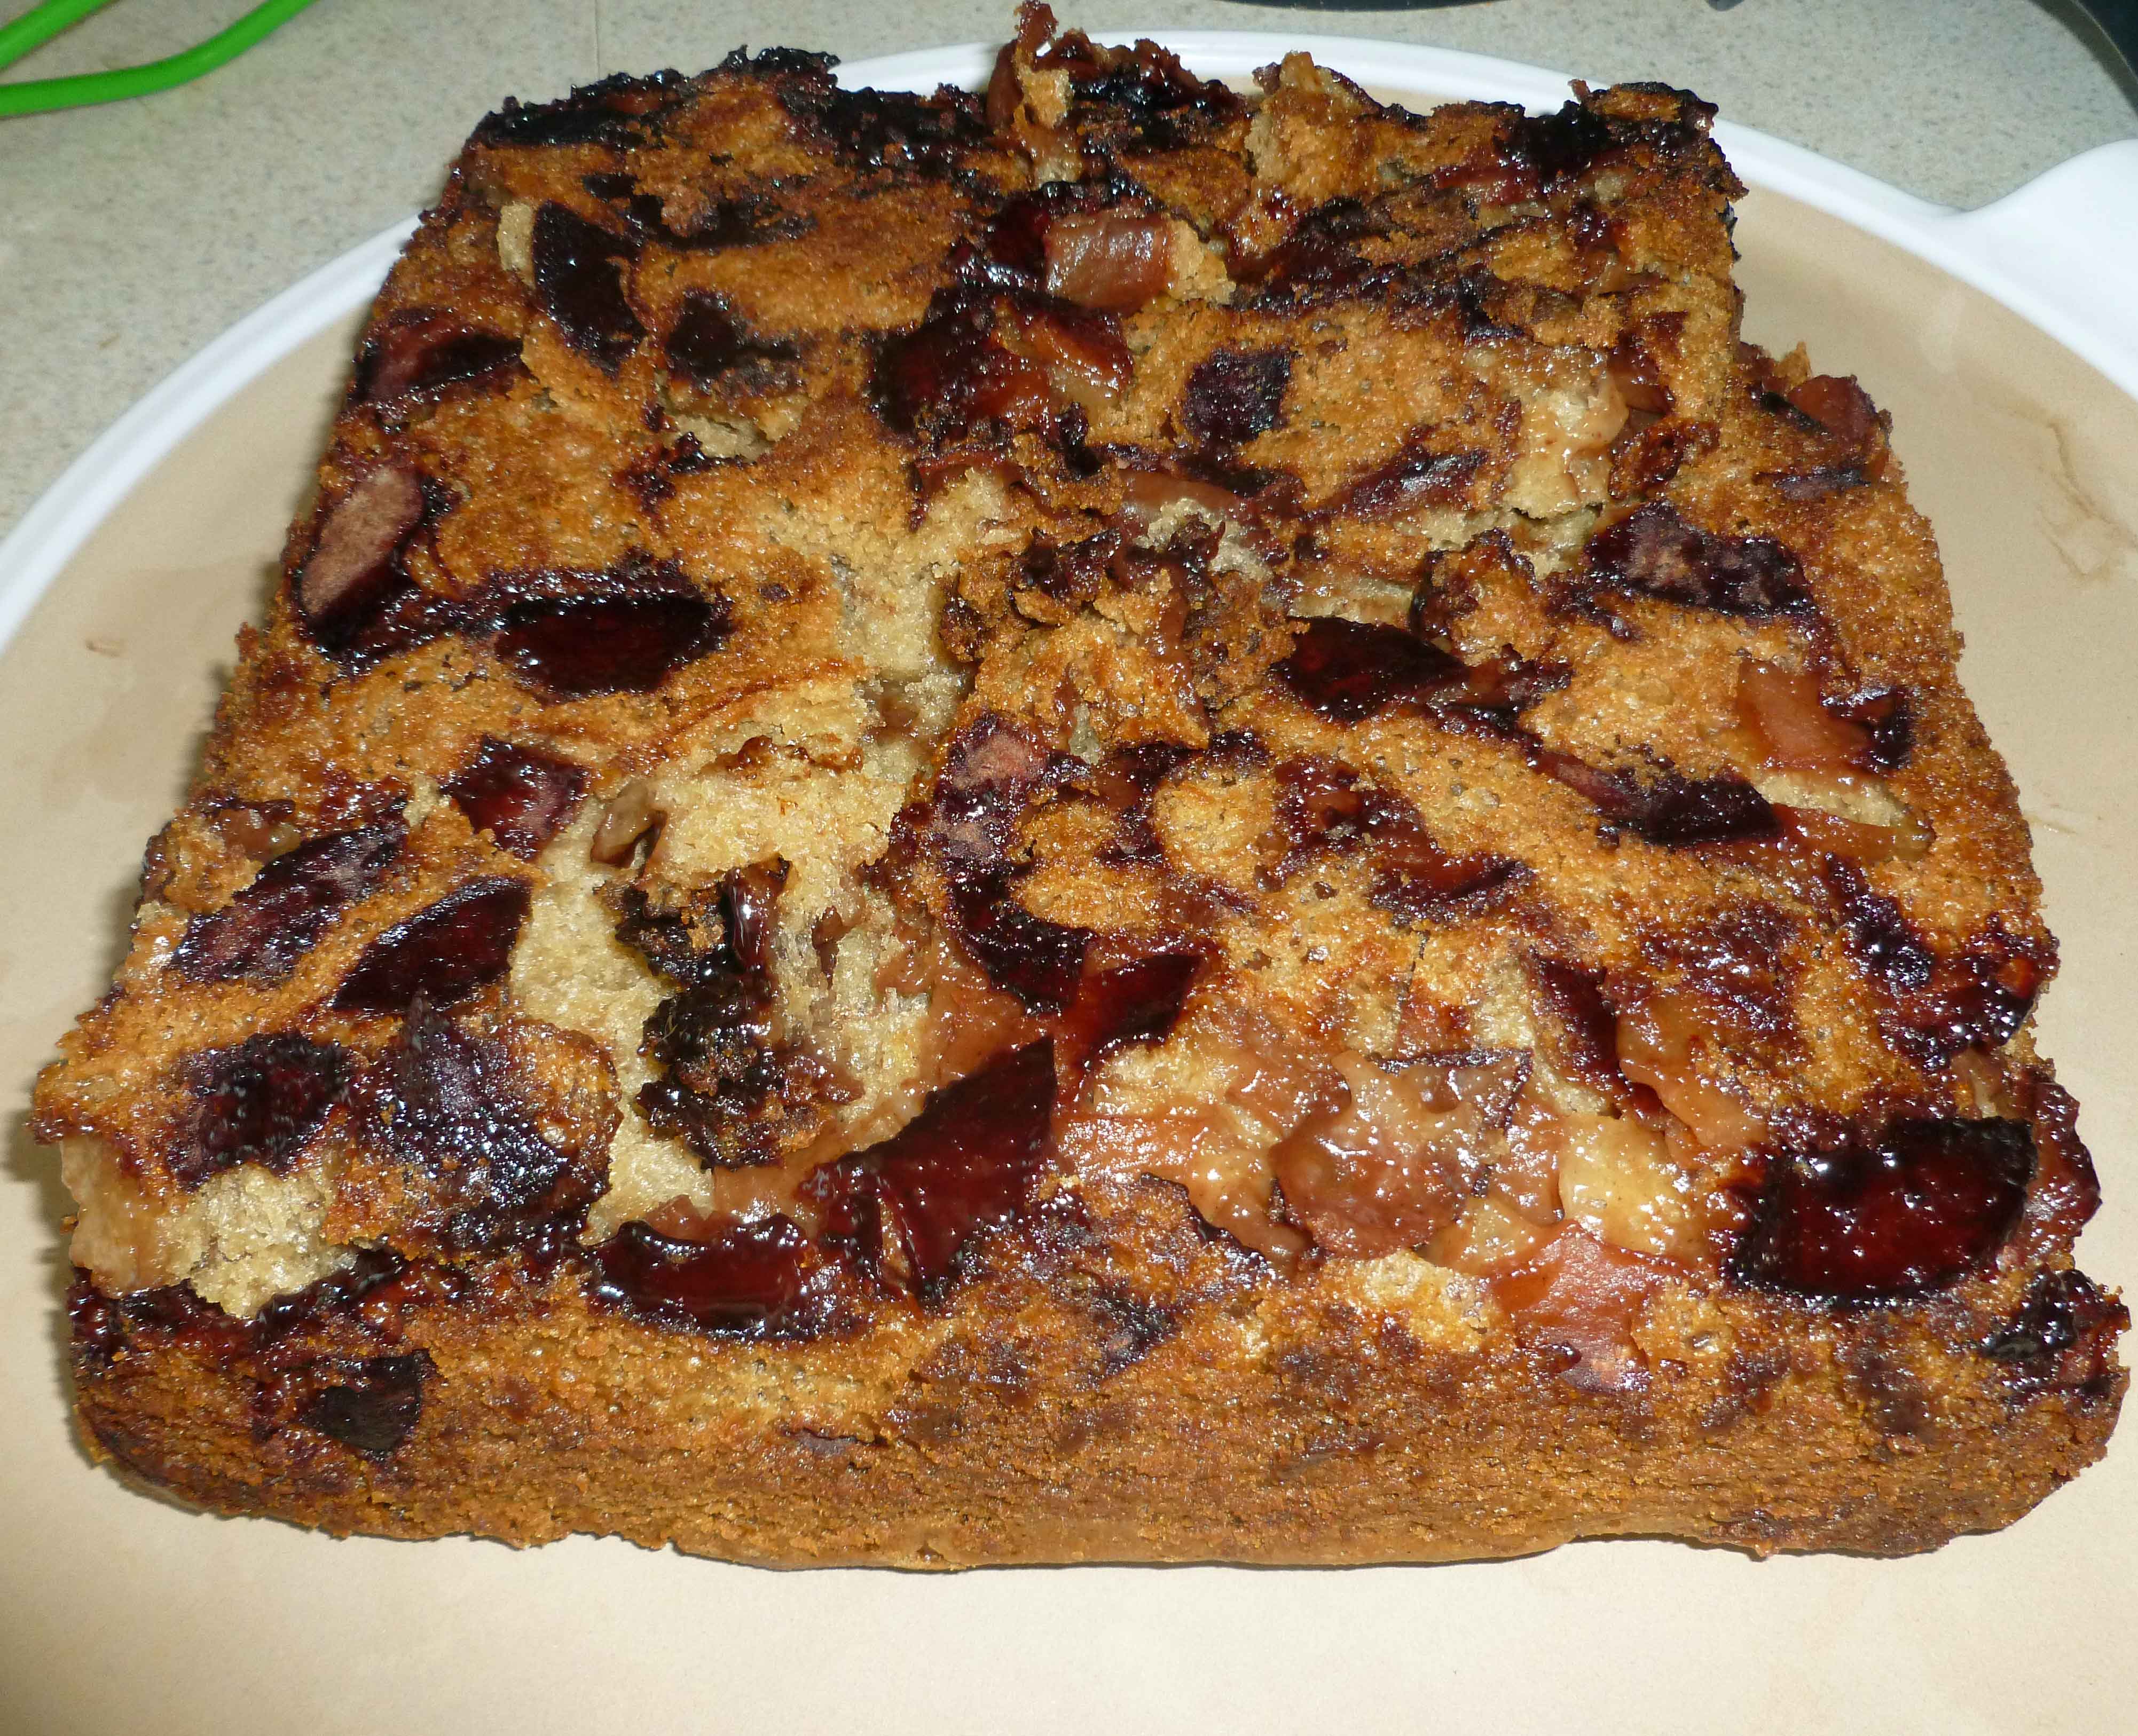
Cool in pan on wire rack for 5 minutes. Loosen edges around the pan with a butter knife, and then invert the baking pan onto platter. Don’t let it cool too long or it will stick and be harder to remove from the pan (which you can tell mine did because I got distracted.)
As some of you know, I bought a house in January with a lot of fruit trees. So now I have a lot of apples. I may very well drown in them. Besides the massive amounts of canning I’ve been doing, I thought I’d looking into using them in a savory dish too. And since I needed to use my DIY Curry Powder in something, I figured why not shoot two birds with one stone. After looking at a few different recipes I decided I wanted less of a soup feel and more of a bisque feel, so I decided to use the homemade cashew milk I had in the freezer. If you have a safe commercial dairy replacement product, feel free to use it (I don’t) or if you can have coconut milk (I can’t) that might also work well. Free feel to make it work for you.
Curried Apple Bisque
I medium onion, finely diced
2 Tablespoons of olive oil (or other safe for you oil)
1 1/2 cups of homemade cashew milk or other replacement dairy product (for cashew milk, I use this recipe, except I leave everything out except the cashews and water)
a bit of cinnamon to garnish if you wish
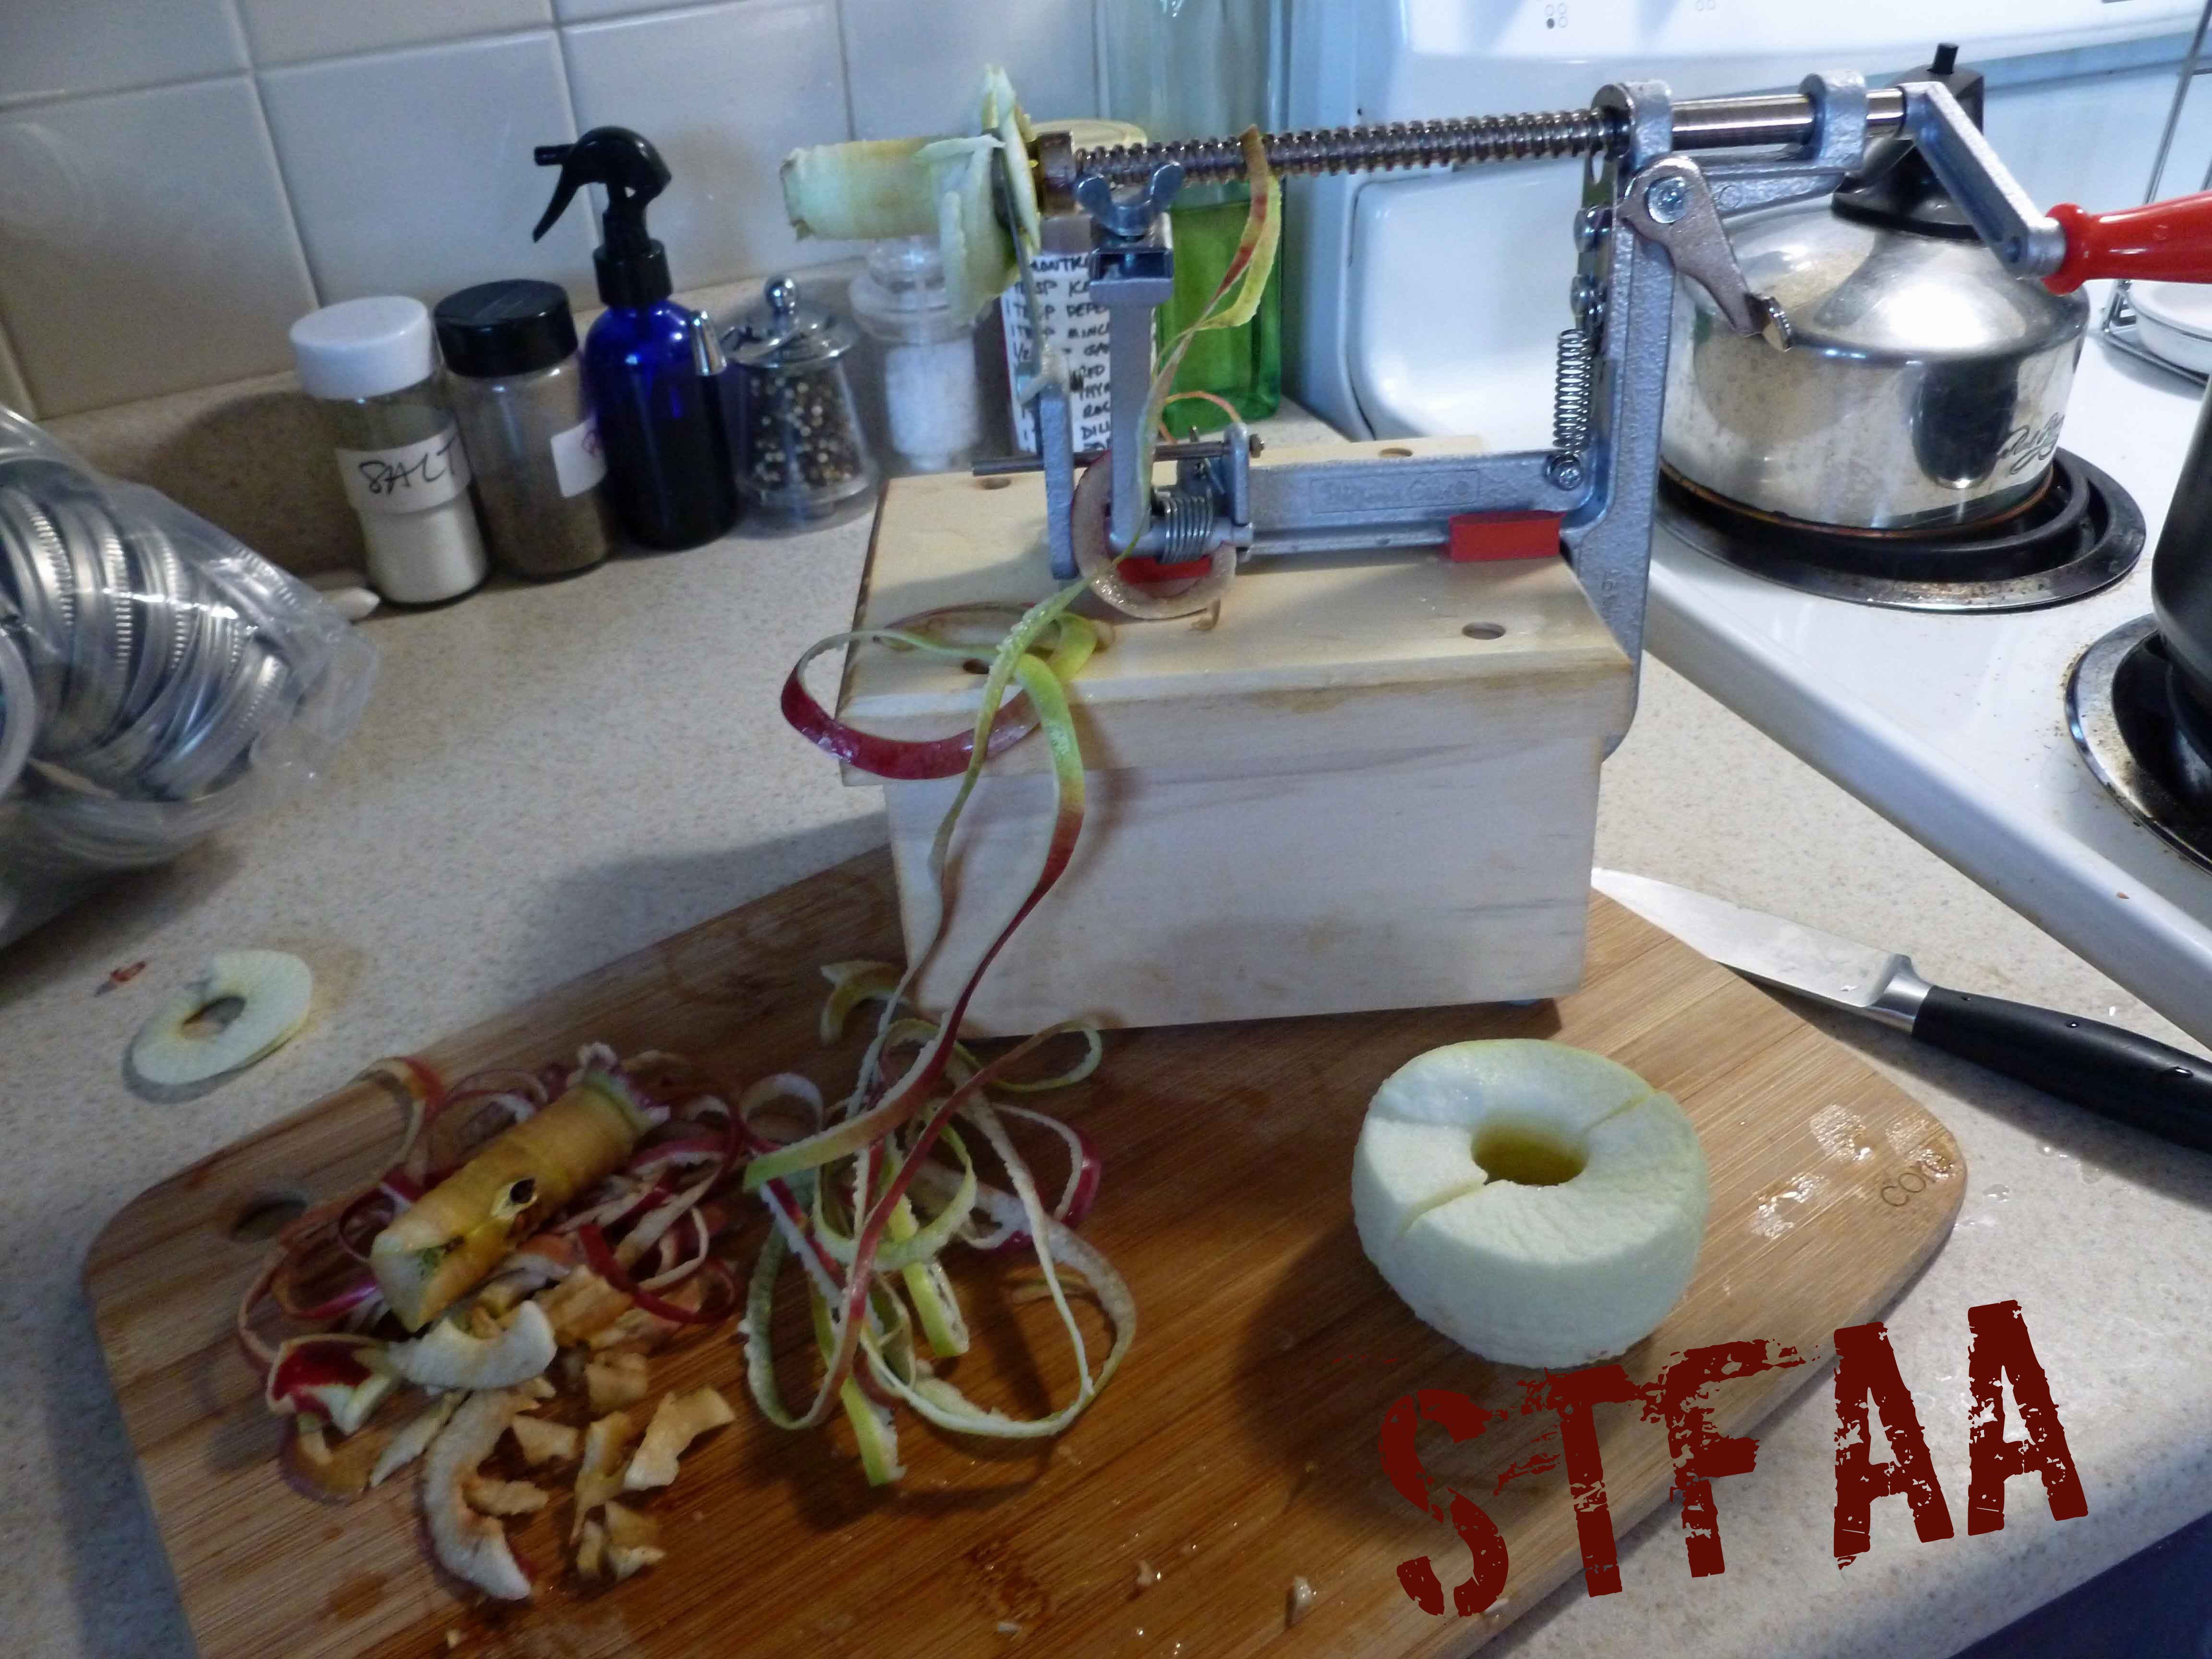
Peel, core and slice your apples. I have this lovely apple peeler, corer, and slicer, that makes it really easy to do, but a knife works fine too.
Peeling and coring apples
Peeled, cored and sliced apples
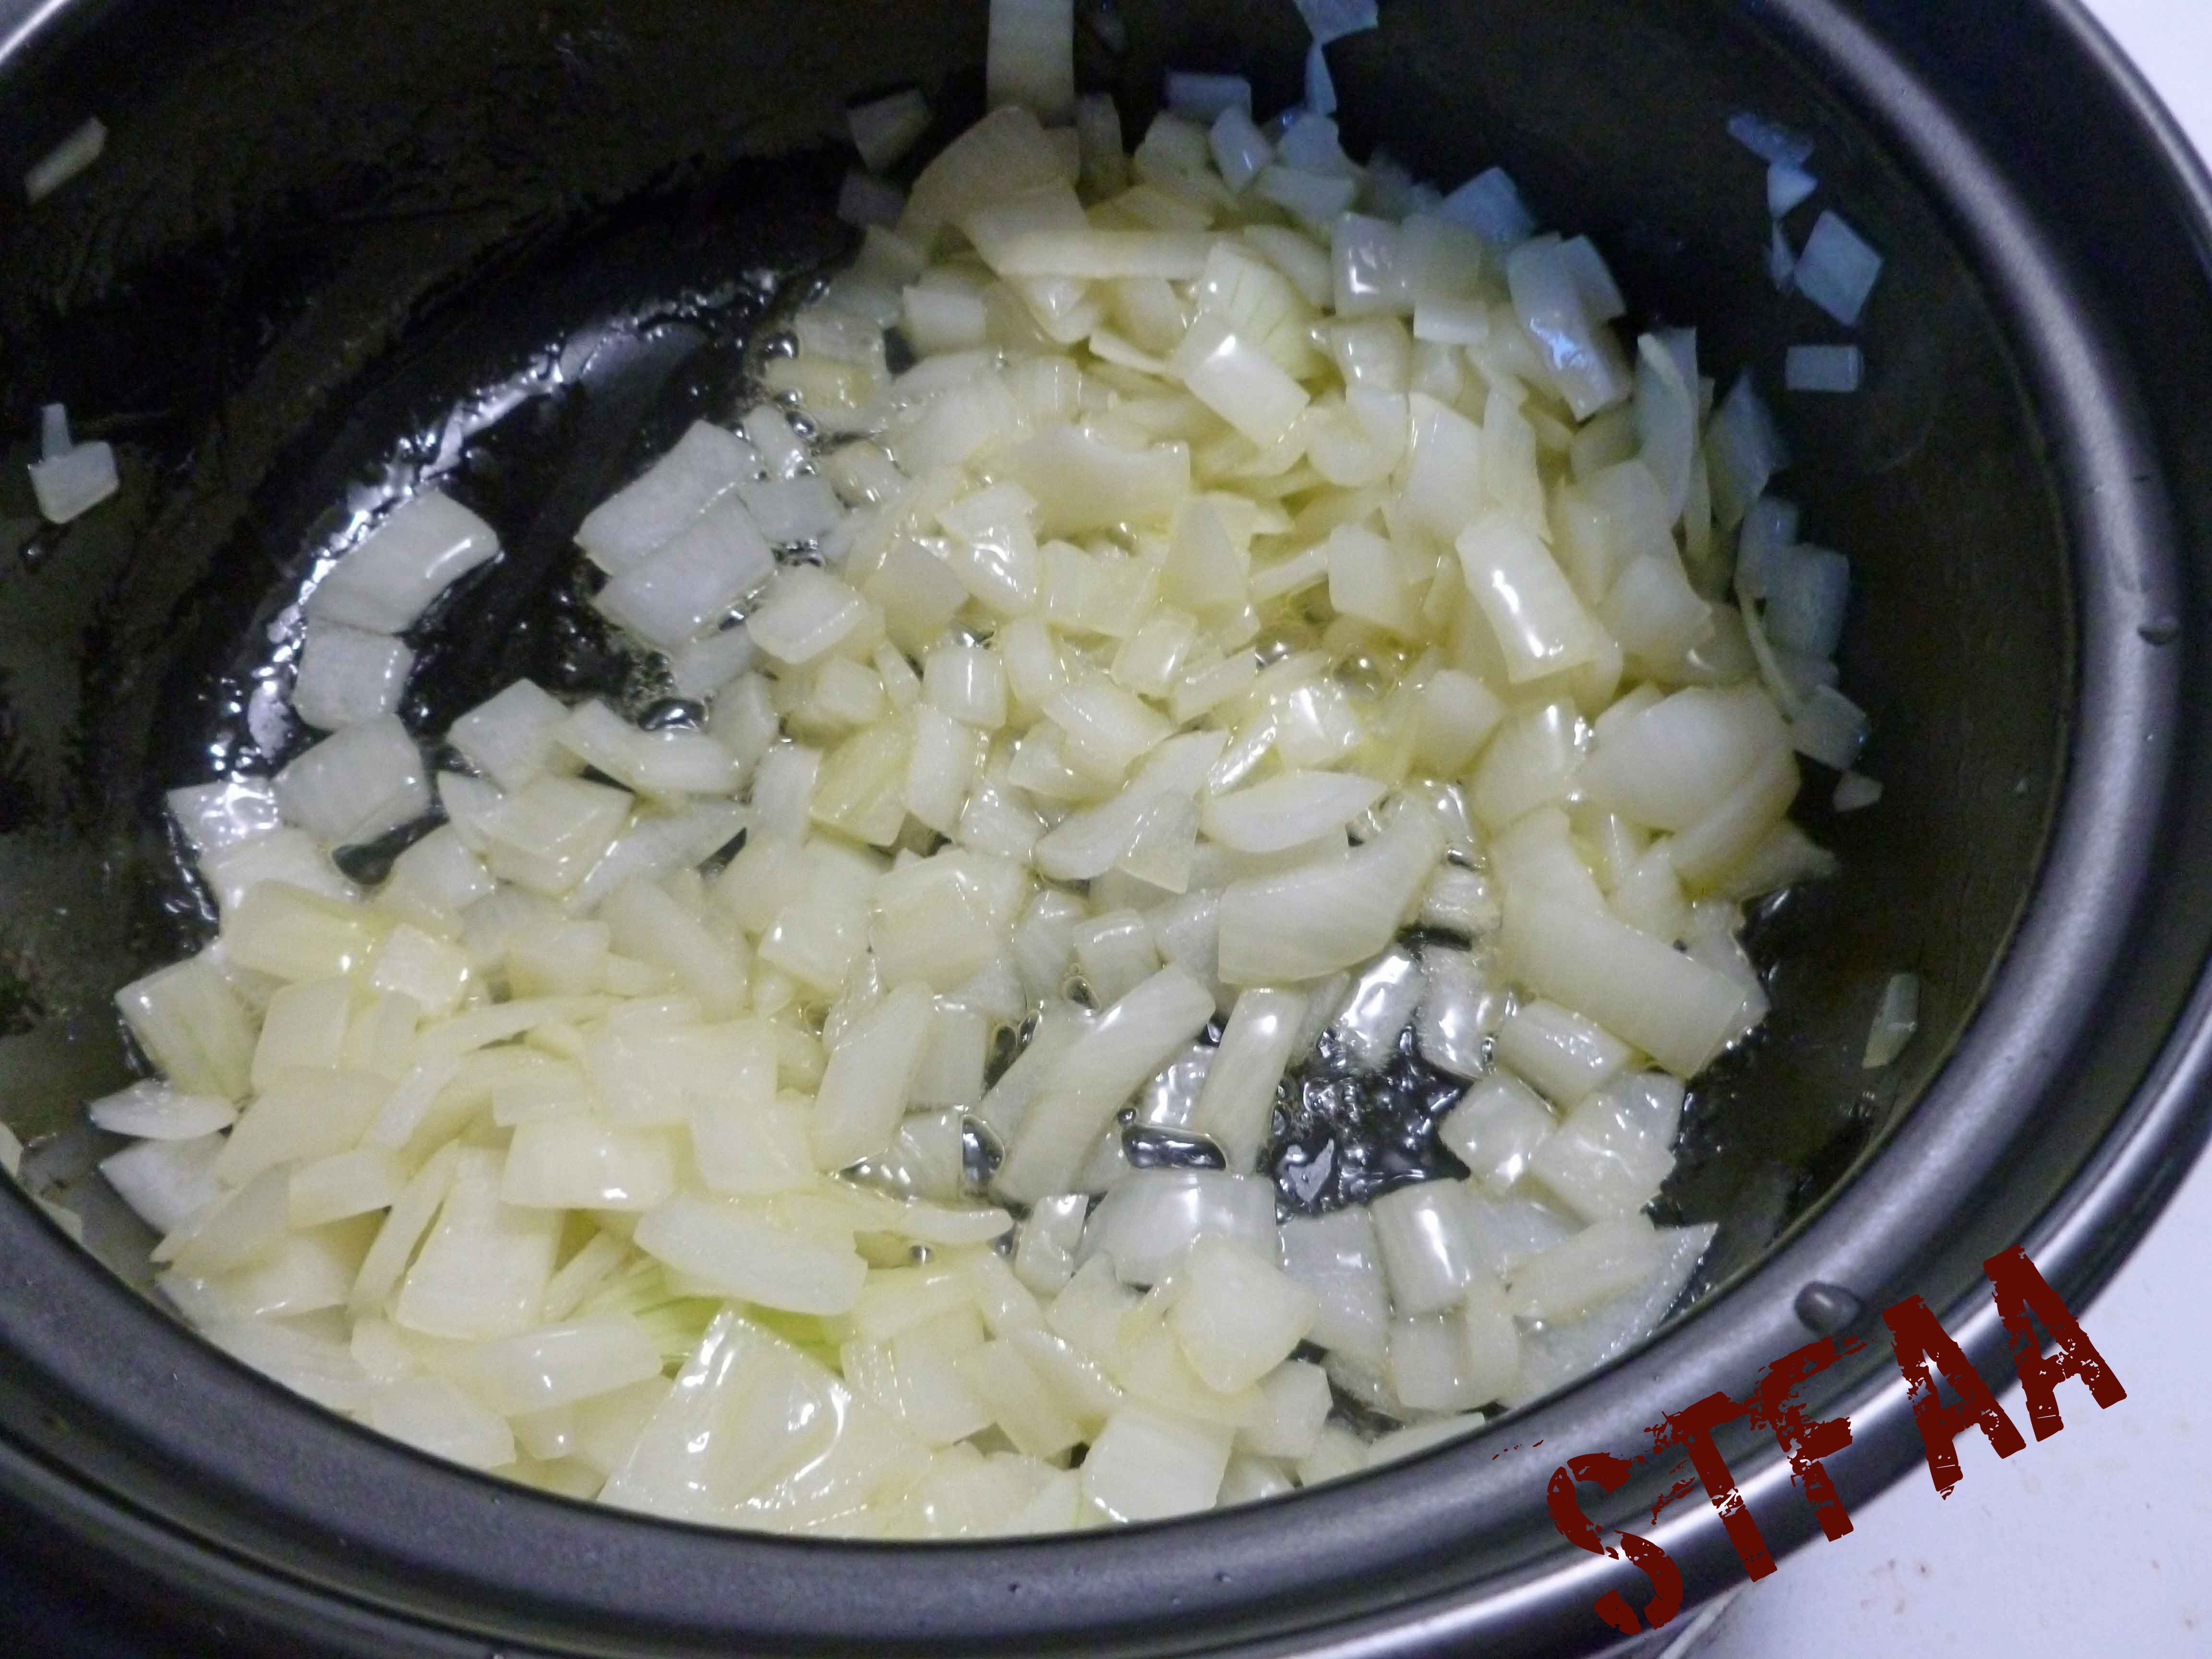
In a small saucepan, saute the onion in the olive oil, until tender and it starts to look translucent.
Sauteed onions
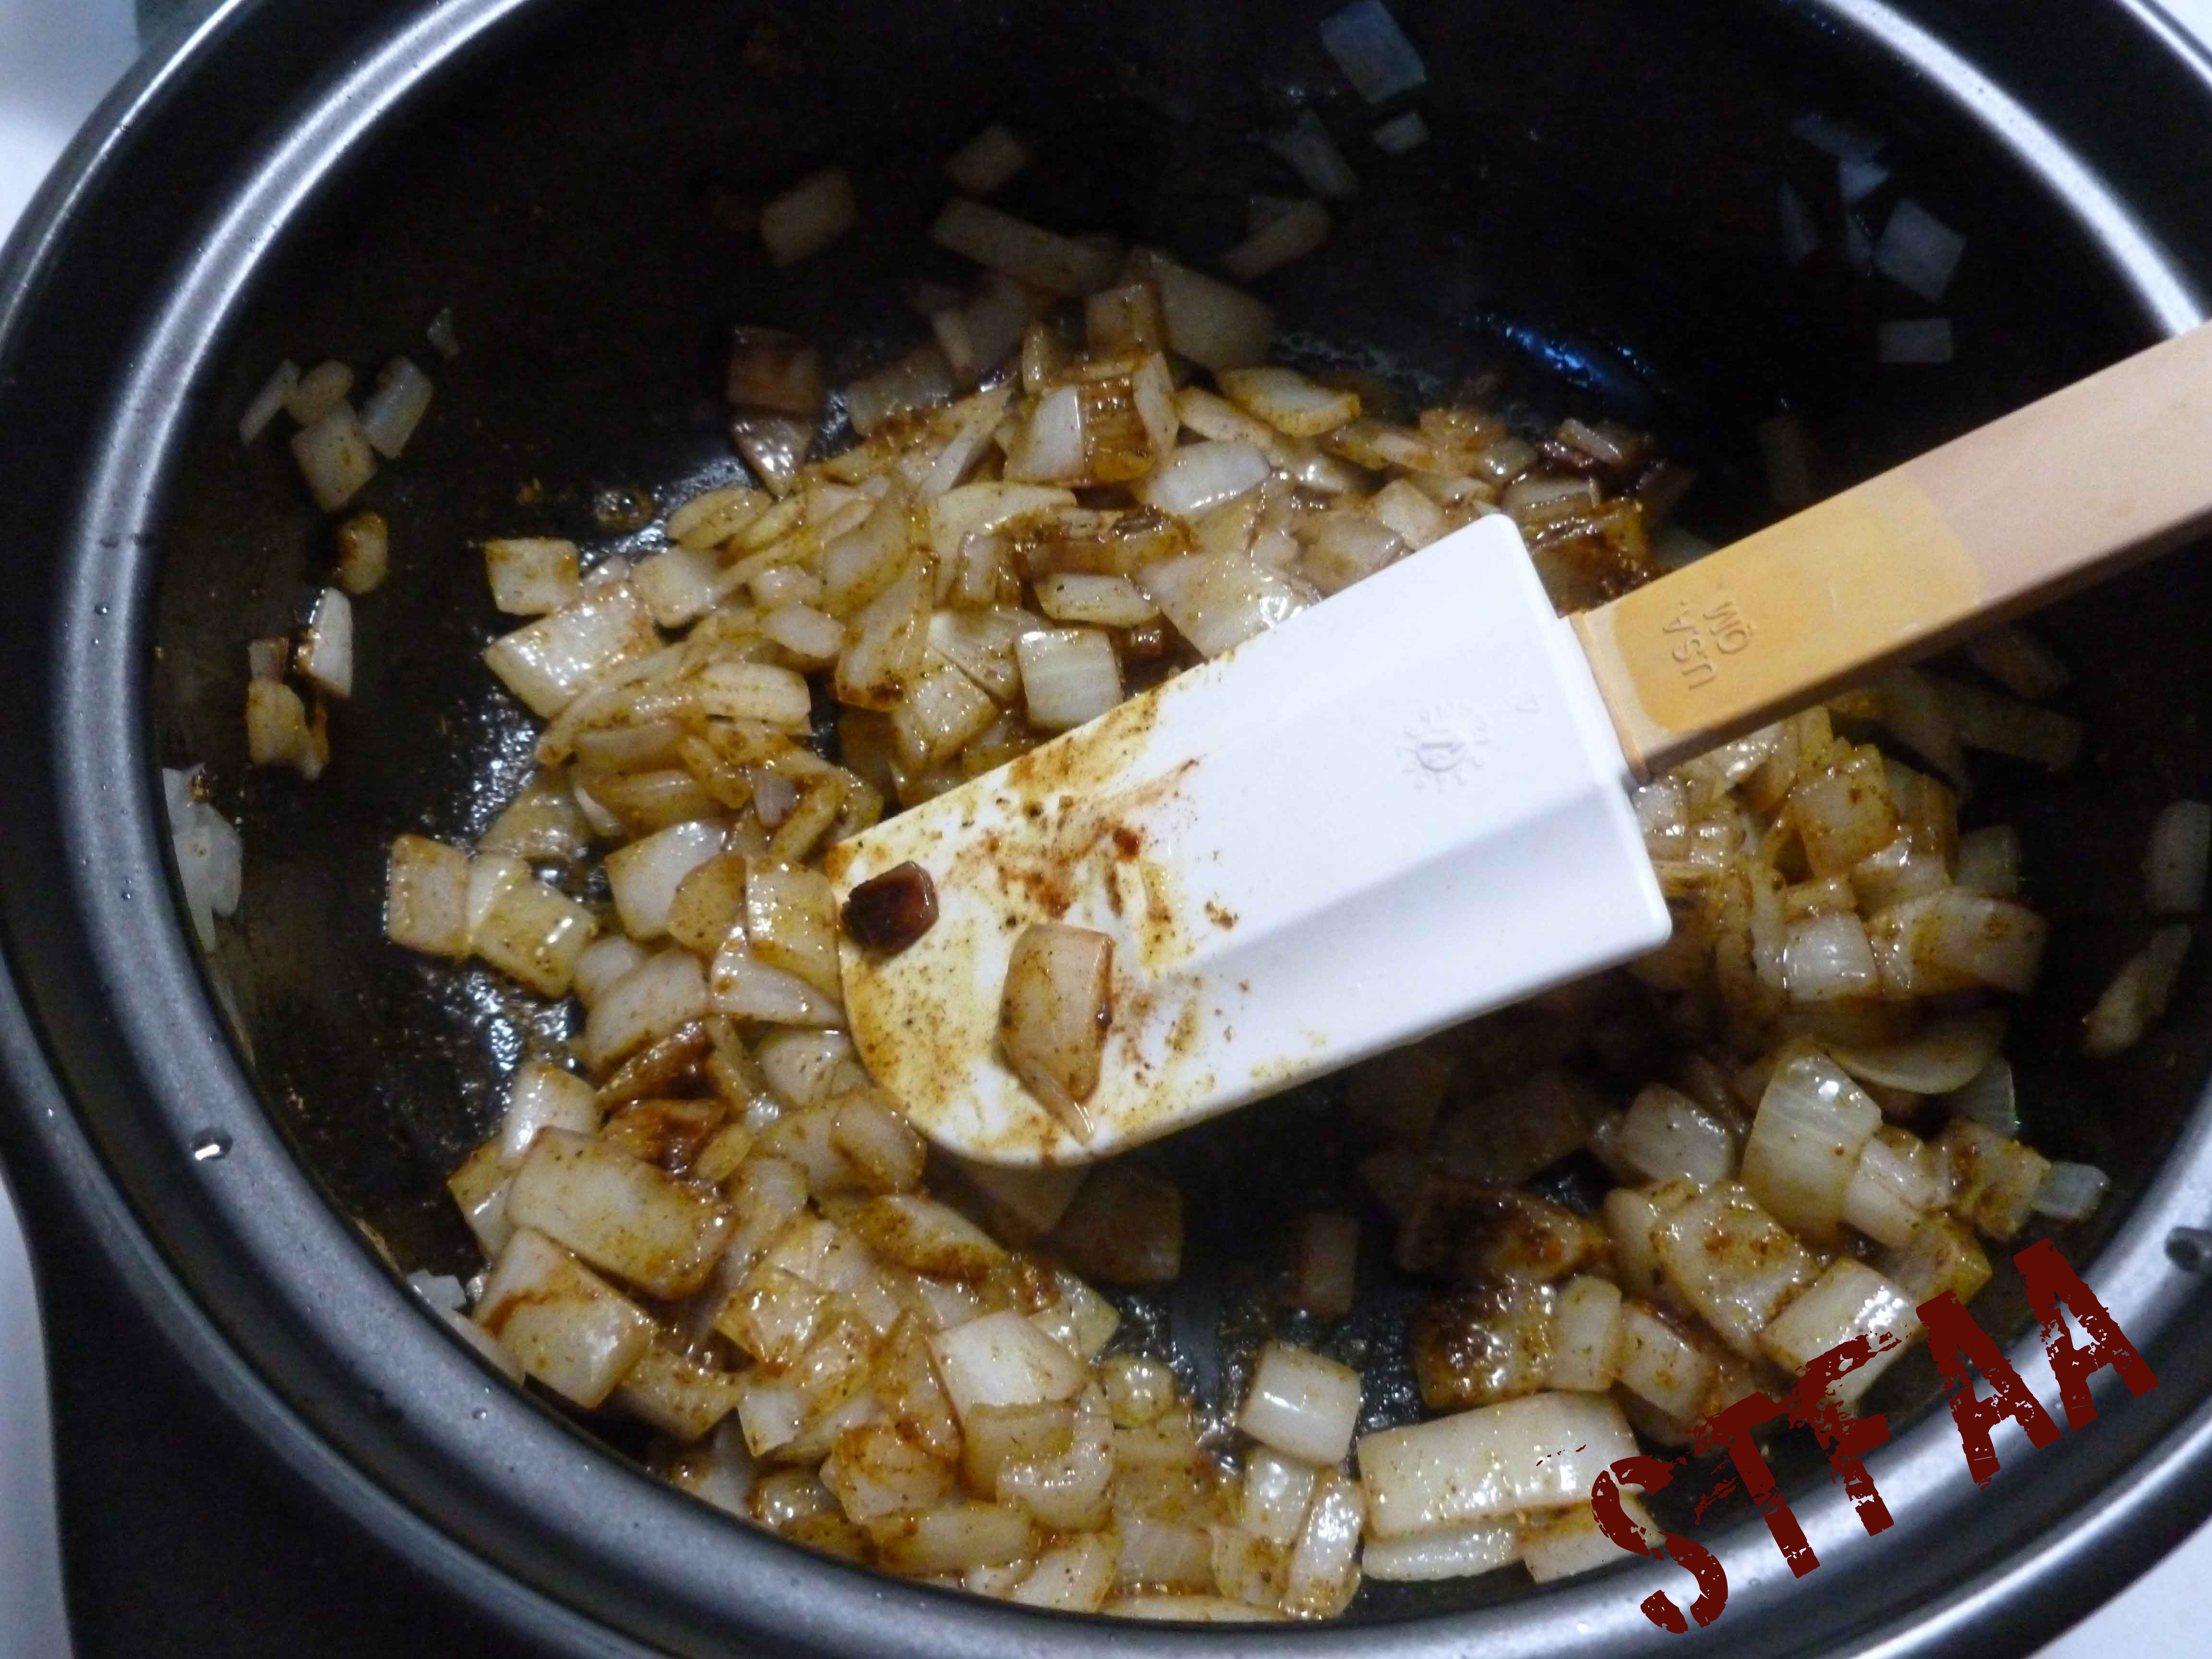
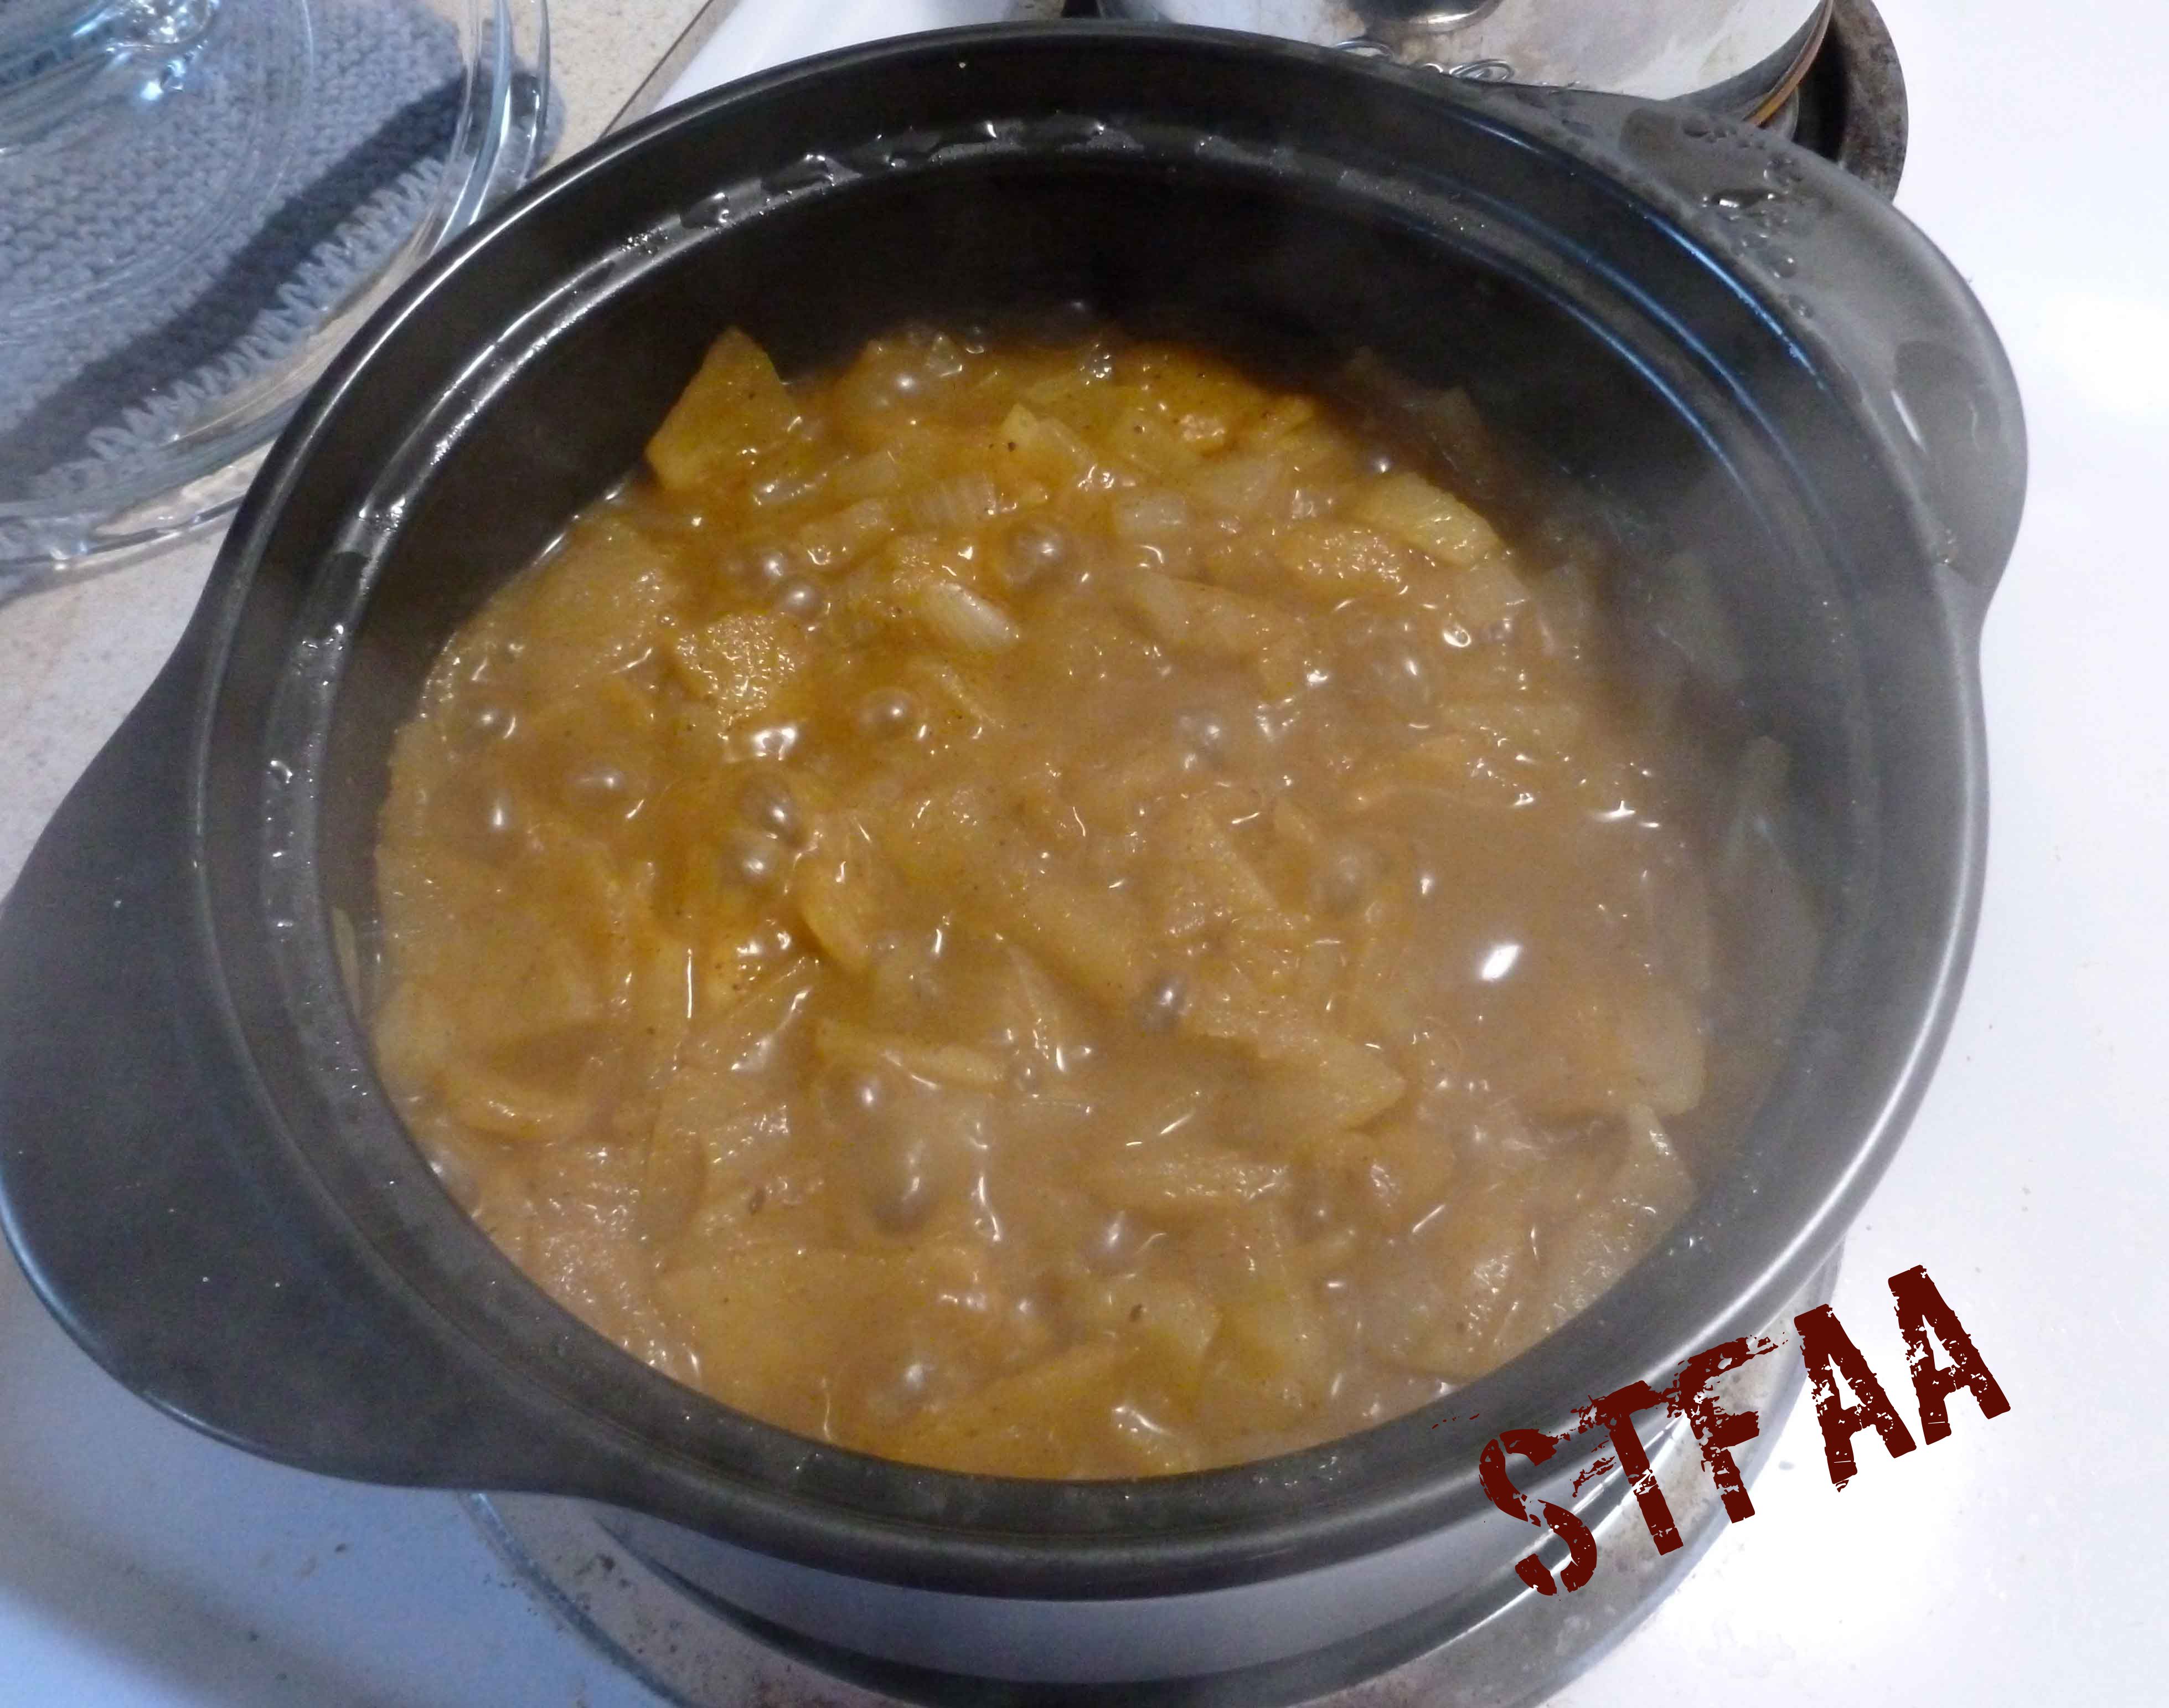
Once the onions are sauteed, add the curry powder, cinnamon, salt, cayenne pepper, and ground clove to the onions. Mix the spices in well and cook for a minute or so. It’s going to smell amazing.
Onion and spice mixure
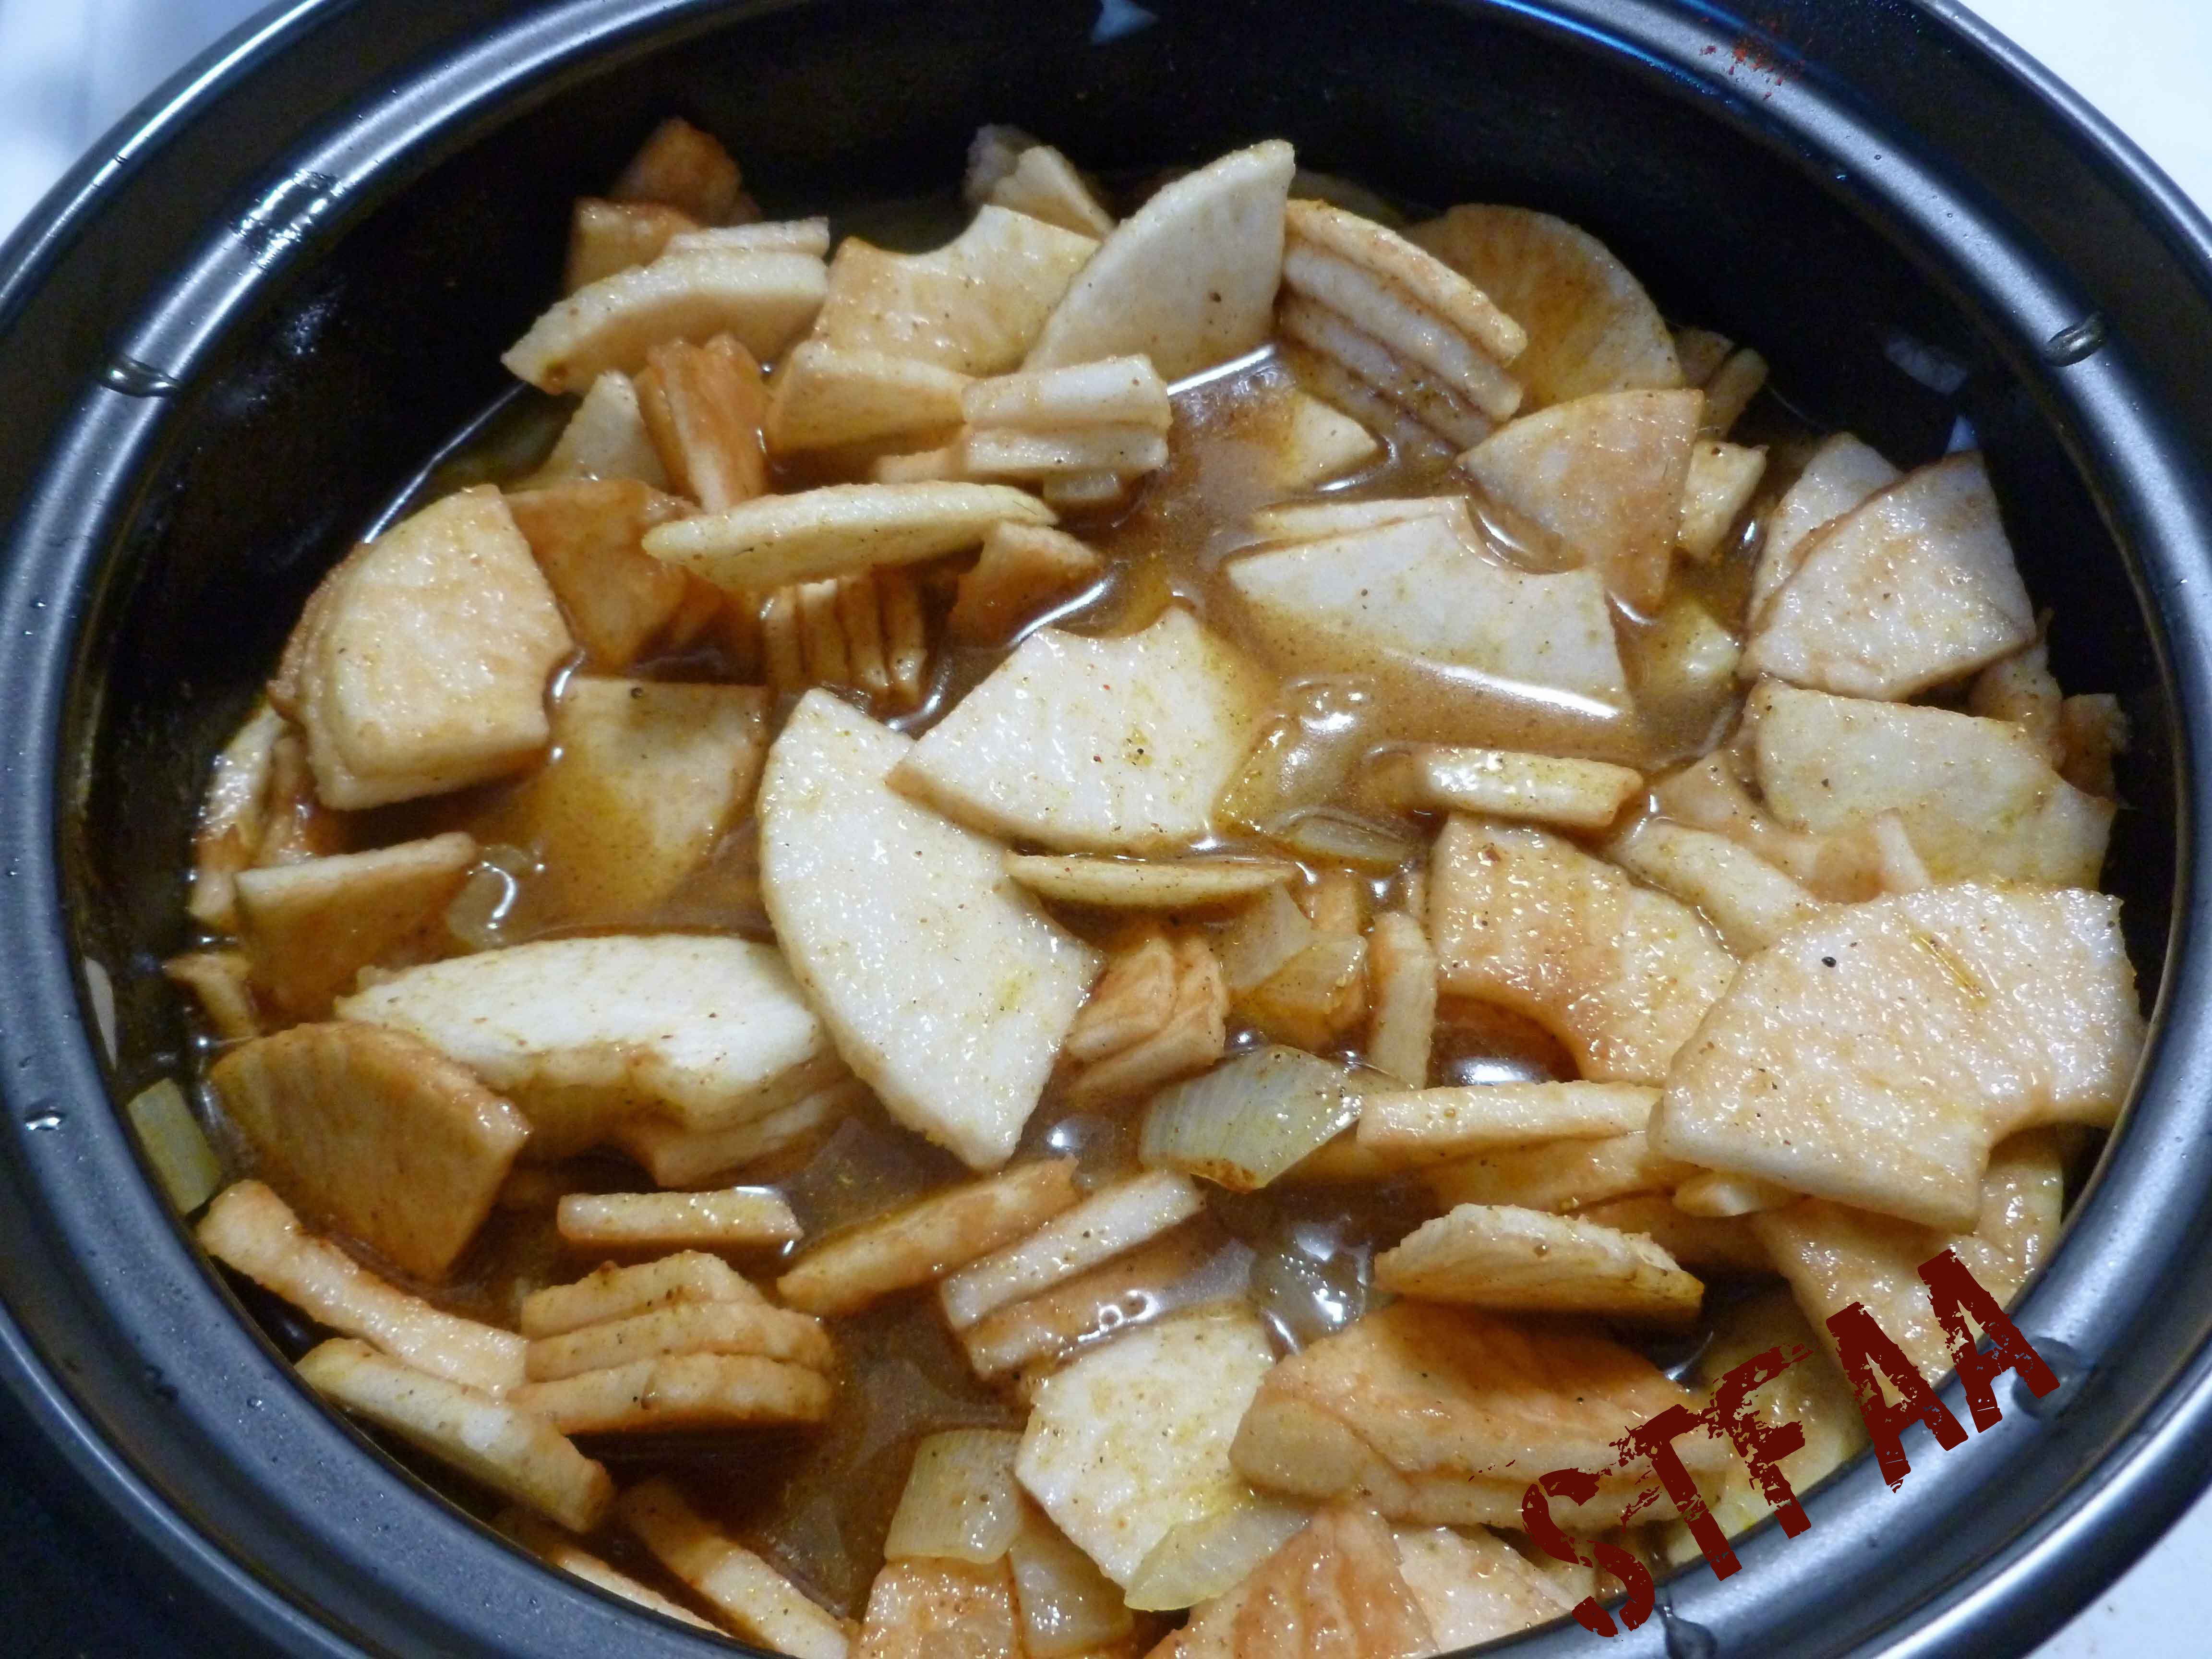
Add the apples and the vegetable stock to the broth.
Apples and vegetable stock added to the onion and spice mixture
Bring the mixture to a boil and then reduce the heat and simmer. Simmer until the apples are tender and soft.
Apples cooked until tender and soft
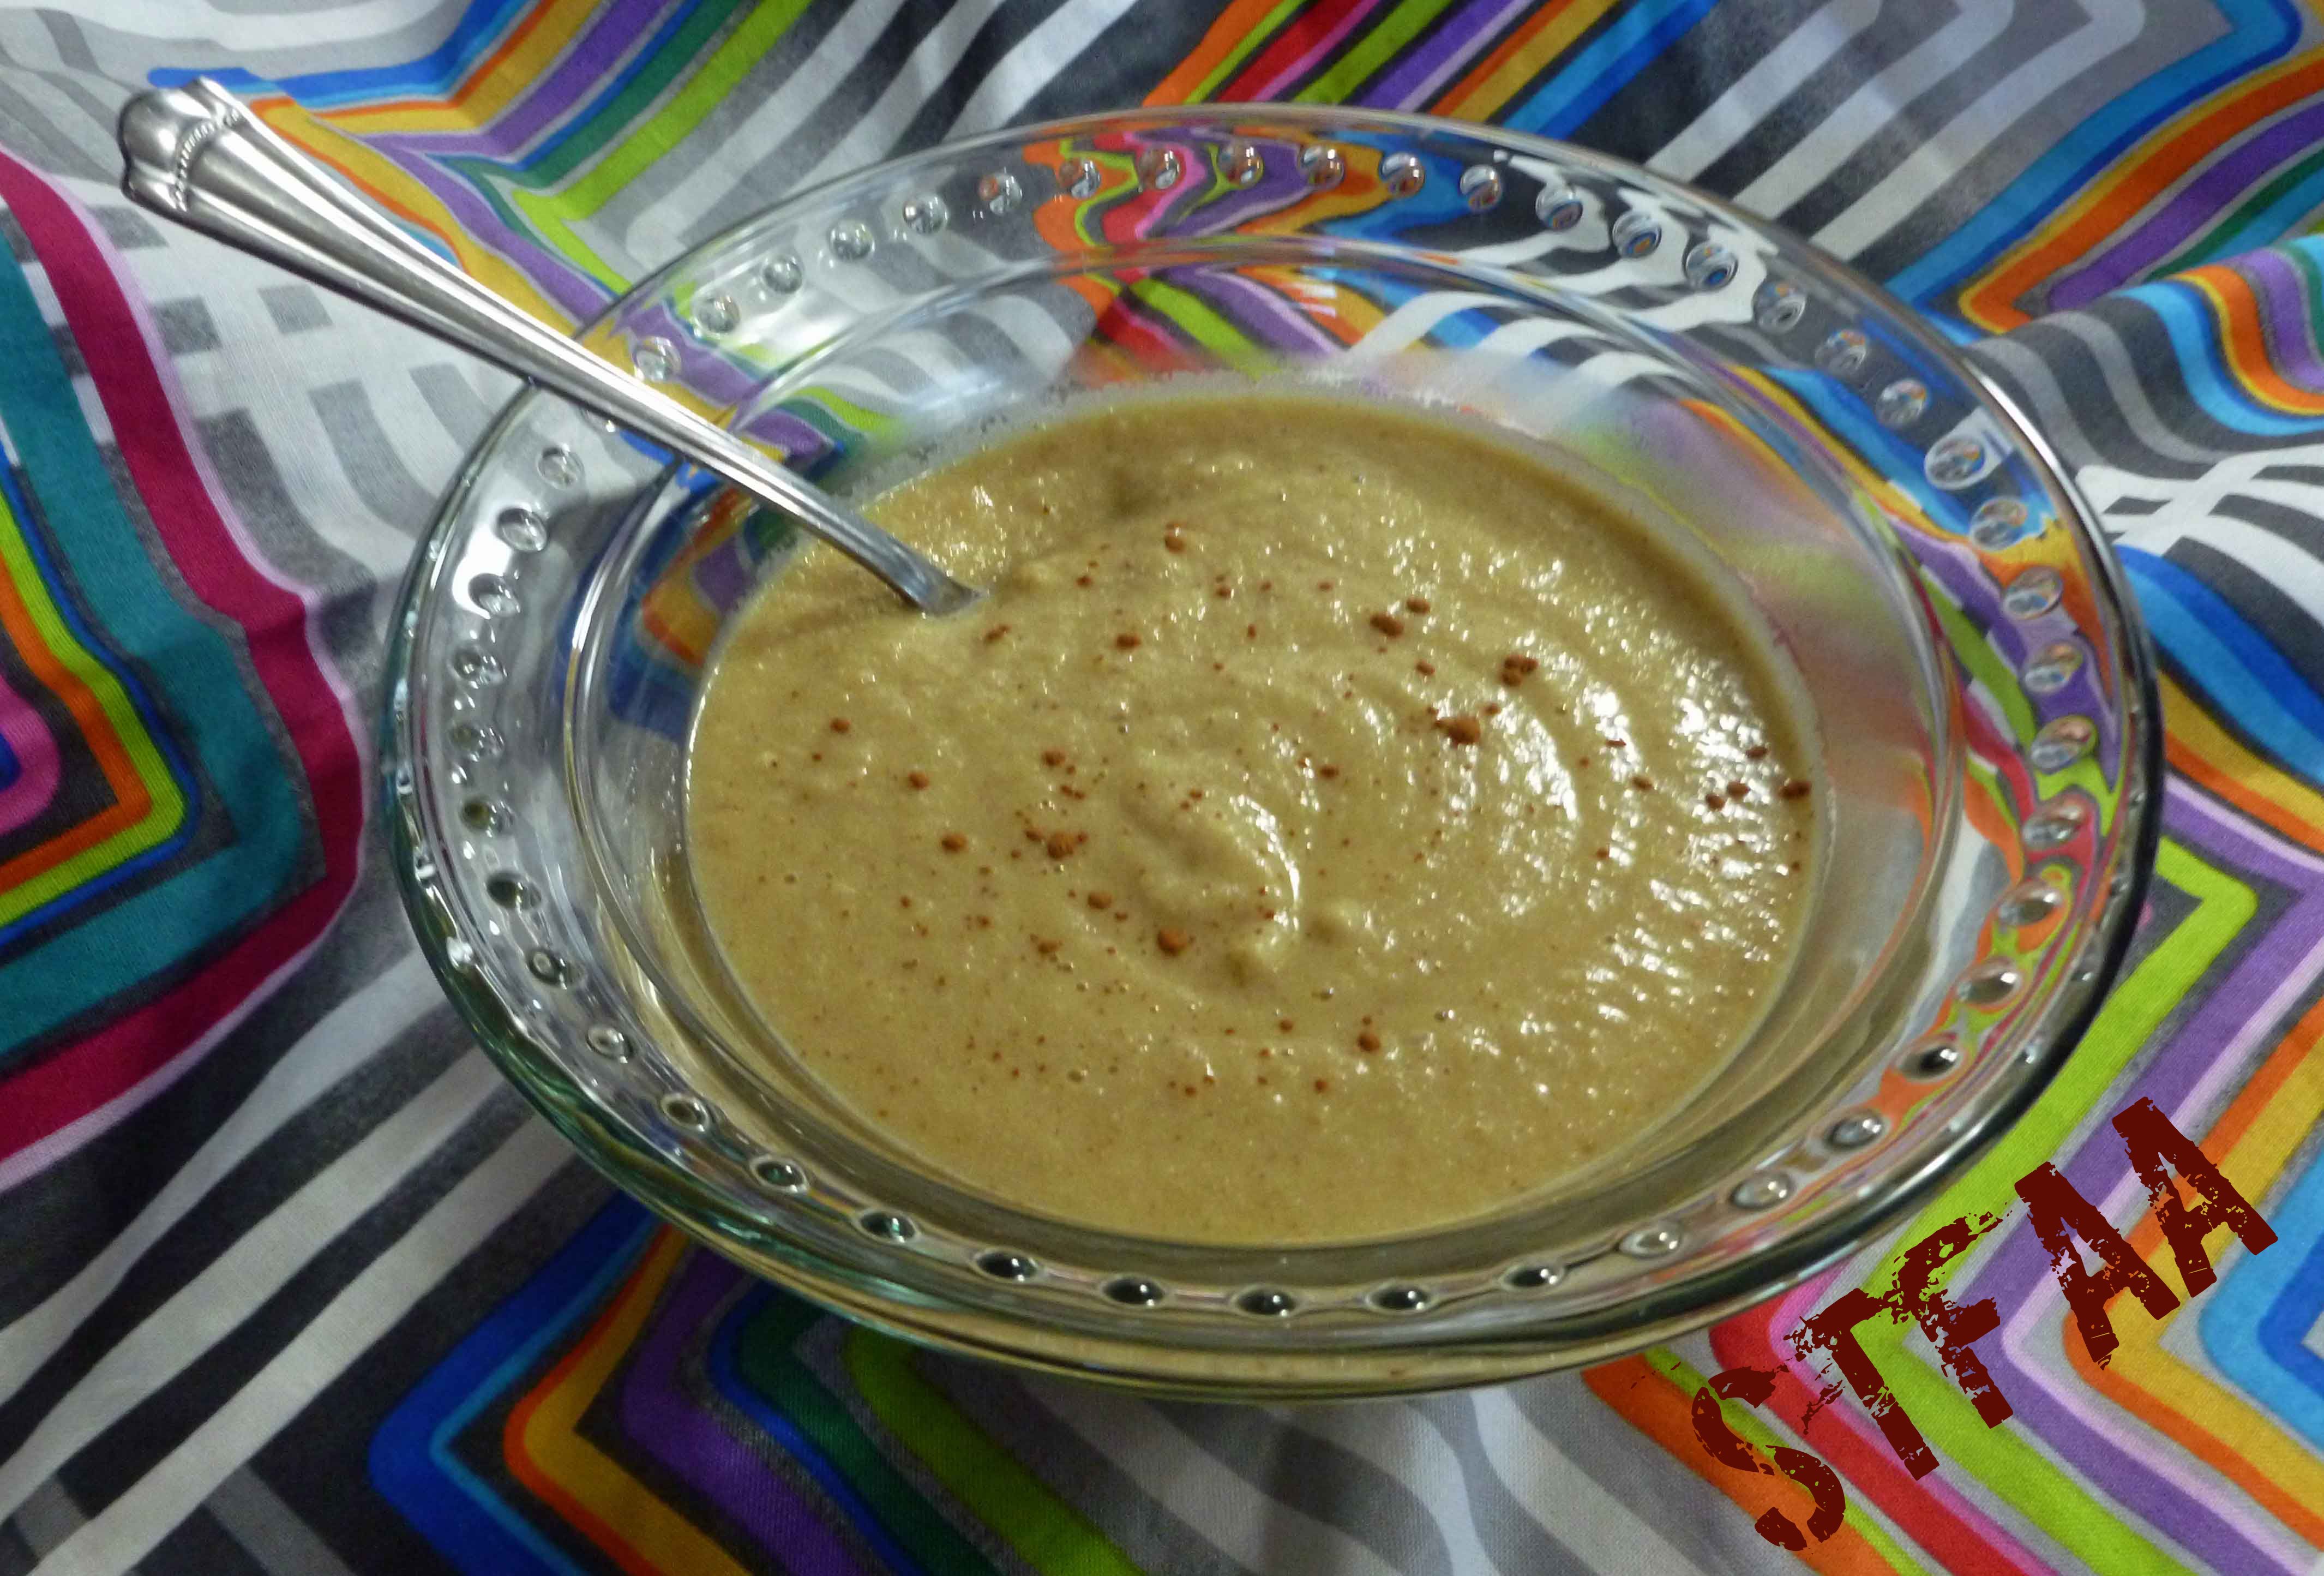
Add your cashew milk and either place the bisque into a blender and puree, or use a stick blender to puree the apples in the pot. I used a stick blender. If you used a blender, return the pureed mixture to the pot. In either case, once you’ve blended the apples, bring the bisque back to a simmer and then serve.
You can garnish with a shake of cinnamon if you like.
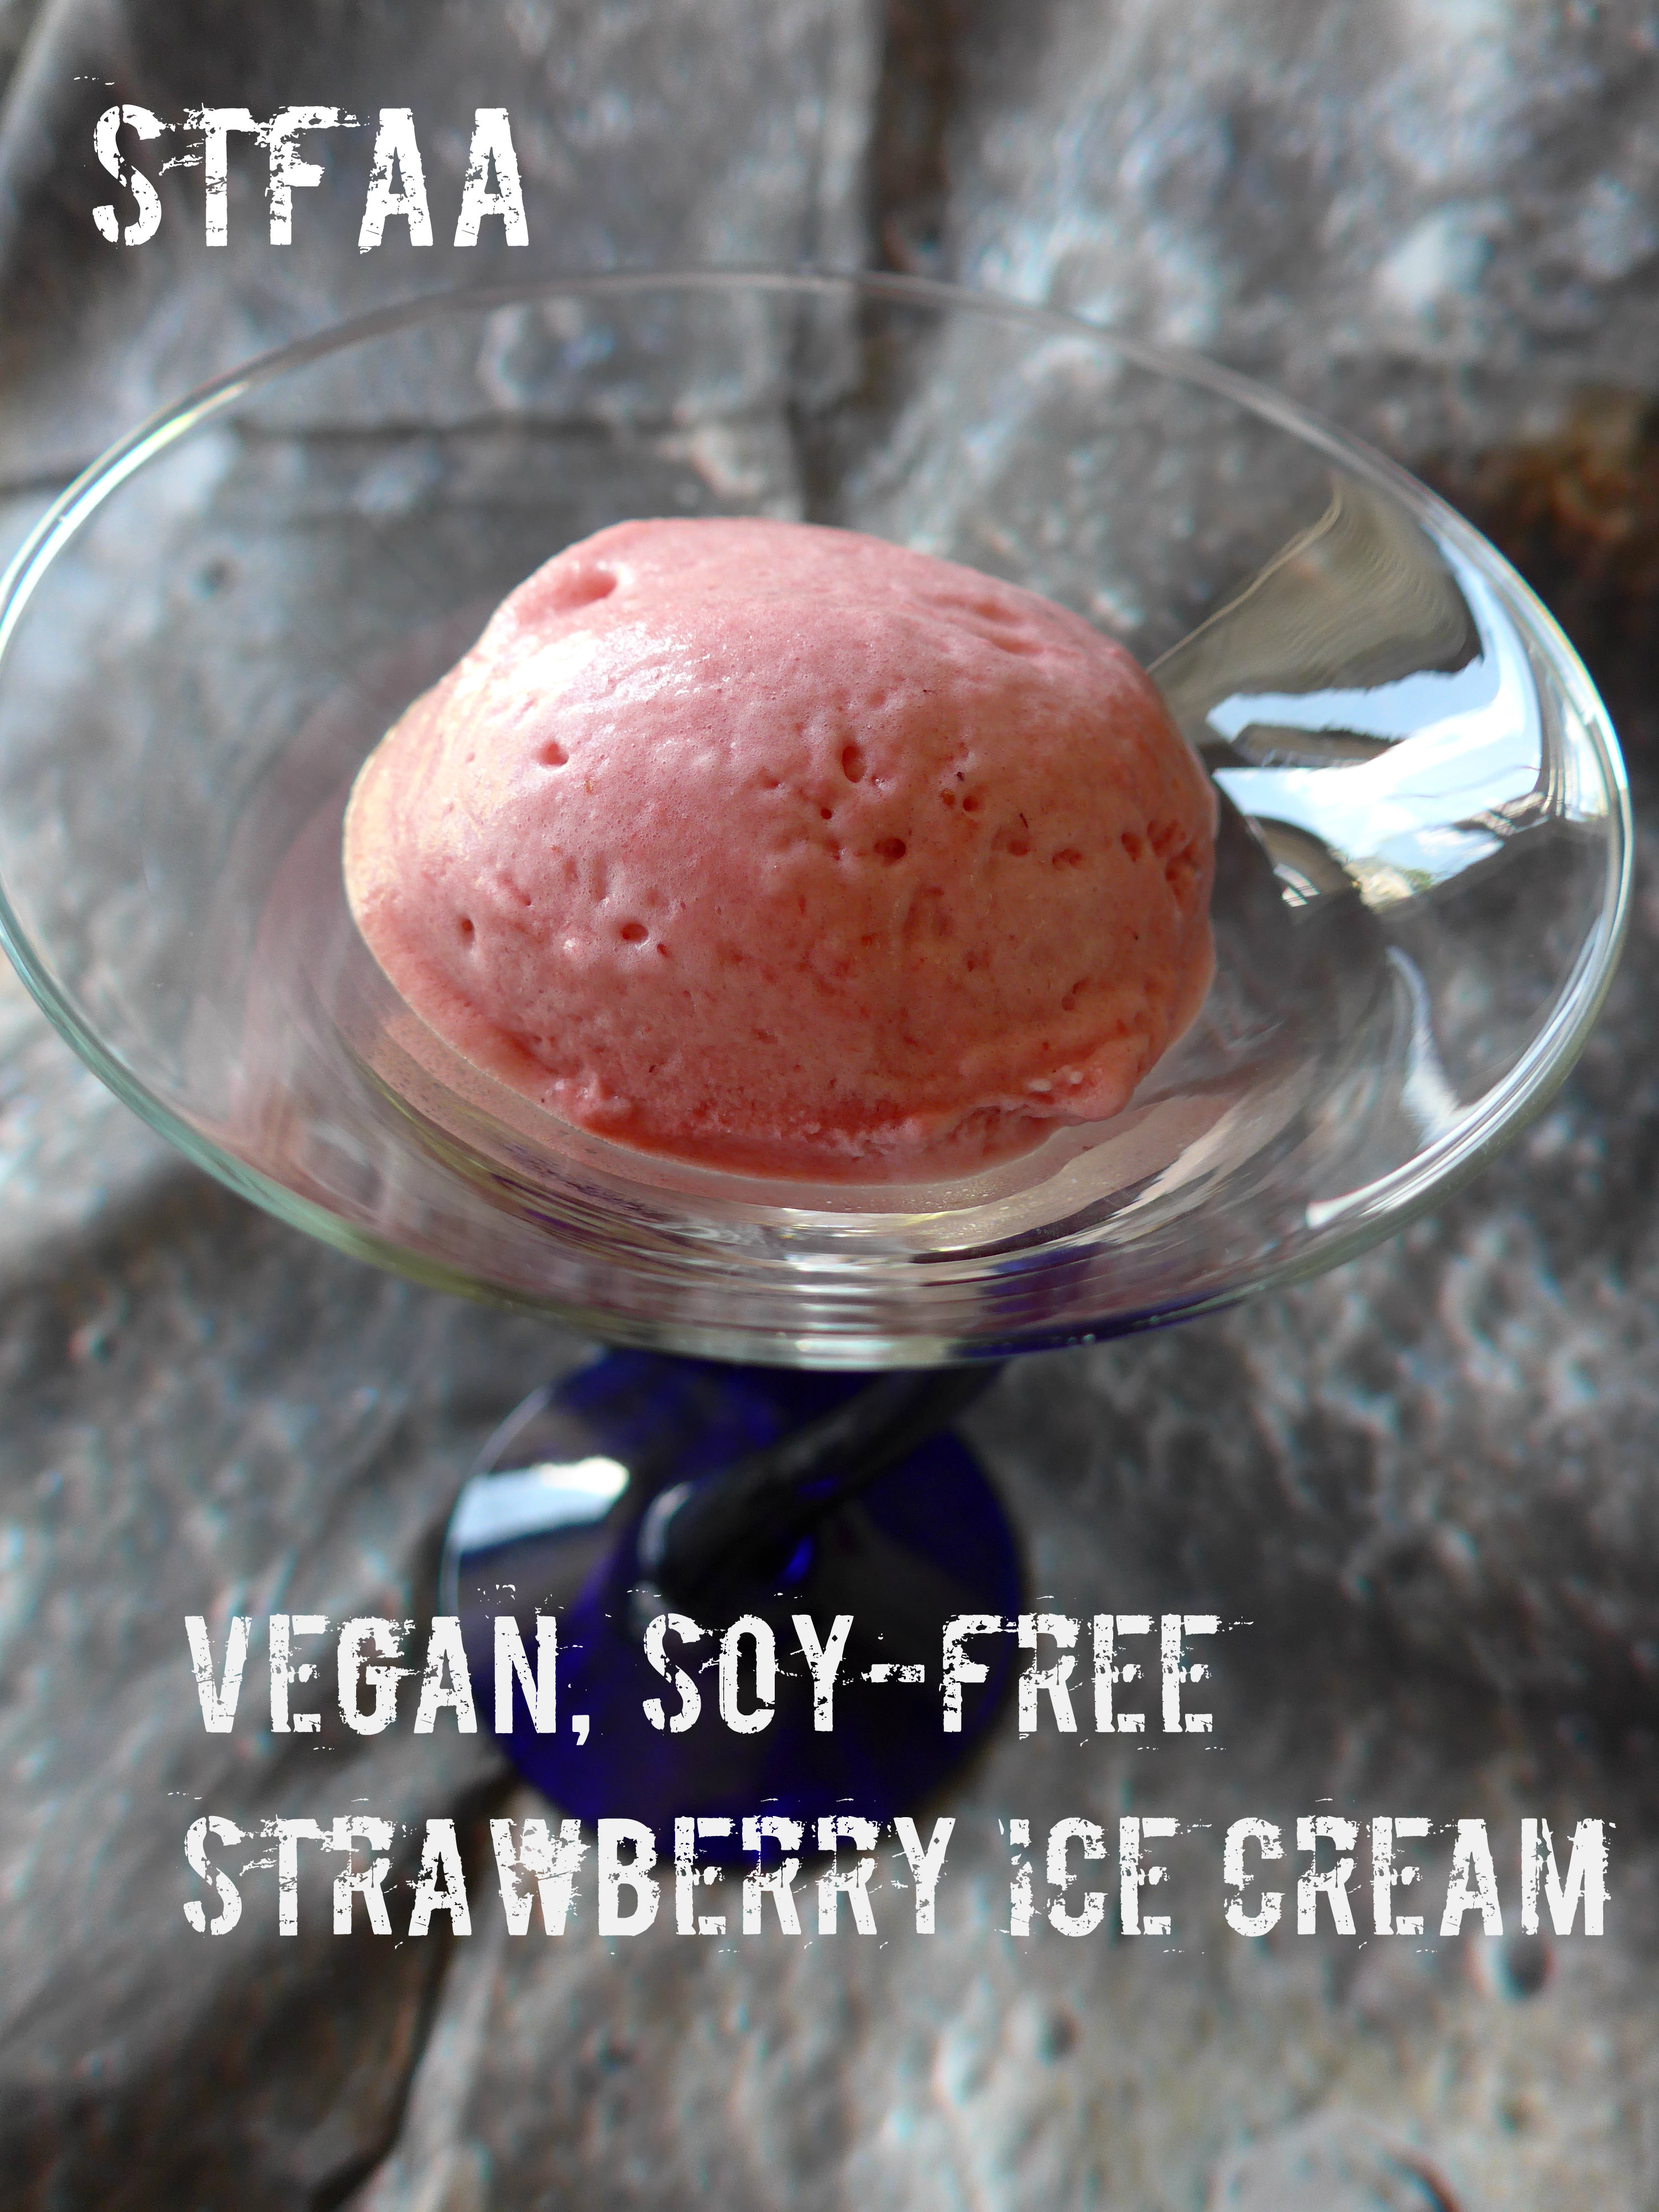
Okay, full disclosure: This isn’t really ice cream. There’s no cream. There’s no eggs. That’s what makes it vegan. And it’s a little lighter and less creamy and heavy than ice cream. So I should really call it “strawberry frozen dessert.” But frankly, that’s awkward, and if you’re playing in the cooking realms of “vegan” and “allergy-friendly,” you’re used to substitutes, so you know what I mean.
YOU DON’T NEED AN ICE CREAM MAKER! I have one. It’s great. But this is a quicker and easier and doesn’t require as much planning ahead. This is much easier with a stand mixer, but if you’re patient (or have someone who will spell you with the hand mixer), you can do this without one. I would not try it without any mixer at all, though. Electricity is your friend, here.
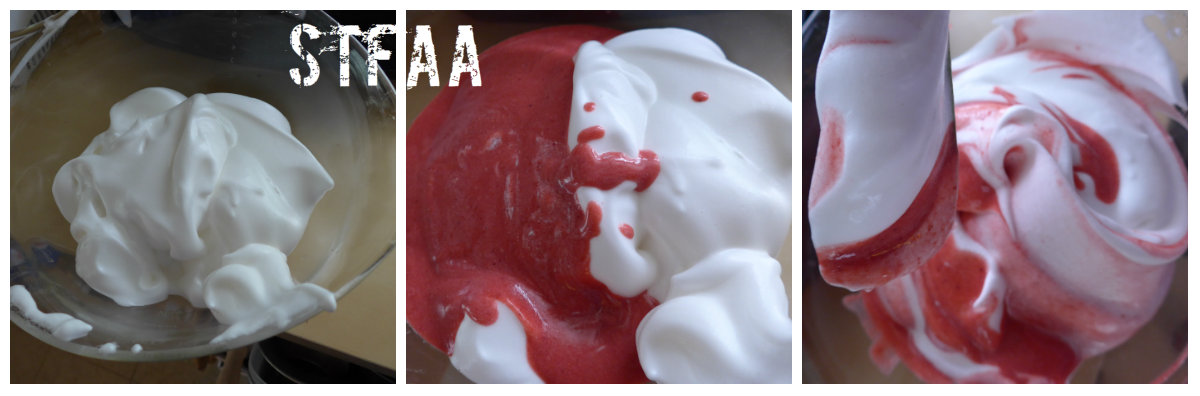
The key “secret” ingredient in this dish is aquafaba or “bean juice.” It’s the stuff you drain out of the can of beans before using them, and I’ve raved about it before on the blog. If you cannot eat canned beans, or would just prefer to make your own, try this recipe posted by noted cookbook author Bryanna Clark Grogan on the Vegan Meringues FB page. You need half a cup here, but I’m sure you can find 100 other uses for it (I have). Aquafaba acts as an egg replacer, specifically egg whites, and can be whipped into an incredible meringue, which is what you start with here. You’ll make the whipped base and the flavor base, and then fold them together and freeze. That’s it!
In order to get the fat content up and add a little tang and creaminess, I have used vegan cream cheese. I know this can be a problematic ingredient for those with multiple food allergies — I use Daiya brand, as I have no issues with it. I was perfectly happy with Tofutti when I could still eat soy, and I assume that would work here, too. The Daiya contains coconut oil, so it’s not entirely nut-free. I believe Tofutti is. Choose what works for you. If you make a homemade version of cream cheese that works for you, share it with us in the comments.
Stiff whipped aquafaba foam, foam and strawberry blend, ice cream in the making
Vegan, Soy-free Strawberry Ice Cream
1/2 cup aquafaba (liquid drained from a can of beans. Any beans! I used cannellini beans here)
4 Tablespoons sugar, divided in half
1 teaspoon cream of tartar
1/2 cup strawberry puree
2 1/2 Tablespoons vegan cream cheese (check the ingredients!)
1 teaspoon vanilla extract
Into a very clean bowl (any traces of fat will interfere with the whipping, I understand, just like with egg whites), add the aquafaba. Beat until you achieve stiff peaks. This can take up to 10 minutes, so be patient.
Slowly add 2 Tablespoons of sugar, while you continue beating, and then the cream of tartar.
If you’re using a stand mixer and have only one bowl, empty the foam into another bowl and reuse the mixer bowl. If you’re using a hand mixer, just get another bowl. Beat the cream cheese, strawberries, and vanilla until smooth.
Fold the strawberry mixture into the aquafaba foam using a large spoon or spatula. Don’t stir. Fold. You will lose some of the air you’ve just whipped into the foam, but that’s okay. You just don’t want to lose all of it. When the mixture is fully incorporated, pour into a freezer-safe container and freeze at least 2 hours, maybe more depending on the size and shape of your container(s). This will never be as dense as “normal” ice cream, but it will take on a nice texture, distinct from the original unfrozen mousse.
I have a dehydrator! One of Denise’s friends is clearing things out, I guess, and when she asked if I wanted a dehydrator, I jumped on it. I’ve tried some straight up fruit so far, but I was most excited about making jerky and home-made fruit rollups, as well as drying some of my herbs this summer.
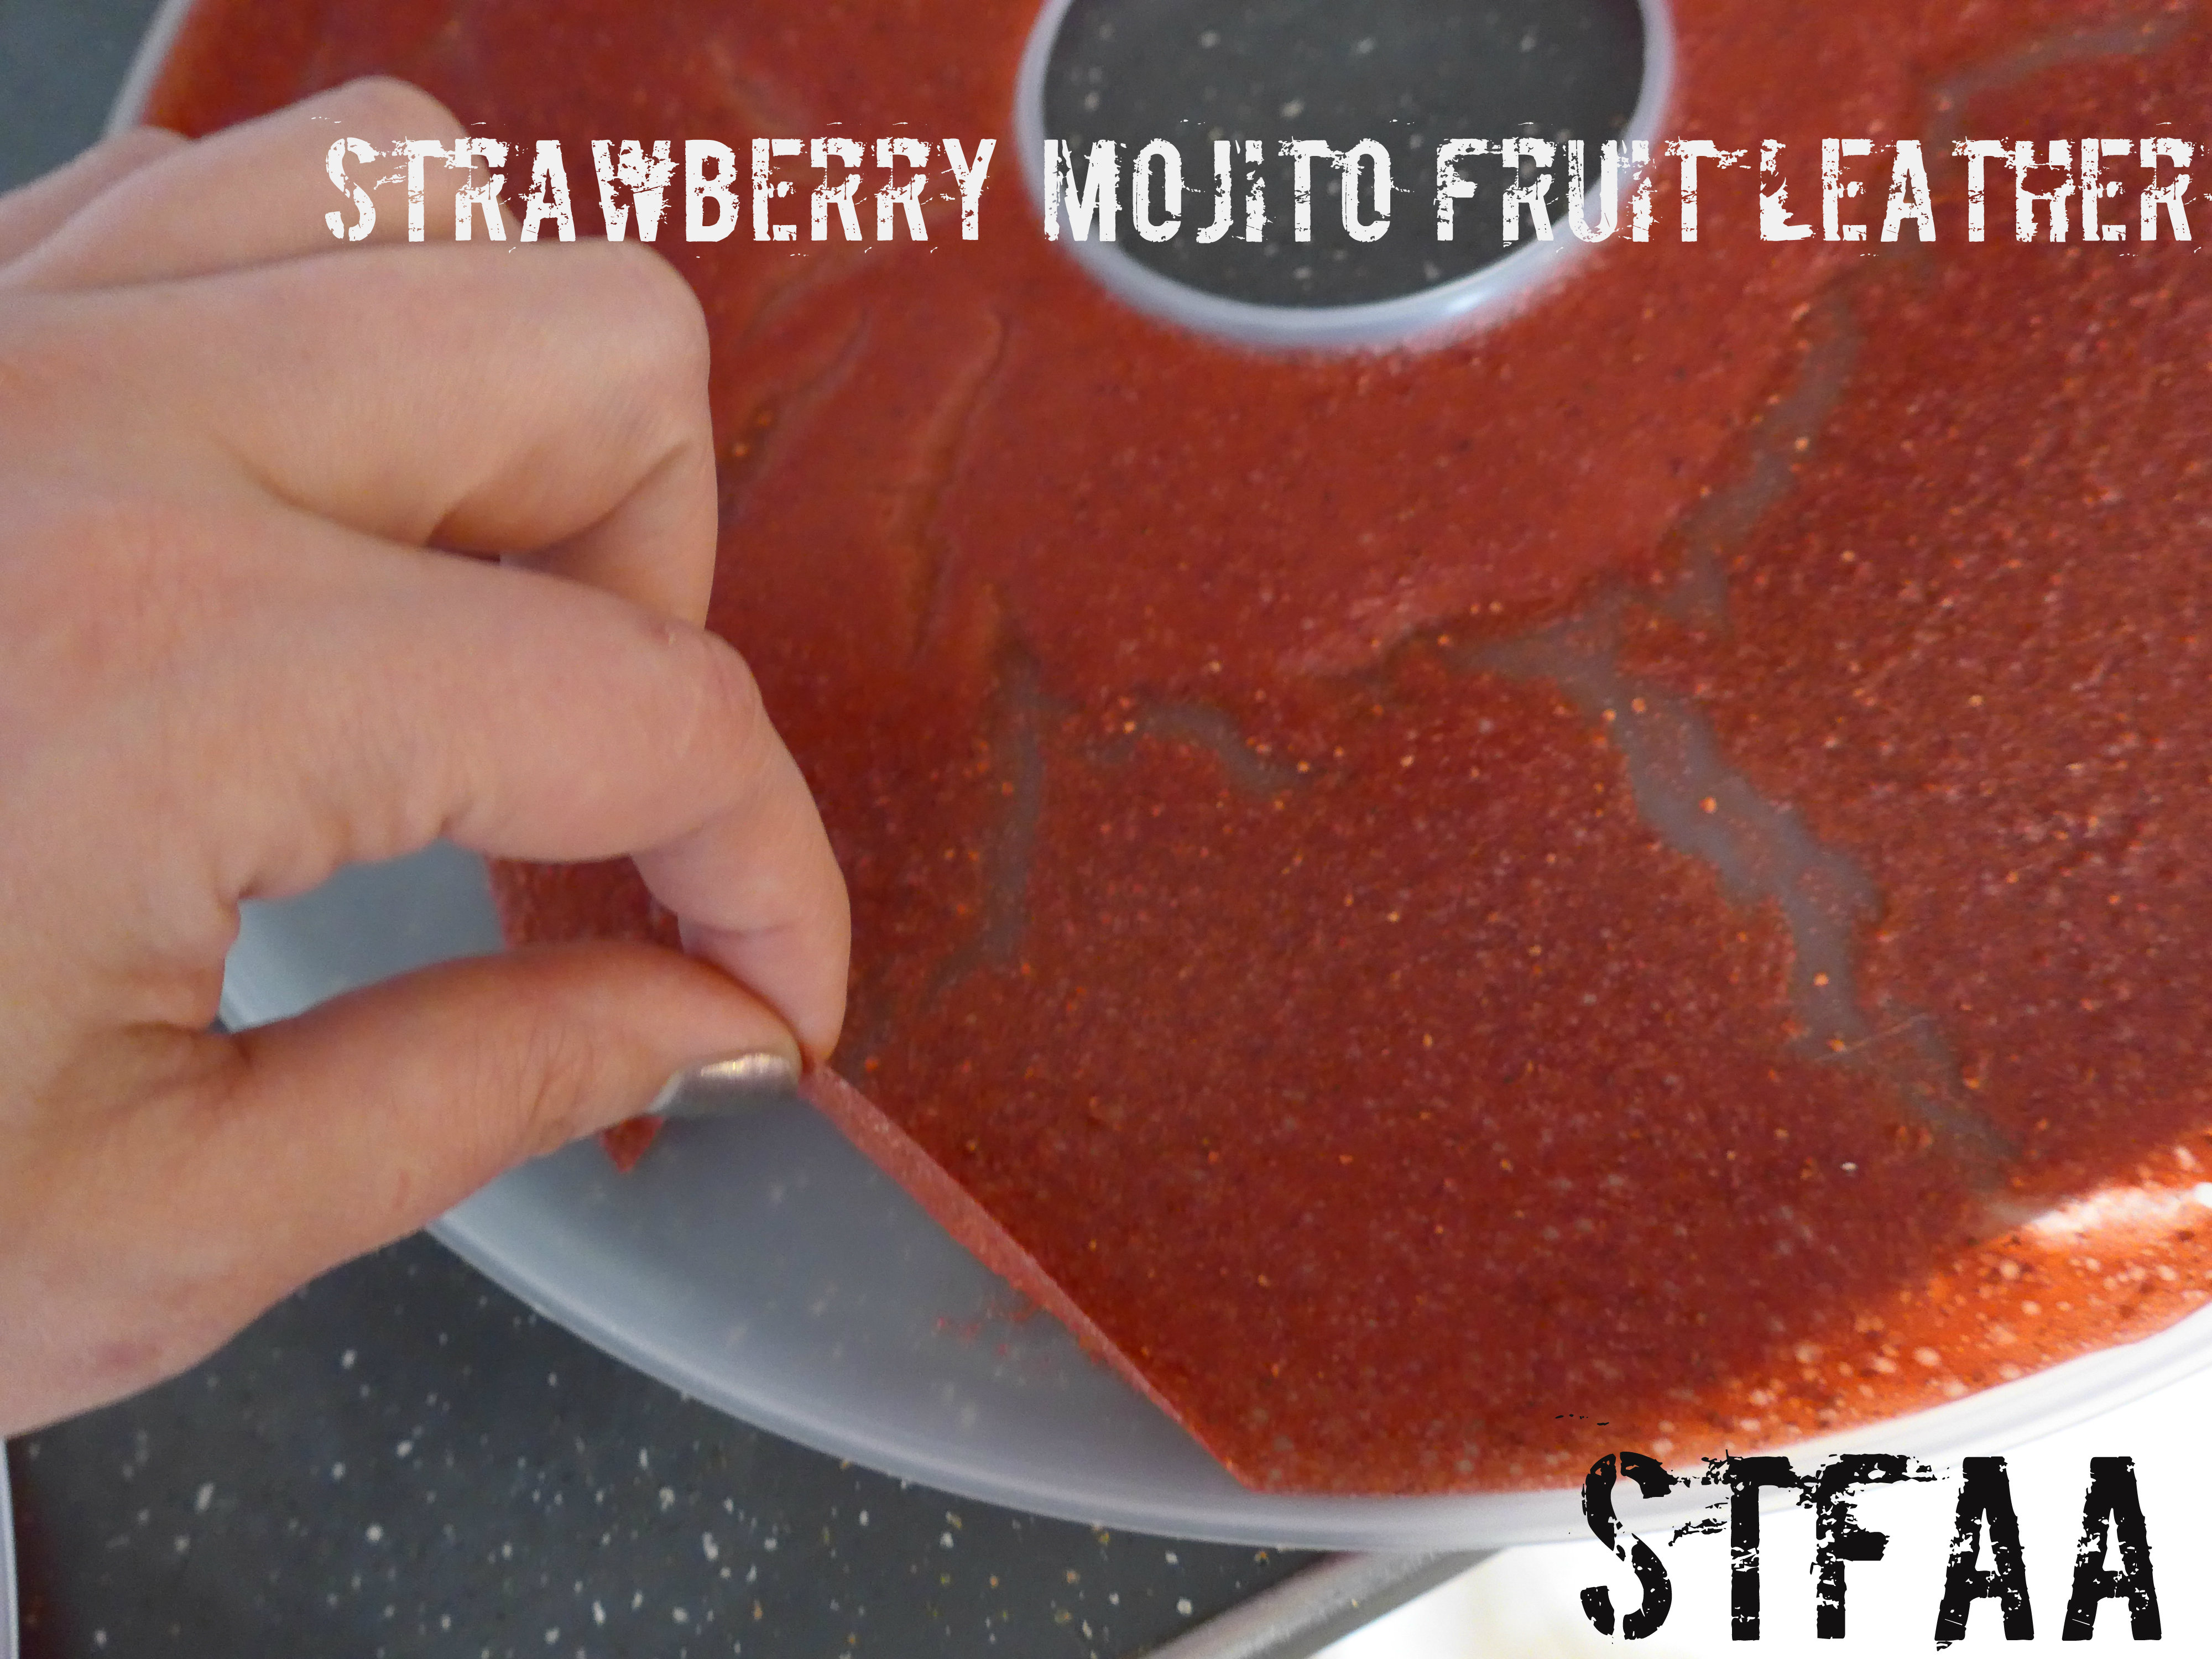
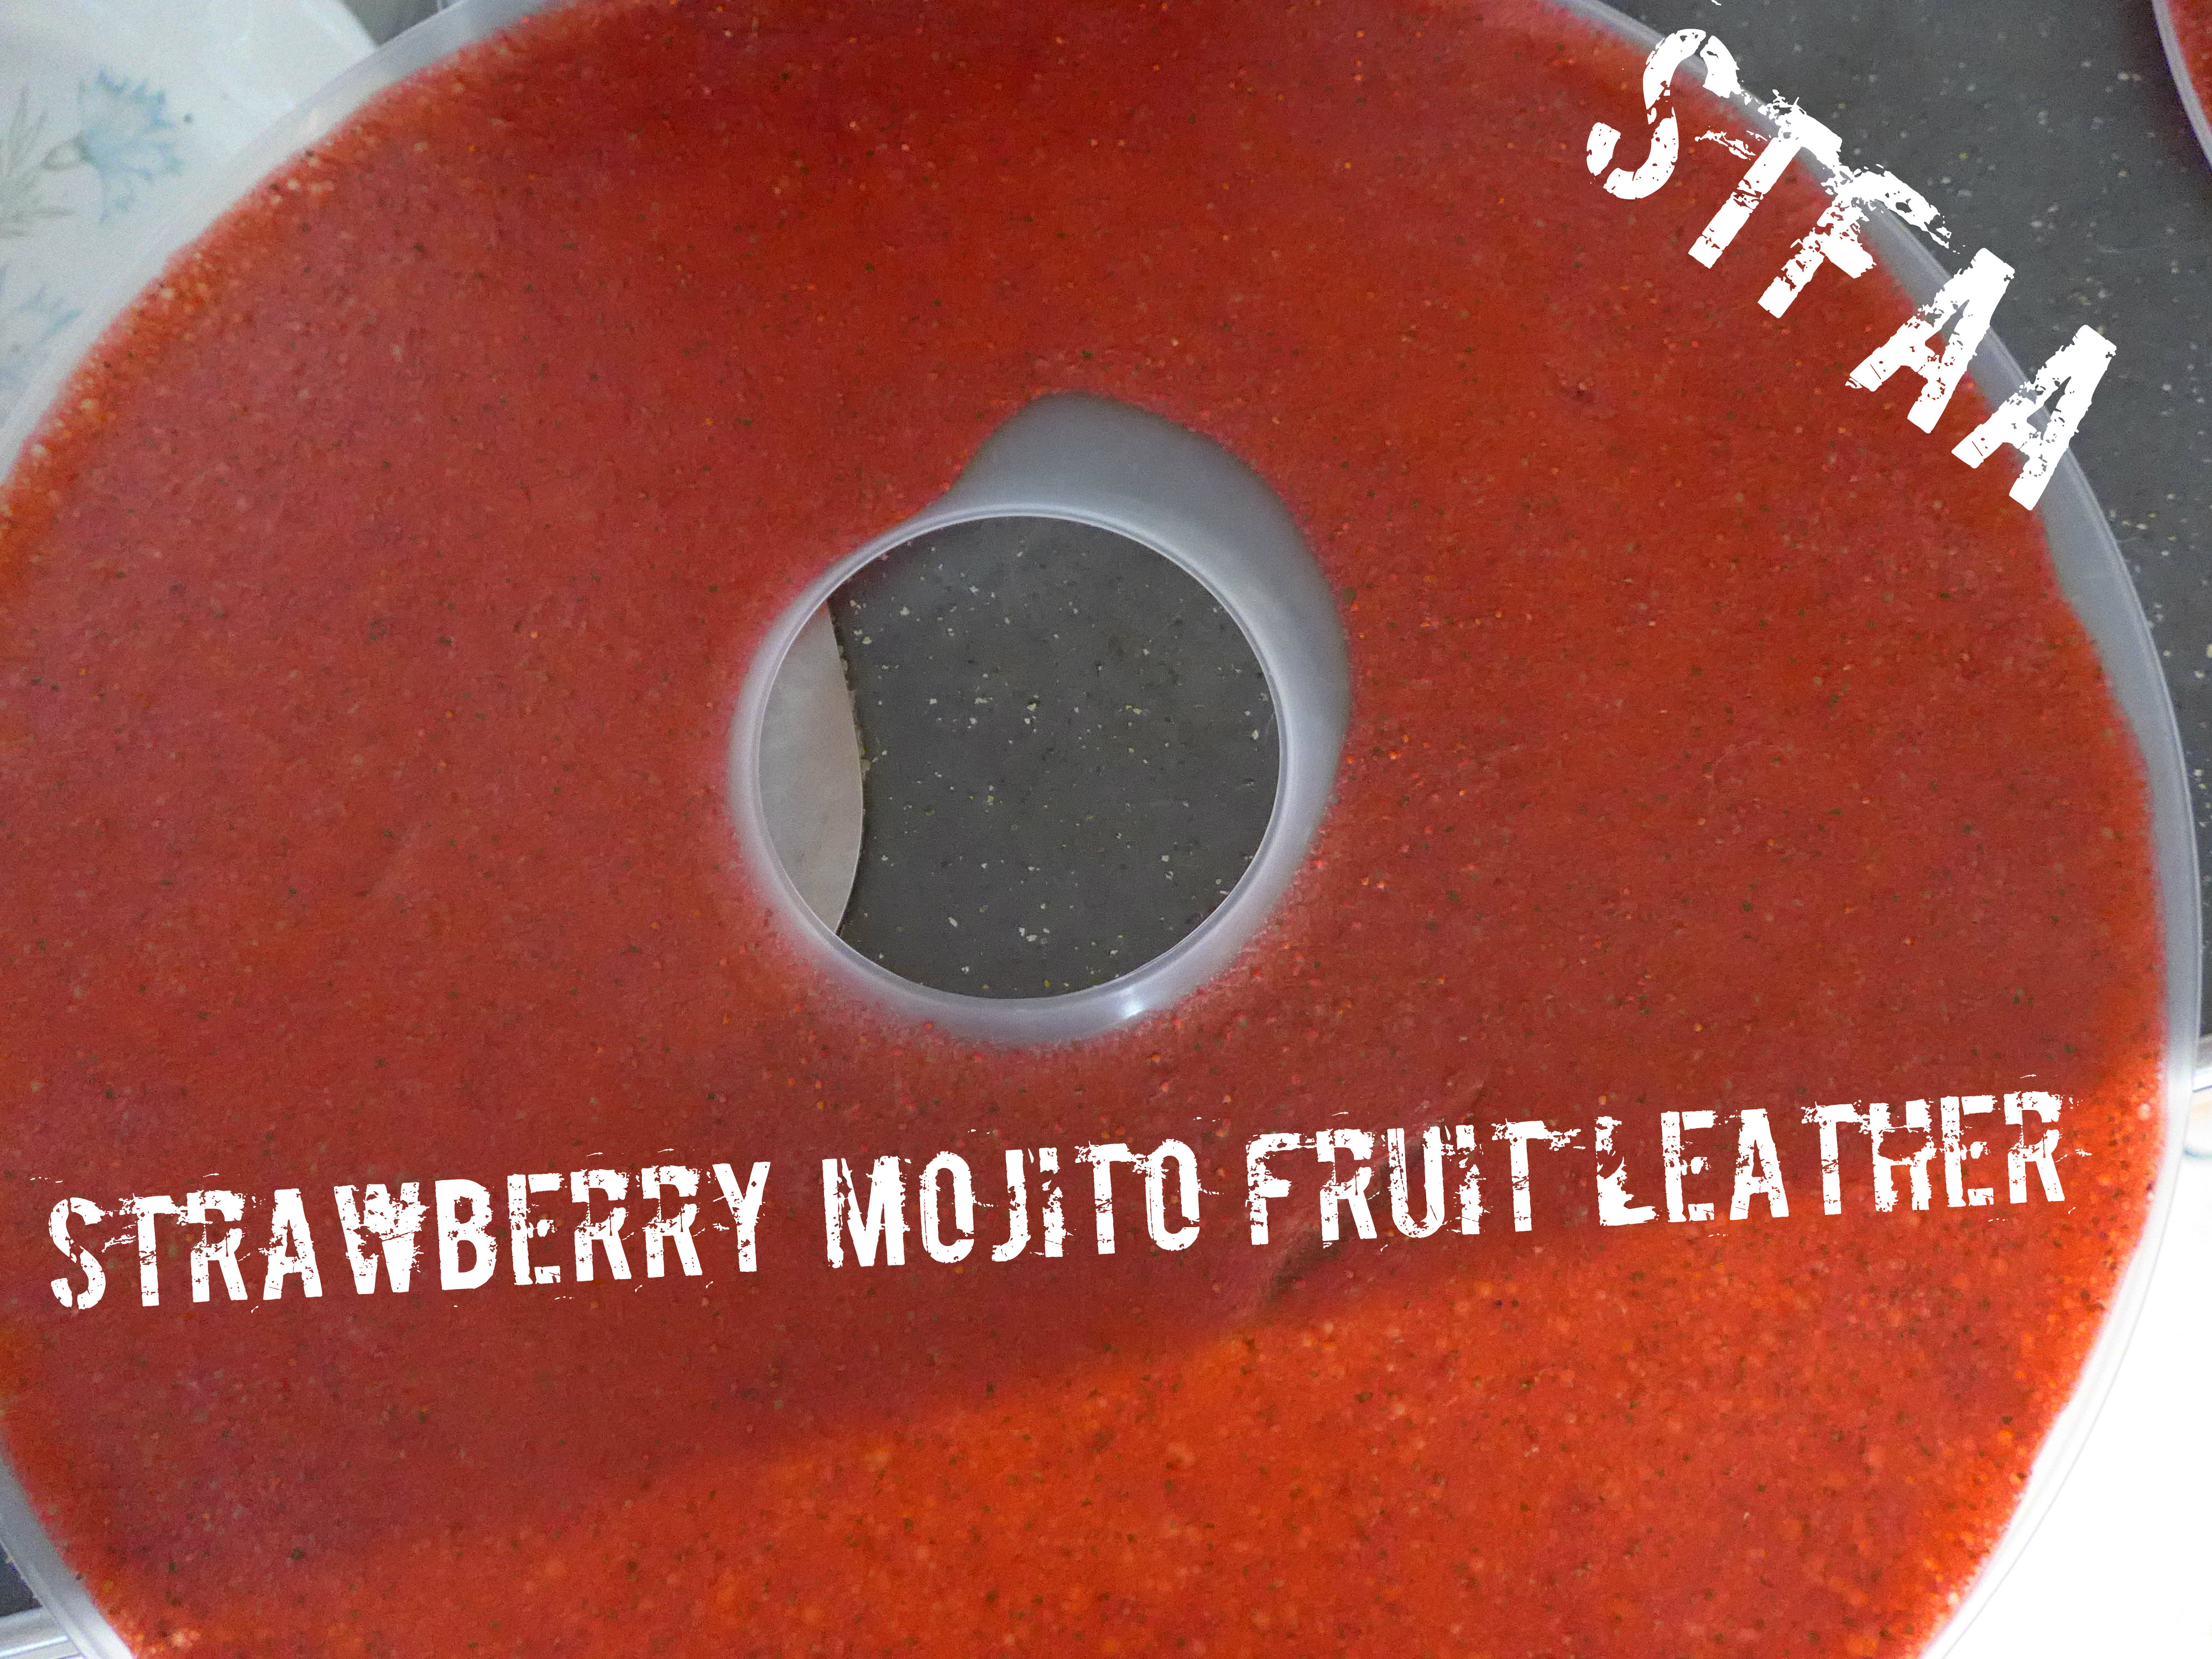
I really like fruit leather as a snack. It’s almost as good as candy, and I had some ideas. First up: strawberry mojito. This is a super easy recipe — IF you have a dehydrator. If you don’t and want to try making these, ask around and see if you can borrow one. It takes about 8 hours to dehydrate these. You will need the liquid trays. This recipe is scaleable — I’m writing it for ONE dehydrator tray, but you’ll run it with four trays (at a minimum). Try other flavors, increase it by 4, or add other food to the other trays.
AGAIN: THIS MAKES ONE TRAY. Scale up as needed, or try your own flavors.
Strawberry Mojito Fruit Leather
Strawberry Mojito Fruit Leather
1 pound of strawberries, washed, with hulls and stems removed
1/4 cup lime juice, fresh squeezed
1 Tablespoon, packed, mint leaves, chopped finely
Puree all ingredients in a blender or food processor. Pour slowly into dehydrator tray and tilt, if needed to spread it out. Dehydrate at medium (140ºF) for 8-10 hours (it may take longer if it’s humid.)
Peel and eat. Will keep for about 2 weeks in airtight containers, maybe slightly longer. I wrapped mine in plastic wrap so that I’d get the experience of peeling them off the wrap — part of the remembered joys of fruit rollups.
My apologies for the rather dull photos. I didn’t check them this time around and by the time I noticed all my “pretty” photos were blurry, I’d eaten all the fruit leather. They tasted great.
Apparently it’s mango season. In browsing the grocery store flyers looking for inspiration, I noticed that two of our three chains had mangoes on sale. I’ve never eaten a mango before, but I’ve had mango juice and liked it. So I thought I’d give it a try. Why not, right?
According to the Mango Board, mangoes are ripe when they give a little under a gentle squeeze — like avocados. As I said on Friday, it’s really worth your time to watch the video before deciding you know how to cut a mango. You can make it a lot harder than it needs to be (I sure did), but mangoes are sweet and tropical and taste like summer. If your “spring” as been like ours in New England, you need a reminder that warmer weather is coming. Tropical mango flavor helps.
“Salsa” generally conjures up tomatoes, but fruit salsas are pretty amazing and seem to have a better, brighter balance of flavors for certain main dish meals. (And yes, I know that biologically tomatoes are a fruit, but US law says they are vegetables). Salsa isn’t the quickest thing ever, but the work that goes in pays amazing dividends in flavor.
This salsa is fine with chips, but if you want to really highlight it, serve it over a meal. Things I think would work well with the summer mango salsa:
Shrimp and rice, if you can do shellfish (this was my choice)
Chicken, pork, or fish, if any of those work for you
Black beans and rice
Let us know what you try so that, if it’s good, we can copy you. I have a feeling I’ll be making this a few more times, and I’d love some new ideas for what to serve it over.
Summer Mango Salsa
Summer Mango Salsa
1/2 of a sweet onion, finely diced (this should be between 1/3 and 1/2 cup — adjust according to your love for onion)
1/2 teaspoon kosher salt
2 Tablespoons lime juice (I wanted to give you a measurement, but I’ve had to use everything from 2 whole limes to 1/2 a lime to get 2T. It varies widely. I always buy limes in pairs, for whatever reason.)
1 serrano pepper (buy a size commensurate with your love of spice), stem, seeds, and inner membranes removed, diced very finely
1 mango, cut into small cubes
1 avocado, cut into small cubes
3 Tablespoons chopped cilantro
The order of the ingredients above is deliberate. I love onion in my salsa, but I don’t like it too strong. If you chop it first and then let it marinate in the lime juice while you fight with the mango, it mellows out a bit. I’m assuming that the acid “cooks” the onions a bit, as it does for fish in ceviche. If you’re a better food scientist than I am, I’d love to know if this is true; it could just be the power of suggestion.
For the best flavor profile, you want the onions and the chile diced very finely, as finely as you can manage, and the mango and avocado a good bit chunkier (but still, not too big). The onion and chile go into the lime juice first. The mango next, and last the avocado — the avocado will break down the more you stir it, and I like it pretty well intact.
Basically, chop everything up and mix it together in a bowl. This is a very fresh salsa, and it doesn’t need much time to meld — half an hour at room temperature seems to be enough, although it is great the next day. I doubt it would last all that much longer, but I’ve made it a few times now and I’ve yet to test that.
So recently I’ve become concerned that I may be reacting to maple syrup. It stands to reason that with the number of types of tree pollen to which I am allergic that the sap of the tree might be an issue as well. I’ve noticed some correlation, but there were other potential issues during the same time frame, so I need to do some food challenges to verify whether it’s truly an issue or not. However, in the meantime, I need some syrupy stuff for waffles while I wait to do a challenge. As some you know, I’ve been canning to beat the band so that I have convenient, shelf stable, safe food and condiments, so I took a look in my canning books to see what I could find.
Now I’m not suggesting that you can this recipe, as I know that that’s a lot of work for most of you, and you might not be into the canning thing. But if you wanted to do that, the recipe is here. I’ve cut this down to a manageable amount for immediate use and made a suggestion for thickening it for a more substantial syrup. The recipe still makes 3 cups of syrup. Since that’s still kind of a lot, you can freeze a portion of it before you thicken it. Be aware that the pictures are some what deceptive because the batch I made was three times this size so that I ended up with 12 half pints of canned blueberry syrup. Also because there’s so much blueberry pulp left, I’ve provided you with some ideas for using it in other recipes at the end of this post. When food is so hard for many of us, we don’t want to waste anything.
Blueberry Syrup
Makes about 3-4 cups of syrup.
Ingredients:
4 cups of blueberries
3 cups of water (used divided, as described below)
1 1/2 Tablespoons of grated lemon zest
1 1/2 cups of white cane sugar
1 Tablespoon of freshly squeezed lemon juice
1-2 Tablespoons of arrowroot or tapioca flour (optional)
1-2 Tablespoons of water (optional)
Necessary equipment:
Stainless steel or other non-reactive (ceramic or enamel, do not use aluminum or cast iron) pot
Potato masher or large spoon
Strainer or colander
Cheesecloth (look in grocery stores where the utensils are, or in hardware stores or department stores where the canning stuff is)
Candy thermometer
Wash your blueberries and pick out any squished or yucky berries or any stems or leaves. You need to crush your berries. Place a thin layer of blueberries in a large stainless steel stockpot (the pot needs to be stainless steel or another non-reactive surface), and mash the berries with a potato masher or the back of a large spoon. Make sure they are all squished. Then add another layer and mash them, repeating until all the berries are mashed to bits.
Once the berries are all mangled, add 1 cup of the water and the lemon zest, and over medium heat, bring the mixture to a gentle boil. Allow the mixture to continue to boil gently for 5 minutes.
Set up your strainer so that it hangs over a deep bowl or other non reactive pot so that the strainer does not rest in the bowl or pot, but so that all of the blueberry mixture will drip into the bowl or pot, without coming out the sides or making a mess. The bowl or the pot should also be deep enough that the strainer will not come into contact with the liquid as it drips out of the strainer. Line the strainer with several layers of dampened cheesecloth. You want several layers so that it prevents any seeds or pulp from dripping into your juice. The reason for dampening your cheesecloth with water is so that the cheesecloth doesn’t absorb as much of your precious juice. Once you’ve got your strainer and the container for the juice to drip into properly situated, add the mixture to the strainer. Let it drip for at least two hours. If you’re a purist and you want a clear syrup, you let it drip undisturbed for at least two hours. If you’re like me, and not a purist, you let it drip for at least two hours and then you use a spatula to get as much of the juice as you can. (Keep the pulp, I’ll talk about what you can do with it later.)
Blueberry Mixture in Strainer
Wash the stainless steel stockpot you used to cook the blueberry mixture, and in the now clean pot, add the sugar and the remaining 2 cups of water.
Sugar and water mixture before boiling
Over medium high heat, bring the sugar mixture to a boil and cook until it measures 230ºF (you may need to adjust for altitude, we don’t have an altitude issue here). Add your blueberry juice, and increase the heat to high, and bring it to a boil. Boil for 5 minutes, stirring occasionally. Once your five minutes is up, remove the pot from the heat, and stir in your lemon juice.
Blueberry Syrup after cooking
At this point, if you’re going to put any of it in the freezer to save for later, pour that amount off into freezer safe and heat safe container and let it cool to room temp before sealing it and putting it in the freezer. If you’re satisfied with the syrup as it is, great, use it for pancakes, waffles, desserts, you name it.
(SAFETY NOTE: You CANNOT thicken the syrup if you are planning to can it, unless you use Clear Gel, which contains corn. No other thickening method is safe for canning, so if you are allergic to corn, just thicken it after you open the jars and when you are planning to use it.)
If you’d like to thicken the syrup, place the syrup back over medium heat. Mix 1 Tablespoon of tapioca or arrowroot with 1 Tablespoon of water to form a paste, and then whisk it slowly into the syrup. Continue to whisk until the paste is well incorporated with the syrup and the tapioca and arrowroot has cooked. If this isn’t sufficiently thick enough for you, repeat the process, until the syrup is the right consistency. Yay! You have blueberry syrup!
Now, let’s chat about that leftover pulp. There are a few ways you could use it:
(1) Put the leftover pulp in your pancake or waffle batter for blueberry overload. Yum!
(2) You can make yourself some blueberry butter/jam. Put the leftover pulp in a sauce pan with a cup of sugar and a tablespoon of lemon juice, and bring it to a boil over medium high heat, stirring frequently. Once it’s boiling, reduce the heat to medium, and stir frequently until the mixture thickens and holds its shape on a spoon. Store it in the fridge until you want to use it on toast, on ice cream, or just eating it with a spoon, haha!
(3) Make blueberry vinegar. Mix the pulp with 4 cups of white wine vinegar and put it in a glass jar, covering it with cheese cloth or a coffee filter and securing it with a rubber band. Let it sit on your counter top for a week or two, stirring it once a day to prevent any mold. Strain out the blueberry pulp, and you’ll have blueberry flavored vinegar to use for salad dressings or marinades.
Sorbet is one of the things I miss terribly because almost all of the commercial versions have corn in some form in them. This is a fairly easy recipe, making it perfect for this weekend, when I was going away for my 20th college reunion. Also, just as a side note, you could also sub out the watermelon for a quart of strawberries or a quart of peeled sliced peaches. I bet they’d be awesome too.
Warning: Before you make sorbet, you need an ice cream maker and if it’s like mine, you need to have frozen the insert ahead of time. Also, it helps to make the simple syrup the day before and let it cool in the fridge overnight. If you’re just making ice pops, just cool the simple syrup to room temperature before mixing it with the watermelon juice.
Watermelon White Wine Sorbet
Makes about 10 or so half cup servings (who ever eats just half a cup though??)
1 1/4 cups sugar
1 1/4 cups water
1/2 cup of chilled white wine (anything will do, but a nice bright citrus-y Sauvignon Blanc or Pinot Grigio would work well. Also, don’t spend a ton of money on this wine, you’re mixing it with watermelon and sugar. Or if you don’t want to use wine because you’re unsure of the wheat or corn ingredients in your wine, you could use a vodka made only from potatoes, but I’d cut it down to a quarter cup. Or not, if you’re not driving. Also, if you don’t want to use alcohol, substitute the wine with some safe-for-you lime or lemon or other fruit juice.)
1 quart of watermelon, peeled and cubed
Again, make sure that your ice cream maker is ready to go according to the manufacturer’s instructions, whether that means your insert is frozen or whatever else you might have to do.
The day before you are going to do your sorbet, make the simple syrup. Place the sugar and water in a sauce pan and bring it to a boil without stirring. Turn it down to a low simmer and simmer until all the sugar has dissolved to make a simple syrup. Pour the simple syrup into a heat resistant bowl and put it into the fridge to cool.
Place watermelon in a food processor or blender (in batches if necessary) and blend until smooth. Pour the liquid through a strainer to remove any seeds making sure that you press any large fruit bits remaining through the strainer. You don’t want to waste any of the watermelon. Add the wine and the simple syrup to the watermelon mixture and mix until combined thoroughly.
Follow your ice cream maker’s instructions to make the sorbet, or make ice pops with the mixture by using paper or plastic cups or ice pop molds and placing them in the freezer until frozen.
Whatever Wednesday: The citrus is in. Go eat it all.
THE CITRUS IS IN!
I assume, given that I’m in New England, that if the citrus is here, the citrus is everywhere (at least in the USA). I’m also assuming that there is some left. My fridge looks like I bought it all. In the photo, blood oranges, cara cara oranges, Meyer lemons, and some limes. I’m not sure what the limes are for, honestly, given that I bought the lemons. But limes were on the shopping list, so I bought them, too. This is a great time to make some fruit-flavored gummy candy.
So far, I’ve baked fish with a cara cara orange (not highly recommended) and baked some shrimp with Meyer lemon (really good). I’ve had a lot of lemon water, and made a strawberry and blood orange smoothie for magical amounts of vitamin C. Blood oranges really are amazing, and I can highly recommend them as both seasonal and gorgeous to eat. Oh, and they’re pretty allergen-free.
Strawberry and blood orange smoothie
(Yes, that’s a Grumpy Bear glass. It suited the mood of the day — until I was done with the smoothie.)