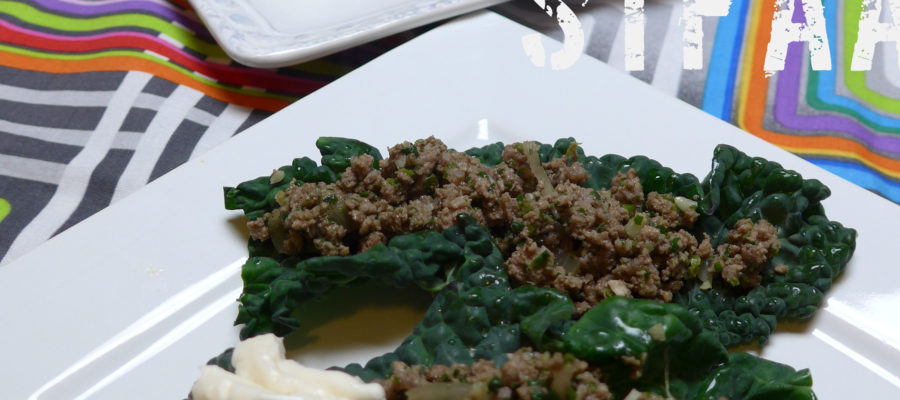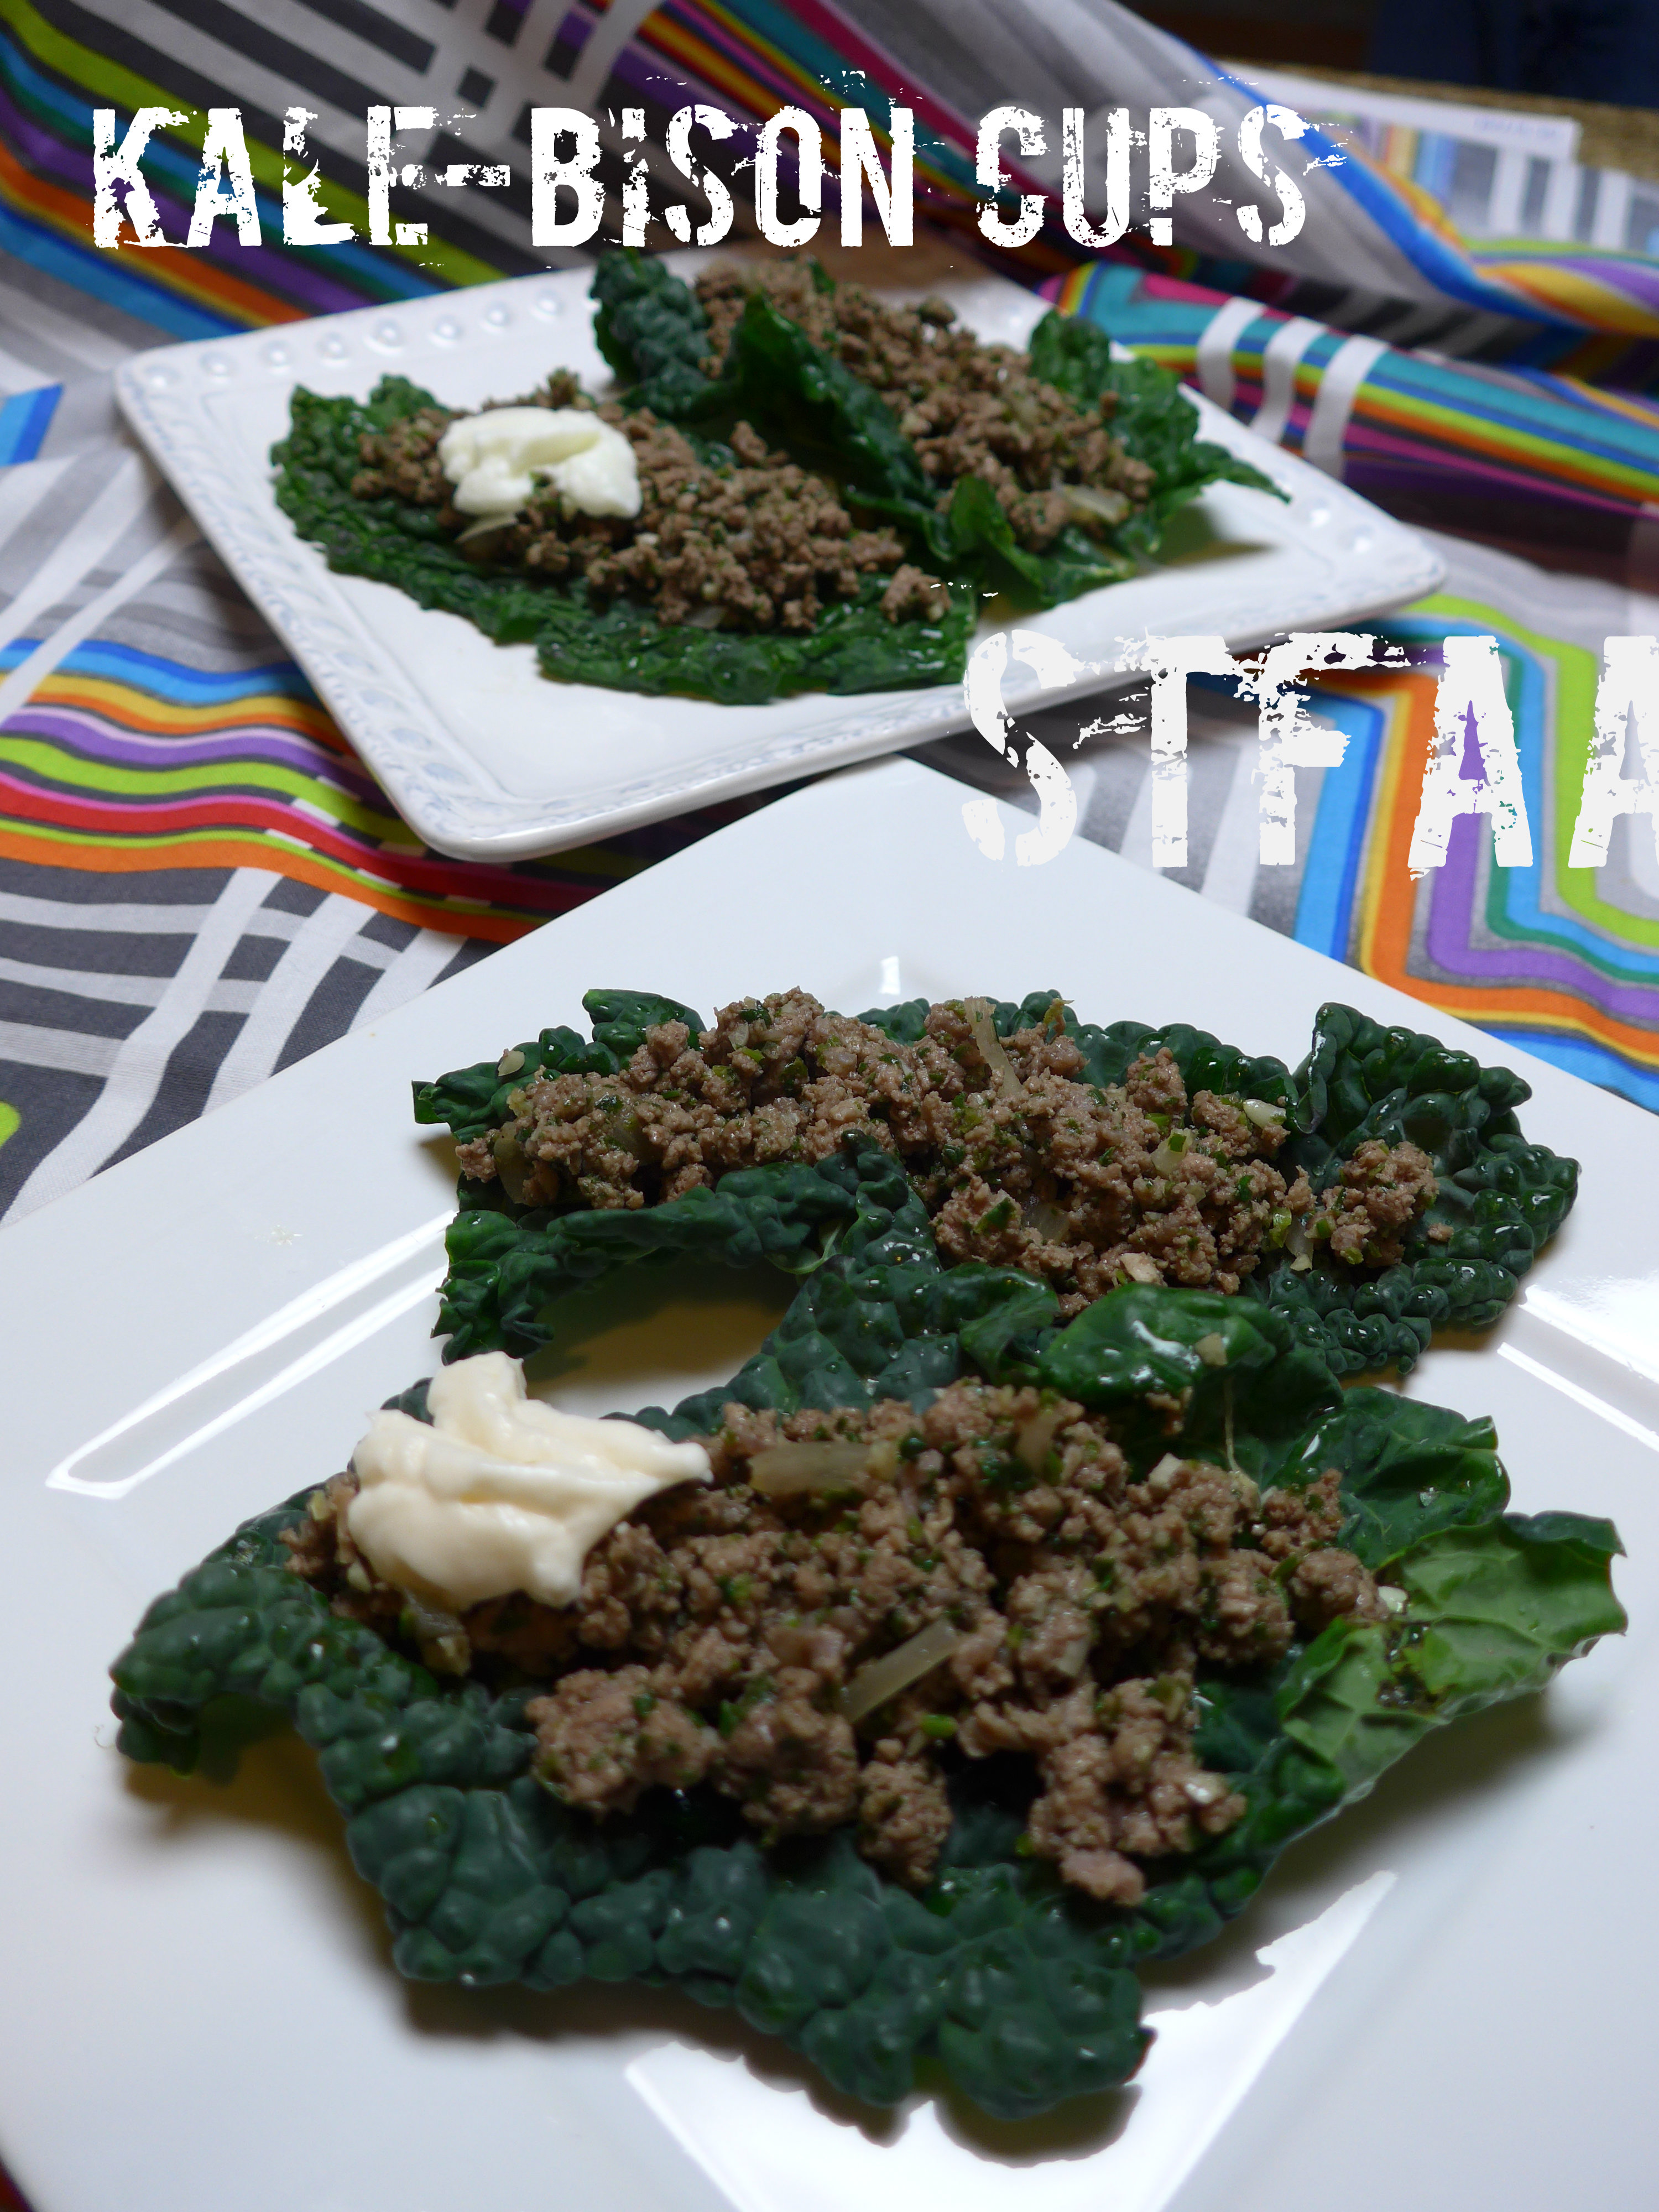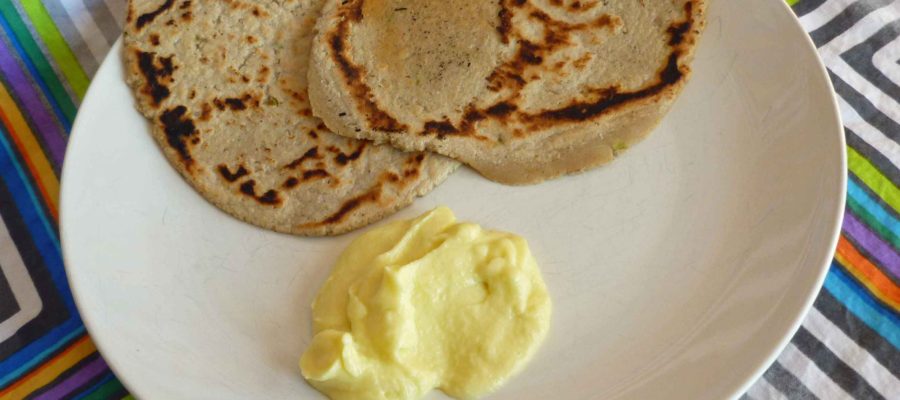
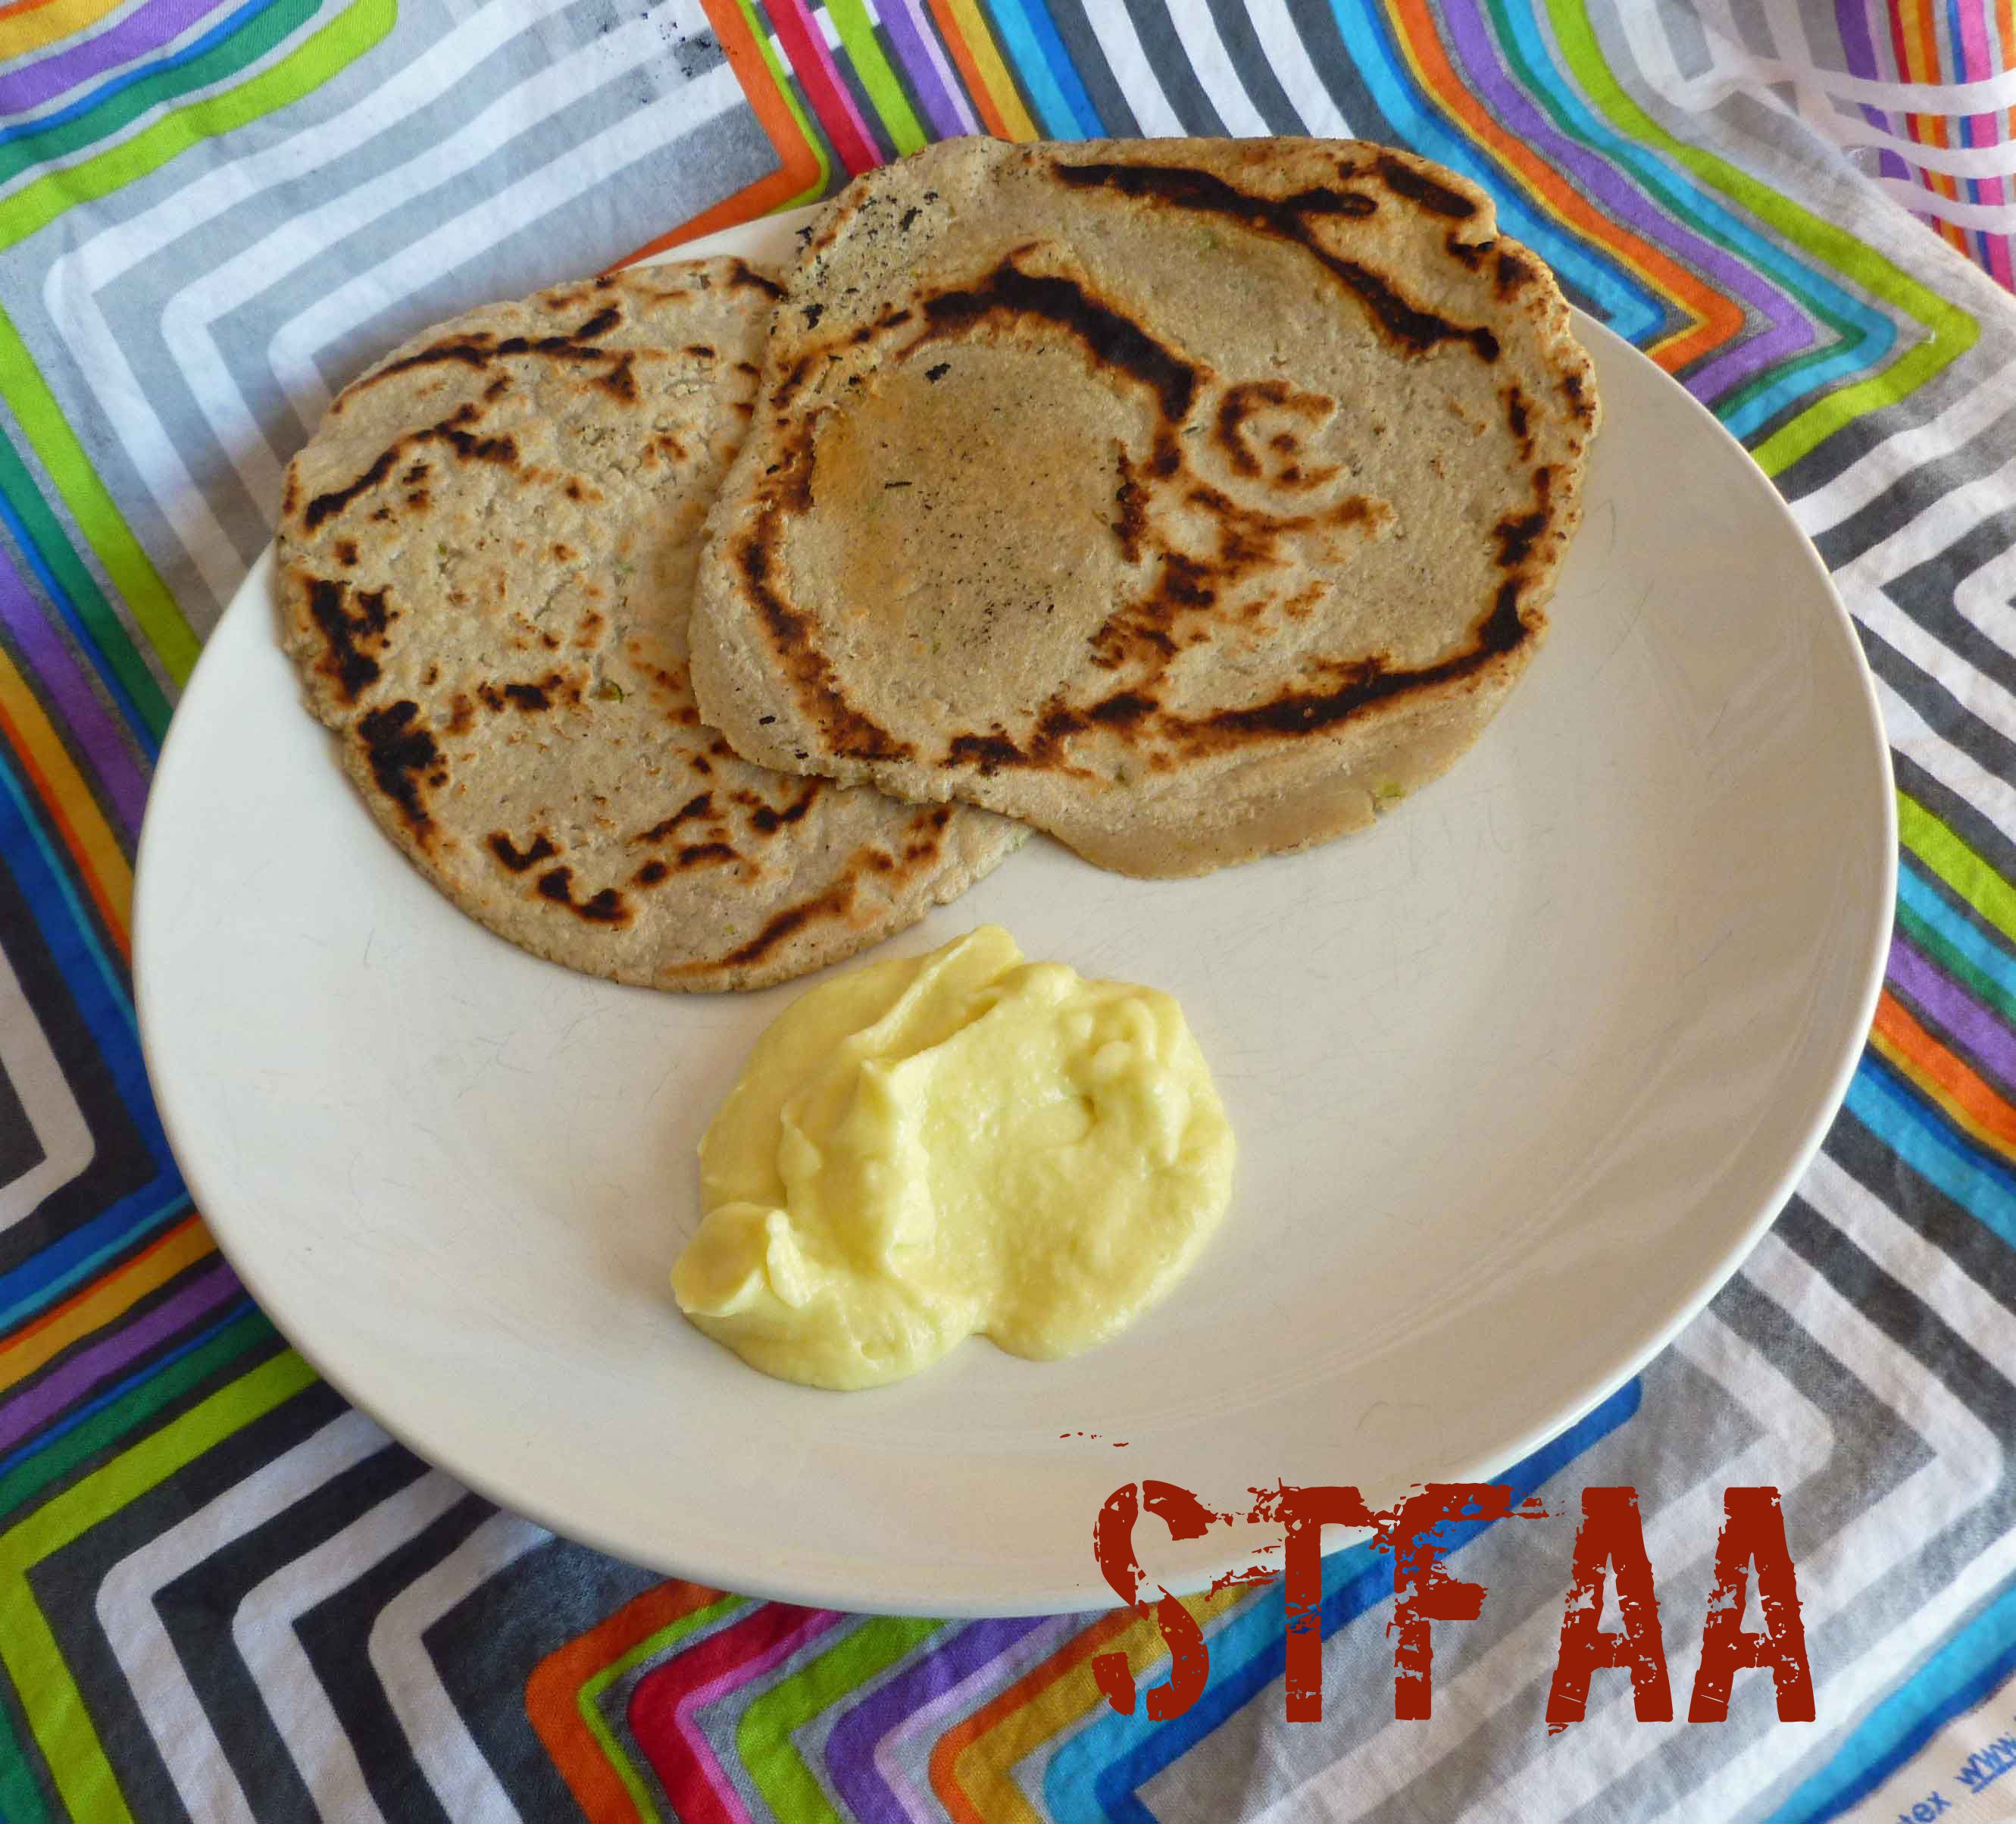
It’s our last garlic post of Keeping the Vampires Away month, so I decided to do a double header. And they actually go great together, although you’re going to have to make heroic efforts to get rid of the aroma once you’re finished eating. The great thing about these two recipes is that they use very few ingredients, which is fairly infrequent in allergy cooking.
Toum Sauce (Lebanese Garlic Sauce)
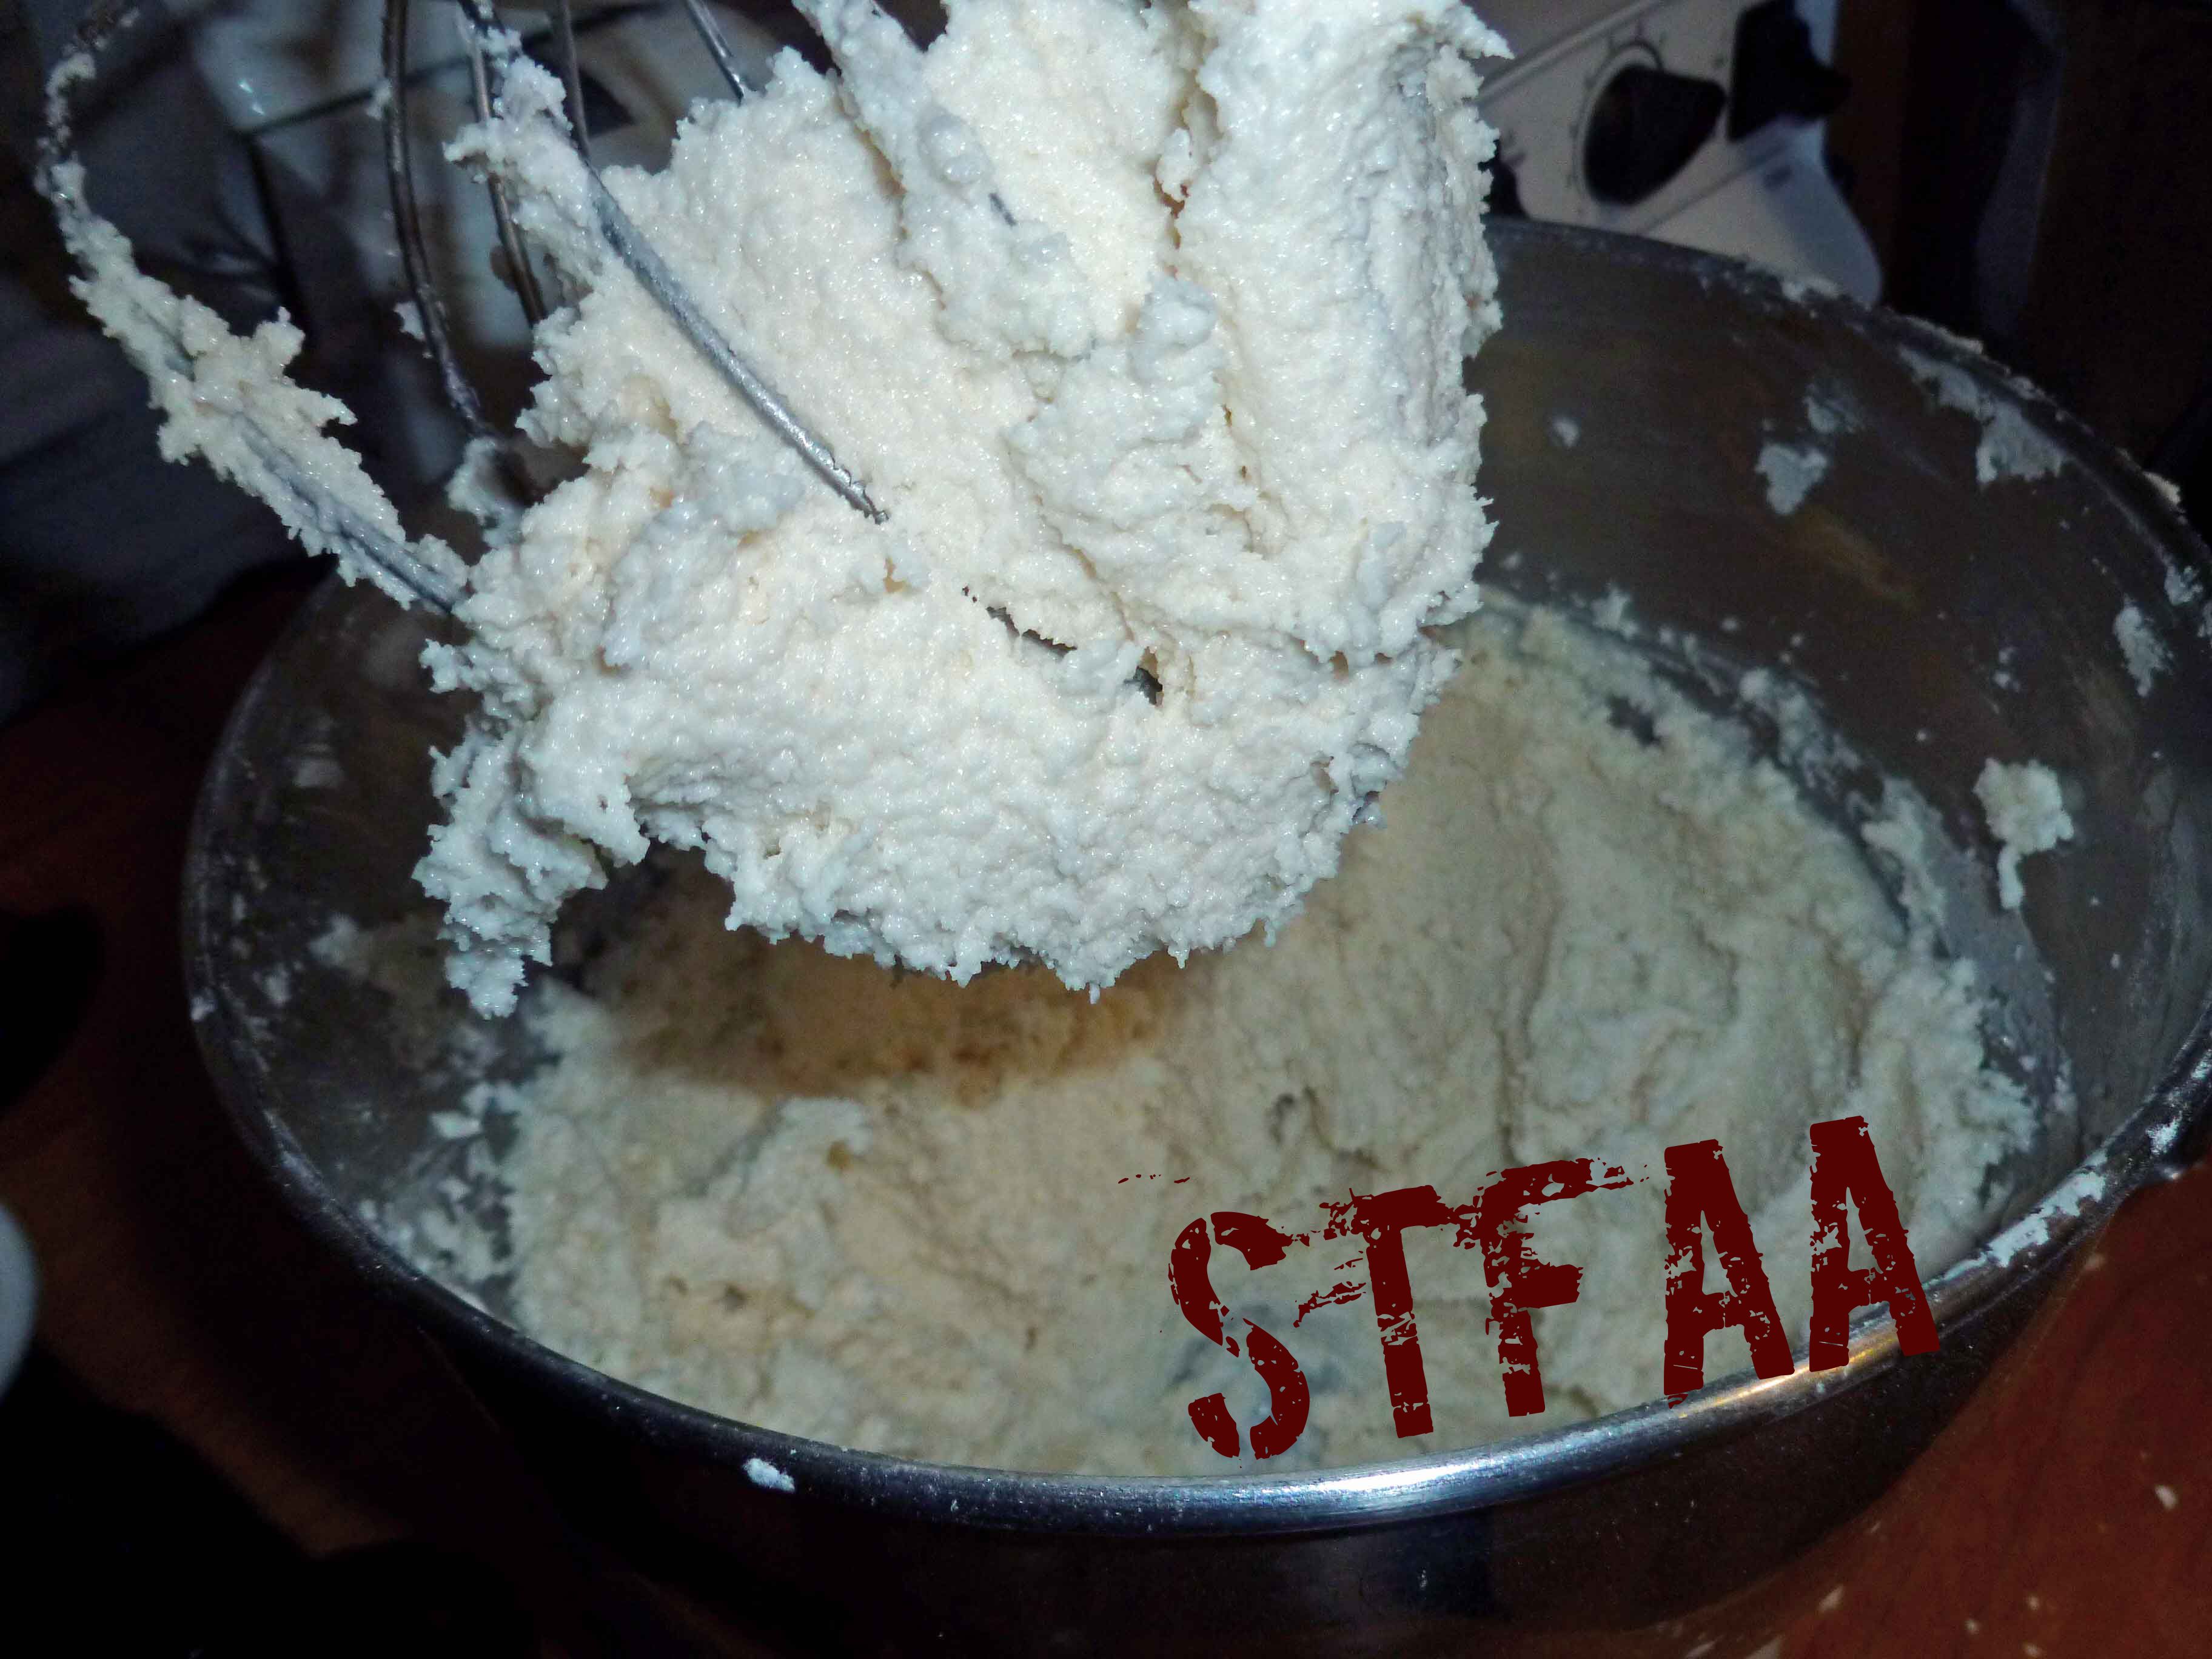
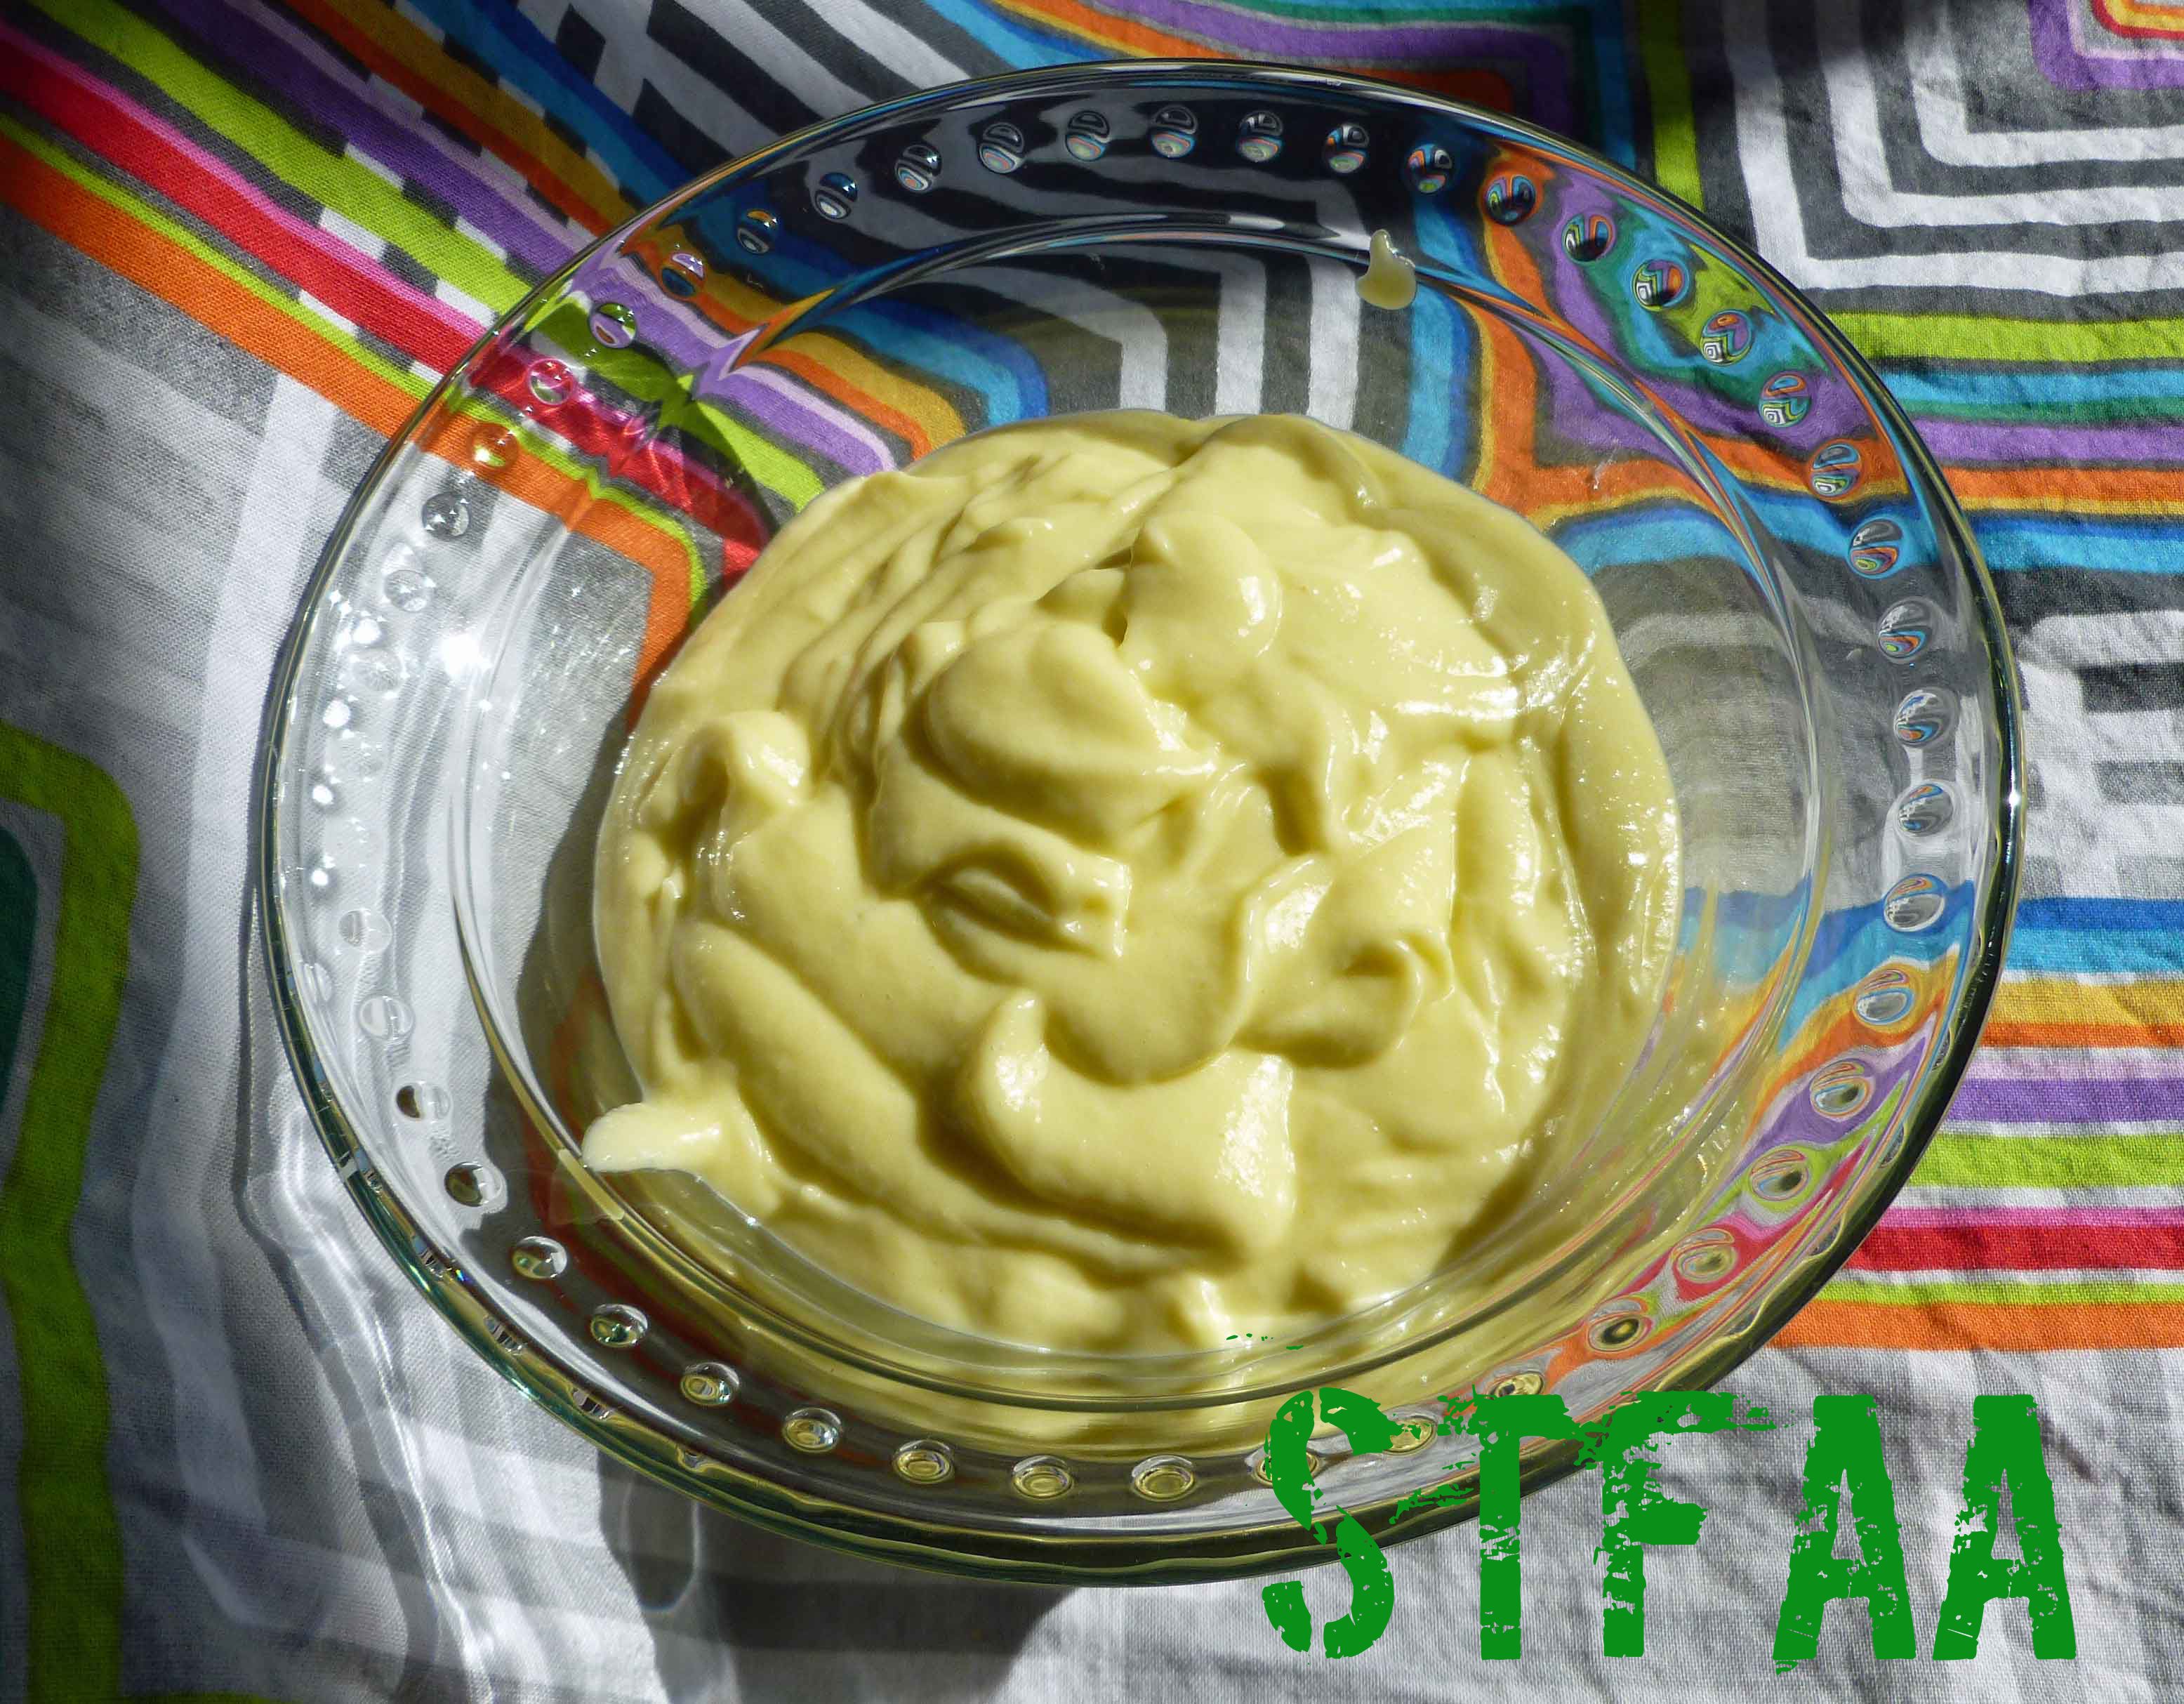
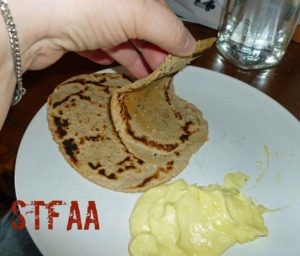
The toum sauce is pretty easy and the only ingredient that’s a bit out of the mainstream is the aquafaba which helps it emulsify easily. In researching recipes for toum sauce, some state that using extra virgin olive oil can result in the sauce having a bit of a bite and that grape seed oil doesn’t emulsify well. Since those are my only two safe oils, I chose extra virgin olive oil, and I didn’t mind a bit of a bite. However, if you have a lighter safe oil, you might want to try it. It’s great to use on sandwiches, falafel, grilled foods, and flatbread. I even put it on salad.
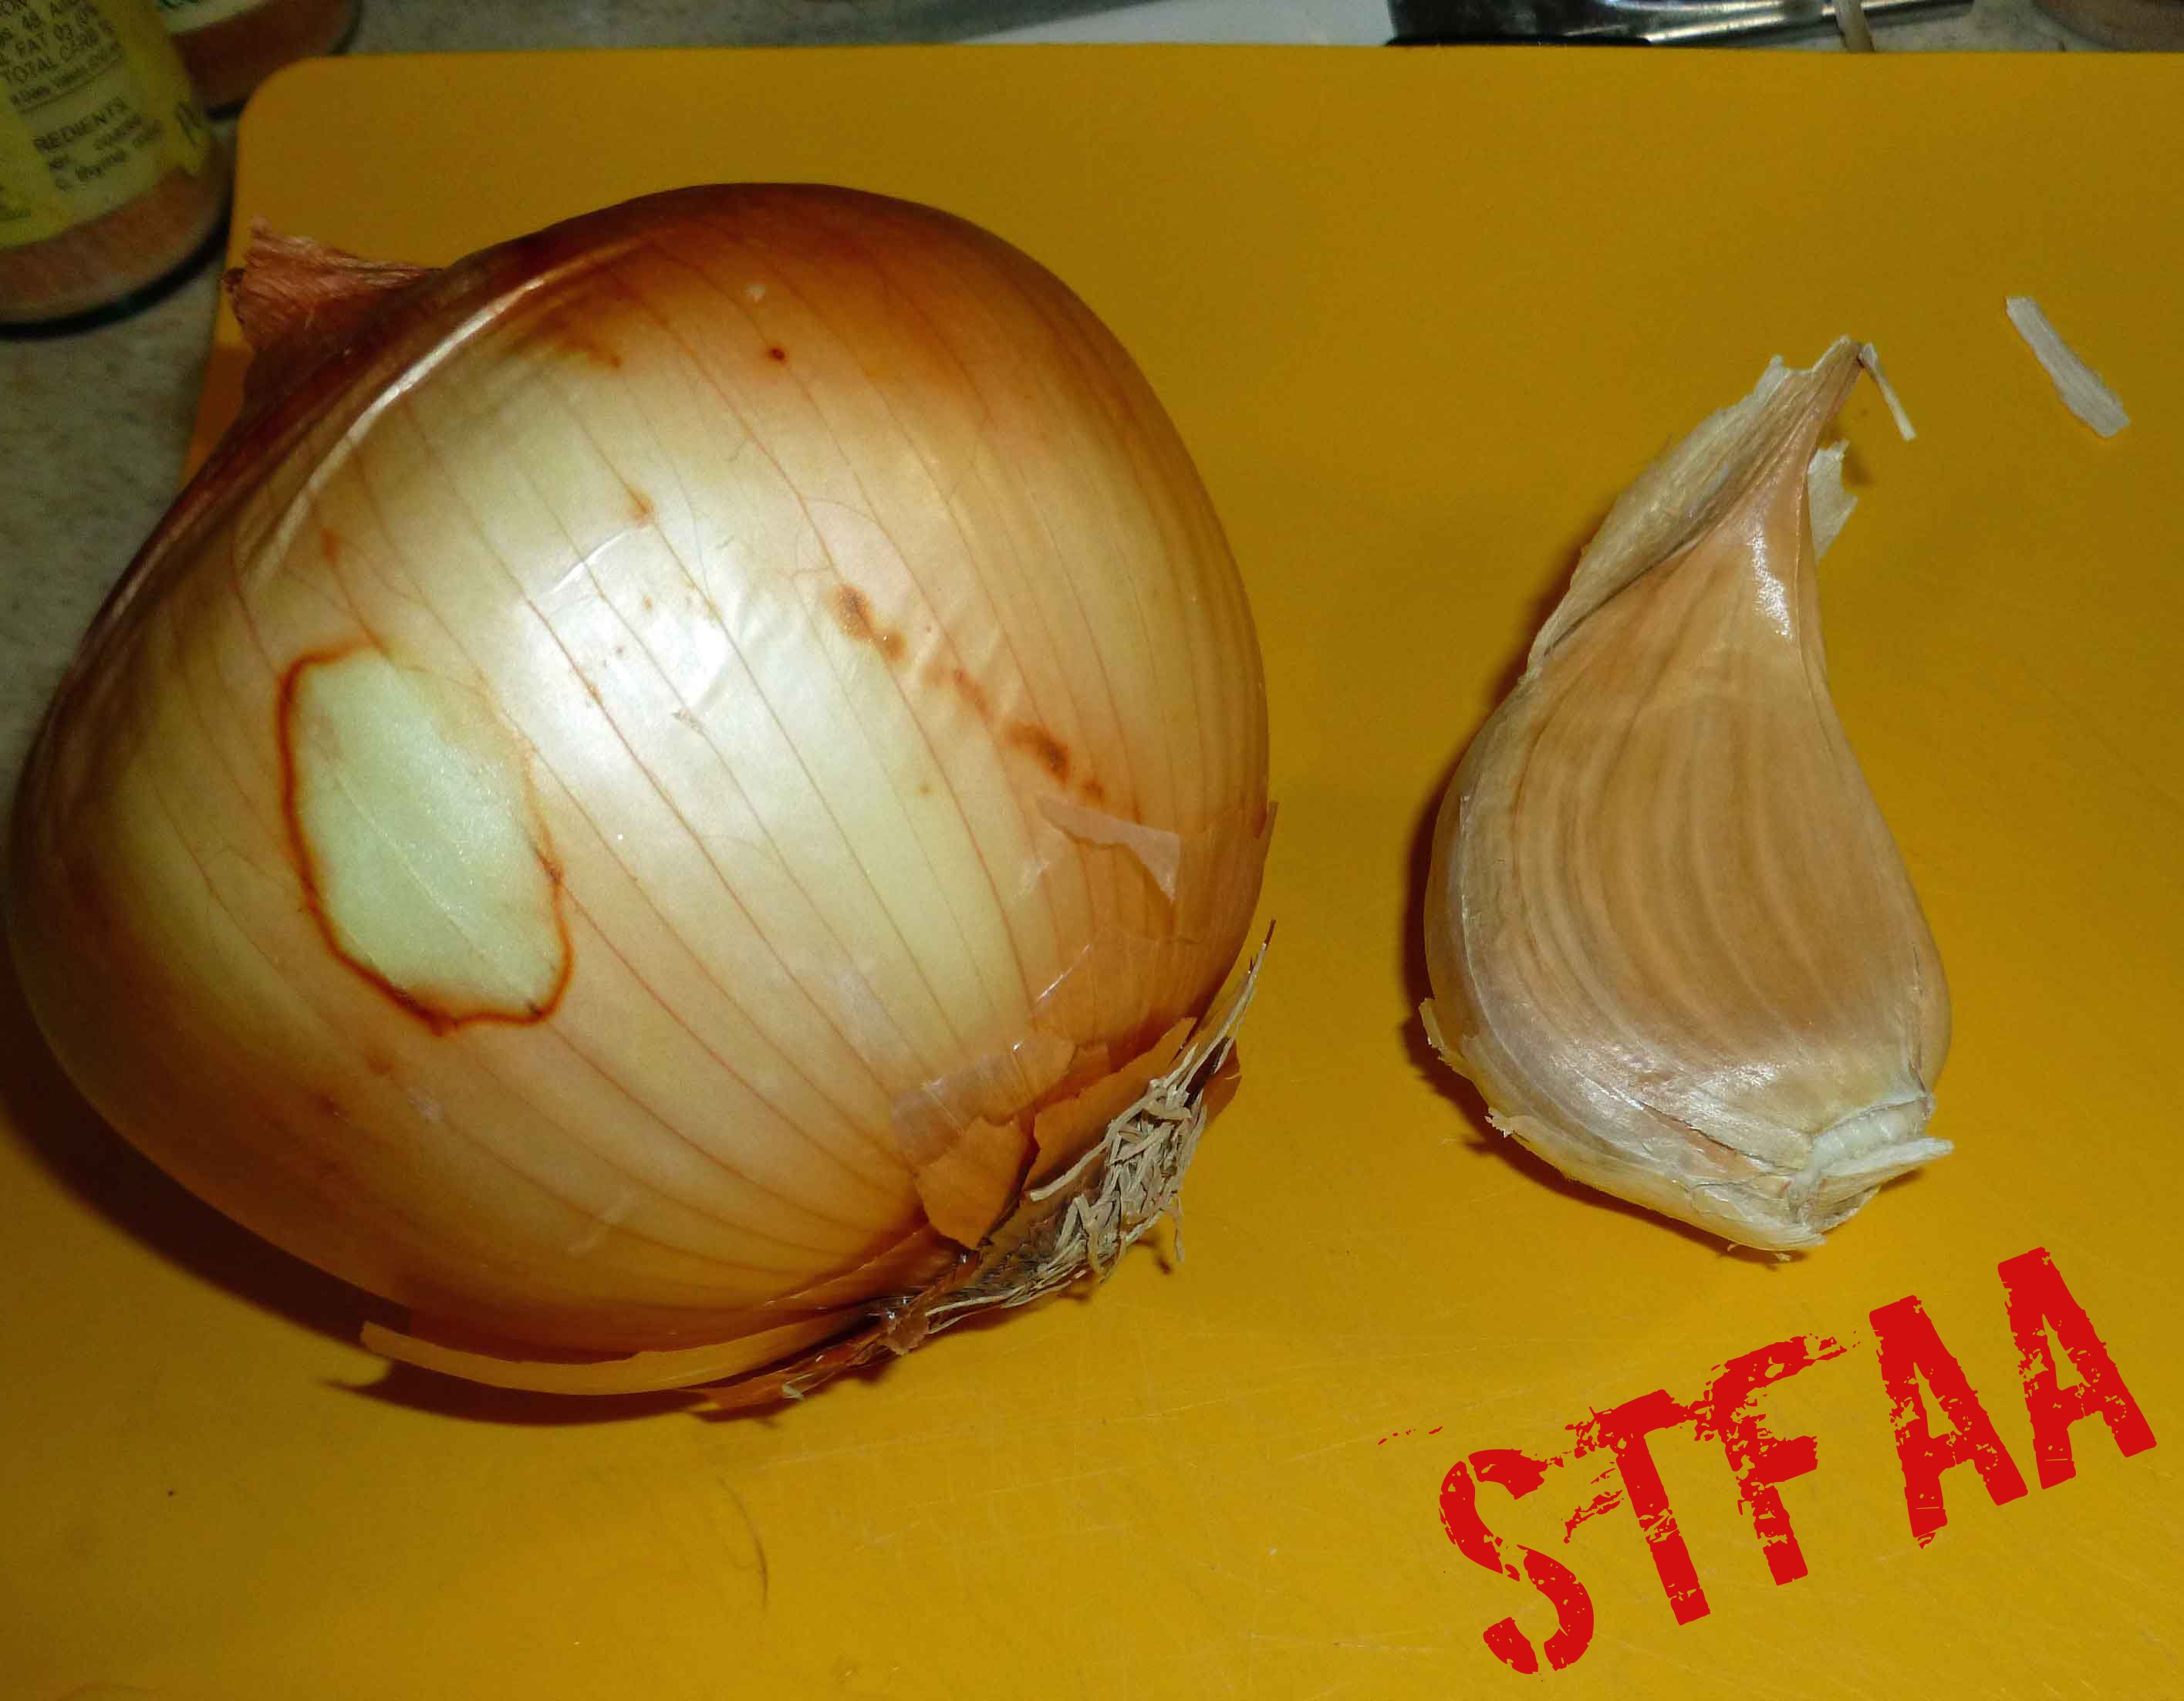
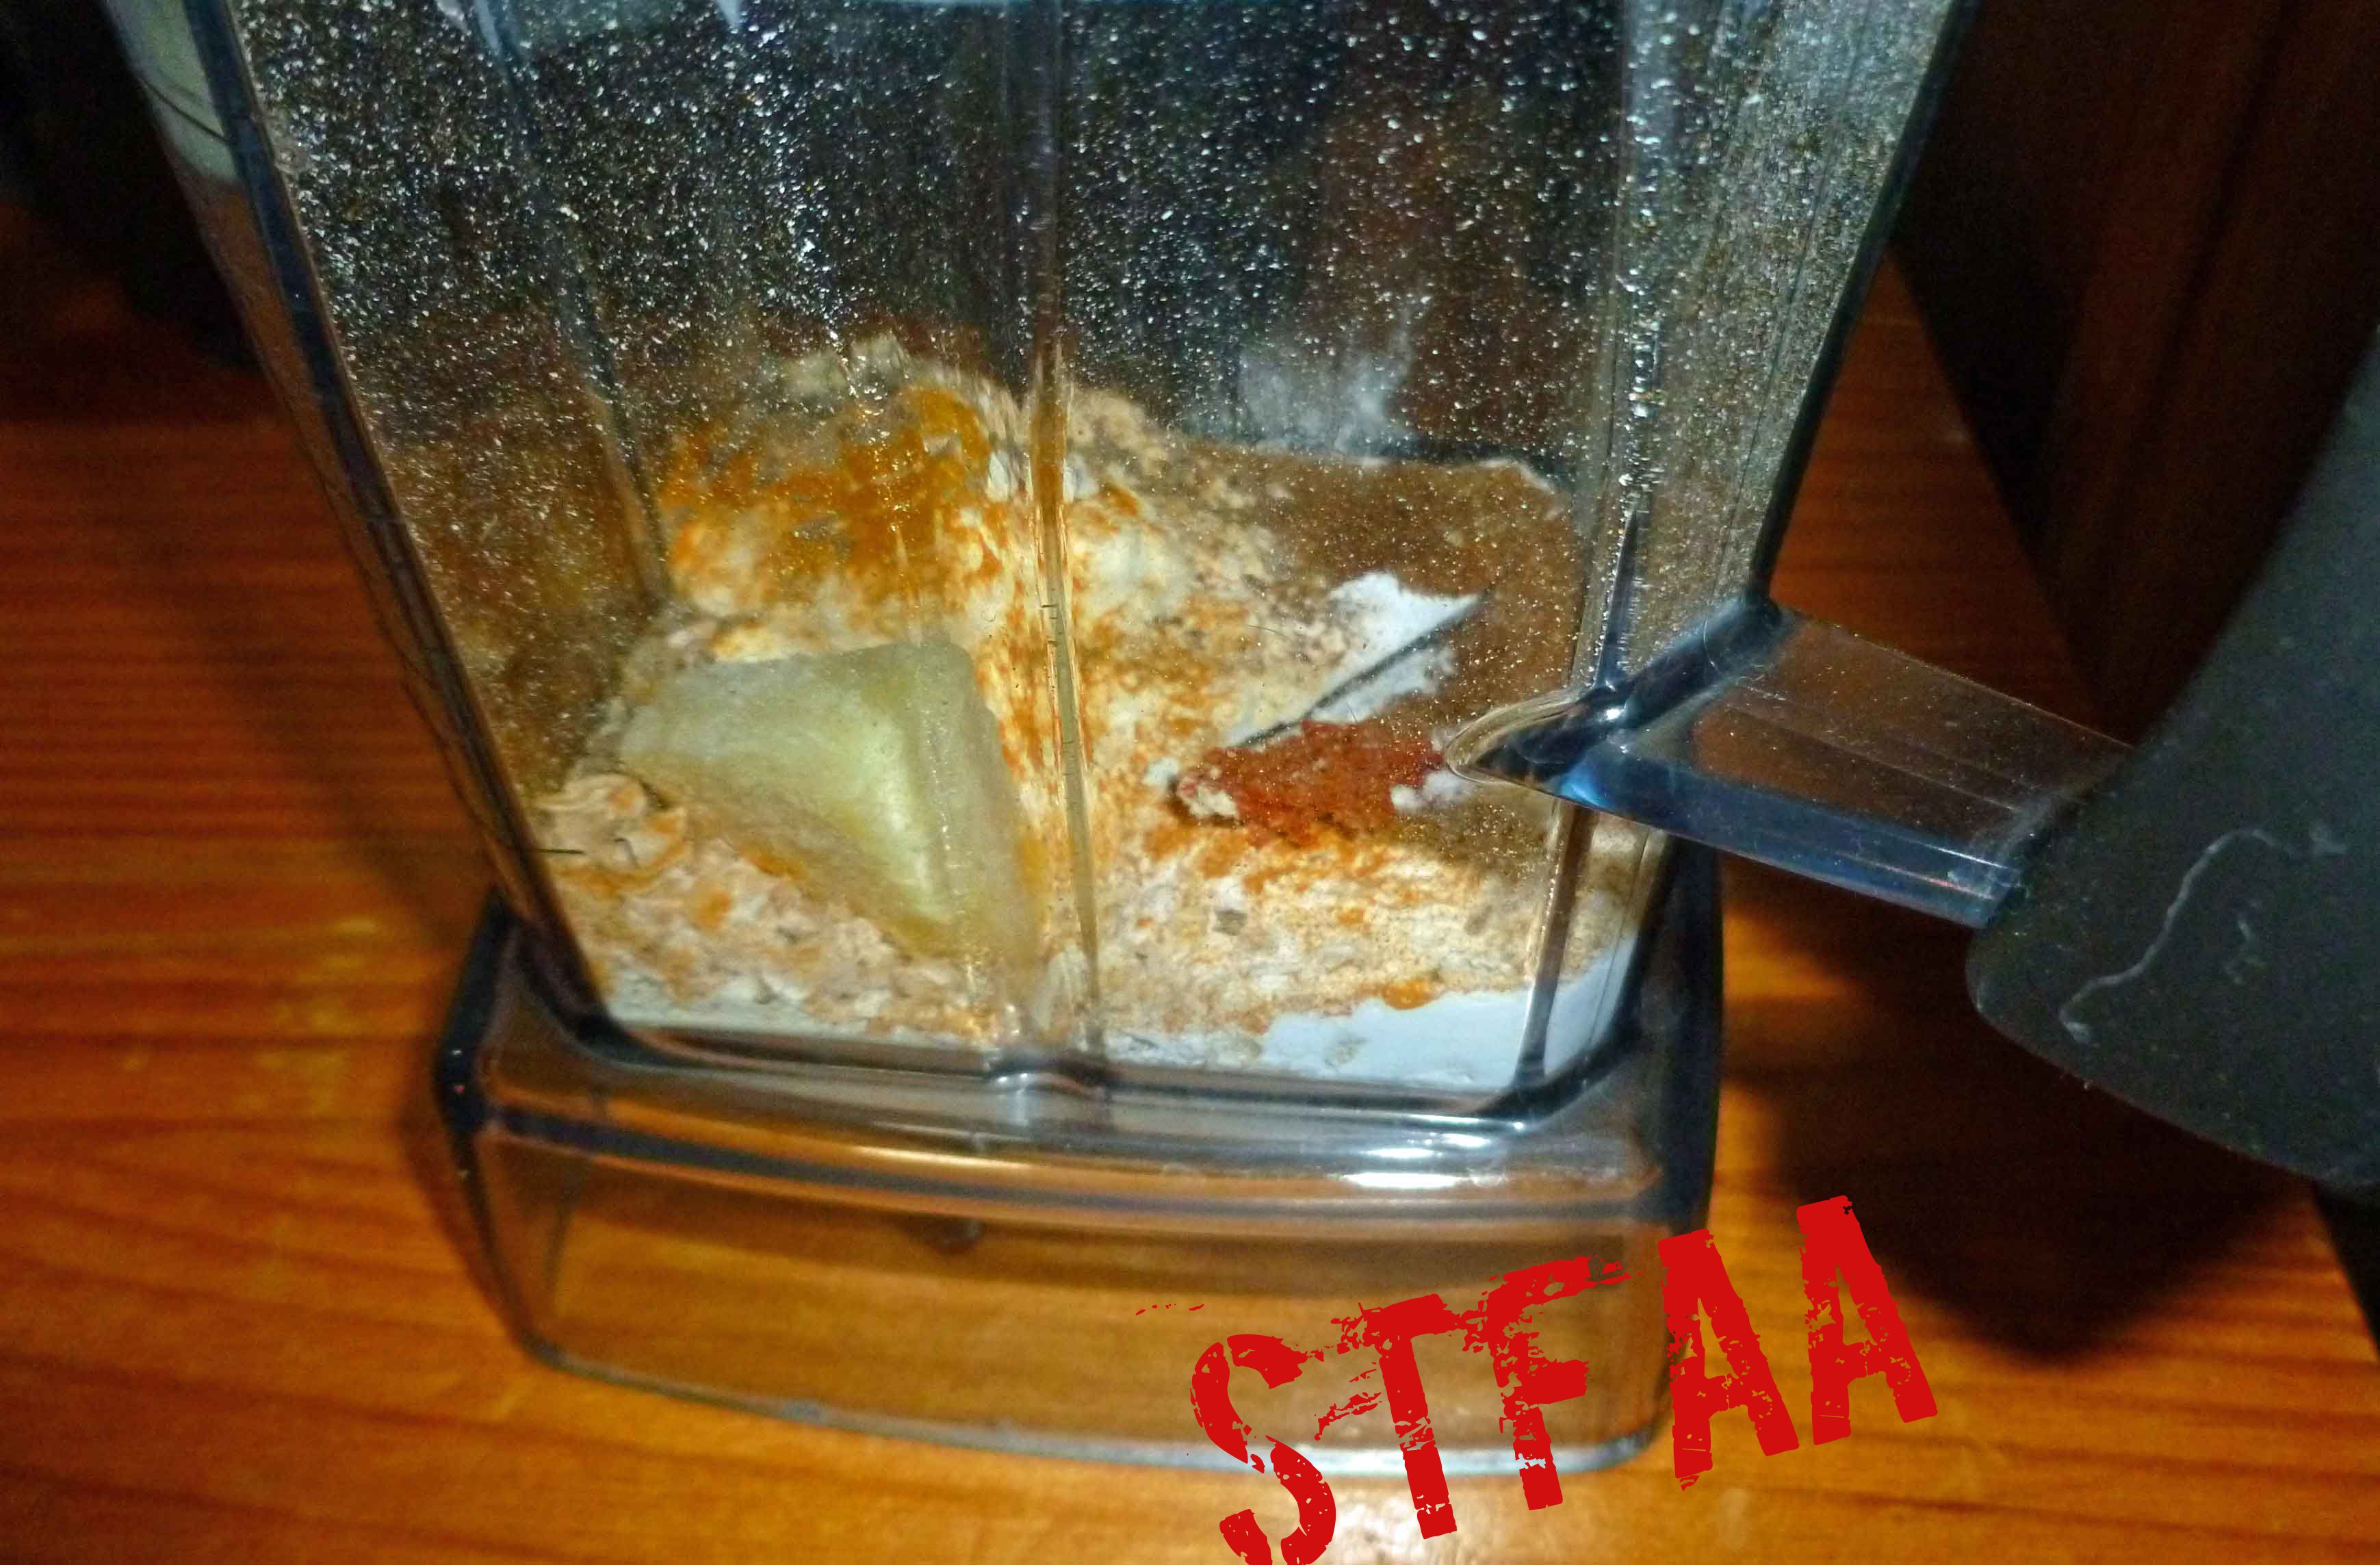
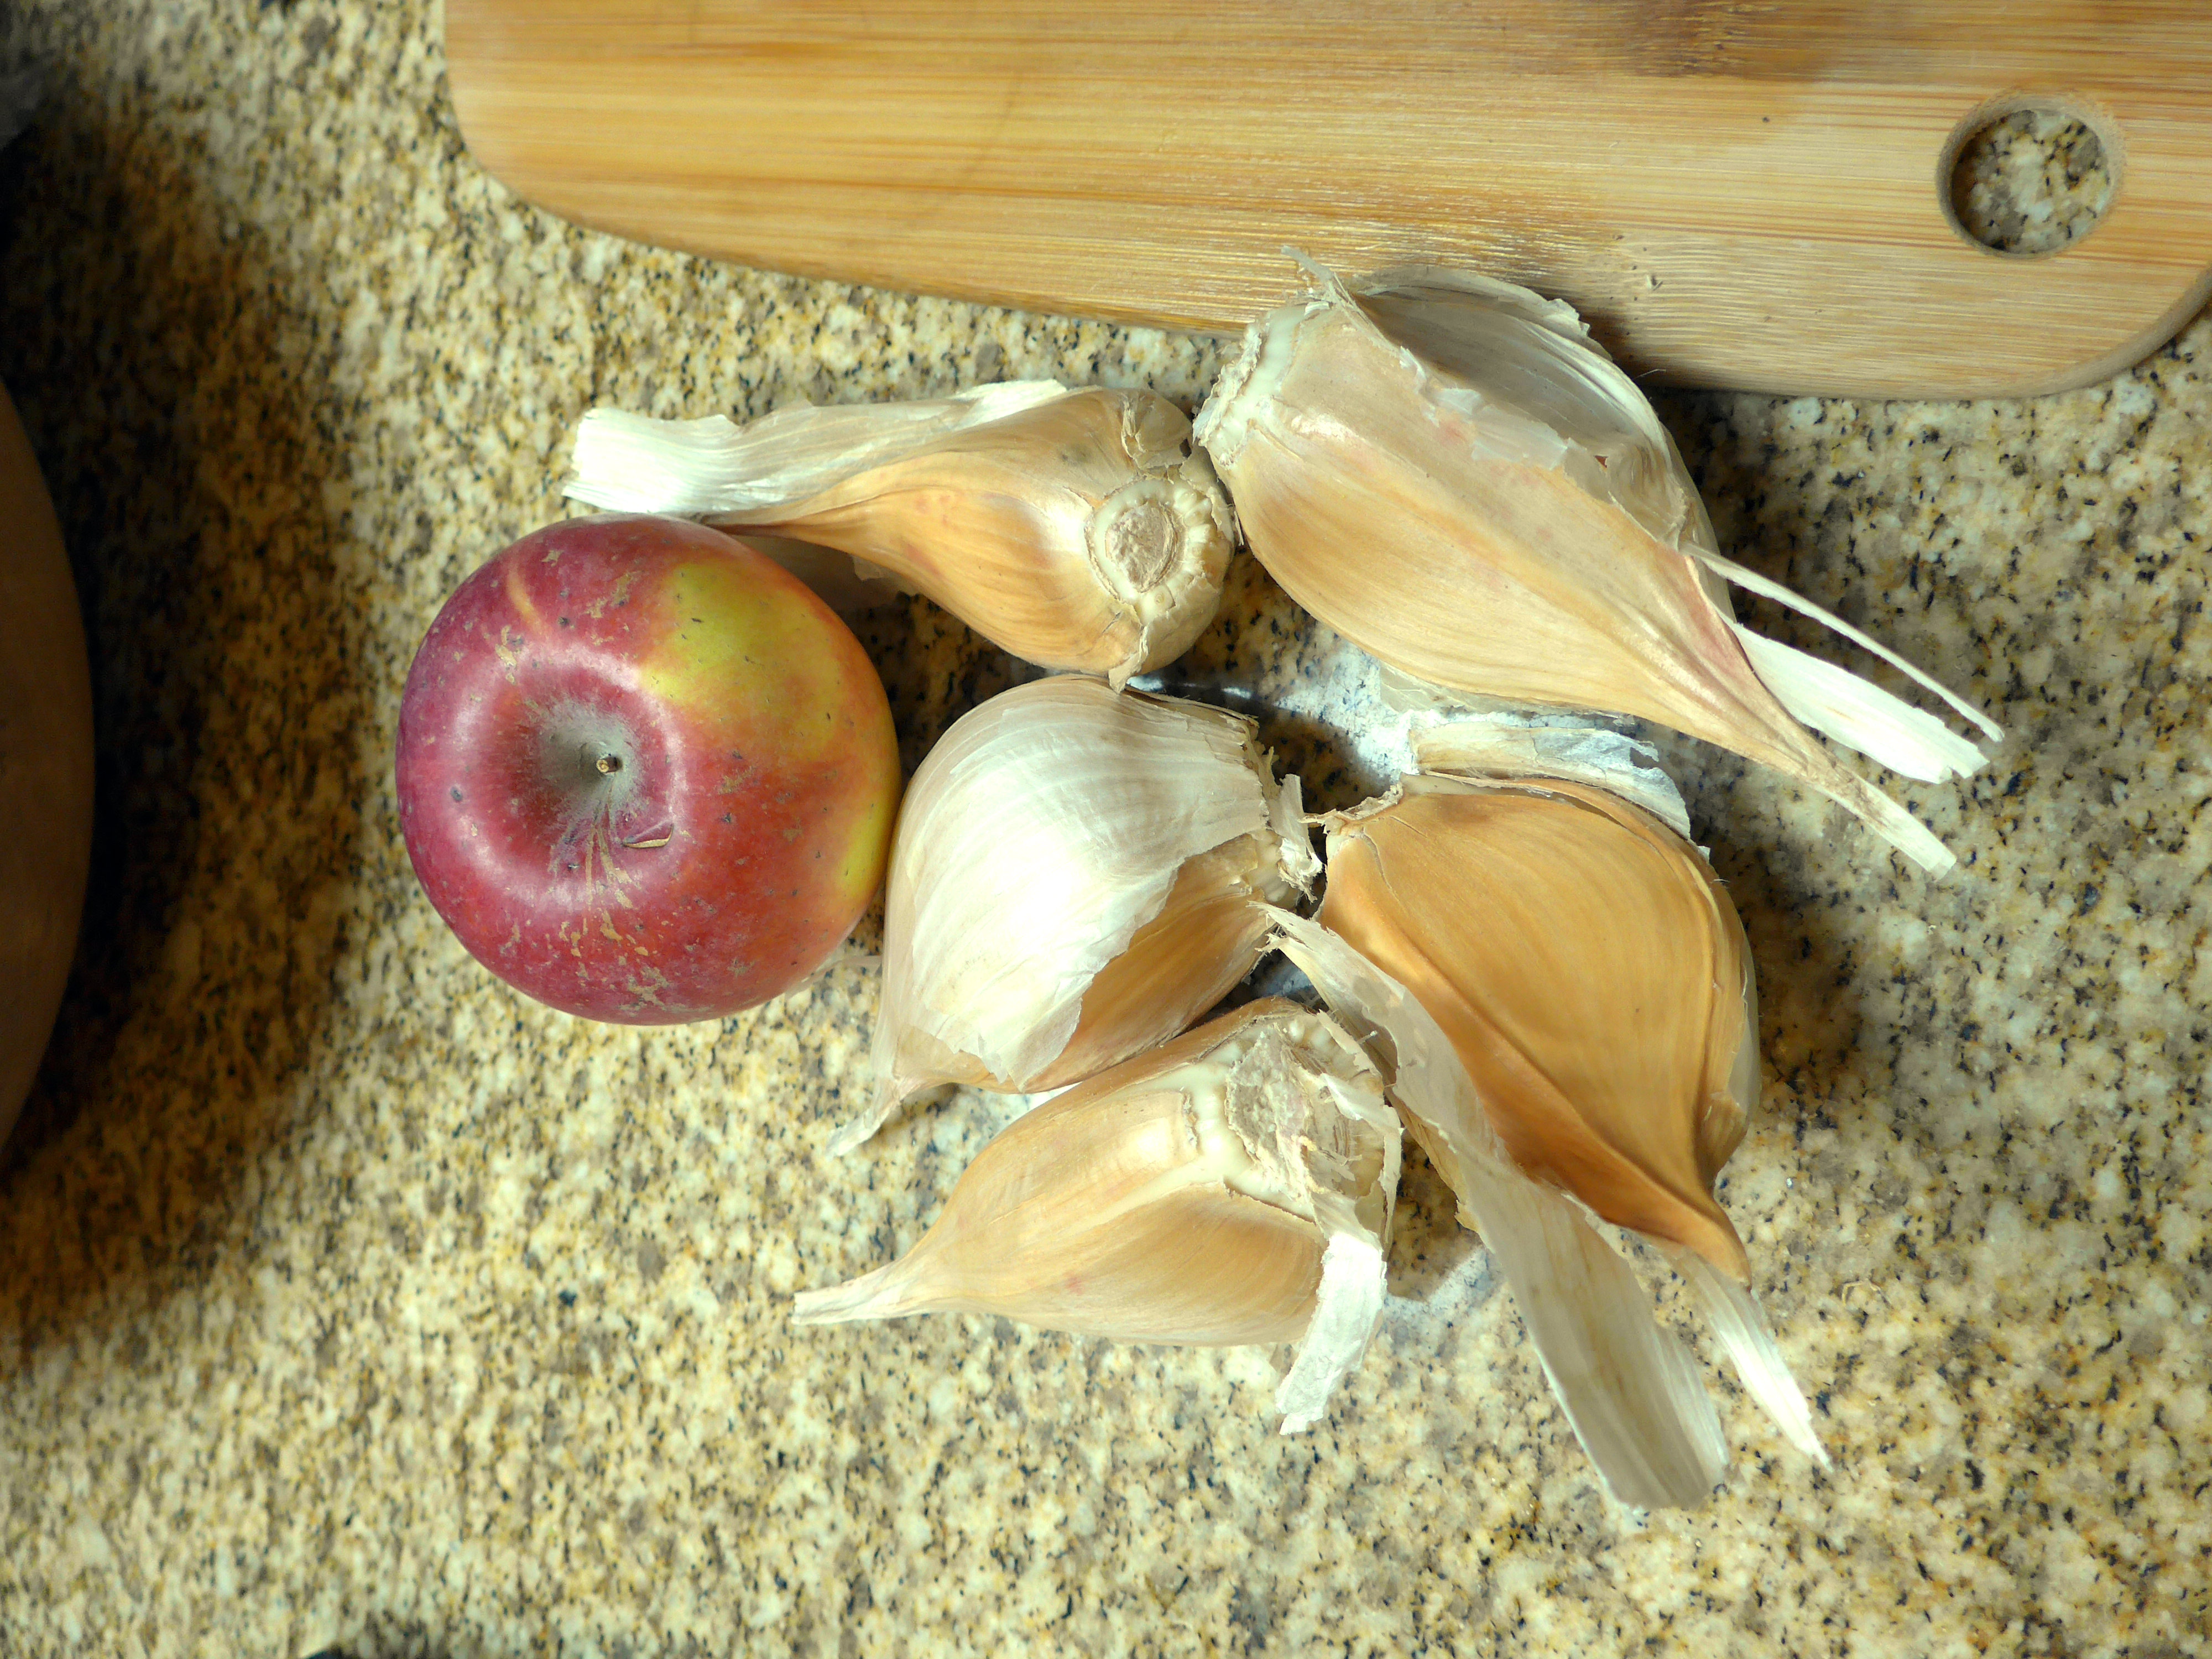
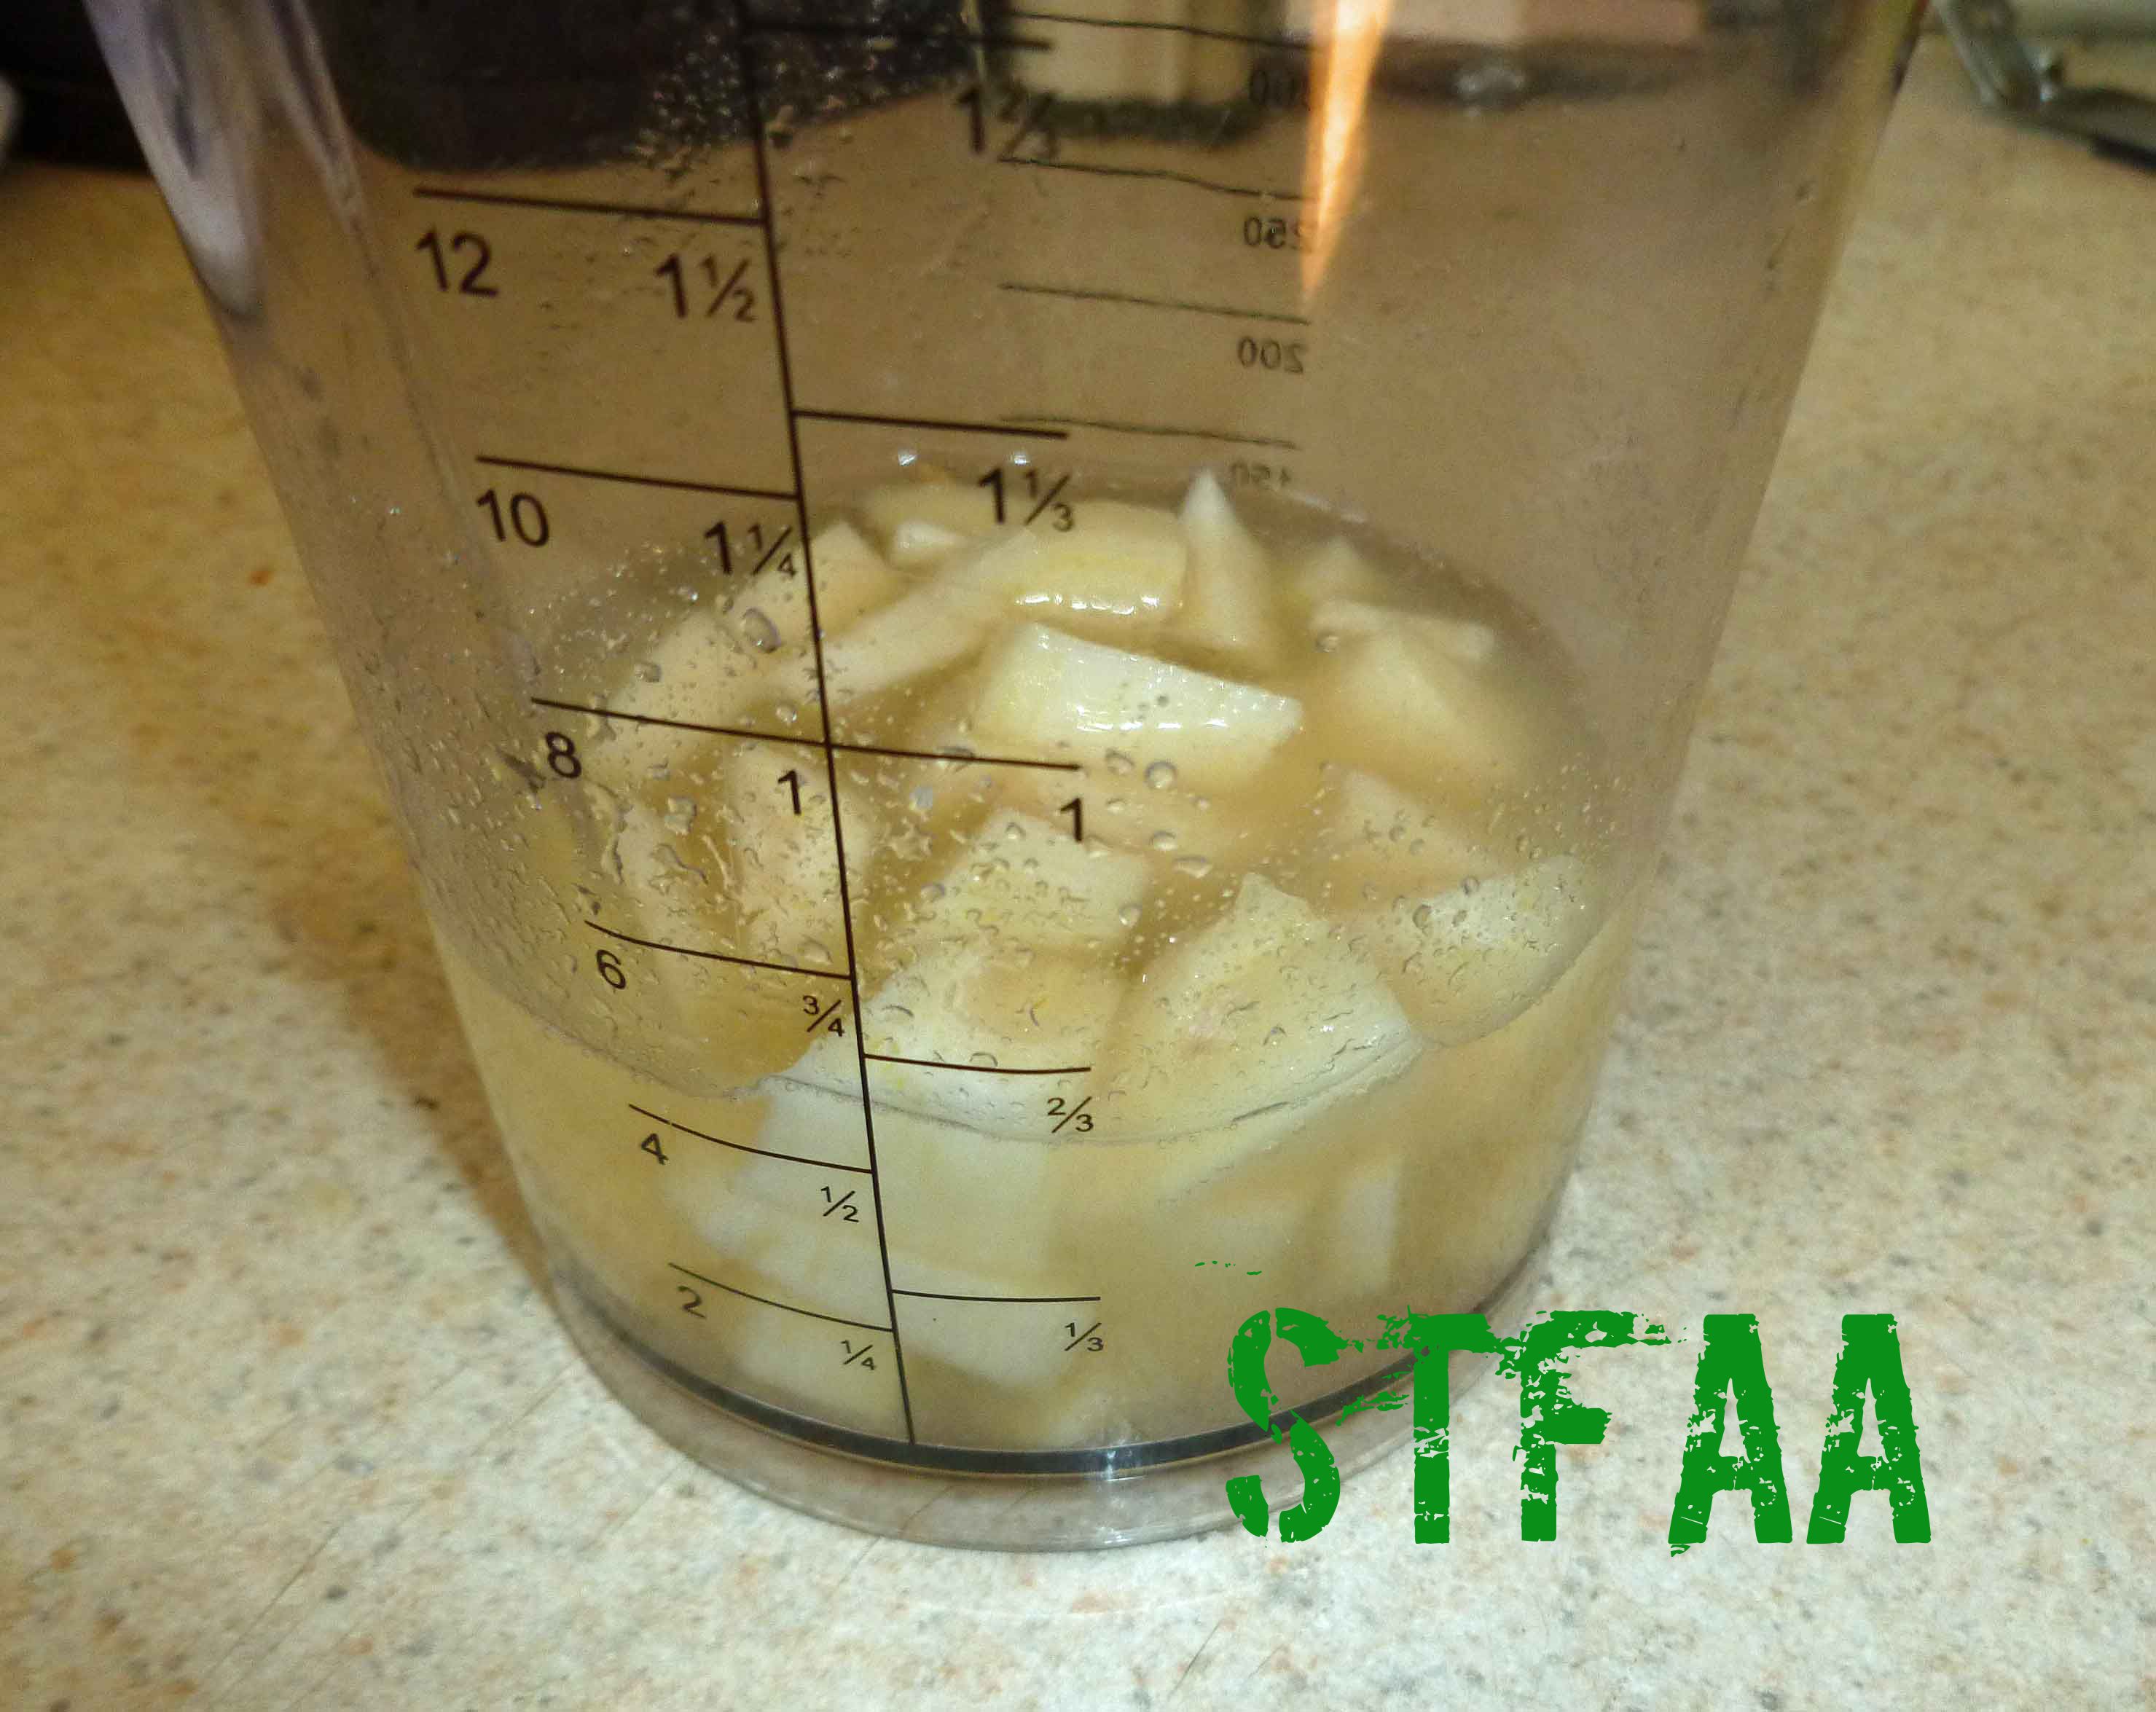
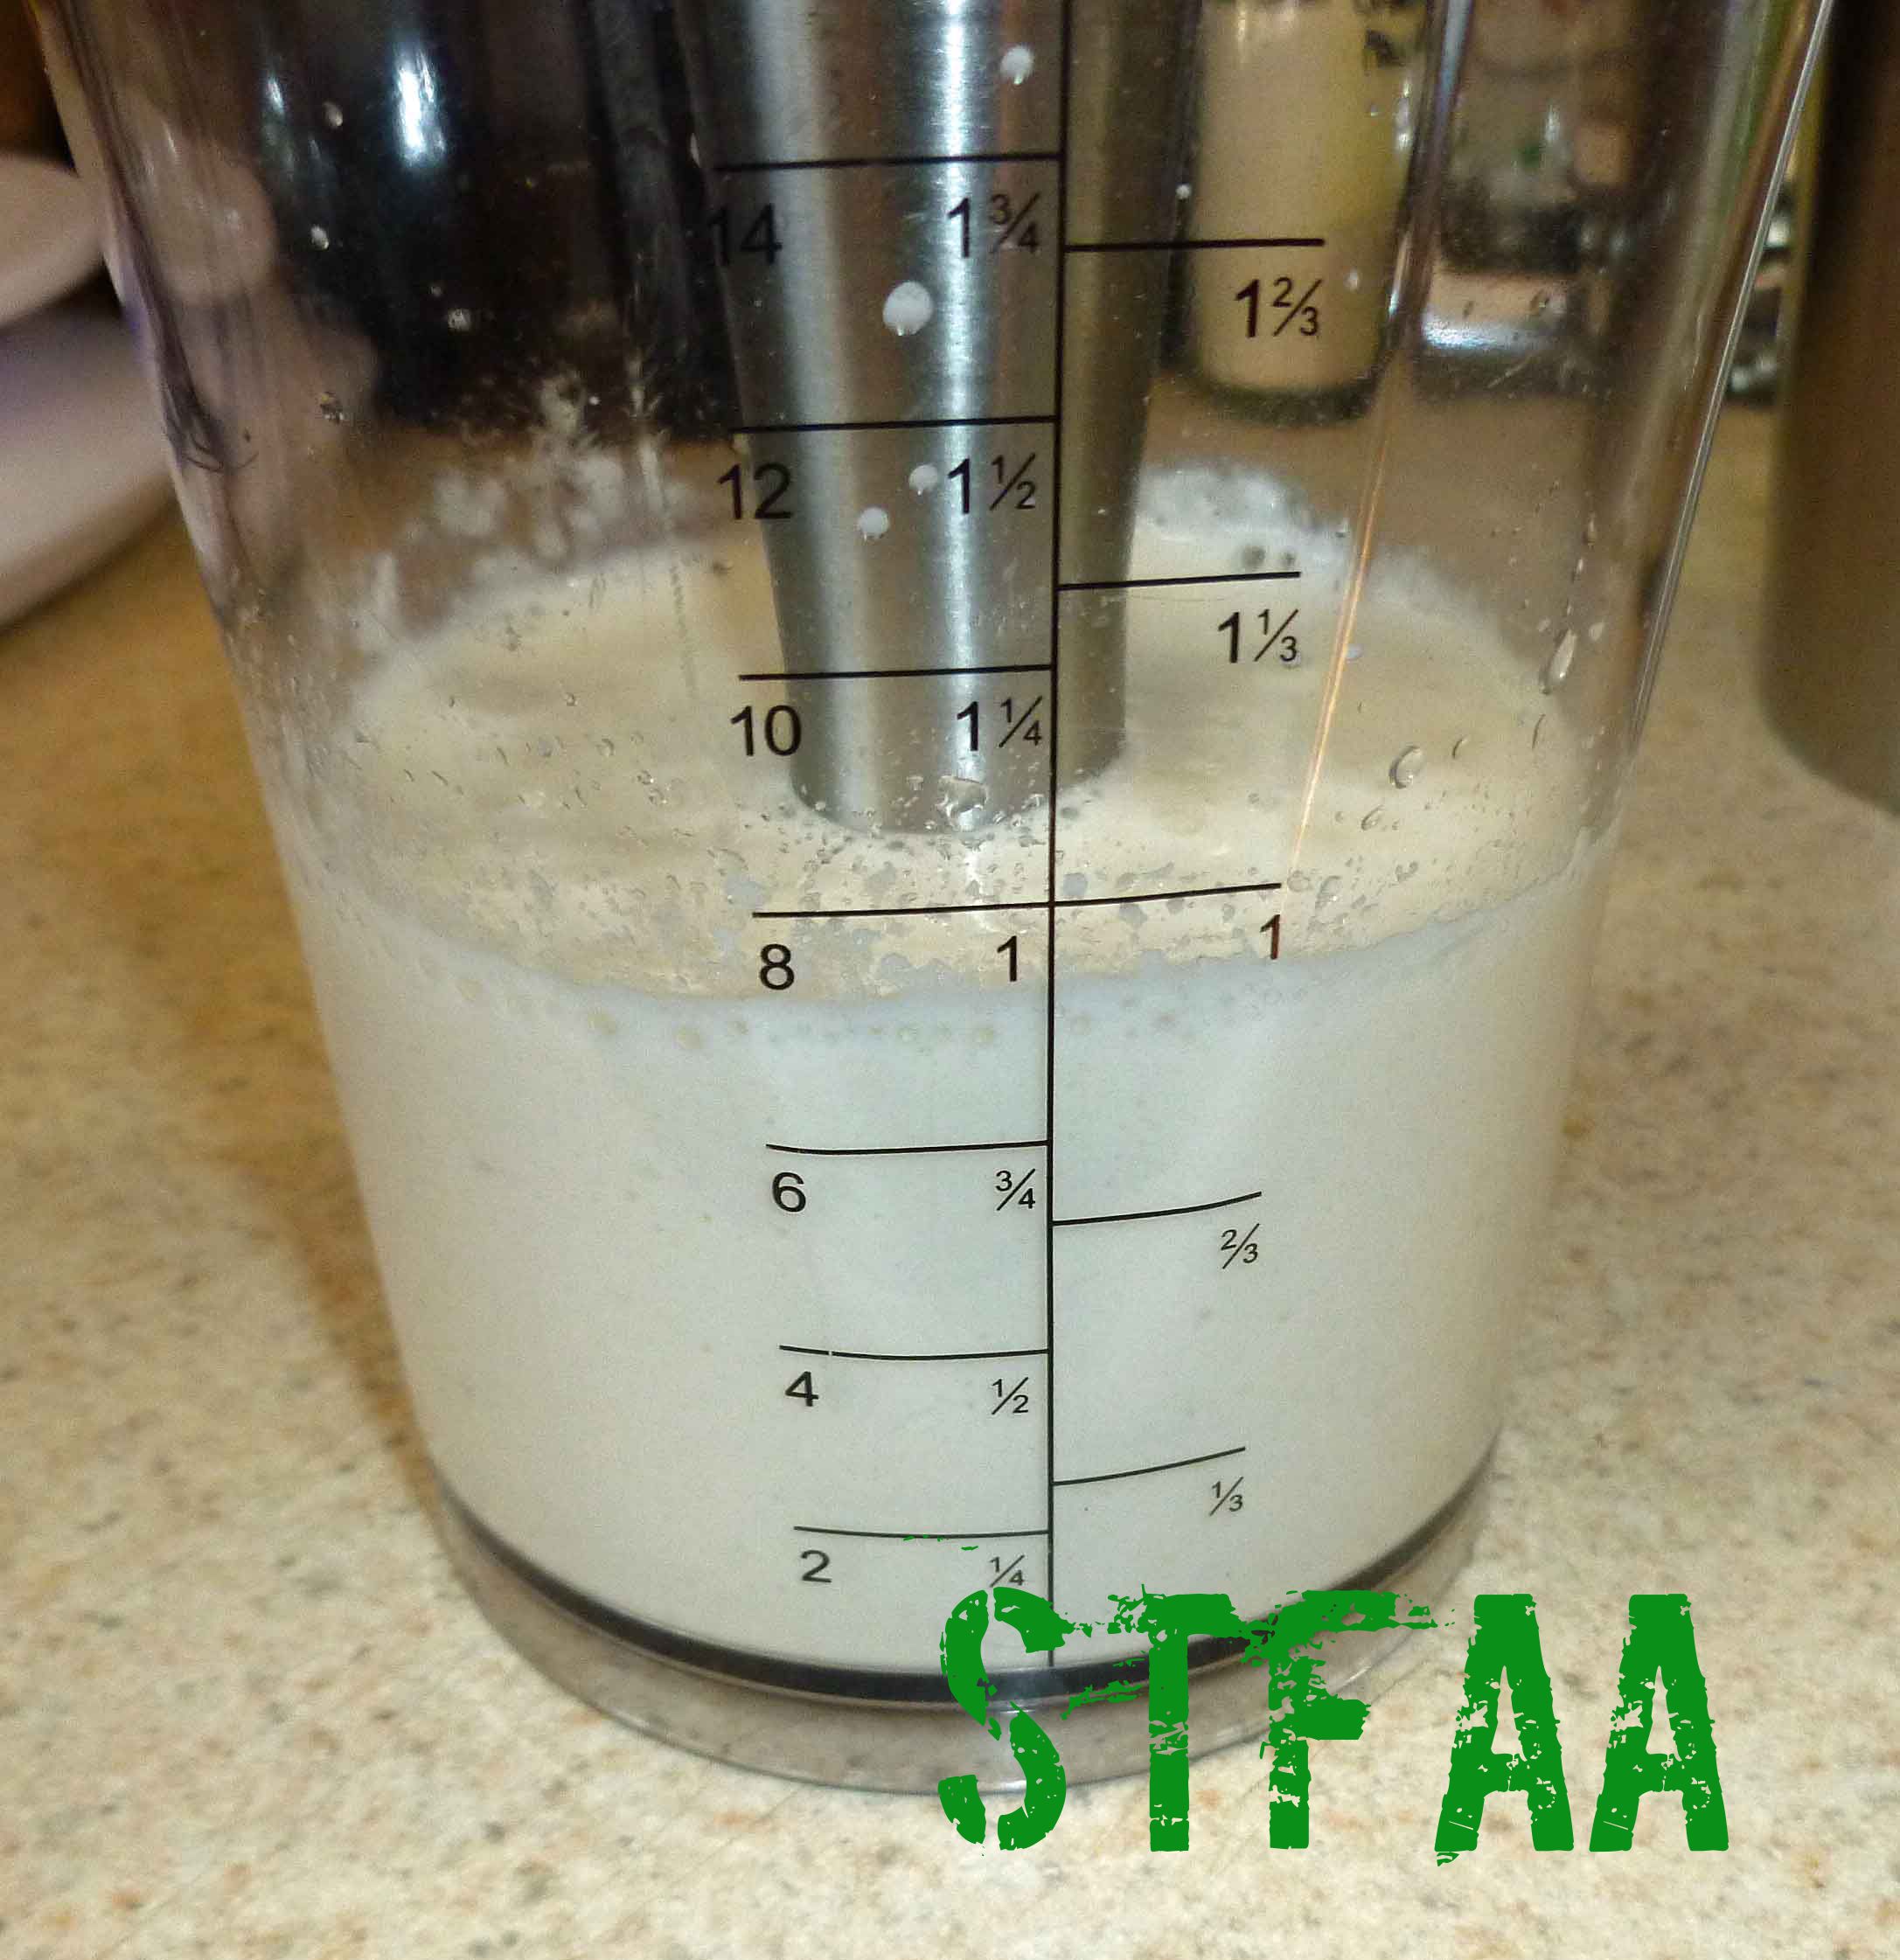
I didn’t want to make huge amounts so I used an immersion blender, but I think there is enough volume that you can try it in a regular blender as well. I also used the elephant garlic that MaryKate sent me from Seattle, but regular garlic will work.
")
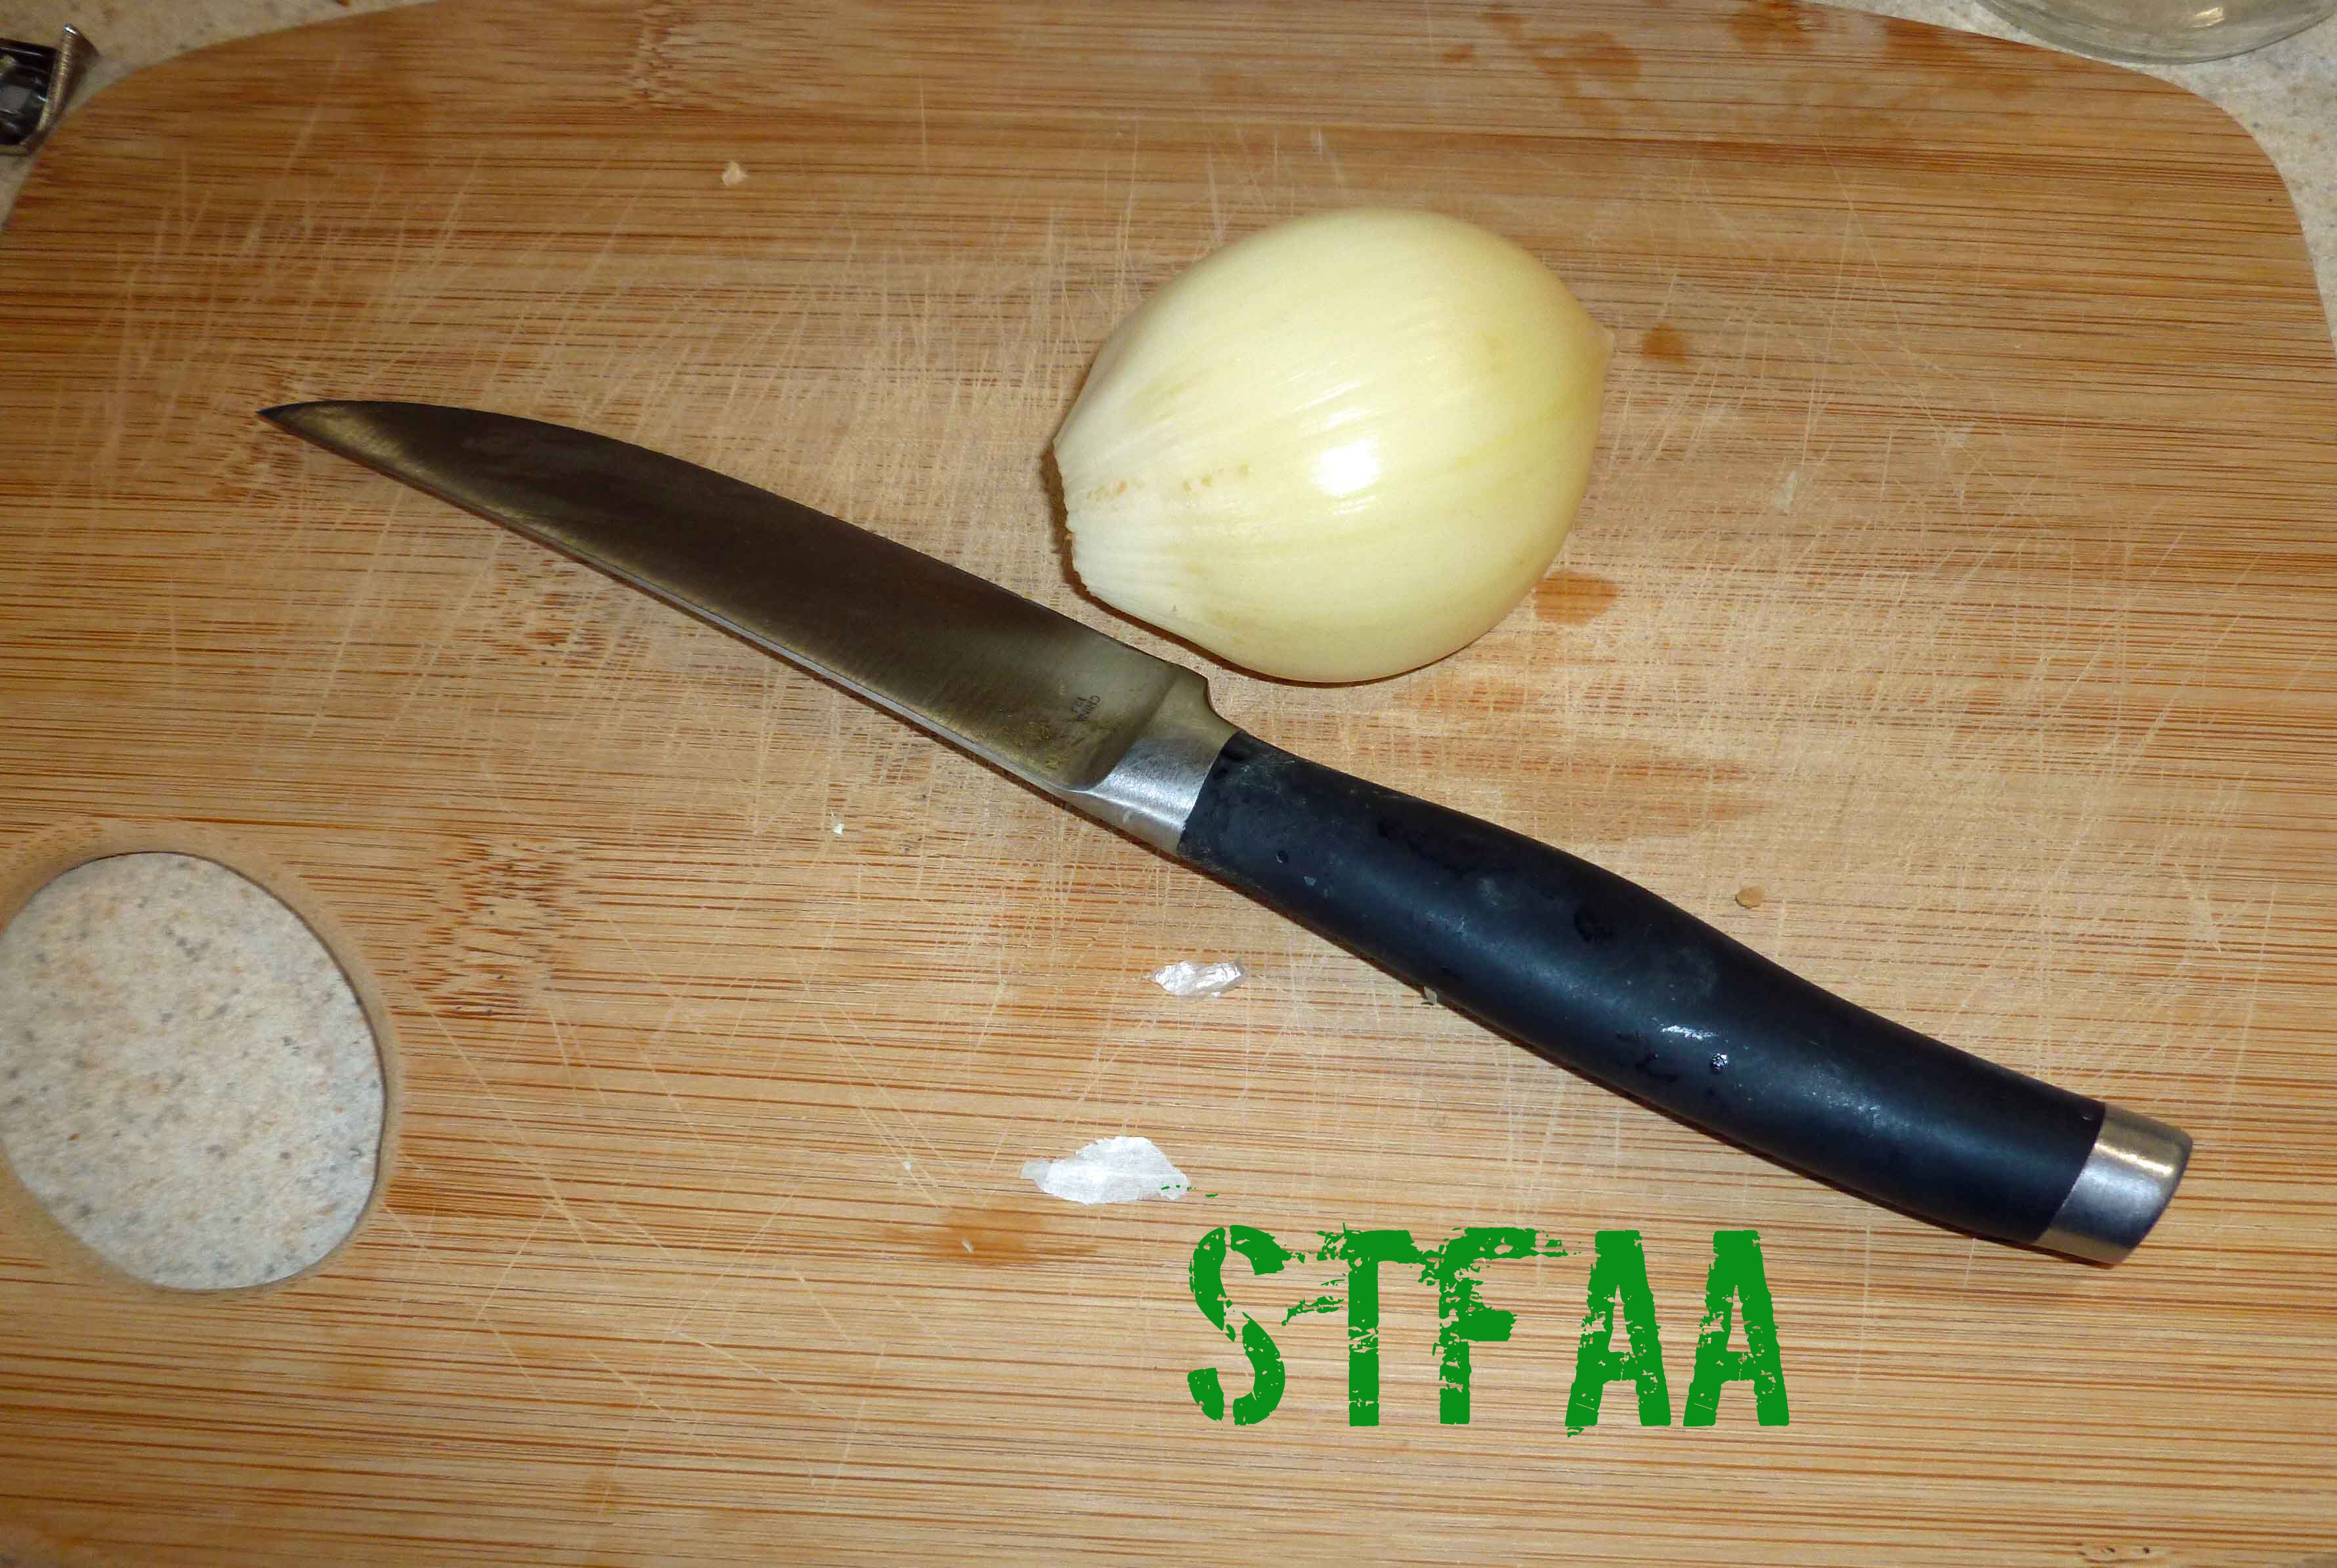
- 6-8 cloves garlic (or 1 clove of elephant garlic)
- 1 teaspoon salt
- 2 Tablespoons aquafaba (see http://aquafaba.com/)
- 1 Tablespoon water
- 1 teaspoon lemon juice (I used freshly squeezed)
- 1 cup olive oil
- Peel and trim ends of garlic cloves and roughly chop. Place in small container if using a stick blender or in the blender if using a regular blender. Add salt, aquafaba, water, and lemon juice.
- Blend until the garlic, salt, aquafaba, water, and lemon juice is a thick paste. You want the garlic to be completely pureed.
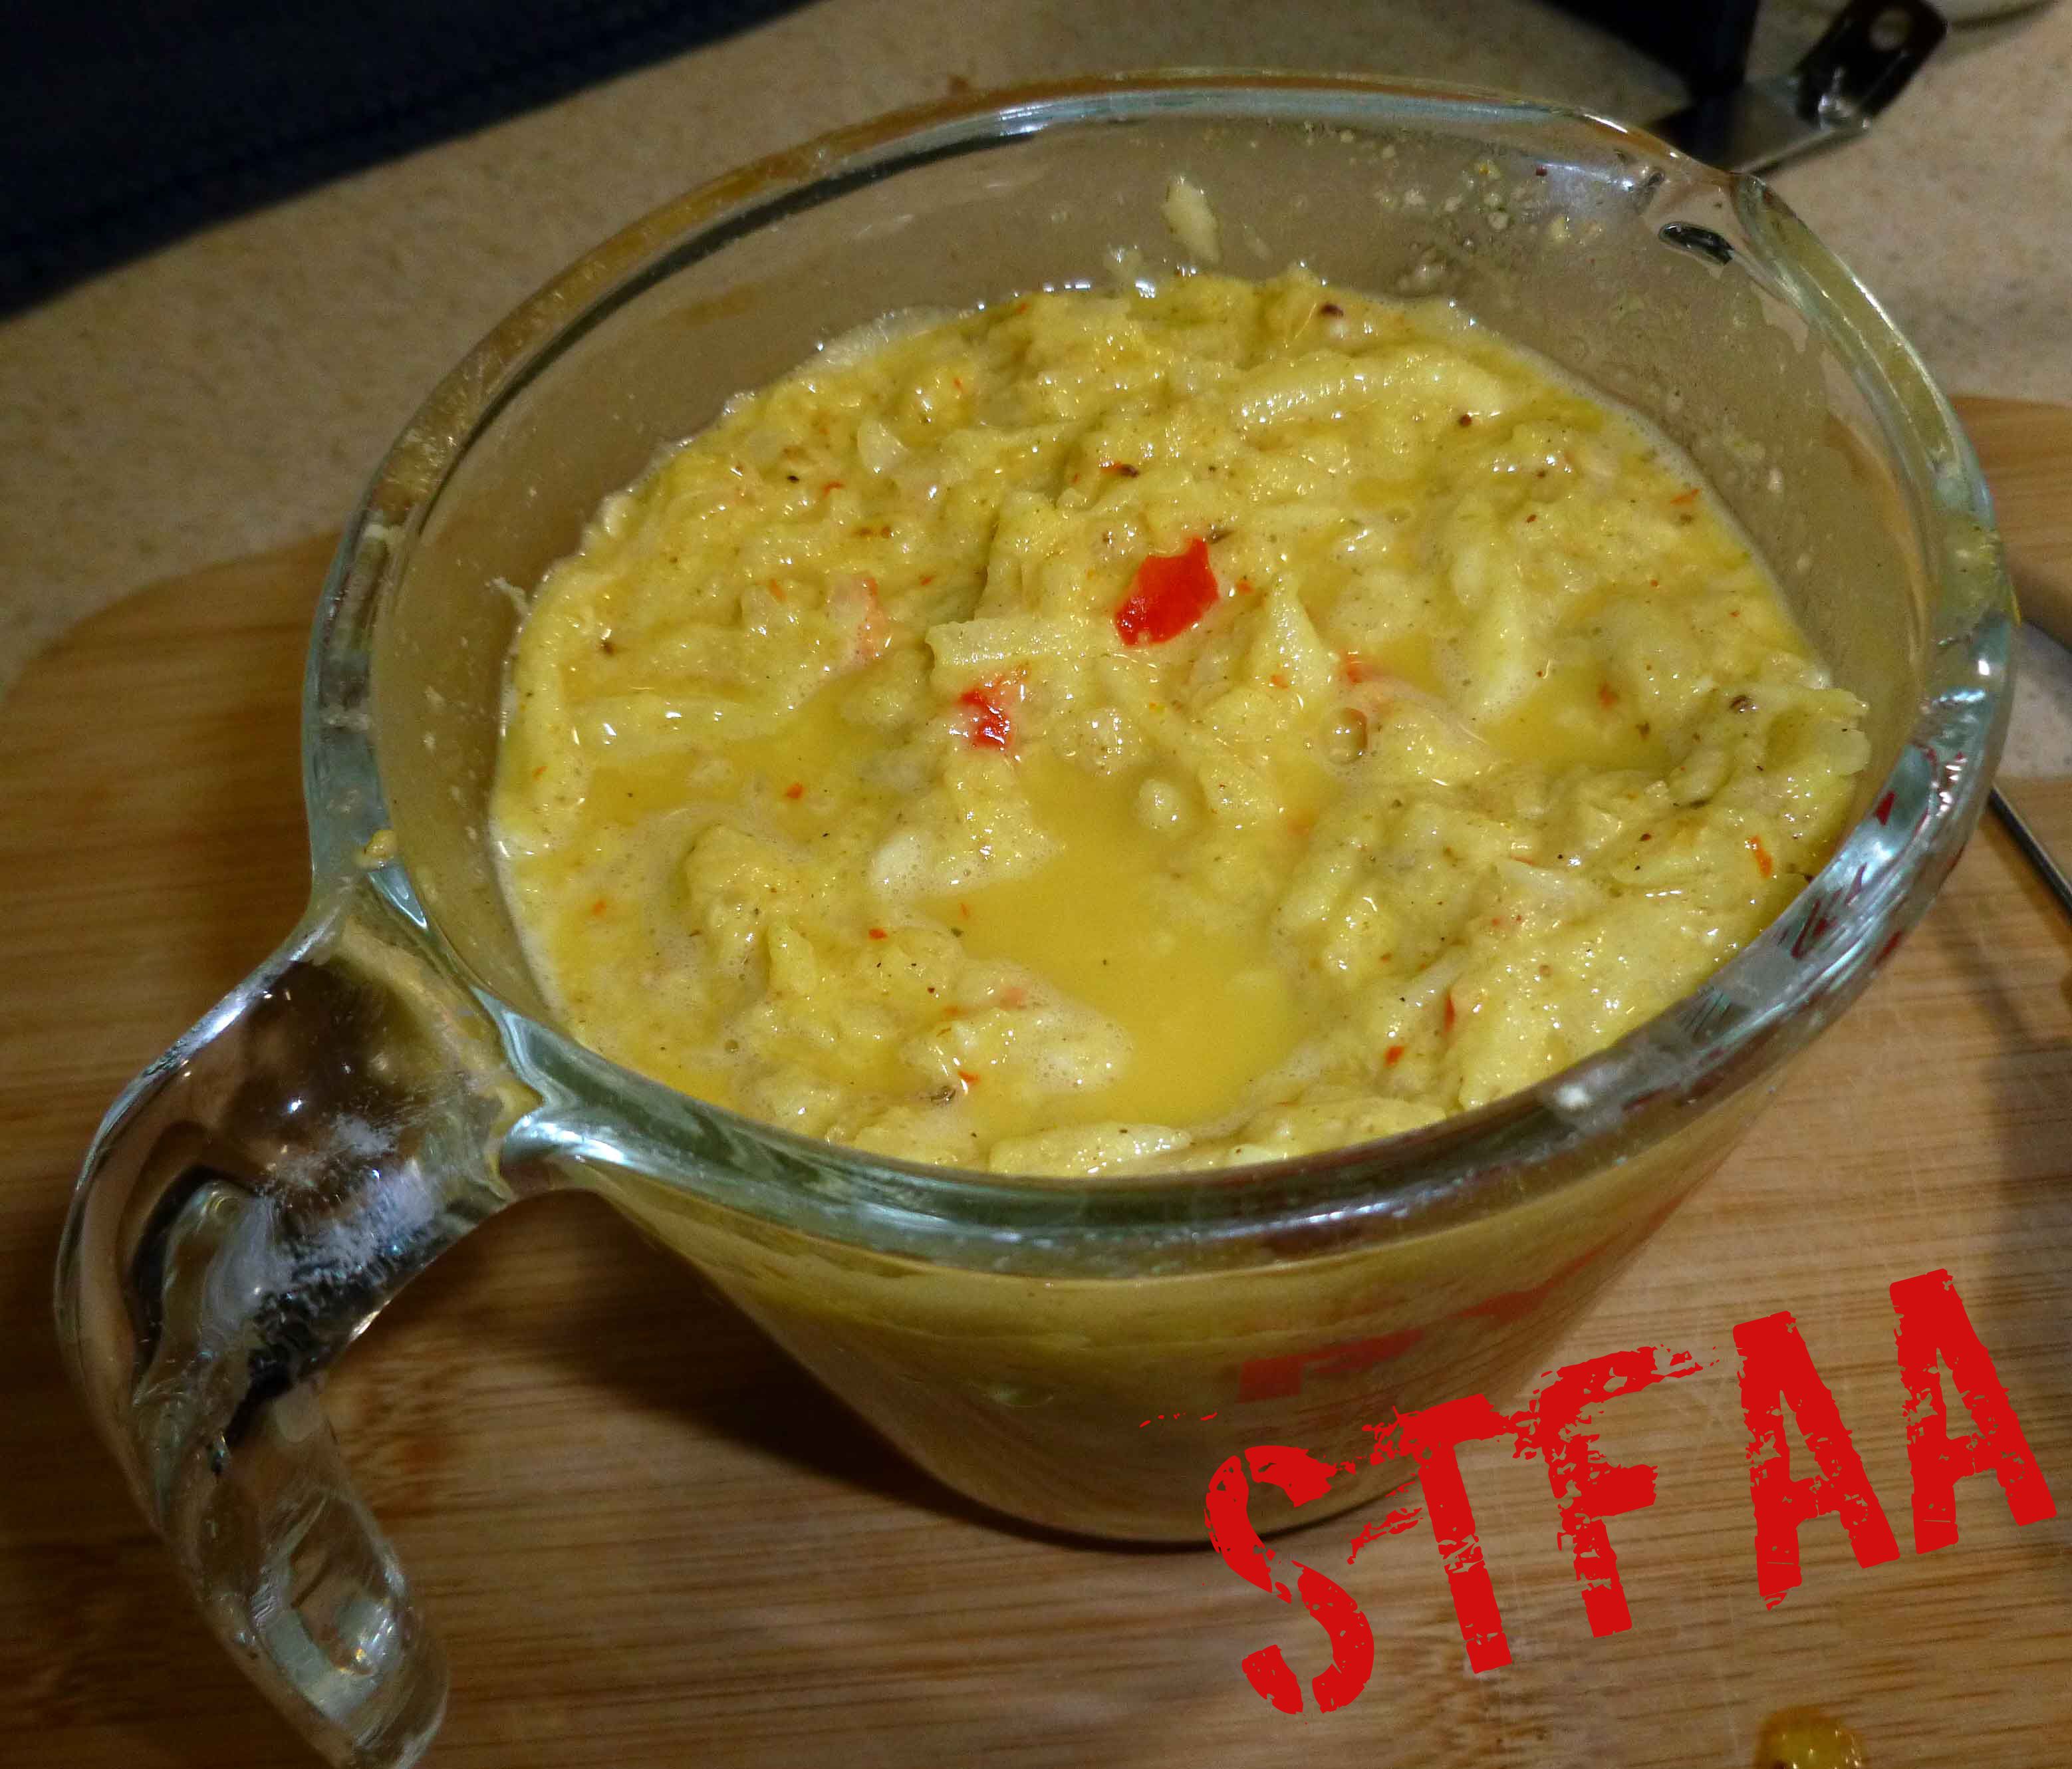
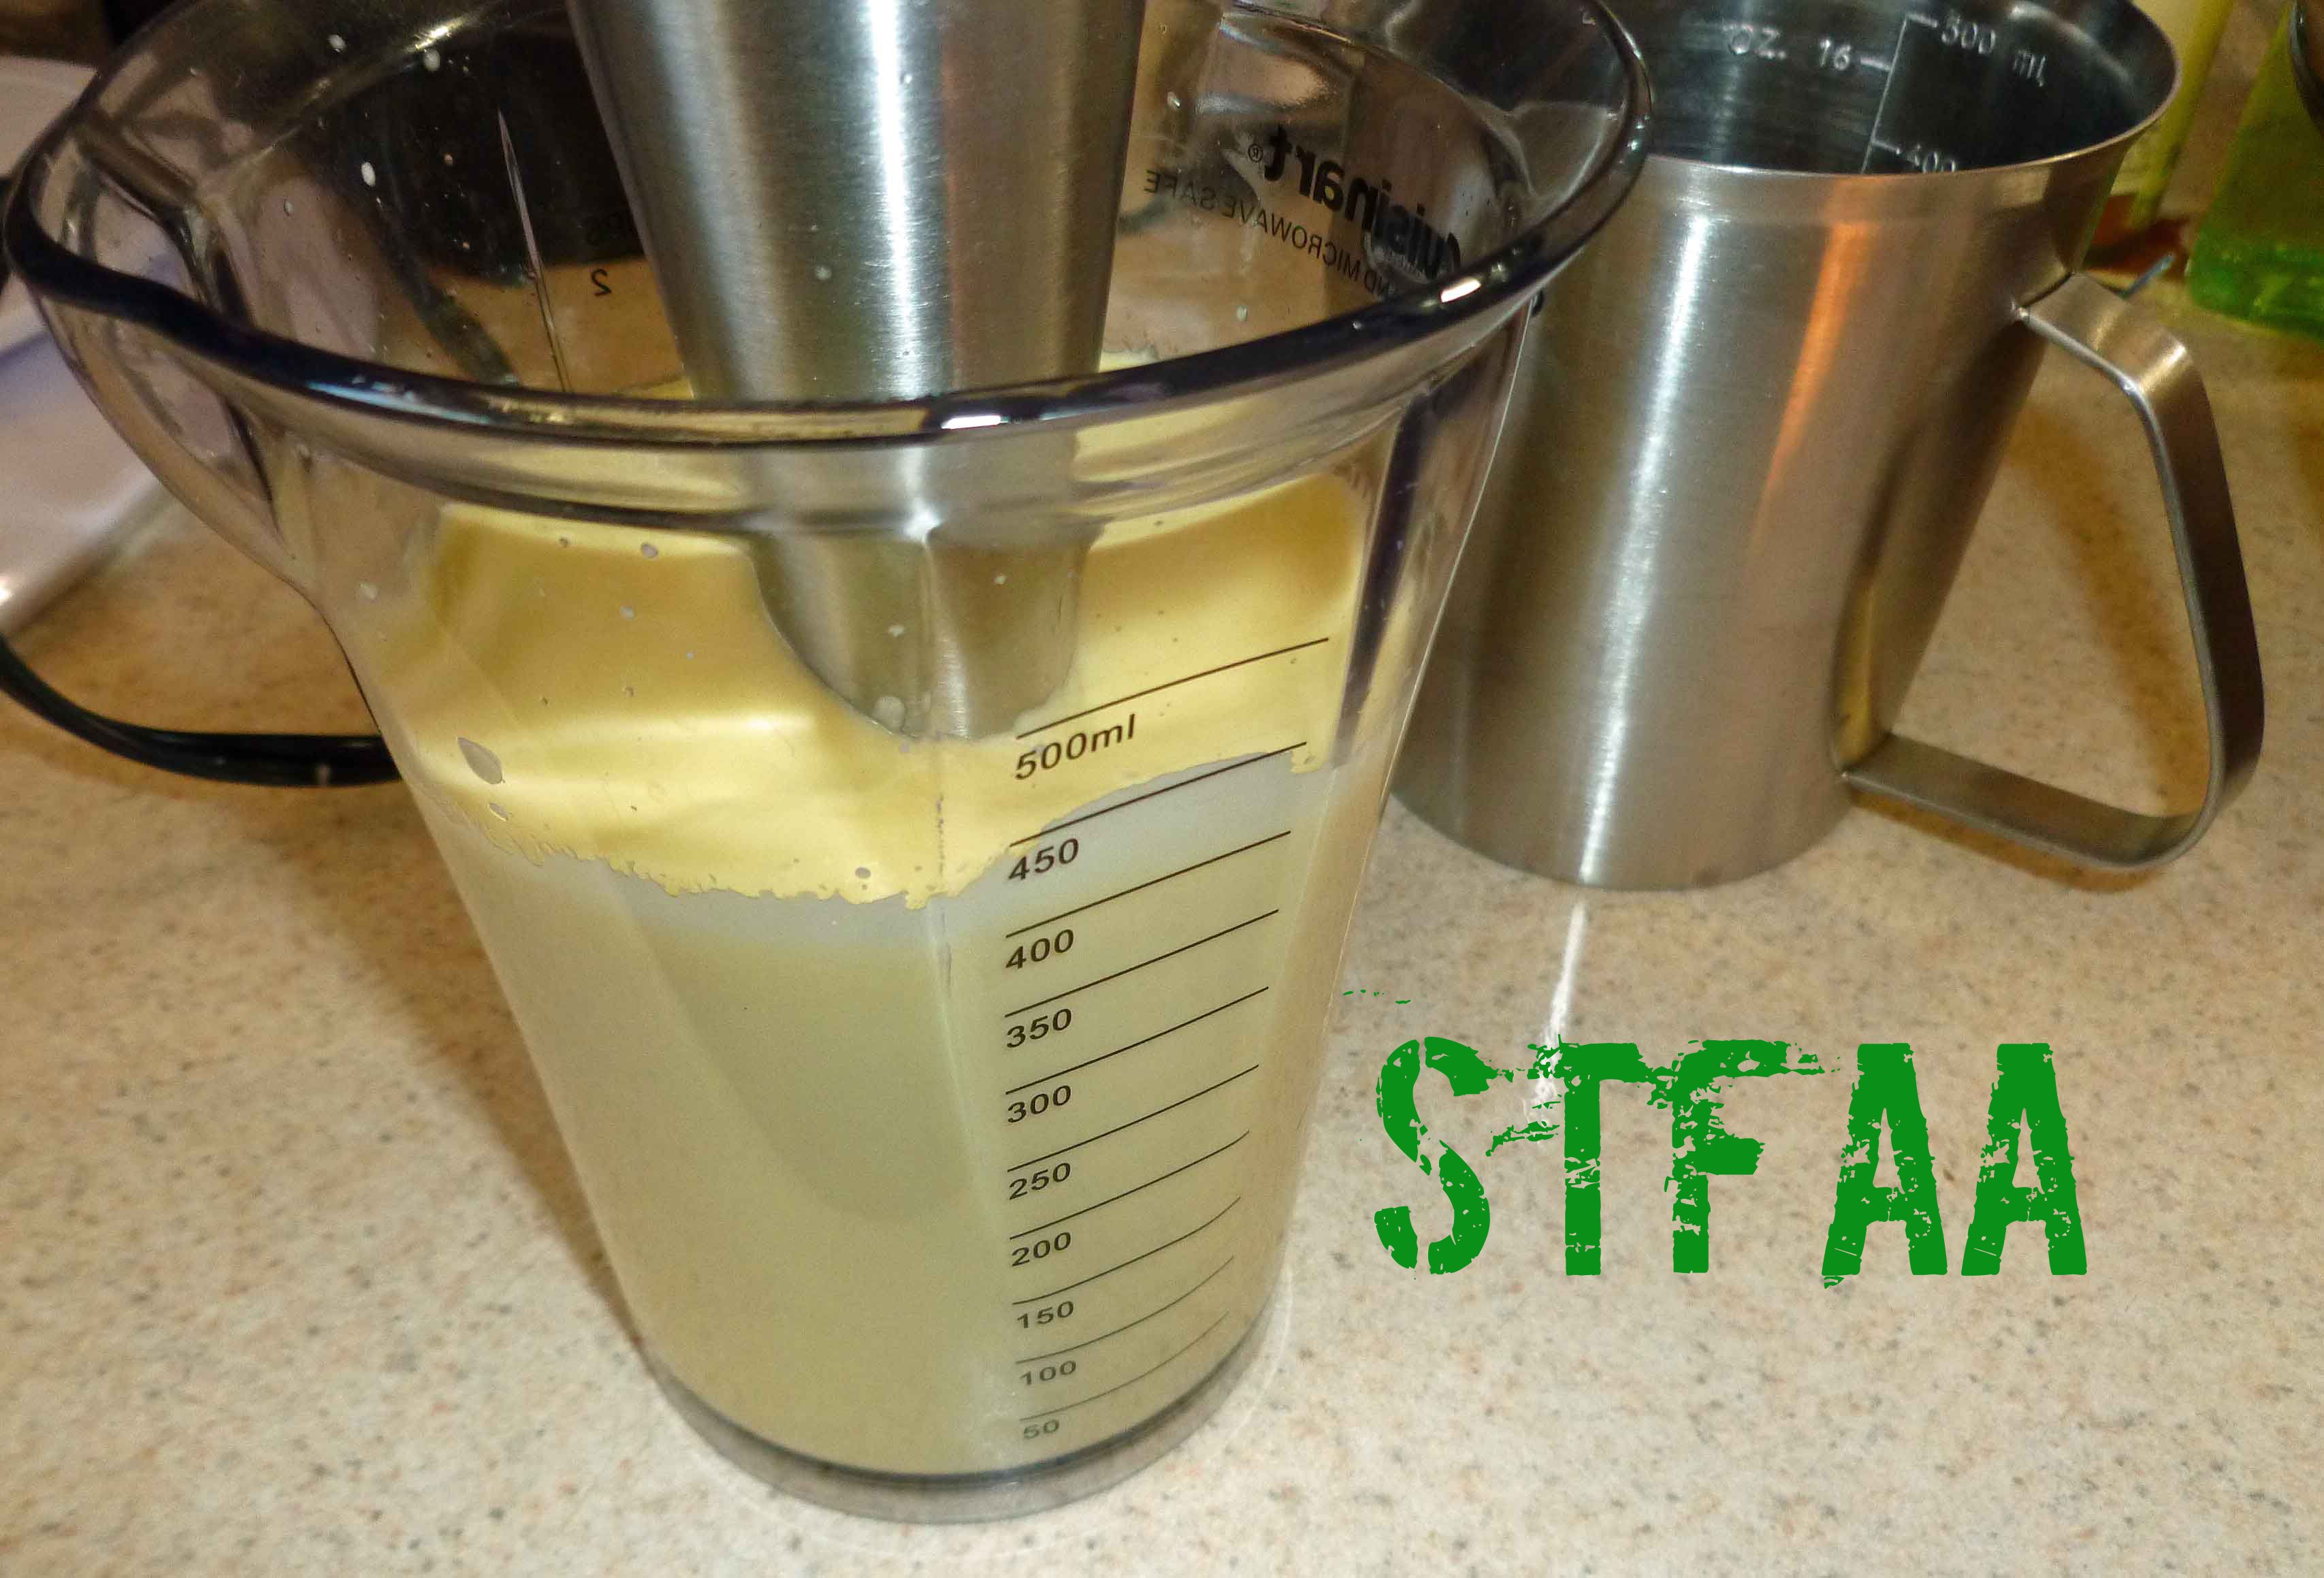
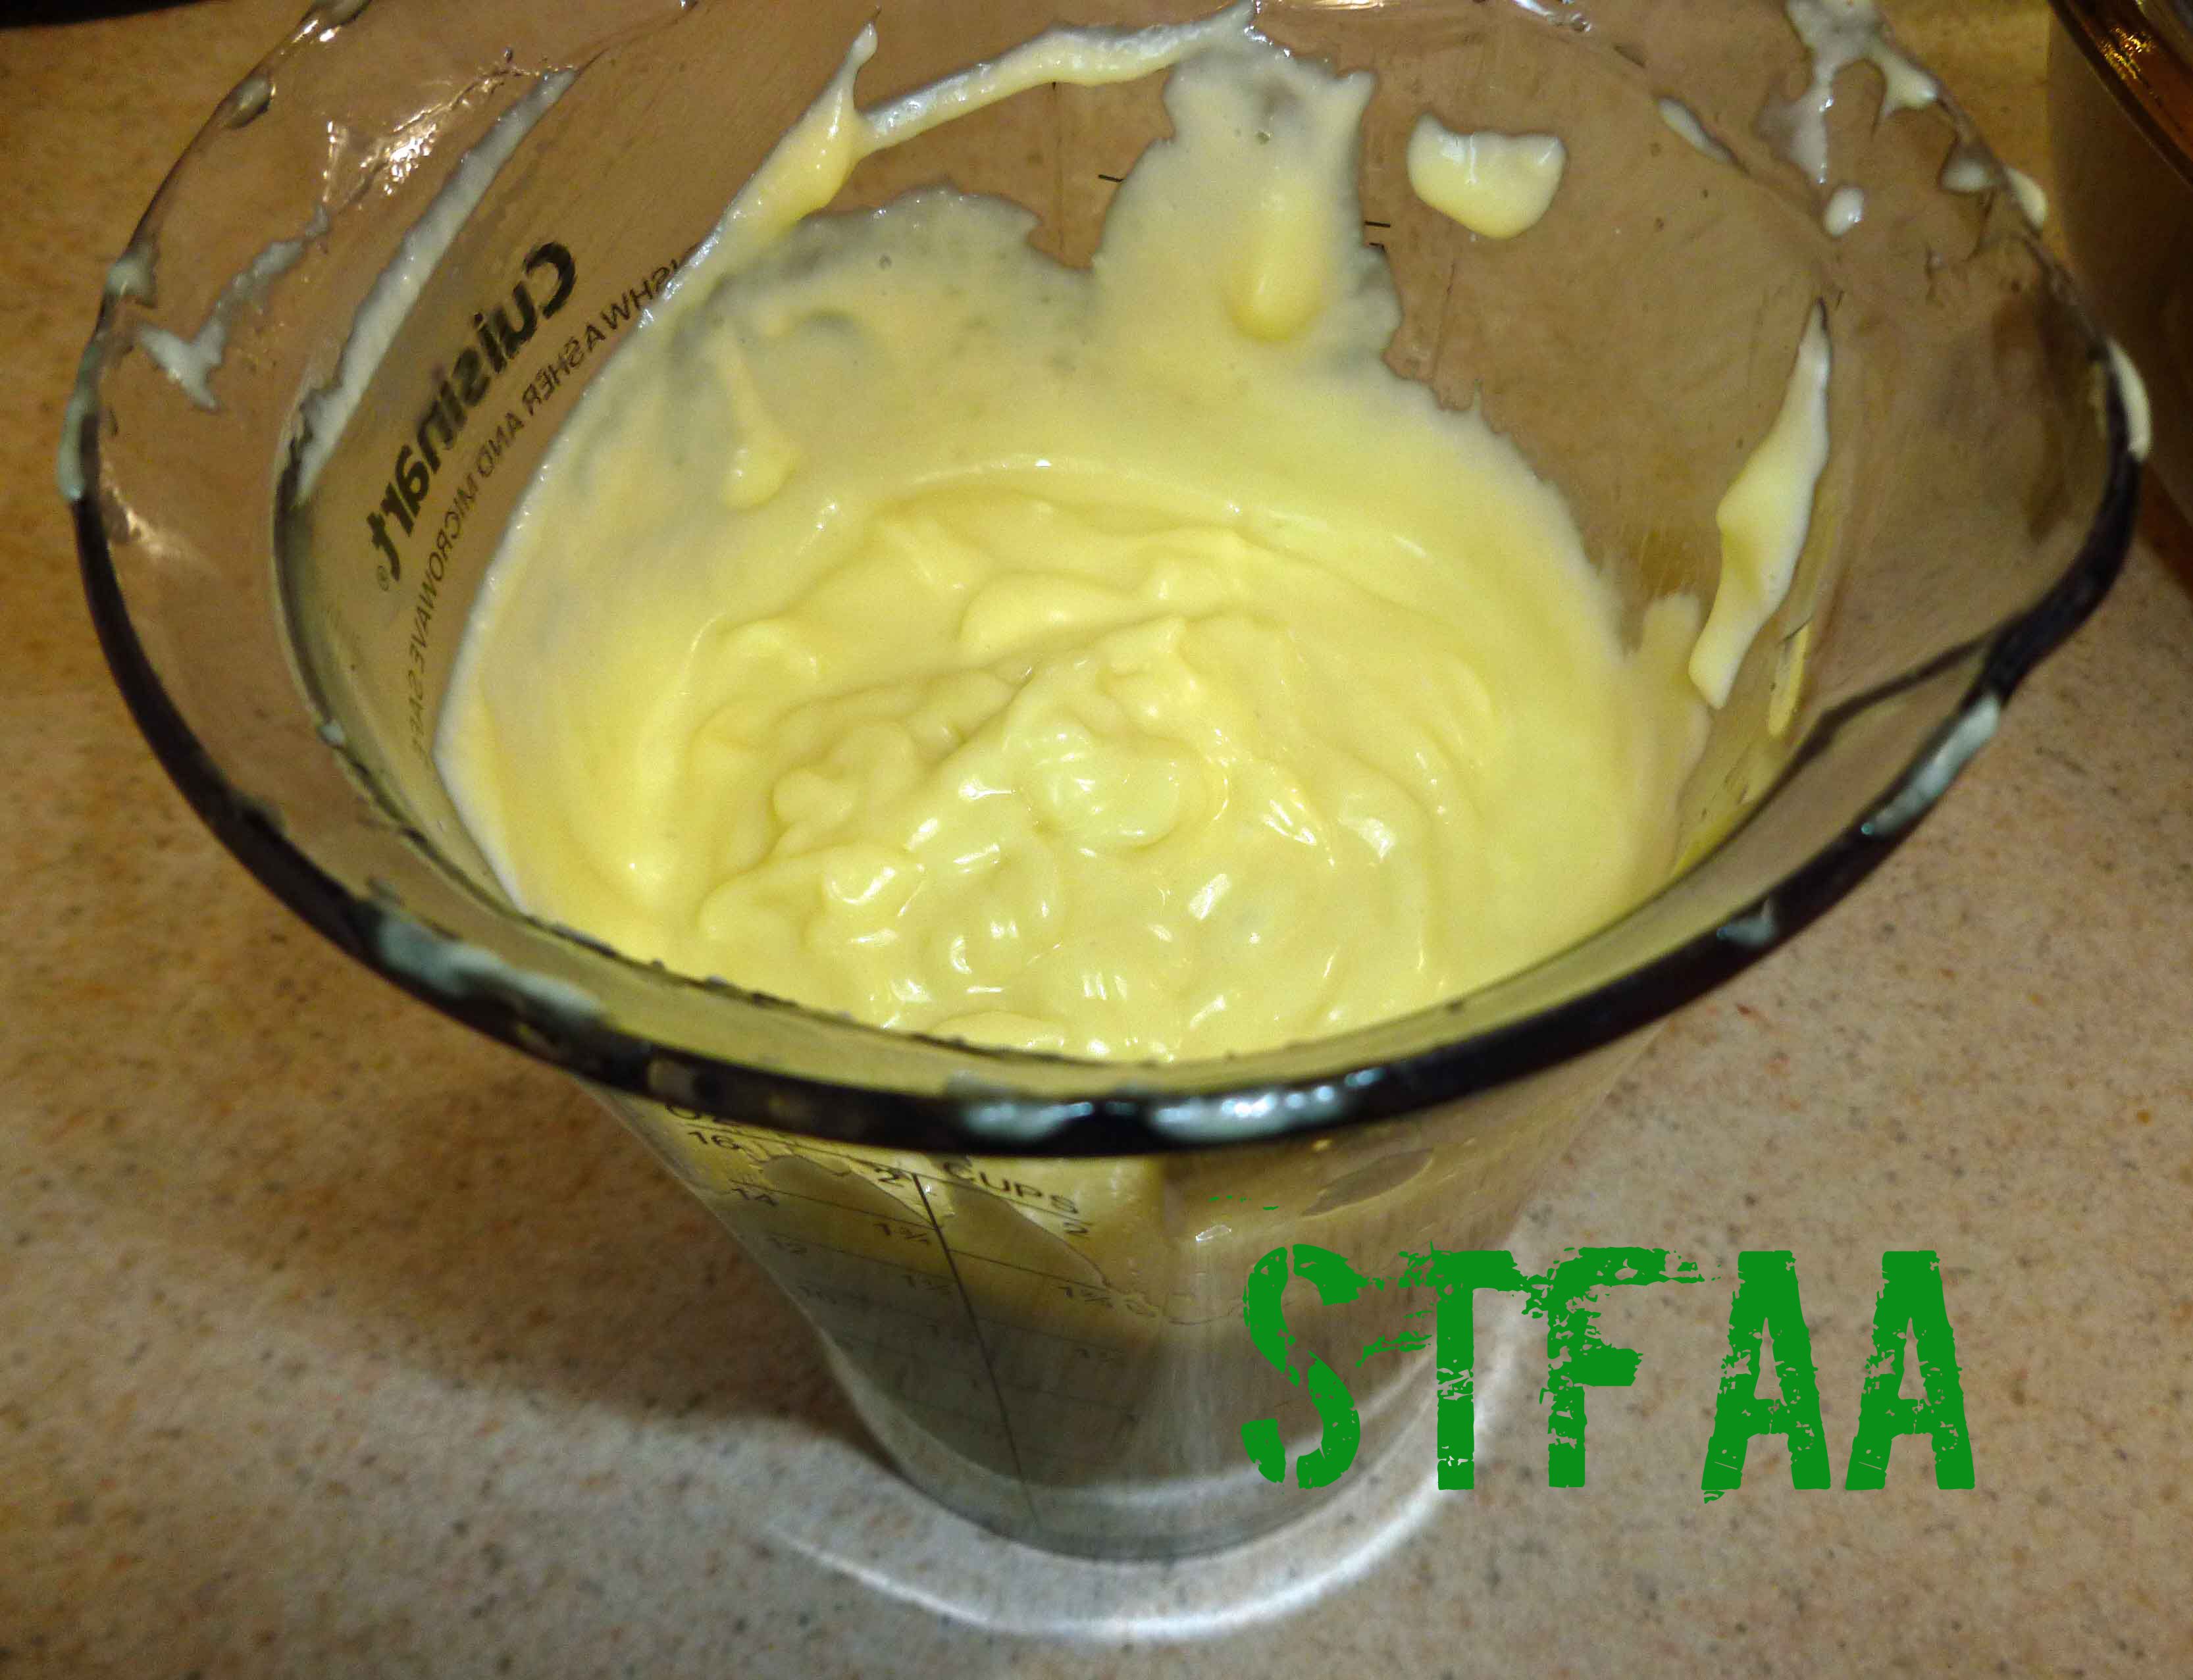
- Once the garlic is completely pureed, continue to blend, and very slowly pour olive oil into the mixture as it blends, and the mixture will thicken. Store in the refrigerator.
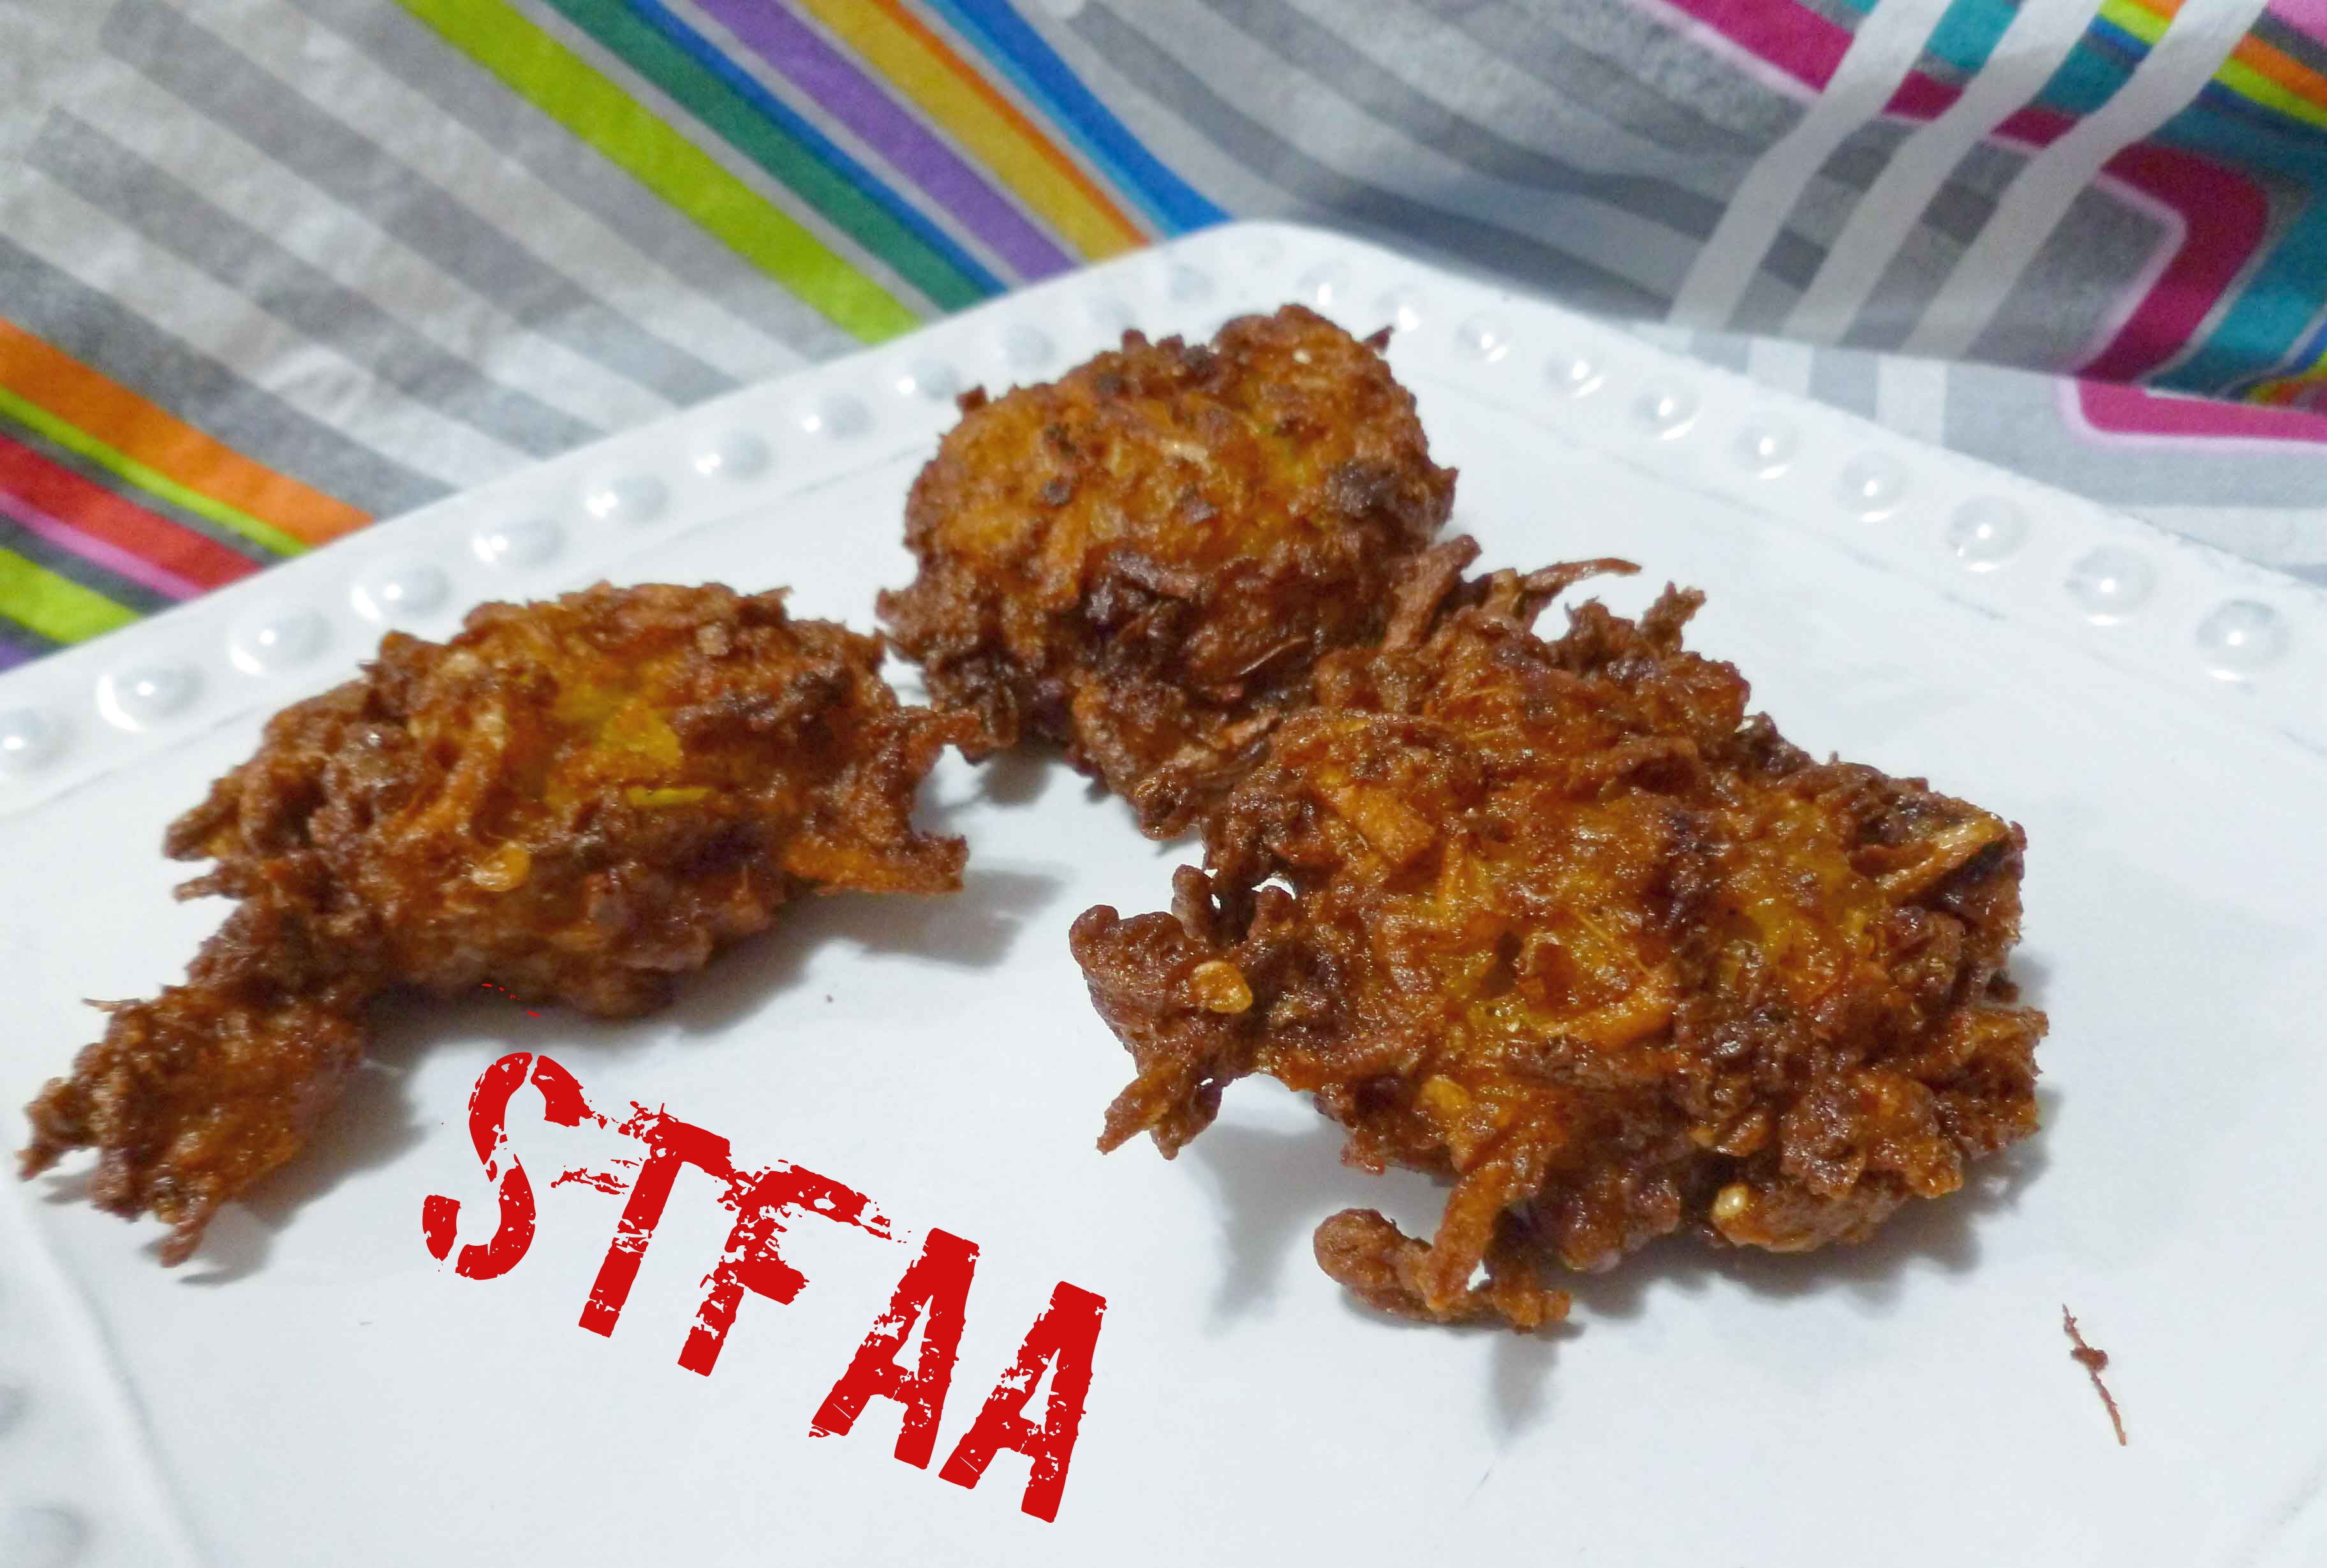
Garlic Sorghum Flatbread
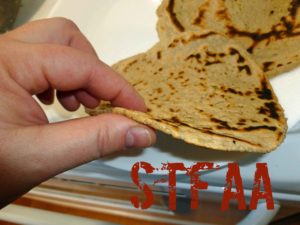
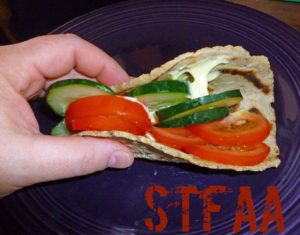
Although I’ve modified this recipe from Book of Yum a bit by adding garlic and scallions, I’ve got to give credit where credit is due. I’ve made flatbreads (or roti in Indian cuisine) from other recipes and have not been as successful. Although the recipe is very simple, the technique of cooking half the flour with water is what makes the resulting flatbread nicely pliable. I was able to make them very thin and wrap them around some veggies without them breaking. Plus they were really awesome just dipped in the toum sauce by themselves.
")
- 2 cups sorghum flour
- 2 cups water
- 1 teaspoon salt
- 6-8 cloves garlic or 1 clove of elephant garlic
- 2 scallions
- roux whisk (helpful to have)
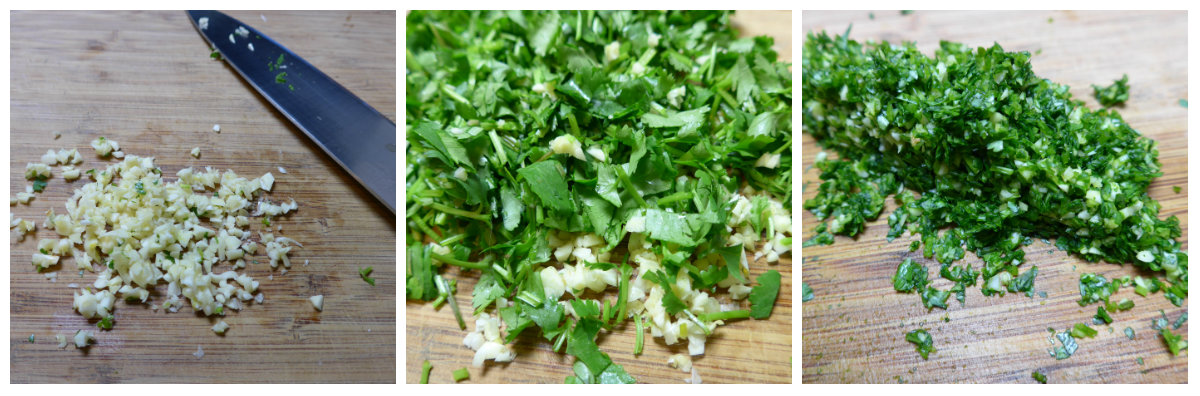
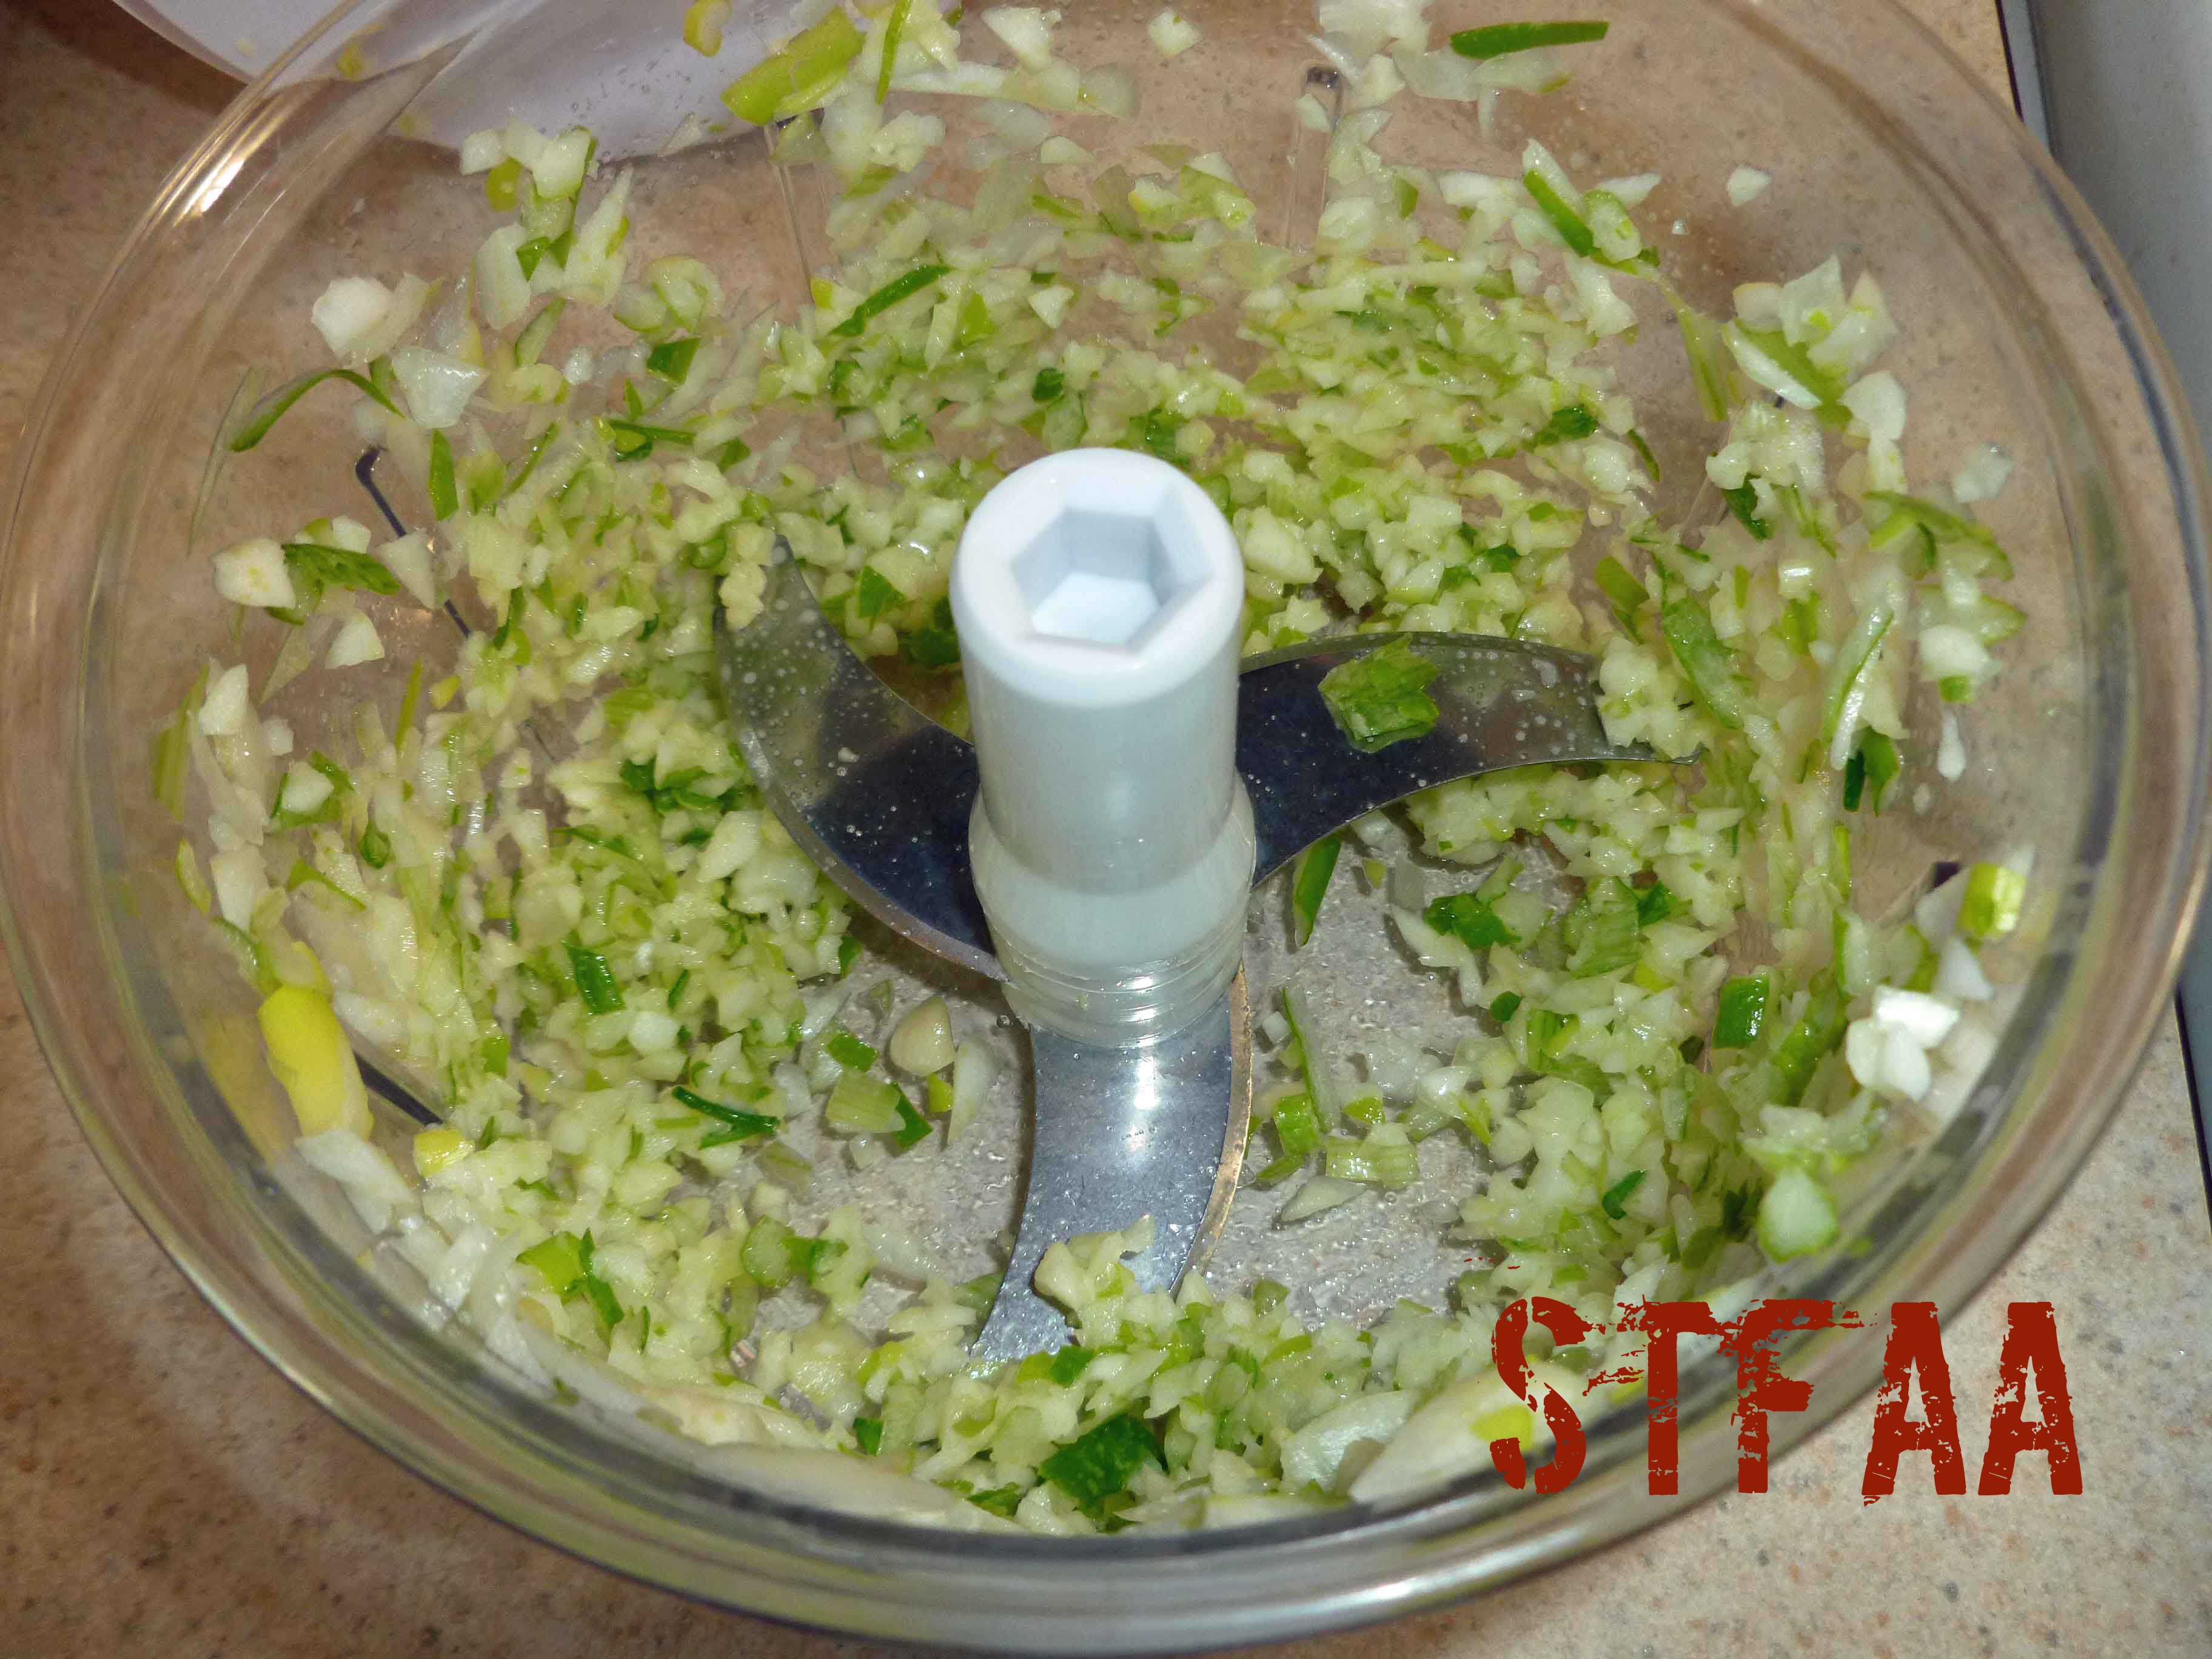
- Peel and trim your garlic. Trim the ends of the scallions and any wilted bits of green. Chop garlic and scallions very finely, you want very small pieces but not a paste. I used a manual food processor but you can do it with a knife.
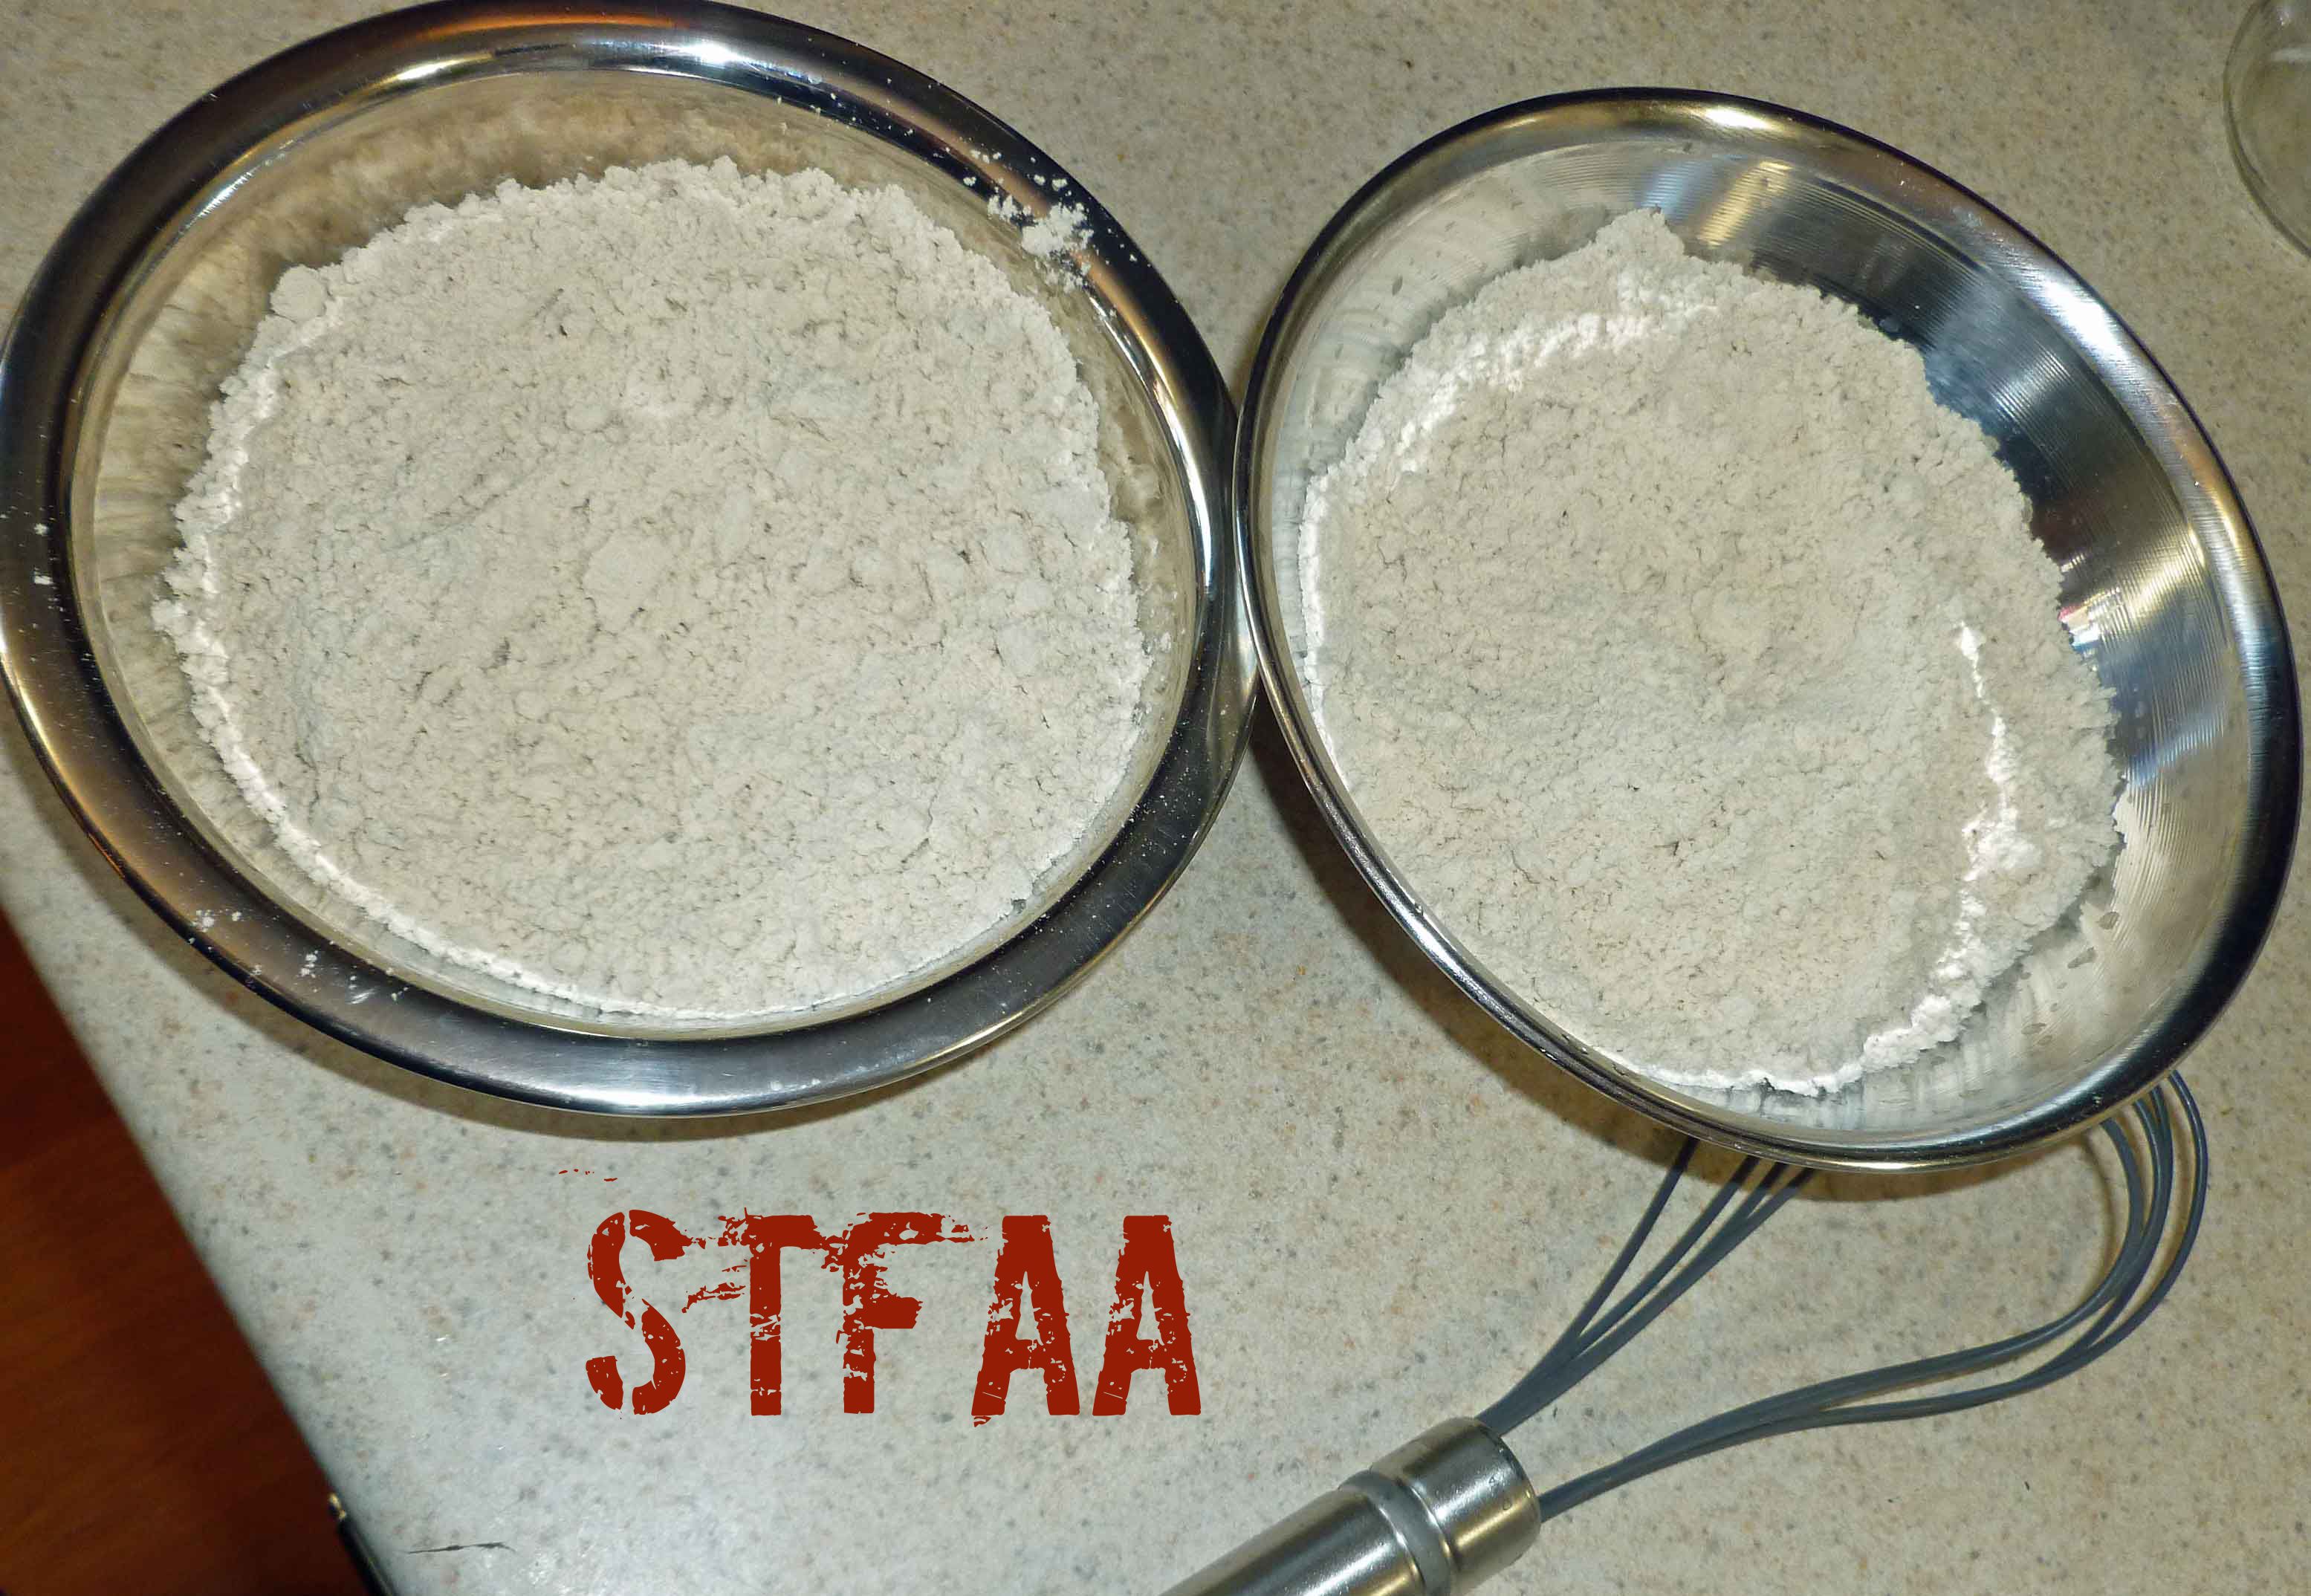
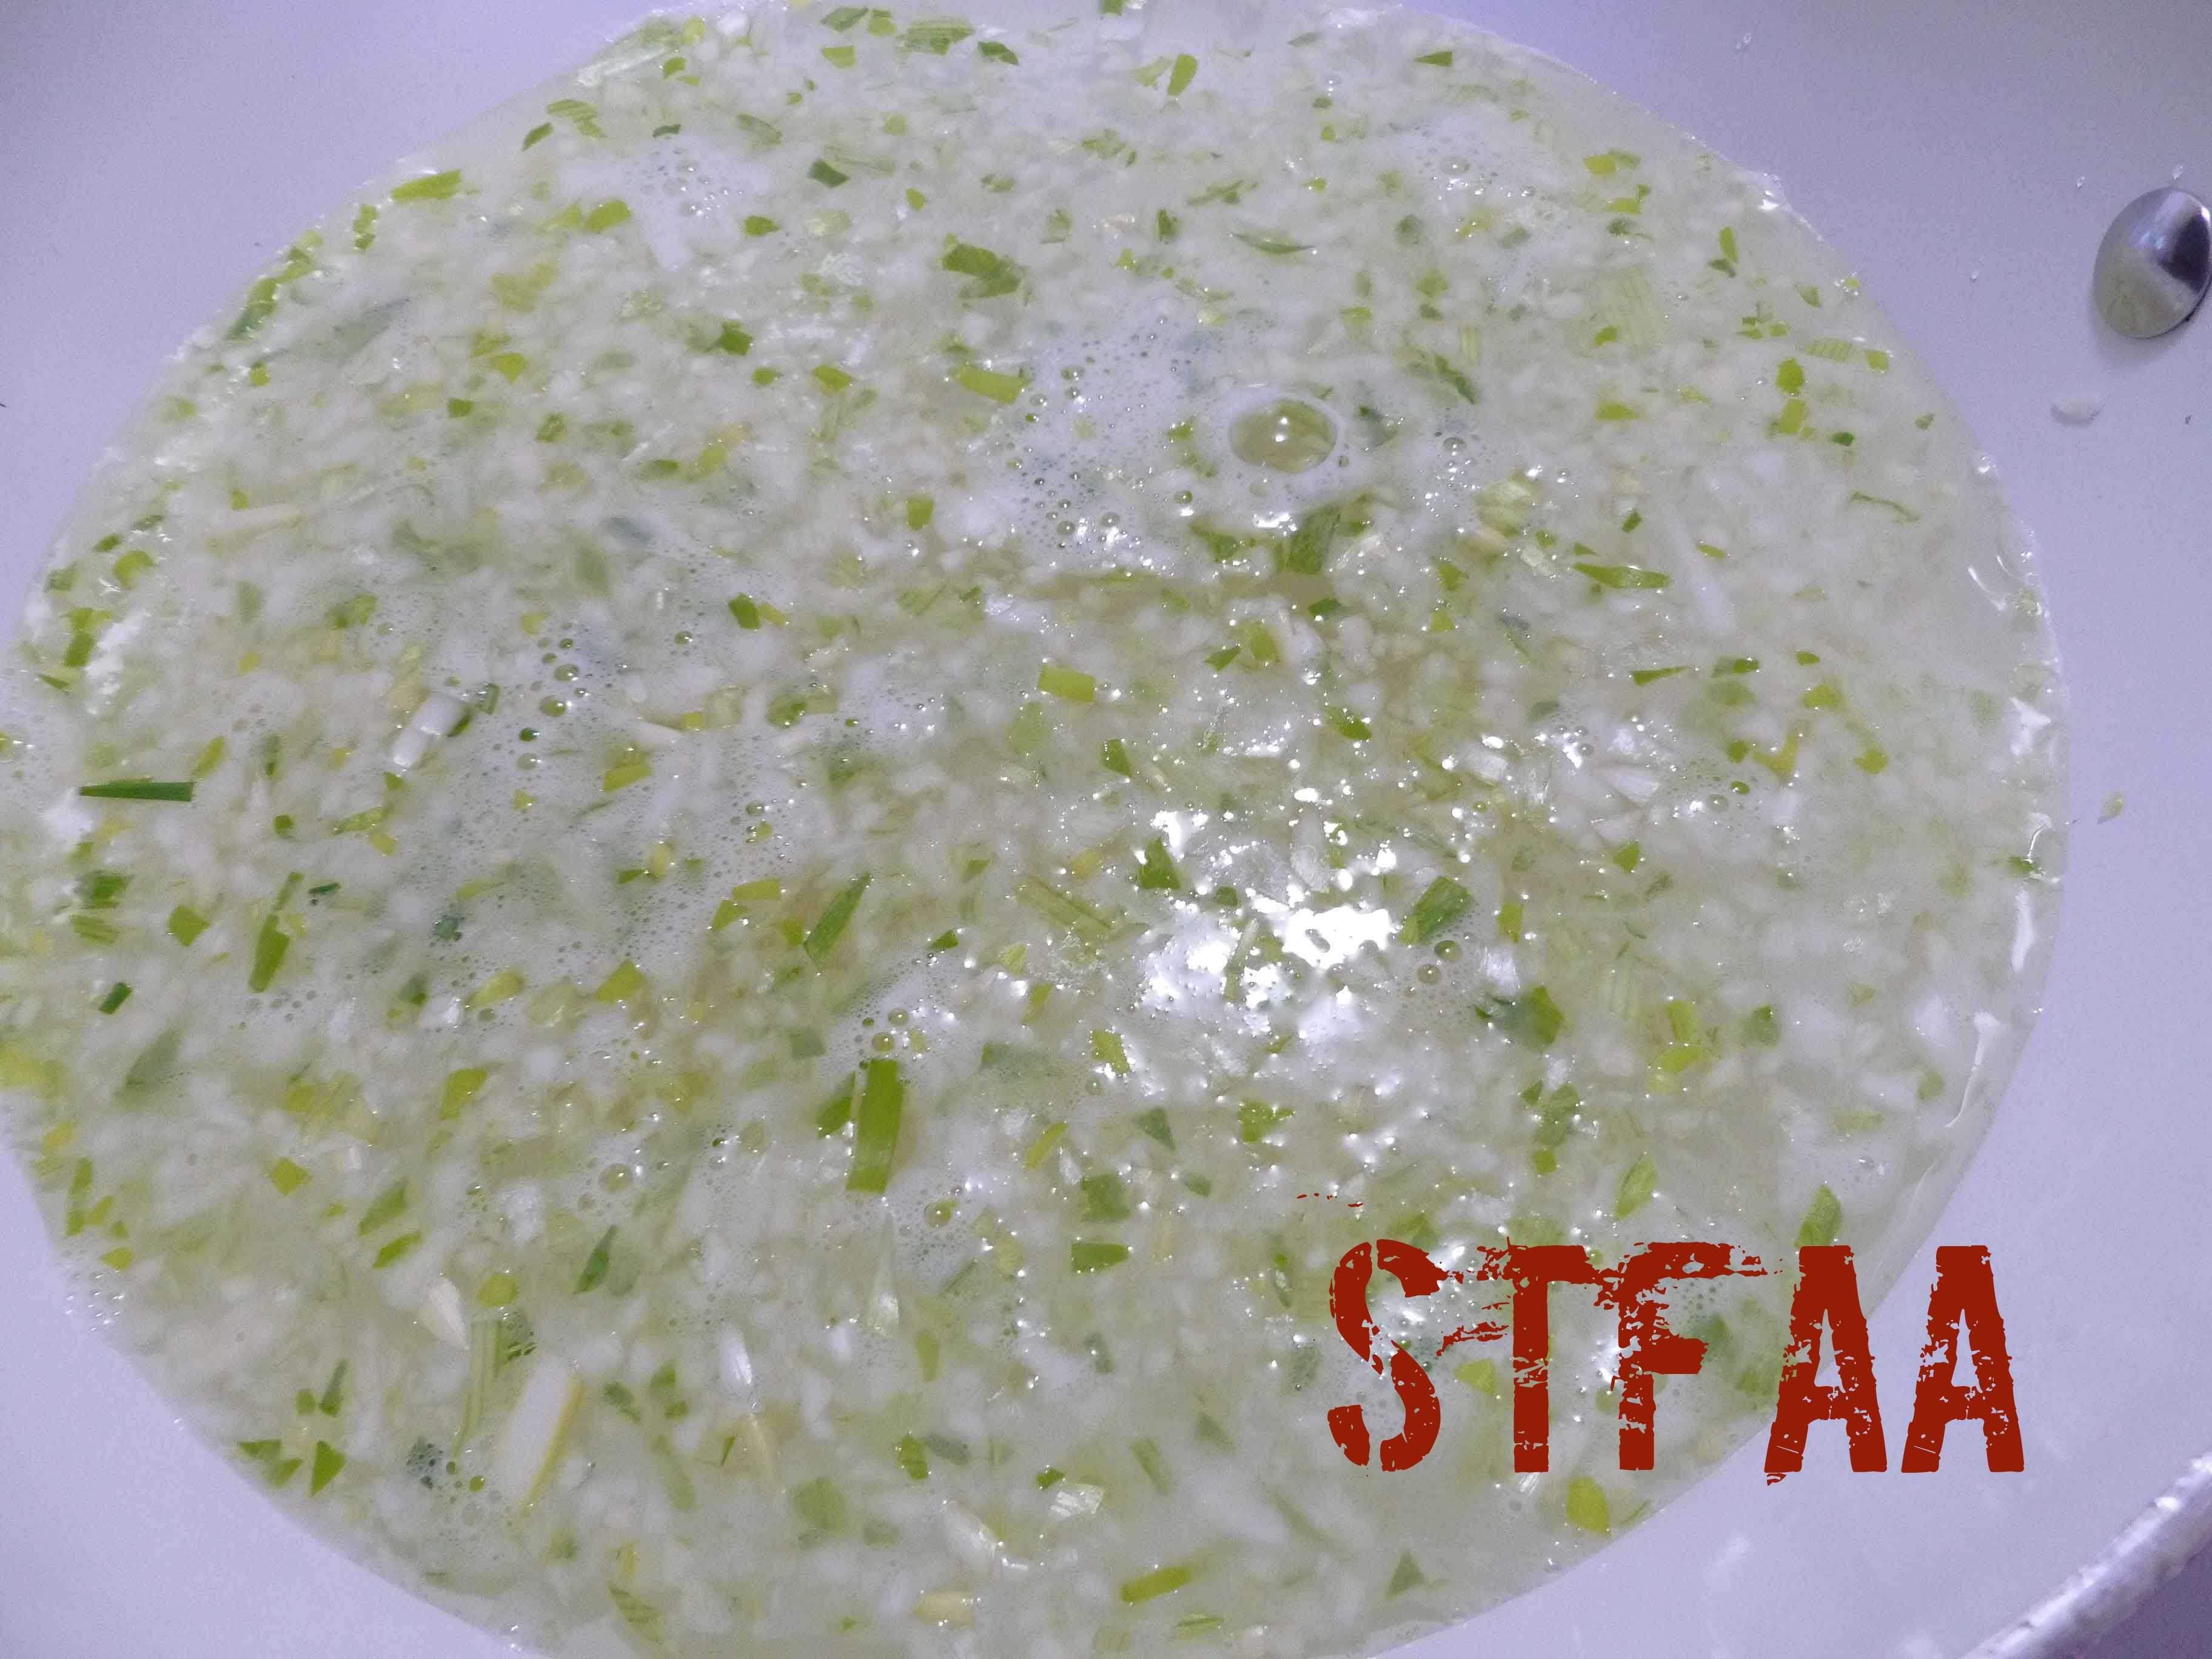
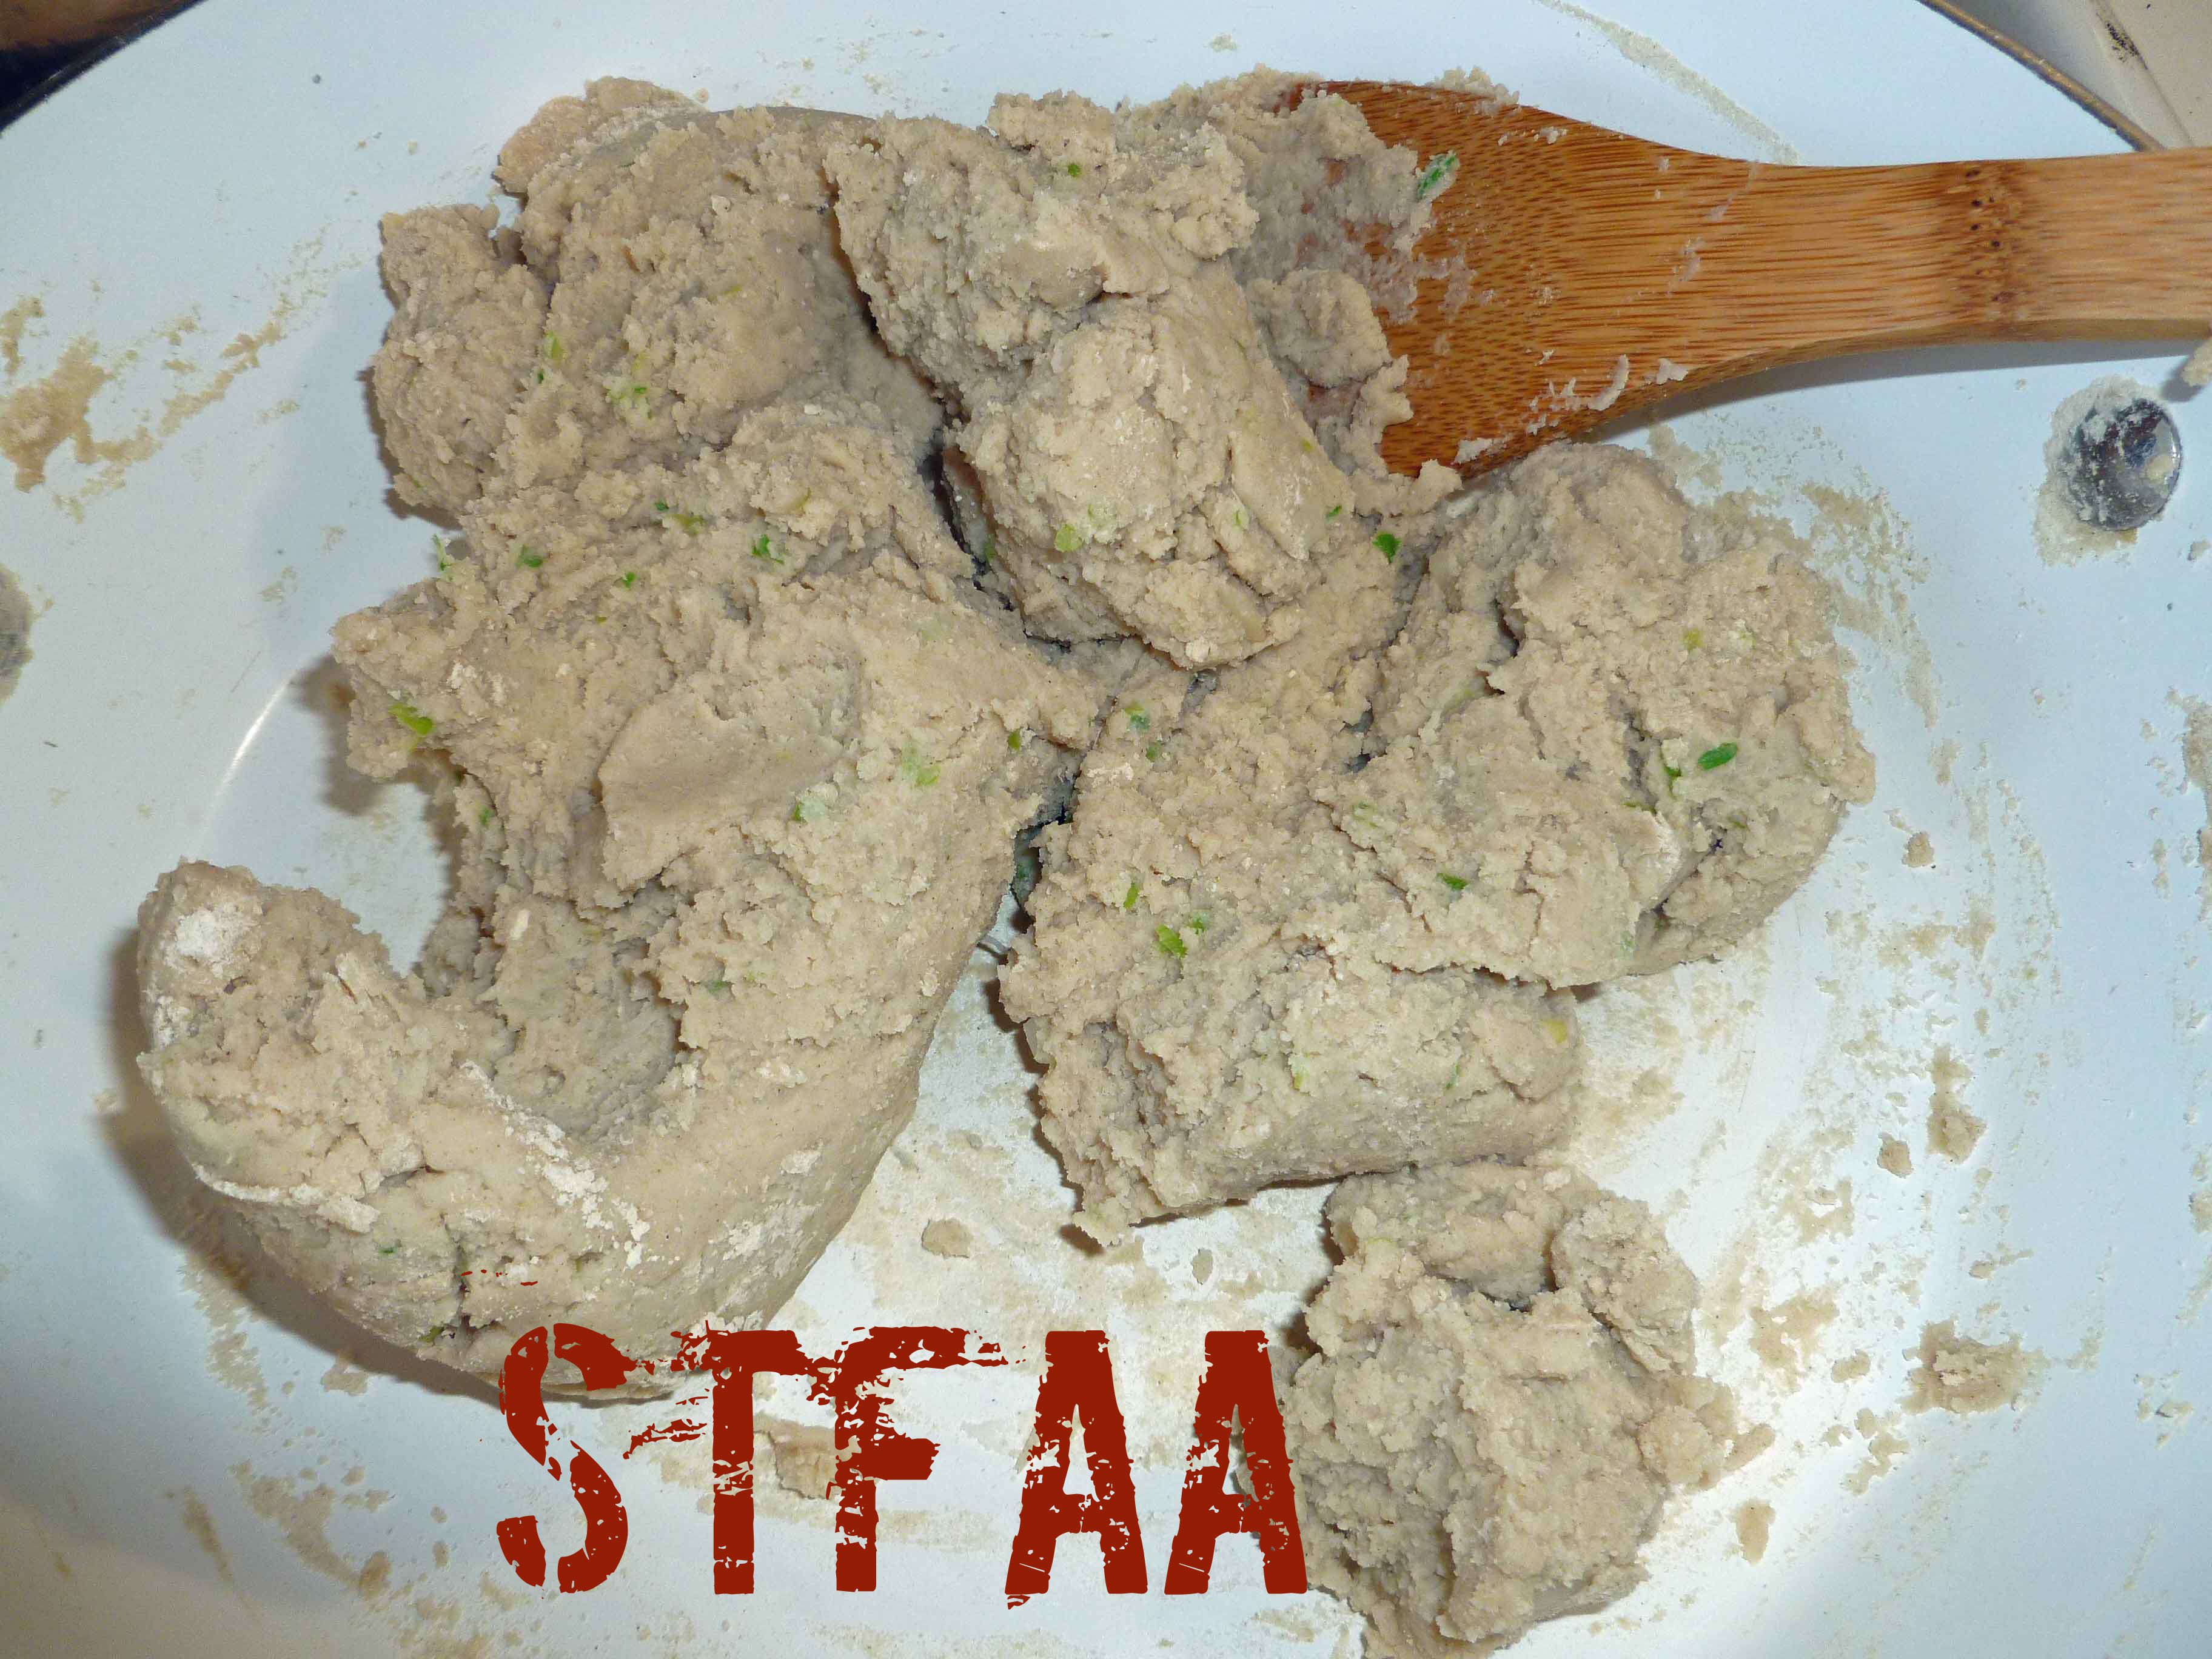
- Measure place one cup of the sorghum flour in two bowls, so that the flour is divided to add as needed. In a sauce pan or deep skillet, add the garlic and scallions, salt, and two cups of water. Bring the water to just below a boil in the pan, and add one cup of the flour to the water in a slow stream, using the roux whisk to blend in the flour.
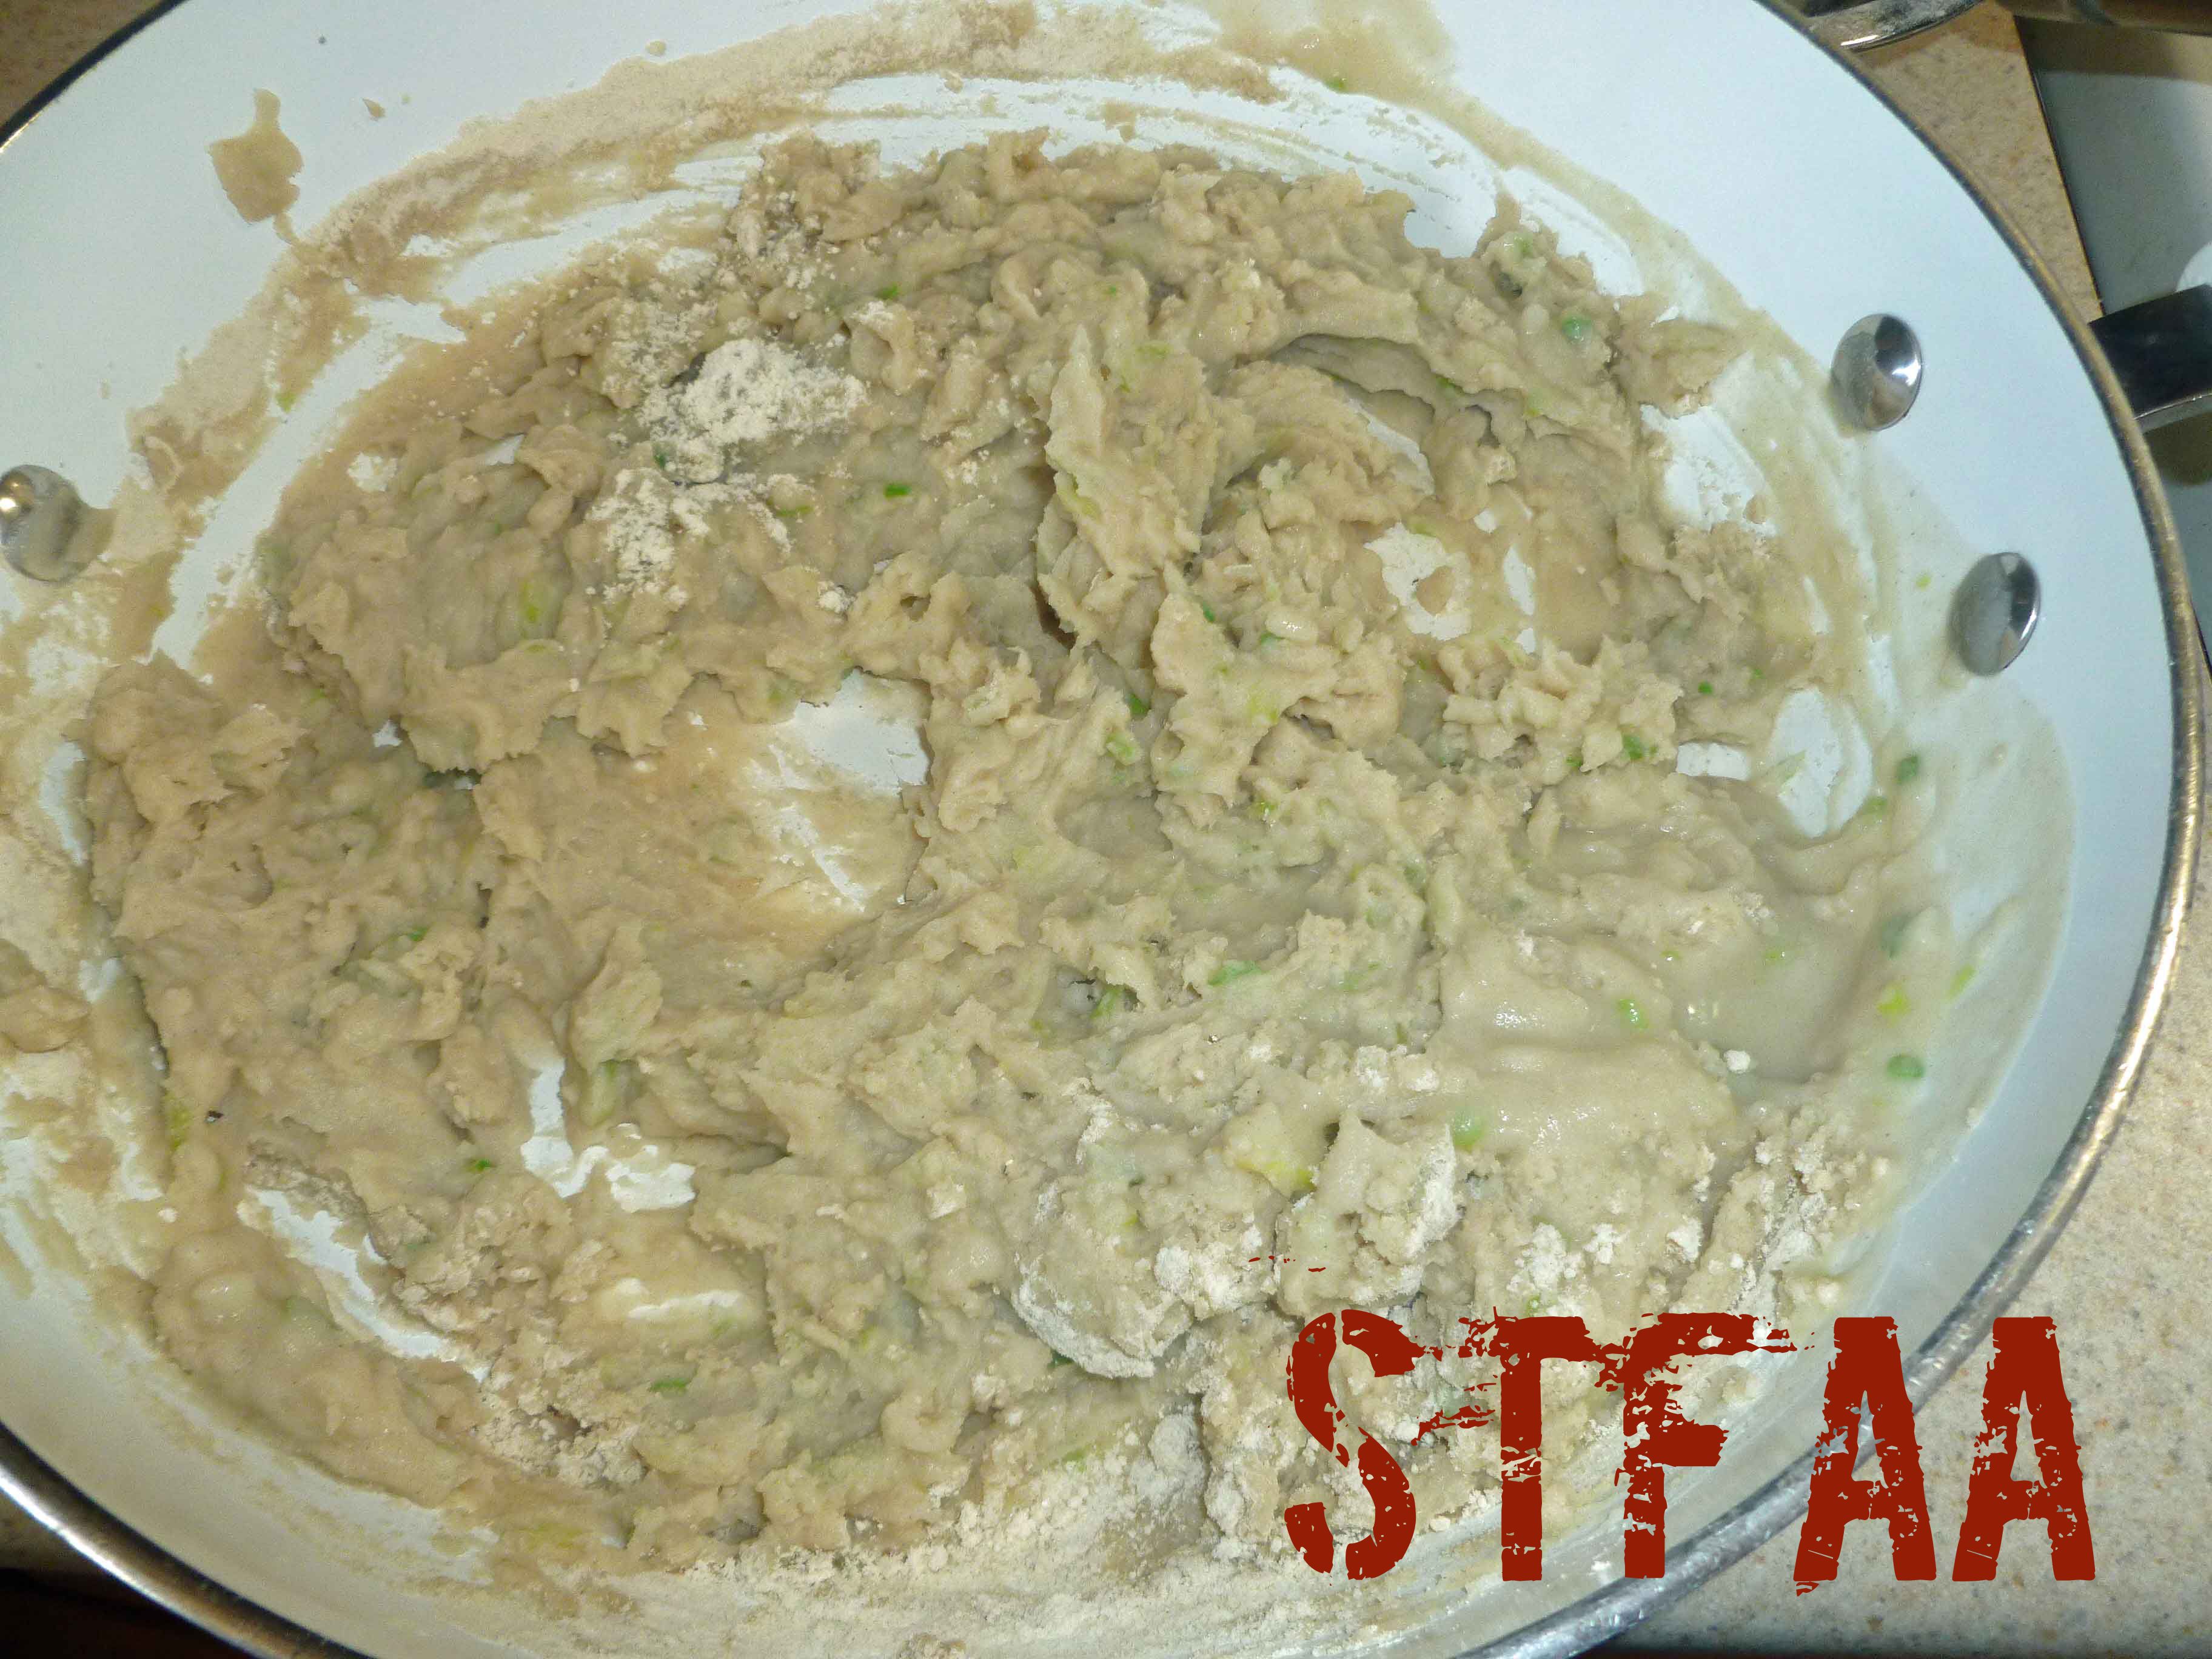
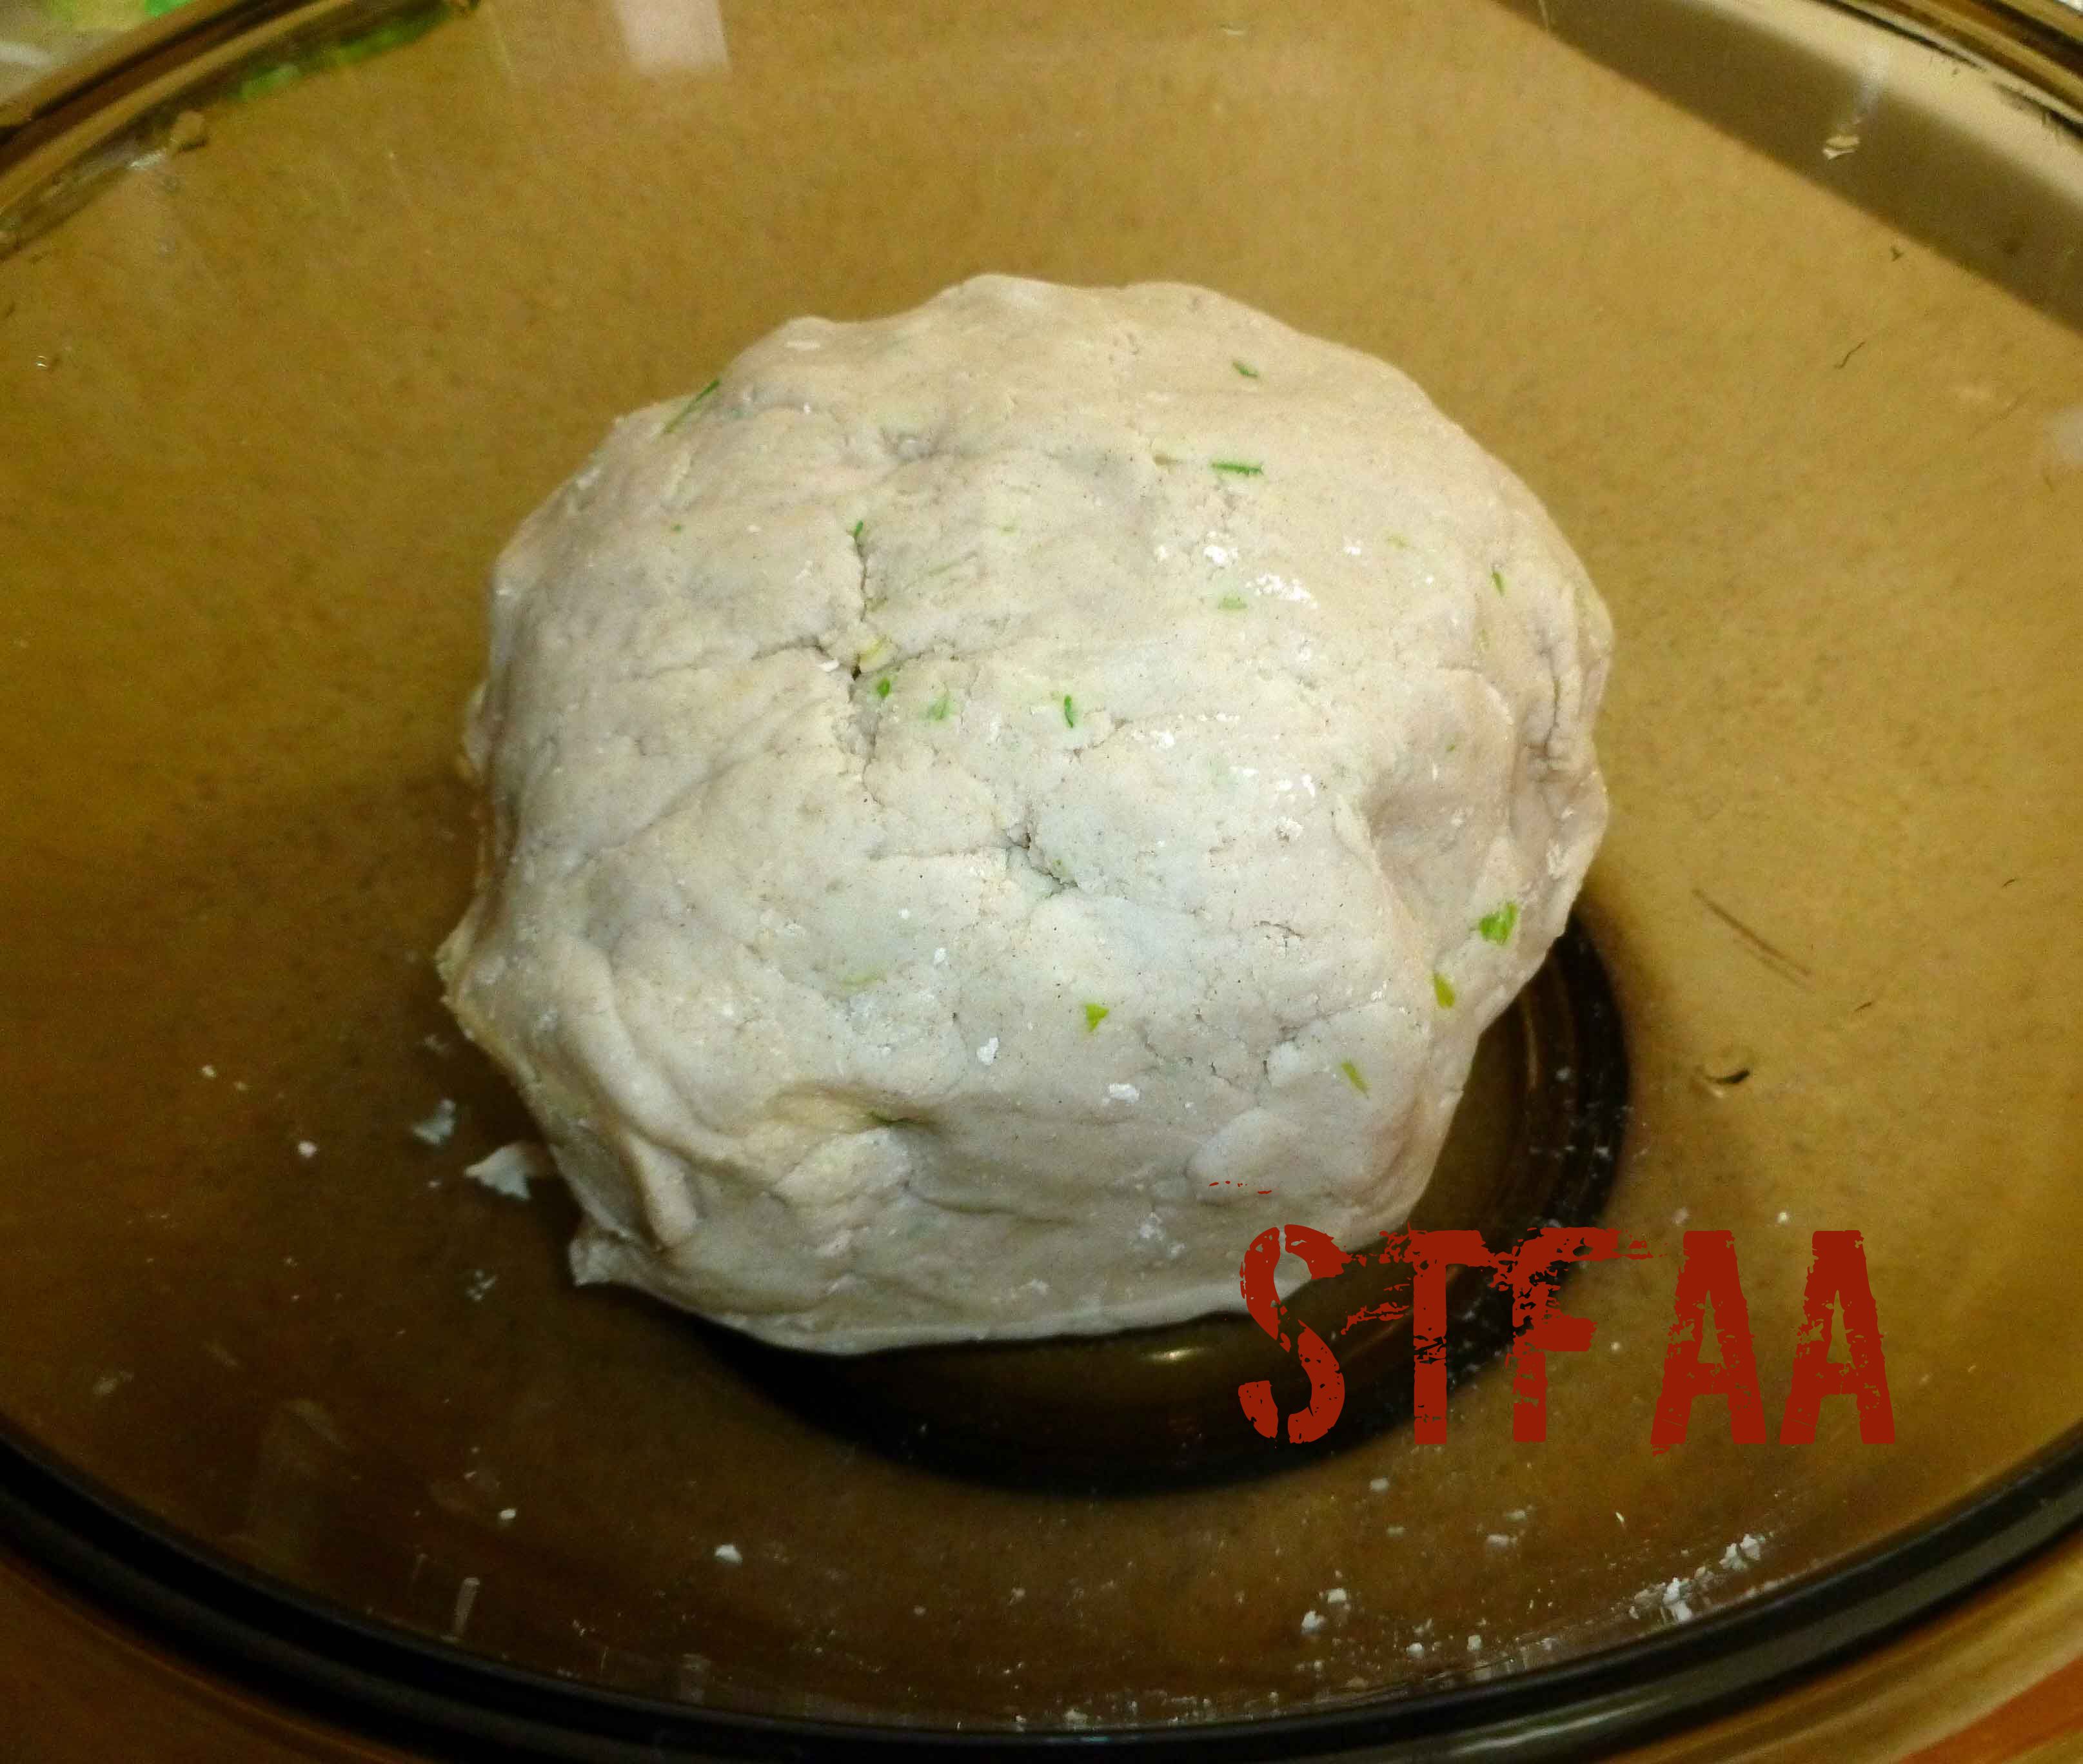
- Reduce the heat to low. Using a wooden spoon, stir the other cup of flour into the pan, until it forms a dough ball. Keep stirring and mixing until the dough forms a rubbery texture. Remove the dough and place in a heat safe bowl. Let the dough rest for 10-15 minutes or until it is cool enough to touch.
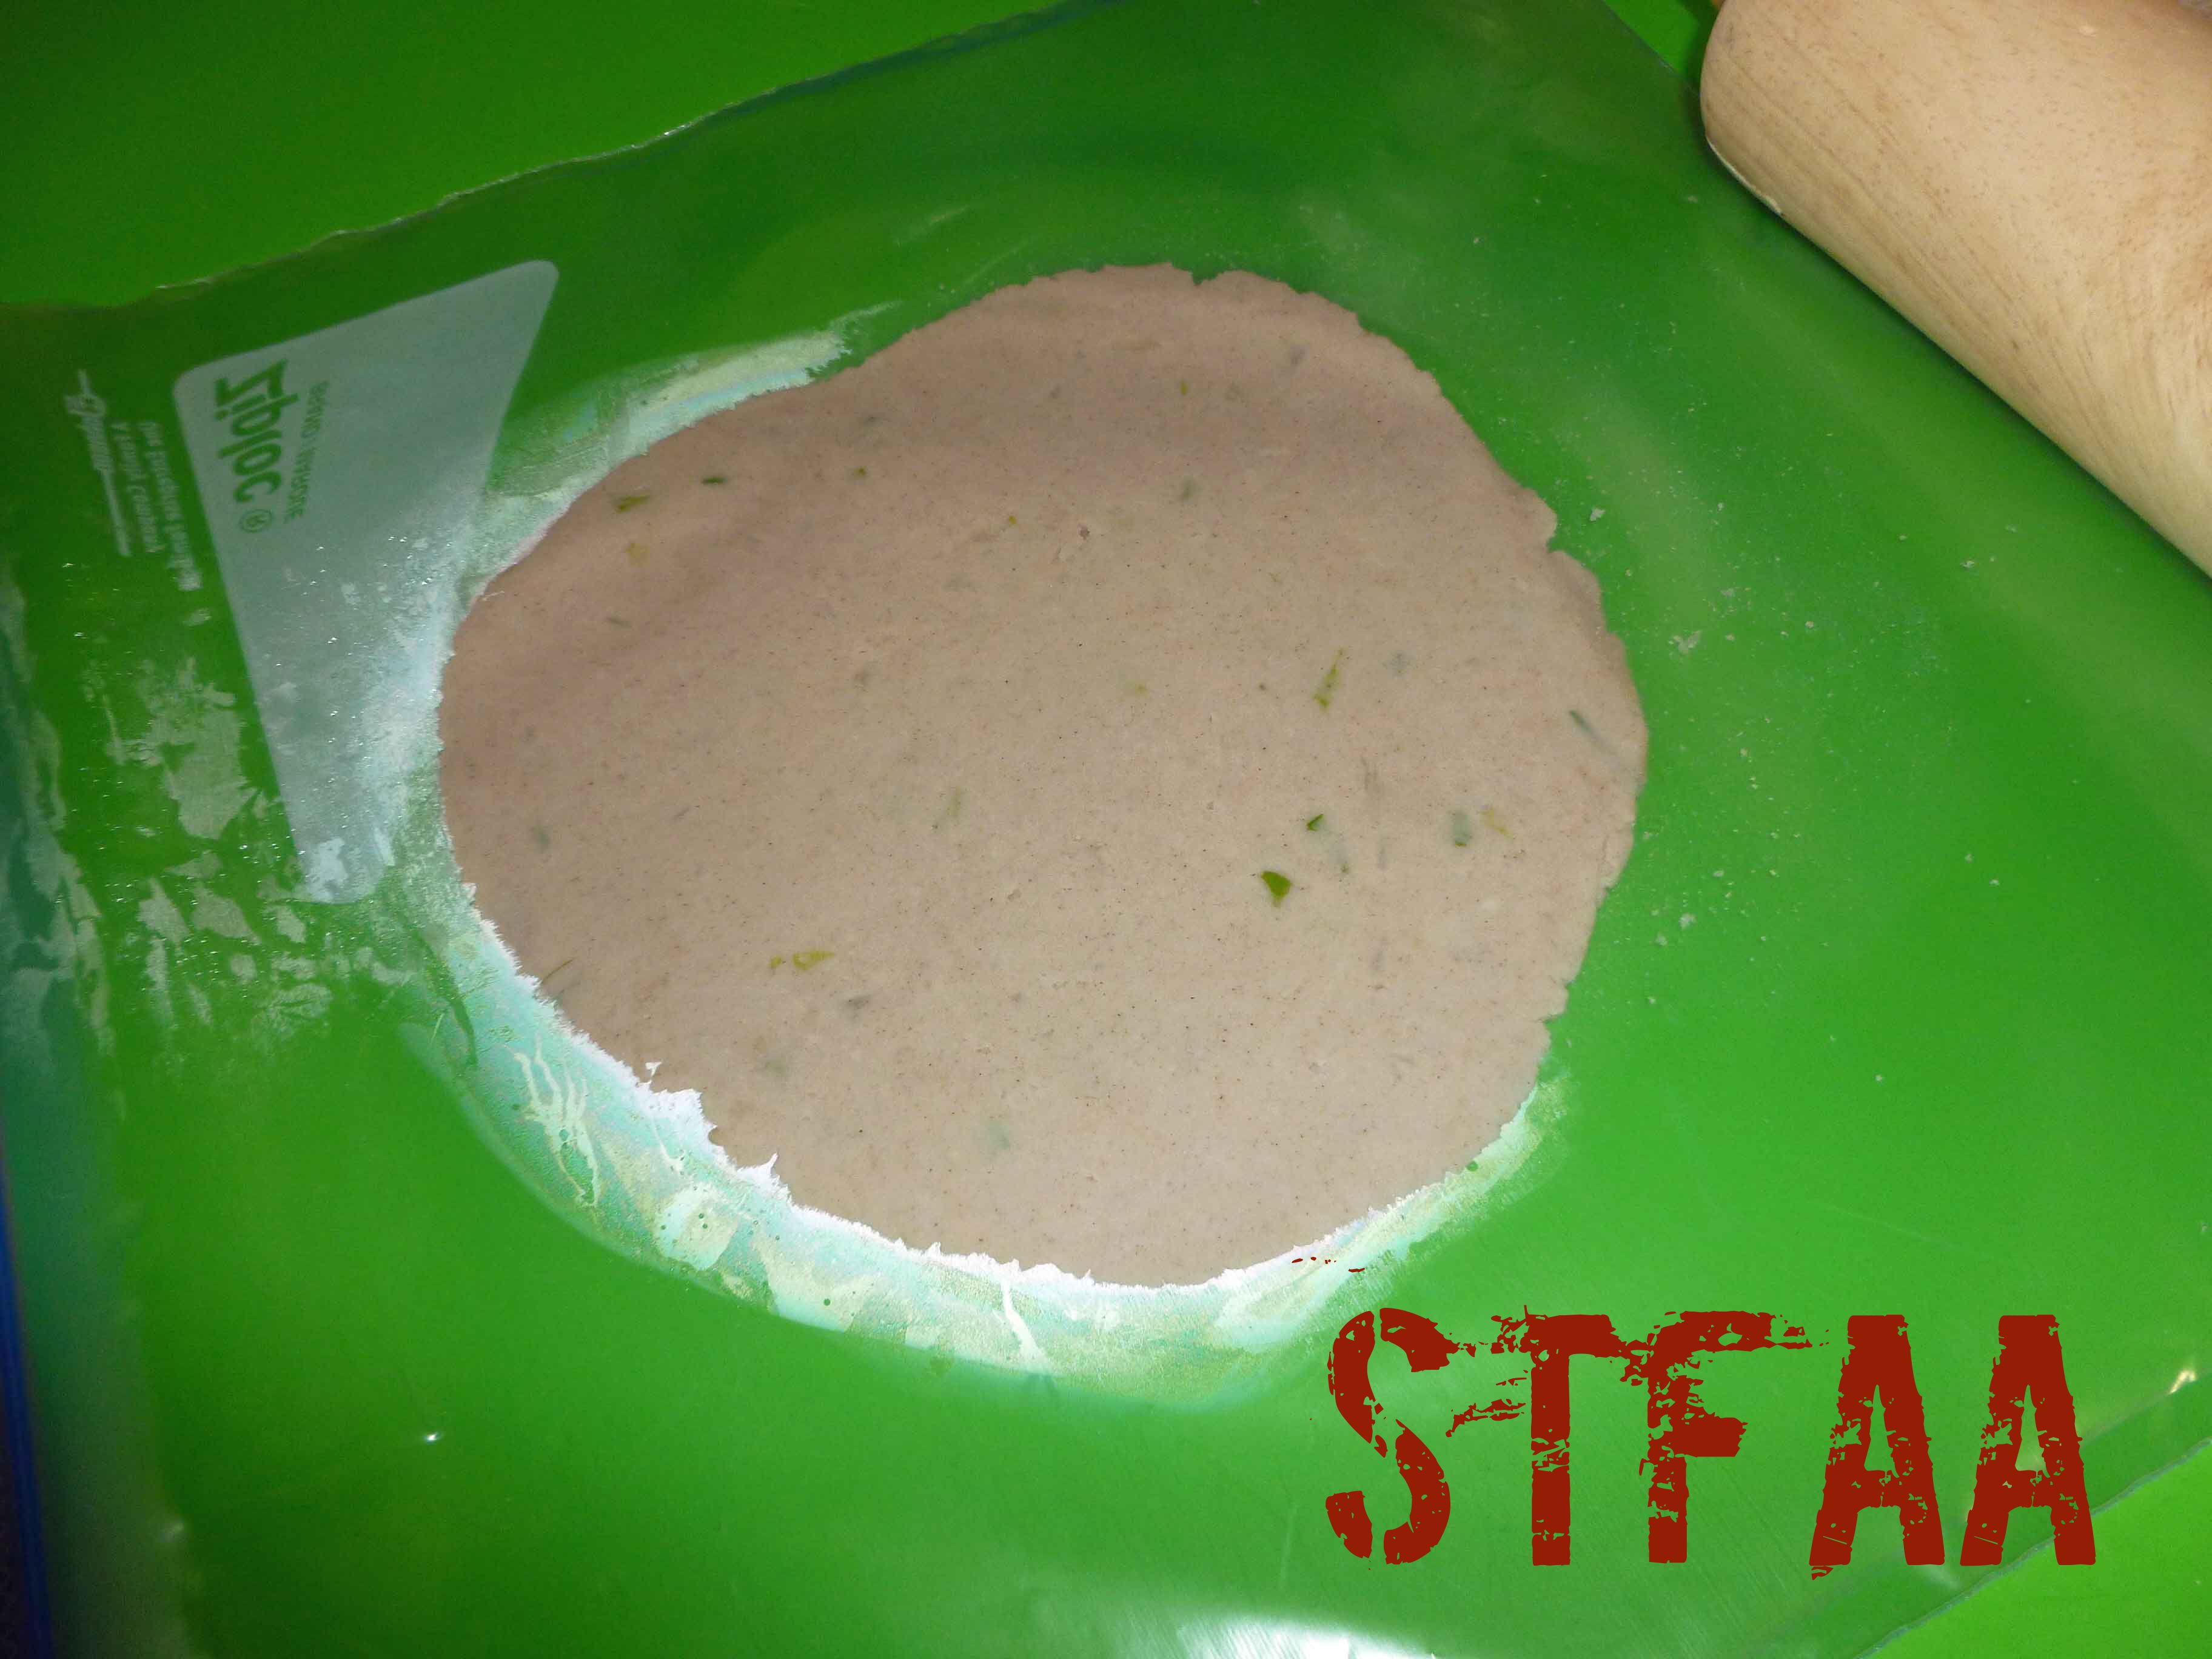
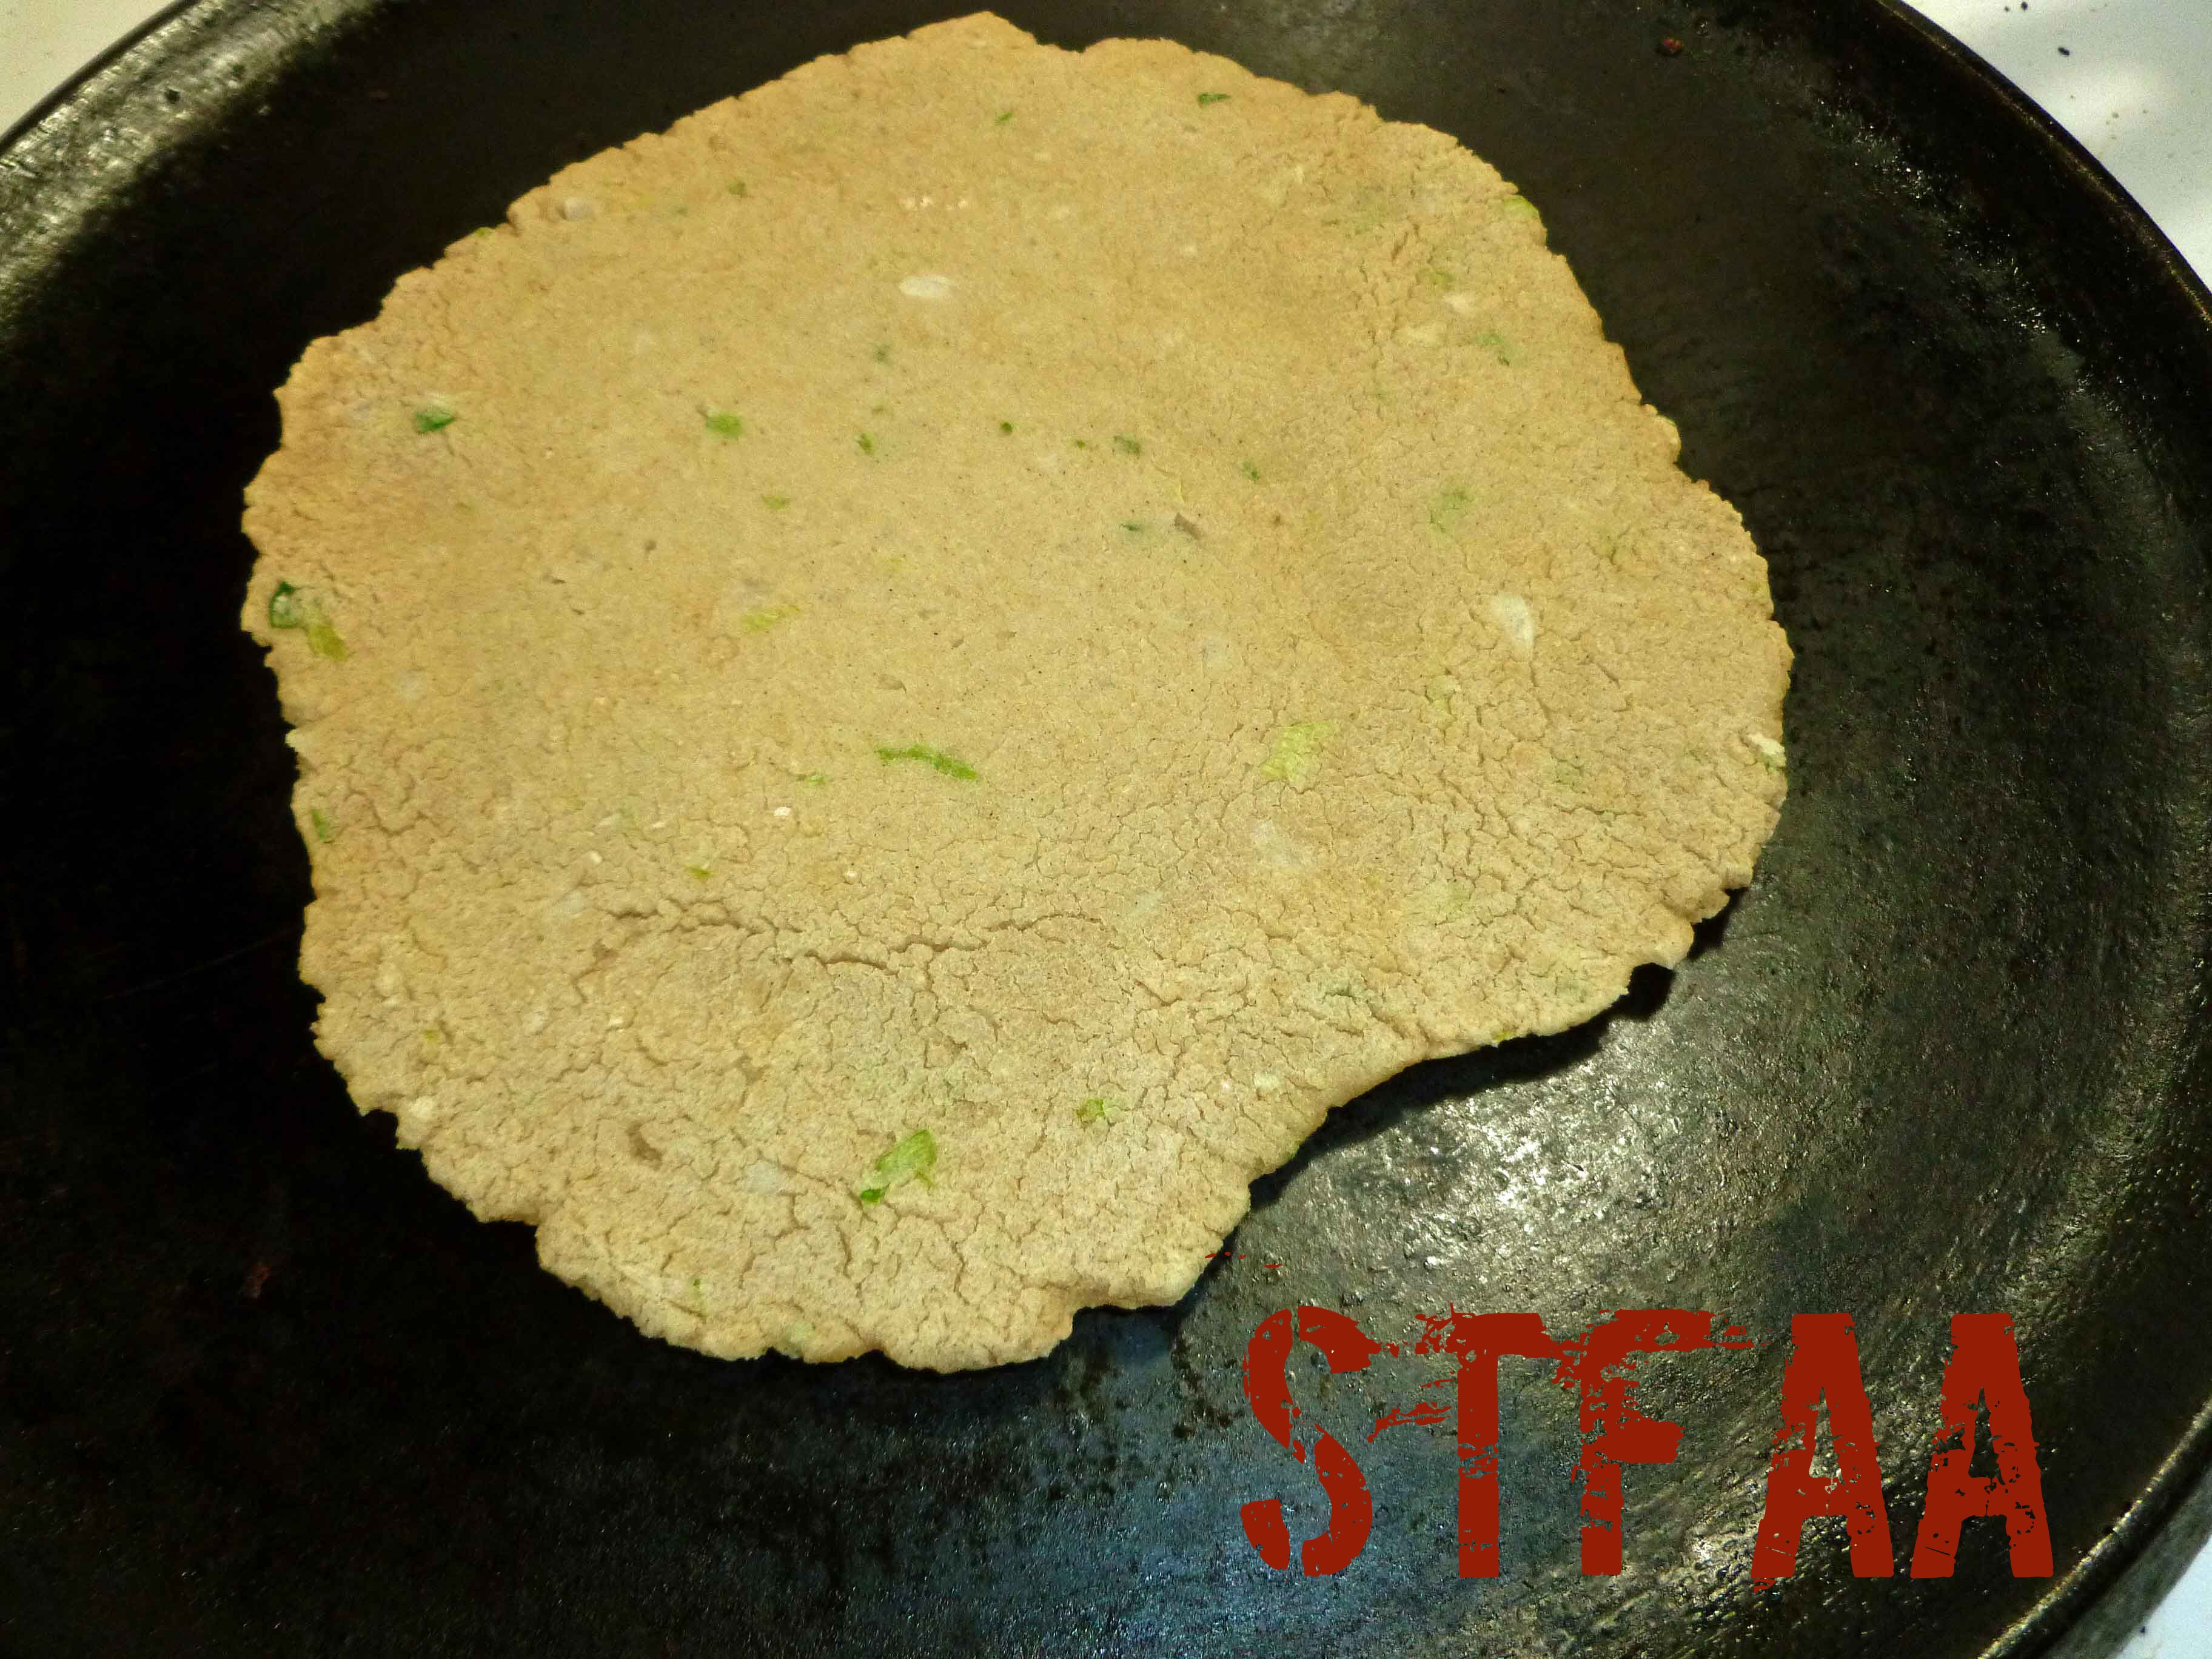
- Form into small balls, a little bigger than the size of a ping pong ball, and place back into the bowl. I used a gallon size freezer safe ziptop bag, with the sides cut out to roll the dough out between with a rolling pin. You could also use a tortilla press, but I don’t have one. Roll the dough out to about an 1/8th of an inch.
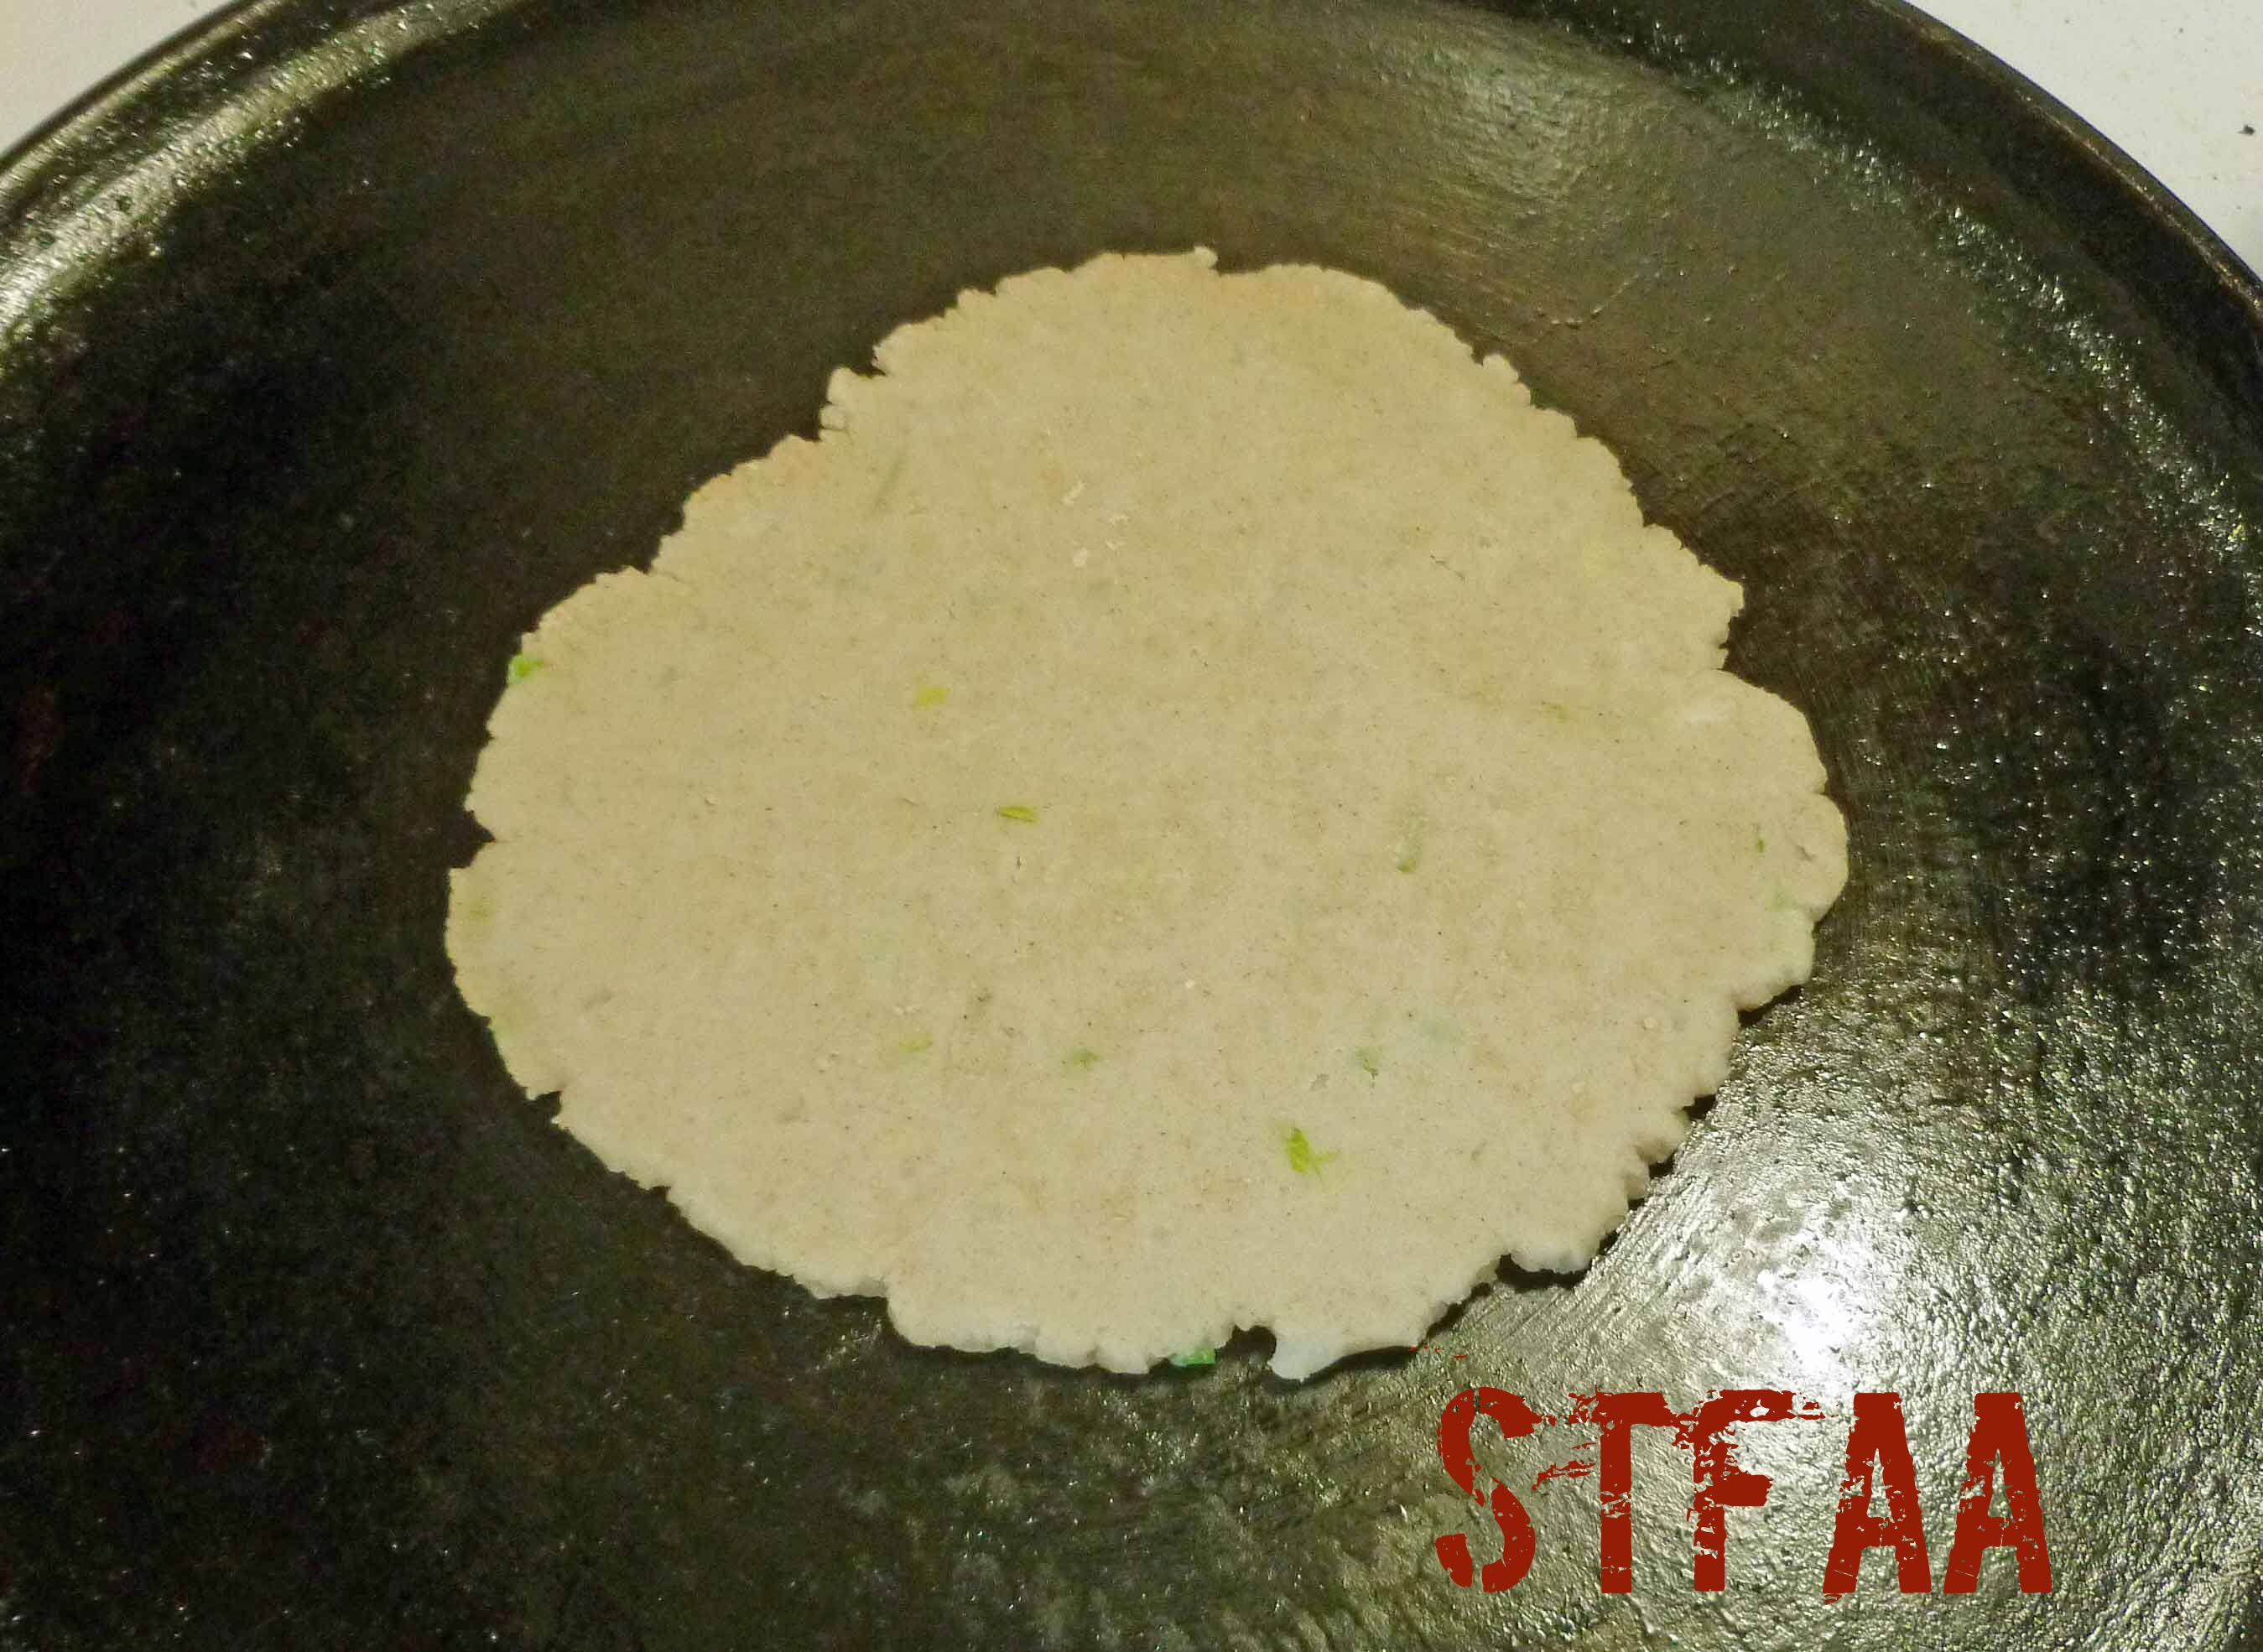
- Place a cast iron skillet over medium-low to medium heat (depends on your stove and your skillet, you may need to adjust. Cook until the texture changes on the top of the flatbread (it will look a bit dry and cracked) and until you have light brown spots on the side being cooked. Turn the flat bread and cook the other side. Repeat until all your flatbreads are cooked.

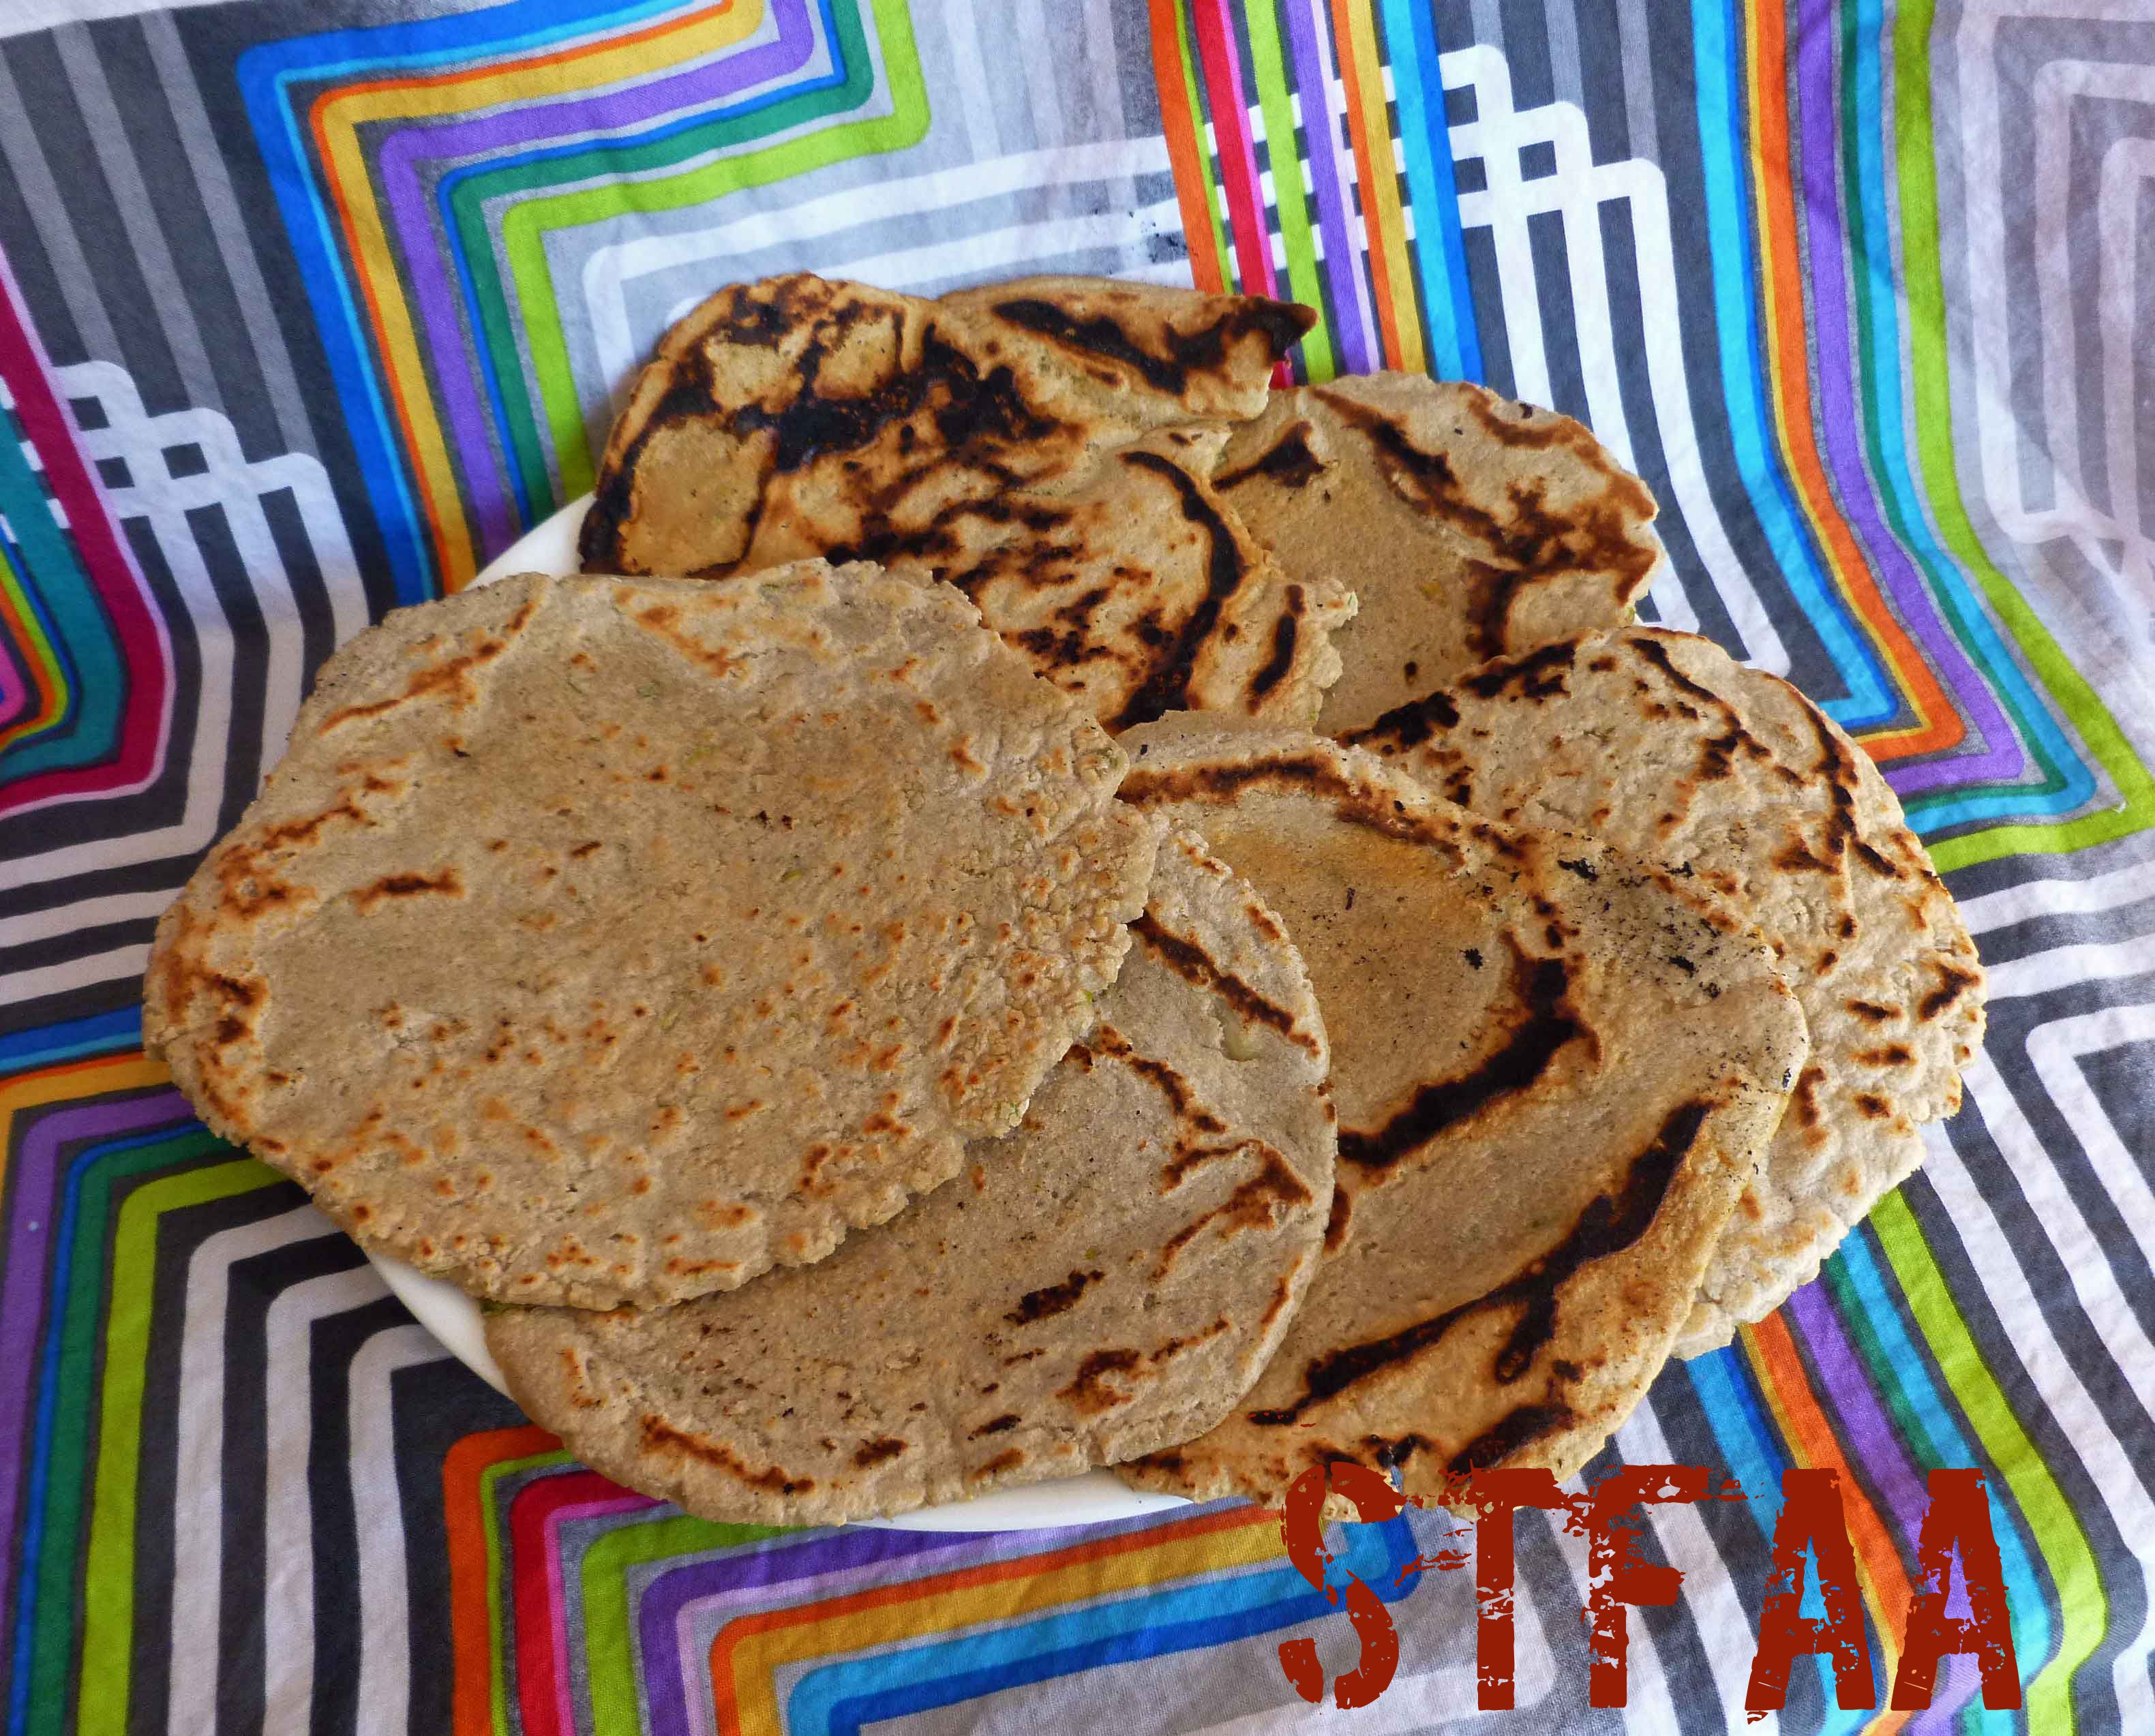
Enjoy!