Notice: Function _load_textdomain_just_in_time was called incorrectly. Translation loading for the wp-ultimate-recipe domain was triggered too early. This is usually an indicator for some code in the plugin or theme running too early. Translations should be loaded at the init action or later. Please see Debugging in WordPress for more information. (This message was added in version 6.7.0.) in /home/maryzahc/public_html/adultfoodallergies.com/wp-includes/functions.php on line 6131 Fish/shellfish-free – Page 17 – surviving the food allergy apocalypse (archive)
Apparently it’s mango season. In browsing the grocery store flyers looking for inspiration, I noticed that two of our three chains had mangoes on sale. I’ve never eaten a mango before, but I’ve had mango juice and liked it. So I thought I’d give it a try. Why not, right?
According to the Mango Board, mangoes are ripe when they give a little under a gentle squeeze — like avocados. As I said on Friday, it’s really worth your time to watch the video before deciding you know how to cut a mango. You can make it a lot harder than it needs to be (I sure did), but mangoes are sweet and tropical and taste like summer. If your “spring” as been like ours in New England, you need a reminder that warmer weather is coming. Tropical mango flavor helps.
“Salsa” generally conjures up tomatoes, but fruit salsas are pretty amazing and seem to have a better, brighter balance of flavors for certain main dish meals. (And yes, I know that biologically tomatoes are a fruit, but US law says they are vegetables). Salsa isn’t the quickest thing ever, but the work that goes in pays amazing dividends in flavor.
This salsa is fine with chips, but if you want to really highlight it, serve it over a meal. Things I think would work well with the summer mango salsa:
Shrimp and rice, if you can do shellfish (this was my choice)
Chicken, pork, or fish, if any of those work for you
Black beans and rice
Let us know what you try so that, if it’s good, we can copy you. I have a feeling I’ll be making this a few more times, and I’d love some new ideas for what to serve it over.
Summer Mango Salsa
Summer Mango Salsa
1/2 of a sweet onion, finely diced (this should be between 1/3 and 1/2 cup — adjust according to your love for onion)
1/2 teaspoon kosher salt
2 Tablespoons lime juice (I wanted to give you a measurement, but I’ve had to use everything from 2 whole limes to 1/2 a lime to get 2T. It varies widely. I always buy limes in pairs, for whatever reason.)
1 serrano pepper (buy a size commensurate with your love of spice), stem, seeds, and inner membranes removed, diced very finely
1 mango, cut into small cubes
1 avocado, cut into small cubes
3 Tablespoons chopped cilantro
The order of the ingredients above is deliberate. I love onion in my salsa, but I don’t like it too strong. If you chop it first and then let it marinate in the lime juice while you fight with the mango, it mellows out a bit. I’m assuming that the acid “cooks” the onions a bit, as it does for fish in ceviche. If you’re a better food scientist than I am, I’d love to know if this is true; it could just be the power of suggestion.
For the best flavor profile, you want the onions and the chile diced very finely, as finely as you can manage, and the mango and avocado a good bit chunkier (but still, not too big). The onion and chile go into the lime juice first. The mango next, and last the avocado — the avocado will break down the more you stir it, and I like it pretty well intact.
Basically, chop everything up and mix it together in a bowl. This is a very fresh salsa, and it doesn’t need much time to meld — half an hour at room temperature seems to be enough, although it is great the next day. I doubt it would last all that much longer, but I’ve made it a few times now and I’ve yet to test that.
Hoisin sauce was just another well-loved condiment no longer within my grasp until I found a recipe and modified it to be safe for me. If you have a soy allergy (I don’t) try this with Mary Kate’s Soy-Free, gluten-free “Tamari Sauce” and let us know how it worked out for you.
Hoisin Sauce – Gluten-free with Soy-free option
Makes 1 cup.
1/2 of a 15 ounce can of Black Beans, rinsed and drained (I use my home canned, but use what’s safe for you.)
1 Tablespoon of either Sesame Oil, Chili Oil or other safe for you oil (I can’t use Sesame, so I made a homemade Chili oil with my safe oil.)
1/2 Tablespoon of minced Garlic
1/2 cup brown sugar
1/2 Tablespoon of Molasses
2 Tablespoons of Apple Cider Vinegar (Bragg’s is generally safest for those with corn allergies)
2 Tablespoons of Rice Vinegar
2 1/2 Tablespoons of Soy Sauce (I do well with San-J Tamari Gluten Free Soy Sauce, the alcohol is from cane sugar not corn, but if you can’t use soy, try Mary Kate’s recipe for a Soy-Free, gluten-free “Tamari Sauce” )
1 Tablespoon of water
1/8 teaspoon of crushed red pepper
In a food processor, purée the black beans into a fine paste. If it is too thick and doesn’t process well, add a little bit of water (1 teaspoon at a time) until you can continue to pulse the black beans. They should be puréed into mush.
In a non-reactive pan (I used an enameled cast iron pan), heat the oil until it is hot, but not yet smoking. Add the garlic and cook for about 2 minutes (don’t let it turn brown).
Once the garlic is cooked, add all ingredients to your pan and stir together really well. Bring to a boil, and then reduce heat to medium-low and simmer for 15 to 20 minutes. The sauce should coat and stick to the back of a wooden spoon when it is ready.
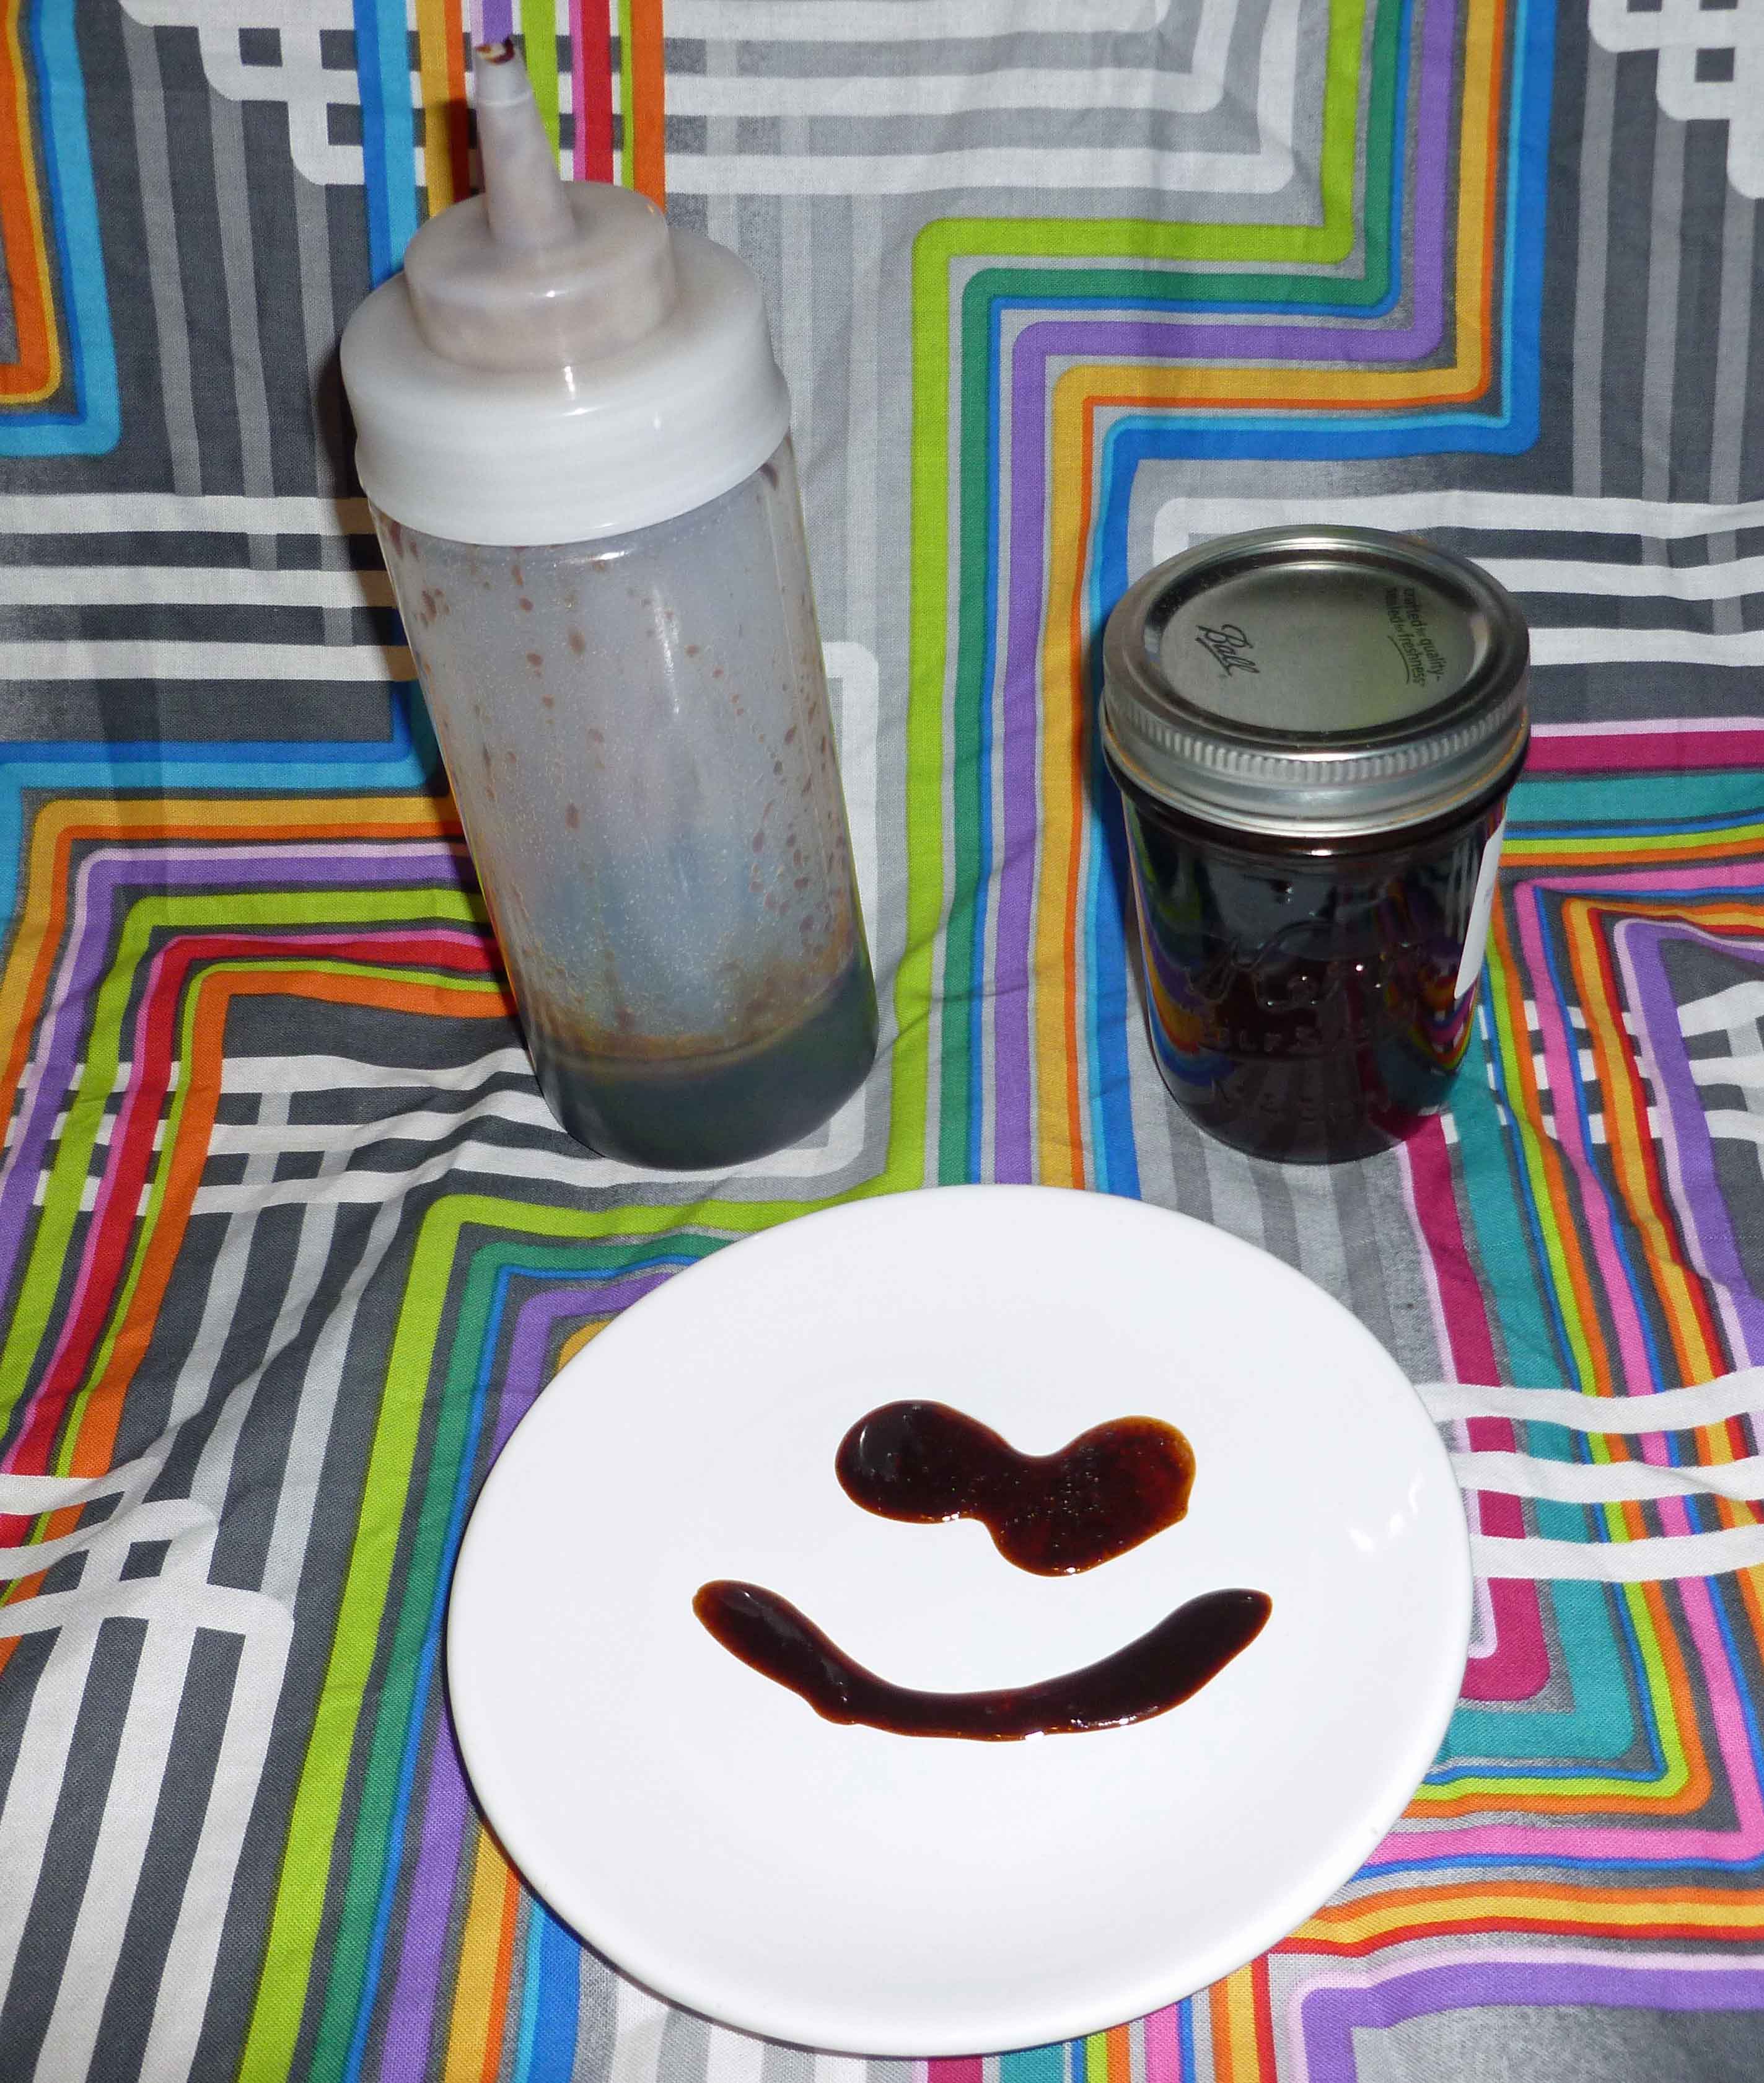
Remove from heat immediately and let it cool before placing it a container in the refrigerator. I put mine in a squeeze bottle so I can use it easily whenever I want.
Enjoy with all your favorite Asian and Asian-inspired dishes!
Red Wine Vinaigrette Using the Salad Dressing Recipe Theory
So, salad dressing. It’s one of those things that I can’t buy any more, my corn allergy pretty much blew any hope of being able to find a commercial product to buy out of the water. I don’t really use recipes any more, I tend to throw things in a blender and have at it, but you might want a slightly more careful approach at the beginning, but I’m pretty sure you’ll end up throwing stuff in a blender too after I explain this.
Salad Dressing Recipe Theory
The parts to a dressing recipe are the base, the acid, the emulsifier (sometimes), and your spices/flavors. Now, the conventional wisdom is that the ratio is 3 parts base to 1 part acid, and then add your emulsifier and flavors to taste. However, I think you should mix the ratio so that you like it. I tend to almost flip the proportions of base and acid, but feel free to fiddle those proportions as you wish. Also, this is not a table to be read from left to right across a row, as it’s not in any particular order. Also, I tend not to just pick one emulsifier or spice/flavors or I might even skip the emulsifier altogether when I do a dressing, and I may even put a combo of two of the acids.
fresh herbs – any of dill, parsley, cilantro, mint, scallions
silken tofu (if no soy allergy and if you can find one without corn in it)
Lemon Juice
jam or fruit preserve
minced onion or shallots
an avocado
Lime Juice
tahini (if you don’t have a sesame allergy)
dried herbs – any of marjoram, thyme, rosemary, oregano, basil,
chopped tomatoes
Orange Juice
tomato paste
dried chili powders – chipotle, ancho, jalapeno
raw cashews soaked and blended into cream (if you don’t have a nut allergy)
Pickle Juice – left over from my homemade fermented dill pickles or my home canned pickles
ground black pepper or peppercorns
sugar to sweeten
salt
For example, if I wanted to make a red wine vinaigrette, I’d use extra virgin olive oil, red wine vinegar and a bit of fresh squeezed lemon juice, some of my home made Dijon mustard, some garlic, marjoram, thyme, rosemary, oregano, basil, ground black pepper, salt and a bit of sugar, and blend it. If I wanted to make a Mexican spiced tomato vinaigrette, I’d use some chopped tomatoes and some extra virgin olive oil, some lime juice, maybe a bit of honey if I had a safe one, and some garlic, hot sauce, cilantro, oregano, basil, chipotle, black pepper, and salt, and blend it. I could also do an avocado ranch (I don’t have any safe yogurt, mayo or tofu to use as a base instead, although I could use cashews blended into a cream) using an avocado, some extra virgin olive oil, lemon juice and apple cider vinegar, and some garlic powder, onion powder, dill, salt, basil and red bell pepper flakes. Note that this combo didn’t use an emulsifier because the avocado has enough body on its own. You could also do an Asian themed dressing with some grapeseed oil, rice wine vinegar, minced scallions, soy sauce, ginger, garlic and Sriracha. See what kind of craziness you could come up with?
Now, I know what you’re saying – “Denise, Denise, how will we know if we got the proportions right? You’re not giving us enough information.” Yep. Because some of this stuff is trial and error. And the answer is you should taste it, and see how it is. If you like it, you got it right. If it needs something, fiddle with it. But, to give you a guideline, if the combination of your base and acid equals about 3 cups or so (because the ratio of the base and acid is up to you), I’d add a tablespoon or two of the emulsifier, and I’d add the spices/flavors to taste. Start with about a teaspoon of your combined spices/flavors and see if you like it, or if you need to add more.
But for those of you who want a conventional recipe, I’ll make an easy Red Wine Vinaigrette for you. But since you’re making it, if you don’t like something, leave it out. Also, I added a bit of paprika and crushed red pepper, because I’m Denise. God forbid that I don’t have some form of chili in a recipe, but I’ve marked them optional for you. Also, note that my proportions of base and acid are the way that I like dressing, so if you like a dressing with less acid (I like my dressing screaming) use 2 cups of extra virgin olive oil and 1 cup of red wine vinegar. (Yes, that’s still not 3 to 1, but if you need to it be 3 base to 1 acid, do the math).
Red Wine Vinaigrette, based on the Salad Dressing Recipe Theory
2 cups of red wine vinegar (I make my own, but make sure that you have a safe source)
1 cup of extra virgin olive oil (I do well with California Olive Ranch)
1 Tablespoon of prepared mustard (I use my homemade Dijon, make sure you get one that’s safe for you)
1 clove of minced garlic
1/2 teaspoon of marjoram
1/2 teaspoon of thyme
1/2 teaspoon of basil
1/2 teaspoon of oregano
1/2 teaspoon of sugar
salt and pepper to taste (I used a 1/4 teaspoon each)
optional: 1/8 teaspoon of paprika
optional: 1/4 teaspoon of crushed red pepper
Put it all in the blender.
Red Wine Vinaigrette Using the Salad Dressing Recipe Theory
Blend it. I start on low for a minute and then move it up to high, blending for at least a minute or two to make sure the oil incorporates with your emulsifier and base.
Red Wine Vinaigrette Using the Salad Dressing Recipe Theory
I then use a funnel and put it in an old wine bottle or vinegar bottle I’ve saved. You should store it in the refrigerator. Because California Olive Ranch is really good olive oil, it will solidify a bit in the refrigerator, so shake well, and let it sit on your salad a bit to warm up before eating.
This makes a good bit of salad dressing. Usually, I put it in two bottles and take half to work to leave in the refrigerator there (your salad doesn’t get all wilted and gross if you don’t dress it before you leave for work) and leave some at home. I could make it as needed, but with food allergies, we all have enough stuff to do and making an amount in volume saves time.
Red Wine Vinaigrette Using the Salad Dressing Recipe Theory
What are your favorite flavors and combinations? If you try out our “theory” let us know about combinations you come up with that you particularly enjoy. We’d love to see what inspired ideas you come up with!
One of the ways that food allergies have taken over my brain is that I’m always planning ahead — you have to. A lack of planning can mean not eating, which in my case leads to extreme crankiness or just a complete lack of functioning. I’m also completely incapable of deciding what to eat if I’m too hungry. So I usually know what’s for dinner — tonight and tomorrow night, maybe for the whole week, but certainly for any important dates or busy nights coming up.
On the other hand, life with food allergies also makes you pretty flexible — again, by necessity. So when I had plans to make Winter is Coming Chicken and Kale, I had chicken, polenta, and kale on hand. Or, rather, I thought I did. Turns out, hey, winter is ending and the chicken I’d defrosted (properly — in the fridge, though for two days instead of one) was not good.I don’t really know if it was bad when I bought and froze it or what, but that left me with kale and polenta, which is a really sad meal.
So I ended up making this soup. I’m just going to call it “kitchen sink soup” because that’s pretty much what went into it — everything but the kitchen sink. It turned out so well, though, that I thought I’d go ahead and share it. I wish that it were too late to post soup recipes, but it really isn’t. We’ve moved into cool and rainy, so soup is still all over my menu. If you live somewhere where it’s not soup weather? Yeah, don’t tell me about it, please. I love soup because it’s a one-pot, one-bowl meal that can be entirely balanced.
The key to this soup, I think, is the *right* amount of really good hot sauce for you. Even if you “don’t like spicy things,” you need the hot sauce — you will just add less. GOOD hot sauce will give you tons of flavor and it doesn’t need to have a kick. I’ve written the version for the light end — taste and add more as you see fit.
Soup pre- and post- kale awesomeness
Kitchen Sink Soup
2 teaspoons oil of your choice
1/2 an onion, chopped
pinch of salt
8 oz mushrooms, de-stemmed and broken (I prefer crimini)
3 carrots, chopped
3 celery stalks, sliced thin
15 oz of canned or cooked garbanzo beans
1 teaspoon good hot sauce (or as much as you want)
4 cups of vegetable broth
1 potato, peeled and chopped small
about 4 cups of kale, de-stemmed and shredded
Heat soup pot over medium heat. When the pot is hot, add the oil. When the oil is hot, add the onion and the pinch of salt. Cook, stirring regularly, until onion starts to brown.
Add the broken mushrooms. Breaking mushrooms rather than chopping them gives you bigger mushroom chunks and reduces the shrinkage. Cook until the mushrooms have sweated and darkened.
Add the carrots, celery, garbanzo, hot sauce, and vegetable broth. Stir well, and stir in the potato. Cover and bring to a boil, then reduce to a simmer and cook for 20 – 30 minutes — when the carrots and potatoes are cooked, you’re good.
Add the kale, stir, and let cook another 2-3 minutes until the kale is brighter green. Do NOT overcook the kale! Taste and adjust the hot sauce and salt if you need to.
1 whole fresh duck (or some duck legs or breasts if you don’t want to deal with a whole duck)
1 Tablespoon of sea salt
2 teaspoons of Chinese Five Spice
a pair of good kitchen shears
roasting pan that can fit a rack in the bottom
oven safe cookie rack that fits in the roasting pan
Preheat your oven to 350°F.
Remove the giblets from the duck, and using your kitchen shears cut out the duck’s backbone, and then cut the breast down the center so you have two half pieces of the duck. I also trimmed the first two sections of wing off, as I didn’t want them to burn during the cooking process. (Save the giblets, backbone, and wing sections to make stock later, or discard if you don’t want to use them.) Trim any extra fat away from the duck, and remove any remaining quills. Using a sharp knife, score the skin of the duck, but do not cut so deep that you cut the meat.
In a large shallow bowl, mix the sea salt and Chinese Five Spice so that it is mixed thoroughly. Placing each half of the duck in the bowl one at a time and use your hands to coat both sides of the duck half with the mixture.
Place the seasoned duck halves on the rack in the roasting pan. The rack allows the duck fat to drip to the bottom, otherwise you’ll be spooning fact out as the duck cooks. (You’re also going to want to save this fat to use later, it’s a great cooking fat, especially for those of us with no safe butter, margarine, or shortening.)
Seasoned duck halves before cooking
Place the duck in the pre-heated oven and roast for about two hours, turning the duck halves every half hour. Once the duck reaches an internal temperature of 165°F, turn the oven up to 425°F for 15 minutes to really crisp up the skin.
Cooked duck halves
Remove the pan from the oven and let the duck cool enough that you can remove the meat from the bones without burning your fingers to bits. Then remove the meat from the bones. (Save the bones to make stock later, or discard if you don’t want to use them.)
Duck meat removed from the bones
You can eat this with Chinese pancakes, sliced cucumbers, scallions, and Hoisin sauce, like you would eat Peking Duck. Since I didn’t want to try to deal with coming up with a recipe for gluten-free Chinese pancakes, I used rice paper and ate the duck with lettuce, rice vermicelli noodles, sliced cucumber, sliced onion (I forgot to buy scallions), Carrot and Daikon pickle, homemade plum sauce, homemade Hoisin Sauce, and homemade Sriracha.
Enjoy!
Crispy Duck in rice paper with rice vermicelli and veggies
My friend Corinne, of sparecake, decided to move out to Wyoming for a job. So I went down to spend a day hanging out with her before she left. We’ve cooked together a few times — Corinne isn’t gluten-free, but her mom is, so we’ve tried out some recipes. For this final attempt, we did a Frankensteined faux Thin Mint, using the cookie from one cookbook and the chocolate “frosting” or glaze from another because that’s what we had all the ingredients to do.
The cookies were not exactly like the originals, but were still crisp and chocolatey and minty, so overall, I’ll call this a success. We did reduce the amount of mint extract in the chocolate coating by a lot, as it was almost dental cleaning strong the first time around. Interestingly, there is no mint in the cookie part of a thin mint. Who knew? It’s just in the chocolate glaze.
The dough for these cookies was super dry, and we had doubts it would hold together for rolling or cutting, but it did both admirably.
This dough is pretty dry. But it ends up tasting good.Cut out cookies.
So this dough involves cutting in the shortening, “kneading” the very dry dough until it sort of holds together, and then rolling and cutting. After the cookies are baked and cooled, add chocolate mint coating. It is a few more steps than “regular” cookies, but, hey, this is re-creation. Miss Girl Scout cookies? This is the recipe for you.
For the full recipe, I’m going to shoot you over to Corinne’s site, sparecake. For the allergic, you will need a non-dairy milk, a safe-for-you shortening, and a meltable safe chocolate.
Citrus-spiced Beef Short Ribs with mashed potatoes and green beans
There are two times of the year when I want to eat like the midwesterner I am — dead of winter, and height of summer. And by that, I mean there are two times of the year when I think of meat, first, and then figure out what goes with it. In the summer, I just want to grill things. But in the dead of winter, I want hearty meat and potatoes and veg meals. When I was at the grocery store browsing the meat section, I found some beef short ribs that just looked good — I’d never cooked beef ribs before, nor short ribs of any sort, but trying new things is sort of the point of this blog. So I bought them.
I looked up some things online — a few recipes for beef short ribs in particular, as well as some technique-focused posts on braising. I followed this post for the cooking technique, more or less. And I decided to go with a sort of sweet-and-spicy, braised in the oven beef dish. It was definitely a winner, and this is a perfect mid-winter dinner — it’s hearty and warm and sort of comforting. I highly suggest serving with mashed potatoes, and I added green beans for the vegetable. I’m thinking that bok choy might taste great with the sauce, though.
A note on the sauce — the beef gets just a hint of the spice of the red pepper flakes. The sauce itself, which still contains the actual flakes, is a good deal spicier. Adjust the measurement according to your tastes.
Ideally, use one covered pot or pan that you can do the stove top searing and then the oven braising in — fewer dishes is good for sanity and the environment, plus all the flavor stays together. If you have a Dutch oven, this is the time to use it. As soon as I sort out enough stuff in my storage area to create space to store one, I am buying one. I used my cast iron skillet and covered it tightly with foil as it doesn’t have a lid. This worked great, although I do need to re-season after cooking with an acidic citrus juice for a few hours. It was worth it.
Citrus-spiced Beef Short Ribs
Citrus-spiced Beef Short Ribs
1.5 lbs beef short ribs, bone in, separated into individual bones
salt and pepper to season the ribs
1/2 of a medium (baseball-sized) onion, halved and sliced thin (I prefer sweet onions)
large pinch of salt (probably about 1/8 teaspoon)
1 Tablespoon of minced garlic
1/2t – 2t crushed red pepper flakes, adjusted to taste
1 teaspoon sugar (optional)
1 large grapefruit, juiced, with pulp in OR 1 cup of grapefruit juice
1.5 inches of ginger, peeled and sliced into rounds
Heat your chosen cooking vessel over medium high heat. If you’re not using a seasoned cast iron pan, brush or spray just a light coat of oil on the pan’s surface.
Season your short ribs with salt and pepper, both sides. When the pan is hot, add the ribs. Sear well on both sides, and I also seared the edges of the few really thick ones. More flavor is always worth the effort. Remove the seared ribs to a plate.
Add the onions with a pinch of salt, and cook until translucent. Then add the garlic and cook, stirring, until starting to turn golden. Add the pepper flakes and stir (but also, stand back and don’t breathe the steam right away!). Scooping all of this to one side of the pan, add the ribs back and then spread the onion-garlic-pepper mix over them.
If using, sprinkle the sugar on the ribs. Scatter the ginger slices, add the coconut aminos, and then add the grapefruit juice and water. Cover your pot or pan, and slide it into the oven. Cook for 2.5 hours.
After removing from the oven, let the dish sit for at least 15 minutes. I then sliced through the thin membrane holding the meat to the bones so I could just serve the meat. Serve topped with the pan sauce, but leave the ginger rounds out.
As the post from The Kitchn suggested, if you find beef ribs to be fatty, you can either trim the fat (not all that highly suggested for this cooking method) OR cook them ahead of time and scoop the fat off the cooled sauce. I didn’t find them to be too greasy or fatty this time around, and enjoyed the richer sauce over mashed potatoes. Your tastes may vary, so know that this is an option.
Enjoy with mashed potatoes and the vegetable of your choice.
I have another canning inspired recipe for you. I made and canned plum sauce because I wasn’t able to find a safe commercial version for me, and because I eat a lot of Asian and Asian inspired food. Since I’ll be using this as a condiment for some of the dishes that are coming up, I decided to post a version that you can do without canning. If you want to can this recipe, it’s found in theBall Complete Book of Home Preserving on page 285 (linked to Amazon for convenience, no affiliation). I’ve cut the quantities down so that it only makes about a pint of sauce, so that you can use it before it goes bad without canning it. If I’m overestimating your potential use, you could also freeze half of it.
Plum Sauce
1/2 cup of brown sugar (make sure it’s safe for you, I corn-ed myself good by not reading labels on brown sugar once. If it says inverted sugar on it, don’t buy it if you’ve got an allergy to corn)
1/4 cup of granulated sugar
1/4 cup of apple cider vinegar (Bragg’s is generally safest for corn allergies)
3 Tablespoons of finely chopped onion
1/2 Tablespoon of finely chopped jalapeno or other green chili pepper
1/2 Tablespoon of mustard seeds
3/4 teaspoon of salt
1/2 – 1 clove of garlic (recipe converted calls for half a clove, but if you like garlic, by all means use it up)
3/4 teaspoon of fresh grated ginger
2 1/2 cups of pitted, finely chopped plums
In a large stainless steel or other non-reactive (ceramic or enamel, do not use aluminum or cast iron) pot, add the brown sugar, granulated sugar, vinegar, onion, jalapeno, mustard seeds, salt, garlic, and ginger. Bring to a boil over high heat, stirring constantly. Add the plums, and return the mixture to a boil. Then reduce the heat and boil gently stirring occasionally until the mixture is thick and syrupy, about 2 hours.
Since this recipe is not being canned, at this point you could choose to use a stick blender to puree the mixture to a smooth consistency. (Note: If you are canning the recipe, follow the directions in the Ball Complete Book of Home Preserving and do not puree the sauce. You could be risking botulism otherwise.)
Let the sauce cool, and once cool enough, place in a container in the fridge (or freeze some) to store. I usually put mine in a squeeze bottle so that I can use it like ketchup.