Notice: Function _load_textdomain_just_in_time was called incorrectly. Translation loading for the wp-ultimate-recipe domain was triggered too early. This is usually an indicator for some code in the plugin or theme running too early. Translations should be loaded at the init action or later. Please see Debugging in WordPress for more information. (This message was added in version 6.7.0.) in /home/maryzahc/public_html/adultfoodallergies.com/wp-includes/functions.php on line 6131 Fish/shellfish-free – Page 16 – surviving the food allergy apocalypse (archive)
I have a dehydrator! One of Denise’s friends is clearing things out, I guess, and when she asked if I wanted a dehydrator, I jumped on it. I’ve tried some straight up fruit so far, but I was most excited about making jerky and home-made fruit rollups, as well as drying some of my herbs this summer.
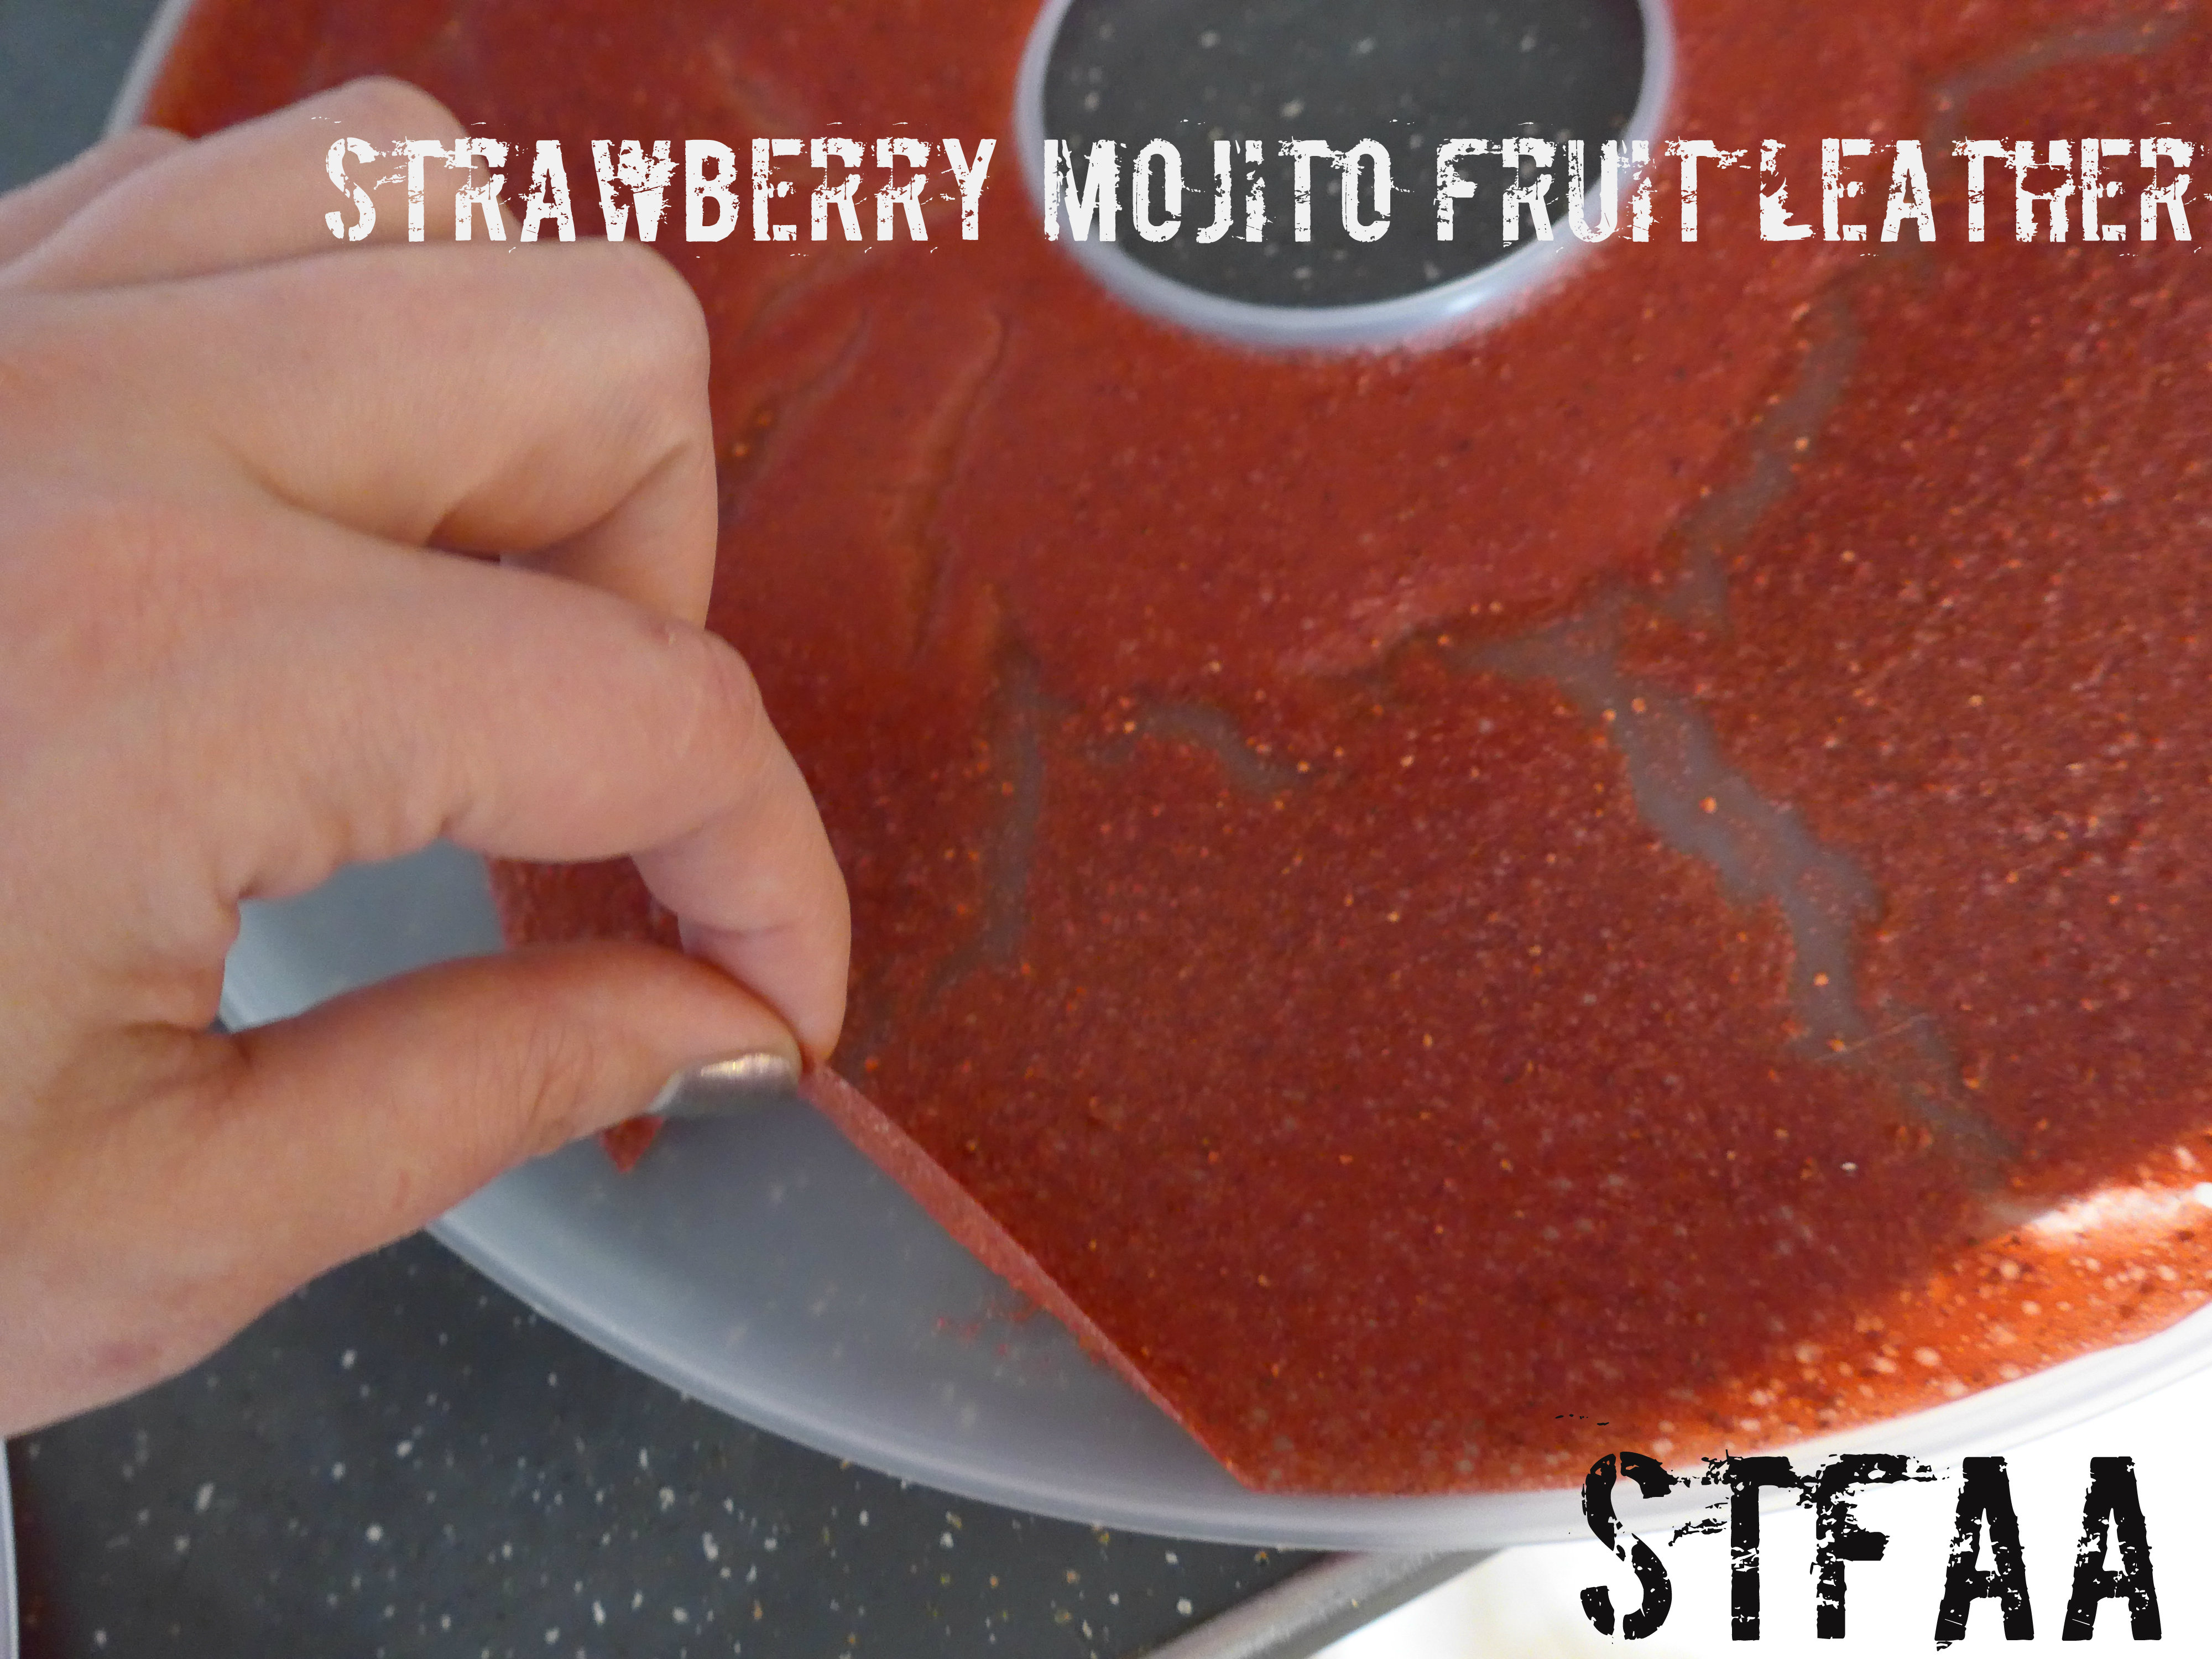
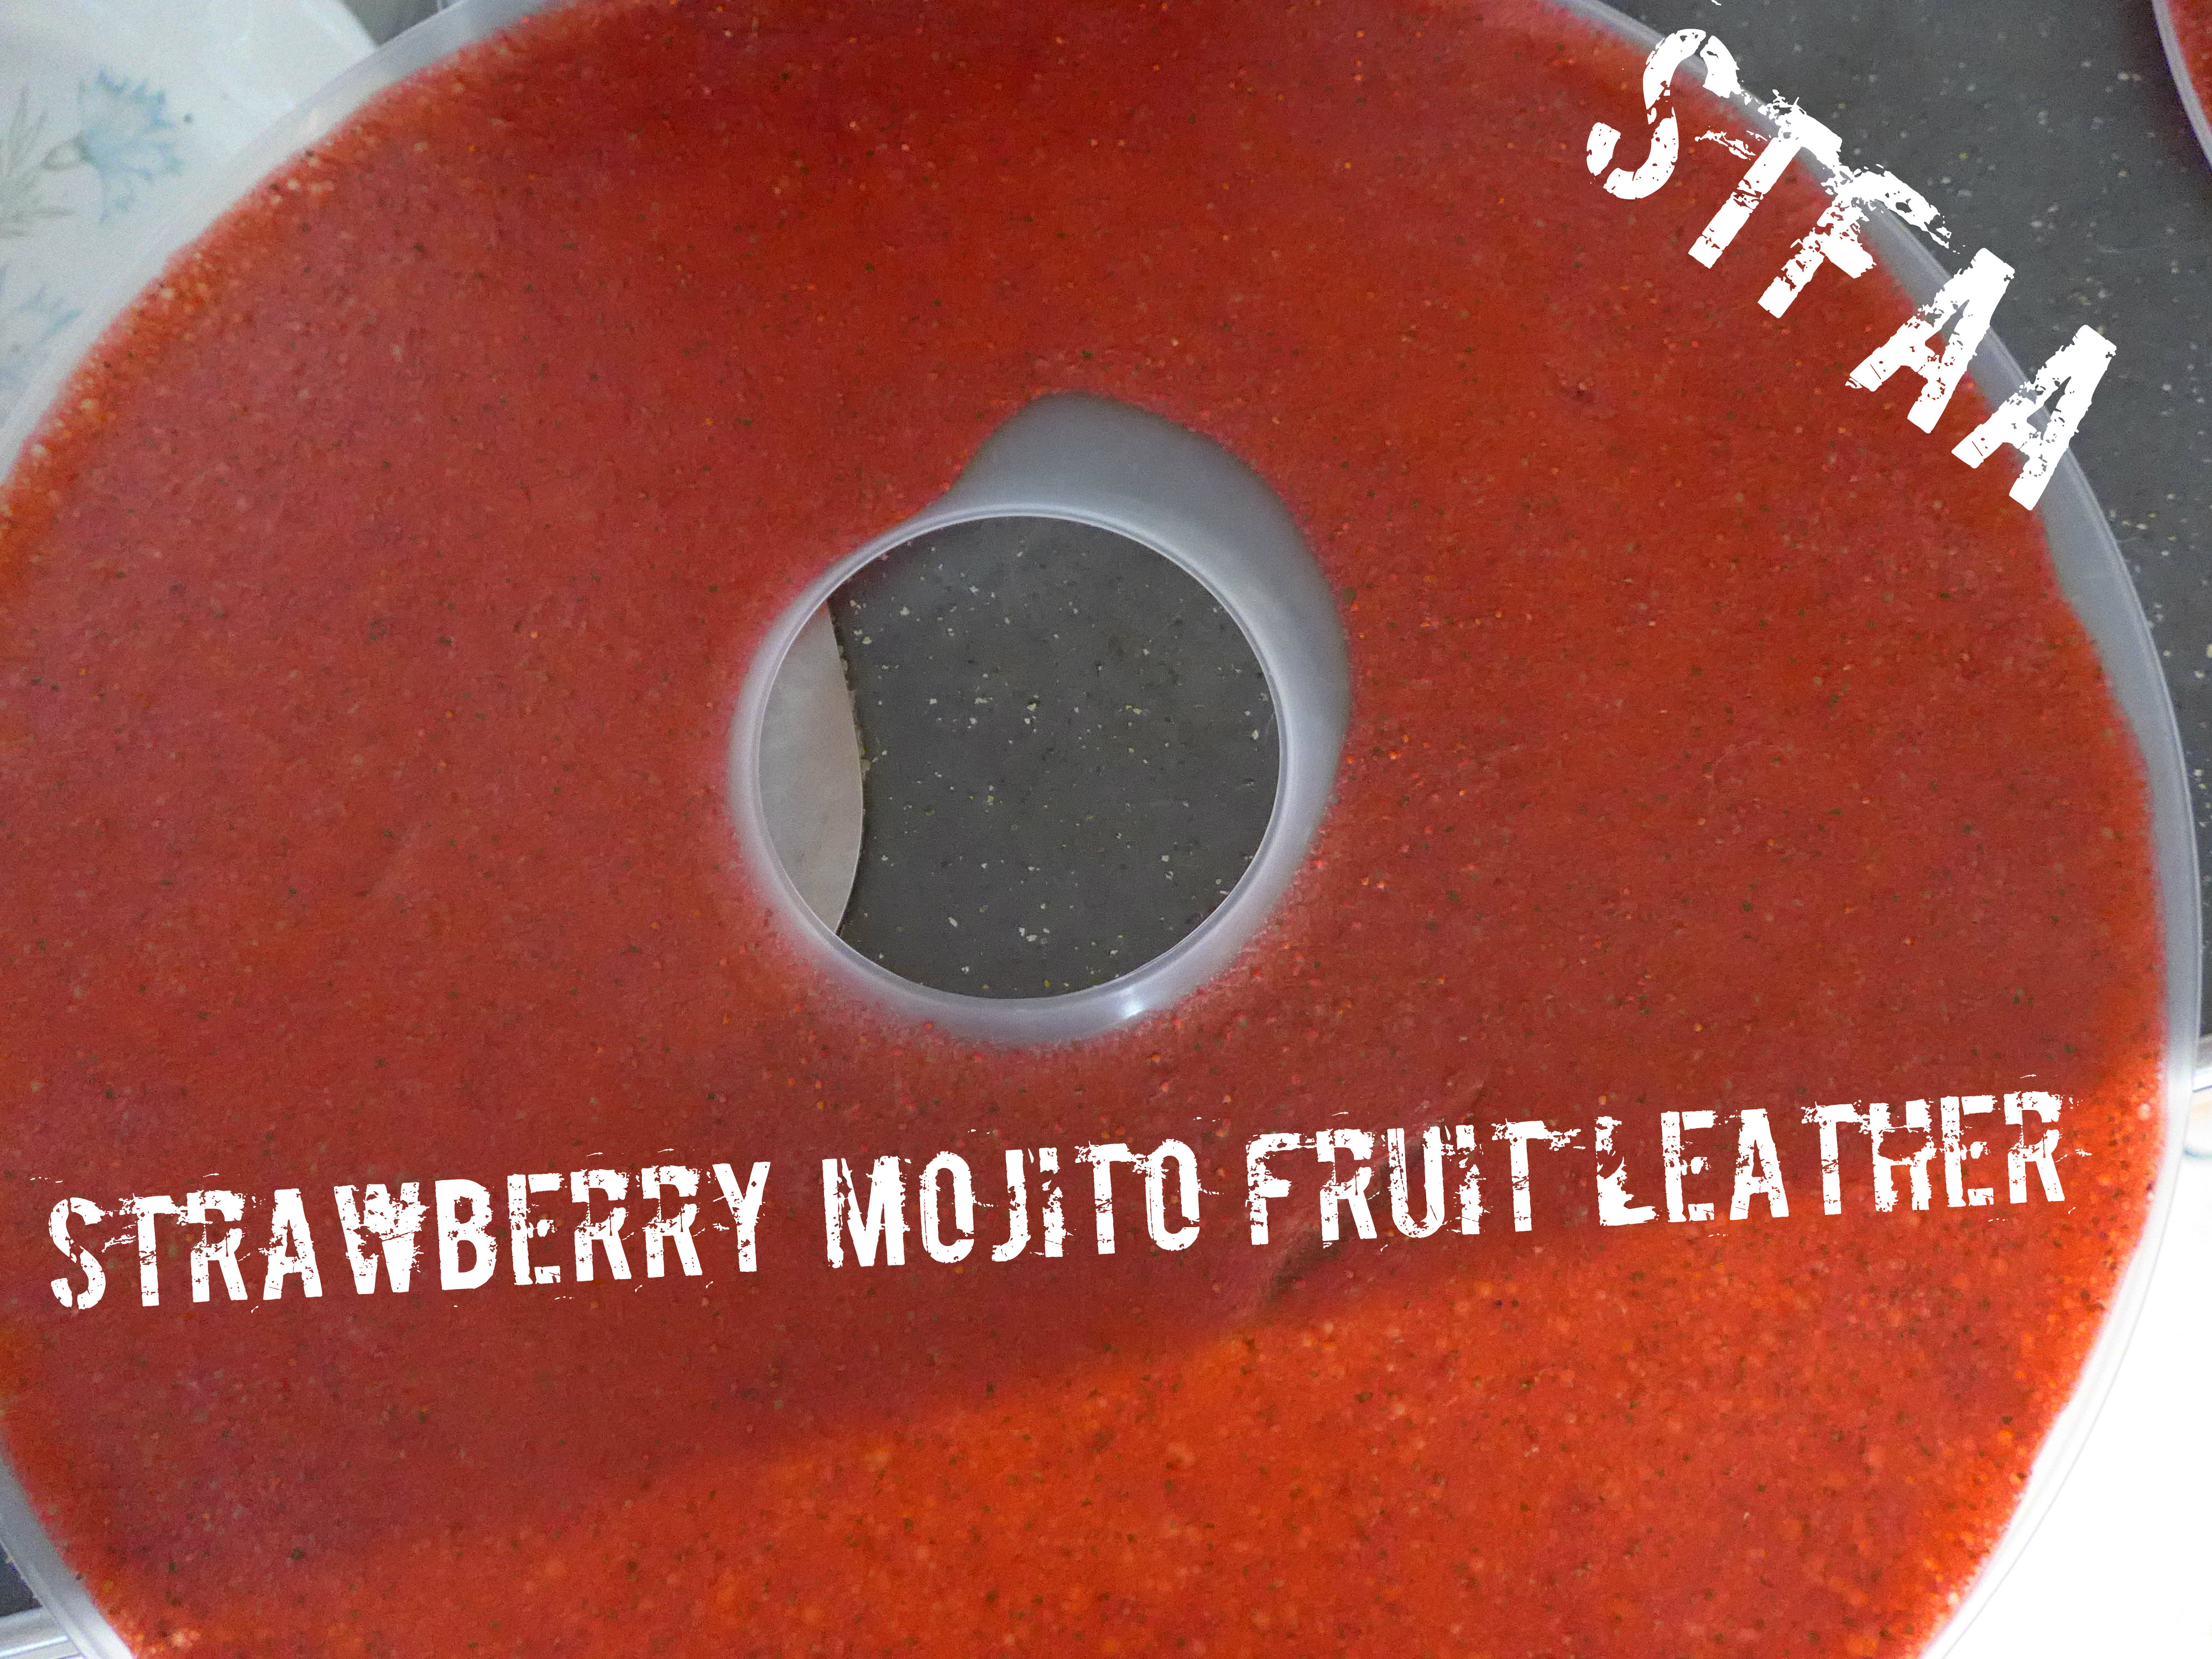
I really like fruit leather as a snack. It’s almost as good as candy, and I had some ideas. First up: strawberry mojito. This is a super easy recipe — IF you have a dehydrator. If you don’t and want to try making these, ask around and see if you can borrow one. It takes about 8 hours to dehydrate these. You will need the liquid trays. This recipe is scaleable — I’m writing it for ONE dehydrator tray, but you’ll run it with four trays (at a minimum). Try other flavors, increase it by 4, or add other food to the other trays.
AGAIN: THIS MAKES ONE TRAY. Scale up as needed, or try your own flavors.
Strawberry Mojito Fruit Leather
Strawberry Mojito Fruit Leather
1 pound of strawberries, washed, with hulls and stems removed
1/4 cup lime juice, fresh squeezed
1 Tablespoon, packed, mint leaves, chopped finely
Puree all ingredients in a blender or food processor. Pour slowly into dehydrator tray and tilt, if needed to spread it out. Dehydrate at medium (140ºF) for 8-10 hours (it may take longer if it’s humid.)
Peel and eat. Will keep for about 2 weeks in airtight containers, maybe slightly longer. I wrapped mine in plastic wrap so that I’d get the experience of peeling them off the wrap — part of the remembered joys of fruit rollups.
My apologies for the rather dull photos. I didn’t check them this time around and by the time I noticed all my “pretty” photos were blurry, I’d eaten all the fruit leather. They tasted great.
Because I like transparency, you should know that this recipe was the result of a mistake. Yay serendipity!
I wanted to make crunchy granola bars like the Nature Valley ones I liked before the food allergy apocalypse hit. But I wanted to make them not so breakfast-y and more of a treat or a snack. So I found a recipe for a crunchy granola bar and decided to add cocoa powder to the sticky mixture sticking it together. The recipe called for honey, but I don’t have a safe honey or maple syrup, so I made a cane sugar syrup used that instead.
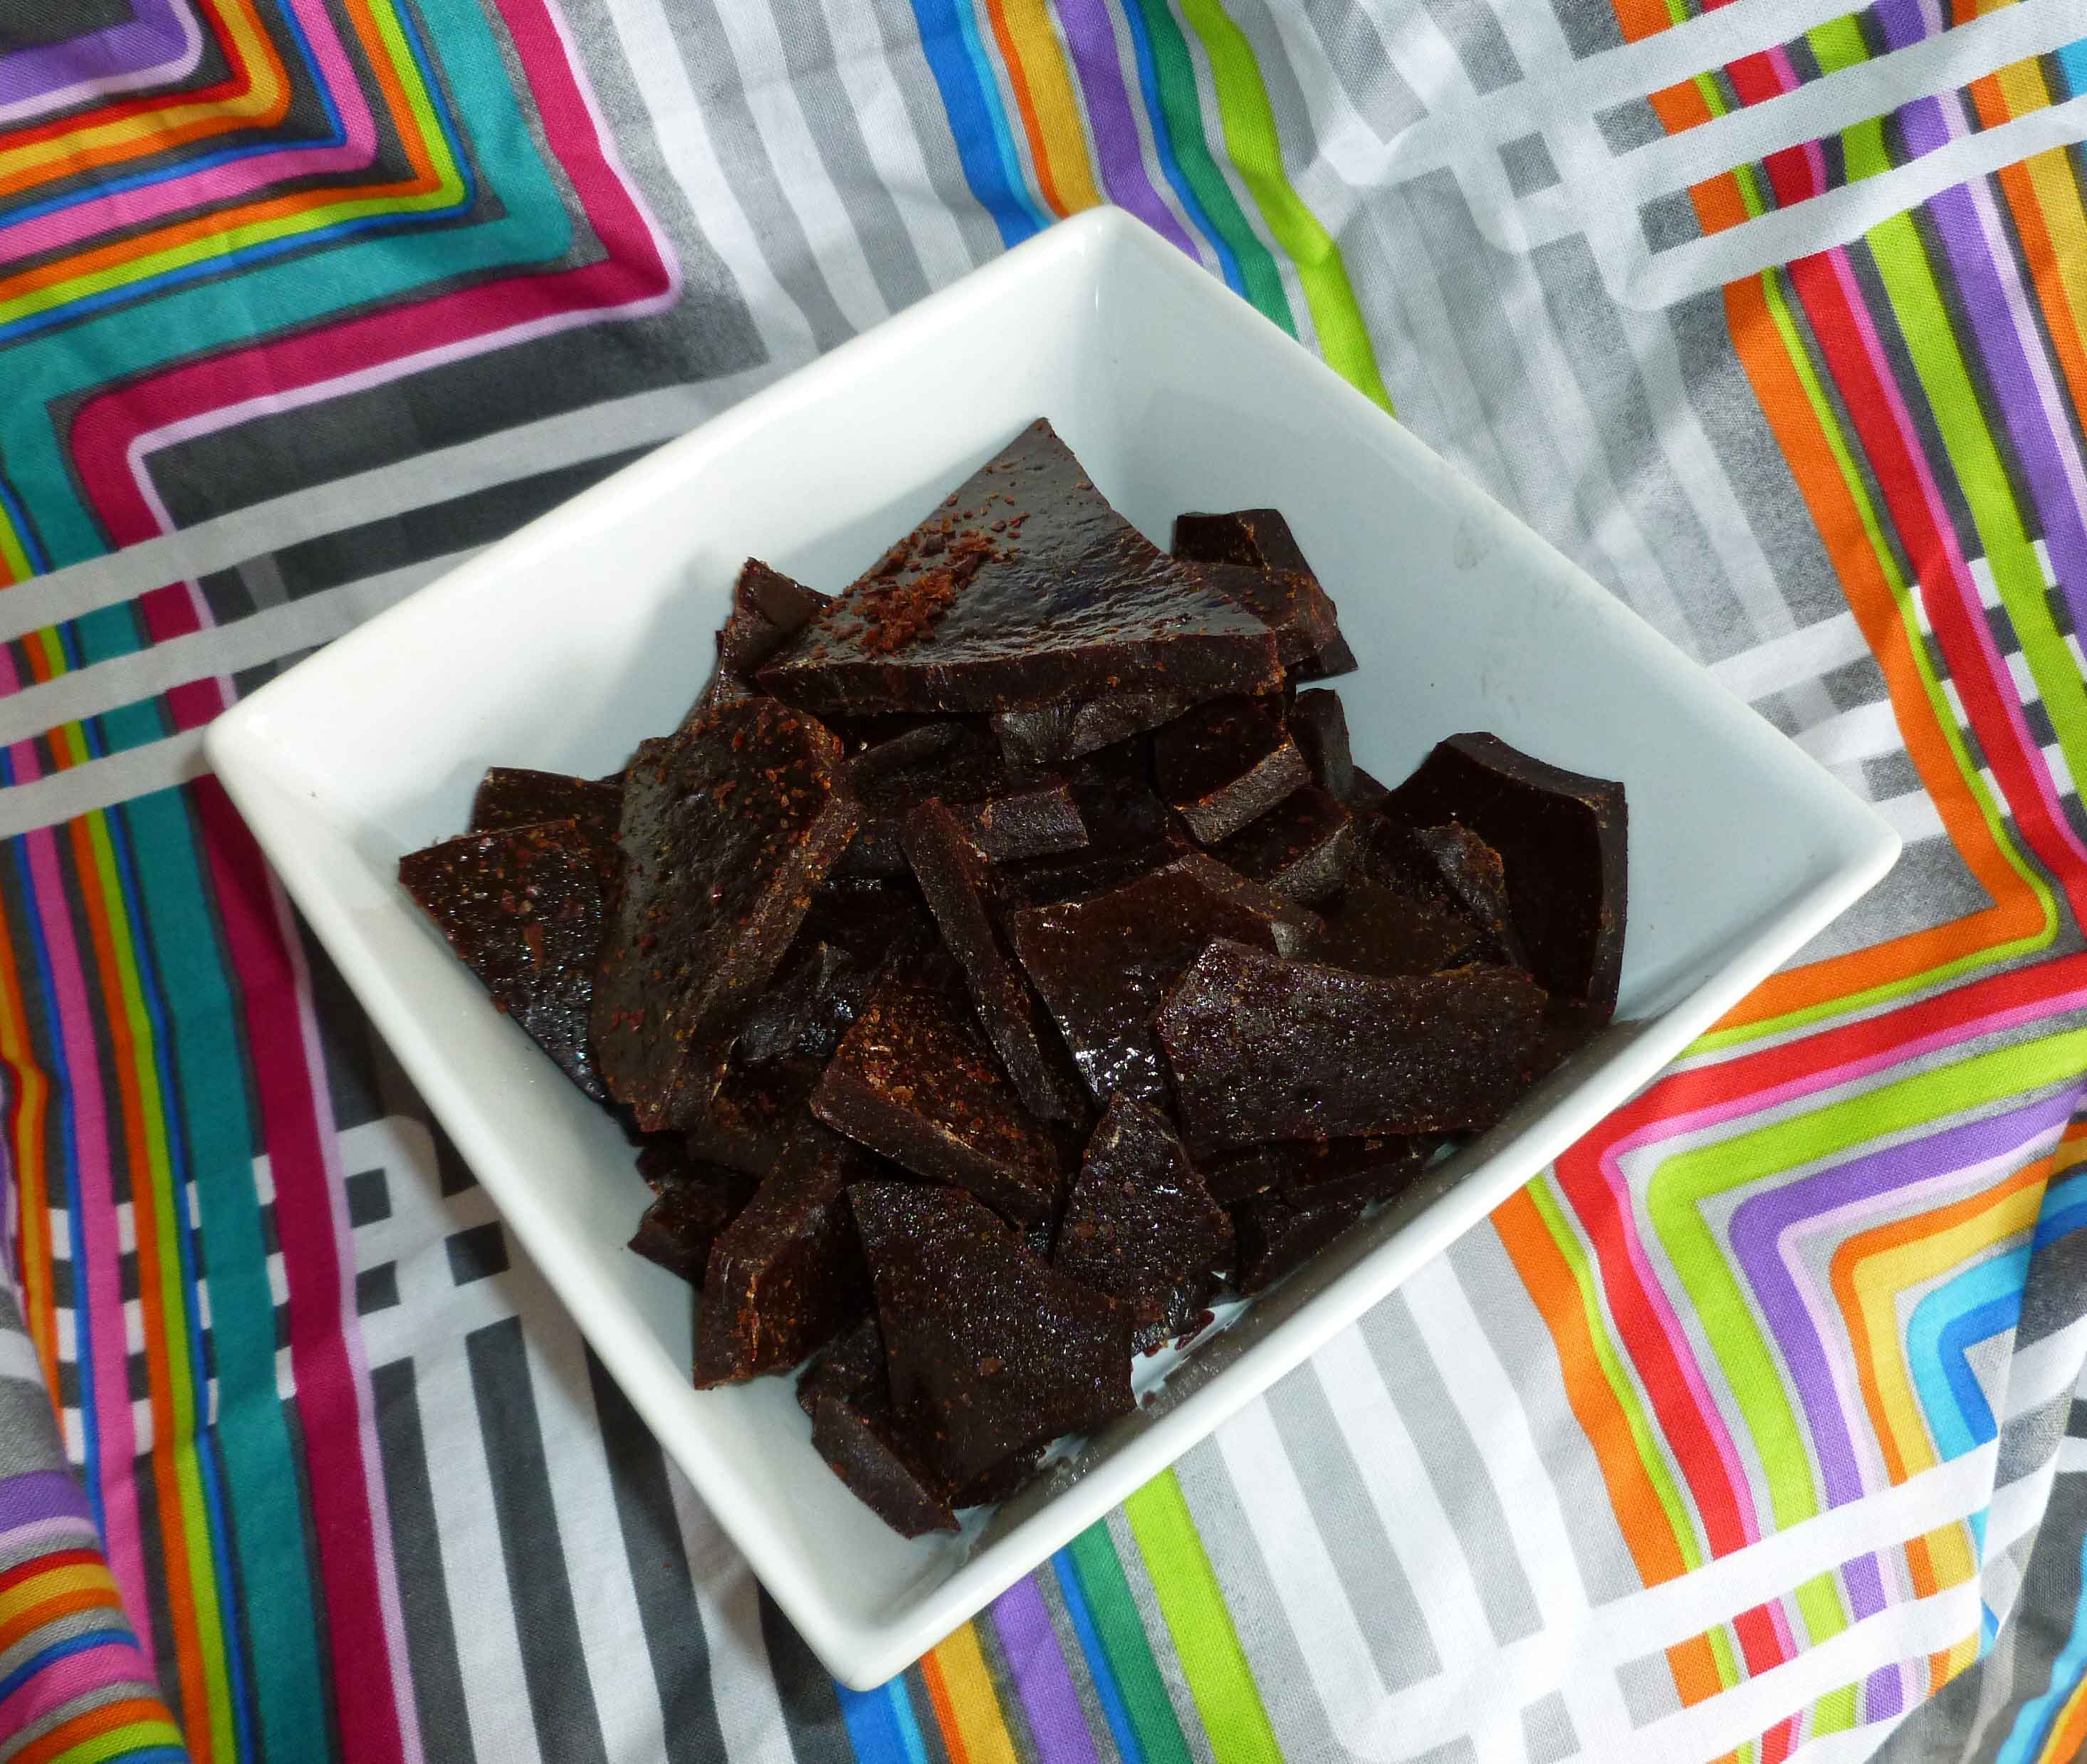
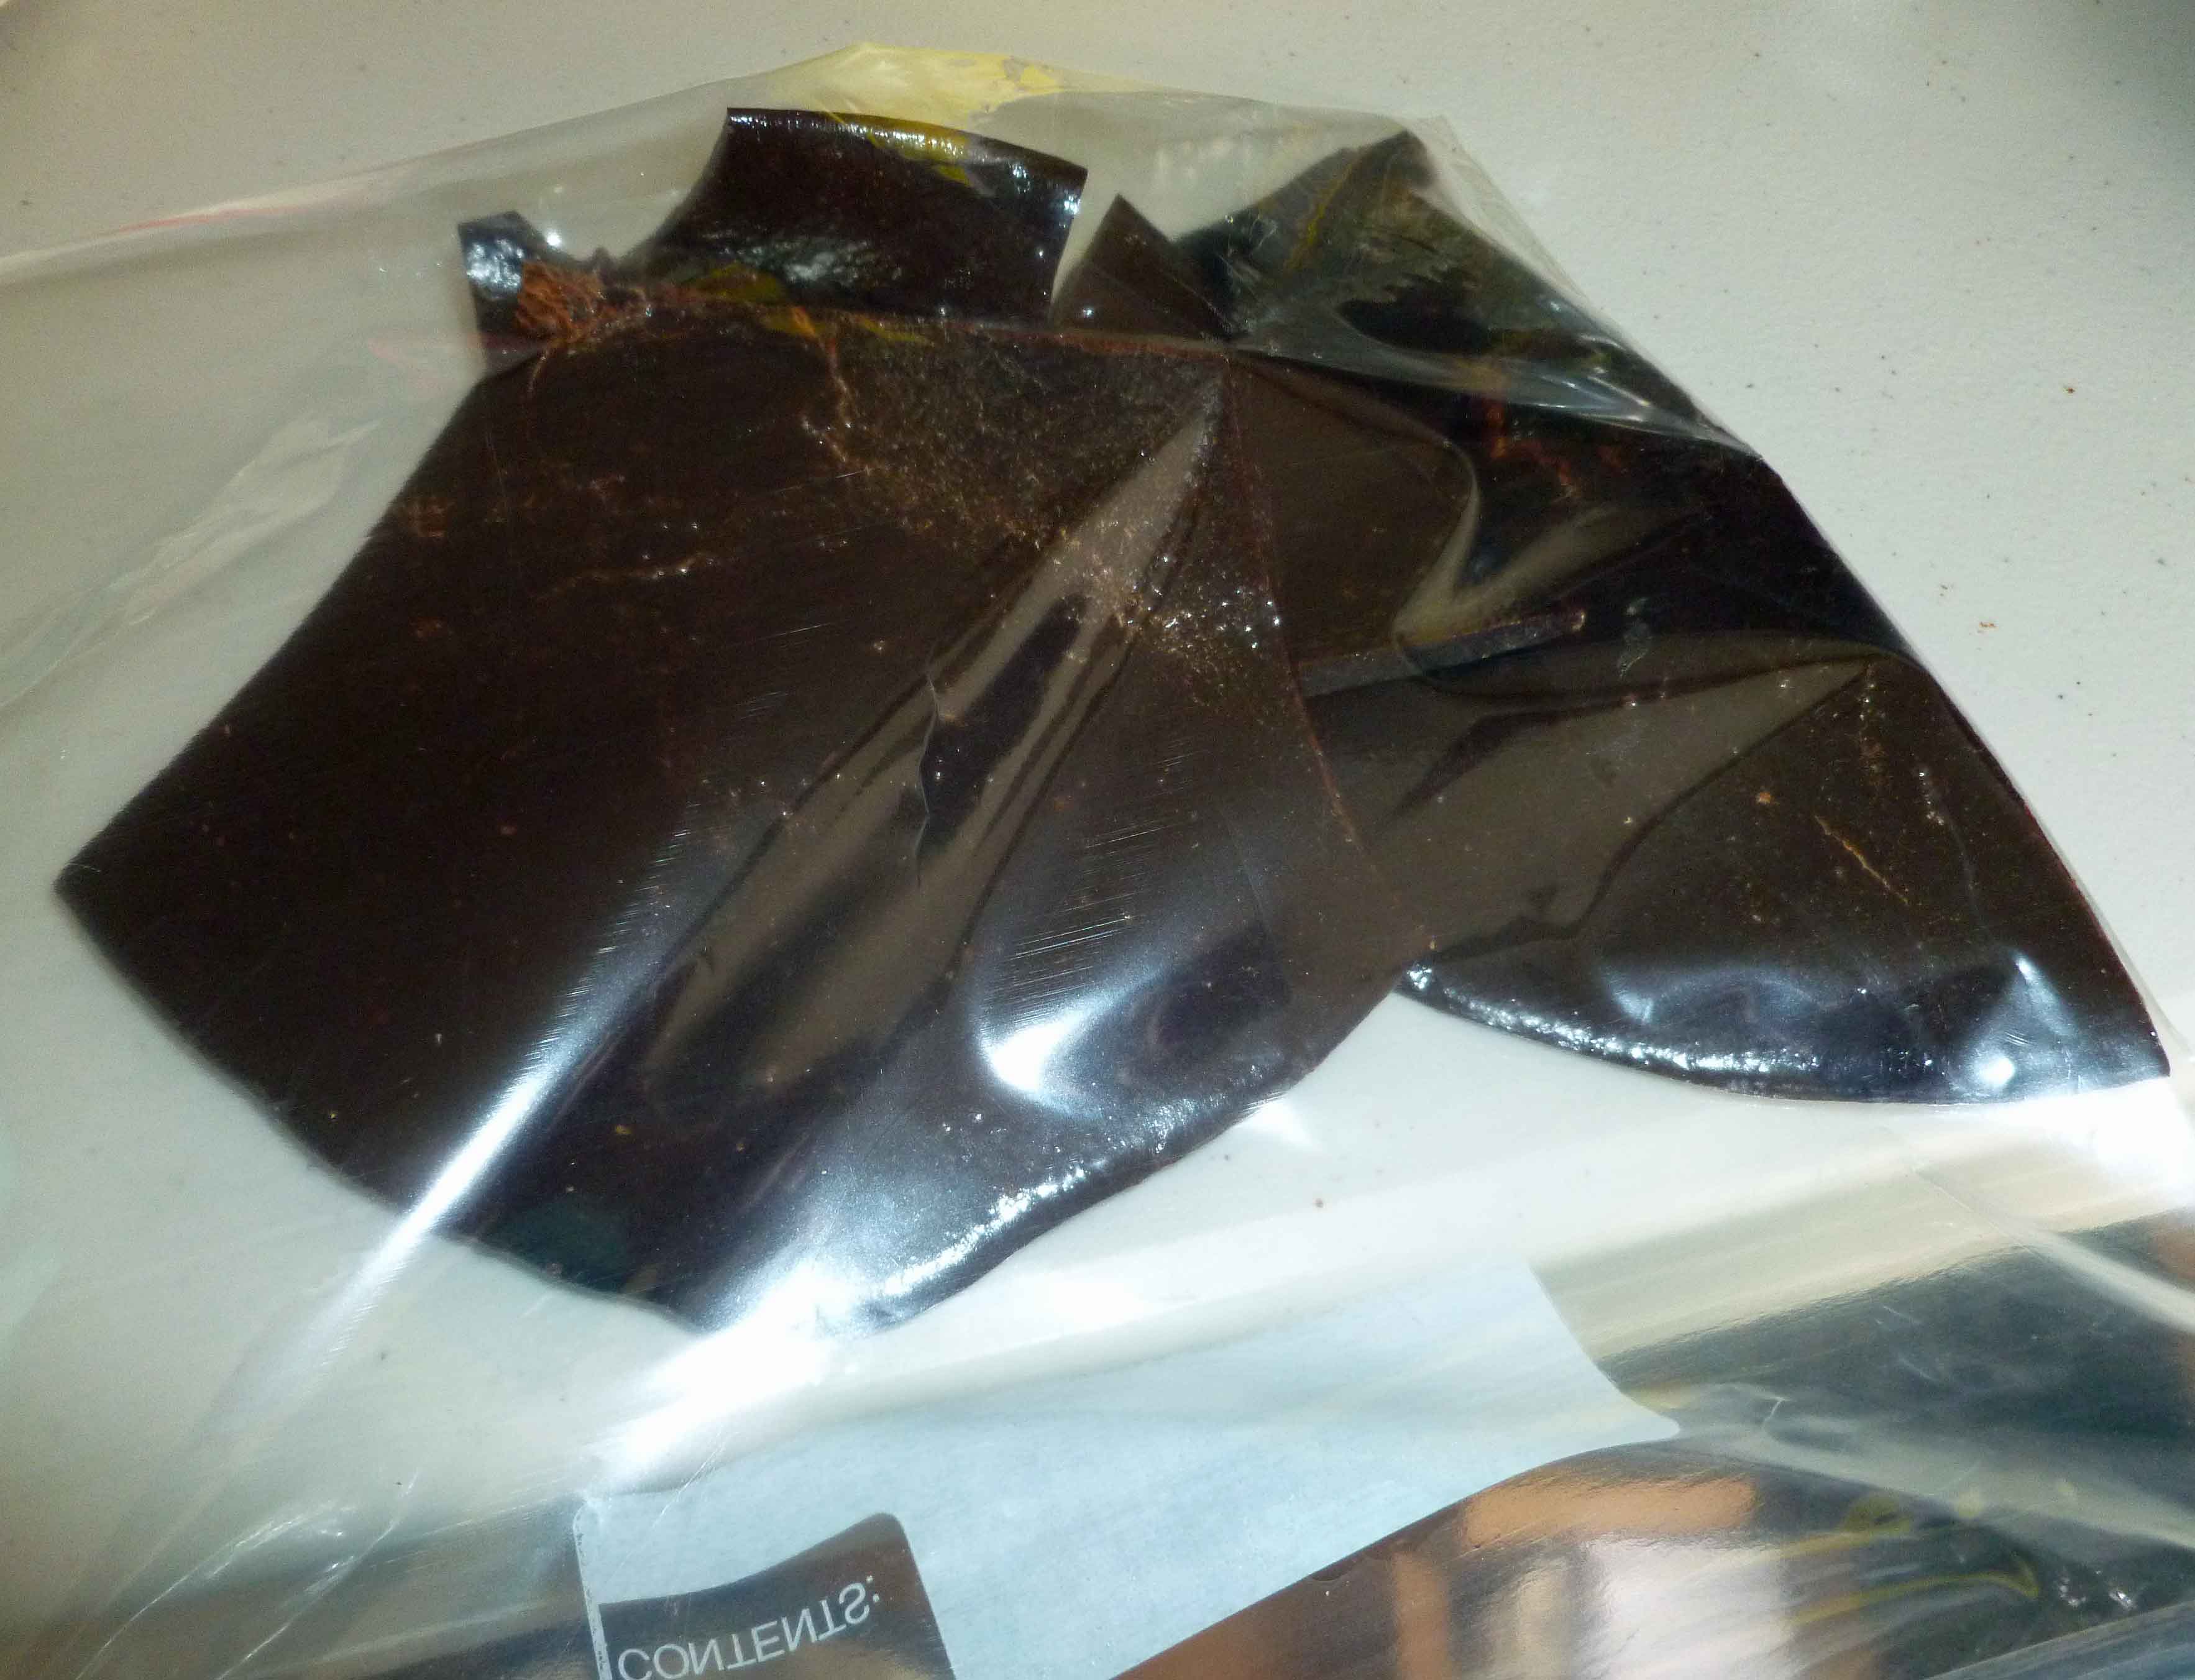
Well, I threw all the ingredients for the sticky stuff, i.e., the cane sugar syrup, brown sugar, cocoa powder, vanilla and cinnamon, all the saucepan and began heating it. But then it didn’t want to melt. So I thought that maybe the cocoa powder was too dry and I added a bit of grape seed oil. And the mixture still looked sugary, and I began to worry that the cocoa powder would burn. It was at this point that I read the actual directions for the mixture from the recipe I was trying to modify. It said to cook the sugar and sugar syrup first and then add the vanilla and cinnamon after. Oops. So I decided that I had enough sugar syrup to do it over, but I decided to see if I could get it to melt, and as I did that, I realized that it wouldn’t be accurate if I wrote it up without the do-over and I didn’t want anyone else to risk burning chocolate. So I quickly greased a small baking sheet and dumped the mixture on it so I could start over again with the sticky stuff for the granola bars. I thought it might end up like tootsie rolls, but when I came back to it after finishing the granola bar attempt (which also didn’t really work as it didn’t set up into bars, but might make a great cereal if I had a safe non-dairy milk, sigh), it was hard as a rock. I pried it off the cookie sheet and then put it in a zip top bag in the freezer for bit and then dropped the bag on the floor a couple of times to break it up into pieces. If you were smarter than me, which you are, you’d use a metal spatula or turner to divide the candy into smaller pieces when it’s cooled a bit but is still warm and pliable. Or put them into silicone candy molds.
Chocolate Cinnamon Hard Candy
3/4 cup of cane sugar syrup (You will need to make it ahead of time – there are two good recipes and I’ve used both before. The one from thekitchn.com makes about a quart, and the one from justapinch.com makes about two cups.)
3/4 cup of brown sugar (make sure it’s safe for you)
4 Tablespoons of cocoa powder (make sure it’s safe for you)
2 teaspoons of ground cinnamon
1 Tablespoon of vanilla extract (Here’s a bunch of recipes for vanilla extract, make sure to use safe alcohol if corn or wheat are an issue for you. I use either Vikingfjord or Luksusowa Vodka because they are made only from potatoes, where some vodkas may also use grain or corn.)
1/2 teaspoon of grape seed oil (or other safe oil for you)
enough grape seed oil to grease cookie sheet
Grease small to medium cookie sheet with grape seed oil. I used a mister.
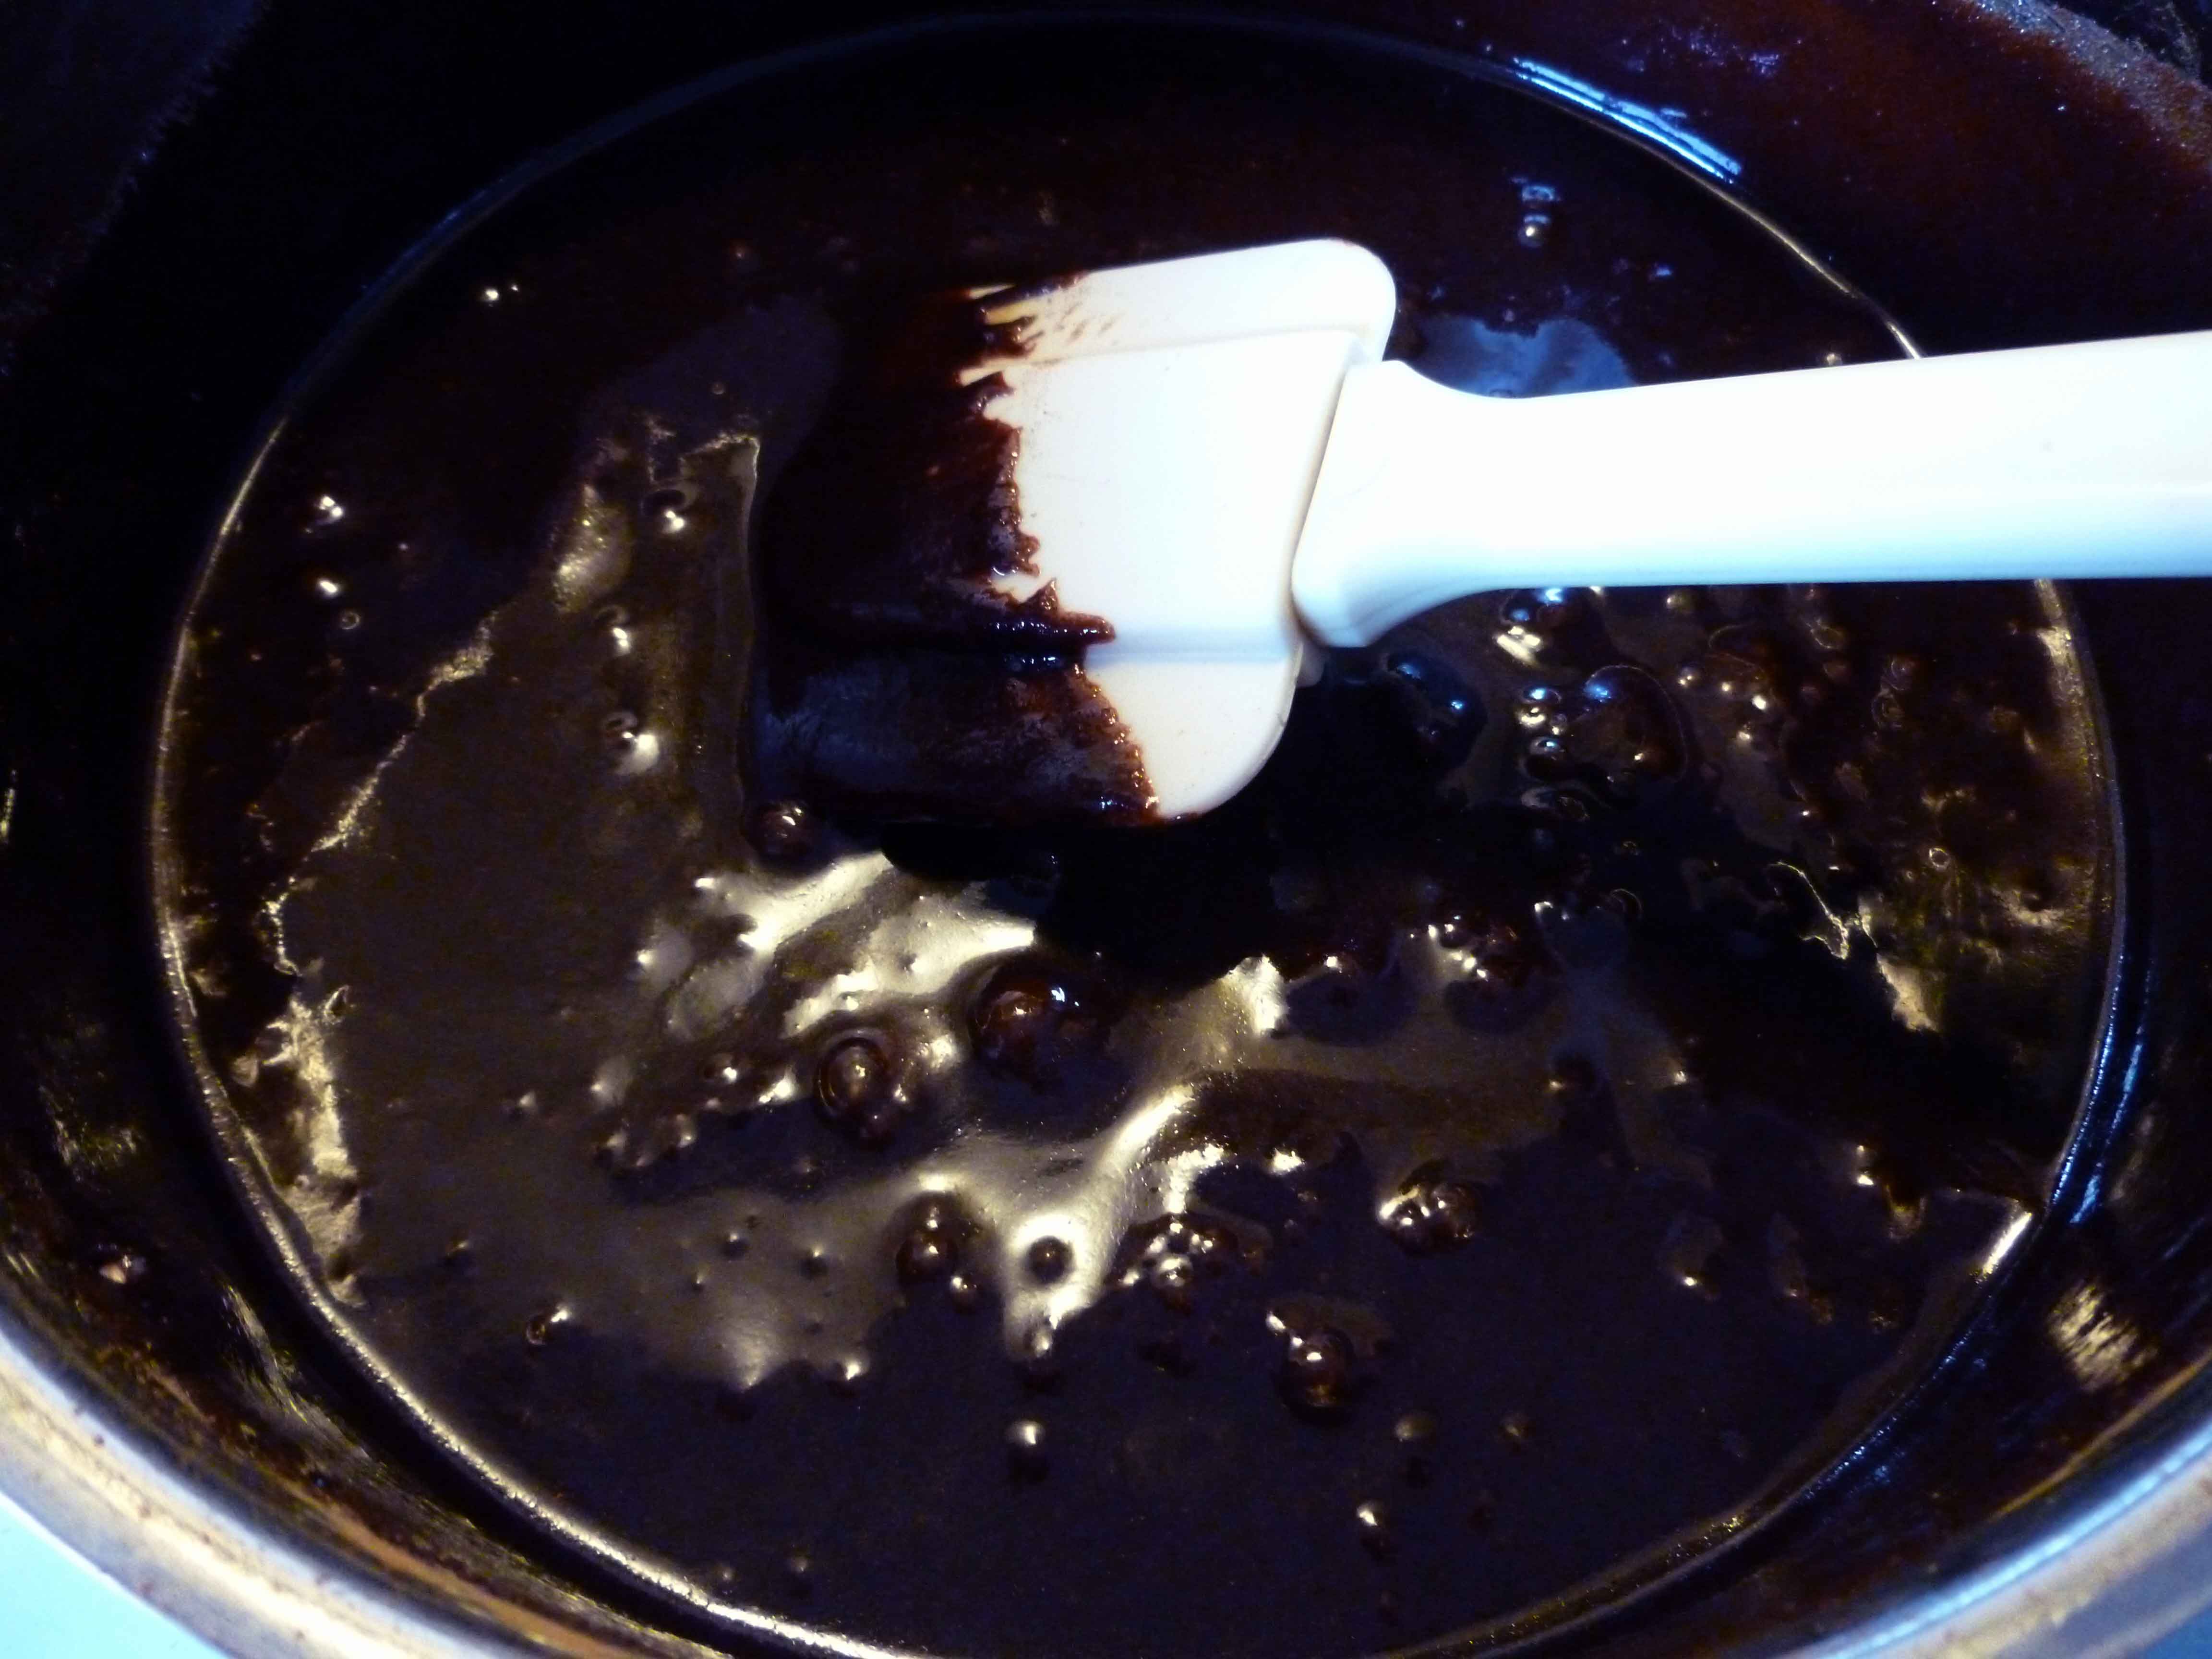
Place all the ingredients in a saucepan over medium heat and stir constantly with a silicone spatula, so that you can scrape the bottom of the saucepan really well. Make sure that all ingredients get combined really well.
Candy mixture well combined in saucepan
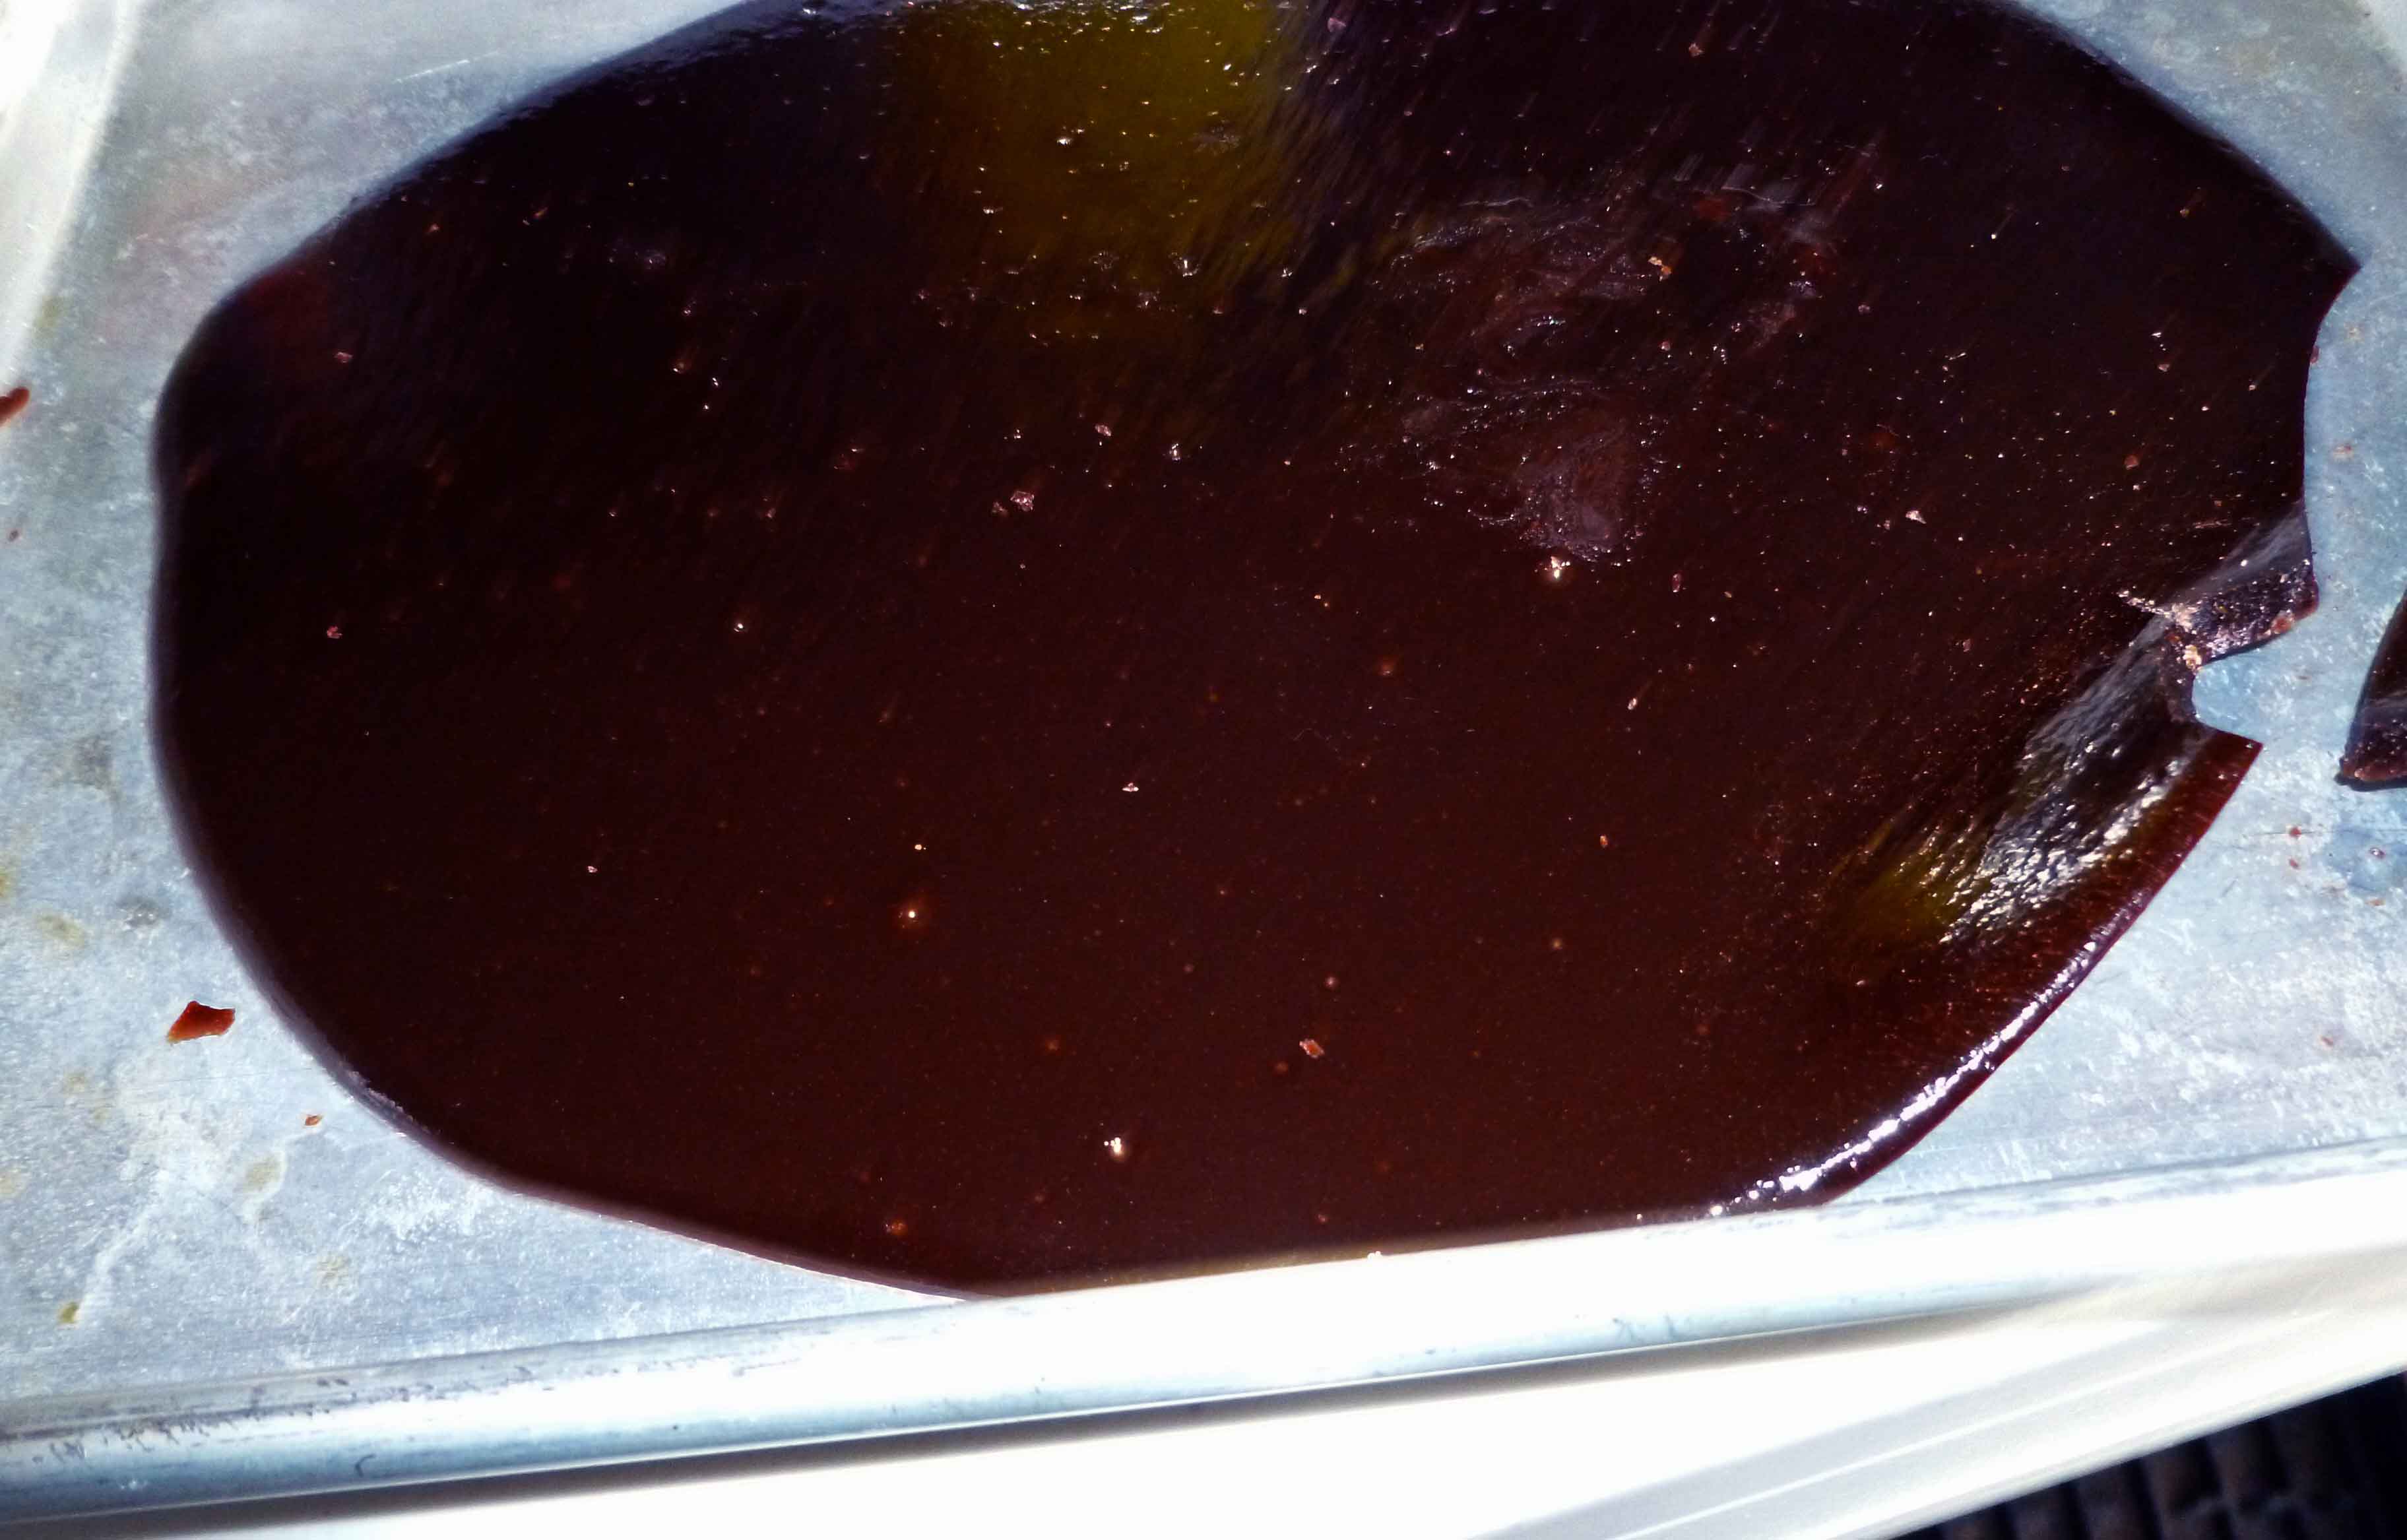
Cook over medium heat until the brown sugar begins melting into the cane sugar syrup. I didn’t measure the temperatures, but if you’re using a candy thermometer, you’re probably aiming for somewhere between 250°F and 300°F. Once the brown sugar is melting into the sugar syrup, pour the mixture onto your cookie sheet or into silicone candy molds.
Chocolate Cinnamon Hard Candy cooling on cookie sheet
Once it is cooler, but still somewhat pliable, use a metal spatula or turner to cut the candy into pieces and let it cool. Or resort to the zip top bag method as described above.
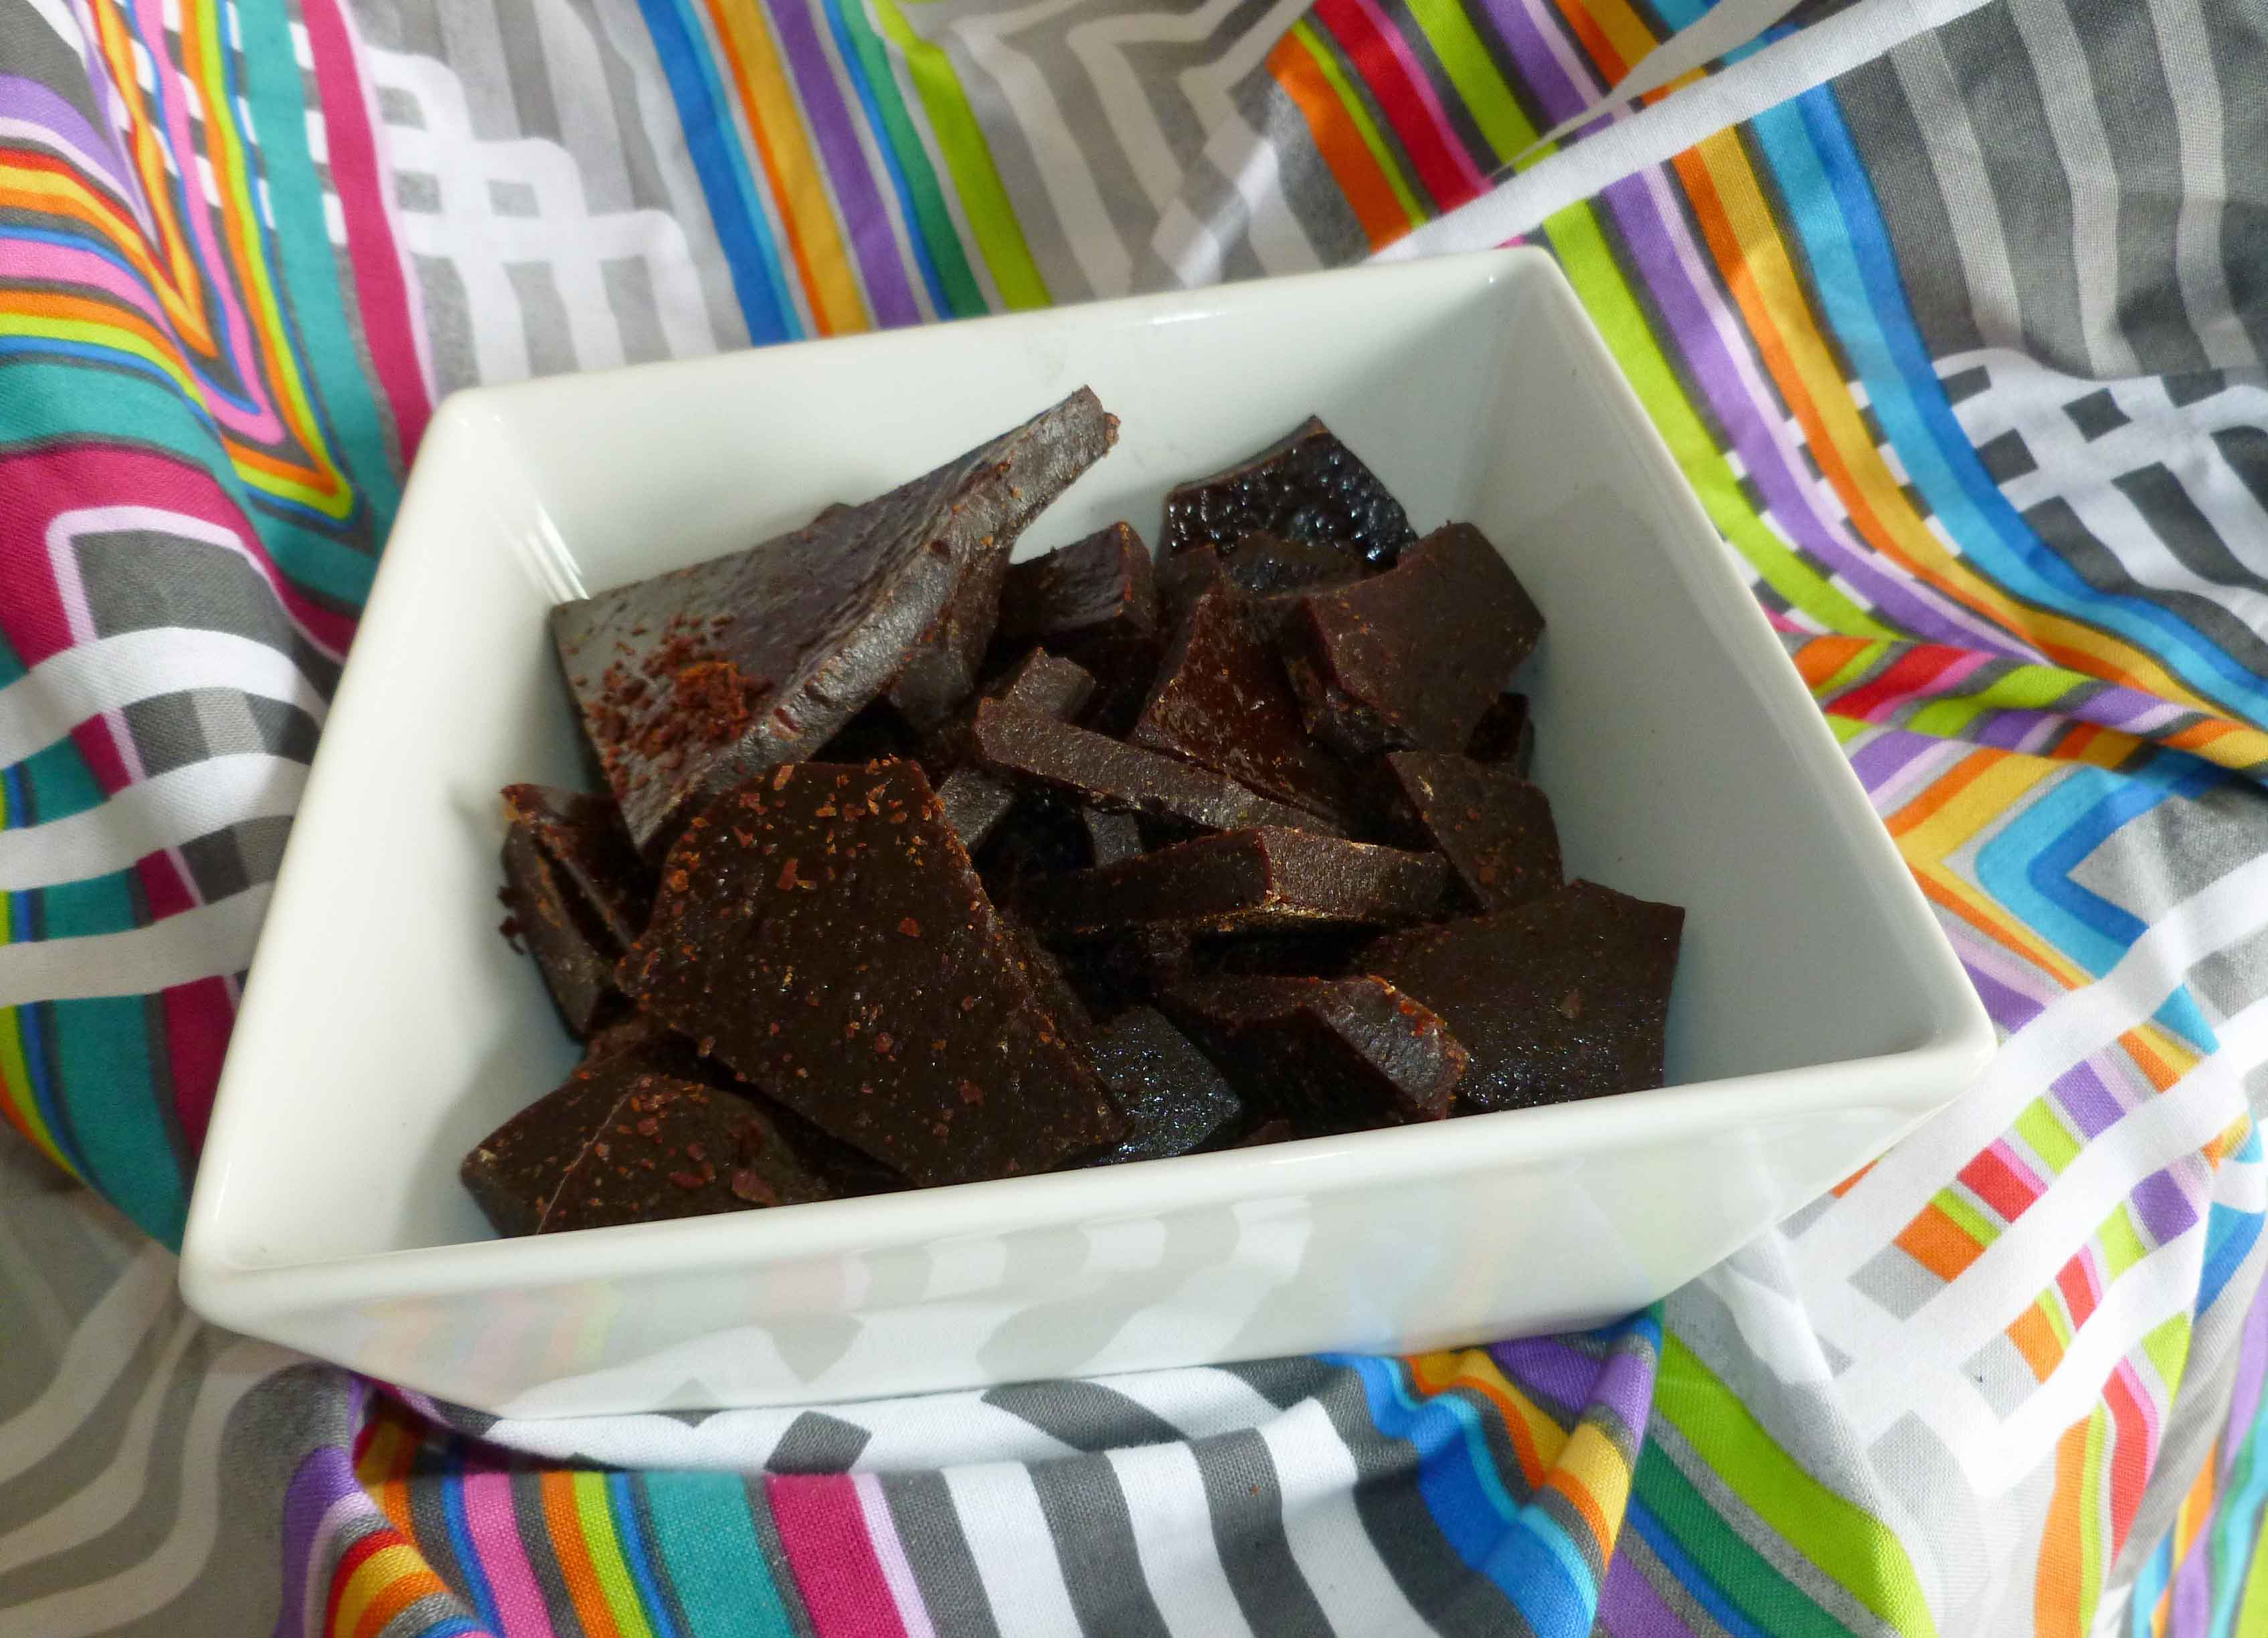
Large pieces of Chocolate Cinnamon Hard Candy about to be broken into smaller pieces
This recipe comes from two sources. First, a salad I read about on a menu and was really excited to try — until I was informed by our knowledgeable server that all the sauces and dressings at the restaurant were unsafe for me. How is it possible that not a single sauce was allergy-friendly? I don’t know. I was grateful to be steered away from food that would make me ill, and I ate my boring but properly cooked plain food instead. But I was still thinking about it, and figured I could absolutely whip up an awesome chopped salad. Secondly, after all the ingredients were chopped, it was so gorgeous that I thought I could use the “salads in mason jars” technique that is all over the food internets to make a) better photos, and b) lunch.
Keeping salad in a mason jar allows you to put the dressing on the bottom and layer the ingredients so they do not get smushed or soggy. Layer something that won’t absorb the dressing and get soggy on the bottom — I put the chicken down there. Carrots, celery, corn, bacon on top of that. Avocado under tomato (so the acid would keep the avocado green), a sprinkle of Daiya cheddar shreds (absolutely optional), and some sprouts on top. Instead of croutons, I’ve used roasted fingerling potato slices. I served it all over spinach, but use whatever greens you prefer. The dressing in this case is a super simple cilantro-lime vinaigrette, using frozen chopped cilantro (but use fresh if you’ve got it!).
Chop everything up. Add or replace ingredients as you choose — go for color. Think about your layers a bit, but layer it into jars and go to town. Lunch for days, in the time for one meal prep. It’s color, freshness, and portable flavor. This recipe makes about 4 pint jar salads (with the greens kept separate). You will likely have leftover potatoes and chicken.
Plated salad over spinach
Chopped Cobbish Salad, in a jar, gluten-free, allergy-friendly
4 teaspoons chopped cilantro (thawed, if previously frozen)
2 teaspoons dijon mustard
4 Tablespoons lime juice
6 Tablespoons best-quality olive oil
1/4 teaspoon salt
olive oil to coat
seasoned salt or spice mix of your choice
fingerling or other small potatoes, sliced thin or chopped small
chicken breast
mixed herb seasoning of your choice
6 slices bacon, cooked
3 carrots, peeled and chopped small, or shredded
3 stalks celery
1 ear corn, cooked and removed from cob, or 1/2 cup defrosted
grape or cherry tomatoes, sliced in half
1 avocado, cubed
sprouts
spinach or other greens
Can you see why this needed to be layered into a jar?
First, cook your cooked ingredients.
Roasted potatoes for “croutons”: Pre-heat oven to 425°F. Wash and slice. Toss potatoes with olive oil and sprinkle with seasoned salt or other spice of your choice. Bake 20 minutes or until crispy. I can’t tell you how many of these to make — I always make a full pan because they make great snacks.
Cook your chicken breasts. I prefer to grill them on my little electric grill, but you can always use this method.
Cook your bacon until crispy, drain and crumble.
Okay. Now on to the vegetables. You’re looking for about 1/2 a cup of each vegetable, divided up into 4 servings. Given that the corn and tomatoes are sort of pre-sized, aim to get everything else between those two sizes.
Now mix up your dressing — whisk or put all the ingredients in a jar and shake. Add about 1-2 Tablespoons of dressing to each jar, depending on how much dressing you like (and remember you’ll be putting this over additional greens). Then layer in the rest of the food. I put the sprouts on top so I could pack them in. Cap it, put it in the fridge, and look forward to your next meal. When ready to serve, I tipped the jars over and shook them a little. Put the greens down on a plate and pour over the rest of the goodies. I pulled the sprouts aside so that I could use them to swipe the rest of the dressing out of the jar.
The longest I’ve kept a jar salad around was 2 days — they might last a bit more, but I haven’t tried it yet.
Jars flipped upside down to let the dressing mix in
Here’s another more adult tater tot flavor, because I love cilantro and I made a whole lot of chimichurri sauce by accident, so this seemed like a good way to use up the extra. Again you could probably pan fry these instead of baking them, but baking seems a bit easier to me.
Chimichurri Spiced DIY Tater Tots
Chimichurri sauce:
2 cups of tightly packed chopped cilantro
2 garlic cloves
1/4 cup of olive oil
1/4 cup of white wine vinegar
1 teaspoon of Adobo seasoning – optional (If you don’t have Adobo seasoning or you don’t have a safe version, mix 1/8 cup of paprika, 1 1/2 Tablespoons of ground black pepper, 1 Tablespoon of onion powder, 1 Tablespoon of dried oregano, 1 Tablespoon of ground cumin, 1/2 Tablespoon of ground chipotle, and 1/2 Tablespoon of garlic powder, this makes half a cup of seasoning)
salt to taste
Put all the ingredients in the blender and puree it. You may not use all of it in this recipe. Marinate meat in it or coat vegetables with it and grill it or roast it, or put it in rice to flavor the rice. If you are worried you can’t use it all up, put it in an ice cube tray, freeze it, and store the cubes in a zip top bag in the freezer until you have a use for it.
Tater Tots:
4 large potatoes (I used russet)
1/4 cup of Chimichurri sauce (see above)
safe oil in a mister to grease pan and tater tots.
Preheat your oven to 400°F. Peel and wash your potatoes. Place the potatoes on a small baking sheet. Bake the potatoes for about an hour.
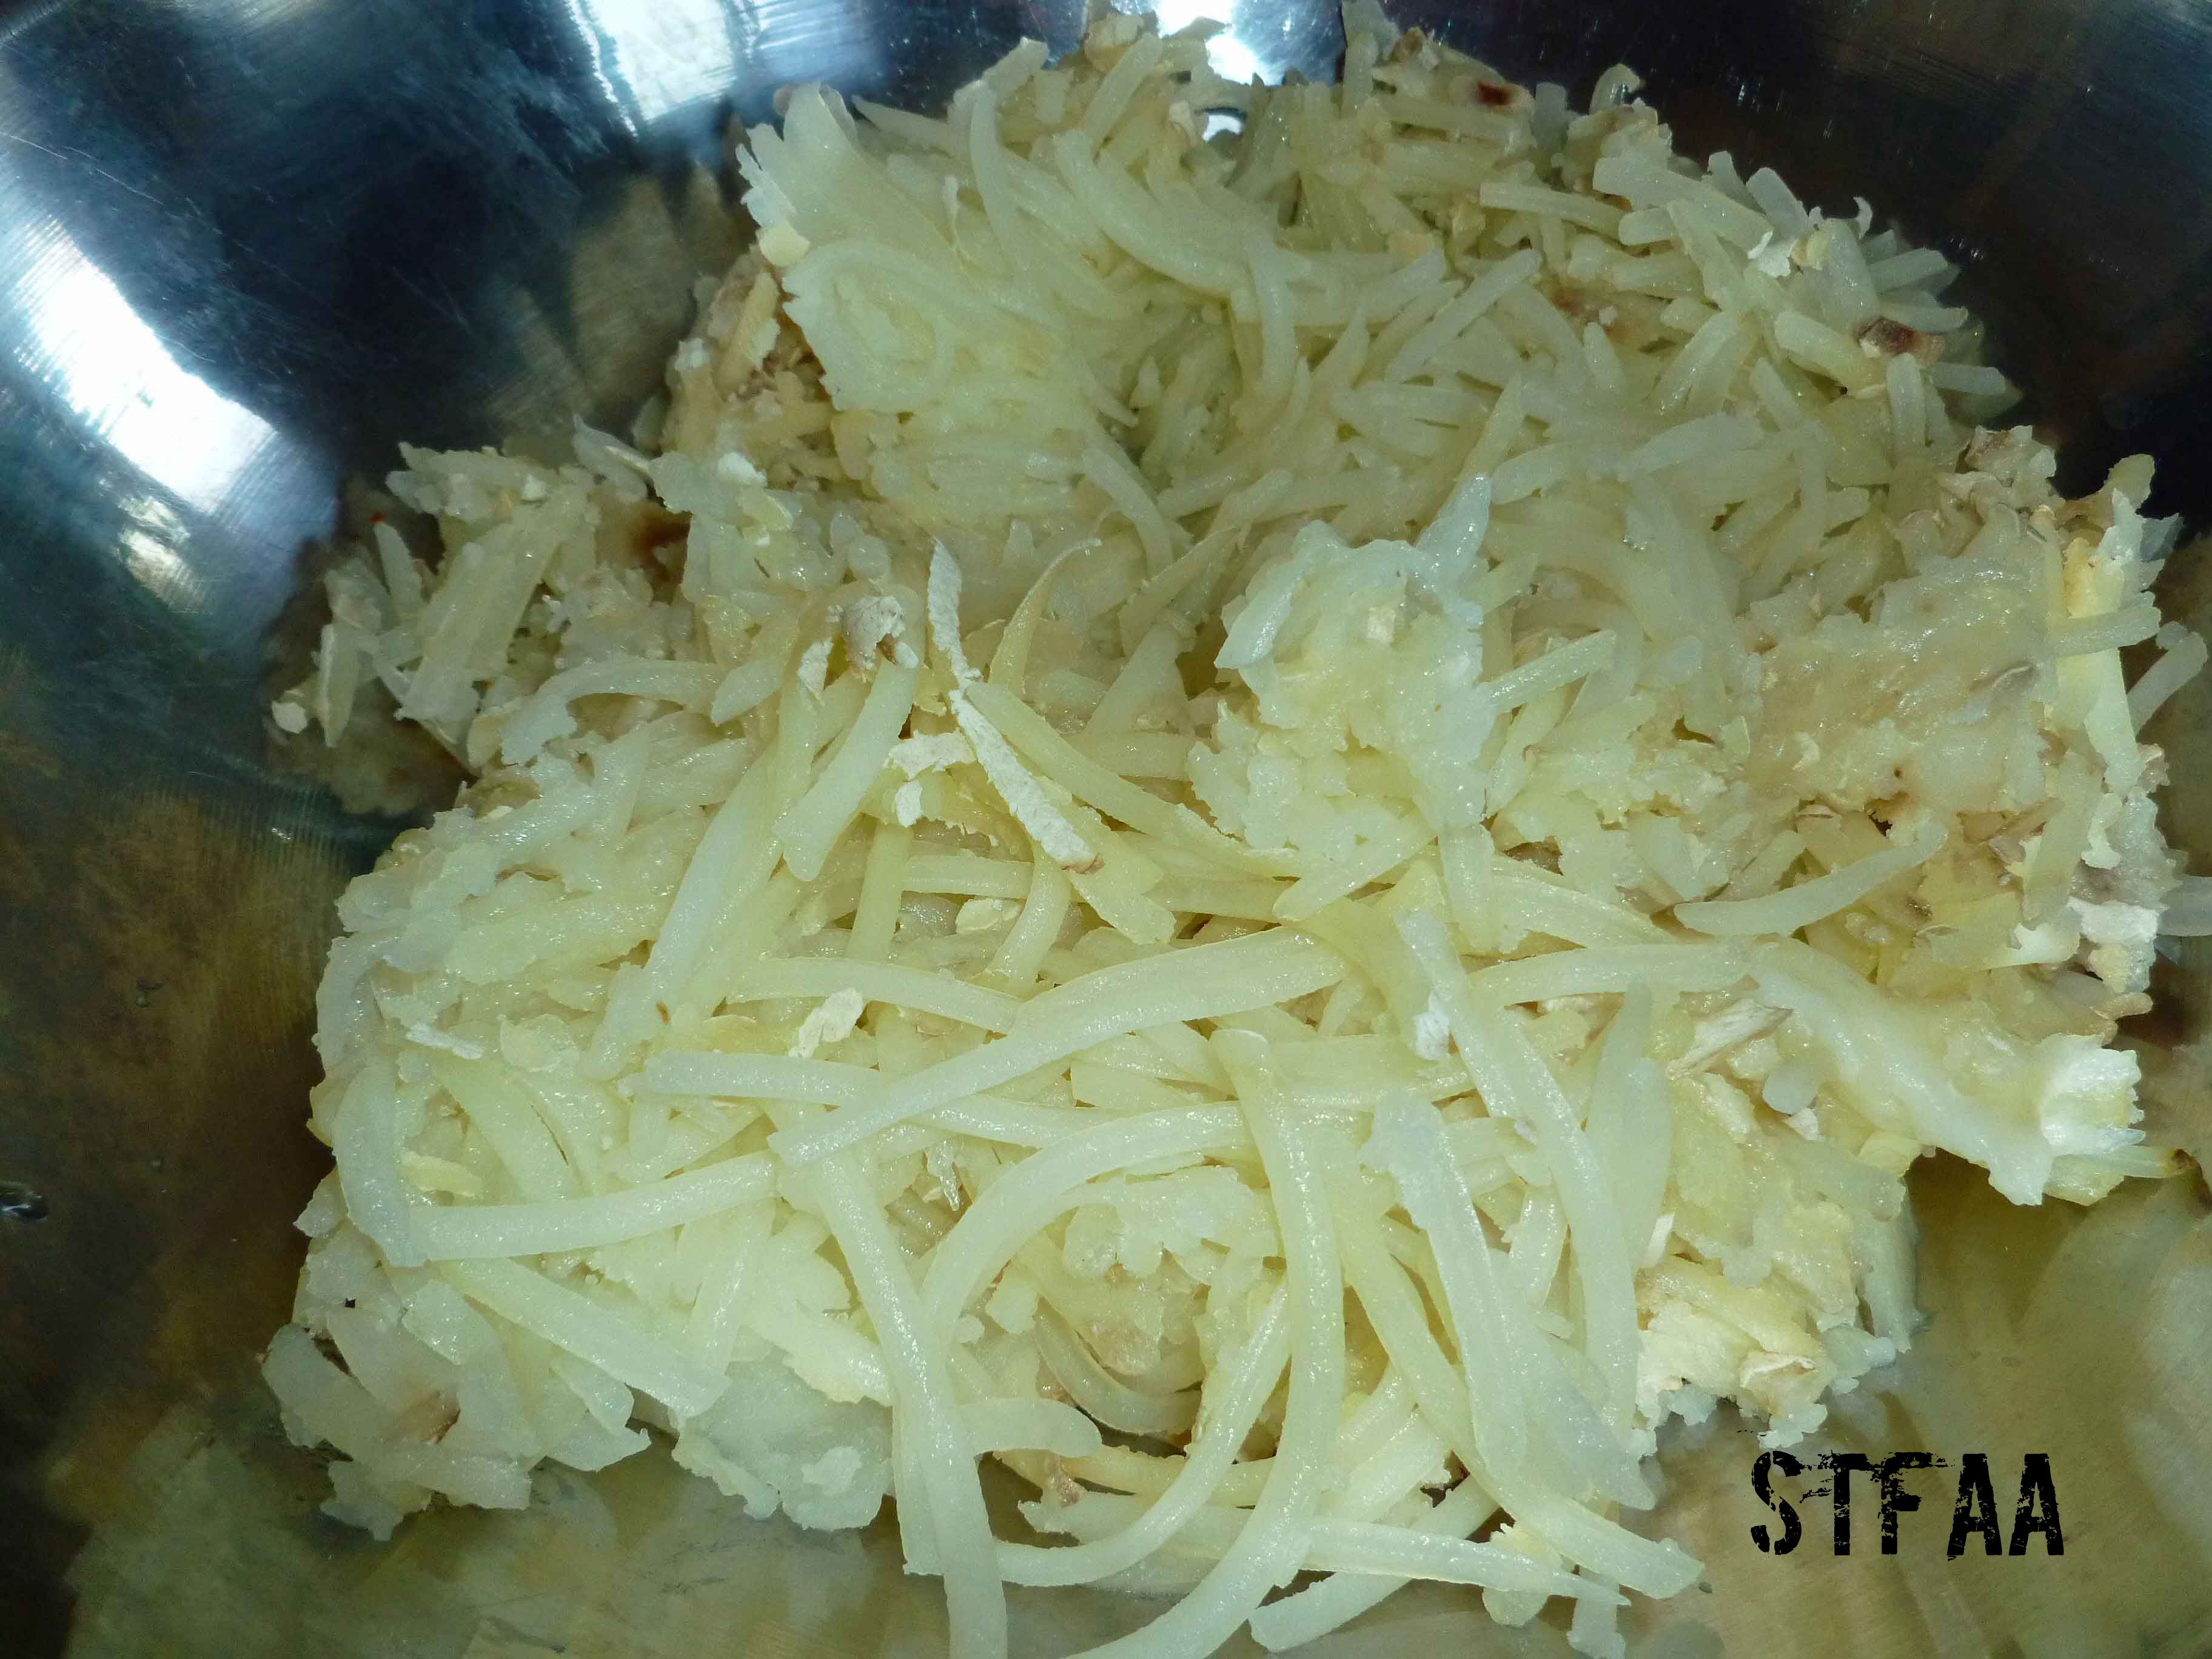
When the potatoes are ready to come out of the oven, remove the potatoes and turn the temperature on the oven to 425°F. If you’re using a large hand grater, you need to wait until the potatoes are cool so you don’t burn your fingers. Since I was using the grating blade on my food processor to grate the potatoes, I grated them while they were still hot. I sliced them lengthwise just enough to get them in the food processor, and grated them up.
Grated potato after baking
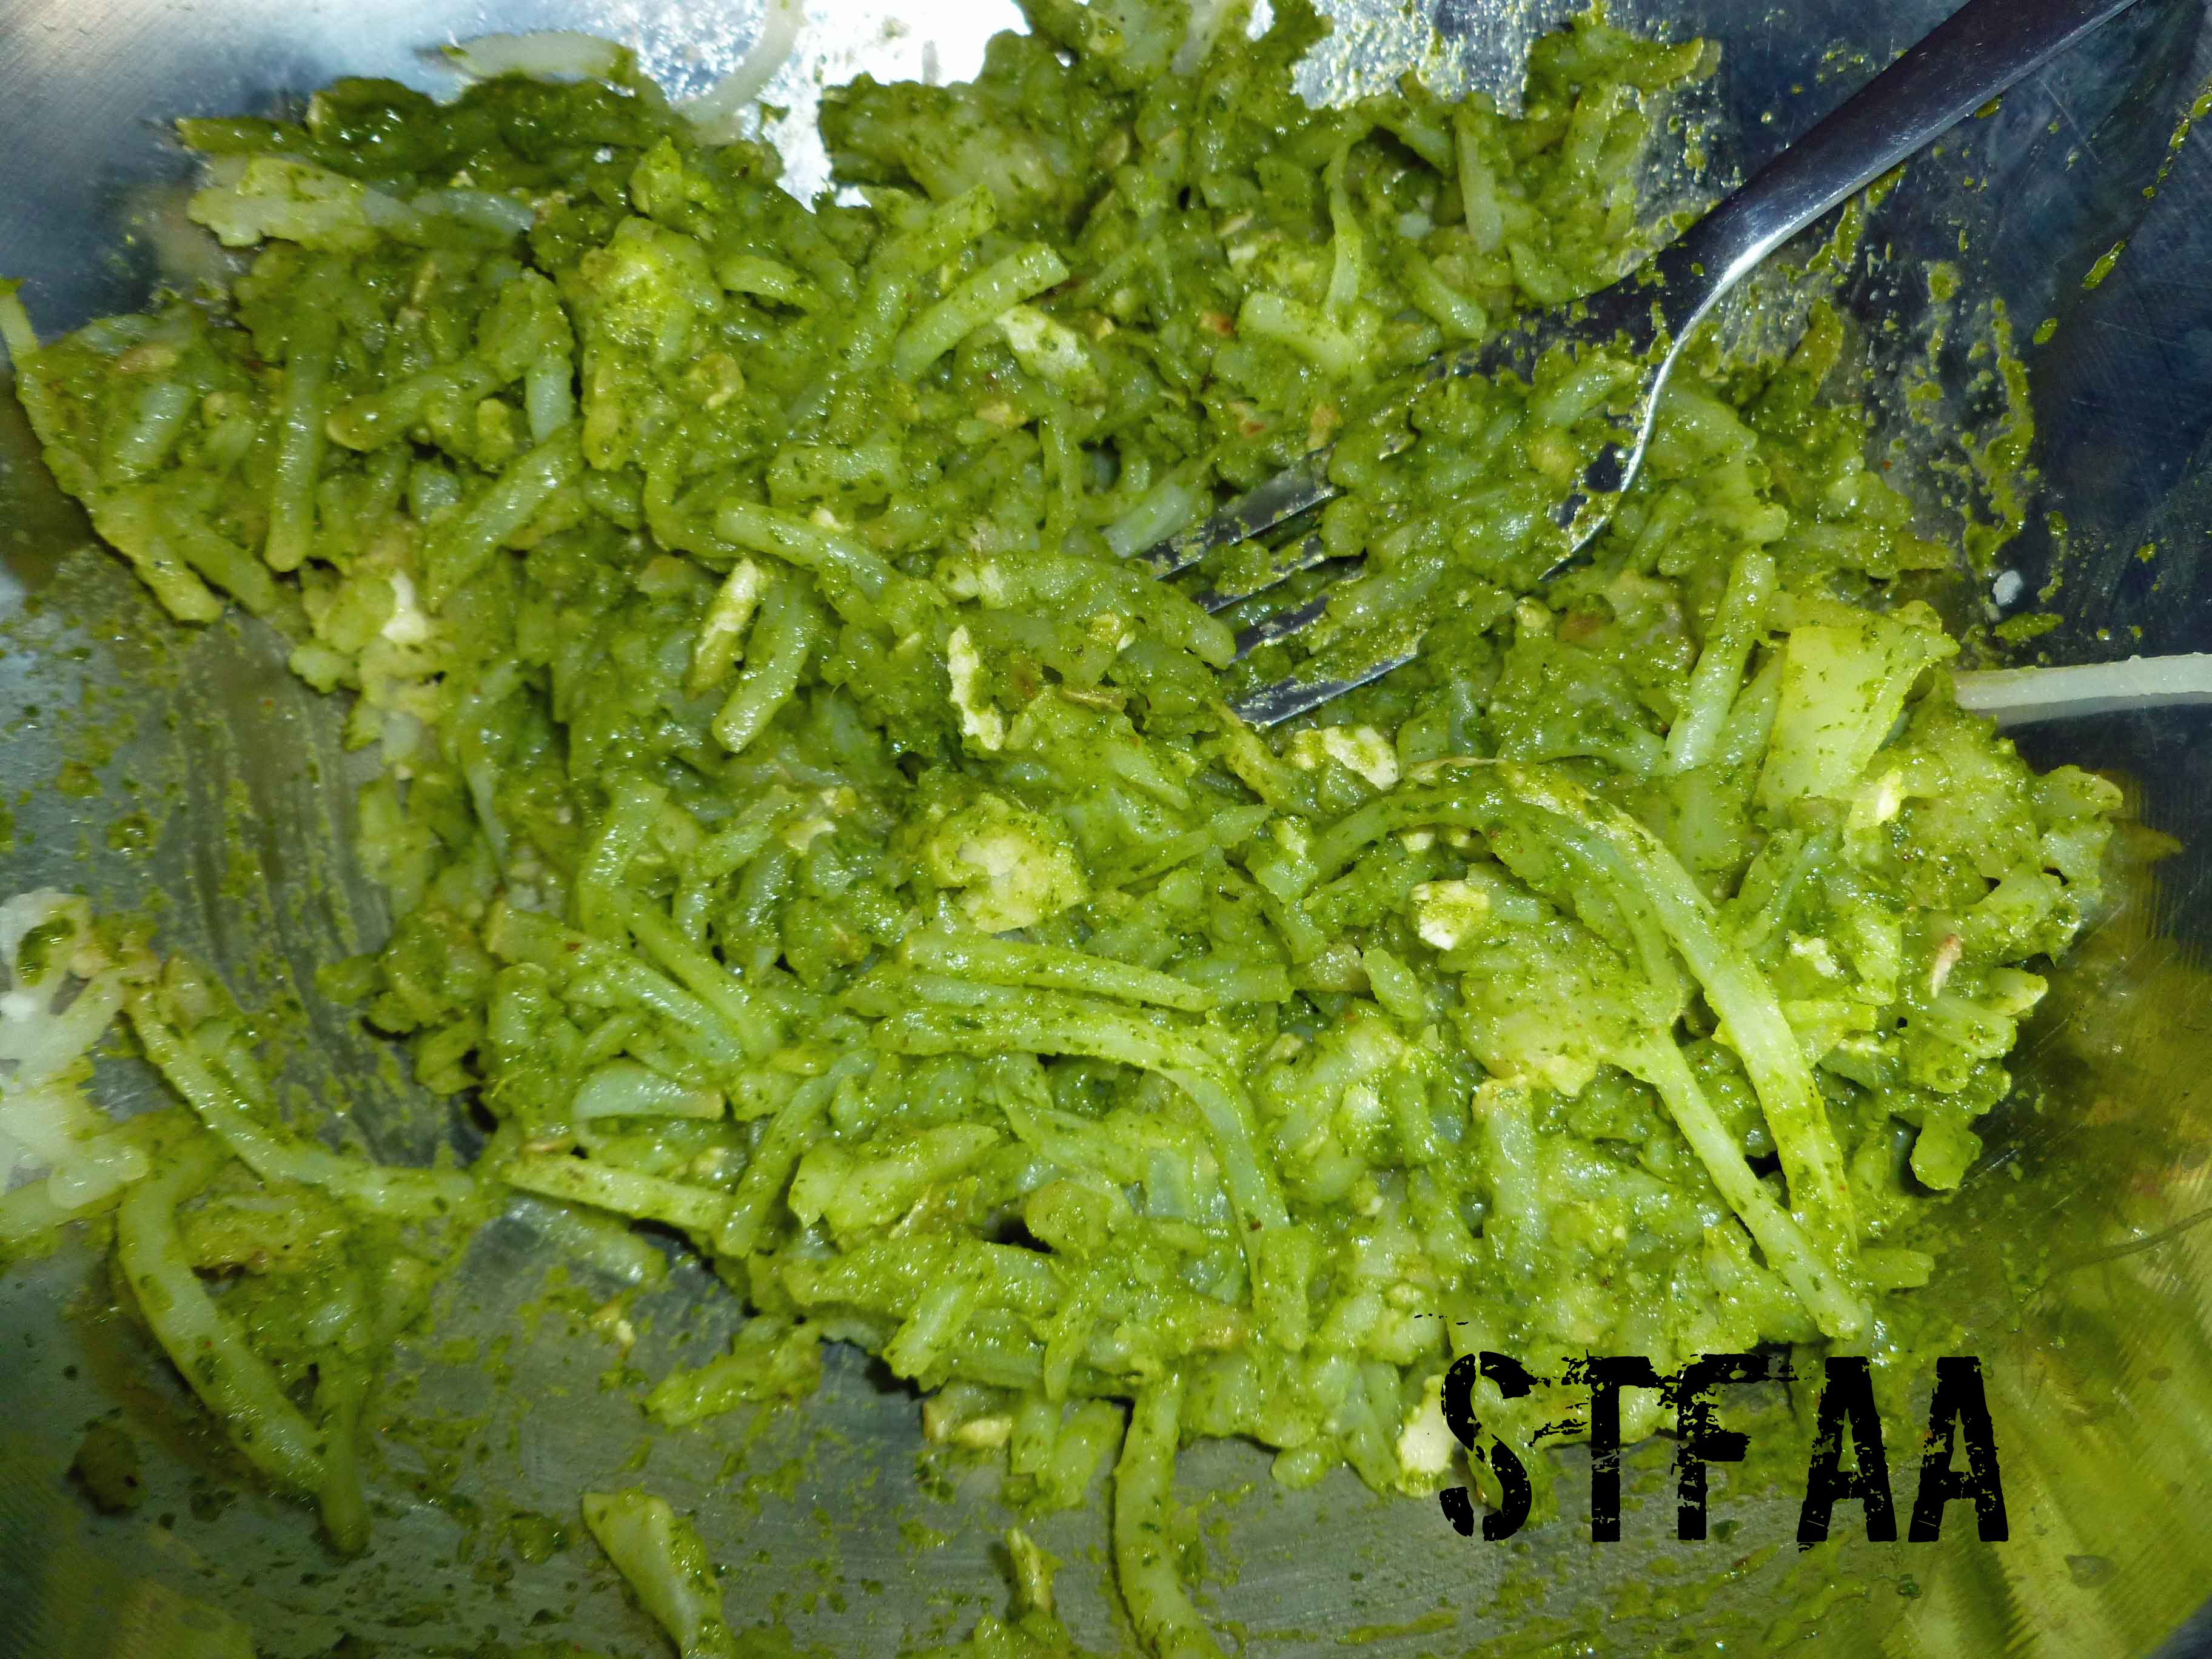
Some of the grated pieces may be too long, Feel free to chop them up a bit either with a knife or a potato masher. When the pieces are small enough for you, mix the chimichurri sauce into the potatoes until they are well combined.
Potato and chimichurri sauce mixture
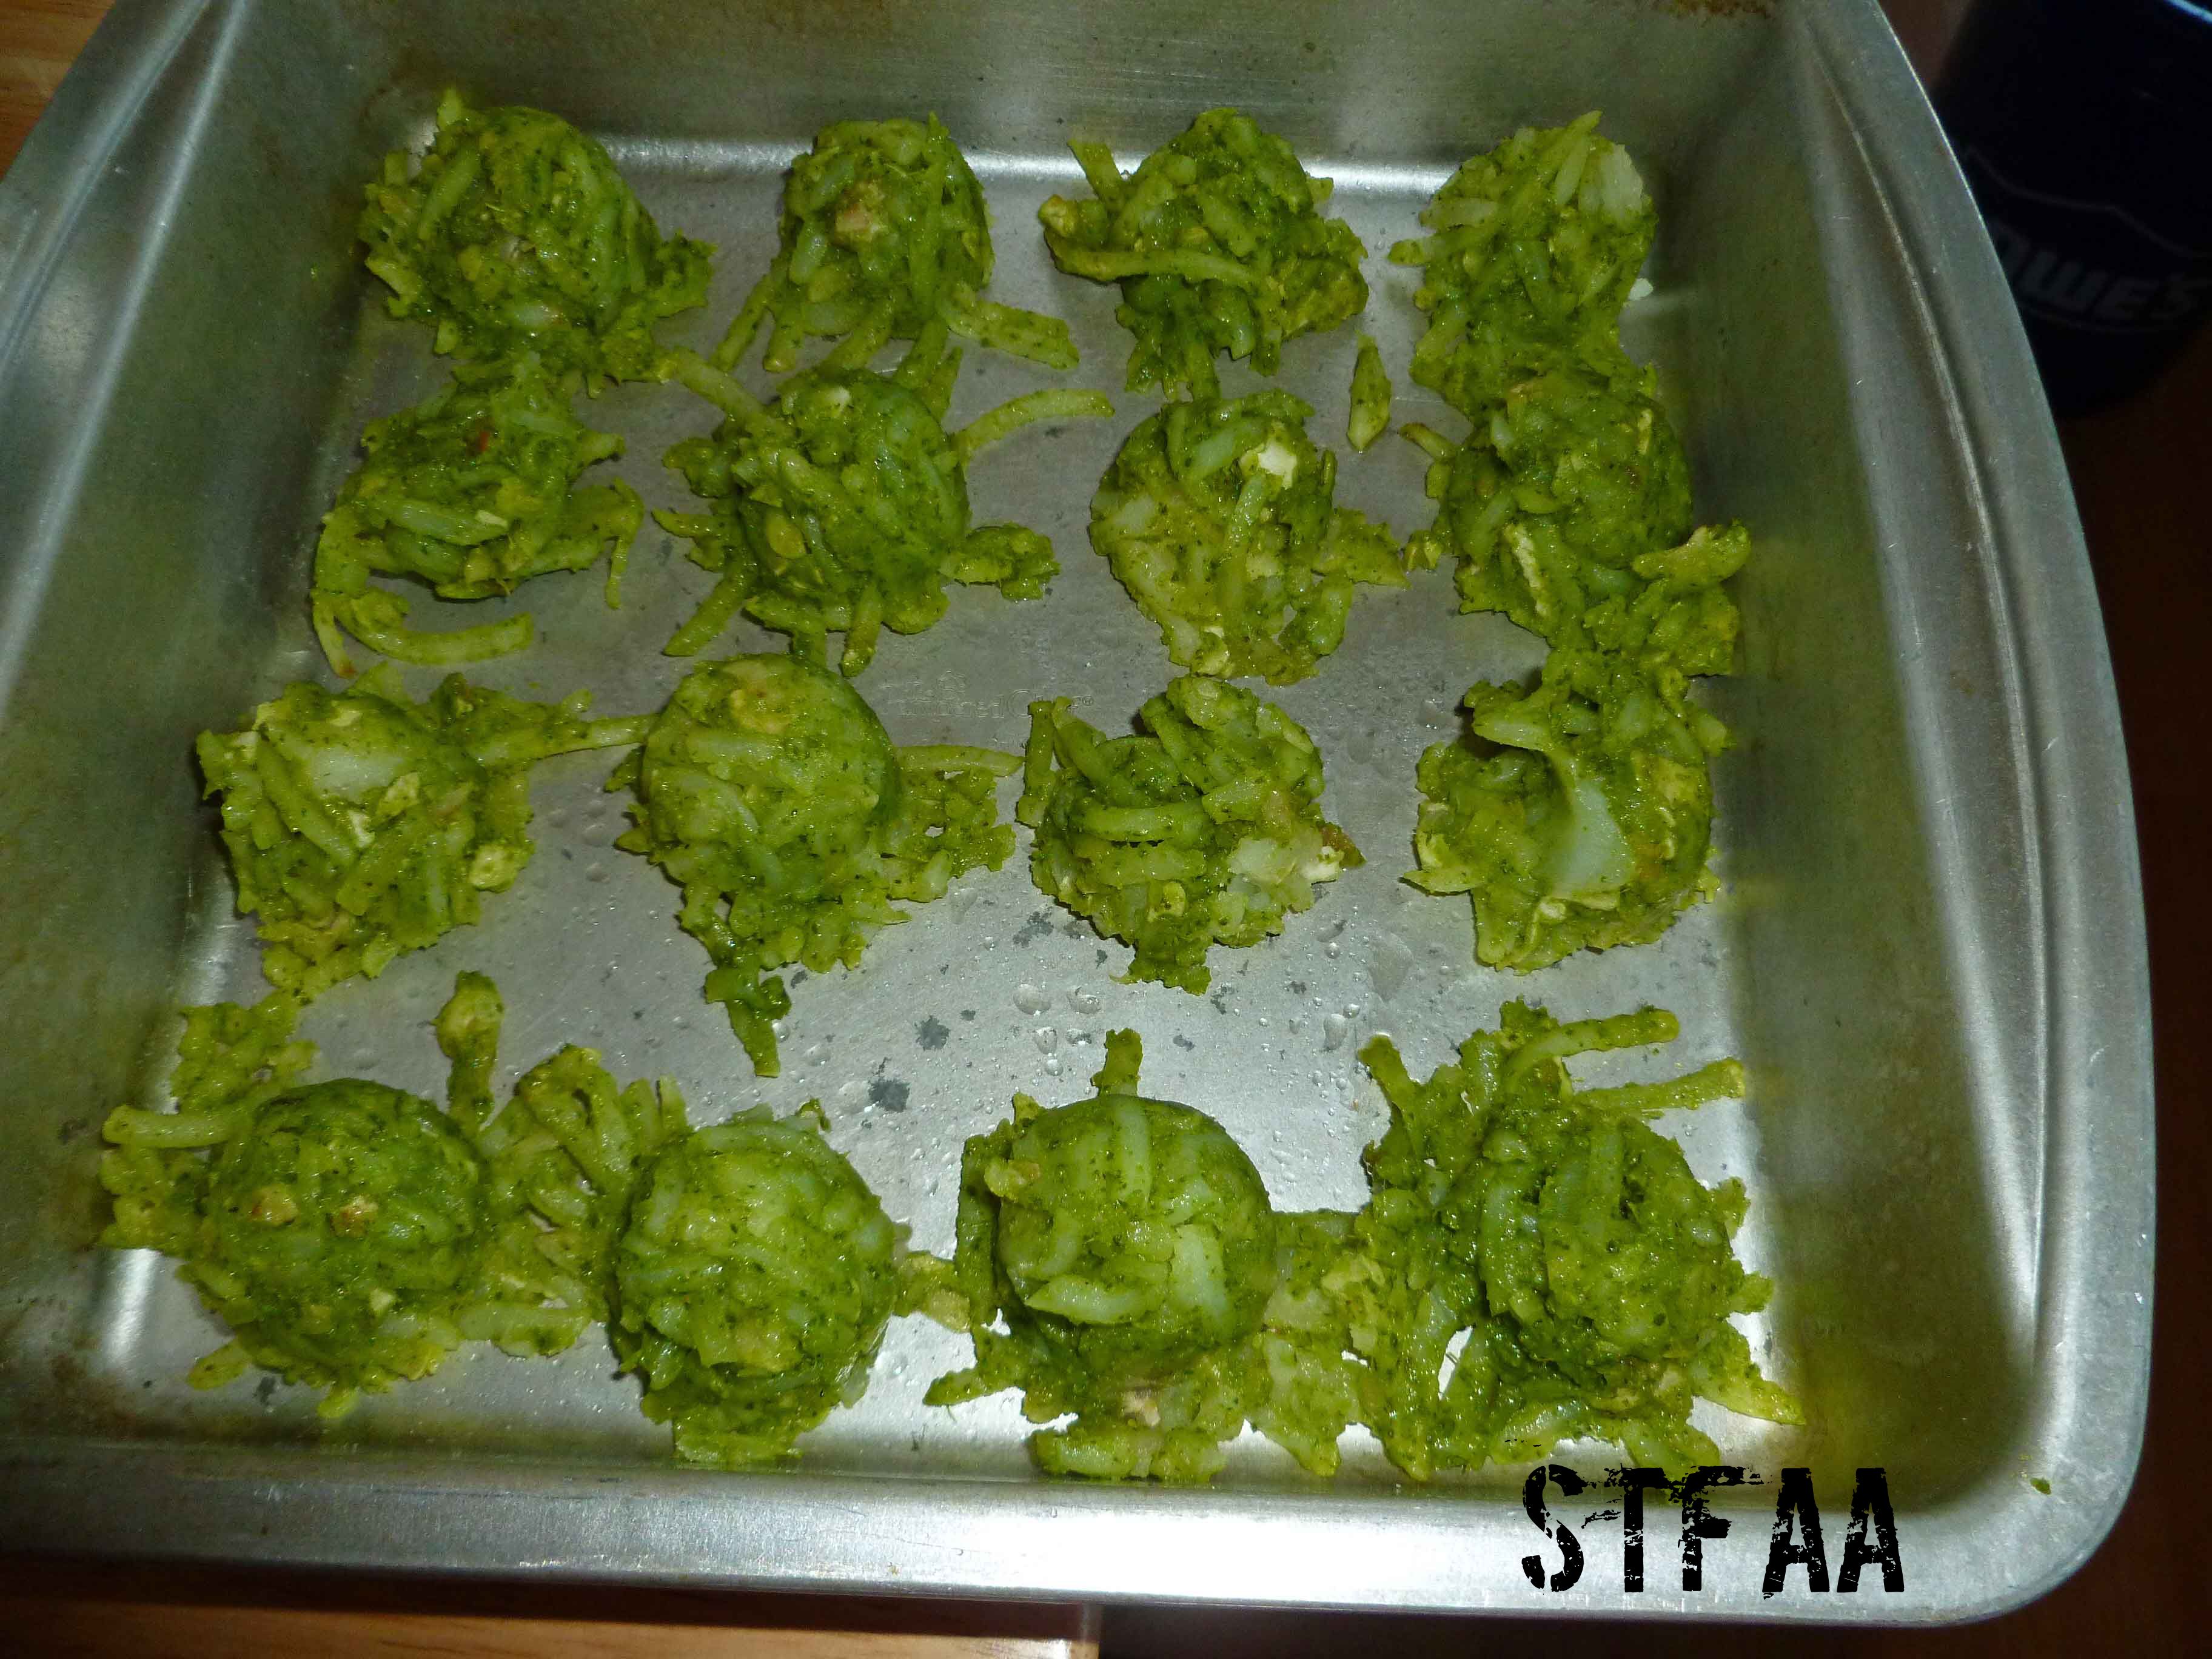
Spray your baking sheet with your safe oil in a mister. I used a small cookie scoop to portion out the tater tots, but you could use two teaspoons to drop the mixture on your baking sheet.
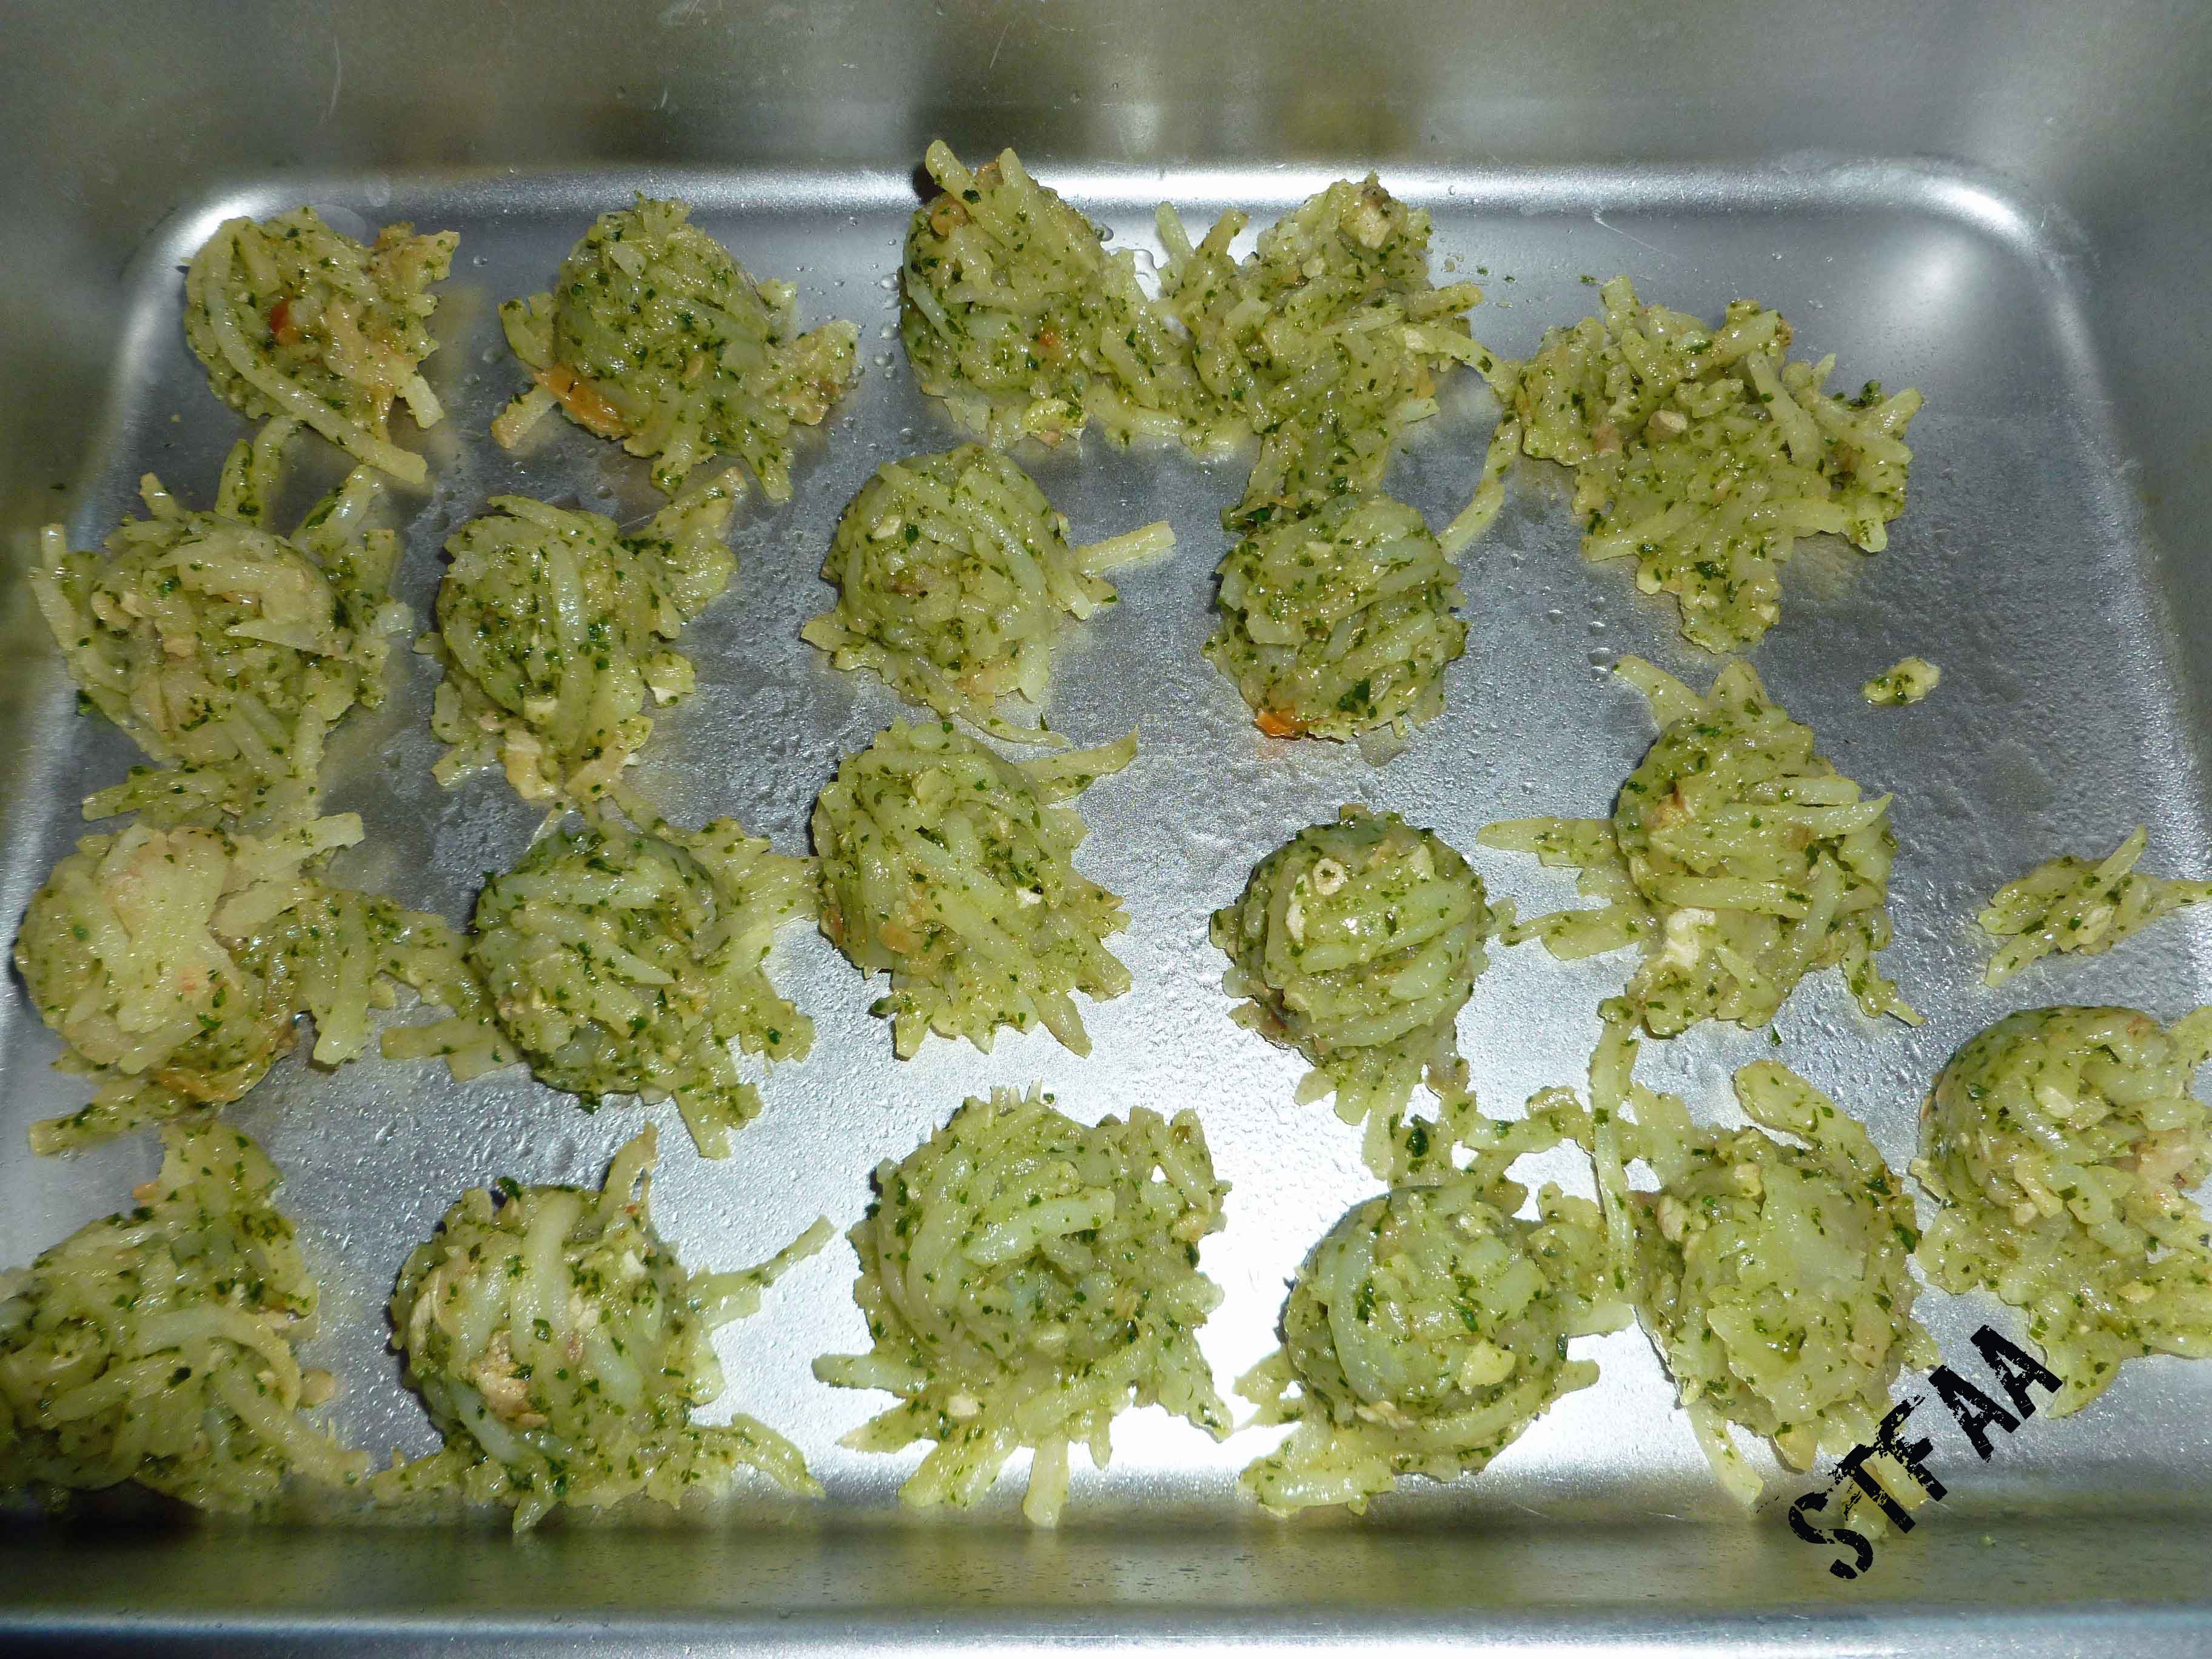
Chimichurri Spiced DIY Tater Tots before baking
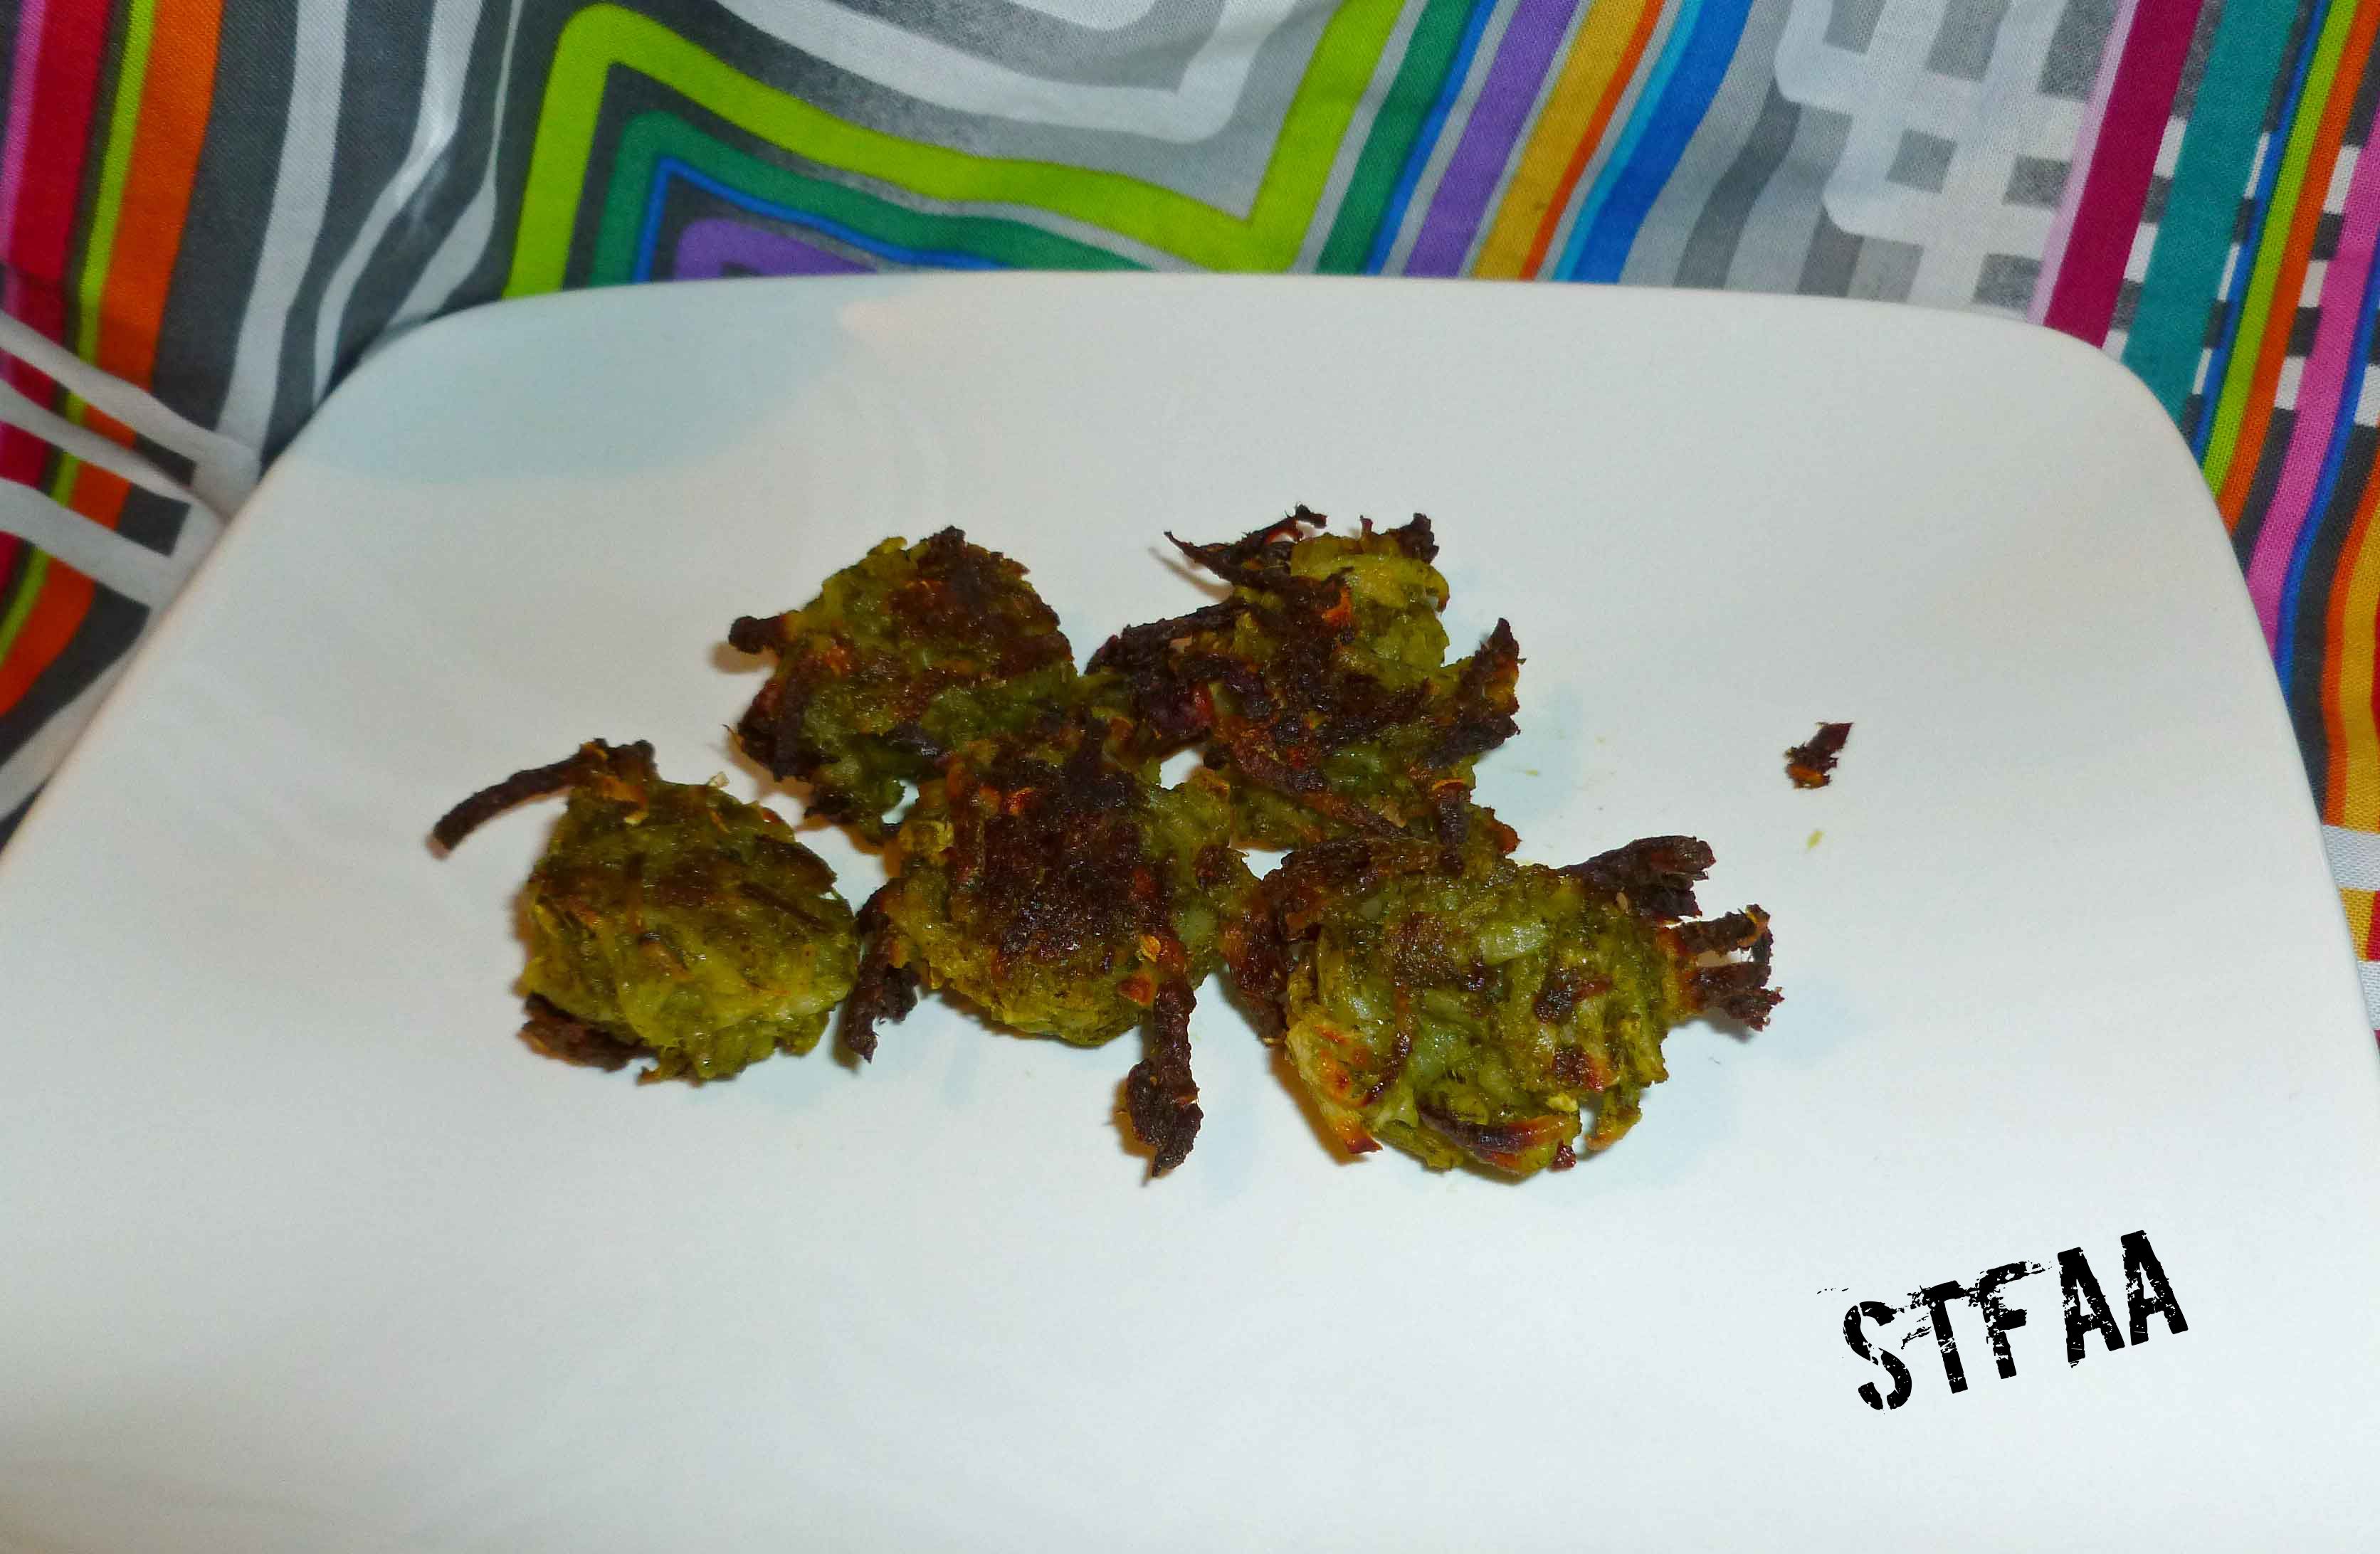
Use your oil mister to mist the top of the tater tots, and place the baking sheet in the oven for 25-30 minutes. Use some tongs or a spatula to turn them over, and then bake them for another 25-30 minutes. You want to watch them closely, as you’ll notice mine were a little on the brown side.
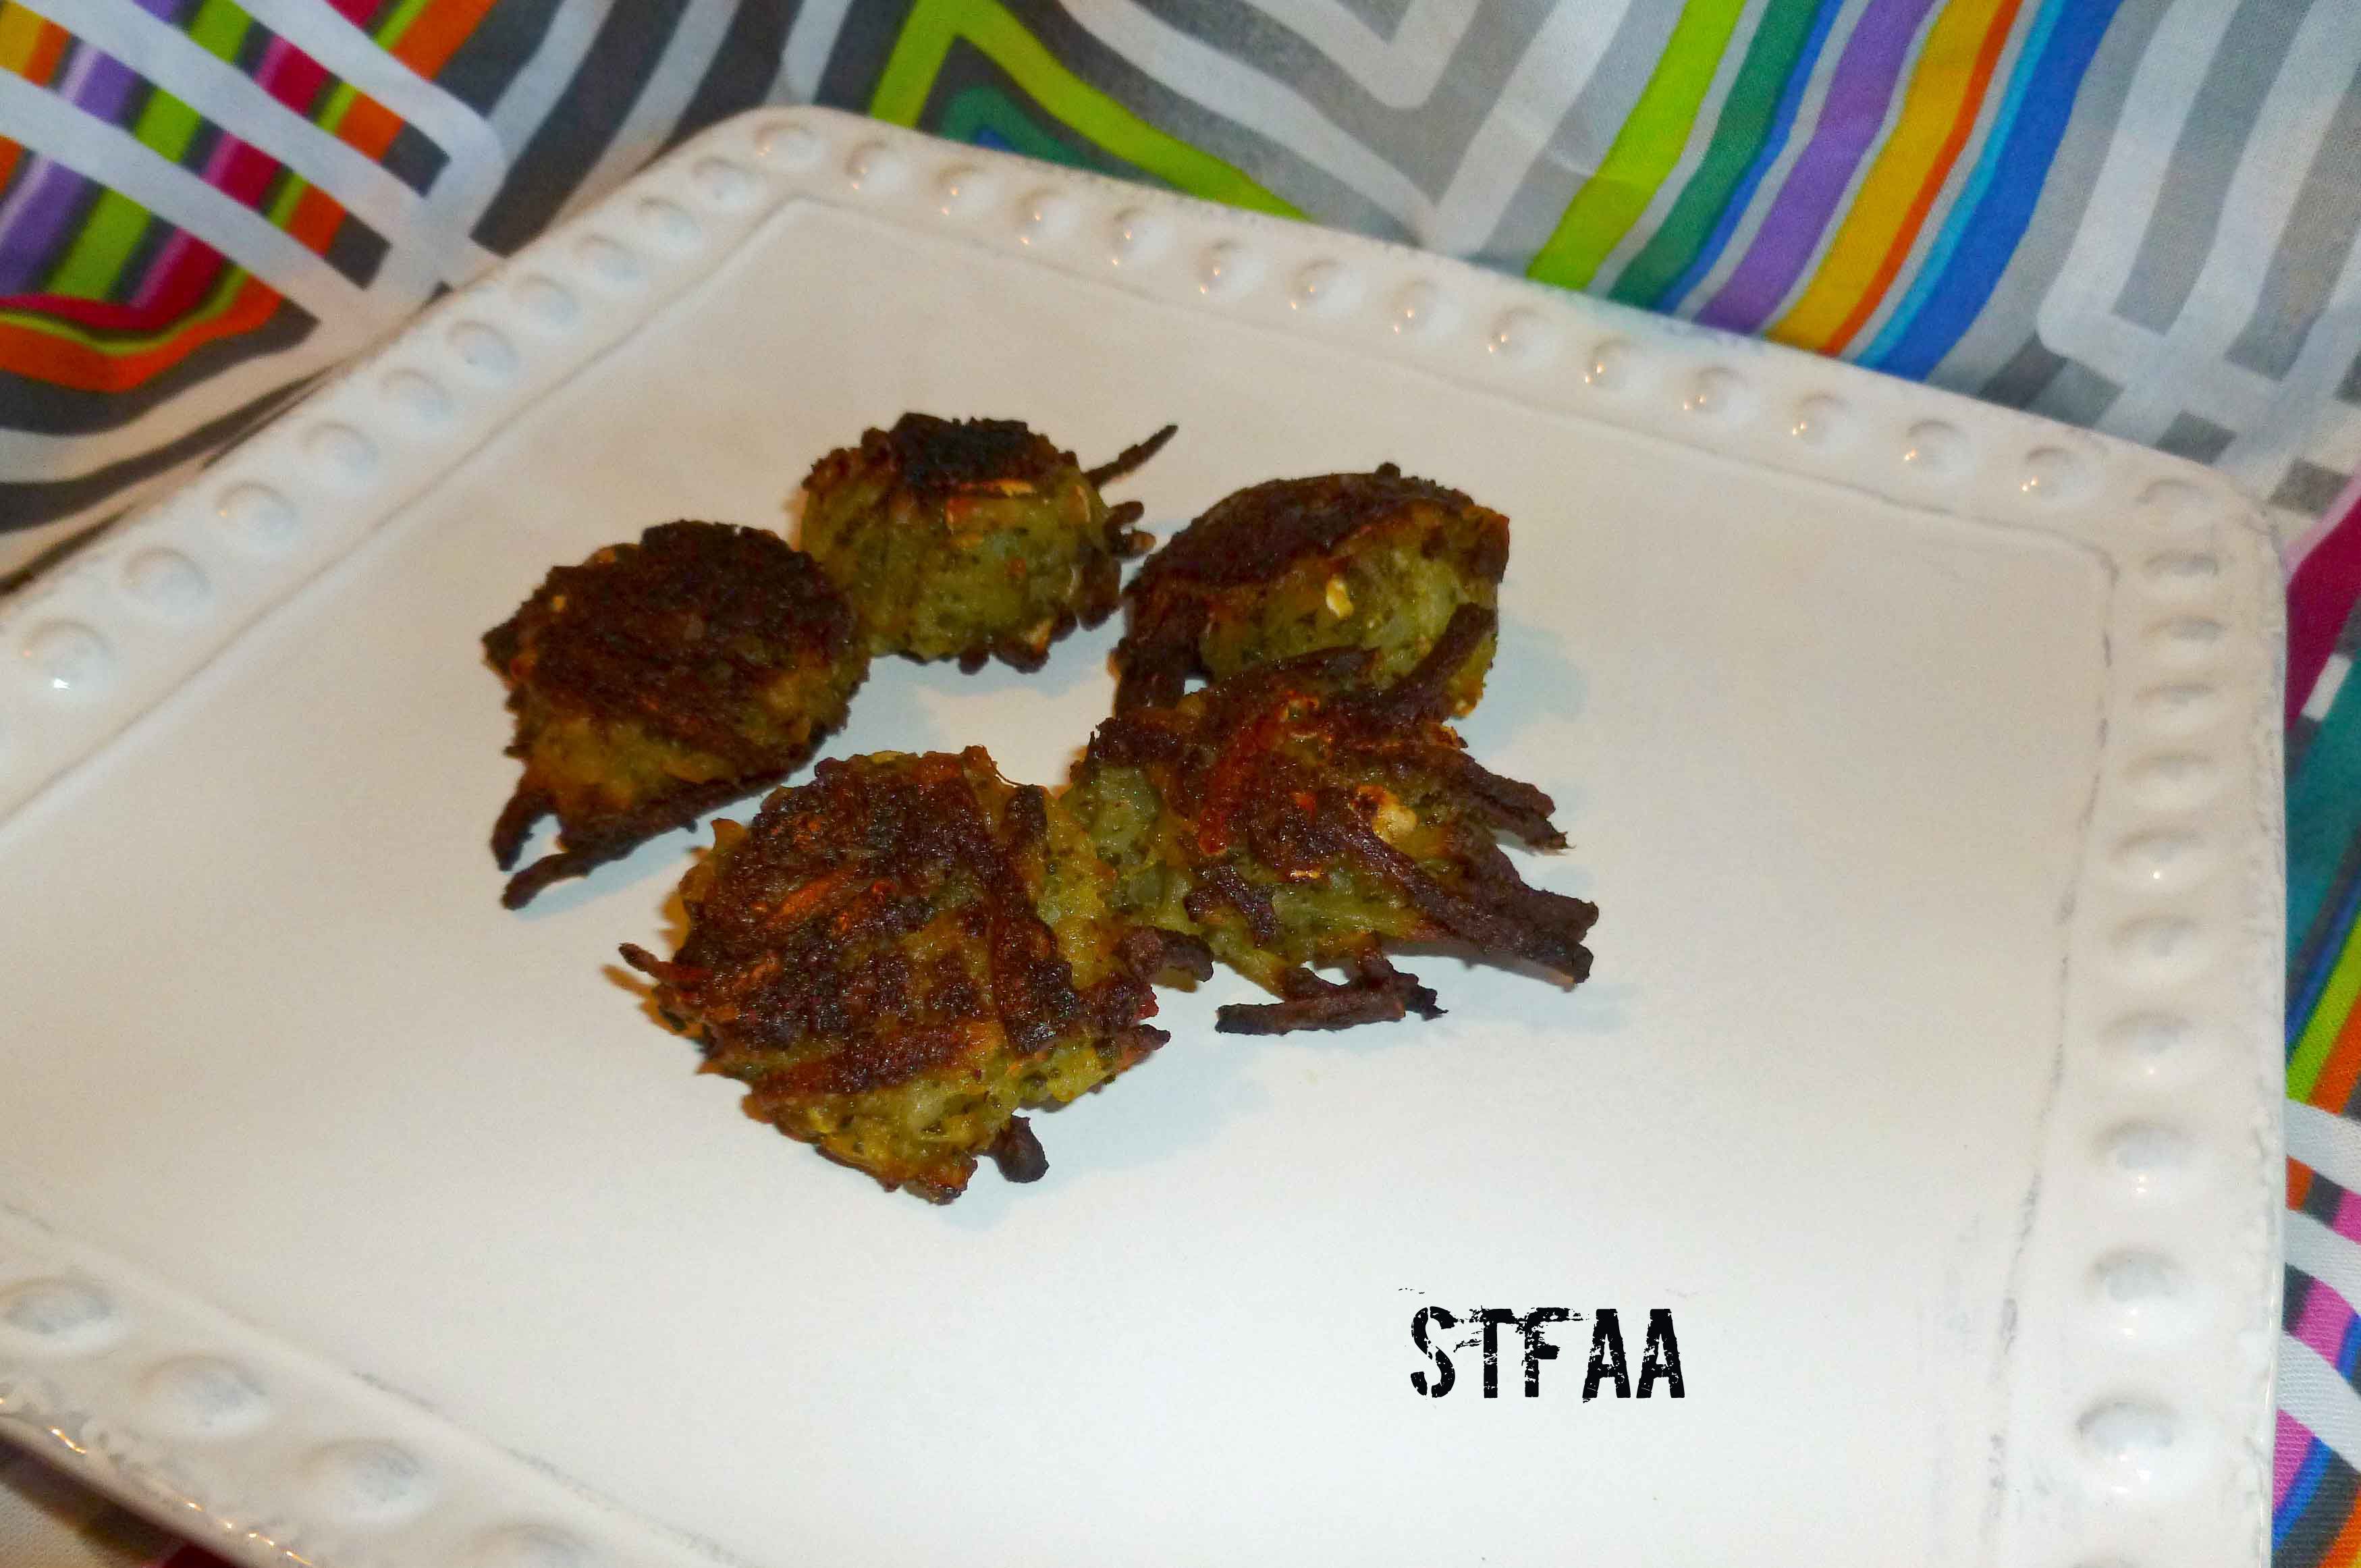
Chimichurri Spiced DIY Tater Tots after baking
Take them out of the oven, salt to taste, and enjoy!
I know that most of you know that granola bars have an unearned reputation as magically healthy. Like most things, they have some benefits, some downsides, and it all depends on a) what goes in them and b) how you define “healthy.” I’m not focused on healthy here, though, so if that’s why you want a granola bar, move on. It also has tree nuts and almonds, so apologies to the nut allergic people out there.
What I wanted was something like the granola bars of my later childhood — something that’s basically a candy bar, but with a certain crunch and an airy mouthfeel — plus, dipped in chocolate. Just because. I’m not going to try to explain random cravings; I just cook them. We occasionally had these instead of cookies in our packed lunches, and for some reason, they remind me of this time of year — summer isn’t here, but you know it’s coming.
I started this recipe off to use up a box of Environkidz Chocolate Koala Crisp. (Link informational, not affiliate). I am not a big cereal eater, but I go through phases where I like to eat it as a snack — this wasn’t the right texture or size for that, so it had been sitting on my shelf for a bit. But it was perfect for the main filler in this snack bar — it’s crunchy, airy, and just a bit chocolatey. Any crunchy cereal in small bits will work, so whatever is safe for you, buy that. I would consider using the Erewhon Crispy Brown Rice Cereal, (again, not an affiliate link) as that’s what I generally buy when I want actual cold cereal. But I’ve only made this with Koala Crisp, as I wanted to use that up, and I’d consider buying it again to make these bars.
To the cereal, I added a bunch of trail mix staples — coconut, almonds, and dried cherries. (Note: dried cranberries or raisins work better, as they are smaller and don’t mess up the overall texture. But I just like dried cherries better.) As an adult, I wanted a little more variety of taste and texture than the kiddy granola bar I remember (but still with chocolate on). Make a sticky sauce (this is messy, I know. Sorry. It works.) and then add chocolate. Ka-blam. Childhood snack. Maybe healthier, maybe not, but it’s safe for me.
Crispy Cereal Bars — first without chocolate, then with, then sliced
Cereal Snack Bars
NOTE: dried shredded coconut appears on the ingredients list TWICE. This is not a mistake. I just find it less confusing to list it twice than tell you you need x amount, divided. This is not the sweetened coconut flakes — you could try that, but I think it would be too sweet. This is just pure dried/dessicated shredded coconut, which is wonderful.
1 cup crispy cereal
1/4 cup shredded coconut
1/4 cup smallish dried fruit (I used cherries)
1/4 cup thinly-sliced almonds (could also use chopped, but not whole — they won’t blend in)
3 dates, pitted (about 50g)
2 Tablespoons shredded coconut
2 Tablespoons coconut oil
4 Tablespoons brown rice syrup
1 cup chocolate chips (brand that’s safe for you)
Prepare an 8×8 inch baking pan by cutting a sheet of parchment that will fit in it. Don’t worry about being exact — just make sure you have enough to cover the bottom and sides when it’s filled.
Mix the dry ingredients (cereal, coconut, dried fruit, almonds) in a bowl.
In a food processor, add the dates, 2T shredded coconut, coconut oil (this can be solid, it’s fine), and brown rice syrup. They are in that order because you can use the same tablespoon if you do them in this order (the coconut oil will help the brown rice syrup not stick). Pulse it until the dates are chopped up well, then just blend. You will likely need to scrape the sides a few times, as this is really sticky. I’d suggest a silicone spatula, if you have one, and be careful not to cut it on the blades (I’ve lost a few this way).
Add the wet ingredients to the dry. It will take a little work to get this out of the food processor. Again, the silicone spatula is the least sticky thing I’ve tried. Using the spatula, mix the wet and dry ingredients. Mostly, this is like kneading bread — bring up a scoop of the dry ingredients and sort of press them into the mass stuck into your sticky goo from the food processor. I am assuming that if you keep working at it, this will eventually incorporate everything. I’ve never managed to do that — I just grease up my hands with a bit of coconut oil and mix with my hands after a bit. It works fine.
When you have a mostly solid mass of sticky bar ingredients, dump it into your prepared pan and press it down. I don’t worry too much about making it exactly fill the corners — the rustic edges make it look handmade! But always feel free to be more precise than I am.
Put this in the fridge to set, maybe 15 minutes or so.
Melt the chocolate. The microwave is easiest (20 second intervals, stirring), but I don’t own one, so I use my double boiler. Originally I had planned to dip each bar in the chocolate, but I realized that the easiest way would be to pour a layer of chocolate onto the whole pan, let it set, and then cut the bars. So do this — it is WAY less messy than dipping and it wastes less chocolate.
Let the chocolate set, then cut into bars. These keep best in an airtight container in the fridge.
I just planted a whole bunch of potatoes in the garden, so I’m going to need some recipes to deal with them. I decided to try to make some adult flavored tater tots. You’ll need a food processor or a blender, and if you don’t have food processor, a grater. I baked these, but you could also try pan frying them in safe oil.
Roasted Garlic and Pesto DIY Tater Tots
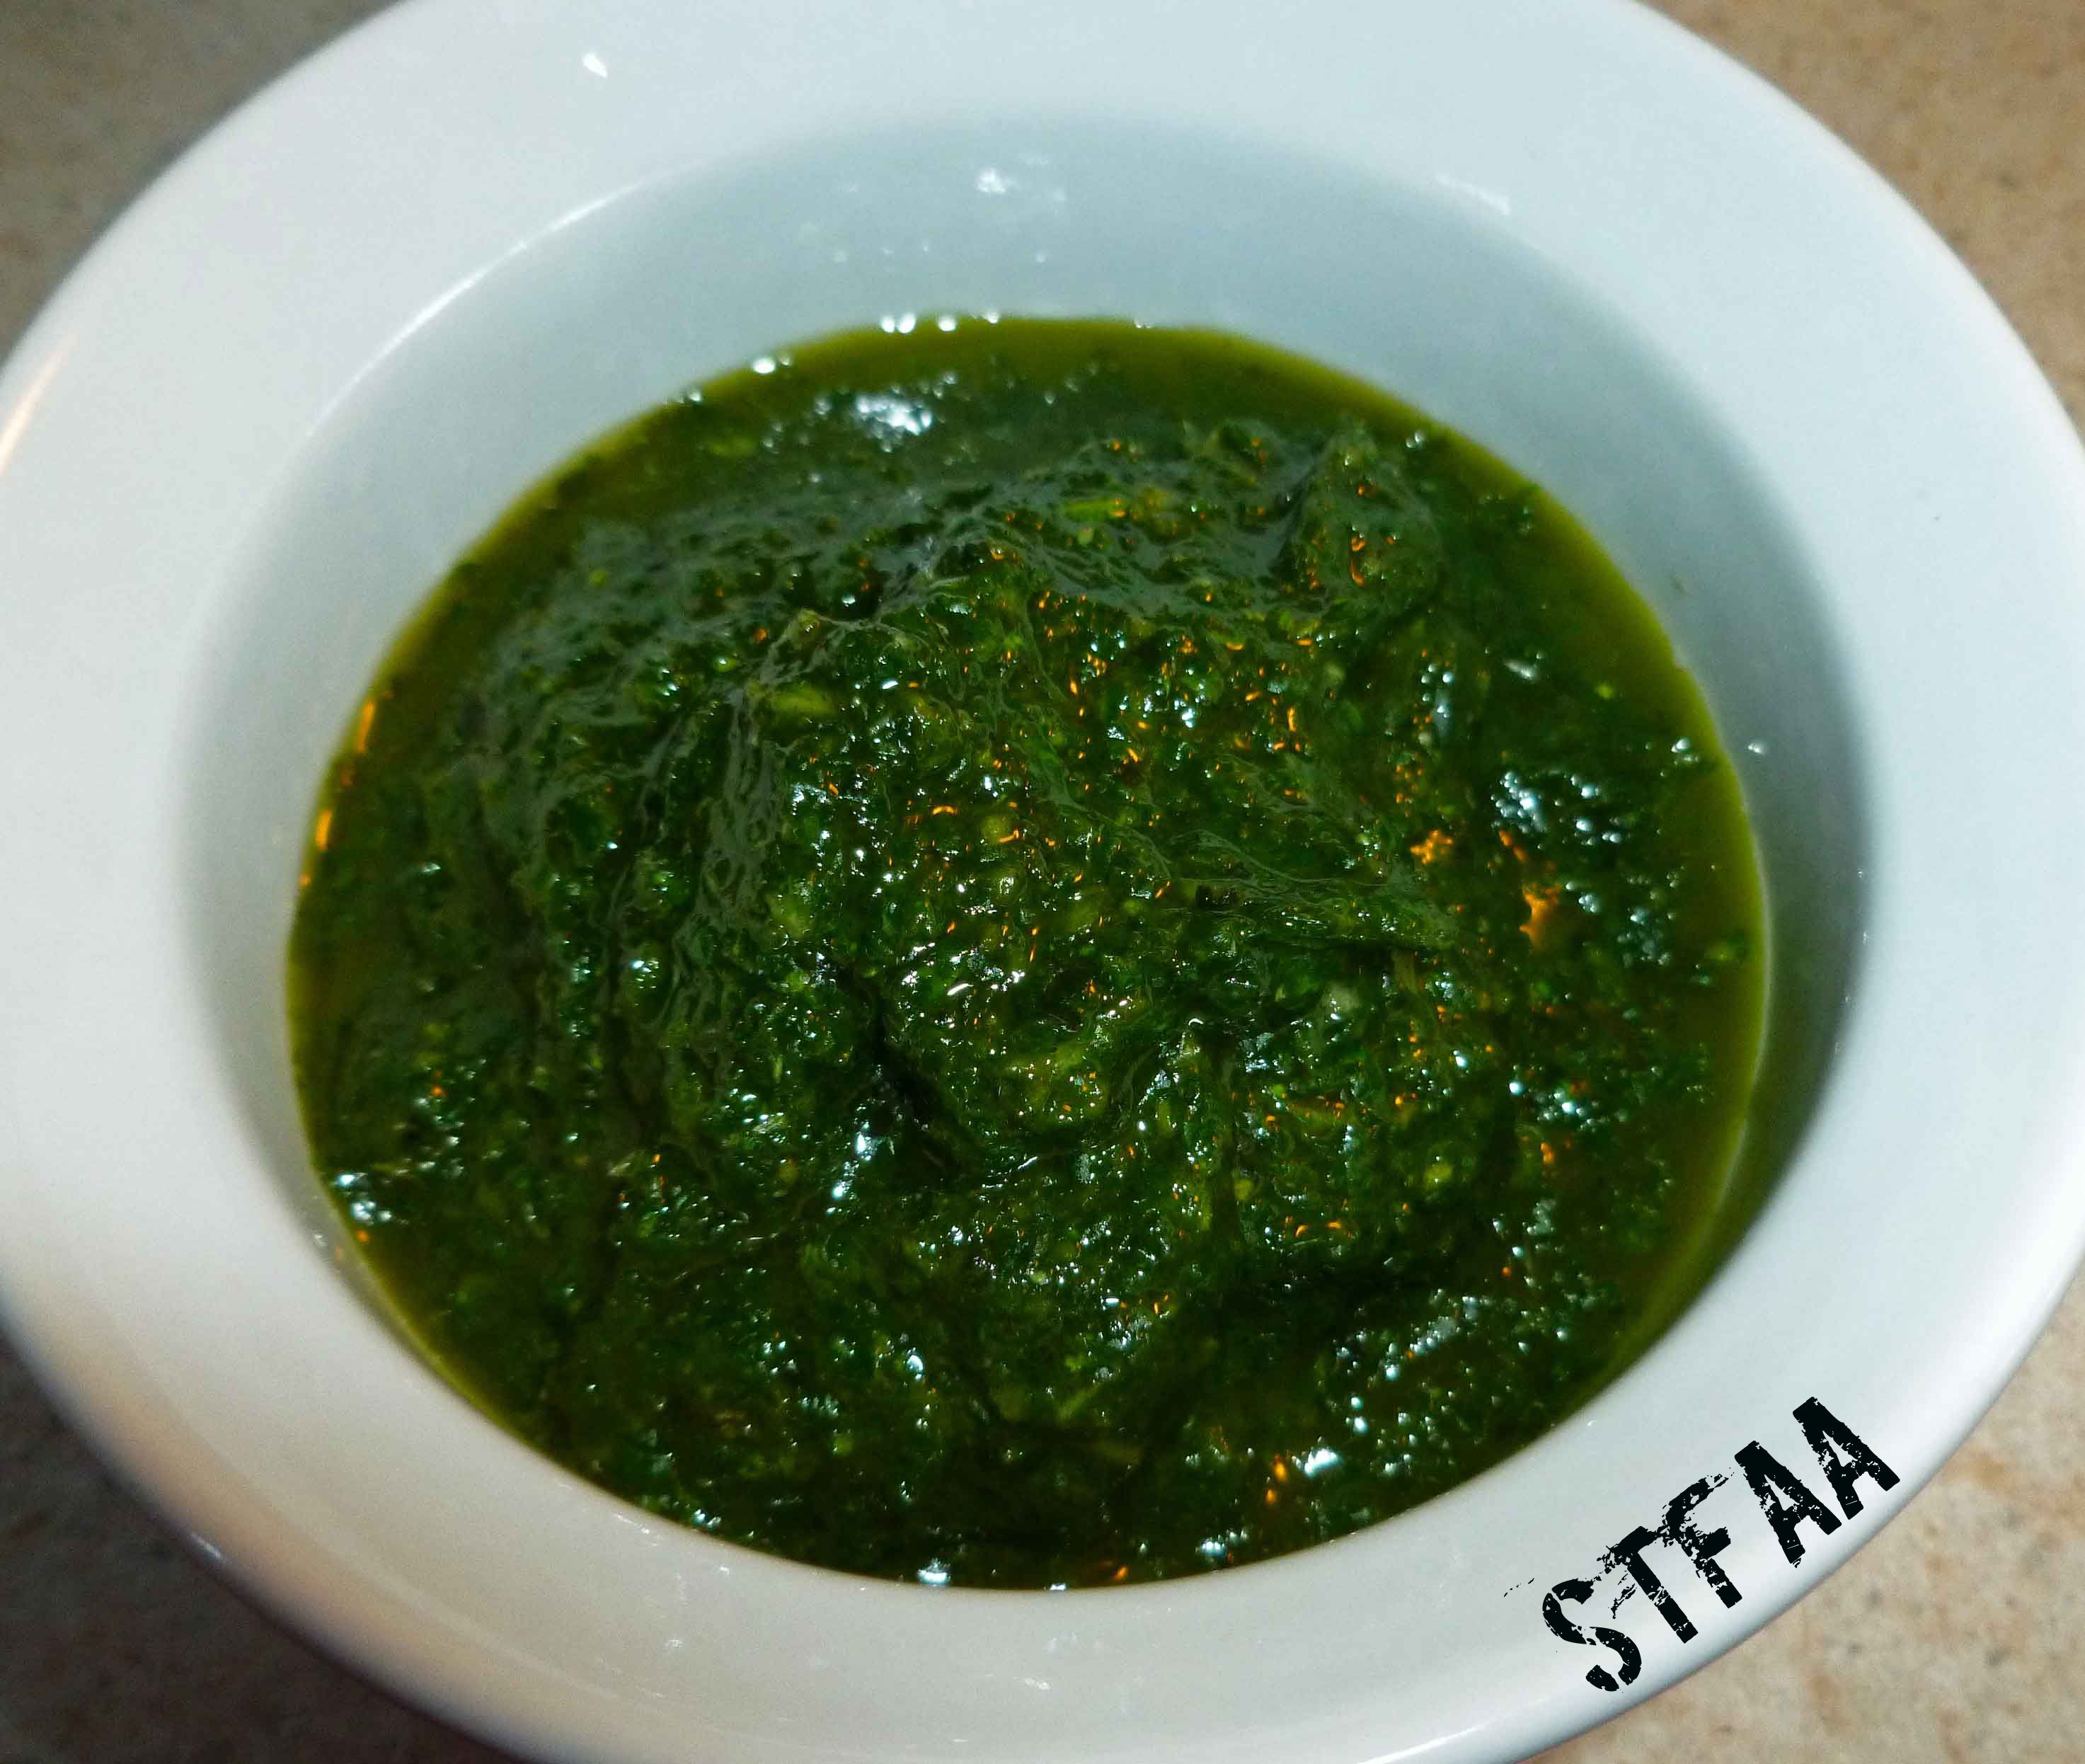
Pesto:
1 cup of tightly packed fresh basil leaves
1/4 teaspoon of salt
1/4 cup and 1 Tablespoon of olive oil
Put all ingredients in the blender or food processor and blend/process until pureed.
Preheat your oven to 400°F. Peel and wash your potatoes. Place the potatoes on a small baking sheet. Bake the potatoes for about an hour.
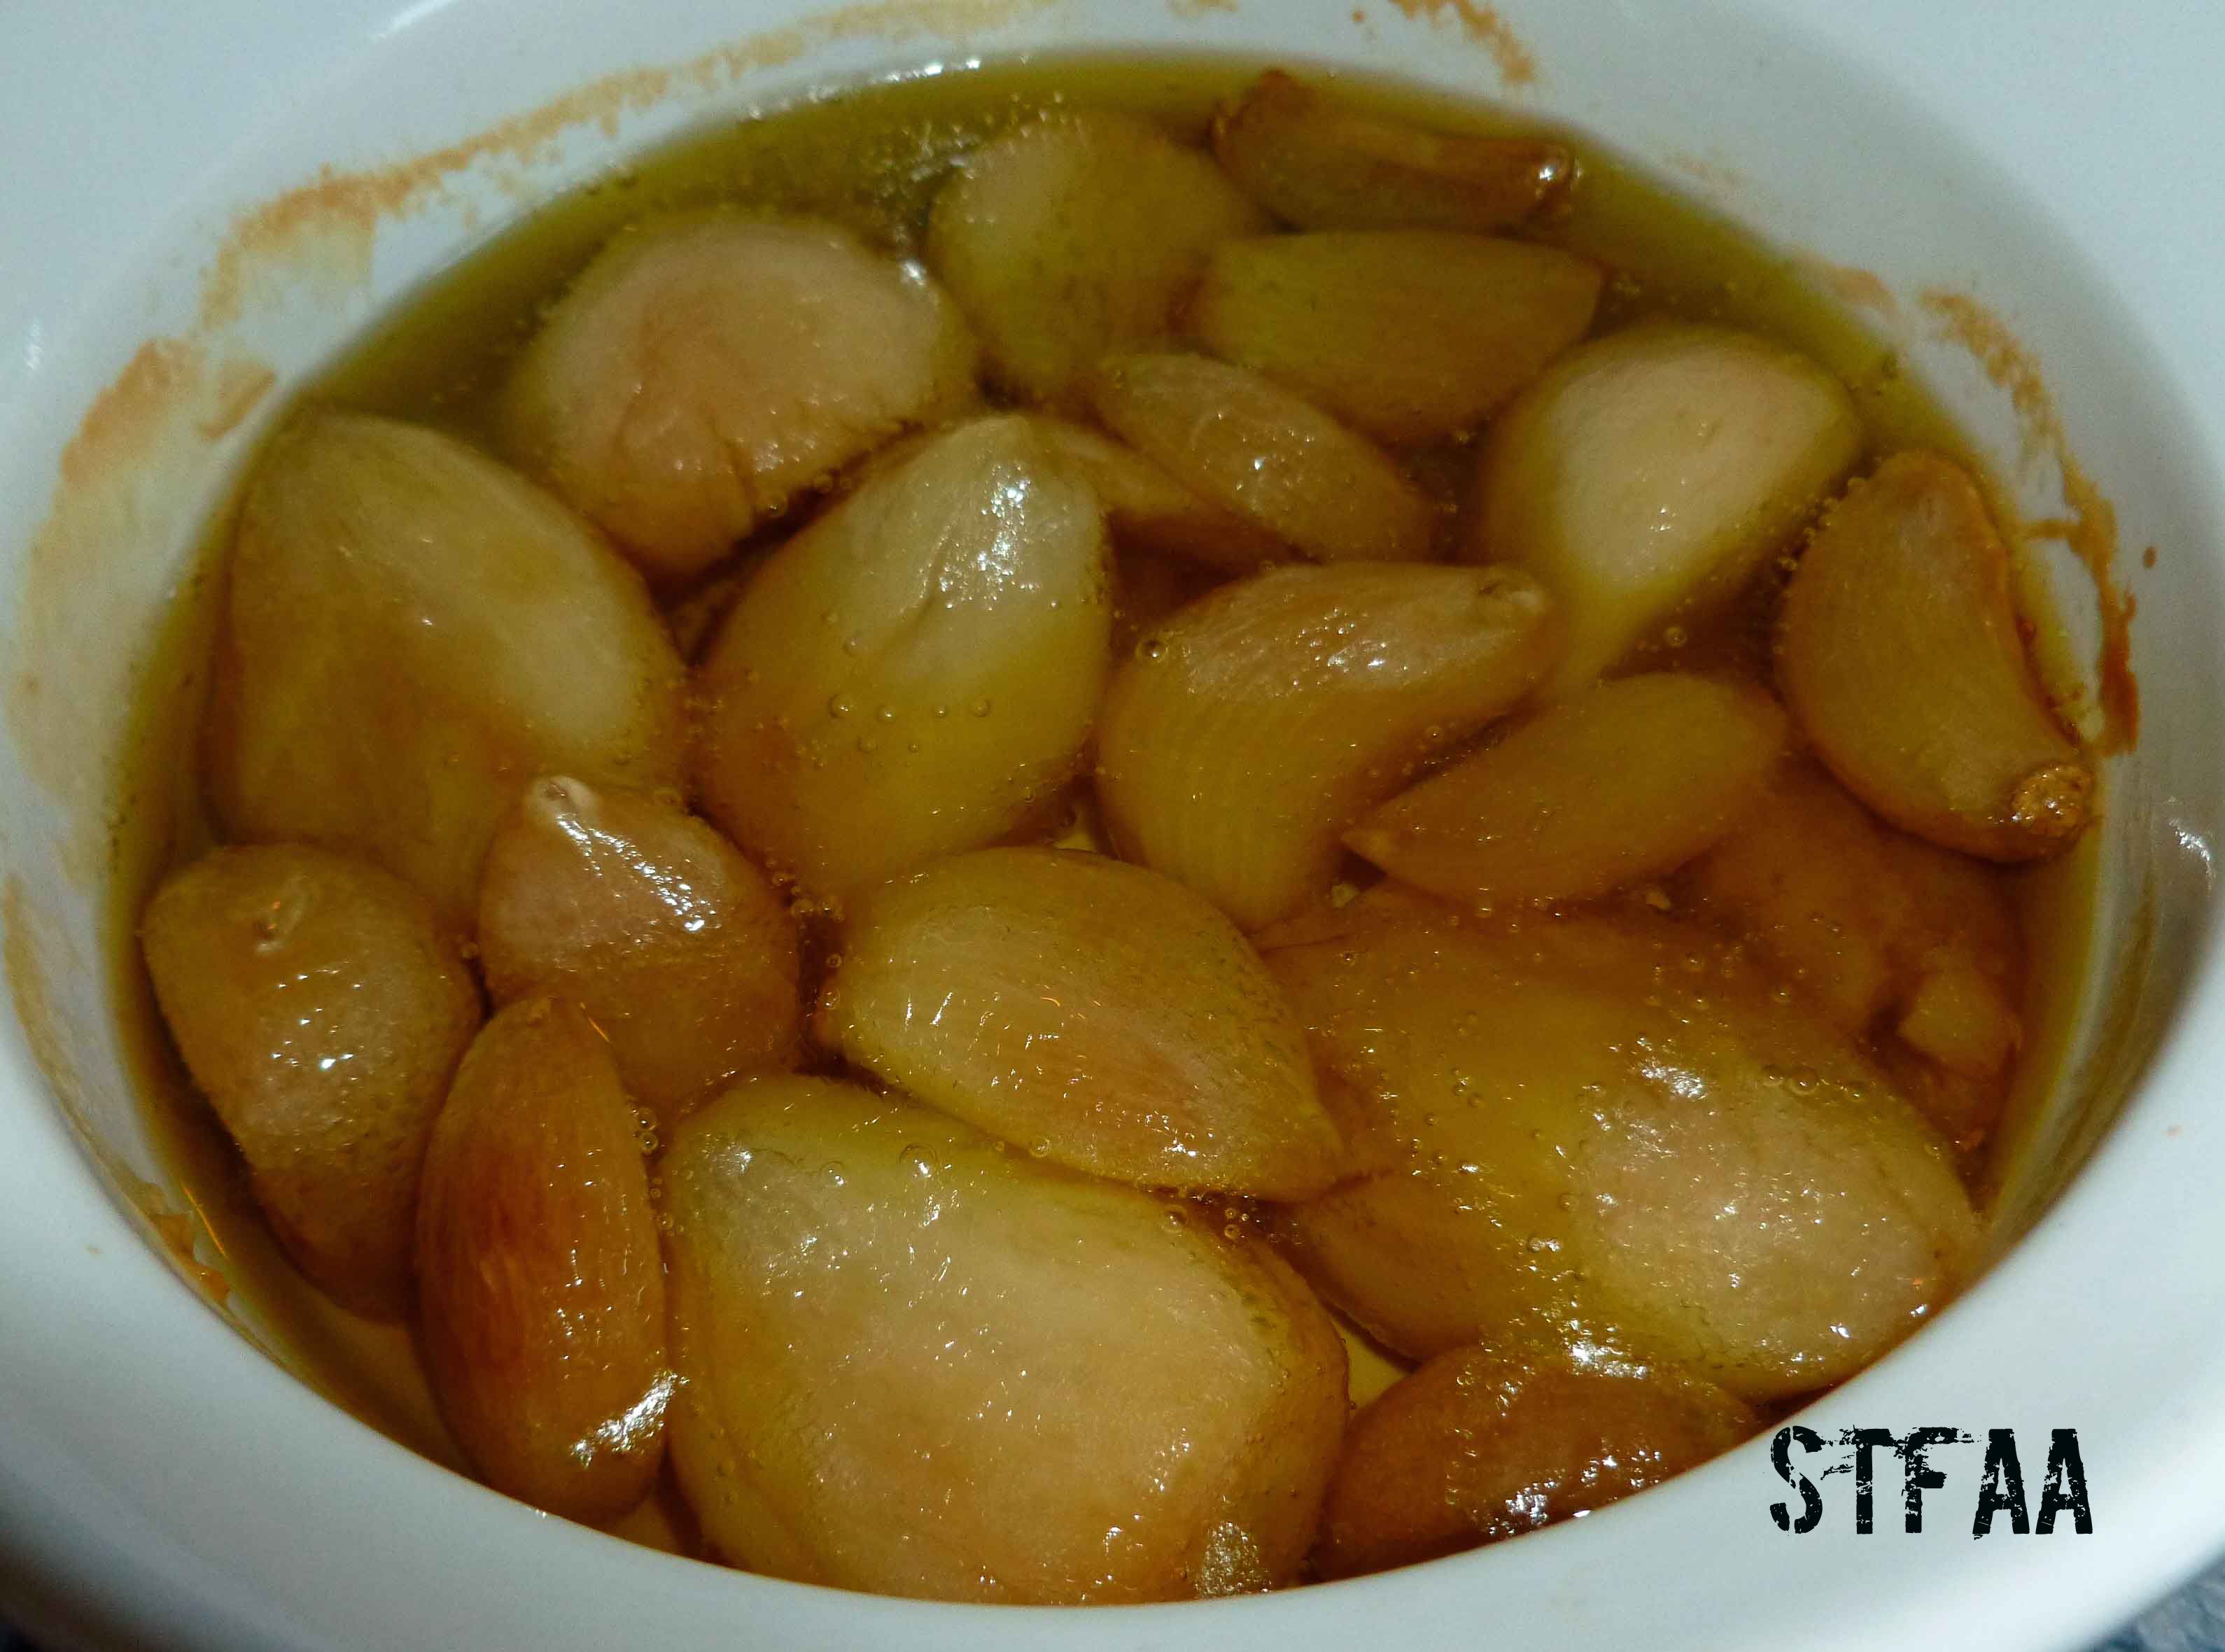
(NOTE: If I don’t already have roasted garlic, I prep the garlic as described in the link above and bake it at the same time as the potatoes.)
Garlic roasted in olive oil
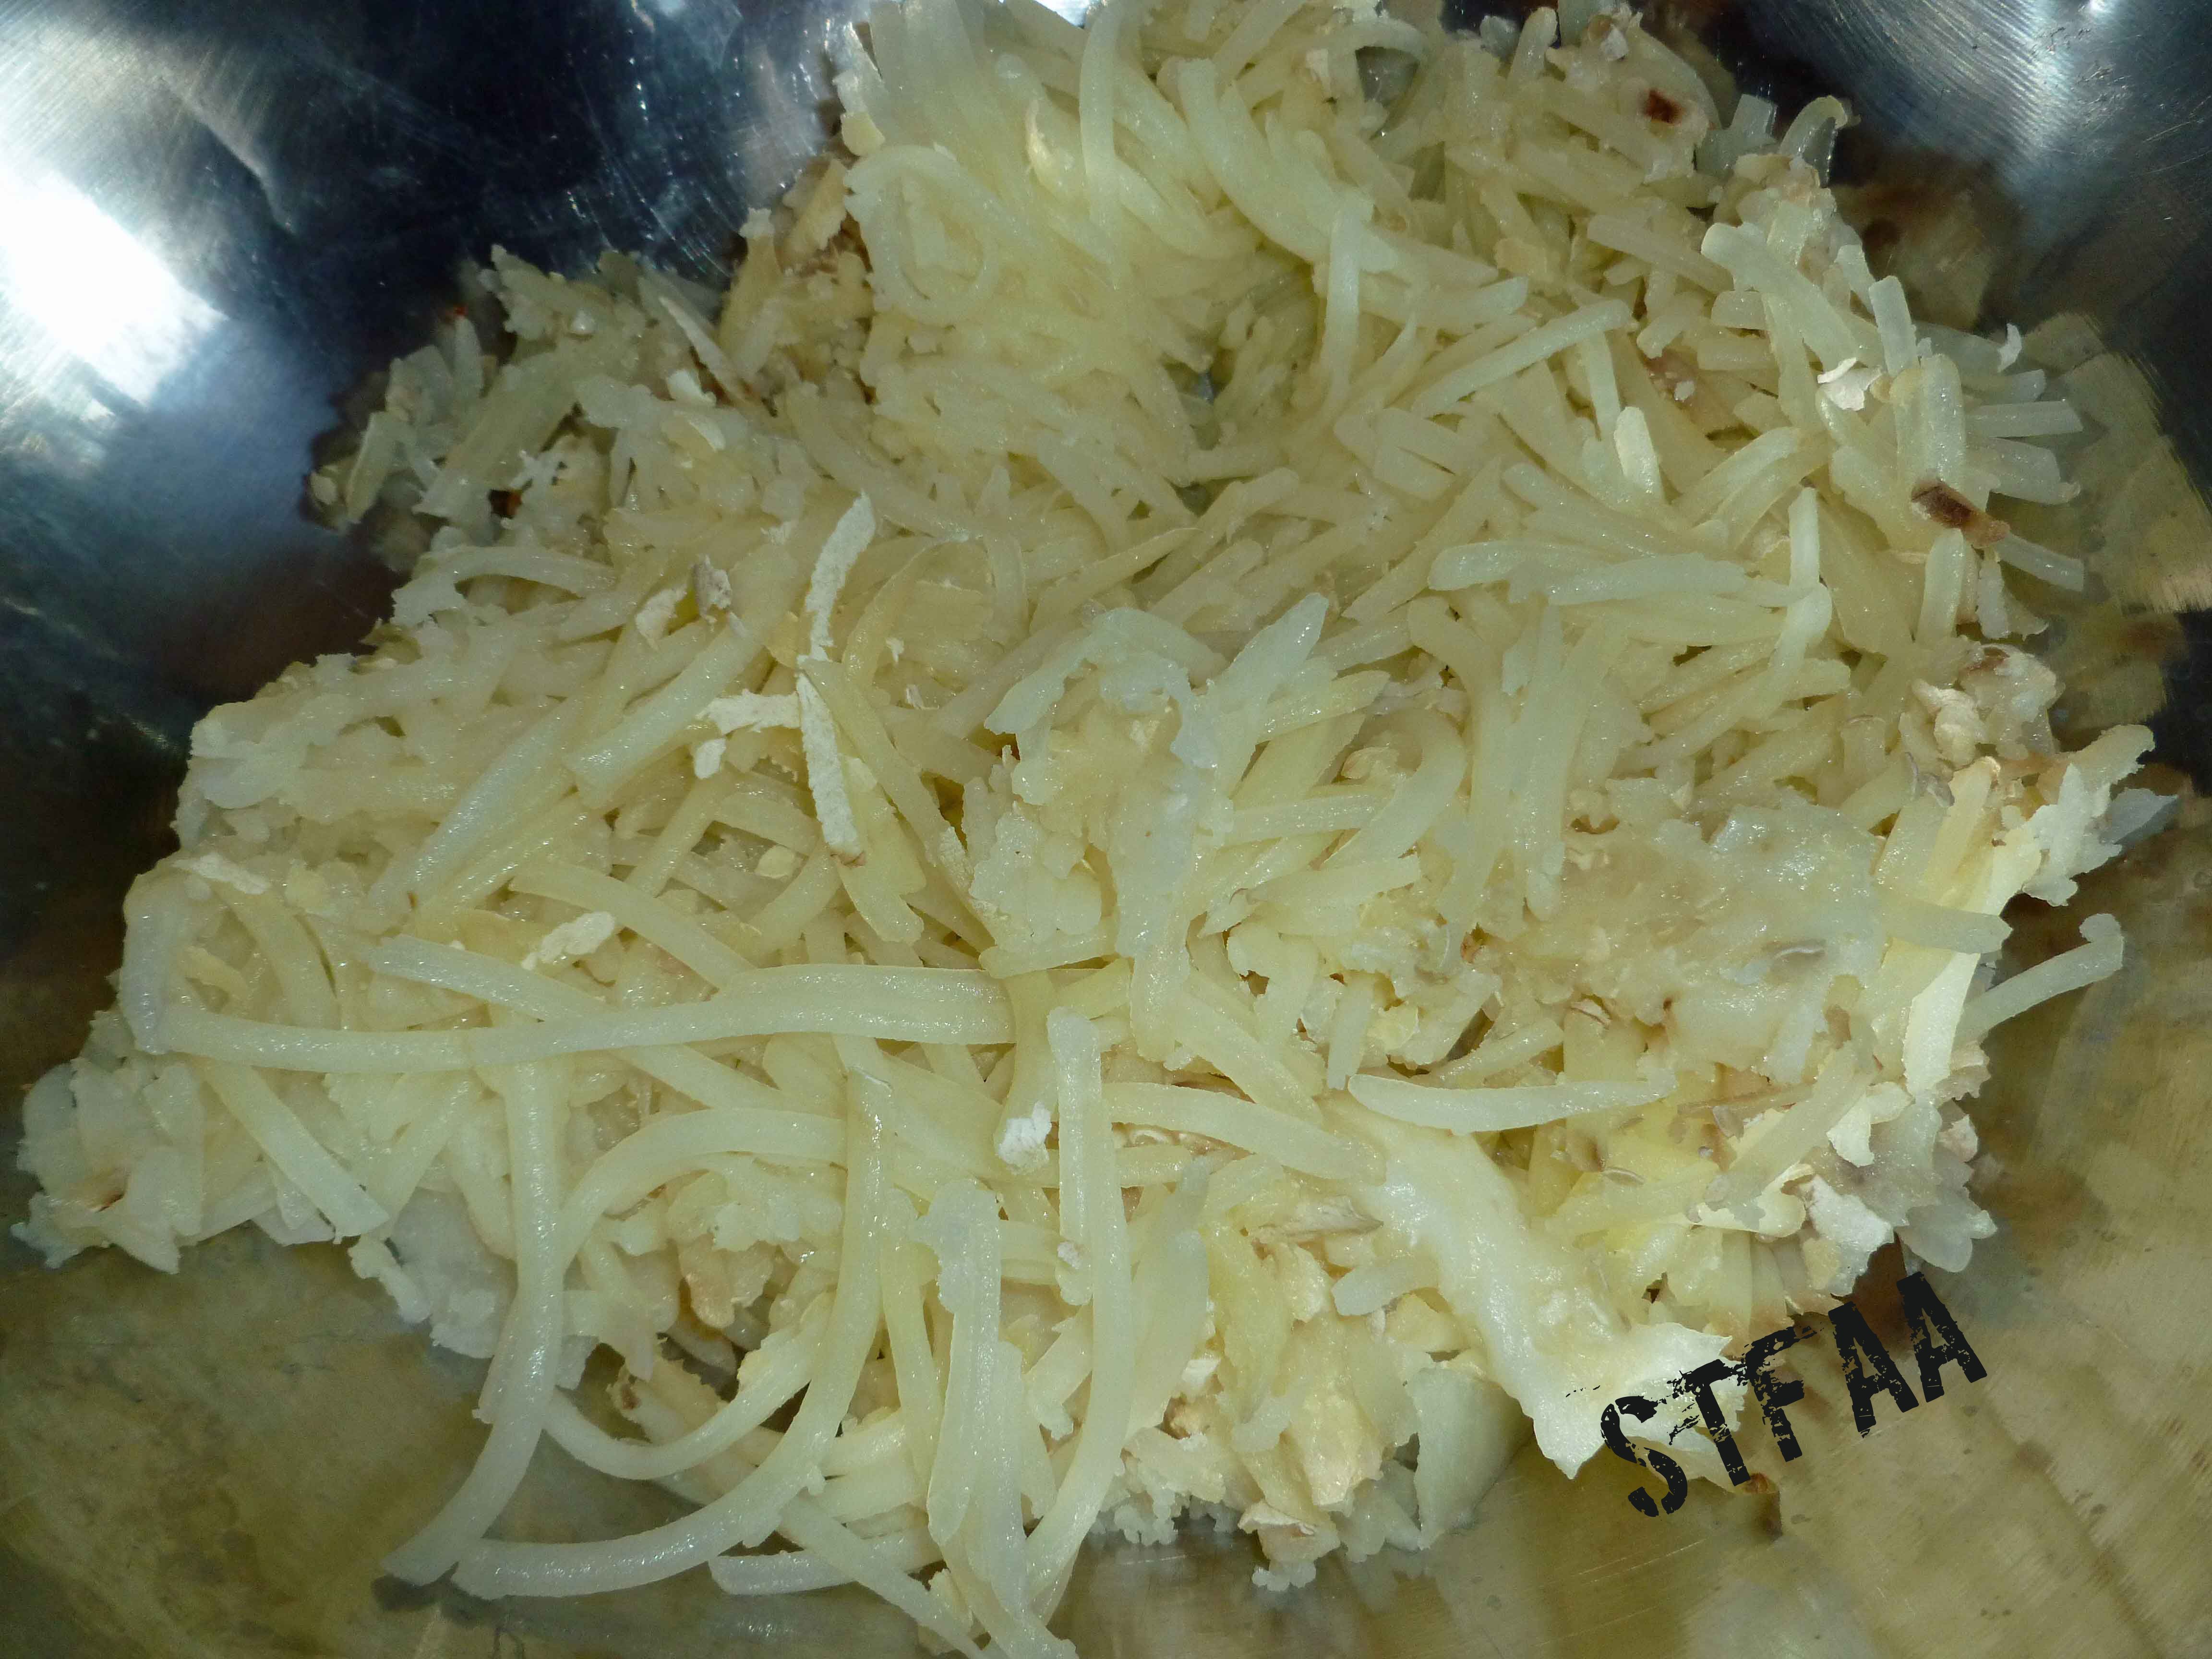
When the potatoes (and possibly the garlic) are ready to come out of the oven, remove the potatoes and garlic and turn the temperature on the oven to 425°F. If you’re using a large hand grater, you need to wait until the potatoes are cool so you don’t burn your fingers. Since I was using the grating blade on my food processor to grate the potatoes, I cheated and did them hot. I sliced them lengthwise just enough to get them in the food processor, and grated them up.
Potatoes after grating
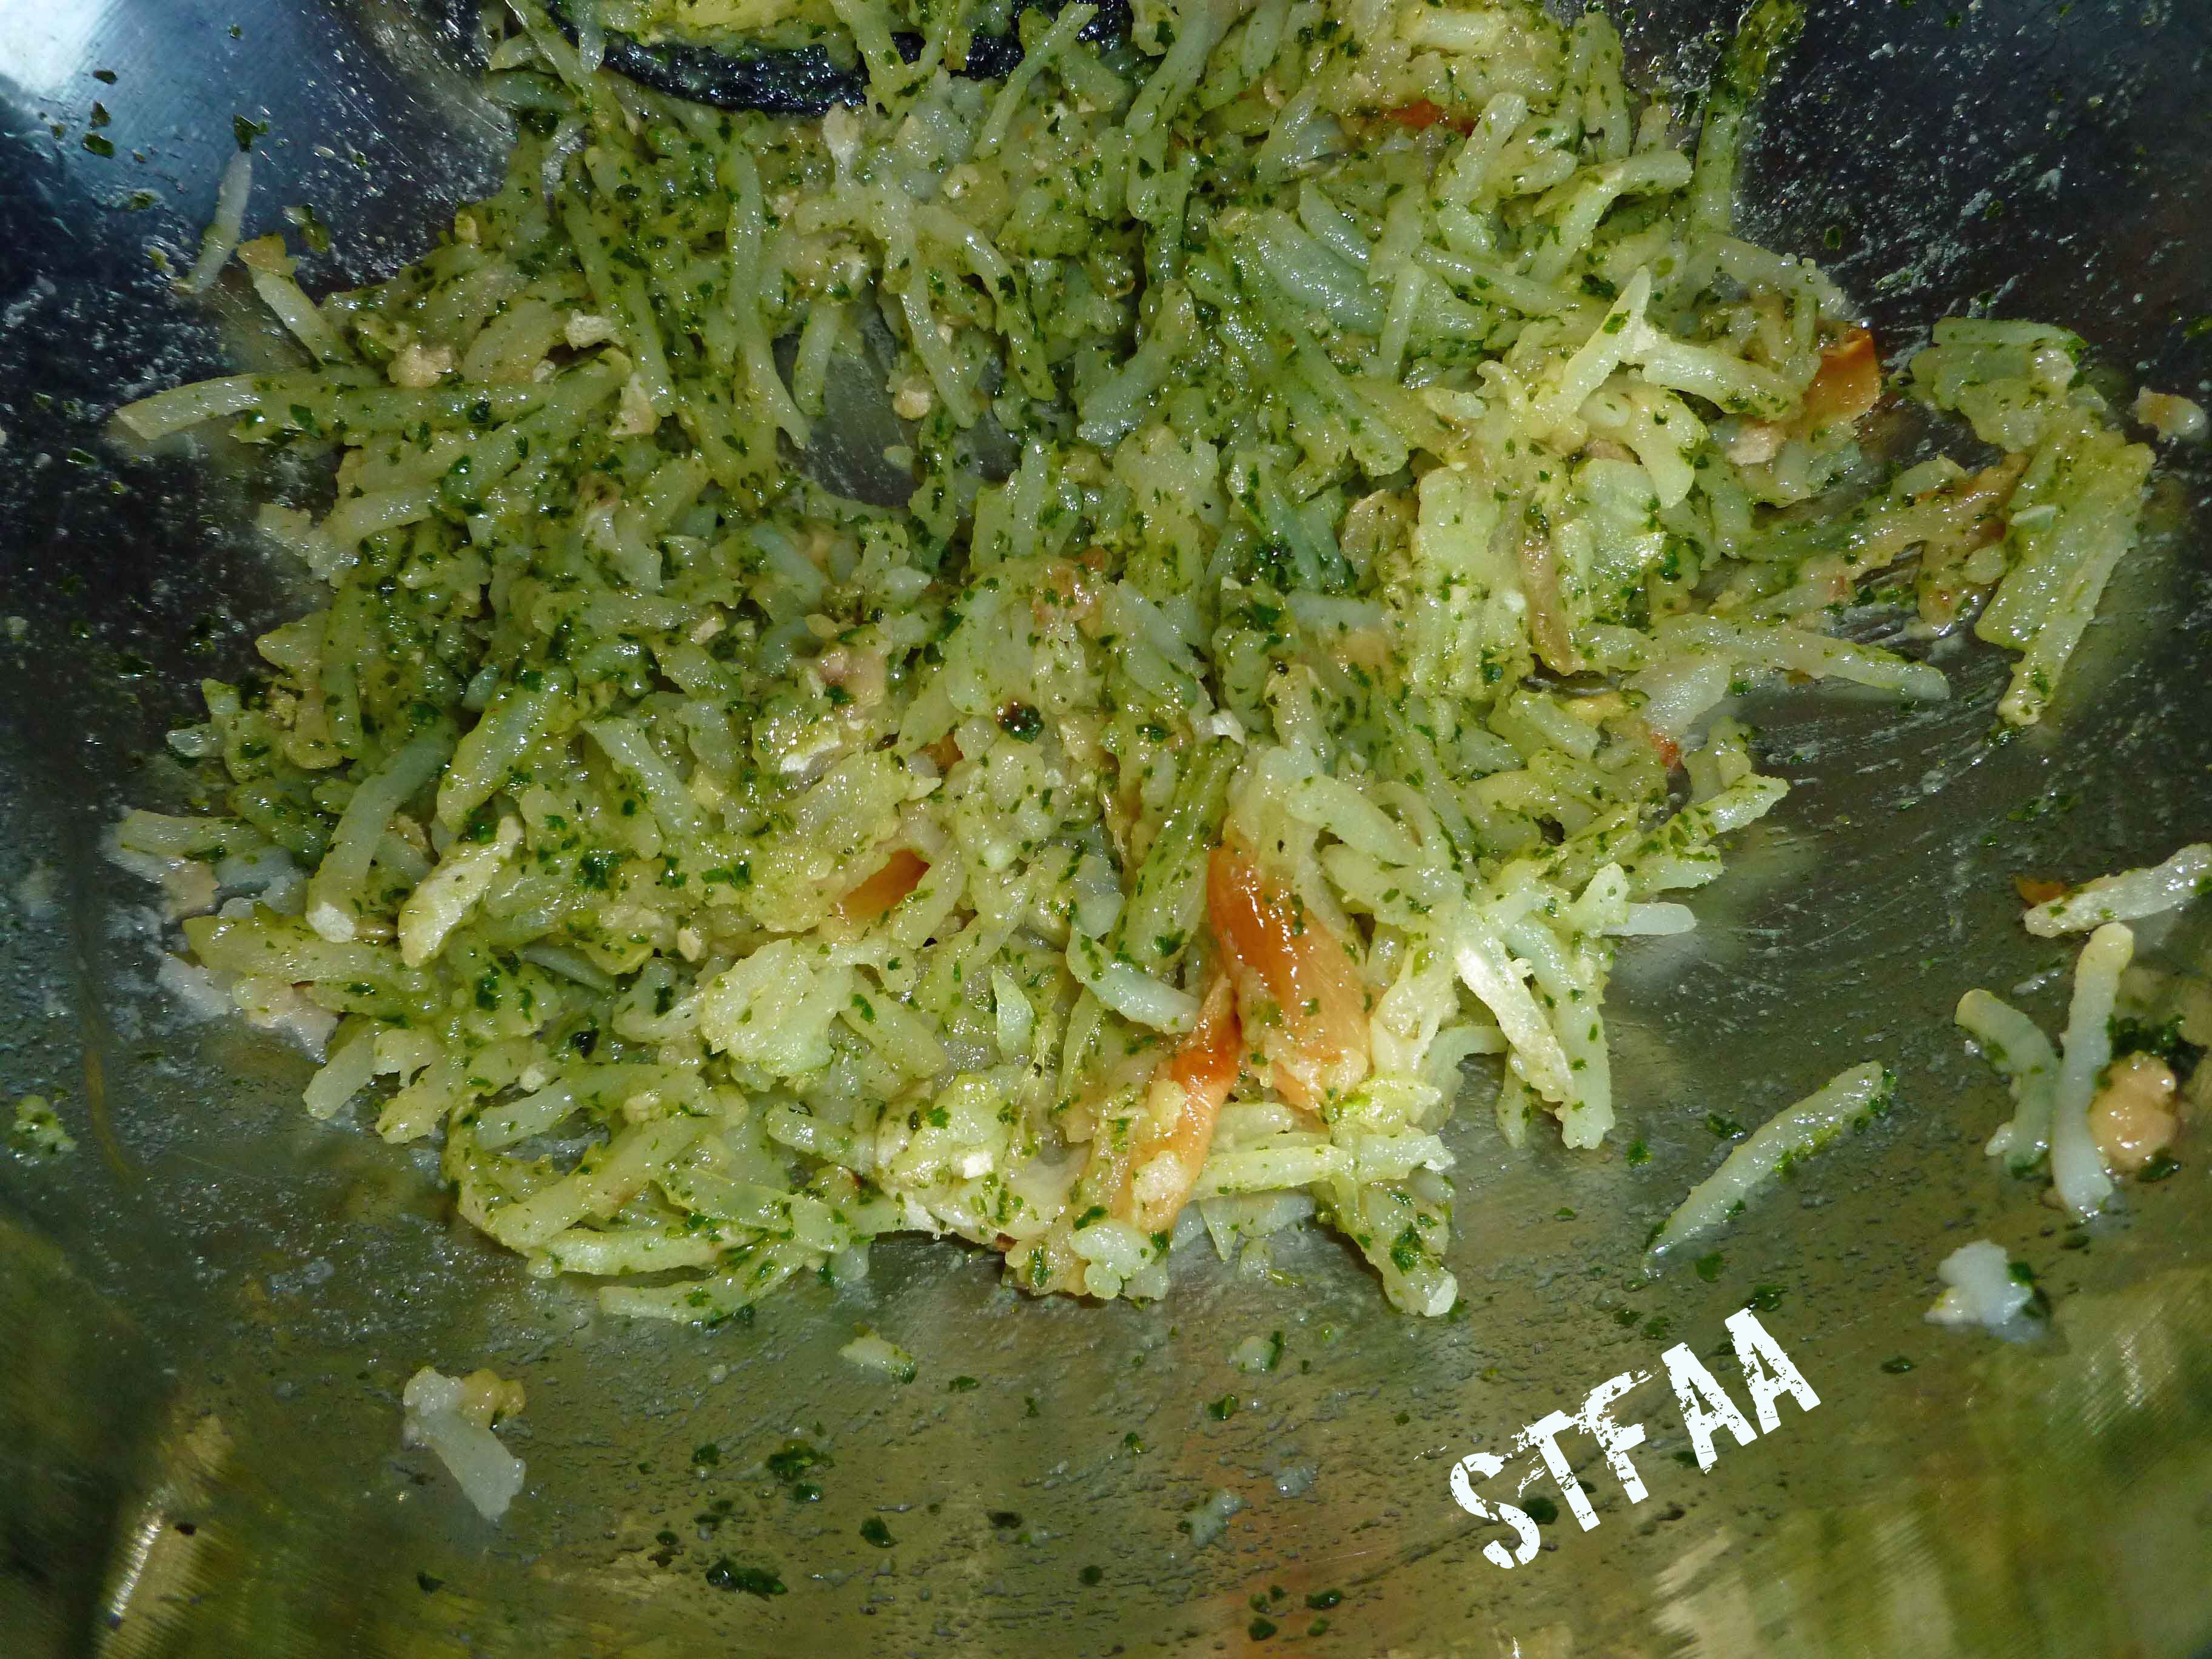
Some of the grated pieces may be too long, and you may want to chop them up a bit either with a knife or a potato masher. Mix the pesto sauce and the roasted garlic into the potatoes until they are well combined.
Potato, roasted garlic and pesto mixture
Spray your baking sheet with your safe oil in a mister. I used a small cookie scoop to portion out the tater tots, but you could use two teaspoons to drop the mixture on your baking sheet.
Roasted Garlic and Pesto DIY Tater Tots before baking
Use your oil mister to mist the top of the tater tots, and place the baking sheet in the oven for 25-30 minutes. Use some tongs or a spatula to turn them over, and then bake them for another 25-30 minutes. You want to watch them closely, as you’ll notice mine were a tad overcooked.
Take them out of the oven, salt to taste, and enjoy!
So I went away for a week and came back to New Hampshire summer. To be honest, as much as we complained about the cold, I wasn’t ready for full-on summer temperatures. If it stays this way, I’ll need to dig out the AC sooner, not later, just to get some sleep. It’s hot! It doesn’t help that my apartment holds the heat like an oven.
Why, if it’s hot, would I give you hot food — hot in temperature as well as full of spices? Well, first off, it’s not hot everywhere — I hear that if you live in either of the Dakotas or Wyoming, you got snow this weekend. Secondly, hot food is a great way to make it feel cooler. It’s all about contrasts. Actually, this curry tastes great hot or cold, so make it for dinner and eat the leftovers for lunches. Oh! And whether this is “spicy” or “full of spices” is entirely up to you — if you like spicy foods, buy a spicy curry powder. Otherwise, buy a regular or “sweet” curry powder and you get all the flavor without the heat. I always buy sweet curry powder because I can add some cayenne if I want things spicy. There IS coconut in here — Denise and I have both made curry with cashew milk, but never successfully without a nut milk. Let us know if you have a nut-free way to make an Indian-style curry.
This curry passes all my tests for a weeknight dinner — it takes less than 10 minutes to prep, and while cooking takes about 45 minutes total, only a few of those are active. You will need a skillet with a lid or a cover of foil. I have one skillet with a lid (finally), but I’ve found that because my cast iron skillet holds the heat better and is a slightly different shape, it works better than my lidded skillet. A sheet of heavy duty foil stands in for a lid here and lets the carrots steam to perfection.
Carrot Chickpea Curry
Carrot Chickpea Curry
1 Tablespoon olive oil
1/2 sweet onion (about 1/2 cup), chopped
1/4 teaspoon kosher salt
1 teaspoon chopped garlic (about 2 cloves)
5 carrots, peeled and sliced in rounds
1 can (15 oz.) chickpeas/garbanzo beans, drained and rinsed
1 Tablespoon curry powder
1 teaspoon cinnamon
4 teaspoons cilantro
3 Tablespoons coconut milk
1 teaspoon ginger
rice to serve curry over, if desired
Heat your pan over medium heat. When the pan is hot, add the olive oil. When the oil is hot, add the onions. Stir well to coat with oil, then sprinkle with salt. Cook, stirring occasionally, until the onions start to lightly brown.
Add the garlic and stir until fragrant. Then add the carrots and beans, and the curry and cinnamon. Stir everything well until the spices are fully spread over everything.
Now cover and cook for 15 minutes. There are two ways to do this — if you like browned bits, just let it go for the full 15 minutes. And I do mean browned, not burned. If you prefer no browned carrots or onions, stir it once or twice during the cooking time.
Then add the cilantro, coconut milk, and ginger. Stir well, and cook another 5-10 minutes, stirring every few minutes.
Serve over rice, or if you’re feeling less like rice, over greens for a salad.
I used to order chicken satay all the time, before the chicken and corn allergies reared their ugly heads. Since I can’t have chicken, and I’ve been craving satay, I decided to try the beef version to see if that would get rid of the craving, which it did. It was so yummy. If you can have chicken, try it with chicken too and let me know how it was, so I can live through you vicariously. If you have a soy allergy (I don’t), try this with Mary Kate’s Soy-Free, gluten-free “Tamari Sauce” and let us know how it worked out for you.
Beef Satay – Gluten-free with Soy-free option
1 to 2 pound flank steak
Beef Satay Marinade:
4 cloves of garlic, peeled
1 small onion, peeled and diced roughly (it’s going in the blender or food processor, so don’t stress over it)
1 Tablespoon of Sriracha (use a safe version for you, I ferment my own at home, since I don’t have a safe version)
3 Tablespoons of Soy Sauce (I do well with San-J Tamari Gluten Free Soy Sauce, the alcohol is from cane sugar not corn, but if you can’t use soy, try Mary Kate’s recipe for a Soy-Free, gluten-free “Tamari Sauce” )
4 Tablespoons of a safe oil for you (I used grape seed and olive oil because I ran out of grape seed in the middle)
3 Tablespoons of brown sugar
1 teaspoon of dried lemongrass (if you’ve got fresh, use it, but it’s often hard to get here)
1 1/2 Tablespoons of ground coriander
2 Tablespoons of ground turmeric
Equipment:
food processor or blender
a baking rack
a sheet pan safe for the broiler
bamboo skewers (optional)
food safe and safe for you food prep gloves – you’ll need them to put the beef on skewers or you’ll have really yellow fingers as turmeric stains, which is a vast understatement.
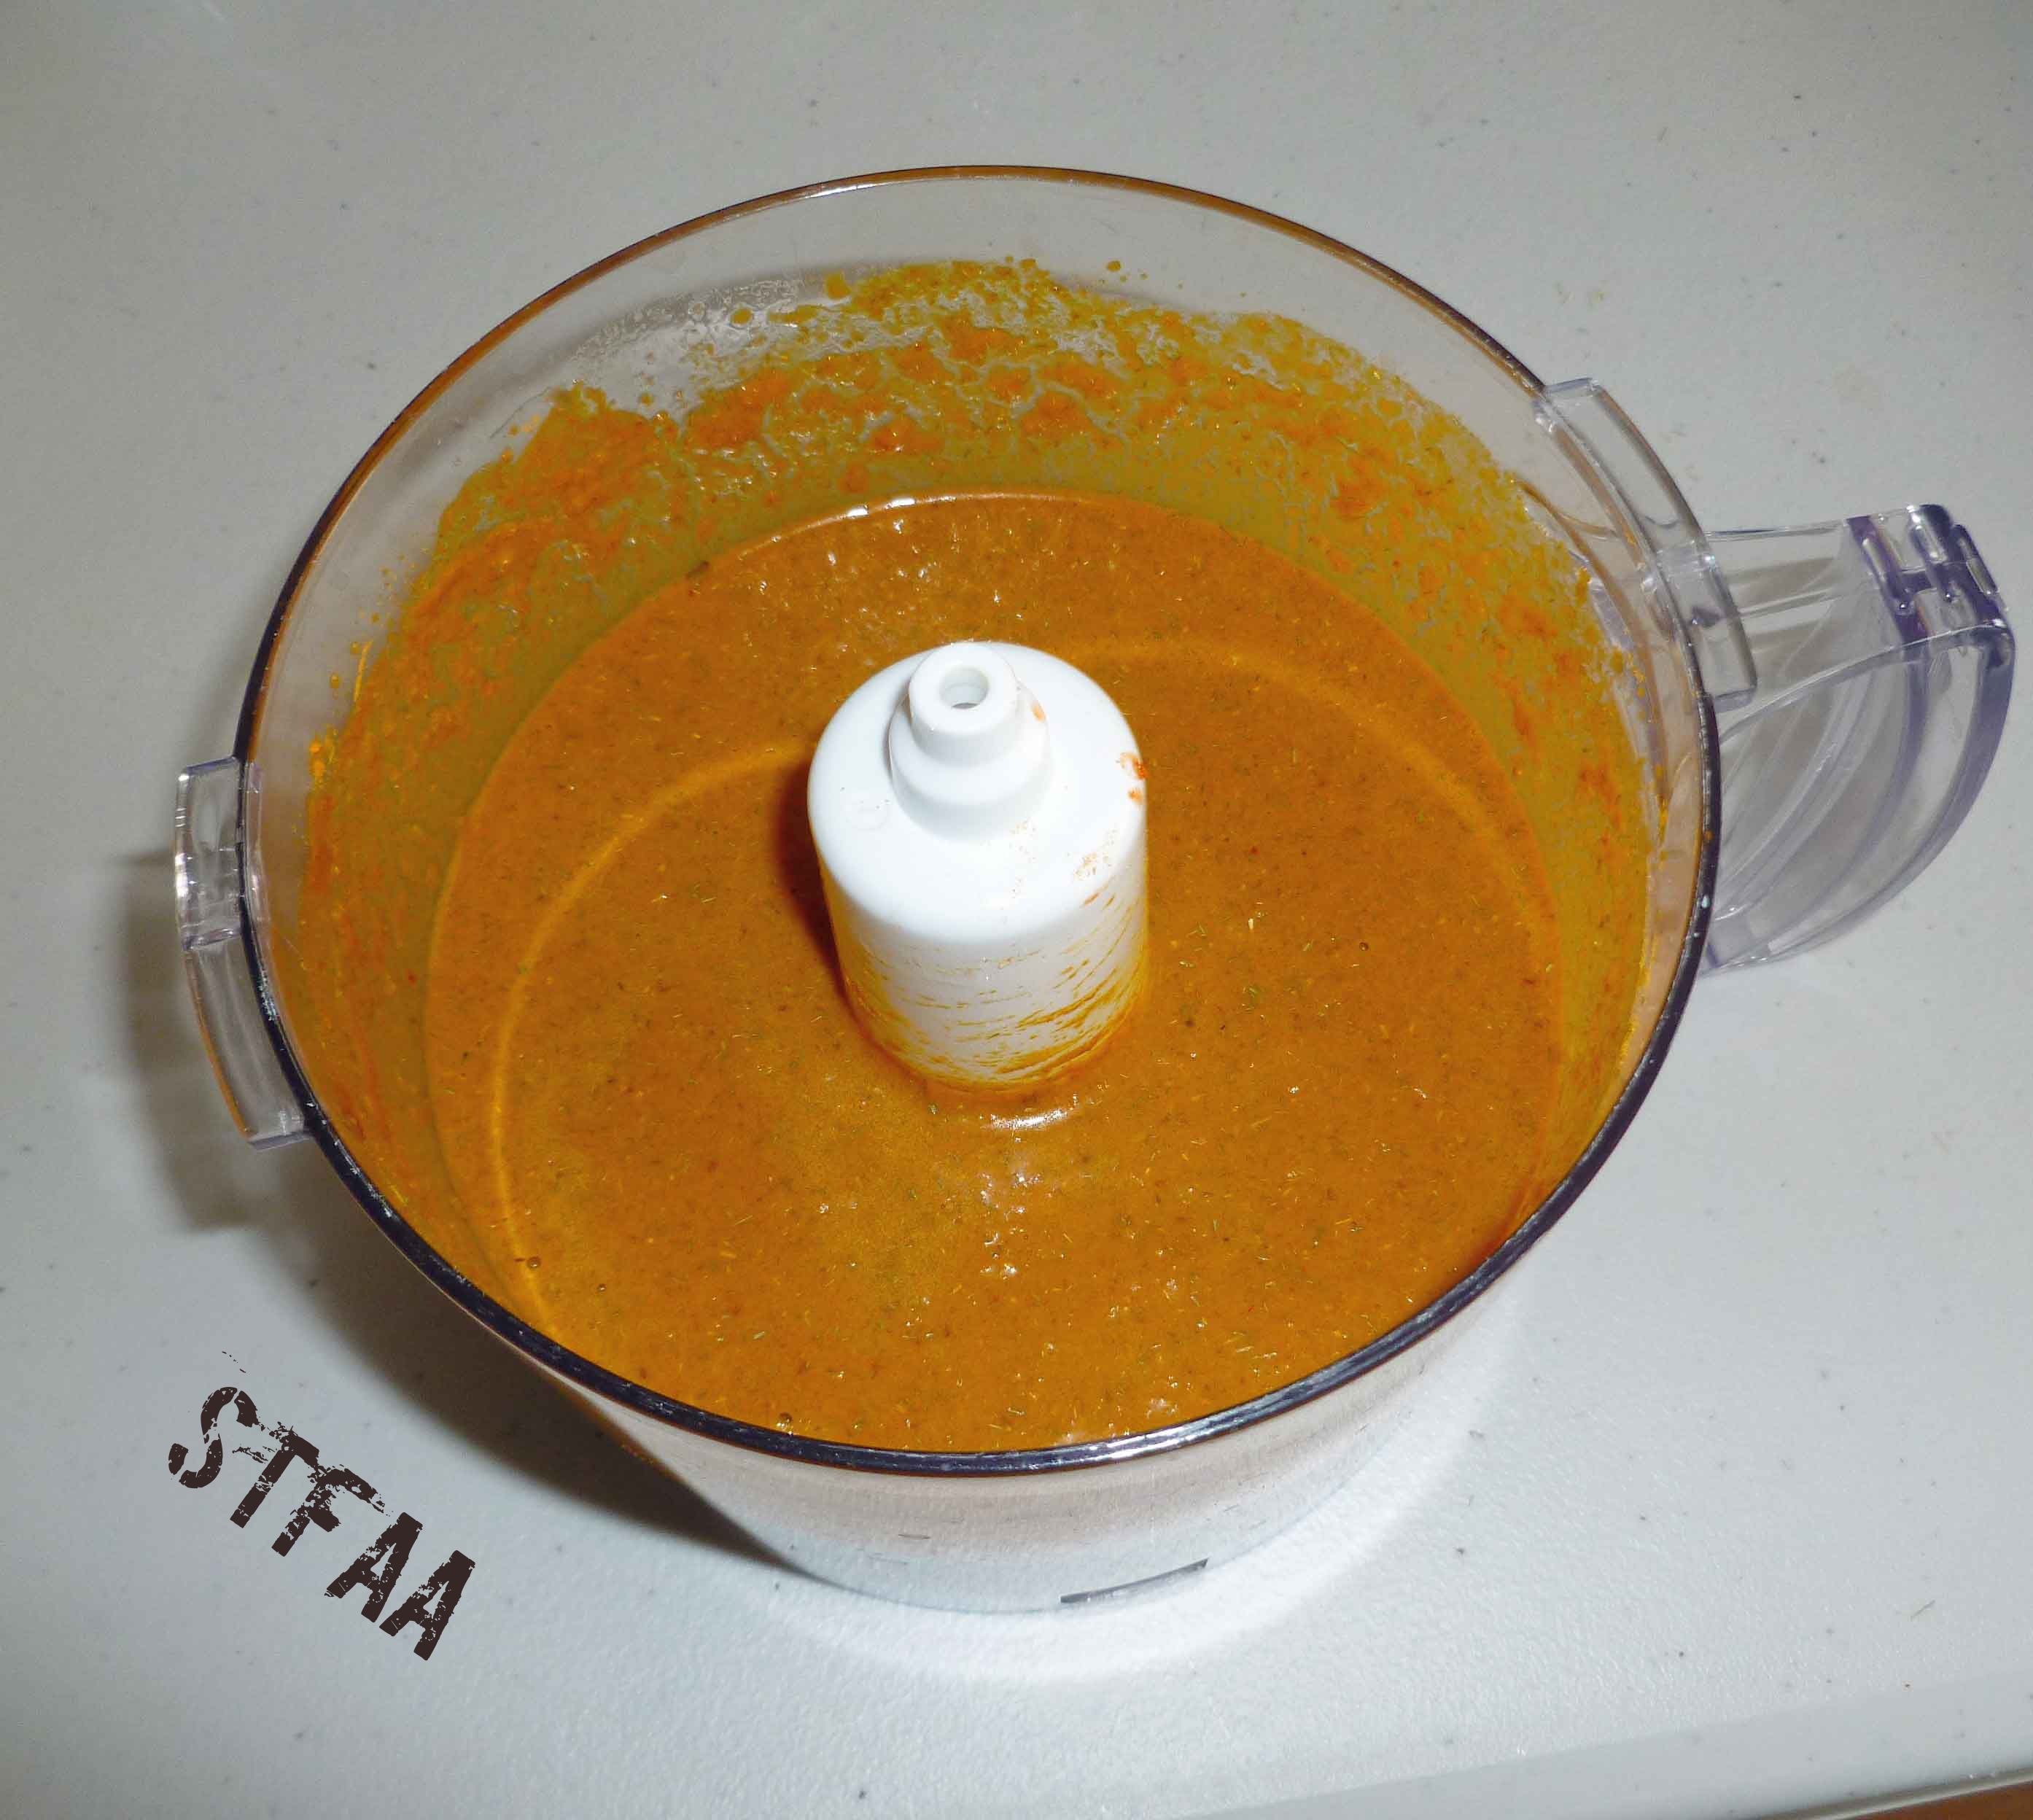
Place all the marinade ingredients in a food processor or blender, and puree them into oblivion. They should be the consistency of a smoothie when you’re finished.
Beef Satay marinade pureed into oblivion
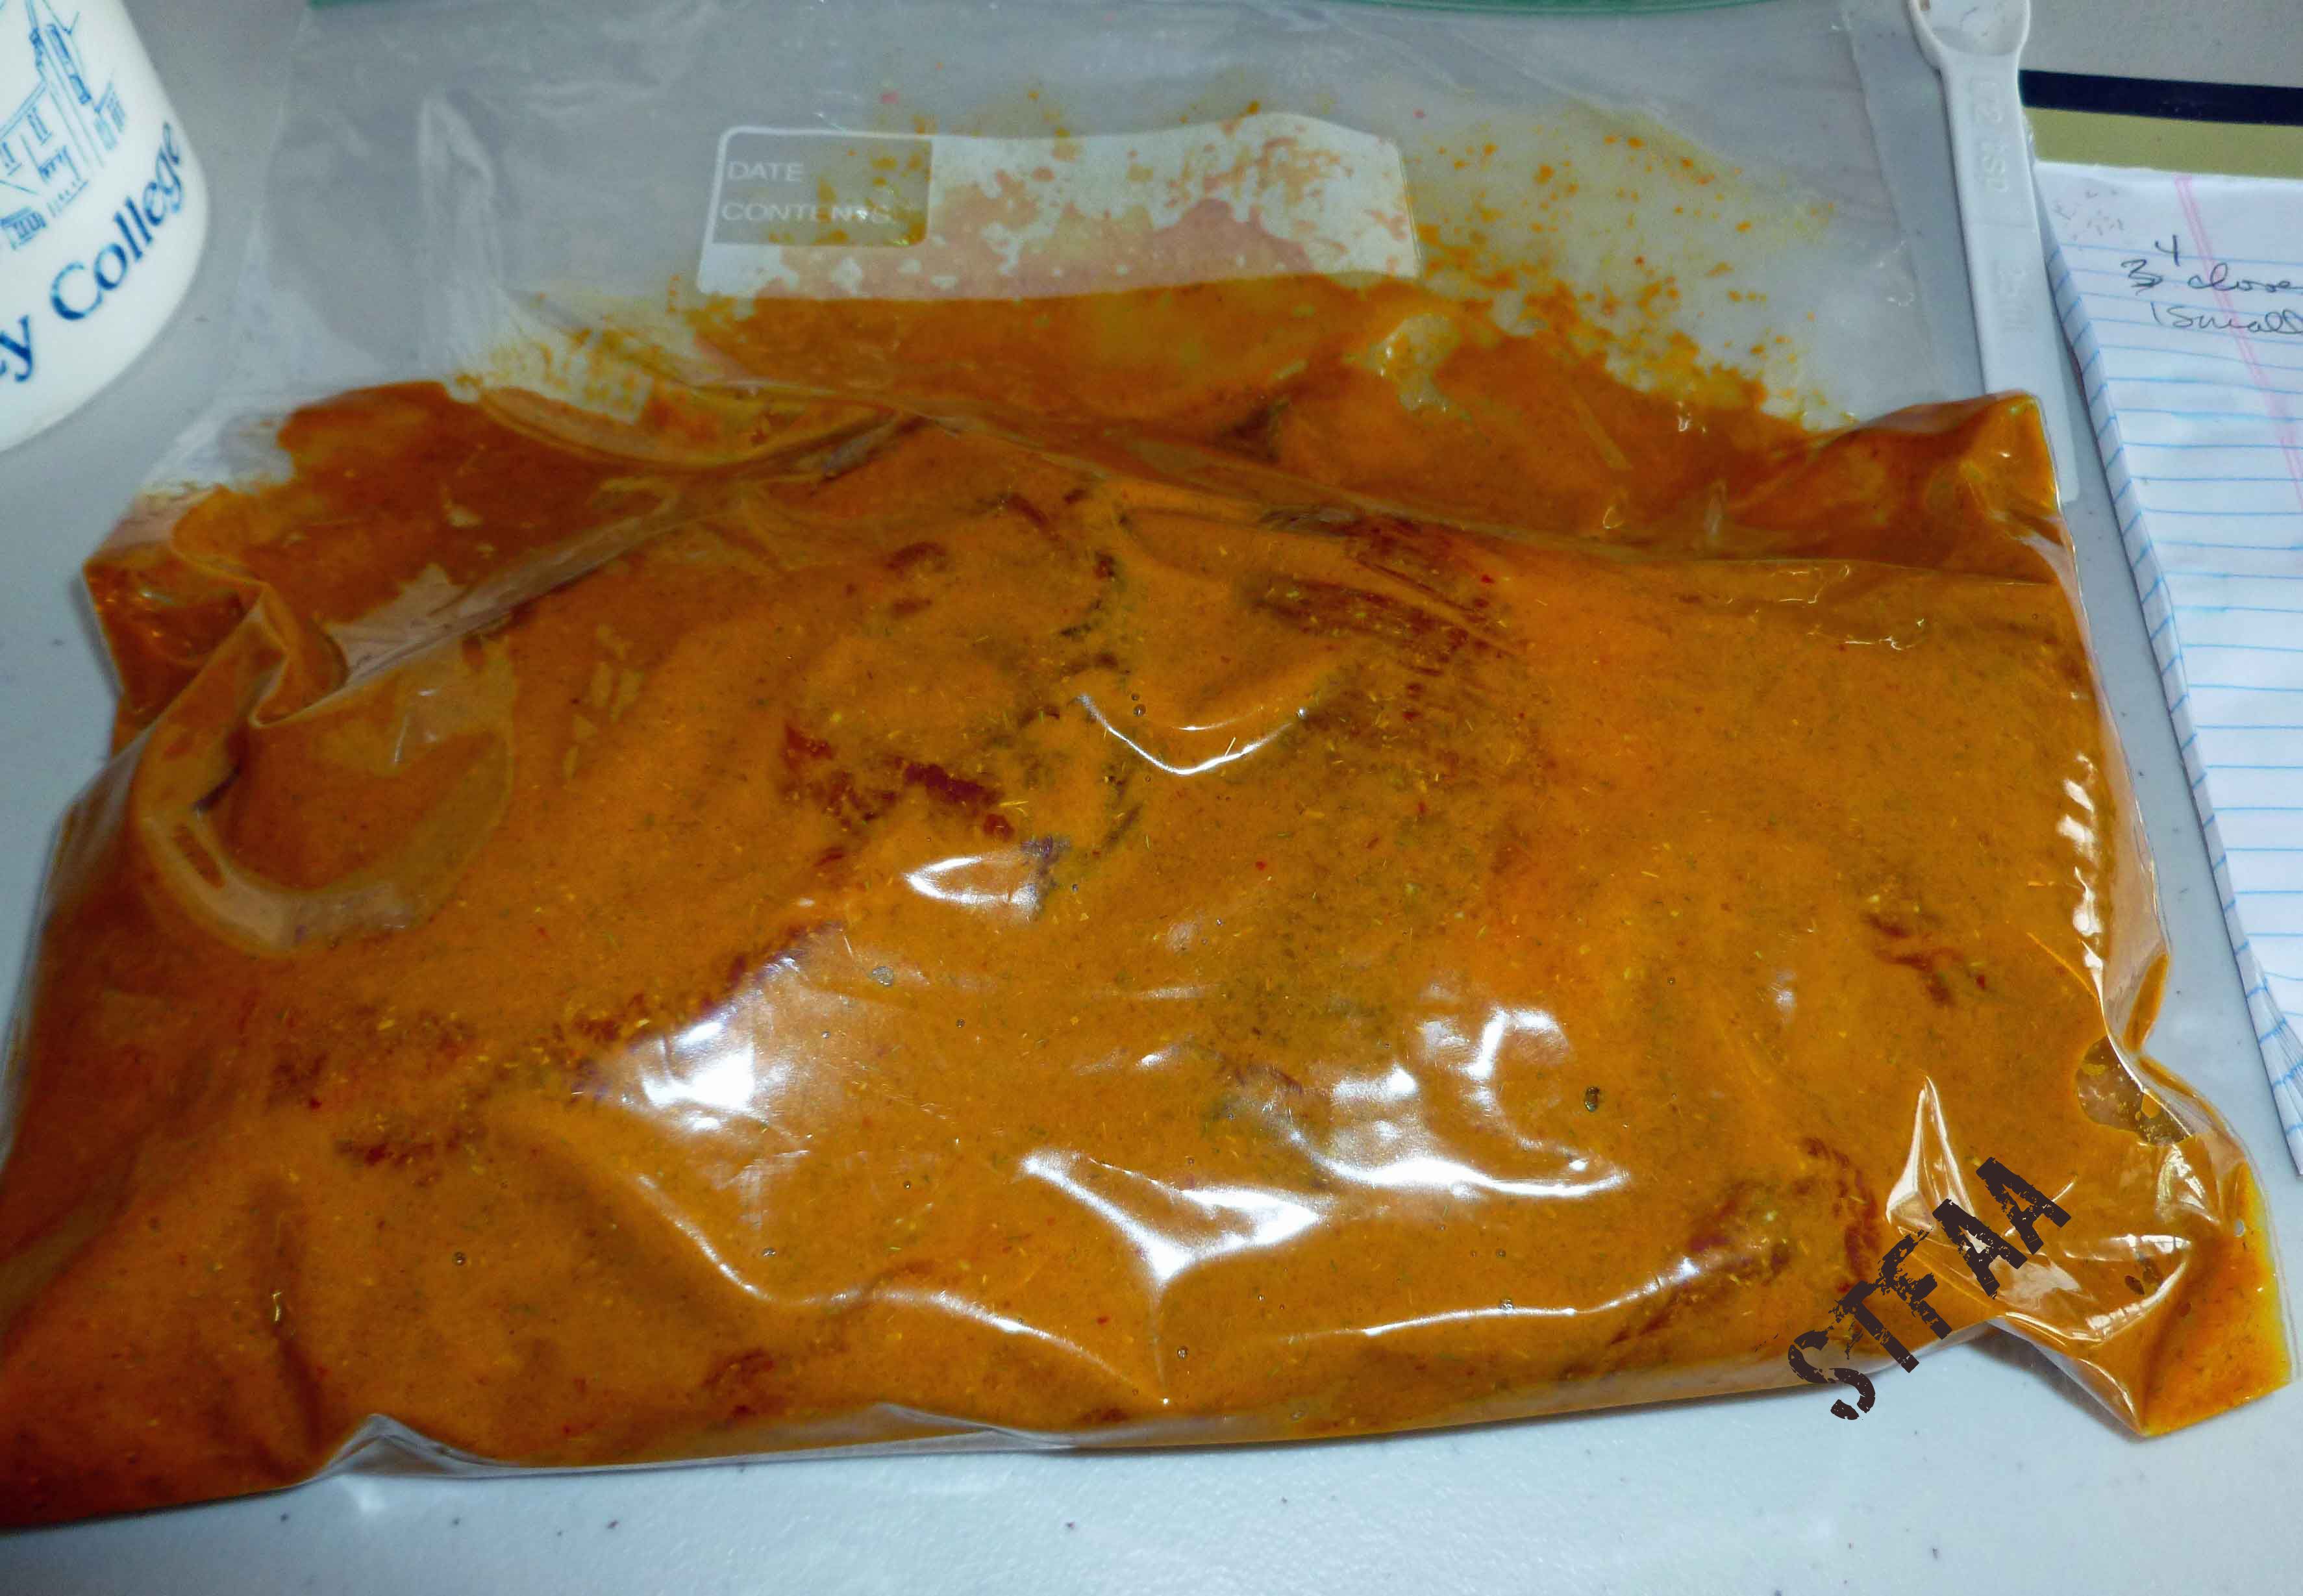
Cut your flank steak across the grain into long strips about an inch and a half wide, as these will end up going onto skewers. Place the flank steak and the marinade into a zip top bag, making sure that the marinade covers all pieces of the flank, and squeezing out any air.
Beef Satay marinating in a zip top bag
Marinate overnight, or at least 4-5 hours. When I made them, I marinated them in the morning for that evening’s dinner. I’d say that they marinated for about 10 to 11 hours and that worked fine.
If you’re using the bamboo skewers, it’d be a really good idea to soak them in water for an hour or two before cooking them. I soaked them for about 15 minutes and it was clearly not enough time, as some of the sticks charred and burned a bit (okay, a lot).
Once your flank steak is finished marinating, turn on your oven’s broiler and let it heat up. I put the oven rack in the top-most position, but you may need to move it down one depending on the height of your baking rack and baking sheet. Place the baking rack on the baking sheet, and put on your food safe prep gloves. Over a surface that won’t stain, or you don’t care if it stains (I used a cutting board), slide the strips of beef on to the skewers and put them on the rack.
Flank steak skewered but before cooking
When you have skewered all the beef strips, place the baking sheet in the oven and broil for 5 minutes, or until you see some crispy bits and then flip the skewers over, and broil on the other side for 5 minutes. It make take more or less time depending on how hot your oven is, or how thick your flank steak is, but you’re looking for an internal temperature of 135°F for medium rare if you’ve got a thermometer.
Beef Satay after broiling
It make take more or less time depending on how hot your oven is, or how thick your flank steak is, but you’re looking for an internal temperature of 135°F for medium rare if you’ve got a thermometer.