Roast Goose
Why Roast Goose? I’m sure some of you are asking that question. Well, I’m allergic to chicken and I reacted to turkey when I challenged it. However, I don’t appear to react to duck and I like it. After further research it turns out that chicken and turkey are both in the Phasianidae family, and duck is in the Anatidae family. Goose is also in the Anatidae family, and when I saw a relatively clean one (no solutions, added water, etc.), I decided to buy it to see if I reacted and see if I liked it, because having two poultry options would not be a bad thing. The Verdict: I did not react in a significant manner (weird ear pressure?), but. . . I did not like it either. So goose and I will part ways at this point as duck is easier to find and I like it. Although I am not picky, I like venison, and I much prefer dark meat if I could still eat chicken or turkey, goose was too gamy for me. But I liked the poultry rub I used, and hey, you might like goose if you tried it, so I present this recipe. If you can eat chicken or turkey, try the poultry rub.
Goose Ingredients:
- 1 fresh or frozen goose (10-12 pounds)
- 2-3 stalks of celery cut in 1 inch pieces
- 1 head of garlic, cloves peeled and cut in half
- 1 head garlic cloves peeled and cut in half
- 1 medium onion, peeled and diced
- 1 Tablespoon of dried thyme
- 1 Tablespoon of rubbed sage
- 1 Tablespoon of rubbed sage
- 1 Tablespoon of dried thyme
- 1/2 teaspoon of paprika
- 1/2 teaspoon of turmeric
- 1/2 teaspoon of celery salt (I use a home made version from home ground celery seed and salt)
- 1/2 teaspoon of ground black pepper
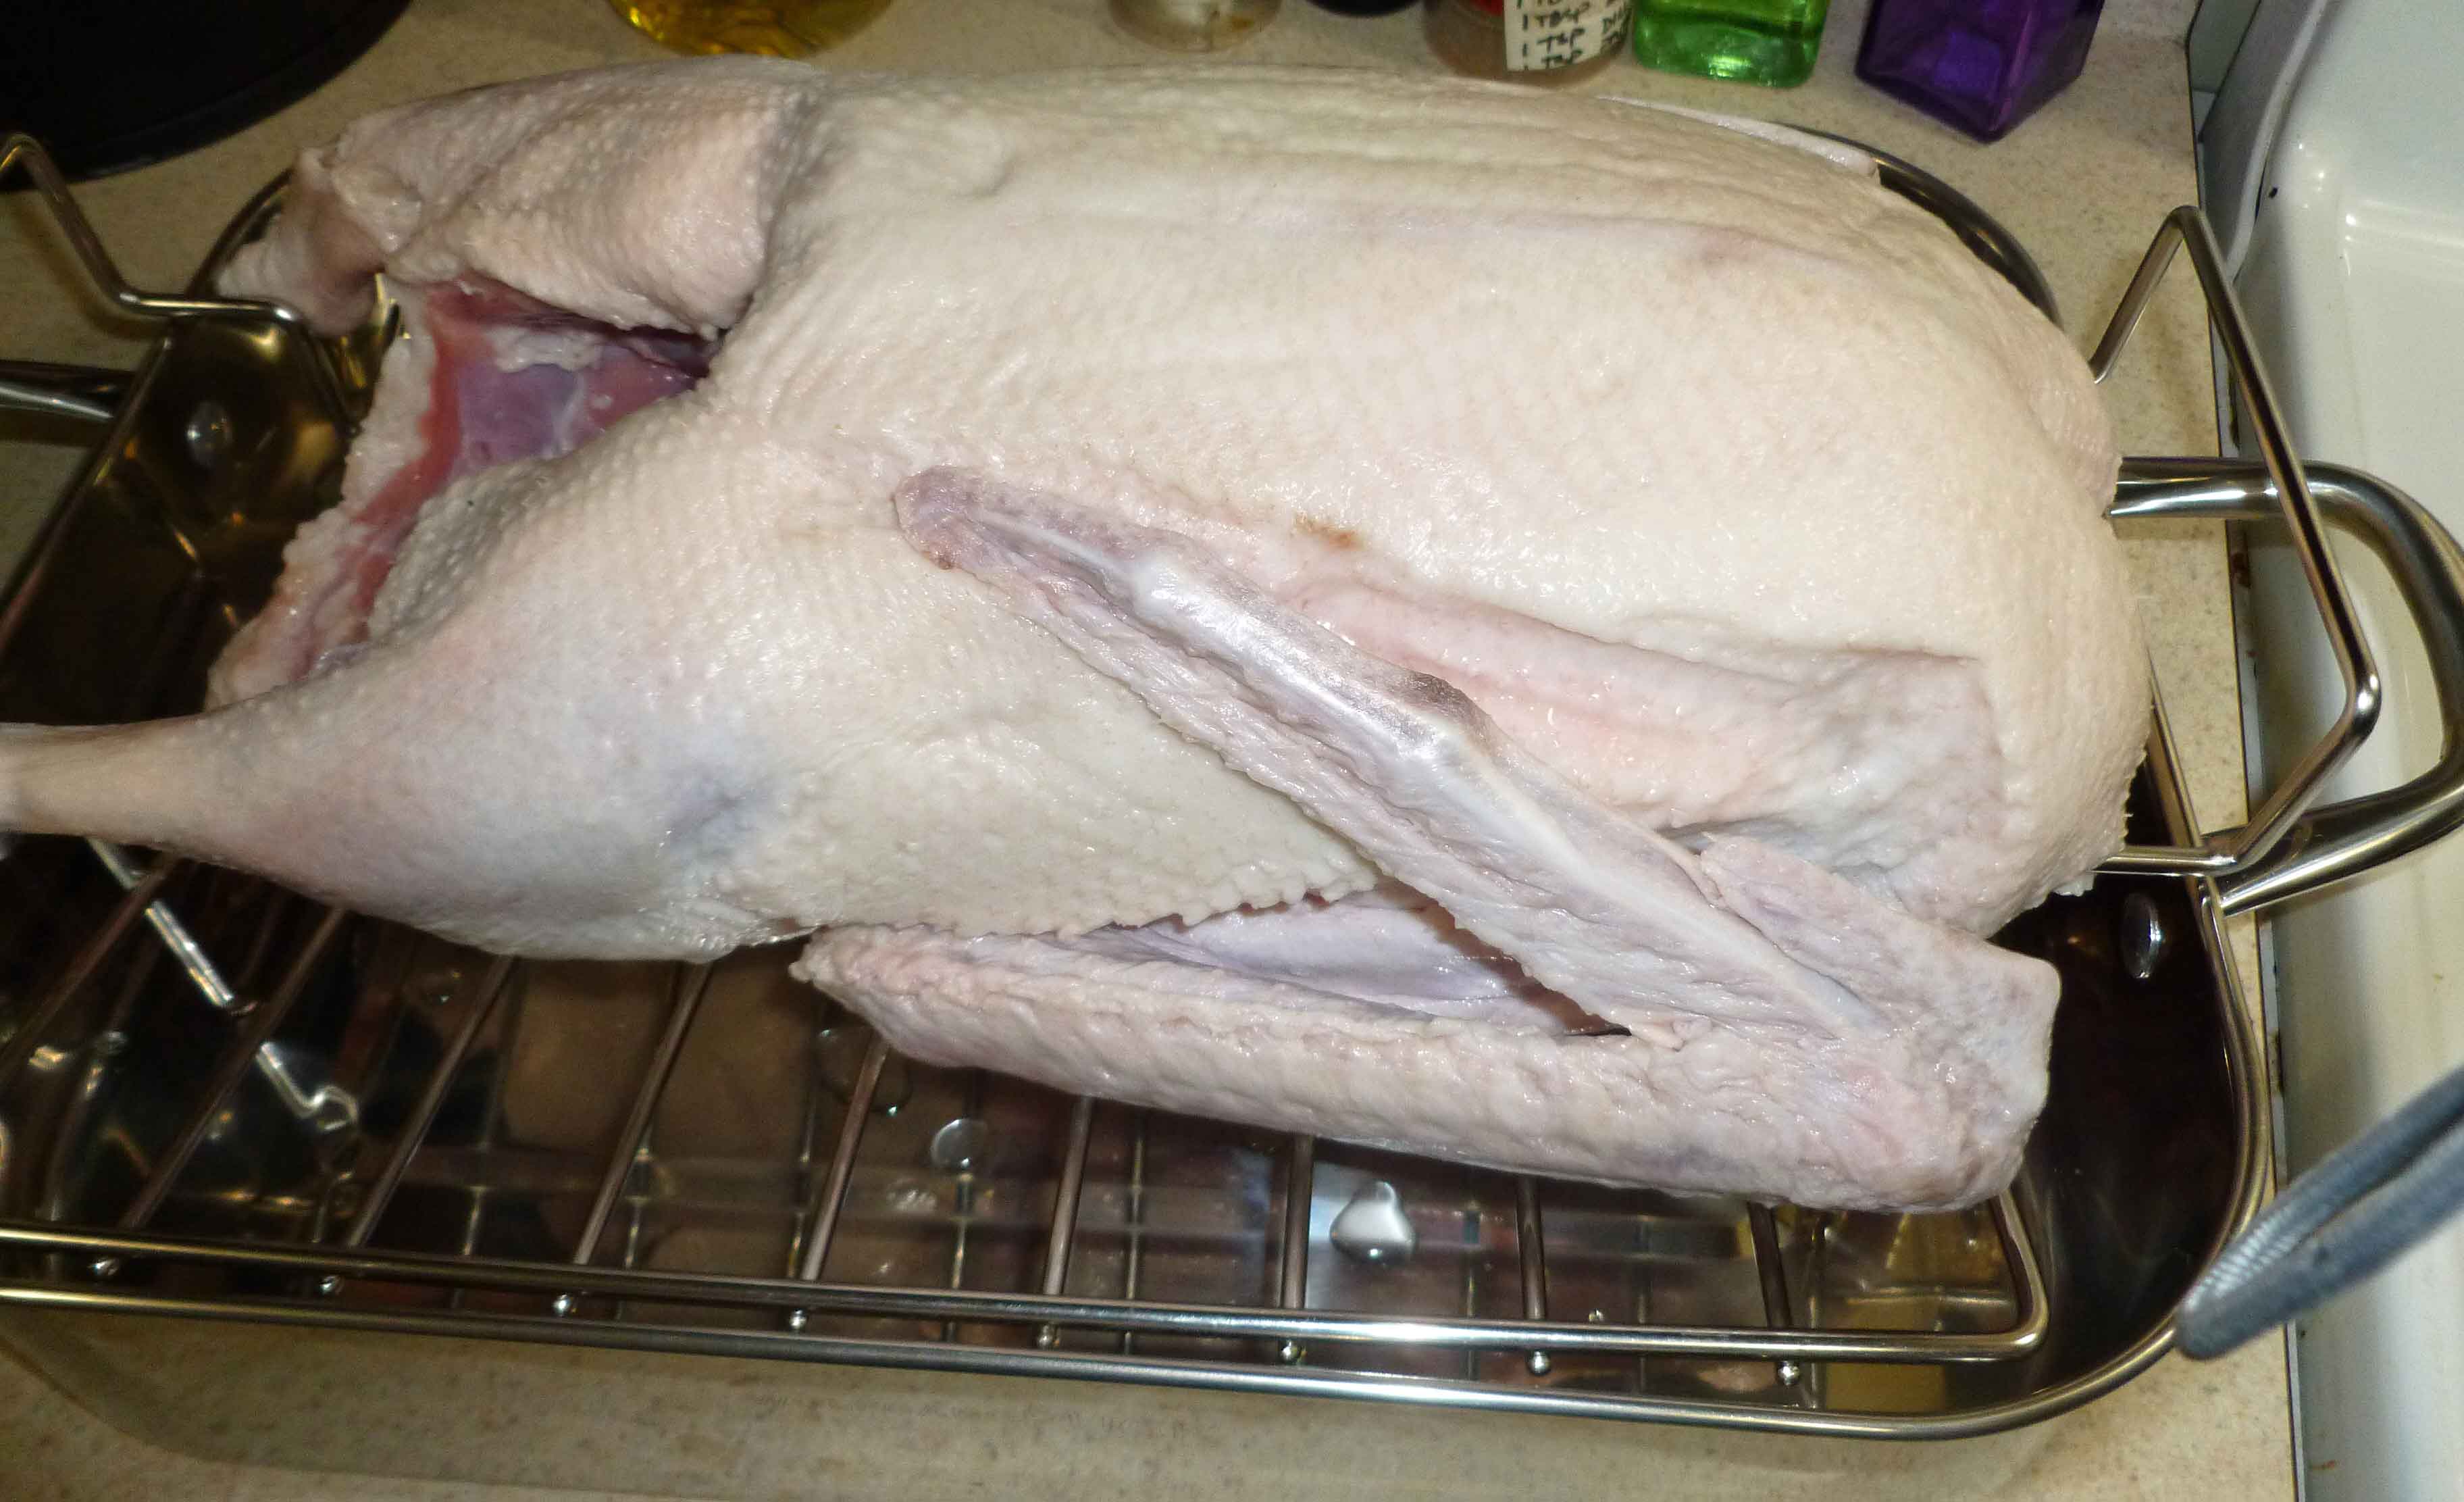
If your goose is frozen, thaw it in the the refrigerator before cooking. This may take a least a day or two. Preheat your oven to 400°F. Remove the goose from the packaging and make sure you remove the giblets from the cavity of the bird.
Place the goose in roasting pan with a rack, and trim off the excess fat around the cavities. (For those of you with low access to safe cooking fats, I rendered the excess fat in a crock pot as you would for lard or tallow, and got about a pint of goose fat.) Prick the surface of the goose skin, with a sharp knife, but be careful not to go past the skin into the goose.
Sprinkle the goose cavity with 1 Tablespoon of the dried sage and 1 Tablespoon of the dried thyme. Place the celery, garlic, and onion into the cavity of the goose.
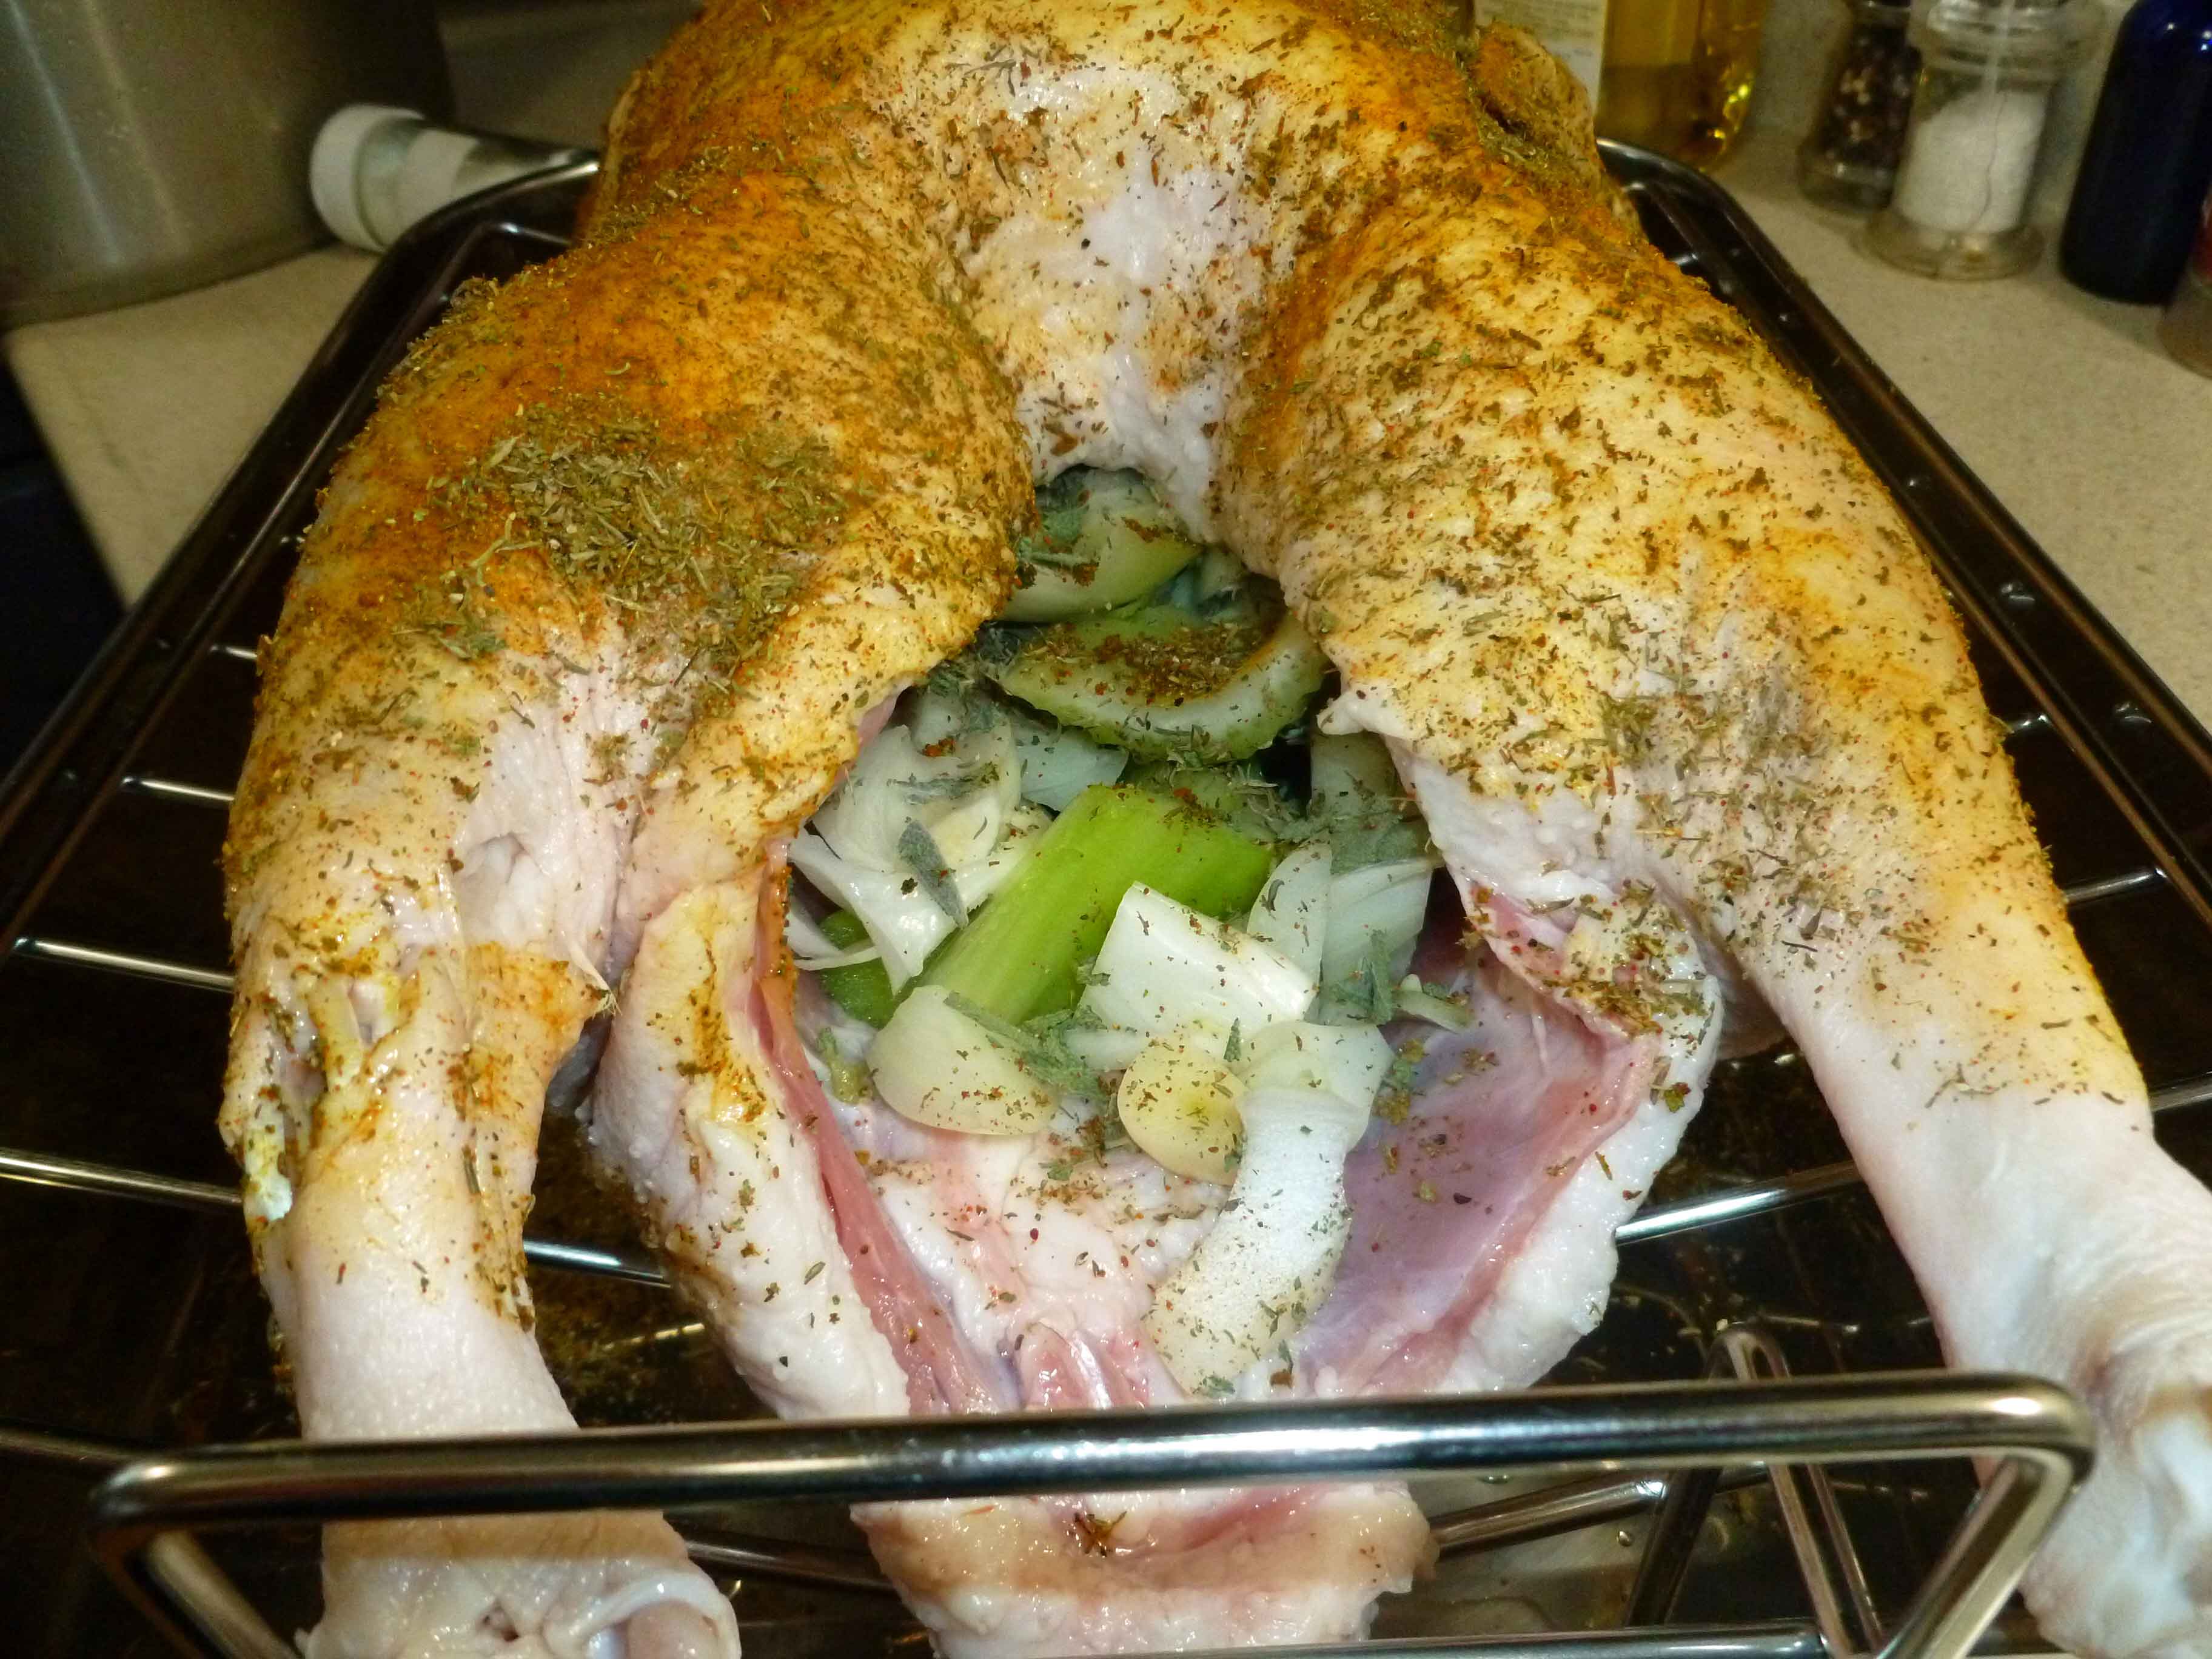
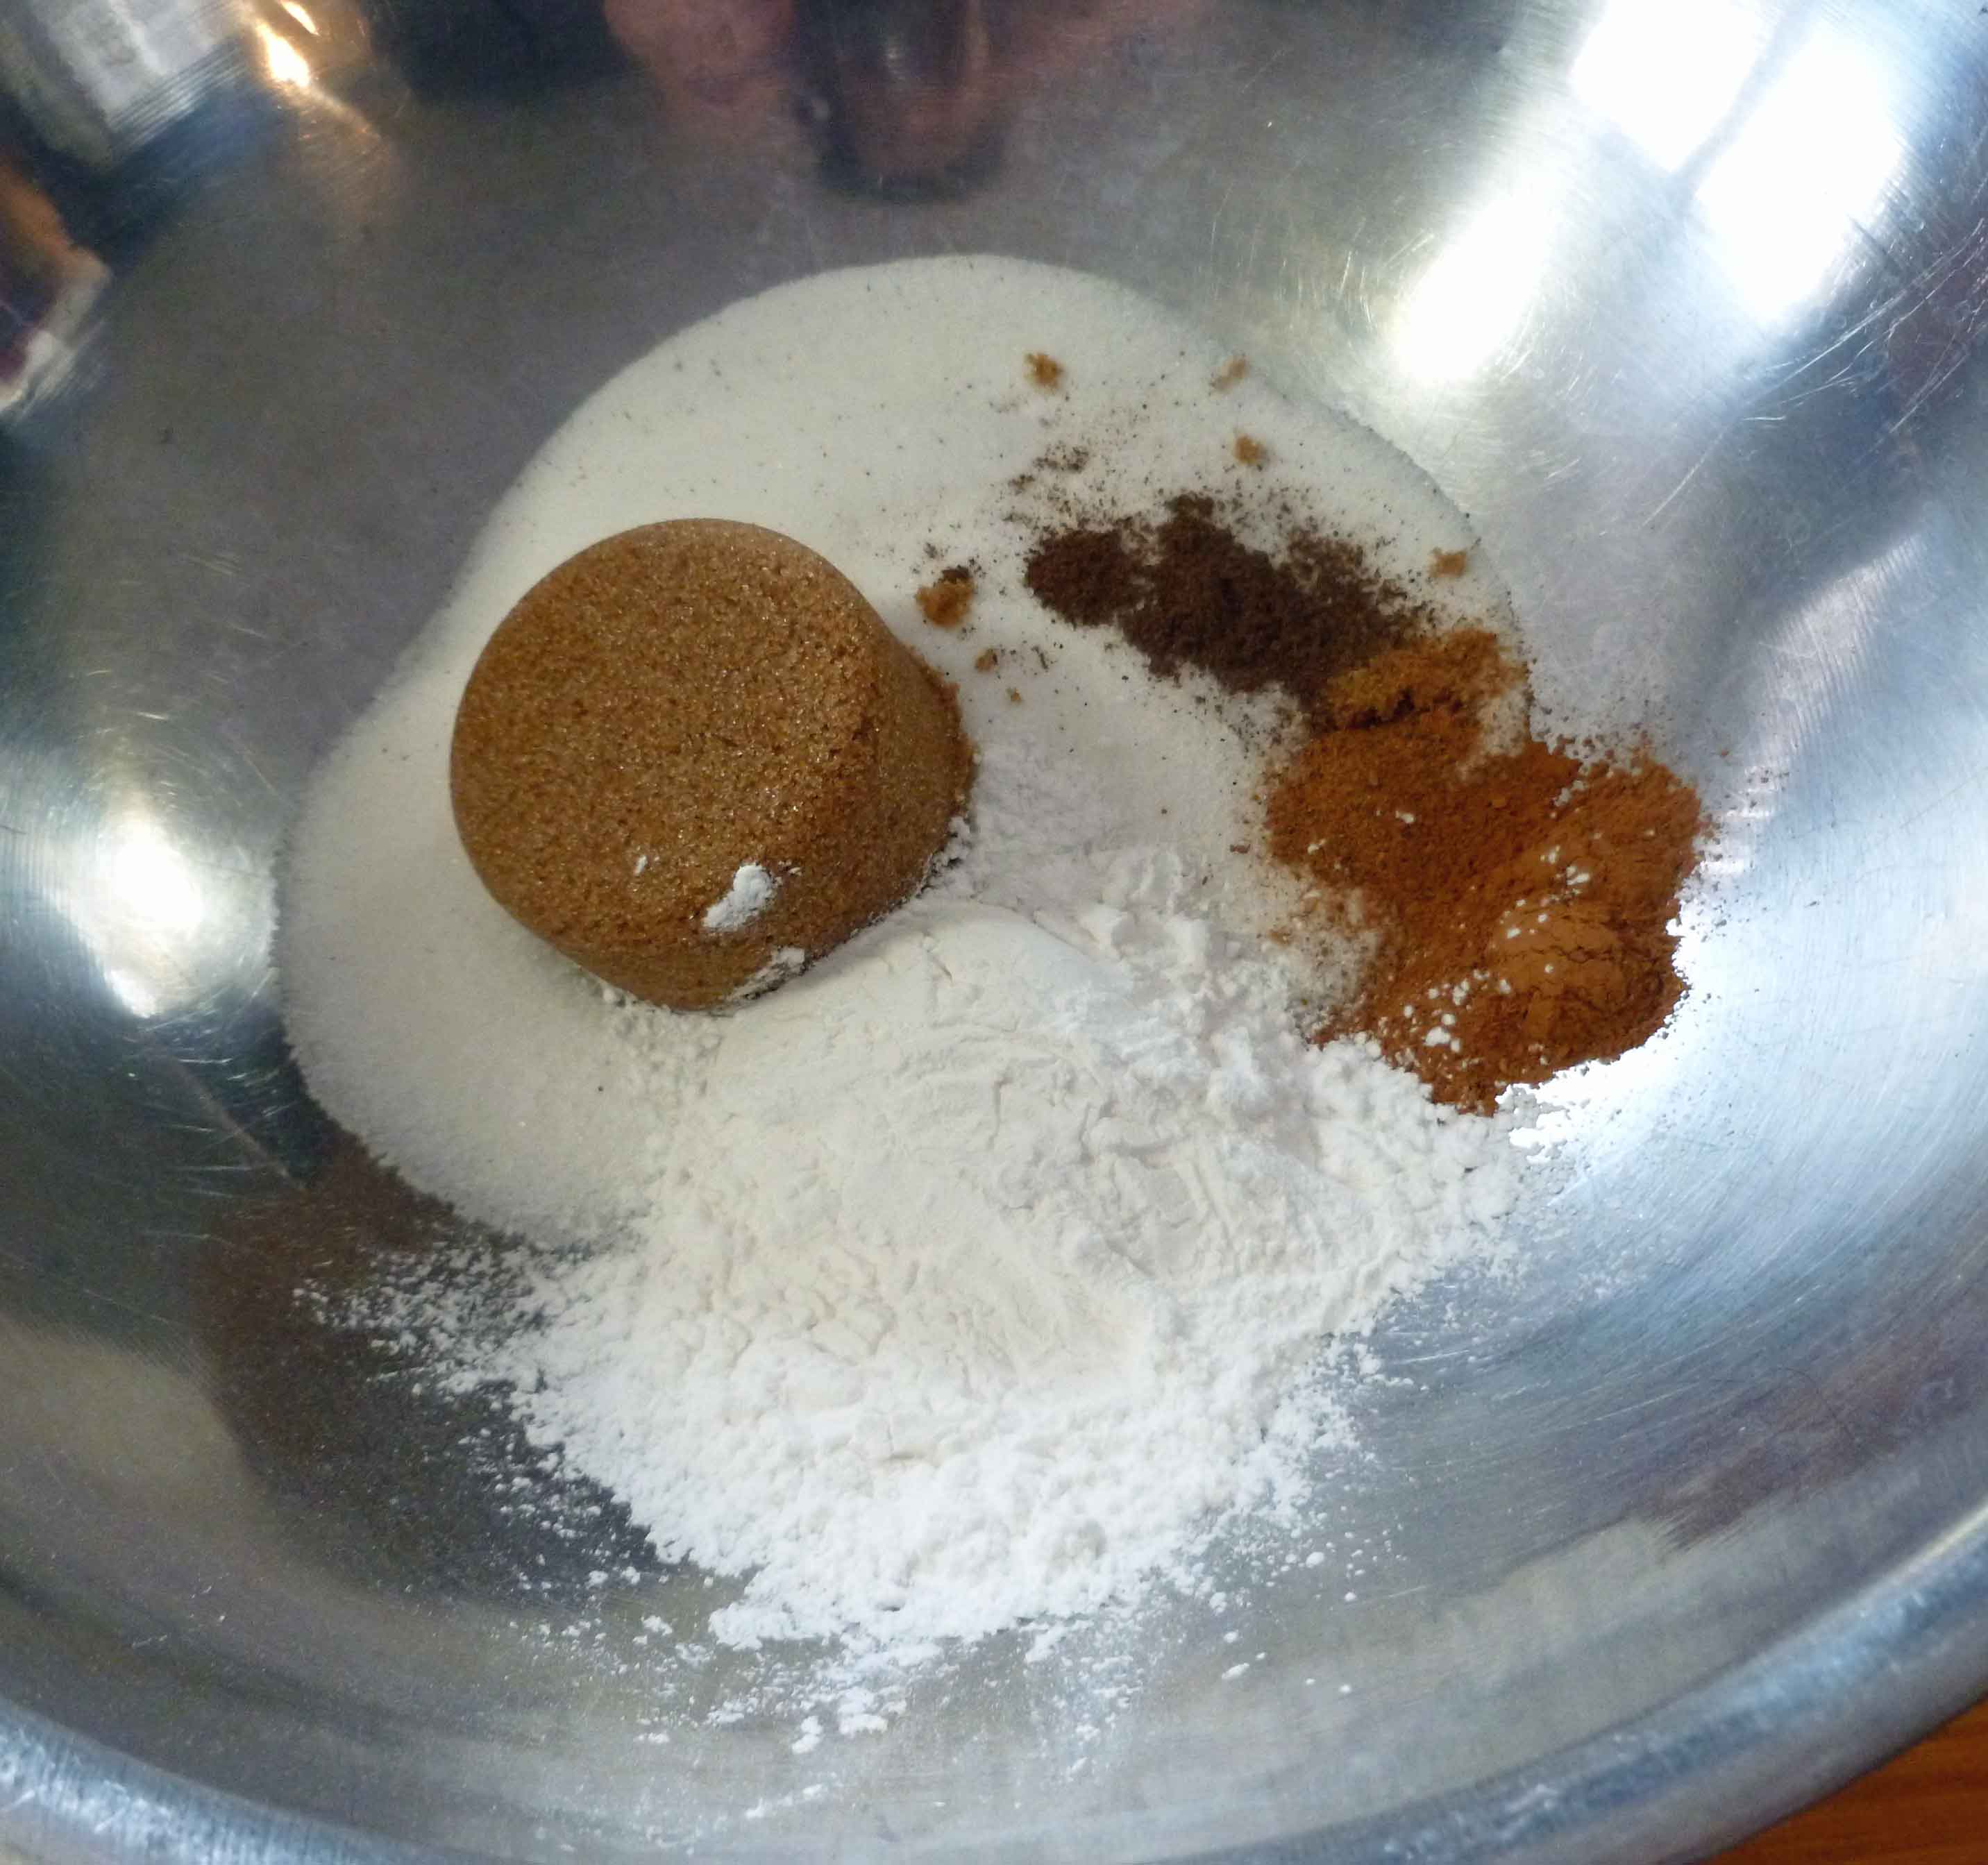
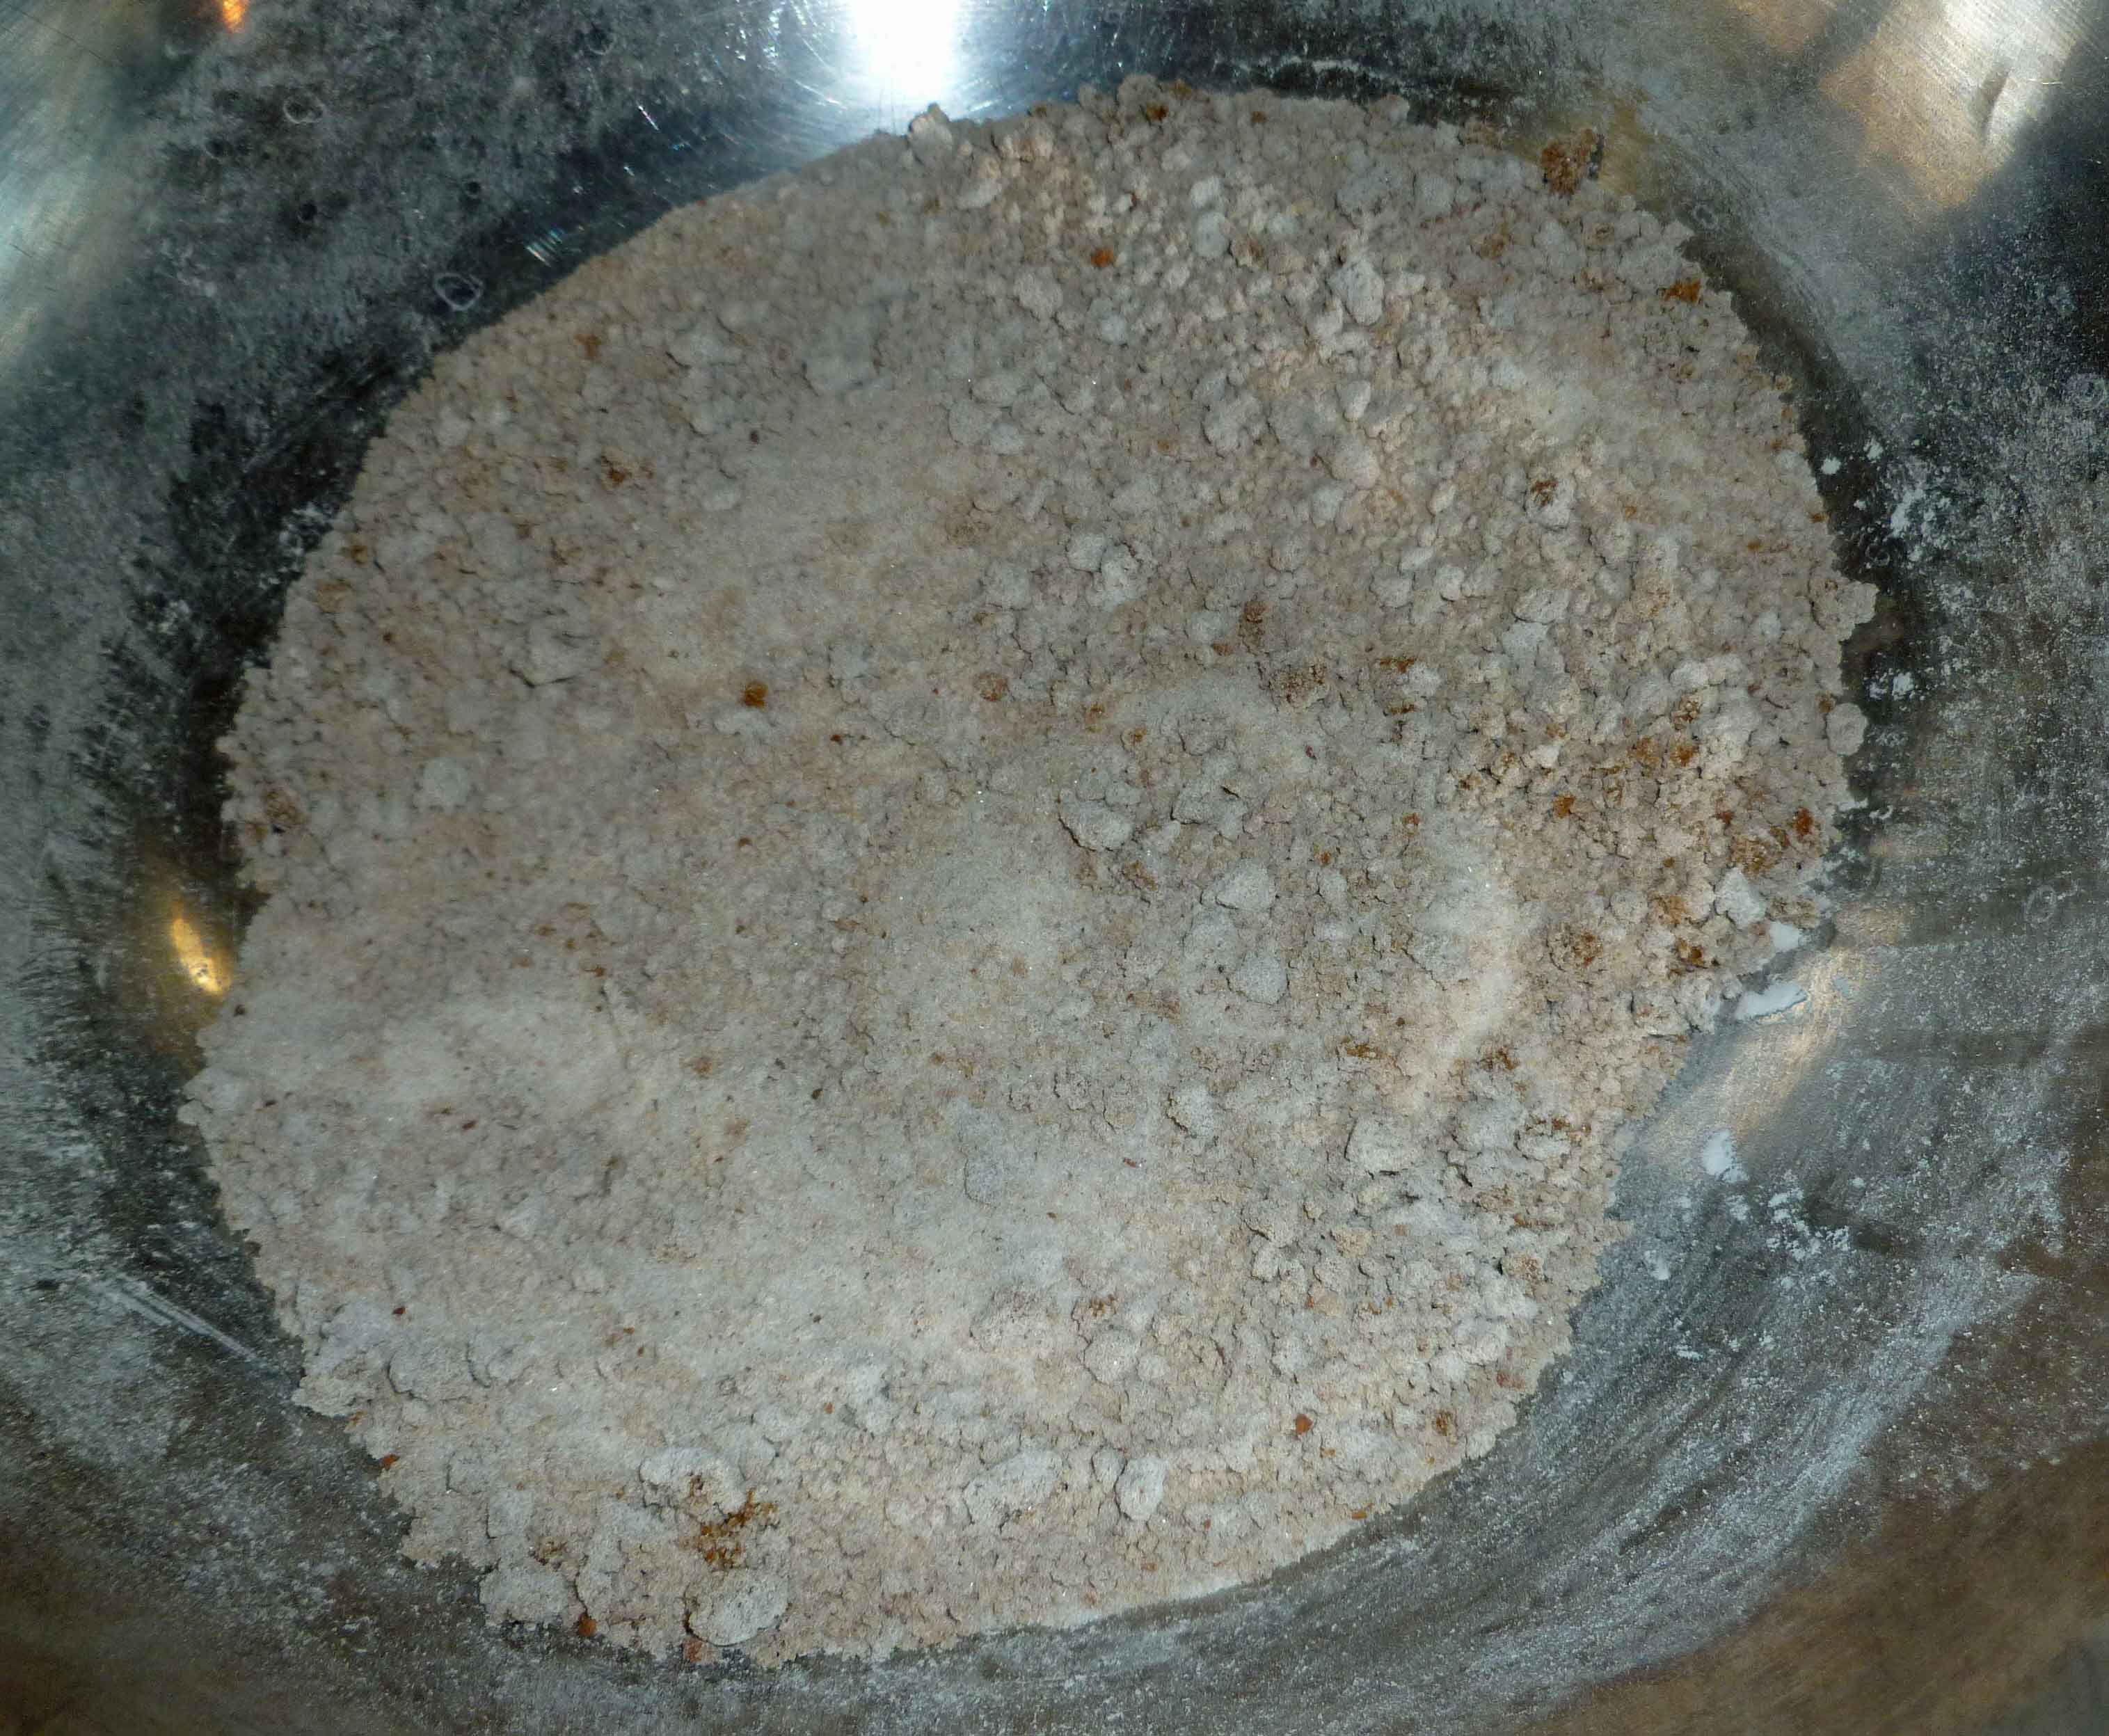
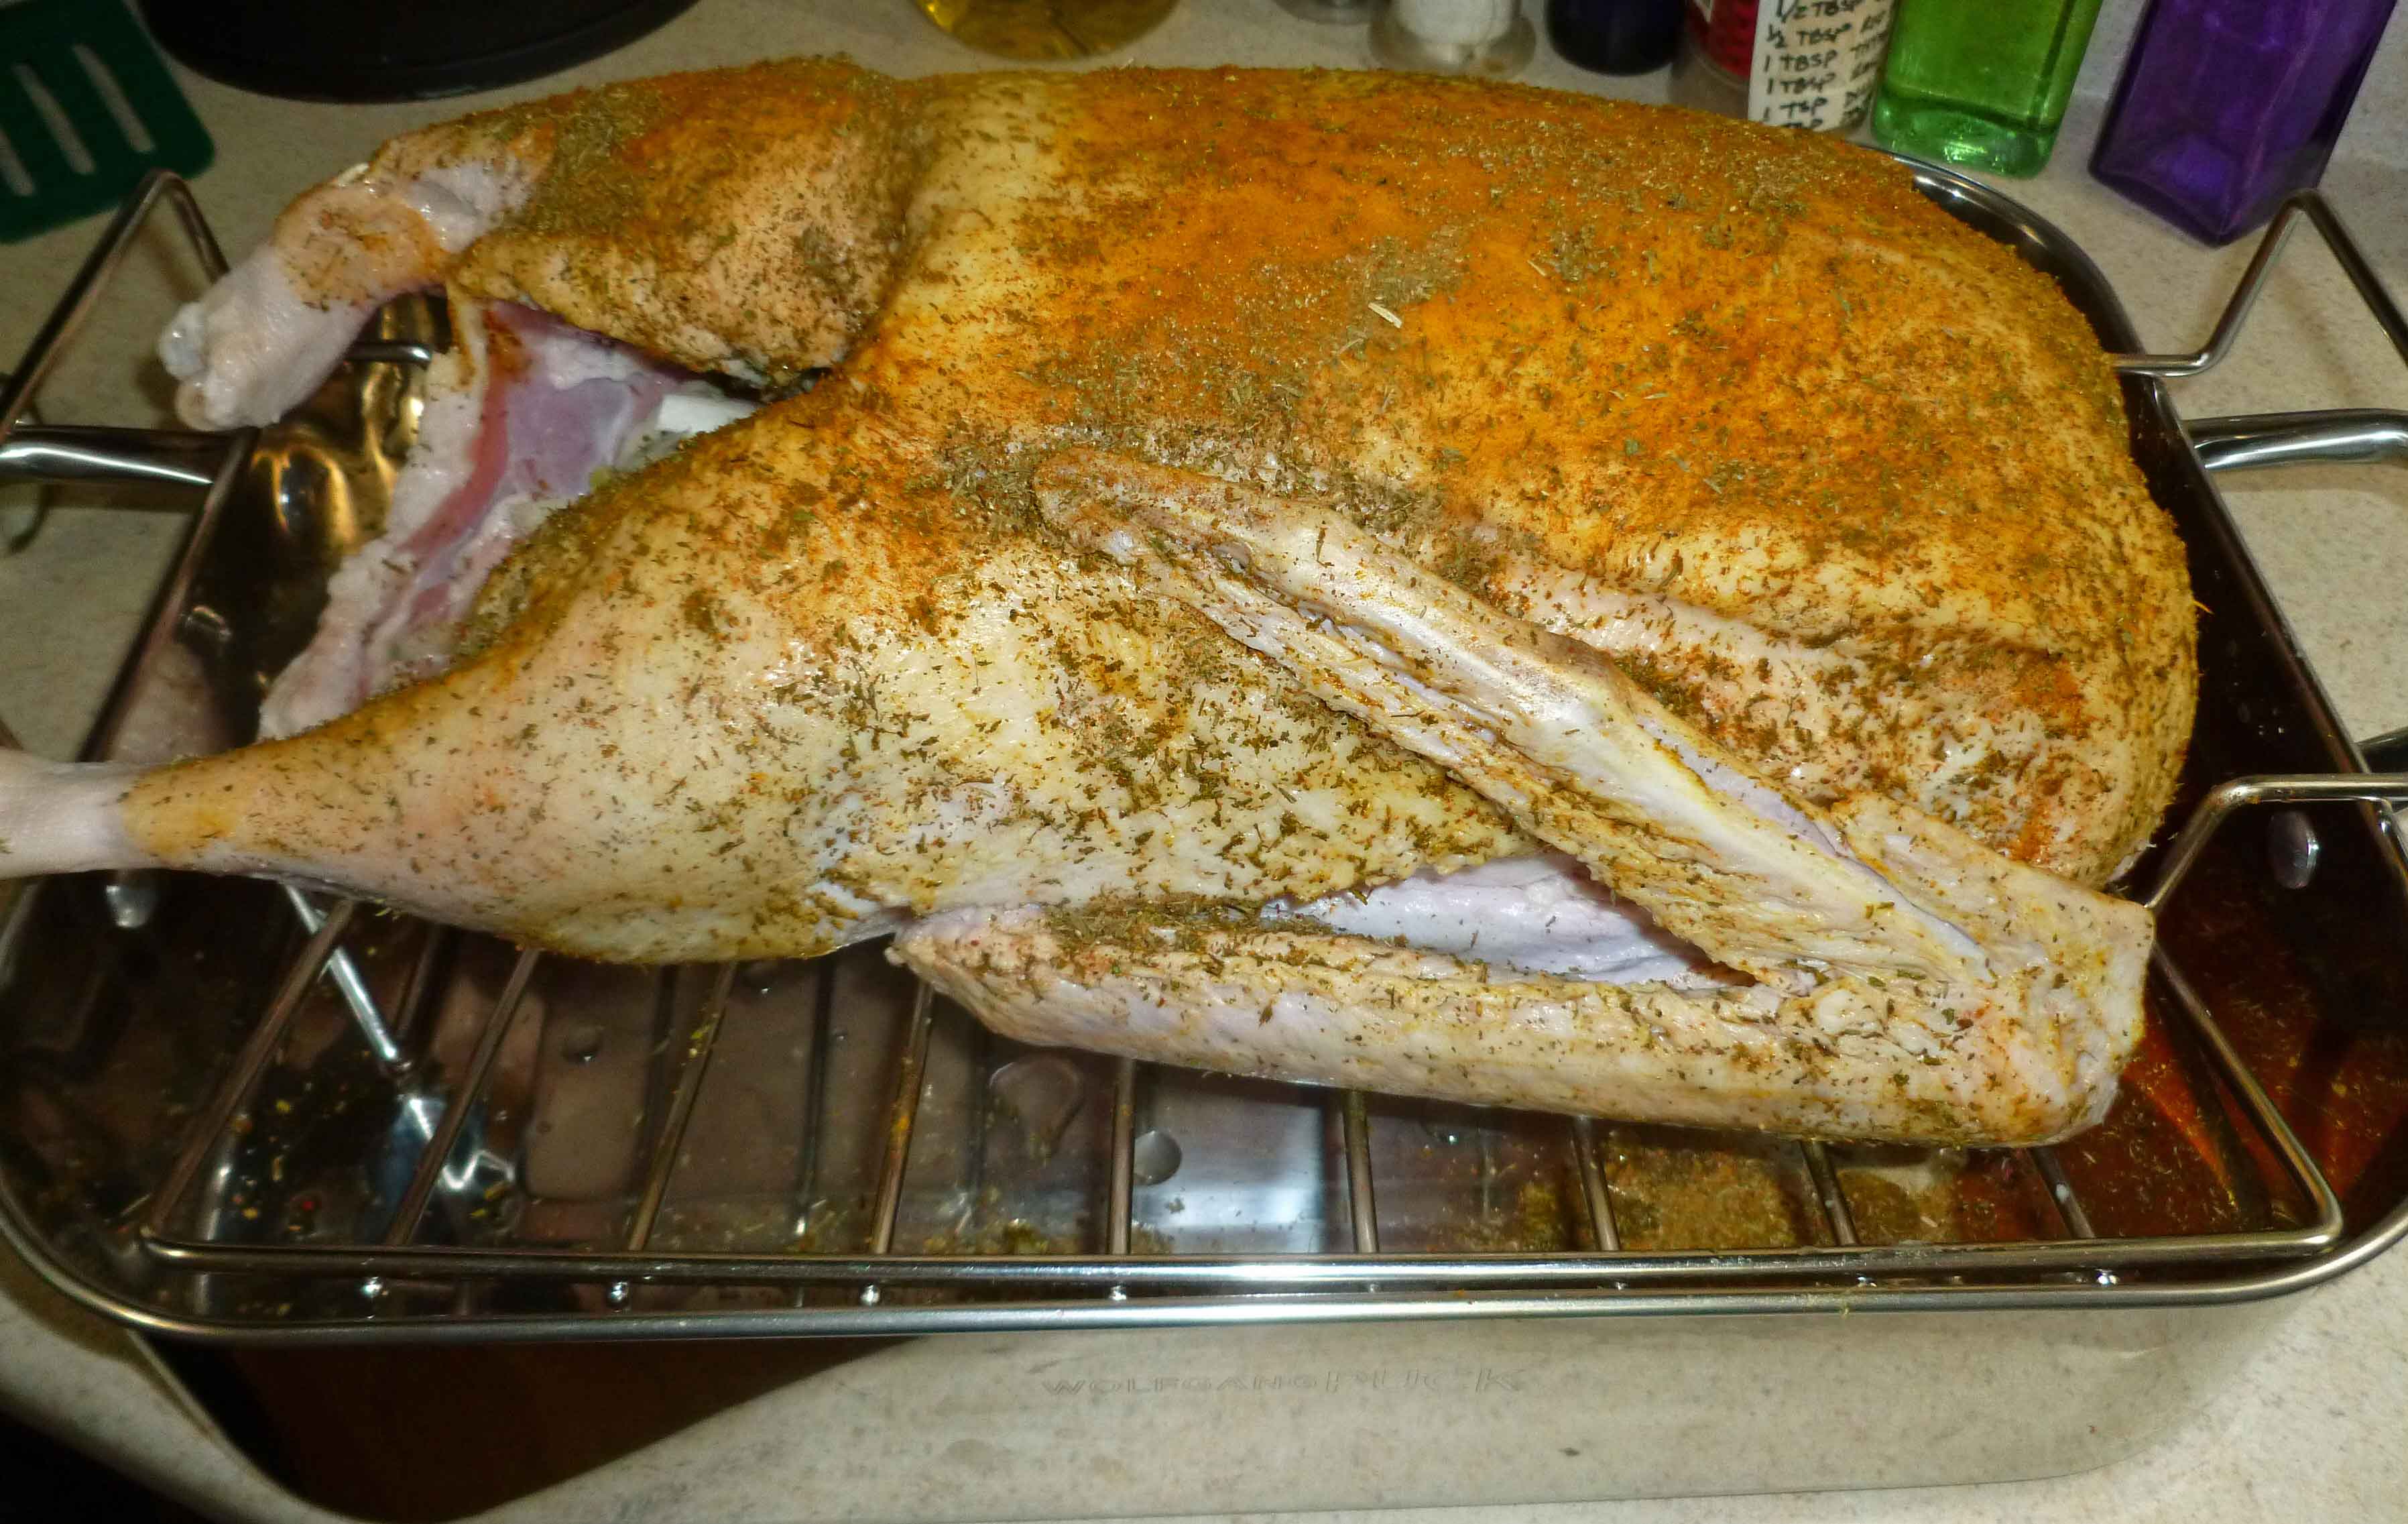
Place the ingredients for the poultry rub in a bowl and mix them well. Coat the outside of the goose with the rub.
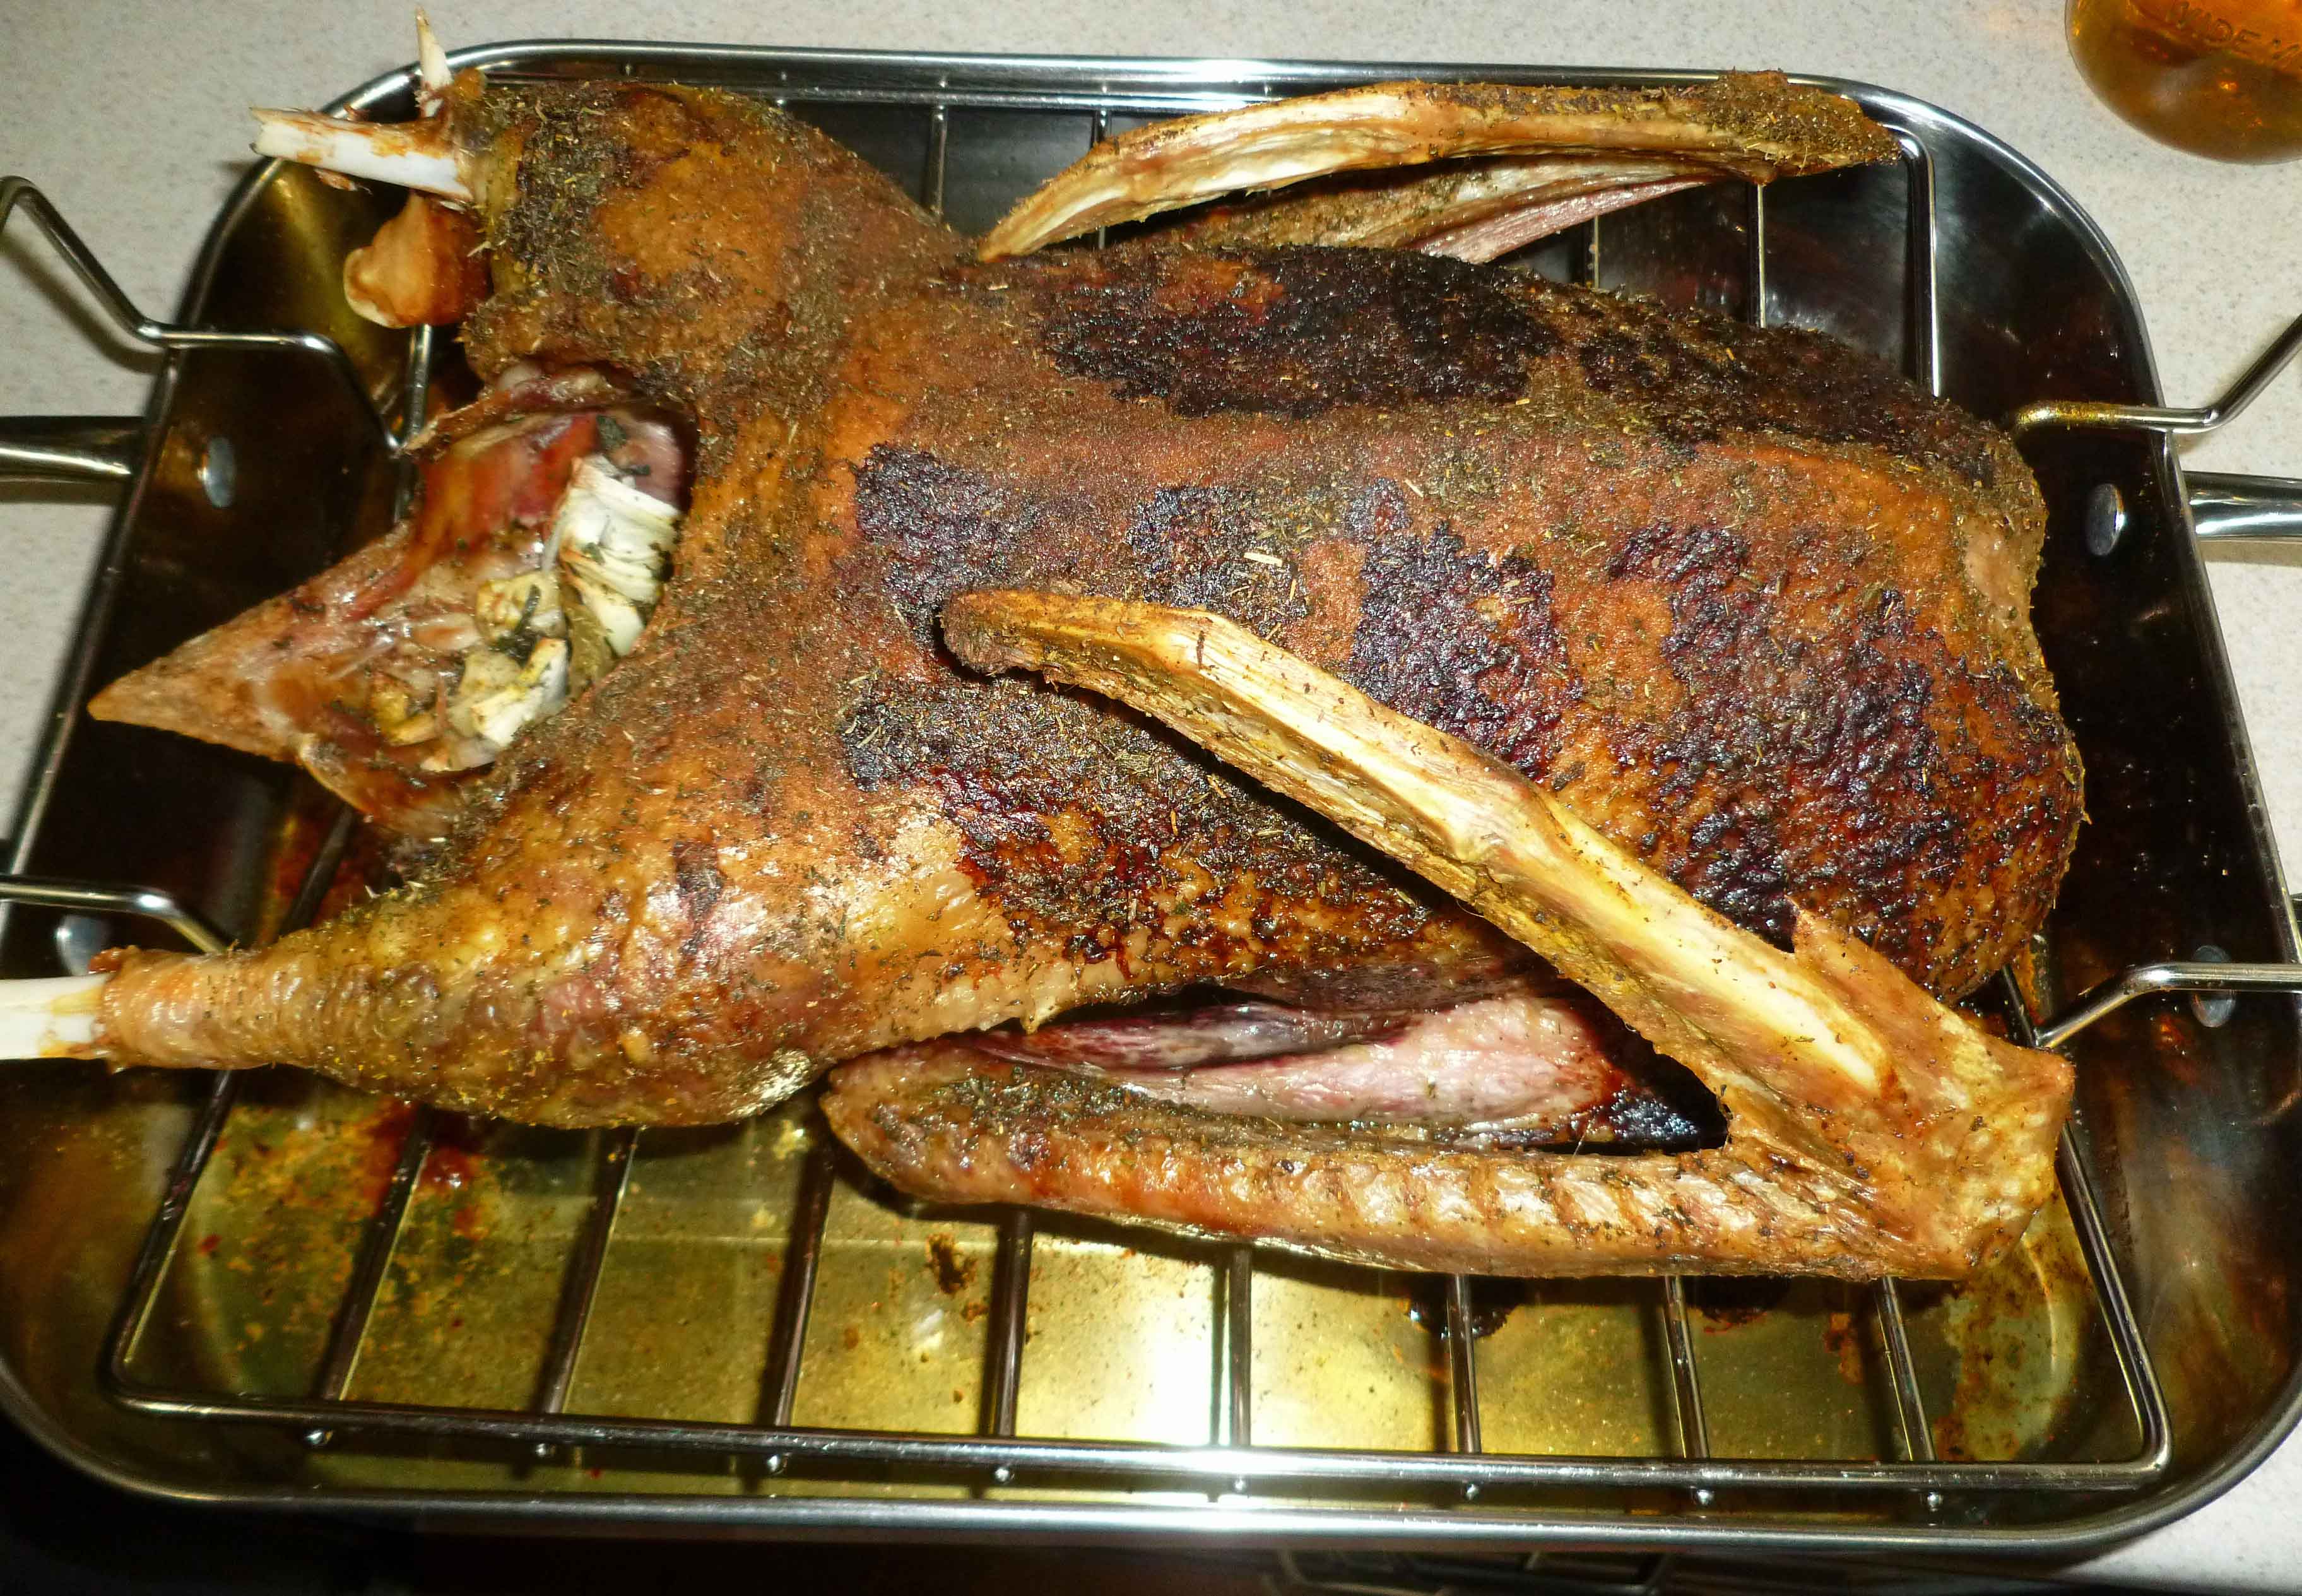
Roast the goose at 400°F in the oven for about an hour until it turns golden brown, while at the same time removing the goose fat from the roasting pan using a turkey baster every 30 minutes. (I saved the fat obtained and got almost a quart of goose fat from the pan that I’ll use as a cooking fat later.) Reduce the temperature to 325°F and roast until well browned, and the internal temperature reaches 180°F (about an hour to an hour and half after reducing the temperature depending on the size of your goose.)
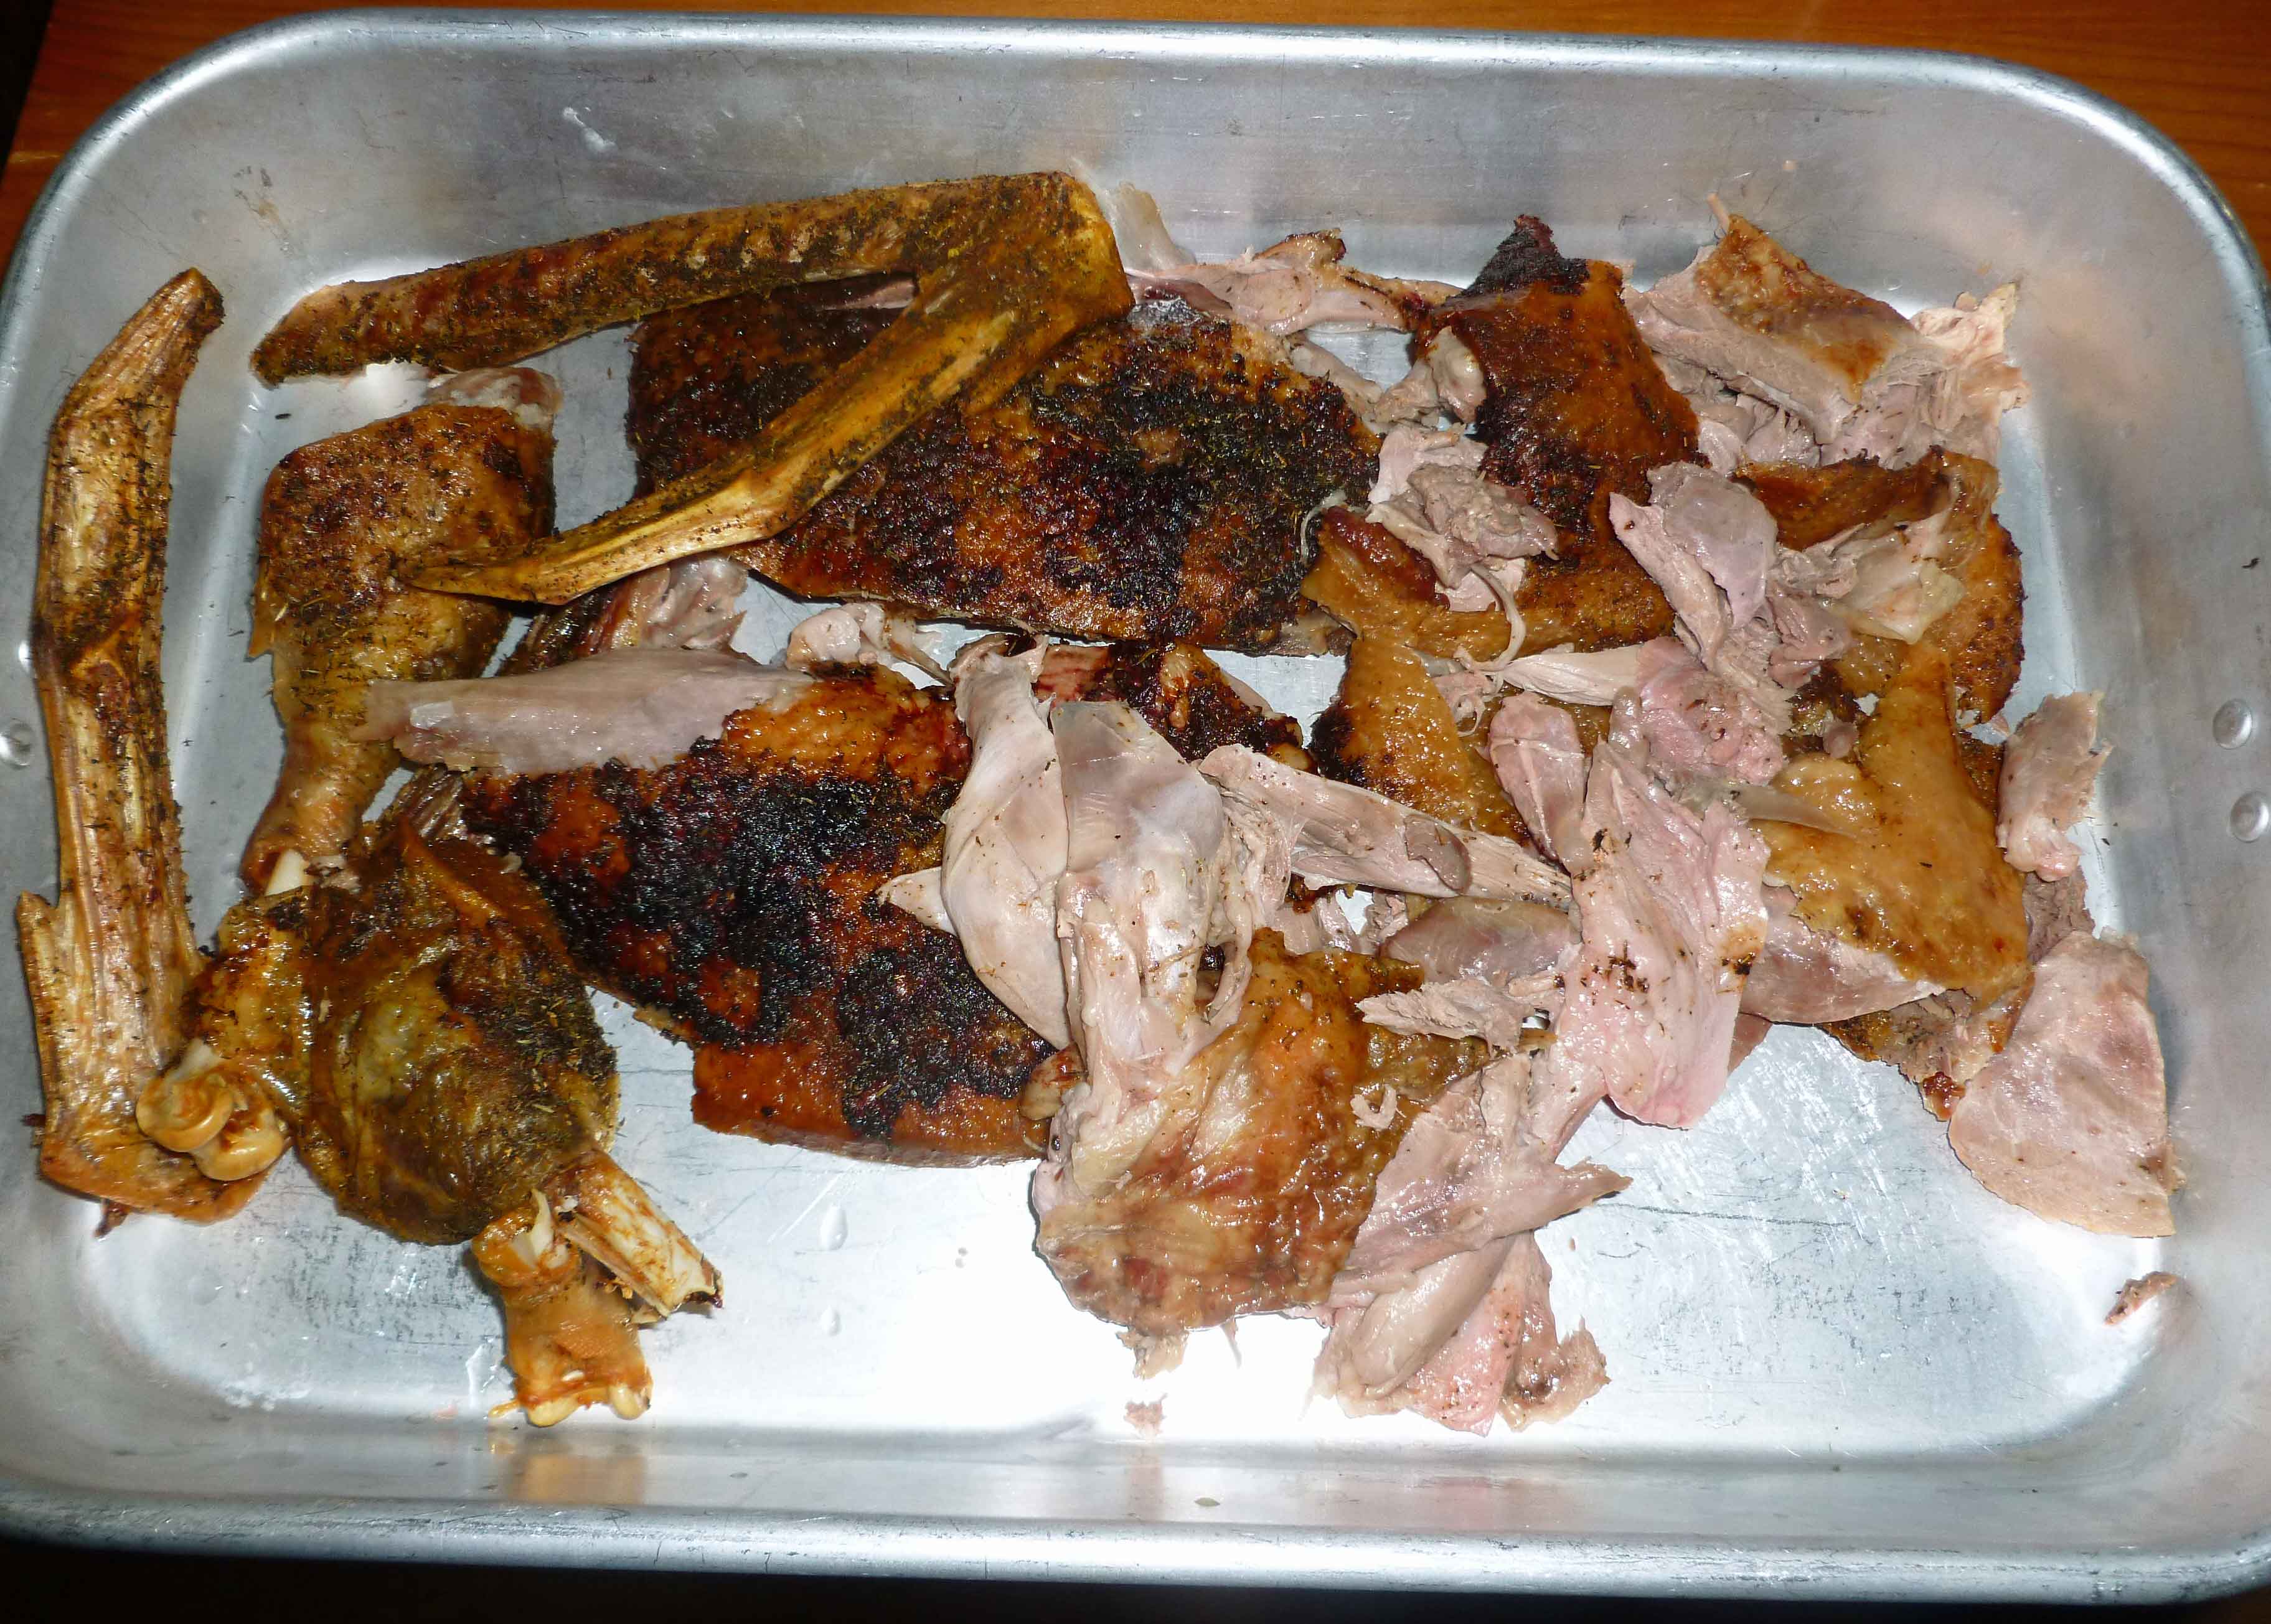
I like to let my poultry rest a bit before carving, 15 or so minutes. Carve and serve.
If you decide to try goose, let me know what you think. I really thought I would like it and was surprised when I didn’t.
Notice: Trying to access array offset on value of type bool in /home/maryzahc/public_html/adultfoodallergies.com/wp-content/plugins/wp-ultimate-recipe/helpers/models/recipe.php on line 254
- 1 fresh or frozen goose (10-12 pounds)
- 2-3 stalks celery cut in 1″ pieces
- 1 head garlic cloves peeled and cut in half
- 1 medium onion diced
- 1 tbsp dried thyme
- 1 tbsp rubbed sage
- 1 tbsp rubbed sage
- 1 tbsp dried thyme
- 1/2 tsp paprika
- 1/2 tsp turmeric
- 1/2 tsp celery salt I use a home made version
- 1/2 tsp ground black pepper
- If your goose is frozen, thaw it in the the refrigerator before cooking. This may take a least a day or two. Preheat your oven to 400°F. Remove the goose from the packaging and make sure you remove the giblets from the cavity of the goose.
- Place the goose in roasting pan with a rack, and trim off the excess fat around the cavities. Prick the surface of the goose skin, with a sharp knife, but be careful not to go past the skin into the goose.
- Sprinkle the goose cavity with 1 Tablespoon of the dried sage and 1 Tablespoon of the dried thyme. Place the celery, garlic, and onion into the cavity of the goose. Place the ingredients for the poultry rub in a bowl and mix them well. Coat the outside of the goose with the rub.
- Roast the goose at 400°F in the oven for about an hour until it turns golden brown, while at the same time removing the goose fat from the roasting pan using a turkey baster every 30 minutes. Reduce the temperature to 325°F and roast until well browned, and the internal temperature reaches 180°F (about an hour to an hour and half after reducing the temperature depending on the size of your goose.)