Well, I loved the original version of out Better Than Sex Vegan Rum Caramel Sauce. Loved it. Seriously. And then the corn allergy reared its ugly head, and then I had to put maple syrup on the suspect list because of a few odd reactions (and I’m already allergic to maple pollen), so using corn syrup, Earth Balance, and maple syrup became a problem for me. I still haven’t verified the maple issue because most maple syrups use dairy or canola (which is a problem for those with corn allergies) as a defoamer and I’ve not bothered to track down a producer that doesn’t use a defoamer yet. So since I had to rework the recipe due to corn anyway, I left out the maple syrup. If you don’t have issues with either corn or maple, feel free to use the old recipe — it was great. This recipe requires that you make dark cane syrup ahead of time, but the recipe makes extra so you can have it on hand.
")
- 1 cup white sugar
- 1 cup brown sugar
- 3/4 cup water
- 1/4 teaspoon cream of tartar
- 1 dash sea salt
- 1 candy thermometer
- Combine all ingredients in a saucepan which has a cover. Stir and bring to a boil. Reduce heat to simmer, place the lid on the saucepan, and simmer for three minutes.
- Remove the lid of the saucepan, and using a candy thermometer, boil until the syrup reaches 235°F to 240°F (soft ball stage). It is better to be a few degrees under than to go over 240°F.
- Once it has reached 240°F, remove the sauce pan from the heat, and allow to cool for at least an hour. Then pour the syrup into glass jars to store, place the lids on the jars, and store them in your cupboard.
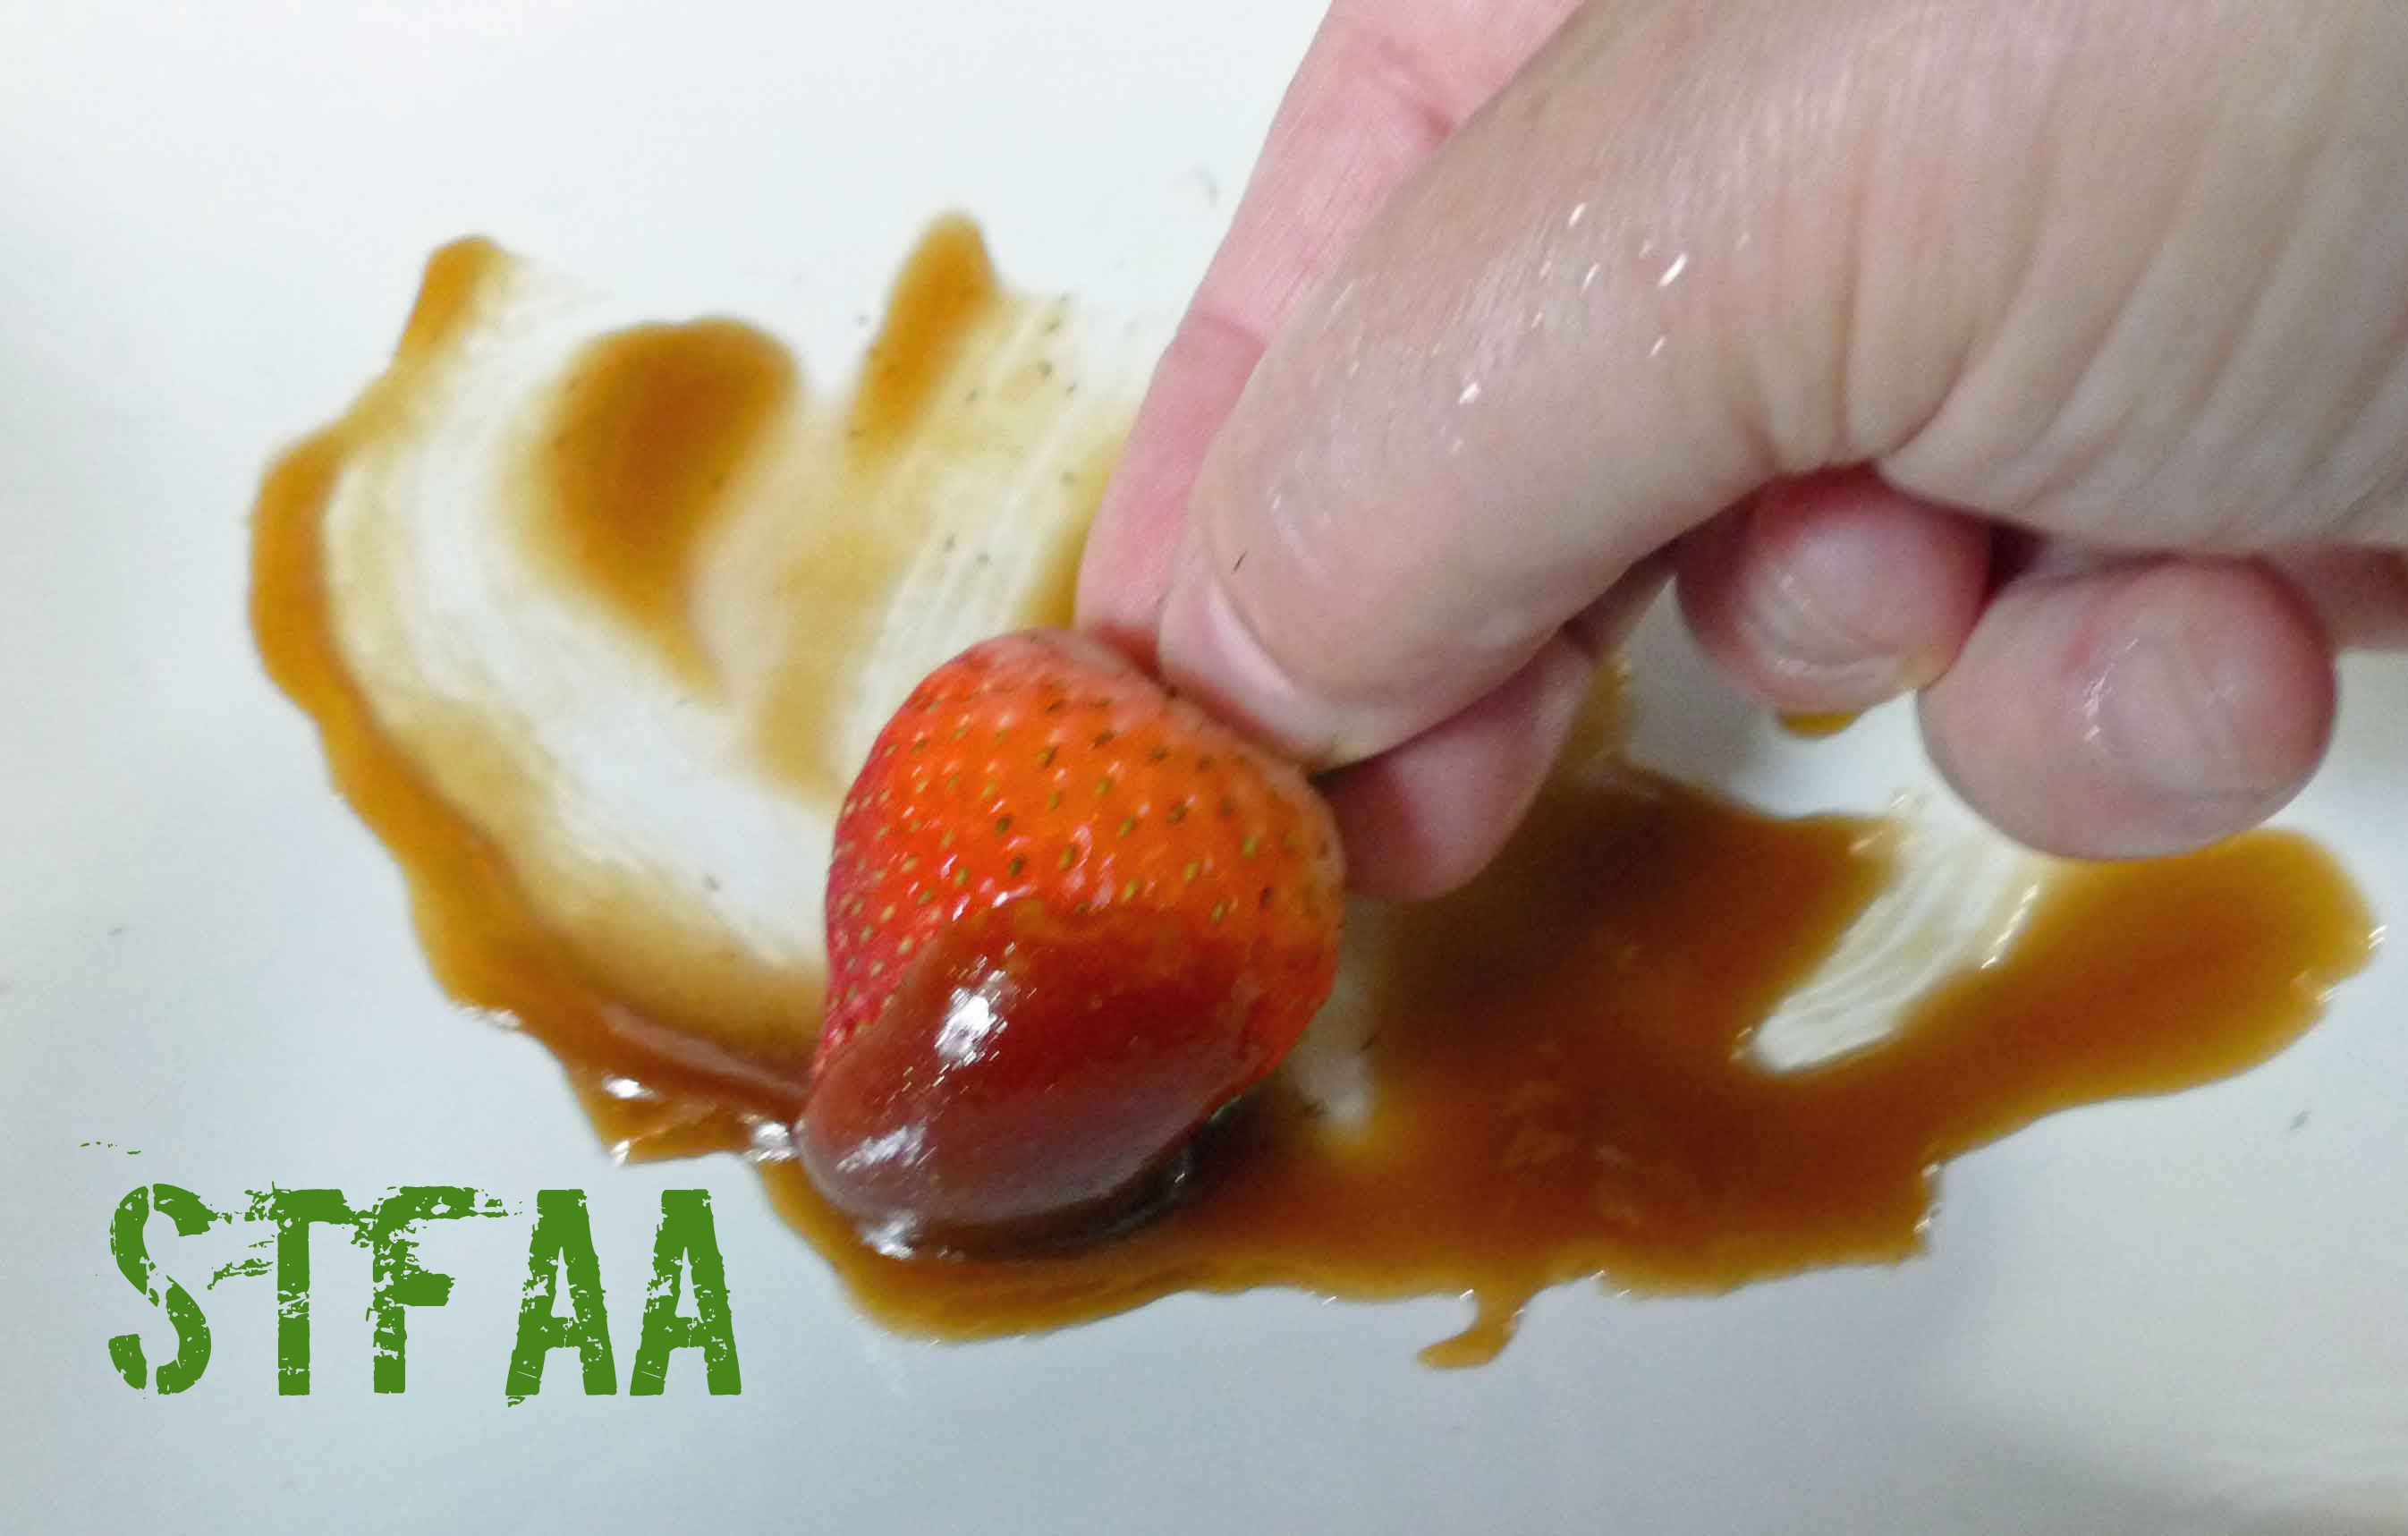
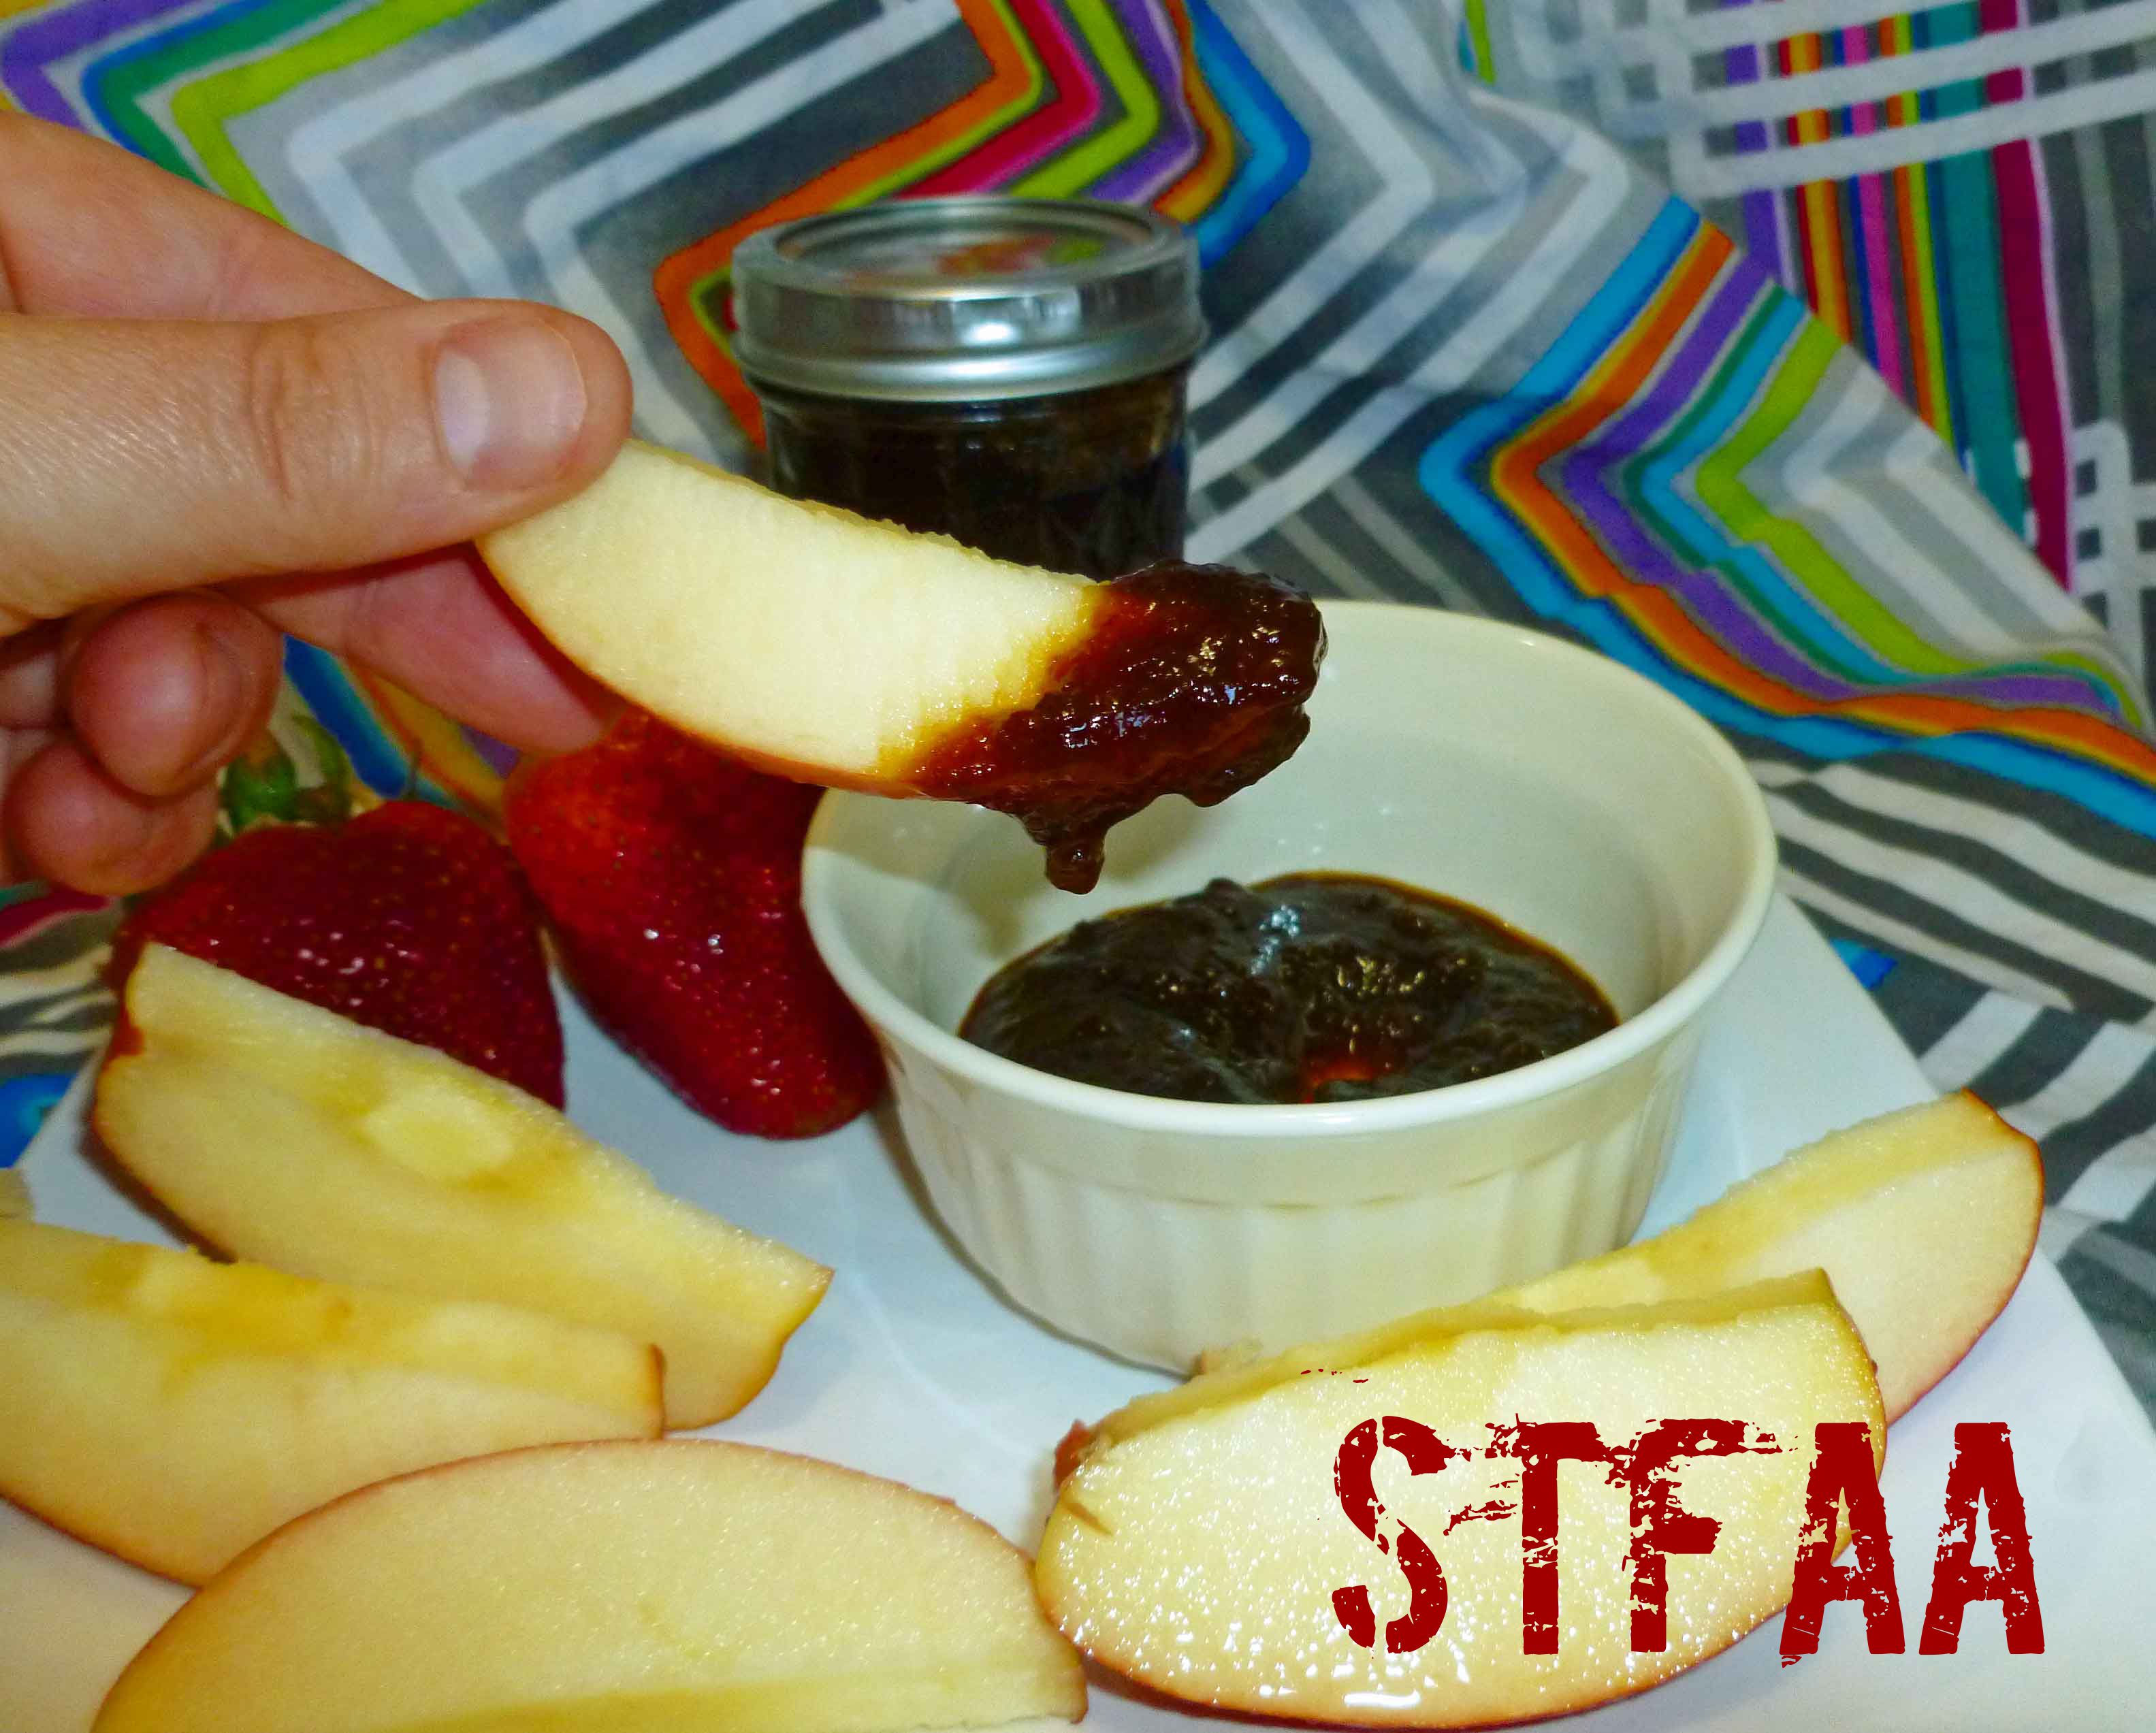
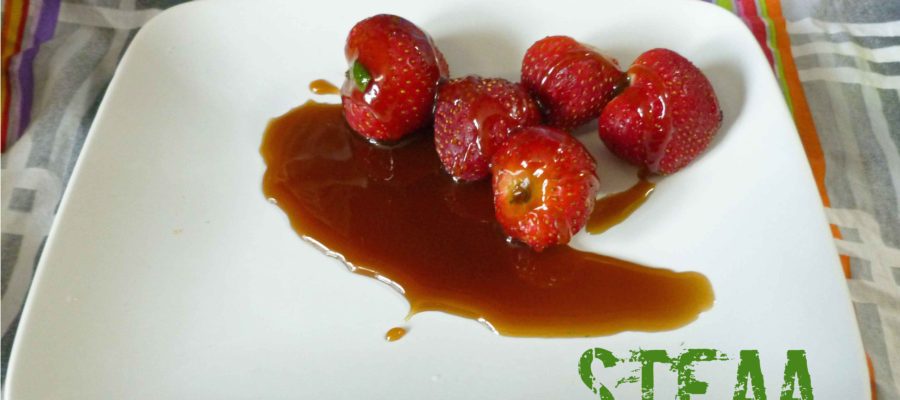
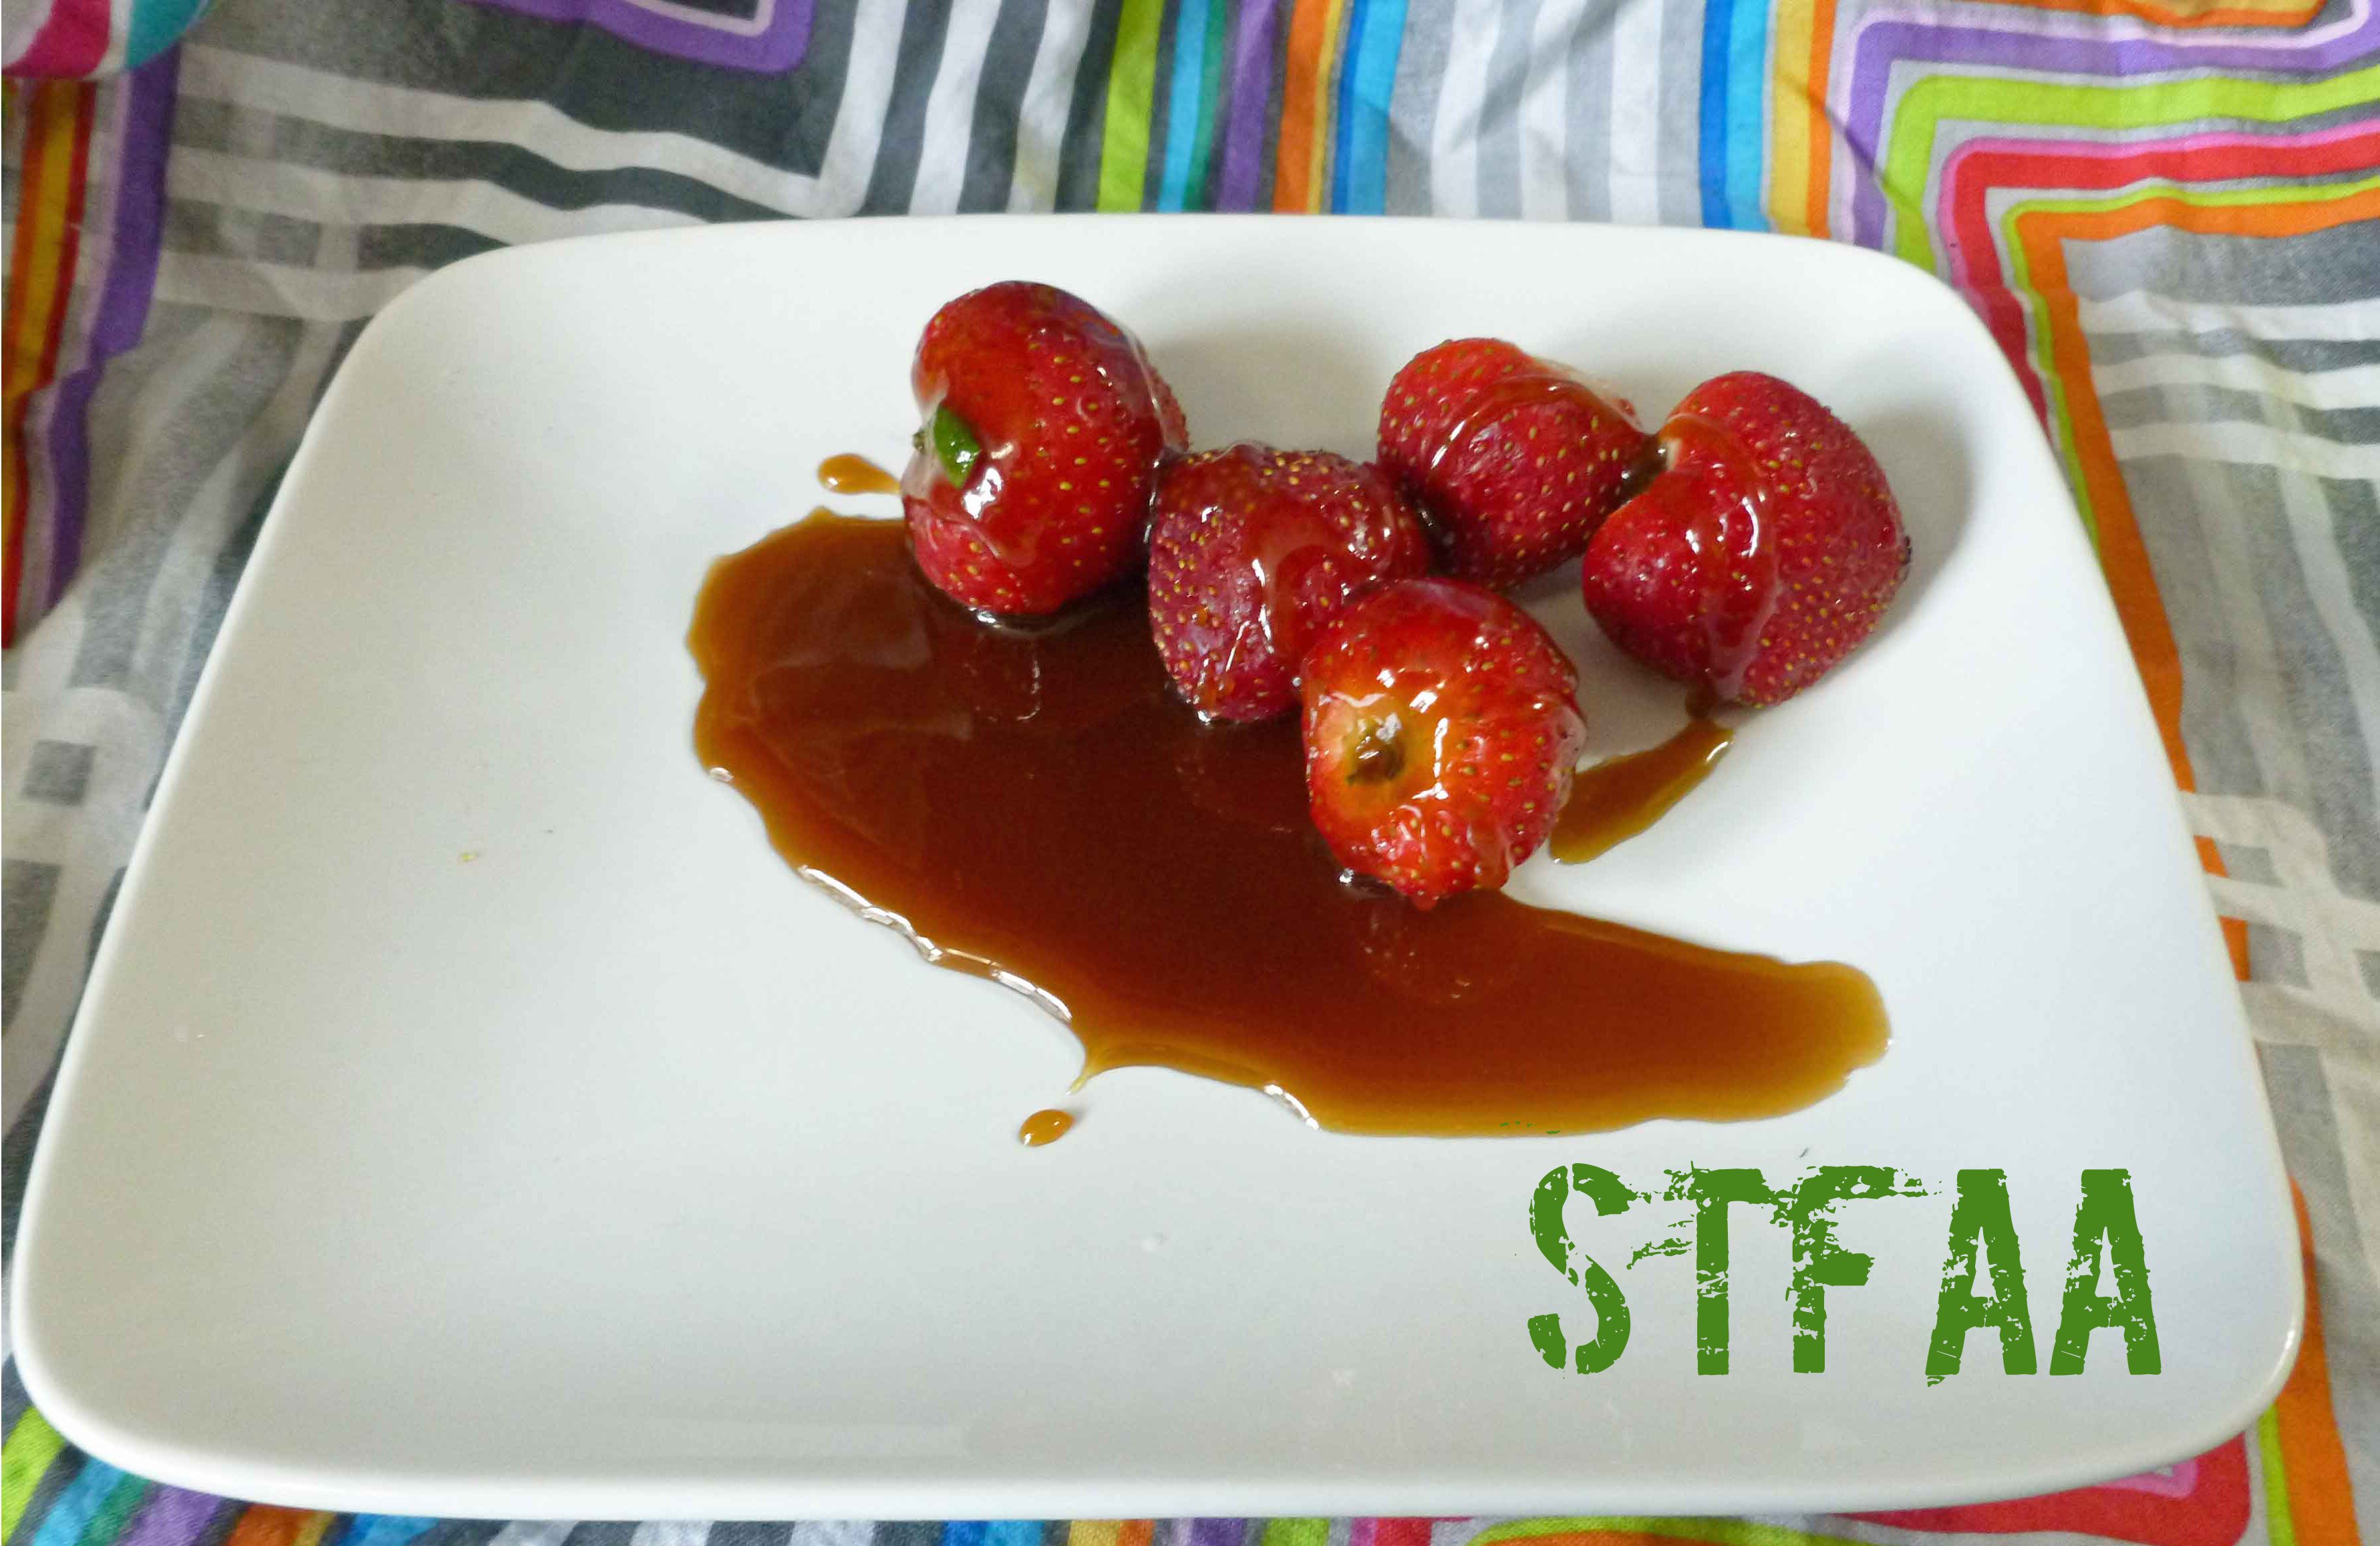
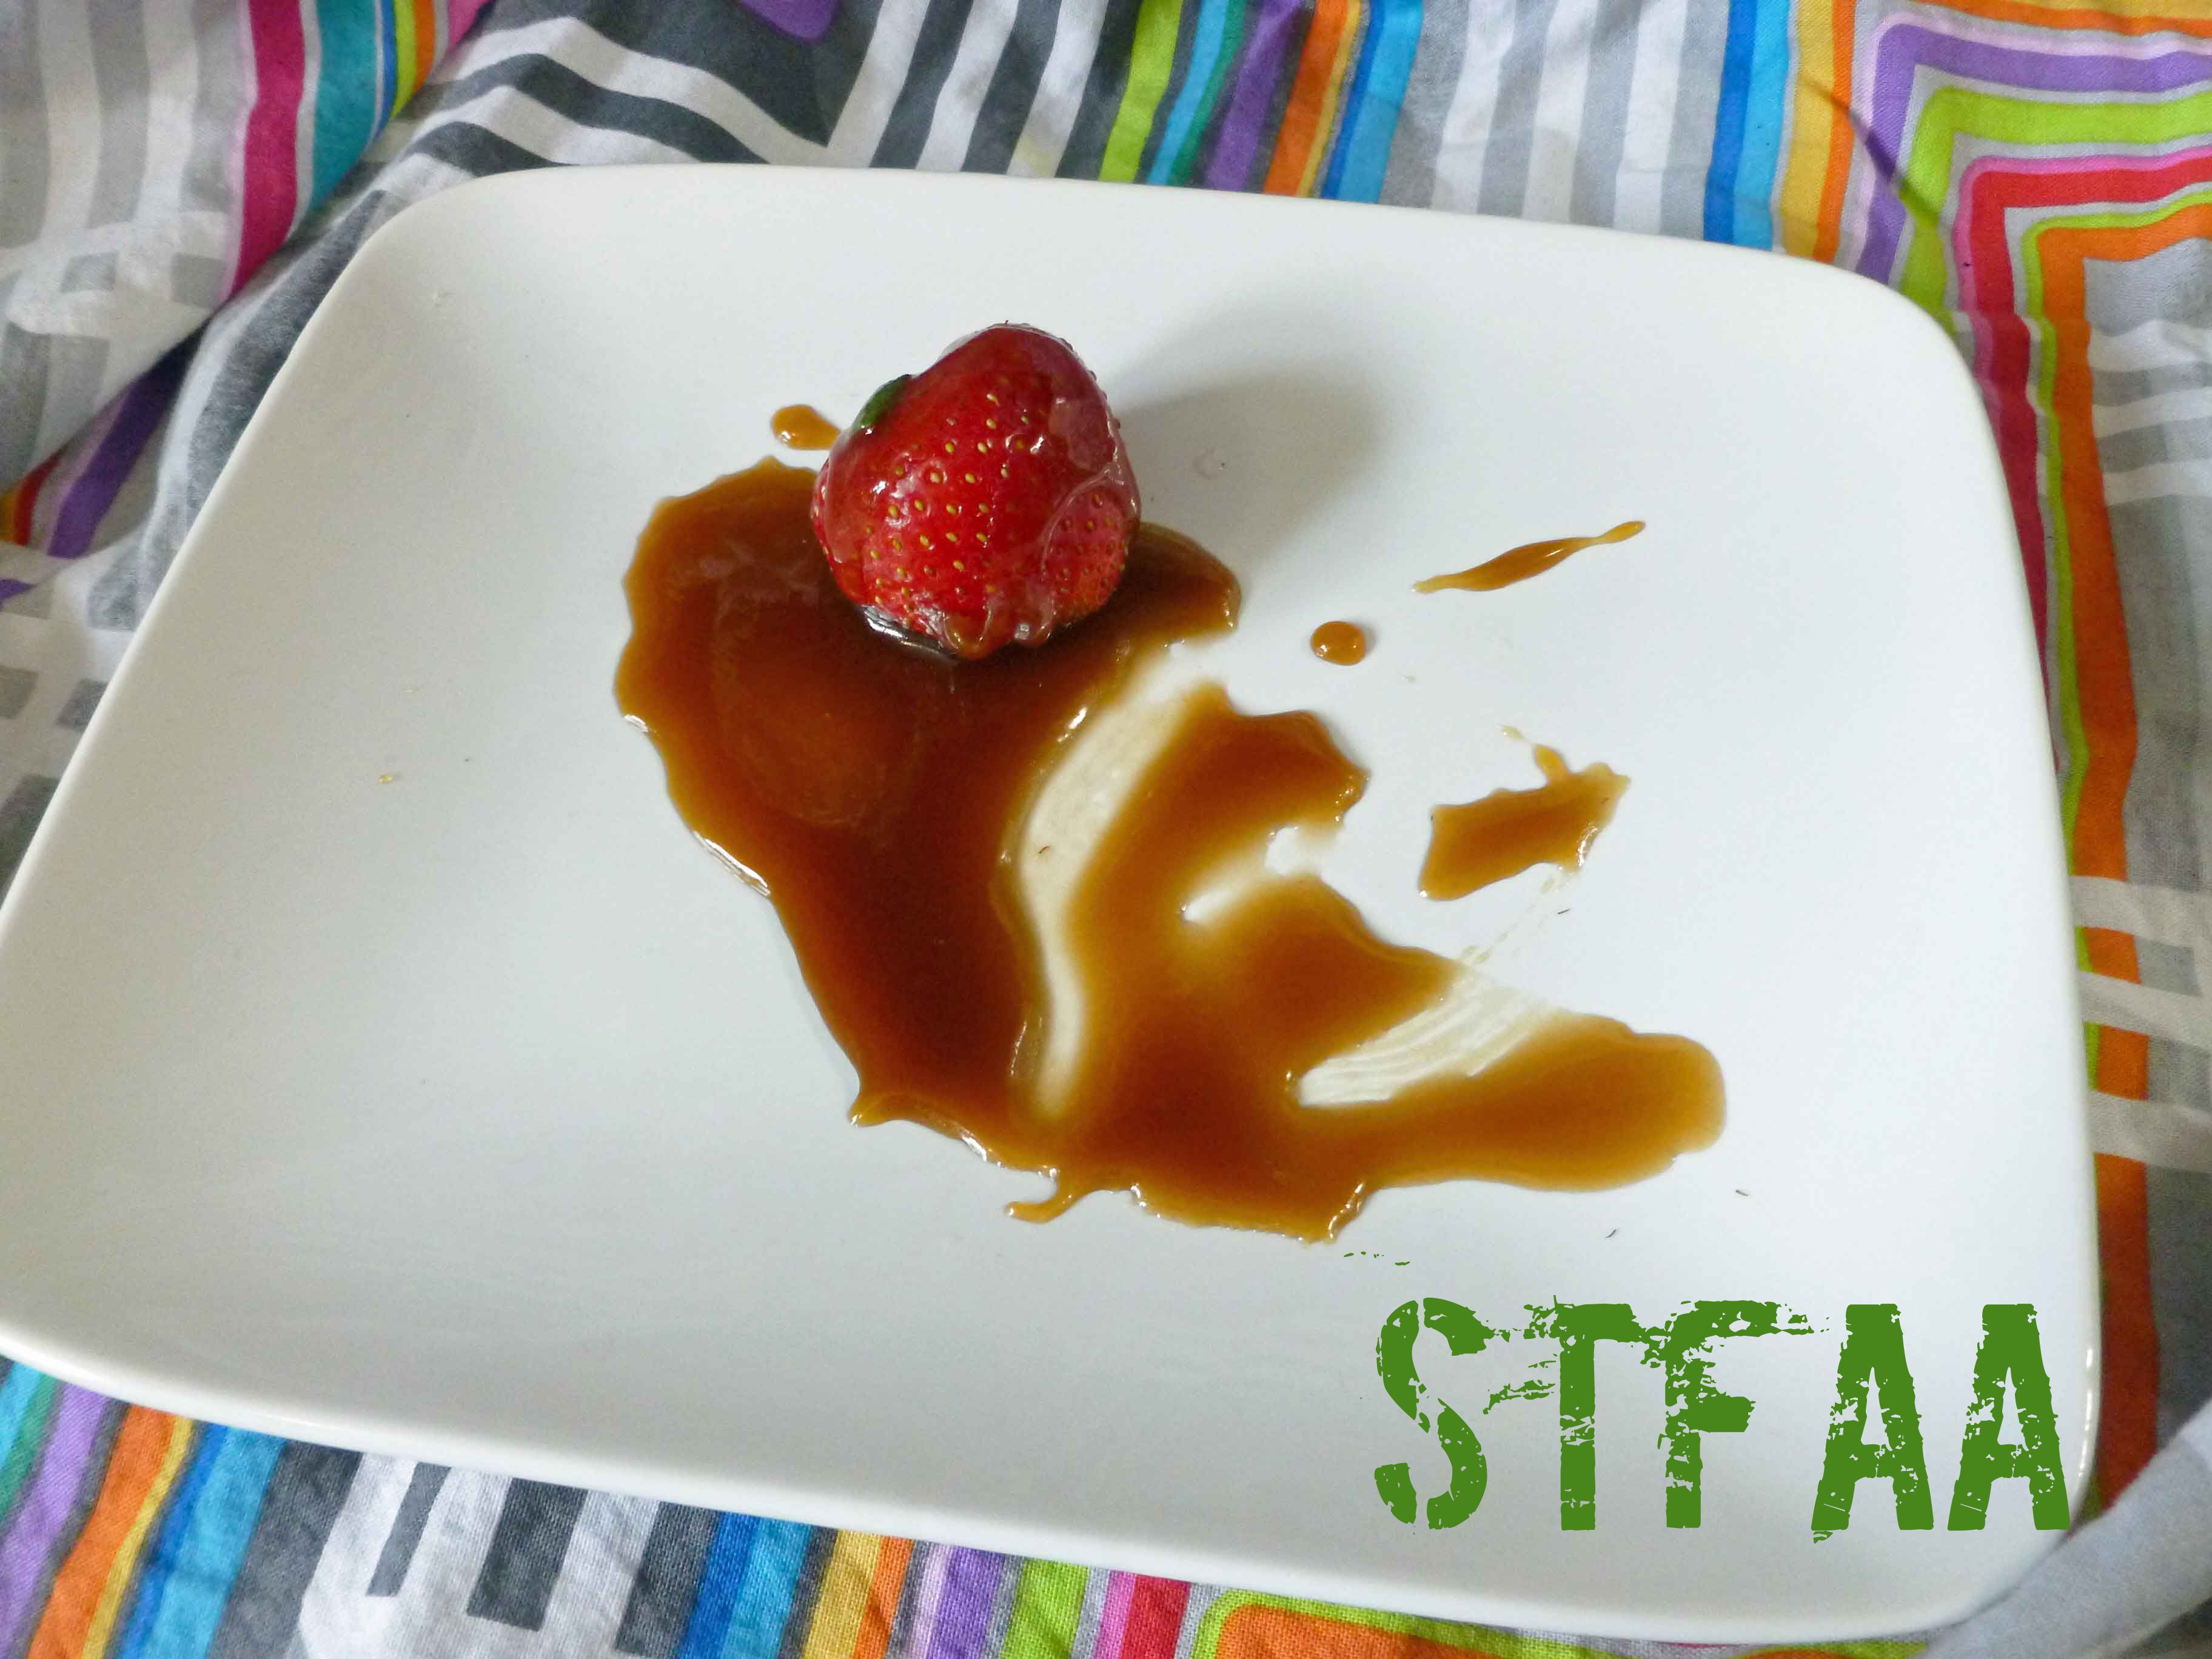
Revisited Better than Sex Rum Caramel Sauce

- 1 cup brown sugar
- 1/2 cup dairy free margarine (You can use Earth Balance, your own homemade vegan version, or if you aren’t vegan and have a corn and coconut allergy, you can use our homemade margarine – http://adultfoodallergies.com/homemade-margarine-new-and-improved/)
- 1/2 cup dark cane syrup (See recipe in post.)
- 1 Tablespoon vanilla extract (I make my own with vanilla beans and vodka made from potatoes, as most commercial extract contains corn)
- 4 Tablespoons rum (Be very careful, as many alcohols can have corn and wheat/gluten. I do well with Rhum Barbancourt Reserve Speciale.)
- Place all ingredients in sauce pan. Stir ingredients over low-medium heat and stir until all ingredients dissolve.
- Sauce will thicken and it is ready when it coats the back of a metal spoon and drips off it in long slow drips. Do not let it get too hot or have it on the heat for too long or it will begin to sugar back out. If it does, lower the temperature and add a couple of teaspoons of water.