Notice: Function _load_textdomain_just_in_time was called incorrectly. Translation loading for the wp-ultimate-recipe domain was triggered too early. This is usually an indicator for some code in the plugin or theme running too early. Translations should be loaded at the init action or later. Please see Debugging in WordPress for more information. (This message was added in version 6.7.0.) in /home/maryzahc/public_html/adultfoodallergies.com/wp-includes/functions.php on line 6121
cleaning – surviving the food allergy apocalypse (archive)

Tag: cleaning

  • WW: Homemade Olive Oil Soap

    Homemade Olive Oil Soap
    Homemade Olive Oil Soap. On the moon.

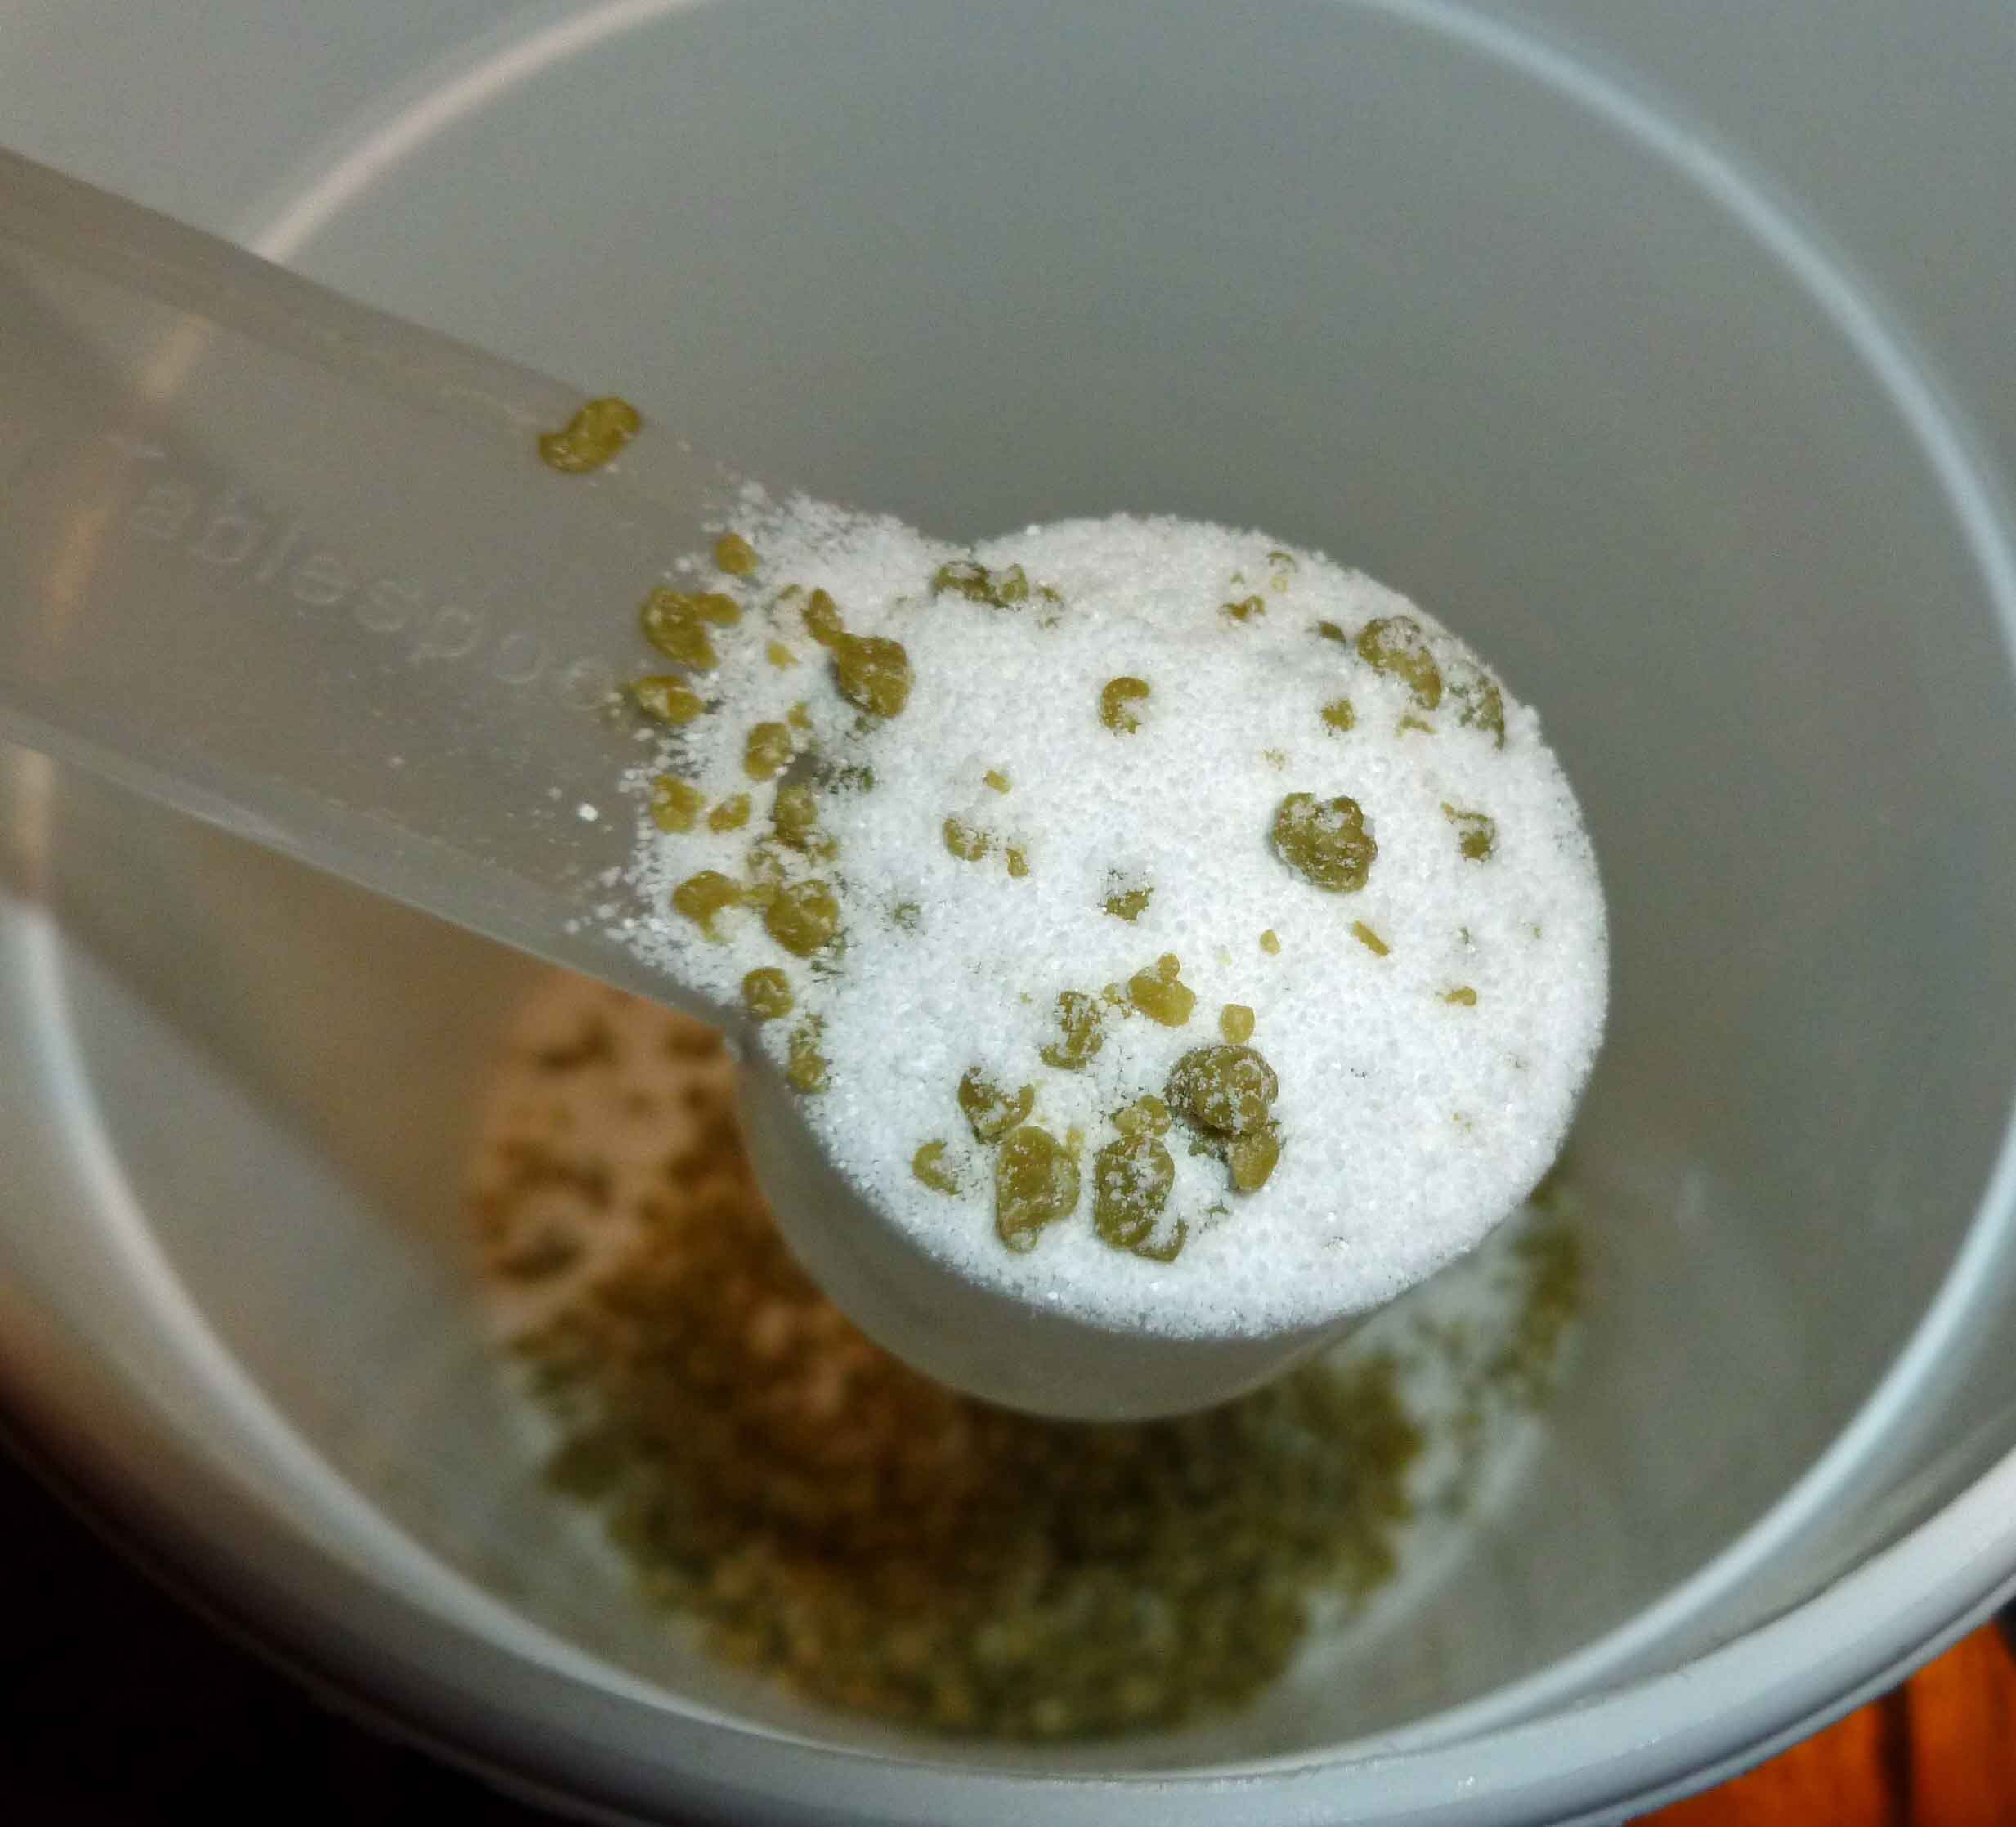
    Back in June, Mary Kate and Denise met up at the far side of Mary Kate’s apartment complex parking lot, with a super-long outdoor extension cord, a garage sale crock pot, a can of olive oil, some devil lye, and safety googles.

    Denise and Mary Kate put safety first.
    Denise and Mary Kate put safety first.

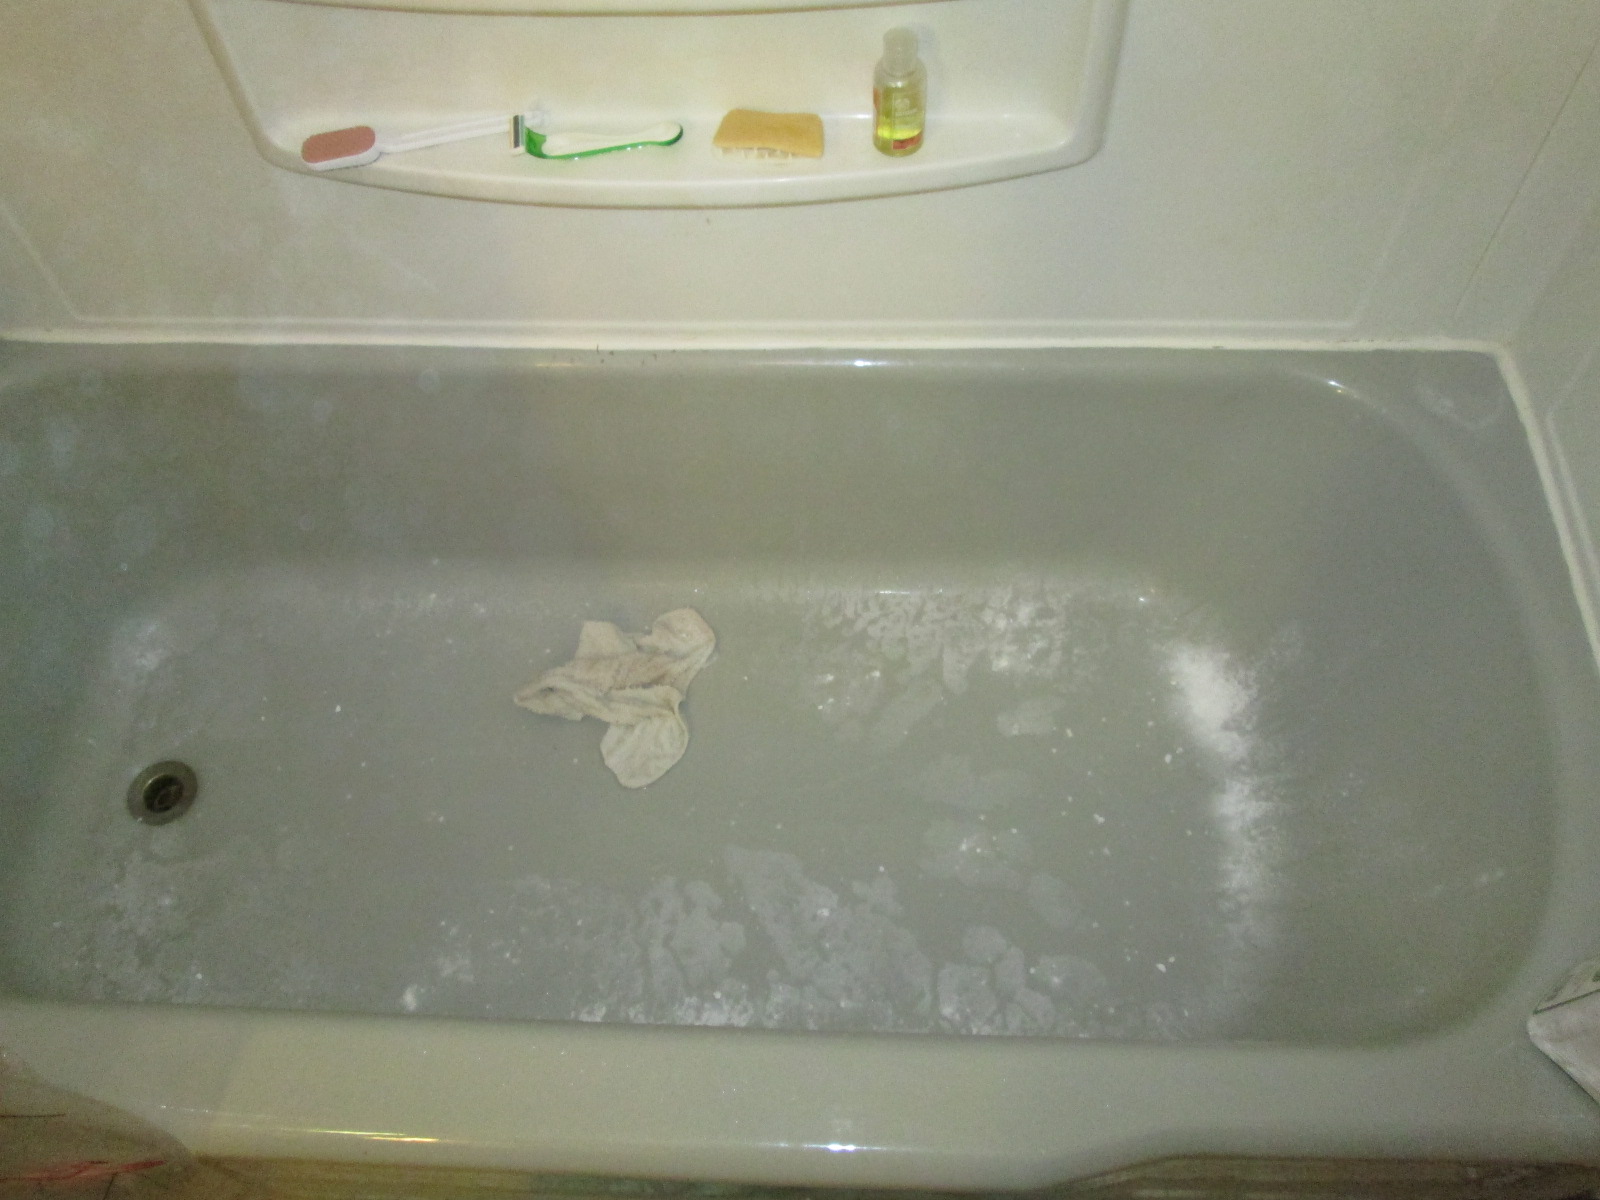
    We were there to make soap. Safely outdoors, away from cars and buildings and enclosed spaces, lye and water were mixed, added to olive oil, and cooked in the crock pot until done. Or until it sorta kinda maybe looked a little bit like the pictures Denise got off the internet. Then we dumped it in a baking dish, and Denise took it to her in-laws  — because soap needs to tour — before taking it home to cool completely.

    Why make soap? Well, if you are Denise, there may be two soaps on the market that you might be able to use because the majority of soap is coconut oil-based. Add avoiding palm oil (because of cross-reaction possibilities with coconut allergies) and corn-derived ingredients, and good luck to you. If you’re Mary Kate, anything that involves mostly sitting around but also the possibility of destruction is good. Plus, there were safety googles.

    The other reason is cost. Denise did the math when we were done: Her soap costs $26.78 for 64 oz (8 bars @ 8 oz each) which works out to 41 cents an ounce. The supplies for making this soap (not counting the equipment, which is reusable, and ran approximately $30 or so) cost $13.87 for 74.73 oz, which works out to 19 cents an ounce. It was also a few hours of fun.

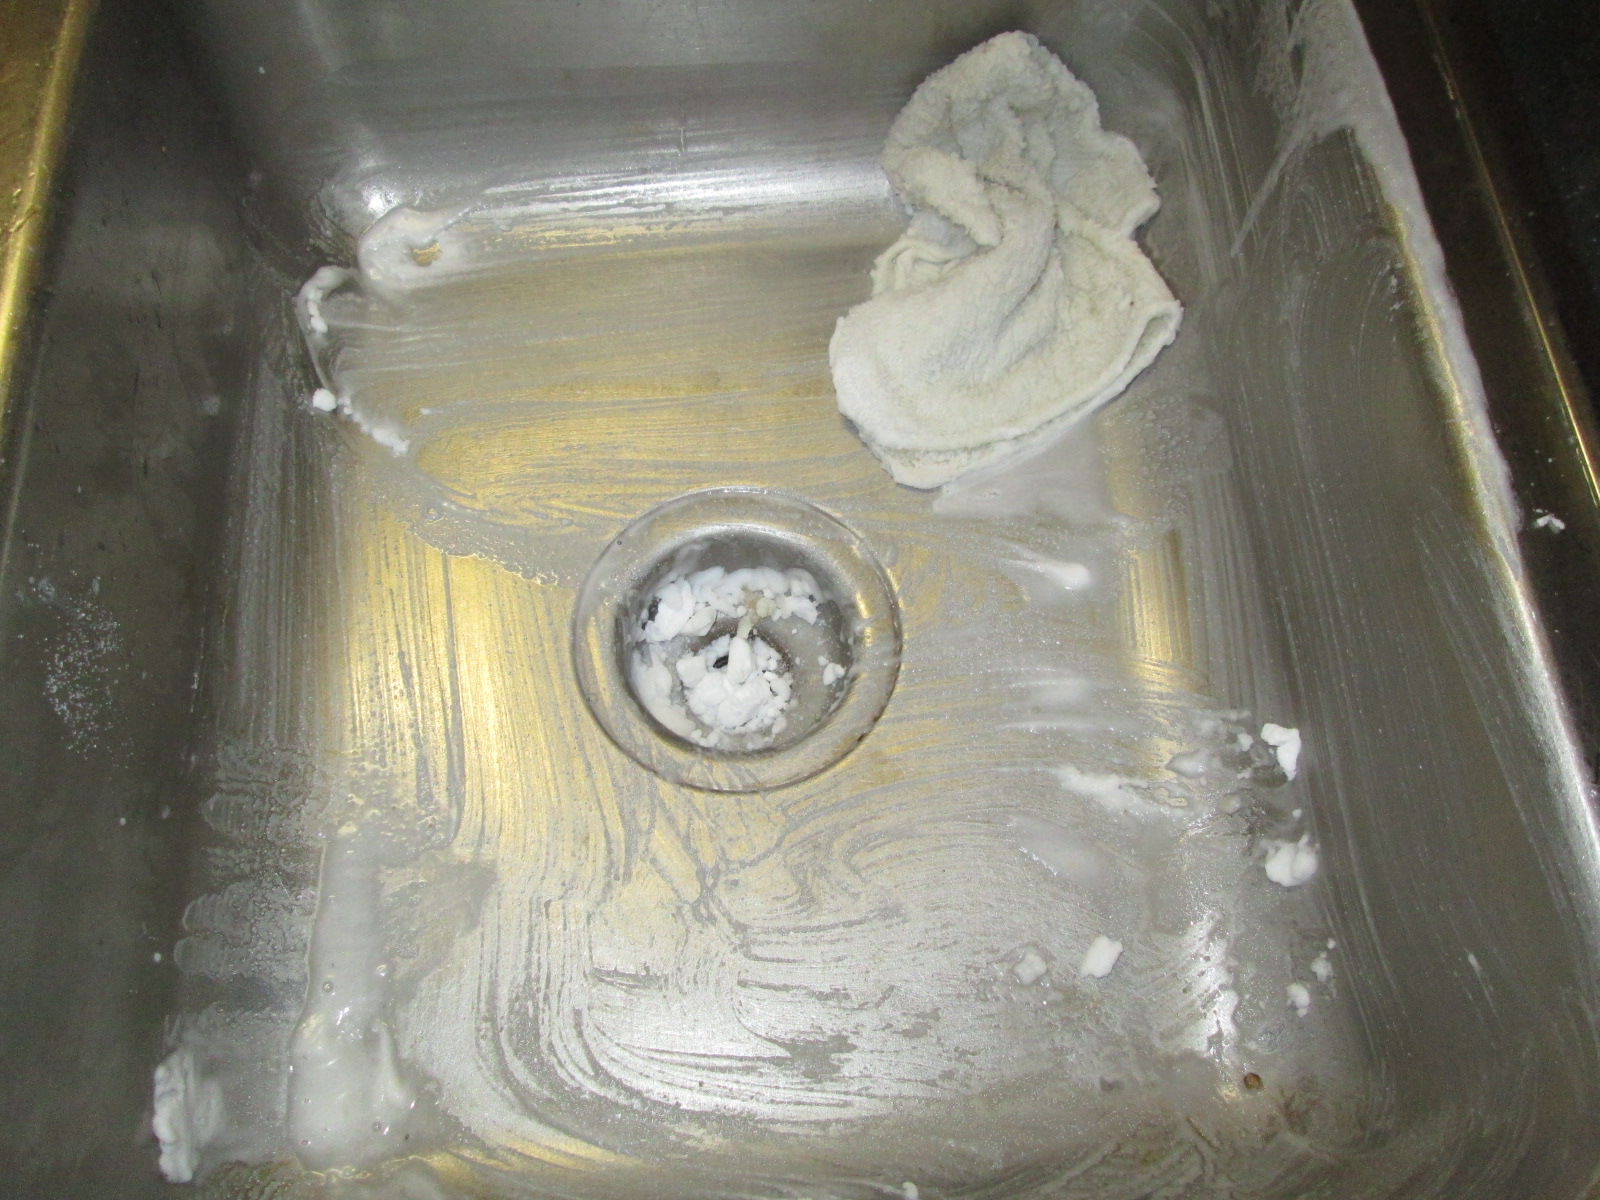
    Denise uses the soap for laundry detergent, dishwasher detergent, and shampoo, as well as for actual soap. This represents a significant cost savings. The olive oil soap is maybe not as pretty as commercial soap, but it works great and is gentle.

    This soap is a “hot process” soap, meaning it uses heat to help the lye saponify (make into soap) the oil. There is also “cold process” soap, where time alone completes that reaction, and we do want to try that soon. The internet is full of recipes for soap, but this is the one we followed.

    We made you a video. It’s really an automatic slide show of the photos we took set to music, and it runs about a minute. Enjoy (and be kind?).

    [youtube=http://www.youtube.com/watch?v=sy_6hK0Y1uE&w=420&h=315]

    (Because we have limited luck with embedding videos, here’s the link, too. Half the time, this works in previews; half the time it doesn’t.)

    So this is what we do for fun. And then we fix it up and share it with you on the internet. If WE can make soap, so can you.


  • UPDATED AGAIN!! – DIY Shampoo if Allergic to Coconut on Whatever Wednesday

    Shampoo in re-purposed pump bottle

    Since publishing my DIY Shampoo if Allergic to Coconut and the UPDATED-DIY Shampoo if Allergic to Coconut posts, I had a little fortuitous accident. I was making the shampoo, and I grabbed the wrong bottle and added 3 tablespoons of the avocado oil, instead of the grapeseed oil as I intended. When I realized I’d done it, I decided to just add 1 tablespoon of grapeseed oil so that the shampoo wouldn’t have two extra tablespoons of oil. I also used a little less distilled water than normal because, um, I did not plan well and I was mostly out.  After the oil mishap, I wasn’t sure whether I’d end up throwing out the whole thing, or using it up as body wash.  Well, seriously, the lather is a lot freaking better and shampoo is thicker and more like real shampoo in consistency. It’s weird to think that it makes that much of a difference, but I’m much happier with it than the last version. And so without further ado, I give you the updated post, with the changes in the ingredients underlined, italicized, and in bold:

    So here’s the thing. Being allergic to coconut is a b*tch, once you realize that coconut is in just about every cleaning product on the market. To get a list of coconut derivatives, go here, thanks to Becky at the Allergic to Coconut? blog. Due to some issues with breaking out much more than I should be at freaking *40*, I decided I wanted to try cutting out any coconut derivatives that touch my skin.

    First, most soap and shampoos contain at least one of the coconut derivatives on the list, if not five to ten of them. Most lotions, face masks, acne treatments, etc., etc., etc., contain at least one of the coconut derivatives as well. When I decided to go looking at my beauty and personal hygiene products, guess what? Every single one had coconut in them, except one lotion, and when I looked up the ingredients I didn’t recognize on that label, it turned out to be two forms of pesticide. Yippy fricking skippy.

    The first thing I did was to try to find a recipe for shampoo, because I was breaking out in my hair, which hadn’t ever been a problem before. I posted this information earlier in one of our Fabulous Friday Finds, but I’ve made some modifications.

    I found this recipe for making your own shampoo, which calls for castile soap. Just be aware that even some castile soaps, like Dr. Bonner, have coconut in them. I found a recipe for making castile soap from Kiss My Face Pure Olive Oil Soap. Kiss My Face Pure Olive Oil Soap does not have any coconut in it. I made the shampoo with some modifications and found it too drying on my hair, so I added olive oil, but found it could be a bit waxy. This time I think I have it the way I like it. I’ve been using it as a body wash as well.

    Denise’s Version of DIY Shampoo

    • 1 Kiss My Face Pure Olive Oil Soap – 8 oz bar, grated (I grated it in my food processor, dumped it out, put the blade in, put it back in the food processor and pulverized it some more.  Doesn’t take as long to dissolve in the water this way.  Make sure you clean your food processor really well afterwards.)
    • 4 cups of distilled water
    • 1 Tablespoon of grapeseed oil
    • 2 Tablespoons of castor oil
    • 3 Tablespoons of avocado oil
    • 10-15 drops of tea tree essential oil

    Grate Kiss My Face Soap.  Place in a glass or plastic container with 5 cups of distilled water.  Stir well, cover, and leave overnight.  The next day, check to see if the soap bits have completely dissolved. If not, stir again and let sit.  When the soap has completely dissolved, add, the grapeseed oil, the castor oil, the avocado oil, and the tea tree oil, and mix together.  I used a whisk, I found it incorporated the oil better.  This makes about 48 oz of shampoo.  I put half in a pump bottle (Yes, it’s a store-brand hand sanitizer bottle, reduce, reuse, recycle, remember?) in the shower and half in the fridge until I run out.  Or you could just make half the recipe 🙂

    You can use the shampoo as body wash and facial wash as well, but stay tuned for further posts on facial cleansing options.

  • WW: DIY Dishwasher Detergent if Allergic to Coconut

    DIY Dishwasher Detergent - coconut free!
    DIY Dishwasher Detergent – coconut free!

    So I’ve been ignoring the coconut allergy with respect to my dishwasher detergent because it all rinses off right?  Except that it really doesn’t, as shown by how soapy the water left on some of my dishes that feels when I’m cleaning it off after opening the dishwasher. And it’s probably not a good thing, and Cascade Complete is freaking expensive. My younger sister pinned this recipe for dishwasher detergent one day and I looked at it, and thought, “geez, I have all the stuff, except I’ll have to make castile soap like I do for my shampoo.” (Dr. Bonner’s has coconut in it, don’t use it if you’re allergic to coconut). So I thought I’d give it a whirl with my substitute to de-coconut it, and I thought I’d share.

    DIY Dishwasher Detergent if Allergic to Coconut 

    • 16 cups of water, divided
    • 1 1/2 cups of Washing Soda (not baking soda, they are totally different things)
    • 1 cup of Borax
    • 1/2 cup of liquid castile soap (1 Kiss My Face Pure Olive Oil Soap – 8 oz bar, grated in my food processor, then pulverized with the blade after grating, dissolved overnight in 4 cups of distilled water, or 1 Olivella Face and Body Soap, Fragrance Free, All-natural 100% Virgin Olive Oil From Italy, 3.52-oz Bars,  pulverized and dissolved in about 1 3/4 cups of distilled water.  Make sure you clean your food processor really well afterwards. Once dissolved, stir to make sure there are no lumps. Store the extra amount in the fridge, you’ll make more dishwasher detergent, or you can use it for the dish soap recipe I will post eventually.)

    Just an FYI, if you can find the borax and the washing soda locally, buy it locally. I can get a box of each for between $3-5 dollars here, and the prices for them on Amazon are extreme. You can find them in the laundry aisle of your grocery store. In New Hampshire, I’ve had pretty good luck at Hannaford and Marketbasket. Shaw’s not so much.

    Also, you will need a non-reactive pot, stainless steel or ceramic, and a whisk and some containers to store your finished dishwasher detergent in. I used 1/2 gallon mason jars to start, but then transferred the contents of one of the jars into an empty gallon vinegar plastic container so that I could pour easily and shake it up before using. An empty gallon container for water would work well too, or recycle one of your old dishwasher detergent bottles.

    Bring 8 cups of water to a boil in your pot. Once the water is boiling, remove the water from the heat, and stir in the washing soda, borax, and liquid castile soap until dissolved. Stir in the remaining 8 cups of water and then allow the mixture to cool to room temperature.

    Pour the dishwasher detergent into your containers. I’ve been using half of the amount in my dishwasher as my old detergent, but see what works best for you. I have noticed that if you use too much it will leave a film. Overall, I’m pretty happy with it, and if you only knew how compulsive I am about the dishes being clean. Strange how that doesn’t extend to the rest of my apartment, but what can you do.

    Enjoy!

  • Whatever Wednesday: Oil Cleansing Method

    Oil Cans, photo by Ian Britton (creative commons license)
    Oil Cans, photo by Ian Britton (creative commons license)

    About a year ago, after a lot of reading about it, I thought I’d try this “oil cleansing” thing that the internet was chittering on about.  Honestly, it seemed a little counter-intuitive, smearing oil over the grease on my face to clean it off.  I have had oily skin since I was about 11, which is when the acne started.

    I’ve tried all sorts of cleansers and acne systems, most of them harsh and annoying, with the side effects being as bad as the breakouts and just as hard to cover up.  Nothing’s ever been a miracle solution.  Since my skin was oily, I was a big fan of stripping all the oil off, using stripping cleanser followed by really harsh astringents, and ending up with tight, dry, itchy skin that was oil slicked in about an hour.  Eventually I came around to moisturizer, which did calm my skin down a bit.  The oil cleansing, though, replaces all of that.  Adjusting the formula based on the seasons has mostly eliminated the need for moisturizers, too, though I still use them occasionally.  If you do find you need a moisturizer, Denise posted a coconut-derivative-free lotion a while back.

    I use the oil cleanser in the evening to remove the makeup and daily grime, and in the morning just splash water on my face and then put on makeup like normal.  It is WAY cheaper than the rather expensive cleanser I was buying before and more effective to boot, so I am a solid convert.  I even had a test phase — last spring, I didn’t pack the oil for a trip, and by day 3, I was breaking out again.  Now I have a travel container.

    I started with all the information on the oil cleansing method on the Crunchy Betty website, and have started tweaking my own recipes from that information.  I’d suggest you do the same, but here are my recipes for a starting point.  I’ve done everything as ratios, but I would suggest starting with a small batch (maybe making 1 part a teaspoon) to see how it works for you, so that you can tweak the next one if you don’t love it.  Give it a week or two for each tweak, to see how it shakes out.

    Oil Cleansing for Winter, for Oily Skin

    • 2.5 parts castor oil
    • 1 part avocado oil
    • 1 part grapeseed oil

    I did this with 15 mL castor, 6 mL each of avocado and grapeseed, 5 drops of thyme essential oil (for acne) and 2 drops of super-strength vitamin E oil to soothe.  This mix will last me close to a month of use.

    Oil Cleansing for Summer, for Oily Skin

    • 1 part castor oil
    • 1 part grapeseed oil

    You will need a small bottle for your oil mix, as well as a stack of cotton washcloths.  I have found that some makeup stains the cloths — mascara and lipstick, in particular — but rather than bleach the cloths, I use them only for face washing and just wash them on hot.  I have two small bottles, one glass with a dropper and one plastic with a small spout that allows me to dole the oil out in drops.  This does take longer than a quick foaming face wash, but I then spend less time with concealers in the morning.

    Here’s the short version of the technique — but really, read the Crunchy Betty post.  It’s good.

    • A few drops at a time, pour oil onto clean fingertips and apply to face. (I do about 3 or 4 drops at a time, until I’ve covered my whole face.)
    • Massage into face.  I know the post says 2 minutes.  I probably don’t do it that long most nights.
    • Using hot water and a washcloth, briefly steam your oiled up face, and then massage the oil off with the cloth.
    • Pat dry or let air dry.
    • Enjoy how not oily your skin is in the morning.

    (Oh, and a bonus tip: I admit, I got this years ago from seventeen magazine — instead of using zit cream, try lemon juice.  Just a dab on a breakout.  It’s cheaper, more effective, and tastes great in iced tea. Just like the creams, it will not magically make a zit disappear.  But it will make it go away in less than half the time.)

    Have you tried oil cleansing?  How did it work for you?

  • Whatever Wednesday: Freshen Up

    Magic ingredients
    Magic ingredients for freshness.

    What do we most need for winter and cold and flu season?

    Vodka.

    Yup, vodka.  The cheapest rotgut vodka you can buy, in the largest quantity you can buy, and you can deodorize your furniture, carpets, curtains, freshen up your air, and even sanitize your hands.

    Non-Chemical Hand Sanitizer

    Adapted from a few different online ideas.

    • 1 part vodka
    • 1 part aloe vera juice
    • 20-40 drops of essential oils (tea tree, lavender, and rosemary recommended)

    Mix in a small spray bottle. Shake before using. Spray 3-4 times on one hand, rub hands together until dry.

    Now I have no clinical proof that this sanitizes your hands, but given that hand sanitizer gel is mostly alcohol, and vodka is alcohol, I’m going out on a limb and guessing this works.  The aloe vera juice seems to help keep the alcohol from drying out my hands.

    Air Freshener and Fabric Deodorizer

    Most air fresheners trigger my allergies, leave me with a pounding headache, and I wouldn’t enjoy the smell even if it didn’t make me ill.  But sometimes you need to freshen up the air.  Or the couch.

    This mix is easier than easy, and it really works.  Given that you may be spraying this on fabric, don’t use orange-colored citrus essential oils — they can stain.  Otherwise, play around and find your favorite mix.

    • Vodka
    • Essential oil, about 10 drops per ounce of vodka, adjusted for how strong you want the scent

    Seriously, that’s all you need. This works to freshen up a couch or a stale room equally well. From what I read on the internet, this also works great on the non-washable uniforms worn for school bands, theatre costumes, and, in a pinch on dry clean fabrics (but I have NOT tested this last one — let me know if you do).  It does work fine on a campfire-smoky jacket, though.

    I also like to think that, given vodka’s magical (hopefully) sterilizing properties, that it might help clear the air.

    Give it a try.  Let us know how it works.  Or, hey, if you’re a science geek, tell me how I can test my theories — or why vodka mysteriously removes odors from fabric.  I know it works, but I don’t know why.

  • Whatever Wednesday: Cleaning Screens and Polishing Wood

    Dust-free and Shiny!
    Dust-free and Shiny!

    Detailed cleaning, for those times before company is coming over — or your mother is visiting.  Get out your old pillowcases or t-shirts.  We’re cleaning screens and polishing your furniture.

    Screens.  If you have a TV from this century, it has some weird plastic-y screen, not a glass one.  Which means, given that it’s a specialty material, and there are specialty cleaners.  They sell for $9 or more a bottle, which is wicked expensive, and they are pretty much alcohol and water.  So, maybe make your own?  I find that this also works great on all the surfaces of my laptop.  I’ve tried a variety of things, but nothing beats the Crunch Betty recipe I liked — equal parts distilled water and rubbing alcohol.  That’s it.  That’s all.  It’s that easy.  Mix it in a spray bottle, if you have one, but in a pinch, a jam jar works, too.  Just shake it, wet your cloth, and wipe.

    Wood.  I use the following mix, again in a spray bottle if you have one, but a jam jar works in a pinch.  This recipe makes 16 oz., so adjust according to the size of your container.

    • 2 teaspoons olive oil
    • 20 drops of lemon juice or lemon essential oil (I’ve only used juice in this, about 1/4 teaspoon)
    • 1/4 cup white distilled vinegar
    • Distilled water, about 1 1/2 cups

    Shake before using, spray on a cloth, and rub until dry.  This actually works best if you remove heavy dust first — I use an electrostatic duster first, and then polish my wood furniture with this.

    What are your tips for easy cleaning?

  • Whatever Wednesday: Laundry Round-up, including coconut-free detergent!

    This is a dishrag, with a Dalek knitted into it.  You won't use it to do laundry, but you might need to wash it eventually.  Here's how.
    This is a dishrag, with a Dalek knitted into it. You won’t use it to do laundry, but you might need to wash it eventually. Here’s how.

    WASH CYCLE

    And another thing, you can’t buy laundry soap without coconut in it either. (To get a list of coconut derivatives, go here, thanks to Becky at the Allergic to Coconut? blog.)  Since I decided I wanted to try cutting out any coconut derivatives that touch my skin, laundry soap was a target too.

    I found this great site for 10 Homemade Laundry Detergent Recipes. The bar soaps they have listed contain coconut, but I tried substituting the Kiss My Face Pure Olive Oil Bar Soap for the soap they called for and it worked fine.  The recipe I used was Powdered #4 on the list.

    Denise’s Version of DIY Powdered Laundry Soap

    • 1 Kiss My Face Pure Olive Oil Soap – 8 oz bar, grated (I grated it in my food processor, dumped it out, put the blade in, put it back in the food processor and pulverized it some more.  Doesn’t take as long to dissolve in the water this way.  Make sure you clean your food processor really well afterwards.)
    • 1 cup of borax
    • 1 cup of washing soda

    Grate Kiss My Face Soap.  Place in container with borax and washing soda and mix thoroughly.  Use 2 Tablespoons per load.

    A tablespoon of the laundry detergent
    A tablespoon of the laundry detergent

    DRY CYCLE

    For the dryer, dryer sheets are loaded with chemicals and waxes, and aren’t great for people with sensitive skin.  Let’s assume coconut is a common base ingredient here like it is everywhere else.  What can you do?

    You can make your own felted wool dryer balls to use in place of fabric softener, or you can buy them or use the plastic ones. Amazon has both here.

    Also magical?  Balls of foil.  Don’t you love a cheap fix?  Or use vinegar.  This, or a cup or so in the rinse cycle, if you’re good at paying attention, both do wonders for static.

    Now, neither of us has tried soap nuts, and Denise isn’t sure if they are potentially cross-reactive with coconut/palm (anyone know?), but they’re another potential alternative out there.  Anyone tried this?

    Sorry.  We can’t help you with folding.  But Martha can:

    [youtube http://www.youtube.com/watch?v=Q-a2FR1iwqg&w=560&h=315]

  • Whatever Wednesday: Household Scrubbing and Drains

    Star Island, NH 2010
    Star Island, NH 2010

    Here, look at this pretty photo of Star Island’s research center, as my bathtub isn’t that exciting.

    Why not start the cleaning series with the deep cleaning of scrubbing?  This is a method more than a recipe, and works on bathtubs as well as kitchen and bathroom sinks.

    Now if you do some searching online, you will find lots of recipes to make scrubs for this purpose.  I’ve tried a few, but I’ve found my method to be just as effective, and more importantly, a little easier.

    Sinks and Tubs

    You need the following:

    • a cleaning cloth or sponge (I prefer terrycloth washrags)
    • baking soda
    • castille or other liquid soap, scented with essential oils if you like
    • water
    • a dirty sink or bathtub

    Wet the bathtub.  I do this by turning the shower on for a minute.

    lightly sprinkled tub
    lightly sprinkled tub

    Sprinkle the tub with baking soda.  I have a large plastic container once used for a massive quantity of Italian Seasoning that I got from a recycling bin.  It’s perfect for this.

    baking soda sprinkler
    baking soda sprinkler

    Wet your cloth, and add a tablespoon or so of castille soap.

    Scrub.

    sink being scrubbed
    sink being scrubbed

    Rinse.

    It really is that easy.  This make take a bit more rinsing than your commercial cleansers do, but any residue left on your sink or tub is non-toxic.  If you have kids who use your bathtub or pets who like to lick the water out of the tub, you don’t need to worry.

    Toilets

    This method also works for toilets, just using your toilet brush instead of your cloth.  Here, I do add a few drops of essential oil for freshening up, but it’s not necessary.

    Alternately, sprinkle your toilet bowl with baking soda and add about a cup of white vinegar.  Let it foam, then scrub with your toilet brush.

    Now, I am aware that this cleaning method doesn’t likely have the germ and microbe killing powers of, say, bleach.  But I don’t feel the need to fully disinfect the toilet — I don’t eat out of it — and cleaning it will get rid of most of the bacteria.

    Drains

    Now, since I have everything out anyway, I usually treat the drains at this time, too.  This will not remove a clog in your drain, but it will keep things moving along in a reasonable manner.

    For sinks, dump about 1/4 cup of baking soda down the drain.  Then slowly pour a cup or so of white vinegar down after it.  I usually don’t measure the vinegar — I just pour slowly until it stops foaming in a satisfying manner.  Don’t use the sink/drain for 30 minutes or so, to let the vinegar/baking soda volcano do its work throughout.  (To be honest, I don’t know if this is necessary or even useful, but it sounds like a good idea and I use it as an excuse to take a break from cleaning.)

    For extra drain clog-monster banishing power, follow this with a pot or kettle full of boiling water.

    For the skeptics, I do not have a garbage disposal, so bits of food do go directly down my kitchen drain.  I do this treatment every 3 to 4 months.  In 5 years, I have never needed a chemical drain cleaner on my kitchen sink, which is good, because have you read the warnings on those?  They’re scary.

    So this is a very simple and cheap way of cleaning that is also allergen-friendly and environmentally-friendly.  Got any tips you’d like to share?