Notice: Function _load_textdomain_just_in_time was called incorrectly. Translation loading for the wp-ultimate-recipe domain was triggered too early. This is usually an indicator for some code in the plugin or theme running too early. Translations should be loaded at the init action or later. Please see Debugging in WordPress for more information. (This message was added in version 6.7.0.) in /home/maryzahc/public_html/adultfoodallergies.com/wp-includes/functions.php on line 6121
beef – Page 2 – surviving the food allergy apocalypse (archive)

Tag: beef

  • Quick Thai-Inspired Curry Noodle Stir Fry


    Quick Thai-Inspired Curry Noodle Stir Fry
    Quick Thai-Inspired Curry Noodle Stir Fry

    Thai food was one of the biggest losses for me.  My husband and I had our first date at a Thai restaurant, and I used to get delivery there so often that the staff knew it was me just from my voice on the telephone. It was not uncommon for us to have Thai once or twice a week, especially when I was still in private practice. But Thai’s kind of hard without coconut.

    This recipe’s kind of concept more than a recipe, because there are so many variables and and you can make so many curries, i.e. green, red, yellow, Massaman, etc. I used a commercial curry paste because it looked relatively safe for me, although we’ll see in the next few days whether I got corned or not (corned is like being gluten-ed but obviously with corn). However, there are tons of curry paste recipes on the internet that people can modify for their own diets, if the suggestions are not safe for you. Or you can use use a curry powder spice mix you like. I’ve also used the DIY Singapore Seasoning from our DIY Spice Mix Day post. Also, if you make curry paste, freeze it in an ice cube tray so you can grab a chunk when you want. You can use any meat you want, or not. You can also use whatever vegetables strike your fancy.

    Quick Thai-Inspired Curry Noodle Stir Fry

    Makes about 3-4 servings, depending on serving size.

    • 1/2 of a 1 pound package of rice noodles (I used the kind that I would use for pho, but you can pick the width of rice noodle you like)
    • 2 Tablespoons of olive oil, grape seed oil, or an oil that’s safe for you
    • 1 cup of cashew milk or other non-dairy milk (If you can have coconut milk, by all means use it. I can’t use commercial cashew milk so I make my own, soaking 1 cup of cashews in hot water for a couple of hours, draining the water, and putting them in the blender with two cups of new water. It’ll make more than you need, but it freezes well.)
    • 1/2 cup of water
    • 1 package of Kanokwan Green Curry Paste (they have other flavors too, make sure you read labels); or 1 or 2 Tablespoons of Thai Kitchen Green Curry Paste (they have other flavors as well, read labels); or 1 or 2 Tablespoons of Mae Ploy Thai Green Curry Paste (ditto, other flavors, read labels) or 1 or 2 Tablespoons of a curry spice mix you like, similar to those available from Penzey’s.
    • 1/2 pound of beef, pork or chicken cut into stir fry sized strips (Chicken’s out for me, but if you can eat it go for it.)
    • 3 scallions, sliced into quarter inch pieces
    • 1/2 cup of snow peas
    • 10-12 asparagus stalks, trimmed and cut into 1″ pieces
    • 2 carrots, julienned
    • 1 small onion or half a medium onion, cut in half and sliced thinly crosswise to form slices in a curved shape
    • 1 medium bok choy (about 6-8 inches long), sliced crosswise to form small bite size pieces
    • 2 Thai chilies, de-stemmed and sliced (optional, leave out if really spicy is not your thing)
    • 5-6 Thai basil leaves

    First up, prepare all your vegetables. Keep the bok choy or any other greens separated from the rest of the vegetables because they will cook quicker and need to be added at end. To do the carrots, I cheat and use a peeler that juliennes.

    Julienne Peeler
    Julienne Peeler


    Fill a large stock pot with water and bring to a boil. Add your rice noodles, boil for 6-8 minutes and then drain. If you’re using smaller rice noodles, you might not need as much cooking time, so check your package’s instructions. Place the noodles aside until the curry is finished.

    Prepared Rice Noodles
    Prepared Rice Noodles

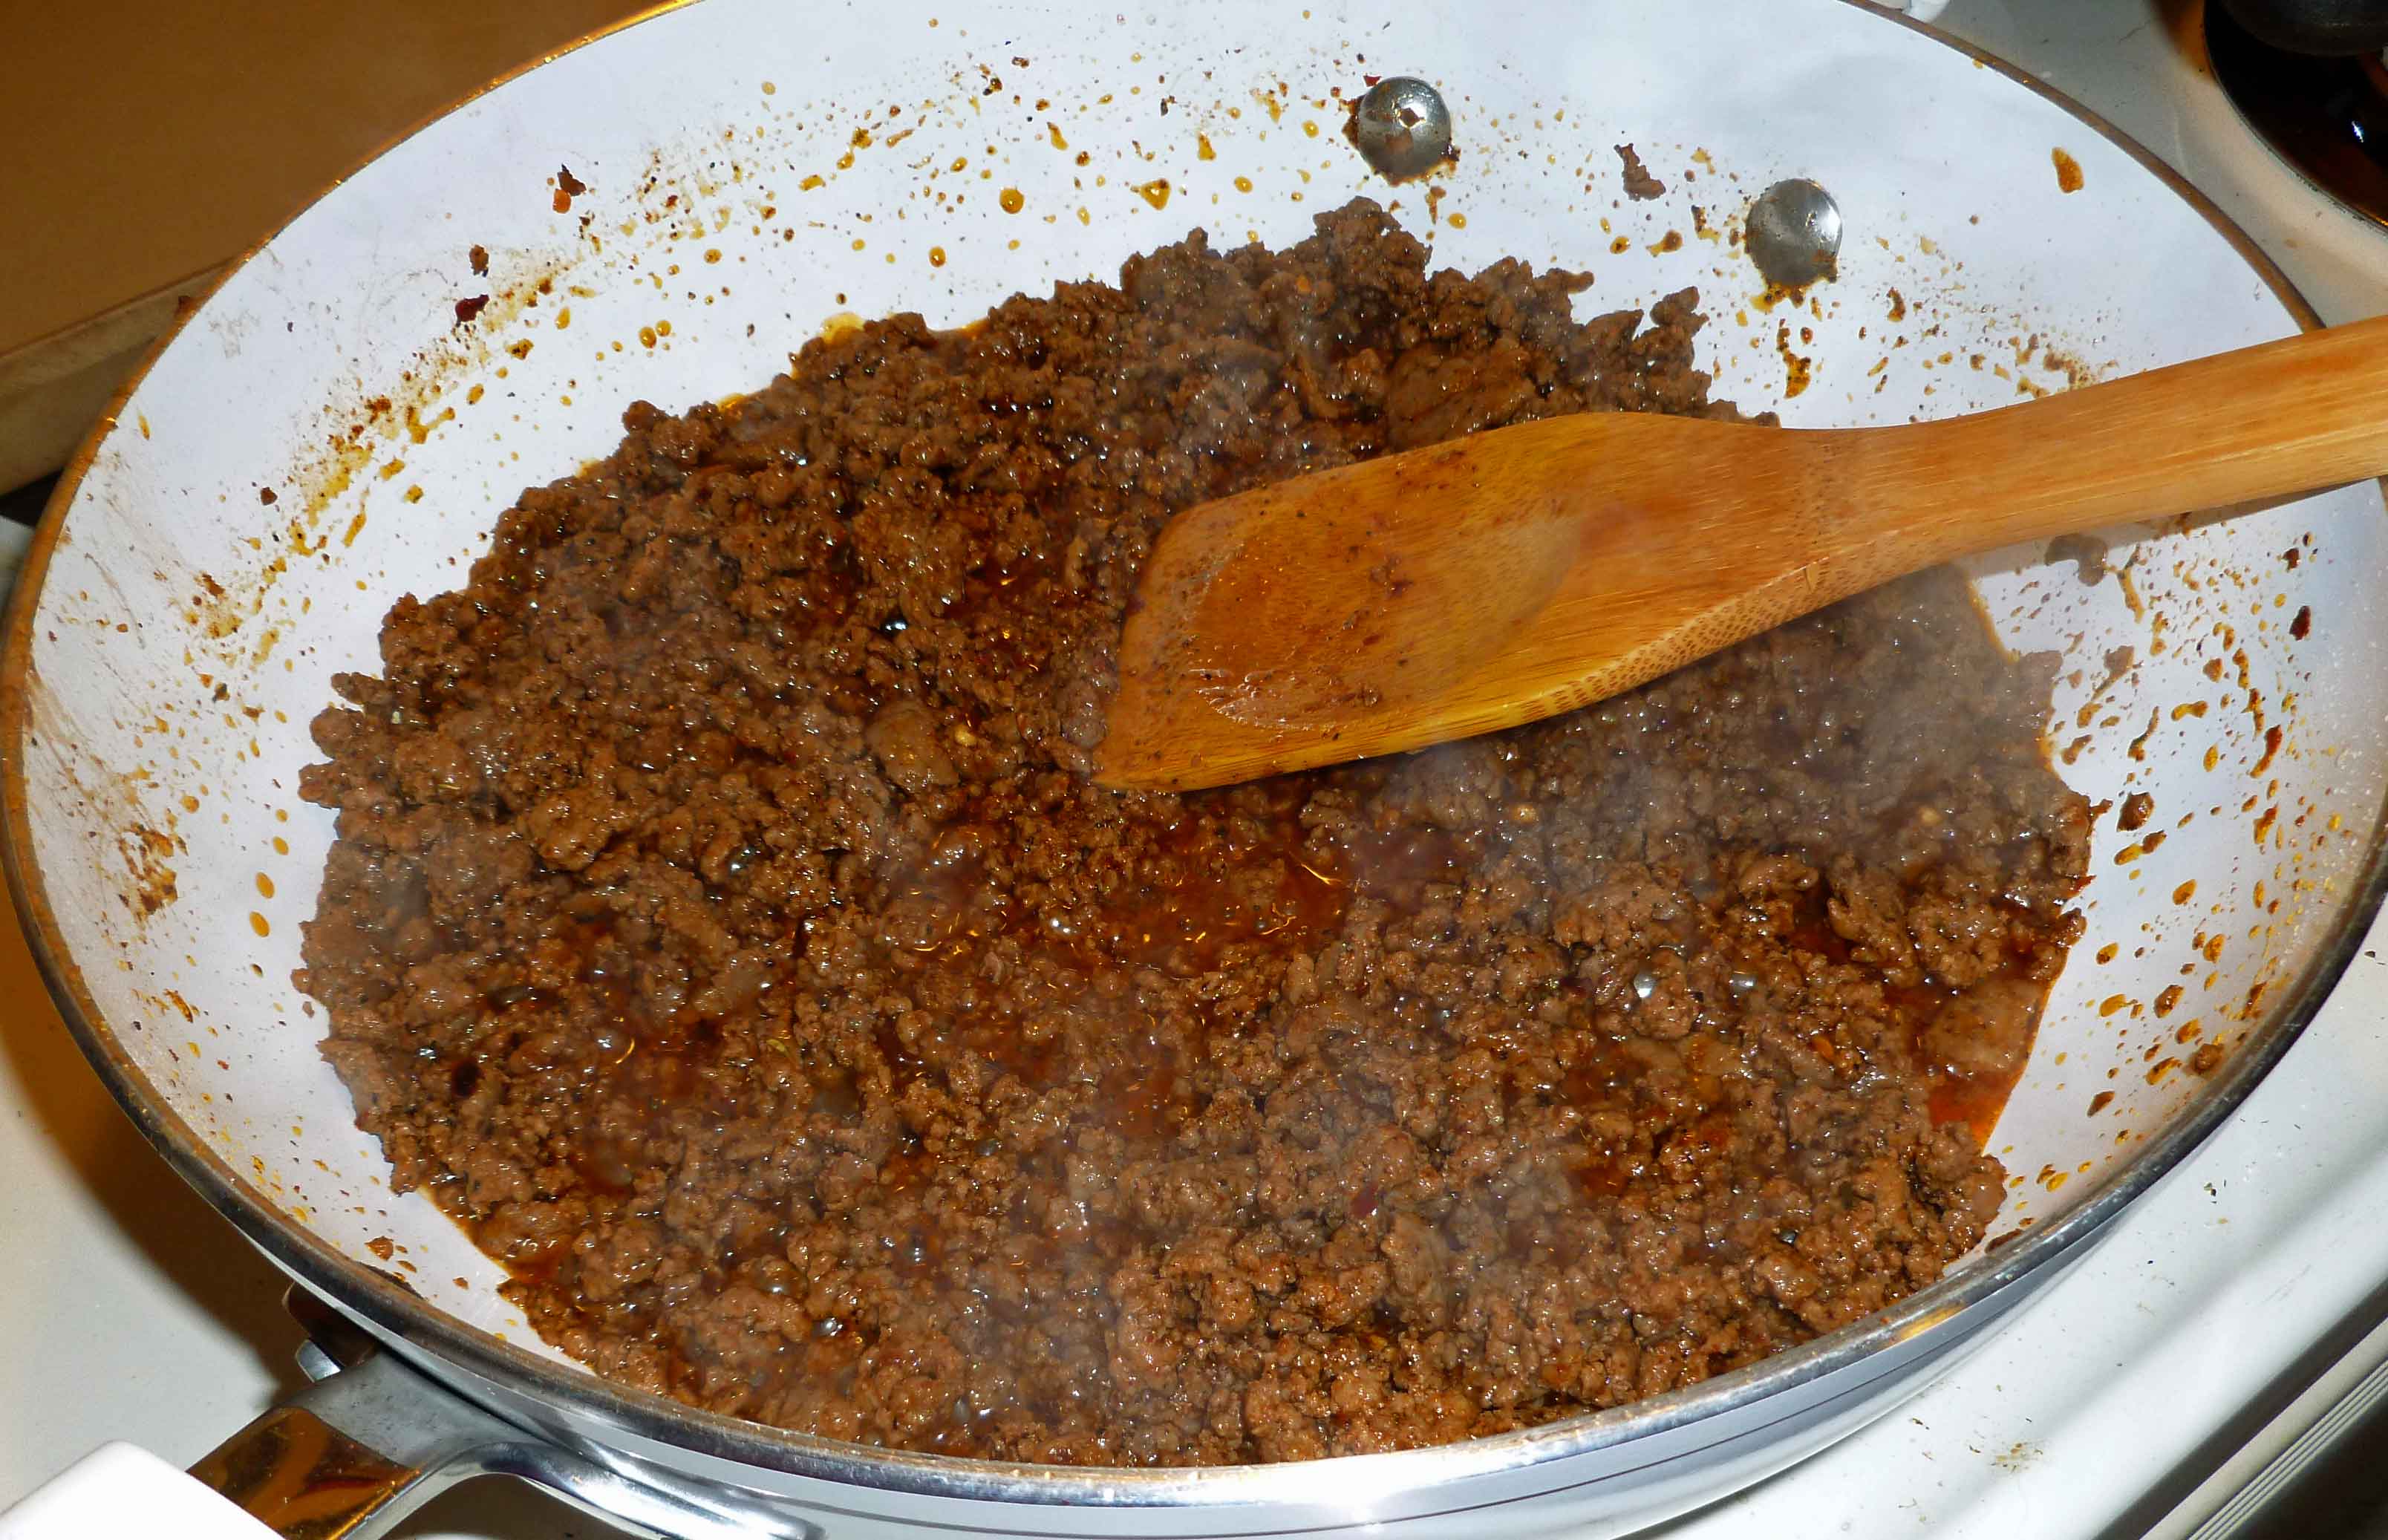
    In a large skillet, add the oil, the cashew milk, water, and curry paste or spice mix.  Stir to combine over medium heat.

    Curry Paste and Cashew Milk Mixture
    Curry Paste and Cashew Milk Mixture

    Add your meat if you’re using it, and cook until the meat is cooked through. Then add your vegetables with the exception of the bok choy (or other green of choice).

    Curry before adding greens
    Curry before adding greens

    Cover your skillet with its lid and let it simmer for a few minutes to let the asparagus and carrots cook. Then add your bok choy and simmer until the bok choy is ready. When the bok choy is ready, mix in your Thai basil leaves.

    Completed Curry/Stir Fry Thing
    Completed Curry/Stir Fry Thing

    Place a bed of rice noodles on a plate and spoon your curry over it. If you have extra Thai basil leaves and want to be fancy, garnish your dish with them.

    Quick Thai-Inspired Curry Noodle Stir Fry
    Quick Thai-Inspired Curry Noodle Stir Fry

    Hope you enjoy it!


  • Homemade Beef Jerky

    Beef Jerky. Photo by J. Andrews
    Beef Jerky. Photo by J. Andrews

    I don’t know that I was aware that beef jerky was a commercial product until college. It pretty much showed up in the Westerns I was forced to watch as a kid, in pioneer books, and about once a year out of the oven, right before the oven got cleaned. Homemade beef jerky was a tradition. Once, my mother tried to send me some in grad school. As far as I can tell, the delivery person literally kicked the package into my tiny mailbox, shattering the protective jar into a whole batch of fantastic jerky. I still mourn that poor jar of wasted tasty goodness (that was, I think, about 15 years ago).

    Thinking about food for road trips and vacations, hikes or picnics, jerky is a pretty good staple. If it got people out to the Plains or the west coast by wagon train, it can probably get you through a long drive or a weekend at a remote cottage, and it’s definitely an airport security-safe food. I will say I have no idea how long this is shelf-stable, but I’m pretty sure that the last jar was hidden for a few months at home. So at least a few months?

    Jerky is pretty easy to make. It’s a bit time-consuming, but most of that is just waiting around and doing nothing. My plan usually starts with throwing a frozen flank steak in the fridge to thaw all day while I’m at work. That night I make the marinade and slice the meat. The next morning, I stir/flip the meat in the marinade. When I get home from work, I throw it in the oven. So, yeah, it’s a two-day process, but maybe 45 minutes of that 48 hours is active work. One pound takes up about one oven rack, so if you like this, it’s easily doubled without overloading your oven. Know that you will likely need to and want to clean your oven afterward.

    This is a variation on our family recipe, altered to removed the soy and a few other ingredients that can be problematic with allergies. If you can have soy, you can use it here — remove all other salt in the recipe; if you need to be gluten-free, use GF tamari, but to me it tastes quite a bit saltier than regular soy sauce. Adjust accordingly. I have not tried this with coconut aminos, but let me know how it works if you do. You will want to make the faux soy sauce (linked below) beforehand if you’re using it, but it does not take long.


    Jerky in process. It isn't pretty, but it tastes good.
    Jerky in process. It isn’t pretty, but it tastes good.

    Homemade Beef Jerky

    • 1 lb. flank steak
    • 1/2 cup dry sherry or dry wine
    • 1/2 cup faux soy sauce (I used this recipe without the fish sauce and with a bit more salt, closer to 1/2 teaspoon, but I was doing it by taste at that point)
    • 1 Tablespoon natural sugar (regular table sugar will work, but unprocessed sugarcane adds better flavor, likely from the natural molasses content)
    • 2 teaspoons garlic powder
    • 1 teaspoon onion powder
    • 1 teaspoon dry mustard powder
    • 1/2 teaspoon celery salt (use crushed celery seed if you are using soy sauce or tamari)
    • 1 teaspoon lime juice (lemon is probably okay, I just have a lot of limes right now)
    • 1/2 teaspoon hot sauce of your choice (absolutely optional)
    • salt to taste

    Freeze your meat for at least an hour. Alternately, take meat from the freezer and let thaw about 8 hours in the fridge. Having partially frozen flank steak will allow you to cut it more thinly and evenly.

    Trim the fat from the flank steak. Then slice into approximately 1/8-inch slices, with the grain of the meat. Or, you know, do your best to slice it thinly, period, and call it “hand-cut” and “artisinal.” This is what I do.

    In a glass baking dish, combine the ingredients for the marinade and whisk or stir with a fork until the sugar is dissolved thoroughly. Taste it and adjust the salt. You want this marinade to be salty, but not overly so. Your jerky will be less salty than the marinade.

    Add the meat strips and stir to fully coat and mostly submerge. Cover and refrigerate at least overnight (again, I usually do overnight, stir, and most of the next day — that’s just how it works in my schedule).

    Lay your meat out directly on the oven rack.

    Turn your oven down to the lowest setting (mine goes down to 170°F), and leave the oven cracked. Let the jerky dry out for 5-7 hours — you probably know what jerky should look and feel like, so test it at 5 hours. 6 usually works for how I cut the meat and how my oven works. After one or two batches, you’ll know where this stands for you, too.

    Remove jerky to an airtight container, glass if you have it, and travel on.

    Beef Jerky is ready for its close up. Photo by J. Andrews
    Beef Jerky is ready for its close up. Photo by J. Andrews
  • Hamburger Green Bean Hot Dish

    Hamburger Green Bean Hot Dish
    Hamburger Green Bean Hot Dish

    So, in North Dakota (and, I think, Minnesota), a casserole is called “hot dish.” It’s a simple descriptive name, but it can be said so evocatively — and hot dish is exactly what this raw end of winter needs, if you ask me. Last week was, if I can be blunt, a bit of a bitch, and warm comfort food was definitely called for, for sanity’s sake. And all comfort food in my world must include potatoes. This hot dish features a casserole staple — ground beef — mixed with green beans and seasoned tomato sauce, topped with mashed potatoes. It’ll chase the winter chill right out of you.

    This is a recipe from my childhood, but apparently it pre-dates my parents’ marriage, too. When I called my mother to ask about a weird direction in the recipe, she admitted she’d been making the recipe since she was in high school and no longer has a written recipe. It’s cheap, quick, and easy, on top of being comfort food, and I needed to alter only a few things to make it allergy-friendly.

    Brilliant Ring of Mashed Potato
    Brilliant Ring of Mashed Potato

    Hamburger Green Bean Hot Dish

    • 3-4 medium potatoes, peeled and cubed
    • 1/4-1/3 cup non-dairy milk (I use almond — any of them should work)
    • 1 Tablespoon Earth Balance margarine (or other safe-for-you option)
    • 1 small onion, chopped
    • 1/2 lb. ground beef
    • 2-1/2 teaspoons oregano
    • 1 teaspoon dill
    • 1/2 teaspoon garlic powder
    • 1 can tomato sauce
    • 1/2 lb frozen green beans
    • one bunch of scallions, chopped, green parts only
    • salt and pepper, to taste

    Boil potatoes in salted water until tender.

    Brown onion and beef in a skillet over medium heat. You don’t need to add oil — let the grease from the beef come out, then add the onions, and they will cook in the beef fat. Cook until onions are fully translucent. Drain off grease.

    Add salt and pepper. Add oregano, dill, and garlic, and stir well.

    Add tomato sauce, green beans, and scallions. Bring mixture to a boil. If you do this over medium, it gives you time to mash the potatoes.

    Mash potatoes adding the margarine and milk — you may not need it all, so only add about 1/4 cup to start with, and see if you need the rest. The mashed potatoes should be a little stiff, as they will absorb some of the tomato sauce while cooking, and more when served.

    Taste the beef mixture and the potatoes. Add more salt and pepper if you need it.

    Pour beef mixture into a greased casserole dish. Top with mashed potatoes. By family tradition, I piled the mashed potatoes in a pretty ring around the edge of the dish, but I’m sure this is not necessary.

    Bake at 350°F for 30 minutes, uncovered.

    Eat hot. Also reheats well.

    Hamburger Green Bean Hot Dish
    Hamburger Green Bean Hot Dish
  • Quick-ish Beef Pho

    Quick-ish Beef Pho, with Sriracha and Hoisin sauce
    Quick-ish Beef Pho, with Sriracha and Hoisin sauce

    So one of my pet peeves about the corn thing is no more going out for Vietnamese food, which is one of my favorite things ever. I actually made and pressure canned my own safe Hoisin sauce, and fermented my own Sriracha sauce so that I could still eat them. But you have to have stuff to eat the Hoisin and Sriracha on, and it’s winter, and we need pho. And we need an easy, quick-ish pho that it doesn’t kill you to make on a weeknight. You could do it the more traditional way, but again, we need dinner fast on a weeknight. This is why it’s good to have some of the Roasted Beef Stock around, either pressure canned, or in your freezer.

    Quick-ish Beef Pho

    Serves two really hungry people.

    For the broth:

    • 2 shallots (peeled, cut in half and broiled until browned)
    • 6 cups of Roasted Beef Stock or a commercial variety if you can get some that’s safe for your allergies
    • 1 cinnamon stick
    • 1 ounce (or a nice thick piece between an inch and two inches long) of fresh ginger root, peeled and sliced into a few pieces
    • 2 star anise (whole)
    • 5 cloves (whole)
    • 1 Tablespoon of fish sauce (optional) – make sure it’s safe for you
    • 1 Tablespoon of sugar

    For the fixings:

    • one half of a 16 oz package of rice noodles
    • a half pound of extra lean shaved steak
    • mung bean sprouts
    • a lime, sliced into wedges
    • fresh basil leaves or fresh chopped cilantro, or both
    • one half of a small red onion sliced very thinly
    • a Thai chili or two, sliced thinly

    Turn your oven to its broil setting or preheat your oven to 500°F. Move your oven rack to the highest setting, and place your peeled and halved shallots on a baking sheet and put them in the oven. Check them every three to five minutes until they are browned as shown below.

    Broiled Shallots on baking sheet
    Broiled Shallots on baking sheet

    While the shallots are broiling, place the Roasted Beef Stock in a stockpot, along with the cinnamon stick, sliced ginger, star anise, cloves, fish sauce, and sugar. Bring it to a boil, then turn it down to a simmer.  When the shallots having finished broiling, slice them into pieces and add them to the stock.

    Pho broth simmering away
    Pho broth simmering away

    In another stockpot, bring enough water to cover your rice noodles to a boil.  Add the rice noodles to the water and boil for 3-5 minutes or so until they are cooked to your liking, and then strain them.  At this point, I parcel them out in the bowls I intend to serve them in, as the noodles may stick together too much if you let them sit in one container (they will un-stick when you add the broth). Wash your mung bean sprouts and then put your preferred amount of sprouts in each soup bowl. Slice your red onion finely, and then add some to each soup bowl.

    Sliced red onion
    Sliced red onion

    Bring your pho broth back to a boil. At this point I scoop out the cinnamon, ginger, star anise, and cloves. There are two ways to approach your beef depending on your comfort level. First, you can add the raw shaved steak to the bowls and allow the heat of the pho broth being poured over it to cook it.  Second, you can put the beef in the pho stock and let it cook for just a bit before ladling it into the bowls. I tend to go for the first approach, but it’s up to you. Pick an approach and add your beef and pho broth to the bowls.  Place a couple of basil leaves, a lime wedge, some of the chopped cilantro, and the sliced thai chilis on top of the soup.

    Quick-ish Beef Pho before adding condiments
    Quick-ish Beef Pho before adding condiments

    Garnish with safe Hoisin, Sriracha, or chili garlic sauce to your taste, if you have safe versions.  Enjoy!

  • Boneless Rib Eye Roast & Sides – the Meat-eater’s special Valentine’s Day Dinner

    Boneless Rib Eye Roast, Garlic Mashed Potatoes and Oven Roasted Asparagus
    Boneless Rib Eye Roast, Garlic Mashed Potatoes and Oven Roasted Asparagus

    So, here’s the thing, I pretty much can’t go out to dinner anymore with the whole corn thing. Makes it hard to go out for a romantic dinner, if all I can do is sip a glass of wine and watch my husband eat his dinner. Fun right? So that might mean finding a non-food related activity or it might mean cooking at home instead. Because some of you might want the nice dinner, and I can’t think of anything fun to do in winter in New Hampshire on Valentine’s Day, cooking at home it is. Shawn is a carnivore, so I’m doing a really nice rib eye roast (two weeks early, just for you guys), but Mary Kate will be supplying a Vegetarian/Vegan option next week. We’ll have you covered. (Also, I would totally make this for myself if I was single, leftovers are awesome!)

    The rib eye roast is a bit pricey, but my thought was that it’s still cheaper than going out to dinner, having appetizers, an entree, dessert, and drinks. I’m also going to you some options for side dishes, Garlic Mashed Potatoes, and Oven Roasted Asparagus. I’m not handling dessert, I’m still having complications with respect to having safe fats to use for baking, and you should just get some chocolate if it’s safe for your allergies from the Dancing Lion (yo, anyone getting me presents for Valentine’s, hint, hint, not that my husband reads this blog).

    One thing that’s really helpful is a probe meat thermometer. Seriously. Get one now, if you’re sick of your meat and poultry being overcooked. I mean it. Why waste your hard earned money on overcooked food? Isn’t making all our food hard enough? Okay, I’m off the soap box, but seriously, do it. Or at least get one of these so you can check the temp periodically. (No affiliation with Amazon whatsoever, but their site has good pictures and descriptions.)

    Garlic Mashed Potatoes

    1/3 cup of roasted garlic (Here’s how to do it, takes an hour, do a bunch ahead of time and store it in a jar in your fridge or freeze it so you can use when you want it without the aggravation).

    Amount of Garlic I roasted, you don't need this much, but it's good to have
    Amount of Garlic I roasted, you don’t need this much, but it’s good to have
    Roasted Garlic in a pint jar
    Roasted Garlic in a pint jar
    • 5-6 large potatoes, peeled and cut into 2″-3″ inch square chunks
    • 2-3 Tablespoons of extra virgin olive oil (if you have a safe margarine or butter, you can use that, I don’t, unfortunately.)
    • 1/4 cup of non-dairy milk (I’m using homemade cashew milk, but use what works for you.)

    Save a couple of the roasted garlic cloves to one side so you can use it as a garnish if you want to get all fancy about it. Place your peeled and chunked potatoes in a large pot.

    Peeled and chunked potatoes in a pot
    Peeled and chunked potatoes in a pot

    Cover them with enough water that the potatoes are submerged by an inch or so. Bring the potatoes to a boil on high, and then turn down to medium high (about 7-8 on my dial). Continue to cook until the potatoes are fork tender.  Drain in a strainer/colander and place the cooked potatoes back in the pot.

    Potatoes cooked fork tender and placed back in pot
    Potatoes cooked fork tender and placed back in pot

    Mash the potatoes with a potato masher. Add the garlic (with exception of the cloves for the garnish), the olive oil, and the non-dairy milk and mash the new ingredients into the potatoes until all the ingredients are thoroughly mixed. Either place the potatoes in a decorative serving dish with the garlic cloves on top, or place some on the plate with a garlic clove as a garnish.

    Garlic Mashed Potatoes in a Serving Dish
    Garlic Mashed Potatoes in a Serving Dish

    Oven Roasted Asparagus

    • a bundle of asparagus
    • 2 Tablespoons of extra virgin olive oil
    • 1 teaspoon of Penzey’s Greek Seasoning (or use about an 1/8 of a teaspoon each of salt, garlic, lemon peel, black pepper, Turkish oregano, marjoram, and mix it together.)

    Preheat oven to 400° F. Wash and trim the asparagus, and then cut it into 1-2″ inch pieces.

    Asparagus cut in pieces
    Asparagus cut in pieces

    Place them in a bowl. Drizzle the asparagus with the extra virgin olive oil and the seasoning mix. Using a silicone spatula, toss the asparagus in the bowl until it is thoroughly coated with oil and seasoning mix.

    Asparagus in bowl being tossed with oil and seasonings
    Asparagus in bowl being tossed with oil and seasoning

    Spread them out on a baking sheet, making sure to scrape down the bowl so that the oil and seasoning end up on the asparagus on the baking sheet.  Put the baking sheet in the oven and bake for approximately 30 minutes until asparagus is tender.

    Asparagus after roasting
    Asparagus after roasting

    Boneless Rib Eye Roast

    • 3-5 pound boneless rib eye roast
    • about 1-2 teaspoons of Penzey’s English Prime Rib Rub (or use an 1/8 of a teaspoon each of salt, ground celery seed, sugar, ground black pepper, onion powder, garlic powder, and arrowroot and mix it together).

    Based on this recipe, you need to cook the roast for about 15-18 minutes per pound after the initial 15 minutes as described below, and will need to rest for 15-20 minutes after you remove it from the oven.  Calculate how long that will be based on your roast size to figure out when you need to begin cooking to have the roast be ready to serve at the time you wish to eat. An hour before you intend to begin cooking in order to have the roast cooked and rested by the time you wish to eat, take the roast out of the refrigerator and place it on the counter to bring it to room temperature.

    Preheat your oven to 450° F. Take a baking pan, and place a rack in it.

    Cooling Rack on a baking sheet
    Cooling Rack on a baking sheet

    Season your roast with your spice mix by rubbing it all over the roast.   Place the meat on the rack, with the fat side up.

    Roast with spice rub and placed on rack
    Roast with spice rub and placed on rack

    Place the roast in the oven for 15 minutes, then turn the oven temperature down to 325° F.  Place your probe thermometer through the center of the roast, making sure it is going through the very center.

    Roast after 15 minutes and placement of probe thermometer
    Roast after 15 minutes and placement of probe thermometer

    Continue to roast for 15-18 minutes per pound or until the thermometer reaches 125°F for an internal temperature. This is fairly rare, but as the roast rests the internal temperature will continue to rise for another 5 to 10 degrees.  If you like more of a medium rare, wait until the internal temperature reaches 135° F. Take the roast out of the oven.

    Completed Roast after cooking
    Completed Roast after cooking

    Tent it with aluminum foil and let it rest for 15-20 minutes. Do not cut the roast before it has had a chance to rest. I mean it. Seriously.  Otherwise, you’ll lose all the moisture.  Once the roast has rested properly, cut the strings on the roast and remove them, and then cut the roast into slices.

    Cutting Roast into slices
    Cutting Roast into slices

    Plate up your roast and sides and eat up while asking your husband, partner or date to say something outlandishly romantic. Mine doesn’t do it, but it’s fun to watch the facial contortions, as I make unreasonable demands. Remind me to tell you about the time I nagged him to write me a poem for almost a year and a half. Oh and the sculpture, too.

    Boneless Rib Eye Roast, Garlic Mashed Potatoes and Oven Roasted Asparagus
    Boneless Rib Eye Roast, Garlic Mashed Potatoes and Oven Roasted Asparagus
  • Roasted Beef Stock

    Roasted Beef Stock
    Roasted Beef Stock

    Those of us with soy, wheat and dairy allergies have a tough time finding bouillon and/or stock out there that’s safe. When you add a corn allergy to the wheat and dairy (I’m okay on soy), let me tell you, it’s all over. You’re going to be making it yourself if you want to eat it, period. So Mary Kate and I thought posting some basics for people who’ve never had to do their own soup stocks before might be helpful. There’s a lot of recipes out there that take beef bones, throw them in a pot with onions, carrots, and celery, and boil the crap out of it and call it beef stock. I mean, yeah, it is beef stock, but it doesn’t really taste as good as it could. And I think that’s because there’s no caramelized little burned bits, which you would have if you were starting from roast drippings. I like my beef stock to taste like something, and you do need some actually bits of beef to do that, and a bit more than is on the beef bones you get at the grocery store.  So I use marrow bones and beef oxtail so there’s plenty of meaty bits for drippings, and I roast the marrow bones, oxtail, onions, carrots and celery first so I can use nice pan drippings in my stock.

    Roasted Beef Stock

    About 4 pints or 2 quarts

    • 2-3 pounds of sliced marrow bones
    • 2 pounds of beef oxtails
    • 2 red onions (red will give the stock a nice deep color), chopped
    • 2 large carrots, trimmed and chopped
    • 4 stalks of celery, trimmed and chopped
    • a dash of salt
    • a dash of black pepper
    • 2 bay leaves

    Preheat oven to 350°F.  Grease pan with oil or use a spray mister.  Place marrow bones, oxtails, red onions, carrots, and celery in roasting pan.

    Marrow Bones, Oxtail, and Veggies in Roasting Pan before cooking
    Marrow Bones, Oxtail, and Veggies in Roasting Pan before cooking

    Sprinkle with a little salt and pepper. Place roasting pan in oven and roast for an hour and half. You can roast it longer if you don’t have any caramelized bits yet.

    Marrow Bones, Oxtail, and Veggies in Roasting Pan after cooking
    Marrow Bones, Oxtail, and Veggies in Roasting Pan after cooking

    Once you’re done roasting, transfer the contents of the roasting pan to a stock pot, making sure you deglaze the roasting pan with a bit of water to get all the good burned and caramelized dripping into the stock pot.  Add 16 cups or water or 4 quart jars worth, and the bay leaves.

    Cooked bones, meat and veggies in stock pot after adding water
    Cooked bones, meat and veggies in stock pot after adding water

    Bring to a boil and then reduce the heat to medium-low (3-4 on my dial) and simmer for about an hour with the lid on.  Then bring it down to low (1-2 on my dial) and let it simmer on low for another hour, again with the lid on.  You can simmer as long as you like, but you may need to add more water to get the correct yield.

    Cooked bones, meat and veggies in stock pot after simmering for hours
    Cooked bones, meat and veggies in stock pot after simmering for hours

    Now you want to strain out the bones, meat and vegetables from the stock.  I used another stock pot and a strainer I got from a restaurant supply store, but a regular colander will do.  Also, I picked out the really heavy bones first to make my life easier.

    Straining out veggies and meat after simmering
    Straining out veggies and meat after simmering

    Now you can season to taste adding a bit more salt and black pepper if needed.

    Roasted Beef Stock after straining
    Roasted Beef Stock after straining

    If you want to remove some of the fat, you can skim it off, or you can put your stock pot in the fridge overnight and you can peel off the fat layer.

    Roasted Beef Stock after being refrigerated overnight
    Roasted Beef Stock after being refrigerated overnight
    Removing excess fat from Roasted Beef Stock
    Removing excess fat from Roasted Beef Stock
    Roasted Beef Stock after removing excess fat
    Roasted Beef Stock after removing excess fat
    Excess fat in a bowl, just for gross out purposes
    Excess fat in a bowl, just for gross out purposes

    Once you’re done removing the fat, you can warm up the stock and use it, package it up and freeze it, or can it with a pressure canner, as described here. I’m canning mine because I want to use it for a recipe we’re going to post two weeks from now and I’m not ready to make the actual recipe itself right now. I don’t want it to go bad, and we lose power a lot.

    My All American 915 pressure canner getting ready to process stock
    My All American 915 pressure canner getting ready to process stock

    This is a really basic stock, because you want to be able to use it in all kinds of applications. Stay tuned for how we’re going to use it for the next two weeks!

    Roasted Beef Stock
    Roasted Beef Stock
  • Meatball Sub Meatballs

    Meatball Sub Meatballs in Marinara Sauce over Penne

    Meatball Sub Meatballs in Marinara Sauce over Penne

    As I stated a week ago in my Quick-ish Marinara Sauce post, I really miss meatball subs. Although I don’t have a safe bread or cheese, this meatball recipe gets me at least part way there.

    Meatball Sub Meatballs

    Makes about 24 large meatballs, about the size of golf balls or ping pong balls.

    • 1 pound of 80/20 ground pork
    • 1 pound of ground beef (I prefer a higher fat content for the beef as well, but that’s up to you)
    • 1 Tablespoon of ground chia seed
    • 3 Tablespoons of water
    • 1 Tablespoon of olive oil
    • 1 medium onion minced very finely
    • 1 teaspoon of salt
    • 1/2 teaspoon of ground black pepper
    • 1/2 teaspoon of oregano
    • 1/2 teaspoon of basil
    • 1/2 teaspoon of thyme
    • 1/2 teaspoon of garlic powder
    • 3/4 cup of gluten-free bread crumbs
    • a small amount of olive oil for greasing the baking sheet.

    Preheat oven to 375°F.

    Take ground pork and ground beef and crumble it into a large mixing bowl.

    In a small bowl, mix chia seed, water, and olive oil together to make a chia egg.  Set it aside.

    Mince onion and add it to the bowl with the ground pork and ground beef.

    Add the salt, ground black pepper, oregano, basil, thyme, and garlic power to the bowl, sprinkling them evenly over the beef and pork (it’ll be easier to mix it in).

    Add your bread crumbs and the chia egg, and use your hands to knead the mixture until it is thoroughly combined.

    Meatball mix after all ingredients combined
    Meatball mix after all ingredients combined

    Grease your baking sheet. Form meatballs about the size golf balls. I used a large scoop from Pampered Chef to form my meatballs, but you can use your hands instead. Place them on the baking sheet, spaced out evenly, and put them in the oven.

    Meatballs before cooking
    Meatballs before cooking

    Bake them for 30 minutes.  Once they are done (internal temp of 161°F) you can add them to sauce, or you can freeze some of them to use later.

    Meatballs after cooking
    Meatballs after cooking

    Enjoy, and if you’ve got ideas for dairy-free, egg-free, gluten-free, corn-free bread recipes, I want to hear about them!

    Meatball Sub Meatballs
    Meatball Sub Meatballs
  • Taco Beef for Tacos, Salads, and Nachos

    Taco Meat used in a Taco Salad
    Taco Beef used in a Taco Salad

    So I was going totally nutty because I’ve not been eating much except rice, salad, steamed or roasted vegetables and broiled beef and pork during this whole food elimination torture thing. I’m not good at eating the same thing all the time. And I love spice. I wanted something different to eat. Something that had taste!  So I was dubbing around my Pinterest boards and realized that I could make homemade taco seasoning and leave out any onion powder (still waiting to challenge onions to see if I am truly allergic to them). I double checked my chili powder to make sure it didn’t have any onion and I went to town. I made up a large batch of it so I could use it again easily, and you’ll see me use it to make a quick salsa in a couple of weeks.

    First, we have to make up the taco seasoning:

    Taco Seasoning – Onion Free Version (for a version with onion, see a recipe here)

    • 1/4 cup and 1 Tablespoon of chili powder (I used Hot Chili Powder from Penzey’s, has no onion)
    • 1 and 1/2 teaspoons of garlic powder
    • 1 and 1/2 teaspoons of  red pepper flakes
    • 1 and 1/2 teaspoons of oregano
    • 1 and 1/2 teaspoons of paprika
    • 1/8 cup and  1 and 1/2 teaspoons of cumin
    • 1/8 cup of salt (less or more to your taste)
    • 1/8 cup of finely ground pepper

    Mix the ingredients in a bowl and store in a glass jar.

    Taco Seasoning saved in repurposed Earth Balance Mindful Mayo Jar
    Taco Seasoning saved in re-purposed Earth Balance Mindful Mayo Jar

    Taco Beef

    • 1 pound of ground beef
    • 2-3 Tablespoons of Taco Seasoning

    Brown one pound of ground beef in a skillet.  Drain off any excess fat.  Mix 2 to 3 Tablespoons of Taco Seasoning and 1/2 cup of water into the ground beef until it’s well combined, and then simmer it over medium heat until there is little liquid left in the skillet.

    Taco Meat simmering in skillet
    Taco Meat simmering in skillet

    You can now use your taco meat for tacos, nachos, or salads.  Enjoy!