Notice: Function _load_textdomain_just_in_time was called incorrectly. Translation loading for the wp-ultimate-recipe domain was triggered too early. This is usually an indicator for some code in the plugin or theme running too early. Translations should be loaded at the init action or later. Please see Debugging in WordPress for more information. (This message was added in version 6.7.0.) in /home/maryzahc/public_html/adultfoodallergies.com/wp-includes/functions.php on line 6131 Product Reviews – surviving the food allergy apocalypse (archive)
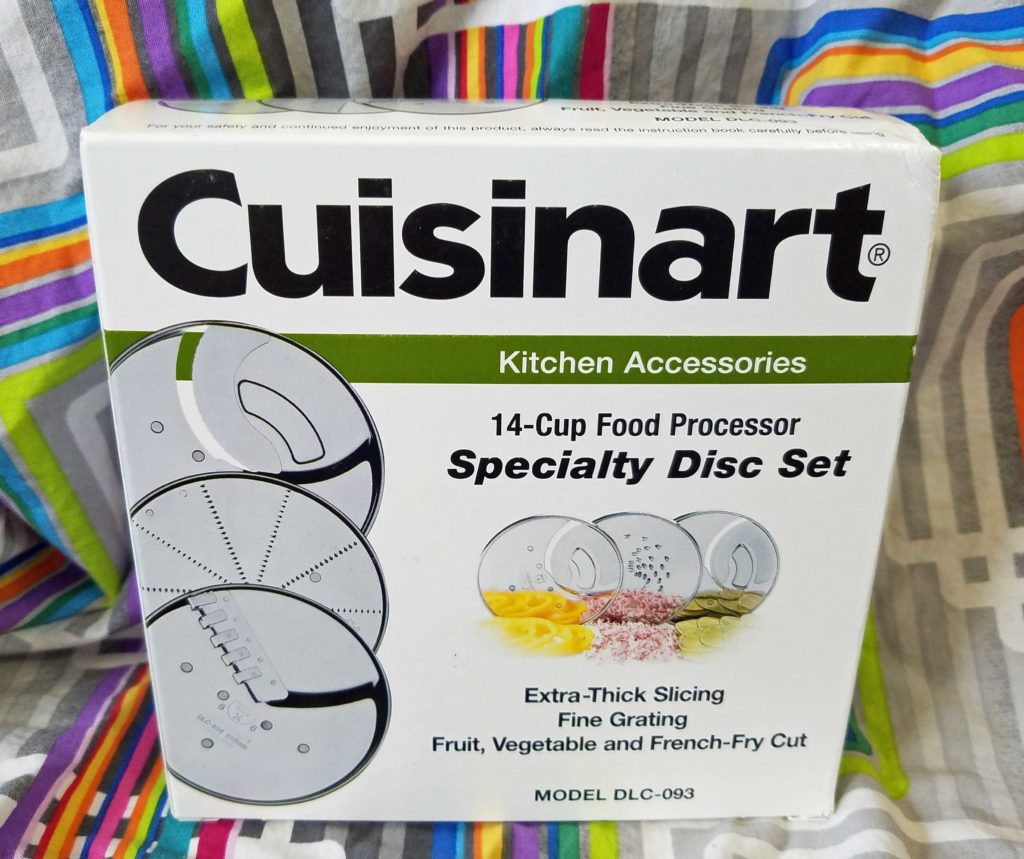
Cuisinart 3-Piece Specialty Disc Set – Extra Thick Slicing disc, Fine Grating disc, and French-Fry Cut disc.
Let me start out by saying, I’m fundamentally lazy. Many of my friends would disagree with me because I do a ton of work to make safe food, and yeah, maybe I could eat with less variety, so that I don’t have as much I have to do. The thing is, I love food and I love variety, and the thought of eating the same thing day after day after day, just makes me shudder. So yeah, I do the work, but anything I can do to lessen the work, I’m going to do. Or maybe I should say, anything I can do to be more efficient, I’m going to do. I do use my 14 cup Cuisinart food processor for canning season, but I wasn’t happy with using it for pickles because the slices were coming out too thin on the slicing disc I had. So when I saw this specialty disc set, I thought it might be worth a try since it had a thicker slicing disc. And it didn’t hurt that it came with a french fry cutter disc either. The last blade is a fine grating disc.
The first thing I did was try the thicker slicing disc and compare it to the one that came with the food processor. The thicker disc is labeled as 8 millimeters and the original disc is labeled as 4 millimeters. It may not look like much of a difference, but I think it’s enough that I won’t have to use a knife to slice my cucumbers for pickles this year.
Thicker slices on left, thinner slices on right.
The second thing I did was try the fine grating disc. I didn’t really have anything to finely grate. The box said that fine grater is used with especially hard foods such as nutmeats, Parmesan cheese, ginger, and horseradish. Well, I didn’t have any fresh ginger and or anything else it suggested and I’m allergic to cheese, so I tried a potato. Yeah, that didn’t work out so much.
Potato mush after using the fine grater.
Since I did have some ginger I had peeled and frozen solid in chunks, I dug it out of the freezer and tried it with the fine grating disc. It worked out pretty well. I also think the next time I get fresh ginger, I’ll just peel the whole thing, run it through the fine grater disc and freeze it in an ice cube tray so that I’m not throwing old ginger away or trying to cut frozen pieces up. It also occurred to me as I write this, that this might be a good way to grate nutmeg as well.
Frozen ginger after going through the fine grating disc.
Okay, now the part that everyone has been waiting for: the french fry disc. I was very curious about this. I have a french fry cutter from Pampered Chef and there’s nothing wrong with it, except it is manual, very sharp, and I cut myself when I wash it most of the time. You also have to use a fair amount of muscle to force your way through the potato. The french fry disc for the food processor worked pretty well. There are some odd thin cuts, and some broken pieces, but given how fast it goes through three potatoes, I have no objections.
Fries cut using the french fry disc.
Of course, once I have potatoes cut like fries, I had to make fries. I had chatted with MaryKate as the potato aficionado and/or obsessed one in our duo about an experiment I intended to undertake, and she proposed a counter method, so I did both to see what liked better. I soaked the potatoes cut like fries in water for a few minutes, drained them, and then dried them with a towel.
When I first lost dairy, I also lost McDonald’s fries because they coat them with powdered dry milk to give them extra crisp. I don’t know if that’s still true, but it was at the time I lost milk, which was years ago. So I wondered if I could use tapioca starch to do the same thing, because I hate double frying, and if there is a way to shortcut the process, I’m going to take it. So I tossed the fries with a bit of tapioca starch in a strainer so I wouldn’t have any clumping.
Potatoes cut like fries tossed with tapioca starch.
I heated my oil to 350° F and fried them until they were golden brown. They were good, crisp, and I didn’t have to fry twice.
Next, I did the double frying method. I heated my oil to 325° F and cooked them for 6 minutes in batches. When I had cooked them all, I heated my oil to 400° F and refried them in batches until they were golden brown. I admit that MaryKate was right and this version was better. A little bit better color, a little bit more crisp, but not worth the pain of double frying for one who is less obsessed with potatoes.
I don’t think this set is essential if you are a standard cook, but it’s a nice thing to have. And for me, the thicker slicing disc alone is worth it for me for canning season. All in all, I’m pleased I bought it.
STX Turboforce II 4000 Series Quad Air Cooled Electric Meat Grinder
As some of you may know, in order to have a margarine/butter like spread, I end up rendering my own lard and tallow from pork leaf lard and beef suet, respectively, and I use my home rendered lard often in my baking as I don’t have a safe shortening. I’d been using a KitchenAid meat grinder attachment on my stand mixer to grind the pork leaf lard and suet, which is great for regular, normal occasional meat grinding, but I’m not regular or normal anymore. I pushed it a little too hard with the suet (which is very solid and waxy at room temperature) and cracked the plastic housing. It still works (yay KitchenAid!) and I can use it with the vegetable strainer for apple sauce and tomato sauce just fine, but I thought maybe it was time to stop tempting fate and get a real meat grinder. My KitchenAid is only 30+ years old, and I want it to keep plugging.
STX Turboforce II 4000 Series Quad Air Cooled Electric Meat Grinder set up and ready to roll with a pan set under the grinder head.
So I bought the STX Turboforce II 4000 Series Quad Air Cooled Electric Meat Grinder in December of 2017. This model now appears to be unavailable on Amazon and sold out on the manufacturer’s website (no affiliation with either), but there are other models available. I meant to do this review last summer, but you all know how that goes. I used it to grind pork leaf lard before rendering it in crock pots (grinding it helps with clean up exponentially, just cubing it is a disaster to scrub off the crock pots). I used it to grind pork liver up to mix with ground pork to make pork liver meatballs. But both pork leaf lard and pork liver are pretty easy to grind, so I felt like I hadn’t really had a fair test yet. I needed to grind something a little tougher.
Frankly, as someone with a corn allergy, buying ground meat is really not a good idea. There’s just an exponential increase in the chances for corn contamination due to the cleaners and sanitizers used on the grinders, and on the meat itself (see article where they allow ammonia gas to be puffed on the meat). And even if I get ground beef from what I consider a reputable source that would not use “lean finely textured beef” with puffs of ammonia gas on it, I’m still risking cross contamination from cleaners since I don’t have safe commercial products I can use. So now that the USDA is allowing “lean finely textured beef” to be classified “ground beef,” I’ve finally hit my threshold. It was time to face reality and let the convenience of pre-ground meat go.
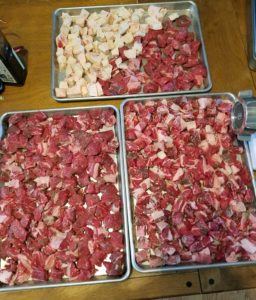
When I used up my last package of ground beef from a store in the freezer, I decided it was time to give the meat grinder a workout. I purchased 12 pounds of chuck roast, and 2 pounds of suet to make sure I had a sufficient fat ratio. You need some fat to have a decent tasting burger. I cut everything up into 1 inch chunks. spread them to a single layer on sheet pans, and threw them in the freezer for an hour. It’s also a good idea to throw the grinder head pieces, the worm, the blade, grind plate, in the freezer too so that they are very cold when you start grinding. I didn’t do this for the beef, but it really helped with grinding pork. On high, I was able to grind all 14 pounds within 20 minutes. I carefully interspersed the suet with the meat so it would be mixed in.
Beef and Suet ready to grind
When I decided to go ahead and do some ground pork to have on hand to use in recipes and so I can eventually make some sausage, I used a Boston butt, a fresh picnic ham/pork shoulder, and some fatback I had in the freezer. Once I had thawed them out in the fridge for a few days, I skinned the picnic ham and boned the Boston butt and picnic ham, and cut the pieces into 1 inch chunks, following the same procedure as I did for the ground beef, and putting the grinder head pieces in the freezer with the chunks beforehand. On high, I ground what ended up being 13 and half pounds in less than 20 minutes.
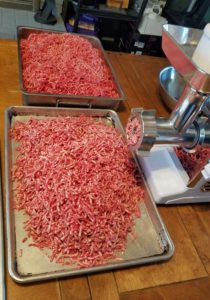
Beef and Suet after grinding
I’ve been fairly impressed with the ease of use, and it has very little left in the worm at the end. It’s a workhorse and for me, that’s important. I know that most people would grind their meat as they use it, but I don’t have time for that. I’m going to grind a ton at once and package it in one pound increments in the freezer, because then I’m only grinding once, and cleaning the meat grinder once. I’m sure most of our regular readers have guessed, but I’m all about economies of scale.
The meat left in the grinder after grinding
My only quibbles are that it is loud, the grinder head is not dishwasher safe as it’s aluminum and would discolor, and that it has to be hand washed and dried immediately for the same reason. The foot pedal is a nice option, so that you can operate hands free and not get meat all over the push buttons. I haven’t used the sausage stuffing tubes or the kubbe/kibbe attachments, as I’ve not yet found safe casings, and most kubbe recipes contain wheat. Maybe I’ll work on sourcing safe casings this summer, in between gardening, food preservation, and soap making (or it’ll get put off again, hahaha).
Video of STX Turboforce II 4000 Series Quad Air Cooled Electric Meat Grinder in operation
The verdict: Great machine for me, might be too much for most users.
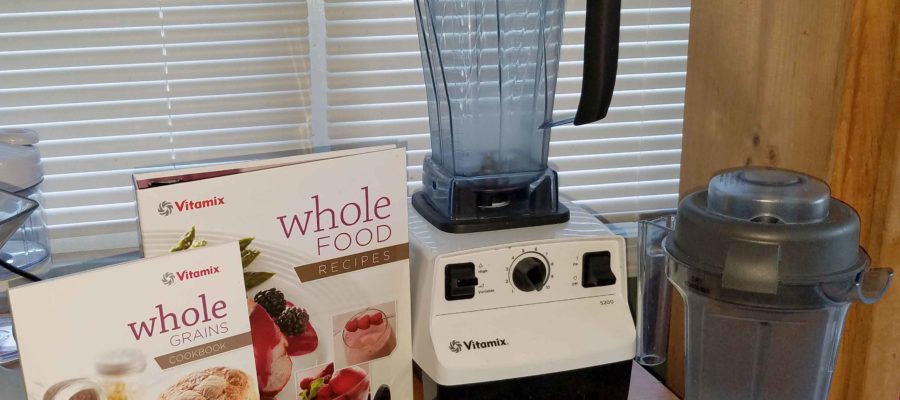
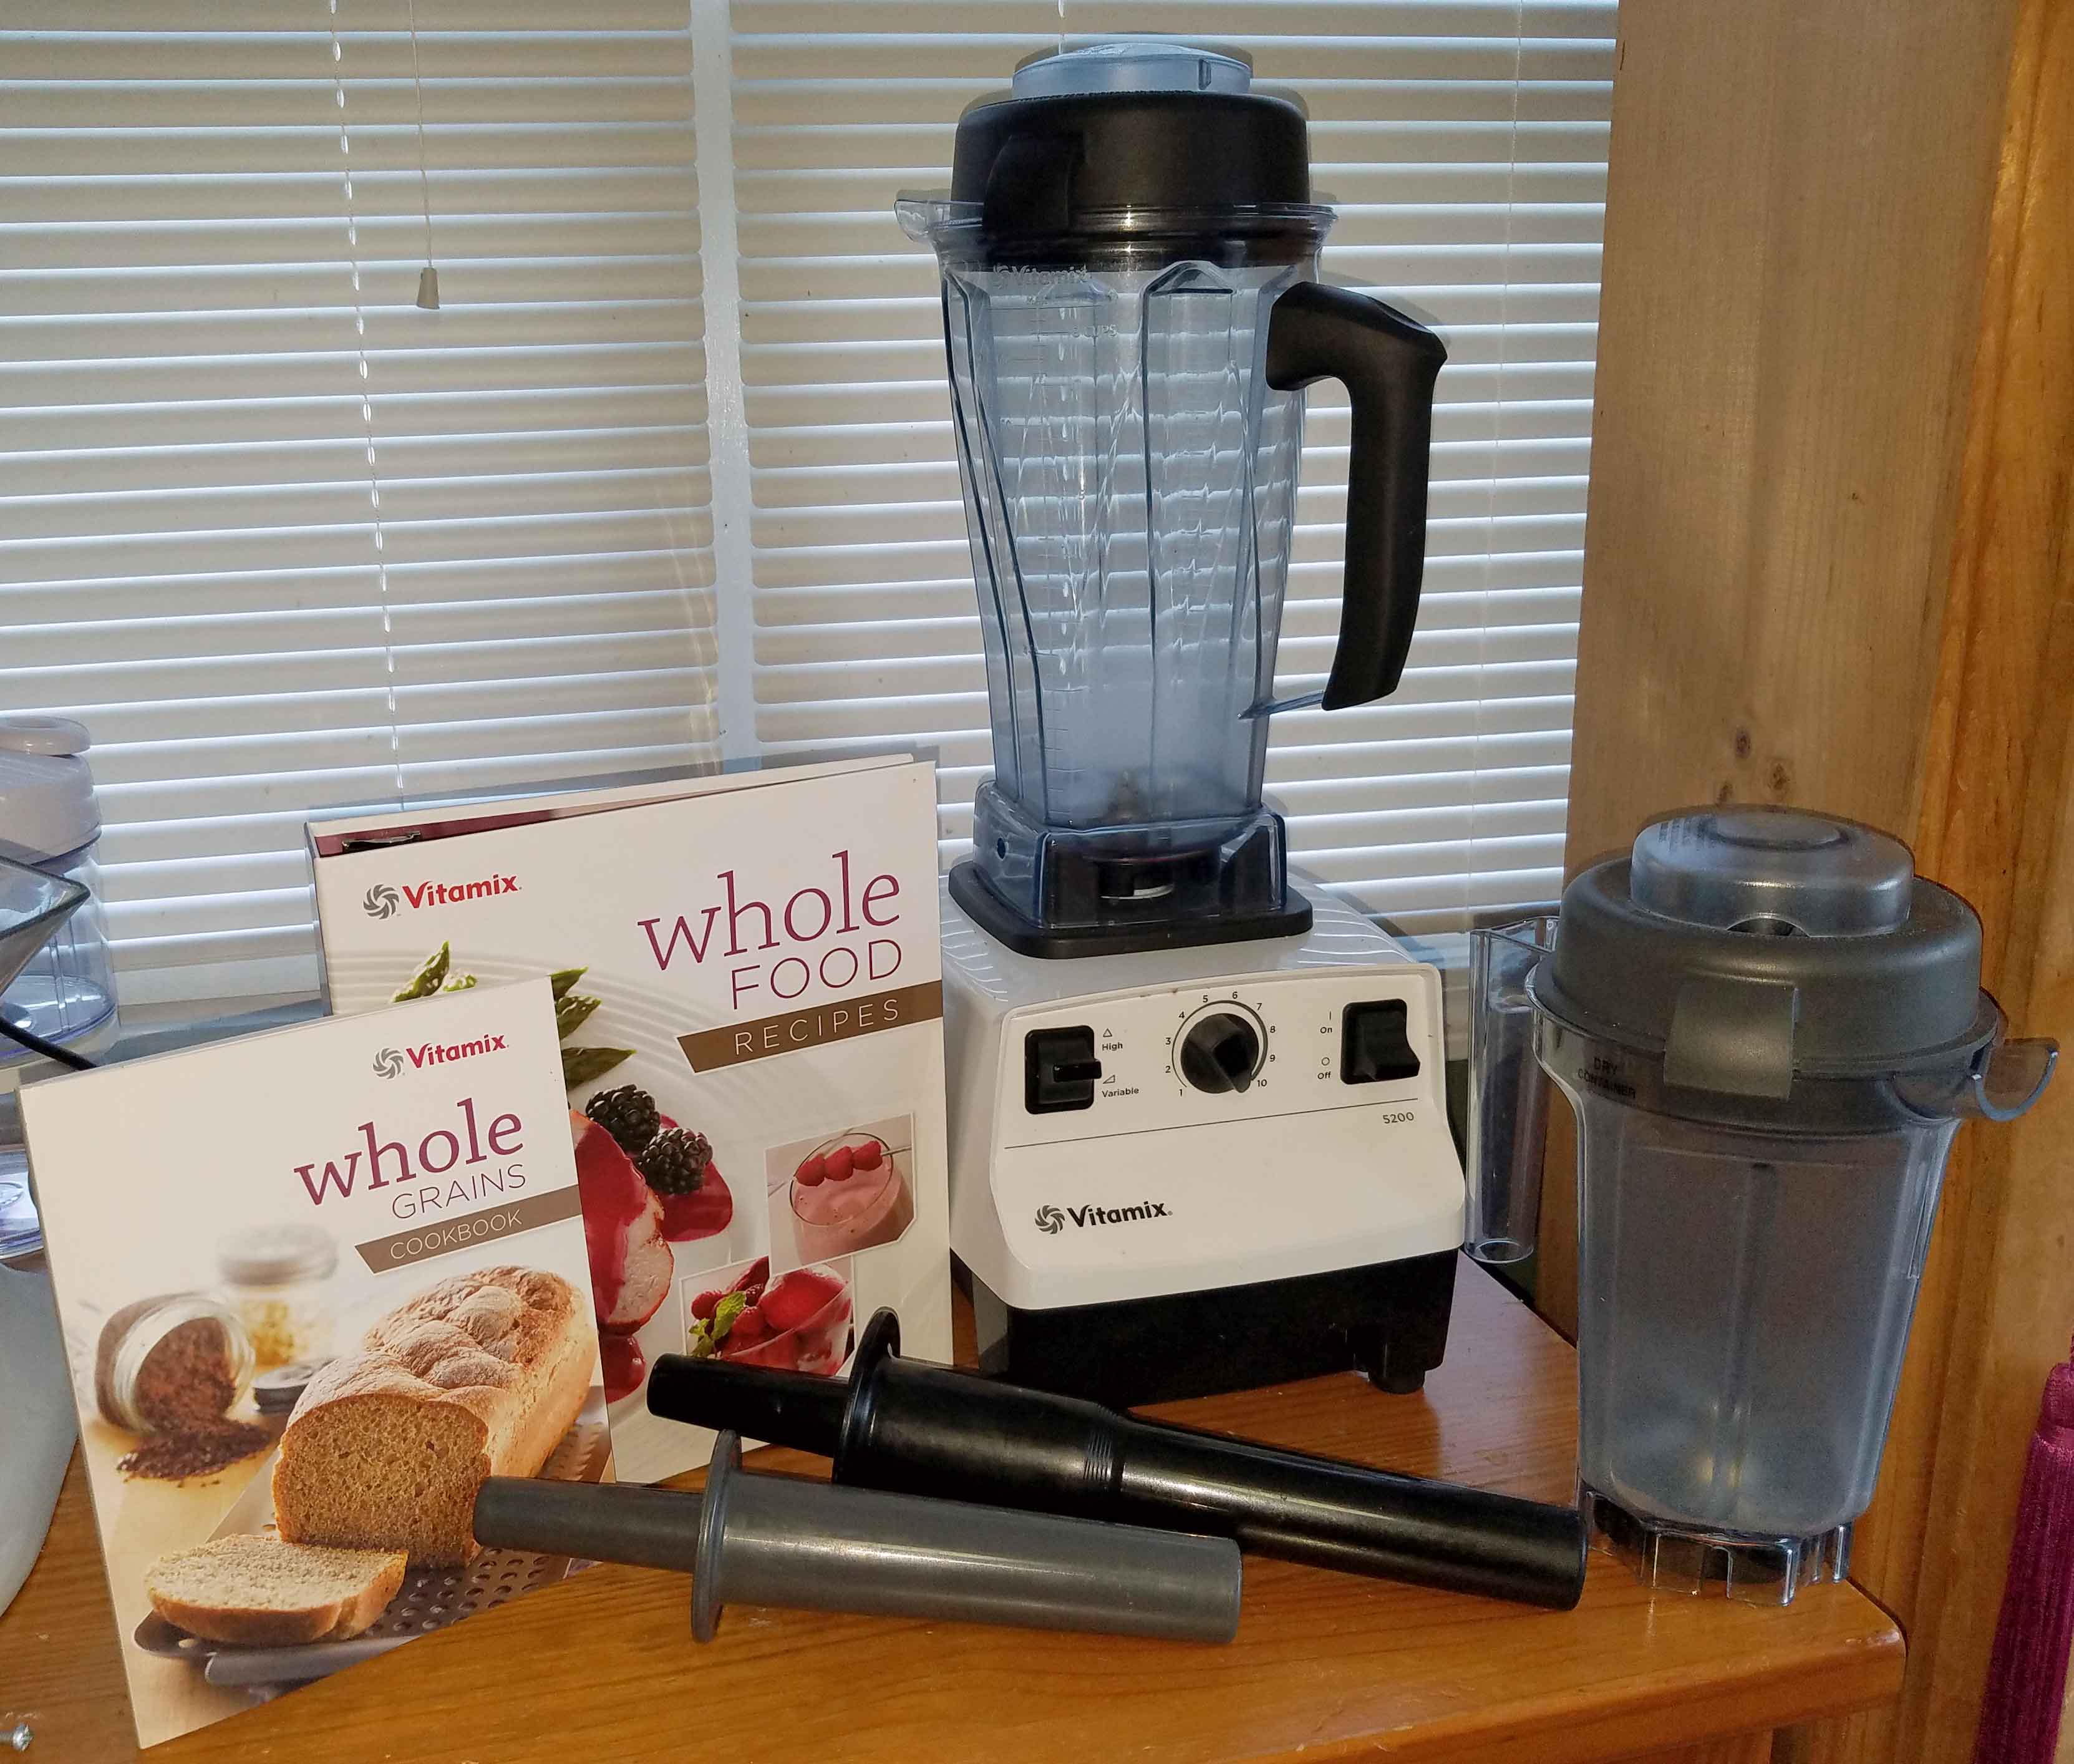
I’m still in the final throes of planting season. This means that if it’s daylight, I’m pretty much outside, unless I’m too exhausted and/or my legs are in too bad shape to keep going without giving out (long story, some other time), in which case, I’m not cooking stuff either. So you all get to benefit from a product review of my Vitamix blender. I know I discussed my Vitamix in my post on Money, but I wanted to do something more in depth. I purchased the Vitamix 5200 Blender Super Package from Costco (no affiliation, or even a membership) almost three years ago. The package currently includes:
Introduction to High Performance Blending book – includes over 60 recipes
Whole Grains Cookbook – it does include some gluten-free foods
Accelerator tool – used to assist the blender in processing thicker mixtures
64-oz. wet-blade container with stainless steel hammermill and cutting blades
32-oz. dry-blade container with stainless steel hammermill and cutting blades designed for dry-grinding
One 2-part vented lid with measurements for the 64-oz. container – this is the “wet” container
One 2-part vented lid with measurements designed for the 32-oz. container – this is the “dry” container for grinding grains, beans, rice and soybeans into fresh flour
7-year warranty
Mine came with a different book which is the Whole Food Recipe book, which appears to have a lot more recipes than the books that come with the current version of the package.
As I said in my post on Money, it’s the the one thing that honestly I probably should have bought from day one of food allergy life. If you’ve never used a high performance blender, compared to the $20-30 blender you had in college, or even the $100 Cuisinart that that I killed in a year, this thing is like driving a brand new loaded Porsche after driving a 15 year old Subaru that you had to add two quarts of oil a week, that you could put several fingers through the rust holes without touching the sides of the holes, and that the brakes that were so bad you had to downshift to slow down because the rotors were gone.
I use the Vitamix wet container to make cashew milk and I don’t even have to soak or strain any more. I may soak for 20 minutes just to make sure they are clean, but the Vitamix obliterates the cashews so thoroughly that you don’t have to soak them. Same thing with rice milk. Cooked rice and water, and no more straining, the rice is just completely gone into the rice milk. I also use the wet container to make salad dressings. It emulsifies vinaigrette so well that it stays together in the fridge for days with the help of a little mustard (I use my home canned). I use the wet container to make hot sauces, it does an amazing job of pureeing peppers and other ingredients into a beautiful, consistent sauce. (See Chili Lime Hot Sauce, Cilantro Lime Green Cayenne Hot Sauce, Pink Grapefruit Sarit Gat Hot Sauce, and Curry Spiced Hot Sauce) I also use the wet container to make batters, such as for deep frying or when I make my “fake eggs” from garbanzo bean flour and black salt. If I use a bowl and a whisk, it takes me forever to get the lumps out. If I just throw everything in the Vitamix for a minute, it’s perfectly blended. I also use the wet container to make fruity drinks from my safe vodka or rum, my homemade jams, and ice. The wet container can almost make blackberry seeds in jam disappear when you put it in a fruity drink. You can also make soup in it, as the blender will heat the contents if processed long enough, although I’ve not tried this feature.
I use the dry container to make my own flours from dried beans and rice. You can literally throw a cup of dried black beans into the dry container blender, and presto, black bean flour. I use these flours to do gluten free baking. I’ve also used them in cooking, and I’ve used ground soy bean flour to make my own corn free tofu. I also use the dry container to make my own chili powder, curry powder, and garam masala from whole spices and dried chilies. I often toast the whole spices, let them cool and then grind them in the dry container. I also grind my own whole spices into powders as needed. (Powdered spices are often cross contaminated or have anti-caking agents which are a problem.) I often break up cinnamon sticks into pieces and grind the pieces into powder. I also grind my own cumin seed, cardamom, and coriander. Once my spices are ground, I use the wet container to make my own spice blends. I make my own versions of Montreal steak seasoning, taco seasoning, Greek seasoning, Italian seasoning, and so on. (See Another DIY Spice Blend Round Up: Greek Seasoning, Prime Rib Seasoning, and Italian Seasoning, DIY Spice Mix Day: Montreal Steak, Creamy Peppercorn, Singapore, and Full of Flavor Herb Mix, and Taco Beef for Tacos, Salads, and Nachos)
I know that there are other high performance blenders out there, but I haven’t used them. If you don’t need to grind your own flour, you might want to choose something not quite so high test. But that being said, this blender is in my top three for kitchen tools I would bring to a desert island, presuming that the desert island had electricity.
Let us know if you’ve got suggestions for blenders for our readers in the comments!
So when your food allergies cause you have concerns about anti-caking agents or you’re just tired of hearing about stuff in the news where food is counterfeited, or cut with unknown products (think the cumin and peanut problem a few years ago), you end up grinding your own spices. I end up grinding spices in two ways: just a when I need a bit for something, and when I grind larger amounts for to have on hand for convenience. For example, I don’t generally use ground coriander. But when I make pastrami, I need some for the rub, and I’ll grind a couple of tablespoons or so. In contrast, I use chili powder all the time. Making chili powder is a process, as I toast many of the ingredients and whole dried peppers first, then let them cool, and then grind them. So I tend to make chili powder in large quantities, so that it’s available when I need it. When I’m grinding in large quantities, I’m going to use my Vitamix. That being said, there are times when you just need a bit of something and it isn’t enough to grind well in the Vitamix.
I had a KitchenAid Coffee and Spice Grinder Combo Pack before I broke it. I liked the idea of it having two spice grinding cups, but coffee cup was only good for grinding coffee, and I had a Krups already that I liked so I didn’t use it for coffee. The mechanism to attach the cups to the motor was not designed well, and had rubbery fins that spun the blades. Which easily ended up degrading if you didn’t get the cup attached right and then it would only grind for a bit before the cup detached itself and so on. Suffice it to say, it was not a grinder built for people like me in mind.
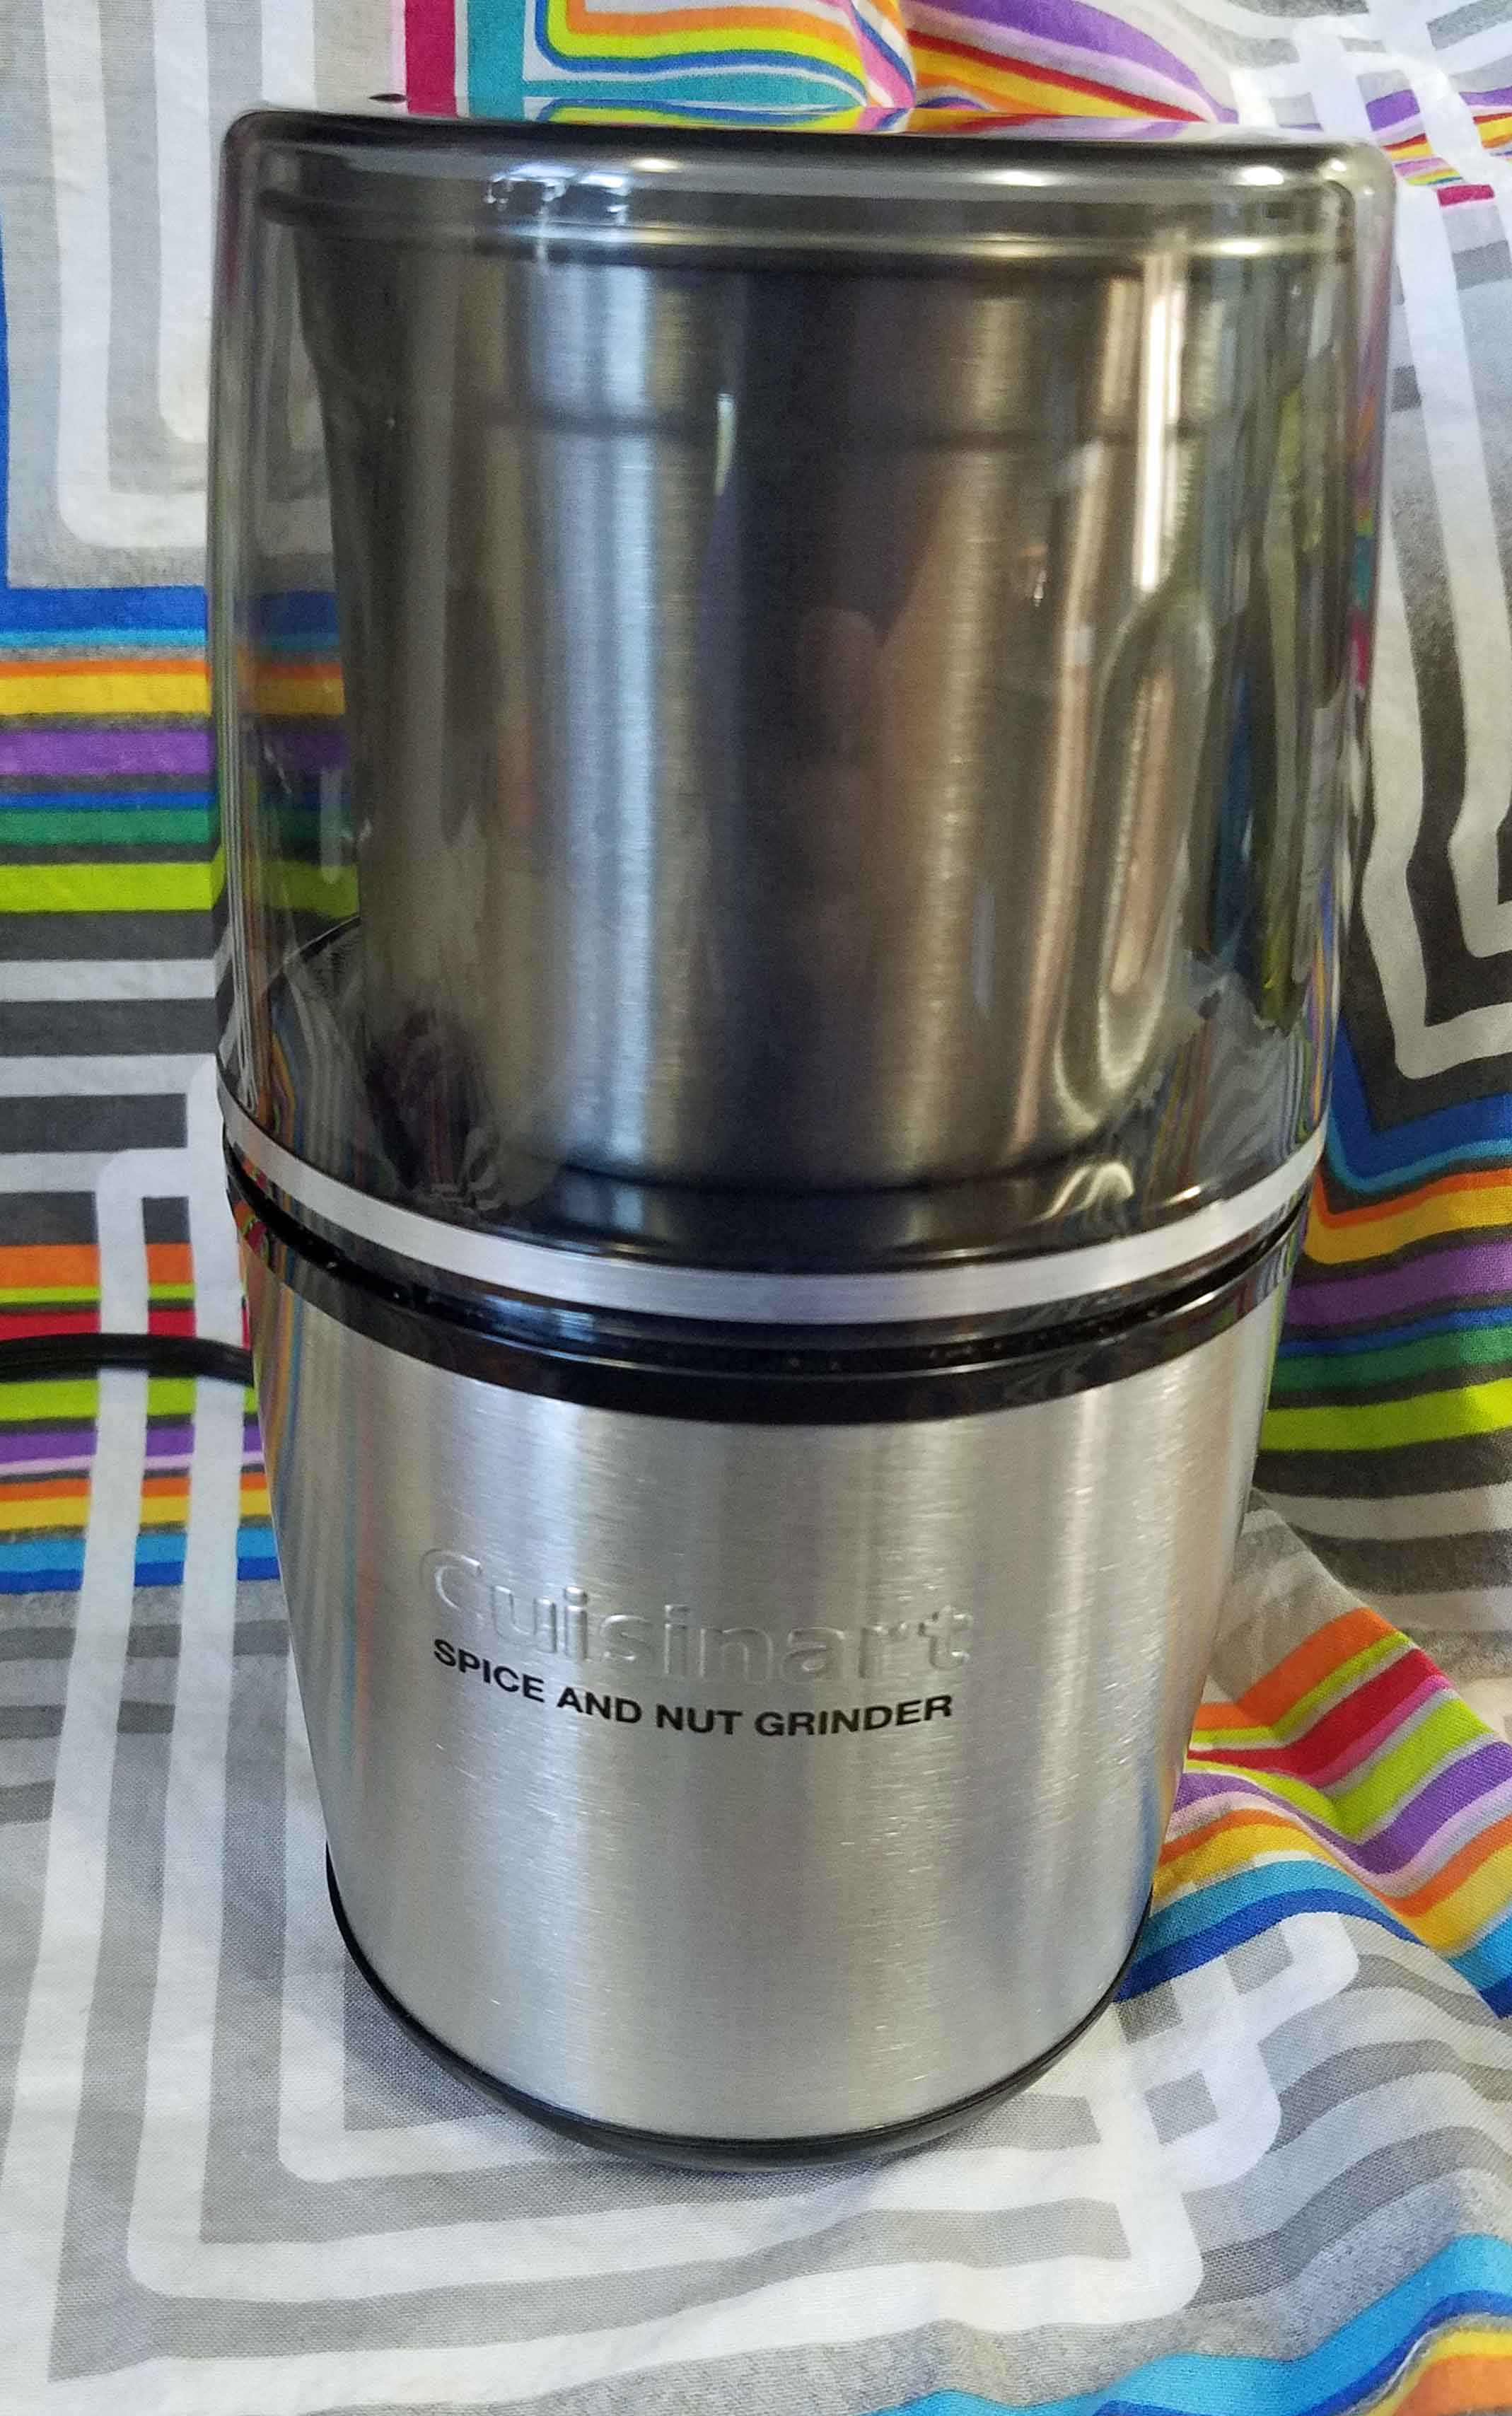
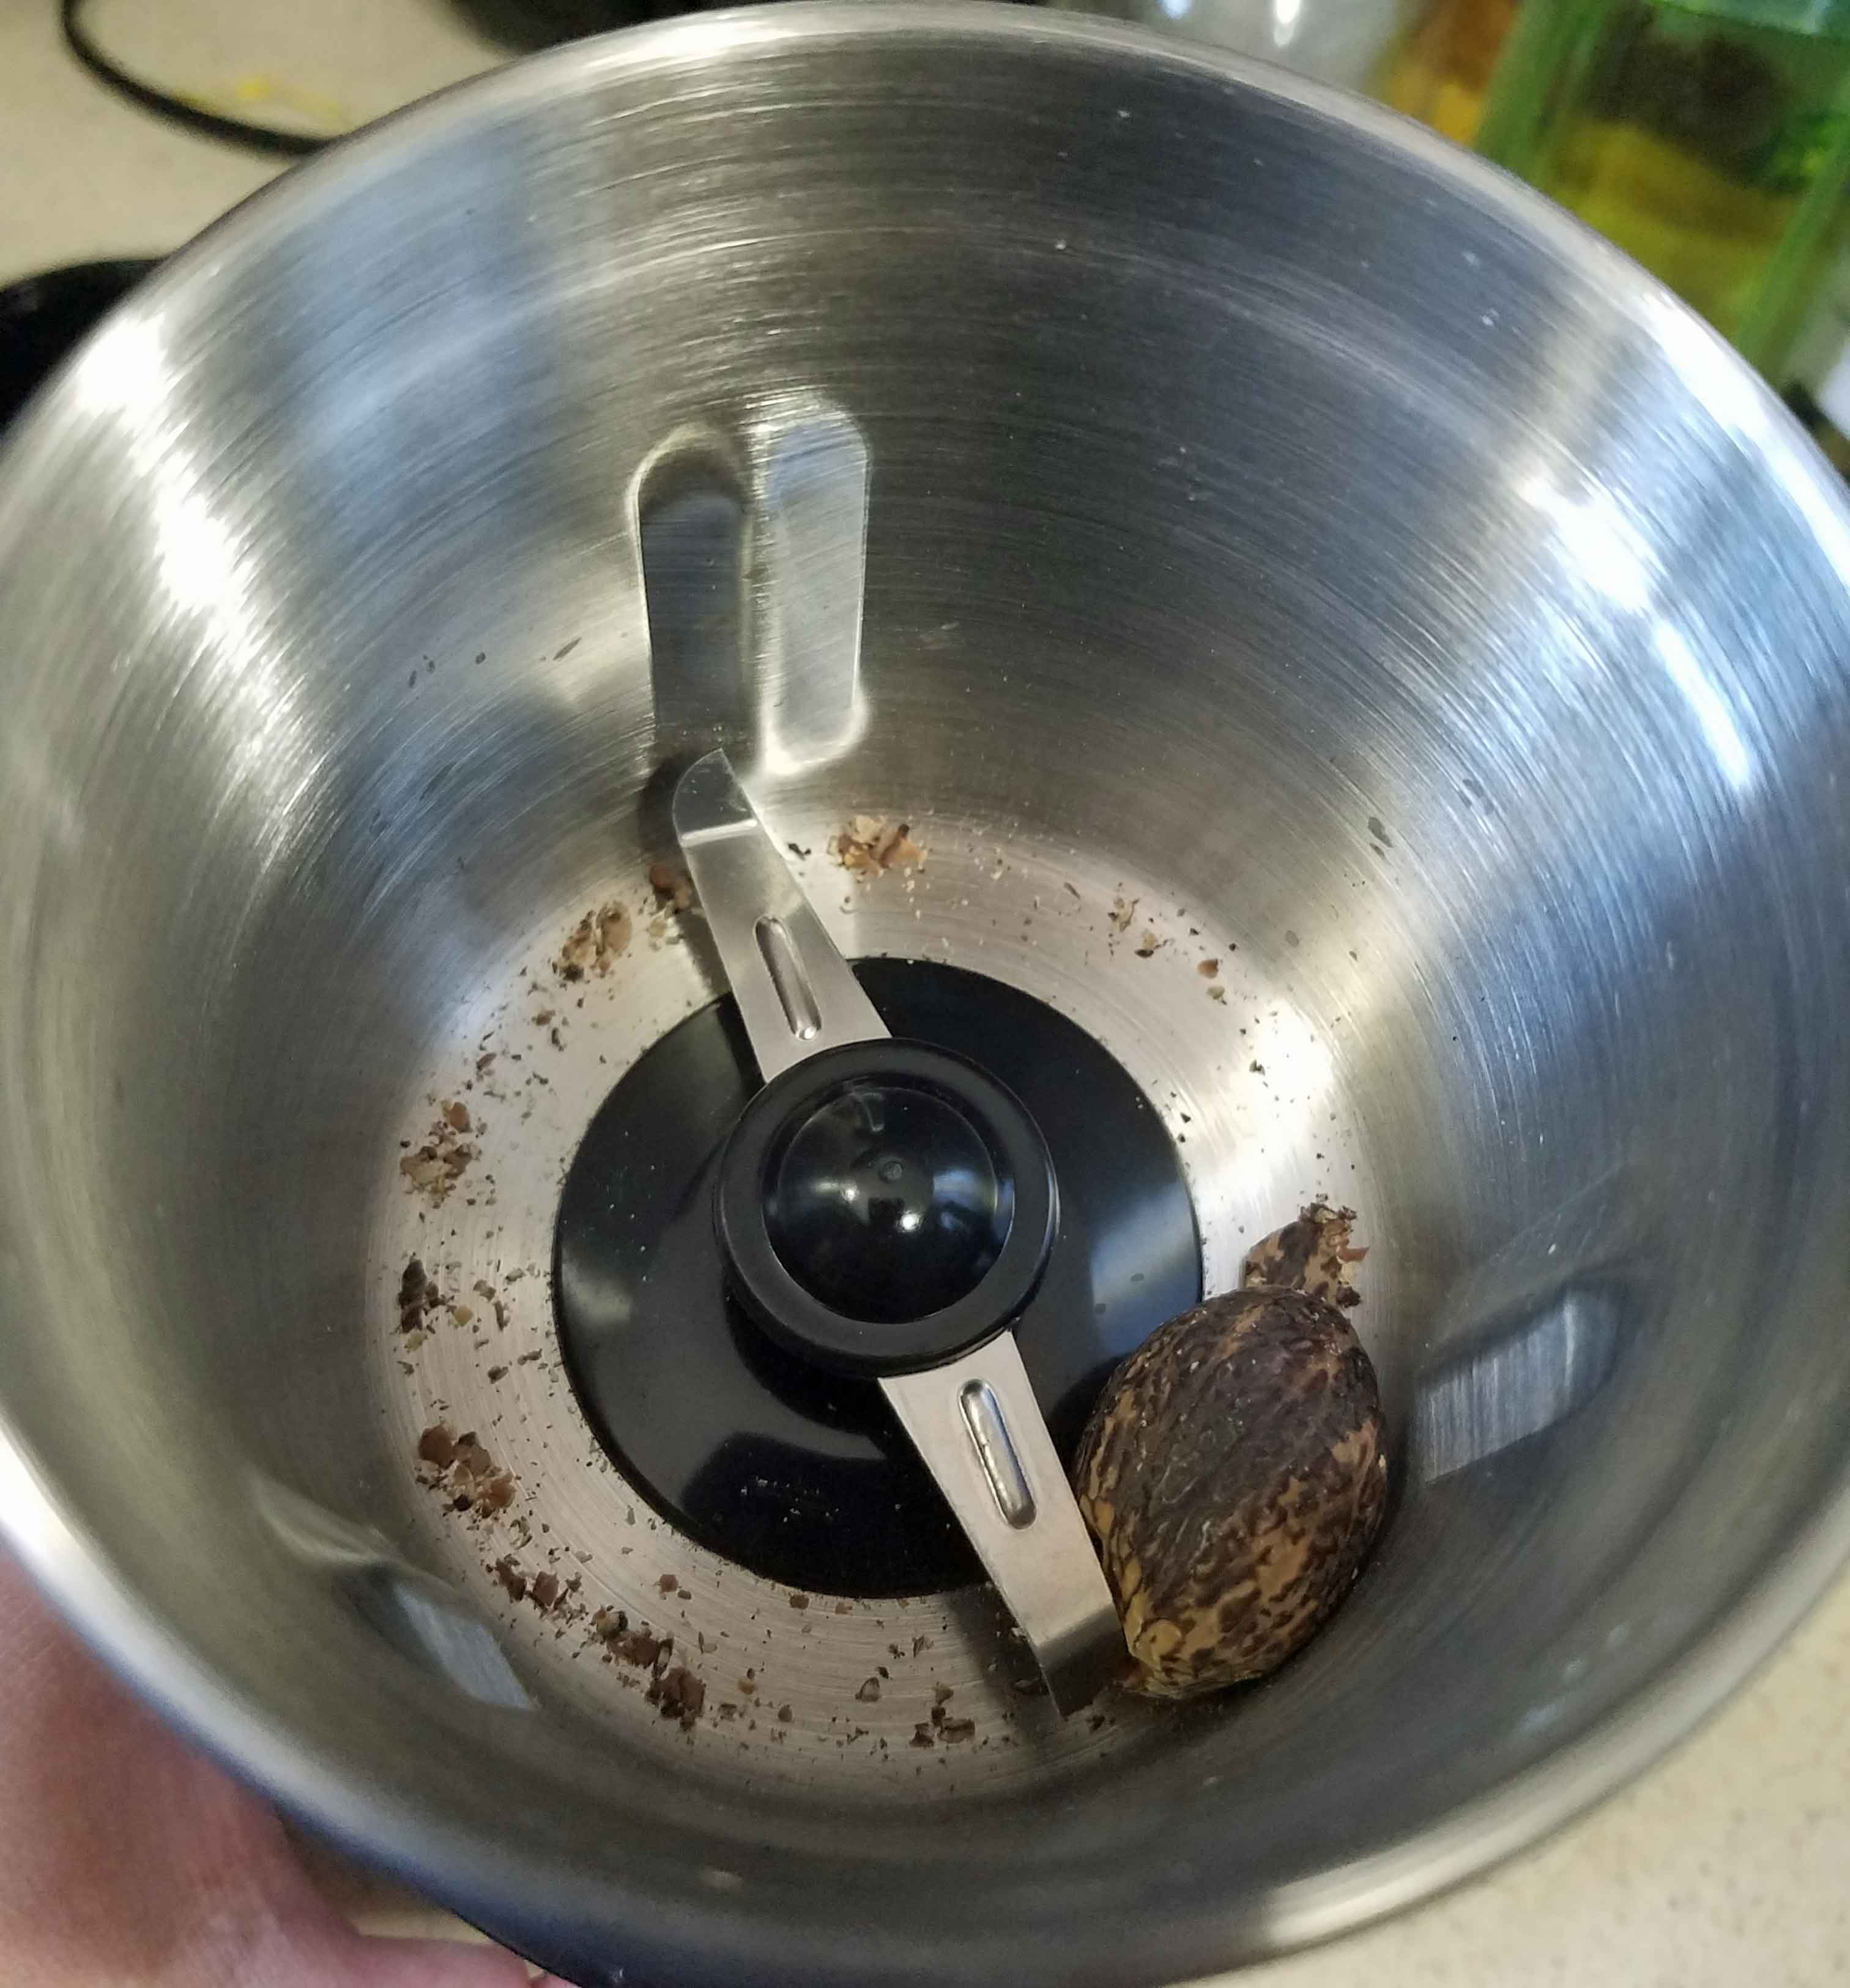
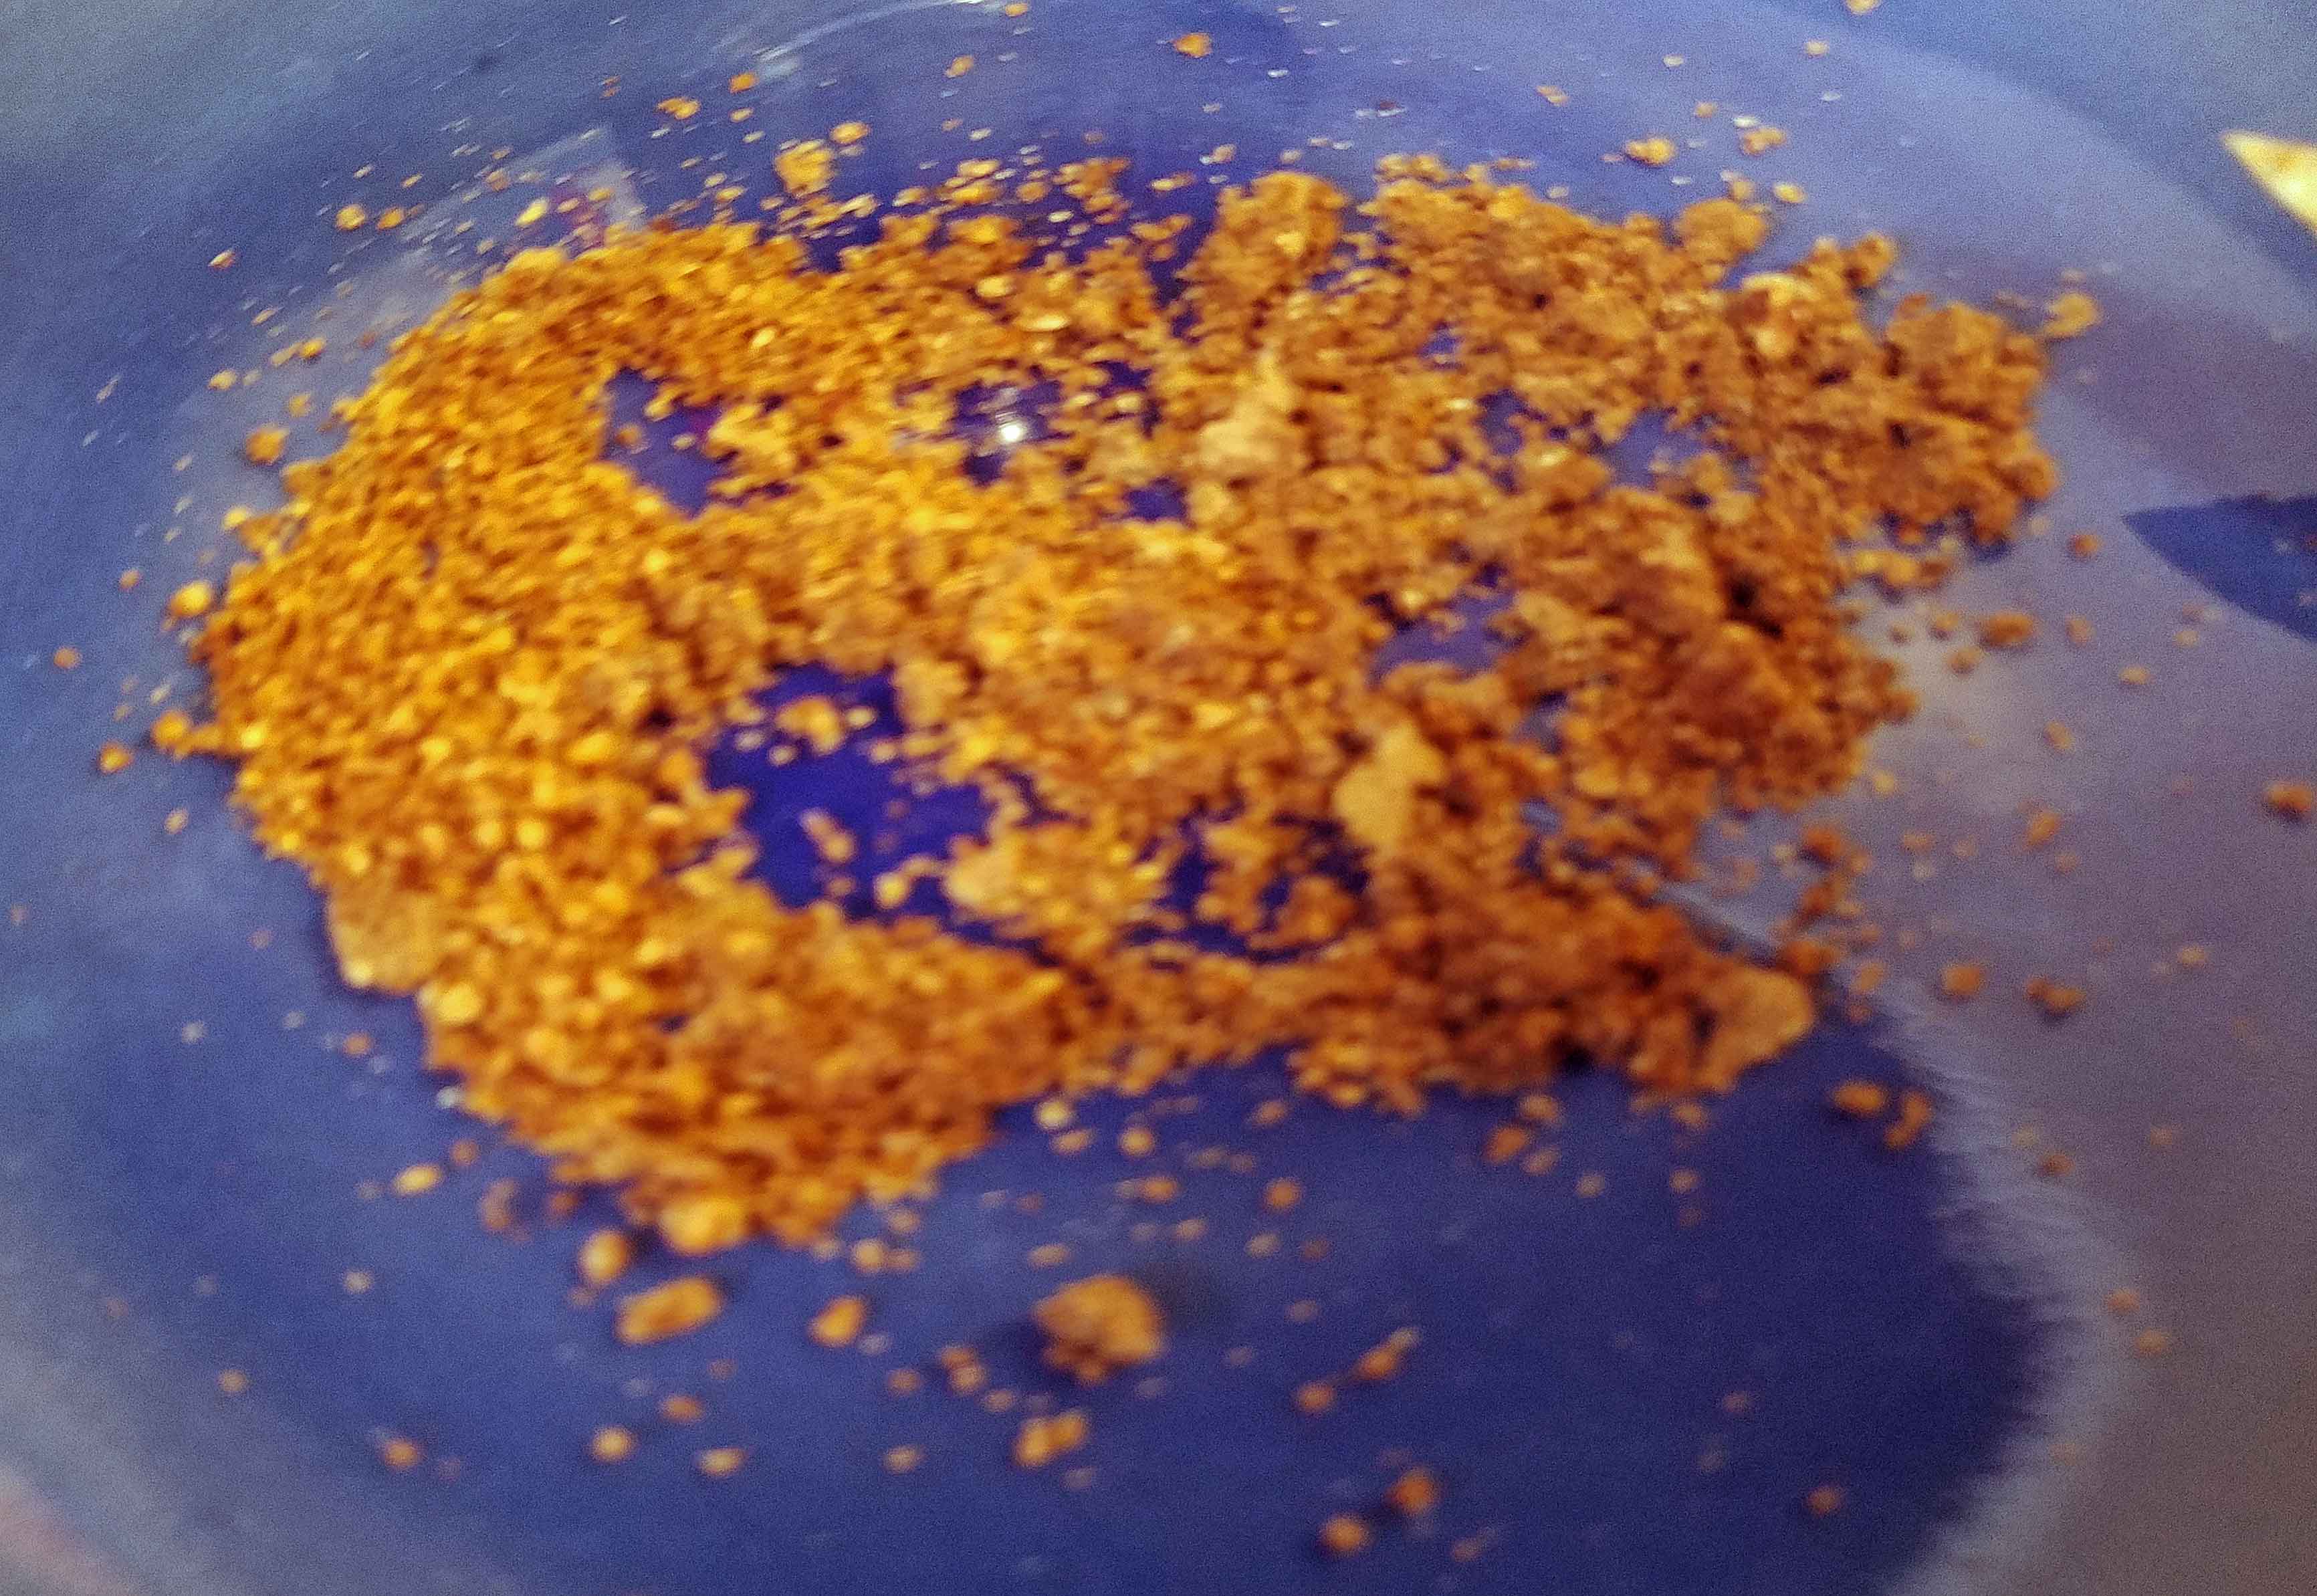
Once I killed the KitchenAid, I decided that I’d look for a different grinder this time. I ended up with the Cuisinart Spice and Nut Grinder – Model SG-10. Supposedly you can grind a whole nutmeg into a powder. It does, sort of. It ended up being more of a paste, and the large piece of nutmeg kept getting stuck on the cutting blades. I would have been surprised if this had actually worked well though. I think I’ll stick to my microplane grater for nutmeg.
Nutmeg before grinding
Nutmeg after grinding
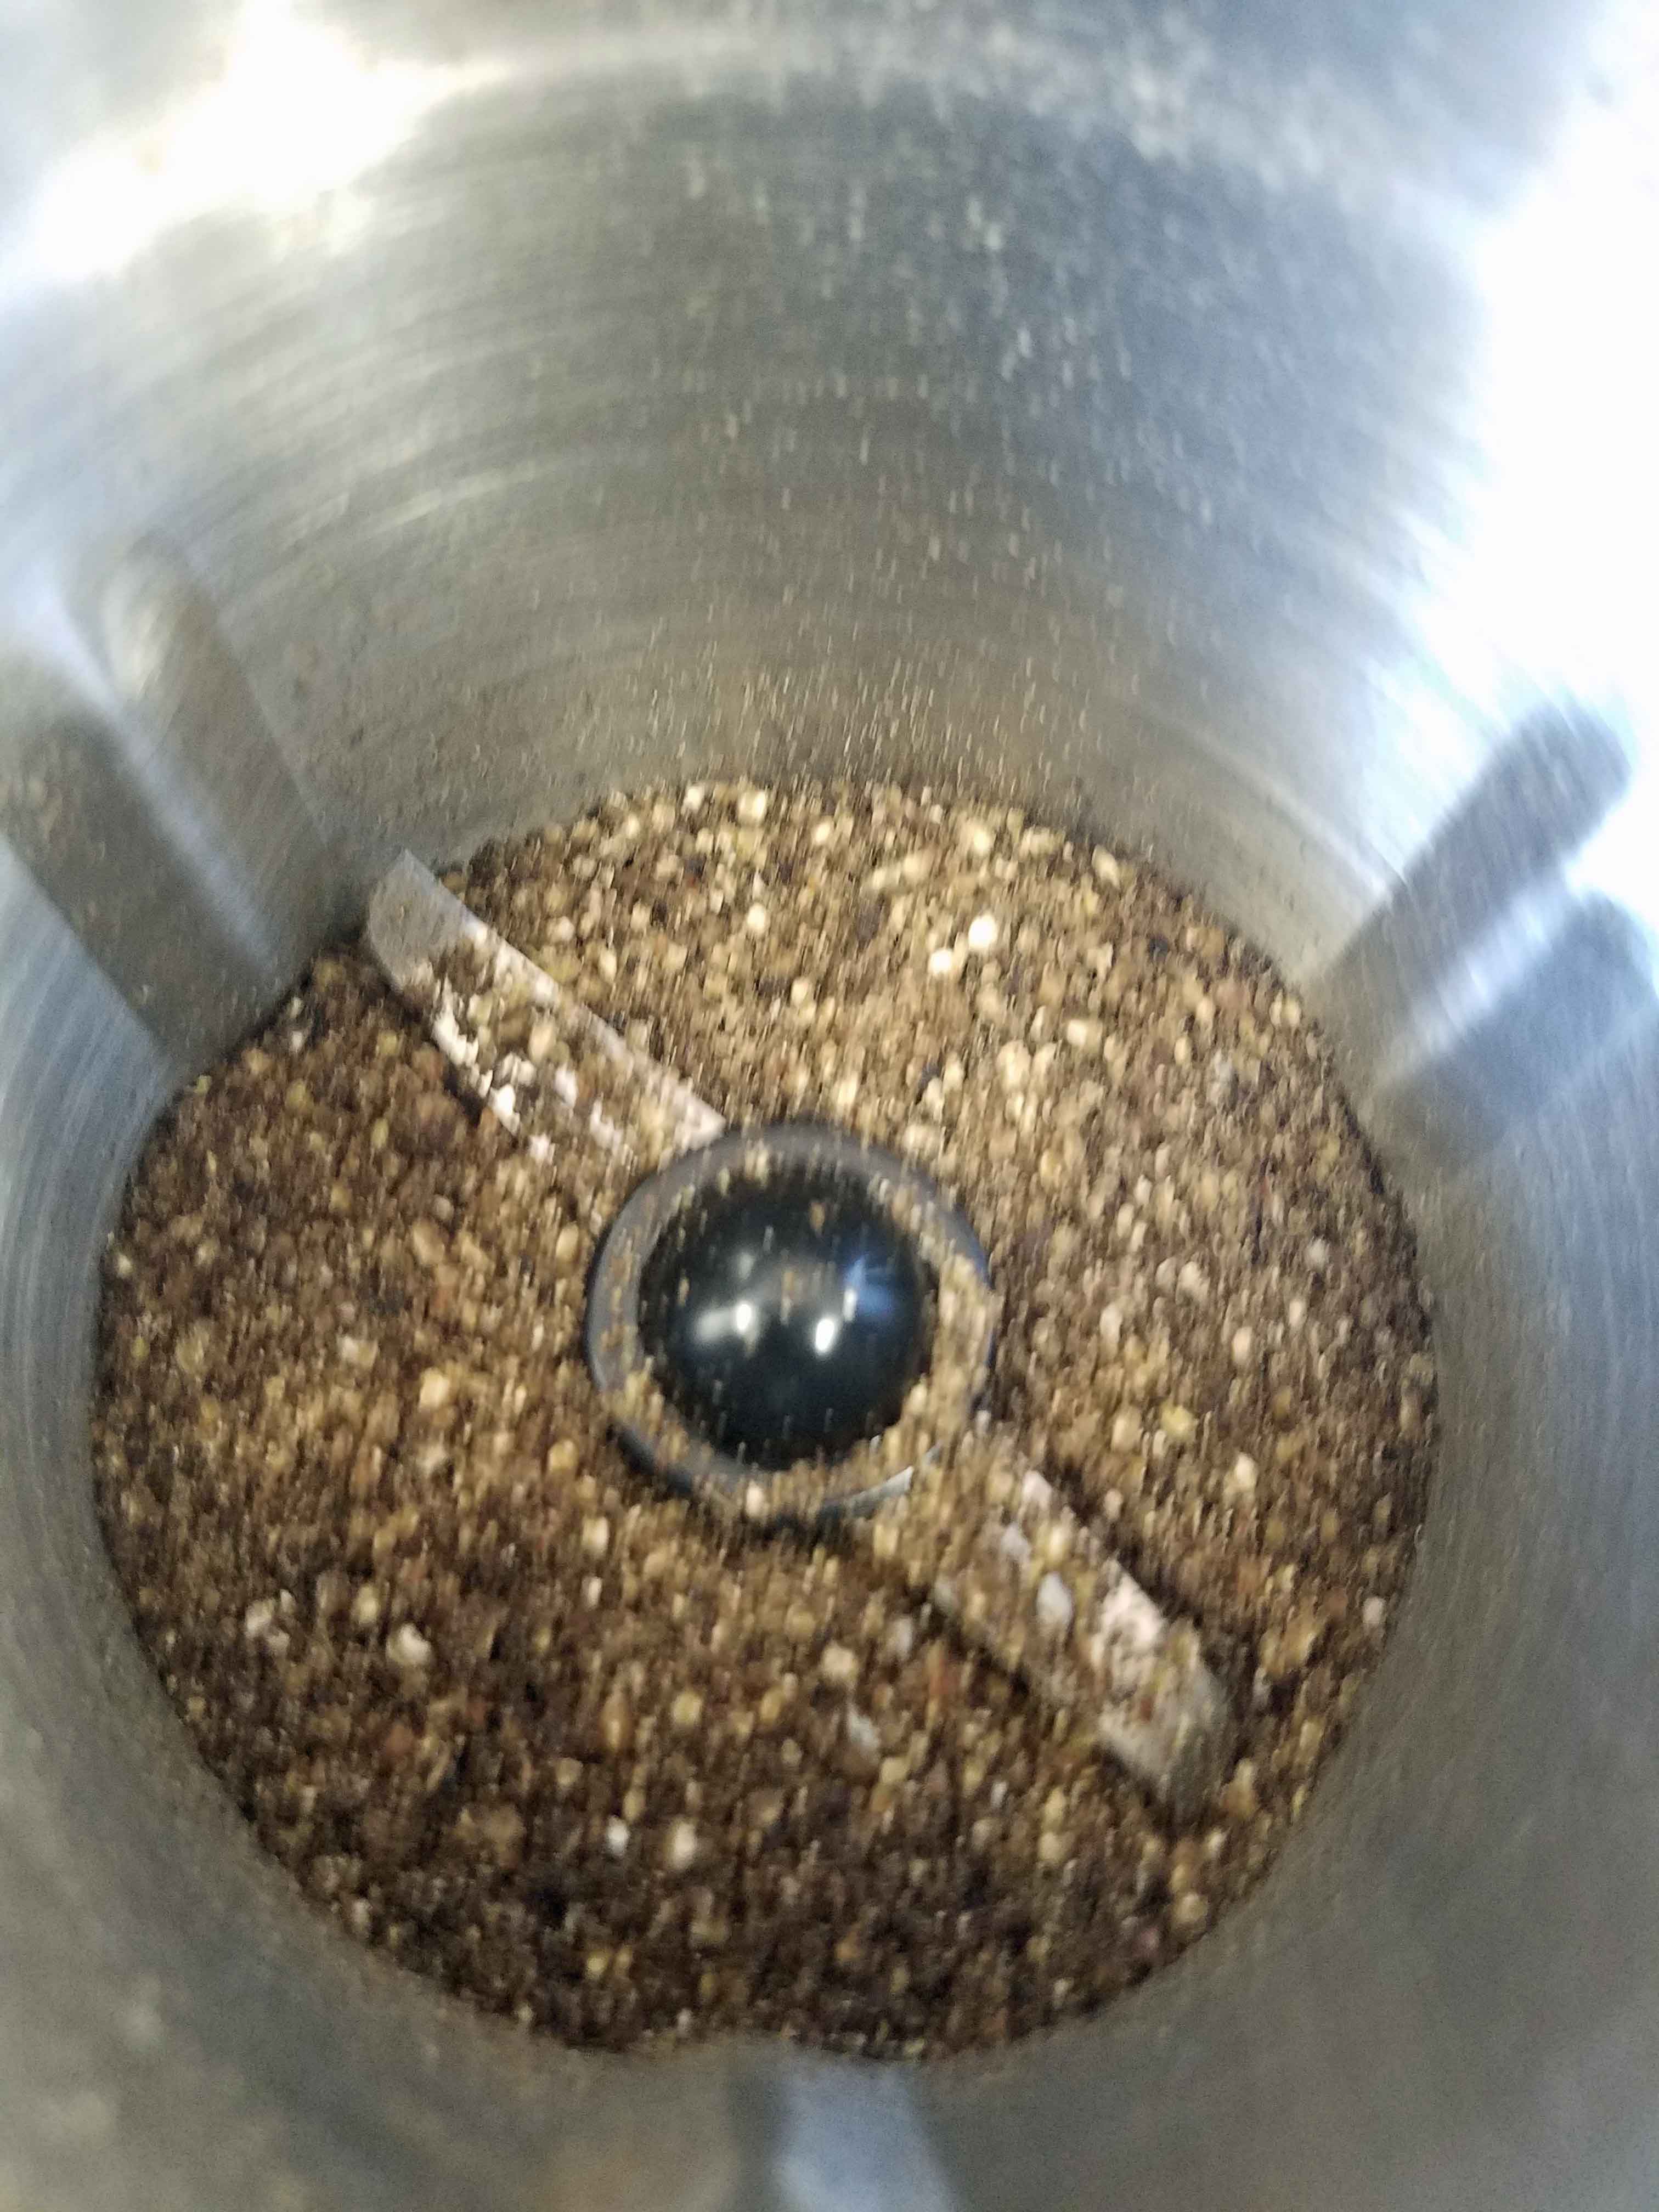
Next I tried two tablespoons of black peppercorns. It did a respectable job.
Ground Black Peppercorns
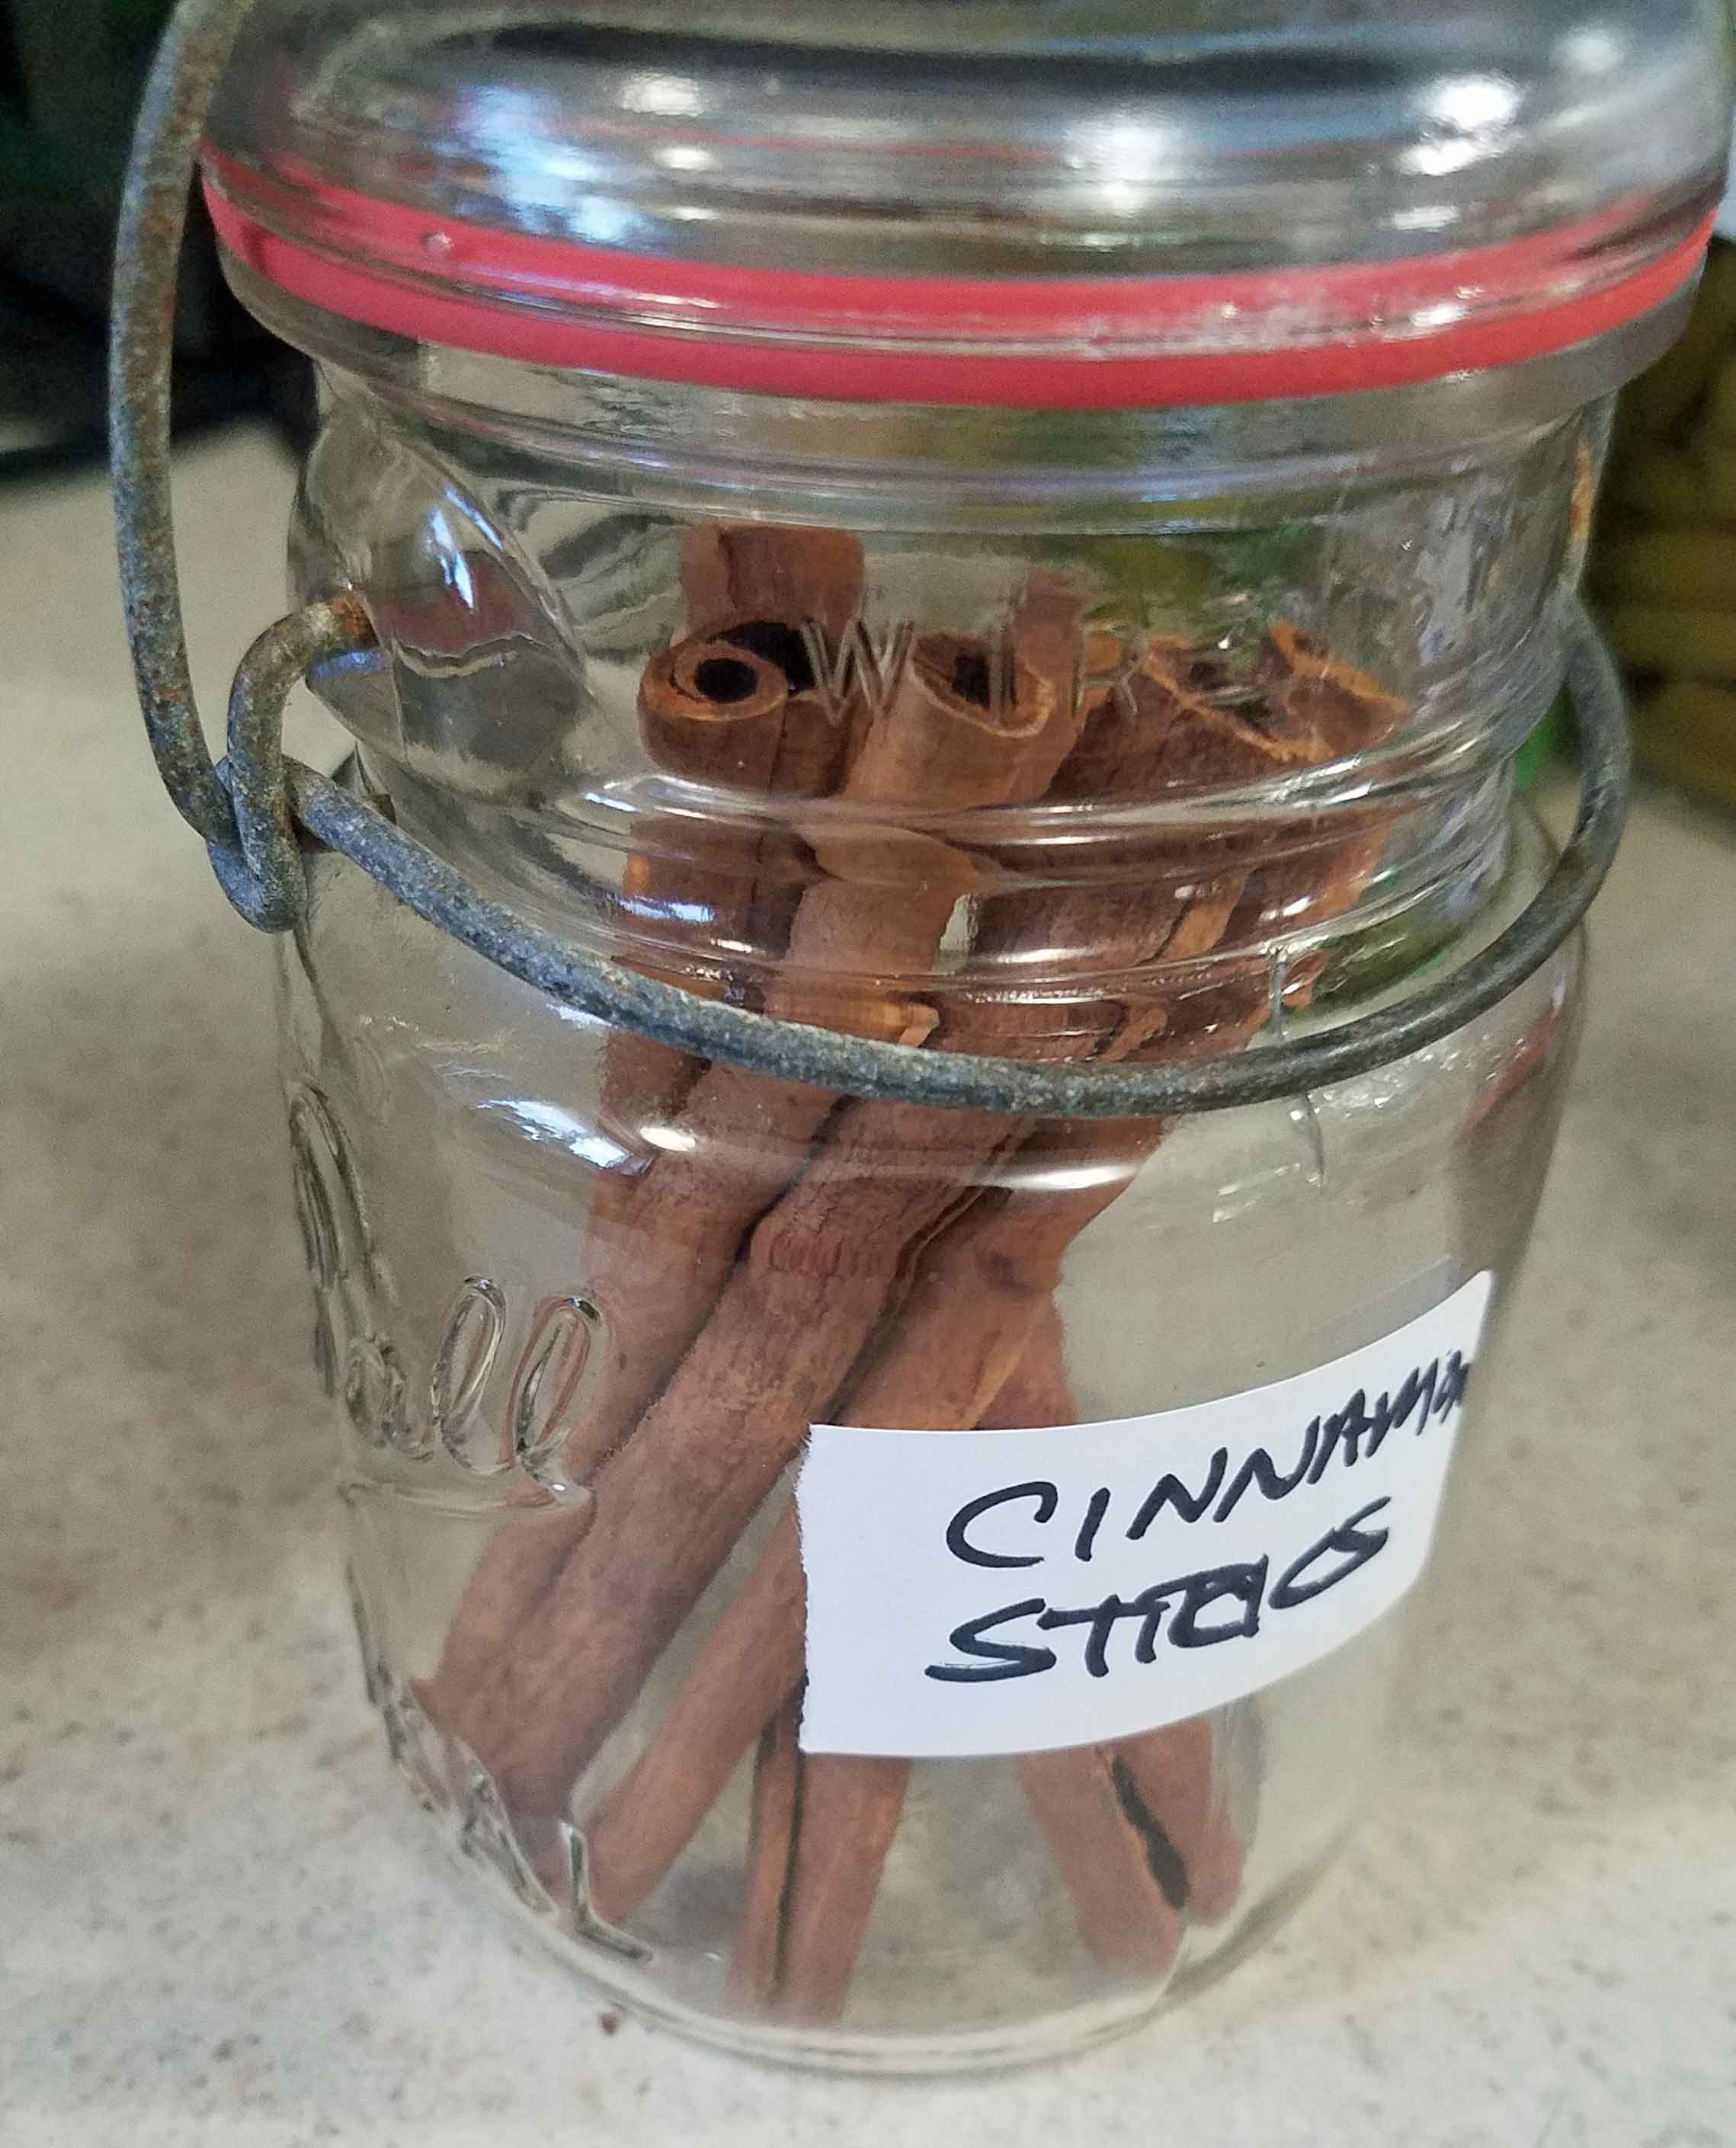
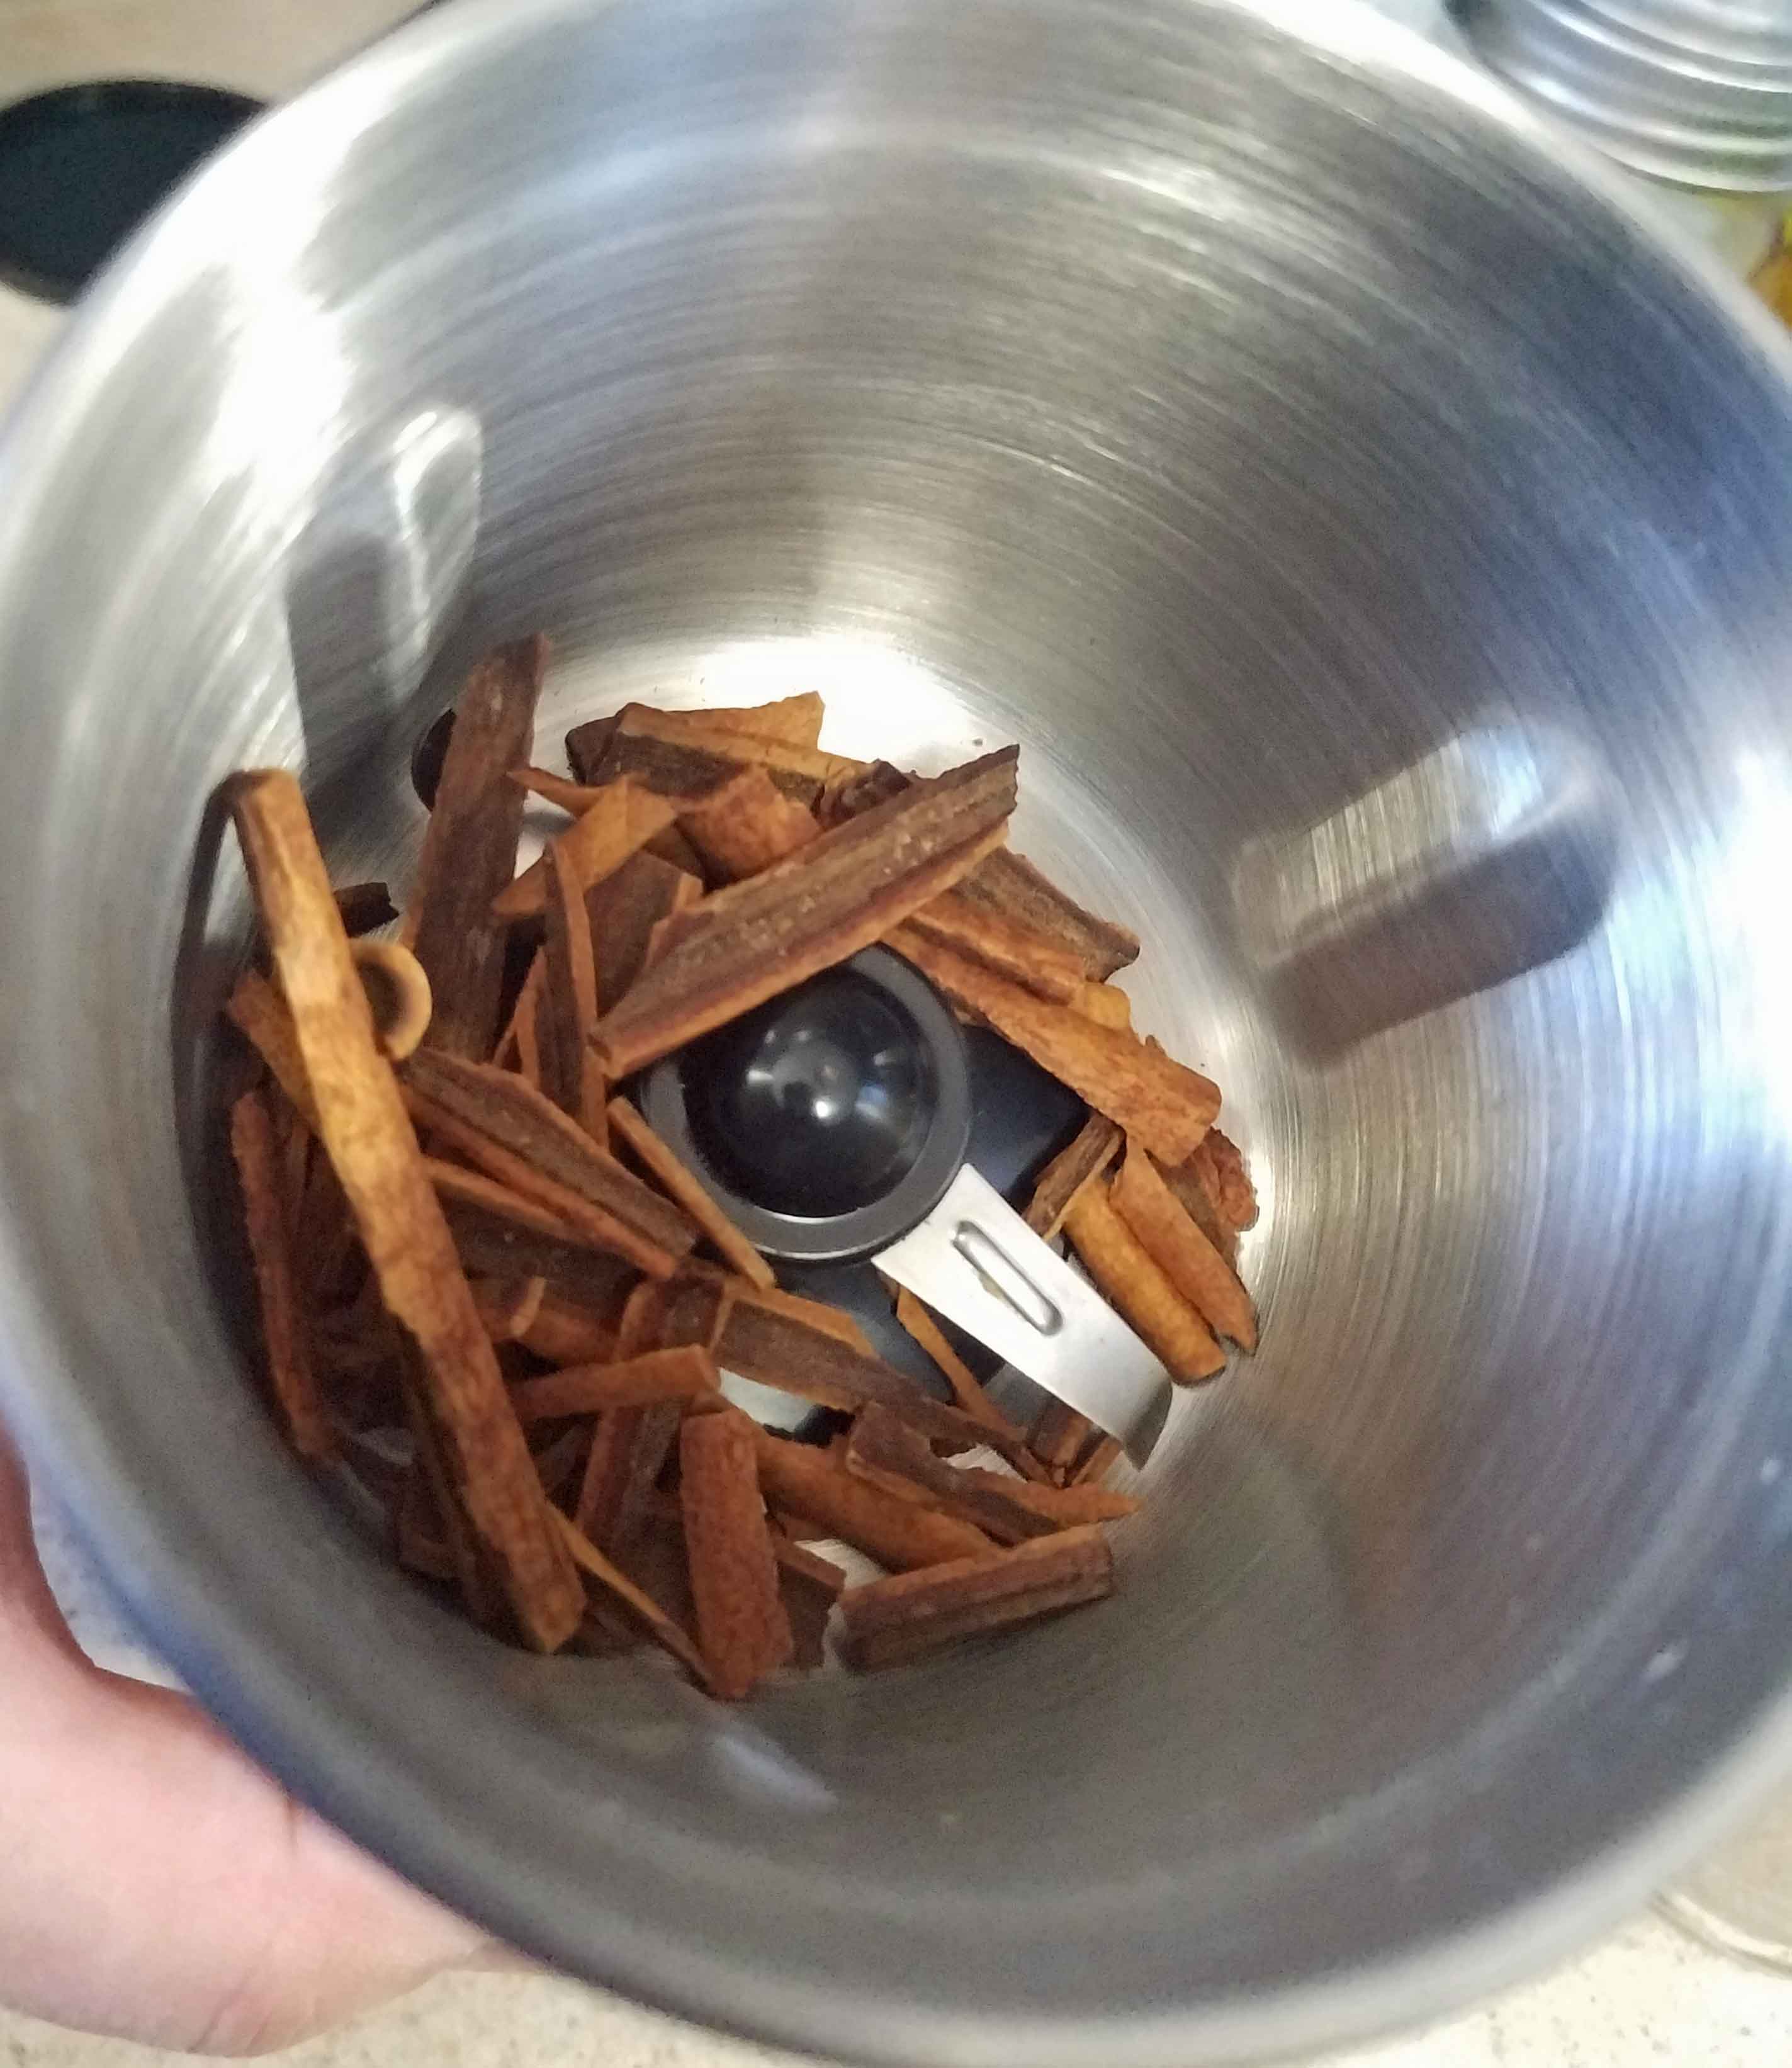
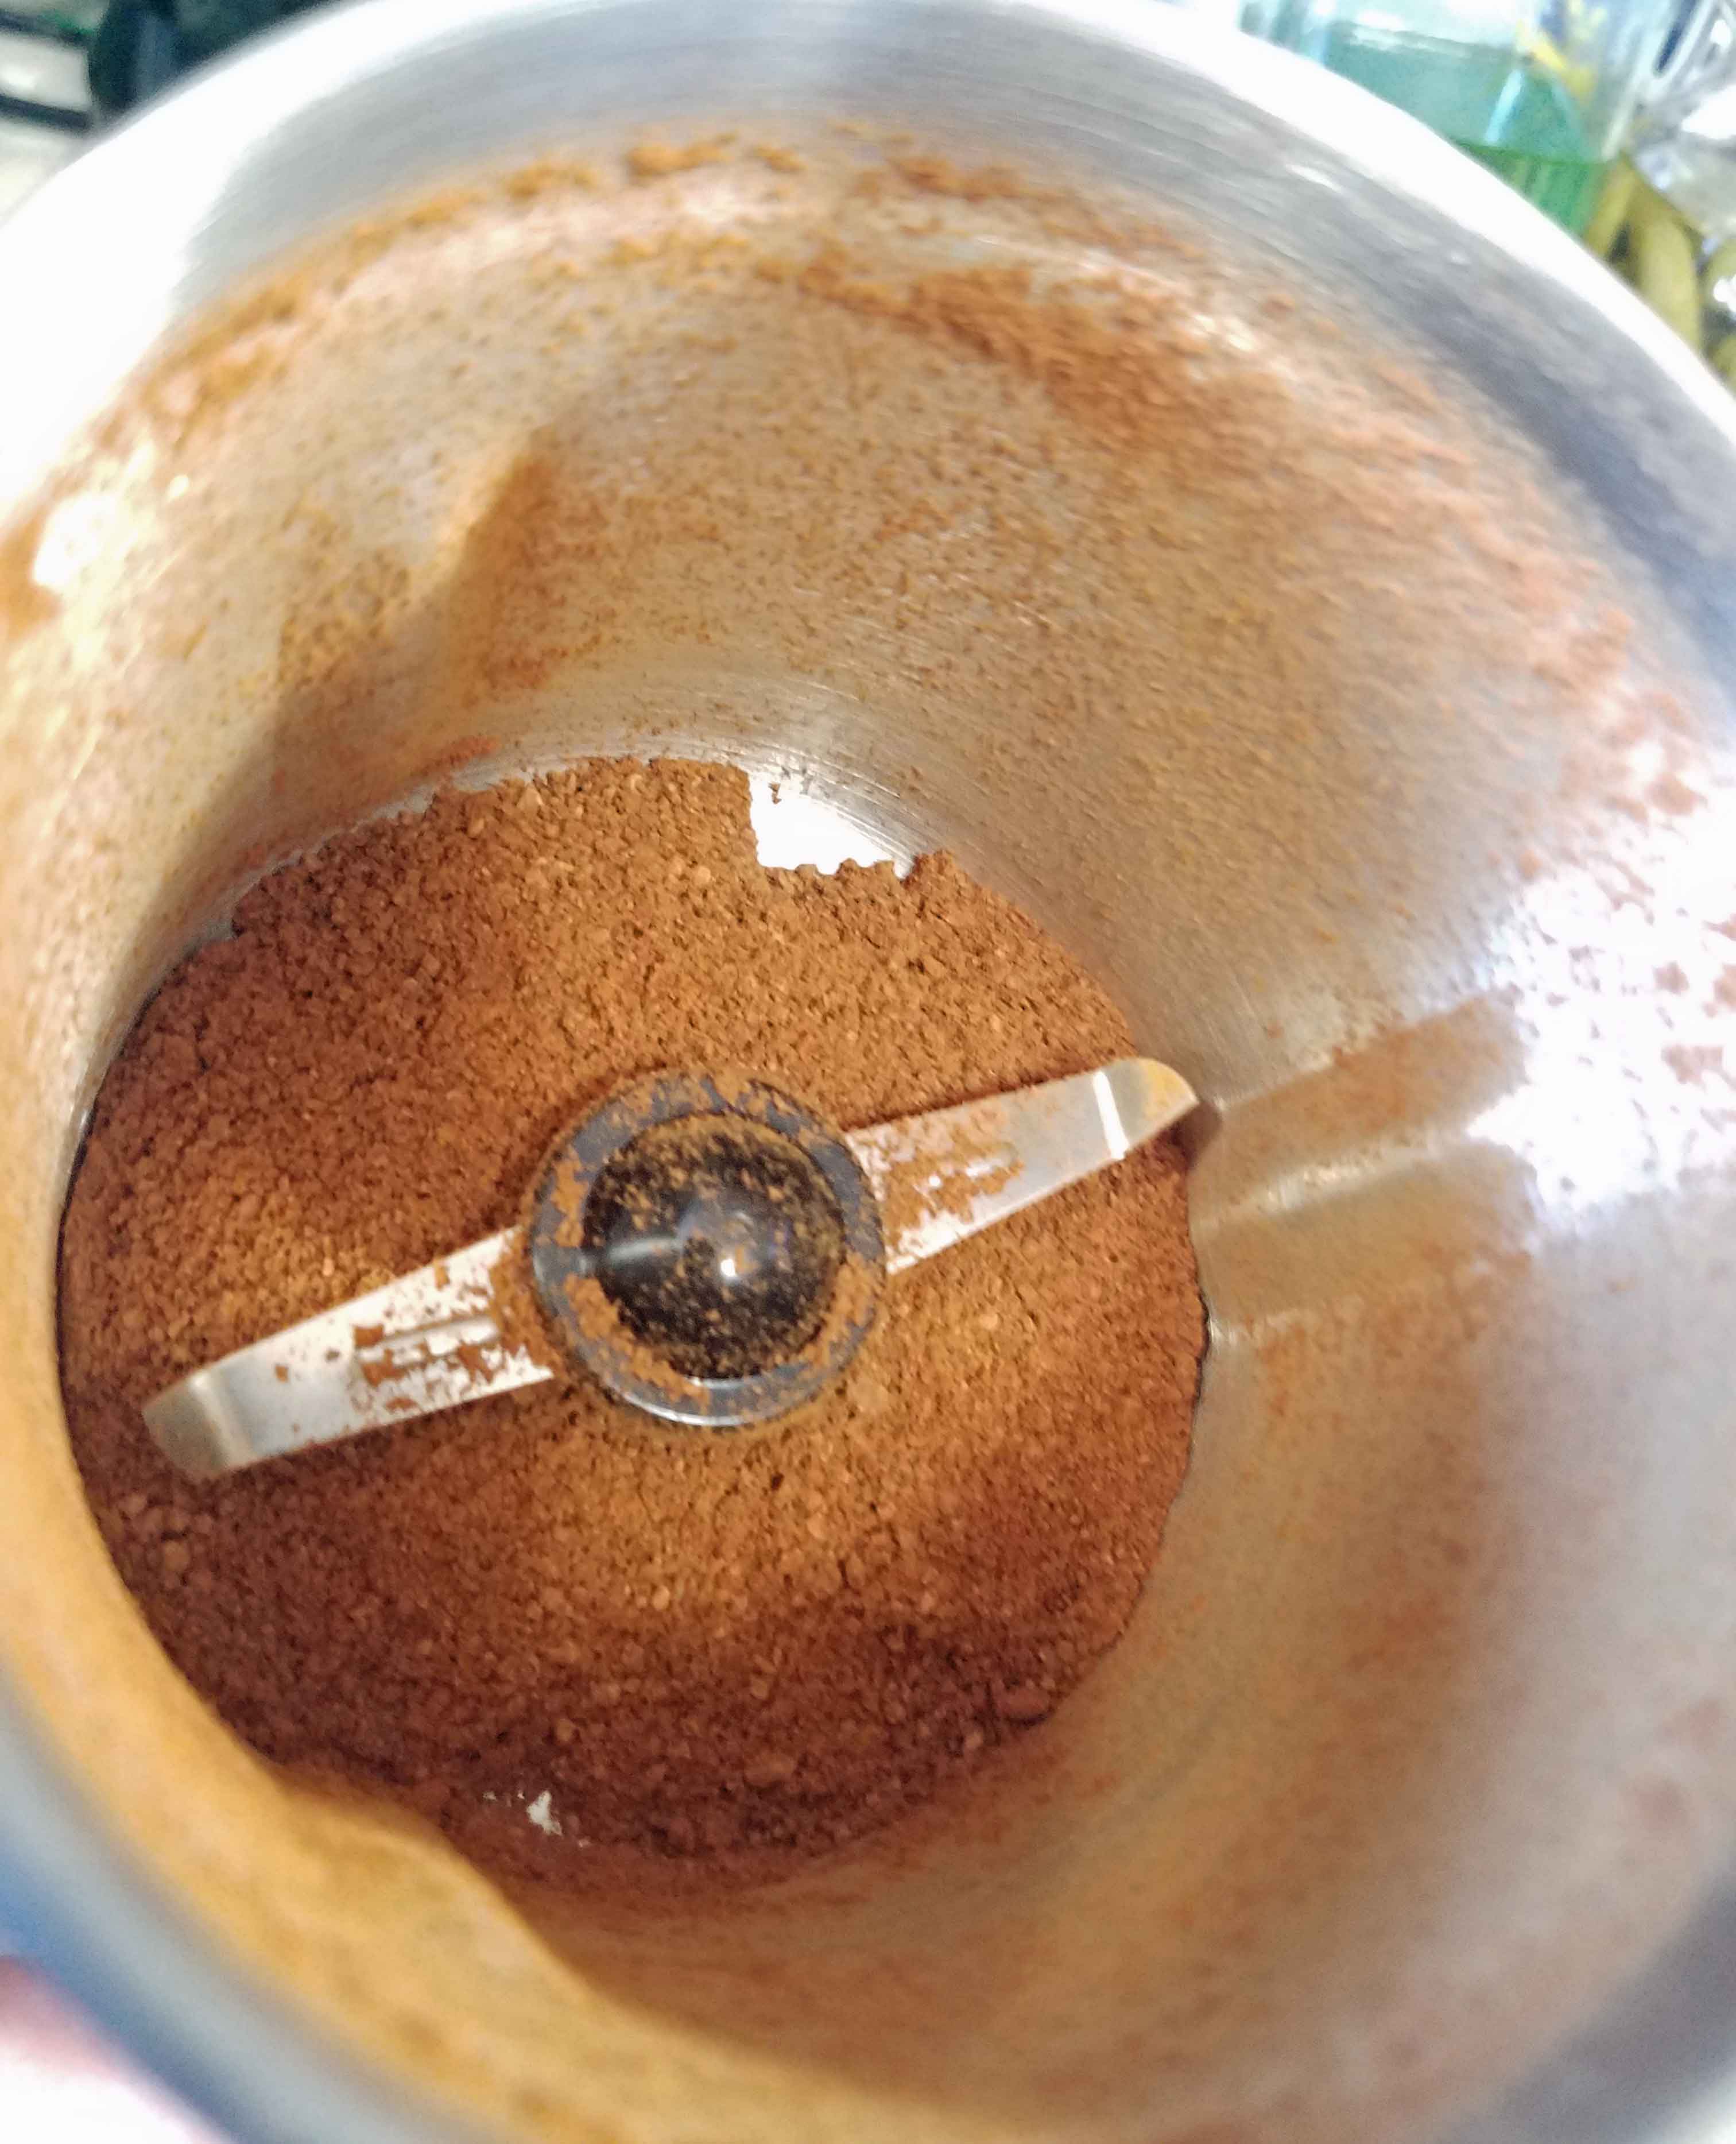
Then I did two cinnamon sticks, broken up into pieces. Again, not too bad.
Cinnamon Sticks
Broken cinnamon sticks
Ground Cinnamon
I like that the size of the cup is larger (half a cup capacity), but I’m not sure about the drive mechanism on it. I guess time will tell as to whether I manage to break it or not. I also note that a little bit of the spice dust gets on the lip of the base and in the base, although this was a problem with the KitchenAid as well. As of yet, I haven’t been wowed with any spice grinder/coffee grinder that I’ve owned up to this point. If you have a great one out there, let me know.
This is where my coffee grows. Photo taken at Mountain Thunder Coffee, February 2018.
Coffee. Coffee. Blog post. Coffee. Tea drinkers, go here. This post isn’t about the history or origins of coffee, but about making one great cup each weekend when mornings suck a lot less. Denise will laugh at the entire idea of ONE cup of coffee, but we do both love it in different quantities. Coffee is great because it’s not an allergen for most people — but drinking coffee out can have its pitfalls — most coffee shops serve treats (gluten, egg, dairy) and milk and nut milks. Coffee can be processed with ingredients that cause some people issues — I haven’t hit those yet, luckily. So here’s my coffee journey.
In 2016, as regular readers of the blog know, I moved across the country to Seattle, a city well-known for its coffee culture. In part, this is climate. I learned to really drink coffee in Oregon, my first foray into the Pacific Northwest, where winters are grey and damp and only a hot beverage will get you through the days. In Eugene, you can’t go half a block without hitting coffee, at least not near the university. Seattle’s not that different, though a lot of the shops are Starbucks. I’ve seen the first espresso cart that came to the city (imported from Italy, it’s now in the collections at the Museum of History and Industry), and every time we get to try a new coffee house, I get a little excited. I’ve become a coffee snob, but that doesn’t mean I’d turn down archaeologist coffee.
For the most part, I’m a simple coffee drinker. I learned to make mochas at my sandwich shop job last century, and while I did not like coffee much, I loved complicated coffee beverages. But I truly love the taste of coffee now, and most days, I want a cup of black drip coffee or an Americano (espresso + water). Occasionally, I like a good almond milk latte, and there’s one place that makes a great cappuccino with almond milk.
But my home coffee game has definitely gotten more complicated. I’ve owned drip brew coffee makers (messy to clean a reusable filter & makes too much) and French presses (terrible to clean). I went through an instant espresso phase (and still keep that around for baking. I don’t drink a lot of coffee, but I need that cup.
I tend to only make coffee on the weekends — in the past, I’d drink coffee at work no matter how terrible it was. (Fun side note, I was banned from making coffee at a former job because I made it too strong). But work now, we have excellent amazing coffee from a local roaster, Pine Drop.
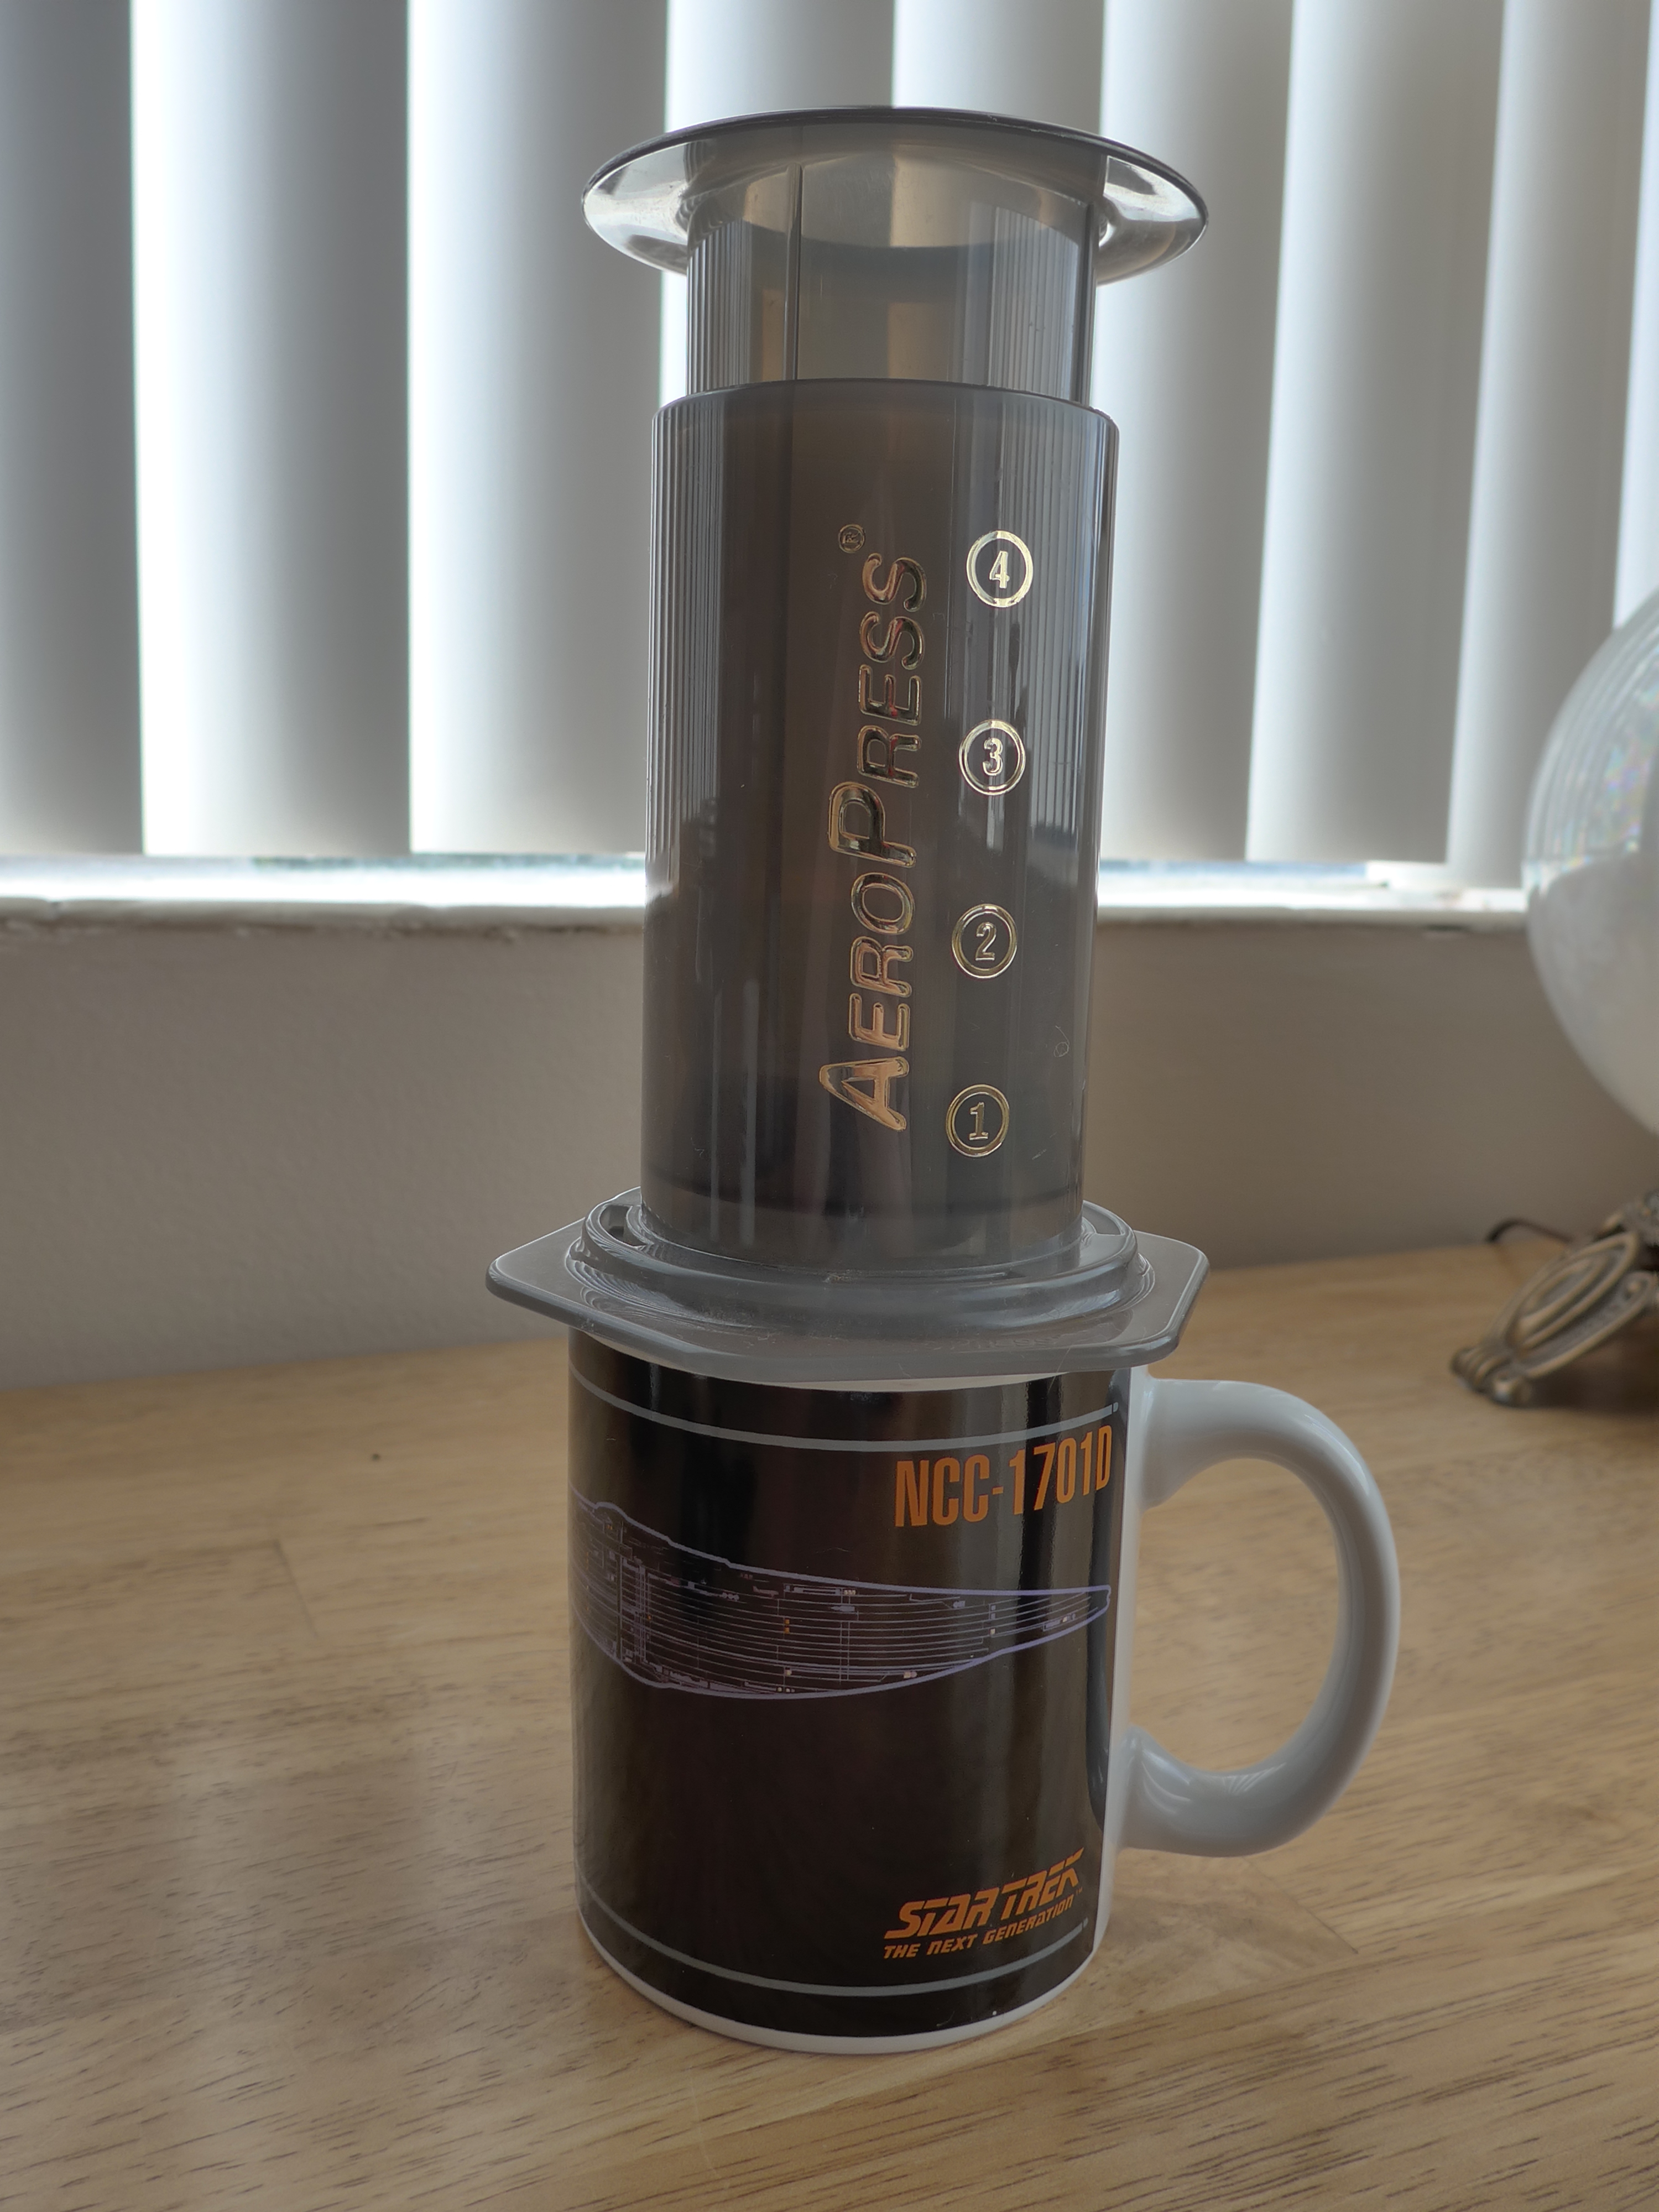
Aeropress. Star Trek mug.
After some research, I decided that an Aeropress might be the best fit for me. This tube system would travel well, and making only one cup means that you’re almost never going to drink cold coffee. Making coffee in the Aeropress feels like a game. Cleaning it is a breeze, as the coffee just pops out into the trash or compost. And the coffee itself is good.
JavaPresse coffee grinder and lovely beans.
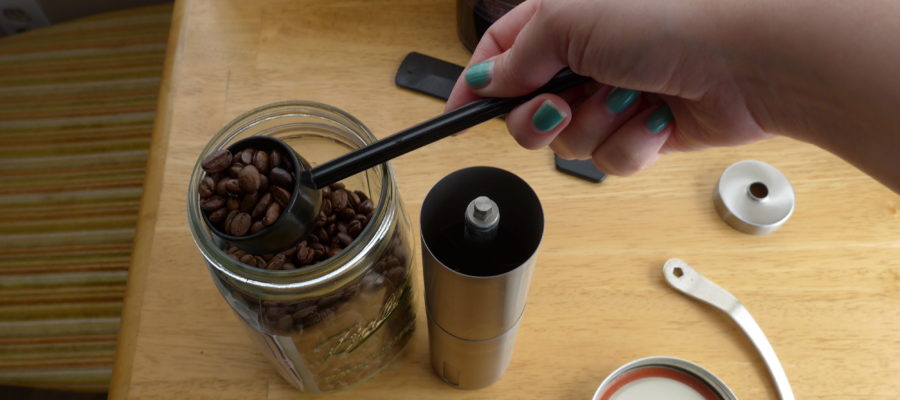
But after I determined that Jack wasn’t suddenly going to become a coffee drinker in Seattle, I started buying whole beans because my ground coffee was getting stale. I bought a small burr hand grinder, as I hate noise in the mornings. When we went to Hawai’i, toured a Kona coffee plantation, got hyped on samples, and bought fancy coffee I adore.
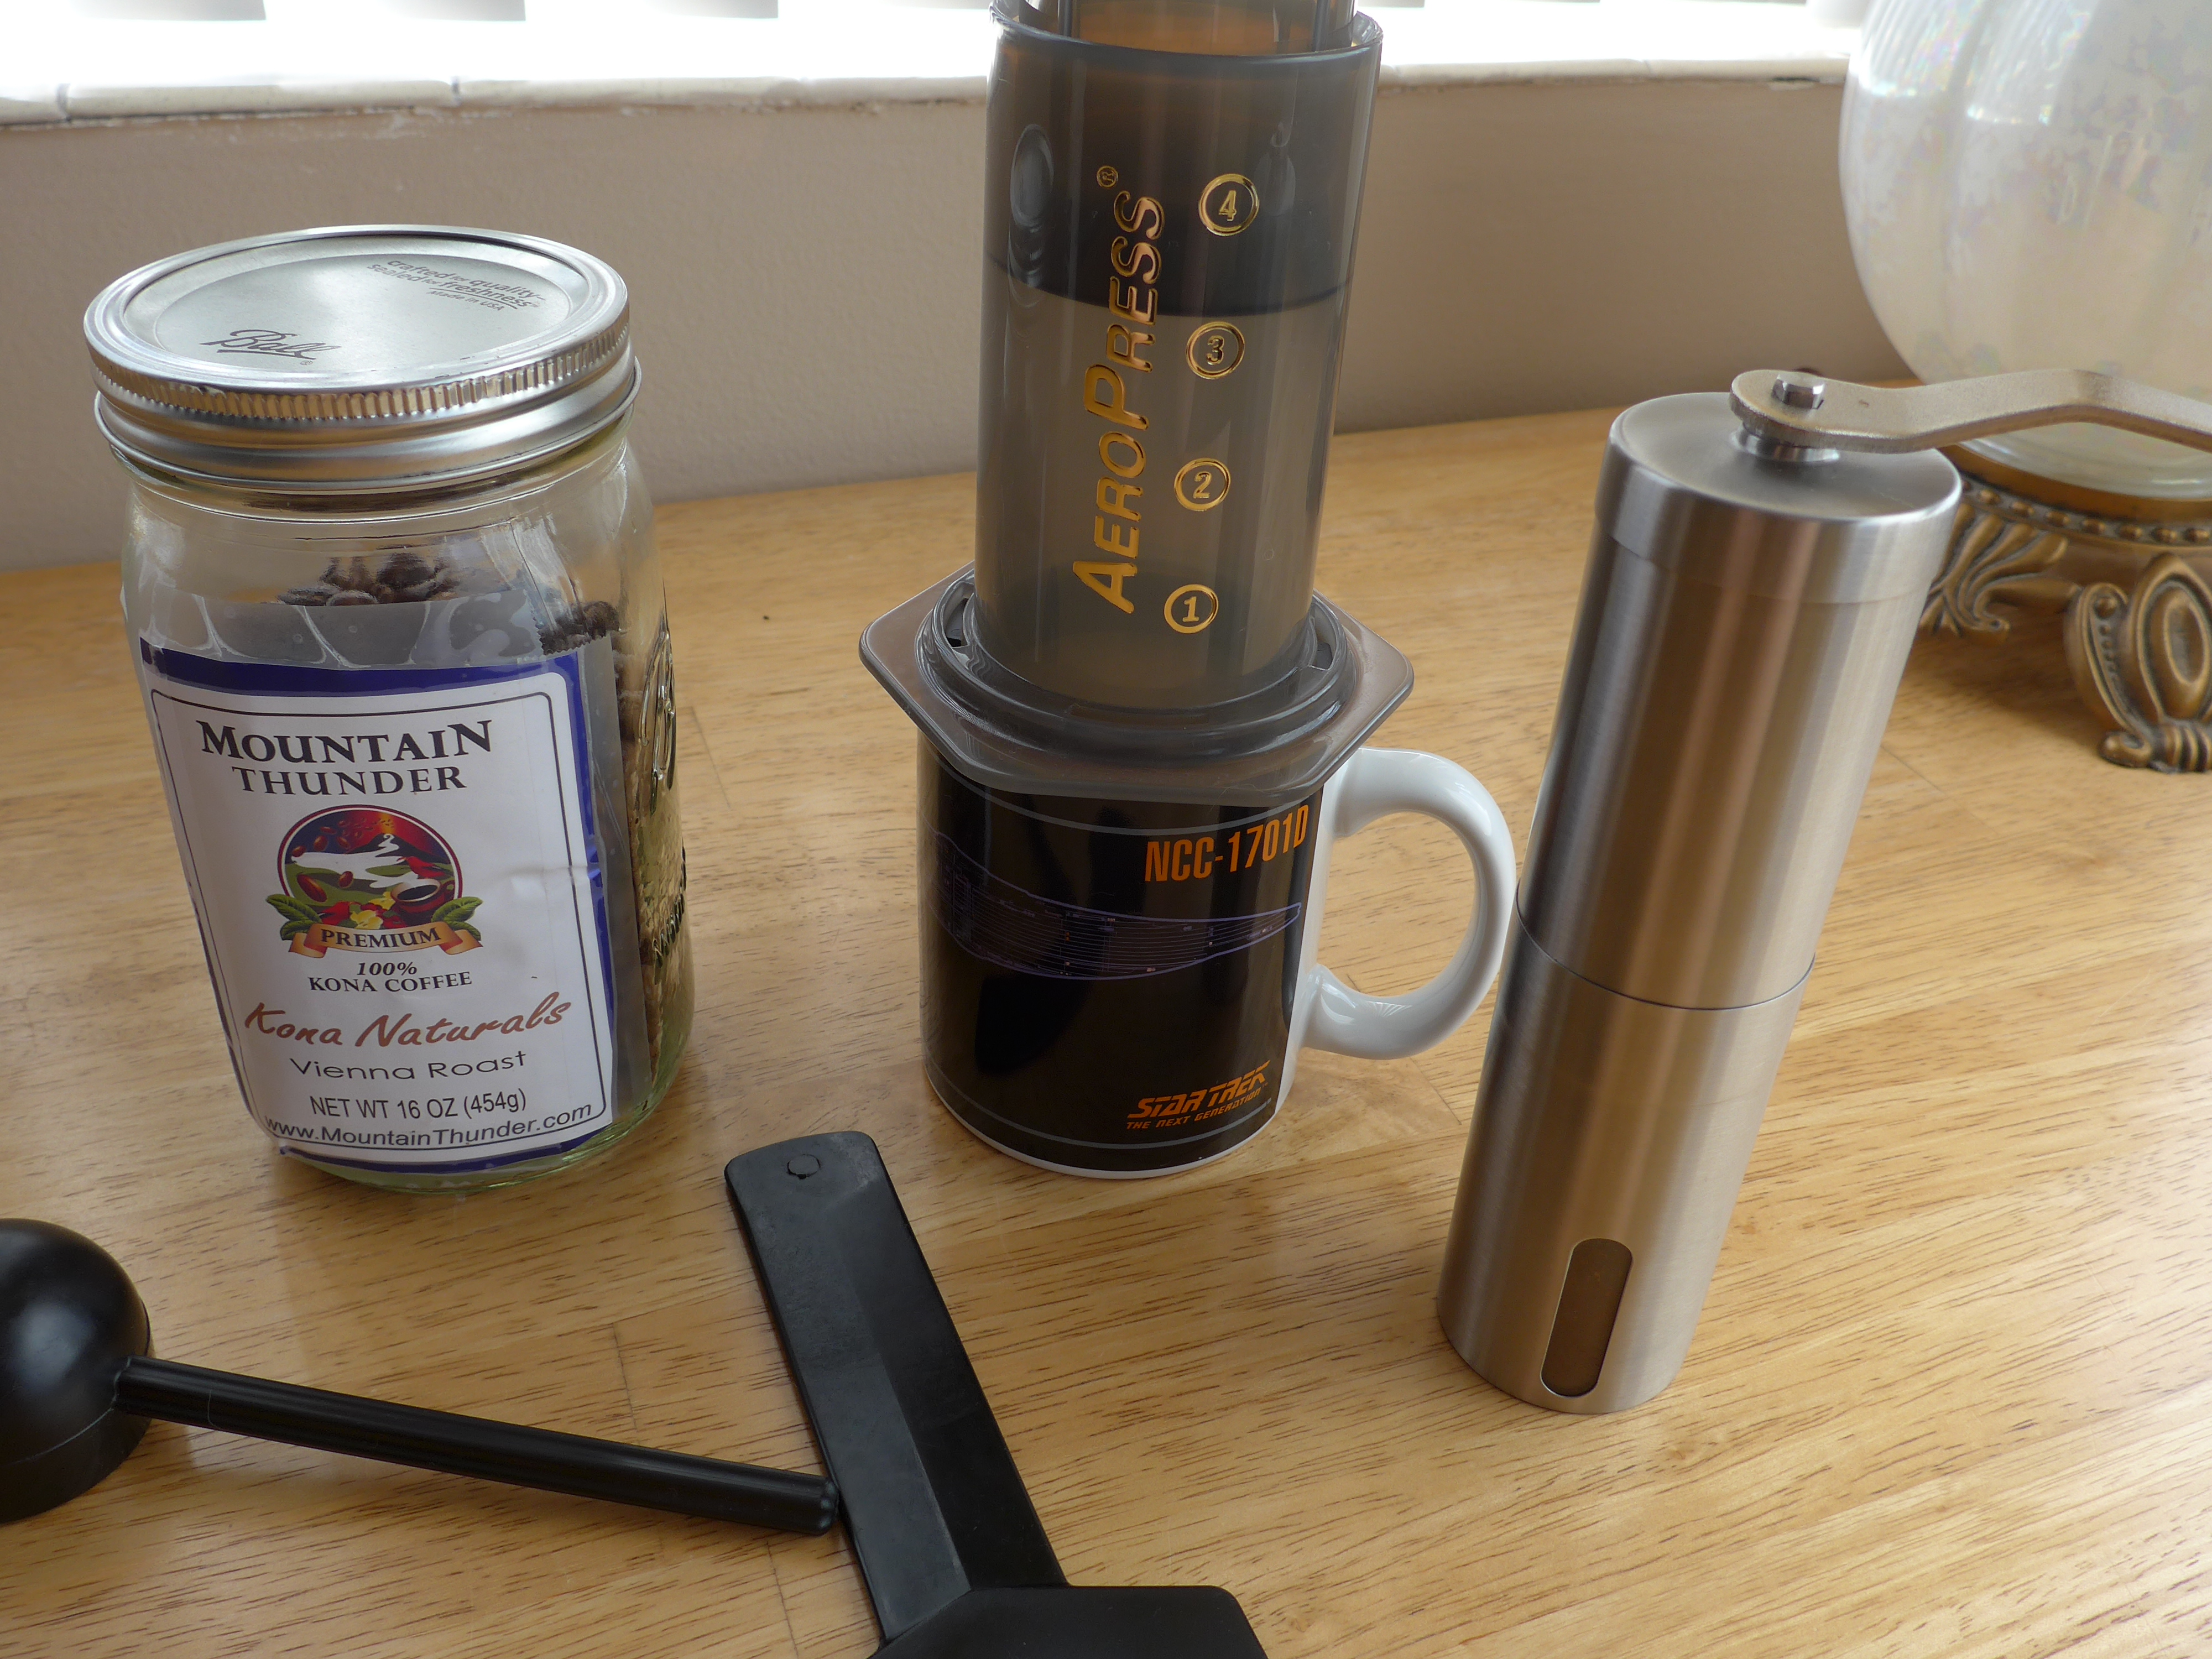
My coffee set up, minus the electric kettle
So this is my hipster weekend coffee routine:
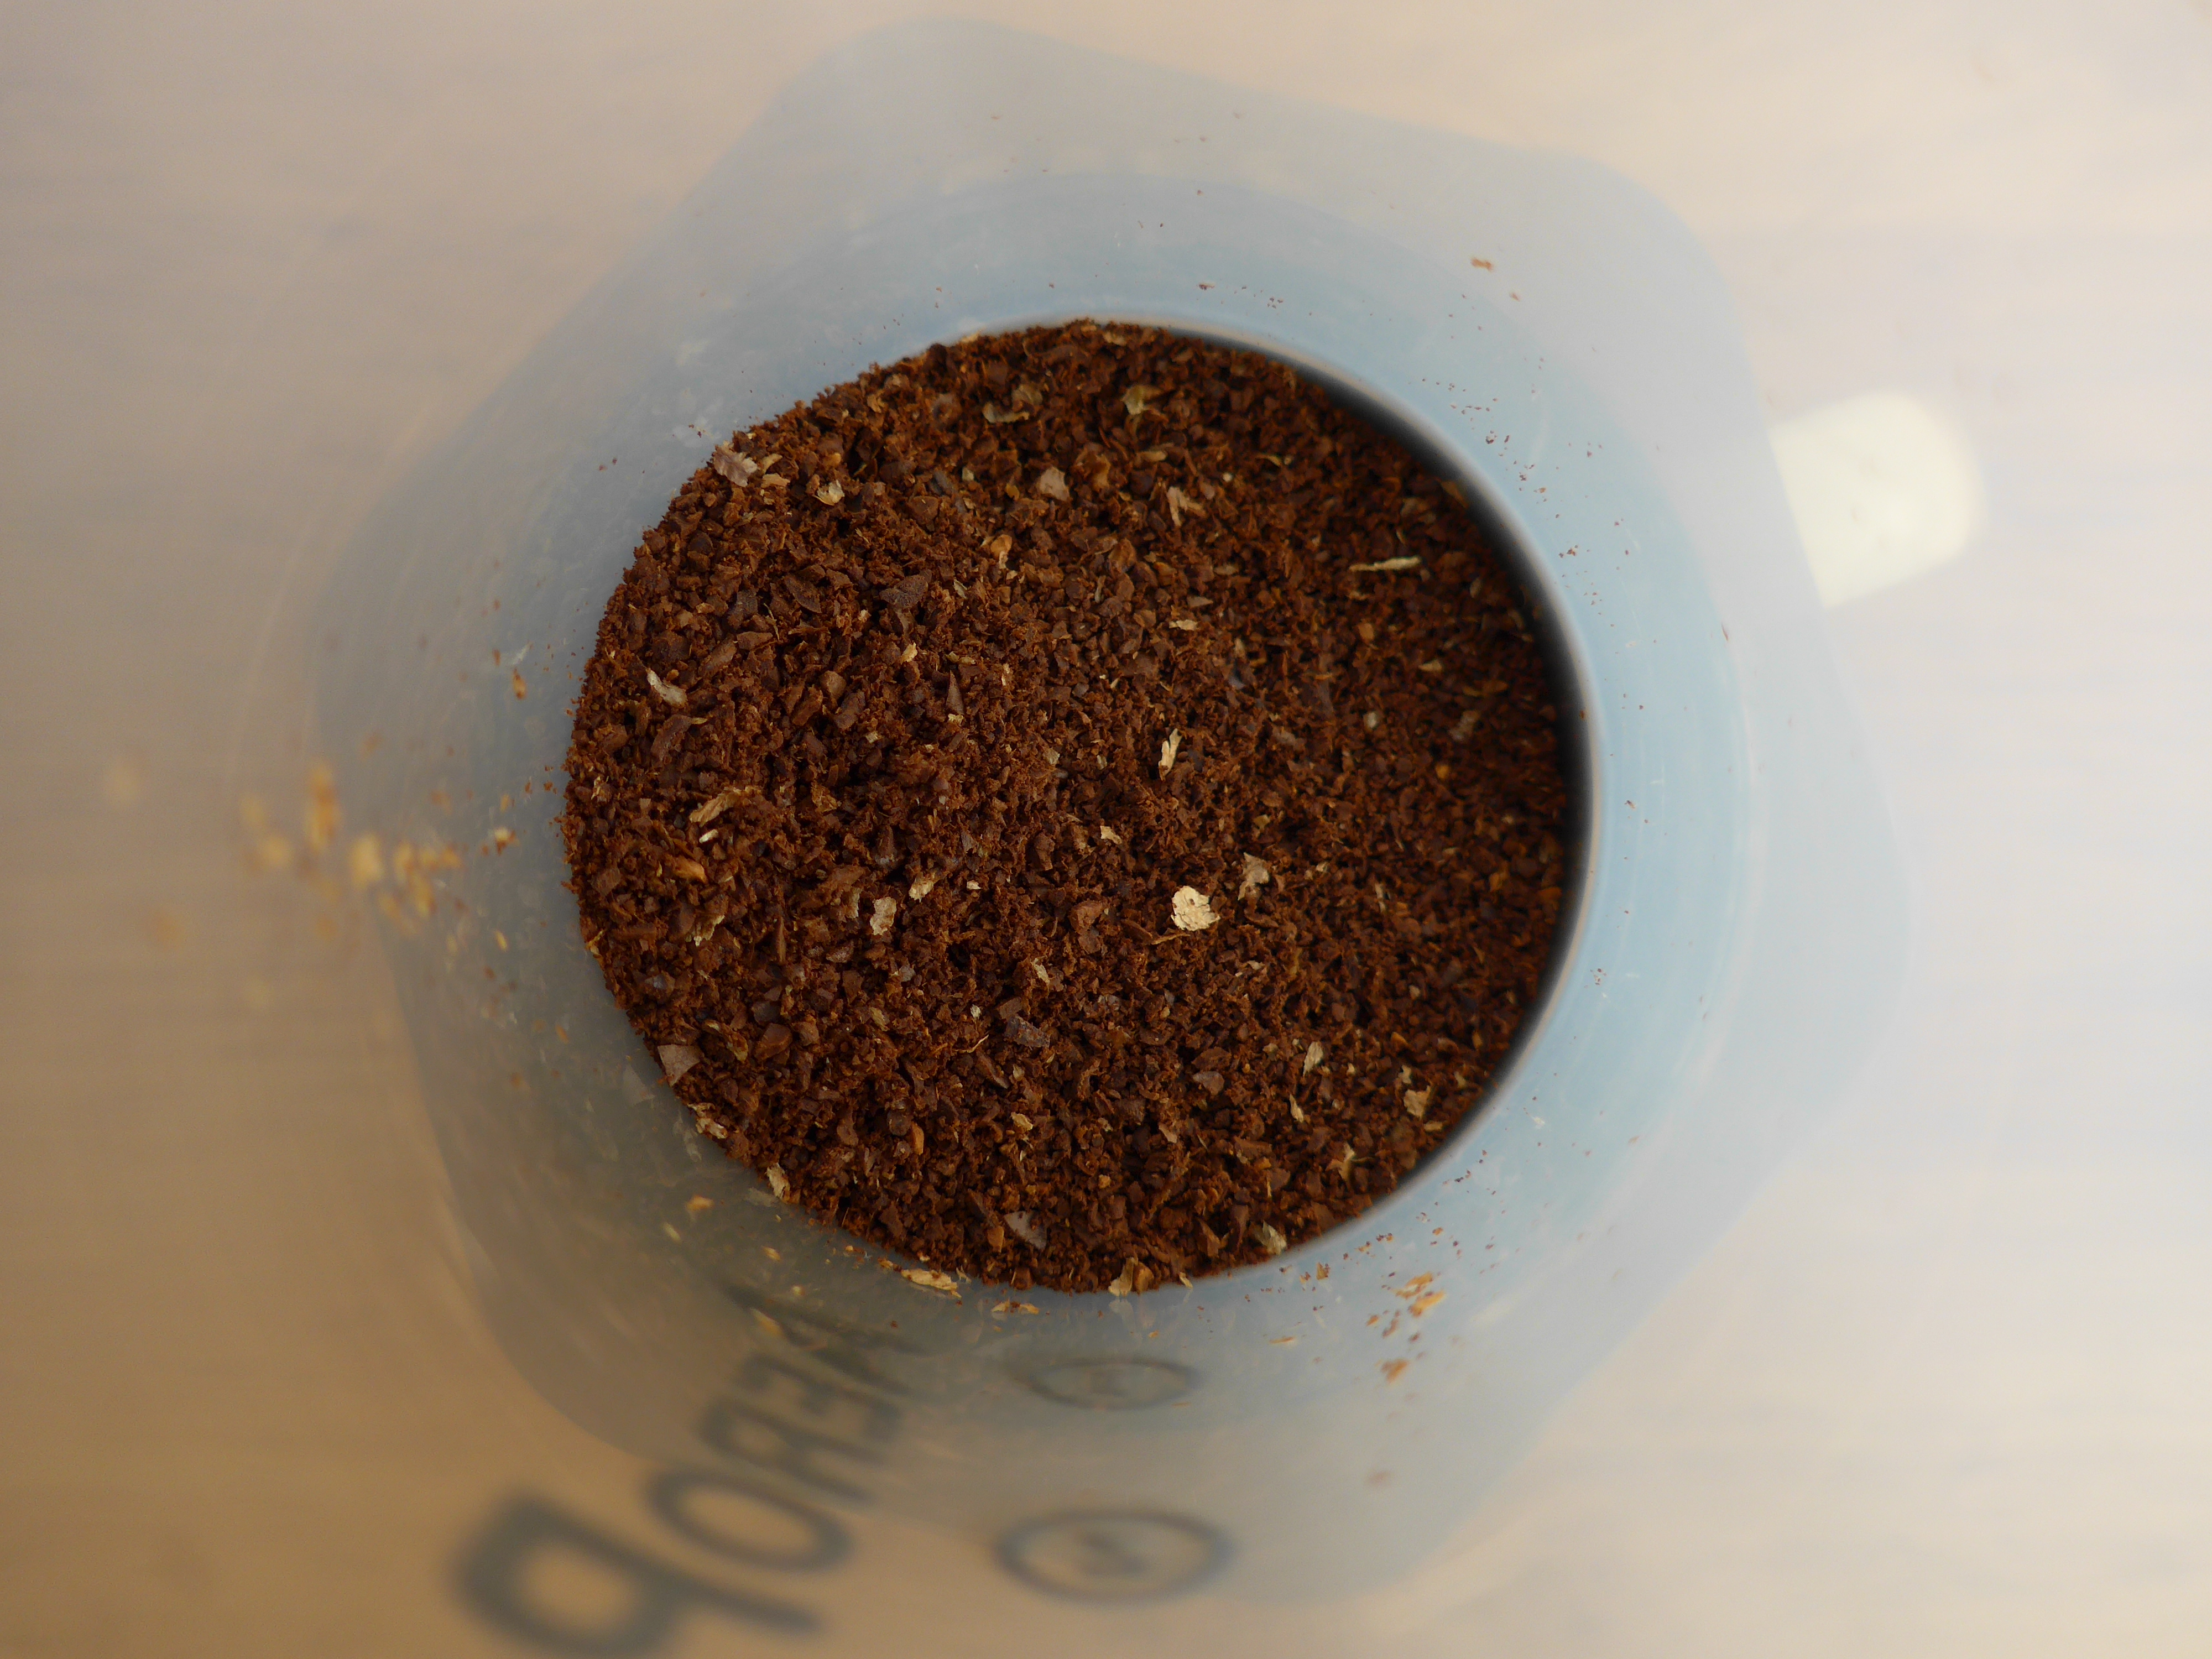
I hand-grind about 2 Tablespoons of Kona coffee from a plantation I personally toured in my burr grinder. This takes about 2 minutes. Meanwhile, I heat up water to 185 degrees in my adjustable thermostat electric kettle. I put a paper filter in my Aeropress and set it atop one of several Star Trek mugs, and I press out one shot of coffee. I then add a bit more water for an intense Americano, or occasionally I steam some almond milk for a homemade latte.
I bought Cara Reed’s cookbook Decadent Gluten-Free Vegan Baking a few months ago. Cara is the genius/madwoman behind the Fork and Beans blog (the woman made her own Cheerios, seriously). I bought the cookbook because I’ve made a few of the recipes on her blog (starting with these adorable ghosts, although I made a lot of weird shapes instead), and I knew that they worked, so I was excited by the cookbook. I am not being compensated for this review — I bought the cookbook with my own hard-earned money, and then I spent the rest of it on gluten-free flours to bake with.
This is, hands-down, one of my top 5 cookbooks I’ve ever purchased. Only a few cookbooks capture my kitchen this way, where I keep picking them up and picking out something new to make from them. I love cookbooks, and I enjoy just reading them. But for the majority of cookbooks, they sit on my shelf a lot and I think about making things from them. This one? I’m baking from, nearly weekly.
THIS IS NOT A HEALTH FOOD COOKBOOK. For anyone who thinks “gluten-free” and “vegan” both mean some weird definition of “healthy,” um, yeah, this isn’t it. This cookbook is cookies and cakes and pastries and sugar and then some more sugar. It is awesome. Cara Reed’s goal in food seems to be bringing us all the cookies and things that we miss, living with food restrictions (chosen or not). She makes pop tarts.
Reed’s recipes are all based on one of her two flour blends. I’ve only made the standard one, and I’ve been through 3 recipes of it (it makes 9 cups. NINE CUPS.) I’m sure I’ll get to the second blend; I keep meaning to. But making flour blends is one of the *sigh* *so much work* BAH parts of gluten-free baking, so the fact that I have one on hand means I’m more likely to bake. The fact that this one is half sorghum was also a selling point for me; so far, I’ve had more luck with sorghum than any other gluten-free flour.
The one and only “problem” I’ve had with any of these recipes is that, in my oven, the cooking times are too short, by anywhere from 5 to 15 minutes. At the moment I’ve misplaced my oven thermometer, but it was good 6 months ago. Regardless, this is a pretty easy issue to fix. It is consistent enough that I’m adding 5 minutes of time to every recipe and then going from there, though. Different ovens.
So far, I’ve made the following recipes:
Chocolate Cloud cookies, which were quick, easy, and chocolate
Brown Sugar donuts
Cracked Pepper and Herb Drop Biscuits (but I made them plain)
Gingerbread cupcakes
Mexican Hot Chocolate cupcakes
Blackout cake
Whiteout cake
Chocolate “Soufflés” Individual cakes (more like lava cakes)
Cinnamon Streusel Coffee cake
Pumpkin Streusel bread
Dark Chocolate Quick bread
and several frostings for this
High on the list of things to try:
the Samoas
Cheese-Its
cheesecakes (Key Lime Bars, and strawberry cheesecake)
Chocolate Indulgence biscuits
the almond croissants and danish squares
Cinnamon Raisin loaf
Okay, does that list make you drool? If not, really? I’d offer photos, but it turns out that I’ve not remembered to photograph a single one of these recipes. They are *that good.*
When I had to start gluten-free baking, along with the vegan side (the egg allergy was new at the same time, but I was so good at vegan cake already that it didn’t matter), I failed so much. I made brownies that no one wanted to eat. The experiments that weren’t inedible just weren’t very good. I tried a few cookbooks, but honestly, I was disappointed, overall, with the results. Gluten-free failures are expensive, too! I have been a baker since I was 10 years old. I have always loved baking, especially cakes. I’ve gone through several obsessive baking phases — first Bundt cakes and then for a while vegan cupcakes. This is a less thematic baking cookbook to be obsessed with, which is nice. But the other thing that’s nice is that these recipes all work.
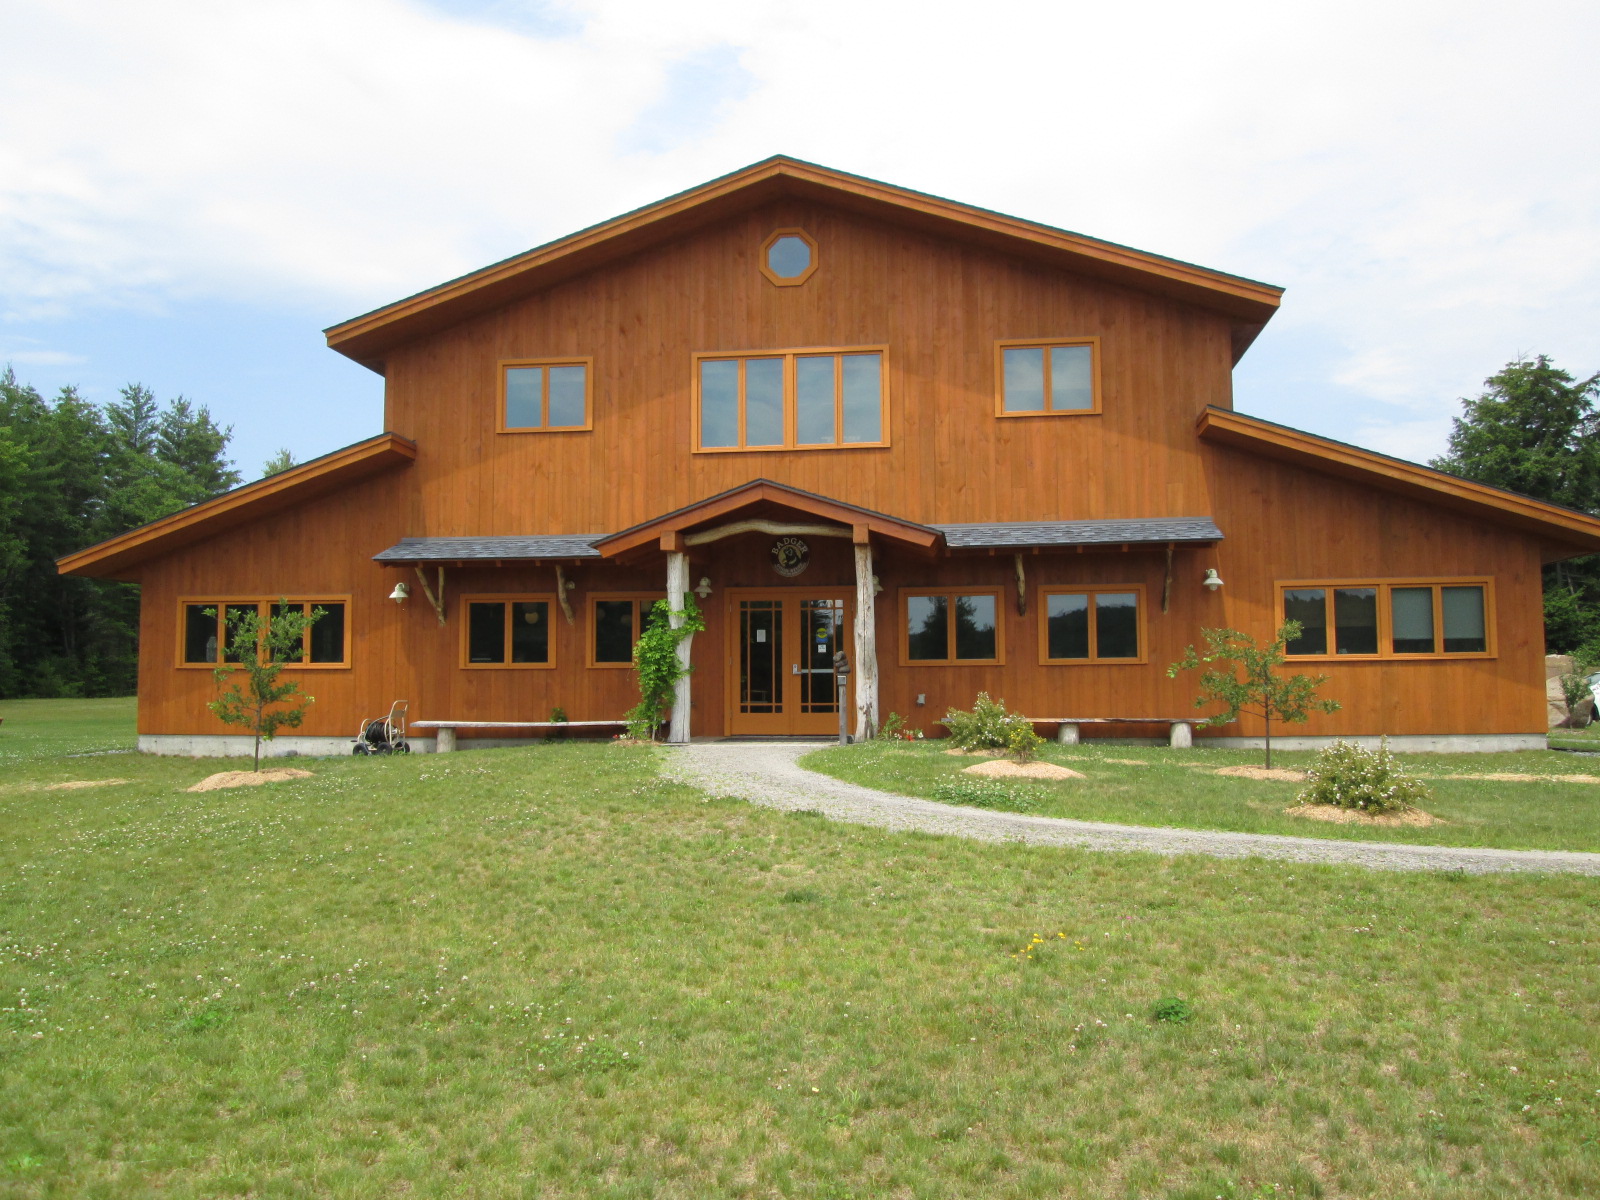
In early July, on vacation, Denise and Mary Kate took a day to head west to Gilsum, New Hampshire, home of the Badger factory. Badger is a skin care products company based here in New Hampshire. In the interests of “shop local,” we figured we could head out and get to know one of our local companies. We’ve waited this long to tell you about it so we could post some reviews, too.
About Badger:
Badger started with one product: Badger Balm, an intensive hand moisturizer designed by carpenter Bill Whyte for his fellow carpenters and their winter-dry skin. Formulated in the Whyte home, Badger has grown from that single product and home production in 1995 to a product line of more than 70 items and a factory/office building of its own in 2014. This building is open for tours (which are short and fun — and the place smells amazing).
Badger formulates all its products in the Gilsum factory. Their focus on “natural” ingredients and herbal and traditional medicines is great for those of us with allergies — NOT because “natural” means anything at all these days, and anyway, most of what we are both allergic to is natural. But the small size of the company and their attention to detail means that a) they can tell you where their ingredients are sourced, how they are processed, and how they are used in each product, and b) because this attention extends to detailed labeling that cites much of this information right on the label. Need to know how the extracts are produced? The label tells you: most of them are carbon dioxide extracts. Need to know the source of the vitamin E? The label tells you: all their vitamin E today is sunflower-based, rather than soy-based (bad for Denise, good for Mary Kate).
In our tour, we asked specific questions about processing and cross-contamination and cleaning procedures. In the production facility on site, most of Badger’s equipment is cleaned with detergent, alcohol (yes, corn-based), and a hot olive oil flush. All of the tinned products, as well as the oils and bug spray, are made on site. The lip balms and sunscreens are made in other production facilities, with ingredients sourced and supplied by Badger, that follow Good Manufacturing Practices.
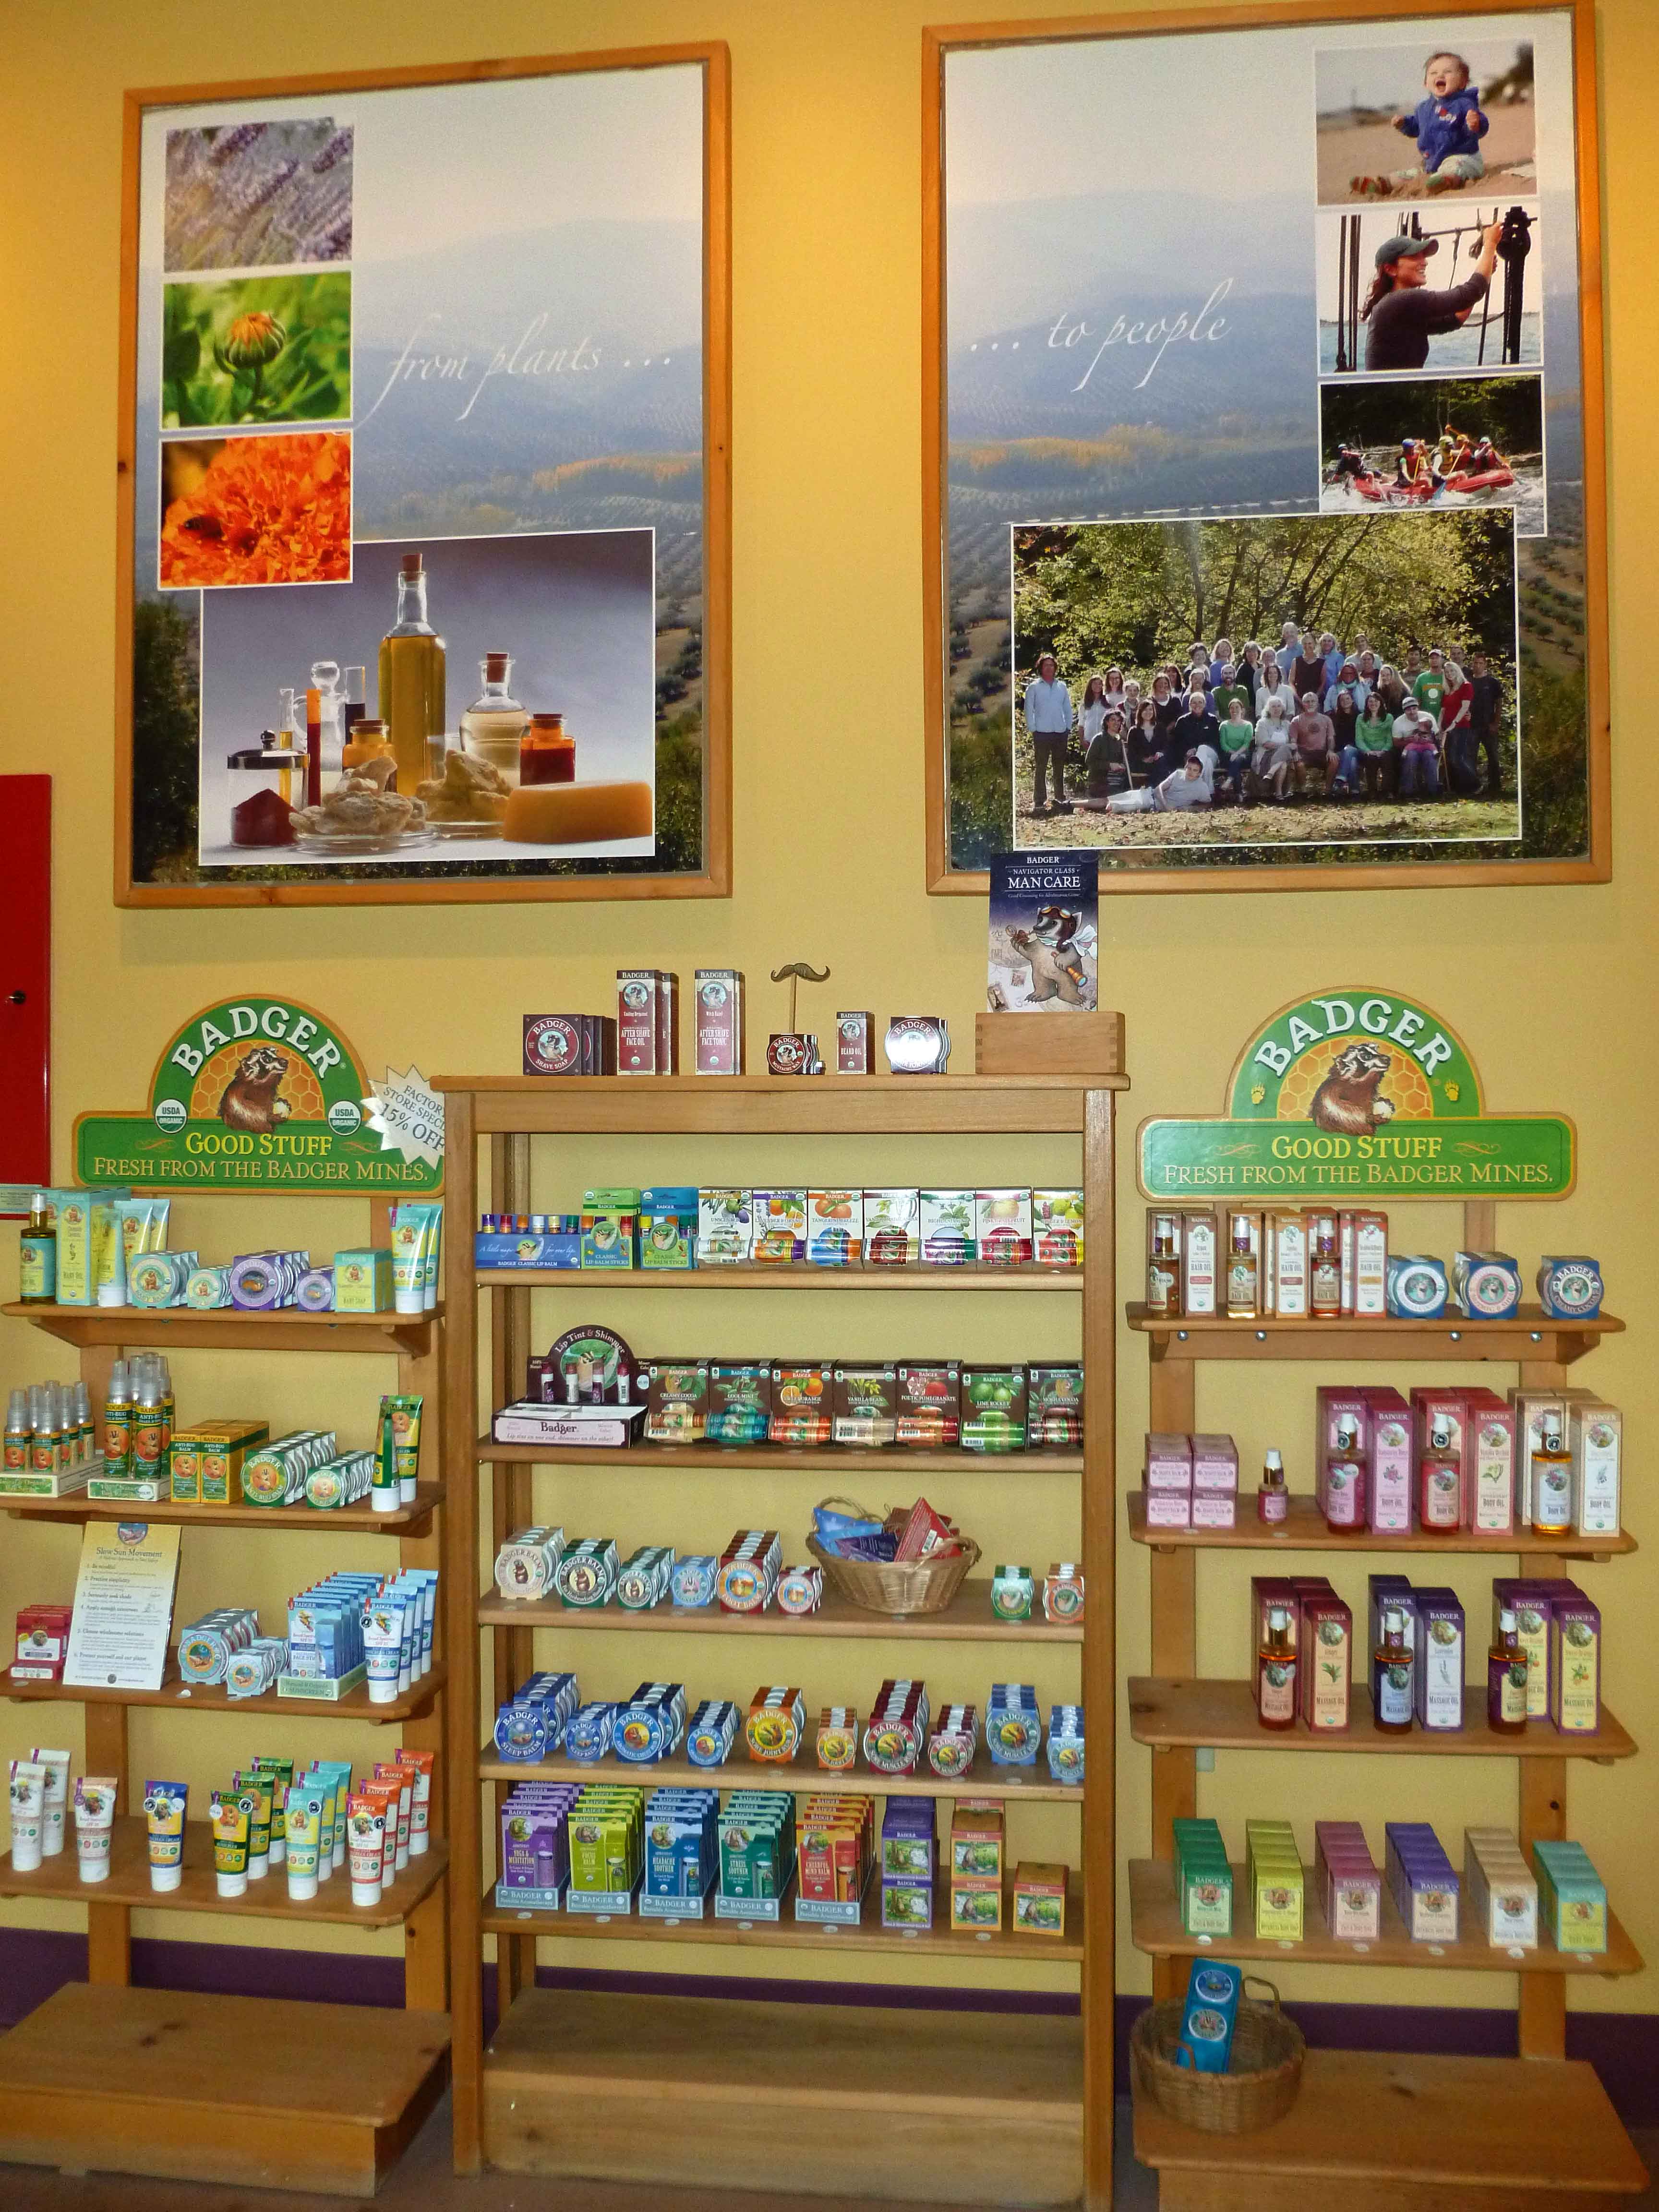
A display of Badger products at the factory
On specific allergens:
No wheat or peanuts are used in any of the products produced in Gilsum, though the facility is not certified free of either. Your comfort level with this may vary, but if you want to ask questions, customer service is knowledgeable and friendly.
The soaps, lip balms, and sunscreens are produced off-site, and on lines that may have processed these ingredients.
Soy is used in a few Badger products, as well as used on lines in the off-site facilities. Tree nuts, including coconut, are used in Badger products and may have been used on any of the lines. In all cases, good manufacturing processes are followed, but your comfort level with these may vary.
Corn is not used in Badger products, but corn alcohol is used, at high heat, as part of the cleaning process (but not the final step, which is a hot olive oil flush).
The company does recommend patch testing if you are sensitive to any of these things.
Products made before 2012 may have different ingredients than today’s. Read the labels.
On our tour:
We wish we’d been able to take pictures, but when we asked, the tour guide regretfully explained that photos weren’t allowed because some of the things we were shown were actually somewhat secret. Which makes sense. But we really wish we’d been able to take pictures of the gleaming machines filling the balm tins because that was really awesome. The factory itself was spotless, clean and airy, in direct contrast to other factories Denise has worked in the past. On the production floor, they had the biggest olive oil containers we’ve ever seen. We could have gone for a swim in them if the containers didn’t have a top. The company works directly with a family estate in Spain called Soler Romero. The factory store also sells the olive oil which is USDA certified organic. Denise is still kicking herself for not buying any.
The headquarters has a cafeteria which serves employees a free daily organic lunch during their paid 30-minute break, which includes fresh, in-season produce from the Badger gardens. The tour guide told us about their Babies at Work program where on a case-by-case basis a parent may be allowed to bring their new baby to work for the first 6 months. The company also has opened its own full-day child care center for children of Badger employees at reasonable prices in the former Badger Company facility. Employees get a quarterly stipend for products from the Badger lines. It seems like it’d be a pretty cool place to work.
We also got to see The Secret Badger Lab, where they design and formulate new products. The Secret Badger Lab had big picture windows in it, which seemed somewhat antithetical to the secret part (no one was in the Secret Lab that day). It was impressive to see the whole process, from idea to production, all in one building.
Our tour guide was wonderful and because we had emailed in advance, discussing our food allergy issues, she had prepared a handout for us to review, and was ready to discuss the manufacturing processes, the cleaning protocols and their cross-contamination processes with us. If you are local and you want to go on a tour yourself, they are available Tuesdays through Fridays from 9:00 a.m. to 11:00 a.m. by appointment. And if you buy products at the factory, there is a discount.
Mary Kate’s Badger haul
So far, I’ve really enjoyed trying out the stuff I bought on our Badger visit. Overall, the products smell great and are very moisturizing. Going more or less clockwise:
I’ve been a regular user of the Headache Balm for years, so I thought I’d give the Stress Soother stick a try. I really like the delivery system (it’s basically a giant chapstick — in fact, Denise has a chapstick that size), but while I do find it nice mid-afternoon or during conference calls at work, I will buy the headache balm in stick form next time. I prefer the smell and, for me, it’s slightly more effective.
The dual color Lip Tint lipbalm (top, in Copper) is a little bit of a mixed bag for me. I rarely wear lipstick because I can’t remember to reapply it all day and I generally can taste (and don’t like) the flavor of the pigment. That’s true here, too, though I’ll say that the color is subtle and nice when I do wear it. I think I’m just destined to be a lip balm kind of woman forever.
The Mustache Wax was a gift, and while I haven’t personally used it, I do like the results. It’s not stick or greasy, but it definitely adds a final touch to facial hair grooming. The Arnica Sore Joint Rub wasn’t particularly effective for me, but mostly I get muscle aches, not joint aches, so I might not be the right user for the product. It smells pretty good, though.
The Anti-Bug Sunscreen I’ve only gotten to use once so far. The zinc oxide might, I think, make it difficult to use every day, under makeup, and it does make it harder to rub in (but, conversely, you have to rub it in and therefore probably apply it more thoroughly and effectively). I think that will be true for all zinc oxide sunscreens, though. I was out for a few hours, and the sun went in after a bit, so I might not have gotten burned anyway. Not the best test for the sunscreen part. BUT. It was hot and humid and buggy. The bugs left me alone and I did not sweat off the sunscreen. This would be excellent for hiking, I’d think.
I’ve kind of saved my favorites for last. The Nutmeg and Shea moisturizer is amazing. The smell, which is nutmeg-forward, is different in a really good way, and the moisturizer is rich. It takes a bit of time to soak in properly, yes, but the results are definitely worth it. This will be a product I’ll use for a long time. I can’t wait to use it on my hands and feet in the winter. This is definitely my favorite product of the entire haul. The last thing up there is the Highland Mint lip balm. This is also a keeper, with a good mint flavor and a really nice smooth texture. There are about a thousand flavors, though, and I might need a different flavor next time. Though mint really is nice.
Badger, as a company, is a place I’d like to support. Luckily for me, I enjoy their products, which makes it pretty easy to do.
With the coconut and corn allergies, I have a really freaking tough time finding personal care products that are safe for me, and you’ve all seen me put recipes for lotions, lotion bars, and lip balms on our blog. That being said, when we were looking into places to visit Badger seemed promising because there might be a sunscreen I could actually purchase and not have to make myself. And I really did not want to order zinc oxide to experiment with making my own sunscreen until I got a recipe right. Here’s my haul from left to right: Cayenne & Ginger Sore Muscle Rub, Badger Anti-Bug Shake & Spray, Lime Rocket Cocoa Butter Lip Balm, Pink Grapefruit Lip Balm, Sweet Orange Cocoa Butter Lip Balm, Badger SPF34 Anti-Bug Sunscreen and Eucalyptus & Mint Aromatic Chest Rub.
Denise’s Badger Balm haul
I know that you’re going to ask, Denise, why buy lip balms when you’ve made them before and you have the stuff to make them? I’m going to make this really simple. Because I CAN. The fact that I don’t have to spend half an hour making lip balms the next time I run out is worth gold in and of itself. It’s nice to just be able to buy a product for once JUST LIKE A NORMAL PERSON. (Oh, was I yelling? Sorry about that.) The Pink Grapefruit lip balm, which has a olive oil, castor oil, and beeswax base instead of the cocoa butter, seemed a bit more moisturizing to me than the cocoa butter oil ones, but I liked all three. For those with corn allergies, I did not seem to have any issues with cross contamination either from the corn alcohol equipment cleaning or from potential cross contamination from the beeswax (depending on what the beekeeper fed the bees), but I’m not super-sensitive either. They all smelled pleasantly fruity, and I’d buy them again.
The Eucalyptus & Mint Aromatic Chest Rub smells wonderful. It’s intended for use as a soothing chest rub, or as a steam inhalant when added to a humidifier or pot of hot water, but I really haven’t had a cold, a cough or a stuffy nose since I bought it, so I haven’t been able to give it a good test. But the aroma is pretty awesome.
The Cayenne & Ginger Sore Muscle Rub smells amazing. Because with ginger and cayenne spicy goodness, how could it not? I concur with Mary Kate’s review in that it didn’t seem that effective for sore muscles, but it’s got some great moisturizing ingredients so I’m happy using it as a balm.
The Badger Anti-Bug Shake & Spray works well. It has the aroma of Citronella, Rosemary, and Wintergreen essential oils. You’re really going to smell like citronella, but it kept the bugs away. I didn’t mind the feel of it and the spray is a convenient application method. Just a quick disclaimer, I am generally pretty accident prone and if it’s possible to break something, I’ll probably break it. However, I didn’t expect to put a significant dent in the spray bottle by tossing it a couple of feet. I was aiming for a tote bag but I missed by a couple of inches and it landed on the floor. I’m not saying that I’m disappointed in the package or that it’s a problem, because again, bug spray that works that I don’t have to make is gold, but just be aware that you may not want to repeat my mistakes if you wish your bug spray to remain pristine and without big dents in the bottle.
The only safe for me sunscreen that Badger had was the Badger SPF34 Anti-Bug Sunscreen. I’d echo Mary Kate’s review in that it is harder to rub in than other sunscreens. I did like the dual sunscreen/bug repellent properties. I do wish that it had a higher SPF, as I used to use an SPF 100 before coconut, but according to WebMD, that might not be as big a deal as I had previously thought. And again, I didn’t have to make it! (Cue heavenly choir).
I wish more of their products didn’t contain sunflower so that I could try them, but I’m happy Badger has some products I can use and make my life easier.
Overall, the Badger visit was a rousing success. If you are looking for personal care products, check out Badger’s website and see if they might have something you’d like to try. This post is all the opinions of Denise and Mary Kate, was not sponsored, and we were in no way compensated for any of this review.
First full year post-apocalypse. How have we done? Let’s chat.
MK’s Take:
I know that we haven’t been online for a year, but the original genesis for this blog was a discussion Denise and I had sometime between Thanksgiving and Christmas of 2011. I was really unhappy with the allergy diagnosis. I felt like I did not know what to eat, and even though I’d been through this when I stopped eating dairy, this seemed worse. I’d helped Denise some when she went dairy-free, and now she was able to help me some with this transition, as she figured out her allergies before I figured out mine. We decided to test a few recipe ideas on friends at a party in January 2012, and started working towards that deadline. Our first success was the recipe we’ll be sharing next week, so please stay tuned — we’re very proud.
I have a notebook from the early planning, listing all my allergens, all the things I needed to replace in my pantry, and the multi-page results of the afternoon discussion Denise and I had where we laid out everything we wanted to learn to make allergen-free. That list is now a spreadsheet we share, and eventually it sparked this blog. So far, I’ve found the testing and writing and sharing to be great motivators — not only to try recipes, but to innovate and plan and eat well. I love it. I thought that we could share some of our thoughts on the year and the lessons we’ve learned, as well as some of the products we now regularly rely on. Hopefully you’ll find this helpful, whether you’re new to the allergen-free lifestyle or just still exploring.
The first lesson, from me, is that there is an arc to coping with a diagnosis of food allergies, whether they be severe or moderate. From talking to others, this is true for other people who must modify their diets for health reasons (e.g. diabetics), with the notable exception that the “bargaining” stage is a little more dangerous (i.e. it could kill you). Anger, disbelief, trying to “game” the new rules, bouts of acceptance, bouts of despair, and an eventual understanding and acceptance of a new way of eating. This is, apparently, quite normal, but I wish I’d known in advance, so I didn’t feel I was failing so miserably with my attitude adjustment. It is HARD. It gets easier. It gets easier because you learn how to do it. You do stop having fits of rage reading packages in the grocery store, I promise.
As a reminder, my allergens are as follows: dairy, egg, soy, gluten, peanuts, hazelnuts, and pineapple.
From my list, entitled “MUST FIND,” here’s what I found:
Crackers: by far, my favorite are the Crunchmaster Sea Salt Multi-grain Crackers. These do contain flax, but no other major allergen — thanks to Angie for bringing these to a knit night! Not all of their varieties are safe for me, but this one is great. If you have multiple allergens, crackers are not easy — many GF varieties contain either eggs or dairy or both.
Pretzels: Snyders of Hanover Gluten-free Pretzel Sticks and Glutino pretzels contain soy lecithin, but no other allergens. I can handle the soy lecithin in small doses, so I only eat a few at a time.
Pasta: Schar pasta (I’ve only had the penne), Quinoa pasta (here, only had the macaroni), and Trader Joe’s corn pastas are all good. The corn pasta makes horrible leftovers, but it’s great when it’s freshly cooked. I was originally advised to try brown rice pastas, and I cannot say that I recommend any of them at all.
Bread: Hands down, the best gluten-free, dairy-free, egg-free, pineapple juice-free bread I’ve gotten in the past year is from Deland Bakery, and their millet potato bread is my go-to bread these days. Some of Schar’s baked products are completely allergen-free and pretty good (if they don’t come frozen, freeze everything you don’t use after you open the package; trust me). If you’re in New England, you might find some of Abigail’s Bakery’s Millet bread products — the loaf is good, but I didn’t love the other versions. For make-your-own breadcrumbs, I use Food For Life White Rice Bread as well as the tail end of anything I try and don’t really love for toast.
Miso: South River’s Chickpea Miso is both soy and gluten-free. It’s not as smooth or as strong as other miso products I’ve used in the past, but it definitely fills what would be a large hole in my pantry otherwise.
Margarine: this one was easy — the only good dairy-free margarine I’d found was Earth Balance. Earth Balance makes a soy-free version. This was the quickest fix on my list.
Mayo: Again, Earth Balance to the rescue with Mindful Mayo. See our review of it here.
Other things I am glad I have found now:
Chocolate: Enjoy Life chocolate chips (regular, mini, and baking chunks), Enjoy Life rice milk chocolate bars (crispy and plain — crispy are better), and a lot of Fair Trade certified dark chocolate bars are allergen free, if not specifically certified as such, so beware if cross-contamination is an issue for you. Enjoy Life makes chocolate chips — plus mini and large chunks — and so does Trader Joe’s (these contain soy lecithin — this seems to be okay for me, though I avoid it where I can). For nice chocolate, I’d also recommend checking out Taza. It’s probably not for the nut allergic, as they don’t appear to have separate lines for processing (I did not see an allergen statement on their website), but it’s stone-ground, handmade chocolate that’s dairy free and pretty incredible. Different than anything you’ve had before, I’d guess. My favorite is the cinnamon, closely followed by the guajillo.
Tuna: Many brands of tuna has soy or gluten in it. I know! Season Brand tuna (they don’t appear to have a website?) is good. Find it in the kosher section.
Frozen foods: Applegate Farms, turkey burgers (be careful not to overcook these, as they are then pretty bad, and they don’t work on the electric grill. But in a skillet, not cooked dry, these are a go-to easy meal for me) and gluten-free chicken nuggets (they’re chicken nuggets!), and Cascadian Farms spud puppies (aka tater tots).
Cereal: There is a gluten-free version of Rice Krispies (I know, they are rice, but the originals contain malt!), Barbara’s Cinnamon Puffins, and many versions of granola are gluten-free (but most contain nuts). Local to central New Hampshire, I’ve found Courser Farm Kitchen — gluten-free vegan granolas, which are fantastic.
The vast majority of what I eat is not packaged or processed or listed above, as I make almost everything from scratch. But having crackers, chips, and pasta on hand, as well as ice cream and a quick frozen dinner if I need one? All these serve to make me feel less deprived, a bit more normal, and less uptight about food, knowing I have something in the house to eat.
What else have I learned this year? Patience, perseverance, and the importance of the “buddy system” in any difficult endeavor. Don’t be afraid to “fail.” If you can eat it, it isn’t a complete failure, even if you dump the rest. Plan ahead — when you can’t grab food to go, you need to be prepared. Keep snacks at work, and if appropriate, in the car. When traveling, always have something you can eat with you and ID the closest grocery store.
For 2013, I’m looking forward to more breakfast discoveries (I hope), and continued recipe development, as well as playing with George (my new mixer) and coming up with some great vegan grilling options for next summer. I’m going to get a handle on this gluten-free baking thing, too. I’m planning to follow up Denise’s personal care posts with some posts on environmentally-friendly and allergen-friendly house cleaning.
Please share your favorite allergen-free products, links, or with us in the comments! Happy 2013, everyone!
Denise’s Take
Having had the benefit of reading Mary Kate’s take before having to write mine, and reflecting back on this journey, I think the most important part truly has been the “buddy system”. When the dairy allergy became severe enough that I was forced to give it up, I was lucky enough to have Mary Kate in my knitting group having been through the dairy free learning process before. She, in turn, was able to point me to resources and information and websites (such as GoDairyFree.org) where I could find additional information and issues. I had to learn all these new things and get advice from Mary Kate about products she liked and didn’t like, and I finally got in a place where I thought I knew what I was doing. And then I started having reactions again. In March of 2011, I tested positive for the next round of allergens, which meant I had to give up a bunch of the products I had found and liked and baking became much harder, and eating out became harder, and it was unpleasant. But since I had been through it so recently, I didn’t have to go through as much of the emotional adjustment process, other than some minor temper tantrums at the grocery store. It seemed to be just more on the same continuum. But I wasn’t really finding the solutions I wanted to some of the problems, because it was just food, and I didn’t really want make time to do it. I had a lot of other things to do, because I tend to be this somewhat Type A crazy person with a million things going on at any given time. I should just be able to eat whatever without any work right? (Talk about denial.) So I kept eating some of the solutions I had found, but I felt restricted, restrained and bored.
When Mary Kate received her second diagnosis of problem ingredients, I knew her frustration with having to start all over again. Since I hadn’t solved a lot of the foods that I still wanted to be able to eat, we had three allergies in common (dairy, egg and hazelnut), and we hadn’t been able to find a lot of books or information on food we wanted to eat (most of the books out there seemed geared toward kiddos), it made sense that we team up. As Mary Kate stated above, doing a cookbook seemed like a natural place to start, since we were both in a writing group together as well. But we both kind of need deadlines, so the blog was born as a way to actually make us do what we had planned to do.
I had specific things on our wish lists that I needed to find decent solutions for as well. (As a reminder, my allergens are as follows: dairy, egg, almonds, coconut, hazelnuts, crab, clam, scallops, and flax seed.)
A decent egg replacement for box mixes: Again, I can be lazy about food. Since I can have wheat, and since Duncan Hines makes a variety of cake and brownie mixes that don’t have egg or milk, I wanted to find a egg replacement that worked and that I liked. I tried Ener-G, applesauce, blueberry apple sauce, tofu, and flax seed (before I figured out that I was allergic to it based on the resulting reaction), without finding any of them acceptable. But then I found chia seed. (Cue heavenly choir). It works for Duncan Hines brownie mix, and is best in the 8 x 8 inch pan. I haven’t tried it in cake mixes yet, but I’ll let you know how it goes.
Mayo: Earth Balance Mindful Mayo, I concur with Mary Kate that it was a godsend. See the link for our review above. Also, try mixing in some Sriracha. Yum.
Chocolate: I agree with Mary Kate’s take above. However, if you don’t have a soy issue, I can often use Ghiradelli’s Semi-Sweet chips. I have to watch the ingredients because sometimes they use coconut instead of soy lecithin, and I can’t have coconut. It’s a lesson to continue to watch labels even after you think a product is safe. They change formulations all the time based on the prices of ingredients.
Coffee Creamer – For me, I don’t have a lot of options. I don’t like soy milk or creamer (I’ll drink diet pepsi at 6:00 A.M. for the caffeine rather than touch soy, and I generally won’t use it baked goods either, I can still taste it), and most of the other options contain either almond, hazelnut, or coconut, all on my no-no list. I found a recipe for homemade cashew milk that does the trick for me nicely, so I make up a batch, freeze it in ice cube trays and just thaw what I need in the microwave when I need it.
There were quite a few items that were in my old “normal” diet that I still wanted, that we were able to come up with versions that I’m pretty happy about. Most have been posted to the blog and some are still coming up on the schedule. (We have an editorial schedule, and blog meetings, I kid you not.) The ones we’ve posted that were “must finds for me” are:
The other interesting journey for me this year is limiting the cleaning and personal care products I use with coconut derivatives in them. Although it aggravates me that I have to spend some time making these products, honestly, it’s so much cheaper than buying commercial laundry detergent, shampoo, and lotions. And it really doesn’t take that much time. You can check out what we’ve posted so far here. A recipe for laundry detergent and other cleaning products will be posted in the coming weeks/months.
Looking ahead there’s still a lot on my list of things I want to be able to eat again. There are things that I’ve been working on, but they aren’t ready for prime time yet, and things that when I looked at our infamous spreadsheet to write this post, I had forgotten about and really need to get working on. Things I hope to solve in the next year include some Indian curries and kormas, a recipe for ice cream that’s dairy, soy and coconut free (I don’t like the Rice Dream and I can sort of tolerate soy ice cream, but want better), Alfredo sauce, Vodka sauce, mac & cheese, and pizza cheese (I can’t have Daiya because of the coconut oil, although it was the best cheese replacement I’d tried before finding out about the coconut allergy).
Besides Mary Kate’s thoughts on patience, perseverance, the buddy system and not being afraid to fail, I’d like to add another thing I’ve learned this year. Just because they have a commercial product on the market, doesn’t mean you can’t make your own very easily and much more cheaply, and it doesn’t mean that the commercial product works better or tastes better. Experiment, experiment, and don’t settle if you don’t like something. Keep trying. I’ve also learned how many of us there are out there, dealing with the same issues, and trying to share our knowledge. I hope we’re making a contribution and in the words of Red Green, “Remember, I’m pulling for ya. We’re all in this together!” And since we are all in this together, feel free to share your favorite allergen-free products, links, or recipes with us 🙂
Have a happy and productive 2013 everyone!
Final bonus link — need an allergen-free, good fortune soup for the New Year? Veggie Venture has you covered, and as a bonus, it’s vegan.