Because it’s Earth Day, and it’s our 100th post, we thought we should make cookies. Because cookies are round, like the Earth. And because making cookies and giving them to people makes you a hero. Or just sharing — you don’t have to give them all away, promise. You can eat them, too. Cookies are happiness, right?
Well, cookies are often not even close to happiness when you’re an allergen sufferer. If you have adult-onset allergies, you might remember making the classic Tollhouse cookie — wheat flour, eggs, butter, chocolate chips that contain milk. The recipe itself is almost a list of allergens. But it doesn’t have to be! We’re here to show you a few ways (but not quite 100).
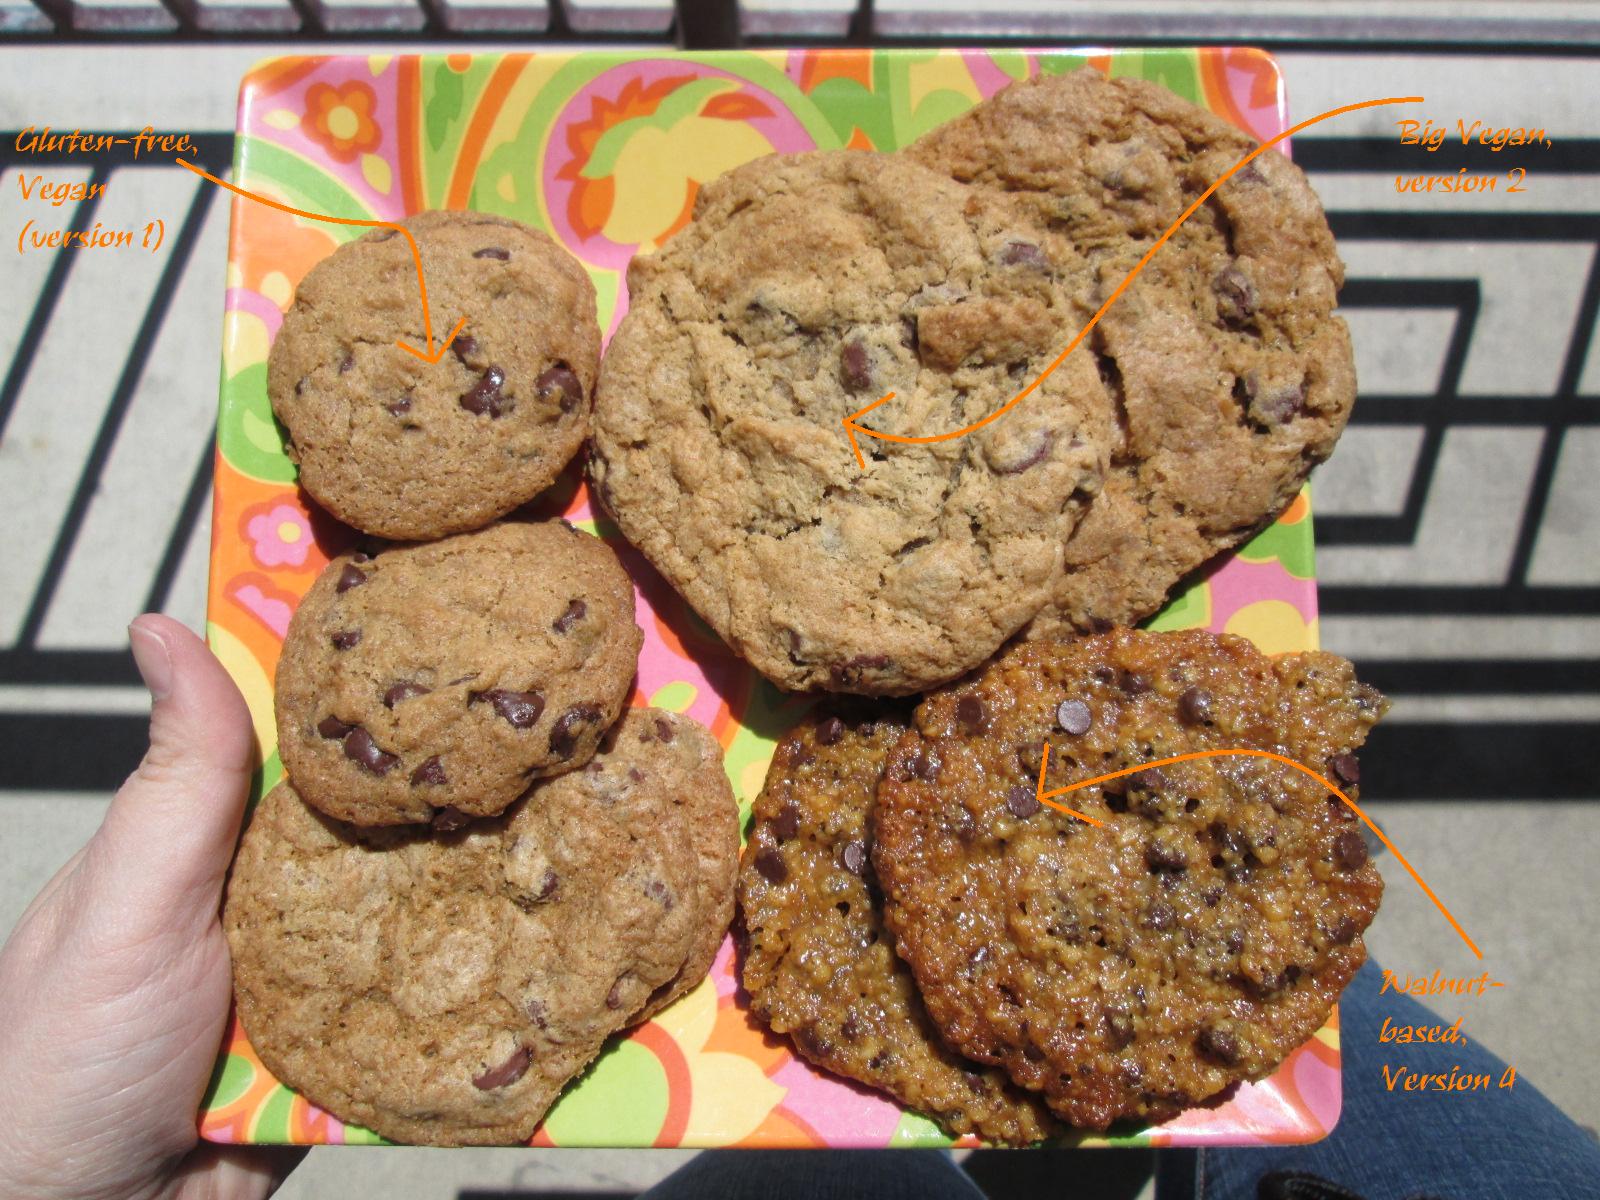
The following recipes — there are 4 — are all variations on the chocolate chip cookie. The first two are classic; the very first is completely allergen-free — gluten-free, egg-free, dairy-free, nut-free, vegan. The rest are also vegan (no dairy, no eggs), but the second recipe contains gluten, and the last two contain nuts. One of these is bound to work for you. Read on for the details.

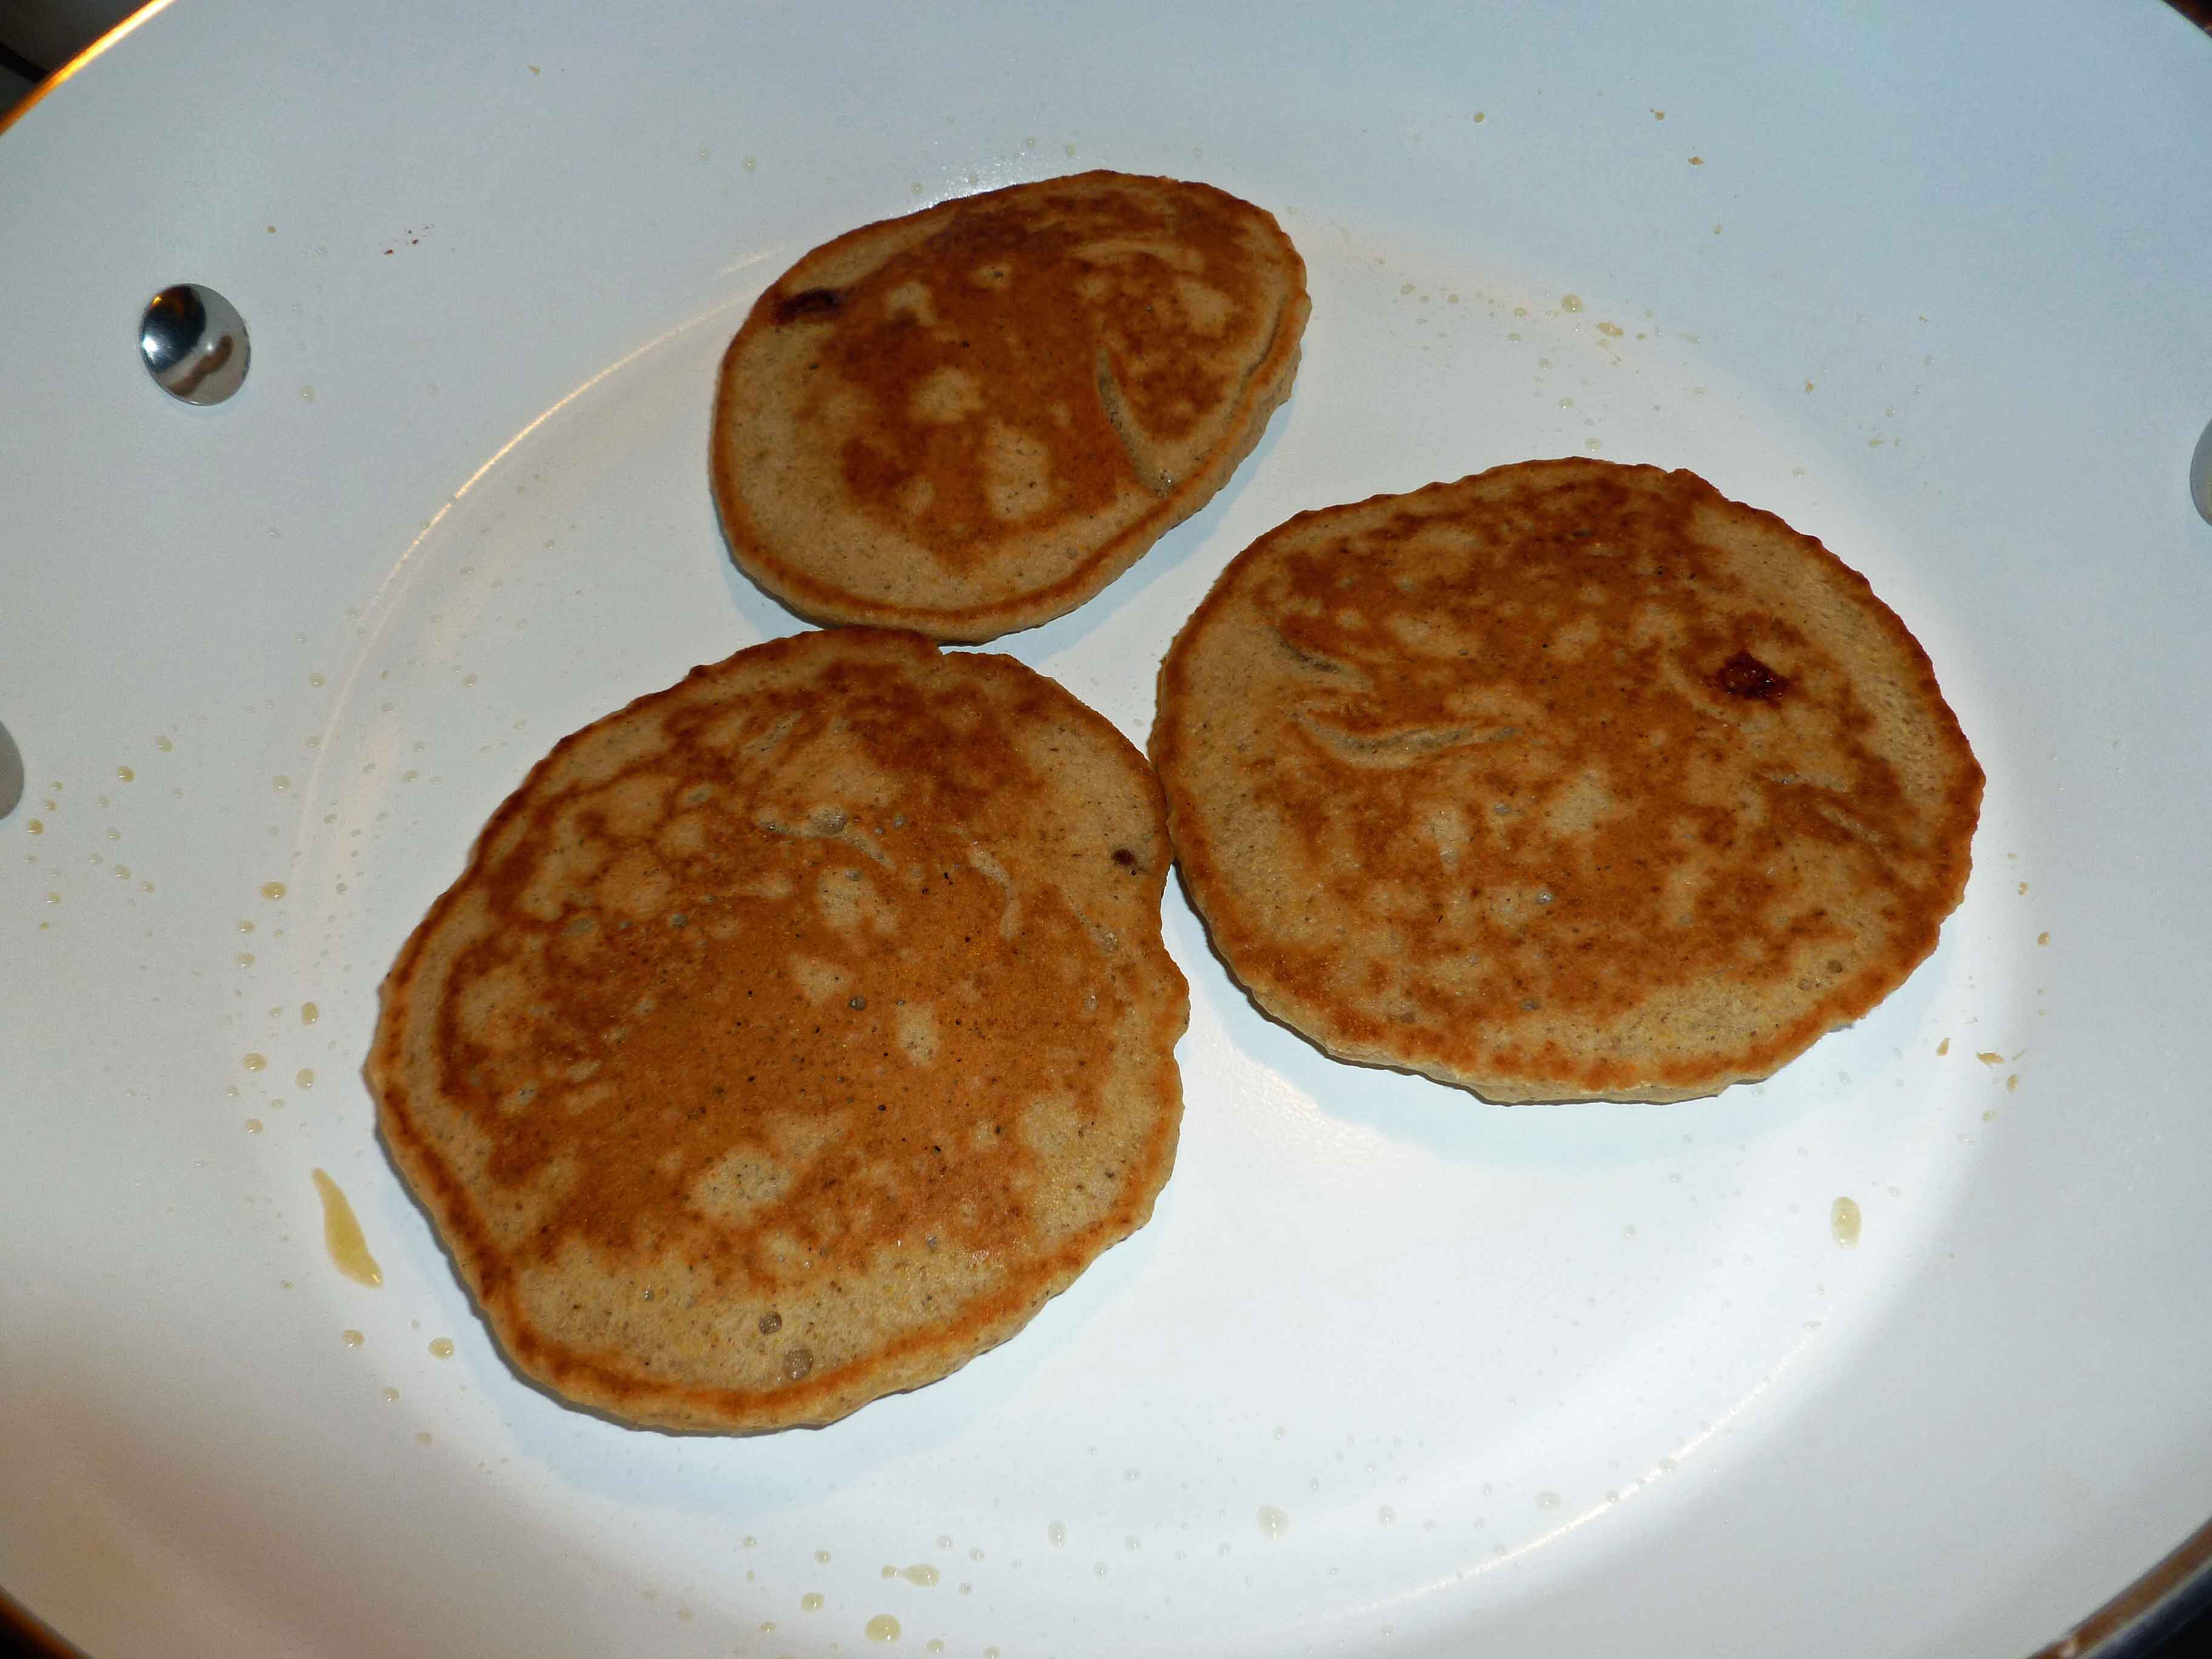
Gluten-Free and Allergen-Free Chocolate Chip Cookies, Version 1
allergen-free.
Makes about 50-60 cookies using approximately 1 Tablespoon of dough for each cookie.
- 2 Tablespoons of ground chia seed meal
- 6 Tablespoons of water
- 315 grams of the Glutenfreegirl’s All Purpose Gluten Free Flour Mix for Cookies (see recipe here, I made a half batch and it was enough for this with 185 grams left over – I don’t know if this would work with other commercial gluten free mixes but if you want to try it, I’m using 140 grams to the cup so if you’re using cups because your mix is a 1:1 ratio, it’s 2 1/4 cups)
- 1 teaspoon of baking soda
- 1 teaspoon salt
- 1 cup of Soy-free Earth Balance (if you can have soy, 2 sticks Earth Balance buttery spread)
- 3/4 cup of brown sugar, packed
- 3/4 cup of granulated sugar
- 1 Tablespoon of vanilla extract
- 2 cups of allergen-free chocolate chips (Enjoy Life chocolate chips recommended)
Preheat your oven to 375°F.
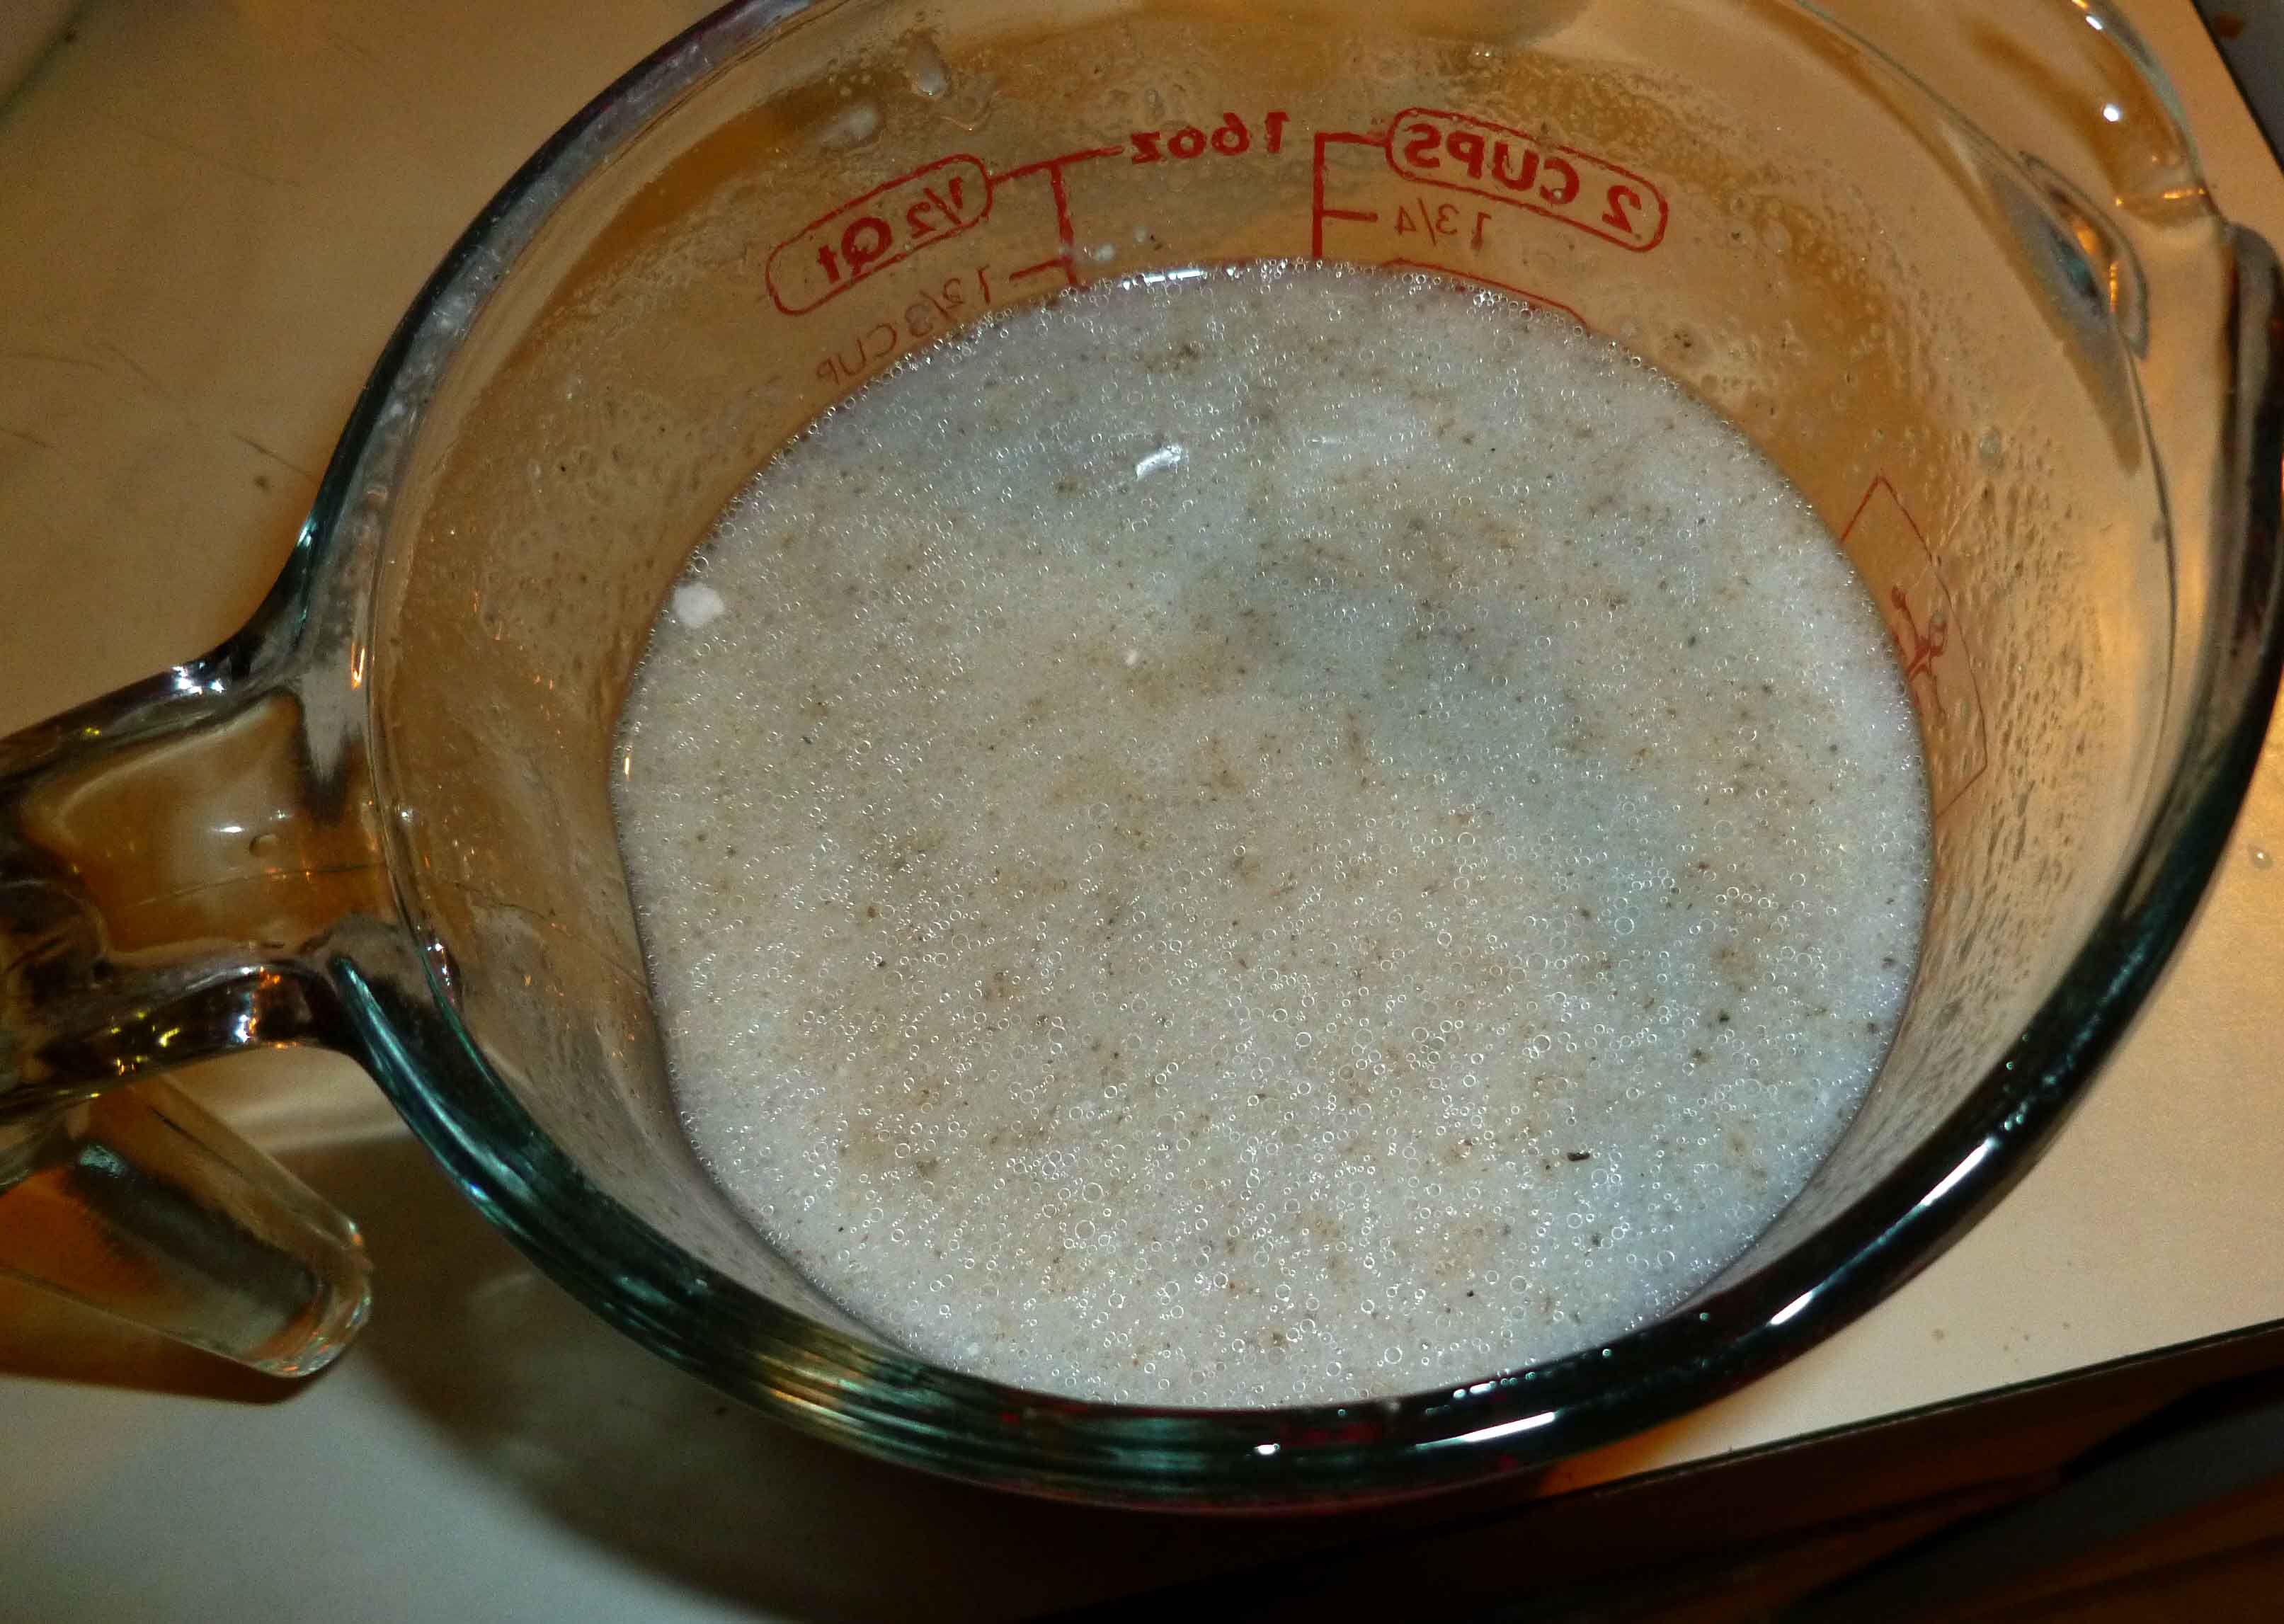
In a small container mix ground chia seed meal and water thoroughly. Set aside until needed to let it gel.
Then measure out the Gluten Free Flour Mix for Cookies, salt, and baking soda and place in a bowl. Whisk ingredients together until they are well incorporated into each other, and set aside until its needed.
Using your mixer (preferably a stand mixer) beat the Earth Balance, sugar, brown sugar, and vanilla in a large bowl until it’s creamy, scraping down the sides as needed to make sure that all the ingredients are completely mixed together. The reason that you are using cold Earth Balance right out of the fridge is that (a) if you have a KitchenAid or other stand mixer it’ll take the punishment and beat the Earth Balance when it’s cold anyway, and I am way too impatient to wait to soften anything and doing it in the microwave is always a disaster, (b) Earth Balance seems to have a much lower melting point that regular margarine or butter, so you’re giving yourself a fighting chance to have your dough stay doughy when you’re waiting to bake cookies in multiple batches in the oven, and (c) I think it makes the cookies crispier, but I have no empirical evidence for that really.
Add one half of the chia mixture and beat it well to mix it in completely, again scraping down the sides as needed. Add the second half of the chia mixture and do the same.
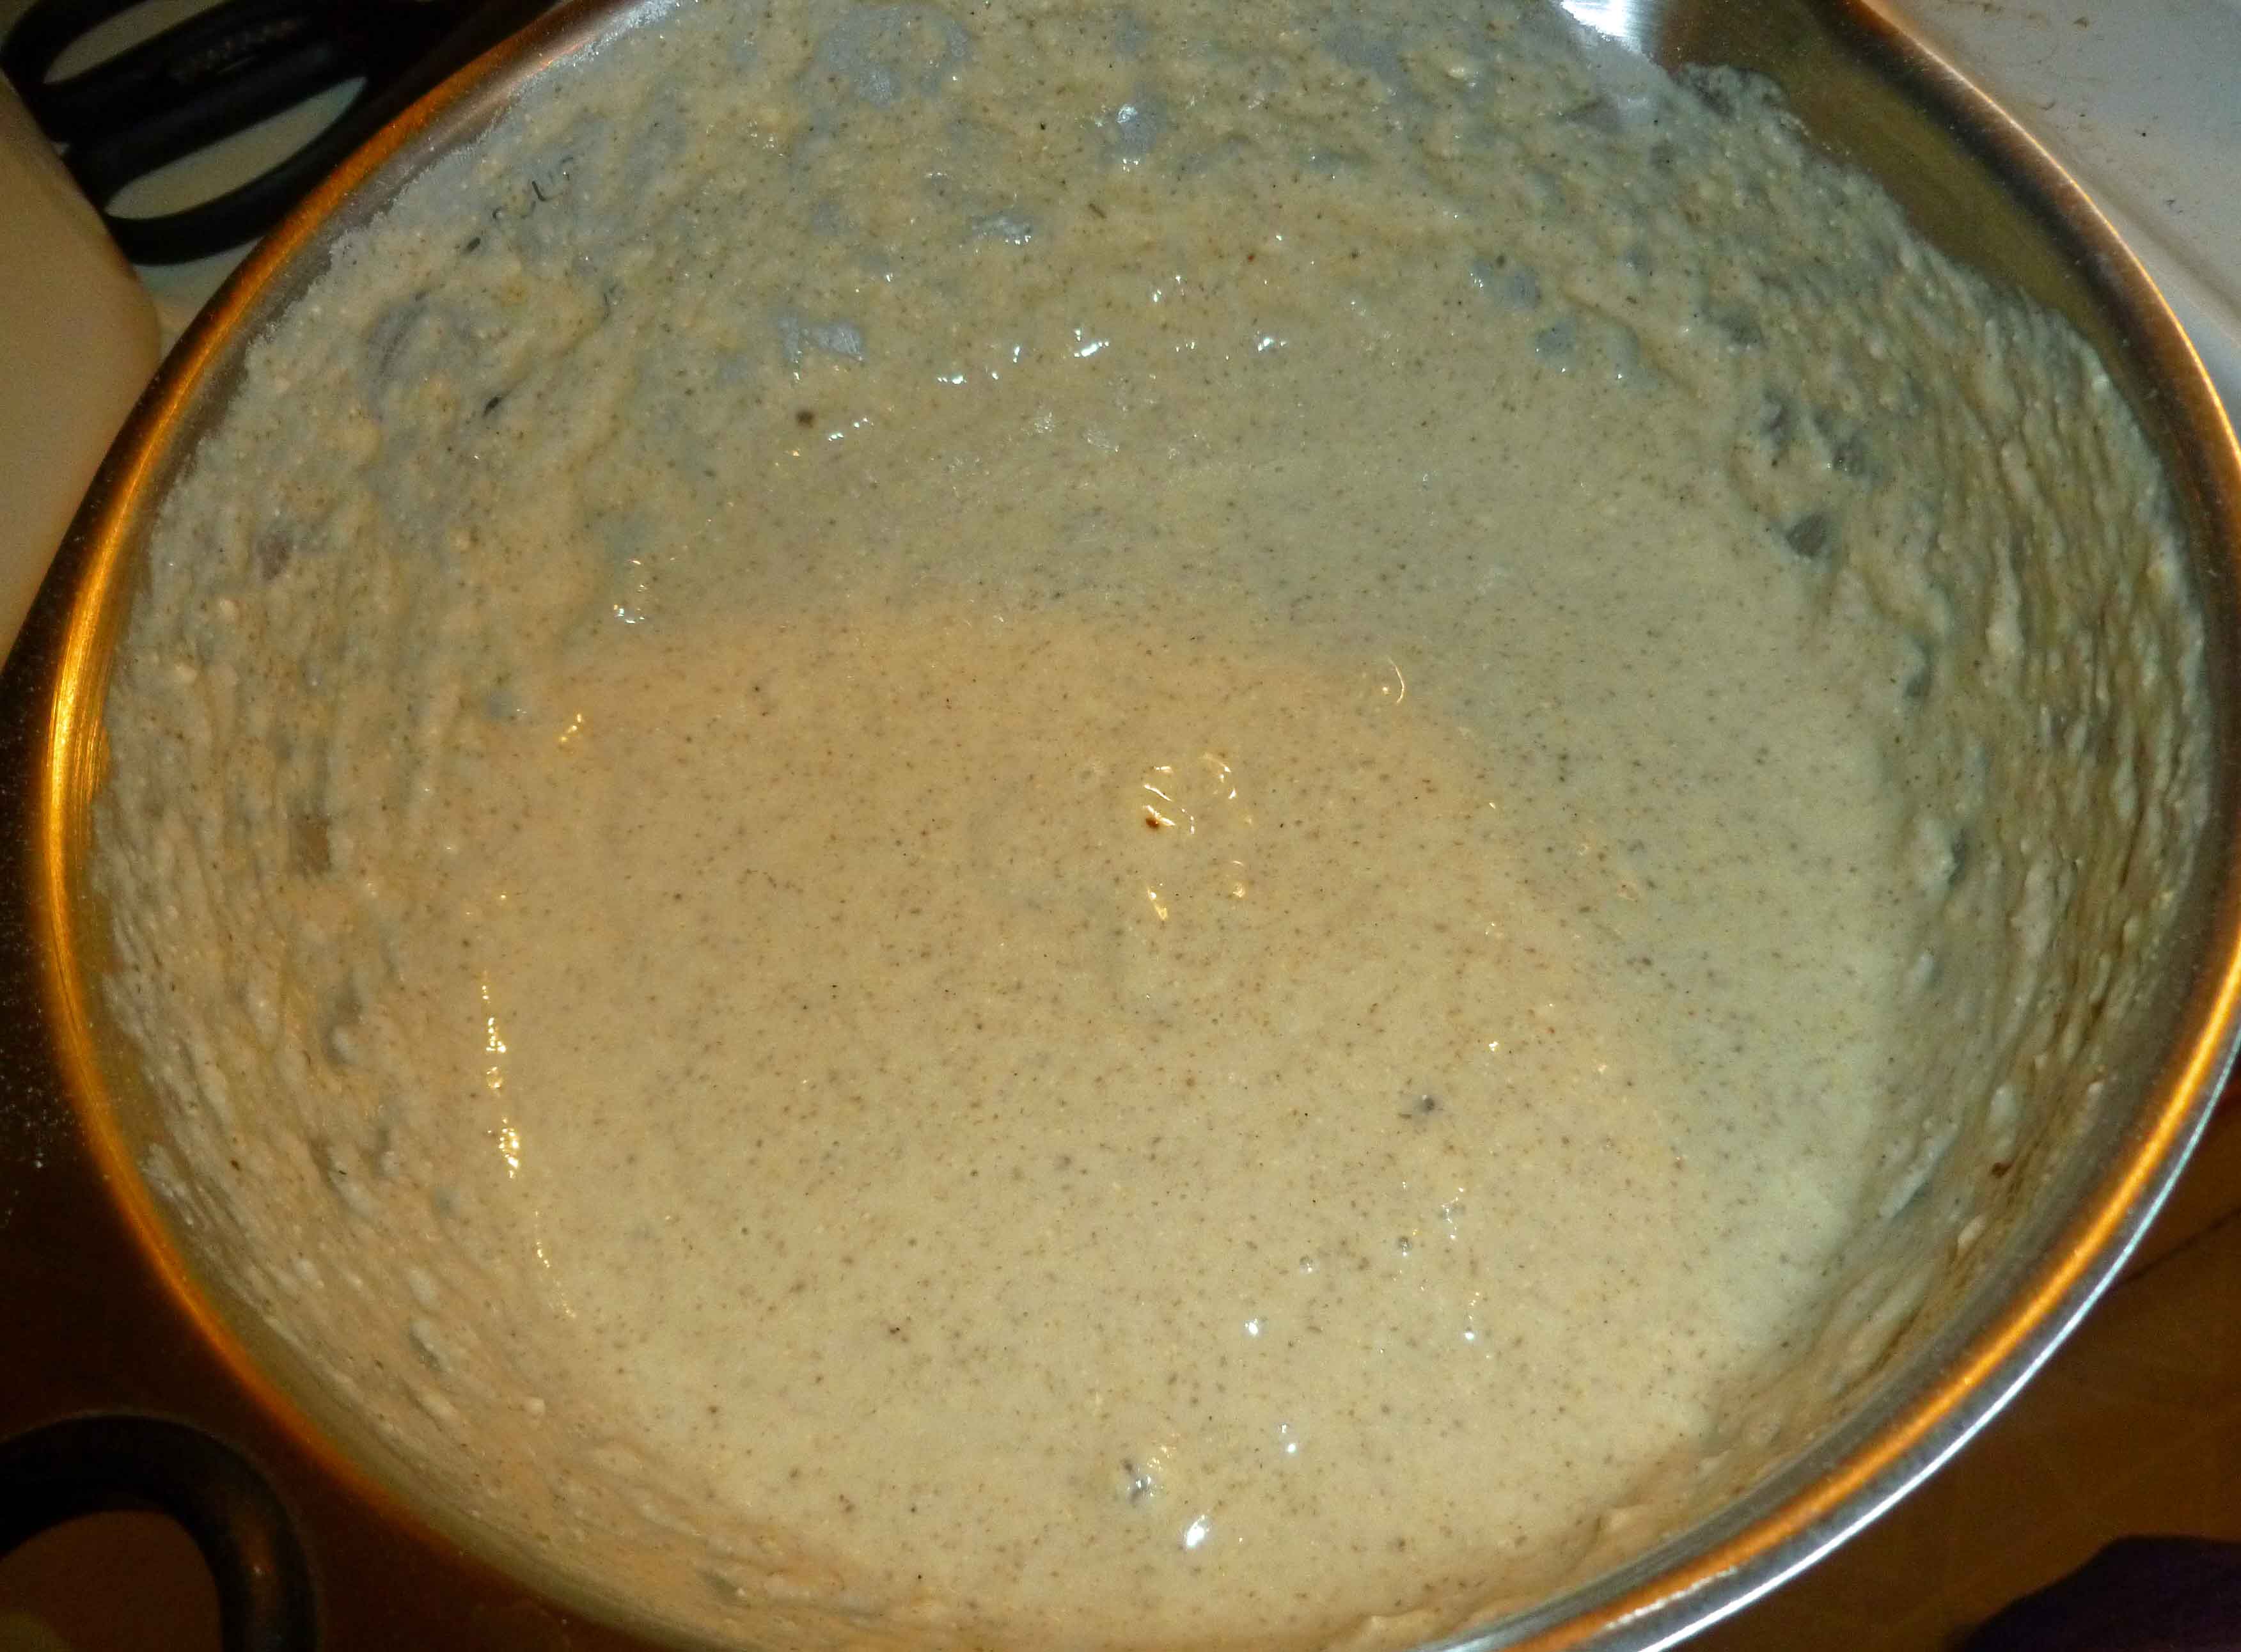
Gradually add the Gluten Free Flour Mix for Cookies while beating well, again scraping down the sides as needed, until all of it is incorporated into the dough. Using a spoon, mix in the chocolate chips. (You don’t want to use the mixer because it’ll mash the chocolate chips into little bits.)
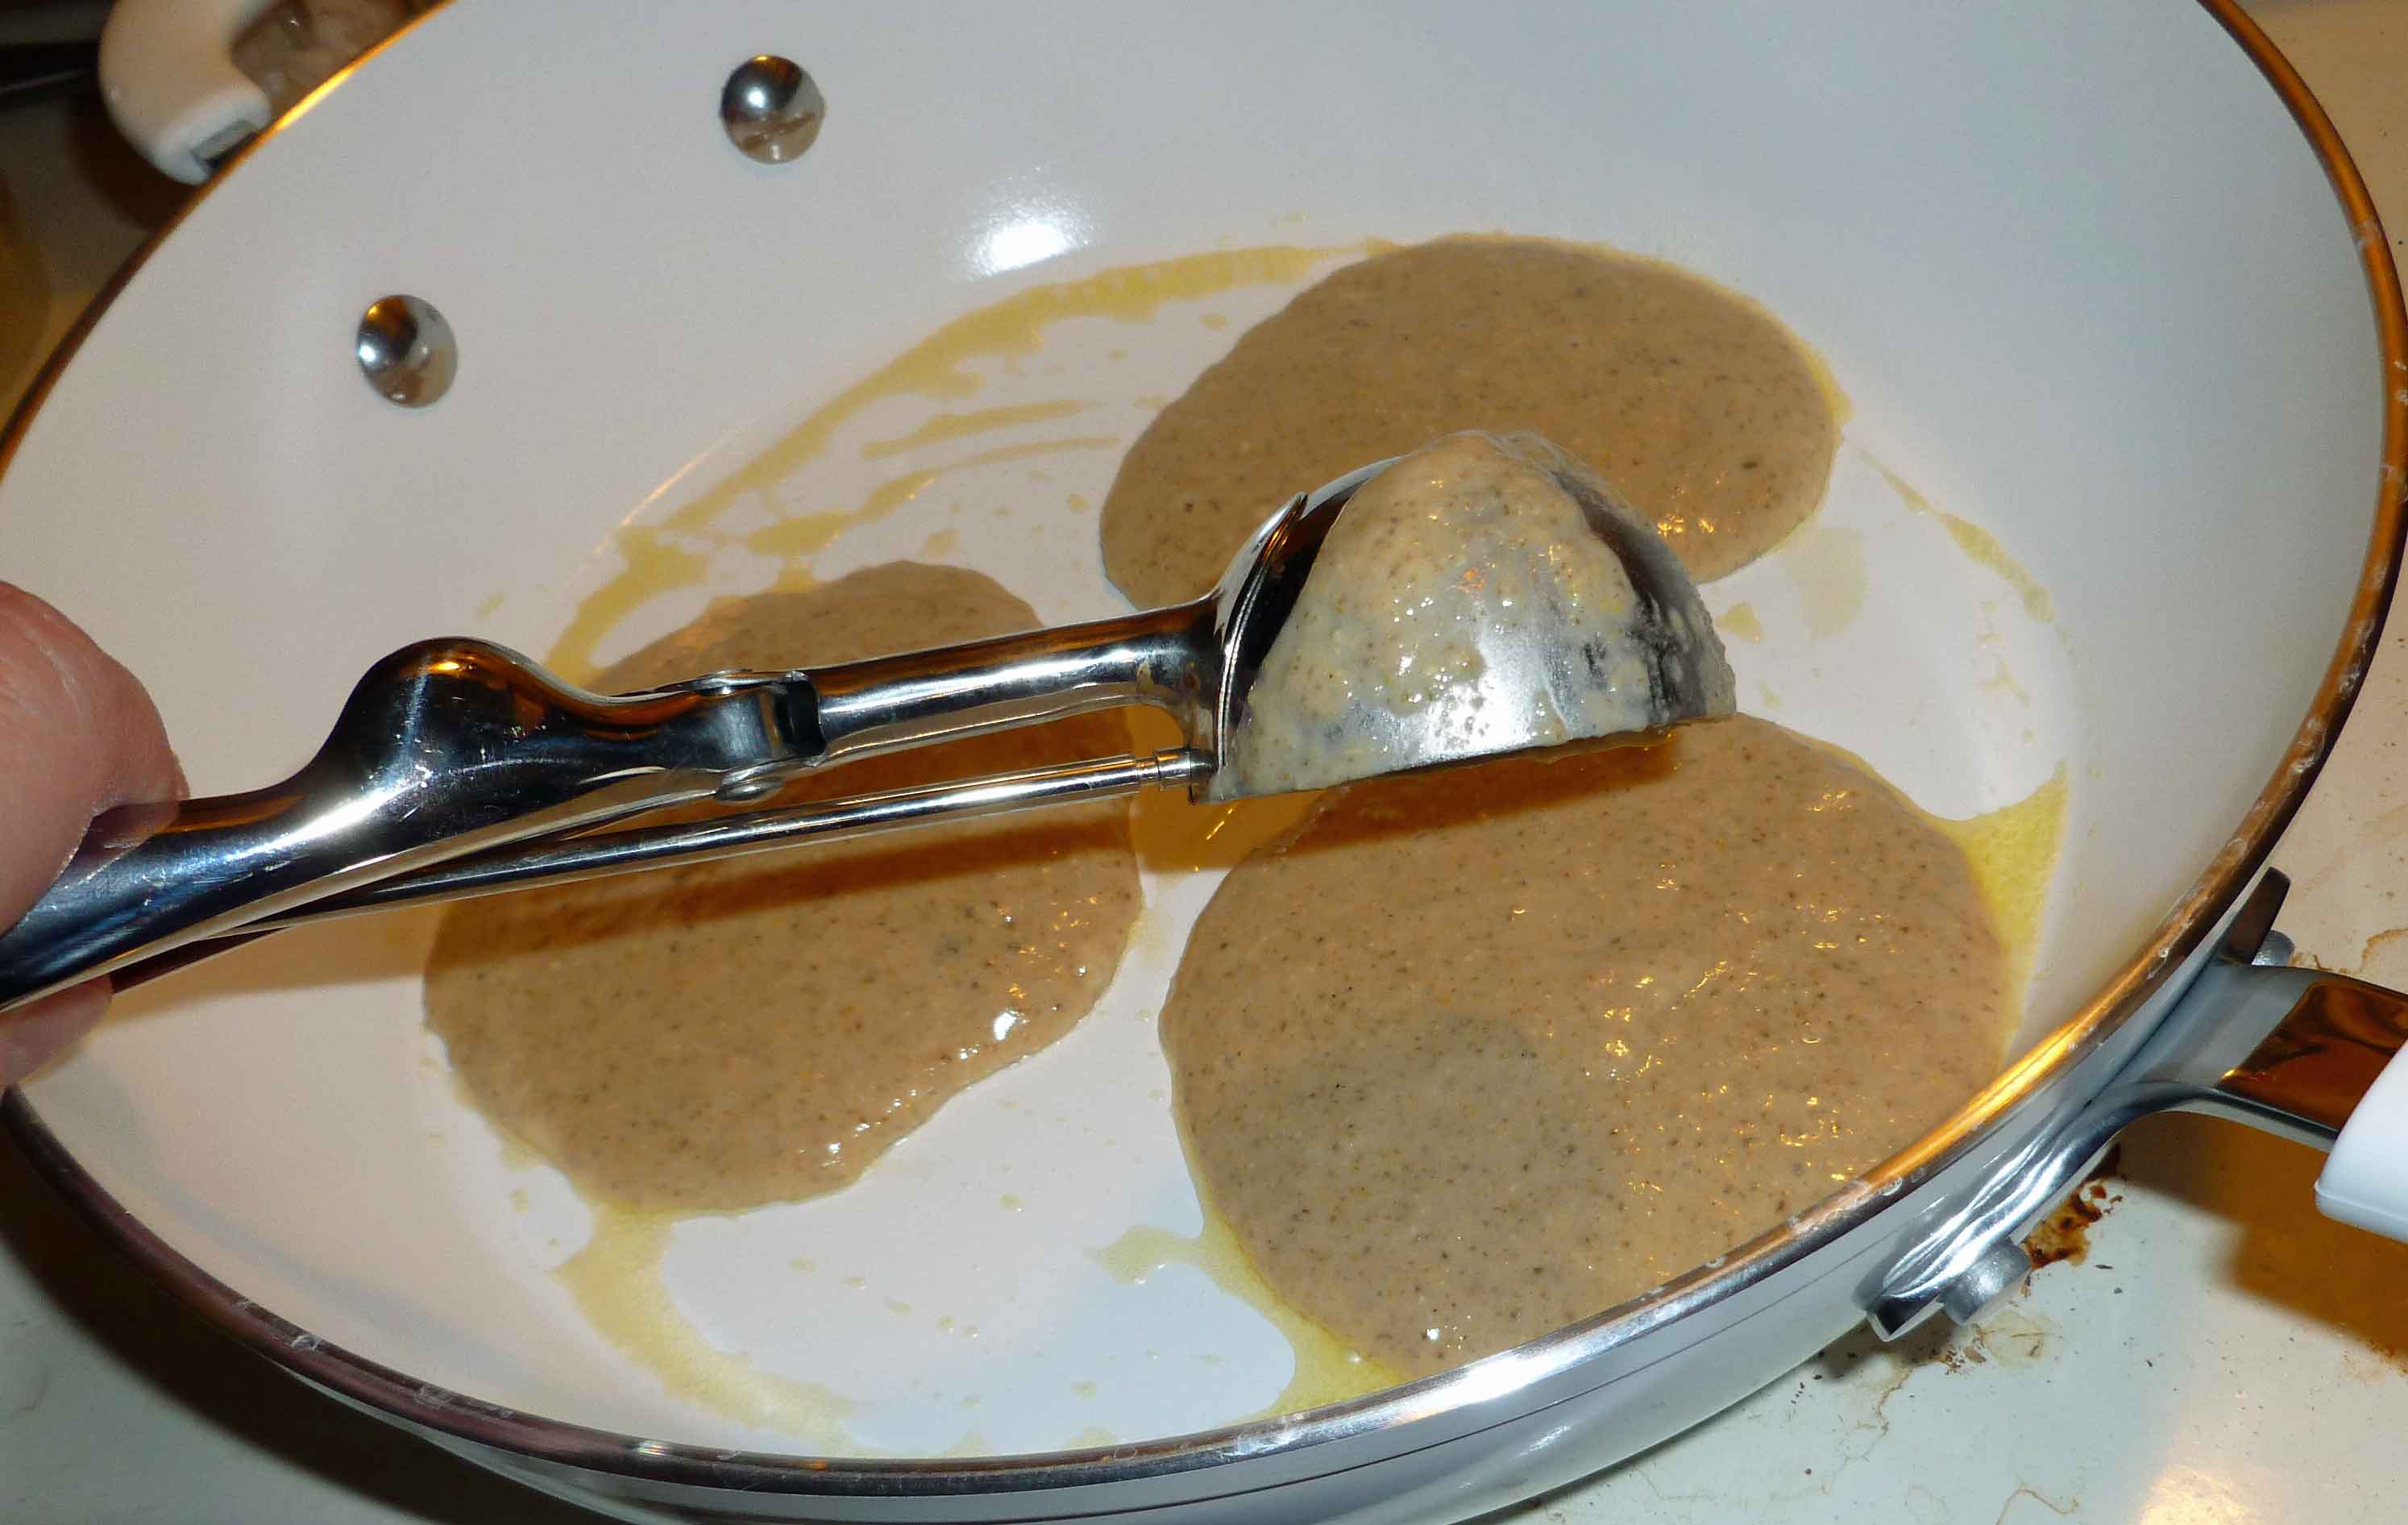
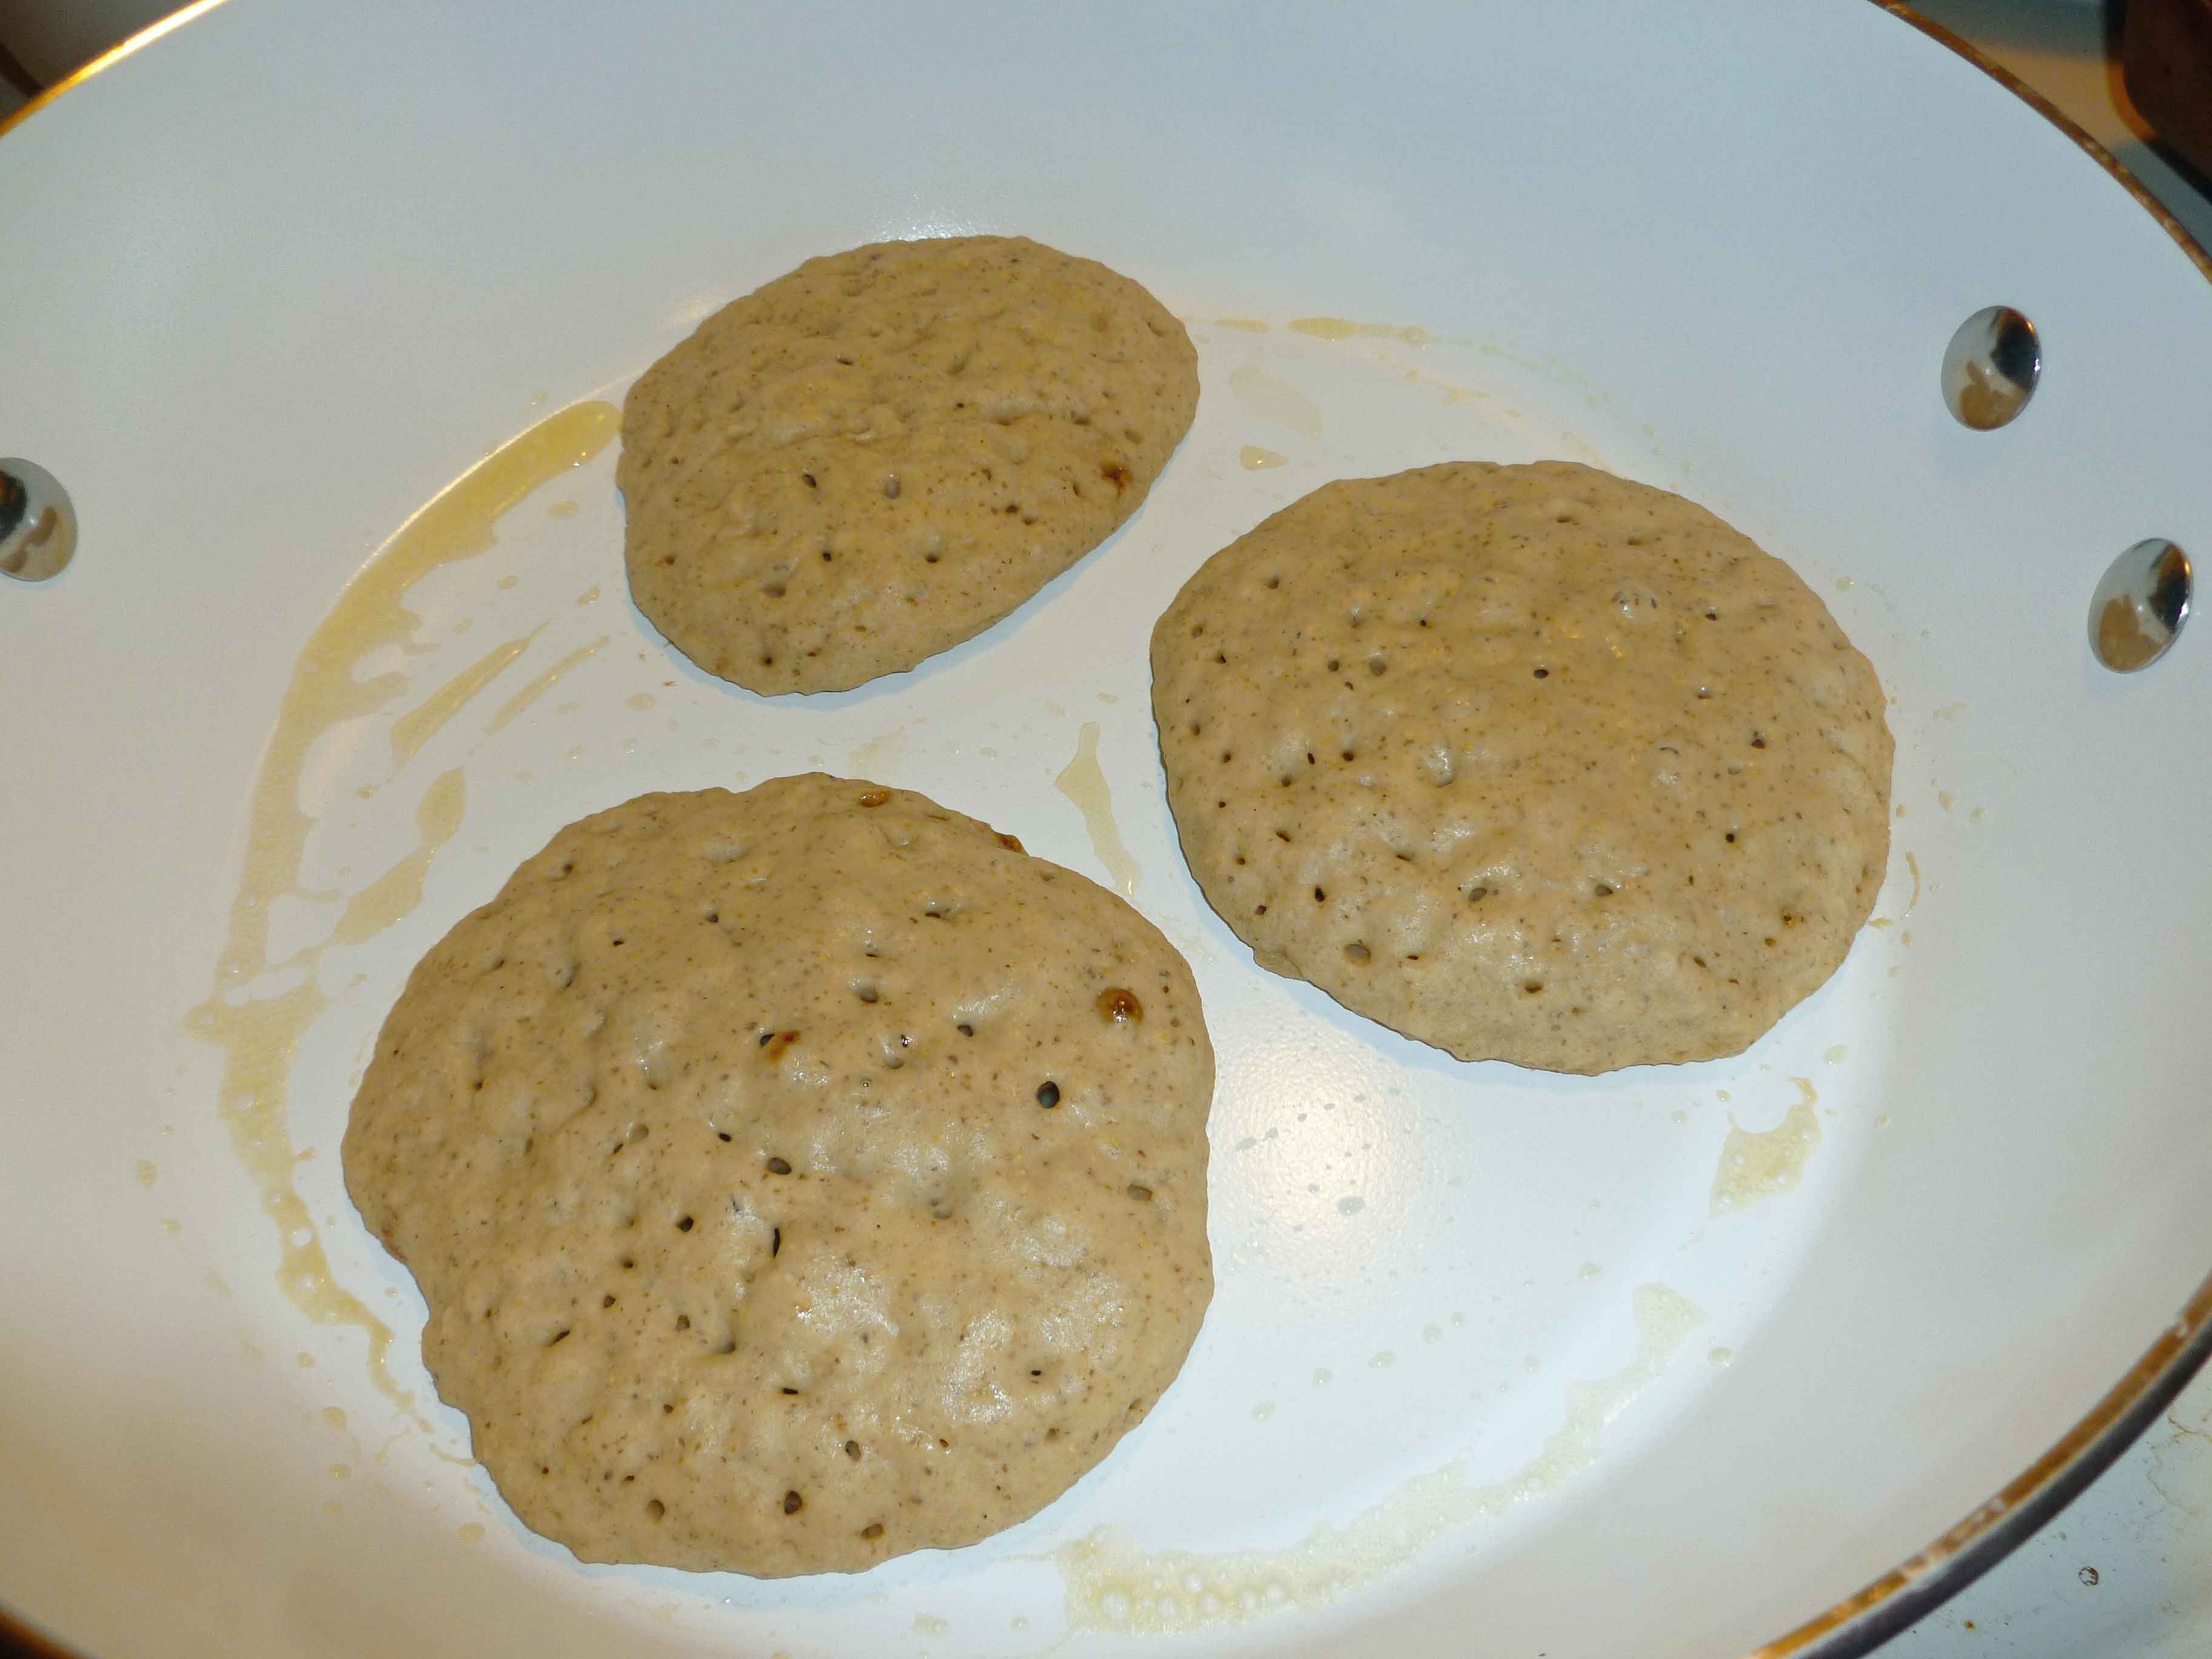
Drop dough (I used a scoop that holds one tablespoon) onto ungreased baking sheets. I used Pampered Chef stoneware so if you’re using a metal pan you may need to adjust the baking time. Gluten free baking takes longer than regular baking so even though these cookies are 1/3 the size of the other recipe I did with regular flour, they take just as long or longer to cook. Bake for 15-17 minutes (using the stoneware, I baked them for 17 minutes for the best results, with metal sheet pans, try the lower end of the range, but watch your cookies).
Once you have taken them out of the oven, let them cool on the baking sheet for 2-4 minutes or so to let them set up a bit, and then using a spatula, remove the cookies to a cooling rack to finish cooling. Enjoy!

Classic Vegan Chocolate Chip Cookies, Version 2
contains gluten.
Makes about 20 three inch cookies using approximately 3 Tablespoons of dough for each cookie. (I like big cookies. If you like smaller cookies, use 1 Tablespoon of dough and adjust the cooking time to about 10 minutes, and you’ll get 5 dozen cookies).
- 2 Tablespoons of ground chia seed meal
- 6 Tablespoons of water
- 2 1/4 cups of all purpose flour
- 1 teaspoon of baking soda
- 1 teaspoon salt
- 1 cup of Earth Balance Natural Buttery Spread Soy Free or 2 sticks of Earth Balance Vegan Buttery Sticks, COLD
- 3/4 cup of brown sugar, packed
- 3/4 cup of granulated sugar
- 1 Tablespoon of vanilla extract
- 2 cups of vegan or allergy free for you chocolate chips (Enjoy Life chocolate chips recommended)
Preheat your oven to 375°F.
In a small container mix ground chia seed meal and water thoroughly. Set aside until needed to let it gel.
Then measure out flour, salt, and baking soda and place in a bowl. Whisk ingredients together until they are well incorporated into each other, and set aside until its needed.
Using your mixer (preferably a stand mixer) beat the Earth Balance, sugar, brown sugar, and vanilla in a large bowl until it’s creamy, scraping down the sides as needed to make sure that all the ingredients are completely mixed together. The reason that you are using cold Earth Balance right out of the fridge is that (a) if you have a KitchenAid or other stand mixer it’ll take the punishment and beat the Earth Balance when it’s cold anyway, and I am way too impatient to wait to soften anything and doing it in the microwave is always a disaster, (b) Earth Balance seems to have a much lower melting point that regular margarine or butter, so you’re giving yourself a fighting chance to have your dough stay doughy when you’re waiting to bake cookies in multiple batches in the oven, and (c) I think it makes the cookies crispier, but I have no empirical evidence for that really.
Add one half of the chia mixture and beat it well to mix it in completely, again scraping down the sides as needed. Add the second half of the chia mixture and do the same.
Gradually add the flour mixture while beating well, again scraping down the sides as needed, until all the flour is incorporated into the dough. Using a spoon, mix in the chocolate chips. (You don’t want to use the mixer because it’ll mash the chocolate chips into little bits.)
Drop dough (I used a scoop that holds three tablespoons) onto ungreased baking sheets. I used Pampered Chef stoneware so if you’re using a metal pan you may need to adjust the baking time. Bake for 15-17 minutes (using the stoneware, I baked them for 17 minutes for the best results, with metal sheet pans, try the lower end of the range, but watch your cookies).
Once you have taken them out of the oven, let them cool on the baking sheet for 2-4 minutes or so to let them set up a bit, and then using a spatula, remove the cookies to a cooling rack to finish cooling. Enjoy!

Almond-based Chocolate Chip Cookies, Version 3
contains nuts. Makes about 16 cookies.
Preheat oven to 350F
- 1 1/4 cup almond meal/ground almonds
- 1/4 teaspoon salt
- 1/4 teaspoon cinnamon
- 1/2 cup allergen-free chocolate chips (Enjoy Life mini chocolate chips recommended — mini chips are best in this)
- 2 Tablespoons shredded unsweetened coconut (optional)
- 2 Tablespoons oil (I used canola — use what you like for baking, but if using coconut, melt it first)
- 1/4 cup agave syrup
- 2 teaspoons vanilla extract
Whisk almond meal, salt, cinnamon, chips, and coconut, if using, together in a medium bowl.
Whisk oil, agave, and vanilla together in a small bowl. It will be tempting to skip this step and just add the wet ingredients into the dry, but don’t. The oil mixed into the syrup will make it mix smoother in the end.
Mix the wet ingredients into the dry with a rubber spatula. You will have a pretty thick dough, but mix until there are no dry spots.
Drop by the tablespoon onto a cookie sheet lined with parchment paper. You don’t really need to space these, as they do not spread out. Bake for 12 minutes, until slightly browned on the bottom (baking time on a metal cookie sheet). Rest them on the cookie sheet for 3 minutes or so before CAREFULLY cooling completely on a wire rack. Be careful — these cookies are a little… loose. These cookies are MUCH better completely cooled — the flavors are muddled when warm. Enjoy!

Walnut-based Chocolate Chip Cookies, Version 4
contains nuts. Makes about 12-16 cookies.
Preheat oven to 350F.
- 1 1/4 cups ground walnuts (I have not seen walnut meal for sale. Pulse them in a food processor.)
- 1/4 teaspoon salt
- 1/2 cup mini chocolate chips (Enjoy Life recommended)
- 1 Tablespoon + 1 teaspoon canola oil (or other liquid oil)
- 1/4 cup sweet brown rice syrup
- 2 1/2 teaspoons vanilla extract
Whisk together the walnuts, salt, and chocolate chips.
Whisk together the oil, syrup, and vanilla. This will take a minute, as the brown rice syrup is thick, but it will come together. (A measuring tip — measure out the oil into the 1/3 cup measuring cup. Swirl it around before dumping it in the bowl, and then use that cup to measure the syrup, and it will come right out.)
Add the wet ingredients to the dry and mix with a rubber spatula.
Drop 1 Tablespoon scoops onto a baking sheet lined with parchment paper, about 1 inch apart. Bake 12-17 minutes or until cookies have spread and edges begin to brown (baking time on a metal sheet). Let rest only a few minutes on the cookie sheet before removing to a wire rack to cool. Unlike the almond-based cookies, these are even better warm. Enjoy!

If you are newly gluten-free, don’t want to buy 100 spendy new flours and want to make cookies, try the King Arthur box mix. It is a box mix, so it’s not as great as making them from scratch, but it is good. And early successes in gluten-free baking are worth it.
We hope that our happy 100th post has inspired you to venture up the cookie tree. You know, the tree that the elves live in? If you have no elves, you’ll have to bake your own cookies, but we promise, if we can do it, you can do it. Your friends will love you for it.
Got a favorite recipe? Tried one of ours and liked it? We’d love to hear from you.