Notice: Function _load_textdomain_just_in_time was called incorrectly. Translation loading for the wp-ultimate-recipe domain was triggered too early. This is usually an indicator for some code in the plugin or theme running too early. Translations should be loaded at the init action or later. Please see Debugging in WordPress for more information. (This message was added in version 6.7.0.) in /home/maryzahc/public_html/adultfoodallergies.com/wp-includes/functions.php on line 6121
Dip or Spread – Page 2 – surviving the food allergy apocalypse (archive)

Category: Dip or Spread

Dip or Spread, noun: Tasty, savory or sweet hearty condiments to be enjoying upon crudites, or allergy friendly crackers or chips. These recipes will not contain dairy, eggs, gluten, wheat or hazelnuts. If we use a top 8 allergen, we will use a tag warning of its use.

  • Grilled Peach Salsa


    Grilled Peach Salsa - Photo by J. Andrews
    Grilled Peach Salsa – Photo by J. Andrews


    When Mary Kate and I began to plan the cookout we held several weeks ago (grilling, friends and lots o’ posts for the blog, what could be better?), we started with thinking about what ingredients were in season and could be grilled.  We wanted to do a dessert, but I couldn’t figure out anything with my restrictions by the time we were solidifying the menu. I had seen a recipe for peach salsa for canning, but I wondered what it would be like grilled instead, because it would bring out the sweetness of the peaches and combine it with some lovely caramelized, smokey flavors. So we tried it. It’s good. And for those of you that can’t have chips like me (the corn chips are only to make the picture pretty in my case, although Mary Kate can eat them), this salsa is really good on pork chops as a sauce. You could also use it as a marinade or a glaze on pork or chicken, depending on how finely you chop the ingredients or just put it in the blender for a peach barbecue sauce. This is a low heat salsa, so don’t be afraid because I’m posting it. For the chili heads, don’t worry, I’ve got a hot sauce coming up in few weeks that blows my head off, and will have appropriate warnings.

    Grilled Peach Salsa

    • 1 pound of peaches, grilled
    • 1 small red red onion, grilled
    • 1/2 of a orange bell pepper, grilled (If you don’t know what to do with the half of orange bell pepper you’ll have left over, de-stem and de-seed it, put it in a freezer zip top bag and put it in your freezer. Peppers need no additional prep to freeze. Use it the next time you make a soup, stew, chili or marinara sauce.)
    • 2 jalapeno peppers, grilled
    • 1/2 of a bulb of garlic, with top cut off and with most of the outer layer peels removed (Grill the whole bulb and put the remainder in the fridge to use for mashed potatoes or something else where roasted garlic would be awesome)
    • 1/2 tablespoon of olive oil or other safe-for-you oil
    • 1/4 cup of white wine vinegar
    • 2 Tablespoons brown sugar
    • 1/2 teaspoon of ground cumin
    • 1/8 teaspoon of ground cayenne pepper

     **Please keep in mind as you look at the pictures that I was cooking a whole lot of other things the day we were grilling, so the pictures do not reflect the correct amounts of the ingredients shown, or may show additional ingredients. Also, my original recipe made a holy ton of salsa, so we cut the ingredients in half for the purposes of this post.

    De-stem and de-seed your peppers.

    Peppers de-stemmed and de-seeded.
    Peppers de-stemmed and de-seeded  – Photo by J. Andrews

    Place the peppers on the grill and grill until they get a bit tender and have a bit of char on them.

    Peppers on the grill
    Peppers on the grill – Photo by J. Andrews
    Peppers and Garlic on the grill
    Peppers and Garlic on the grill – Photo by J. Andrews

    Take your garlic bulb, slice off the top so that the cloves are exposed a bit (see the picture and description in our previous Grilled Salsa recipe), and place it on some aluminum foil large enough to wrap the garlic in as shown in the picture above. Drizzle the olive oil over your garlic bulb, and wrap the aluminum foil around it and place it on the grill. Roast the garlic until the cloves are cooked and mushy.

    Trim and peel your onion and then slice it in about half to one inches slices and place on the grill. Grill until you have a bit of char, and the onion is tender. (Ours were a bit more charred probably than strictly necessary, we were having issues with the grill, totally user error.)

    Sliced Onions
    Sliced Onions – Photo by J. Andrews
    Sliced onions on the grill
    Sliced onions on the grill – Photo by J. Andrews
    Sliced onions on the grill just before they got a bit too done.
    Sliced onions on the grill just before they got a bit too done – Photo by J. Andrews

    Cut your peaches in half and remove the pit. On some of them I had to cut the peaches in quarters to get the pit out, but it’ll still work, it’s just halves are a little easier to manipulate on the grill.  Place the peaches on the grill and grill until they are a bit more tender and have some nice charring on the outside.

    Peaches in halves and quarters
    Peaches in halves and quarters – Photo by J. Andrews
    Peaches on the grill
    Peaches on the grill – Photo by J. Andrews

    Once all your grilled ingredients are cooked, squeeze out the roasted garlic from the cloves, and put the garlic, peppers, onions, and peaches in a blender or food processor, and process until chopped to the level of chunkiness that you like. I used the manual food processor from Pampered Chef because I wouldn’t have to truck everything back inside or find an electric outlet (no affiliation, I just like it). You are likely going to have to process in batches.  Place all the chopped ingredients in a large bowl and add the white wine vinegar, brown sugar, cumin and cayenne pepper. Mix thoroughly.

    Completed Grilled Peach Salsa
    Completed Grilled Peach Salsa – Photo by J. Andrews

    Enjoy!


  • Zesty Mexican Style Bean Salad

    Zesty Mexican Style Bean Salad
    Zesty Mexican Style Bean Salad – Photo by J. Andrews

    I modified this recipe from a recipe in an old Weight Watcher’s magazine. The original had raw green bell pepper and Great Northern beans in it instead, but back in the day before food allergies, I preferred it with roasted red pepper in a jar and garbanzo beans, and with some added spice enhancement. (Shocker, I know.) These days I can’t buy roasted red peppers at the store because of the citric acid, and I’ve been meaning to can my own so I could make this, but I hadn’t gotten around to it yet with everything else on my plate. So when Mary Kate and I decided to have a cookout, a light bulb went off that I could grill the red peppers and make this again. You could also broil the red peppers in your oven. (Not sure why that did not occur to me until I went to type up this post; I could have been making this all along. Sigh.)

    Zesty Mexican Style Bean Salad

    • 1 – 15 ounce can of black beans (Find a safe brand for you. I pressure can my own from dry beans.)
    • 1 – 15 ounce can of garbanzo beans (Find a safe brand for you. I pressure can my own from dry beans.)
    • 1 1/2 cups of chopped tomatoes
    • 1 cup grilled or broiled red bell pepper (about one and half peppers)
    • 1 cup of sliced green onions
    • 1 cup of salsa (Make sure you use a safe for you brand. I used my home canned salsa.)
    • 1/4 cup of red wine vinegar
    • 2 Tablespoons of fresh chopped cilantro
    • 1/2 teaspoon of salt
    • 1/2 teaspoon of black pepper
    • 1 teaspoon of Adobo seasoning (If you don’t have Adobo seasoning or you don’t have a safe version, mix 1/8 cup of paprika, 1 1/2 Tablespoons of ground black pepper, 1 Tablespoon of onion powder, 1 Tablespoon of dried oregano, 1 Tablespoon of ground cumin, 1/2 Tablespoon of ground chipotle, and 1/2 Tablespoon of garlic powder, this makes half a cup of seasoning)
    • hot sauce to taste (Use a safe for you brand. I used my own homemade version of Sriracha.)

    Cut your red bell peppers into quarters and seed and de-stem them.

    Quartered and de-seeded peppers - Photo by J. Andrews
    Quartered and de-seeded peppers – Photo by J. Andrews

    Place the red bell pepper quarters on a hot grill or under the broiler in your oven on a rack with a cookie sheet under it, and grill/broil them until they have a bit of char and are tender. When they are done, take them off the grill or out of the oven and let them cool a bit.

    Peppers on the grill - Photo by J. Andrews
    Peppers on the grill – Photo by J. Andrews

    In a large bowl, place the chopped tomatoes, sliced green onions, salsa, red wine vinegar, cilantro, salt, black pepper, and Adobo seasoning. Drain and rinse the black beans and garbanzo beans and add them to the bowl.

    All ingredients except the grilled red pepper - Photo by J. Andrews
    All ingredients except the grilled red pepper – Photo by J. Andrews

    Now that your red bell pepper has probably cooled down a bit, either give them a quick spin in a food processor to chop them into small pieces, or chop them up finely with a knife, and put them in the large bowl.

    Mix everything in the bowl together very well with a spatula or spoon. You want to make sure that none of the spices are clumping up. Taste it, and then decide how much hot sauce to need to add. Mix in the hot sauce really well.

    Mix all ingredients together - Photo by J. Andrews
    Mix all ingredients together – Photo by J. Andrews

    If you have safe chips, feel free to eat this with them. I don’t at the moment, but I’m happy just eating it with a fork or spoon. It also holds up very well in the refrigerator if you have leftovers.

    Enjoy!


    Zesty Mexican Style Bean Salad
    Zesty Mexican Style Bean Salad
  • Baked Eggplant and Zucchini Fries with Spicy Mayo Dipping Sauce

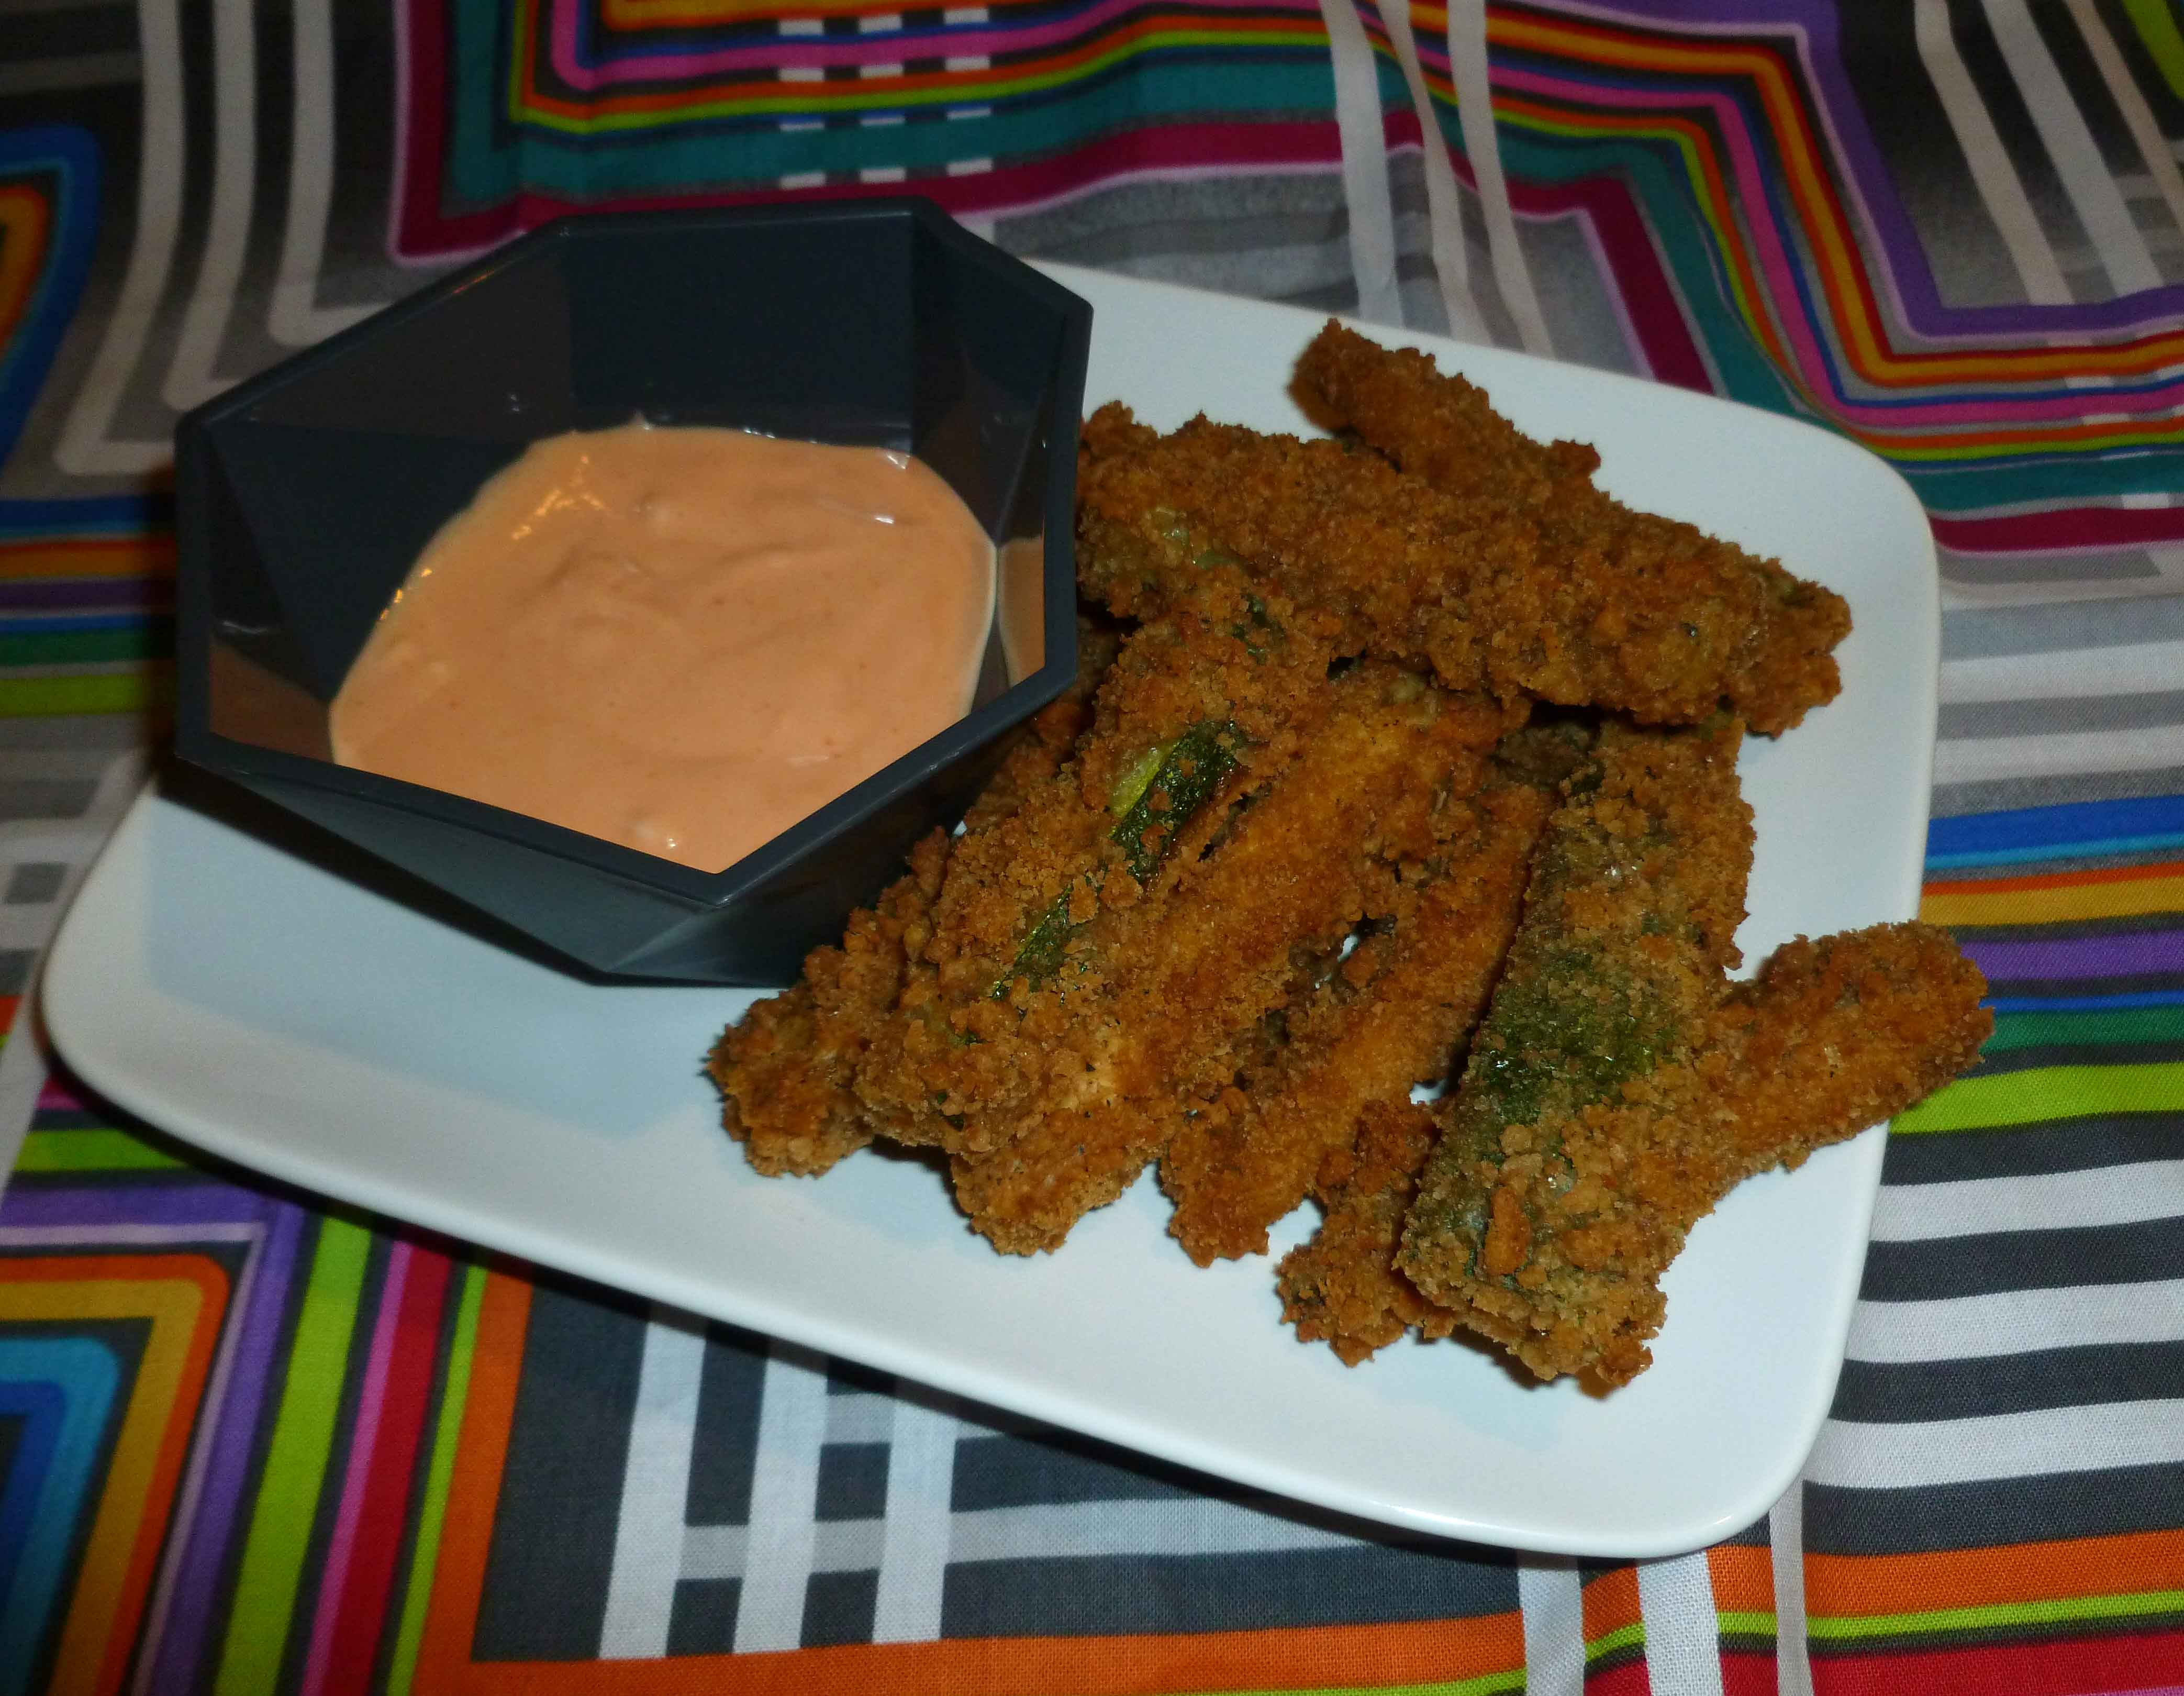
    Baked Eggplant and Zucchini Fries with Spicy Mayo Dipping Sauce
    Baked Eggplant and Zucchini Fries with Spicy Mayo Dipping Sauce

    So my friend Mary, the kale whisper, managed to procure about 5 pounds of eggplants for me, or, in other words, a crap ton of eggplants, from her neighbor’s garden. Because she’s just that awesome and cool.  So I made and canned 5 pints of Eggplant Caponata and 6 quarts of a version of Ratatouille, but I still had some eggplant and zucchini left. So I decided to try this recipe from the Gourmande in the Kitchen, but make it dairy, egg, and almond free too, since I’m allergic to all those things, and use up the zucchini.

    Baked Eggplant and Zucchini Fries with Spicy Mayo Dipping Sauce
    • 1 small eggplant about 7 inches long, sliced into pieces about 3 inches long and about 1/3 of an inch thick
    • 1 small zucchini about 7 inches long, sliced into pieces about 3 inches long and about 1/3 of an inch thick

    First dry dredge:

    • 1/2 cup of arrowroot starch (you could also use tapioca or corn starch, but corn is out for me, since I’m allergic to it)

    Second wet dredge:

    • 2 Tablespoons of safe Adobo seasoning (If you don’t have Adobo seasoning, mix 1/8 cup of paprika, 1 1/2 Tablespoons of ground black pepper, 1 Tablespoon of onion powder, 1 Tablespoon of dried oregano, 1 Tablespoon of ground cumin, 1/2 Tablespoon of ground chipotle, and 1/2 Tablespoon of garlic powder, this makes half a cup of seasoning).
    • 2 teaspoons of salt
    • 1/3 of a cup of arrowroot starch
    • 1/3 of a cup of olive oil
    • 2/3 of a cup of water

    Third dry dredge:

    • 2 cups of gluten free bread crumbs

    Spicy Mayo Dipping Sauce:

    • 1/2 cup of Earth Balance Mindful Mayo (or other mayo that’s safe for you)
    • 1 Tablespoon of Sriracha, or your other favorite hot sauce

    Preheat your oven to 425°F.  Place a piece of parchment paper on a baking sheet and use an oil mister to spray the parchment paper.  You can skip the parchment paper, and just spray oil on the baking sheet, but it will be easier to clean up.

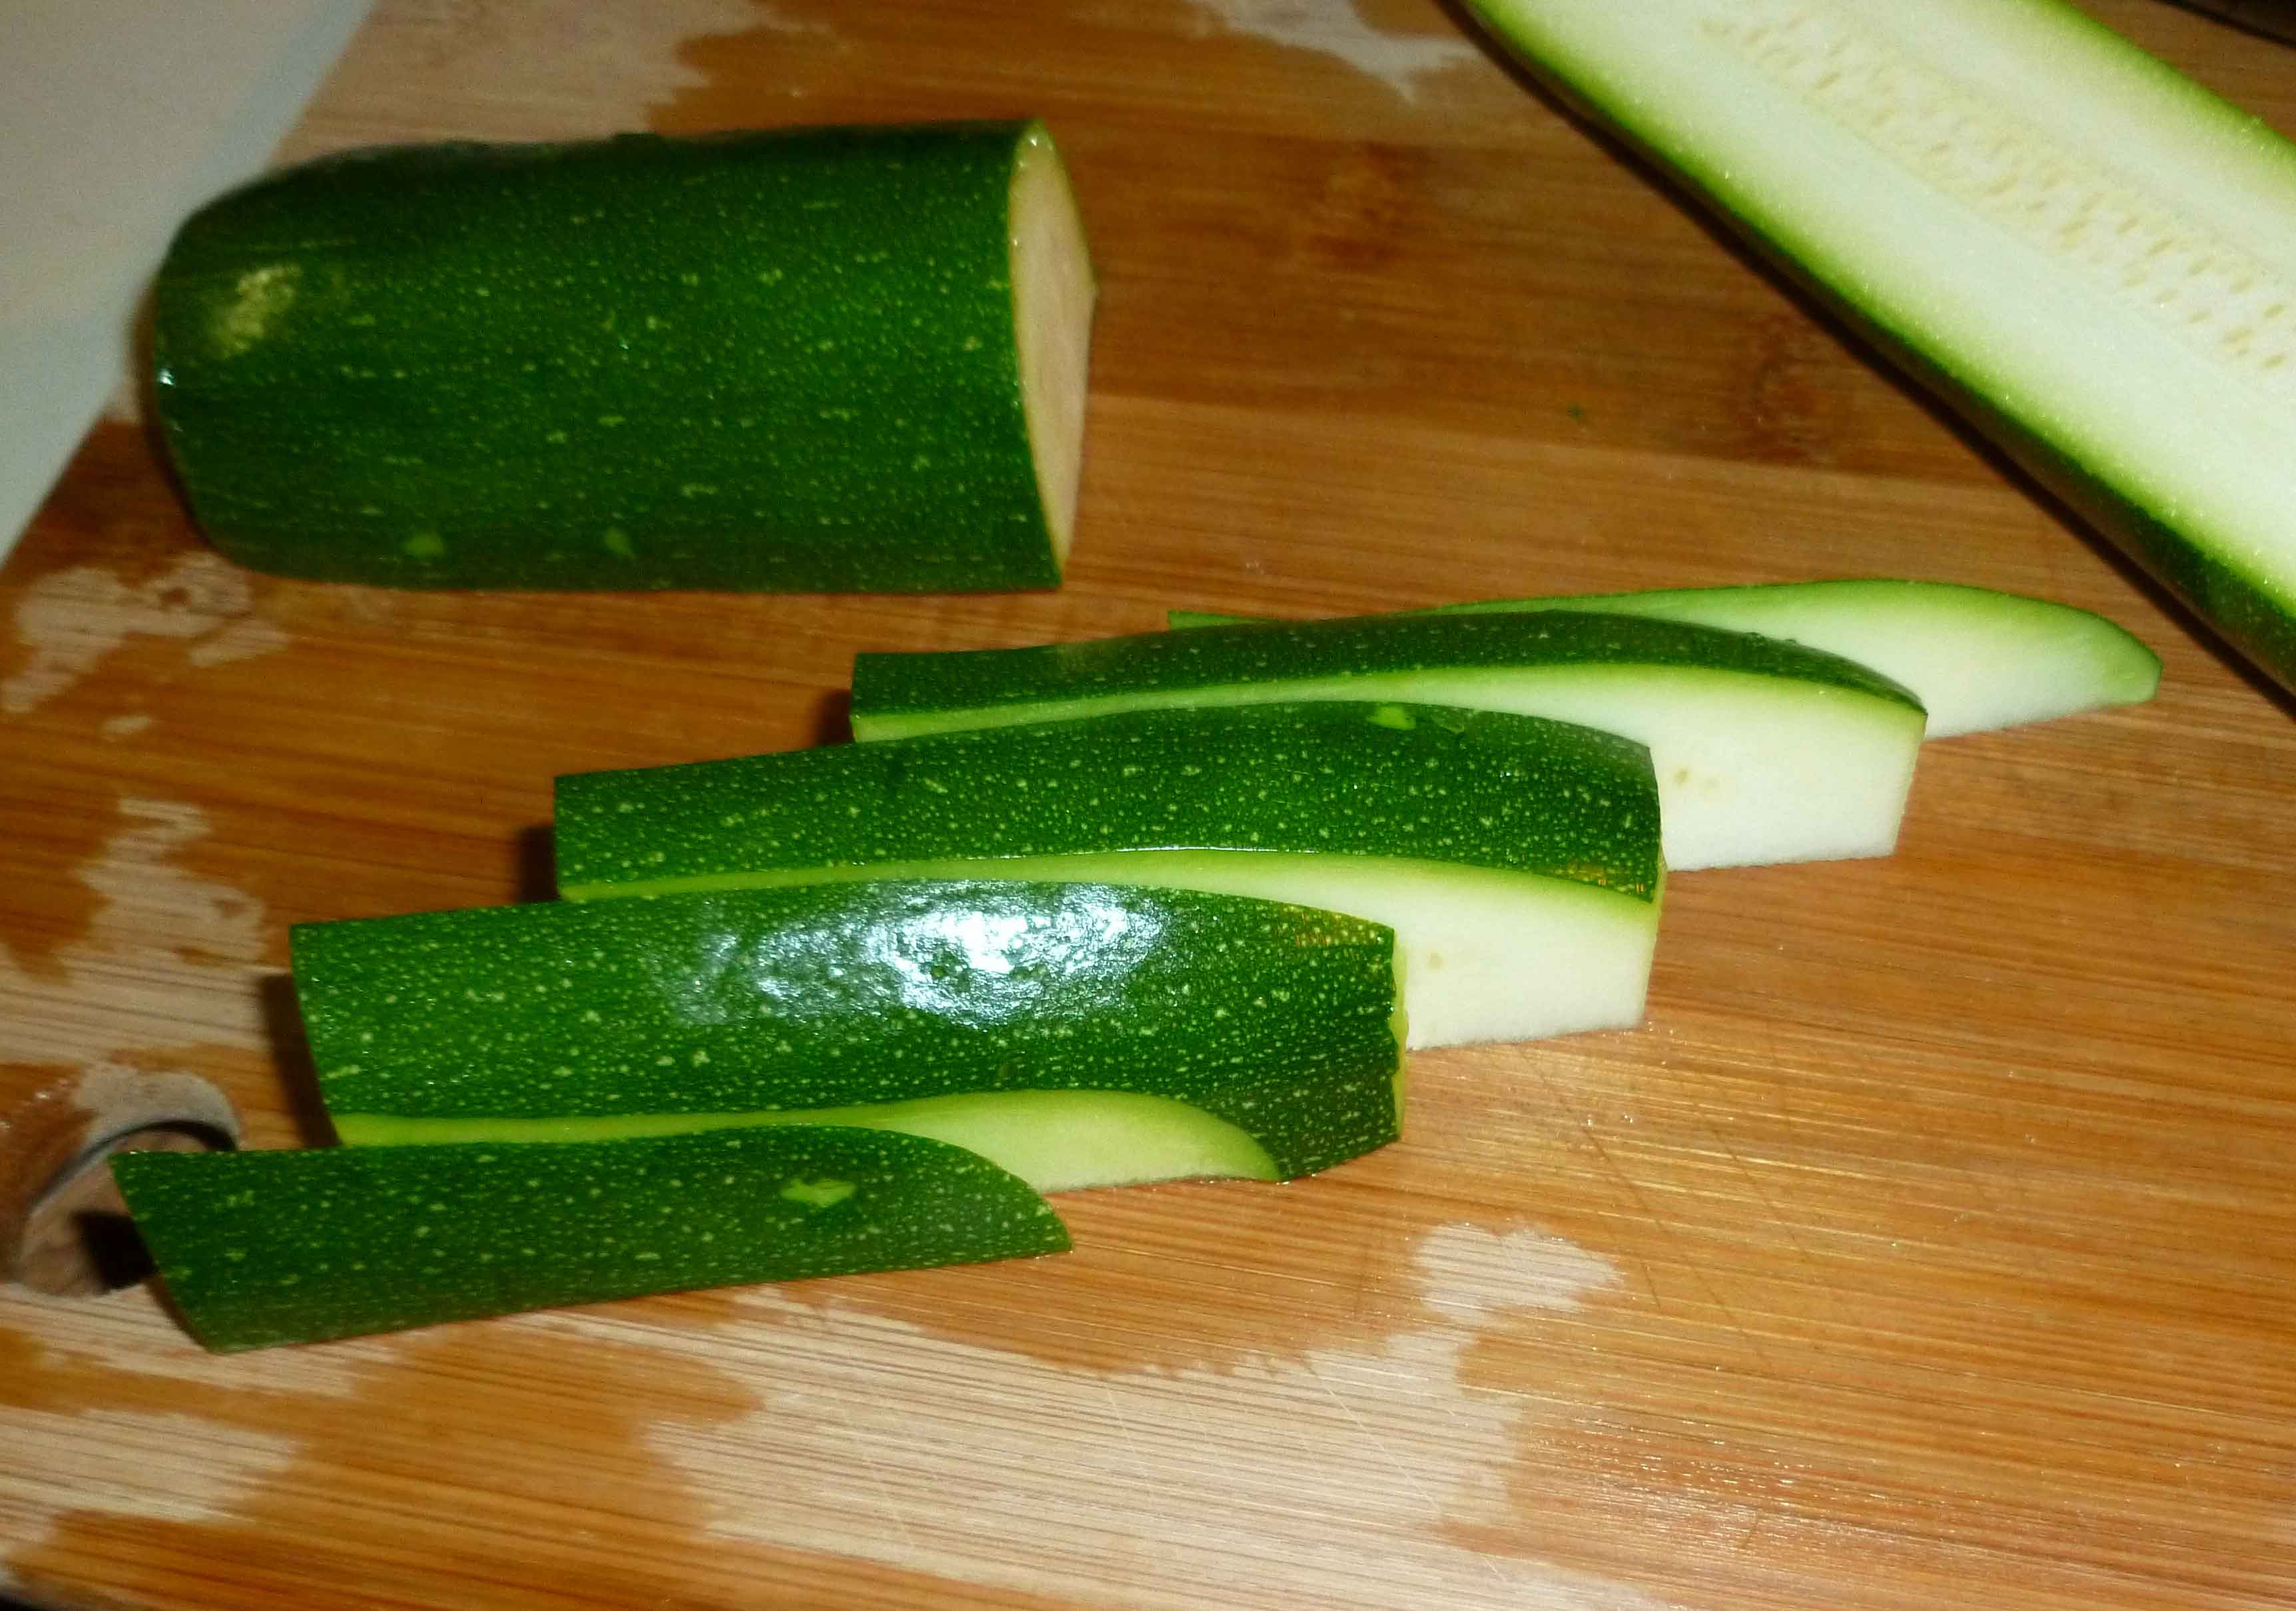
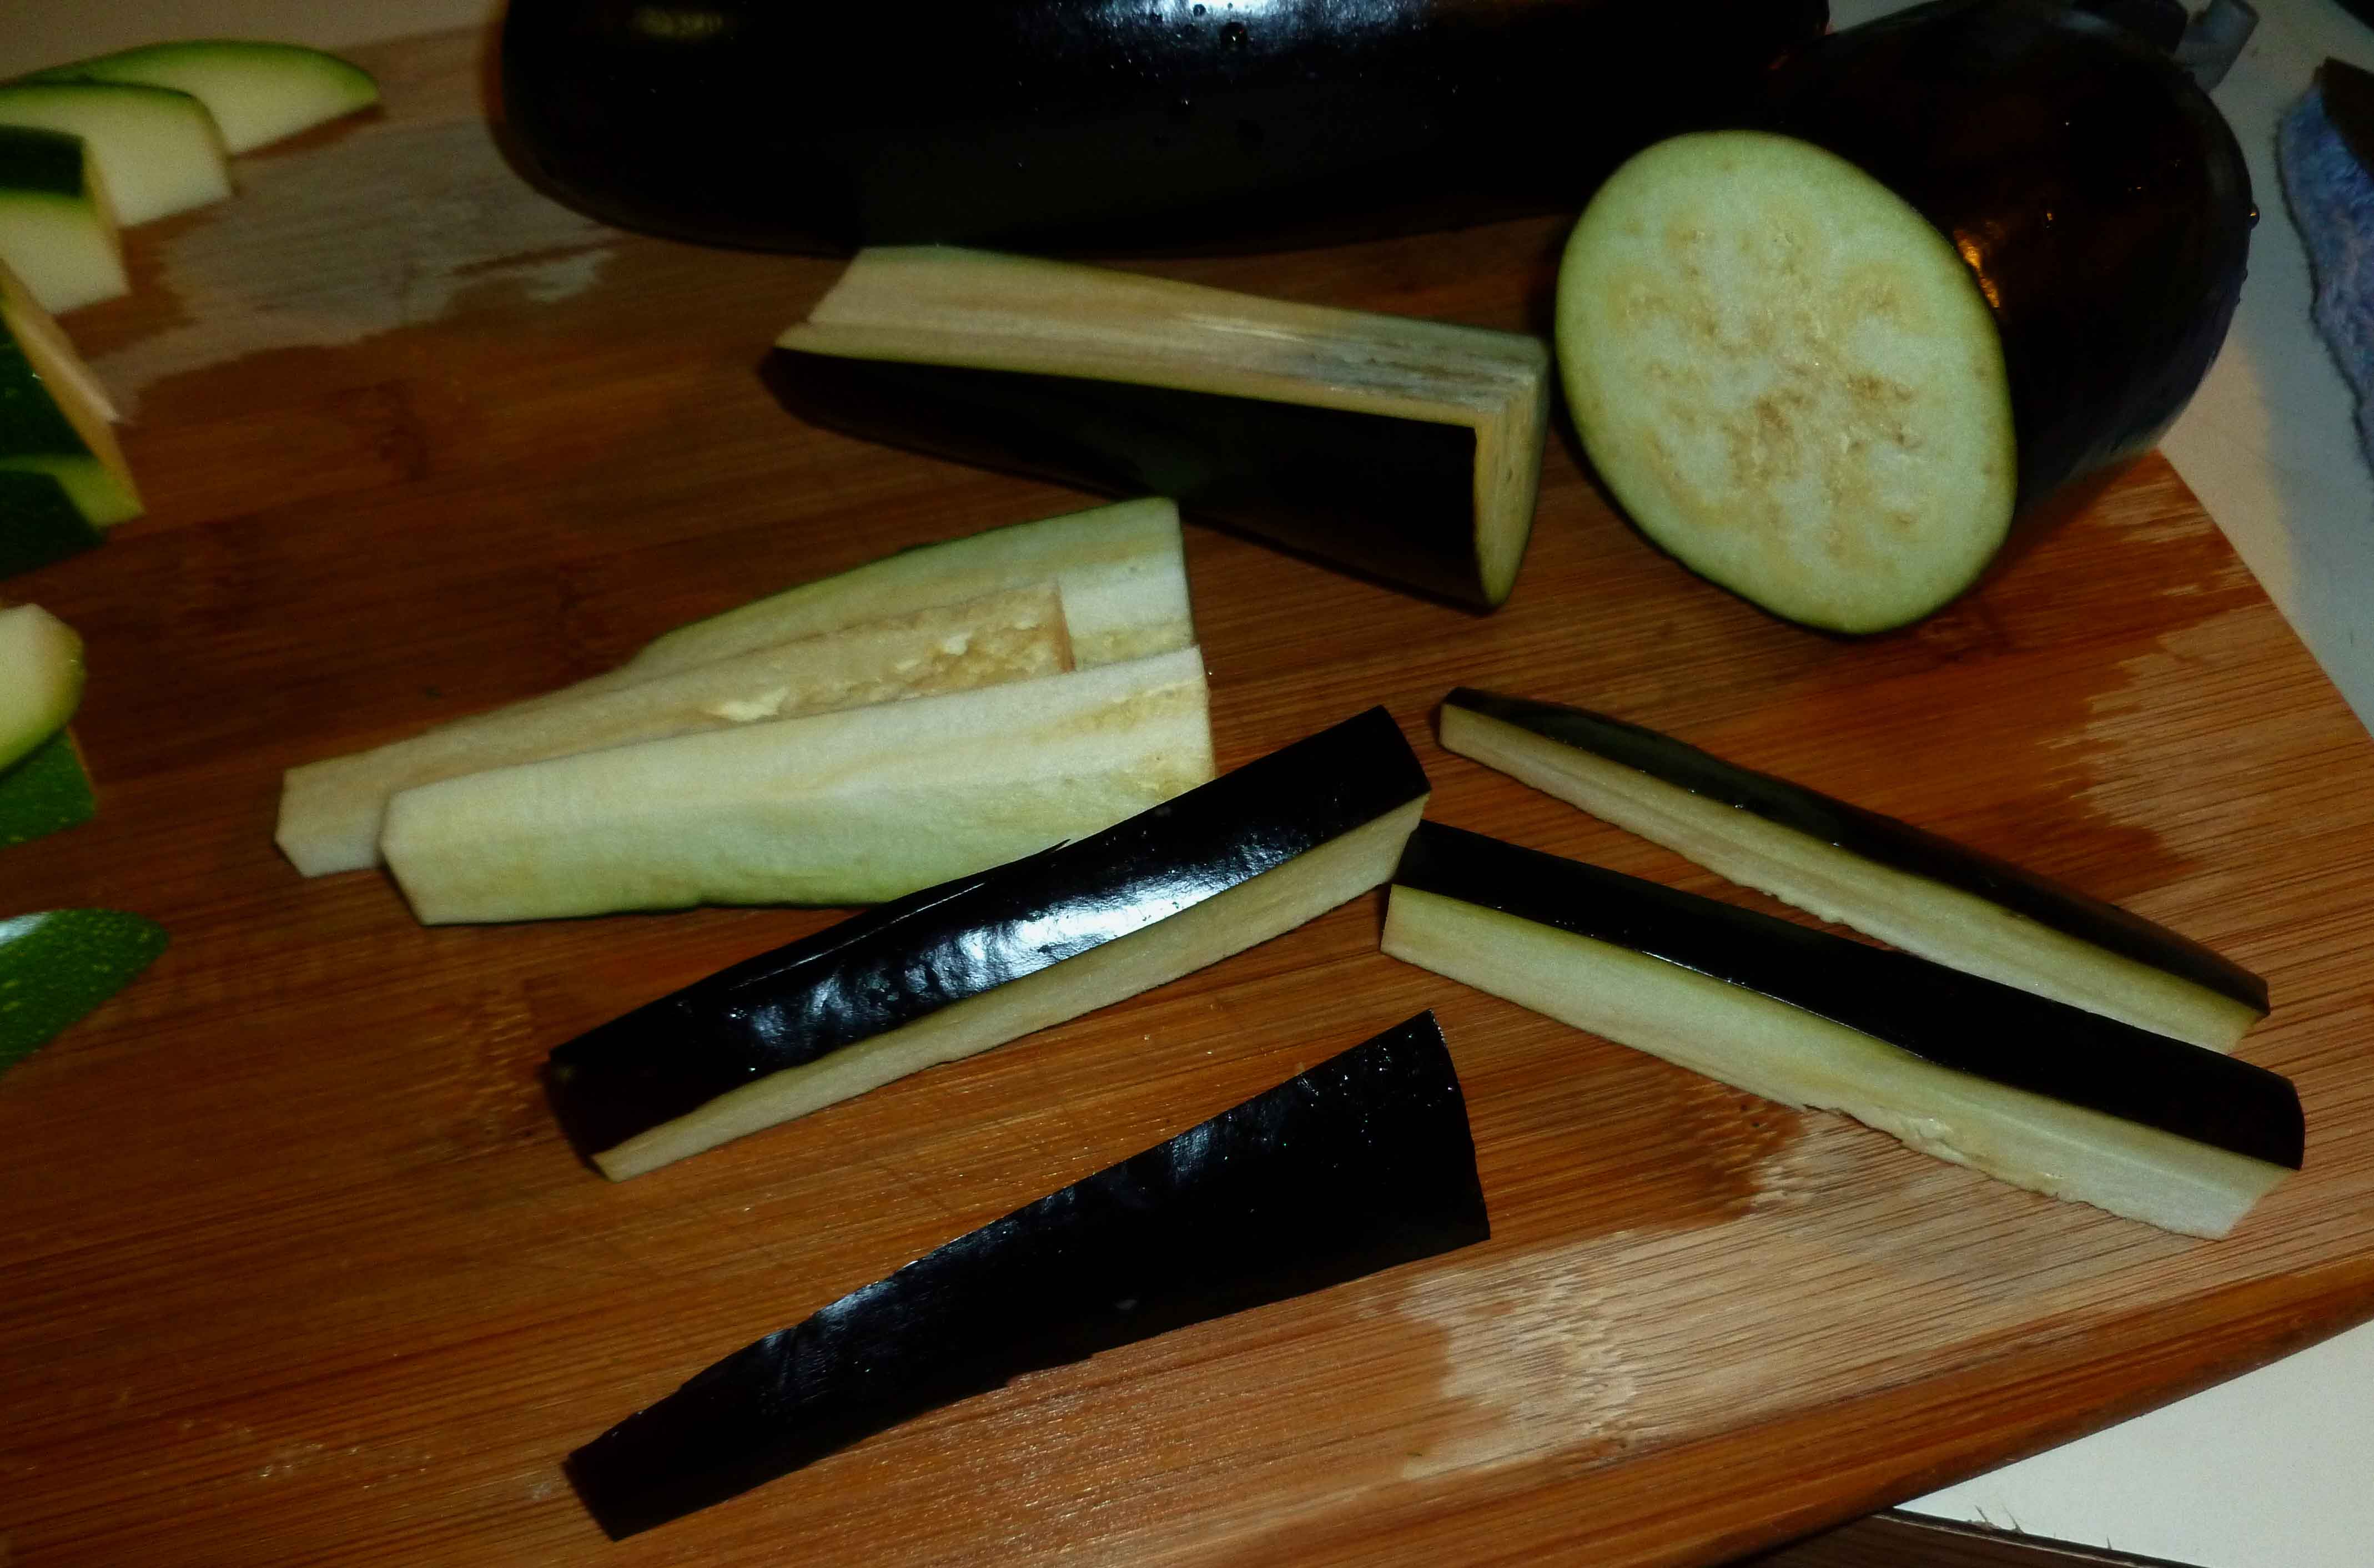
    Wash, trim and slice your zucchini and eggplant into pieces about 3 inches long and about a 1/3 of an inch thick.

    Sliced Zucchini
    Sliced Zucchini
    Sliced Eggplants
    Sliced Eggplants

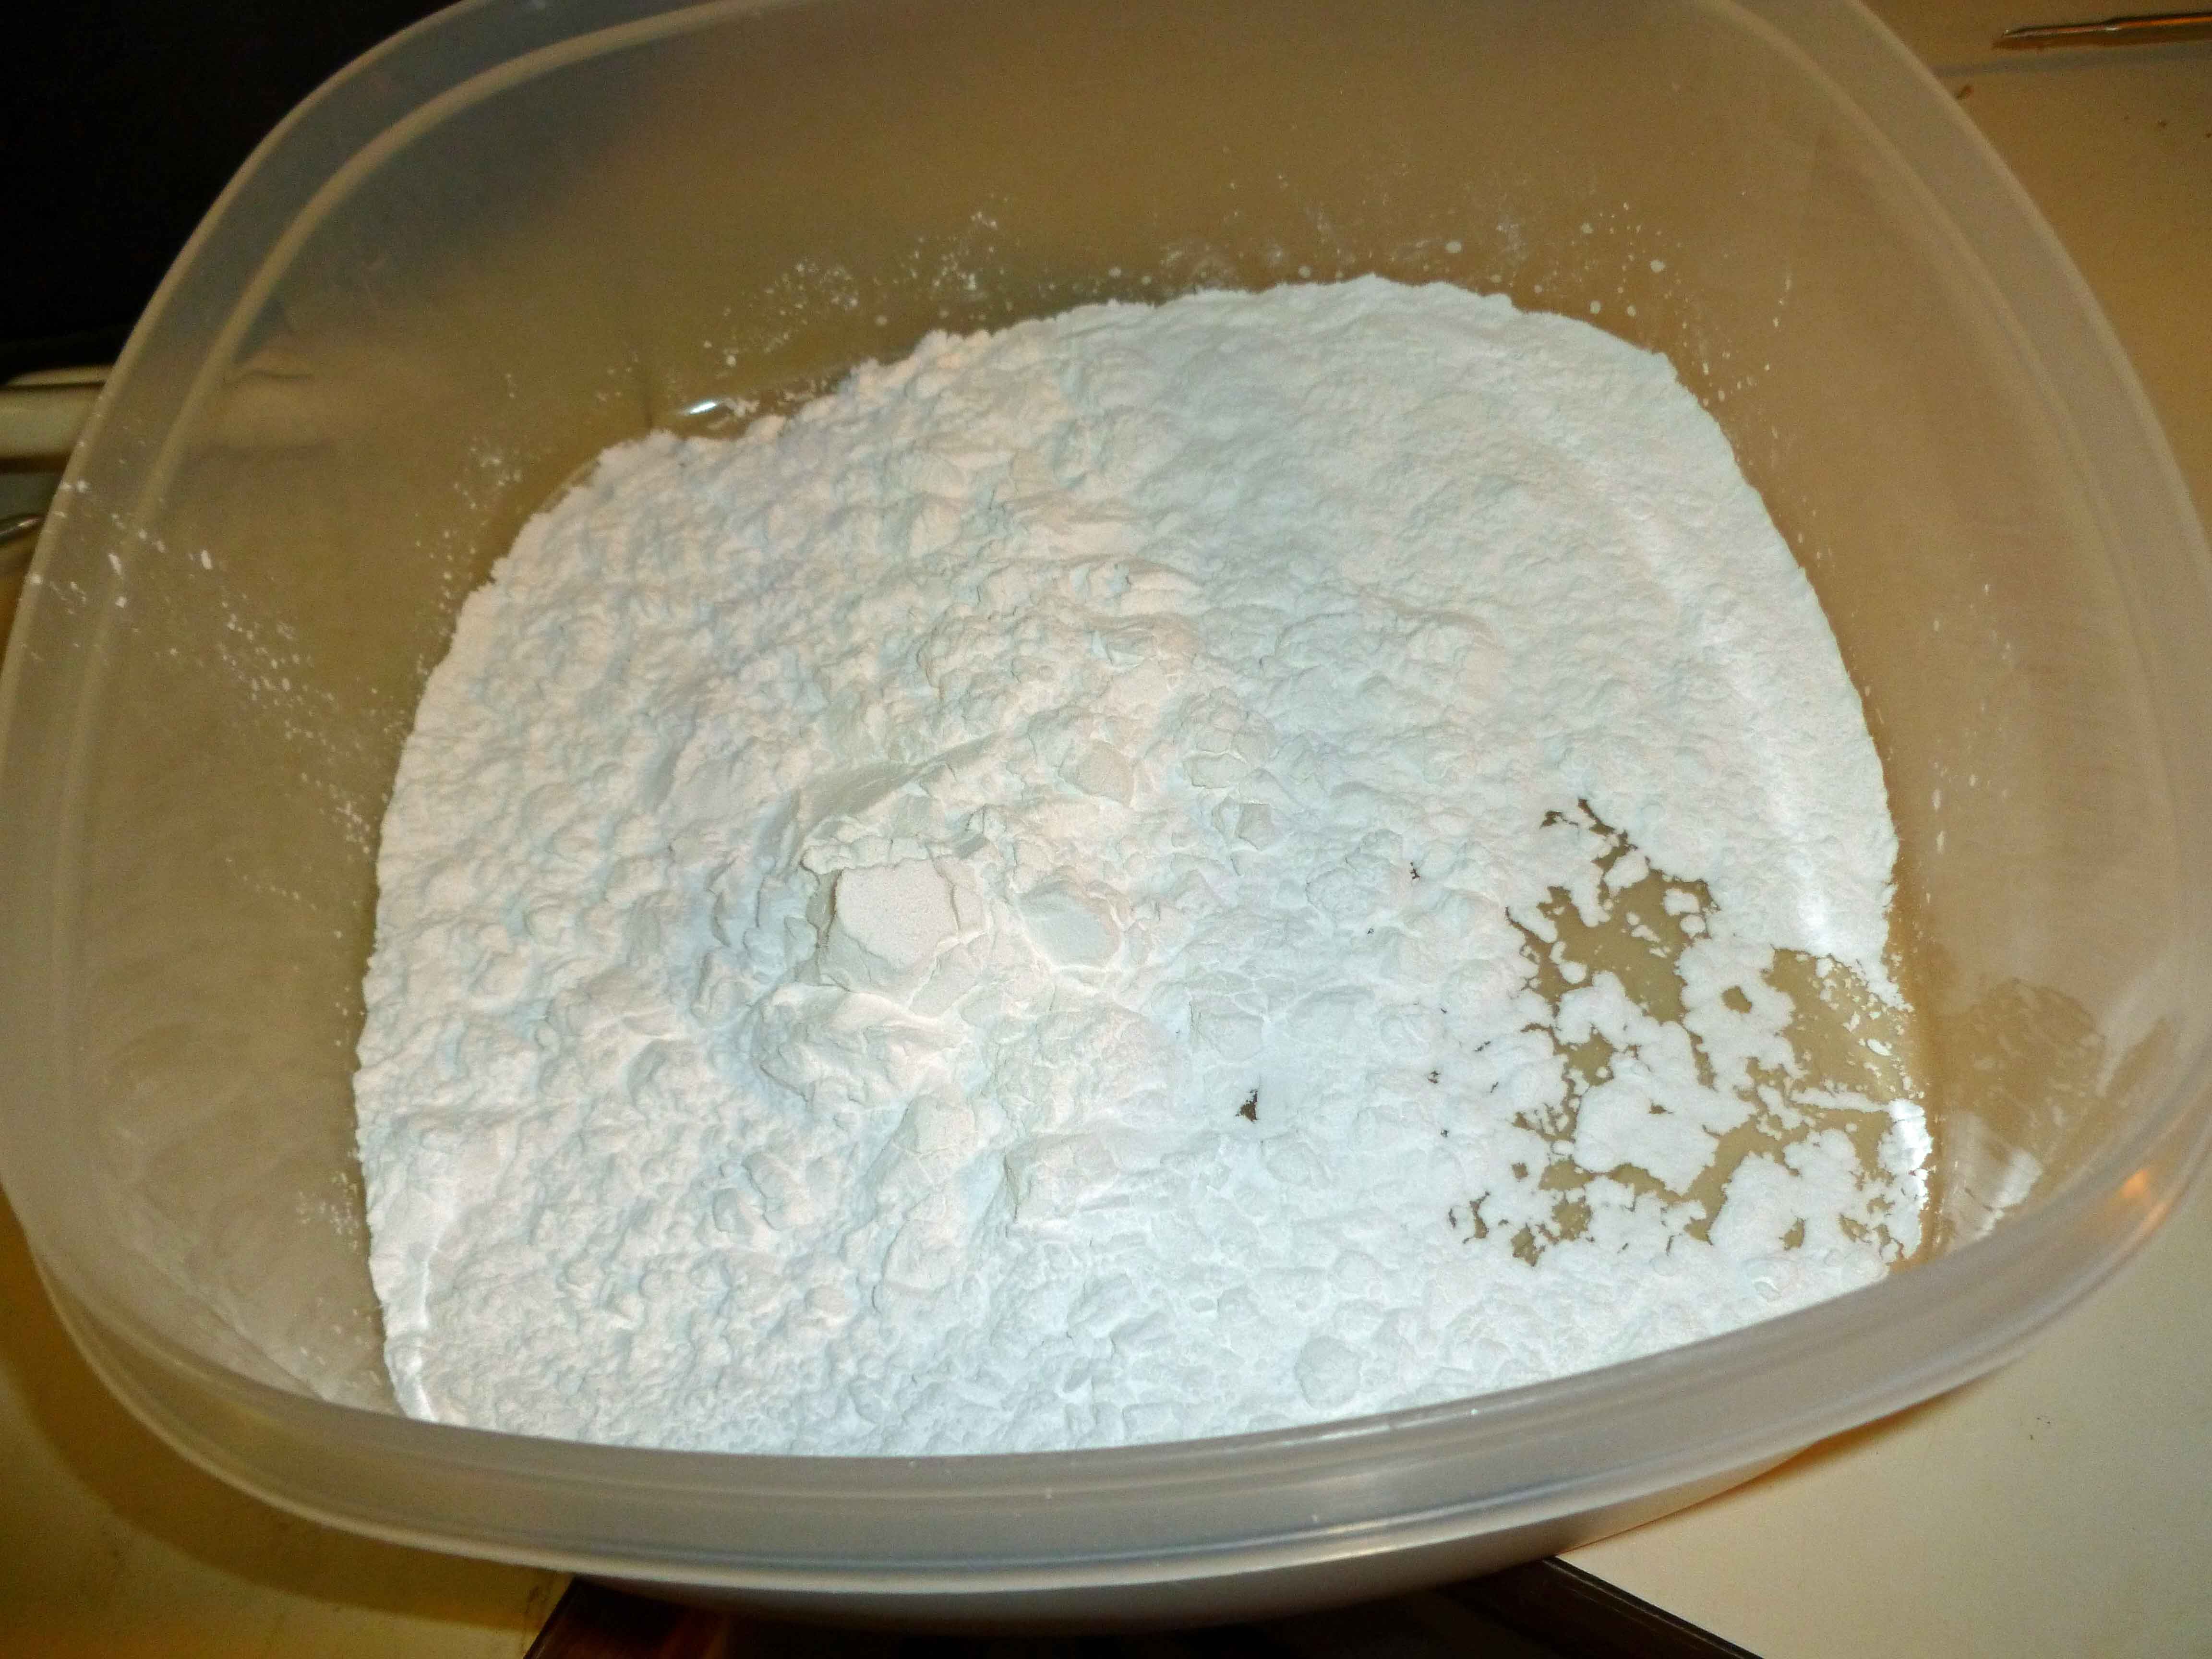
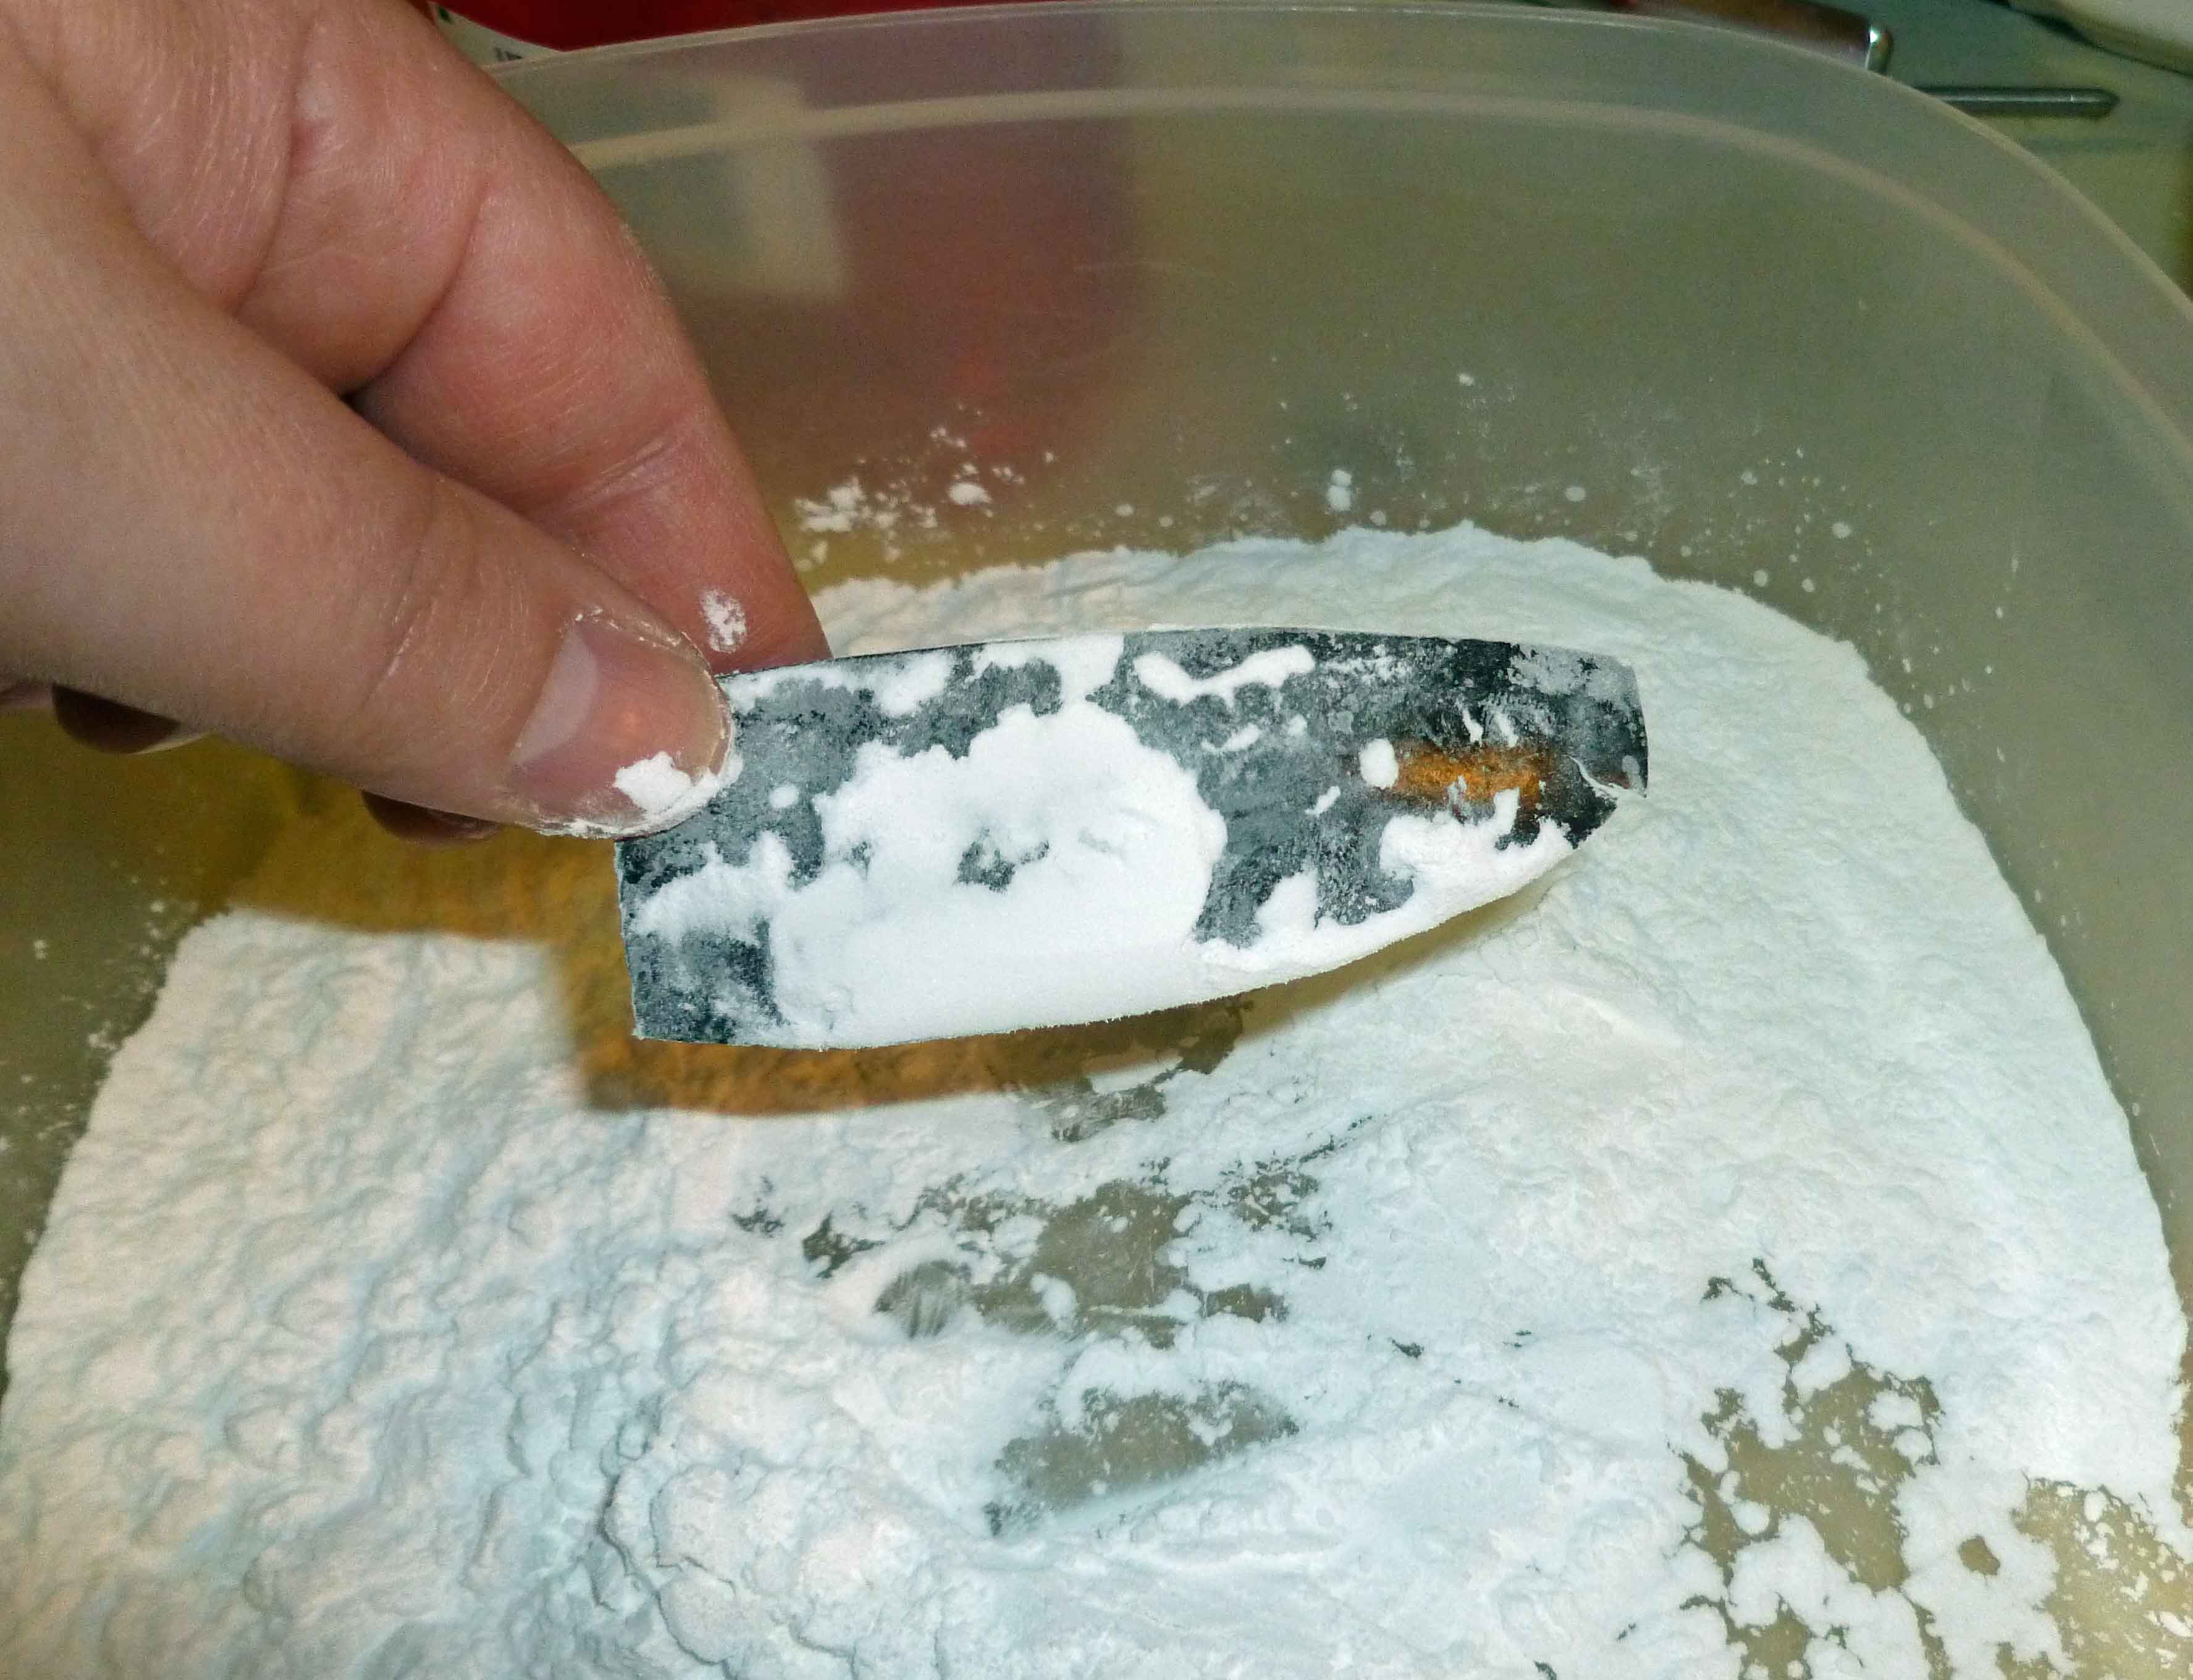
    Place the arrowroot starch for the first dry dredge in a flat bottomed container with enough room to move the pieces around to coat.

    Arrowroot Starch - first dry dredge
    Arrowroot Starch – first dry dredge

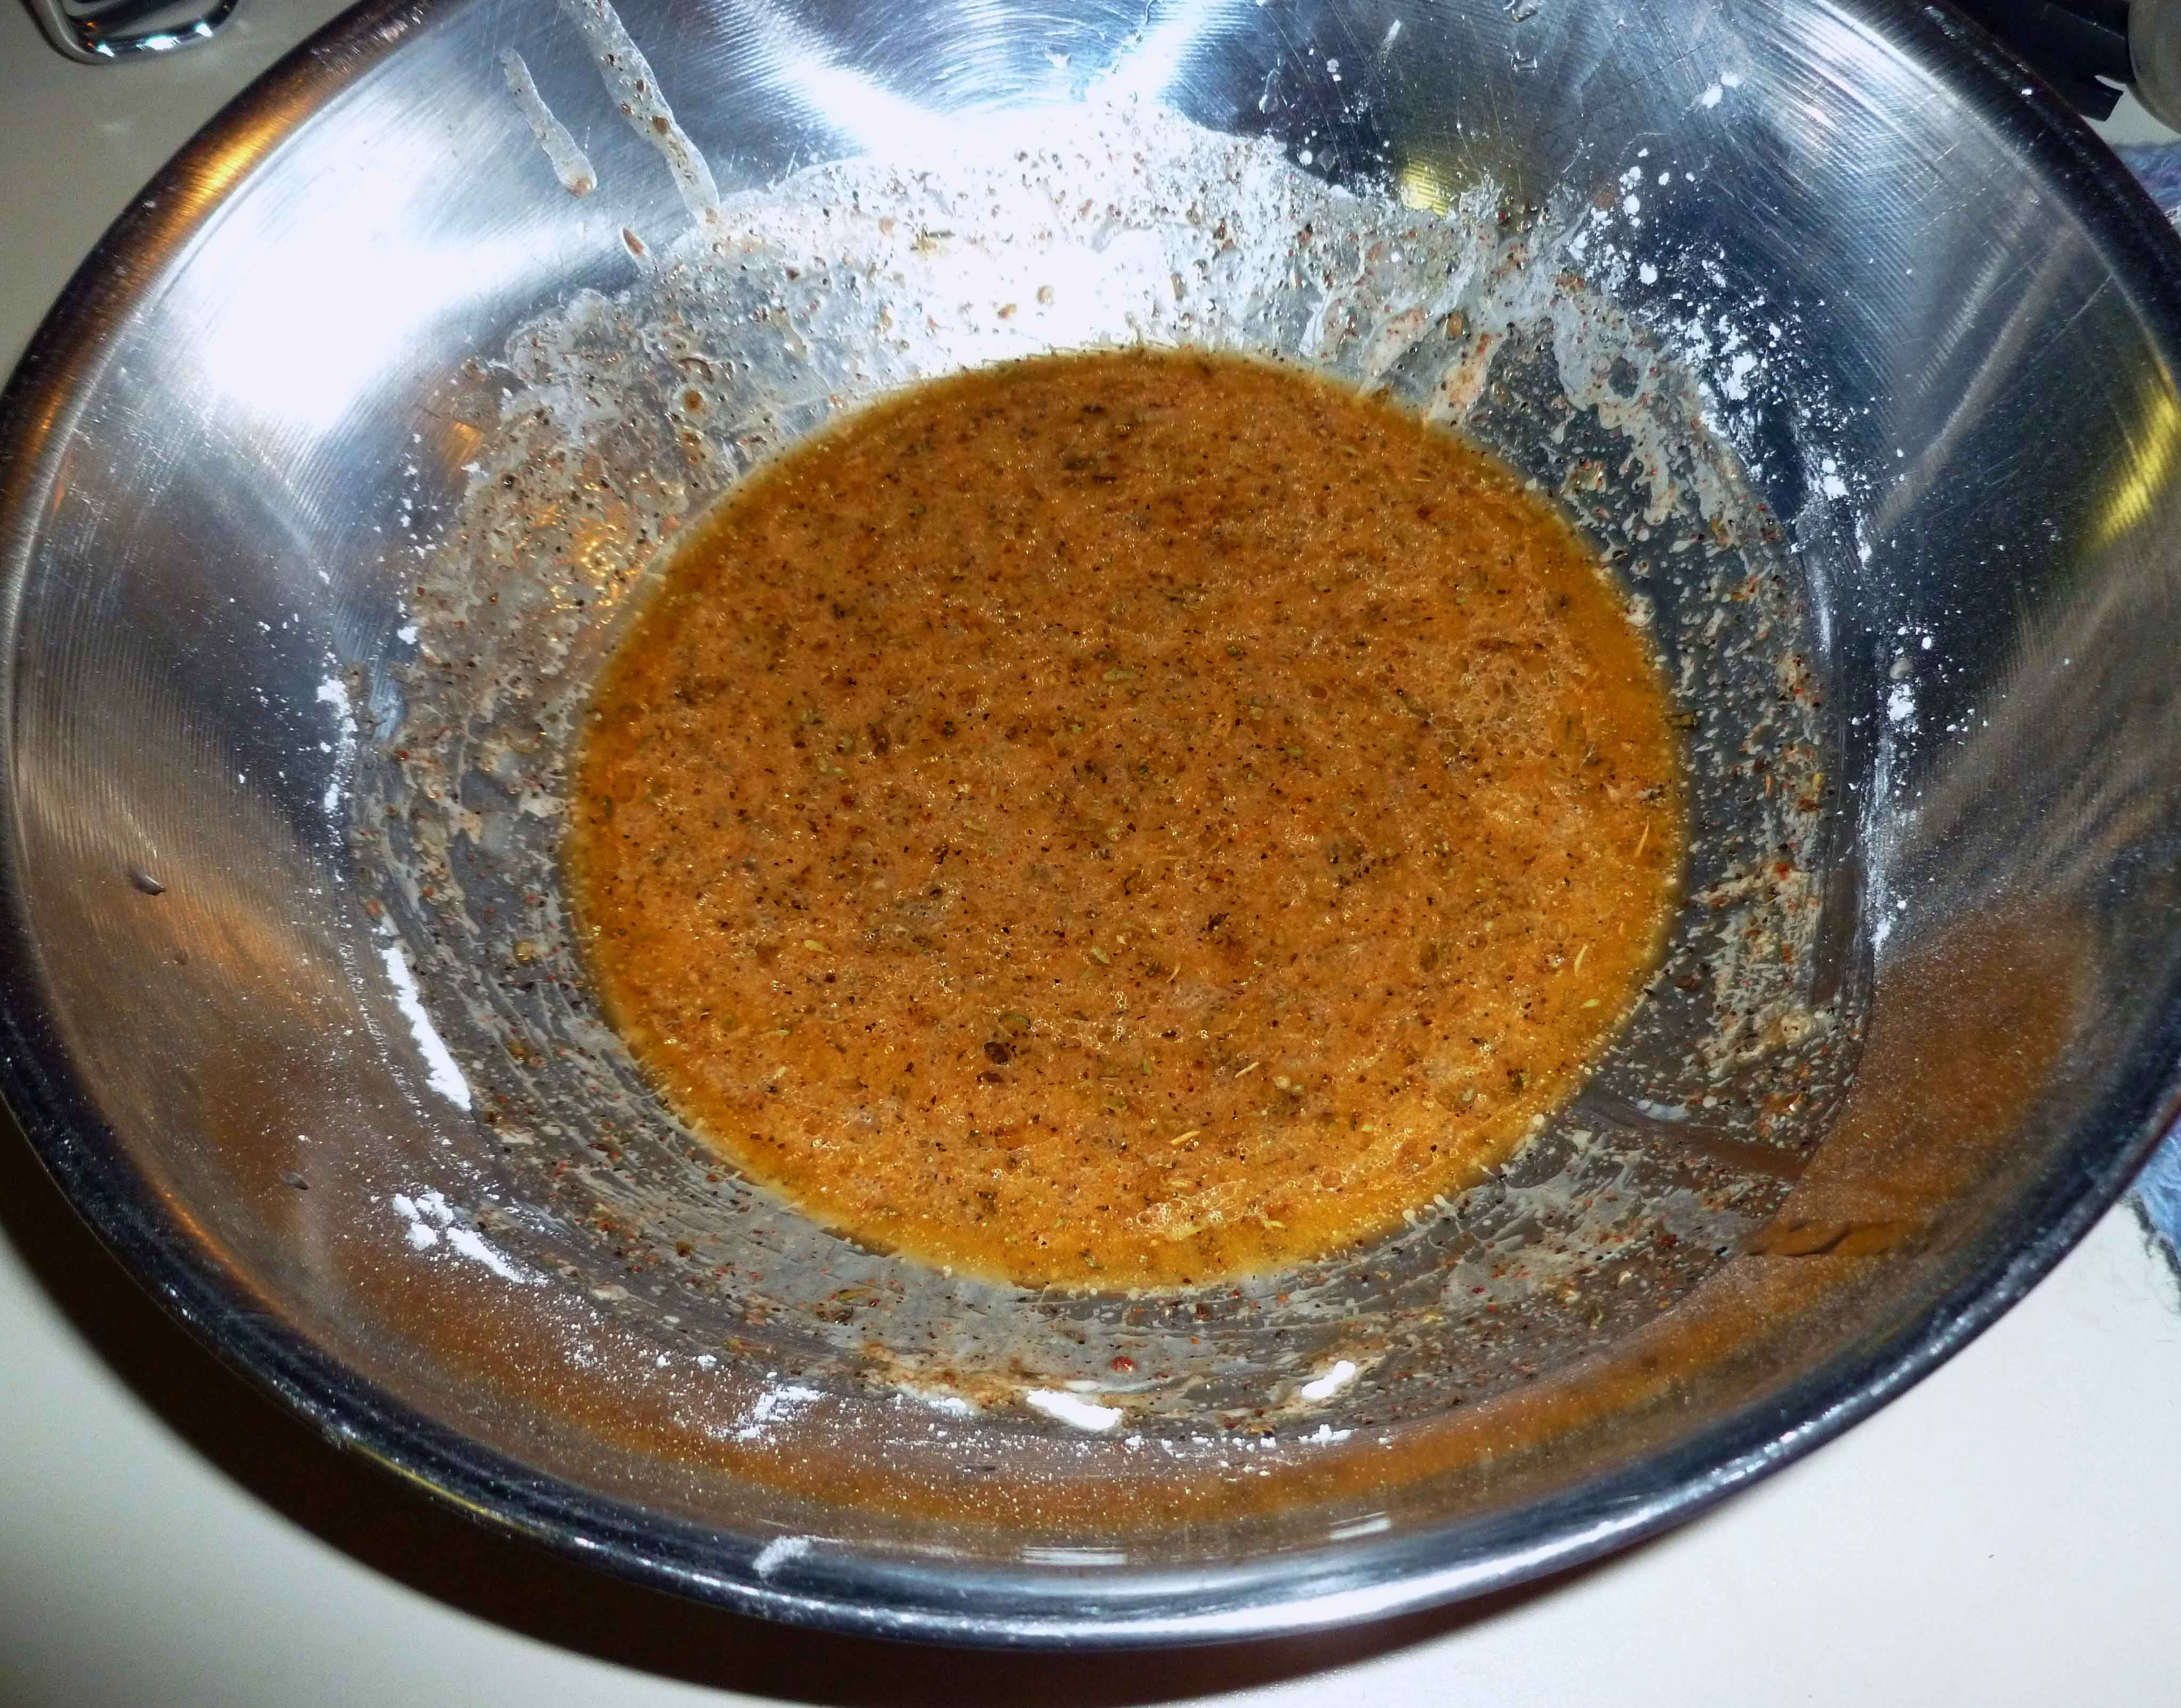
    Place the ingredients for the second wet dredge in a shallow bottomed bowl and whisk them together.  Make sure the bowl has enough room to move the pieces around to coat them.

    Wet mixture - second dredge
    Wet mixture – second dredge

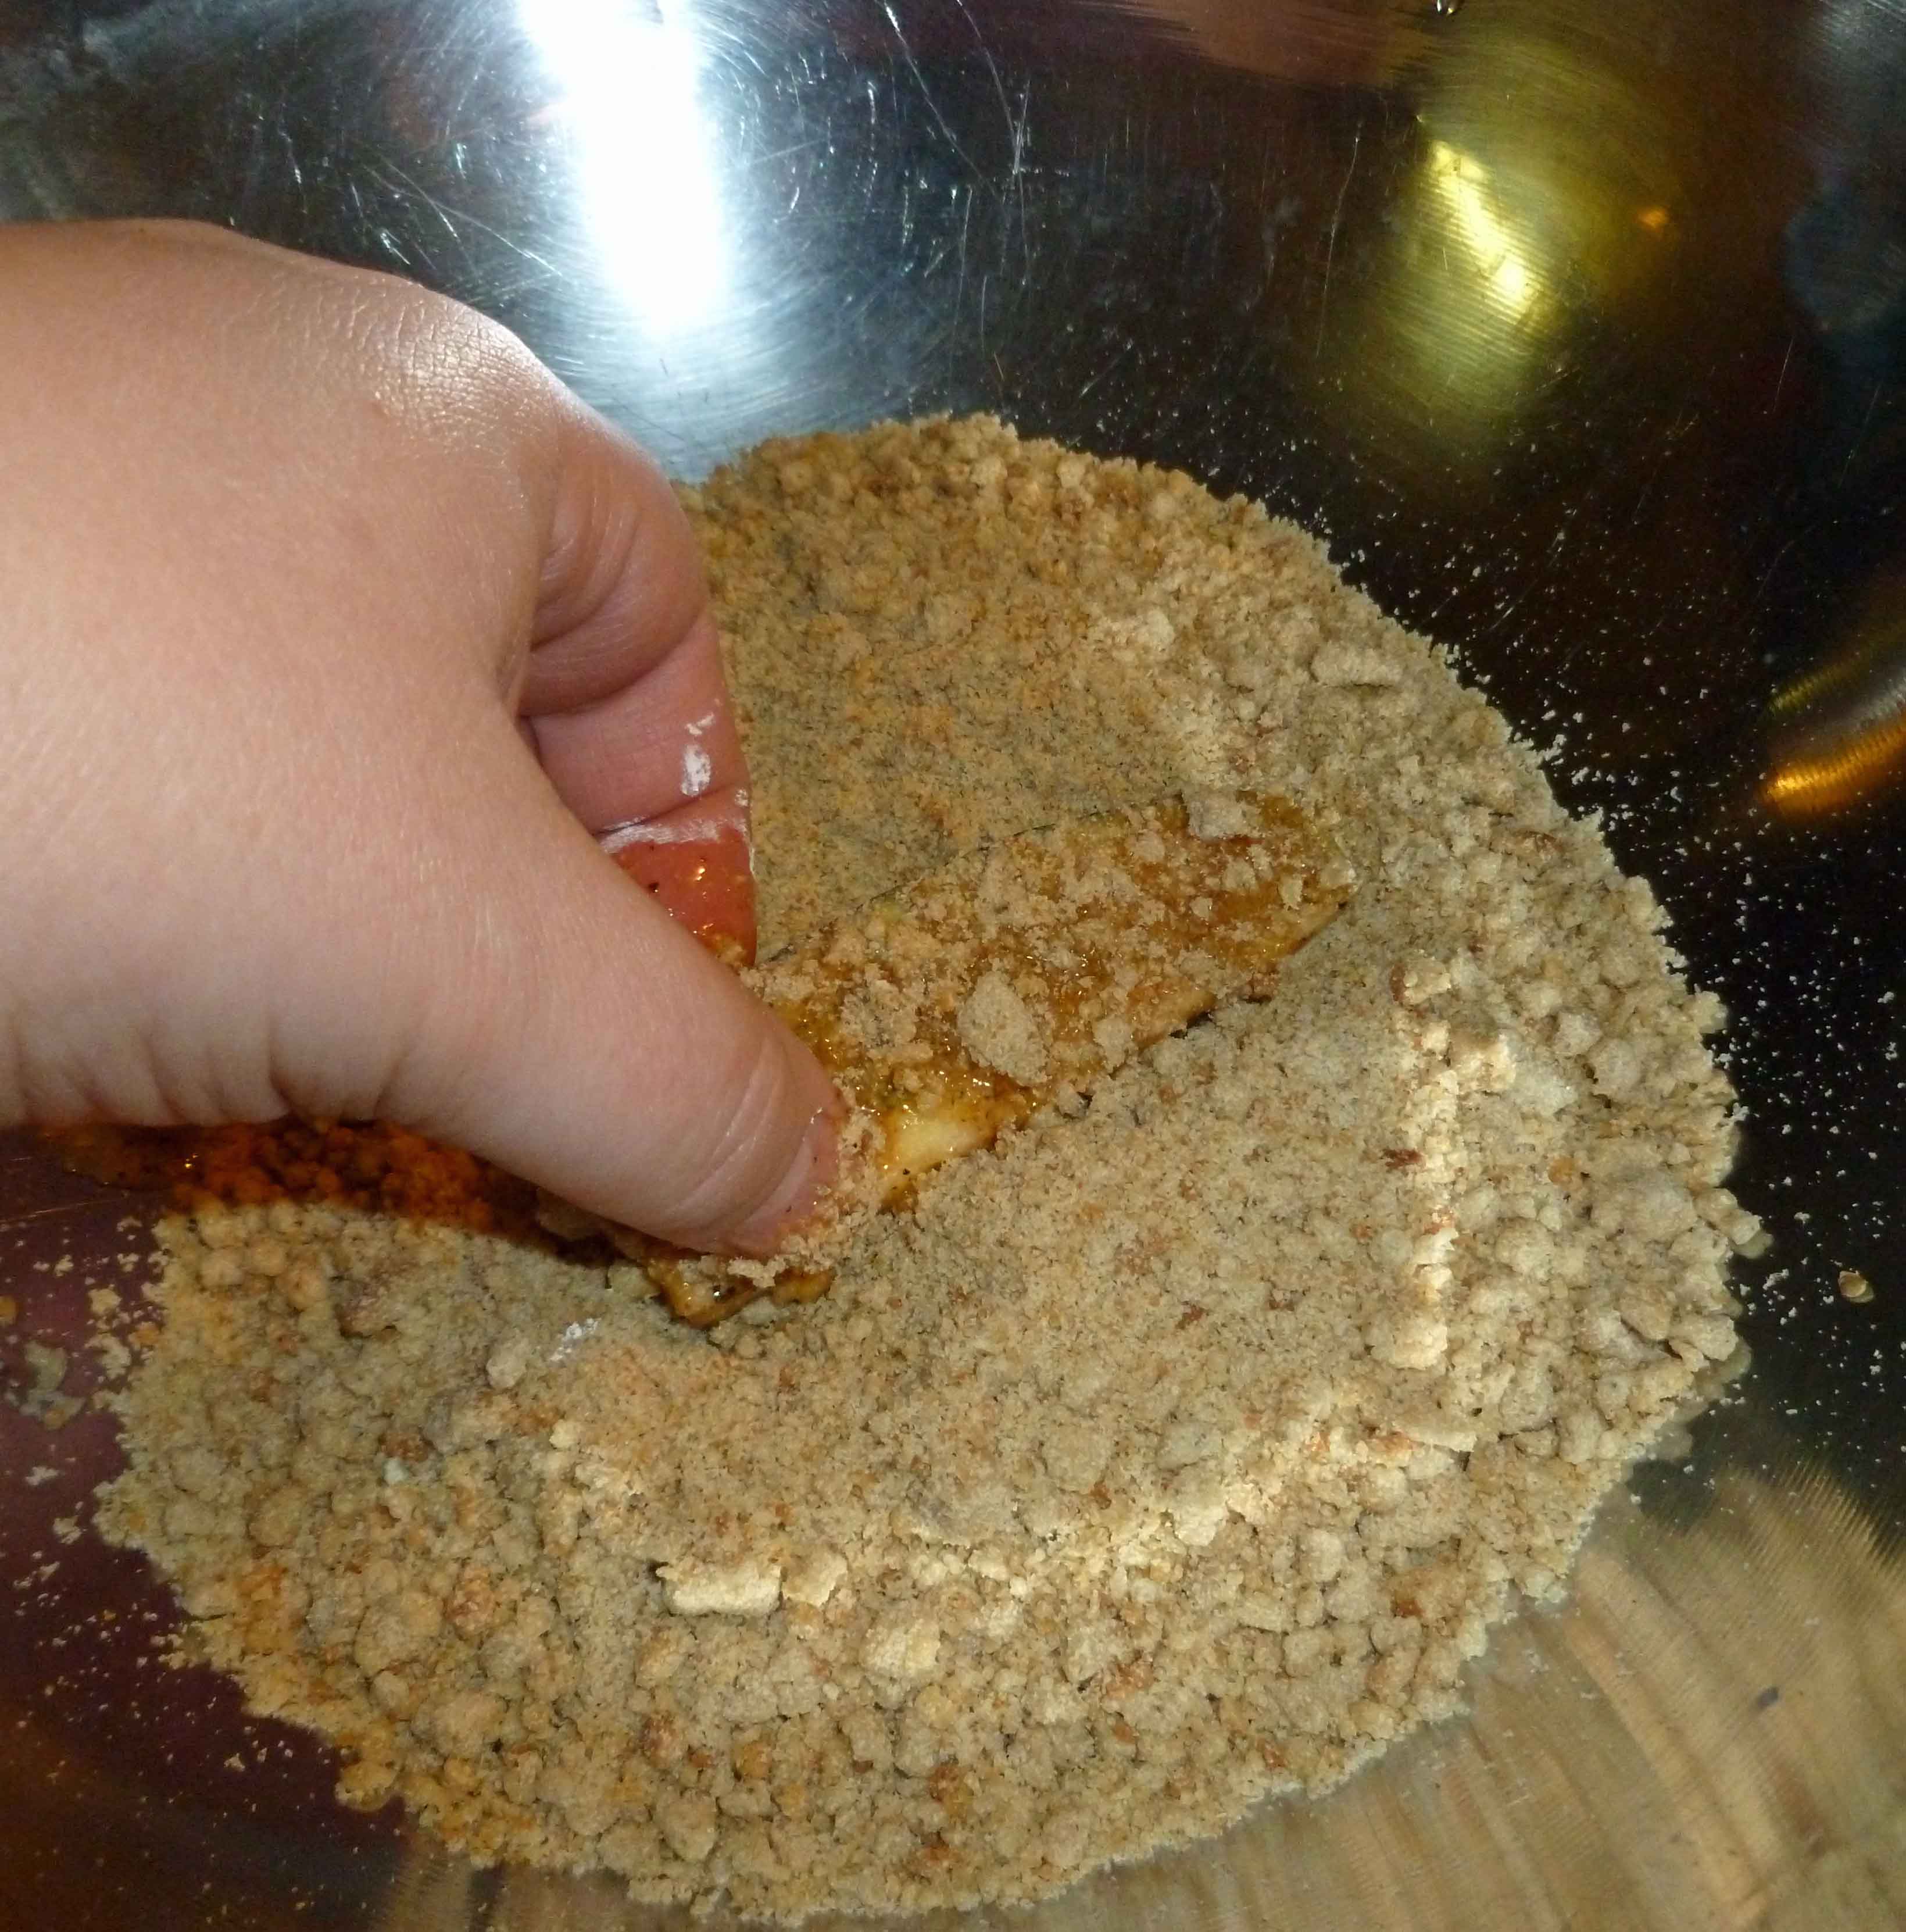
    Place the bread crumbs for the third dry dredge in a container with enough room to move the pieces around to coat.

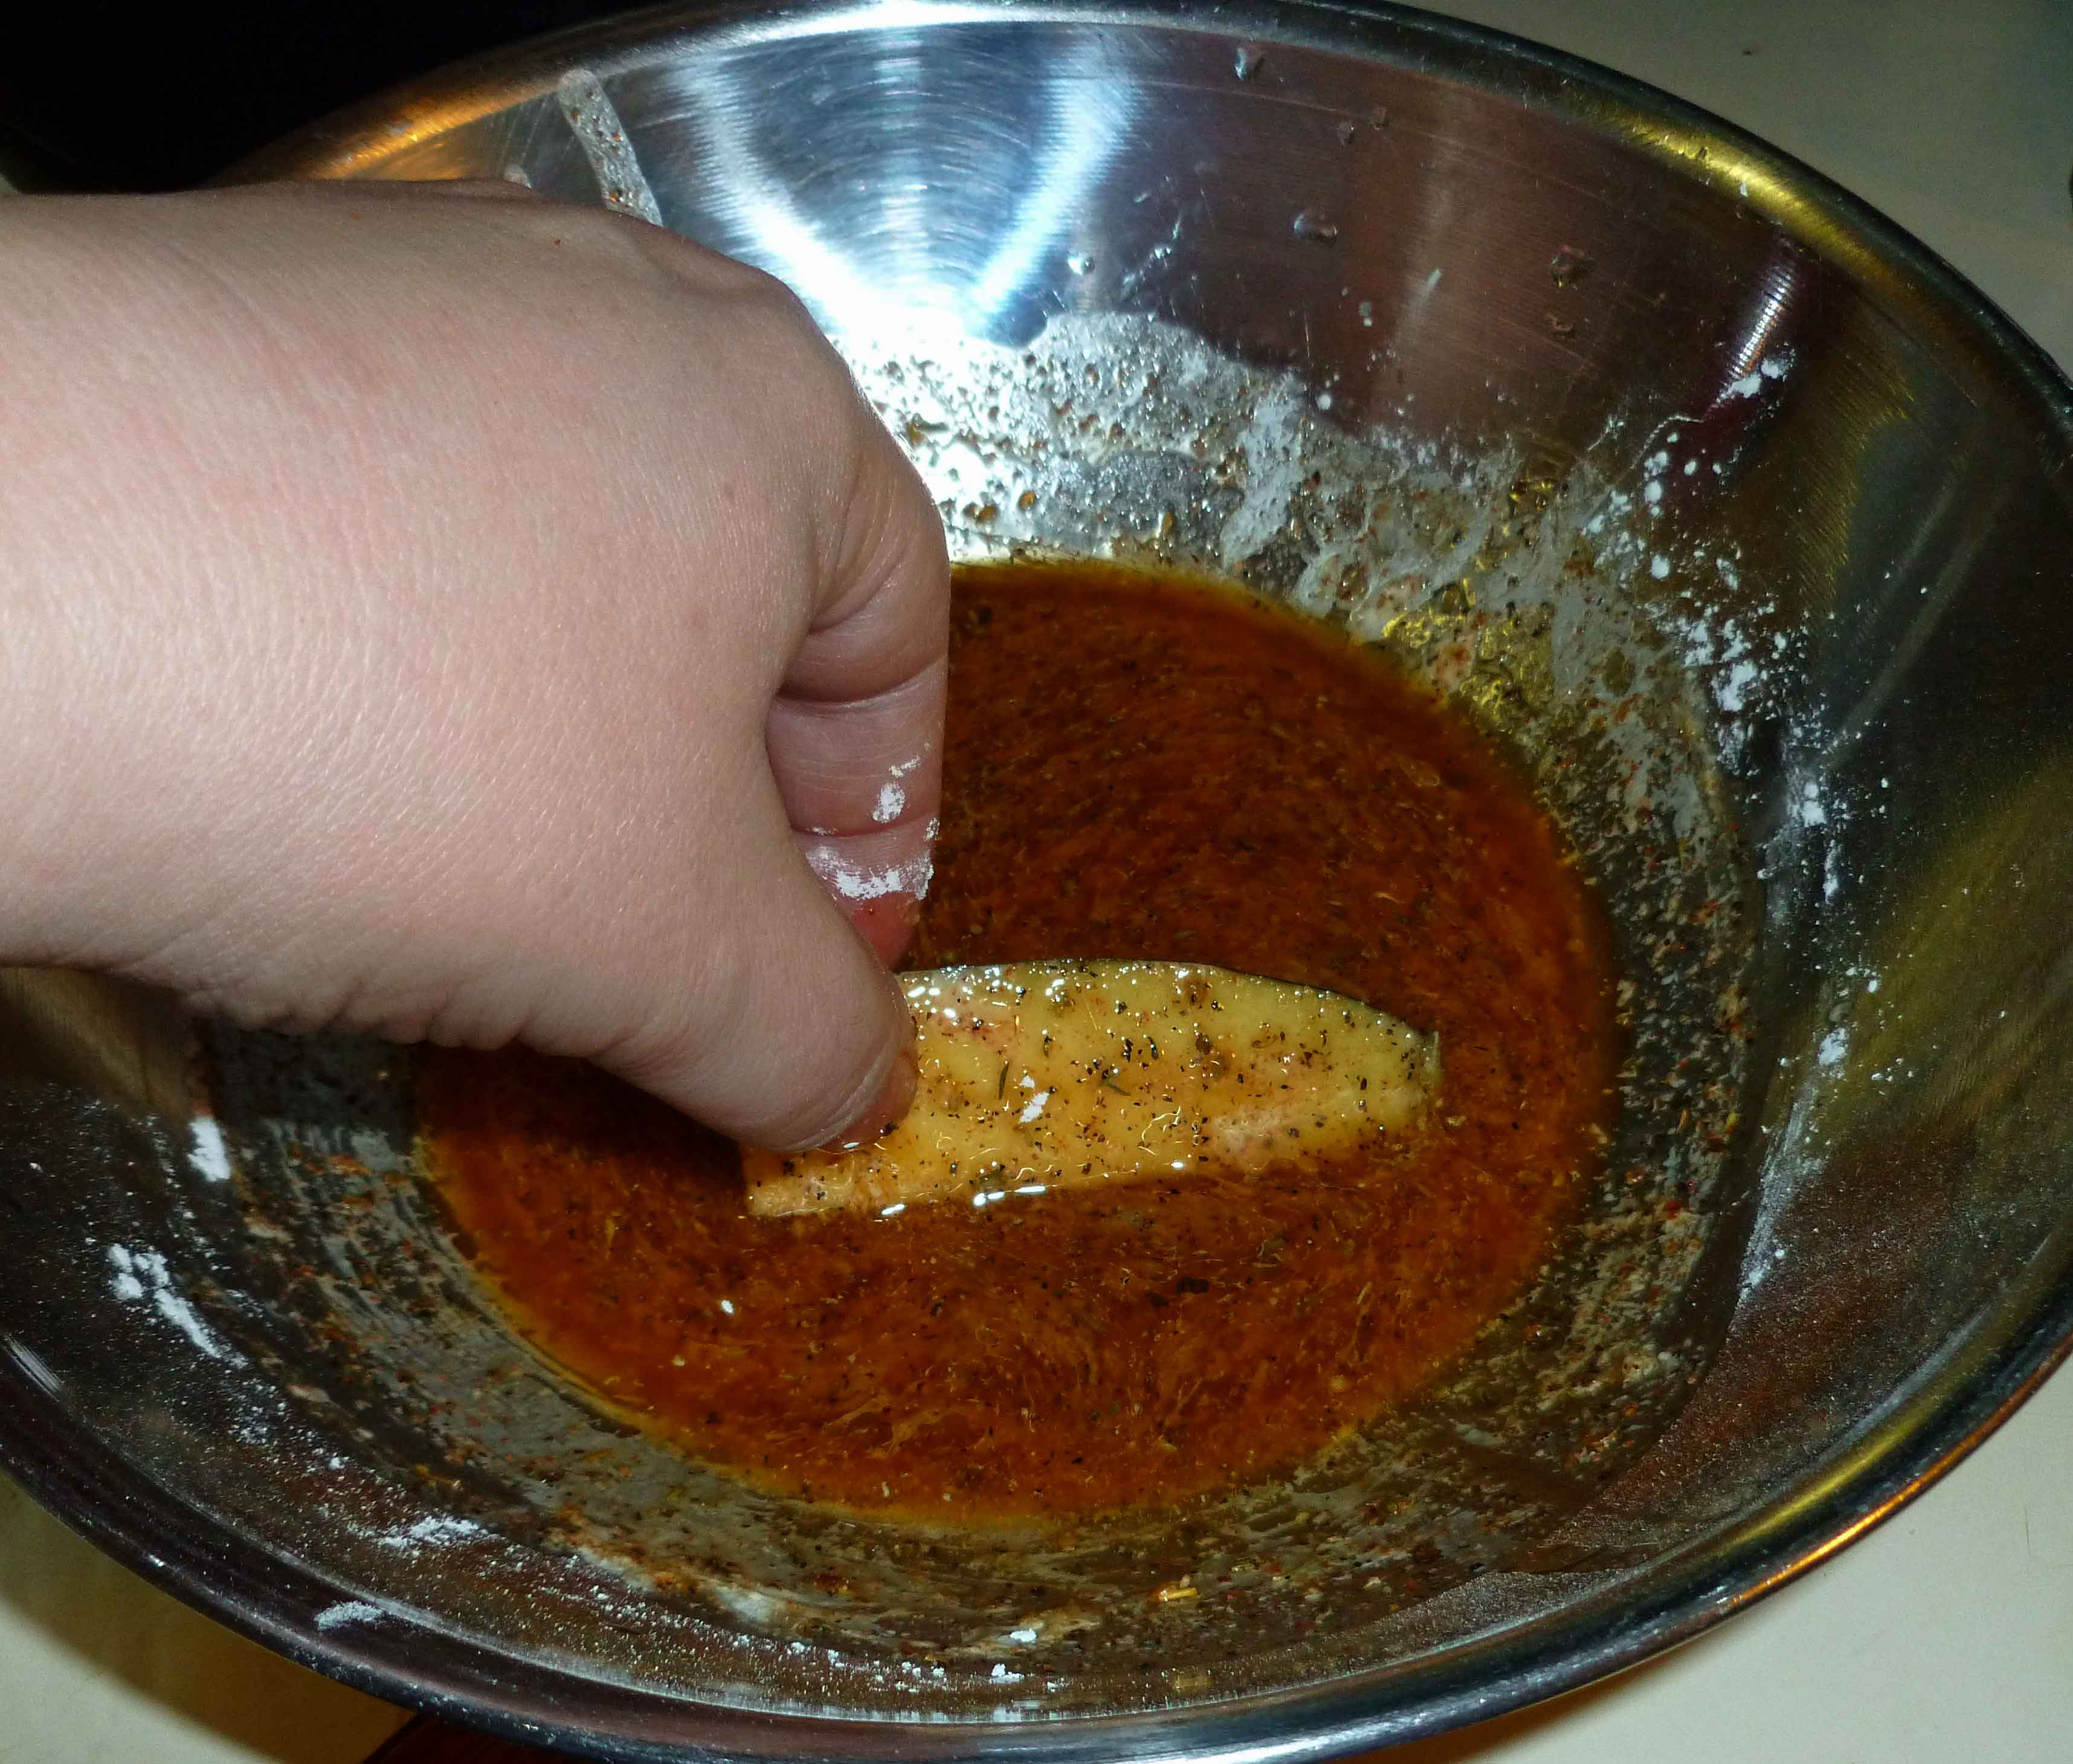
    Dip each piece of zucchini or eggplant in the first dry dredge (arrowroot starch), then in the second wet dredge (arrowroot, water, oil and spices mix), then in the third dry dredge (the bread crumbs) and place them on the baking sheet.

    First Dredge
    First Dredge
    Second Dredge
    Second Dredge
    Third Dredge
    Third Dredge

    Once all the pieces are coated, place baking sheet in the oven and bake for 30-40 minutes until crispy.

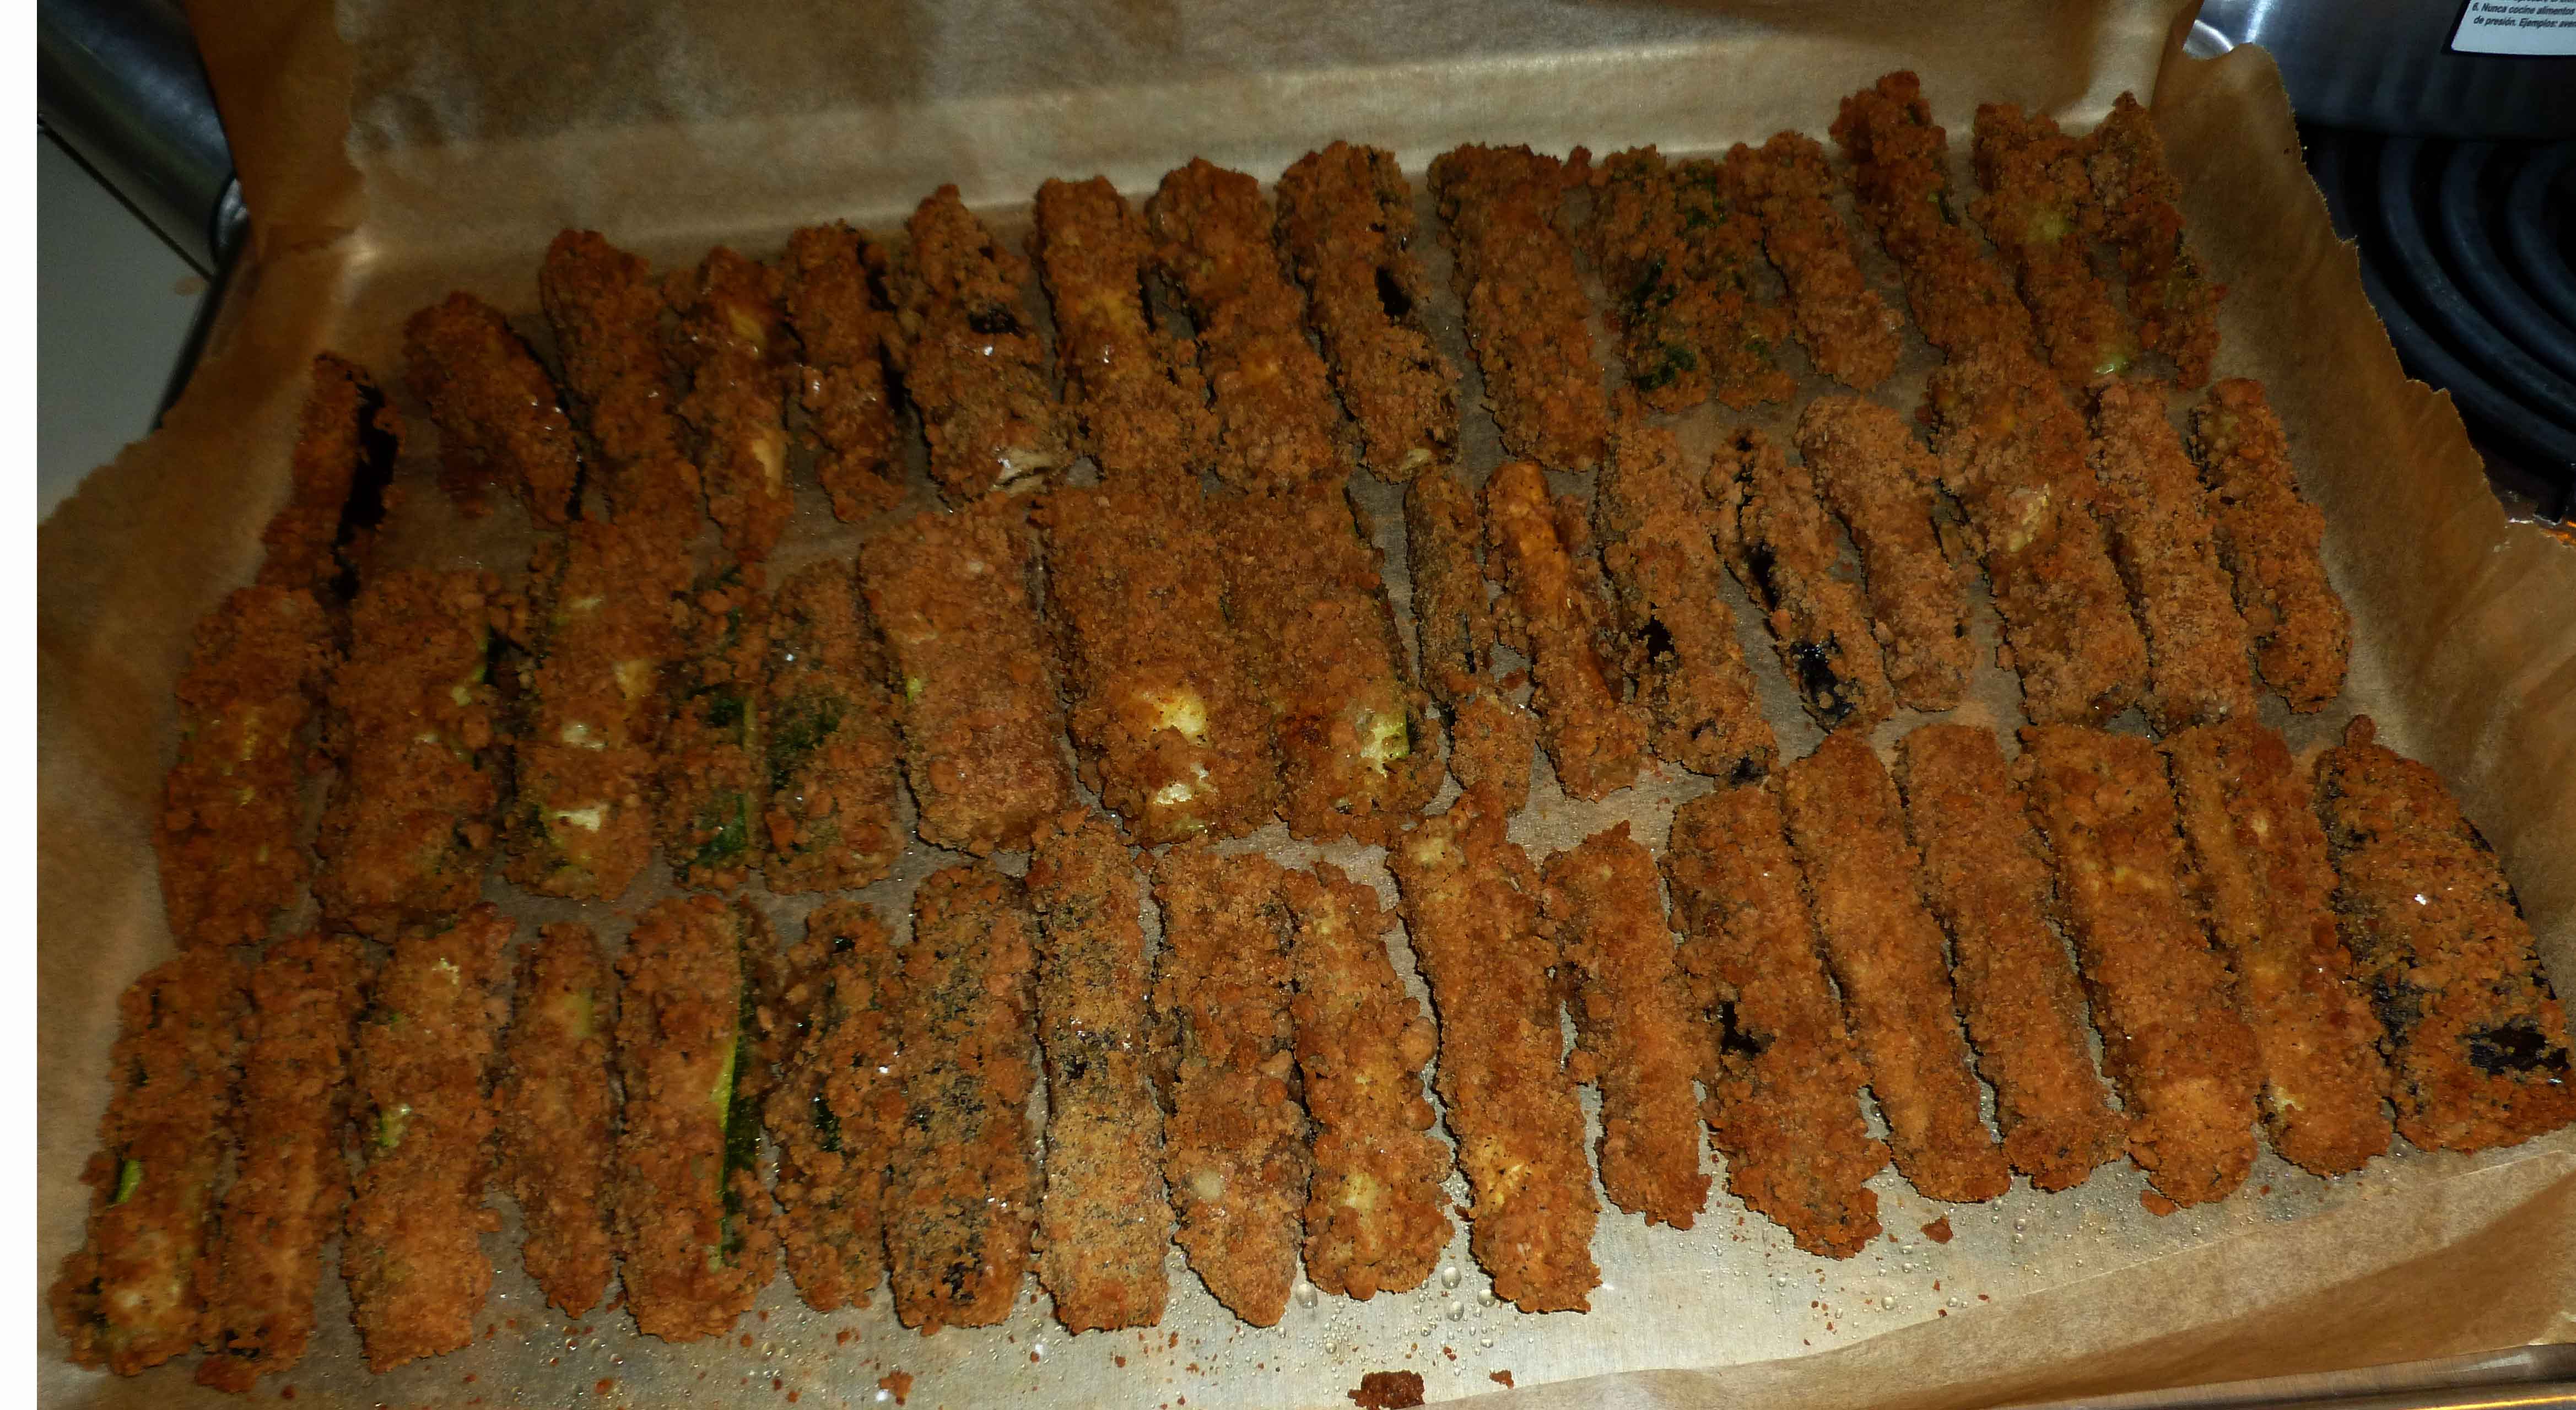
    Fries after baking
    Fries after baking

    While your fries are baking, mix Earth Balance Mindful Mayo and your favorite hot sauce in a dipping bowl.

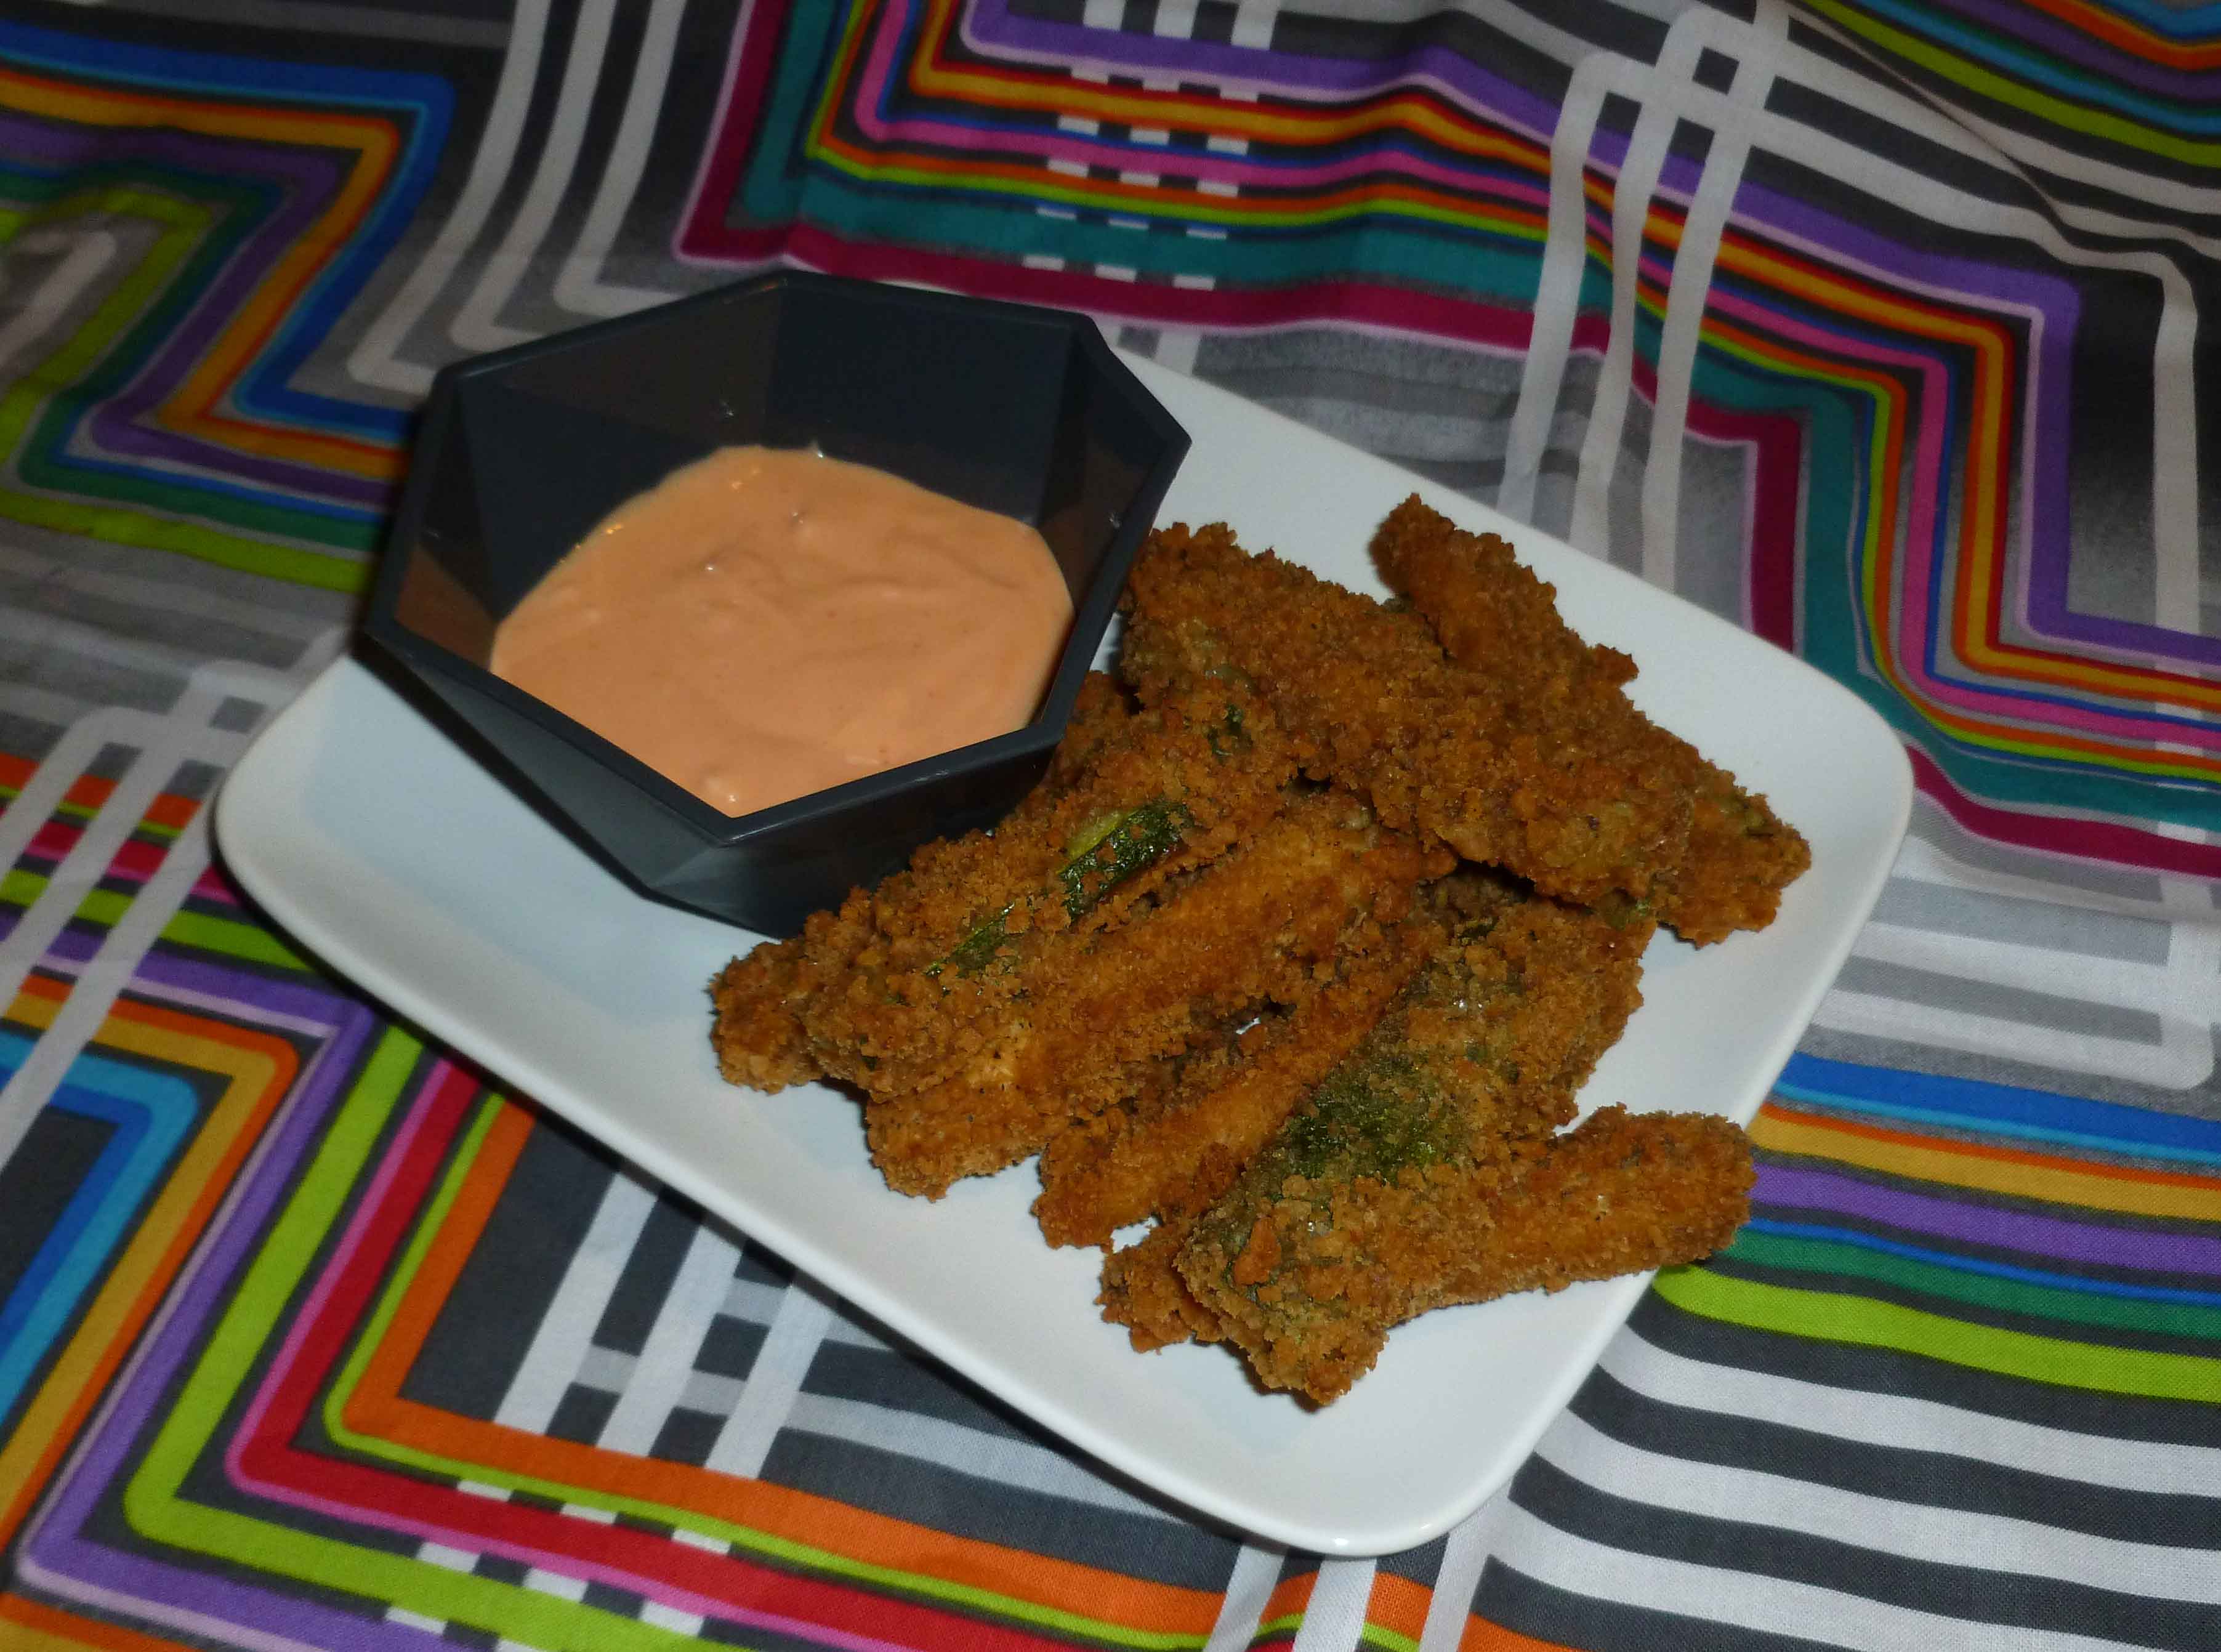
    Baked Eggplant and Zucchini Fries with Spicy Mayo Dipping Sauce
    Baked Eggplant and Zucchini Fries with Spicy Mayo Dipping Sauce

    Enjoy!

  • 15 Minute Salsa

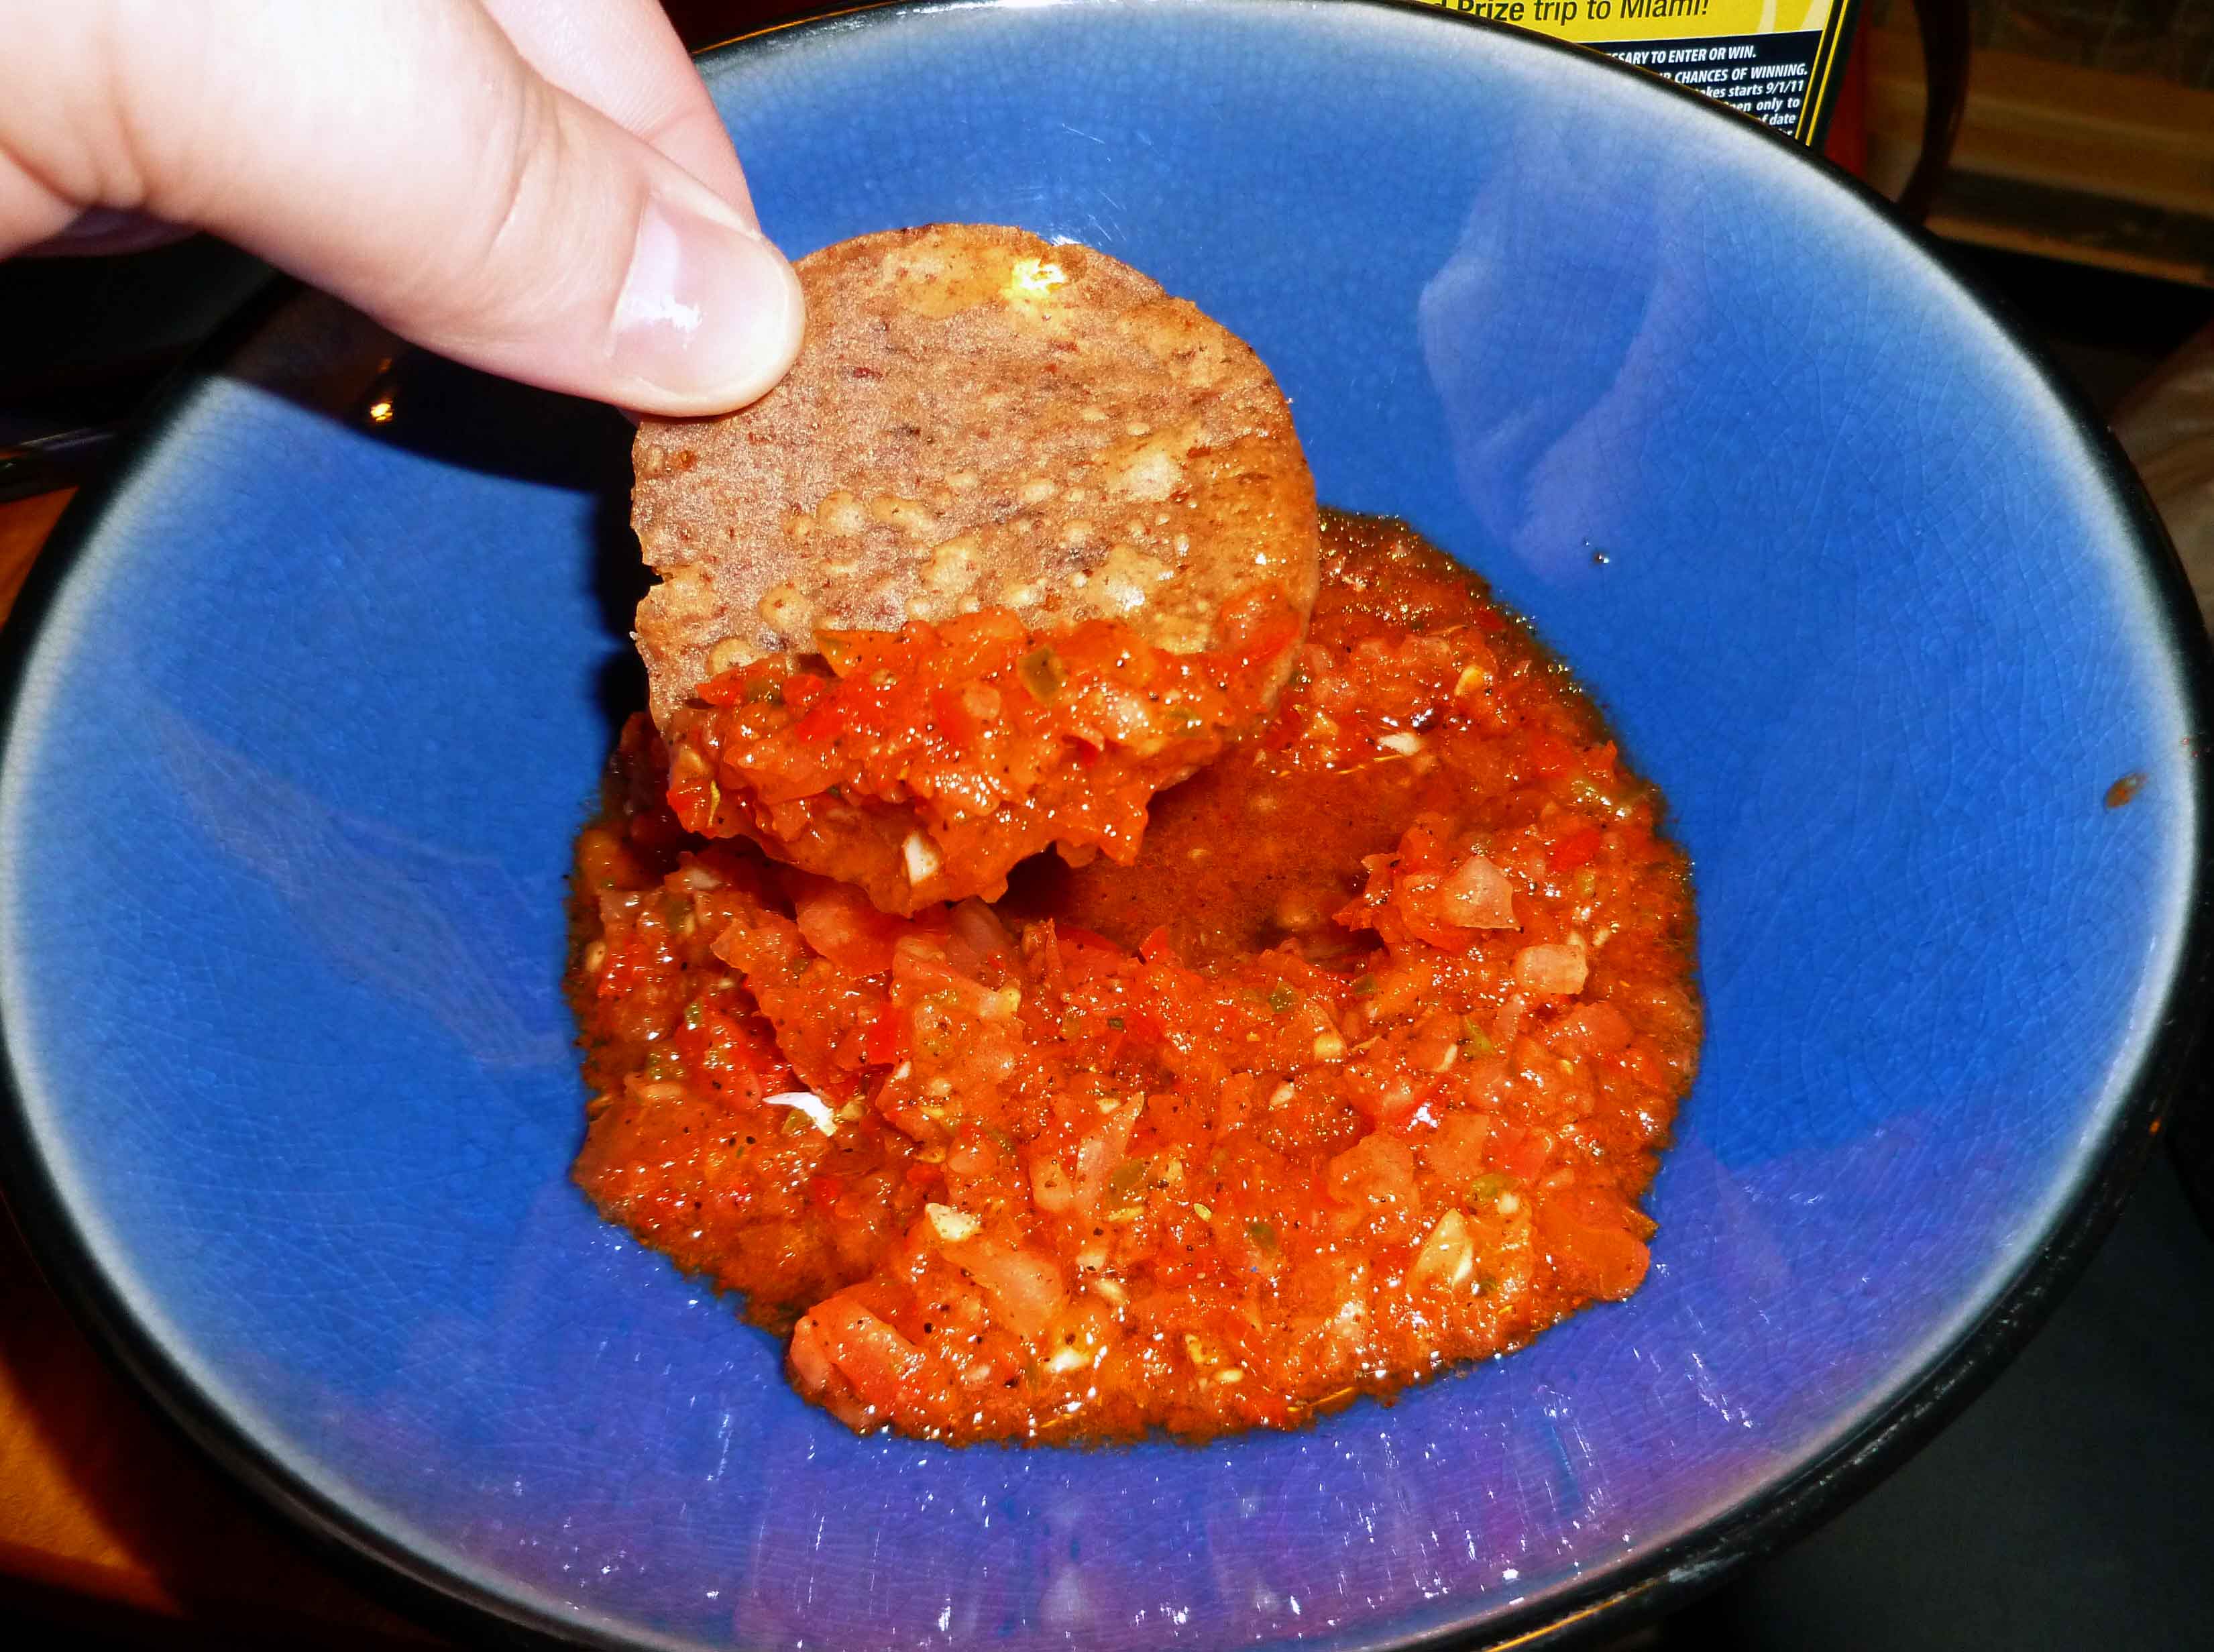
    15 Minute Salsa on a Beanito Chip
    15 Minute Salsa on a Beanito Chip

    Since I also cannot buy salsa during this whole elimination torture thing (most have celery and onion, which are two no-no’s at the moment), I whipped this up so I’d have something to eat at my book group, since I’d gotten “regular” allergen-filled food for everyone else.  I wasn’t going for culinary genius, but just something incredibly quick that wouldn’t be awful, based on what I had in the fridge and cupboards.  And when it was done, I was surprised that it came out so well, and Mary Kate suggested I write it up on the blog.  If you are not avoiding onion, you can add an small onion to this and I’m sure it would be lovely. You need a food processor to do this one.  I tried it in a blender, but I just didn’t get the result I wanted.  This is also a fast one, the fifteen minutes includes washing the food processor (if you have the jar of taco seasoning made up ahead of time).

    15 Minute Salsa  

    • 1 red bell pepper, de-stemmed and de-seeded, and cut into large chunks.
    • 1 jalapeno pepper, de-stemmed and de-seeded, and cut into large chunks.
    • 4-5 cloves of garlic, peeled with the stem end trimmed
    • 5 tomatoes, stem end trimmed, and cut into eighths (I don’t seed my tomatoes because I don’t mind seeds, but if you do, feel free to take them out, but you might want to add another tomato)
    • 2 Tablespoons of Taco Seasoning (see recipe from our Taco Beef for Tacos, Salads and Nachos post)
    • 1/3 cup of red wine vinegar
    • 1 Tablespoon of olive oil

    De-stem, de-seed and cut red bell pepper and the jalapeno pepper into chunks.  Trim stem ends of garlic.

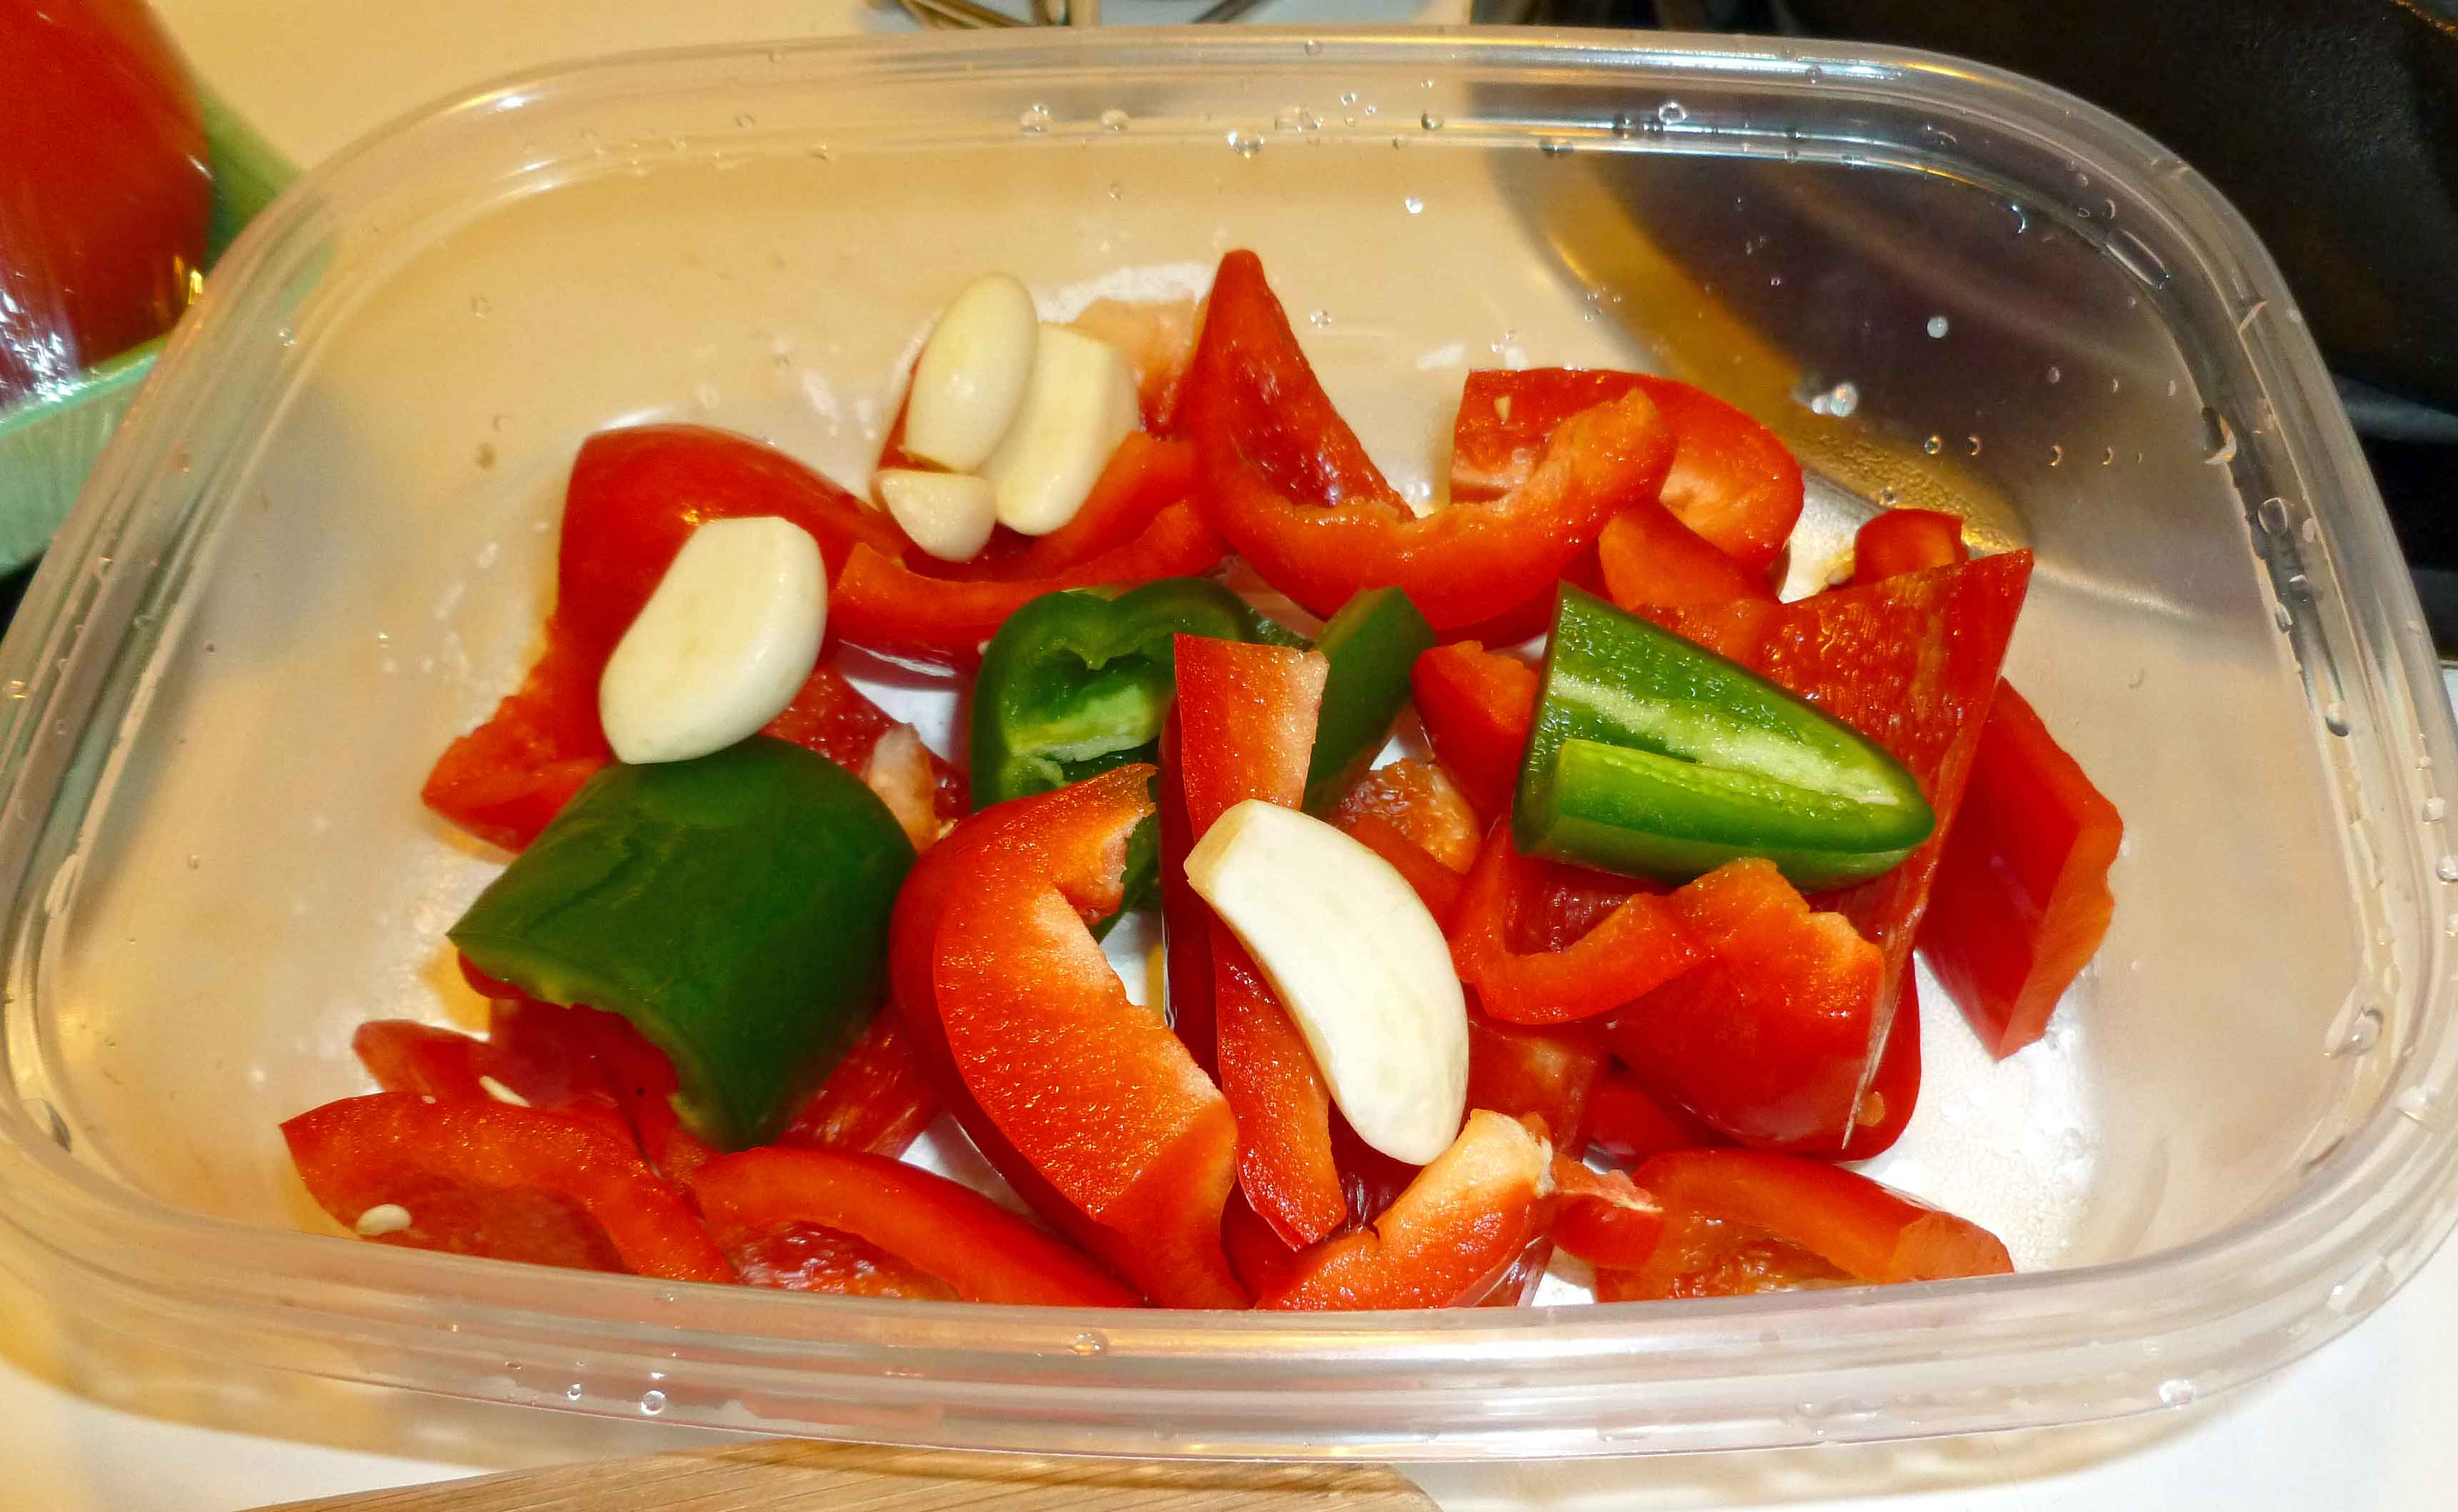
    Red bell pepper, jalapeno pepper and garlic
    Red bell pepper, jalapeno pepper and garlic

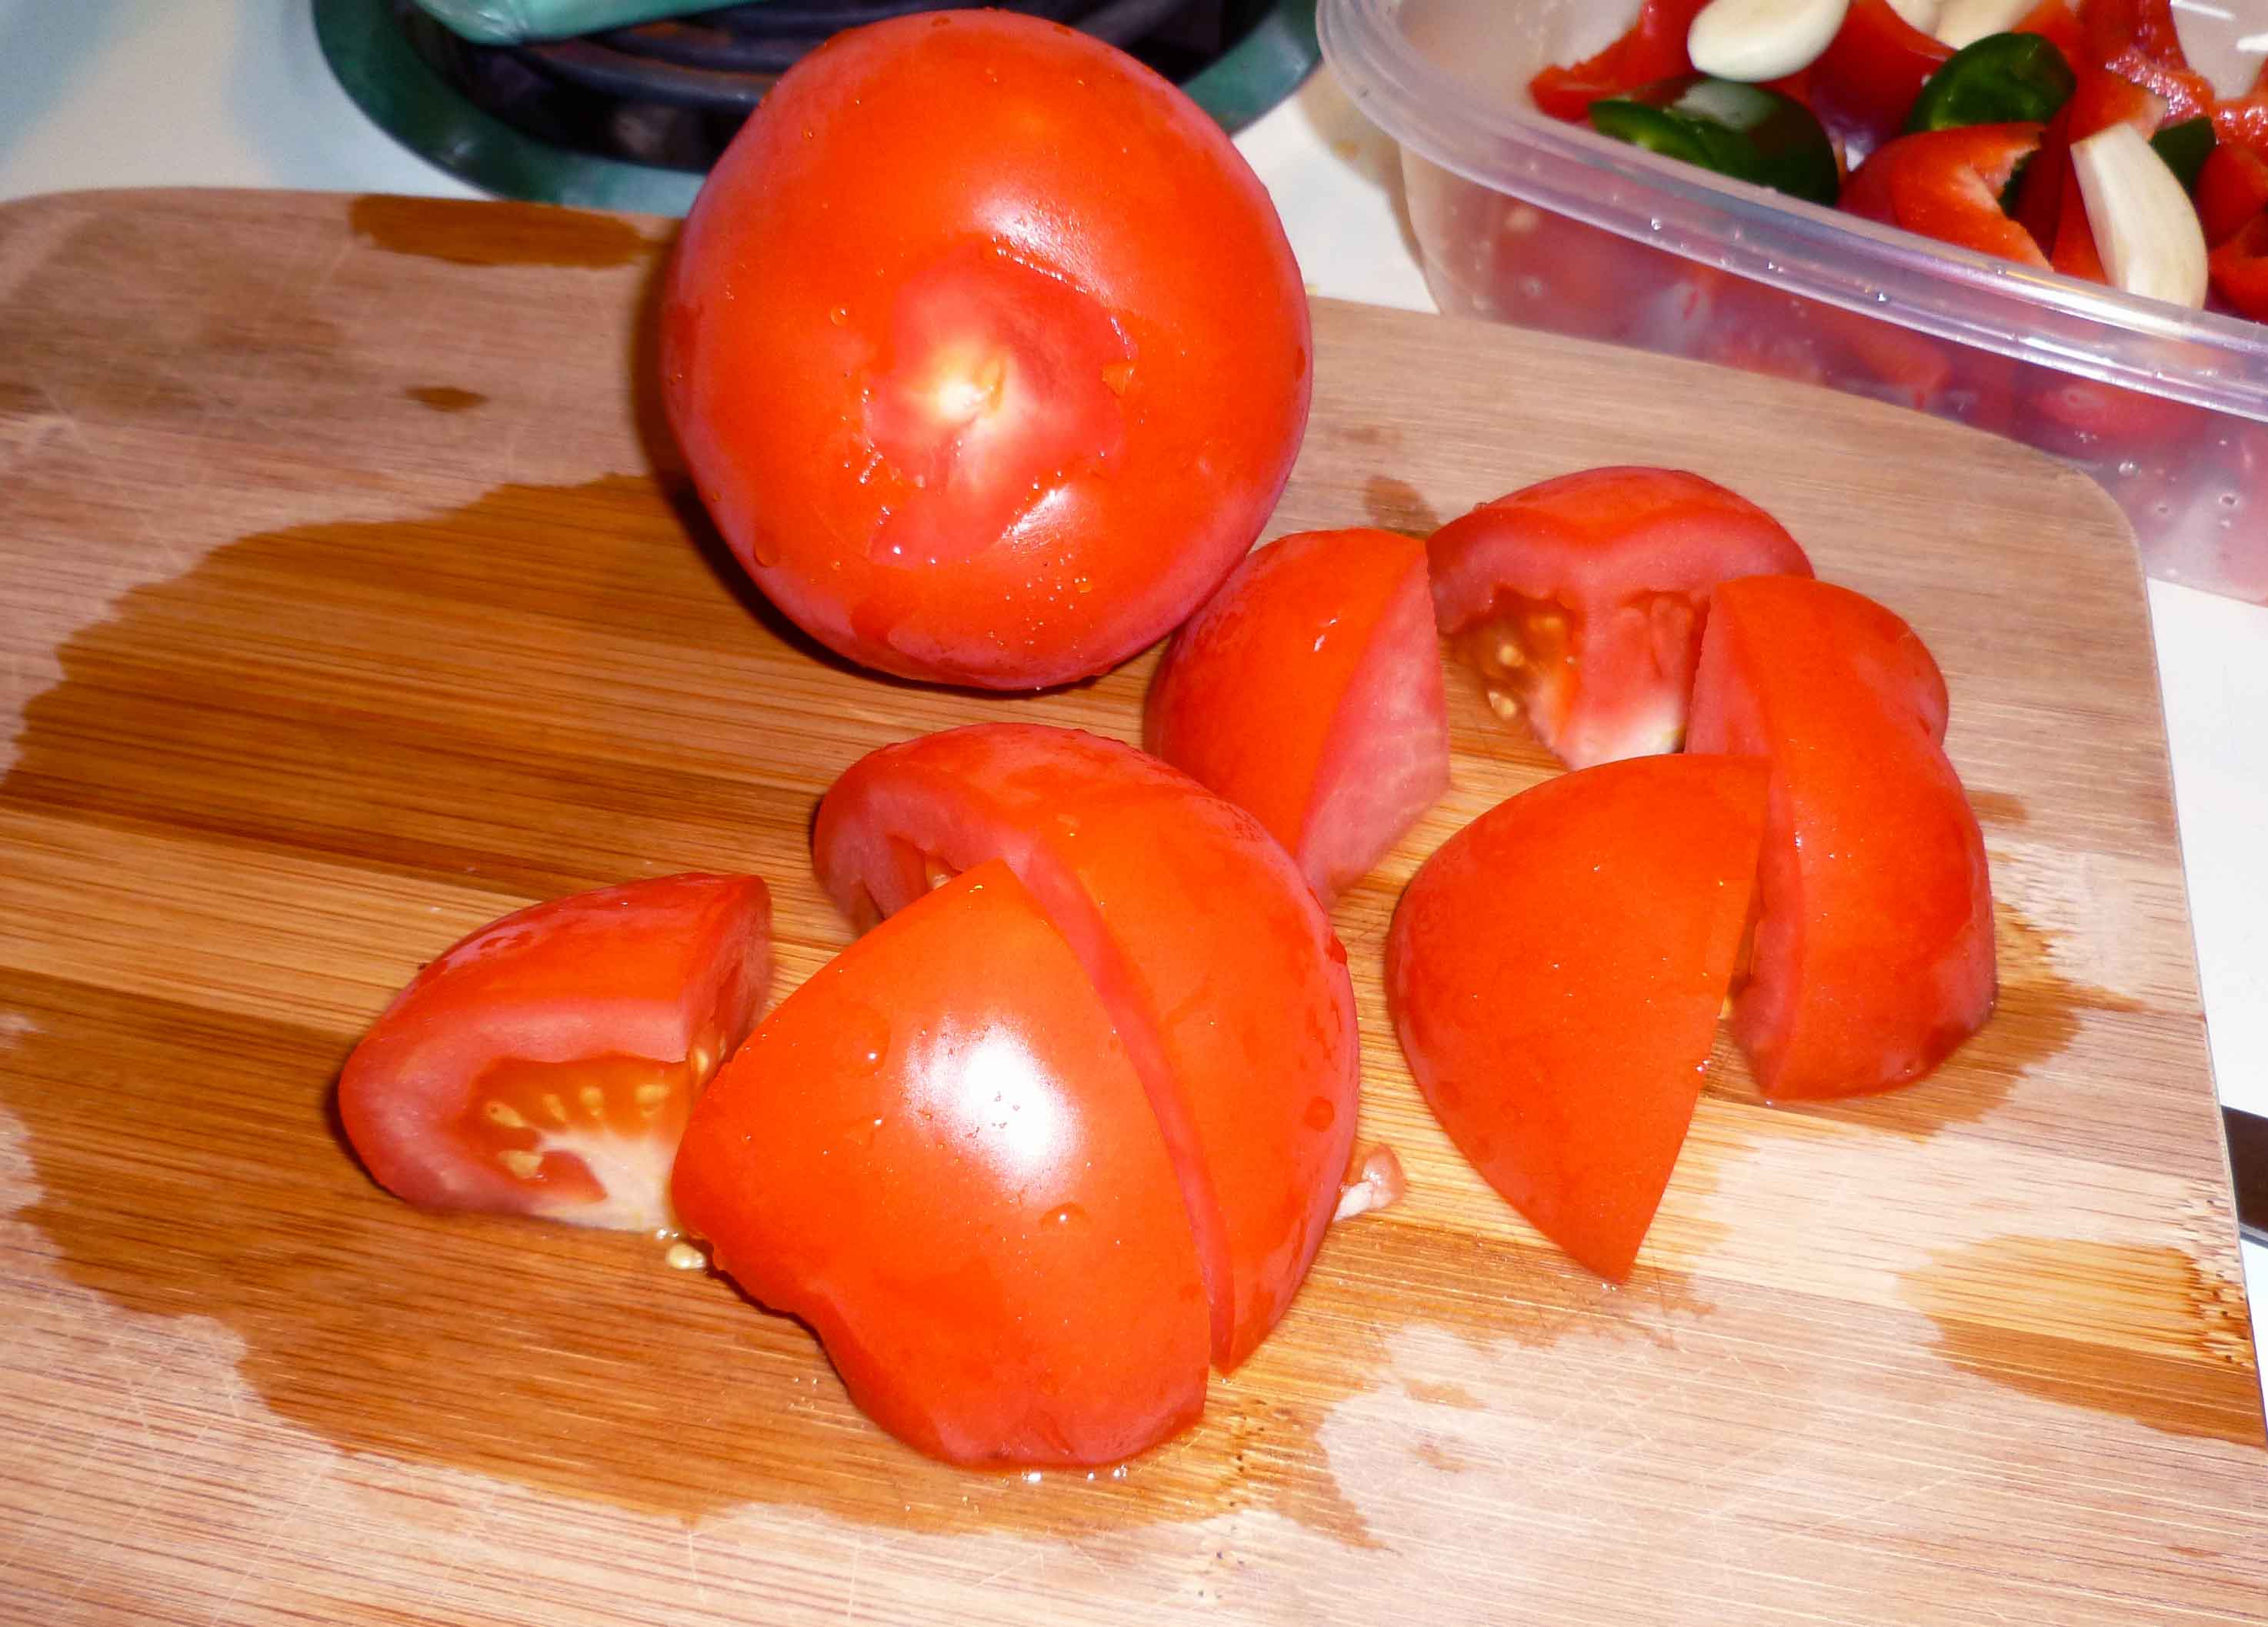
    Core tomatoes and cut them into eighths.

    Tomatoes, showing cored and cut into eighths
    Tomatoes, showing cored and cut into eighths

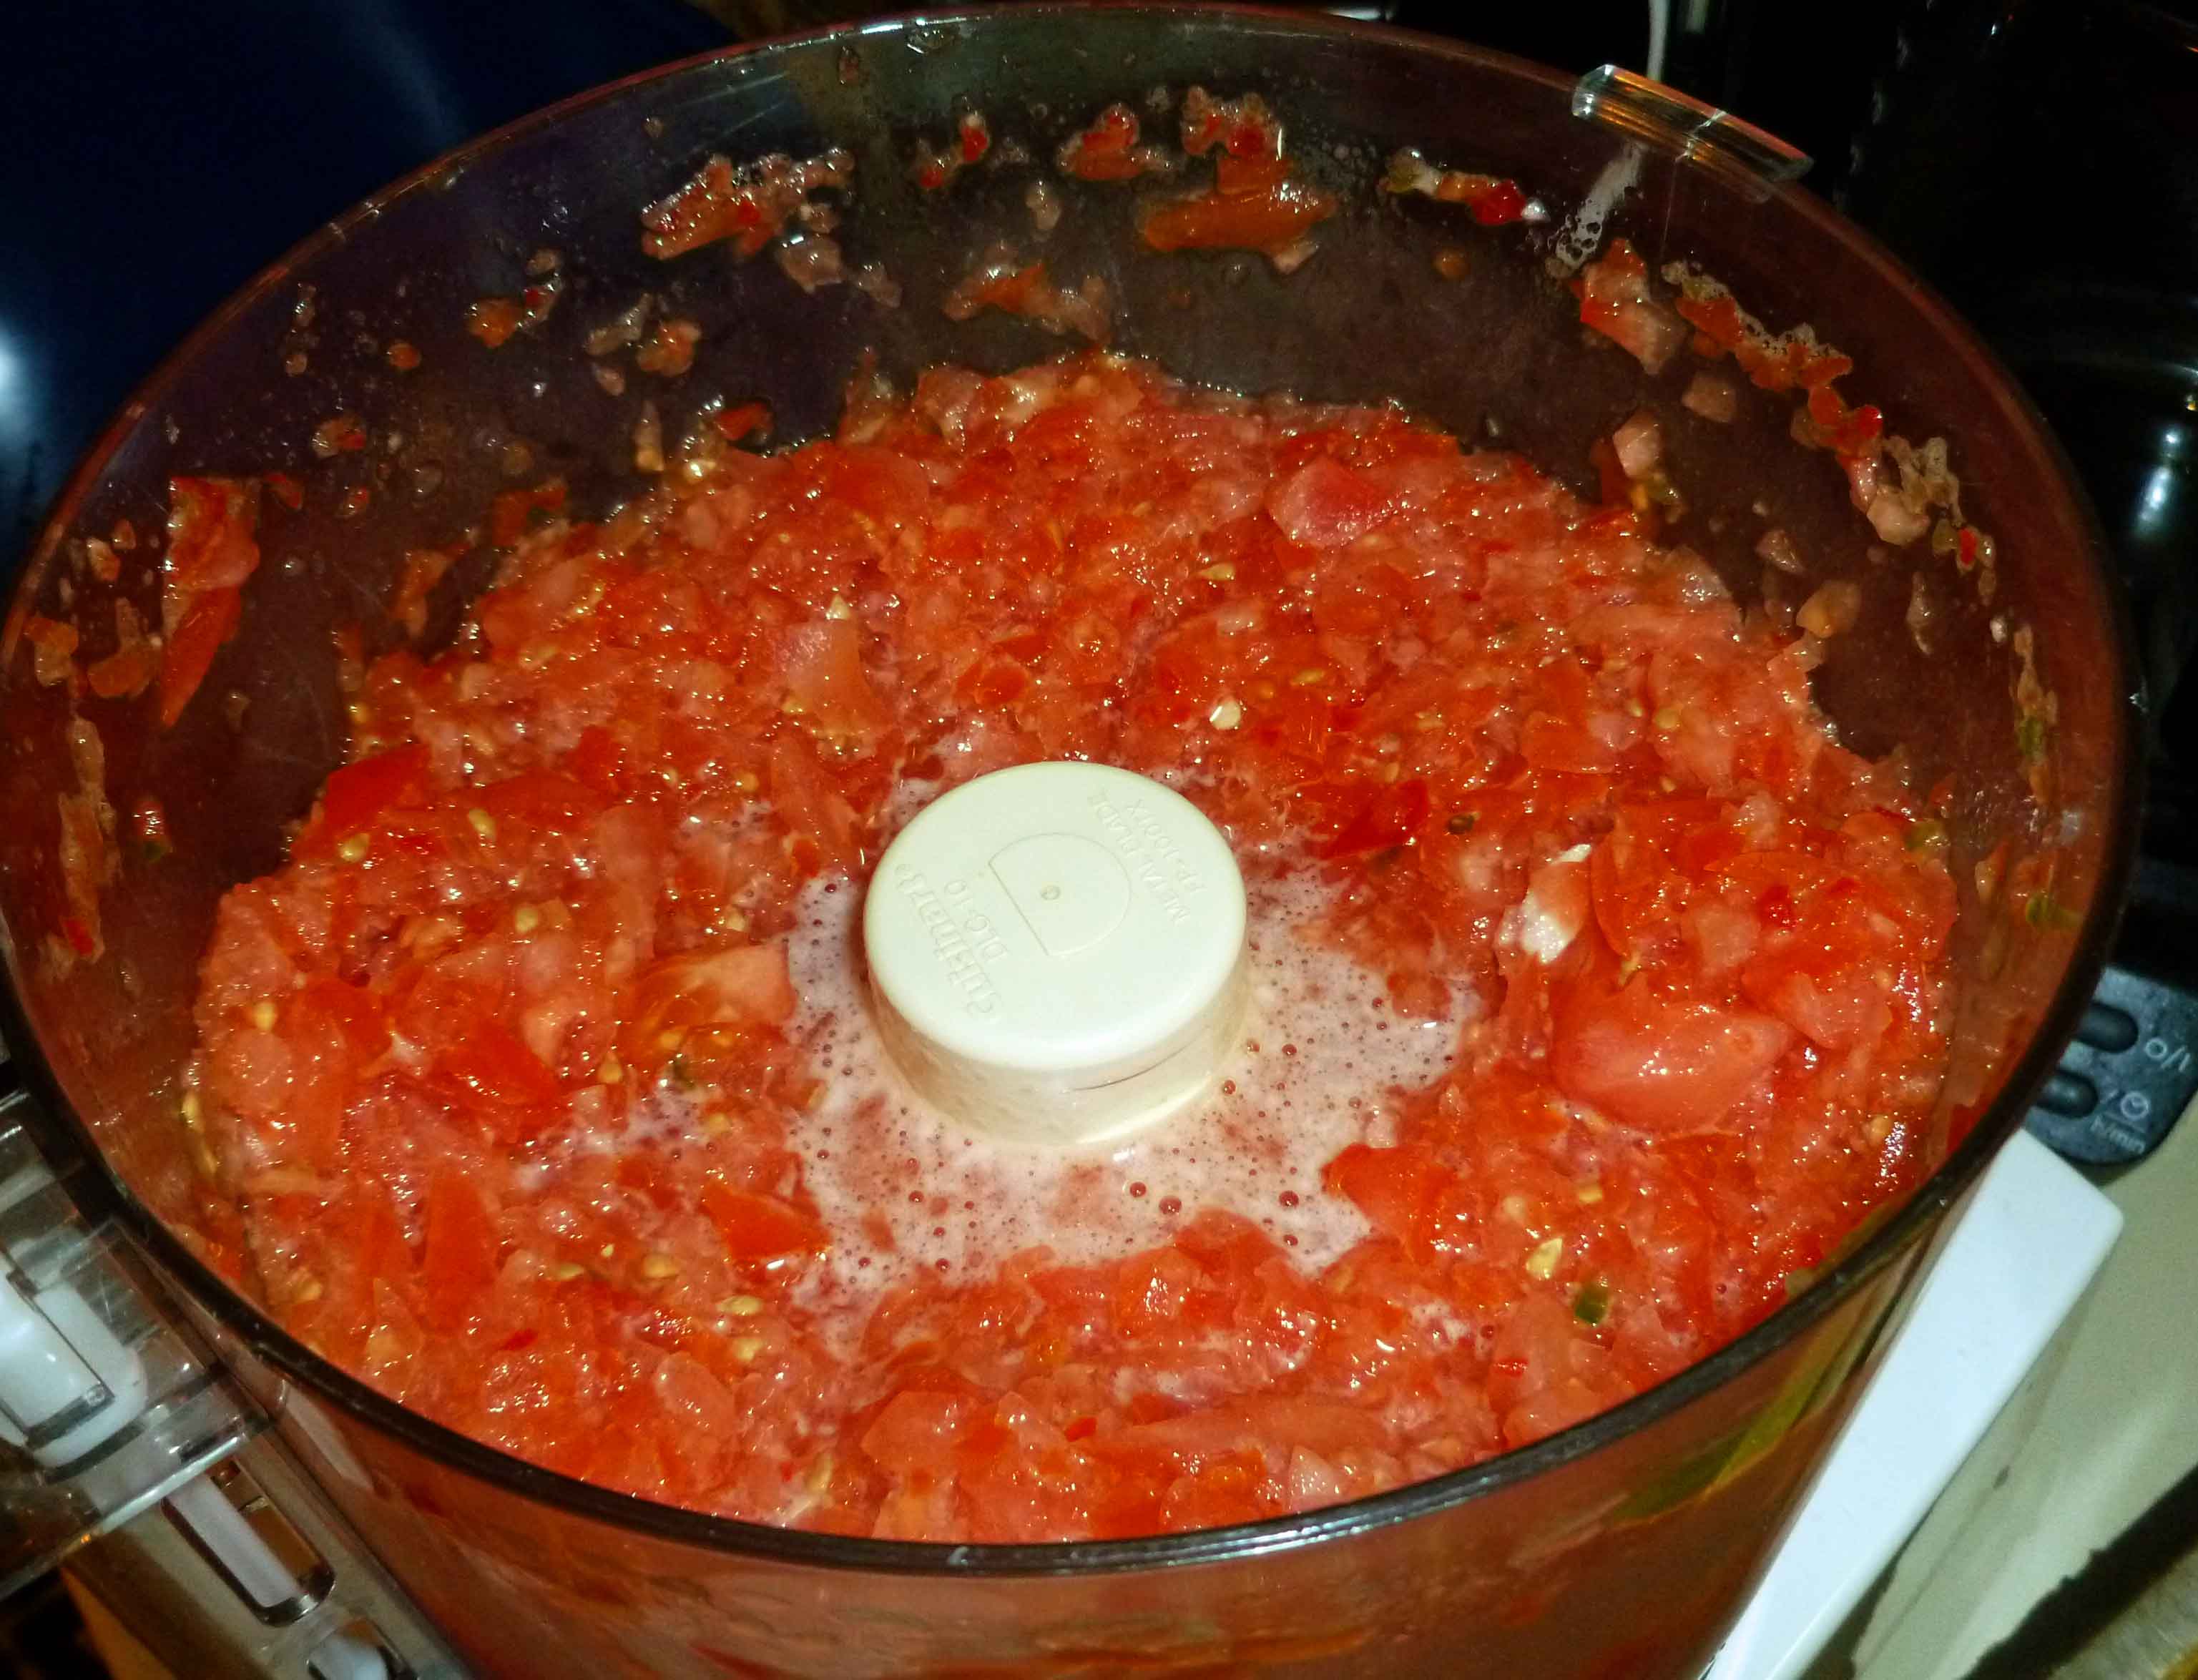
    Put peppers, garlic and tomatoes into your food processor.  You may need to do this in batches, I have to because my food processor is on the small size.  Have a large bowl read to dump your batches in. Pulse until you get the consistency you like. I prefer it a little more processed.

    Salsa in food processor
    Salsa in food processor

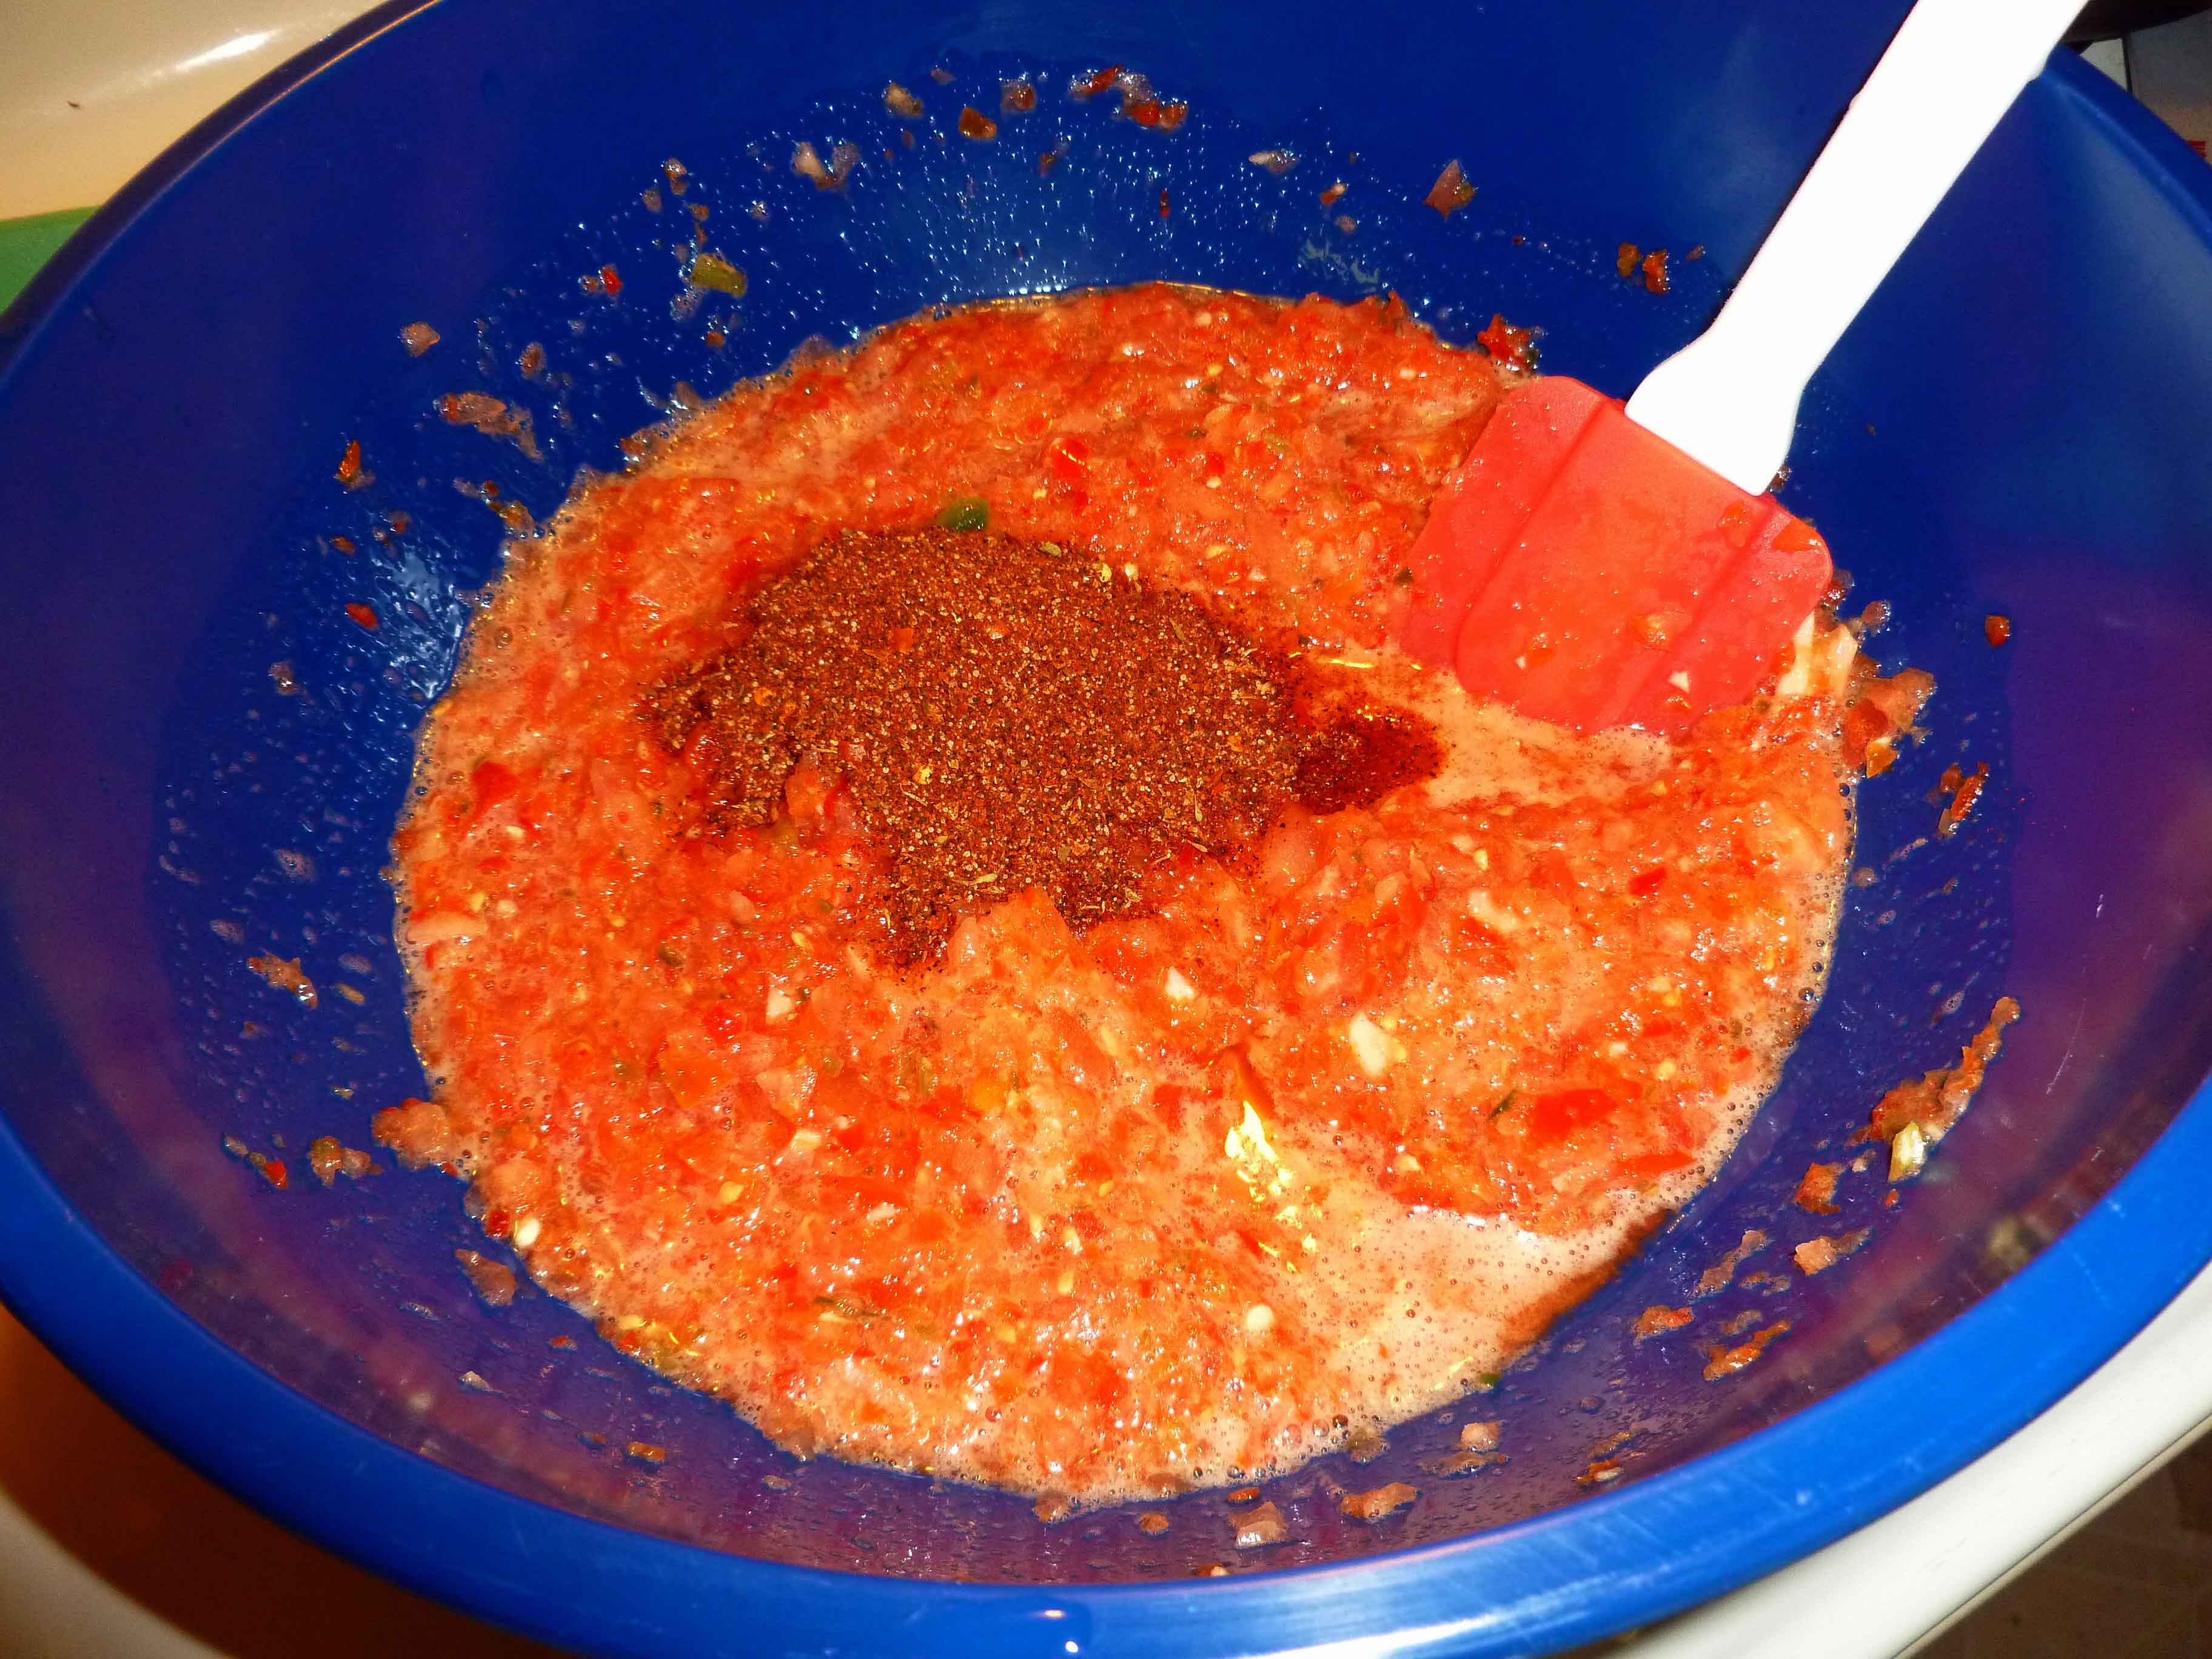
    Once you have all your processing batches in the large bowl, stir it well so that all the peppers, garlic and tomatoes are well mixed through out the salsa.  Your veggies may look a little frothy, but that’ll sort out once you add the remaining ingredients. Add the taco seasoning, red wine vinegar, and olive oil.

    Salsa before seasoning, vinegar and oil are mixed in.
    Salsa before seasoning, vinegar and oil are mixed in.

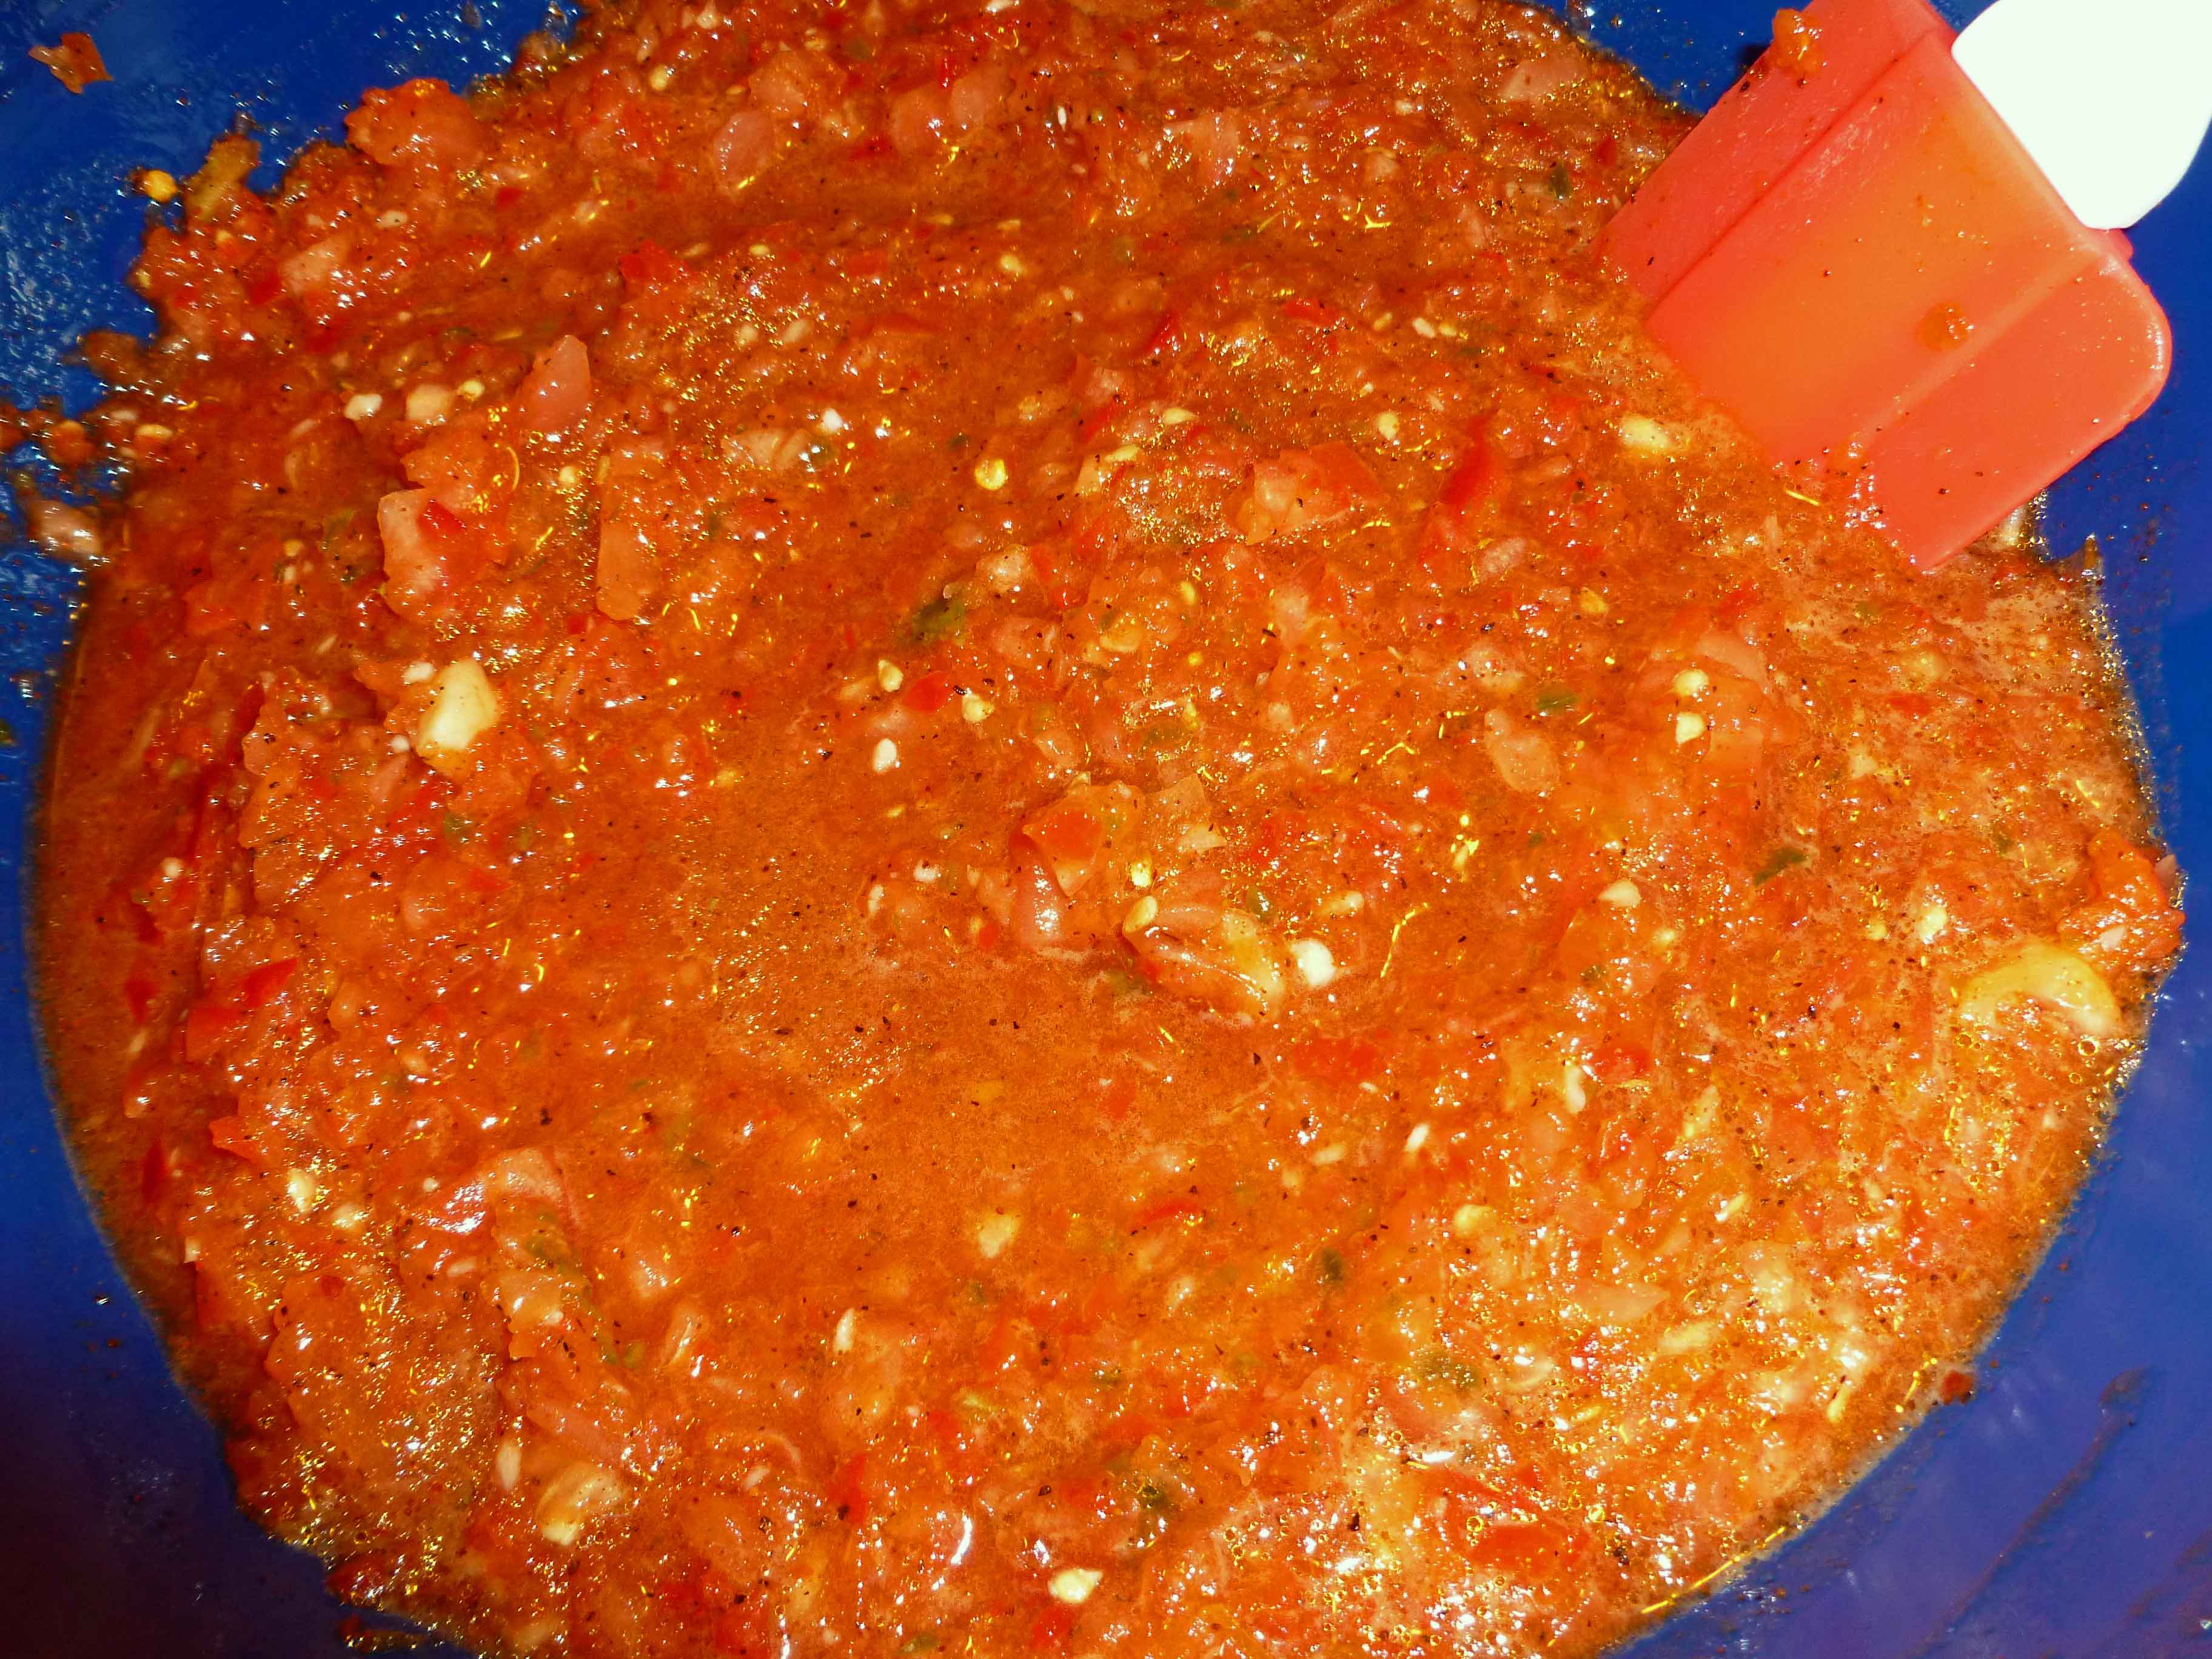
    Mix all the ingredients together with a spatula making sure that all the spice mixture gets evenly distributed.  This makes about 5-6 cups of salsa so it’s a great recipe for a party.  Enjoy!

    Salsa, ready to eat!!
    Salsa, ready to eat!!
  • Tiffany's Artichoke Dip

    When I was in graduate school, we had a lot of parties.  I’m a nerdy sort, so these weren’t “trash can punch” kind of parties, but beer and wine and mostly lots of food kind of parties.  And they were always potluck, because no one had any money.  Certain things became favorites, so people never had to much thing about what to bring — they were requested.  This was definitely one of the group favorites, and I’ve held on to the recipe.  Goes well with bread, tortilla chips, crackers, even veggies, and the leftovers make a great, if chunky, sandwich spread.  Plus, it looks impressive and gourmet but is incredibly easy.

    This version replaces the mayo and cheese to give you a really tasty, vegan and allergen-free version that will also please the people you know who can eat everything.

    Tiffany's Artichoke Dip
    Tiffany’s Artichoke Dip

    Tiffany’s Artichoke Dip

    Preheat oven to 350F.

    Grease casserole dish.

    • 16 oz. of canned or jarred artichoke hearts, drained and chopped
    • 1 small can of chopped green chiles or jalapenos
    • 1 cup of Earth Balance Mindful Mayo, original
    • 3 Tablespoons of nutritional yeast
    • 3 Tablespoons of garbanzo bean flour

    Mix all ingredients together in the casserole dish, smooth out evenly.  Bake 20-25 minutes, serve warm.

    I really wish dip photographed better
    I really wish dip photographed better
  • Tzatziki Sauce (Using a Cashew Base)

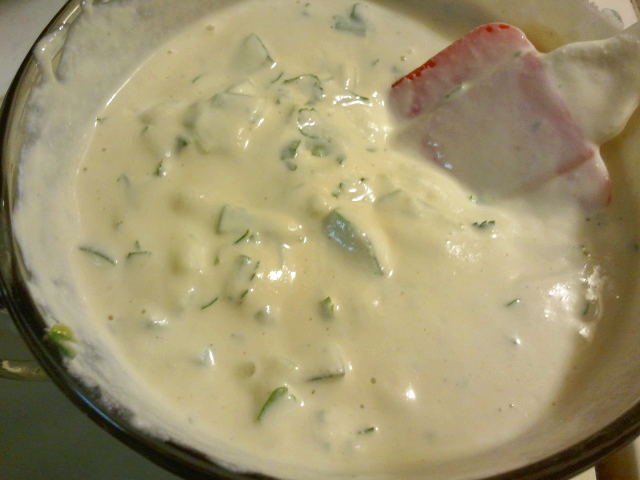
    Tzatziki Sauce (Using Cashew Base)
    Tzatziki Sauce (Using Cashew Base)

    Since we can’t have falafel without Tzatziki Sauce (well, you can, but it’s better with), I had to get together a recipe.  I started with a recipe at The Vedge, and added some additional things I like to it.

    Tzatziki Sauce (Using a Cashew Base)

    • 1 cup cashew pieces (raw, unsalted) and soaked overnight in water  (covering cashews by 2-3 inches)
    • 1 cup water
    • 1 lemon, juiced
    • 1 garlic clove
    • 1 teaspoon of salt
    • 1 teaspoon of dill weed (optional)
    • 4 Tablespoons of fresh parsley, chopped
    • 1 medium cucumber (peeled if waxed) and diced (I used two pickling cukes, and left the skin on)

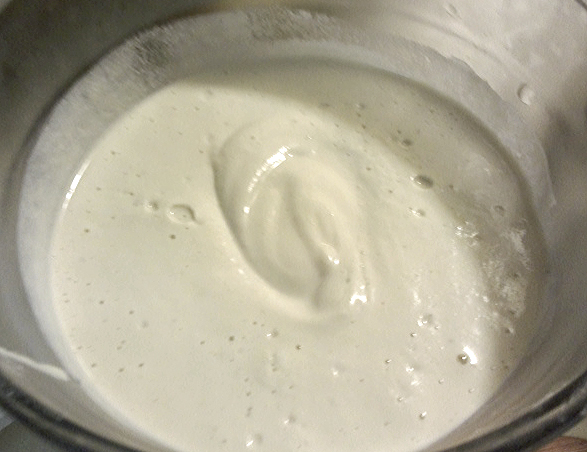
    Drain the cashews and place in a blender.  Add water, lemon juice, garlic, and salt to blender.  Blend until completely pureed, better to over blend than to not blend enough.  You want it as smooth as you can get it.

    Cashew Mixture After Blending
    Cashew Mixture After Blending

    Pour cashew mixture into a bowl that will hold it, the dill, the parsley and the cucumber. Add dill, parsley, and cucumber to the cashew mixture and stir to mix well.

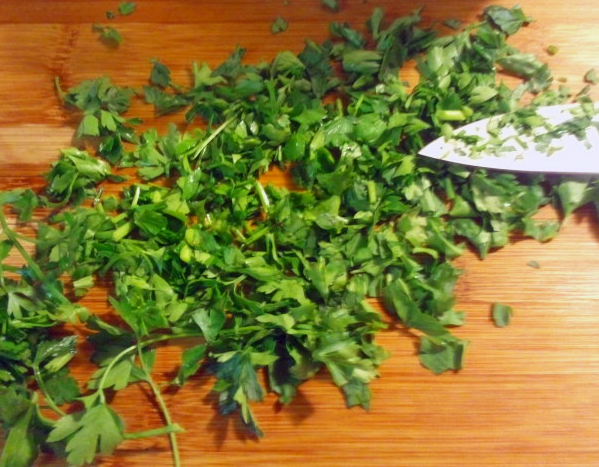
    Fresh parsley, chopped
    Fresh parsley, chopped
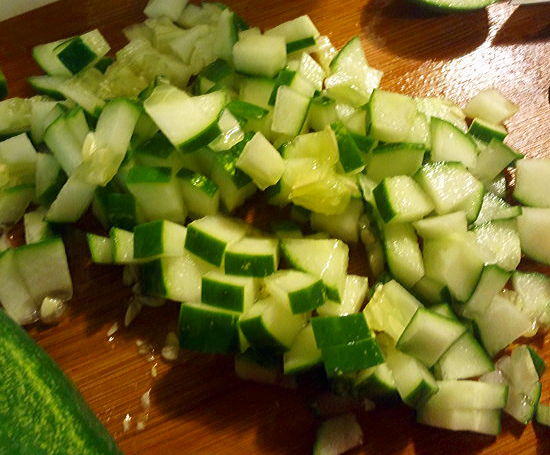
    Cucumbers diced
    Cucumbers diced

    You can do all this in the blender if you want, but I like chunky cucumbers in this sauce.  Refrigerate for at least an hour, and use on falafel, gyros, wraps, salads, as a dip and so on. Or you could use large slices or chunks for a salad or side dish, and do a much smaller dice or in the blender for a sandwich slather.

    Let us know what you think 🙂

  • Kiss Me if You Dare Onion Dip

    mmmmm...onion dip
    mmmmm…onion dip

    If I’m completely honest, that mayo or sour cream based French onion dip (one package of dip mix plus a carton of sour cream, I think?) wasn’t something I made all that often or bought all that often in my pre-allergen days.  But I liked it at parties, and maybe that was enough for me back then?  I don’t know.

    But last year, I wanted onion dip.  With potato chips — salty, greasy, oniony madness.  I tried a few things, and when I still ate soy, tofu-based sour cream with a packet of stuff wasn’t too bad.  Some of the mixes are free of some allergens, but reading the ingredients so carefully is a real turn off, honestly.   So.  Onion dip.  Now that soy is out and I really don’t want to use a packaged mix, it was time to come up with a good substitute based as much as possible on real foods.

    Earth Balance, refugeof the dairy-free for decent, actually dairy-free margarine, has come out with a vegan AND soy-free mayonnaise!  You can read our review of this miracle HERE.  I am going to assume that this recipe will more-or-less work with regular mayo, or any of the vegan versions that contain soy.  It’s been tested only with Earth Balance mindful mayo because neither of us eat those others.

    As wonderful as the mayo substitute is, a dip based on mayo alone, to be eaten with thick, ridged greasy and salty potato chips seemed overkill, so the base of this is actually pureed canned cannellini beans, with mayo-sub added for creaminess.  The onion flavor comes from scallions and caramelized onions.  This is onion dip to revel in.  Even if it doesn’t photograph like anything other than a dip.

    Kiss Me if You Dare Onion Dip

    First, get on caramelizing your onions.  You want a softball-sized onion or two smaller ones, and if you can get a sweet onion (Maui, Vidalia, Walla Walla), it will be even better.  Cut it in quarters and slice it thinly.

    Heat about a tablespoon of olive oil in a large skillet over medium heat.  I always use my cast iron, which is 12 inches, and I need to do two rounds of this.  You want a good sloppy coat of oil over the bottom of the pan, heated until shimmering, and add only enough onions for a single layer.  Add a good sprinkle of salt, 1/2 teaspoon or so for my pan size.

    If you’ve never caramelized onions, it takes some time to do it right.  I could tell you all about it, but I’m going to kick you over to Slate, as Tom Socca’s already covered it.

    Set the onions aside to cool.  I do not drain the oil off, as this dip is supposed to be rich.

    Into your food processor (or blender, if you have a high powered one), add:

    • 1 can of cannellini beans, rinsed and drained
    • 1 scant cup of Earth Balance Mindful Mayo, original
    • 3-4 cloves of roasted garlic
    • 1-2 Tablespoons of lemon juice, fresh-squeezed if you can

    Spin it through the food processor until all smooth and well combined.  IF you are using a blender, I’d suggest doing the beans first, and then adding the mayo as a second step.

    Add the onions and pulse until they are chopped up and well mixed in to your dip.

    Dump dip into a serving bowl, and mix in about 1/4 cup of chopped scallions, green and light green parts only, reserving some for garnish if you wish.  Refrigerate for a few hours before serving with lots of salty potato chips.  Ruffles are my choice.

    a bit of onion dip left after the party
    a bit of onion dip left after the party

    Kiss Me if You Dare Onion Dip

    • 1 softball-sized sweet onion, quartered and sliced thin
    • 2 Tablespoons (+) olive oil (not extra-virgin) or canola oil
    • about 1 teaspoon kosher salt
    • 1 can of cannellini beans, rinsed and drained
    • 1 cup Earth Balance Mindful Mayo, original
    • 3-4 cloves of roasted garlic
    • 1-2 Tablespoons of freshly-squeezed lemon juice
    • 1 bunch of scallions, sliced thin, green and light green parts only

    Caramelize onions, then mix everything else in a food processor or high-speed blender, adding onions last, and garnishing with some of the green scallions if you remember.

    Enjoy!

  • Sheer Magic Spinach Dip

    Spinach Dip in a Bowl

    I found this recipe, which I’ve now modified to fit my tastes, on the back of a silken tofu package. I had bought a couple of packages of silken tofu to try as an egg replacement in brownies. Silken tofu might work for others in brownies but not for me, and since I had to now find something else to do with the extra silken tofu, I noticed the recipe on the back of the package and decided to try it. I think I’ve now got it just about where I want it. I know it won’t work for those of you who can’t do soy, but Mary Kate’s going to post an onion dip that’s fabulous and maybe you can throw some spinach in it.

    Spinach Dip

    • 1 – 12 ounce package of Mori-Nu Silken Lite Firm Tofu
    • 1/2 cup of Earth Balance Mindful Mayo (or regular mayonnaise if you can have eggs)
    • 1 package/envelope of French onion soup mix (check labels for possible dairy, I have better luck with a store brand for dairy free or make your own mix, here’s a recipe)
    • 1 – 10 ounce package of fresh spinach, steamed, cooled and squeezed dry
    • 2-3 medium green onions, about a 1/4 cup when chopped (use green part too)
    • 1 – 8 ounce can water chestnuts, coarsely chopped
    • 4 cloves of garlic minced or just process in food processor
    • Several splashes of Tabasco sauce to taste
    • Salt and pepper to taste

    Steam spinach in a covered container in the microwave with two tablespoons of water for approximately 5 minutes. Drain and when spinach is cool enough to touch, squeeze spinach dry, and place in fridge until cool.

    Drain tofu, and place in a food processor or blender with soup mix. Blend until smooth. Add mayo and garlic and blend, scraping down sides until all ingredients are well blended.  Add cooled spinach to blender or food processor and blend with short pulses until spinach is mixed in, but is still a bit chunky.  Then add the spring onions and the water chestnuts and do two short pulses just to mix it up, you don’t want the spring onions and water chestnuts obliterated, just mixed in.  (You could just put the spinach and tofu mixture, the spring onions and water chestnuts in a bowl and mix up with a spoon, if you want it chunkier).

    Remove mixture from food processor or blender and put it into a bowl.  Add Tabasco, salt and pepper to taste.  Refrigerate for at least an hour, but overnight is best to let the spices blend.

    Enjoy with veggies or chips 🙂