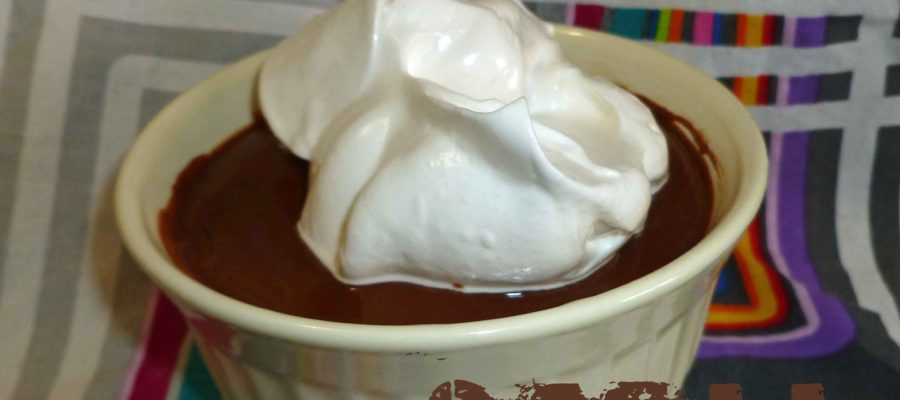
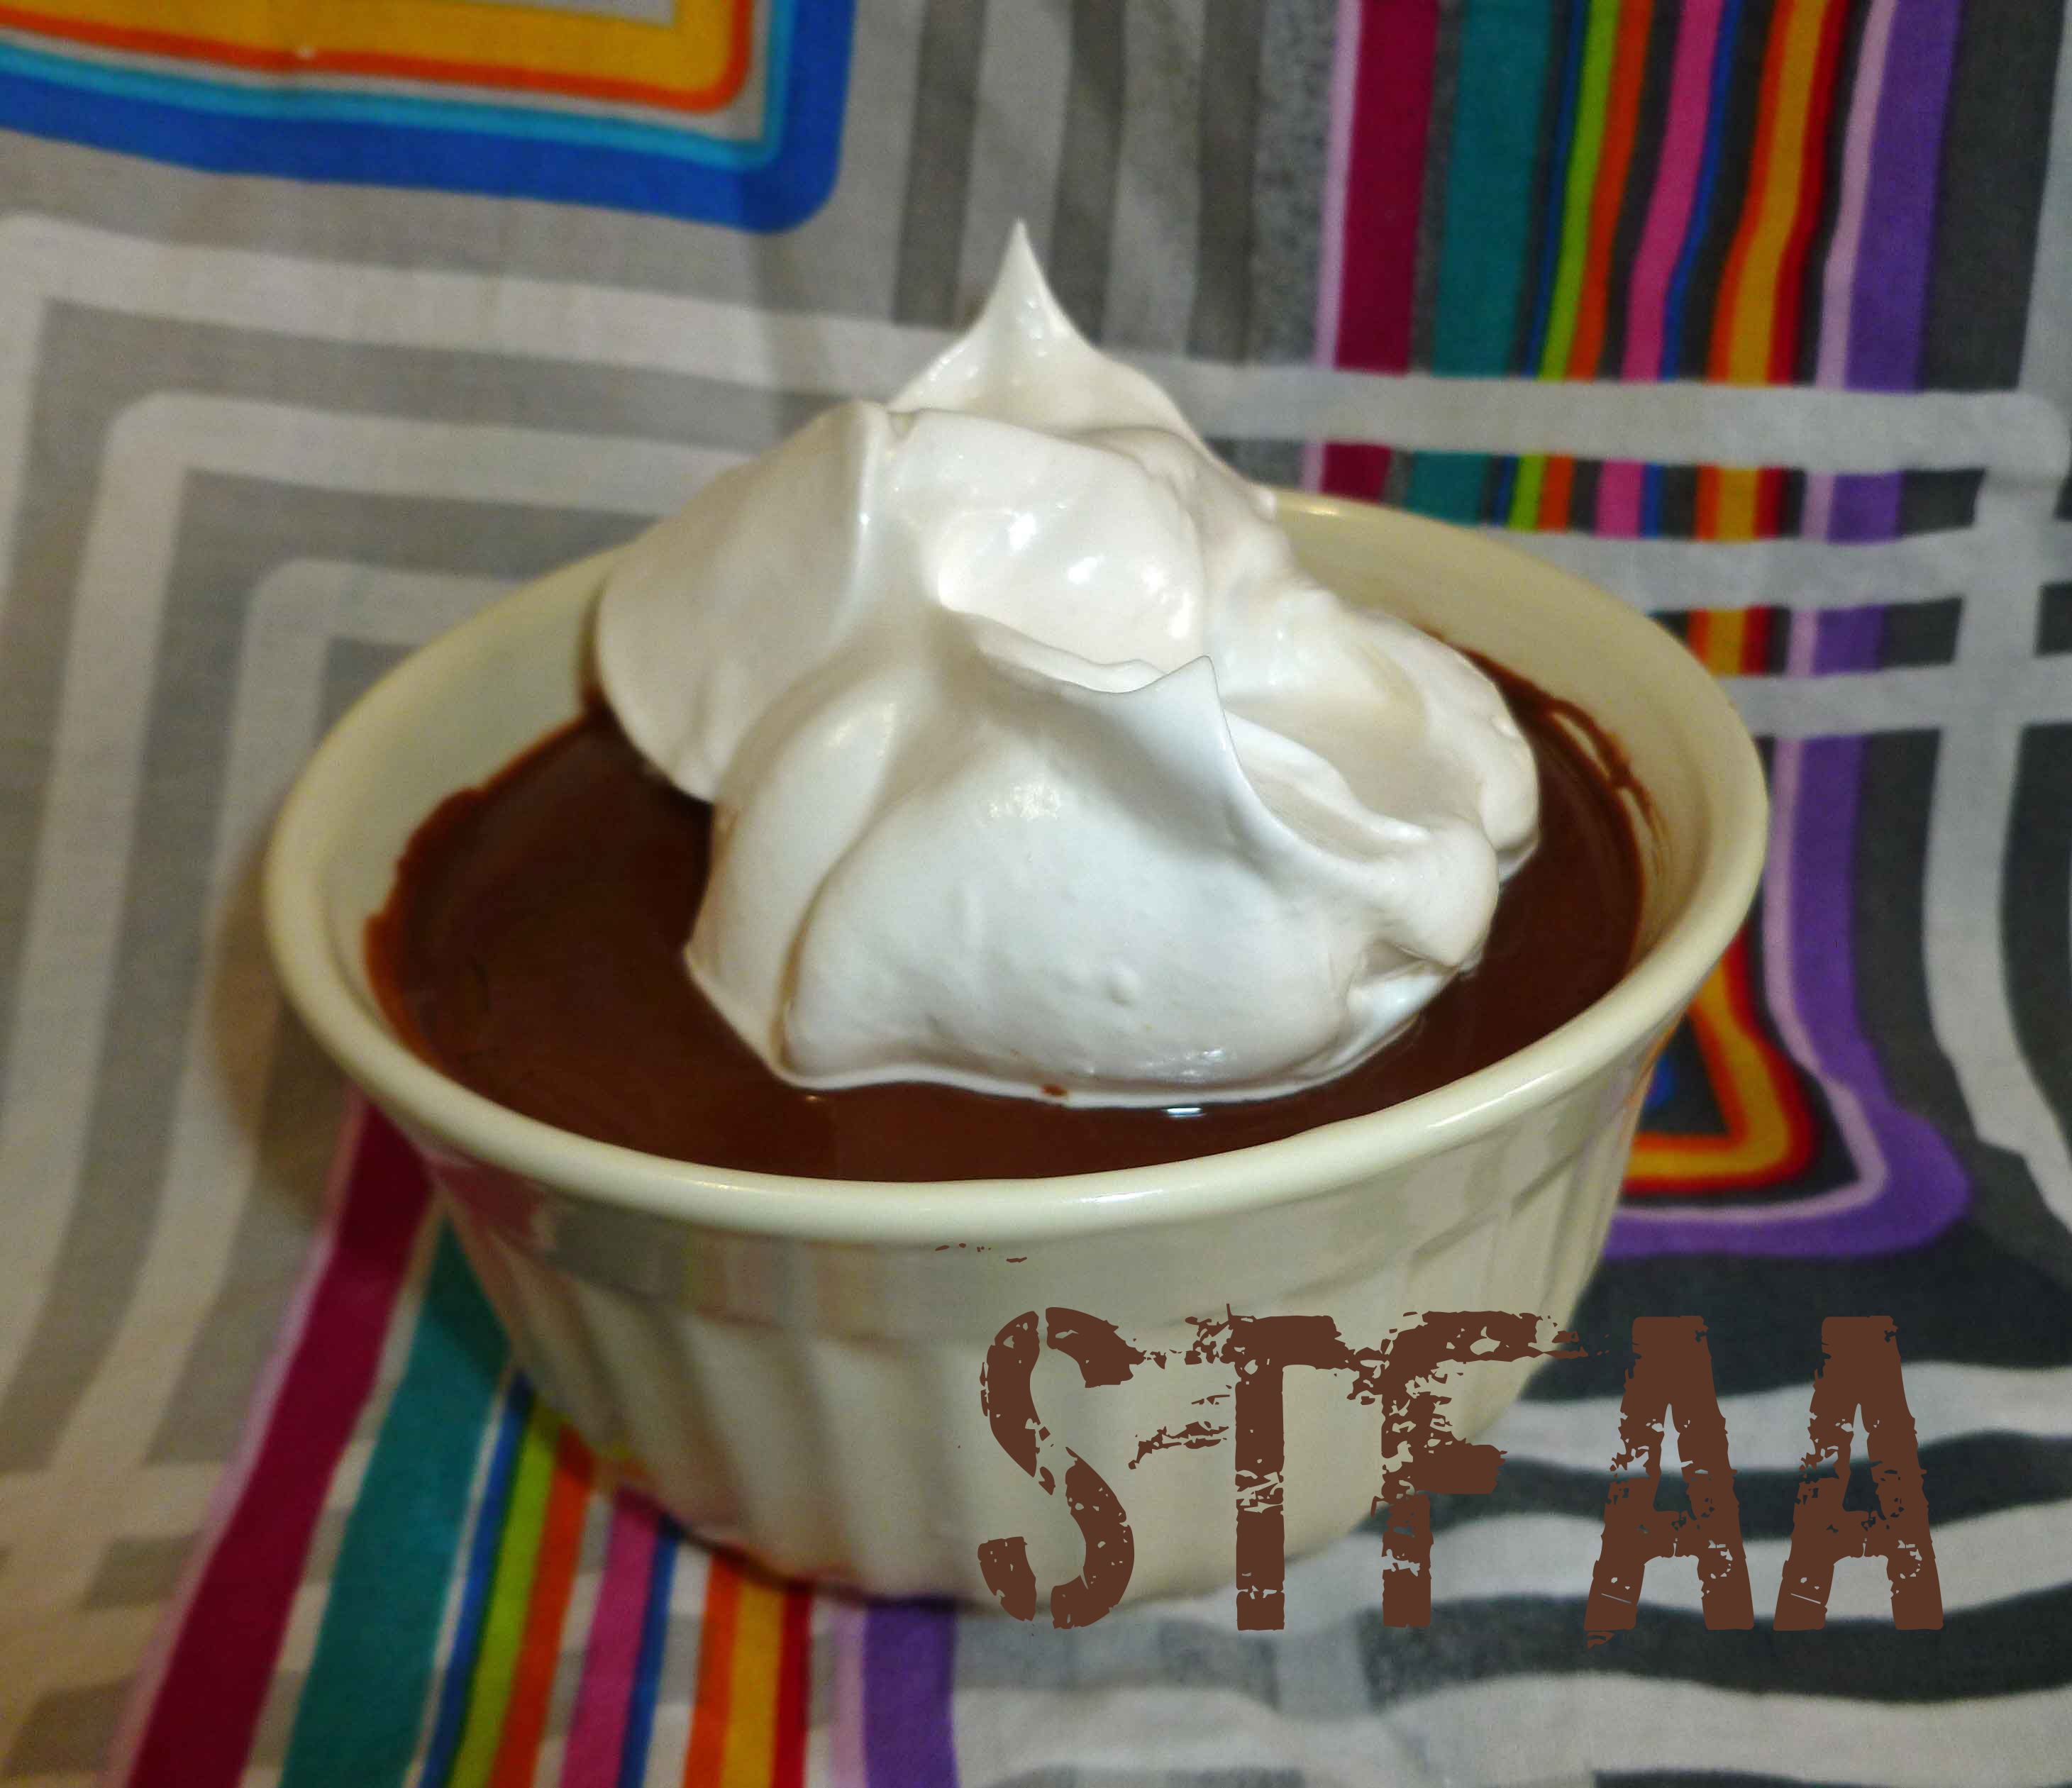
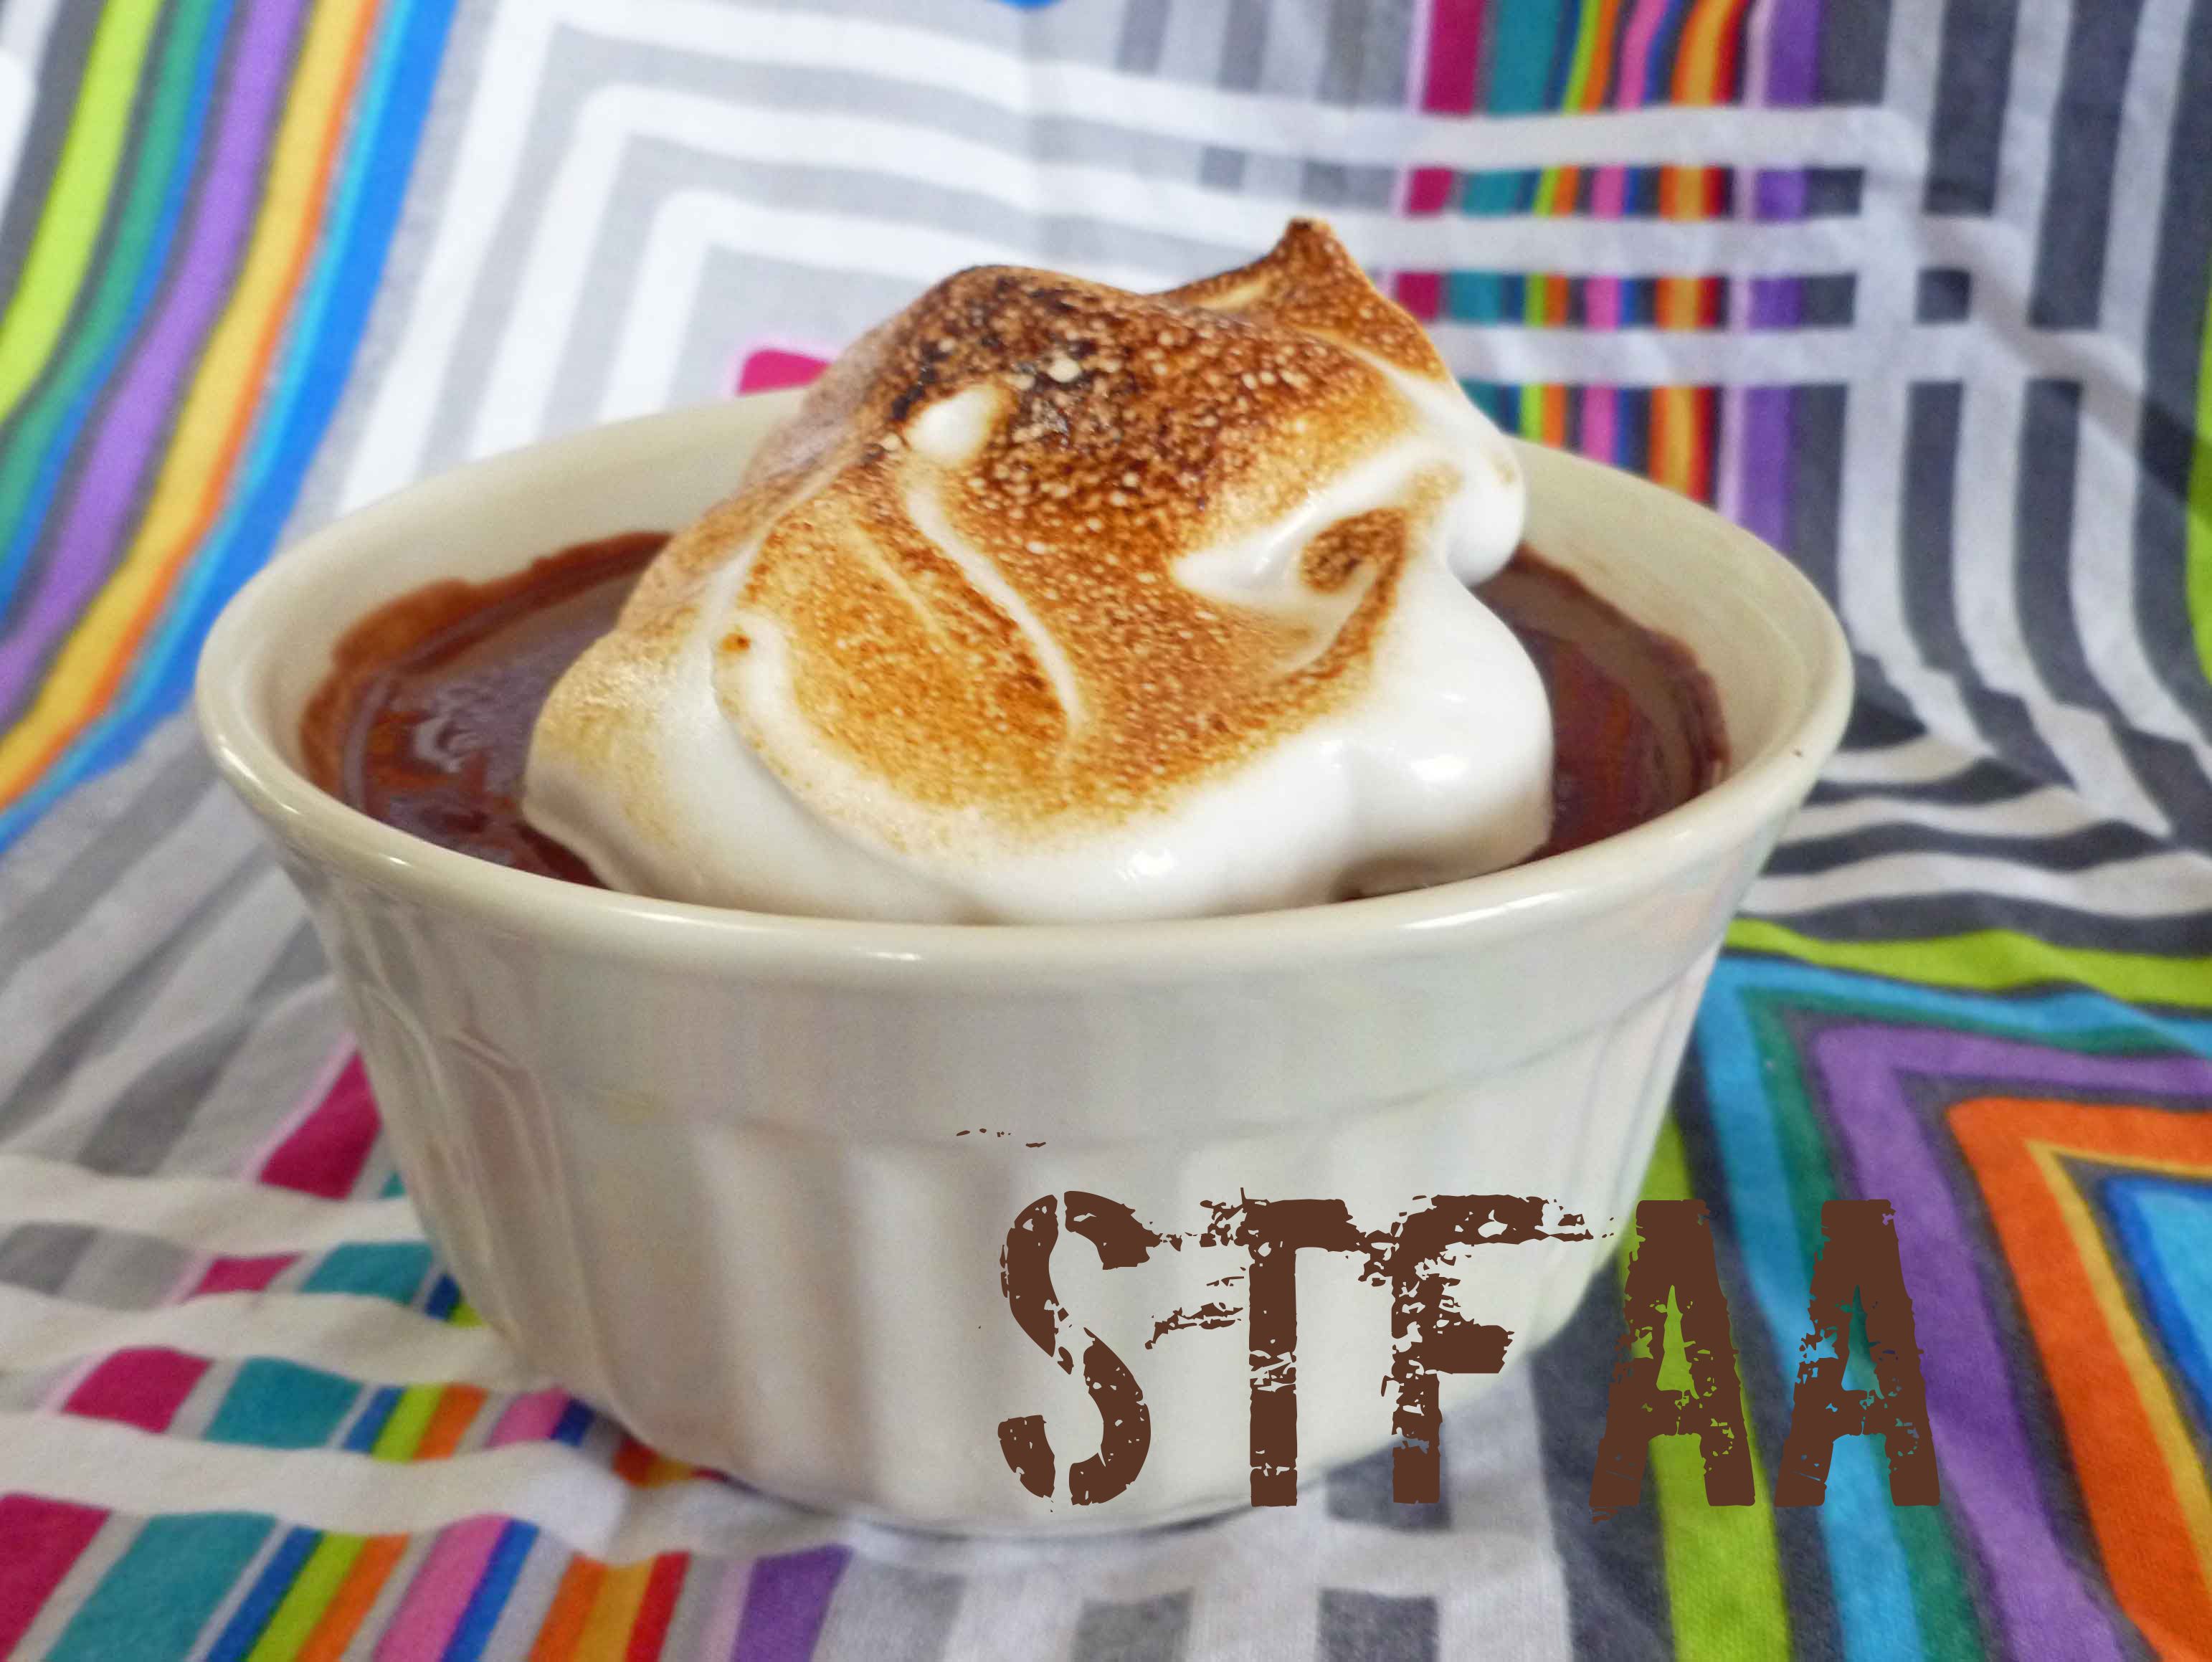
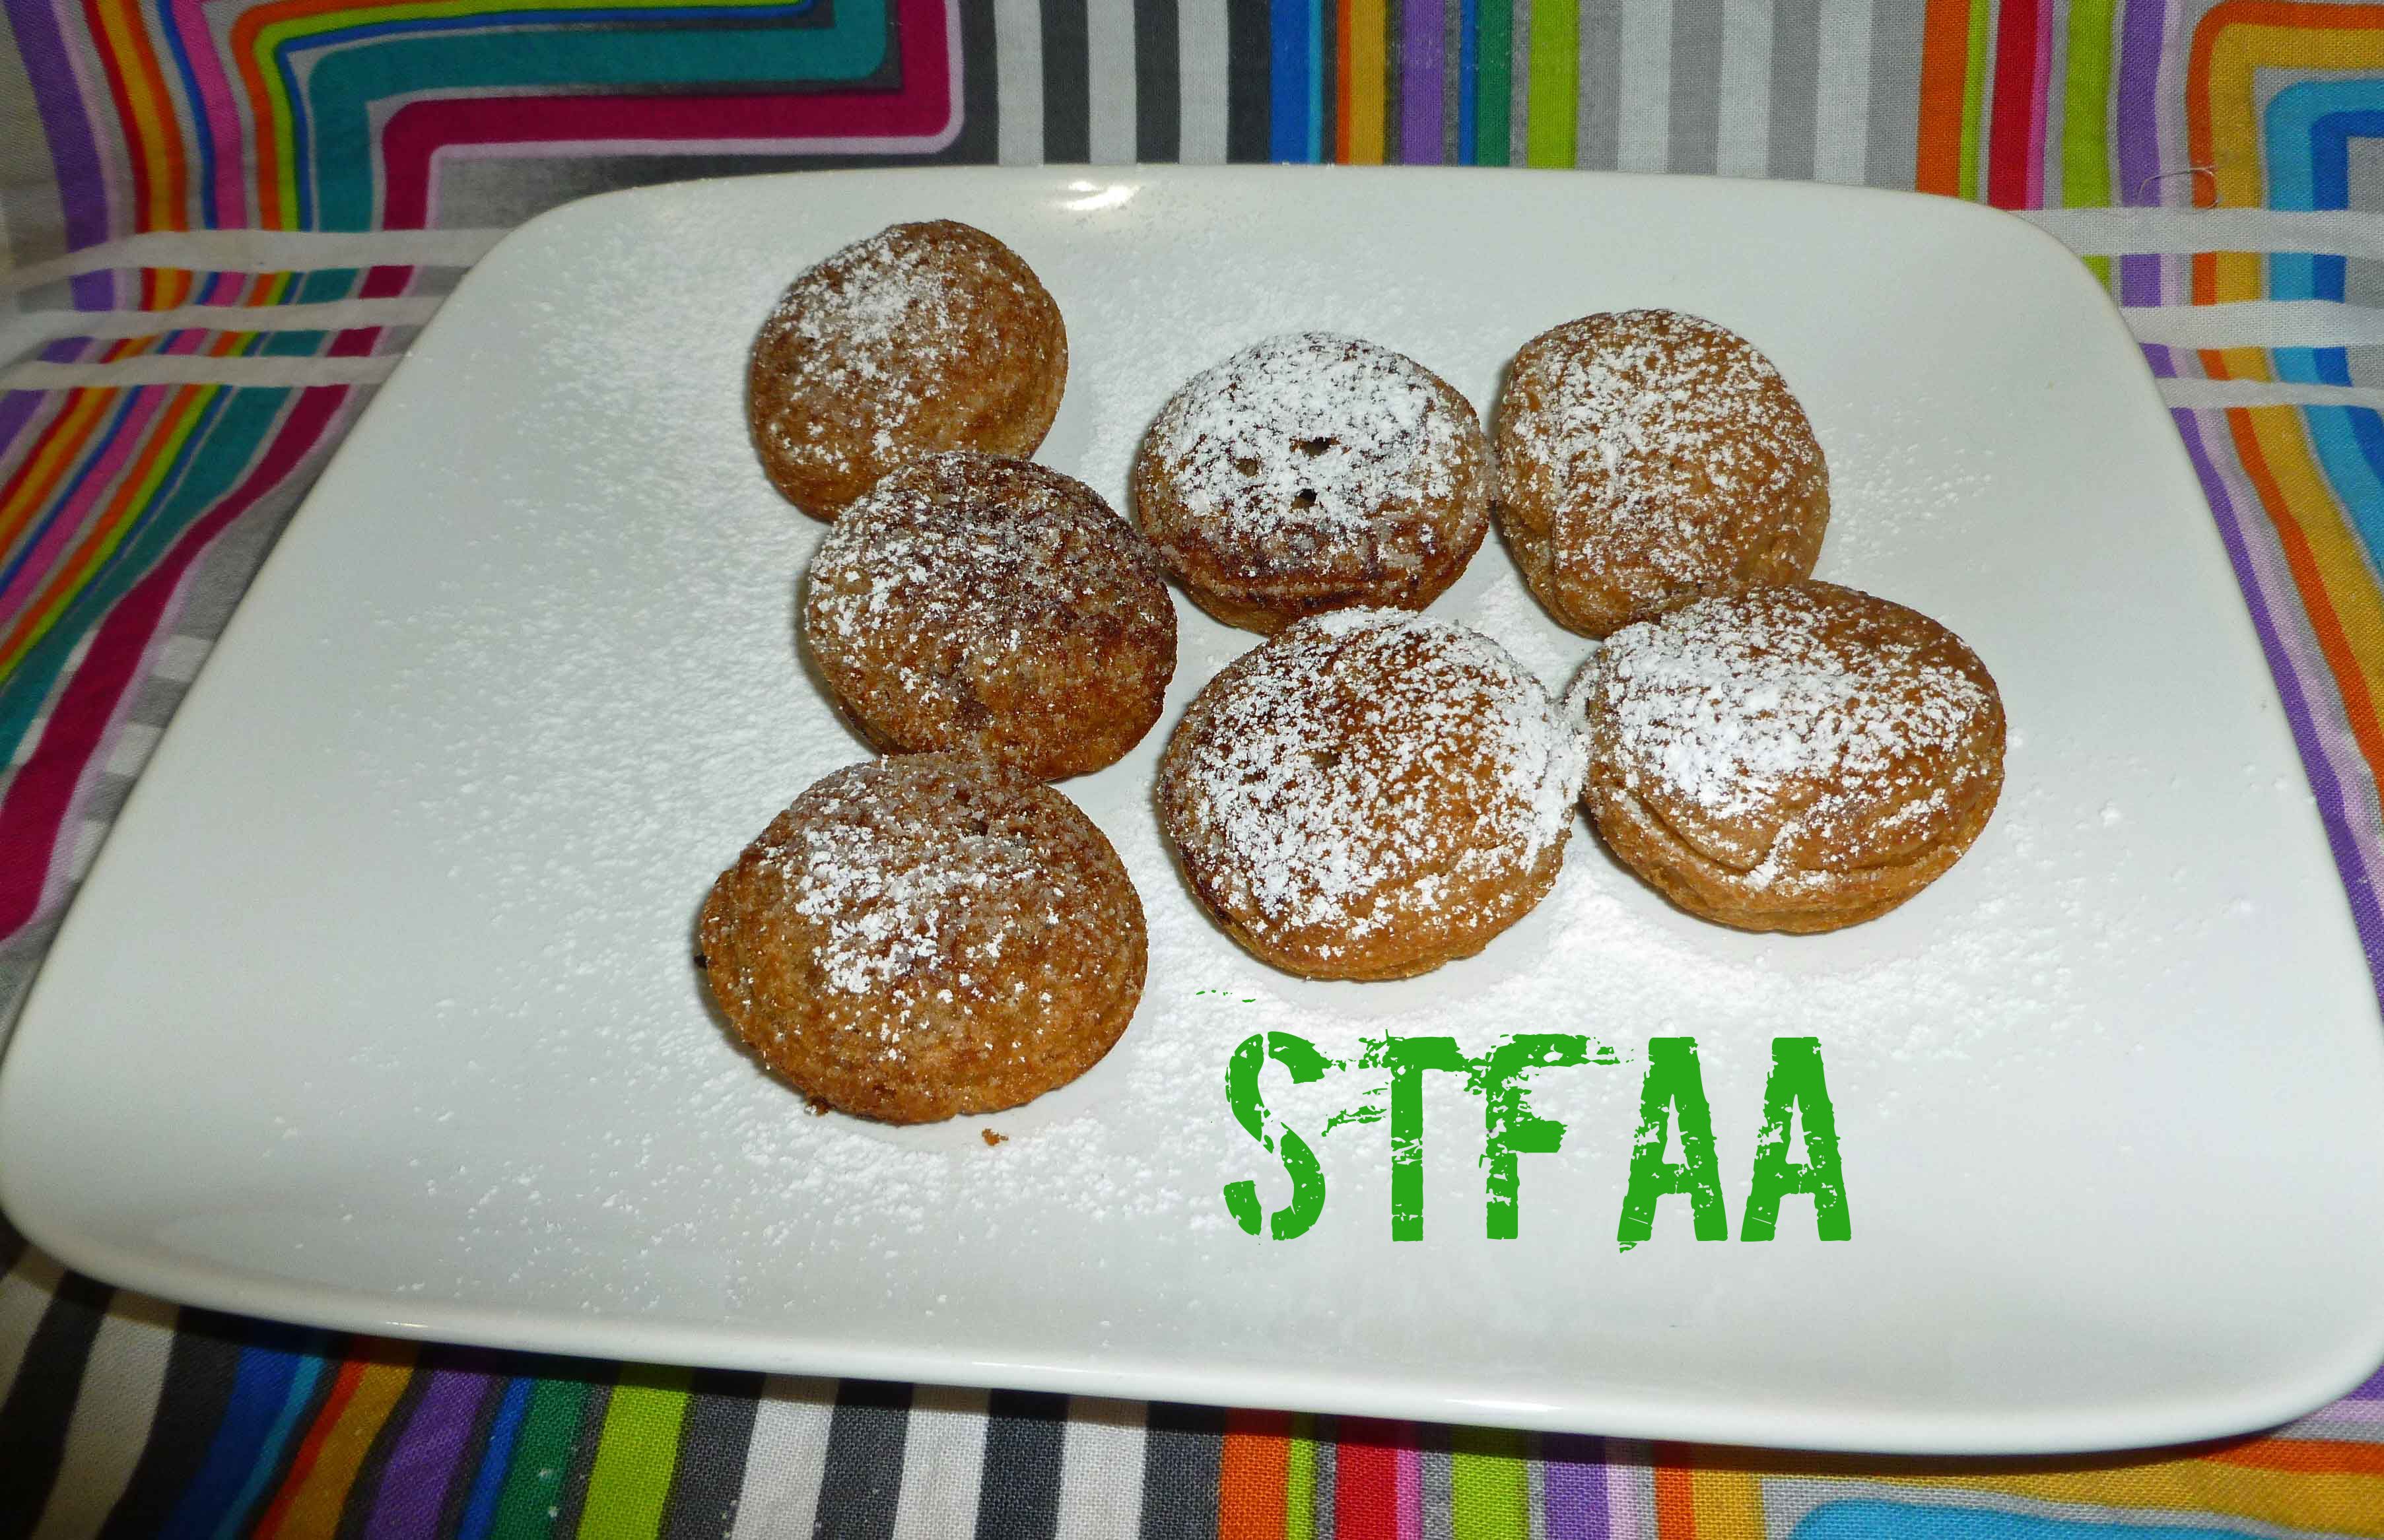
Well, it’s our last Element of our Element theme month post, Air! Let’s face it, my air options were fairly limited, unless I wanted to get all lawyerly and make up an argument about why some ingredient was air related. And so as not to subject you all to that, I made a chocolate pudding dessert with a whipped topping because it incorporates air. I’m pretty pleased with how both came out, and I’m thinking that in future I could blind bake a pie crust, cook the pudding a little longer and have a chocolate cream pie.
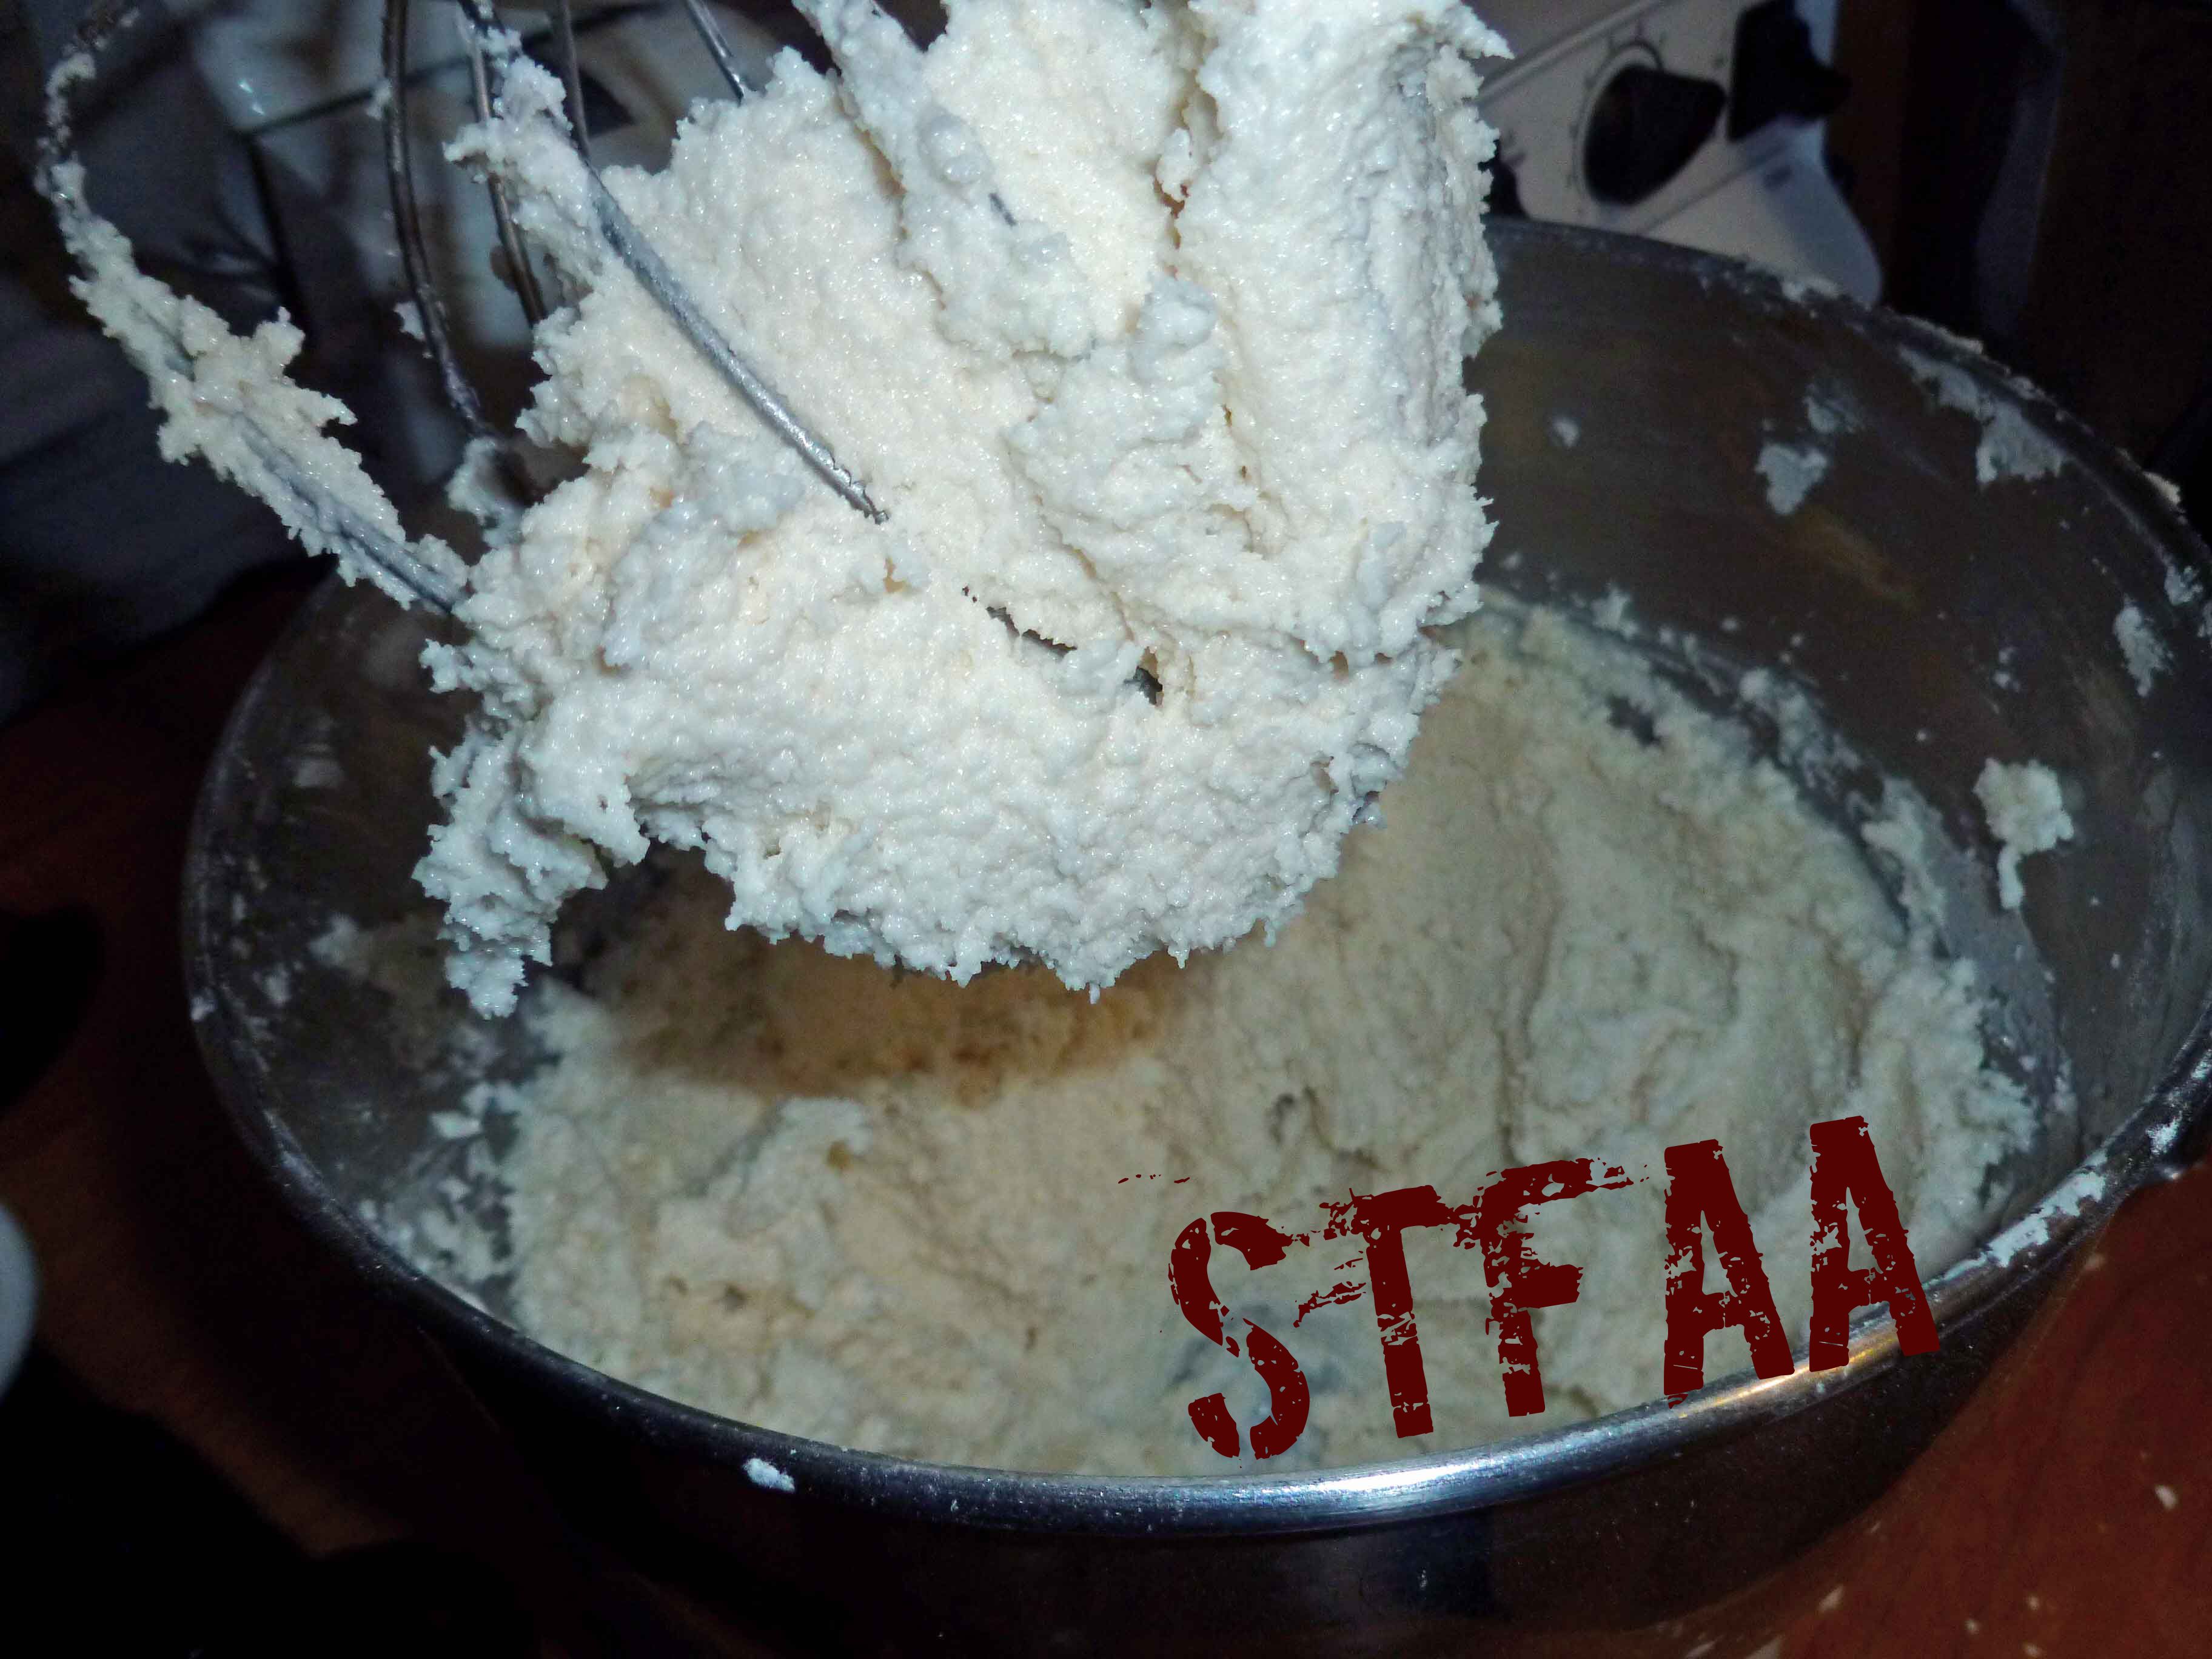
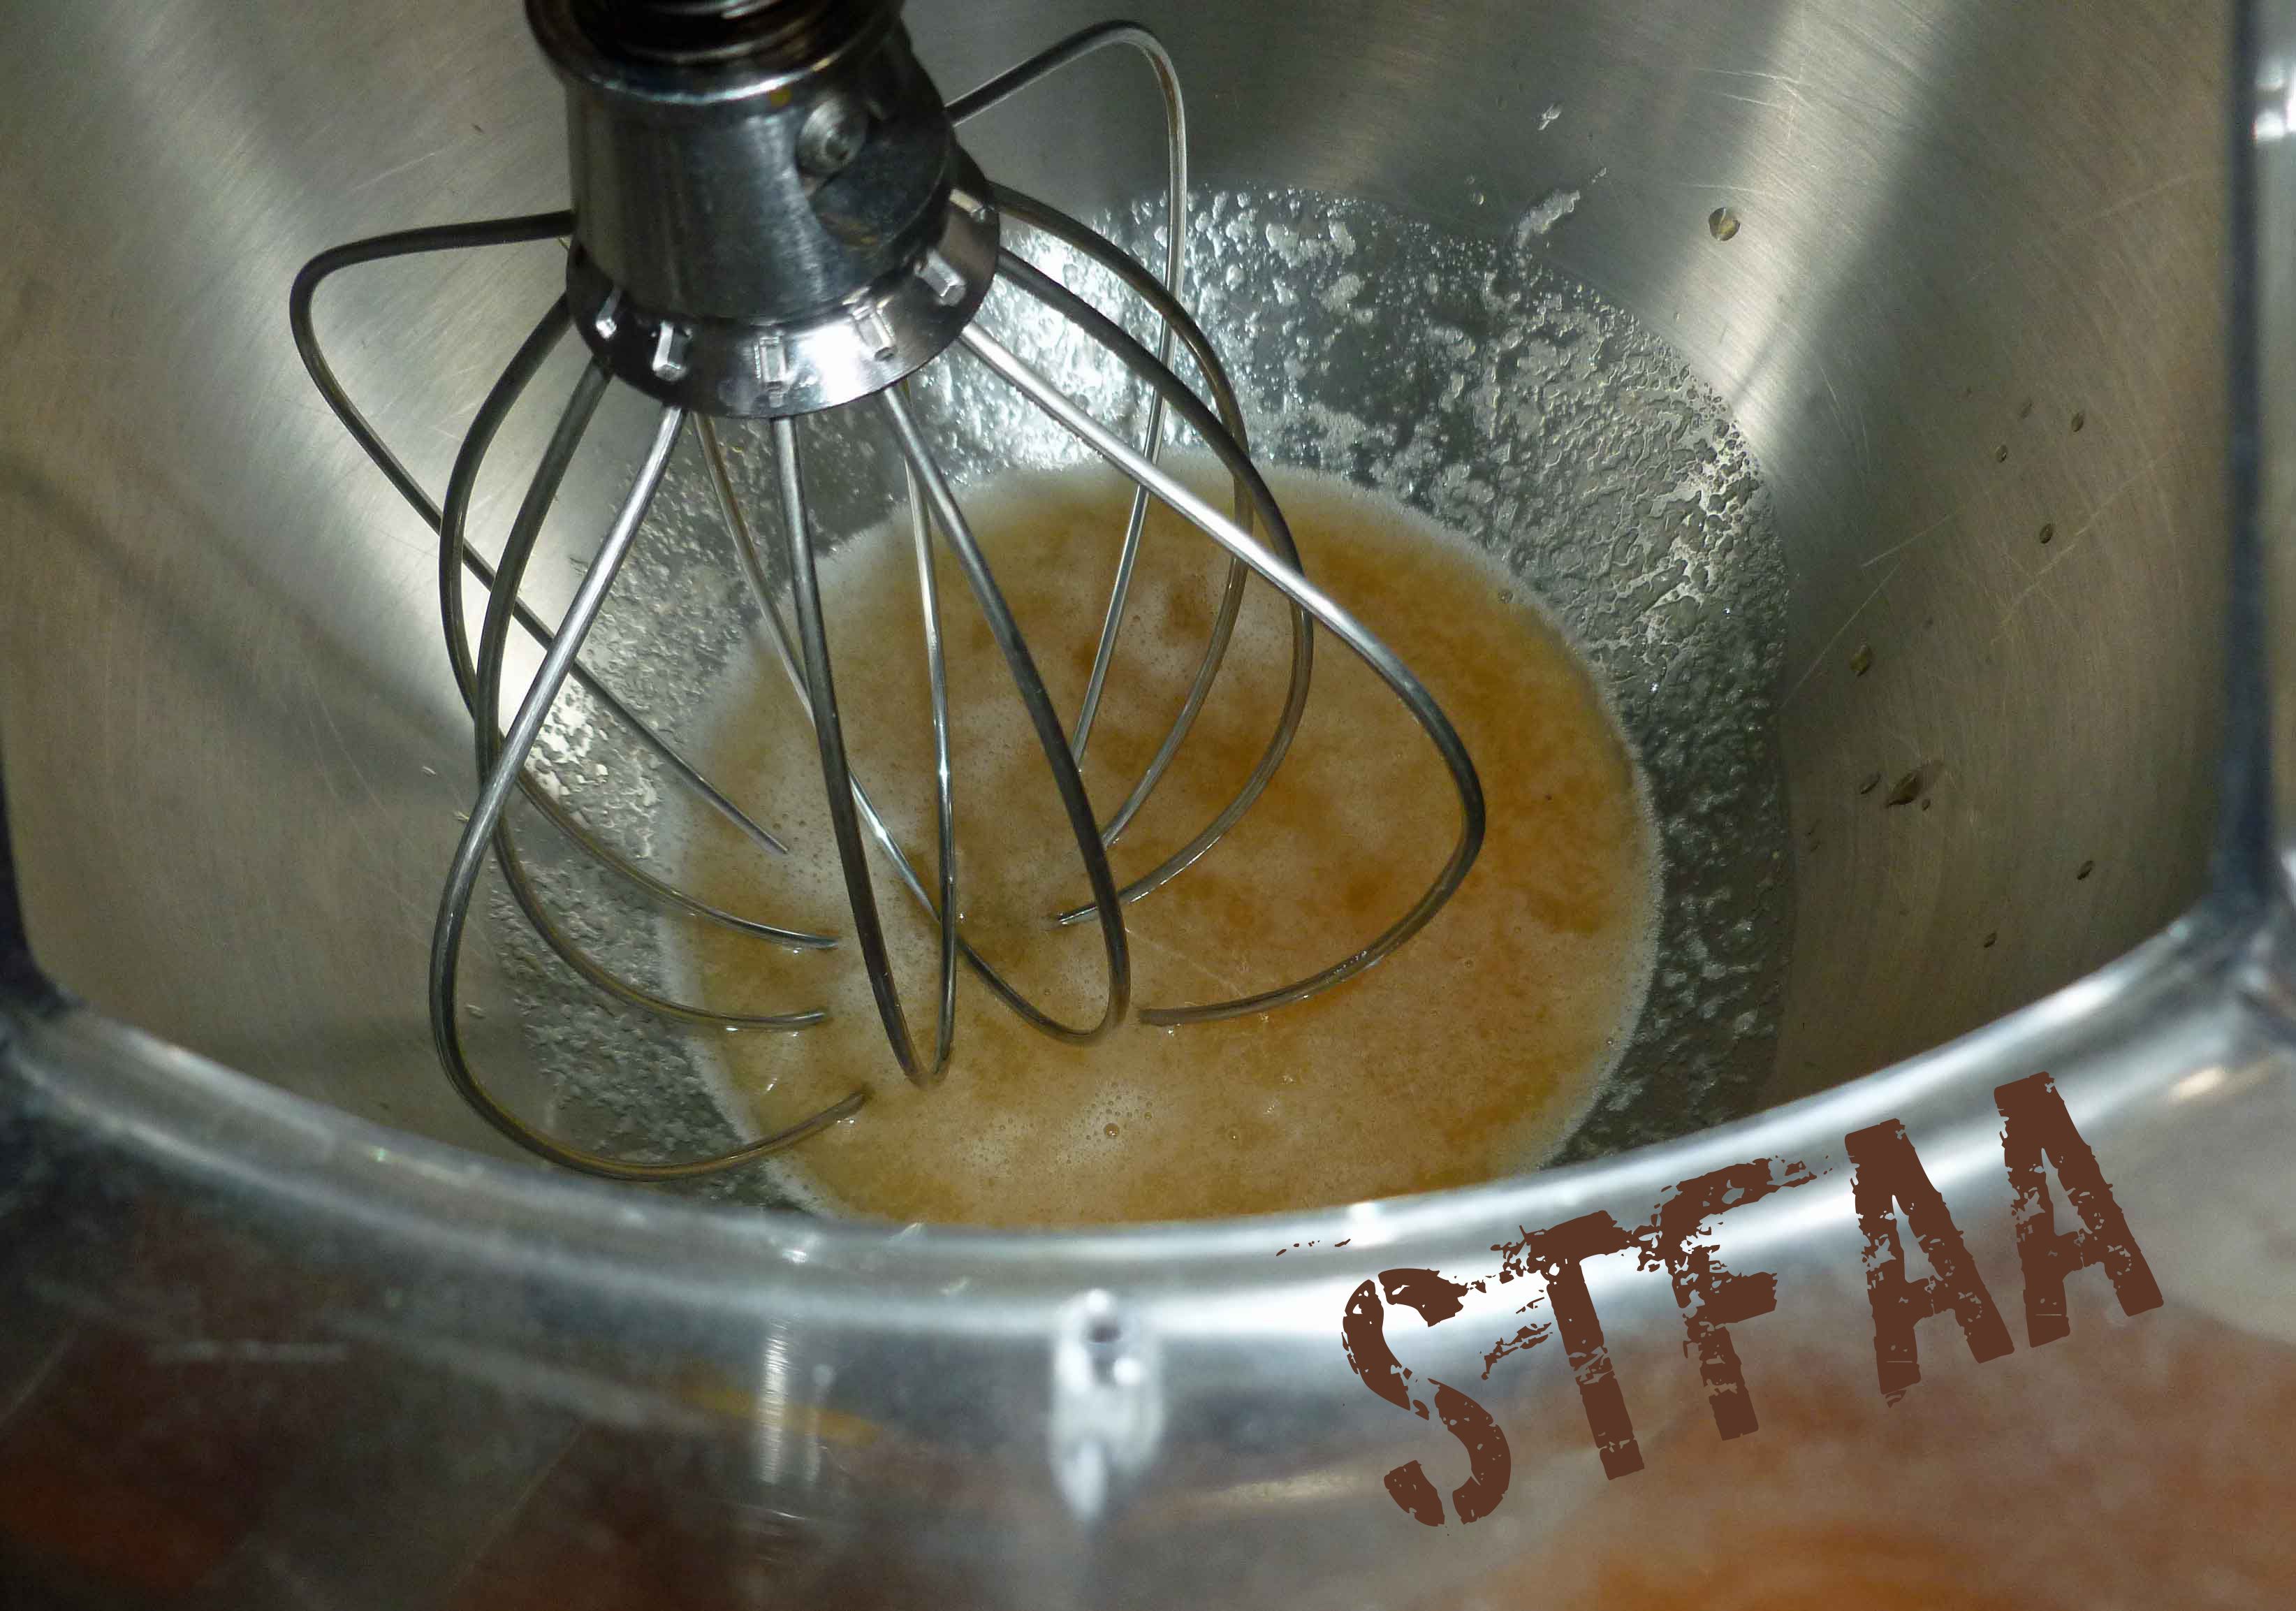
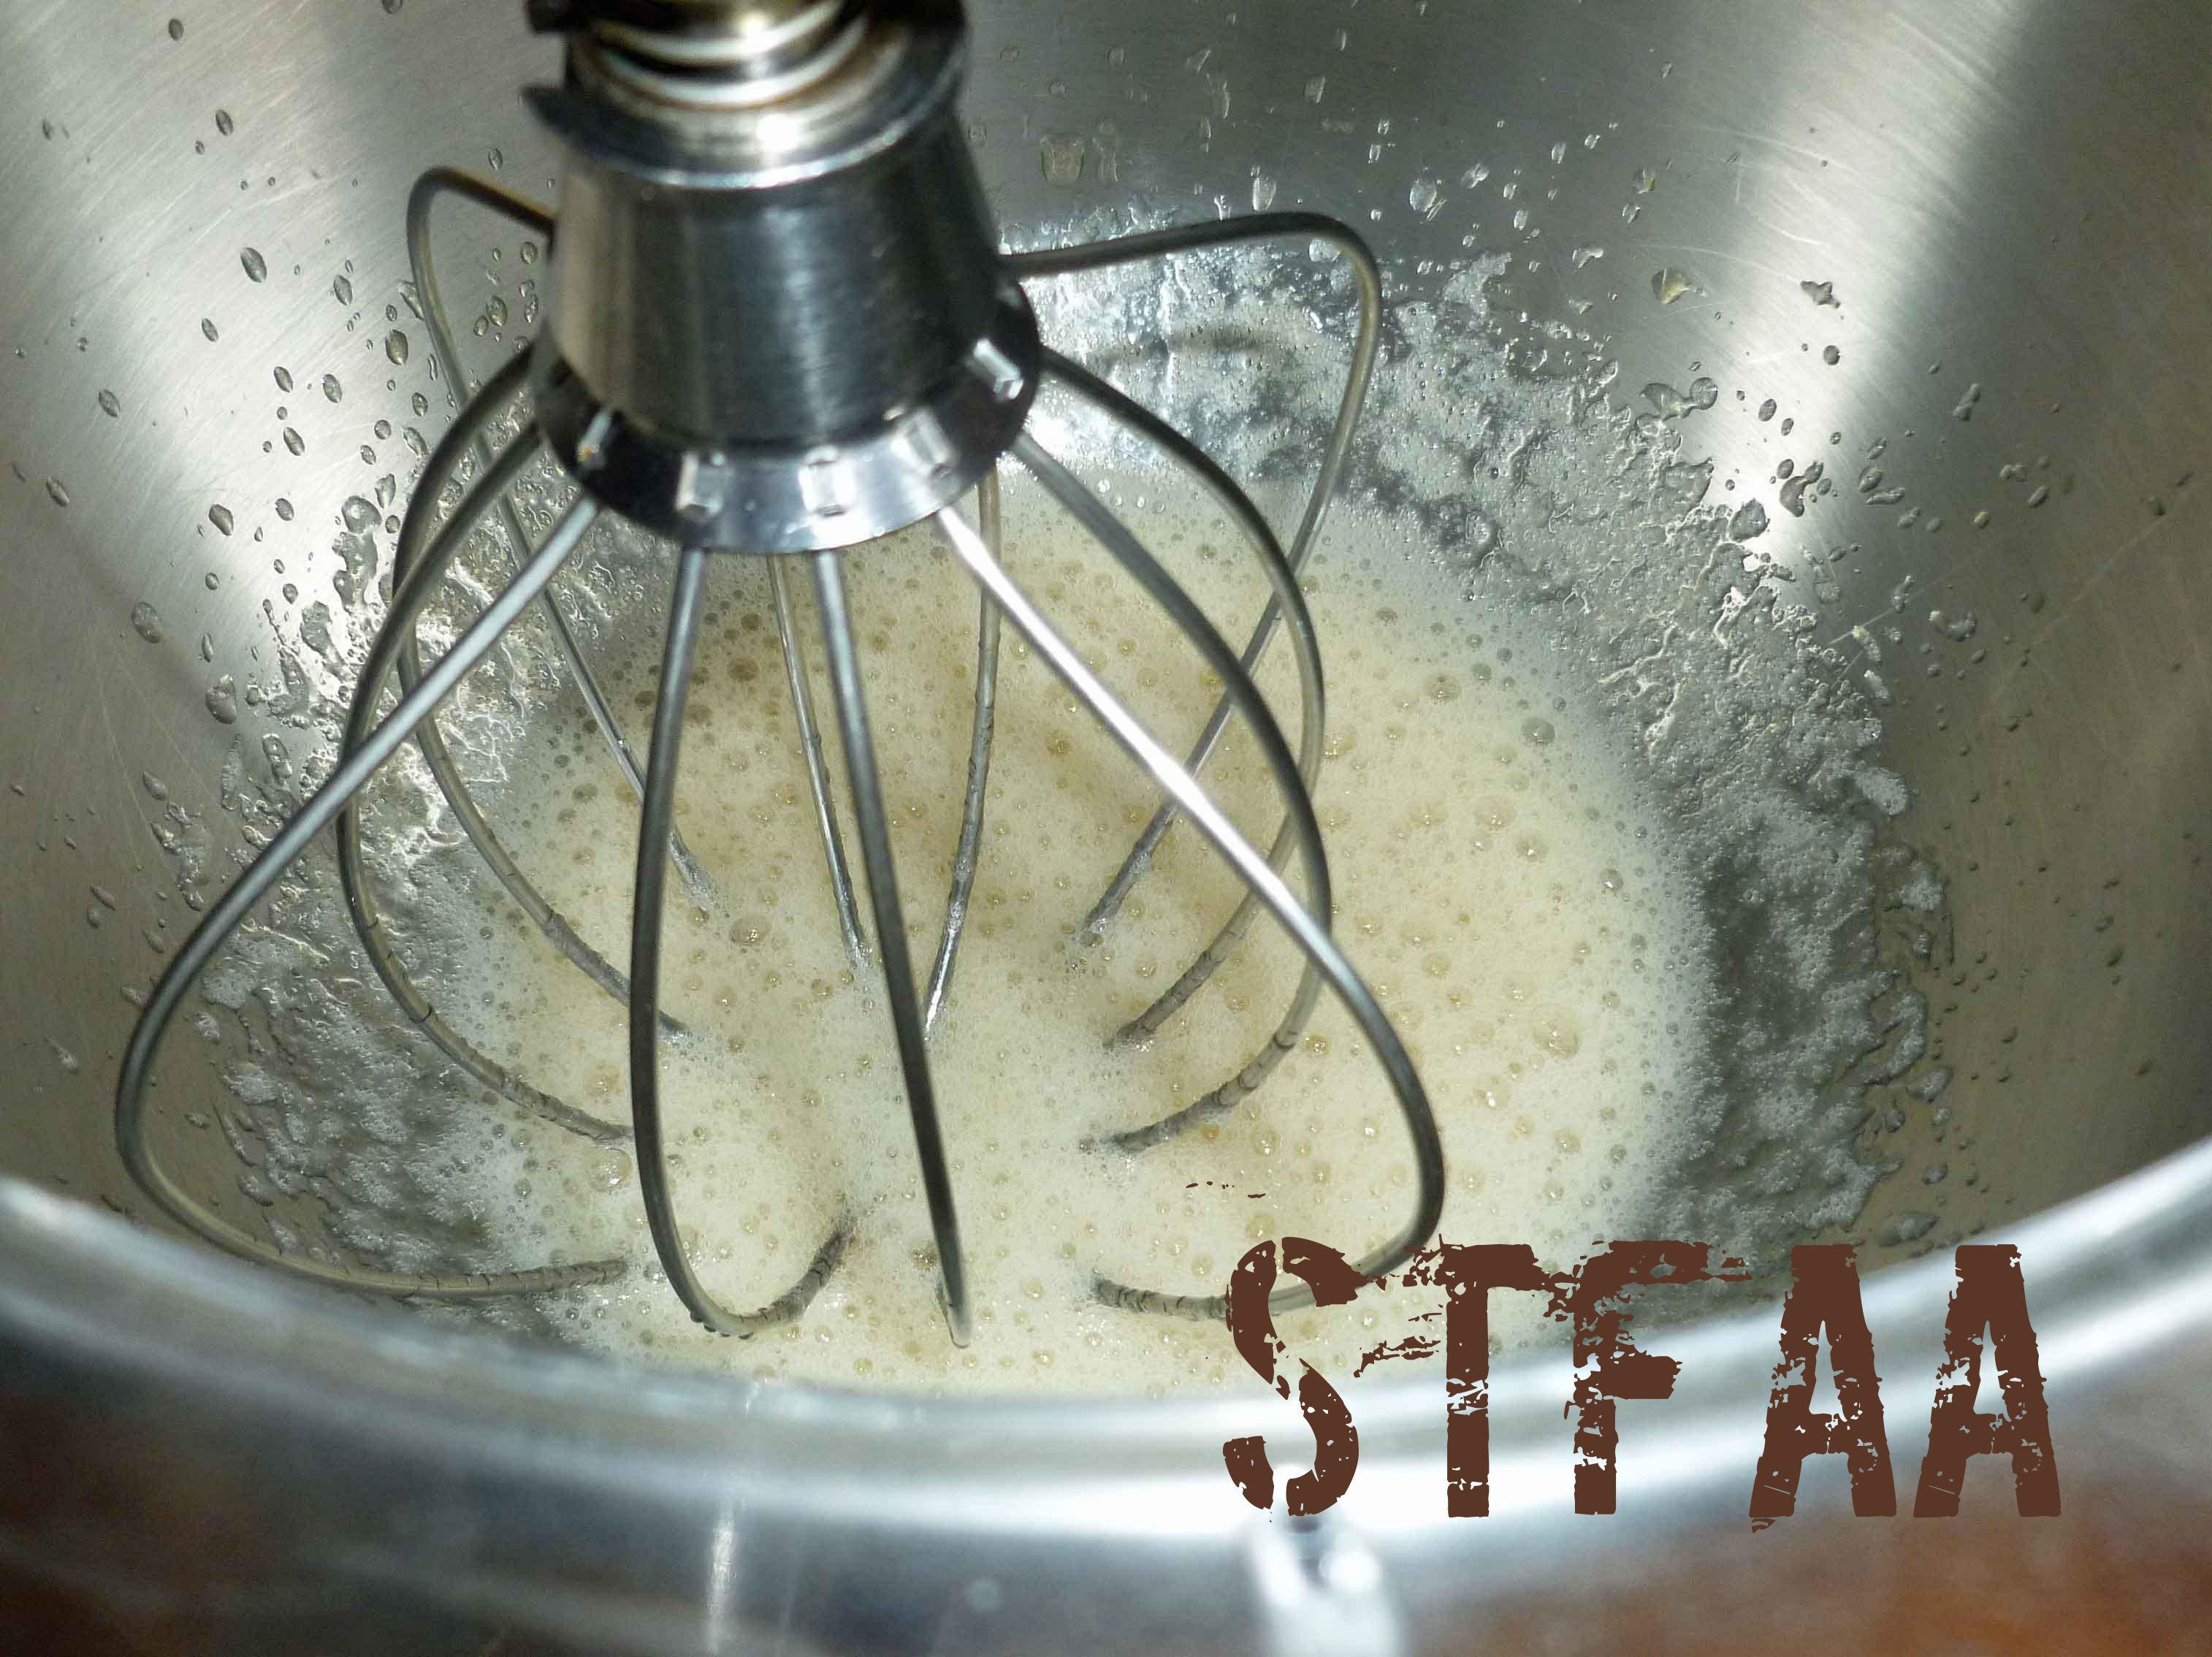
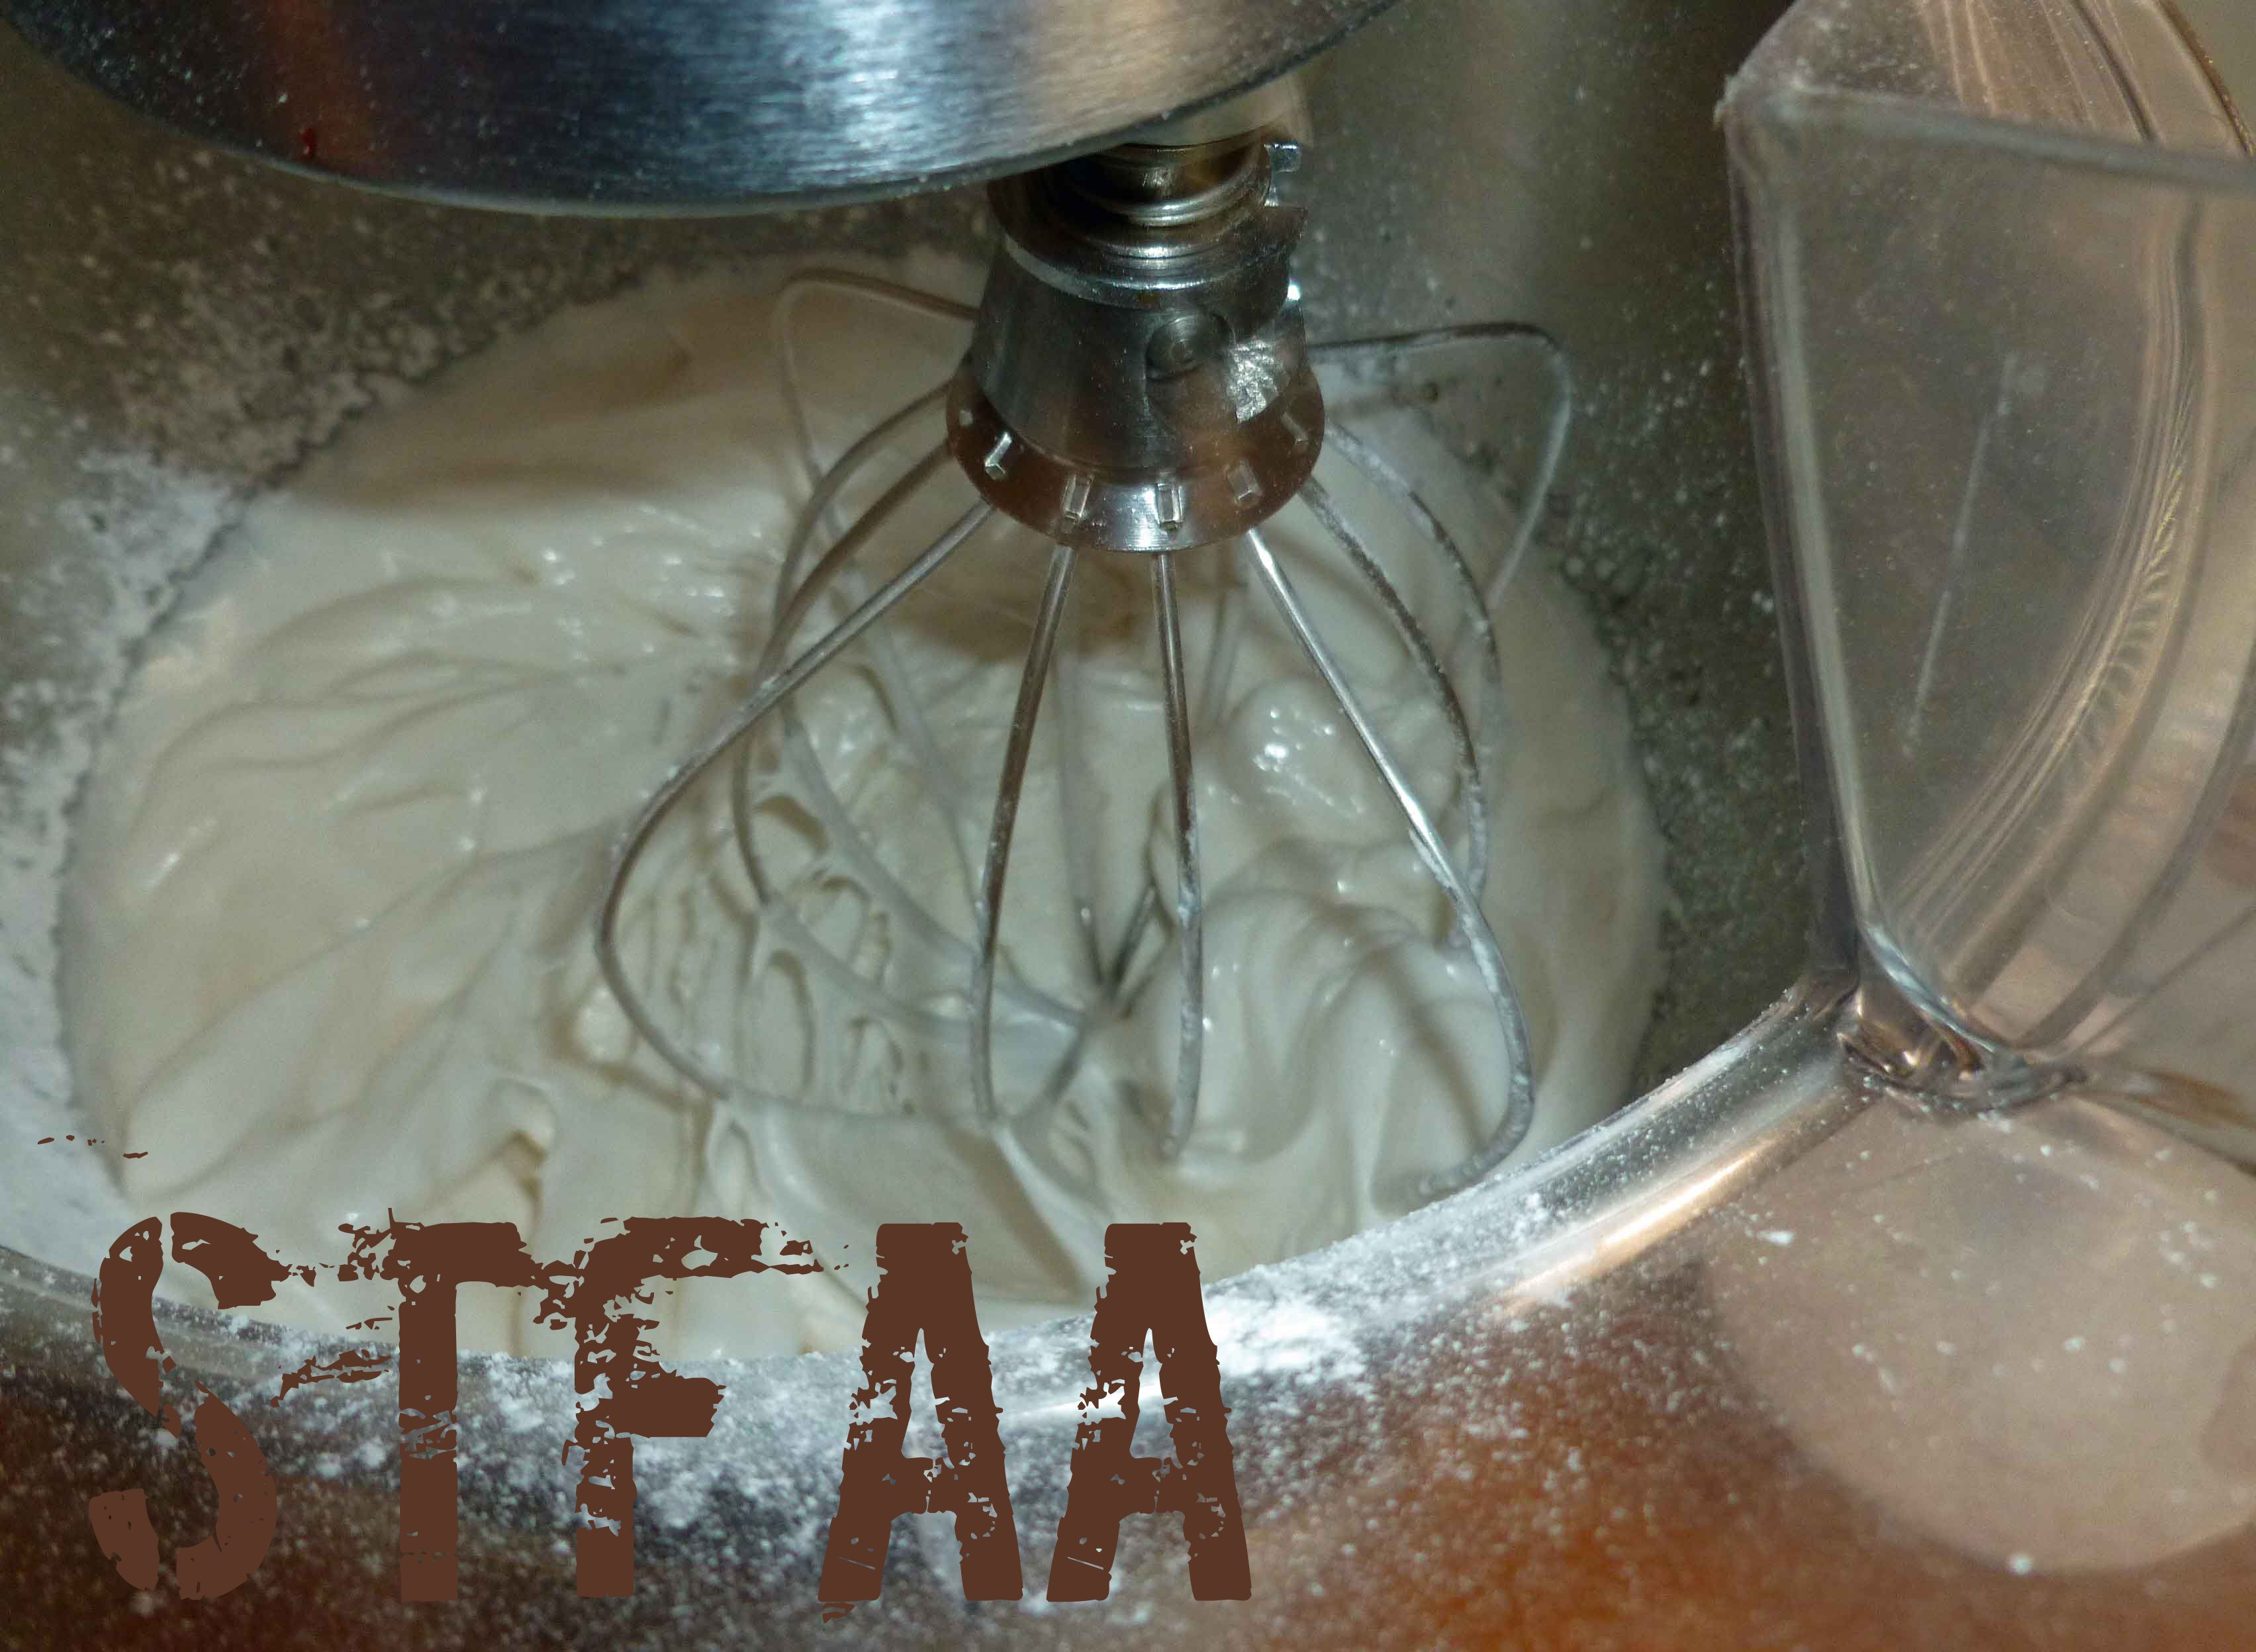
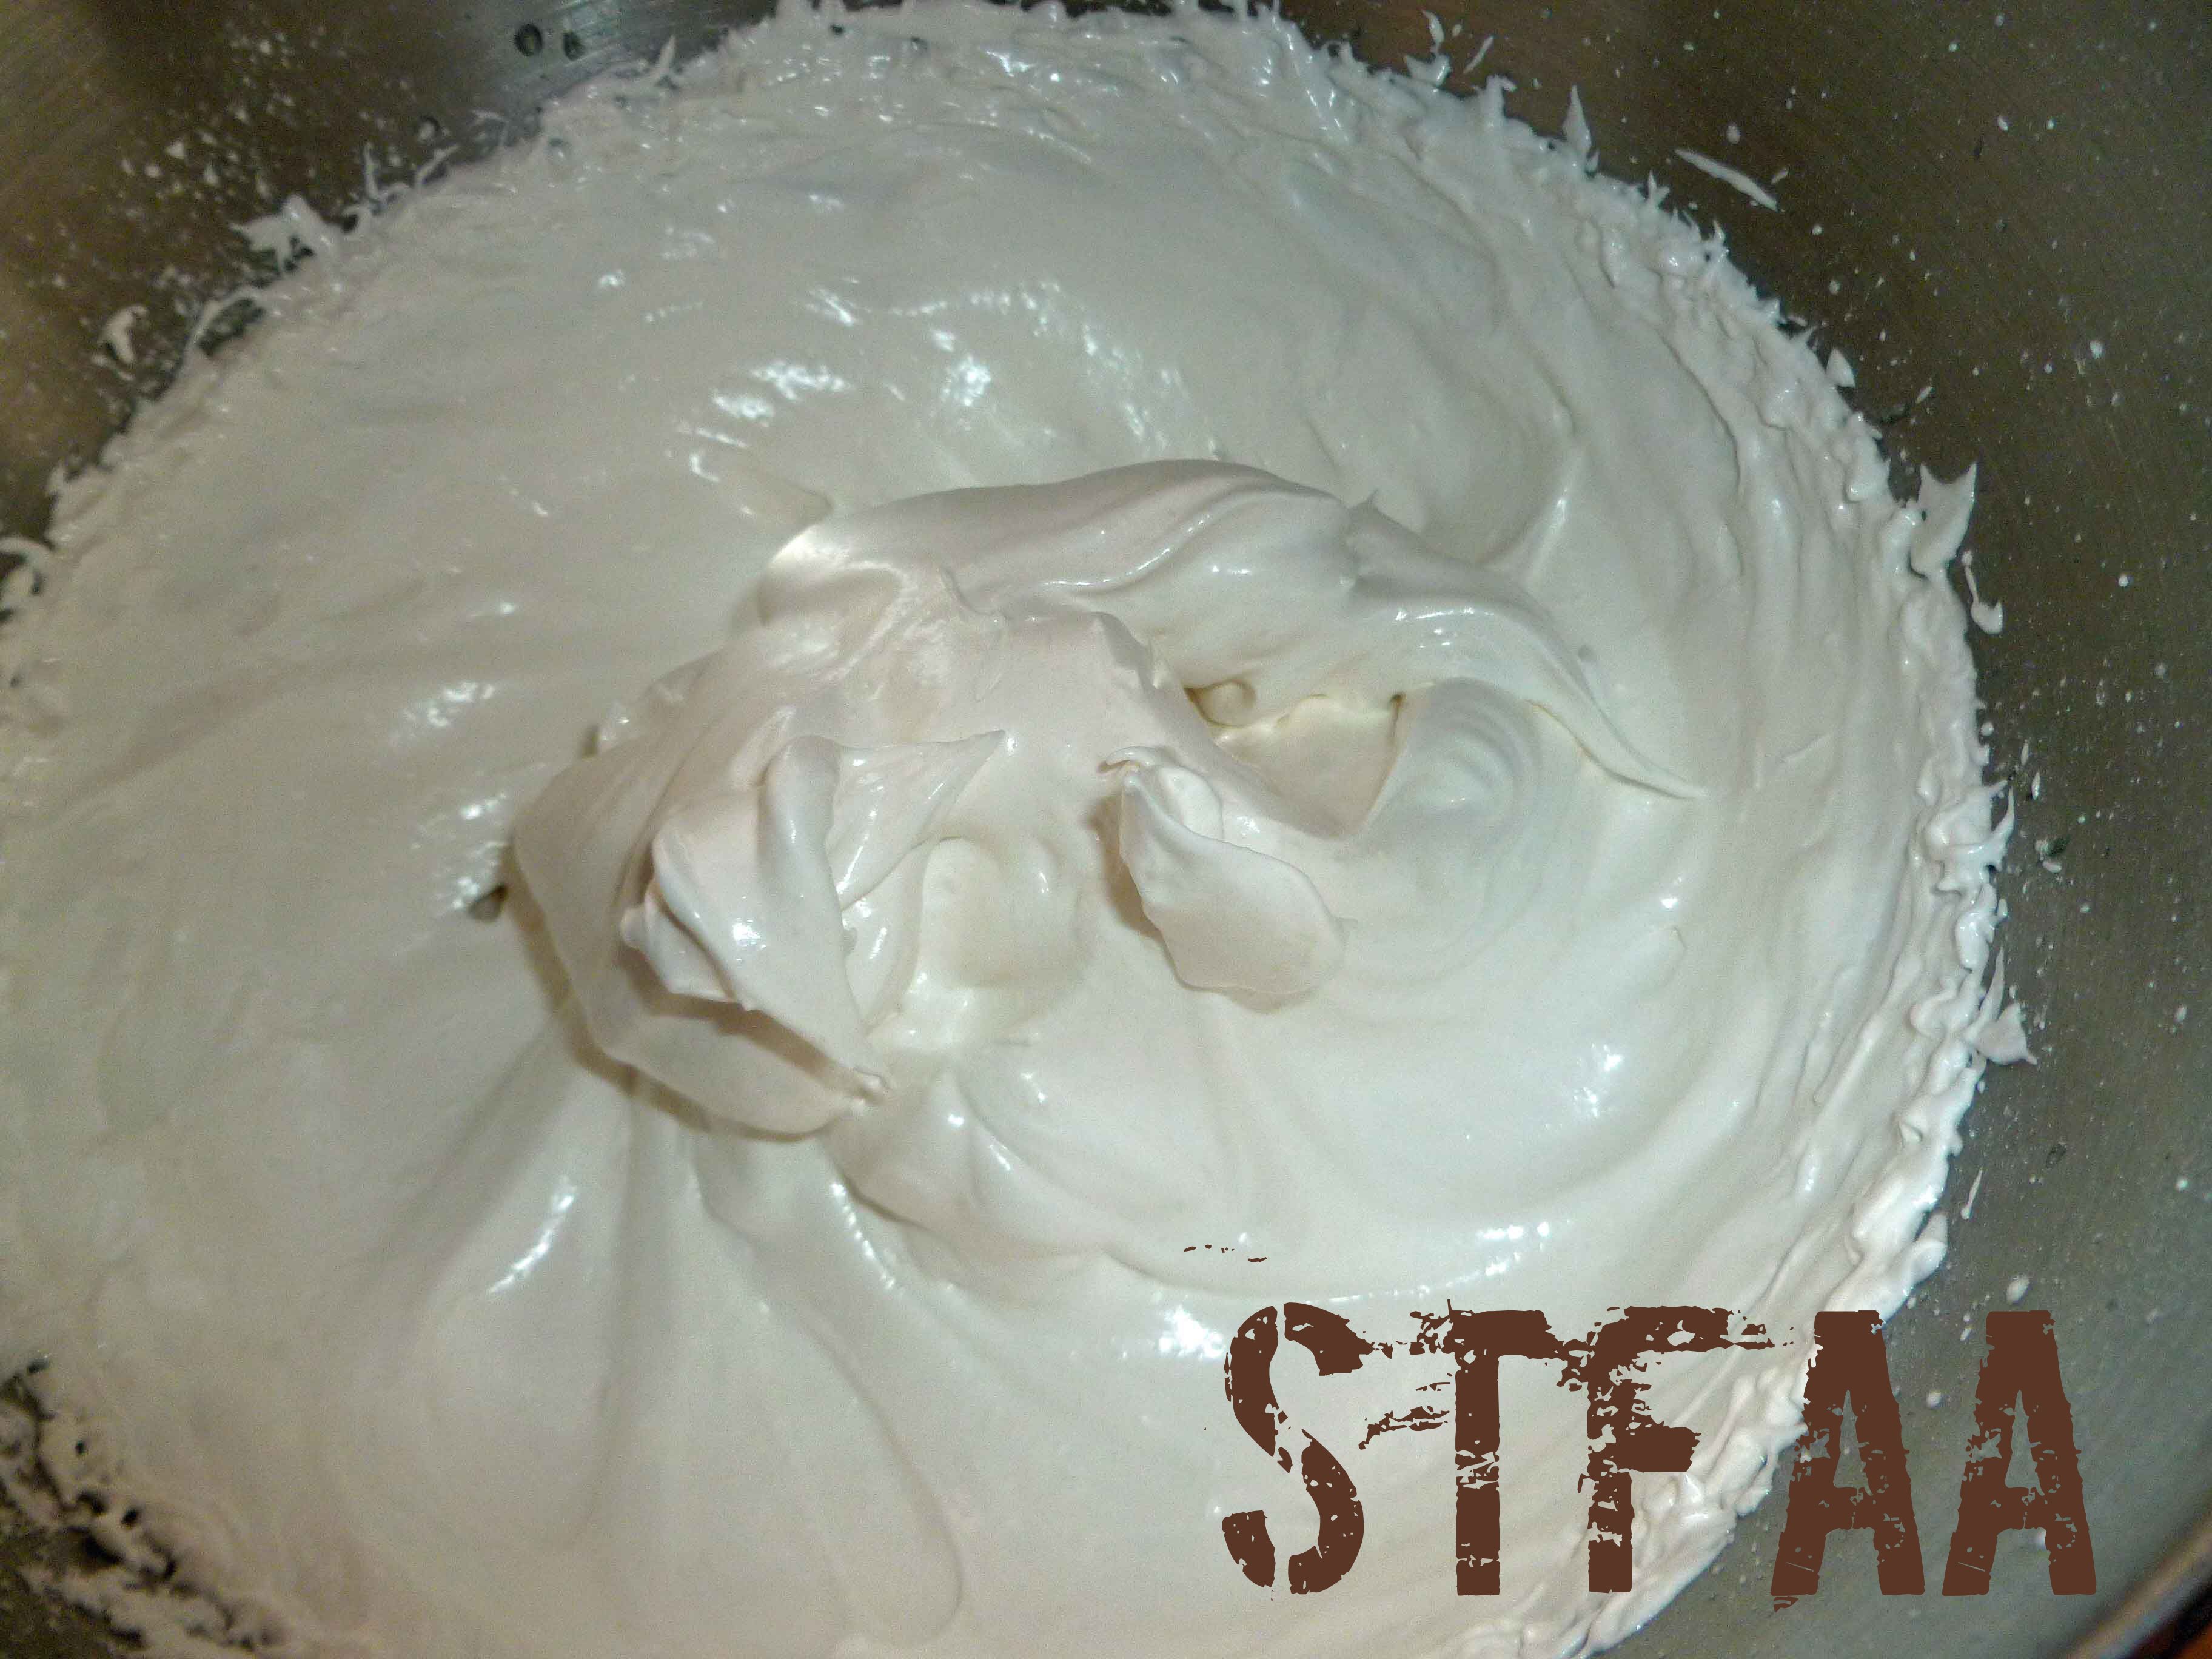
I didn’t take in process photos of the pudding because it’s pudding and most people have a fair amount of experience what pudding is supposed to look like. So the in process photos focused on the Vegan Whipped Topping so you’d know what each stage looks like. Also, you want to make the Vegan Whipped Topping just before serving, as it does start getting liquid-y after time passes, although it can be re-whipped. Also you can also use a torch to caramelize the topping if you want.
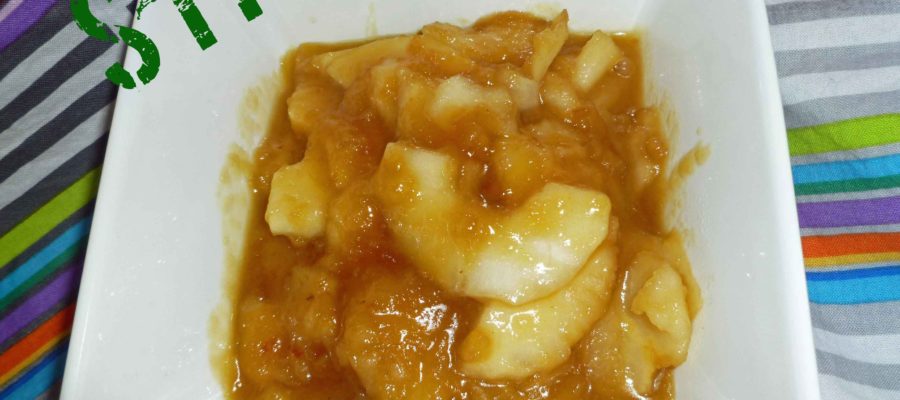
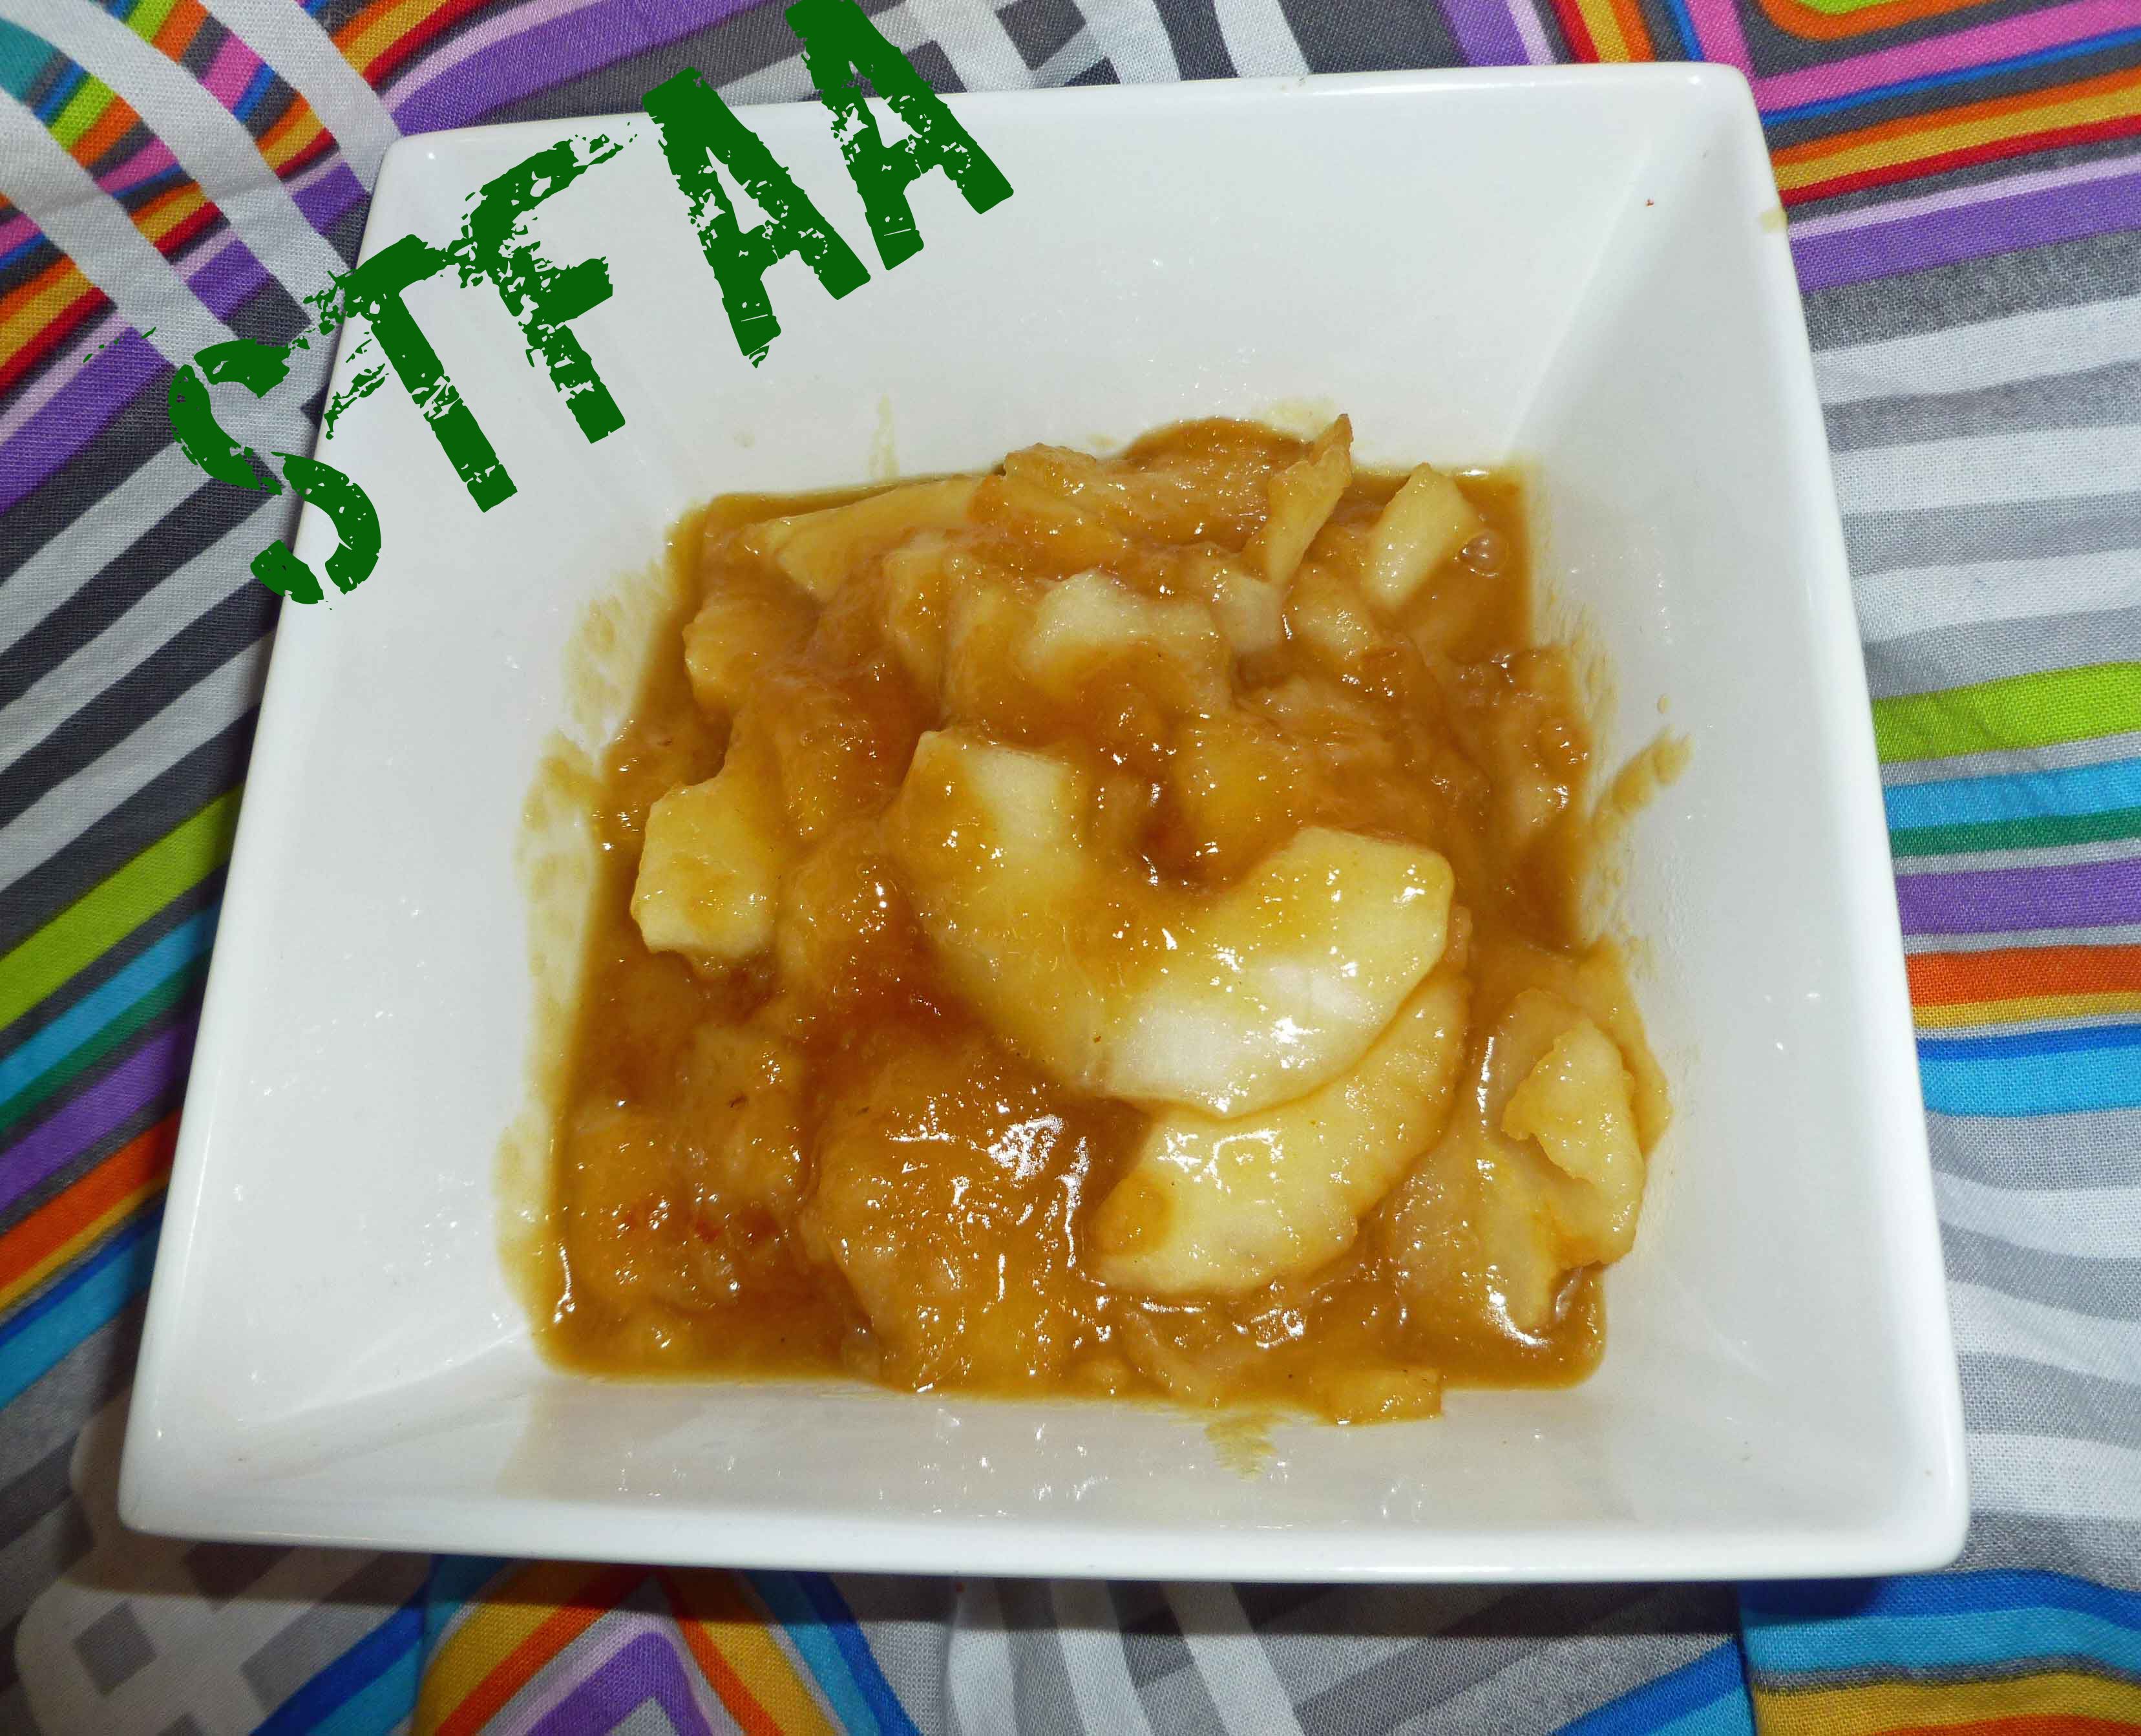
Chocolate Pudding with Whipped Topping, both Vegan and Gluten-Free!

- 3 cups non-dairy milk (I used homemade rice milk)
- 2/3 cup cacao powder (I do best with Wilderness Family Naturals)
- 5 Tablespoons tapioca starch
- 1 cup sugar
- 1/4 teaspoon salt
- 1 Teaspoon vanilla extract (I make my own with vanilla beans and vodka made from potatoes, as most commercial extract contains corn)
- Place all ingredients except vanilla extract in a large saucepan, and whisk them together, until completely mixed with no or very few lumps.
- Bring to a boil over medium heat, stirring constantly, until the mixture thickens to a pudding consistency. Remove from heat, add vanilla extract, and stir it in. You may wish to pour the pudding into individual serving dishes to cool at this point, or place it in a large bowl. Place the pudding in the refrigerator to cool (at least six hours or so).

- 1/2 cup aquafaba (the liquid from a can of garbanzo beans, see aquafaba.com)
- 1 teaspoon vanilla extract (I make my own with vanilla beans and vodka made from potatoes, as most commercial extract contains corn)
- 1/4 teaspoon cream of tartar
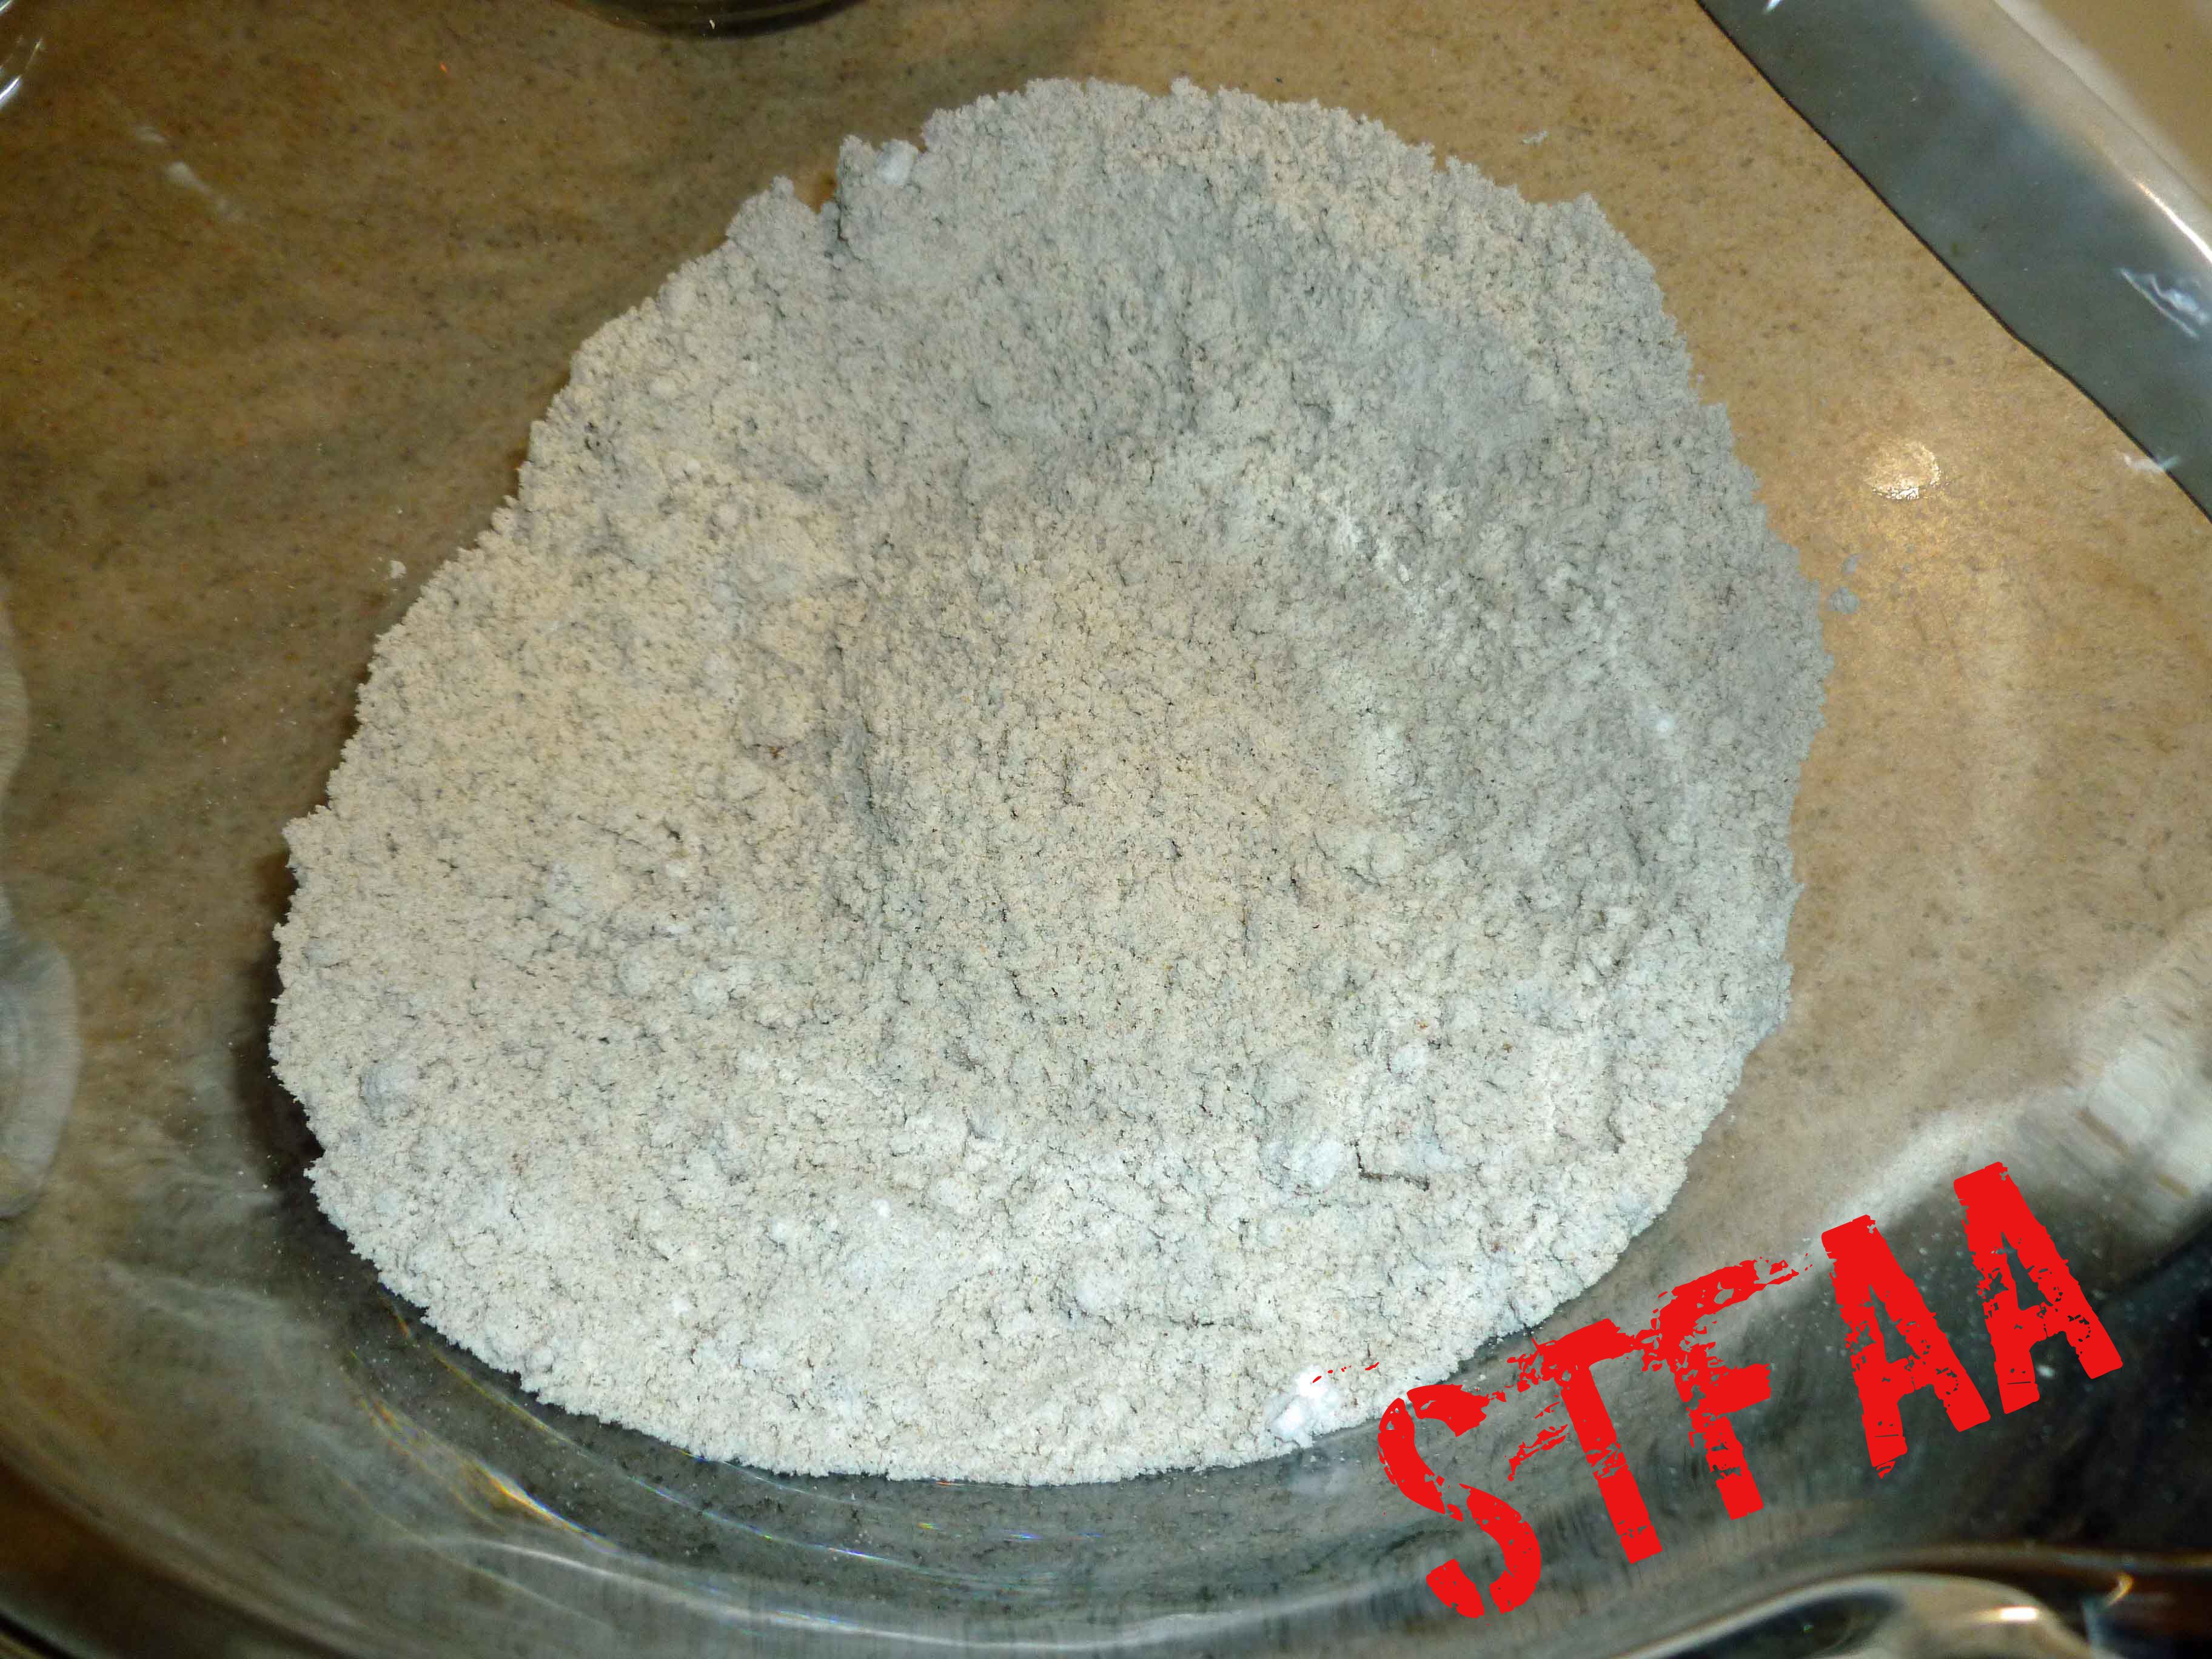
- 3/4 cup powdered sugar (if you are allergic to corn, you can make your own with 2 cups of sugar, a tablespoon of tapioca starch, and a blender)
- stand mixer
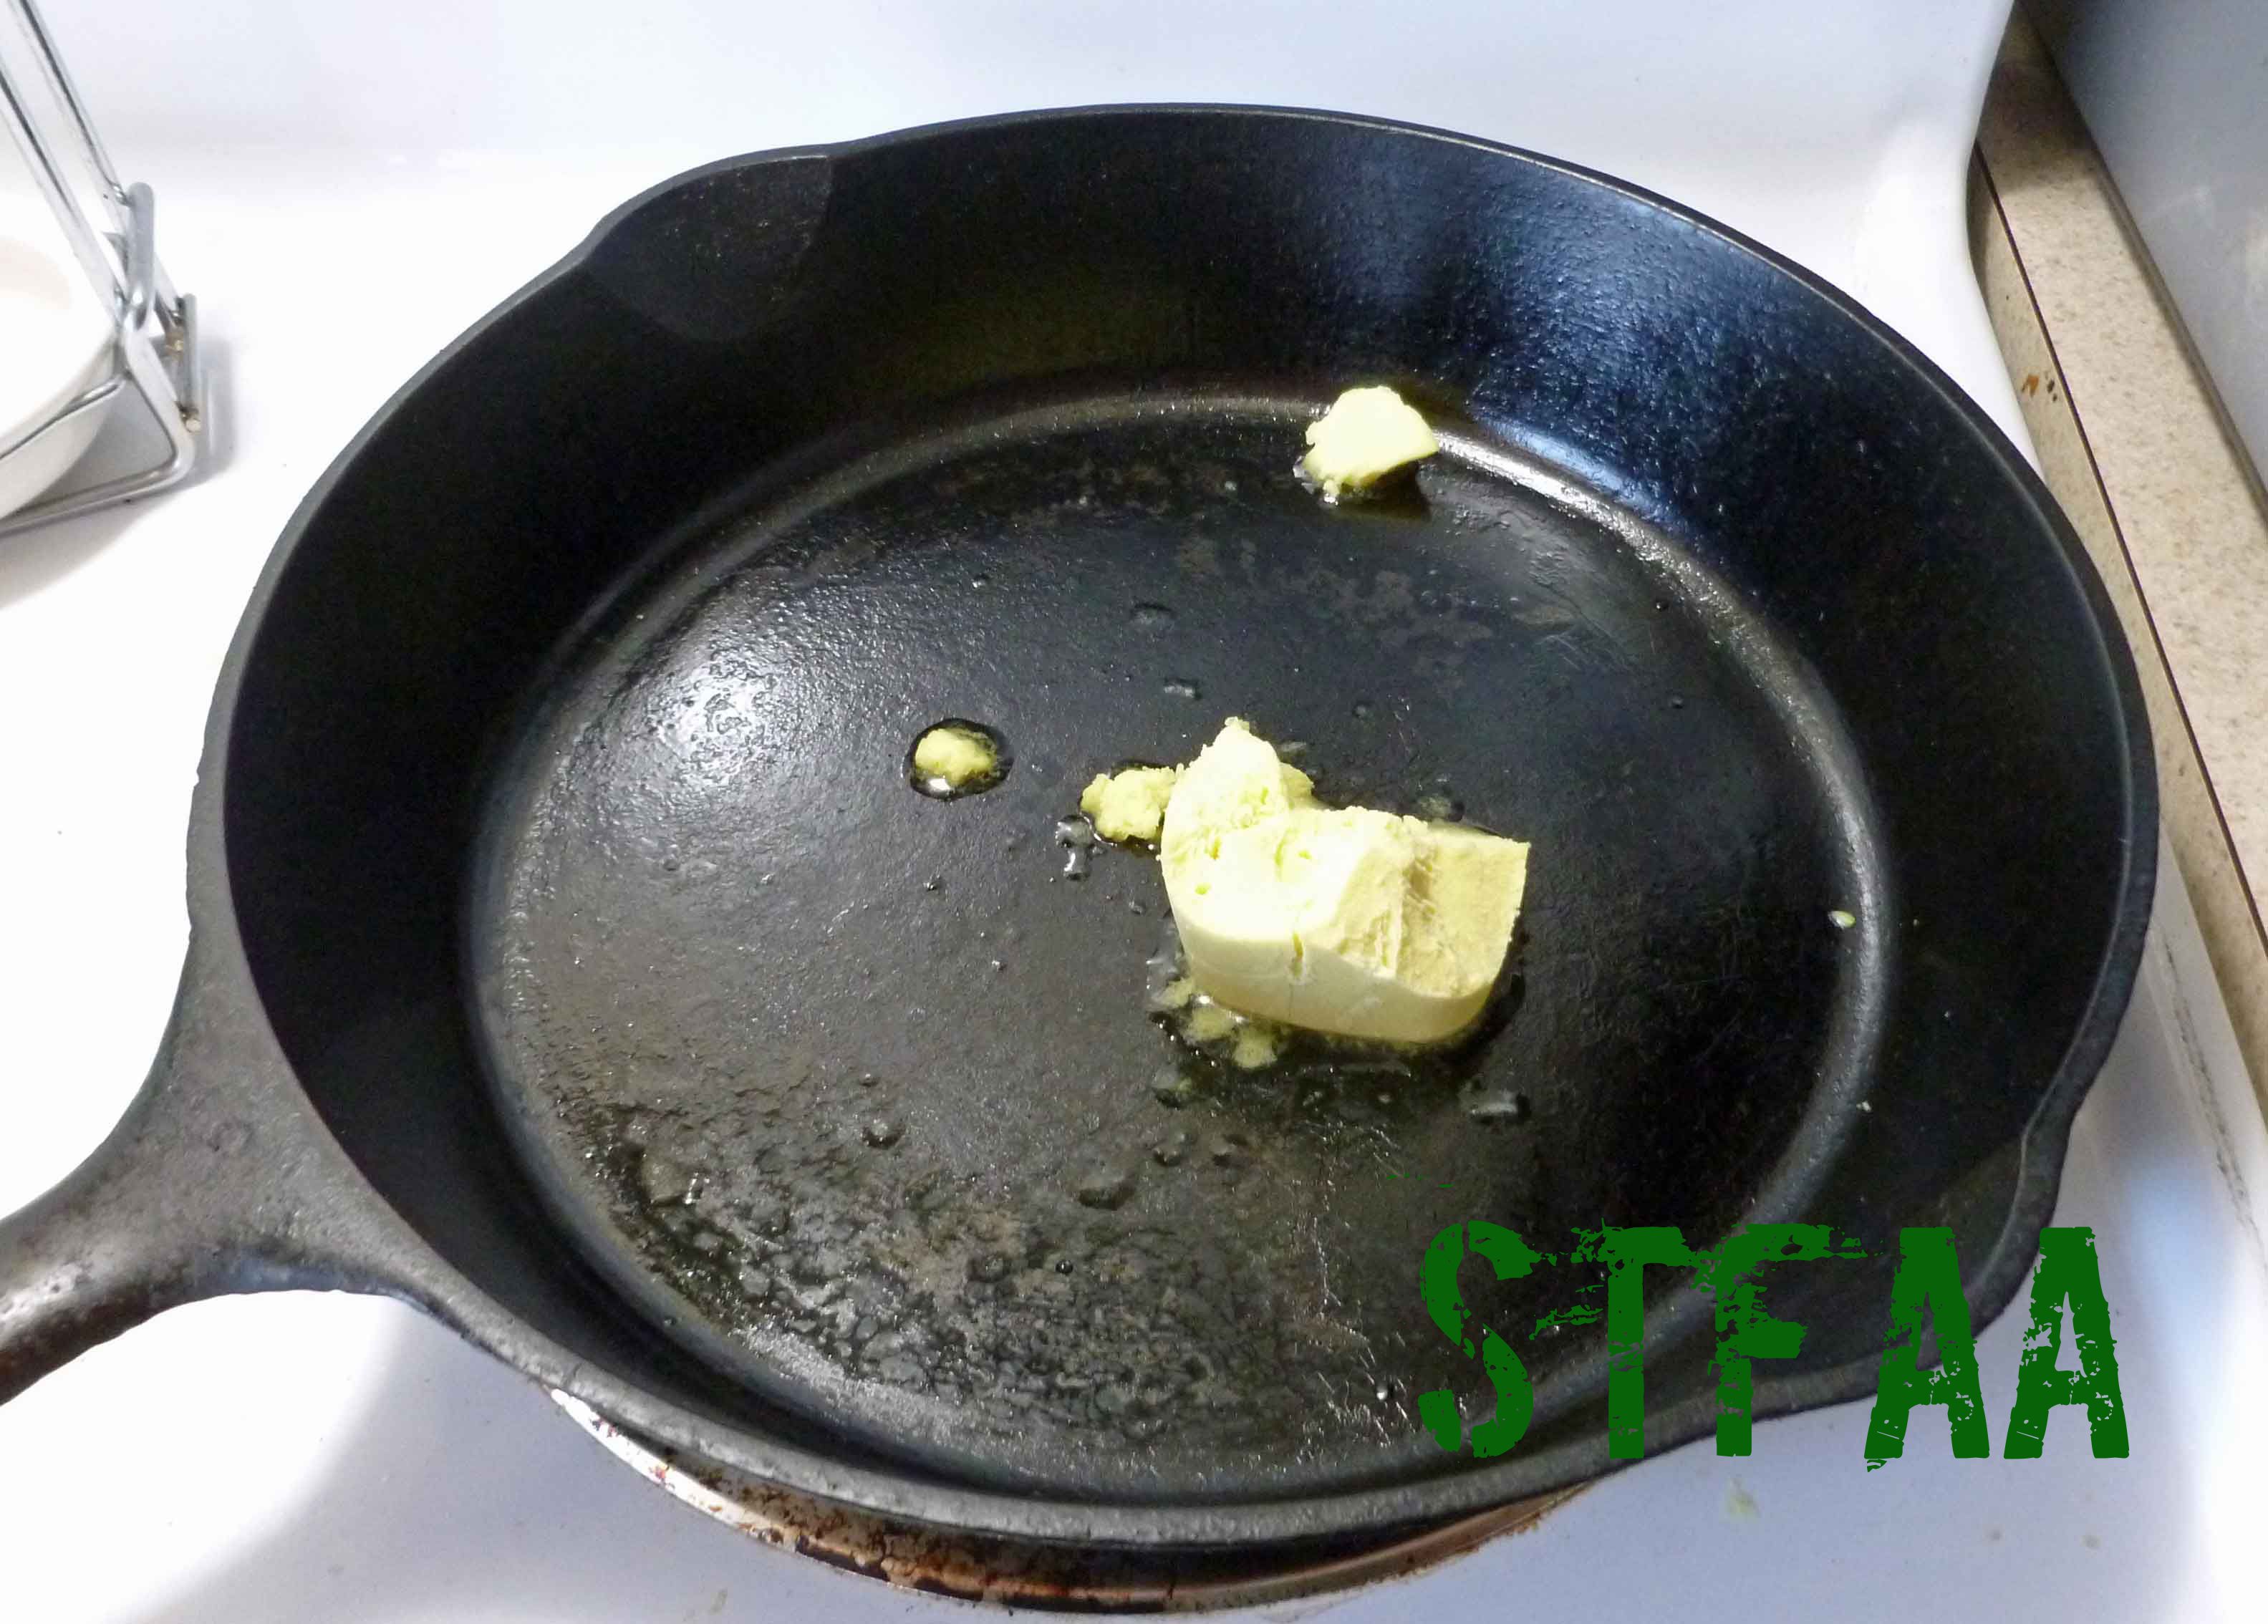
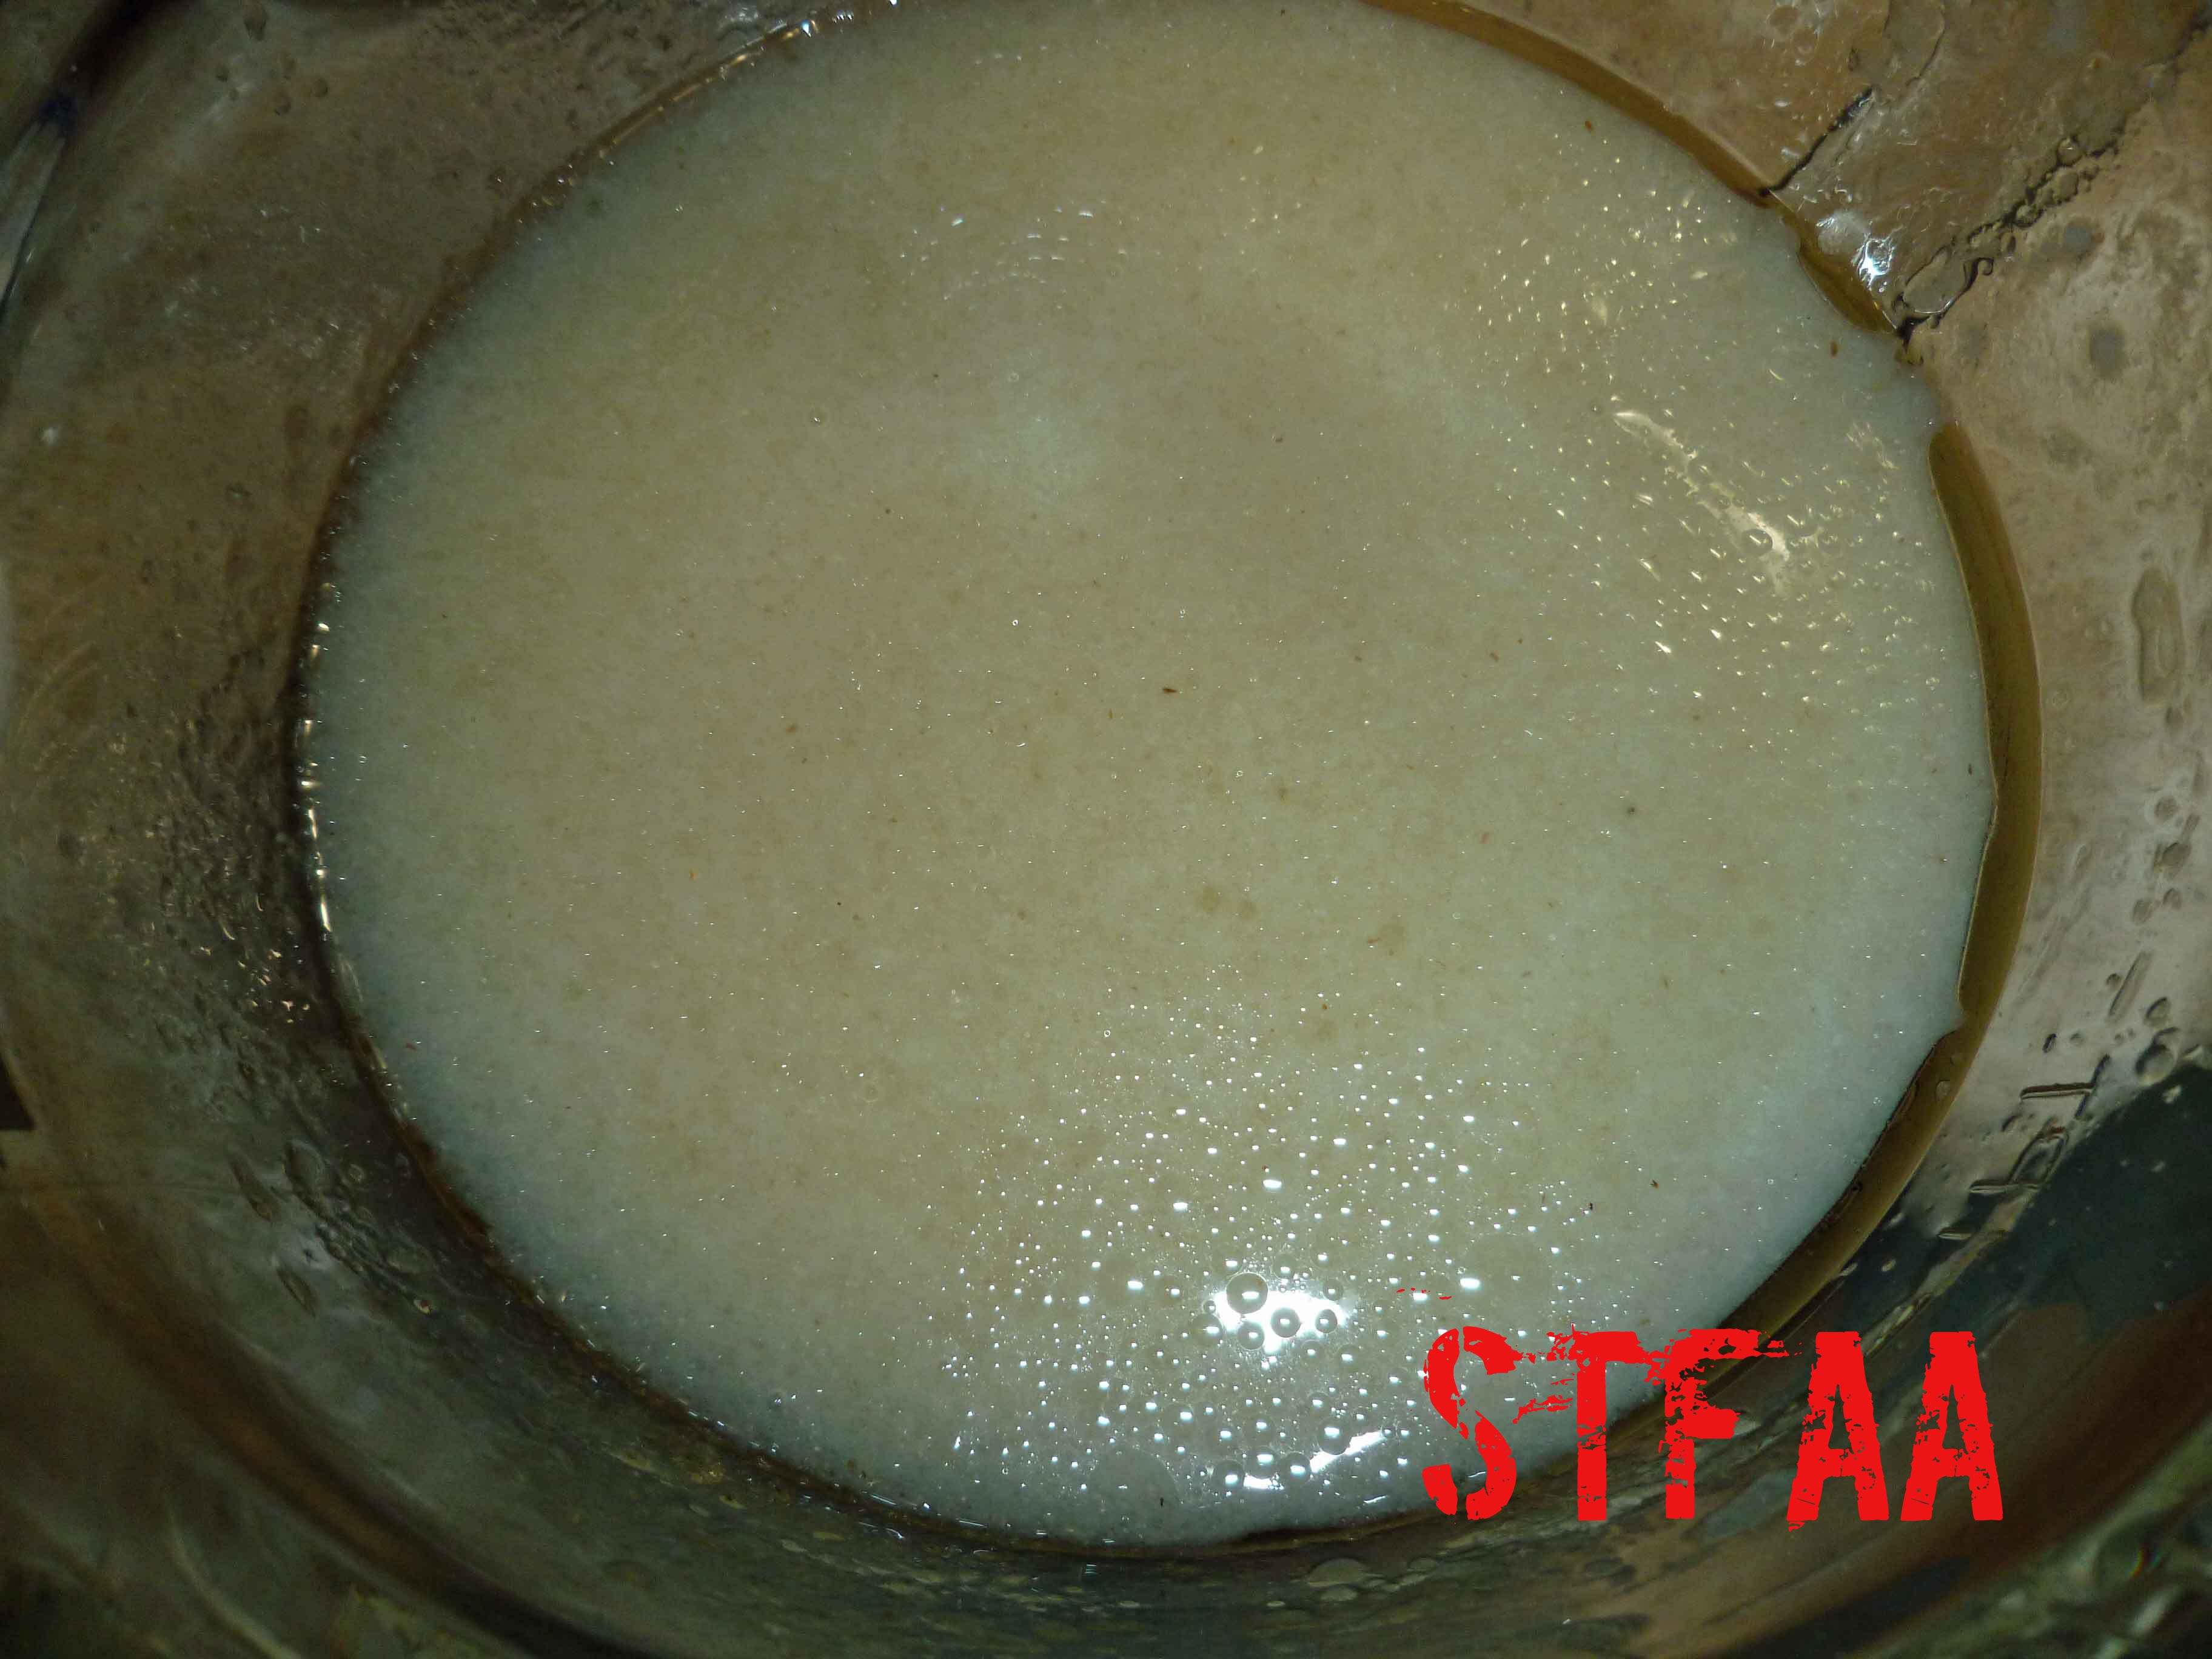
- Place whisk beater on your stand mixer. Make sure mixer bowl is clean, as any oil can cause problems with the aquafaba whipping. I wipe my bowl out with Bragg’s apple cider vinegar before starting to make sure there is no oil residue.
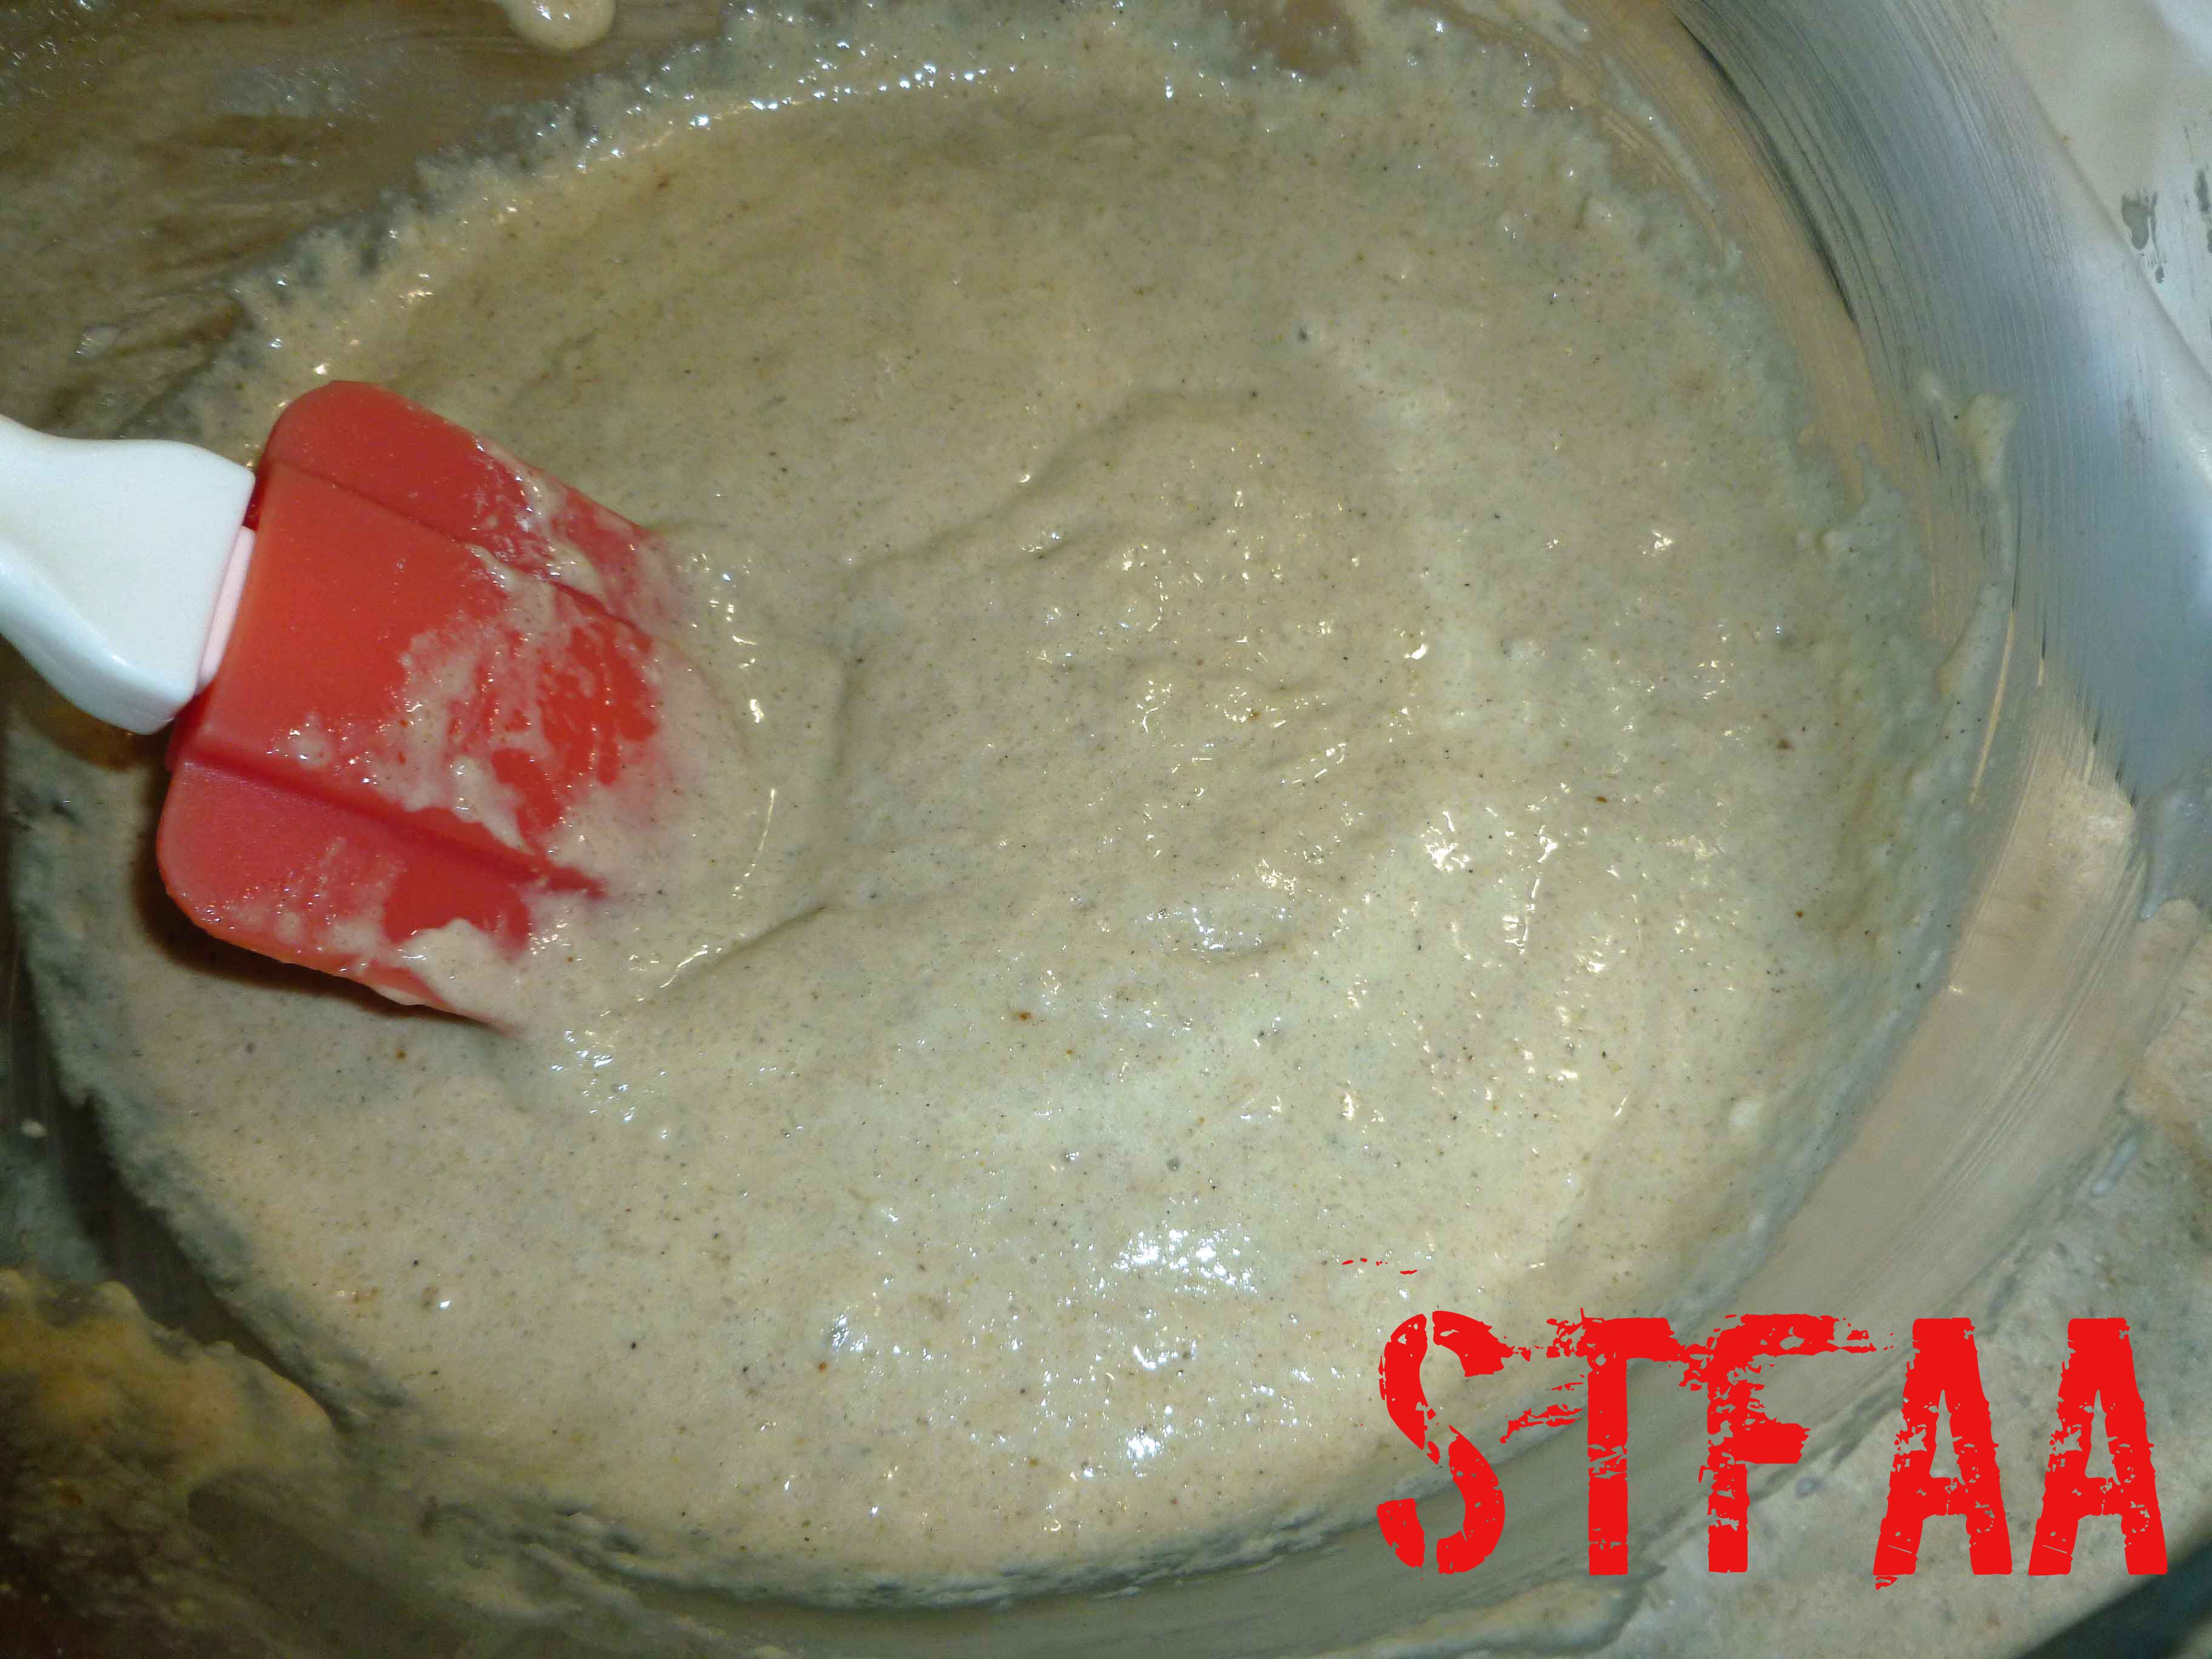
- Place the aquafaba, vanilla extract, and cream of tartar in your stand mixer’s bowl. Beat on high for 1 minute until it starts to get frothy. Add the sugar a spoonful at a time while the mixer is running, very, very slowly. Continue to beat until stiff peaks are formed, this may take 5 to 10 minutes or so, depending on your mixer.


")

")