Notice: Function _load_textdomain_just_in_time was called incorrectly. Translation loading for the wp-ultimate-recipe domain was triggered too early. This is usually an indicator for some code in the plugin or theme running too early. Translations should be loaded at the init action or later. Please see Debugging in WordPress for more information. (This message was added in version 6.7.0.) in /home/maryzahc/public_html/adultfoodallergies.com/wp-includes/functions.php on line 6131 Appetizers – Page 3 – surviving the food allergy apocalypse (archive)
Appetizer [ap-i-tahy-zer], noun: a small portion of a food or drink served before or at the beginning of a meal to stimulate the desire to eat. These recipes will not contain dairy, eggs, gluten, wheat or hazelnuts. If we use a top 8 allergen, we will use a tag warning of its use.
Zesty Mexican Style Bean Salad – Photo by J. Andrews
I modified this recipe from a recipe in an old Weight Watcher’s magazine. The original had raw green bell pepper and Great Northern beans in it instead, but back in the day before food allergies, I preferred it with roasted red pepper in a jar and garbanzo beans, and with some added spice enhancement. (Shocker, I know.) These days I can’t buy roasted red peppers at the store because of the citric acid, and I’ve been meaning to can my own so I could make this, but I hadn’t gotten around to it yet with everything else on my plate. So when Mary Kate and I decided to have a cookout, a light bulb went off that I could grill the red peppers and make this again. You could also broil the red peppers in your oven. (Not sure why that did not occur to me until I went to type up this post; I could have been making this all along. Sigh.)
Zesty Mexican Style Bean Salad
1 – 15 ounce can of black beans (Find a safe brand for you. I pressure can my own from dry beans.)
1 – 15 ounce can of garbanzo beans (Find a safe brand for you. I pressure can my own from dry beans.)
1 1/2 cups of chopped tomatoes
1 cup grilled or broiled red bell pepper (about one and half peppers)
1 cup of sliced green onions
1 cup of salsa (Make sure you use a safe for you brand. I used my home canned salsa.)
1/4 cup of red wine vinegar
2 Tablespoons of fresh chopped cilantro
1/2 teaspoon of salt
1/2 teaspoon of black pepper
1 teaspoon of Adobo seasoning (If you don’t have Adobo seasoning or you don’t have a safe version, mix 1/8 cup of paprika, 1 1/2 Tablespoons of ground black pepper, 1 Tablespoon of onion powder, 1 Tablespoon of dried oregano, 1 Tablespoon of ground cumin, 1/2 Tablespoon of ground chipotle, and 1/2 Tablespoon of garlic powder, this makes half a cup of seasoning)
hot sauce to taste (Use a safe for you brand. I used my own homemade version of Sriracha.)
Cut your red bell peppers into quarters and seed and de-stem them.
Quartered and de-seeded peppers – Photo by J. Andrews
Place the red bell pepper quarters on a hot grill or under the broiler in your oven on a rack with a cookie sheet under it, and grill/broil them until they have a bit of char and are tender. When they are done, take them off the grill or out of the oven and let them cool a bit.
Peppers on the grill – Photo by J. Andrews
In a large bowl, place the chopped tomatoes, sliced green onions, salsa, red wine vinegar, cilantro, salt, black pepper, and Adobo seasoning. Drain and rinse the black beans and garbanzo beans and add them to the bowl.
All ingredients except the grilled red pepper – Photo by J. Andrews
Now that your red bell pepper has probably cooled down a bit, either give them a quick spin in a food processor to chop them into small pieces, or chop them up finely with a knife, and put them in the large bowl.
Mix everything in the bowl together very well with a spatula or spoon. You want to make sure that none of the spices are clumping up. Taste it, and then decide how much hot sauce to need to add. Mix in the hot sauce really well.
Mix all ingredients together – Photo by J. Andrews
If you have safe chips, feel free to eat this with them. I don’t at the moment, but I’m happy just eating it with a fork or spoon. It also holds up very well in the refrigerator if you have leftovers.
Indian food, I so miss Indian food. It’s so yummy, and there aren’t a lot of Indian places that would be safe for me between the dairy and coconut thing, even if the corn thing weren’t an issue. Once of my very favorite appetizers to get were Vegetable Samosas. I love them. It’s been a long, long time, so it was time to get around to trying to recreate a safe version. Now I really wanted them to have that egg roll/fried dough/pastry crust type consistency, but without gluten it’s really freaking hard to do. My attempts ended up either being like bad pie crust when I tried baking them, or they flaked apart in the oil when I tried deep frying them. So, not wanting to wait for eternity until I managed to cobble together a dough in the Goldilocks zone, I decided to try rice paper. I love Vietnamese fresh spring/summer rolls, so I have a ton of rice paper in the house. I knew you could fry rice paper wrapped spring rolls, although I’d never done it before, so I decided to just wing it. Apparently you don’t deep fry rice paper wrapped spring rolls. You ever want to see a spring roll bubble up like it has tumors, just deep fry one of these. After doing research on how you’re actually supposed to do it, they came out pretty good, other than being shaped like spring rolls instead of cone or triangle shaped like samosas. Let me know what you think.
Vegetable Samosas and Cilantro Dipping Sauce
Makes about 14, more or less.
Do the sauce first so that it’s all ready to go so that you can eat when you’re done frying.
Cilantro Dipping Sauce:
2 cups of tightly packed chopped cilantro
1 garlic clove
1 jalapeno pepper (use half a habanero if you want to kick things up a bit) de-stemmed, seeded, and minced
1/2 inch long piece of peeled ginger
1 teaspoon garam masala (I used Penzey’s version, but I’m sure there are a ton of recipes on the interwebs)
1 teaspoon olive oil
4 Tablespoons of lemon juice (or the juice of one lemon)
1/2 teaspoon of salt
Put all the ingredients in a blender or food processor. Blend until smooth. (Ta-dah! That was easy wasn’t it?) Put in a container and pop it in the refrigerator until you’re ready for it. (The picture below is all fancy, you get a lot more sauce than that.)
Cilantro Dipping Sauce
Samosas:
3 potatoes, washed, peeled, cubed, and boiled (like you’re making mashed potatoes)
1/2 cup green peas (or whatever other vegetable you’d like in it)
1 teaspoon of grated fresh ginger
1 clove of garlic, minced, or whatever it is when you put it through a garlic press
2 Tablespoons of fresh chopped cilantro
1 jalapeno pepper (or the other half of that habanero if you used it for the dipping sauce) de-stemmed, seeded, and minced
1 teaspoon of garam masala
1 teaspoon of salt
1/2 teaspoon of cumin seeds
2 Tablespoons of lemon juice (or the juice of half a lemon)
Spring Roll Rice Paper Wrappers (Round 22cm) – the link is here so you can see what you’re looking for, but we’re not affiliated with Amazon in anyway. Also, any brand will do.
safe for you oil to use for frying
Once you’ve got your potatoes washed, peeled, cubed, and boiled, you’re going to want to give them a fairly rough mash. You don’t want them smooth, lumpy is good.
Potatoes, roughly mashed
Let them cool for a bit. In the meantime, get all your other ingredients (except the rice paper and oil) in a bowl large enough for the ingredients and the potatoes. When your potatoes have cooled a bit (you can stick them in the fridge to hurry that along), mix the potatoes with the other ingredients so that they are well combined.
Samosa filling
Now to assemble your samosas. You’ll need a bowl of warm water (I use the water as hot as I can get it out of the tap) big enough for you to dip the rice paper in. You’ll also need a smooth clean surface to place your rice paper after moistening it. I used my dough rolling mat, but you can just use a plate if it’s big enough. Also, you’ll need a tray or sheet pan with some parchment paper or waxed paper on it to store your completed samosas until you’re ready to fry.
Dip your rice paper into the water, making sure that the entire surface is moistened.
Moistening your rice paper
Be careful that you don’t let the rice paper fold against itself, I’ve never been talented enough to get it back apart again, although I’m told it’s possible. Lay the rice paper out flat on your working surface.
Rice paper getting ready for filling
Place some filling on your rice paper. I used about two tablespoons. You can use more or less depending on your preference, you’re just going to make more or less samosas.
Samosa filling on rice paper
Fold the two sides over the samosa filling, making it so that the sides angle in towards the top, making it somewhat triangular.
Sides folded over the samosa filling
Fold the bottom edge up over the samosa filling.
Folding bottom edge up over filling
Roll the filling over the rest of the rice paper, like you’re rolling up a sleeping bag, or a burrito, depending on your arbitrary cultural reference. The end should stick to the roll.
Completed samosa
Repeat the process until you have lots of samosas ready to fry.
Samosas ready to fry
Now we need to prepare a place to stash our samosas once they’ve been fried. Cover another tray or sheet pan, with a couple layers of paper towels, and then place a cookie rack on it upside down so that the cookie rack is laying on the paper towels (more oil gets absorbed this way).
In a frying pan, pour enough oil that when you put a samosa in it, the oil will only go half way up the side of the samosa and does not cover the samosa. Less oil is better than more. Heat your oil over medium low to medium heat. Be very careful to space them out, because if they touch each other the rice paper will rip when you try to separate them, and then you’ll have filling in your oil, which will burn up into little dark bits and cover the outside of your samosas. Look at the pictures and then ask me how I know, haha.
Samosas frying
Also, these are going to take so much longer than you imagine. I don’t know if its the rice paper or if it’s the moisture content in the potatoes, but expect to be frying for some time. Also, don’t go any higher than medium on the heat, otherwise you’ll get really big bubbles on your wrappers potentially causing holes and scorching. As you’re frying turn them occasionally with a pair of tongs to make sure they cook evenly. When the rice paper wrappers look like this, they’re done:
Fried Samosas
Yours will not have the little burned bits on the outside because you will be more careful about keeping them separated than I was, but if you do have little burned bits, they don’t affect the taste of your samosas. Although the rice paper wrapper is a different texture than a dough or pastry wrapper, they had a good bit of crunch and were yummy. Enjoy!
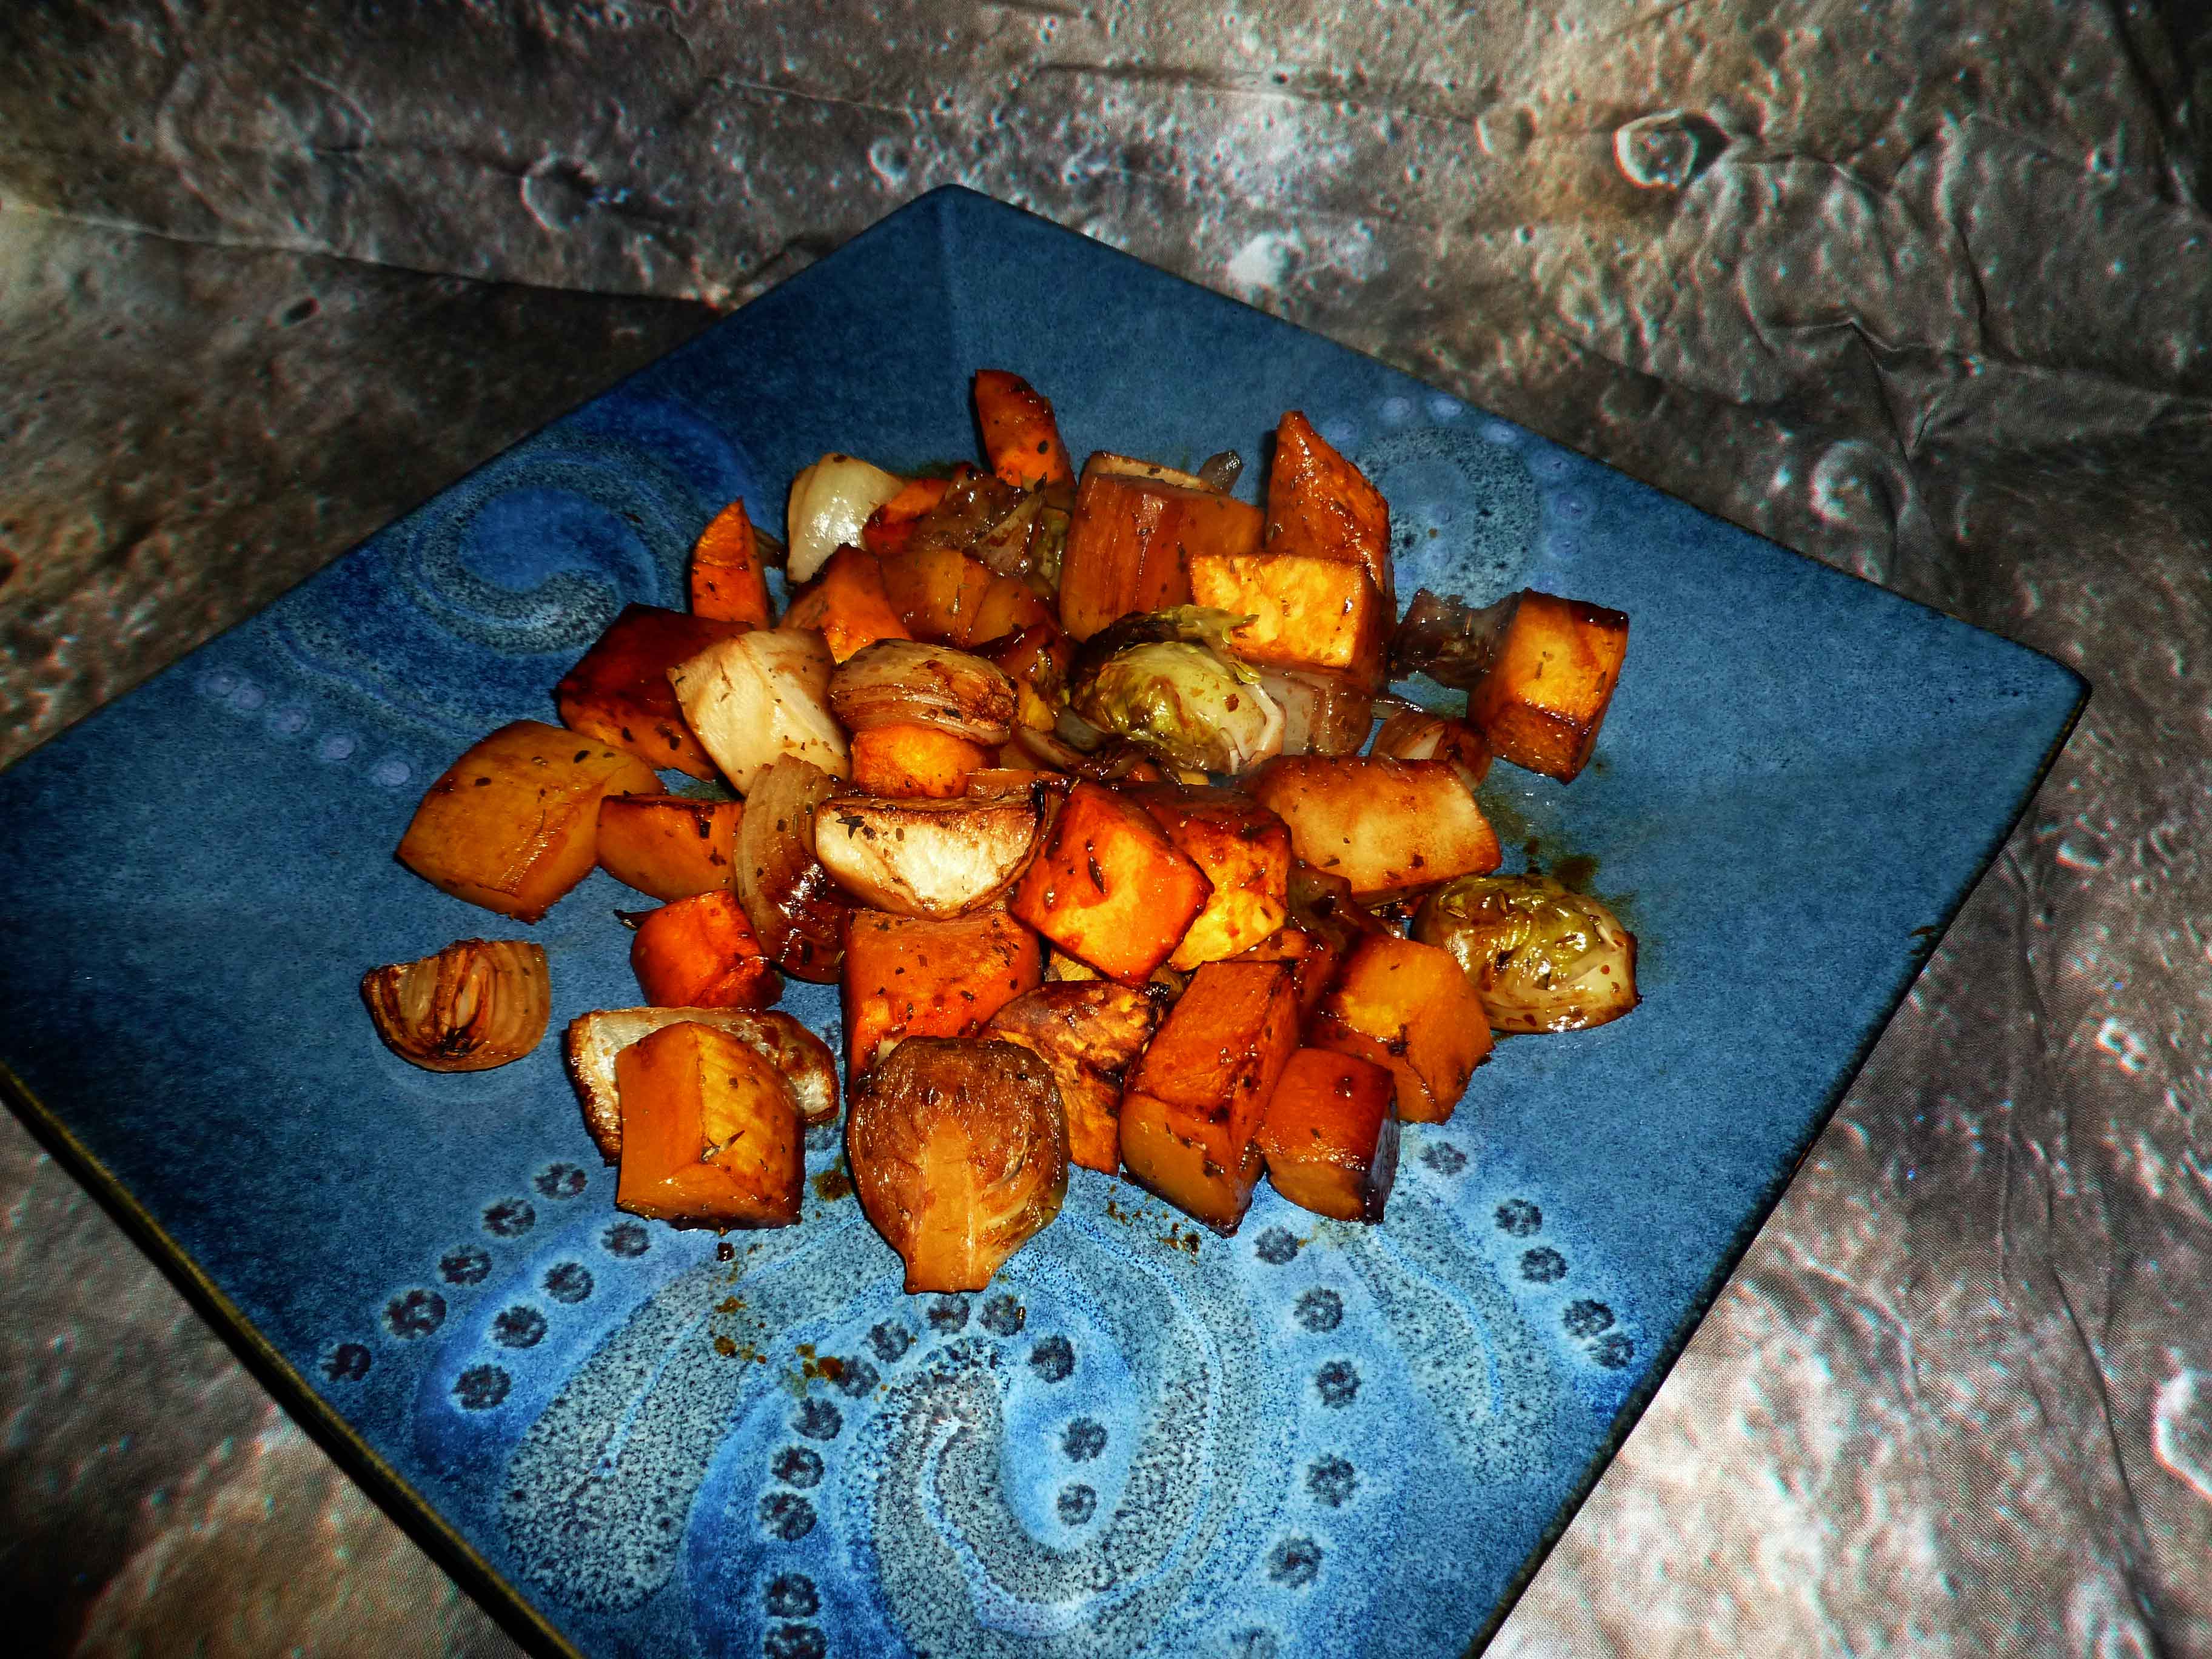
It’s fall (I’m not discussing the “winter” word yet, although it snowed here yesterday) with all those yummy, carbohydrate-filled veggies available. This dish is pretty easy but seems complicated to those who aren’t in the know. Also, although this may seem like a lot, it’s great as leftovers. I even love it cold over a tossed salad a day or two later. Try it as a new side dish for Thanksgiving, or for other potlucks this winter.
Roasted Autumn Vegetables with a Balsamic Glaze
Serves at least 4 in generous portions.
Balsamic Glaze:
I cup of balsamic vinegar (be careful, get one without caramel color, which could be dairy, wheat or corn.)
1 1/2 Tablespoons of Italian Seasoning (or a bit of oregano, basil, marjoram, sage, rosemary, and thyme to add up to 1 1/2 Tablespoons)
2 Tablespoons of brown sugar
2 Tablespoons of olive oil
Vegetables:
2 carrots, peeled and chopped into 1 inch chunks
2 small onions, peeled, cut in half and then each half cut into quarters
1 sweet potato, peeled and chopped into 1 inch chunks
1 small turnip (about the size of a large tomato), peeled and chopped into 1 inch chunks
1/2 of a butternut squash (or 1 20 oz bag of fresh peeled butternut squash), peeled and chopped into 1 inch chunks
2-3 cups of brussel sprouts, outer leaves removed if necessary and stems trimmed, and cut in half
Preheat your oven to 400°F. Using an oil mister, or a bit of oil and a paper towel, grease a sheet pan.
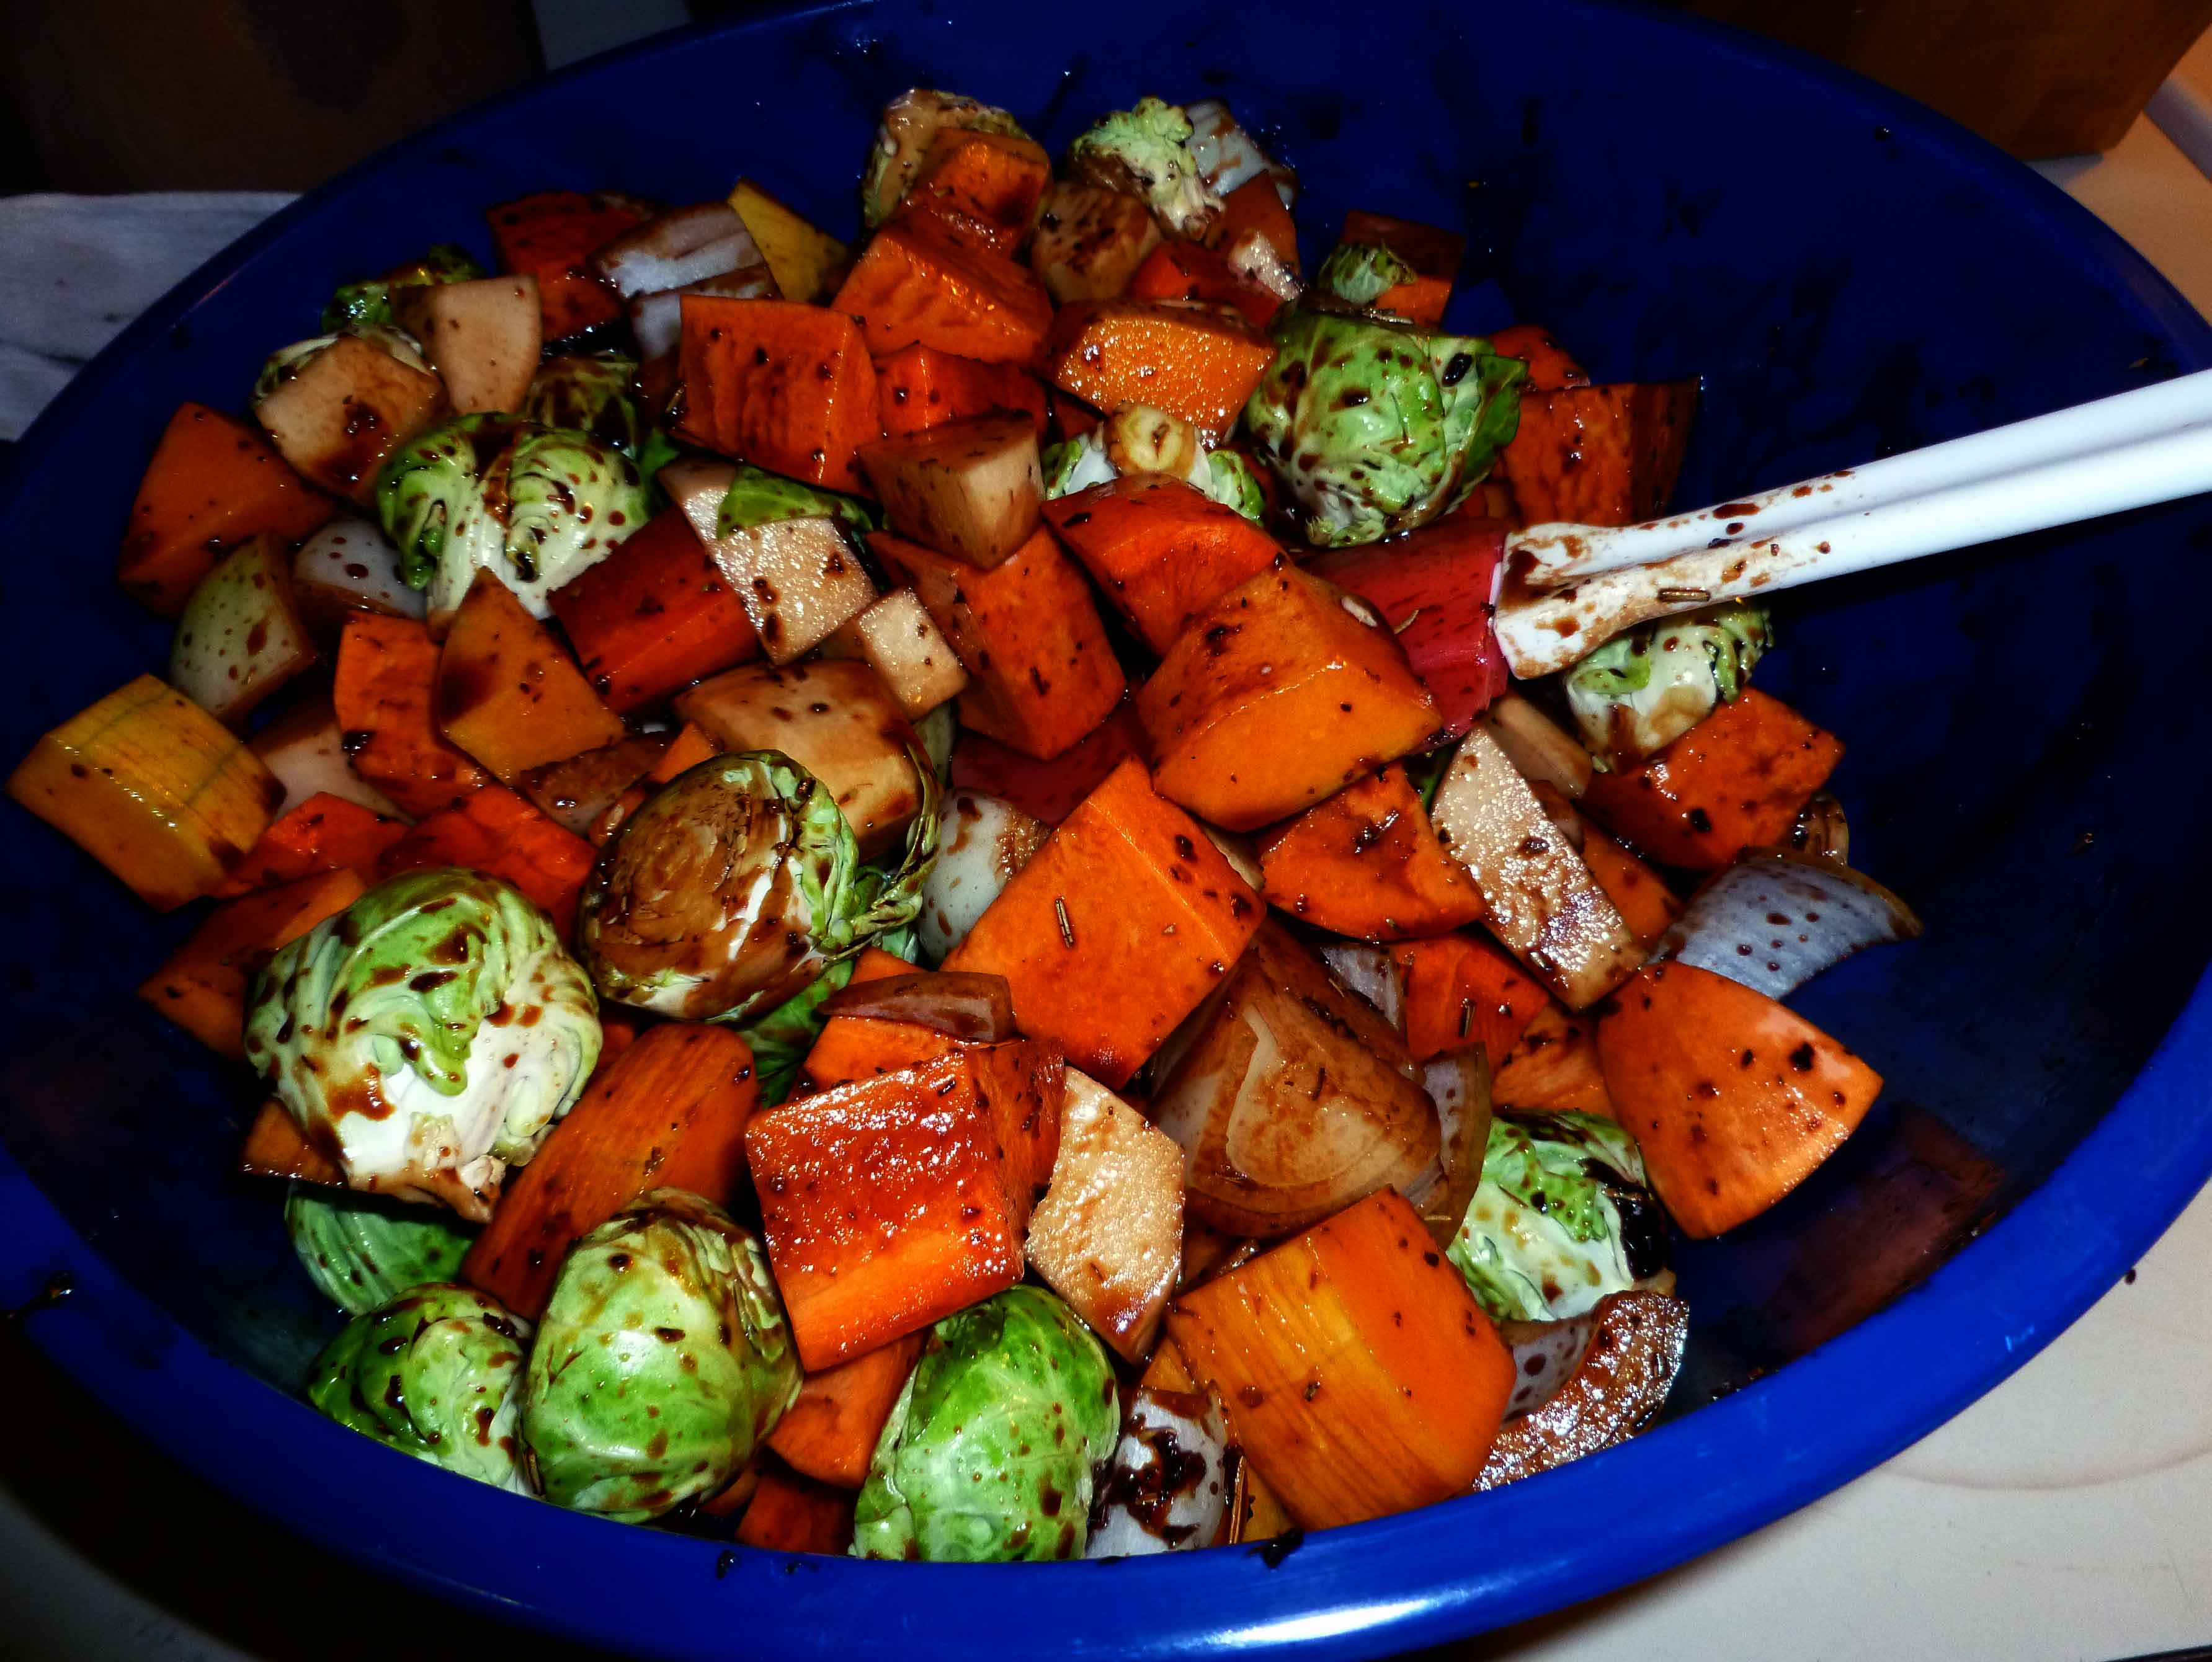
Prepare all your vegetables as discussed above and put them in a large heat safe bowl. You’re going to be tossing them with the glaze, so make sure you have room to stir and work. Put the bowl aside.
Veggies in Bowl
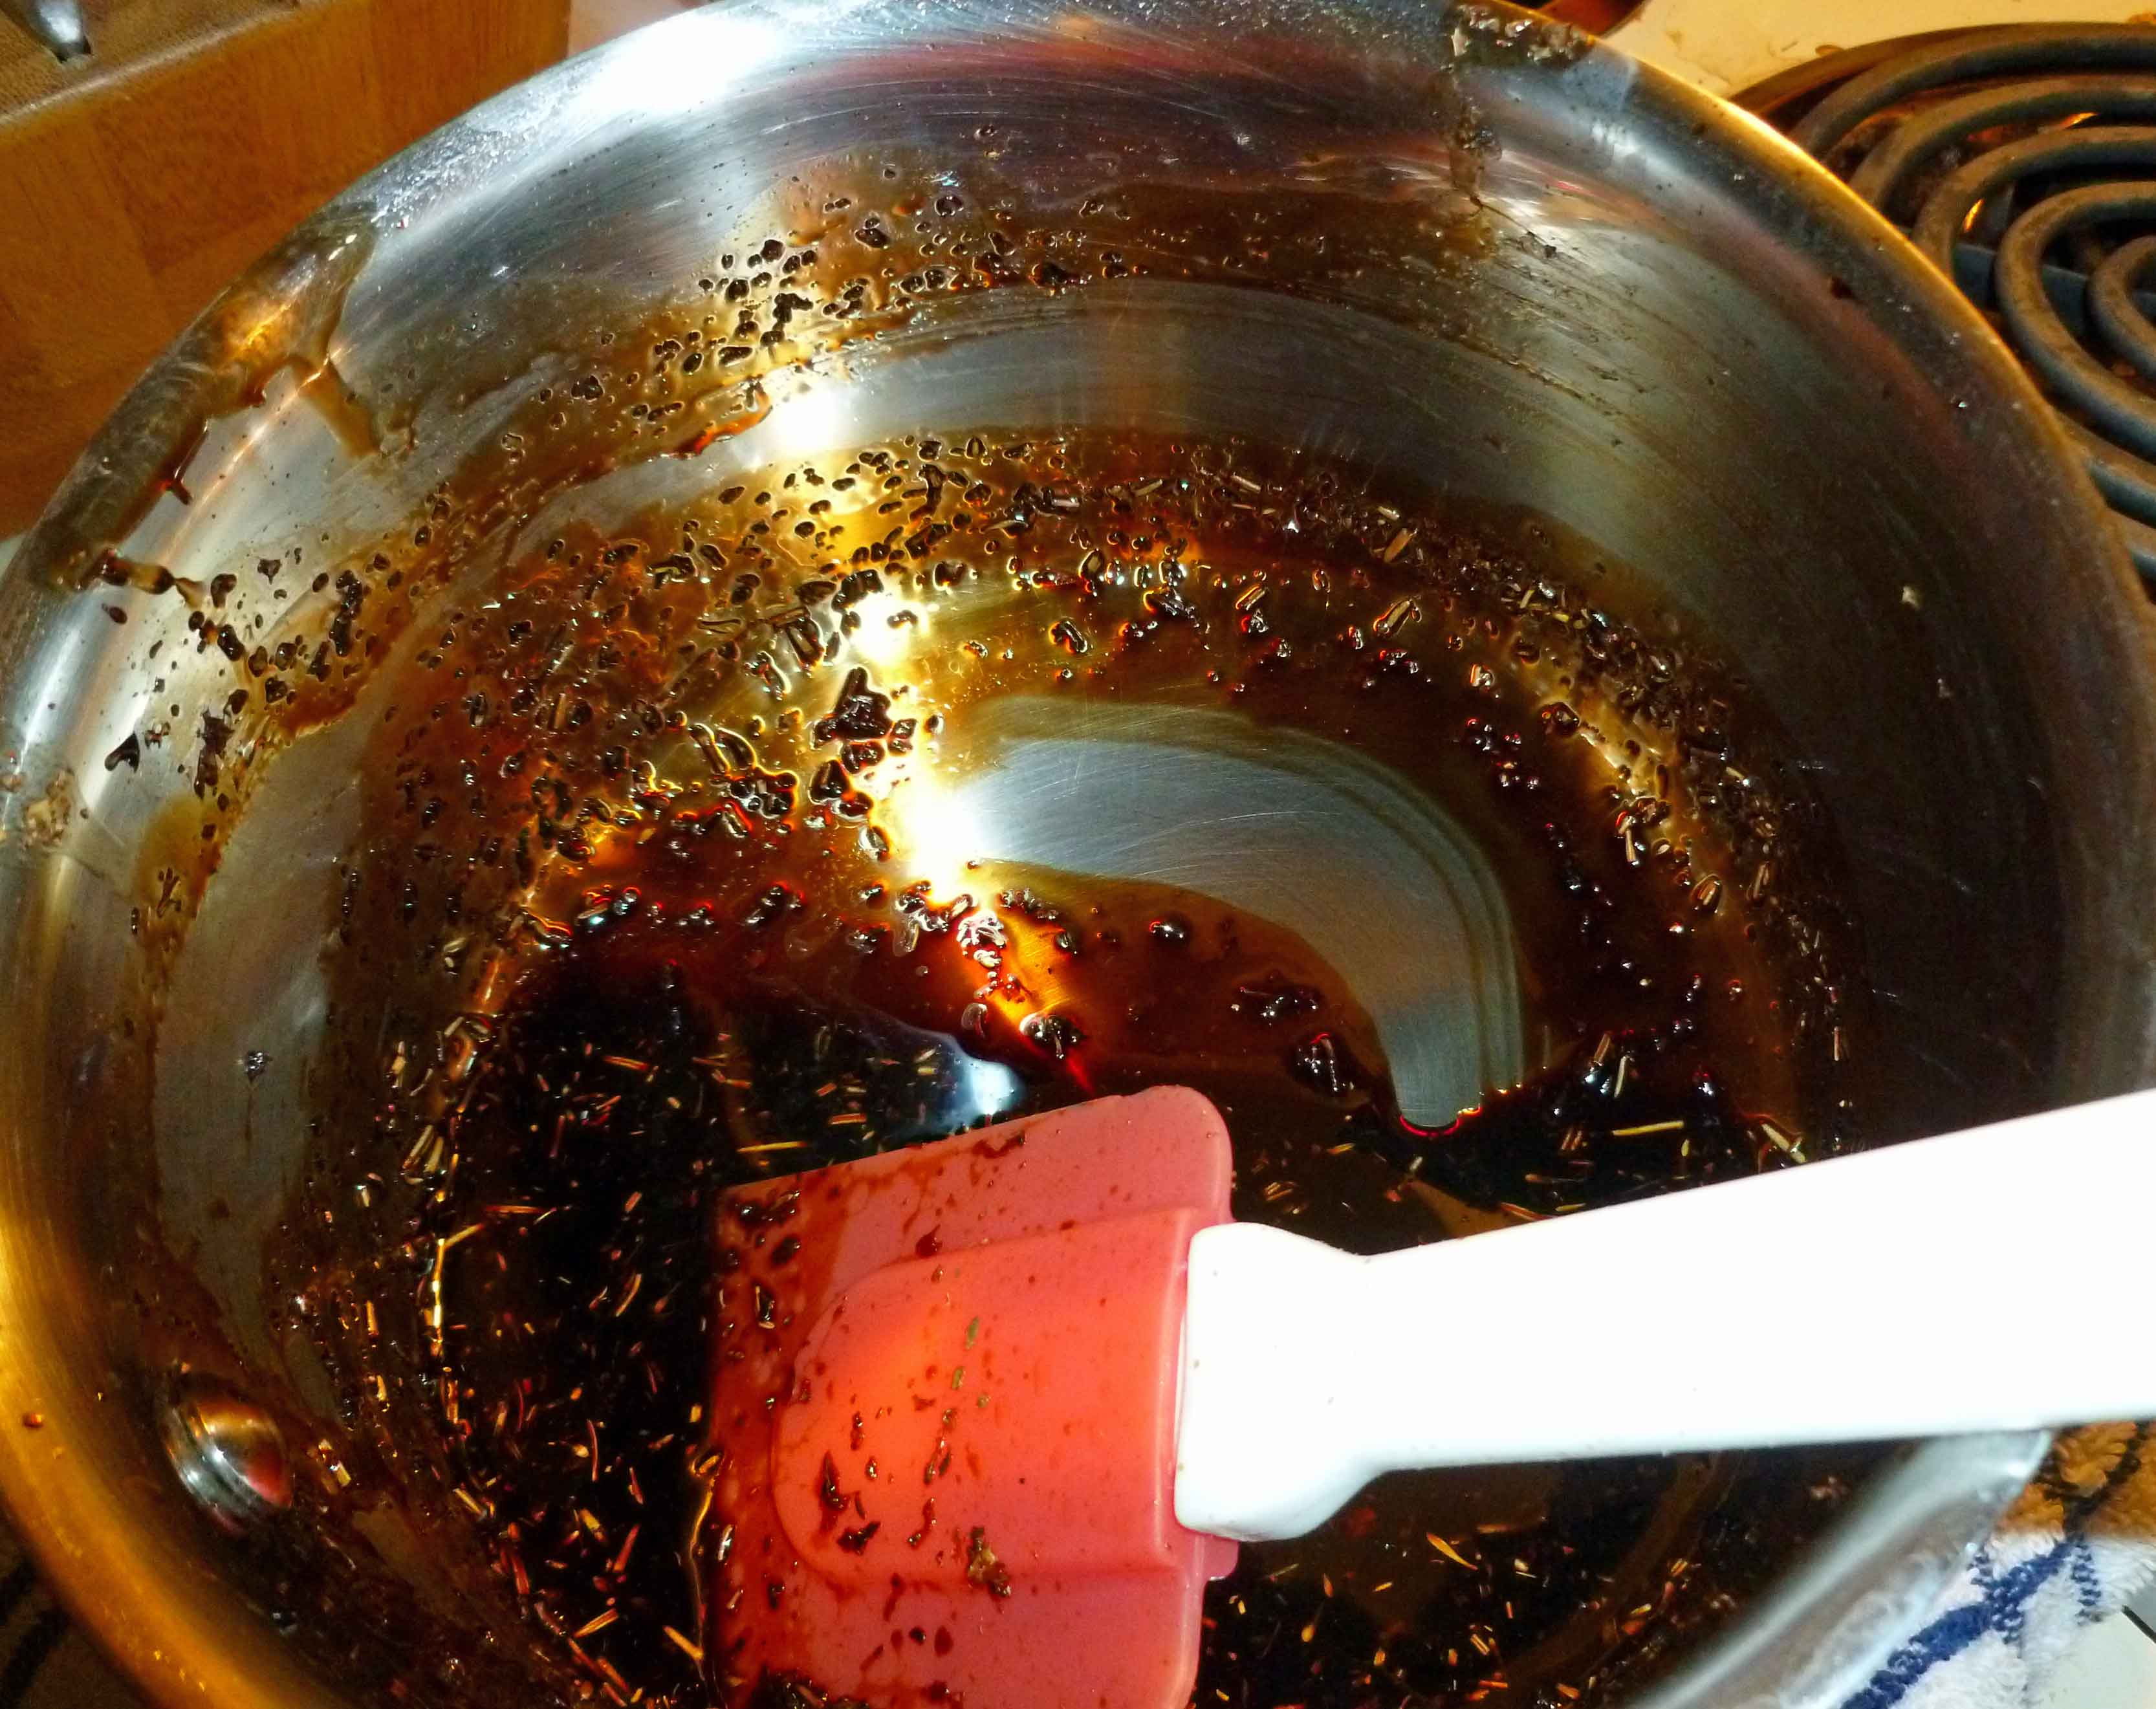
Using a small non-reactive saucepan, add your balsamic vinegar, Italian seasoning or spices, and the brown sugar. Over medium high heat, simmer the glaze at a low boil until the vinegar has reduced down to a slightly thicker syrupy consistency, as shown:
Balsamic Glaze after reducing
Once the glaze has reduced down, remove it from the heat and add the olive oil. Stir thoroughly.
Pour the glaze over the vegetables, scraping down the sauce pan so that all the glaze ends up in the bowl. Mix the vegetables and glaze thoroughly so that all the vegetables are coated.
Mixing Veggies and Glaze to coat
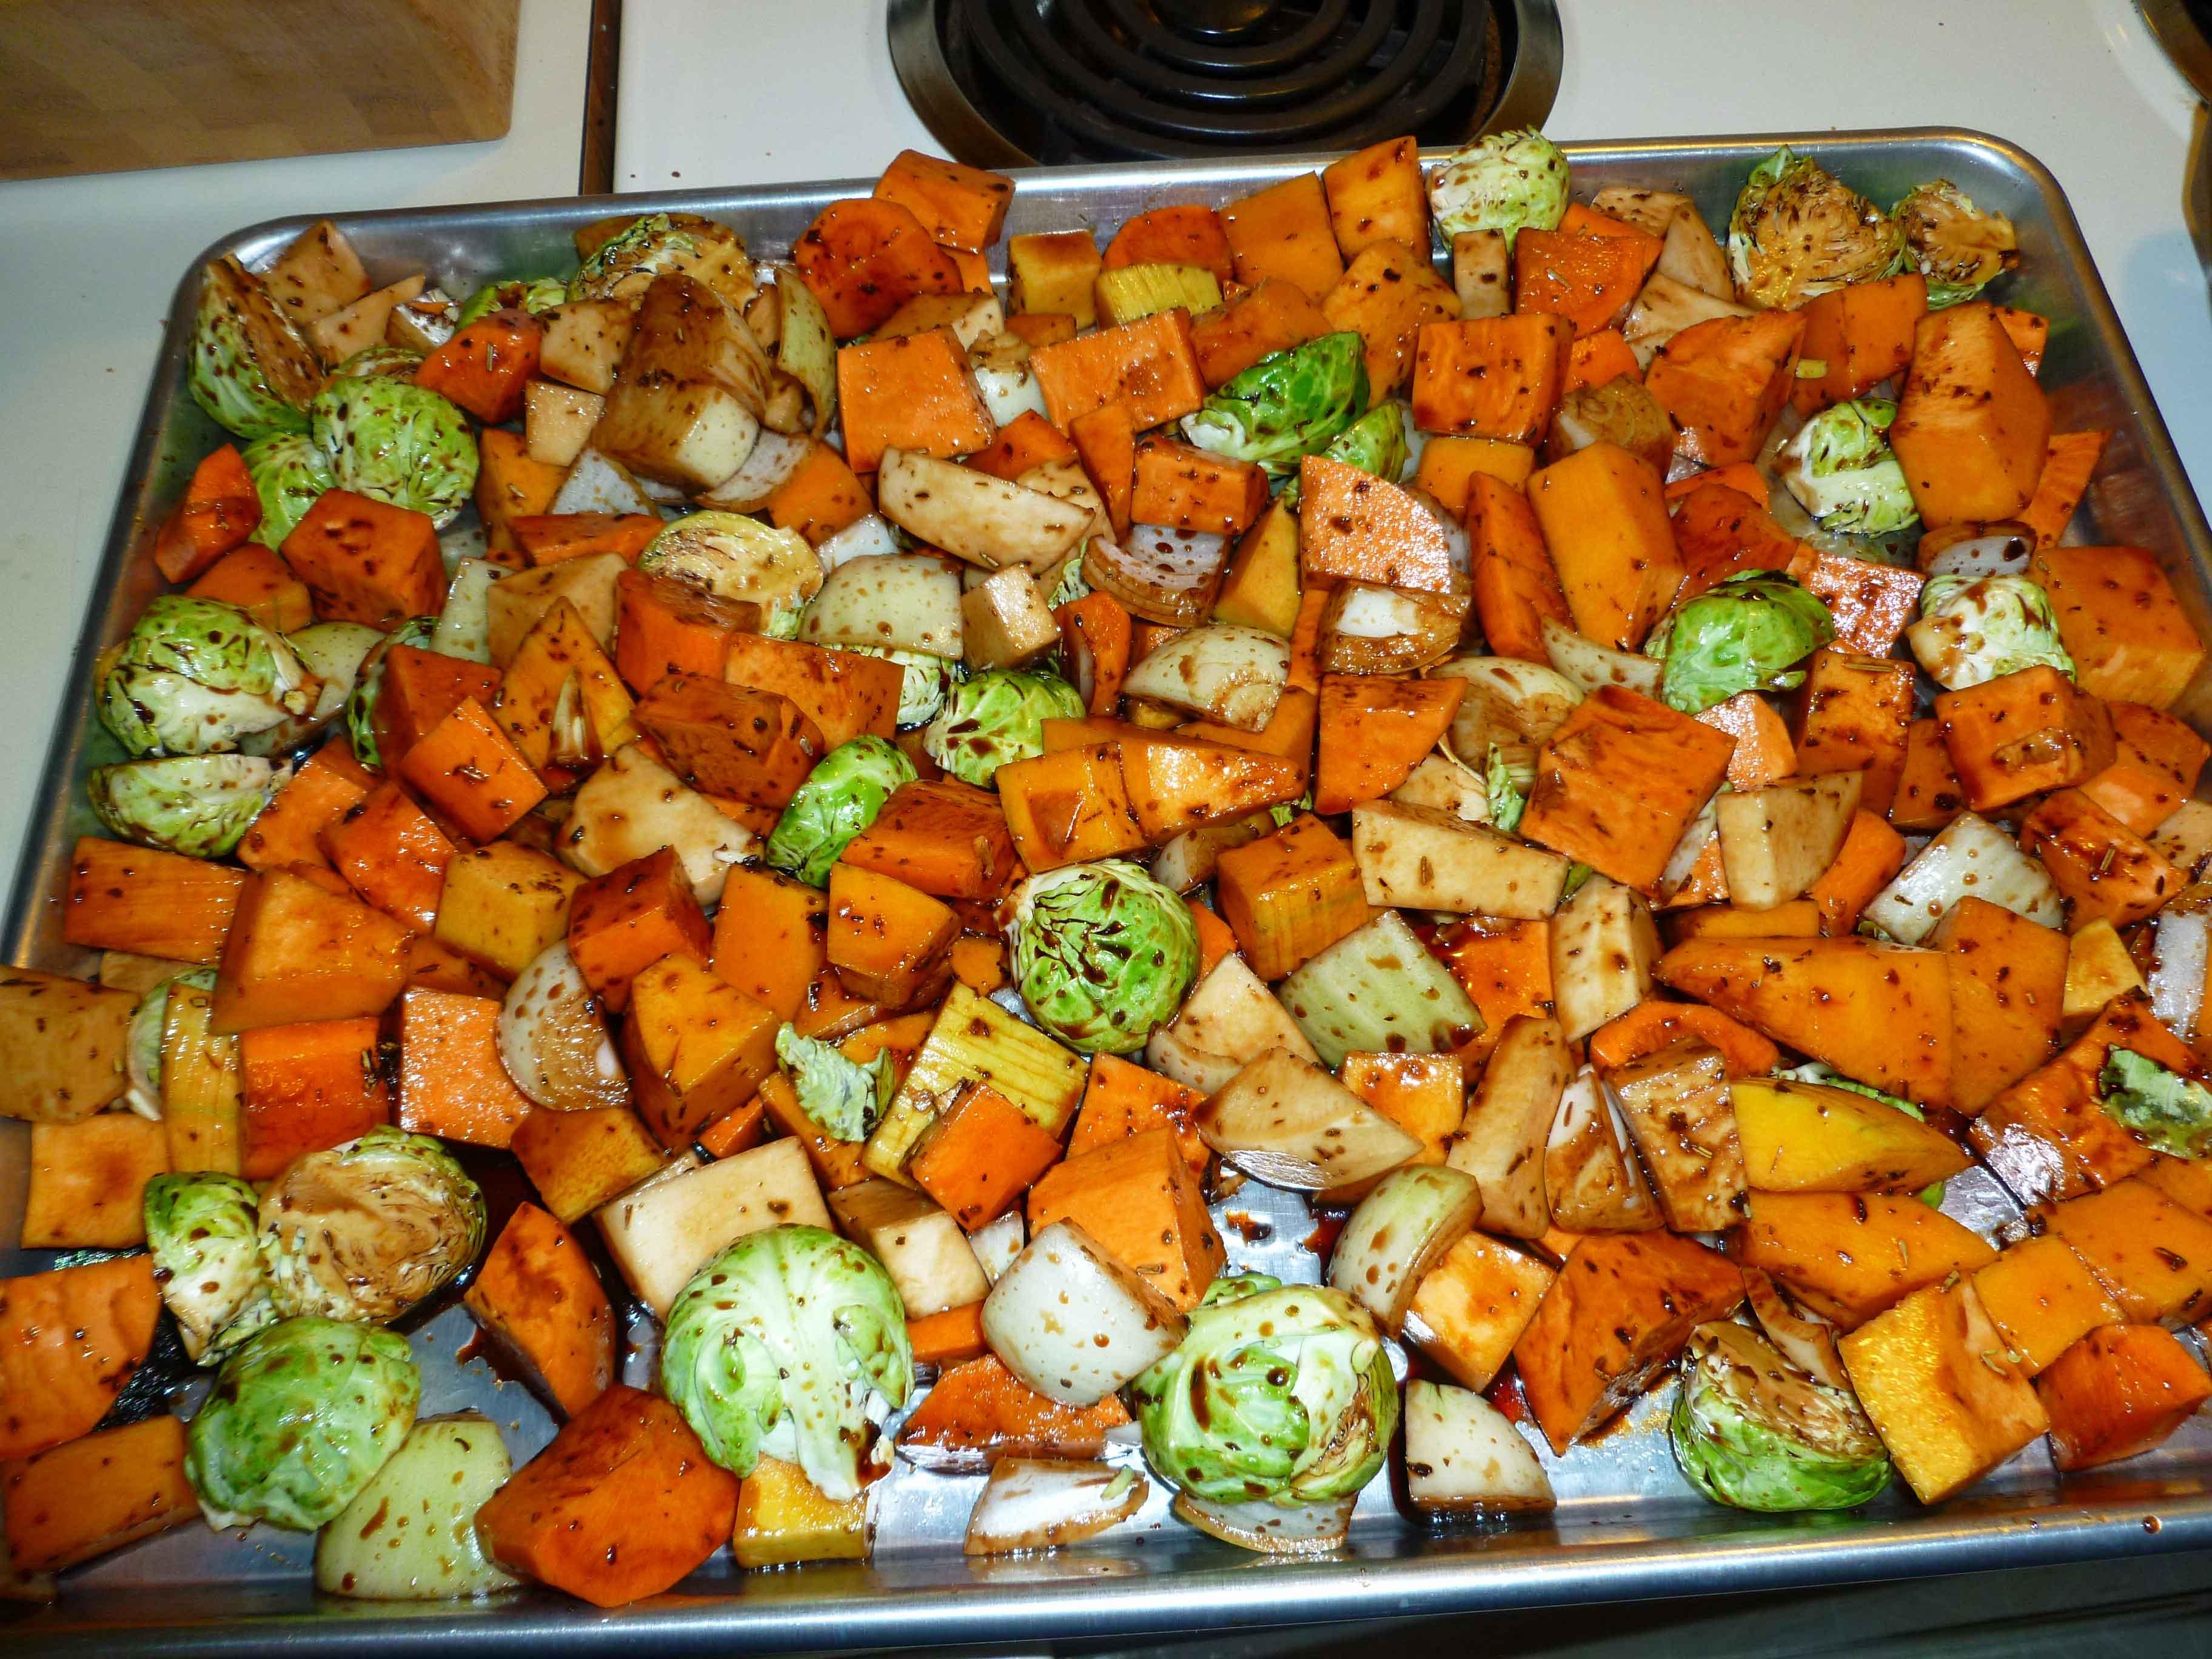
Pour the coated vegetables on the sheet pan and distribute them evenly.
Veggies spread evenly on pan
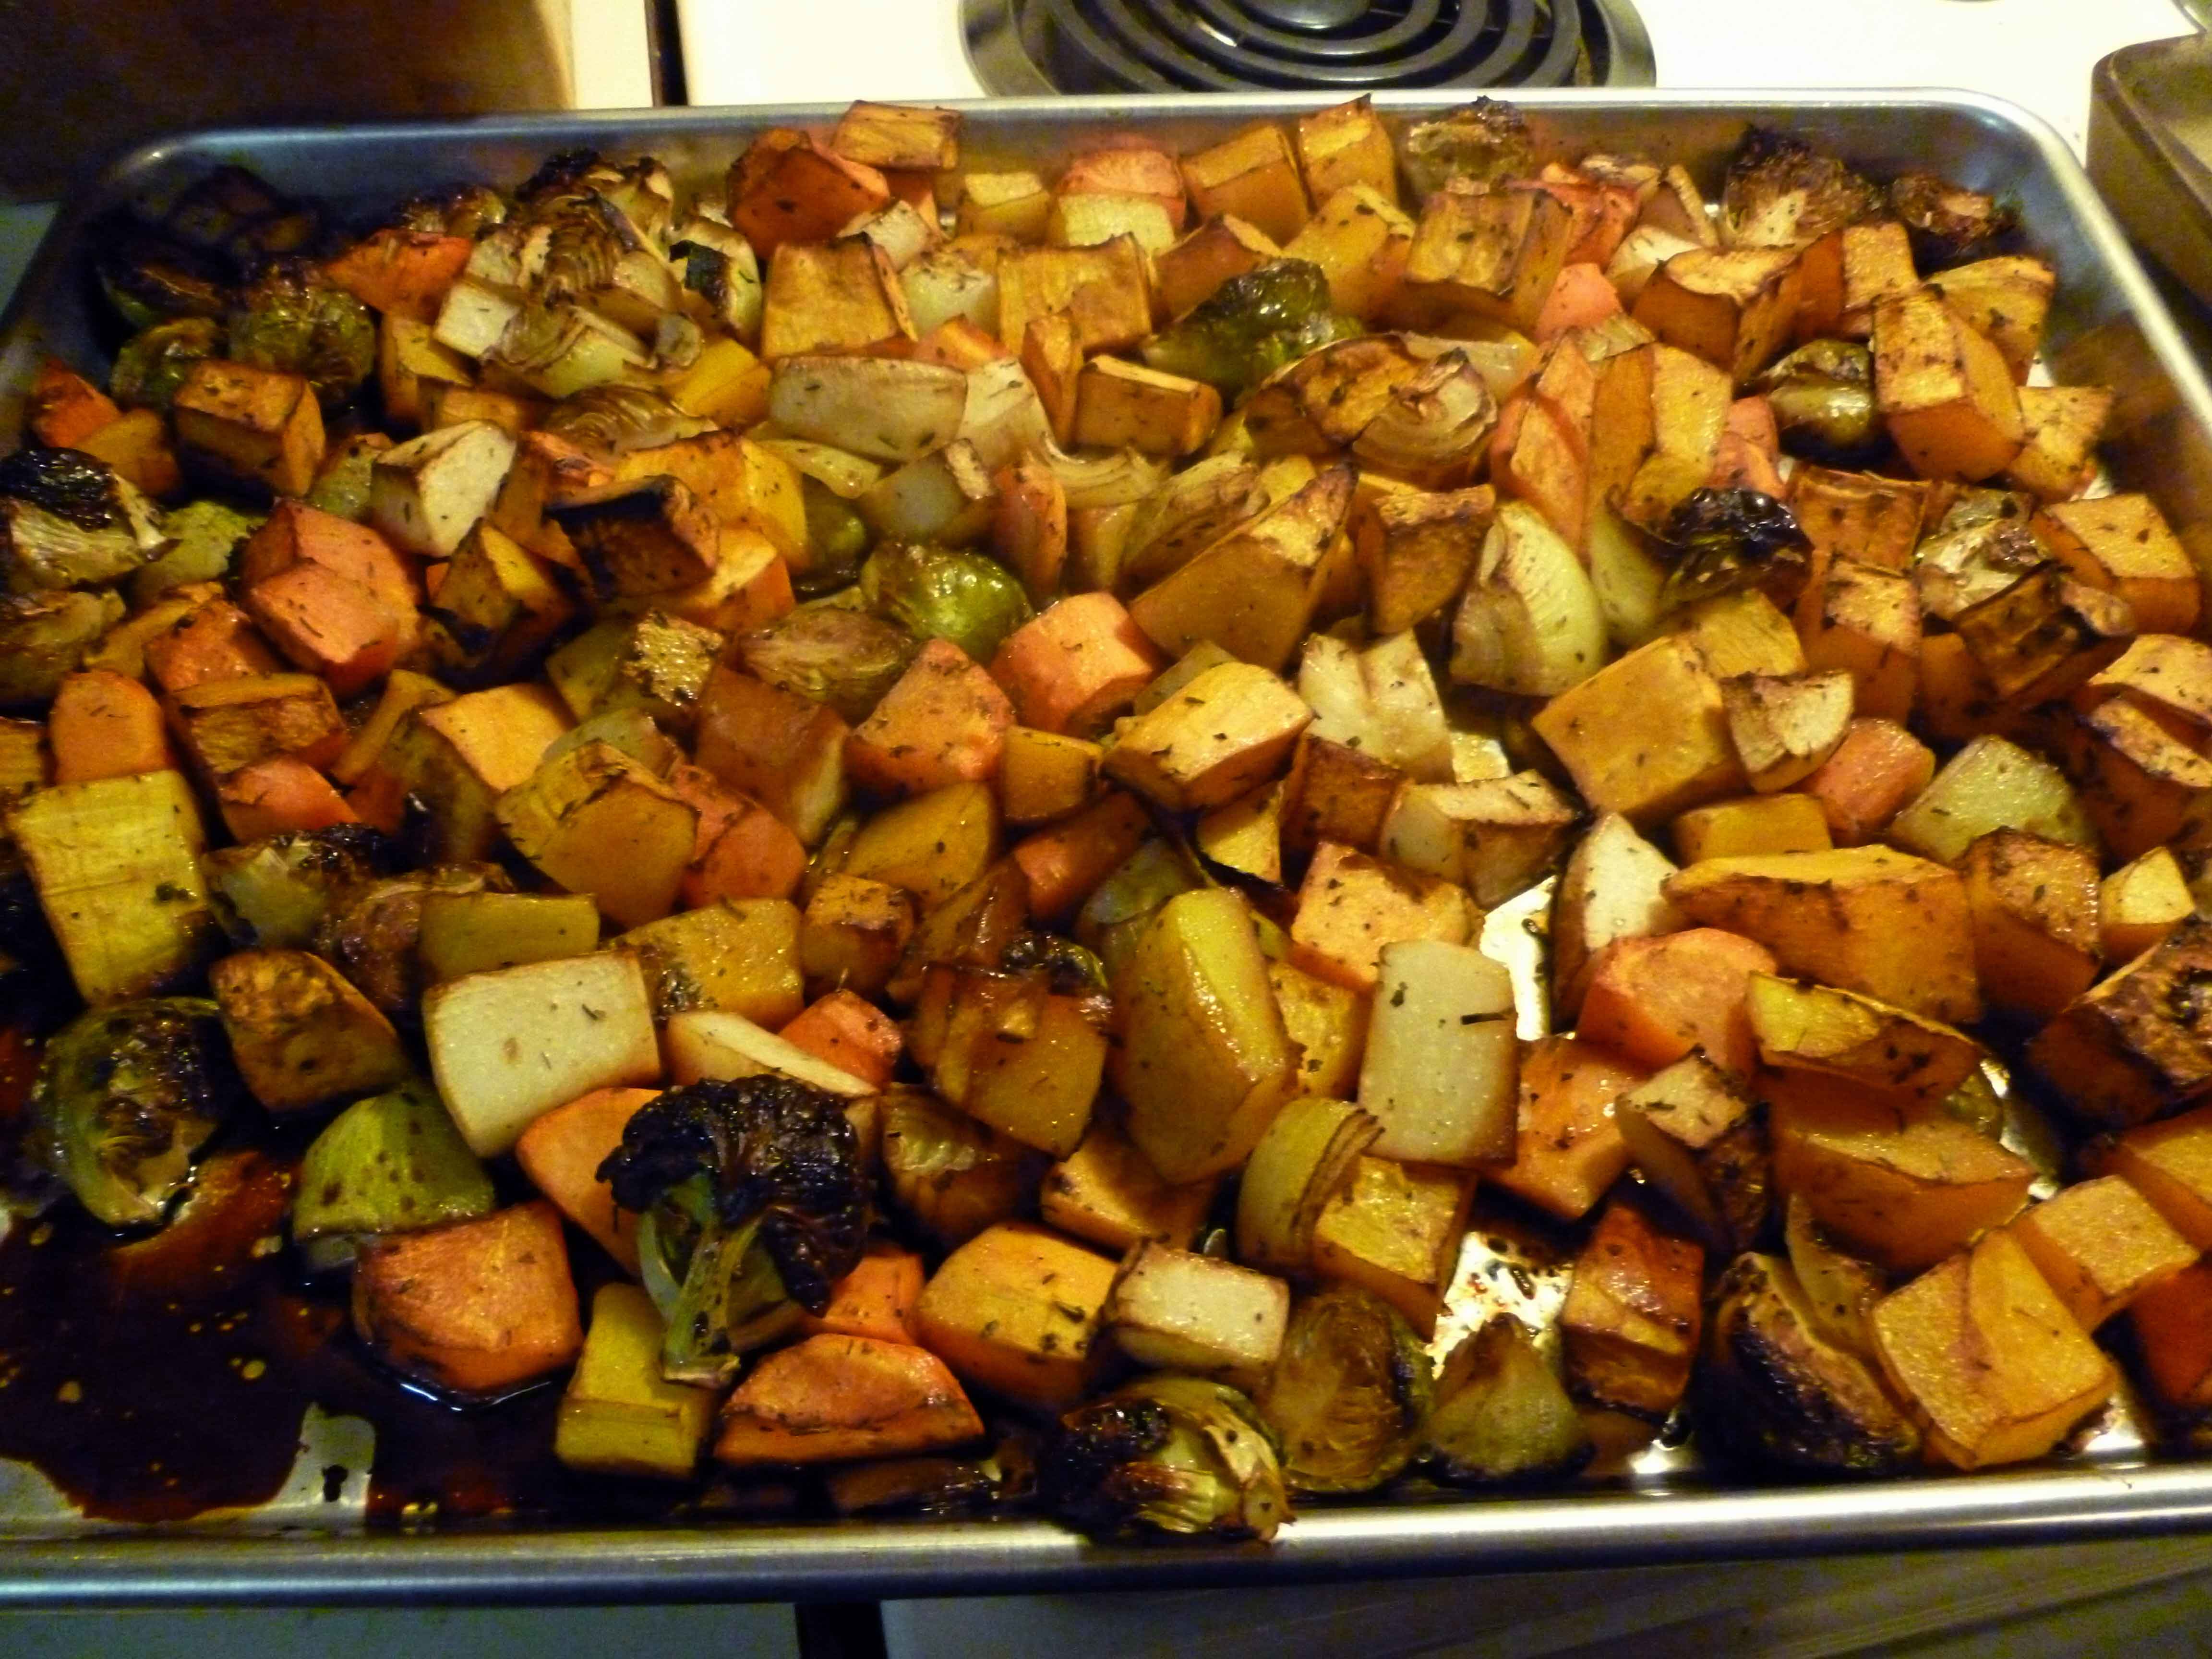
Place them in the oven and cook until the vegetables are tender, about 45 minutes to an hour depending on how large your pieces are. You might want to test them with a fork.
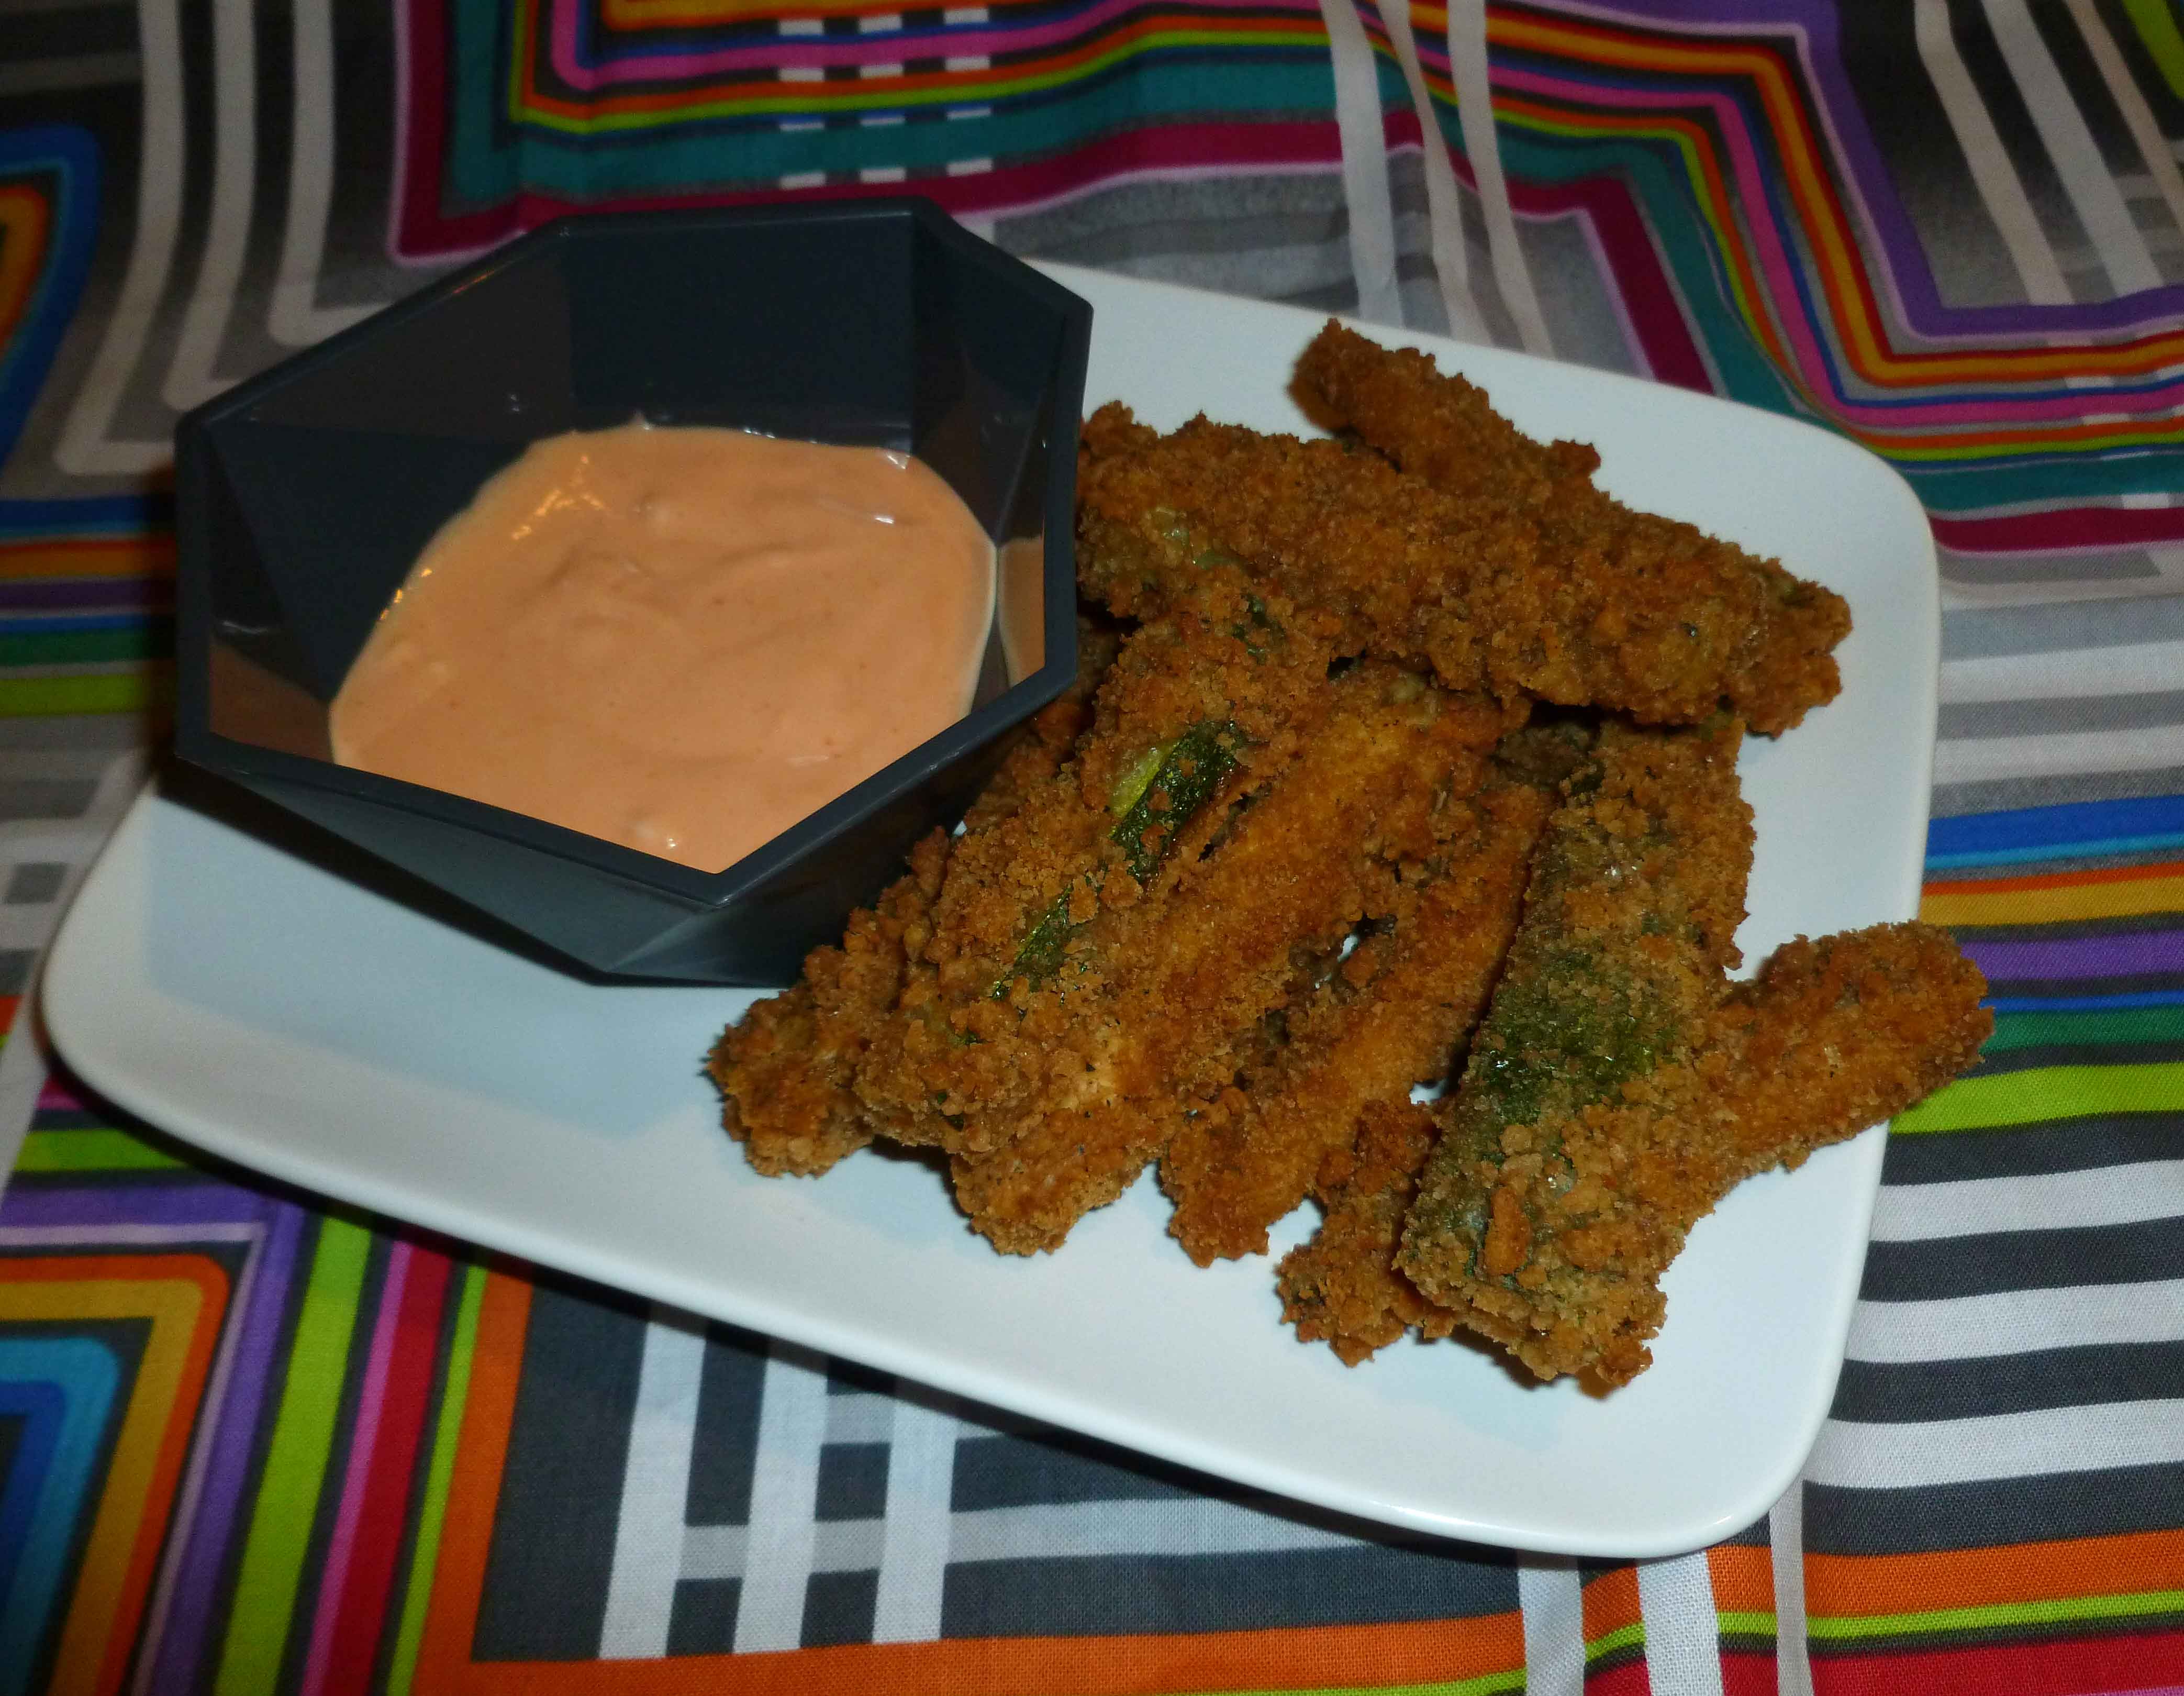
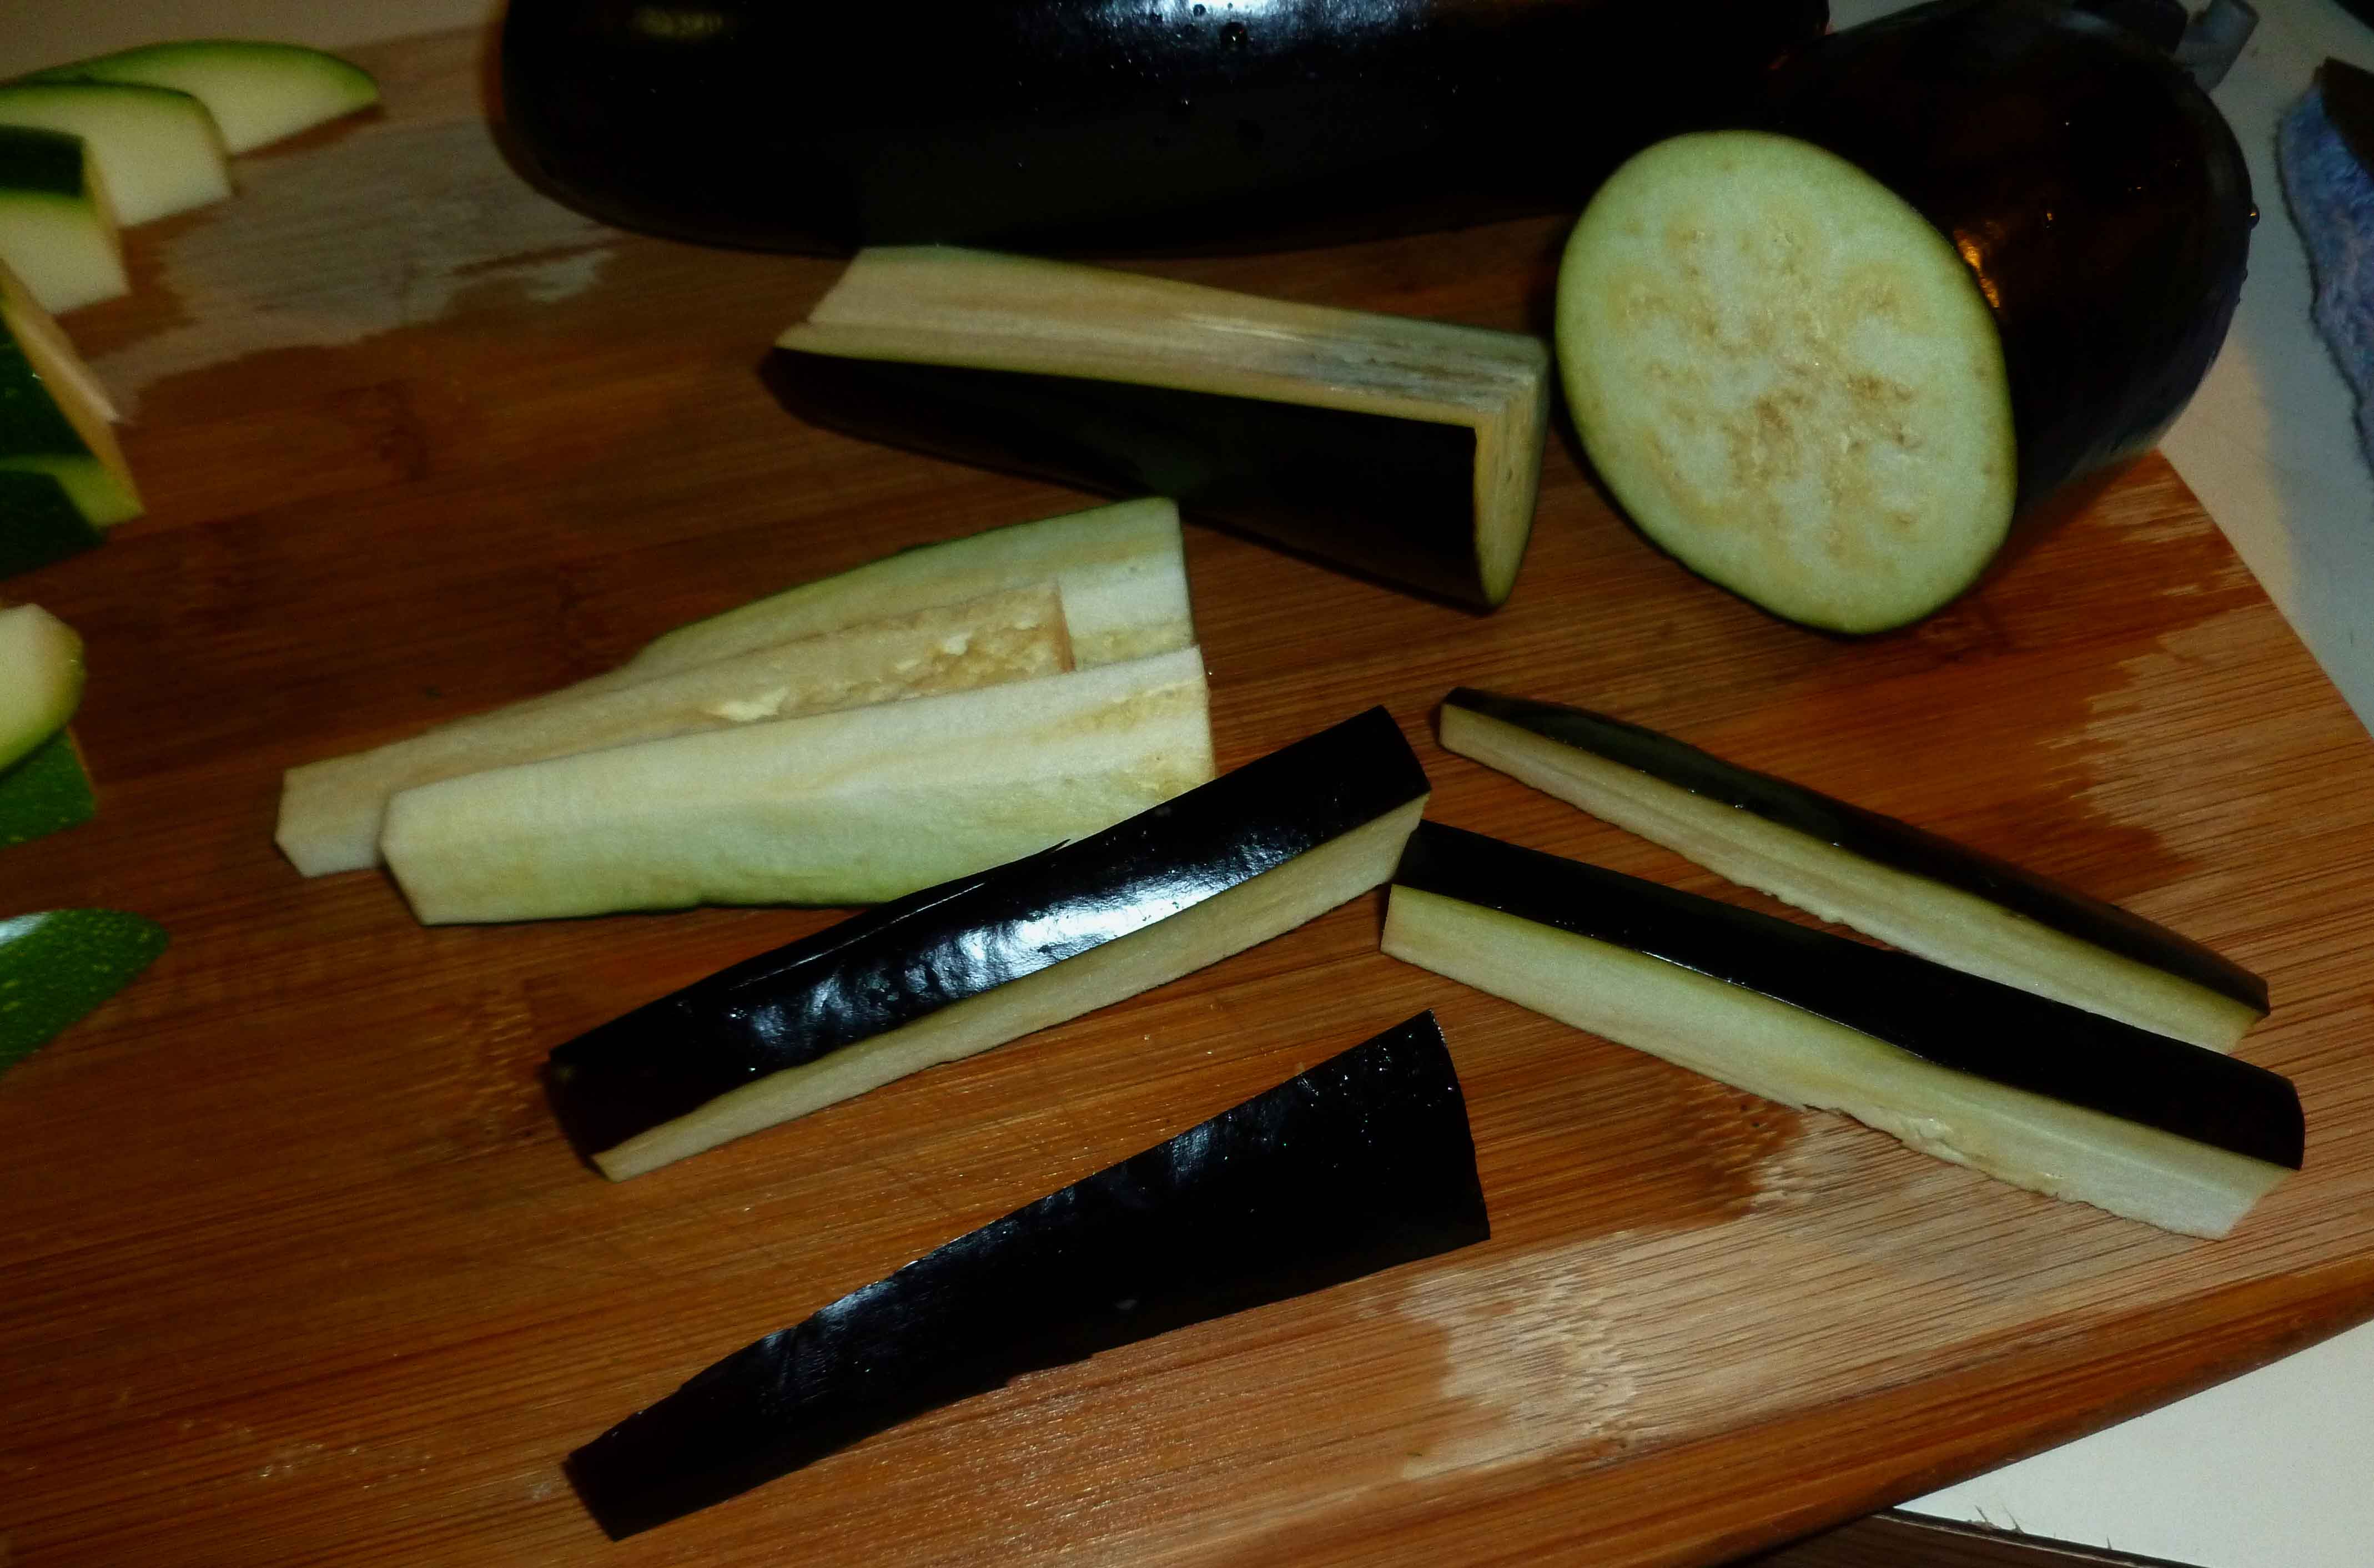
Baked Eggplant and Zucchini Fries with Spicy Mayo Dipping Sauce
So my friend Mary, the kale whisper, managed to procure about 5 pounds of eggplants for me, or, in other words, a crap ton of eggplants, from her neighbor’s garden. Because she’s just that awesome and cool. So I made and canned 5 pints of Eggplant Caponata and 6 quarts of a version of Ratatouille, but I still had some eggplant and zucchini left. So I decided to try this recipe from the Gourmande in the Kitchen, but make it dairy, egg, and almond free too, since I’m allergic to all those things, and use up the zucchini.
Baked Eggplant and Zucchini Fries with Spicy Mayo Dipping Sauce
1 small eggplant about 7 inches long, sliced into pieces about 3 inches long and about 1/3 of an inch thick
1 small zucchini about 7 inches long, sliced into pieces about 3 inches long and about 1/3 of an inch thick
First dry dredge:
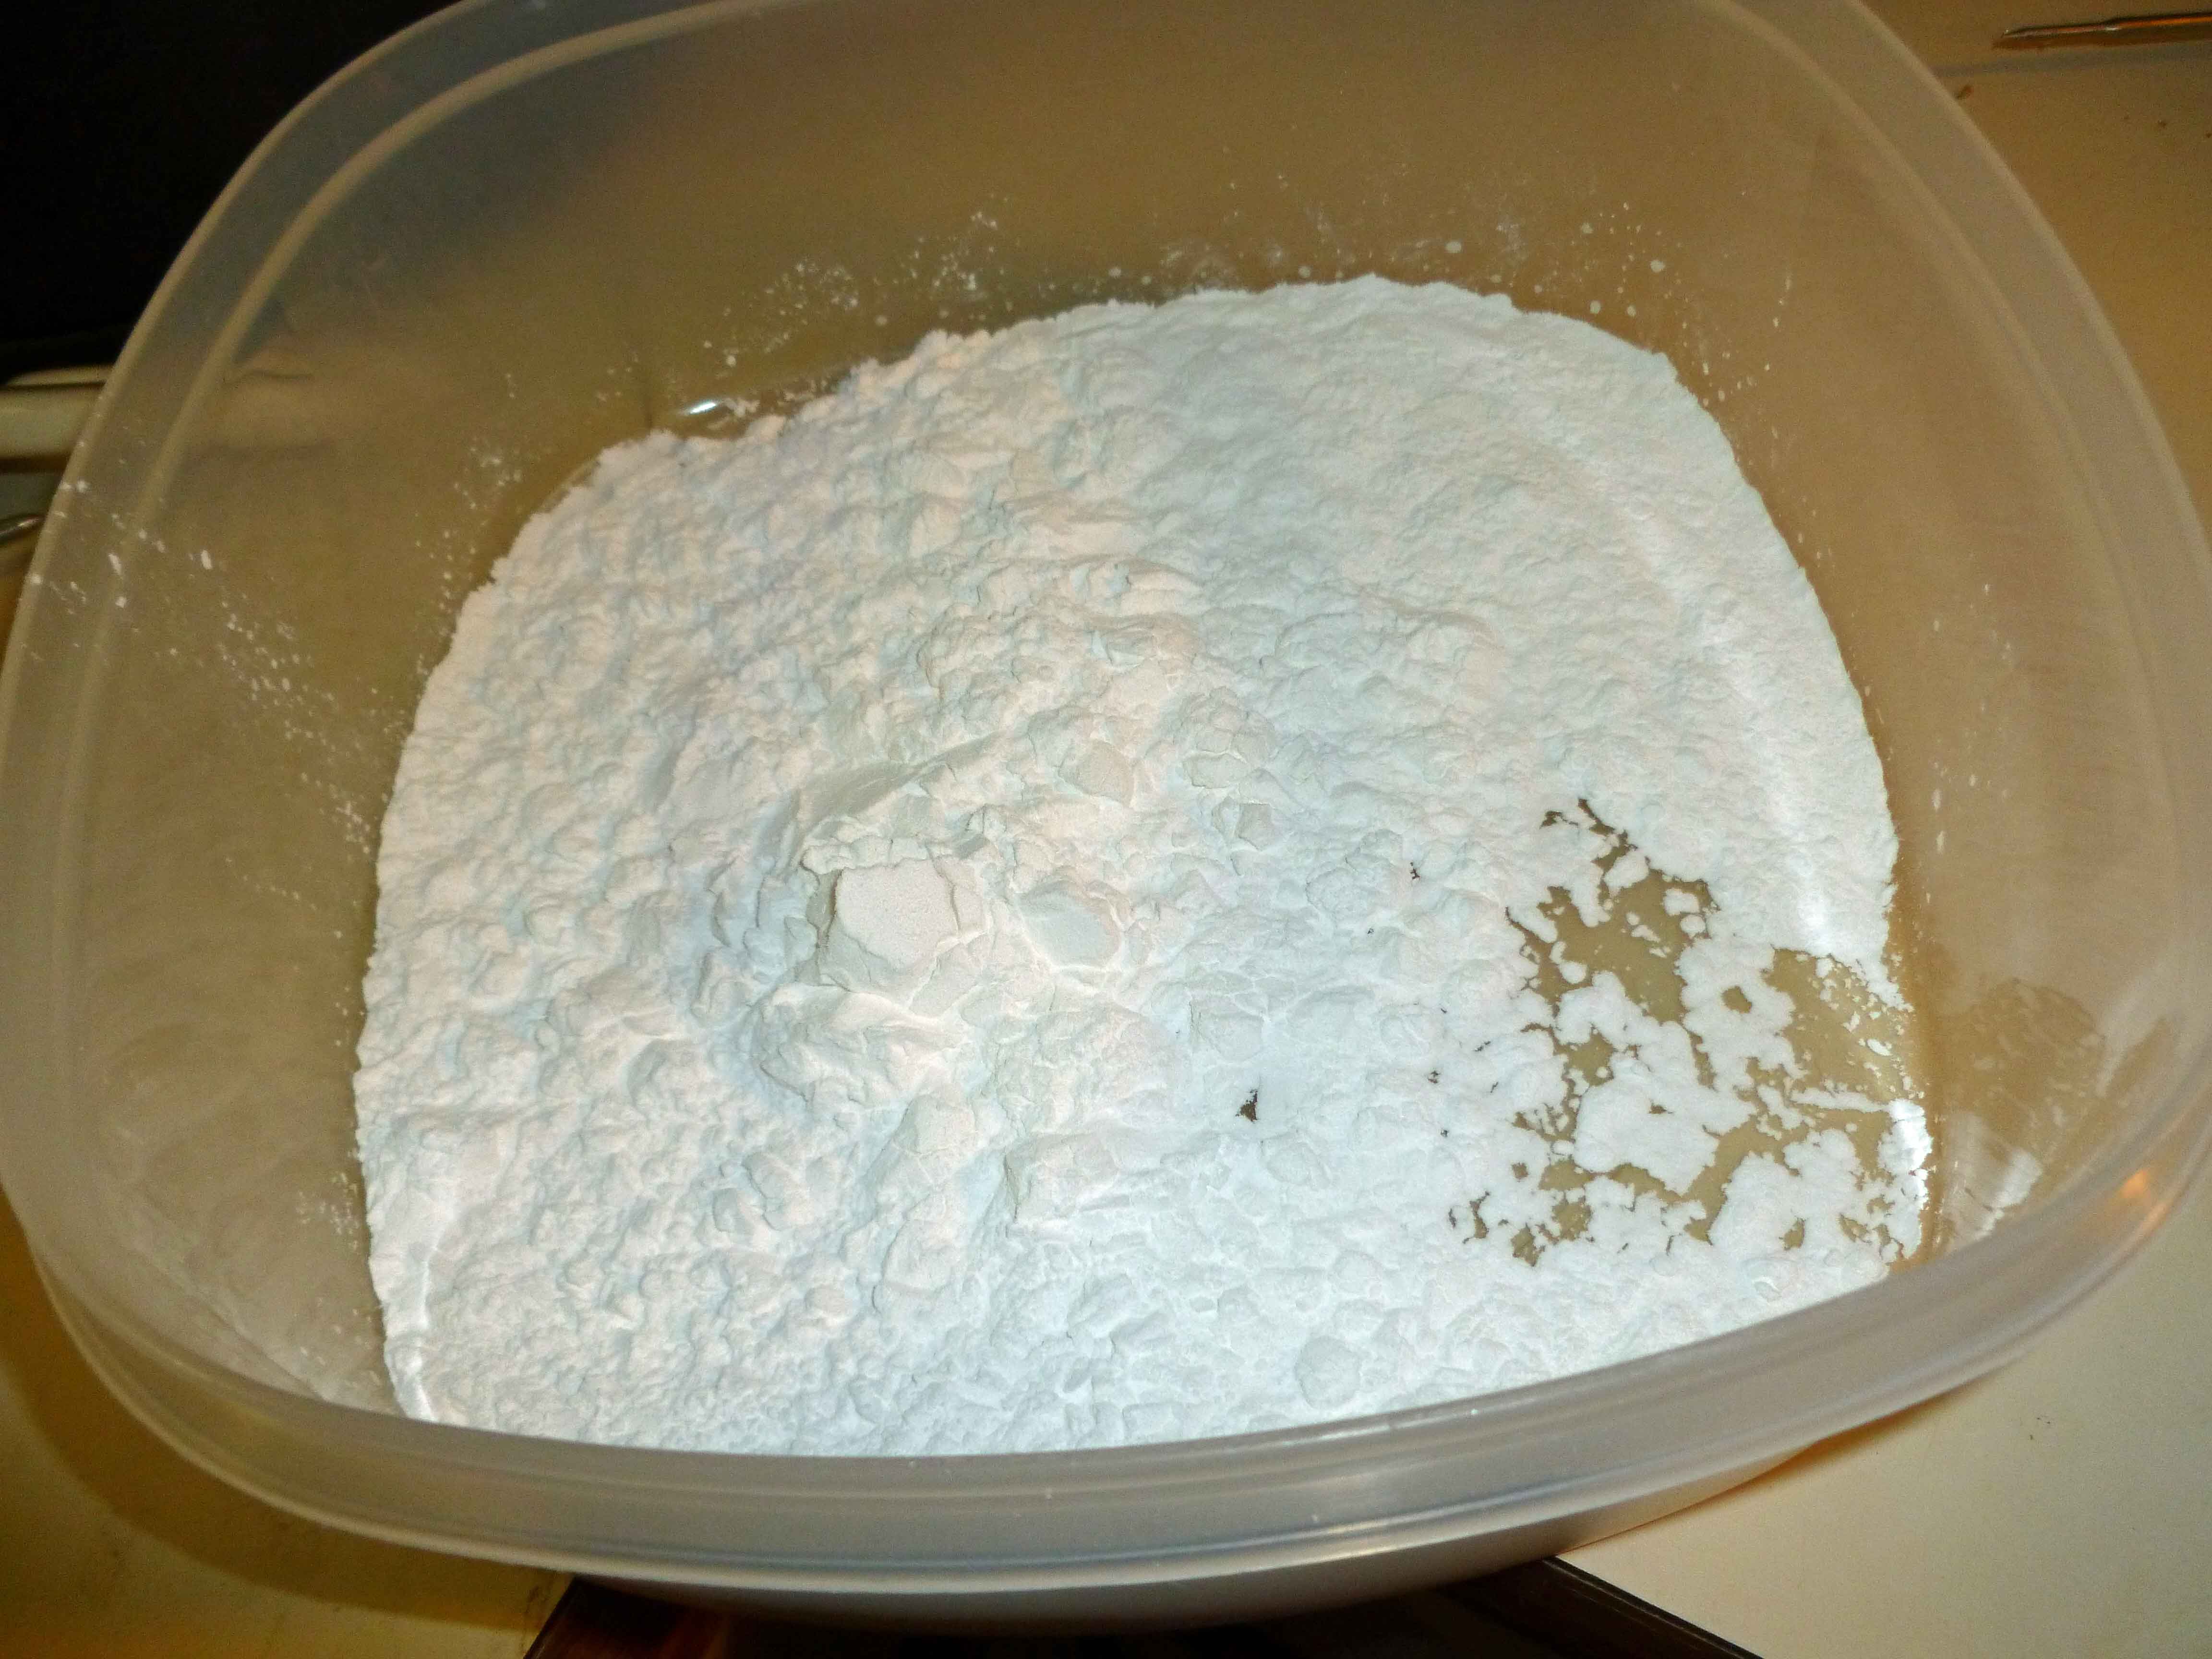
1/2 cup of arrowroot starch (you could also use tapioca or corn starch, but corn is out for me, since I’m allergic to it)
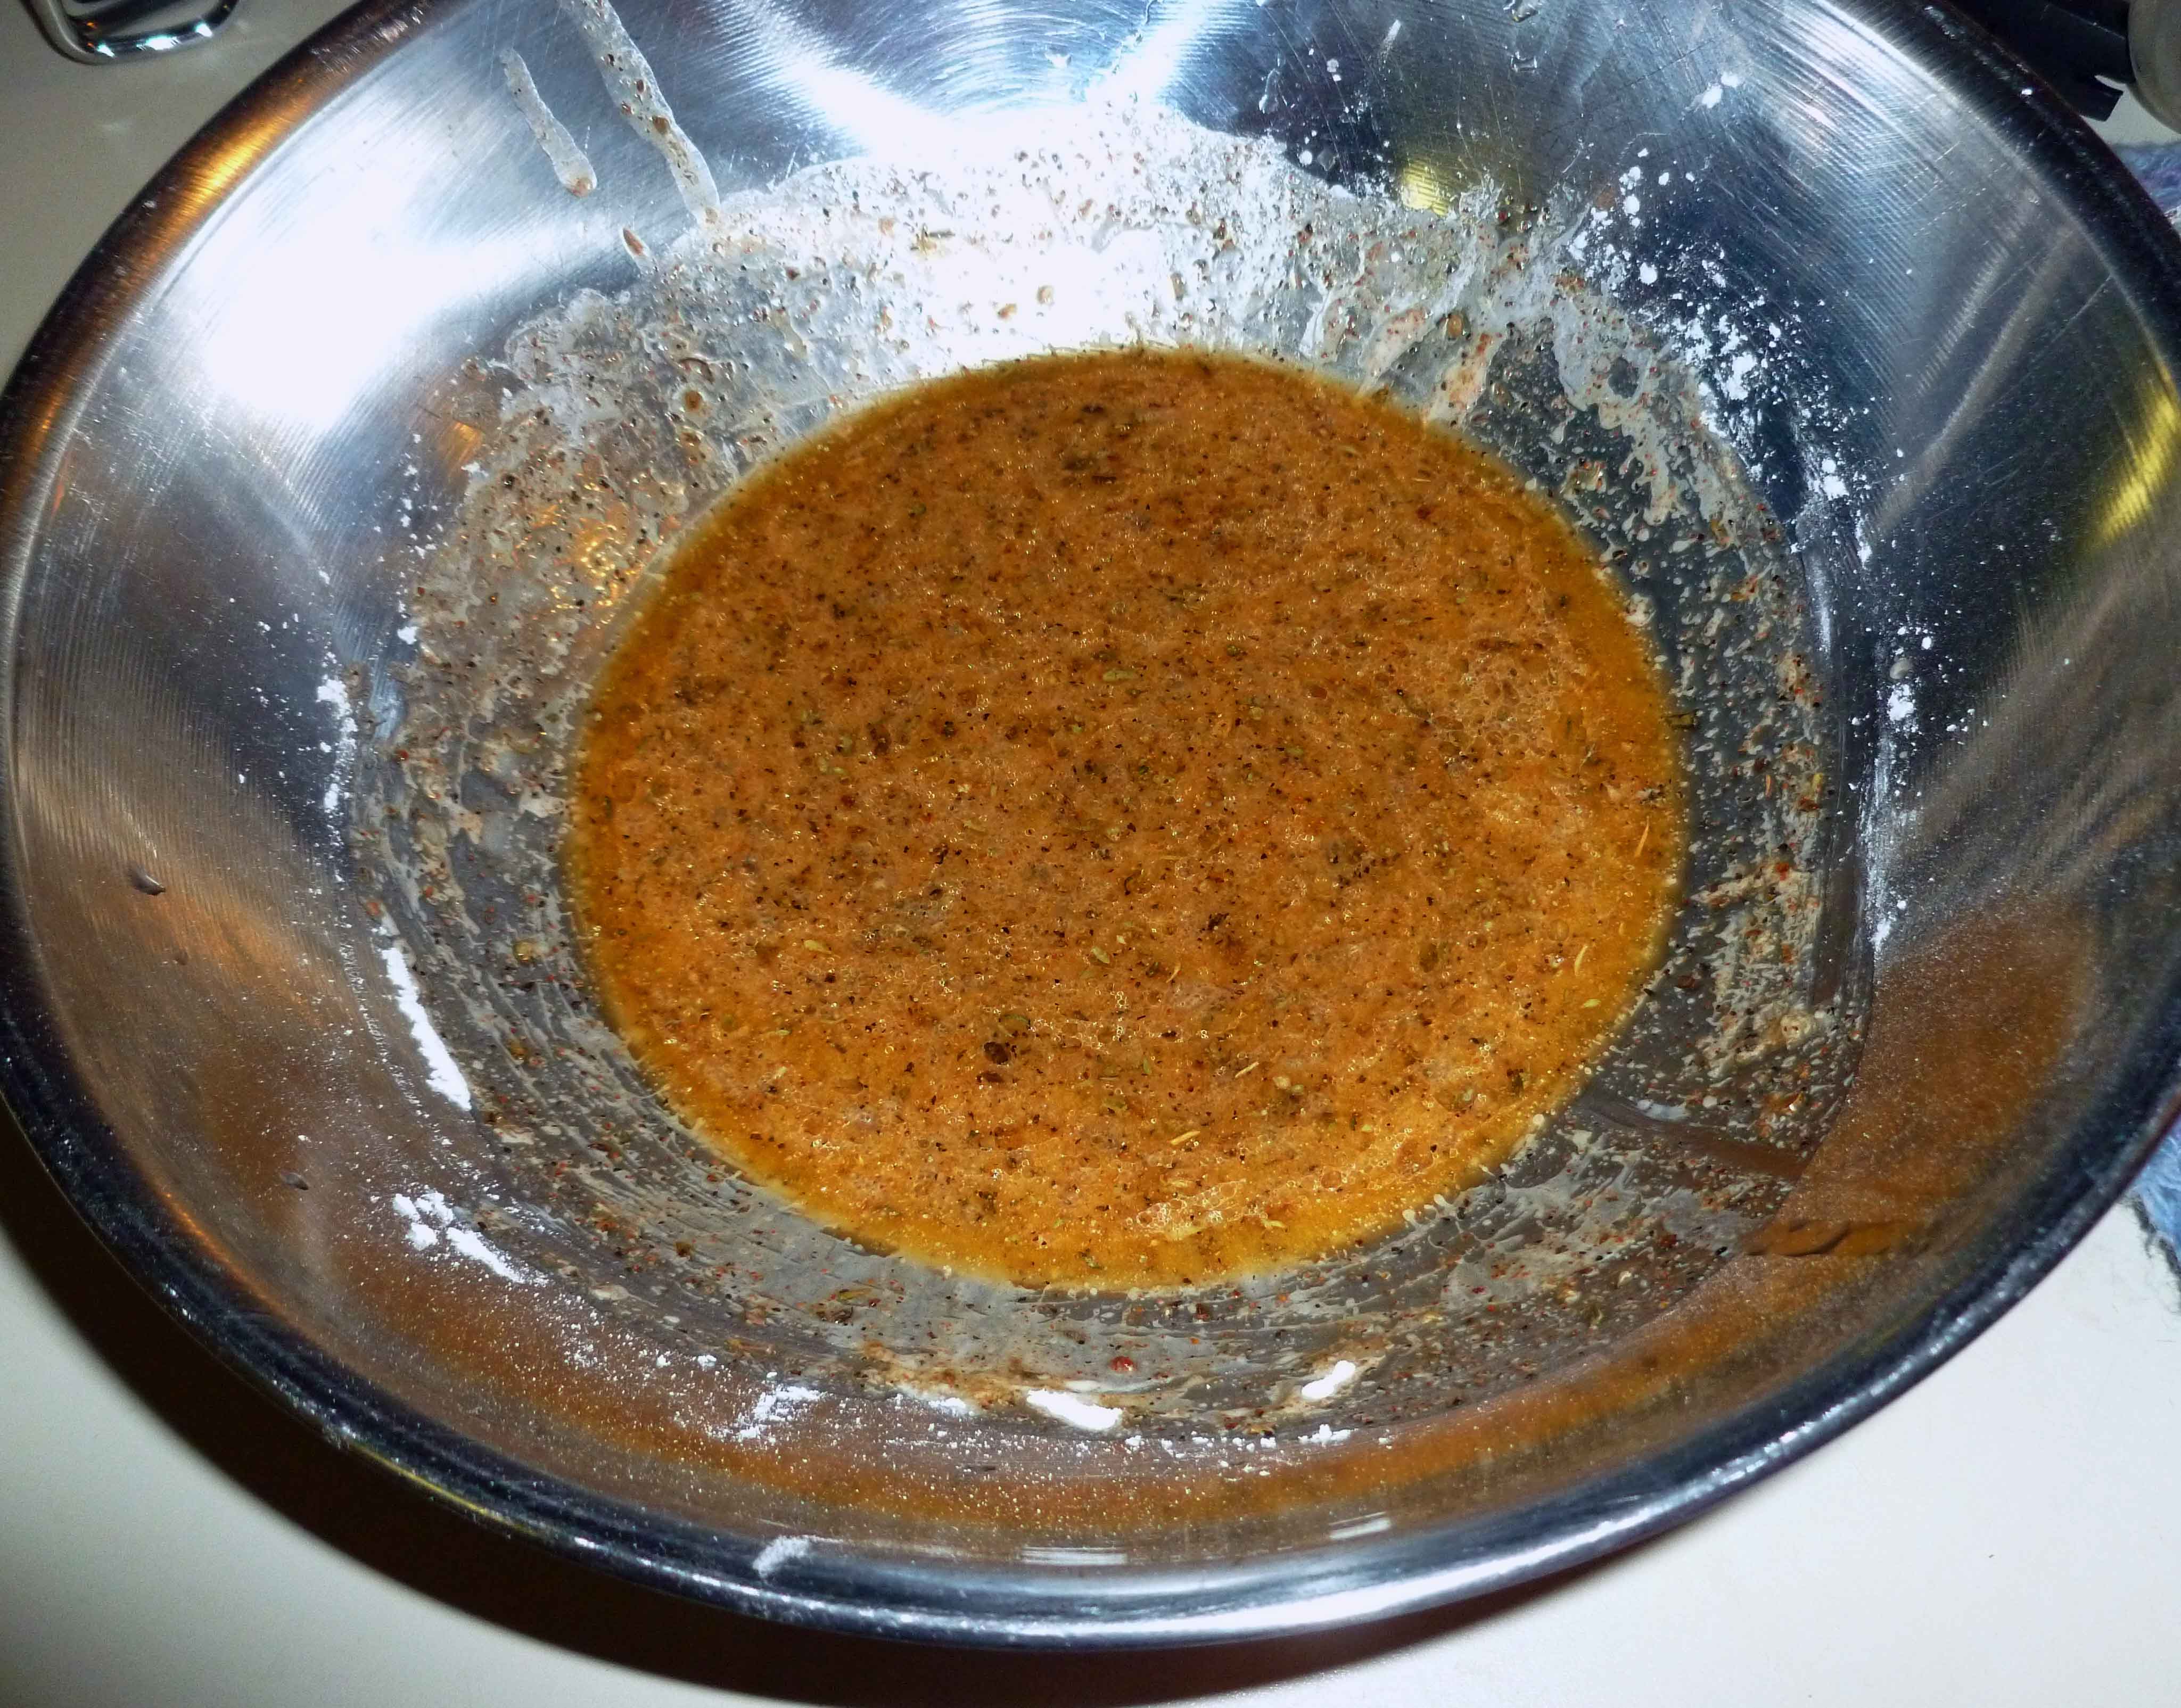
Second wet dredge:
2 Tablespoons of safe Adobo seasoning (If you don’t have Adobo seasoning, mix 1/8 cup of paprika, 1 1/2 Tablespoons of ground black pepper, 1 Tablespoon of onion powder, 1 Tablespoon of dried oregano, 1 Tablespoon of ground cumin, 1/2 Tablespoon of ground chipotle, and 1/2 Tablespoon of garlic powder, this makes half a cup of seasoning).
2 teaspoons of salt
1/3 of a cup of arrowroot starch
1/3 of a cup of olive oil
2/3 of a cup of water
Third dry dredge:
2 cups of gluten free bread crumbs
Spicy Mayo Dipping Sauce:
1/2 cup of Earth Balance Mindful Mayo (or other mayo that’s safe for you)
1 Tablespoon of Sriracha, or your other favorite hot sauce
Preheat your oven to 425°F. Place a piece of parchment paper on a baking sheet and use an oil mister to spray the parchment paper. You can skip the parchment paper, and just spray oil on the baking sheet, but it will be easier to clean up.
Wash, trim and slice your zucchini and eggplant into pieces about 3 inches long and about a 1/3 of an inch thick.
Sliced ZucchiniSliced Eggplants
Place the arrowroot starch for the first dry dredge in a flat bottomed container with enough room to move the pieces around to coat.
Arrowroot Starch – first dry dredge
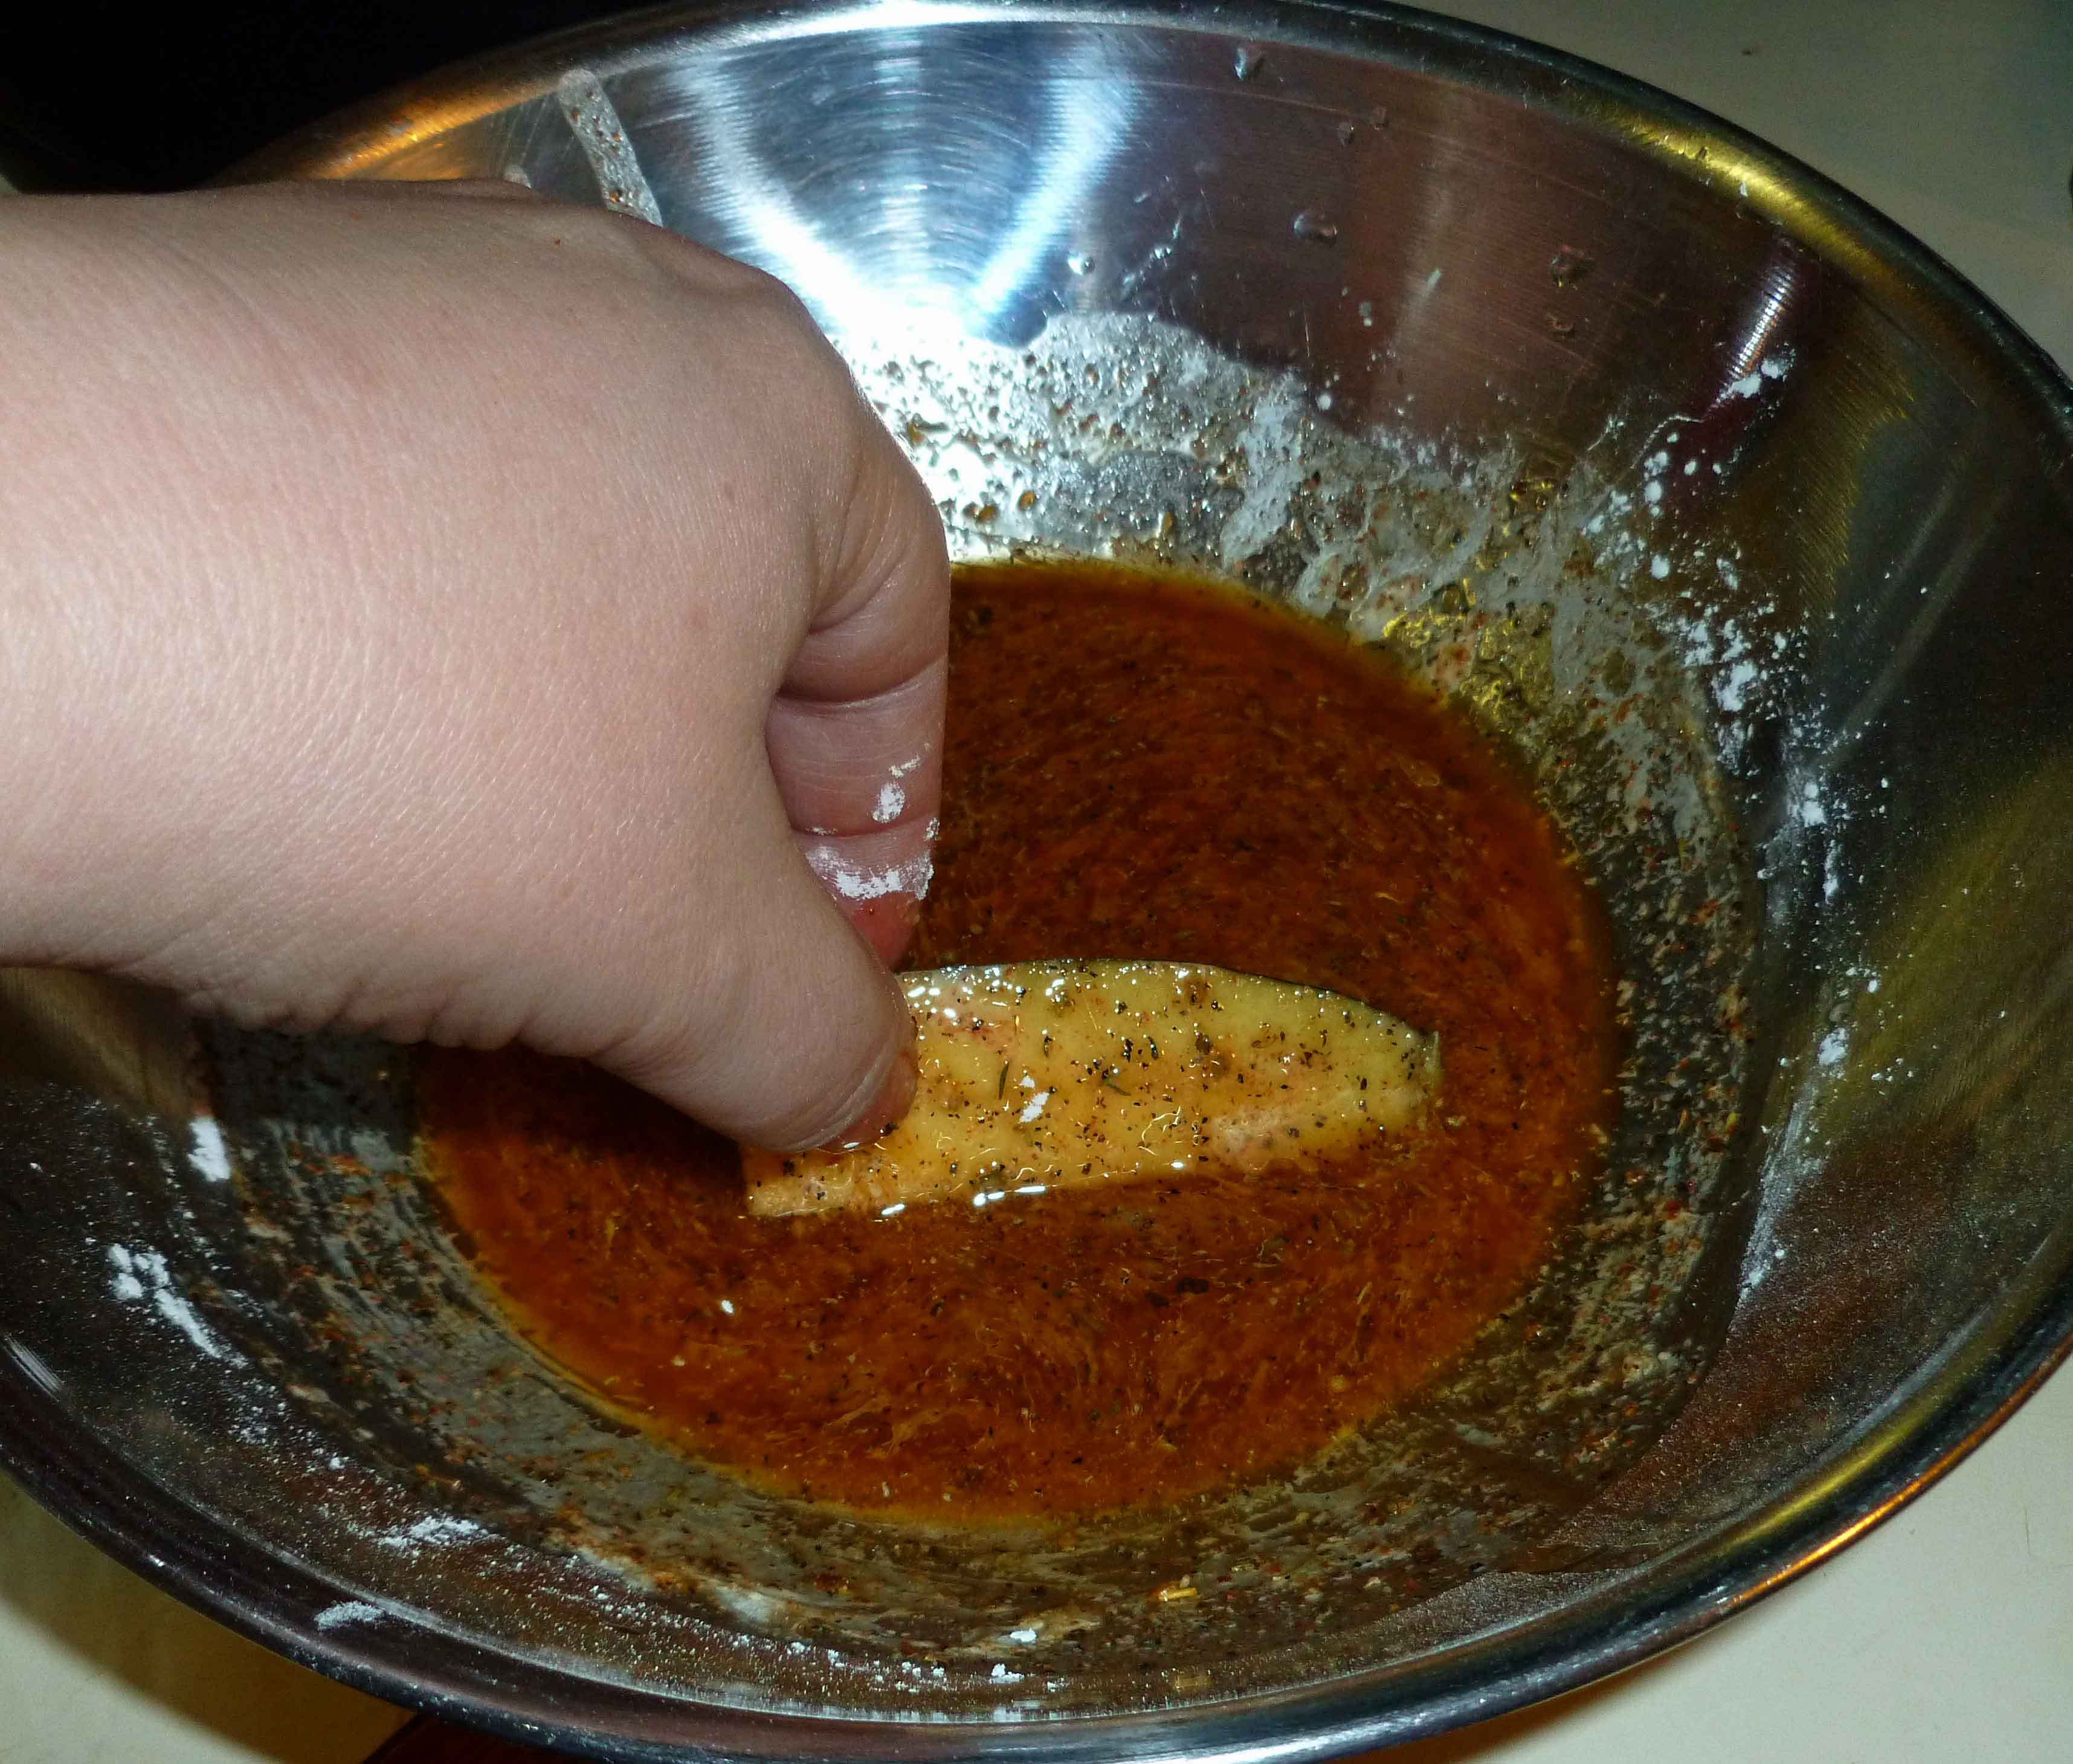
Place the ingredients for the second wet dredge in a shallow bottomed bowl and whisk them together. Make sure the bowl has enough room to move the pieces around to coat them.
Wet mixture – second dredge
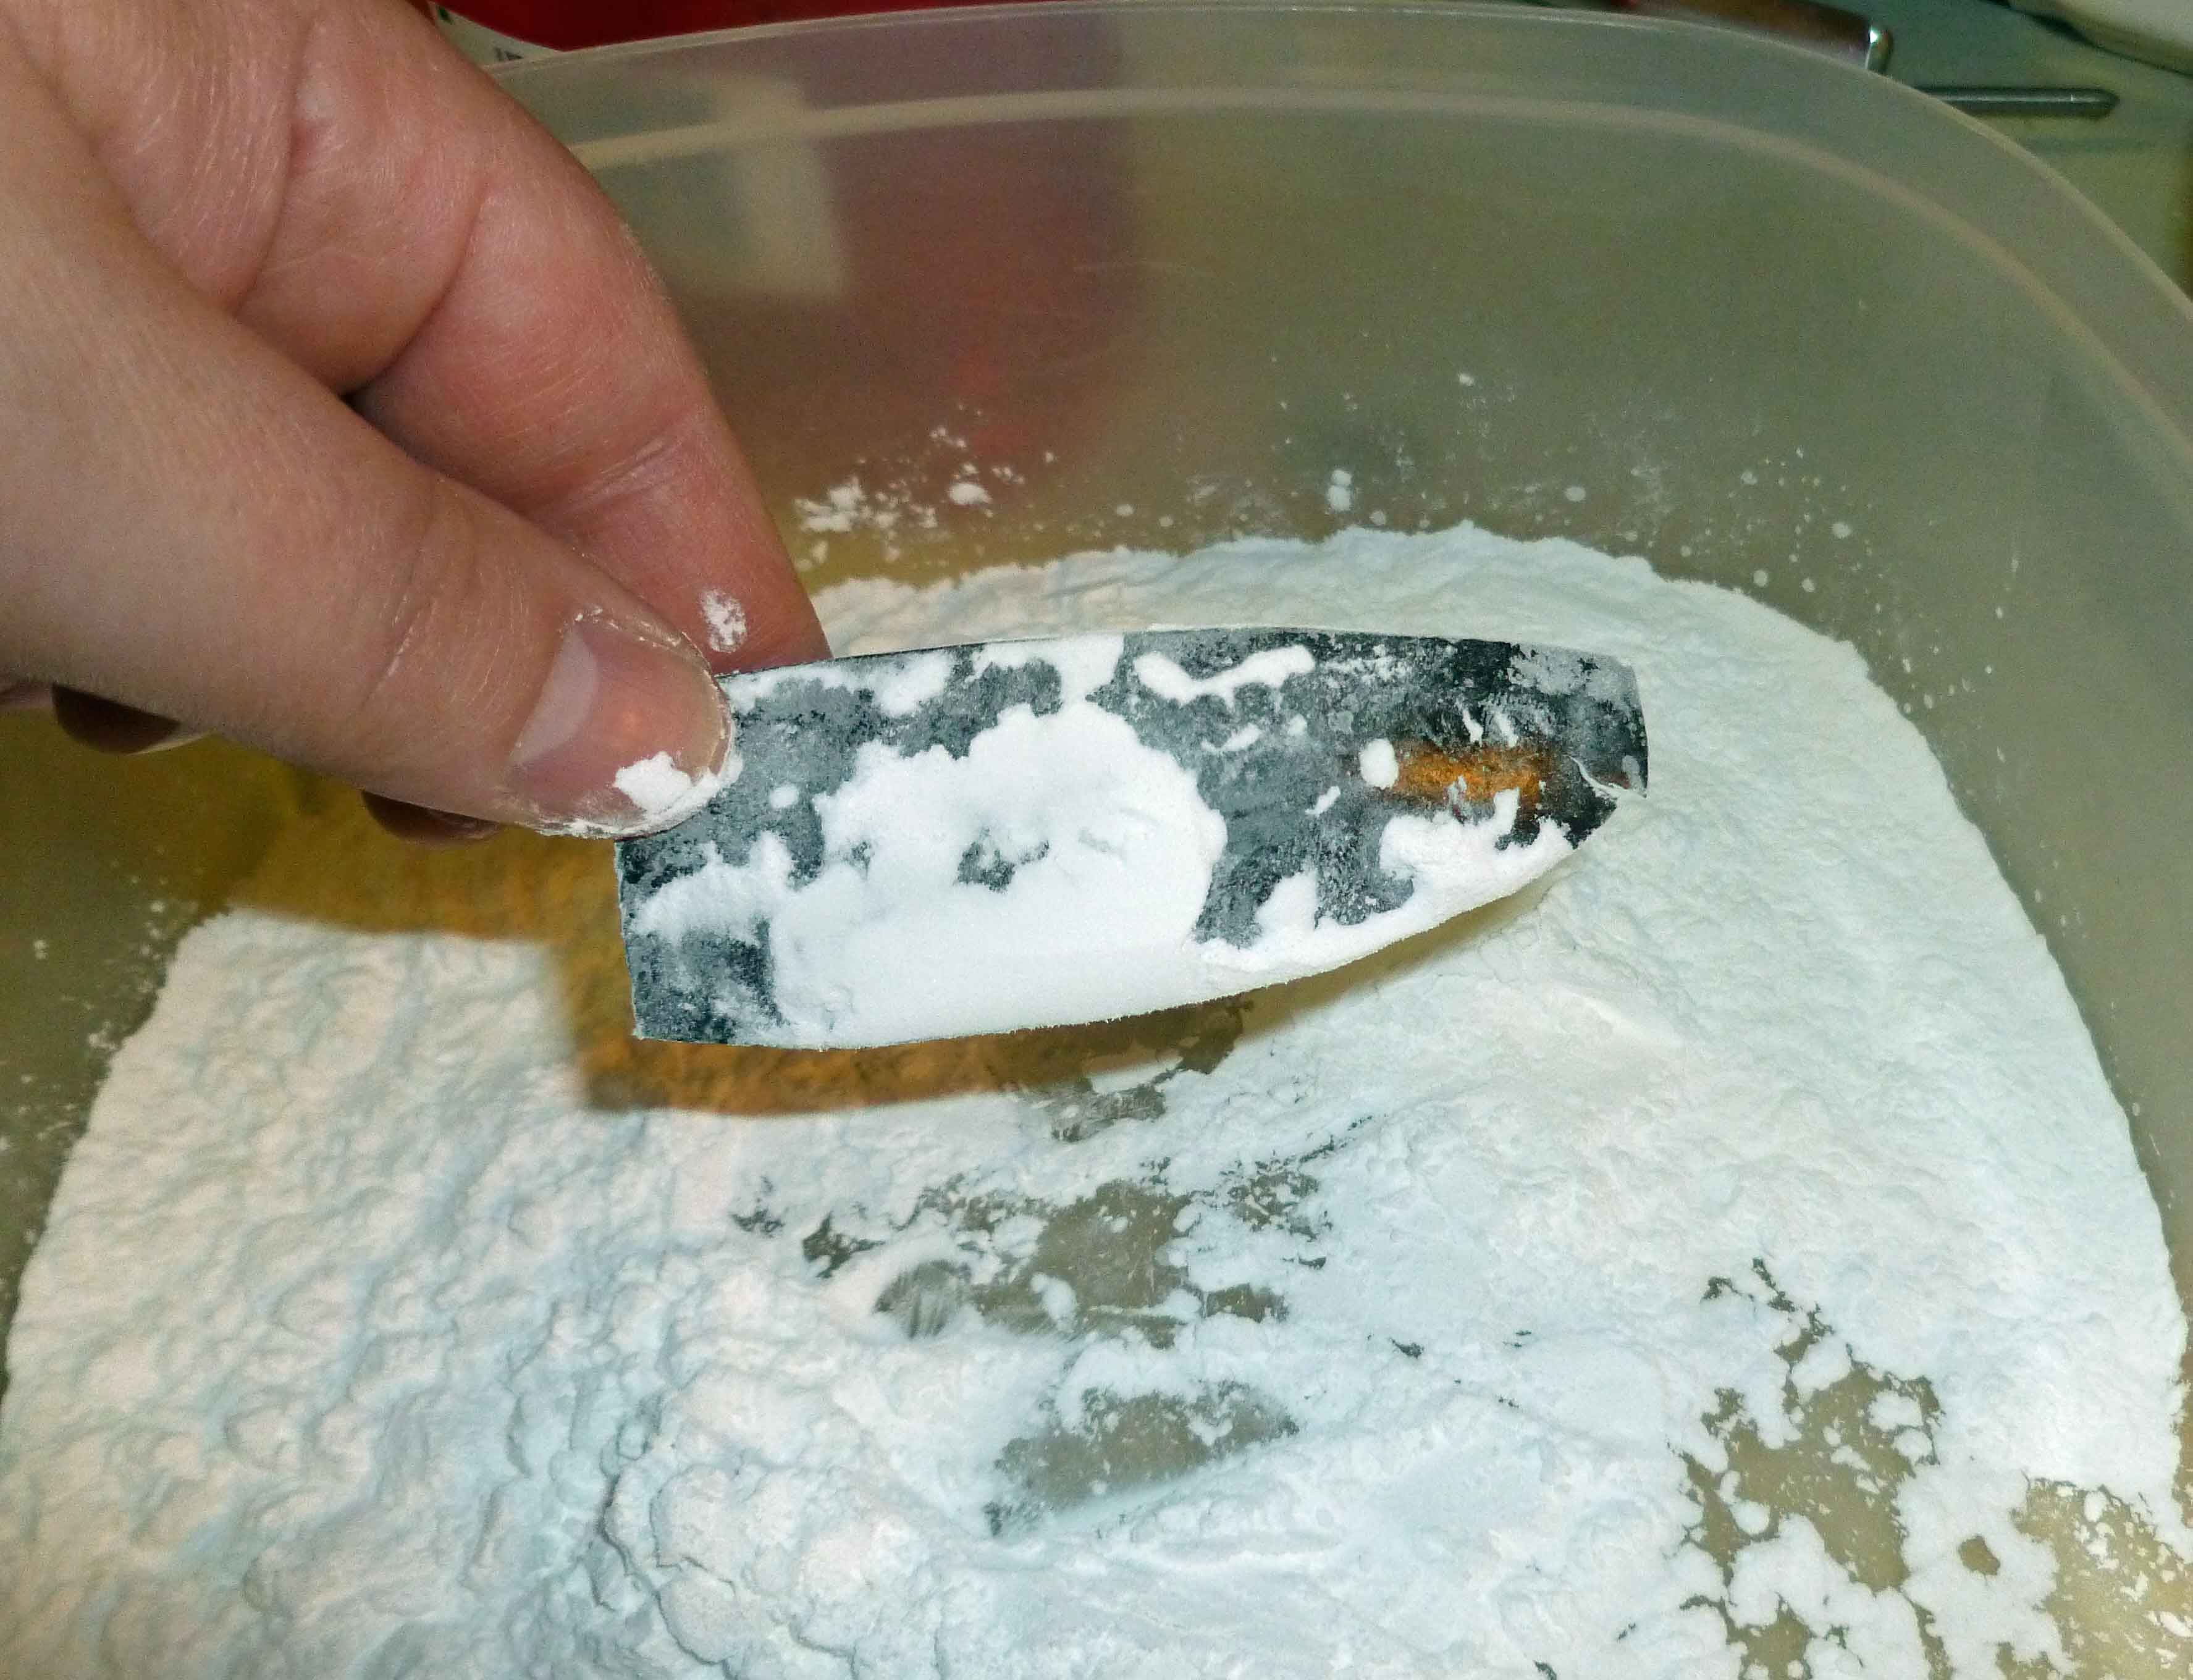
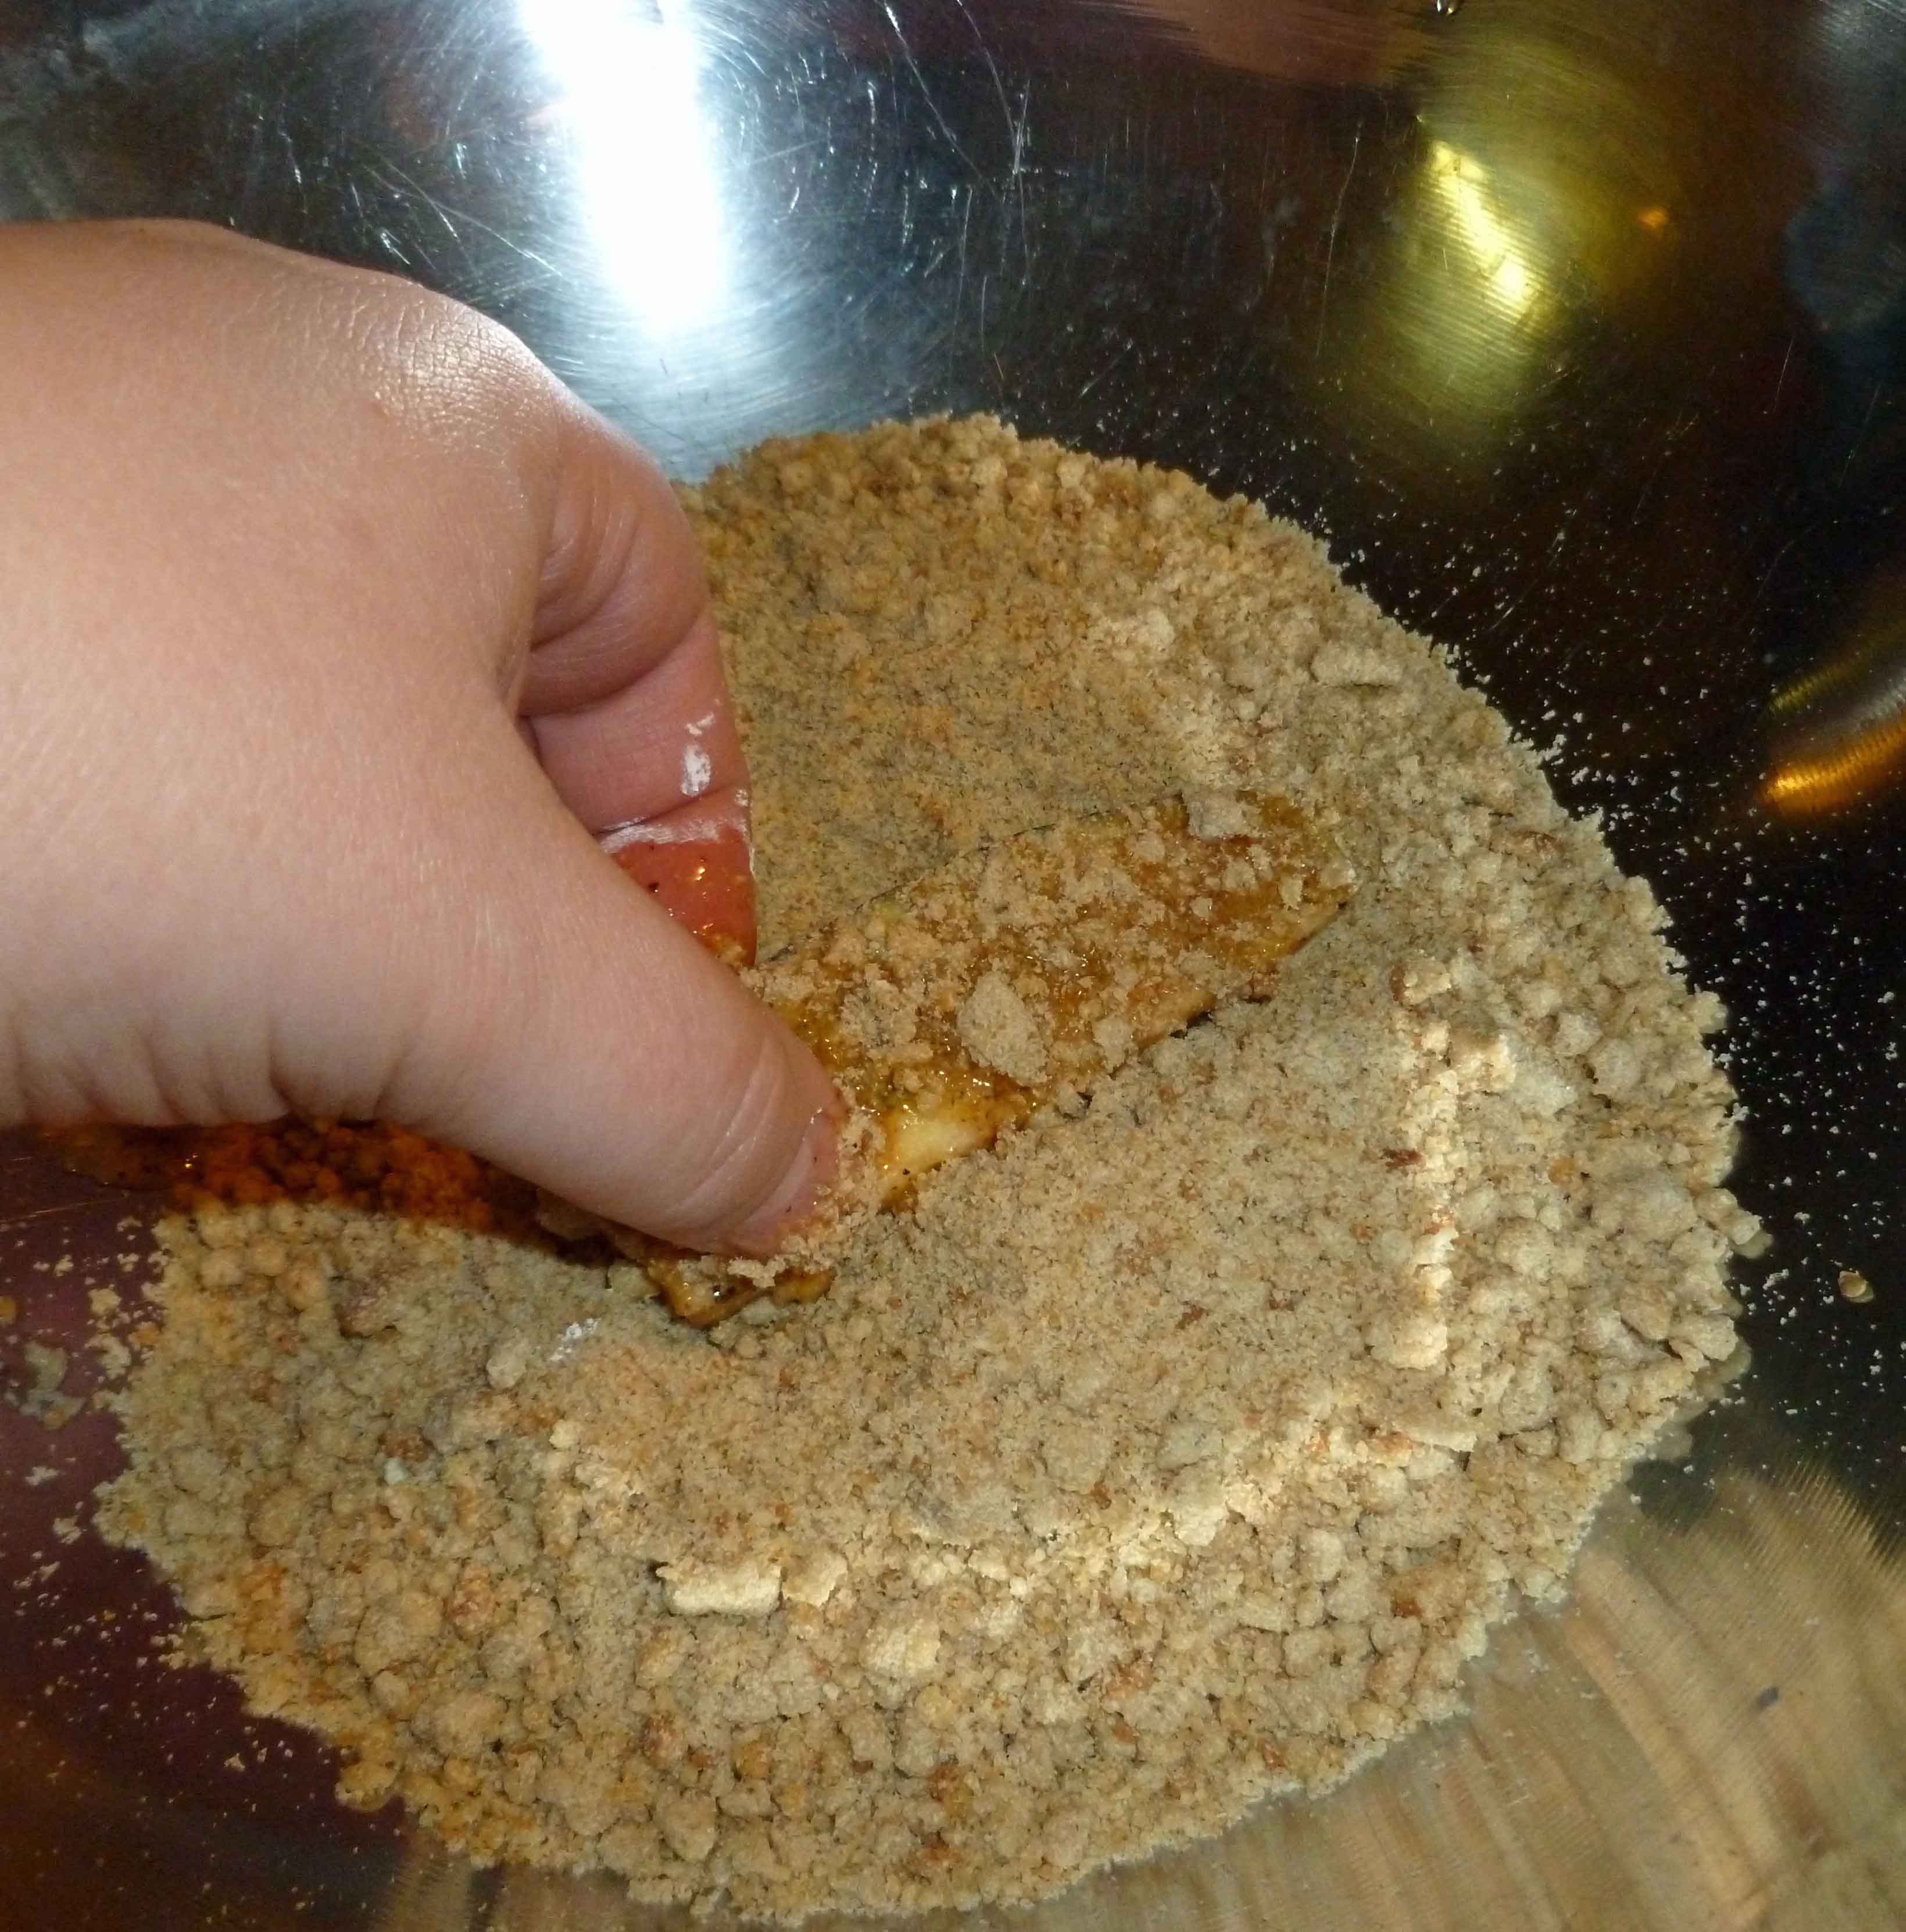
Place the bread crumbs for the third dry dredge in a container with enough room to move the pieces around to coat.
Dip each piece of zucchini or eggplant in the first dry dredge (arrowroot starch), then in the second wet dredge (arrowroot, water, oil and spices mix), then in the third dry dredge (the bread crumbs) and place them on the baking sheet.
First DredgeSecond DredgeThird Dredge
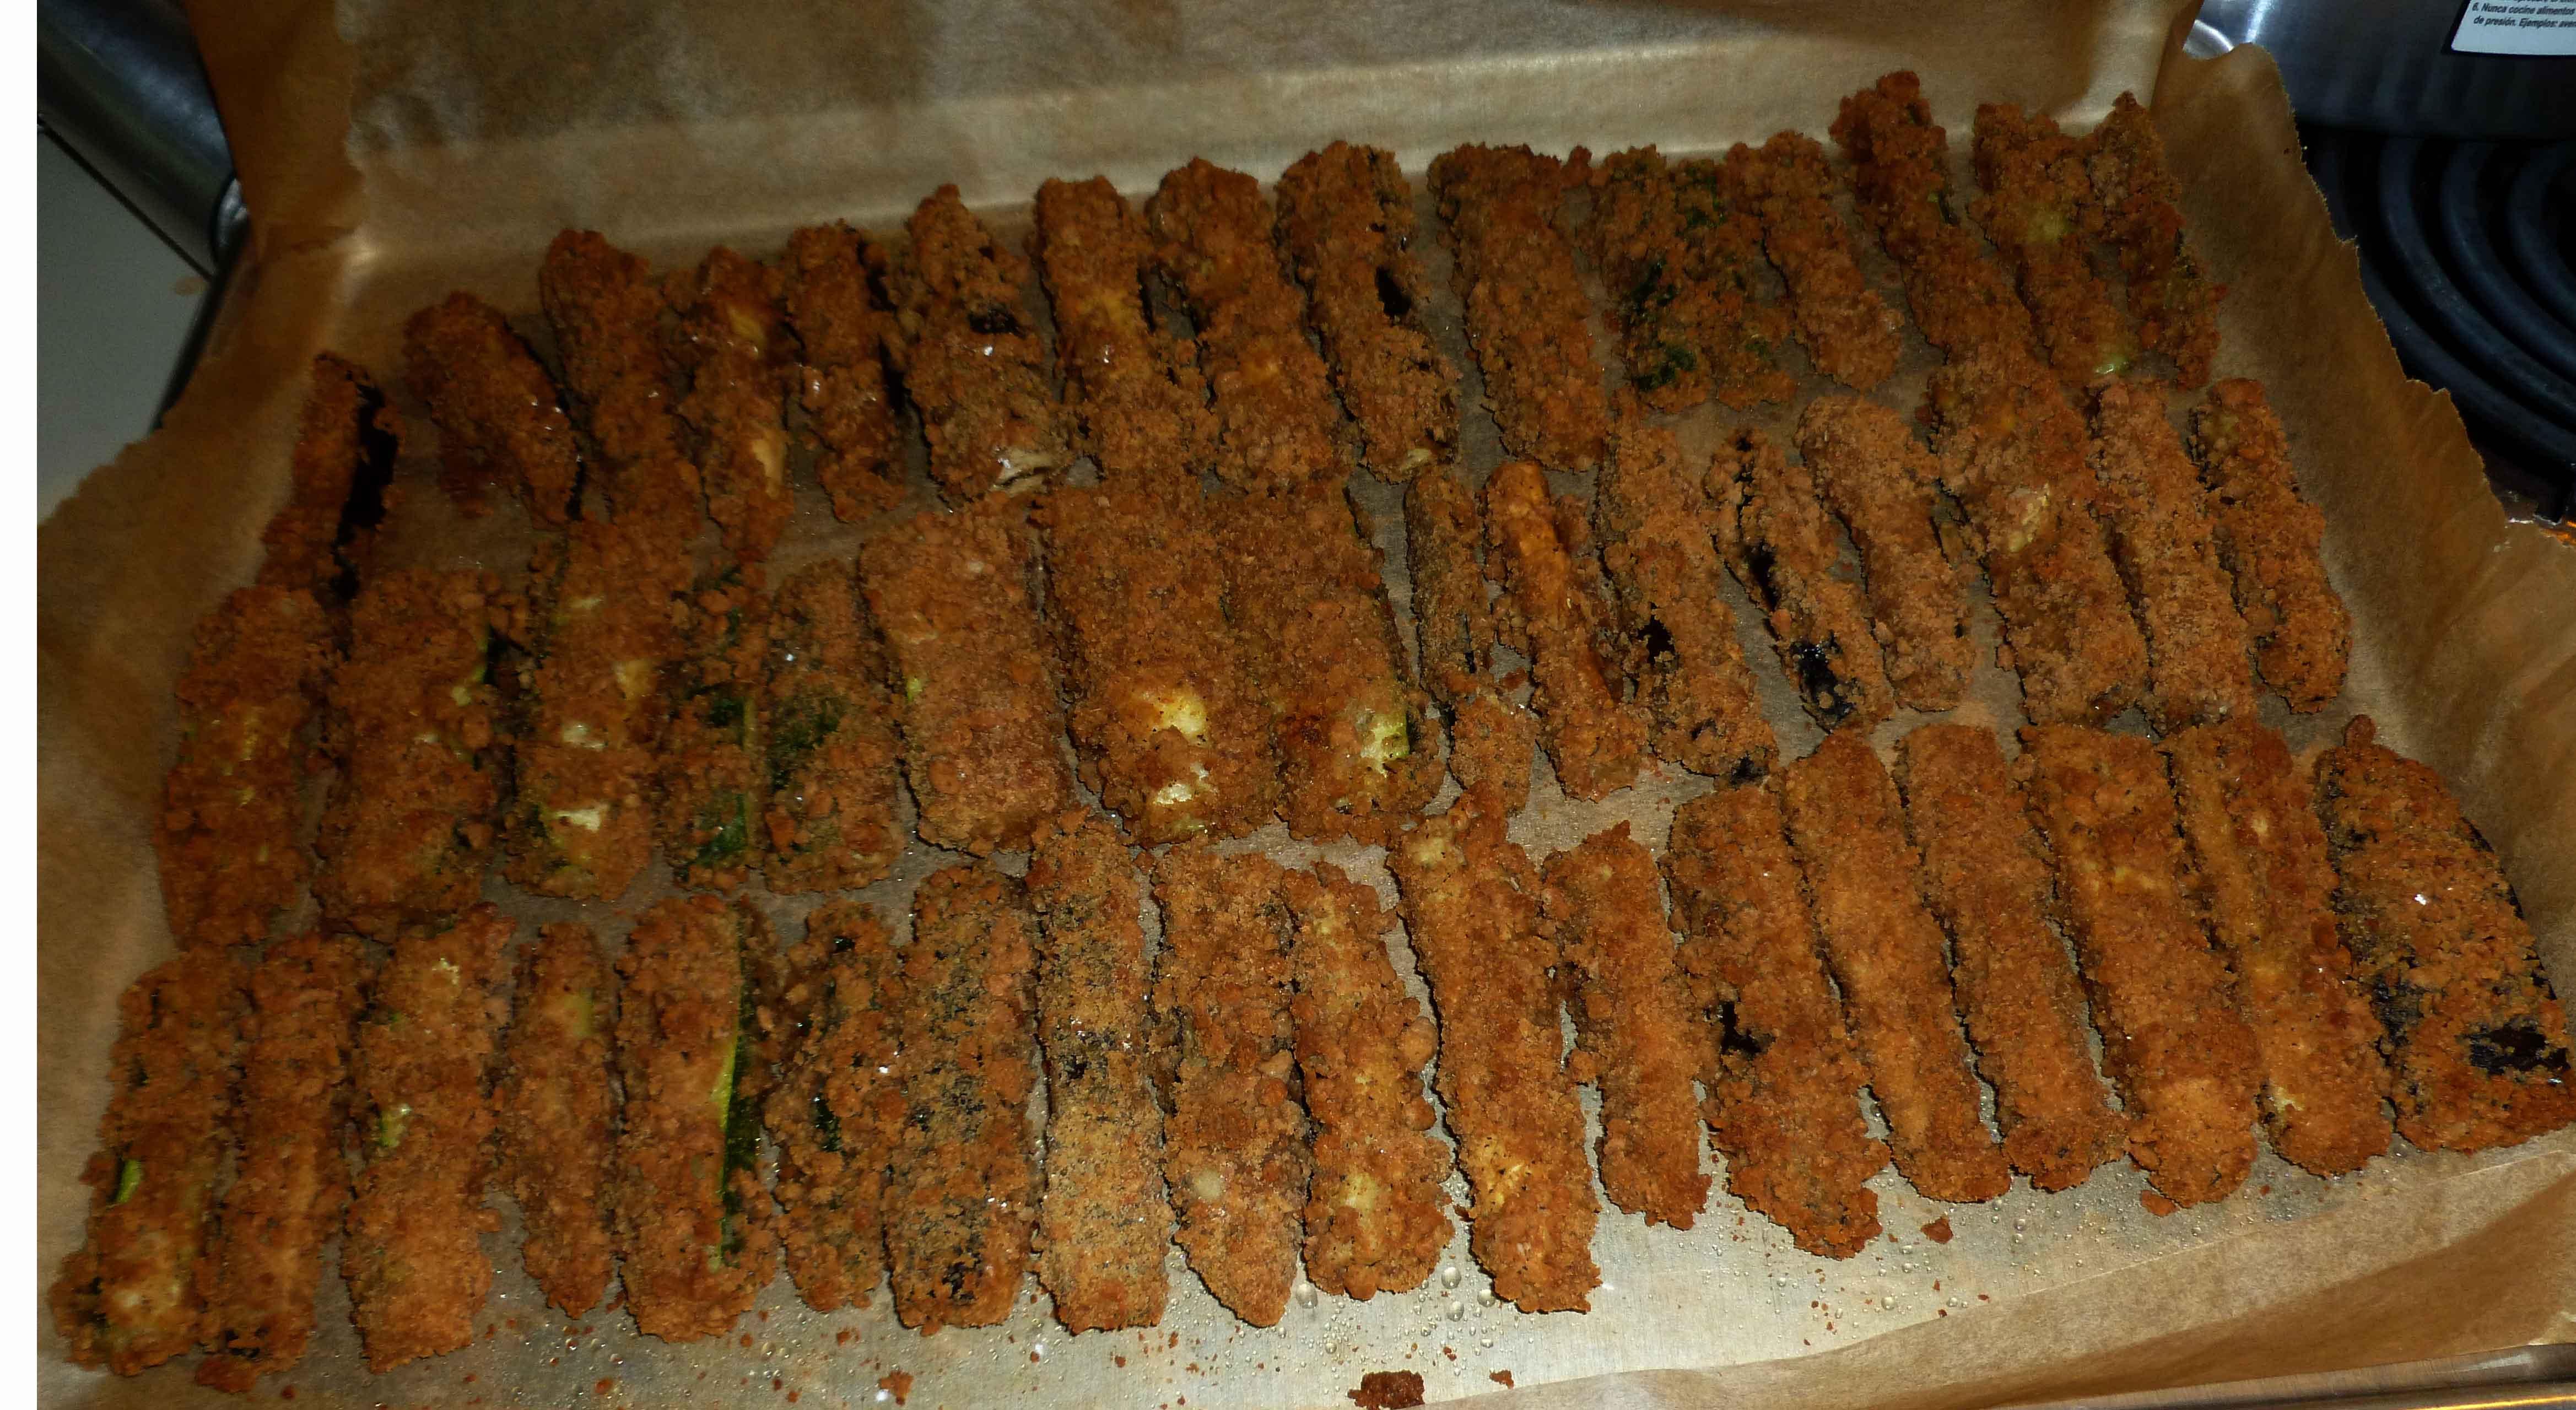
Once all the pieces are coated, place baking sheet in the oven and bake for 30-40 minutes until crispy.
Fries after baking
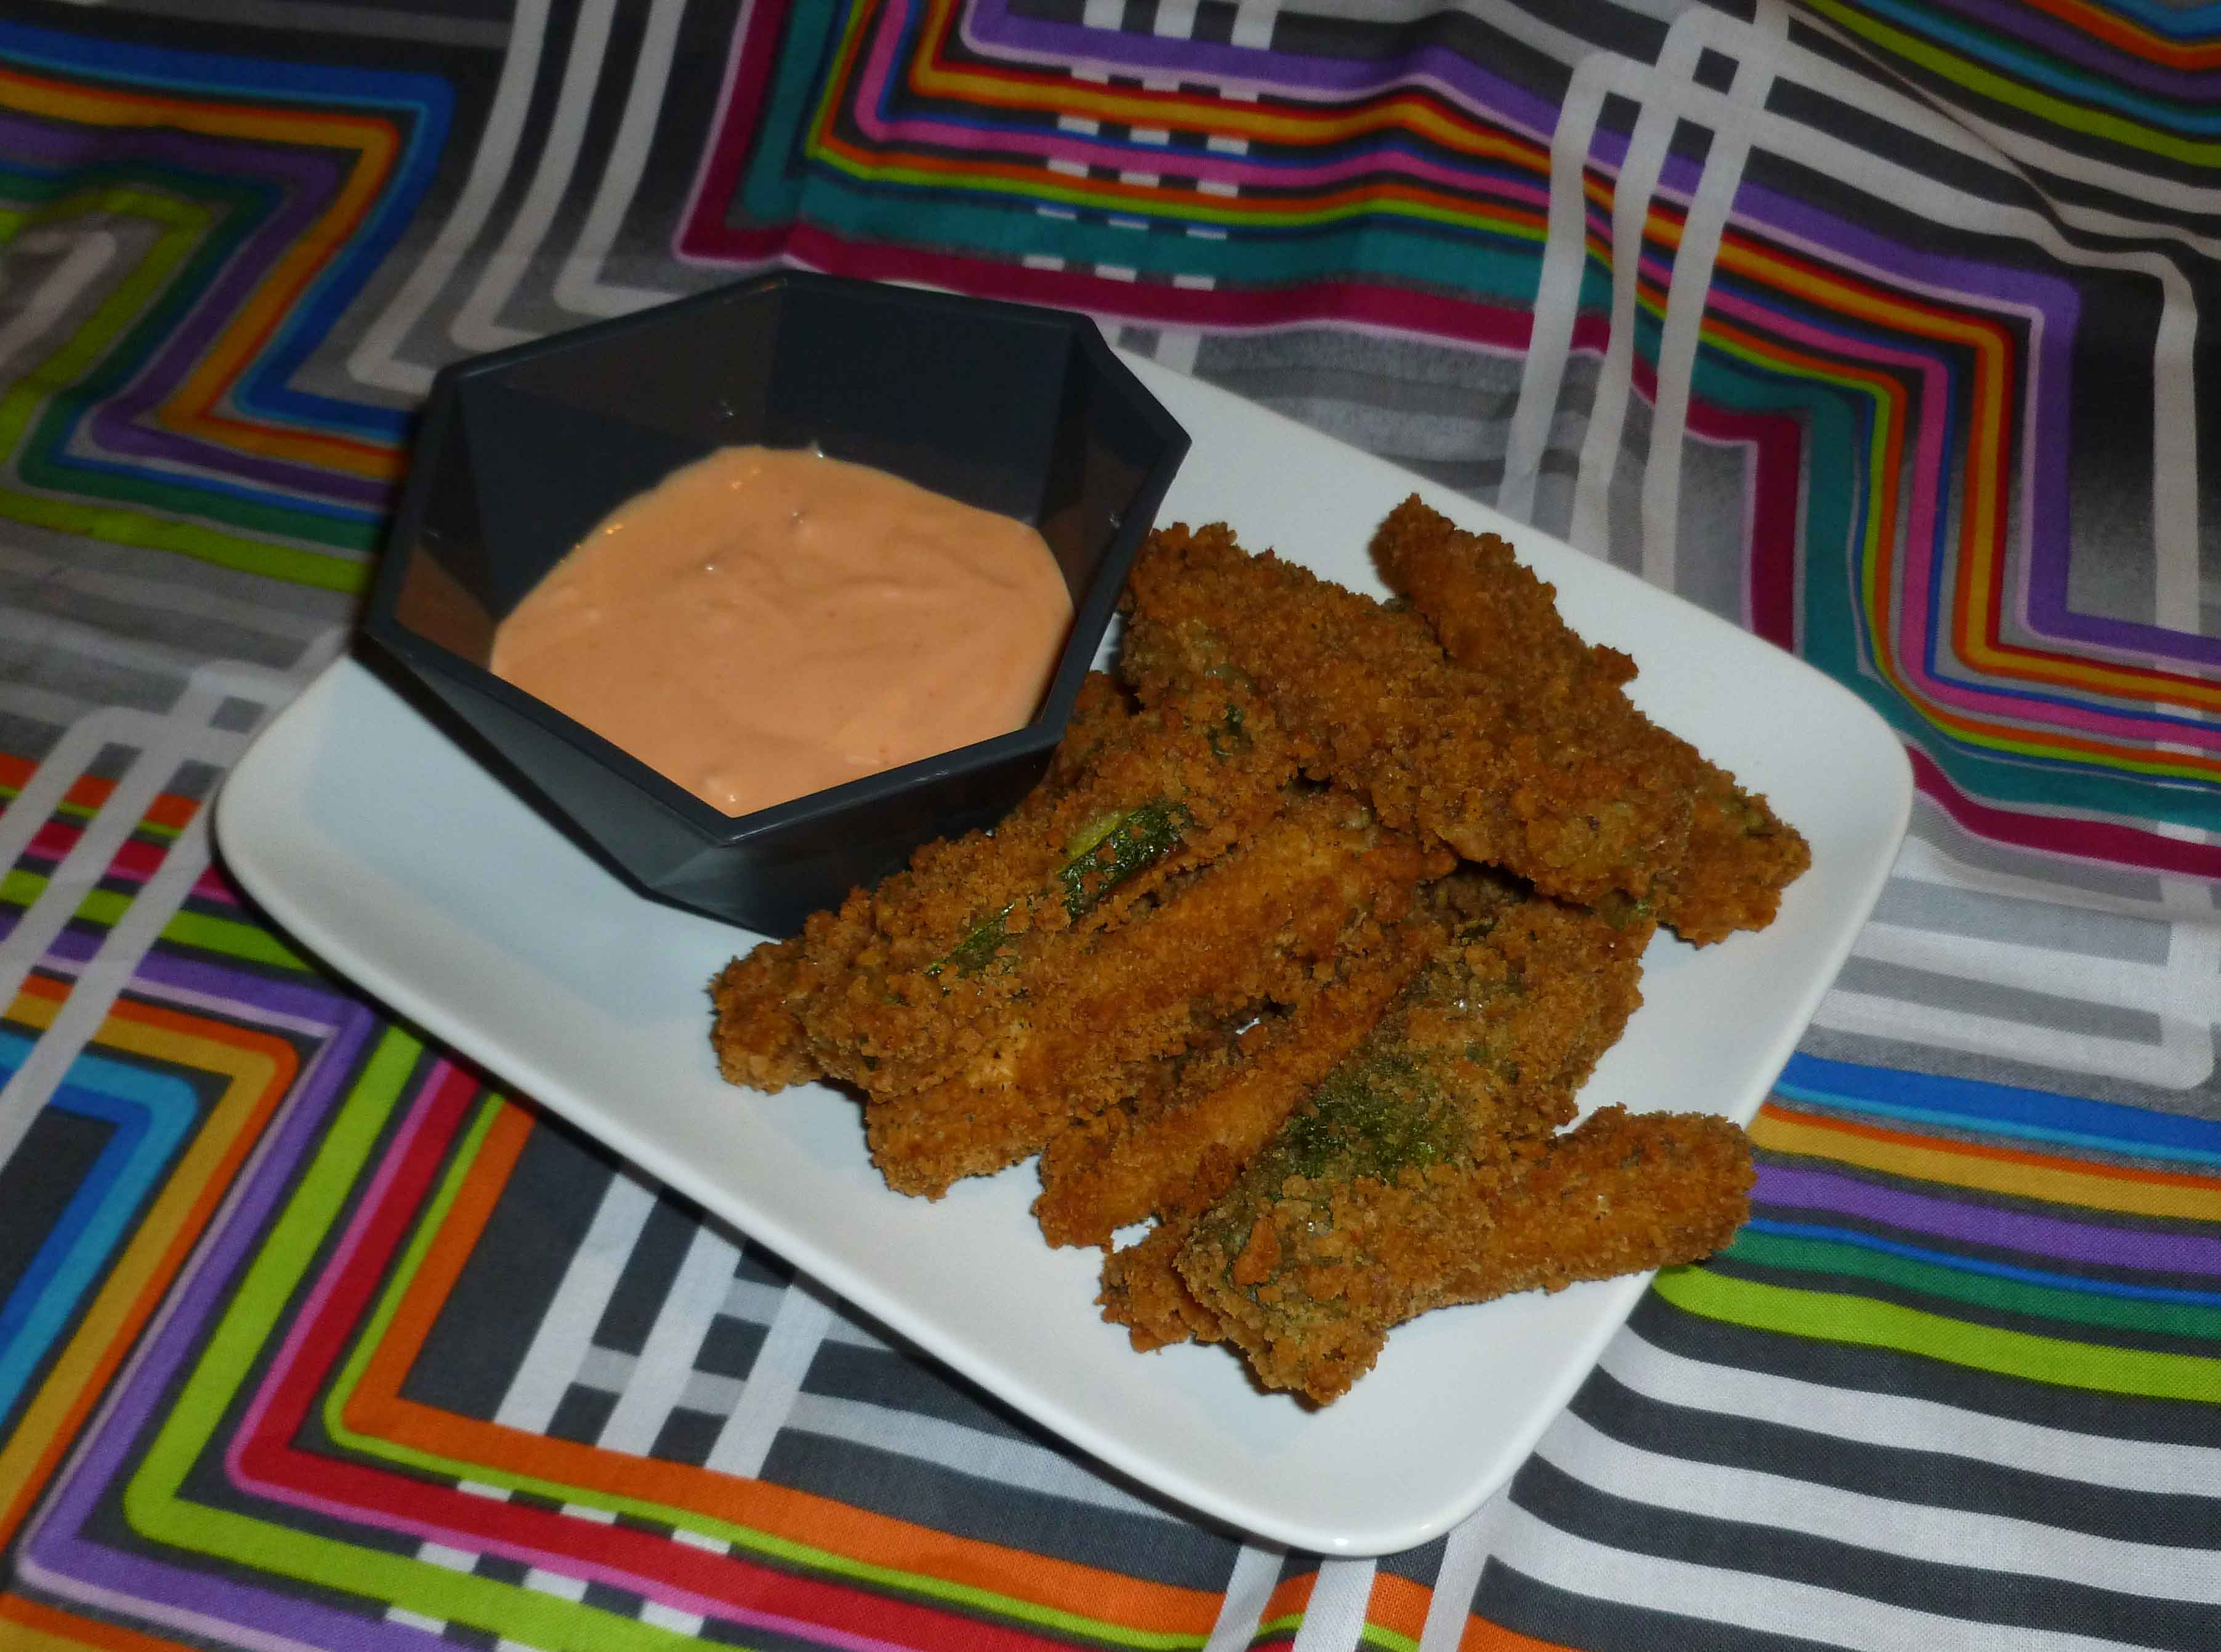
While your fries are baking, mix Earth Balance Mindful Mayo and your favorite hot sauce in a dipping bowl.
Baked Eggplant and Zucchini Fries with Spicy Mayo Dipping Sauce
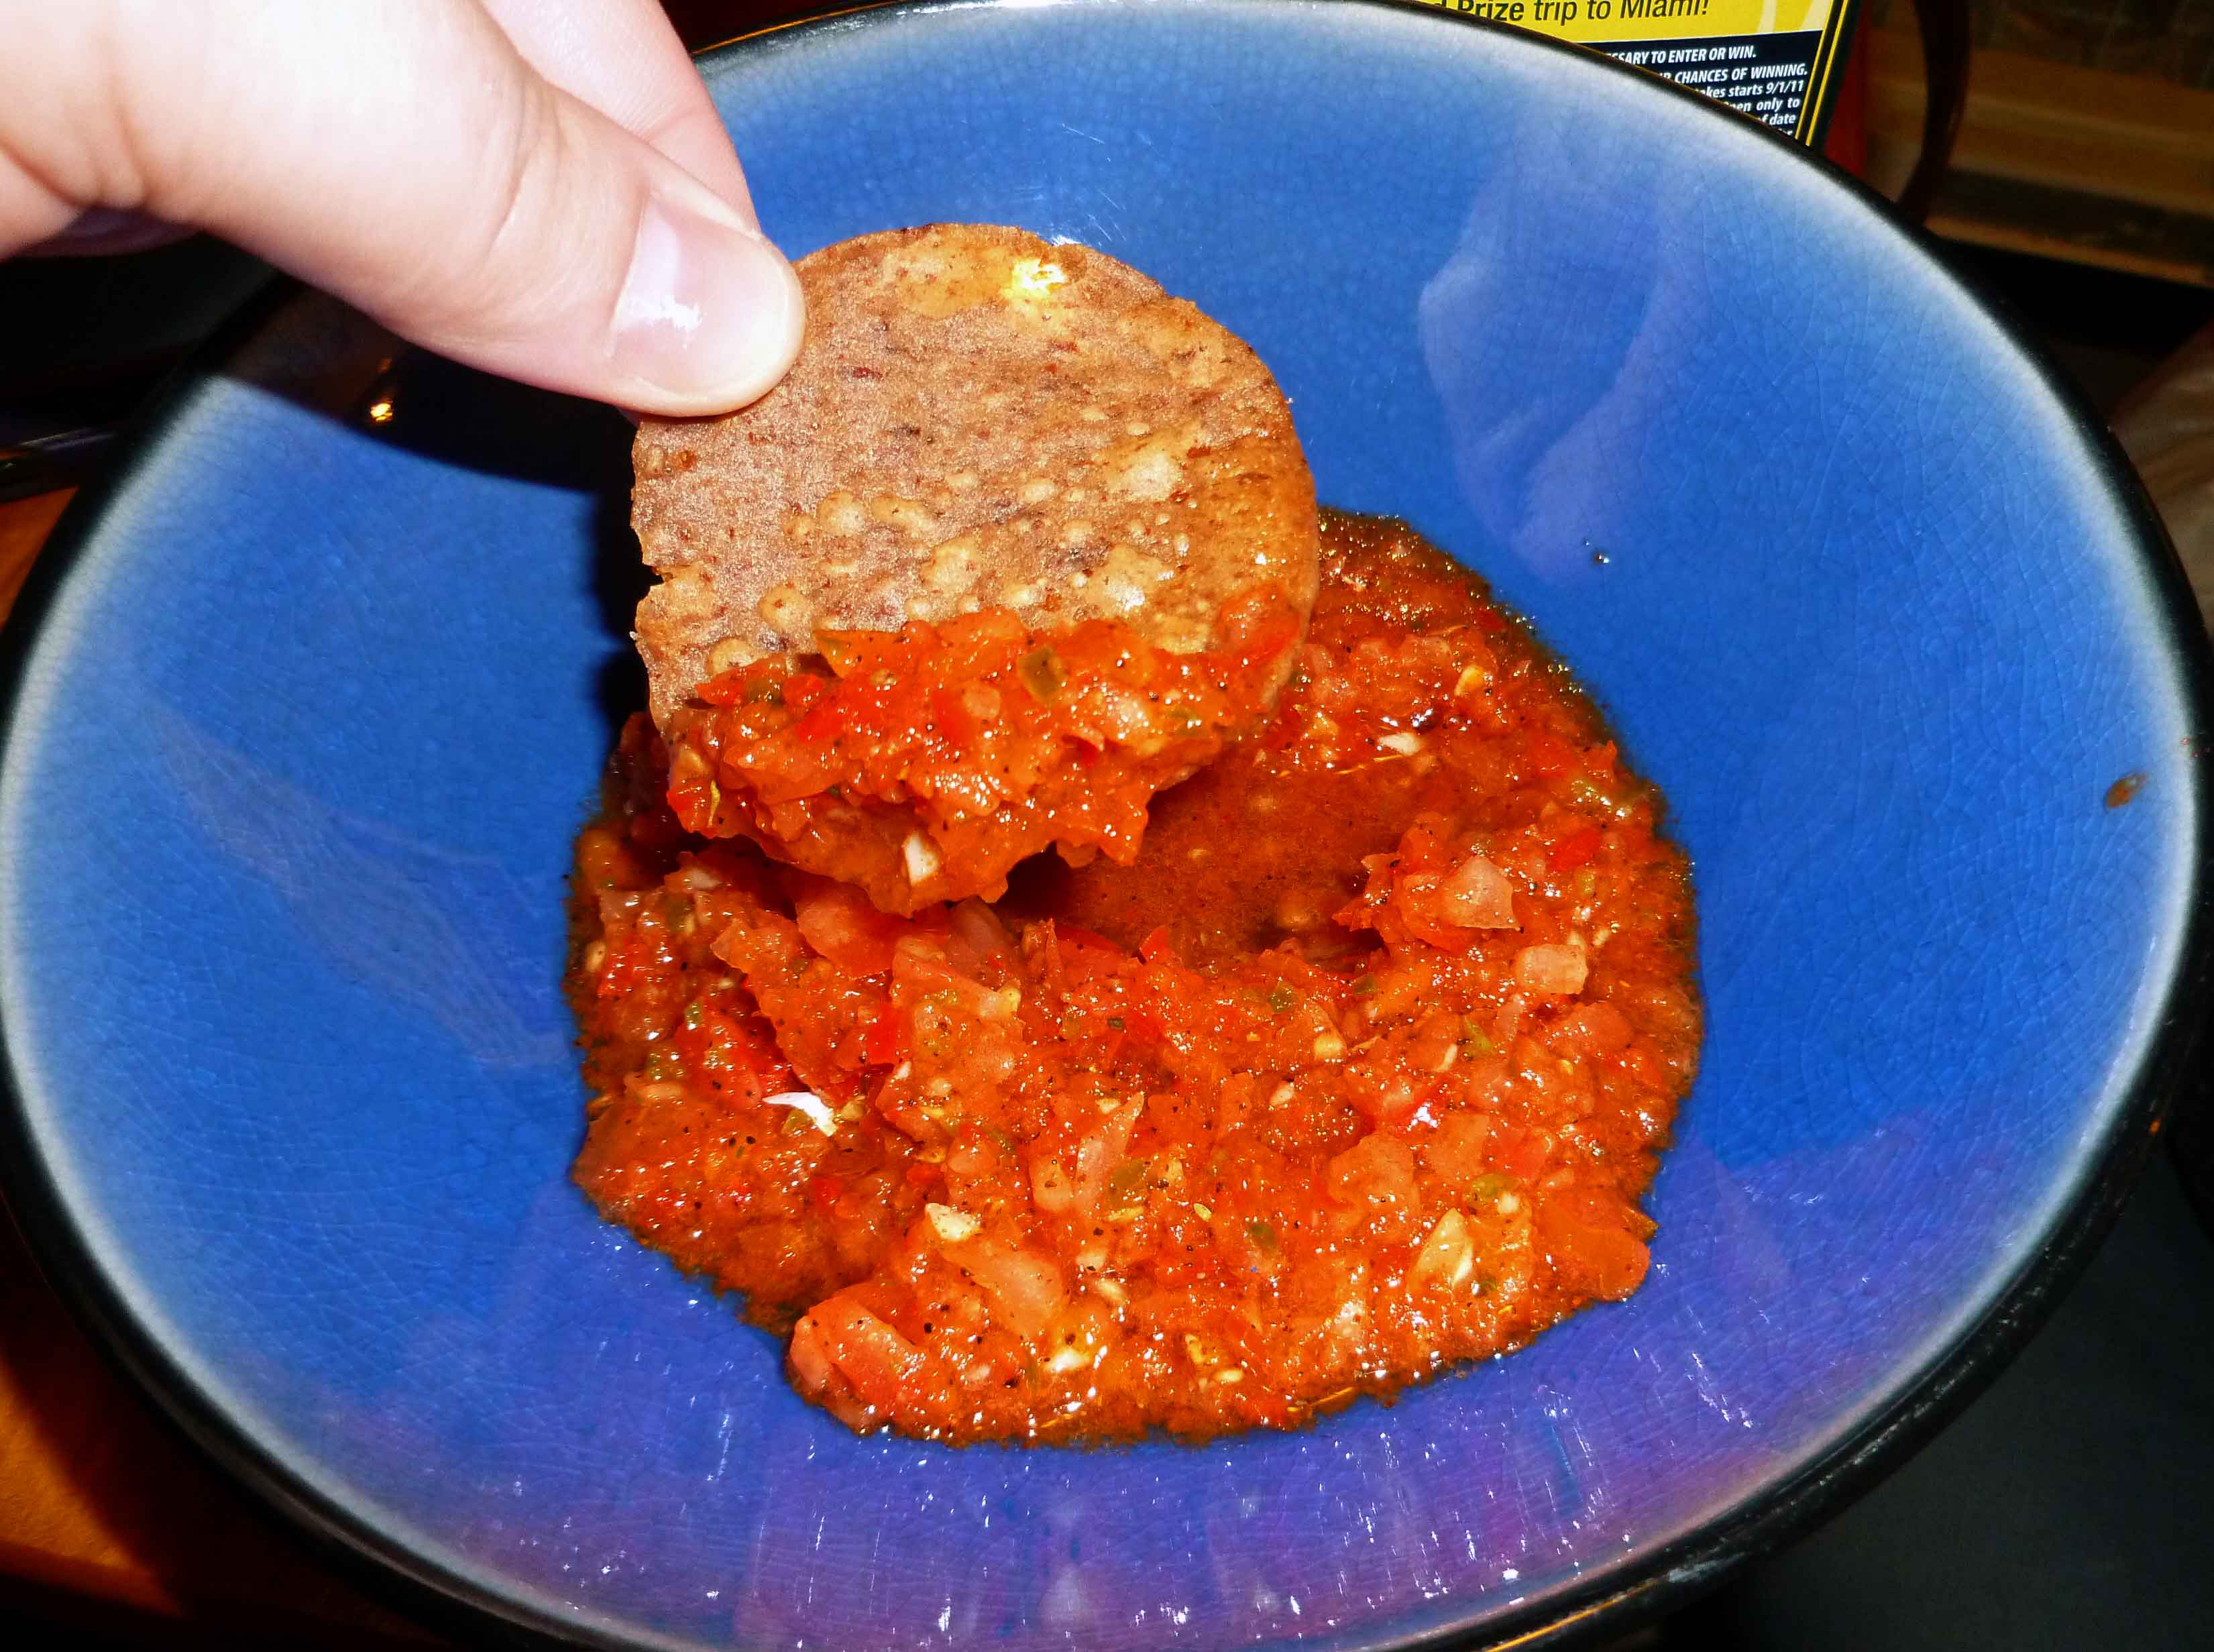
Since I also cannot buy salsa during this whole elimination torture thing (most have celery and onion, which are two no-no’s at the moment), I whipped this up so I’d have something to eat at my book group, since I’d gotten “regular” allergen-filled food for everyone else. I wasn’t going for culinary genius, but just something incredibly quick that wouldn’t be awful, based on what I had in the fridge and cupboards. And when it was done, I was surprised that it came out so well, and Mary Kate suggested I write it up on the blog. If you are not avoiding onion, you can add an small onion to this and I’m sure it would be lovely. You need a food processor to do this one. I tried it in a blender, but I just didn’t get the result I wanted. This is also a fast one, the fifteen minutes includes washing the food processor (if you have the jar of taco seasoning made up ahead of time).
15 Minute Salsa
1 red bell pepper, de-stemmed and de-seeded, and cut into large chunks.
1 jalapeno pepper, de-stemmed and de-seeded, and cut into large chunks.
4-5 cloves of garlic, peeled with the stem end trimmed
5 tomatoes, stem end trimmed, and cut into eighths (I don’t seed my tomatoes because I don’t mind seeds, but if you do, feel free to take them out, but you might want to add another tomato)
De-stem, de-seed and cut red bell pepper and the jalapeno pepper into chunks. Trim stem ends of garlic.
Red bell pepper, jalapeno pepper and garlic
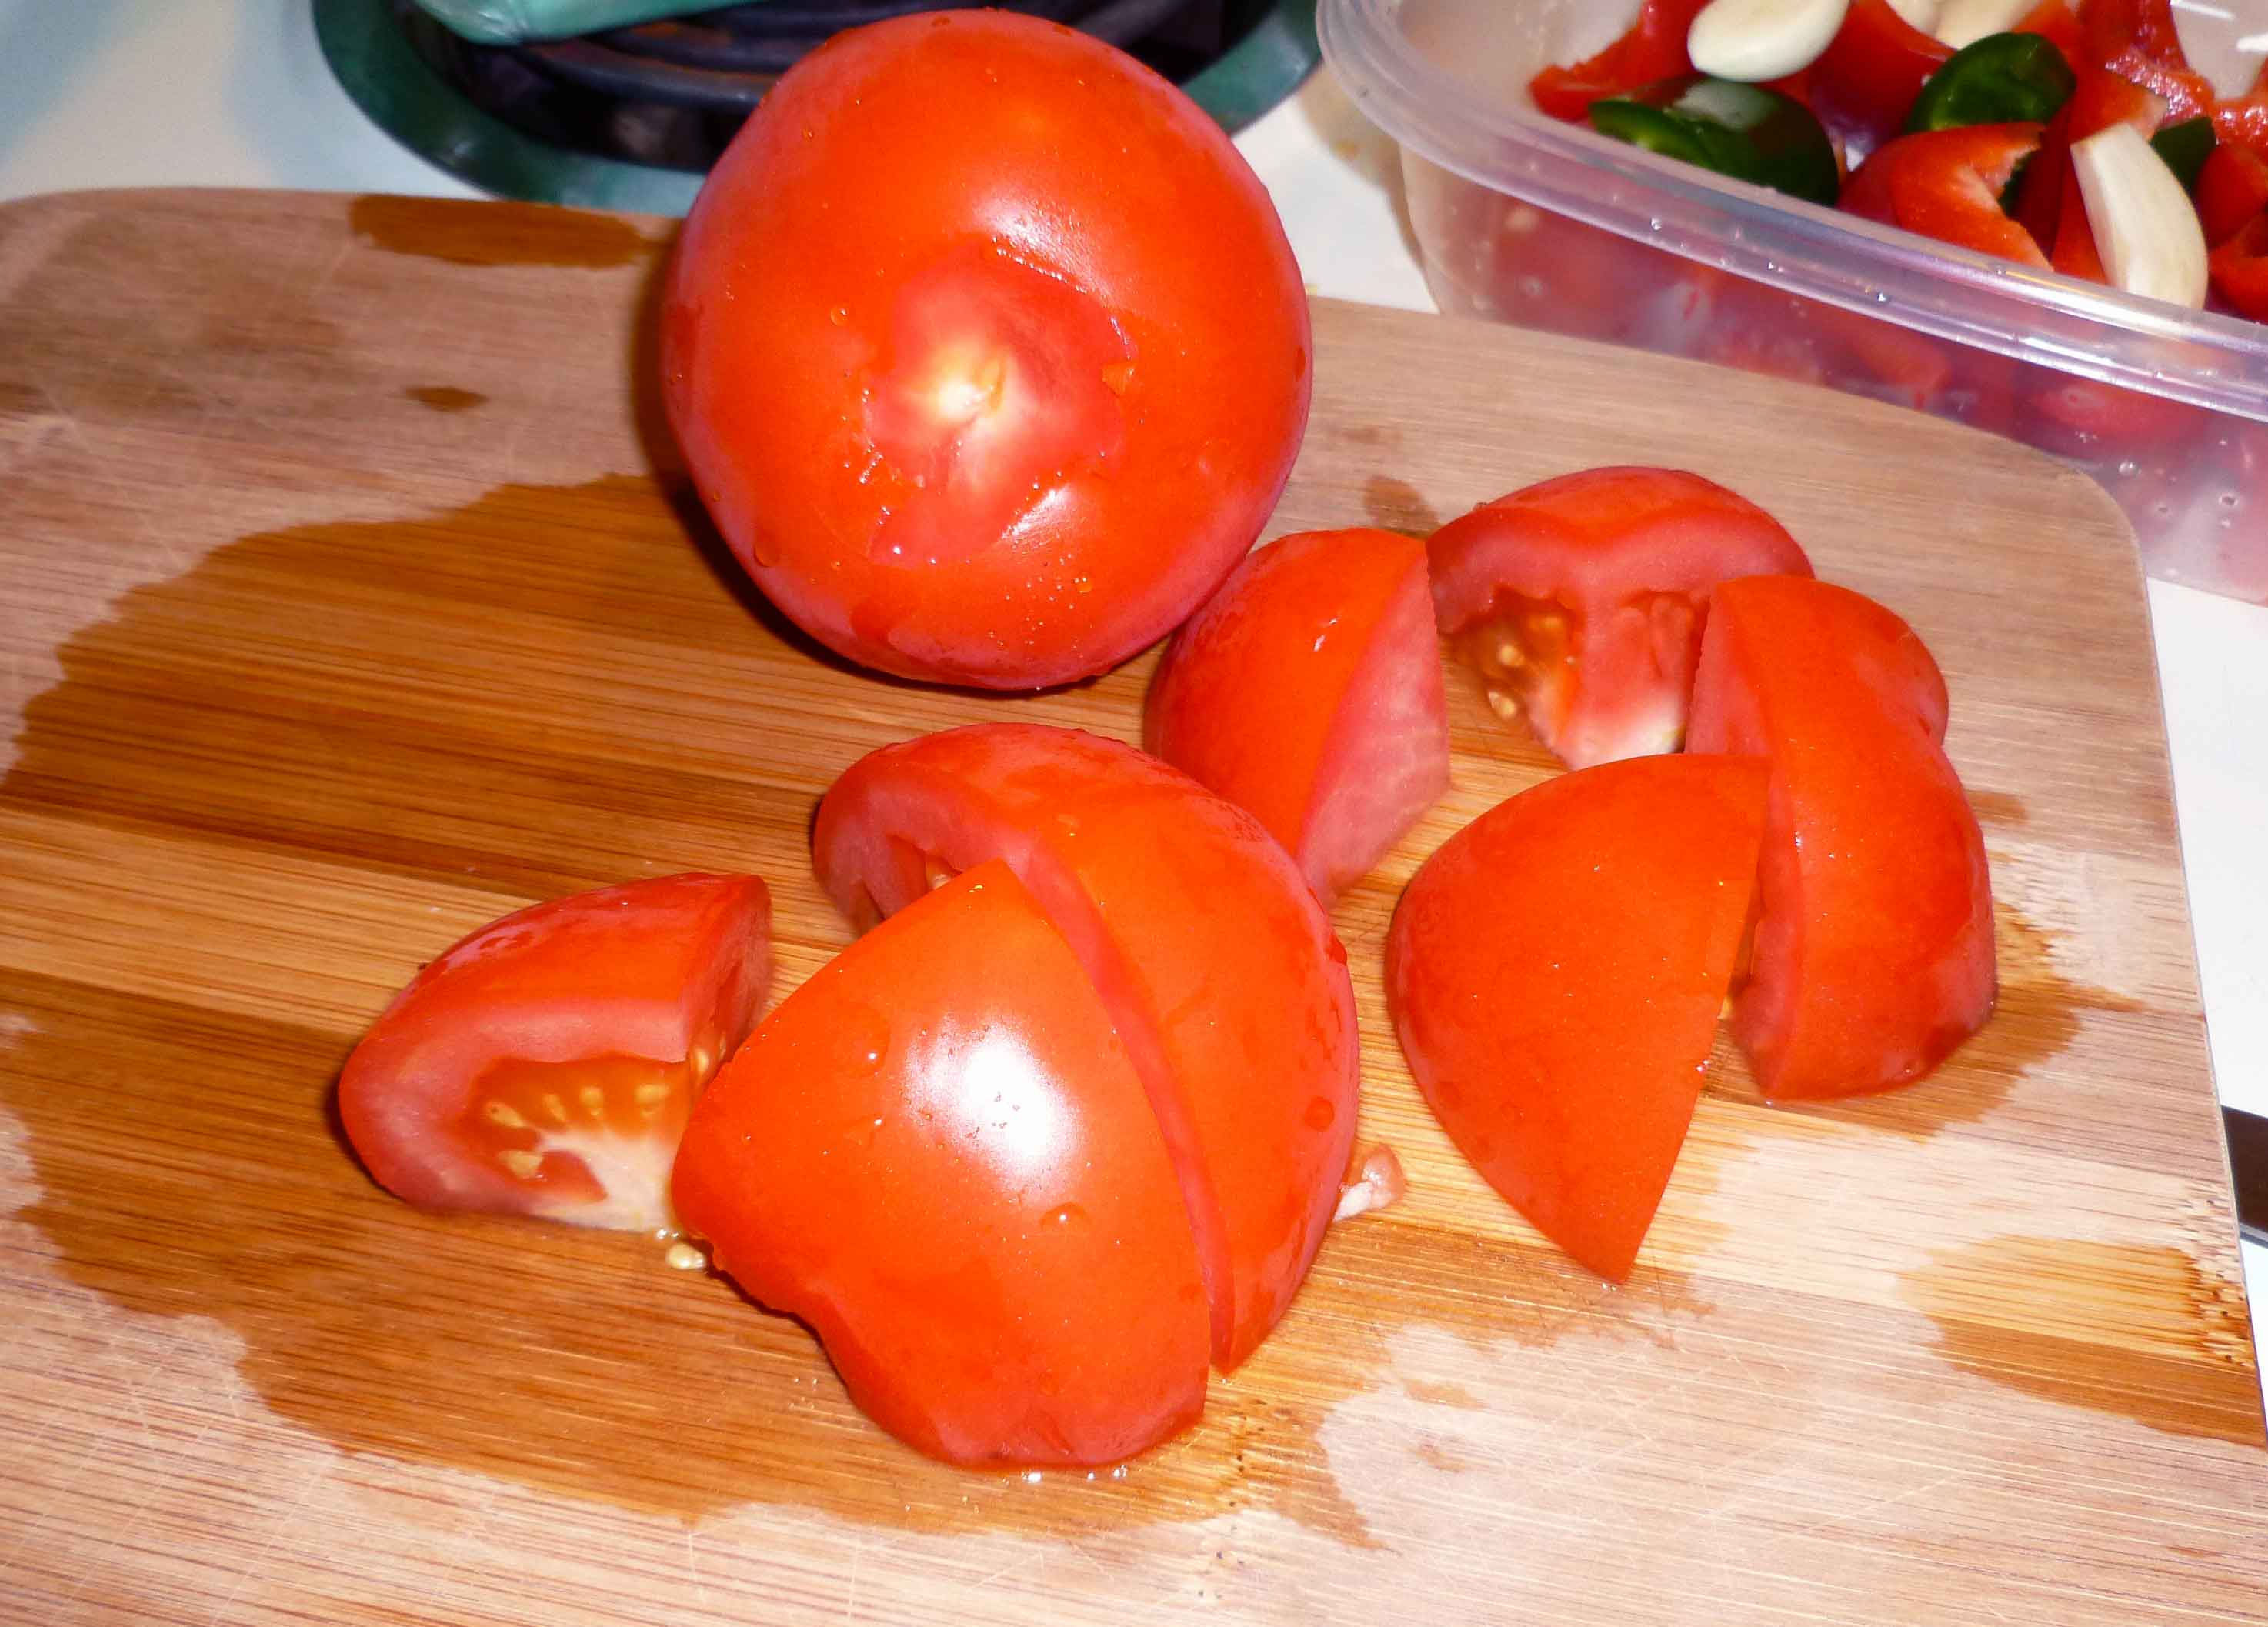
Core tomatoes and cut them into eighths.
Tomatoes, showing cored and cut into eighths
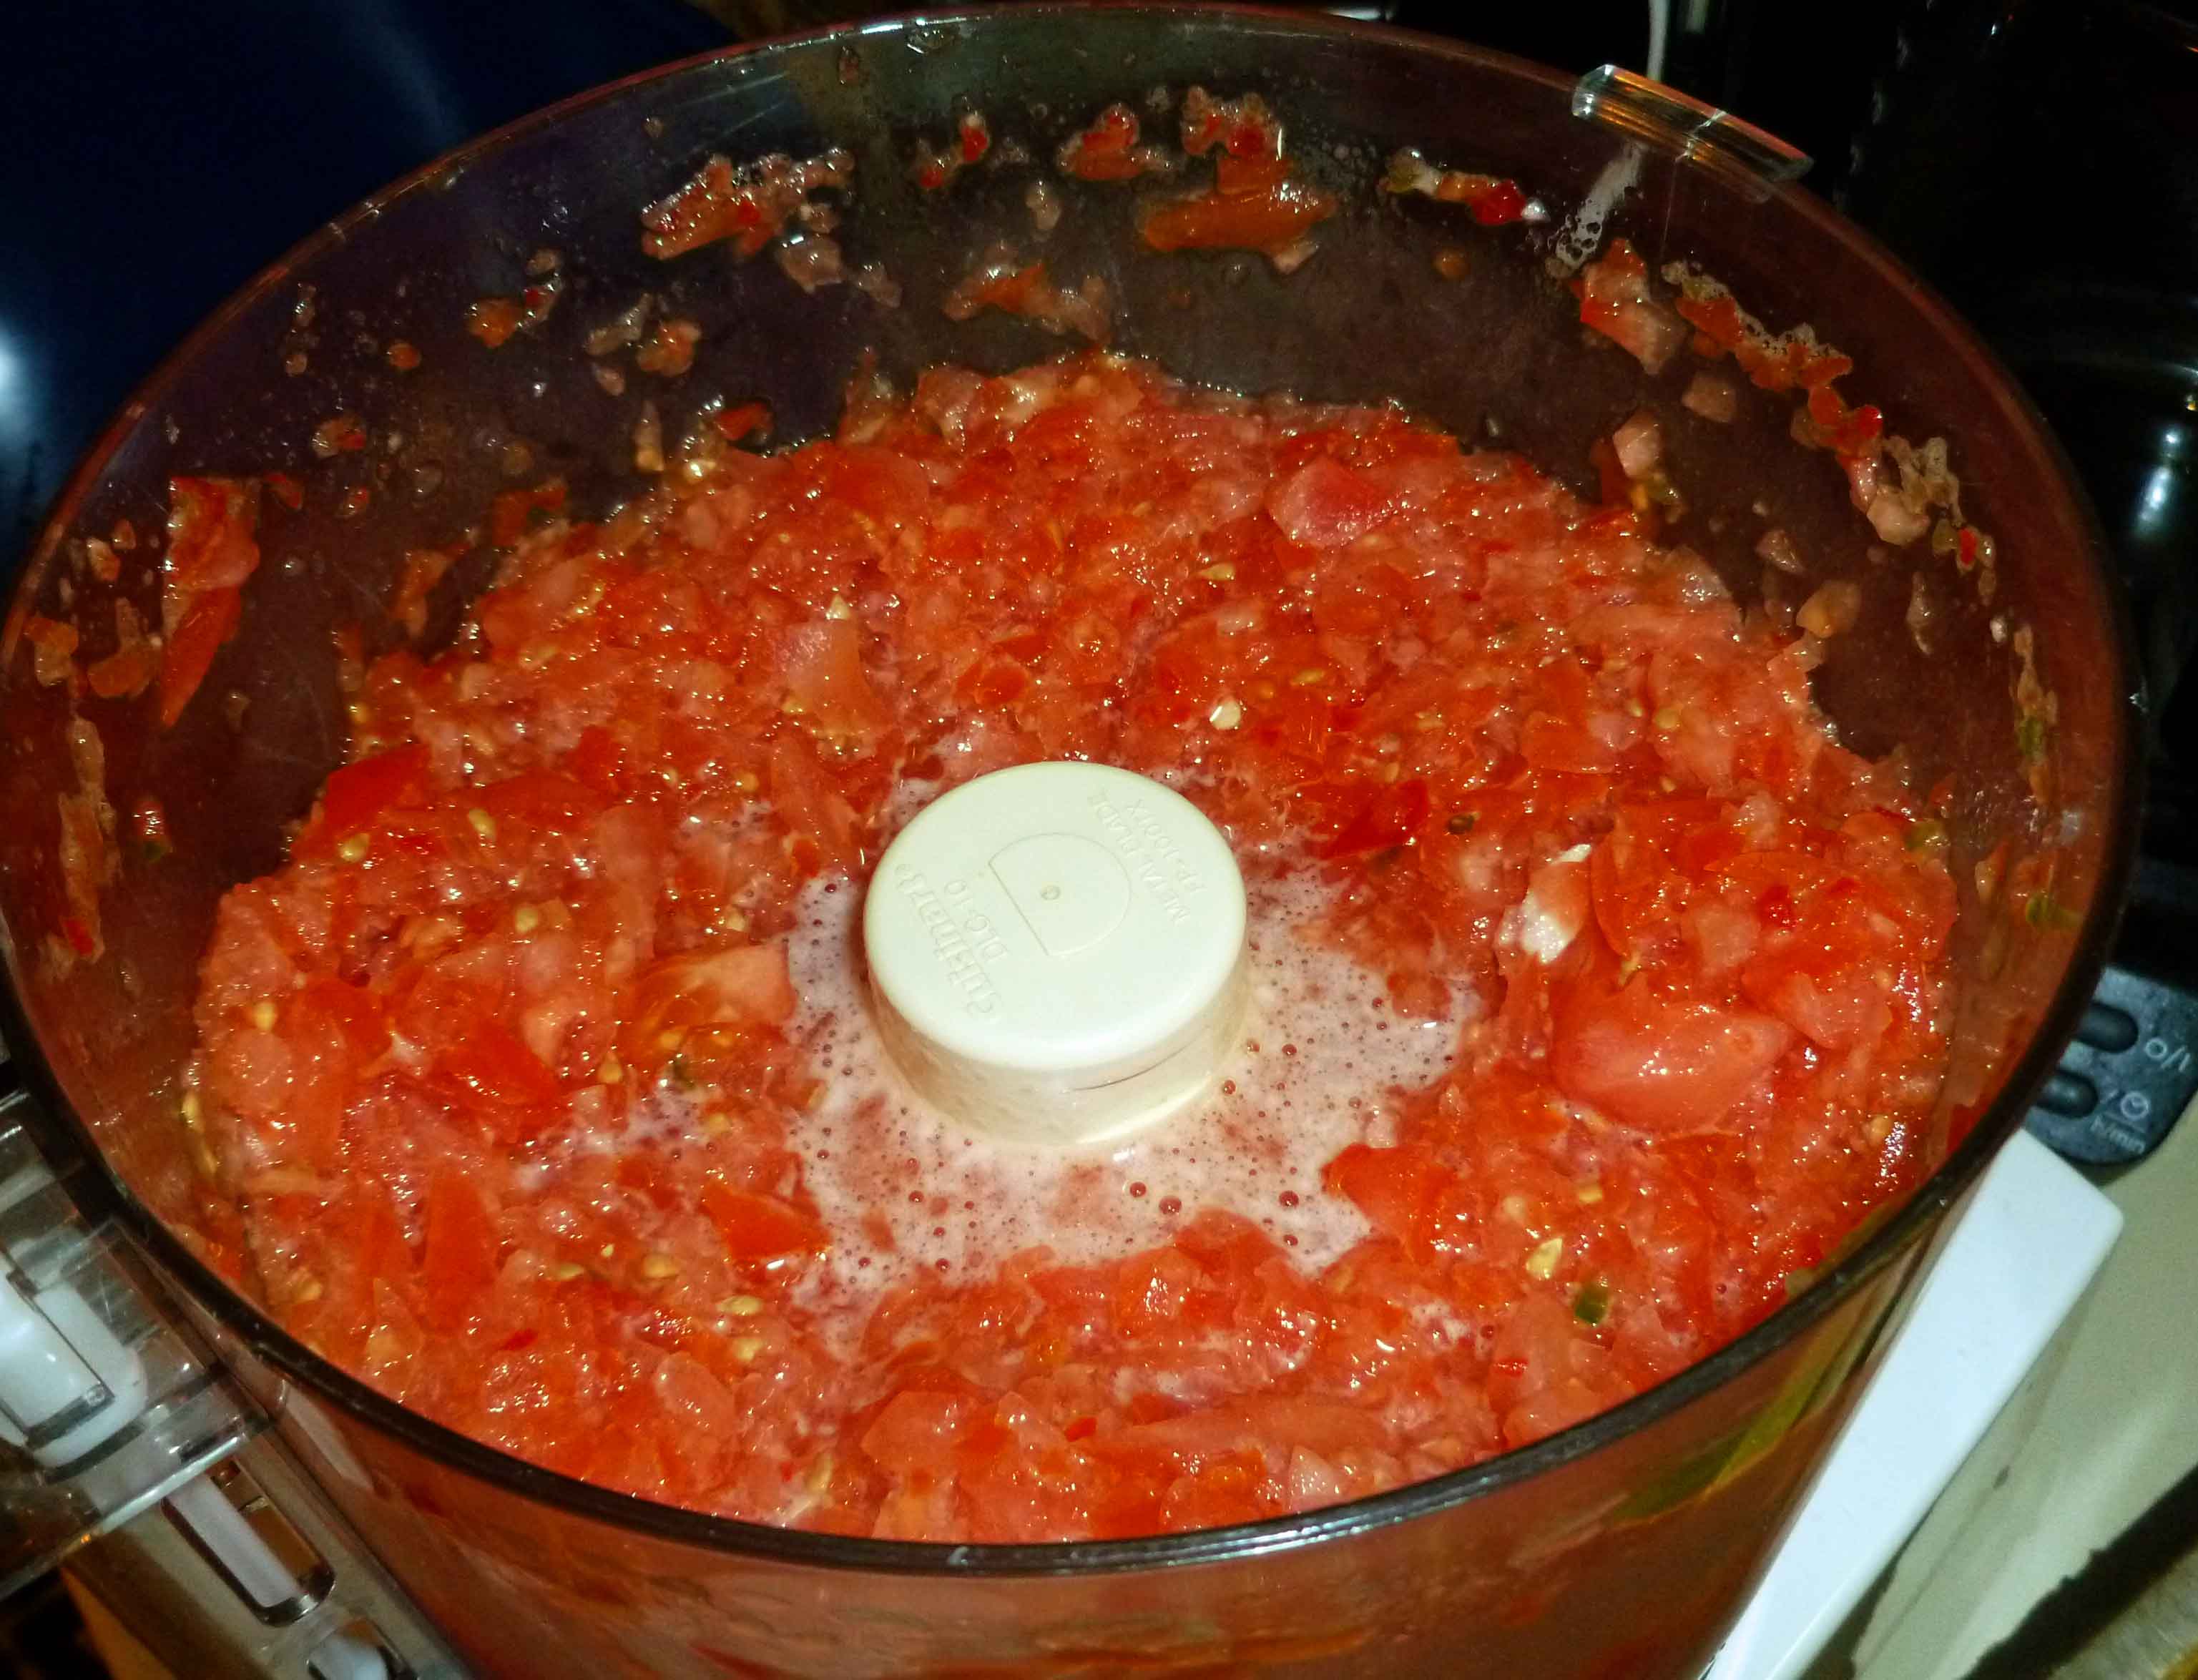
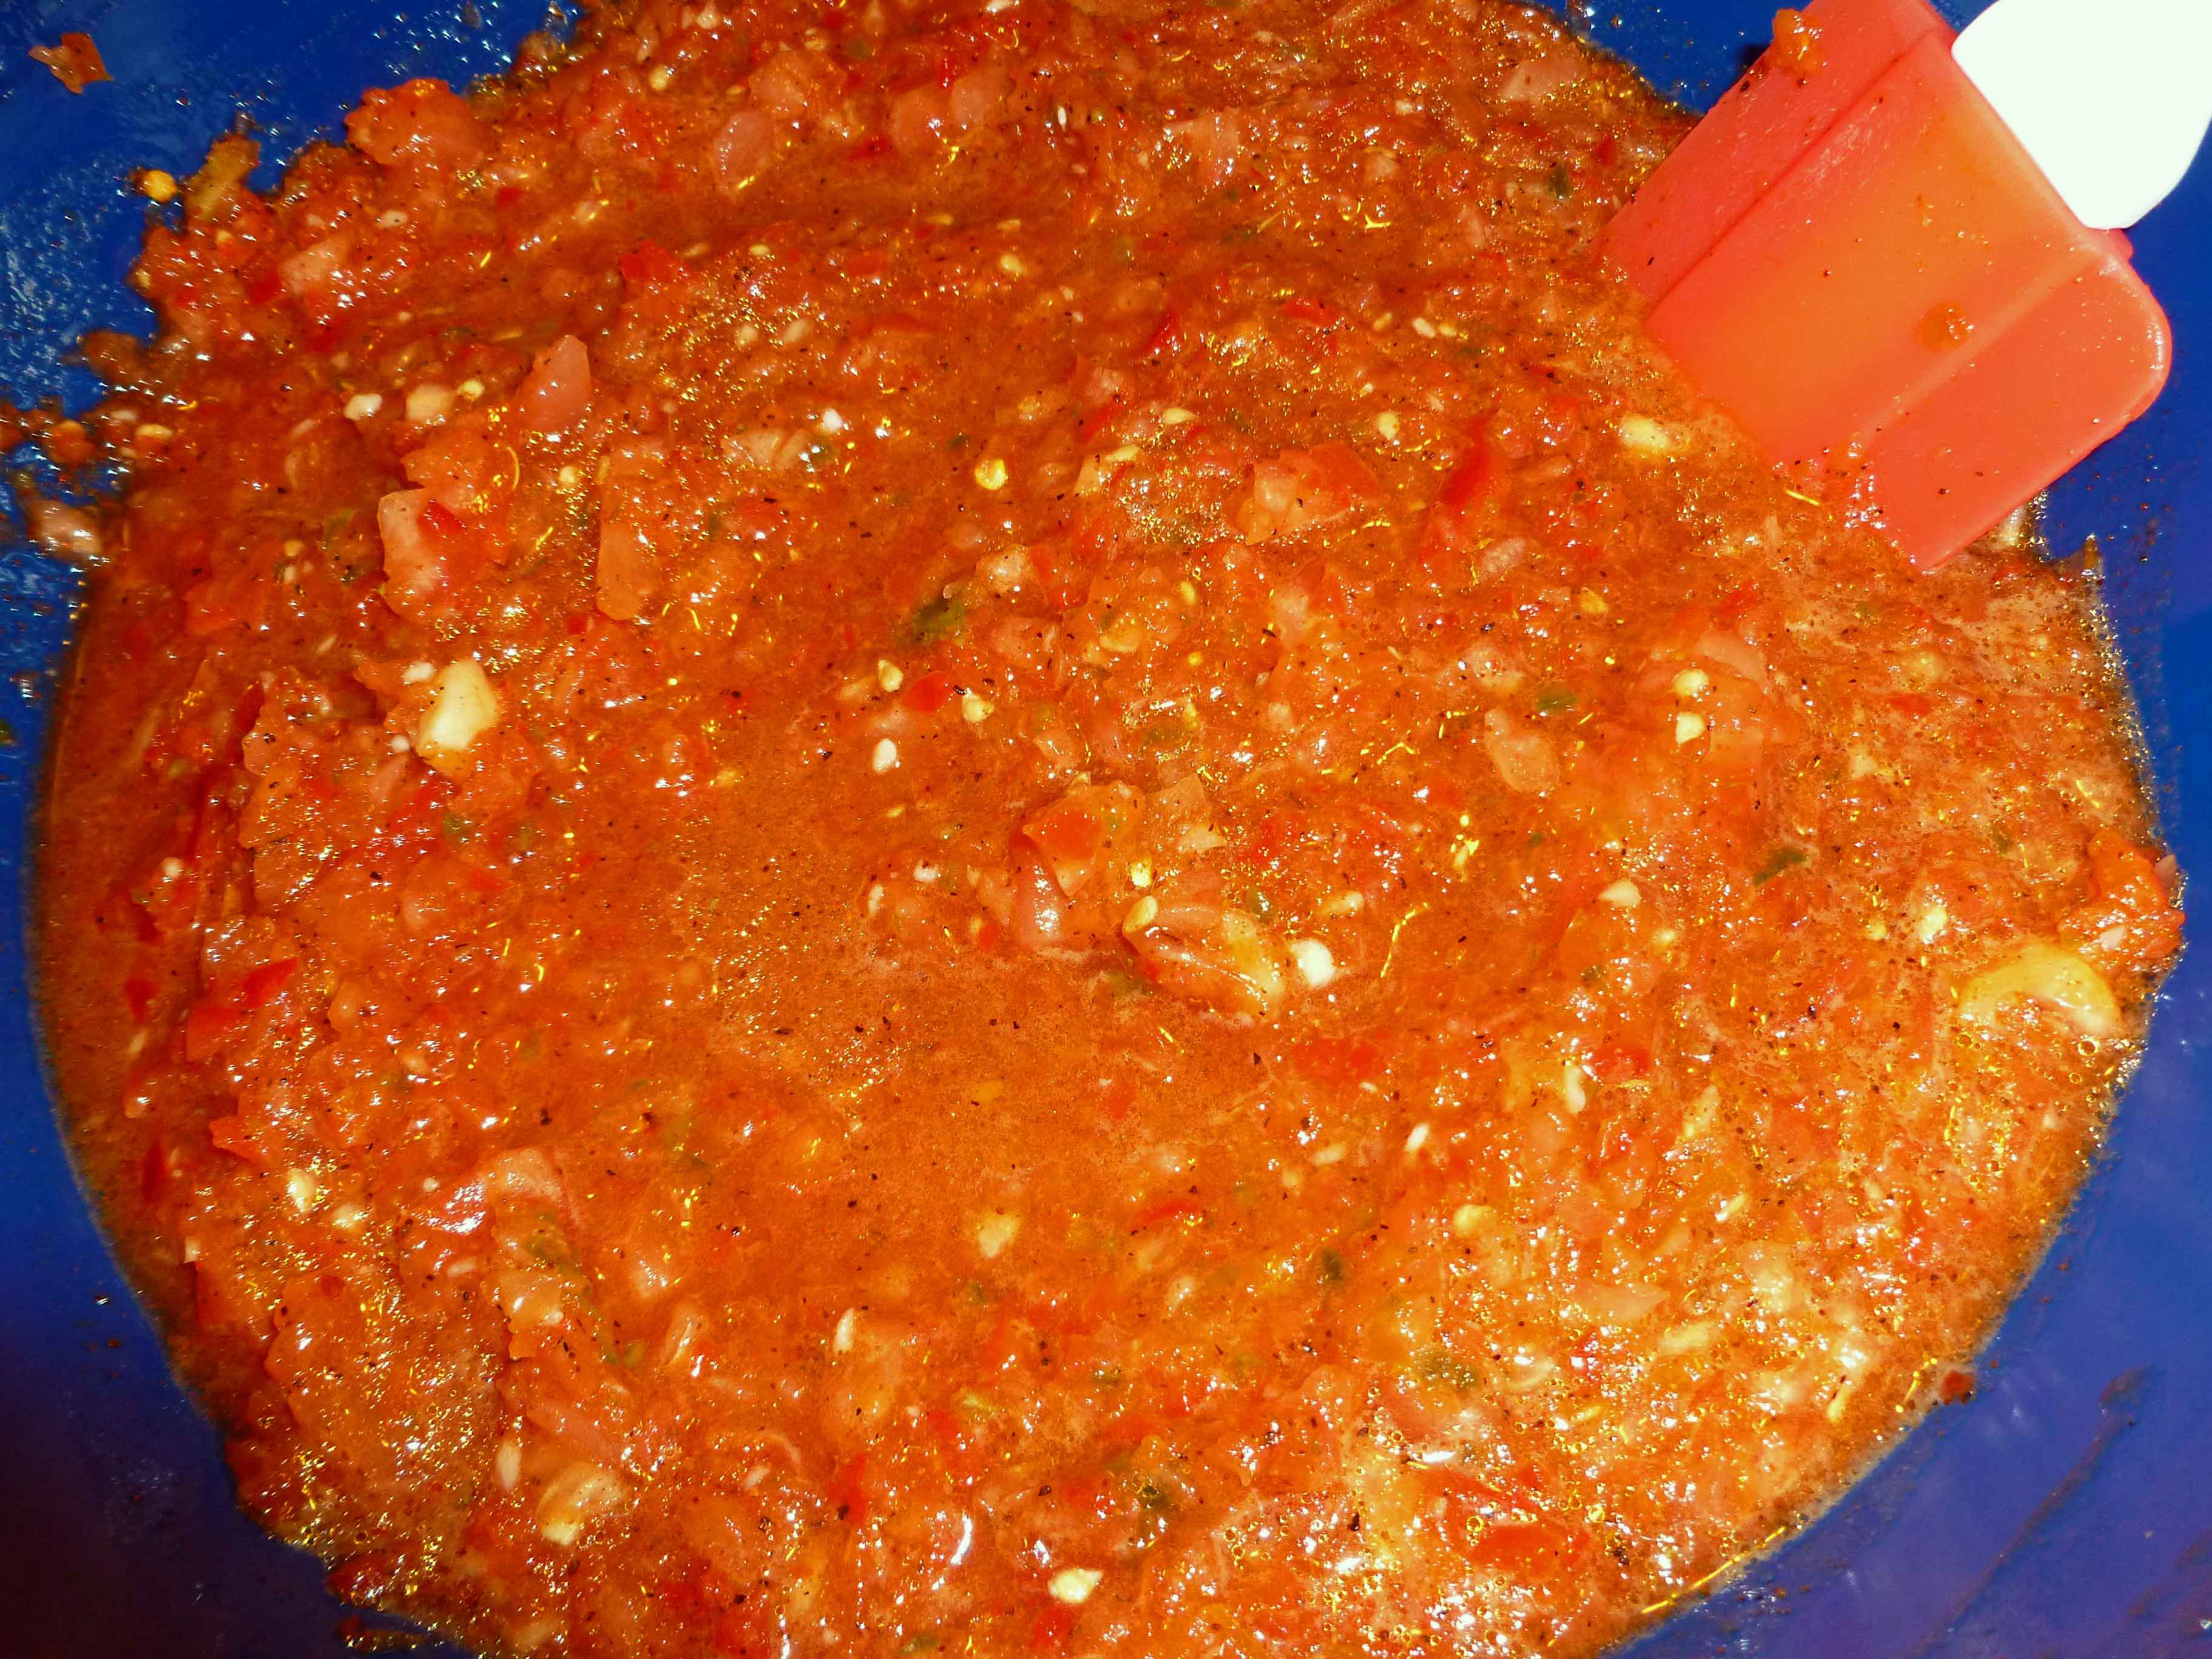
Put peppers, garlic and tomatoes into your food processor. You may need to do this in batches, I have to because my food processor is on the small size. Have a large bowl read to dump your batches in. Pulse until you get the consistency you like. I prefer it a little more processed.
Salsa in food processor
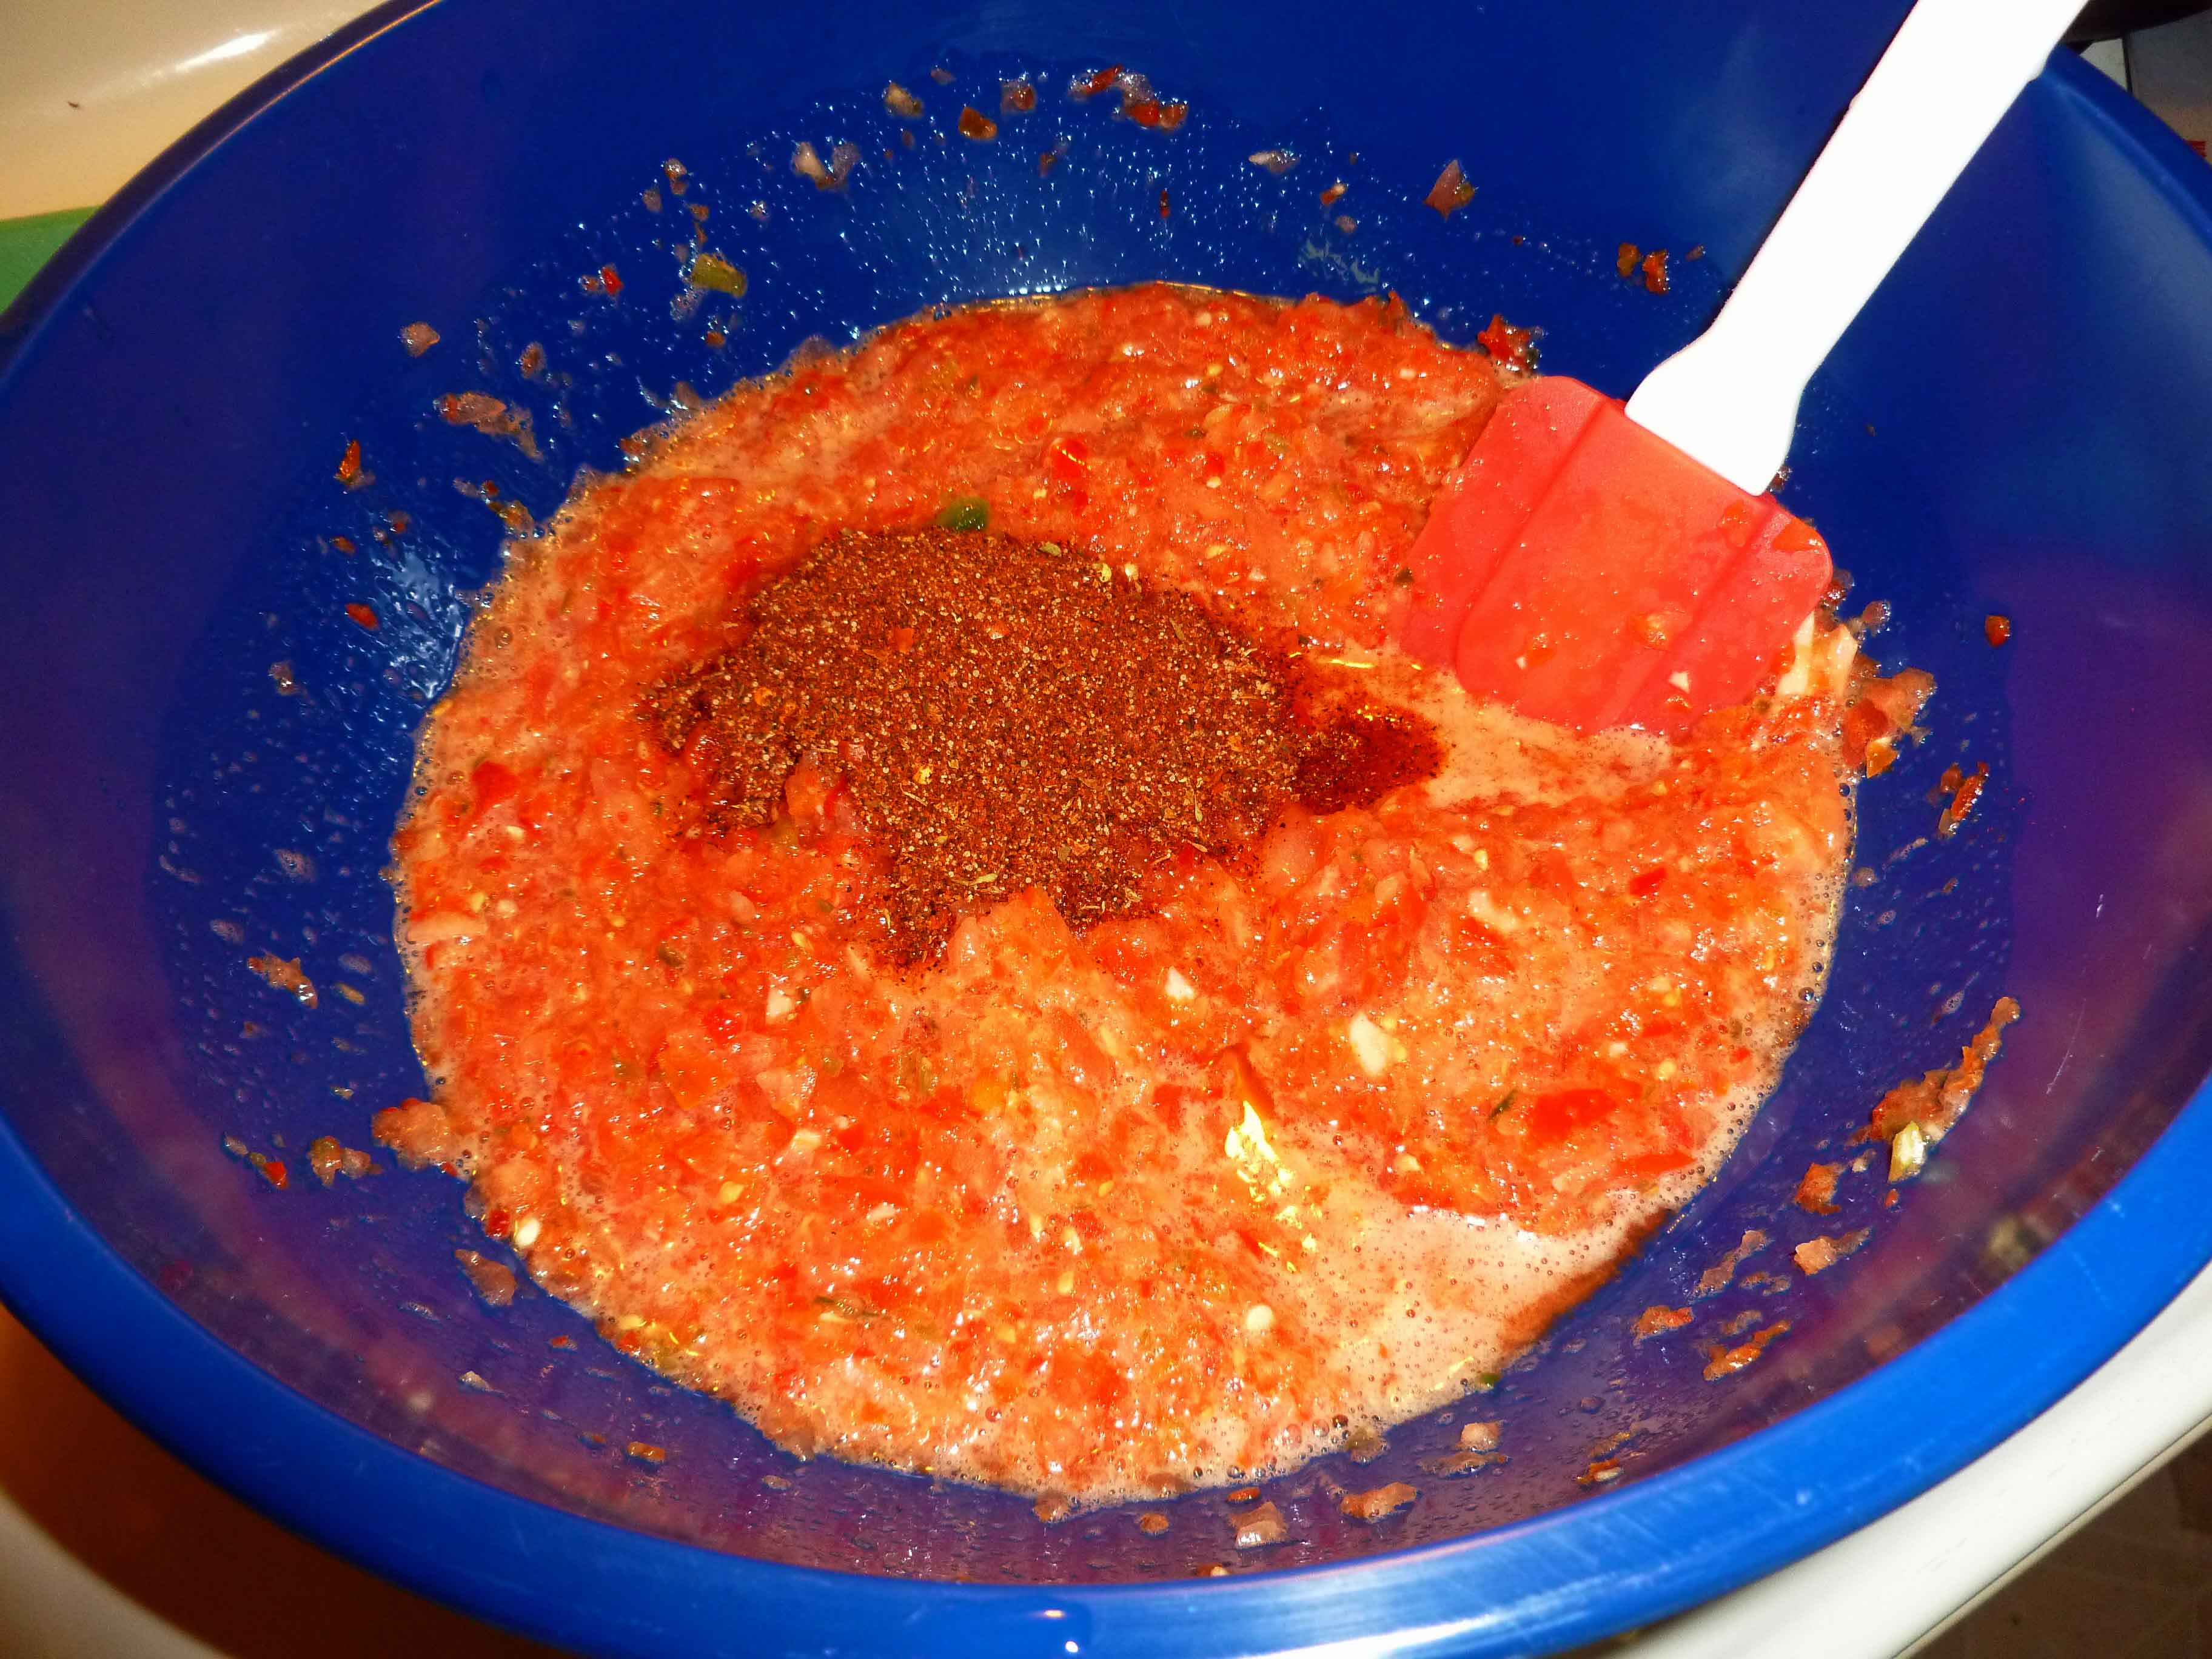
Once you have all your processing batches in the large bowl, stir it well so that all the peppers, garlic and tomatoes are well mixed through out the salsa. Your veggies may look a little frothy, but that’ll sort out once you add the remaining ingredients. Add the taco seasoning, red wine vinegar, and olive oil.
Salsa before seasoning, vinegar and oil are mixed in.
Mix all the ingredients together with a spatula making sure that all the spice mixture gets evenly distributed. This makes about 5-6 cups of salsa so it’s a great recipe for a party. Enjoy!
When I was in graduate school, we had a lot of parties. I’m a nerdy sort, so these weren’t “trash can punch” kind of parties, but beer and wine and mostly lots of food kind of parties. And they were always potluck, because no one had any money. Certain things became favorites, so people never had to much thing about what to bring — they were requested. This was definitely one of the group favorites, and I’ve held on to the recipe. Goes well with bread, tortilla chips, crackers, even veggies, and the leftovers make a great, if chunky, sandwich spread. Plus, it looks impressive and gourmet but is incredibly easy.
This version replaces the mayo and cheese to give you a really tasty, vegan and allergen-free version that will also please the people you know who can eat everything.
Tiffany’s Artichoke Dip
Tiffany’s Artichoke Dip
Preheat oven to 350F.
Grease casserole dish.
16 oz. of canned or jarred artichoke hearts, drained and chopped
1 small can of chopped green chiles or jalapenos
1 cup of Earth Balance Mindful Mayo, original
3 Tablespoons of nutritional yeast
3 Tablespoons of garbanzo bean flour
Mix all ingredients together in the casserole dish, smooth out evenly. Bake 20-25 minutes, serve warm.
Before the food allergy apocalypse hit, one of the things I really liked to do was to make my own Peking Ravioli (aka Potsticker, Wonton, Gyoza, etc.) or whatever you want to call your basic Asian style dumpling. Apparently you only call them Peking Ravioli if you live in the Northeast because that was what Joyce Chen called them in her restaurant in Boston in the 1950’s–the things you learn when blogging. But in the before times, in the long, long ago, I liked to make them by buying pre-made wonton wrappers at the grocery store, which, at least for the grocery stores in New Hampshire, all contain egg. So I thought I’d try to come up with a gluten free vegan wrapper so Mary Kate could eat some too. (I can have wheat, at least for now. More food allergy testing later today. Please cross your fingers for me that they don’t find any more food allergies, and if they do, it’s an easy to avoid one like a fruit.) My gluten free vegan dough attempt was pretty much a spectacular failure, and it’s going to take some more research and some more work, but I’ll keep trying. At the same time, I had decided to try an egg free dough that I had found using all purpose flour (warning: I mean a real wheat flour) and boiling water, because I knew I was going to have too much filling, and I like to do a lot of experiments at once because you’re more likely to have at least one success. The egg-free real wheat flour version worked. Again, I promise to keep trying for a gluten free version.
Anyway, the really nice thing about this recipe is that you can make a bunch of them up, put them on parchment paper on a cookie sheet (this is prior to cooking them), making sure they don’t touch and then throw them in your freezer on the cookie sheet until they are frozen solid. Then you can pop them into a ziploc freezer bag, and you can take a few out here and there to use whenever you want, to steam, to pan-fry or to put in soup, because they’re not frozen together in a lump. It’s labor intensive for an afternoon on the weekend, but then you’ll have lots and lots of dumplings for whenever you want!
1 cup of chicken stock (check the label if using store bought)
2-3 tablespoons of sesame oil
First, if you are steaming or pan frying your dumplings and you need dipping sauce, put all the ingredients for the dipping sauce in a small bowl, whisk the ingredients together until they are well combined, and then put it aside until your dumplings are cooked. (I forgot to take a picture, sorry.)
To make the dough for the dumpling wrappers, I used my stand mixer with a dough hook, but you can just use a bowl and a spatula too. Place the flour in the bowl and mix the boiling water in slowly until the dough forms a ball. If using a mixer, continue on low speed to knead it for a few minutes. If using the low tech method, knead it with your hands for a few minutes. Shape it into a smooth ball and place it in a ziploc bag to rest a bit while you make the filling.
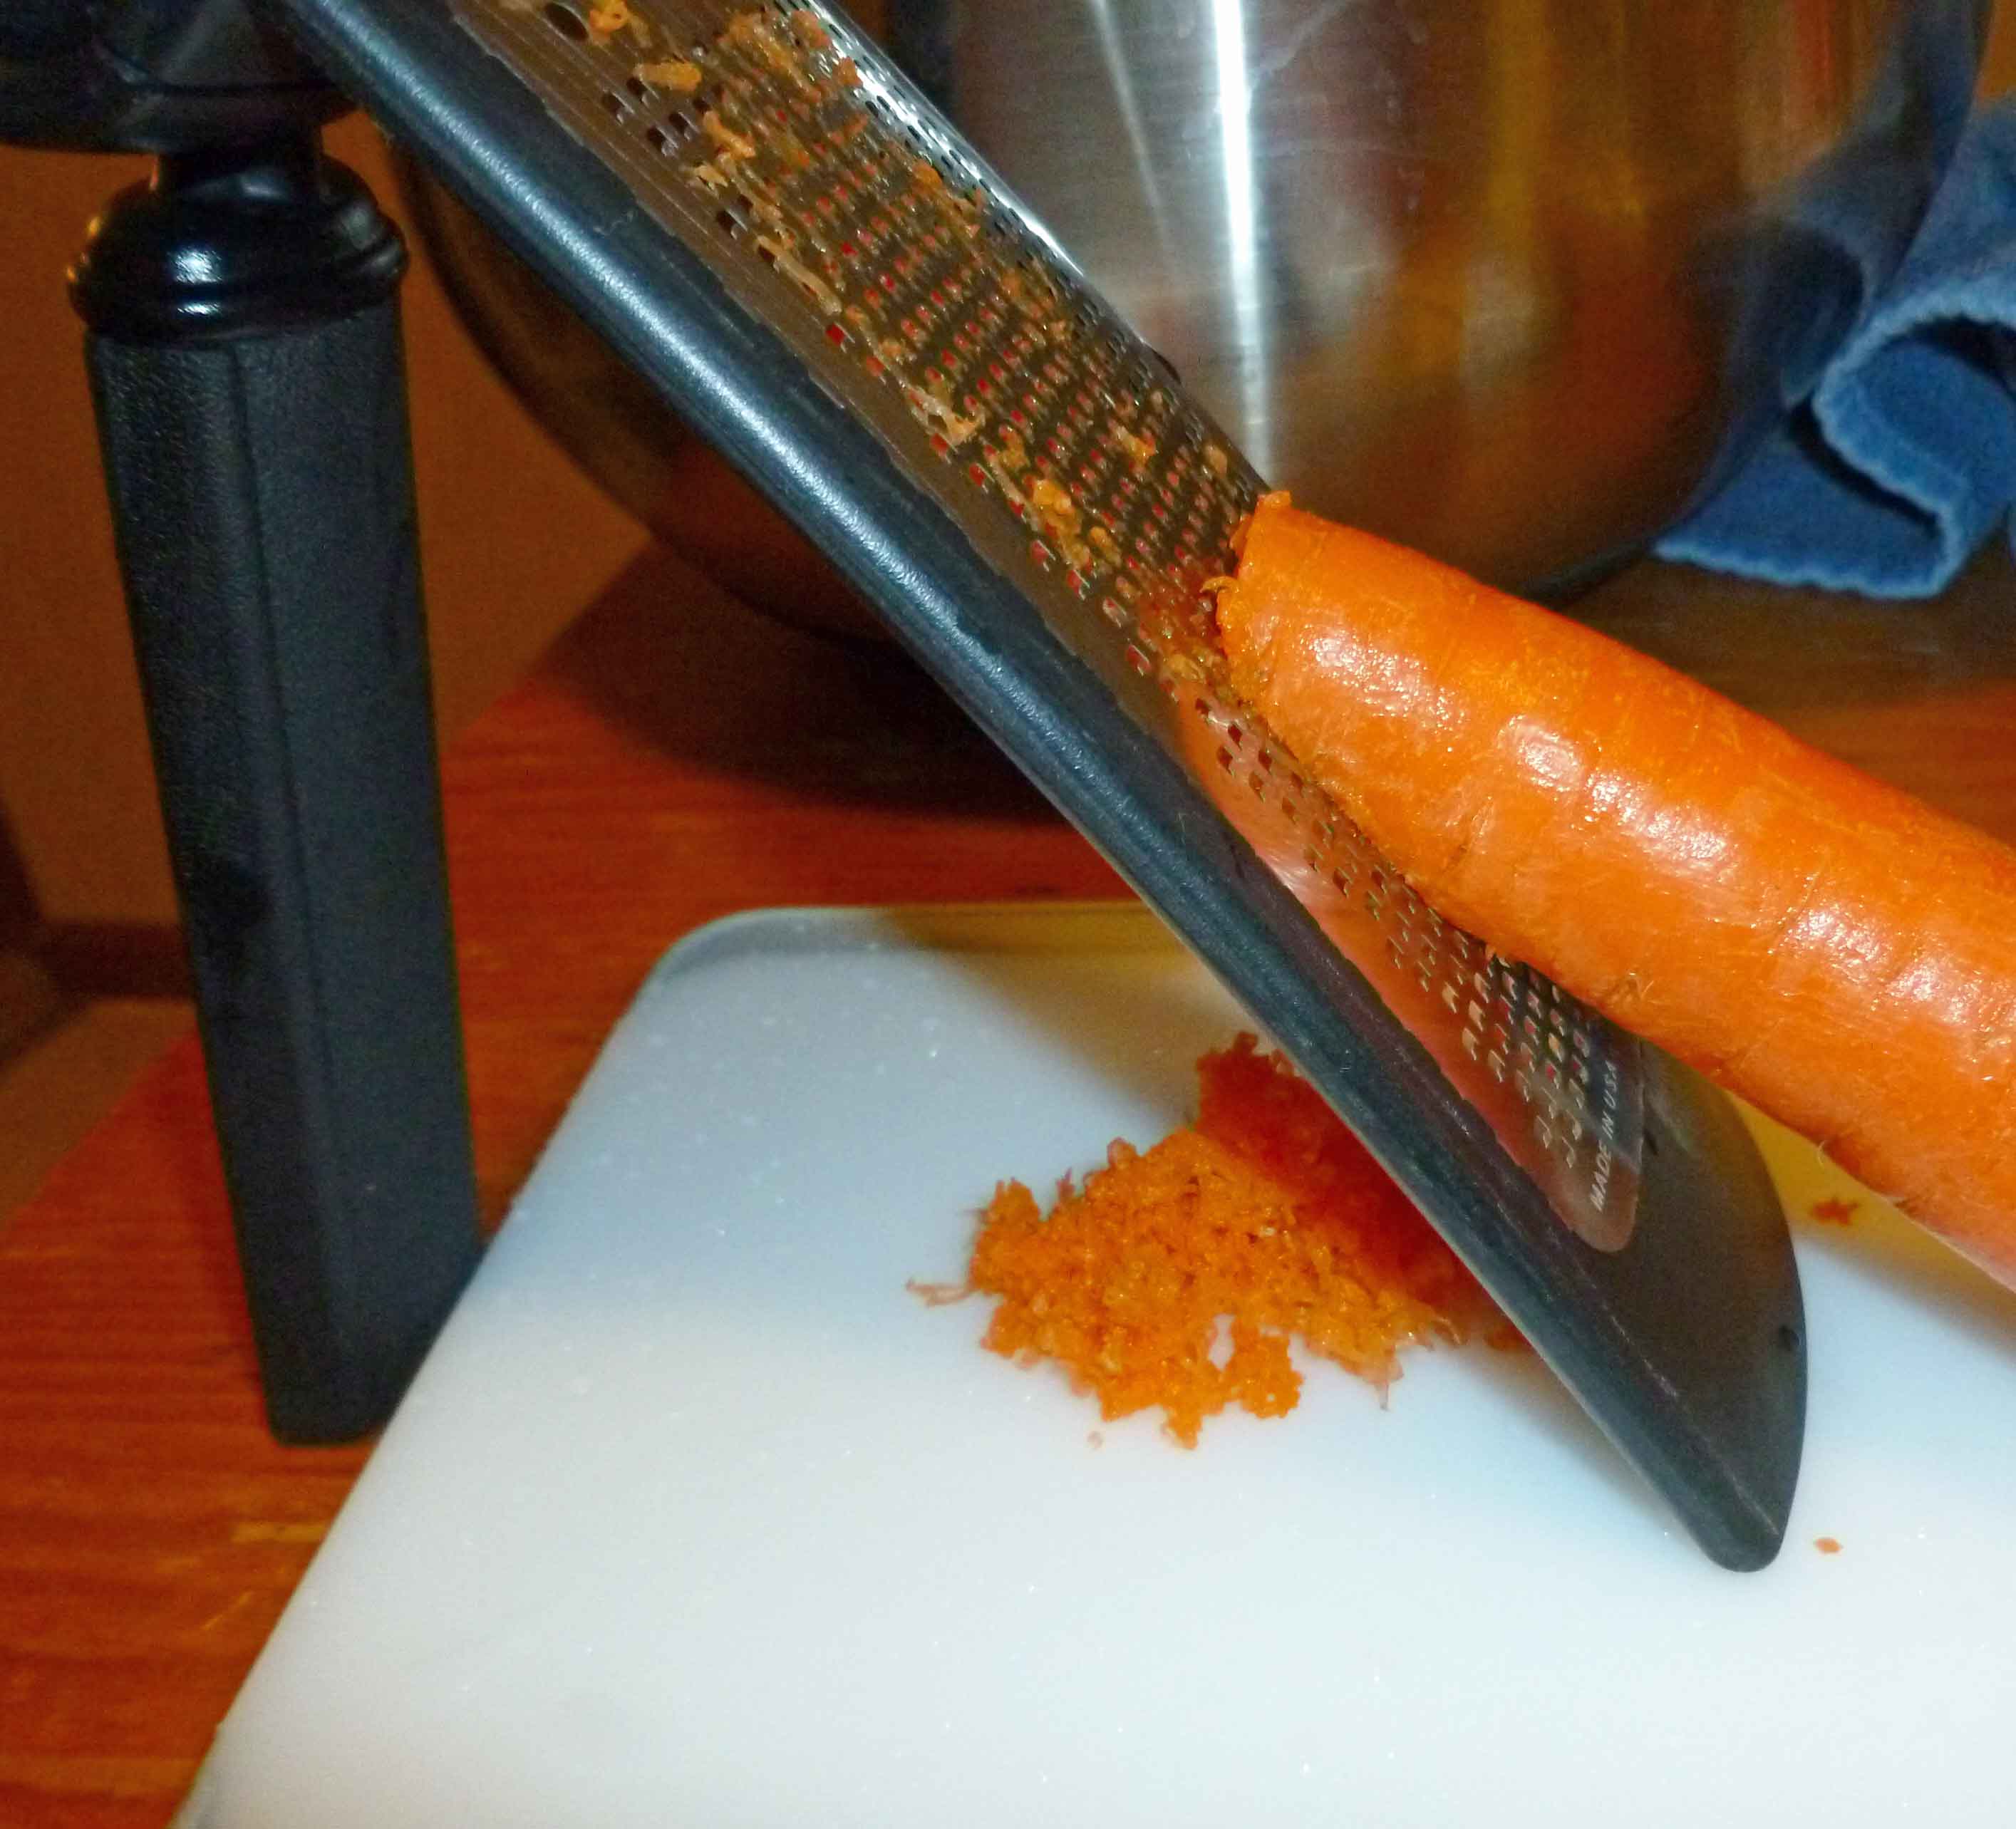
To make the filling, prepare all the ingredients if you haven’t already. I grated the carrot as finely as shown below:
Carrots grated with a Microplane fine grater
The Napa cabbage, I sliced very finely with a very sharp knife, aiming for a width of a quarter of an inch or less, and then chopped the slices into smaller pieces:
Shredded Napa cabbage in bowl with other ingredients
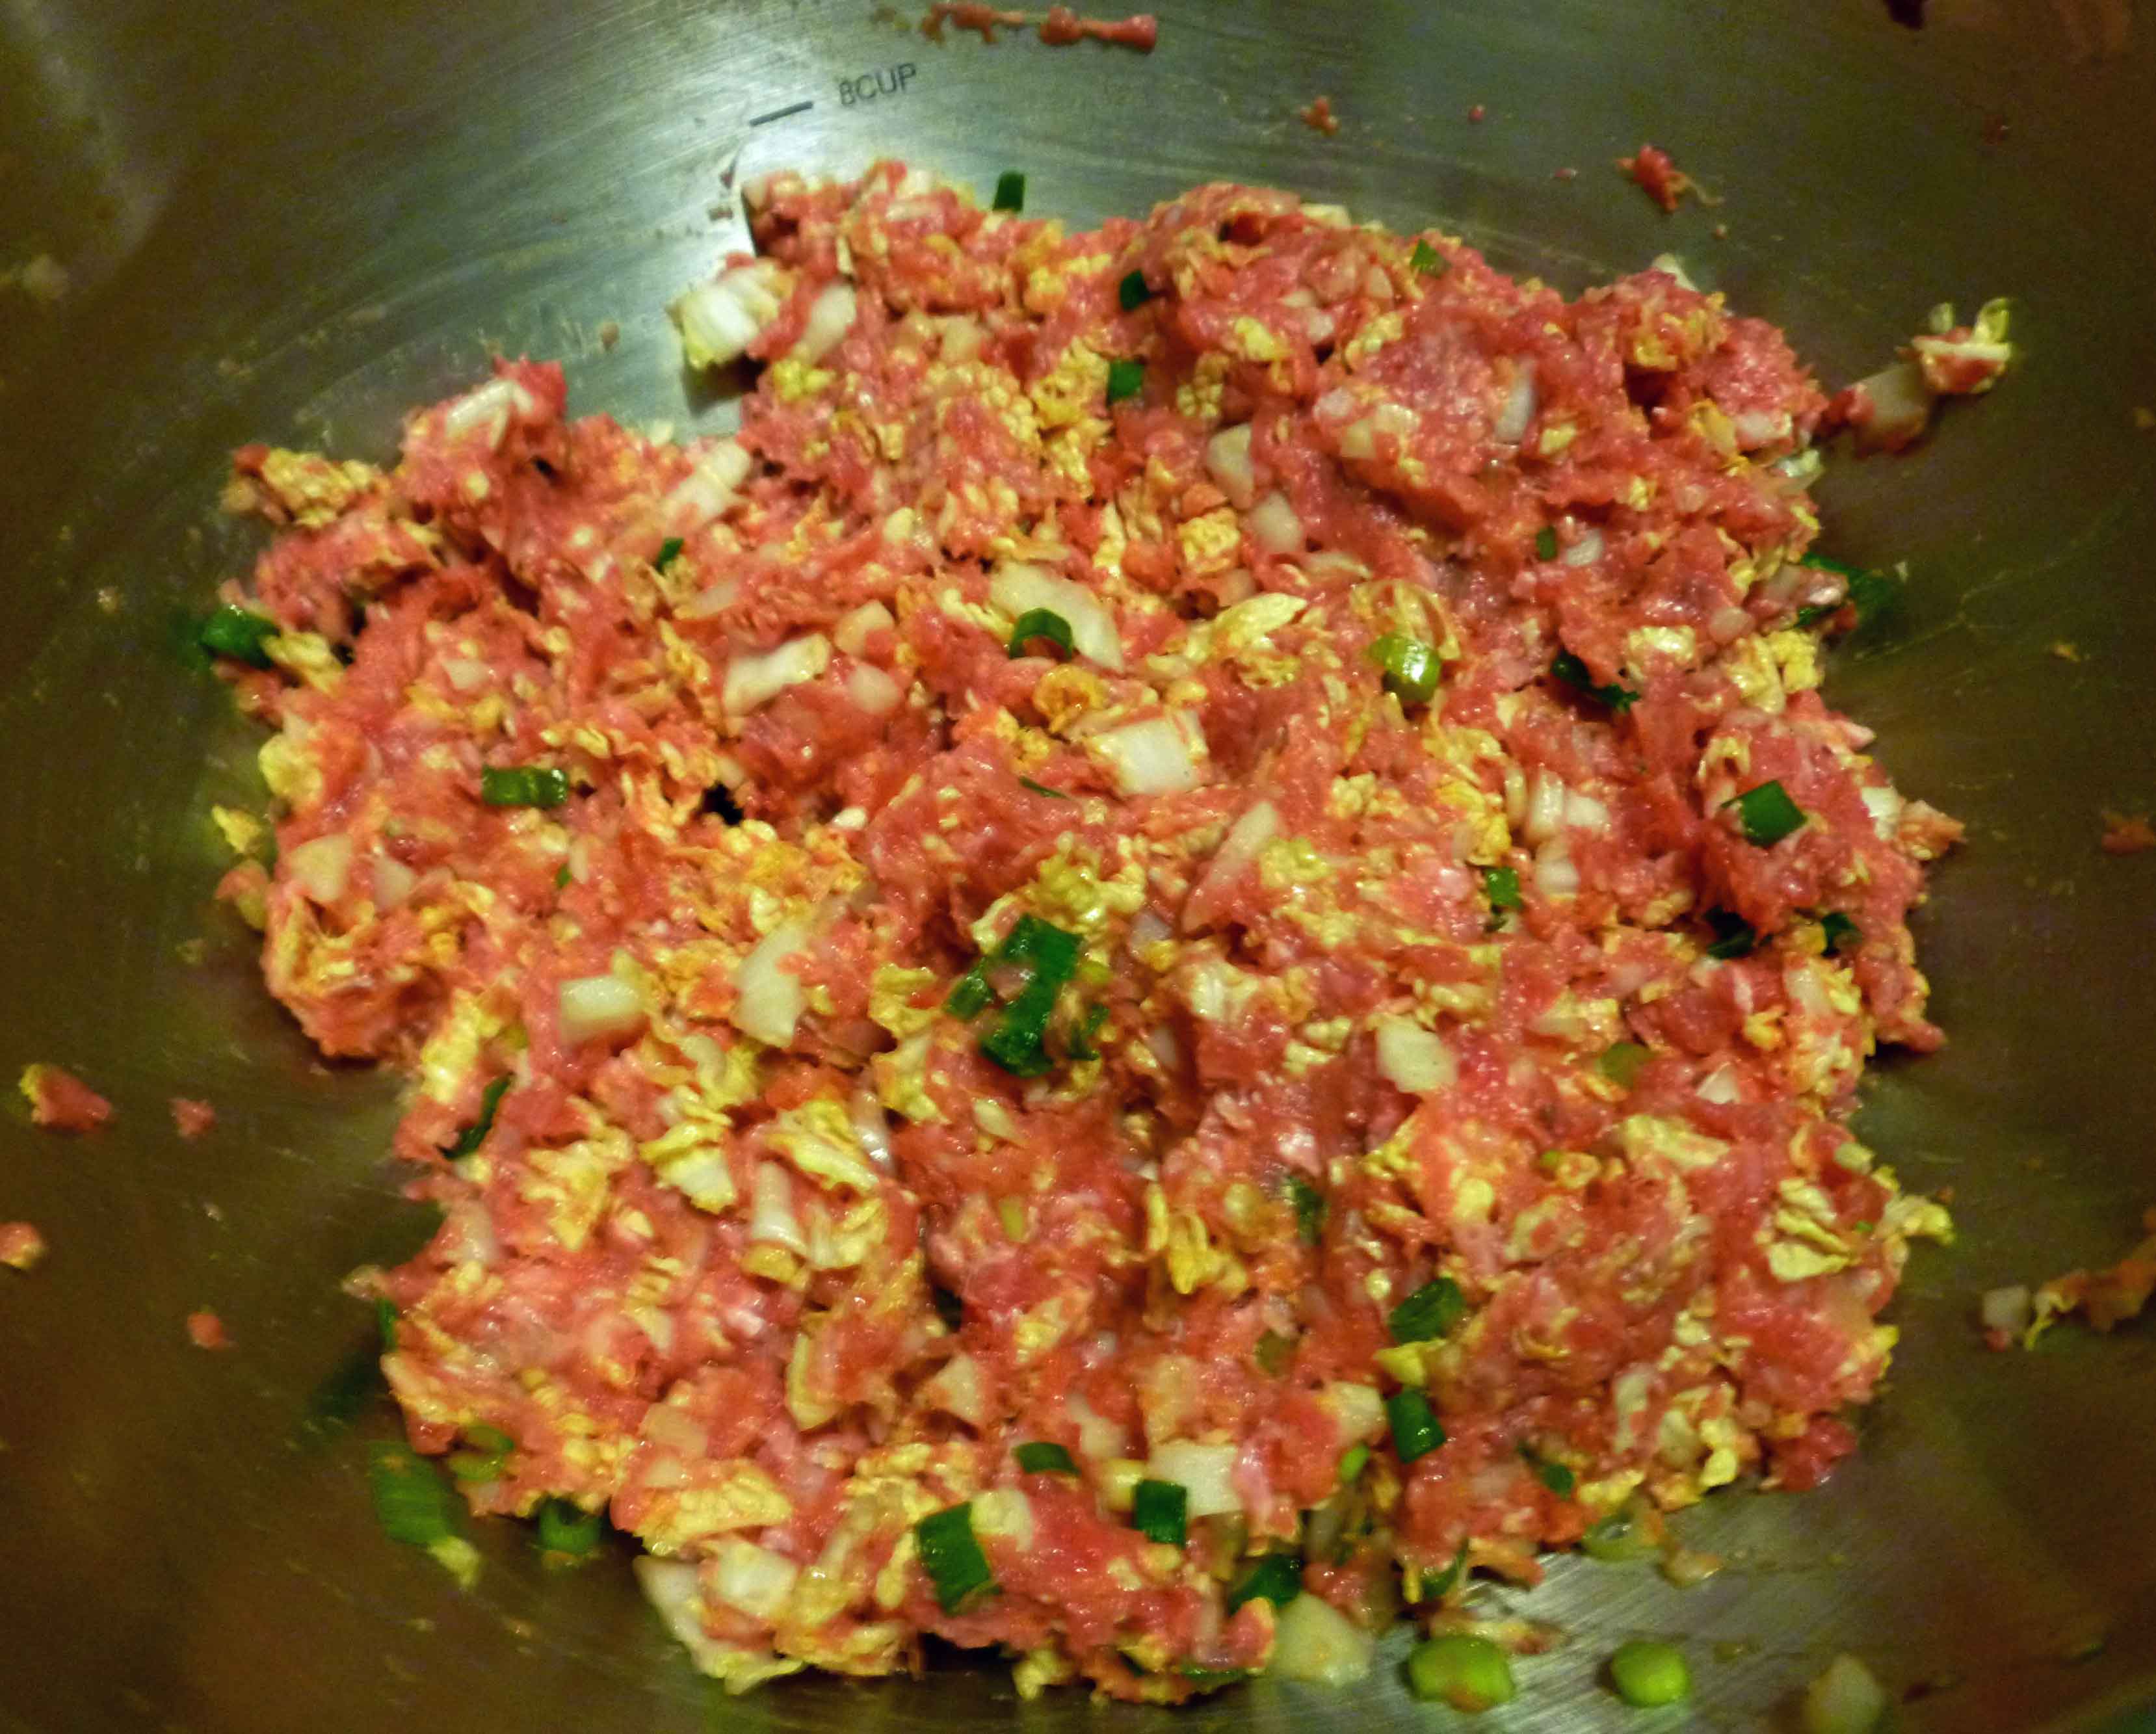
Place ground pork, garlic, carrot, ginger, green onions, Nappa cabbage, water chestnuts, soy sauce, sesame oil, rice vinegar, chili garlic sauce, cornstarch, and salt in a bowl, and mix throughly using your hands. You might want to put it in your refrigerator while you roll out the wrappers.
Pork Dumpling Filling
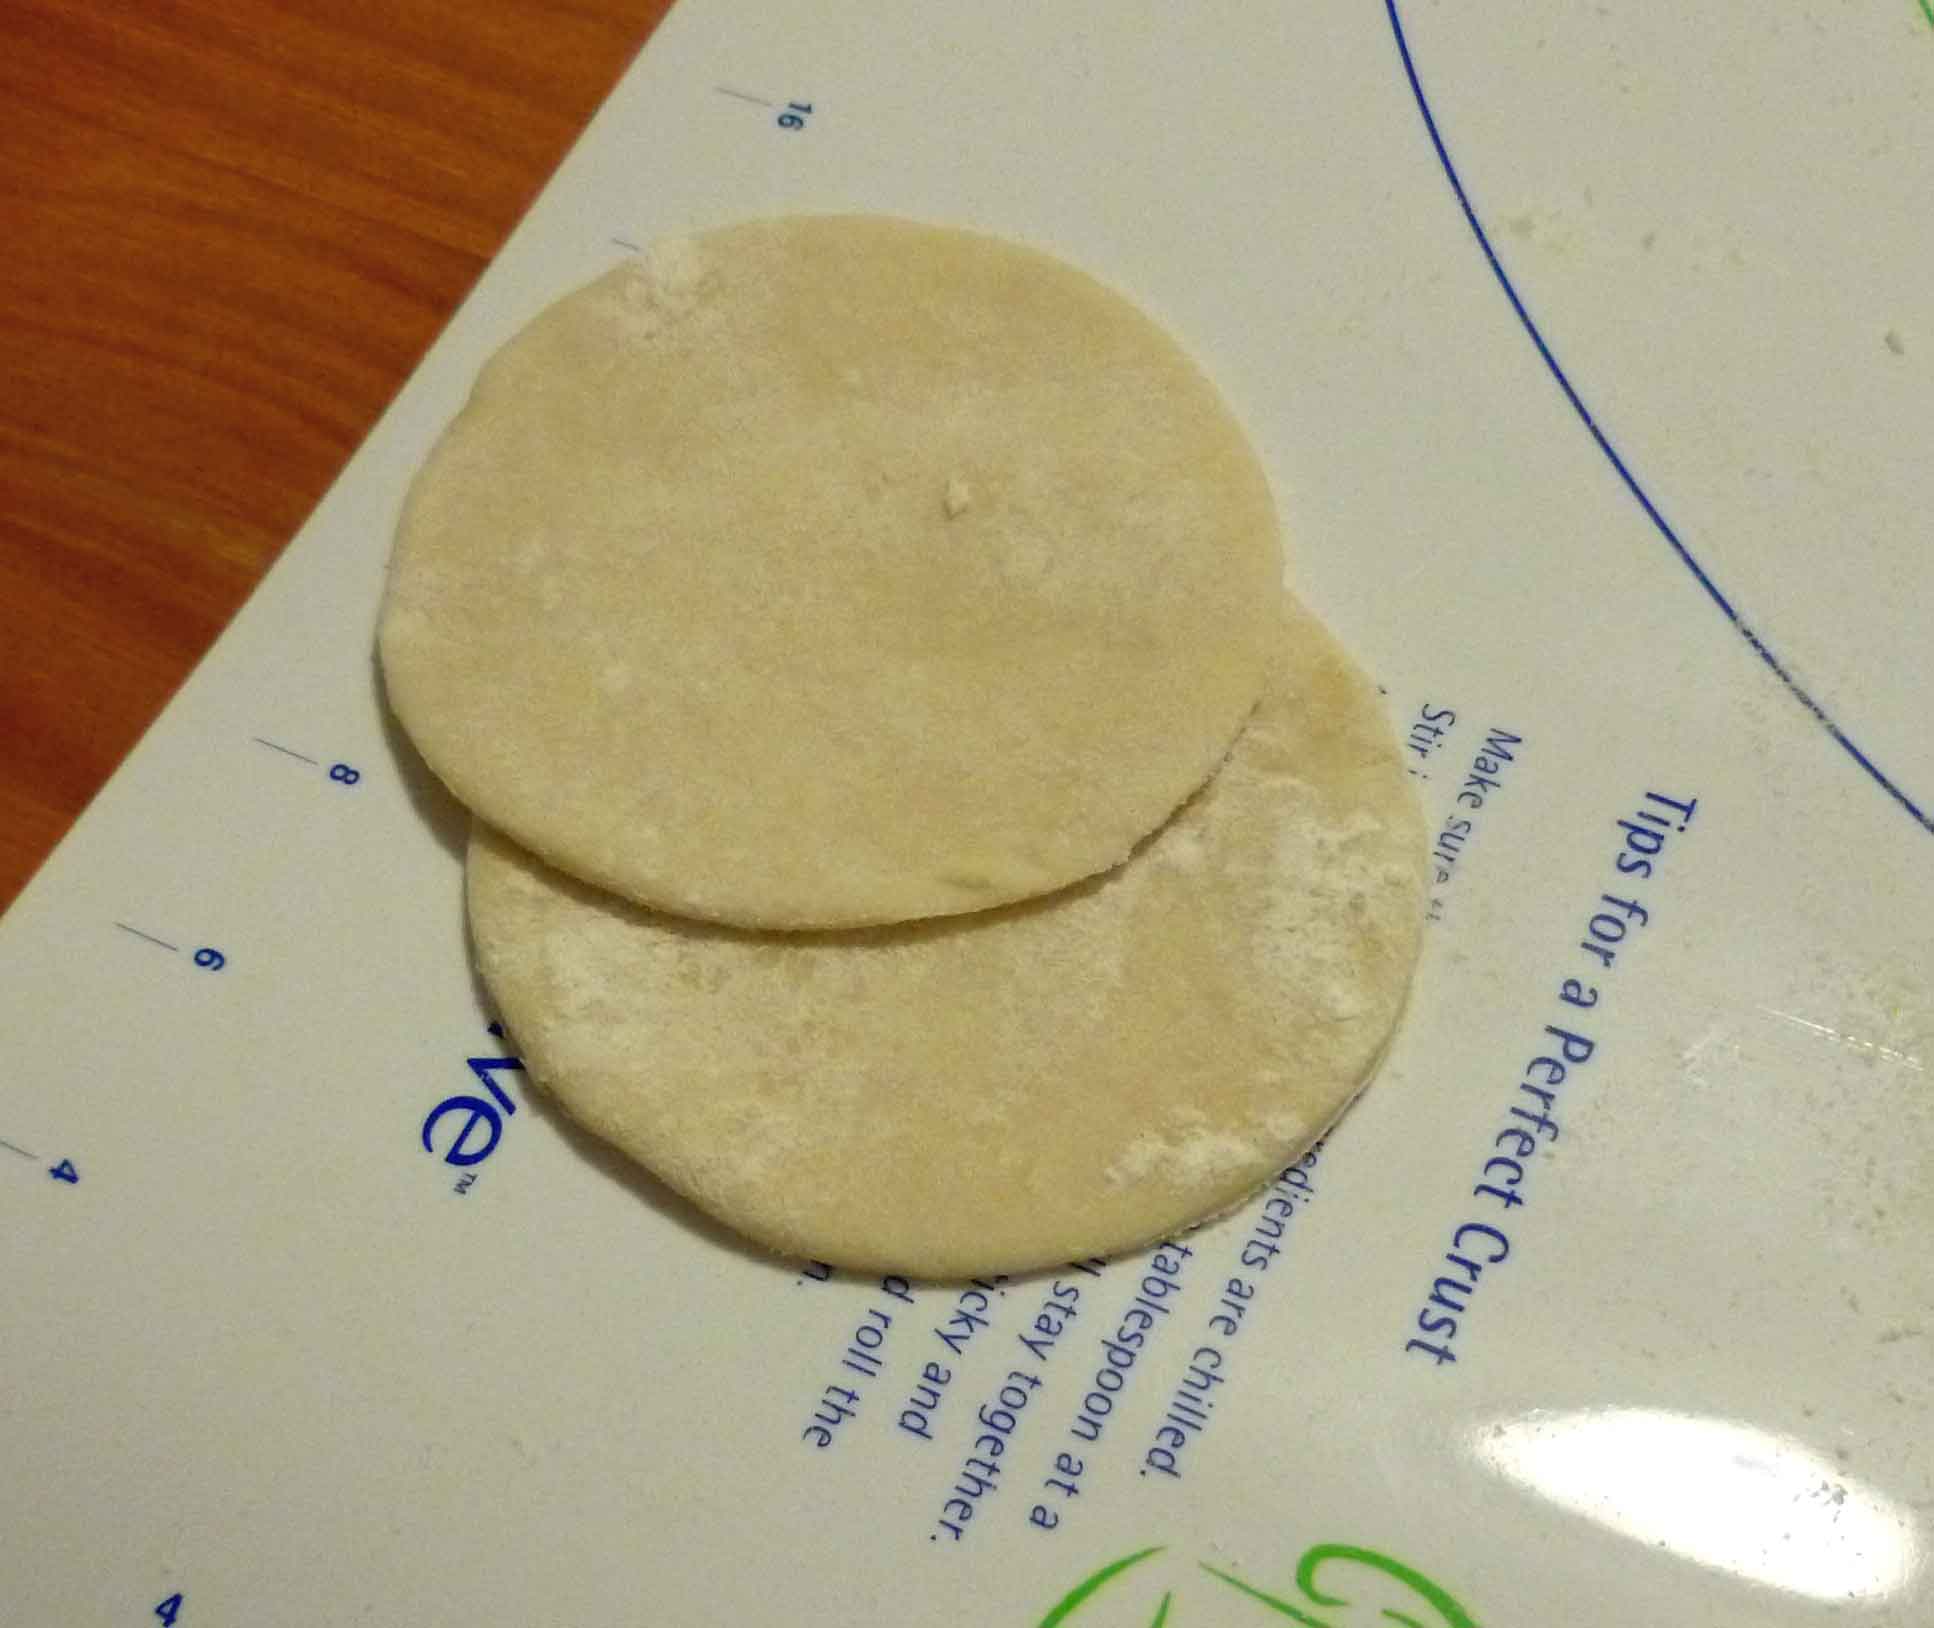
Now it’s time to make your wrappers. You can roll out your dough on a very clean counter top, a dough rolling mat, or a cutting board. I used a rolling pin and a biscuit cutter which was three inches in diameter to make the wrappers. Spread some flour over the surface of your work area. This dough is very sticky, you’re going to need quite a bit of flour for dusting, and it’s much easier to do it in small pieces. I only rolled out enough dough to cut out 2 or 3 wrappers at a time, as any larger attempts stuck to the mat too easily. Take a piece of the dough about the size of a plum, and using your flour to dust liberally, roll the dough to about an 1/8 of an inch thick and use your biscuit cutter (cookie cutter, or even a water glass in a pinch) to cut out the wrapper. Take your scraps and a bit more of the dough, and knead them together a bit and roll out a couple more wrappers. Keep doing this until all the dough is gone.
Dumpling Wrappers
Again, this dough is very sticky, make sure you dust them liberally before putting them in a pile. I didn’t and I had several wrappers stick together, which I then had to roll out again when I tried to use them.
Now it’s time to make your dumplings. I just want to say that this is a much softer dough that your usual wonton wrapper you get from the grocery store, and it’s harder to get a “pretty” result. And I’m not an expert by any means. So go check out this video by an expert for different shapes and techniques if you need a better explanation than the one I’m about to attempt. Especially once you see the picture of my completed ones below. Take a wrapper, hold it open in the palm of your hand. Place about a teaspoon or so of filling in the center of the dumpling and fold up the sides of the wrapper, pinching it shut, making little pleats if you have that kind of dexterity.
Dumplings on a sheet pan covered with parchment paper
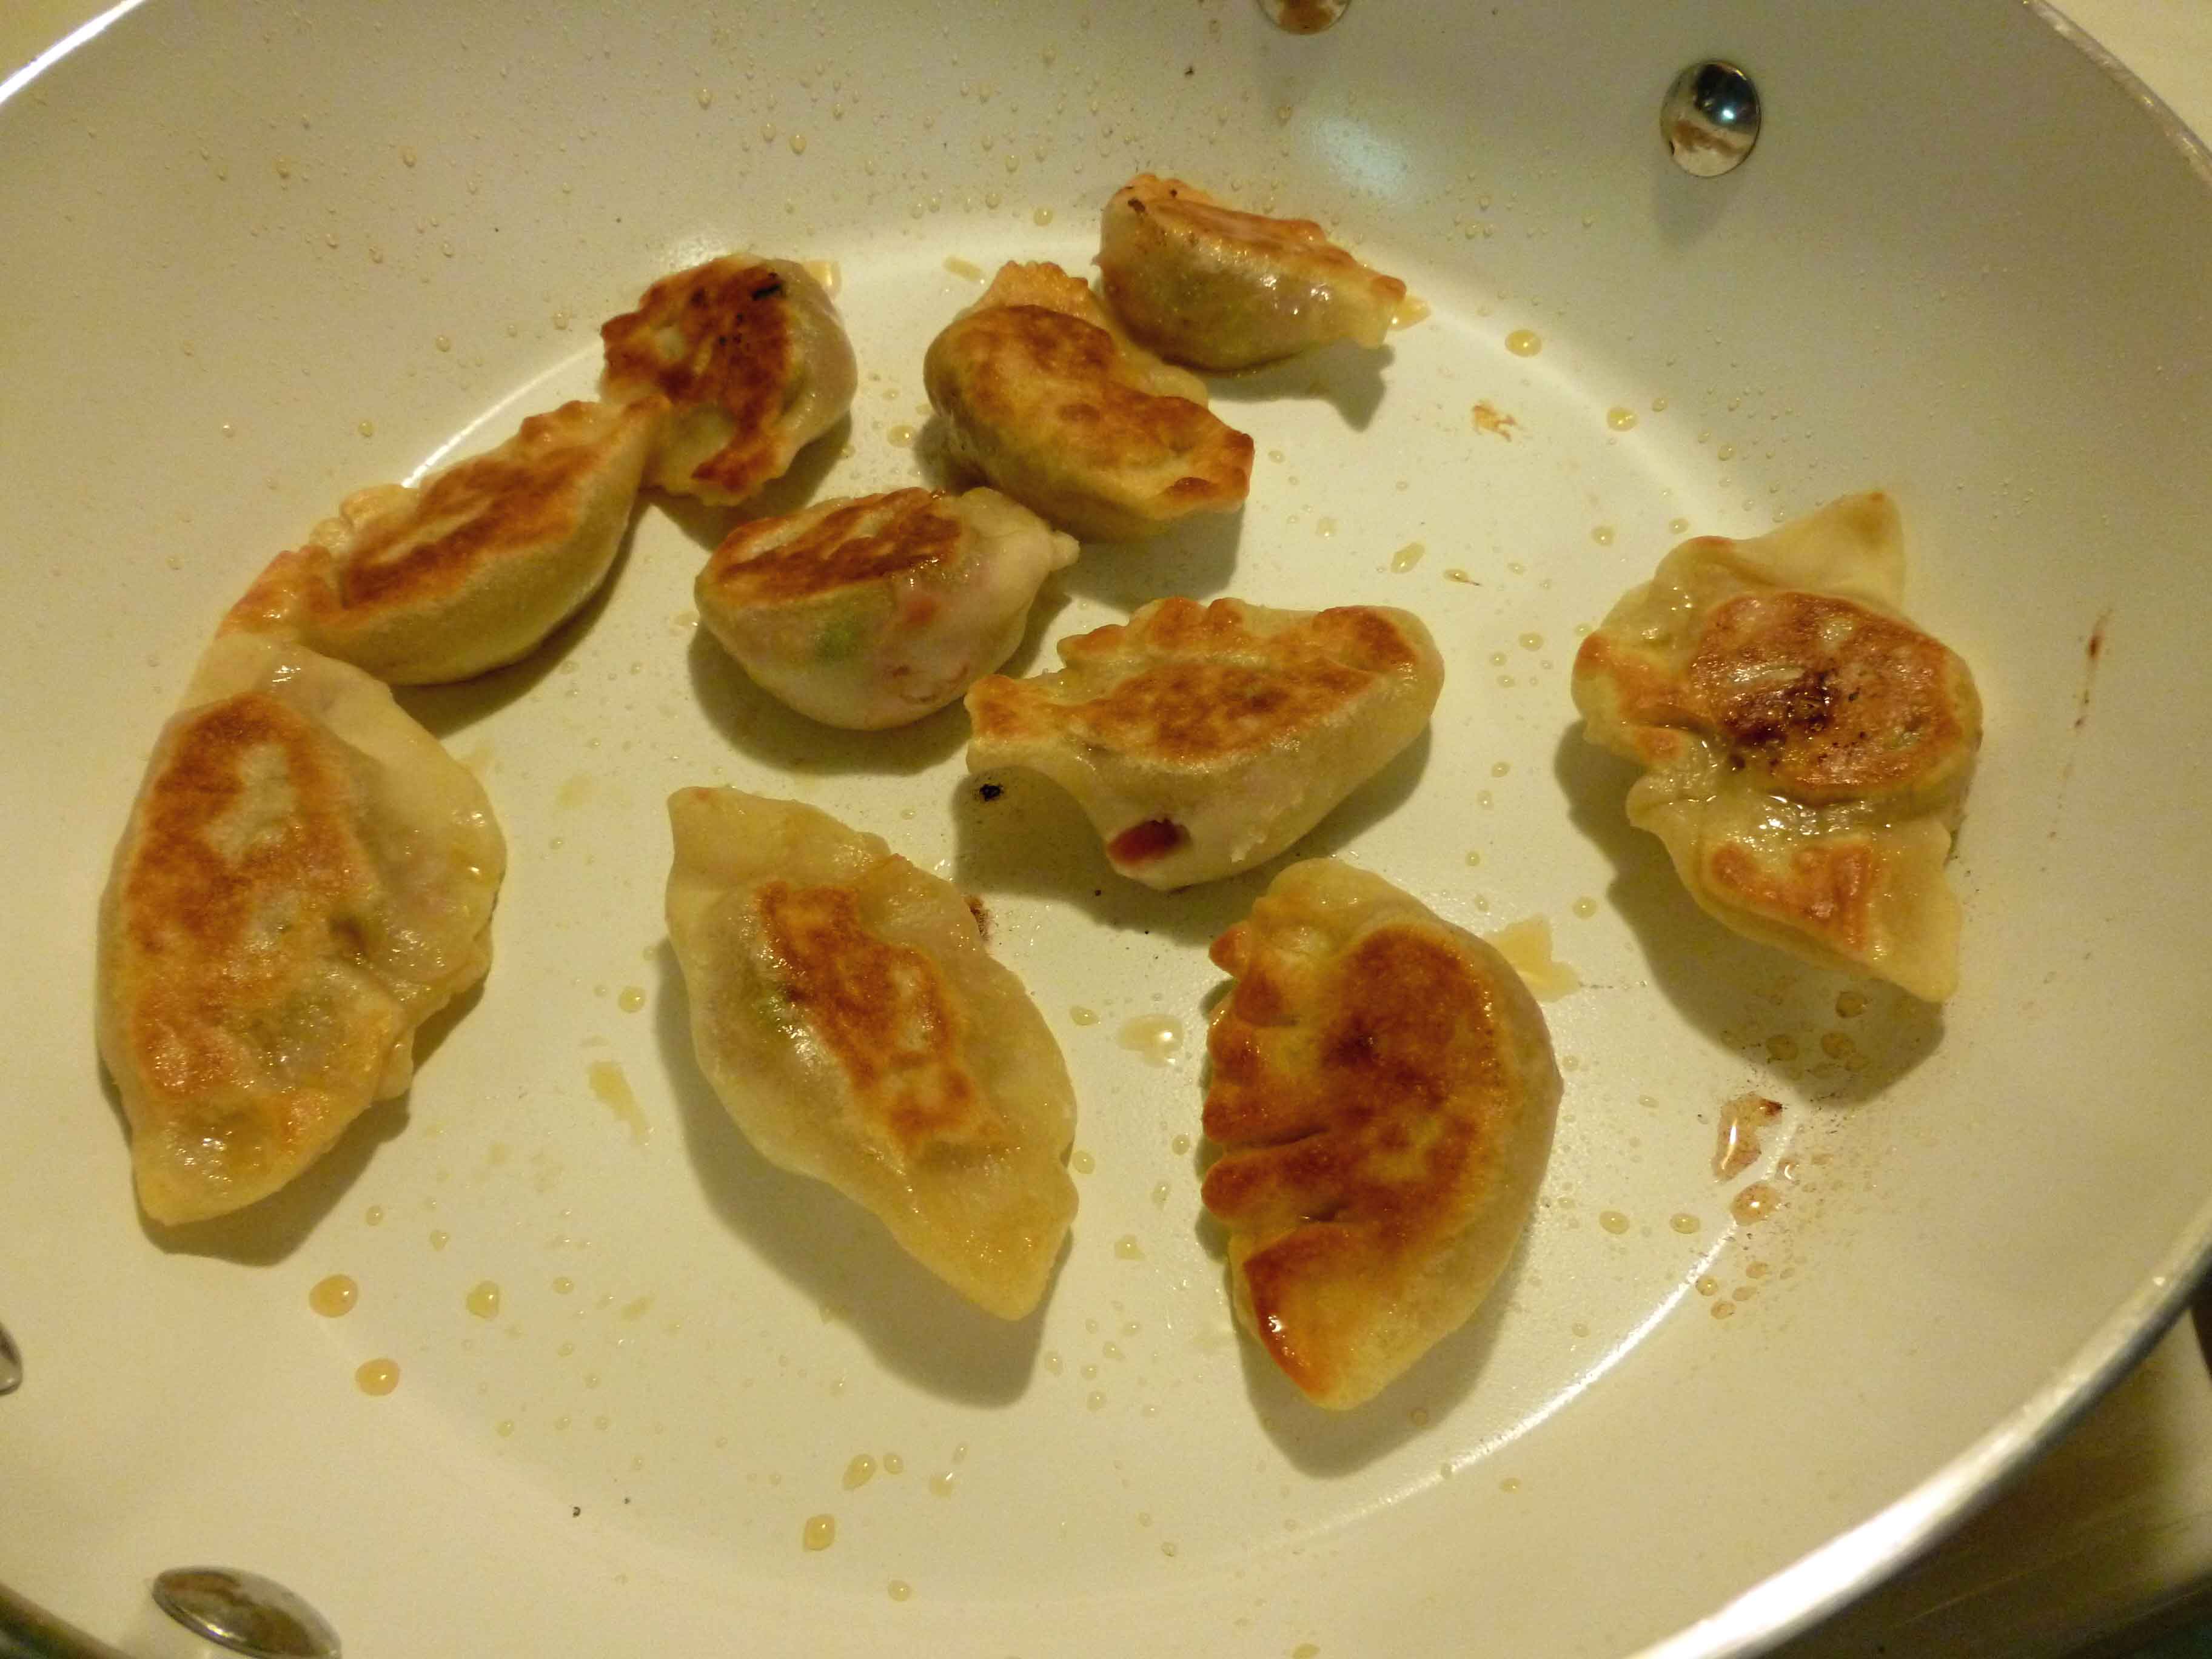
Now you get to choose how to cook them. I provide three methods below, but the first, Pan-frying, is what I used this time:
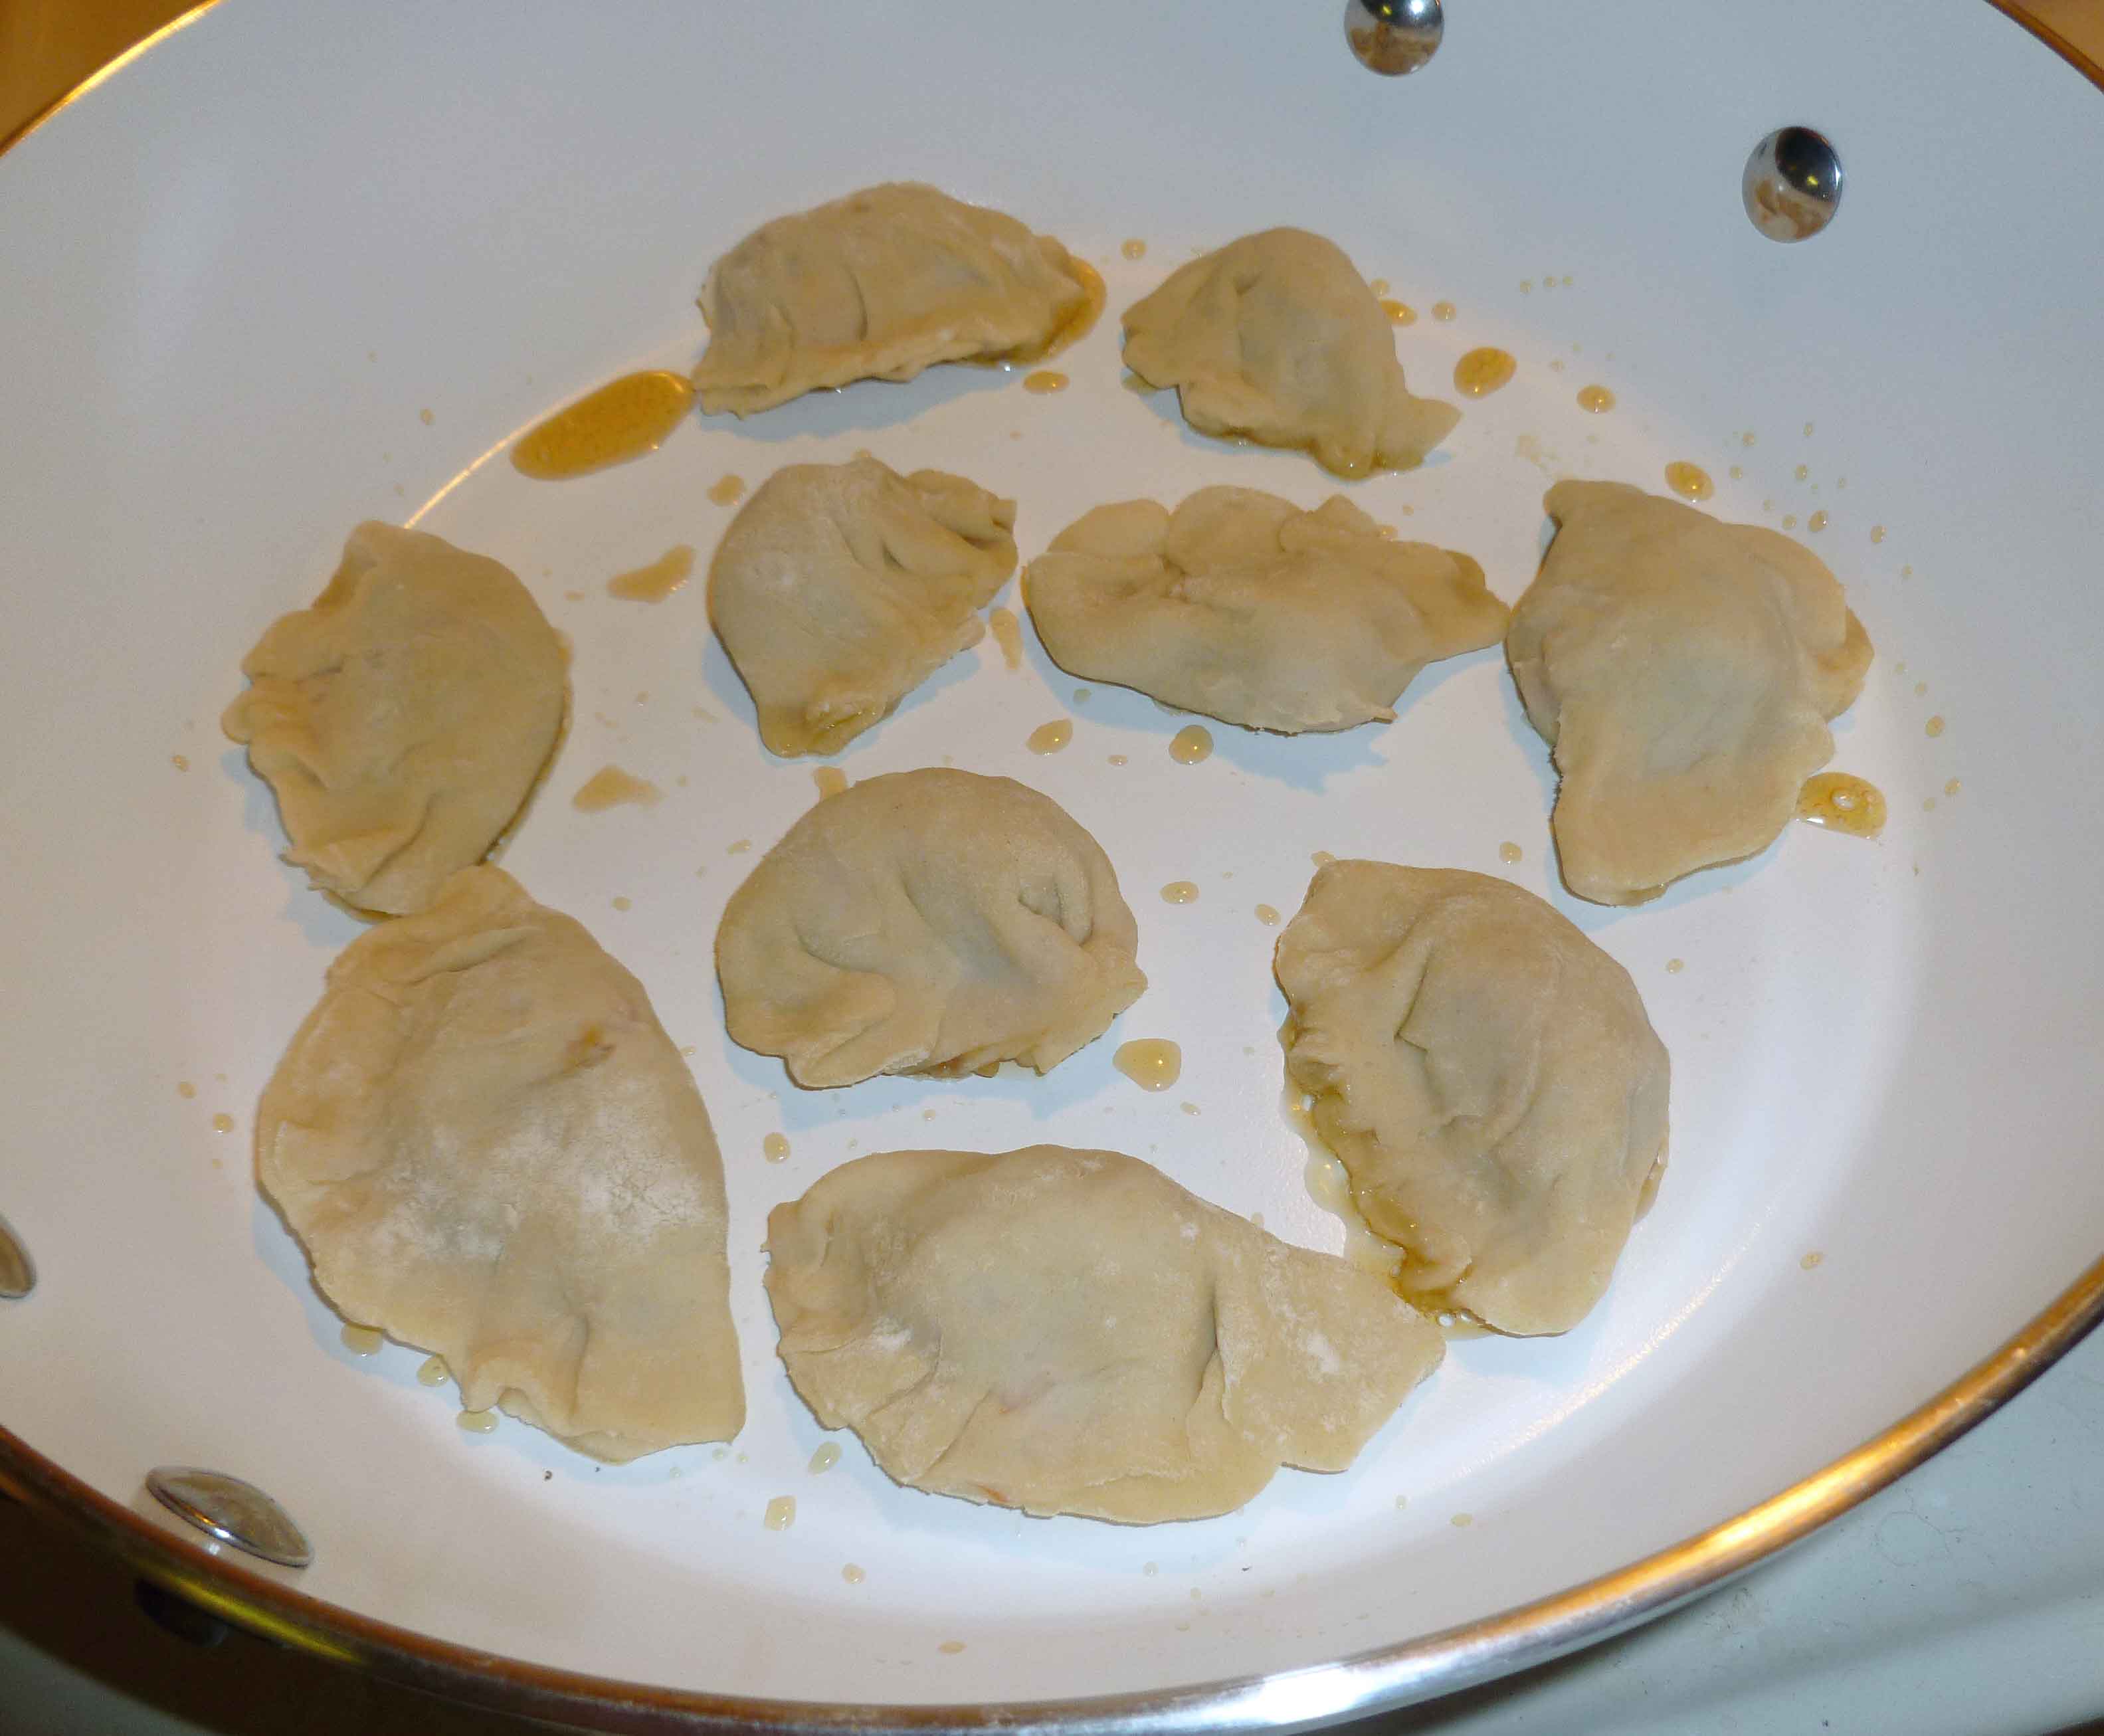
Pan-frying Dumplings: Place a little sesame seed oil in a skillet (which must have a tight fitting lid) over medium heat. Add dumplings, but so that they do not touch and have enough room to cook separately.
Dumplings properly spaced in skillet
Fry until golden brown, and then turn to fry the other side to the same golden brown color as shown below:
Dumplings fried golden brown
Once both sides are golden brown, add a quarter cup of chicken stock and put the tight fitting lid on the skillet. Continue to cook over medium heat while dumplings steam from chicken broth for another 3 – 7 minutes (depending on whether they were fresh or if they were dumplings you froze to use later) making sure to test one to see if they are done before serving. You may need to adjust your cooking times. Continue to fry and then steam dumplings in batches until you have cooked all the dumplings you intend to serve. Serve with dipping sauce.
Steaming Dumplings: Use a metal steamer basket or a bamboo steamer in an appropriate size pot with a tight fitting lid with enough water so that it will not touch the dumplings. Place the dumplings in a single layer in the steamer. Bring the water to a boil, then reduce the heat to medium and put the lid on the pot. If the dumplings are freshly made, cook for 5 minutes or so, but test one to see if they are done before serving. If you froze your dumplings to use later, don’t thaw them, but cook them for about 15 to 20 minutes, testing to see if they are done before serving. Serve with dipping sauce.
Dumplings In Soup: You can do a quick wonton soup, using some chicken broth, some green onions, some Napa cabbage, thinly sliced carrots and some of your dumplings. Bring the chicken broth to a boil, add the dumplings and carrots, and then reduce the heat to medium. When the dumplings and carrots are cooked, add the green onions, Napa cabbage and cook for a minute or two more. I like to add some white pepper or Chinese Five Spice to season it as well. This is a really quick dinner if you’re using dumplings you froze to use later, and some frozen homemade chicken stock, or a store bought version (checking the labels of course).
Hope you like these, and I will keep trying for a gluten free version I like to share.
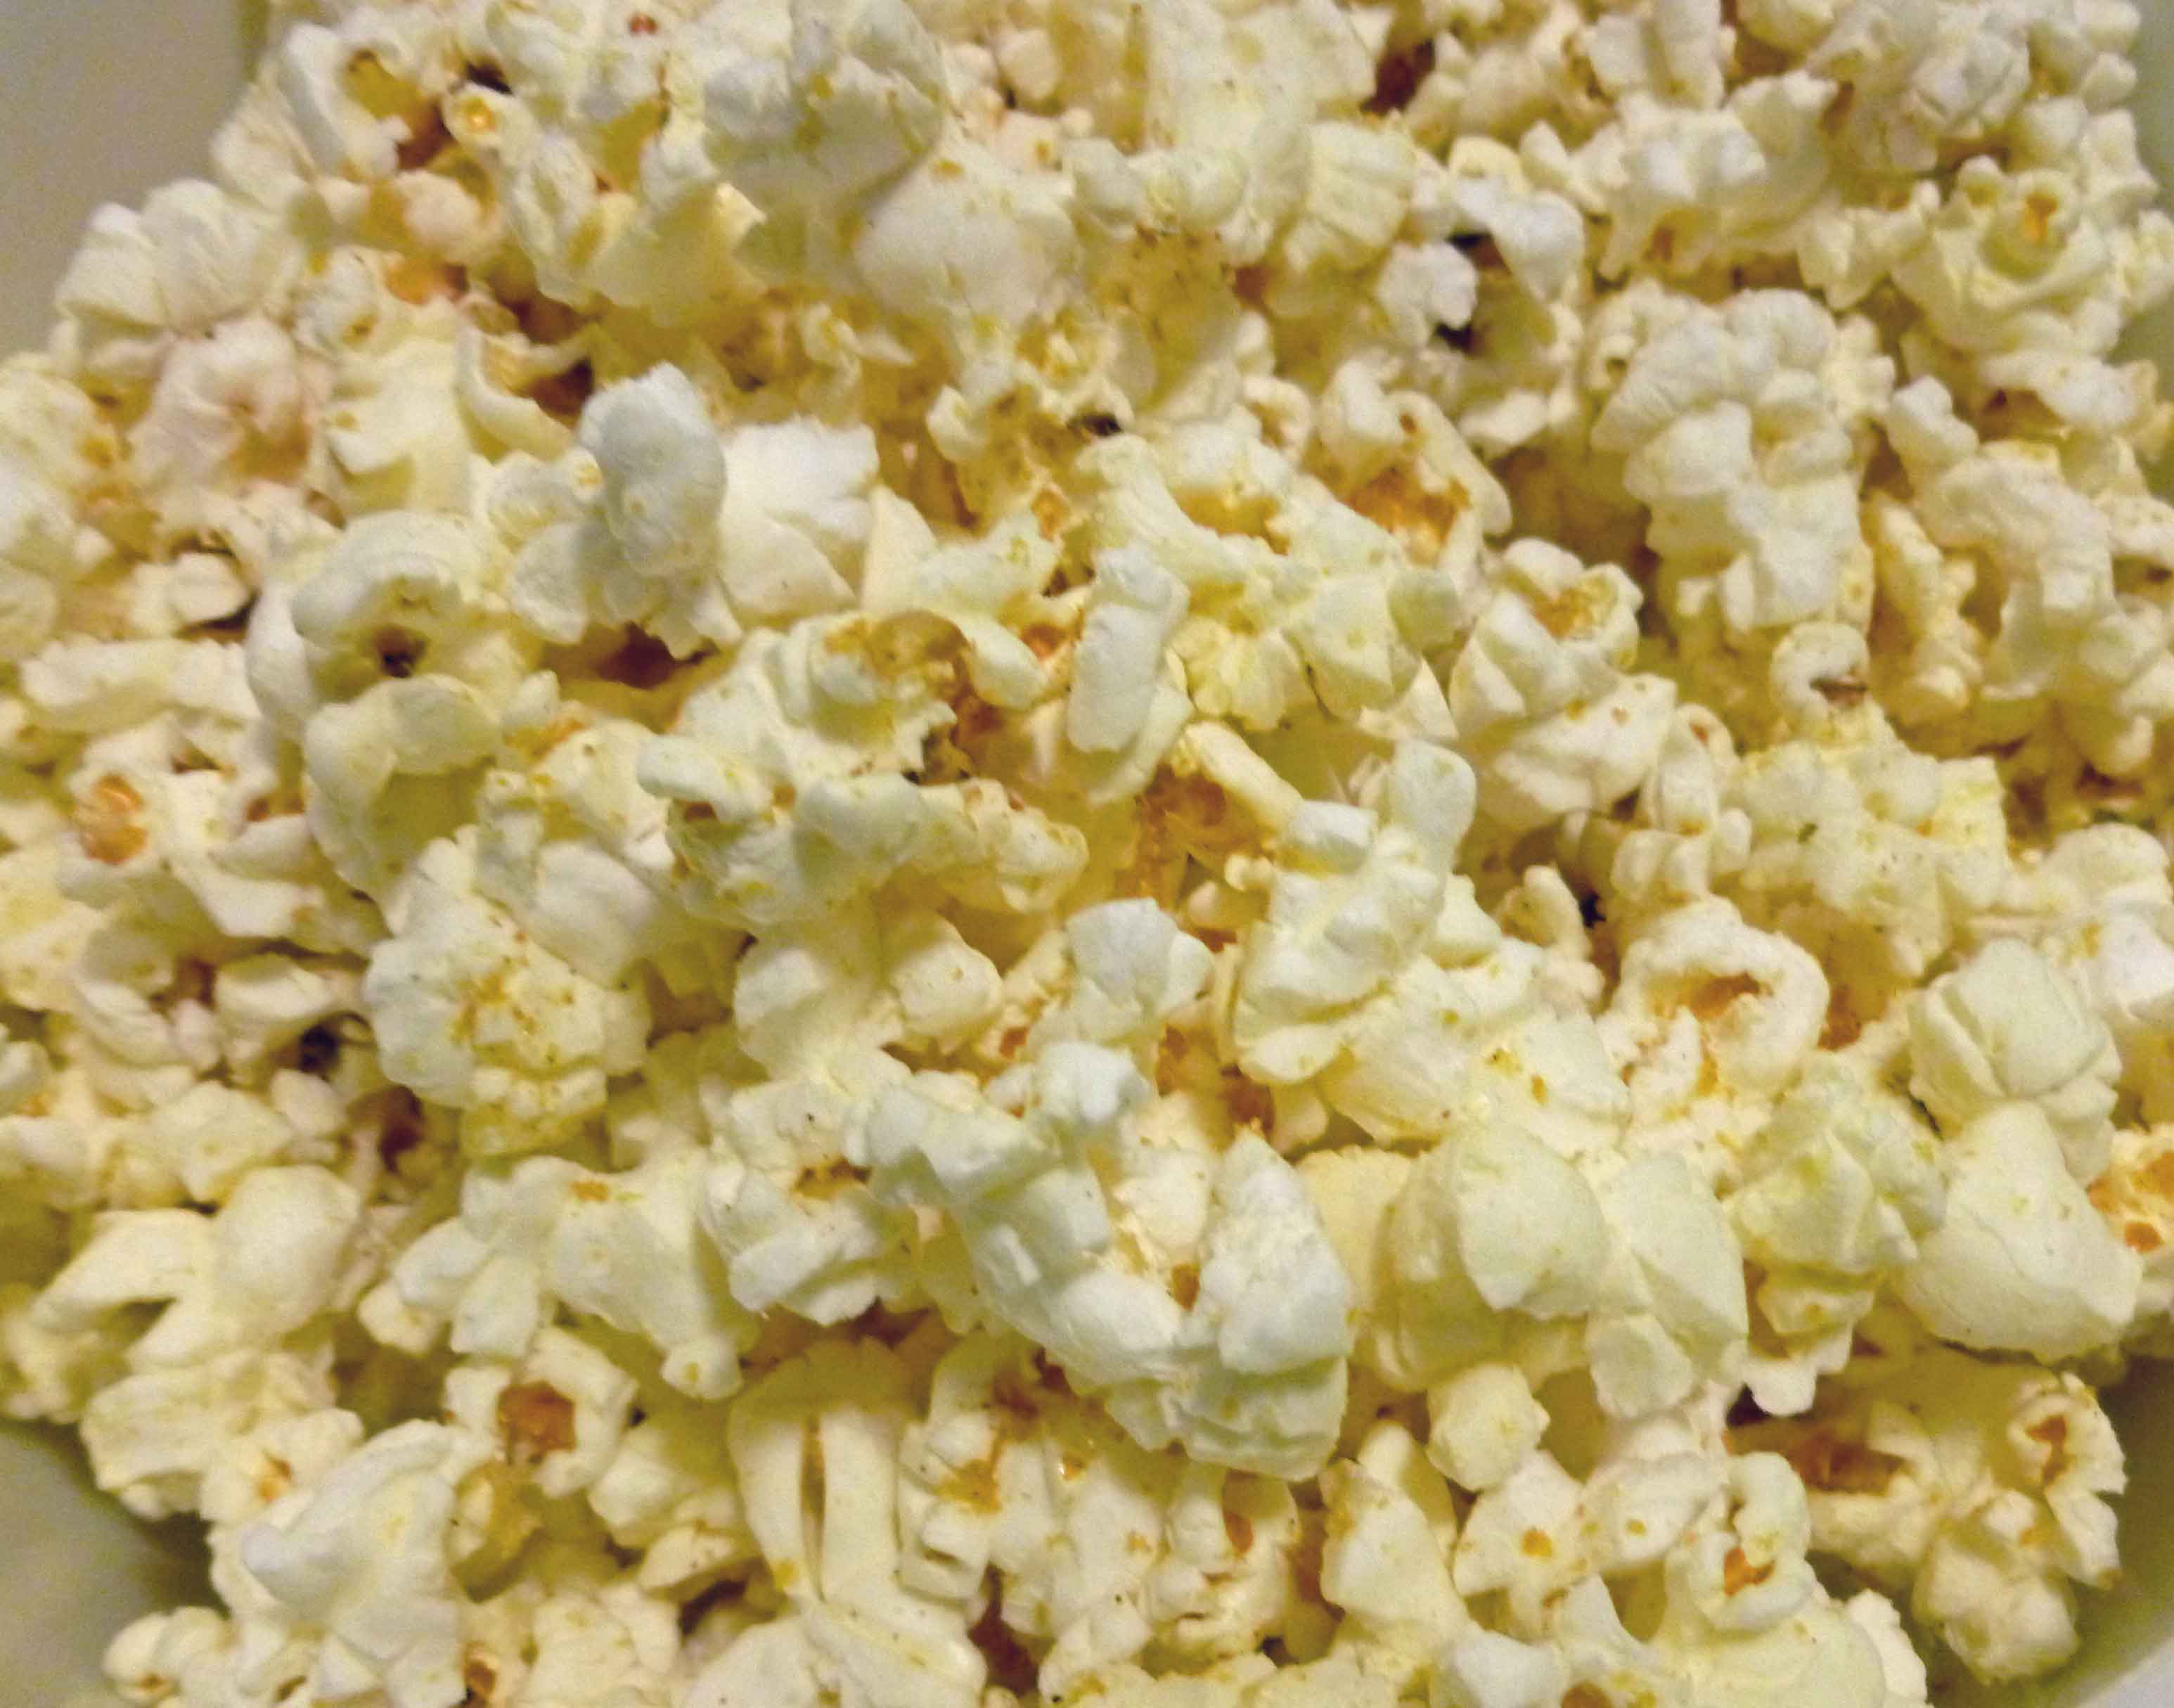
So this isn’t the post that was originally supposed to be here. I was supposed to have concocted this wonderful braised pork chop recipe, but Winter Storm Nemo happened and shot my plans to go to the grocery store to hell. I tried to make a go of it with what I had in the apartment, and it wasn’t bad, it just wasn’t worthy of you all. So then I was left to find something else to do at the last minute. And what else do people do when there’s no food, and you don’t feel like cooking? Microwave popcorn. Except for those of us that are dairy free, there’s no microwave popcorn that we can buy without milk or milk derivatives in it. So, the internet to the rescue! I can’t remember where I found the link on how to cook popcorn in a paper lunch bag in the microwave, but I want to thank them fervently.
Also, for those of you who are Valentine’s Day abstainers, popcorn is a good thing to have while you do a movie marathon to ignore the fact that the rest of the planet is participating in a corporate-manufactured holiday.
Basic Microwave Popcorn
⅓ c of popping corn
½ tsp of canola oil
¼ tsp of Lawry’s Seasoned Salt, or Penzey’s 4/S salt.
1 paper lunch bag
1 piece of tape (optional) or a plastic clip like these from Pampered Chef
Variations:
Cajun – Replace seasoned salt with 1/4 tsp Penzey’s Spicy 4/S Salt, or Slap Ya Mama Cajun Seasoning to taste. If your Cajun Seasoning does not have salt, leave the seasoned salt in the basic recipe in as well.
Cheez – Add 1-2 Tablespoons of nutritional yeast to the basic recipe.
Ranch – Add 1 Tablespoon of nutritional yeast, and a dash of each of the following: garlic powder, onion powder, basil, dill weed, and red pepper flakes to the basic recipe.
Curry – Add 1/4 teaspoon Garam Masala, and 1/4 teaspoon of curry powder to the basic recipe. If you want to add some heat, add a dash of cayenne pepper.
Open paper lunch bag. Add the popcorn kernels and all the seasonings to the bag. Add the oil, and then hold the bag closed and shake quickly to distribute oil and seasoning around popcorn kernels. Either fold the top of the bag over twice, use tape, or the clip to seal the bag tightly. Put the bag in the microwave on its side. Because all microwaves are different and everyone has figured out the optimum time to nuke microwave popcorn without burning it, try it at your normal setting and see if that works, and adjust the time as needed. In my microwave, it takes 1 minute 45 seconds to pop the popcorn without burning it. Shake the bag after taking it out of the microwave and dump the popcorn in a bowl, shaking any seasonings left in the paper bag out over the popcorn.
This would really work with any combination of seasonings you want to try. Let us know how any experiments you do work out. Enjoy!
All the Single People!
And for those who are single or anti-holiday, whatever your reason, here’s Mary Kate’s current V-Day At Home Alone, currently available via streaming Netflix, movie night plan:


")