
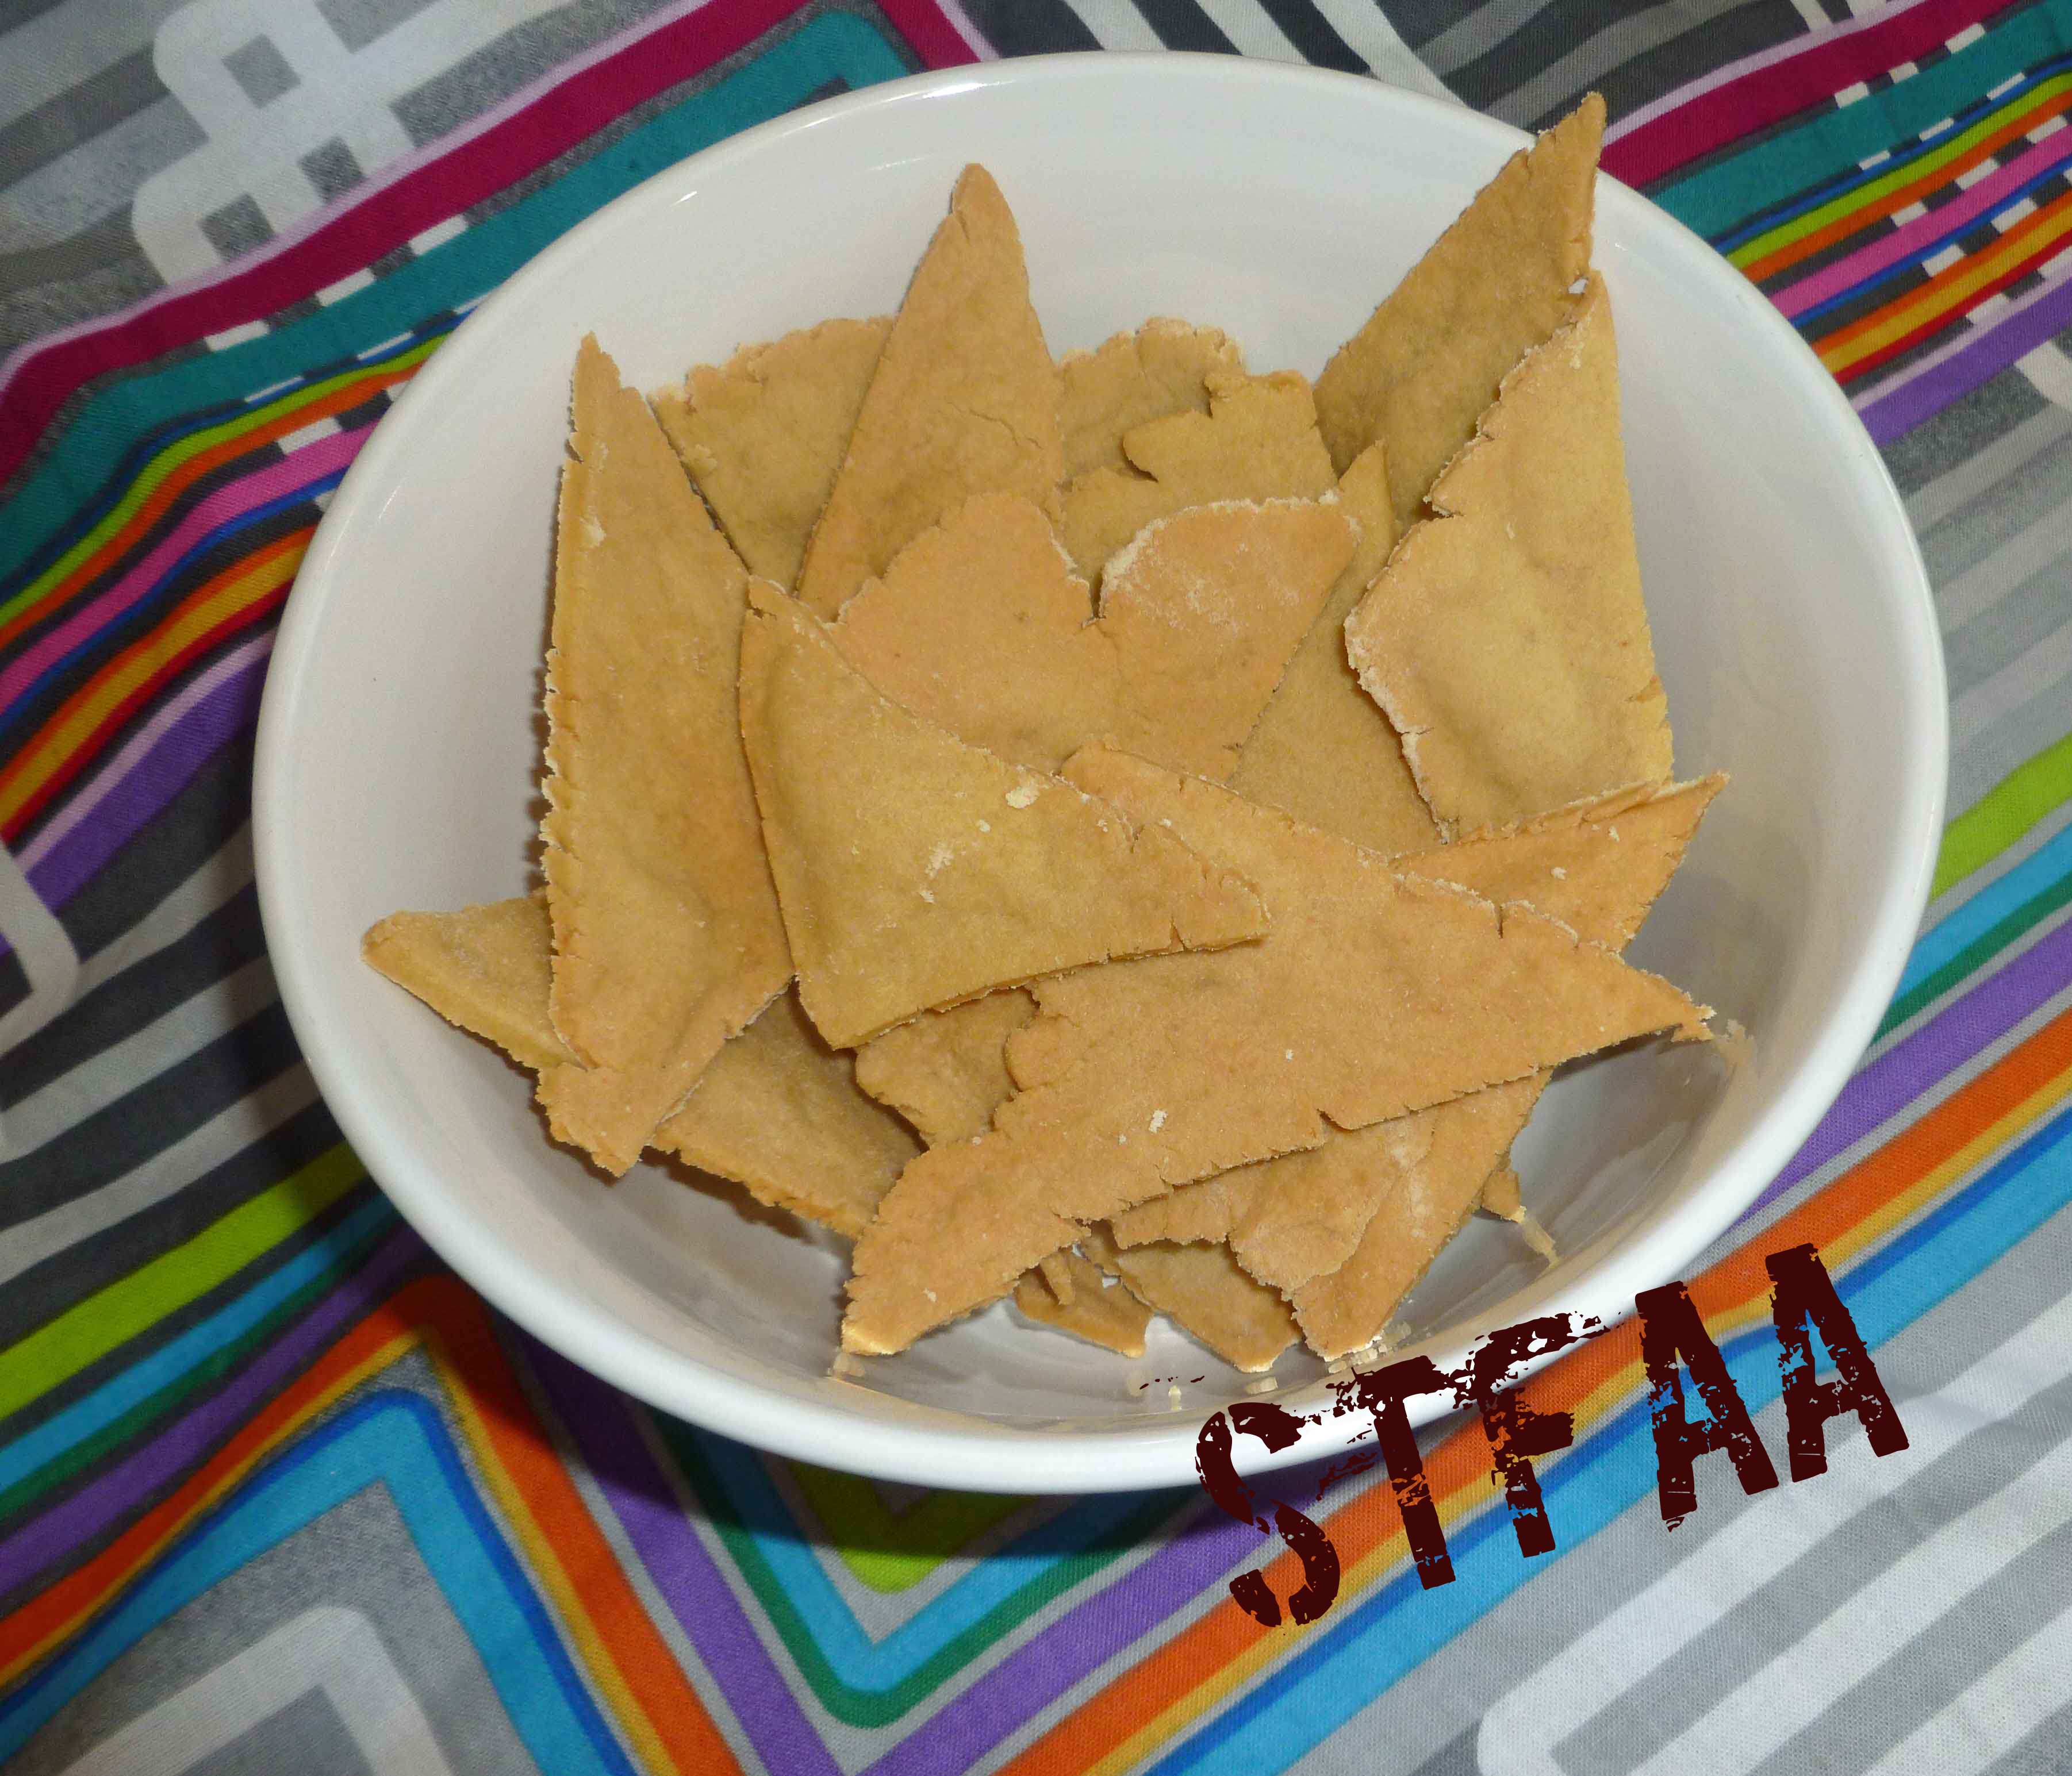
Gluten-Free Vegan Tortillas and/or Pita Chips
So you’re probably saying, ‘Denise, shouldn’t this be Gluten-Free Vegan Tortillas and Tortilla Chips, not Pita Chips’? And yes, that would seem to make sense, except that the dough when baked tastes more like pita chips than tortilla chips. If you baked or fried the tortillas after making them, maybe it’d be closer to tortilla chips, but I haven’t tried that yet. If you do, let us know.
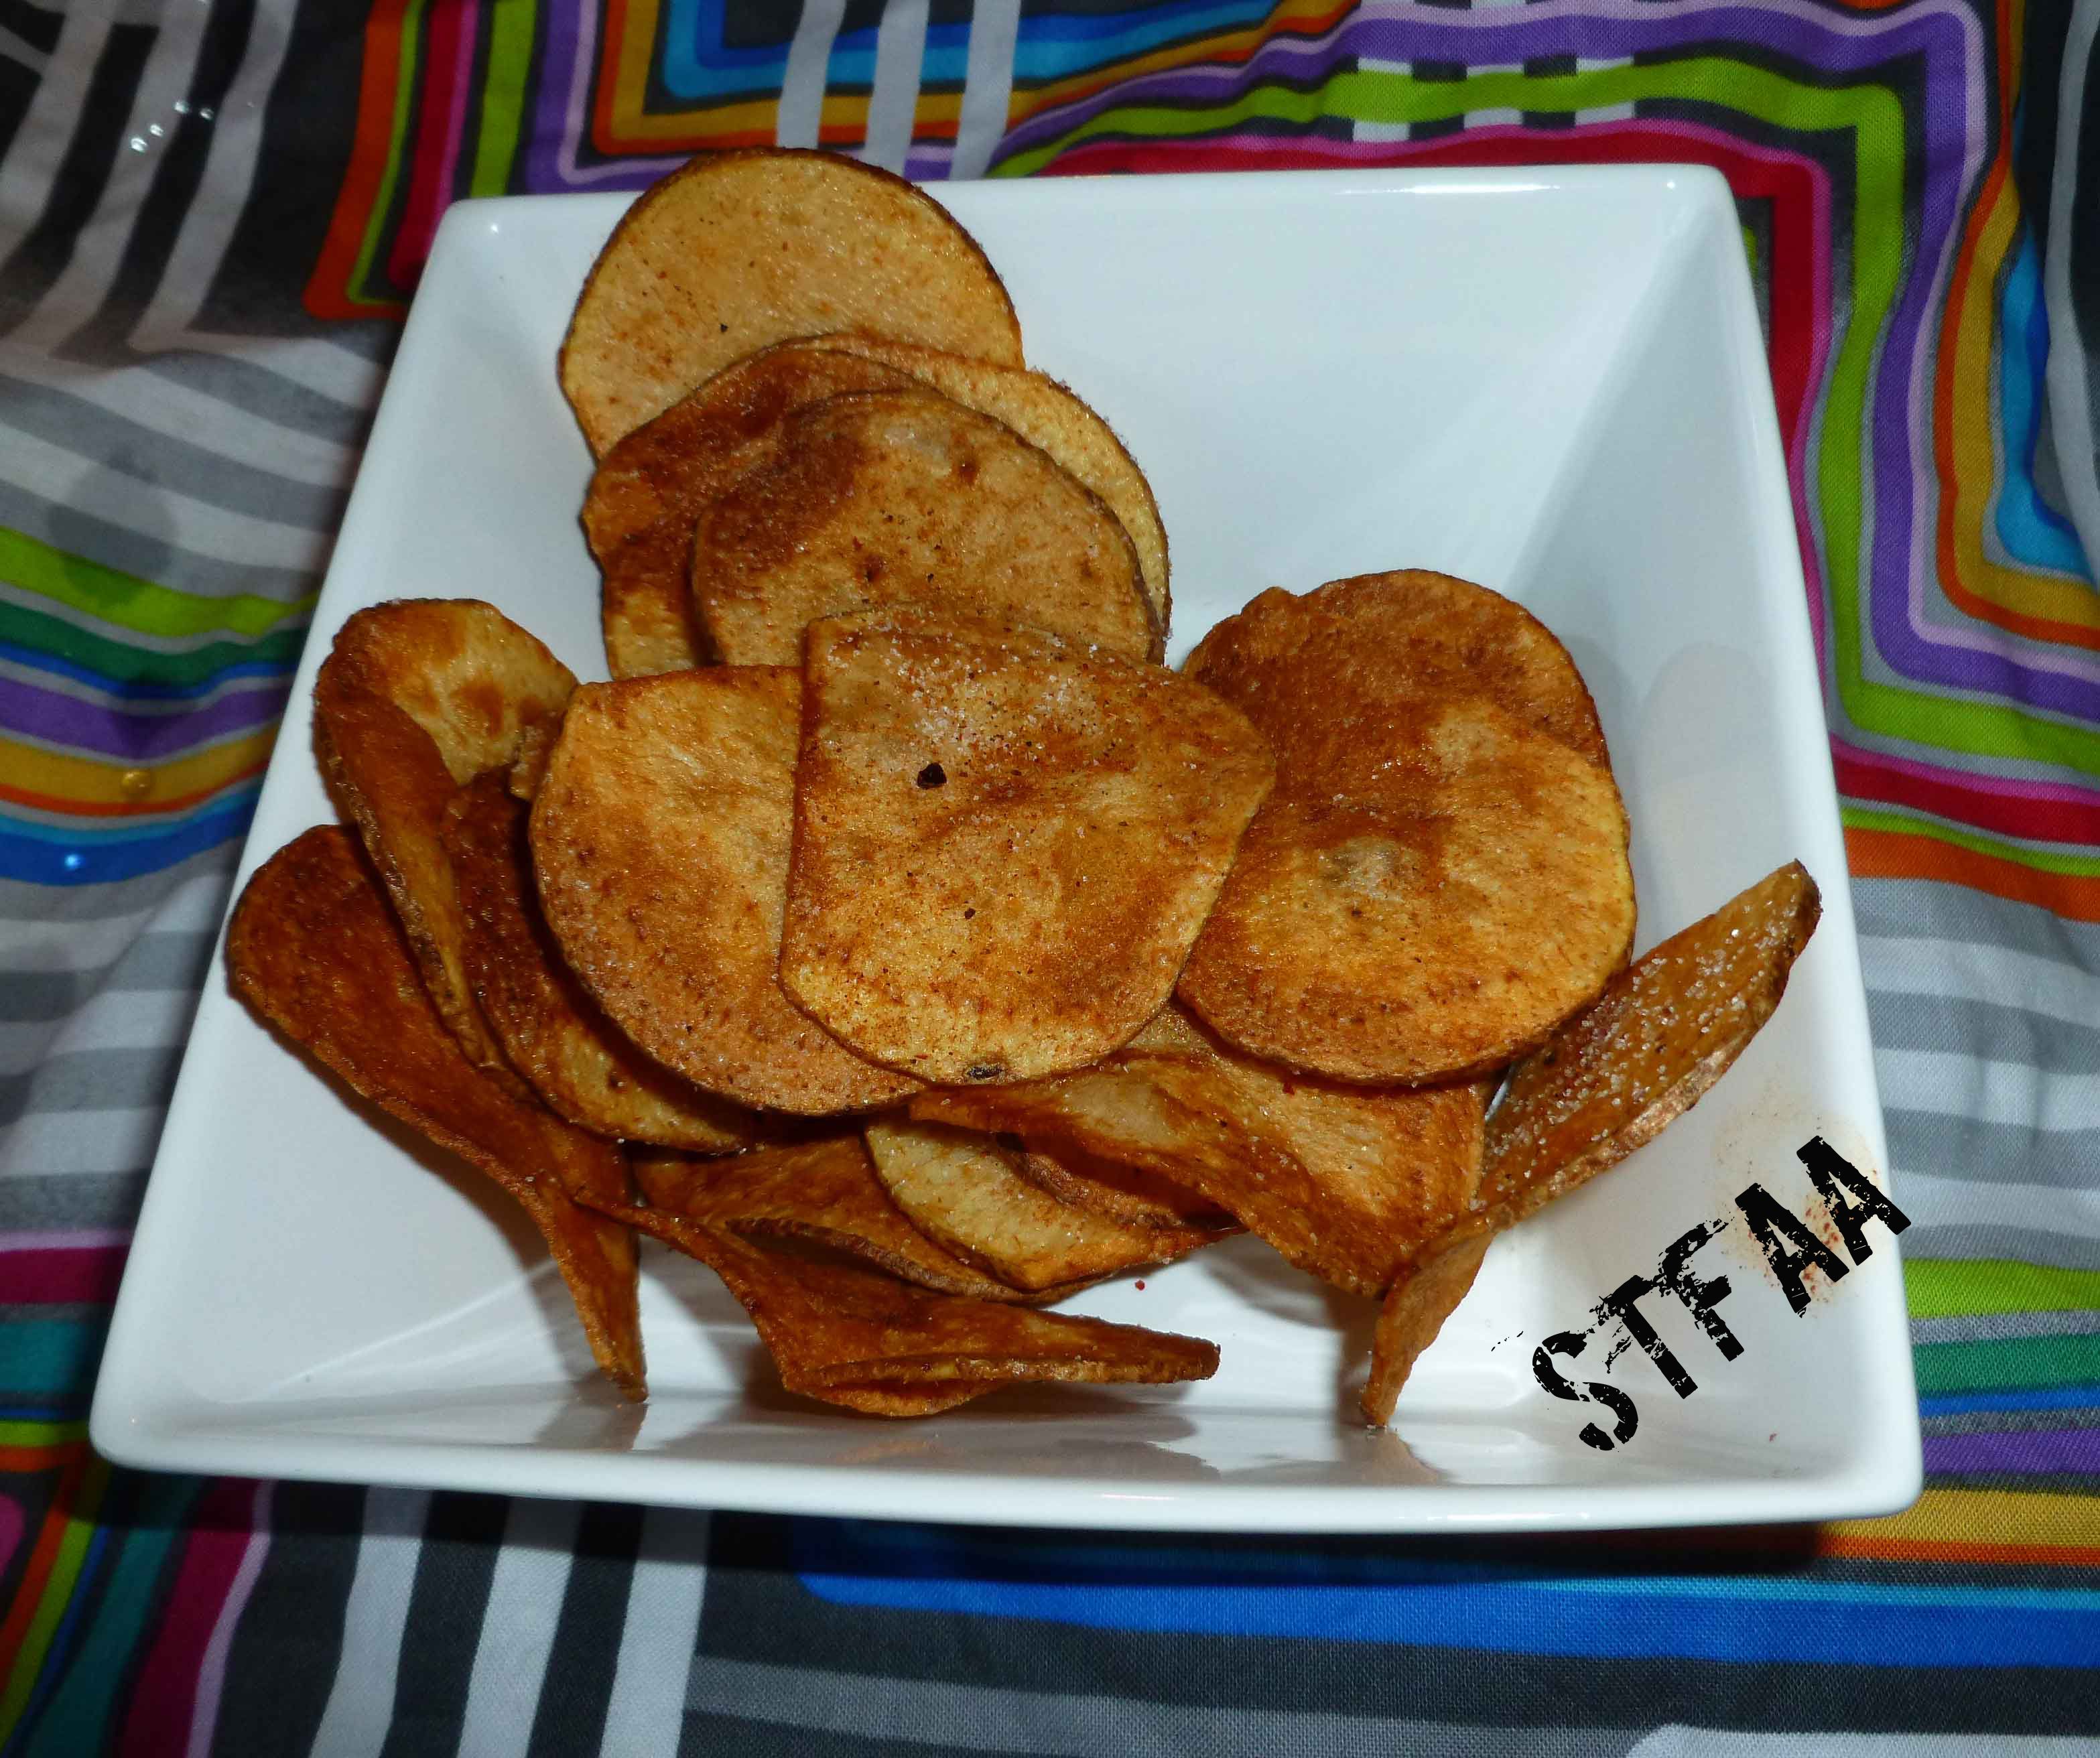
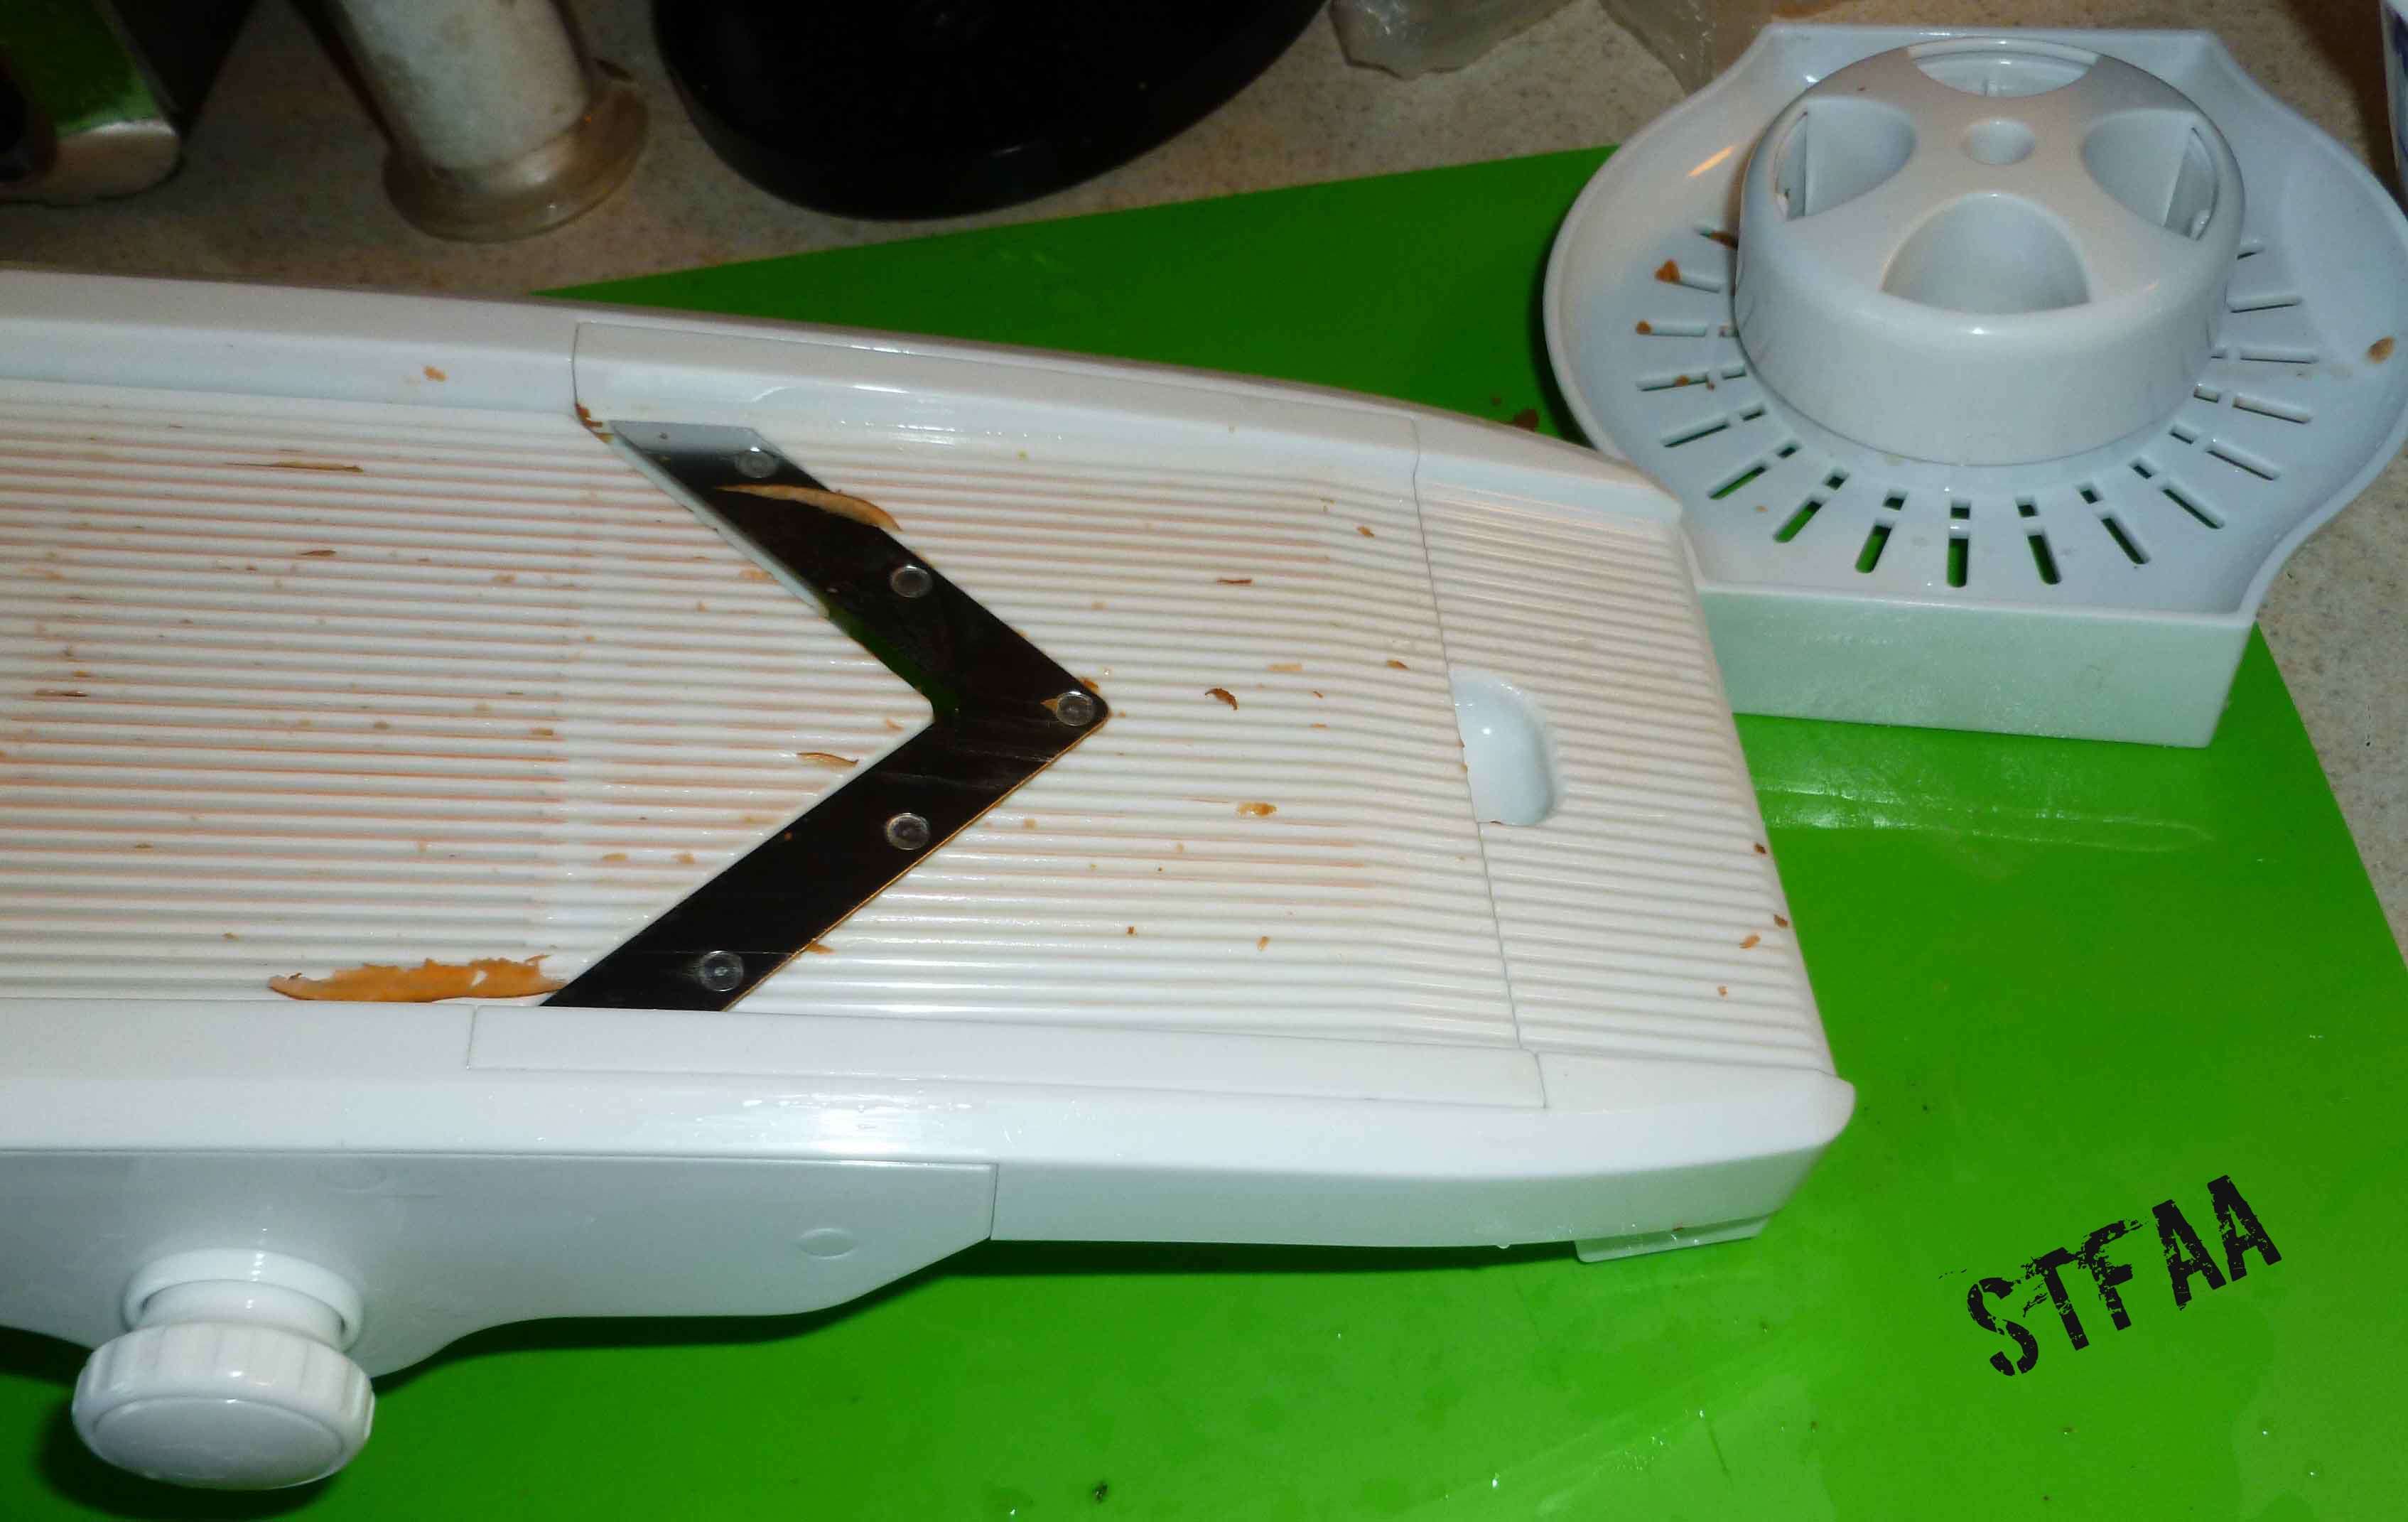
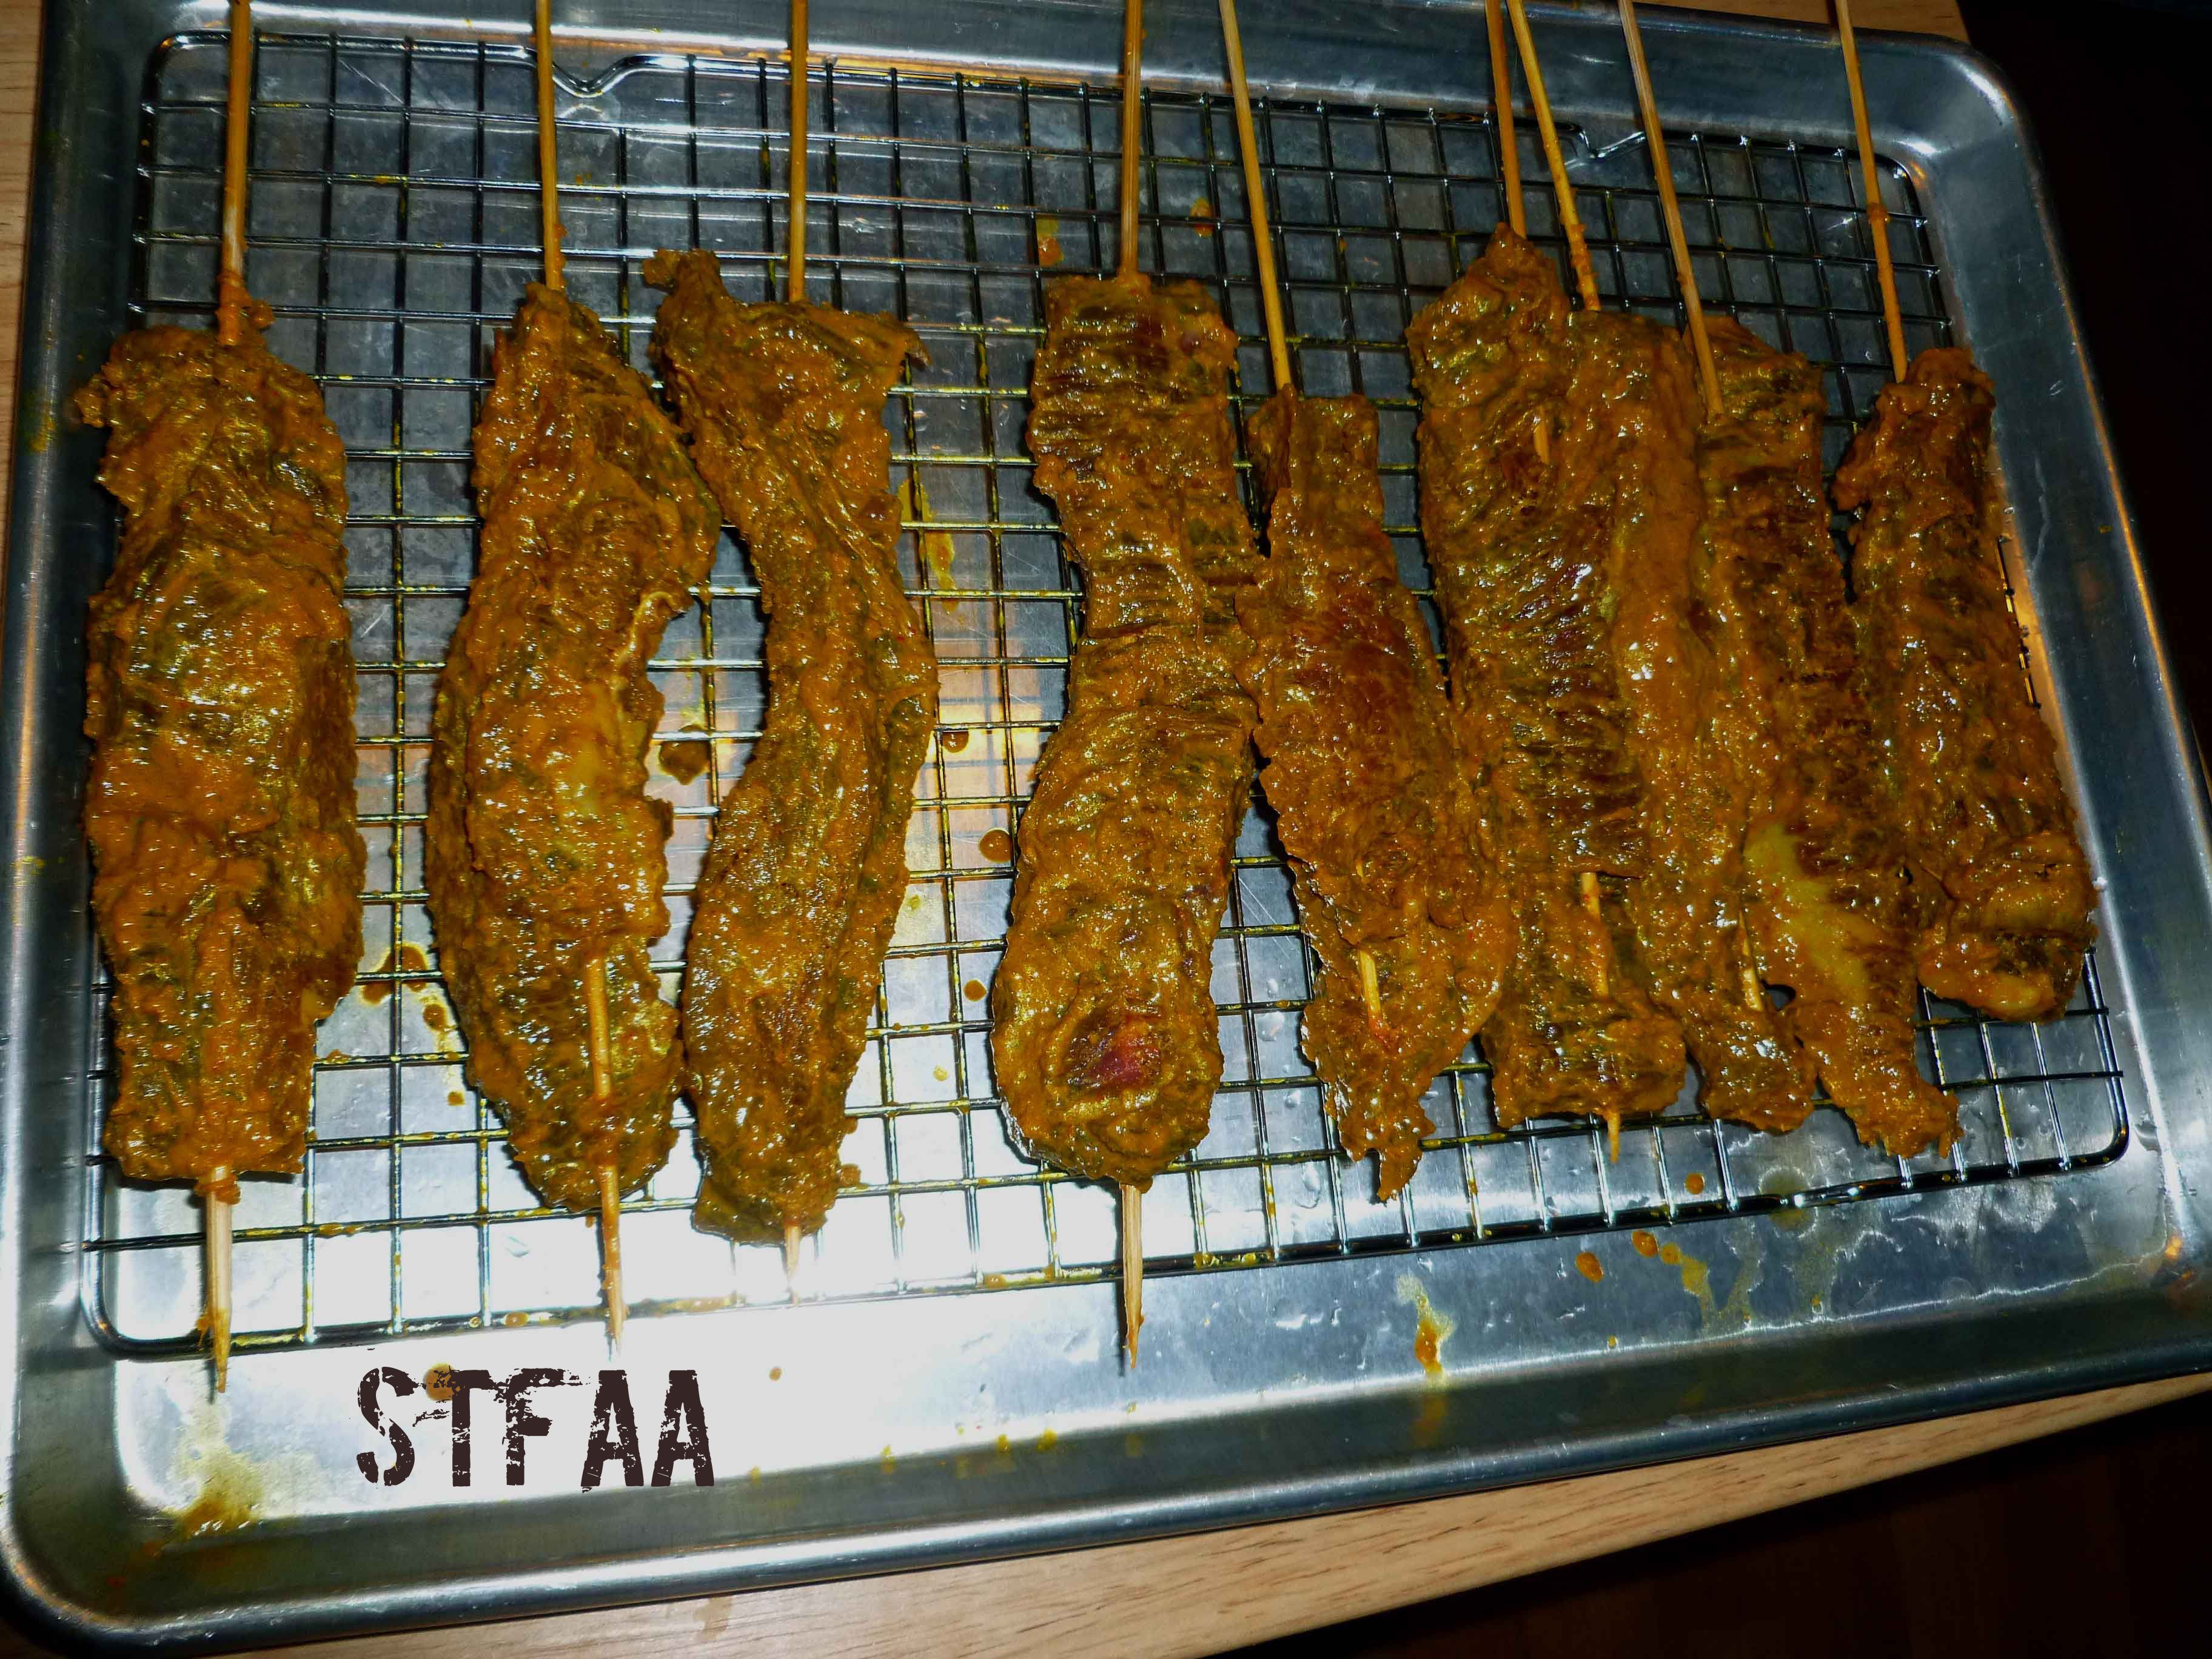
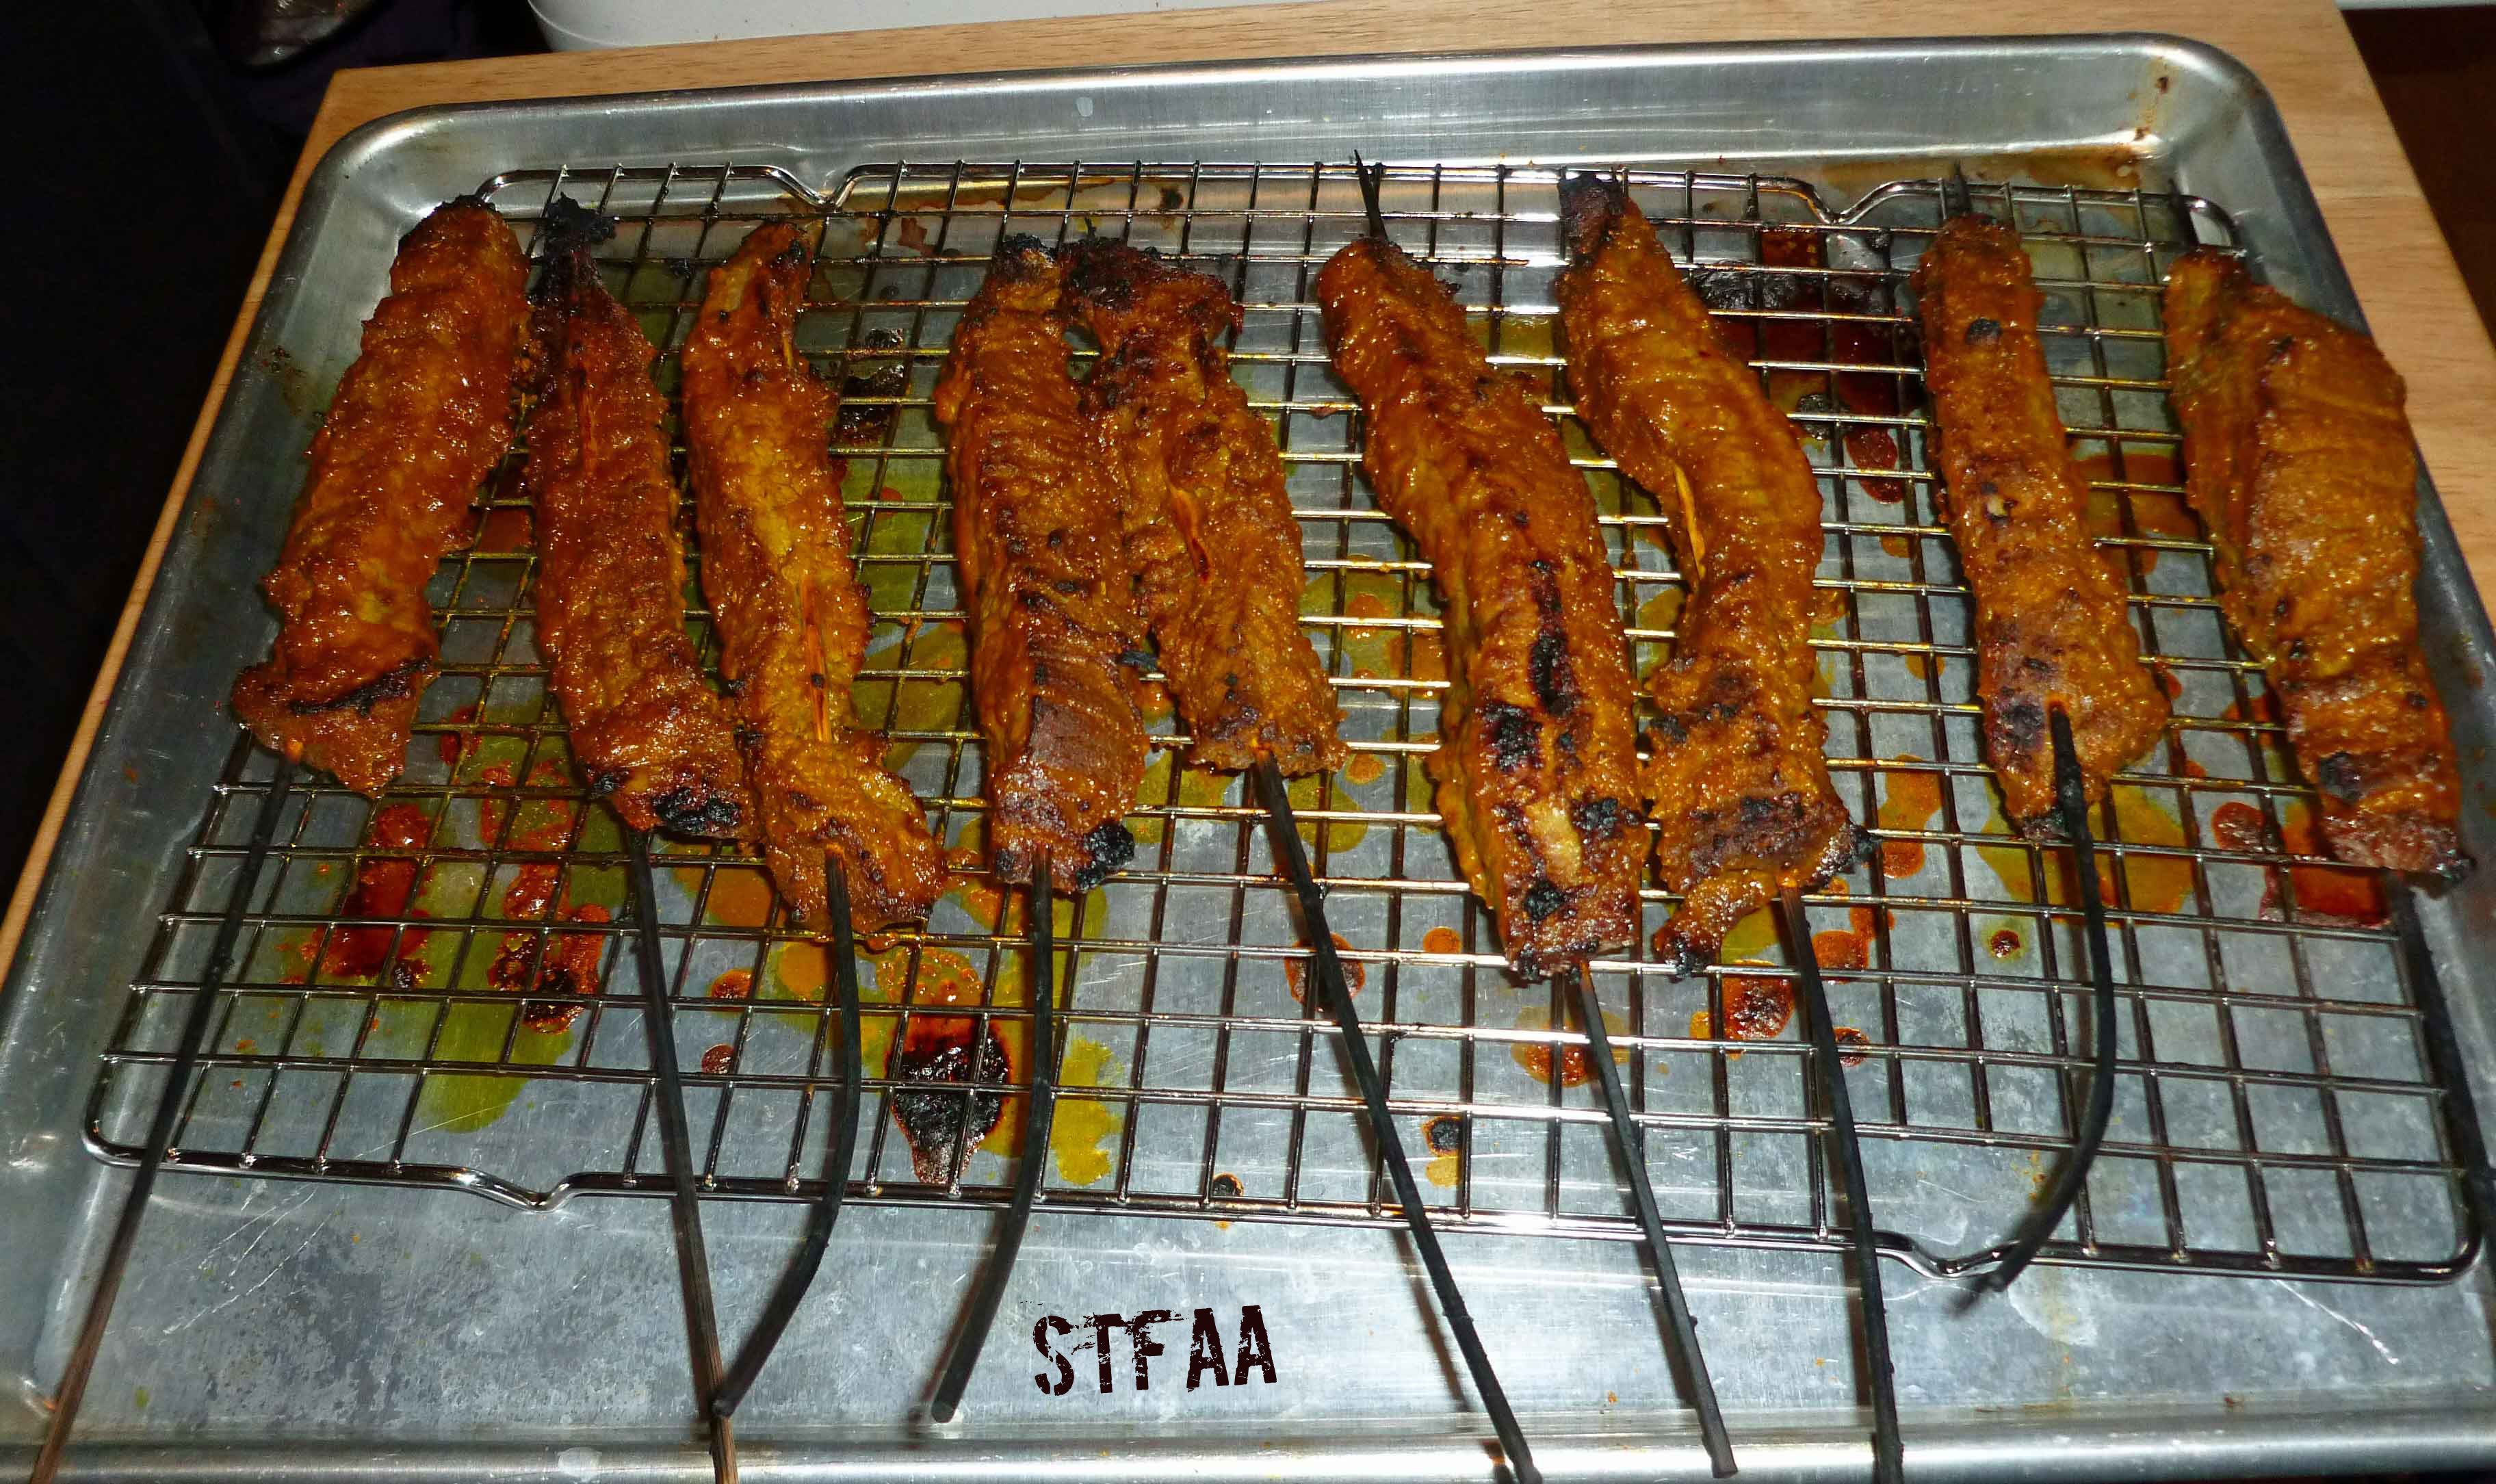
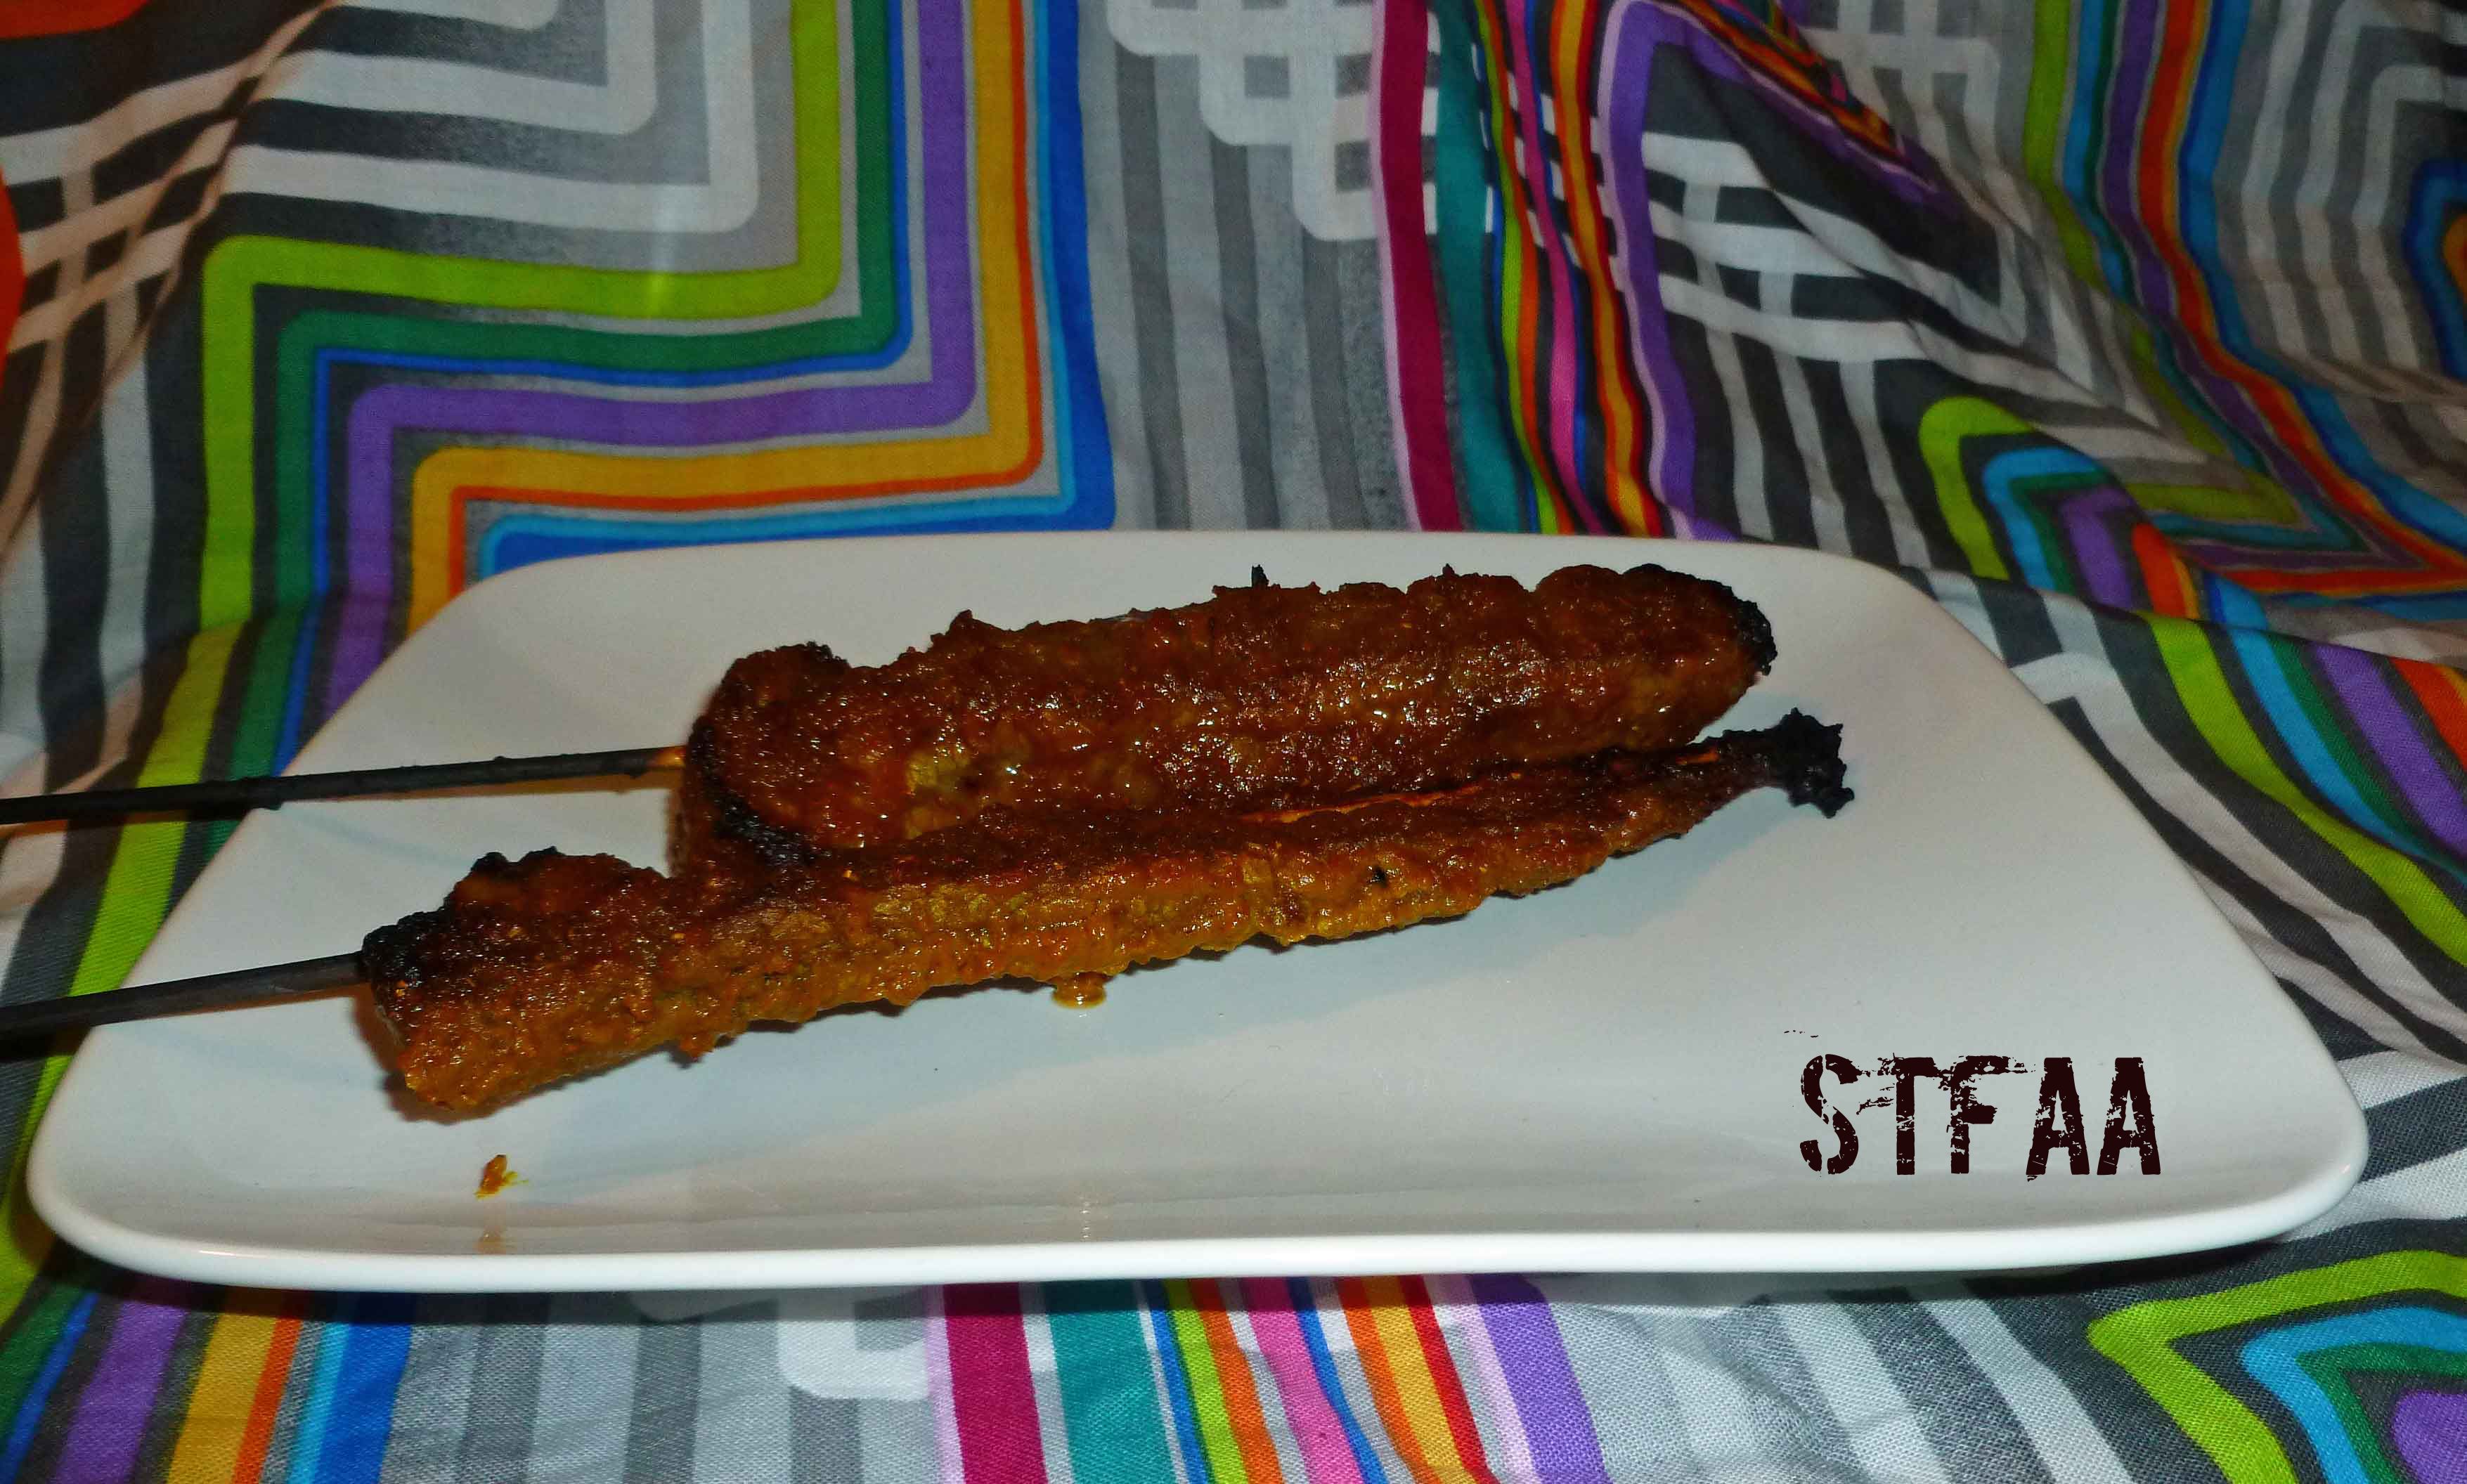
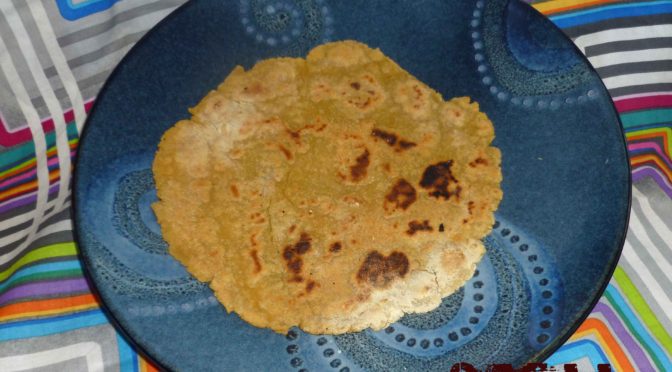
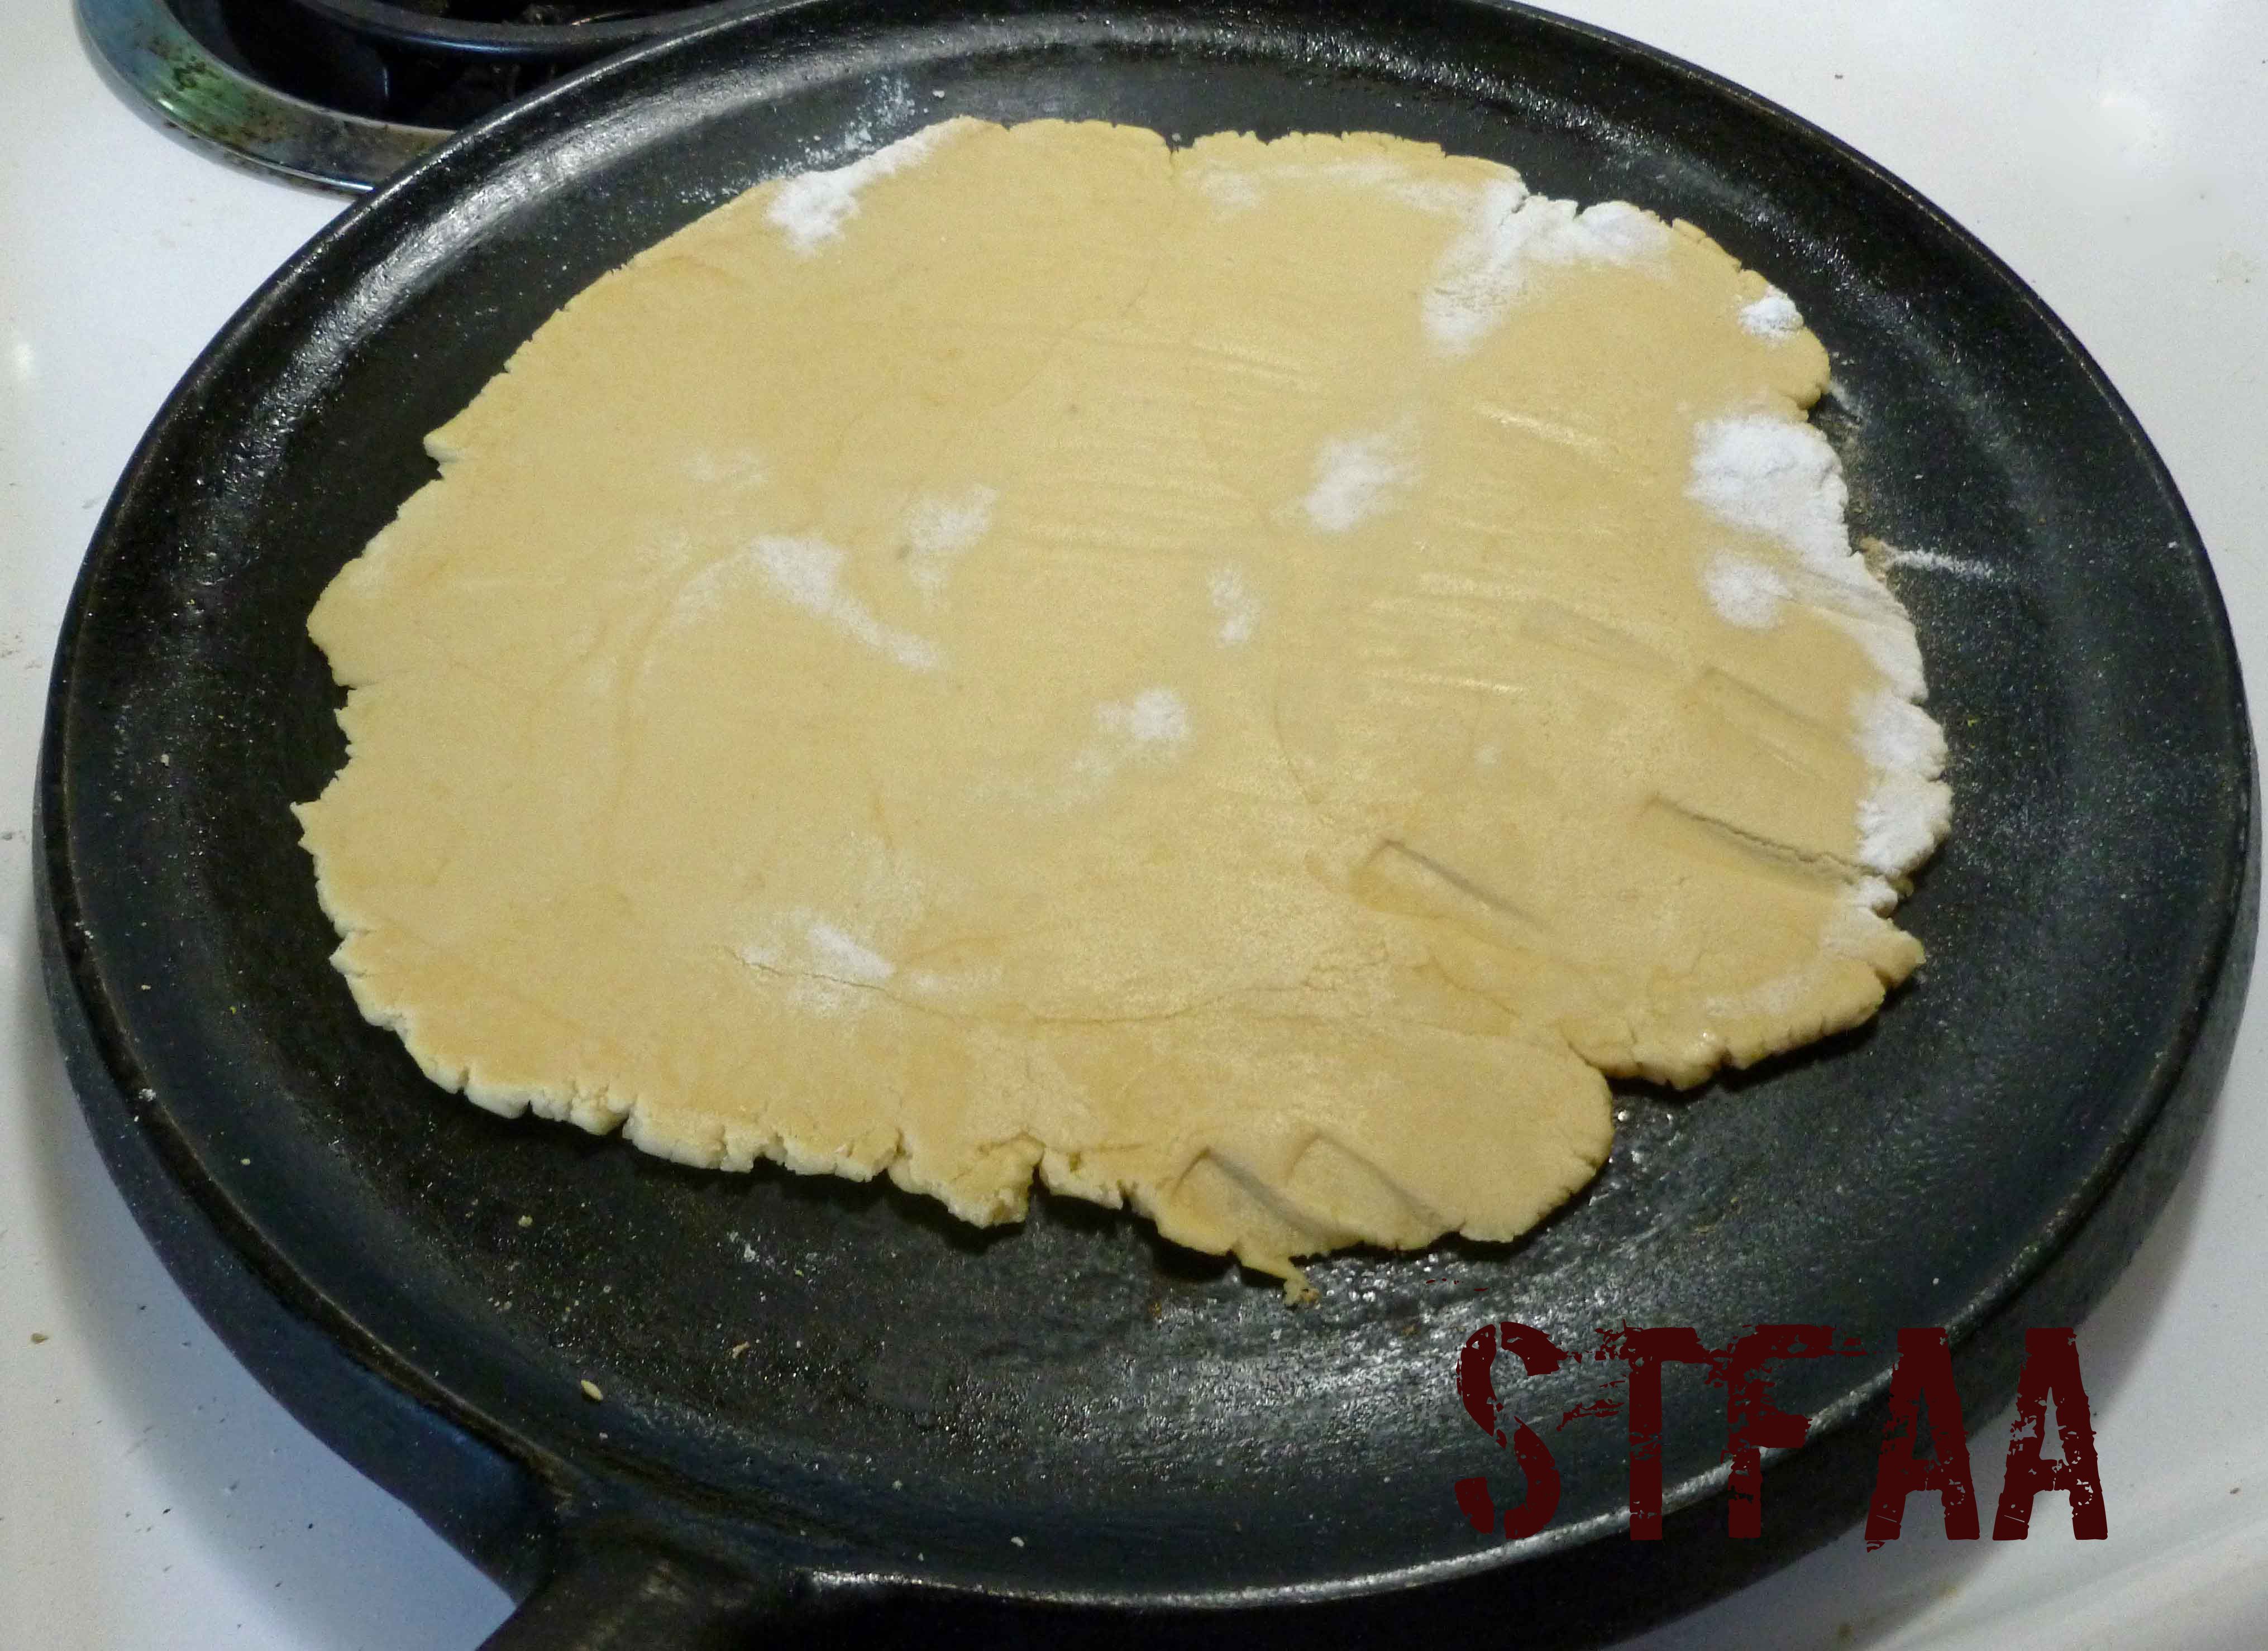
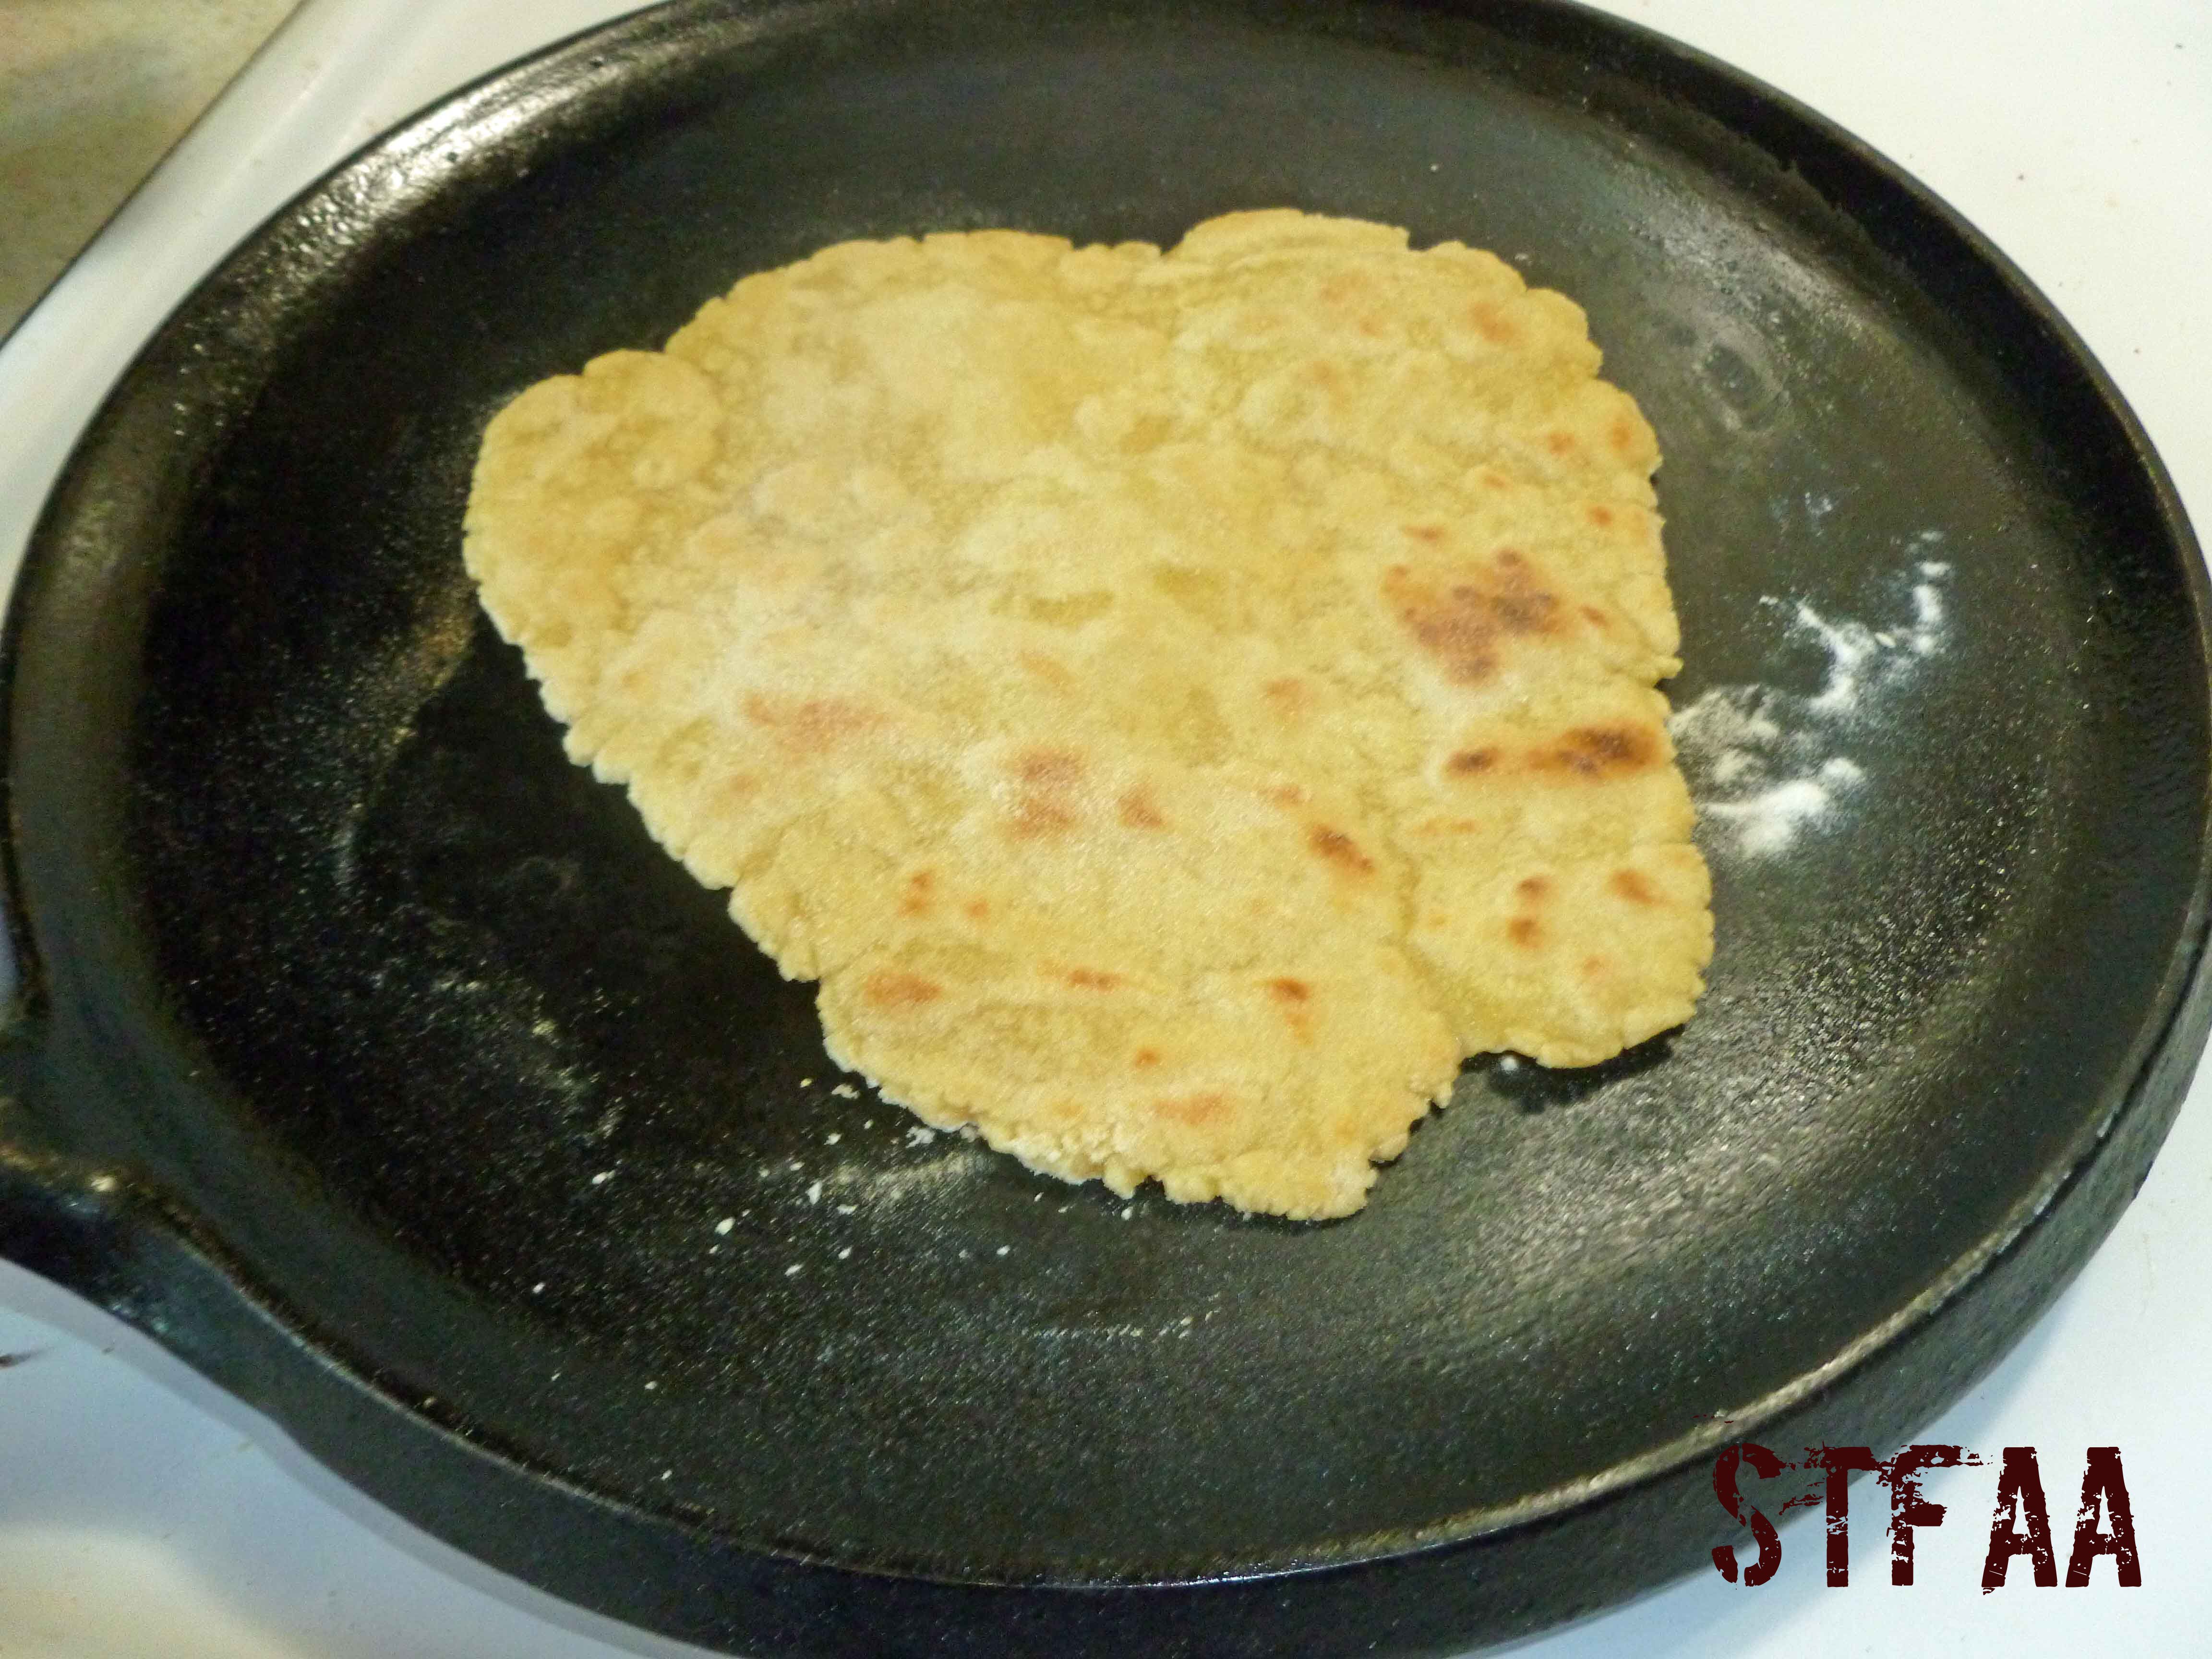
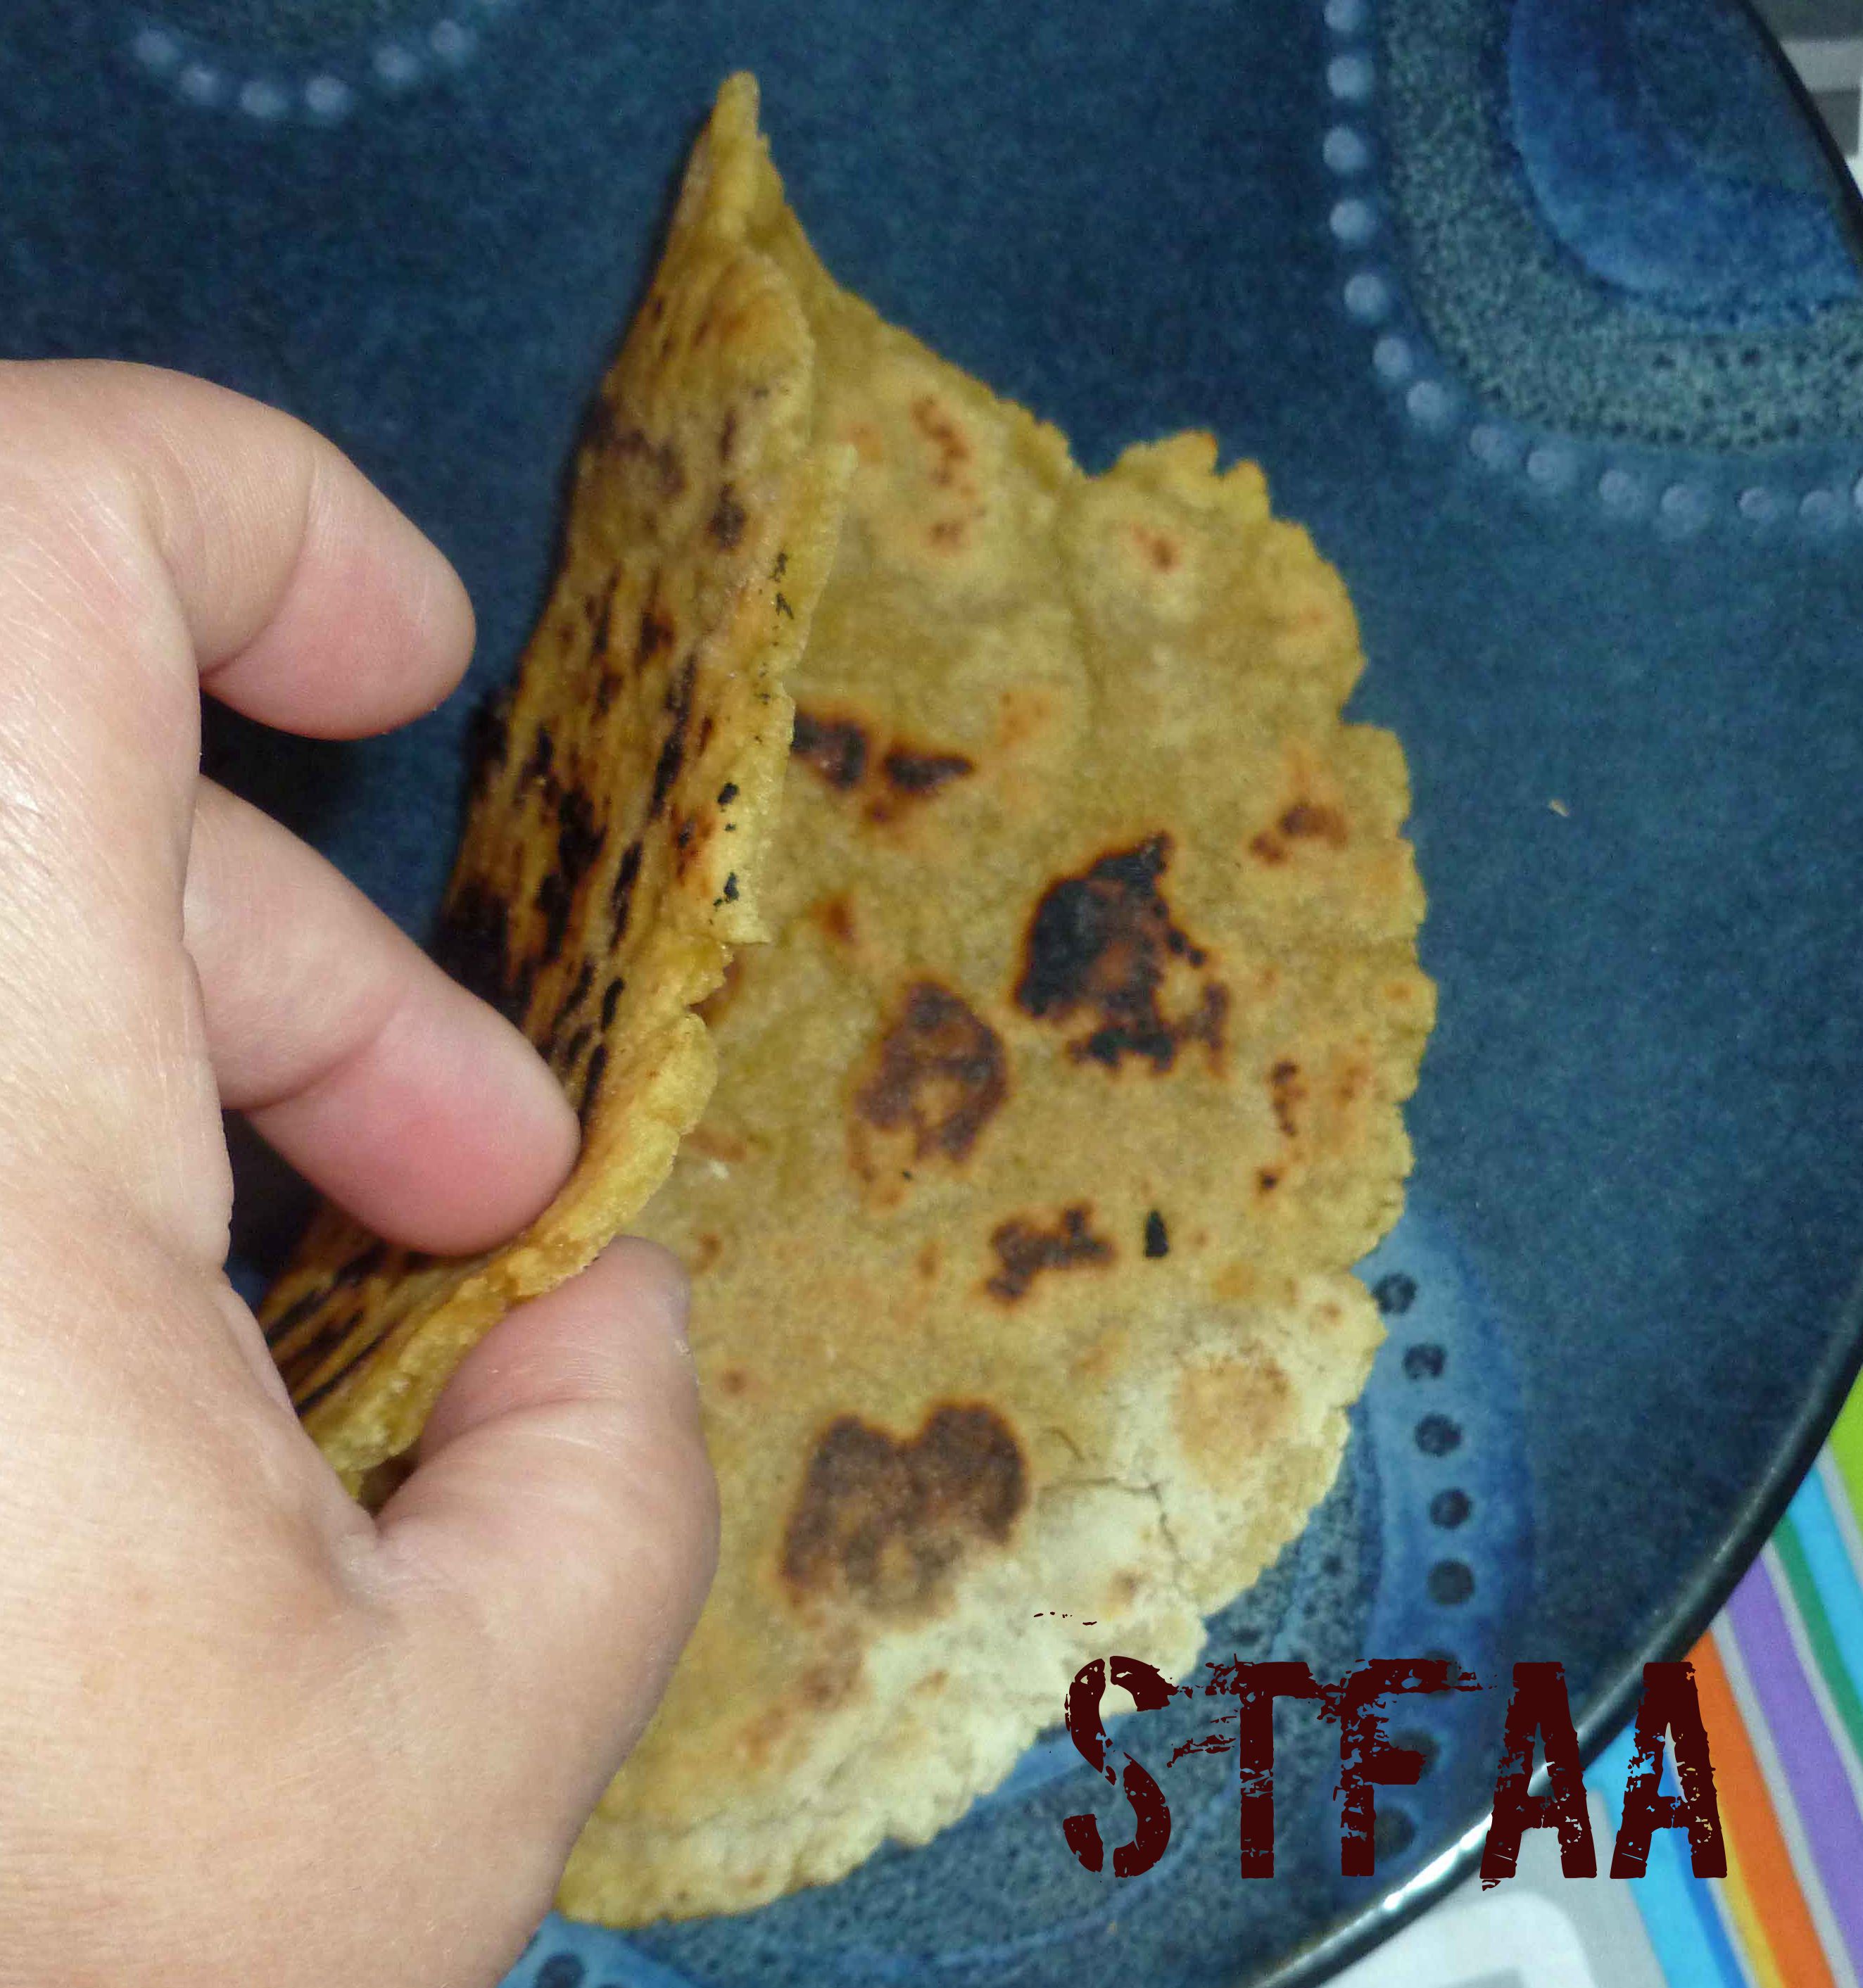
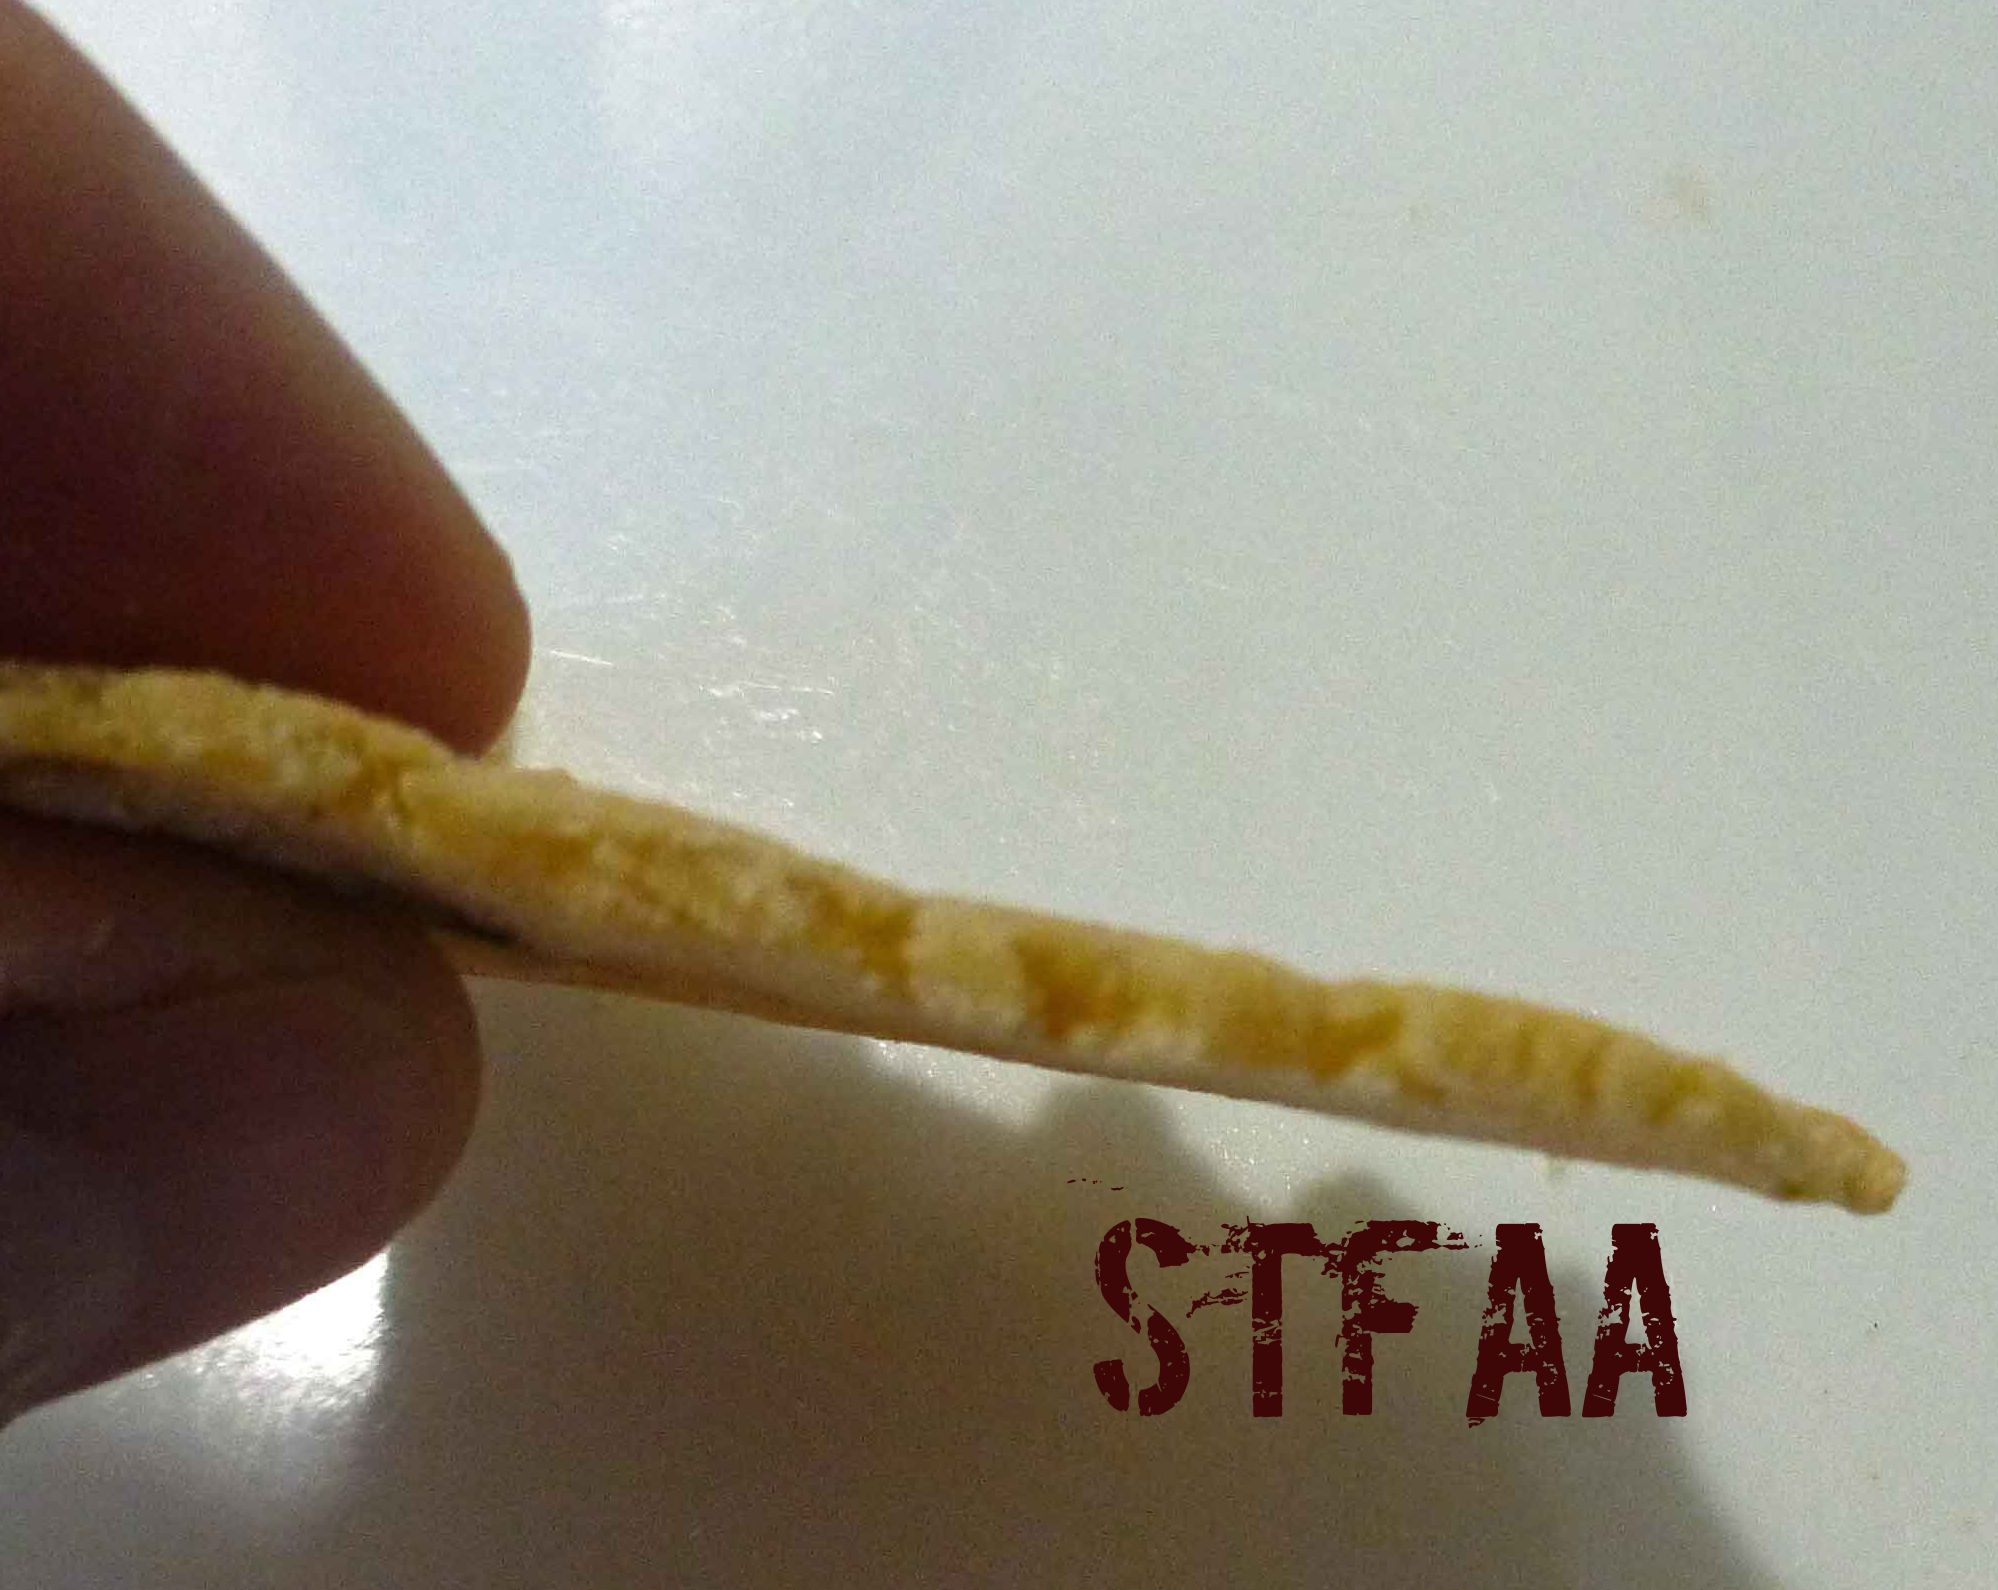
This dough was originally designed to be baked to be chips, so there’s oil in it. However, I decided to just roll some out and cook it like a tortilla to see what happened. I got a pliable tortilla, which I hadn’t been able to do with other gluten-free tortilla experiments. So it’s not the most traditional tortilla, but hey, for a wheat-free, dairy-free, corn-free tortilla, that doesn’t break in half when you bend it and I might actually be able to make soft tacos, fajitas, and enchiladas again, whatever, I’m sold. Just as a note, whether you decide to make the chips or the tortillas, you’re going to need parchment paper. These need to be rolled out really, really thin.
You all know that my style is normally to give you every step with a picture and then give you the recipe card at the end. But, I was in a hurry and didn’t take as many pictures as I should have, and it’s much harder to do with two recipes in one post. So I’ll give you what I have for in-process photos, and then the recipe cards.
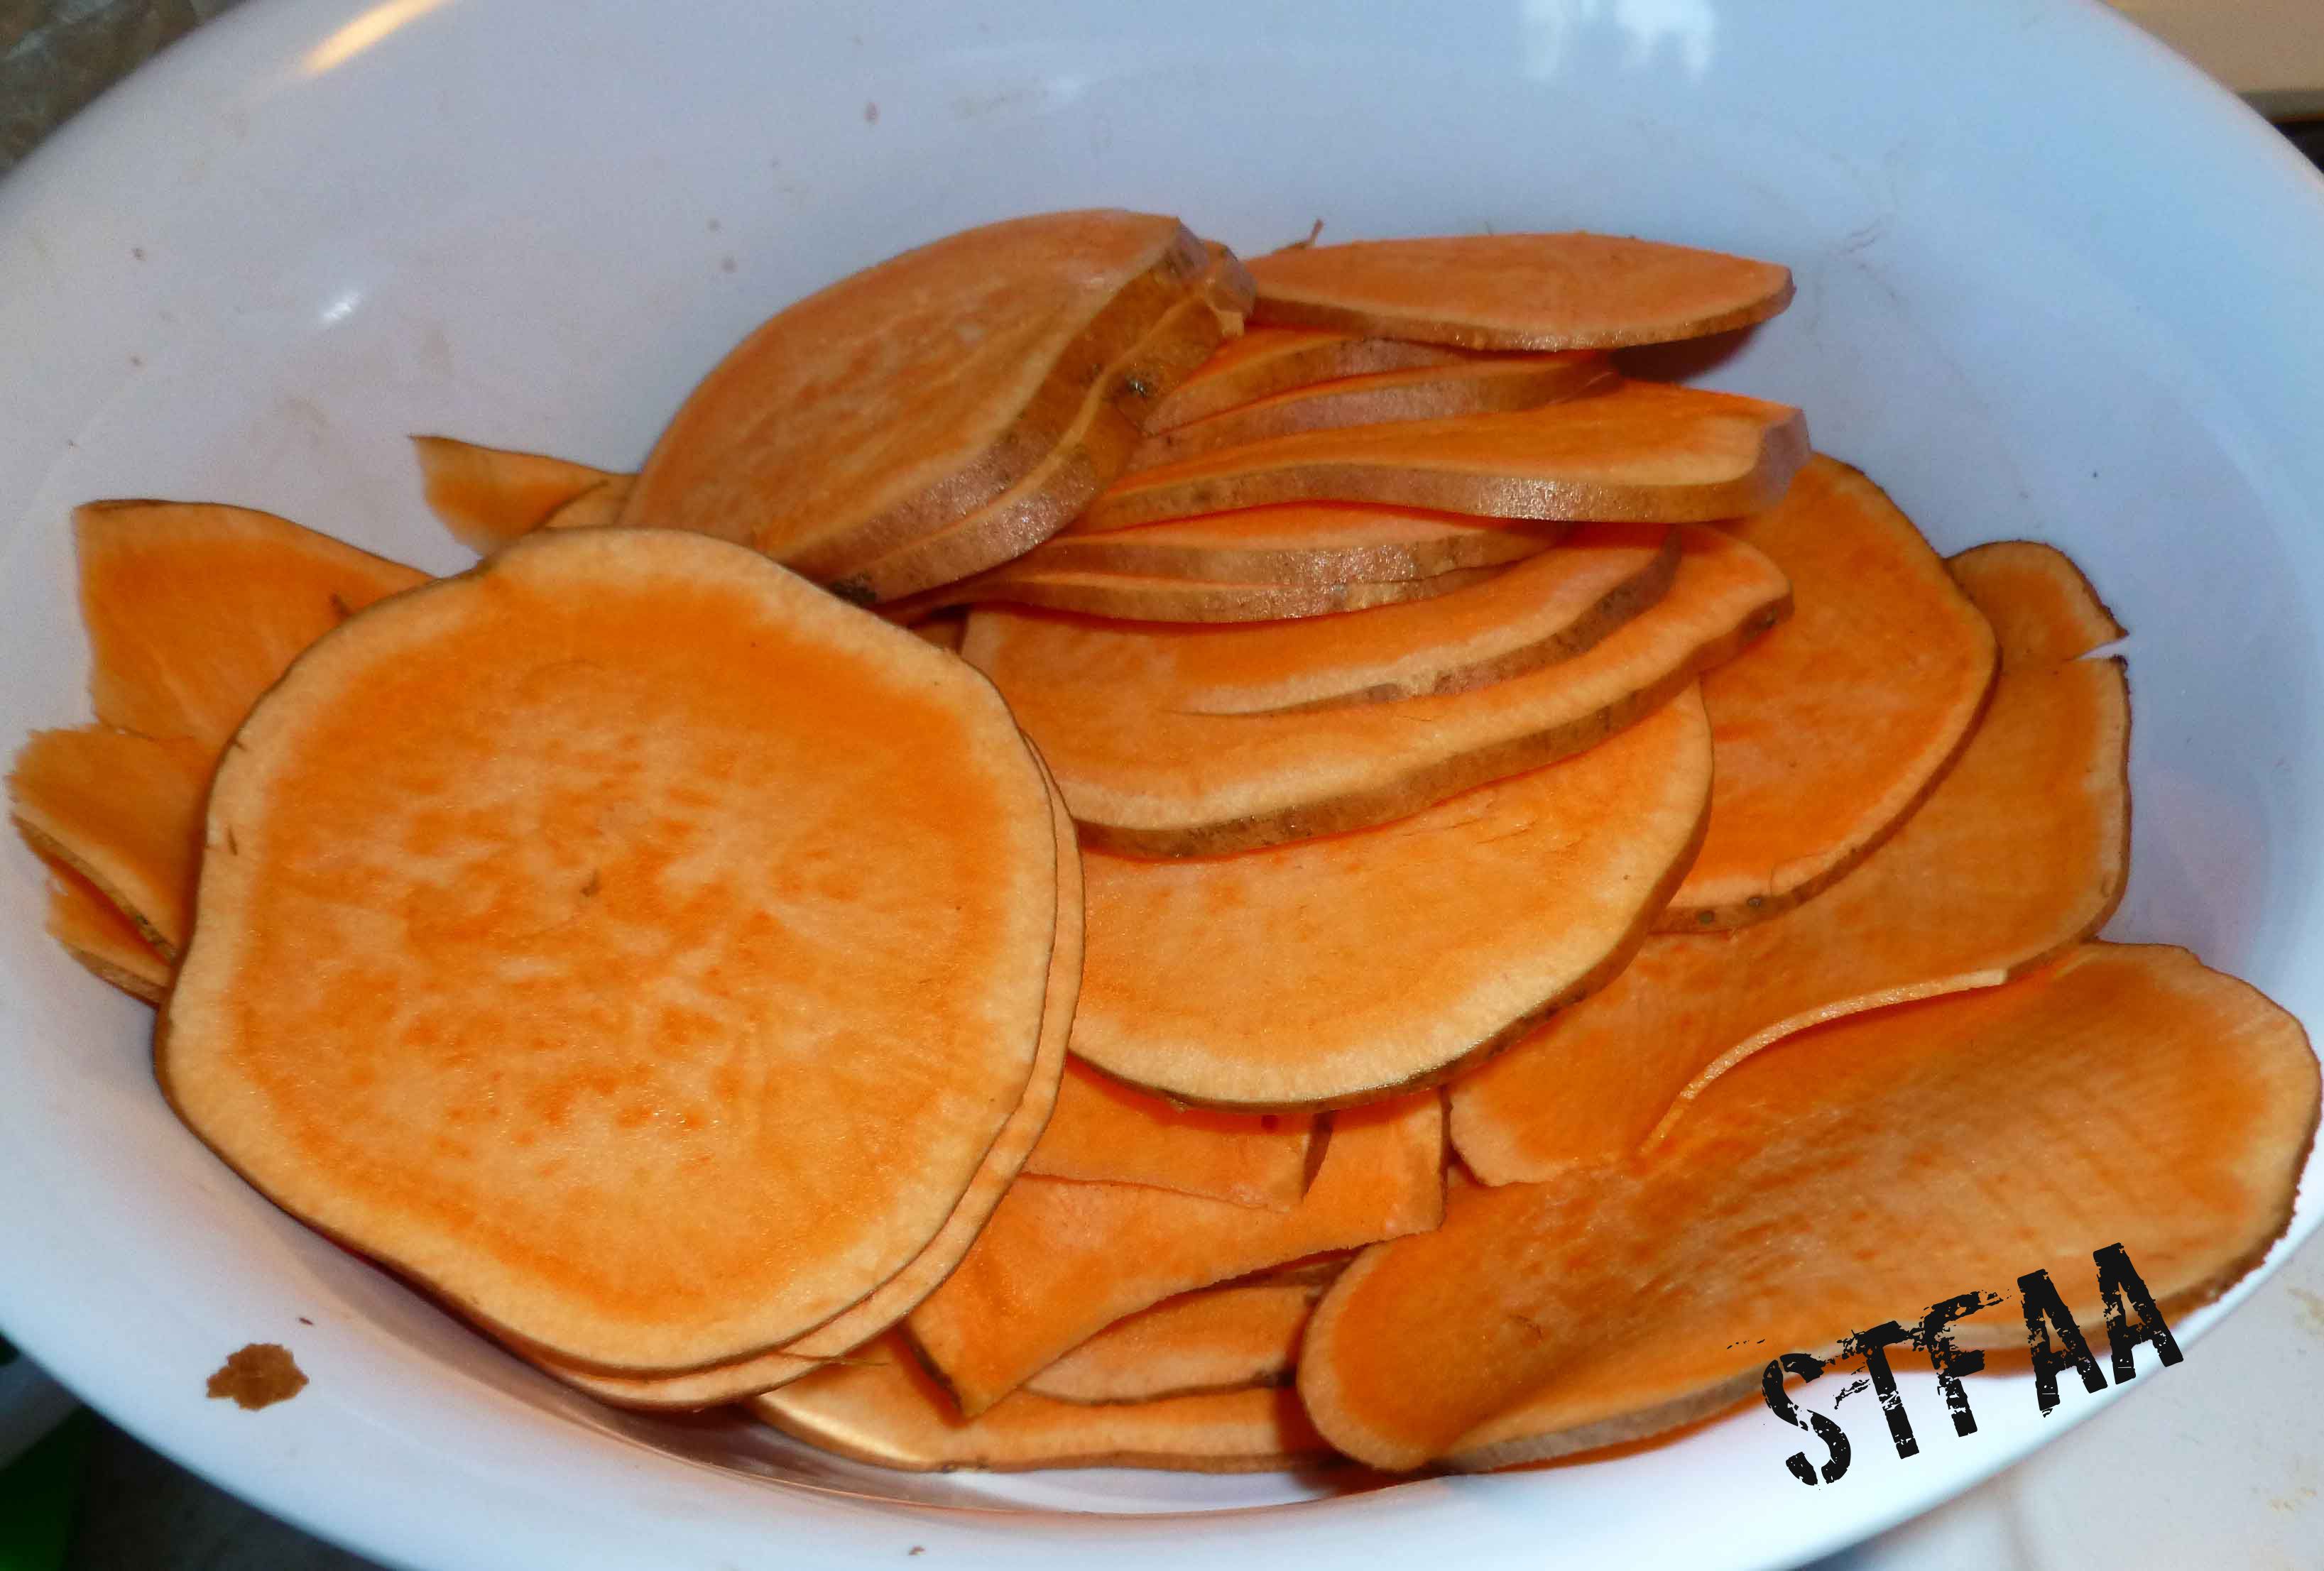
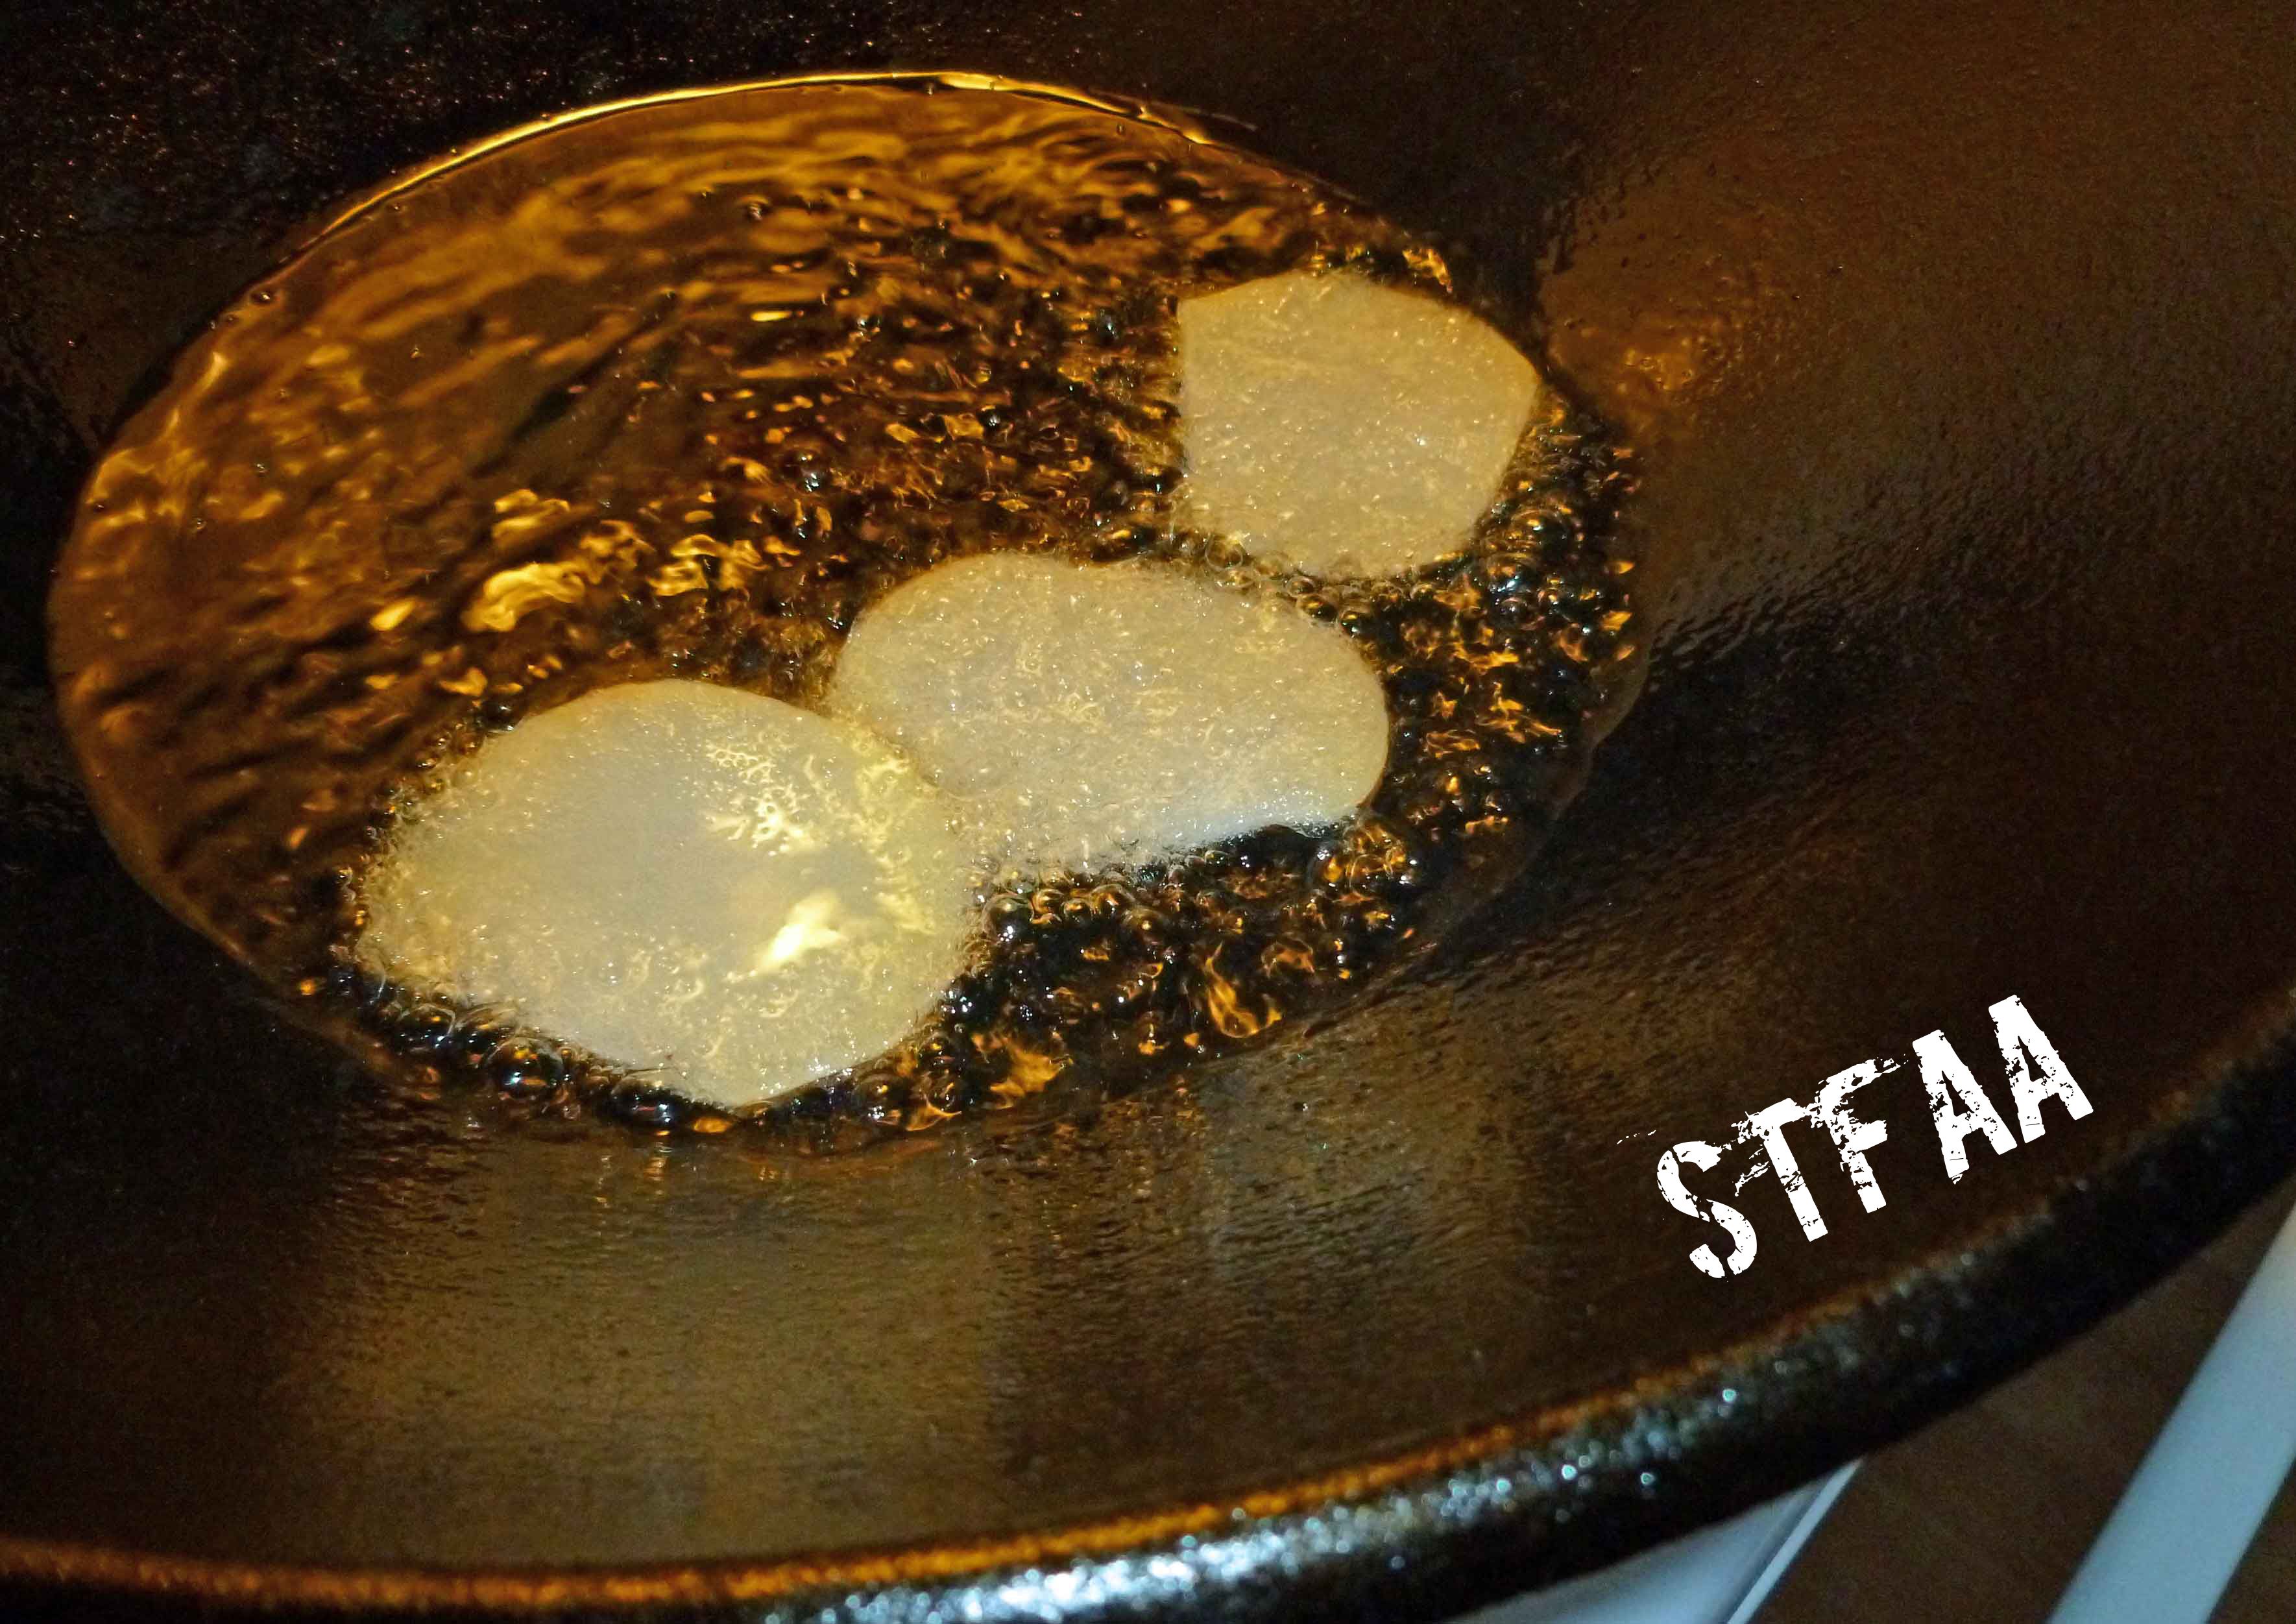
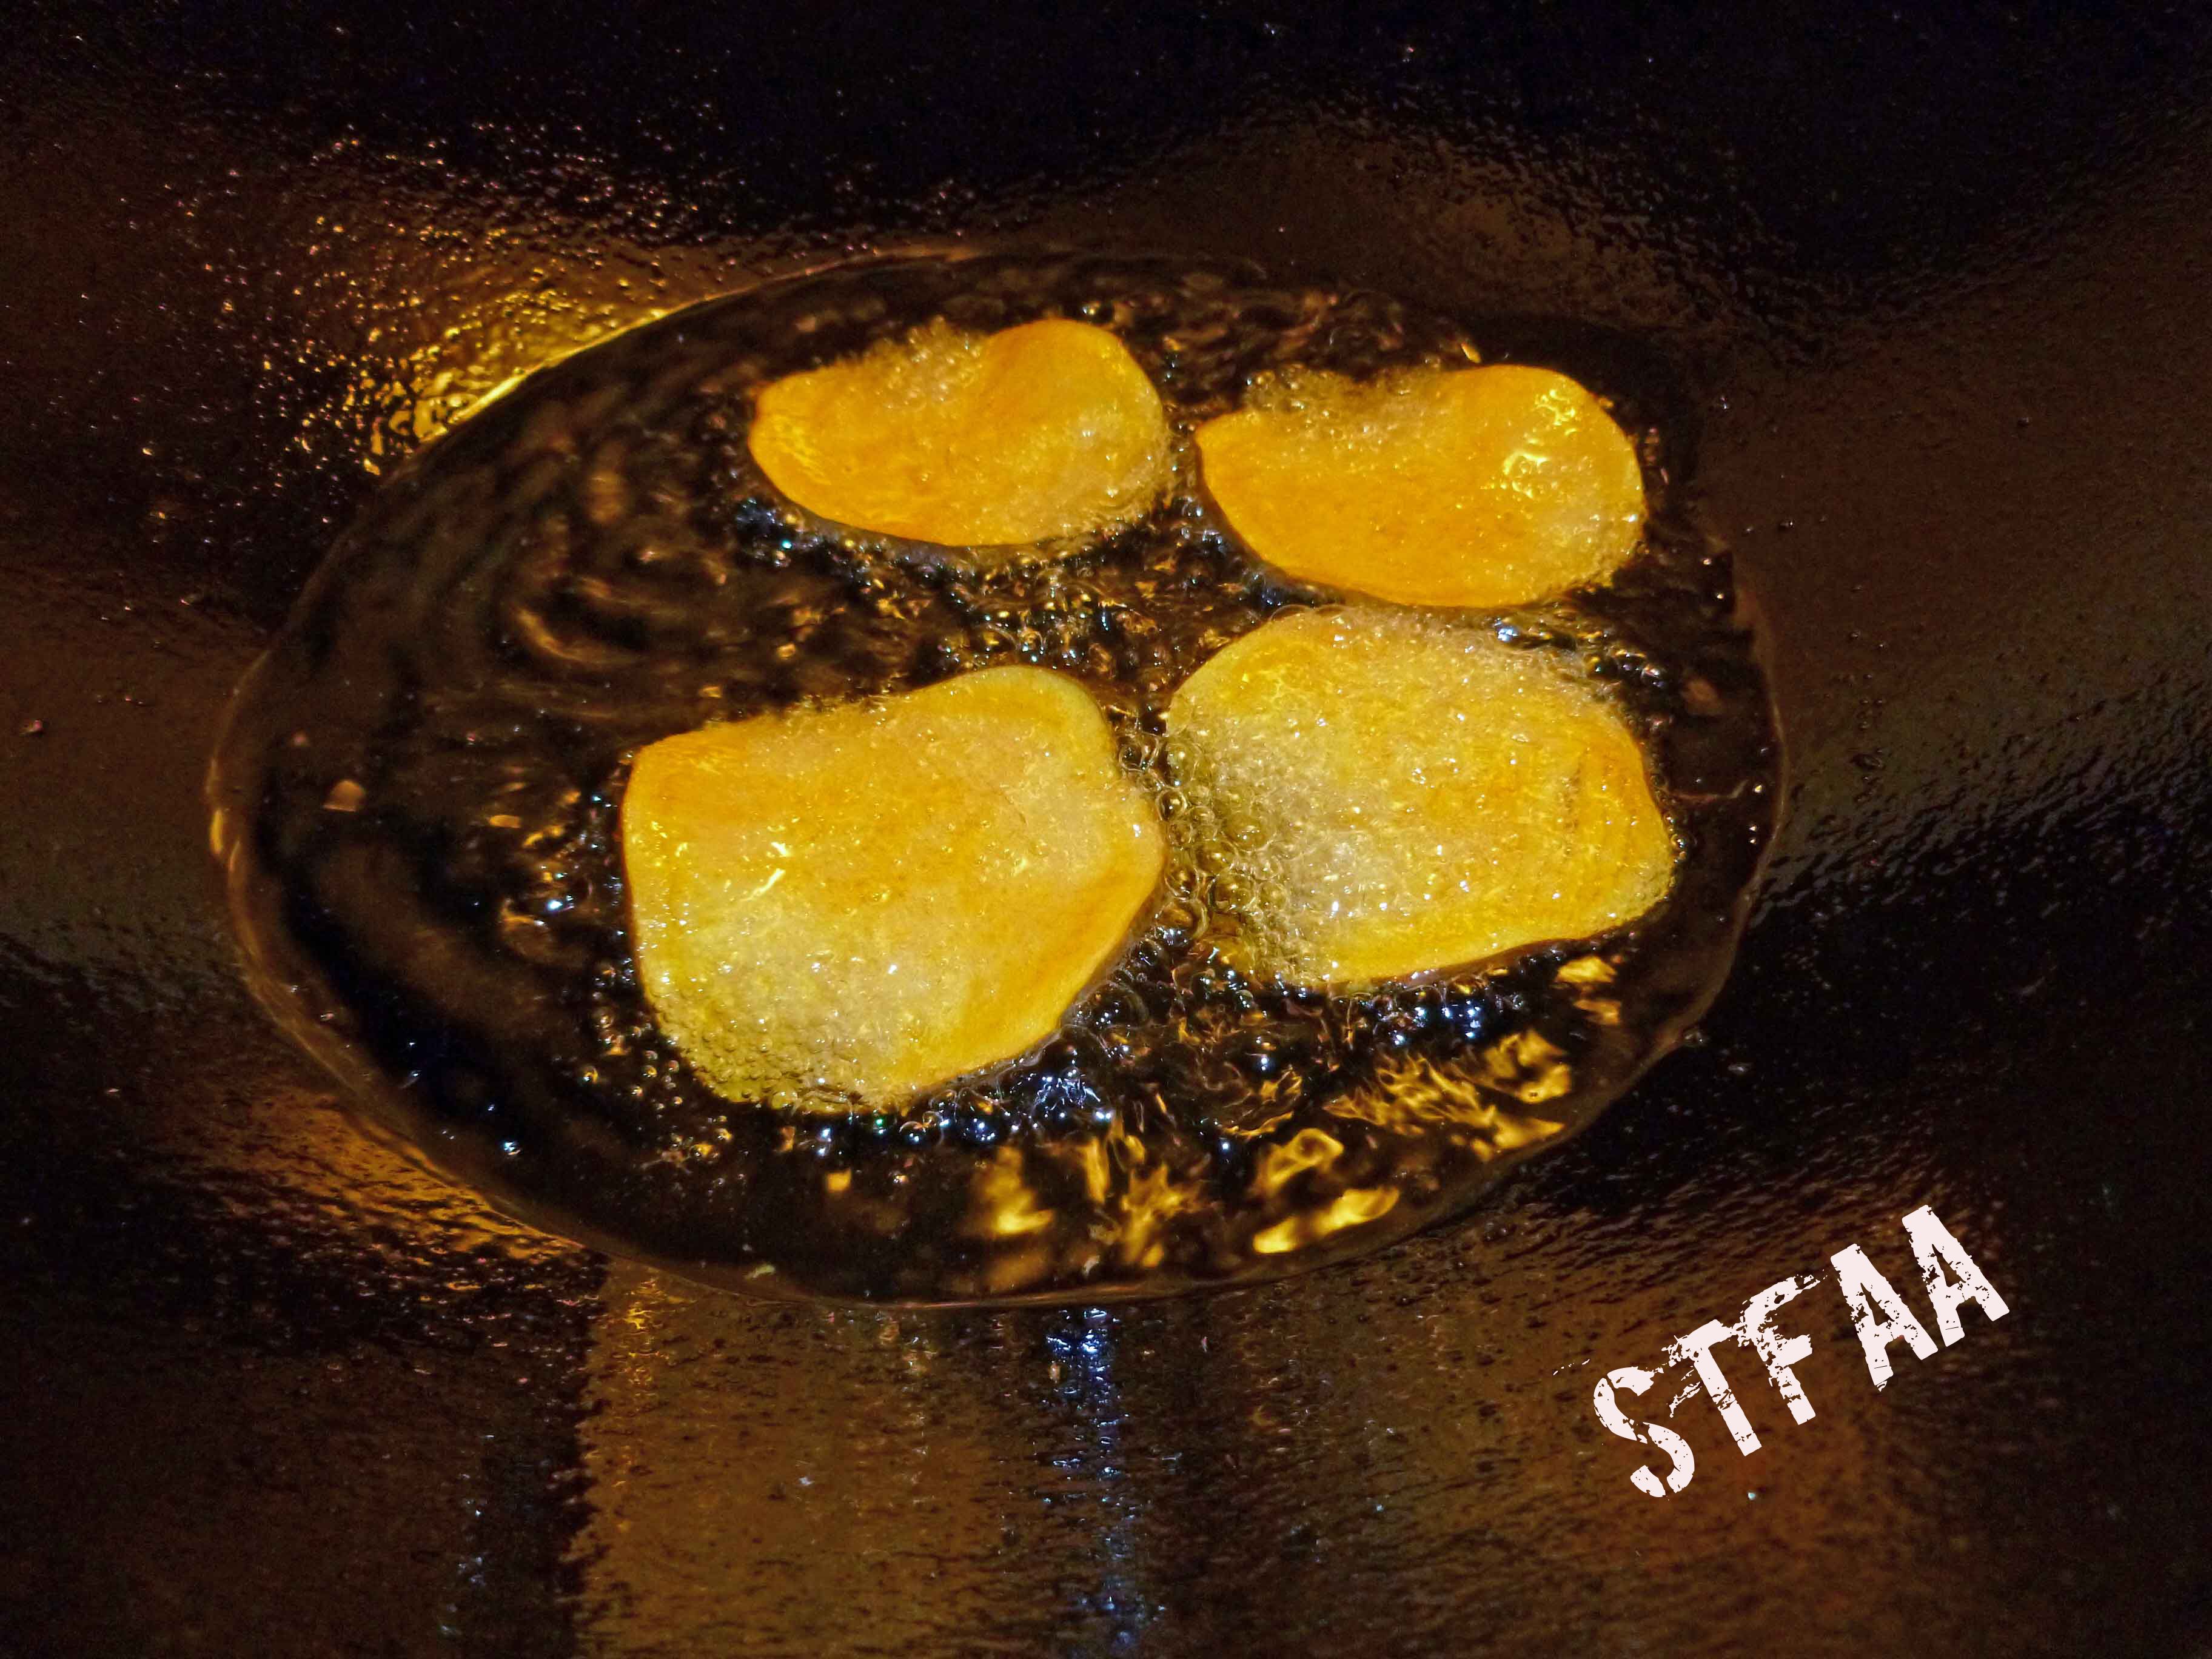
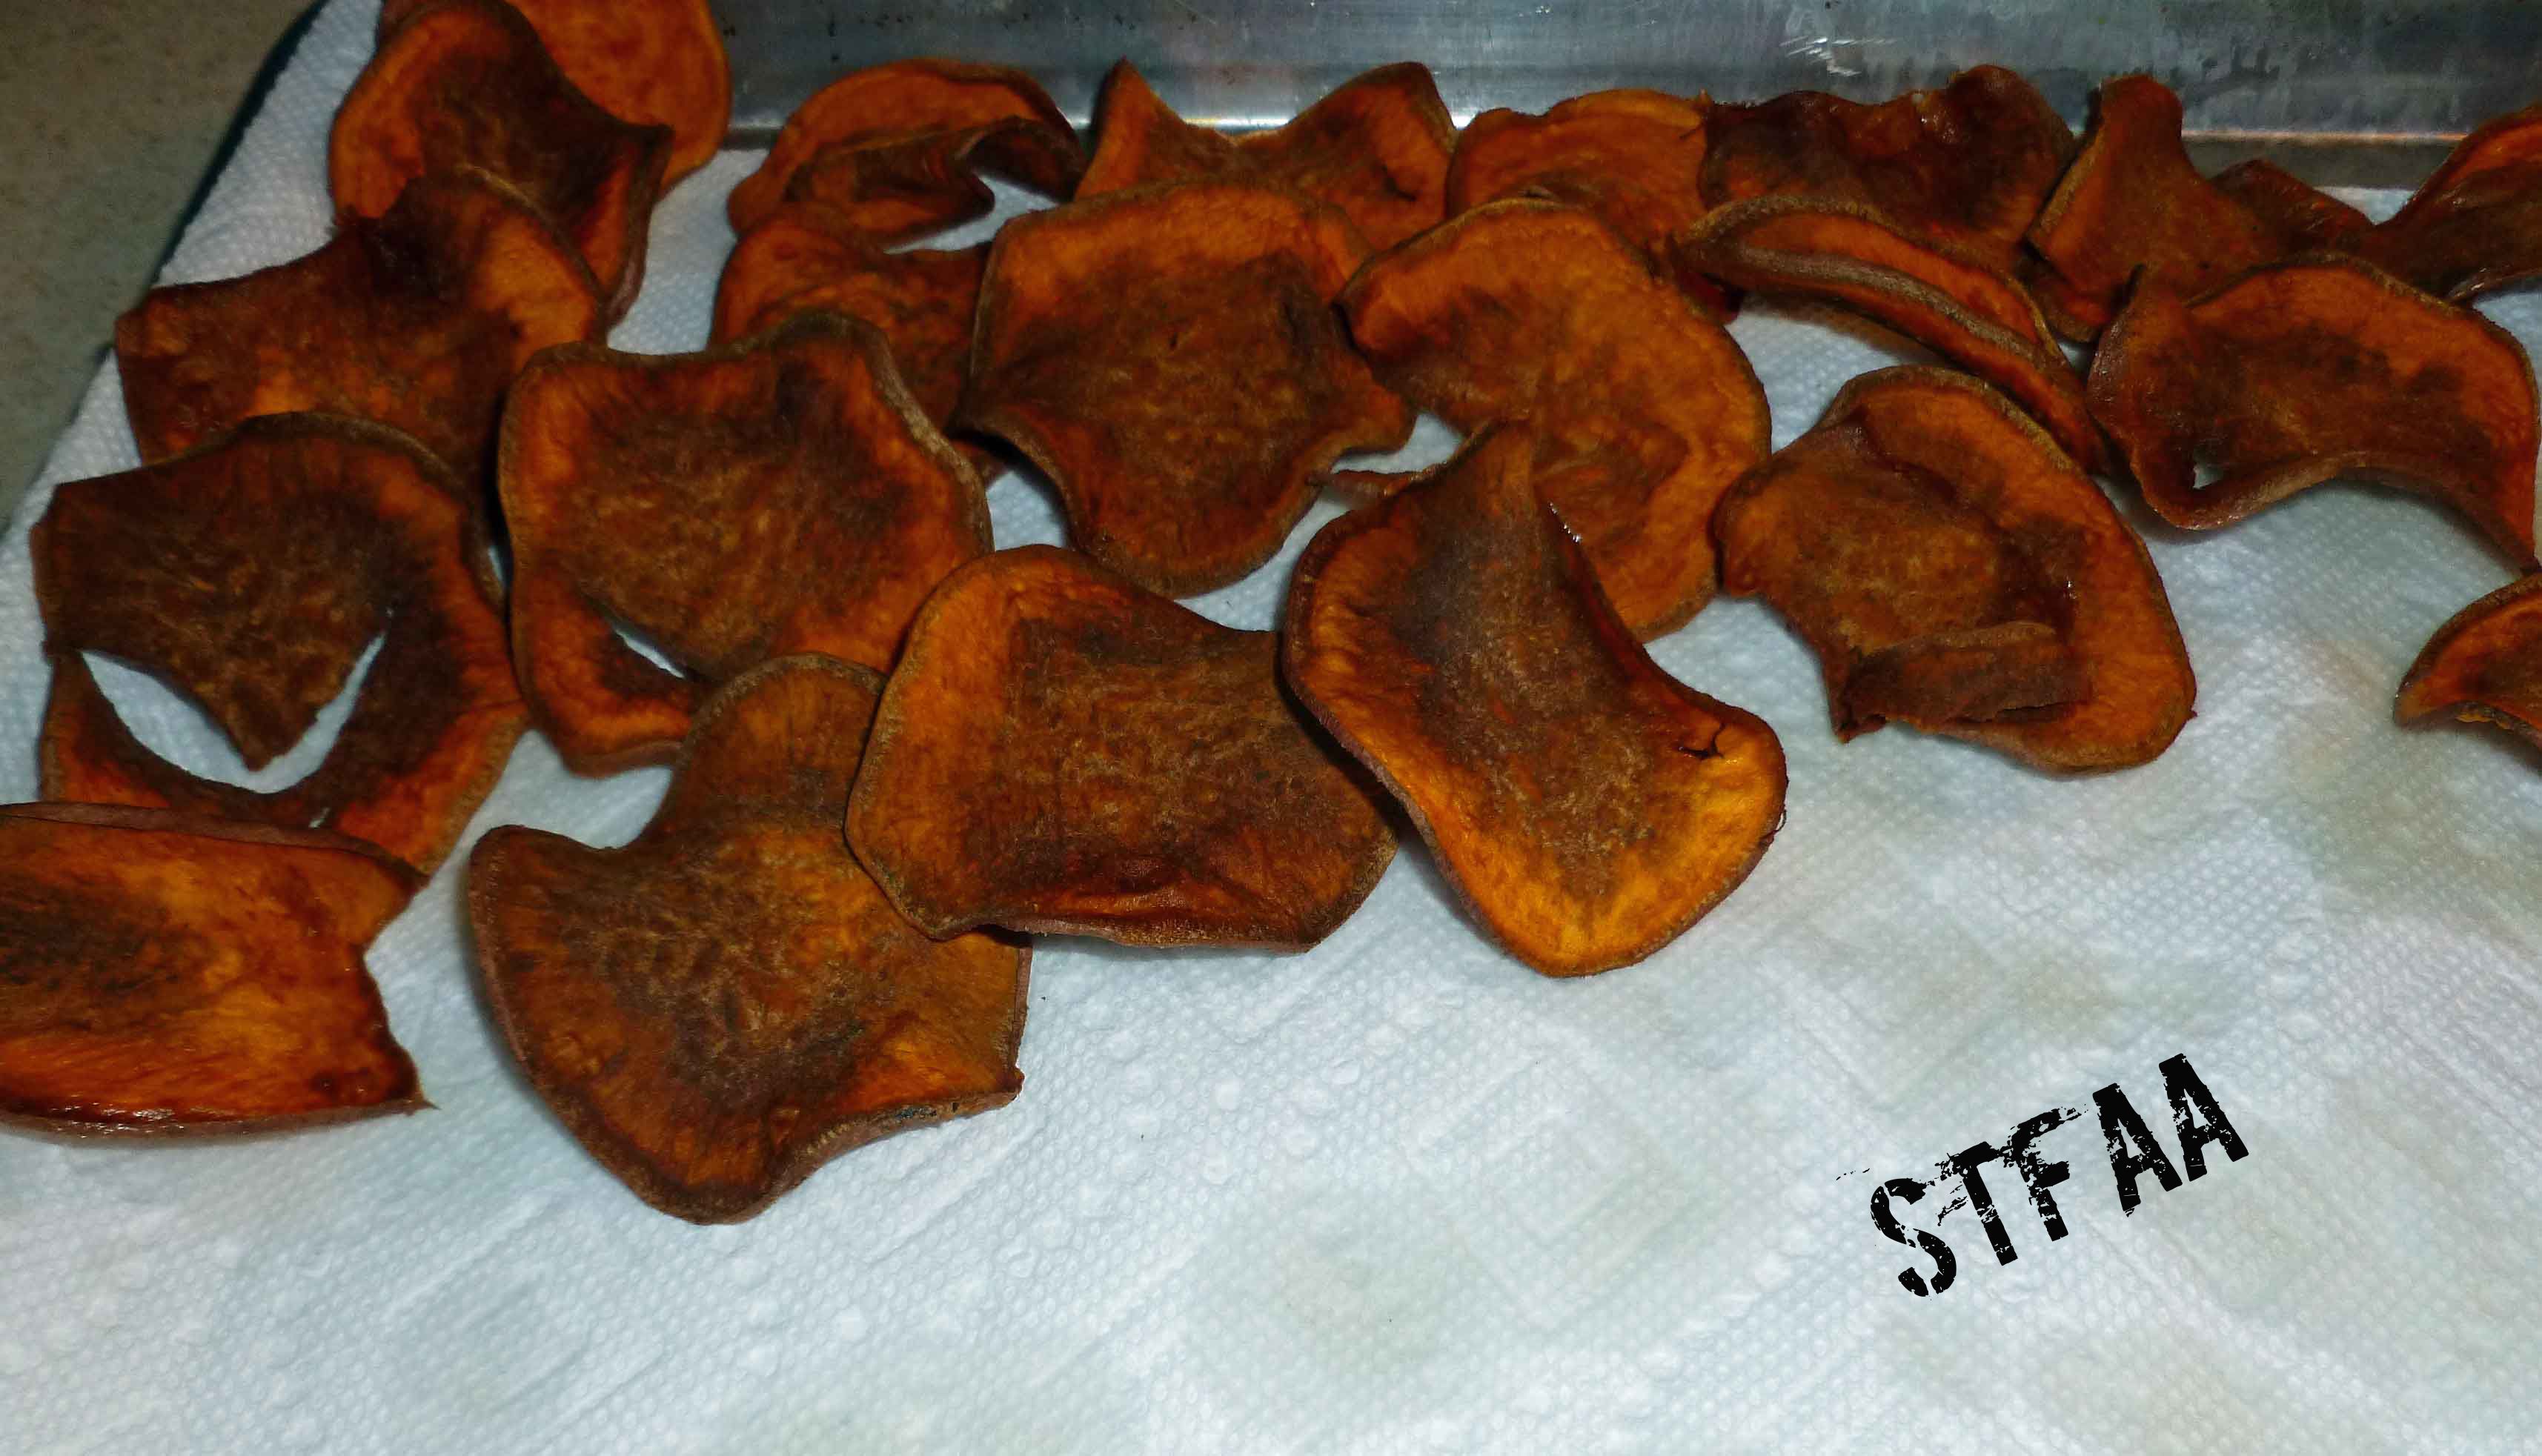
So first, the in-process photos of the tortillas:
Notice: Trying to access array offset on value of type bool in /home/maryzahc/public_html/adultfoodallergies.com/wp-content/plugins/wp-ultimate-recipe/helpers/models/recipe.php on line 254
- 1 15 ounce can drained and rinsed garbanzo beans (I used home canned. Save the aquafaba and freeze it for when you need it.)
- 1 teaspoon salt
- 1/4 cup olive or other safe-for-you oil
- 1 cup glutinous rice flour (you’ll also need a bit extra for rolling out the dough)
- cast iron skillet
- blender
- mixer
- parchment paper
- Place drained and rinsed garbanzo beans, the salt, and the olive oil into a blender, and blend until smooth. Place the mixture into a mixer and using the flat beater on medium low speed, slowly add the glutinous rice flour, beating until dough comes together.
- Using a piece of parchment paper dusted with some of the glutinous rice flour, roll out a portion of the dough about the size of an apple or to fit the size of your cast iron skillet, to a thickness of about an 1/8th of an inch.
- Place a cast iron skillet over medium low heat. When it is hot, use the parchment paper to transfer the tortilla to the skillet. Flip it onto the skillet and peel the parchment paper off. Cook the tortilla for 3-4 minutes each side or until it is golden brown.
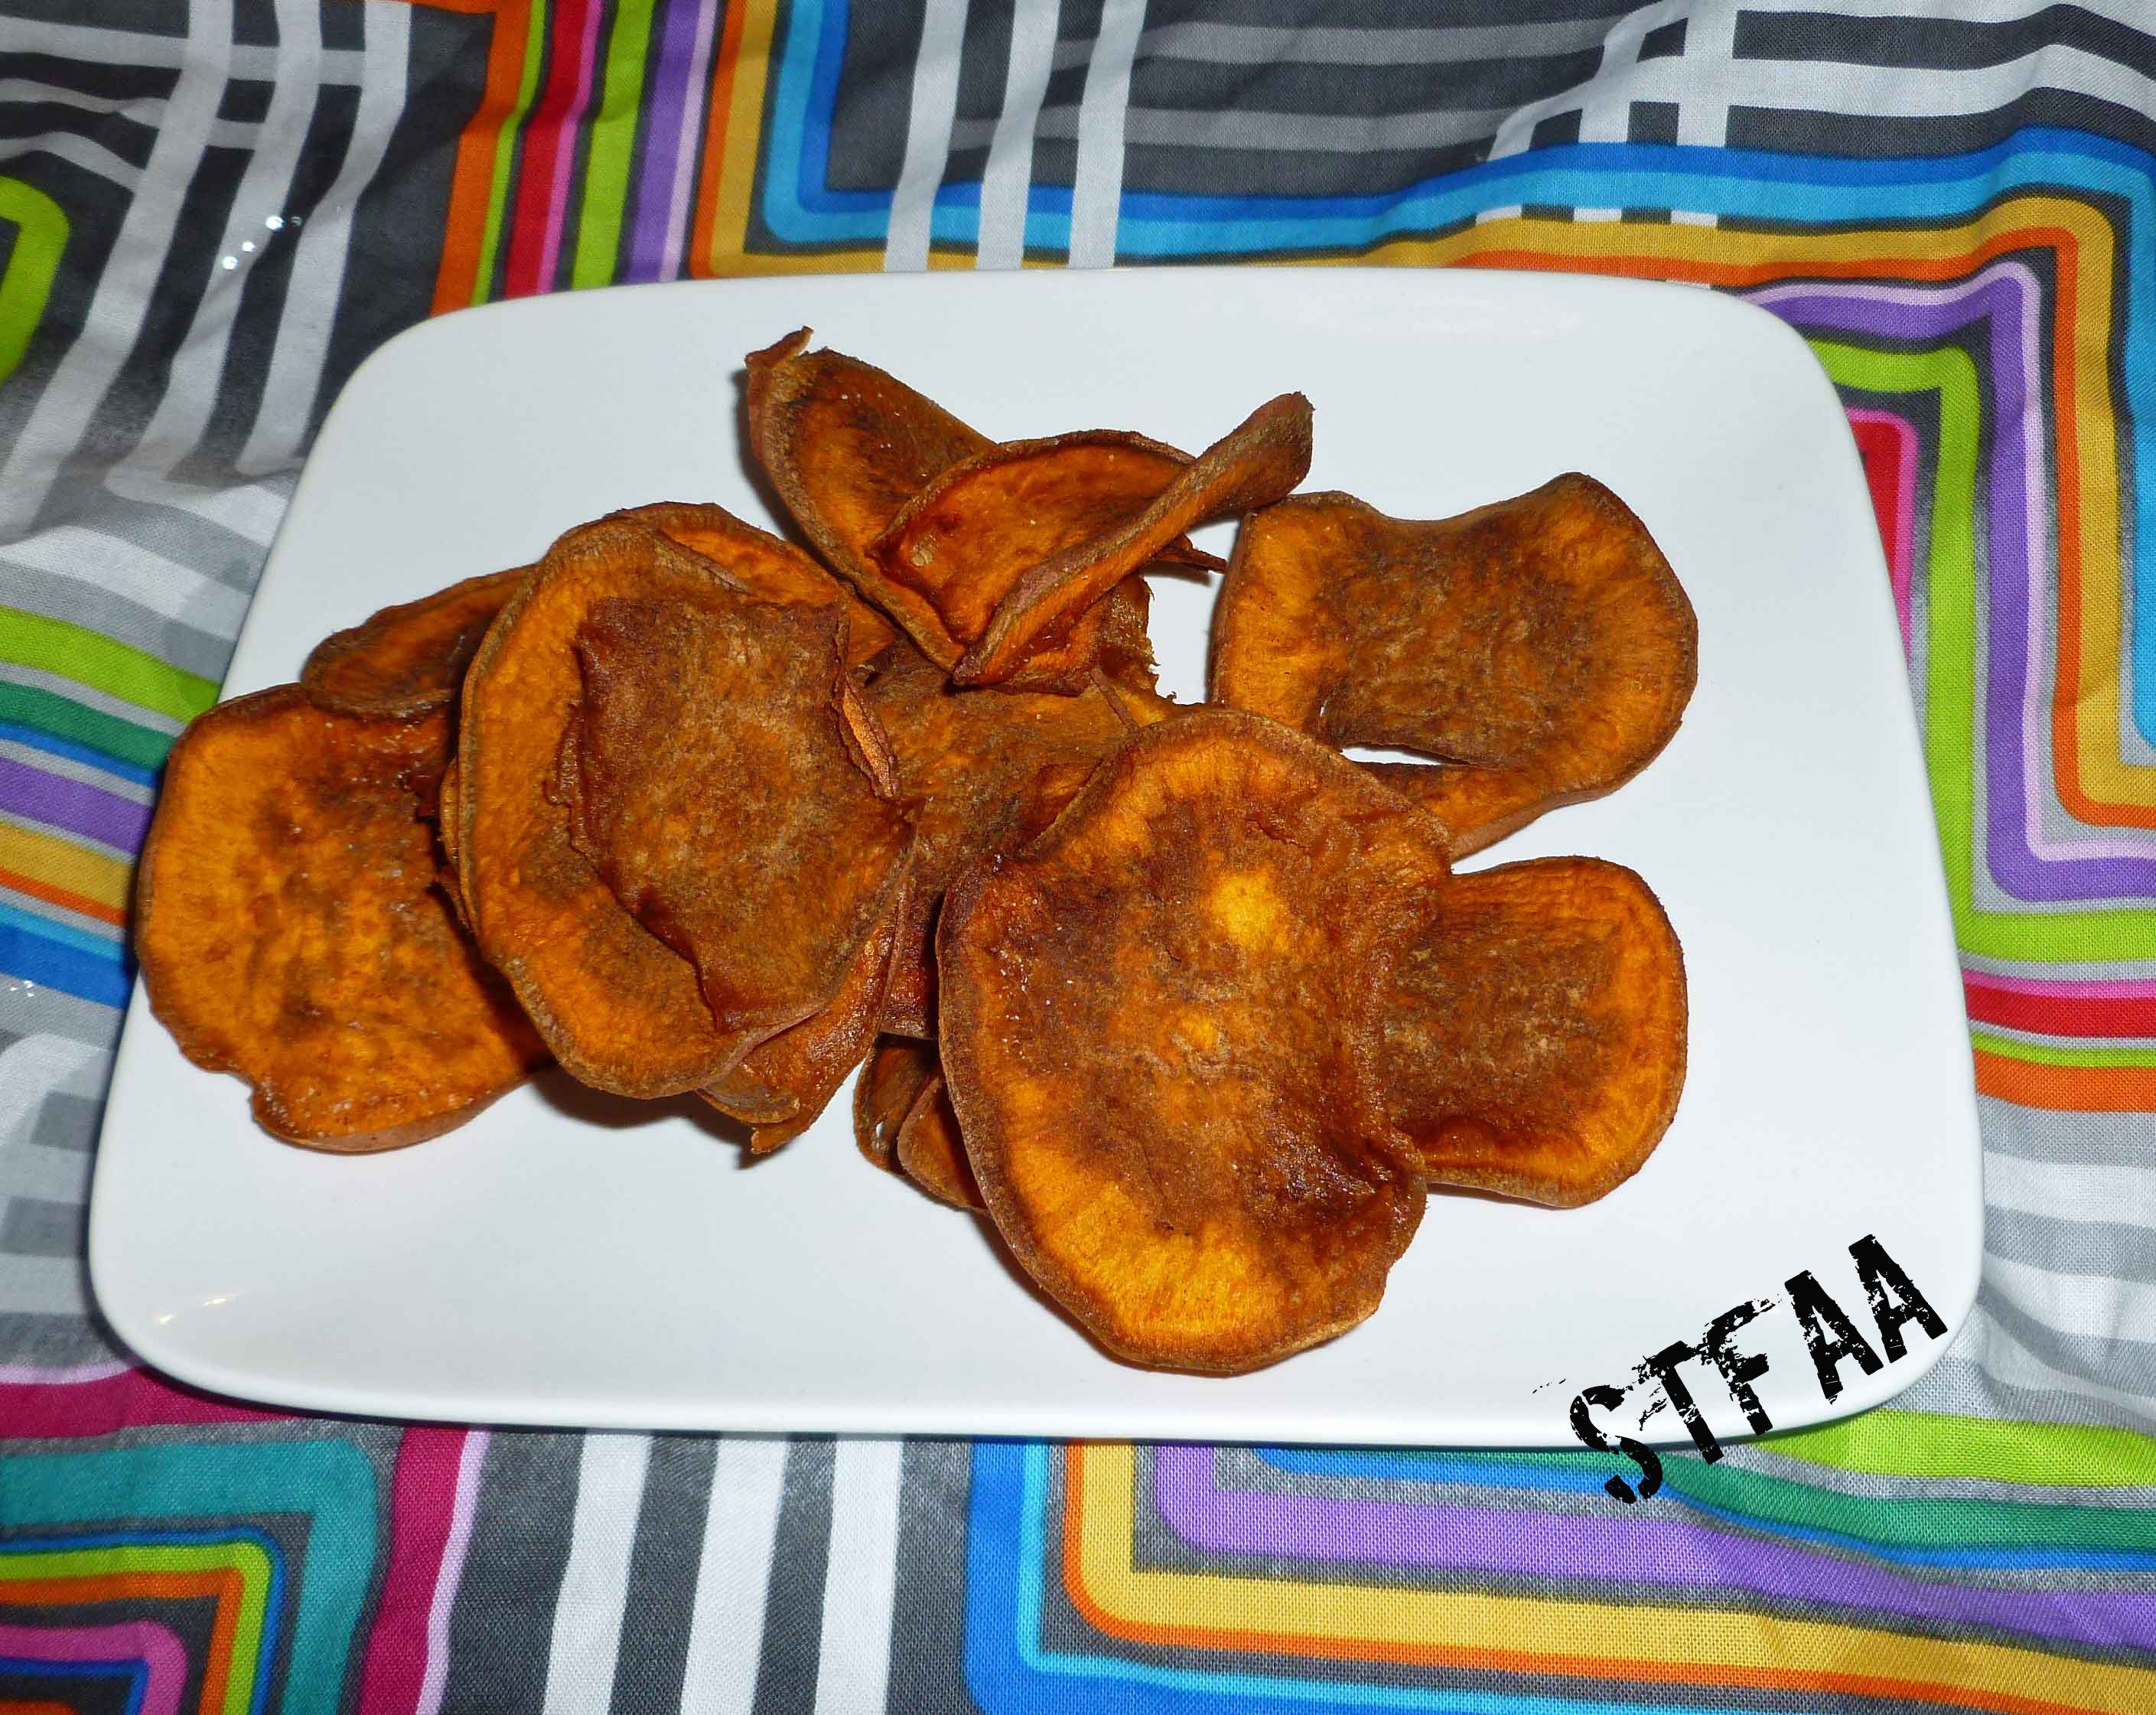
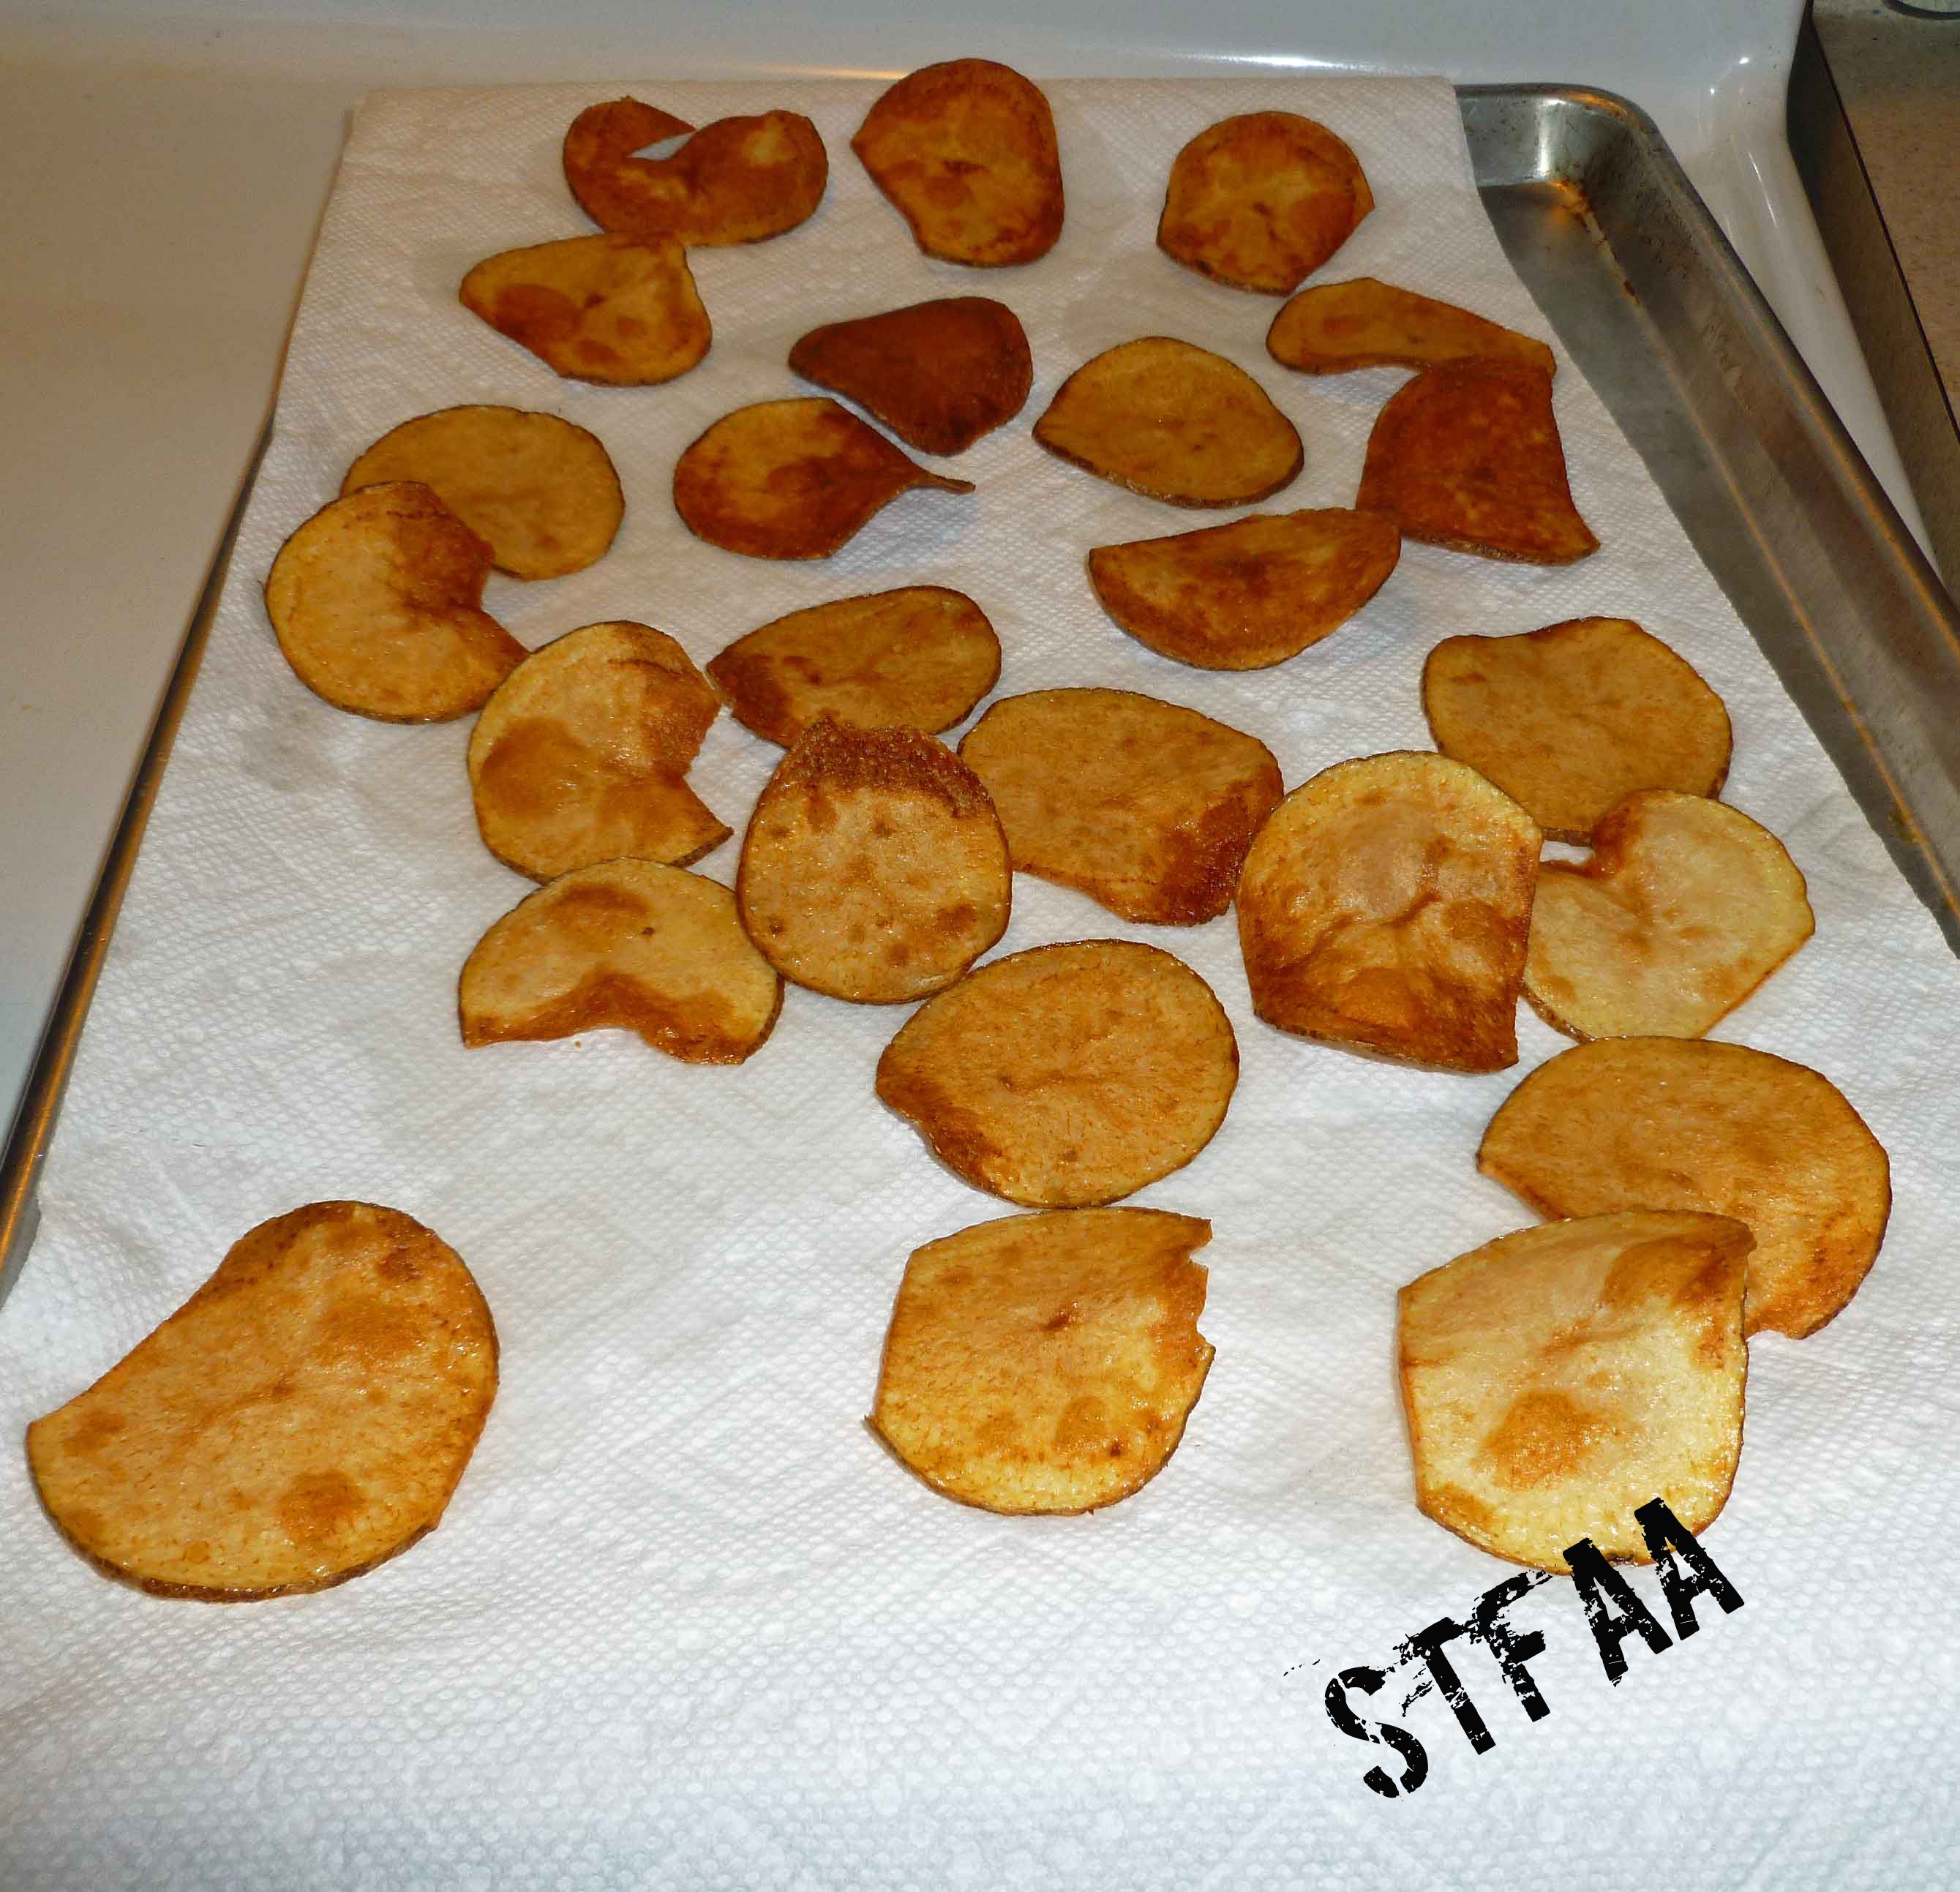
Now, here’s what I have for the pita chips:
Notice: Trying to access array offset on value of type bool in /home/maryzahc/public_html/adultfoodallergies.com/wp-content/plugins/wp-ultimate-recipe/helpers/models/recipe.php on line 254
- 1 15 ounce can drained and rinsed garbanzo beans (I used home canned. Save the aquafaba and freeze it for when you need it.)
- 1 teaspoon salt
- 1/4 cup olive or other safe-for-you oil
- 1 cup glutinous rice flour (you’ll also need a bit extra for rolling out the dough)
- baking sheet
- blender
- mixer
- parchment paper
- Preheat your oven to 375°F.
- Place drained and rinsed garbanzo beans, the salt, and the olive oil into a blender, and blend until smooth. Place the mixture into a mixer and using the flat beater on medium low speed, slowly add the glutinous rice flour, beating until dough comes together.
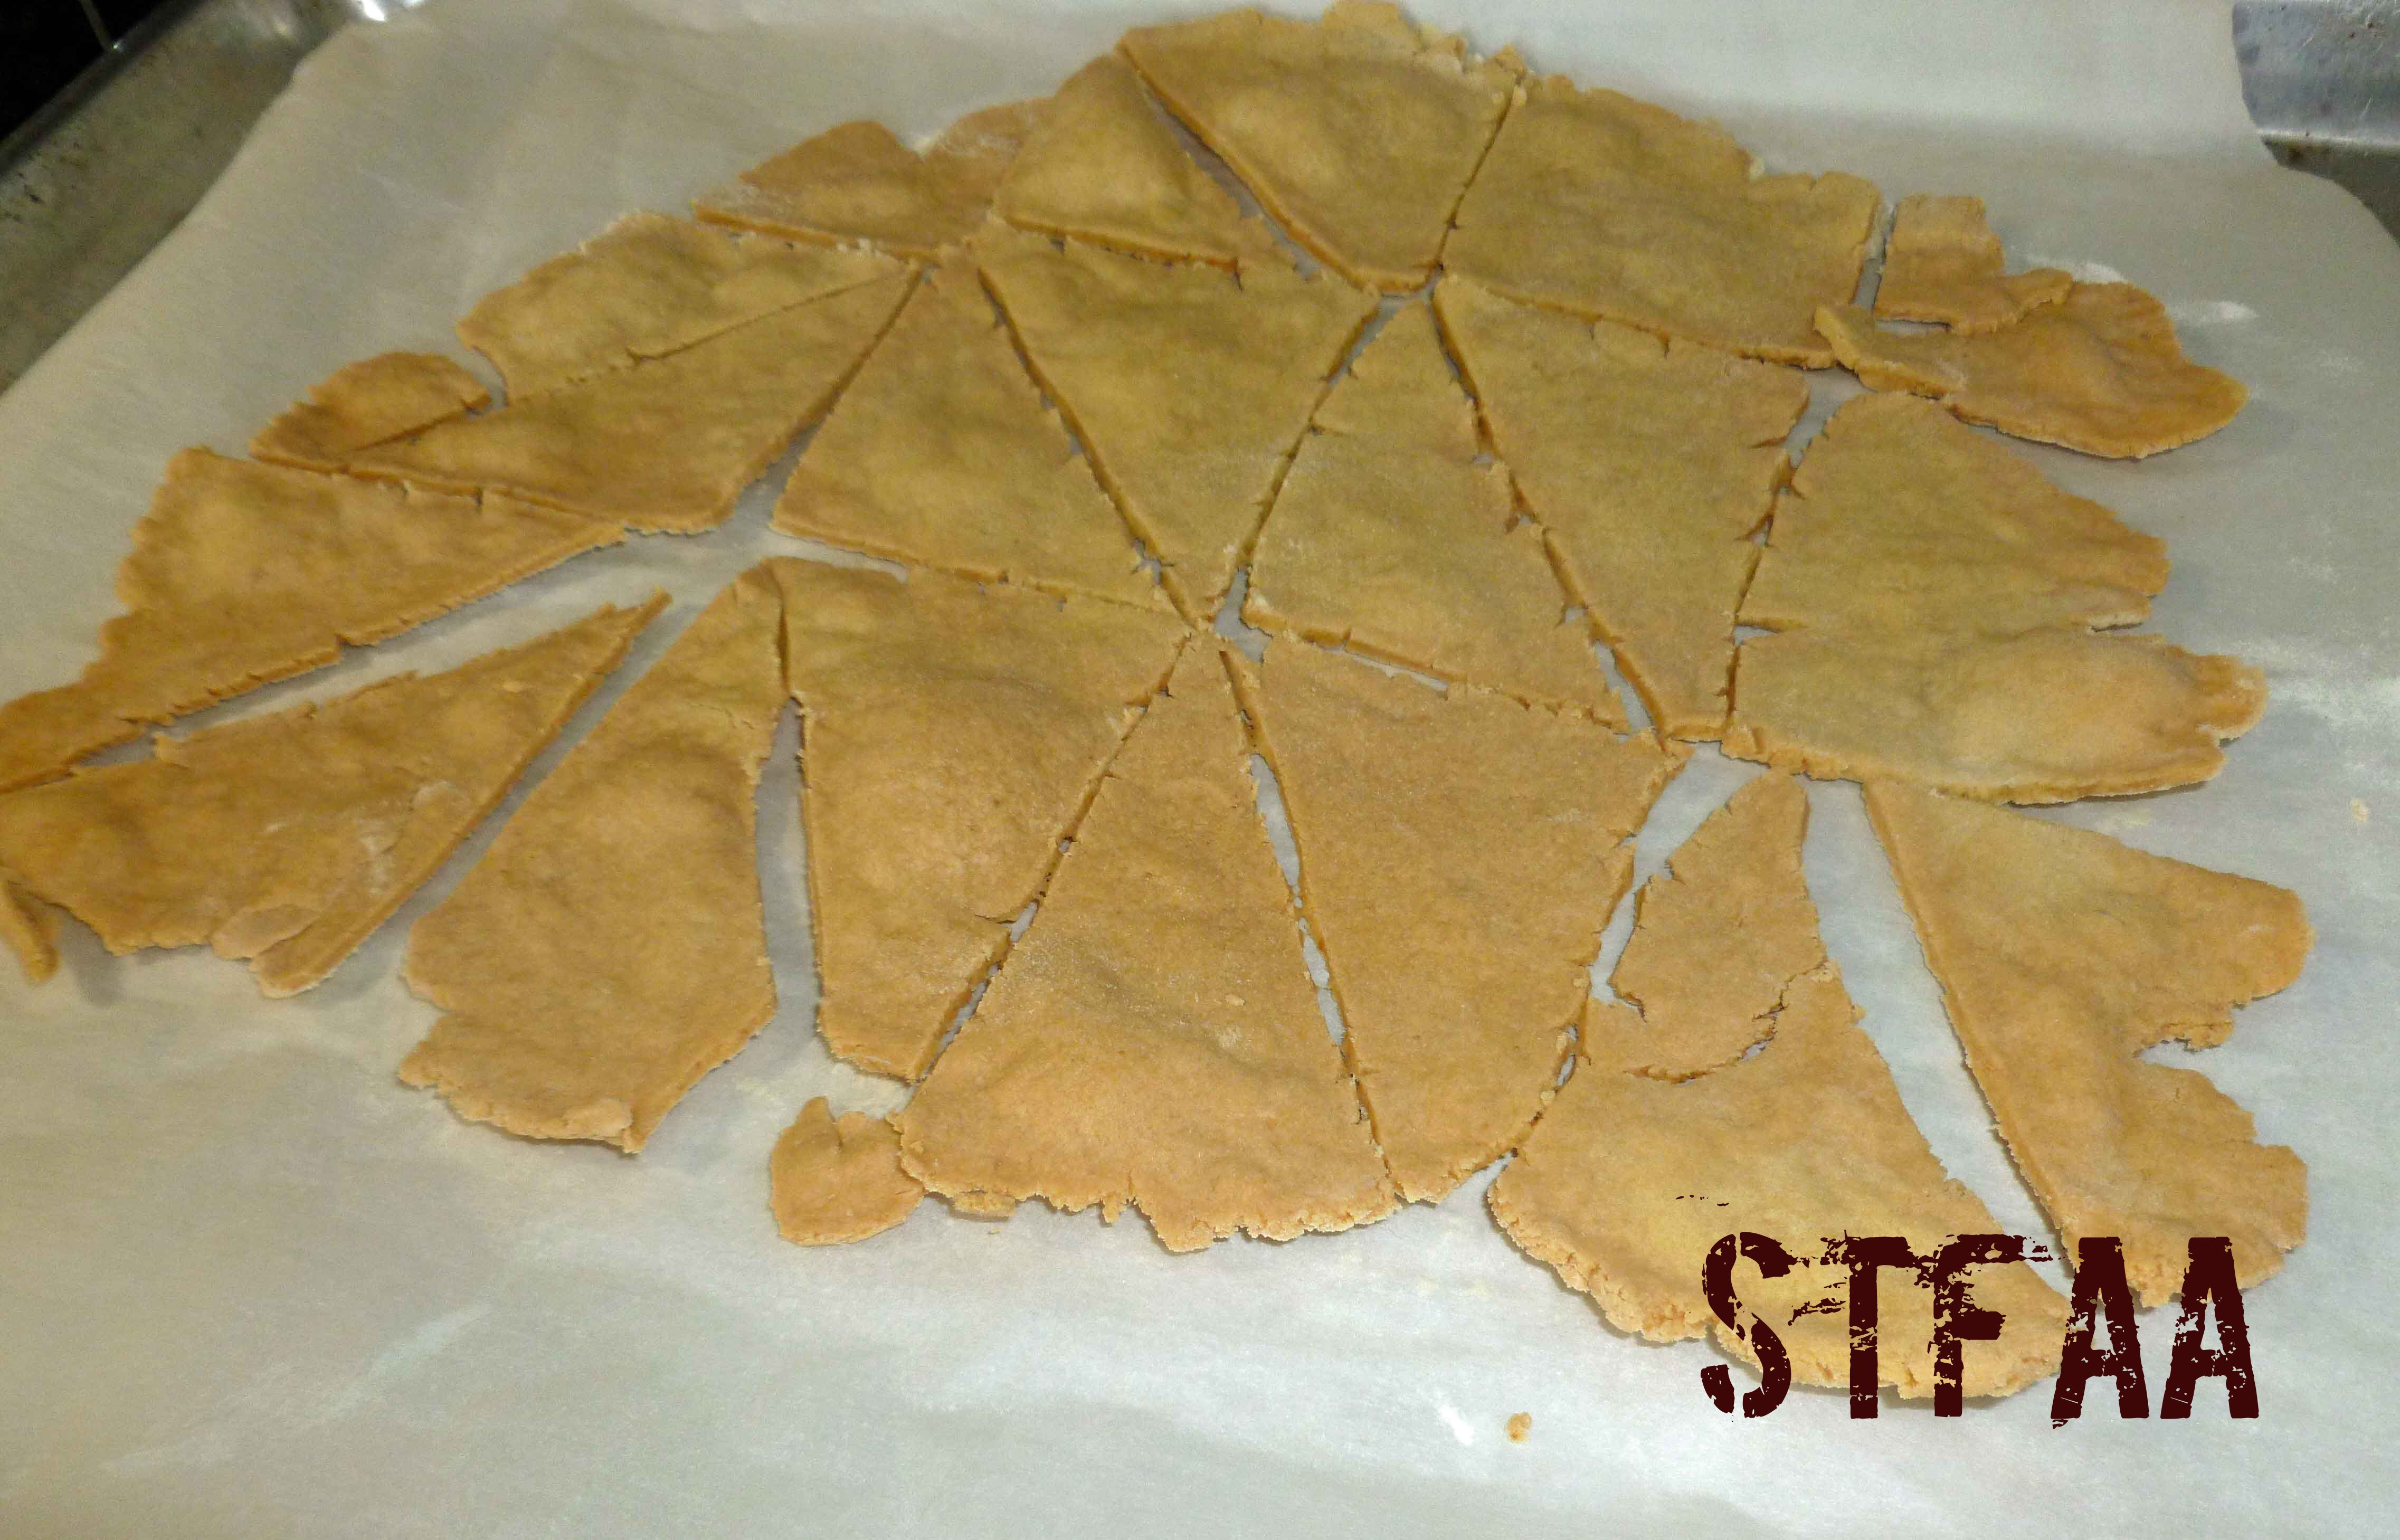
- You will need to do a couple of batches to bake all of the chips. Cover your baking sheet with a sheet of parchment paper. Dust the parchment paper with some of the glutinous rice flour. Roll out about a third of the dough to a thickness of about an 1/8th of an inch, the thinner the better. Use a sharp knife to score lines through the dough the size you’d like your chips, being careful not to cut through the parchment paper.
- Place the baking sheet in your preheated oven and bake for 25 minutes or until the chips are golden brown.
Enjoy!