My mother made cube steak sometimes when we were kids, but wasn’t one for sauces, so I wasn’t introduced to white pepper gravy until I began ordering it at diners. I liked nothing better than going to a greasy spoon diner after a night out with friends if we’d been imbibing, or as a recovery measure the morning after when I was in college and law school. I love diner food, and was disappointed in the lack of good diners in New Hampshire when I moved here. Now that the food allergy apocalypse has hit, even the mediocre diners here are off limits. But this recipe takes care of those diner food cravings for me.
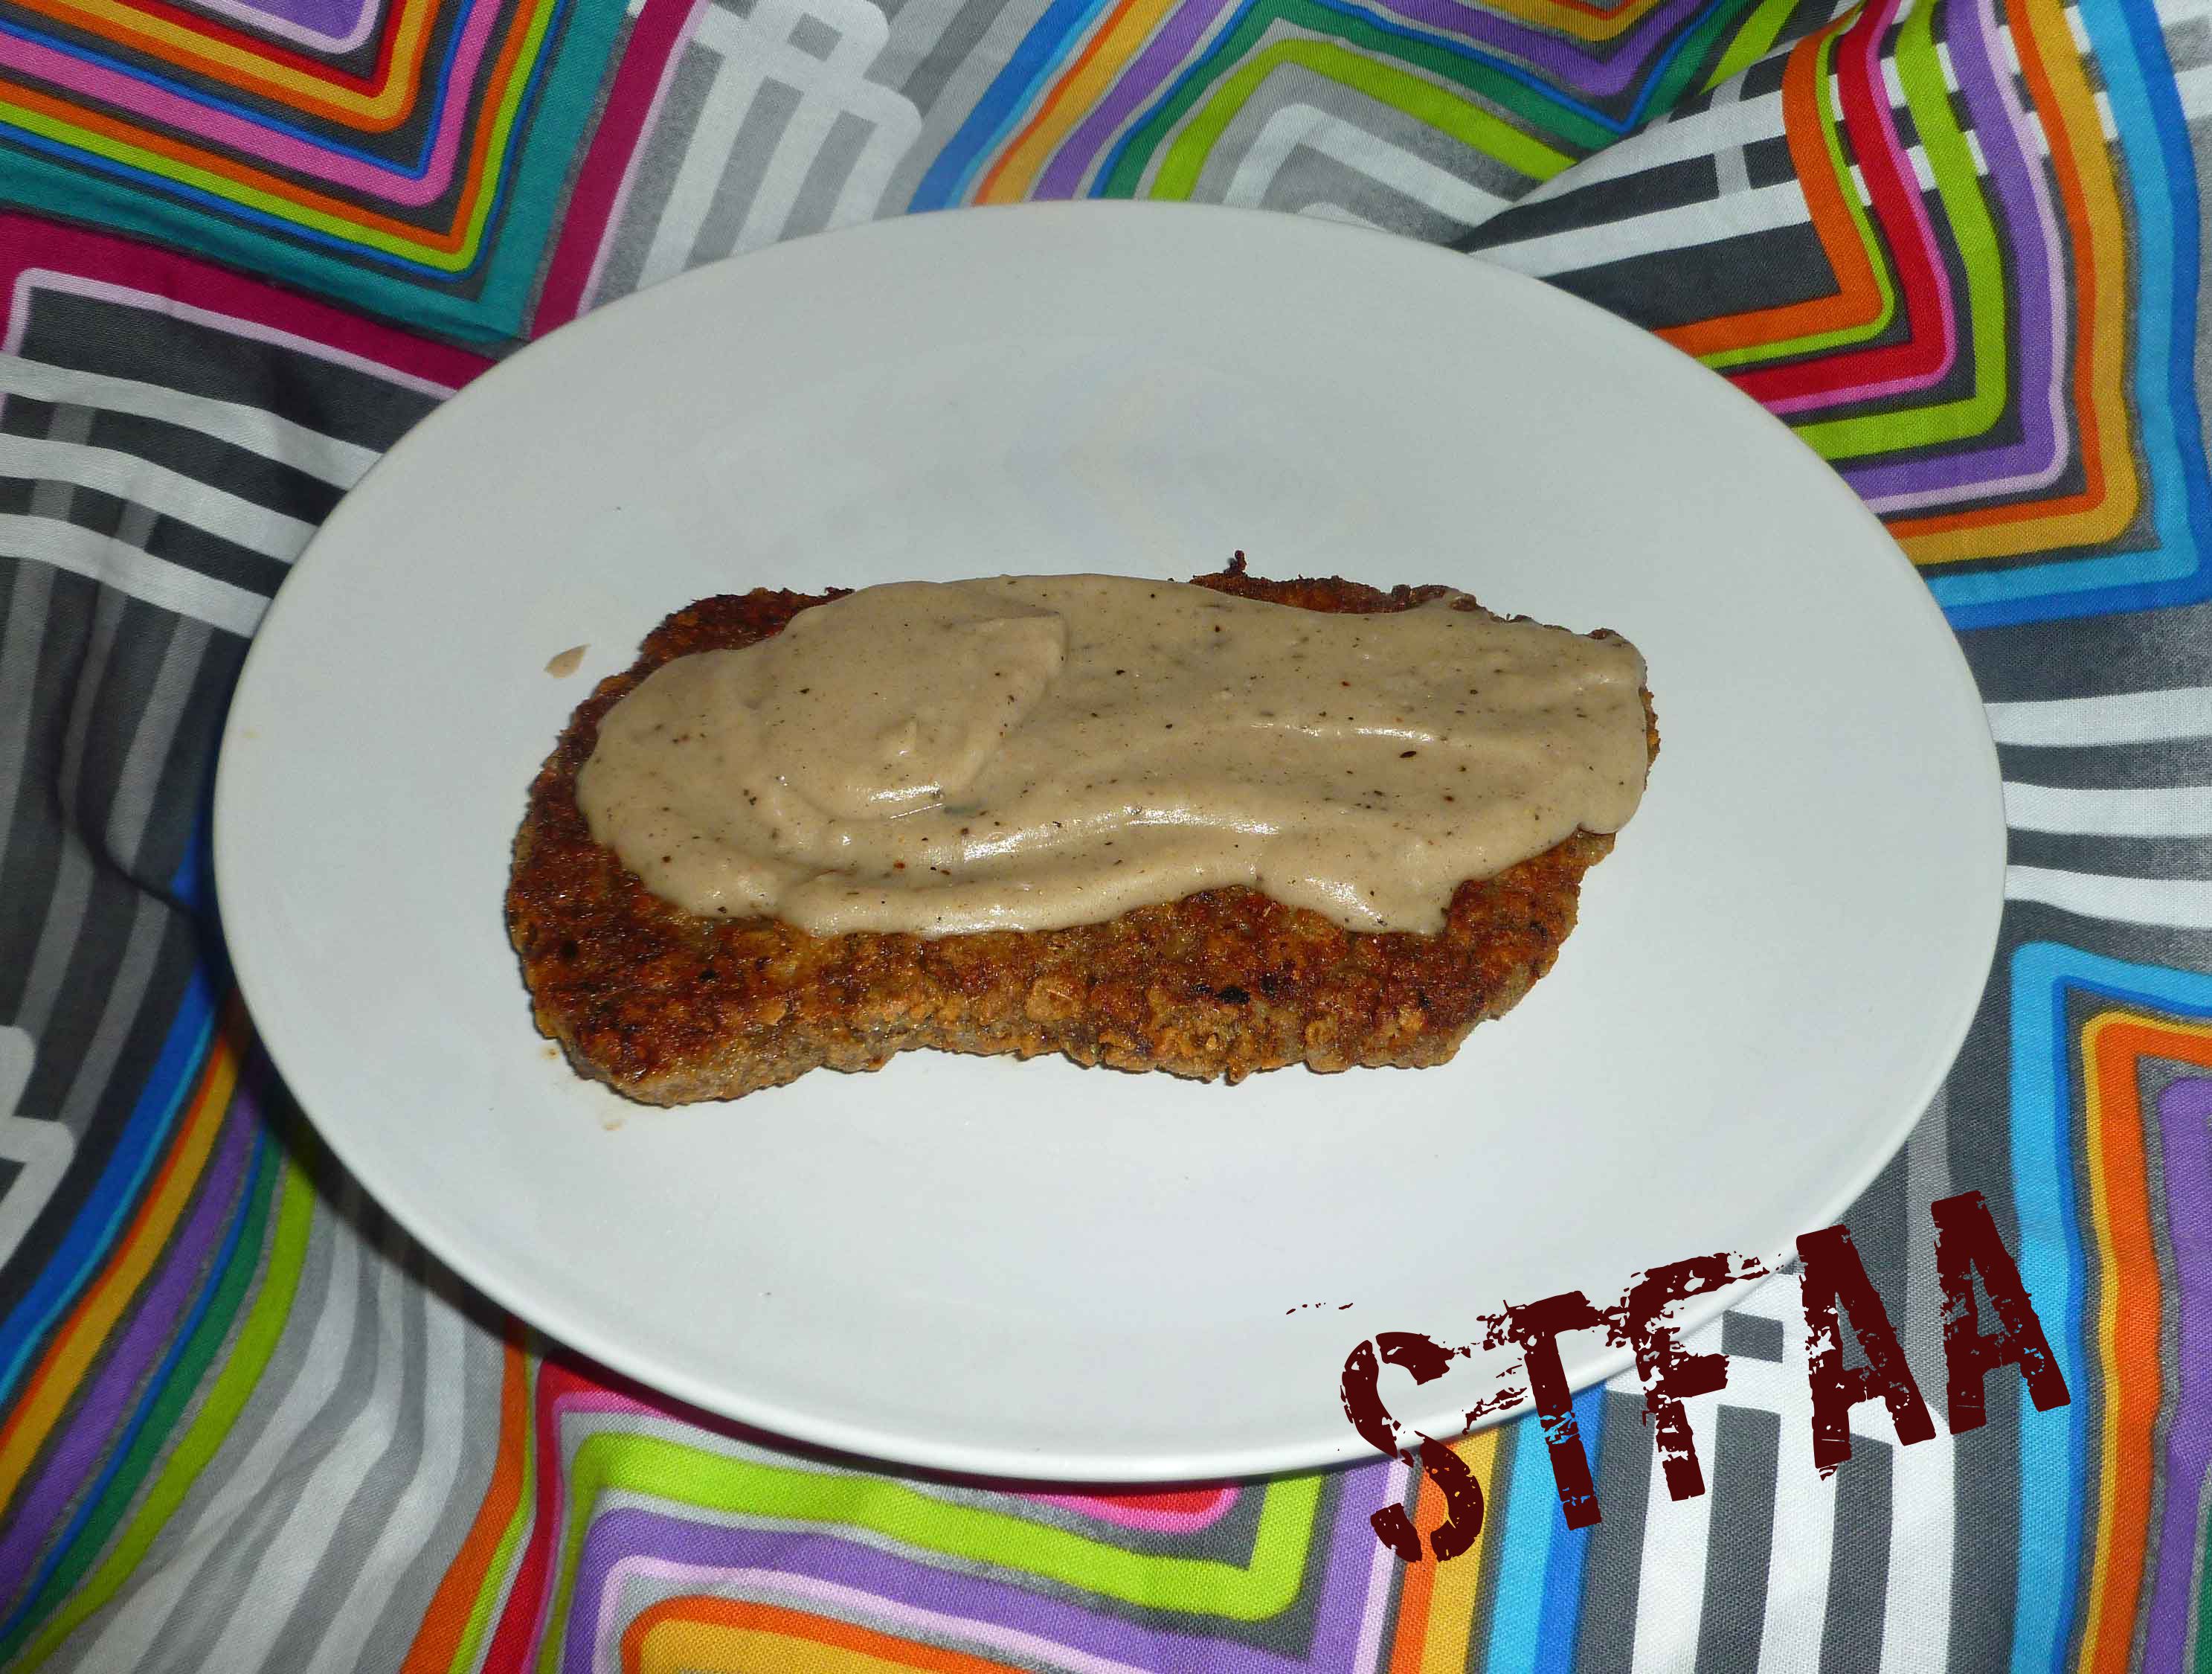
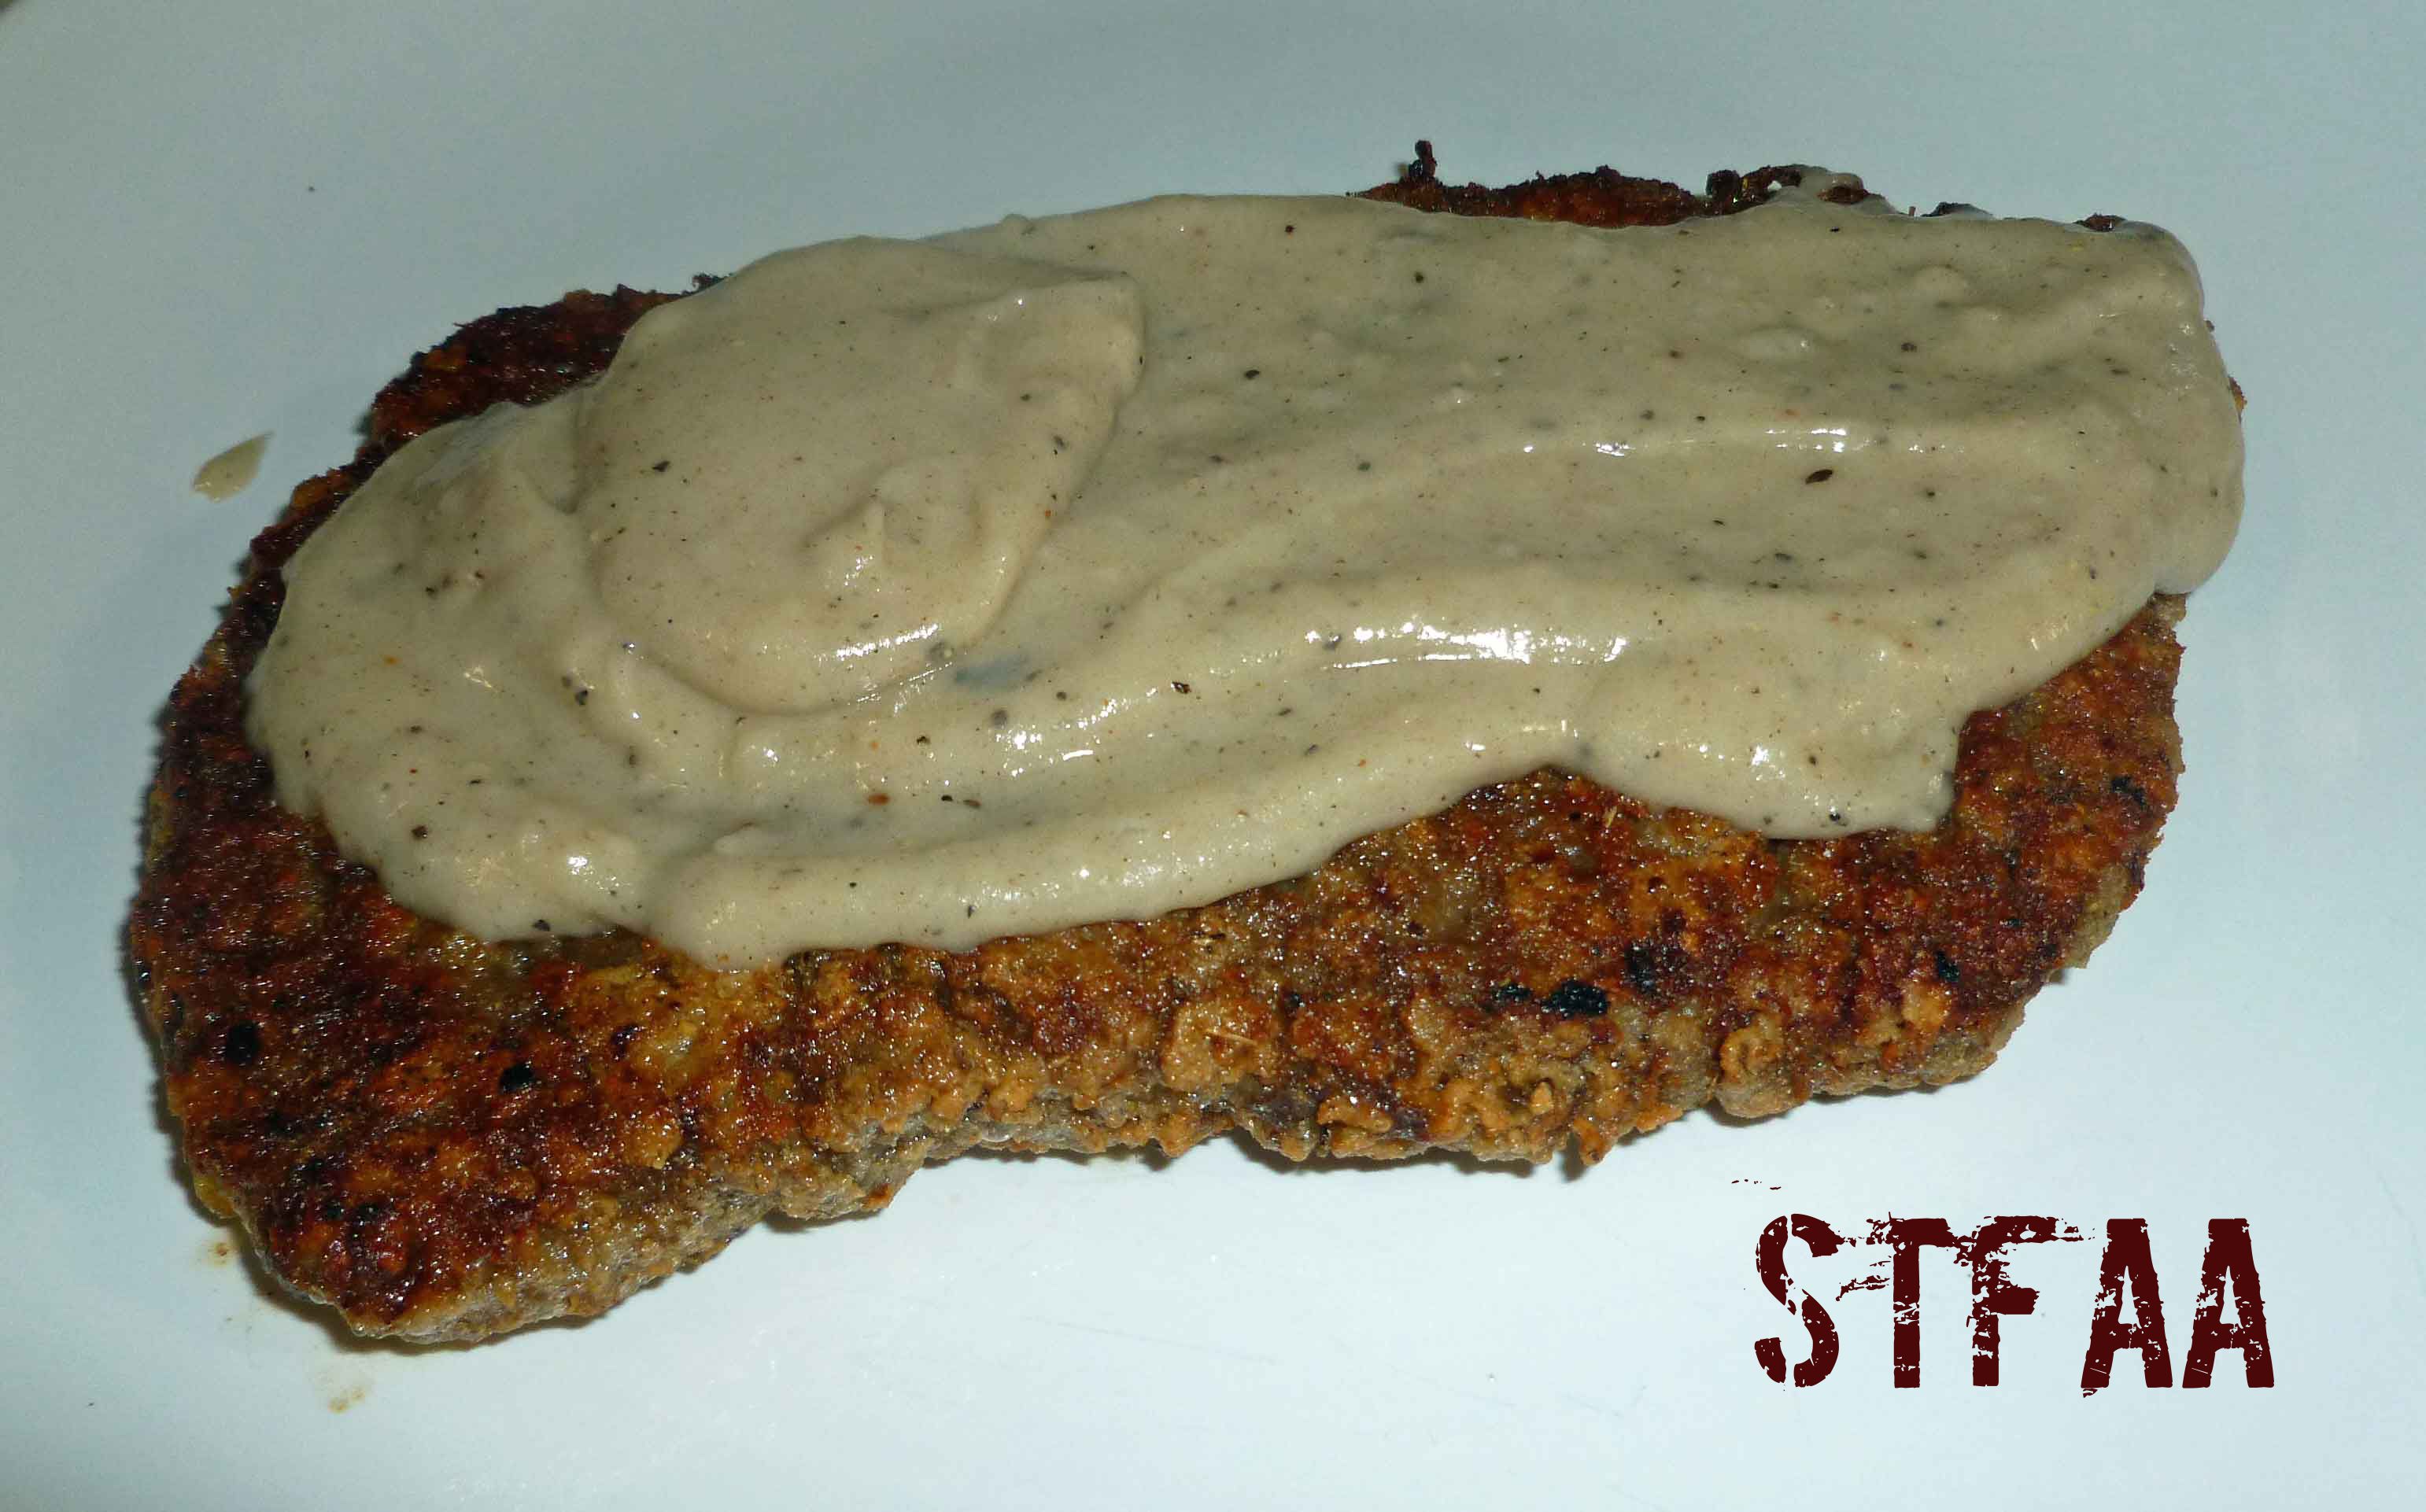
Chicken Fried Steak with White Pepper Gravy
Chicken Fried Steak Ingredients:
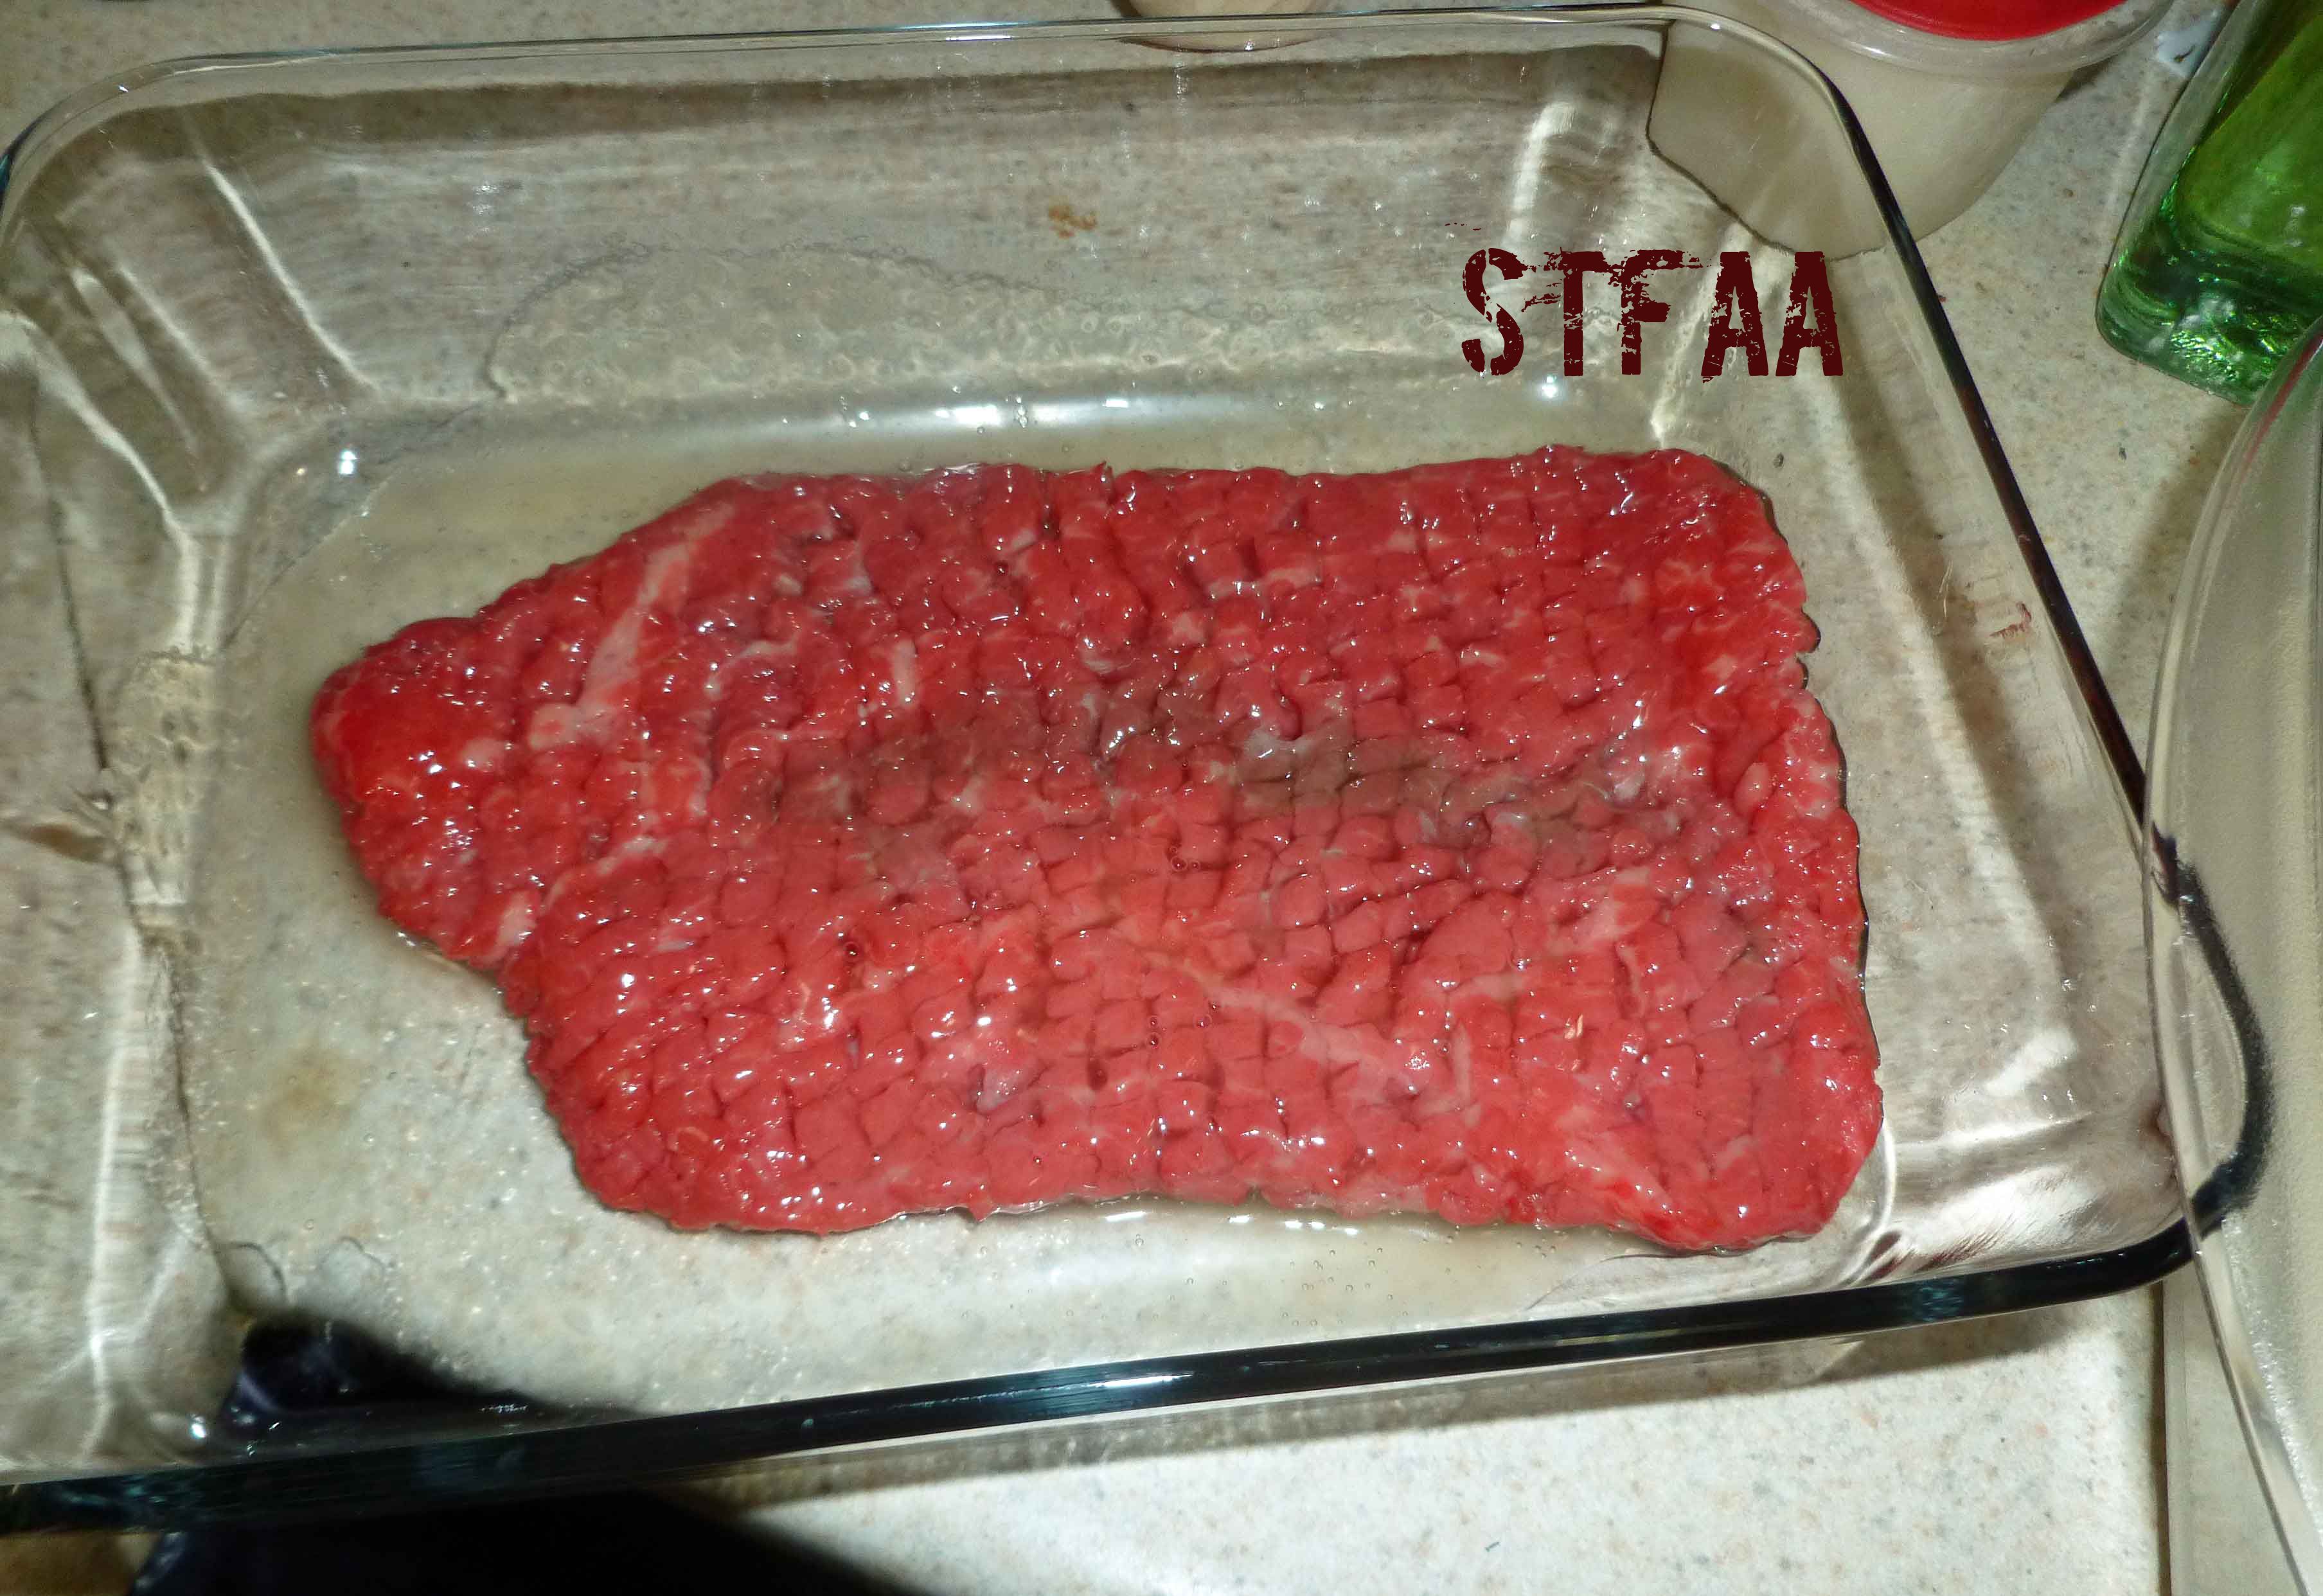
- 1-2 cube steaks
- 1/4 cup of sorghum flour
- 1/4 cup of garbanzo bean flour
- 1 Tablespoon of Montreal Steak Seasoning (see recipe in link, I have to use homemade)
- 2 Tablespoons of aquafaba (you’ll need 4 Tablespoons if you make 2 cube steaks)
- 2-3 Tablespoons of bacon fat, lard, or other safe for you cooking oil.
White Pepper Gravy Ingredients:
- Drippings from frying Chicken Fried Steak
- 1/4 cup of sorghum flour
- 1 cup of cashew milk or other safe for you non-dairy milk
- 1/4 to 1/2 cup of water depending on how thick you like your gravy
- 1/4 teaspoon of black pepper (you may want to add more or less to taste)
- 1/4 teaspoon of salt ( you may want to add more or less to taste)
Chicken Fried Steak Instructions:
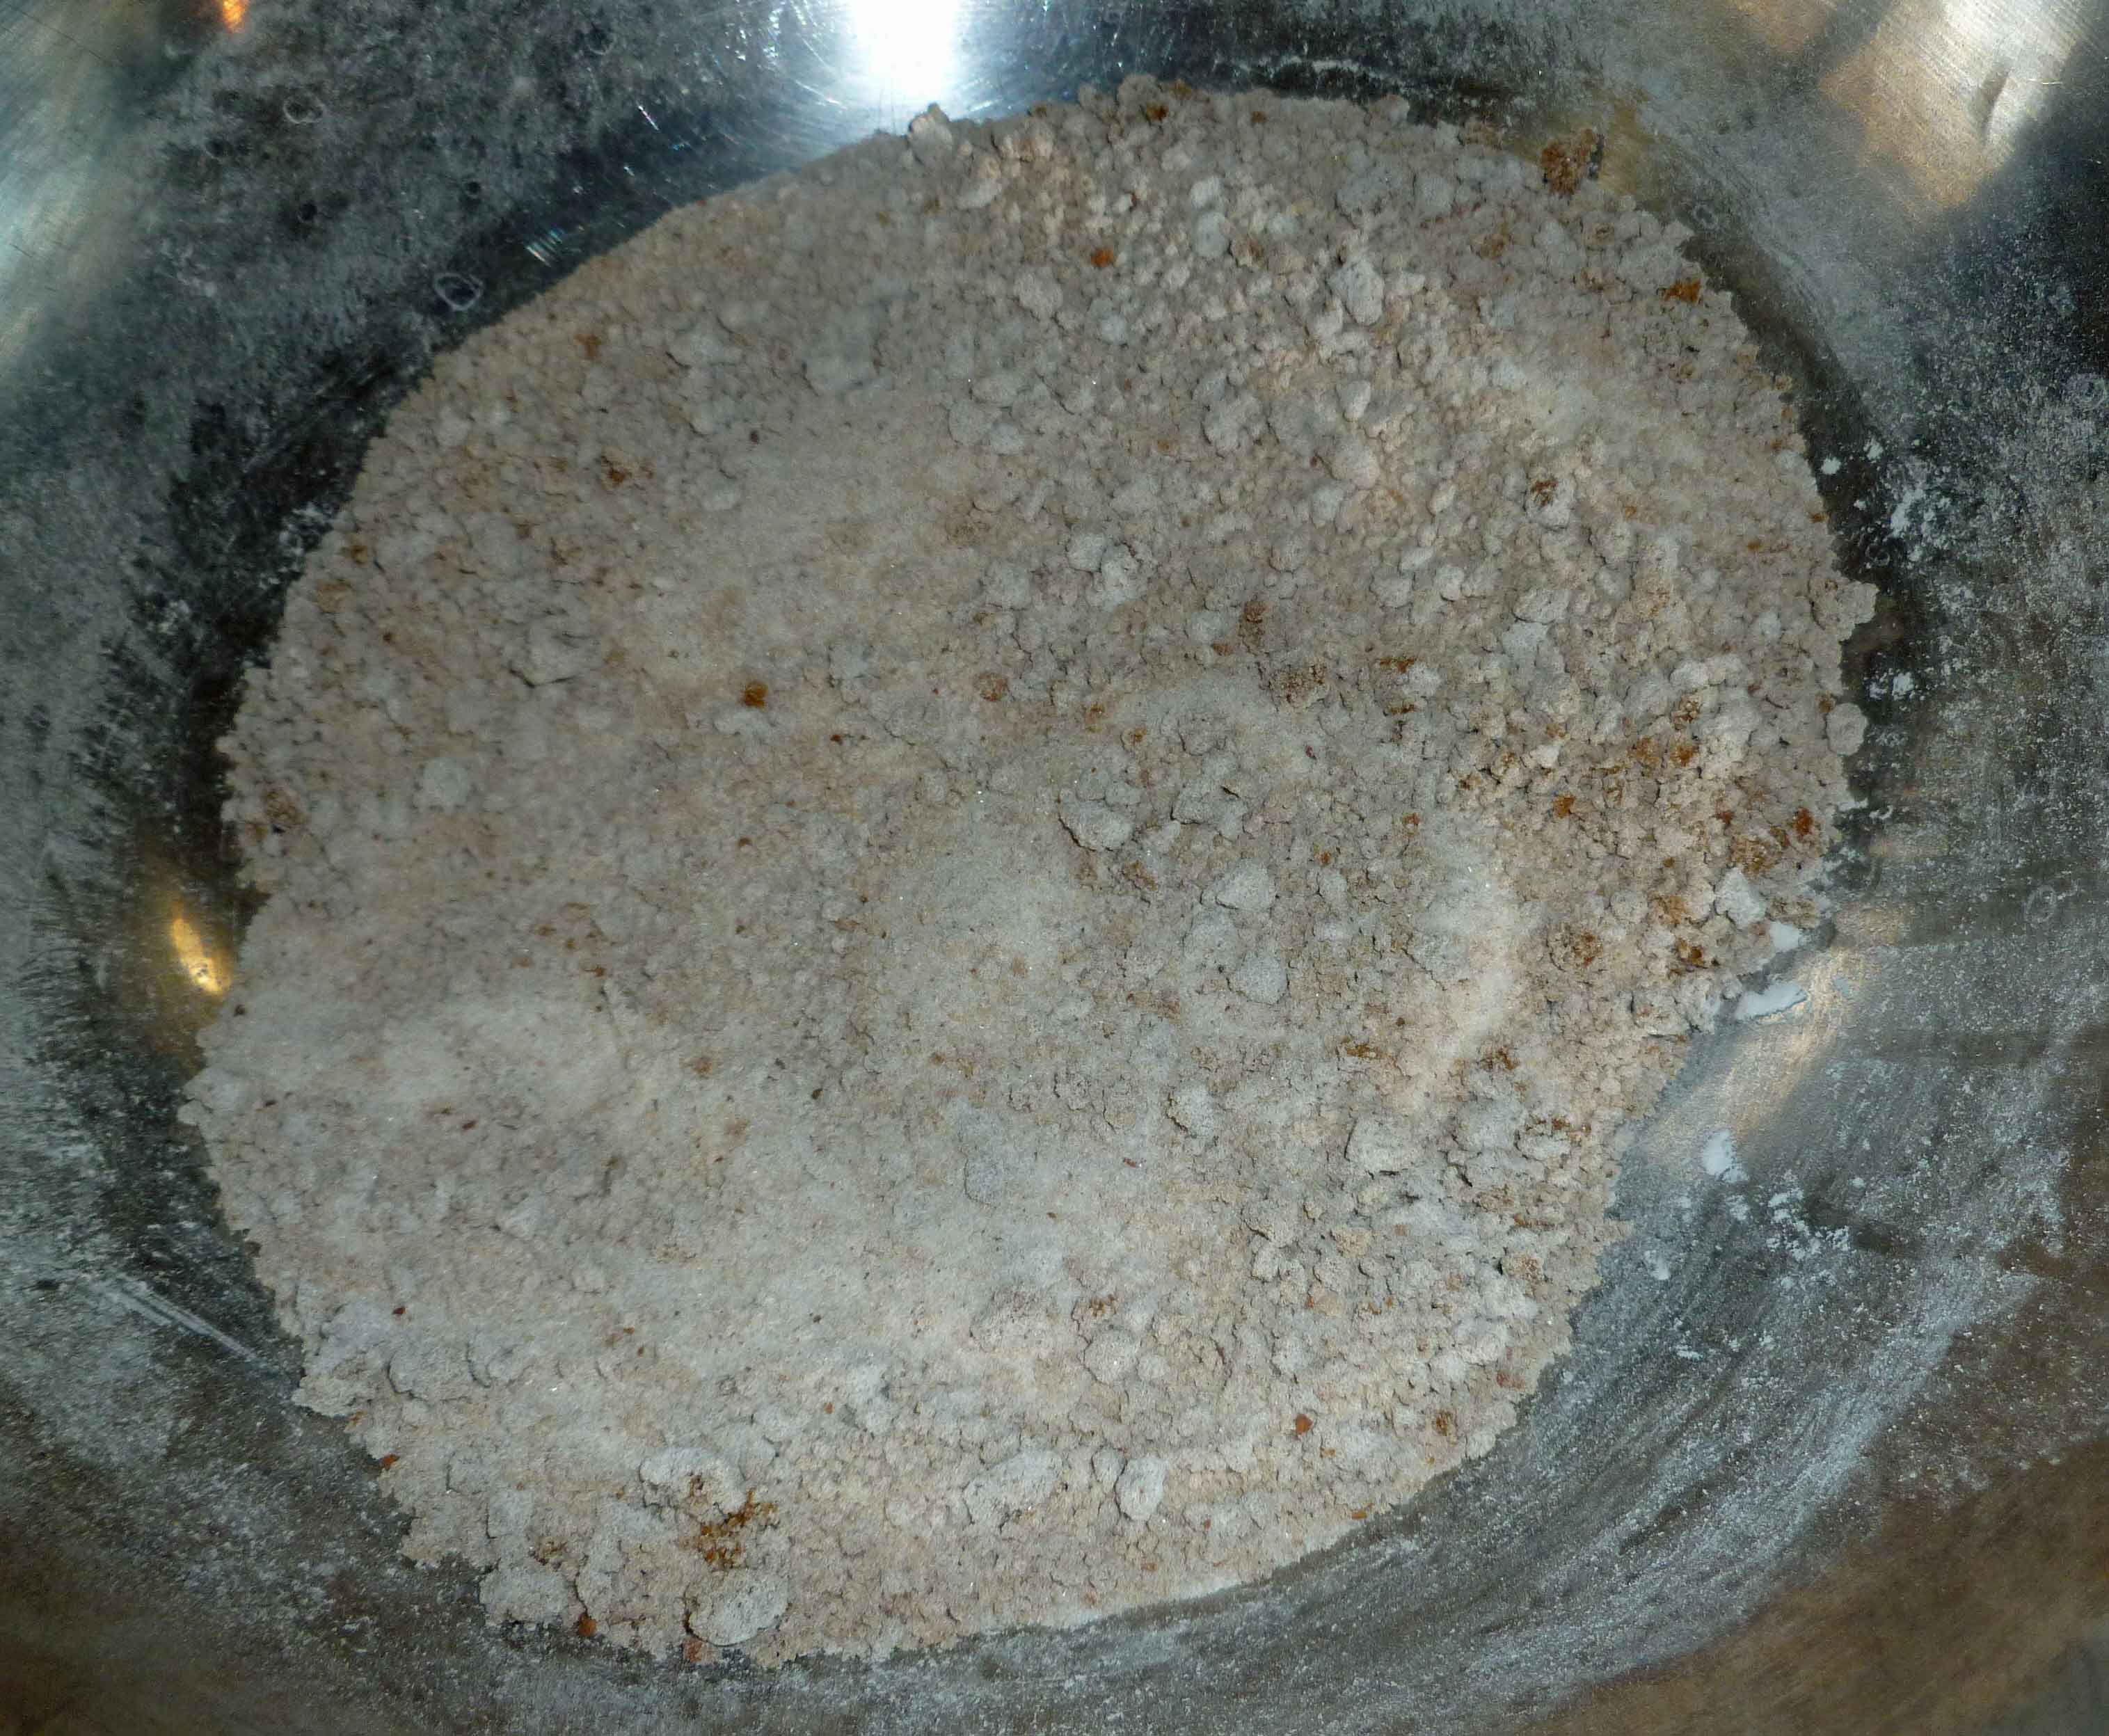
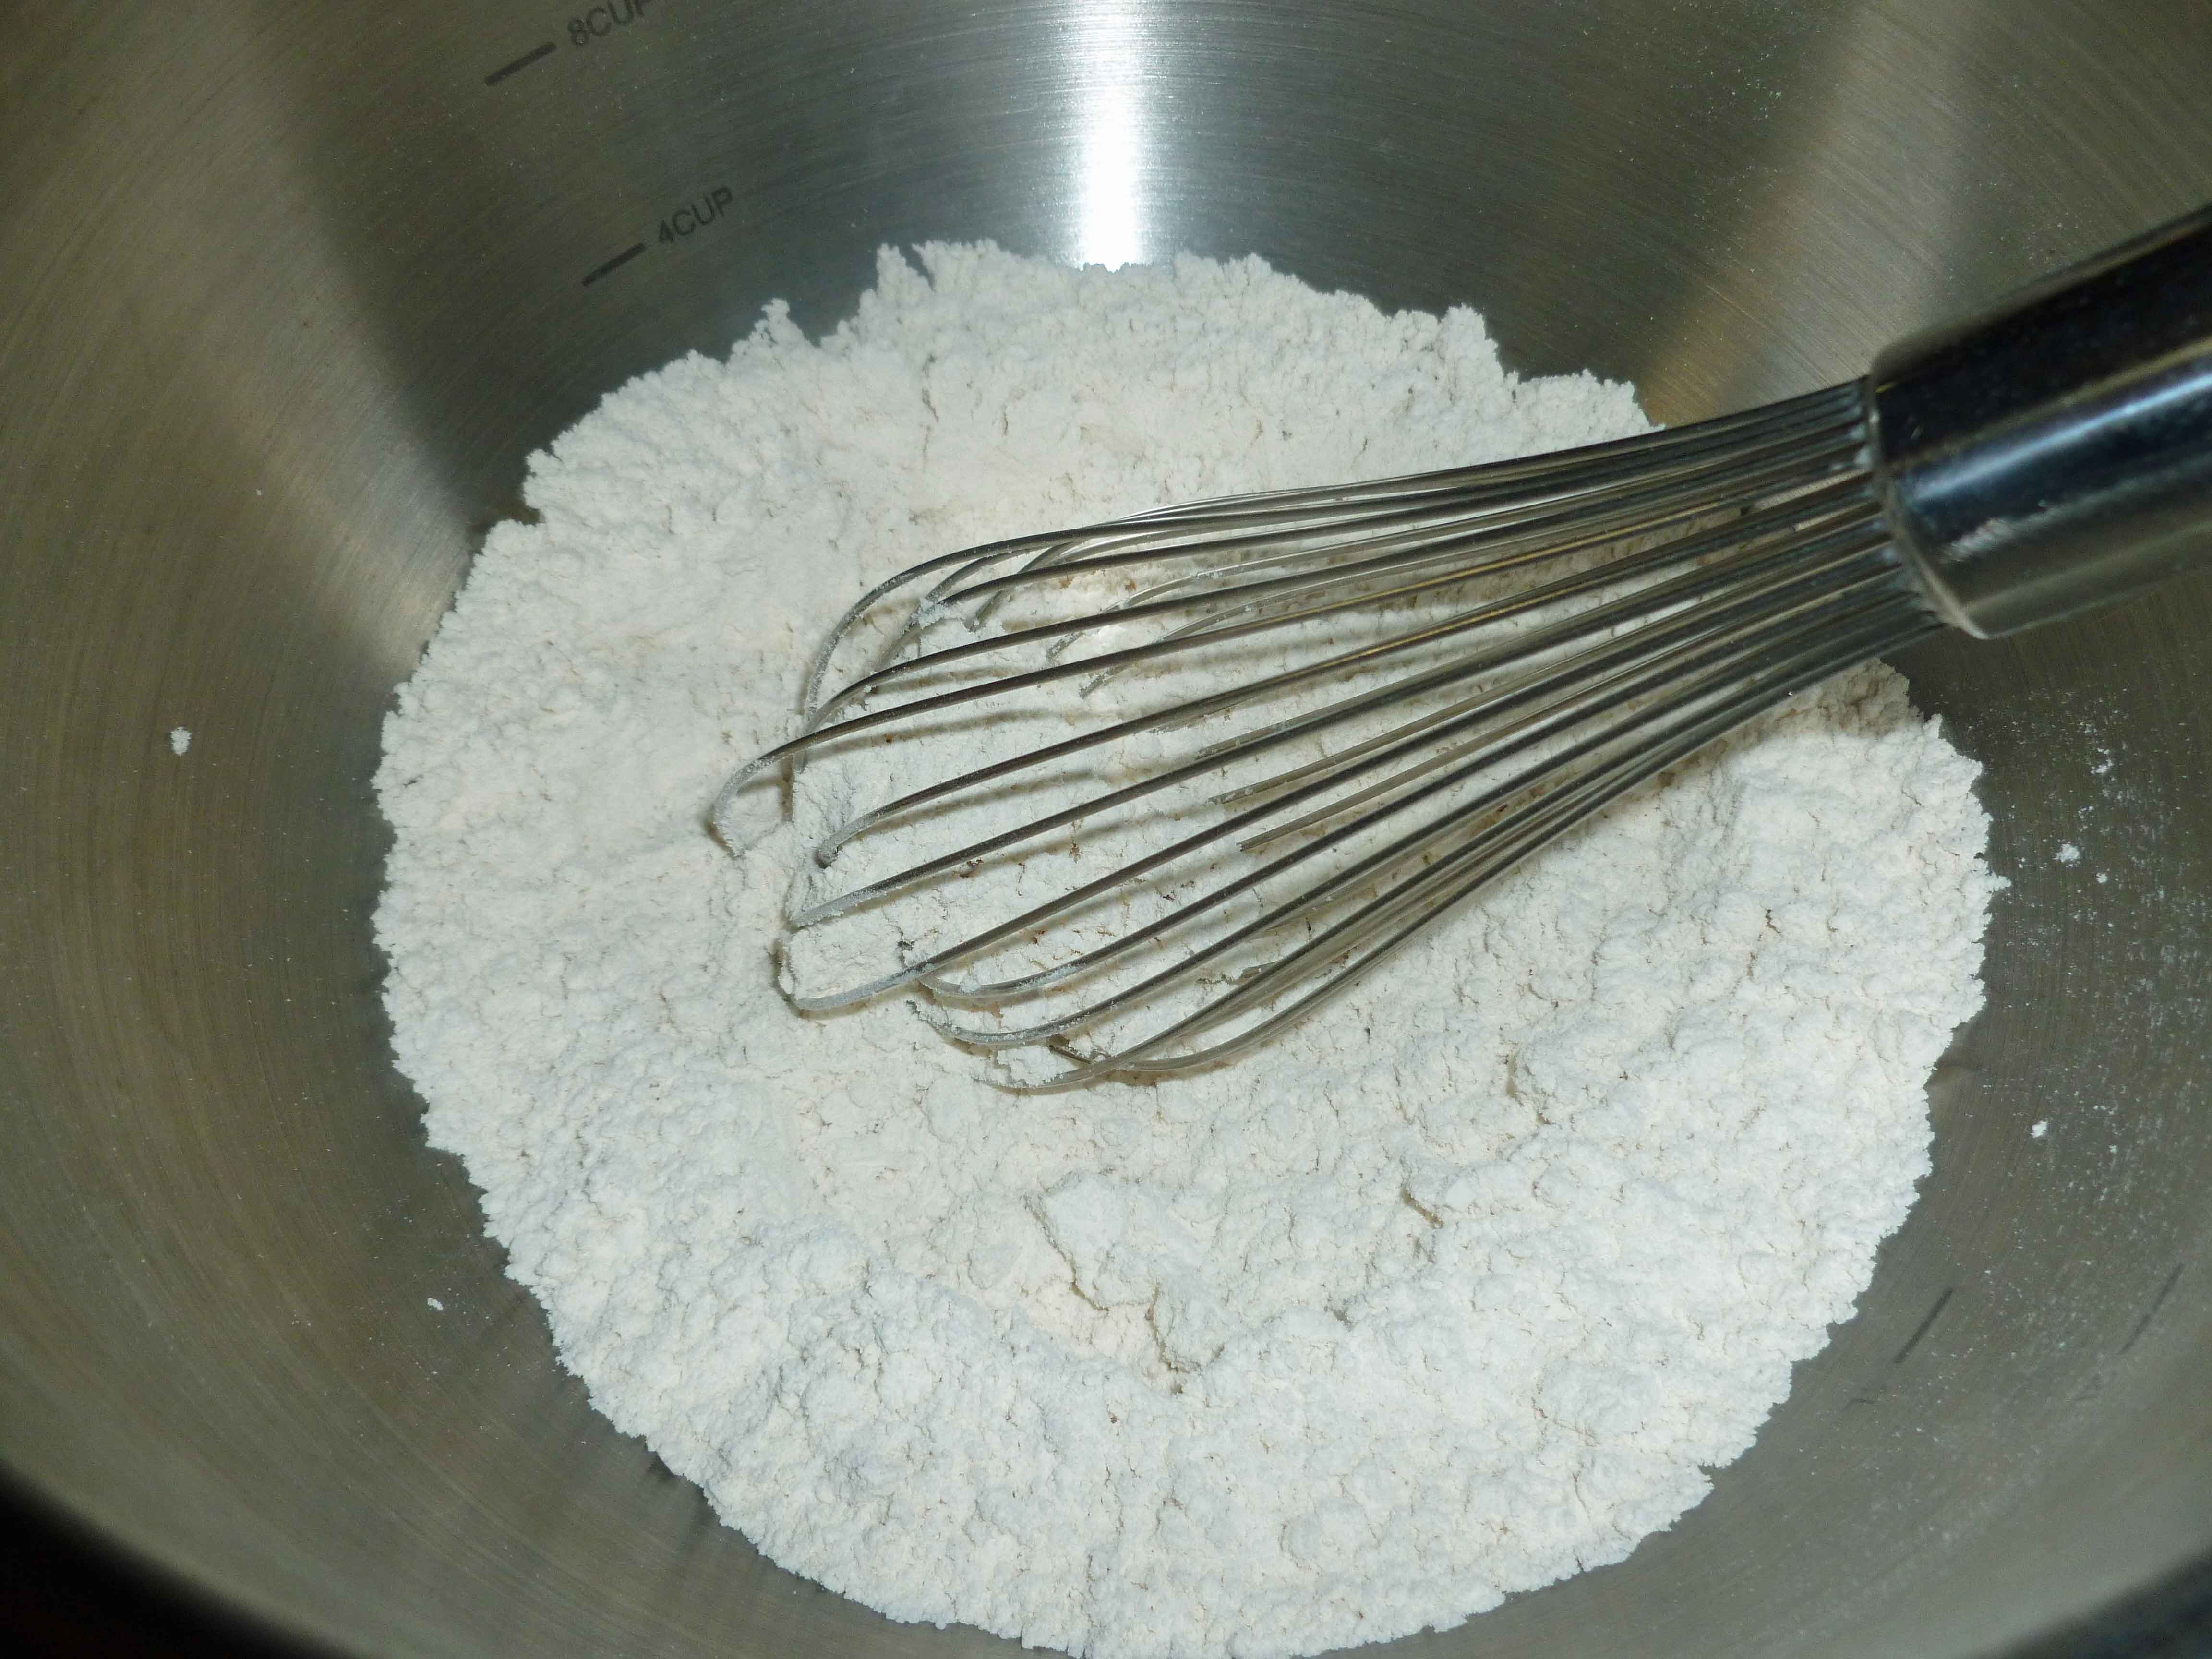
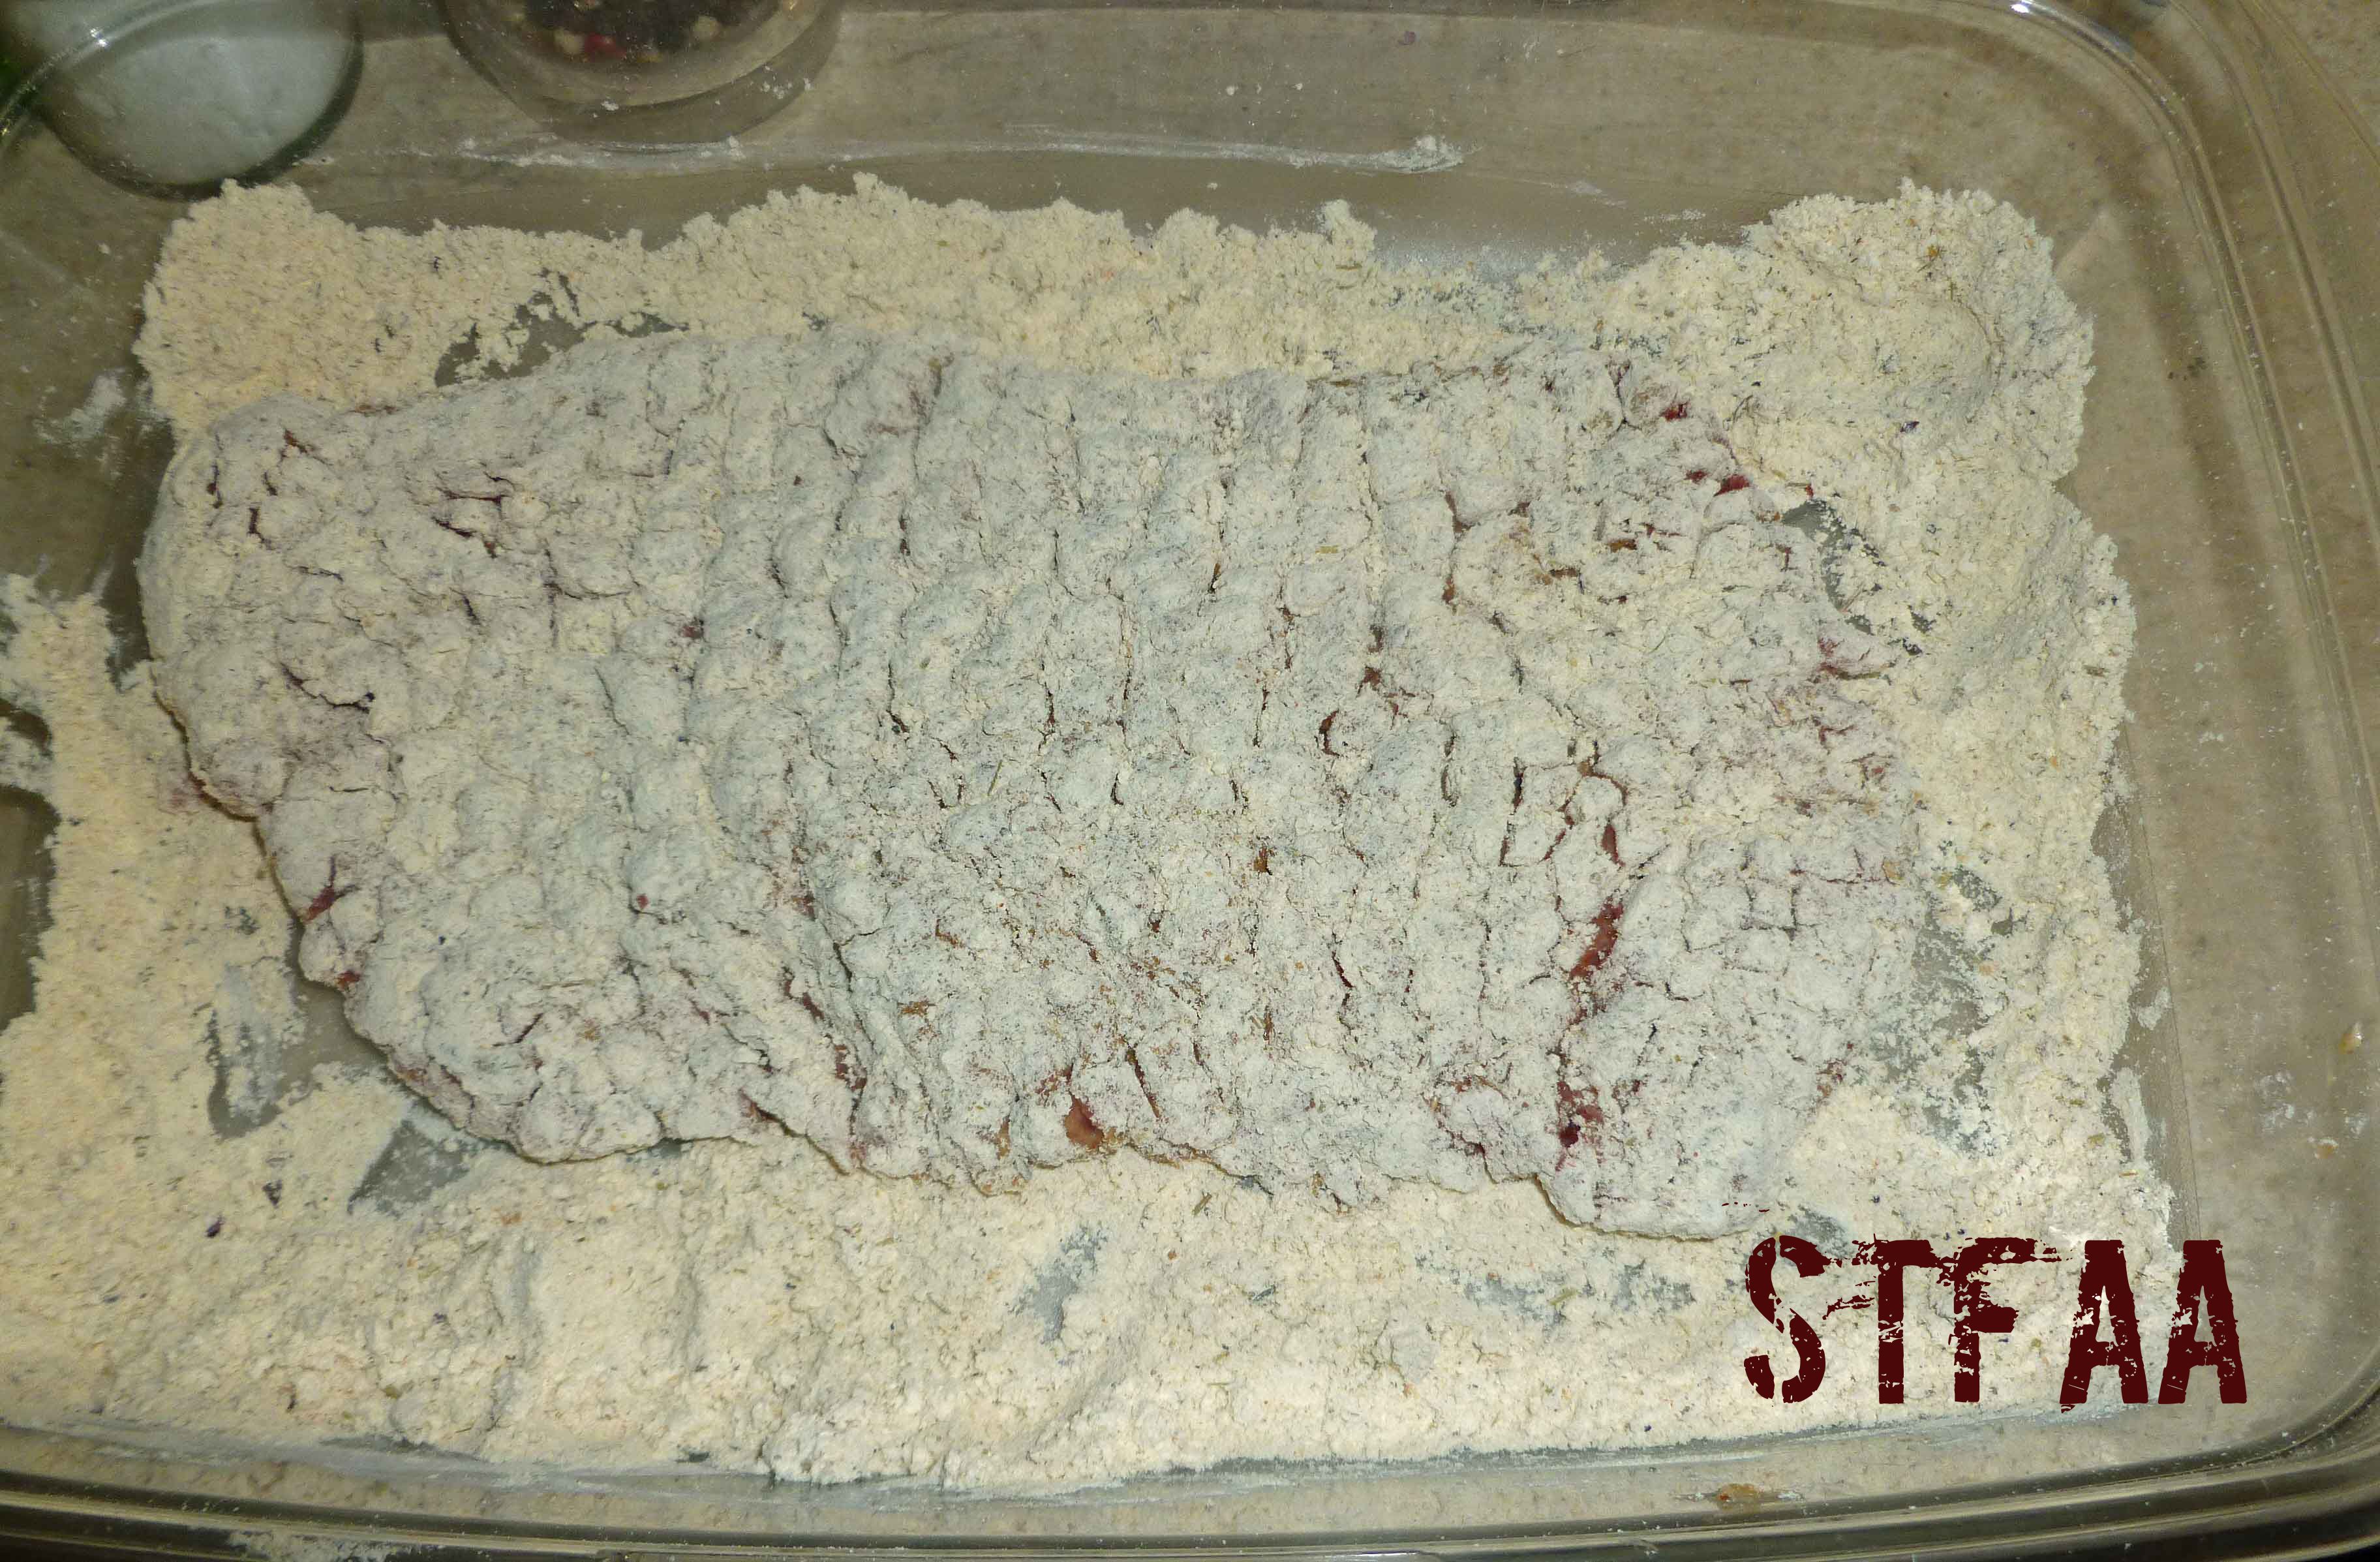
Place 1/4 cup of sorghum flour, 1/4 cup of garbanzo bean flour, and the Montreal Steak Seasoning in a large shallow dish that will allow you to coat the cube steak easily.
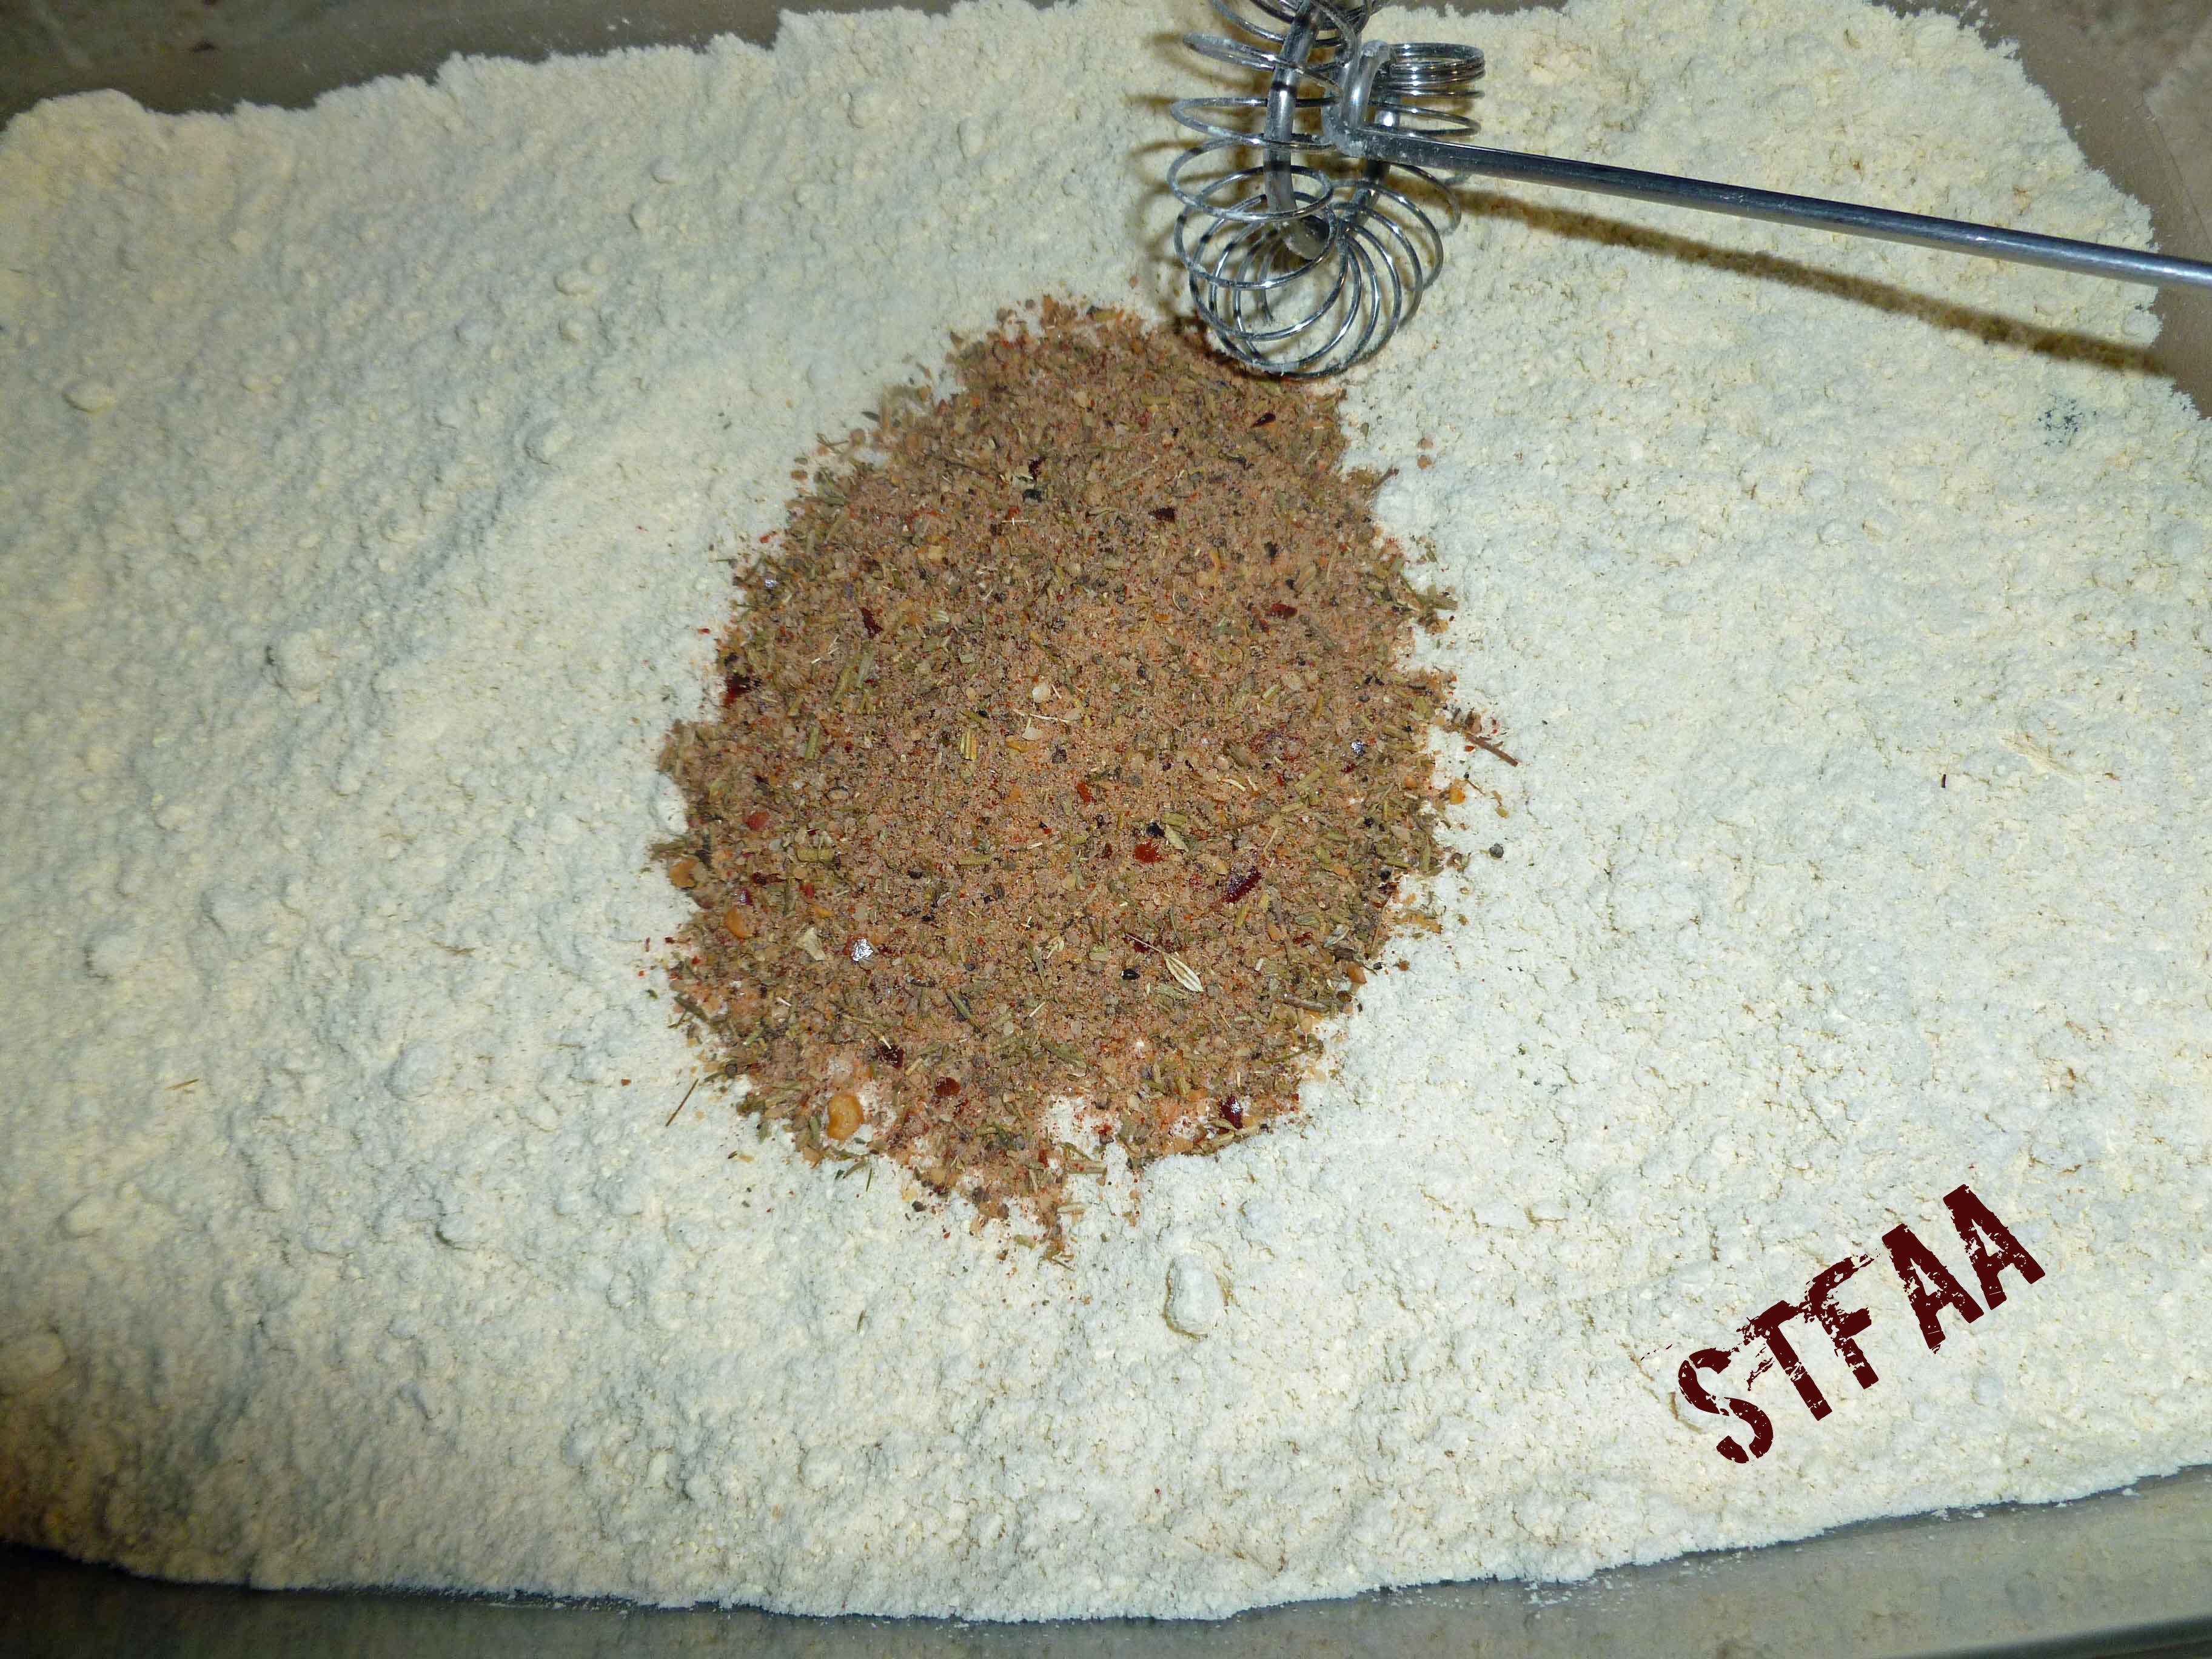
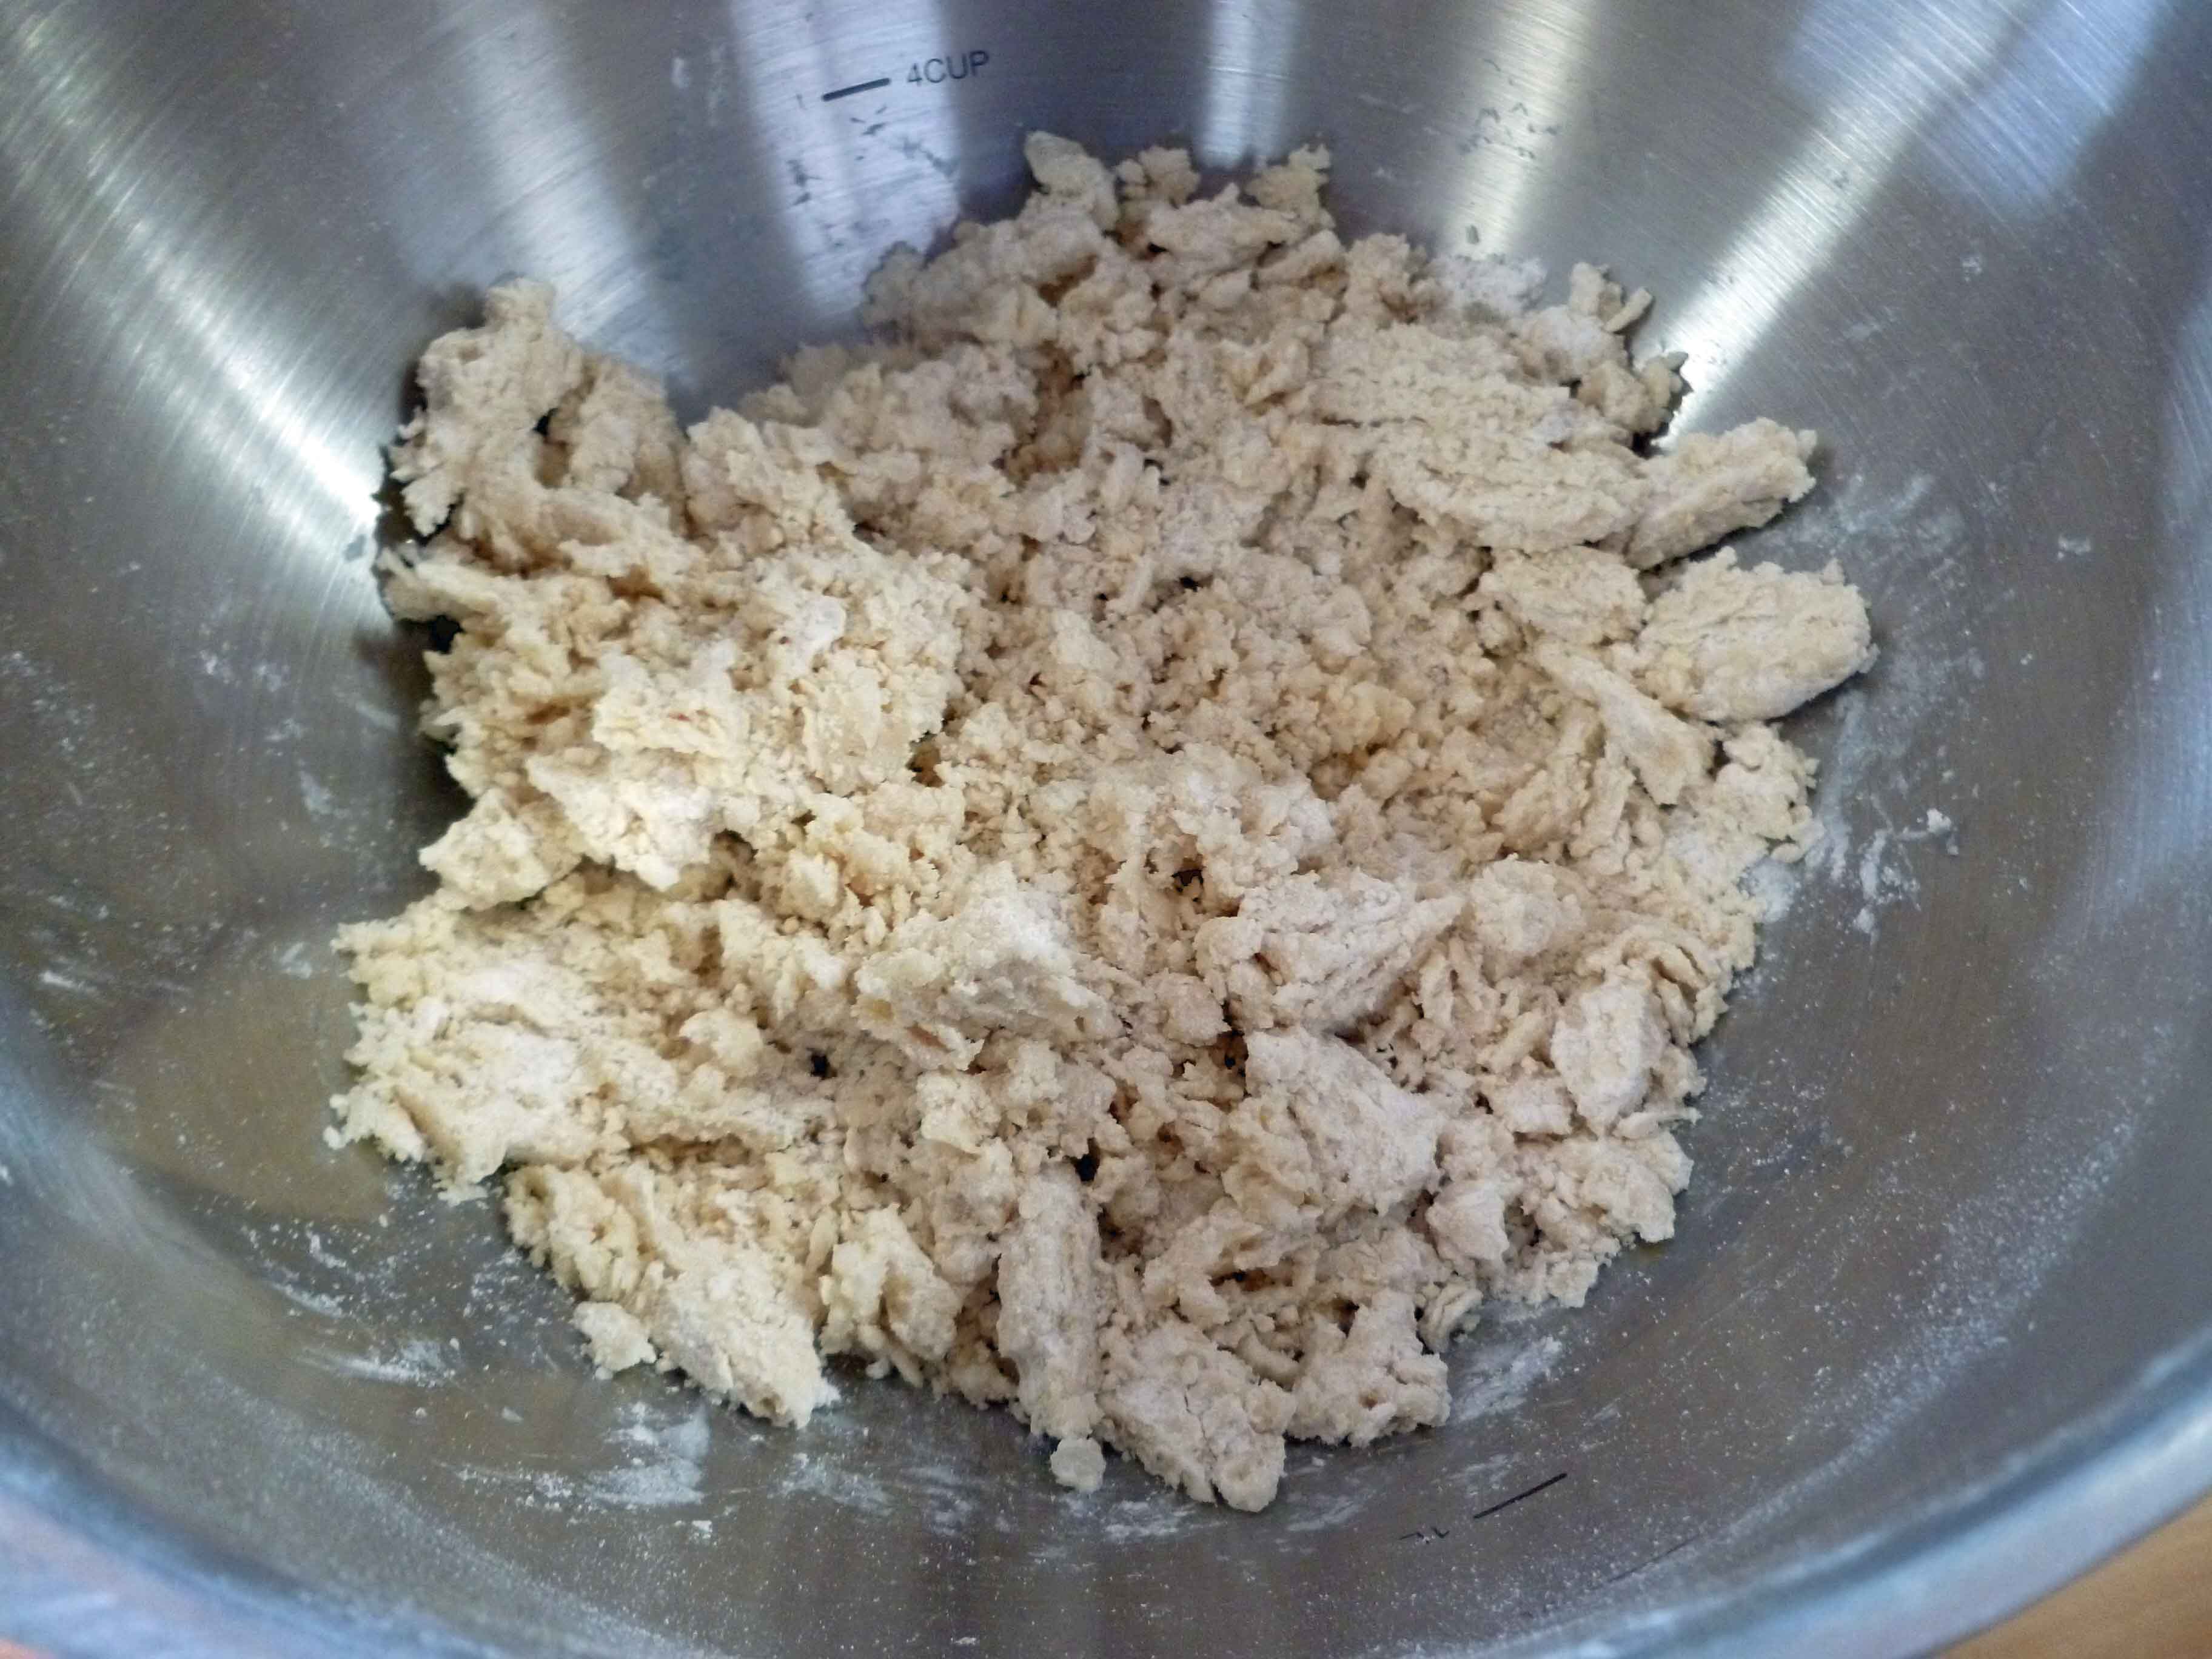
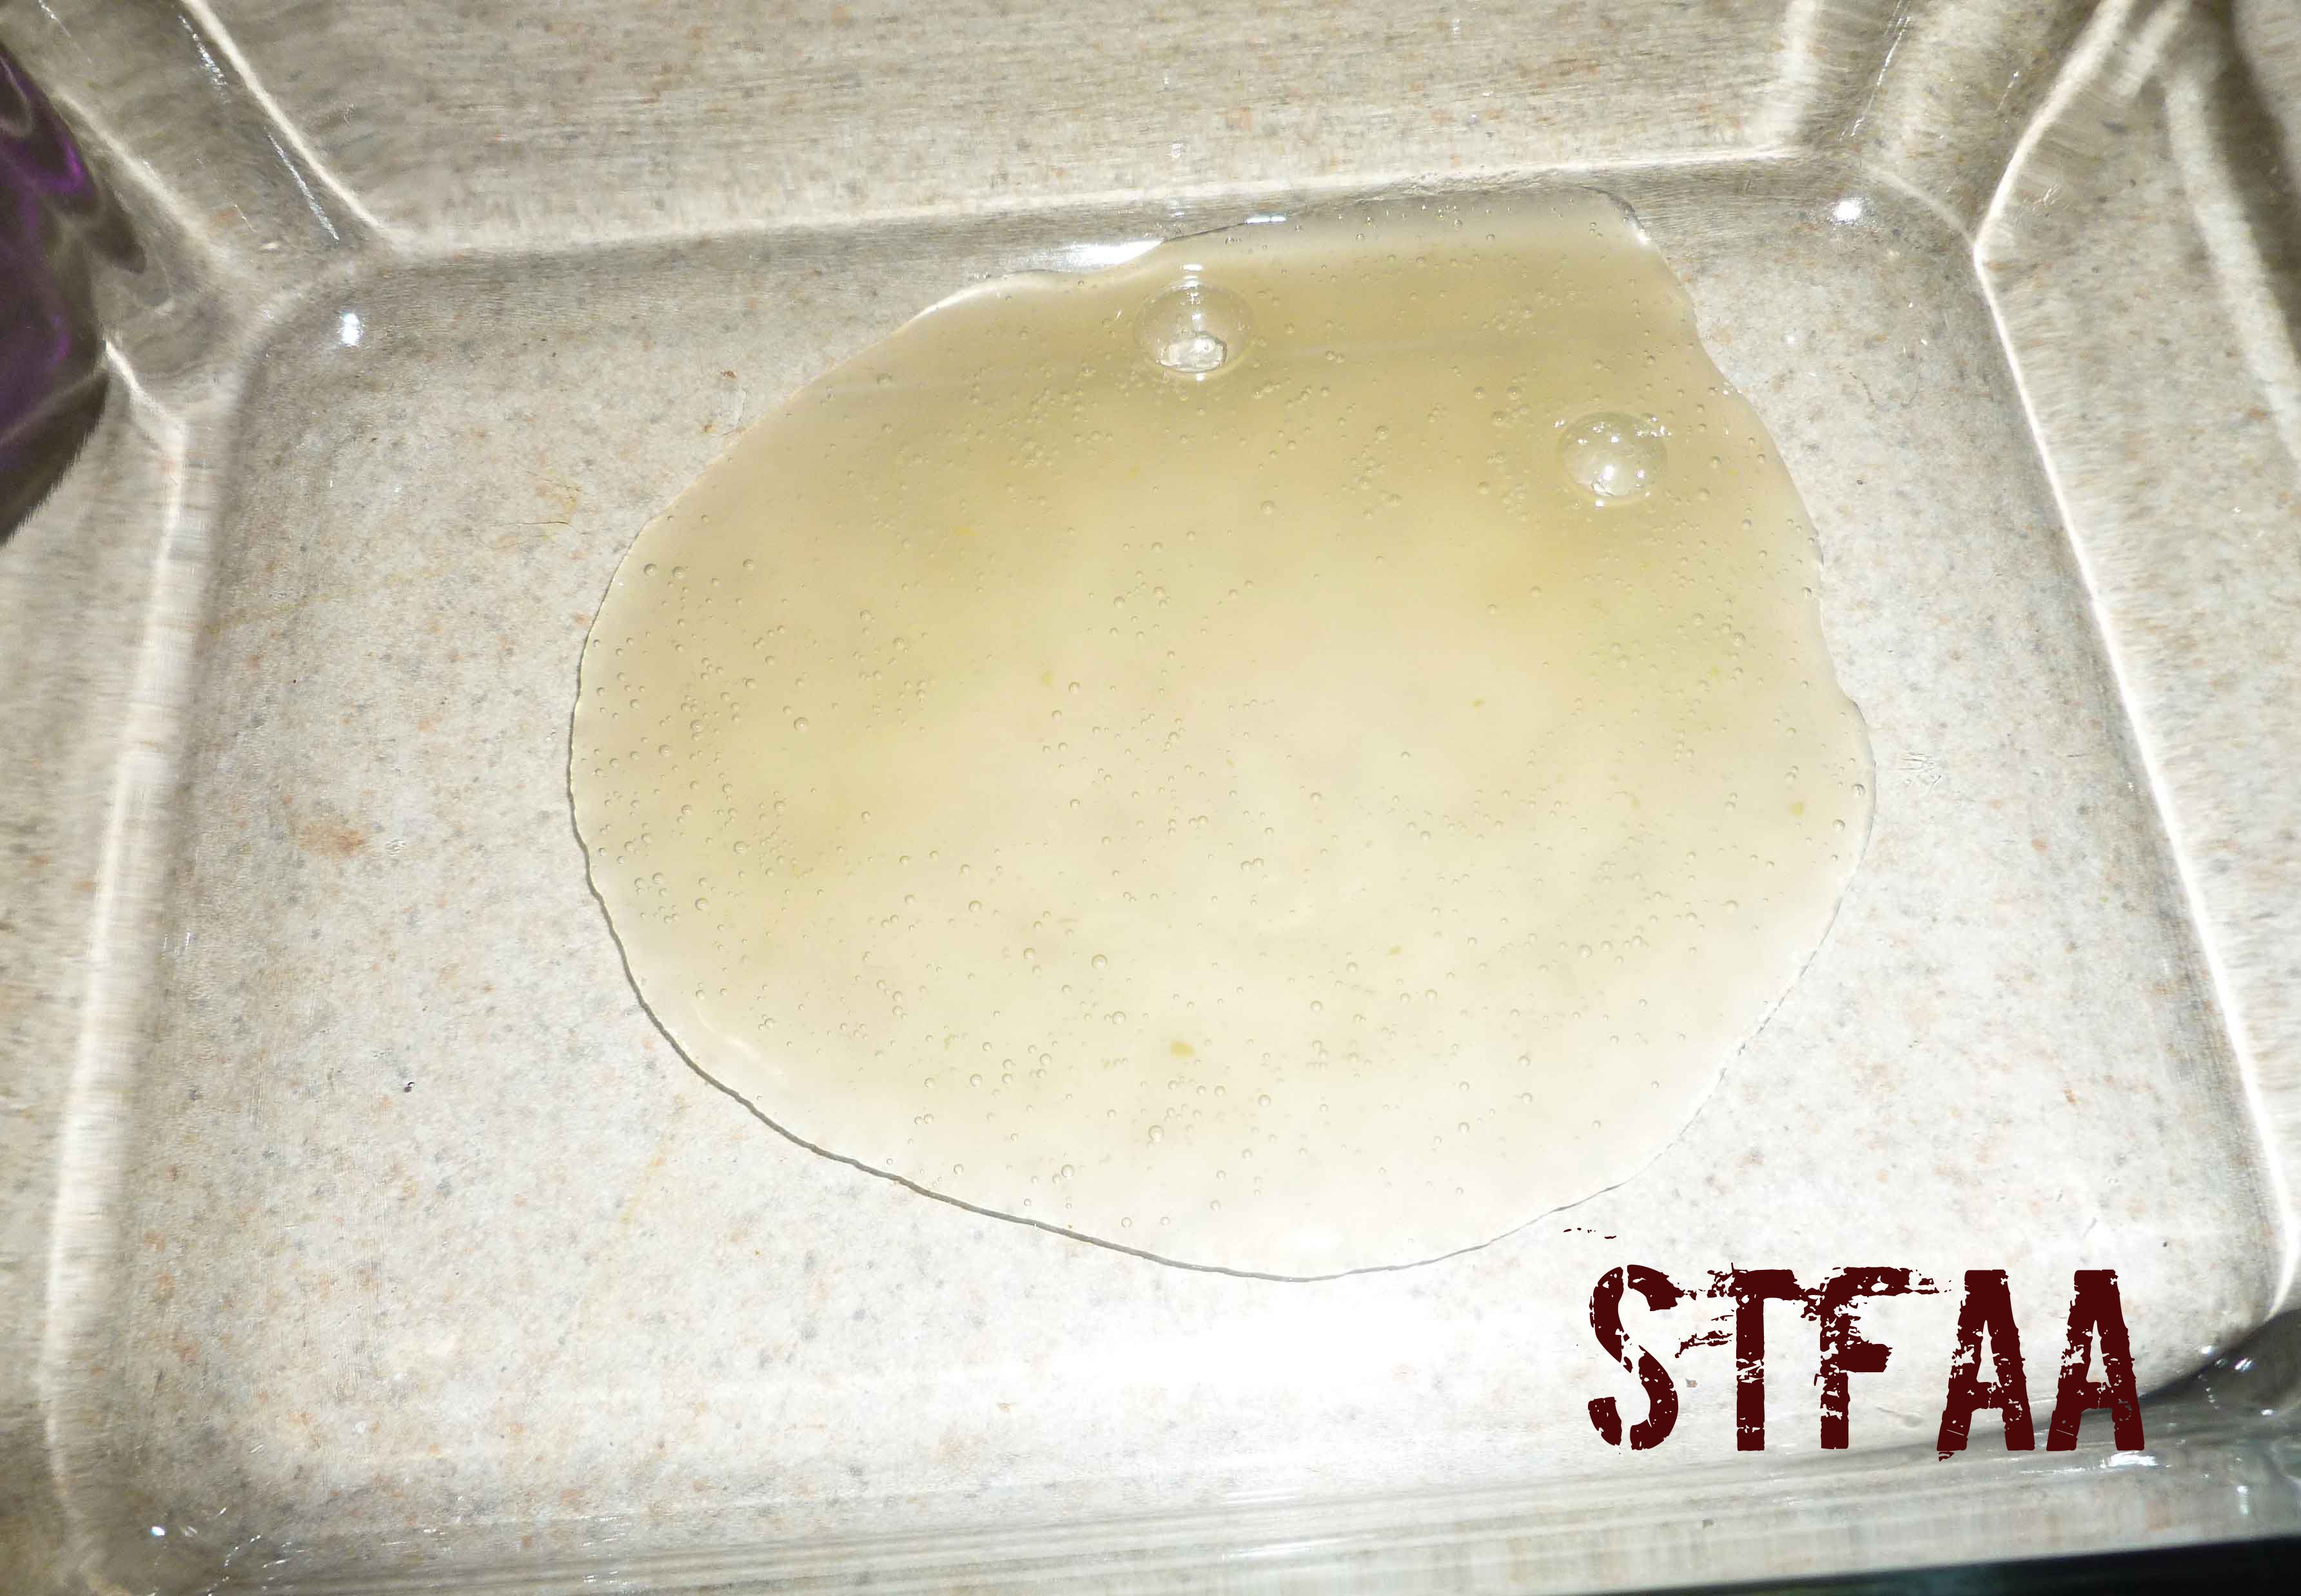
Mix the sorghum flour, garbanzo bean flour and Montreal Steak Seasoning together until they are well combined. Place the aquafaba in another large shallow dish that will allow you to coat the cube steak easily.
Place your bacon fat, lard, or safe oil in a skillet, and place the skillet on a burner over medium heat.
While your fat/oil heats, take your cube steak and coat it in the aquafaba.
Then dredge the cube steak in the flour mixture.
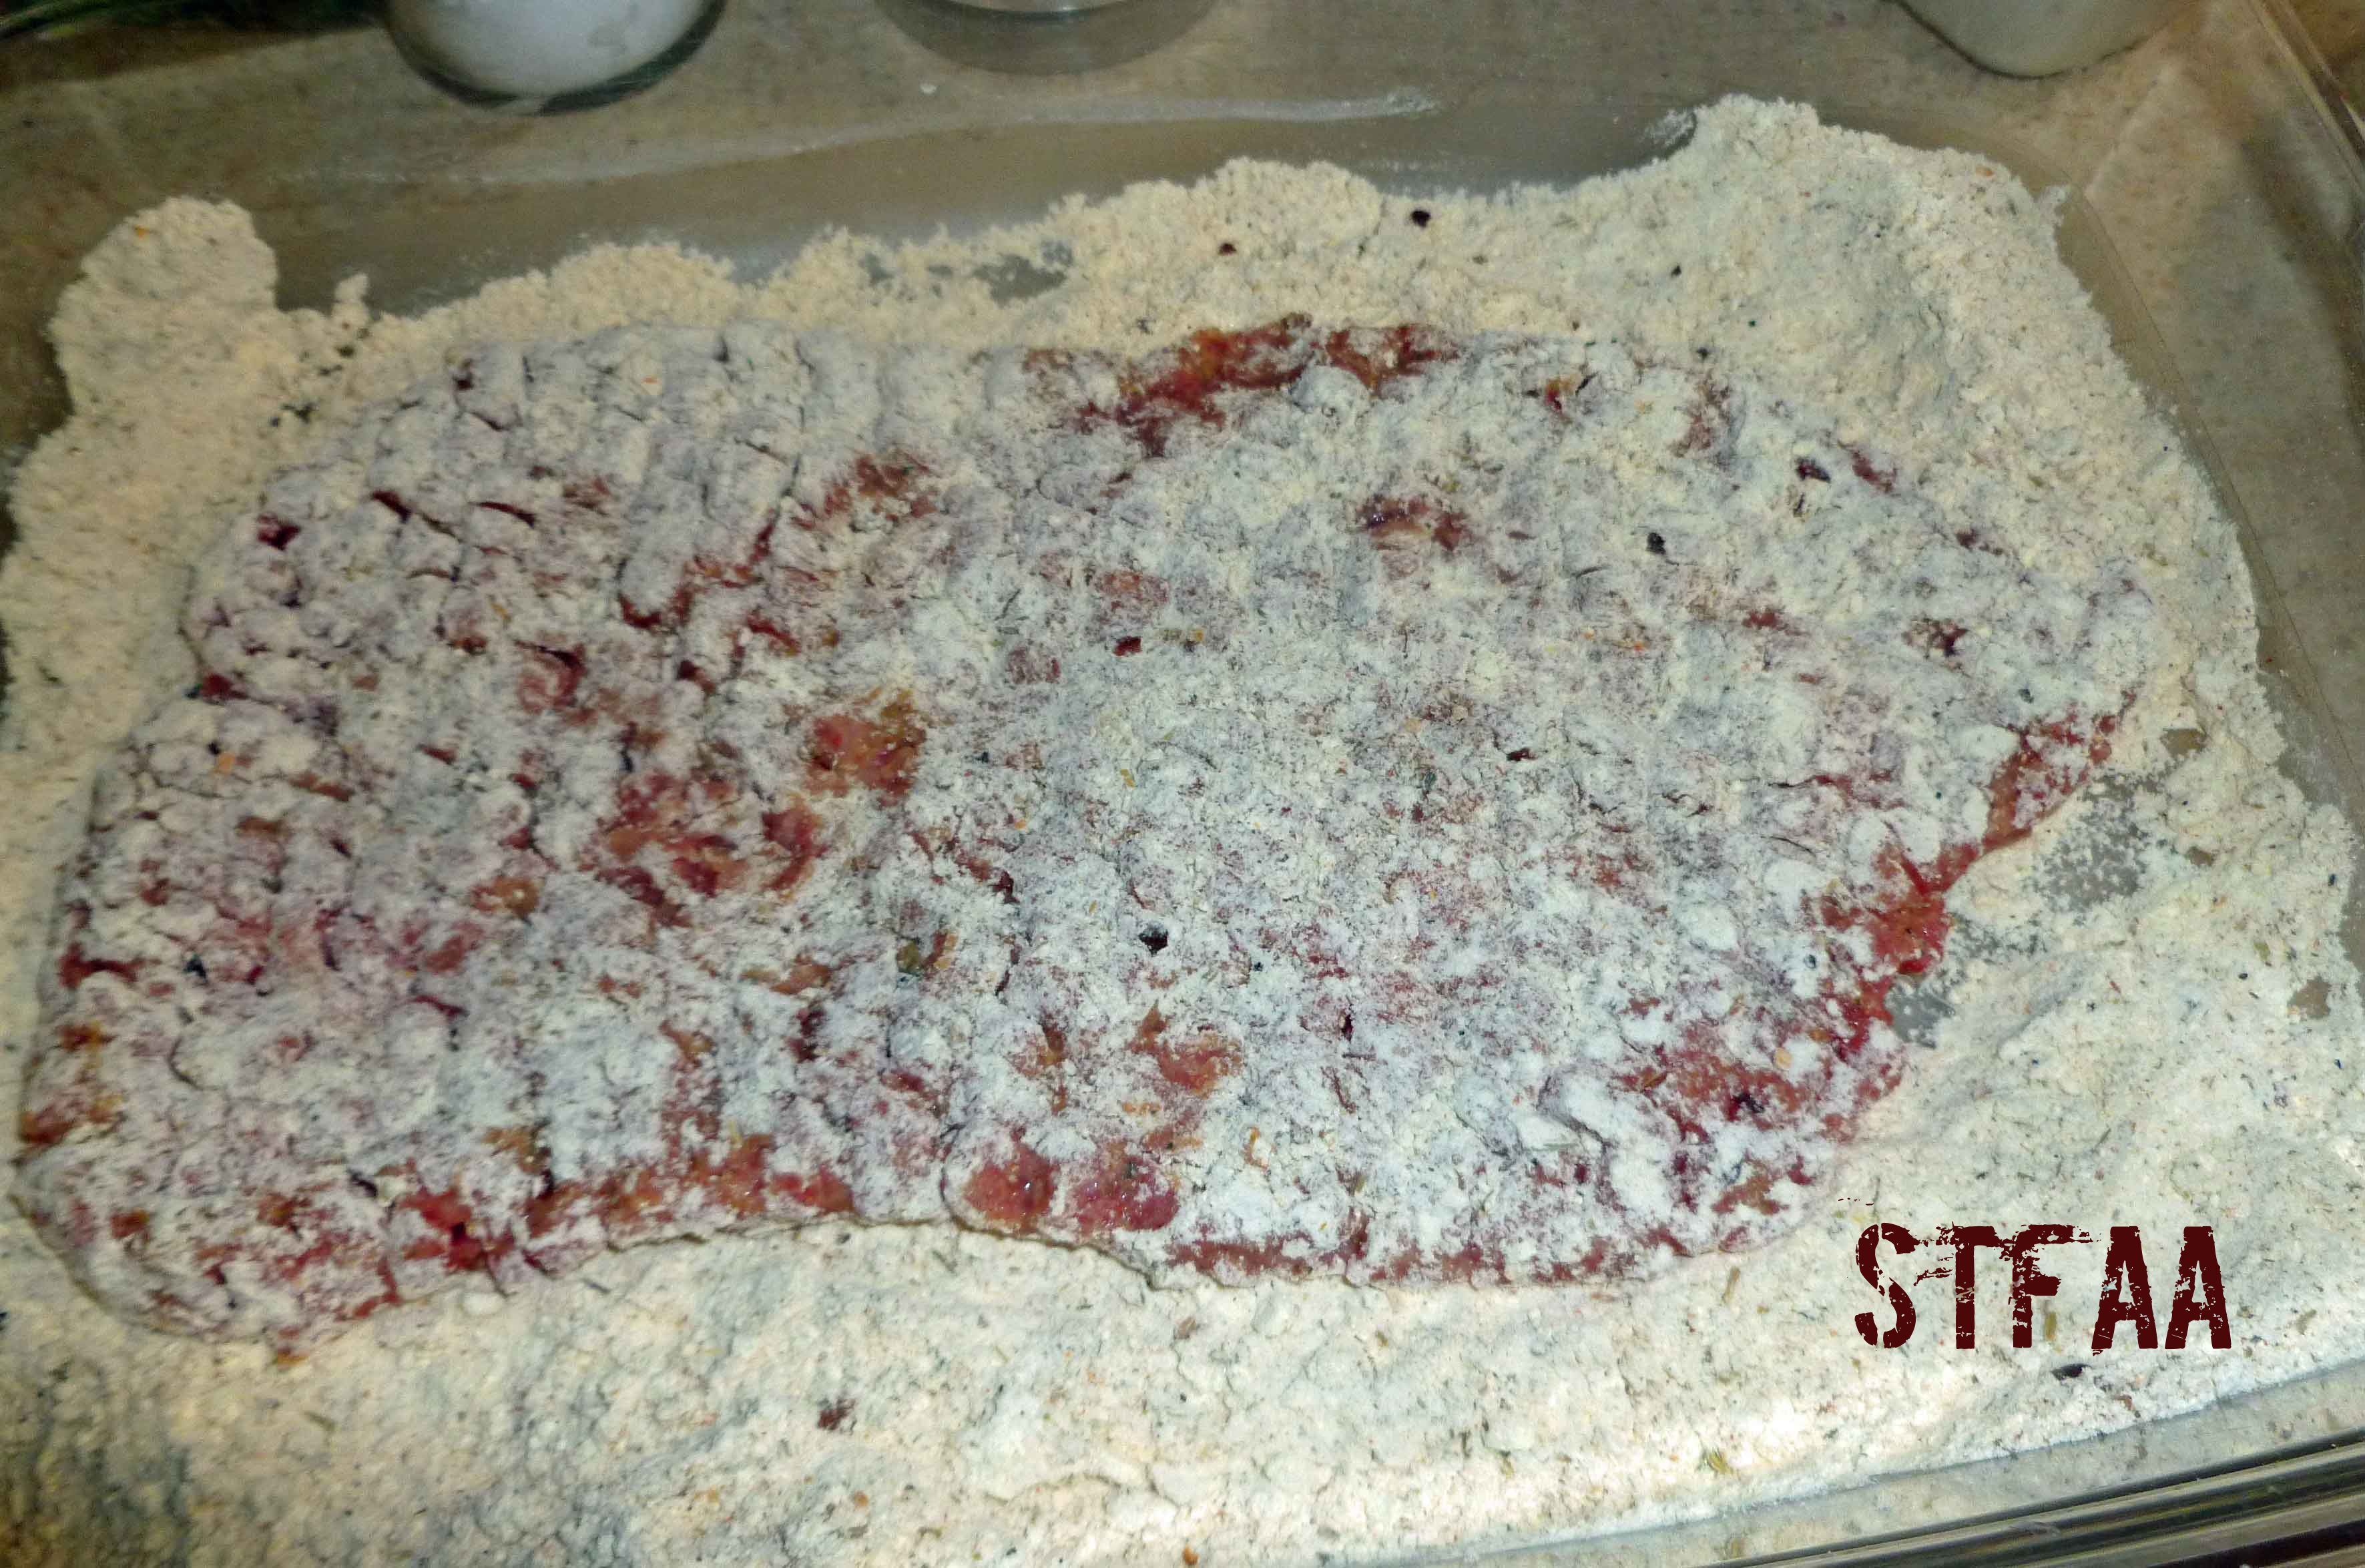
Place the cube steak in the aquafaba again and recoat it, and then re-dredge the cube steak in the flour mixture.
Once your fat/oil is hot, place the steak in the skillet.
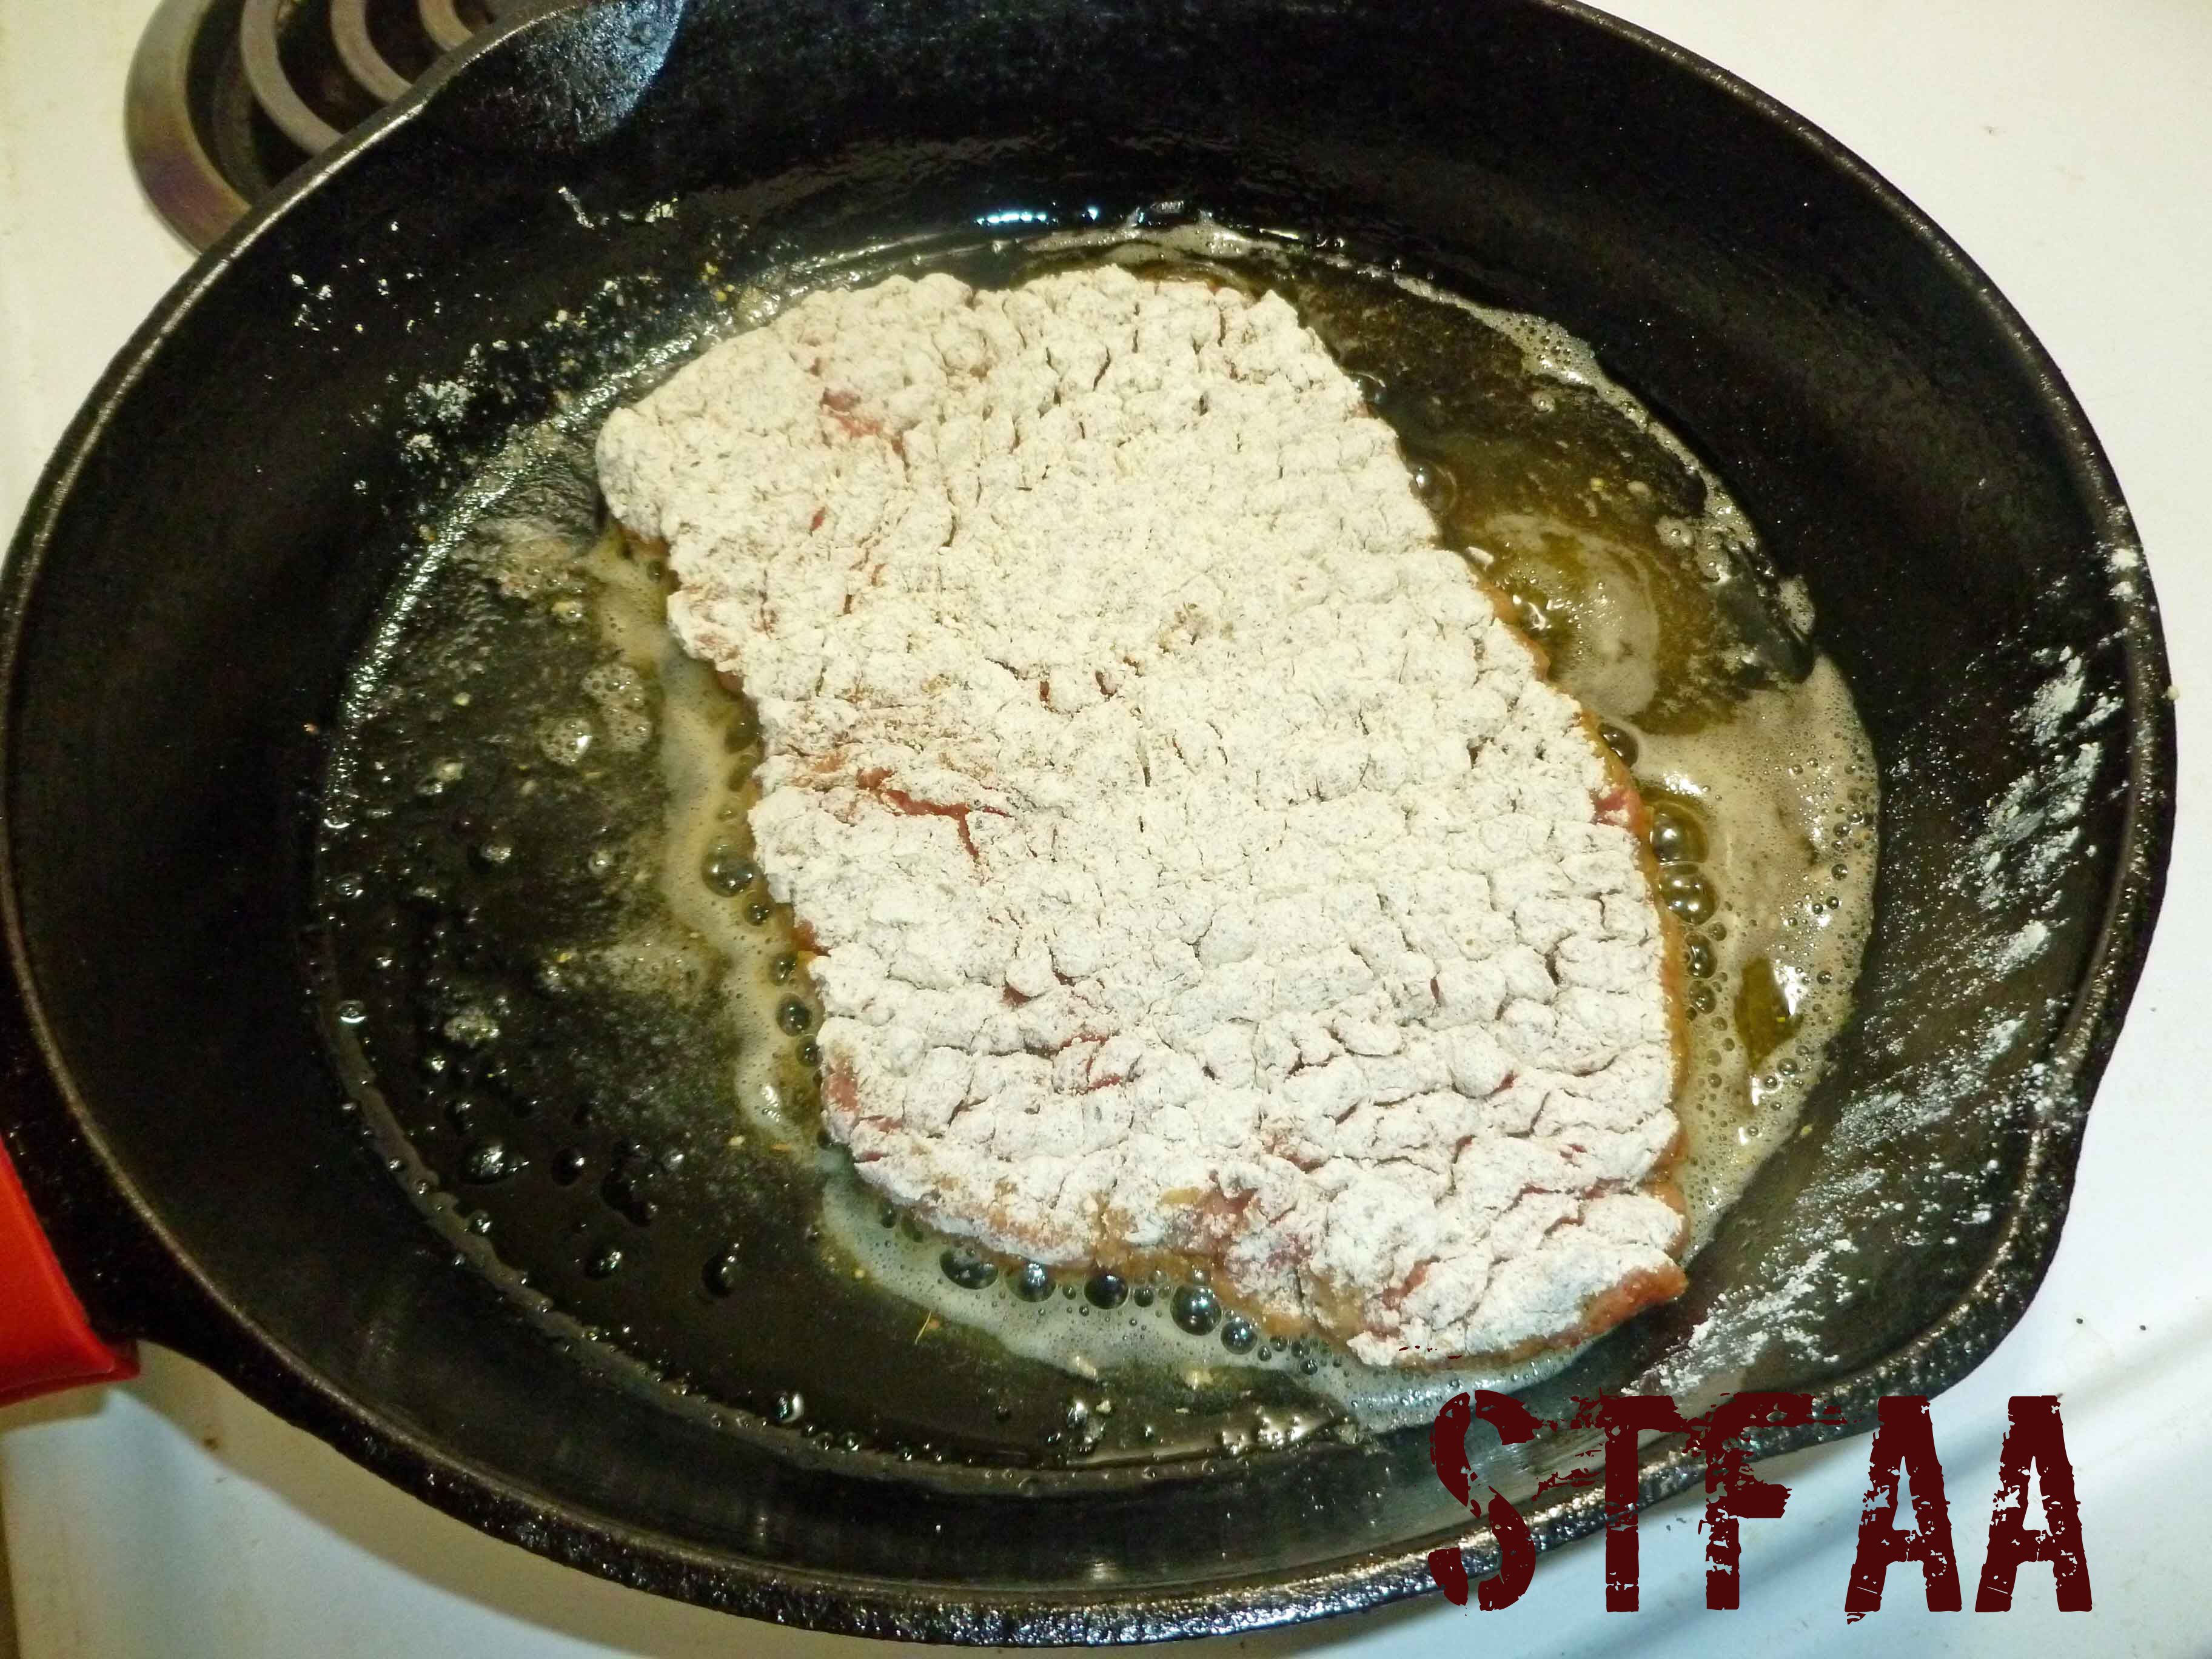
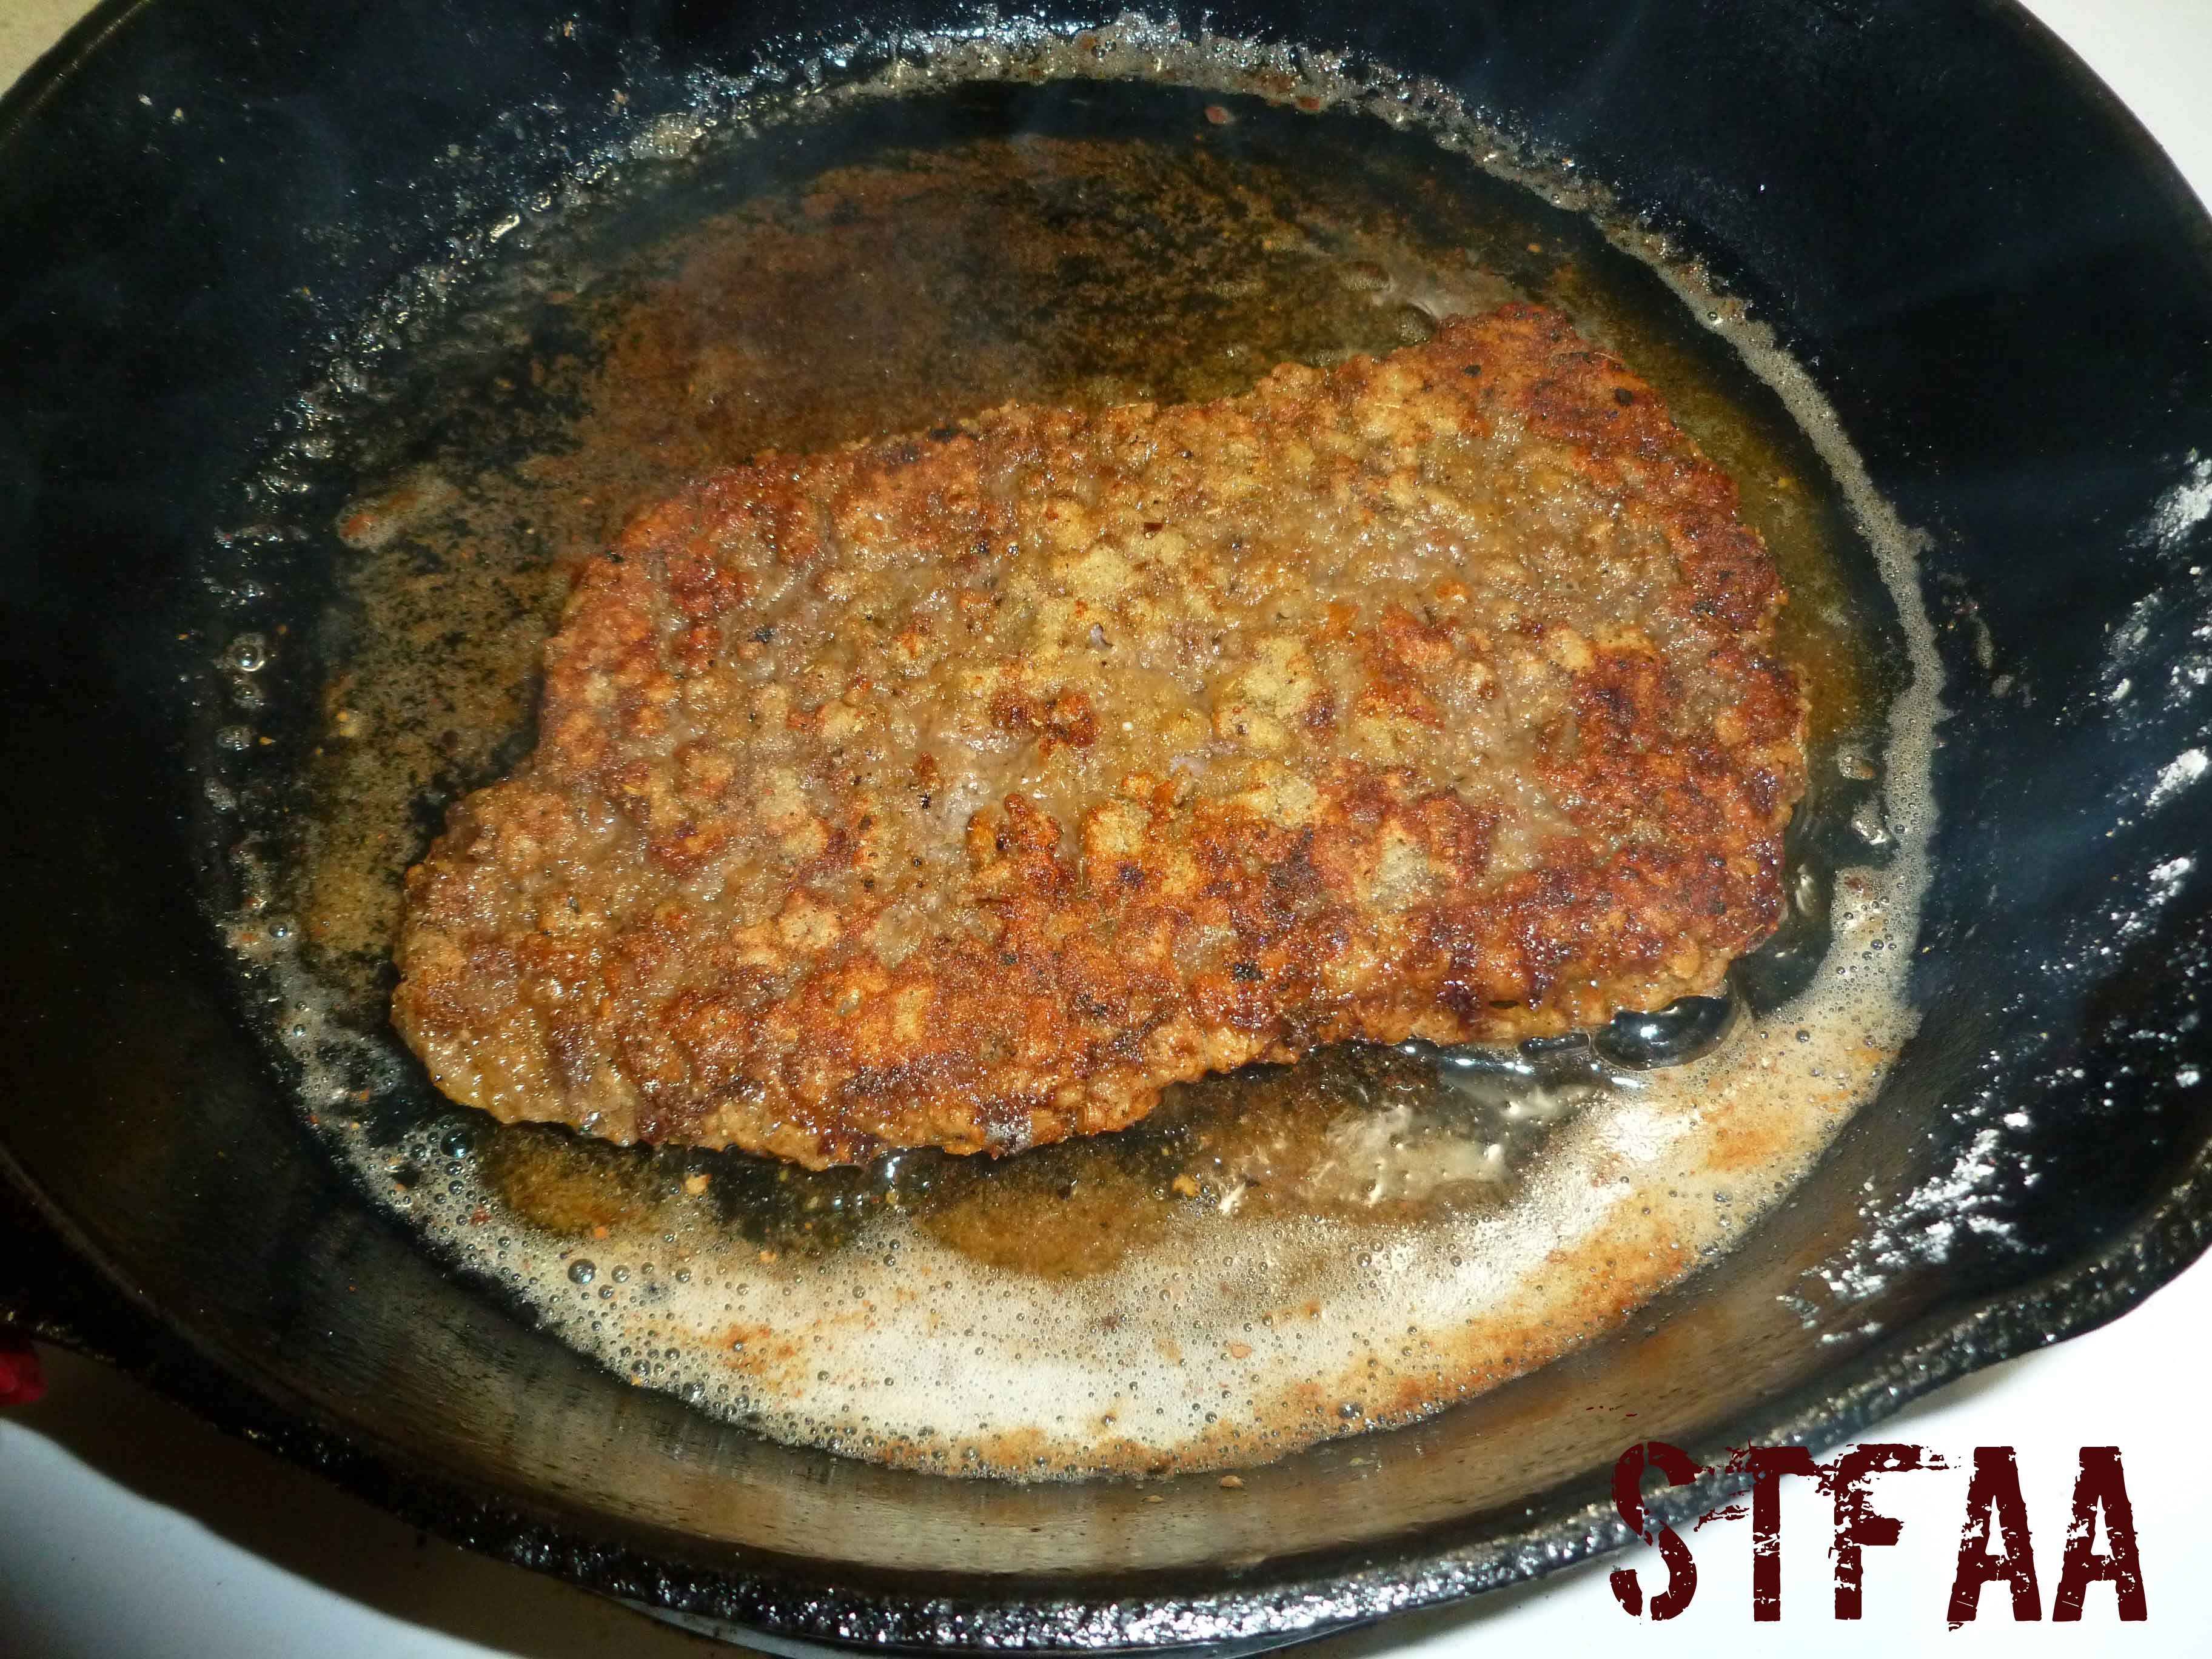
Cook for 3-5 minutes each side (depending on how hot your burner is), making sure the internal temperature reaches 160ºF, and until the coating is a lovely golden brown.
White Pepper Gravy Instructions:
Remove the skillet that you cooked the Chicken Fried Steak from the heat and to allow it to cool down a bit.
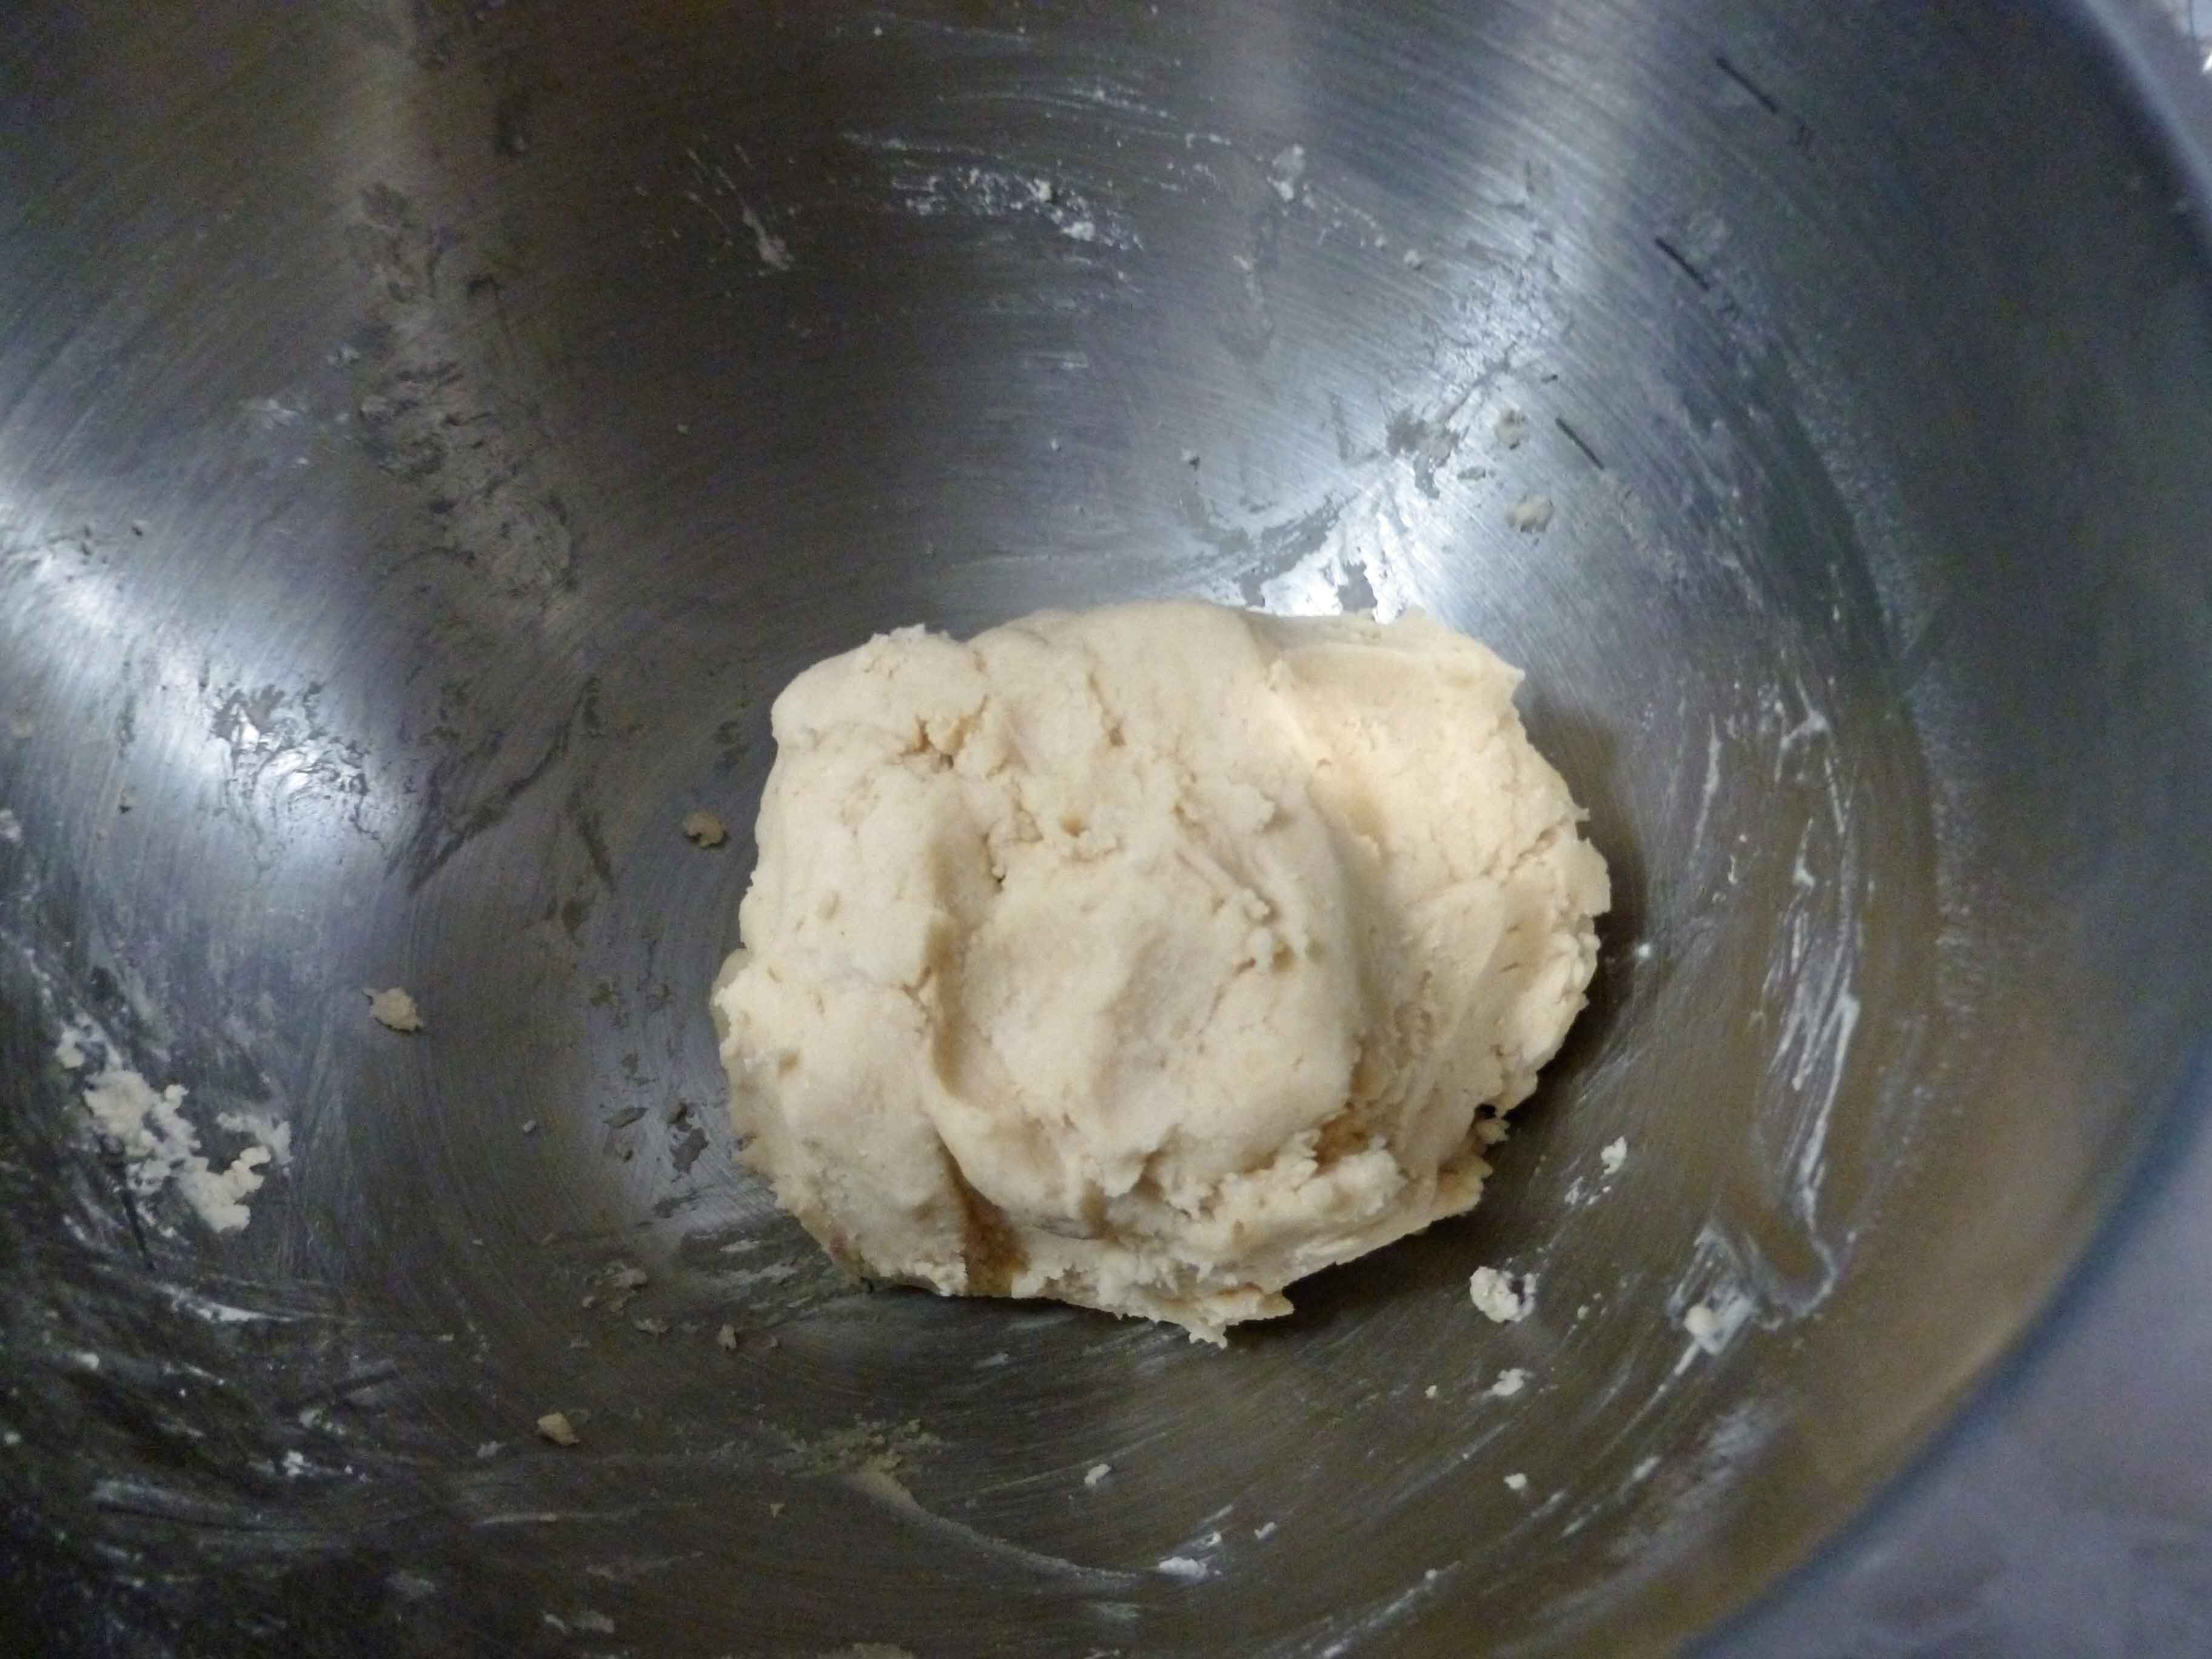
Mix 1/4 cup of sorghum flour with cashew milk, 1/4 cup of the water (you can add more later if the gravy’s too thick), black pepper and salt, together in a mixing bowl, until well combined.
Place the skillet back on the burner with the drippings from cooking the Chicken Fried Steak still in it. Pour the flour and cashew milk mixture over the drippings, while whisking constantly over low heat, until the gravy thickens.
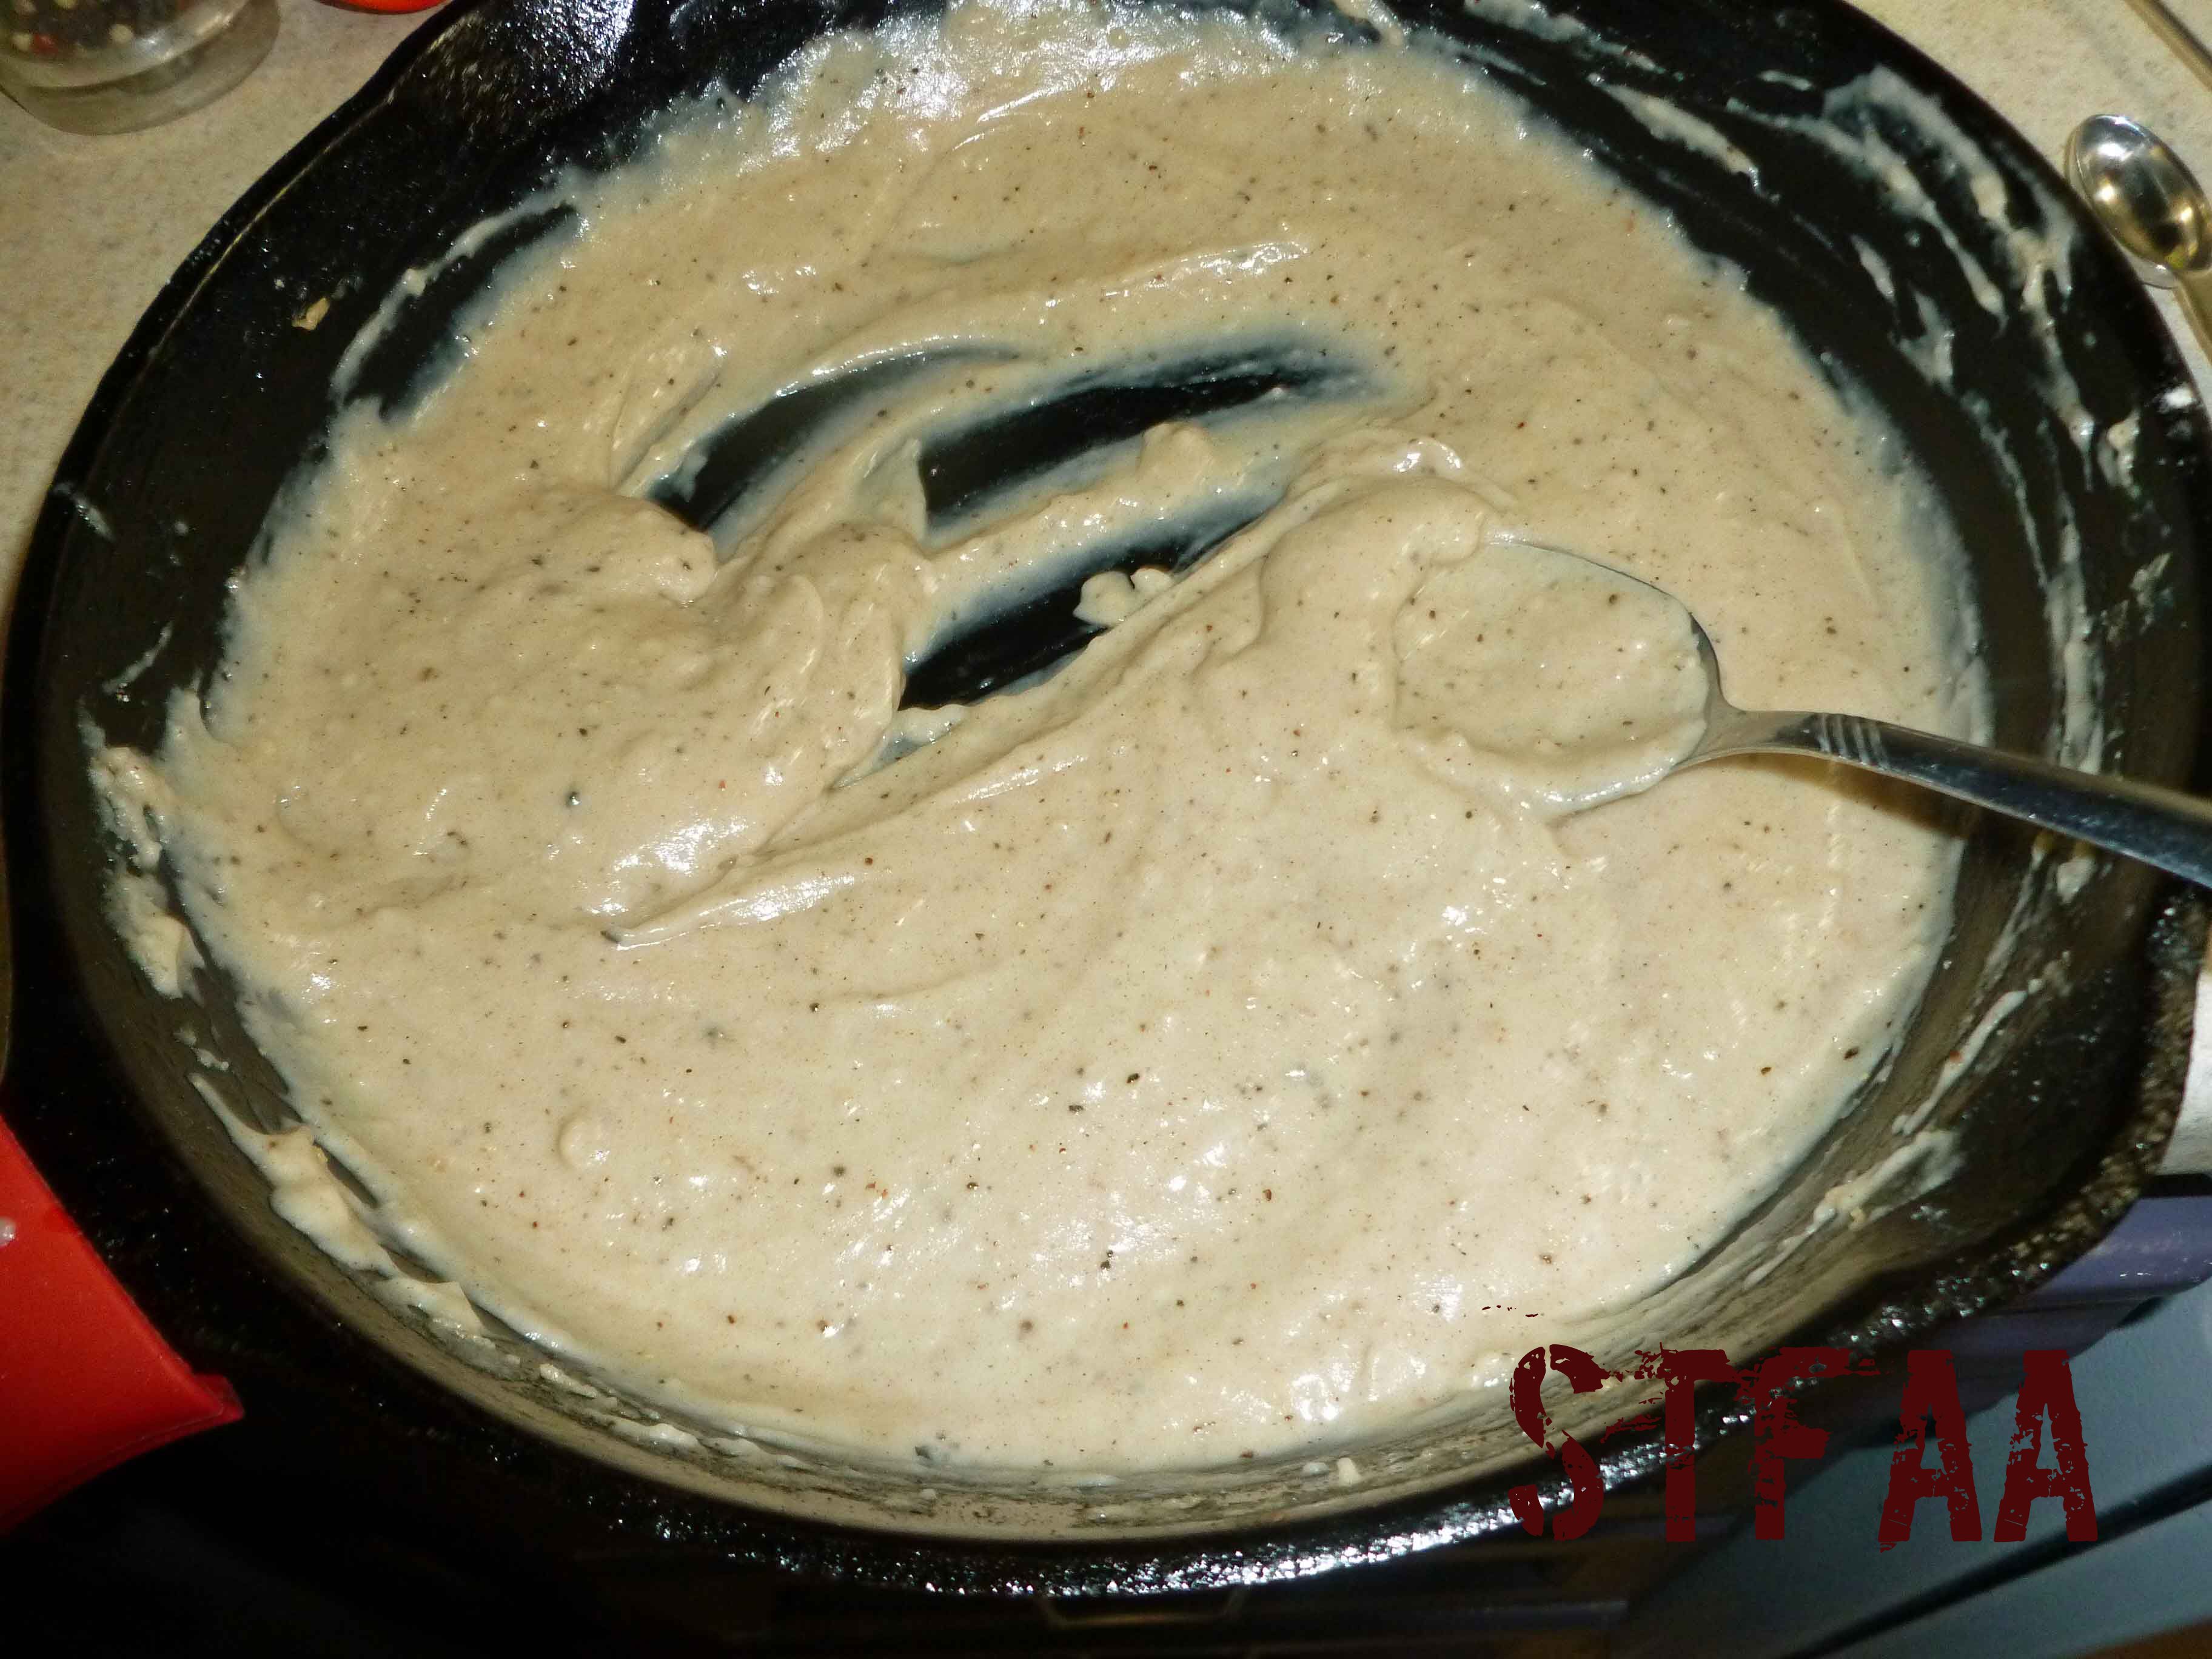
Add more water if the gravy is too thick, whisking to incorporate the water, and add more salt and pepper to taste if necessary. Spoon over your Chicken Fried Steak and enjoy!
Notice: Trying to access array offset on value of type bool in /home/maryzahc/public_html/adultfoodallergies.com/wp-content/plugins/wp-ultimate-recipe/helpers/models/recipe.php on line 254
- 1-2 cube steaks
- 1/4 cup sorghum flour
- 1/4 cup garbanzo bean flour
- 1 tbsp Montreal Steak Seasoning (see recipe on our blog)
- 2 tbsp aquafaba
- 2-3 tbsp bacon fat, lard, or safe for you oil
- Drippings from frying Chicken Fried Steak
- 1/4 cup sorghum flour
- 1 cup cashew milk or other dairy free milk
- 1/4 to 1/2 cup water
- 1/4 tsp ground black pepper
- 1/4 tsp salt
- For Chicken Fried Steak, place 1/4 cup of sorghum flour, 1/4 cup of garbanzo bean flour, and the Montreal Steak Seasoning in a large shallow dish that will allow you to coat the cube steak easily. Mix the sorghum flour, garbanzo bean flour and Montreal Steak Seasoning together until they are well combined. Place the aquafaba in another large shallow dish that will allow you to coat the cube steak easily.
- Place your bacon fat, lard, or safe oil in a skillet, and place the skillet on a burner over medium heat. While your fat/oil heats, take your cube steak and coat it in the aquafaba. Then dredge the cube steak in the flour mixture. Place the cube steak in the aquafaba again and recoat it, and then re-dredge the cube steak in the flour mixture. Once your fat/oil is hot, place the steak in the skillet. Cook for 3-5 minutes each side (depending on how hot your burner is), making sure the internal temperature reaches 160ºF, and until the coating is a lovely golden brown.
- Remove the skillet that you cooked the Chicken Fried Steak from the heat and to allow it to cool down a bit. Mix 1/4 cup of sorghum flour with cashew milk, 1/4 cup of the water (you can add more later if the gravy’s too thick), black pepper and salt, together in a mixing bowl, until well combined. Place the skillet back on the burner with the drippings from cooking the Chicken Fried Steak still in it. Pour the flour and cashew milk mixture over the drippings, while whisking constantly over low heat, until the gravy thickens. Add more water if the gravy is too thick, whisking to incorporate the water, and add more salt and pepper to taste if necessary. Spoon over your Chicken Fried Steak and enjoy!