Notice: Function _load_textdomain_just_in_time was called incorrectly. Translation loading for the wp-ultimate-recipe domain was triggered too early. This is usually an indicator for some code in the plugin or theme running too early. Translations should be loaded at the init action or later. Please see Debugging in WordPress for more information. (This message was added in version 6.7.0.) in /home/maryzahc/public_html/adultfoodallergies.com/wp-includes/functions.php on line 6131 denisedaniel – Page 20 – surviving the food allergy apocalypse (archive)
Can’t Tell a Lie Cherry and Chocolate Chip Quick Bread
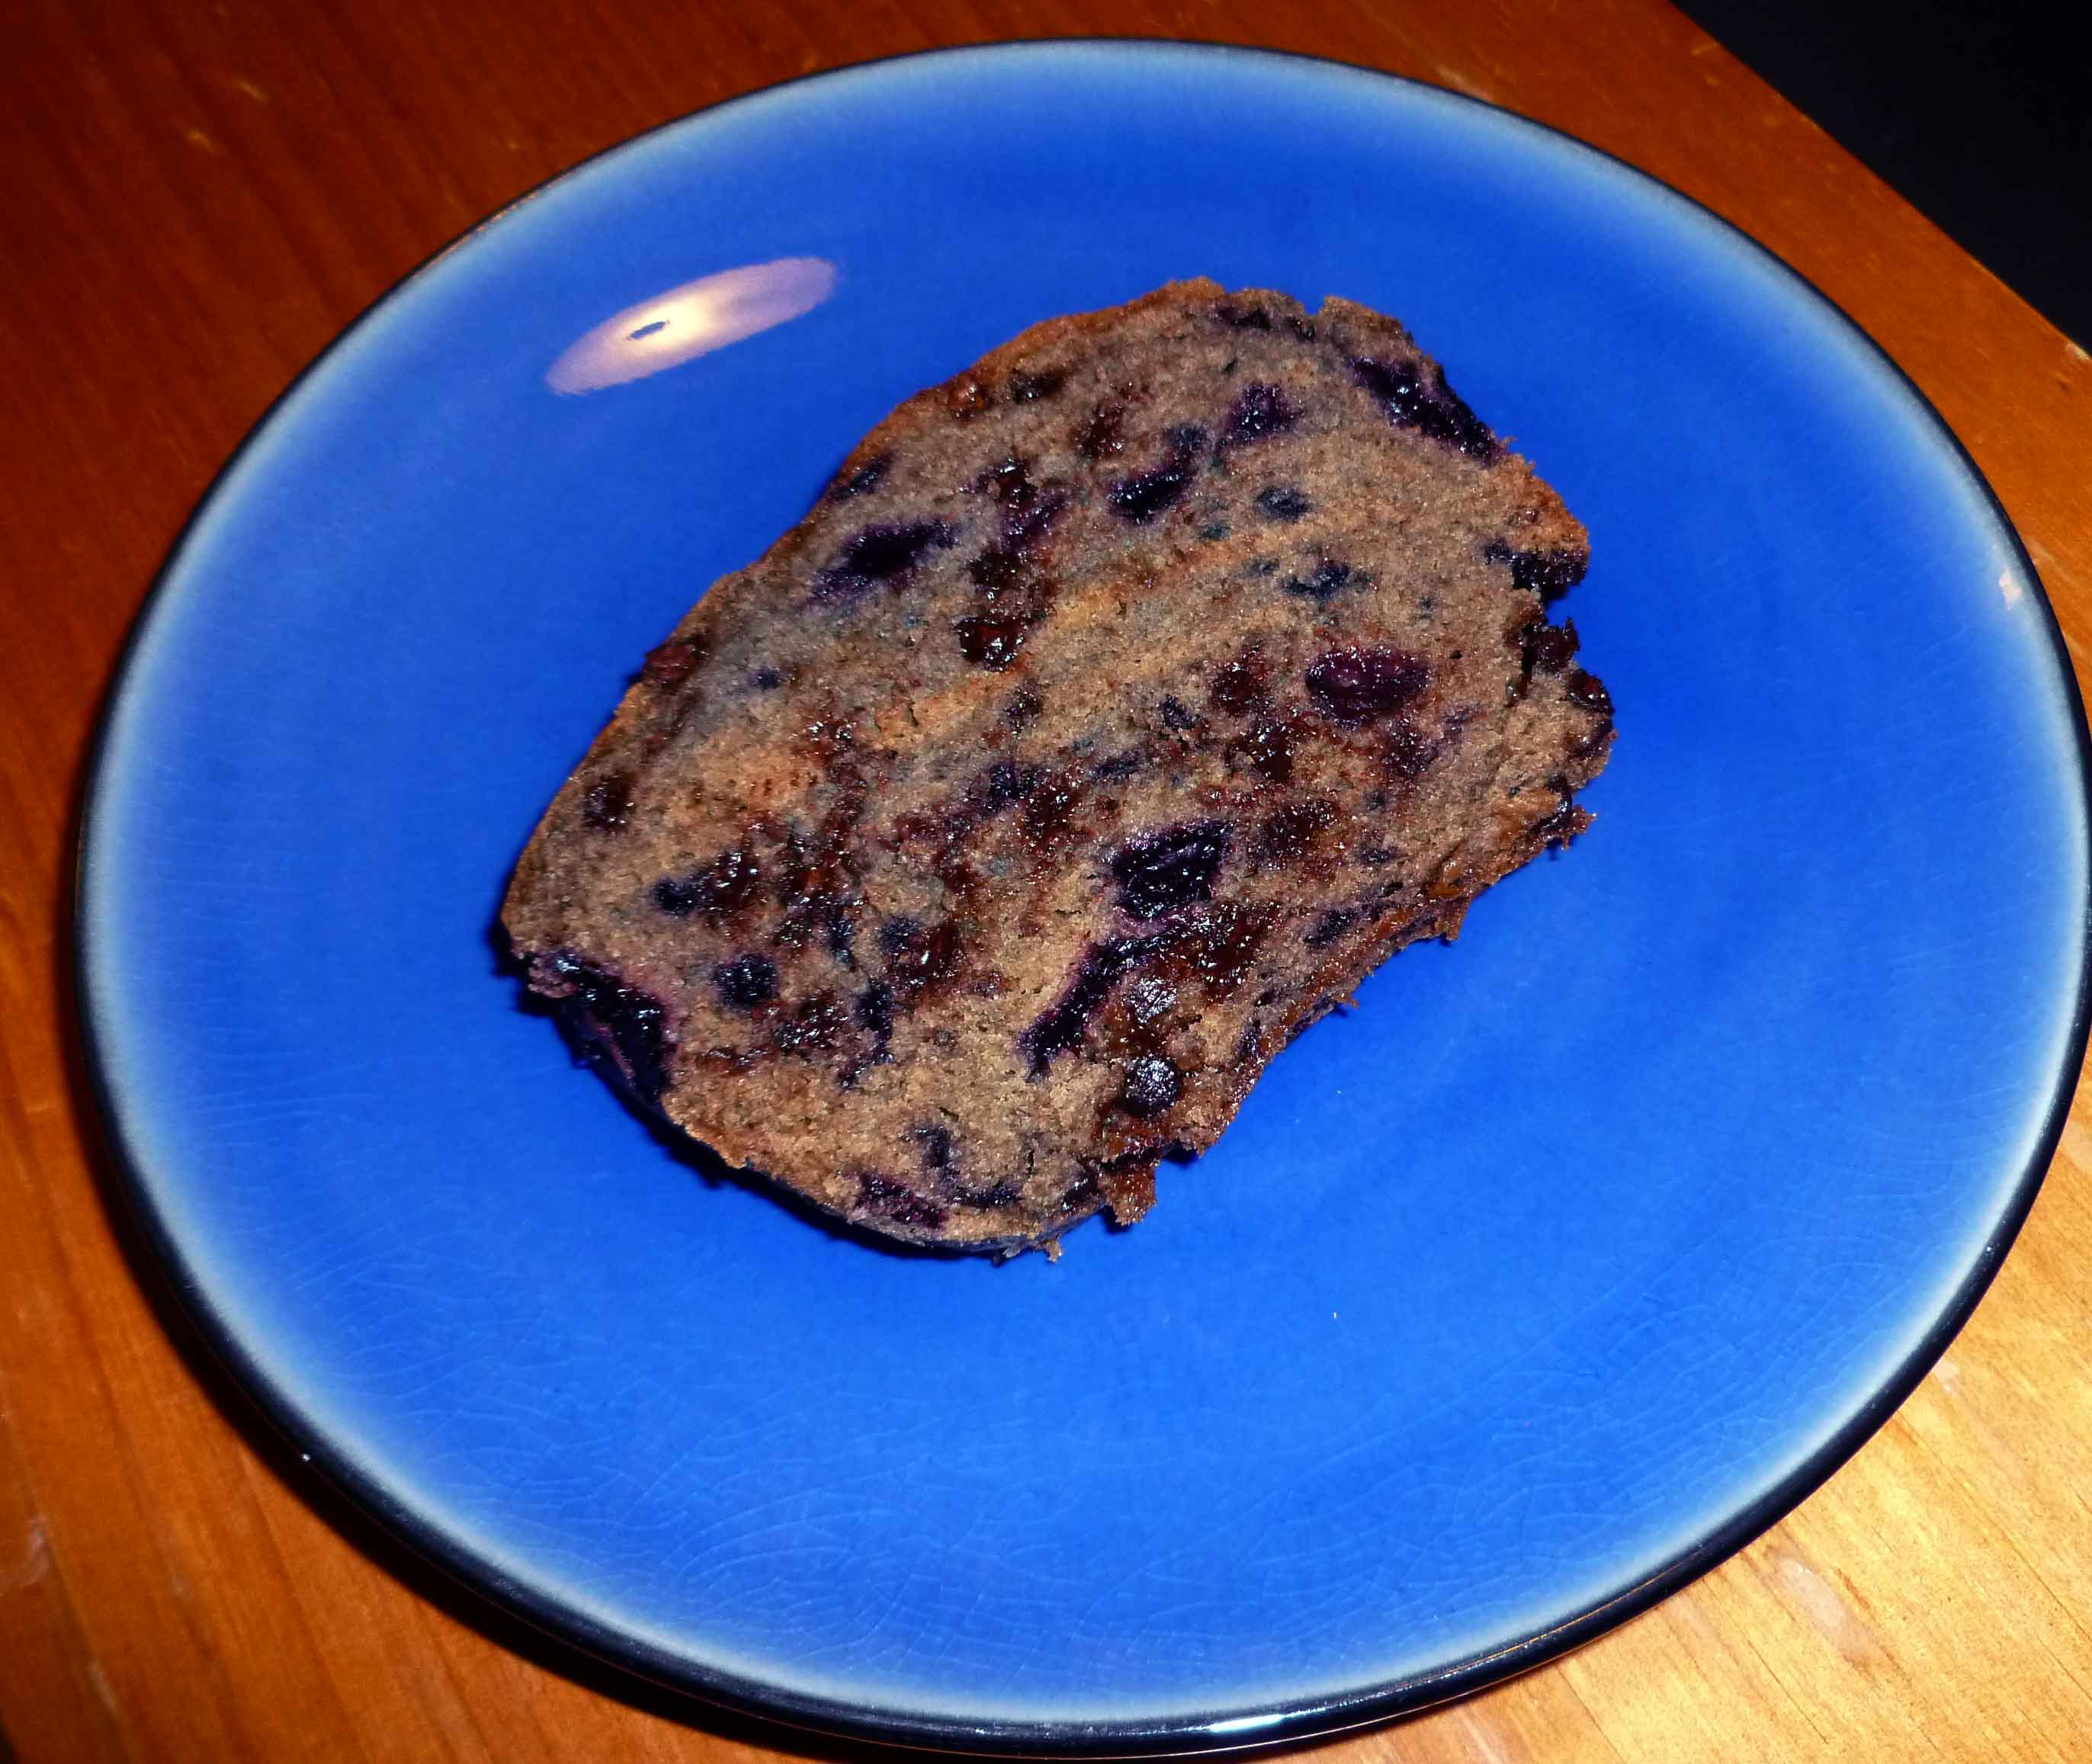
You know how hard it is to find a food theme for President’s Day? It’s hard. Which is why I’m using cherries out of desperation, even though I was a history major and I know that story about George Washington and the cherry tree is a crock. Despite that I decided to do it up, and make two versions of a chocolate and cherry bread dish that could be breakfast and dessert. This one is gluten free, and doesn’t have all that pesky rising and all that. I couldn’t find fresh cherries, so I used frozen ones, and was surprised at the blue tones I got in the finished dish. It’s almost like it had blueberries in it. In any case, since I’m not one who has to be gluten free, and since I’m not a gluten free baking genius, I started with a recipe from the gluten-free goddess®, and modified it a bit.
Can’t Tell a Lie Cherry and Chocolate Chip Quick Bread
1 cup of sorghum flour
1 cup of tapioca starch
1/2 cup of millet flour
2 teaspoons of baking powder
1/2 teaspoon of baking soda
3/4 teaspoon of xanthan gum
1/2 teaspoon of salt
2 teaspoons of cinnamon
1/4 teaspoon of nutmeg
1 cup of dark brown sugar, firmly packed.
1 cup of applesauce
1/3 cup of Canola oil
1 1/2 teaspoons of Ener-G egg replacer, mixed with 3 Tablespoons of water
2 teaspoons of vanilla
1 cup of Dole frozen Dark Sweet Cherries, chopped
1/2 cup of Enjoy Life Mini Chocolate chips
9 inch loaf pan
parchment paper
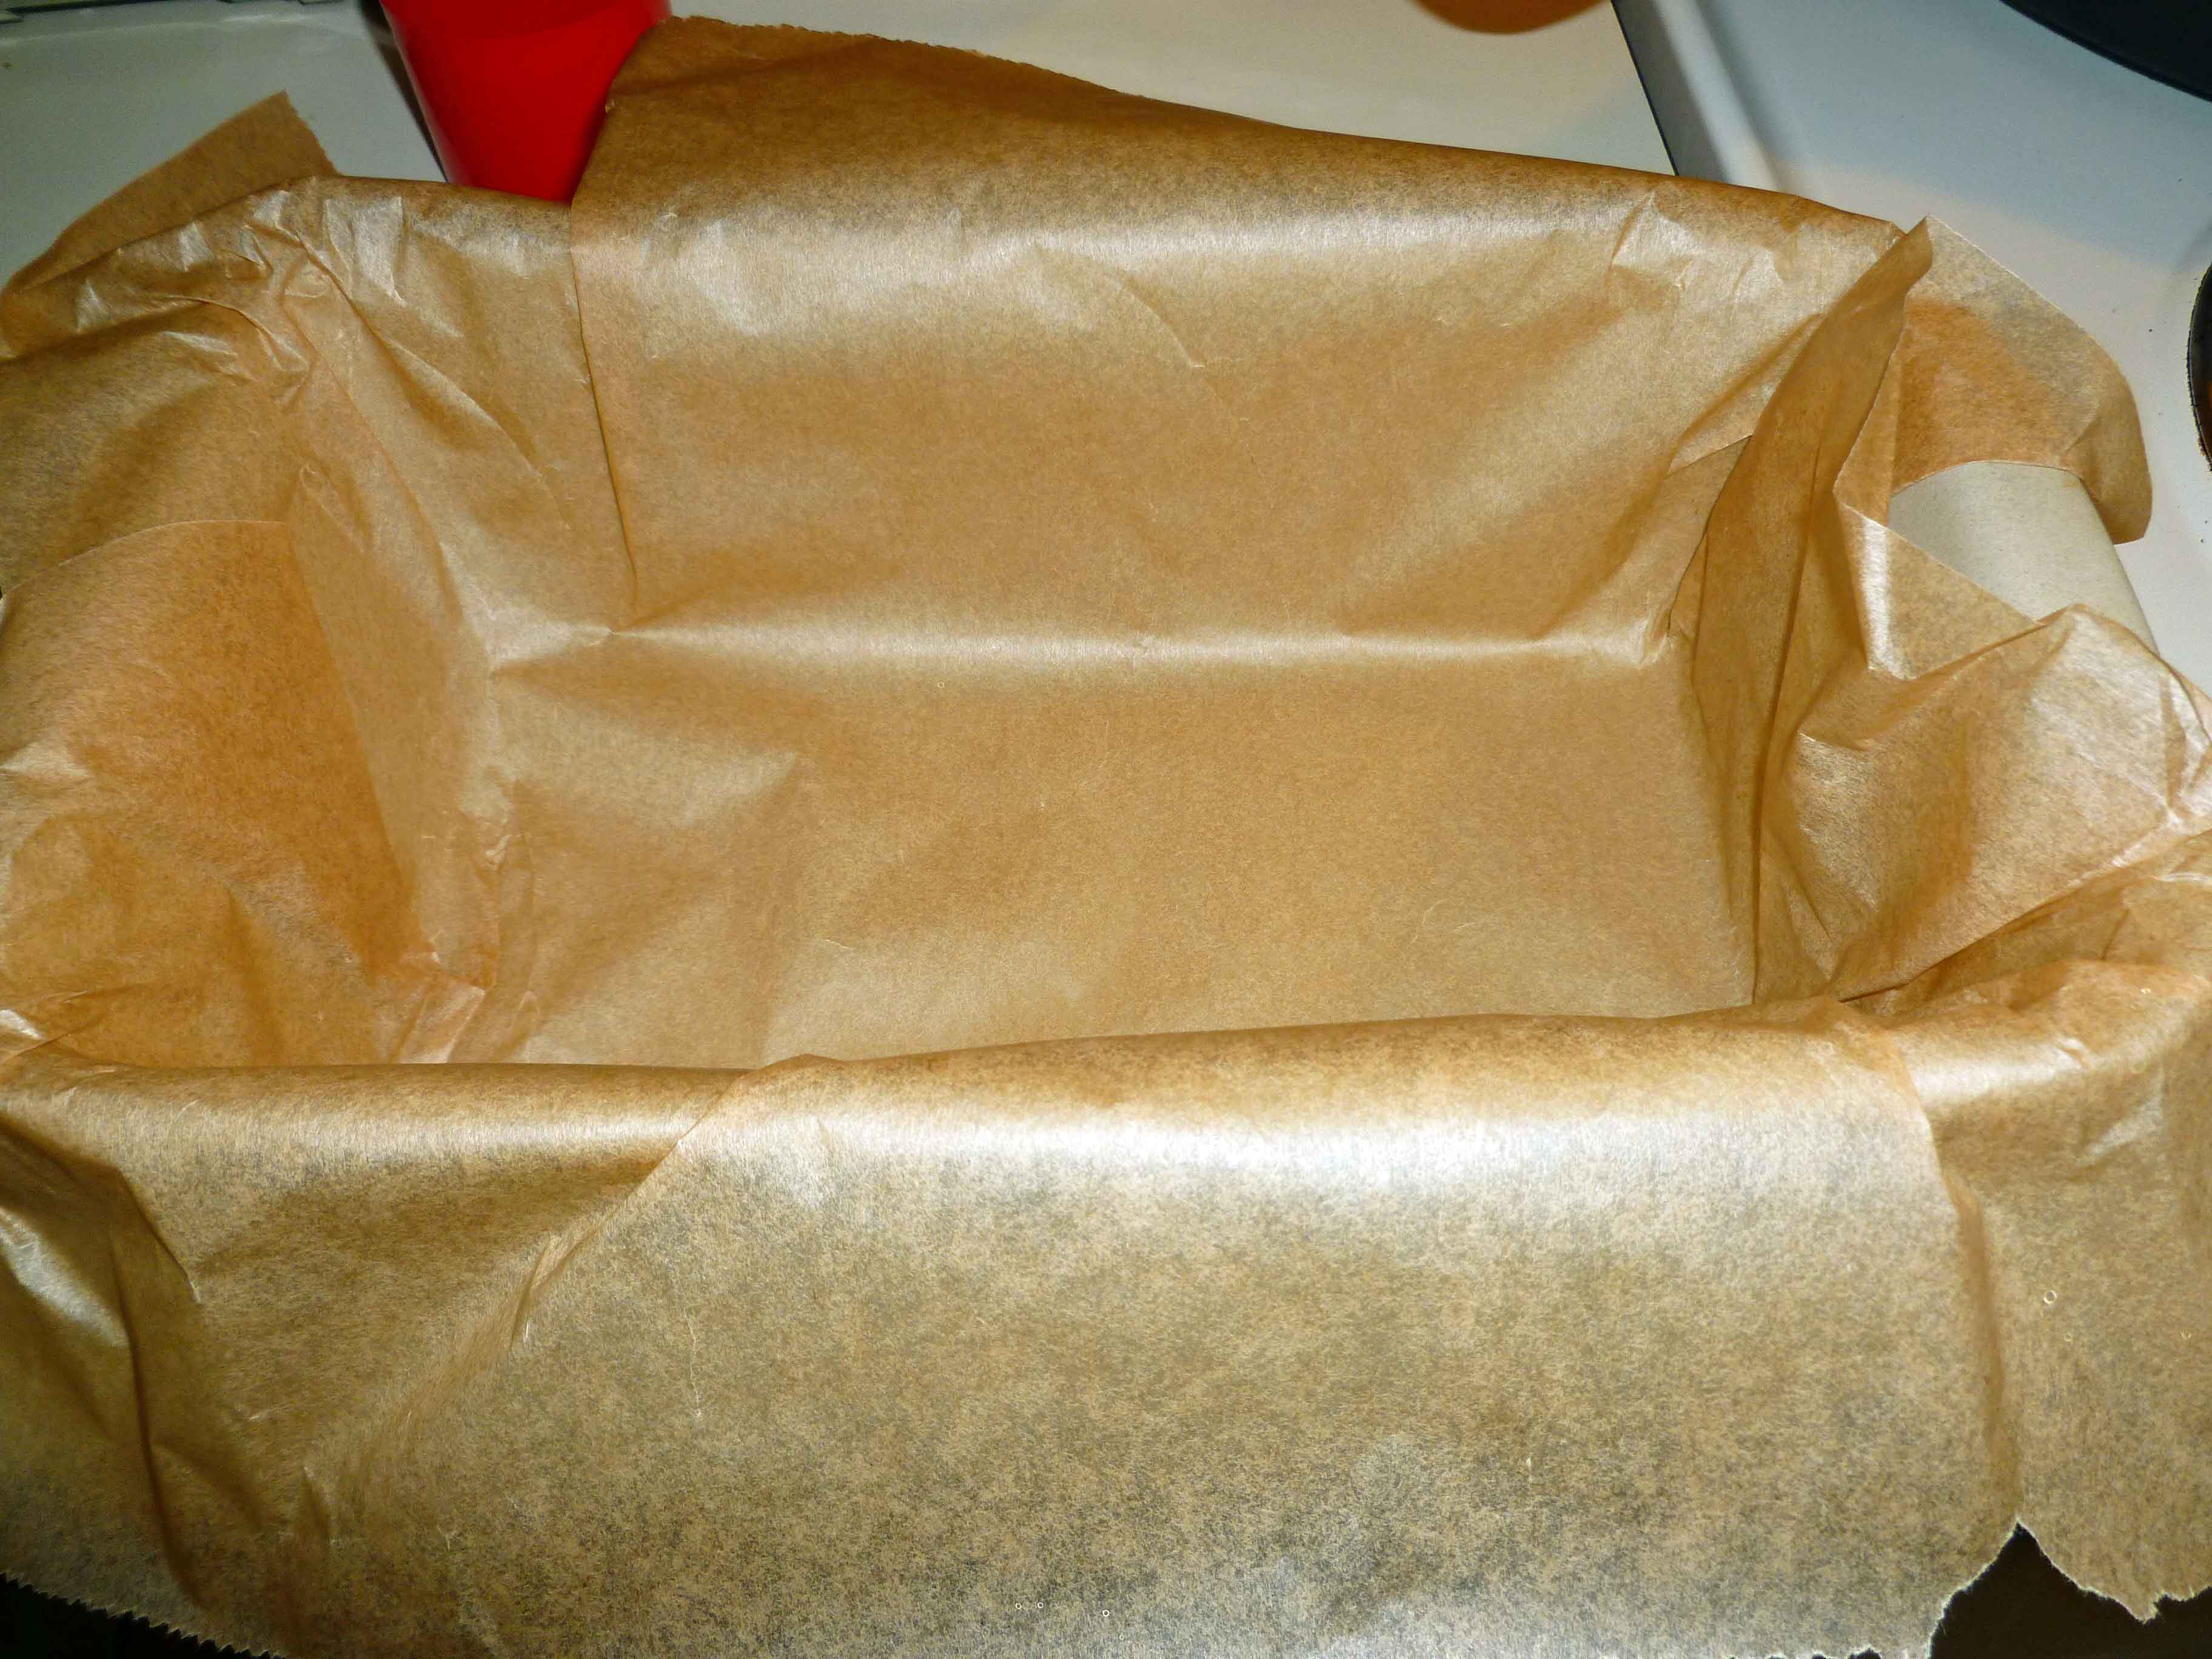
Preheat your oven to 350°, and line the loaf pan with parchment paper so that you can lift the loaf out of the pan in order to cool it.
Loaf Pan Lined with Parchment Paper
Place sorghum flour, tapioca starch, millet flour, baking powder, baking soda, xanthan gum, salt, cinnamon and nutmeg in a bowl (I used my KitchenAid stand mixer). Whisk together these ingredients until they are completely mixed. Add the brown sugar and whisk it into the other ingredients.
Now add the applesauce, oil, Ener-G mixture, and vanilla, and beat to combine and then continue beating the mixture on medium high until the batter is smooth.
Fold in the cherries and chocolate chips by hand with a spatula.
Folding in Cherries and Chocolate ChipsCompleted Batter
Pour batter into the parchment lined loaf pan, scraping down the sides of the bowl and smoothing out the top of the loaf.
Batter in Parchment Lined Loaf Pan
Bake for approximately 65 to 75 minutes or until you can insert a tooth pick and it comes back clean, except if you hit a chocolate chip and you have chocolate chip goo. If this happens, try again in a different place.
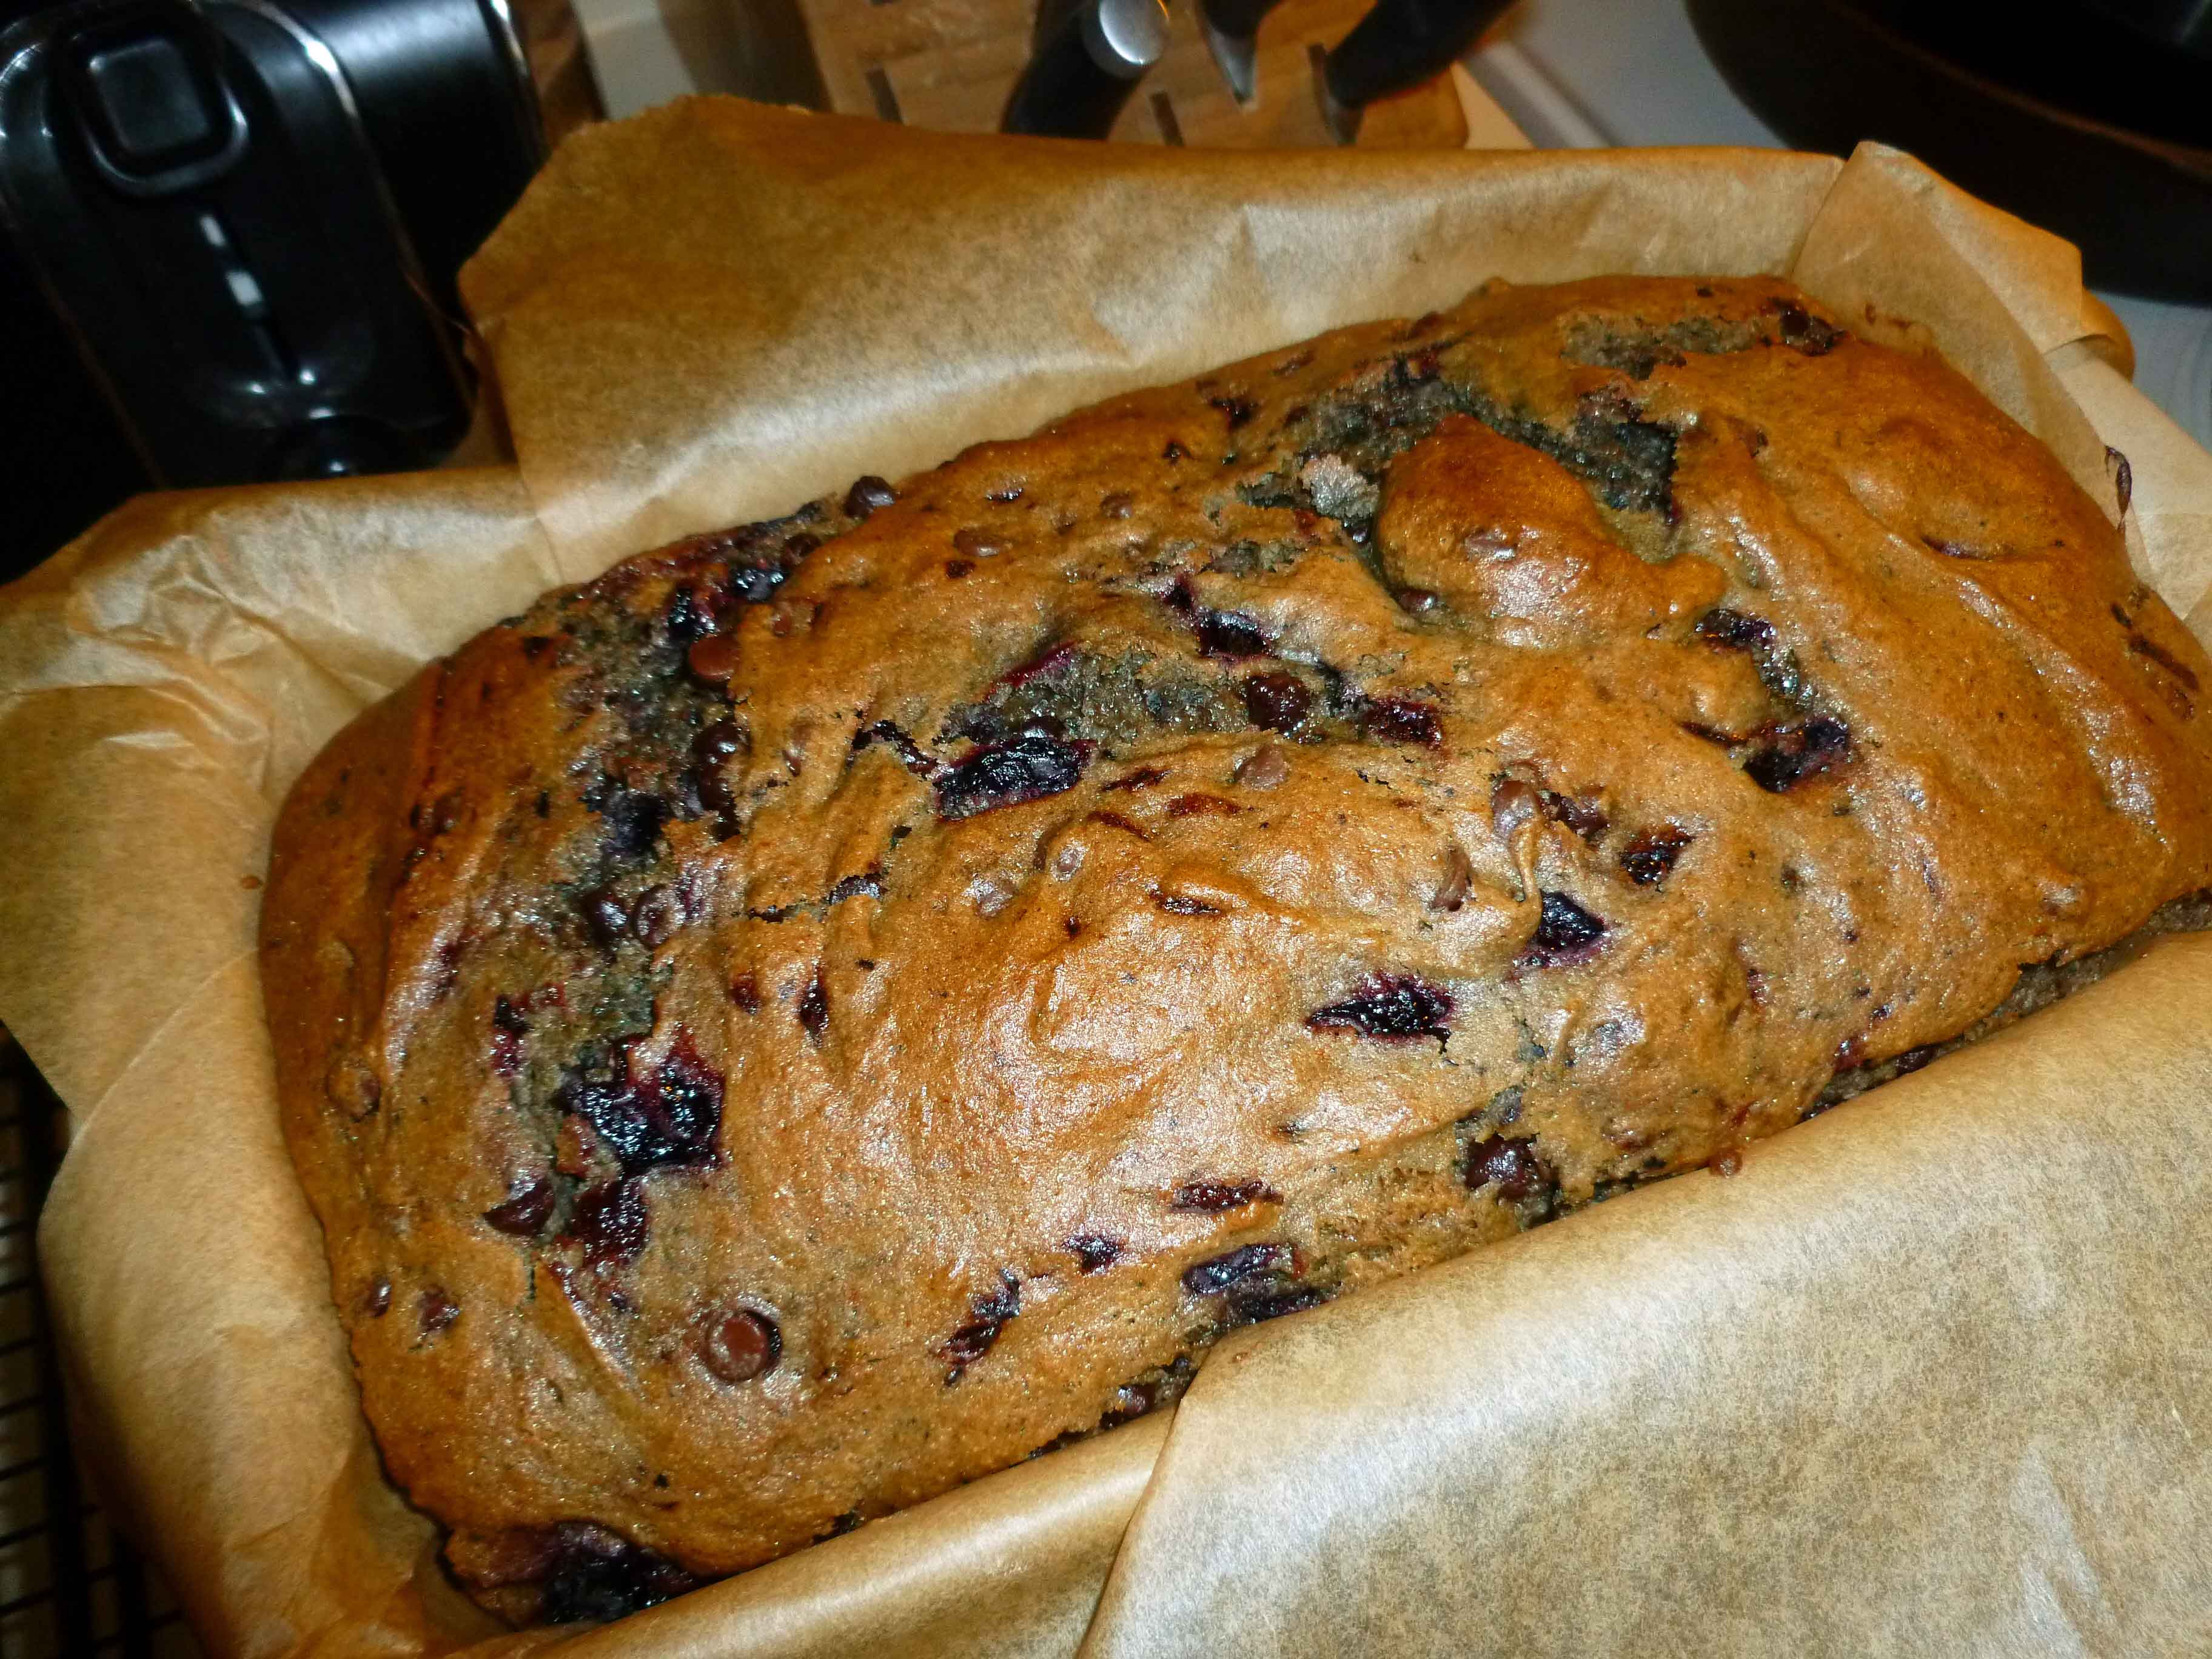
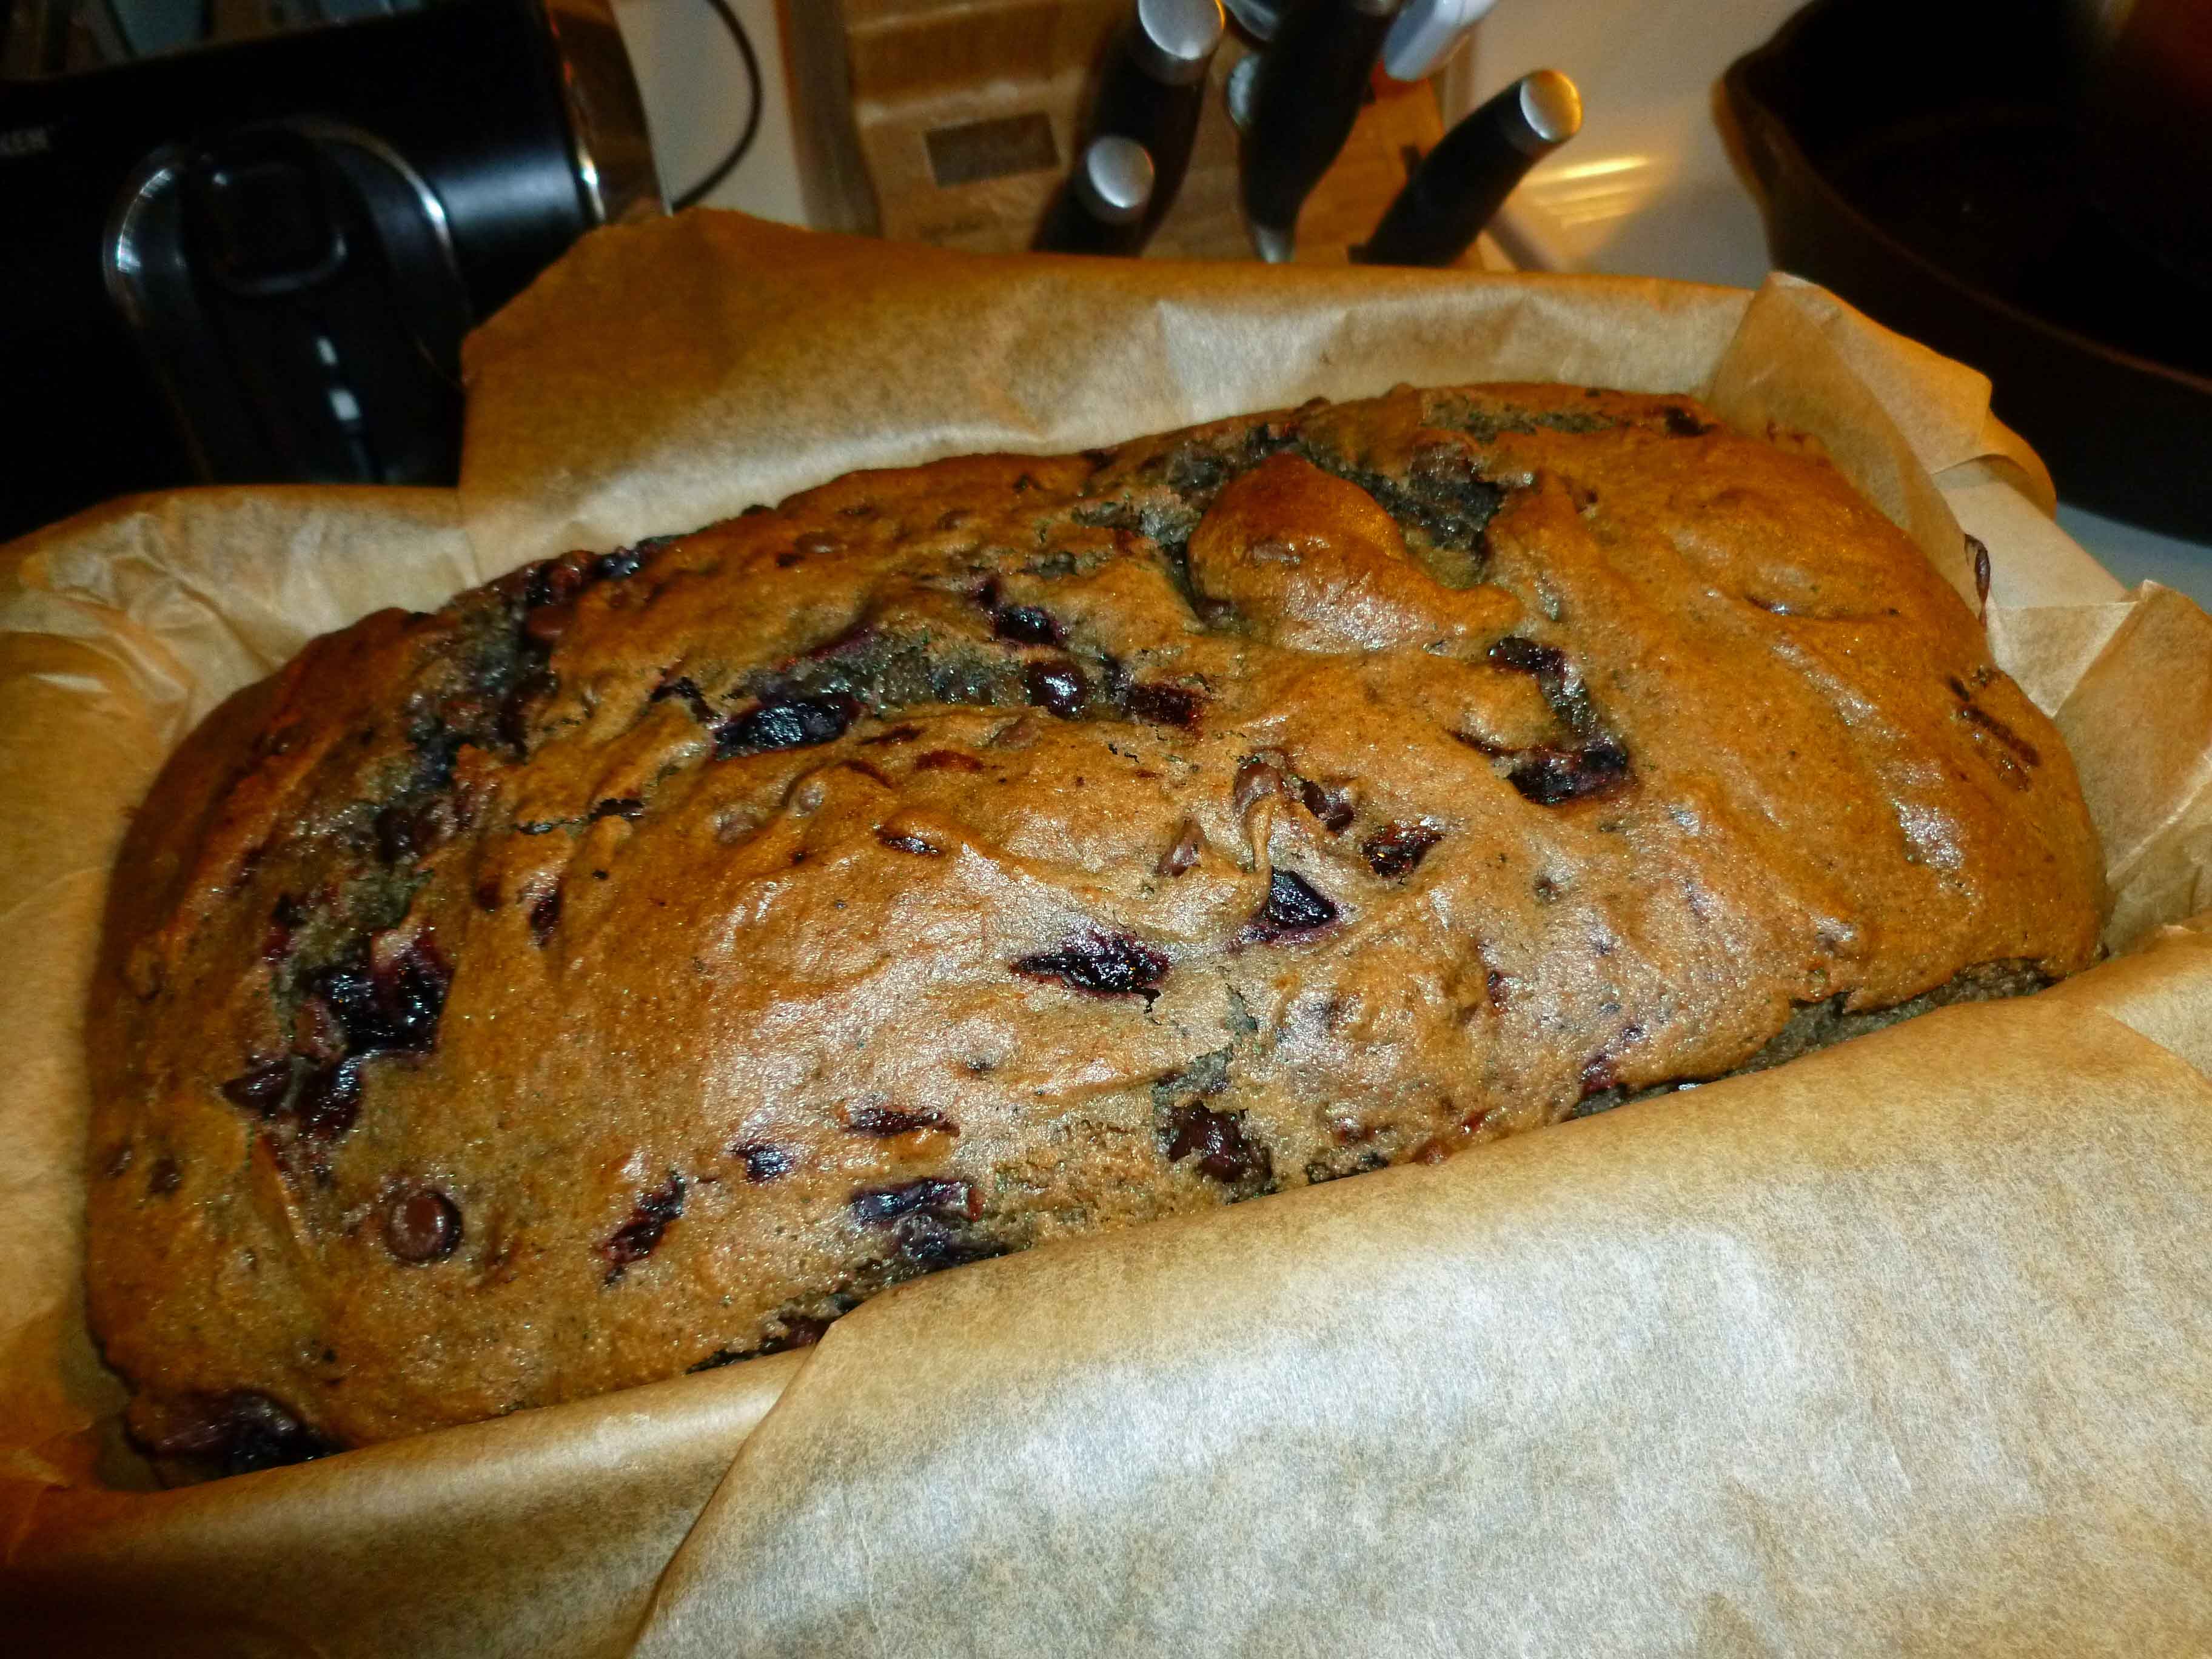
Baked Loaf in Parchment Lined Pan
Once done, let the loaf cool for 15 minutes or so, and then use the parchment paper to lift the loaf out of the pan and onto a wire rack. Peel down the sides of the parchment paper and let the loaf cool.
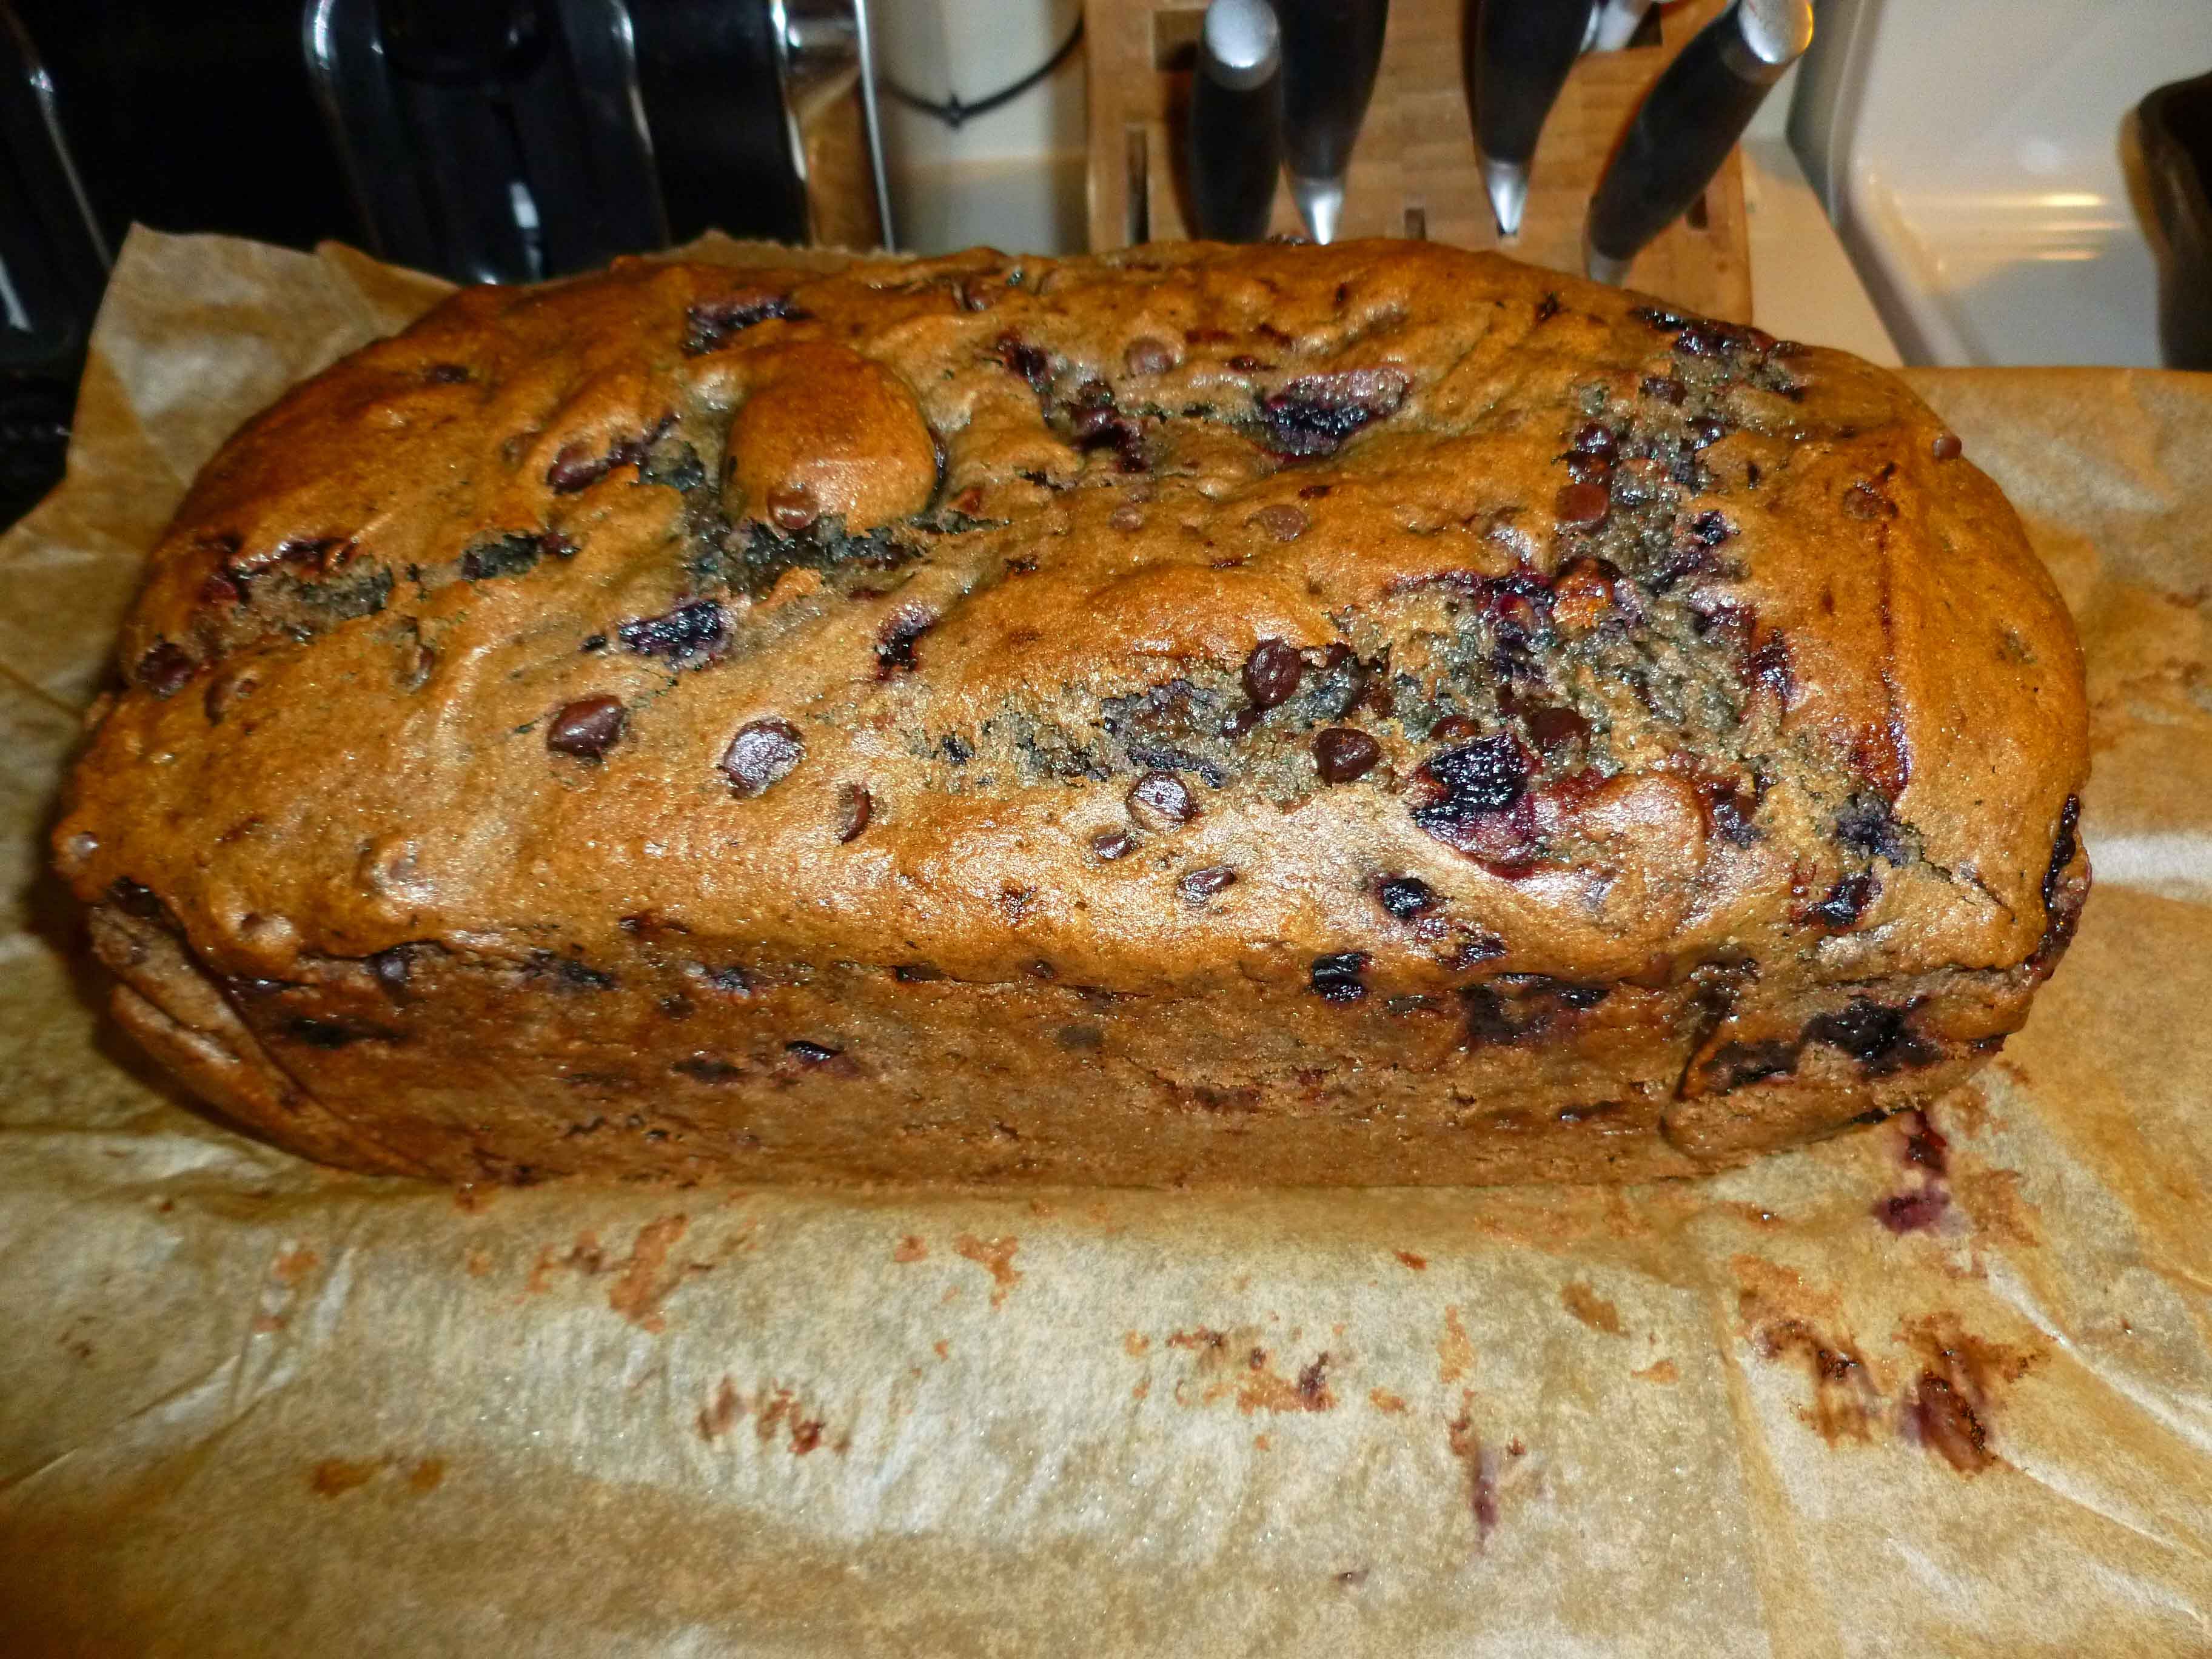
Baked Loaf on Wire Rack with Parchment Peeled Down
Once cooled to down to slightly warm, slice yourself a piece and enjoy!
Slice of Can’t Tell a Lie Cherry and Chocolate Quick Bread
Guess what? The clay facial mask I liked contains coconut too. (To see a list of coconut derivatives, go here, thanks to Becky at the Allergic to Coconut? blog). See how repetitive this whole coconut being in my products thing is? So I scoured the internet to look for DIY remedies for acne, and came up with a list of ingredients. Me being me, I decided to put all of them in the same mask, if one thing is good, why not superpower it with all of them? Luckily, the only thing I needed after ordering the stuff to make lotions and the shampoo was French Green Clay which I got from Majestic Mountain Sage (no affiliation other than being a satisfied customer).
Denise’s Acne Clay Facial Mask
First of all, I found that this made a bit more than I needed (half again as much), so depending on the area you want to cover and how thickly you want to cover, you might want to adjust the quantities.
Crush aspirin tablets in your mixing bowl. I used a pestle to my mortar and pestle, but you can use a metal spoon. Add salt and lemon juice to container. Let salt and aspirin dissolve in lemon juice. Then add honey, apricot kernel oil, and tea tree oil, and mix thoroughly. Then add French Green Clay and distilled water and mix until all ingredients are incorporated.
Smooth mixture on face and let dry until you can touch the mask without any coming off on your finger (10 to 15 minutes). Wash off with warm water and a facecloth. I’d have taken a picture with it on my face, but I thought I’d spare us all that kind of shock. Try it and let me know what you think, I liked it very much.
So this isn’t the post that was originally supposed to be here. I was supposed to have concocted this wonderful braised pork chop recipe, but Winter Storm Nemo happened and shot my plans to go to the grocery store to hell. I tried to make a go of it with what I had in the apartment, and it wasn’t bad, it just wasn’t worthy of you all. So then I was left to find something else to do at the last minute. And what else do people do when there’s no food, and you don’t feel like cooking? Microwave popcorn. Except for those of us that are dairy free, there’s no microwave popcorn that we can buy without milk or milk derivatives in it. So, the internet to the rescue! I can’t remember where I found the link on how to cook popcorn in a paper lunch bag in the microwave, but I want to thank them fervently.
Also, for those of you who are Valentine’s Day abstainers, popcorn is a good thing to have while you do a movie marathon to ignore the fact that the rest of the planet is participating in a corporate-manufactured holiday.
Basic Microwave Popcorn
⅓ c of popping corn
½ tsp of canola oil
¼ tsp of Lawry’s Seasoned Salt, or Penzey’s 4/S salt.
1 paper lunch bag
1 piece of tape (optional) or a plastic clip like these from Pampered Chef
Variations:
Cajun – Replace seasoned salt with 1/4 tsp Penzey’s Spicy 4/S Salt, or Slap Ya Mama Cajun Seasoning to taste. If your Cajun Seasoning does not have salt, leave the seasoned salt in the basic recipe in as well.
Cheez – Add 1-2 Tablespoons of nutritional yeast to the basic recipe.
Ranch – Add 1 Tablespoon of nutritional yeast, and a dash of each of the following: garlic powder, onion powder, basil, dill weed, and red pepper flakes to the basic recipe.
Curry – Add 1/4 teaspoon Garam Masala, and 1/4 teaspoon of curry powder to the basic recipe. If you want to add some heat, add a dash of cayenne pepper.
Open paper lunch bag. Add the popcorn kernels and all the seasonings to the bag. Add the oil, and then hold the bag closed and shake quickly to distribute oil and seasoning around popcorn kernels. Either fold the top of the bag over twice, use tape, or the clip to seal the bag tightly. Put the bag in the microwave on its side. Because all microwaves are different and everyone has figured out the optimum time to nuke microwave popcorn without burning it, try it at your normal setting and see if that works, and adjust the time as needed. In my microwave, it takes 1 minute 45 seconds to pop the popcorn without burning it. Shake the bag after taking it out of the microwave and dump the popcorn in a bowl, shaking any seasonings left in the paper bag out over the popcorn.
This would really work with any combination of seasonings you want to try. Let us know how any experiments you do work out. Enjoy!
All the Single People!
And for those who are single or anti-holiday, whatever your reason, here’s Mary Kate’s current V-Day At Home Alone, currently available via streaming Netflix, movie night plan:
Okay, first things first. My good camera’s battery hit the skids half way through cooking this recipe, so I had to resort to my cell phone camera. Which means that some of these pictures are more terrible than they usually are. Now on to the subject at hand.
Alfredo sauce. Seriously, before the food allergy apocalypse, this was one of my very favorite things. When I was first diagnosed, I tried to make a soy based Alfredo sauce, and I took one bite, and dumped the rest of it down the sink. I may have also spit the bite I took in the sink. (Yes, I’m that classy.) You may remember that I have mentioned that I’m not a fan of soy milk. So when Mary Kate and I decided to do this blog, Alfredo sauce was one of the first things that I put on the infamous spreadsheet for us to find a solution to. I think I’m finally there. Even my husband, who can still eat dairy, says that this is amazingly close. This recipe will not help those of you with a nut allergy, as the base is made of cashews. Although the sauce itself is gluten free, I did use regular pasta, which is not. So if you want to make this recipe gluten free, just use gluten free pasta (MK suggests Schar pasta (I’ve only had the penne), Quinoa pasta (here, only had the macaroni), and Trader Joe’s corn pastas). This recipe will probably feed about 4-6 people depending on portion size.
Alfredo Sauce:
1 cup of raw cashews or cashew pieces (pieces are cheaper, buy those)
4 teaspoons of lemon juice (fresh is better but the bottled will work in a pinch)
1 teaspoon of roasted minced garlic (you can get it in a jar at the grocery store)
1 teaspoon of salt
1/2 teaspoon of fresh ground black pepper
1/4 teaspoon of nutritional yeast
dash of nutmeg
dash of paprika
dash of sage
1 1/2 cups of boiling water
1 tablespoon of Earth Balance Natural Buttery Spread Soy-free
2 teaspoons of cool water
2 teaspoons of corn starch
Chicken Primavera Ingredients:
1 to 1 1/2 pounds of chicken breast, sliced into strips
seasoned salt
black pepper
2 tablespoons of canola oil
2 cups of pasta (small shells, macaroni, etc.)
1 – 16 ounce bag of frozen mixed vegetables
enough water to cook the pasta
First, make the Alfredo sauce:
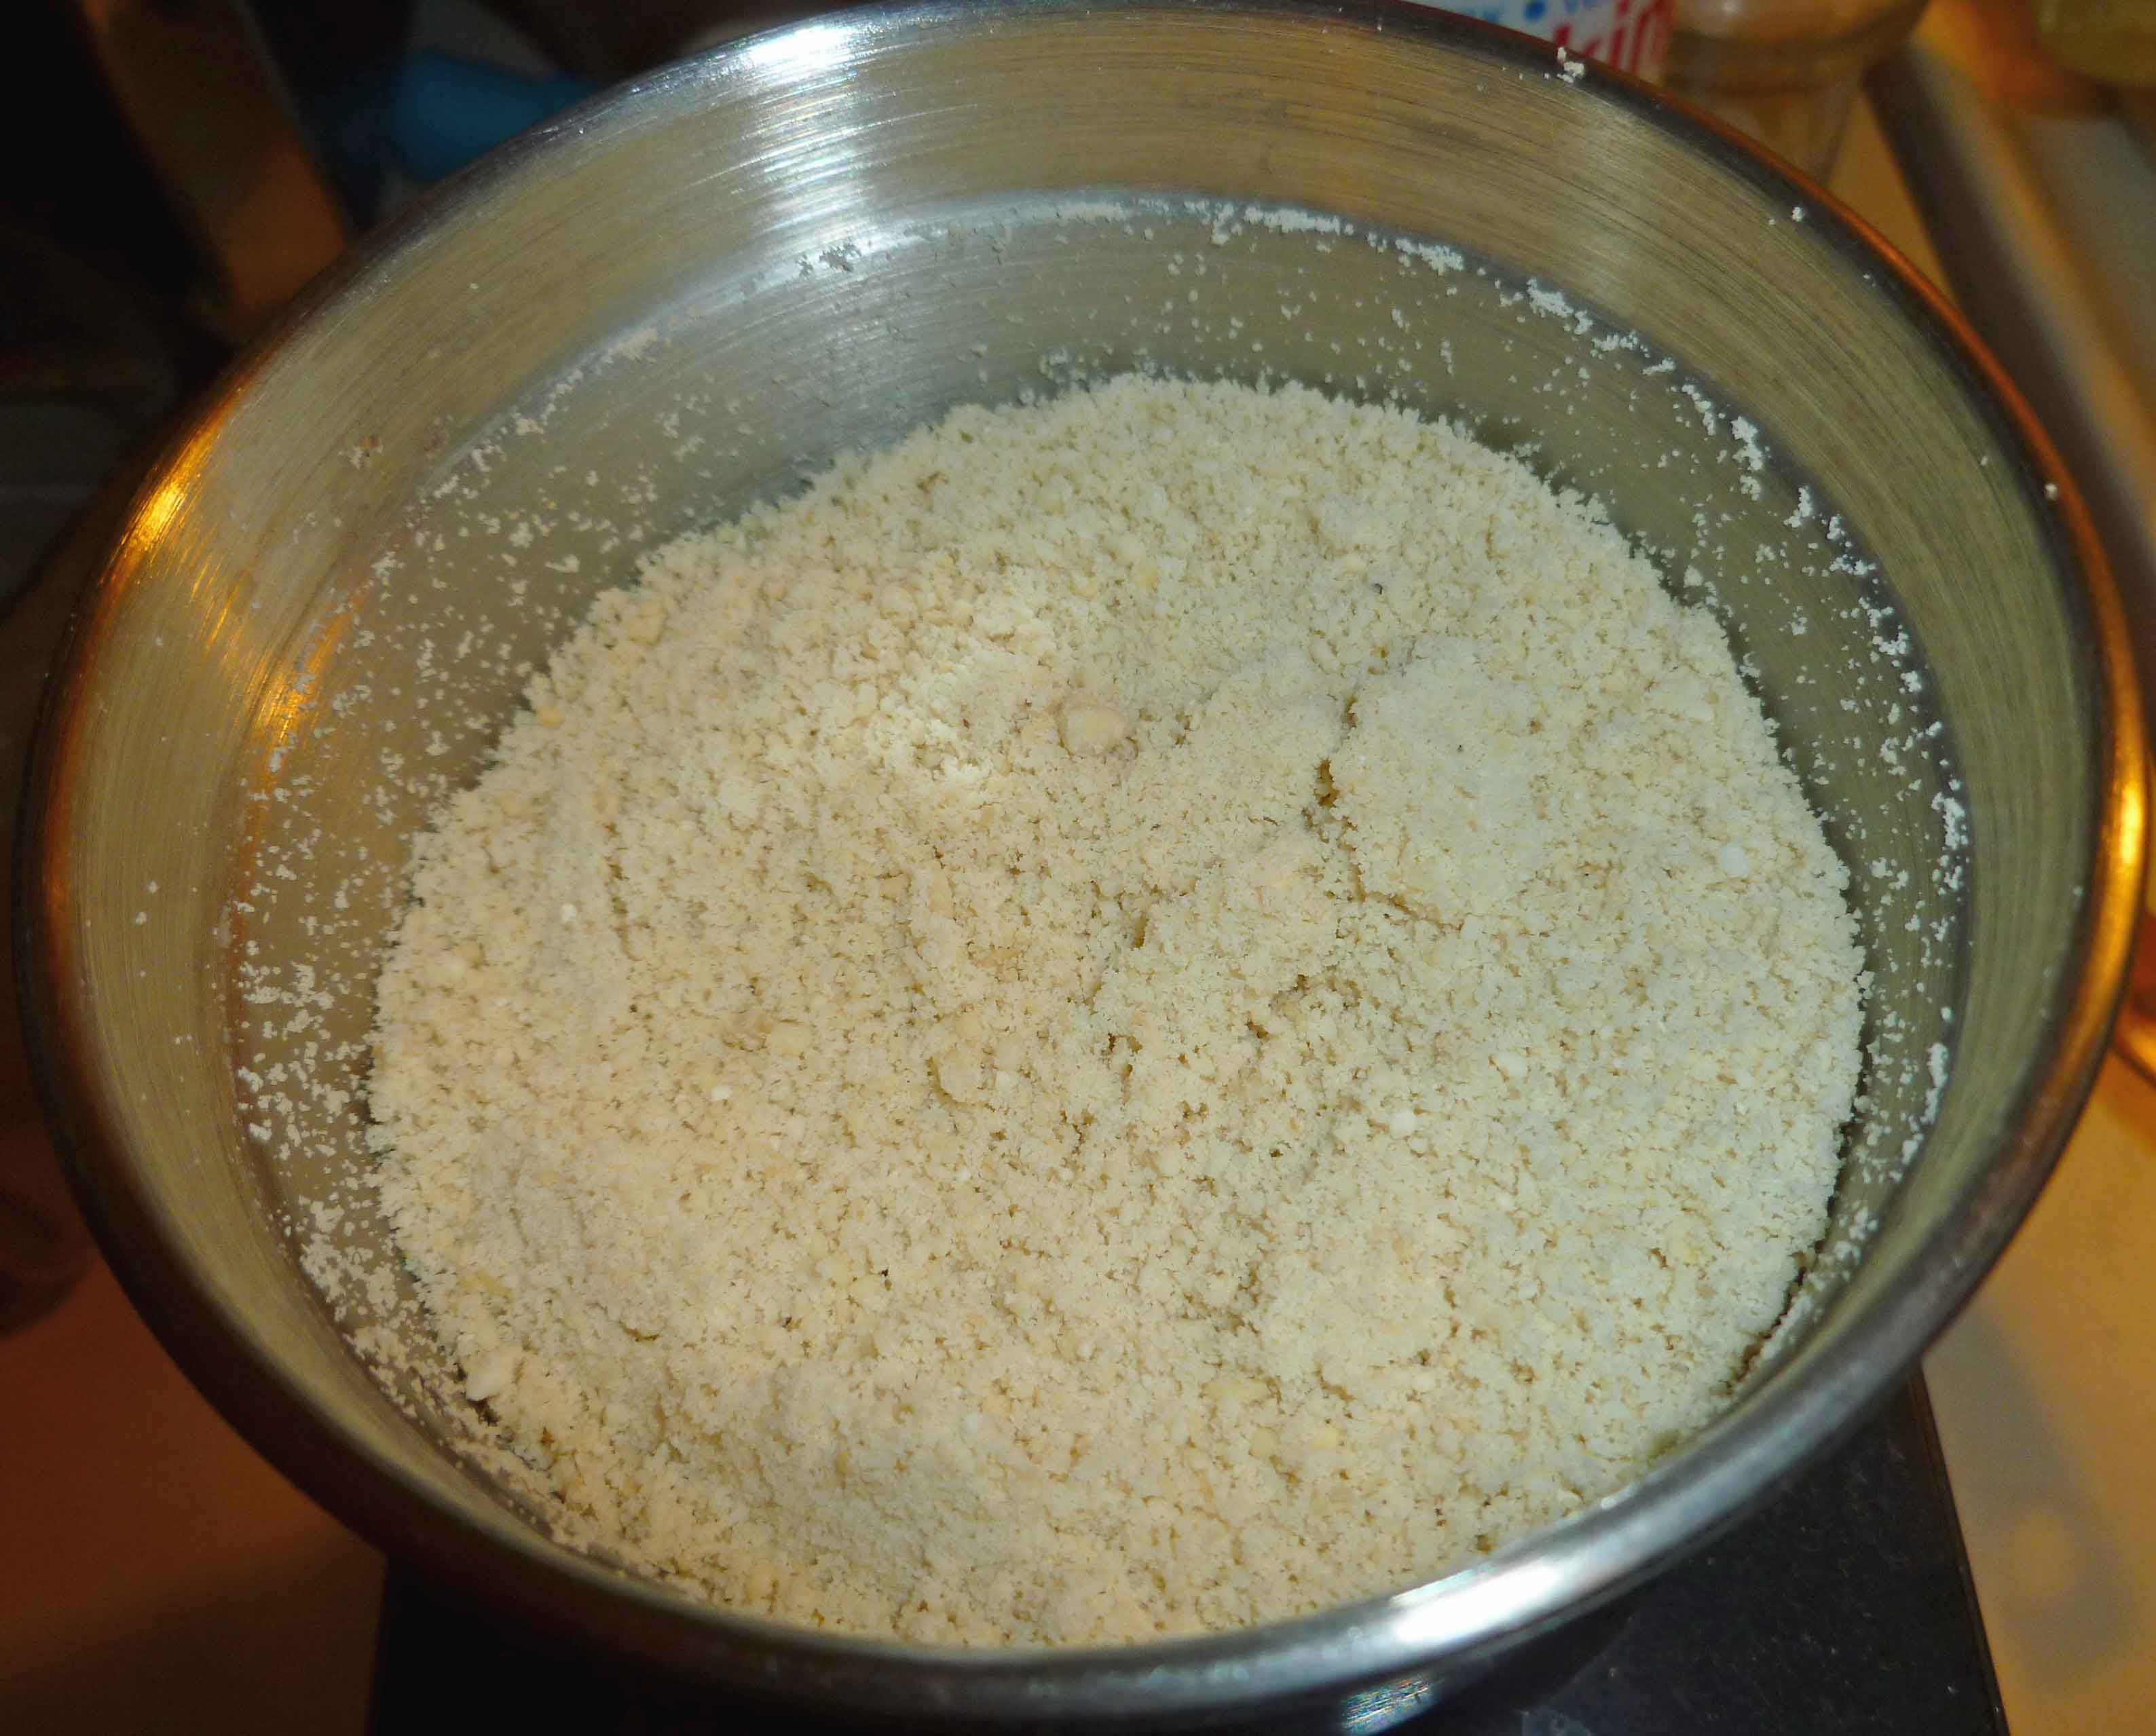
Put the tea kettle on to boil your 1 1/2 cups of water first. You will need your blender. Take your 1 cup of cashews and grind them into a fine powder. You can do this in the blender, but I like to grind them in a coffee grinder that I use specifically food and spices.
Finely Ground Cashews
It’s easier if you grind them in batches if you’re using the coffee grinder. Once they are finely ground, put the cashews in the blender. (If you’re grinding them up in the blender, put the cashews in blender and process them until they are finely ground before adding any other ingredients.) Add the lemon, garlic, salt, black pepper, nutritional yeast, nutmeg, paprika, sage, and the boiling water in the blender with the cashews. Put the cover on the blender and blend until smooth. Let it blend for a while, the smoother the better.
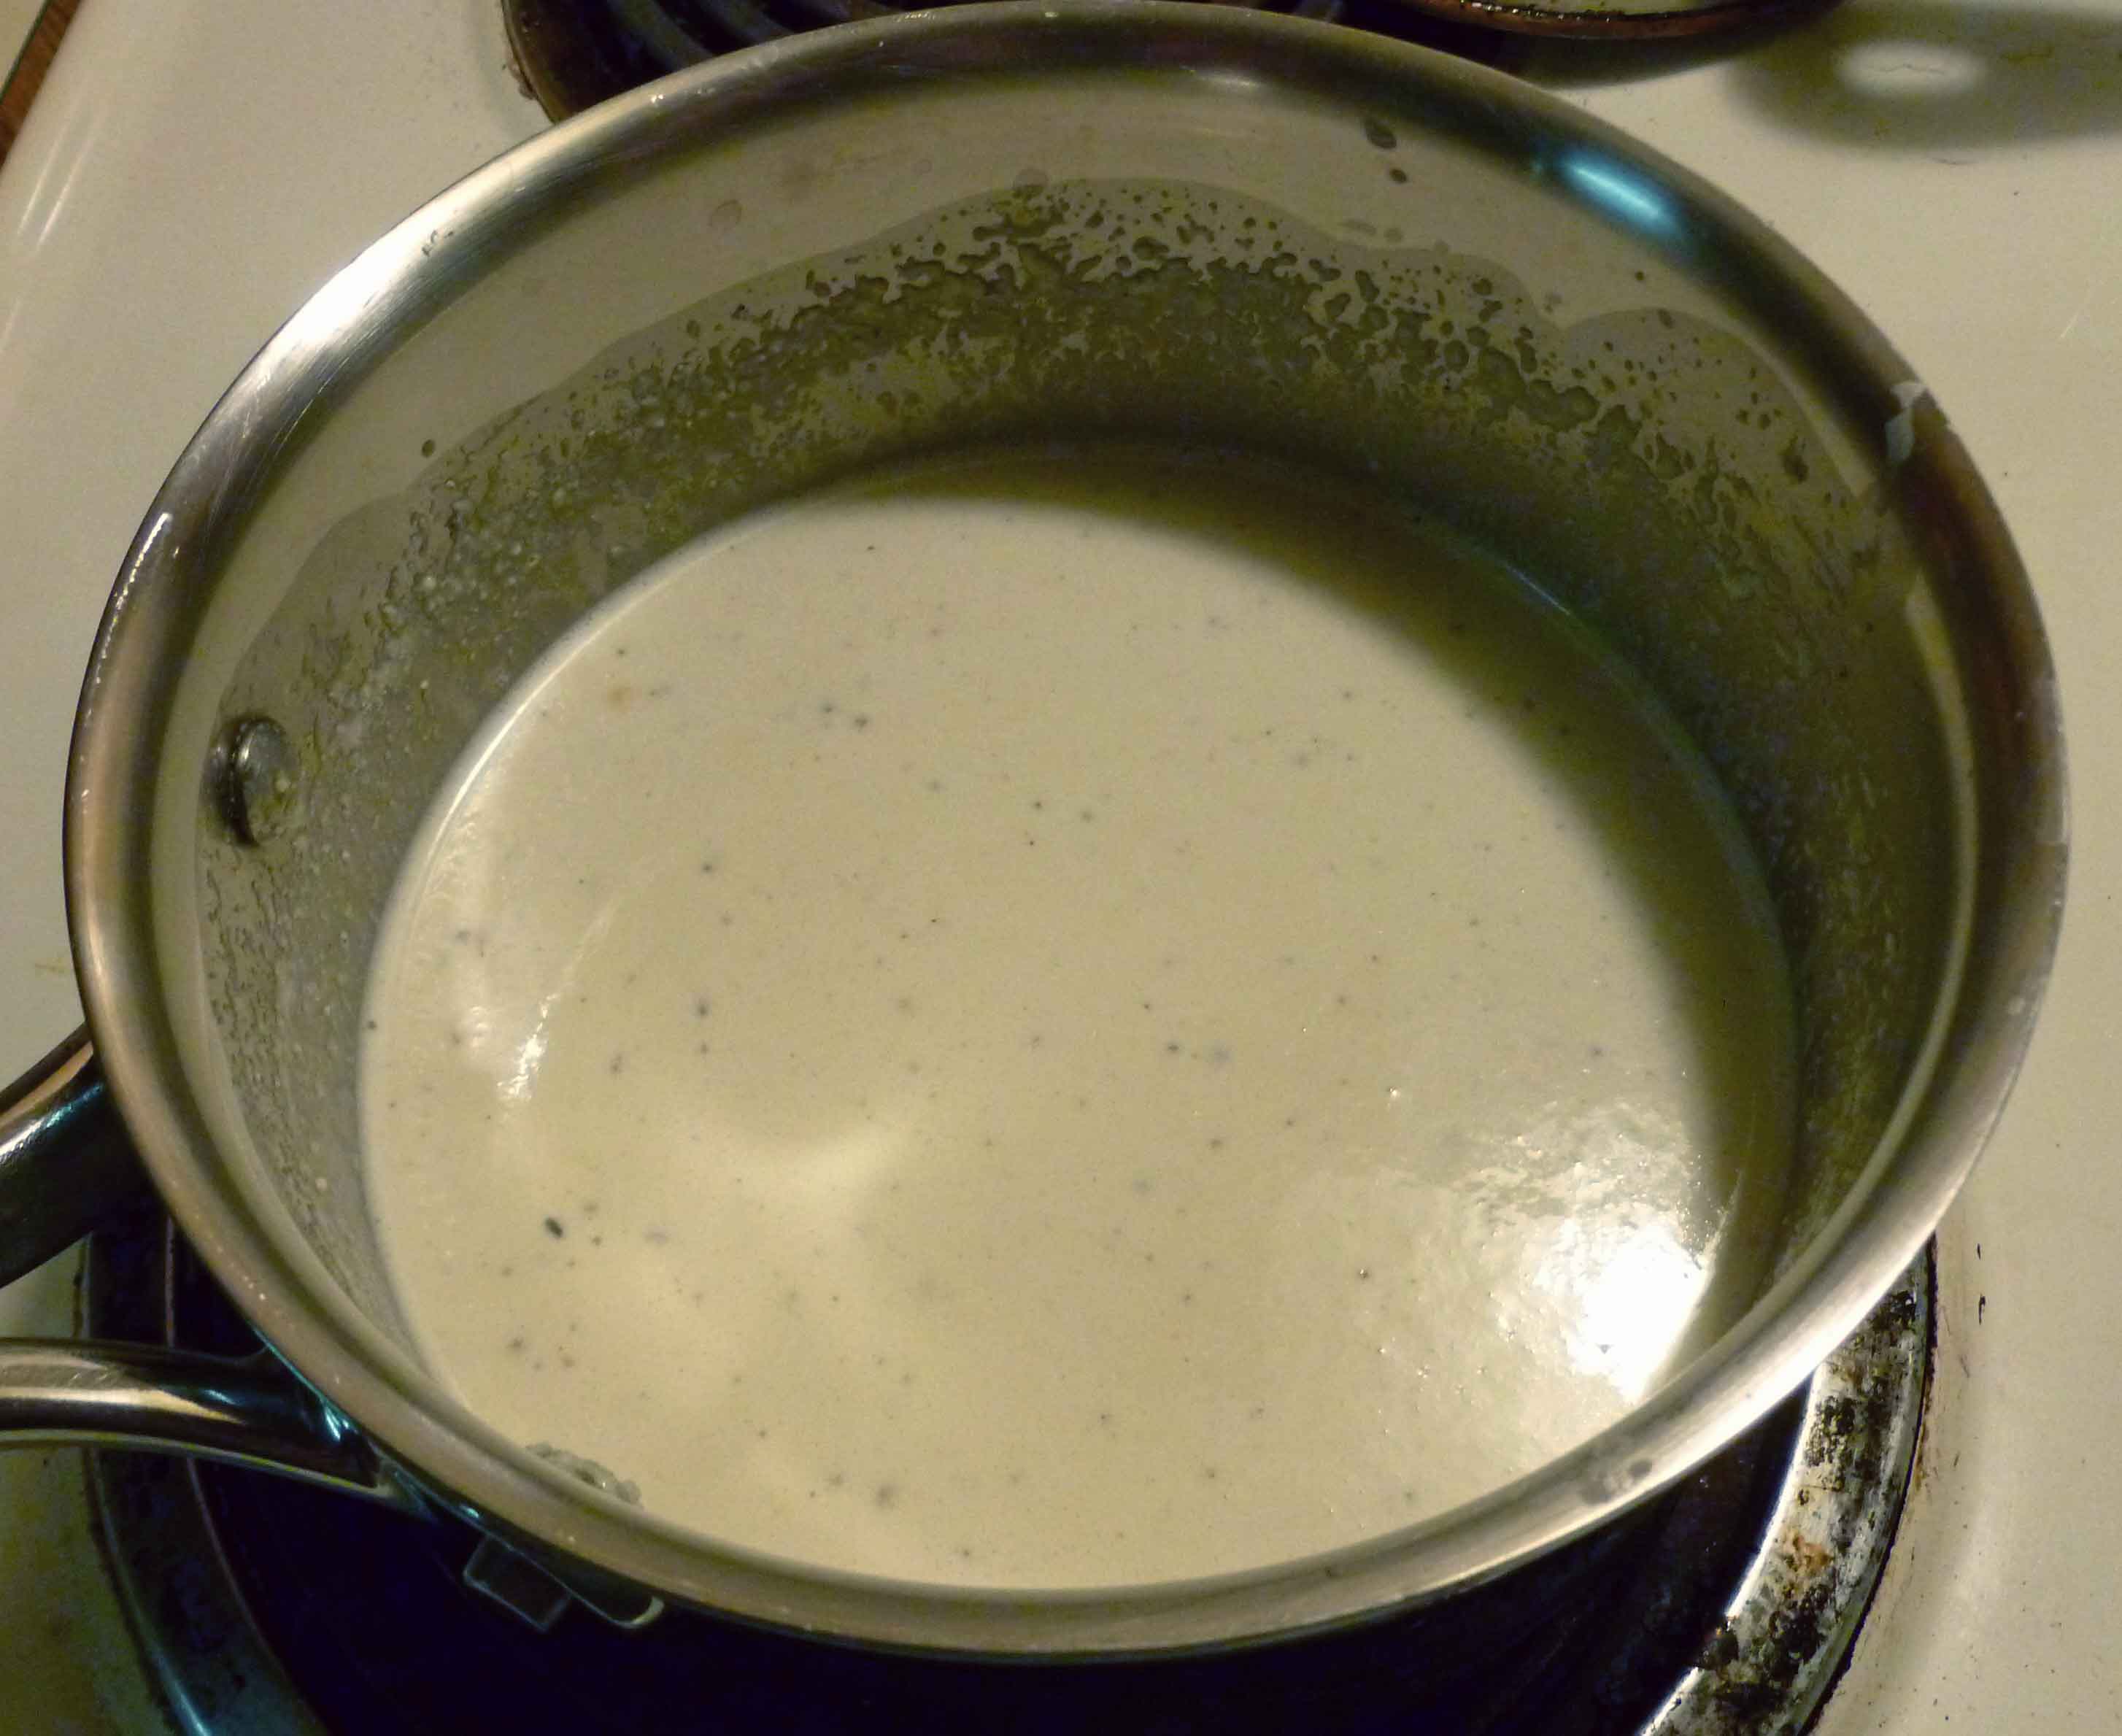
Once you think it’s blended enough, pour the mixture into a sauce pan, and put it on medium low. Add the Earth Balance and let it melt into the mixture, while you mix the cornstarch and 2 teaspoons of cool water together in a small container. Once the Earth Balance is melted, stir the mixture to incorporate the Earth Balance and then pour in the cornstarch mixture, while continually stirring (if you don’t stir continuously, you’ll have lumps). Put the sauce on the back burner on the lowest setting while you get everything else ready.
Alfredo Sauce
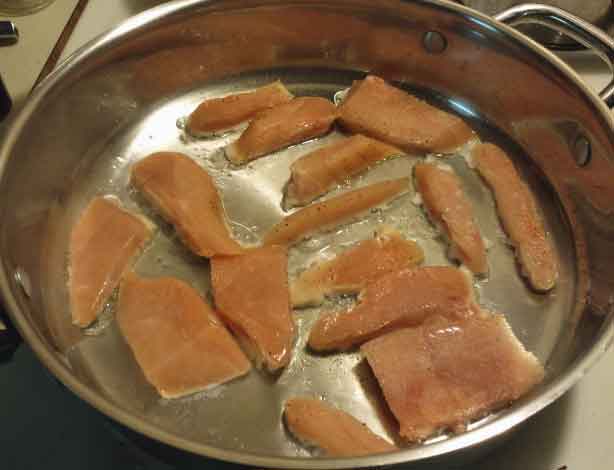
Now it’s time to cook the chicken. Slice the chicken breast into strips if you haven’t already done so, and season them with the seasoned salt and pepper (just sprinkle some over it). Put the canola oil in a skillet and turn the burner onto medium high. Put the chicken into the pan but don’t crowd the pieces.
Chicken properly spaced in frypan
Sear the chicken so you get a nice golden brown on the outside, and make sure your pieces get cooked without being overcooked. Easy for me to say right? I prefer to use dark meat, because it’s really hard to over cook dark meat, and because I like it better. But, since my husband likes the breast meat, and I got a wicked deal on some chicken breast, that’s what we’re using here. However, next time I’d probably use boneless chicken thighs. Anyway, the picture below shows what you’re trying to get for a nicely seared outside, as it’ll add flavor to the dish.
Properly Seared Chicken
Put the chicken aside once it is cooked.
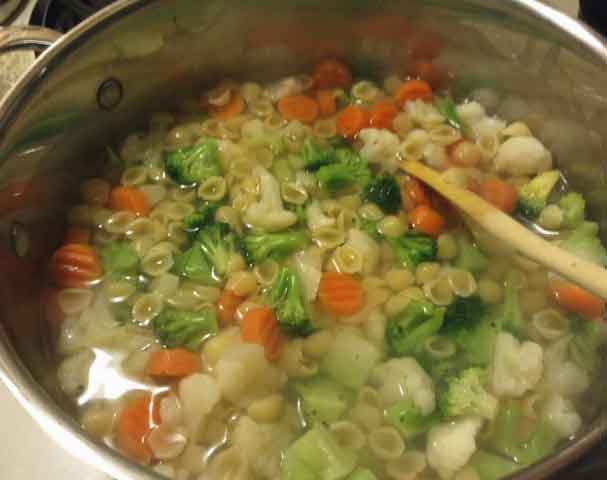
Now we need to cook the pasta and vegetables. Using a large pan, put enough water in to cook 2 cups of pasta, and a couple of dashes of salt. Bring the water to a boil, and add the two cups of pasta to the water. When the pasta is almost ready but not quite tender enough to be considered done, pour the bag of frozen mixed vegetables into the pan with the pasta.
Pasta and Vegetables Cooking
Bring the water back to a boil and let it cook for two or three minutes after that. Once the vegetables are done, the pasta should also be ready. Drain the water.
Spoon some of the pasta and vegetables onto a plate, and place some chicken on top of the pasta and vegetables.
Chicken, Pasta and Vegetables on a plate
Then ladle some of the Alfredo sauce over your chicken, pasta and vegetables. And Voila! Yay Alfredo Sauce!!
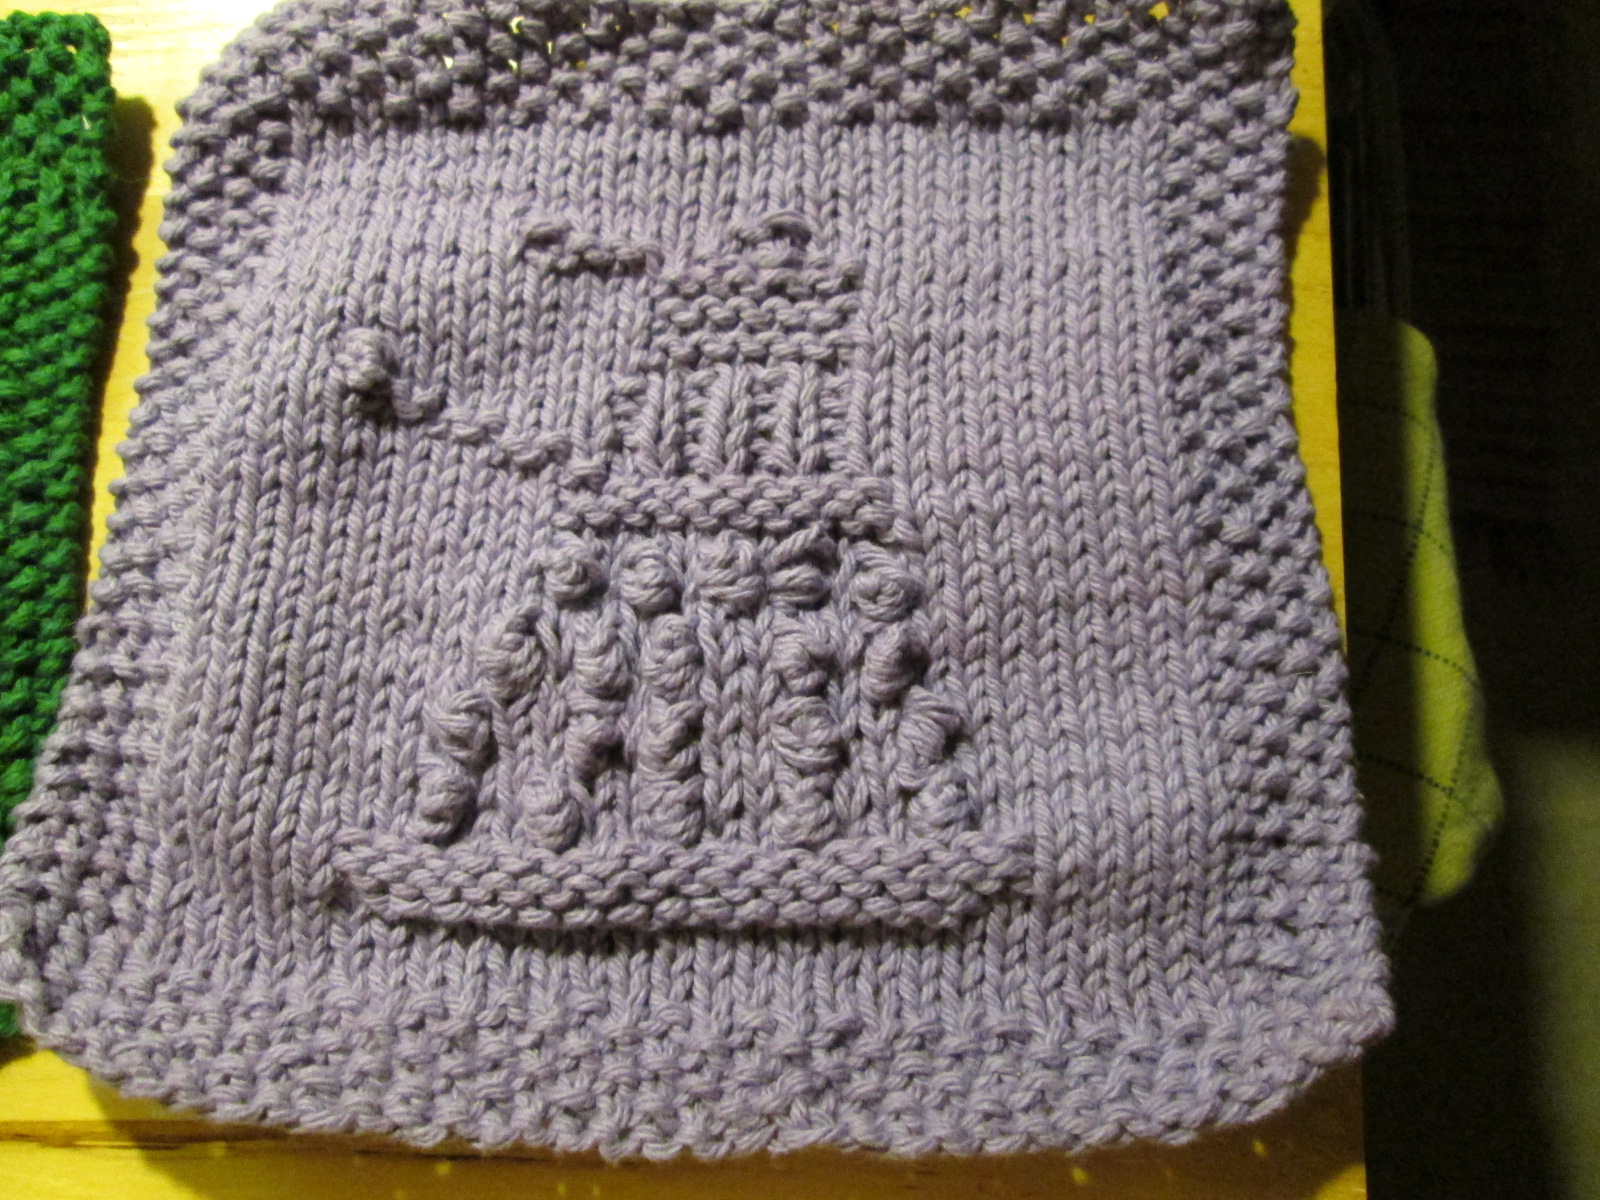
This is a dishrag, with a Dalek knitted into it. You won’t use it to do laundry, but you might need to wash it eventually. Here’s how.
WASH CYCLE
And another thing, you can’t buy laundry soap without coconut in it either. (To get a list of coconut derivatives, go here, thanks to Becky at the Allergic to Coconut? blog.) Since I decided I wanted to try cutting out any coconut derivatives that touch my skin, laundry soap was a target too.
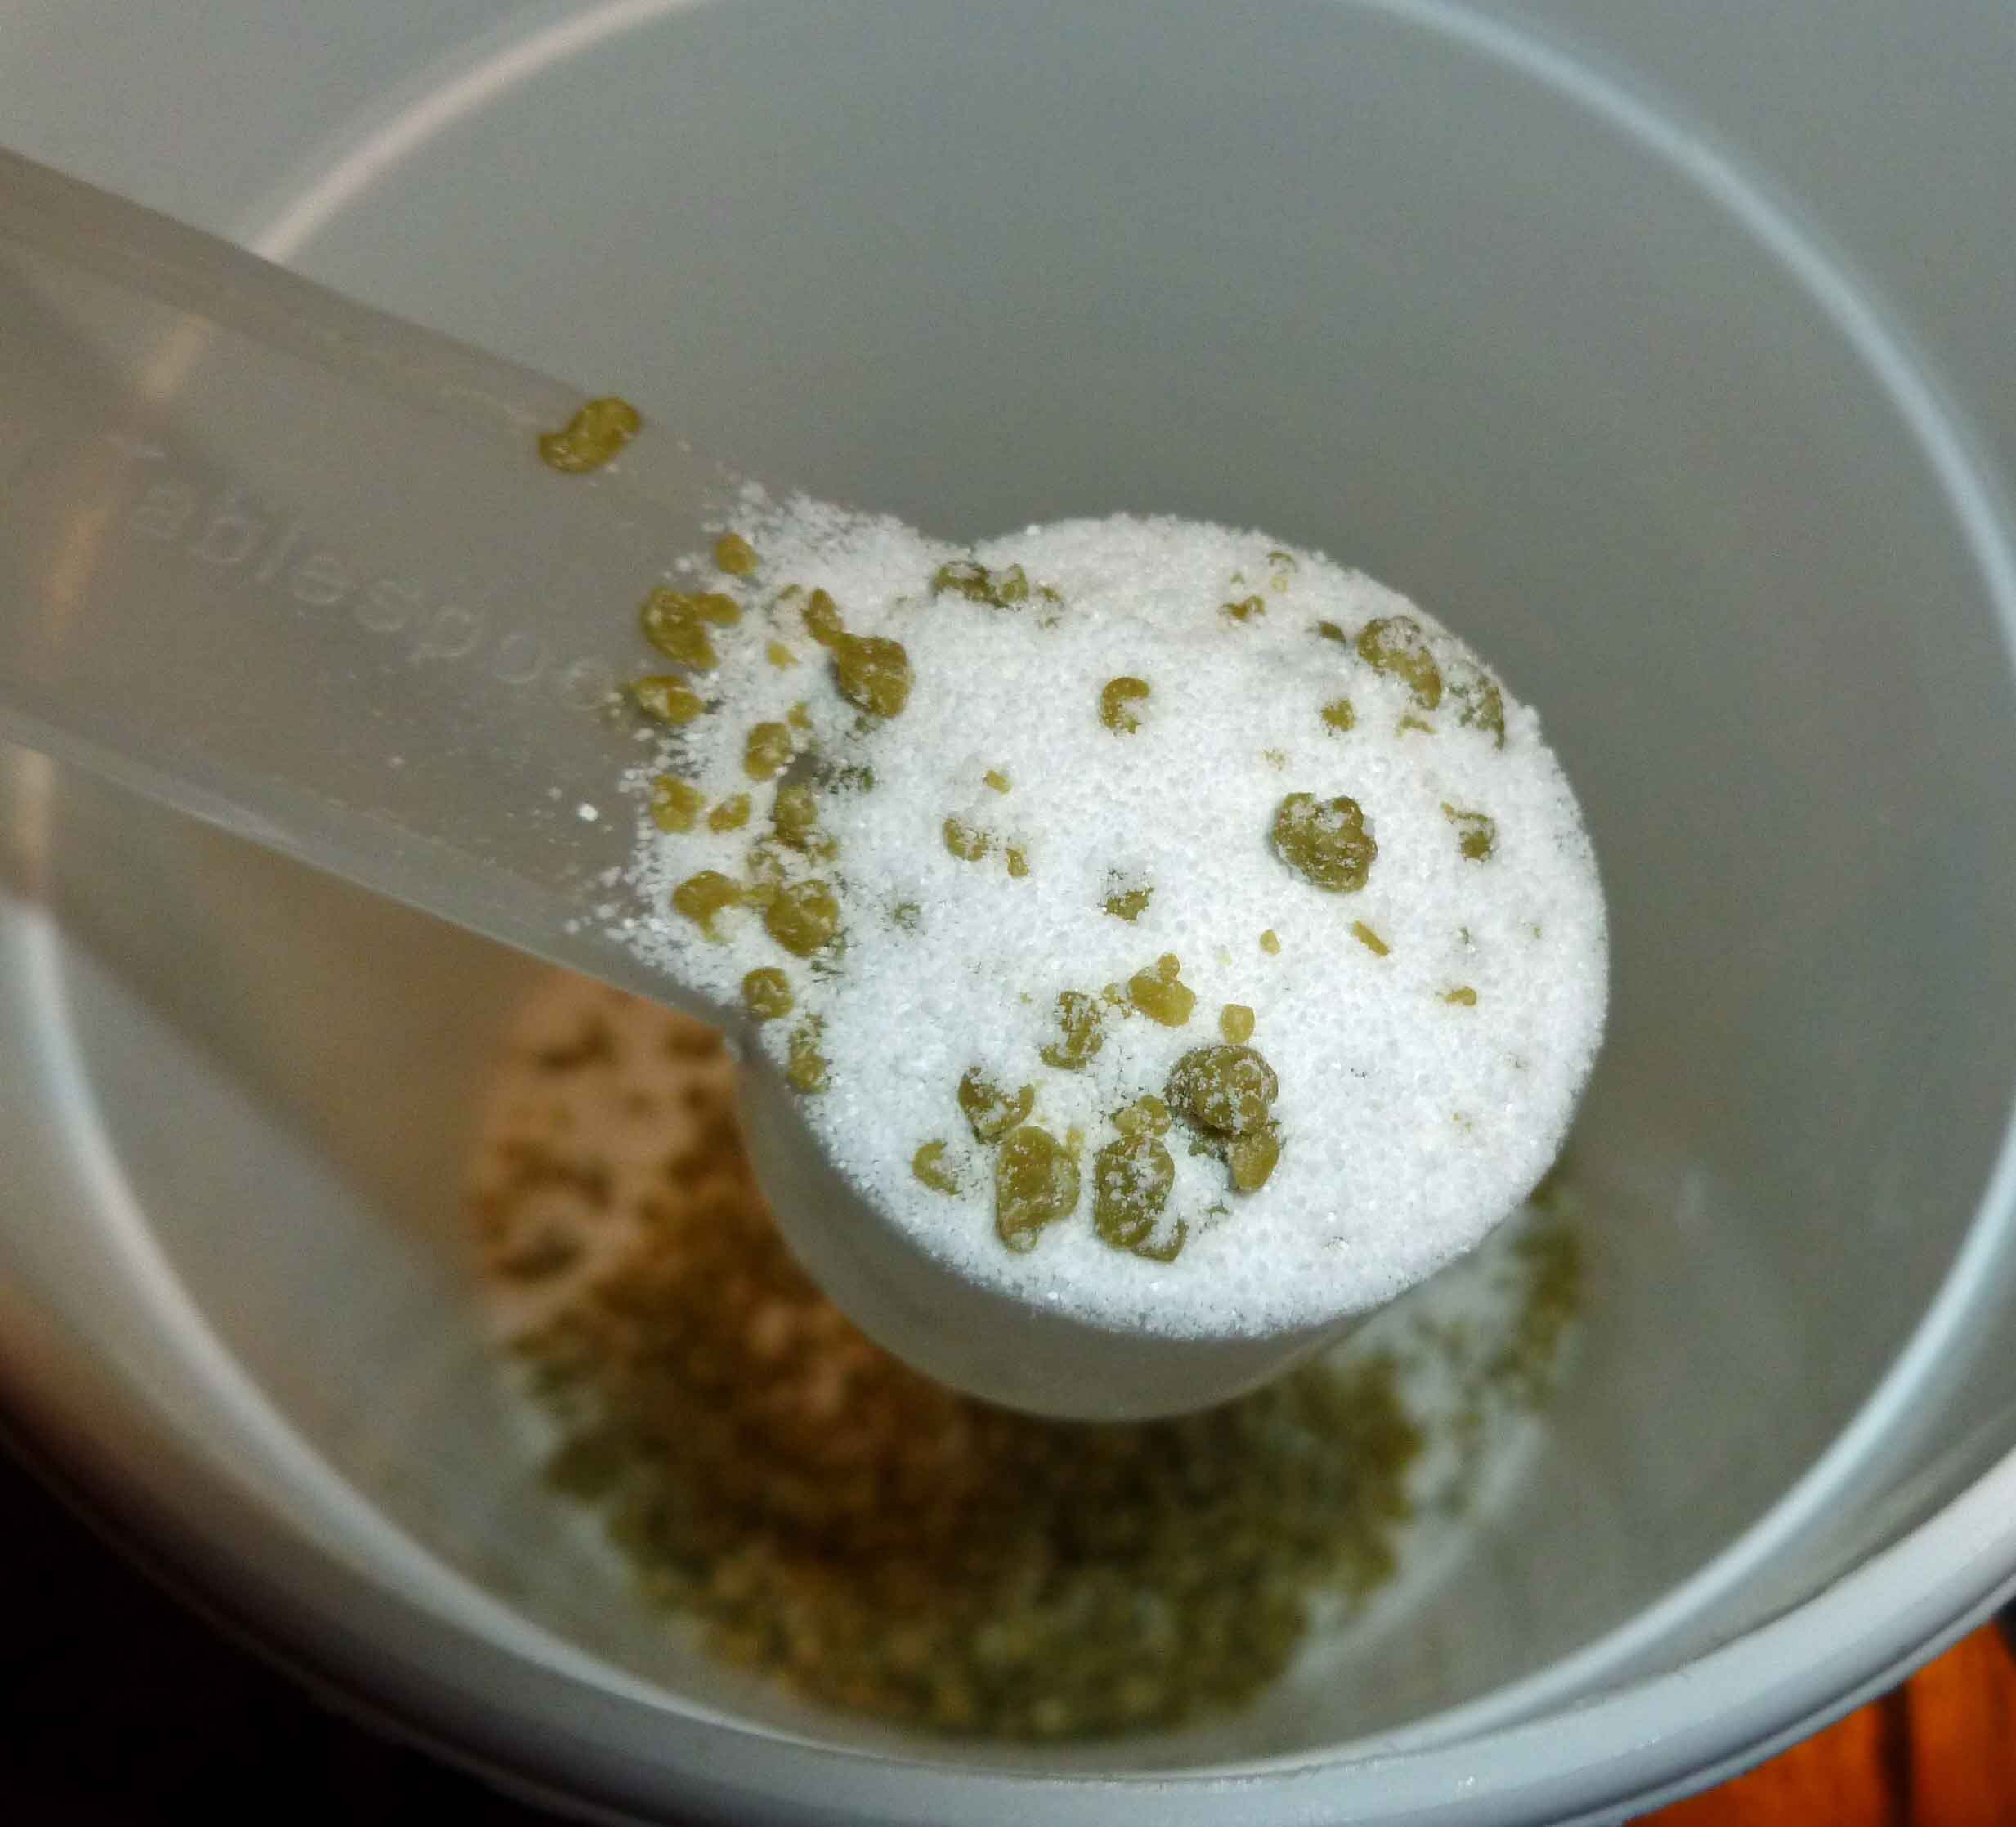
1 Kiss My Face Pure Olive Oil Soap – 8 oz bar, grated (I grated it in my food processor, dumped it out, put the blade in, put it back in the food processor and pulverized it some more. Doesn’t take as long to dissolve in the water this way. Make sure you clean your food processor really well afterwards.)
Grate Kiss My Face Soap. Place in container with borax and washing soda and mix thoroughly. Use 2 Tablespoons per load. A tablespoon of the laundry detergent
DRY CYCLE
For the dryer, dryer sheets are loaded with chemicals and waxes, and aren’t great for people with sensitive skin. Let’s assume coconut is a common base ingredient here like it is everywhere else. What can you do?
You can make your own felted wool dryer balls to use in place of fabric softener, or you can buy them or use the plastic ones. Amazon has both here.
Also magical? Balls of foil. Don’t you love a cheap fix? Or use vinegar. This, or a cup or so in the rinse cycle, if you’re good at paying attention, both do wonders for static.
Now, neither of us has tried soap nuts, and Denise isn’t sure if they are potentially cross-reactive with coconut/palm (anyone know?), but they’re another potential alternative out there. Anyone tried this?
Sorry. We can’t help you with folding. But Martha can:
I’ve been working on this recipe a while and this is another one of my fire breather recipes. This is really, really spicy chili. If you don’t want really, really spicy chili, I’ll make notes about how to turn it down a notch, and how to turn it down 10 notches (*see asterisk below ingredients), just in case you all don’t have stomachs lined with asbestos. Also, in case your stomach is lined with asbestos, I’ll give you notes about how to take it up to super octane, the way I make it when my husband and I are not sharing with others (**see double asterisks below ingredients, I will also note the Scoville units for each pepper so you can decide what to leave in and what to leave out if you wish). I like the cocoa powder in it because it gives the sauce a richer feel and color. Also, be aware that this recipe makes about 3 quarts of chili. It freezes incredibly well, so we freeze it in single serve containers and then just take one out and bring it to work to nuke for lunch. The pictures show me making a double batch, because it’s a bit more work than I like to do to make it, so I do it once and put the rest in our chest freezer until we want to eat it.
It’s Winter, Warm Yourself Up Chili
1 lb bags of small red beans (or kidney beans or any other bean of your choice. Mix it up!)
1 Tablespoon of Epazote (Mexican herb used in bean dishes to reduce gas, you can skip this if you don’t have any on hand. It doesn’t have much flavor, think dried parsley.)
1 whole dried red chipotle pepper – 15,000 Scoville units (omit or use a quarter teaspoon of ground chipotle instead if worried about spice)
1/2 of a dried Guajillo pepper -6,000 Scoville units (omit if worried about spice)
1/2 of a dried Ancho chili pepper – 3,000 Scoville units (omit or use a quarter teaspoon of ground ancho instead if worried about spice)
1 whole dried Cascabel chili pepper – 11,000 Scoville units (omit if worried about spice)
1 lb package of ground beef
2 medium onions, chopped
2-3 stalks of celery, chopped
2-3 cloves of garlic, minced
1 Tablespoon of canola oil
1 28 ounce can of diced tomatoes
1/2 of a green bell pepper, seeded and chopped – 0 Scoville units (the other half you can just throw in a freezer ziploc bag and put in the freezer to use for next time, I don’t even bother to chop it up first and peppers freeze beautifully whole)
1/2 of a red bell pepper, seeded and chopped – 0 Scoville units
1/4 of a Habanero pepper, seeded and diced into very, very small pieces – 100,000 to 350,000 Scoville units (USE RUBBER GLOVES to chop and seed or you may be very, very sorry. Ask me how I know, and how long it took my hands to stop burning the time I was dumb enough not to wear gloves. Pop the rest in the freezer in a ziploc for next time. Also, omit entirely if you are worried about spice)
3 Tablespoons of chili powder (I used Penzey’s Hot Chili Powder, but you could use regular chili powder and knock it back to 2 Tablespoons)
1 1/2 Tablespoons of cocoa powder
1/2 to 1 teaspoon of salt, or to taste.
*How to turn it down 10 notches – If you can’t eat anything with spice, omit all the peppers except for the red and green bell pepper, and the chili powder, and knock the chili powder back to 2 Tablespoons.
**How to turn it up to super octane – To your dried peppers, add the following: 1 whole dried Dundicut chili pepper -60,000 Scoville units; 1 whole dried Piquin chili pepper – 70,000 Scoville units; and 1 whole dried Sanaam chili pepper – 40,000 Scoville units; use the entire Guajillo and Ancho dried peppers instead of half, and use the whole Habanero. Add Sriracha sauce – 2200 Scoville units, to taste after cooking. Seriously, this is a really, really beyond hot chili, and is not for casual consumption.
Choose one of the two methods below to re-hydrate your beans.
Overnight soaking method: Sort through the beans, looking for rocks (yes, it’s happened), other things that are not beans, and any discolored beans and hulls, and remove them. Wash the beans in a colander, and put them in a stock pot (the one I use is an 8 quart size), with enough water to cover beans by 2 inches. Let soak overnight or at least 6 to 8 hours.
Beans after Overnight Soak Method
Quick soak method: Again, sort and wash the beans as described above. Put the beans in a stock pot (the one I use is an 8 quart size), with enough water to cover beans by 2 inches. Bring to a boil, then boil for 2 minutes. Remove from heat, cover and let stand for an hour.
If you used the overnight soak, drain the beans out in a colander, and rinse them and the stock pot. Put the beans back in the stock pot, with enough water to cover and the epazote, and cook on medium low, mixing occasionally and adding water as needed, until the beans are tender and the skins split. If you used the quick soak method, make sure there’s enough water in the pot, add the epazote and cook on medium low, mixing occasionally and adding water as needed, until the beans are tender and the skins split.
Beans and Epazote at beginning of cooking process
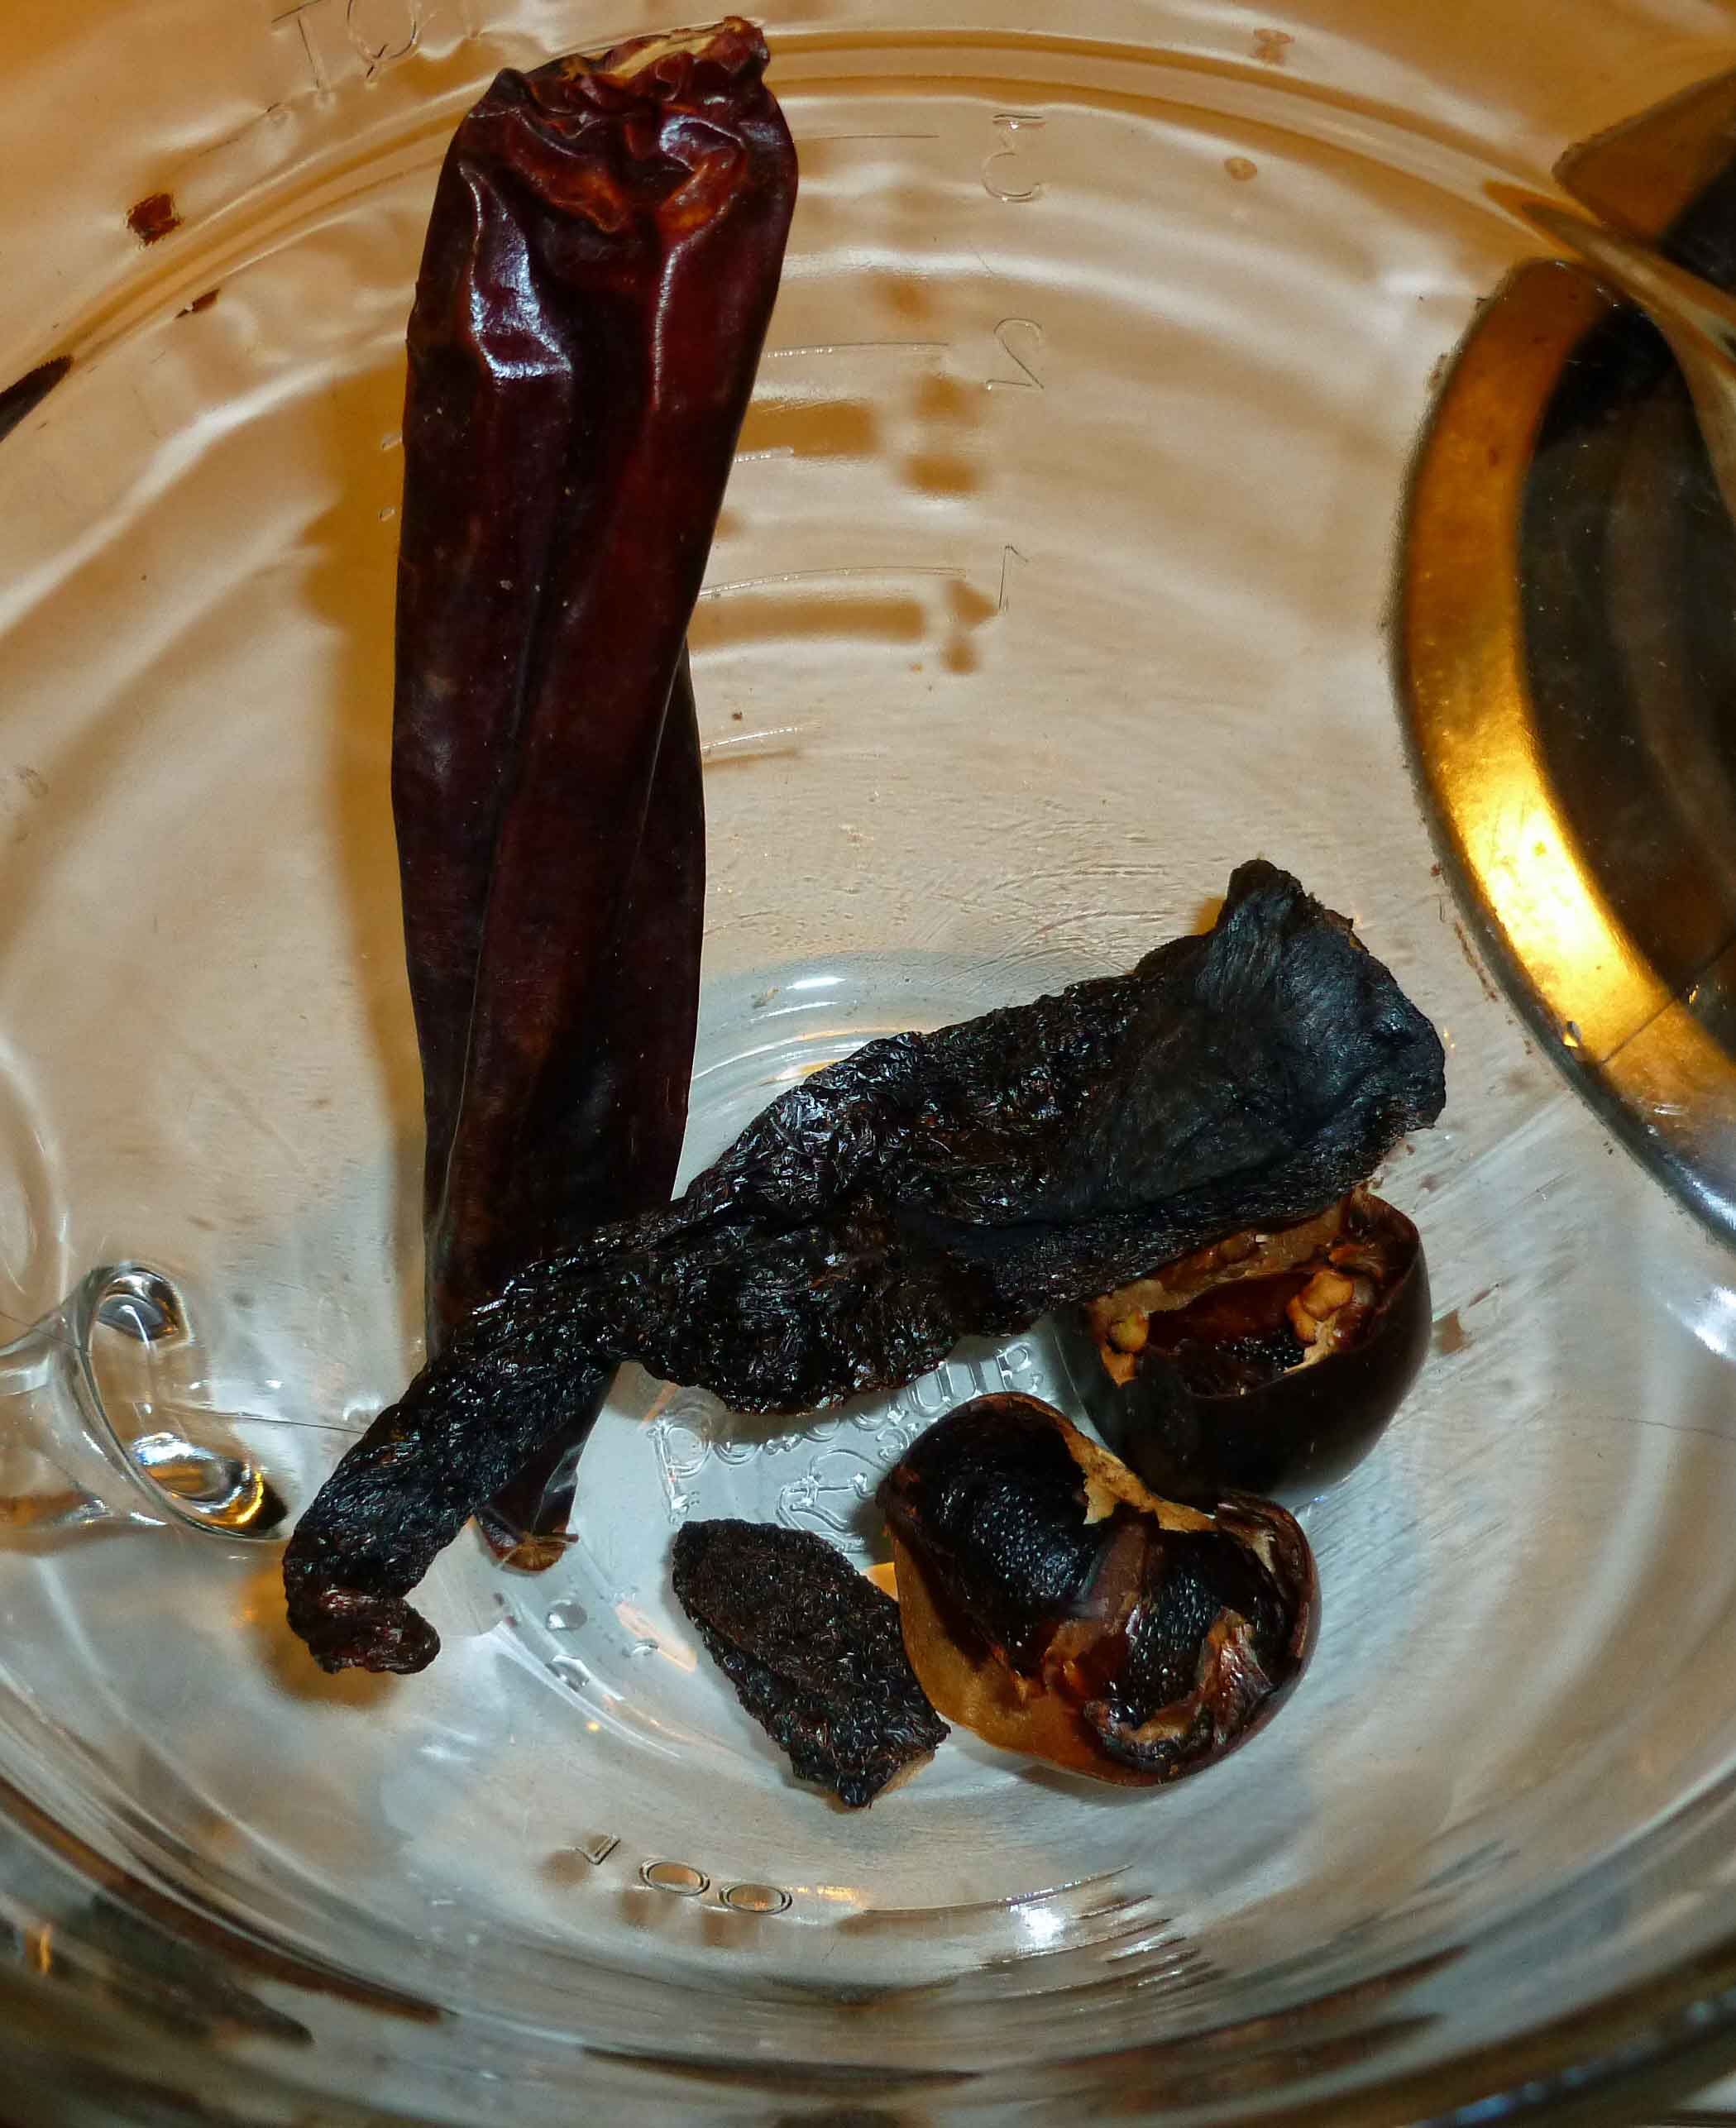
While the beans are cooking you need to re-hydrate your dried peppers. Take the stems off, remove the seeds, and cut them into small pieces, putting them in a microwave safe container. I used kitchen shears to cut them into pieces. Add about a quarter cup of water to the container and nuke it in the microwave for 1-2 minutes to re-hydrate them a bit. Set them aside.
Dried Peppers before chopping and re-hydratingDried Peppers after re-hydrating
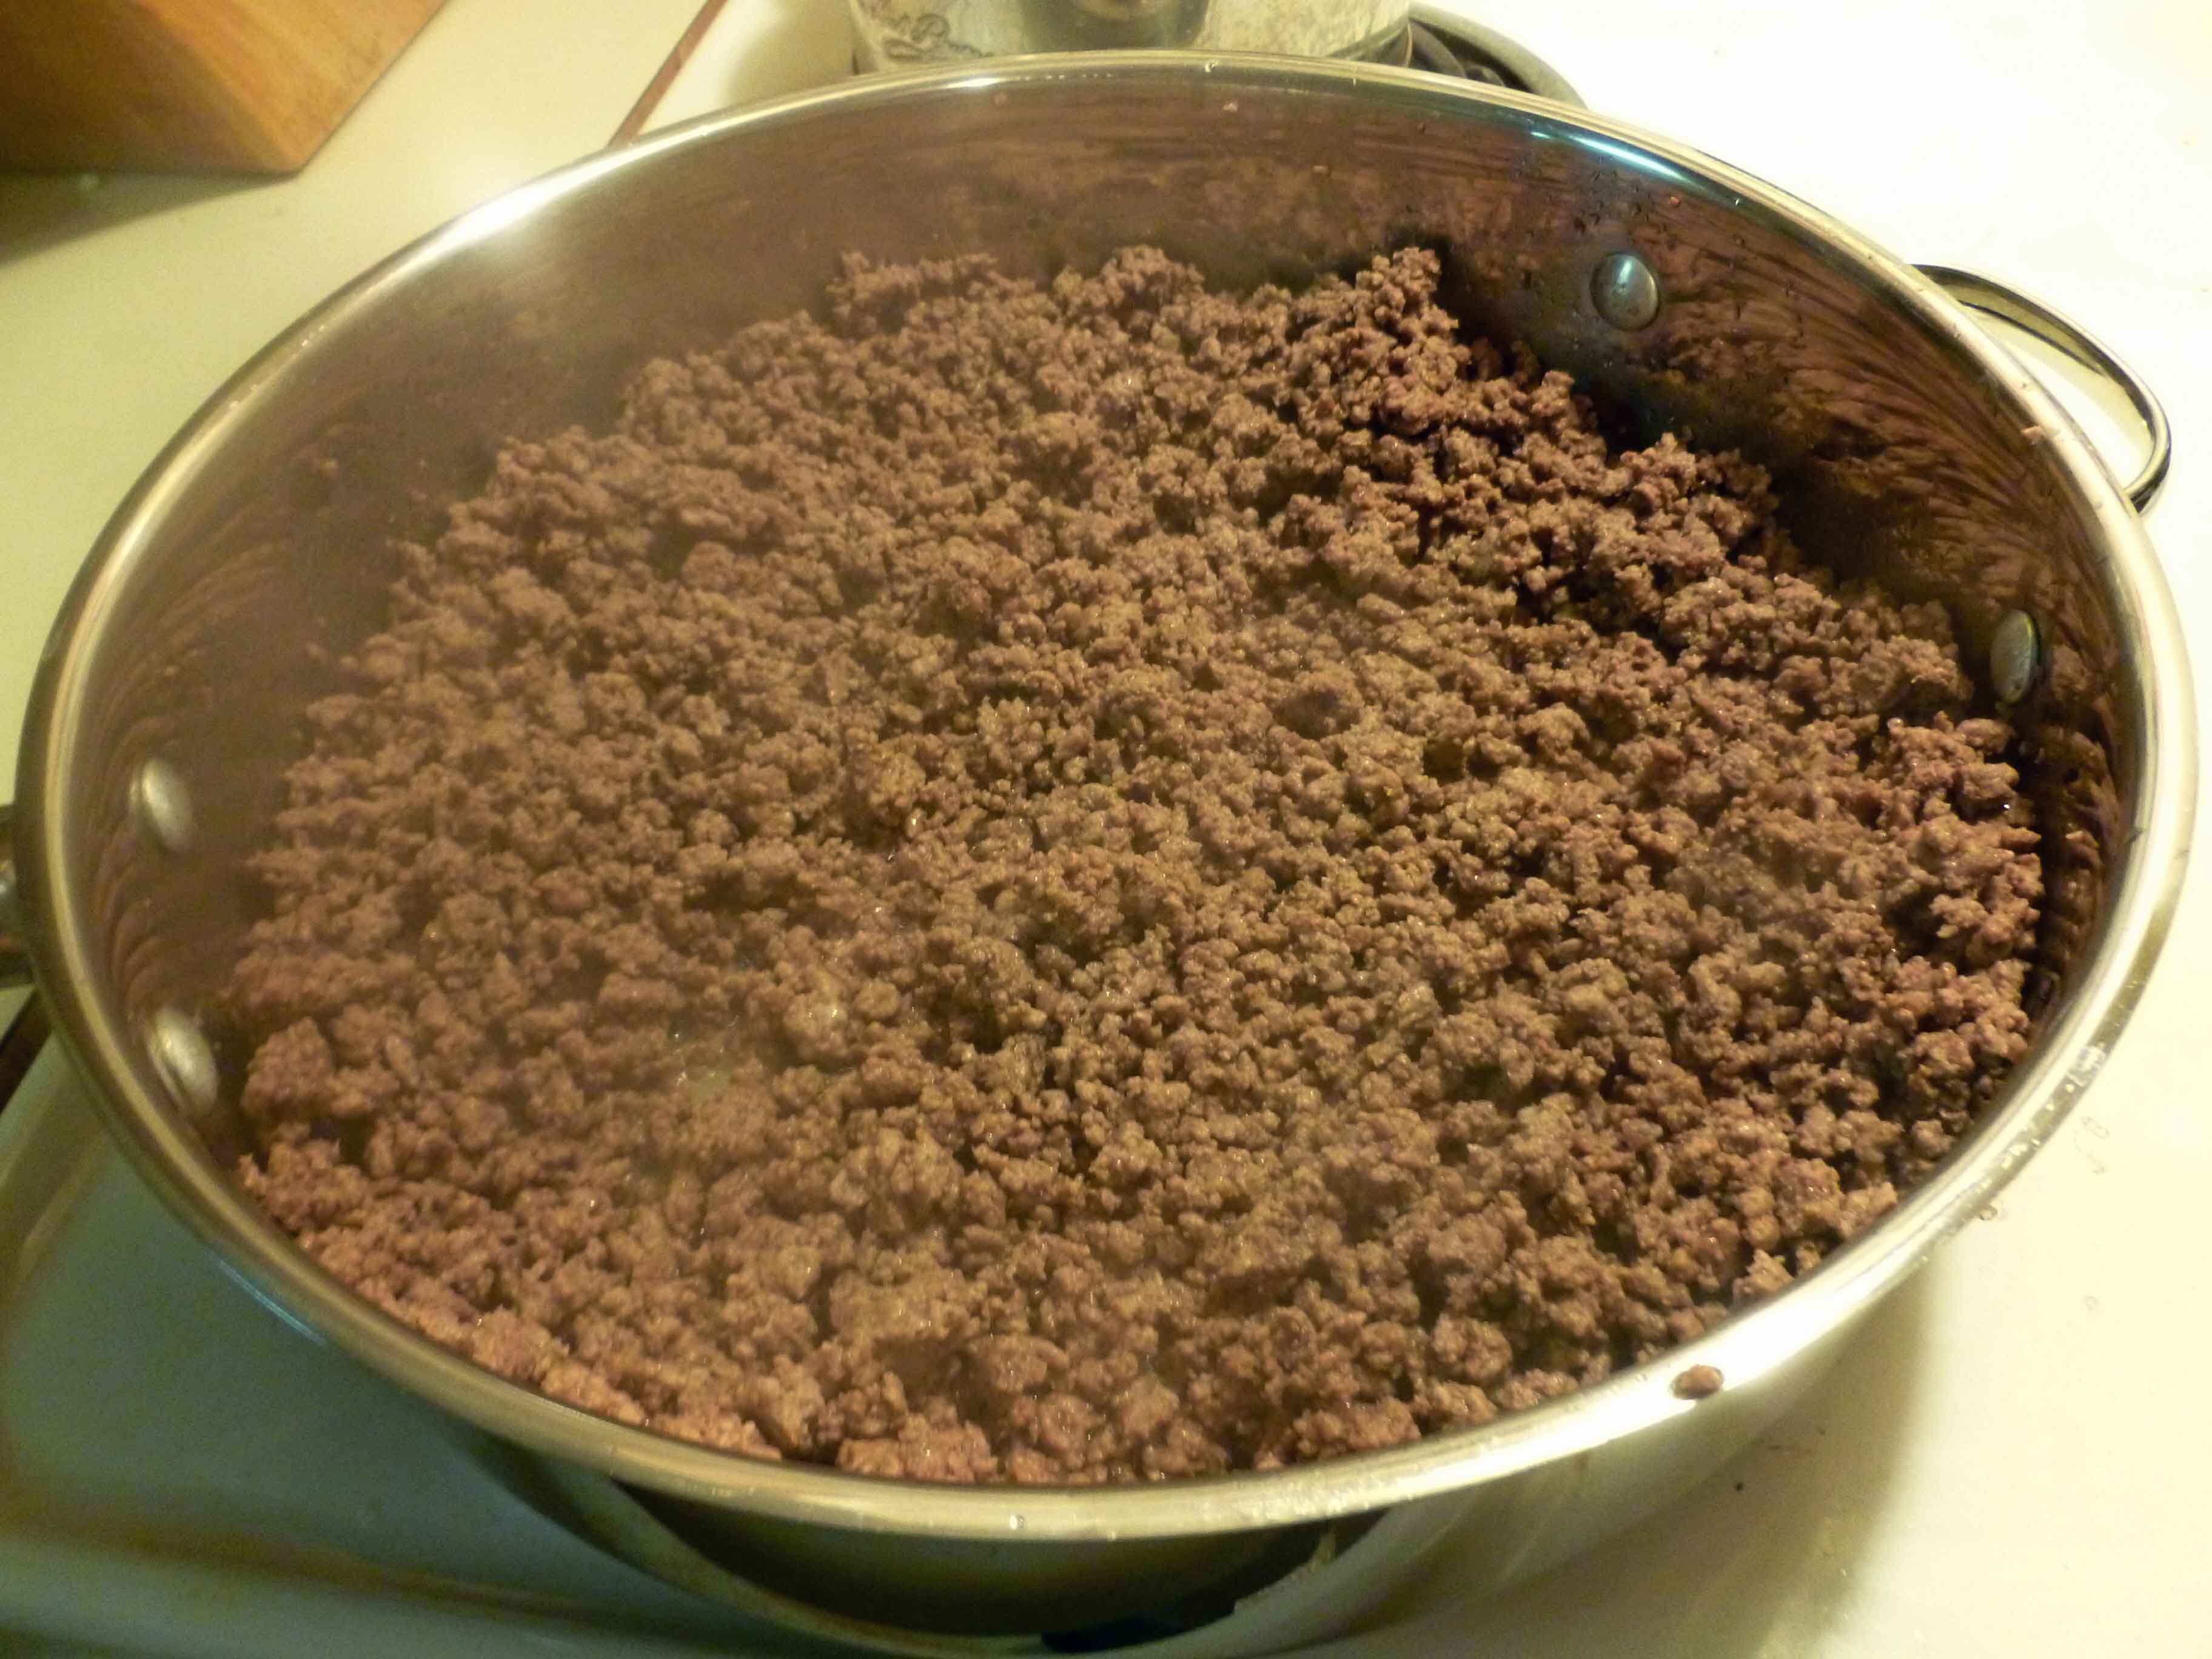
In a frypan, brown and drain your ground beef, drain off the fat and discard it, and set the ground beef aside.
Browned Ground Beef
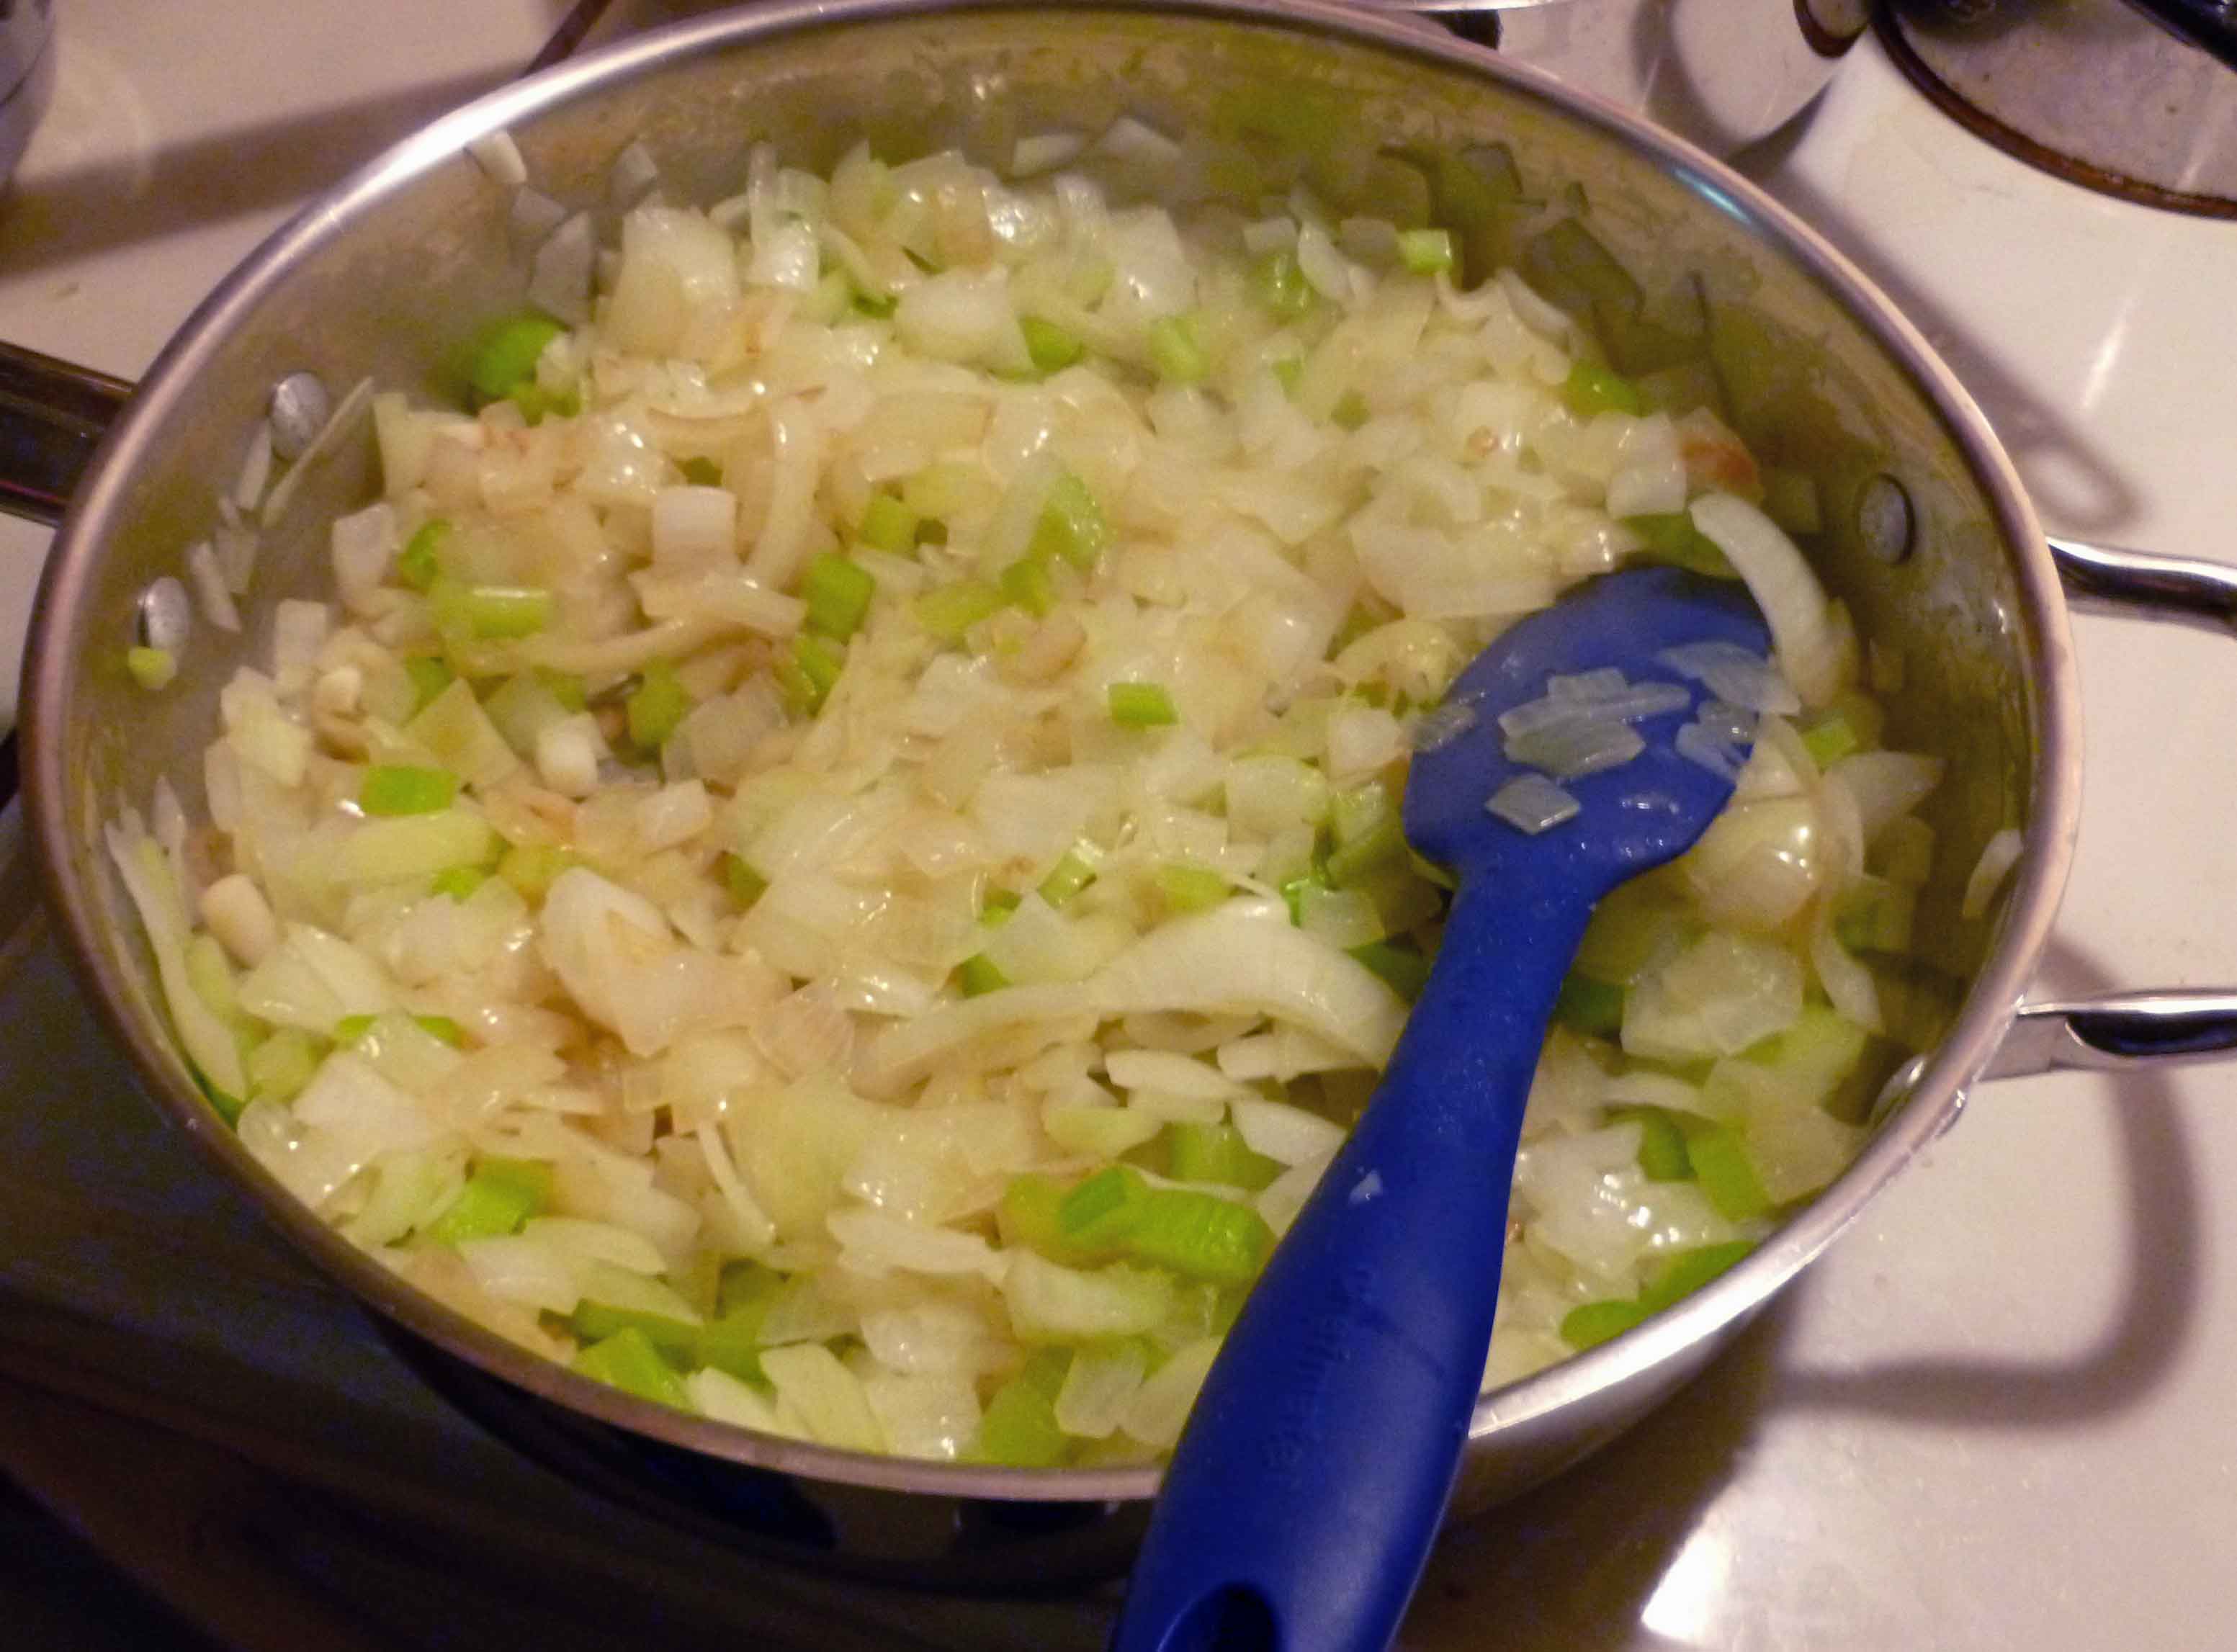
In another frypan, or the same one if you moved your beef to another container, saute onions, celery and garlic in the canola oil until they are translucent.
Onions, Celery and Garlic after sauteing
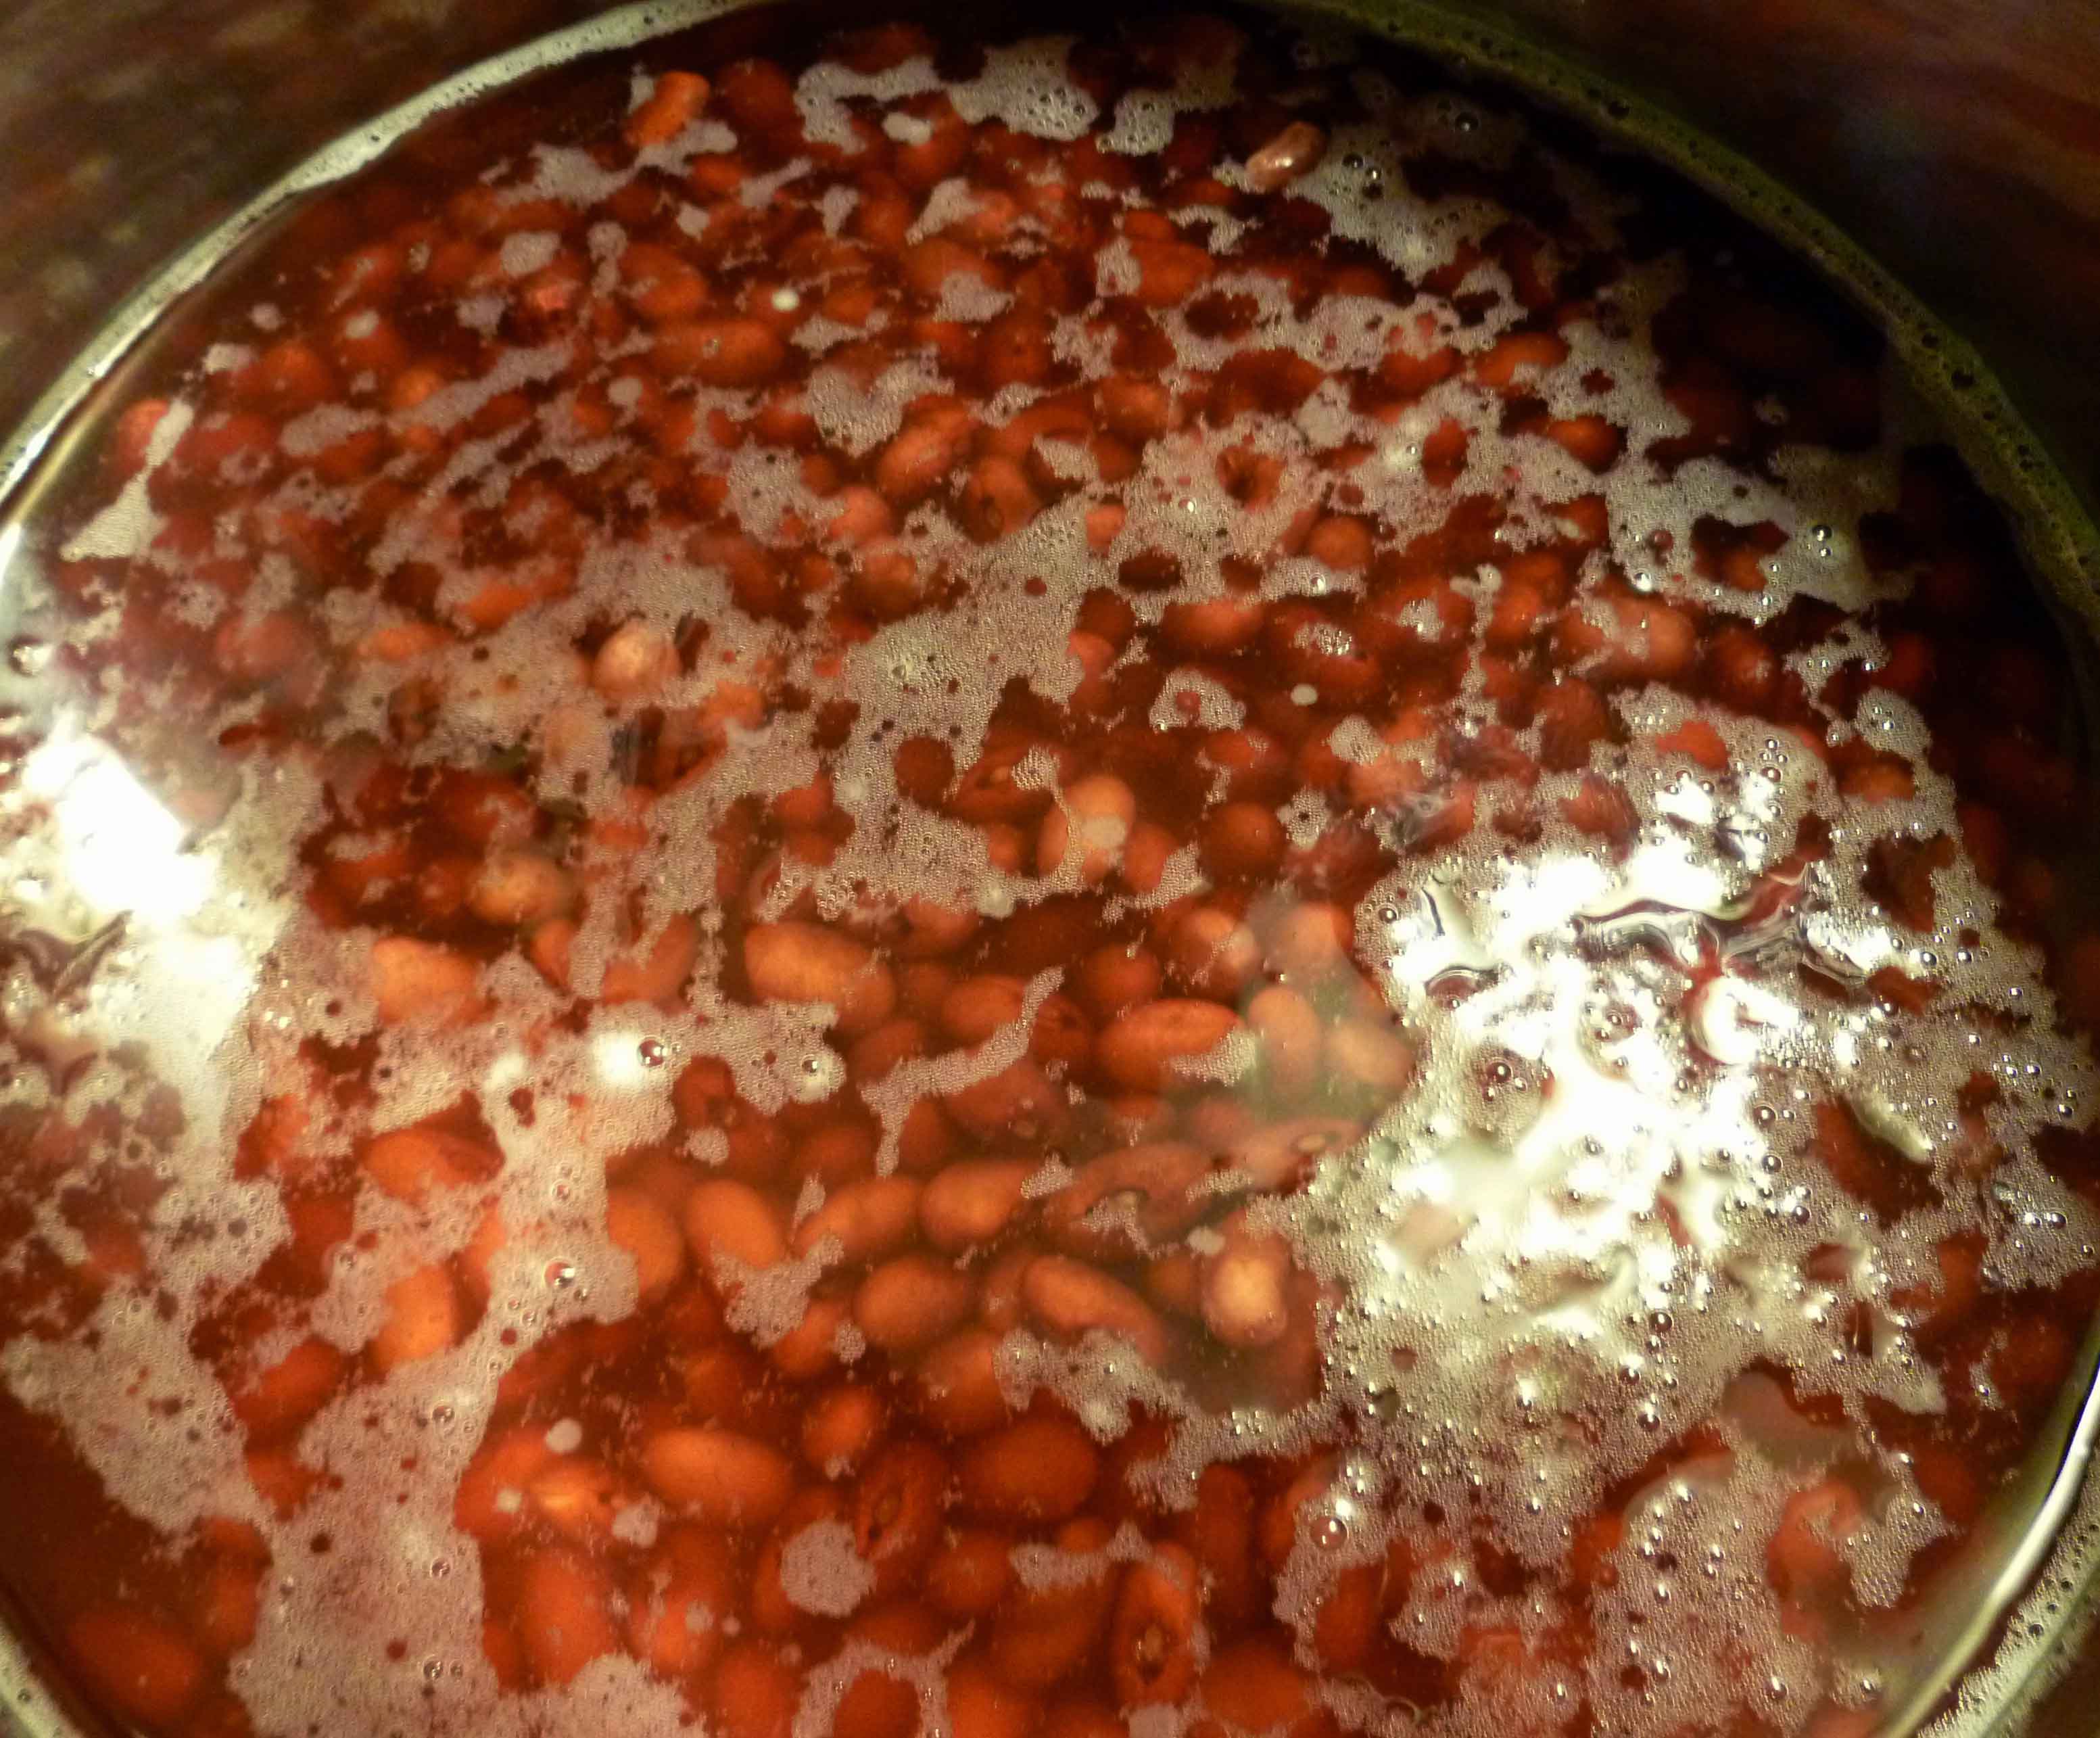
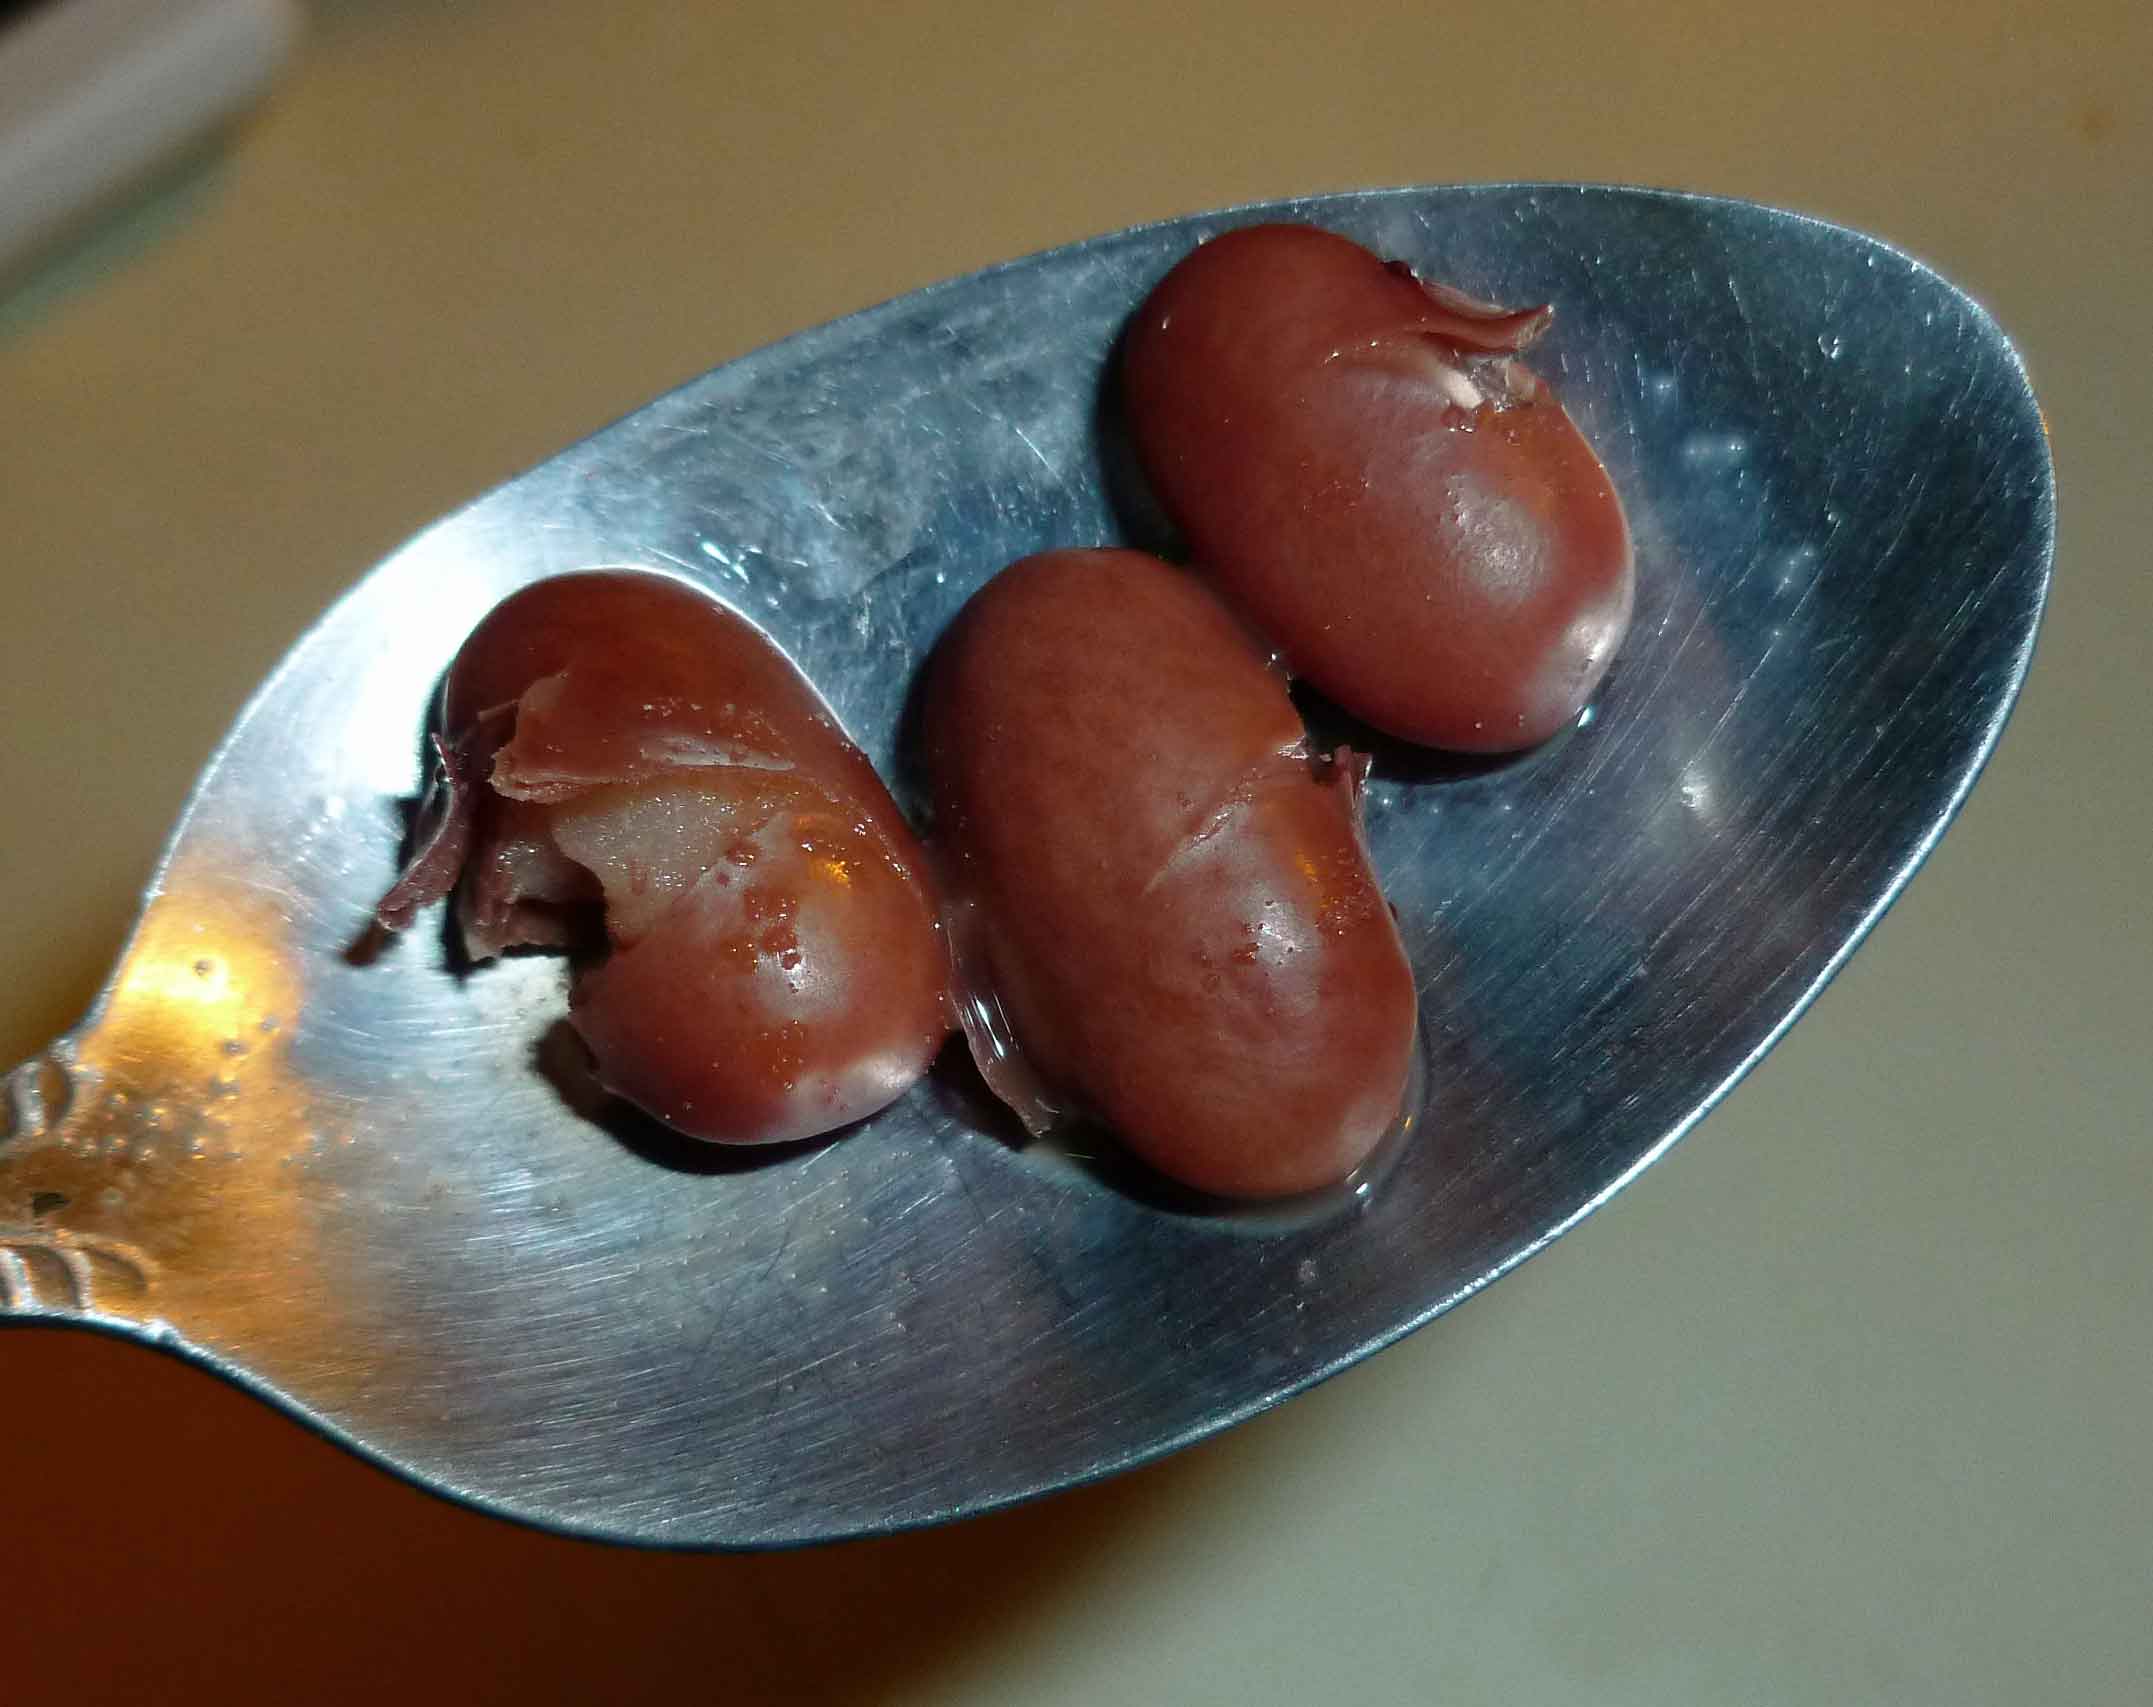
Your beans will be ready when they look like this:
Properly Cooked Beans
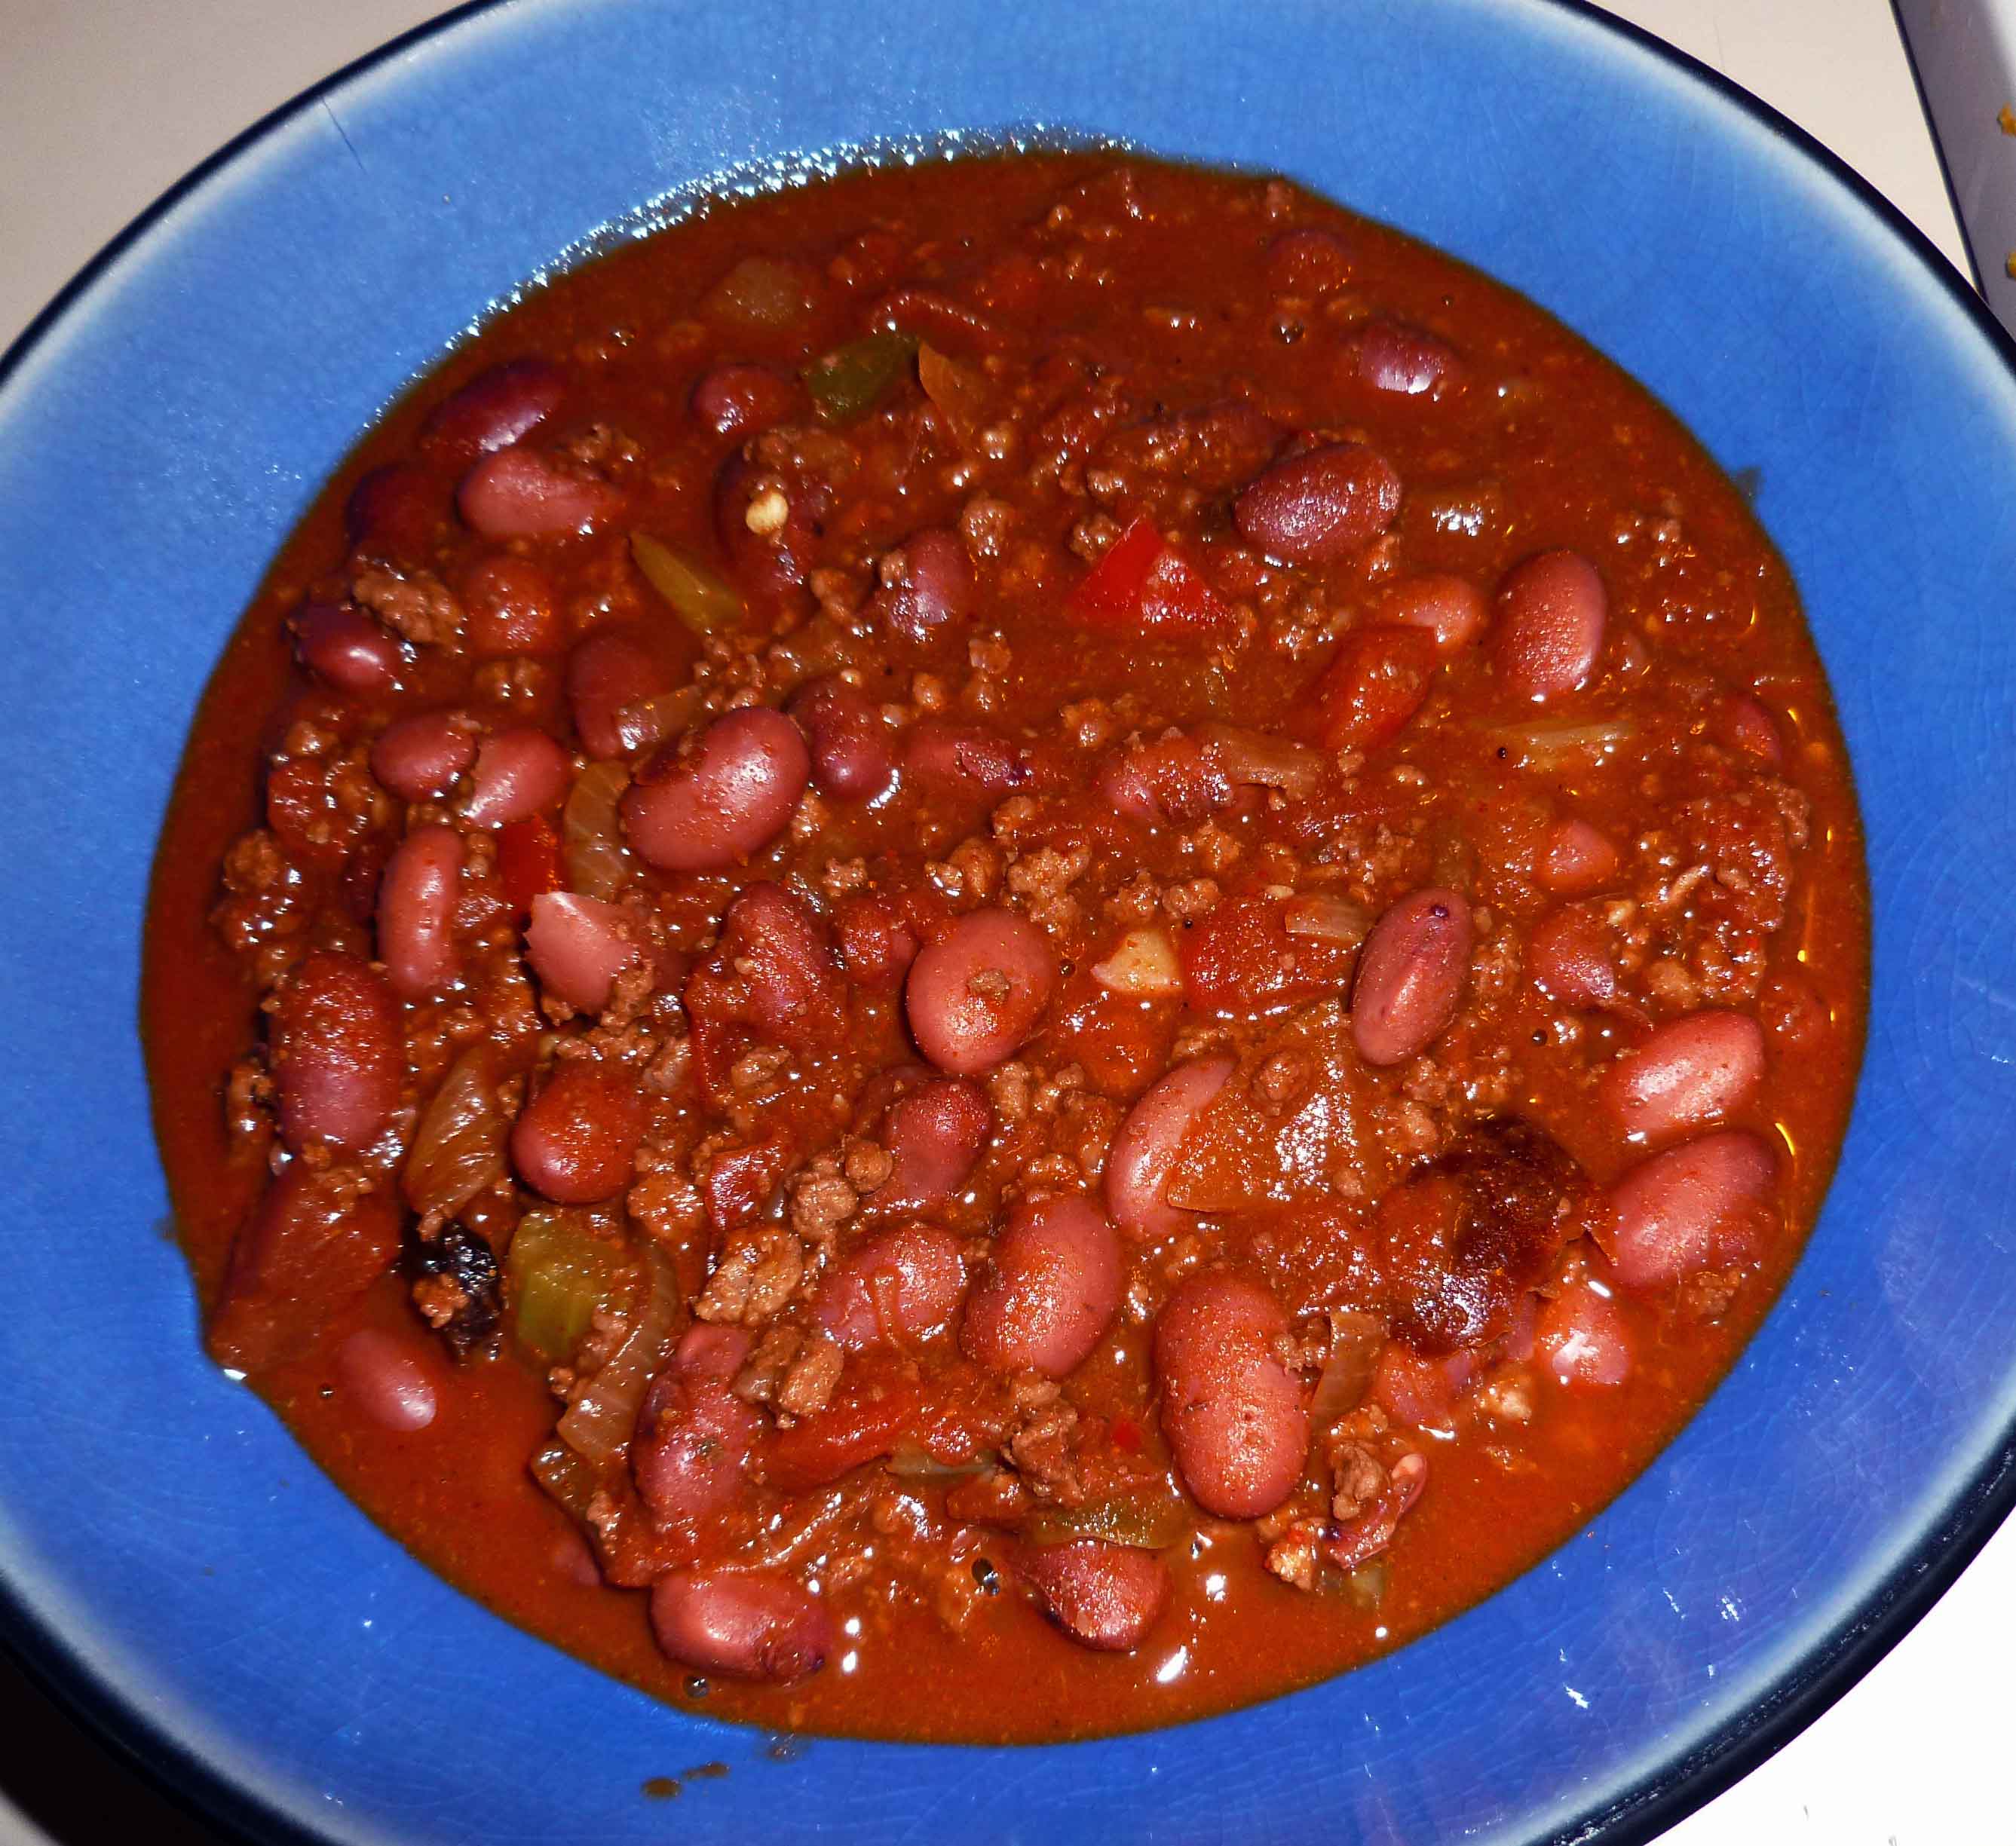
Once the beans are ready, add the ground beef, and the onion, celery and garlic mixture to the pot, scraping down carefully. Then add your re-hydrated dried peppers, the diced tomatoes (do not drain), the Habanero, red and green bell peppers, the chili powder and the cocoa powder. Mix until thoroughly combined.
Simmer for about an hour and a half, stirring occasionally. When chili is cooked, taste and add salt as necessary.
This was one of my favorites when I was a kid, and it’s also really fast if you were supposed to bring something to a potluck/holiday party/family dinner and maybe you didn’t get it together because the holiday season is so crazy and if you have to find time to do one more thing you’re going to go off your head. Not that I’ve been there (repeatedly) or anything.
No Bake Cookies
1/4 cup of evaporated rice milk (there are two ways to make this at home using either rice milk or rice powder to be explained below or, if you can have and/or like soy, you can use soy creamer).
1/2 cup of crunchy peanut butter (see Nut-free sunbutter variation below)
1 teaspoon of vanilla extract (if you’re out of vanilla and desperate, Goslings Black Seal Rum works nicely too).
1 3/4 cups to 2 cups of quick oats (get certified gluten free if you need them gluten free).
This makes about 12 cookies about two inches across.
First, you need to make yourself some evaporated rice milk.
Method 1: You can take unsweetened rice milk (or other unsweetened alternative milk product of your choice) and measure out 1/2 a cup into a very small sauce pan. Place it over medium heat and stir frequently until it has reduced in half. (You could make more than you need and keep in the fridge for other holiday baking).
Method 2 (and the one I used): Put 1 1/2 Tablespoons of rice milk powder in a glass measuring cup. Pour boiling water into the glass measuring cup until it measures 1/4 of a cup of milk powder and water. Whisk powder and water together until well combined.
Thanks to Alisa Fleming’s Go Dairy Free cookbook for both of these options. For most baking you would need to wait for the resulting evaporated rice milk cooled, but not for this recipe.
Melt the Earth Balance in a 4 quart pan. Once it has melted completely, add the sugar, evaporated milk, and the cocoa powder. Stir mixture to incorporate all the ingredients completely, and bring the mixture to a boil for one minute, continuing to stir frequently. Remove the pan from the heat, and add the peanut butter and vanilla. Stir until the peanut butter, except the crunchy bits have dissolved into the mixture. Add the oats and mix thoroughly. Cover cutting board or a cookie sheet with wax paper. Using spoon, portion out the mixture into two inch wide cookies on the cookie sheet and let them harden for at least 10 minutes. I cheat and do it in the fridge, they harden faster. Or just skip the cookie part and eat them out of the pan. I’m not here to judge.
Enjoy 🙂
NUT-FREE Sunbutter Variation!
1/2 cup soy-free Earth Balance
1 cup brown sugar, packed
2 Tablespoons cocoa powder
1/4 cup evaporated rice milk
1/2 cup crunchy Sunbutter or other sunflower seed butter
My dog-eared copy of Whole Grain Breads by Machine and Hand by Beatrice Ojakangas
This is not a book for those of you who can’t have gluten. This book does have five recipes in a chapter entitled “Nonwheat Breads” but two of them have spelt, and I think that spelt is still problematic for some folks. In any case, this review is geared for those who can eat wheat and gluten, but not eggs and milk.
When I first realized that I was really and truly going to have to cut all milk out of my life, I had a huge adjustment to face with respect to bread. When it comes to every day bread, sandwich and toast bread, I’m cheap as hell. I wanted to buy store brand or one step up from store brand sliced bread that you could get for less than two bucks (I haven’t bought a loaf of bread in two and half years, what’s a loaf of Country Kitchen Oatmeal Bread run these days??). Most of the breads out there fitting this description have milk in them. Now, I’m aware that I could buy artisan bread in the bakery section of the grocery store that would be milk free. It was also too expensive for my blood for day to day use, although I’d be happy to buy it for entertaining friends. So, according to my Amazon account, I bought my first bread machine on May 30, 2010. It was very inexpensive, because I didn’t want to blow a whole lot of money on something I was trying for the first time and wasn’t sure I’d use. The first loaf of bread I made according to the recipes that came with the bread machine could have sunk a canoe if properly propelled. It was so dense that I felt like I had a brick in my stomach after eating it. After having read the reviews of the bread machine on Amazon, which stated that the thing worked great, but that the recipes in the manual were garbage and to go get a bread machine book, I asked around at my knitting group (Mary Kate and I are both knitters) which met at a bookstore. No one had any specific advice, but our friend Linda got up to go look around and came back with Whole Grain Breads by Machine or Hand by Beatrice Ojakangas. I bought it at retail at a now defunct Borders store, but you can get it at Amazon, or ask your local retailer.
I have used the recipes in this book so often, that I wore out the first bread machine and had to purchase a second on March 31, 2012, once again according to my Amazon account. My copy is fairly dog-eared, stained and has some minor water damage, but since I can still read the recipe and my handwritten notes, it’s all good. There are two hundred recipes in the book, and after paging through the book I would say that I’ve tried about 40 of the recipes. There are very few recipes that need modification. Of those that do, I’ve been able to substitute nonfat dry milk with with rice milk powder or soy milk powder (except that I’ve discovered I really don’t like soy), milk with the alternative milk replacement product of your choice (I use rice milk), butter with Earth Balance Soy Free Buttery Spread or Earth Balance Vegan Buttery Sticks, and buttermilk with the alternative milk replacement product of your choice and a little bit of vinegar. The very few recipes with cheese and egg, I’ve just ignored (although I’m considering attempting to use chia seed as an egg replacement). There are chapters on breads made with sourdough starters and with sponges, but that just takes more planning than I’m normally able to manage, so I have not tried those recipes either. Maybe during my staycation at the end of the month, I’ll manage a long yearned-for sourdough…ha..haha..ha.
In any case, I love, love this book. And one of the things that I love most about it, is that each recipe tells you how to make the bread by hand, by using a heavy-duty mixer (like a KitchenAid), using a food processor, using the bread machine and baking it in the bread machine, and using the bread machine to make the dough and baking it in your conventional oven. How cool is that? So when I wear out the bread machine again, I can make it in my mixer until the new one shows up. (No disrespect to my bread machine. For what I paid for it, and the kind of work out it gets, it’s a miracle it lasted that long the first time, and I liked it so much I bought the same one the second time around.) The other really cool thing is that each recipe has the ingredients for three different size loaves, a sampler loaf, a regular loaf, and an large loaf. I use the regular loaf for the 1.5 pound loaf setting on my bread machine and the large loaf for the 2 pound loaf setting.
Our two standby recipes are Maple Oatmeal Bread and Country White Bread. We pretty much make a loaf from each of these recipes once a week. These are great with any kind of sandwich and for toast. I eat a lot of toast because I pretty much gave up dry cereal as I can’t find a milk alternative that I can stand on cereal.
We’ve also made some of the more elaborate recipes, like the Beer and Mustard Rye Bread, Eleven Grain Buckwheat Bread, Ten Grain Cereal Bread, Chocolate Walnut and Wheat Bread (yummy!!), Cinnamon Pecan Wheat and Rye Bread, Caraway Onion Rye Bread, Rustic Grains Bread, and Oatmeal Seed Bread. There really hasn’t been a bread we didn’t like.
This is a great book for anyone (except anyone who can’t eat gluten or wheat). However, for those of us with food allergies to dairy and egg, there are so many recipes without either ingredient, and the substitutions I described above work so well, that I can recommend this book wholeheartedly.