Notice: Function _load_textdomain_just_in_time was called incorrectly. Translation loading for the wp-ultimate-recipe domain was triggered too early. This is usually an indicator for some code in the plugin or theme running too early. Translations should be loaded at the init action or later. Please see Debugging in WordPress for more information. (This message was added in version 6.7.0.) in /home/maryzahc/public_html/adultfoodallergies.com/wp-includes/functions.php on line 6131 denisedaniel – Page 18 – surviving the food allergy apocalypse (archive)
Hot Italian Sausage Burger with Peppers and Onions
As we’ve previously discussed, since it’s summer, we need things to grill outside, which means burgers. I made this burger because buying Italian sausage can be a tricky thing now. Sometimes I can get some that’s allergy free and sometimes I can’t. Also, I developed this recipe before the positive result on the allergy scratch test for onions, but since I’m still hoping the challenge will show I’m not really allergic to onions, and since many of you will still be able to enjoy it, here you go.
Hot Italian Sausage Burgers with Peppers and Onions
1 pound of ground pork (make sure your pork is not too lean or your burgers may be dry, if it is too lean, see the optional step below)
1/4 teaspoon of salt
1/2 teaspoon of garlic salt
1/8 teaspoon of ground black pepper
1 teaspoon of paprika
1/4 teaspoon of cayenne
1 Tablespoon of red wine vinegar
1/4 teaspoon of anise seed
1/4 teaspoon of fennel seed
1 teaspoon of red pepper flakes
2 Tablespoons of canola oil (you will use an additional teaspoon if you choose the optional step below)
1 red bell pepper
1 green bell pepper
1 vidalia onion (or regular yellow onion is fine too)
Place the ground pork into a large bowl. Sprinkle salt, garlic salt, black pepper, paprika, cayenne over pork. Pour red wine vinegar over the pork.
Take anise seed, fennel, and red pepper flakes and grind in a spice grinder (or coffee grinder or mortar and pestle). Take ground spice mixture and mix with oil in a small container. Pour spice and oil mix over pork, scraping down container to make sure it ends up in pork.
[OPTIONAL: Take a quarter to a half of the red bell pepper, green bell pepper and the vidalia onion (depending on the size of the onions and peppers, you don’t want to use so much that the burgers won’t hold together) and clean and chop them finely. Saute them in teaspoon of canola oil until the peppers are softer and the onions are just barely translucent. Remove them from heat and let them cool. To hurry this process along, feel free to put them in the freezer for a few minutes until they are cool. When they are, add them to the pork.]
Mix everything into the ground pork until well blended. The only way to do this really is with your hands. Think meatloaf. Cover bowl and refrigerate for 24 hours so the flavors can blend.
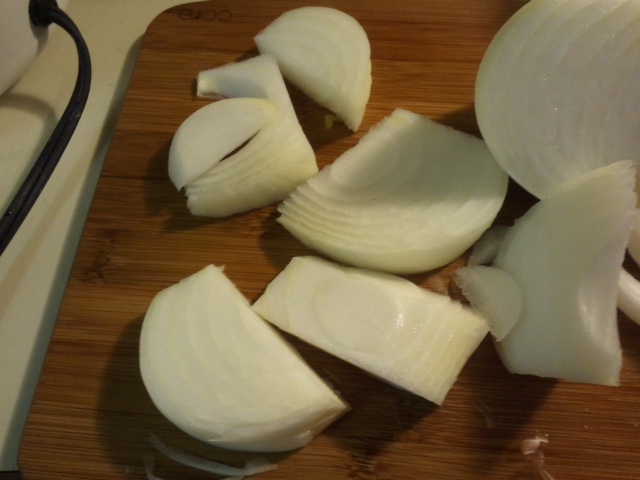
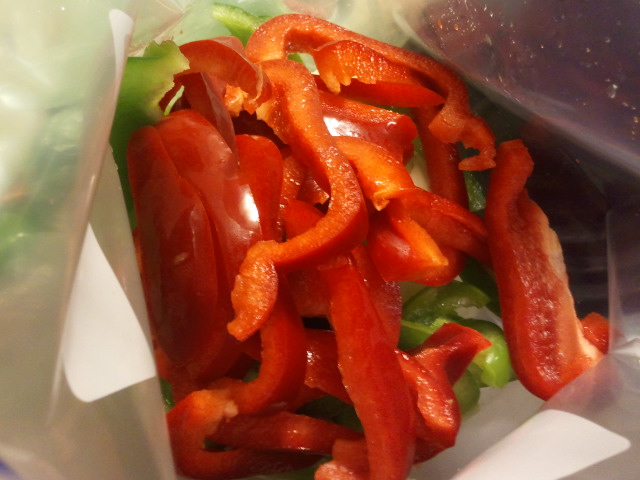
On the day you intend to grill the burgers, clean and de-seed the bell peppers and cut them into slices. Peel the onion, and slice it into slices.
Sliced OnionsSliced Peppers
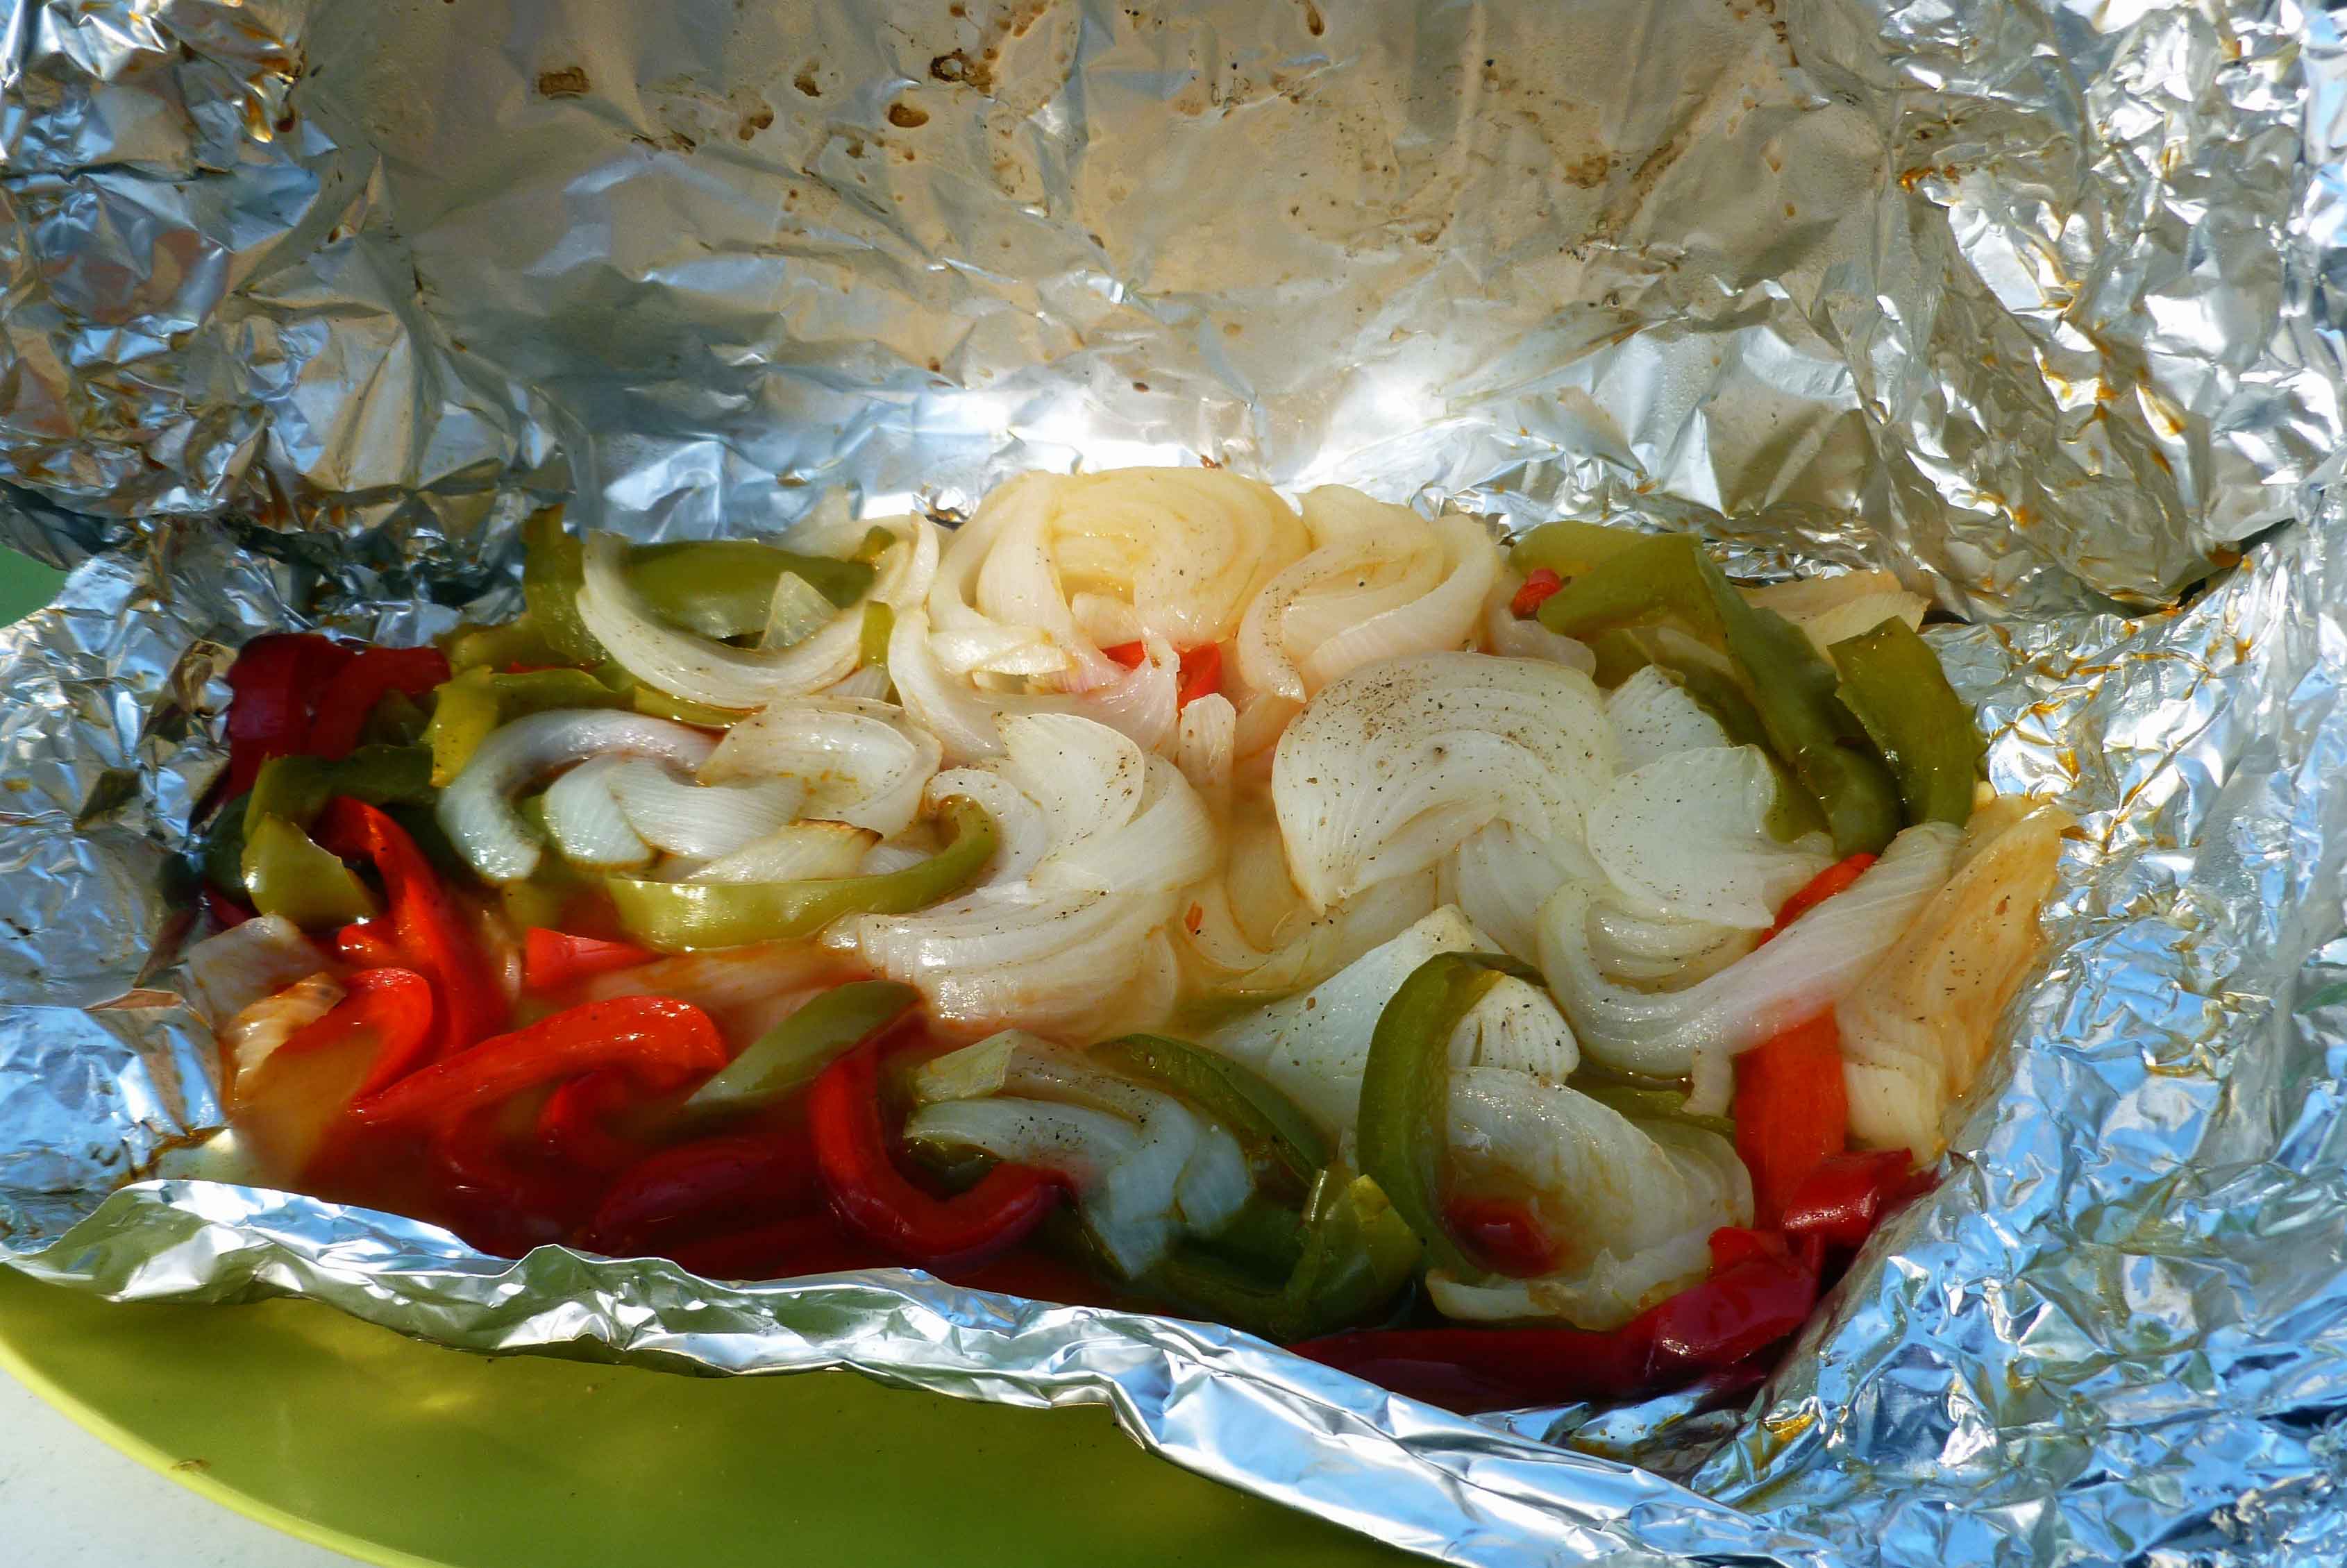
Wrap them up into a sealed foil packet. Cook them on the grill in the foil packet over indirect heat. (If you want to make this and you don’t have access to a grill, you could also do them in your oven. Preheat the oven to 4ooºF and place the packet on a cookie sheet. Check them after twenty minutes to see if they’re sufficiently cooked. You may need to let them go a little longer, so craft your foil packet so it’s easy to get open and seal back up. And be careful not to burn yourself with escaping steam.)
Cooked Peppers and Onions
Grill the burgers, making sure the pork is sufficiently cooked. (Or fry them in a pan if your’re cooking inside.)
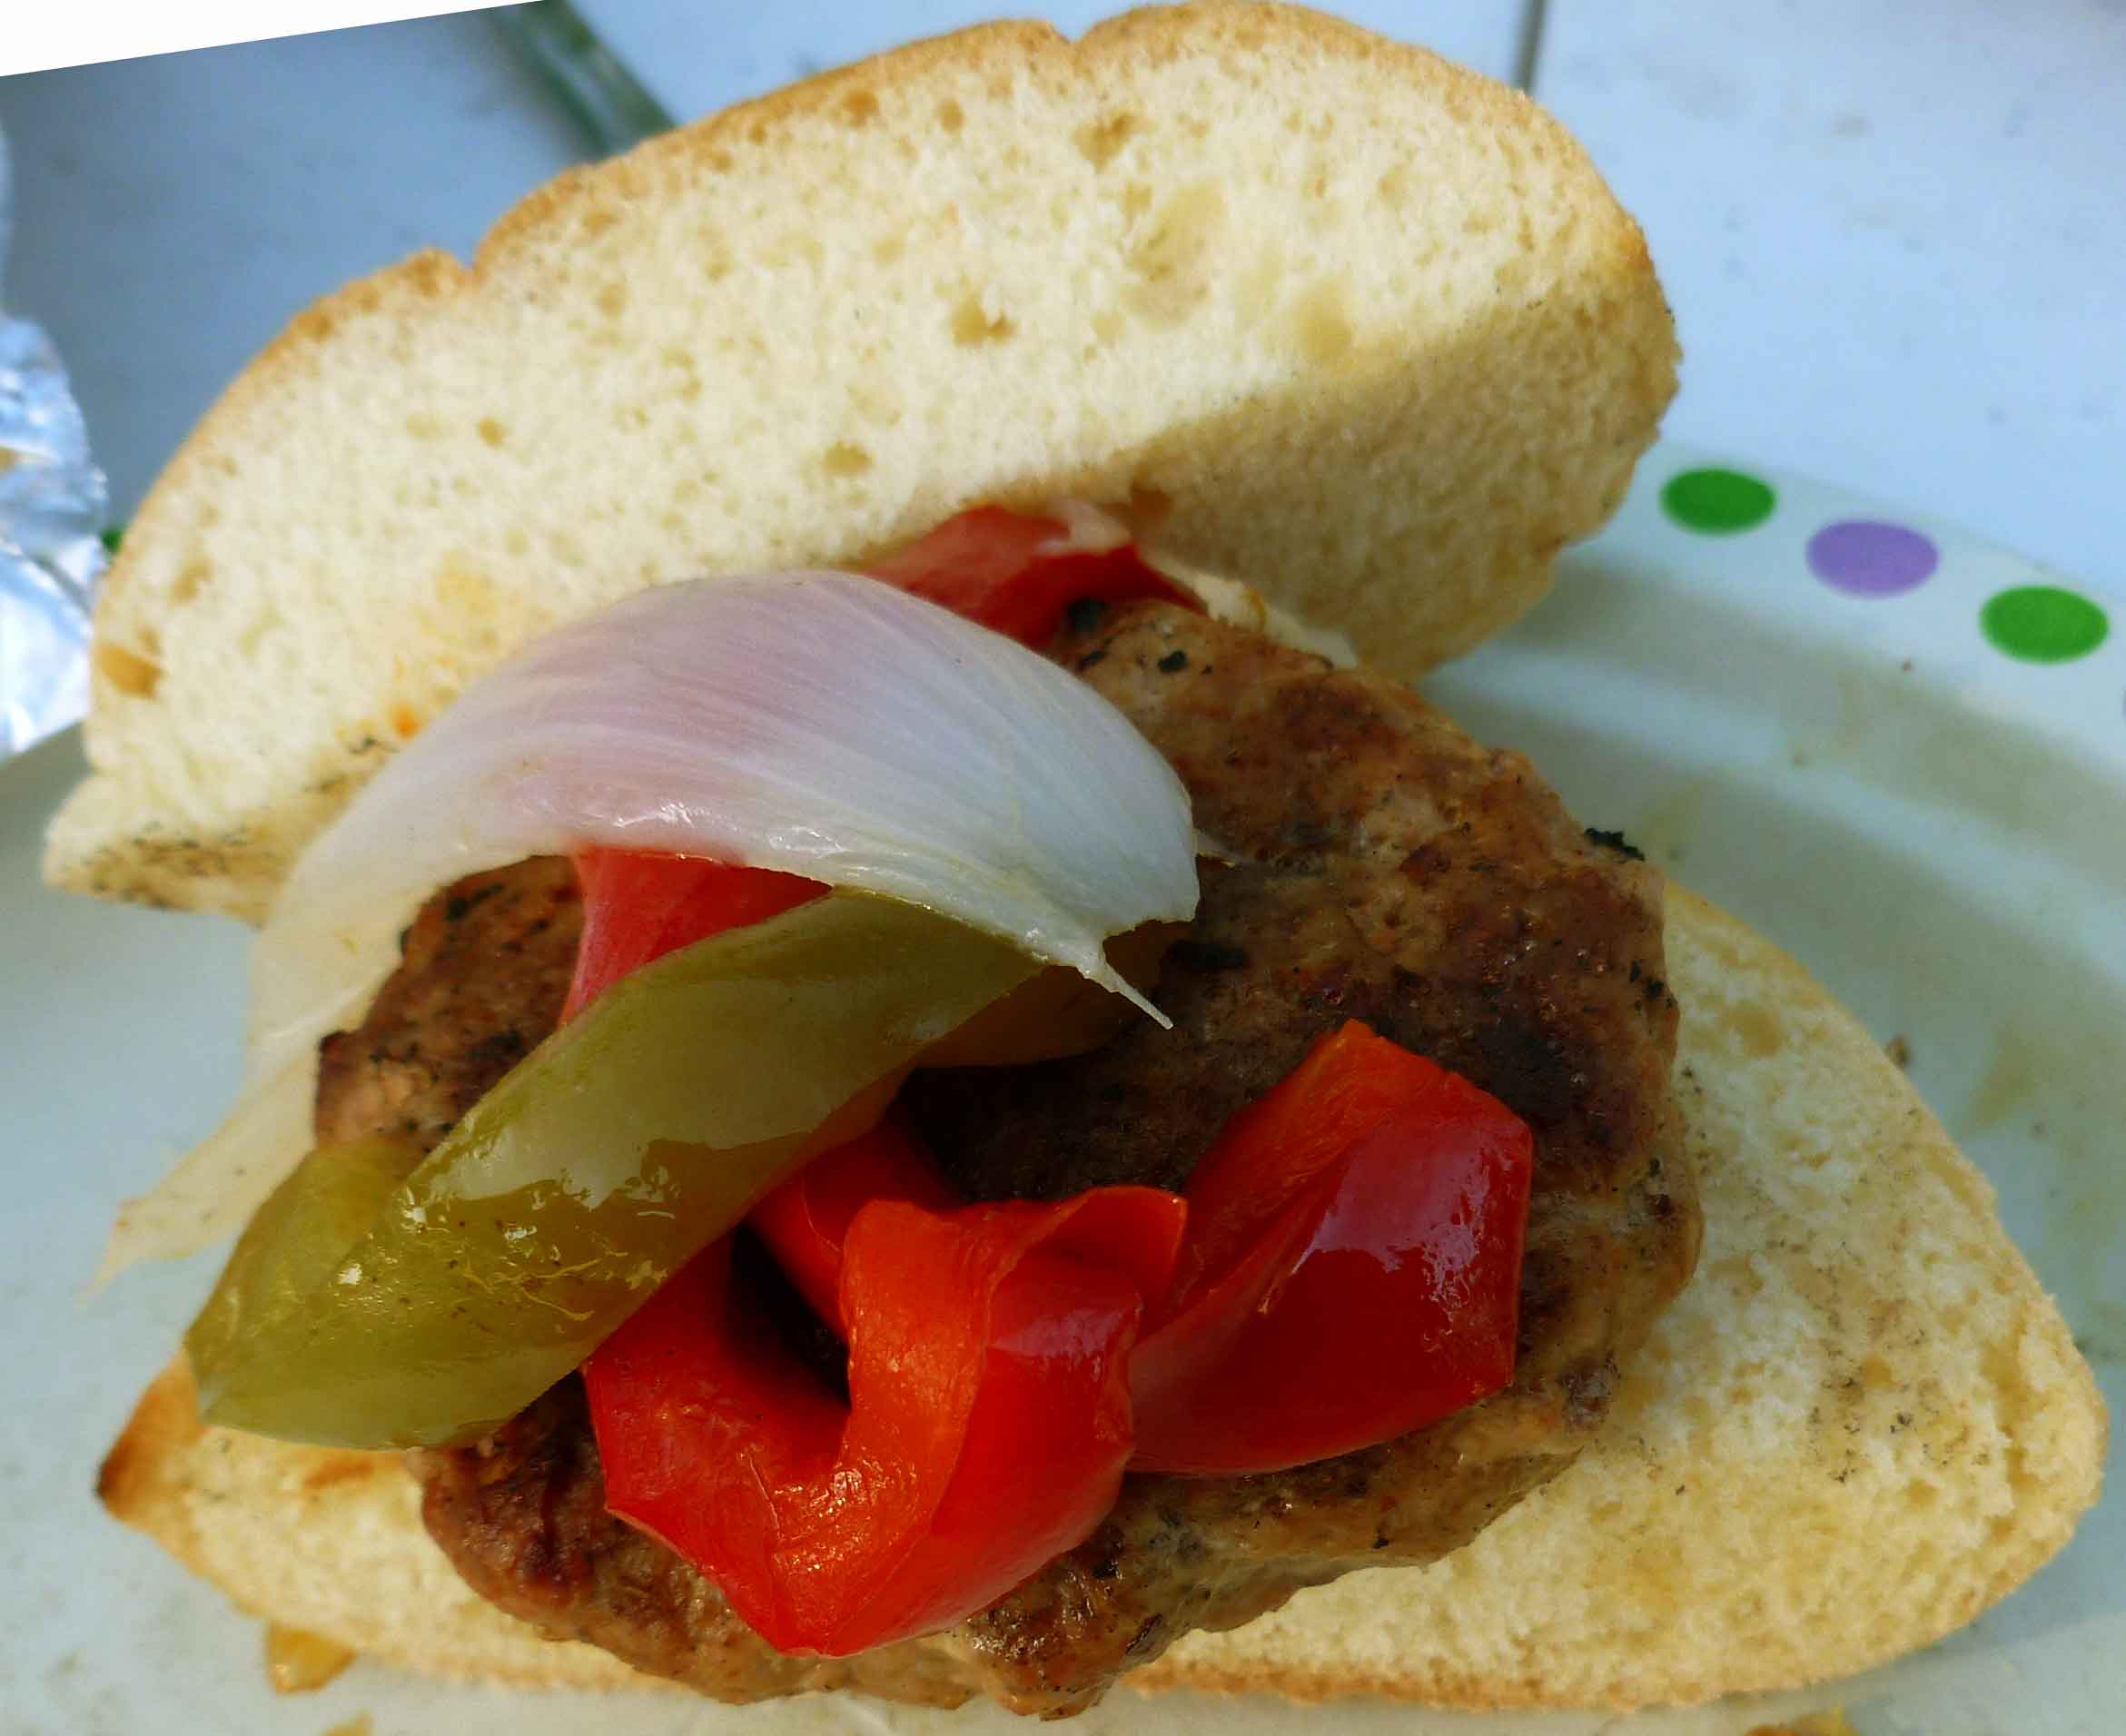
Grilled Hot Italian Sausage Burgers
Serve with buns that are safe for your food restrictions, and the cooked onions and peppers on top. Enjoy!
Hot Italian Sausage Burger with Peppers and Onions
So, last weekend it snowed in New Hampshire, and this weekend it’s been 95°F all weekend. Hilarious. I don’t handle the heat well, if at all, nor do I handle the crazy freaking changes well. The humidity and corresponding air quality in New Hampshire has been known to send me right into an asthma attack. We’ve got the air conditioners cranked, but I don’t want to heat the apartment up any more than necessary, so we’ve been eating salads and fruit. And since it’s the time of year that you might be heading to potluck type gatherings, here’s a spruced up fruit salad you can take with you. Also, this can be made much much easier by doing what I did and buying a fruit tray and some berries and using it, so you don’t have to peel melons and pineapple. You can do it the night before and let the dressing soak in, but it’s yummy either way.
Margarita Tropical Fruit Salad
1/2 cup of freshly squeezed lime juice (about 4-5 limes)
1/2 cup of agave syrup
1/2 cup of tequila
2 1/2 teaspoons of arrowroot
2 Tablespoons of water
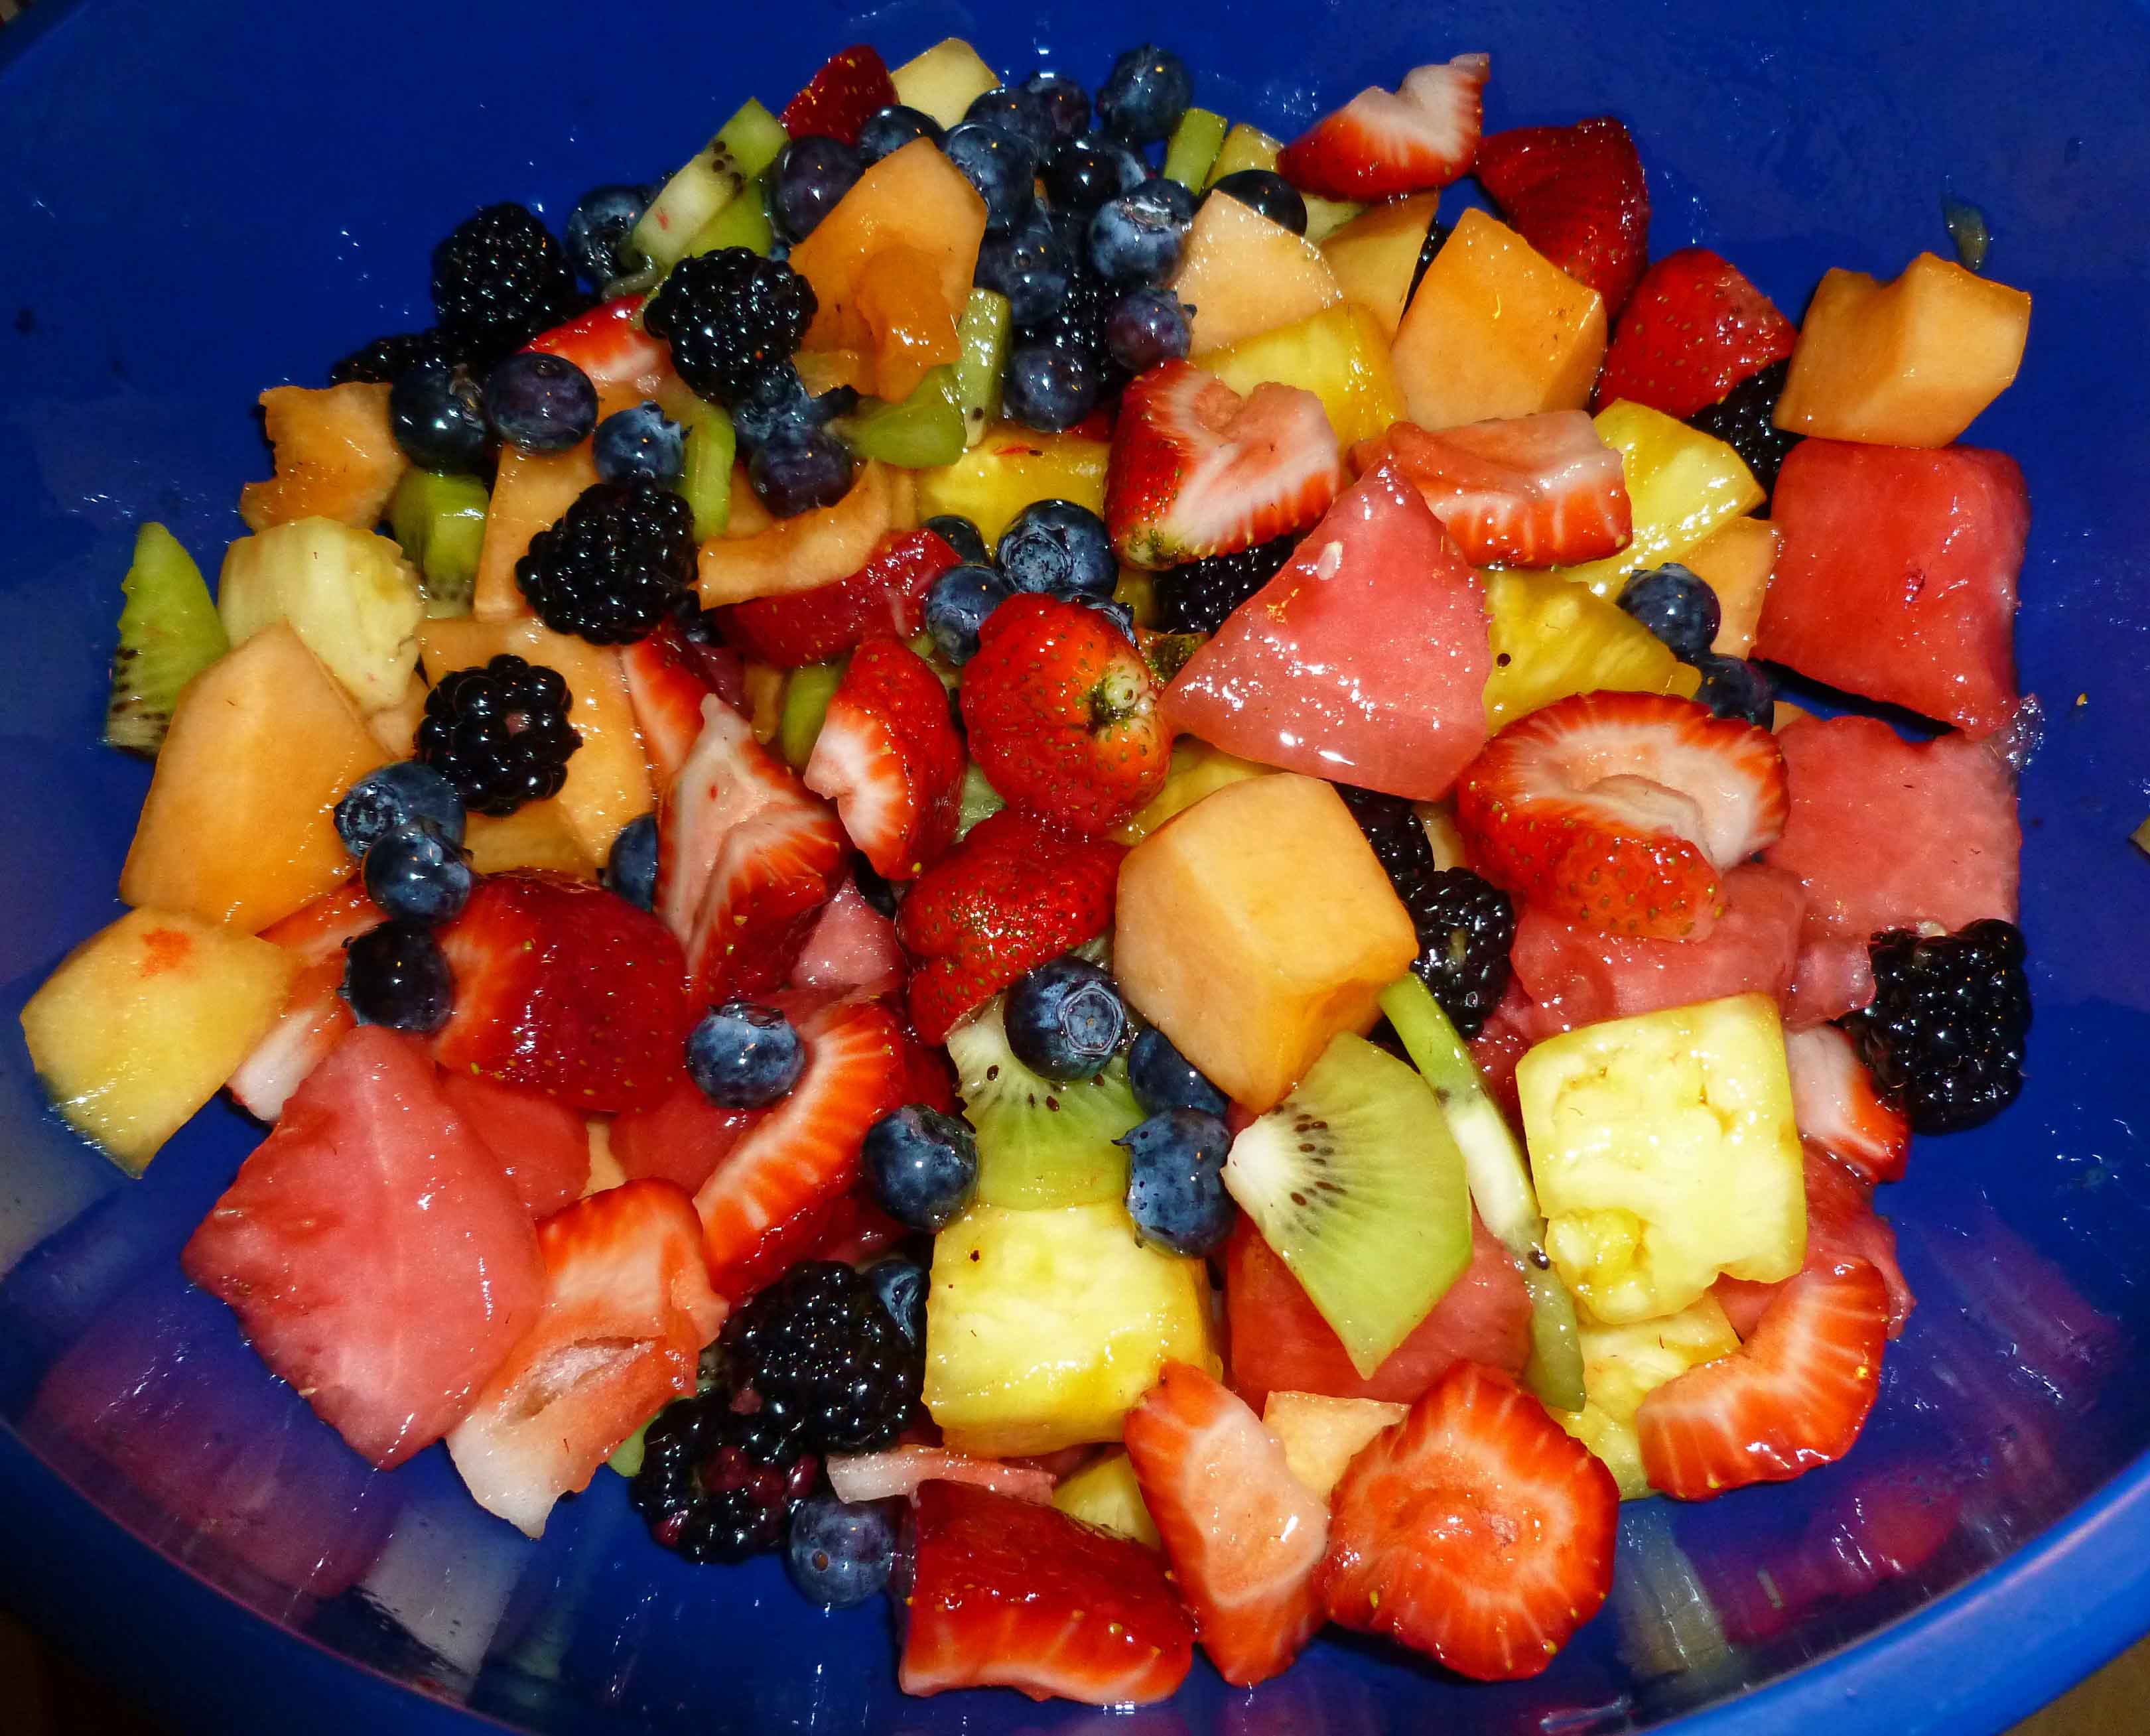
About 6-8 cups of fruit cut in bite size pieces, filling a large salad bowl. The mixture is up to you, but I used cantaloupe, watermelon, strawberries, pineapple, kiwi, strawberries, blueberries, and blackberries.
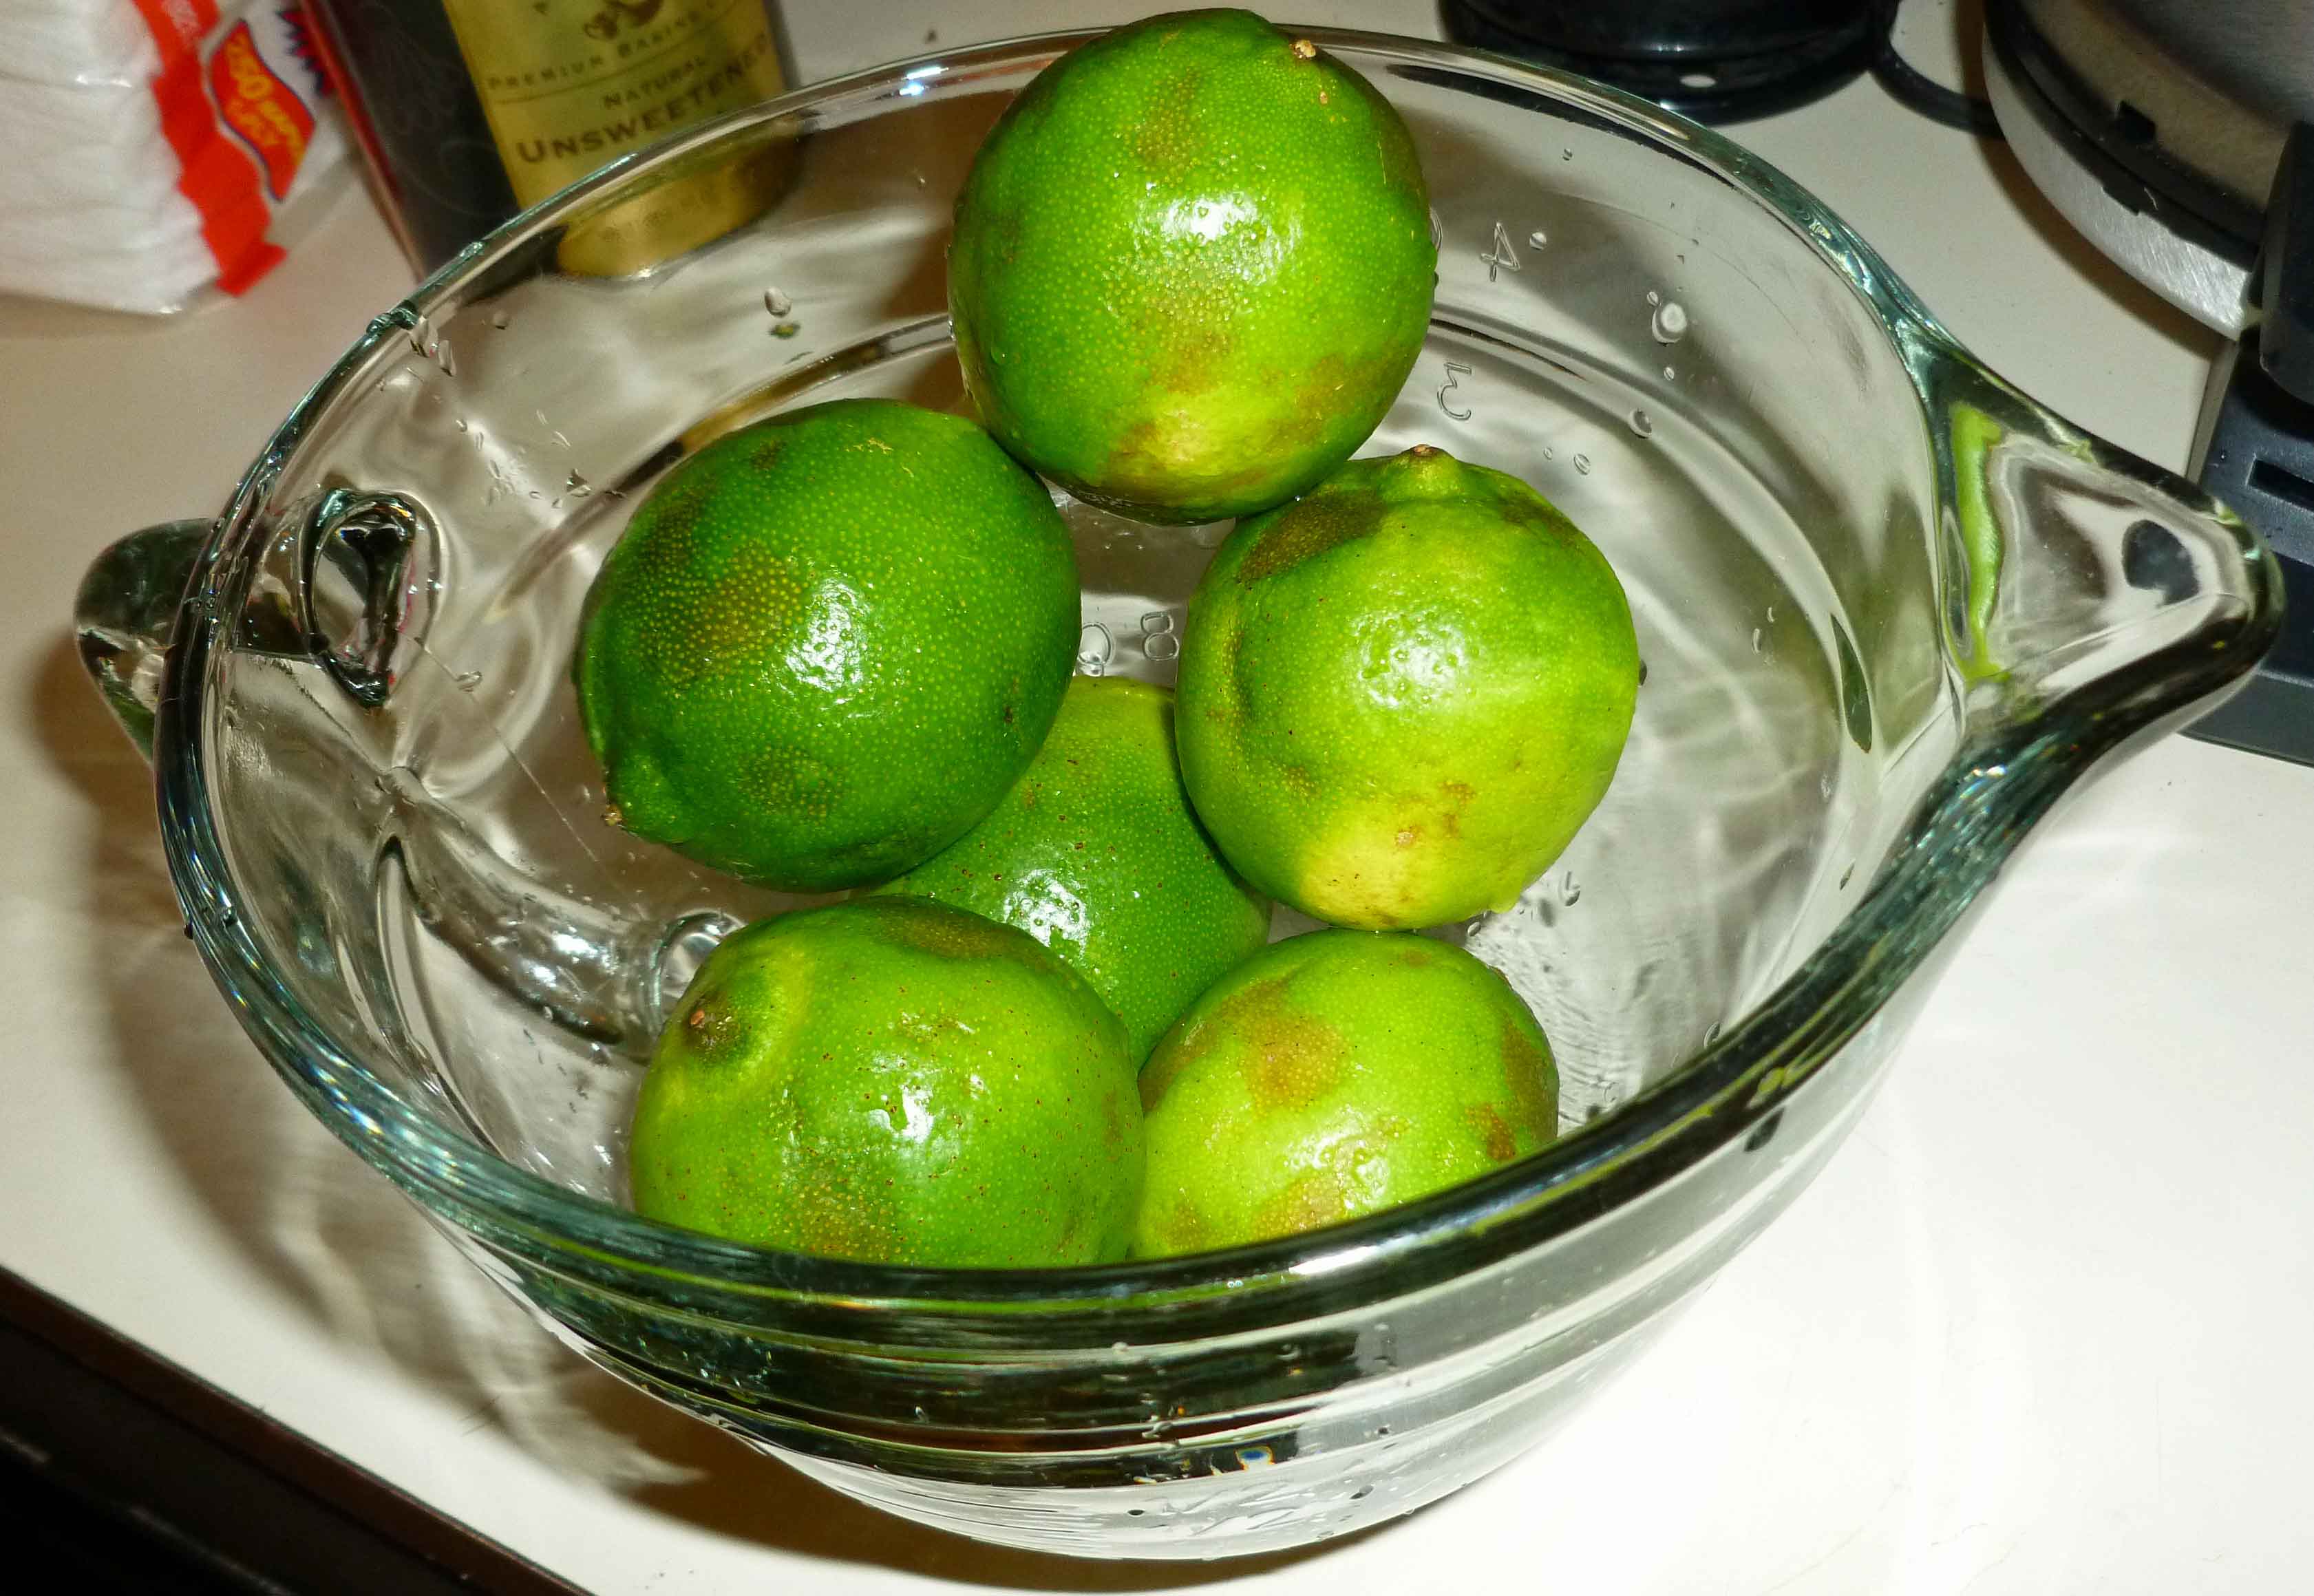
First, wash your limes carefully under hot water to get rid of the wax they put on them. To get the most juice out of them, I’ve found two tips that really help. Put your limes in a microwave safe container and nuke them on high for one minute.
Limes in microwave safe bowl
Then put them on a cutting board, and using the palm of your hand roll the limes back and forth, putting enough pressure on them so that you can feel the lime squeeze against the board, but not enough so you break the lime against the cutting board. Now juice your limes.
Denise awkwardly rolling limes with her left while she takes pictures with her right
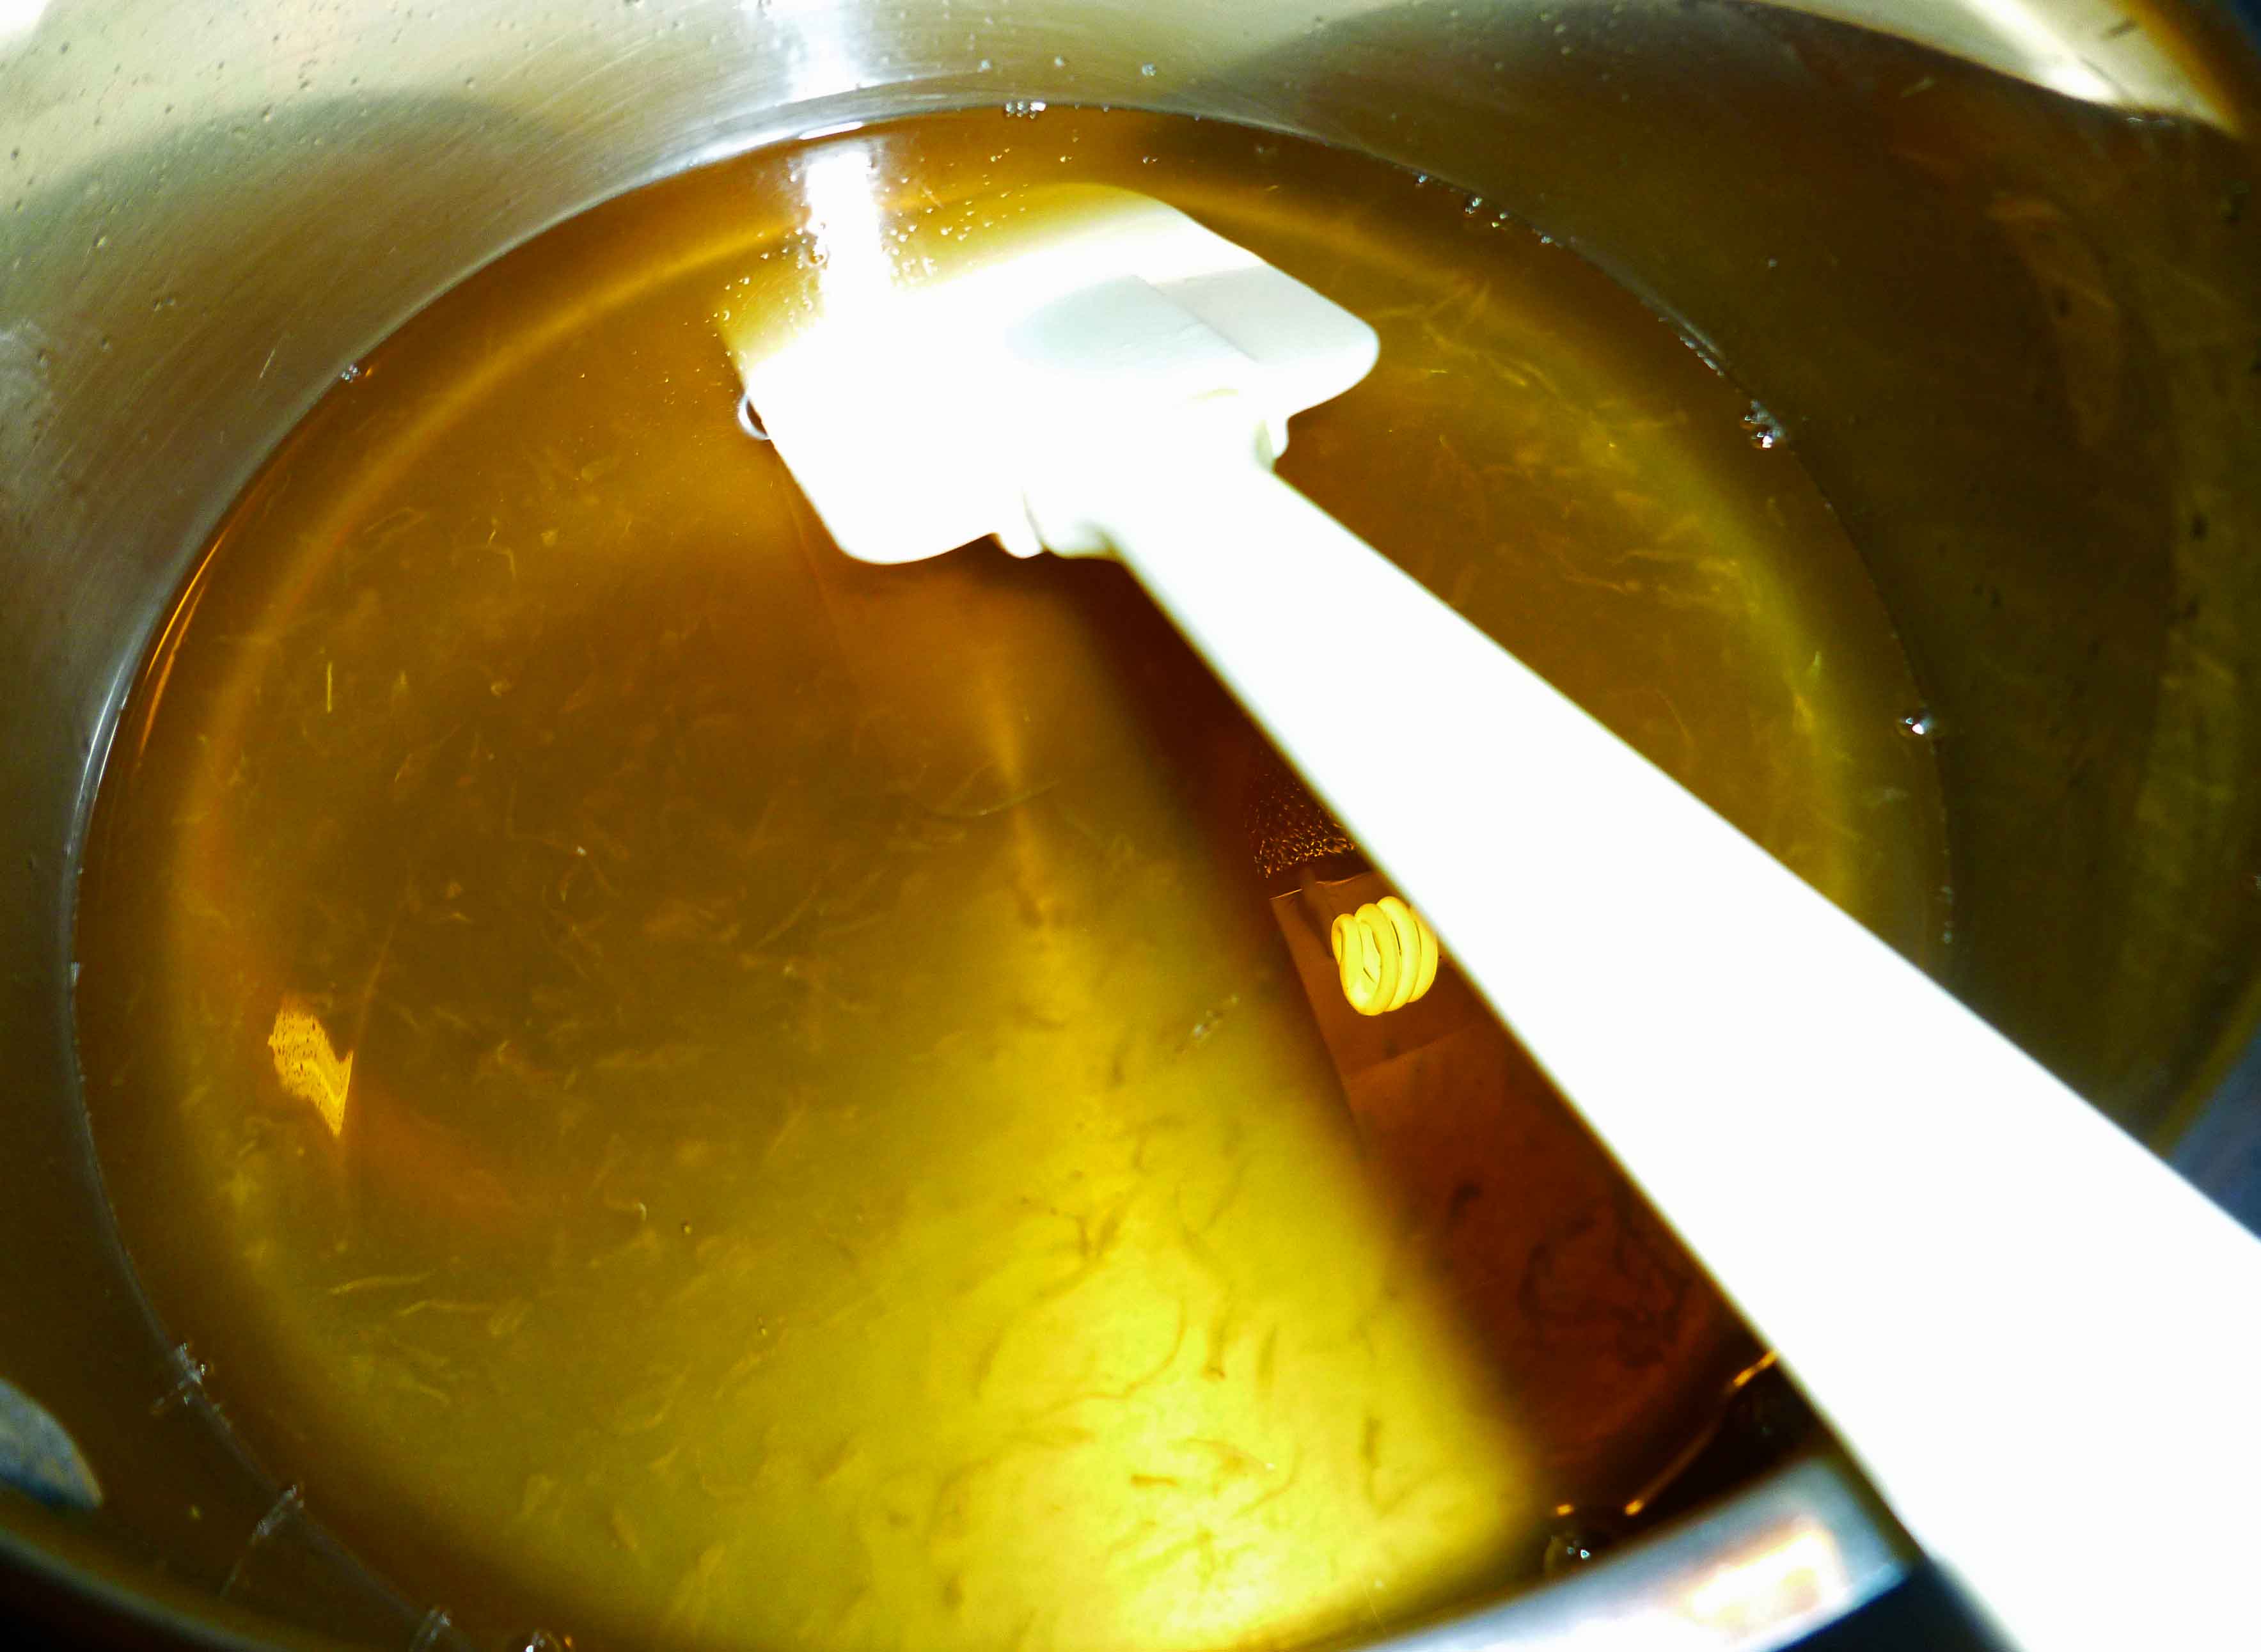
Make sure you don’t have any seeds in with the lime juice and pour it into a sauce pan. Add the agave syrup and the tequila to the sauce pan, mix until thoroughly combined, and then bring it to a boil for about two minutes. Turn the heat to low, and in a small container (I used a glass measuring cup) mix the arrowroot and water together. Pour the water and arrowroot mixture into the sauce pan, stirring quickly so that it doesn’t clump. Turn to medium low heat and let it simmer for 15 minutes or so, and then remove from the heat.
Agave Lime Tequila dressing in sauce pan
When the agave lime tequila dressing has cooled (you can cheat by sticking it the freezer for a few minutes if you need to), pour it over the cut fruit and toss to combine. Enjoy!!
So we’re heading into picnic and cookout weather, and we have some holidays coming up that might result in you getting invited to some cookouts. Mary Kate and I thought it’d be a good idea to have some burgers that are safe for those of us allergies that we can prep ahead of time and bring with us to throw on a grill. Now you may be saying, Denise and Mary Kate, why wouldn’t ground beef be safe? Well, it is–unless someone decides to season it with ranch dressing. And unless you’ve seen the package for the hot dogs, they might have milk in them. And I know people who soak their chicken in buttermilk before grilling or frying it. It’s a lot easier to bring your own food and be sure you can eat something, than to sit at a cookout all afternoon looking at food you can’t eat. So with that in mind, we’ve come up with some great recipes that you’re going to be seeing pop up here and there over the next few months. Because it’s going to be summer, and we need to cook stuff outside with fire!
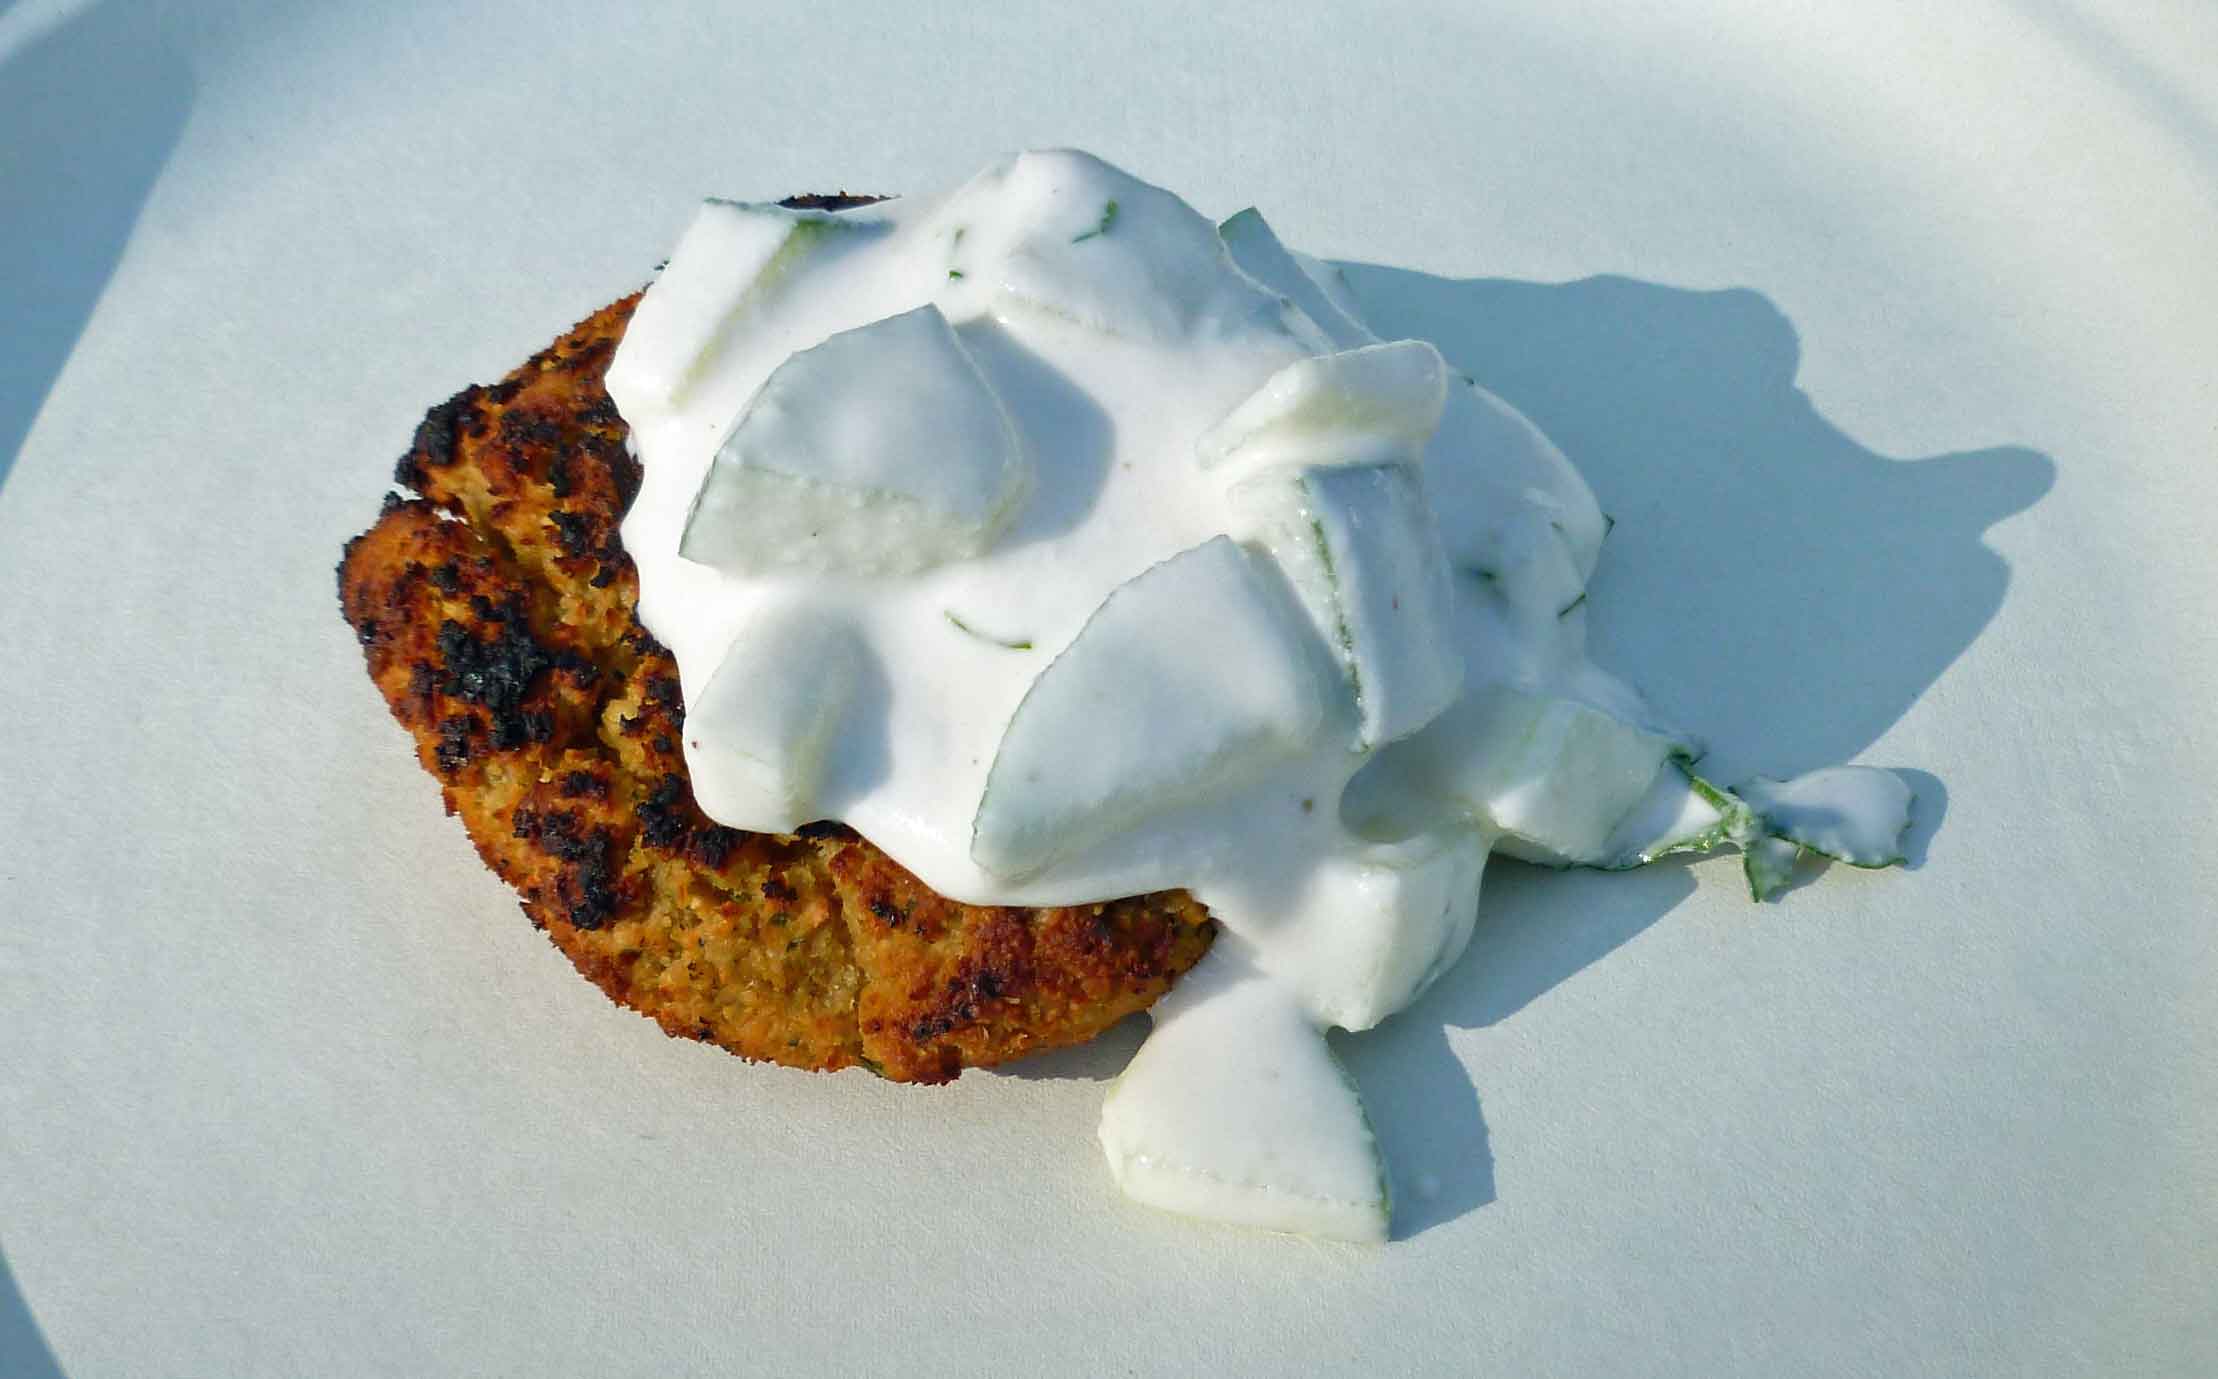
Falafel Burgers
l lb bag of garbanzo beans/chick peas (soaked overnight, see below)
1 medium onion, chopped
6-8 cloves of garlic
1/2 cup of parsley, chopped
2 teaspoons of salt
1 teaspoon of coriander
1/2 teaspoon of black pepper
2 teaspoons of cumin
1 teaspoon of paprika
1/4 to 1/2 teaspoon of cayenne pepper (depending on your spice tolerance)
2 Tablespoons of garbanzo bean/chick pea flour
A food processor (you really can’t do this in a blender)
Place the garbanzo beans in a large bowl and cover them by 3-4 inches of water. Let them soak overnight. They should double in size.
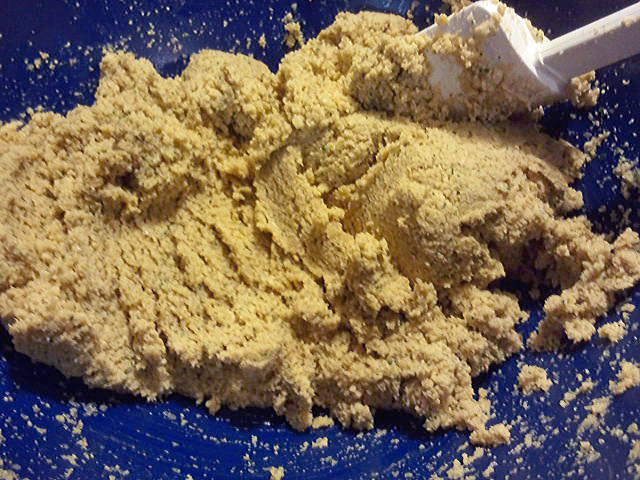
Drain and rinse the garbanzo beans thoroughly. Unless your food processor is a heck of a lot bigger than mine, you’re going to have to do the following in batches. Place the garbanzo beans, onion, garlic, parsley, salt, coriander, black pepper, cumin, paprika, cayenne pepper, and flour in the food processor and process until a rough coarse meal forms, so that it’s somewhere between a paste and the size of millet or quinoa. To do this, I had to process garbanzo beans in three batches, leaving them a bit rough, dumping the processed garbanzo beans into an appropriately sized holding bowl. Then I put about half a cup of the processed garbanzo beans back in the food processor along with the onion, garlic, parsley, salt, coriander, black pepper, cumin, paprika, cayenne pepper, and flour, and processed it. Then I dumped the completed mix back into the bowl and stirred it with the plain garbanzo beans and then ran the whole mixture back from the food processor to ensure that the spice mixture was evenly mixed with all the garbanzo beans.
Garbanzo bean mixture after processing
You can make the garbanzo bean mixture the day before you intend to serve the burgers to make the day of cooking easier. If you do, cover the mixture with plastic wrap and put it in the refrigerator until you need it.
If you’re cooking these on a grill (yes, it is possible), make your burgers slightly smaller, more like sliders because they’ll hold together easier. Spray down your grill with grilling spray, checking to make sure it’s safe for your allergies. Depending on the heat of your grill, cook each side 2-3 minutes at least each side. Only turn them once otherwise you make make a mess. To get them golden brown, we cooked them on a hotter grill that we thought appropriate at first.
Grilled Falafel Burgers
If you don’t have a grill, you can cook them in a skillet with some vegetable oil. Fill a skillet with about a inch of vegetable oil and heat the oil at medium heat. Cook them for 2-3 minutes per side until they are golden brown. Remove them from the oil with a slotted spoon and drain them on paper towels.
Serve your falafel in a wrap with Tzatziki Sauce, some lettuce, and other veggies or put it on a burger bun with the Tzatziki Sauce.
Since we can’t have falafel without Tzatziki Sauce (well, you can, but it’s better with), I had to get together a recipe. I started with a recipe at The Vedge, and added some additional things I like to it.
Tzatziki Sauce (Using a Cashew Base)
1 cup cashew pieces (raw, unsalted) and soaked overnight in water (covering cashews by 2-3 inches)
1 cup water
1 lemon, juiced
1 garlic clove
1 teaspoon of salt
1 teaspoon of dill weed (optional)
4 Tablespoons of fresh parsley, chopped
1 medium cucumber (peeled if waxed) and diced (I used two pickling cukes, and left the skin on)
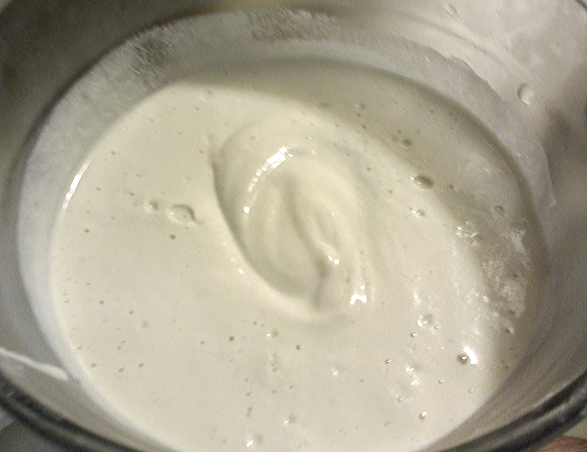
Drain the cashews and place in a blender. Add water, lemon juice, garlic, and salt to blender. Blend until completely pureed, better to over blend than to not blend enough. You want it as smooth as you can get it.
Cashew Mixture After Blending
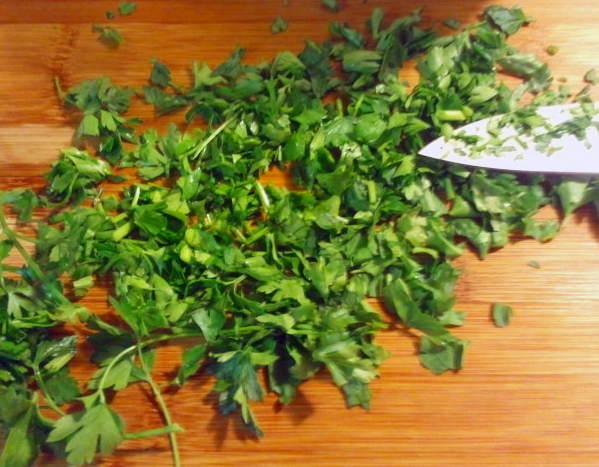
Pour cashew mixture into a bowl that will hold it, the dill, the parsley and the cucumber. Add dill, parsley, and cucumber to the cashew mixture and stir to mix well.
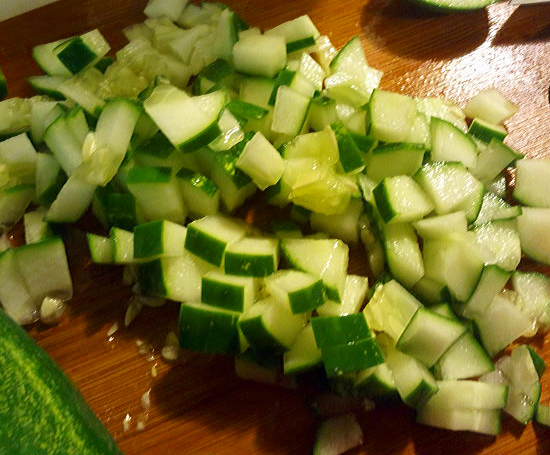
Fresh parsley, choppedCucumbers diced
You can do all this in the blender if you want, but I like chunky cucumbers in this sauce. Refrigerate for at least an hour, and use on falafel, gyros, wraps, salads, as a dip and so on. Or you could use large slices or chunks for a salad or side dish, and do a much smaller dice or in the blender for a sandwich slather.
Geothermic activity at Te Puia, Rotorua, New Zealand. It seemed apropos.
On Monday, April 29, 2013, I had some more scratch test allergy testing done because I was having symptoms similar to those I had before I realized that the milk allergy was bad and couldn’t be ignored any more (see my Denise page, which will have to be updated at some point for reasons that will become apparent), and again a year or so later, just before I tested positive for coconut, almond, egg, clams, and crab. So after hemming and hawing and hoping it would freaking go away for a few months (please don’t do what I did, I’m an idiot), I dragged myself into my allergist’s office for more testing.
I got a 2+ for lobster and 1+’s for wheat, corn, potato, chicken, celery and onion. For the 1+ results, the allergist says this result means I have approximately at 25% chance of having a true allergy for these reactions. I’ve been told to do a food avoidance for these and then do a challenge for each ingredient to determine which ones actually cause symptoms. So, here’s the thing. I know it’s at least one of them, and one of my 1+ results from the last round of testing, egg, causes me huge distress when eaten, totally belying its puny 1+ reaction. Here’s the other fricking thing. This brings me to a total of SIXTEEN foods and food derivatives that I have to avoid to do this challenge. Now just for fun, since corn is not a top 8 allergen and doesn’t have to be declared or labeled separately, go look at this list of possible corn derived ingredients. Then go look at this list of foods and products that you may not recognize as containing corn. I thought wheat was bad before I started looking at this stuff, but seriously, I think corn is the worst. And I’ll totally lose being able to eat most Asian food out at restaurants, which will be really, really annoying. And why can’t the FDA get it through its head that people would be best served by having all this stuff labeled?? But actually, I know why and it involves the moment of little pieces of green paper, to borrow a phrase from Douglas Adams.
I haven’t started the elimination process yet, because I’m thinking that while I’m at it, I should just freaking get tested for celiac as well and get it over with, thanks to Mary Kate’s sharing of Celiac Disease Symptoms from the Gluten Dude, and since I still I need to be eating wheat in order for the test to work. In addition, there’s a crapload of stuff I have to sort through and figure out and learn. But at this point, it’s looking like a lot of plain beef or pork, plain vegetables, and rice in my future for the avoidance part of the challenges. Please send good thoughts for the challenges that I was just having a bad day and my skin was pissed off at me and it just decided to fake me out, because it was in a mood. And if some of these results are in fact true allergies, join me in crossing my fingers, eyes and toes, that one of them isn’t f-ing corn. I’ll seriously take all of the rest of them as true allergies as long as corn isn’t one of them (knocking on wood so the universe doesn’t b*tch slap me with corn, just for hoping that it isn’t).
I drafted the above paragraphs the day after I received the results, and I’ve been letting them sit so I could go back and write it to show both the reaction to the testing, and the later consideration after I’ve had time to think about what it means. Which would be good if I were at that point, but the thing is, I’m still reacting and in denial. I haven’t started the elimination process because my doctor appointment with a new primary care practice (don’t get me started on that whole thing) isn’t until later today, where I’ll start the process for getting testing for celiac. I don’t think that this will become real until after I try to eliminate everything and see what is actually is causing the problems and what isn’t, although the possibilities are causing huge anxiety. Also, if it’s corn, and I have a reaction to Earth Balance and have to make my own margarine, I’m probably going to have a huge temper tantrum. I’ll try to contain it and not expose the blog reading public to it, and try remember that at least I still have the option to make my own and be positive, but I may be cranky for a bit. Being optimistic and positive is not one of my normal states of being (and anyone who knows me in real life is probably busting a gut laughing right about now at the understatement). I’m also trying not to get ticked off in advance by stuff I might never be able to buy or use again until I know that I have a reaction, but I’m anxious about it. And at the same time, I’m afraid that even if all or some of this round of positives are allergies, that this isn’t the end. From the original diagnosis of three food allergies in 2000 to the testing in 2011, I added six additional food allergies. Now in a two year span, I’ve added another seven potential food allergies with this round of tests. My pointed little logical brain can’t help but say, “so does this mean that I’m just going to keep adding more food allergies over the course of my life? I’m 41. What will be left for me to eat?”
I’ve been through this before, so I know I’m just going through the normal stages of this process, and I know I’ll get to the other stages eventually. Like being at the place where knowing is better because I can control it and I will feel better and be happier once I have a handle on what the problem is. But I’m just not there yet, I’m still angry and anxious, which causes me to be more angry because I seriously don’t like being anxious. Before I got the results, I thought I was ready, and that it wouldn’t be this hard this time around because I’ve been through this twice before and you’d think I’d be used to it. Oops, guess not. I thought about waiting to share this post until I had moved farther along the continuum, but maybe it’ll help others with first time food allergies realize that this is part of the process and it’s okay.
Anyway, that’s the beginning of the new battle, just as I thought I was getting the handle of things with the other nine. Any helpful references or pages you guys have for any of the new list, would be most appreciated. I’ll be posting some updates as I do the elimination and challenges.
Before the food allergy apocalypse hit, one of the things I really liked to do was to make my own Peking Ravioli (aka Potsticker, Wonton, Gyoza, etc.) or whatever you want to call your basic Asian style dumpling. Apparently you only call them Peking Ravioli if you live in the Northeast because that was what Joyce Chen called them in her restaurant in Boston in the 1950’s–the things you learn when blogging. But in the before times, in the long, long ago, I liked to make them by buying pre-made wonton wrappers at the grocery store, which, at least for the grocery stores in New Hampshire, all contain egg. So I thought I’d try to come up with a gluten free vegan wrapper so Mary Kate could eat some too. (I can have wheat, at least for now. More food allergy testing later today. Please cross your fingers for me that they don’t find any more food allergies, and if they do, it’s an easy to avoid one like a fruit.) My gluten free vegan dough attempt was pretty much a spectacular failure, and it’s going to take some more research and some more work, but I’ll keep trying. At the same time, I had decided to try an egg free dough that I had found using all purpose flour (warning: I mean a real wheat flour) and boiling water, because I knew I was going to have too much filling, and I like to do a lot of experiments at once because you’re more likely to have at least one success. The egg-free real wheat flour version worked. Again, I promise to keep trying for a gluten free version.
Anyway, the really nice thing about this recipe is that you can make a bunch of them up, put them on parchment paper on a cookie sheet (this is prior to cooking them), making sure they don’t touch and then throw them in your freezer on the cookie sheet until they are frozen solid. Then you can pop them into a ziploc freezer bag, and you can take a few out here and there to use whenever you want, to steam, to pan-fry or to put in soup, because they’re not frozen together in a lump. It’s labor intensive for an afternoon on the weekend, but then you’ll have lots and lots of dumplings for whenever you want!
1 cup of chicken stock (check the label if using store bought)
2-3 tablespoons of sesame oil
First, if you are steaming or pan frying your dumplings and you need dipping sauce, put all the ingredients for the dipping sauce in a small bowl, whisk the ingredients together until they are well combined, and then put it aside until your dumplings are cooked. (I forgot to take a picture, sorry.)
To make the dough for the dumpling wrappers, I used my stand mixer with a dough hook, but you can just use a bowl and a spatula too. Place the flour in the bowl and mix the boiling water in slowly until the dough forms a ball. If using a mixer, continue on low speed to knead it for a few minutes. If using the low tech method, knead it with your hands for a few minutes. Shape it into a smooth ball and place it in a ziploc bag to rest a bit while you make the filling.
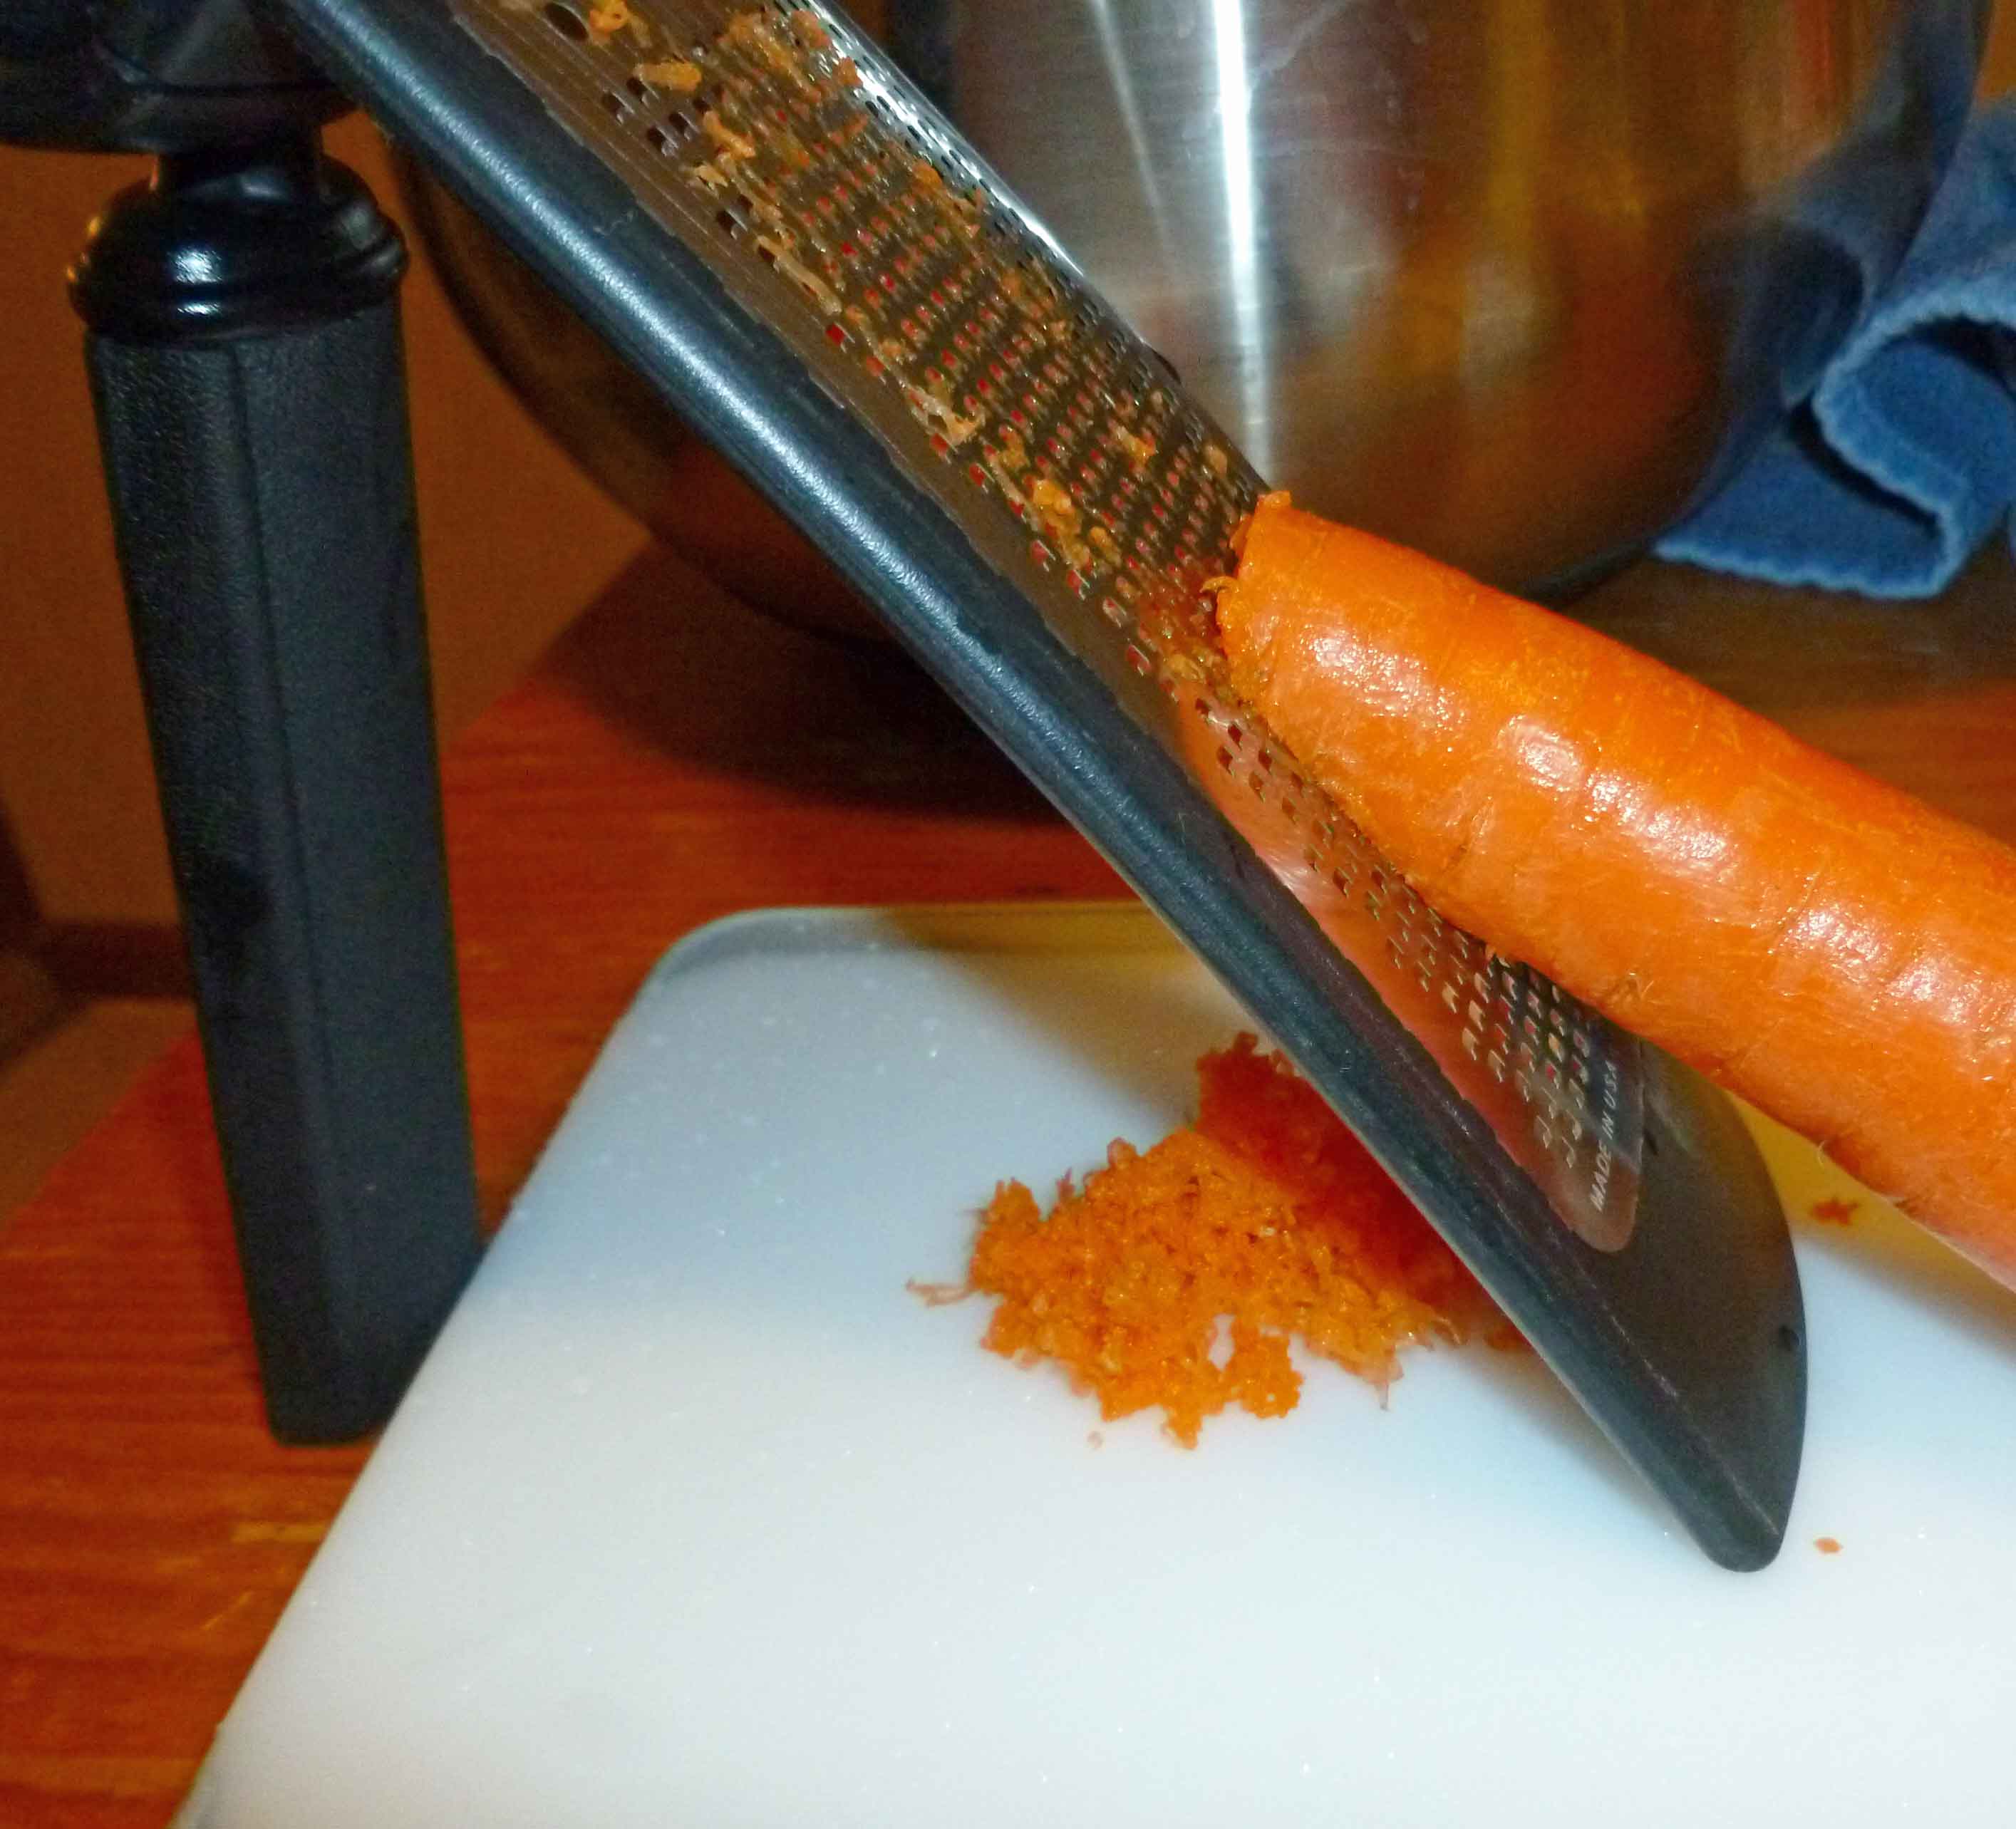
To make the filling, prepare all the ingredients if you haven’t already. I grated the carrot as finely as shown below:
Carrots grated with a Microplane fine grater
The Napa cabbage, I sliced very finely with a very sharp knife, aiming for a width of a quarter of an inch or less, and then chopped the slices into smaller pieces:
Shredded Napa cabbage in bowl with other ingredients
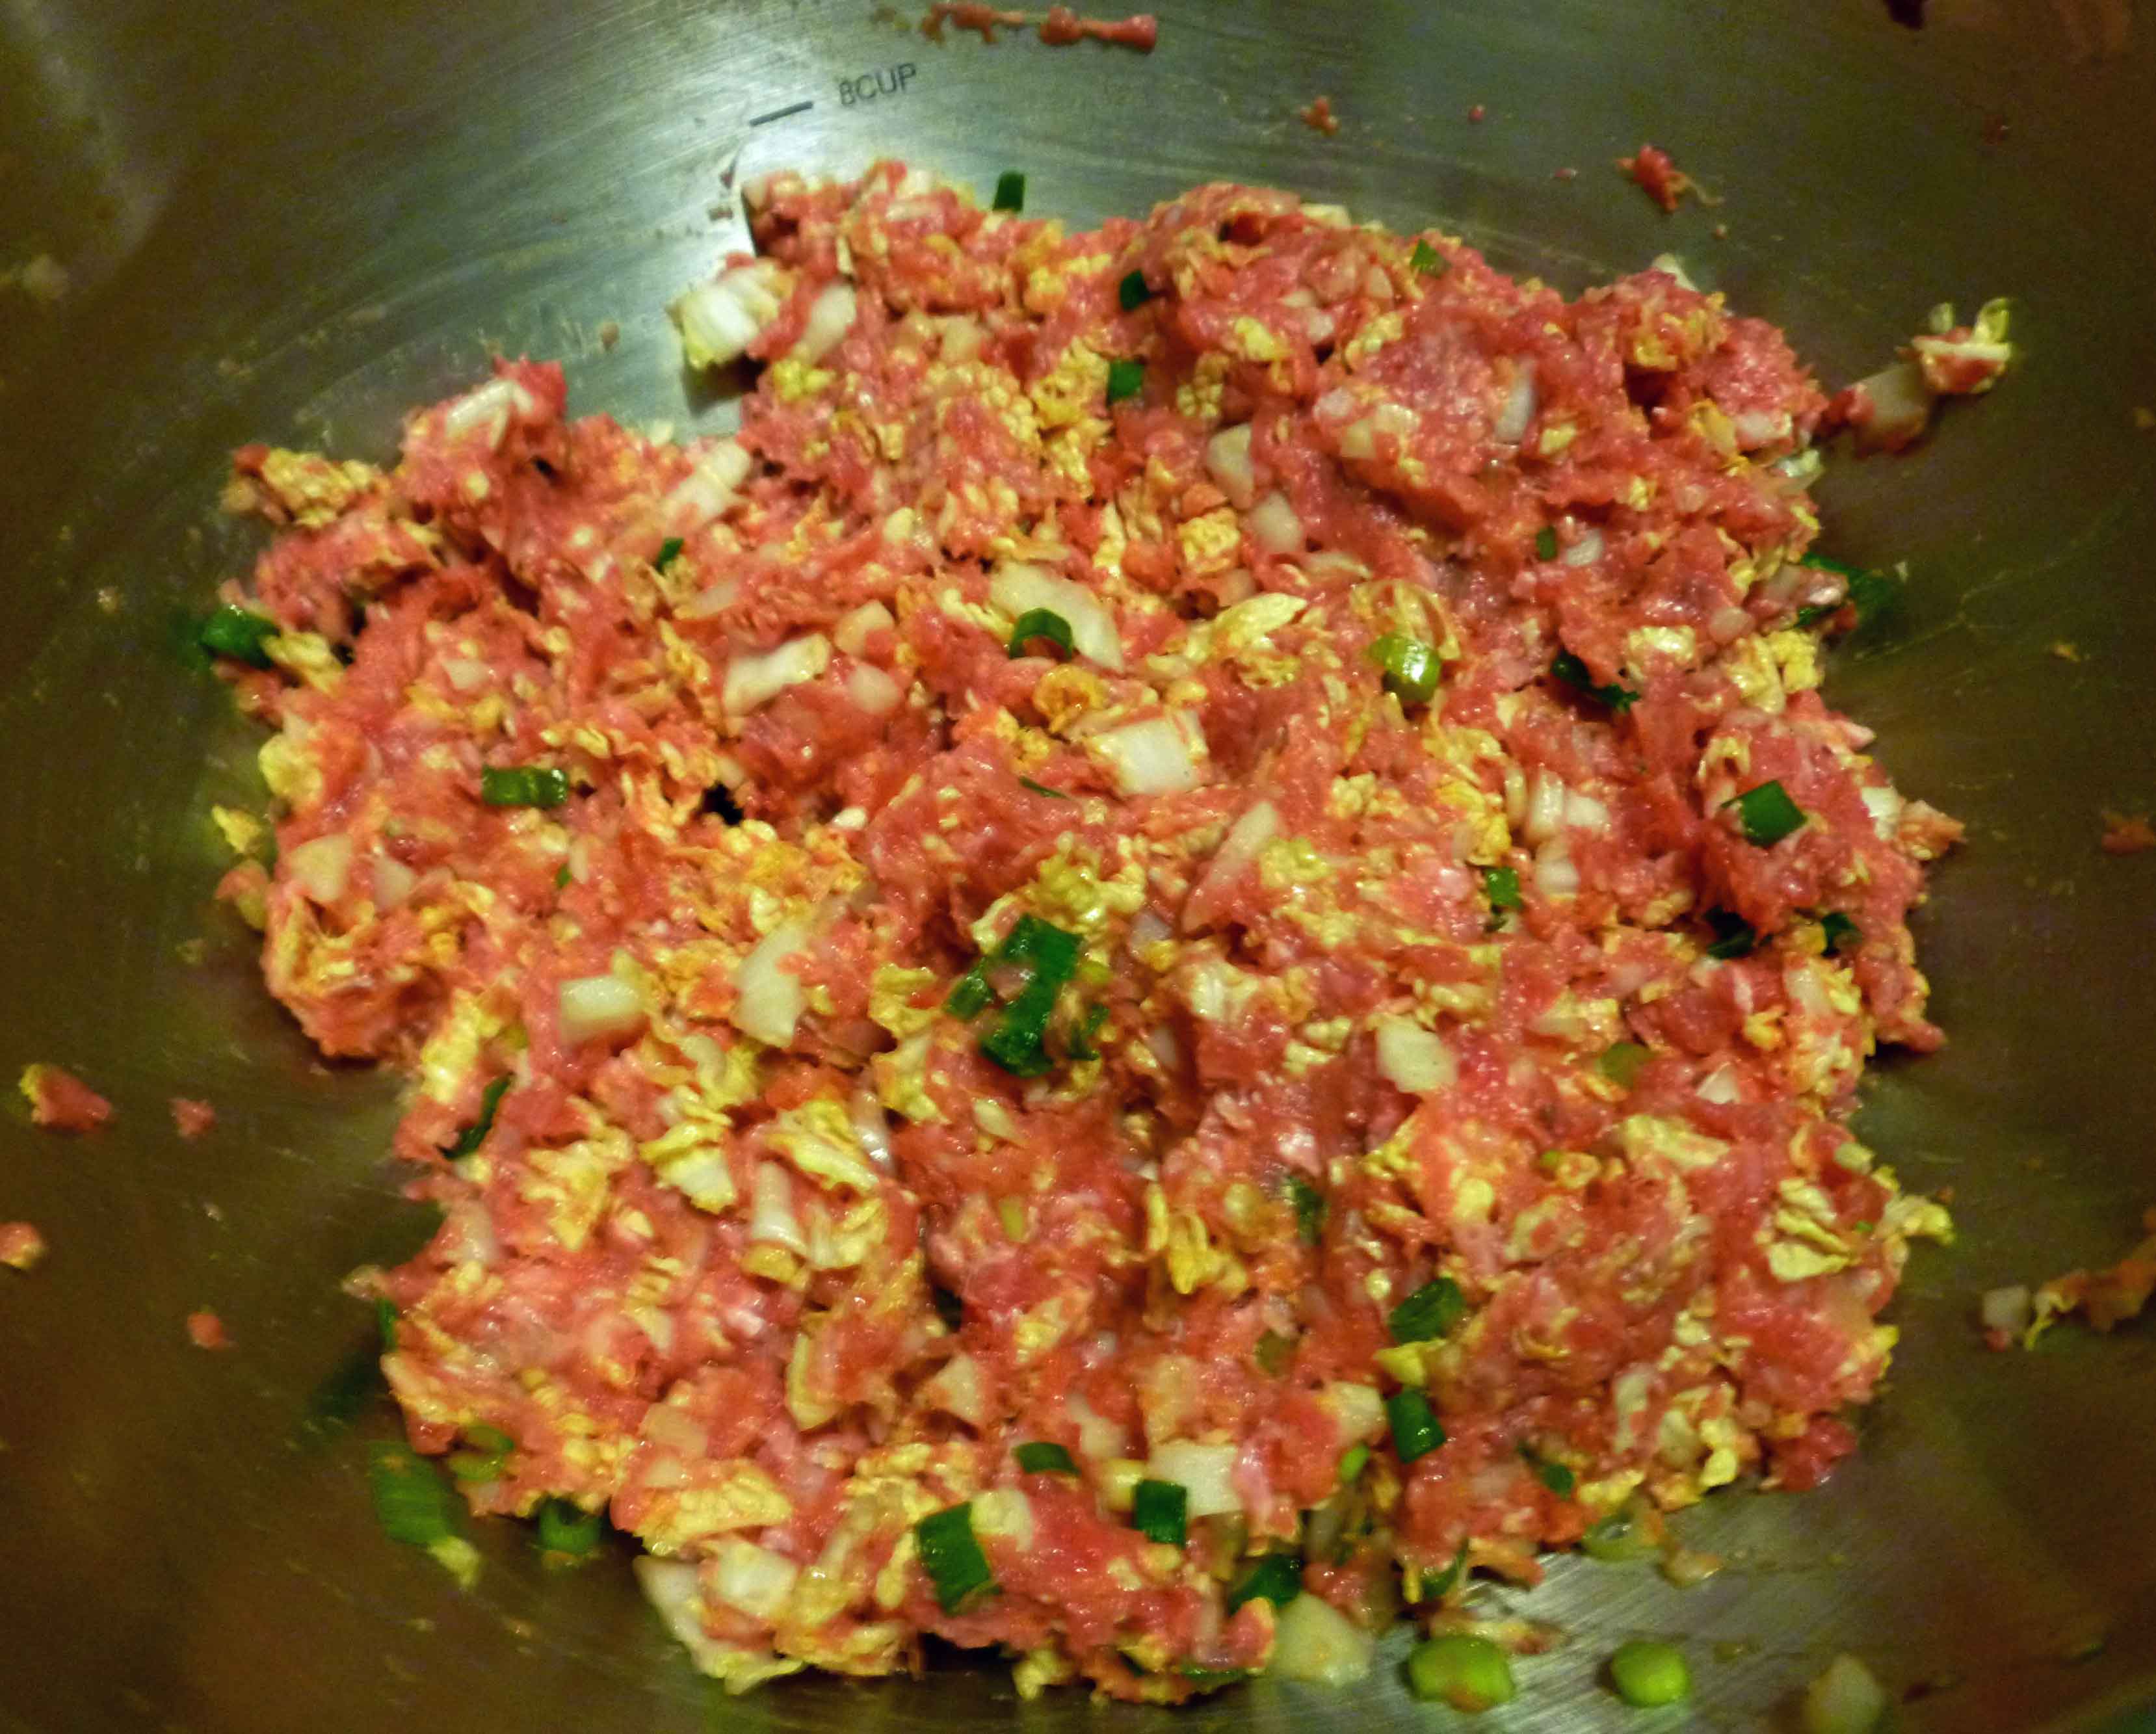
Place ground pork, garlic, carrot, ginger, green onions, Nappa cabbage, water chestnuts, soy sauce, sesame oil, rice vinegar, chili garlic sauce, cornstarch, and salt in a bowl, and mix throughly using your hands. You might want to put it in your refrigerator while you roll out the wrappers.
Pork Dumpling Filling
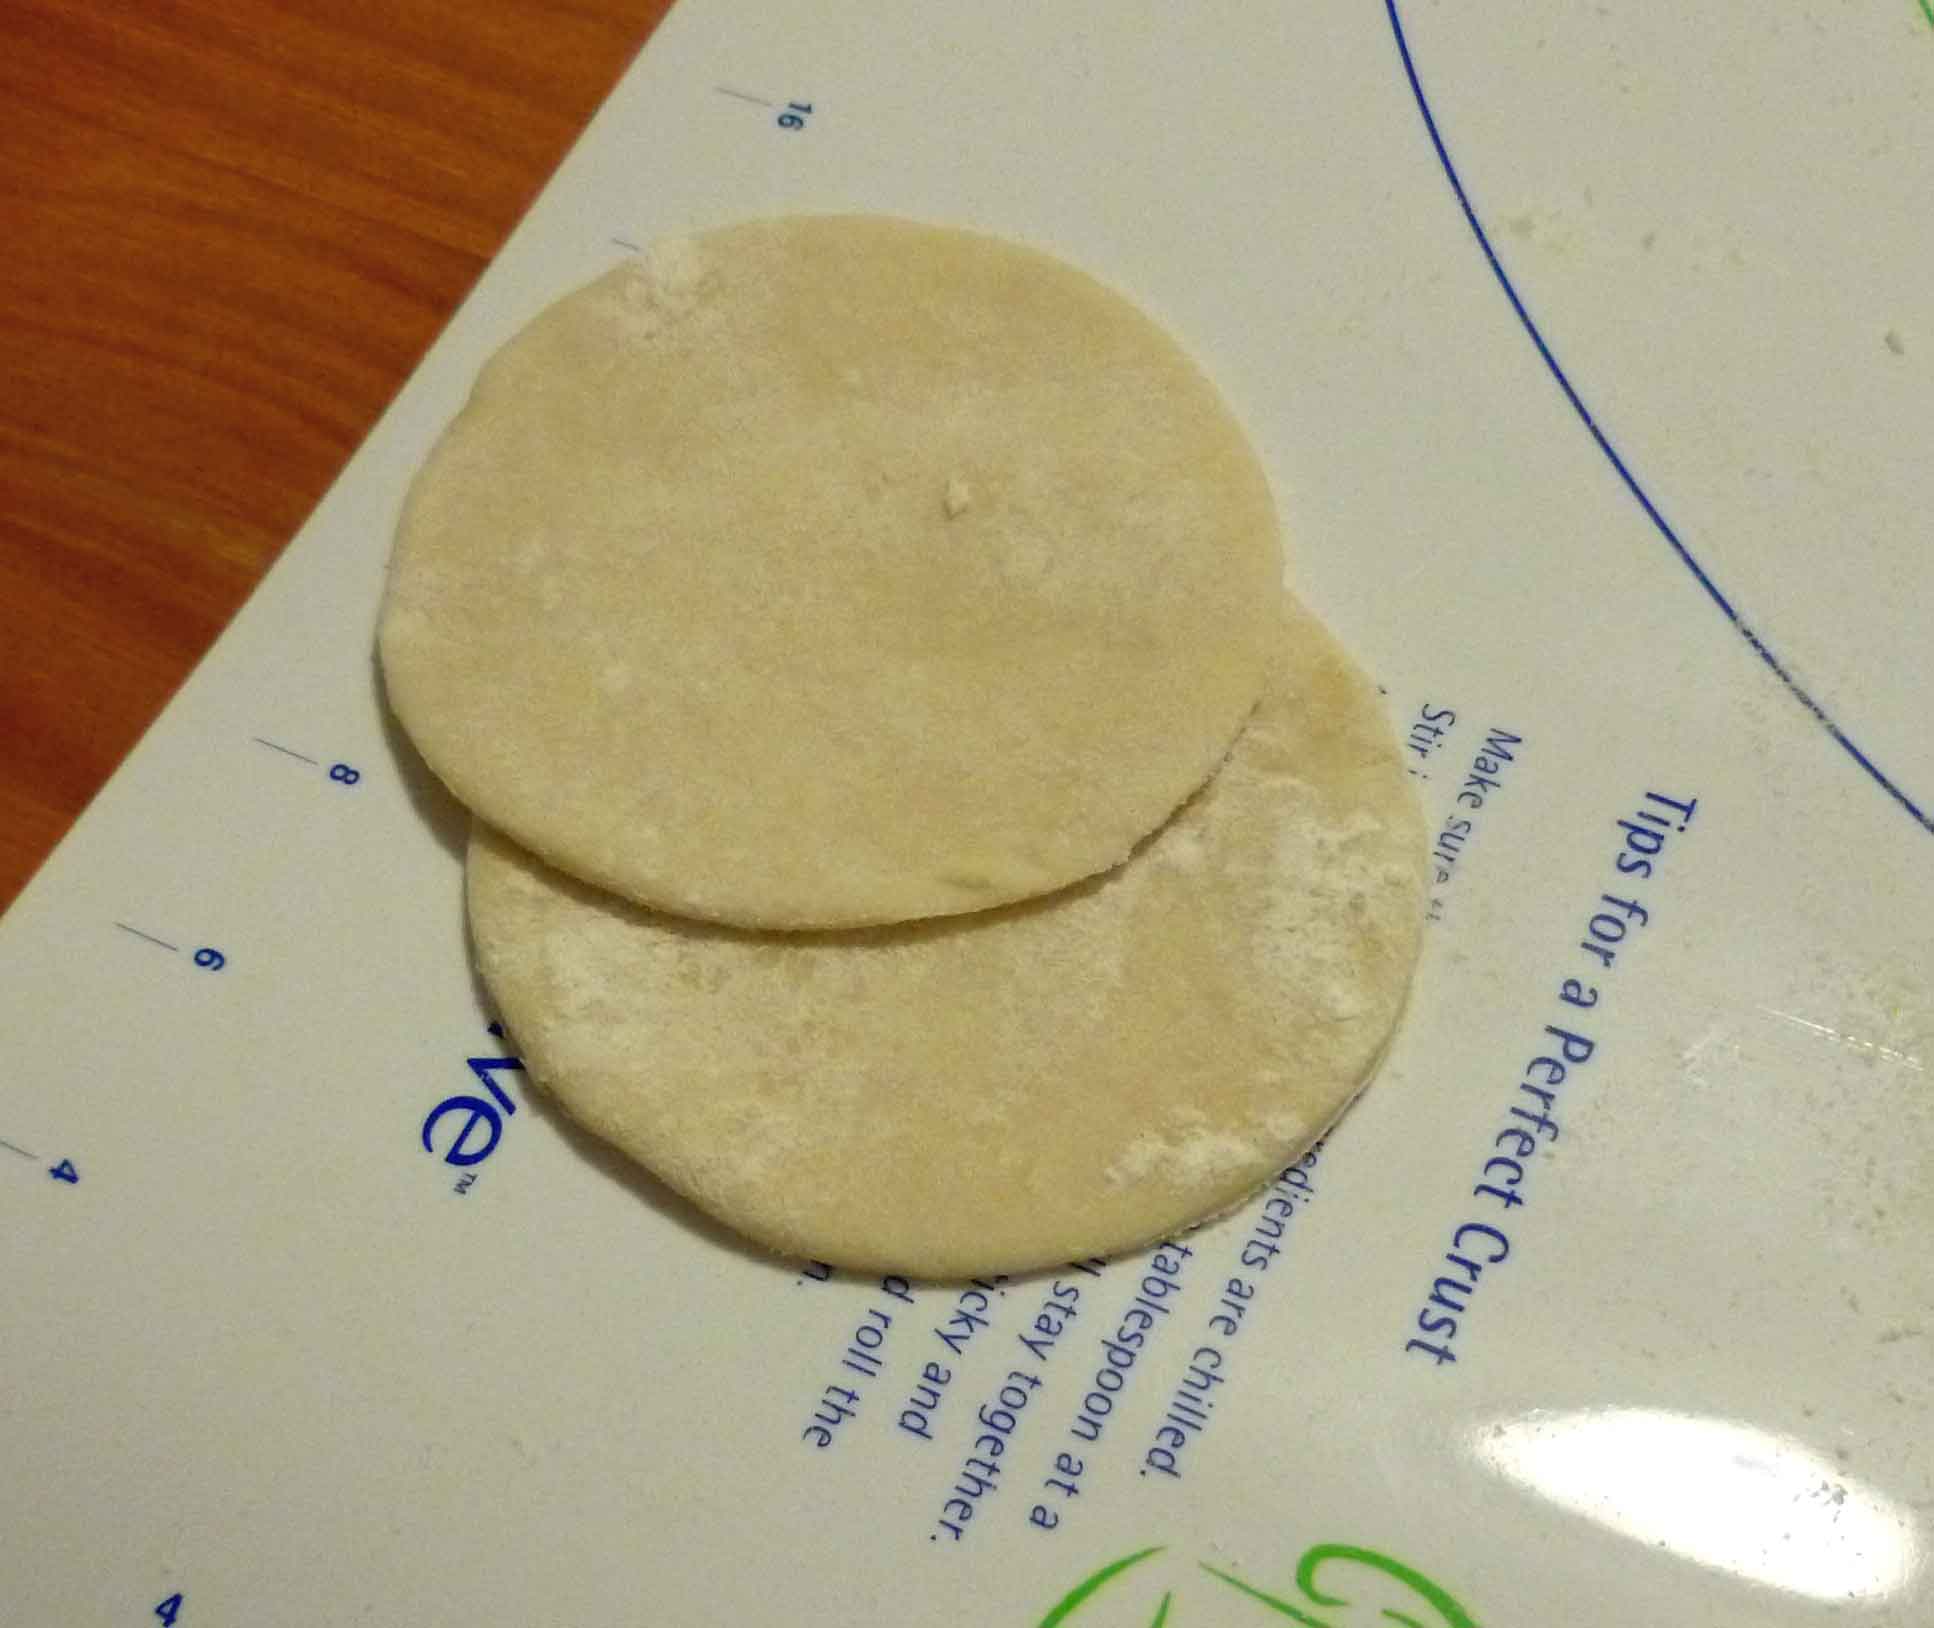
Now it’s time to make your wrappers. You can roll out your dough on a very clean counter top, a dough rolling mat, or a cutting board. I used a rolling pin and a biscuit cutter which was three inches in diameter to make the wrappers. Spread some flour over the surface of your work area. This dough is very sticky, you’re going to need quite a bit of flour for dusting, and it’s much easier to do it in small pieces. I only rolled out enough dough to cut out 2 or 3 wrappers at a time, as any larger attempts stuck to the mat too easily. Take a piece of the dough about the size of a plum, and using your flour to dust liberally, roll the dough to about an 1/8 of an inch thick and use your biscuit cutter (cookie cutter, or even a water glass in a pinch) to cut out the wrapper. Take your scraps and a bit more of the dough, and knead them together a bit and roll out a couple more wrappers. Keep doing this until all the dough is gone.
Dumpling Wrappers
Again, this dough is very sticky, make sure you dust them liberally before putting them in a pile. I didn’t and I had several wrappers stick together, which I then had to roll out again when I tried to use them.
Now it’s time to make your dumplings. I just want to say that this is a much softer dough that your usual wonton wrapper you get from the grocery store, and it’s harder to get a “pretty” result. And I’m not an expert by any means. So go check out this video by an expert for different shapes and techniques if you need a better explanation than the one I’m about to attempt. Especially once you see the picture of my completed ones below. Take a wrapper, hold it open in the palm of your hand. Place about a teaspoon or so of filling in the center of the dumpling and fold up the sides of the wrapper, pinching it shut, making little pleats if you have that kind of dexterity.
Dumplings on a sheet pan covered with parchment paper
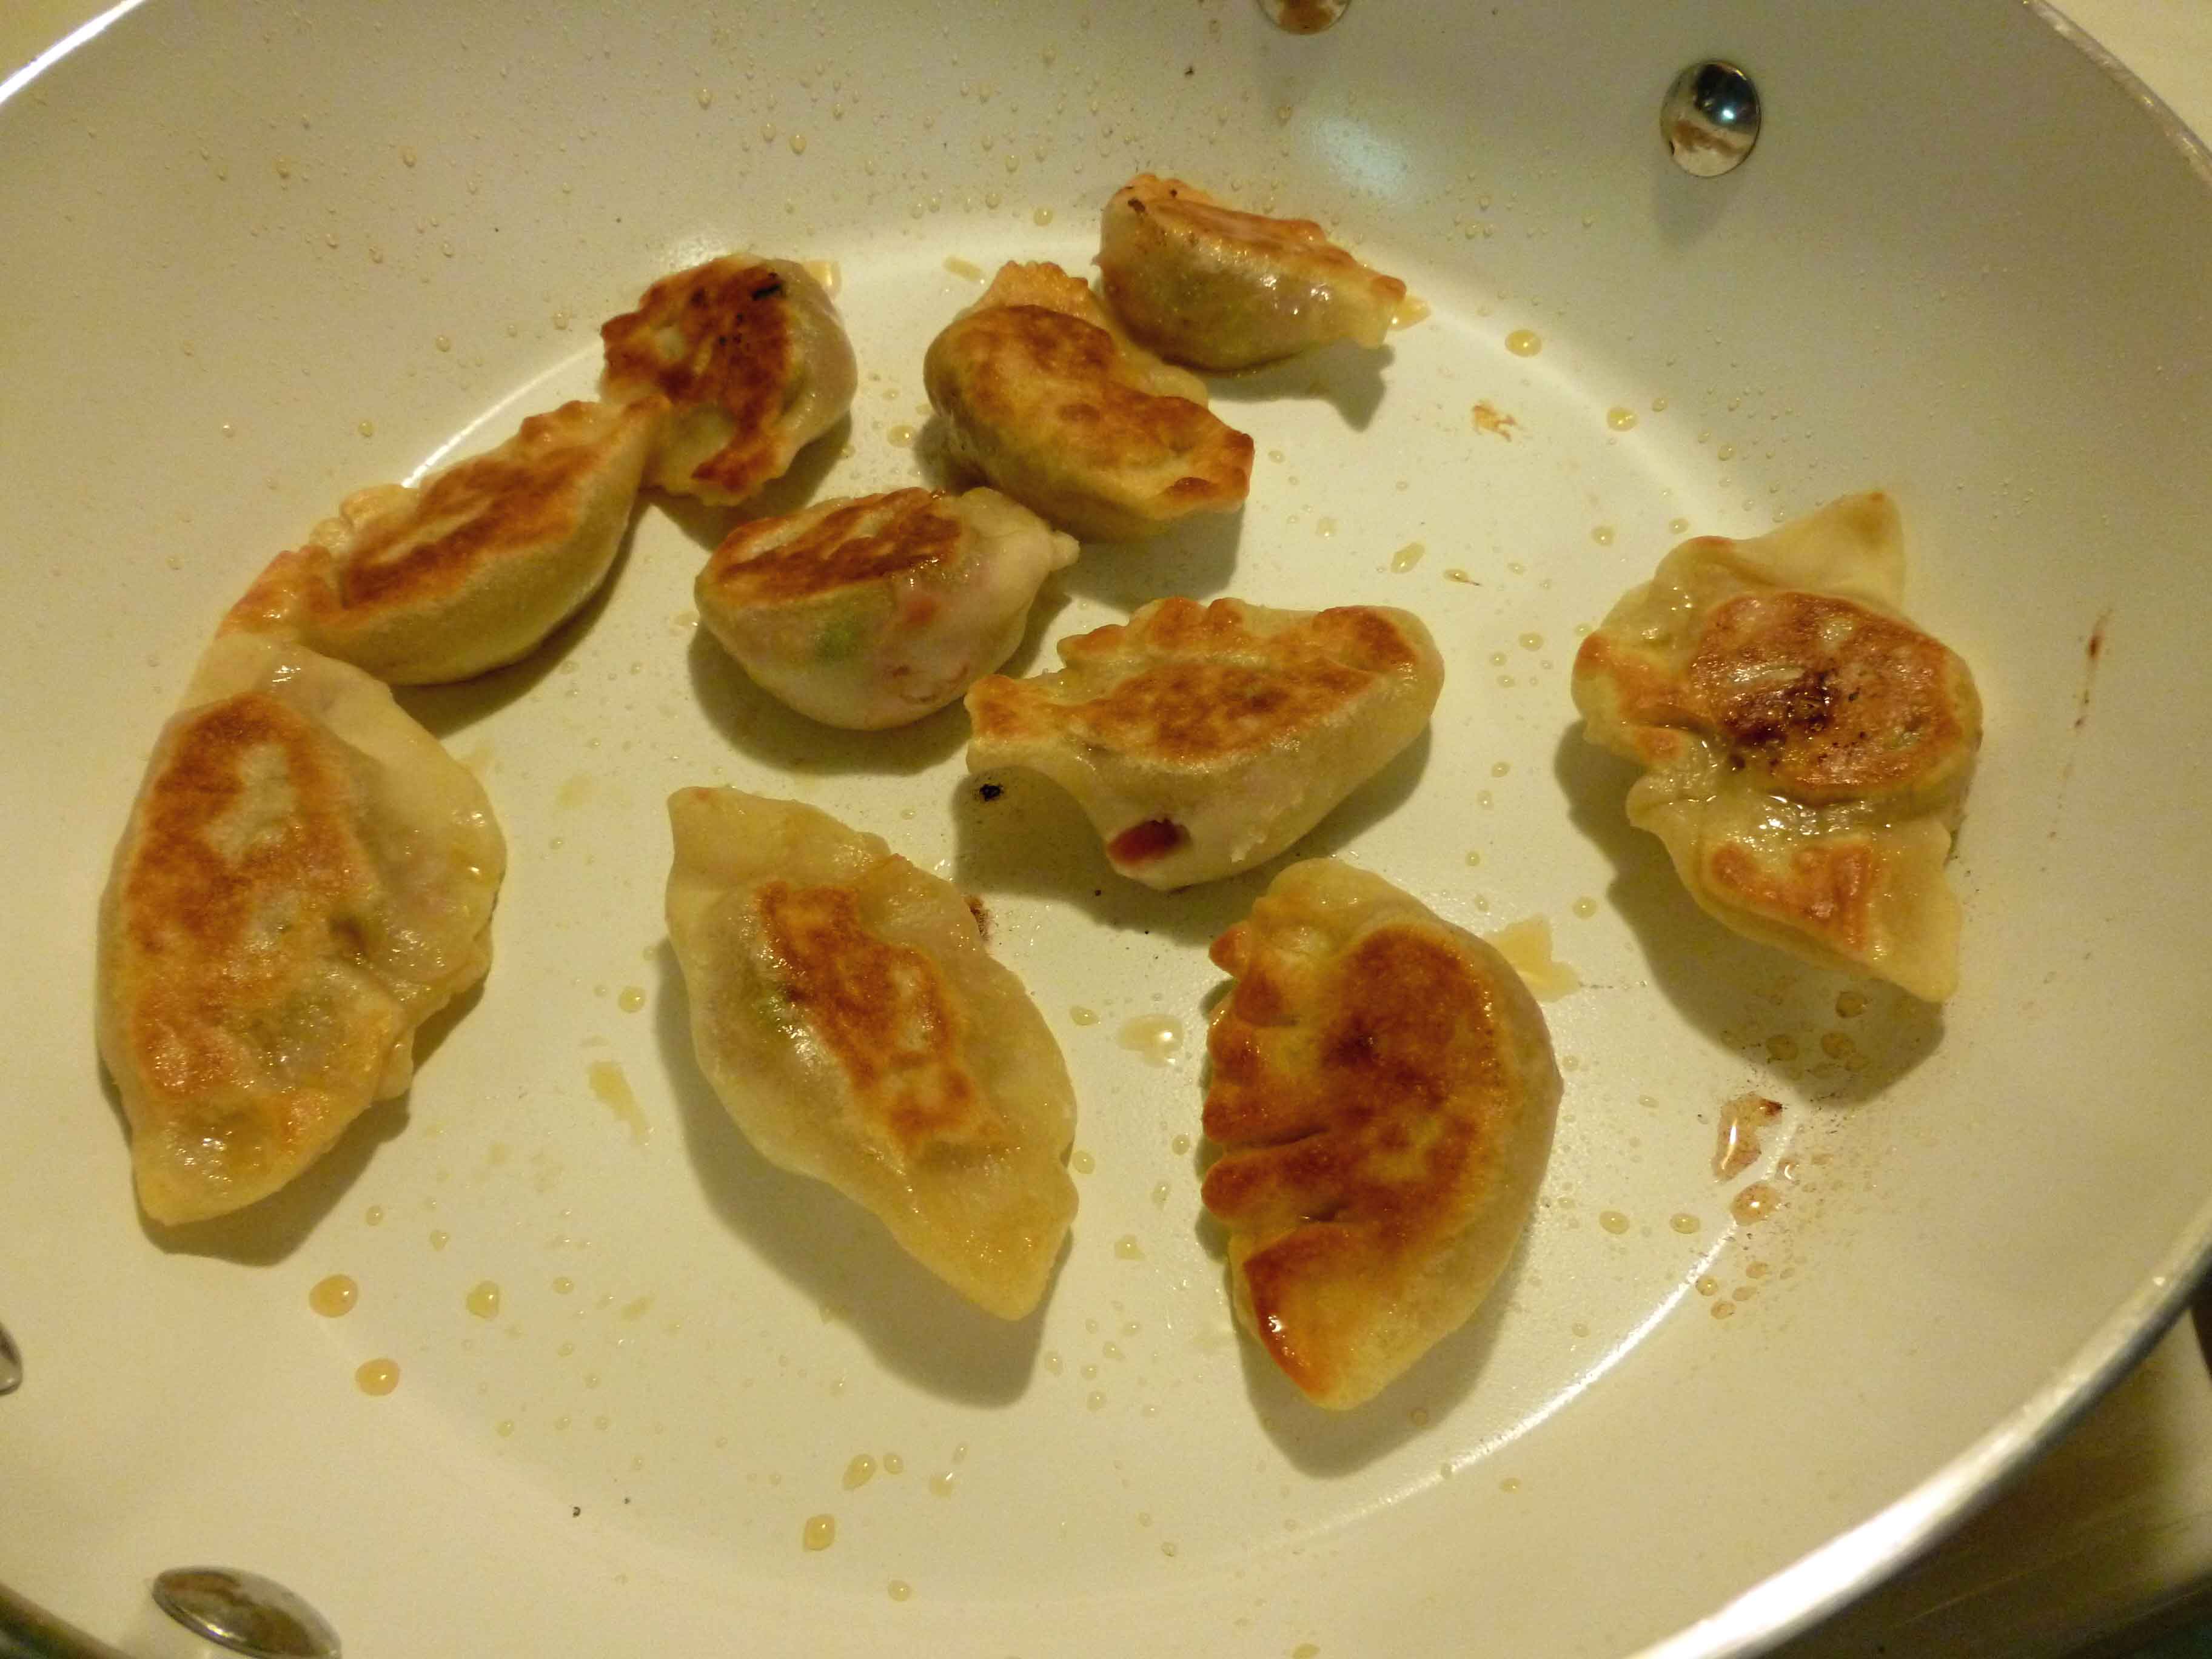
Now you get to choose how to cook them. I provide three methods below, but the first, Pan-frying, is what I used this time:
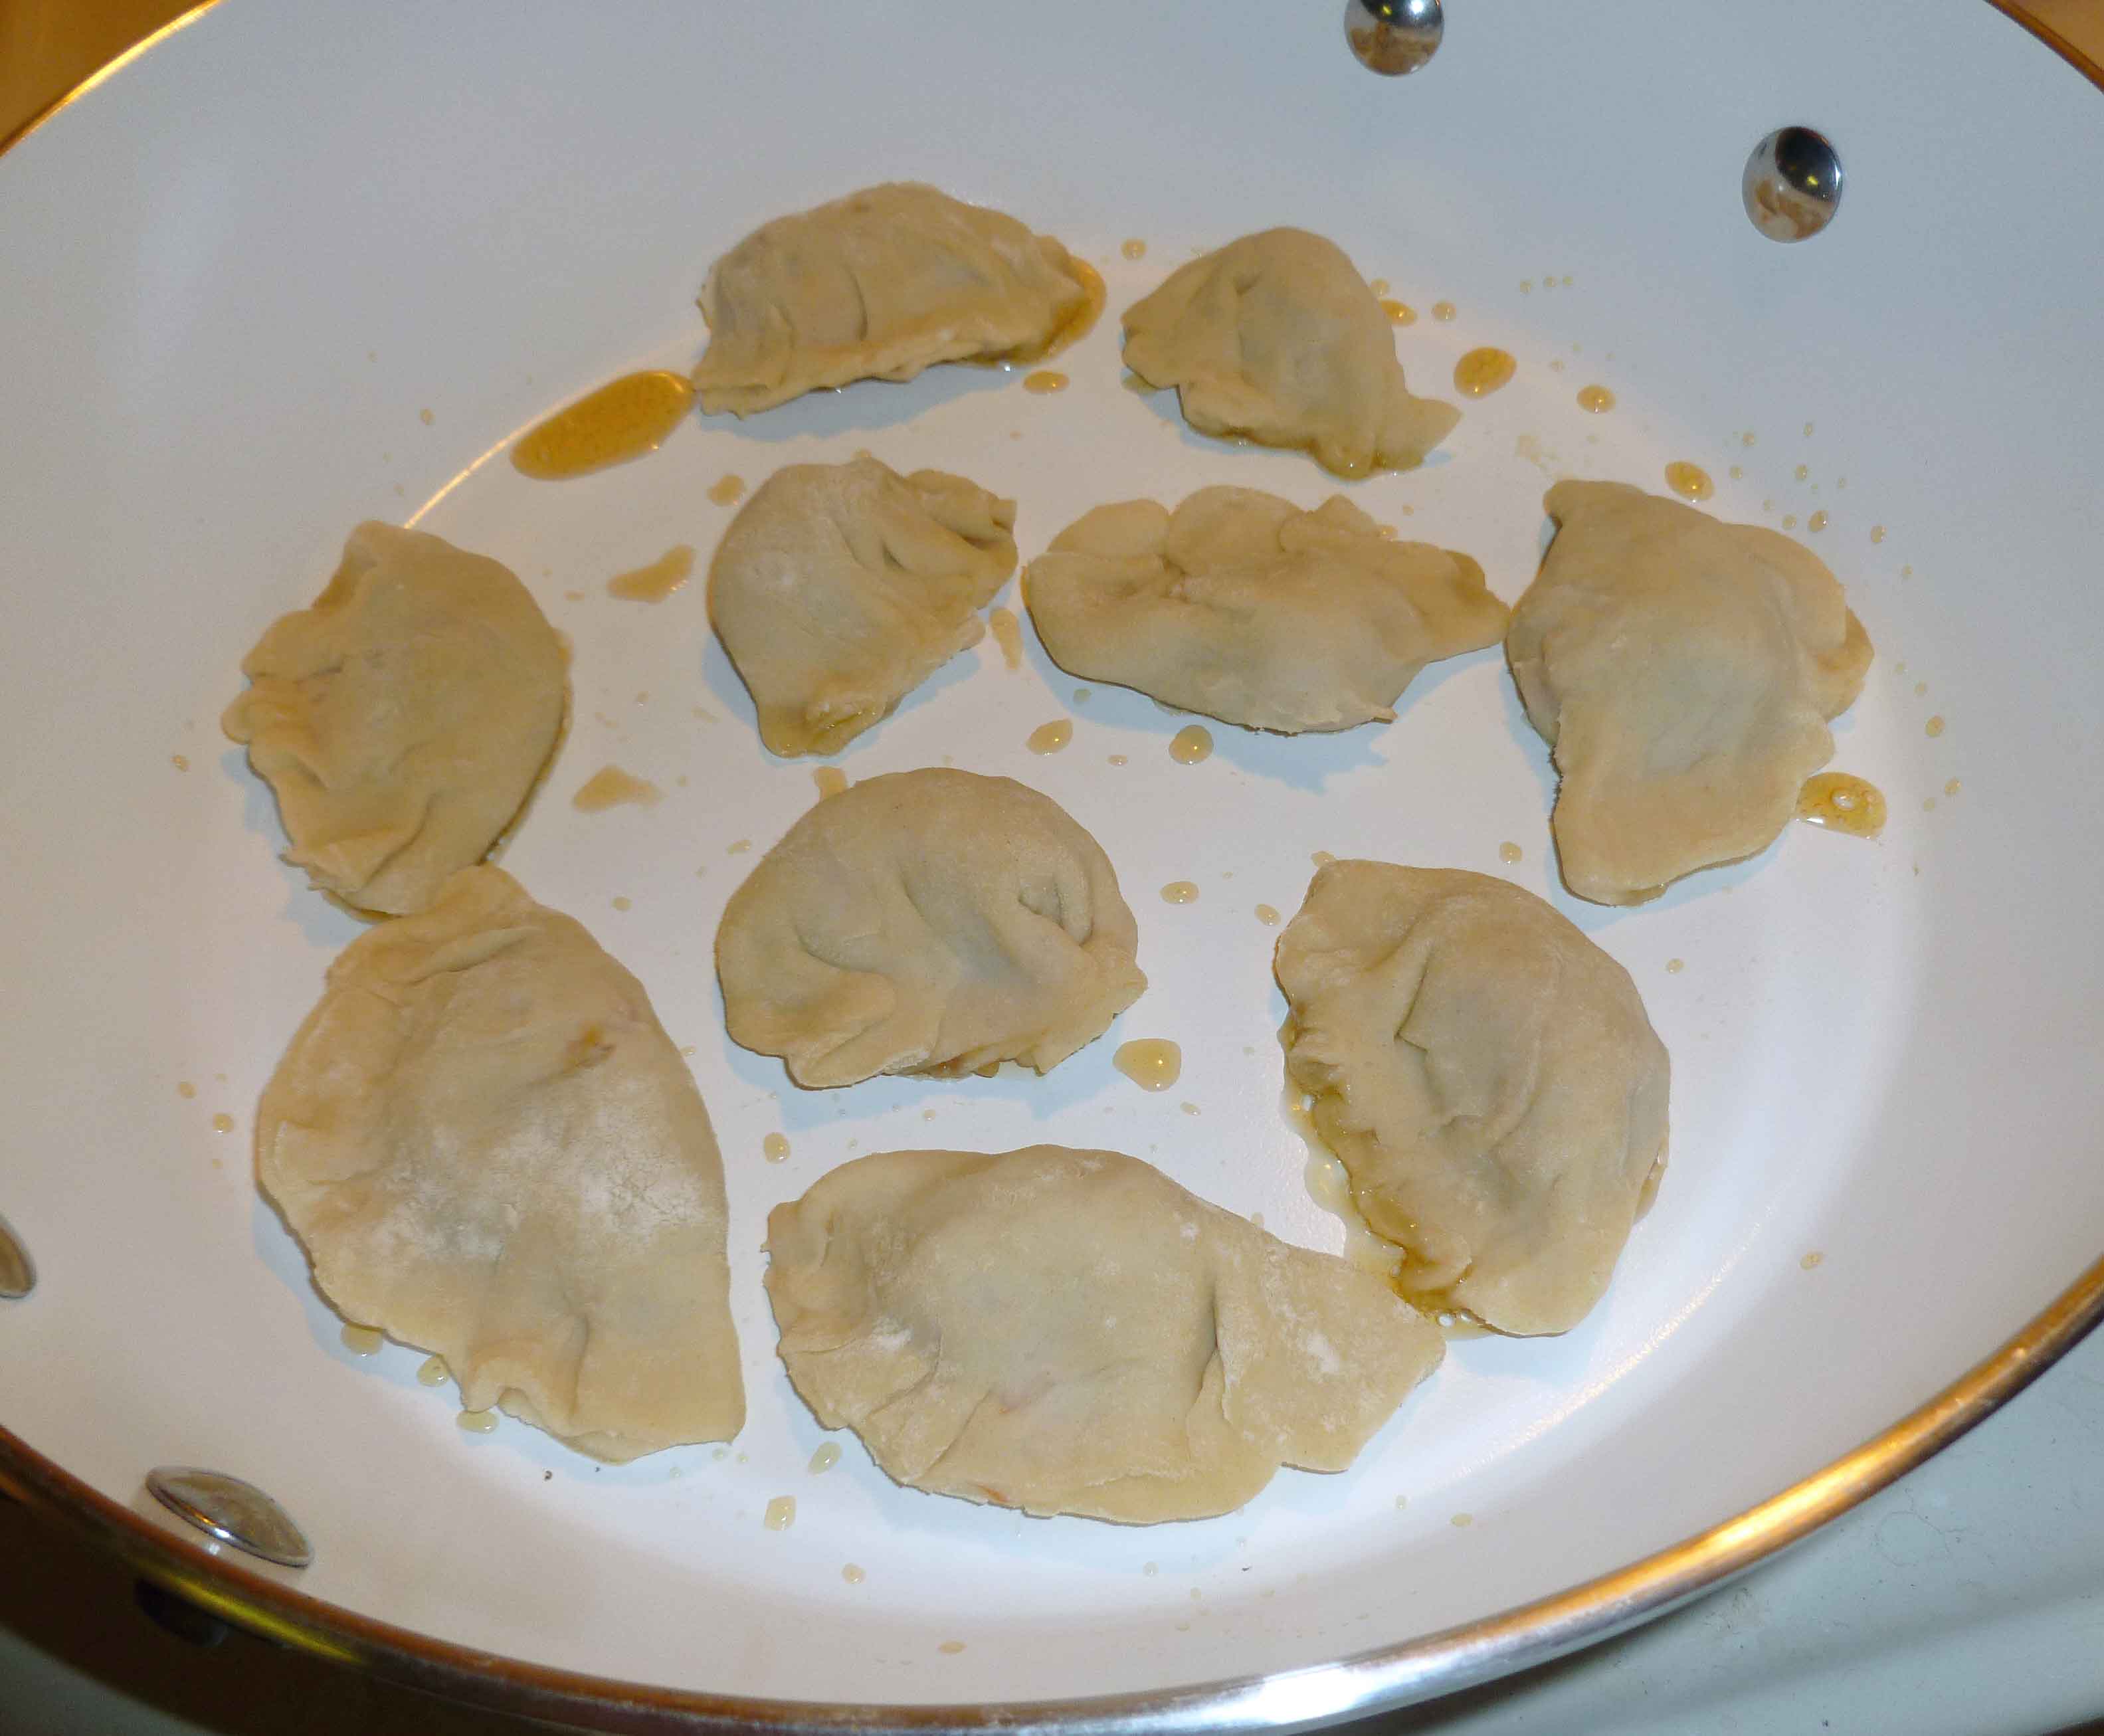
Pan-frying Dumplings: Place a little sesame seed oil in a skillet (which must have a tight fitting lid) over medium heat. Add dumplings, but so that they do not touch and have enough room to cook separately.
Dumplings properly spaced in skillet
Fry until golden brown, and then turn to fry the other side to the same golden brown color as shown below:
Dumplings fried golden brown
Once both sides are golden brown, add a quarter cup of chicken stock and put the tight fitting lid on the skillet. Continue to cook over medium heat while dumplings steam from chicken broth for another 3 – 7 minutes (depending on whether they were fresh or if they were dumplings you froze to use later) making sure to test one to see if they are done before serving. You may need to adjust your cooking times. Continue to fry and then steam dumplings in batches until you have cooked all the dumplings you intend to serve. Serve with dipping sauce.
Steaming Dumplings: Use a metal steamer basket or a bamboo steamer in an appropriate size pot with a tight fitting lid with enough water so that it will not touch the dumplings. Place the dumplings in a single layer in the steamer. Bring the water to a boil, then reduce the heat to medium and put the lid on the pot. If the dumplings are freshly made, cook for 5 minutes or so, but test one to see if they are done before serving. If you froze your dumplings to use later, don’t thaw them, but cook them for about 15 to 20 minutes, testing to see if they are done before serving. Serve with dipping sauce.
Dumplings In Soup: You can do a quick wonton soup, using some chicken broth, some green onions, some Napa cabbage, thinly sliced carrots and some of your dumplings. Bring the chicken broth to a boil, add the dumplings and carrots, and then reduce the heat to medium. When the dumplings and carrots are cooked, add the green onions, Napa cabbage and cook for a minute or two more. I like to add some white pepper or Chinese Five Spice to season it as well. This is a really quick dinner if you’re using dumplings you froze to use later, and some frozen homemade chicken stock, or a store bought version (checking the labels of course).
Hope you like these, and I will keep trying for a gluten free version I like to share.
Since publishing my DIY Shampoo if Allergic to Coconut post, I’ve made a minor change to the original shampoo recipe. When you see the change you’re going to laugh and say “Whatever Denise, like that matters.” But it makes a pretty large difference in the lathering of the shampoo, and also in moisturizing your hair. I had a tough time over the winter with original recipe because I felt like my hair was too dry. So I tinkered with the recipe a bit, and got something that makes a much better lather and made my hair feel great. And so without further ado, I give you the original post, with the added ingredient underlined, italicized, and in bold:
So here’s the thing. Being allergic to coconut is a b*tch, once you realize that coconut is in just about every cleaning product on the market. To get a list of coconut derivatives, go here, thanks to Becky at the Allergic to Coconut? blog. Due to some issues with breaking out much more than I should be at freaking *40*, I decided I wanted to try cutting out any coconut derivatives that touch my skin.
First, most soap and shampoos contain at least one of the coconut derivatives on the list, if not five to ten of them. Most lotions, face masks, acne treatments, etc., etc., etc., contain at least one of the coconut derivatives as well. When I decided to go looking at my beauty and personal hygiene products, guess what? Every single one had coconut in them, except one lotion, and when I looked up the ingredients I didn’t recognize on that label, it turned out to be two forms of pesticide. Yippy fricking skippy.
The first thing I did was to try to find a recipe for shampoo, because I was breaking out in my hair, which hadn’t ever been a problem before. I posted this information earlier in one of our Fabulous Friday Finds, but I’ve made some modifications.
I found this recipe for making your own shampoo, which calls for castile soap. Just be aware that even some castile soaps, like Dr. Bonner, have coconut in them. I found a recipe for making castile soap from Kiss My Face Pure Olive Oil Soap. Kiss My Face Pure Olive Oil Soap does not have any coconut in it. I made the shampoo with some modifications and found it too drying on my hair, so I added olive oil, but found it could be a bit waxy. This time I think I have it the way I like it. I’ve been using it as a body wash as well.
Denise’s Version of DIY Shampoo
1 Kiss My Face Pure Olive Oil Soap – 8 oz bar, grated (I grated it in my food processor, dumped it out, put the blade in, put it back in the food processor and pulverized it some more. Doesn’t take as long to dissolve in the water this way. Make sure you clean your food processor really well afterwards.)
5 cups of distilled water
3 Tablespoons of grapeseed oil
2 Tablespoons of castor oil
1 Tablespoon of avocado oil
10-15 drops of tea tree essential oil
Grate Kiss My Face Soap. Place in a glass or plastic container with 5 cups of distilled water. Stir well, cover, and leave overnight. The next day, check to see if the soap bits have completely dissolved. If not, stir again and let sit. When the soap has completely dissolved, add, the grapeseed oil, the castor oil, the avocado oil,and the tea tree oil, and mix together. I used a whisk, I found it incorporated the oil better. This makes about 48 oz of shampoo. I put half in a pump bottle (Yes, it’s a store-brand hand sanitizer bottle, reduce, reuse, recycle, remember?) in the shower and half in the fridge until I run out. Or you could just make half the recipe 🙂
You can use the shampoo as body wash and facial wash as well, but stay tuned for further posts on facial cleansing options.
Before the food allergy apocalypse hit, one of the things I really liked was Thai food, and one of the dishes I really enjoyed at Siam Orchid, our local Thai place, was Hot & Crazy Noodles, which is a spicy version of Pad Sei Ew (or whatever spelling variant of Thai anglicized you might find). It’s probably a safe-ish dish for me still, but going to Thai places reminds me of all the curry and satay and other yummy dishes that I now cannot eat because of the whole coconut thing, so I just don’t go. But I’ve been thinking a lot about it lately, so I thought I’d try to do my own version.
Hot & Crazy Asian Noodles Apocalypse Style
Makes 4-6 servings (if you are cooking for one or two people and don’t want tons of leftovers, cut the portion amounts in half).
a dash of fresh ground szechuan peppercorns (I took about 4 and ground them in a mortar and pestle)
First, mix the soy sauce and the baking soda for the chicken marinade in a small bowl and then add the sliced chicken, mixing it well. Put it aside.
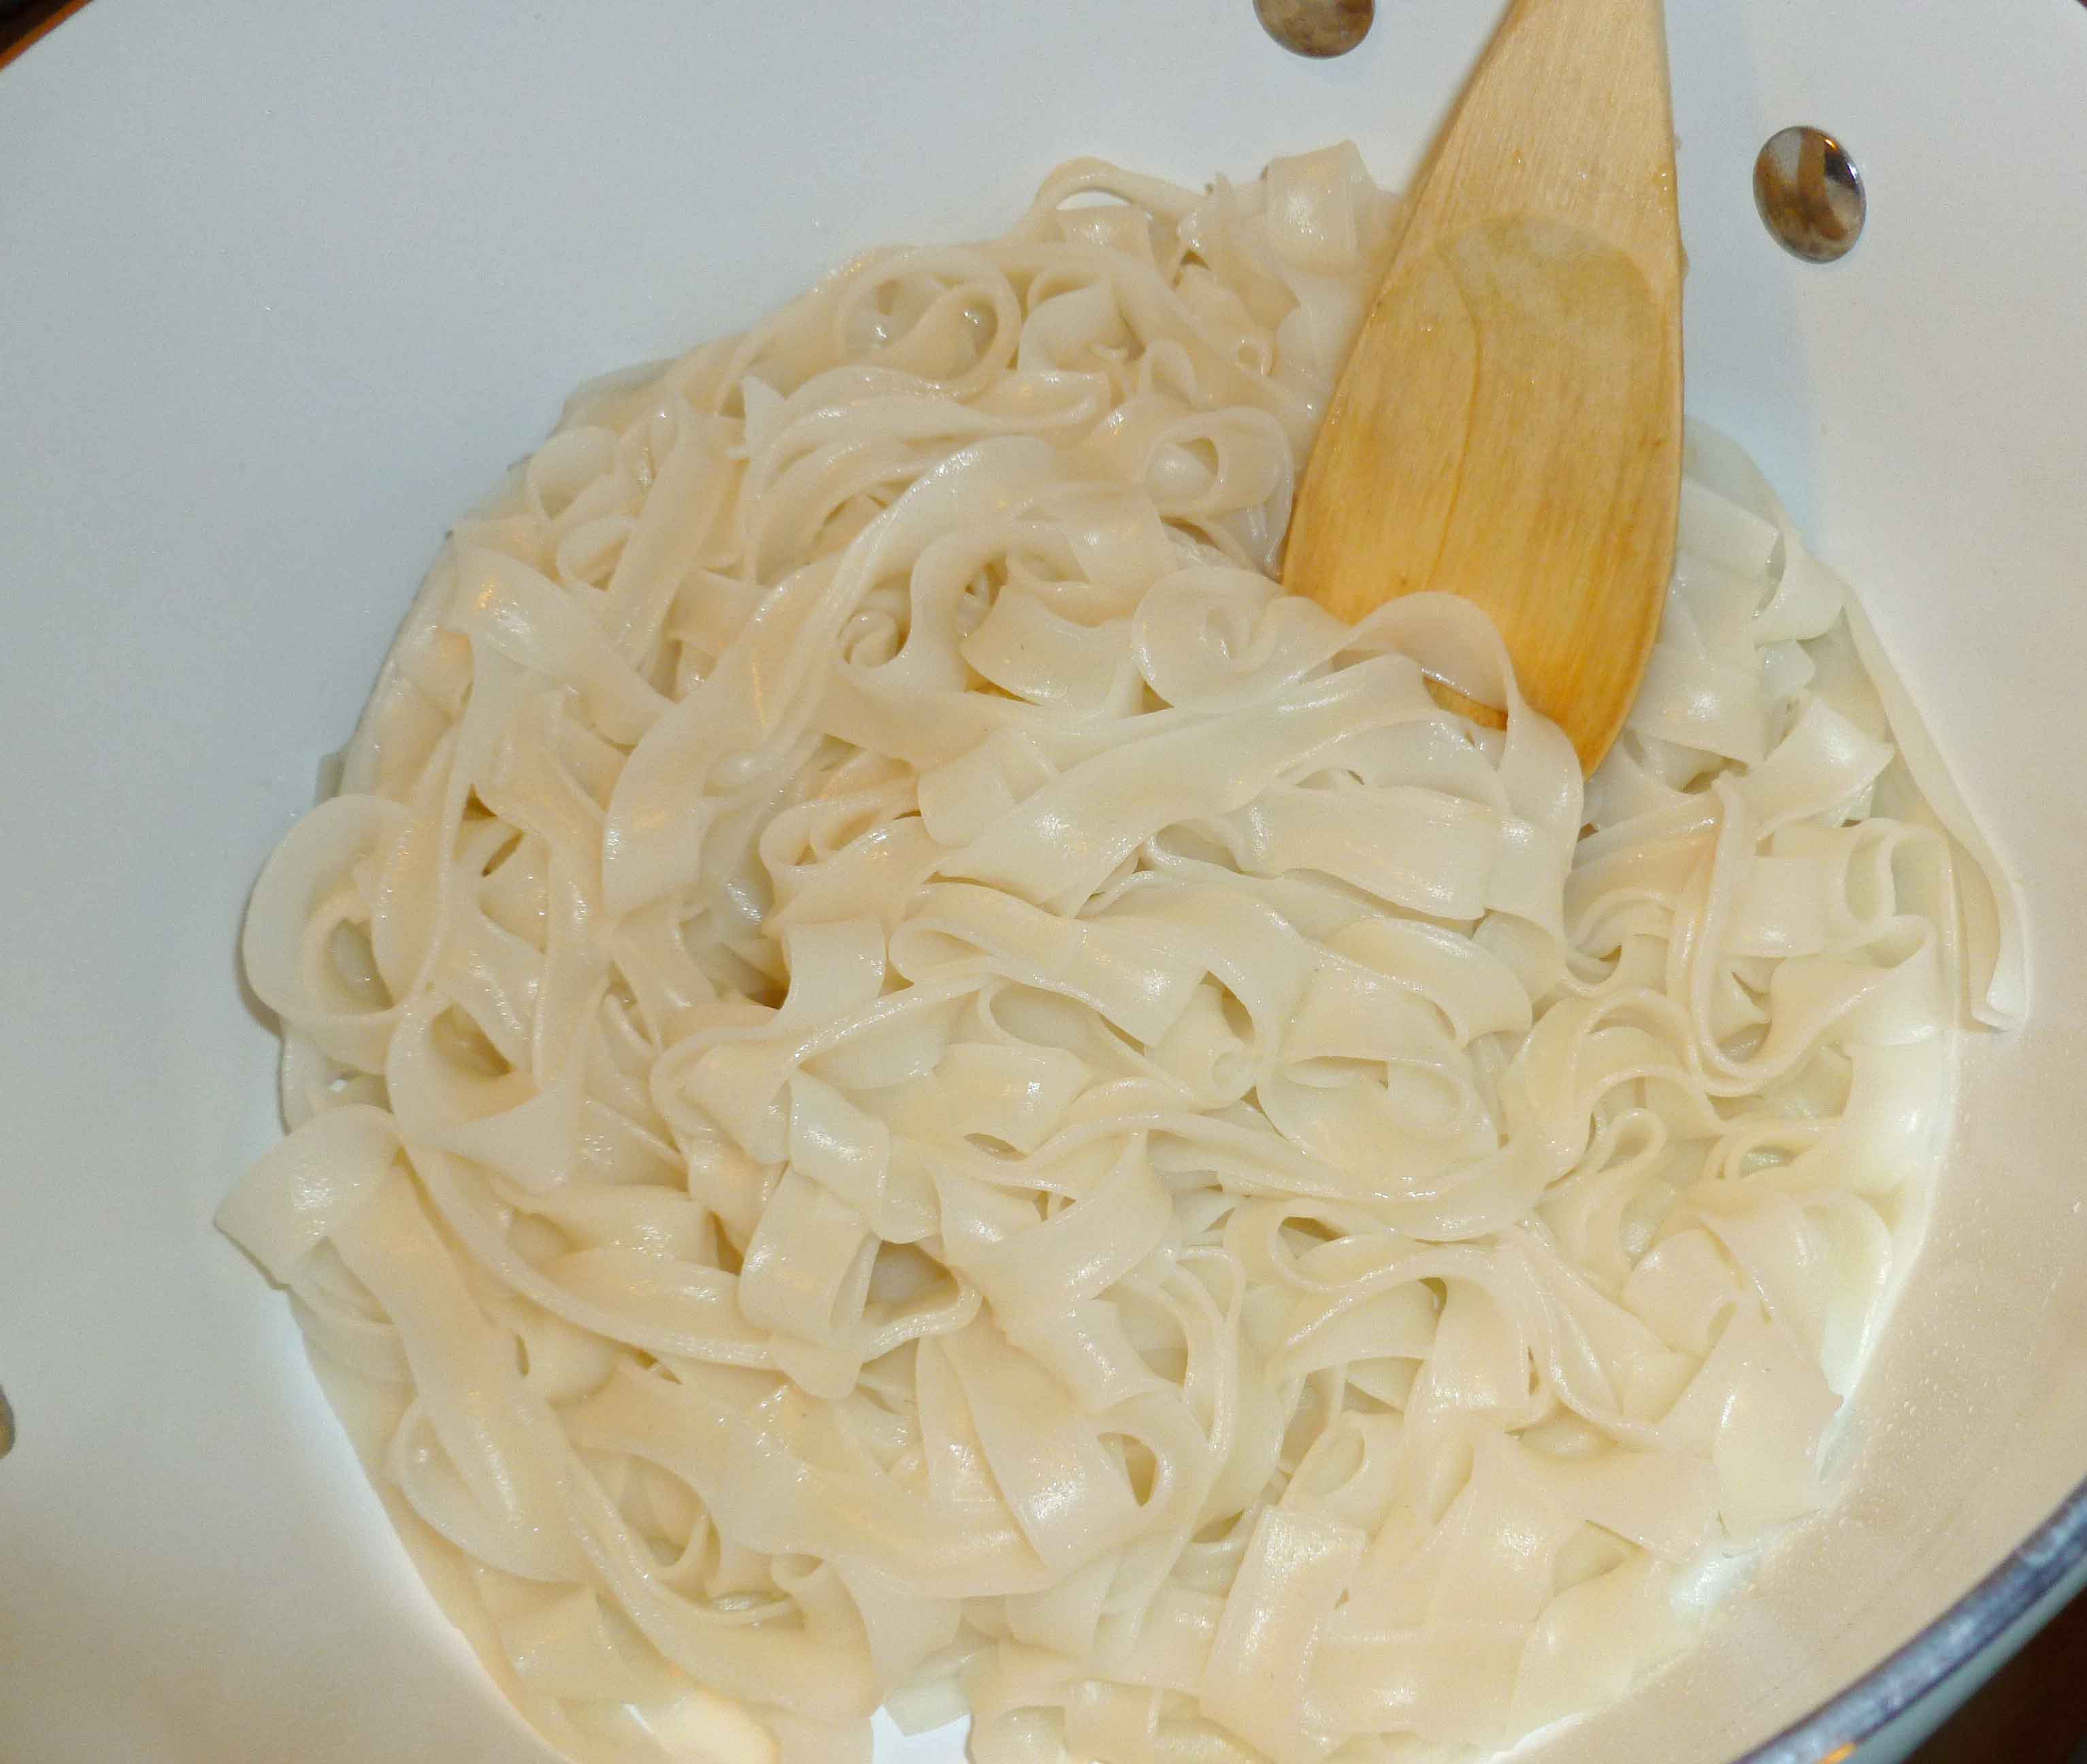
Bring a large pot of water to a boil. Add the rice noodles and cook according to the directions on the package (mine said about 6-8 minutes). When done, drain the noodles using a colander and then place them back in the pot, tossing them with the canola oil so that they are less likely to stick together.
Cooked and Drained Rice Noodles
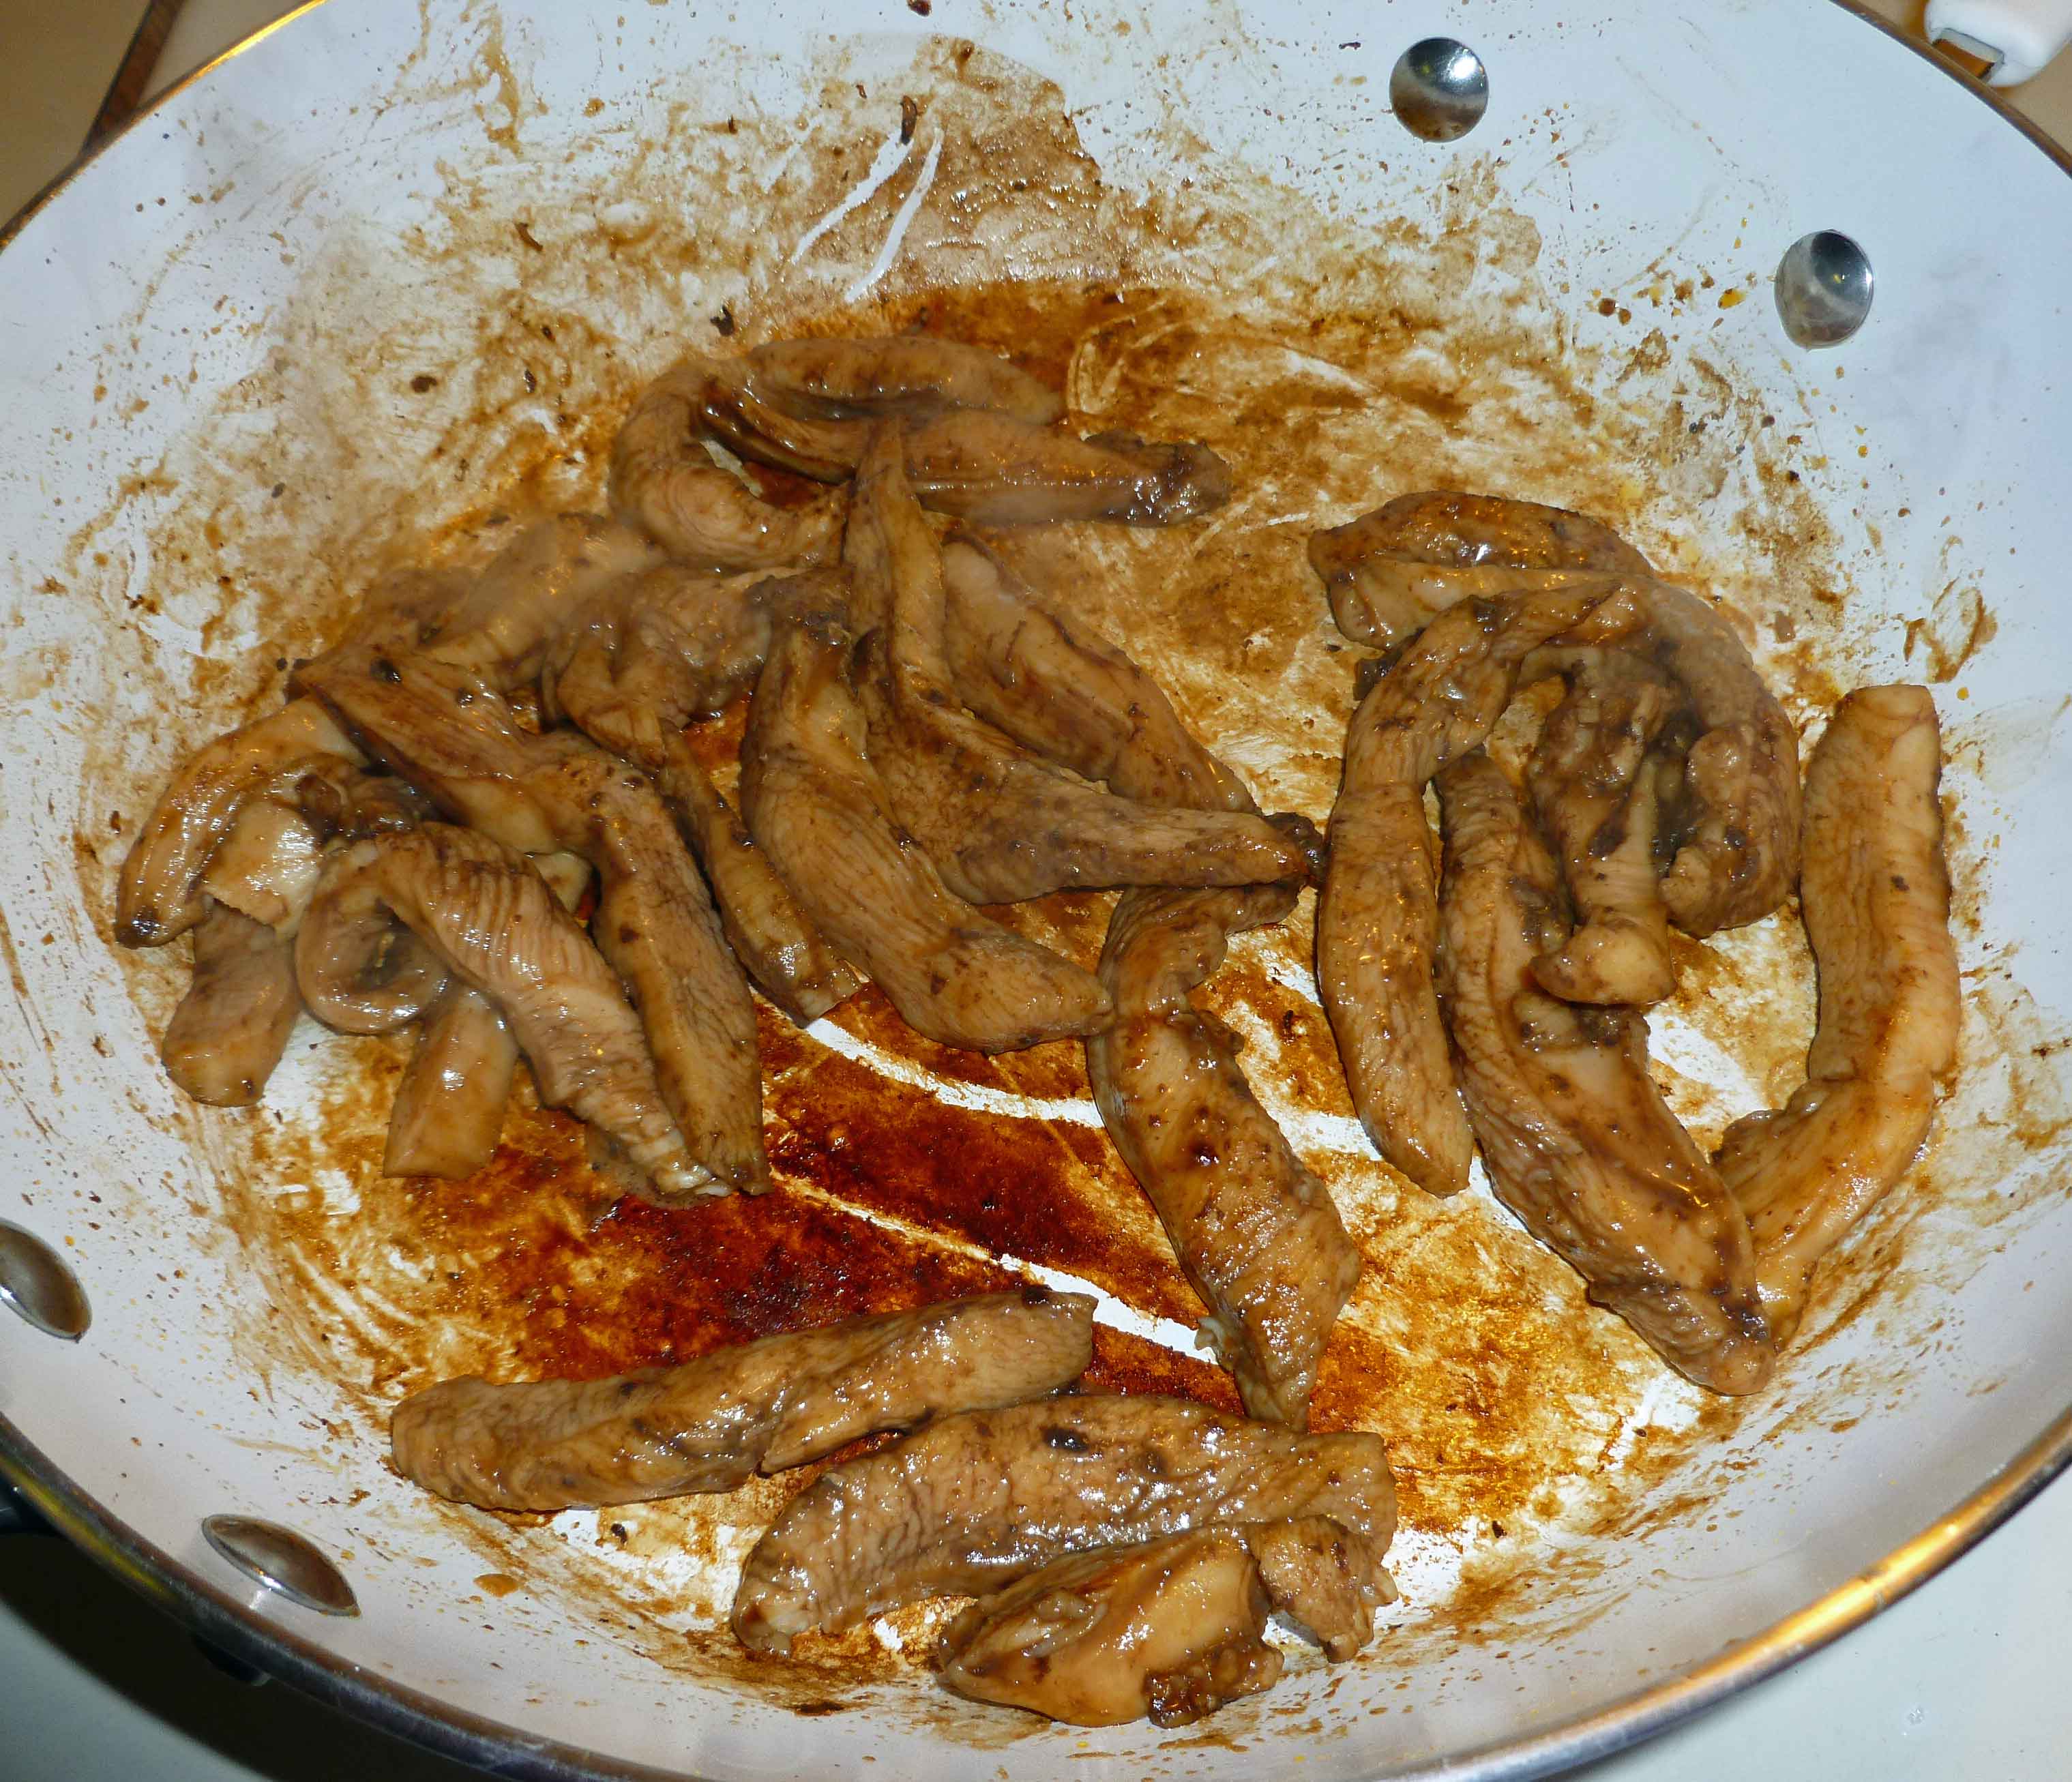
Using some of the chili oil, coat the bottom of your wok (or skillet in my case, I know I used to have a wok, but I have no idea where it went), turn the heat to medium high and cook the chicken in batches so it fries and doesn’t just steam. Once you have finished one batch, place it aside in a large bowl and cook then next batch, again placing it the large bowl when it’s cooked.
Chicken cooked in batches
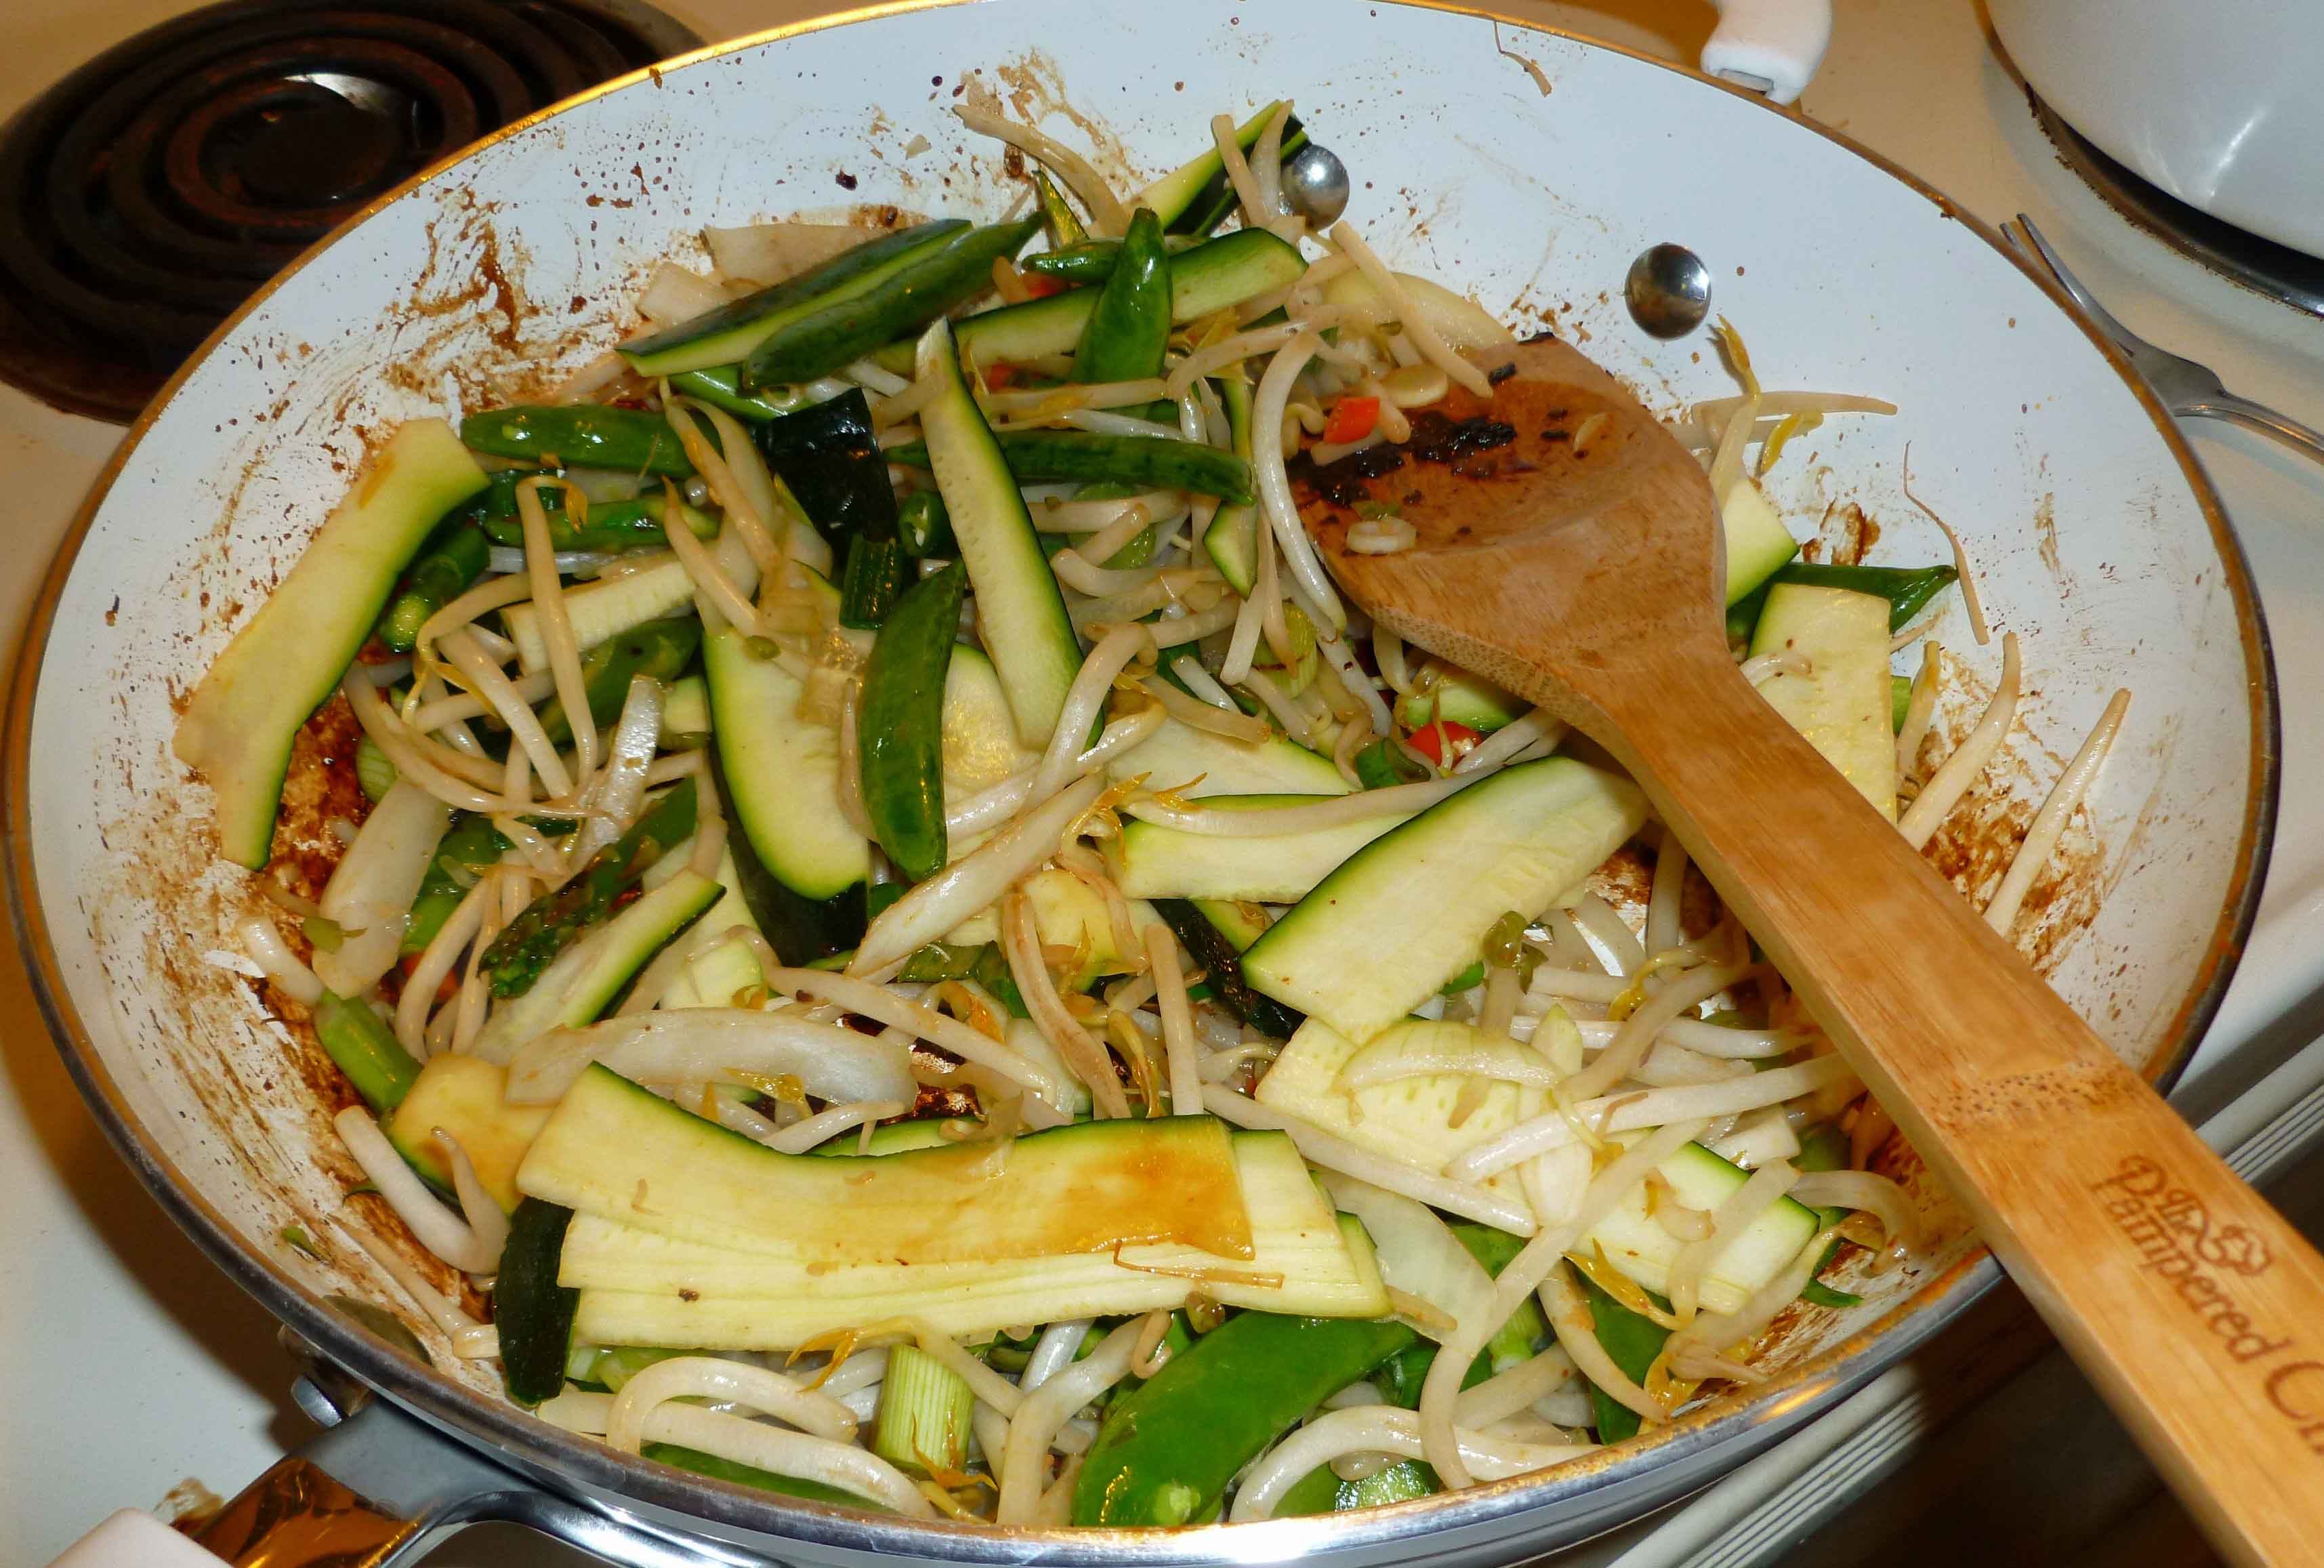
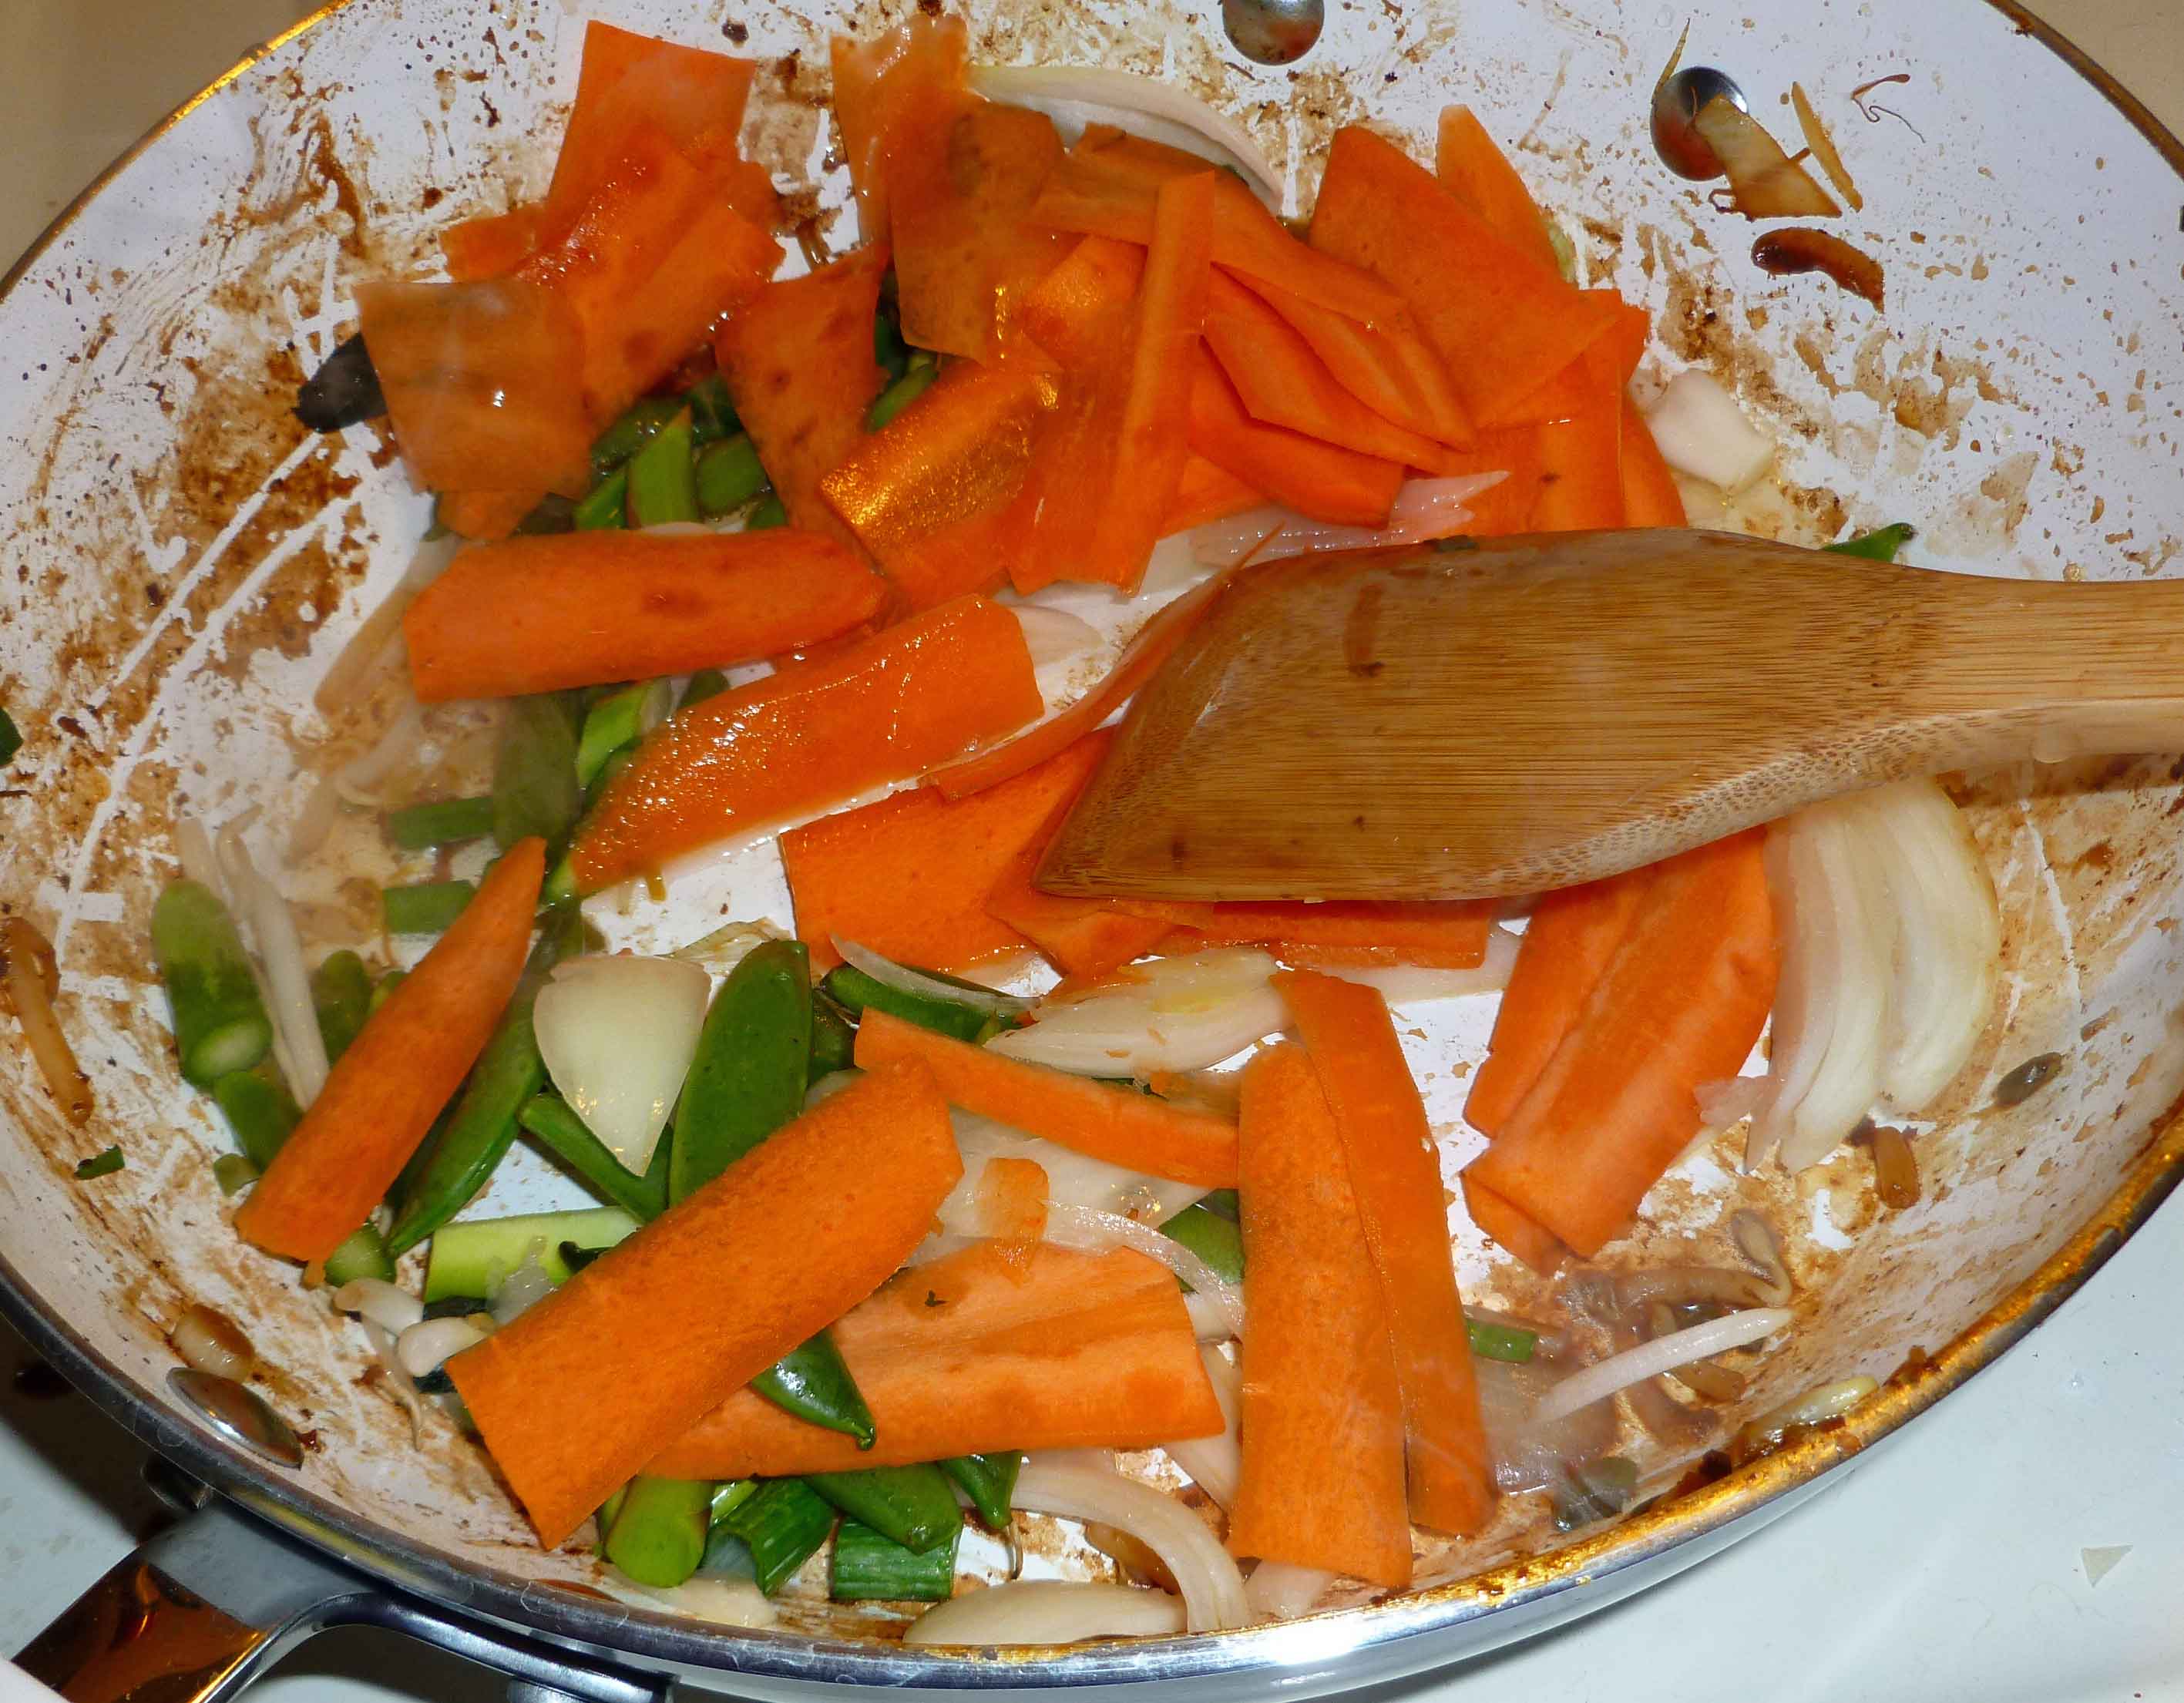
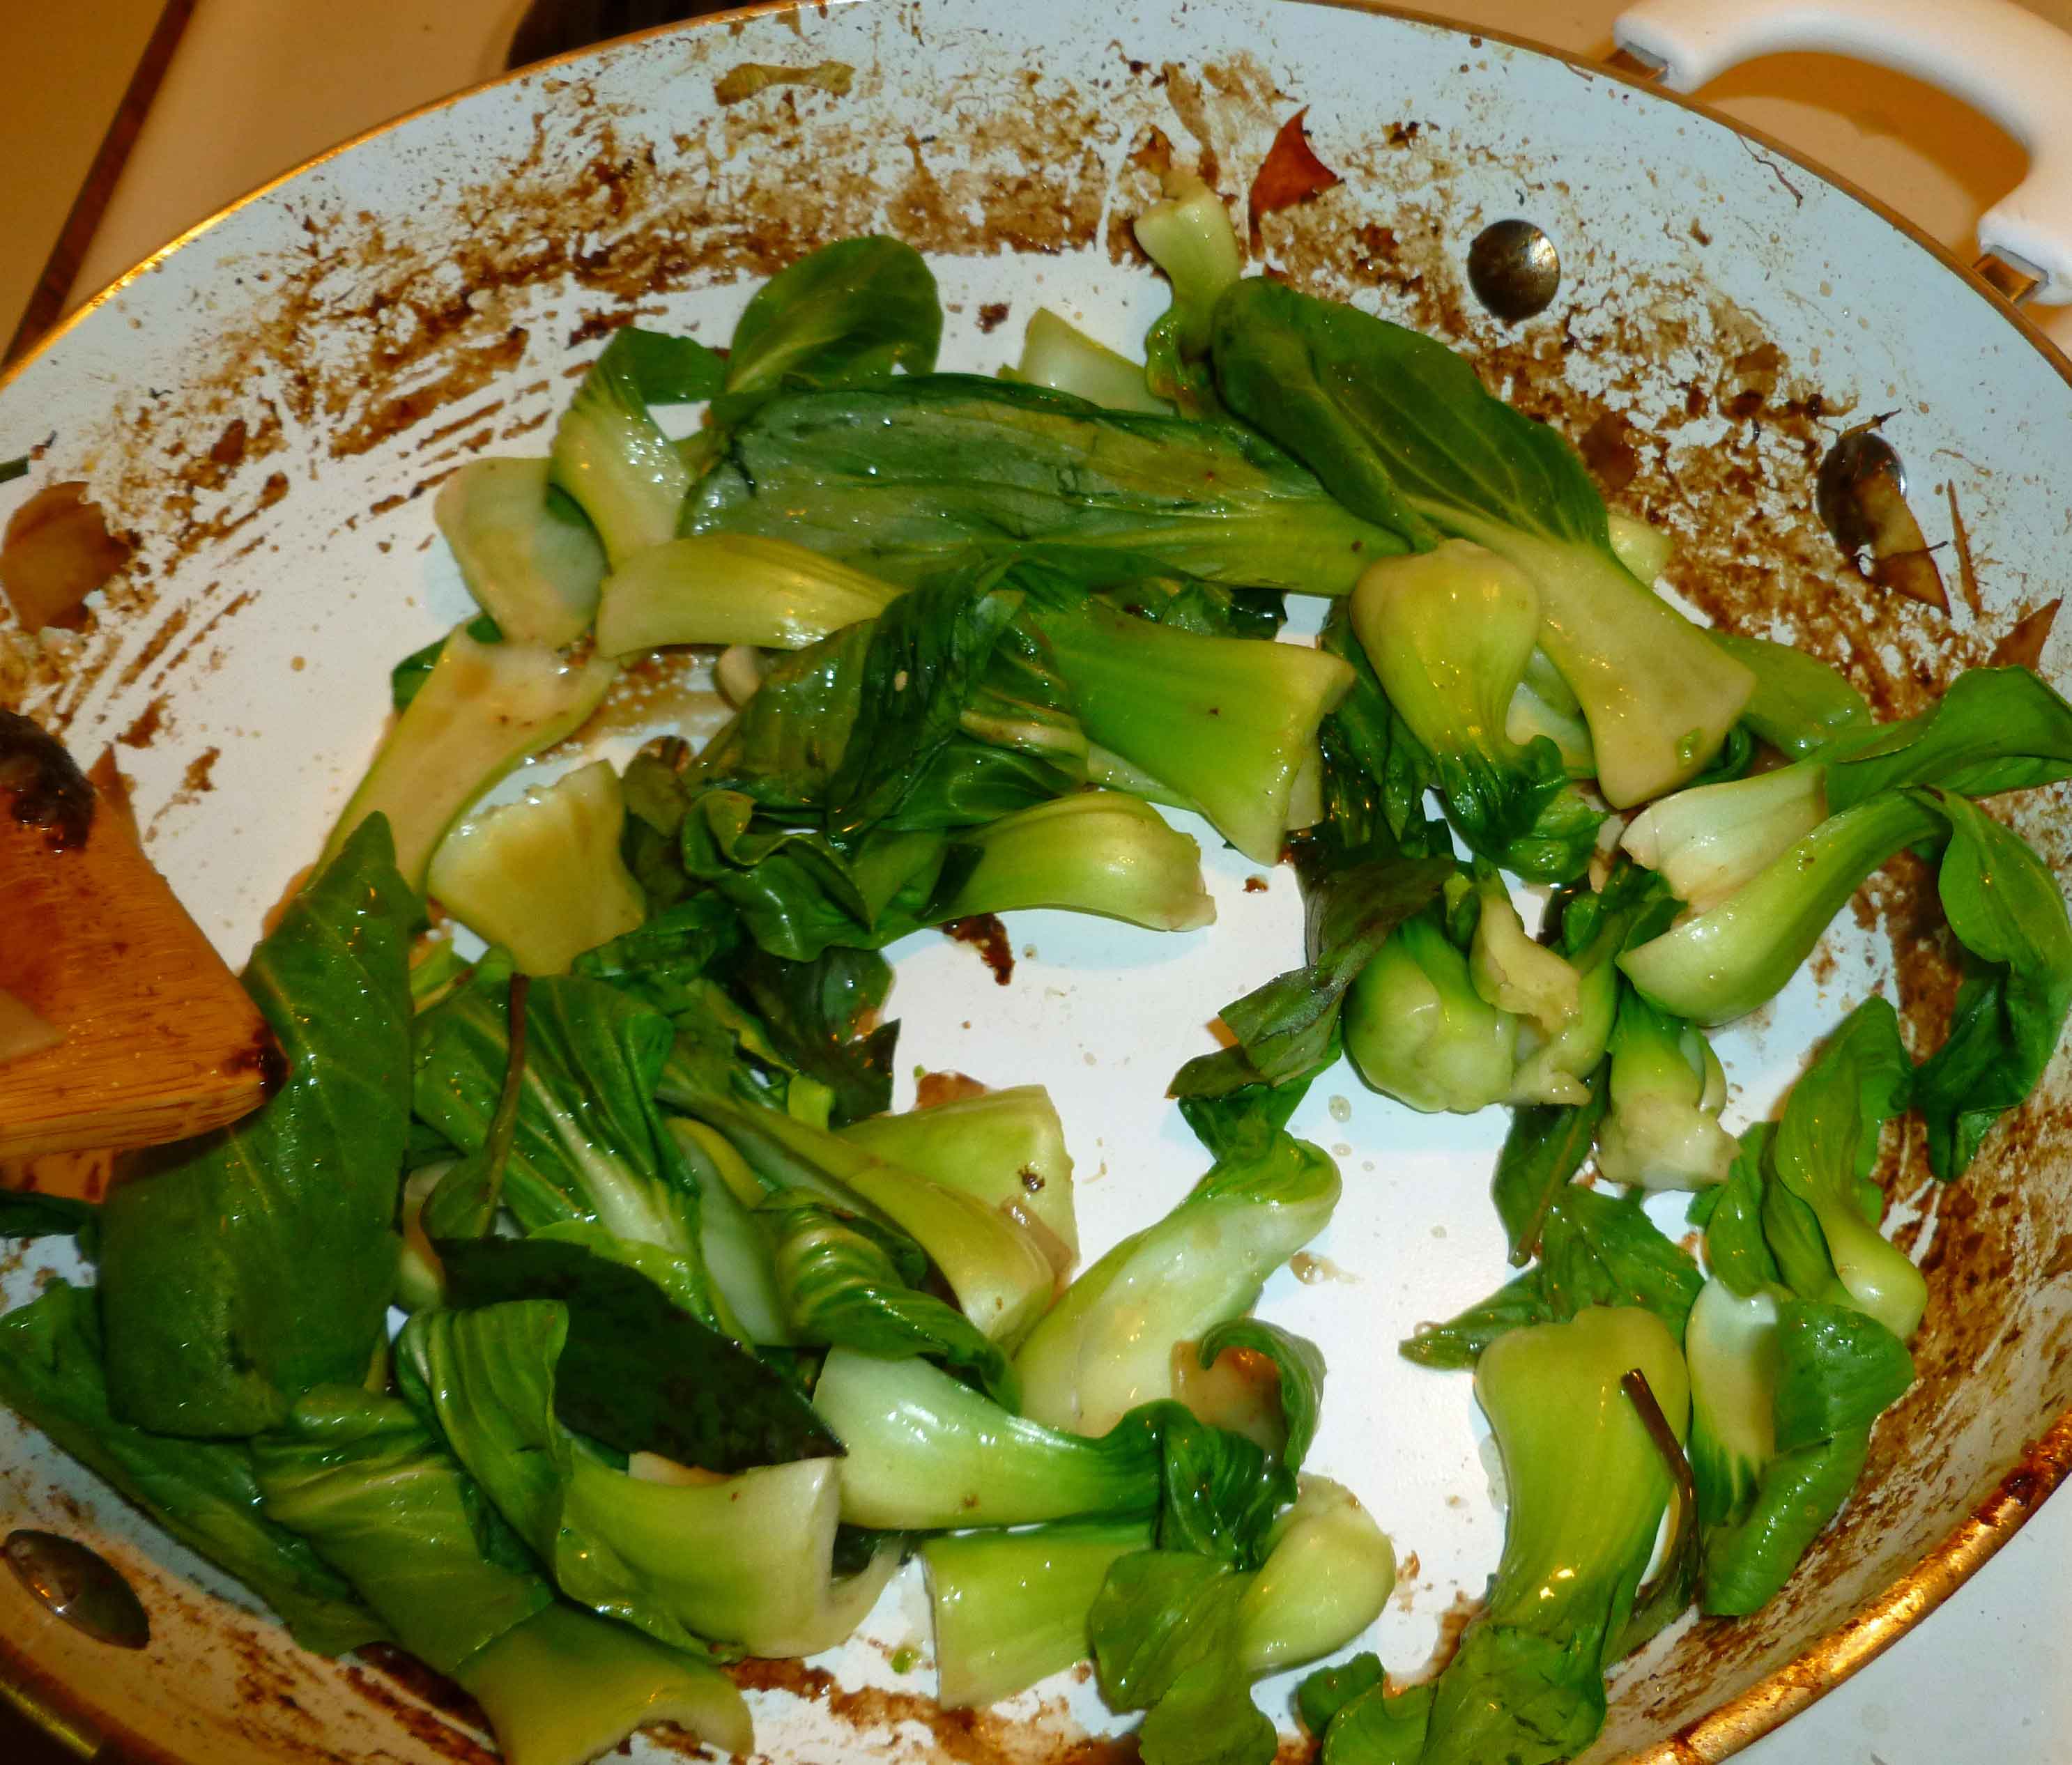
Using a bit more of the chili oil if needed, start stir frying the carrot, onion, peas, zucchini, asparagus, green onion, bean sprouts, thai chili, baby bok choi leaves, and thai basil leaves in batches, adding them to the large bowl when cooked.
Stir-fried VeggiesStir-fried VeggiesStir-fried Baby Bok Choi and Basil
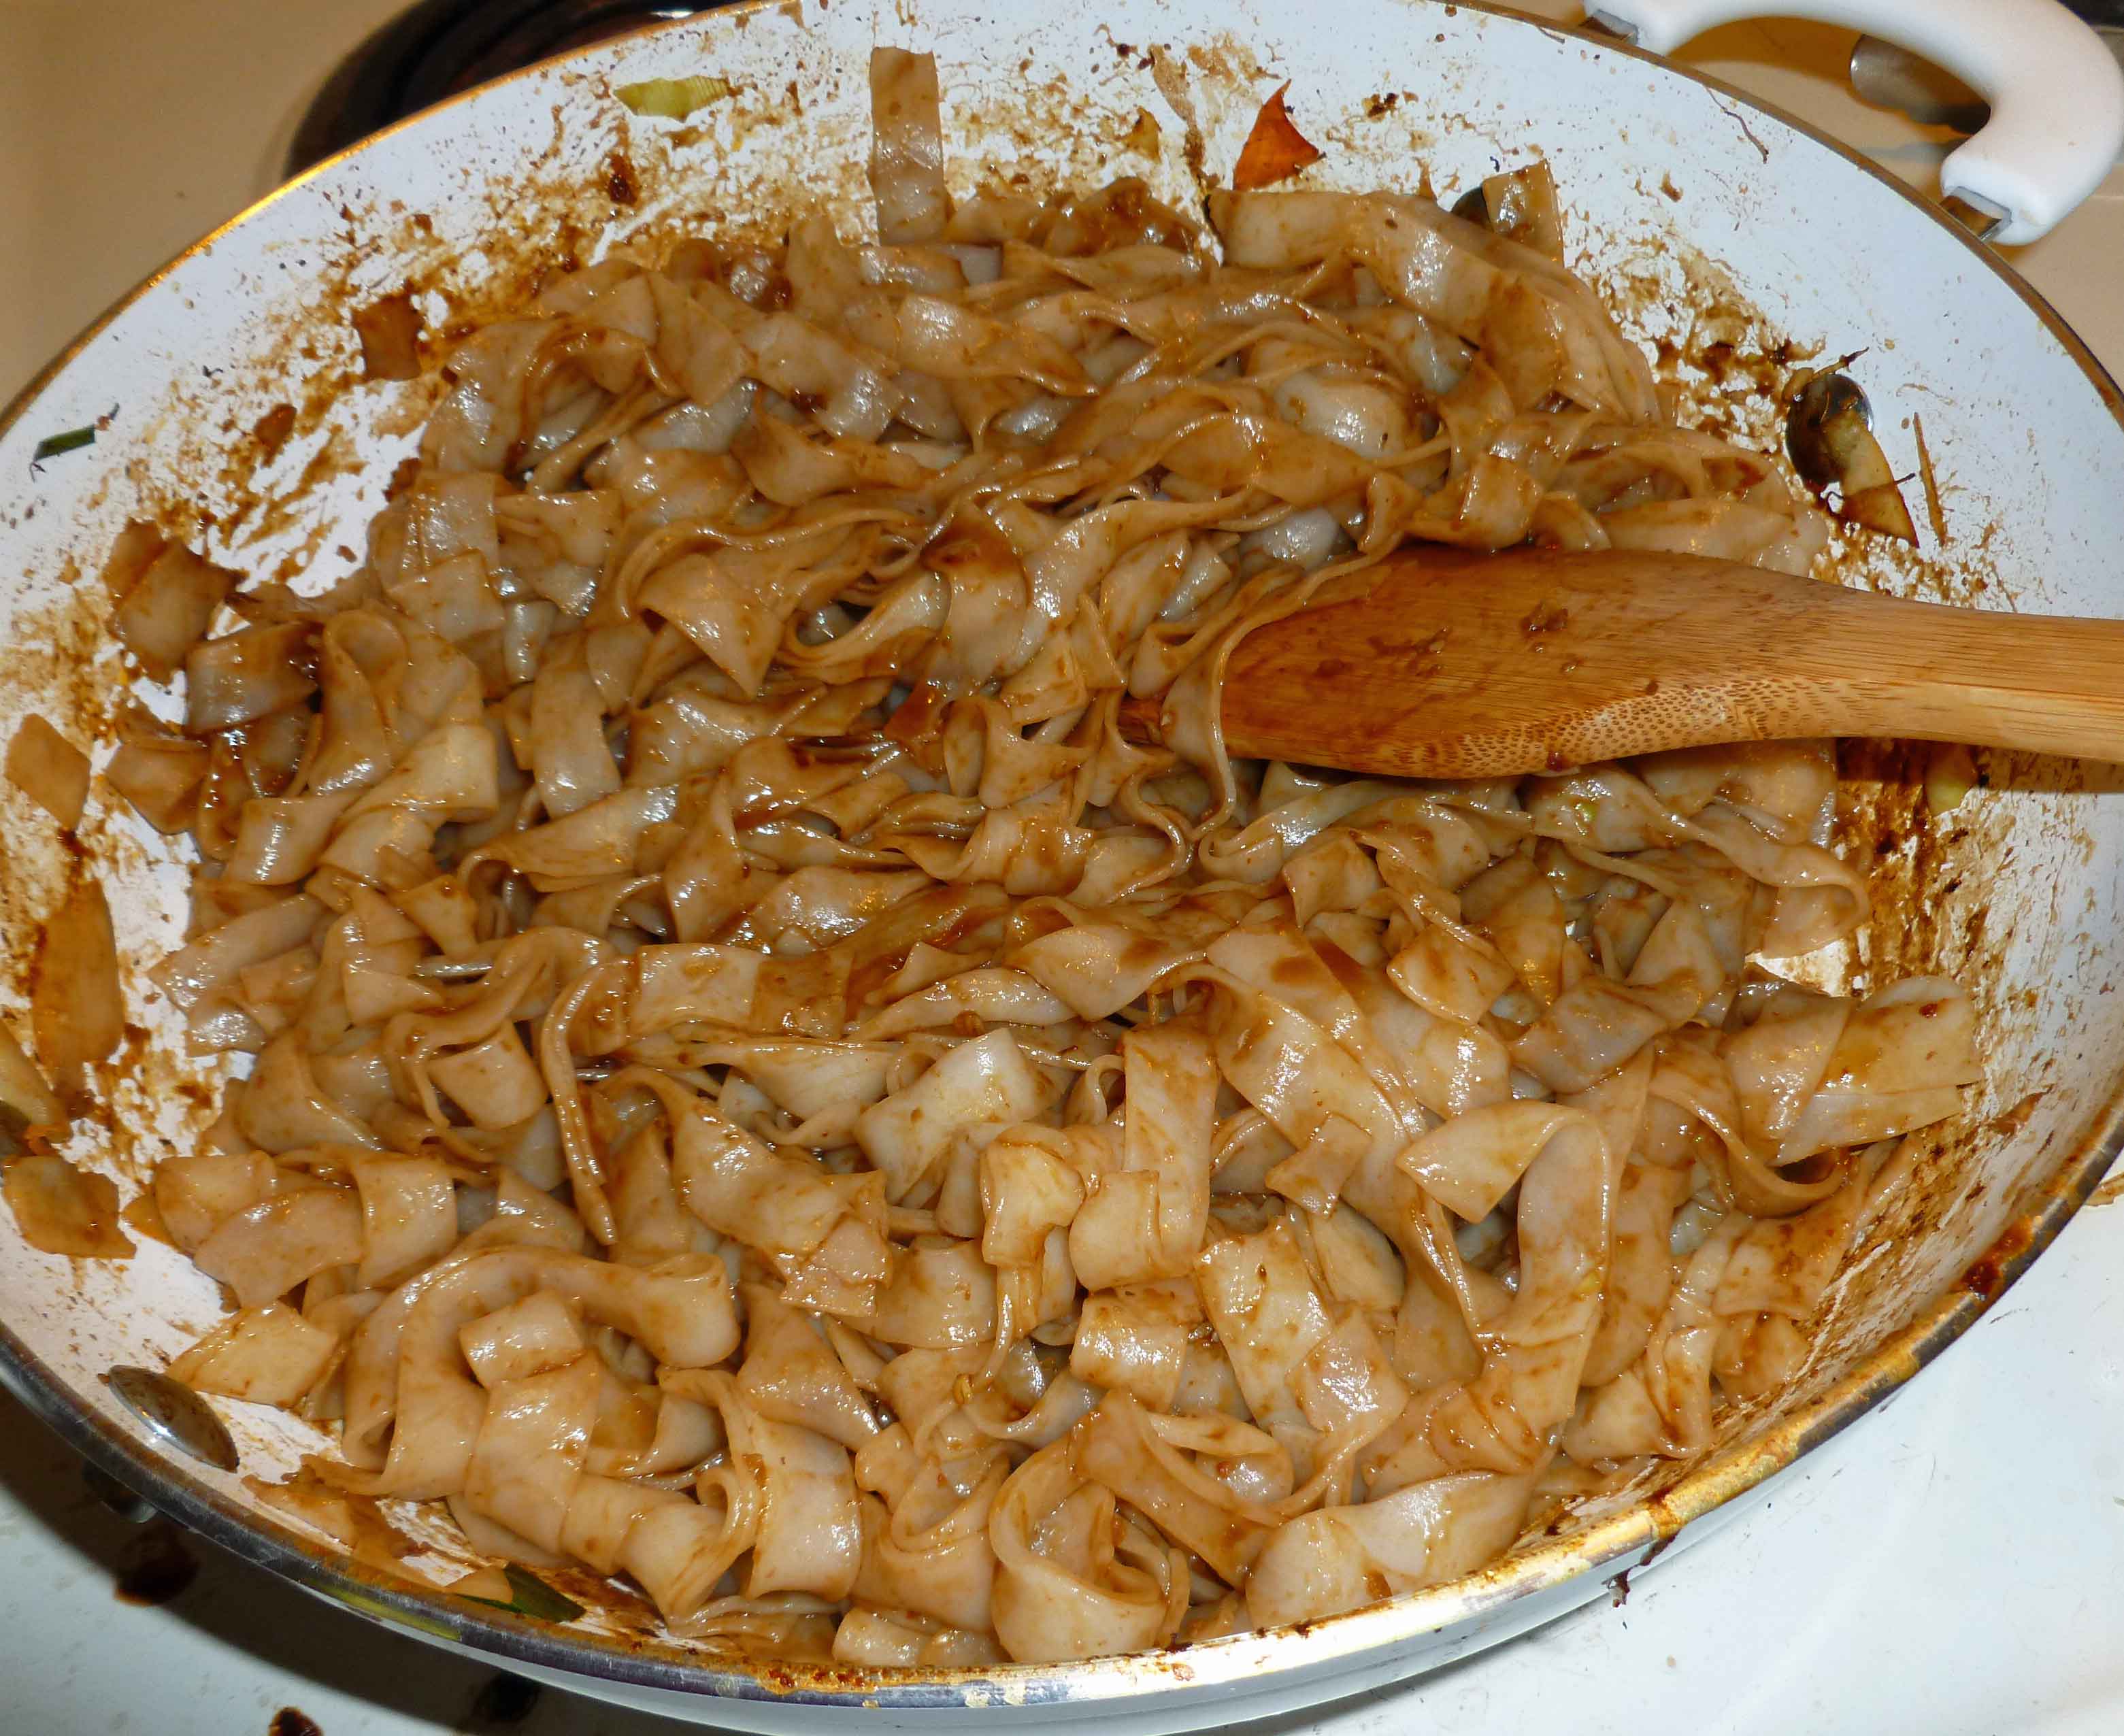
To make the sauce for the noodles, whisk the garlic, ginger, soy sauce, Sriracha, Hoisin sauce, rice wine vinegar, corn starch, sugar and szechuan peppercorns together in a little bowl. Using a little of the chili oil, stir fry the cooked noodles in your wok/skillet and add the sauce for the noodles, mixing well, until the noodles are hot and thoroughly coated with the sauce.
Cooked Noodles Coated in Sauce
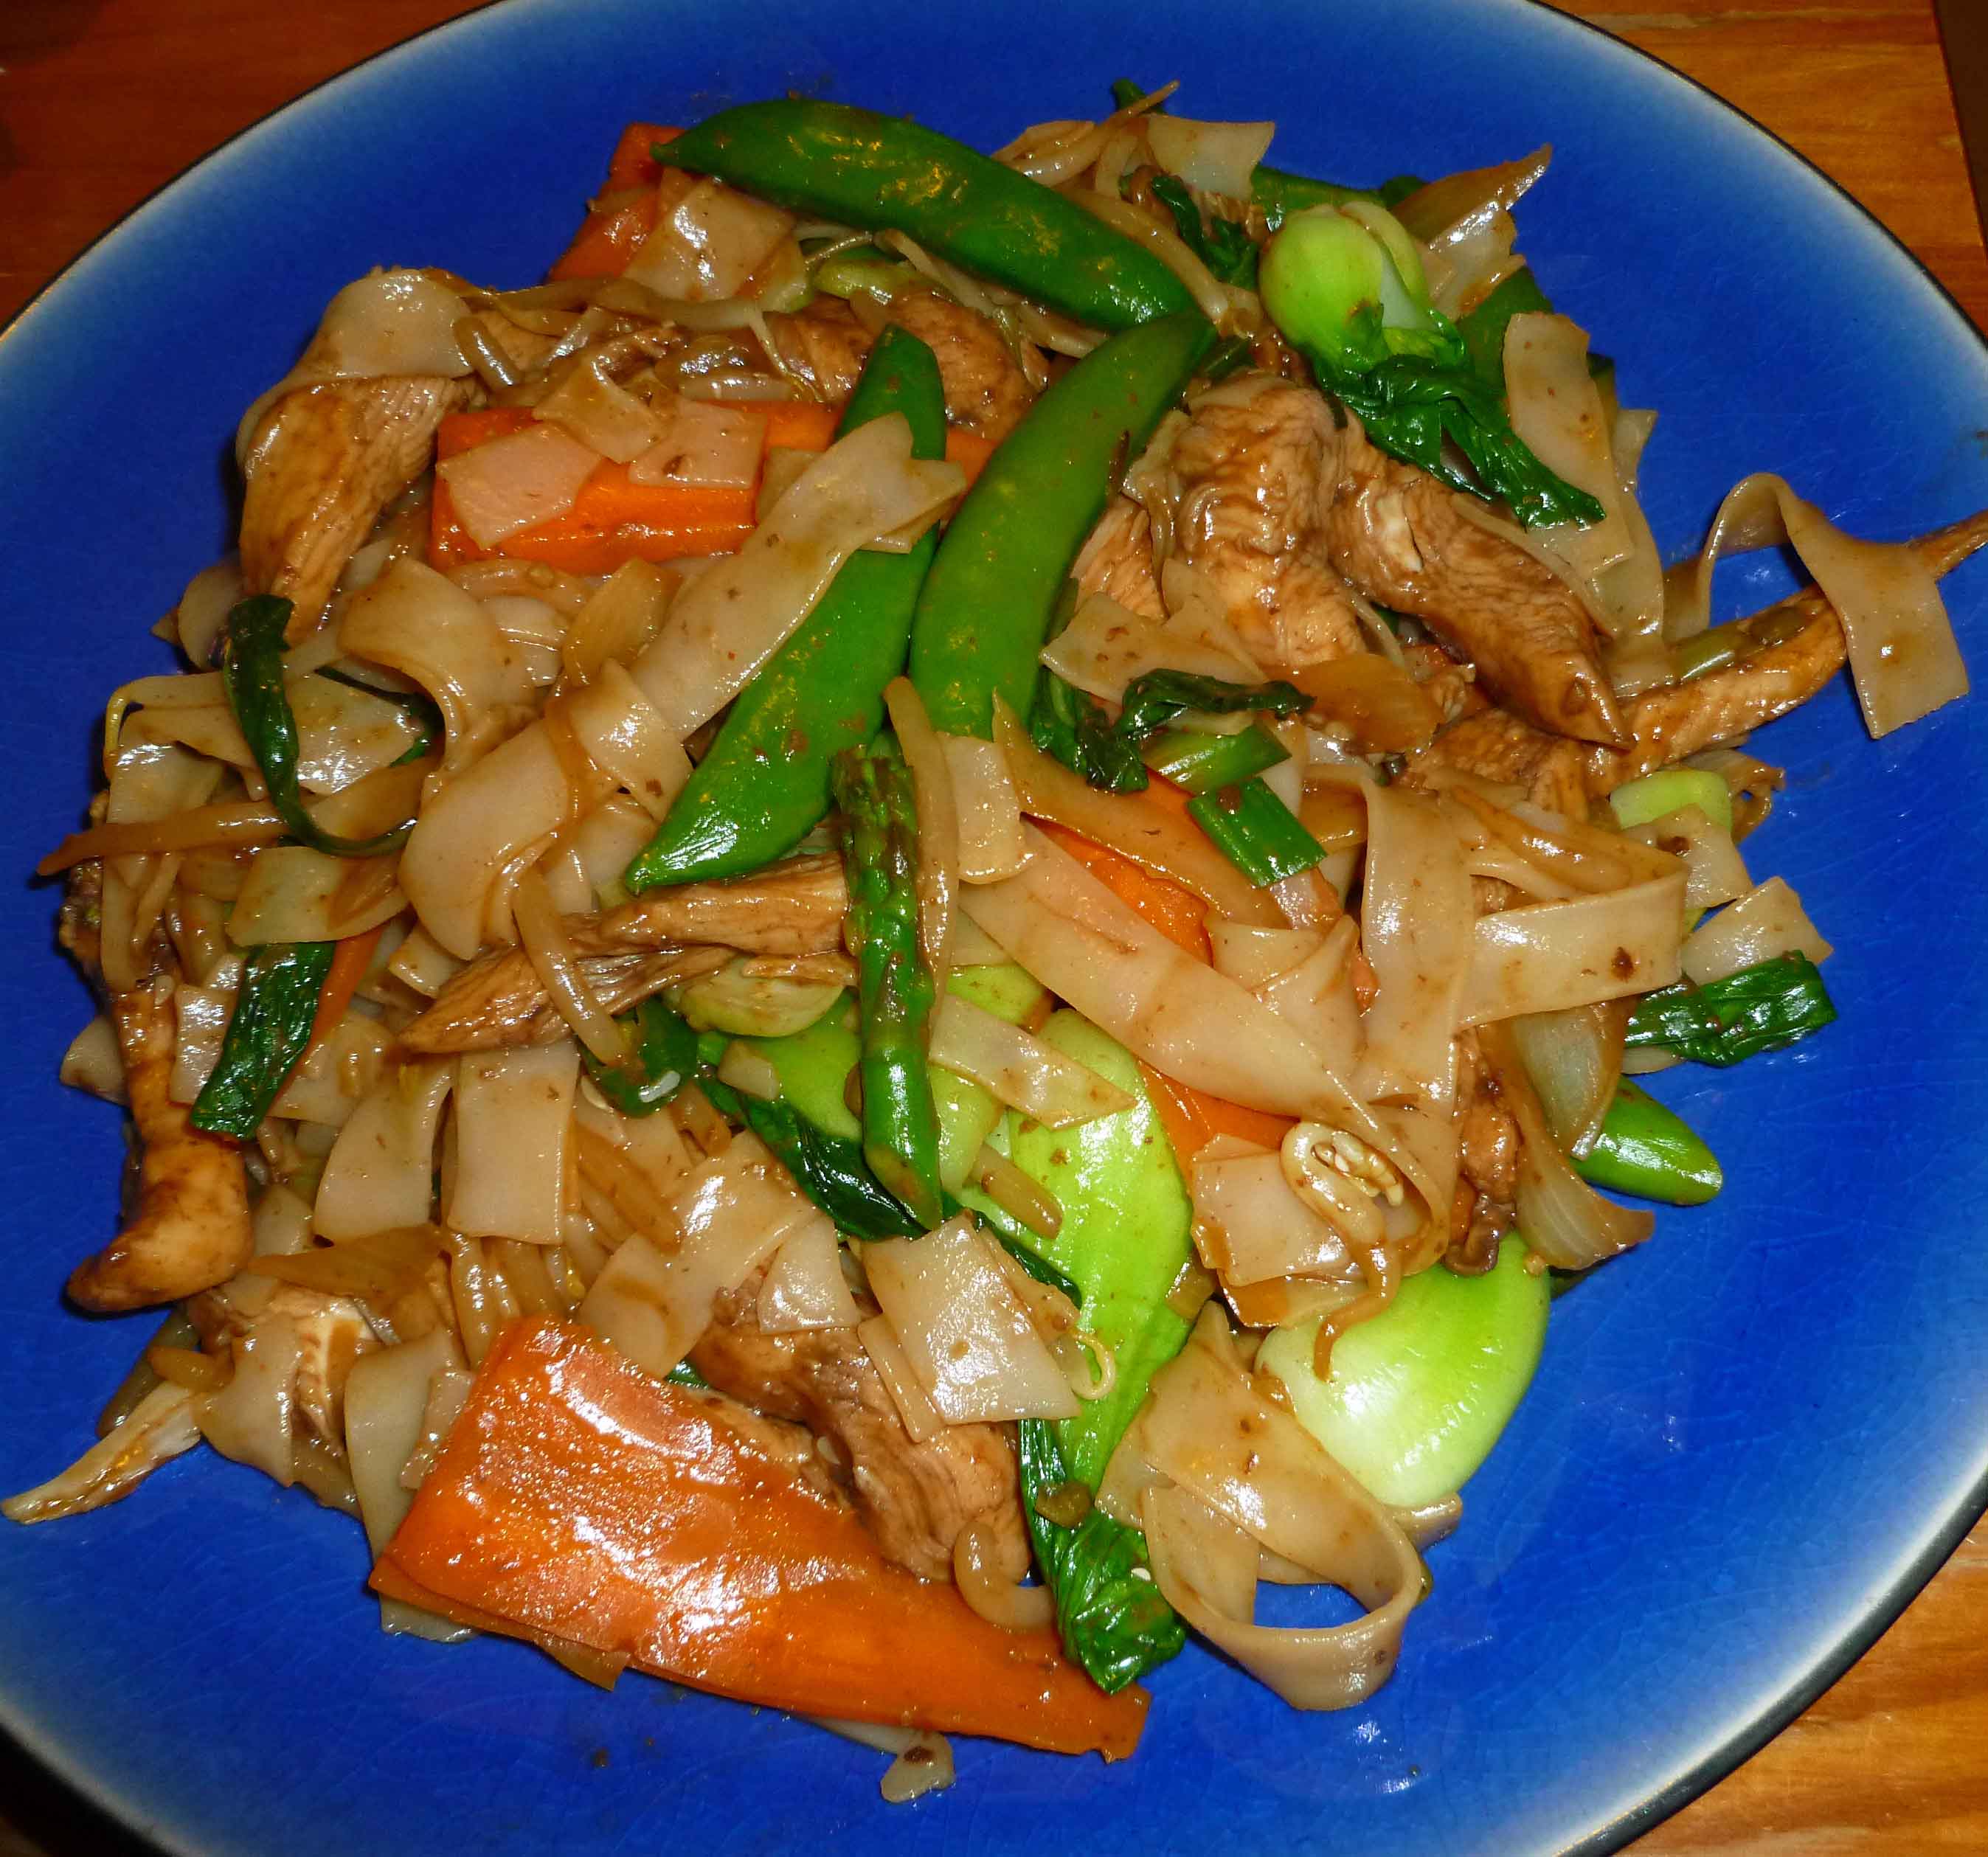
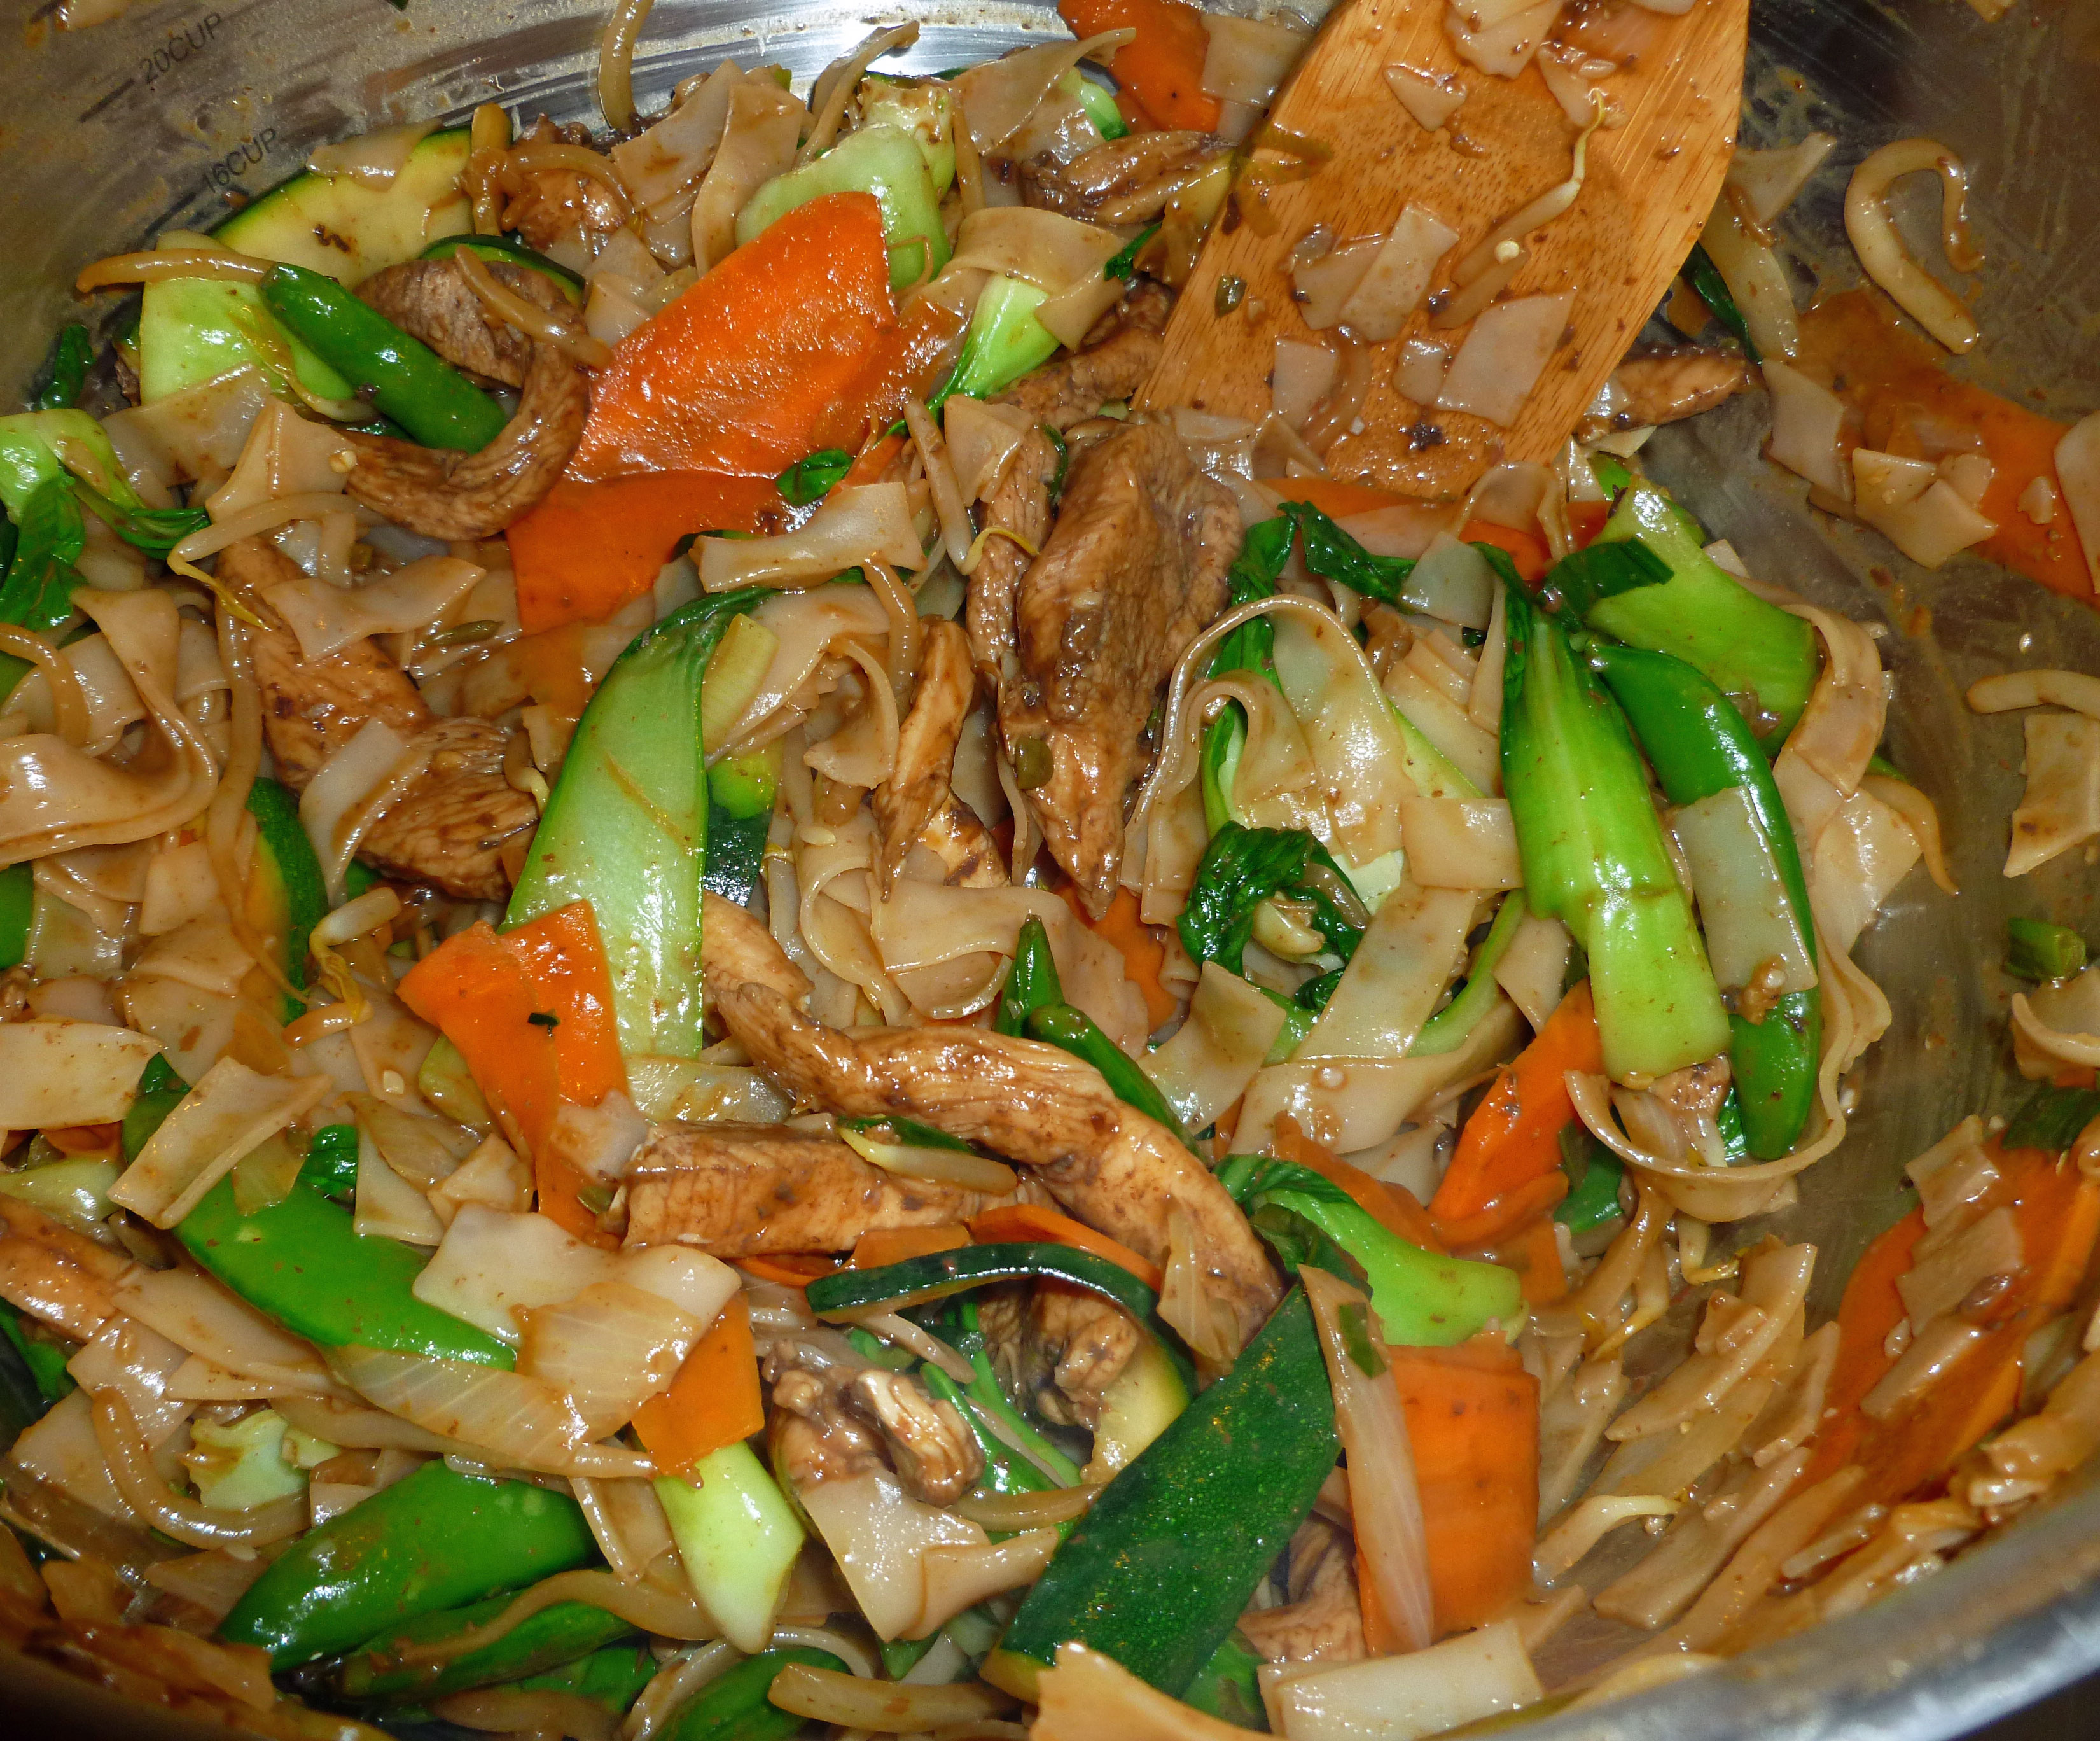
Once the noodles are coated and nice and hot, place them in the large bowl with the other ingredients and mix all the ingredients in the bowl thoroughly.
All cooked ingredients being mixed in bowl
Once mixed, serve them immediately while they are nice and hot, and have some of the Sriracha and Hoisin available as condiments so your family and/or guests can doctor their portions to their taste. Enjoy!


")