Notice: Function _load_textdomain_just_in_time was called incorrectly. Translation loading for the wp-ultimate-recipe domain was triggered too early. This is usually an indicator for some code in the plugin or theme running too early. Translations should be loaded at the init action or later. Please see Debugging in WordPress for more information. (This message was added in version 6.7.0.) in /home/maryzahc/public_html/adultfoodallergies.com/wp-includes/functions.php on line 6170 denisedaniel – Page 10 – surviving the food allergy apocalypse (archive)Skip to content
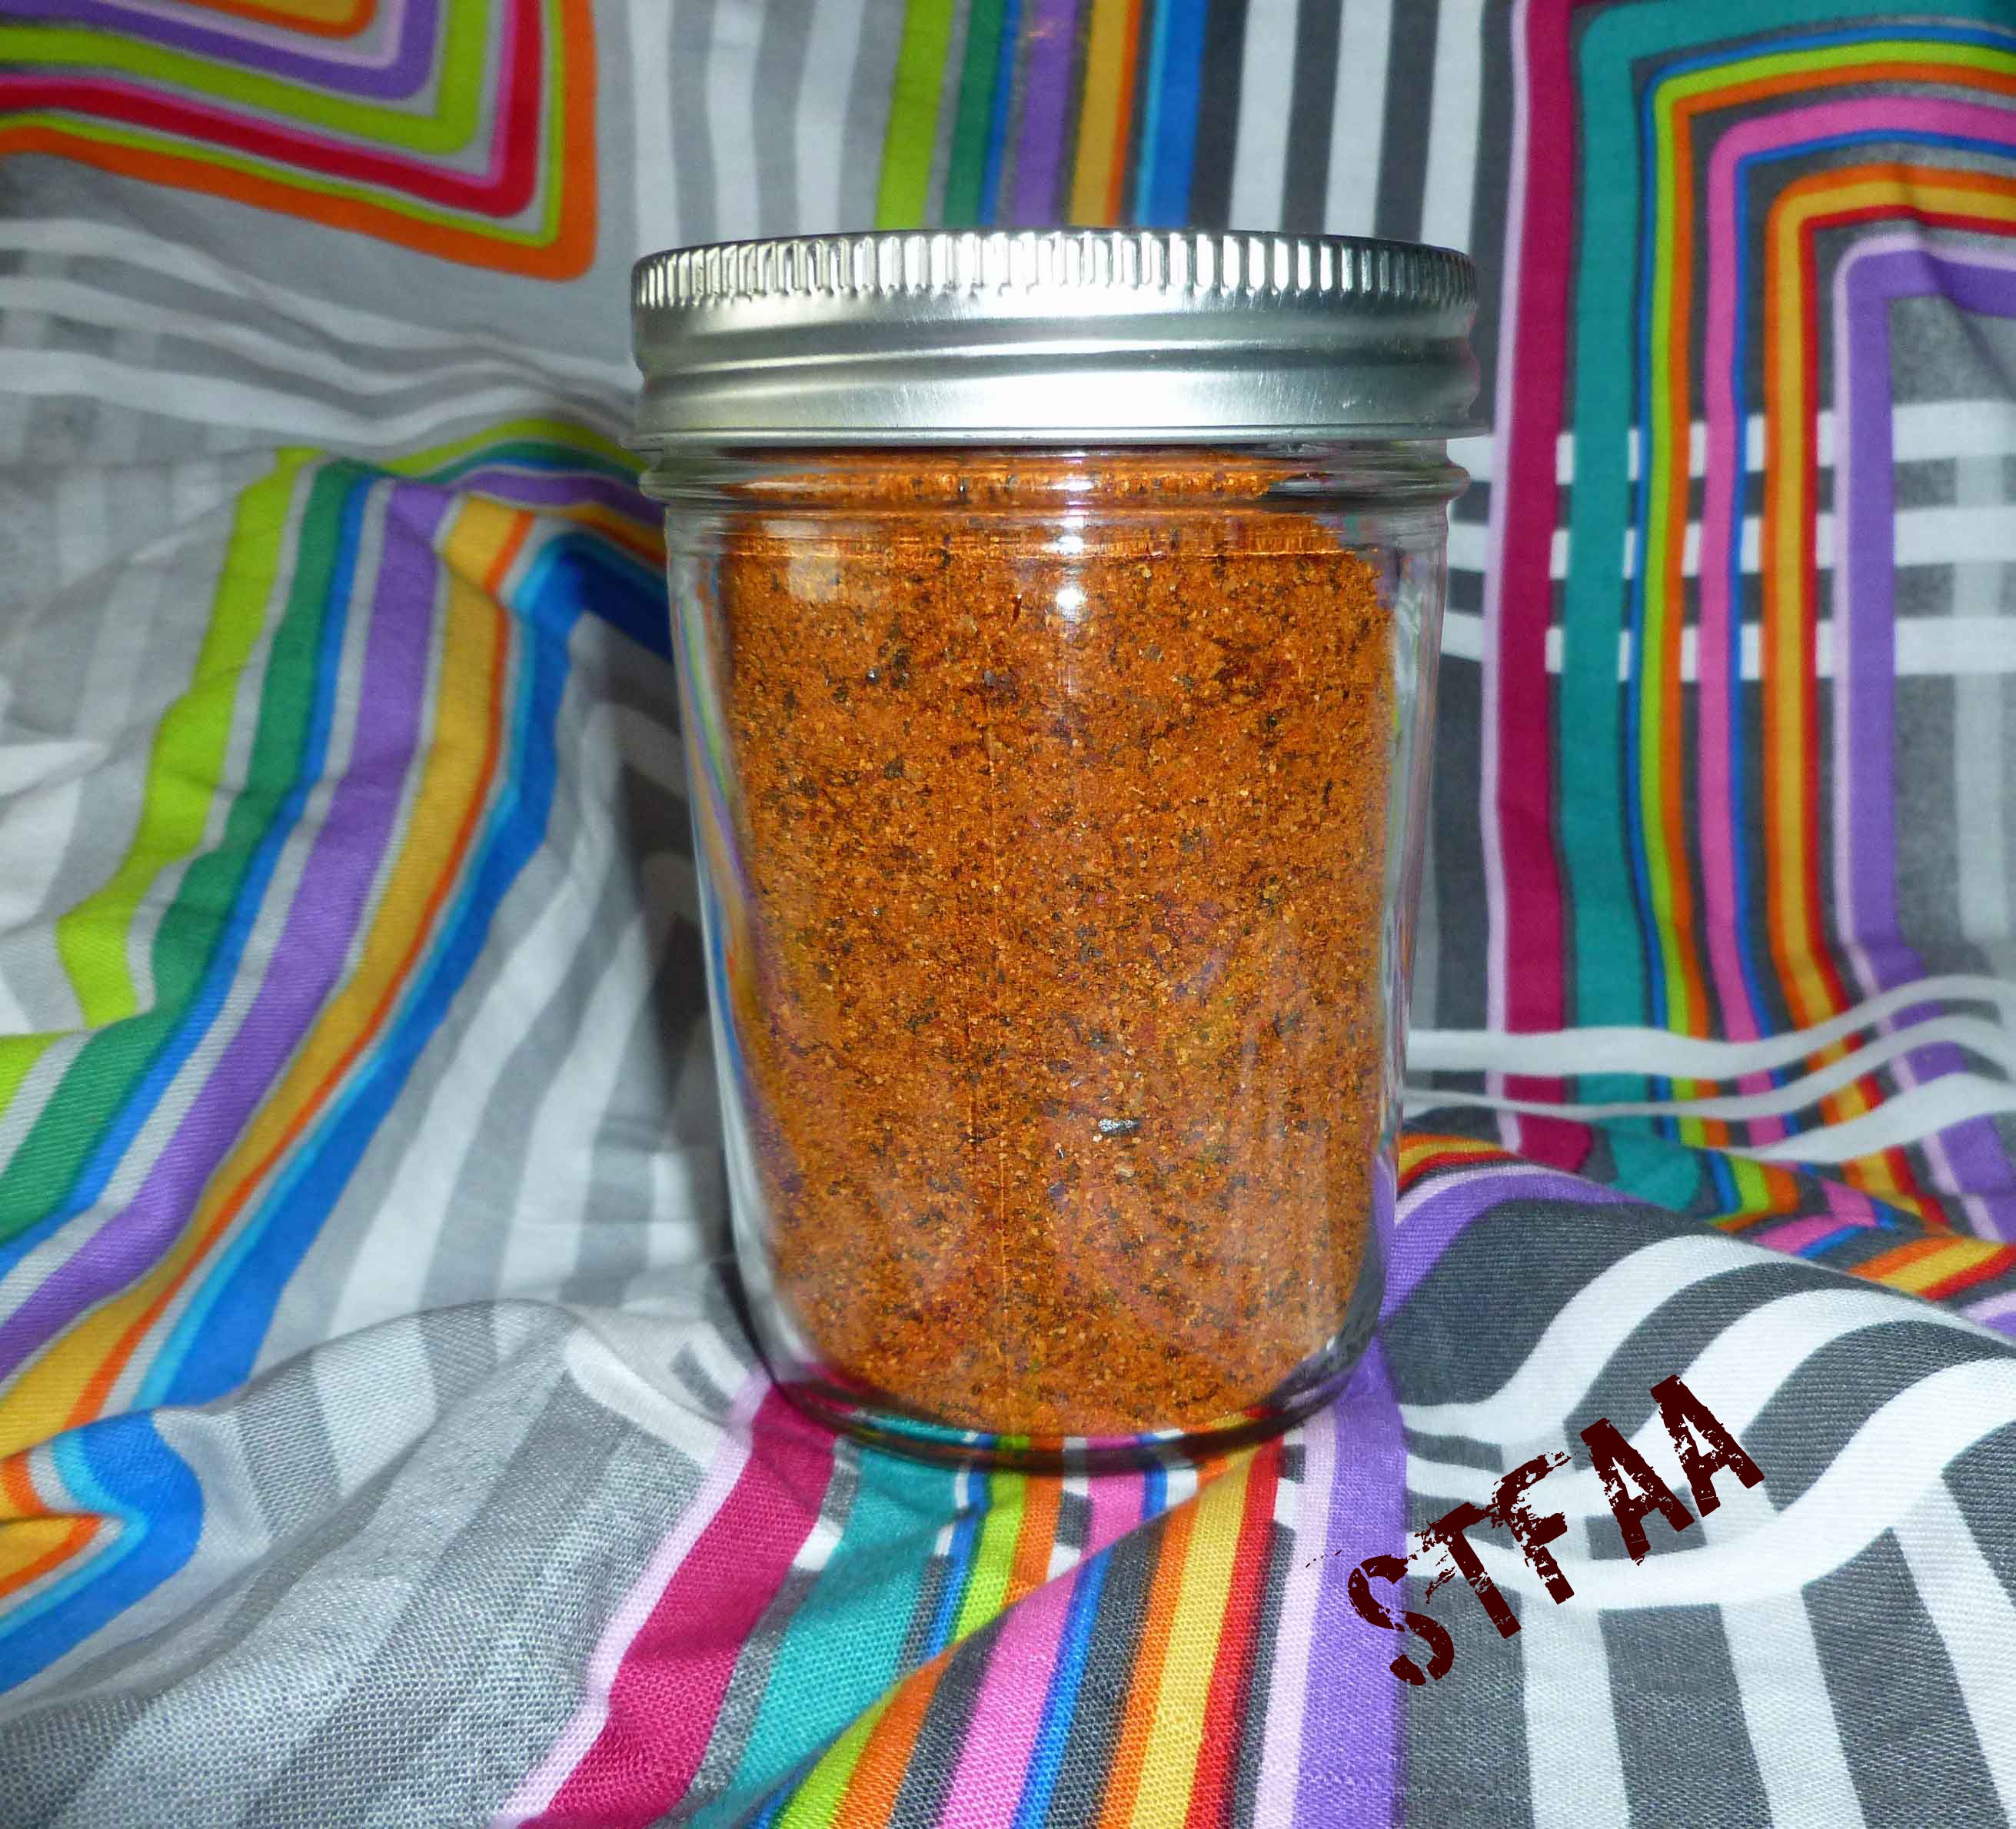
If you’re like me (okay, probably not, as I have issues as outlined in my post, WW Kitchen Stories: Rosemary or Denise’s Spice Issues), you might have a few dried chiles kicking around. Or more than a few. Since I have so many, and since I was running low on chili powder, I started looking into how to make it. Although Mary S. of the green thumb gave me some chili powder that I tolerate after I mentioned I might do a Penzey’s order, it’s good to be able to make your own so that you know that there’s no anti-caking agents, disclosed or undisclosed, and less chance for cross contamination. Plus, I really have a crap ton of whole dried chiles, thanks in part to the harvest I got from Mary S. last year that I dehydrated.
Although this might be a bit spicier than your normal chili powder, I tried to keep it in the realm of reasonable for those of you who are not fire breathers. Feel free to switch out dried peppers based on your own tastes and/or what you have on hand. You will need a blender or a food processor.
DIY Chili Powder
Makes 1 cup.
2 dried, whole chipotle chiles
2 dried, whole guajillo chiles
2 dried, whole New Mexico chiles
2 dried, whole ancho chiles
2 dried, whole cascabel chiles
2 dried, whole arbol chiles
2 dried, whole habanero chiles
2 Tablespoons of cumin seed
2 Tablespoons of garlic powder
1 Tablespoon of Mexican dried oregano (you can use plain oregano if you don’t have Mexican)
1 Tablespoon of smoked paprika (you can use plain paprika if you don’t have smoked, but the smoked is nice)
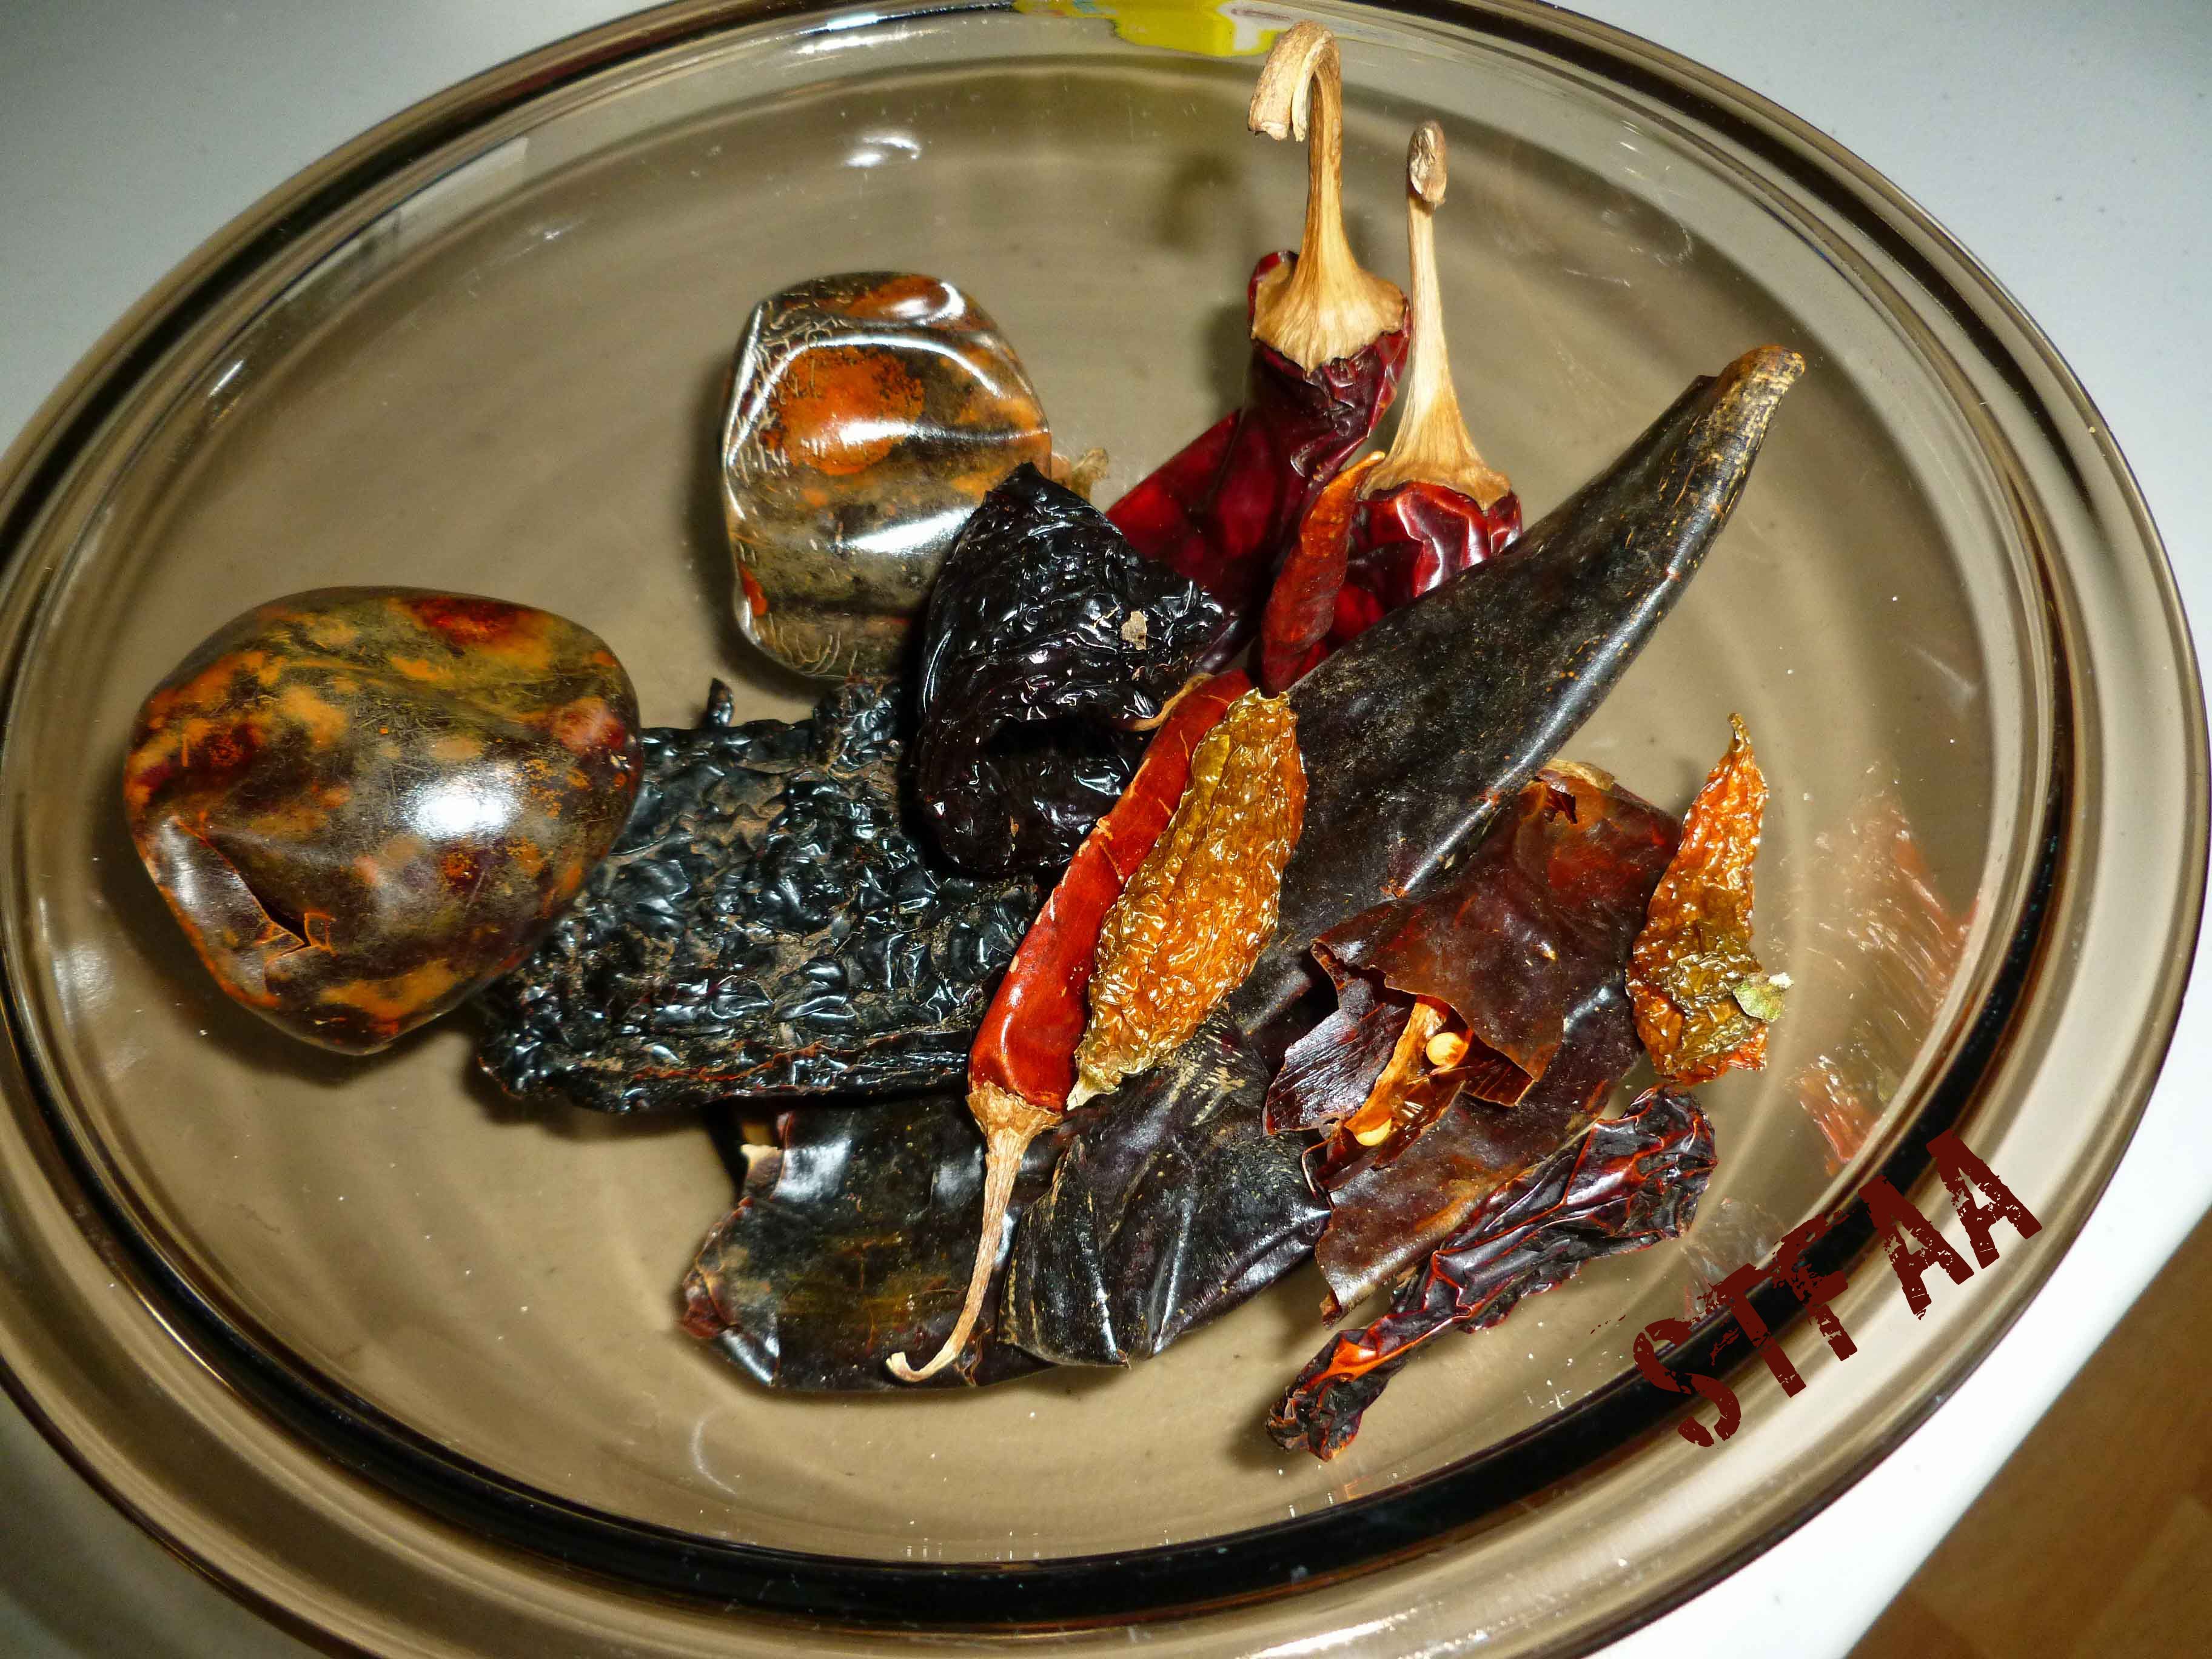
Whole Dried Chiles before prep
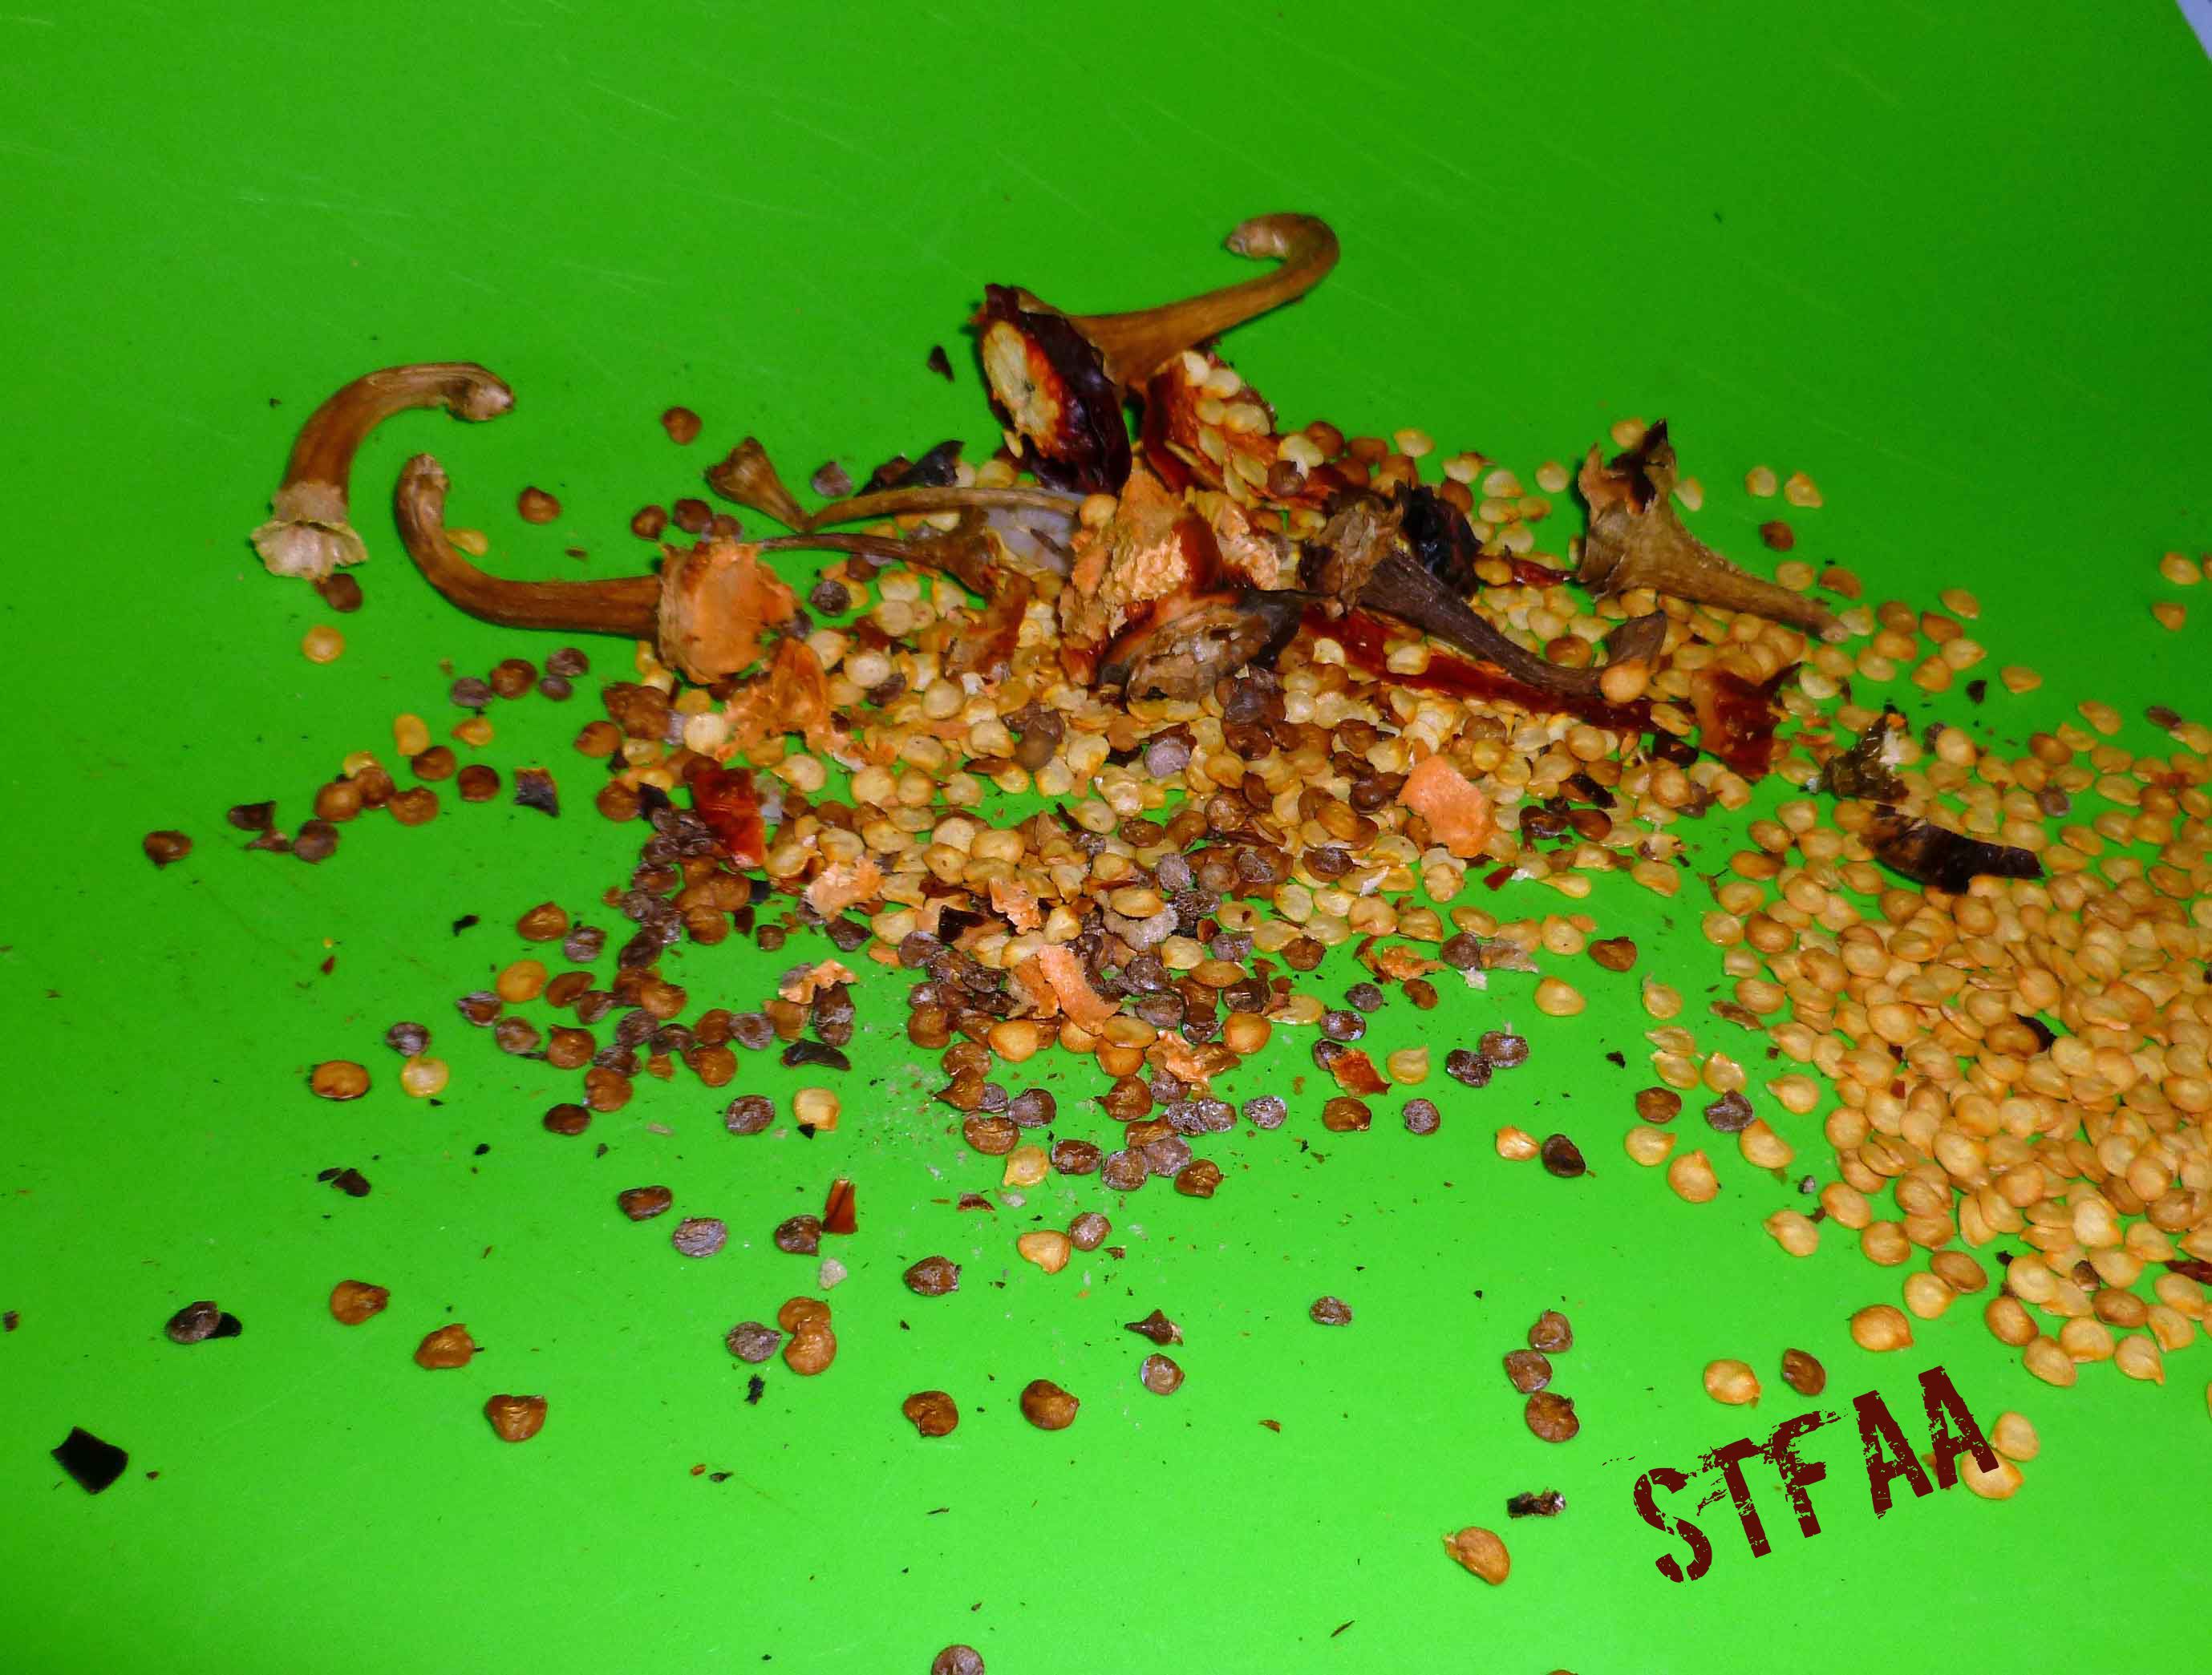
Destem, seed, and slice the dried chiles.
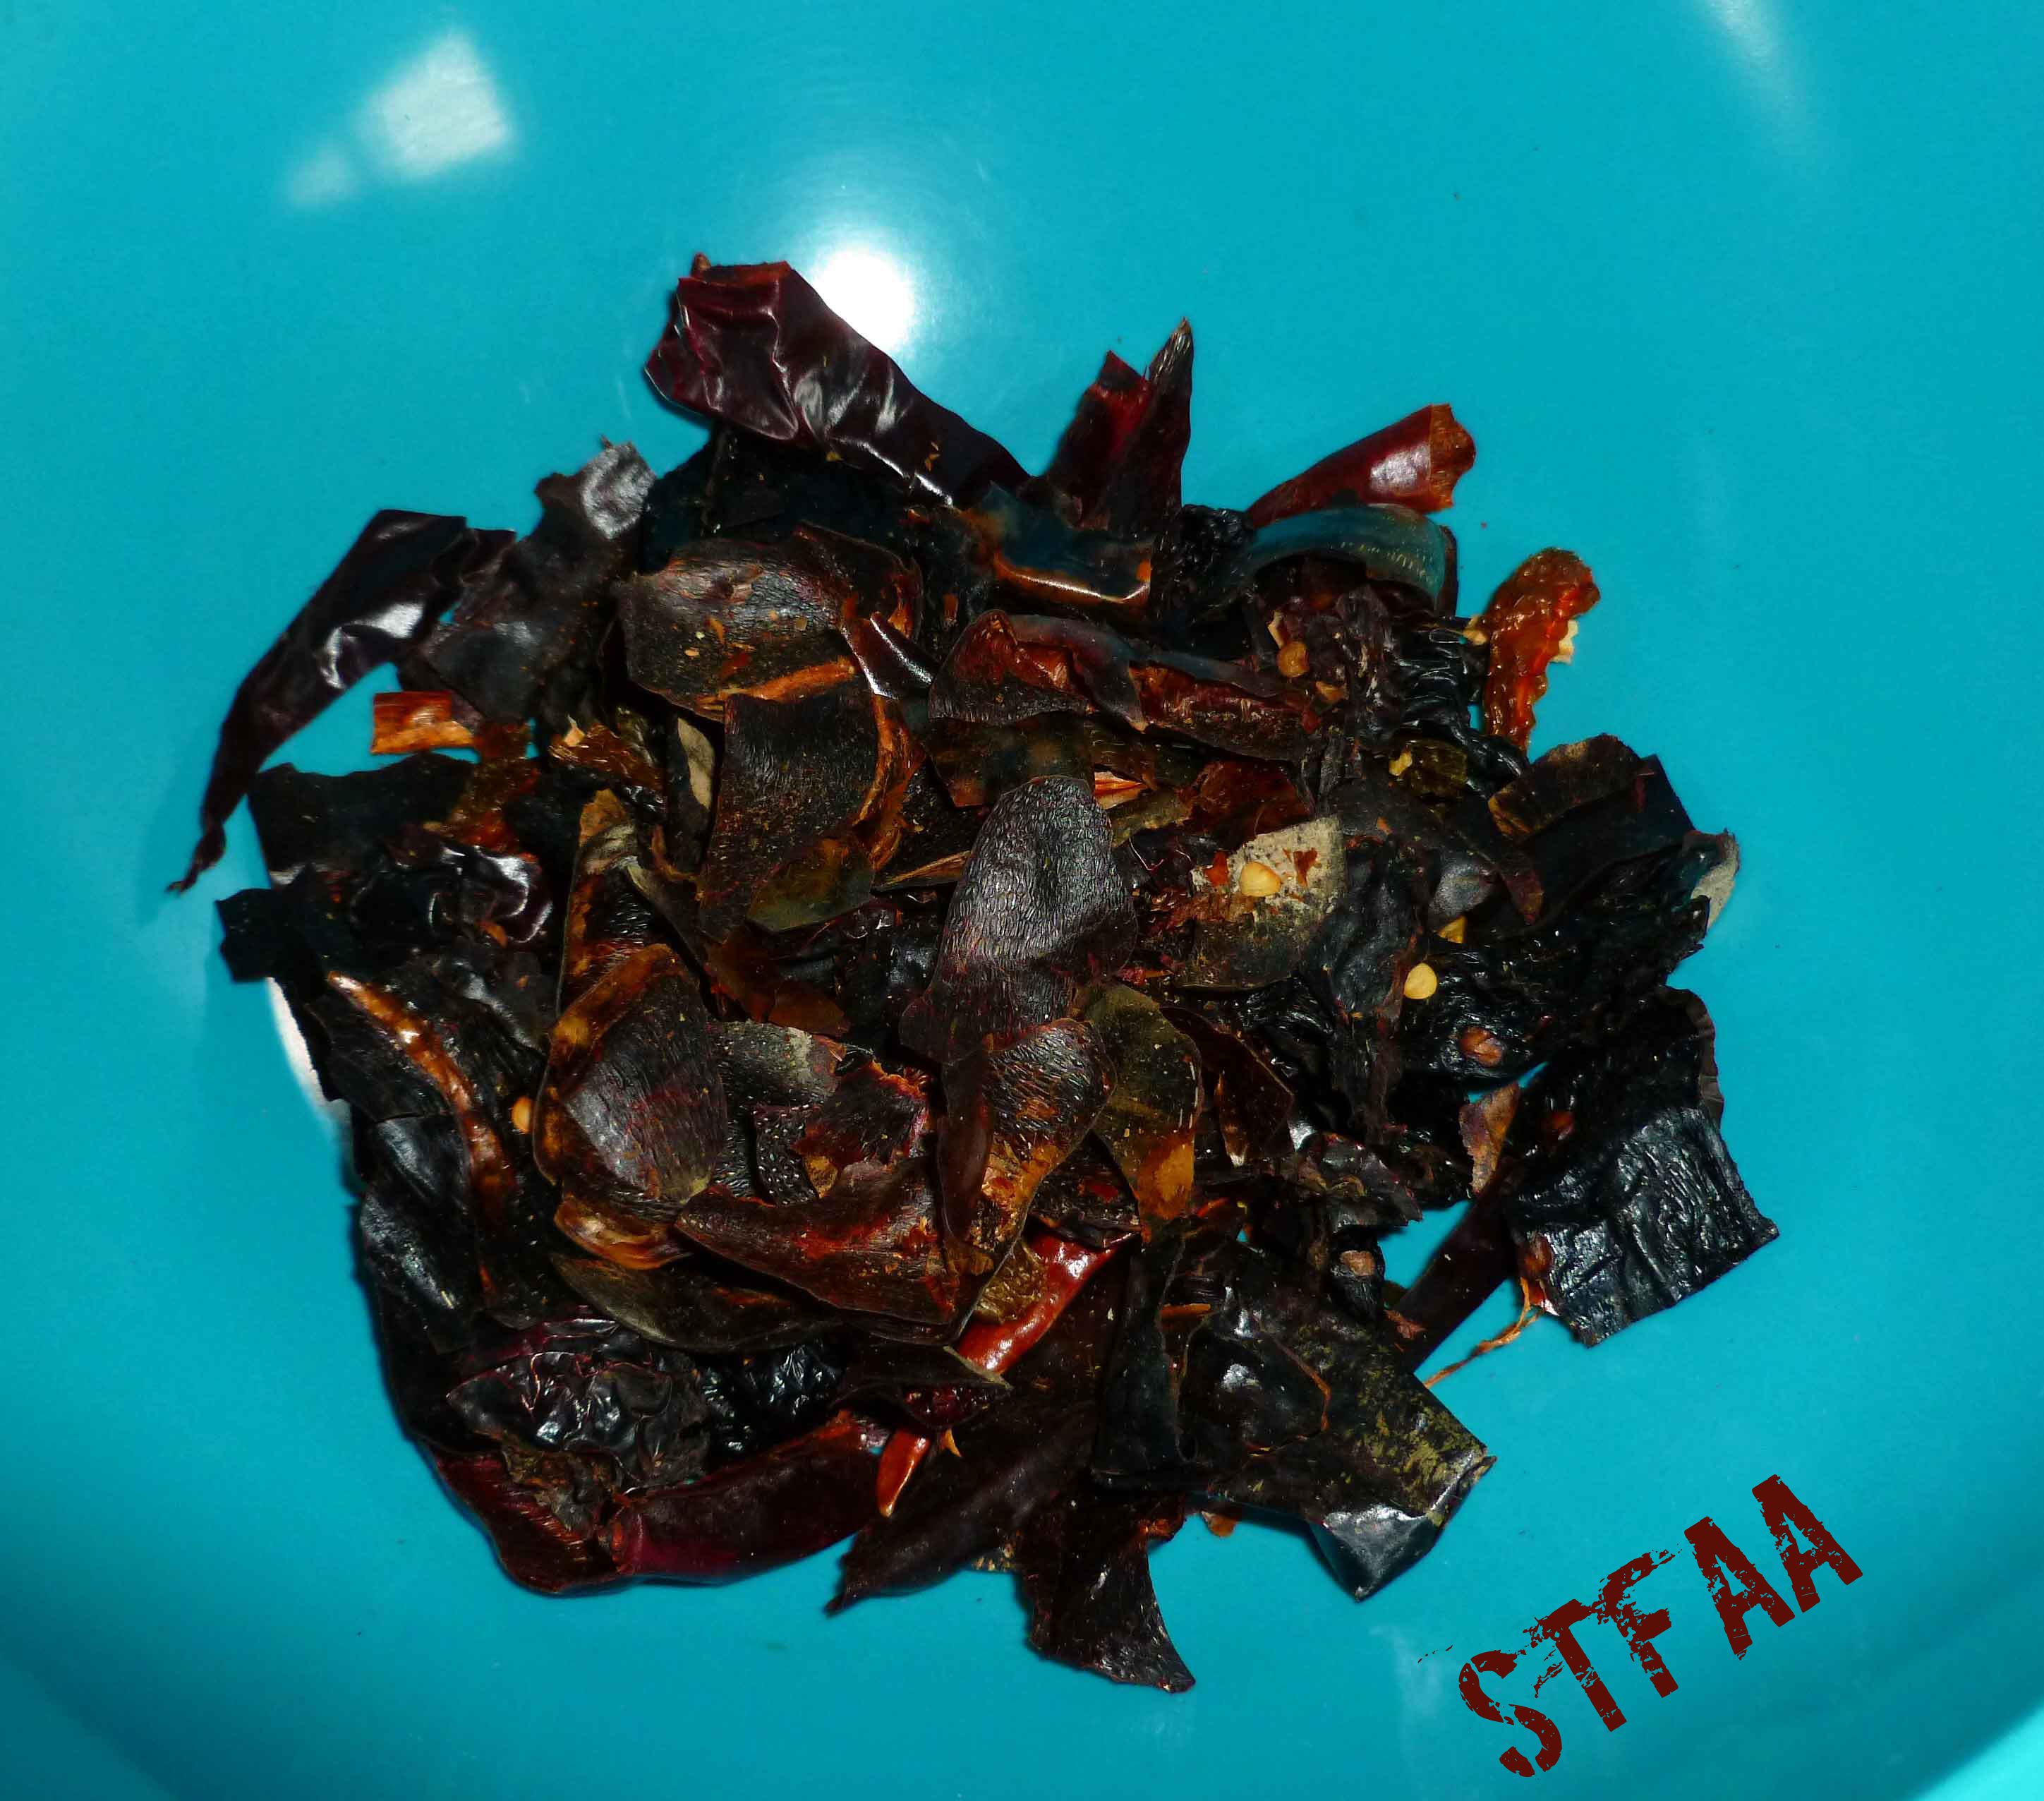
Destemmed, deseeded, and sliced dried chilesStems and seeds removed from chiles to be discarded
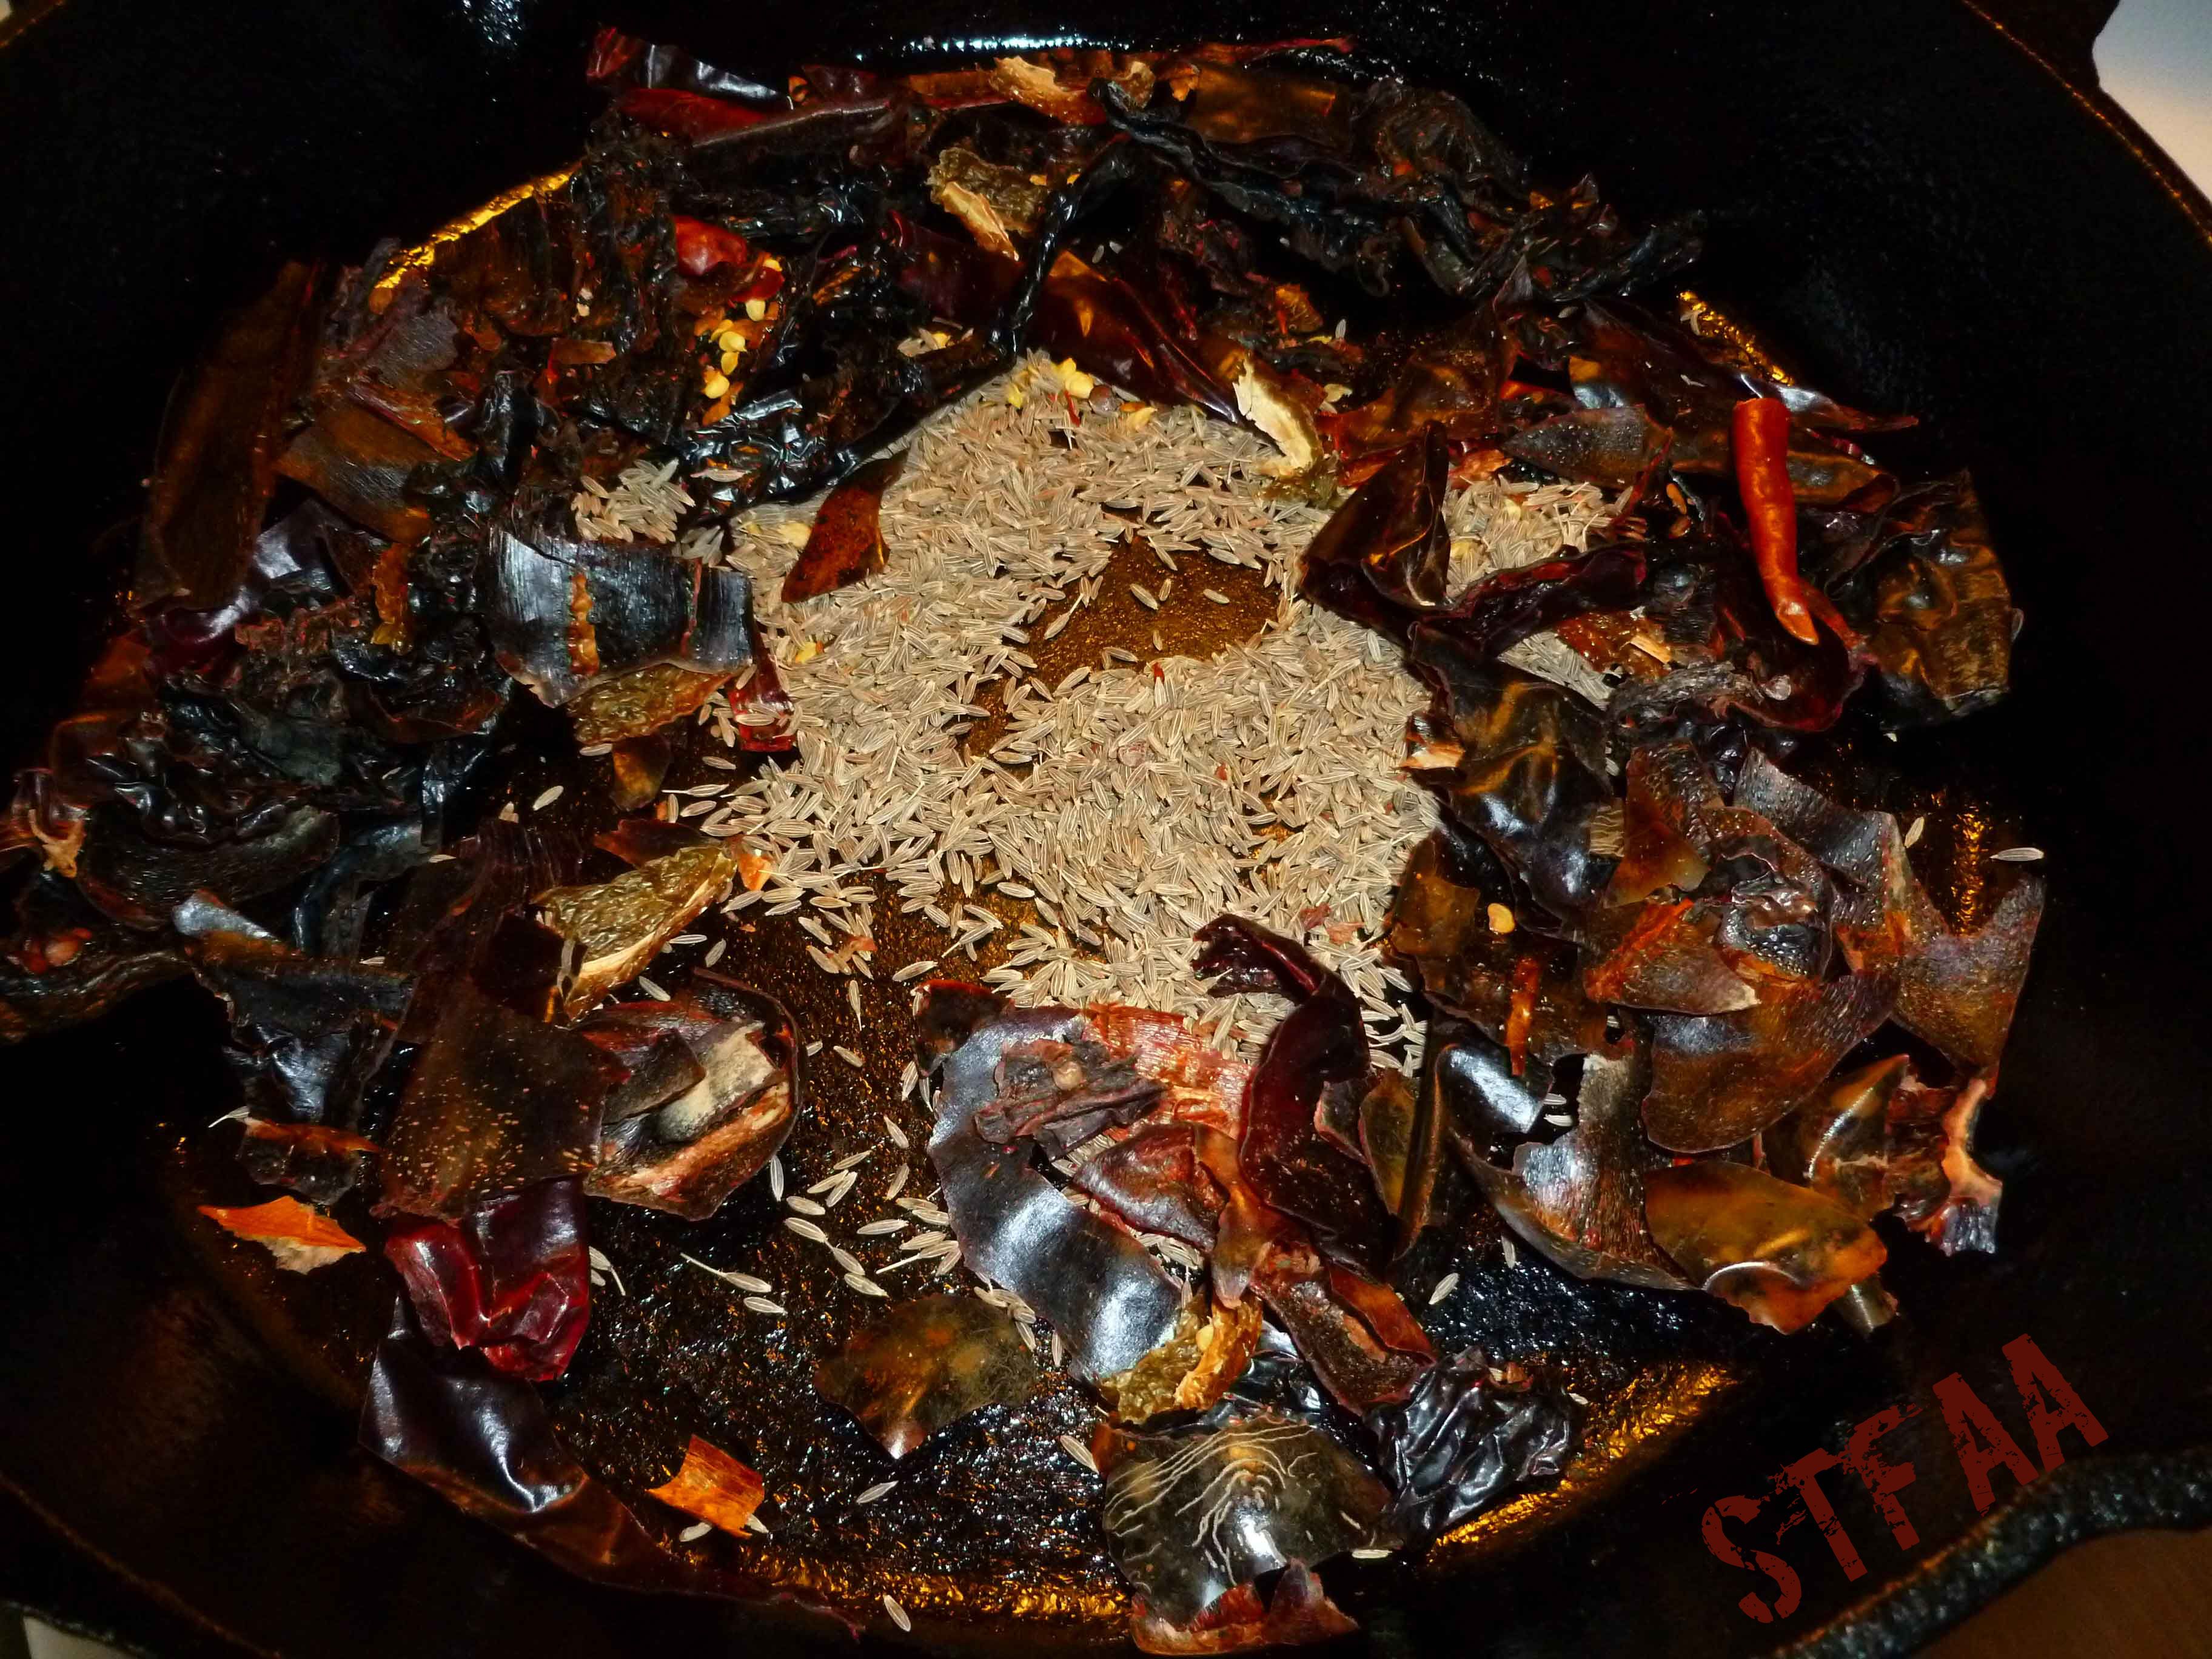
Place the dried chiles and the cumin seed in a skillet over medium high heat.
Dried chiles and cumin seed before toasting
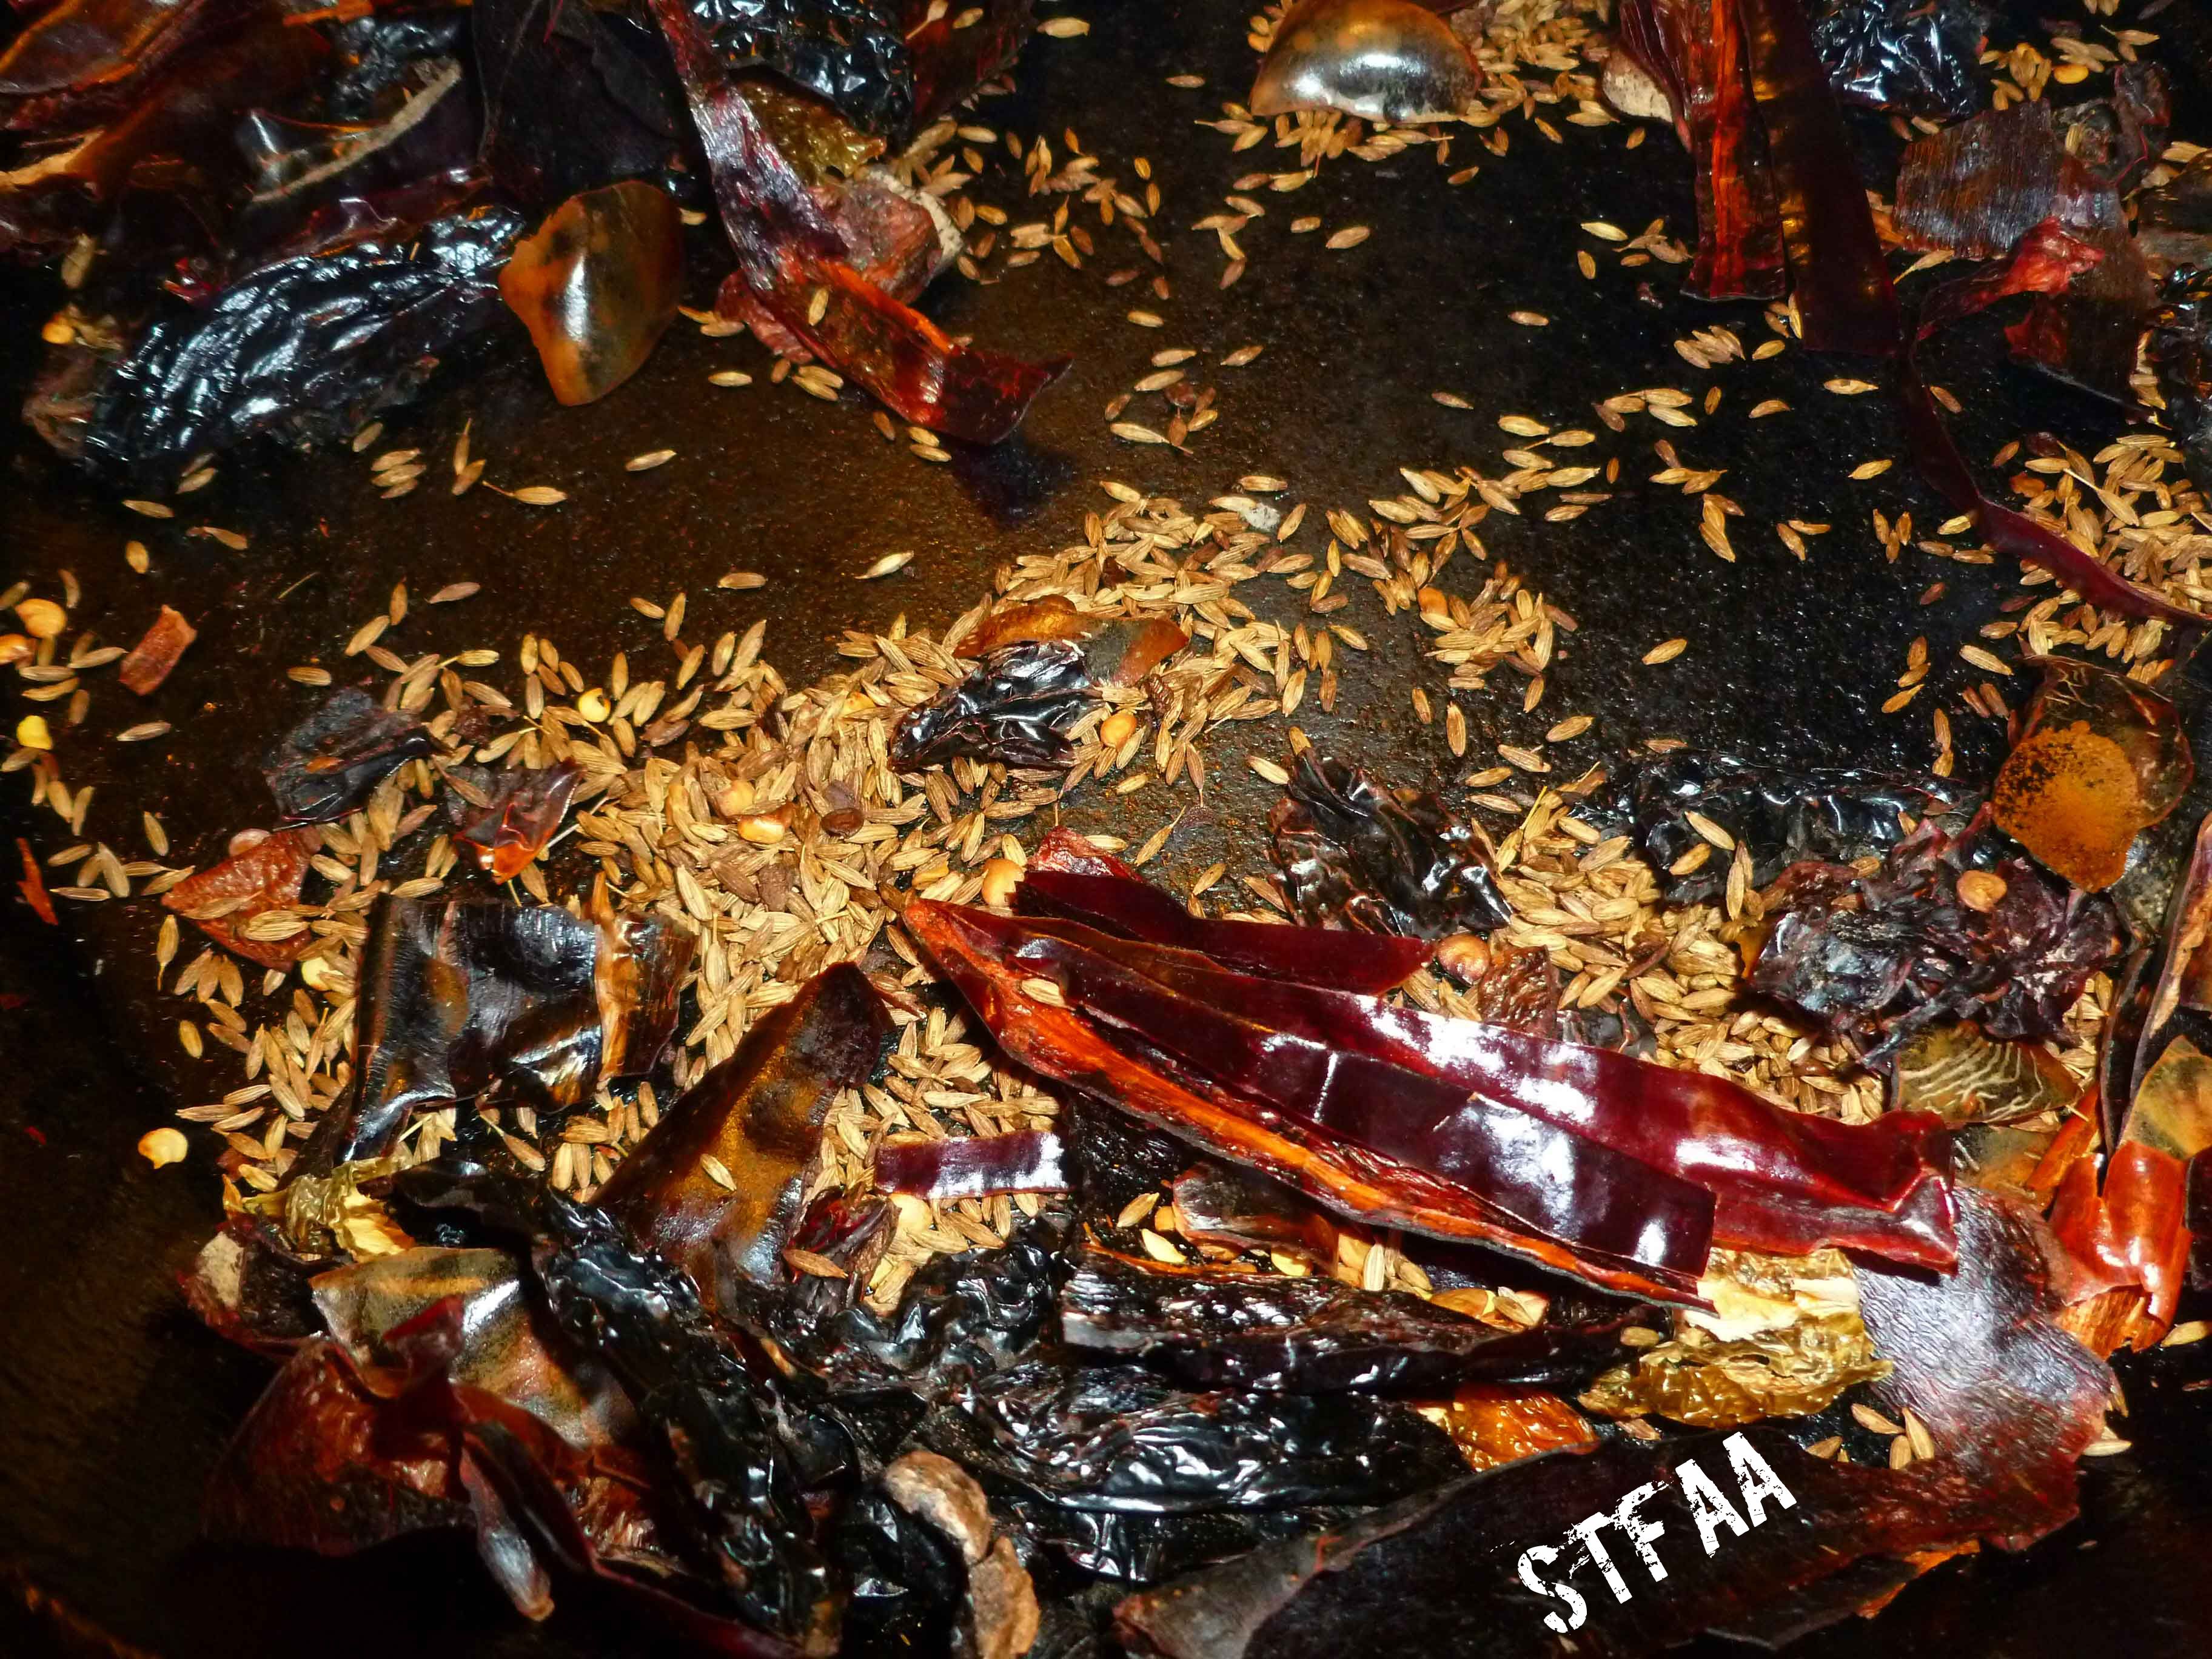
Move the skillet around constantly to shift the cumin seed and chiles until you smell the cumin seed toasting.
Dried chiles and cumin seed after toasting
Remove the chiles and the cumin seed from the skillet, and allow them to cool completely.
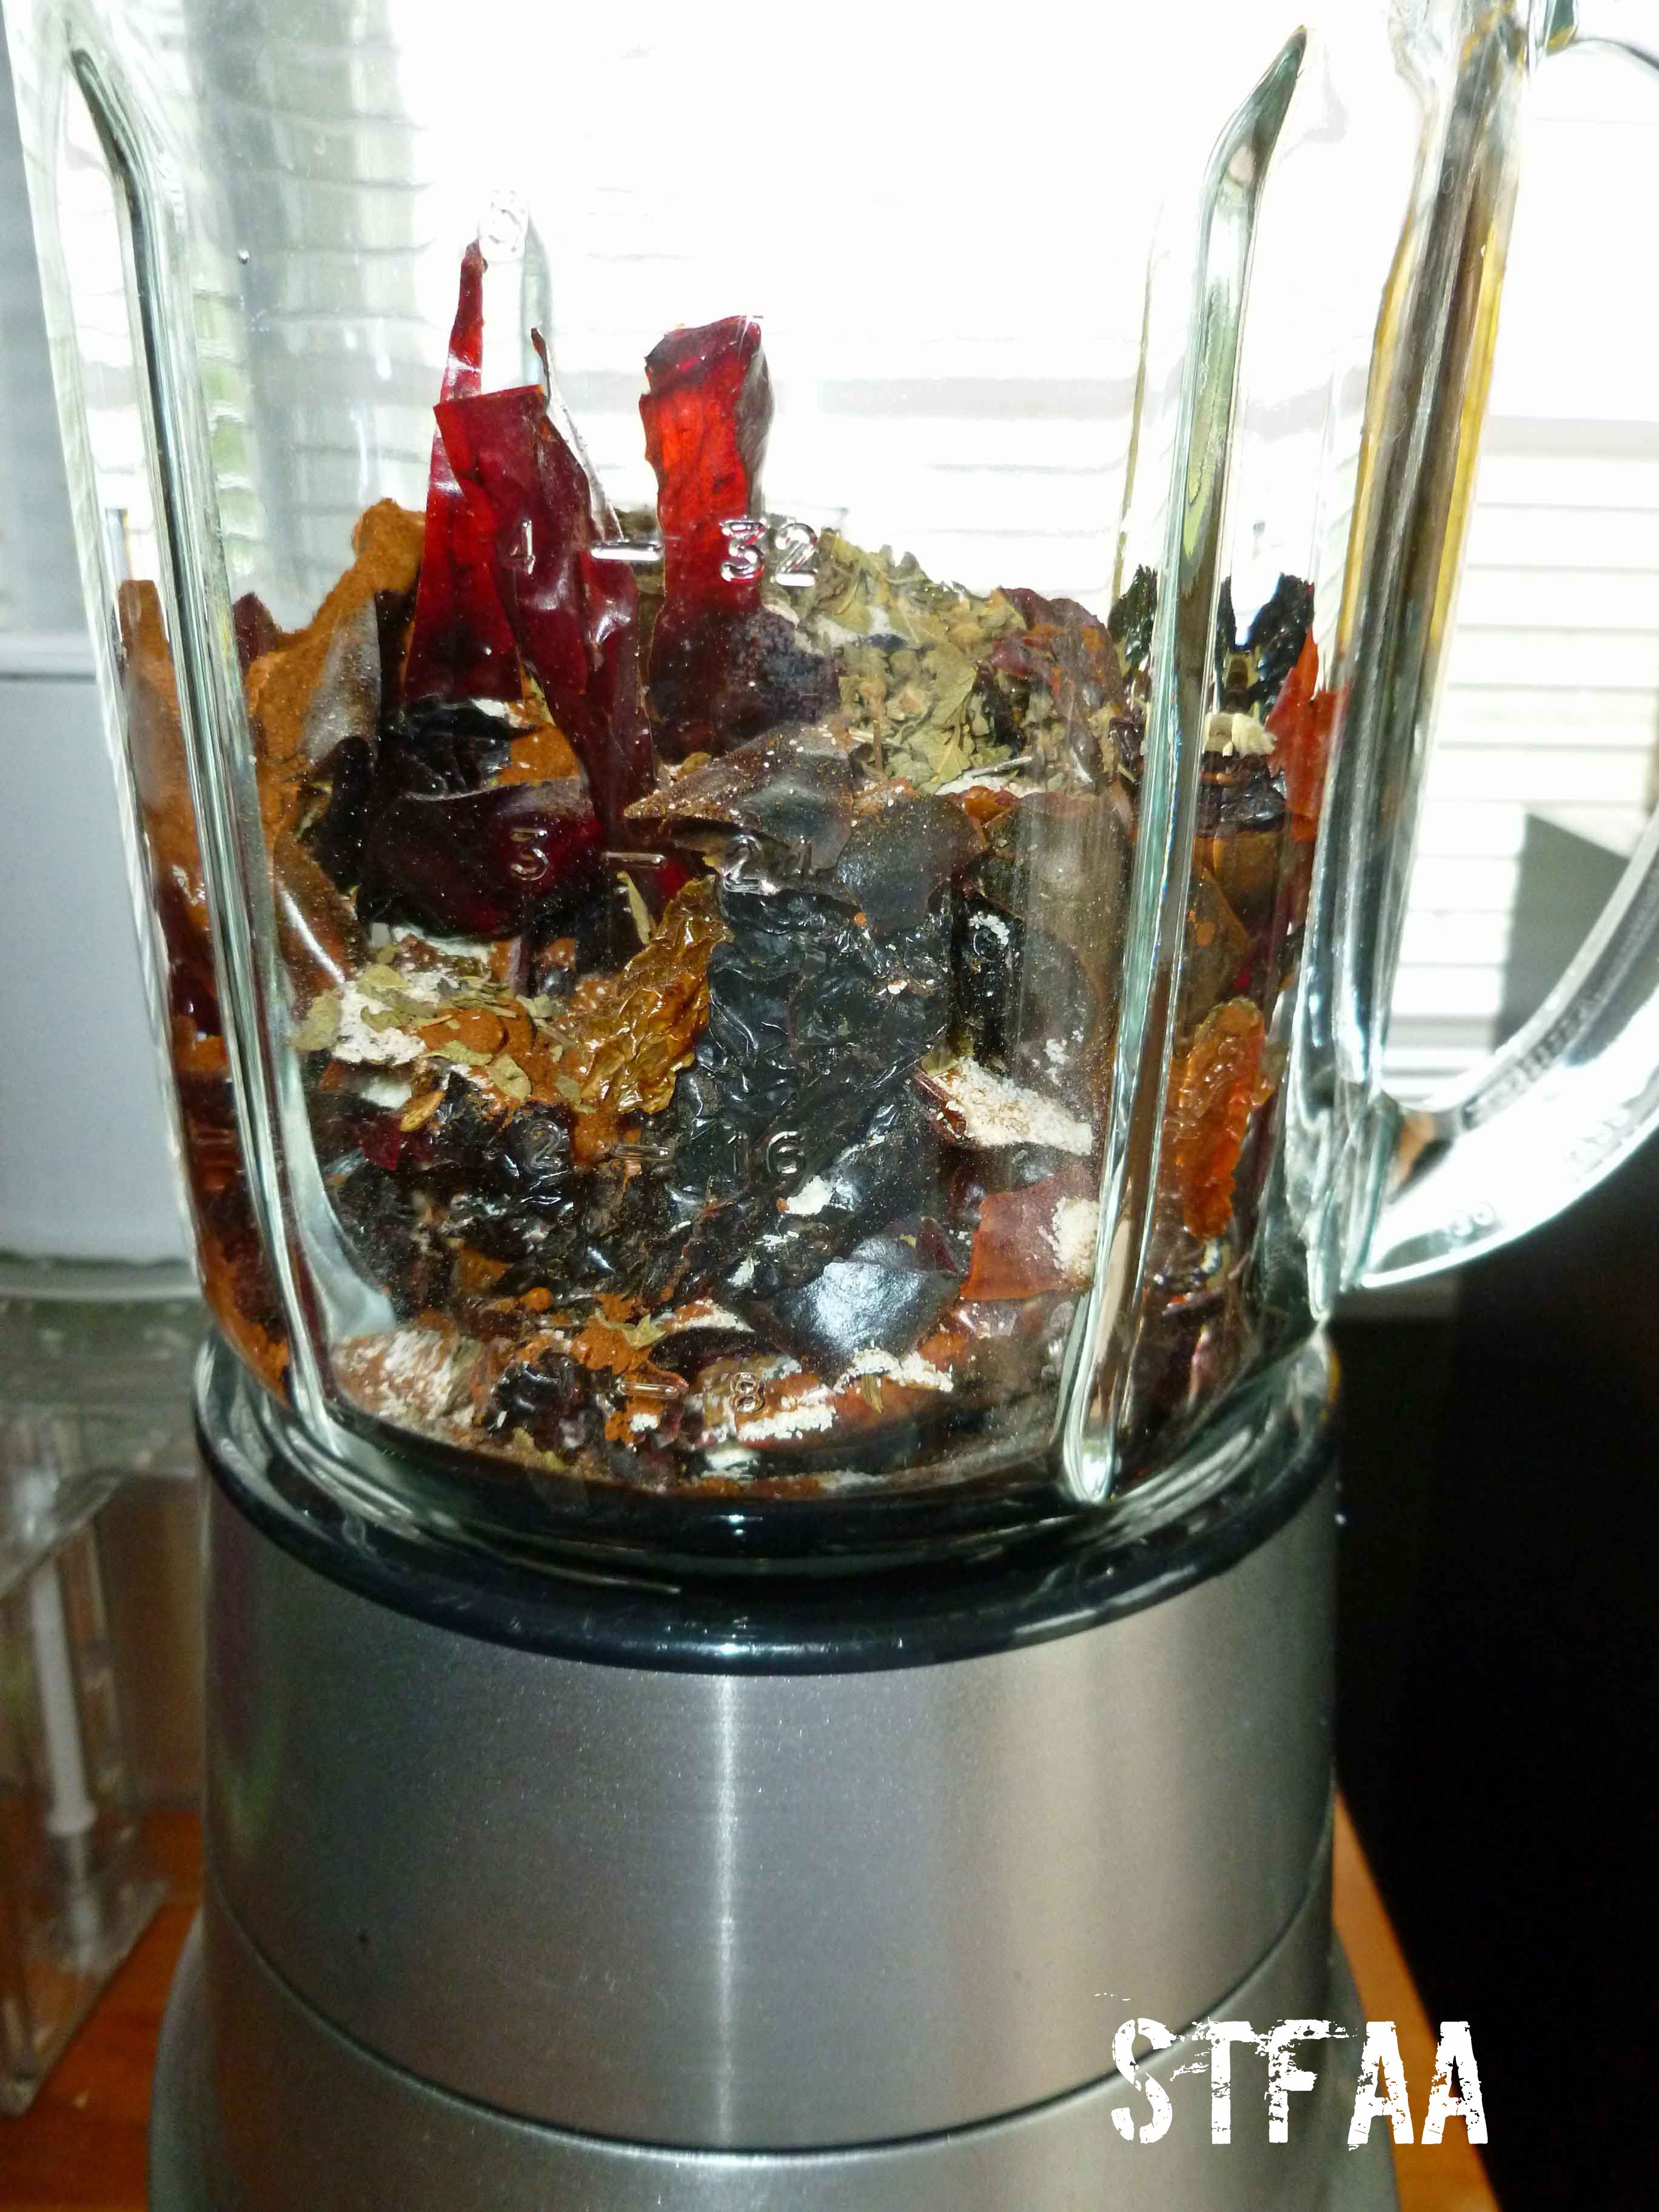
Once cool, place the chiles, cumin seed, garlic powder, oregano and paprika into a blender or food processor.
Dried chiles, cumin seed, garlic powder, oregano and paprika in blender
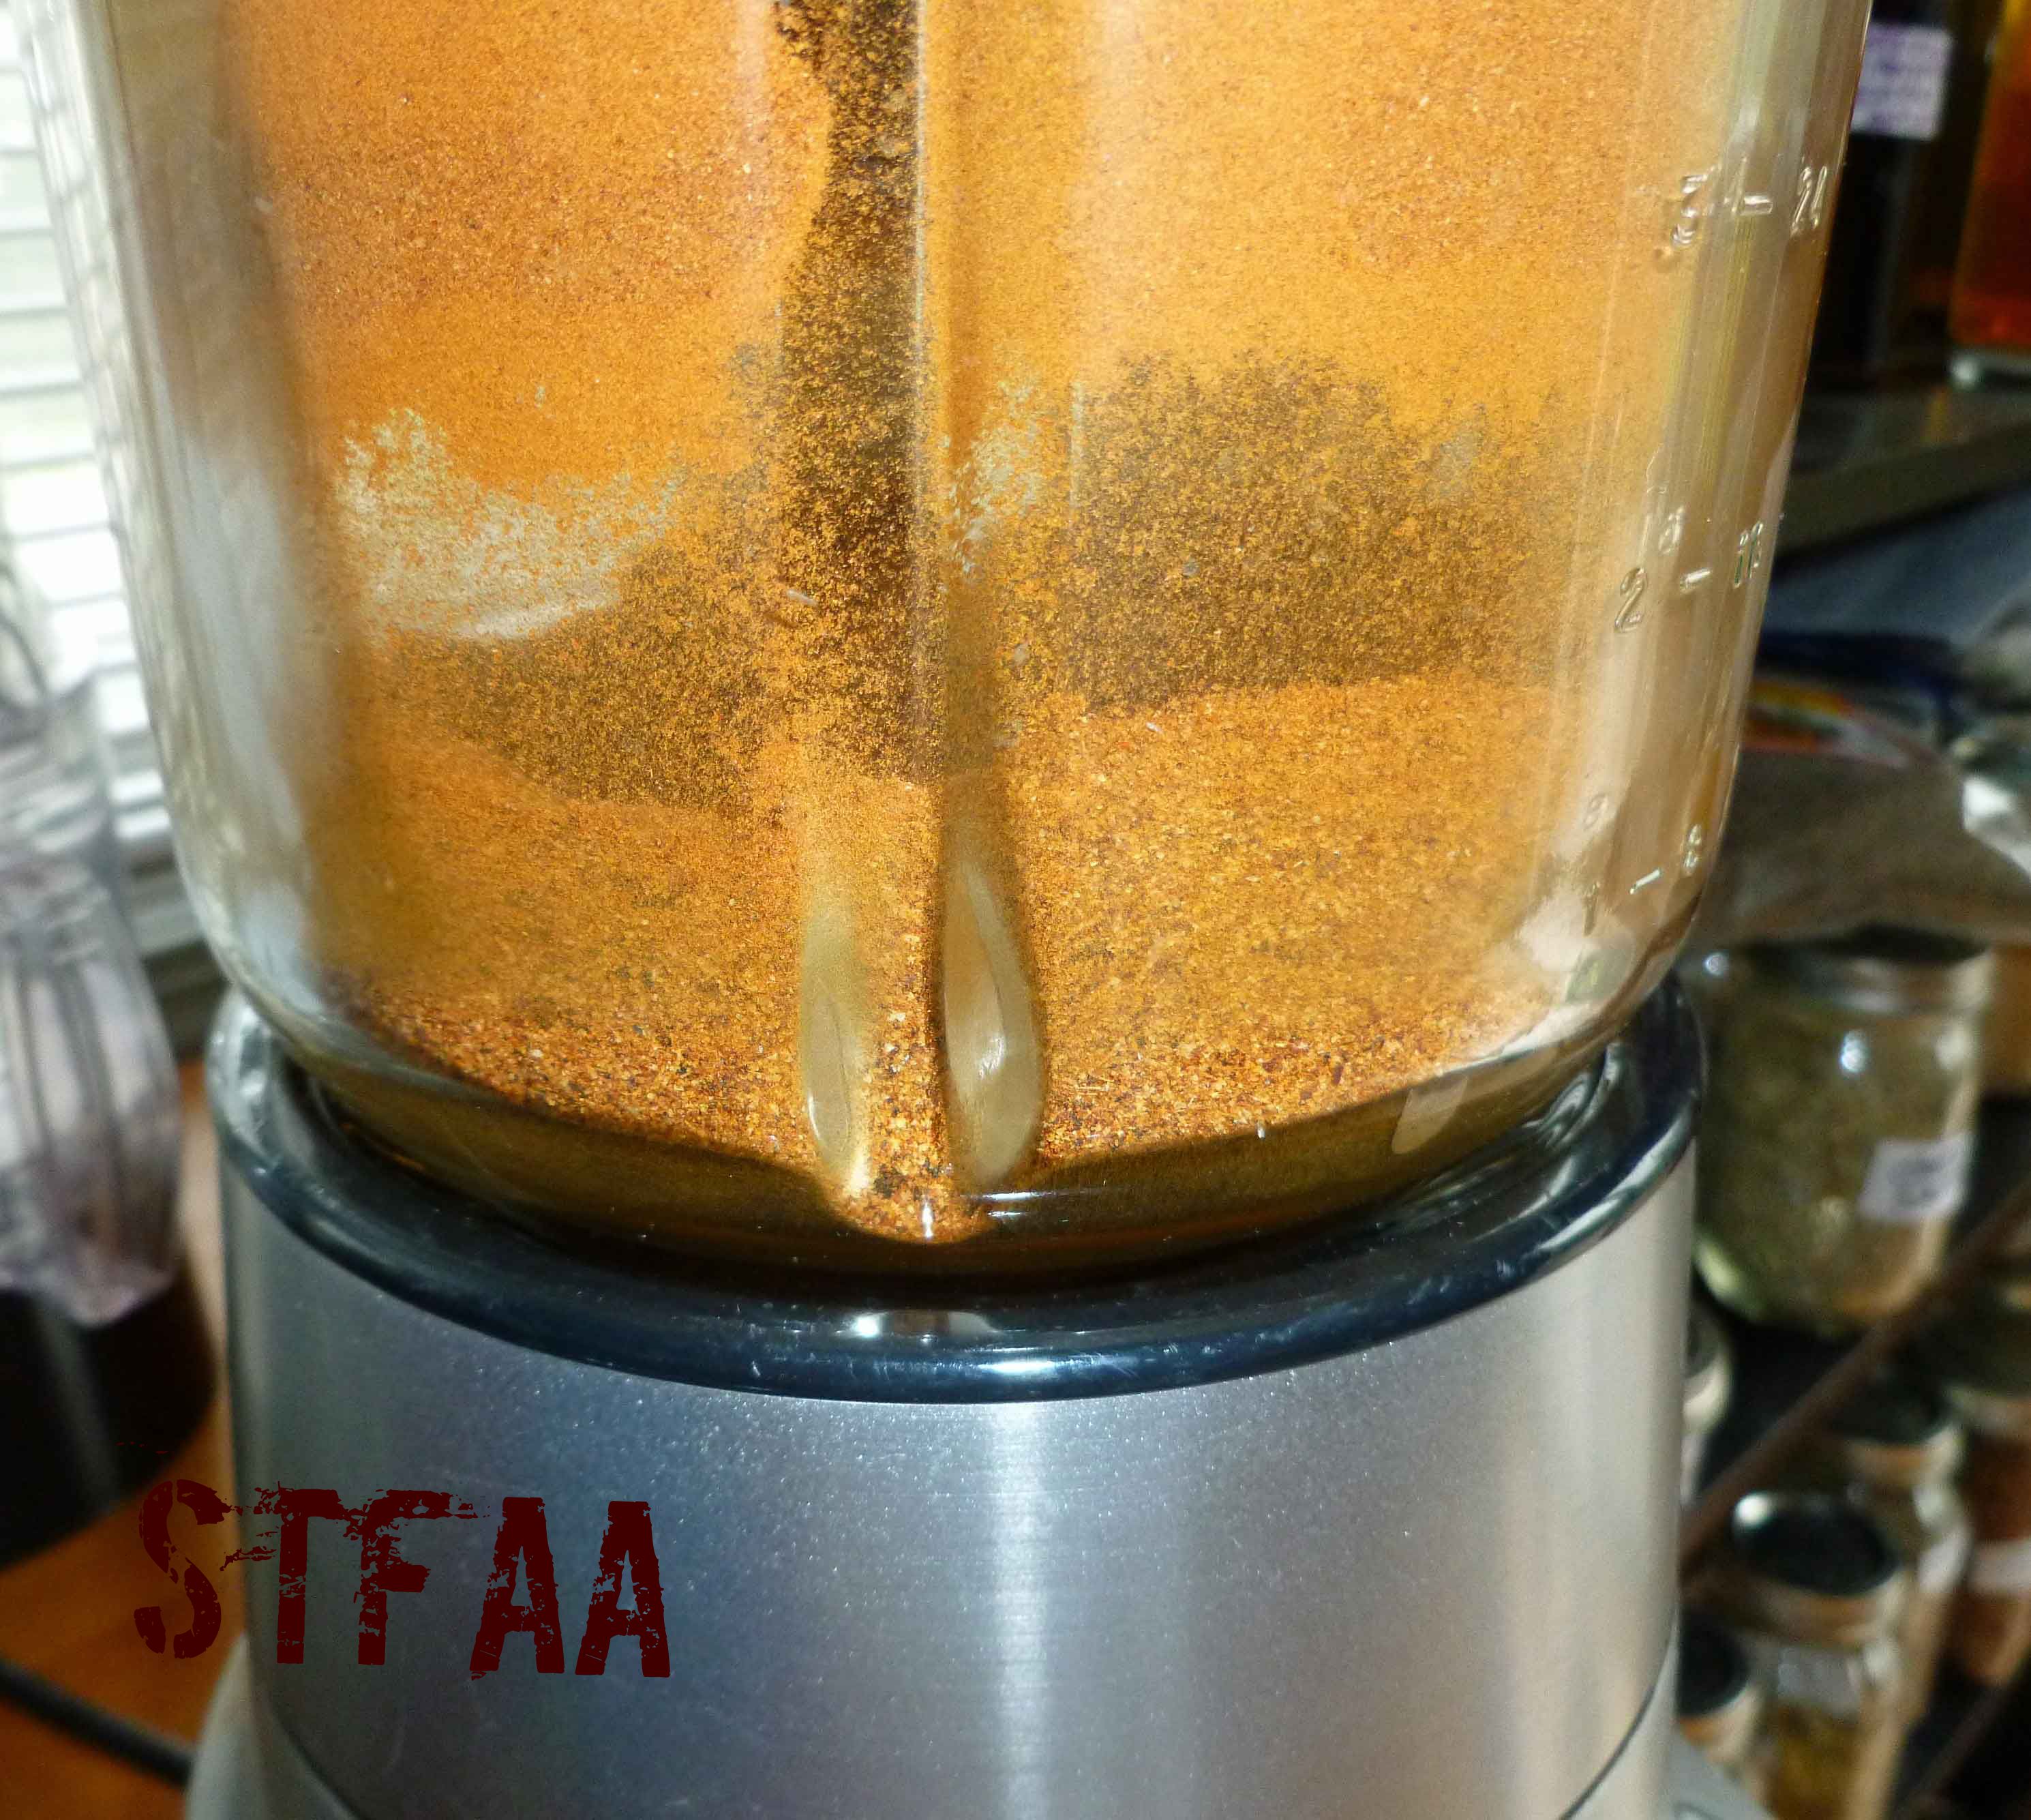
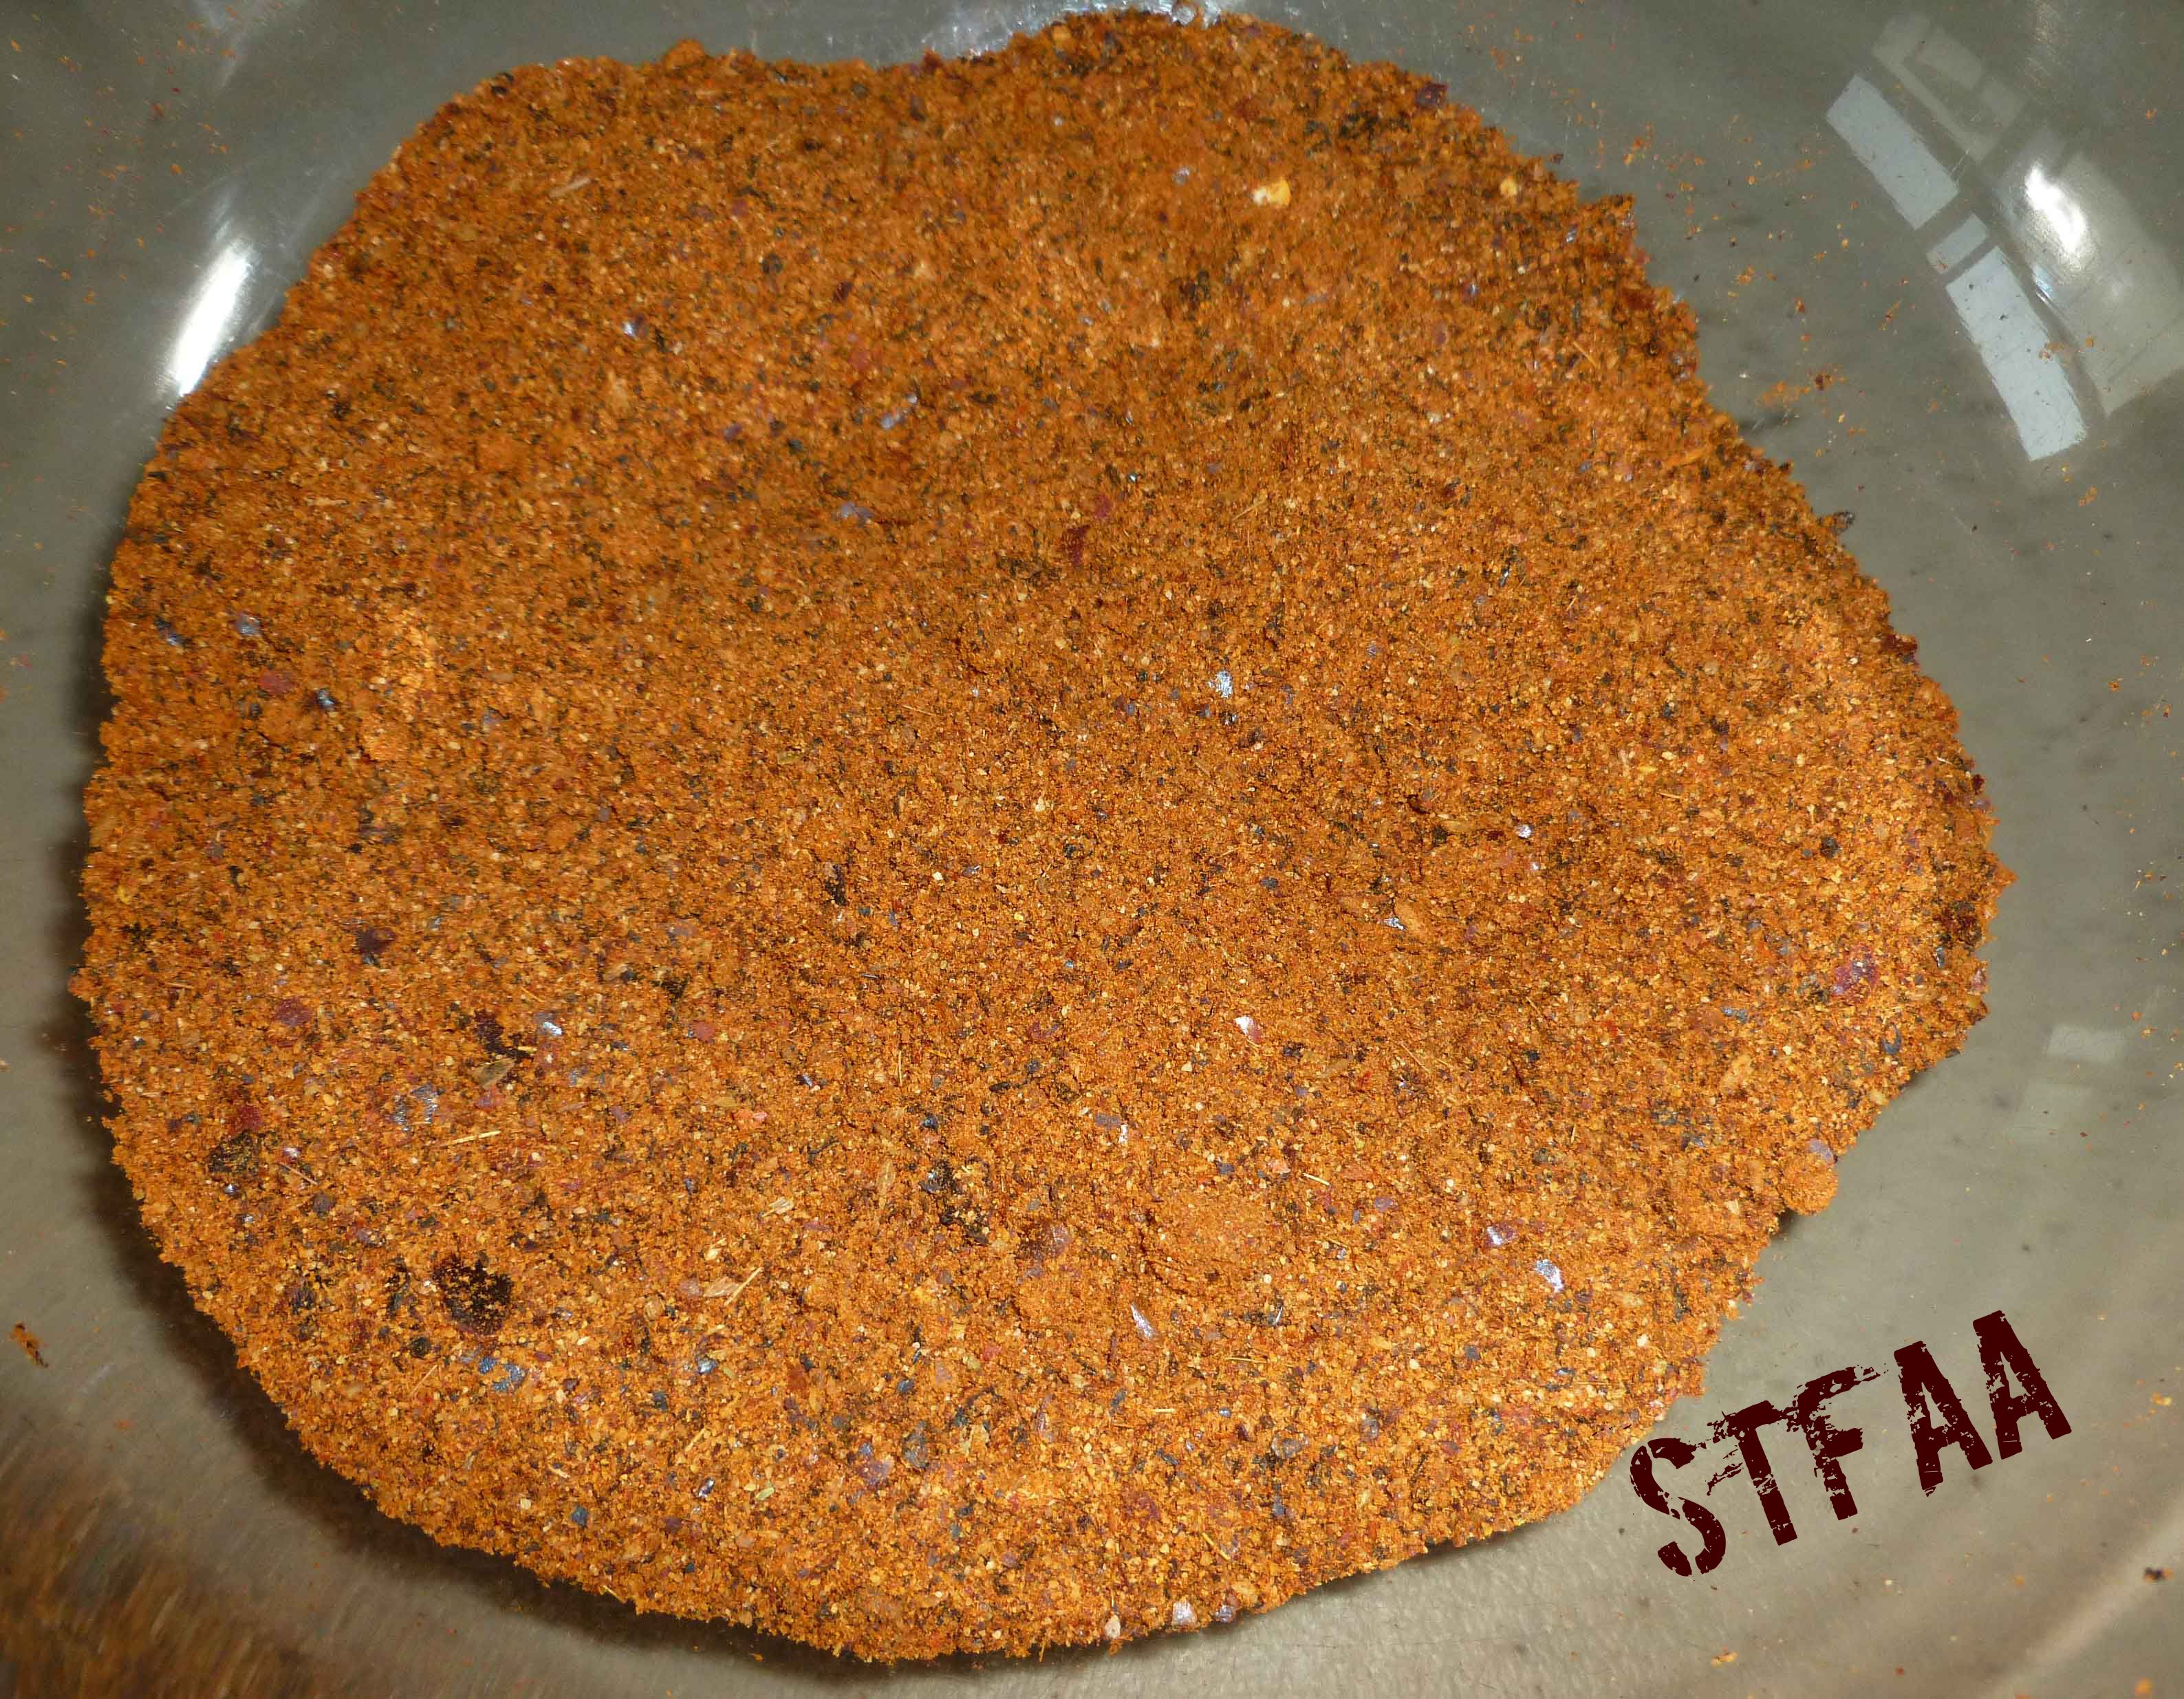
Blend or process until you have a fine powder. Before opening the blender or food processor, let the powder settle for a few minutes. You really don’t want to gas yourself.
DIY Chili Powder after blendingDIY Chili Powder after blending
Store your chili powder in an airtight container, and use as you would normally use chili powder.
Because I like transparency, you should know that this recipe was the result of a mistake. Yay serendipity!
I wanted to make crunchy granola bars like the Nature Valley ones I liked before the food allergy apocalypse hit. But I wanted to make them not so breakfast-y and more of a treat or a snack. So I found a recipe for a crunchy granola bar and decided to add cocoa powder to the sticky mixture sticking it together. The recipe called for honey, but I don’t have a safe honey or maple syrup, so I made a cane sugar syrup used that instead.
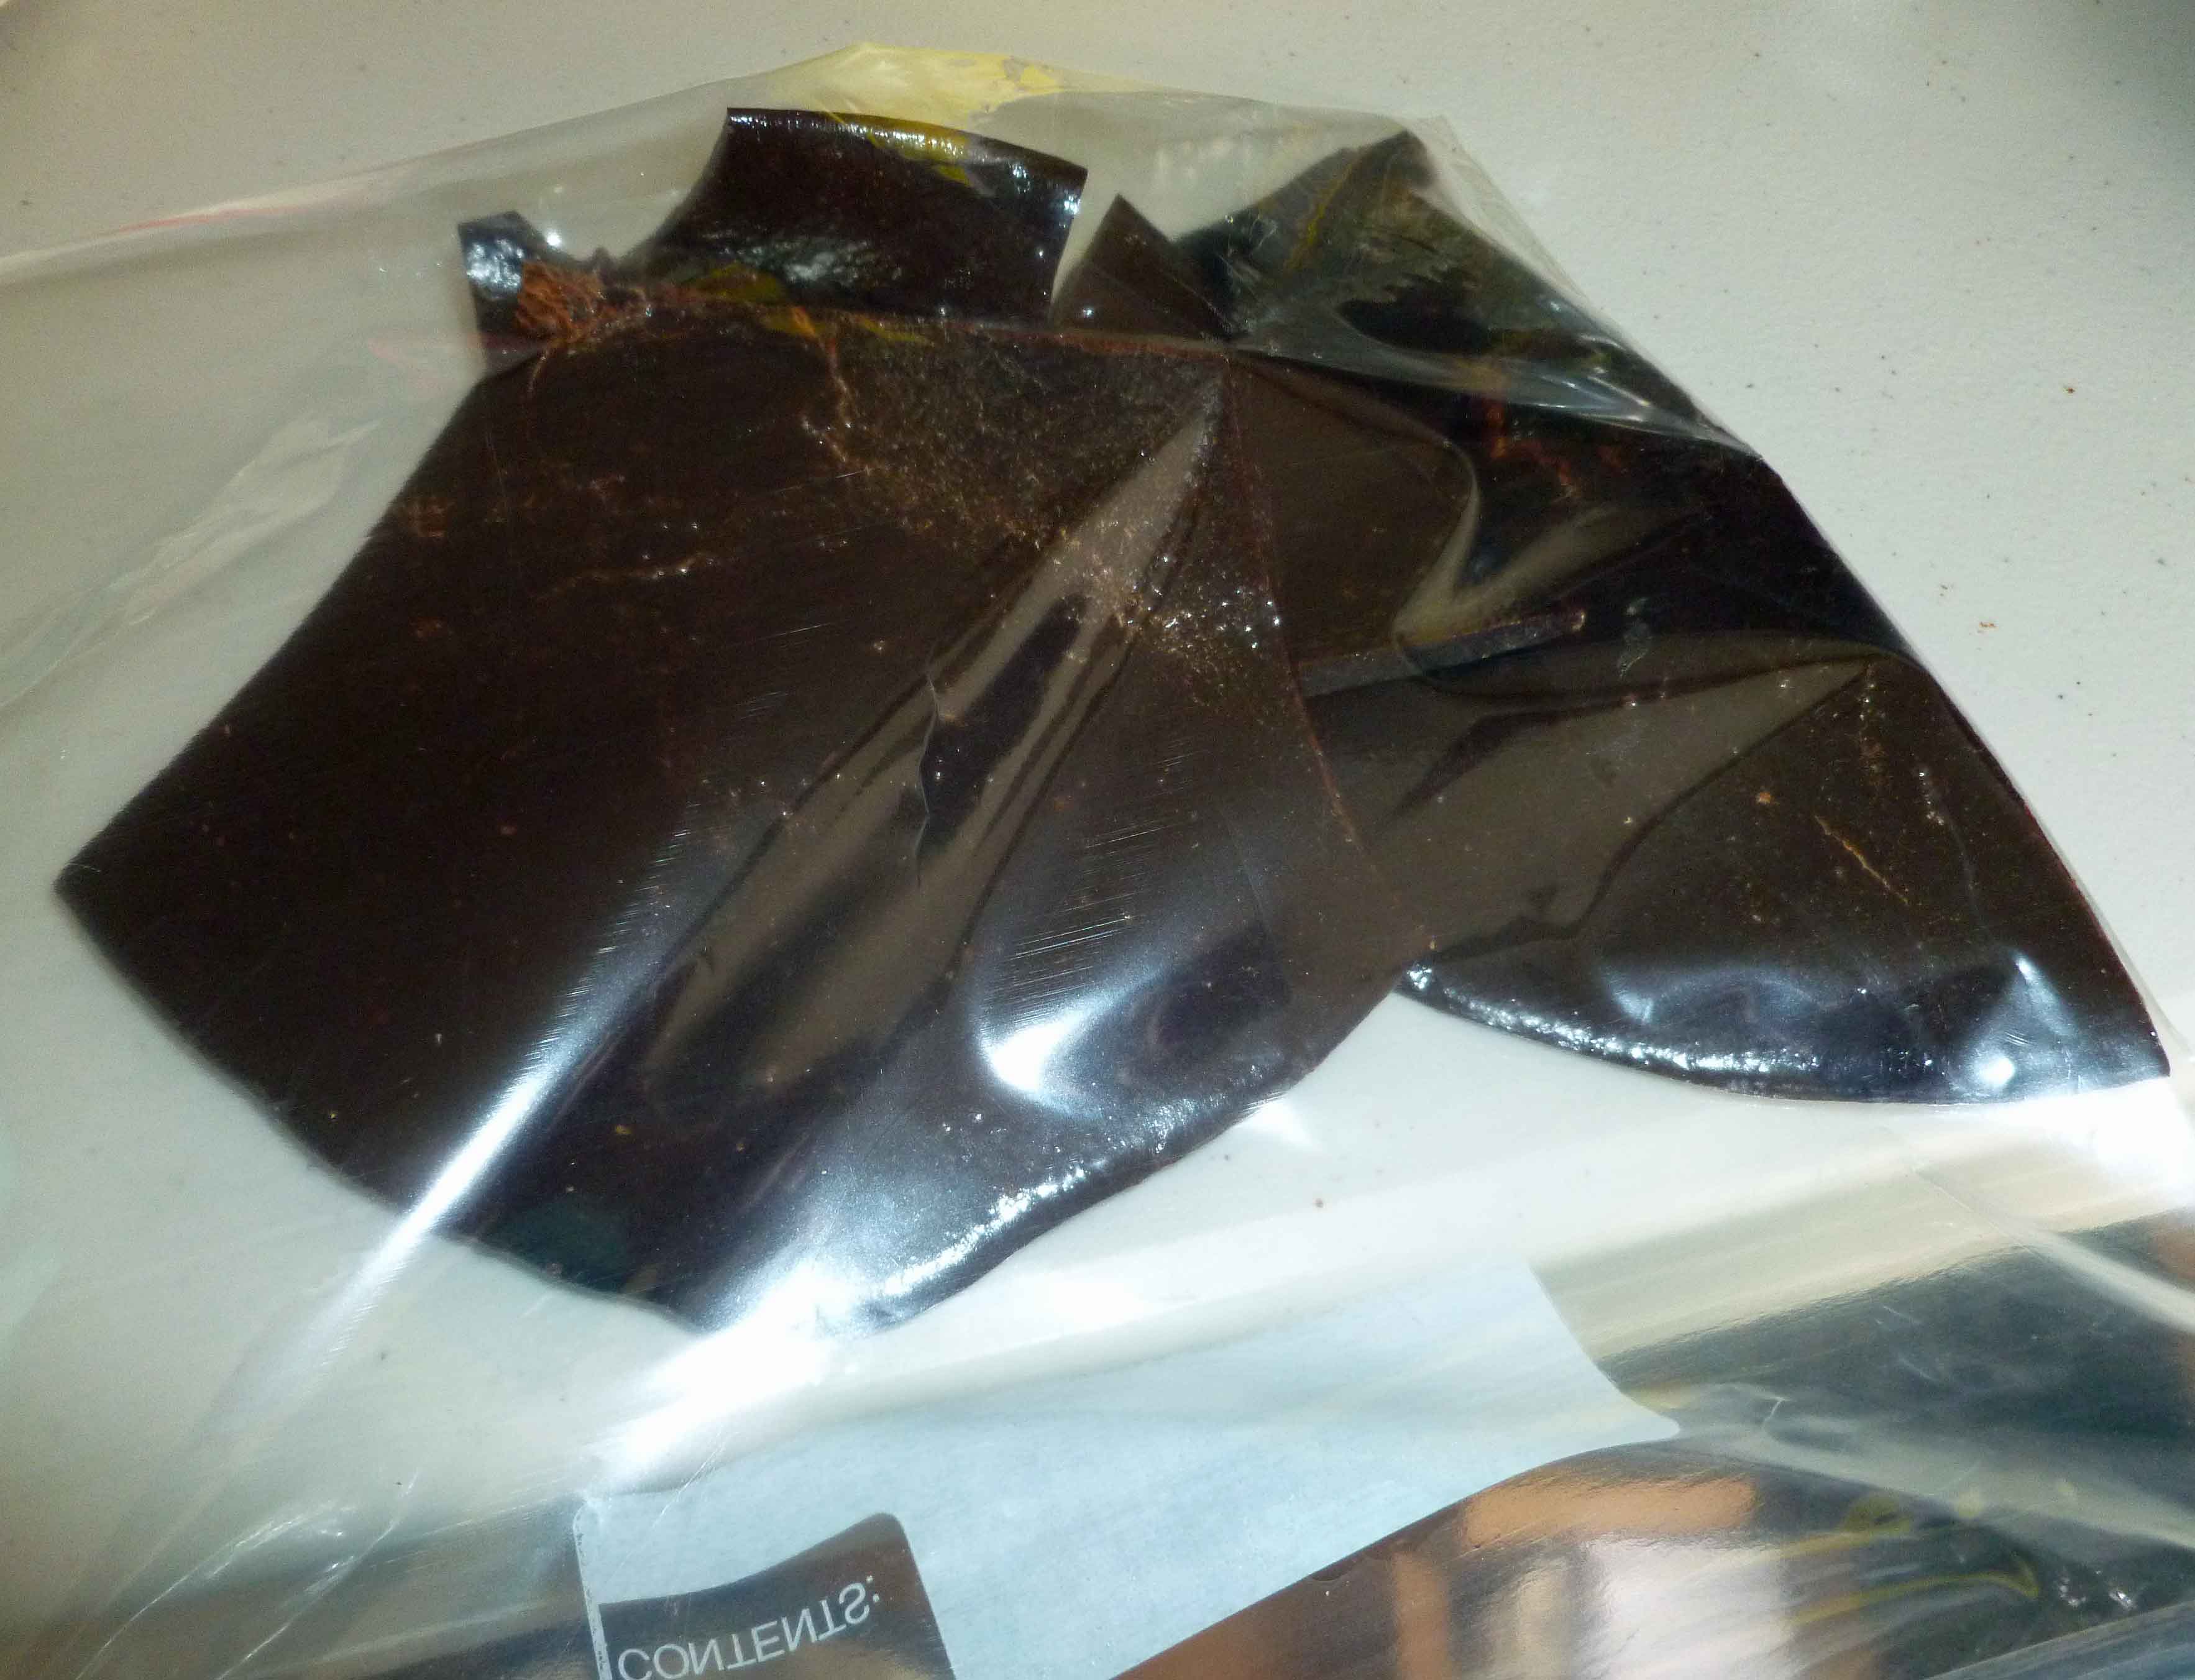
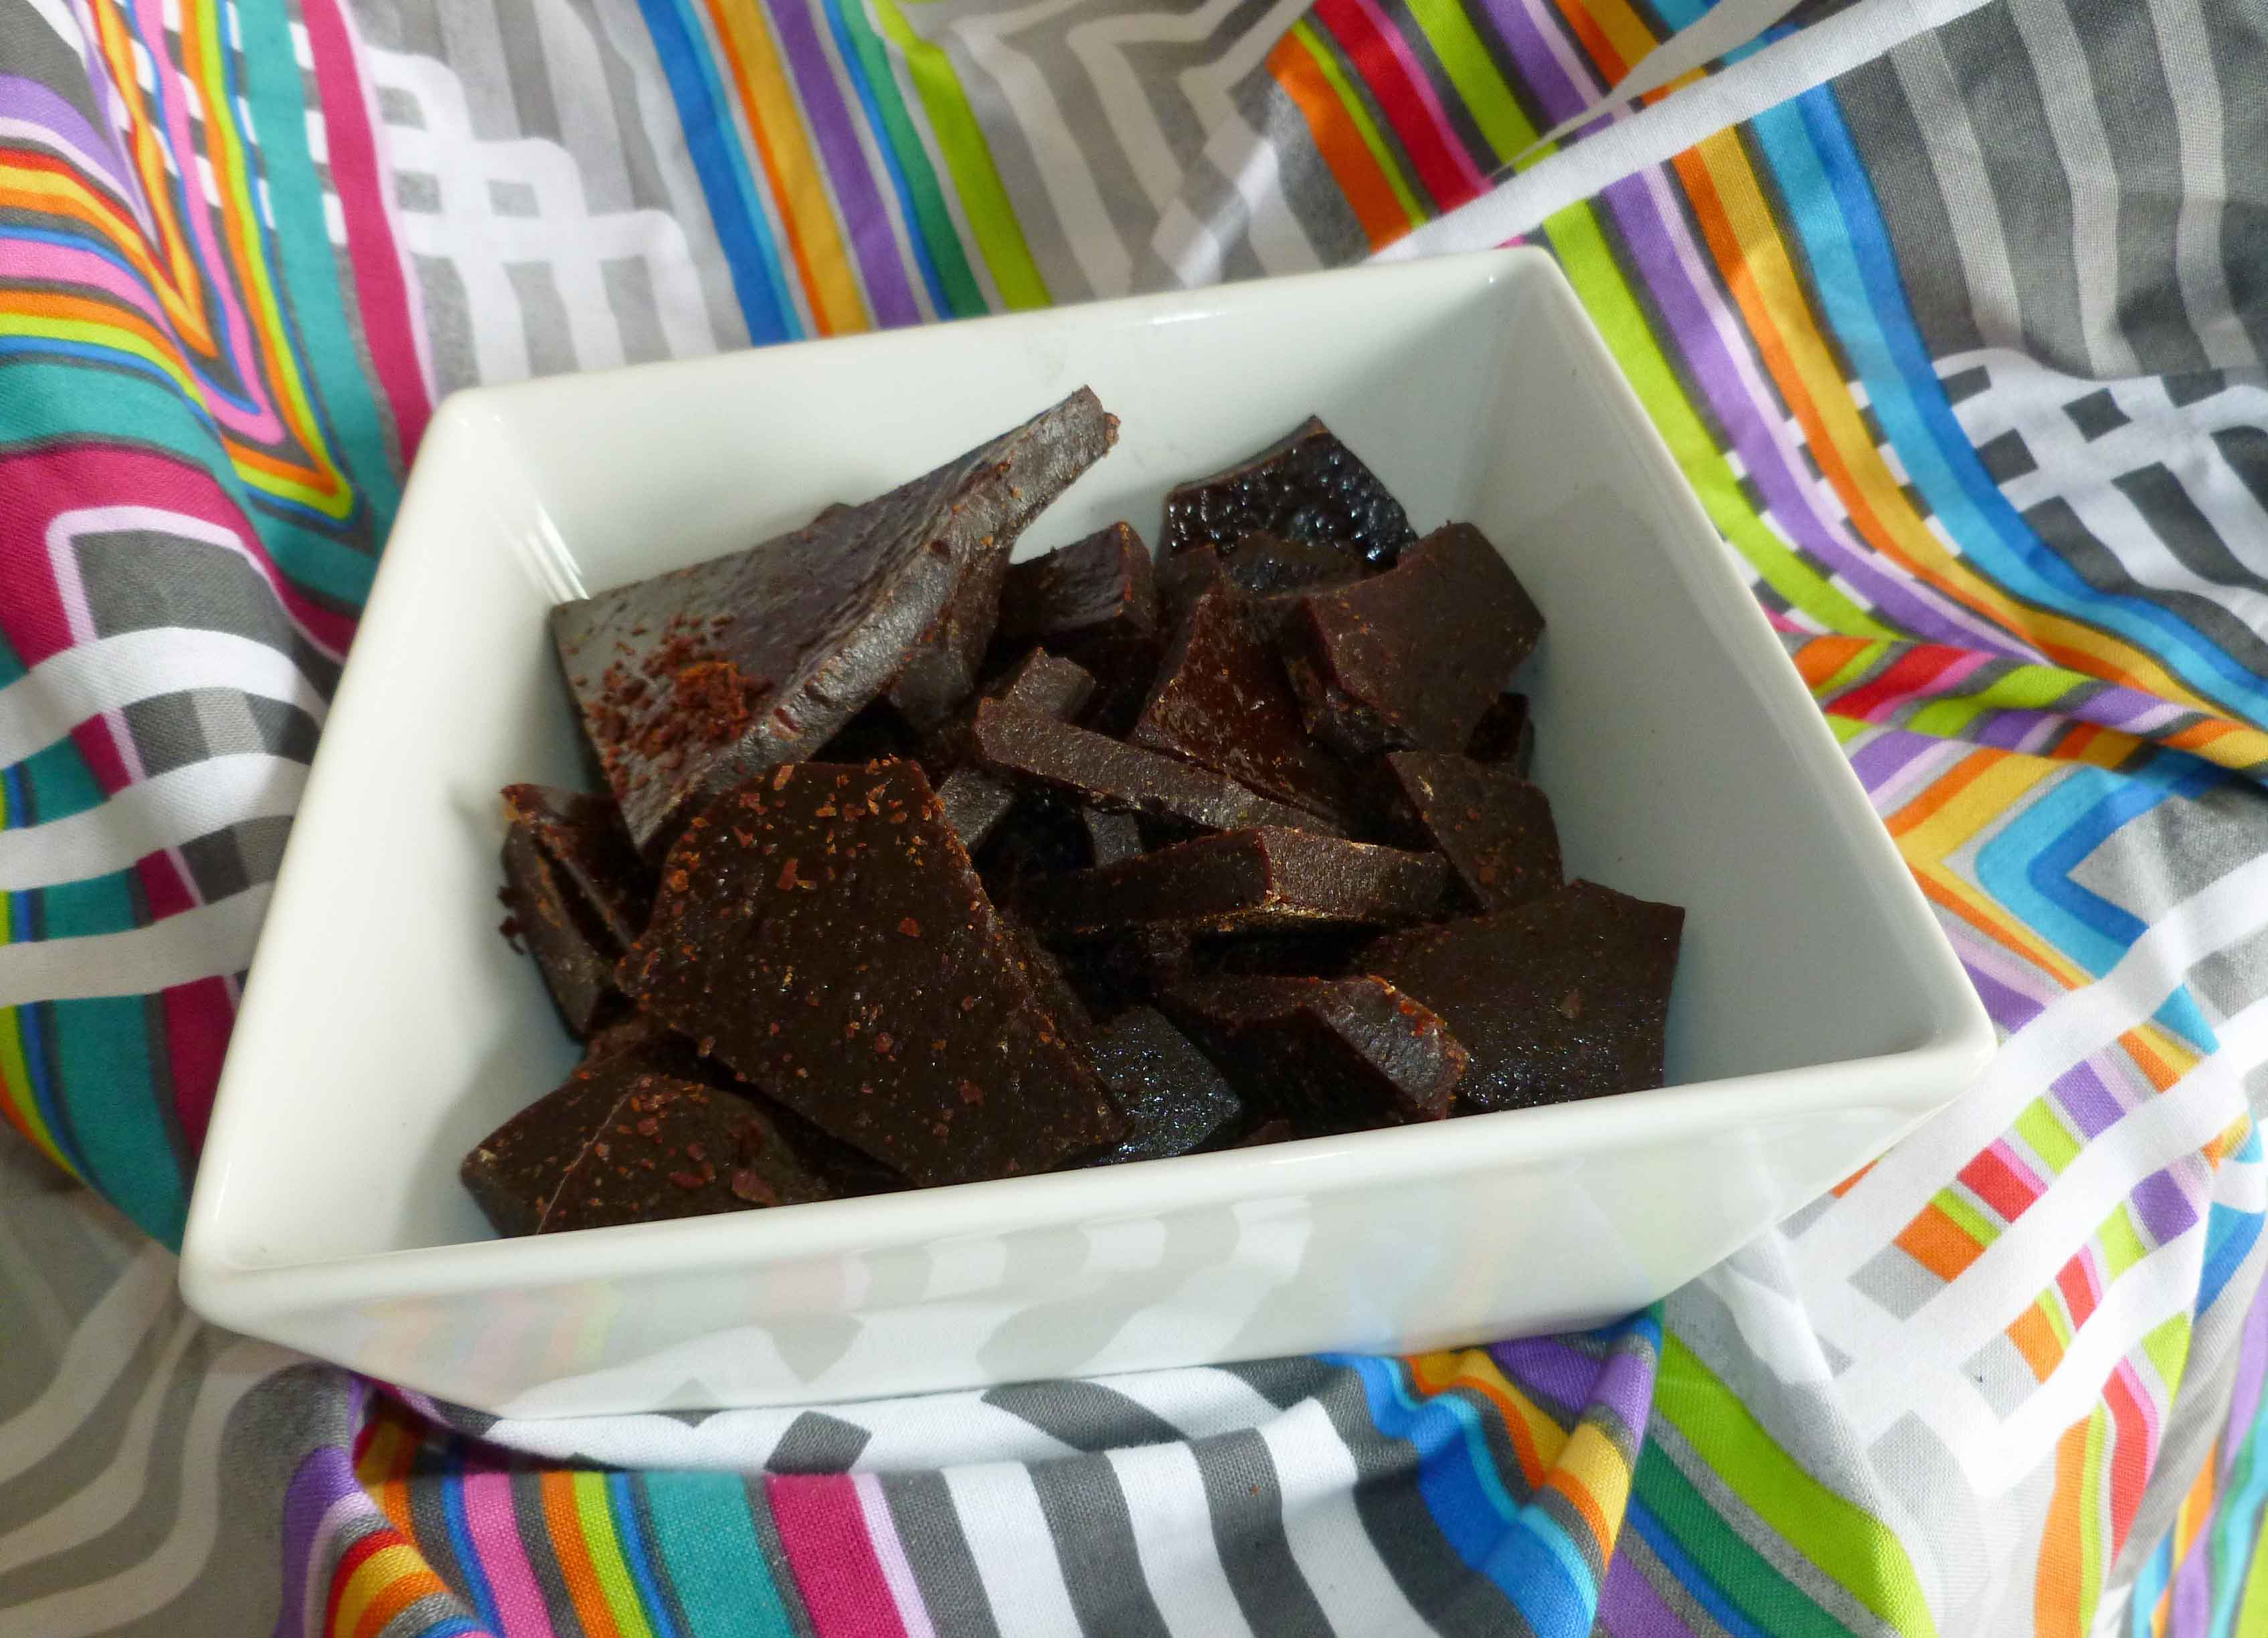
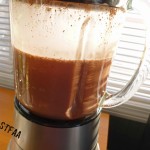
Well, I threw all the ingredients for the sticky stuff, i.e., the cane sugar syrup, brown sugar, cocoa powder, vanilla and cinnamon, all the saucepan and began heating it. But then it didn’t want to melt. So I thought that maybe the cocoa powder was too dry and I added a bit of grape seed oil. And the mixture still looked sugary, and I began to worry that the cocoa powder would burn. It was at this point that I read the actual directions for the mixture from the recipe I was trying to modify. It said to cook the sugar and sugar syrup first and then add the vanilla and cinnamon after. Oops. So I decided that I had enough sugar syrup to do it over, but I decided to see if I could get it to melt, and as I did that, I realized that it wouldn’t be accurate if I wrote it up without the do-over and I didn’t want anyone else to risk burning chocolate. So I quickly greased a small baking sheet and dumped the mixture on it so I could start over again with the sticky stuff for the granola bars. I thought it might end up like tootsie rolls, but when I came back to it after finishing the granola bar attempt (which also didn’t really work as it didn’t set up into bars, but might make a great cereal if I had a safe non-dairy milk, sigh), it was hard as a rock. I pried it off the cookie sheet and then put it in a zip top bag in the freezer for bit and then dropped the bag on the floor a couple of times to break it up into pieces. If you were smarter than me, which you are, you’d use a metal spatula or turner to divide the candy into smaller pieces when it’s cooled a bit but is still warm and pliable. Or put them into silicone candy molds.
Chocolate Cinnamon Hard Candy
3/4 cup of cane sugar syrup (You will need to make it ahead of time – there are two good recipes and I’ve used both before. The one from thekitchn.com makes about a quart, and the one from justapinch.com makes about two cups.)
3/4 cup of brown sugar (make sure it’s safe for you)
4 Tablespoons of cocoa powder (make sure it’s safe for you)
2 teaspoons of ground cinnamon
1 Tablespoon of vanilla extract (Here’s a bunch of recipes for vanilla extract, make sure to use safe alcohol if corn or wheat are an issue for you. I use either Vikingfjord or Luksusowa Vodka because they are made only from potatoes, where some vodkas may also use grain or corn.)
1/2 teaspoon of grape seed oil (or other safe oil for you)
enough grape seed oil to grease cookie sheet
Grease small to medium cookie sheet with grape seed oil. I used a mister.
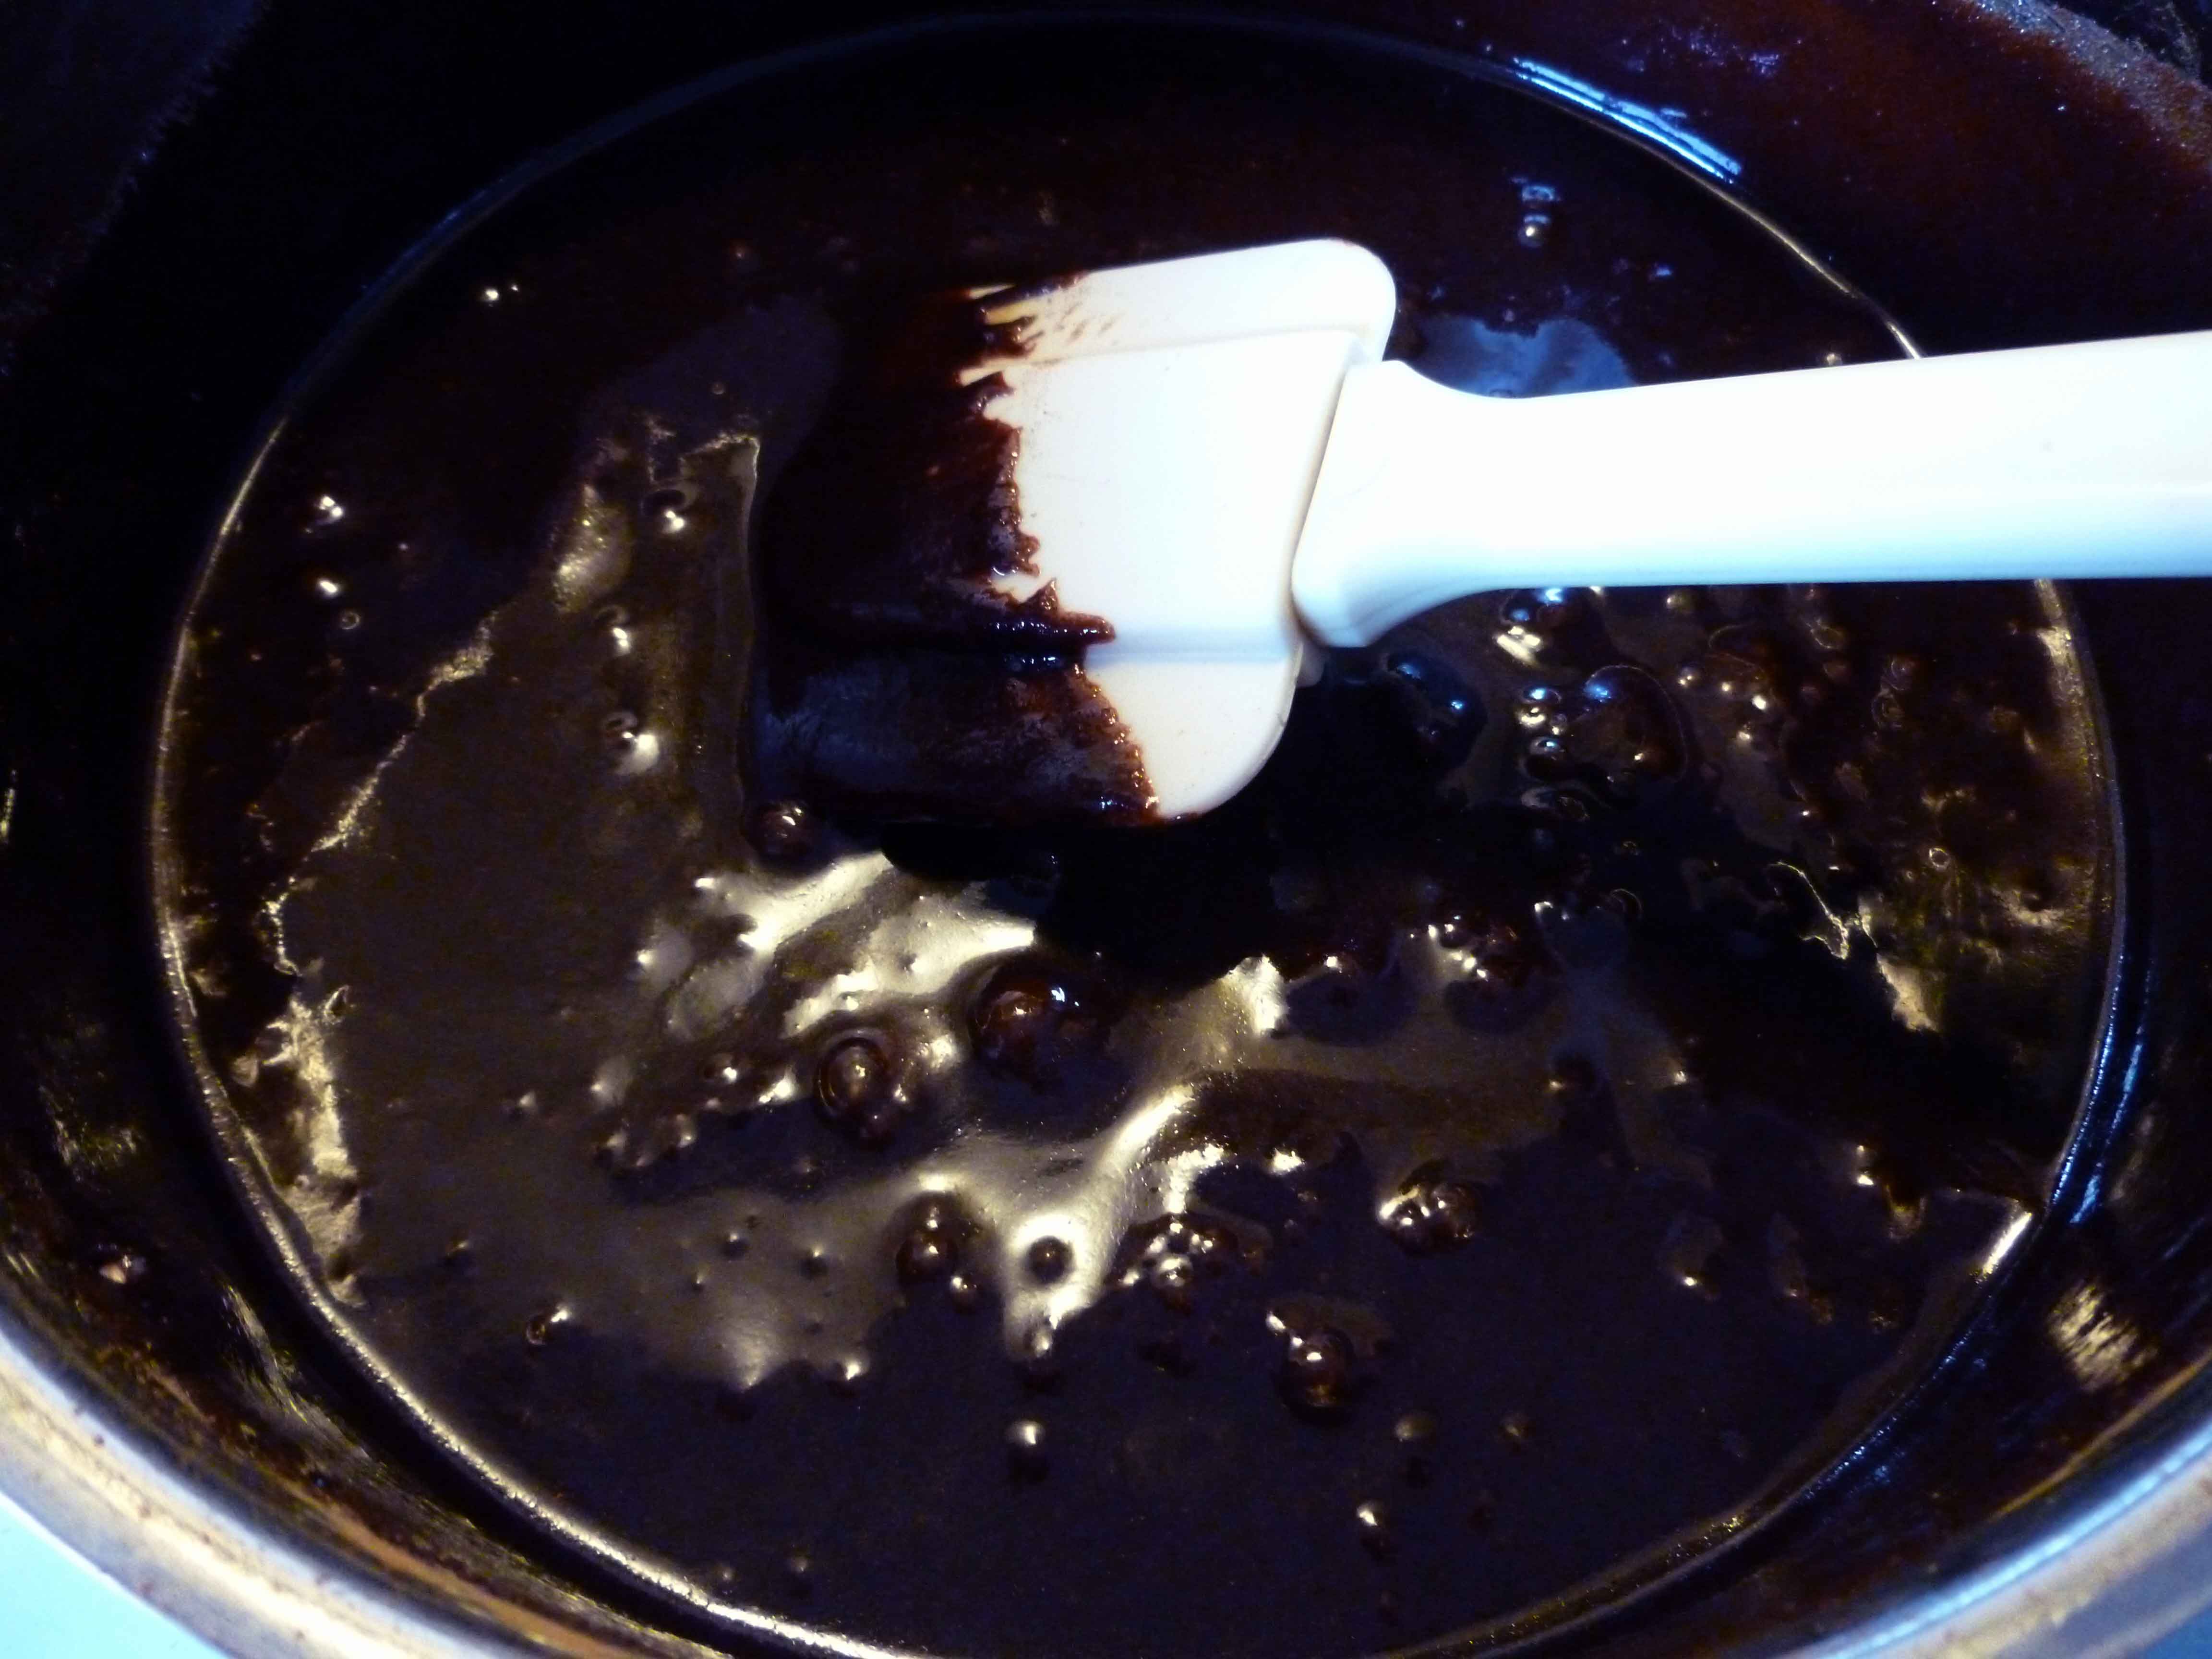
Place all the ingredients in a saucepan over medium heat and stir constantly with a silicone spatula, so that you can scrape the bottom of the saucepan really well. Make sure that all ingredients get combined really well.
Candy mixture well combined in saucepan
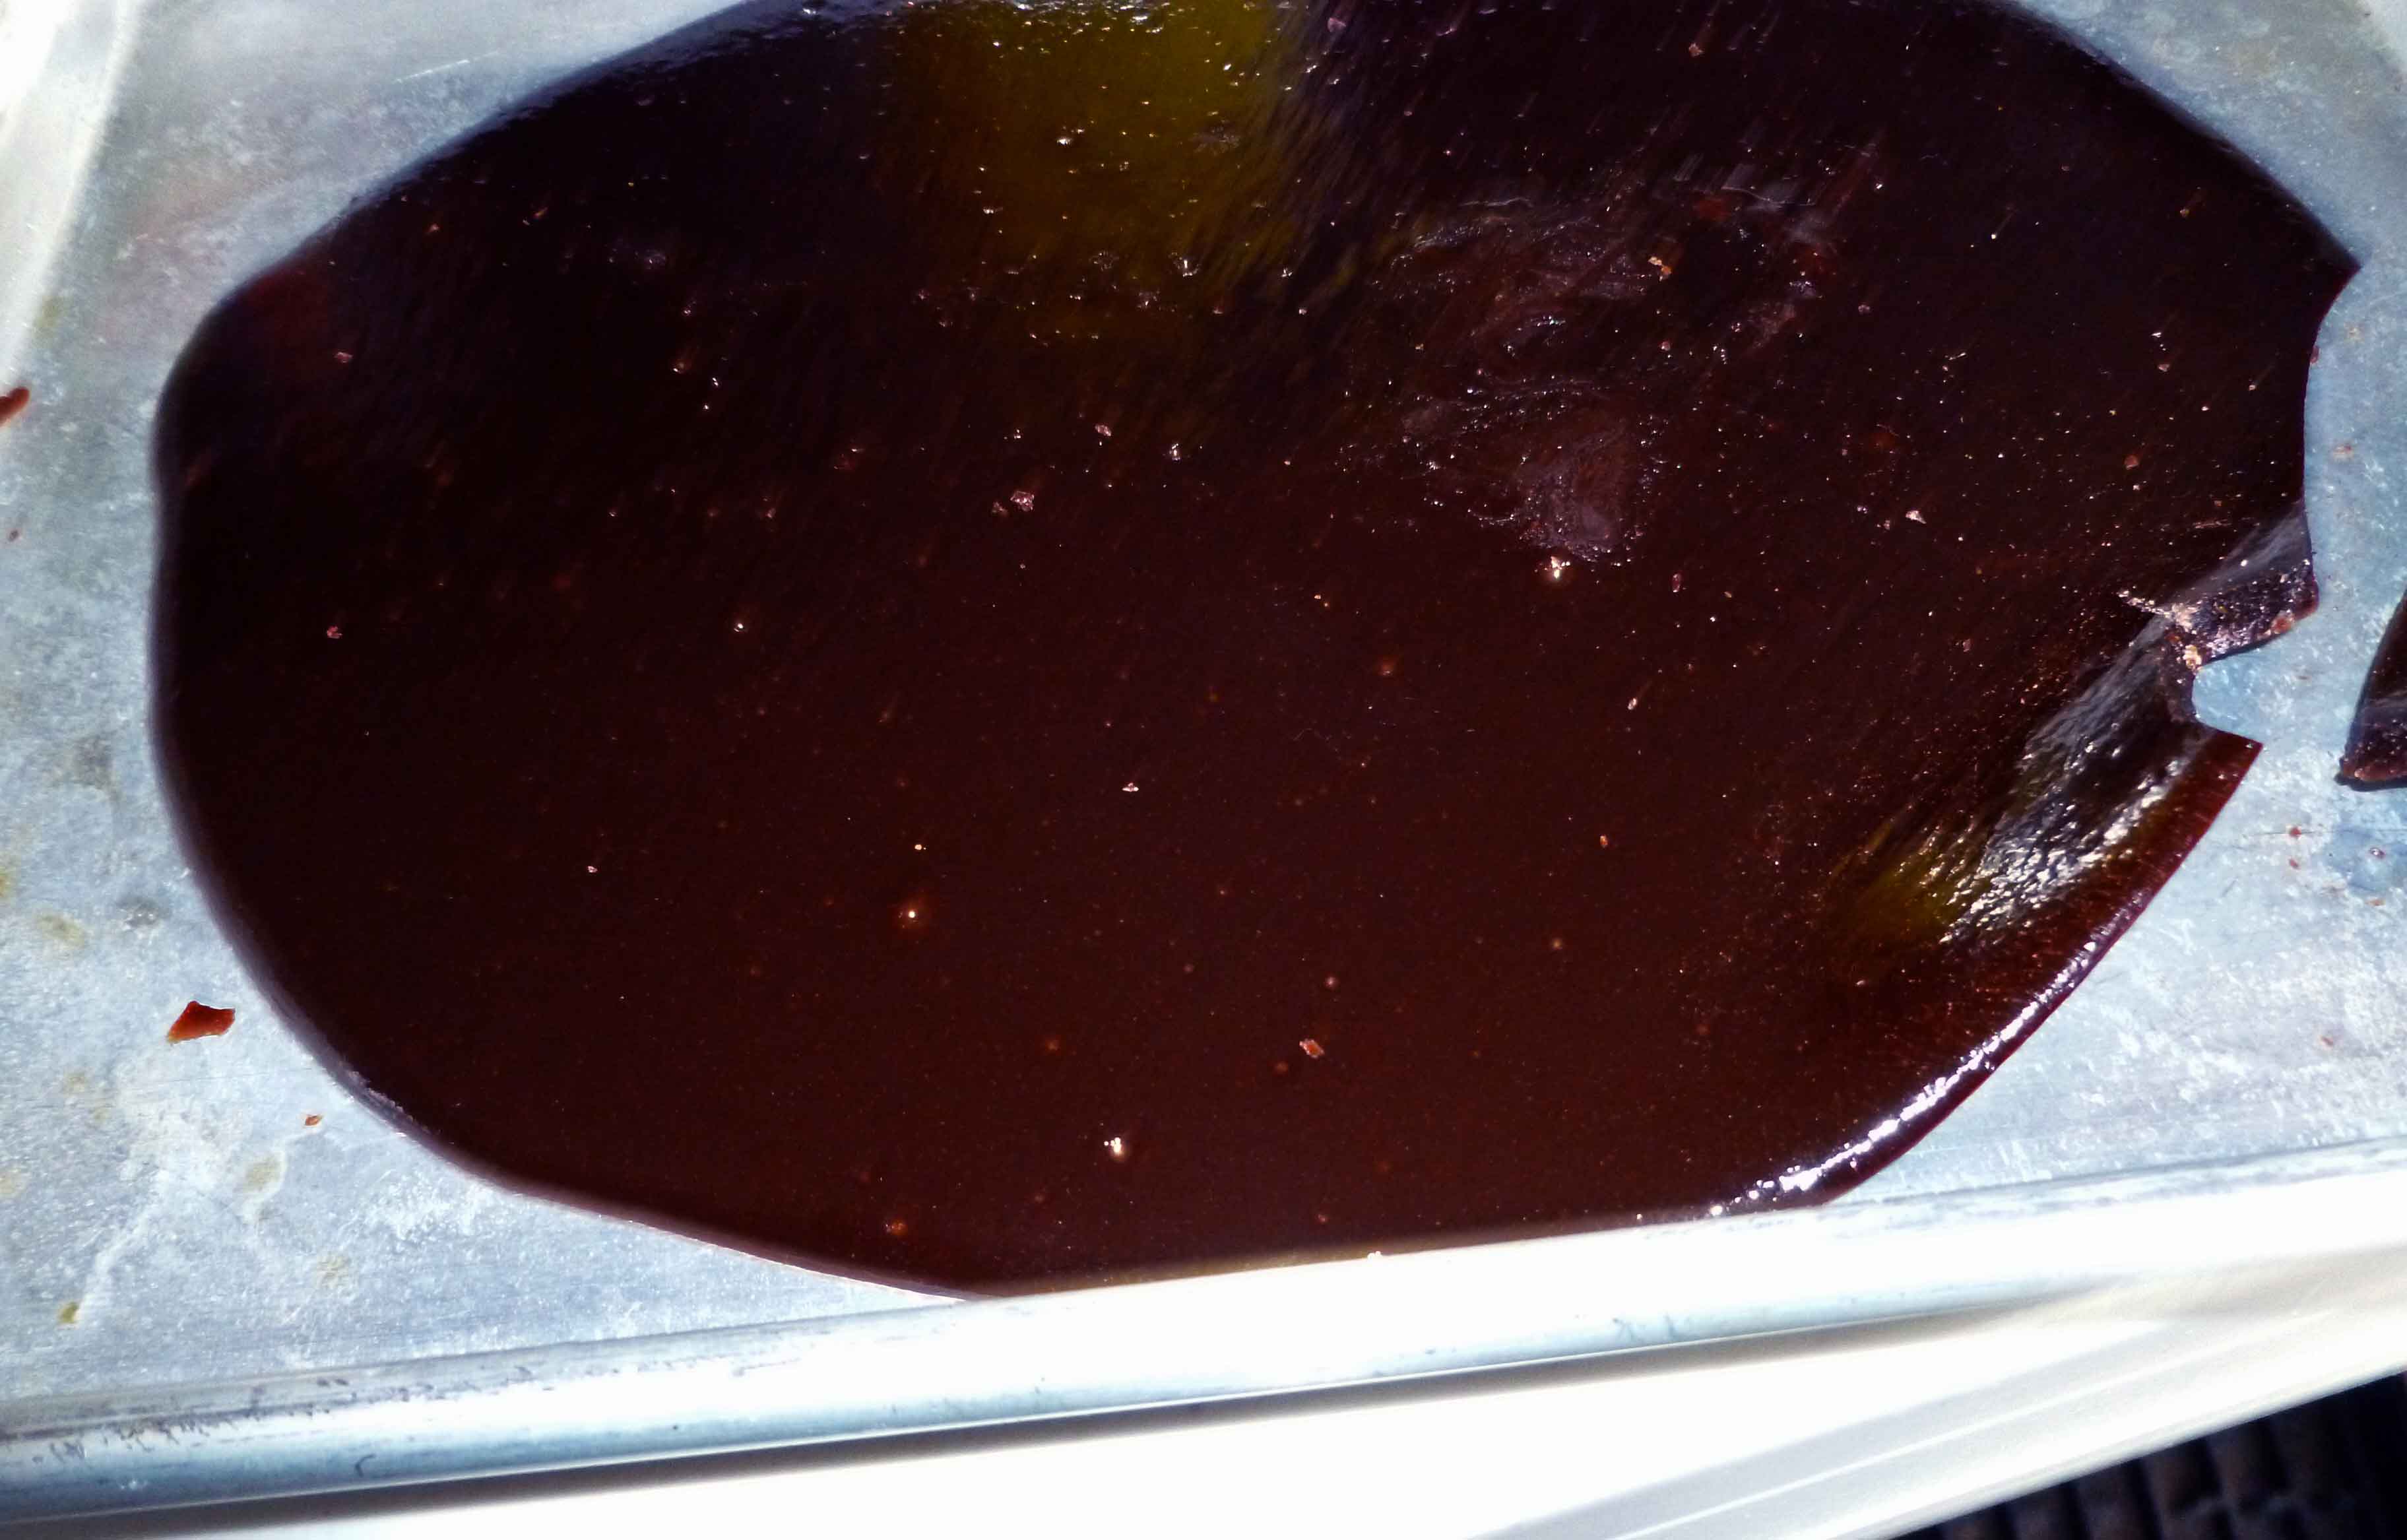
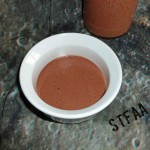
Cook over medium heat until the brown sugar begins melting into the cane sugar syrup. I didn’t measure the temperatures, but if you’re using a candy thermometer, you’re probably aiming for somewhere between 250°F and 300°F. Once the brown sugar is melting into the sugar syrup, pour the mixture onto your cookie sheet or into silicone candy molds.
Chocolate Cinnamon Hard Candy cooling on cookie sheet
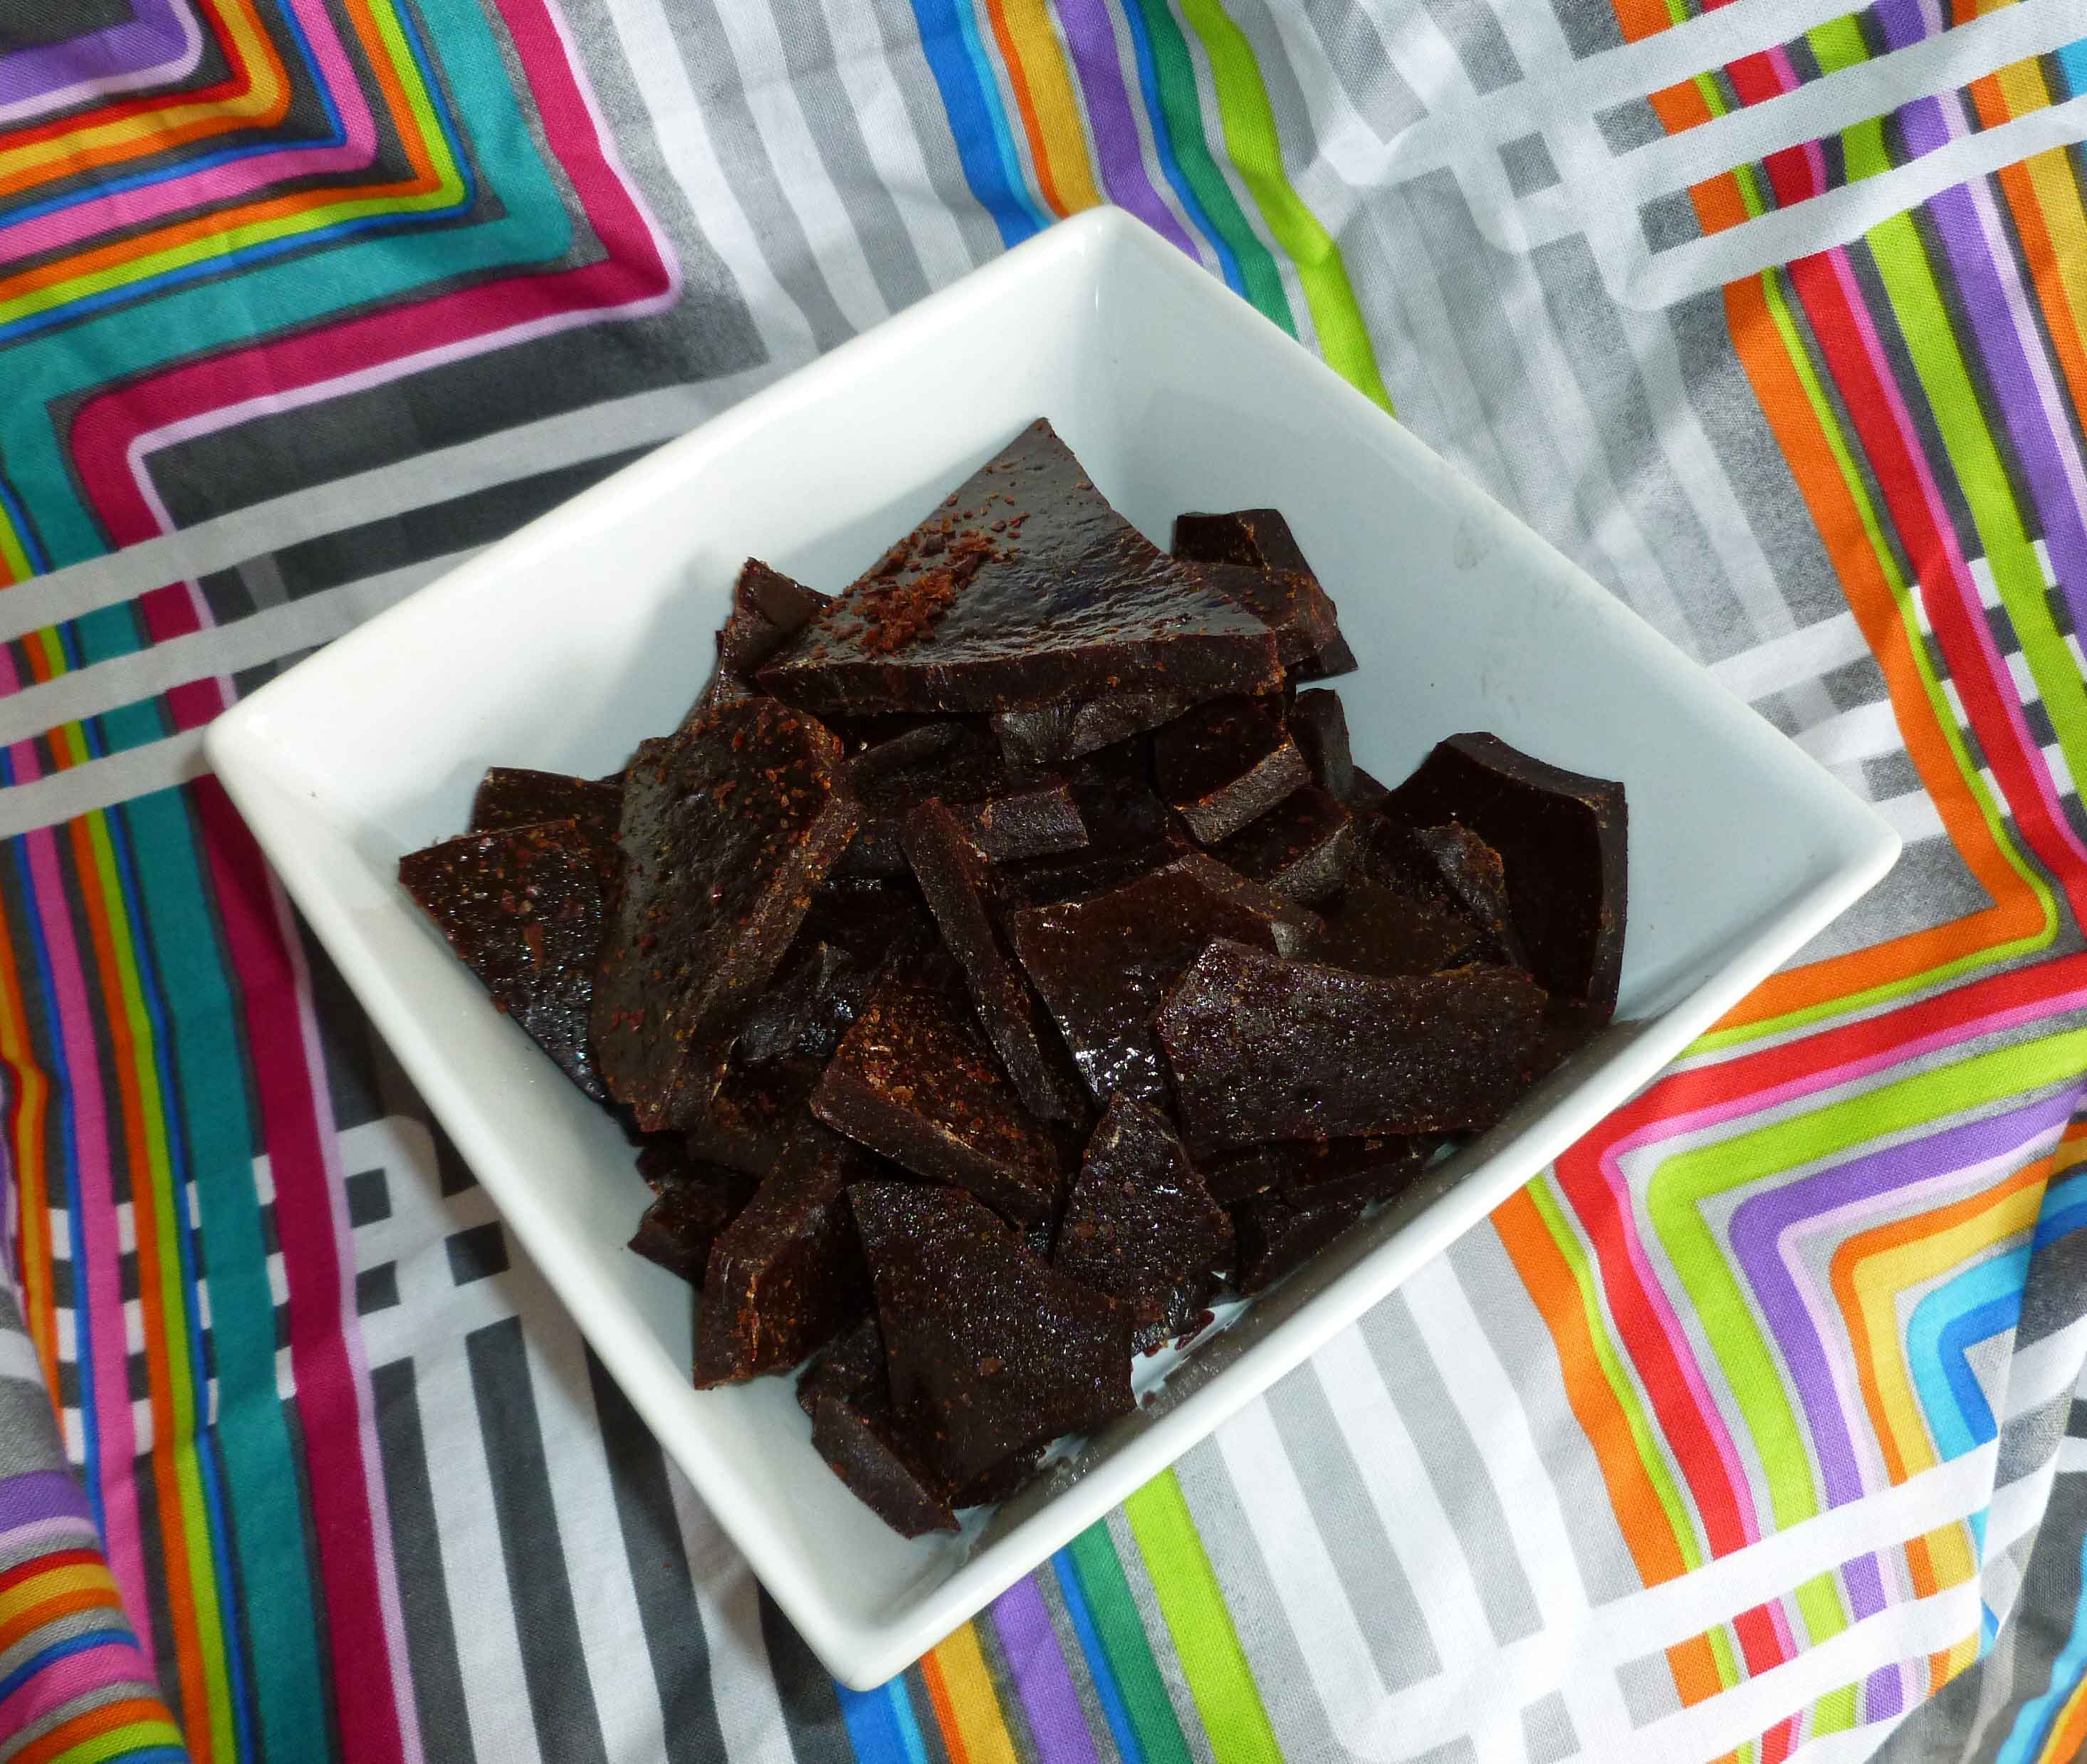
Once it is cooler, but still somewhat pliable, use a metal spatula or turner to cut the candy into pieces and let it cool. Or resort to the zip top bag method as described above.
Large pieces of Chocolate Cinnamon Hard Candy about to be broken into smaller pieces
Here’s another more adult tater tot flavor, because I love cilantro and I made a whole lot of chimichurri sauce by accident, so this seemed like a good way to use up the extra. Again you could probably pan fry these instead of baking them, but baking seems a bit easier to me.
Chimichurri Spiced DIY Tater Tots
Chimichurri sauce:
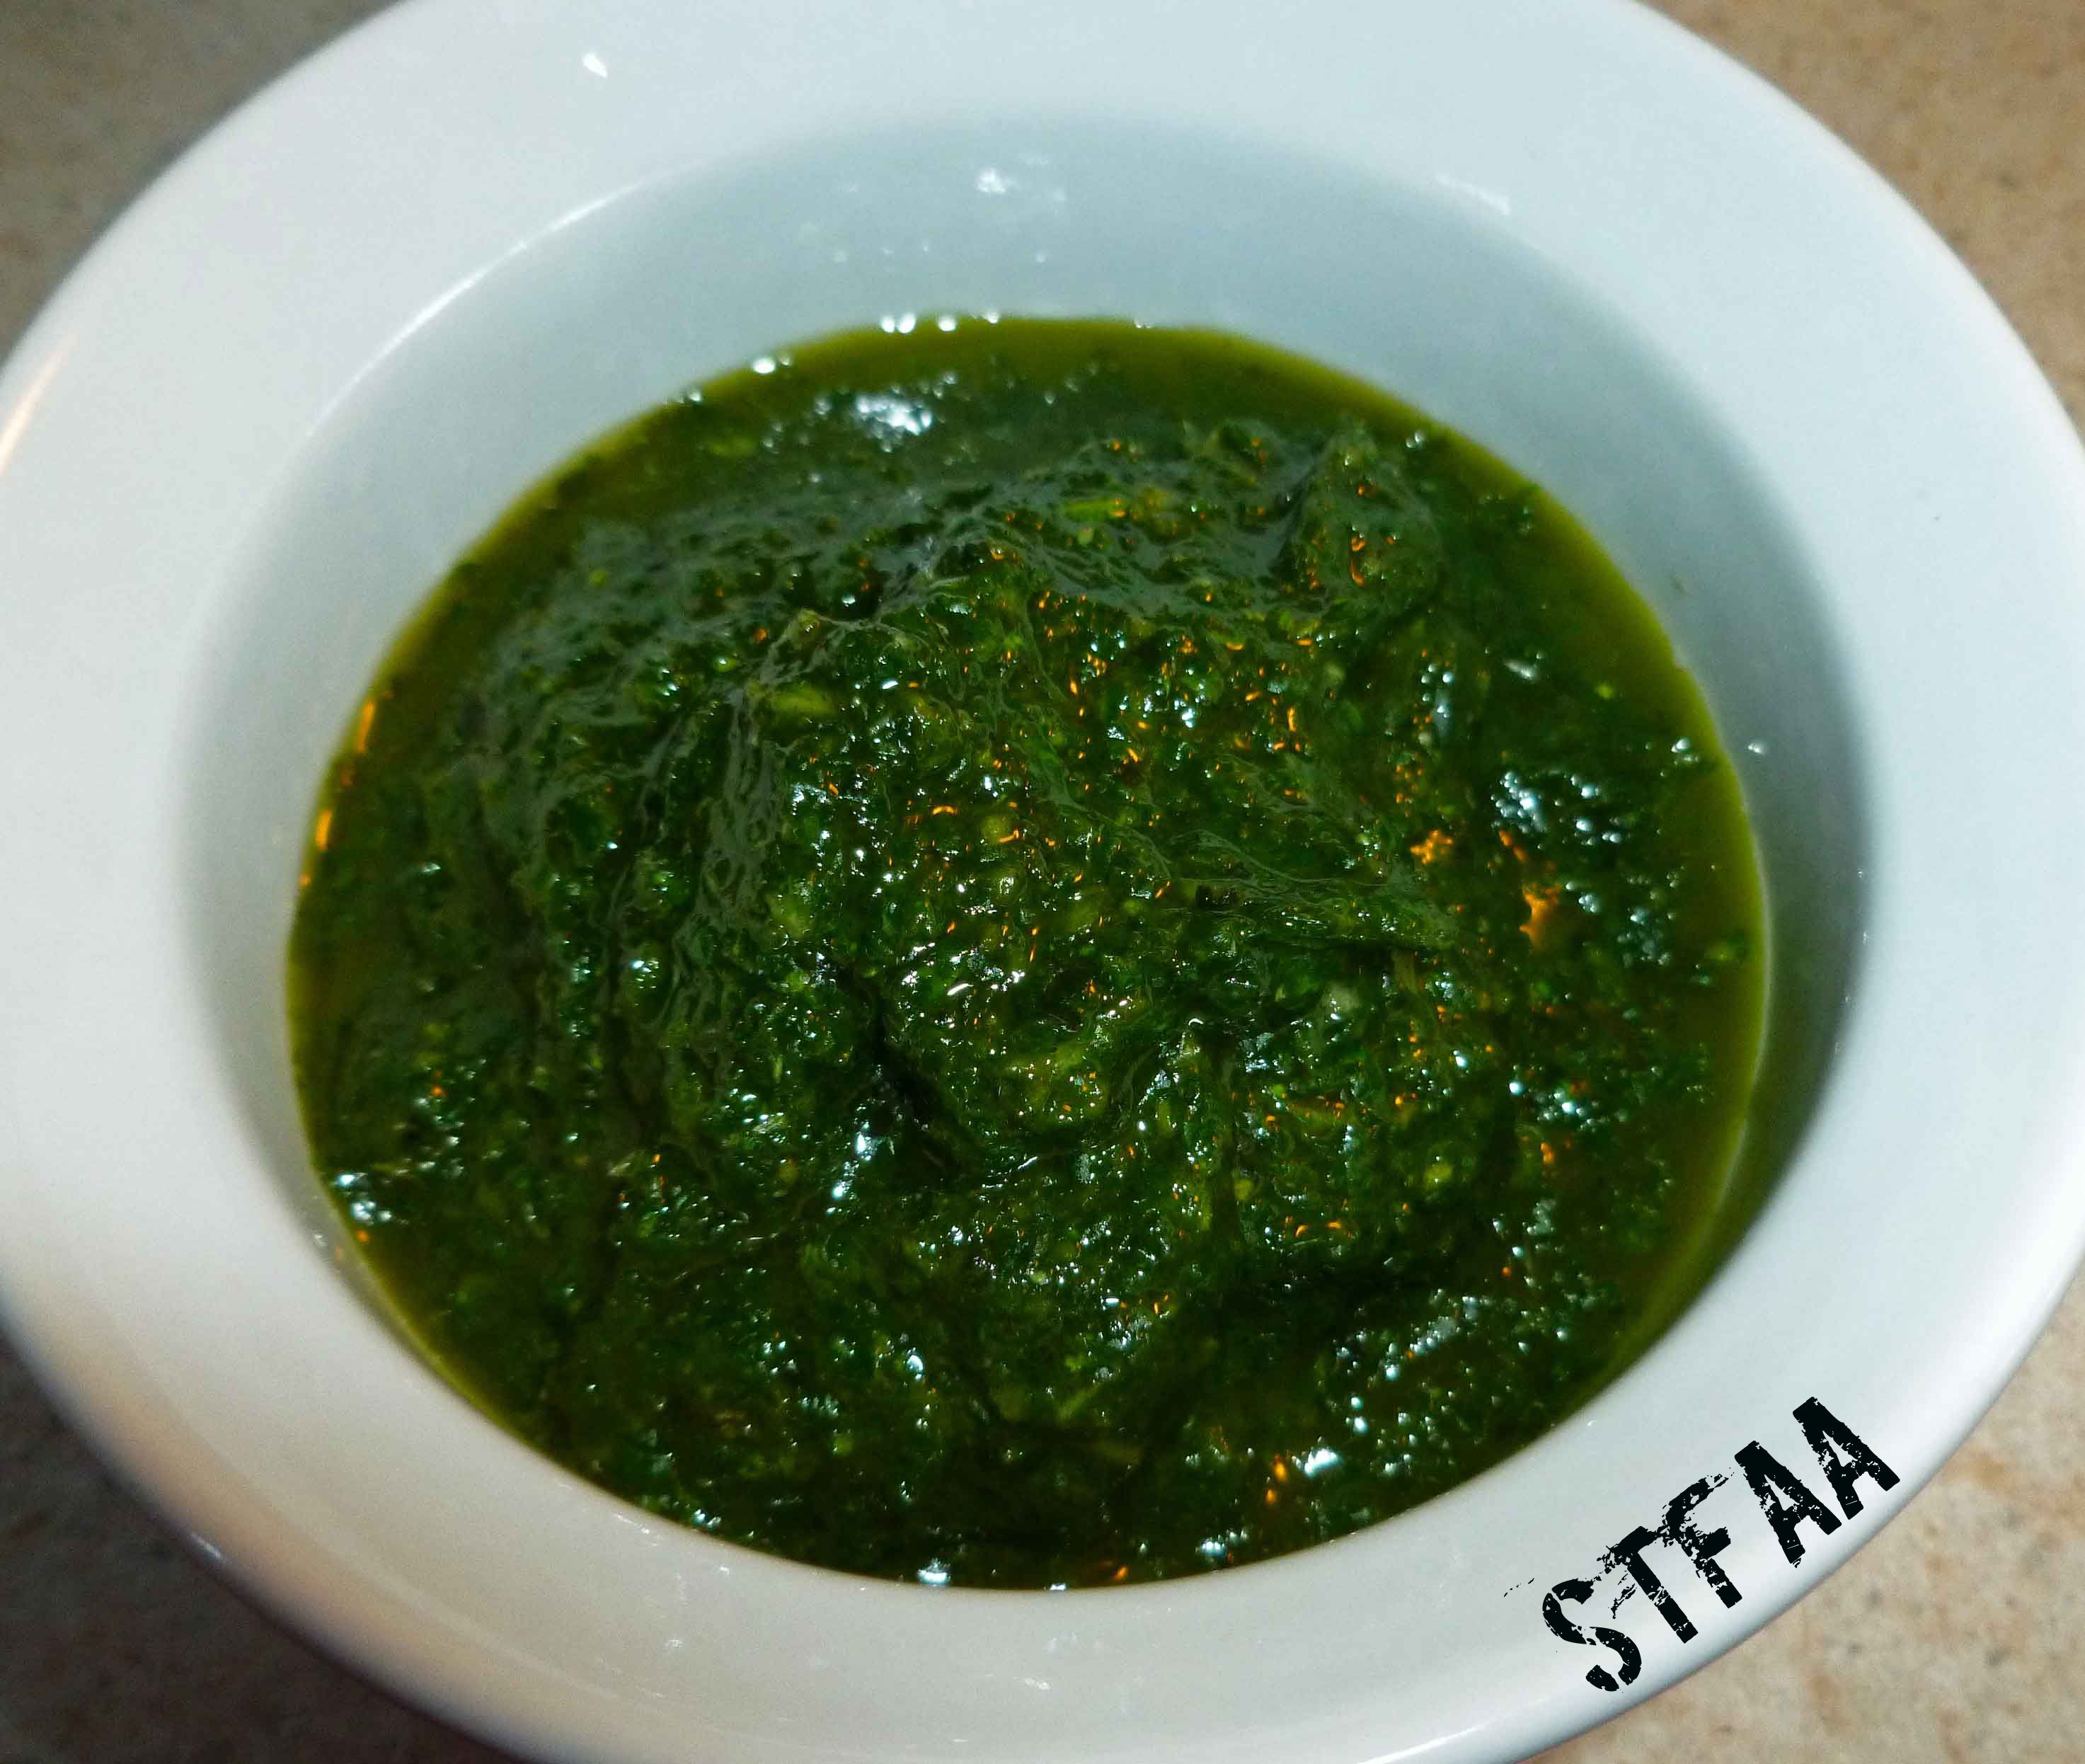
2 cups of tightly packed chopped cilantro
2 garlic cloves
1/4 cup of olive oil
1/4 cup of white wine vinegar
1 teaspoon of Adobo seasoning – optional (If you don’t have Adobo seasoning or you don’t have a safe version, mix 1/8 cup of paprika, 1 1/2 Tablespoons of ground black pepper, 1 Tablespoon of onion powder, 1 Tablespoon of dried oregano, 1 Tablespoon of ground cumin, 1/2 Tablespoon of ground chipotle, and 1/2 Tablespoon of garlic powder, this makes half a cup of seasoning)
salt to taste
Put all the ingredients in the blender and puree it. You may not use all of it in this recipe. Marinate meat in it or coat vegetables with it and grill it or roast it, or put it in rice to flavor the rice. If you are worried you can’t use it all up, put it in an ice cube tray, freeze it, and store the cubes in a zip top bag in the freezer until you have a use for it.
Tater Tots:
4 large potatoes (I used russet)
1/4 cup of Chimichurri sauce (see above)
safe oil in a mister to grease pan and tater tots.
Preheat your oven to 400°F. Peel and wash your potatoes. Place the potatoes on a small baking sheet. Bake the potatoes for about an hour.
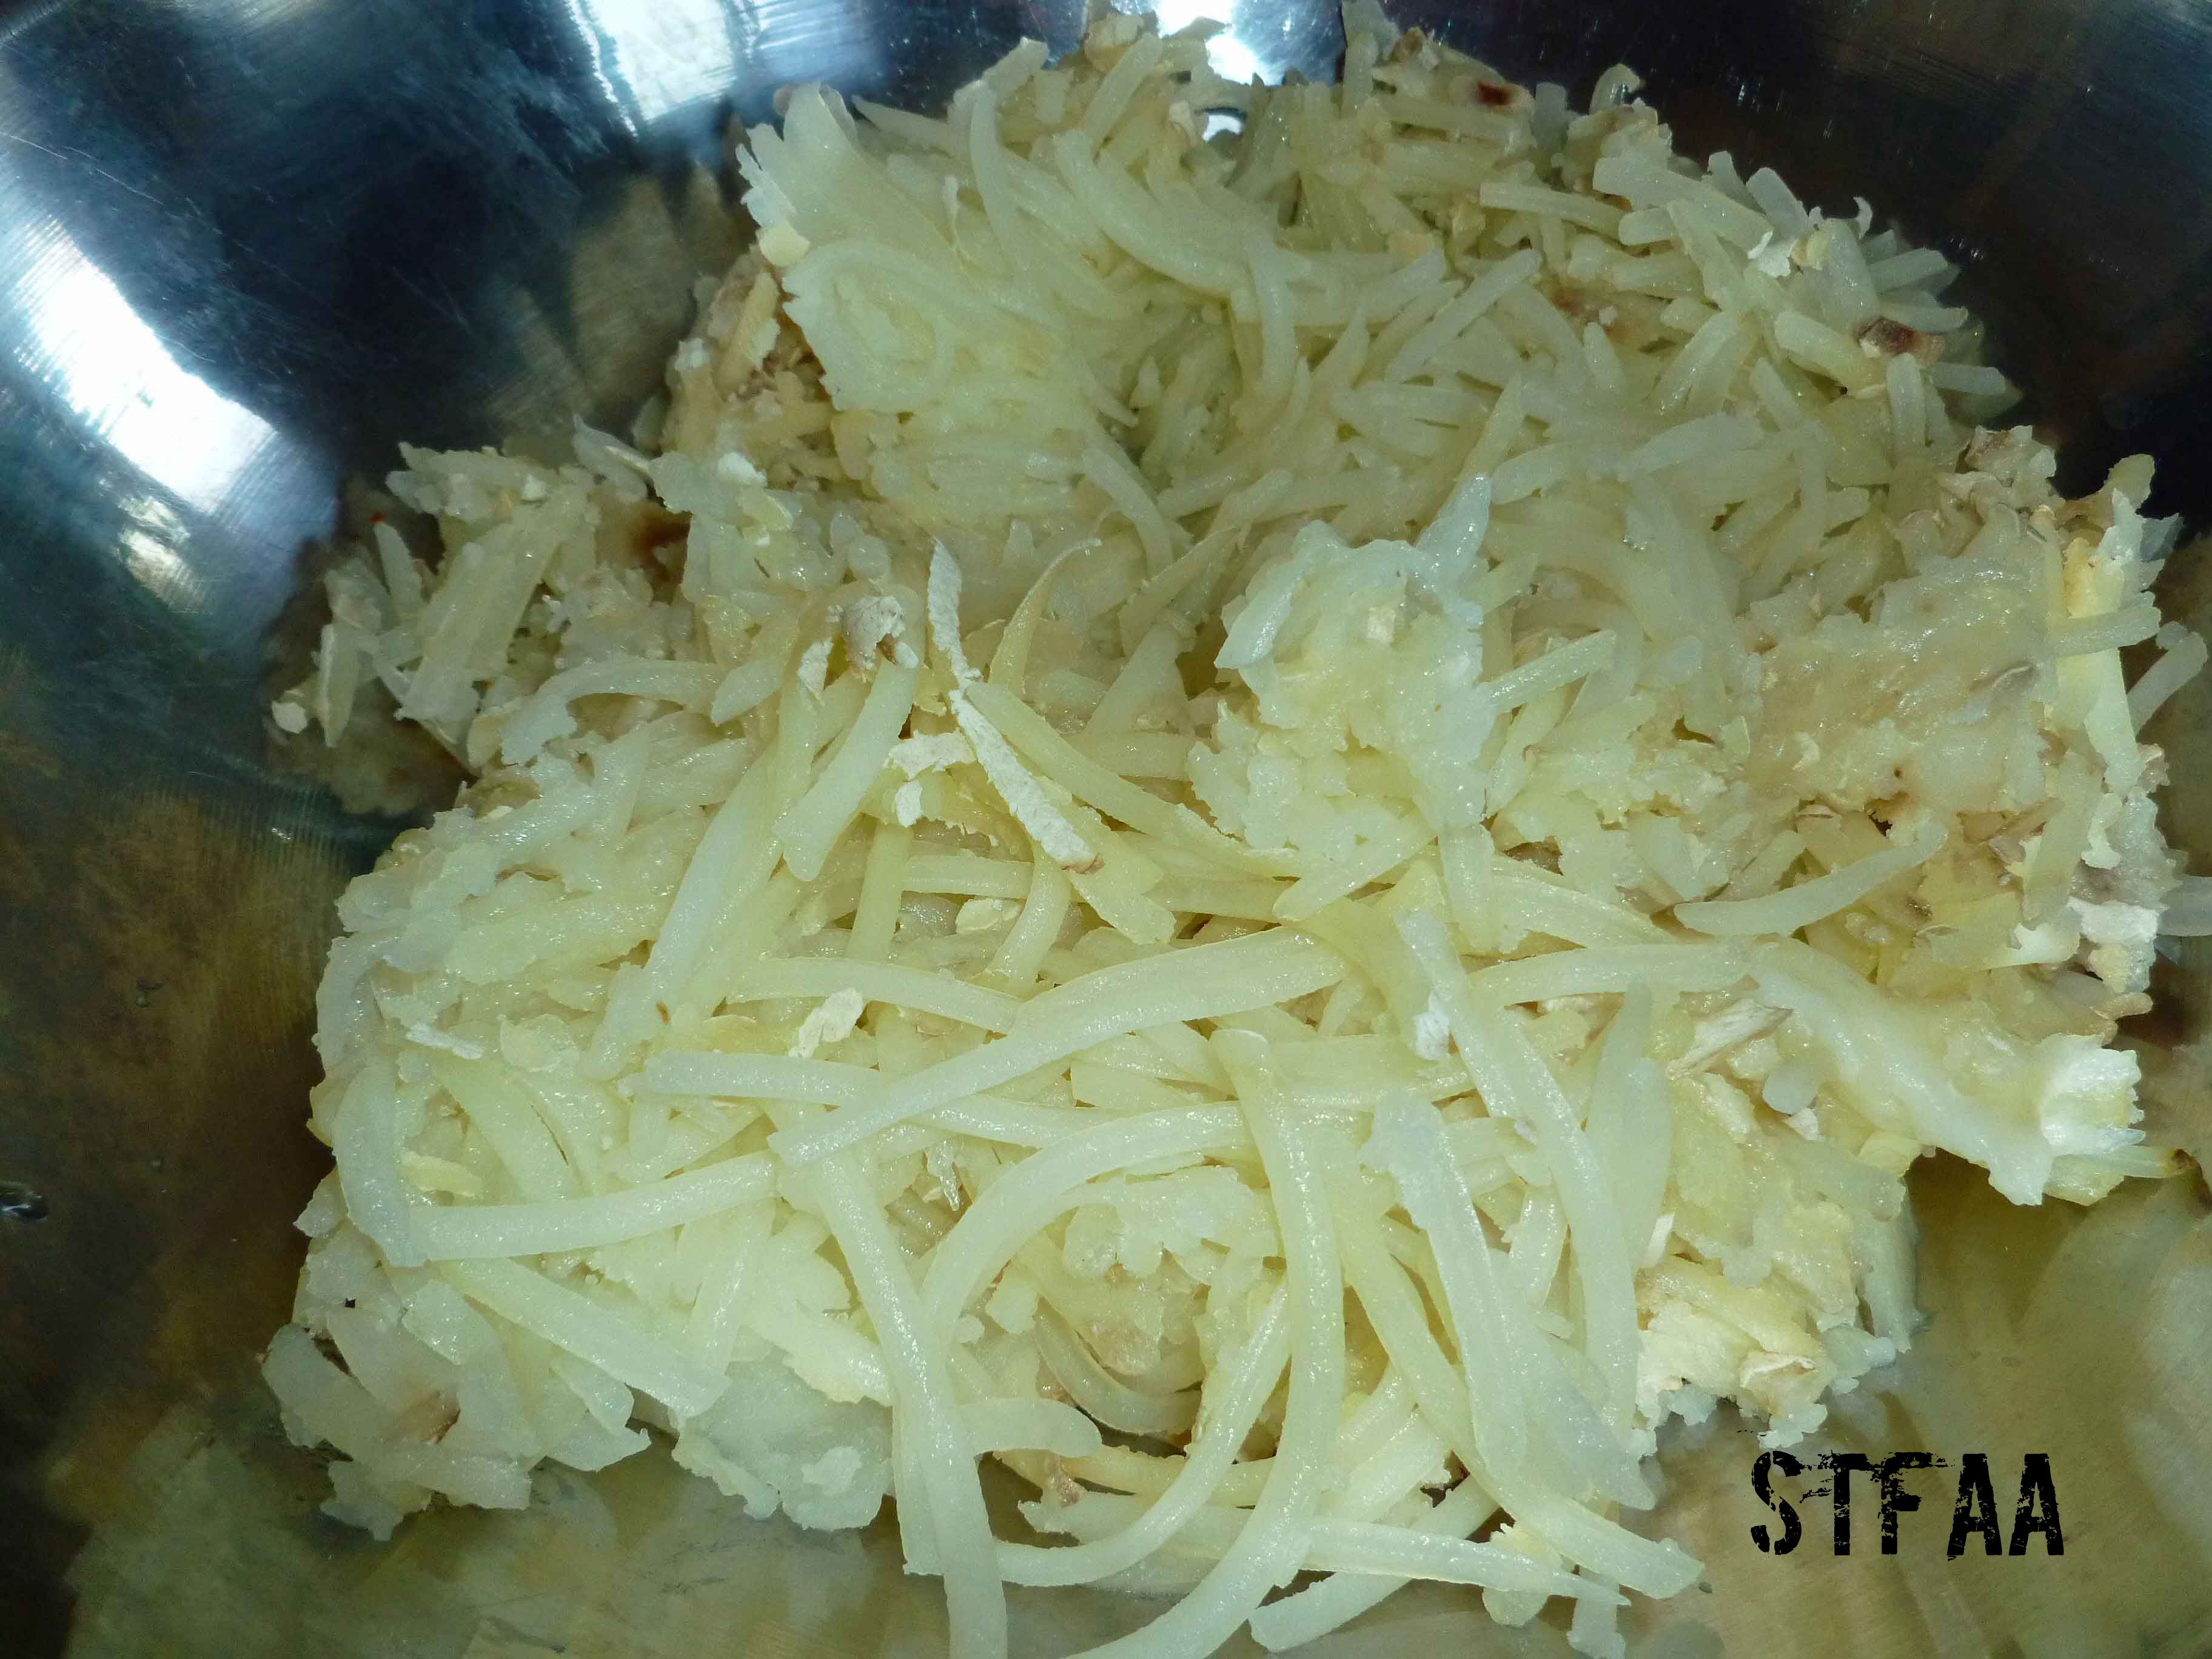
When the potatoes are ready to come out of the oven, remove the potatoes and turn the temperature on the oven to 425°F. If you’re using a large hand grater, you need to wait until the potatoes are cool so you don’t burn your fingers. Since I was using the grating blade on my food processor to grate the potatoes, I grated them while they were still hot. I sliced them lengthwise just enough to get them in the food processor, and grated them up.
Grated potato after baking
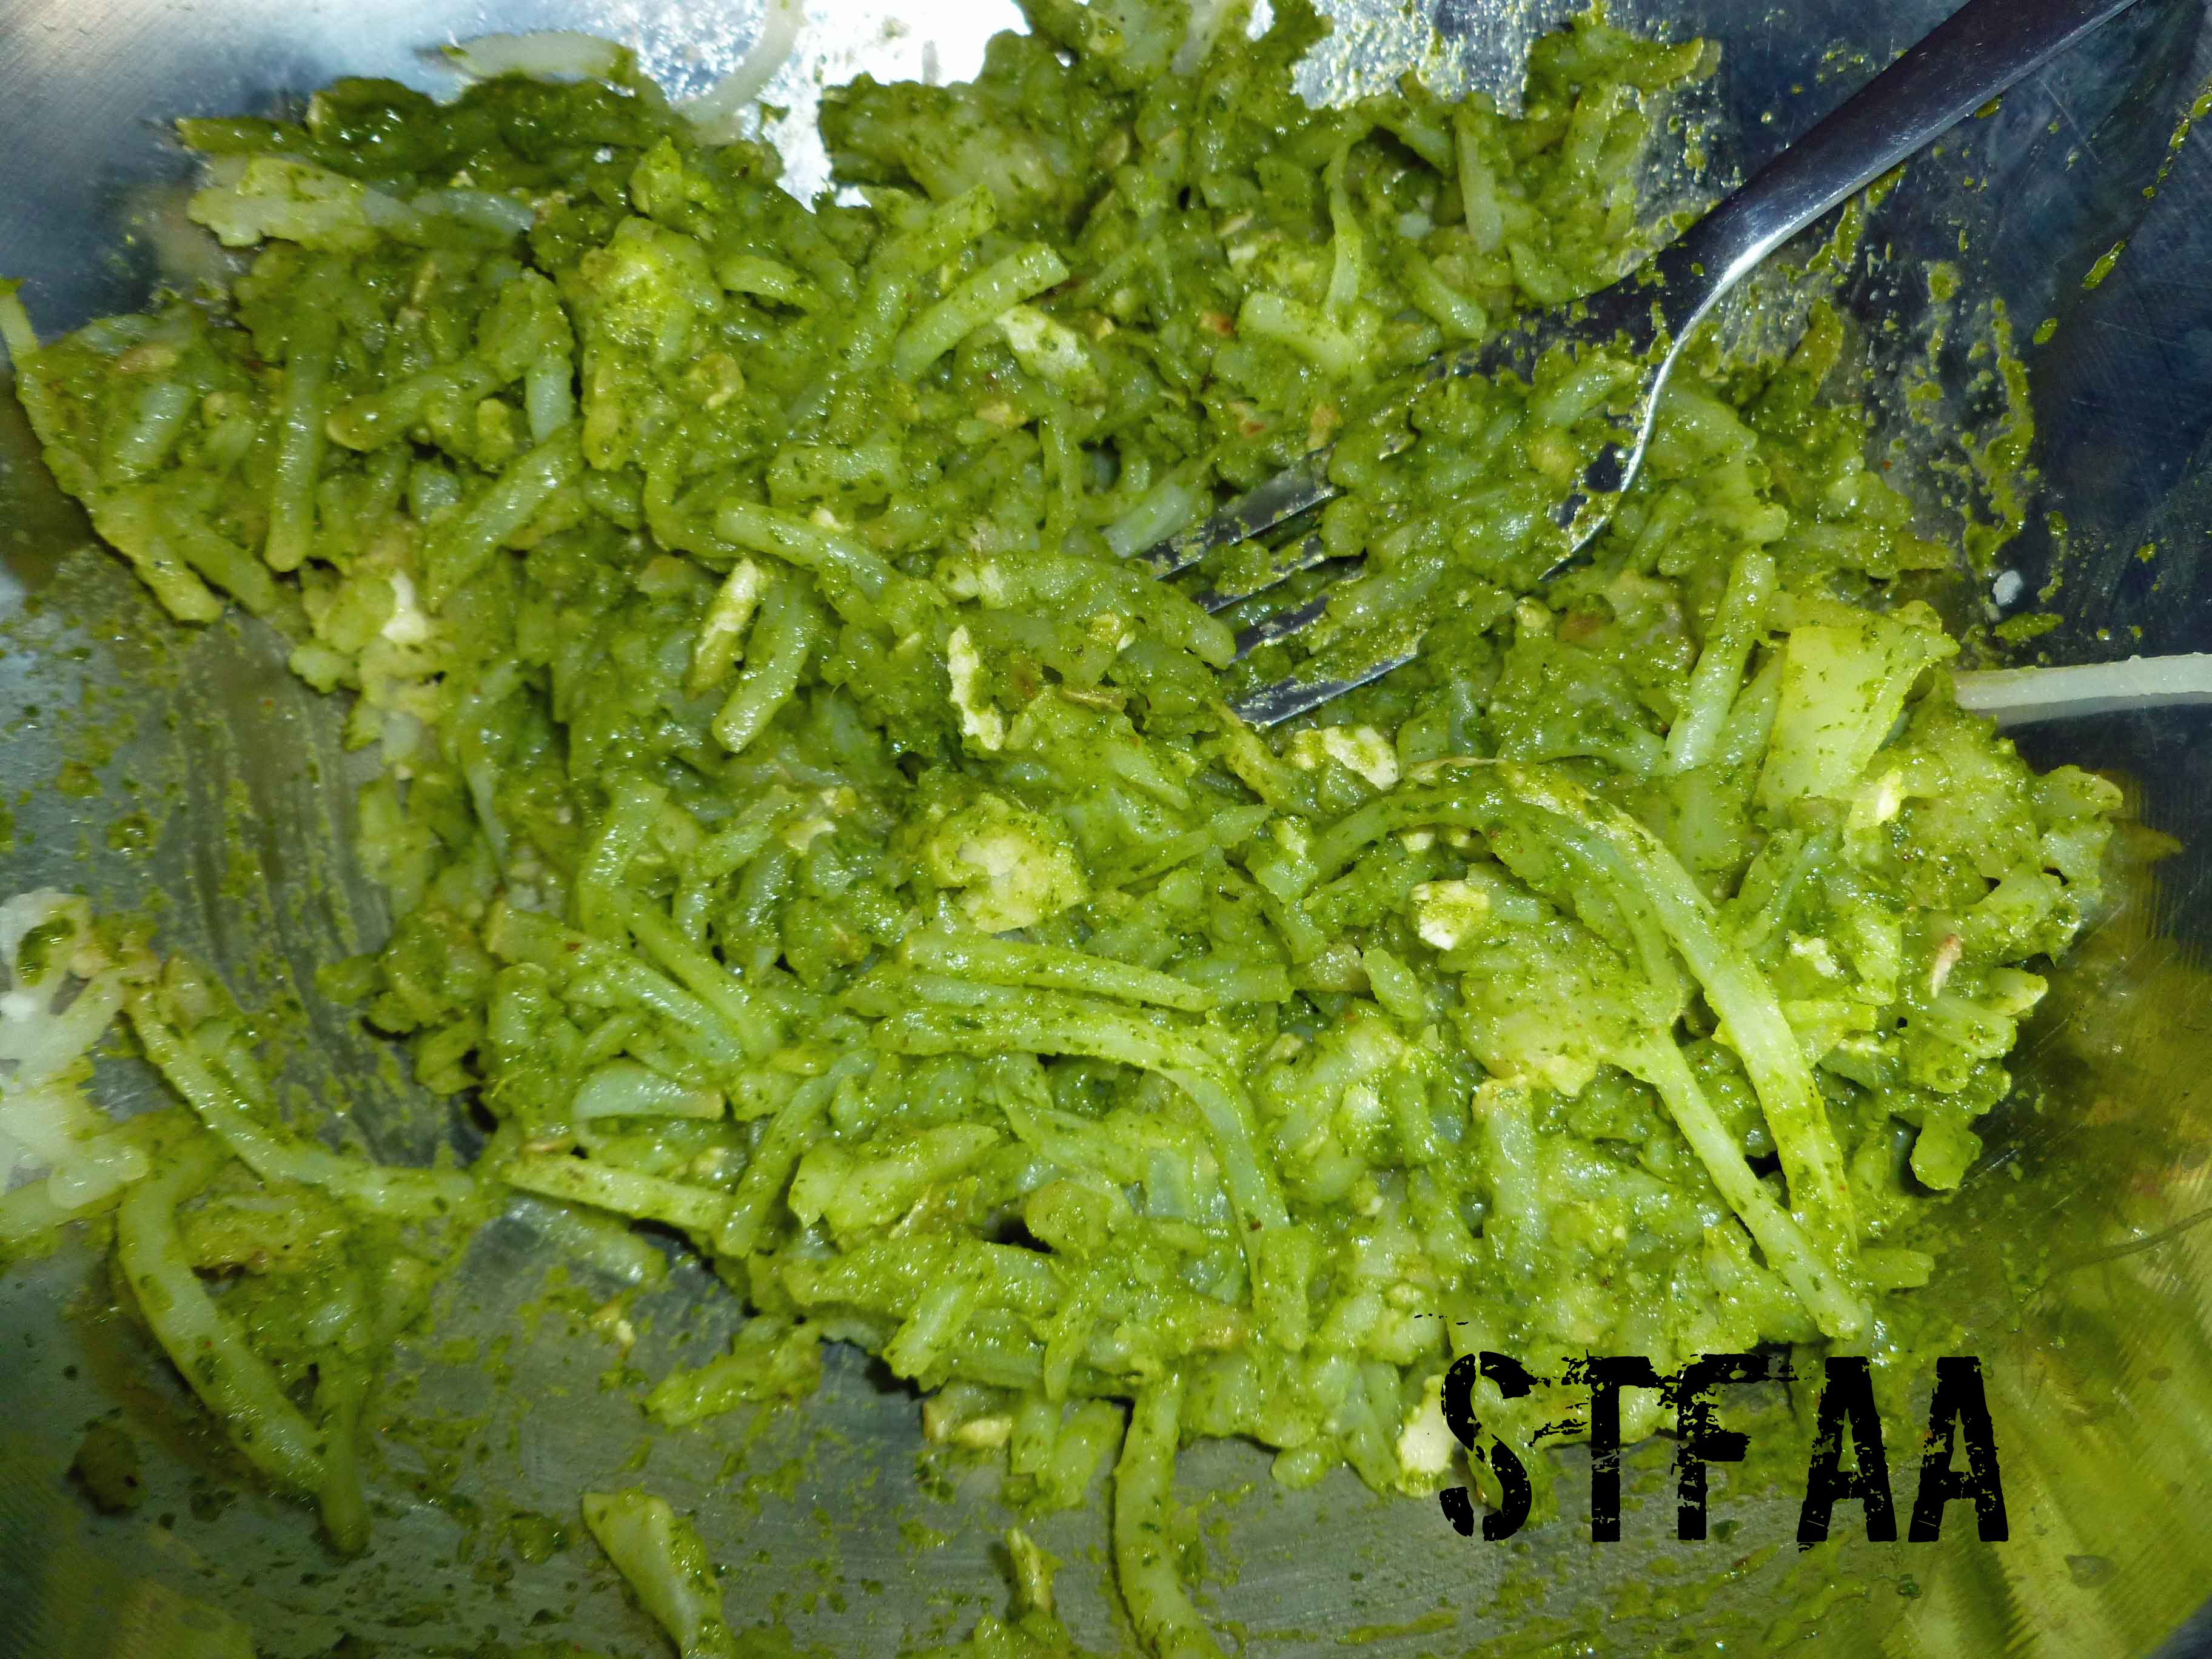
Some of the grated pieces may be too long, Feel free to chop them up a bit either with a knife or a potato masher. When the pieces are small enough for you, mix the chimichurri sauce into the potatoes until they are well combined.
Potato and chimichurri sauce mixture
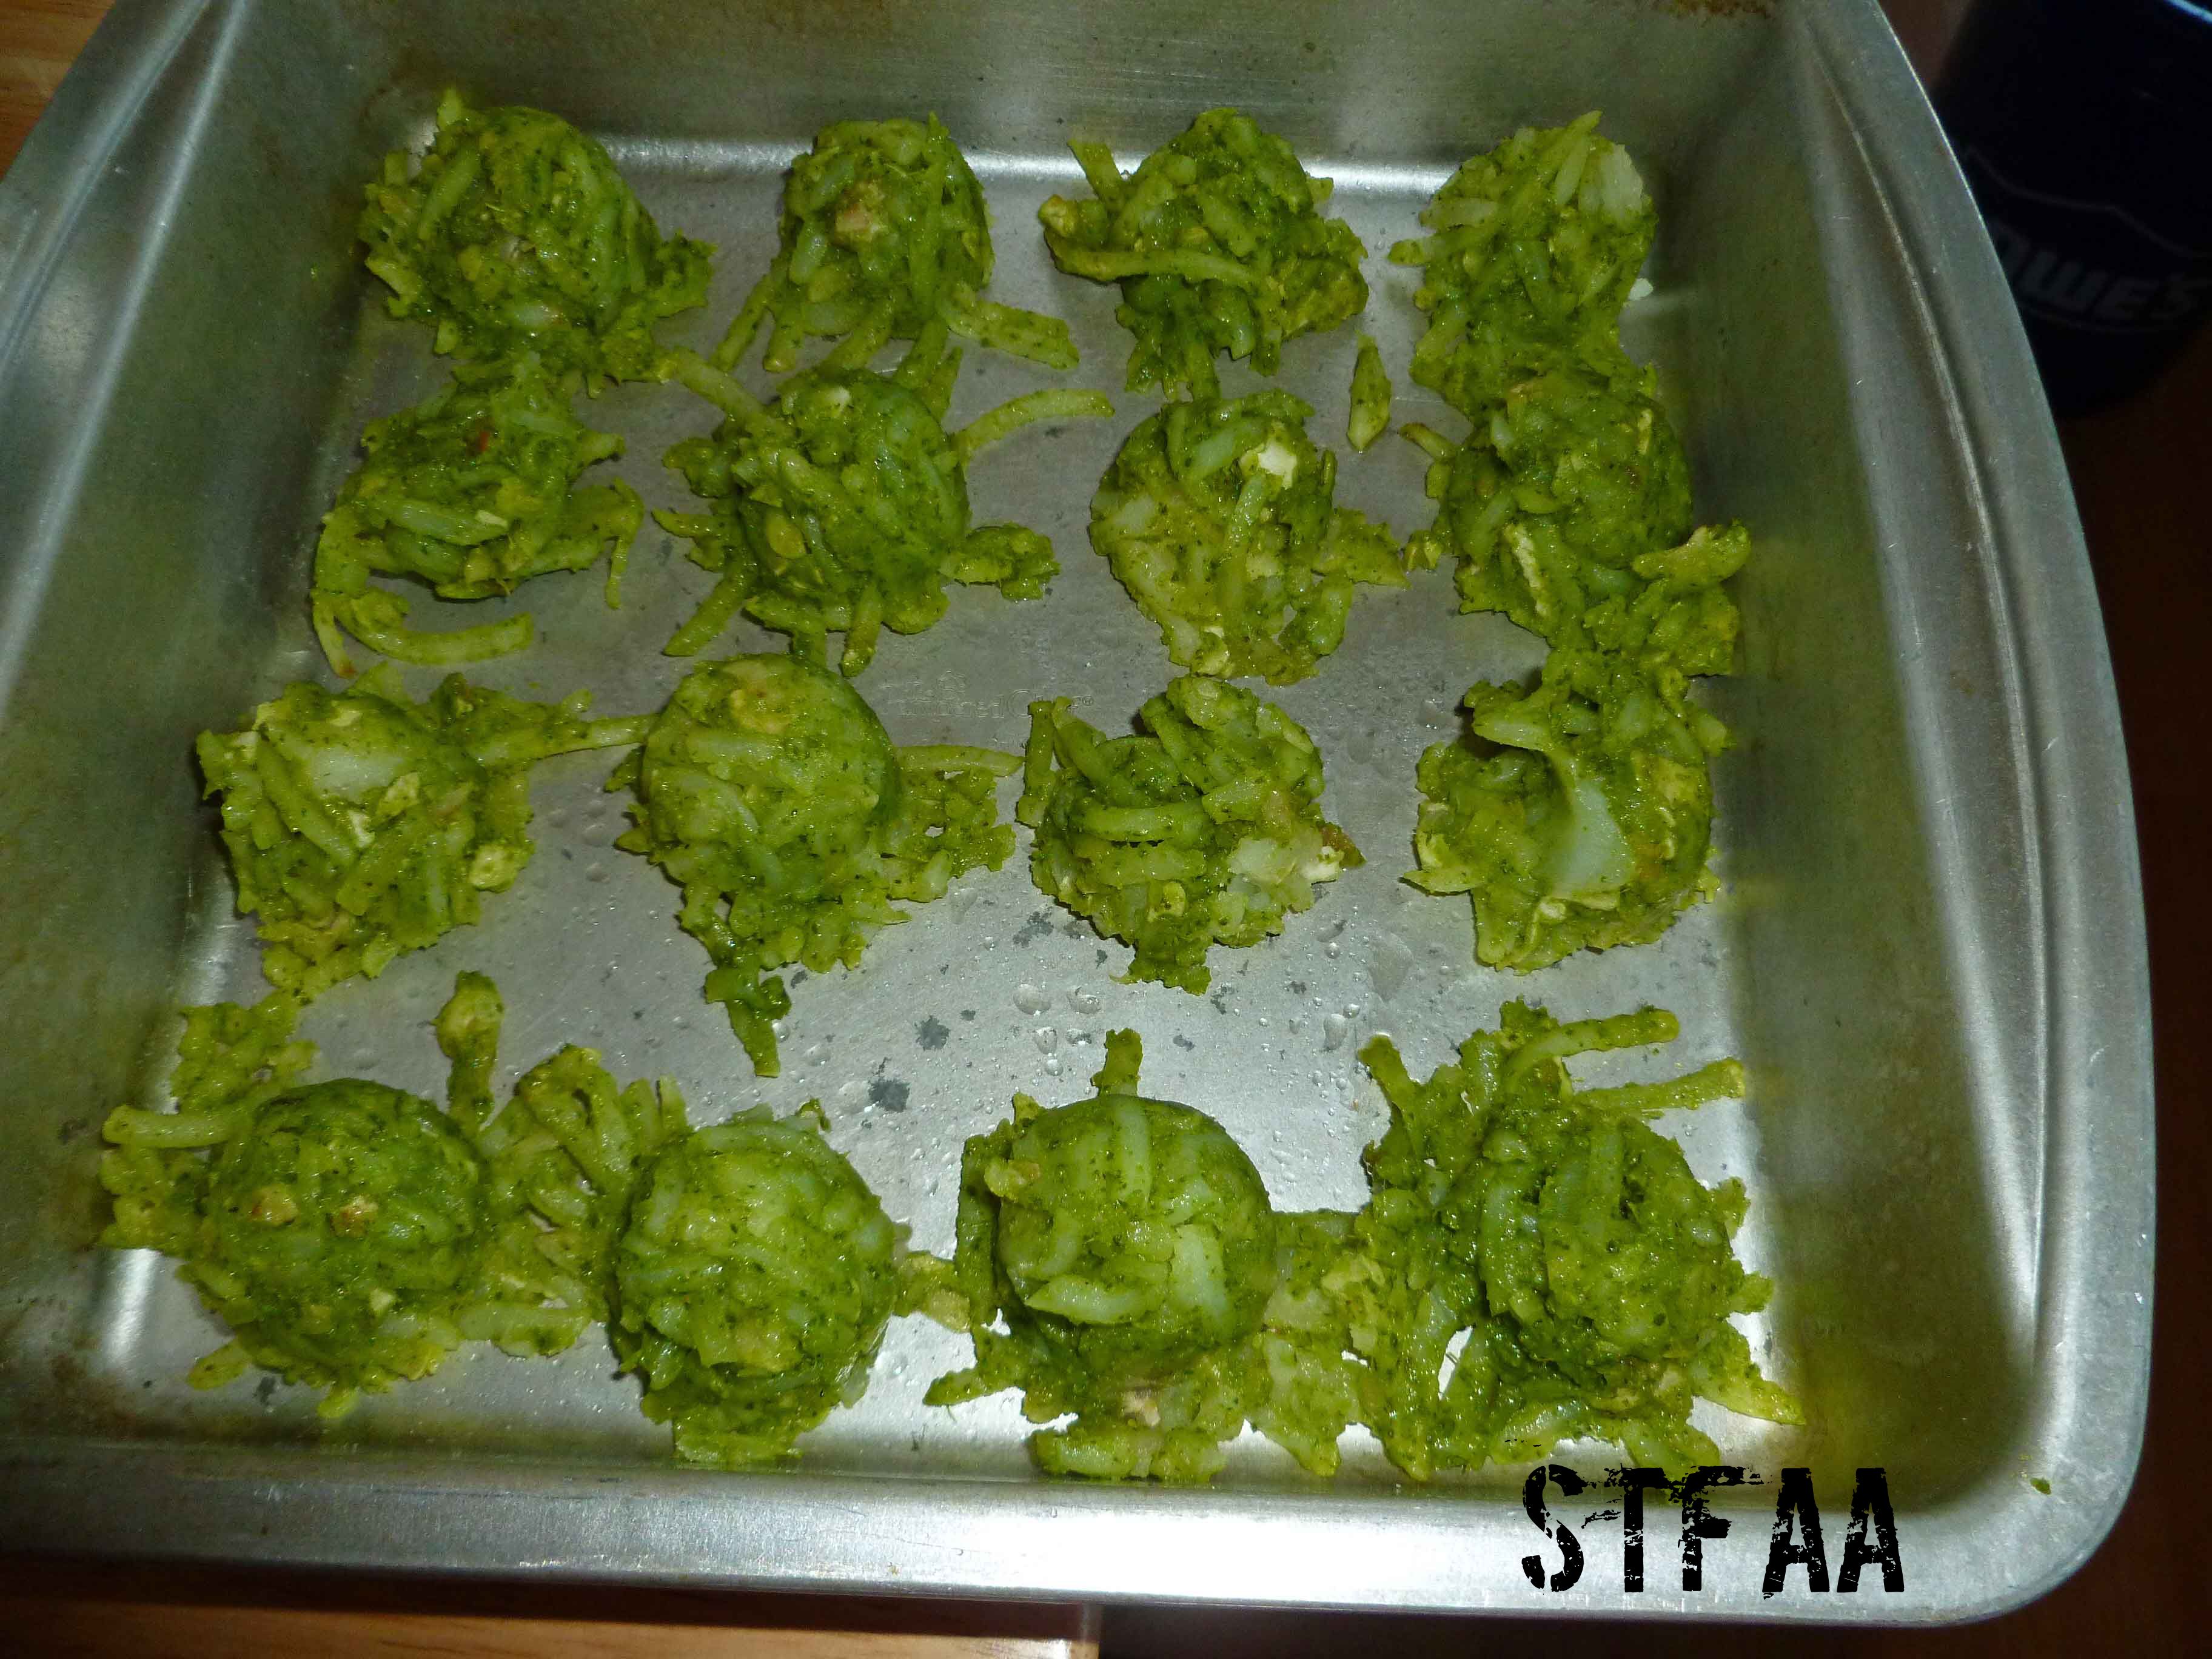
Spray your baking sheet with your safe oil in a mister. I used a small cookie scoop to portion out the tater tots, but you could use two teaspoons to drop the mixture on your baking sheet.
Chimichurri Spiced DIY Tater Tots before baking
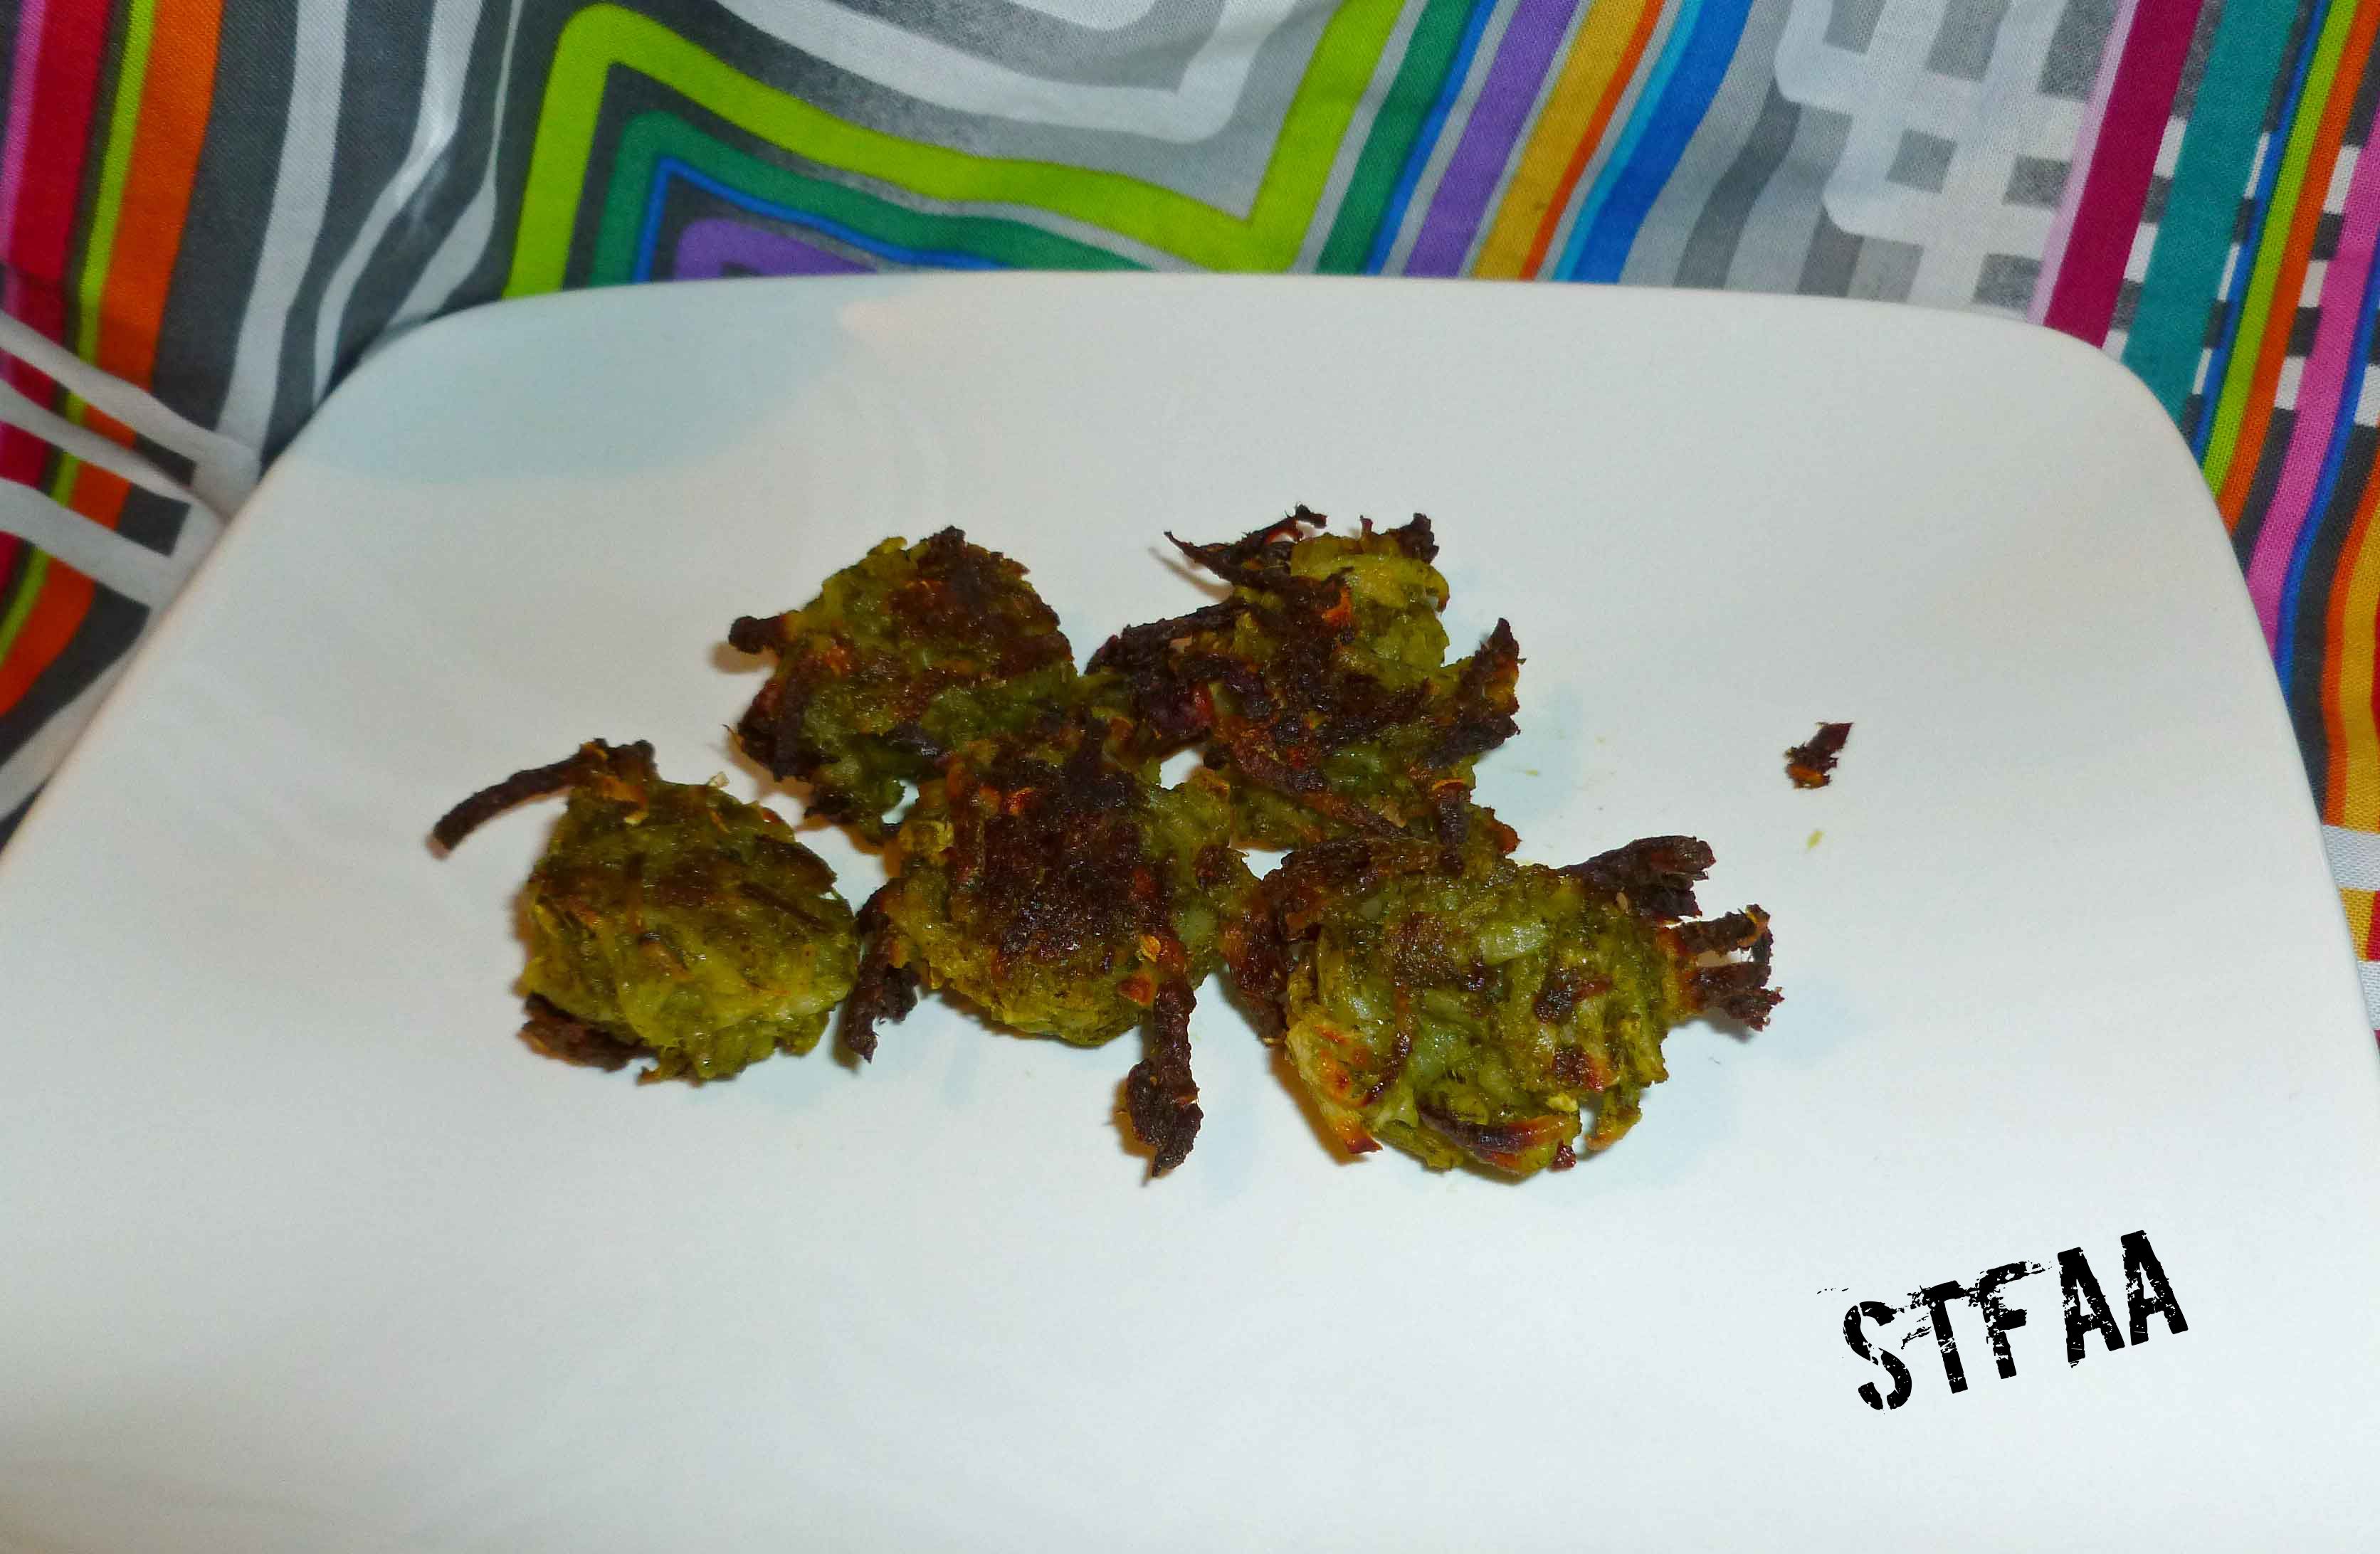
Use your oil mister to mist the top of the tater tots, and place the baking sheet in the oven for 25-30 minutes. Use some tongs or a spatula to turn them over, and then bake them for another 25-30 minutes. You want to watch them closely, as you’ll notice mine were a little on the brown side.
Chimichurri Spiced DIY Tater Tots after baking
Take them out of the oven, salt to taste, and enjoy!
I just planted a whole bunch of potatoes in the garden, so I’m going to need some recipes to deal with them. I decided to try to make some adult flavored tater tots. You’ll need a food processor or a blender, and if you don’t have food processor, a grater. I baked these, but you could also try pan frying them in safe oil.
Roasted Garlic and Pesto DIY Tater Tots
Pesto:
1 cup of tightly packed fresh basil leaves
1/4 teaspoon of salt
1/4 cup and 1 Tablespoon of olive oil
Put all ingredients in the blender or food processor and blend/process until pureed.
Preheat your oven to 400°F. Peel and wash your potatoes. Place the potatoes on a small baking sheet. Bake the potatoes for about an hour.
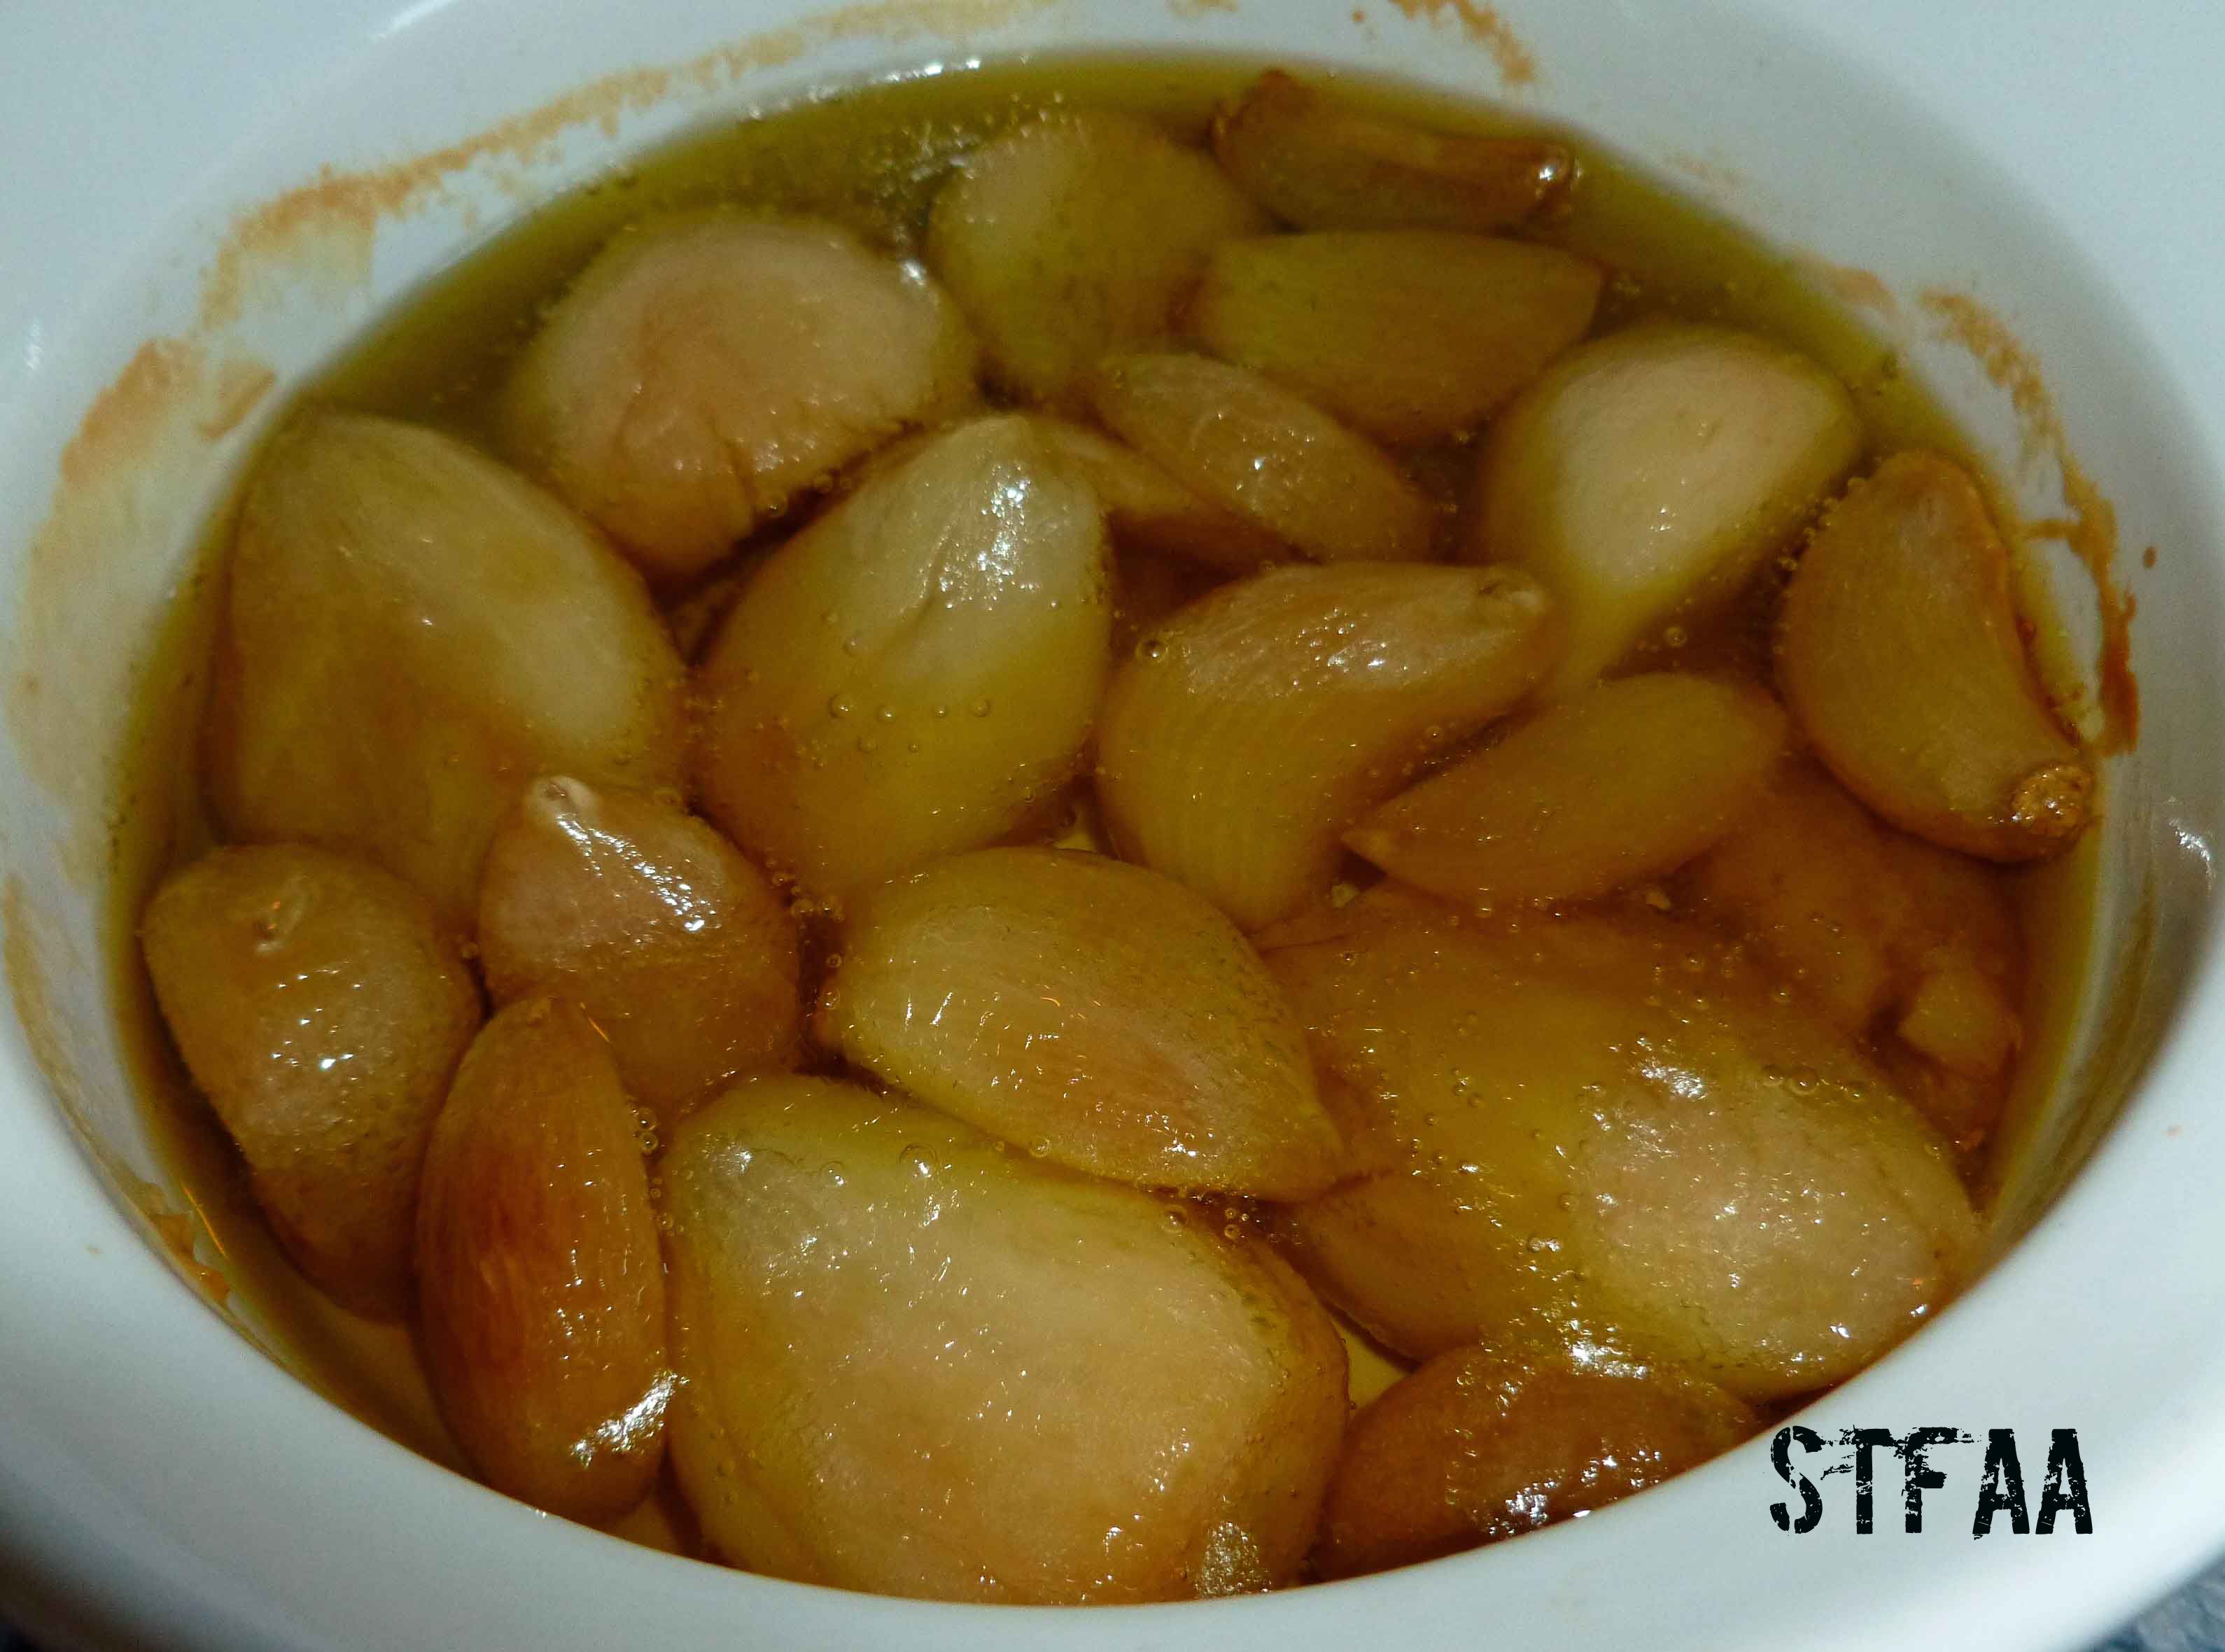
(NOTE: If I don’t already have roasted garlic, I prep the garlic as described in the link above and bake it at the same time as the potatoes.)
Garlic roasted in olive oil
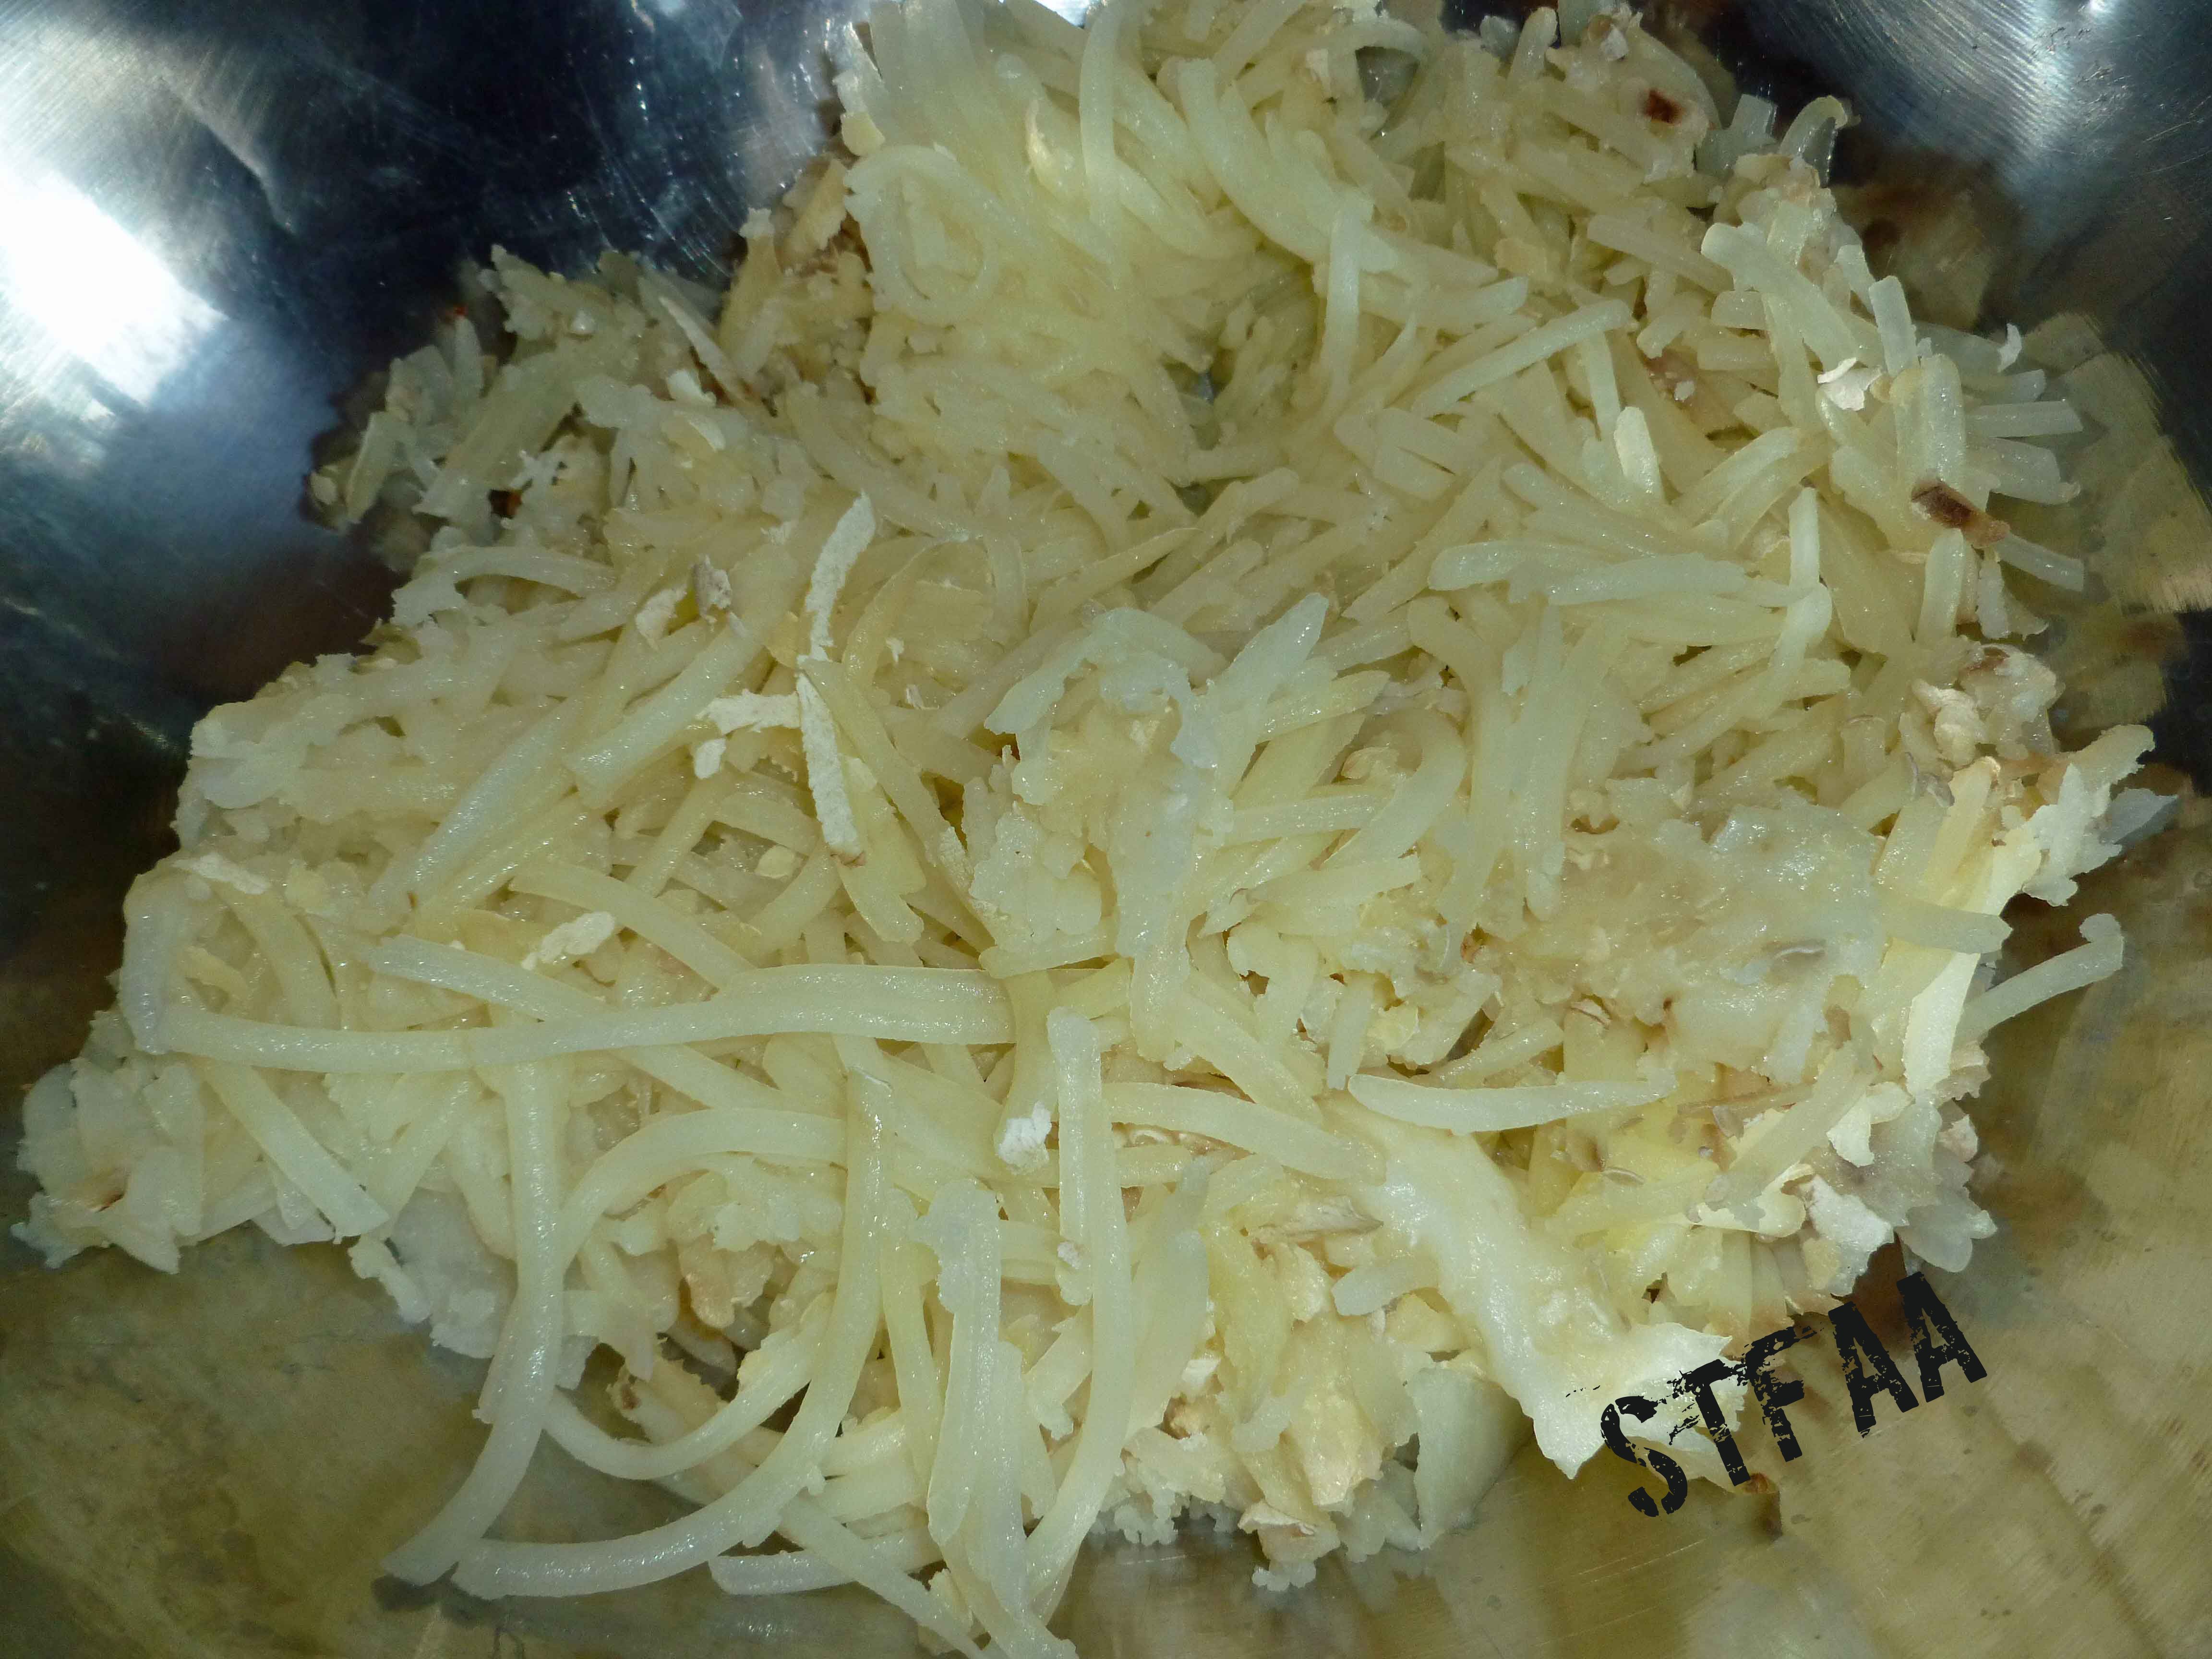
When the potatoes (and possibly the garlic) are ready to come out of the oven, remove the potatoes and garlic and turn the temperature on the oven to 425°F. If you’re using a large hand grater, you need to wait until the potatoes are cool so you don’t burn your fingers. Since I was using the grating blade on my food processor to grate the potatoes, I cheated and did them hot. I sliced them lengthwise just enough to get them in the food processor, and grated them up.
Potatoes after grating
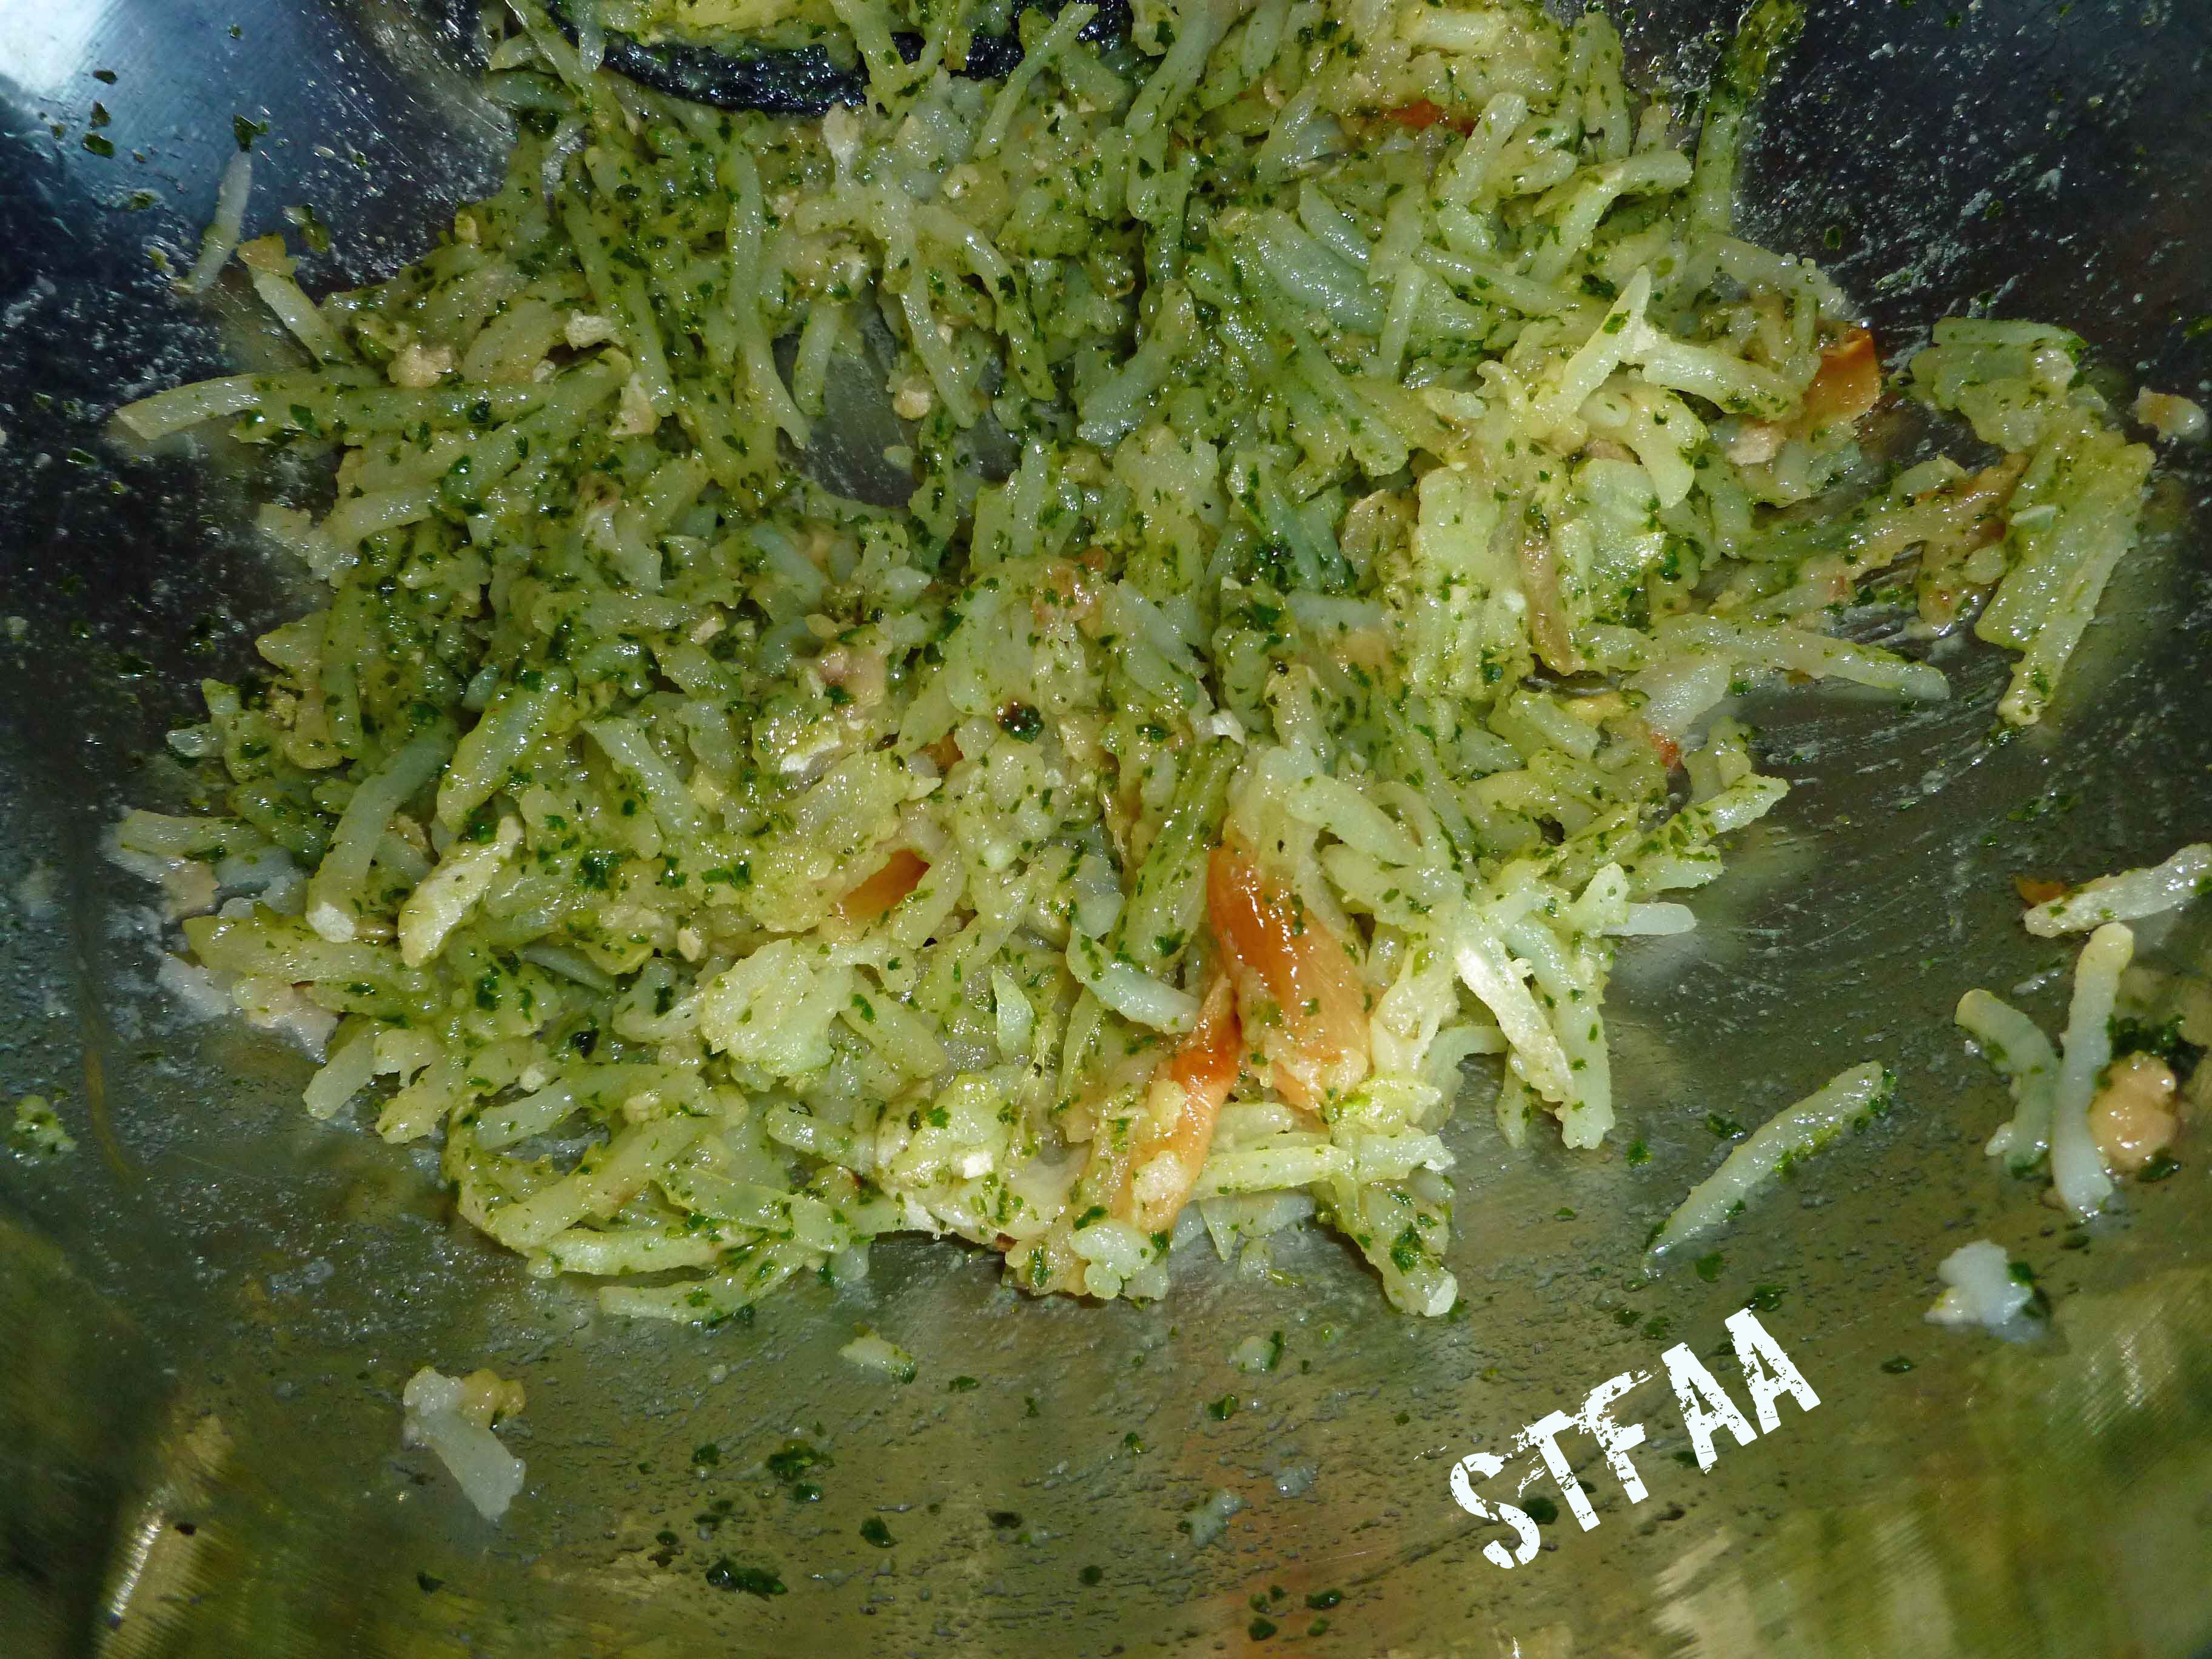
Some of the grated pieces may be too long, and you may want to chop them up a bit either with a knife or a potato masher. Mix the pesto sauce and the roasted garlic into the potatoes until they are well combined.
Potato, roasted garlic and pesto mixture
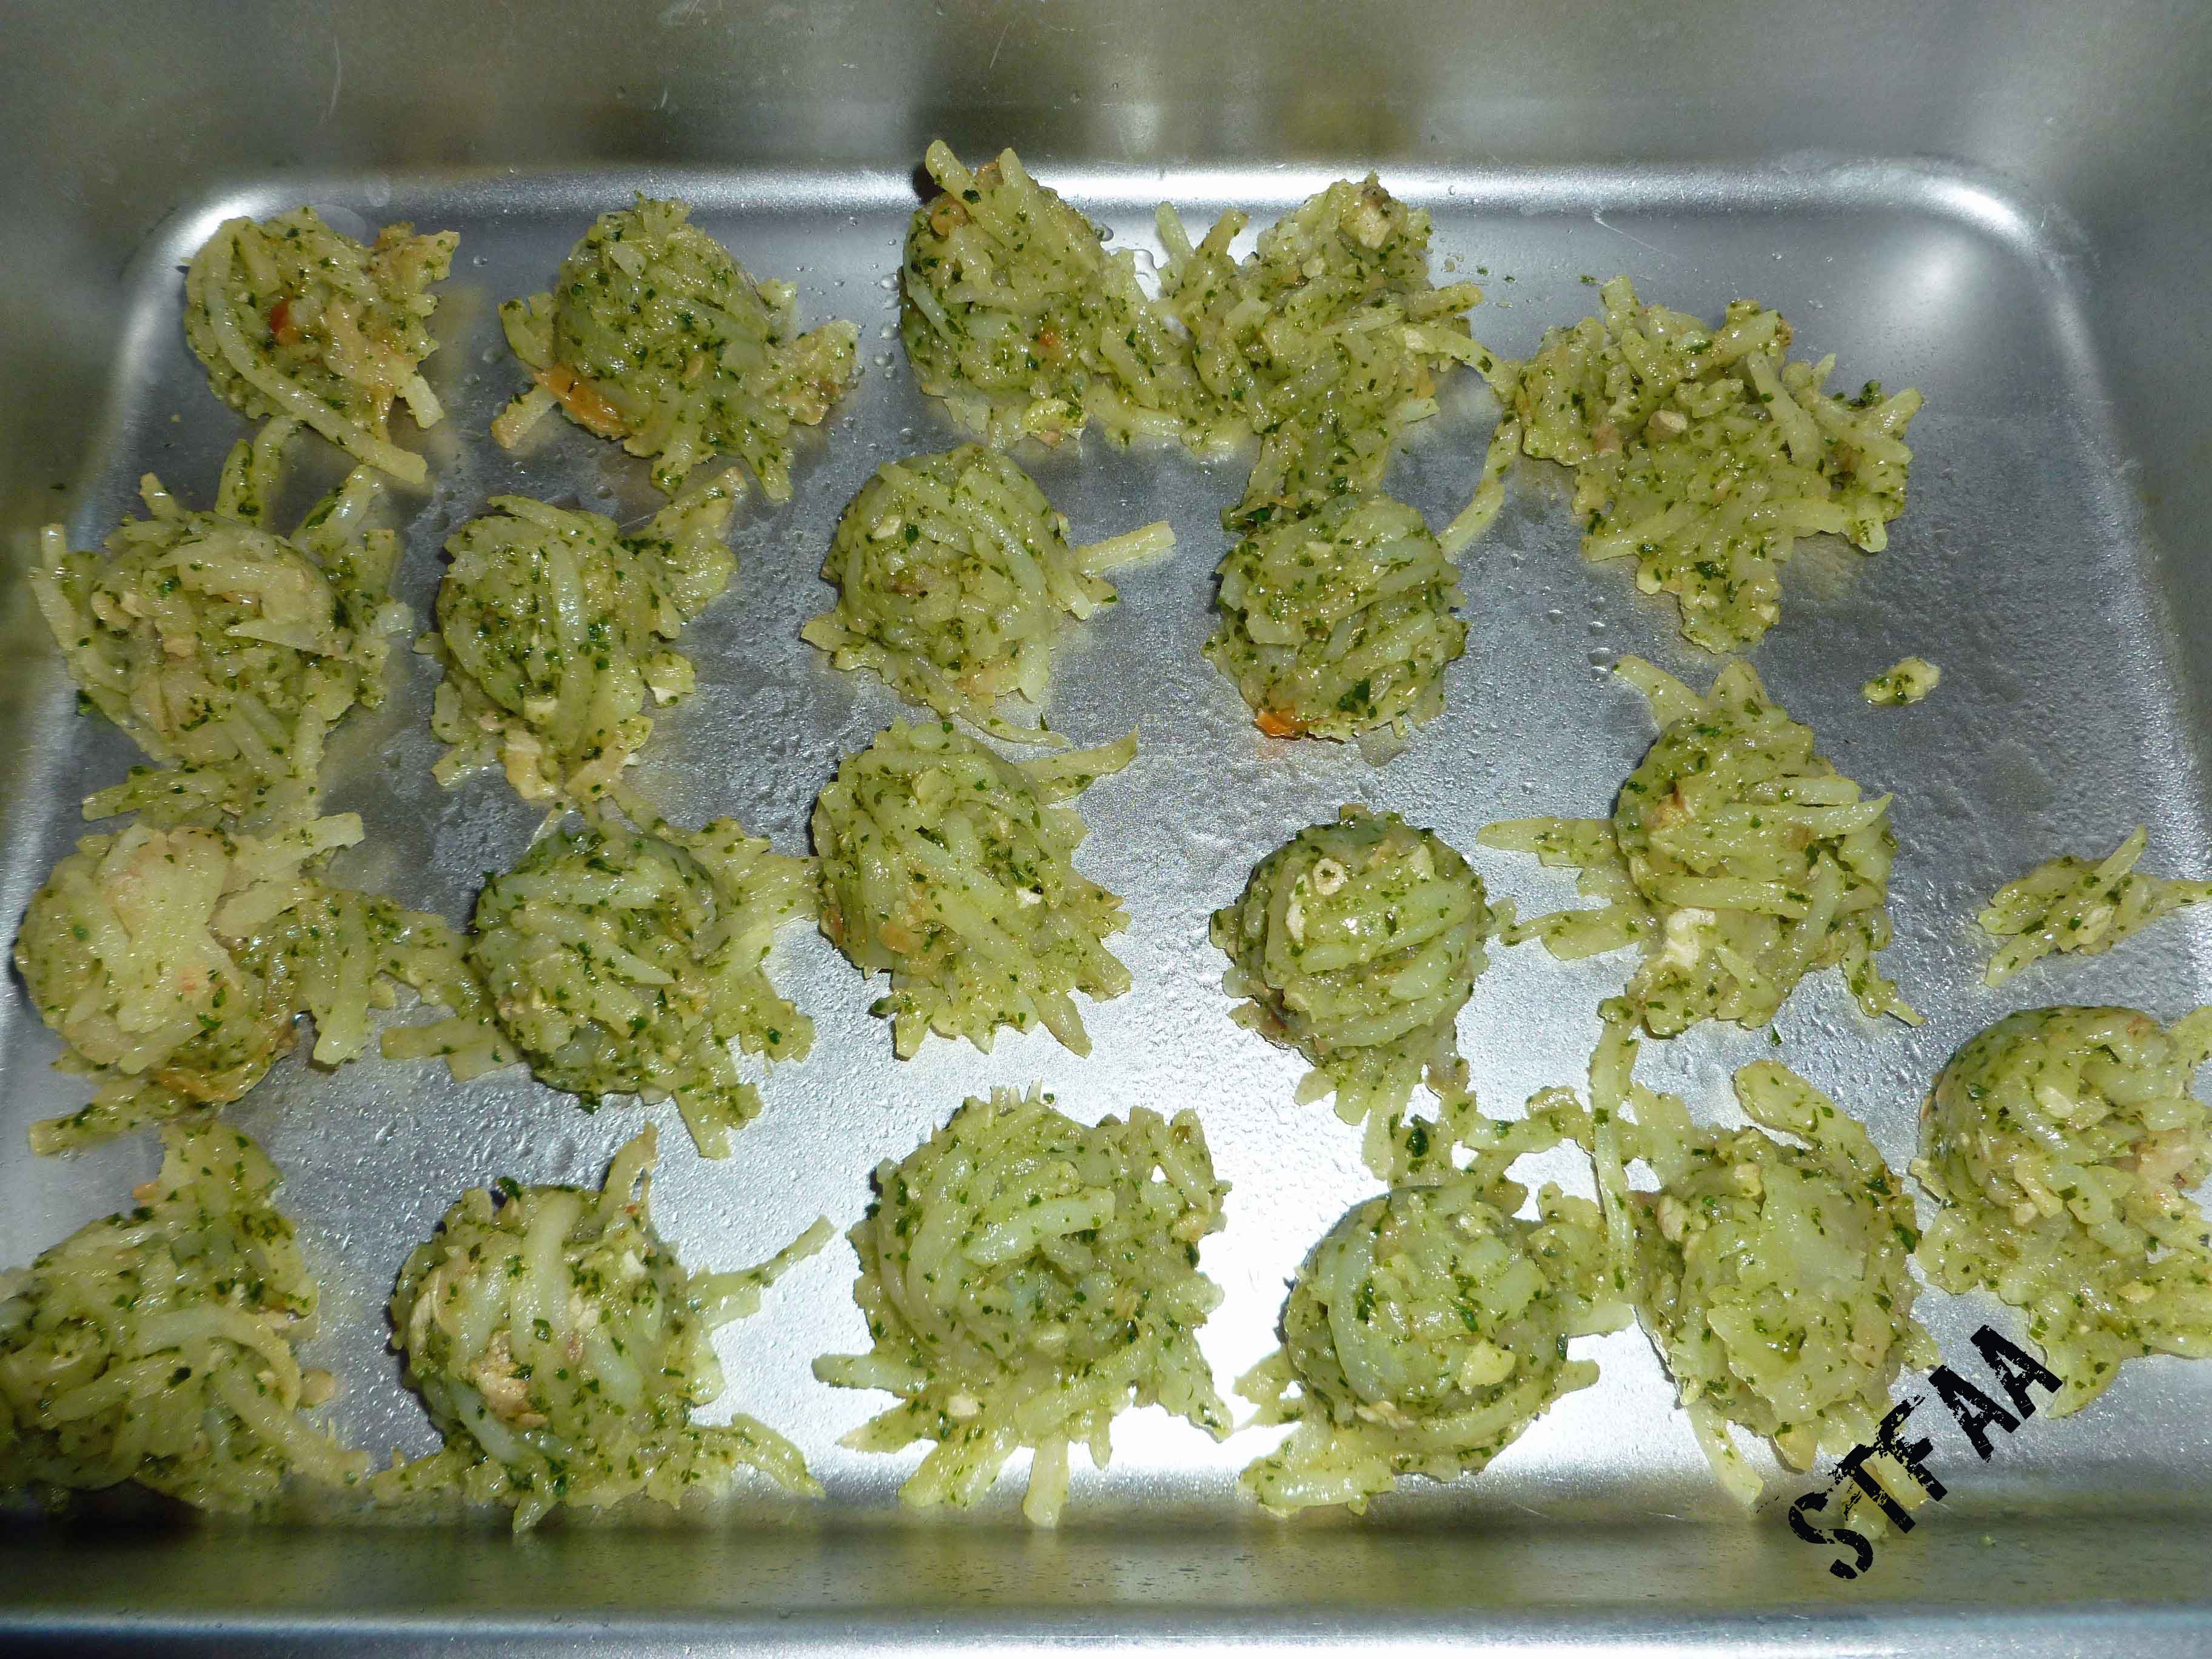
Spray your baking sheet with your safe oil in a mister. I used a small cookie scoop to portion out the tater tots, but you could use two teaspoons to drop the mixture on your baking sheet.
Roasted Garlic and Pesto DIY Tater Tots before baking
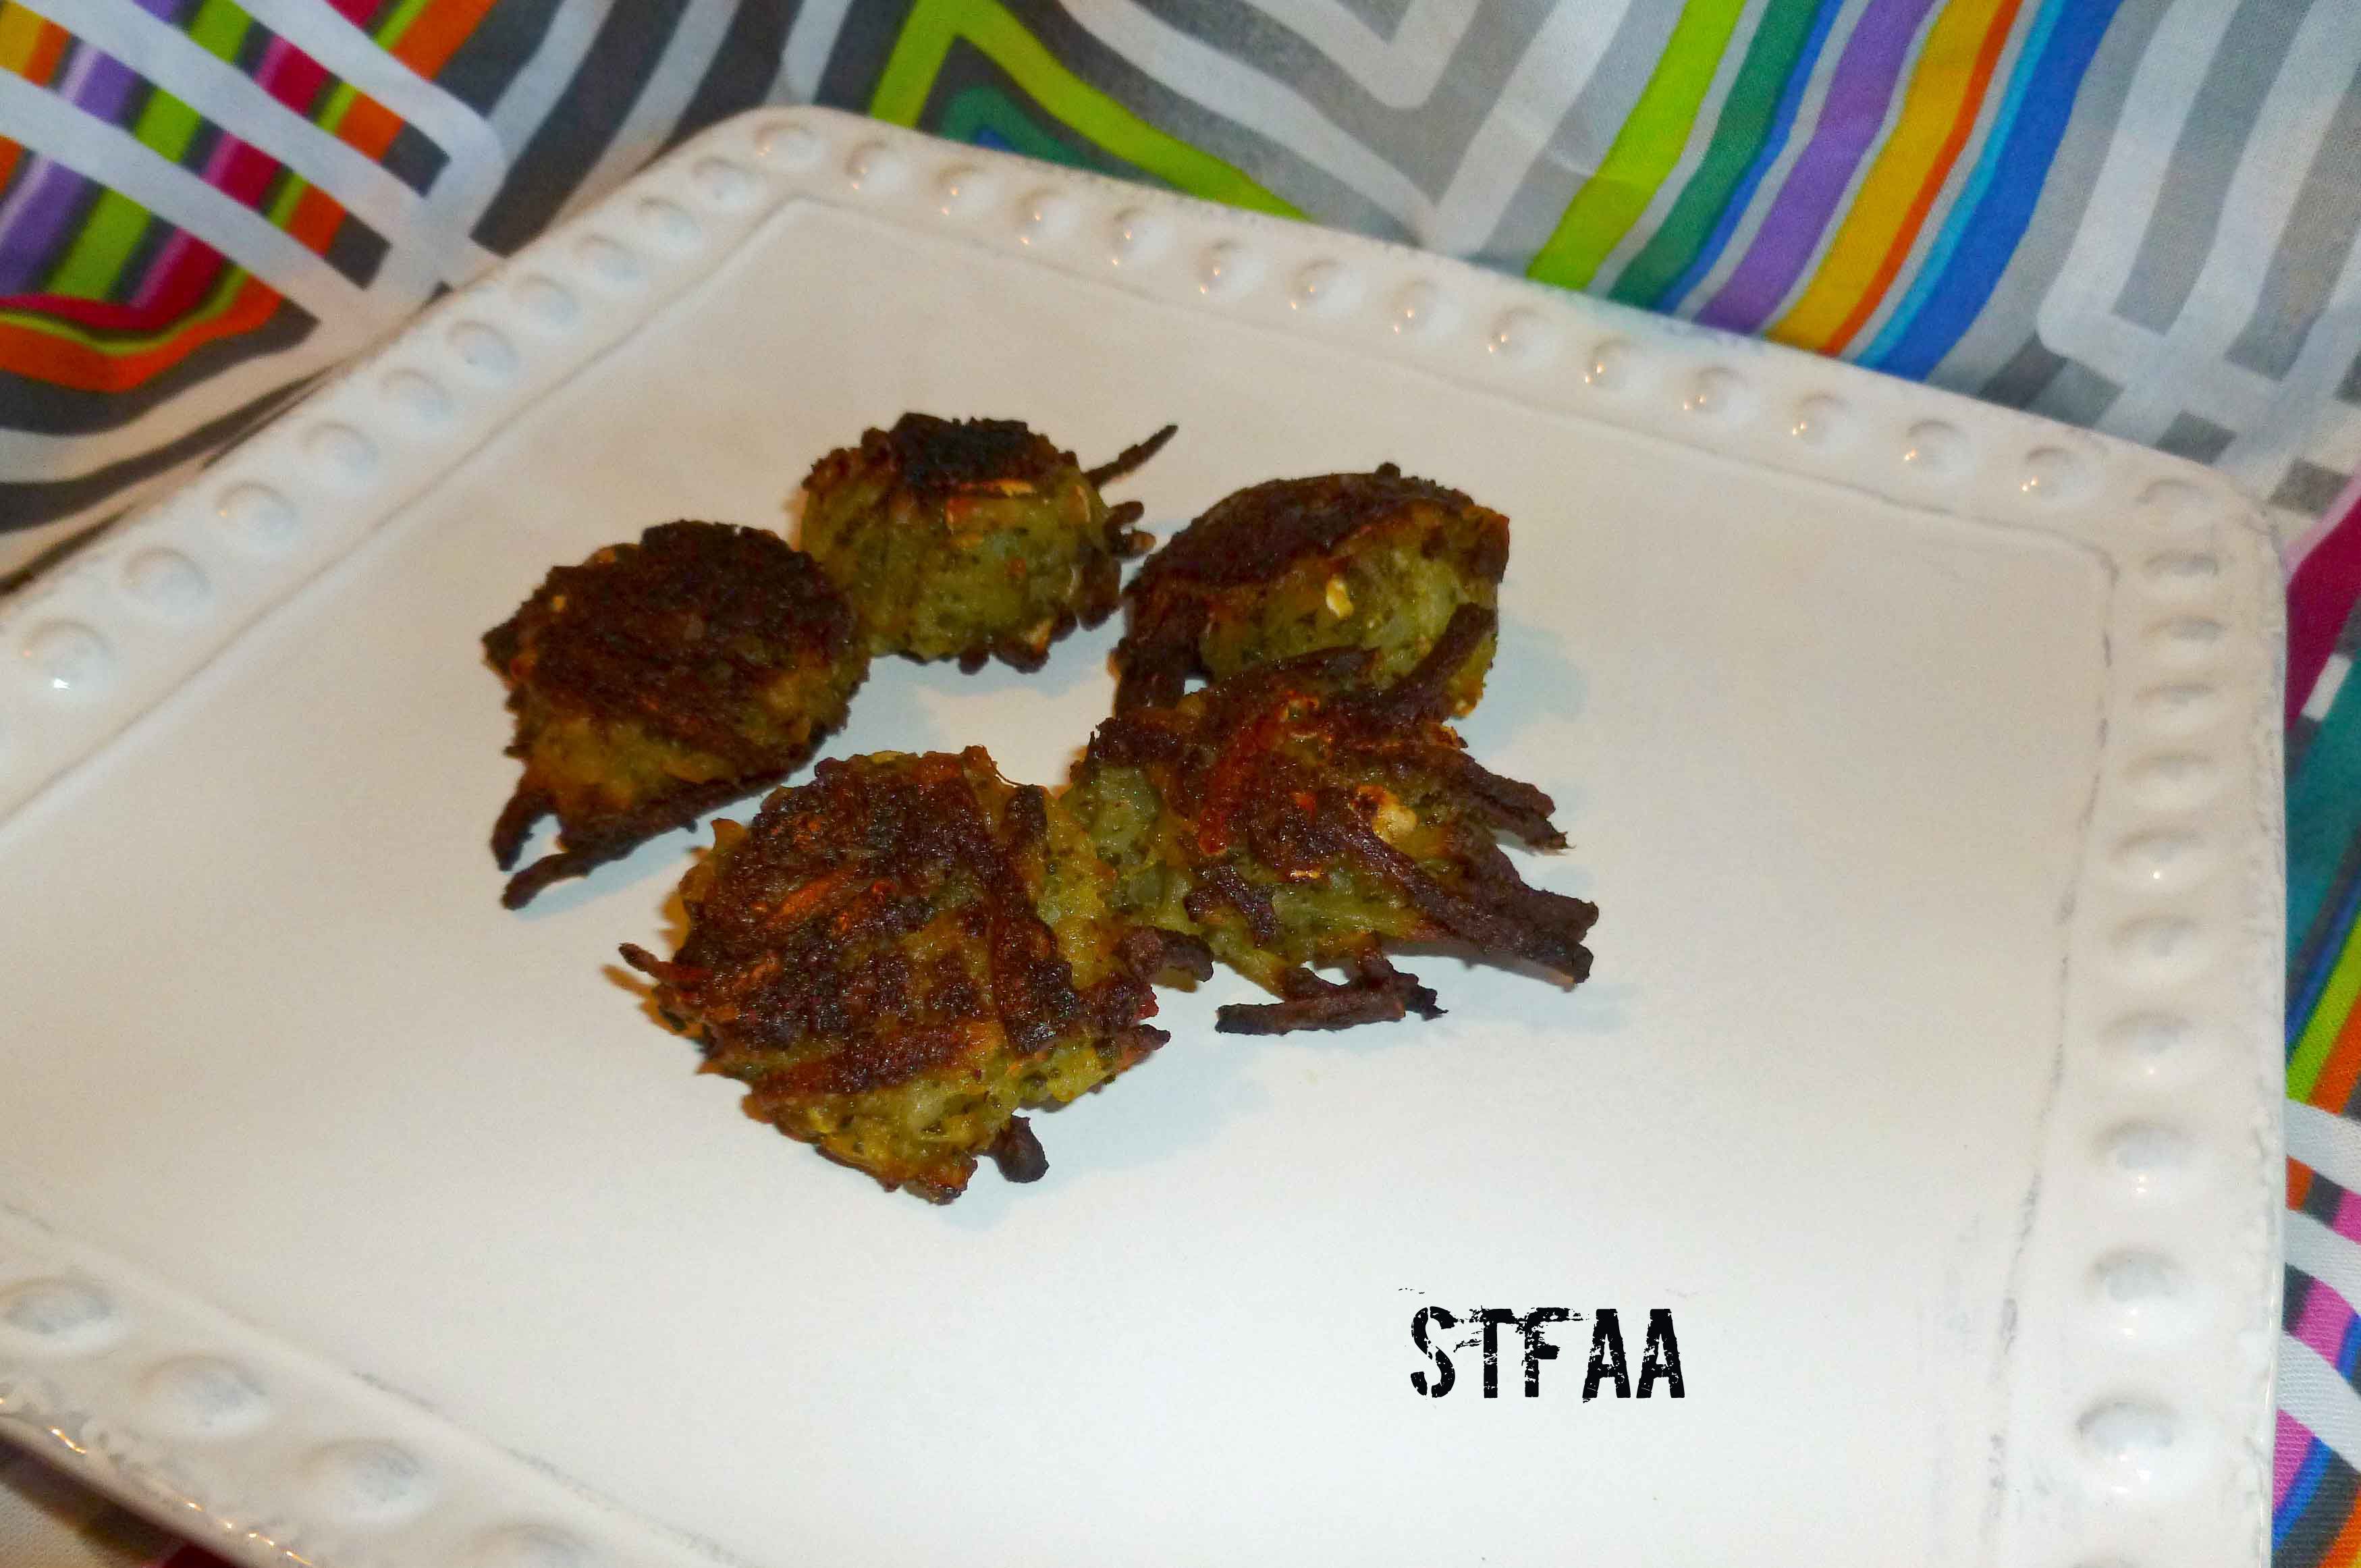
Use your oil mister to mist the top of the tater tots, and place the baking sheet in the oven for 25-30 minutes. Use some tongs or a spatula to turn them over, and then bake them for another 25-30 minutes. You want to watch them closely, as you’ll notice mine were a tad overcooked.
Take them out of the oven, salt to taste, and enjoy!
I used to order chicken satay all the time, before the chicken and corn allergies reared their ugly heads. Since I can’t have chicken, and I’ve been craving satay, I decided to try the beef version to see if that would get rid of the craving, which it did. It was so yummy. If you can have chicken, try it with chicken too and let me know how it was, so I can live through you vicariously. If you have a soy allergy (I don’t), try this with Mary Kate’s Soy-Free, gluten-free “Tamari Sauce” and let us know how it worked out for you.
Beef Satay – Gluten-free with Soy-free option
1 to 2 pound flank steak
Beef Satay Marinade:
4 cloves of garlic, peeled
1 small onion, peeled and diced roughly (it’s going in the blender or food processor, so don’t stress over it)
1 Tablespoon of Sriracha (use a safe version for you, I ferment my own at home, since I don’t have a safe version)
3 Tablespoons of Soy Sauce (I do well with San-J Tamari Gluten Free Soy Sauce, the alcohol is from cane sugar not corn, but if you can’t use soy, try Mary Kate’s recipe for a Soy-Free, gluten-free “Tamari Sauce” )
4 Tablespoons of a safe oil for you (I used grape seed and olive oil because I ran out of grape seed in the middle)
3 Tablespoons of brown sugar
1 teaspoon of dried lemongrass (if you’ve got fresh, use it, but it’s often hard to get here)
1 1/2 Tablespoons of ground coriander
2 Tablespoons of ground turmeric
Equipment:
food processor or blender
a baking rack
a sheet pan safe for the broiler
bamboo skewers (optional)
food safe and safe for you food prep gloves – you’ll need them to put the beef on skewers or you’ll have really yellow fingers as turmeric stains, which is a vast understatement.
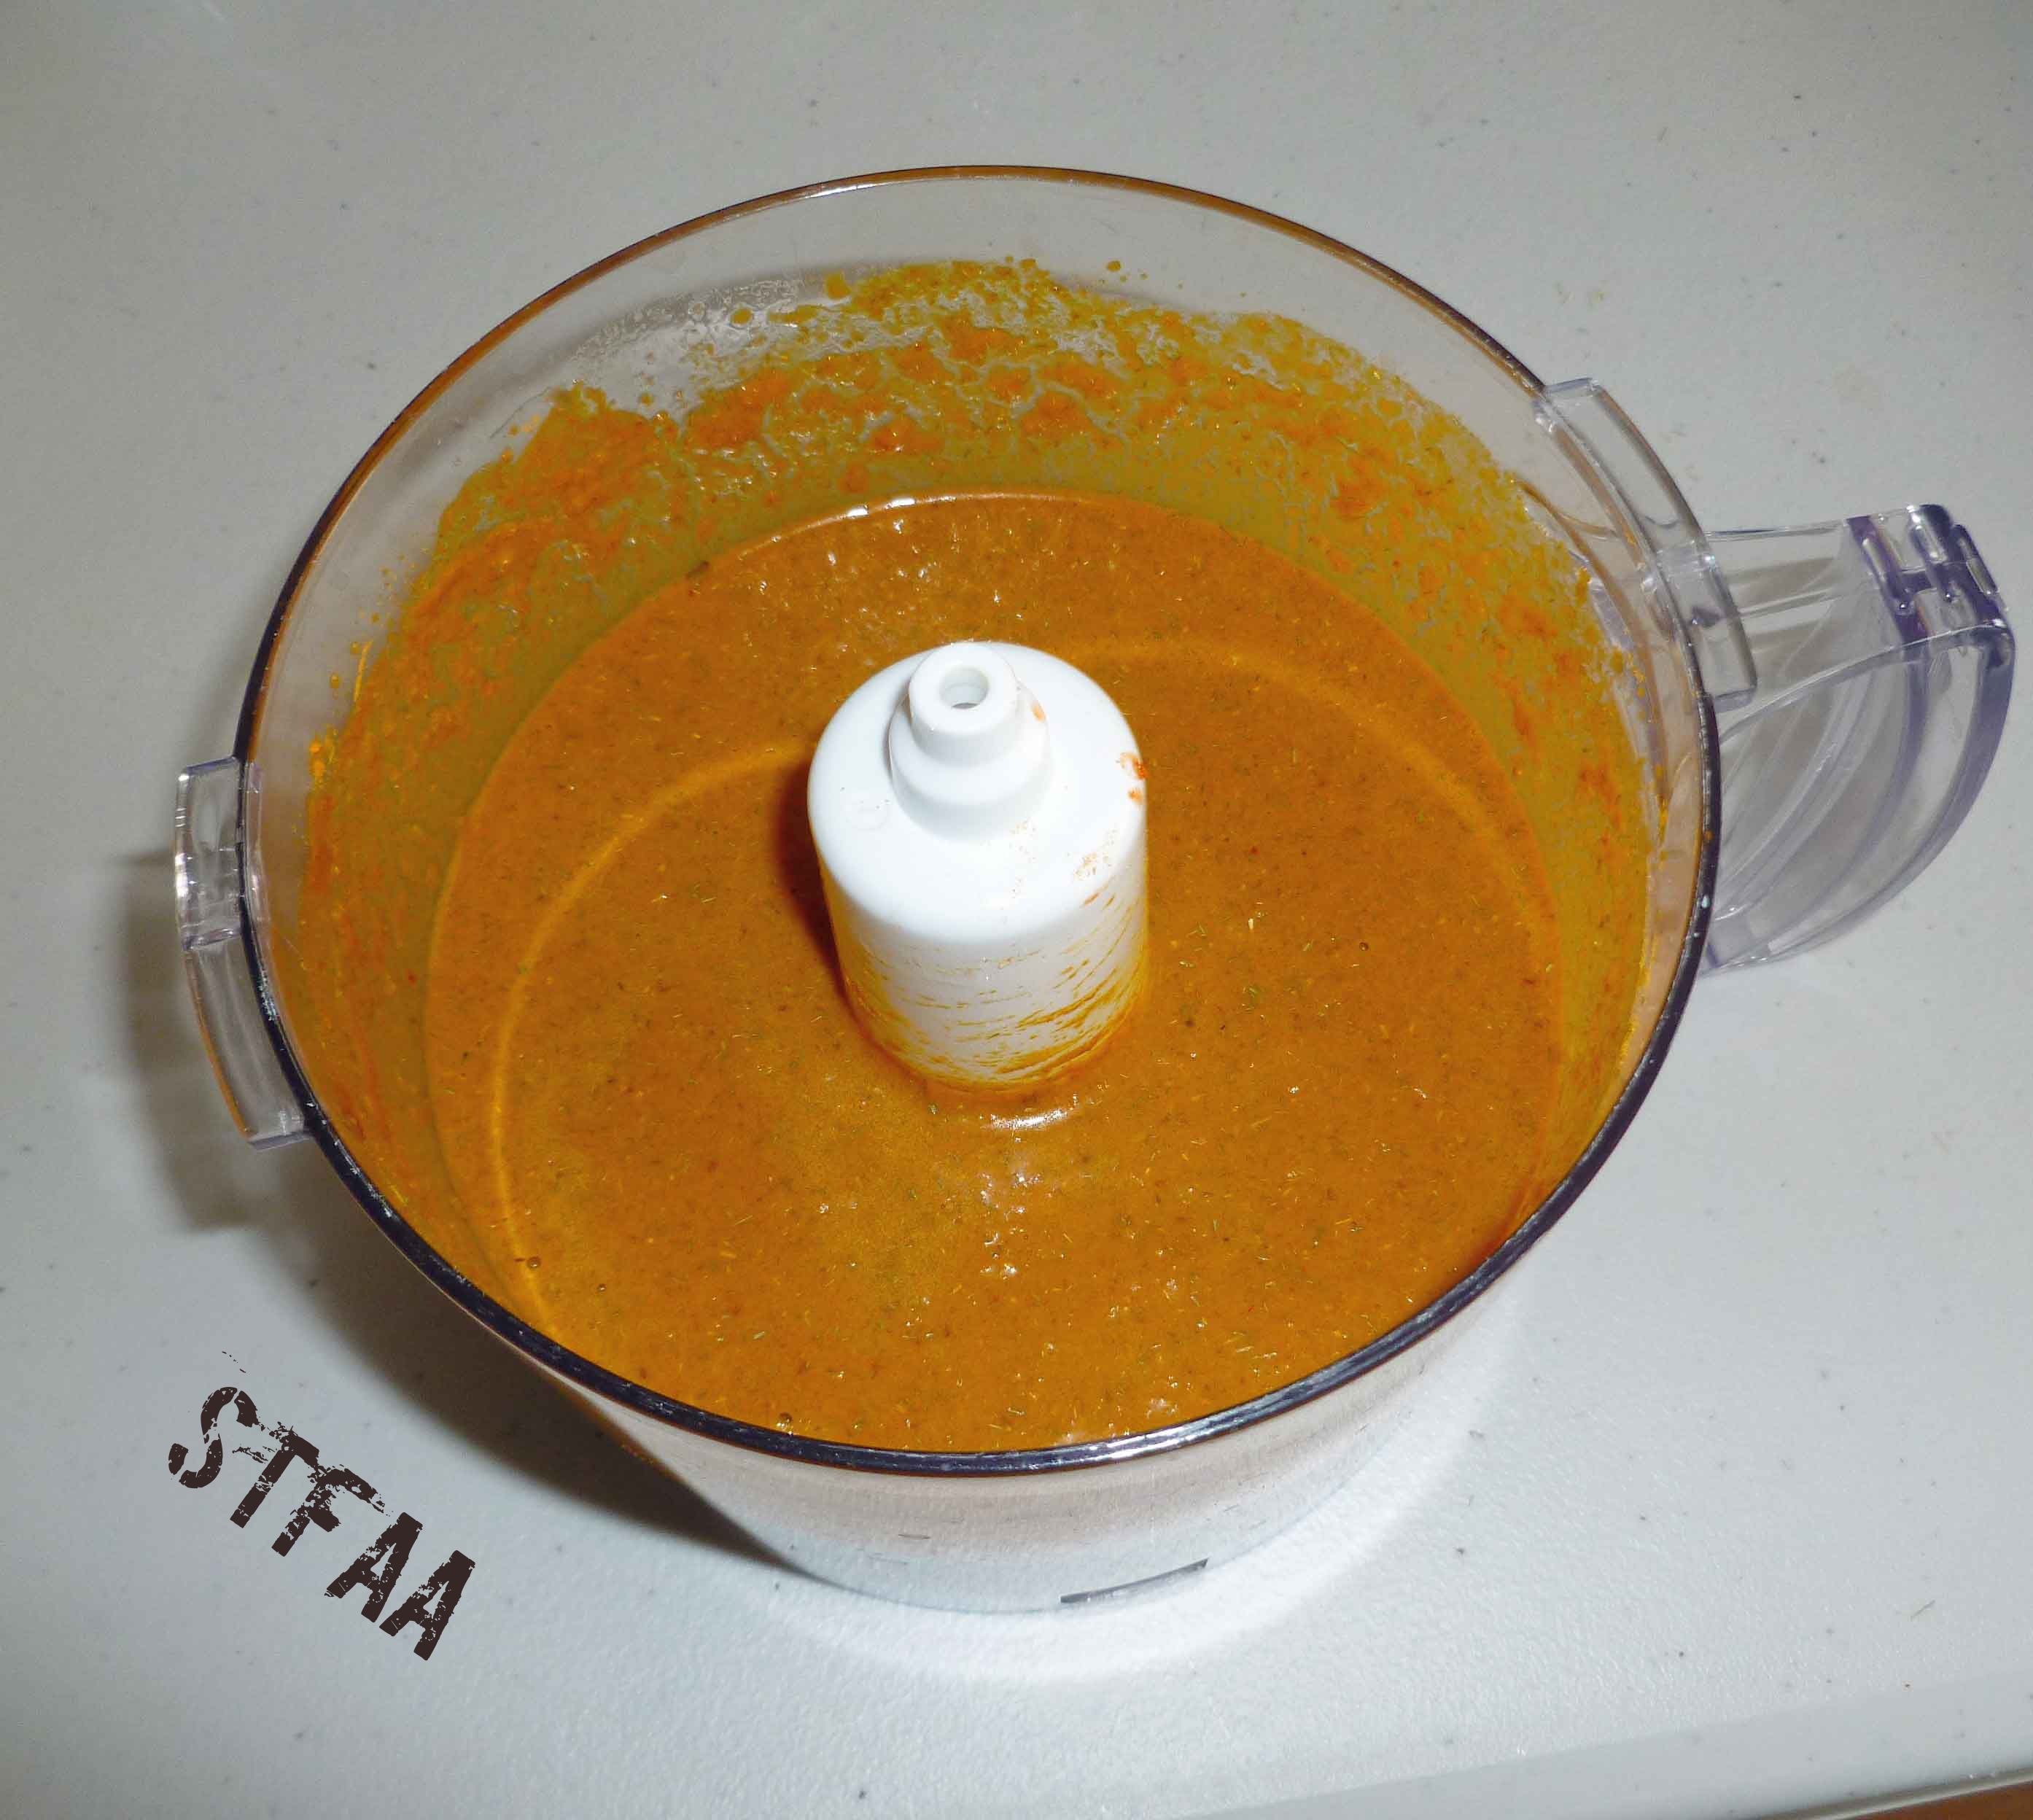
Place all the marinade ingredients in a food processor or blender, and puree them into oblivion. They should be the consistency of a smoothie when you’re finished.
Beef Satay marinade pureed into oblivion
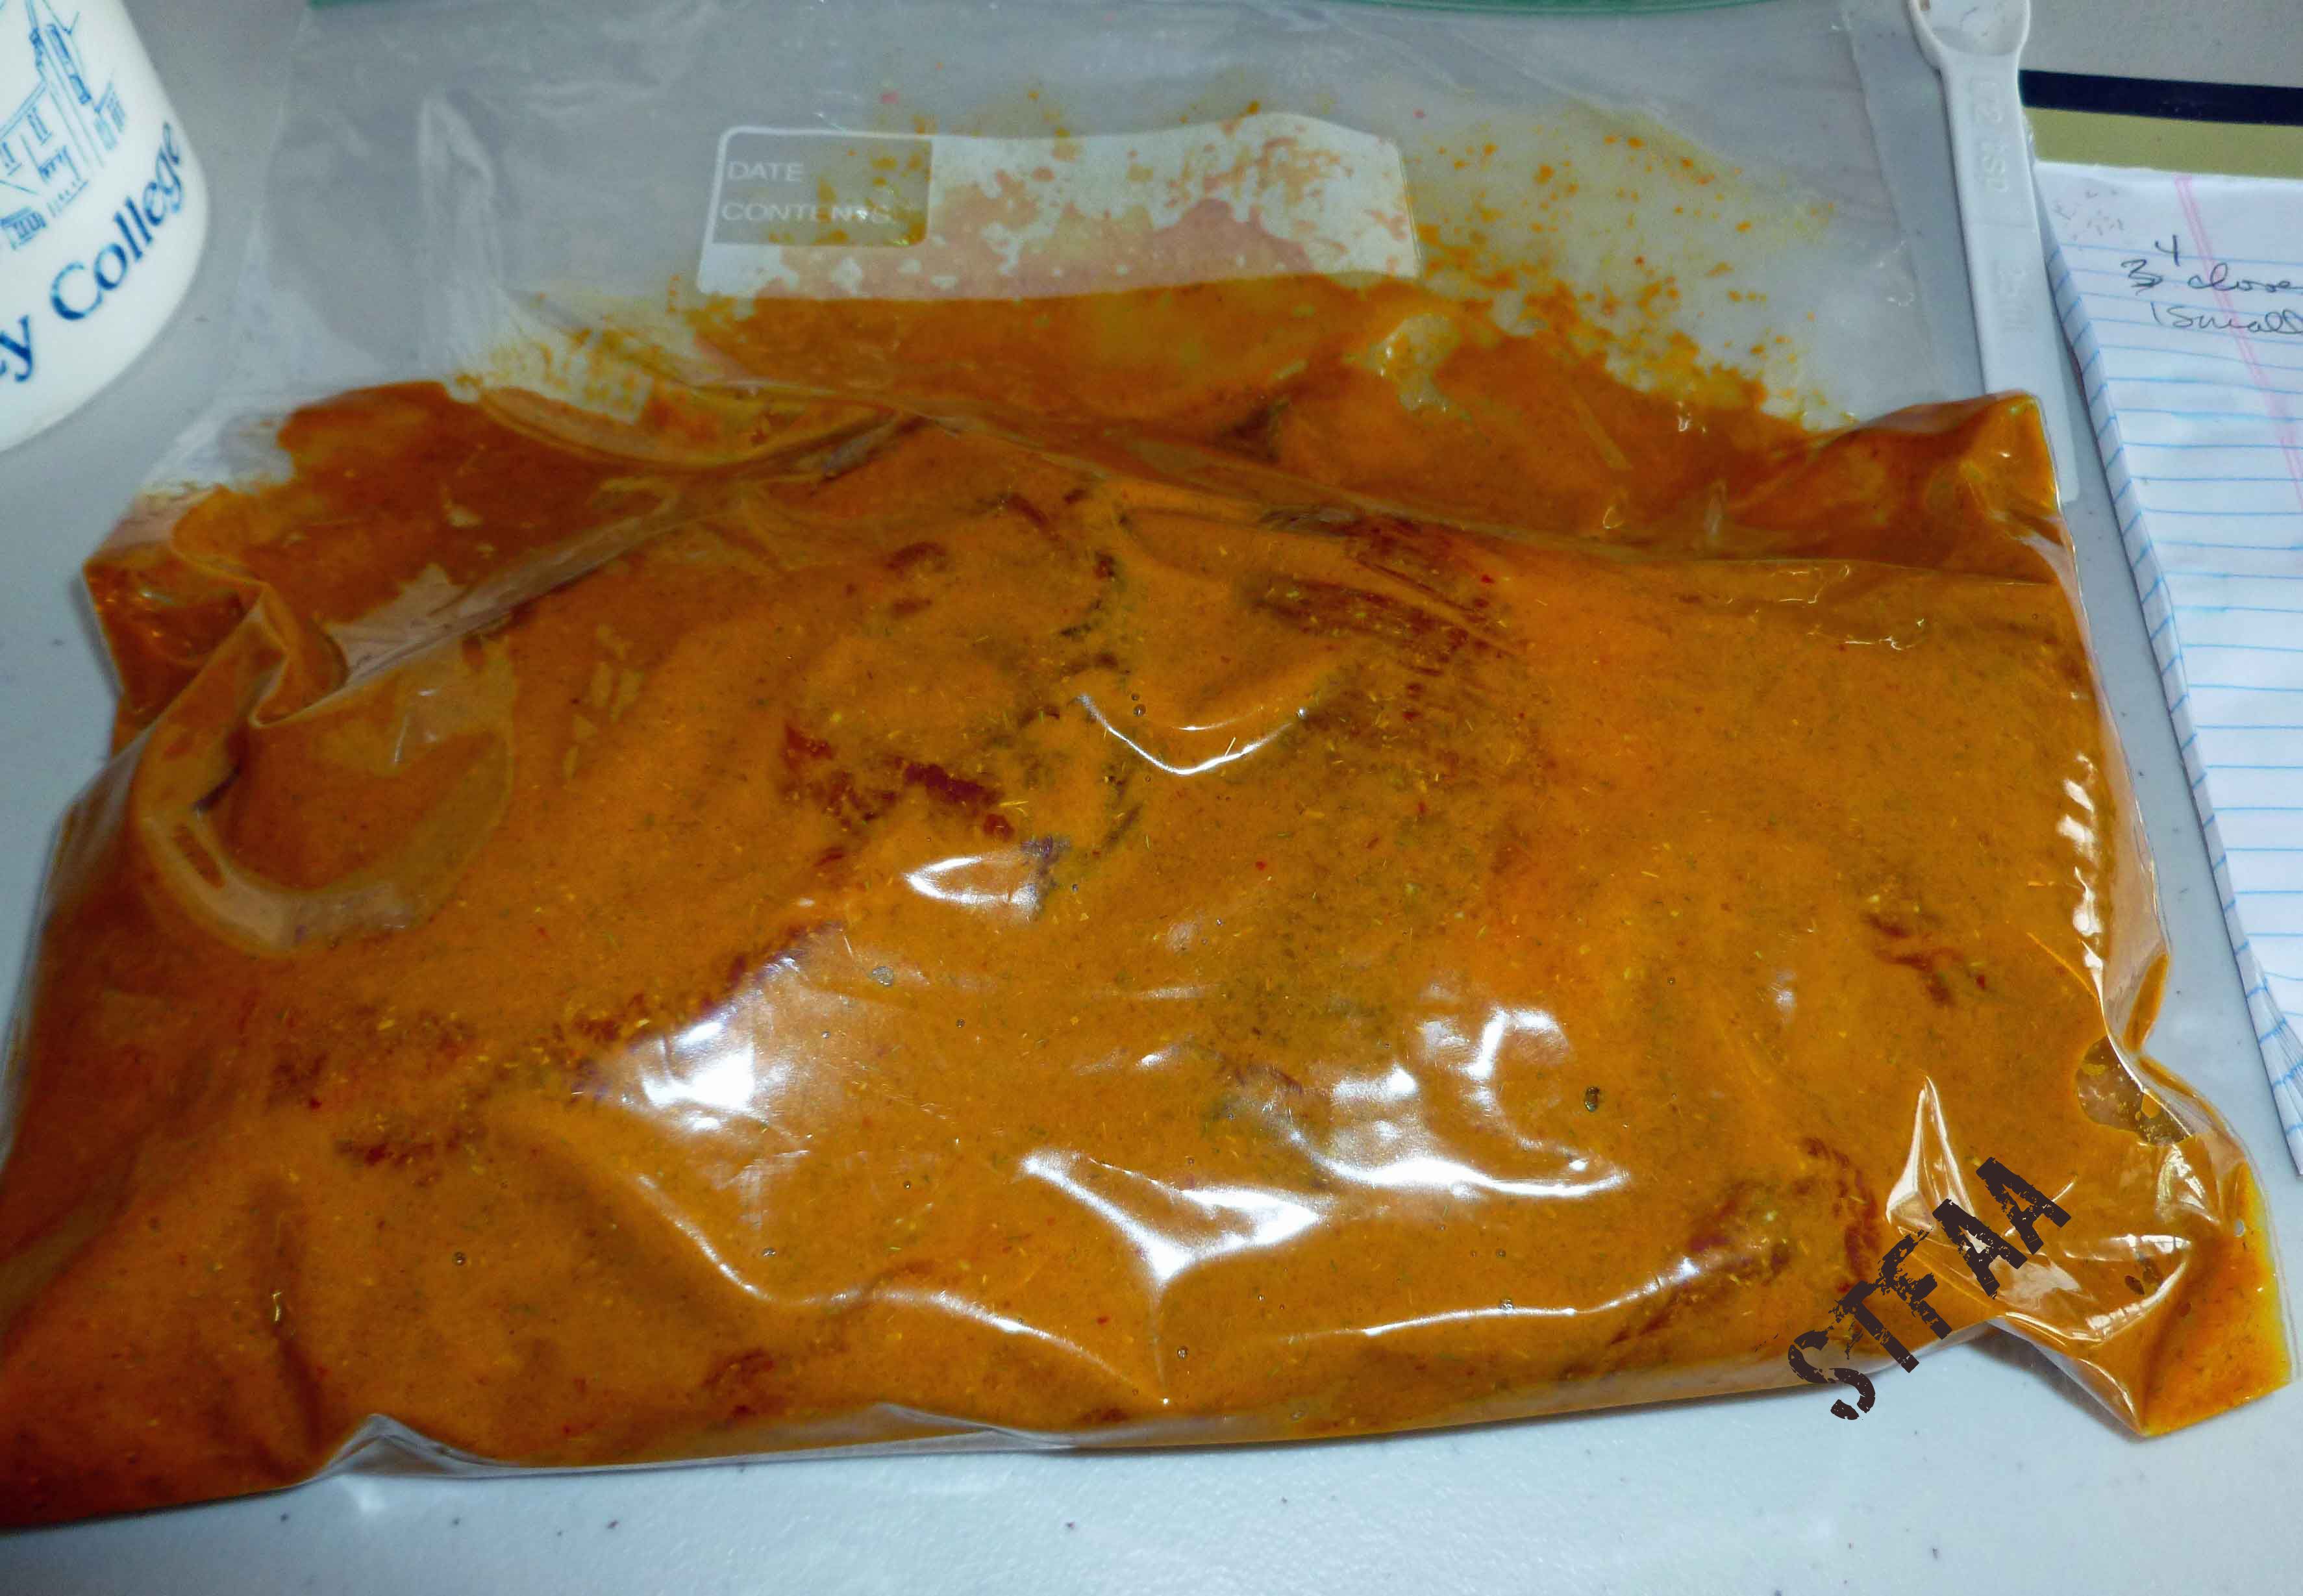
Cut your flank steak across the grain into long strips about an inch and a half wide, as these will end up going onto skewers. Place the flank steak and the marinade into a zip top bag, making sure that the marinade covers all pieces of the flank, and squeezing out any air.
Beef Satay marinating in a zip top bag
Marinate overnight, or at least 4-5 hours. When I made them, I marinated them in the morning for that evening’s dinner. I’d say that they marinated for about 10 to 11 hours and that worked fine.
If you’re using the bamboo skewers, it’d be a really good idea to soak them in water for an hour or two before cooking them. I soaked them for about 15 minutes and it was clearly not enough time, as some of the sticks charred and burned a bit (okay, a lot).
Once your flank steak is finished marinating, turn on your oven’s broiler and let it heat up. I put the oven rack in the top-most position, but you may need to move it down one depending on the height of your baking rack and baking sheet. Place the baking rack on the baking sheet, and put on your food safe prep gloves. Over a surface that won’t stain, or you don’t care if it stains (I used a cutting board), slide the strips of beef on to the skewers and put them on the rack.
Flank steak skewered but before cooking
When you have skewered all the beef strips, place the baking sheet in the oven and broil for 5 minutes, or until you see some crispy bits and then flip the skewers over, and broil on the other side for 5 minutes. It make take more or less time depending on how hot your oven is, or how thick your flank steak is, but you’re looking for an internal temperature of 135°F for medium rare if you’ve got a thermometer.
Beef Satay after broiling
It make take more or less time depending on how hot your oven is, or how thick your flank steak is, but you’re looking for an internal temperature of 135°F for medium rare if you’ve got a thermometer.
Hoisin sauce was just another well-loved condiment no longer within my grasp until I found a recipe and modified it to be safe for me. If you have a soy allergy (I don’t) try this with Mary Kate’s Soy-Free, gluten-free “Tamari Sauce” and let us know how it worked out for you.
Hoisin Sauce – Gluten-free with Soy-free option
Makes 1 cup.
1/2 of a 15 ounce can of Black Beans, rinsed and drained (I use my home canned, but use what’s safe for you.)
1 Tablespoon of either Sesame Oil, Chili Oil or other safe for you oil (I can’t use Sesame, so I made a homemade Chili oil with my safe oil.)
1/2 Tablespoon of minced Garlic
1/2 cup brown sugar
1/2 Tablespoon of Molasses
2 Tablespoons of Apple Cider Vinegar (Bragg’s is generally safest for those with corn allergies)
2 Tablespoons of Rice Vinegar
2 1/2 Tablespoons of Soy Sauce (I do well with San-J Tamari Gluten Free Soy Sauce, the alcohol is from cane sugar not corn, but if you can’t use soy, try Mary Kate’s recipe for a Soy-Free, gluten-free “Tamari Sauce” )
1 Tablespoon of water
1/8 teaspoon of crushed red pepper
In a food processor, purée the black beans into a fine paste. If it is too thick and doesn’t process well, add a little bit of water (1 teaspoon at a time) until you can continue to pulse the black beans. They should be puréed into mush.
In a non-reactive pan (I used an enameled cast iron pan), heat the oil until it is hot, but not yet smoking. Add the garlic and cook for about 2 minutes (don’t let it turn brown).
Once the garlic is cooked, add all ingredients to your pan and stir together really well. Bring to a boil, and then reduce heat to medium-low and simmer for 15 to 20 minutes. The sauce should coat and stick to the back of a wooden spoon when it is ready.
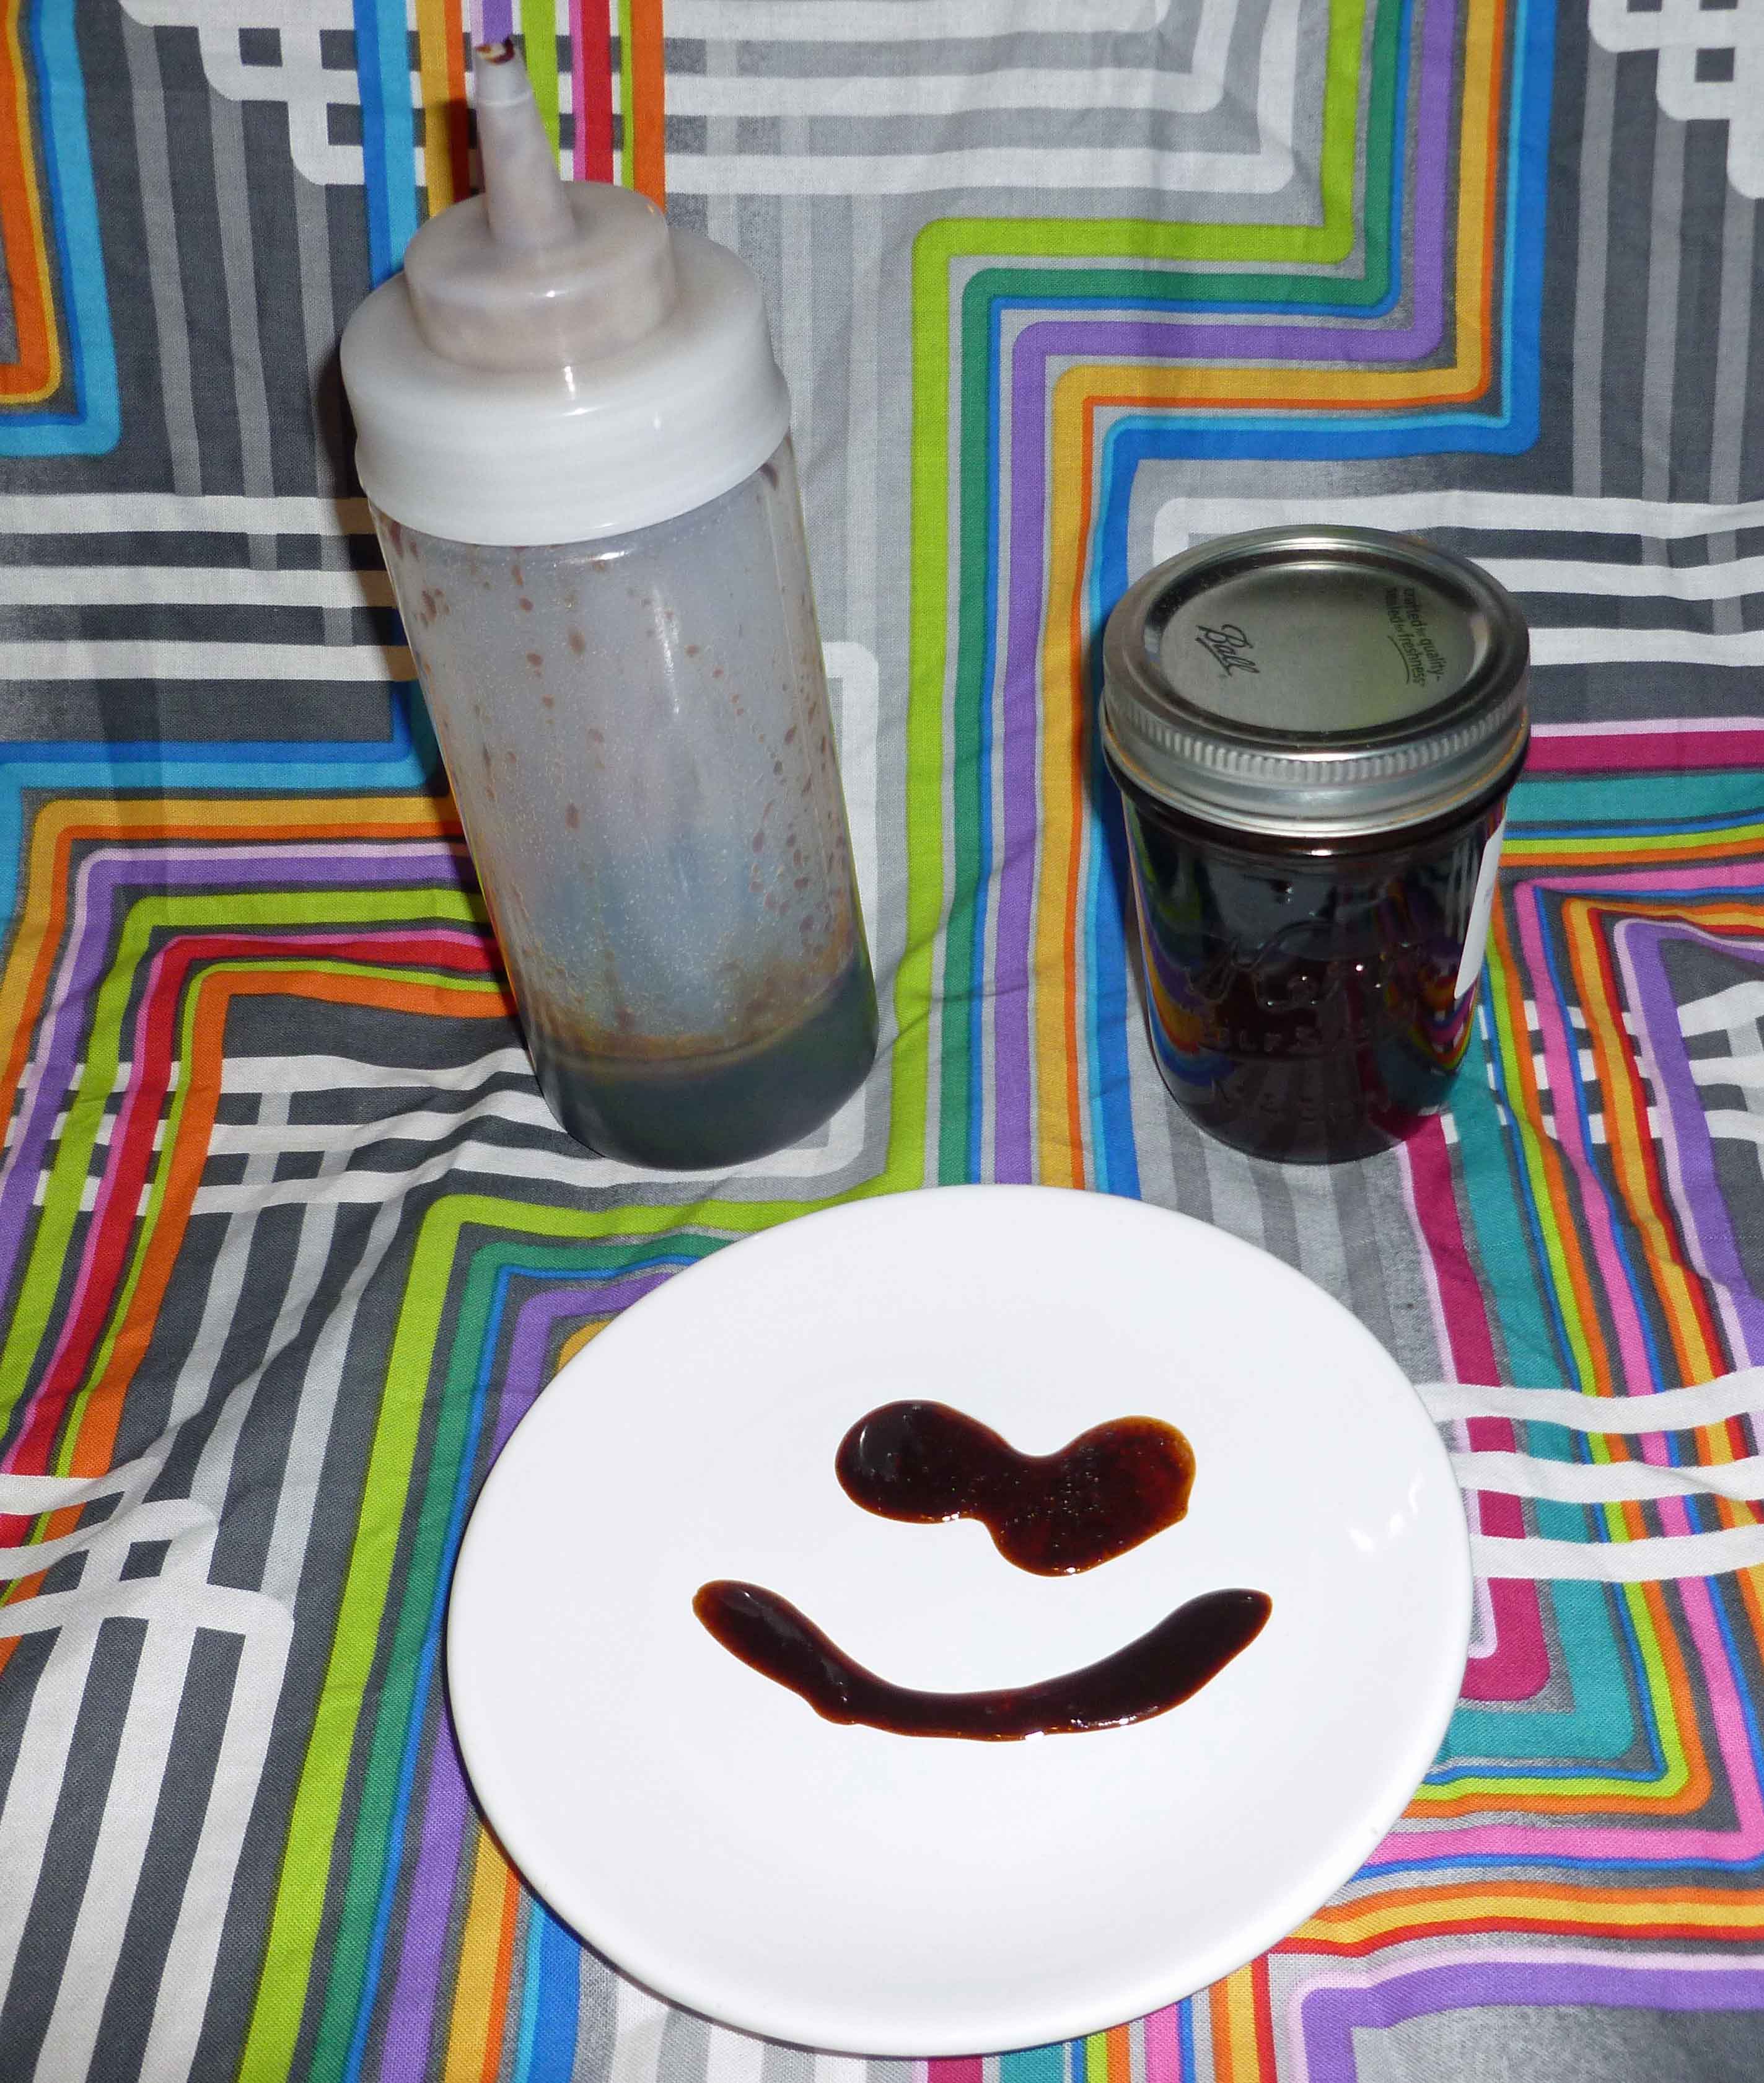
Remove from heat immediately and let it cool before placing it a container in the refrigerator. I put mine in a squeeze bottle so I can use it easily whenever I want.
Enjoy with all your favorite Asian and Asian-inspired dishes!
So, food allergies can change your life plan a bit. When I (Denise) was young, my witnessing and participation in family dysfunction and associated drama made me decide that I pretty much never wanted to own real estate. I viewed it as a trap, because if you rented, you could bug out at any time, and there were no strings other than some financial penalties for getting out of a lease early. In addition, it was limited responsibility, as it was the landlord’s problem to fix the sink, or whatever else came up, and plow and mow lawns and all that stuff I had very little interest in doing. Also, as a younger adult who owed $100,000 (which later ended up being $130,000 due to hardship forbearance interest capitalization) on my student loans, it’s not like anyone was going to loan me any money to buy a house. The only thing I missed about living in a single family house was being able to have a garden, but it wasn’t a priority at the time. Gardening was something I had done as a kid and a teenager for fun, but when I was still a practicing attorney, it’s not like I had time to spend in the garden when I was working 60 to 80 hour weeks.
When I was diagnosed with food allergies, I wasn’t thinking that my living space needed to change. Most of the first round of foods I lost after testing positive and failing food allergy challenges just necessitated a change in cooking style. When the second round hit, yeah, I needed to make my own lotions, toothpaste, laundry detergent, shampoo, and so on, but it still wasn’t that bad. And then corn reared its golden, pointy head, and said, “Oh yeah? Watch this.” Because I love my condiments and because a corn allergy means no more processed food basically, and because I didn’t have tons of time to make stuff up from scratch each time I needed it, and there was limited freezer space in the apartment (not to mention the 4-5 day power losses we were experiencing every other winter), I elected to learn to water bath and pressure can. Picture over 500 jars of canned food in a two bedroom apartment. Also, picture processing 60 pounds of tomatoes into whole canned tomatoes that you paid a crap ton of money for at your local CSA farmer’s in a small two bedroom apartment kitchen with no windows. And then corn said “Oh, and hey? That Kiss My Face Soap you’re using that’s safe for your coconut allergy? I’ve managed to get myself in that too, although I’m not on the label.” So I started making my own soap, using lye and potassium hydroxide to make my own soap, bar and liquid respectively, to use for soap, shampoo, and laundry detergent. We did it in Mary Kate’s parking lot, and I made a couple of batches on my second floor balcony, with a board under the crock pot so as not to spill caustic lye solution on the downstairs neighbors. Hilarious right?
I had known in the back of my mind since just after the corn diagnosis (about a year and a half before we started looking) that we needed to buy a house. But I just didn’t want to. I didn’t want to be a grown up and deal with all that responsibility, because I had enough stupid food allergy food prep and making-my-own-everything crap to do. So I ignored it for a really long time. But before Stitches East 2014 in October (huge yarn and knitting convention for the non-knitterly), just after picking up a microwave I was borrowing so that I could nuke all the safe food I had canned, wrapping the glass jars in towels in a suitcase because corn totally rules out restaurant eating, I saw a for sale sign and started thinking about it. Maybe because I was sick as a dog with a head cold, the strength of my denial as to the reality of the situation became weak. And then when I got back to the apartment, I went on some real estate sites, and two hours later called my Mom and asked if she thought I was crazy to even think about it. And when she said that she had been thinking that it was probably something I need to do, when she is also fairly anti-real estate, it was really annoying. Because I’d hoped she’d talk me out of it, and if she wasn’t, it was probably fairly obvious that that’s what I needed to do.
So after getting referred to a mortgage company by a friend (if anyone in NH needs a mortgage guy, seriously, Frank is the man), and finding out that there were first time home buyer programs that I could take advantage of and I’d have to put very little money down, it appeared I could buy a house. Which was again, somewhat annoying, because I’d kind of secretly hoped that I couldn’t get financing. But the fact of the matter was, I just couldn’t continue doing what I was doing in my apartment space, spending what I was spending on safe vegetables, and hoping that the neighbors didn’t call the cops on me thinking I was making meth while I made soap on the balcony.
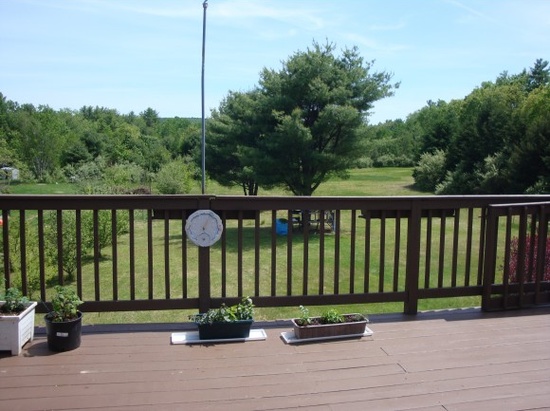
So we signed a purchase and sale in November, negotiating a closing date at the end of January (my lease wasn’t up until the end of March and we were trying to mitigate the financial hit). The big draw on the house was that it has three acres, a good bit of it is cleared, and there are already apple, pear and cherry trees and grape vines, and there was already a fenced in garden area (the photos are from the real estate listing, it’s not close enough to spring yet):
Garden photosGarden photos
We had to paint the whole interior except the walls on one bathroom. These are the before pictures:
Red Wine Vinaigrette Using the Salad Dressing Recipe Theory
Red Wine Vinaigrette Using the Salad Dressing Recipe Theory
Red Wine Vinaigrette Using the Salad Dressing Recipe Theory
Red Wine Vinaigrette Using the Salad Dressing Recipe Theory
Garden photos
Garden photos
dining-room-1
dining-room-2
dining-room-3
entryway-1
entryway-2
entryway-3
entryway-4
family-room-1
family-room-2
first-bedroom-1
first-bedroom-2
first-bedroom-3
first-floor-bath-2
first-floor-bath-3
garage-1
garage-2
garage-3
kitchen-1
kitchen-2
master-bedroom-1
master-bedroom-2
master-bedroom-3
second-bedroom-3
second-bedroom-4
second-floor-bath-1
These are in progress and finished painting pictures. Seriously, I never want to pick up a paint brush again. And if I ever tell anyone that I’m going to paint the entire interior of a house, including ceilings again, slap me. Even with vast amounts of help we got from our friends, for whom we will be forever grateful, it was a crazy undertaking.
stairs
stairs-2
stairs-3
dining room
stairs
kiwi’s room
master bedroom
kitchen
kitchen
kitchen
kitchen
dining room
dining room
hall way
master bedroom
office
kiwi’s room
family room
family room
entry way
dining room
dining room
kitchen
second bathroom
second bathroom
second bathroom
second bathroom
We moved in at the end of February. We unpacked for three weeks, and I got hives from the boxes again (thanks corn!). Here are the unpacked photos, except for the bedroom because I apparently forgot that, and I don’t feel like picking it up and making the bed now so that I can take a picture to put in the slide show:
office
office
office
family room
family room
family room
family room
kitchen
kitchen
kitchen
dining room
dining room
dining room
family room
family room
family room
We’ve had to fix the insulation and ventilation in the roof, which we knew about, and we’ve fixed the furnace twice, which we didn’t know about, and we’re about to replace a water heater, which we didn’t know about either, and a tub and surround because the valve that goes between the shower and faucet decided to let go after we moved in (it’s stuck on the shower setting, so that’s good). And since the plumber’s going to be here, and the double sink in the kitchen is awful for canning, we’re replacing the sink and faucet in the kitchen as well. So, regular new homeowner stuff, except that’s kind of why I never really wanted to buy a house in the first place.
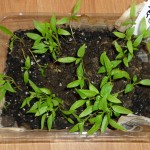
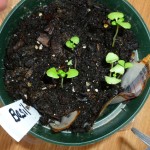
But we’re settled, we have room to move and work now, I’m able to store my canning equipment and food in the garage, and we’ve been able to start our garden some of our seedlings, and we’ve been gifted a few by a friend (Thanks Mary R!):
office
Kiwi’s room
Rainbow peppers from Mary R
Tomatoes from Mary R
Basil from Mary R
Okay, so maybe the Homer Simpson Chia Head isn’t for the garden, but now I have a place that gets enough light that I can have house plants that don’t die. Not that I’m sure that a Homer Simpson Chia Head counts as a house plant.
Eventually, once the snow clears and I’m able to get the garden started in earnest, and I start working on projects again, as I’m low on my homemade liquid soap, and most of my canned food, I’m sure I’ll be much happier about the change. I’m think I’m still in the shell-shocked and exhausted phase, but I think this was the right move for us. I just wish that our street name was different – we now live on Corn Hill Road. Given that my corn allergy was the impetuous for buying this house, I really think I need to get a sign for the house to hang over the door. I want to call it “The House of Irony.”
Red Wine Vinaigrette Using the Salad Dressing Recipe Theory
So, salad dressing. It’s one of those things that I can’t buy any more, my corn allergy pretty much blew any hope of being able to find a commercial product to buy out of the water. I don’t really use recipes any more, I tend to throw things in a blender and have at it, but you might want a slightly more careful approach at the beginning, but I’m pretty sure you’ll end up throwing stuff in a blender too after I explain this.
Salad Dressing Recipe Theory
The parts to a dressing recipe are the base, the acid, the emulsifier (sometimes), and your spices/flavors. Now, the conventional wisdom is that the ratio is 3 parts base to 1 part acid, and then add your emulsifier and flavors to taste. However, I think you should mix the ratio so that you like it. I tend to almost flip the proportions of base and acid, but feel free to fiddle those proportions as you wish. Also, this is not a table to be read from left to right across a row, as it’s not in any particular order. Also, I tend not to just pick one emulsifier or spice/flavors or I might even skip the emulsifier altogether when I do a dressing, and I may even put a combo of two of the acids.
fresh herbs – any of dill, parsley, cilantro, mint, scallions
silken tofu (if no soy allergy and if you can find one without corn in it)
Lemon Juice
jam or fruit preserve
minced onion or shallots
an avocado
Lime Juice
tahini (if you don’t have a sesame allergy)
dried herbs – any of marjoram, thyme, rosemary, oregano, basil,
chopped tomatoes
Orange Juice
tomato paste
dried chili powders – chipotle, ancho, jalapeno
raw cashews soaked and blended into cream (if you don’t have a nut allergy)
Pickle Juice – left over from my homemade fermented dill pickles or my home canned pickles
ground black pepper or peppercorns
sugar to sweeten
salt
For example, if I wanted to make a red wine vinaigrette, I’d use extra virgin olive oil, red wine vinegar and a bit of fresh squeezed lemon juice, some of my home made Dijon mustard, some garlic, marjoram, thyme, rosemary, oregano, basil, ground black pepper, salt and a bit of sugar, and blend it. If I wanted to make a Mexican spiced tomato vinaigrette, I’d use some chopped tomatoes and some extra virgin olive oil, some lime juice, maybe a bit of honey if I had a safe one, and some garlic, hot sauce, cilantro, oregano, basil, chipotle, black pepper, and salt, and blend it. I could also do an avocado ranch (I don’t have any safe yogurt, mayo or tofu to use as a base instead, although I could use cashews blended into a cream) using an avocado, some extra virgin olive oil, lemon juice and apple cider vinegar, and some garlic powder, onion powder, dill, salt, basil and red bell pepper flakes. Note that this combo didn’t use an emulsifier because the avocado has enough body on its own. You could also do an Asian themed dressing with some grapeseed oil, rice wine vinegar, minced scallions, soy sauce, ginger, garlic and Sriracha. See what kind of craziness you could come up with?
Now, I know what you’re saying – “Denise, Denise, how will we know if we got the proportions right? You’re not giving us enough information.” Yep. Because some of this stuff is trial and error. And the answer is you should taste it, and see how it is. If you like it, you got it right. If it needs something, fiddle with it. But, to give you a guideline, if the combination of your base and acid equals about 3 cups or so (because the ratio of the base and acid is up to you), I’d add a tablespoon or two of the emulsifier, and I’d add the spices/flavors to taste. Start with about a teaspoon of your combined spices/flavors and see if you like it, or if you need to add more.
But for those of you who want a conventional recipe, I’ll make an easy Red Wine Vinaigrette for you. But since you’re making it, if you don’t like something, leave it out. Also, I added a bit of paprika and crushed red pepper, because I’m Denise. God forbid that I don’t have some form of chili in a recipe, but I’ve marked them optional for you. Also, note that my proportions of base and acid are the way that I like dressing, so if you like a dressing with less acid (I like my dressing screaming) use 2 cups of extra virgin olive oil and 1 cup of red wine vinegar. (Yes, that’s still not 3 to 1, but if you need to it be 3 base to 1 acid, do the math).
Red Wine Vinaigrette, based on the Salad Dressing Recipe Theory
2 cups of red wine vinegar (I make my own, but make sure that you have a safe source)
1 cup of extra virgin olive oil (I do well with California Olive Ranch)
1 Tablespoon of prepared mustard (I use my homemade Dijon, make sure you get one that’s safe for you)
1 clove of minced garlic
1/2 teaspoon of marjoram
1/2 teaspoon of thyme
1/2 teaspoon of basil
1/2 teaspoon of oregano
1/2 teaspoon of sugar
salt and pepper to taste (I used a 1/4 teaspoon each)
optional: 1/8 teaspoon of paprika
optional: 1/4 teaspoon of crushed red pepper
Put it all in the blender.
Red Wine Vinaigrette Using the Salad Dressing Recipe Theory
Blend it. I start on low for a minute and then move it up to high, blending for at least a minute or two to make sure the oil incorporates with your emulsifier and base.
Red Wine Vinaigrette Using the Salad Dressing Recipe Theory
I then use a funnel and put it in an old wine bottle or vinegar bottle I’ve saved. You should store it in the refrigerator. Because California Olive Ranch is really good olive oil, it will solidify a bit in the refrigerator, so shake well, and let it sit on your salad a bit to warm up before eating.
This makes a good bit of salad dressing. Usually, I put it in two bottles and take half to work to leave in the refrigerator there (your salad doesn’t get all wilted and gross if you don’t dress it before you leave for work) and leave some at home. I could make it as needed, but with food allergies, we all have enough stuff to do and making an amount in volume saves time.
Red Wine Vinaigrette Using the Salad Dressing Recipe Theory
What are your favorite flavors and combinations? If you try out our “theory” let us know about combinations you come up with that you particularly enjoy. We’d love to see what inspired ideas you come up with!