Notice: Function _load_textdomain_just_in_time was called incorrectly. Translation loading for the wp-ultimate-recipe domain was triggered too early. This is usually an indicator for some code in the plugin or theme running too early. Translations should be loaded at the init action or later. Please see Debugging in WordPress for more information. (This message was added in version 6.7.0.) in /home/maryzahc/public_html/adultfoodallergies.com/wp-includes/functions.php on line 6121
June 2018 – surviving the food allergy apocalypse (archive)

Month: June 2018

  • Product review: Vitamix 5200 Super Package

    Product review: Vitamix 5200 Super Package

    My Vitamix
    My Vitamix

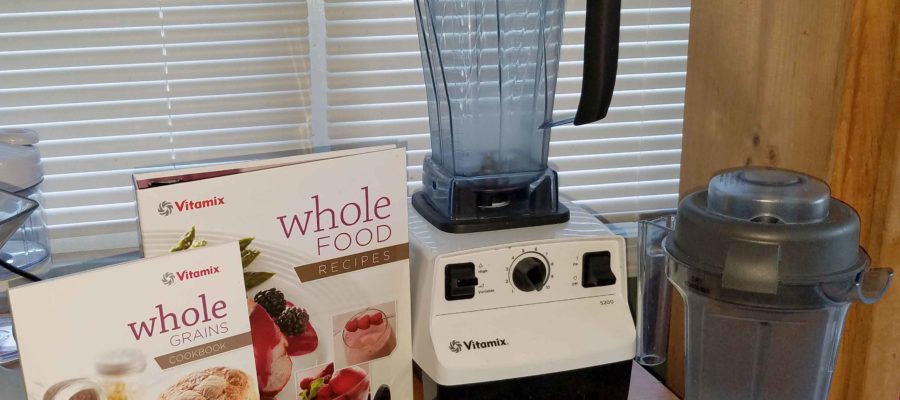
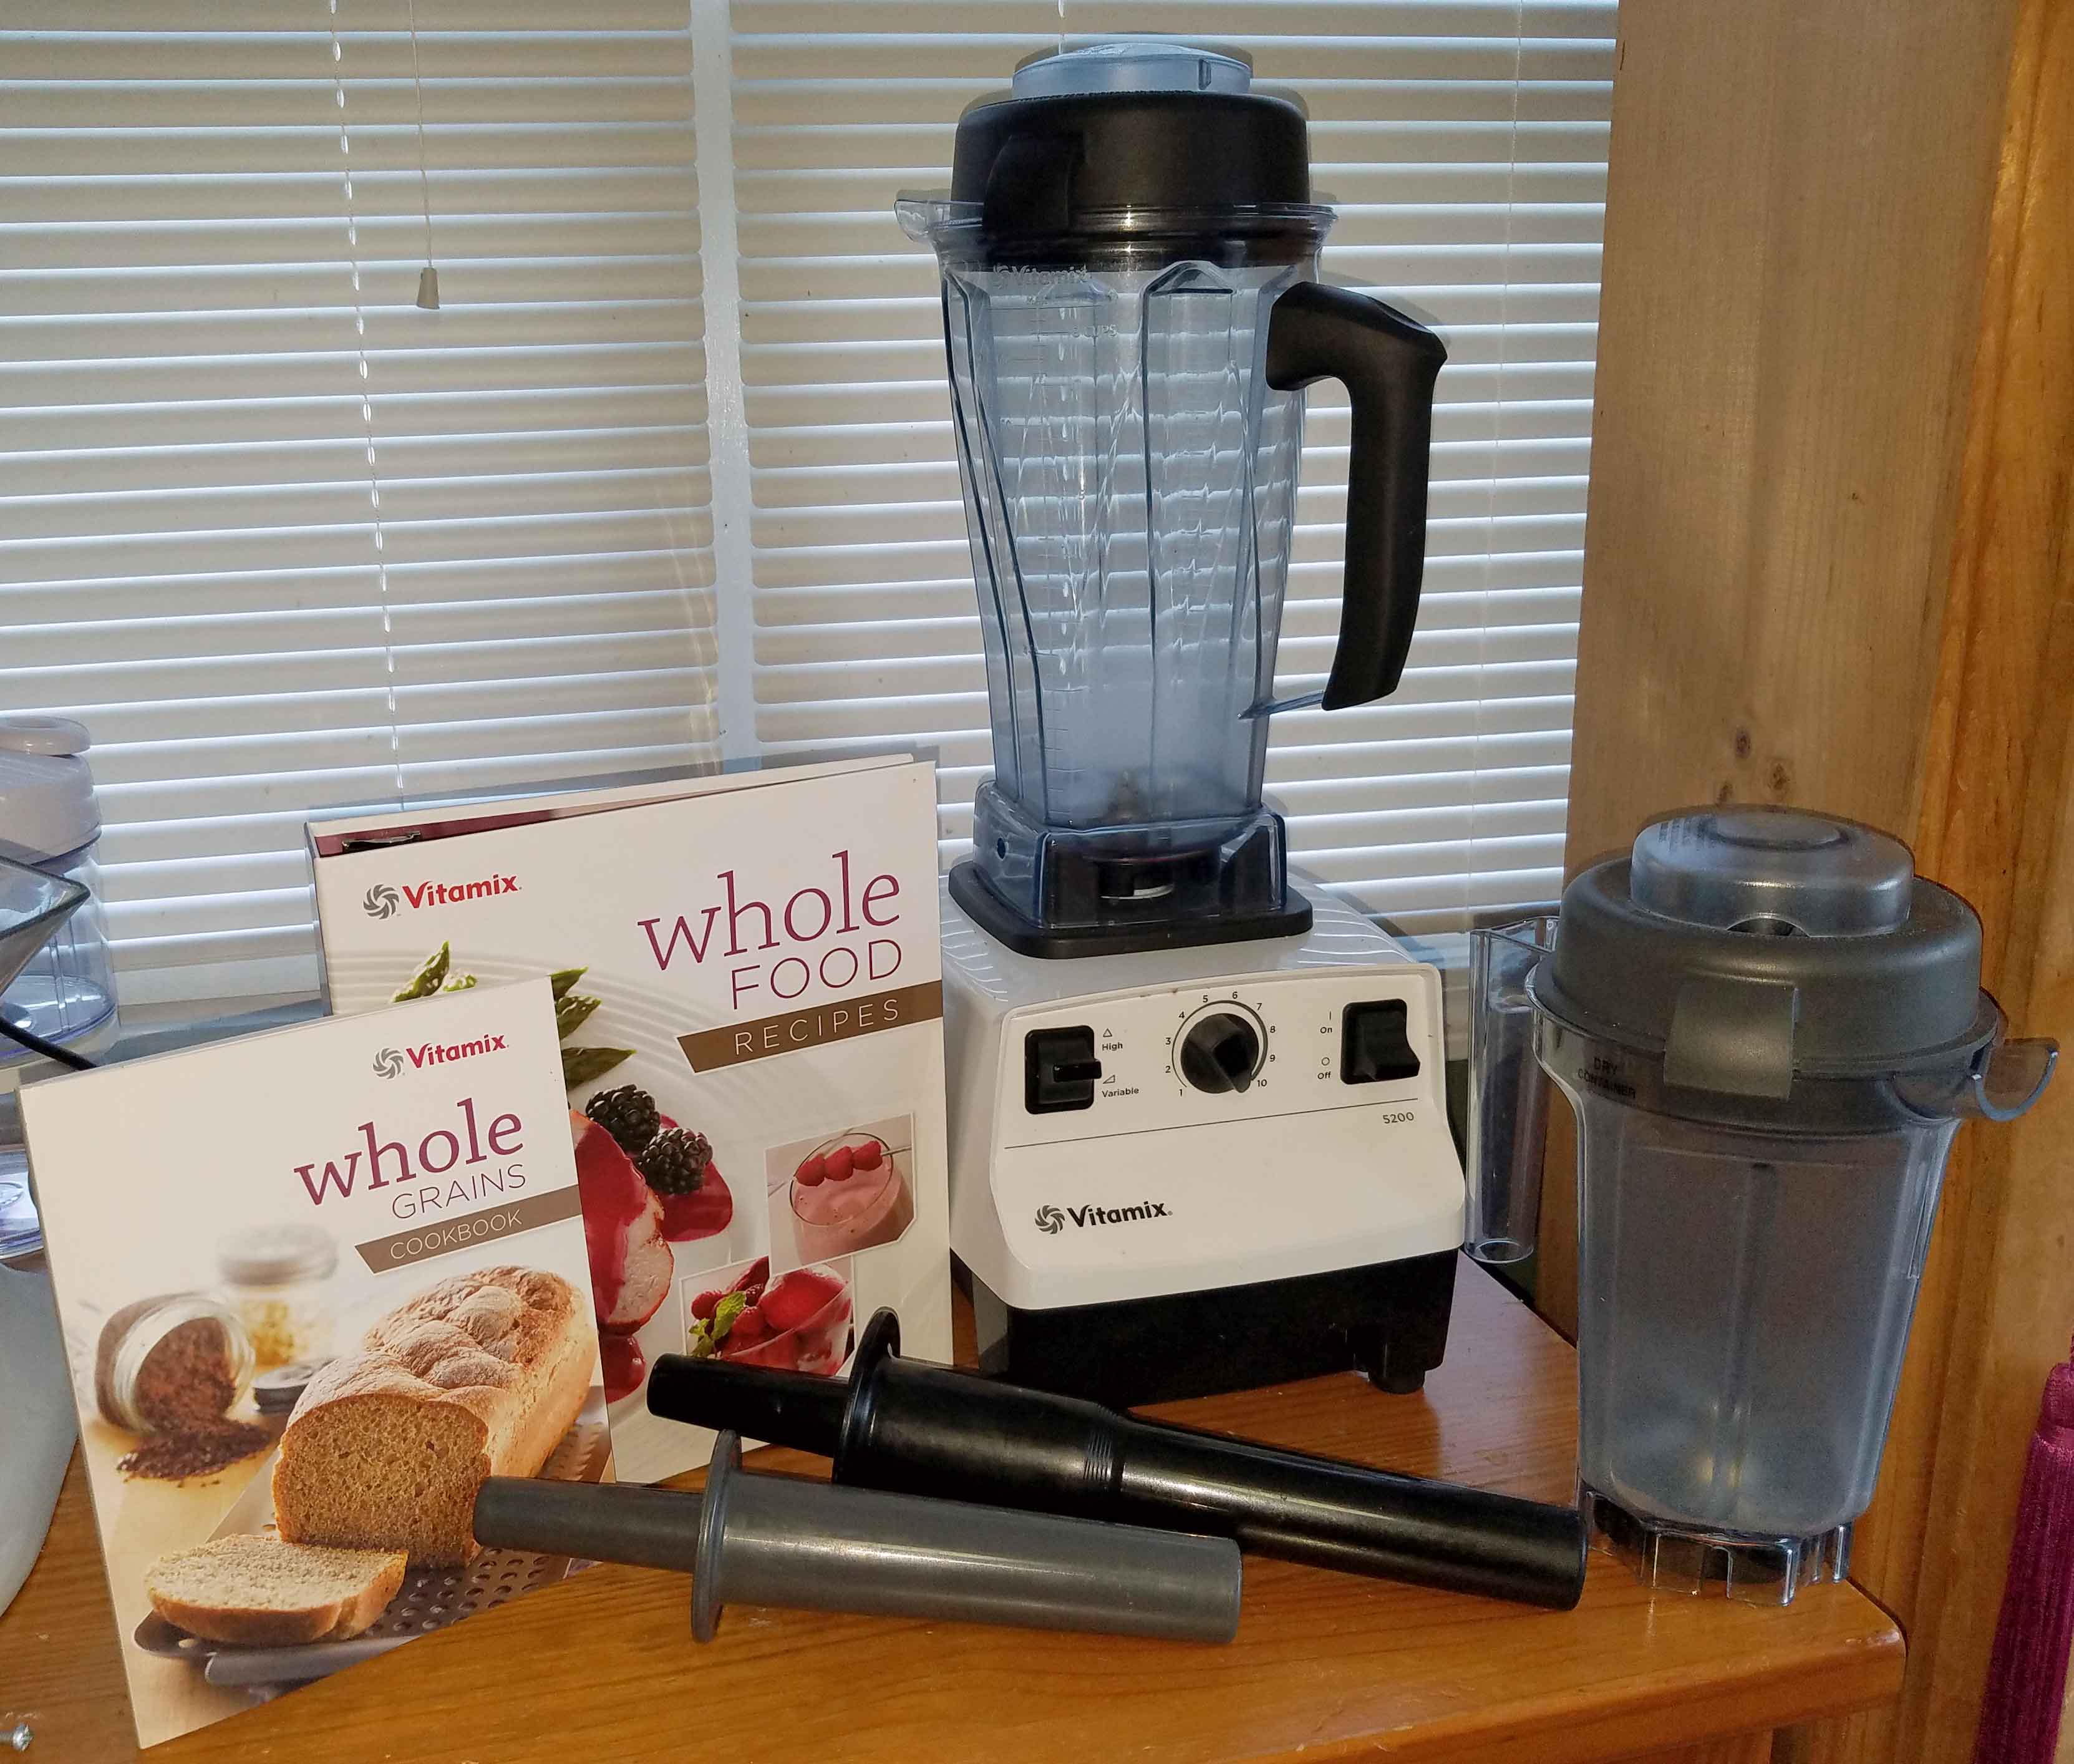
    I’m still in the final throes of planting season. This means that if it’s daylight, I’m pretty much outside, unless I’m too exhausted and/or my legs are in too bad shape to keep going without giving out (long story, some other time), in which case, I’m not cooking stuff either. So you all get to benefit from a product review of my Vitamix blender. I know I discussed my Vitamix in my post on Money, but I wanted to do something more in depth. I purchased the Vitamix 5200 Blender Super Package from Costco (no affiliation, or even a membership) almost three years ago. The package currently includes:

    • Introduction to High Performance Blending book – includes over 60 recipes
    • Whole Grains Cookbook – it does include some gluten-free foods
    • Accelerator tool –  used to assist the blender in processing thicker mixtures
    • 64-oz. wet-blade container with stainless steel hammermill and cutting blades
    • 32-oz. dry-blade container with stainless steel hammermill and cutting blades designed for dry-grinding
    • One 2-part vented lid with measurements for the 64-oz. container – this is the “wet” container
    • One 2-part vented lid with measurements designed for the 32-oz. container – this is the “dry” container for grinding grains, beans, rice and soybeans into fresh flour
    • 7-year warranty

    Mine came with a different book which is the Whole Food Recipe book, which appears to have a lot more recipes than the books that come with the current version of the package.

    As I said in my post on Money, it’s the the one thing that honestly I probably should have bought from day one of food allergy life. If you’ve never used a high performance blender, compared to the $20-30 blender you had in college, or even the $100 Cuisinart that that I killed in a year, this thing is like driving a brand new loaded Porsche after driving a 15 year old Subaru that you had to add two quarts of oil a week, that you could put several fingers through the rust holes without touching the sides of the holes, and that the brakes that were so bad you had to downshift to slow down because the rotors were gone.

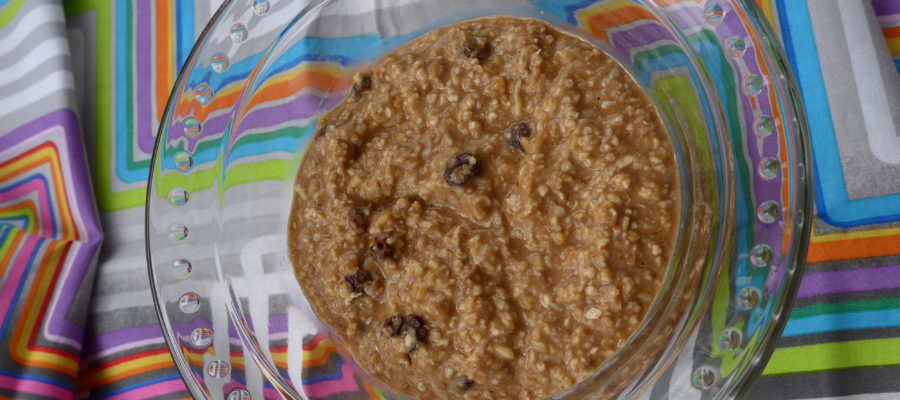
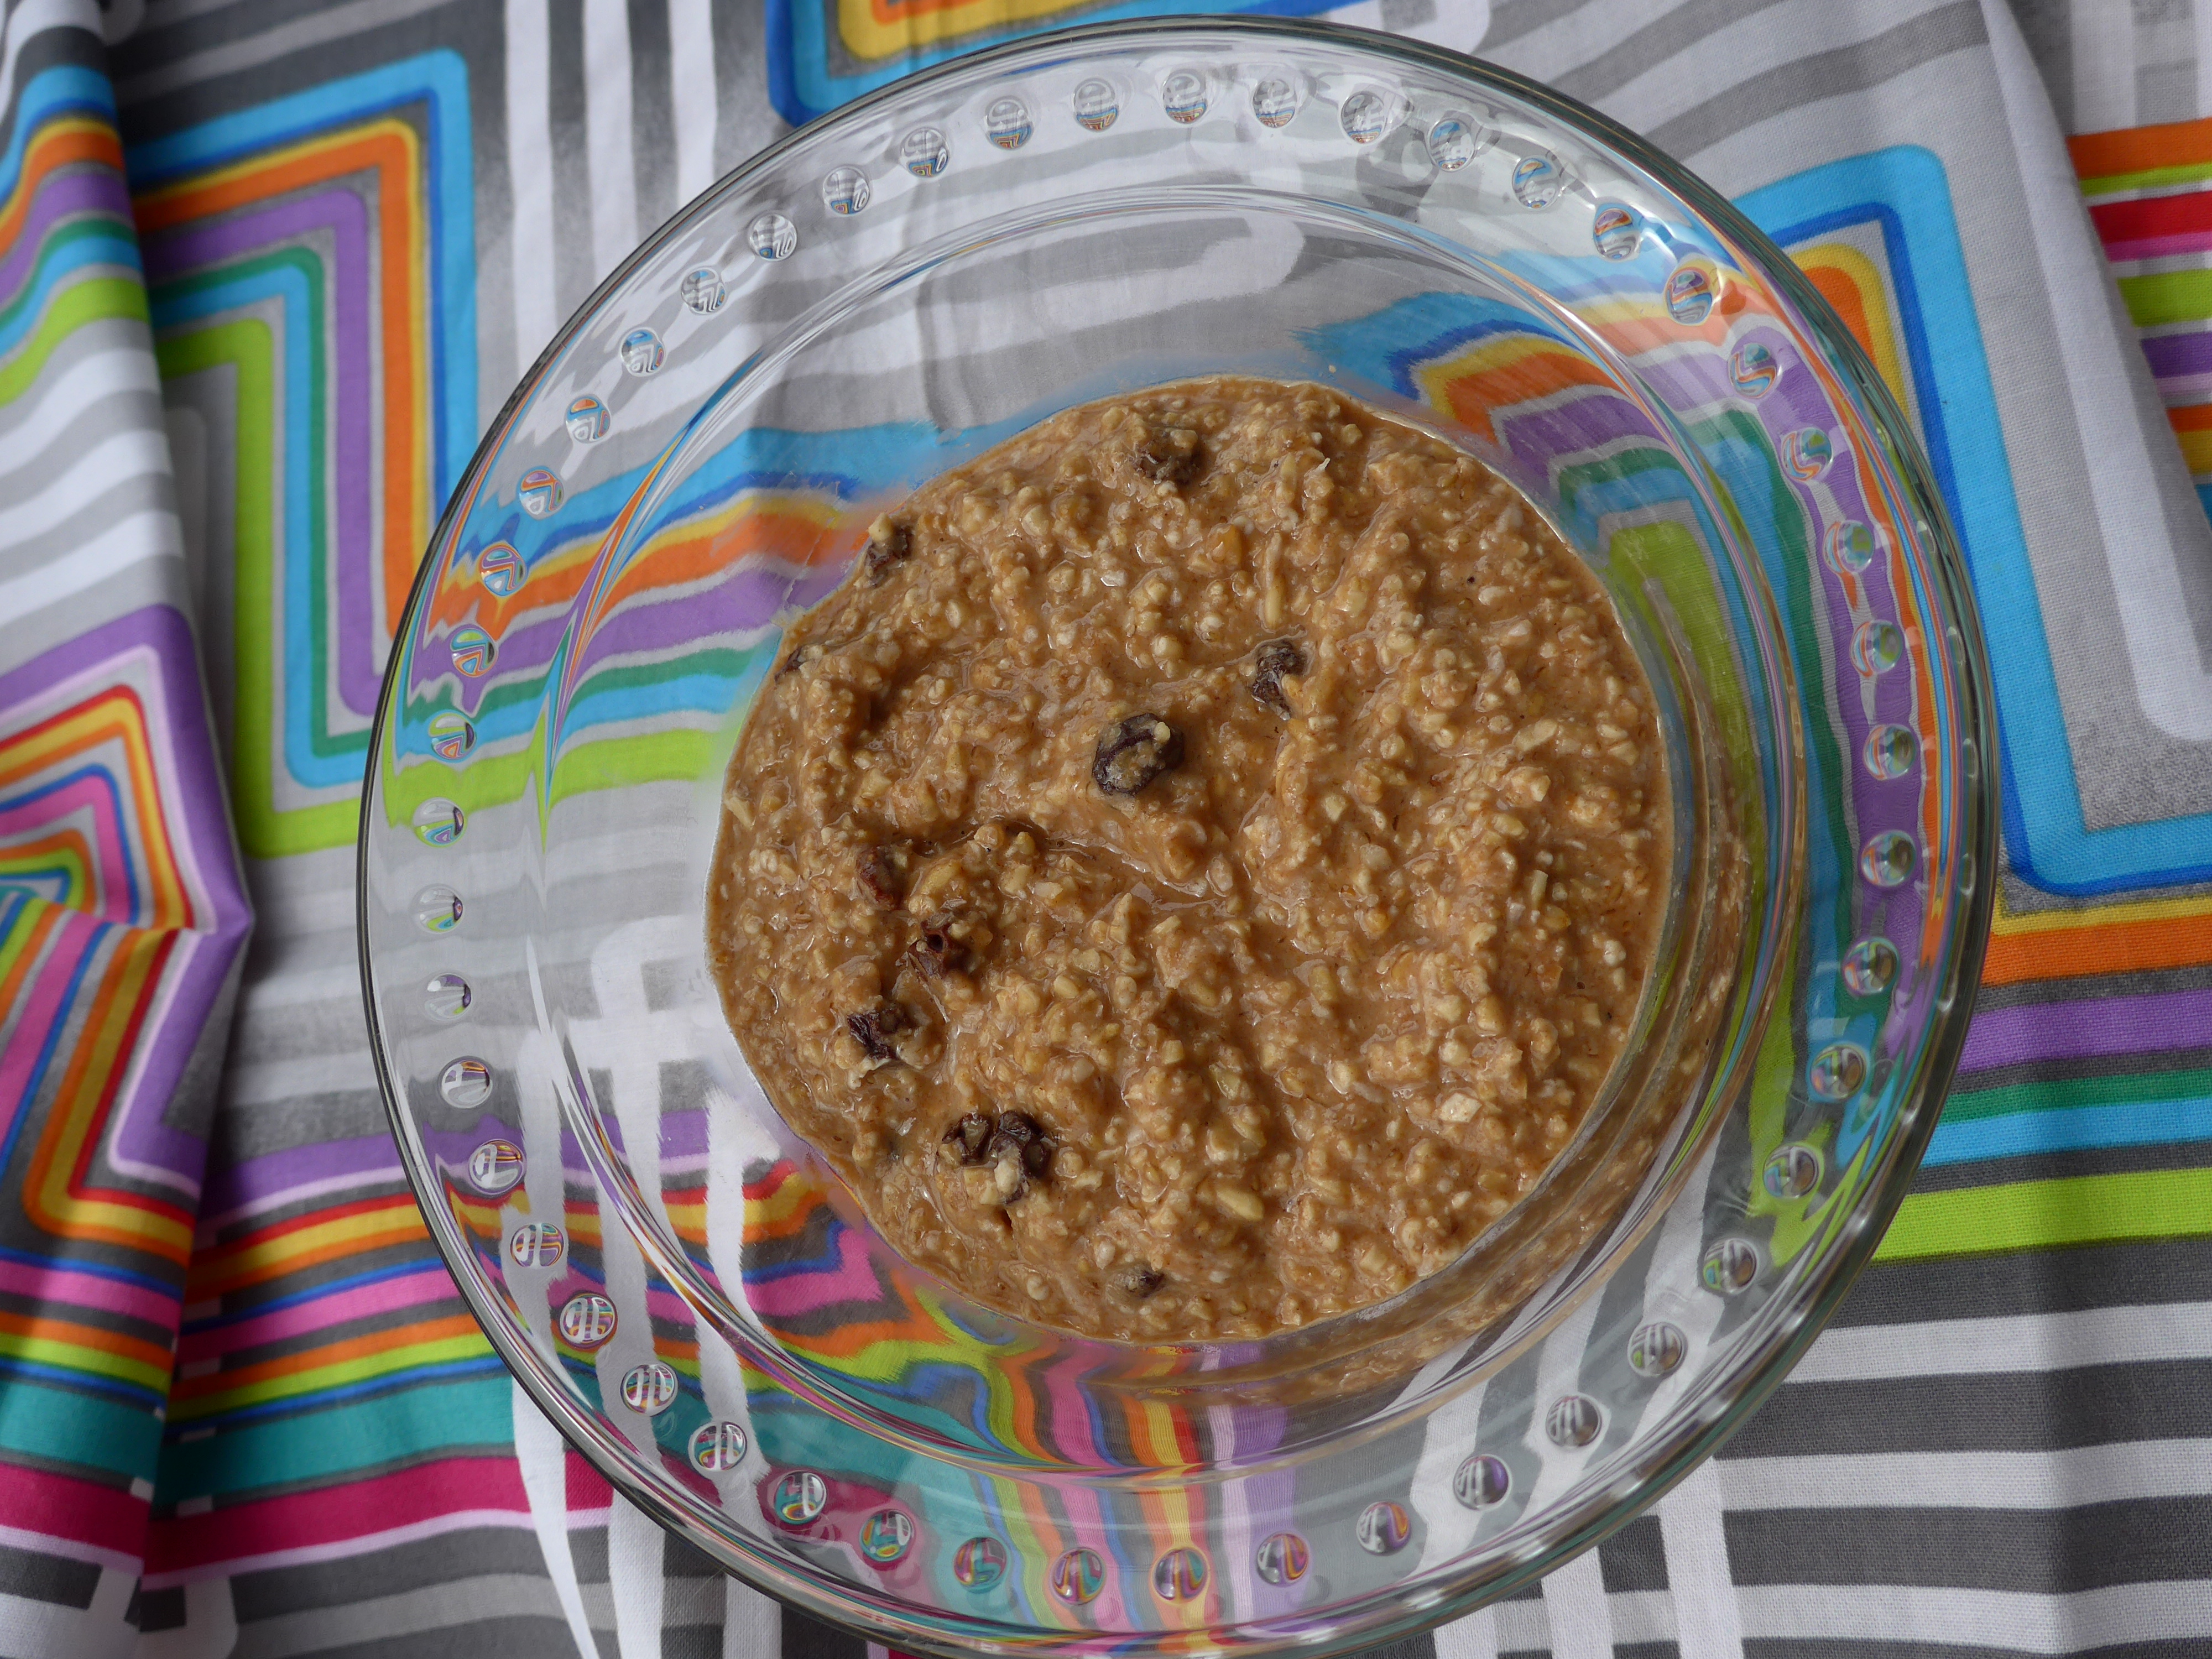
    I use the Vitamix wet container to make cashew milk and I don’t even have to soak or strain any more. I may soak for 20 minutes just to make sure they are clean, but the Vitamix obliterates the cashews so thoroughly that you don’t have to soak them. Same thing with rice milk. Cooked rice and water, and no more straining, the rice is just completely gone into the rice milk. I also use the wet container to make salad dressings. It emulsifies vinaigrette so well that it stays together in the fridge for days with the help of a little mustard (I use my home canned). I use the wet container to make hot sauces, it does an amazing job of pureeing peppers and other ingredients into a beautiful, consistent sauce.  (See Chili Lime Hot Sauce,  Cilantro Lime Green Cayenne Hot SaucePink Grapefruit Sarit Gat Hot Sauce, and Curry Spiced Hot Sauce) I also use the wet container to make batters, such as for deep frying or when I make my “fake eggs” from garbanzo bean flour and black salt. If I use a bowl and a whisk, it takes me forever to get the lumps out. If I just throw everything in the Vitamix for a minute, it’s perfectly blended. I also use the wet container to make fruity drinks from my safe vodka or rum, my homemade jams, and ice. The wet container can almost make blackberry seeds in jam disappear when you put it in a fruity drink. You can also make soup in it, as the blender will heat the contents if processed long enough, although I’ve not tried this feature.

    I use the dry container to make my own flours from dried beans and rice. You can literally throw a cup of dried black beans into the dry container blender, and presto, black bean flour. I use these flours to do gluten free baking. I’ve also used them in cooking, and I’ve used ground soy bean flour to make my own corn free tofu. I also use the dry container to make my own chili powder, curry powder, and garam masala from whole spices and dried chilies. I often toast the whole spices, let them cool and then grind them in the dry container. I also grind my own whole spices into powders as needed. (Powdered spices are often cross contaminated or have anti-caking agents which are a problem.) I often break up cinnamon sticks into pieces and grind the pieces into powder. I also grind my own cumin seed, cardamom, and coriander.  Once my spices are ground, I use the wet container to make my own spice blends. I make my own versions of Montreal steak seasoning, taco seasoning, Greek seasoning, Italian seasoning, and so on. (See Another DIY Spice Blend Round Up: Greek Seasoning, Prime Rib Seasoning, and Italian SeasoningDIY Spice Mix Day: Montreal Steak, Creamy Peppercorn, Singapore, and Full of Flavor Herb Mix,  and Taco Beef for Tacos, Salads, and Nachos)

    I know that there are other high performance blenders out there, but I haven’t used them. If you don’t need to grind your own flour, you might want to choose something not quite so high test.  But that being said, this blender is in my top three for kitchen tools I would bring to a desert island, presuming that the desert island had electricity.

    Let us know if you’ve got suggestions for blenders for our readers in the comments!


  • Morning Glory Overnight Oats

    Morning Glory Overnight Oats

    At the end of last year, I took a very cold trip out to the SeaTac airport area for a writing seminar with Anne Heffron. She walked us through a lot of exercises designed to help us figure out why we would take a very cold trip out to an airport hotel on a Friday night — why we say we want to write and don’t. Why we set ourselves goals and then flounder at them. To figure out what it is that writing means to us.

    A weird and wonderful night, I was really grateful for the long trip back home on the light rail because it let me process enough of that night that I could sleep when I got home. And I’m writing things — not things I want to share with the world, exactly, but I feel like this outlet I’ve been toying with since elementary school actually works for me instead of against me.

    So Anne is doing this wonderful experiment to more fully inhabit her own skin and the life around it. Part of it involved a change of diet. Hey, I know changes of diet. I understand missing things I used to be able to eat easily! She talks often of Morning Glory muffins as a thing that has been left behind. I don’t know, honestly, if Morning Glory muffins are THAT amazing or if they are a well-named food to be brought up again and again. I’ve never had a morning glory muffin. But I looked them up, and the flavor profile sounds pretty good — apples, carrots, coconut, cinnamon. All things I like. And since I’ve been trying to mix up breakfasts lately, I decided to be inspired by Anne’s left behind food and reinvent it a bit — into overnight oats.

    Morning glory oats are oatmeal but with so many different textures and flavors that your mouth and brain don’t get bored. I had everything to make this oatmeal in my house already, though I will admit that I haven’t tried this with rolled oats because I am so bored of them and I’m out and haven’t restocked. Many people with celiac cannot eat oats, so I tried this with quinoa flakes, as well. I think I personally like the steel-cut oats better because of texture, but the added protein from quinoa can’t hurt.

    If you can’t eat one of the many add-in items here, skip it! Make it nut-free by leaving out the walnuts (and coconut, if needed). Make it low FODMAPs by leaving out the applesauce (I think that would be the only thing — but I’m not an expert on FODMAPs). Adjust it however you need to suit you or your family.

    This recipe is written for one hearty serving. Increase as desired. I don’t usually find the glory in morning, but I do like this oatmeal.

    In a clear bowl, light brown porridge with raisin, on a brightly colored backdrop
    Morning Glory oatmeal (if you note that you can’t see the orange of the carrots here, know that the only time I remembered to take photos was the time I left it out.)

    Notice: Trying to access array offset on value of type bool in /home/maryzahc/public_html/adultfoodallergies.com/wp-content/plugins/wp-ultimate-recipe/helpers/models/recipe.php on line 254
    Morning Glory Overnight Oats
    Print Recipe
    Servings Prep Time
    1 serving 10 minutes
    Cook Time Passive Time
    2-5 minutes 8+ hours
    Servings Prep Time
    1 serving 10 minutes
    Cook Time Passive Time
    2-5 minutes 8+ hours
    Morning Glory Overnight Oats
    Print Recipe
    Servings Prep Time
    1 serving 10 minutes
    Cook Time Passive Time
    2-5 minutes 8+ hours
    Servings Prep Time
    1 serving 10 minutes
    Cook Time Passive Time
    2-5 minutes 8+ hours
    Ingredients
    • 1/3 cup gluten-free steel-cut oats* I buy mine from GF Harvest because I trust their purity protocol
    • 2 oz applesauce about half one of those little cups I always keep around for GF baking
    • 3/4 teaspoon cinnamon
    • 1/2 teaspoon vanilla powder optional, but worth seeking out
    • 2 Tablespoons ground walnuts
    • 2 Tablespoons unsweetened shredded coconut
    • 2 Tablespoons raisins
    • 2-3 Tablespoons shredded carrot (just shred a small one and go with it)
    • 1/2 cup non-dairy milk I used flax milk and really liked it.
    Servings: serving
    Instructions
    1. Mix all ingredients together in a heat-proof container of your choice. If you can’t find your shredder, like me, just peel the carrots and then keep peeling the part you want to eat, too. Chop the peeled bits. Put in the fridge overnight.
    2. In the morning, stir and add more milk if needed. Heat and eat. If you’re using the steel-cut oats and want them softer, cook a little longer. If you’ve used rolled oats or quinoa flakes, just heat it.
    Recipe Notes

    *I’m gluten-intolerant & pretty sensitive, but I can tolerate most certified gf oats. I’ve used steel-cut purity protocol oats here, but you could substitute rolled oats or quinoa flakes for a different texture.

    Share this Recipe
     
    Powered byWP Ultimate Recipe