Last week we said we’re heading in new directions with the blog. Besides the actual recipes, we said we’re going to talk about every day life issues, including how we cook, plan, and deal with personal care stuff, besides just giving you recipes. So this post is my first swing at bat. I’ve contemplating writing it for a couple of years, but I hadn’t done so because it makes me squeamish, and I just hadn’t wanted to share my own personal hell with the world. But maybe it’ll help someone else out there who is facing the same issues I do. To start, it’s just really not fun to have contact reactions to commercial feminine monthly supplies. Most of the issue for me appears to stem from my corn allergy, but it could also be related to my coconut allergy. So what do you do? There’s some other options out there, like the diva cup, but that would not be my thing (yeah, that’s putting it diplomatically). There’s some 100% organic cotton tampons without an applicator I could try, but I wasn’t a tampon user before and I’d prefer not. (Applicators are an issue due to the potential for corn or coconut in the waxes and coatings if cardboard, or the plastics themselves if not.) There’s also some organic cotton pads out there but they also state they have “plant-based” materials in the waterproof backing. While I haven’t contacted the company to inquire, “plant-based” is usually a screaming red flag for corn. Since I think they’re expensive, and I’m cheap as hell about stuff I’m going to throw out, I haven’t bothered. So I ended up looking into reusable cloth pad options.
You can buy reusuable cloth pads on Etsy and on the internet. Some people do use reusable cloth pads because of the environment, much like some parents choose to use cloth diapers. I really was not aware this was a thing until I developed my issues. However, because some of the materials being used are not particularly safe for me (polyester and microfibers may cause skin reactions), because I can sew even though I pretty much hate it, and because I’m really cheap, I decided that if I made mine I would be in control of the materials and it would be less expensive per pad. Control was always a big issue for me, and the food allergies have made it much worse, haha!
The first set of pads I made contained Zorb as the absorbent lining, which is made of “an optimum blend of cellulosic fibers from cotton/tencel/bamboo/other interspersed with polyester nylon.” I chose it because it’s supposed to be super absorbent compared to terry cloth, I was freaking out about not using commercial pads and worried about leaks, and I figured that it would be okay because I was encasing it in 100% pure cotton flannel. But over time, I became more concerned about the fibers working through the flannel fabric as they got itchier, and potentially escaping where seam edges opened after some wear and washing. I used them for about two years before I decided that I needed to replace them. I decided that in the next round, I would not use the Zorb, and I would use 100% cotton terry cloth layers as the core. I did use a layer of Polyurethane Laminate on top of the bottom layer of flannel under the core to prevent leaking in the first batch of pads, but since this is a smooth fabric and does not contain loose fibers the way the Zorb does and it would be covered by the 100% cotton flannel, I decided it was an acceptable risk for the second batch as well. So far, I am much preferring the second batch I made with the terry cloth cores rather than the Zorb. They seem much less itchy.
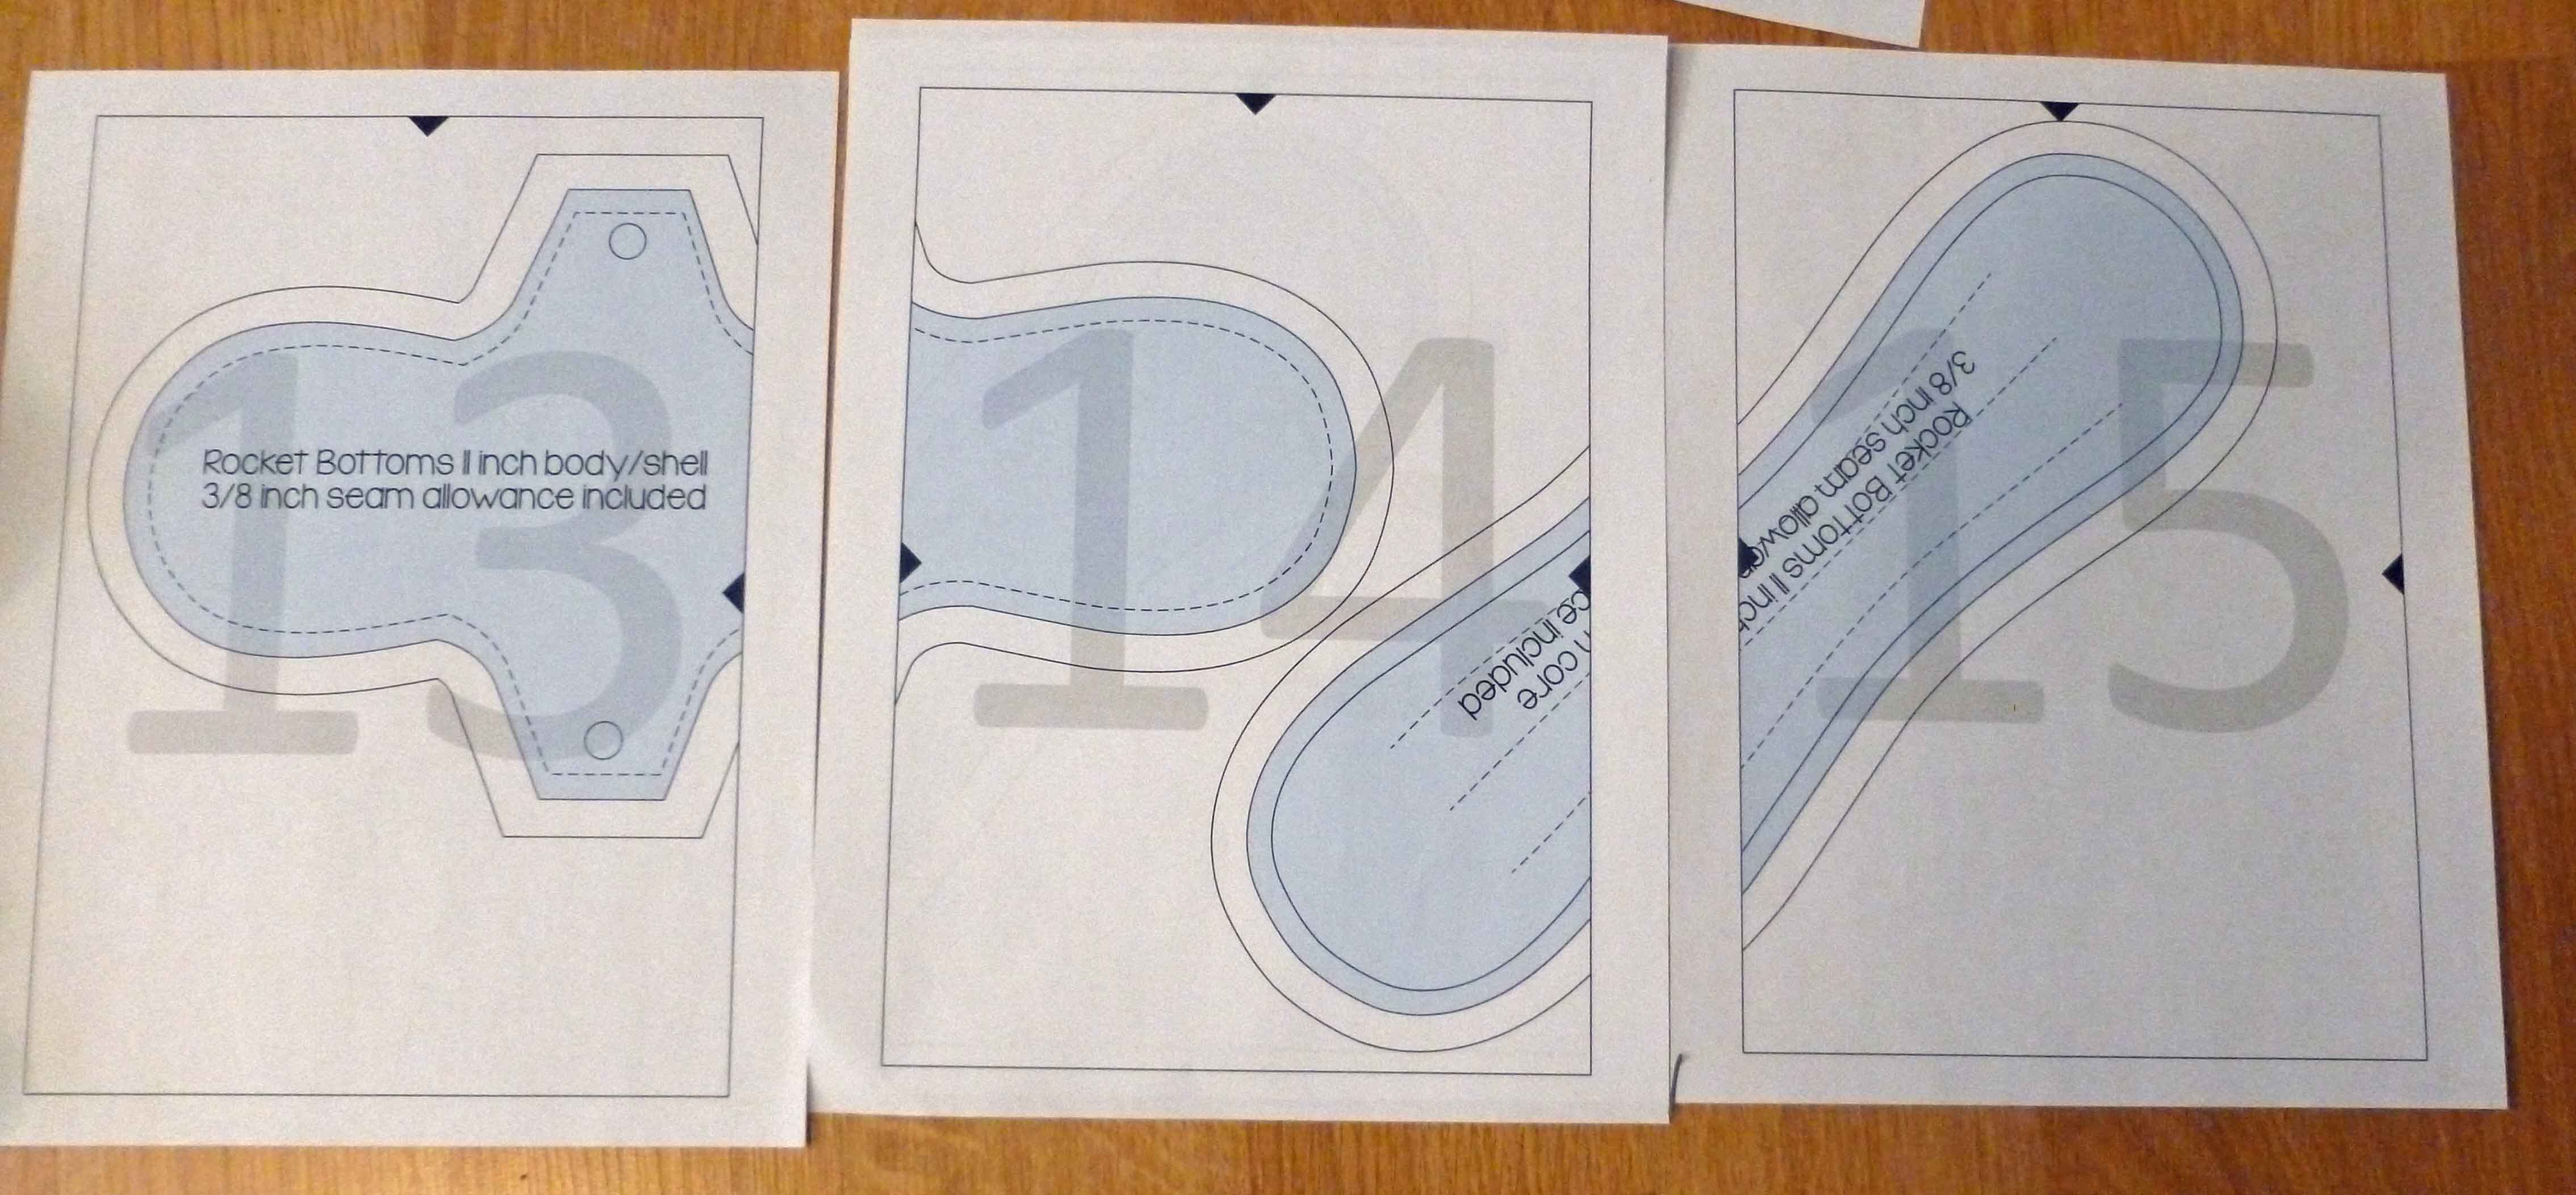
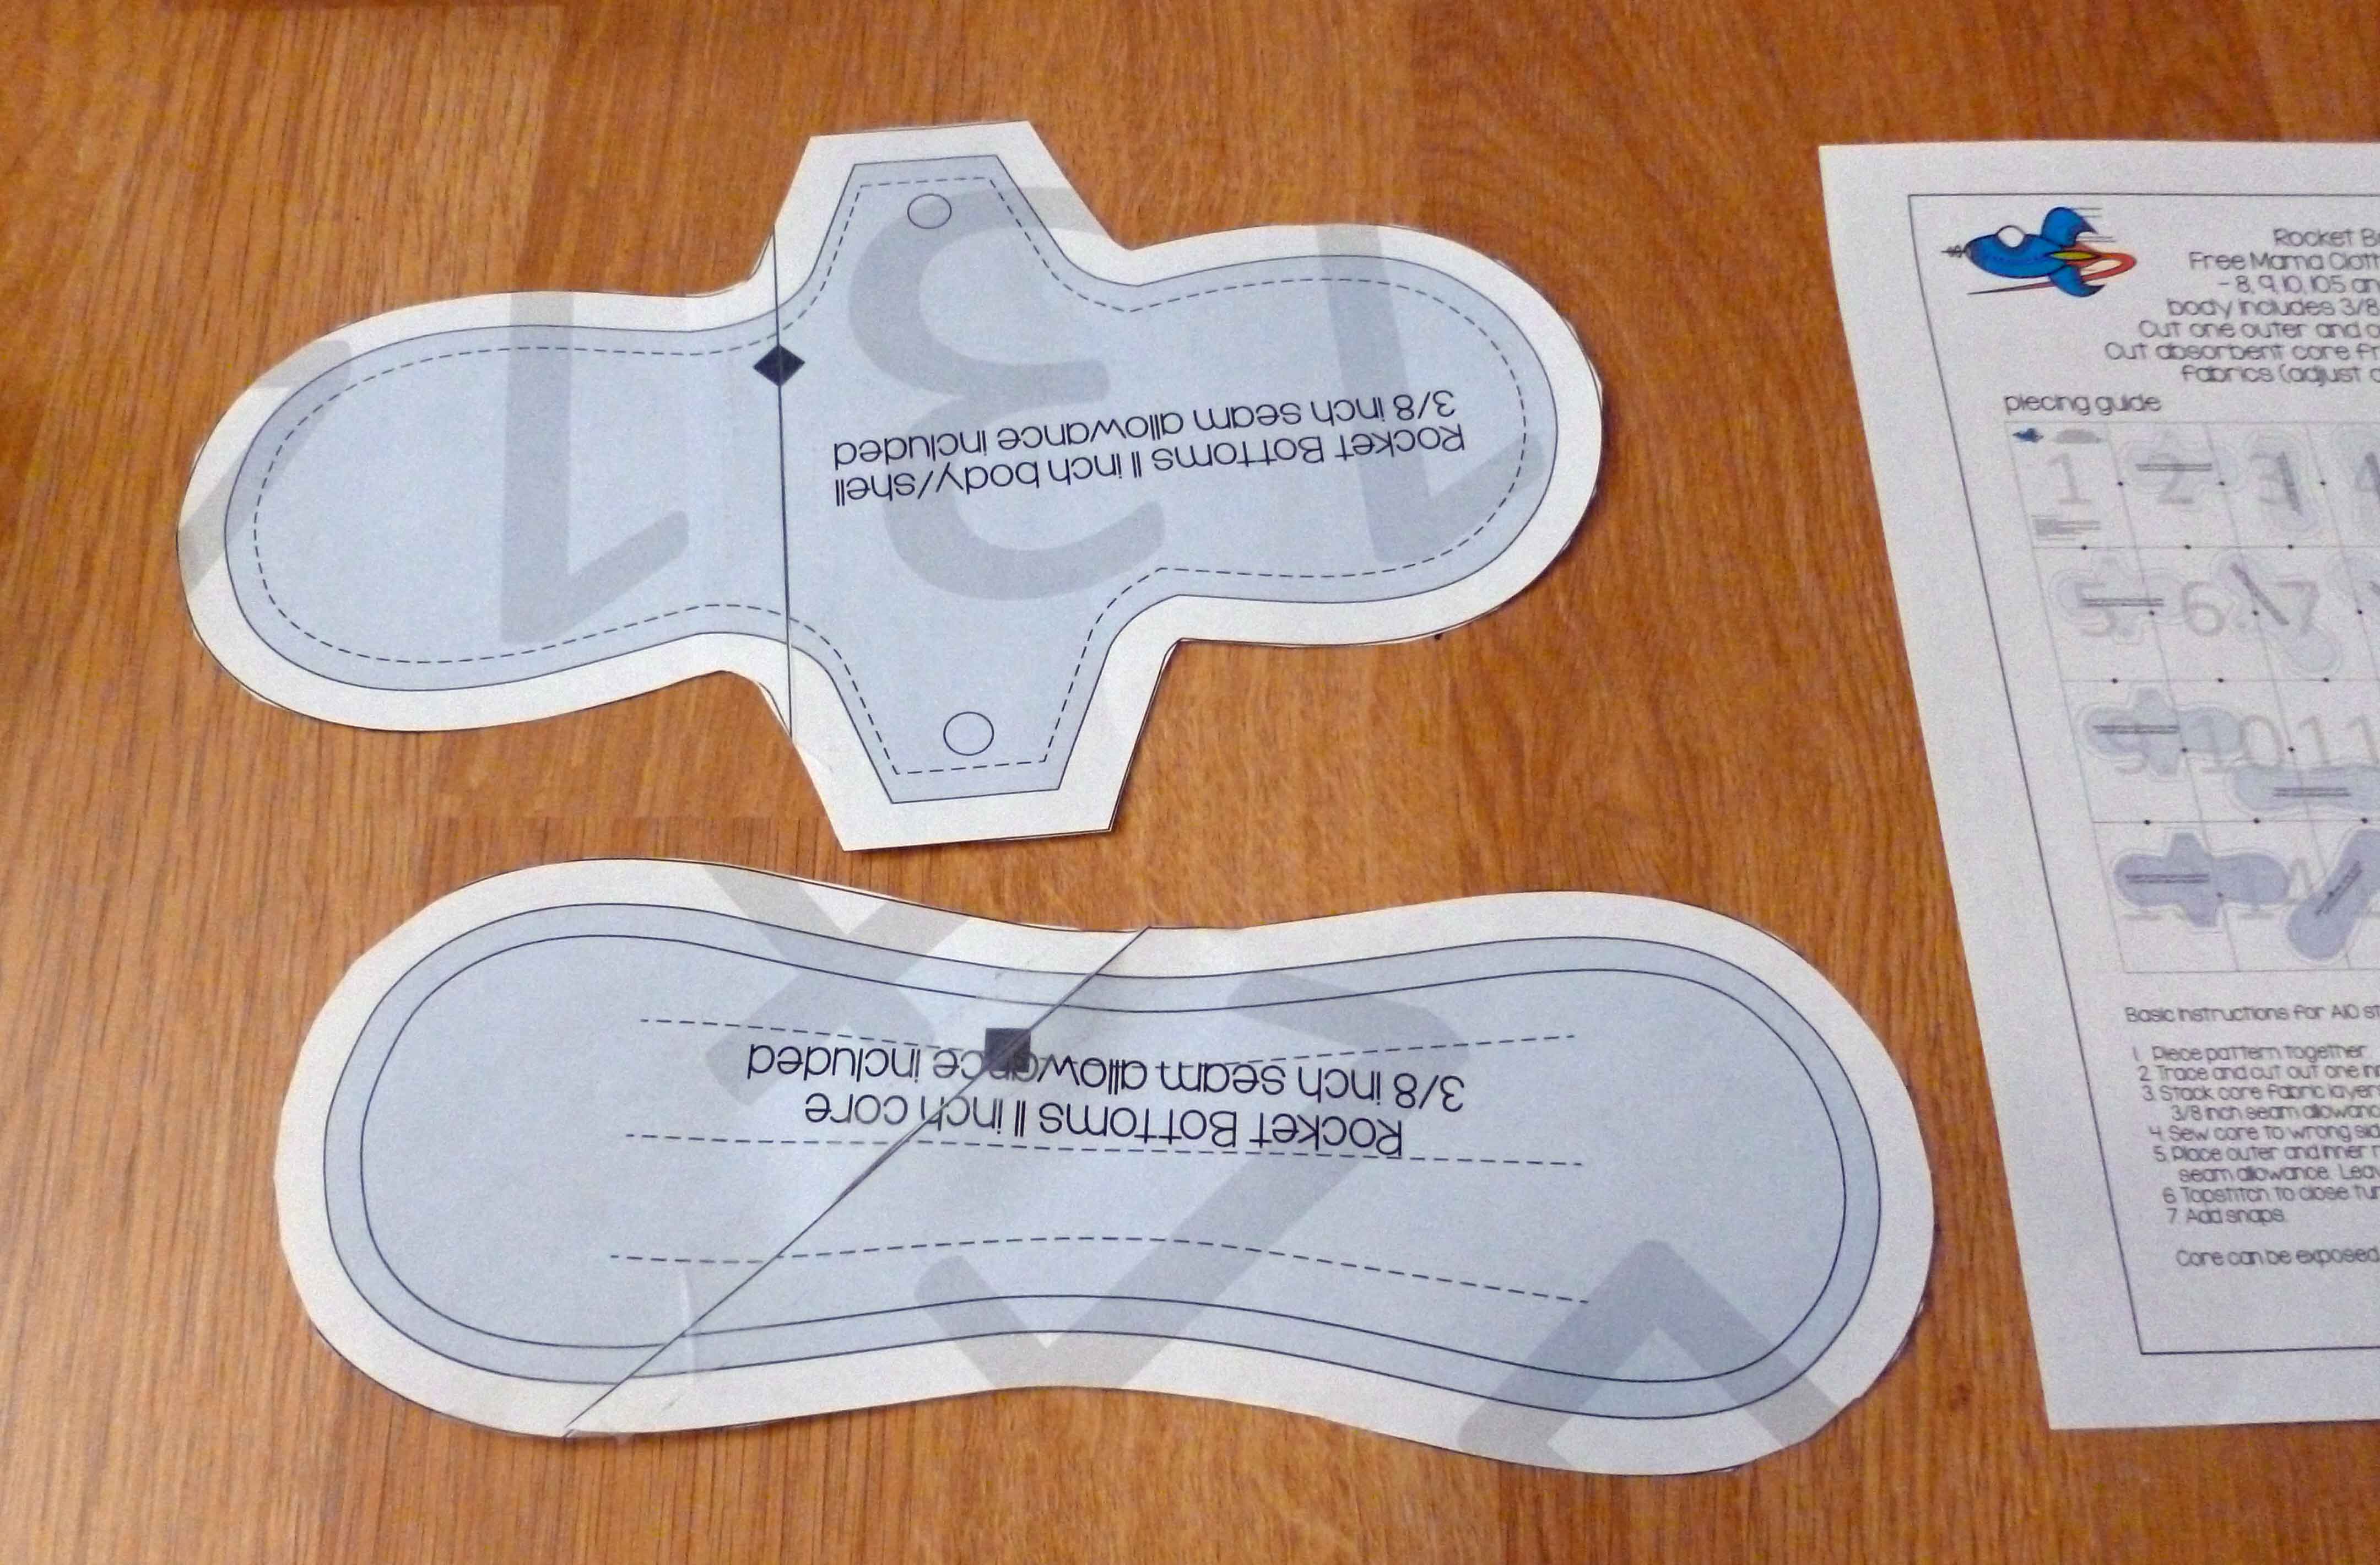
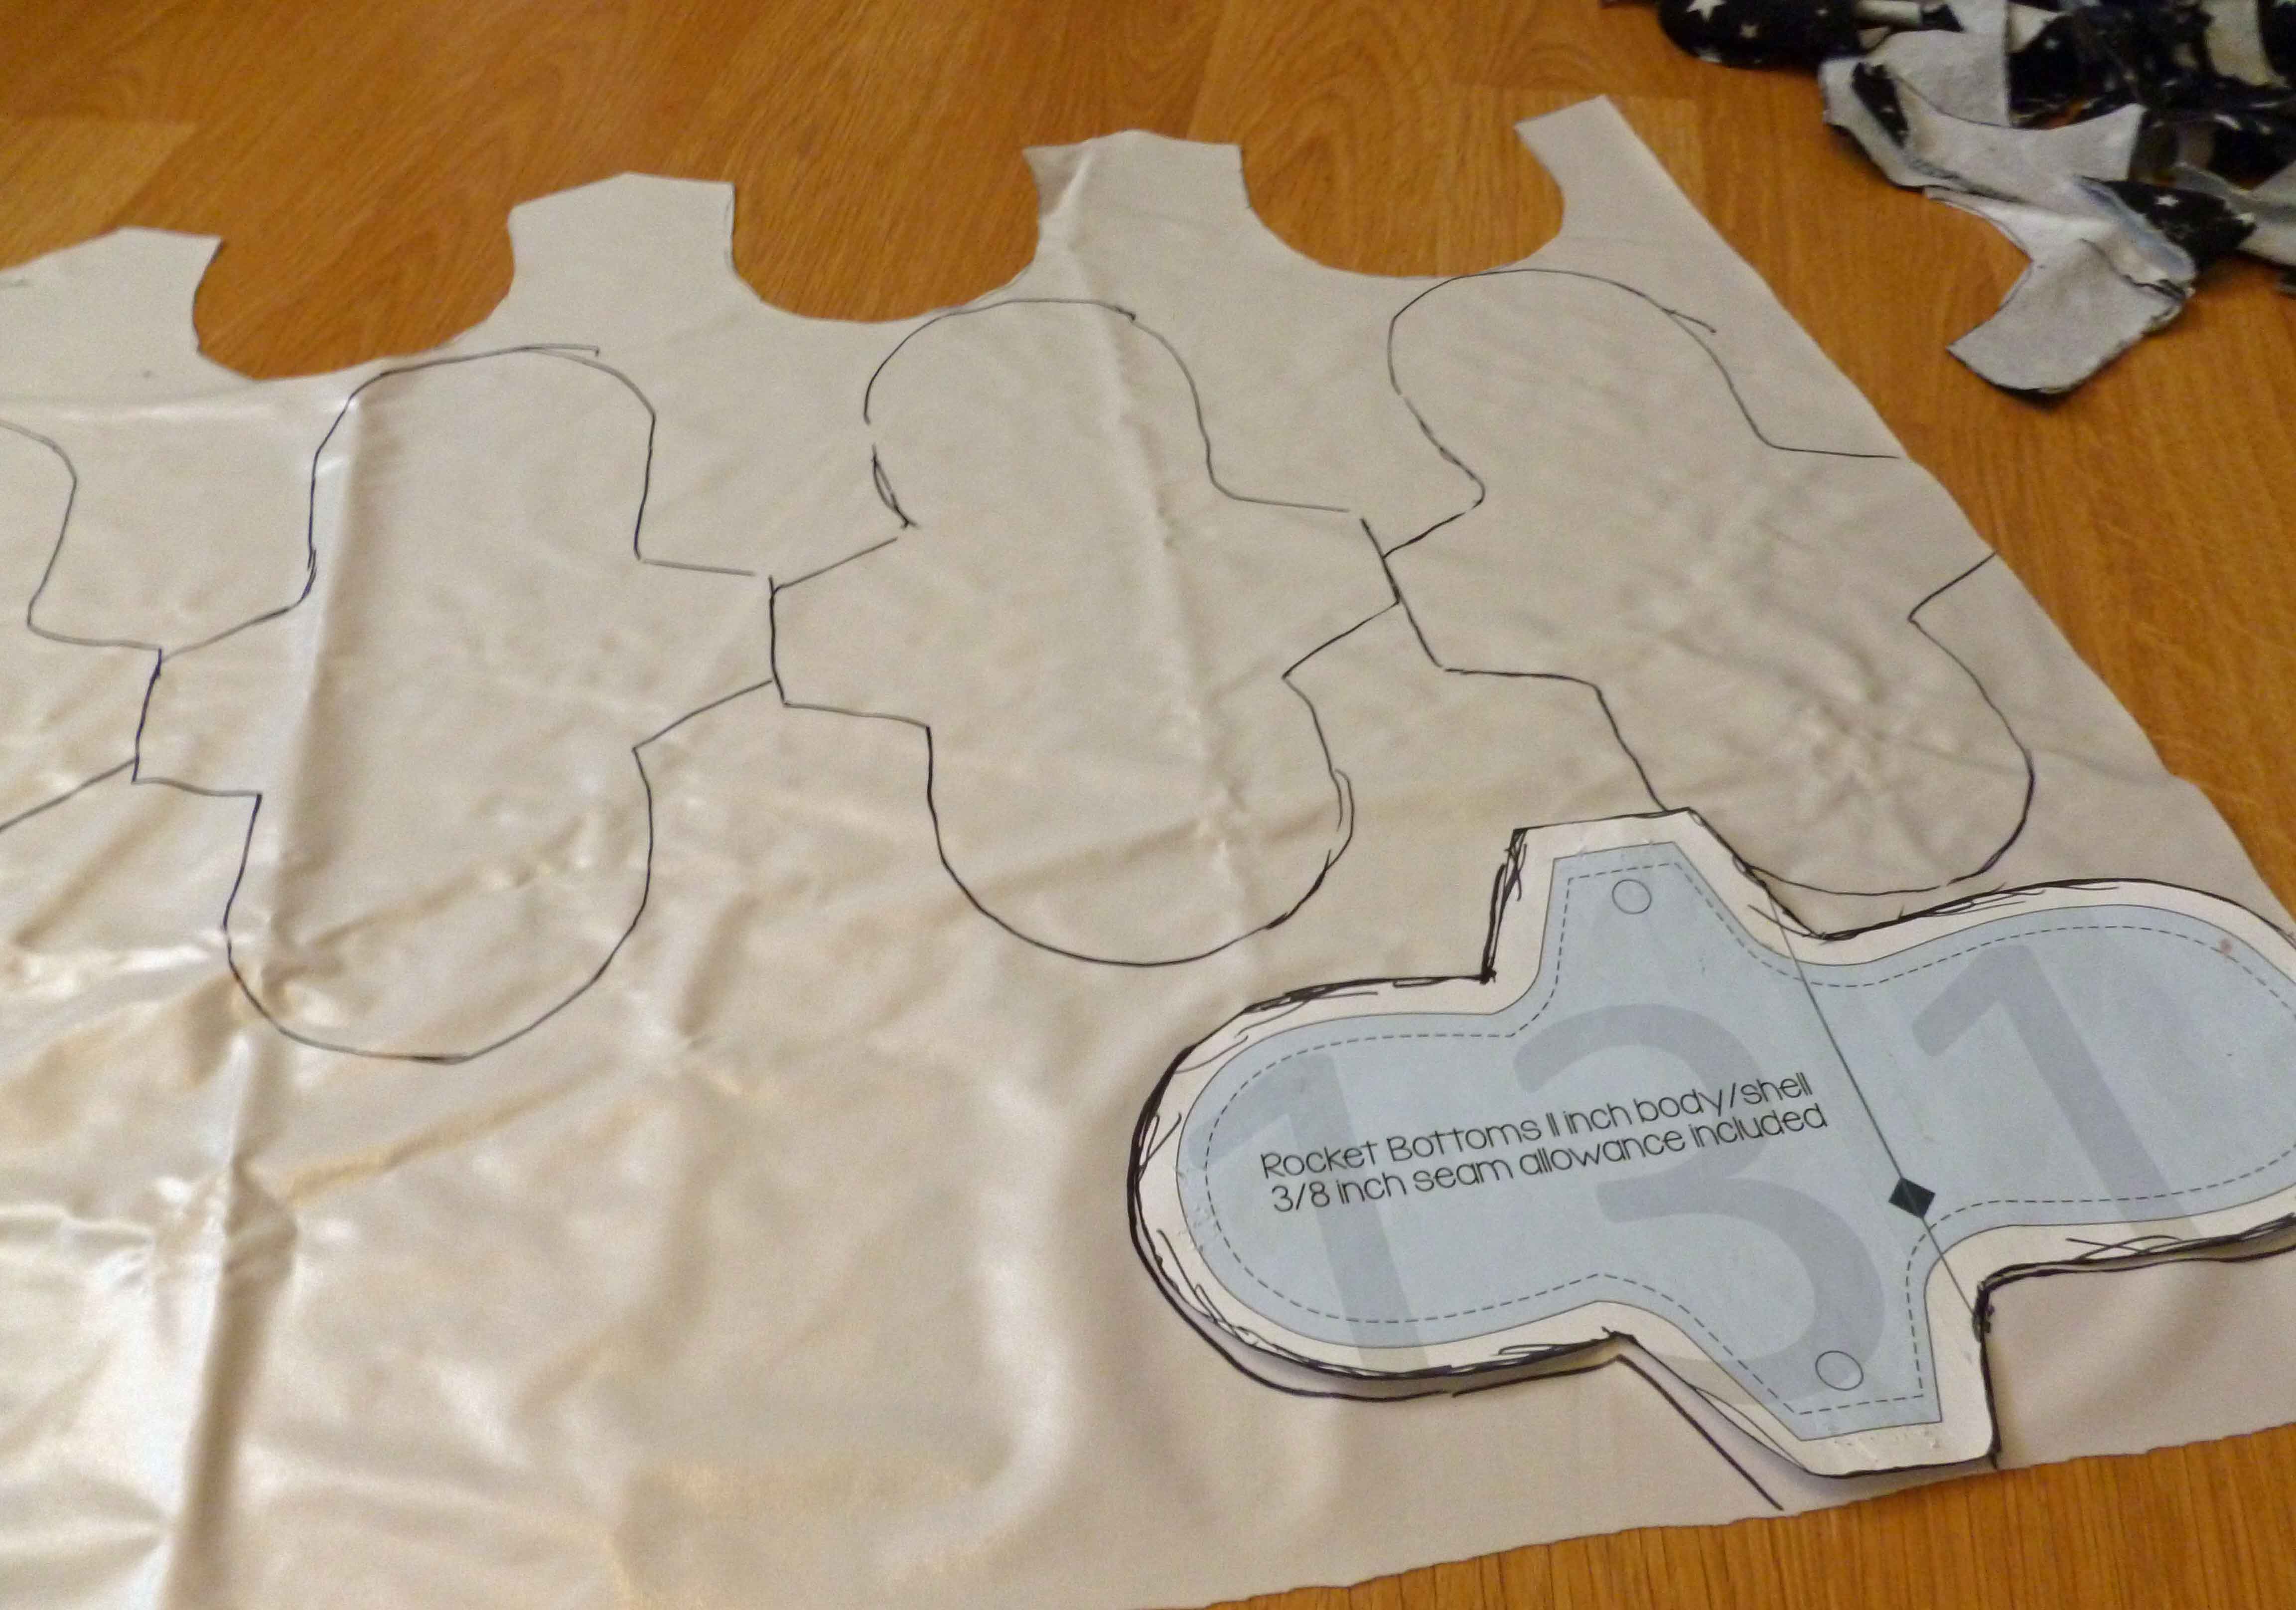
I got my pattern from Nature’s Fabrics. It is a pattern for a pad with wings, and has contoured flared options and several options for the length of the pad.
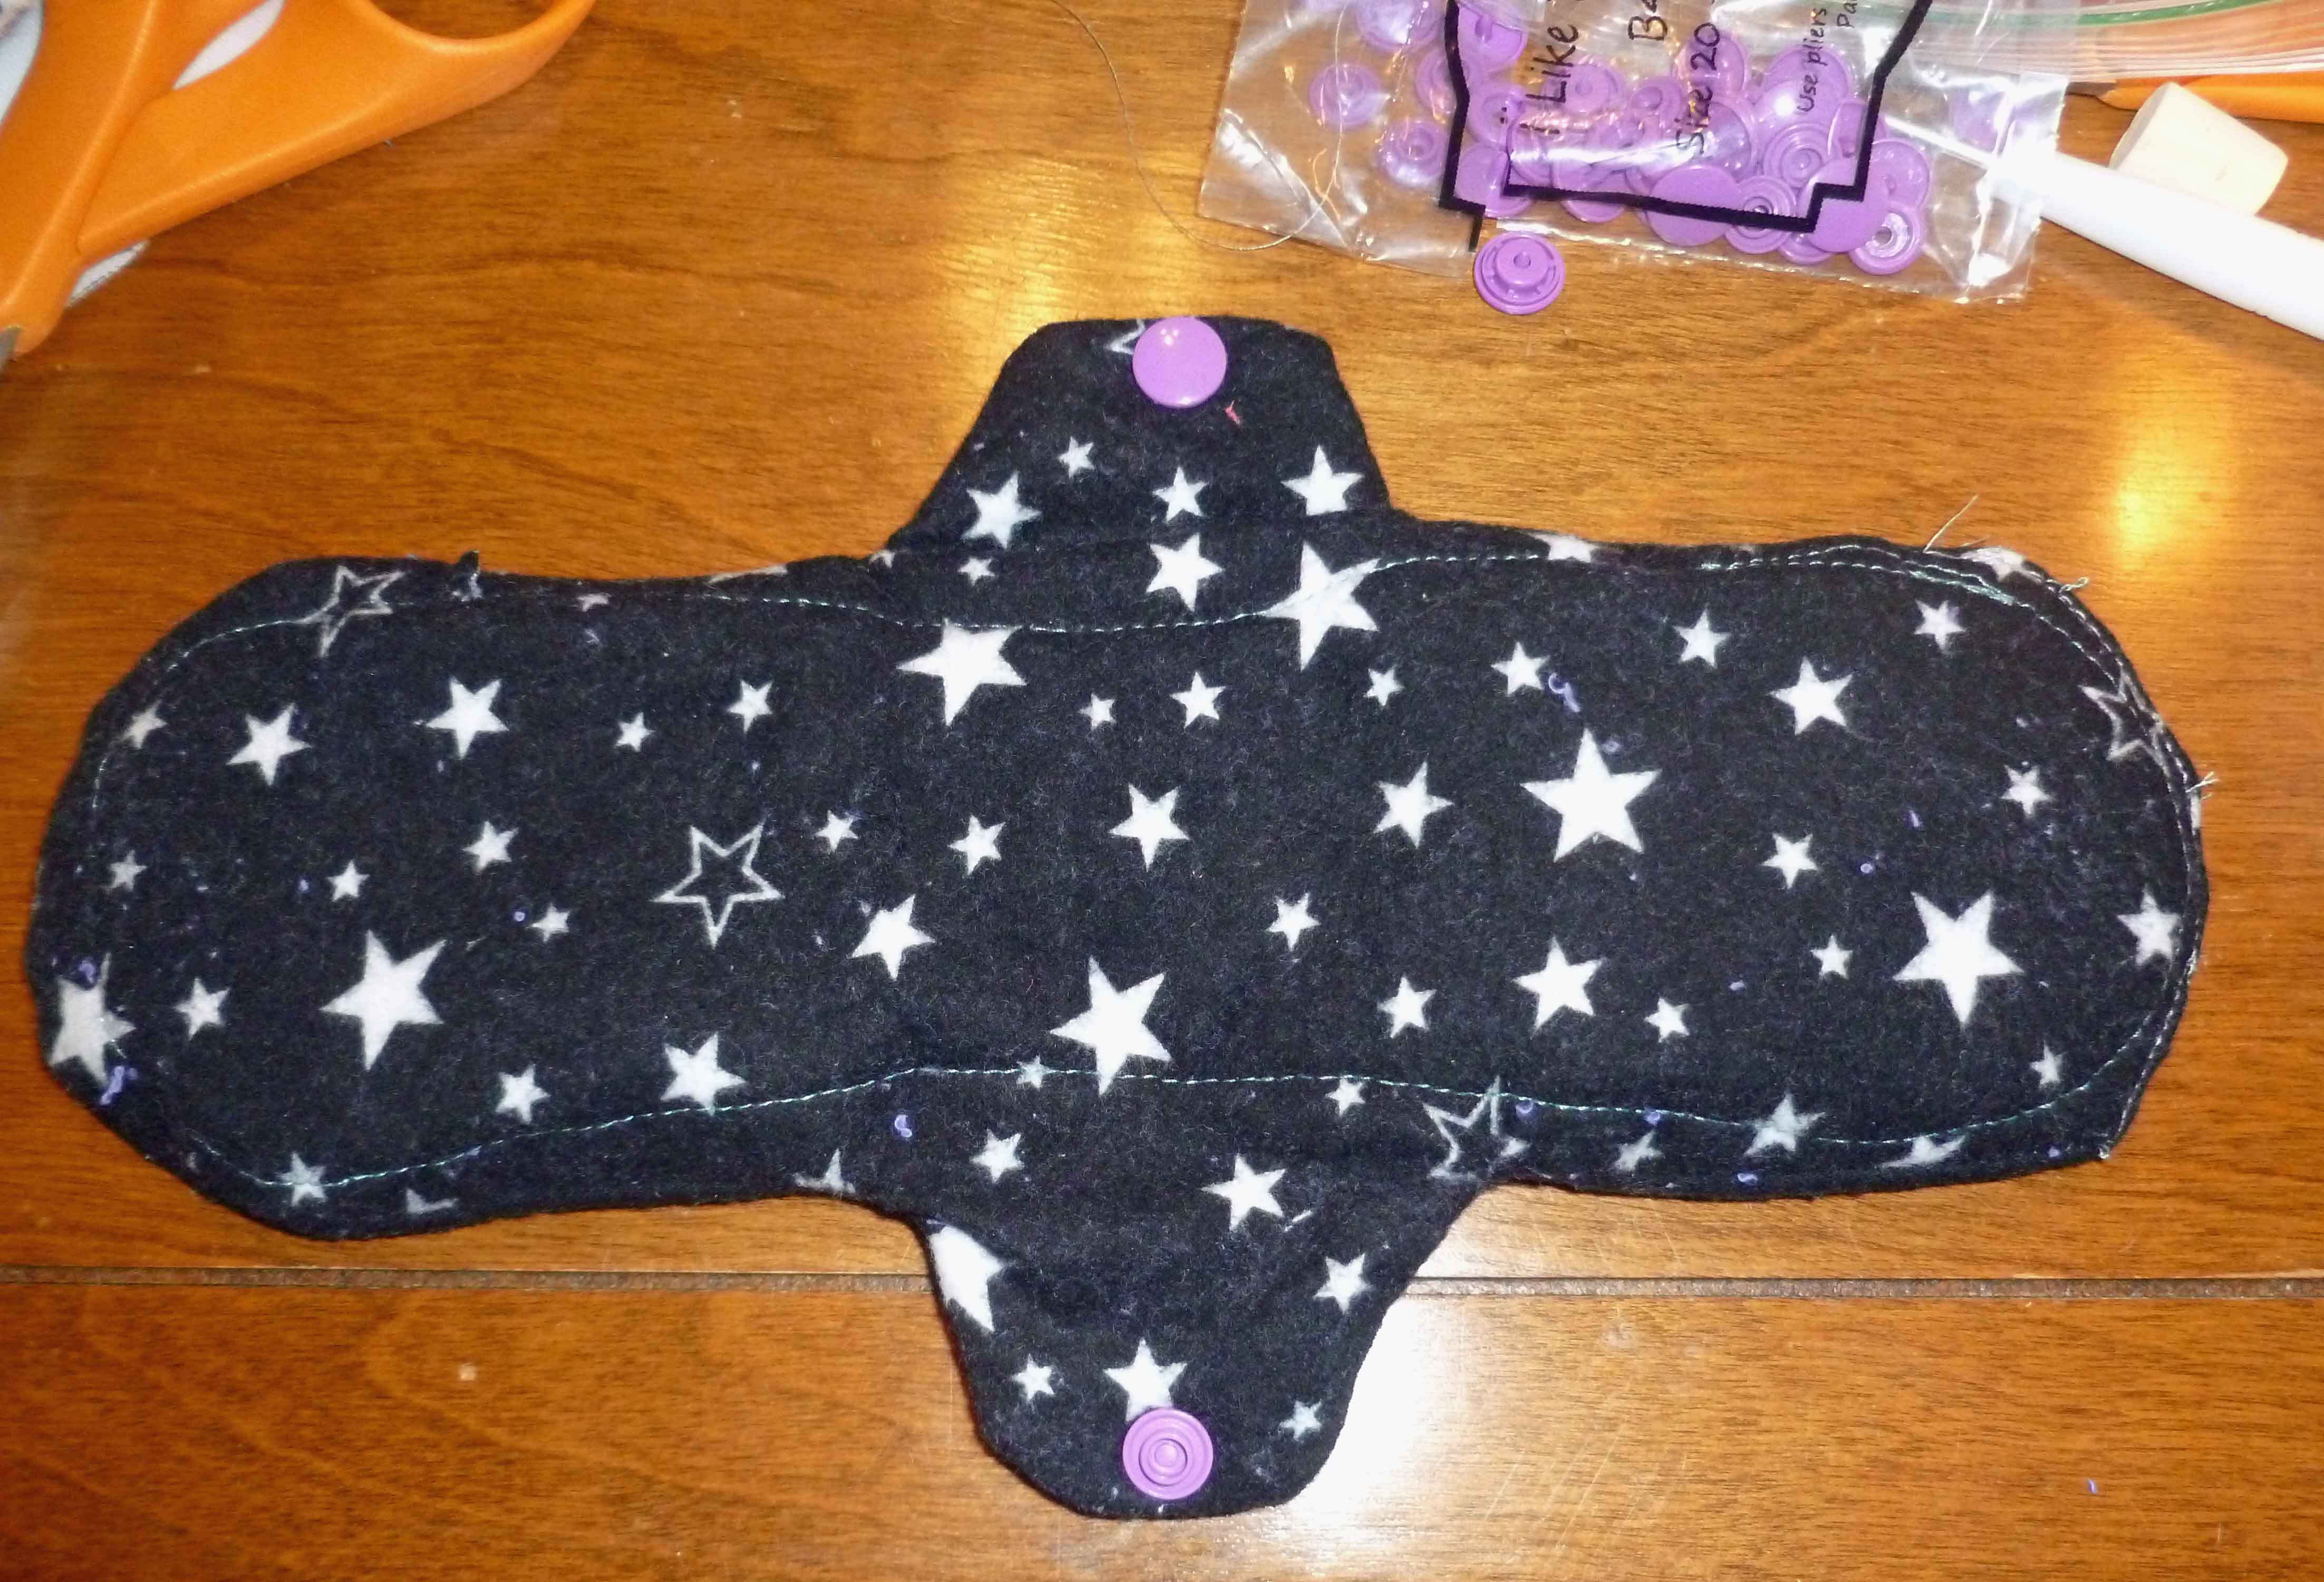
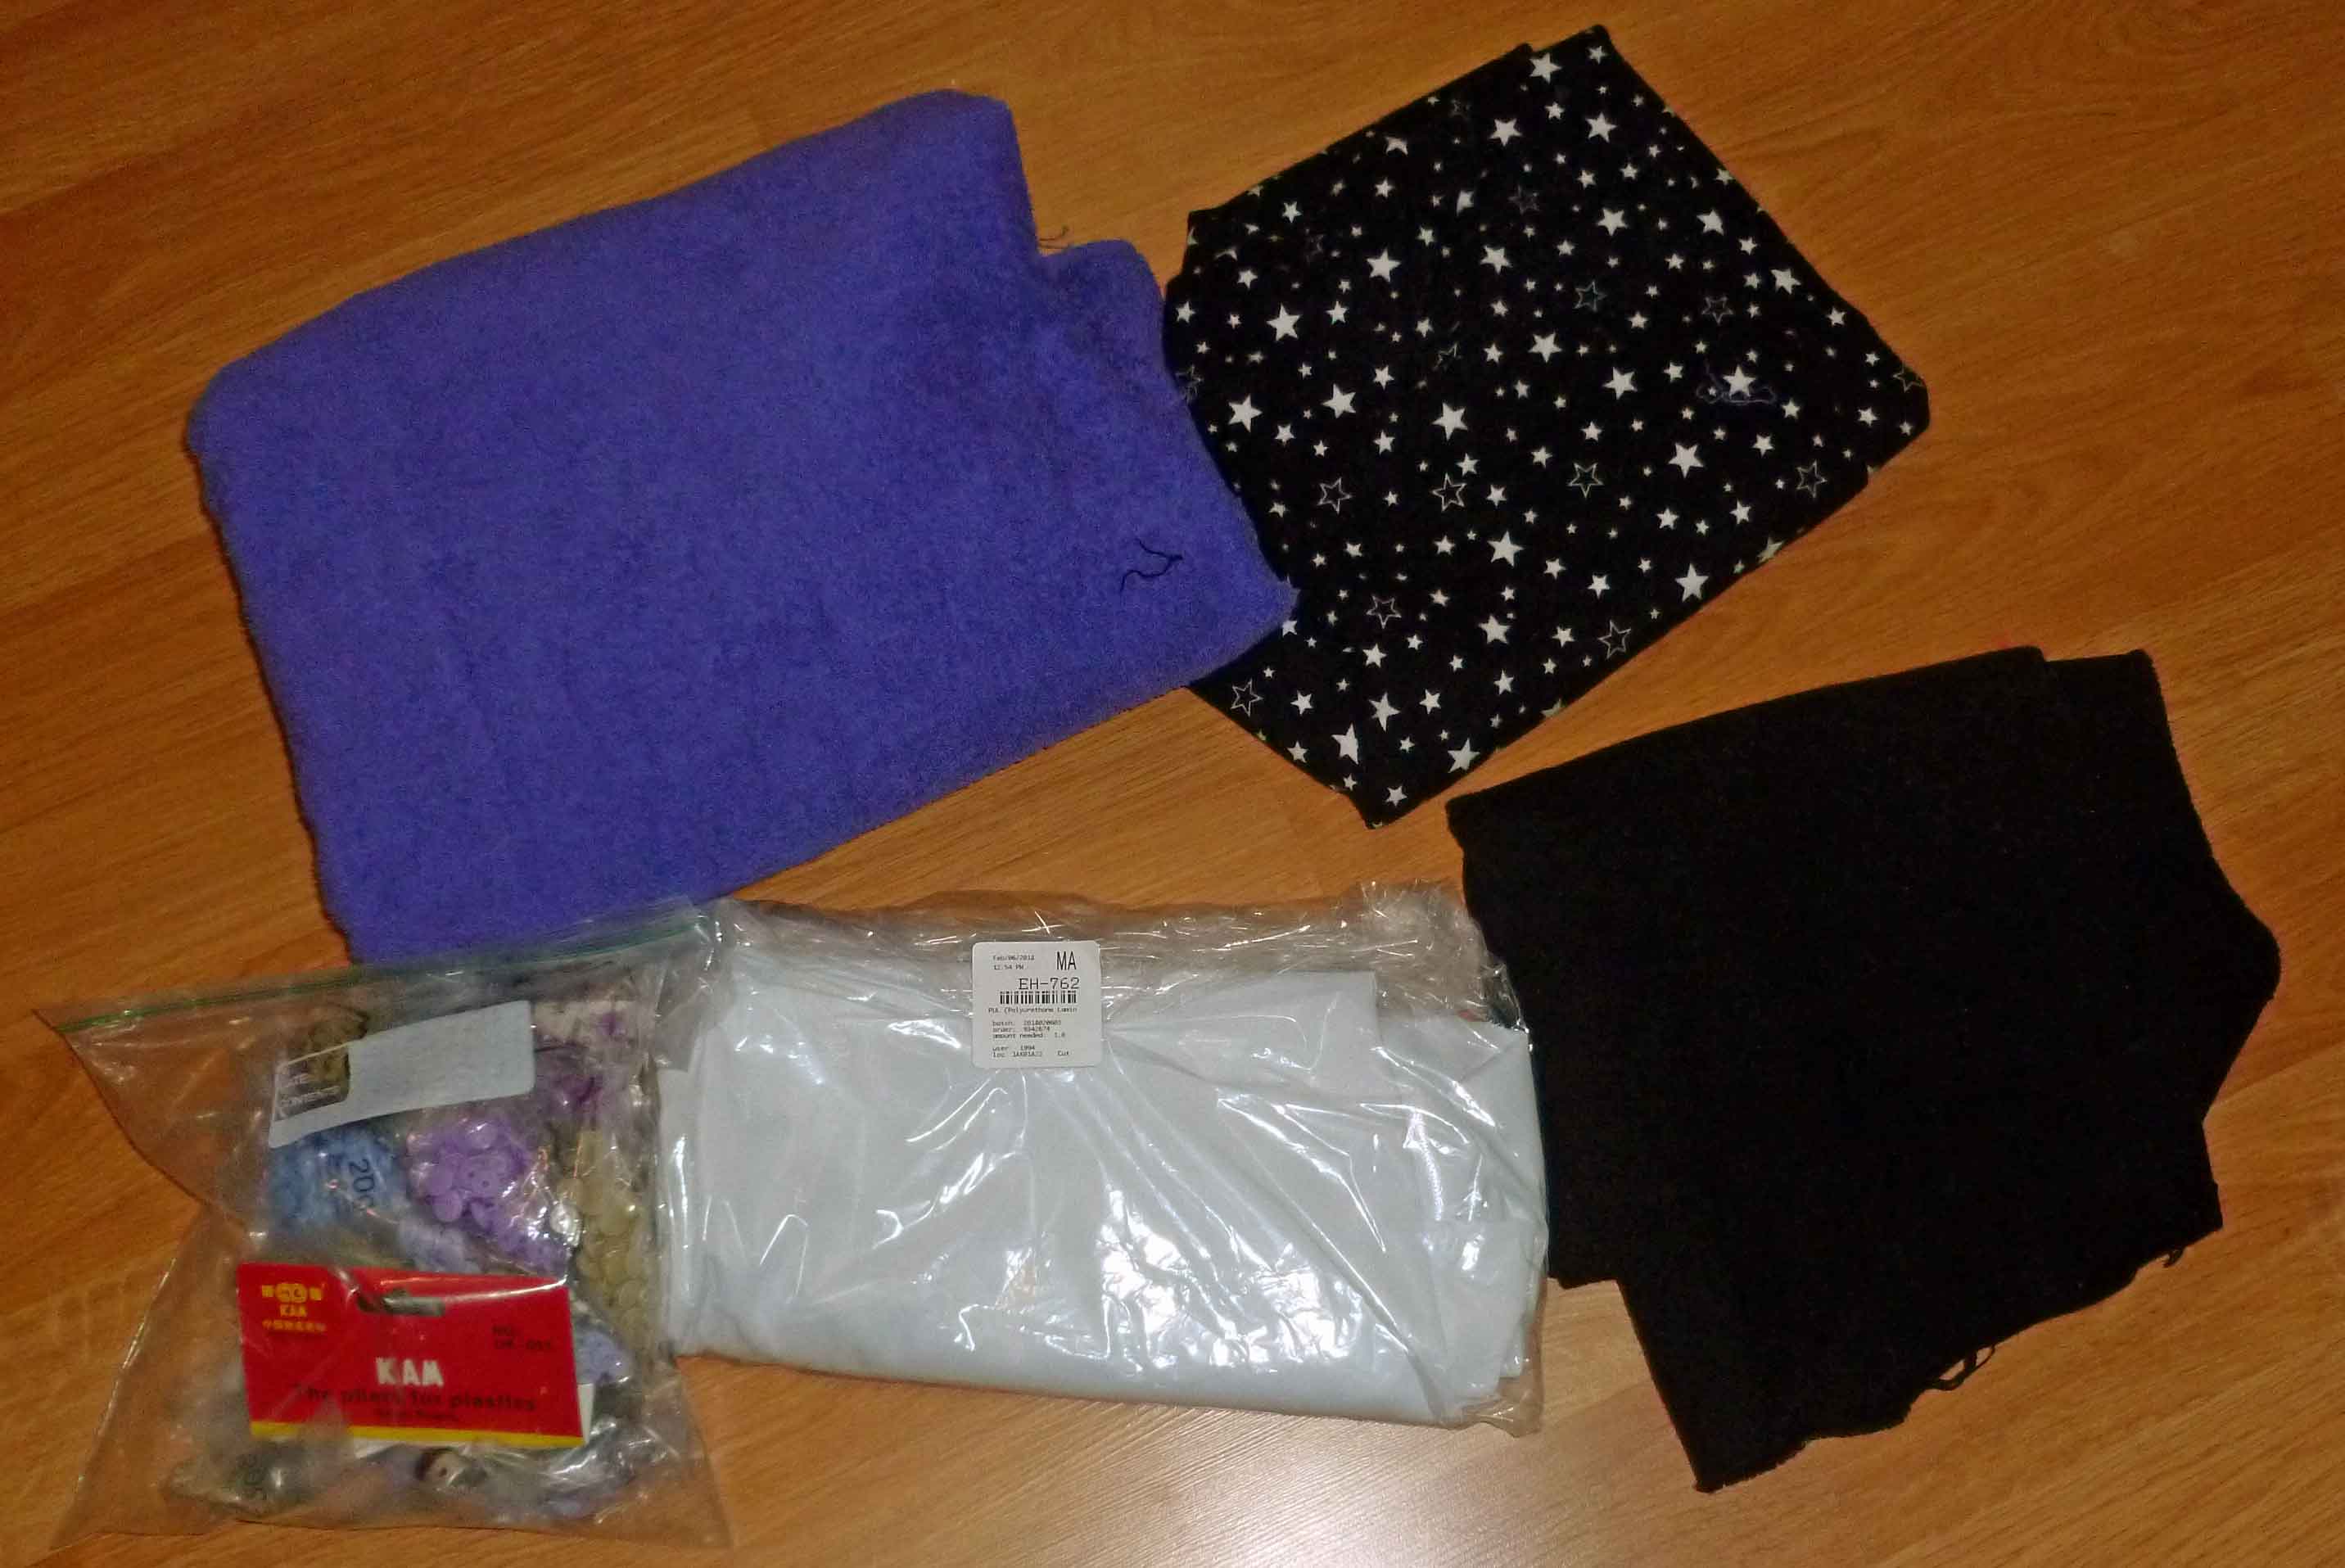
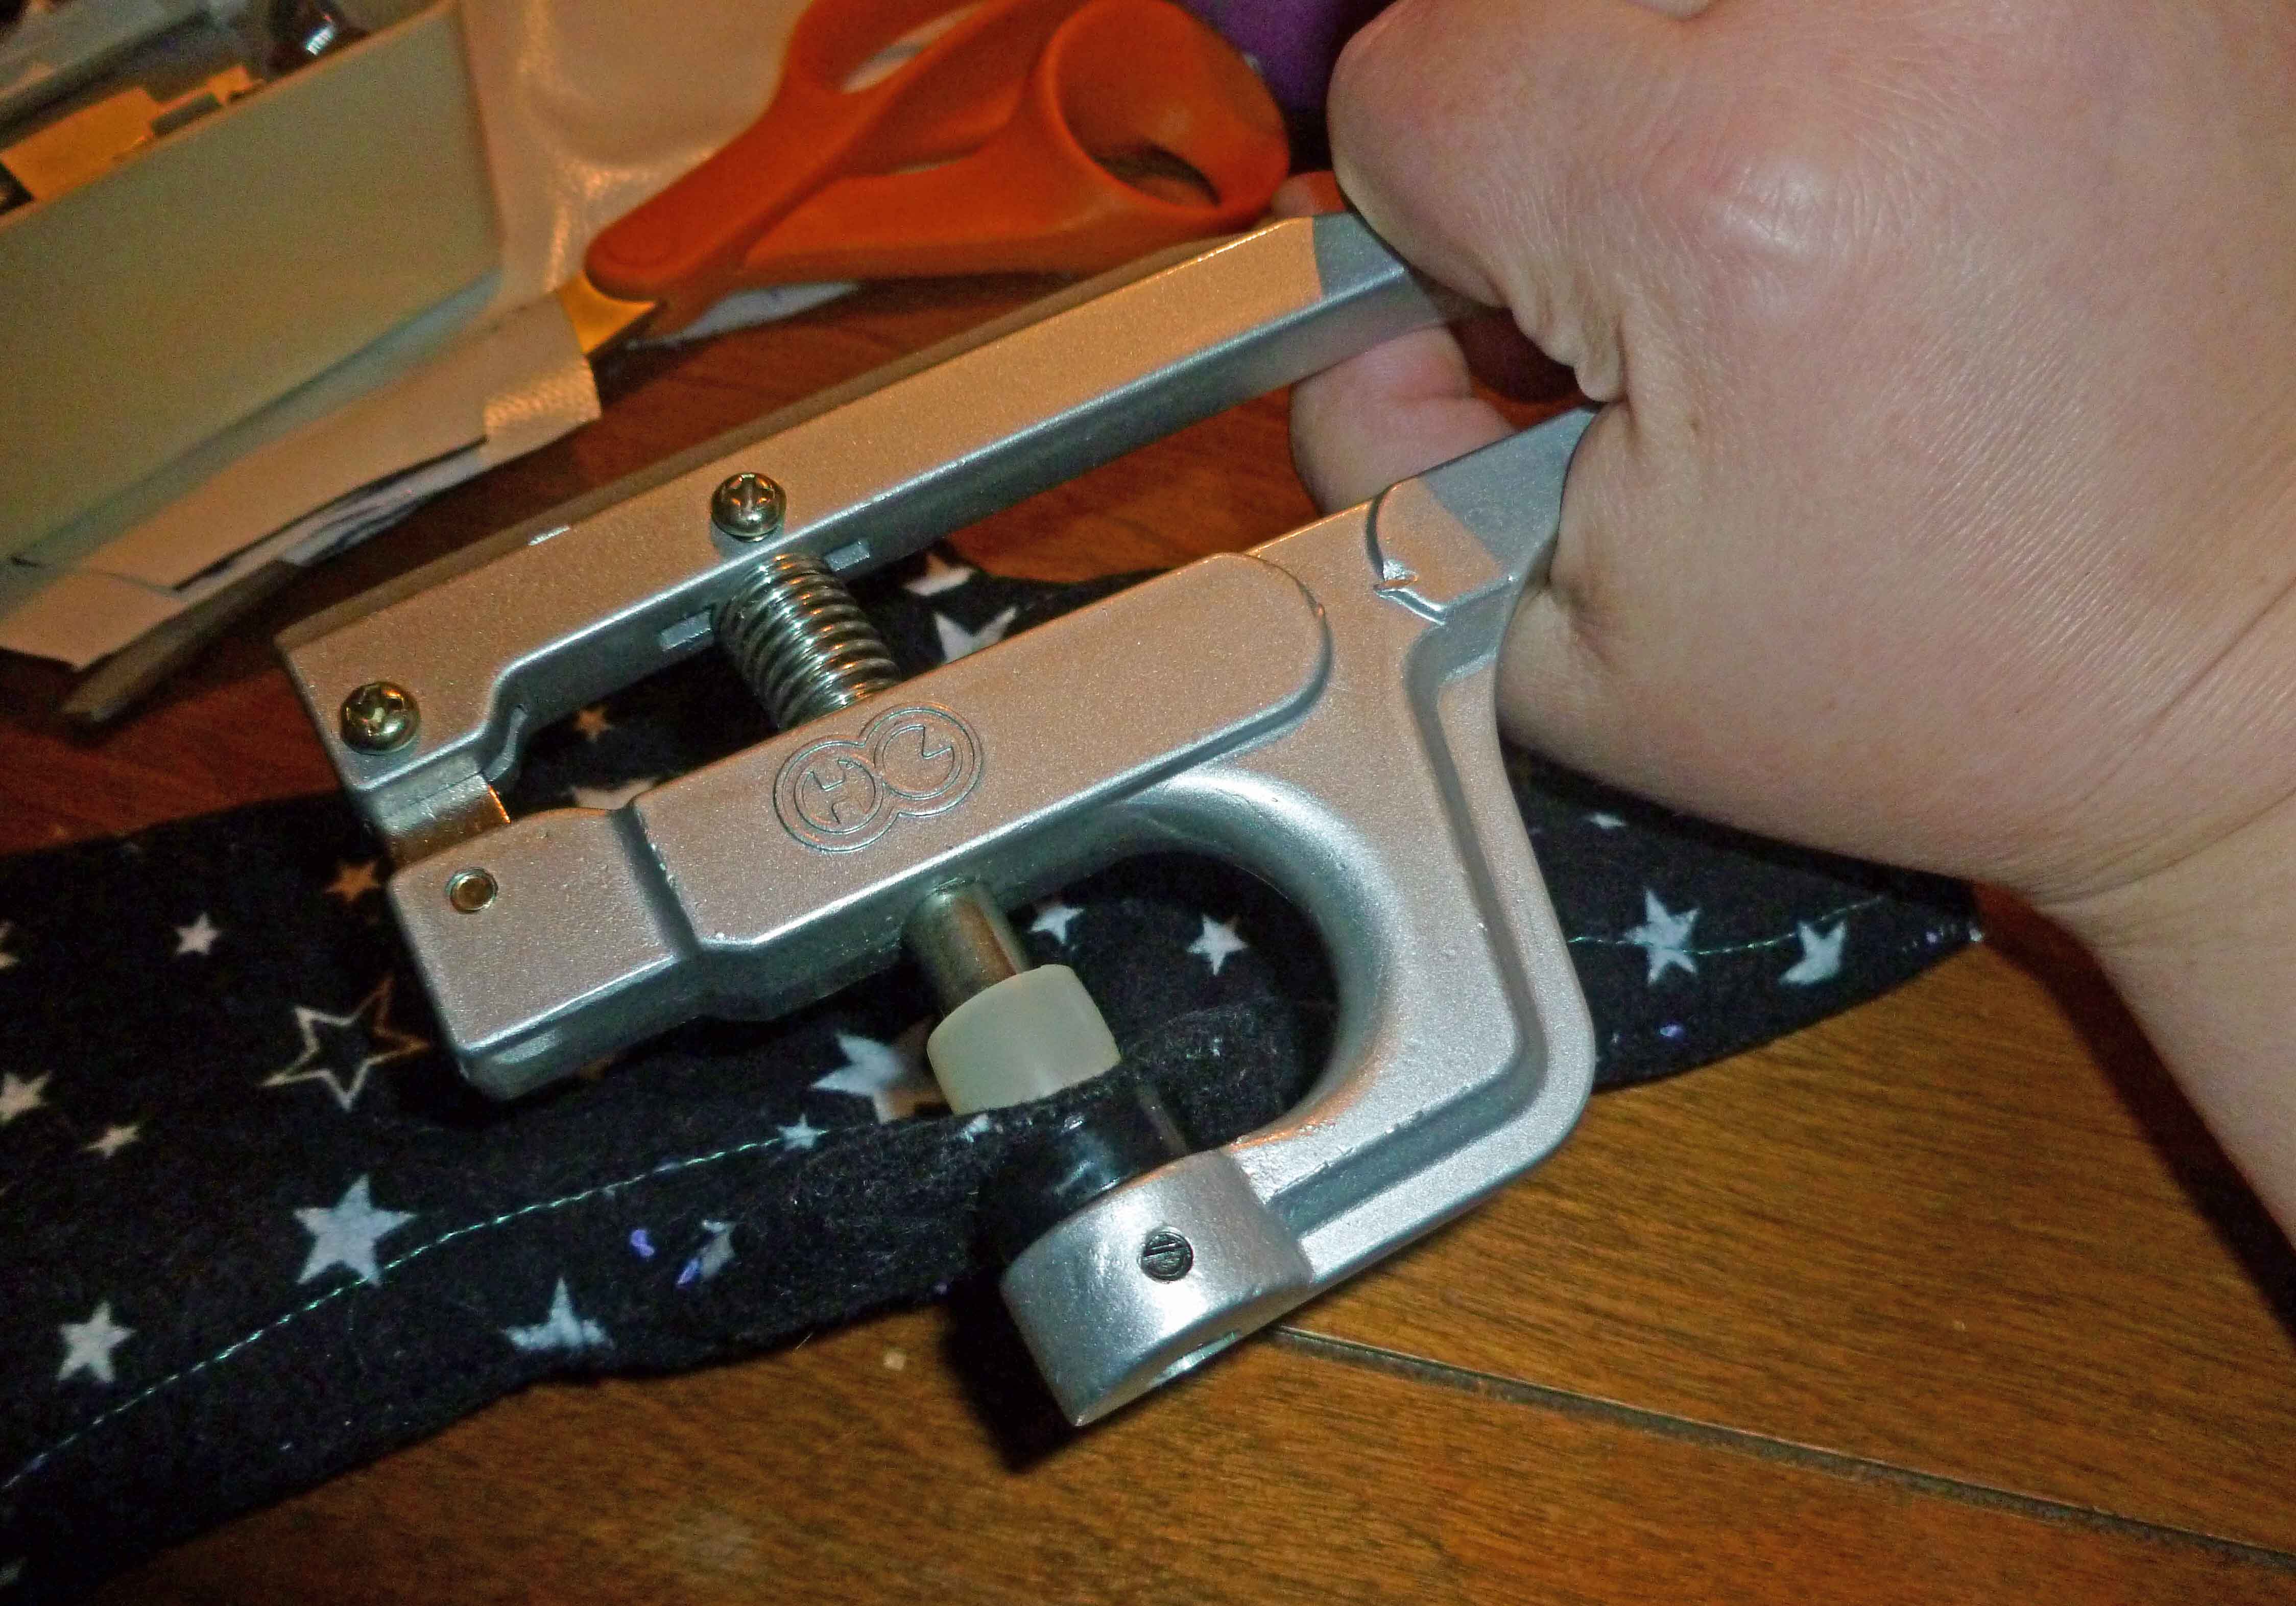
I also purchased a kit to attach plastic snaps to the wings to snap them pad together around my underwear. (As a side note, I have a bunch of cloth napkins and bar towels that I decided to add snaps to them to make a roll of “unpaper” towels to put on my paper towel rack in the kitchen. Yes, most paper towels have corn in them.) You can also get refill snaps, but I had enough to do both batches of pads with a ton leftover.
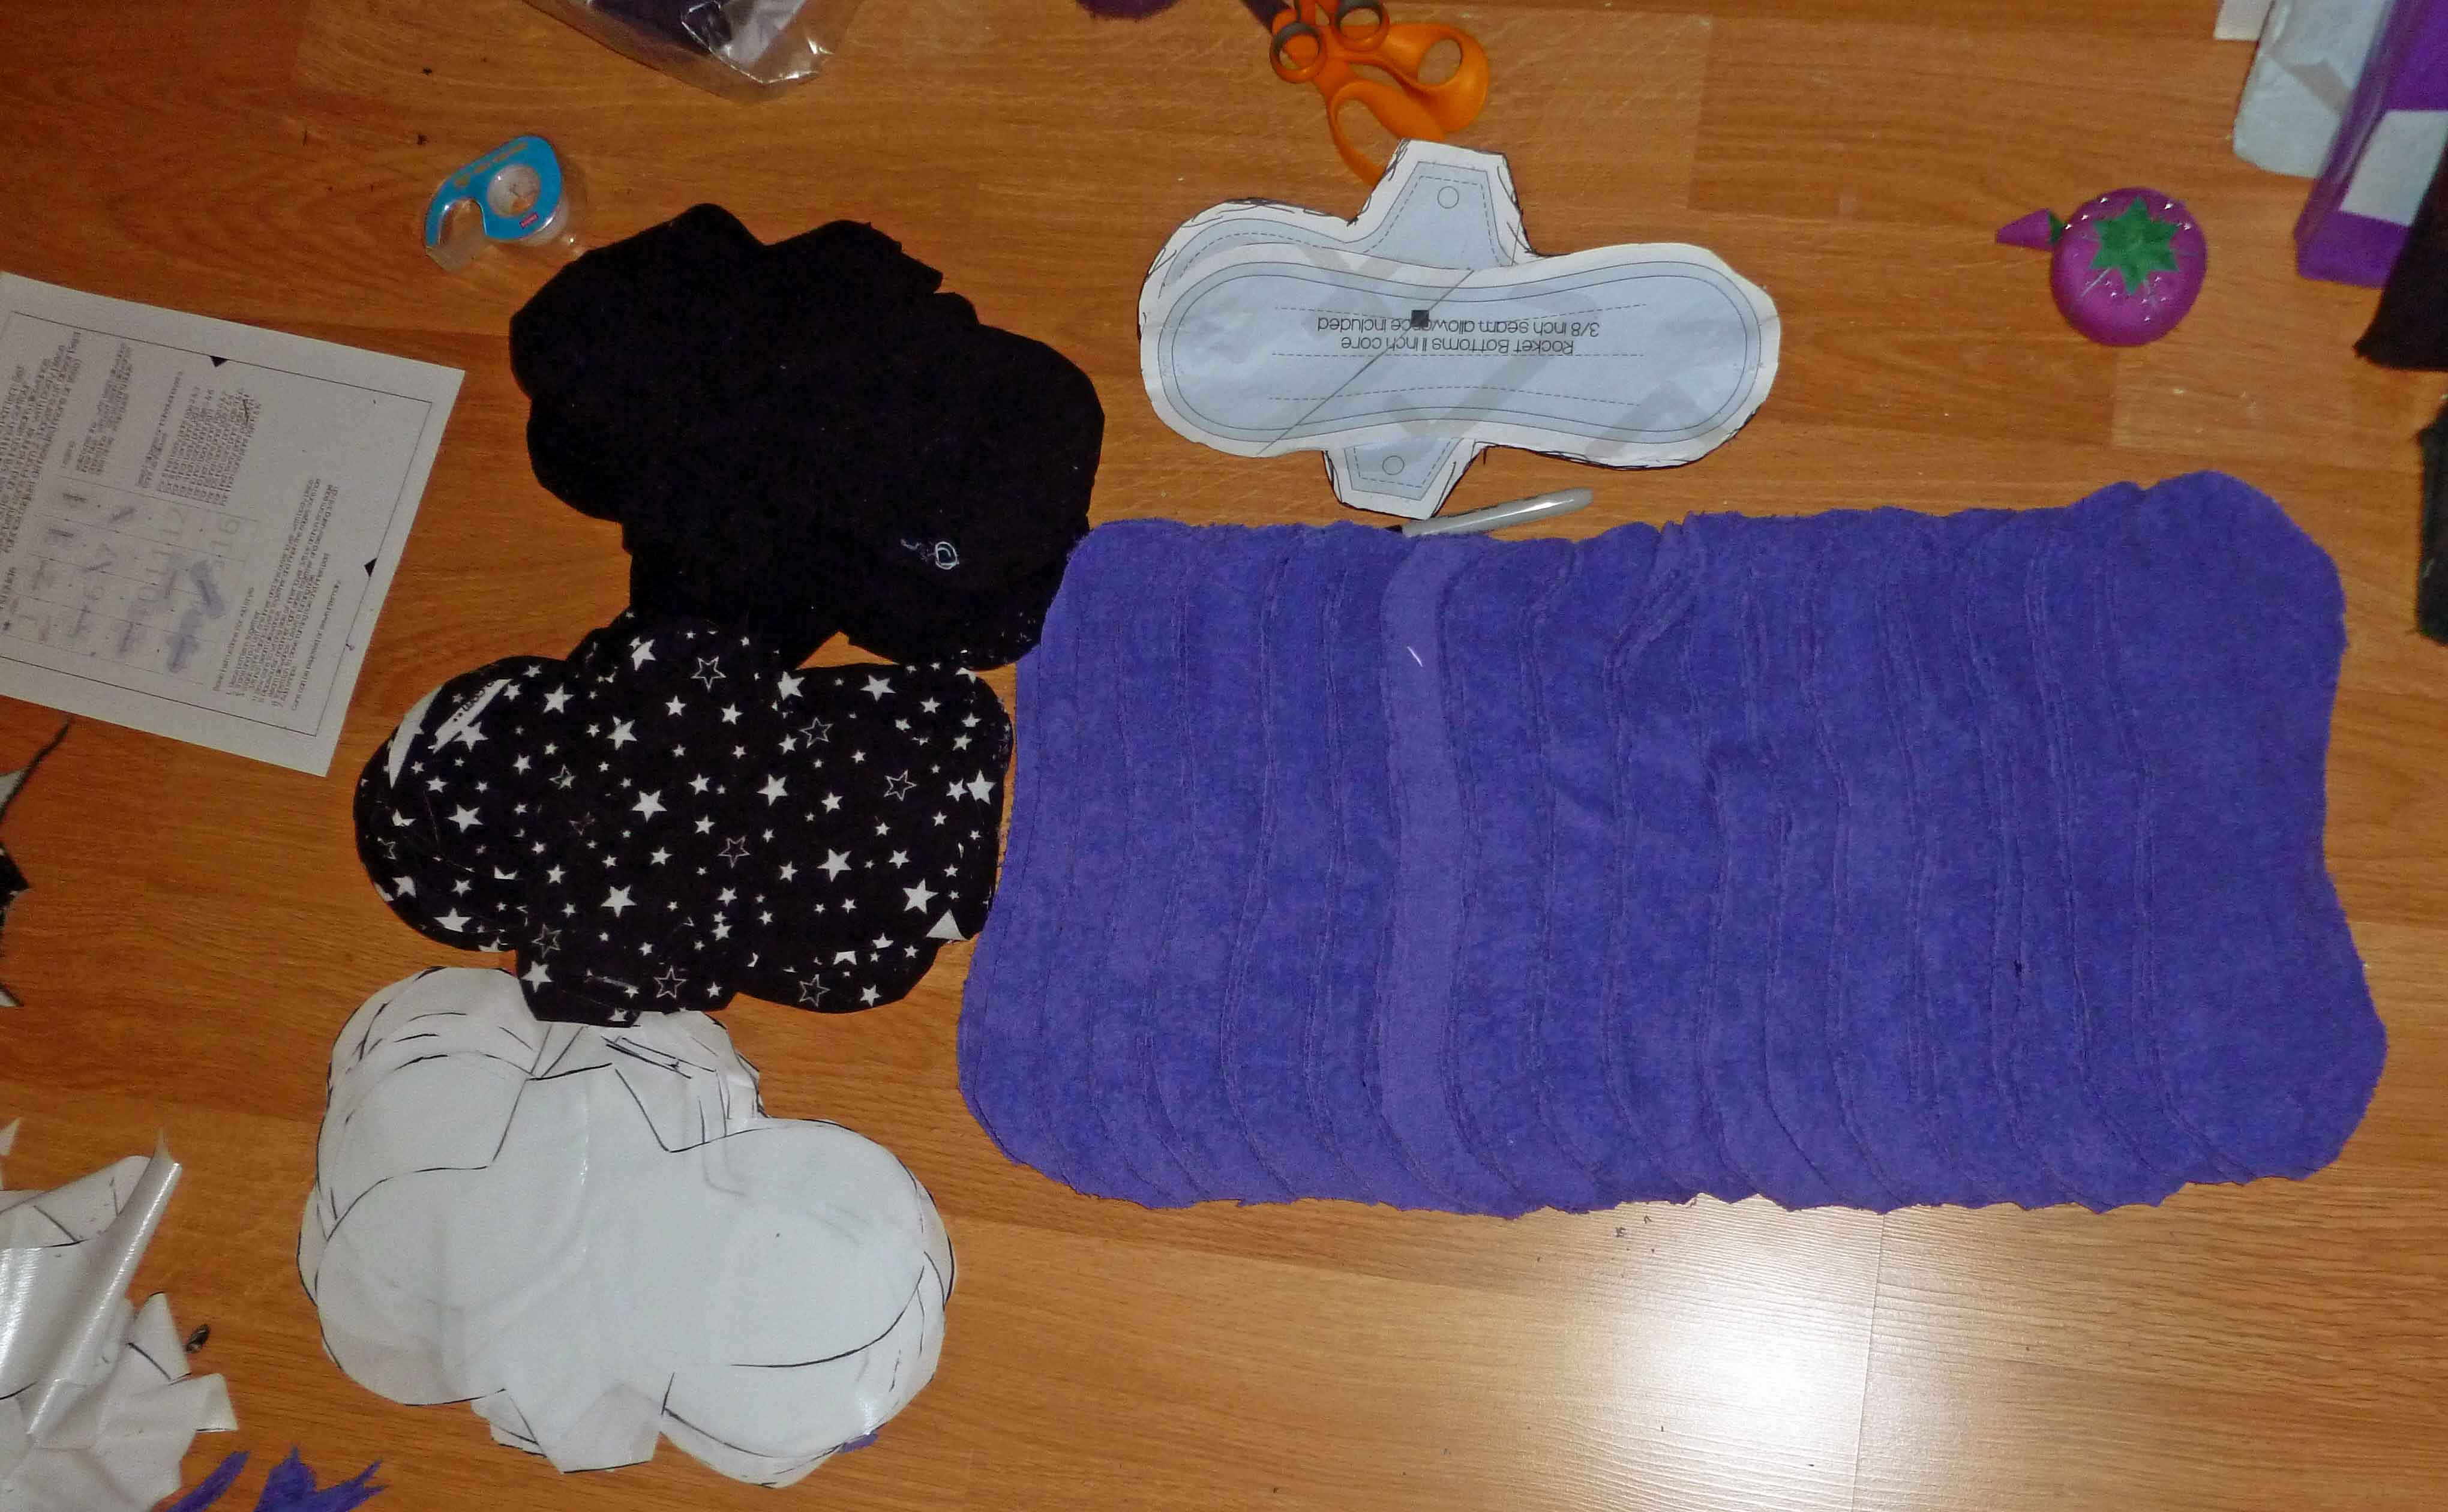
I ordered most of my fabrics from Fabric.com, no affiliation. I ordered two different colors of the flannel because it made it easier for me to tell which is the top and the bottom when dealing with the layers. You may not be so challenged. Depending on how well you lay out the pattern on the fabric, I was able to get 18 pads out of the following fabric with a fair bit of the terry cloth left over:
- 1 yard of the Polyurethane Laminate 1 mil
- 3 yards of 100% cotton terry cloth
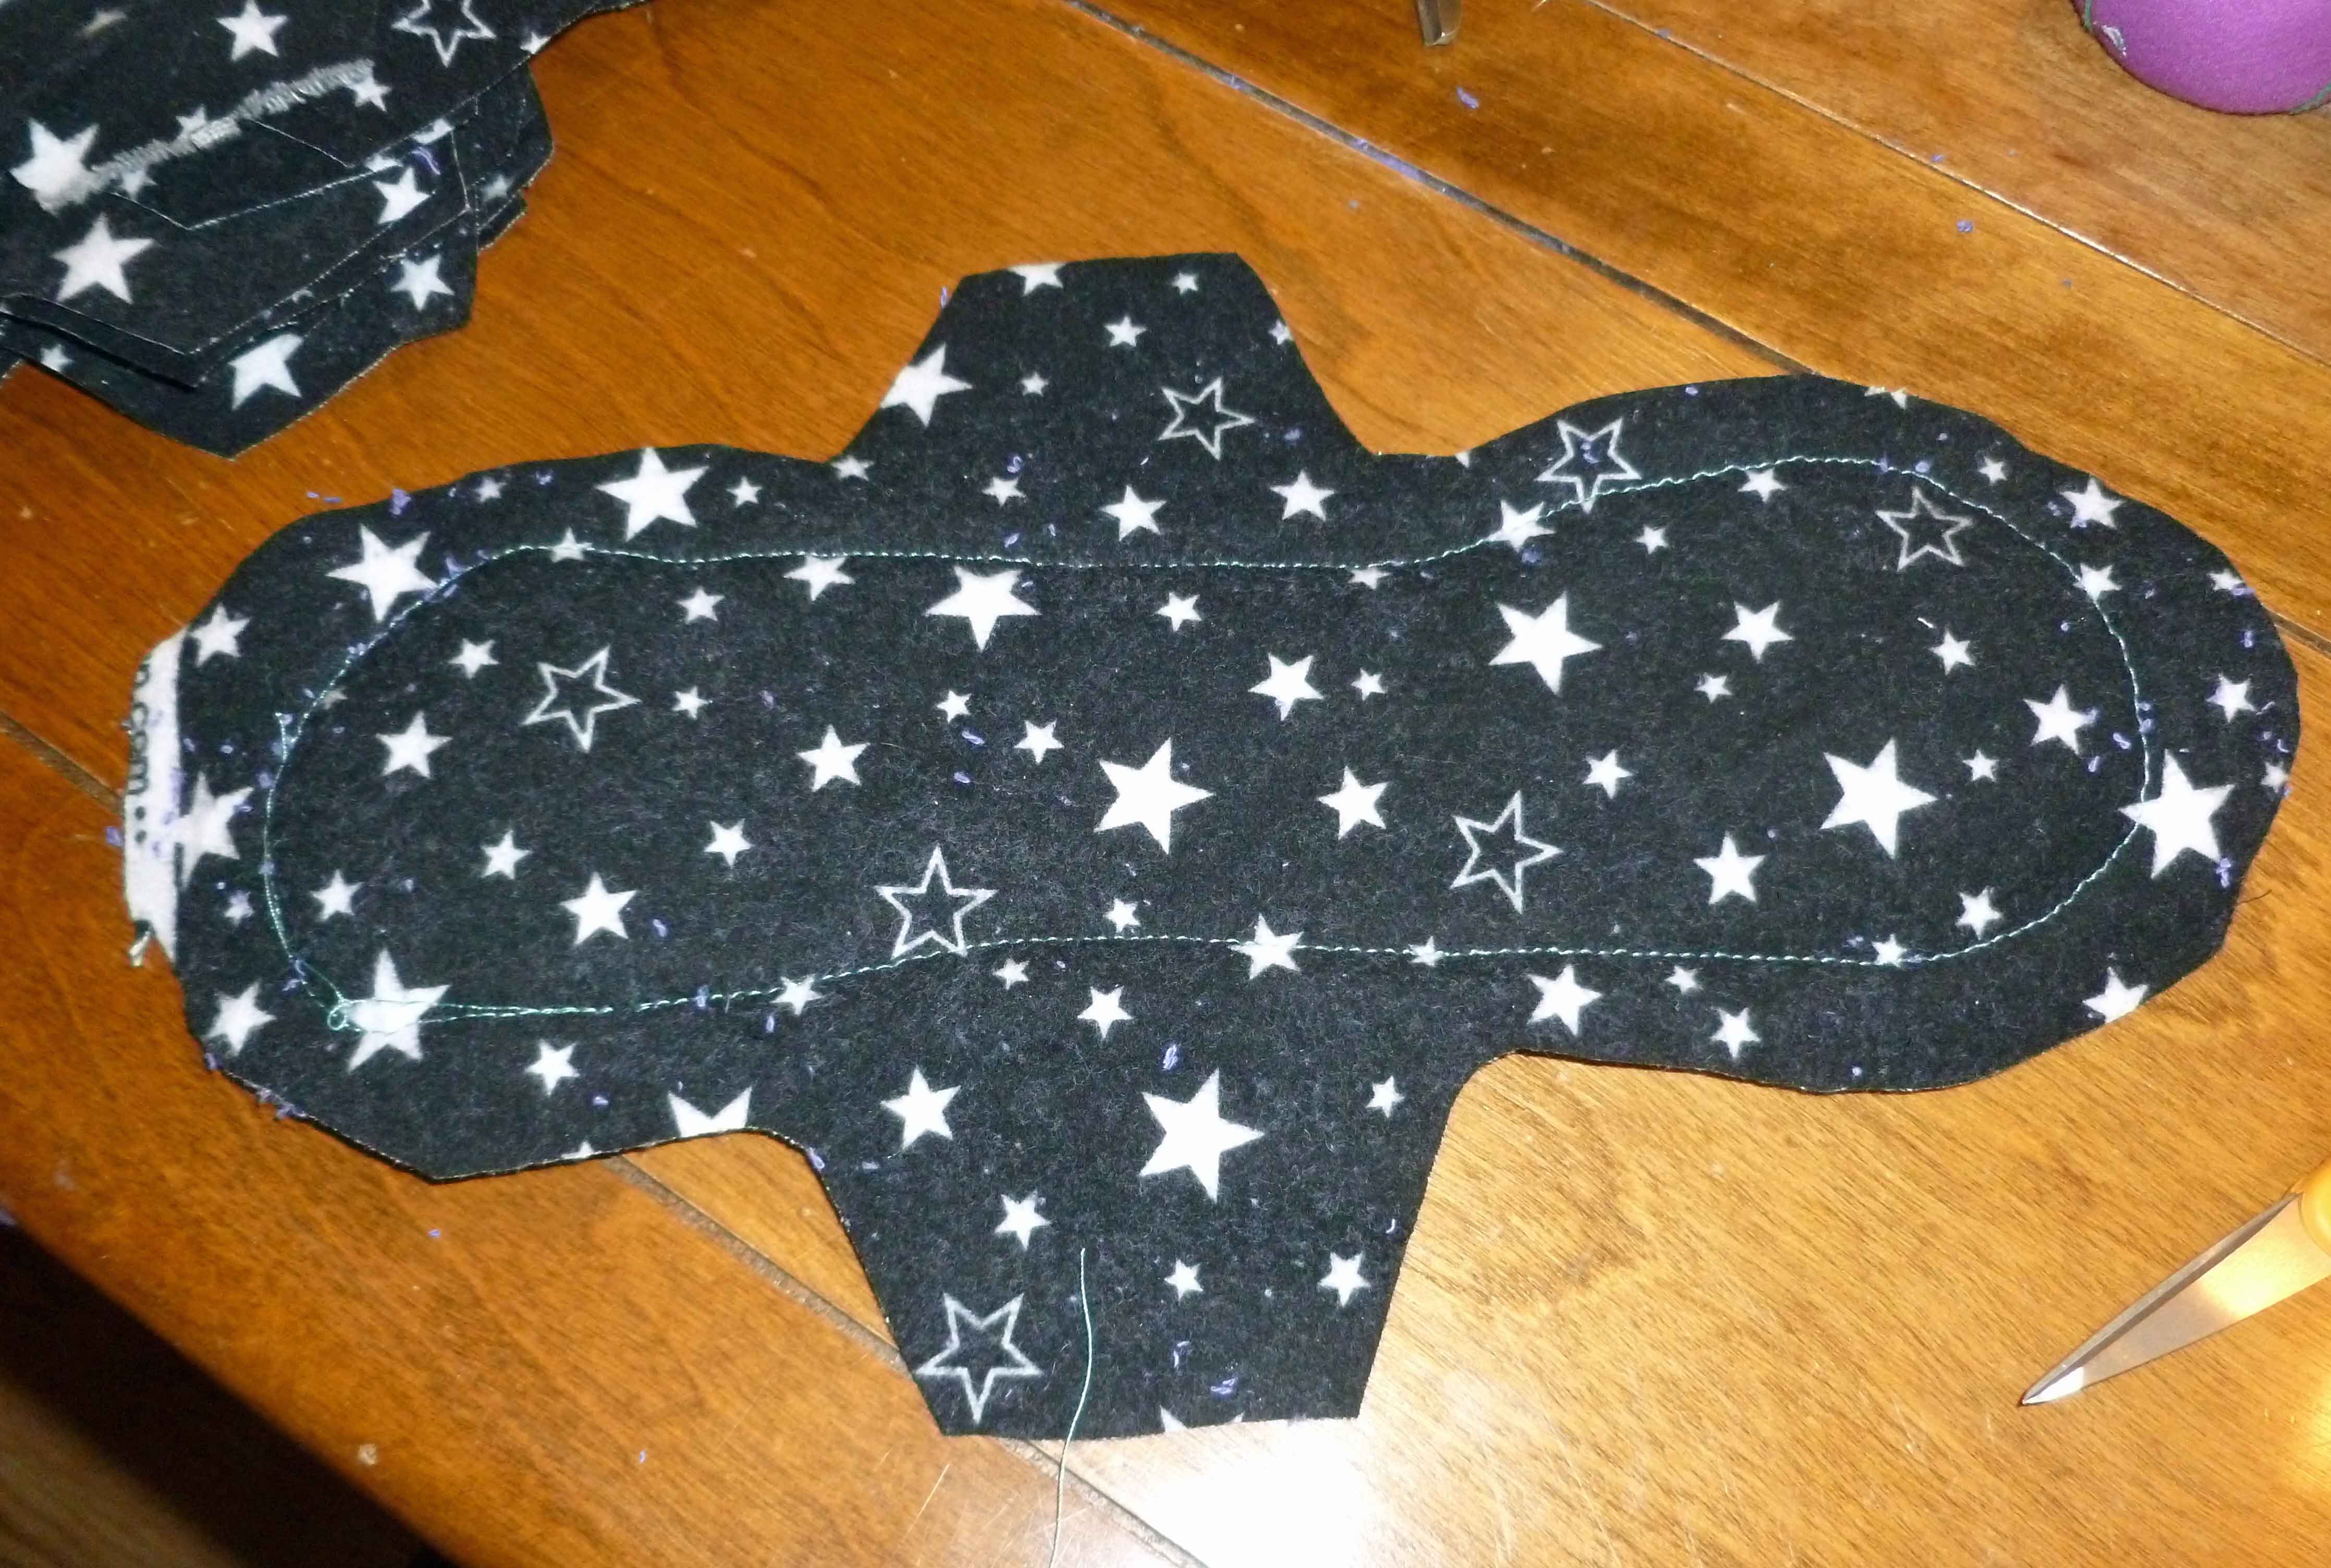
- 1 yard of Kaufman Cozy Cotton Flannel Stars Black
- 1 yard of Kaufman Flannel Solid Black
The pattern, the snaps, and the fabric ends up being about $73, depending on pricing, sales and so on, which ends up being about $4 a pad if you get 18 from your cutting layout. I’m mostly seeing prices on Etsy for around $10 bucks a pad for the length I would want. Of course, then you don’t have to spend time doing the sewing, but I’m still too cheap for that and I don’t have the control over the materials. It takes me about 14-16 hours to do a whole batch.
Before starting, I washed the flannels and terry cloth so that it could shrink. I didn’t iron the fabric, because seriously, I’m making cloth pads, it’s not like anyone is going to see them. I also didn’t worry about matching colors of thread for much the same reason, and used it as an opportunity to use up a bunch of random leftover threads on bobbins from past sewing projects and free them up.
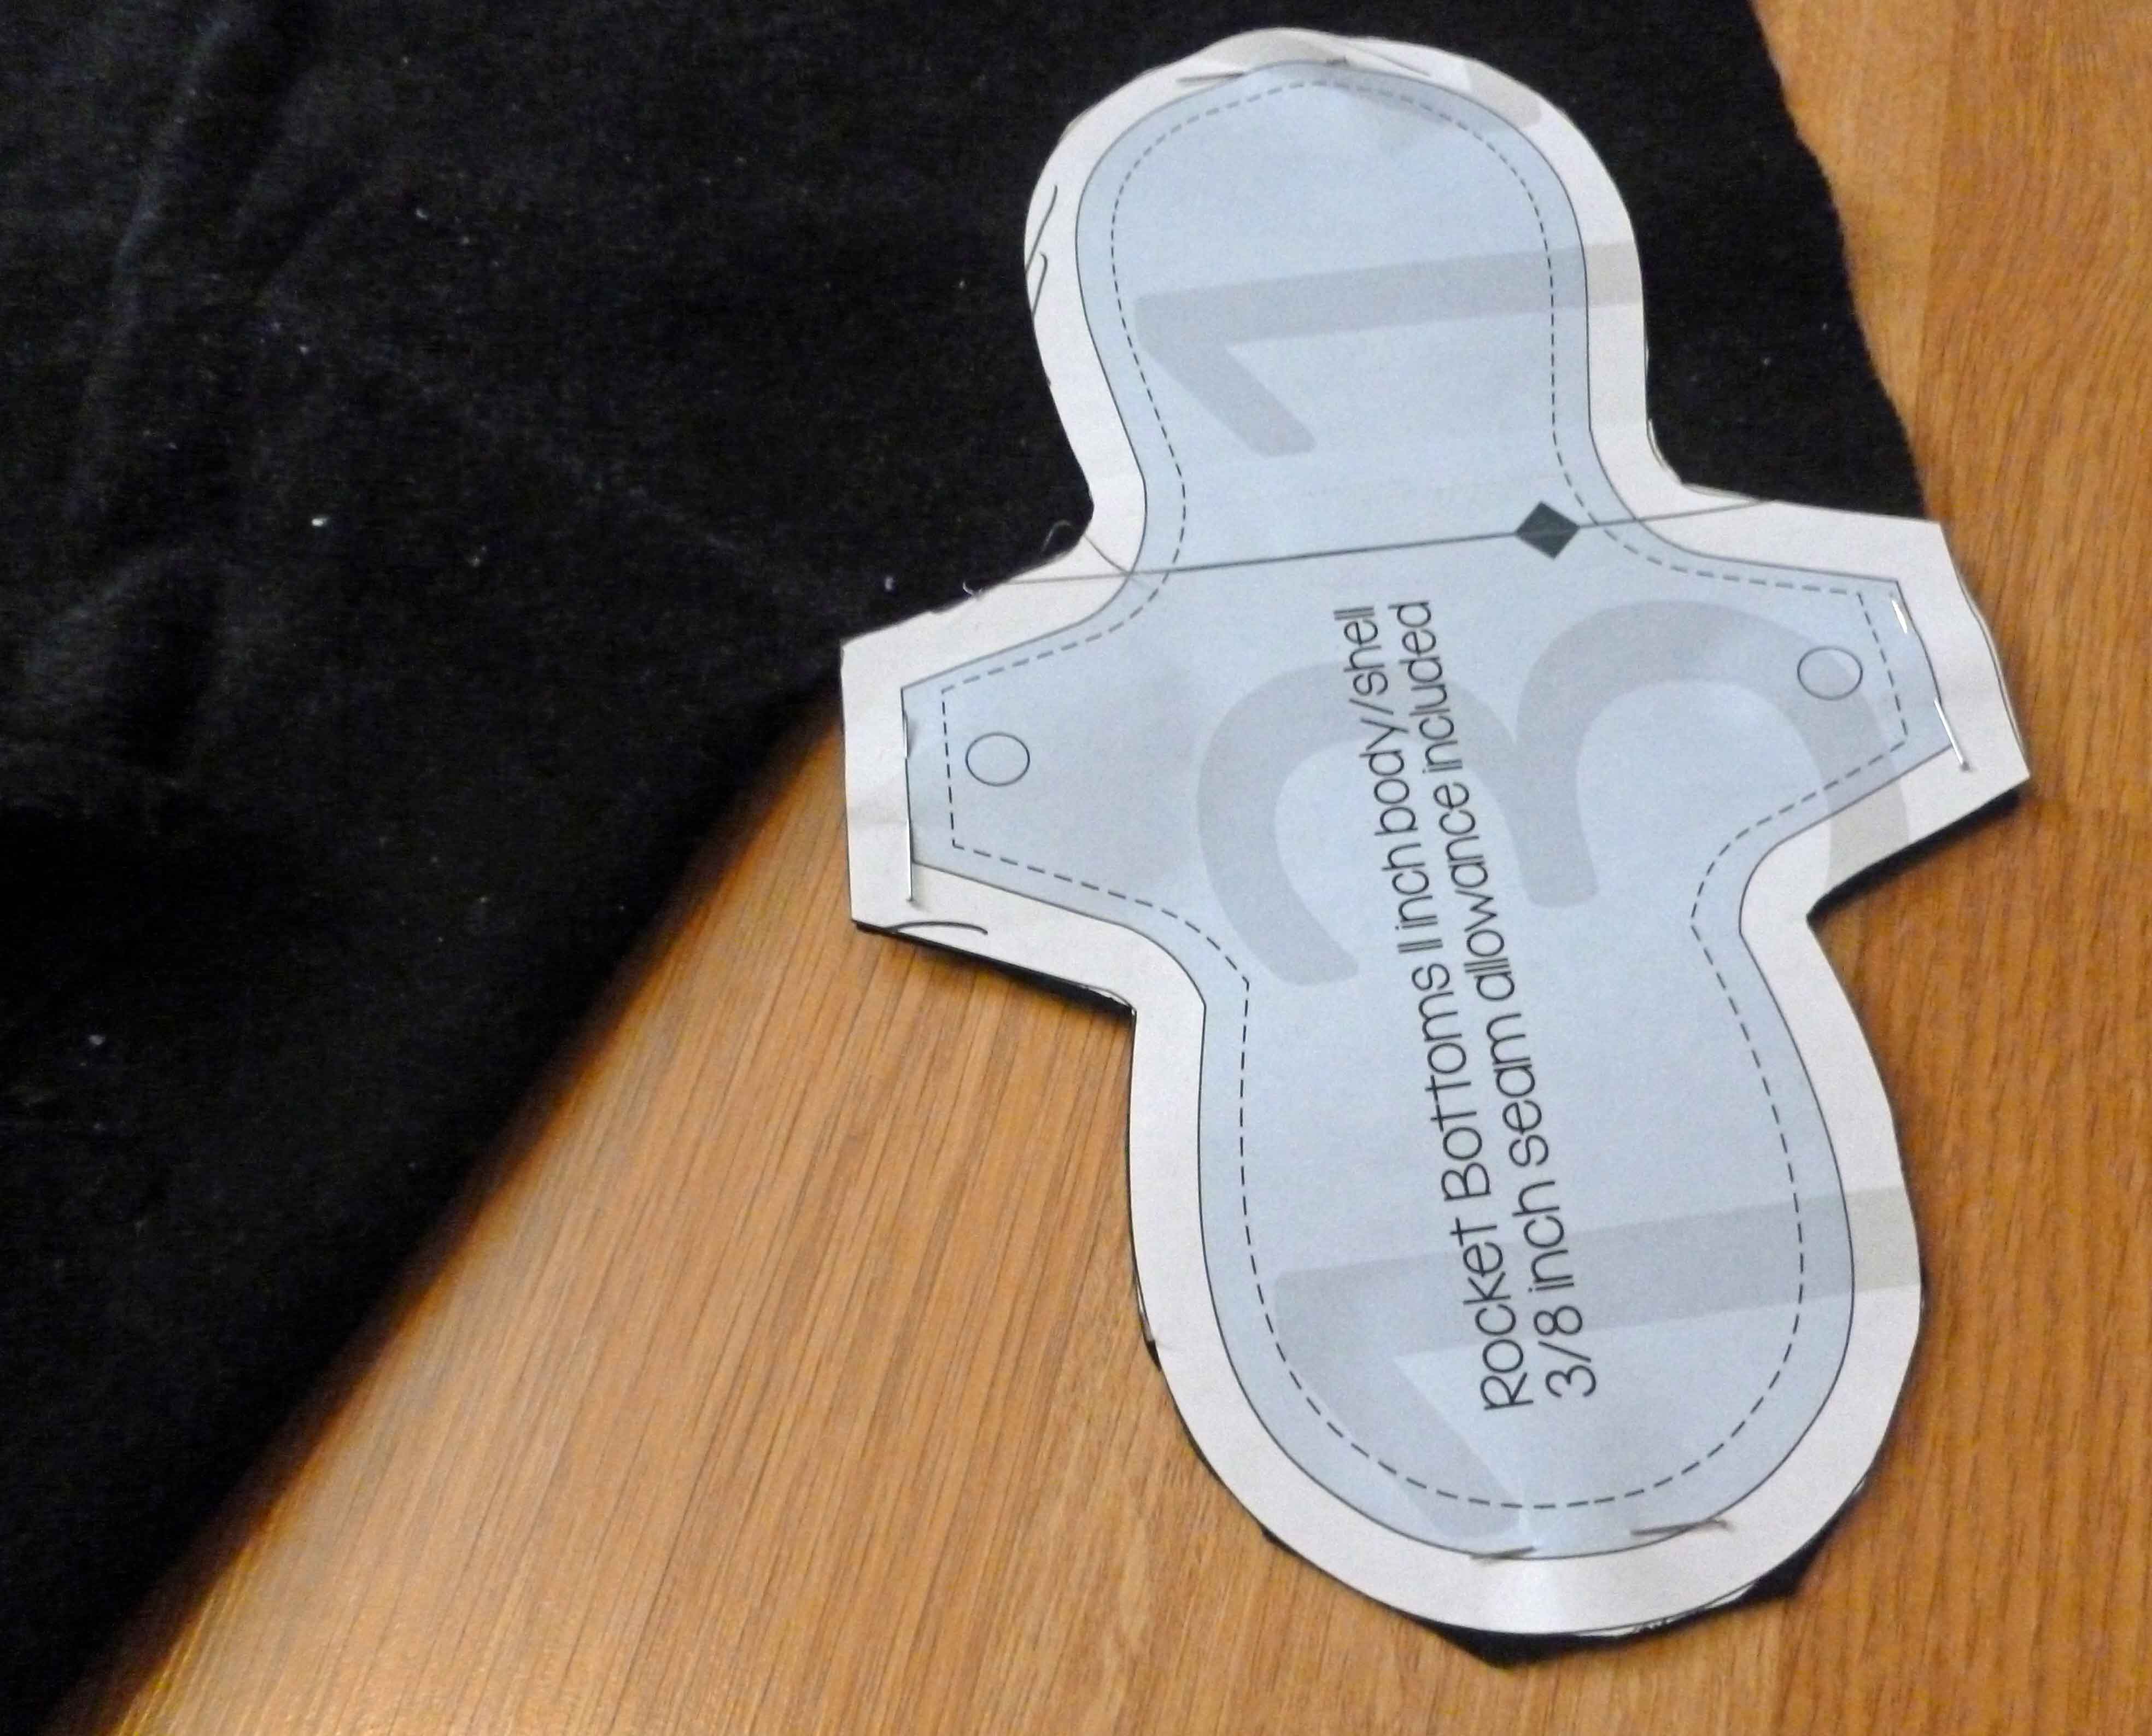
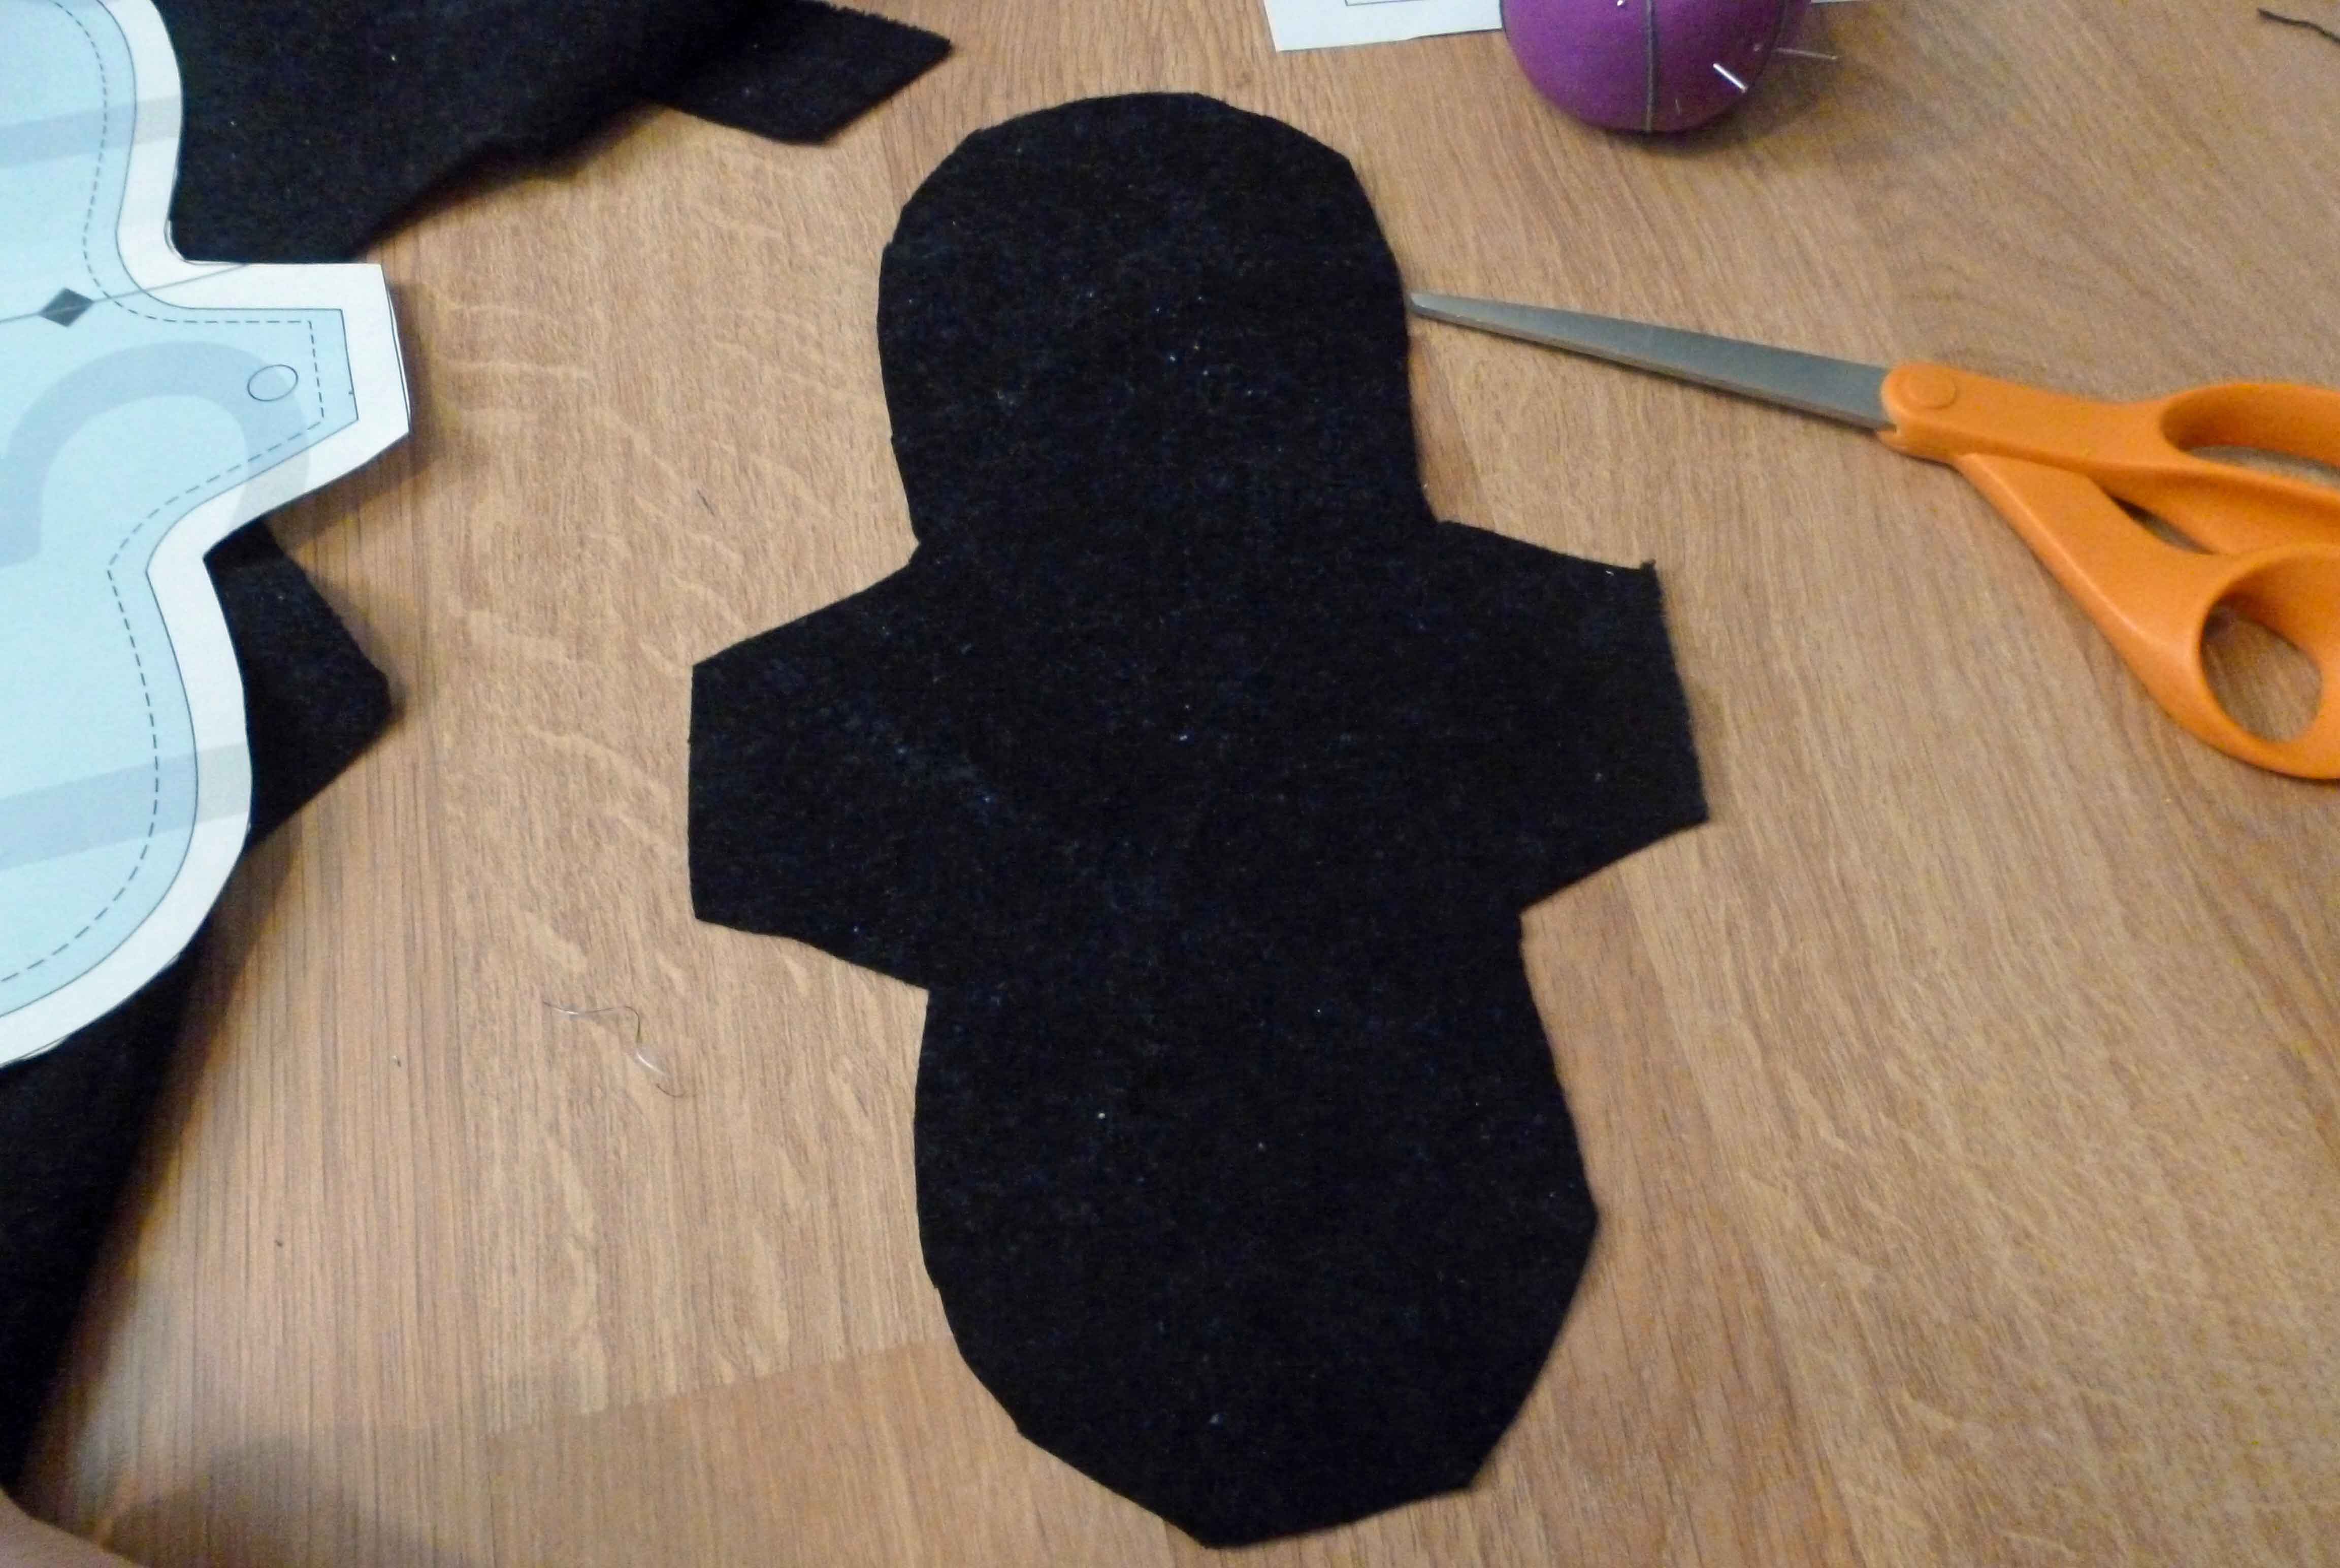
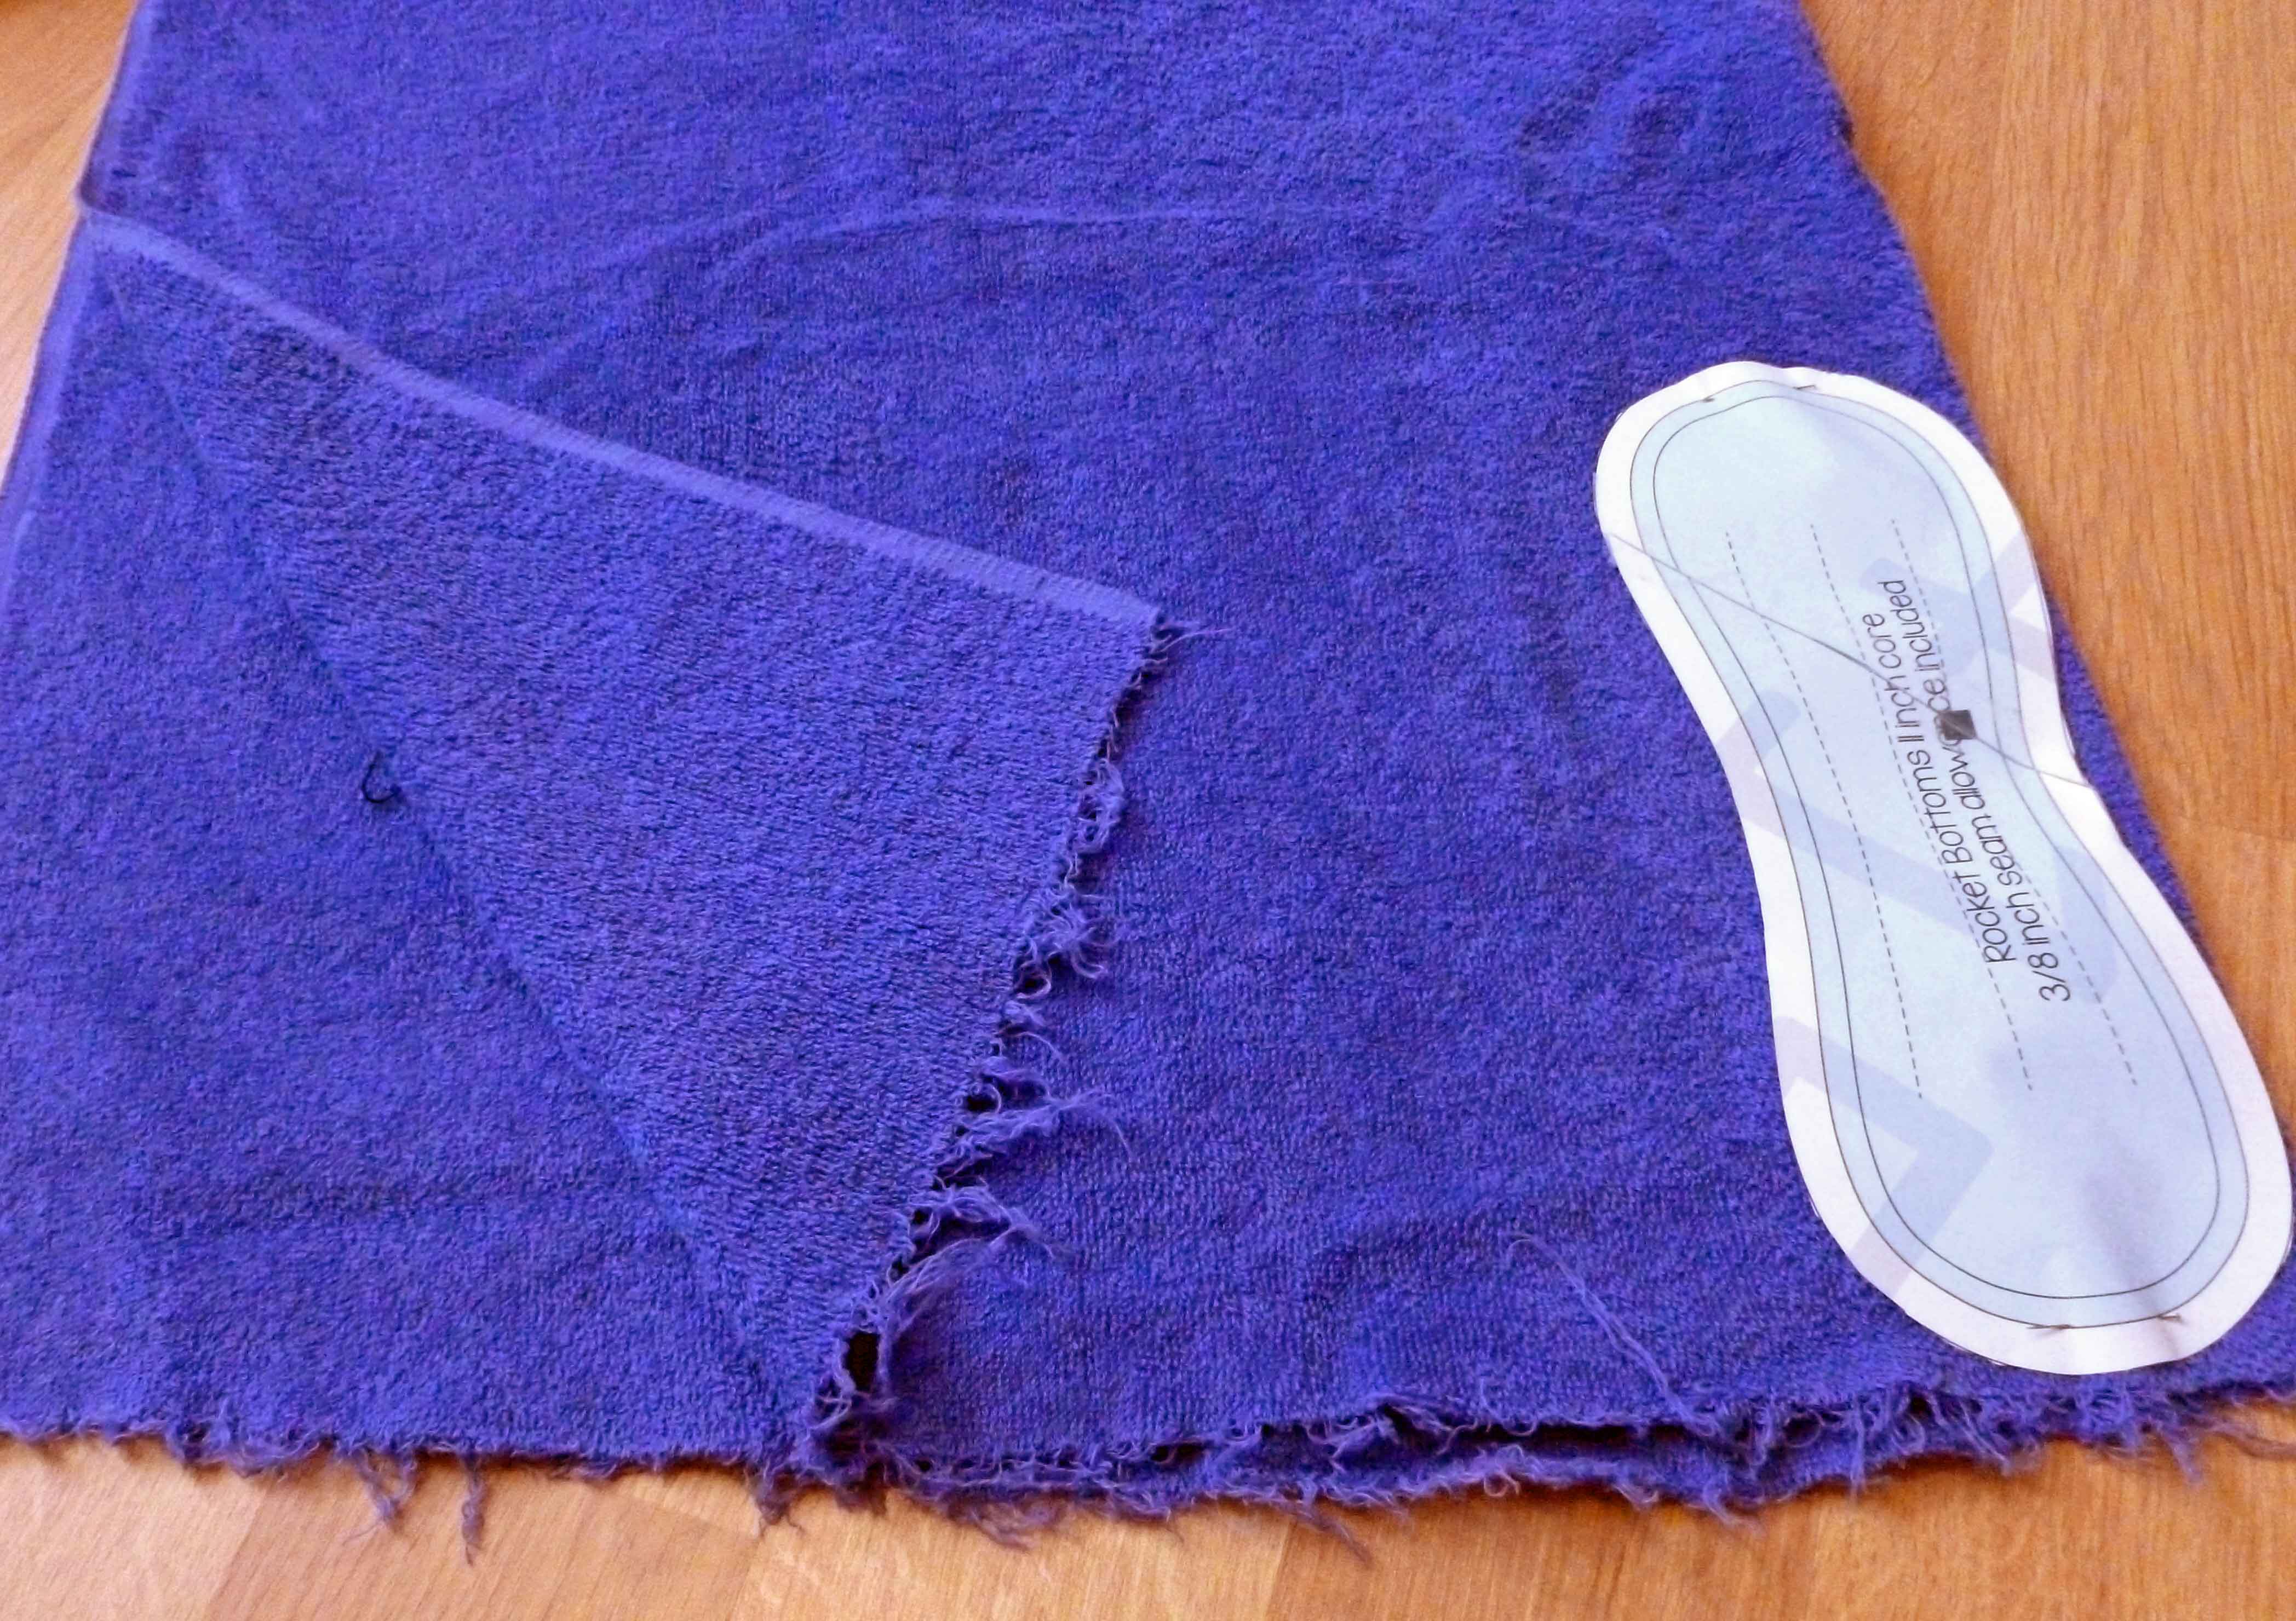
For each pad, I cut 3 pieces of the core pattern out of the terry cloth (to be stacked together to form the core of the pad). I cut one piece of the wing pattern from each of the flannels and from the polyurethane laminate (this is not included in the pattern, I added it because I over-engineer everything). Yes, I used a sharpie to trace the pattern on the polyurethane laminate instead of pinning it because (a) I’m lazy which is why I’m not a good seamstress, and (b) it’s going inside the pad and no one is going to see it.
To begin, I stacked the three core layer pieces, seamed around the seam allowance with zigzag stitch, and sewed down the middle lines in the pattern to attach the layers with straight stitch.
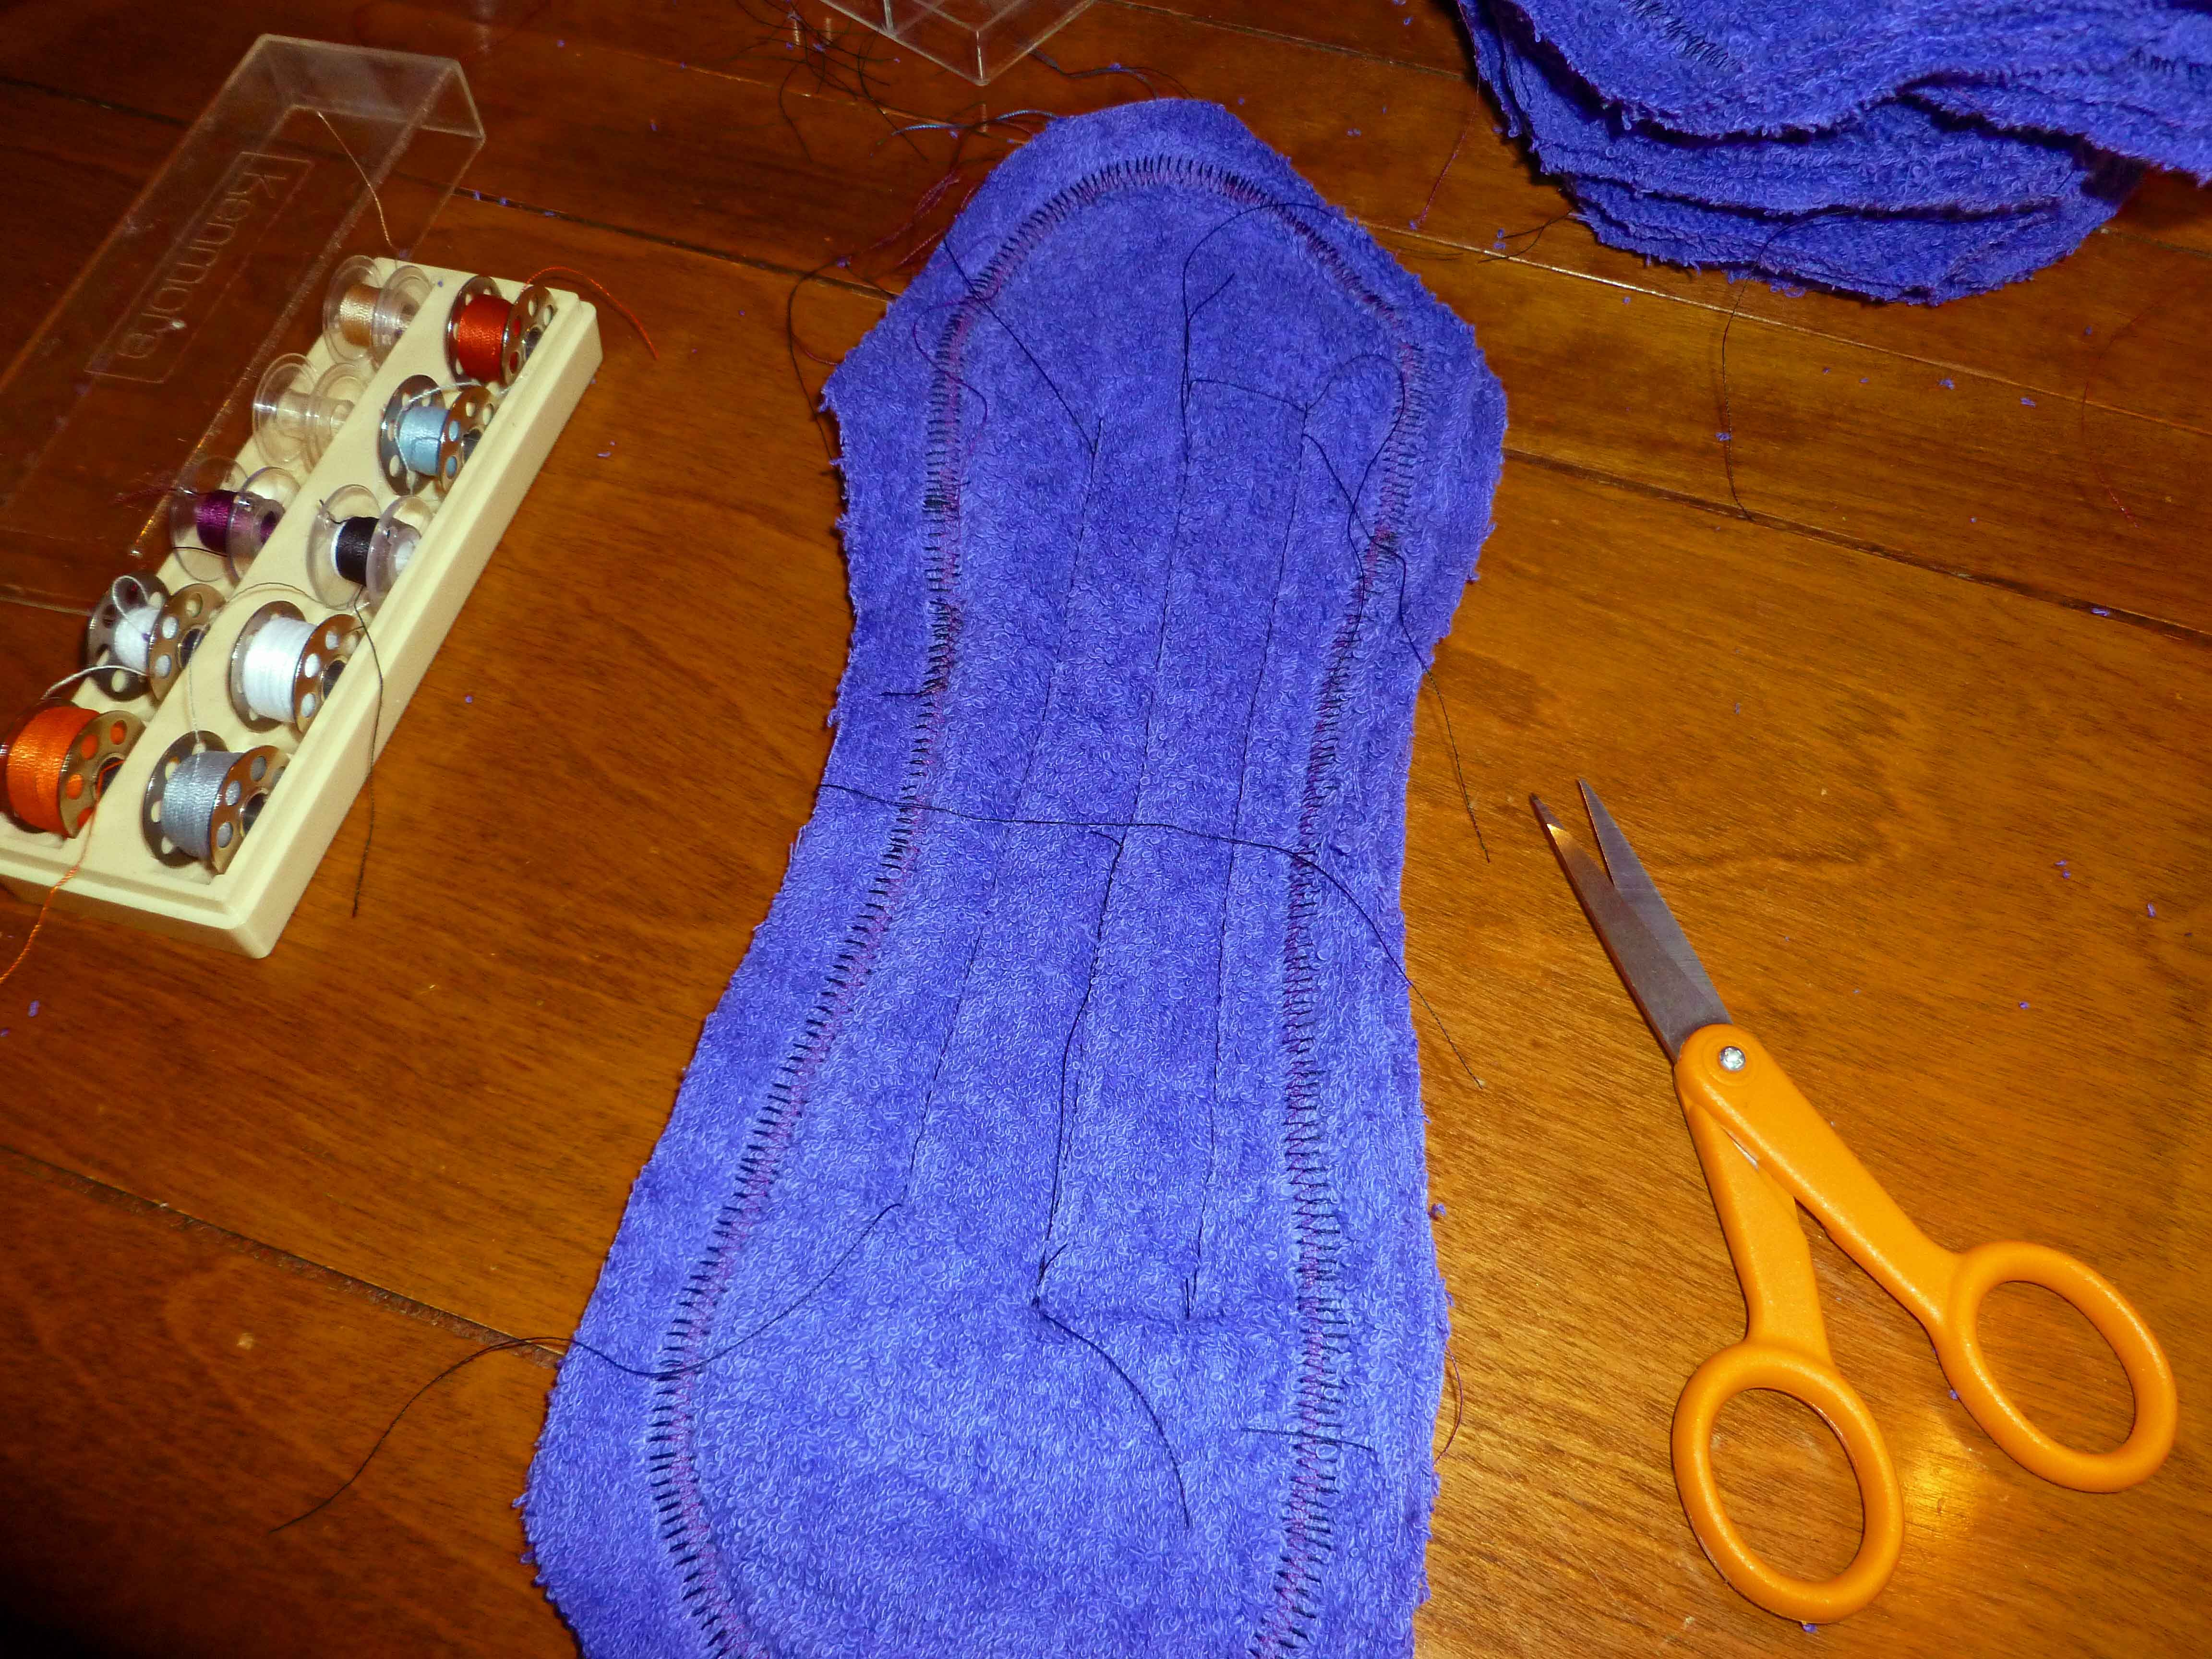
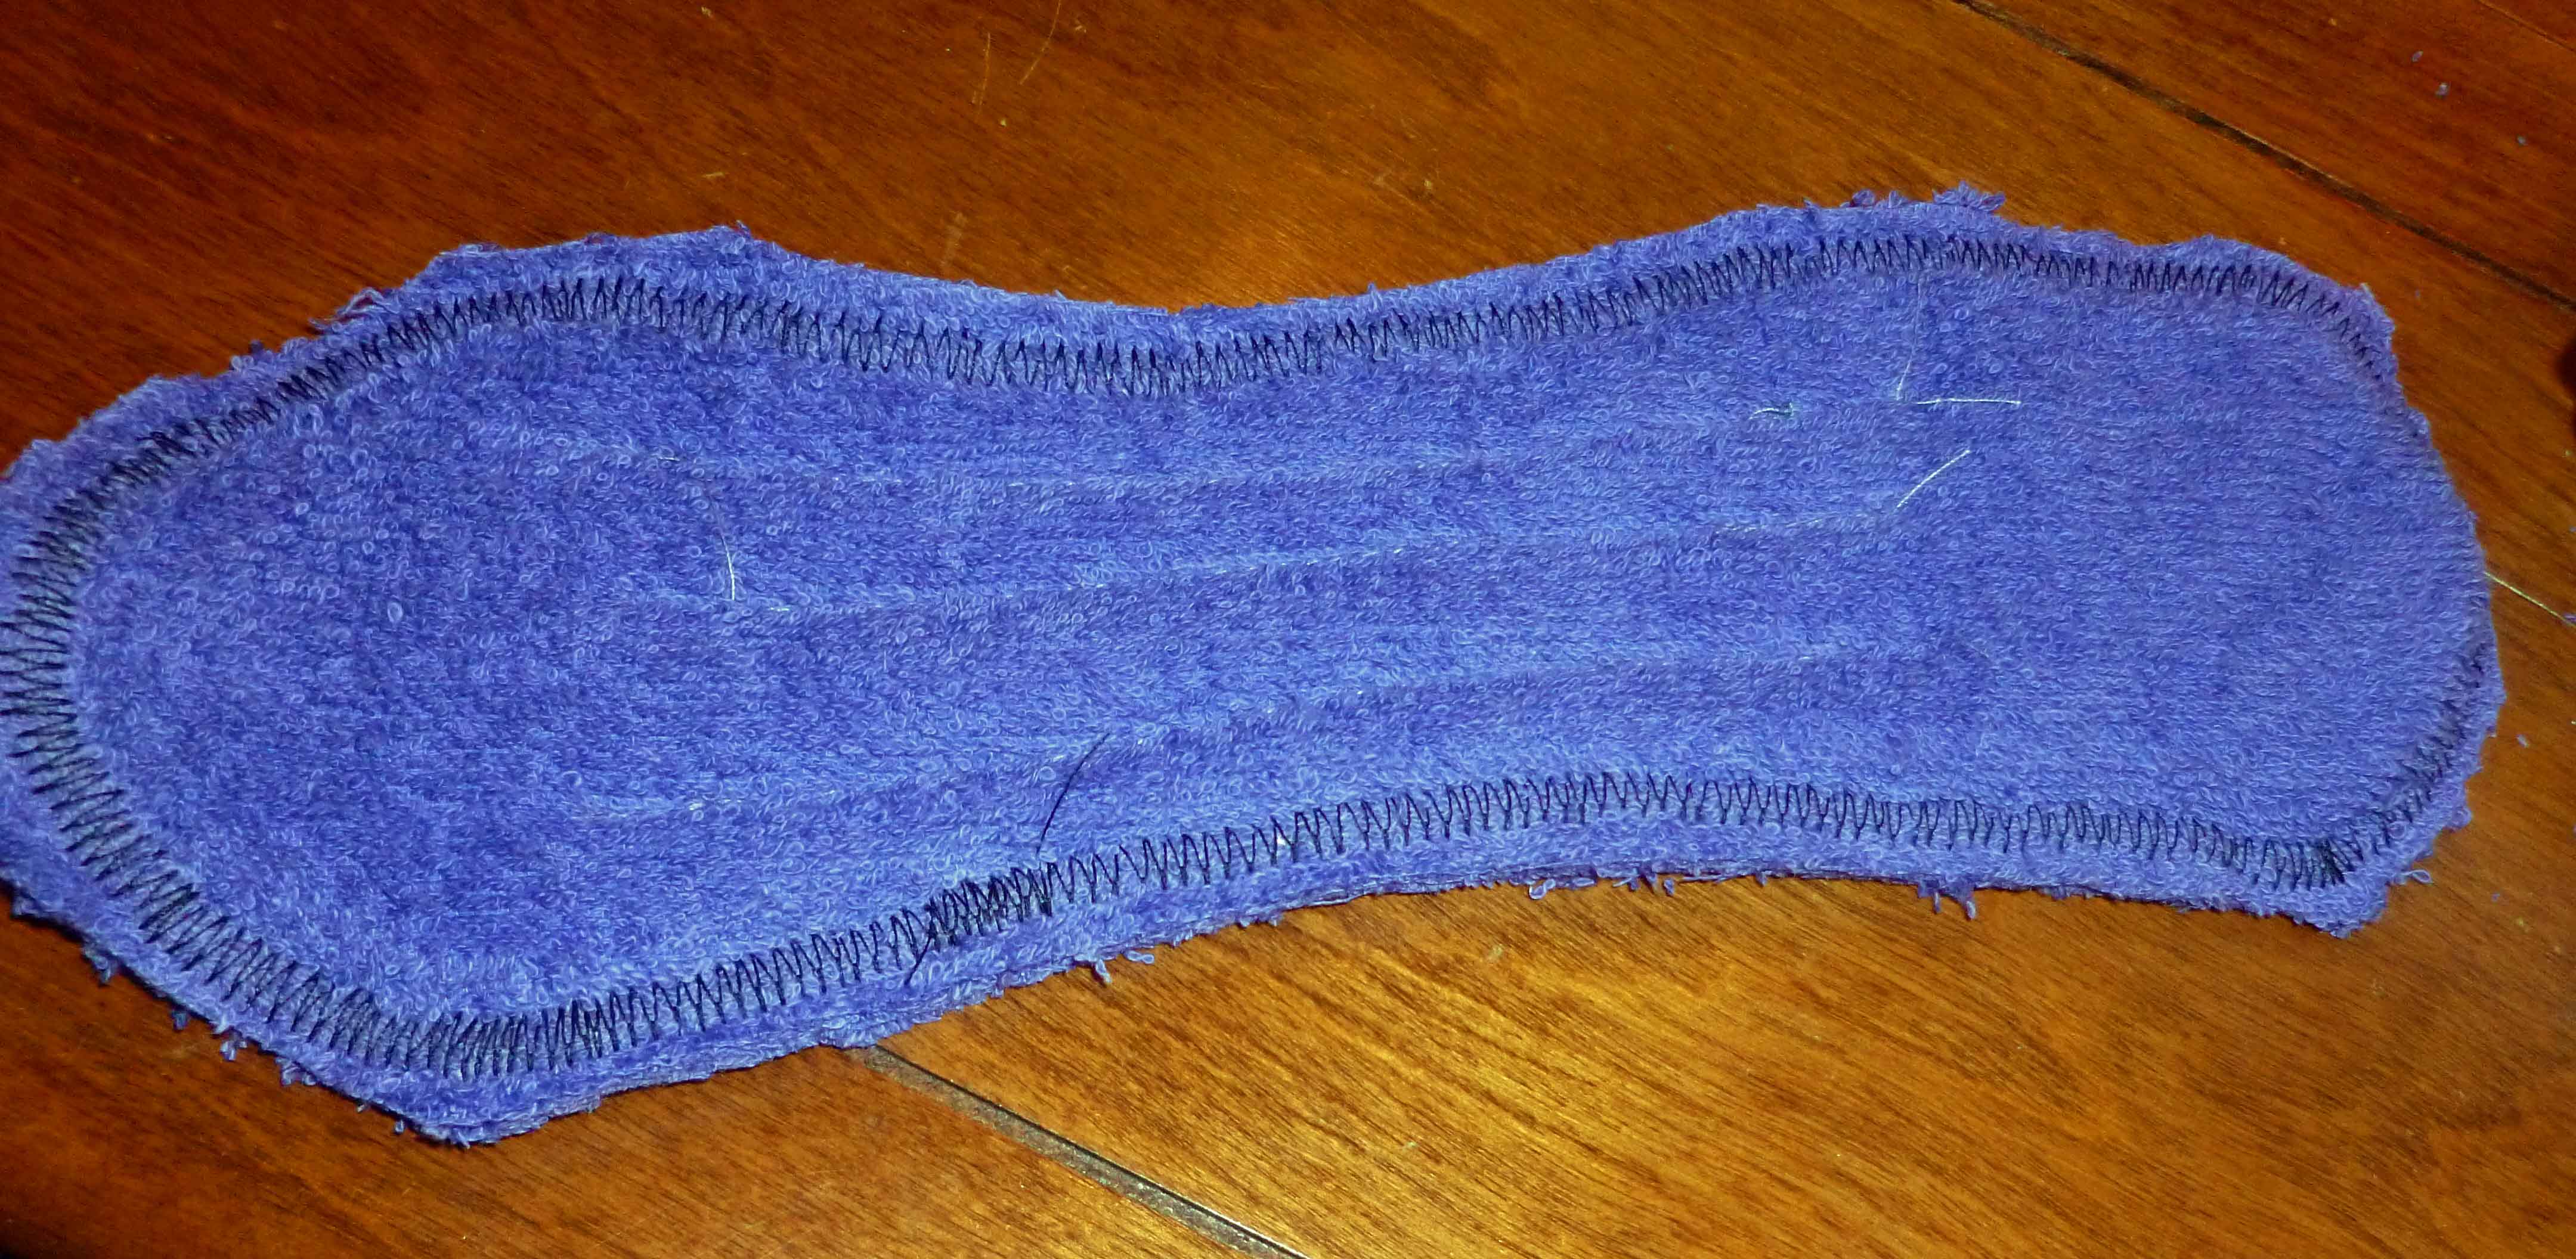
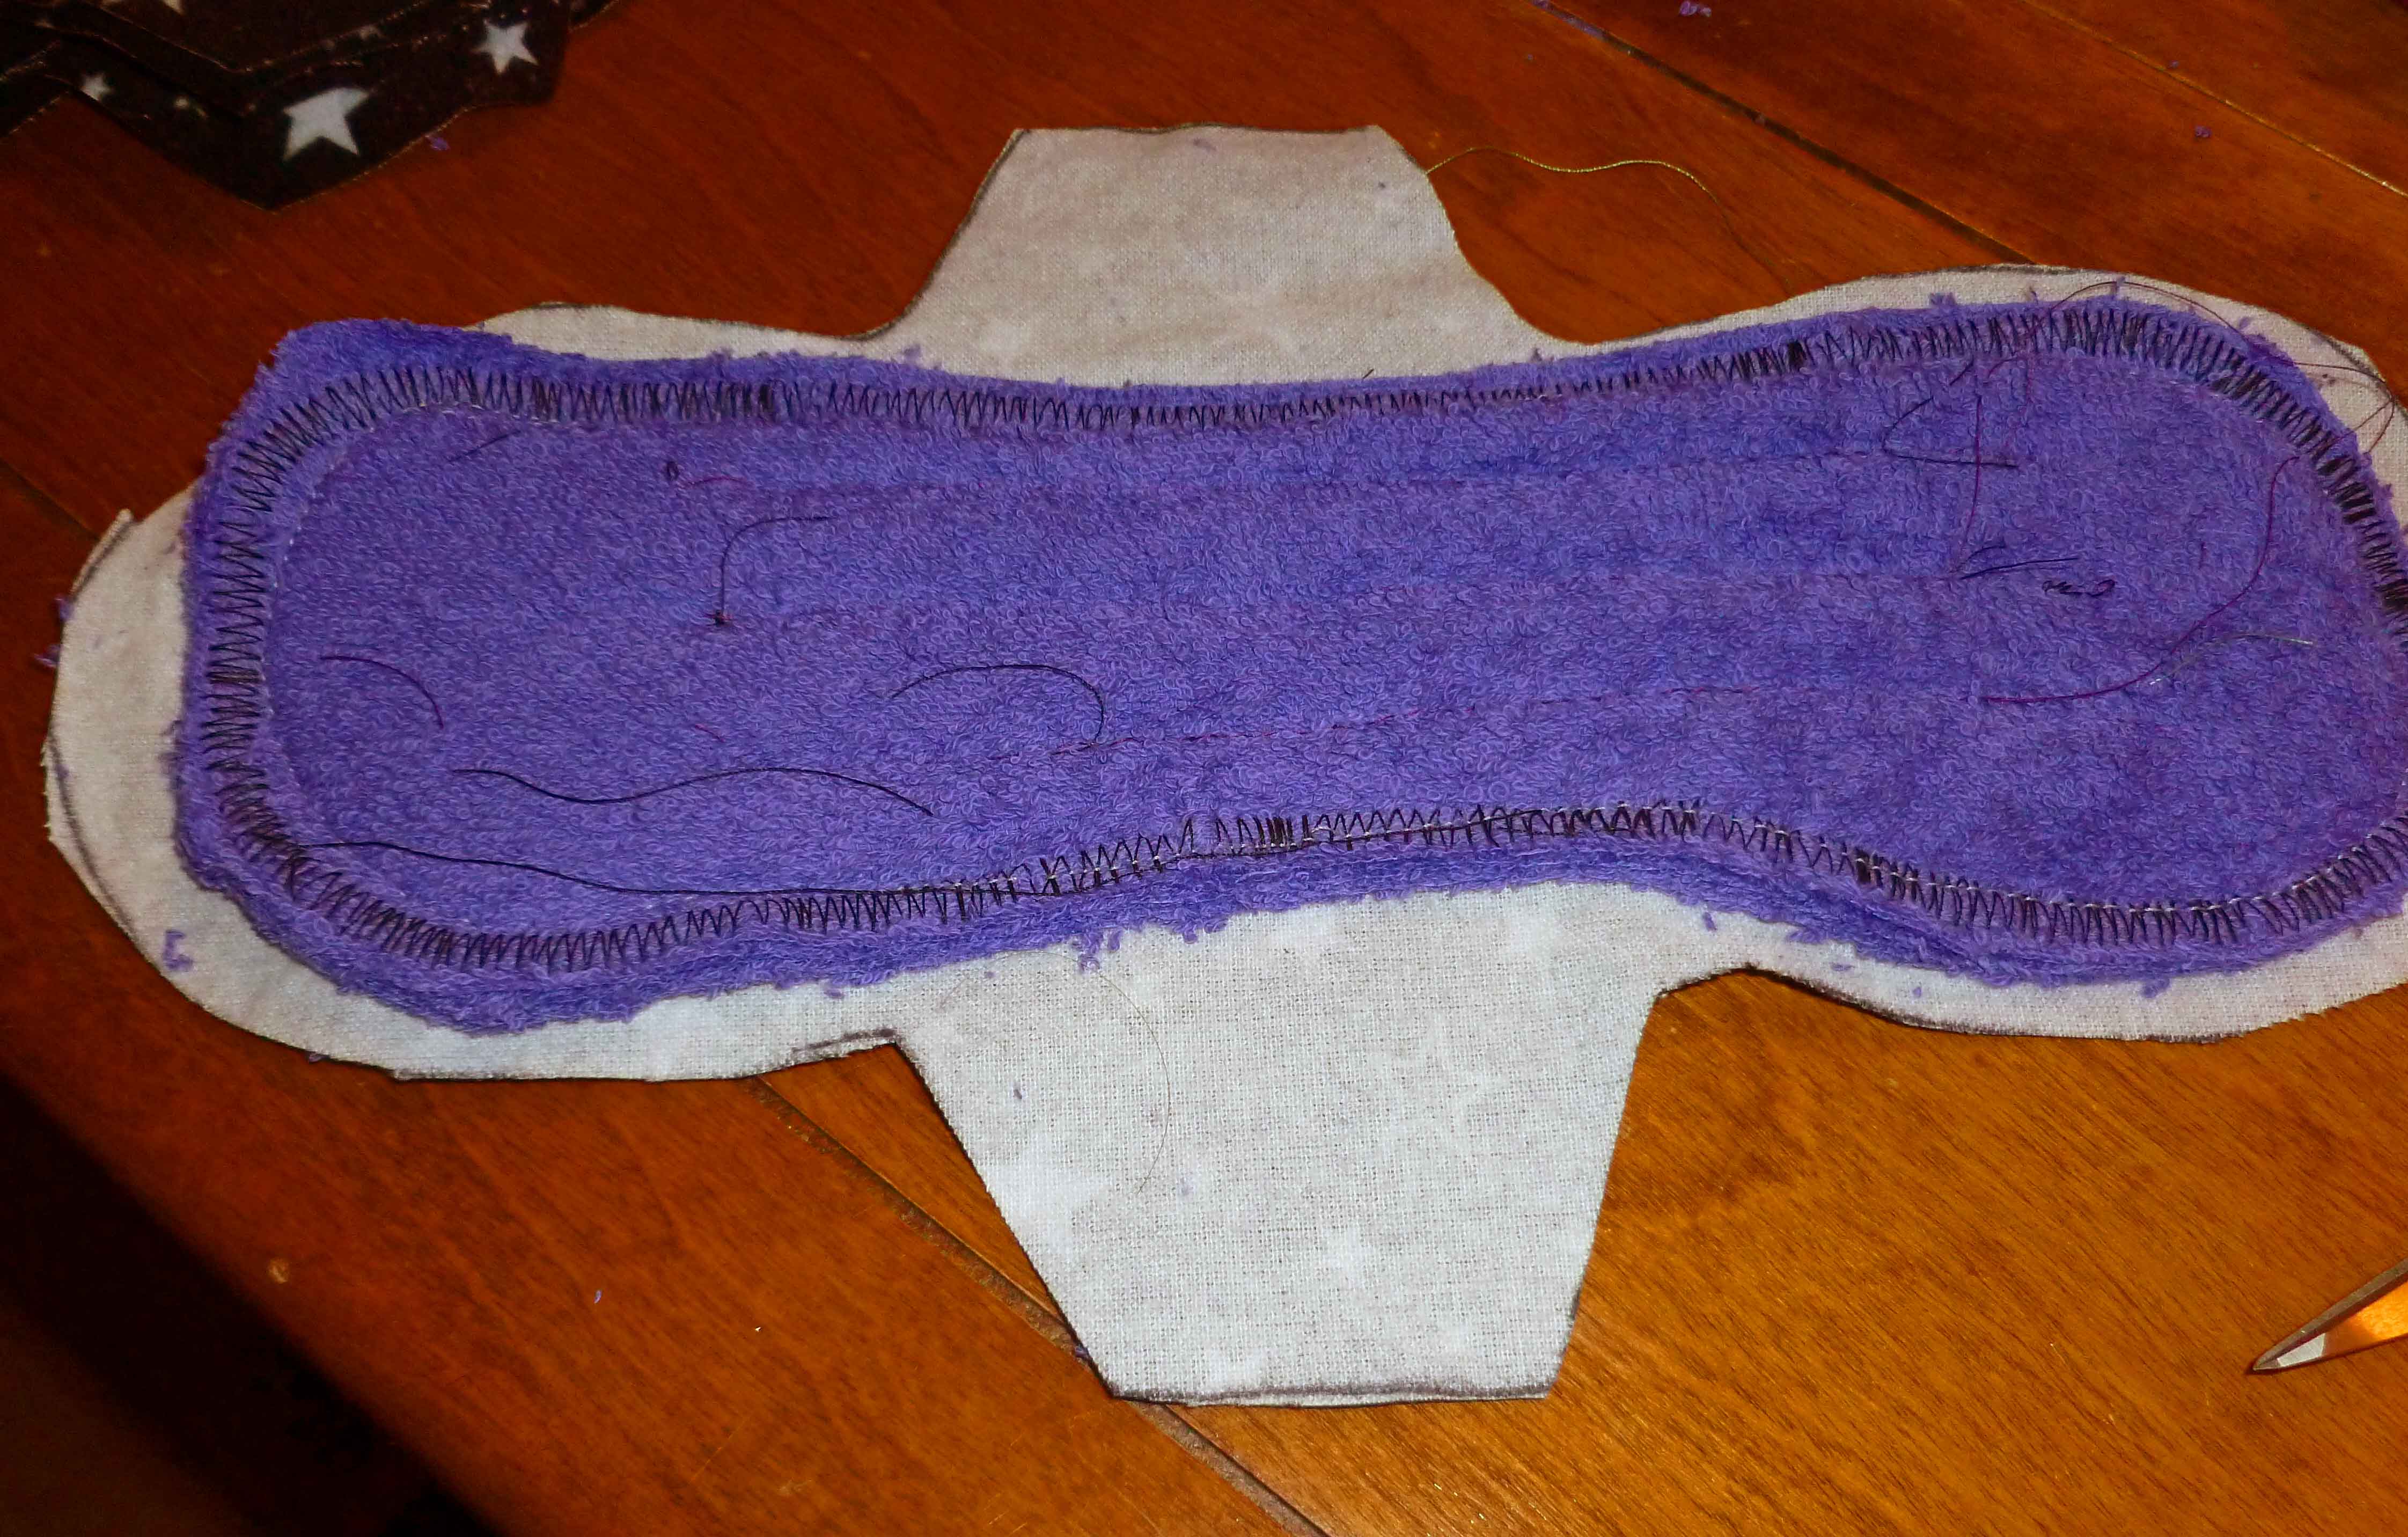
I then trimmed the seam allowance off back to the zigzag stitch. The next step is to sew the core layer to the wrong side of the top of the pad (this is the side that will touch your skin, not your the side that touches your underwear).
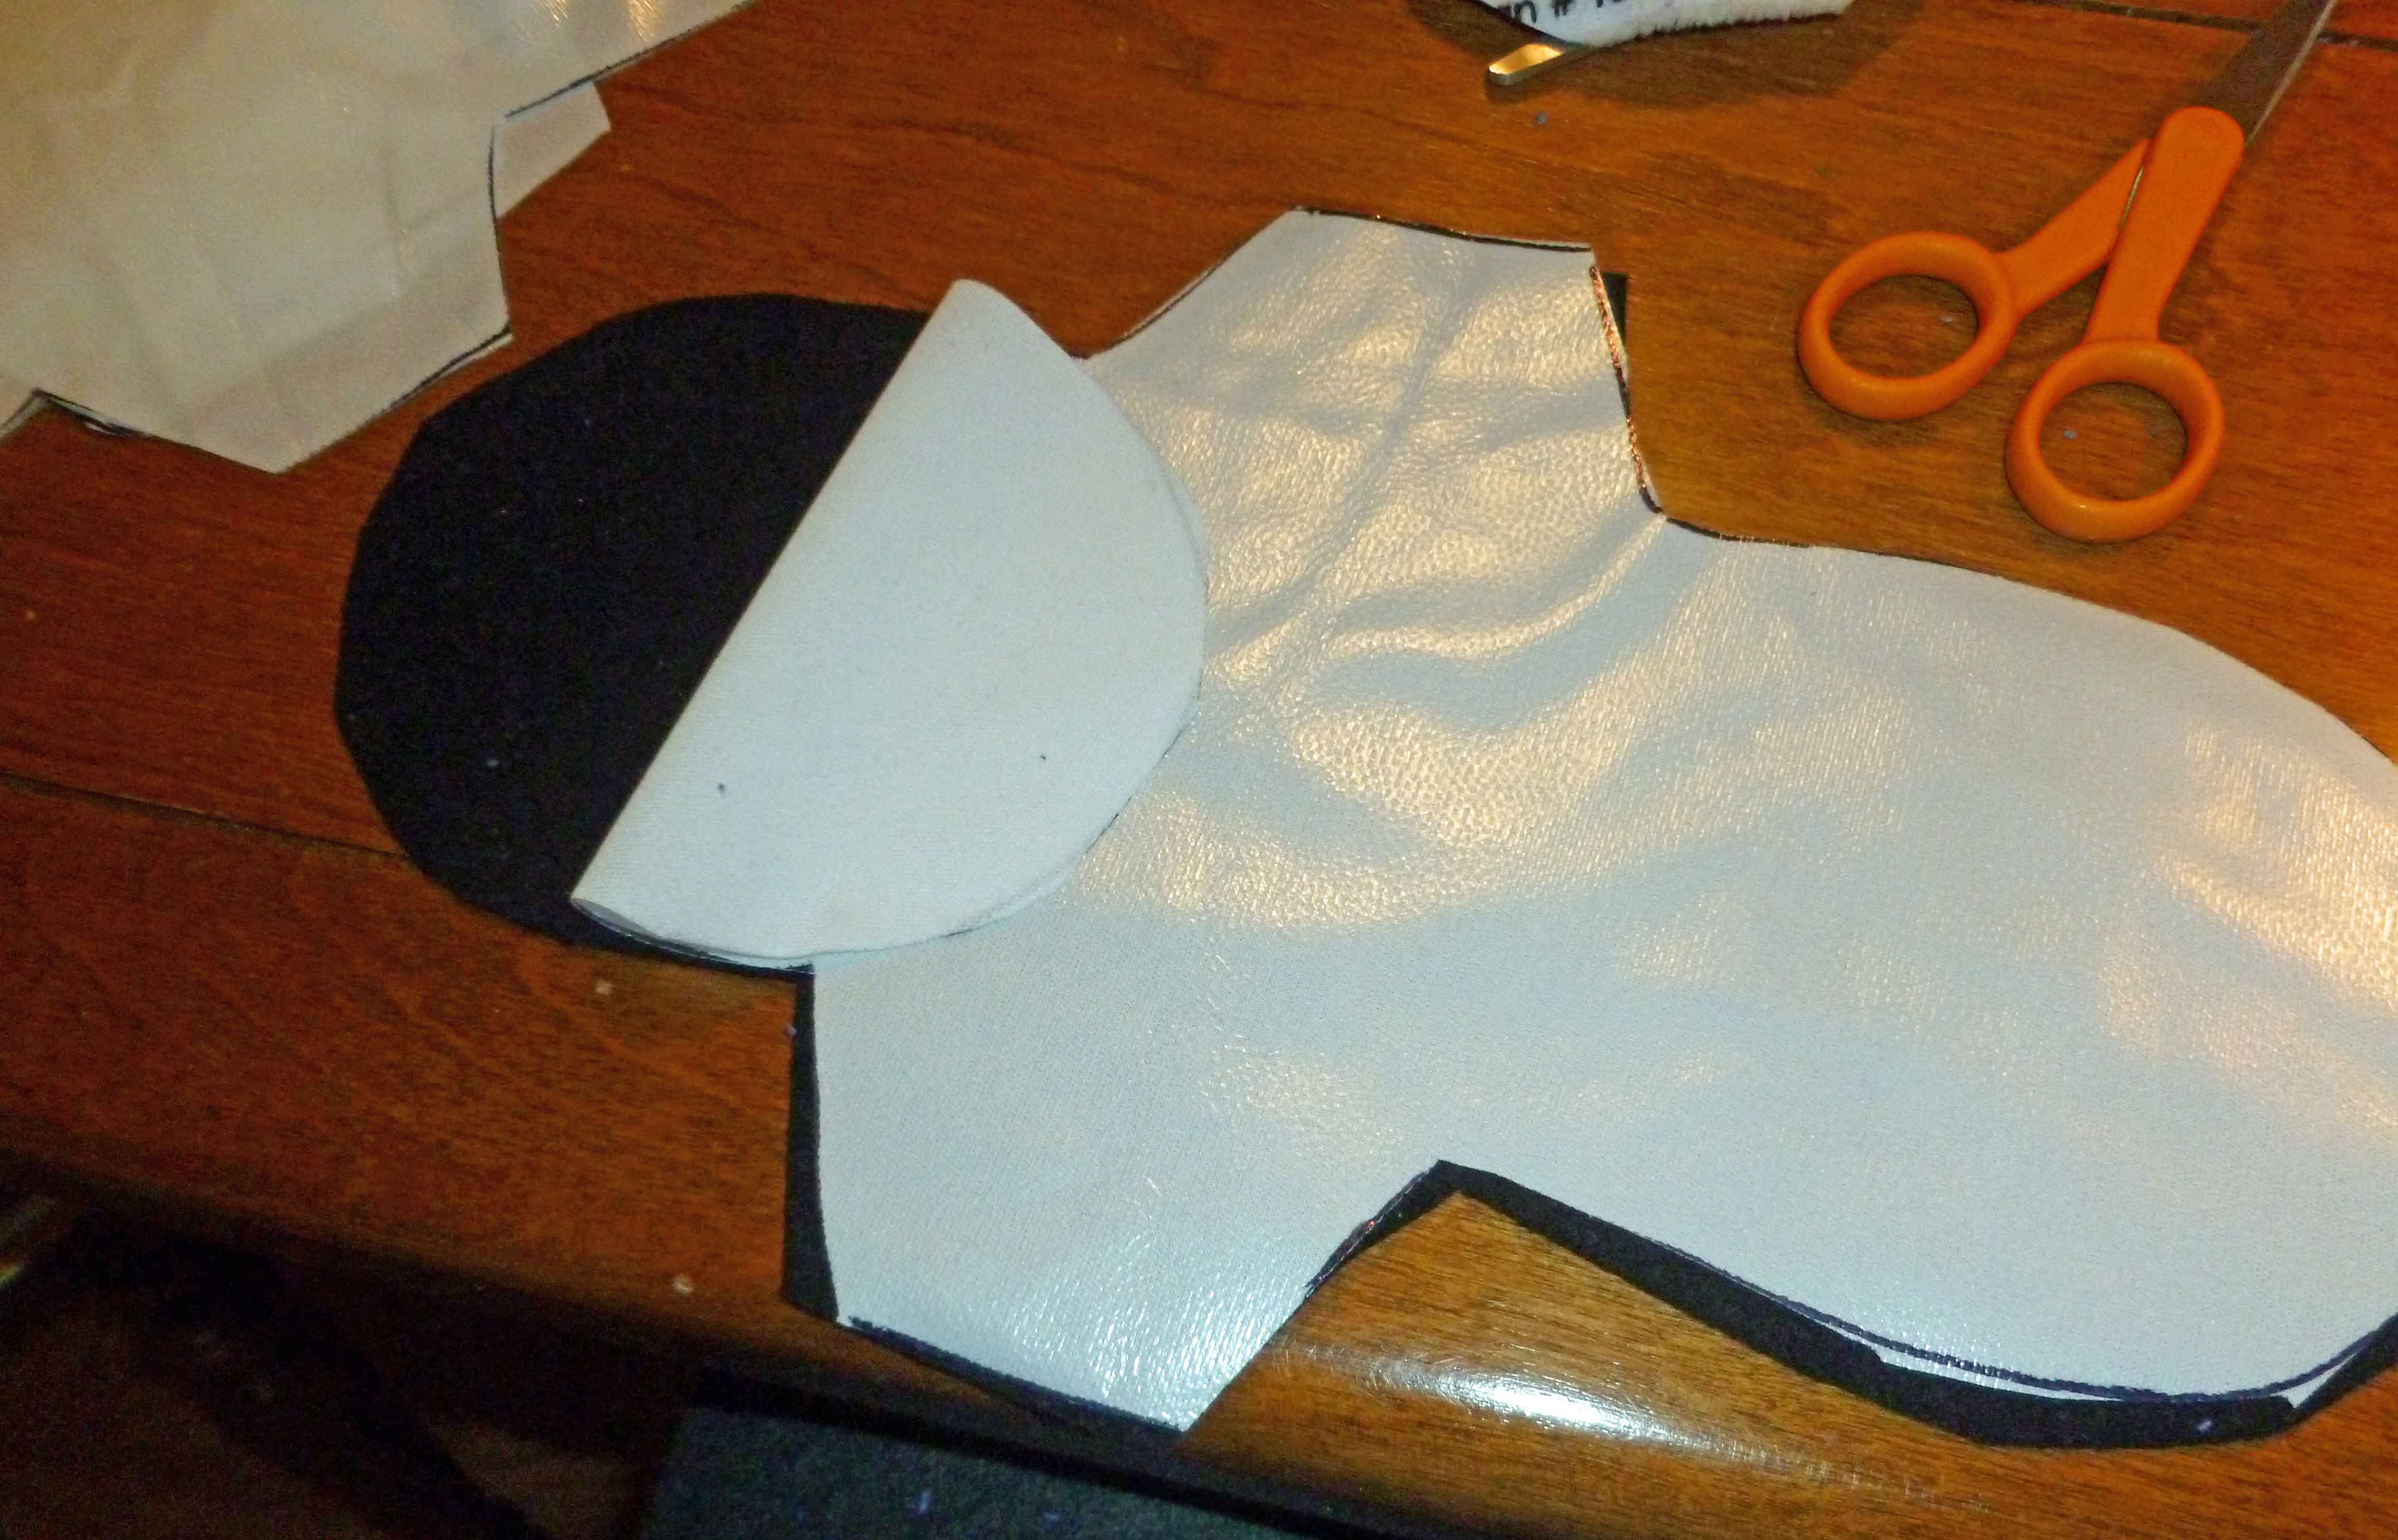
Now I place the shiny side (right side up) of the Polyurethane Laminate on the wrong side of bottom flannel layer.
I then placed the right side of the top layer of the pad against the right side of the bottom pad. This leaves the Polyurethane Laminate on the outside and the core layer on the outside. Sew them together leaving one end open so that you can turn them inside out. Once you have turned them inside out, top stitch the opening closed, tucking in the edges in the seam.

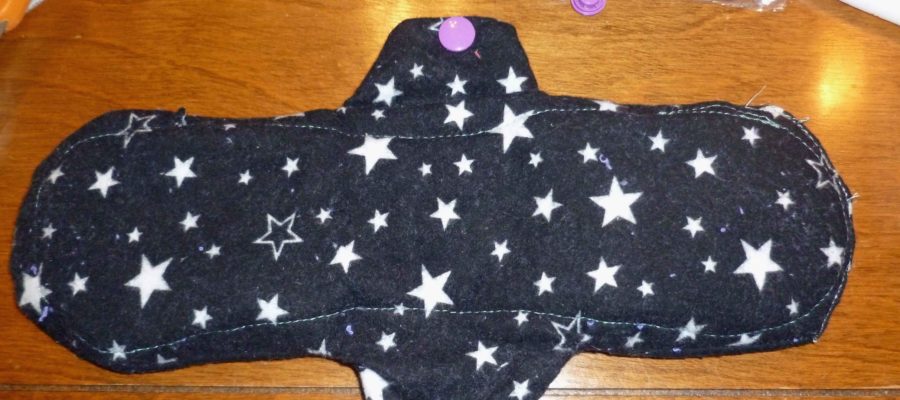
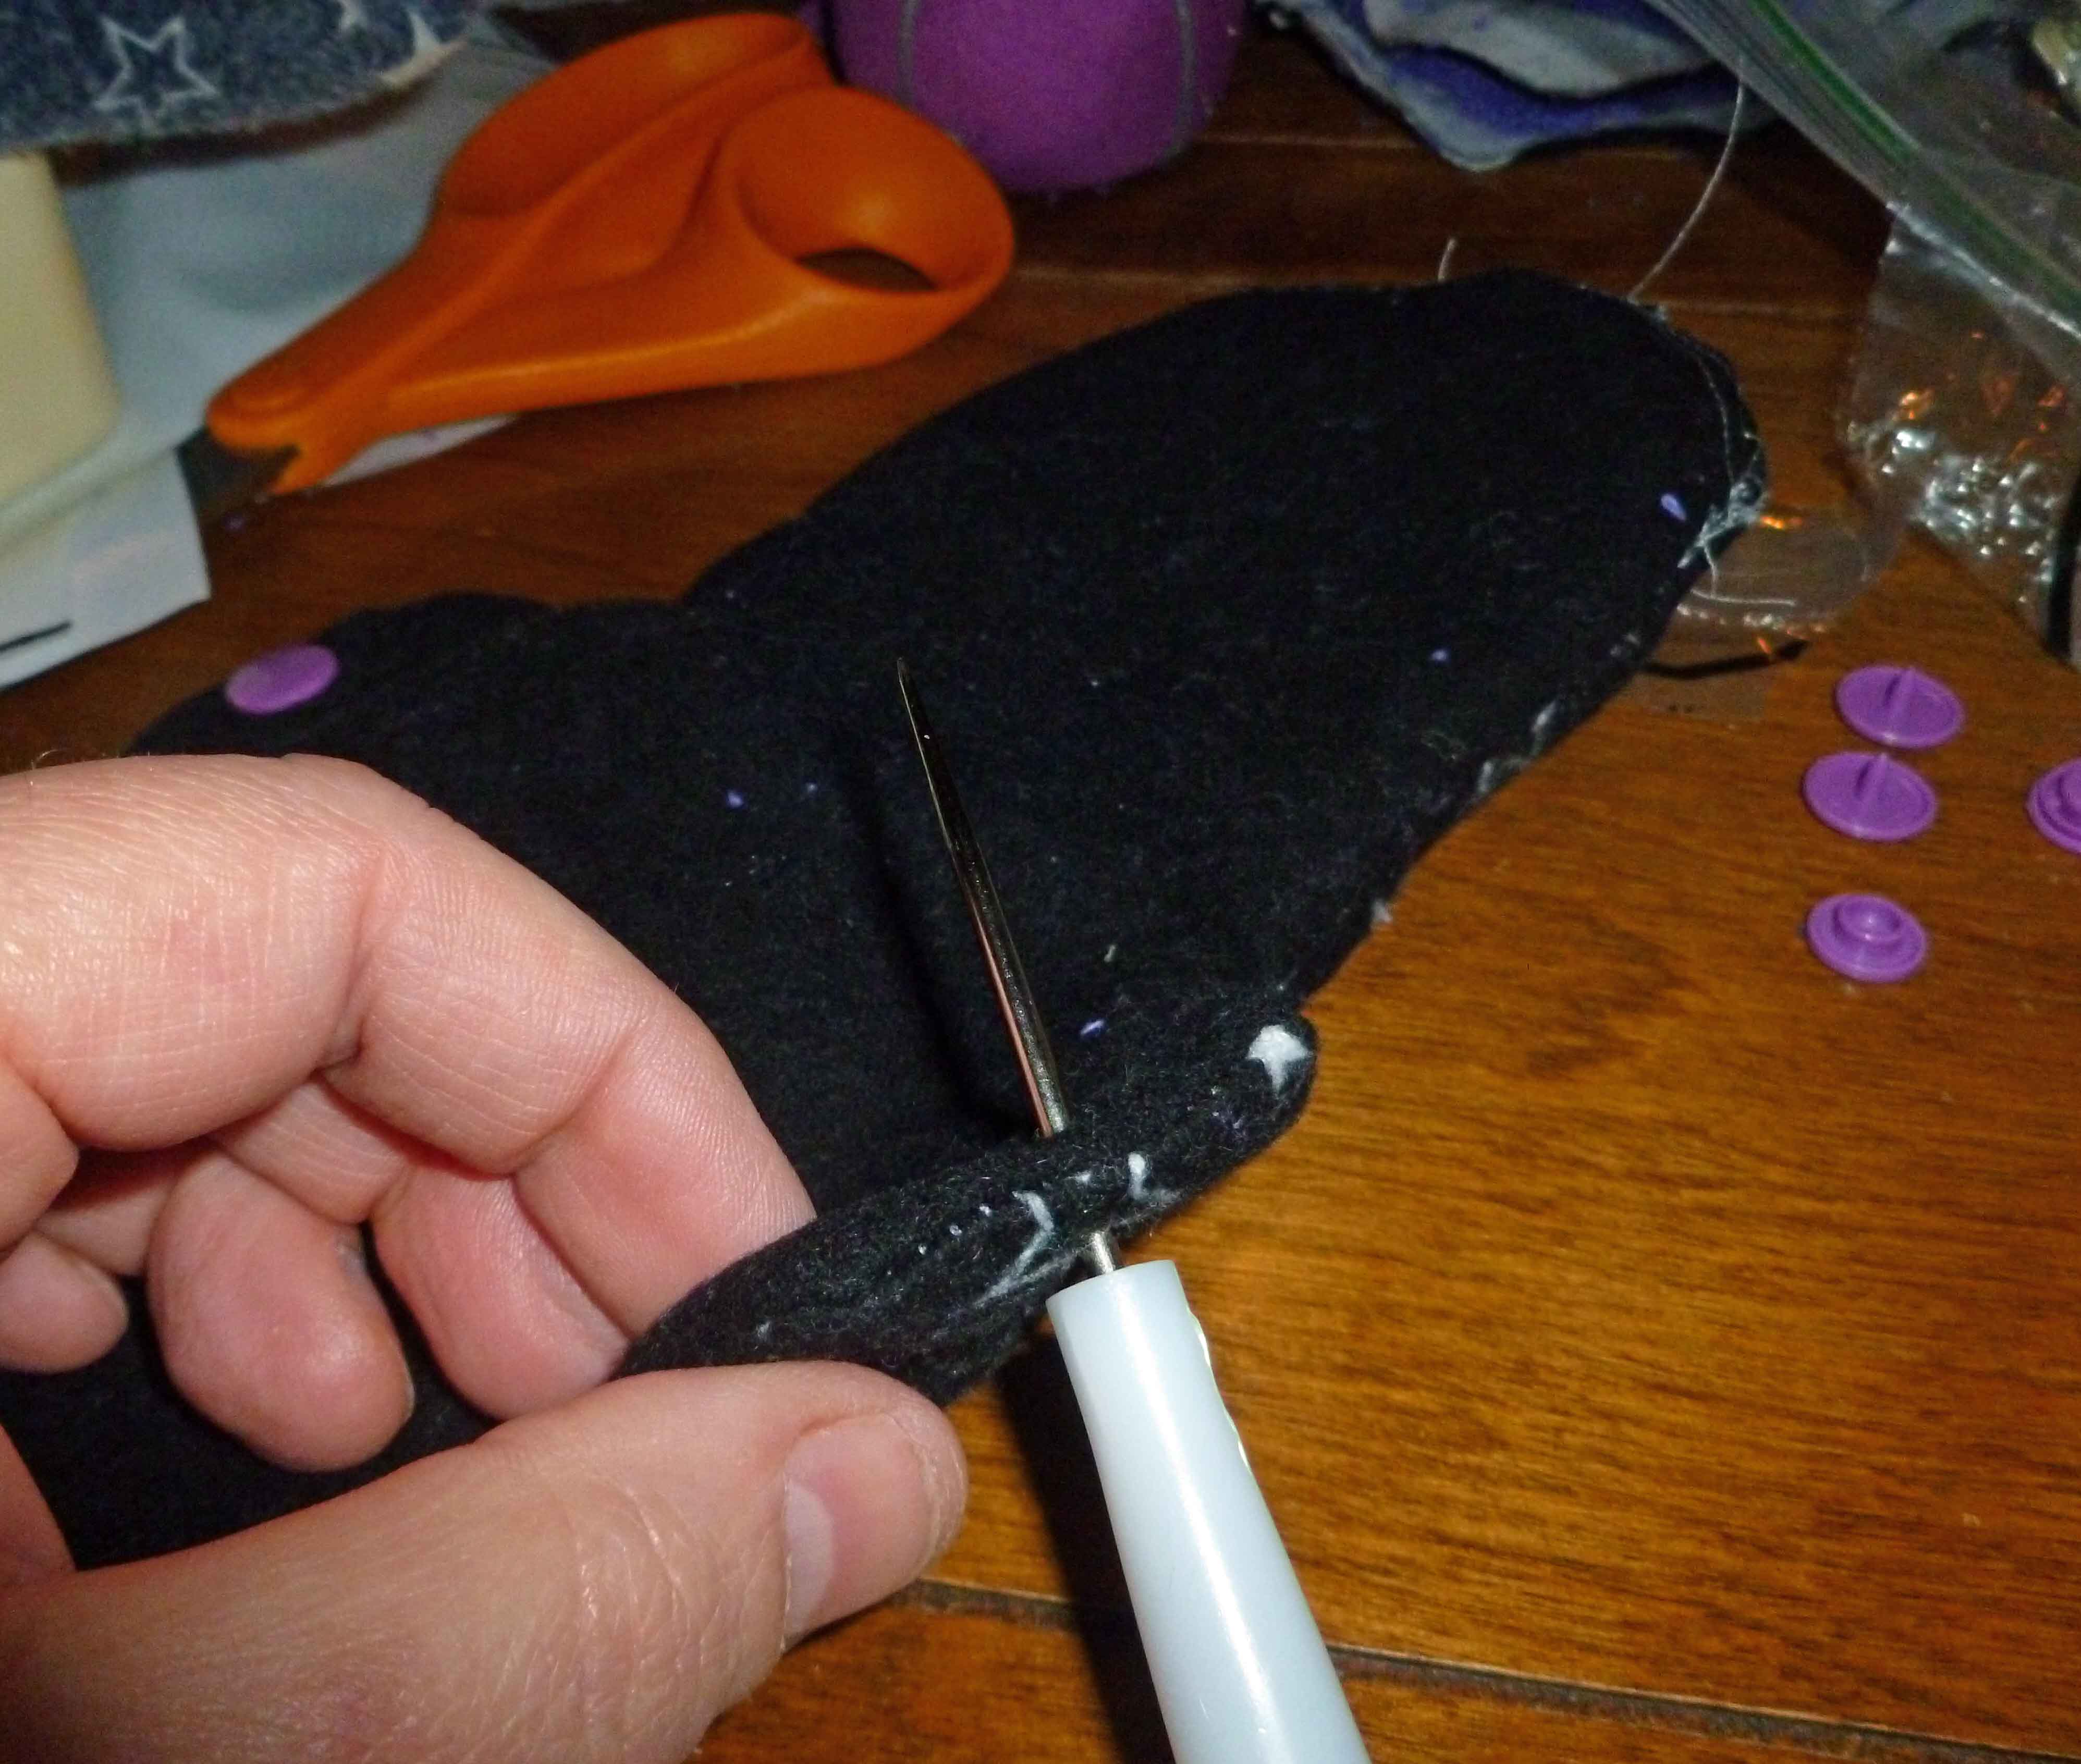
Then I add the snaps.
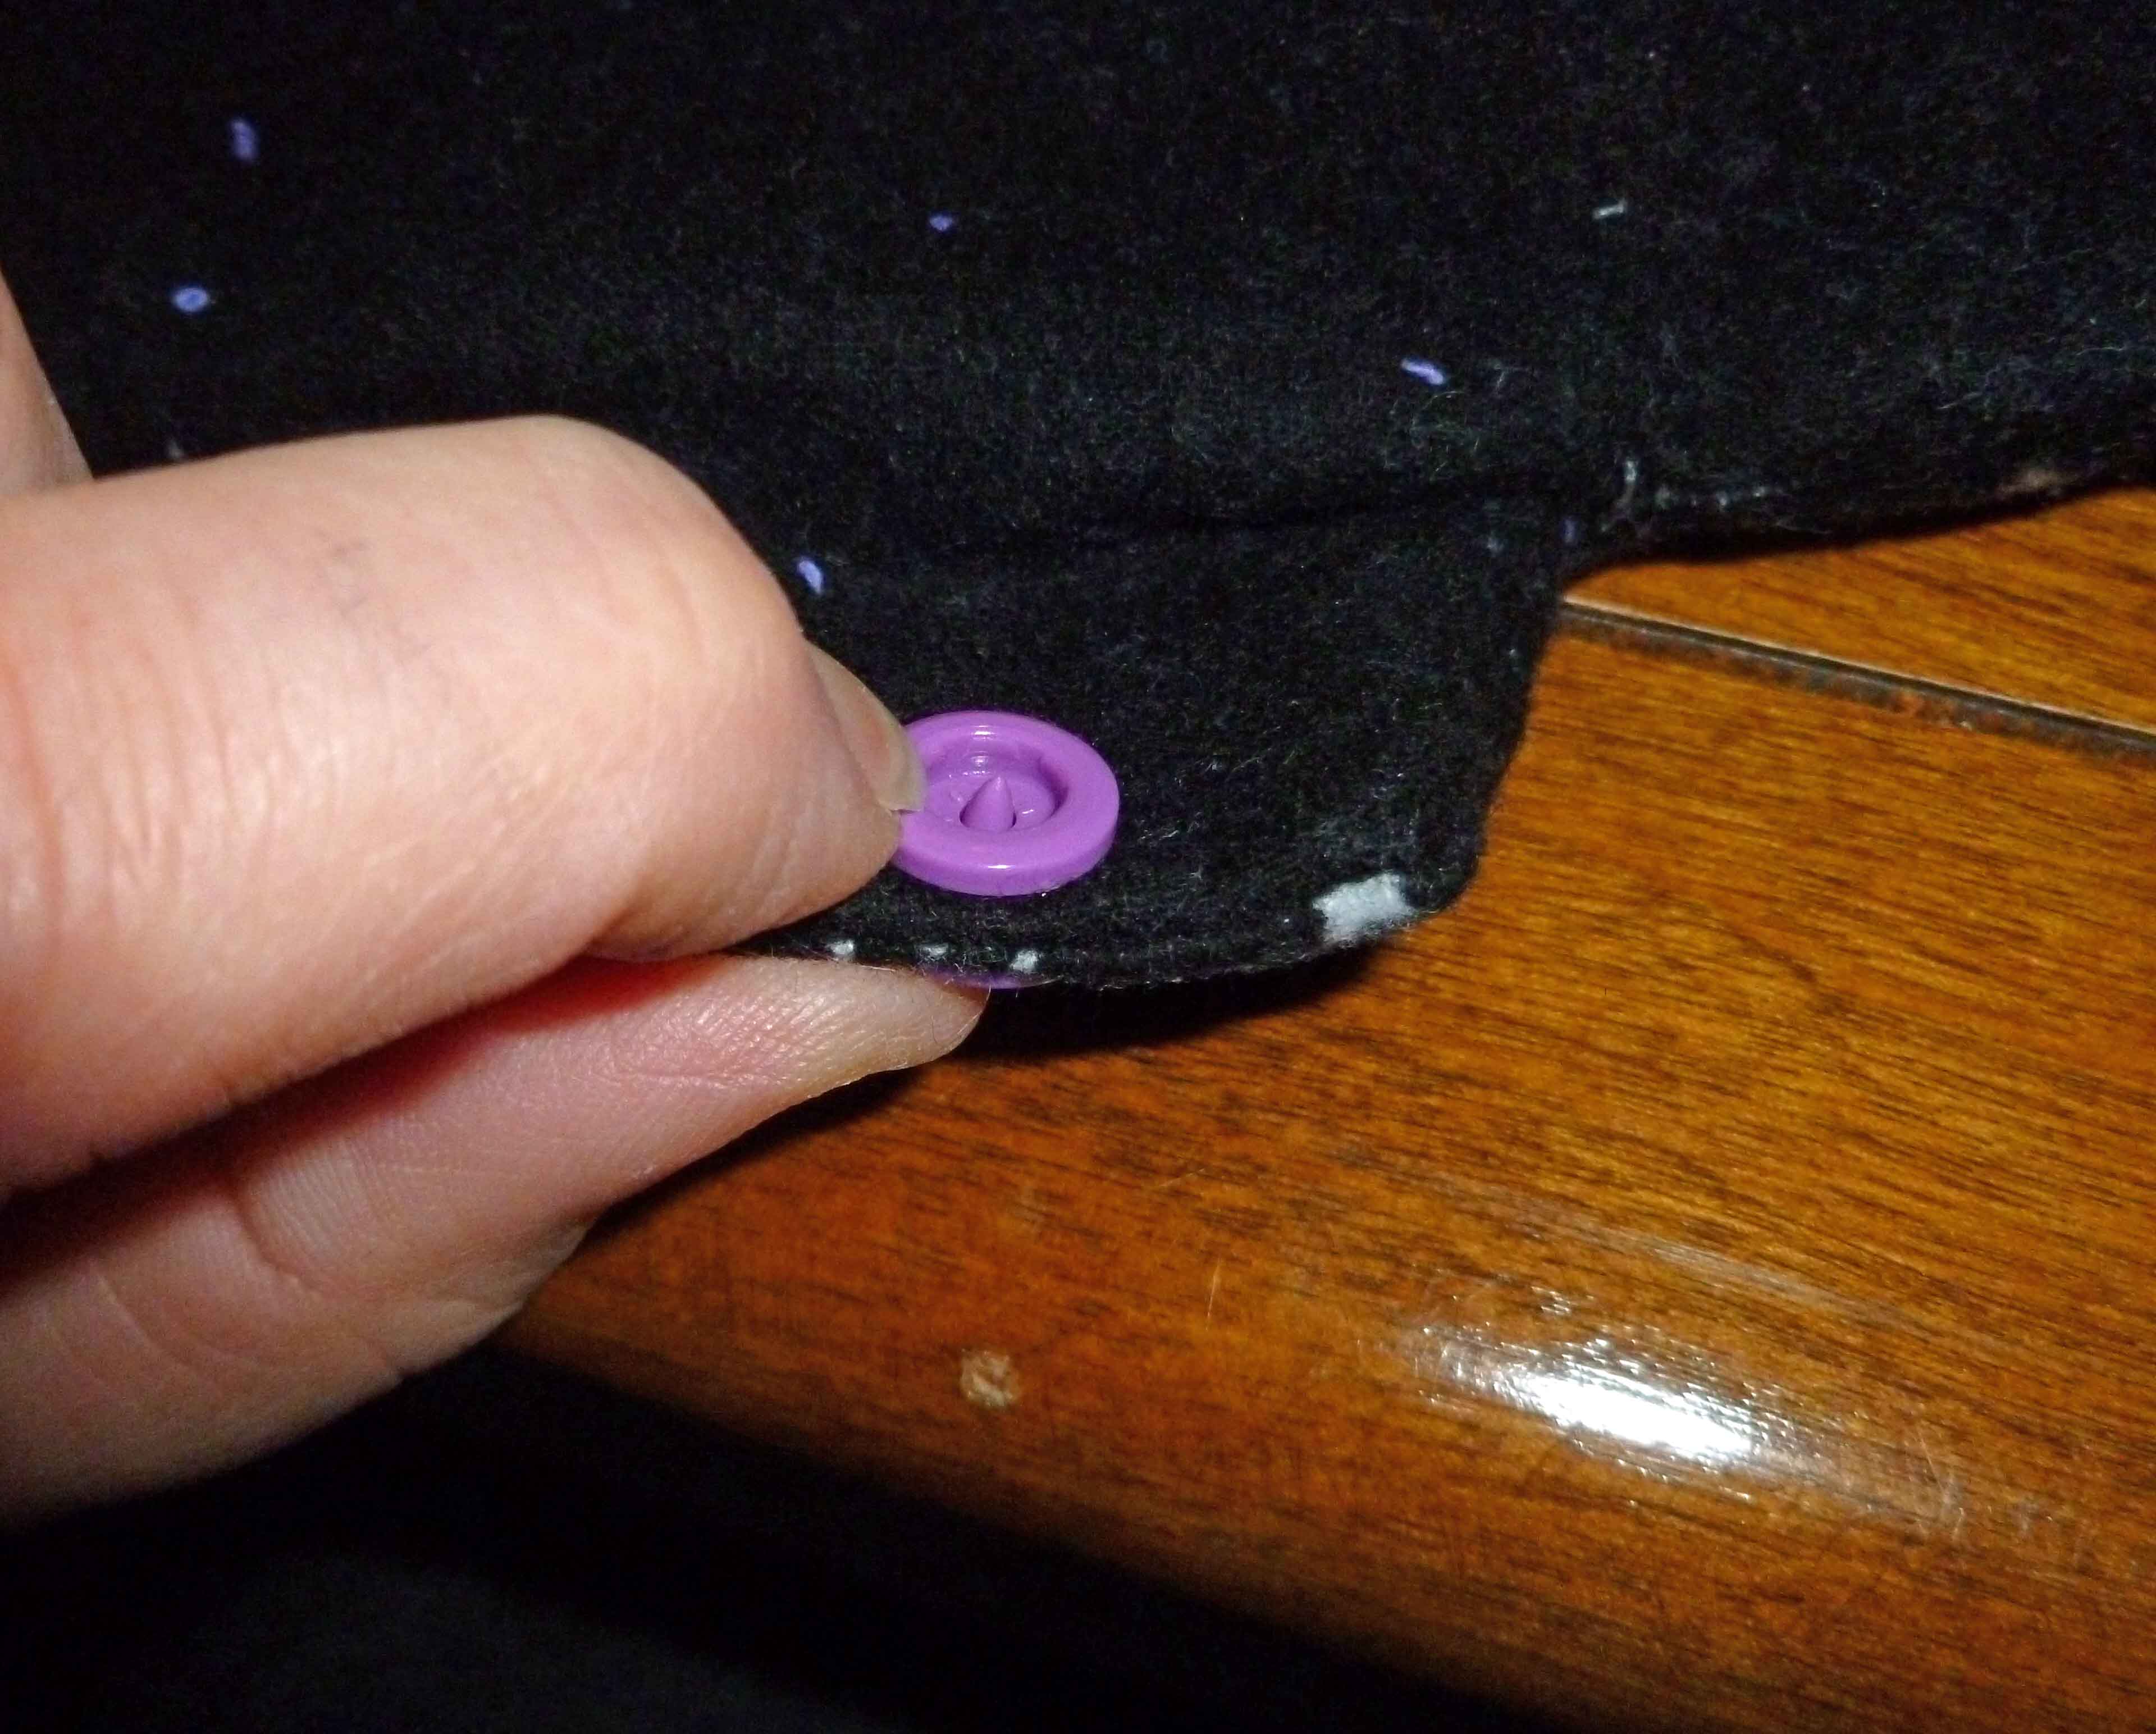
Voila! You have a completed reusable cloth pad with snaps to hold it in place!

To wash these, I use the soak cycle on my washing machine along with some of my homemade laundry detergent. Once that has completed, I add more laundry, more laundry detergent, and wash them in a normal cycle and dry them along with the load of laundry.
Whatever your concerns are with conventional monthly supplies, I hope this is helpful.