Notice: Function _load_textdomain_just_in_time was called incorrectly. Translation loading for the wp-ultimate-recipe domain was triggered too early. This is usually an indicator for some code in the plugin or theme running too early. Translations should be loaded at the init action or later. Please see Debugging in WordPress for more information. (This message was added in version 6.7.0.) in /home/maryzahc/public_html/adultfoodallergies.com/wp-includes/functions.php on line 6121
August 2017 – surviving the food allergy apocalypse (archive)

Month: August 2017

  • Basil Plum Sauce

    Basil Plum Sauce

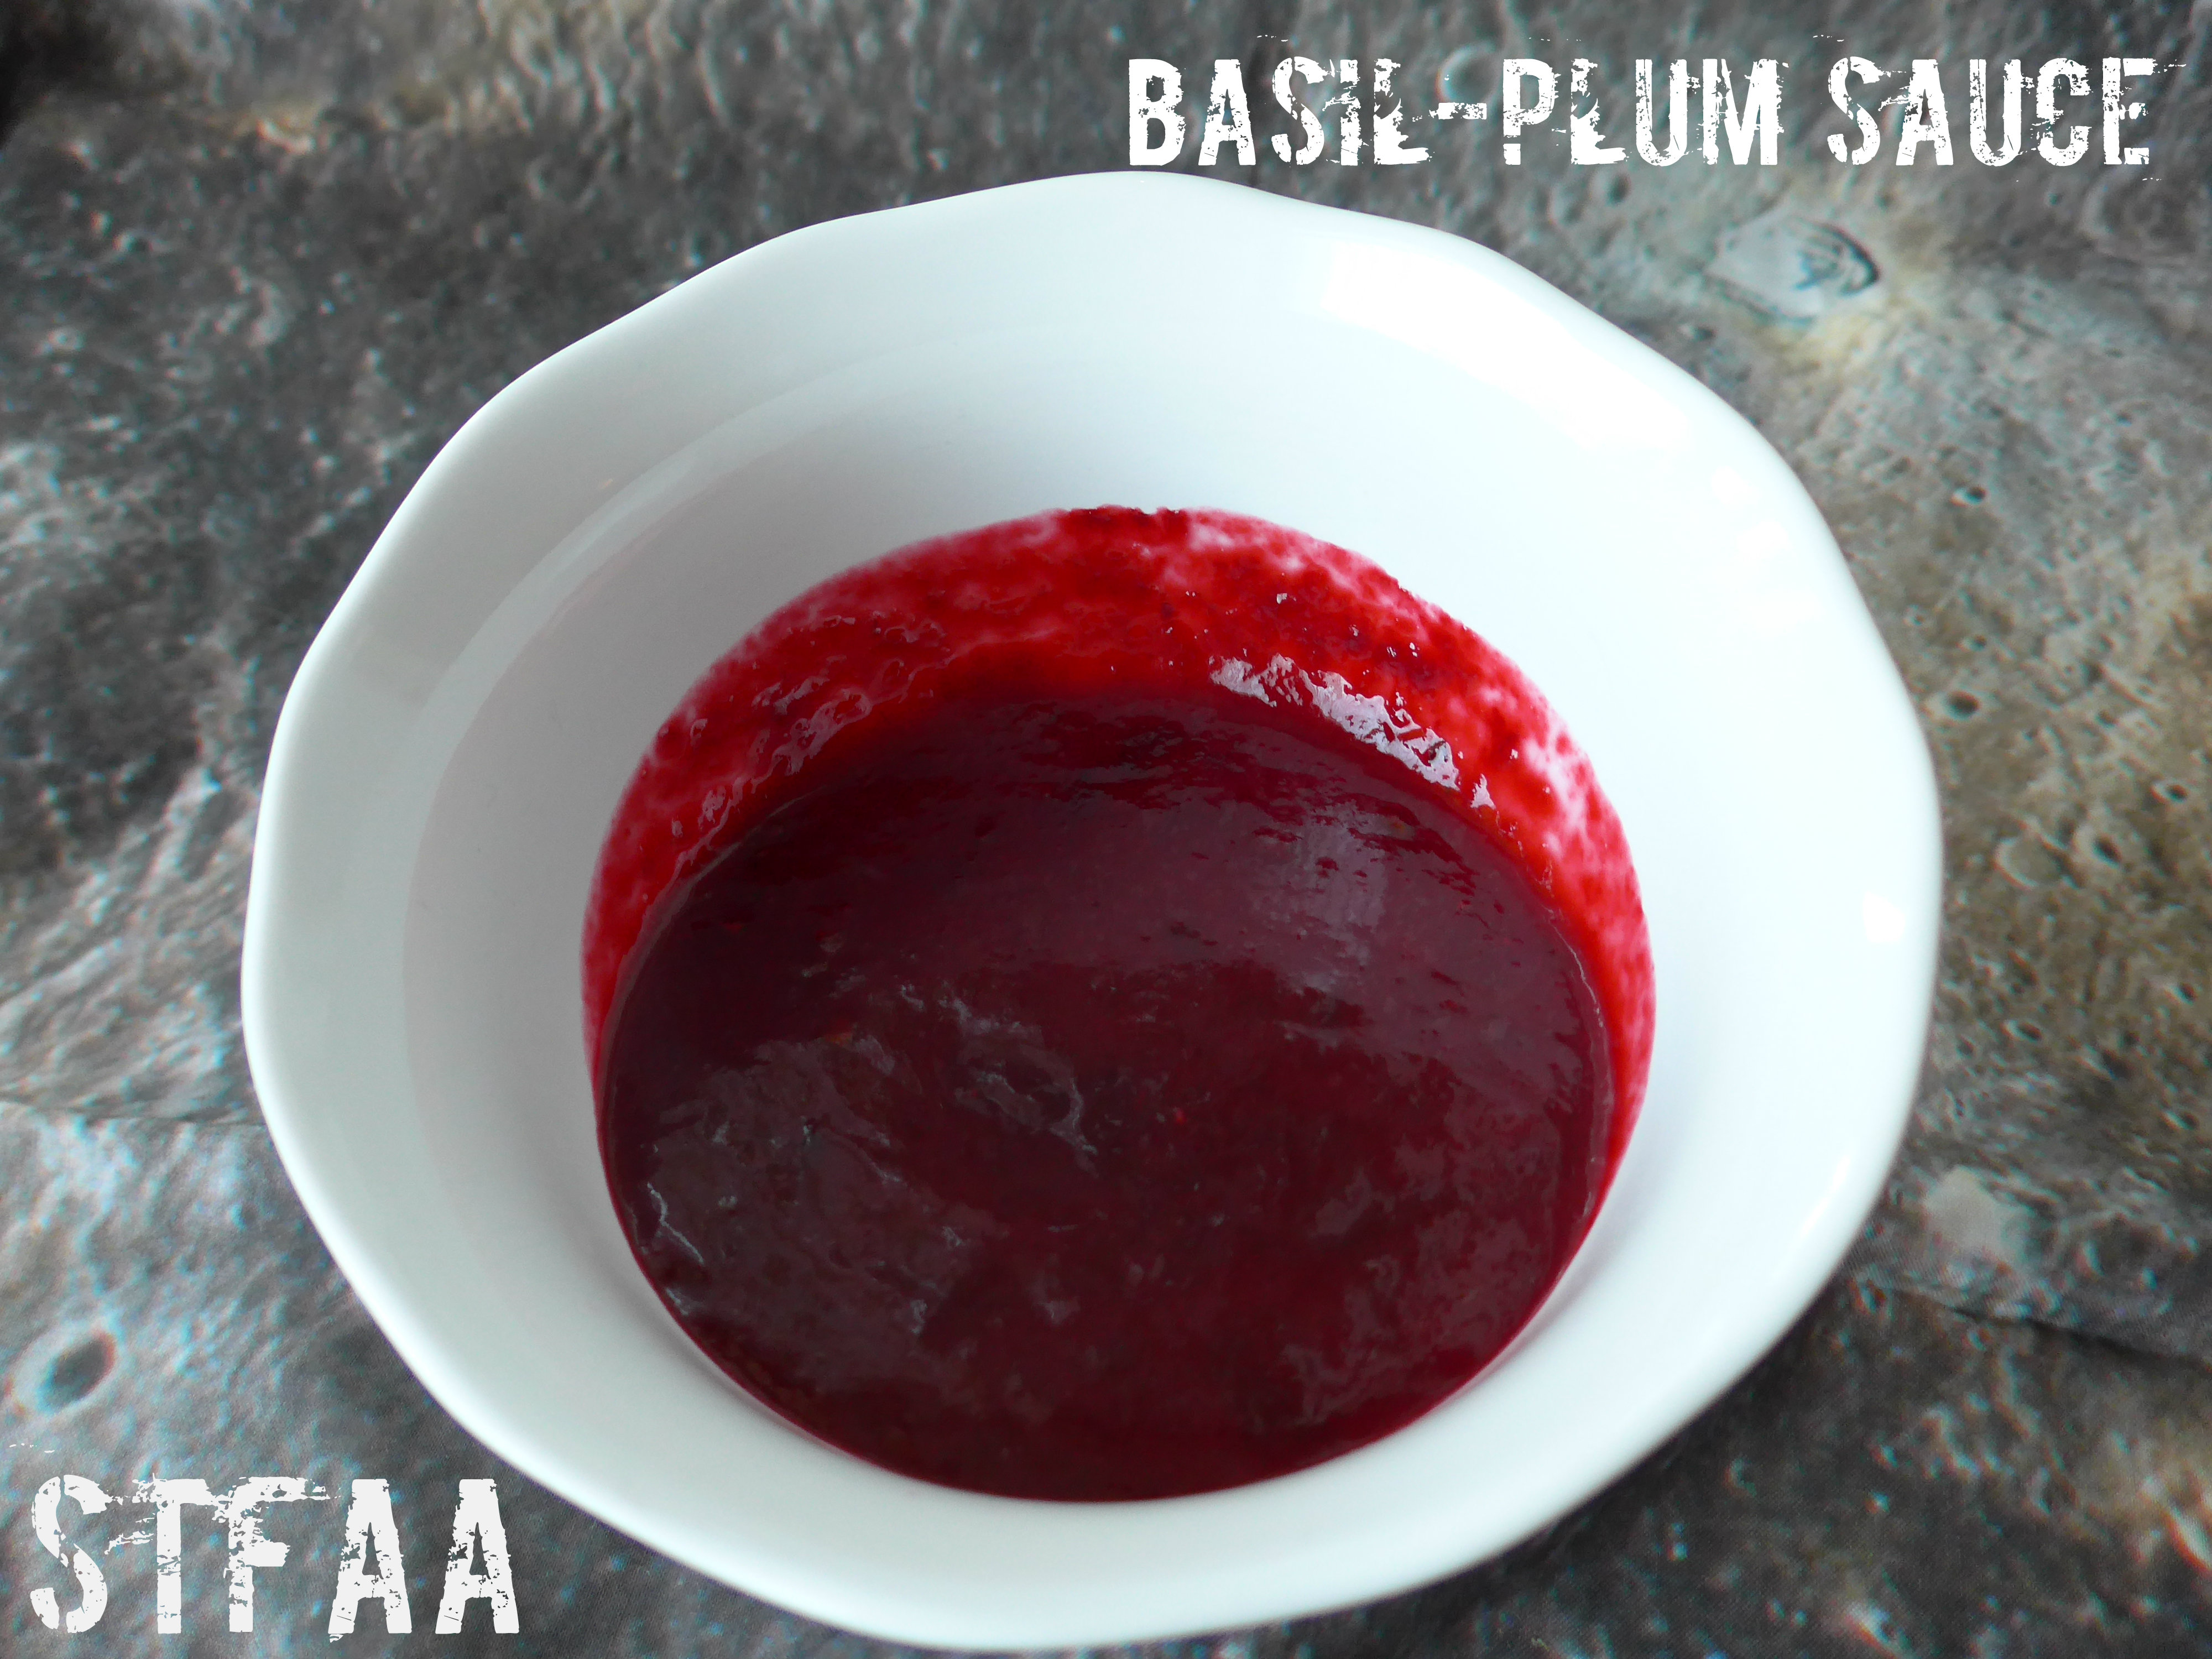
    Basil-Plum Sauce
    Basil_Plum Sauce

    This month, we were aiming to be inspired by what’s growing where we live. For Denise, this means what her garden is producing. For me, it means actually making time to go to the farmer’s market. I love the farmer’s market, but I’m rather lousy at managing to go shopping at a specific time every week. I’ve managed to make it about once a month so far this summer.

    At the end of August, we have everything up here. The first thing that drew me in was basil, which I love, but most often ends up in pesto, which I don’t like much. Since we also have amazing stone fruits, I decided to pair basil with late summer plums and make a sauce. This sauce tastes like summer to me, and while it’s not a flavor that would pair with most vegetables perfectly, it seems to pair perfectly with pork and chicken, if you eat meat, and would likely be great on tofu and tempeh as well, if you eat soy products. It might also be good on sweet potatoes, but I haven’t tried it. I appreciate how fabulously easy it is to make dinner more interesting with a good sauce.
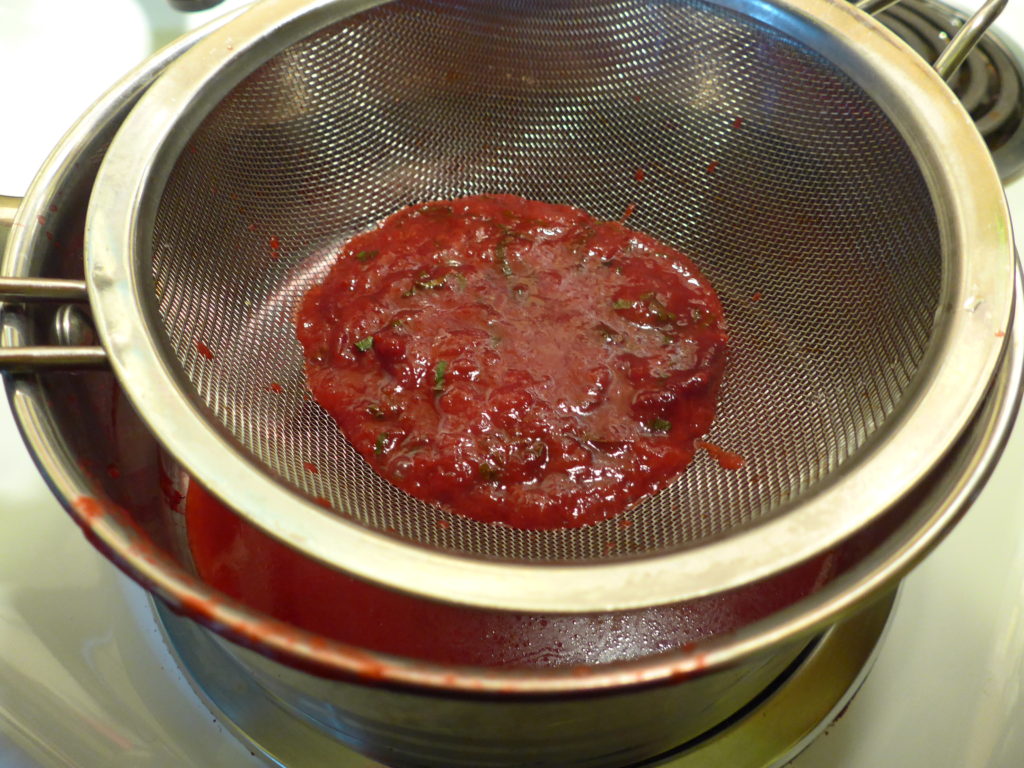
    Straining the basil-plum sauce
    Straining the basil-plum sauce

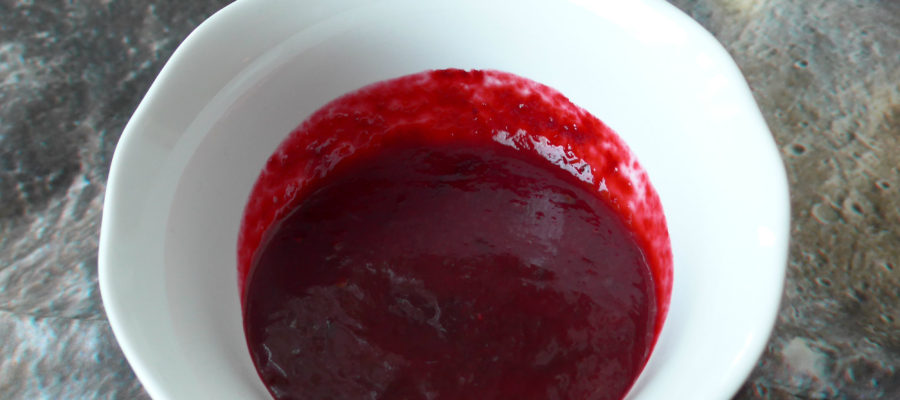
    The sauce takes about 40 minutes to make, but most of that is just cooking over low heat. You’ll end up with something of a consistency of a thin ketchup, a fruity acidity and very lightly floral (basil) flavor.


    Notice: Trying to access array offset on value of type bool in /home/maryzahc/public_html/adultfoodallergies.com/wp-content/plugins/wp-ultimate-recipe/helpers/models/recipe.php on line 254
    Basil Plum Sauce
    Print Recipe
    Servings Prep Time
    5 servings 50 minutes
    Cook Time
    40 minutes
    Servings Prep Time
    5 servings 50 minutes
    Cook Time
    40 minutes
    Basil Plum Sauce
    Print Recipe
    Servings Prep Time
    5 servings 50 minutes
    Cook Time
    40 minutes
    Servings Prep Time
    5 servings 50 minutes
    Cook Time
    40 minutes
    Ingredients
    • 10 ounces plums pitted and cut into 8ths
    • 1 Tablespoon water
    • 1 teaspoon oil
    • 2 Tablespoons fresh basil chopped, separated
    • 1 pinch salt (less than 1/4 teaspoon)
    • 1 Tablespoon honey or agave syrup
    Servings: servings
    Instructions
    1. Mix plums, water, and oil in a saucepan, cover and heat over low heat for 10 minutes.
    2. Stir well, and cover and cook for 10 more minutes.
    3. Partially cover (leave the saucepan lid ajar) and cook for 5 more minutes.
    4. Add 1 Tablespoon of basil, stir well, and cook uncovered for 5 more minutes, smashing the plum flesh down a bit if it’s still not saucy enough.
    5. Remove the sauce from the pan to a large measuring cup or heat-safe bowl, and then strain it back into the sauce pan. This will remove the basil you just added, though it’s infused flavor, but it will also remove the plum skins and a bit of the fiber.
    6. Add in the last 1T of basil, the pinch of salt, and the liquid sweetener. Stir well.
    7. On the lowest setting, reduce the sauce by about 1/3 of the volume, letting it thicken up a bit. Now’s the time to taste it and see if the salt level is right — if you need to add more, cook it just long enough to dissolve the salt.
    8. Should keep for about a week in the fridge, longer in the freezer (but I’m not sure how long).
    Share this Recipe
     
    Powered byWP Ultimate Recipe
  • Chocolate Zucchini Breakfast Muffins

    Chocolate Zucchini Breakfast Muffins

    Chocolate Zucchini Breakfast Muffins
    Chocolate Zucchini Breakfast Muffins

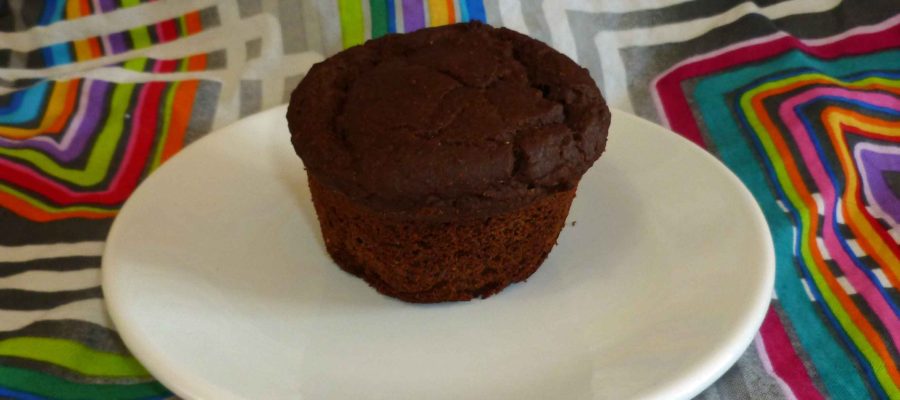
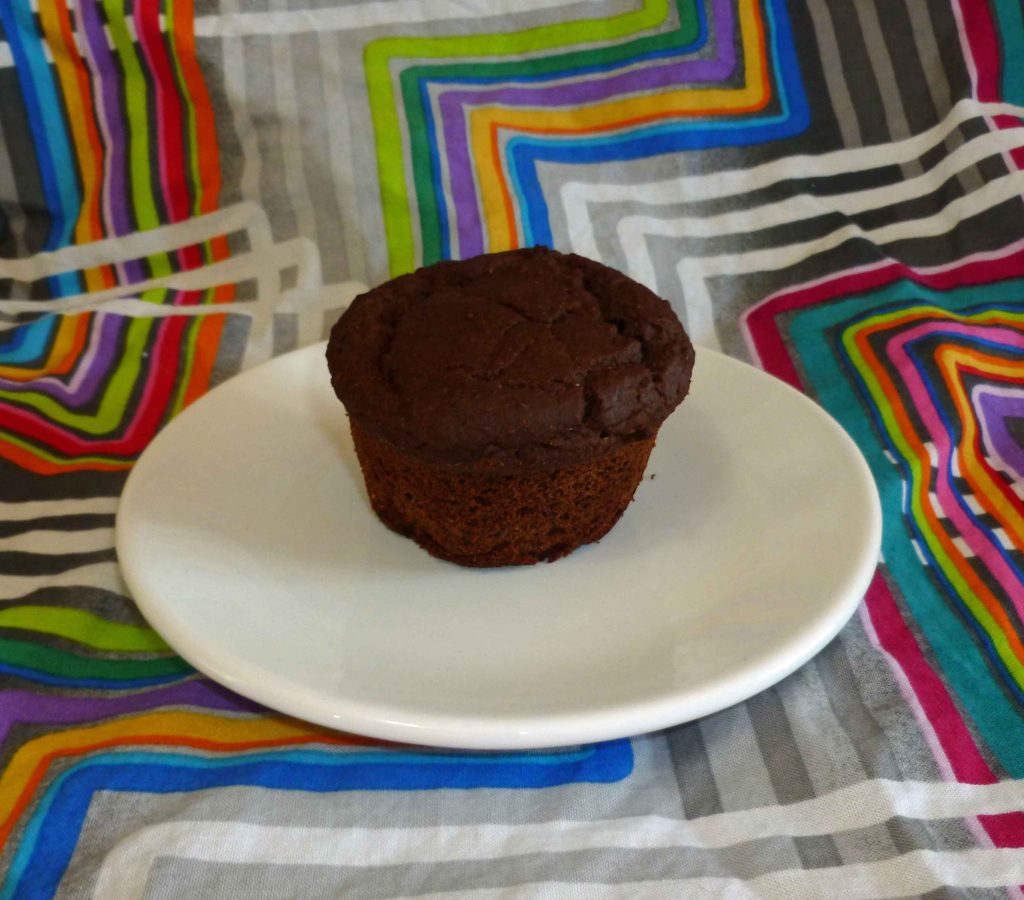
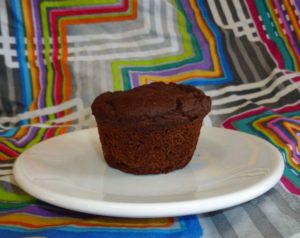
    So it’s farmer’s market/garden produce theme month here on the blog, and I have some zucchini to use. Not as many as I would like as my squash plants are not cooperating this year, but many of you may be swimming in them. This recipe uses puréed zucchini. I grate it first, measure out two cups and then purée it in my food processor. For those of you with mini humans, this will be a great way to hide veggies if you have to do so, as you can’t really tell the zucchini is in there. This is definitely a muffin, not a cupcake, so there’s a fair bit less sugar, as I wanted to eat them for breakfast without a huge sugar high.

    Enjoy!

    Chocolate Zucchini Breakfast Muffins
    Chocolate Zucchini Breakfast Muffins
    Print Recipe
    When you have too much zucchini, and you’d like a little chocolate with breakfast without so much sugar.
    Servings Prep Time
    12 muffins 20 minutes
    Cook Time
    25-30 minutes
    Servings Prep Time
    12 muffins 20 minutes
    Cook Time
    25-30 minutes
    Chocolate Zucchini Breakfast Muffins
    Chocolate Zucchini Breakfast Muffins
    Print Recipe
    When you have too much zucchini, and you’d like a little chocolate with breakfast without so much sugar.
    Servings Prep Time
    12 muffins 20 minutes
    Cook Time
    25-30 minutes
    Servings Prep Time
    12 muffins 20 minutes
    Cook Time
    25-30 minutes
    Ingredients
    Dry Ingredients
    • 1 1/2 cups Gluten-free, Rice-free, Potato-free flour mix (see our post here for the recipe – http://adultfoodallergies.com/whoopie-pies-gluten-free-with-vegan-option/
    • 1/2 cup sorghum flour
    • 3/4 cup cacao powder (I do well with Wilderness Family Naturals Cacao Powder)
    • 1/2 cup sugar
    • 1/2 teaspoon sea salt
    • 1 Tablespoon baking powder (here’s a recipe for a corn-free one – http://wholenewmom.com/health-concerns/make-your-own-baking-powder/)
    Wet Ingredients
    • 1 cup non-dairy milk (I used homemade cashew milk, but homemade rice milk will work too)
    • 1/4 cup safe for you oil (I used grapeseed oil)
    • 3 Tablespoons aquafaba (see http://aquafaba.com/)
    • 1/2 teaspoon psyllium husk
    • 2 cups grated zucchini which is then pureed
    Servings: muffins
    Instructions
    1. Preheat oven to 425°F. Grease a 12 cup muffin pan with some of your safe oil.
    2. Add all the dry ingredients to a large bowl and whisk together until well combined. In another bowl, add all the wet ingredients and whisk until well combined.
    3. Pour the wet ingredients into the dry ingredients, and using a spoon or spatula, blend the two about 20 seconds or so, do not over mix. Fill the muffin cups about two thirds to three quarters full.
    4. Bake 25-30 minutes depending on your pan (metal needs less time, stoneware needs more) or until a toothpick inserted into the middle of one of the center muffins comes out clean. Remove them from the oven, and as soon as they are cool enough to handle, turn them out of the pan onto a rack to cool.
    Share this Recipe
    Powered byWP Ultimate Recipe
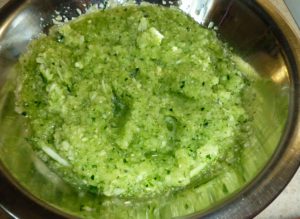
    Zucchini pureed
    Zucchini pureed
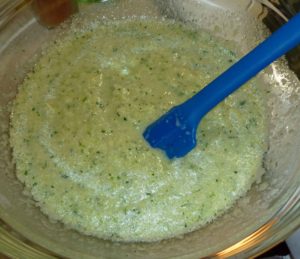
    Wet ingredients
    Wet ingredients
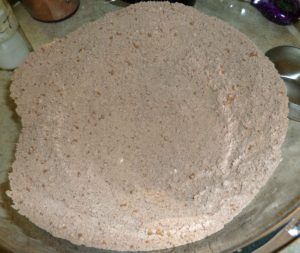
    Dry Ingredients
    Dry Ingredients
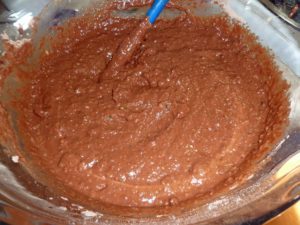
    Muffin batter
    Muffin batter
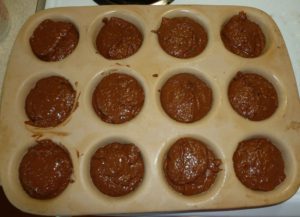
    Muffins before baking
    Muffins before baking
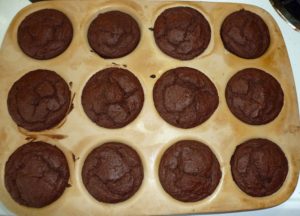
    Muffins after baking
    Muffins after baking
    Chocolate Zucchini Breakfast Muffins
    Chocolate Zucchini Breakfast Muffins
  • Kale, Cranberry, and Ginger Salad

    Kale, Cranberry, and Ginger Salad

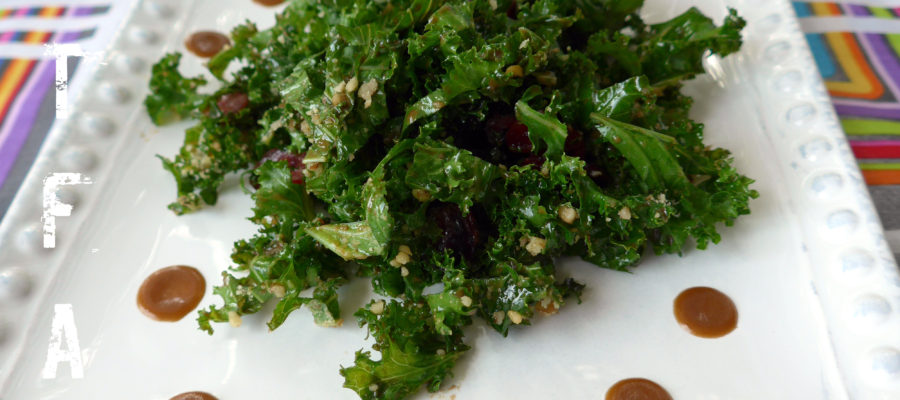
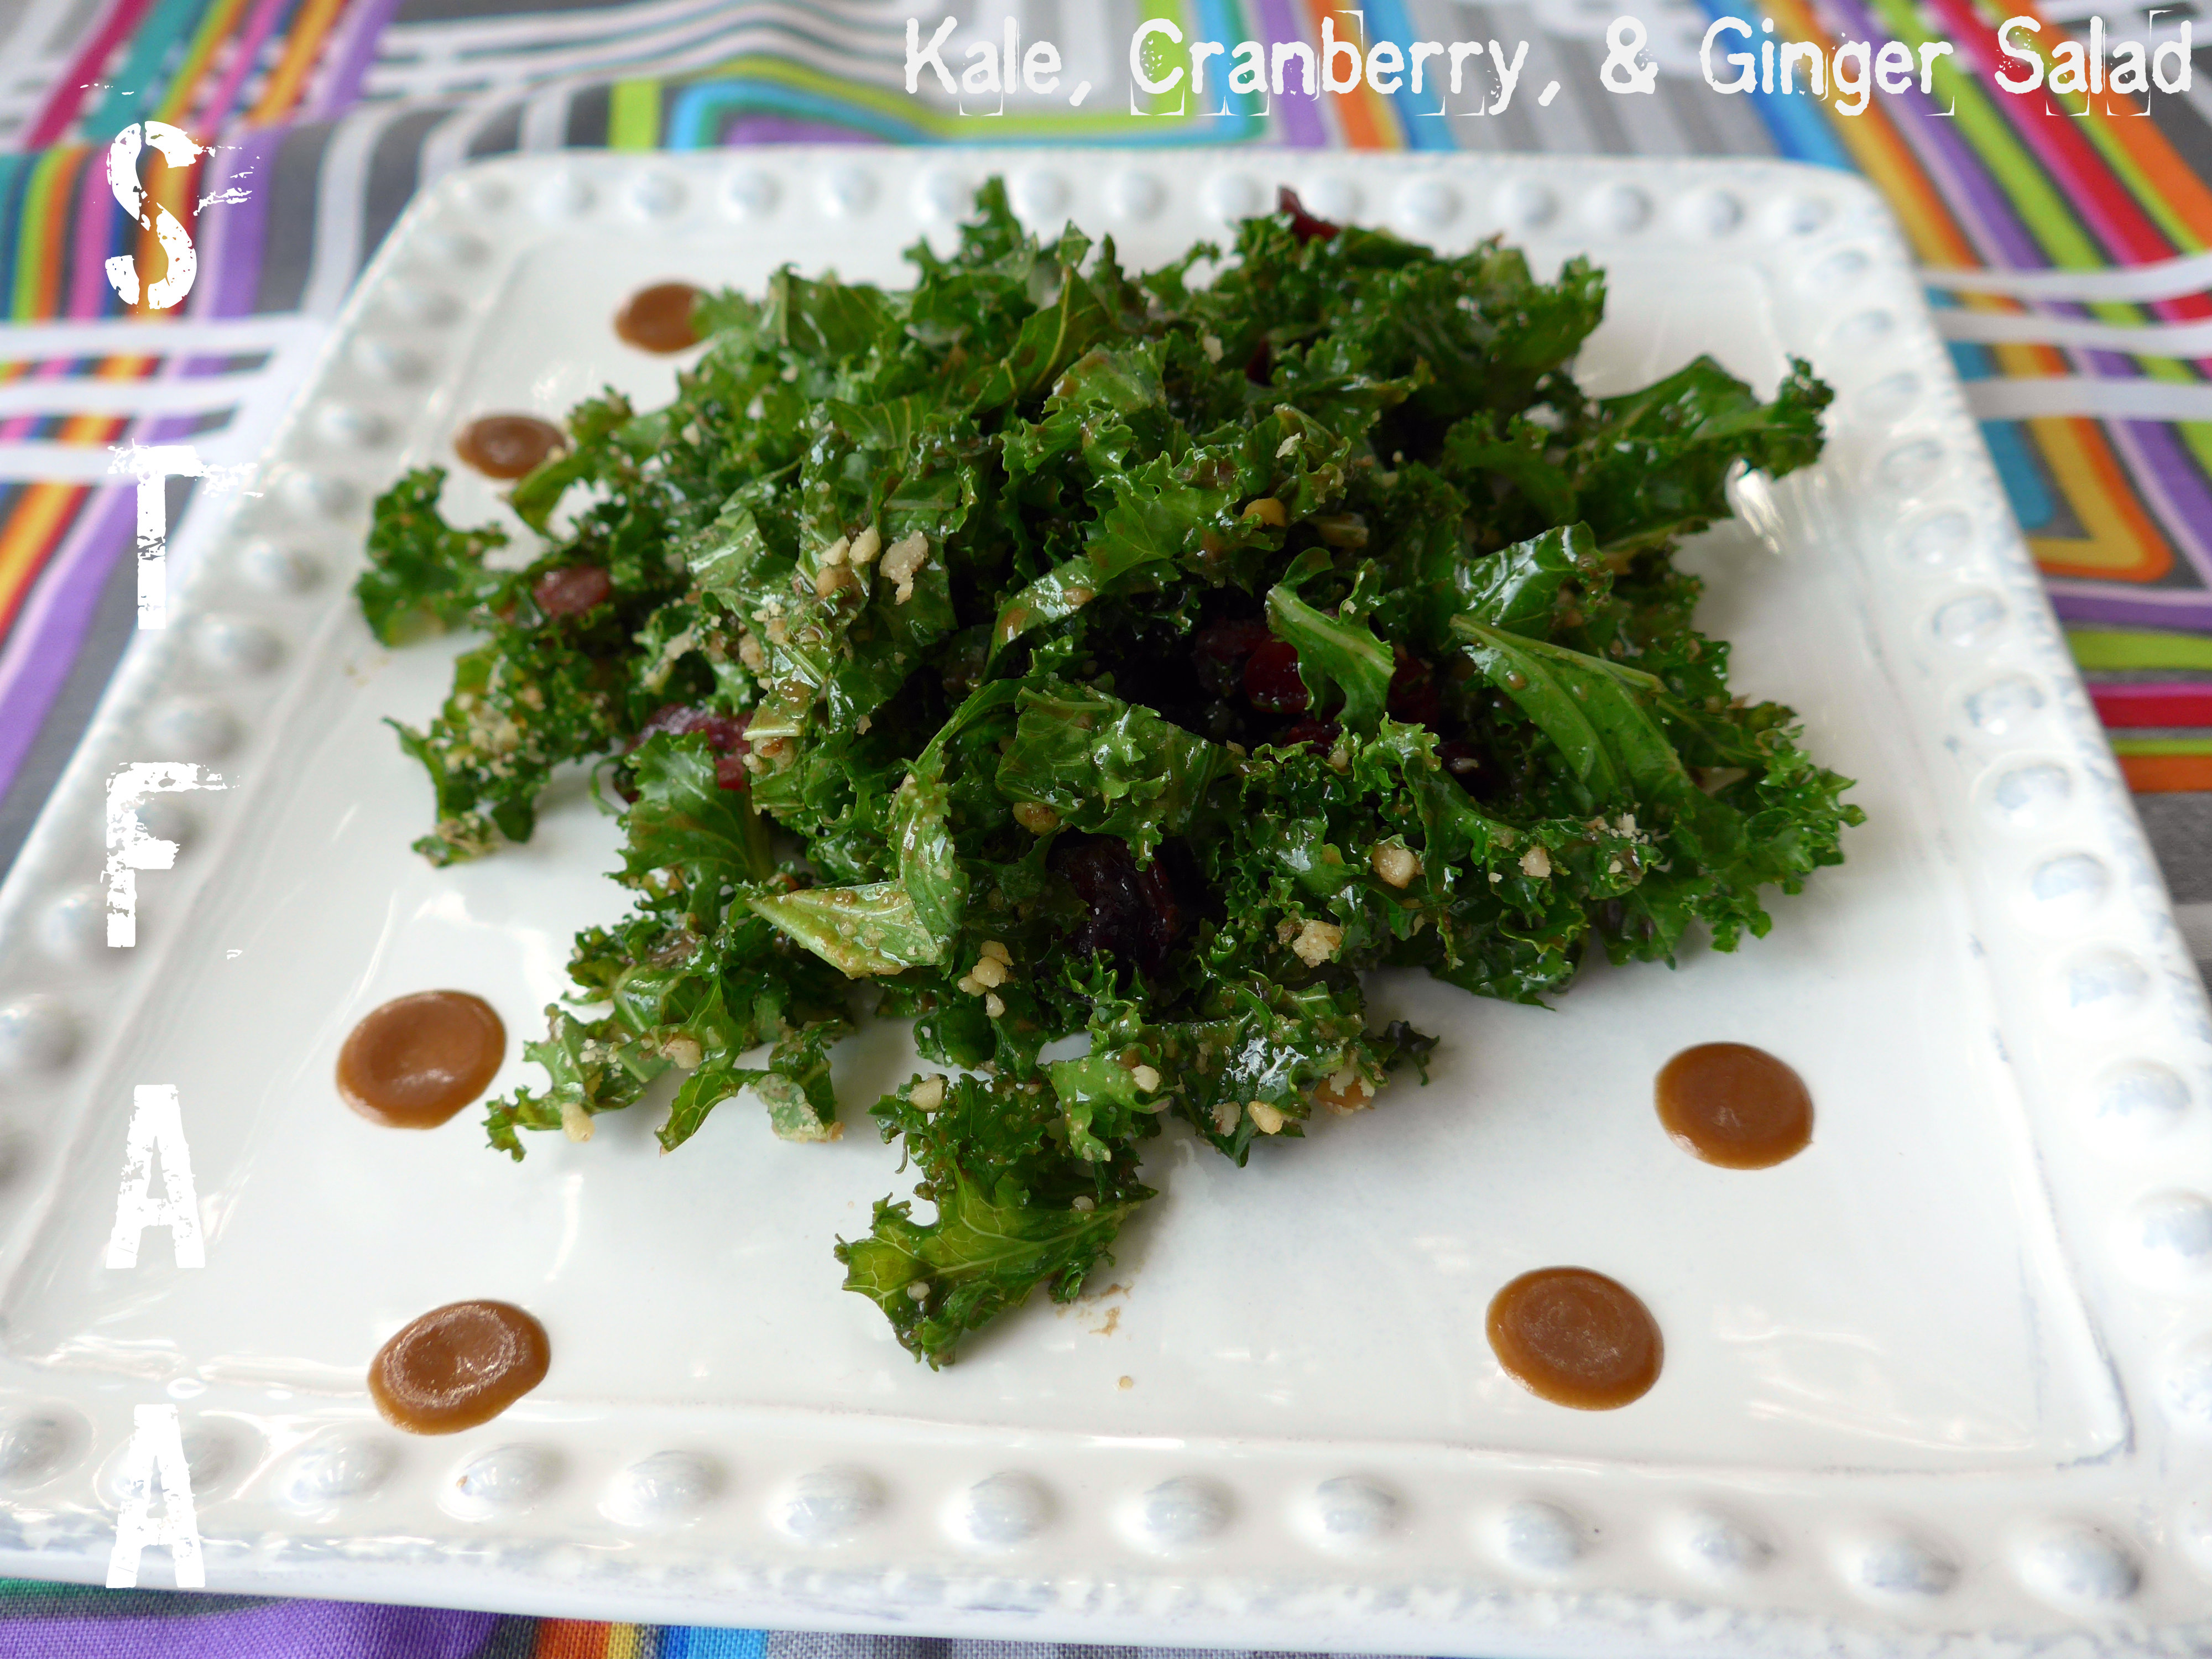
    A white plate on a multicolored background holds a pile of green shredded kale with dried cranberries and some drops of dressing
    Kale, Cranberry, & Ginger Salad

    Last week was really not my week. I was in a bad mood and things kept happening to reinforce that, plus I was super busy and not sleeping well, and all around, it did not go well. I need my sleep, people. I am not a nice person without it. So I don’t know why I thought last minute tweaks to this recipe would work. They did not. It was disgusting. Jack ate some of it, but… nope. No more excuses — you want recipes, right?

    I went back to my original recipe and this is much better. This is not a fancy recipe — it’s a pretty simple kale salad with an easy vinaigrette dressing that plays up kale’s intense flavor and texture and dressed up with some dried cranberries. Now, I know kale’s had its day in the sun, but I love it and will keep eating it. I don’t really love how chewy raw kale is, so when I make salads, I microwave the kale really briefly just to soften it up. That’s perfect for me — let me know how it works for you. The dressing is super thick and intended to really stick to the kale leaves. The cranberries will sink to the bottom, though, so scoop up.


    Notice: Trying to access array offset on value of type bool in /home/maryzahc/public_html/adultfoodallergies.com/wp-content/plugins/wp-ultimate-recipe/helpers/models/recipe.php on line 254
    Kale, Cranberry, and Ginger Salad
    Print Recipe
    Servings Prep Time
    2 people 15 minutes
    Cook Time
    35 seconds
    Servings Prep Time
    2 people 15 minutes
    Cook Time
    35 seconds
    Kale, Cranberry, and Ginger Salad
    Print Recipe
    Servings Prep Time
    2 people 15 minutes
    Cook Time
    35 seconds
    Servings Prep Time
    2 people 15 minutes
    Cook Time
    35 seconds
    Ingredients
    • 1/4 cup dried cranberries, rehydrated
    • 2 cups kale destemmed and chopped
    • 2 teaspoons Dijon mustard
    • 2 Tablespoons balsamic vinegar
    • 1/4 teaspoon ginger grated
    • 1/4 cup olive oil
    • pinch salt
    • pinch sugar
    Servings: people
    Instructions
    1. First, rehydrate the cranberries by just covering them with boiling water and letting them sit for 10 minutes.
    2. Chop the kale. I tend to destem the whole bunch after washing and spin it through my salad spinner to dry it. Then I grab handsful and do a really rough chiffonade (slice thin). If the leaves were big, I then chop perpendicular to the original cuts a few times. About 1.5 leaves per person seems perfect for a side salad.
    3. In a microwave-safe bowl, heat the kale on high for 10 seconds. Stir and do it again. In 20 seconds, your kale should be a bit brighter green and much more tender, but if not, do a few more seconds — microwave intensity varies widely.
    4. Mix the dressing ingredients, except the oil, well. Then drizzle in the oil. Taste and adjust the seasonings — you might want more sugar if your balsamic is particularly intense.
    5. Drain the cranberries, and toss the cranberries and lightly cooked kale with the dressing.
    6. If you eat tree nuts, walnuts or almonds are a nice addition to this salad, but are totally optional.
    Recipe Notes

    [contact-form][contact-field label=”Name” type=”name” required=”true” /][contact-field label=”Email” type=”email” required=”true” /][contact-field label=”Website” type=”url” /][contact-field label=”Message” type=”textarea” /][/contact-form]

    Share this Recipe
     
    Powered byWP Ultimate Recipe
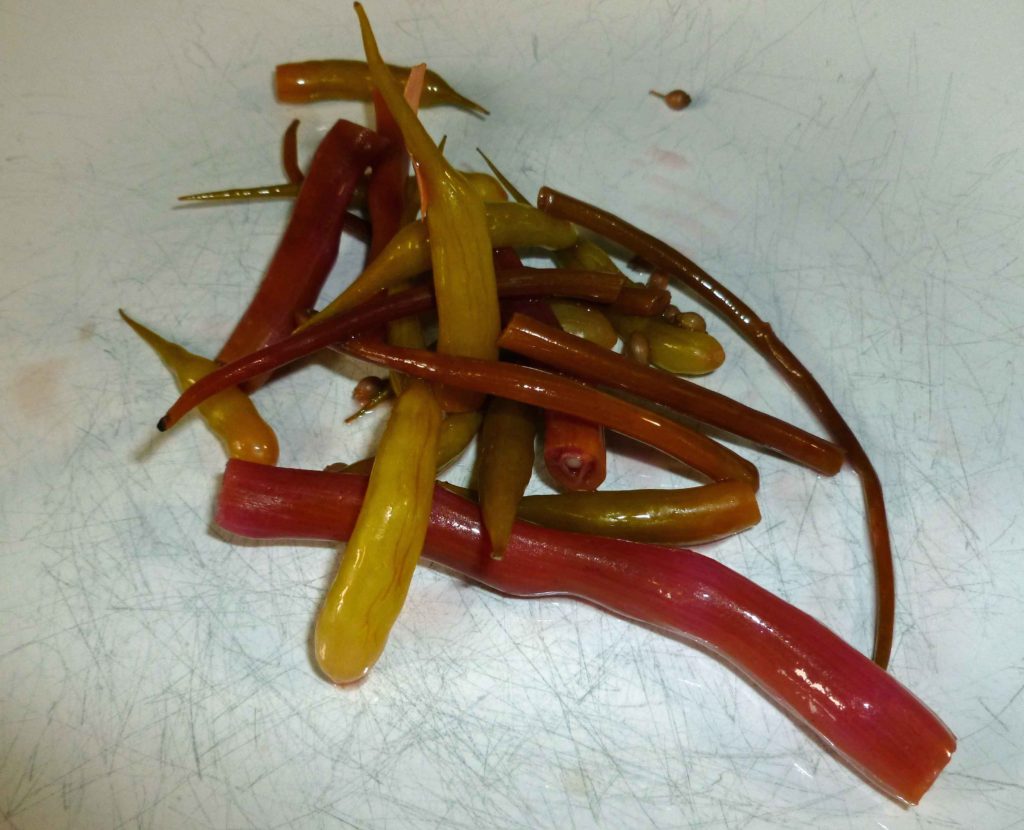
  • Dragontail Radish Pod Fridge Pickles

    Dragontail Radish Pod Fridge Pickles

    Dragontail Radish Pod Fridge Pickles
    Dragontail Radish Pod Fridge Pickles

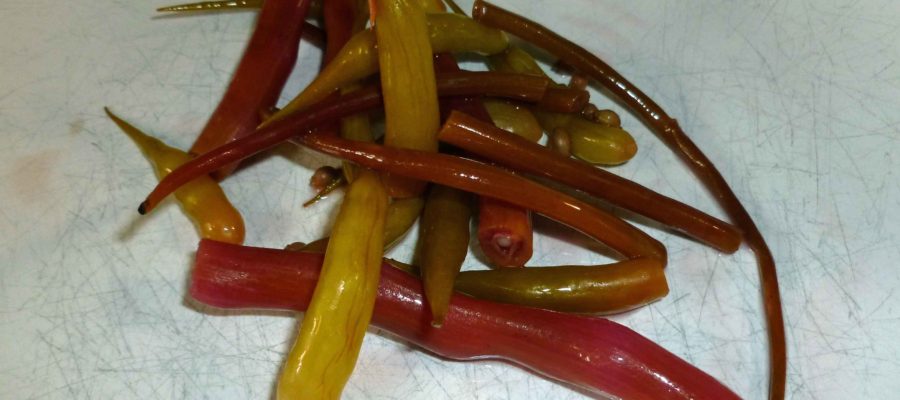
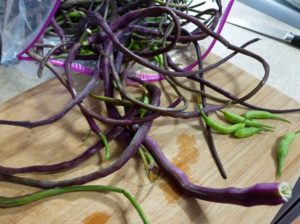
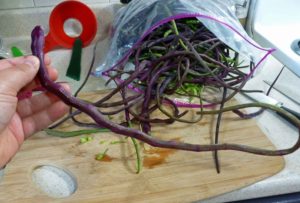
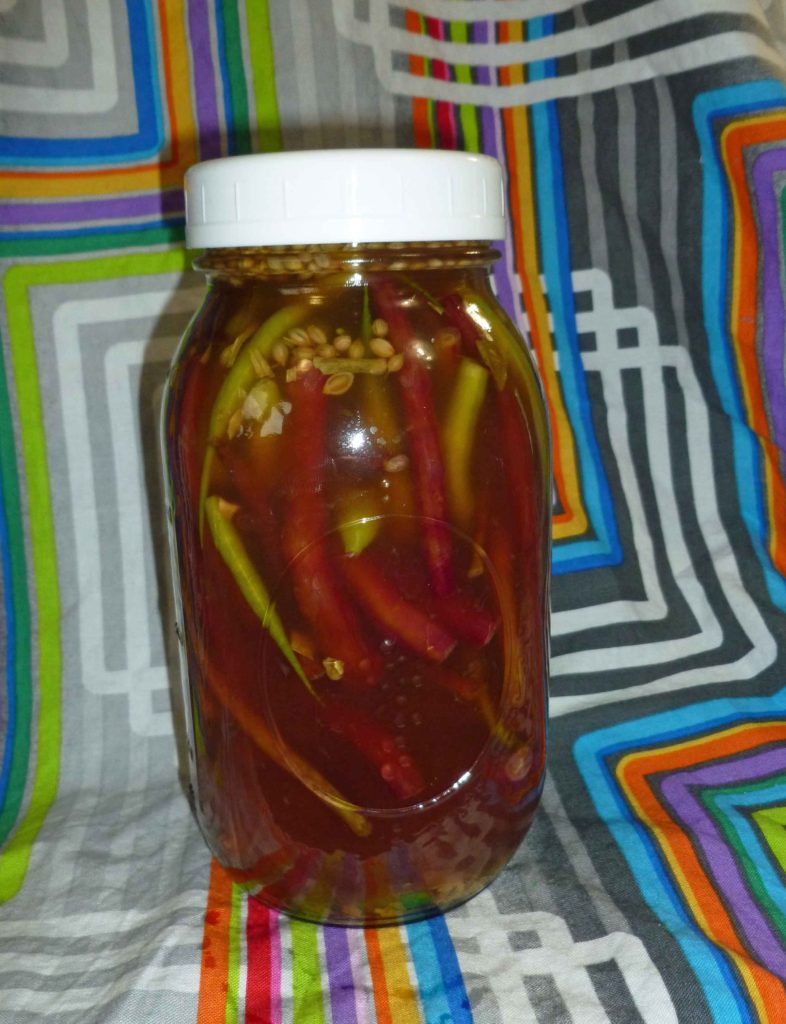
    Last summer, I got behind in the garden and let some of the radishes go to seed. I was okay with that because the bees loved those flowers and I just let them be for the bees (yes, I know that’s an awful phrasing, but I couldn’t help it). So, doing what plants inevitably do after pollination, they produced seed pods. They looked so interesting, but I didn’t know what you could do with them or if they were edible. After they were hard, dried out, and nasty, and it was too late, I was paging through The Joy of Pickling by Linda Ziedrich (no affiliation with Amazon) to see if what else I could do with daikon radish, and discovered a radish pod pickle which supposedly dates from 1824.  When I was pouring over seed catalogs to plan for spring in January, I found this purple Dragontail Radish (no affiliation with Burpee) that you grow just for the pod. It was purple, and I was already curious about it. What was I supposed to do? Of course I ordered some seeds. And I got purple radish pods ranging from 6 to 18 inches long. And then of course, I flaked on harvesting some of the regular radishes again, so I had a bunch of very pretty little green seed pods about 2 inches long. 

    Dragontail and regular radish seed pods
    Dragontail and regular radish seed pods
    Dragontail and regular radish seed pods
    Dragontail and regular radish seed pods

    I modified the recipe in The Joy of Pickling by Linda Ziedrich to make it a fridge pickle for quick eating and added some whole coriander seed to give it a lemony taste. They are lovely. If you can’t find radish pods and want to give this recipe a go, I’d try it with sliced radishes as well, the flavor profile will be the same.

    Dragontail Radish Pod Fridge Pickles

    Dragontail Radish Pod Fridge Pickles
    Dragontail Radish Pod Fridge Pickles
    Print Recipe
    An easy pickle, great as a snack or on salads
    Servings Prep Time
    1 quart 10 minutes
    Cook Time
    5 minutes
    Servings Prep Time
    1 quart 10 minutes
    Cook Time
    5 minutes
    Dragontail Radish Pod Fridge Pickles
    Dragontail Radish Pod Fridge Pickles
    Print Recipe
    An easy pickle, great as a snack or on salads
    Servings Prep Time
    1 quart 10 minutes
    Cook Time
    5 minutes
    Servings Prep Time
    1 quart 10 minutes
    Cook Time
    5 minutes
    Ingredients
    • Radish Seed Pods (enough to fit in a quart jar)
    • 1 dried arbol pepper Sliced in half, you can use other dried chili peppers you may have on hand)
    • 1 clove garlic, peeled and sliced (I used two garlic scapes because I had them to use up)
    • 1 1/2 cups apple cider vinegar (Braggs is most tolerated for those allergic to corn)
    • 1 1/2 cups water
    • 2 1/2 teaspoons salt
    • 1/2 teaspoon tarragon (If fresh, use one sprig)
    • 1 teaspoon whole coriander seed
    Servings: quart
    Instructions
    1. Place radish seed pods, chili peppers, garlic or garlic scapes, tarragon, and coriander seed in quart jar.
    2. Place apple cider vinegar, water, and salt in a small sauce pan and bring to a boil.
    3. Pour hot apple cider vinegar mixture into jar to covering radish pods. Place lid on jar, cool to room temperature and place in the refrigerator. You can eat them the next day, but for the full flavor to steep in it might take a day or two.
    Share this Recipe
    Powered byWP Ultimate Recipe
    Dragontail Radish Pod Fridge Pickles
    Dragontail Radish Pod Fridge Pickles