Notice: Function _load_textdomain_just_in_time was called incorrectly. Translation loading for the wp-ultimate-recipe domain was triggered too early. This is usually an indicator for some code in the plugin or theme running too early. Translations should be loaded at the init action or later. Please see Debugging in WordPress for more information. (This message was added in version 6.7.0.) in /home/maryzahc/public_html/adultfoodallergies.com/wp-includes/functions.php on line 6121
September 2016 – surviving the food allergy apocalypse (archive)

Month: September 2016

  • Unstuffed Cabbage Rolls

    Unstuffed Cabbage Rolls

    Unstuffed Cabbage Rolls over rice
    Unstuffed Cabbage Rolls over rice

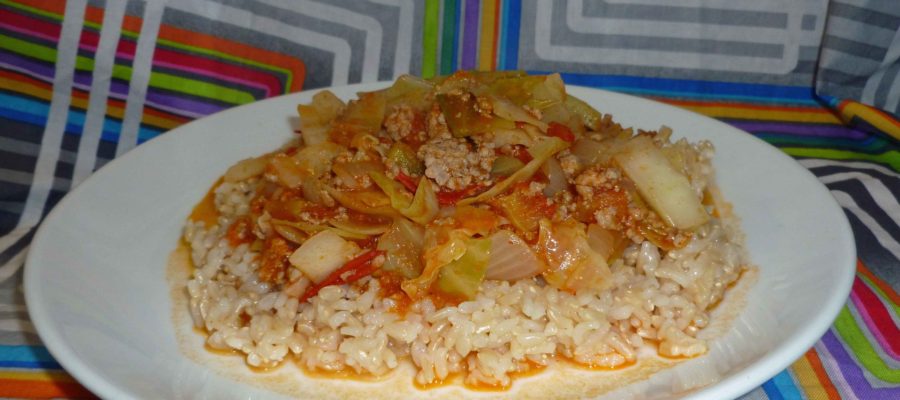
    This summer I have also found myself with a good bit of cabbage on my hands. Since I already have a good supply of sauerkraut made up, I needed to find some other options. I canned some piccalilli. I sliced it into thick “steaks”, brushed it with minced garlic and olive oil, and roasted it. I made pot roast and added cabbage to the potatoes and onions.  And I improvised this recipe one day as a quick dinner. I know there are other similar recipes out there, but this one is safe for me.

    This is served over rice, but I don’t include making the rice in the instructions in the recipe card below. Make some rice, either brown or white works fine. If you have a corn allergy, do not use enriched rice, it’s not safe. If you have a corn allergy and can tolerate white rice, remember that they often use corn to polish off the husk, bran and germ, so rinse it really well, several times before cooking it. I make rice in my Instant Pot, and start it before I start making this recipe, so that it’s done when I’ve finished cooking.

    Cabbage cut into pinkie finger size pieces
    Cabbage cut into pinkie finger size pieces
    Tomatoes and onions chopped and ready to add to ground beef
    Tomatoes and onions chopped and ready to add to ground pork
    Ground pork, onions and tomato mixture after tomatoes have cooked to sauce
    Ground pork, onions and tomato mixture after tomatoes have cooked to sauce
    All ingredients added and cabbage cooked until tender
    All ingredients added and cabbage cooked until tender
    Unstuffed Cabbage Rolls over rice
    Unstuffed Cabbage Rolls over rice

    Notice: Trying to access array offset on value of type bool in /home/maryzahc/public_html/adultfoodallergies.com/wp-content/plugins/wp-ultimate-recipe/helpers/models/recipe.php on line 254
    Unstuffed Cabbage Rolls
    Print Recipe
    A quick dinner to serve over rice, and is great as leftovers.
    Servings Prep Time
    4-6 people 15 minutes
    Cook Time
    20-30 minutes
    Servings Prep Time
    4-6 people 15 minutes
    Cook Time
    20-30 minutes
    Unstuffed Cabbage Rolls
    Print Recipe
    A quick dinner to serve over rice, and is great as leftovers.
    Servings Prep Time
    4-6 people 15 minutes
    Cook Time
    20-30 minutes
    Servings Prep Time
    4-6 people 15 minutes
    Cook Time
    20-30 minutes
    Ingredients
    • 1 tbsp olive oil (or other safe for you oil)
    • 1 pound ground pork
    • 3 medium onions chopped
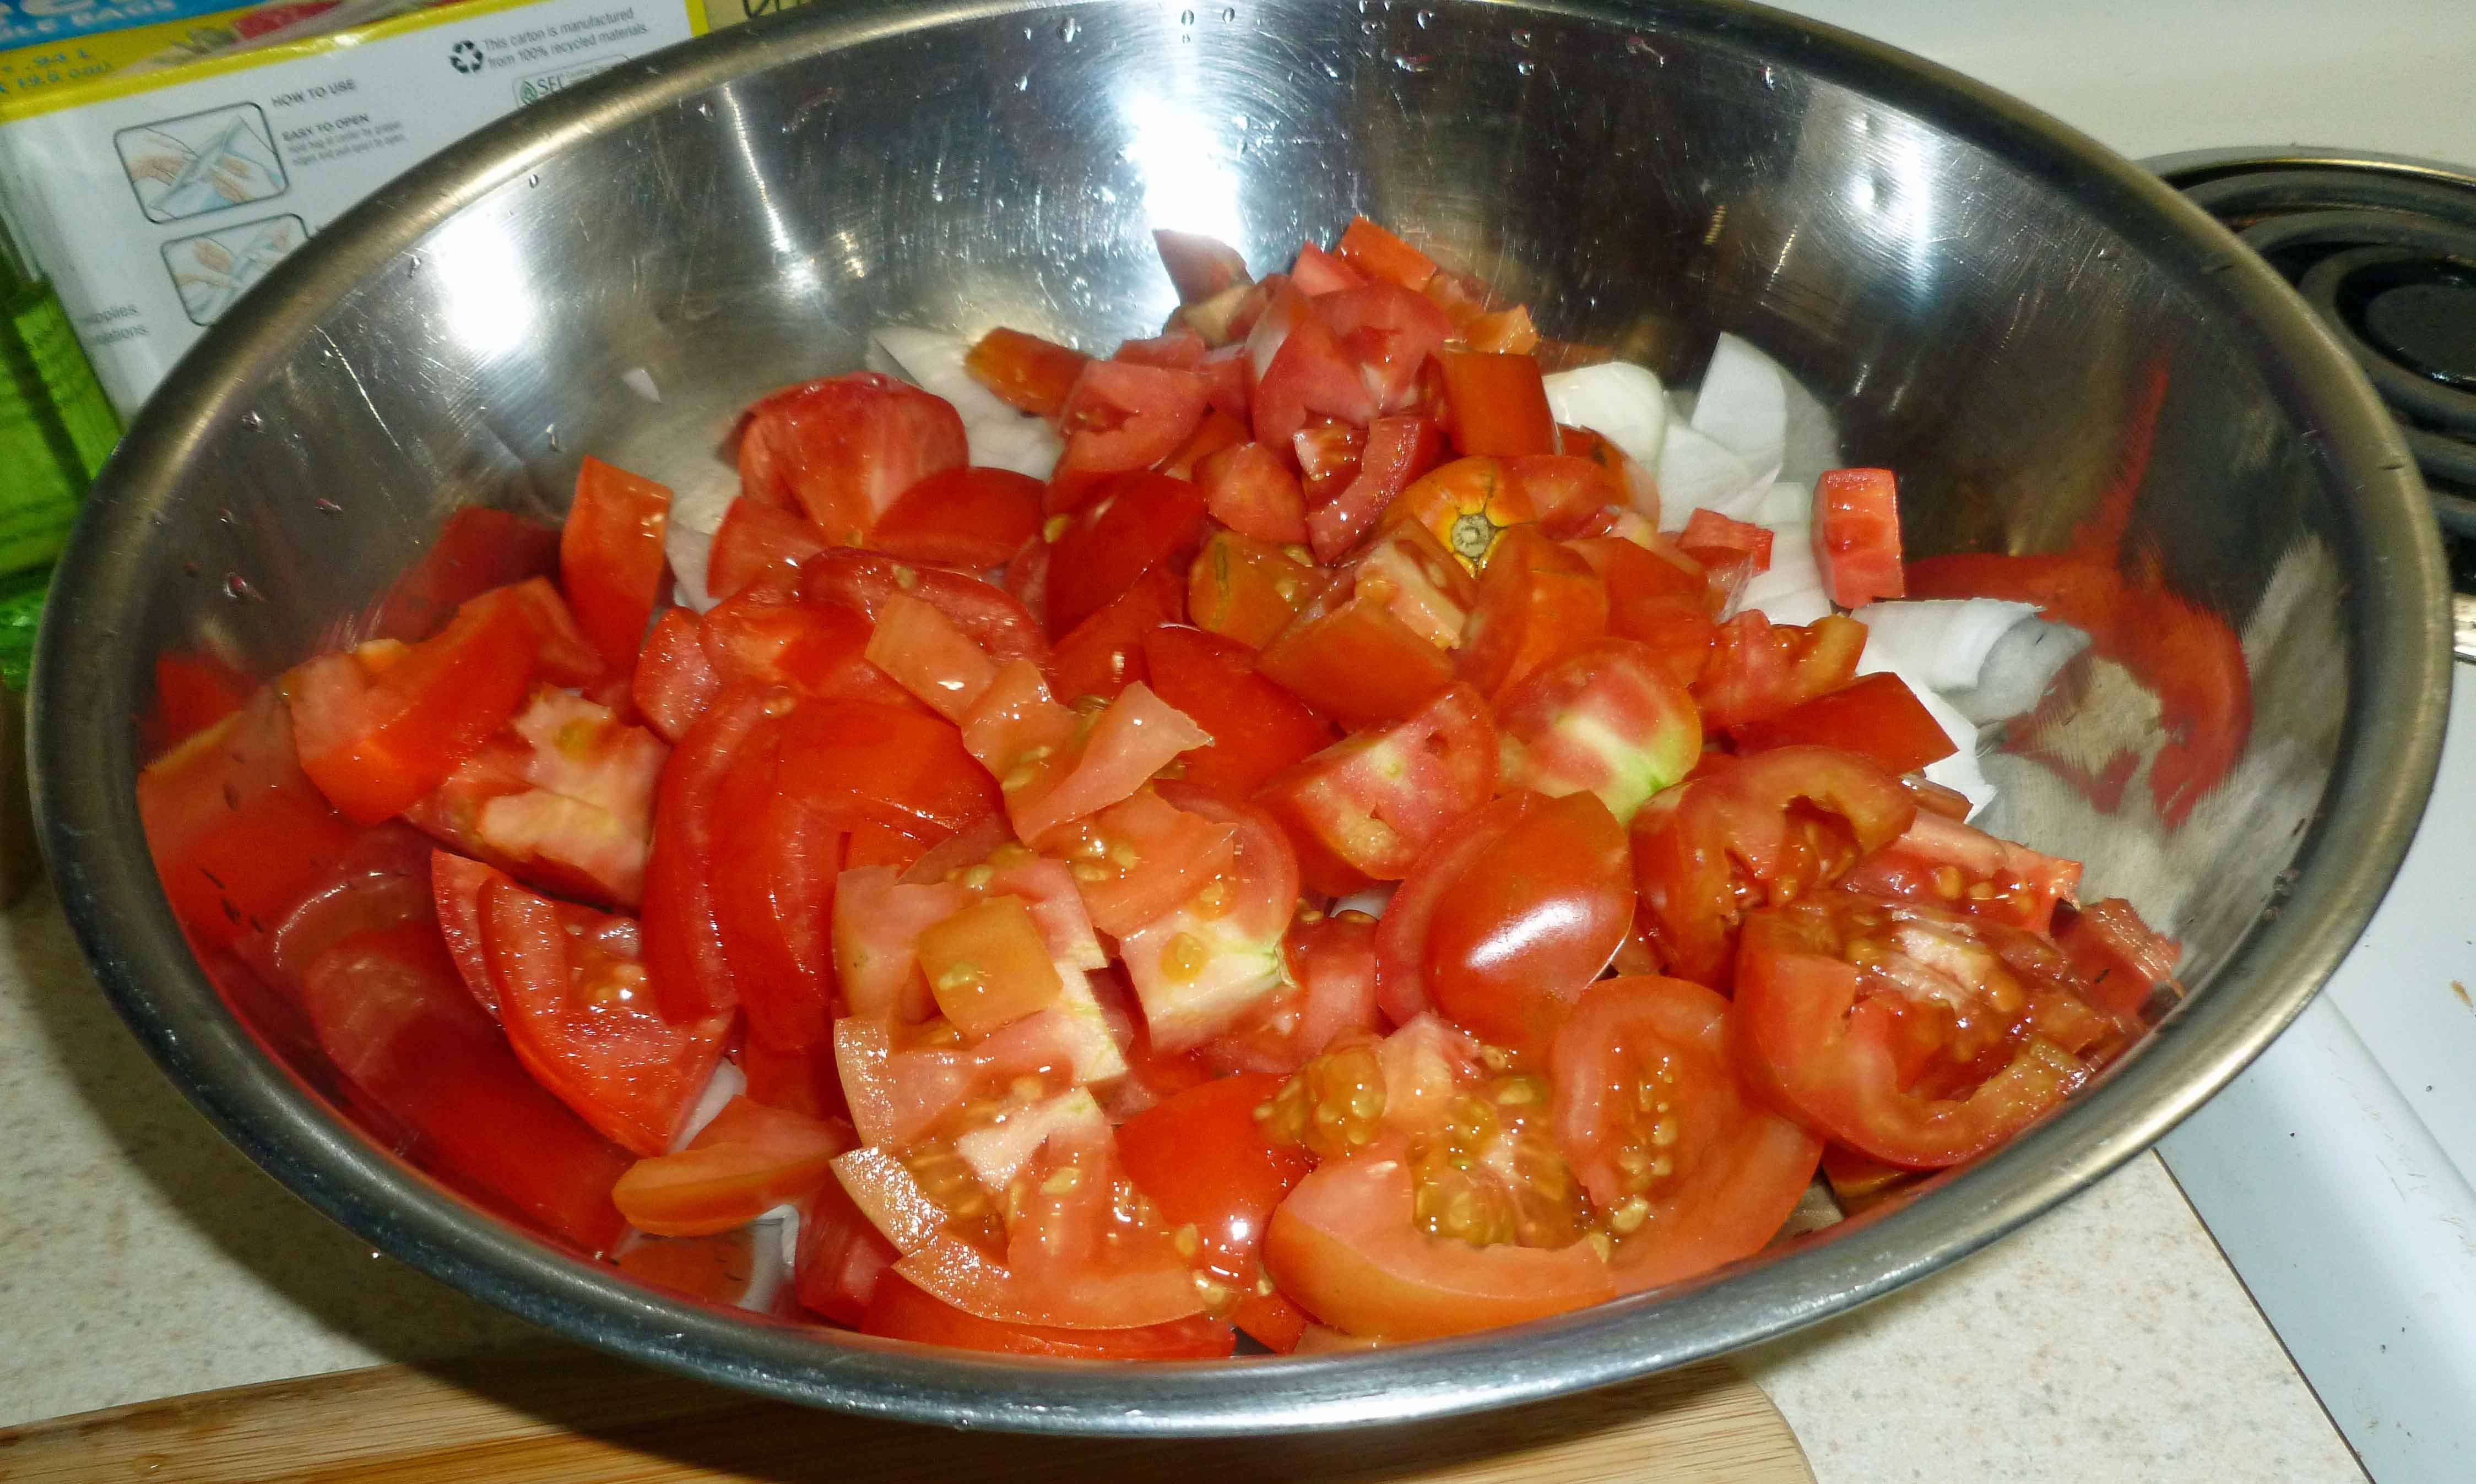
    • 5-6 medium tomatoes chopped
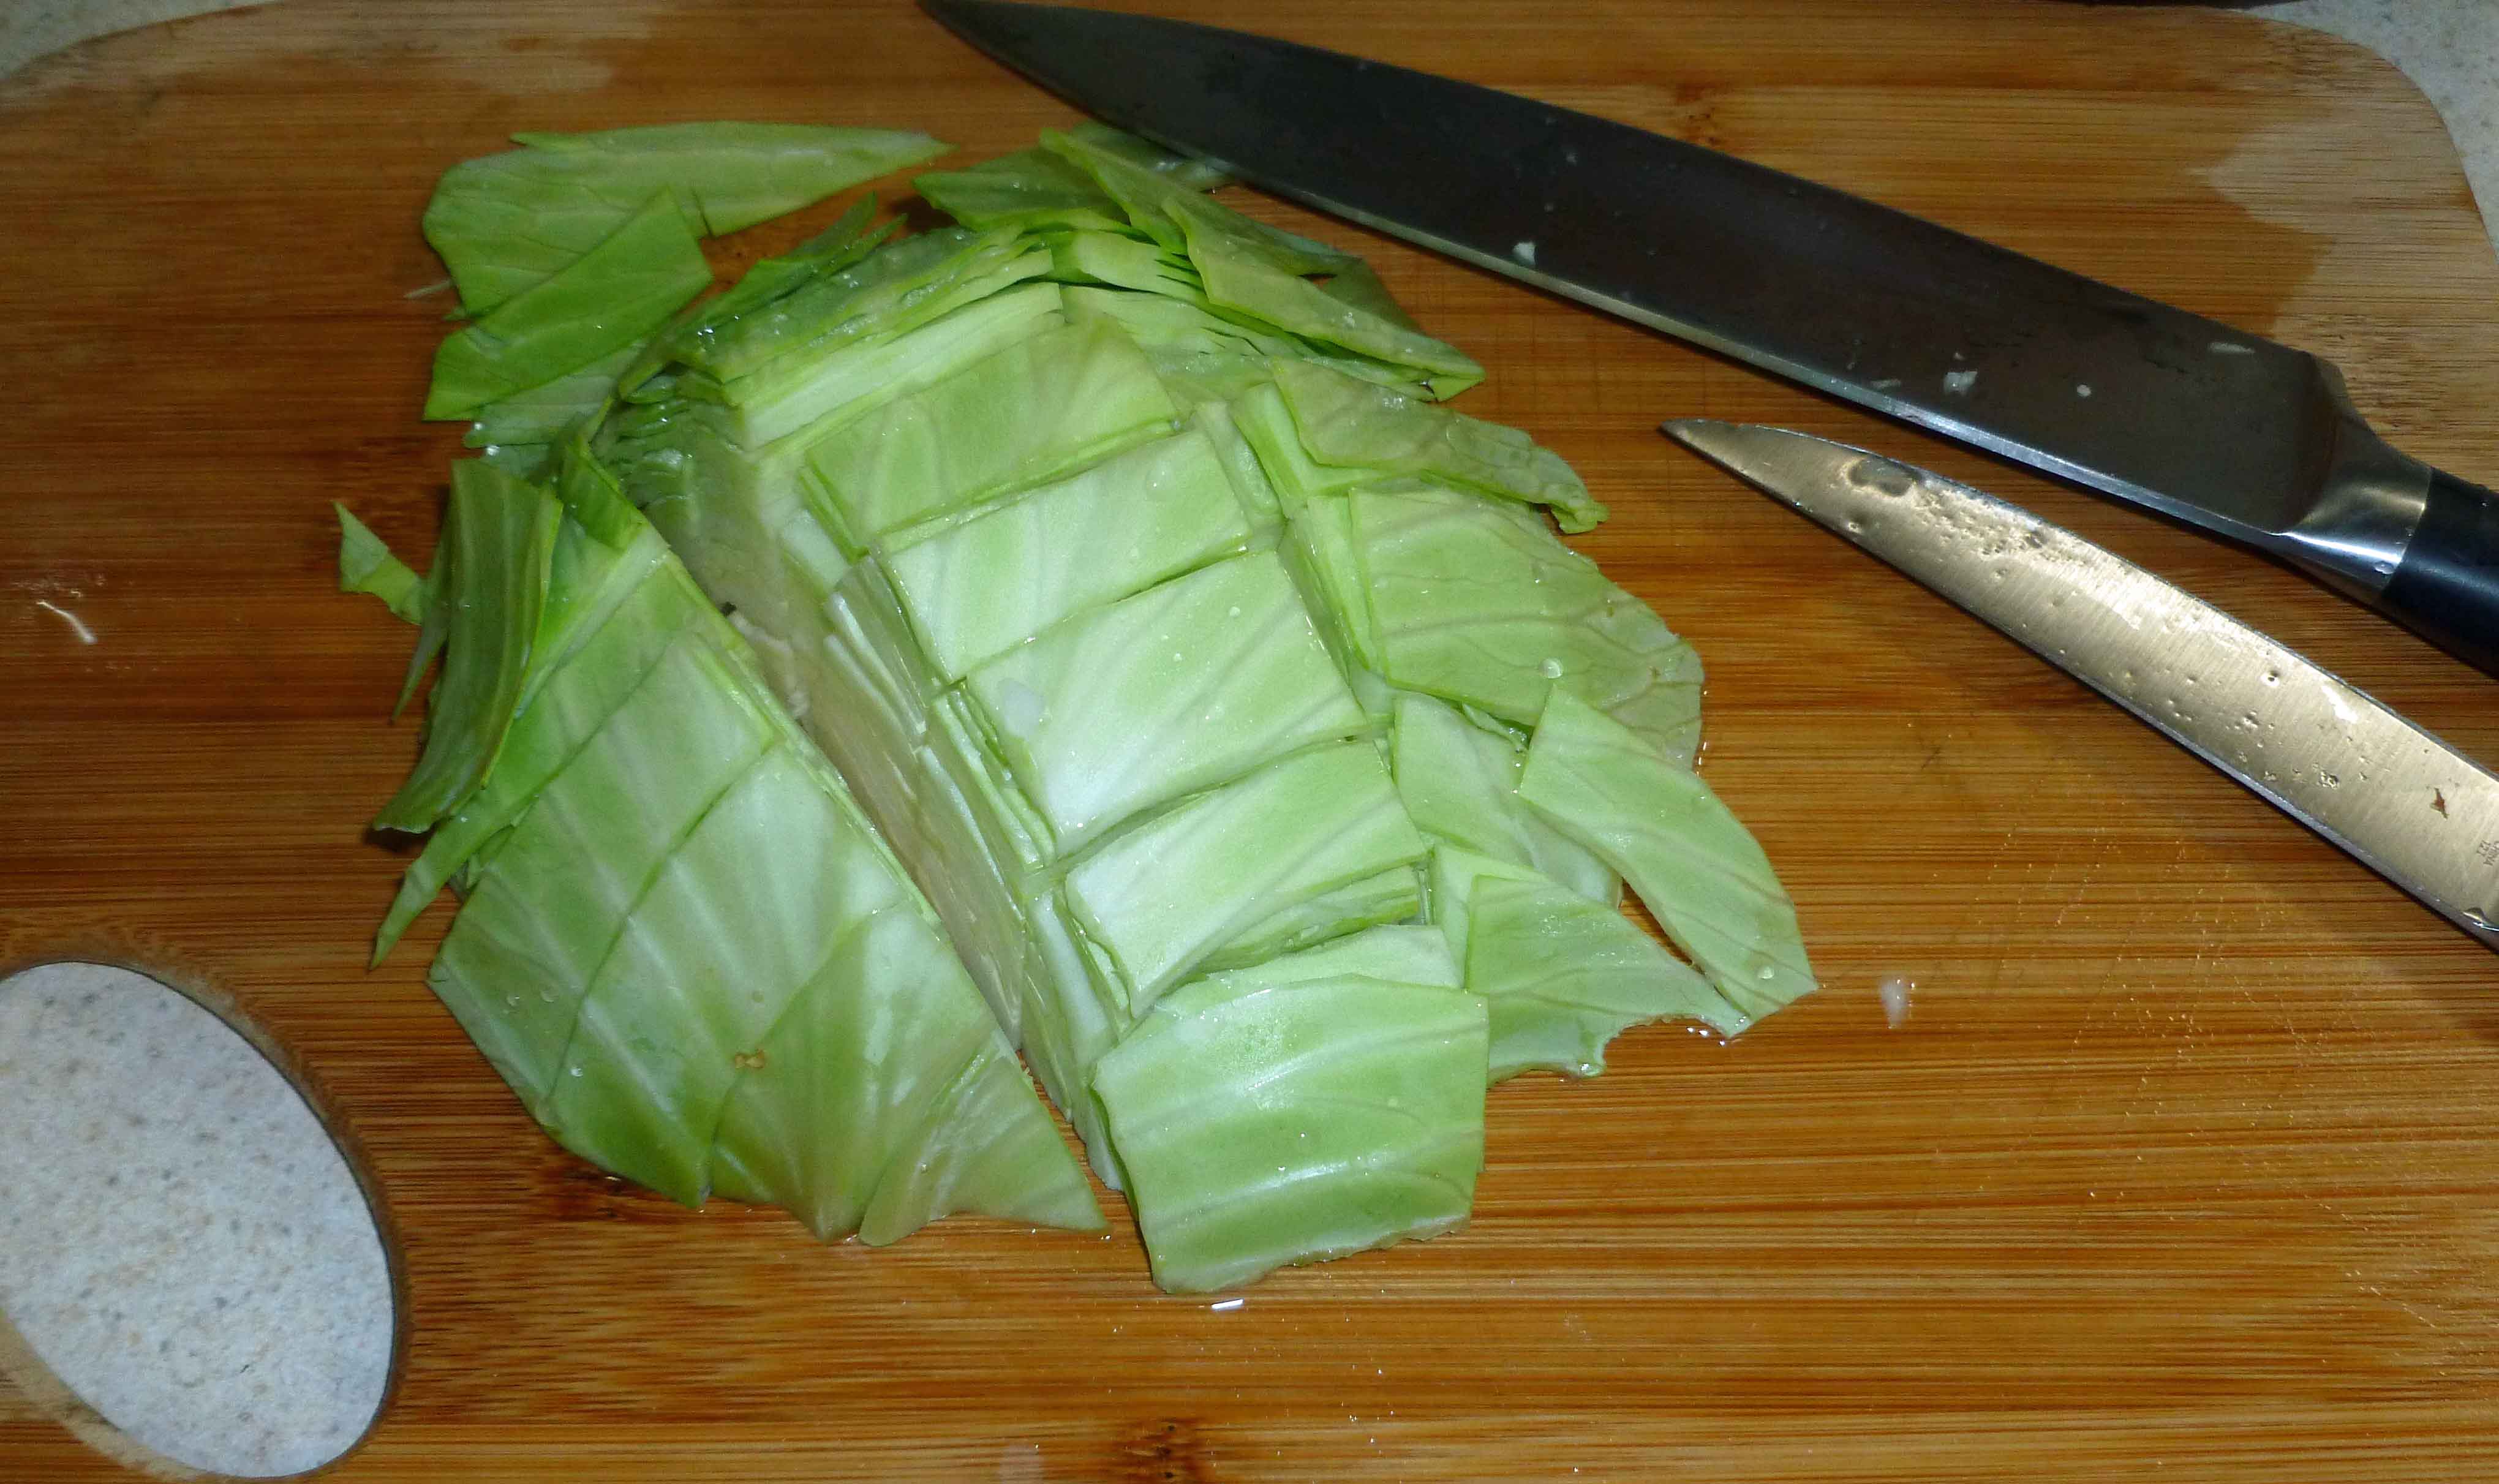
    • 8 cups cabbage sliced and chopped into pieces the size of your pinkie finger
    • 1/2 – 3/4 tsp smoked paprika (or to taste)
    • 1/2 tsp salt (or to taste)
    • 1/4 tsp ground black pepper (or to taste)
    • 1-2 tbsp hot sauce (I use my home fermented version of Sriracha)
    Servings: people
    Instructions
    1. In a large (8-10 quart) pot, add olive oil. Over medium high heat, brown ground pork.
    2. Once ground pork is completely browned, add tomatoes and onions. Cook covered with lid over medium heat, stirring frequently until tomatoes break down into a sauce and onions are tender.
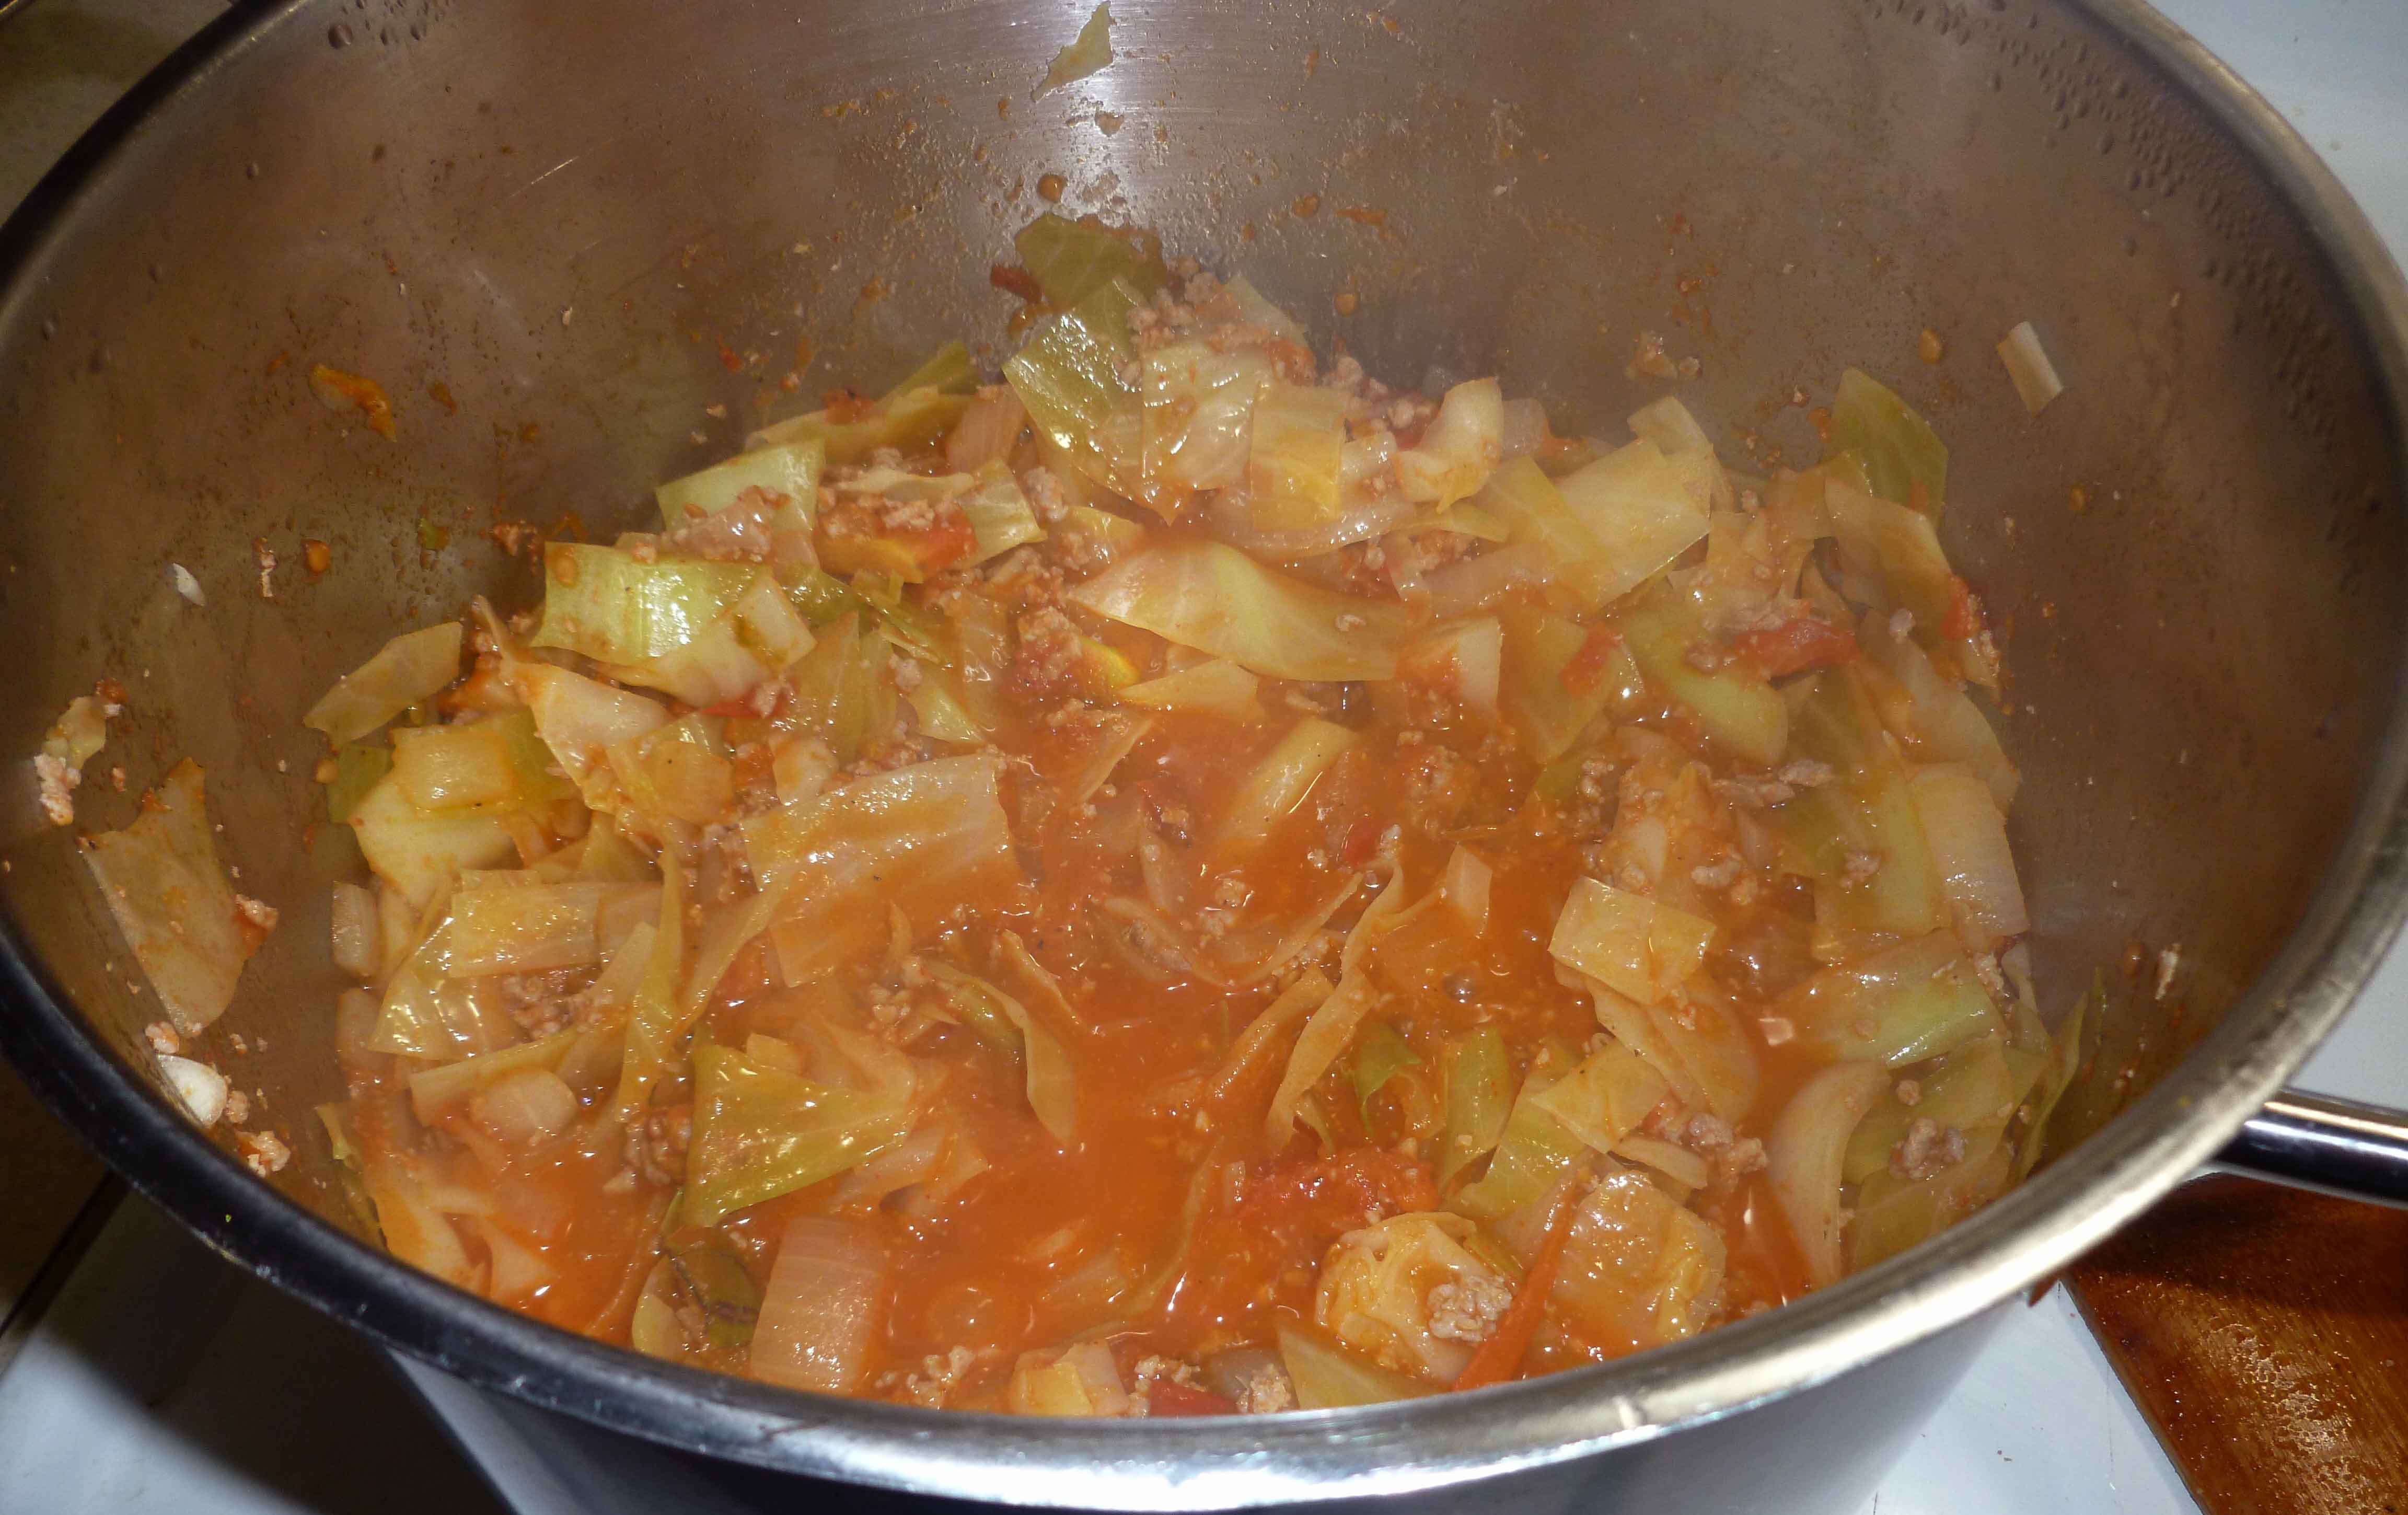
    3. Add cabbage and continue to cook covered with lid over medium heat, stirring frequently. Cook until cabbage is tender. Add smoked paprika, salt, black pepper, and hot sauce, and stir well. Cook for a few more minutes to let flavors meld.
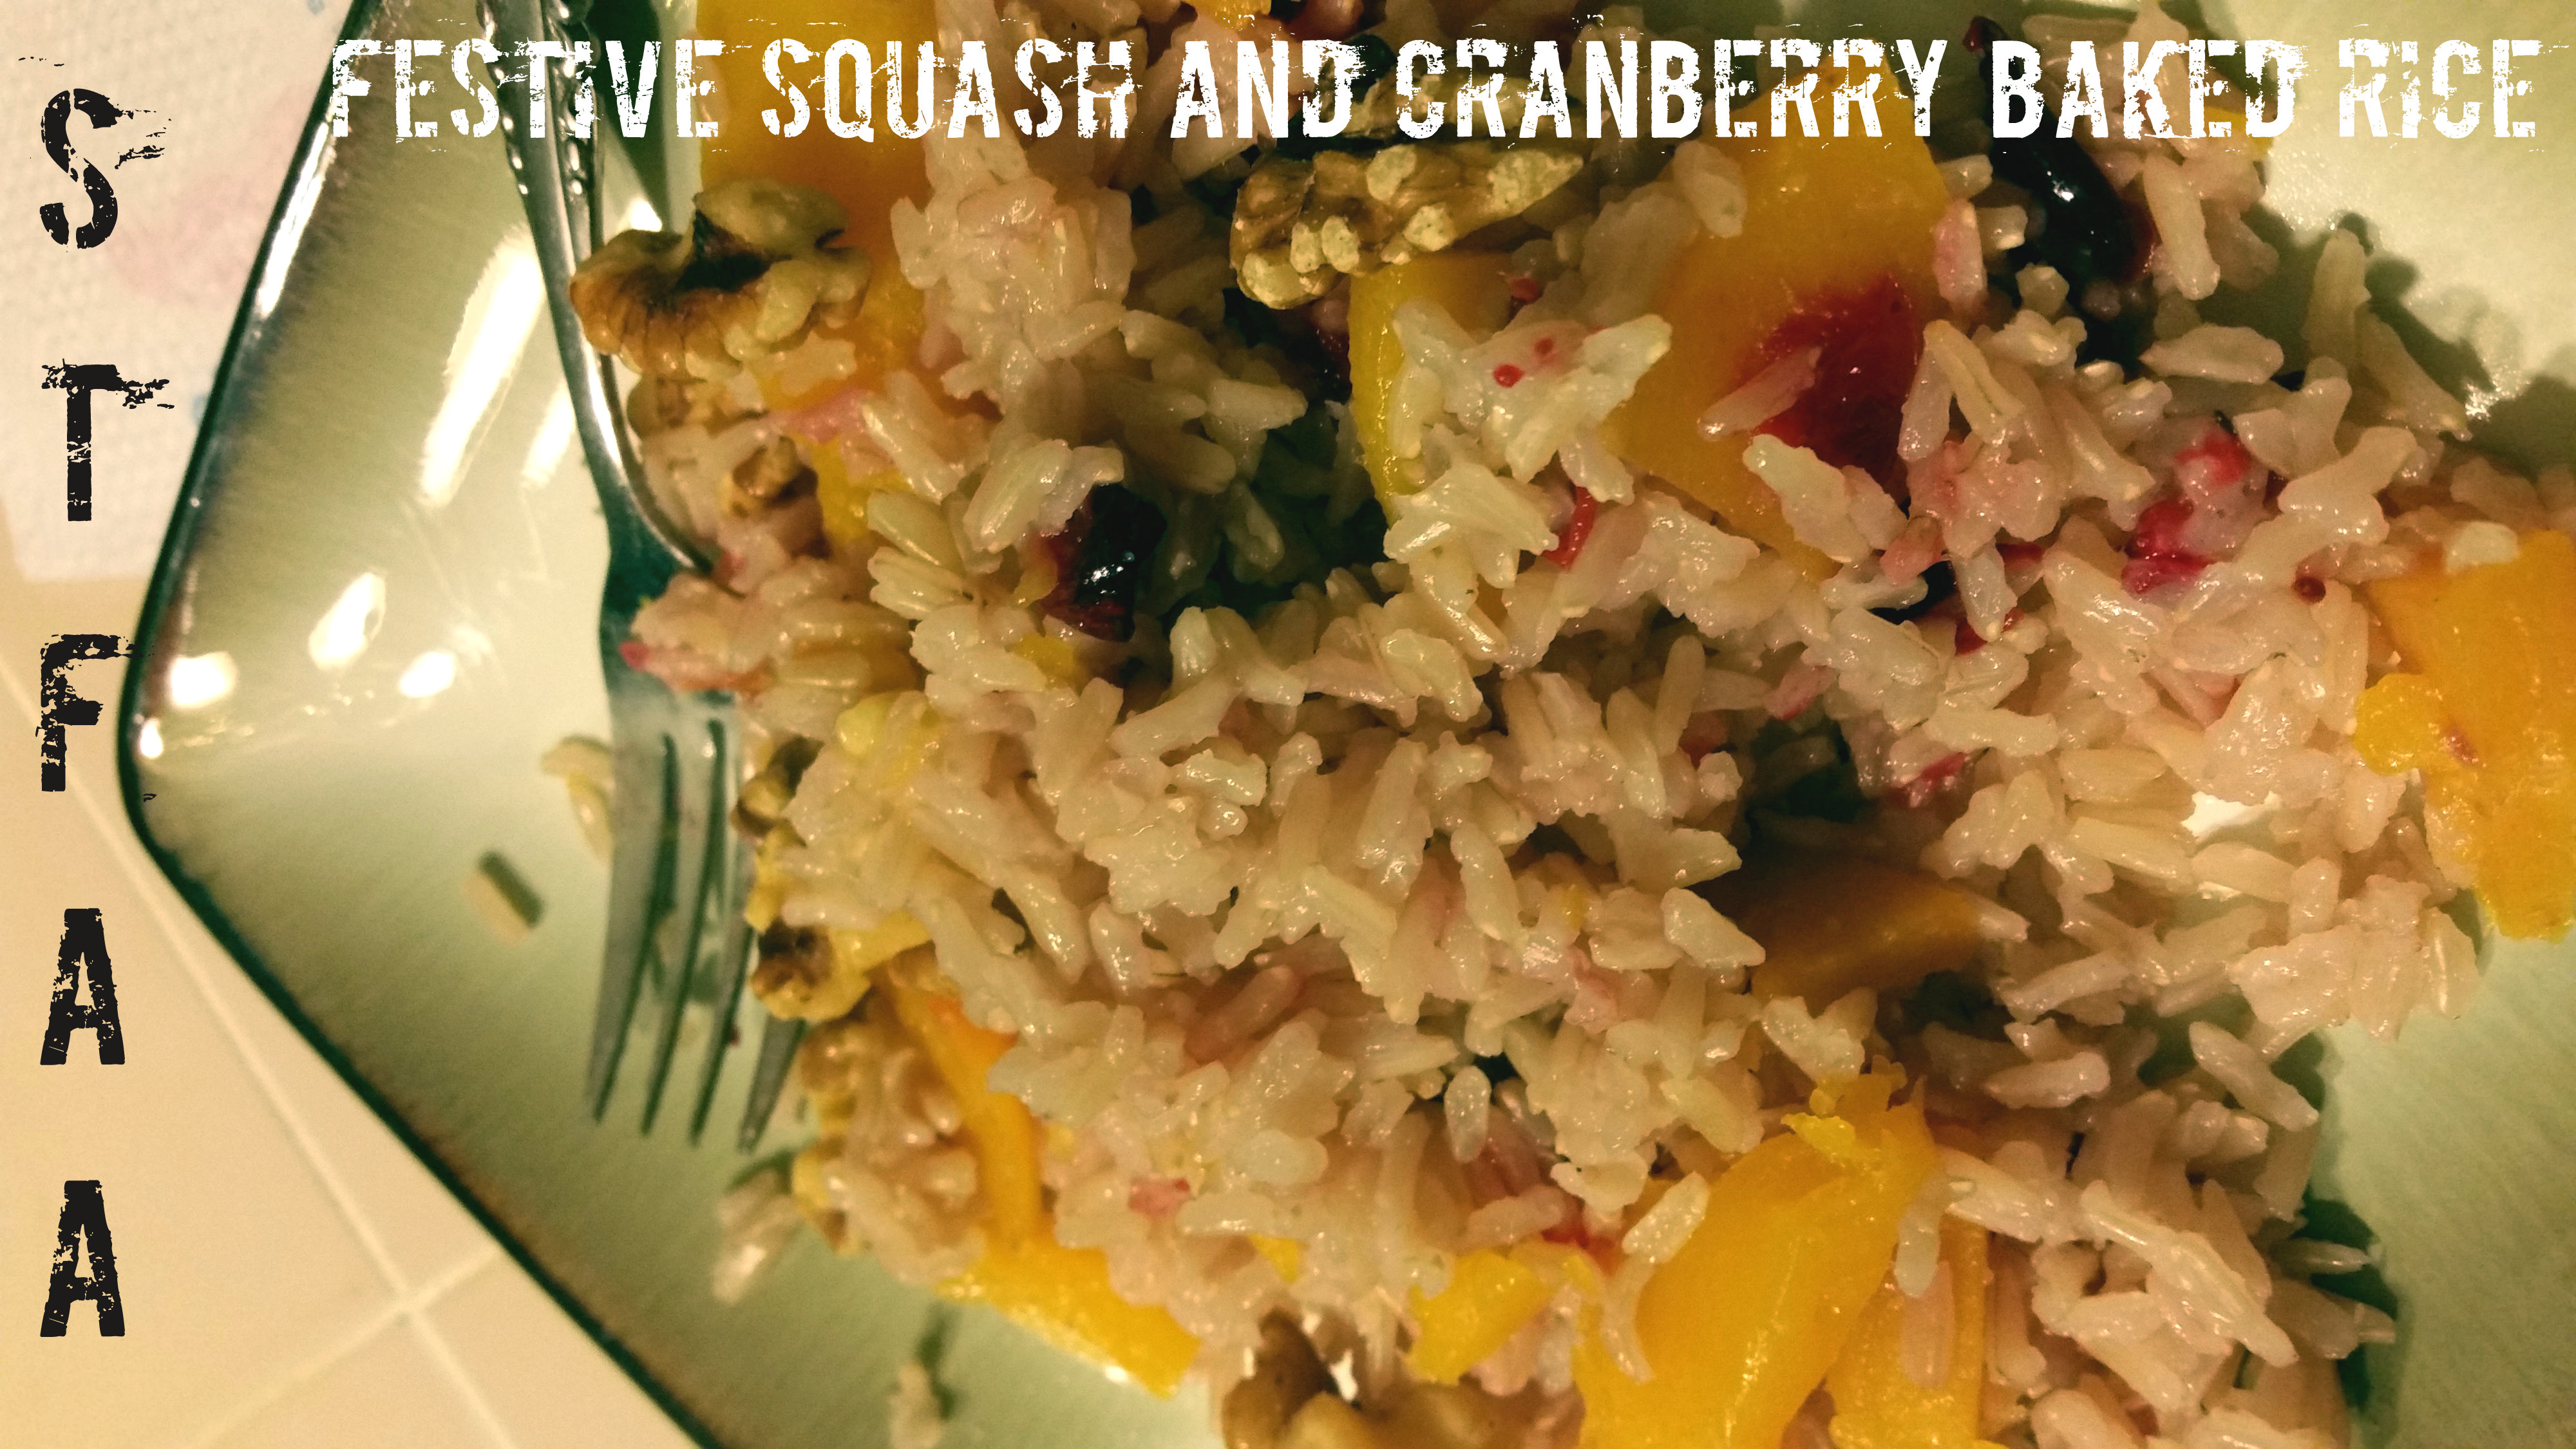
    4. Serve over rice.
    Share this Recipe
     
    Powered byWP Ultimate Recipe


  • Festive Squash and Cranberry Baked Rice

    Festive Squash and Cranberry Baked Rice

    Festive Squash and Cranberry Baked Rice
    Festive Squash and Cranberry Baked Rice

    So because I’m moving and combining households, I got rid of my rice cooker. THE HORROR. I think I may have mentioned before that I cannot, for the life of me, cook rice on the stovetop. This is why a friend gave me a rice cooker years ago. But I’m now without it for about three weeks until our households are actually combined. I still have rice, though.

    Years ago, I got a pamphlet from (I think) the canola oil council out in North Dakota, and it had a baked rice dish in it. I remember it being greasy, though,  probably because the pamphlet was about oil, not rice. So I looked up “baked rice” on the great wide internet, and I found Alton Brown’s recipe. I used this as the basis for a rice side dish full of fall flavors — butternut squash is earthy and a bit sweet, brown jasmine rice is worth hunting down, as it’s nutty but smoother than “regular” brown rice, and cranberries are fruity and tart and bright.

    I’ll apologize for the photos, as everything is in disarray right now. Denise and I have recipes for you through September, but we’re going to take a few weeks off in October to regroup as the blog goes bi-coastal.


    Notice: Trying to access array offset on value of type bool in /home/maryzahc/public_html/adultfoodallergies.com/wp-content/plugins/wp-ultimate-recipe/helpers/models/recipe.php on line 254
    Festive Squash and Cranberry Baked Rice
    Print Recipe
    Servings Prep Time
    6 servings 5 minutes
    Cook Time Passive Time
    45 minutes 45 minutes
    Servings Prep Time
    6 servings 5 minutes
    Cook Time Passive Time
    45 minutes 45 minutes
    Festive Squash and Cranberry Baked Rice
    Print Recipe
    Servings Prep Time
    6 servings 5 minutes
    Cook Time Passive Time
    45 minutes 45 minutes
    Servings Prep Time
    6 servings 5 minutes
    Cook Time Passive Time
    45 minutes 45 minutes
    Ingredients
    • 1 cup brown jasmine rice
    • 1 3/4 cup boiling water
    • 1 Tablespoon olive oil or vegan margarine
    • 1/2 teaspoon salt
    • 1/2 cup cranberries
    • 1 1/2 cups butternut squash chunks
    • 1-2 Tablespoons nuts optional
    Servings: servings
    Instructions
    1. Preheat oven to 375℉
    2. Add all the ingredients except water and nuts (optional!) to an oven-safe casserole dish. My cranberries are always frozen, but this is fine — just pick out any mushy ones.
    3. Bring water to a boil and pour over rice and other stuff.
    4. Cover tightly. This is easiest with a glass or glass-topped casserole dish as you can check it without letting the steam out, but if you don’t have one, foil works, too.
    5. Bake for about 45 minutes. The water should be completely absorbed. Remove from the oven, remove the lid, and fluff the rice with a fork so that the underside doesn’t over-steam.
    6. Top with nuts, if using, and serve.
    Recipe Notes

    **You can substitute white rice in this dish, but decrease the water to 1:1 (1 cup, in this case) and decrease the cooking time to 30 minutes. I like the brown jasmine rice, in particular, as it has the nuttiness of regular brown rice without the more fibrous texture, and the flavor compliments the squash.

    Share this Recipe
     
    Powered byWP Ultimate Recipe


  • Frozen Pesto Starter

    Frozen Pesto Starter

    Frozen Pesto Starter
    Frozen Pesto Starter

    Say that it’s the end of summer and you have unwisely planted roughly 30 green basil plants and 30 purple basil plants in your garden.  Now some of them didn’t make it because of transplant shock, the drought, or they got eaten by voles, slugs, or Japanese beetles, but that’s still a crap ton of basil. And say you didn’t make it any better by pinching diligently this year so that some of the plants are two to three feet high. What do you do? You don’t want to waste this basil. The basil I froze last year in oil turned dark and icky looking. So I went poking about the internet and found this post about preserving your basil and how to keep it green, including making pesto to freeze. I thought I could make pesto and freeze it, but then it’s pesto forever, and given my propensity for developing new allergies, I figured two ingredients in the freezer is safer. Then later on I can add garlic or cashew nuts when I’m ready to use it.  Or I can use in it applications where you just want some basil, but not necessarily pesto. So basically what I’ve made is a basil and olive oil paste that will store in the freezer easily and not turn black and icky looking.

    Yeah, this isn’t necessarily a normal recipe for us, but I’m pressed for time with harvest stuff, and some of you might be wanting to save a bit of summer for later if you’ve got an overabundance of basil in your garden or if you see some at a farmer’s market. I’ve got a step by step recipe card below, but here’s the photo play by play first.

    This is the basil I picked yesterday (there is so much more in the garden, and I've included my foot for scale, ha)
    This is the basil I picked yesterday (there is so much more in the garden, and I’ve included my foot for scale, ha)
    Green basil after trimming out woody stems and discolored leaves
    Green basil after trimming out woody stems and discolored leaves
    Pot of boiling water for me to dip the basil in
    Pot of boiling water for me to dip the basil in
    Container of ice water to cool basil in
    Container of ice water to cool basil in
    Basil after dipping in boiling water just to the point that the leaves wilt
    Basil after dipping in boiling water just to the point that the leaves wilt
    Basil being cooled off in ice water (submerge it fully though)
    Basil being cooled off in ice water (submerge it fully though)
    All green basil after blanching and cooling
    All green basil after blanching and cooling
    Basil leaves in blender after being stripped from stems
    Basil leaves in blender after being stripped from stems
    Pesto starter (basil leaves with olive oil) after blending
    Pesto starter (basil leaves with olive oil) after blending
    Pesto started placed in zip top freezer bag ready to freeze
    Pesto started placed in zip top freezer bag ready to freeze
    Frozen Pesto Starter using purple basil
    Frozen Pesto Starter using purple basil
    Frozen Pesto Starter
    Frozen Pesto Starter
    Print Recipe
    Frozen fresh basil and olive oil paste to preserve the flavors of summer
    Frozen Pesto Starter
    Frozen Pesto Starter
    Print Recipe
    Frozen fresh basil and olive oil paste to preserve the flavors of summer
    Ingredients
    • fresh basil (you need enough that the leaves will blend in the blender)
    • olive oil (just enough to blend with the basil to form a paste)
    Servings:
    Instructions
    1. Rinse fresh basil and trim off any discolored leaves. Make sure remaining stems will fit the diameter of your pot.
    2. Place enough water in a pot, so that the water is three inches deep. Bring water to a boil.
    3. In another container, bowl or pot, add cold water and plenty of ice, making sure you can fit the stems of the basil it in submerged.
    4. Using tongs, place the basil in your boil water making sure it gets submerged until the leaves wilt. You will likely need to do this in batches. Using tongs, remove the basil and plunge it into the ice water until it has cooled. Take basil out of the ice water and set aside.
    5. Strip leaves off the stems and add the leaves to the blender. Add enough oil to make a paste and blend.
    6. Place paste in ice cube trays or in quart zip top freezer bags. Only fill the zip top bags half full so that you can spread the paste out to freeze in a thin, flat sheet so you can break off what you need without thawing the whole thing.
    Share this Recipe
    Powered byWP Ultimate Recipe


  • Gluten-free Vegan Blueberry Pancake Casserole

    Gluten-free Vegan Blueberry Pancake Casserole

    Blueberry Pancake Casserole
    Don’t forget the maple syrup!

    This is a recipe re-make. As I posted on Friday, I do use existing recipes as starting points for creating allergy-friendly dishes sometimes. I read this blueberry pancake casserole recipe on The Kitchn and could not. stop. thinking. about. it. Drooling.

    I love pancakes, but after I’ve made the second one, I’m ready to eat and be done cooking. Casserole seemed the perfect fix. But the recipe. It’s probably great, but it was mostly made up my things that make me ill. All-purpose (wheat) flour. Eggs. Buttermilk. Whole Milk. More flour. Butter. It did seem like a lot of things to fix.

    After a few experiments, let me say that it’s possible. Also, for some wonderful reason, this casserole actually tastes better re-heated. So you can absolutely make it the night before — I encourage you to.

    To be clear: This is not an original recipe. This is a heavily-modified version of this recipe at The Kitchn. I really wanted to eat this pancake casserole, so I figured out how to make it safe for me. Maybe you can do the same. I have not listed this as a tree nut-free recipe, as I used almond milk in every test, and I used creamed coconut in at least one version as a replacement for vegan margarine (weird sub, I know, but it worked). I have not noticed substantially different outcomes using different non-dairy milks, and if you can use soy milk, I have a feeling it will work well in this recipe. But if you try something different, please tell me how it works!

    Pancake 1


    Notice: Trying to access array offset on value of type bool in /home/maryzahc/public_html/adultfoodallergies.com/wp-content/plugins/wp-ultimate-recipe/helpers/models/recipe.php on line 254
    Gluten-free Vegan Blueberry Pancake Casserole
    Print Recipe
    Servings Prep Time
    8 servings 15 minutes
    Cook Time Passive Time
    45 minutes 55 minutes
    Servings Prep Time
    8 servings 15 minutes
    Cook Time Passive Time
    45 minutes 55 minutes
    Gluten-free Vegan Blueberry Pancake Casserole
    Print Recipe
    Servings Prep Time
    8 servings 15 minutes
    Cook Time Passive Time
    45 minutes 55 minutes
    Servings Prep Time
    8 servings 15 minutes
    Cook Time Passive Time
    45 minutes 55 minutes
    Ingredients
    • 2 Tablespoons ground flax seeds or ground chia seeds
    • 6 Tablespoons water
    • 2 1/2 cups gluten-free flour blend divided — 2 c and 1/2 cup
    • 1 teaspoon baking powder
    • 1 teaspoon baking soda
    • 1 teaspoon cinnamon
    • 2 Tablespoons sugar
    • 1/2 teaspoon kosher salt
    • 2 1/2 cups non-dairy milk (I usually use almond)
    • 2 Tablespoons lemon juice
    • 4 Tablespoons vegan margarine or creamed coconut (I know this seems like an odd alternative, but it works)
    • 1 1/2 cups blueberries (works okay with fresh or frozen — do not defrost)
    Servings: servings
    Instructions
    1. Grease a 13×9 baking dish. Pre-heat oven to 350°F.
    2. In a small bowl, mix the chia or flax seeds with the 6T water. Set aside.
    3. In a separate small bowl, whisk together the 1/2 cup GF flour, the baking soda, the baking powder, and the cinnamon.
    4. In a large bowl, mix 2 cups of gluten-free flour, sugar, salt, non-dairy milk, lemon juice, and the flax or chia “gel.” When well mixed, fold in the second flour mix.
    5. Pour into the prepared pan, and then sprinkle the blueberries over the top.
    6. Bake for about 45 minutes, until the top is dry. This casserole doesn’t pass the touch test (where the “cake” springs back if you poke it lightly) or the toothpick test (the blueberries mess it up, especially if they were frozen), but it should looke baked and done. Let it rest 10-15 minutes before cutting into it if you plan to eat right now. Otherwise, let it cool completely and cover it. Then re-heat for 10 minutes (if at room temp) or 20 minutes (if it was in the refrigerator) at 300°F in the morning.
    7. Serve with vegan margarine, if desired, and maple syrup (really not optional, as maple syrup is the point of pancakes).
    Share this Recipe
     
    Powered byWP Ultimate Recipe