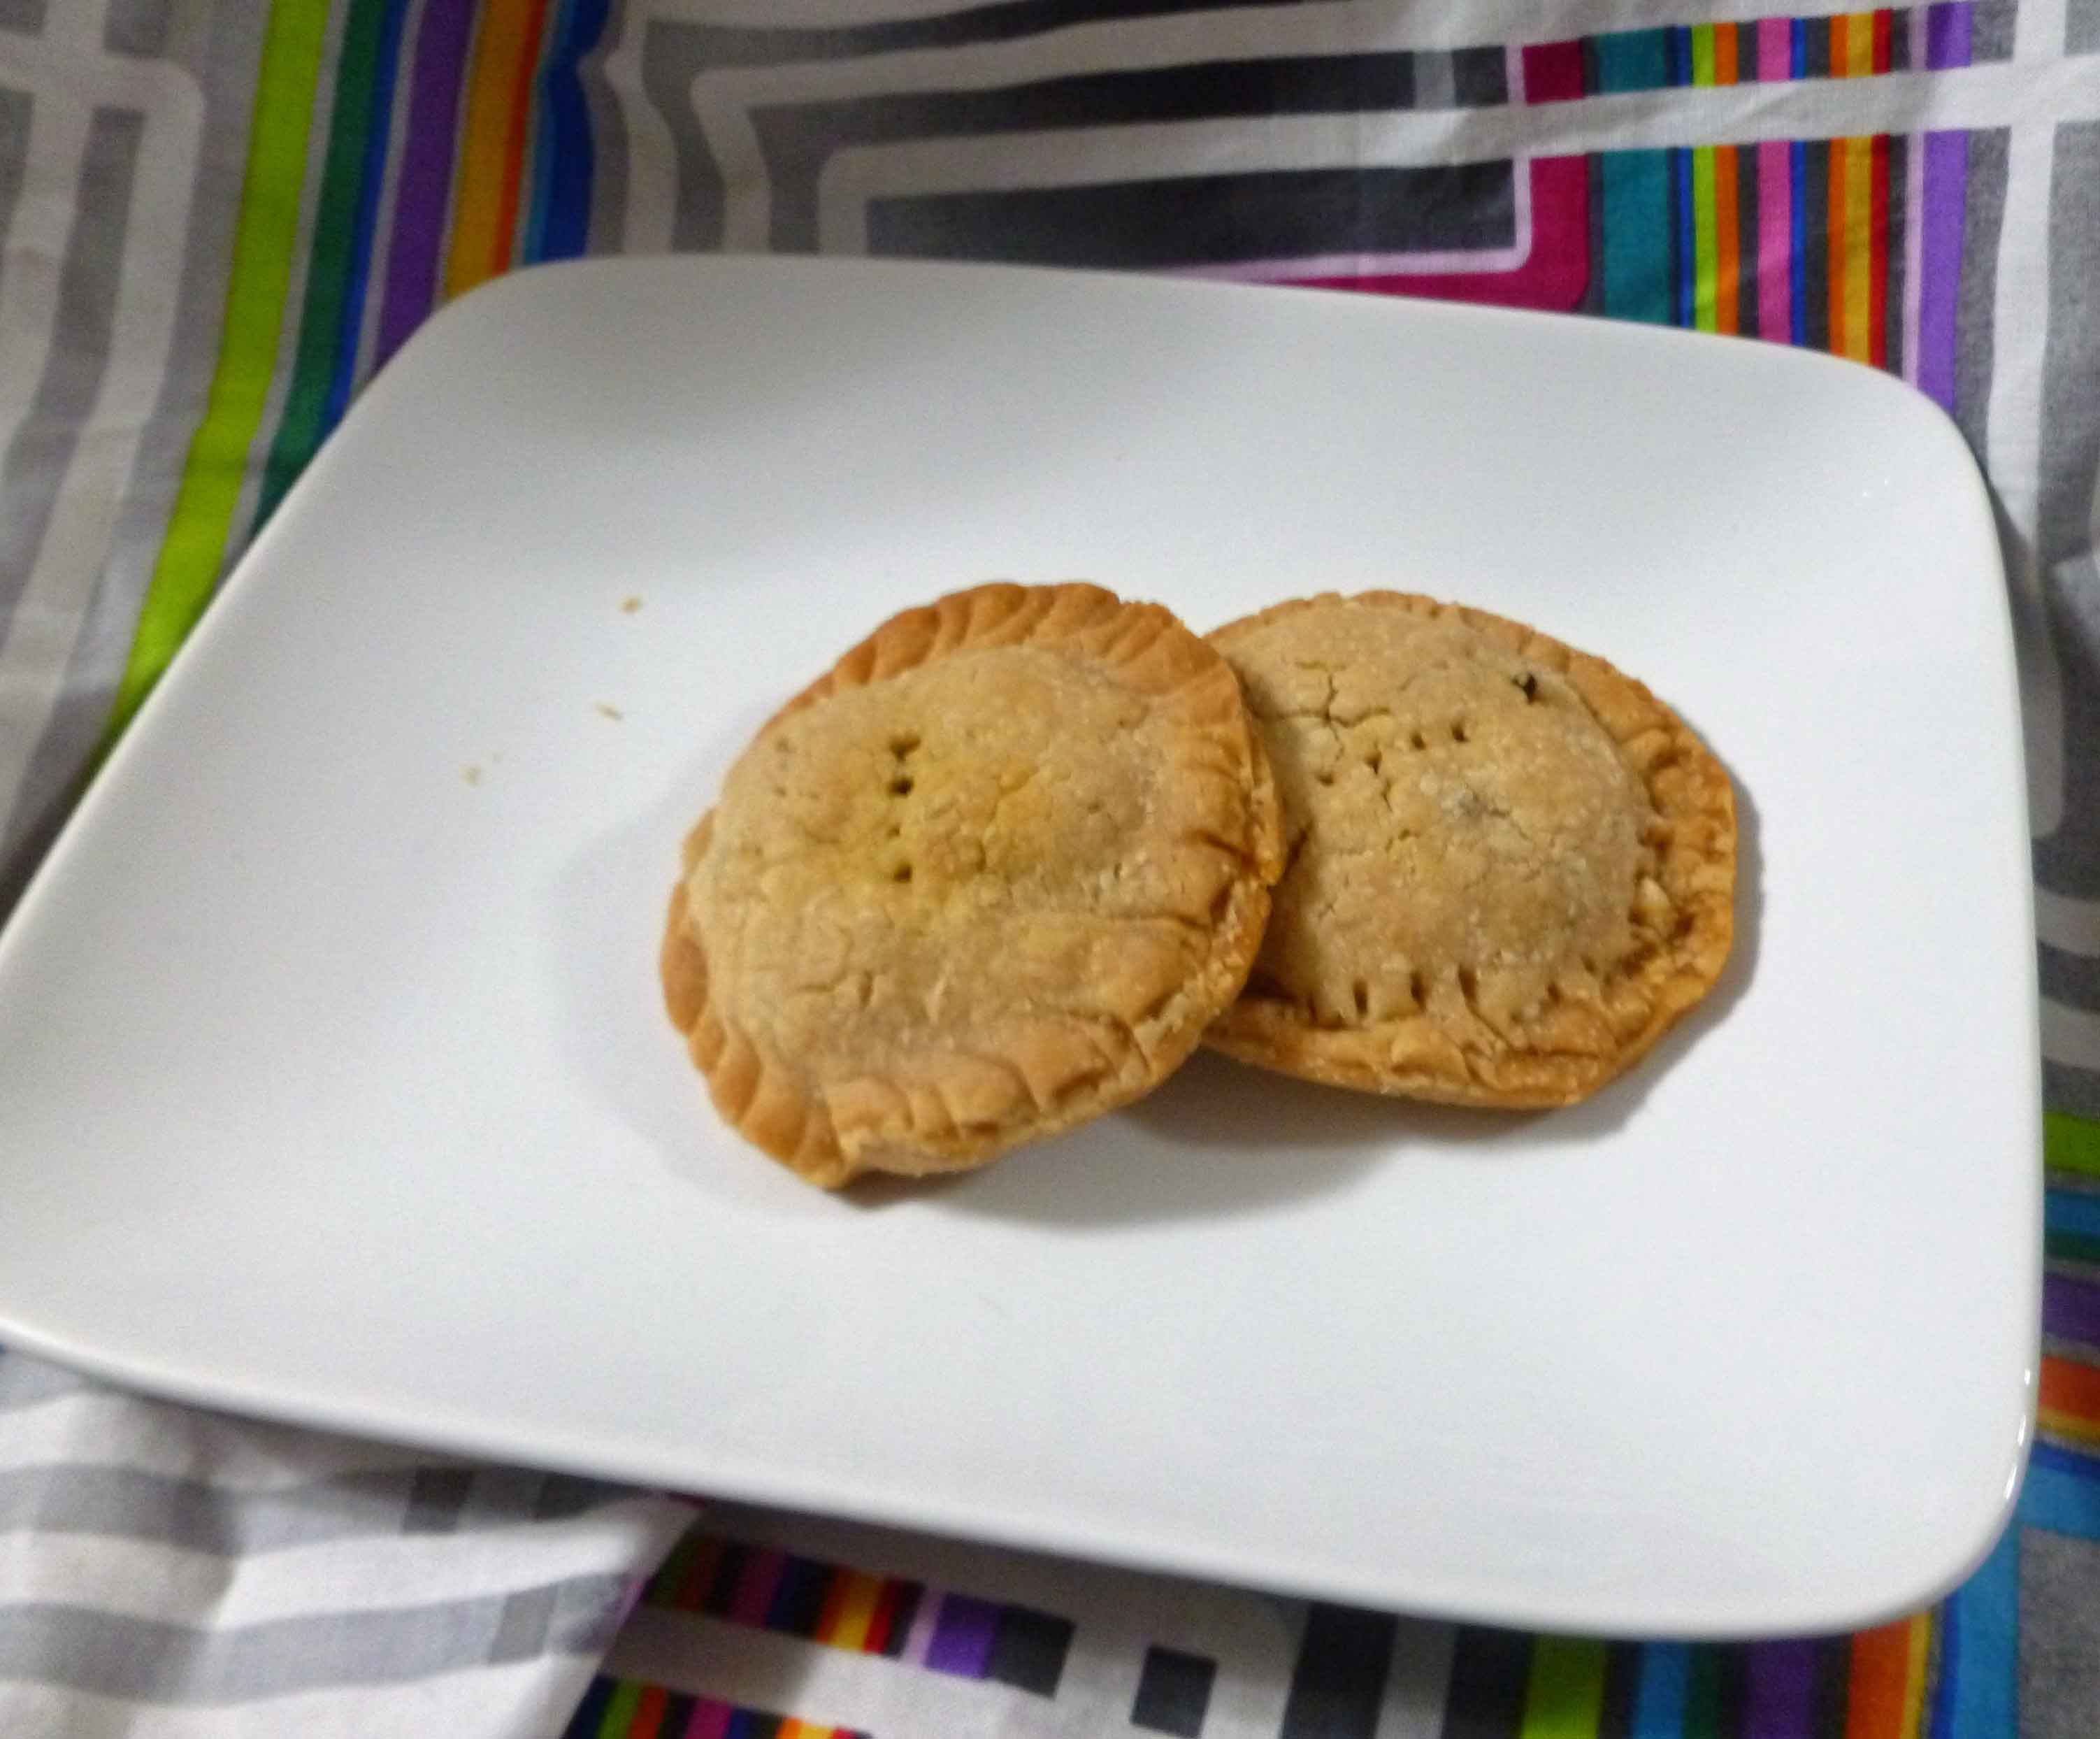
Now that we have have a pie crust that works, of course I had to make apple pie. Because most of you won’t have the copious amount of home canned apple pie filling that is currently sitting in my garage, I made one up using fresh apples.
Gluten-free Apple Pie (vegan option)
- 2 batches of our Gluten-free Pie Crust (vegan option) recipe
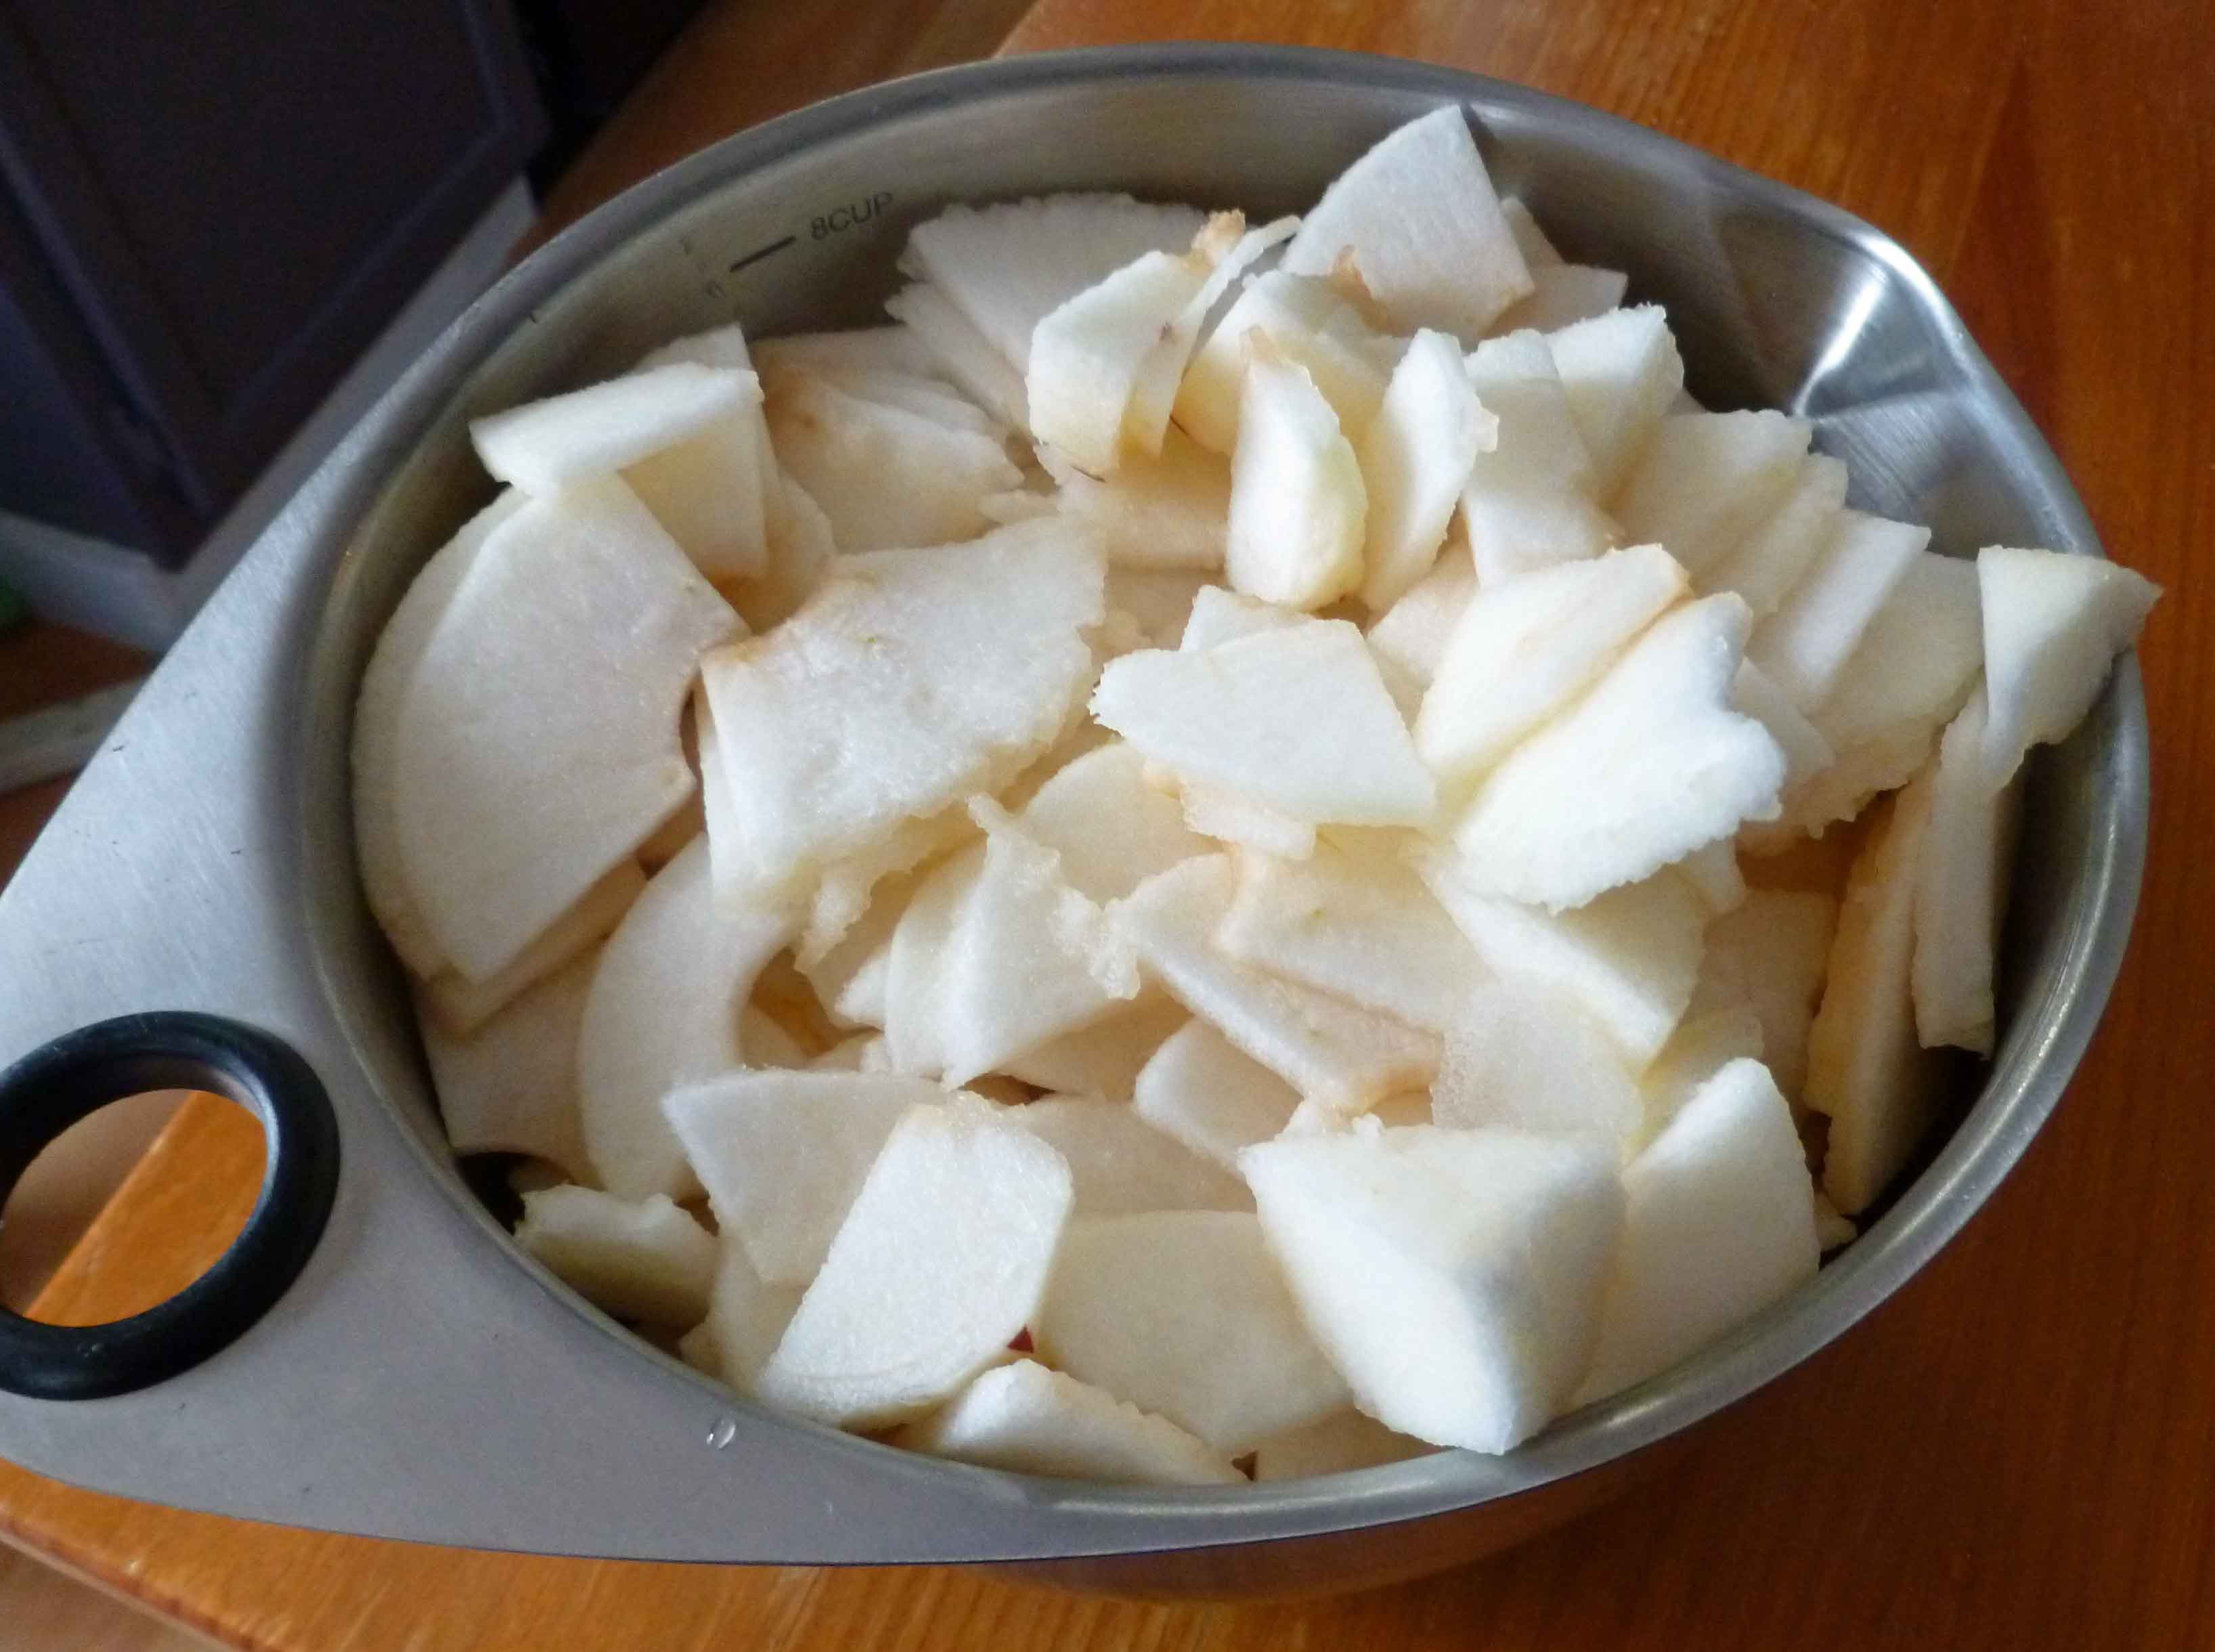
- 7-8 cups thinly sliced, peeled apples (I used Cortland apples)
- 1/2 cup sugar
- 1/4 cup of brown sugar tightly packed
- 2 tablespoons tapioca starch or arrowroot starch
- 3/4 teaspoon ground cinnamon
- 1/8 teaspoon ground allspice
- 1/8 teaspoon ground nutmeg
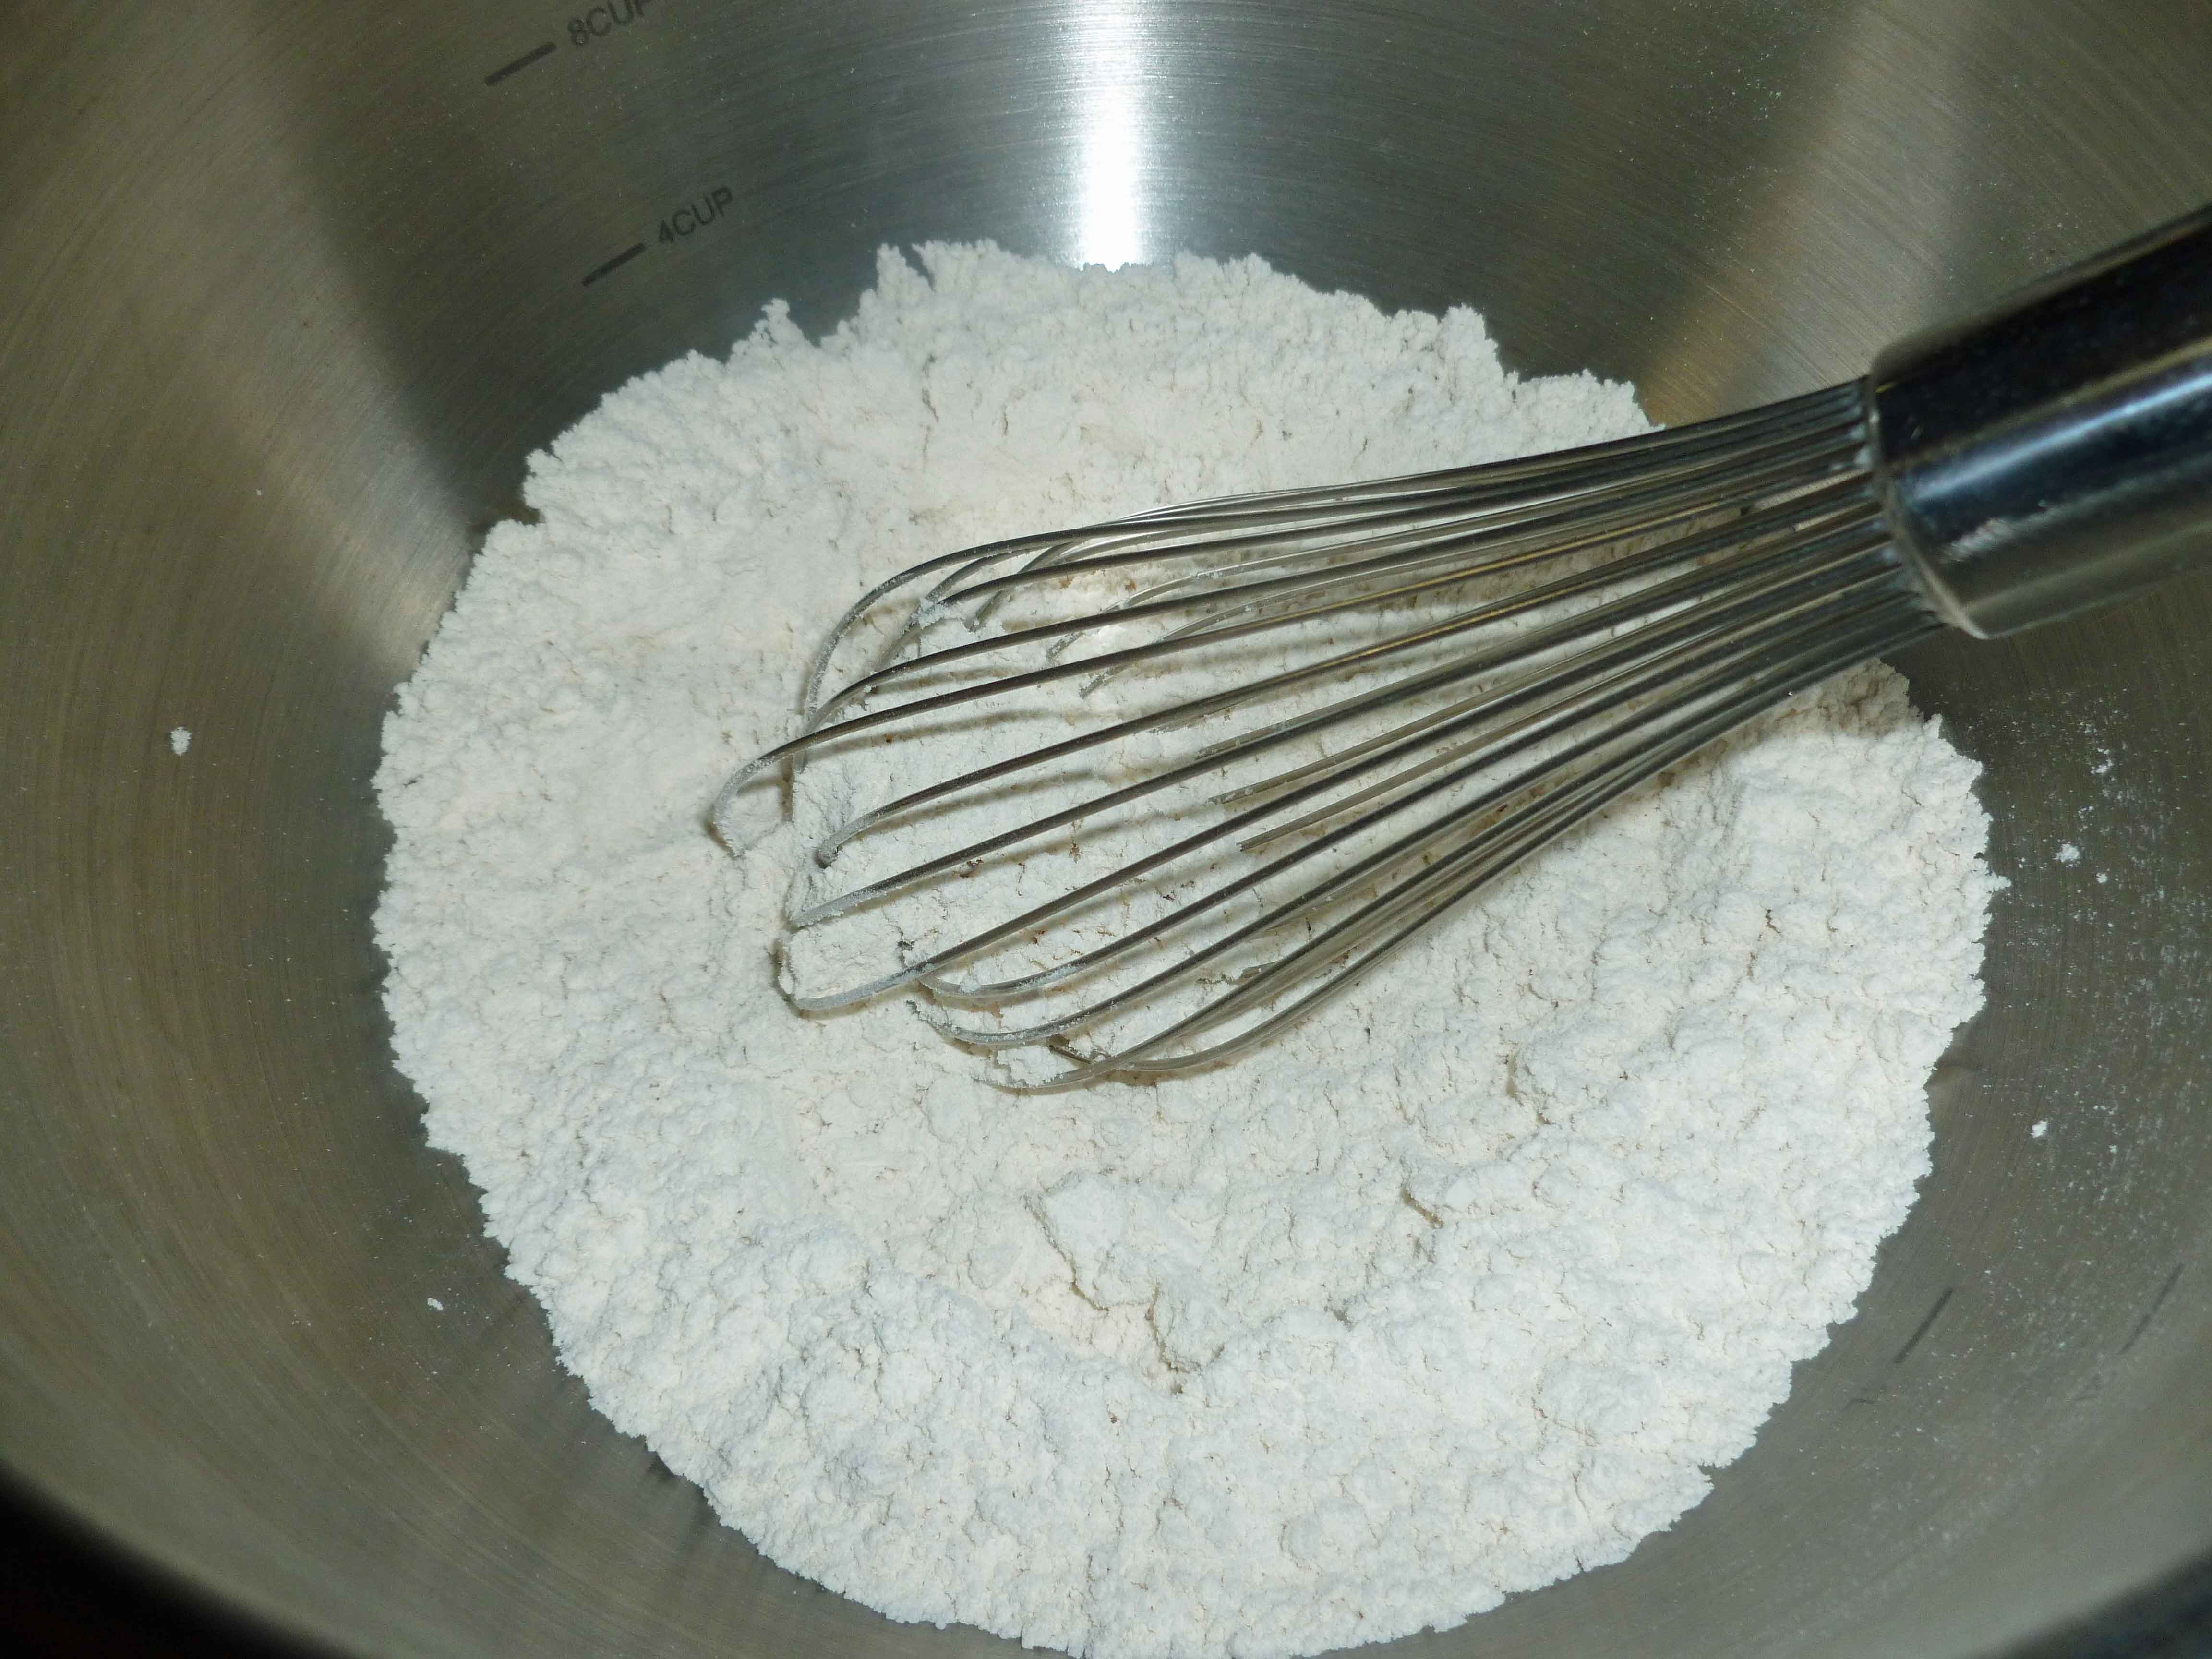
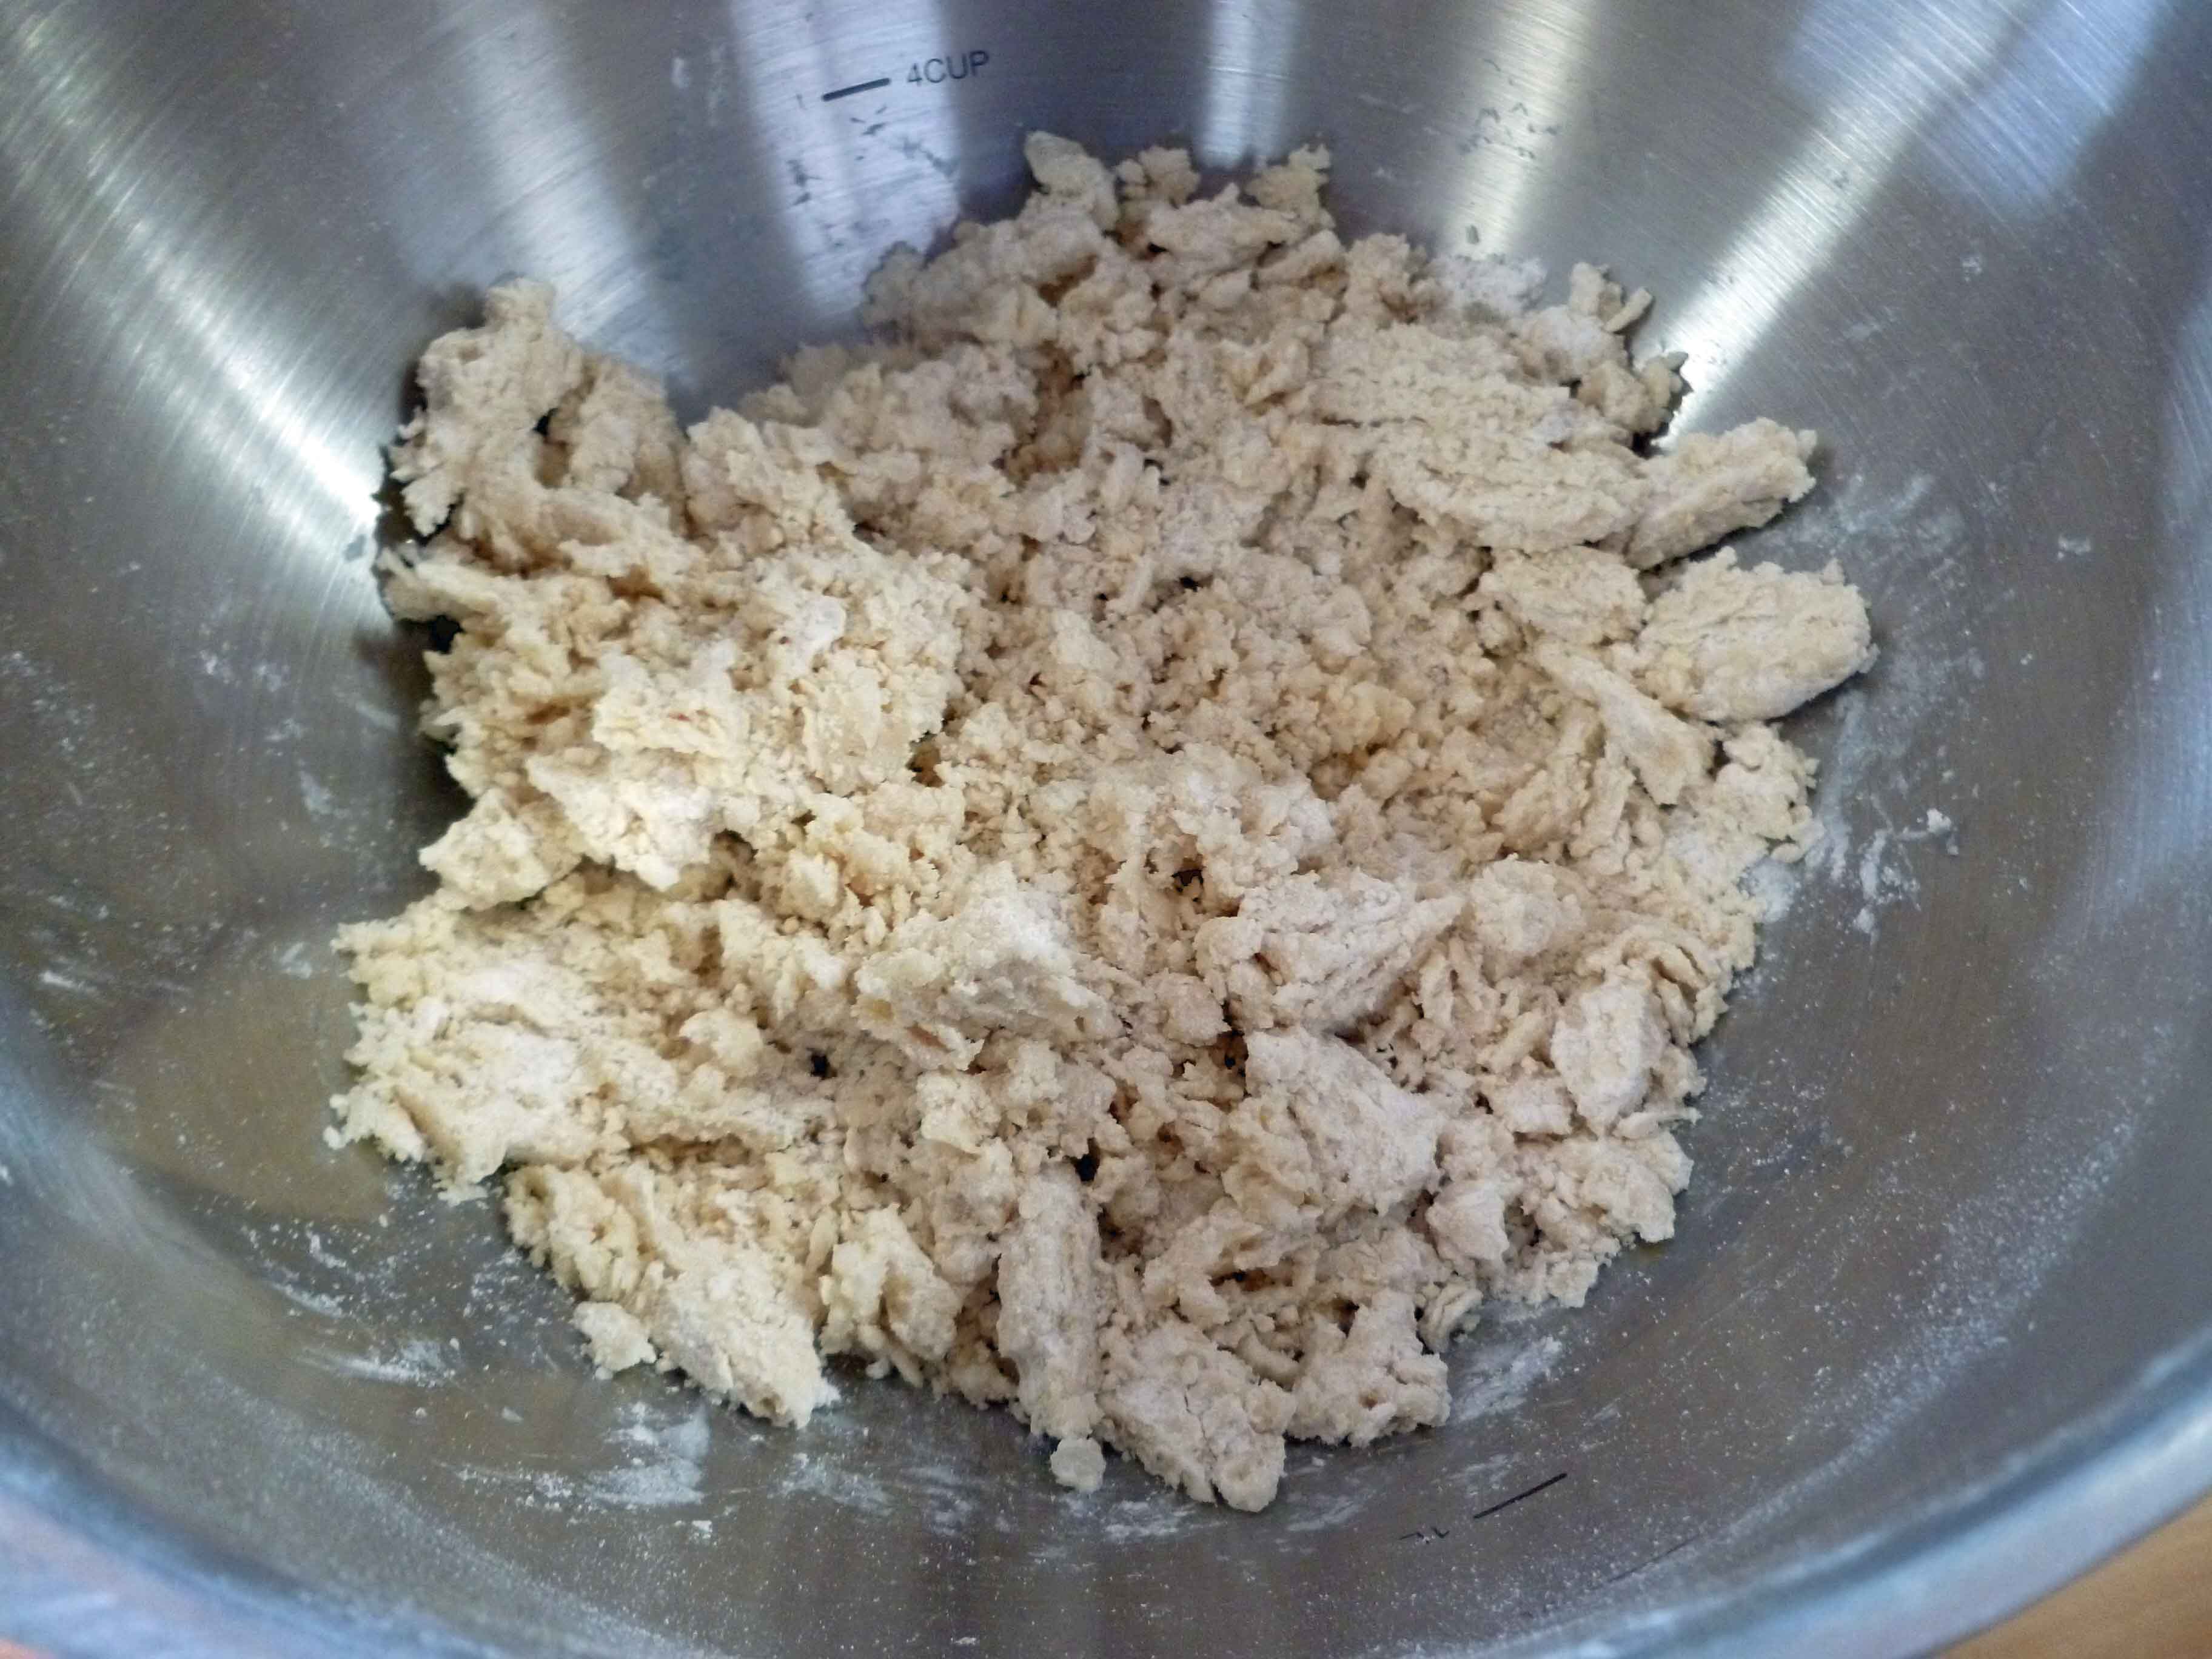
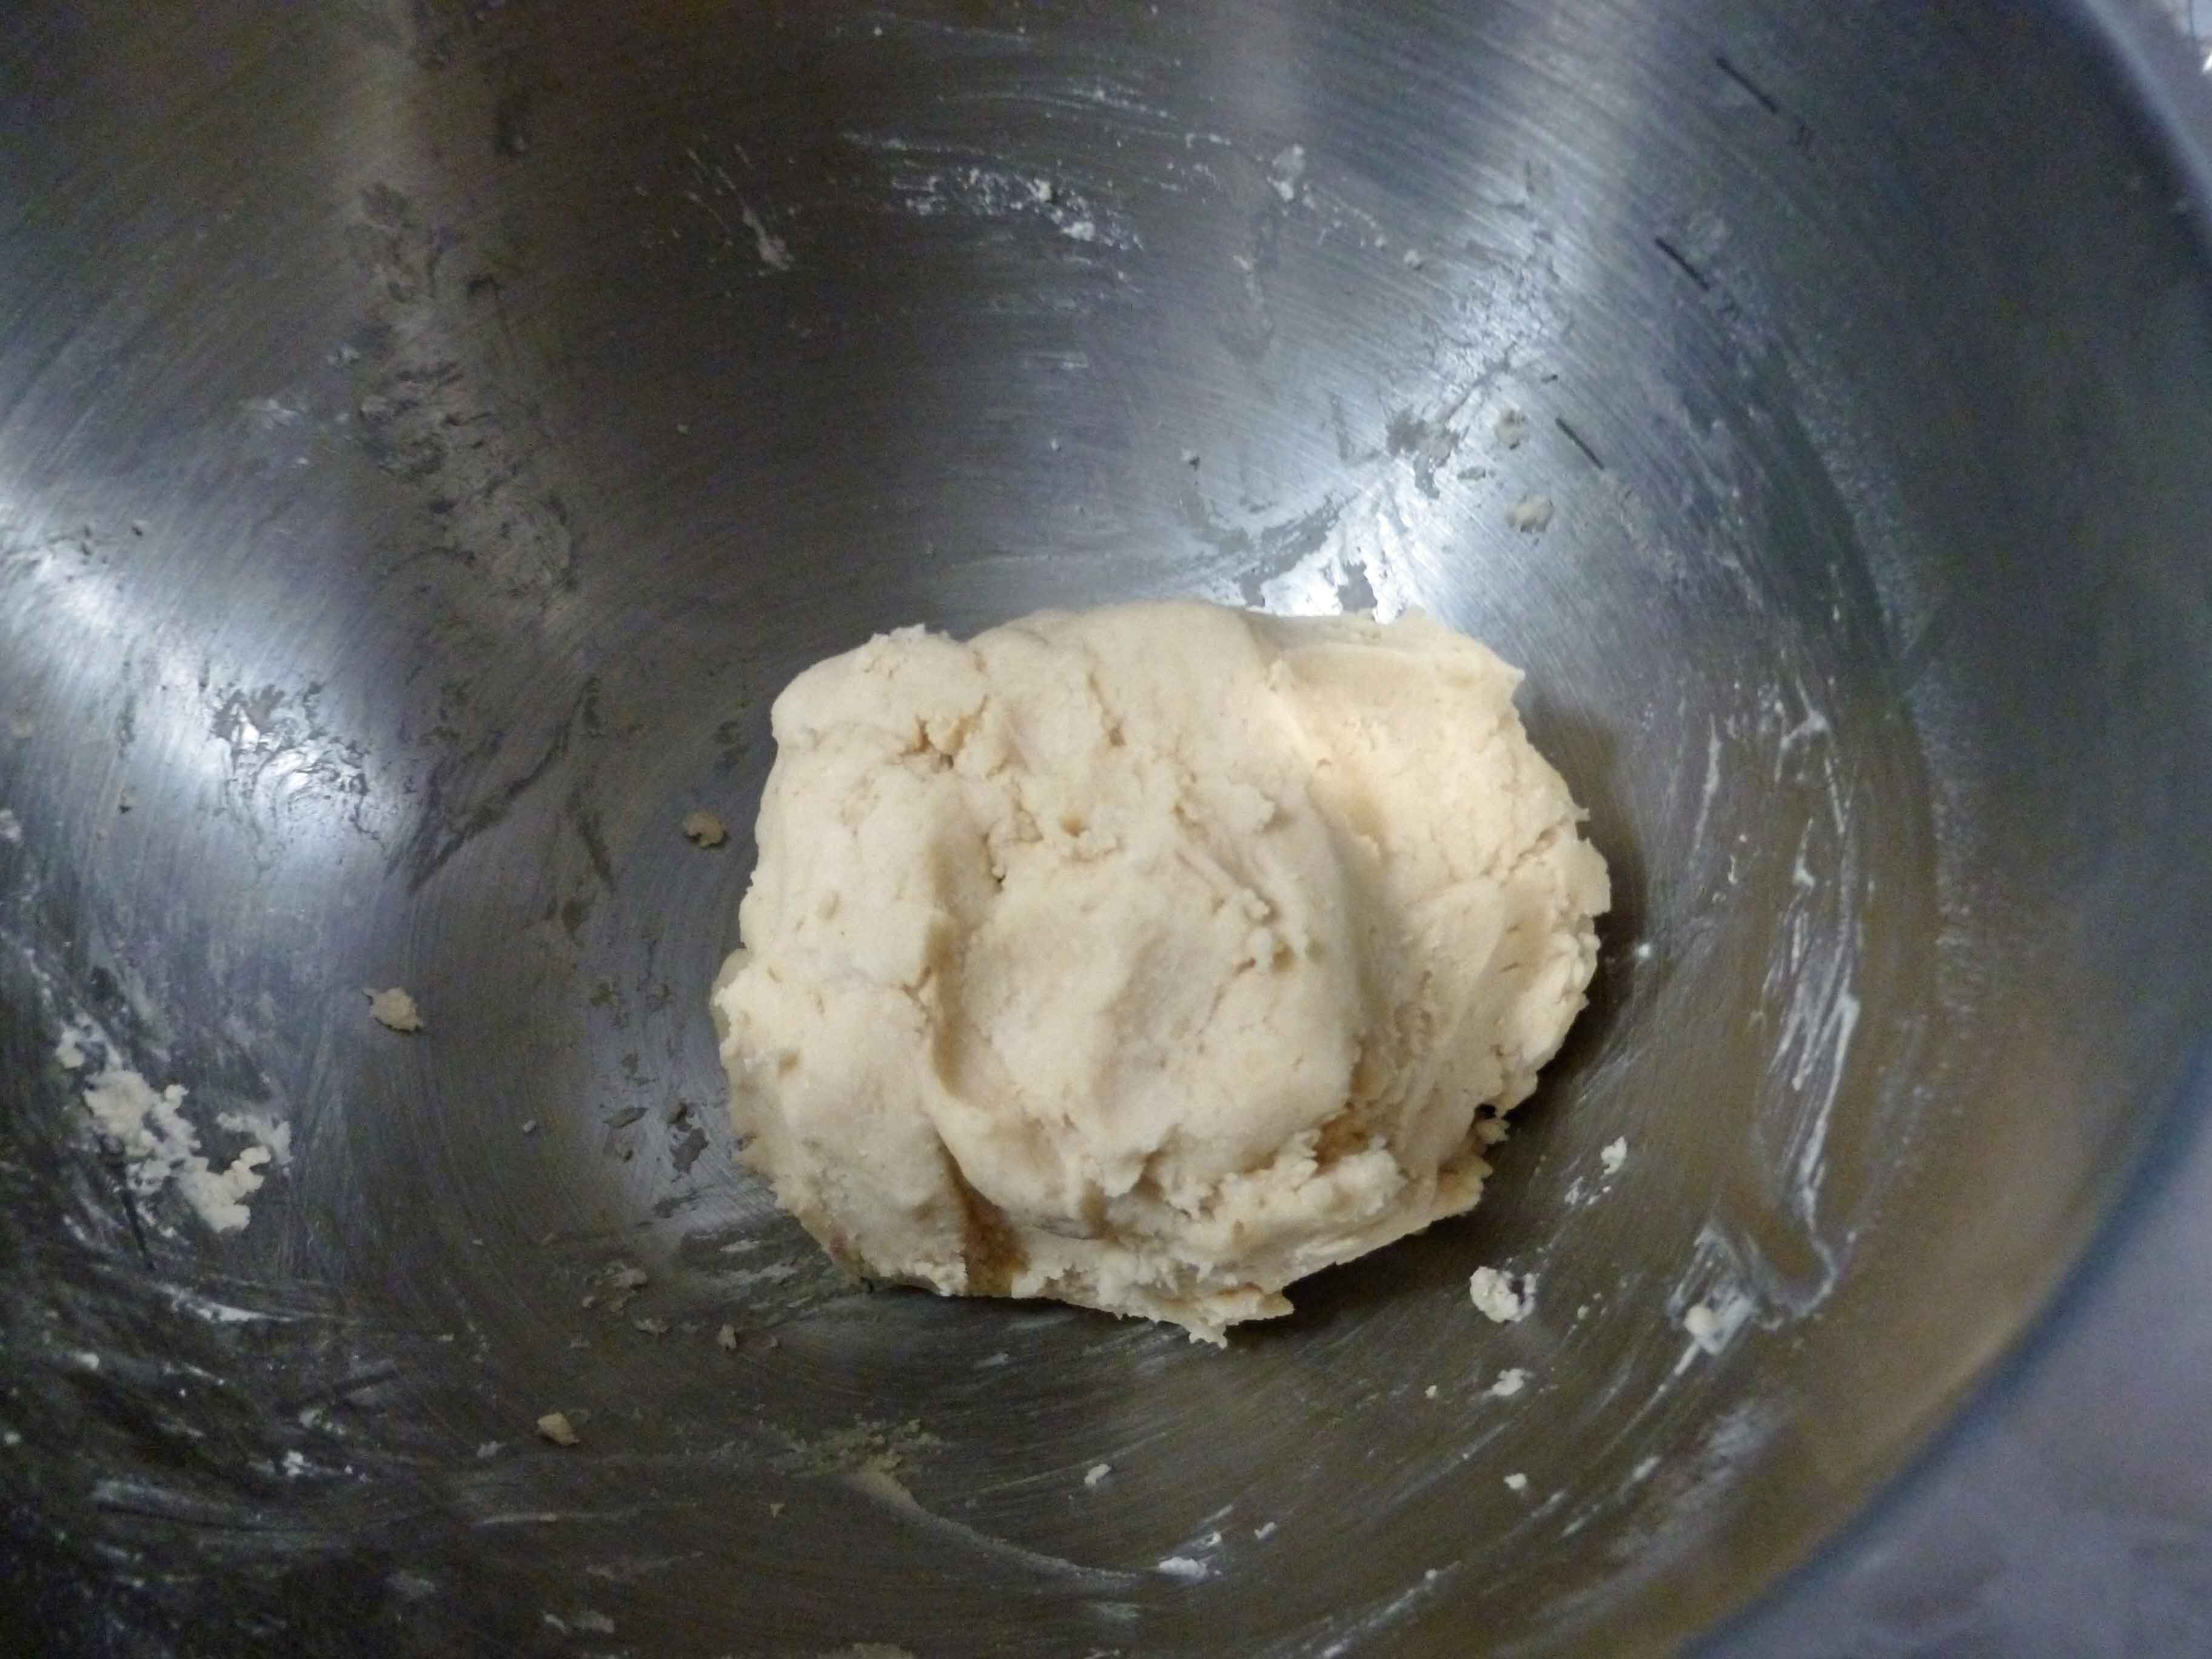
Make two batches of our Gluten-free Pie Crust (vegan option) recipe and chill the resulting dough balls as described until you’re ready for them.
Preheat oven to 400° F. Peel, core and slice your apples if you haven’t already.
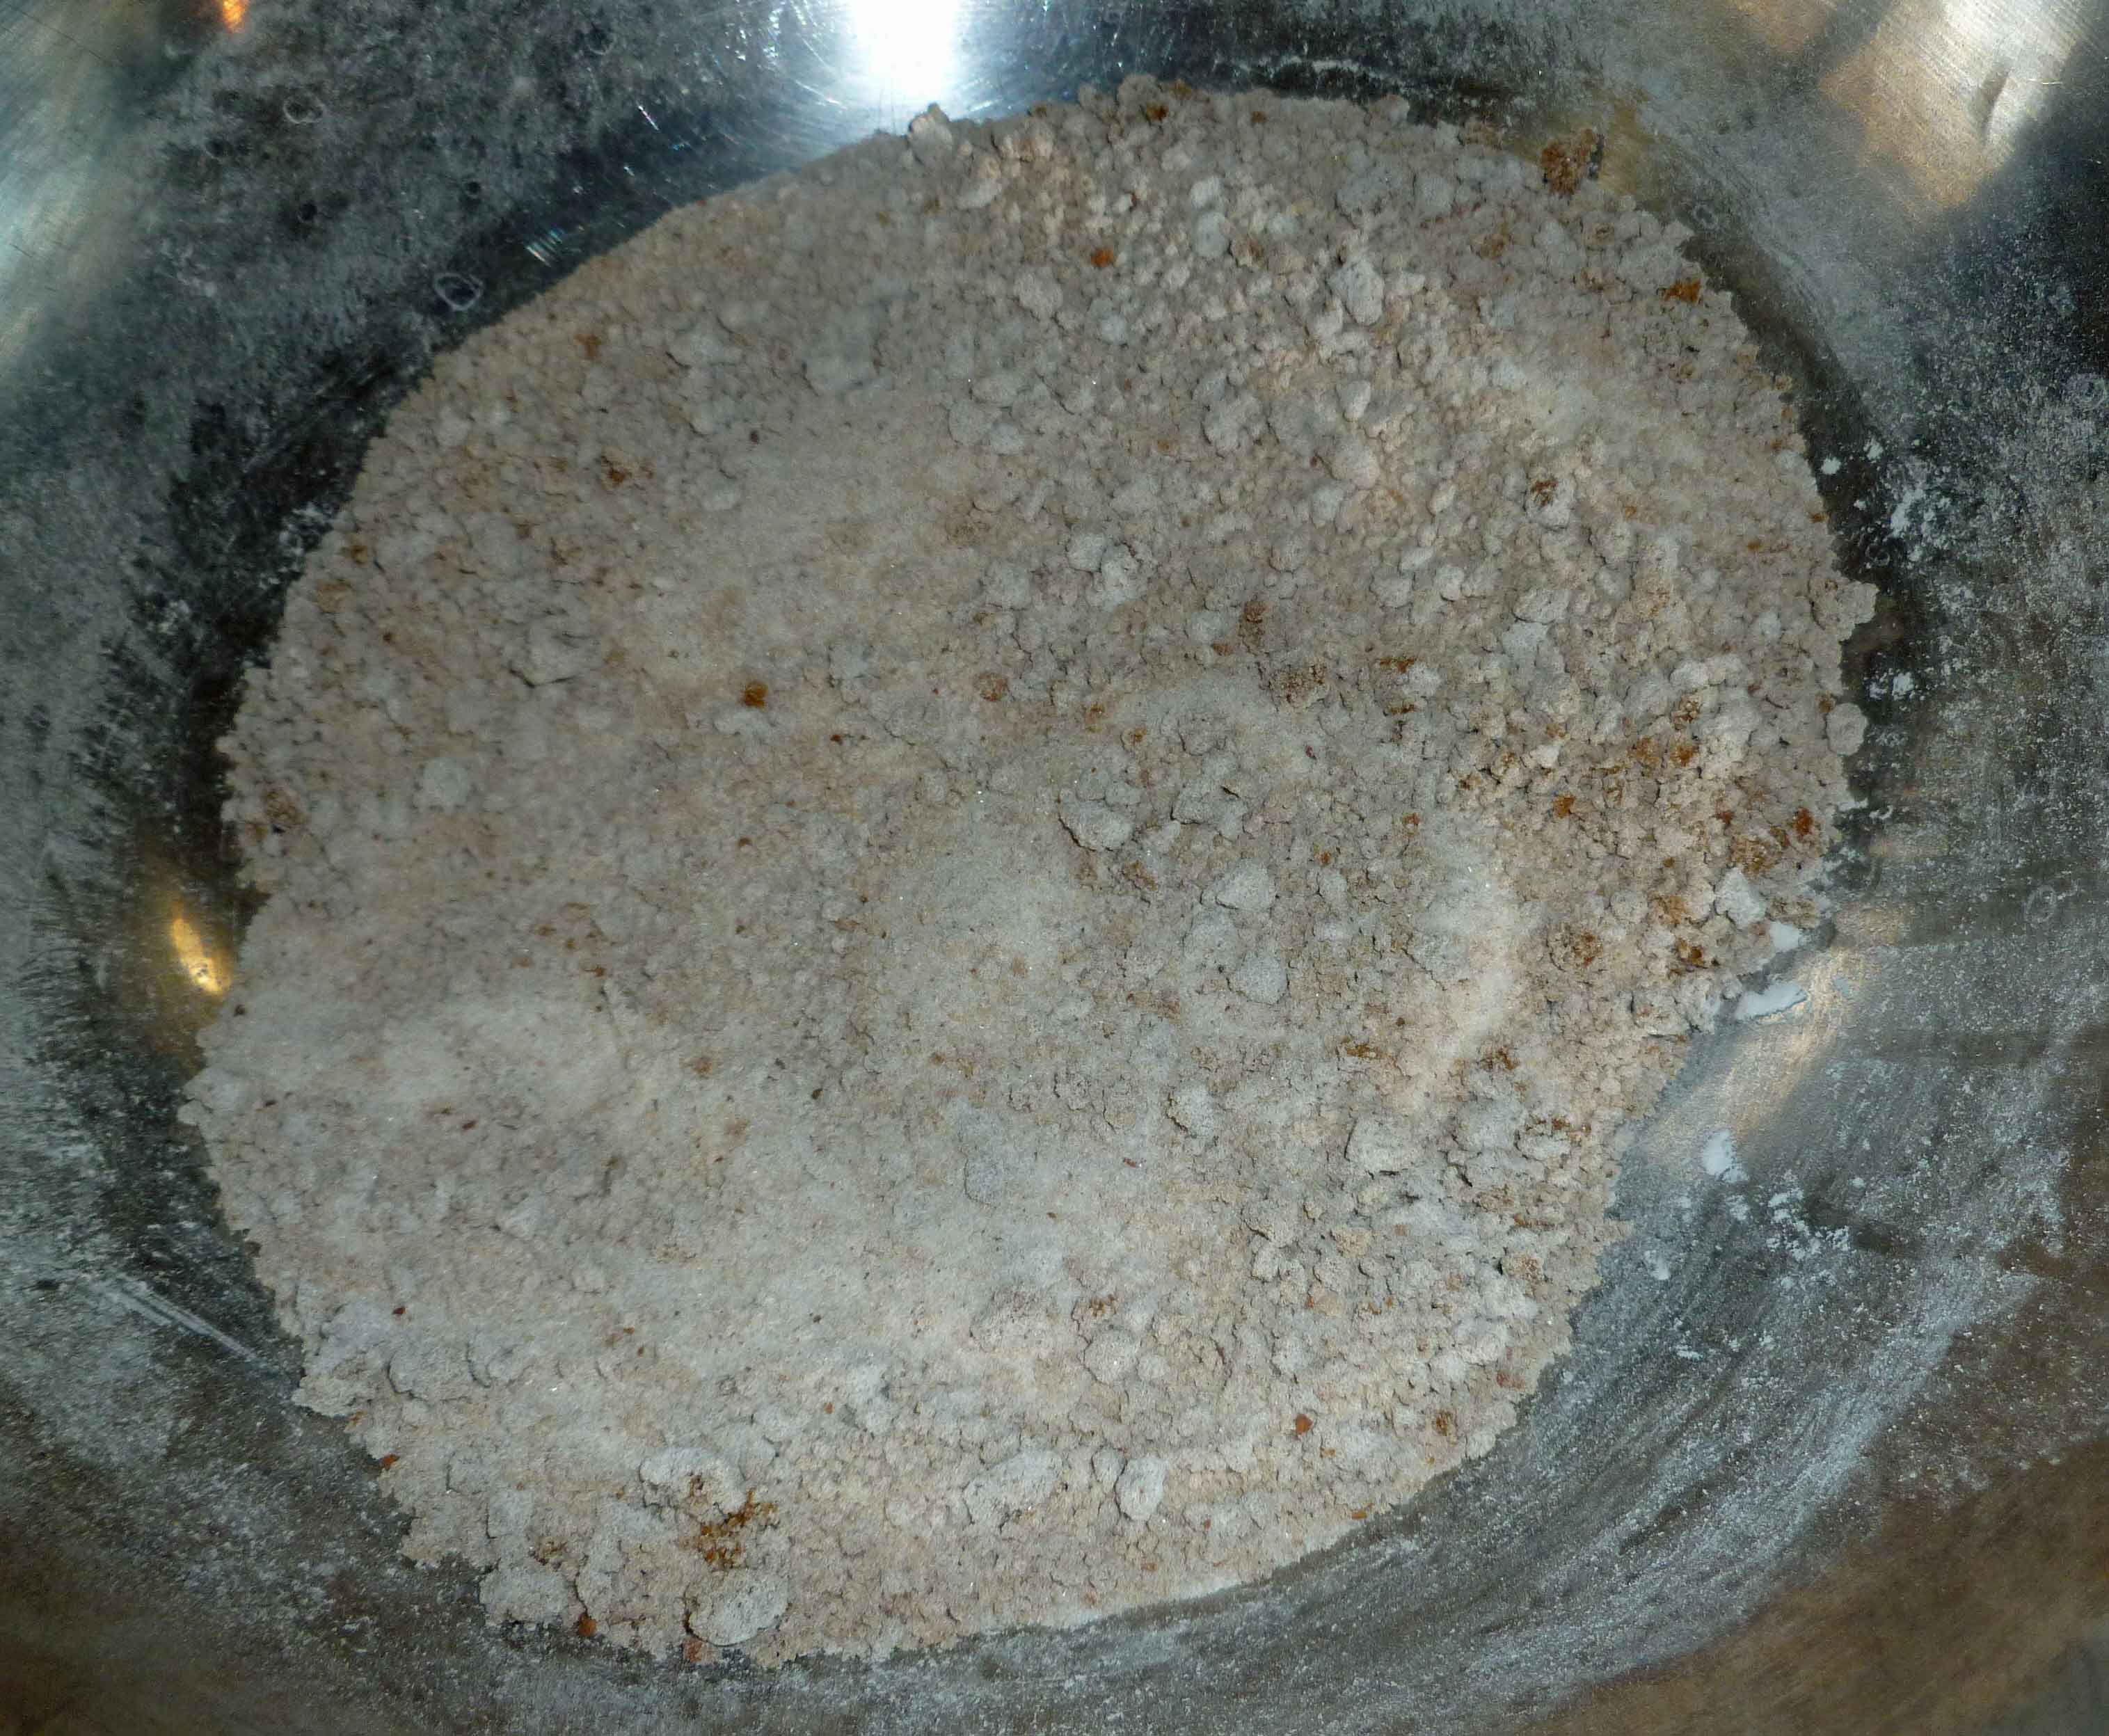
Place sugar, brown sugar, tapioca starch or arrow root, cinnamon, nutmeg and allspice into a large bowl.
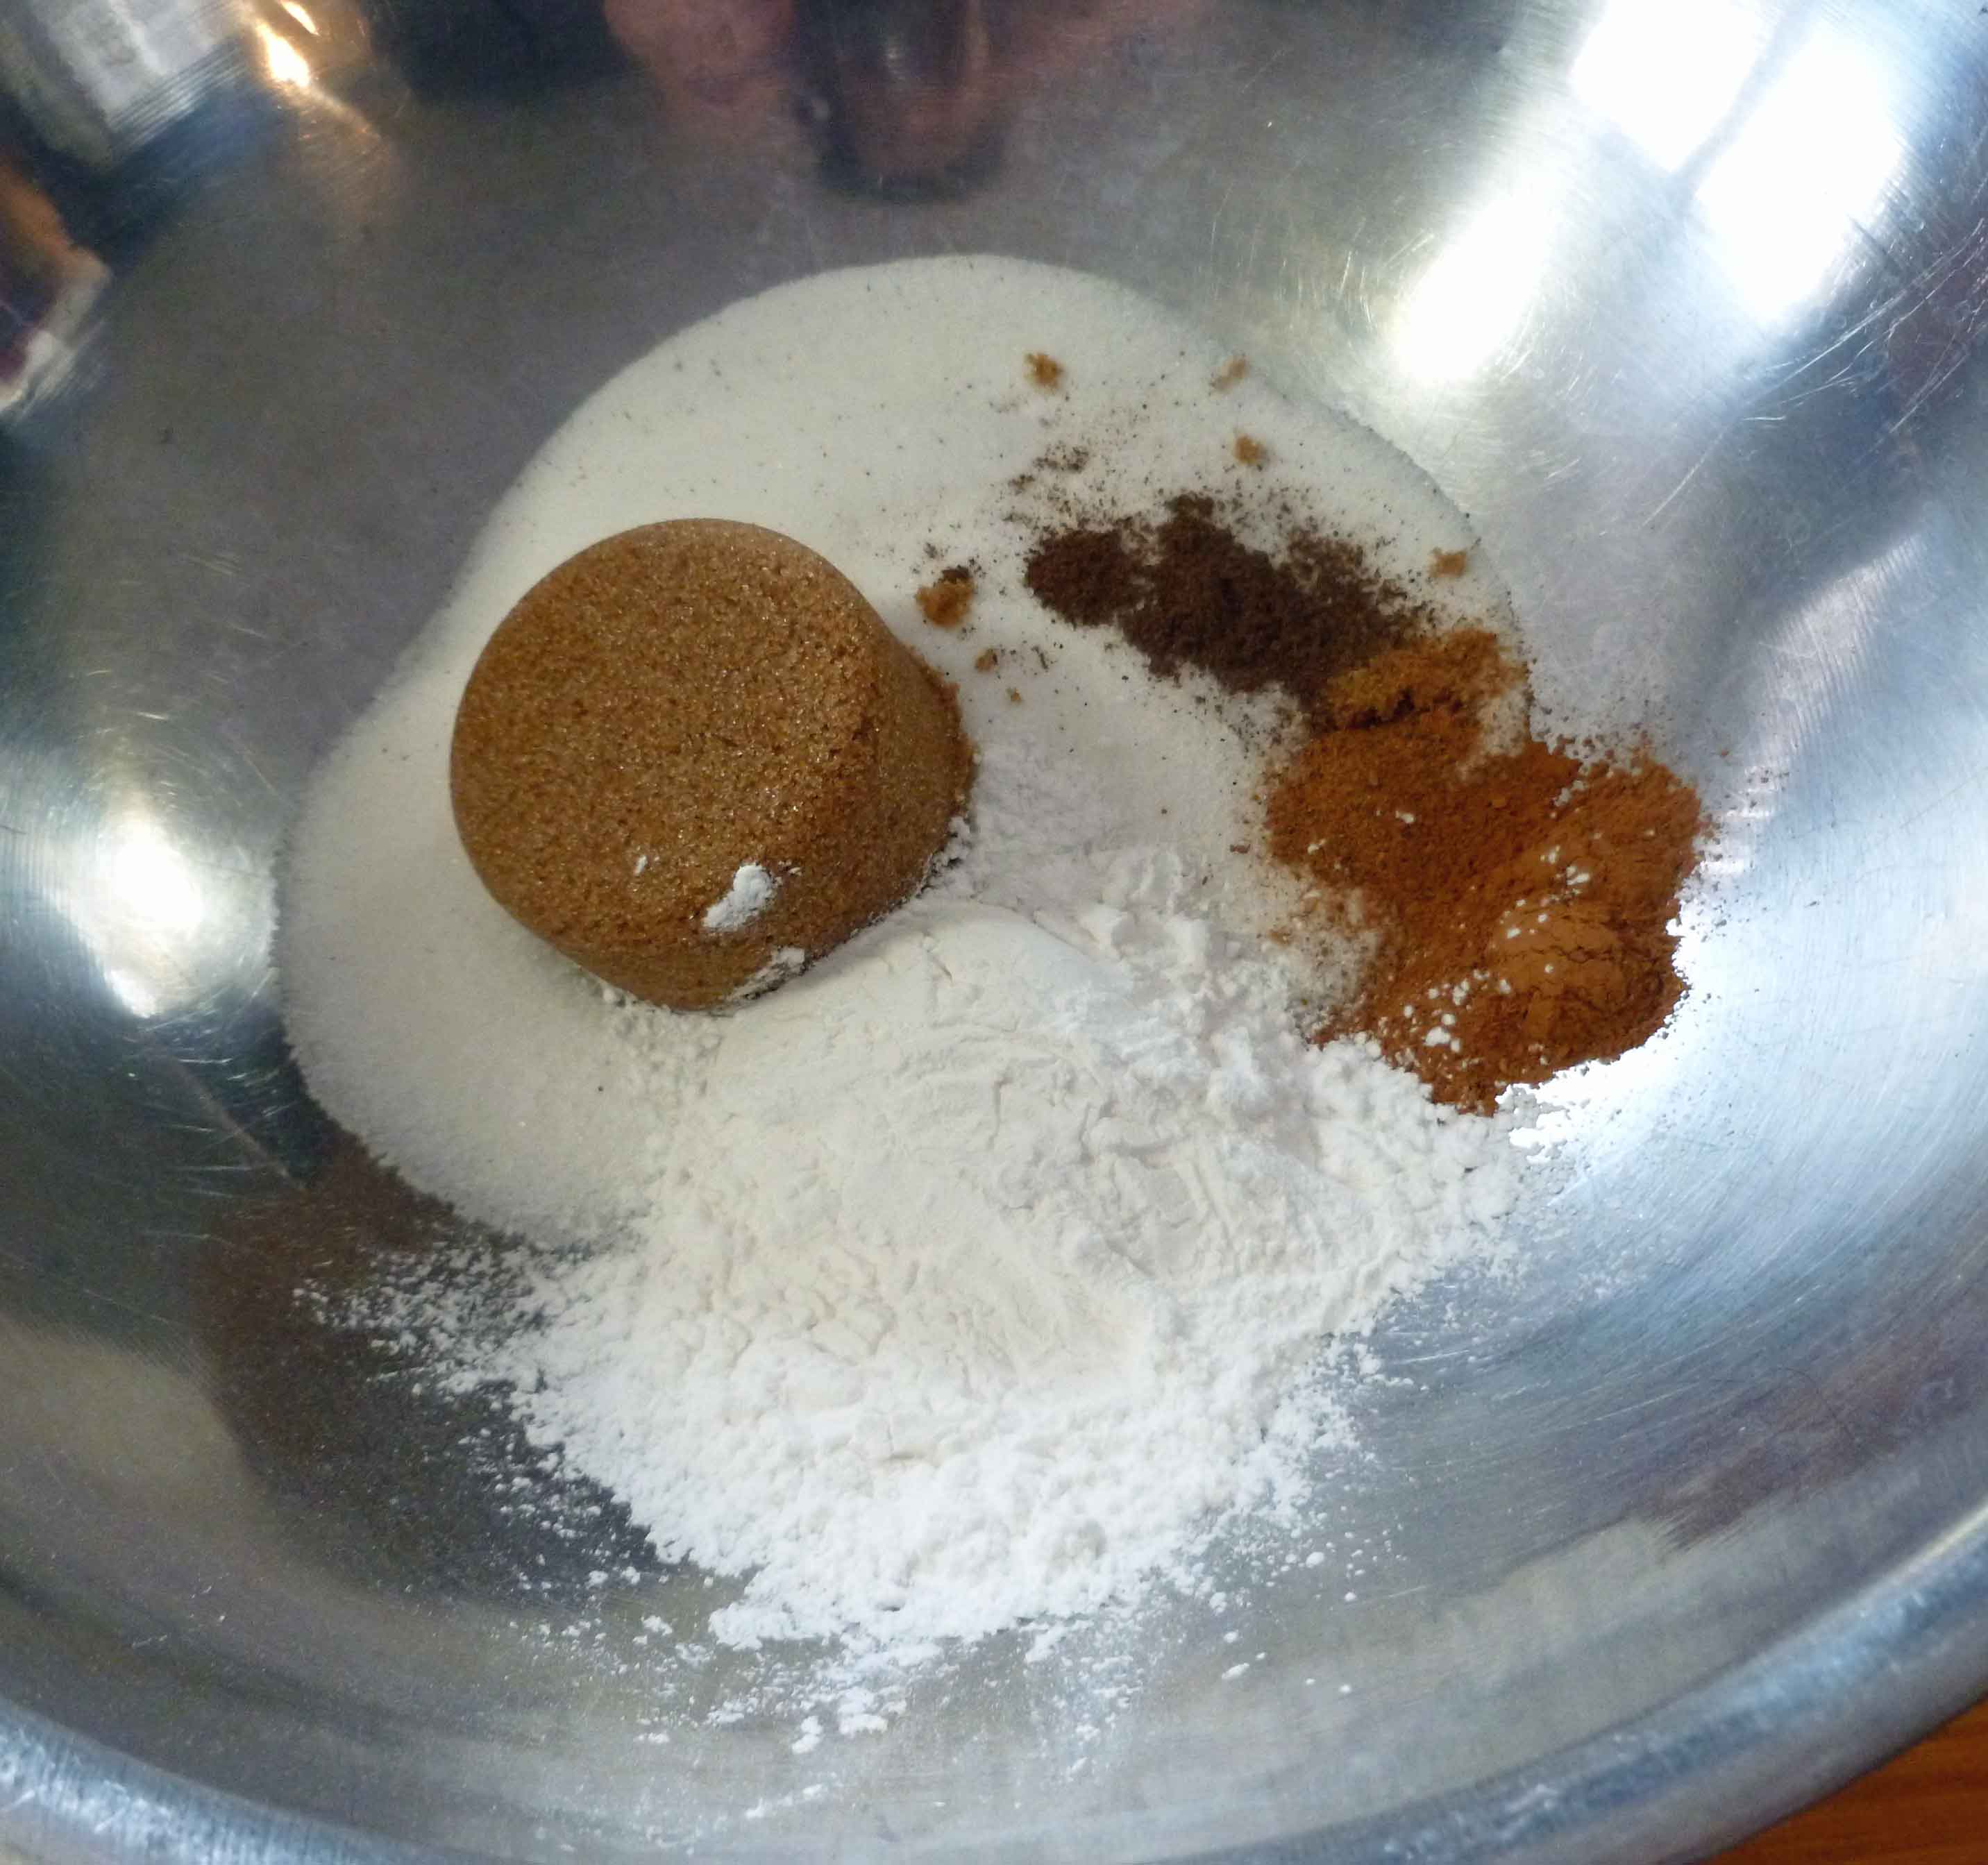
Mix dry ingredients until well combined.
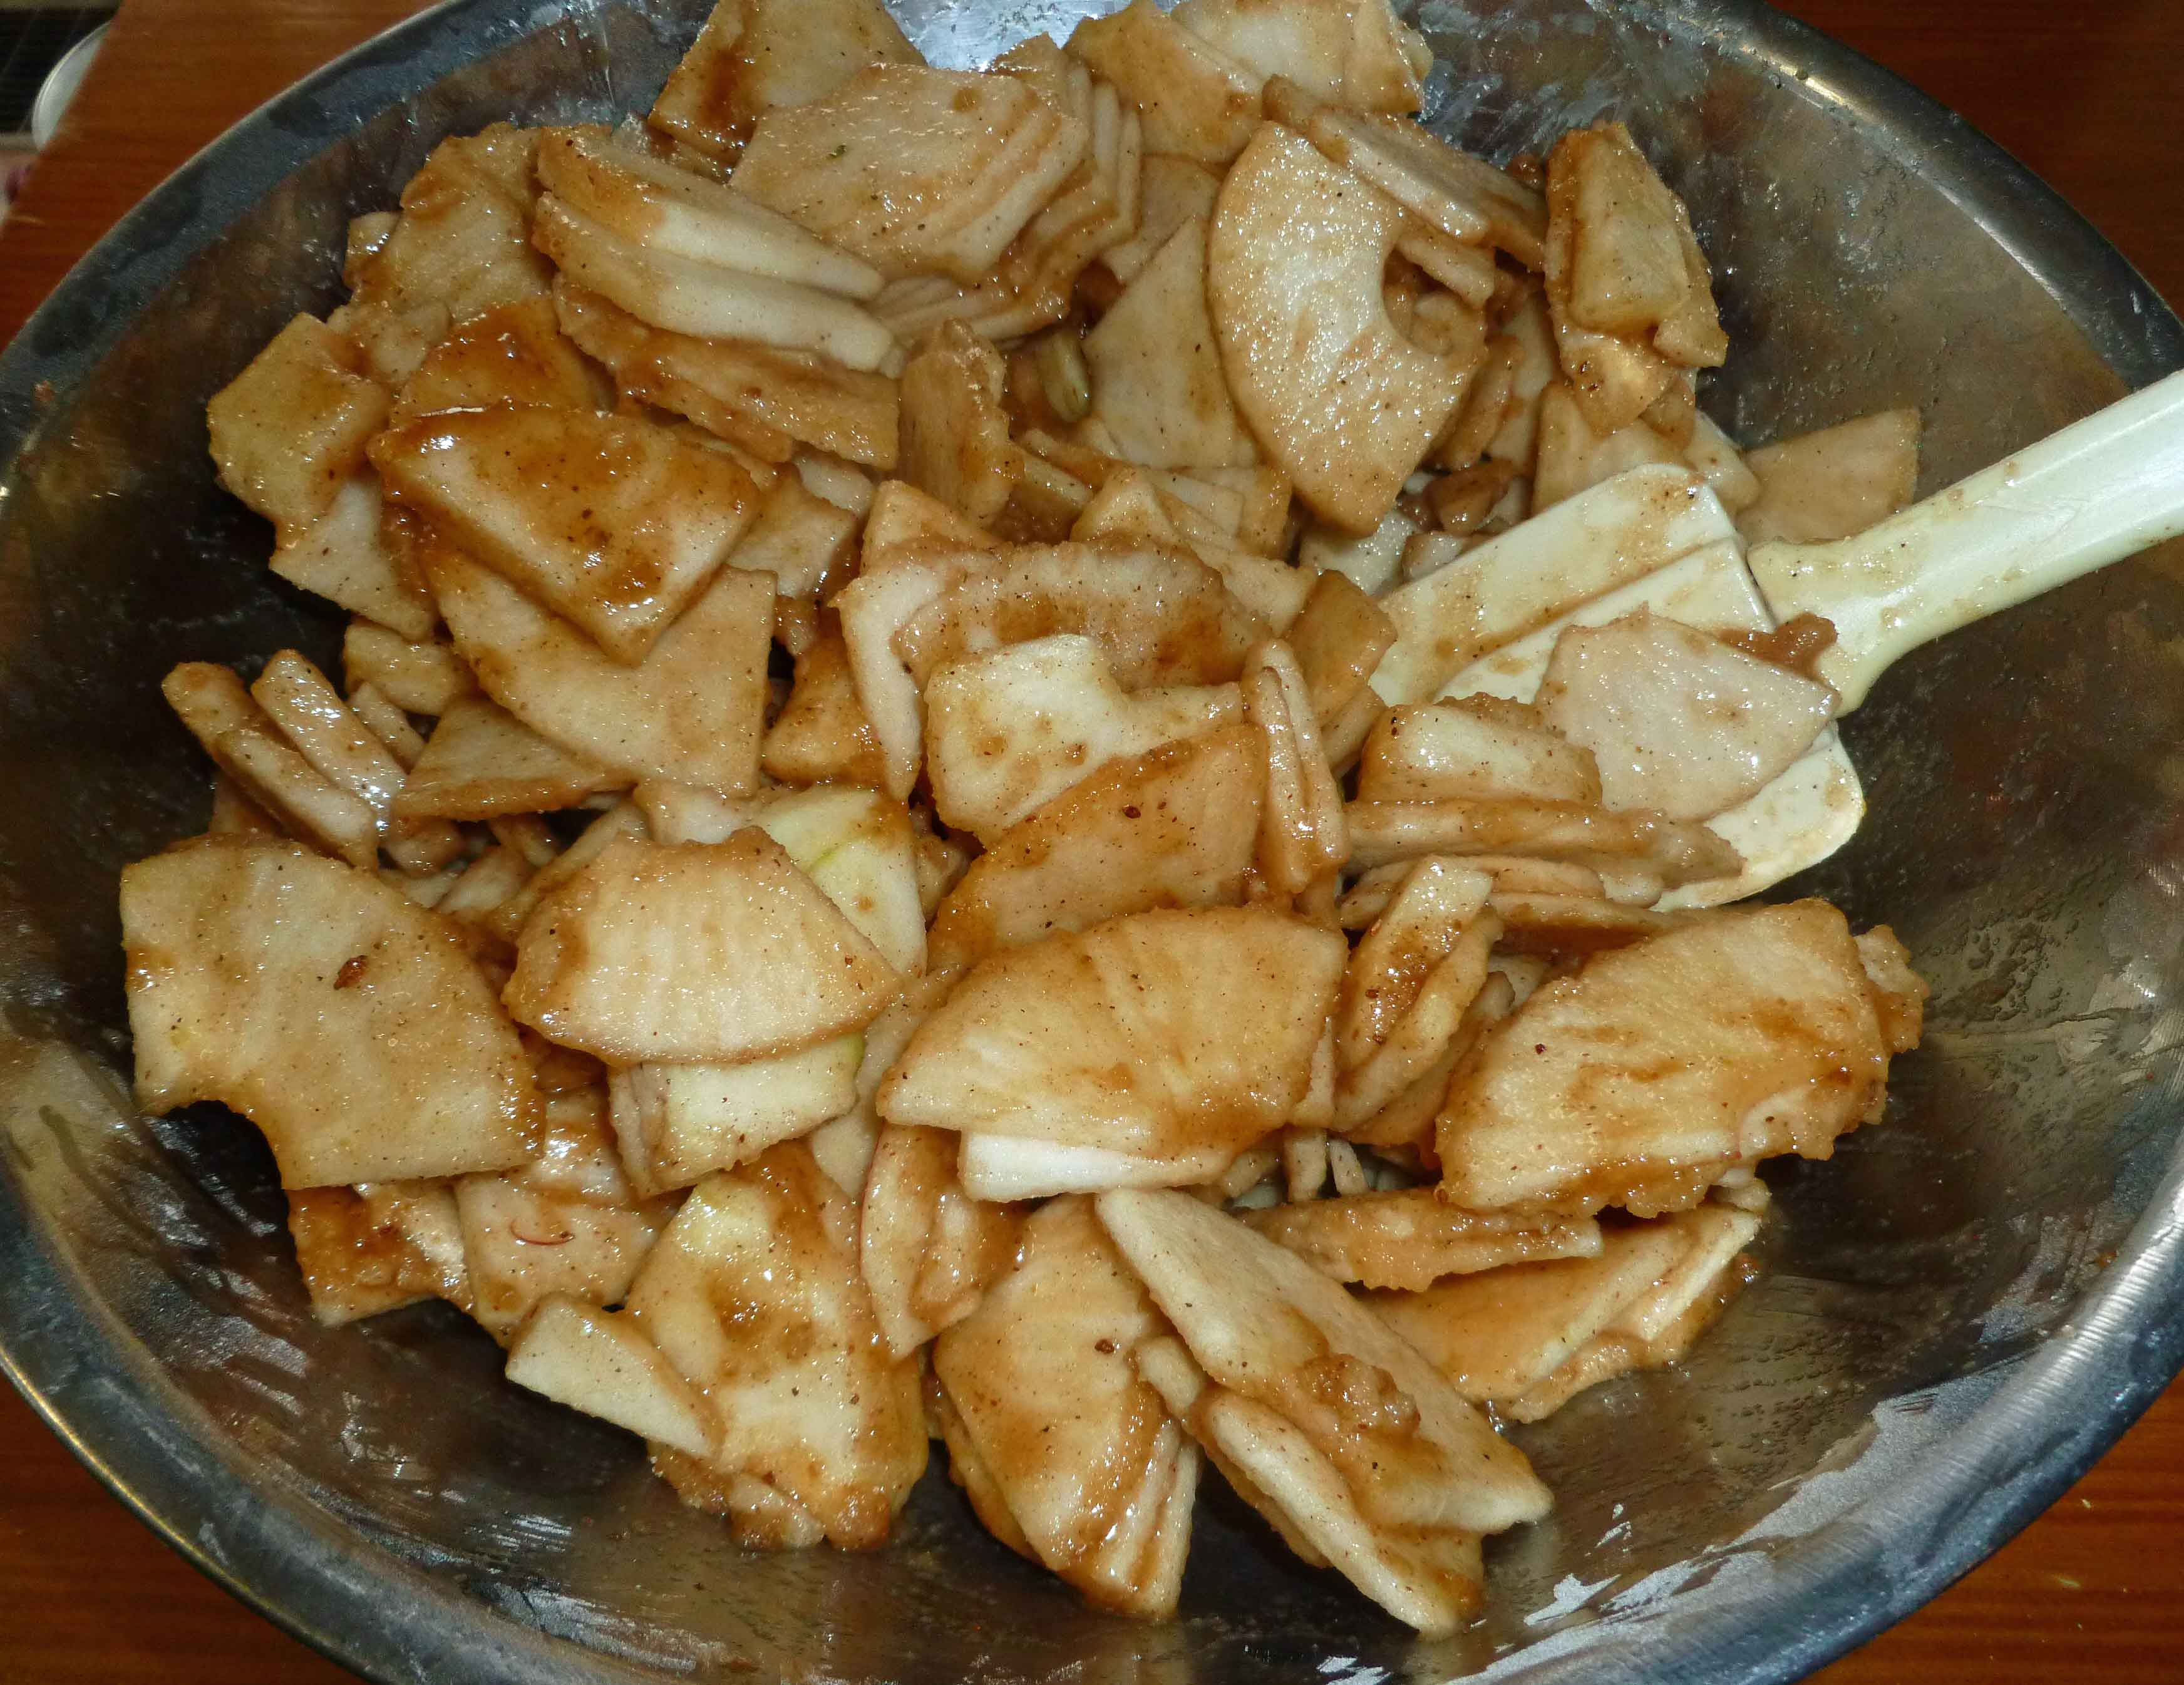
Mix apples into dry ingredients until combined and set aside.
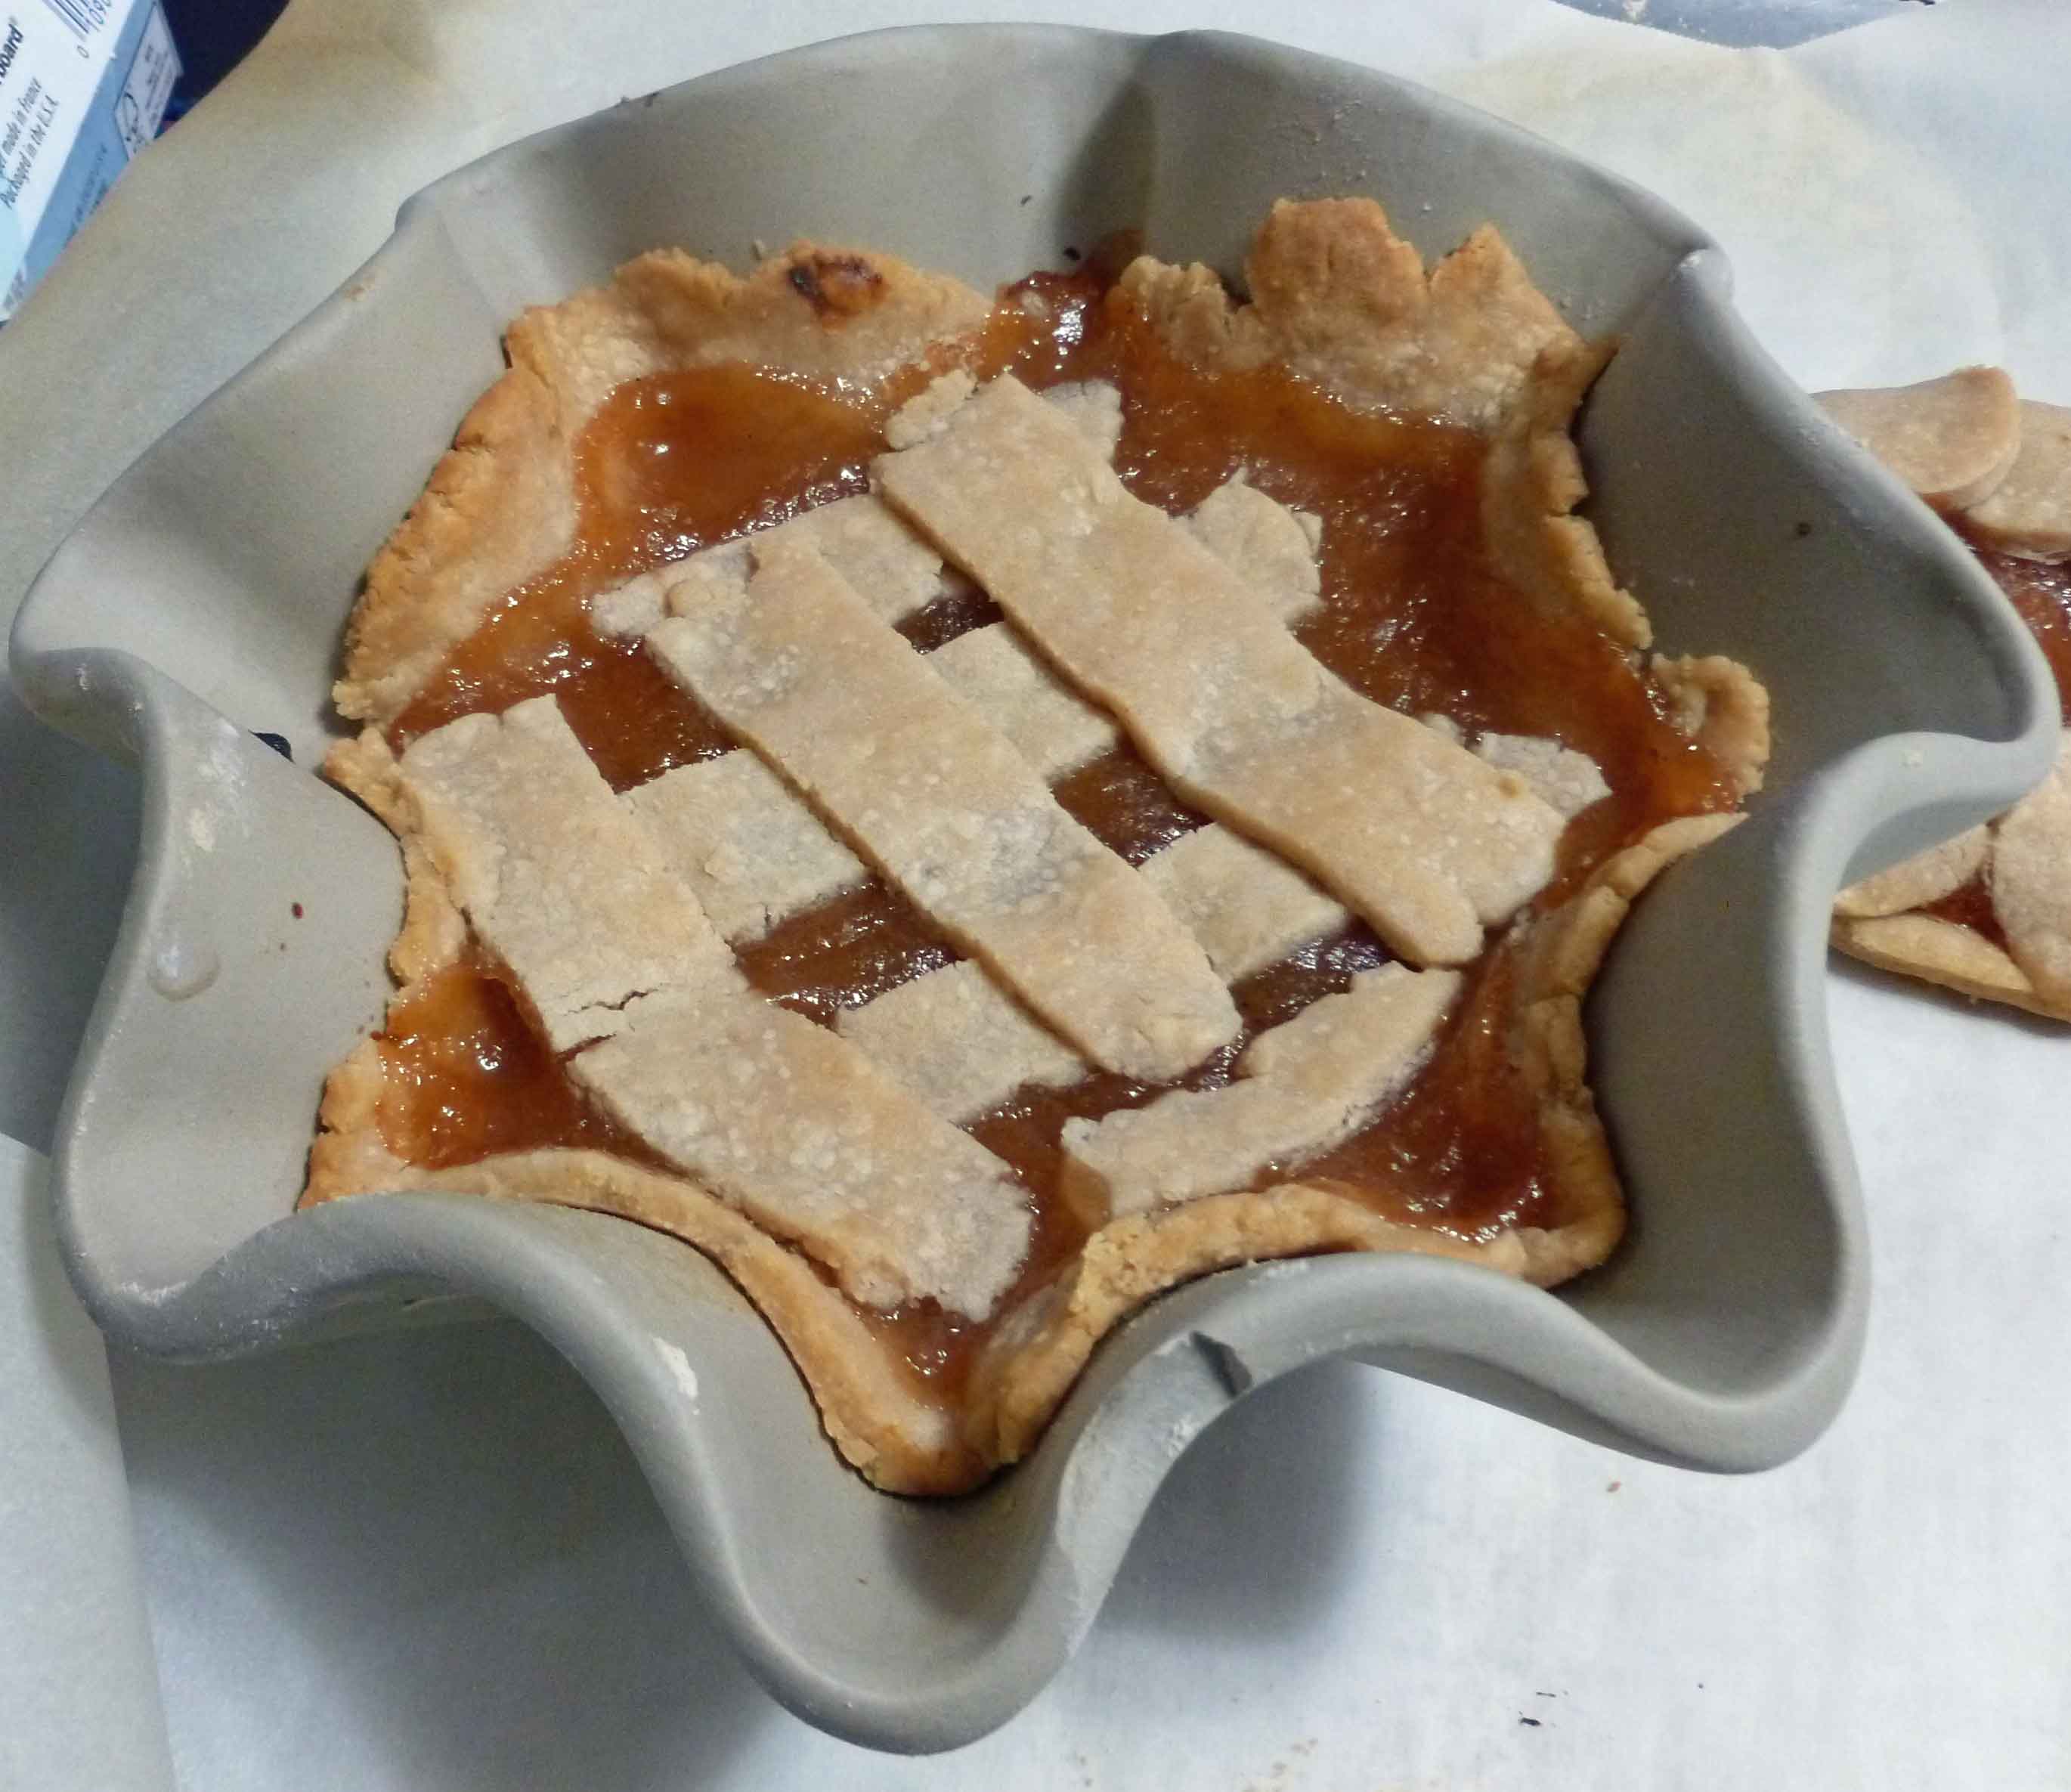
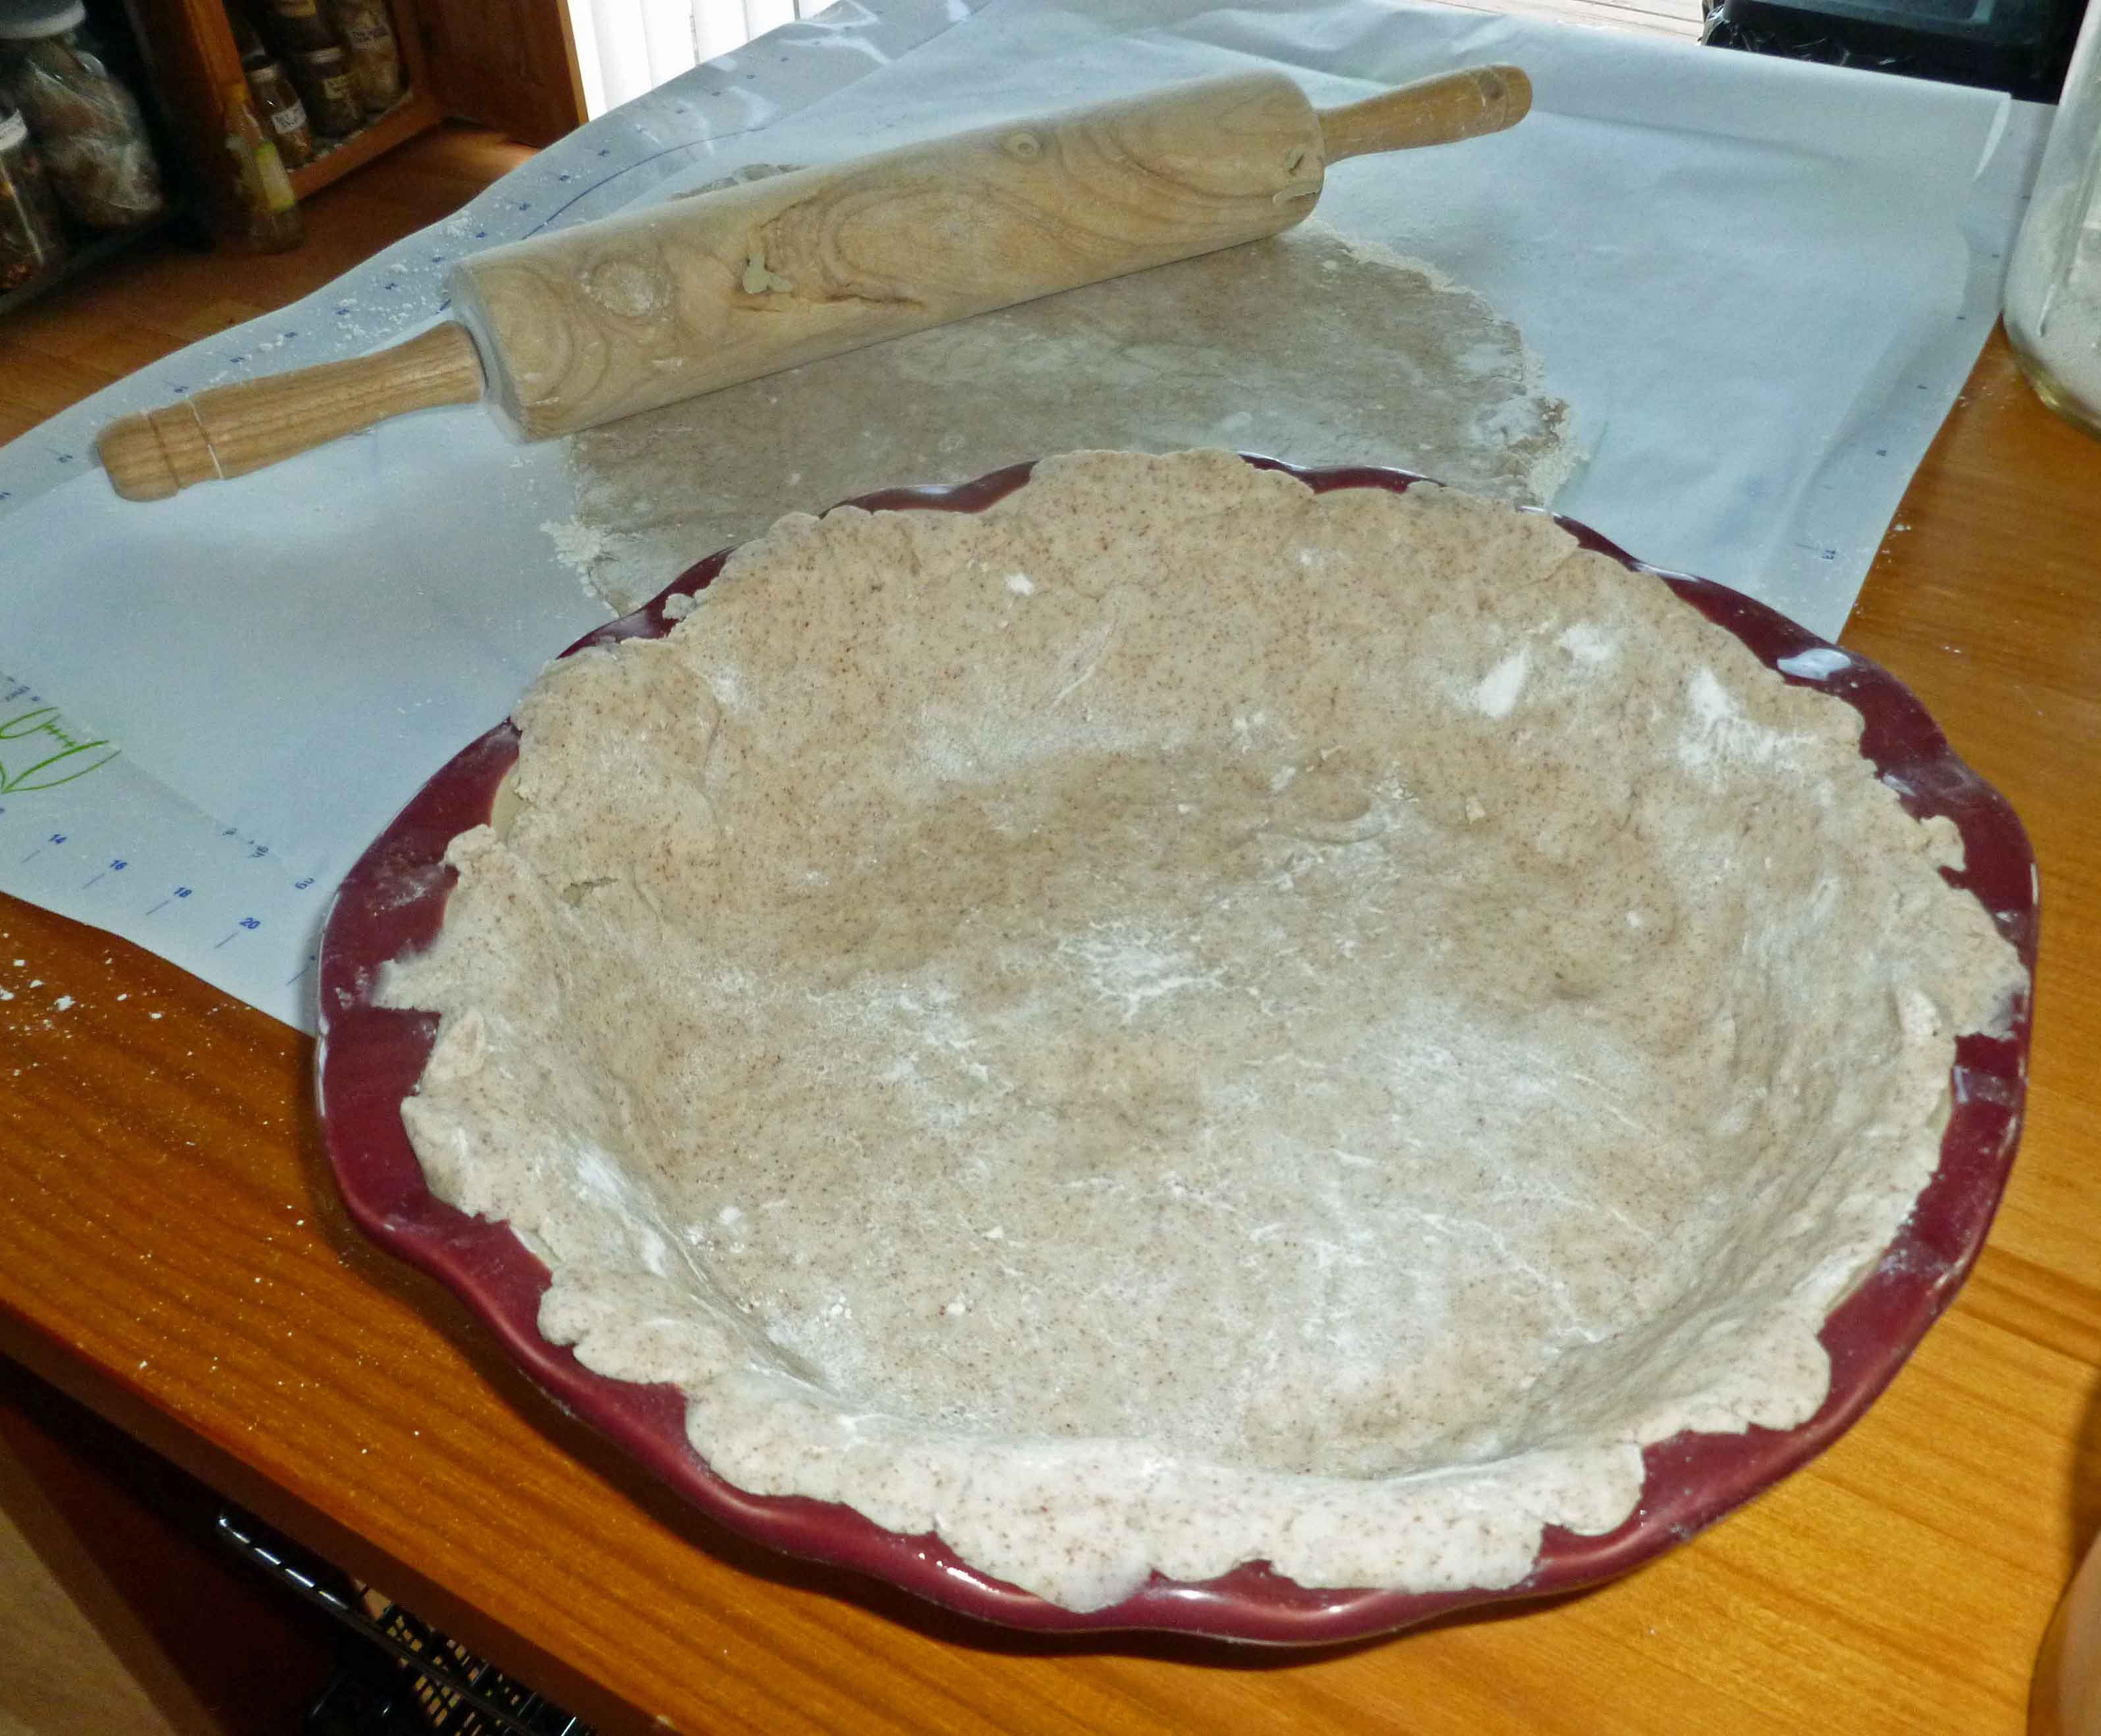
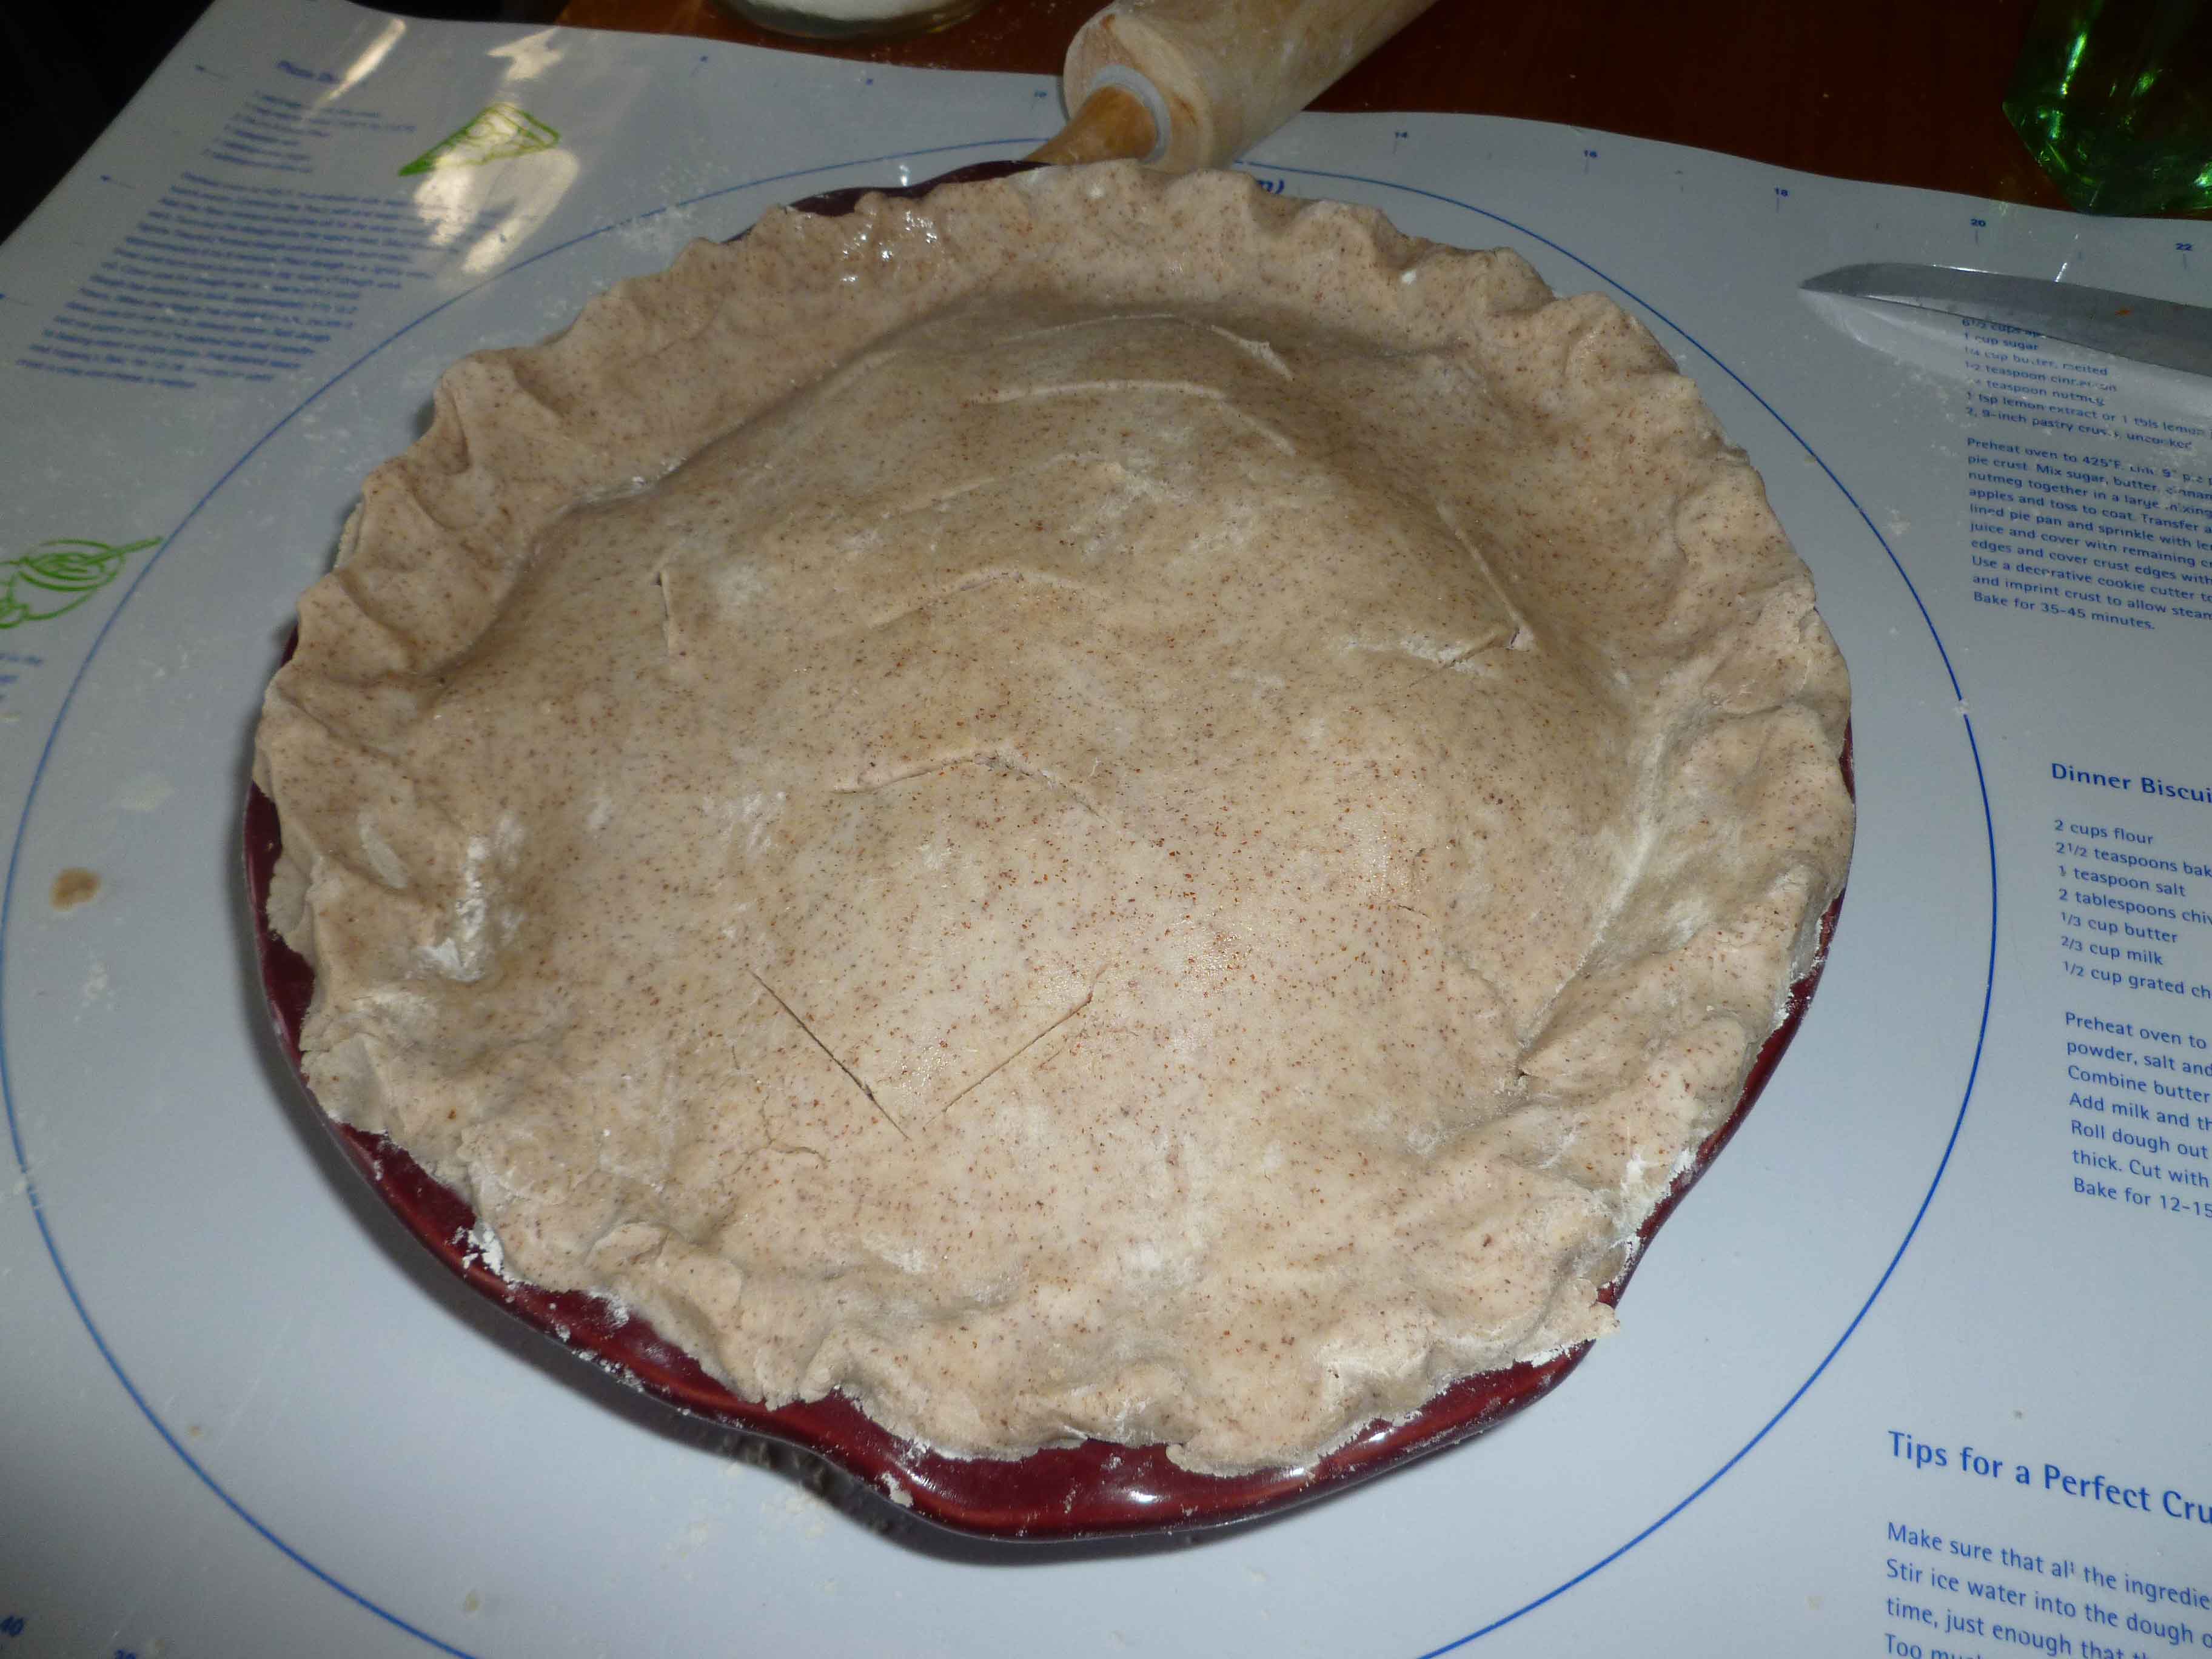
Take chilled dough balls and use one to roll out bottom crust for pie. Place in pie pan, making sure that the rolled crust is wide enough to cover the sides of the pie pan.
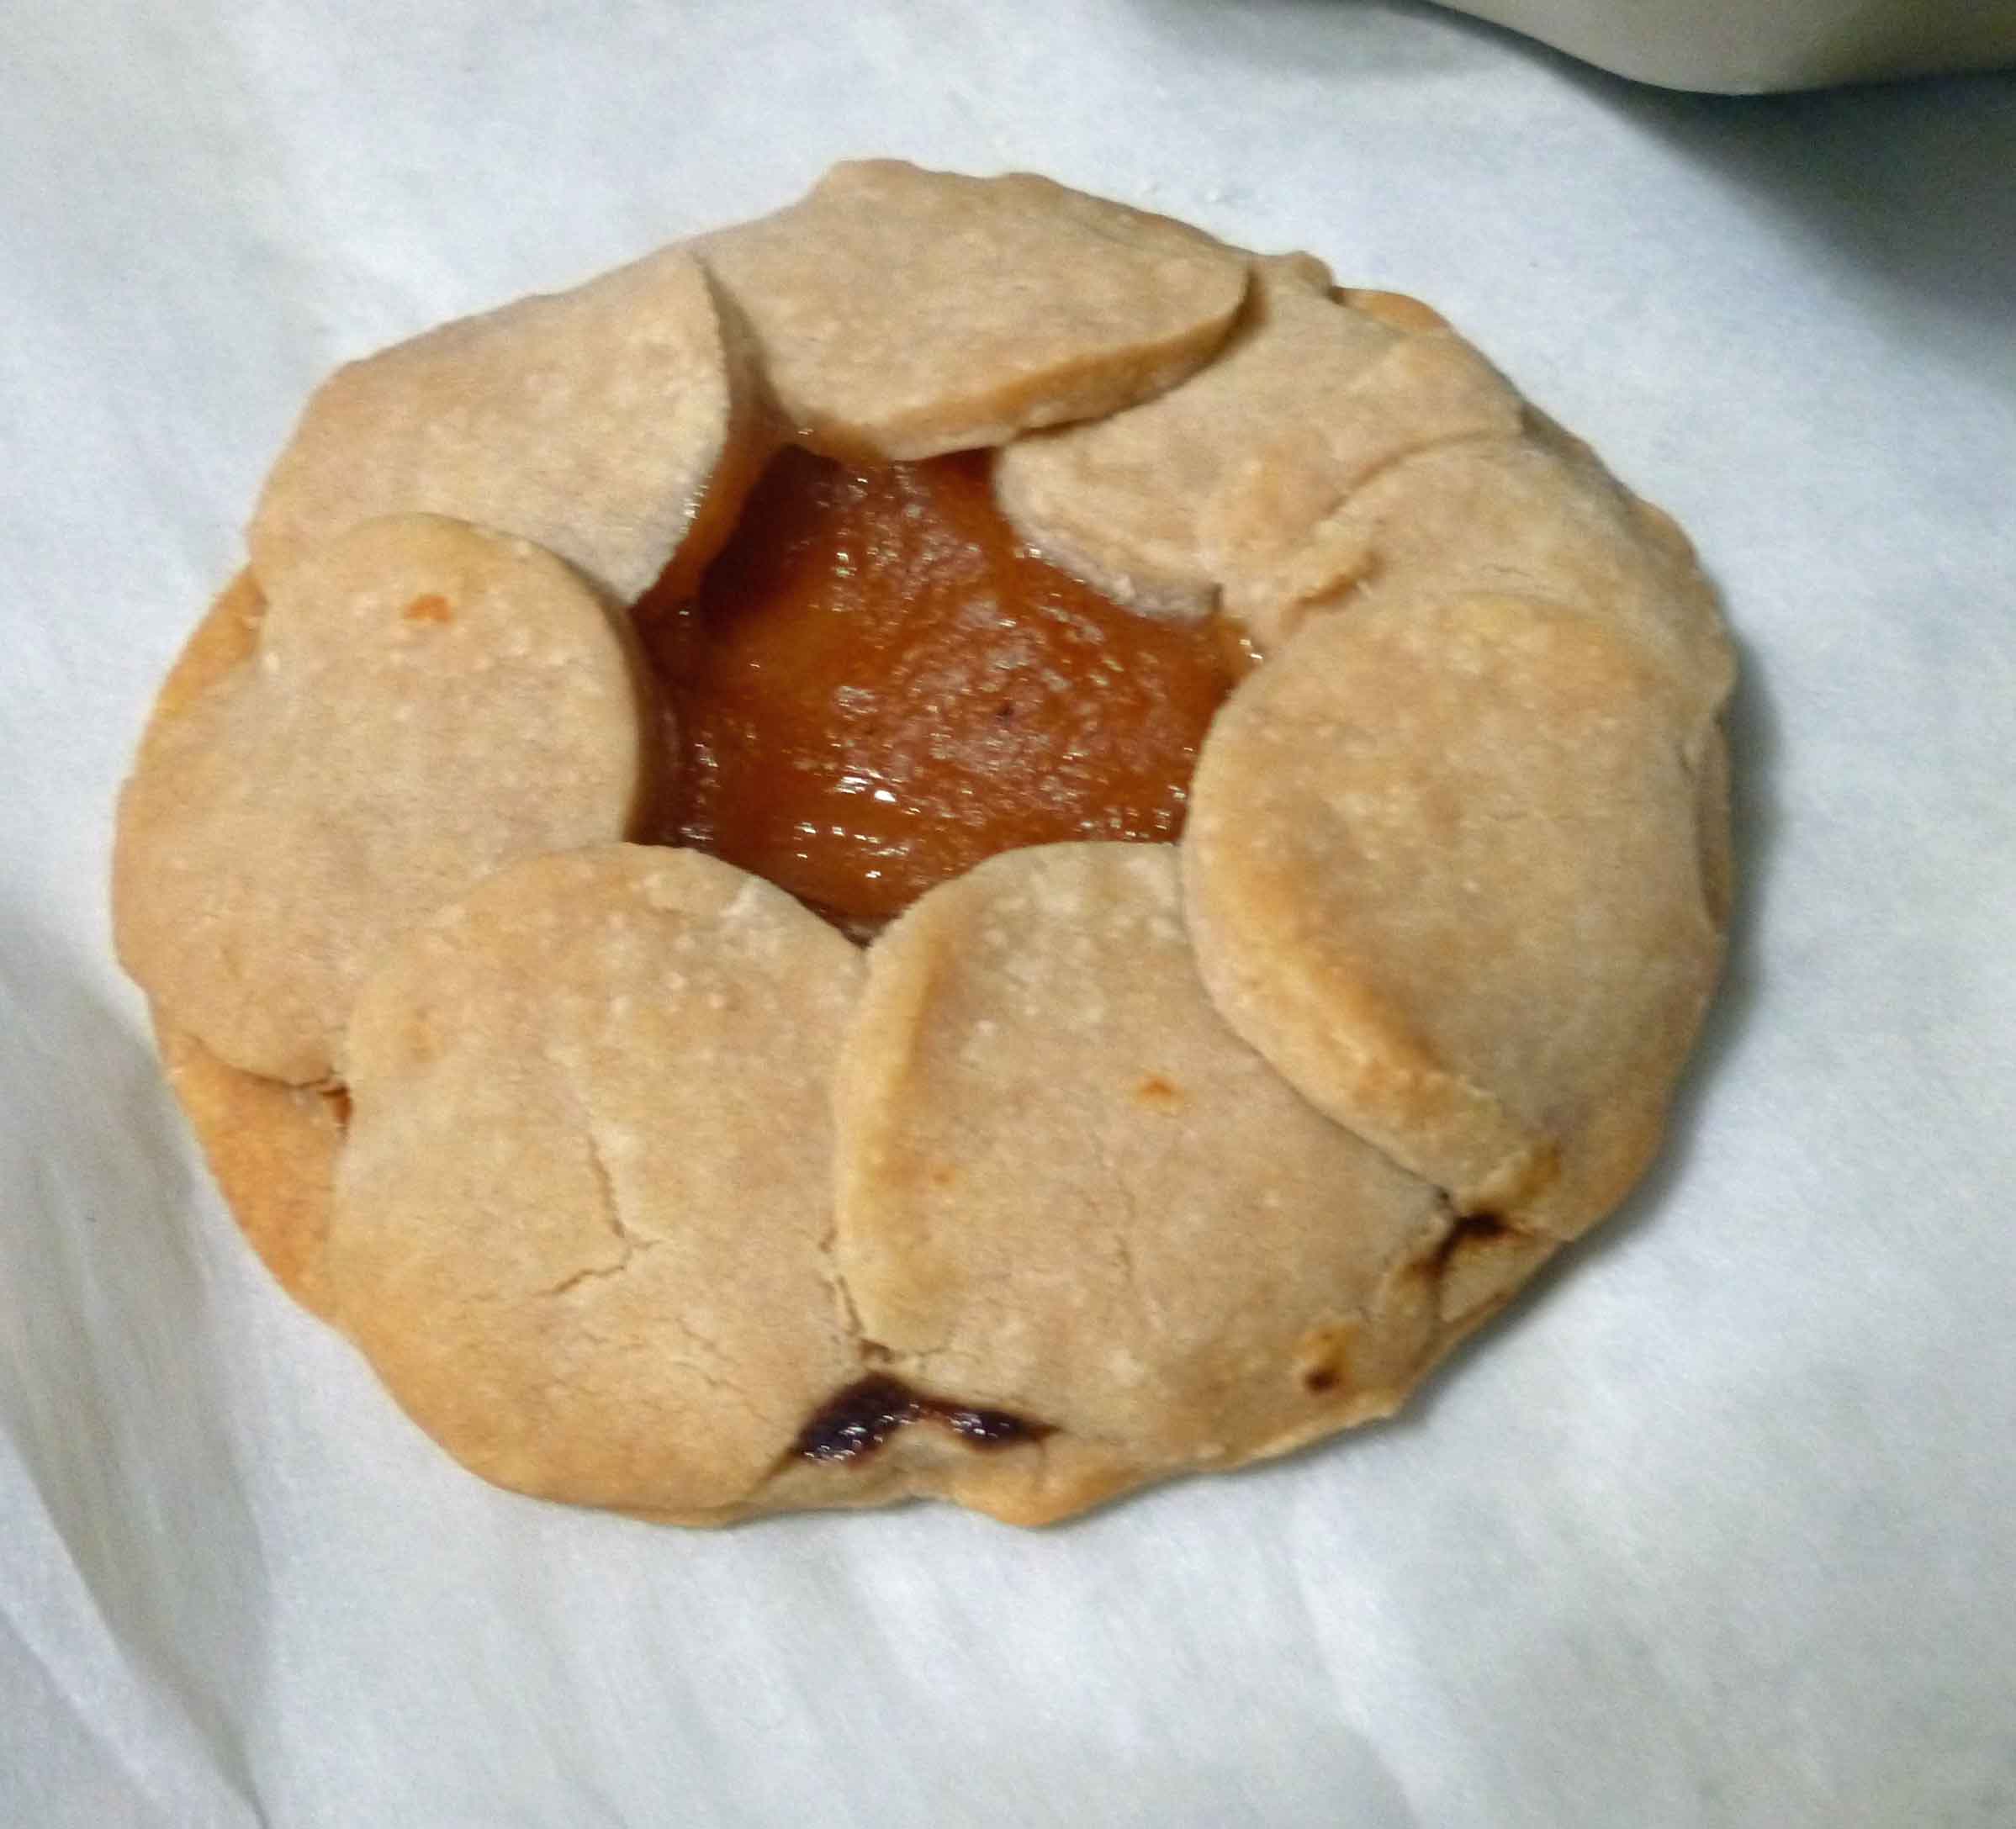
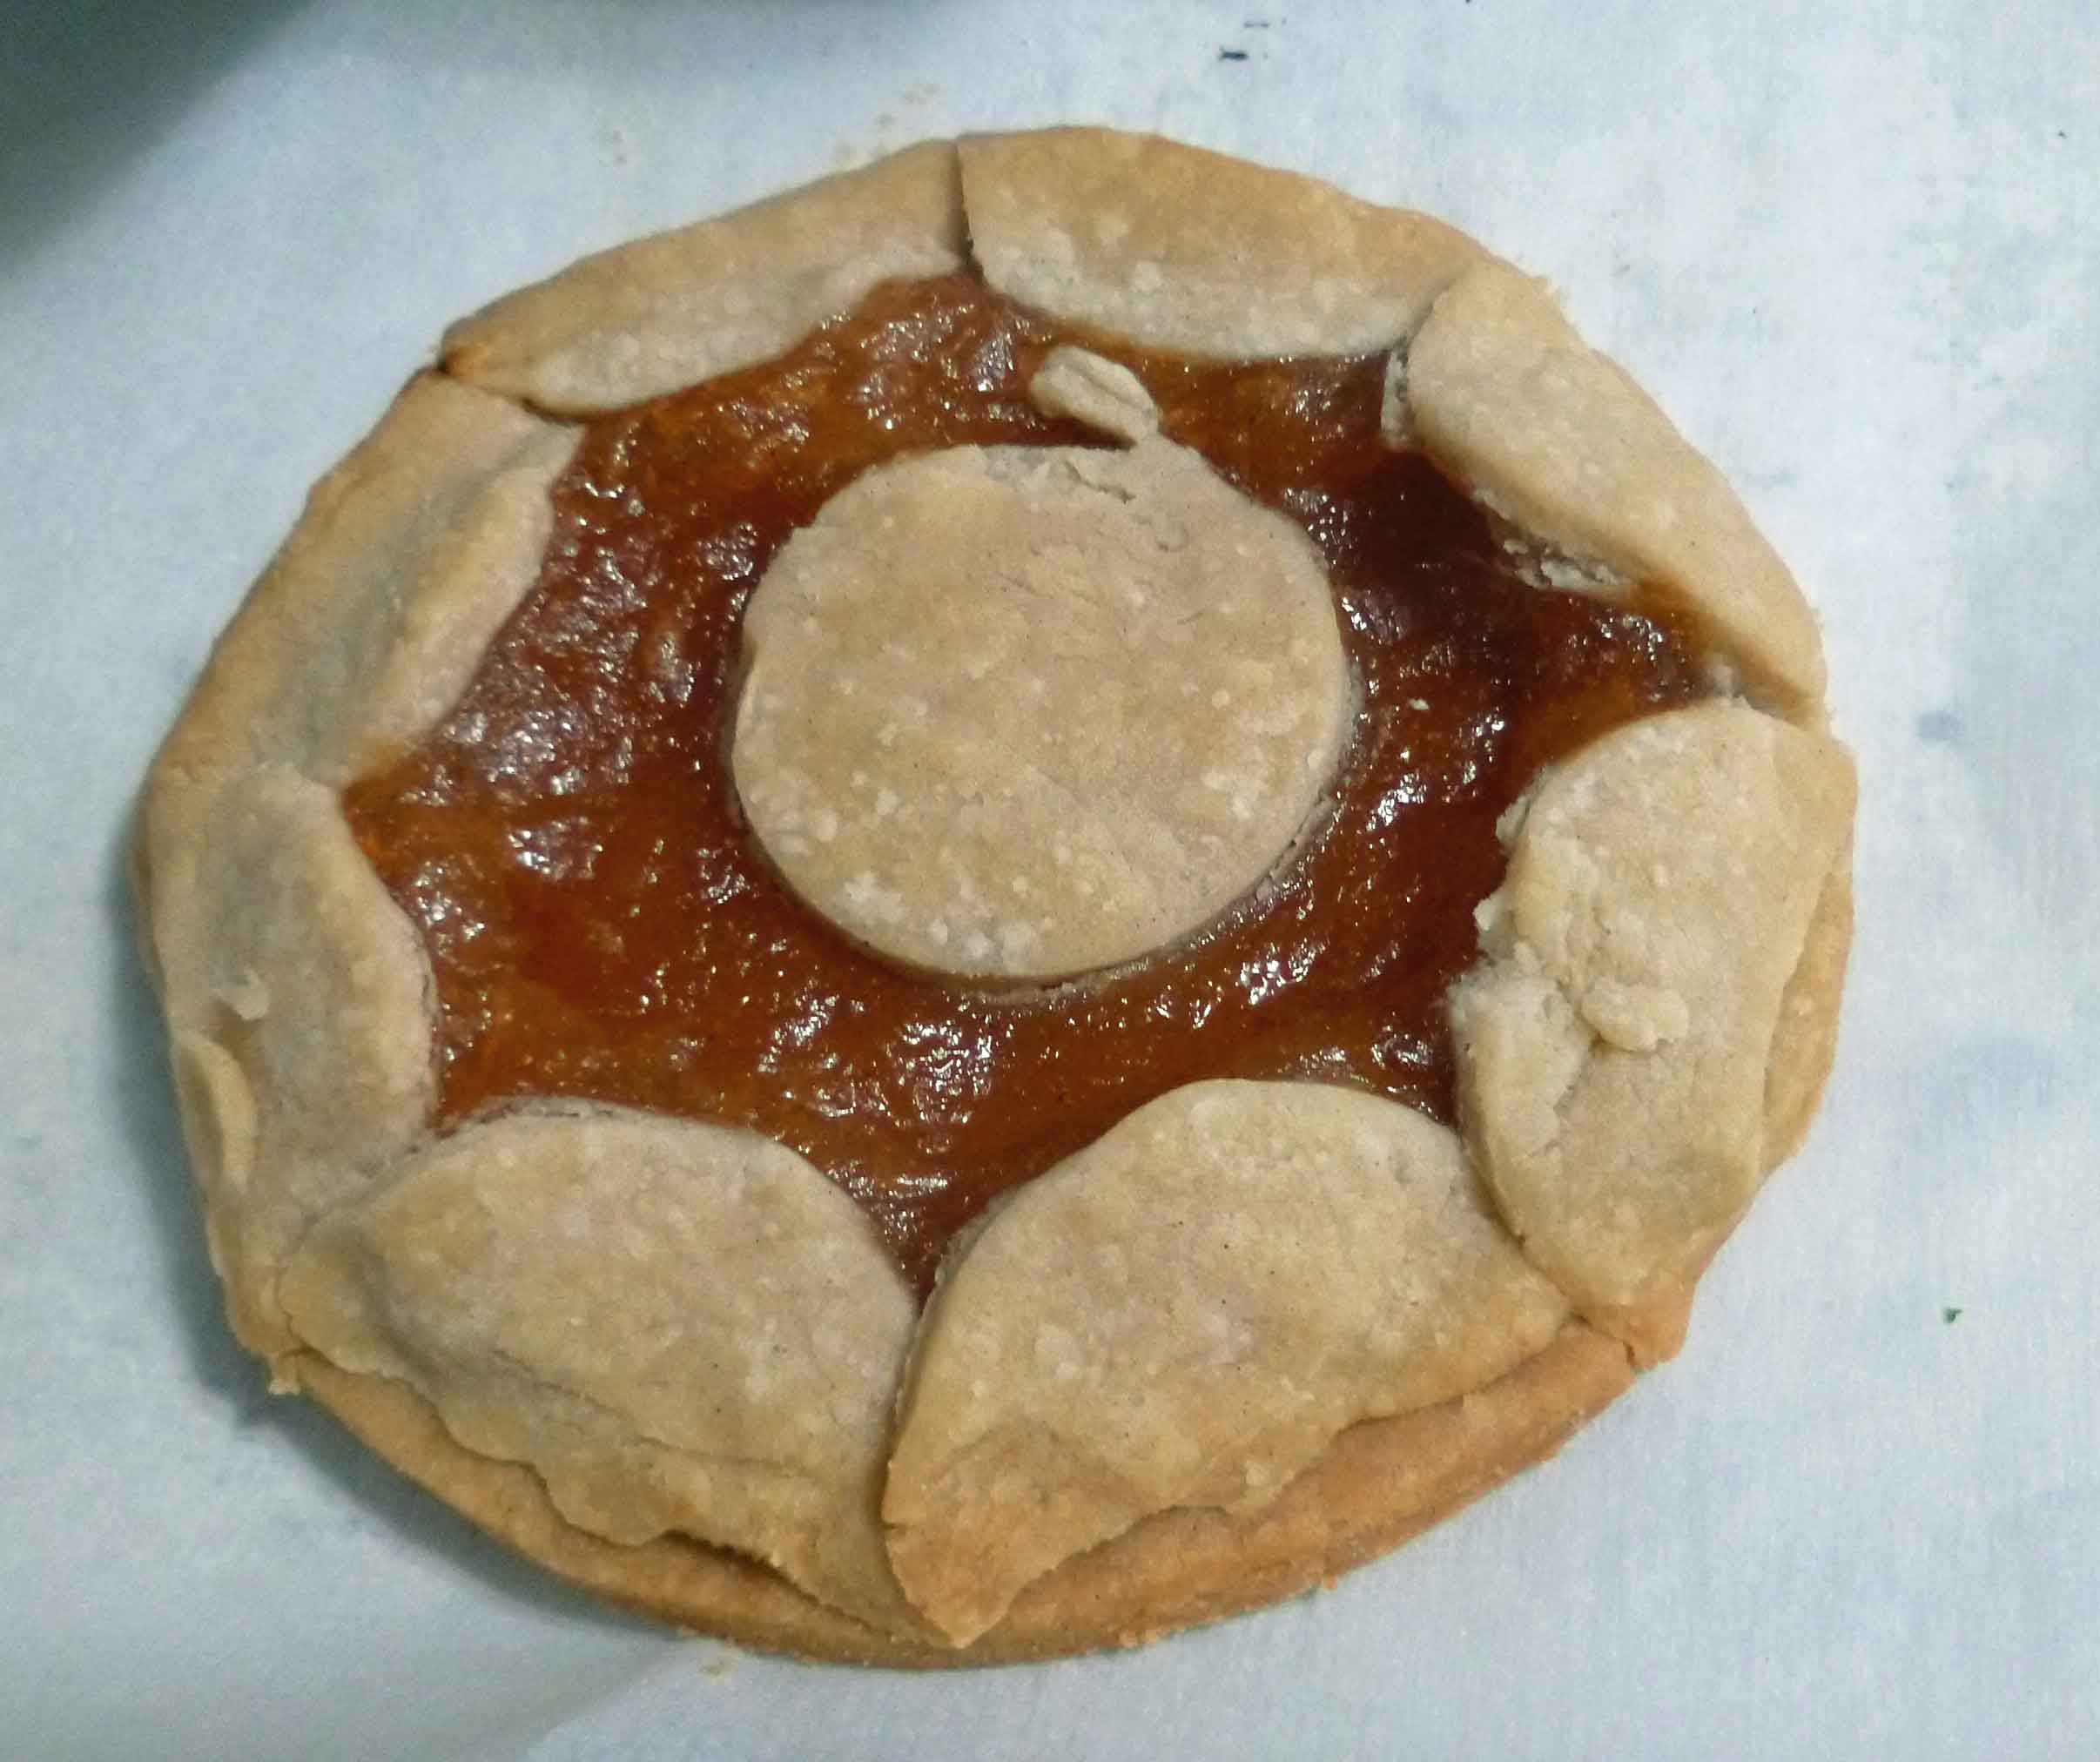
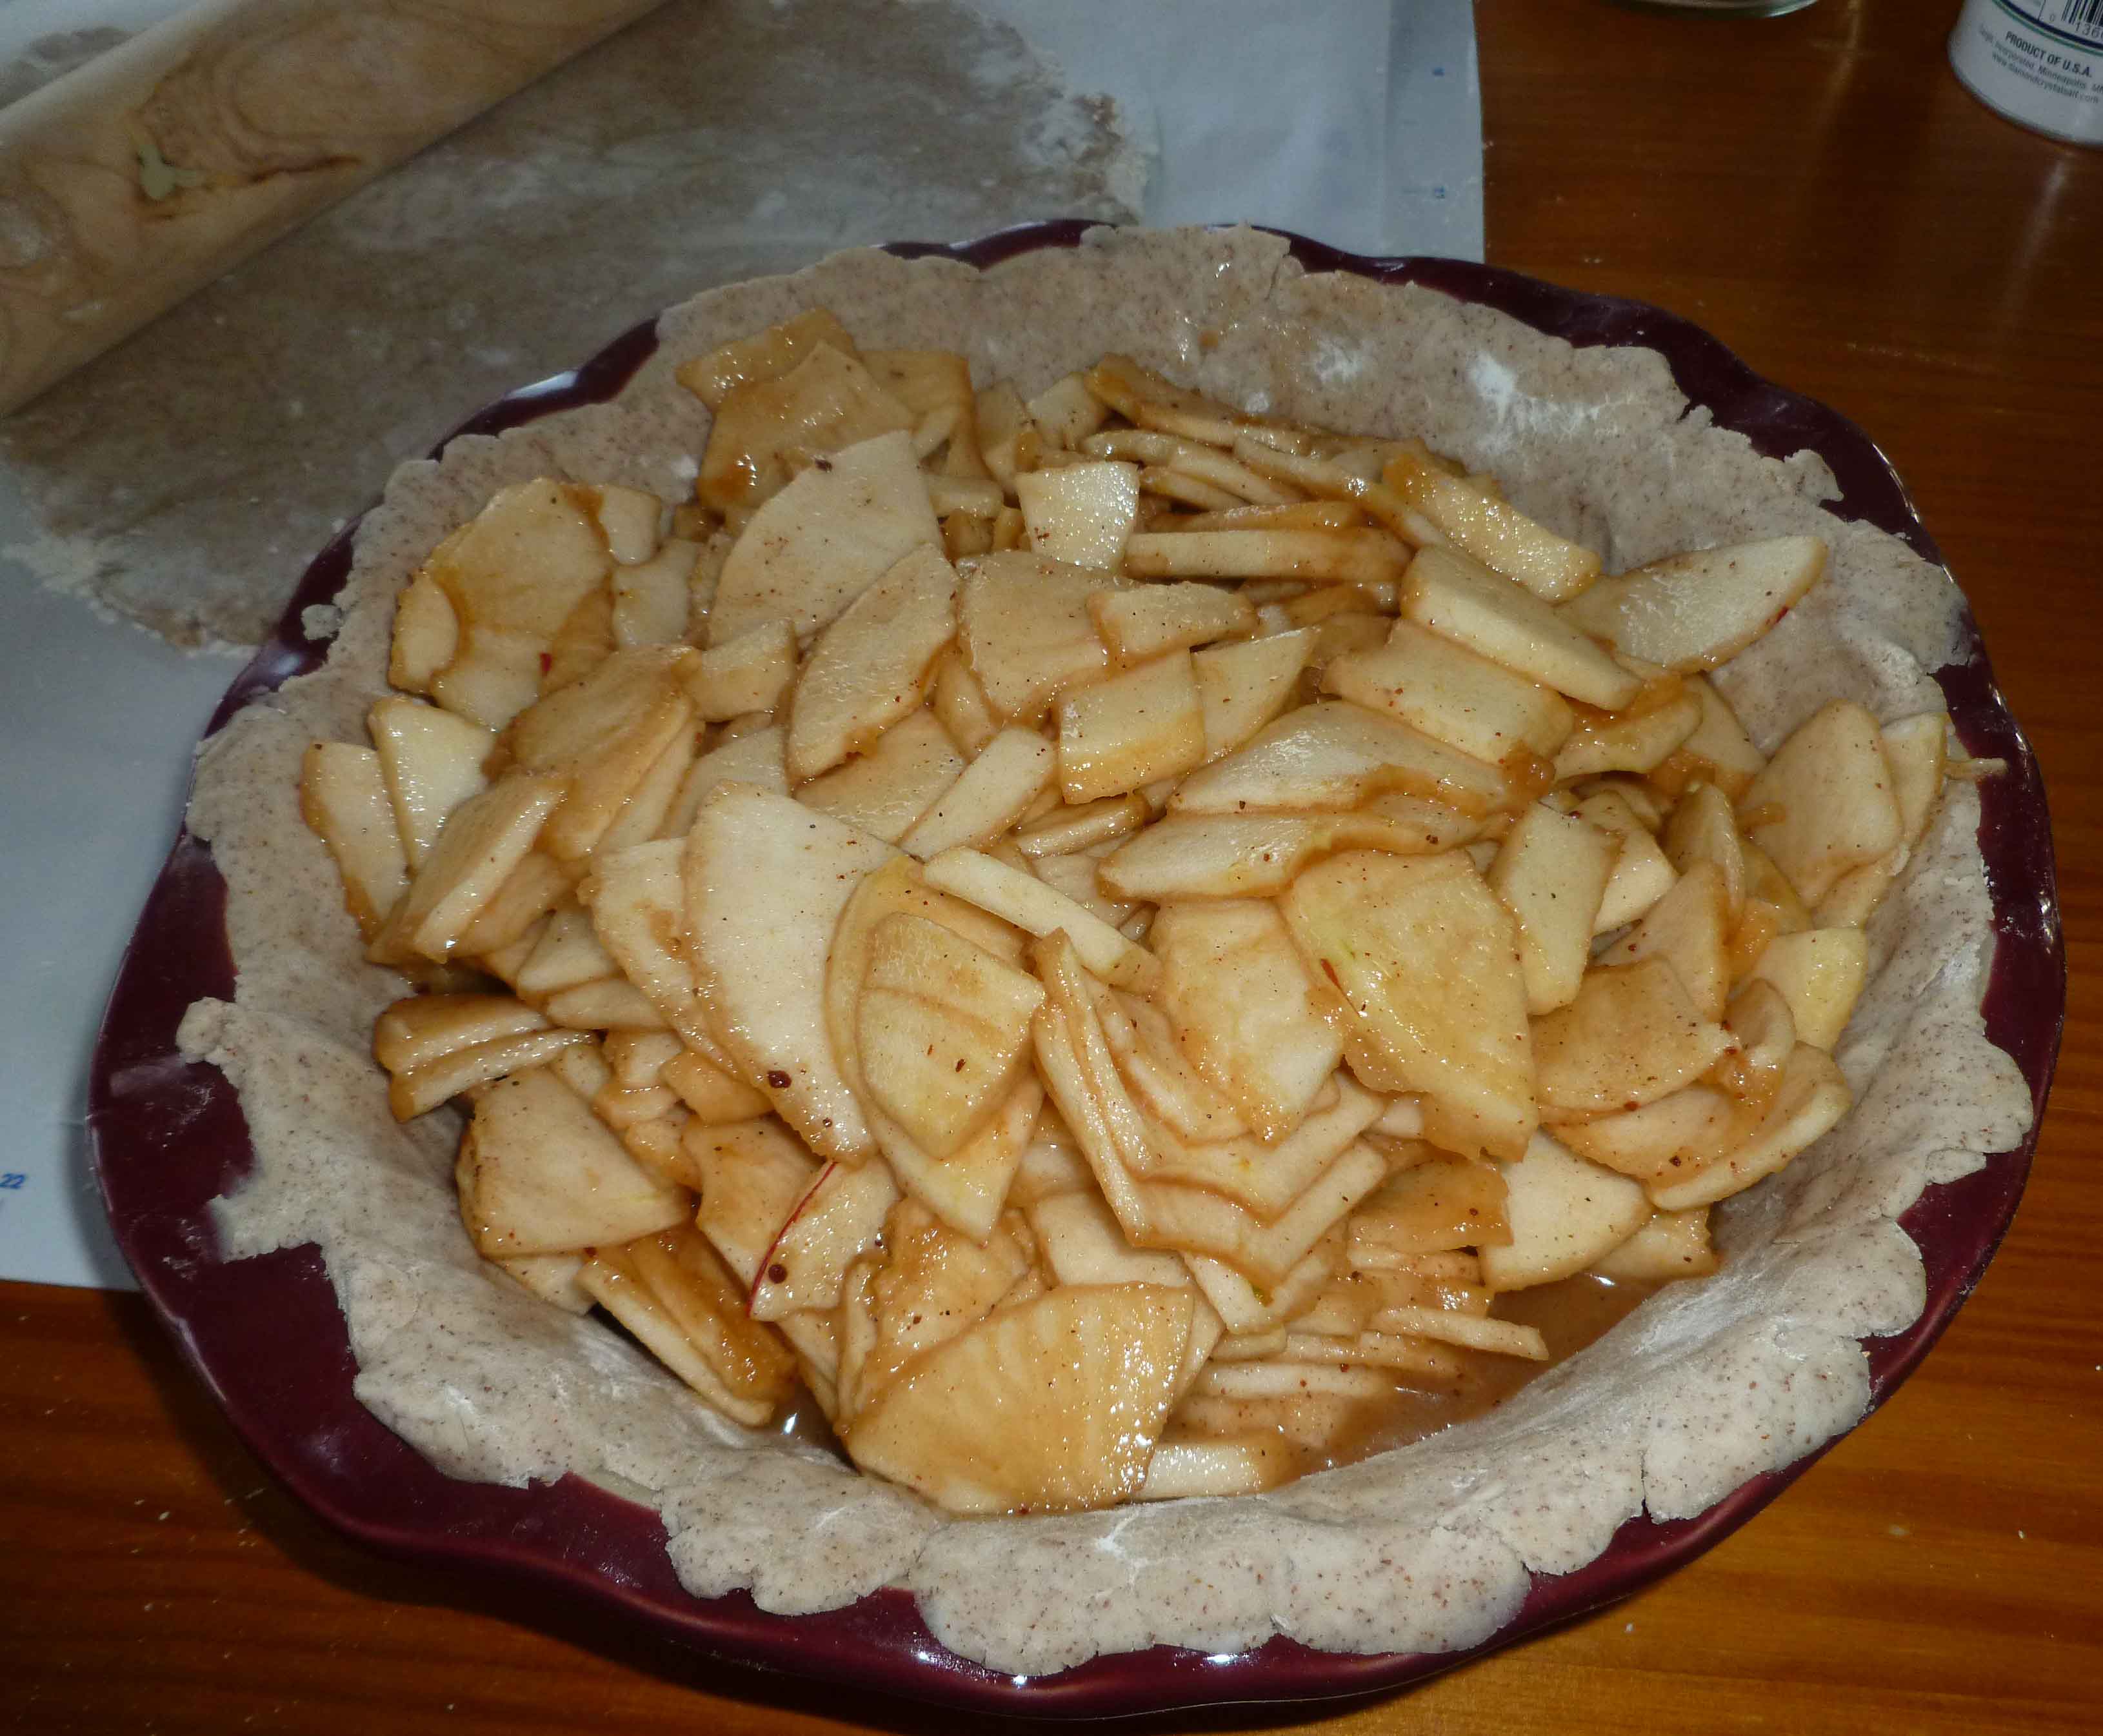
Place apples in pie pan.
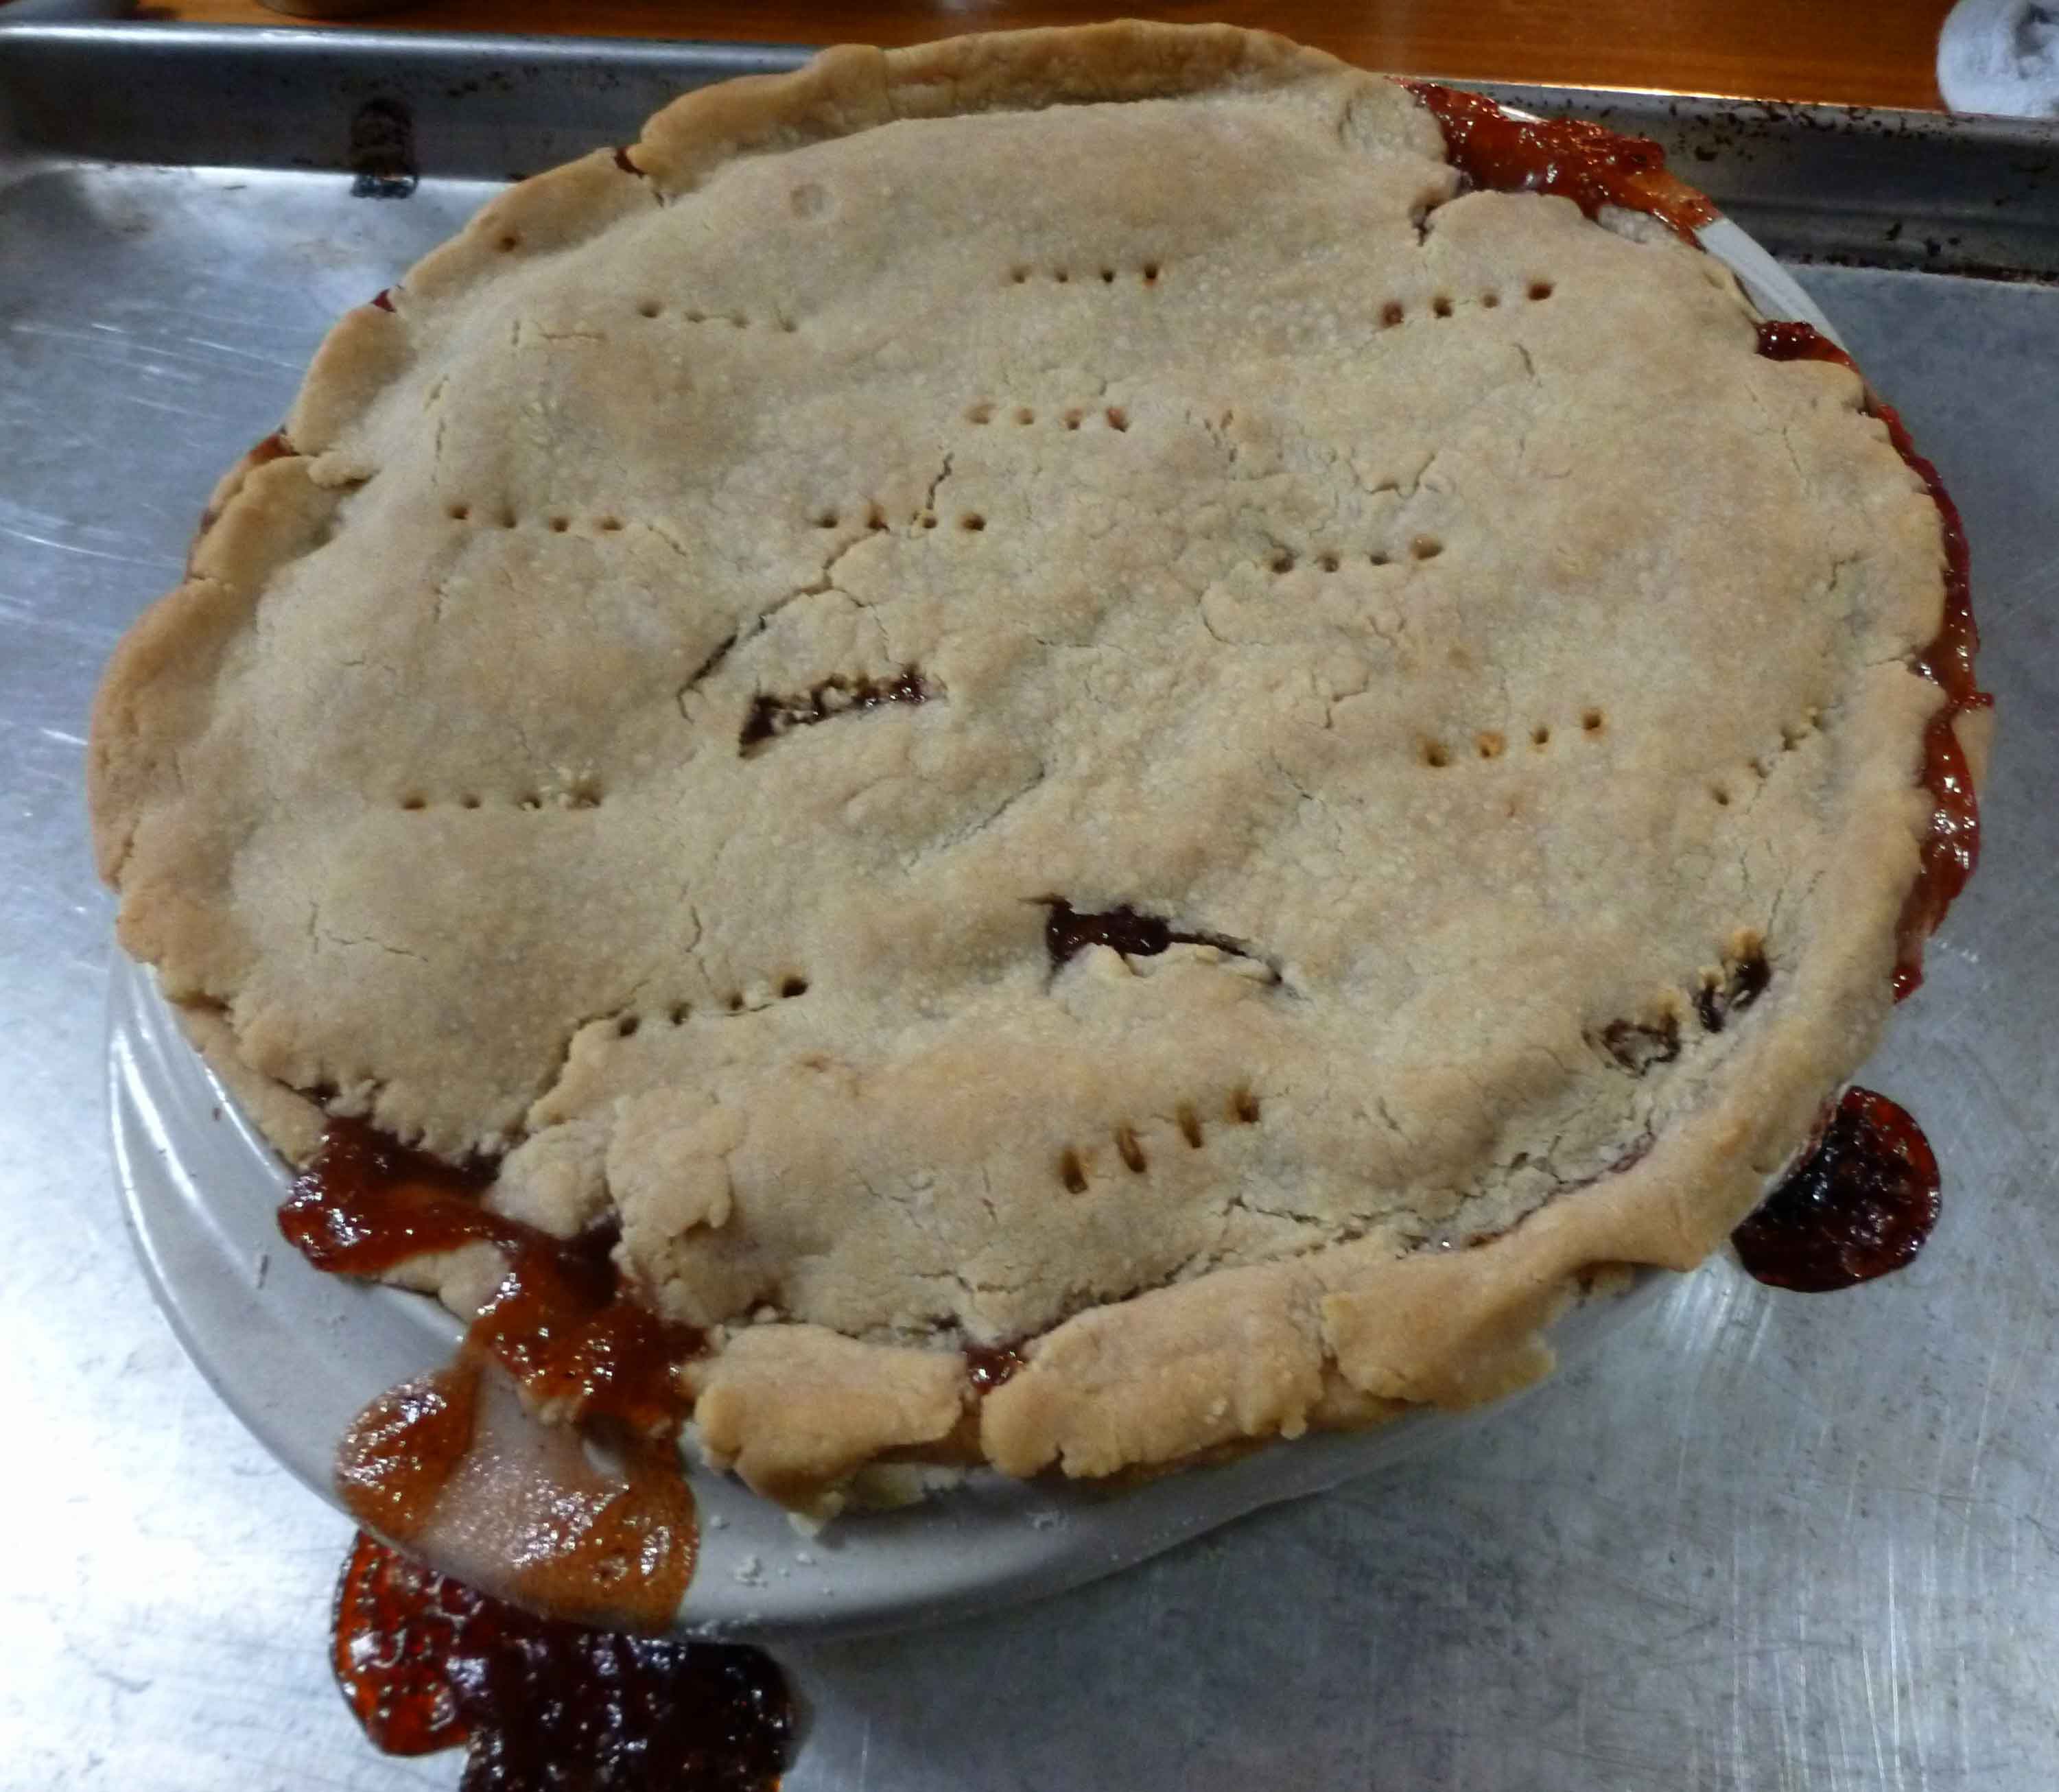
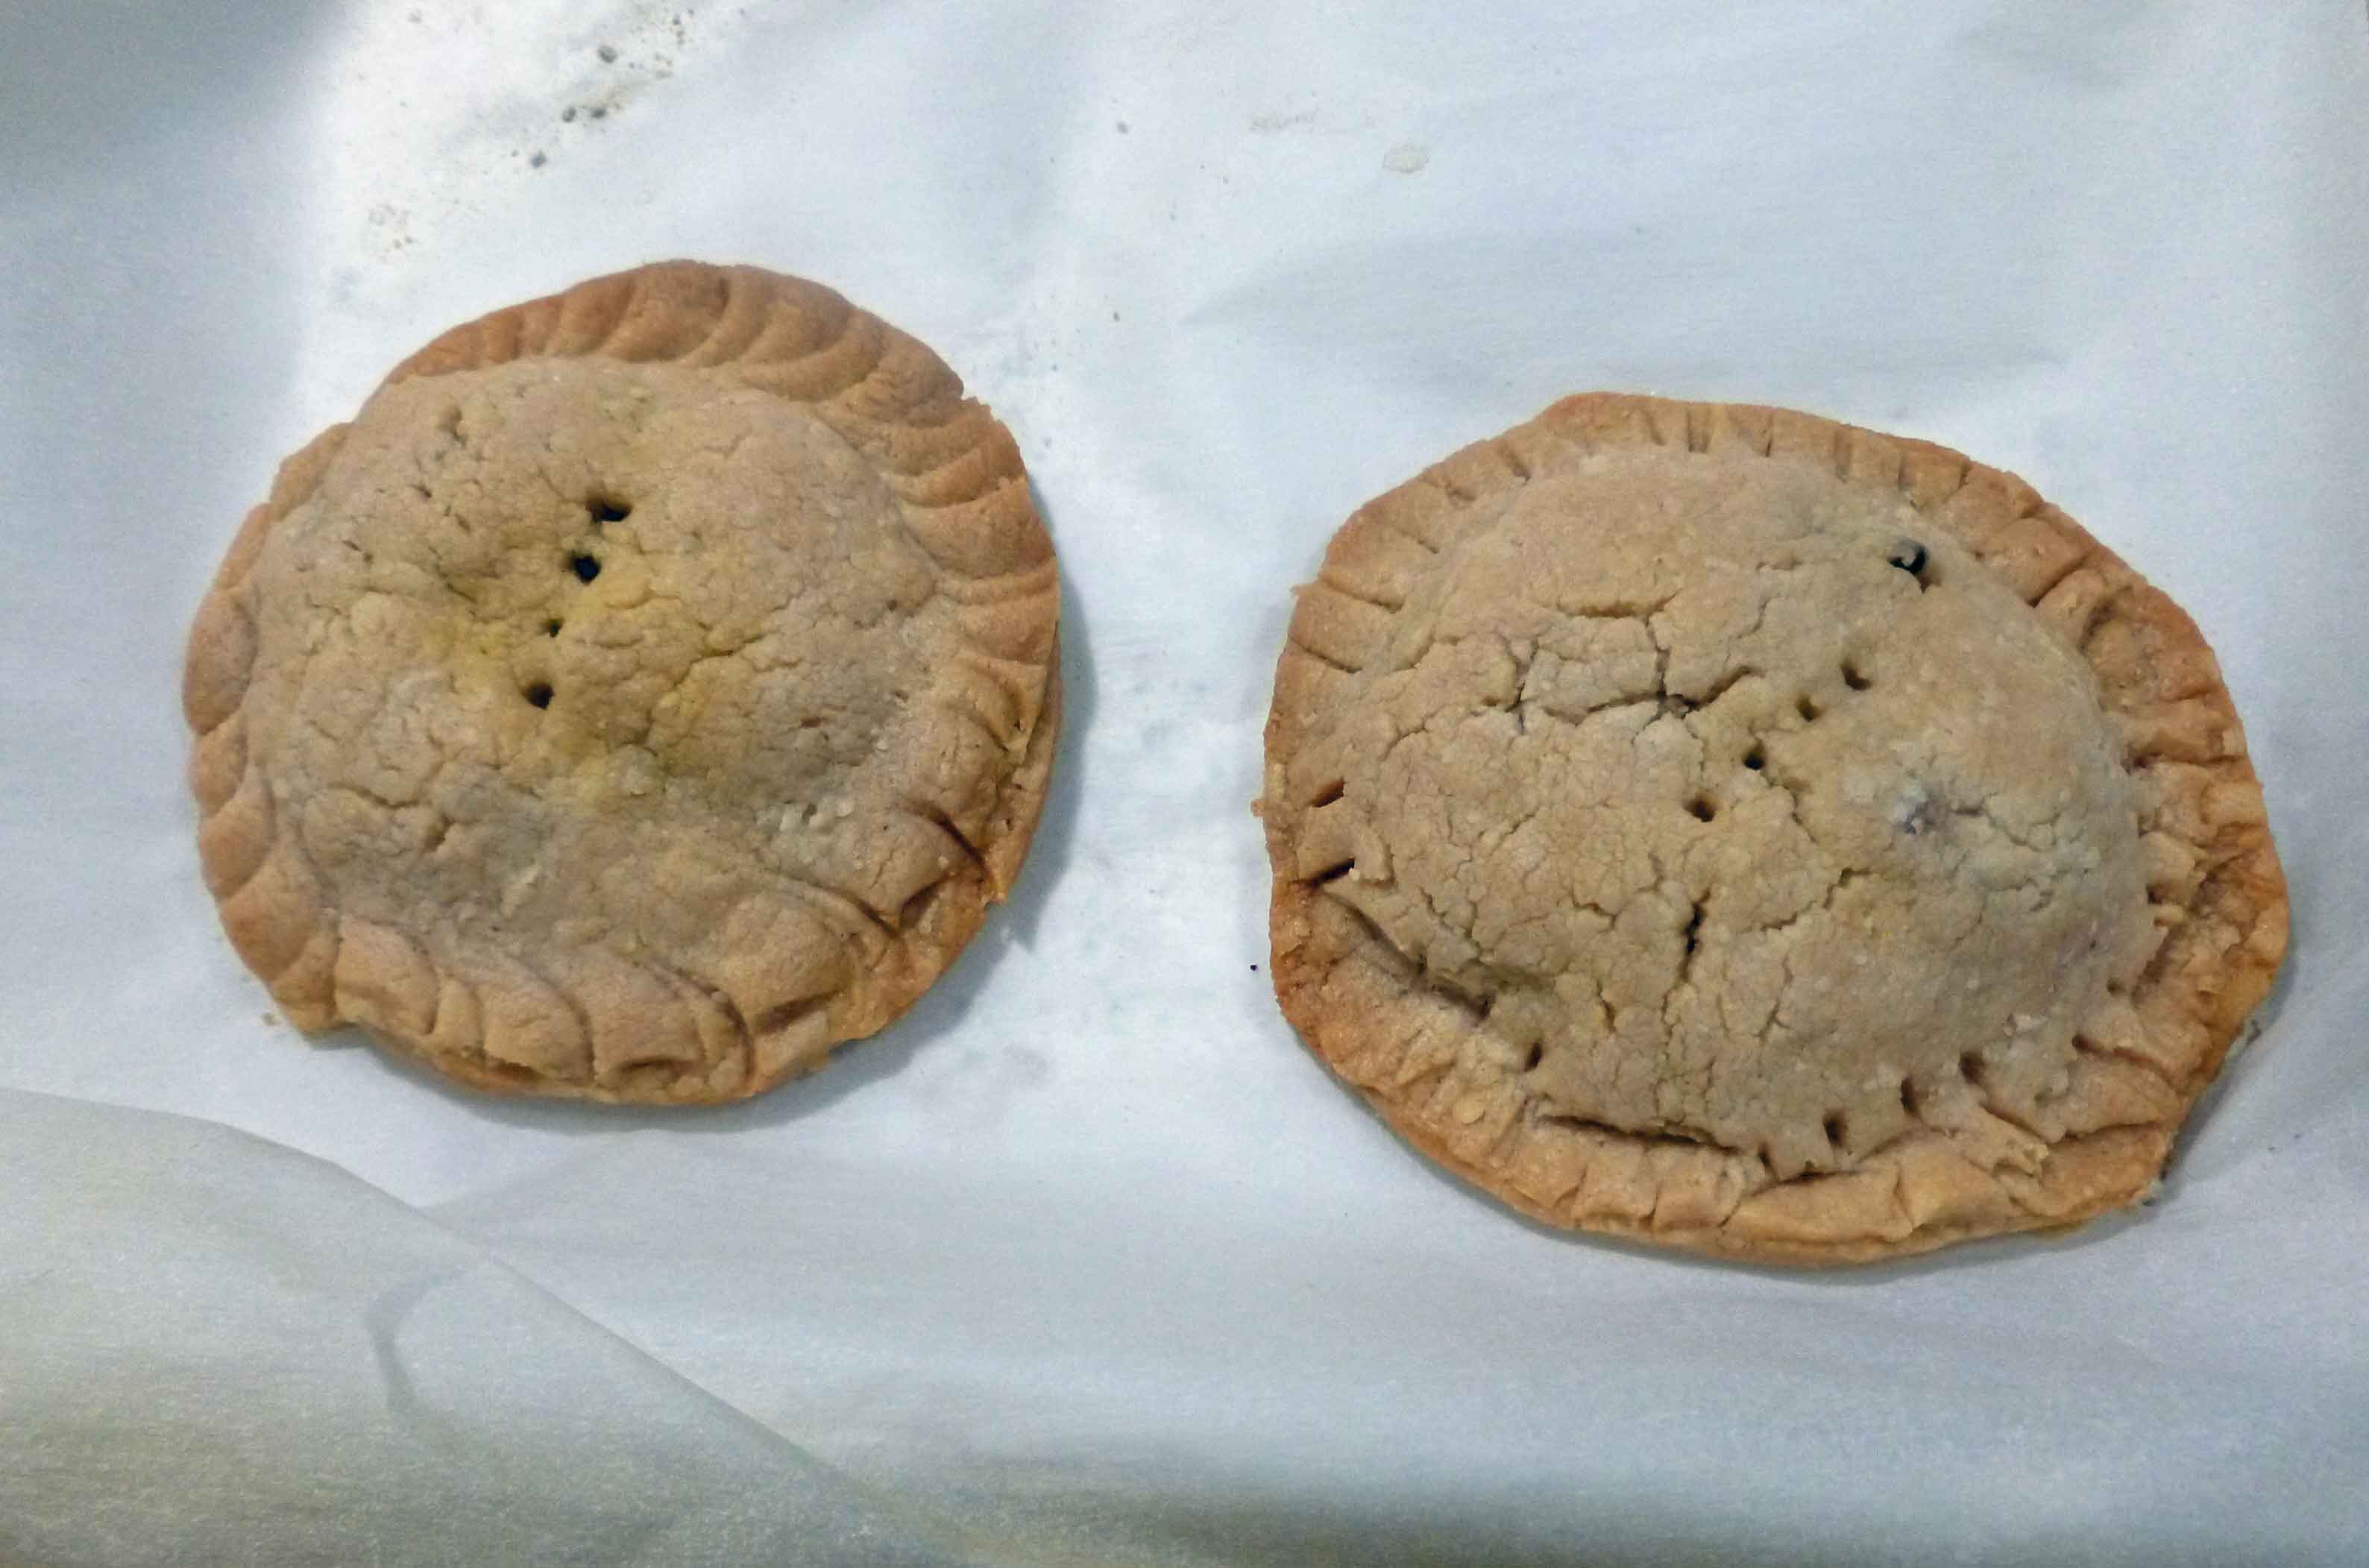
Use other dough ball to roll out top crust and place over top of pie pan, sealing top crust over bottom crust. Using a knife, cut a few vent holes in the top of the pie crust.
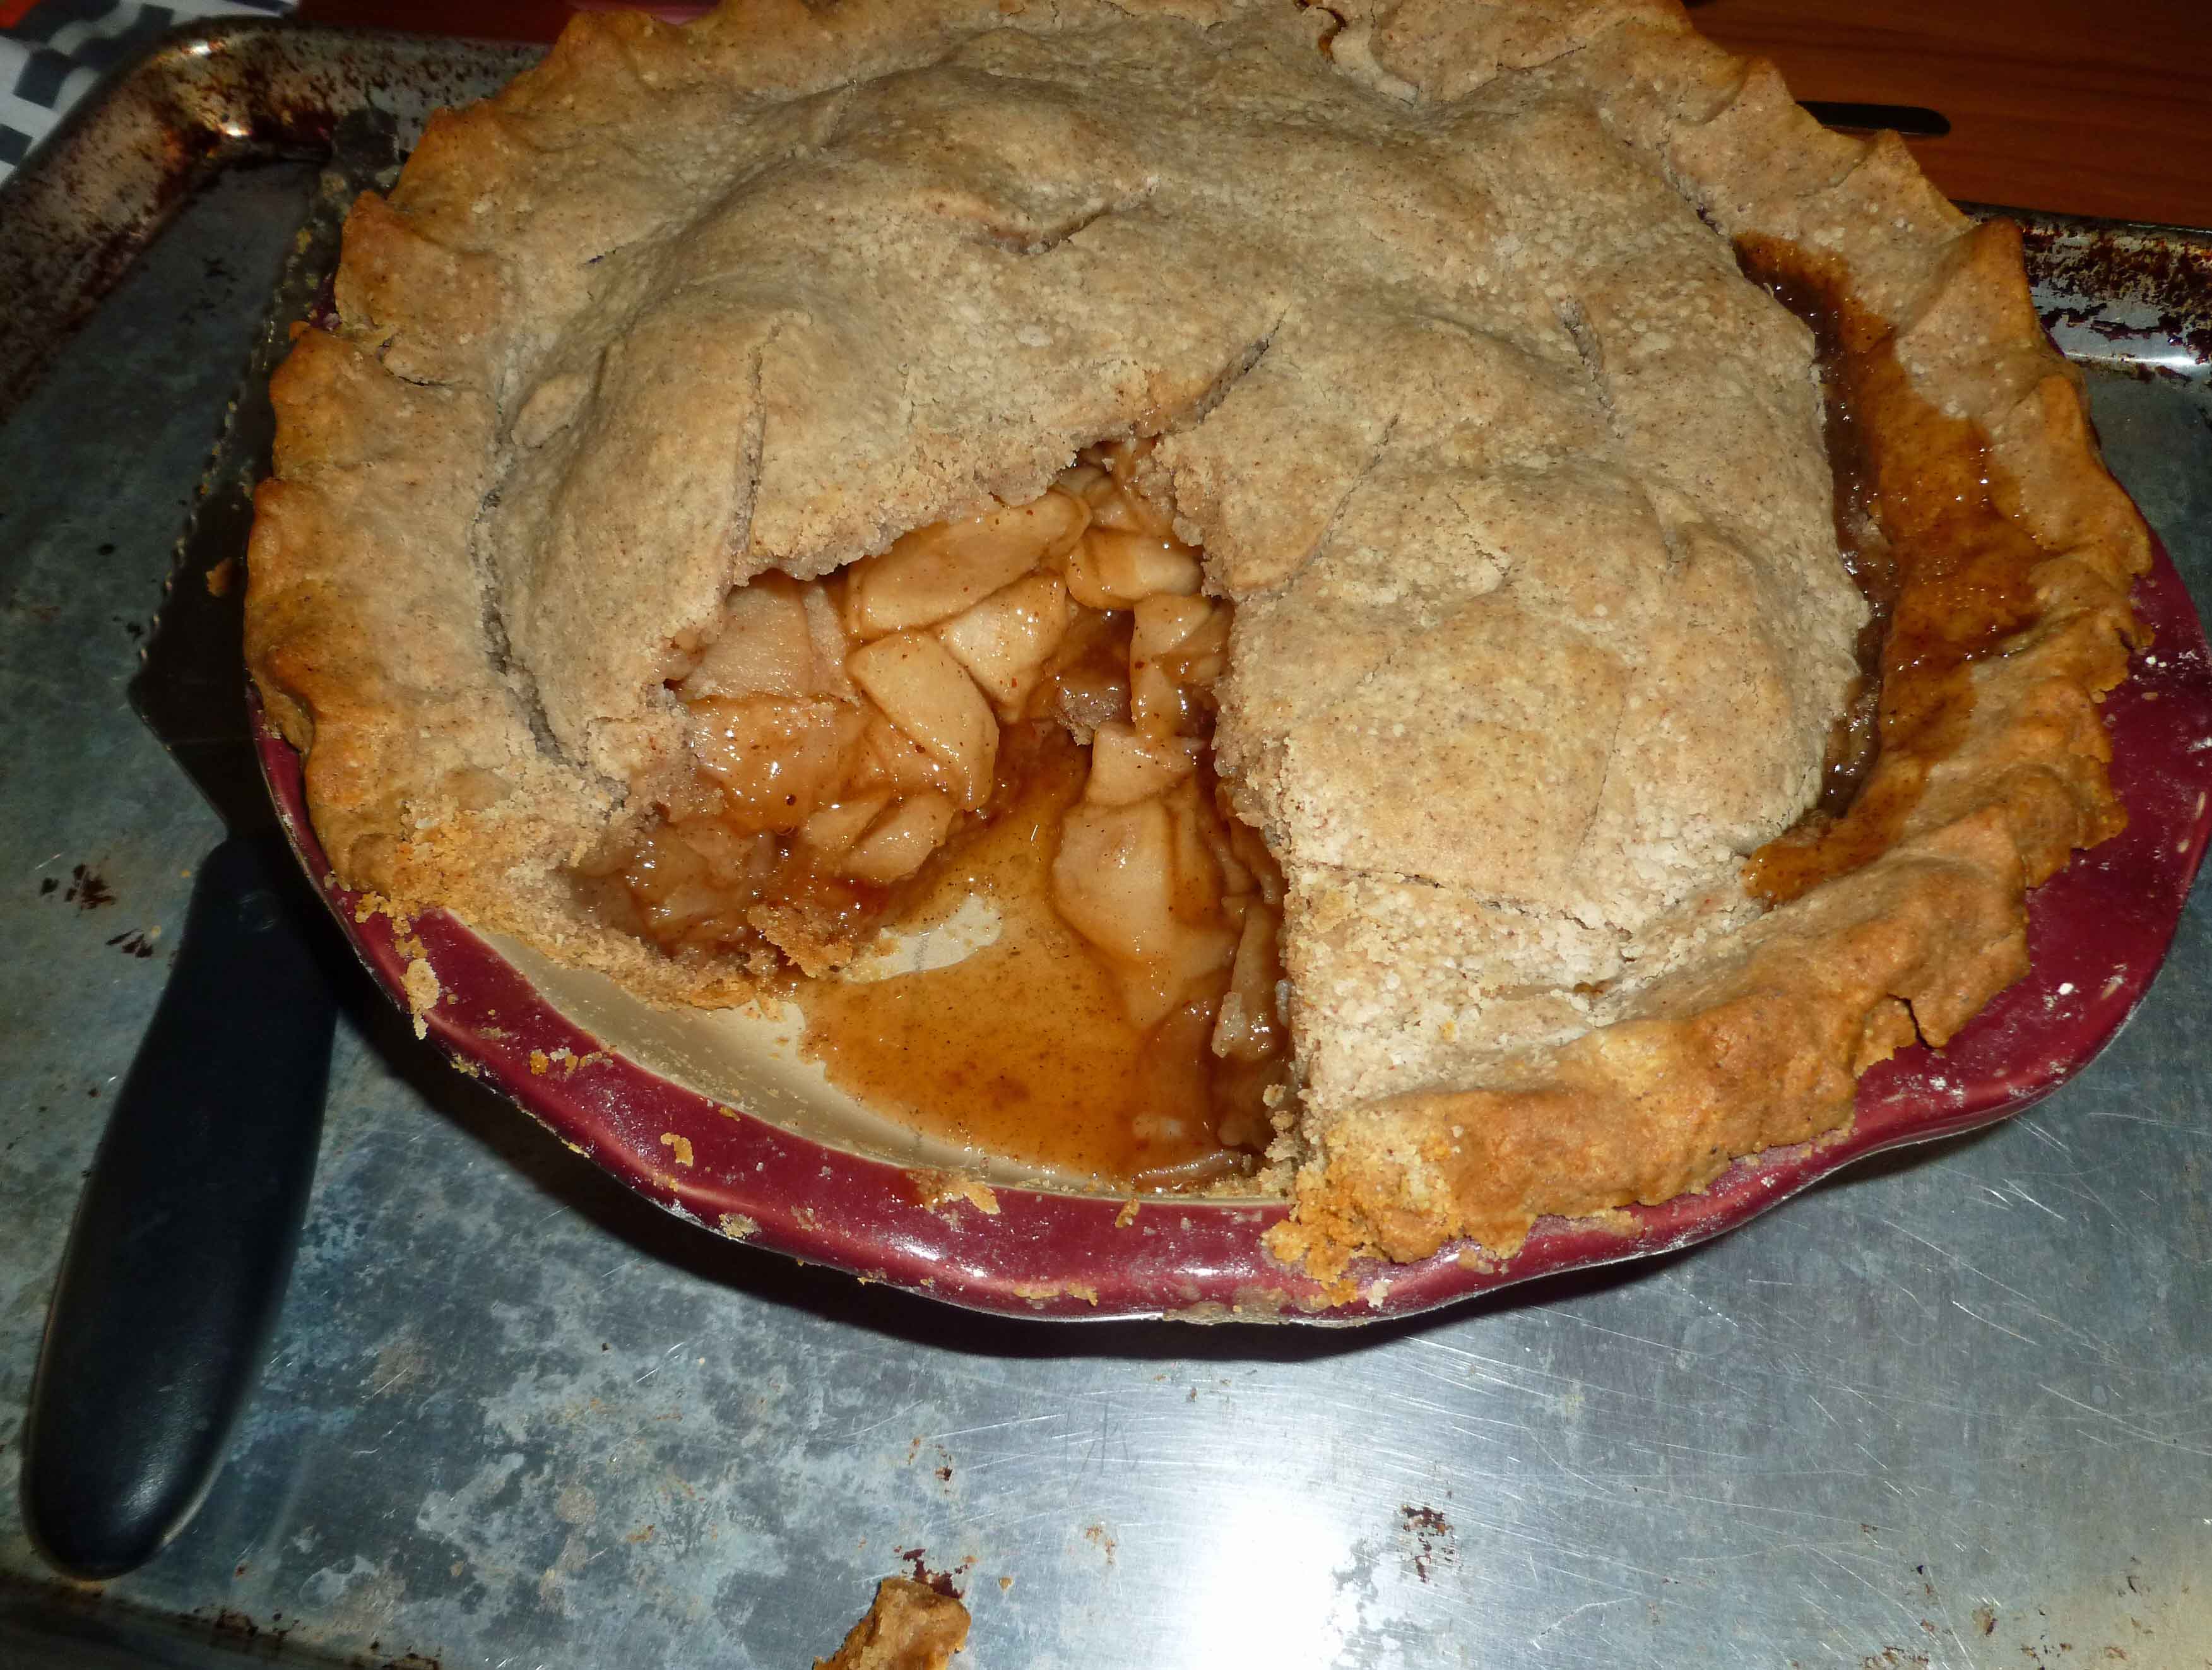
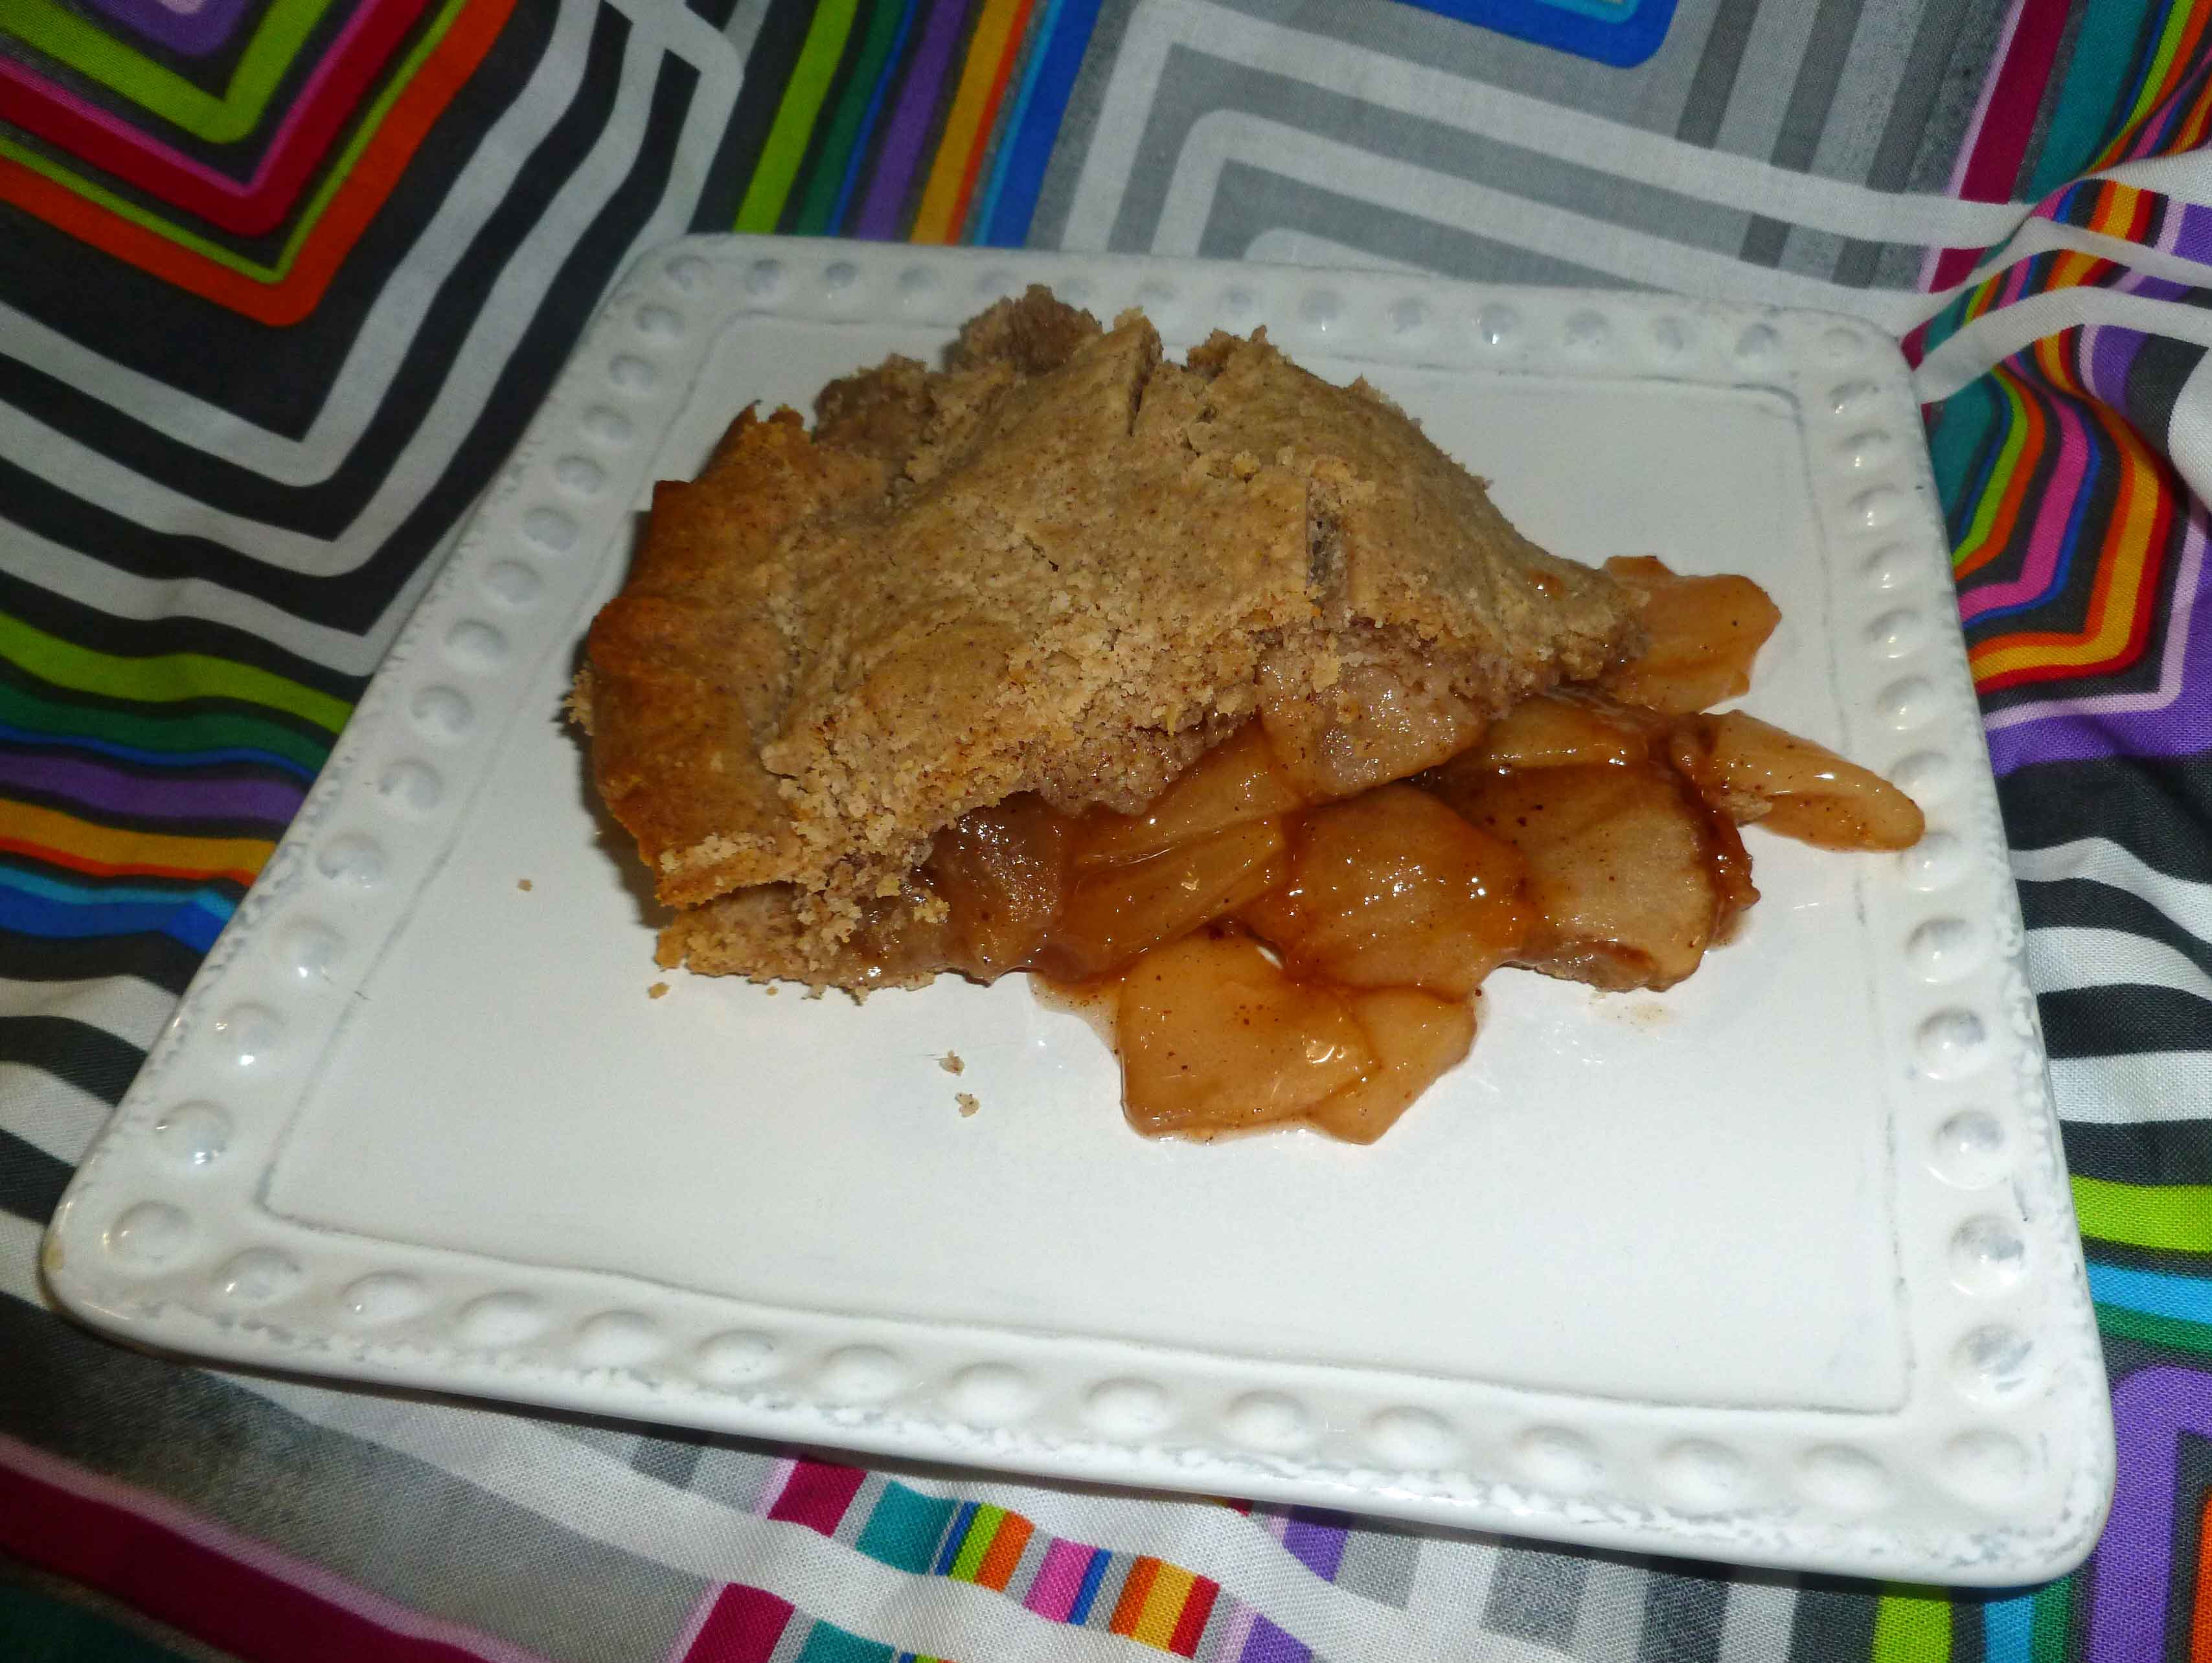
Bake for 60 to 75 minutes until the crust is browned to your liking.
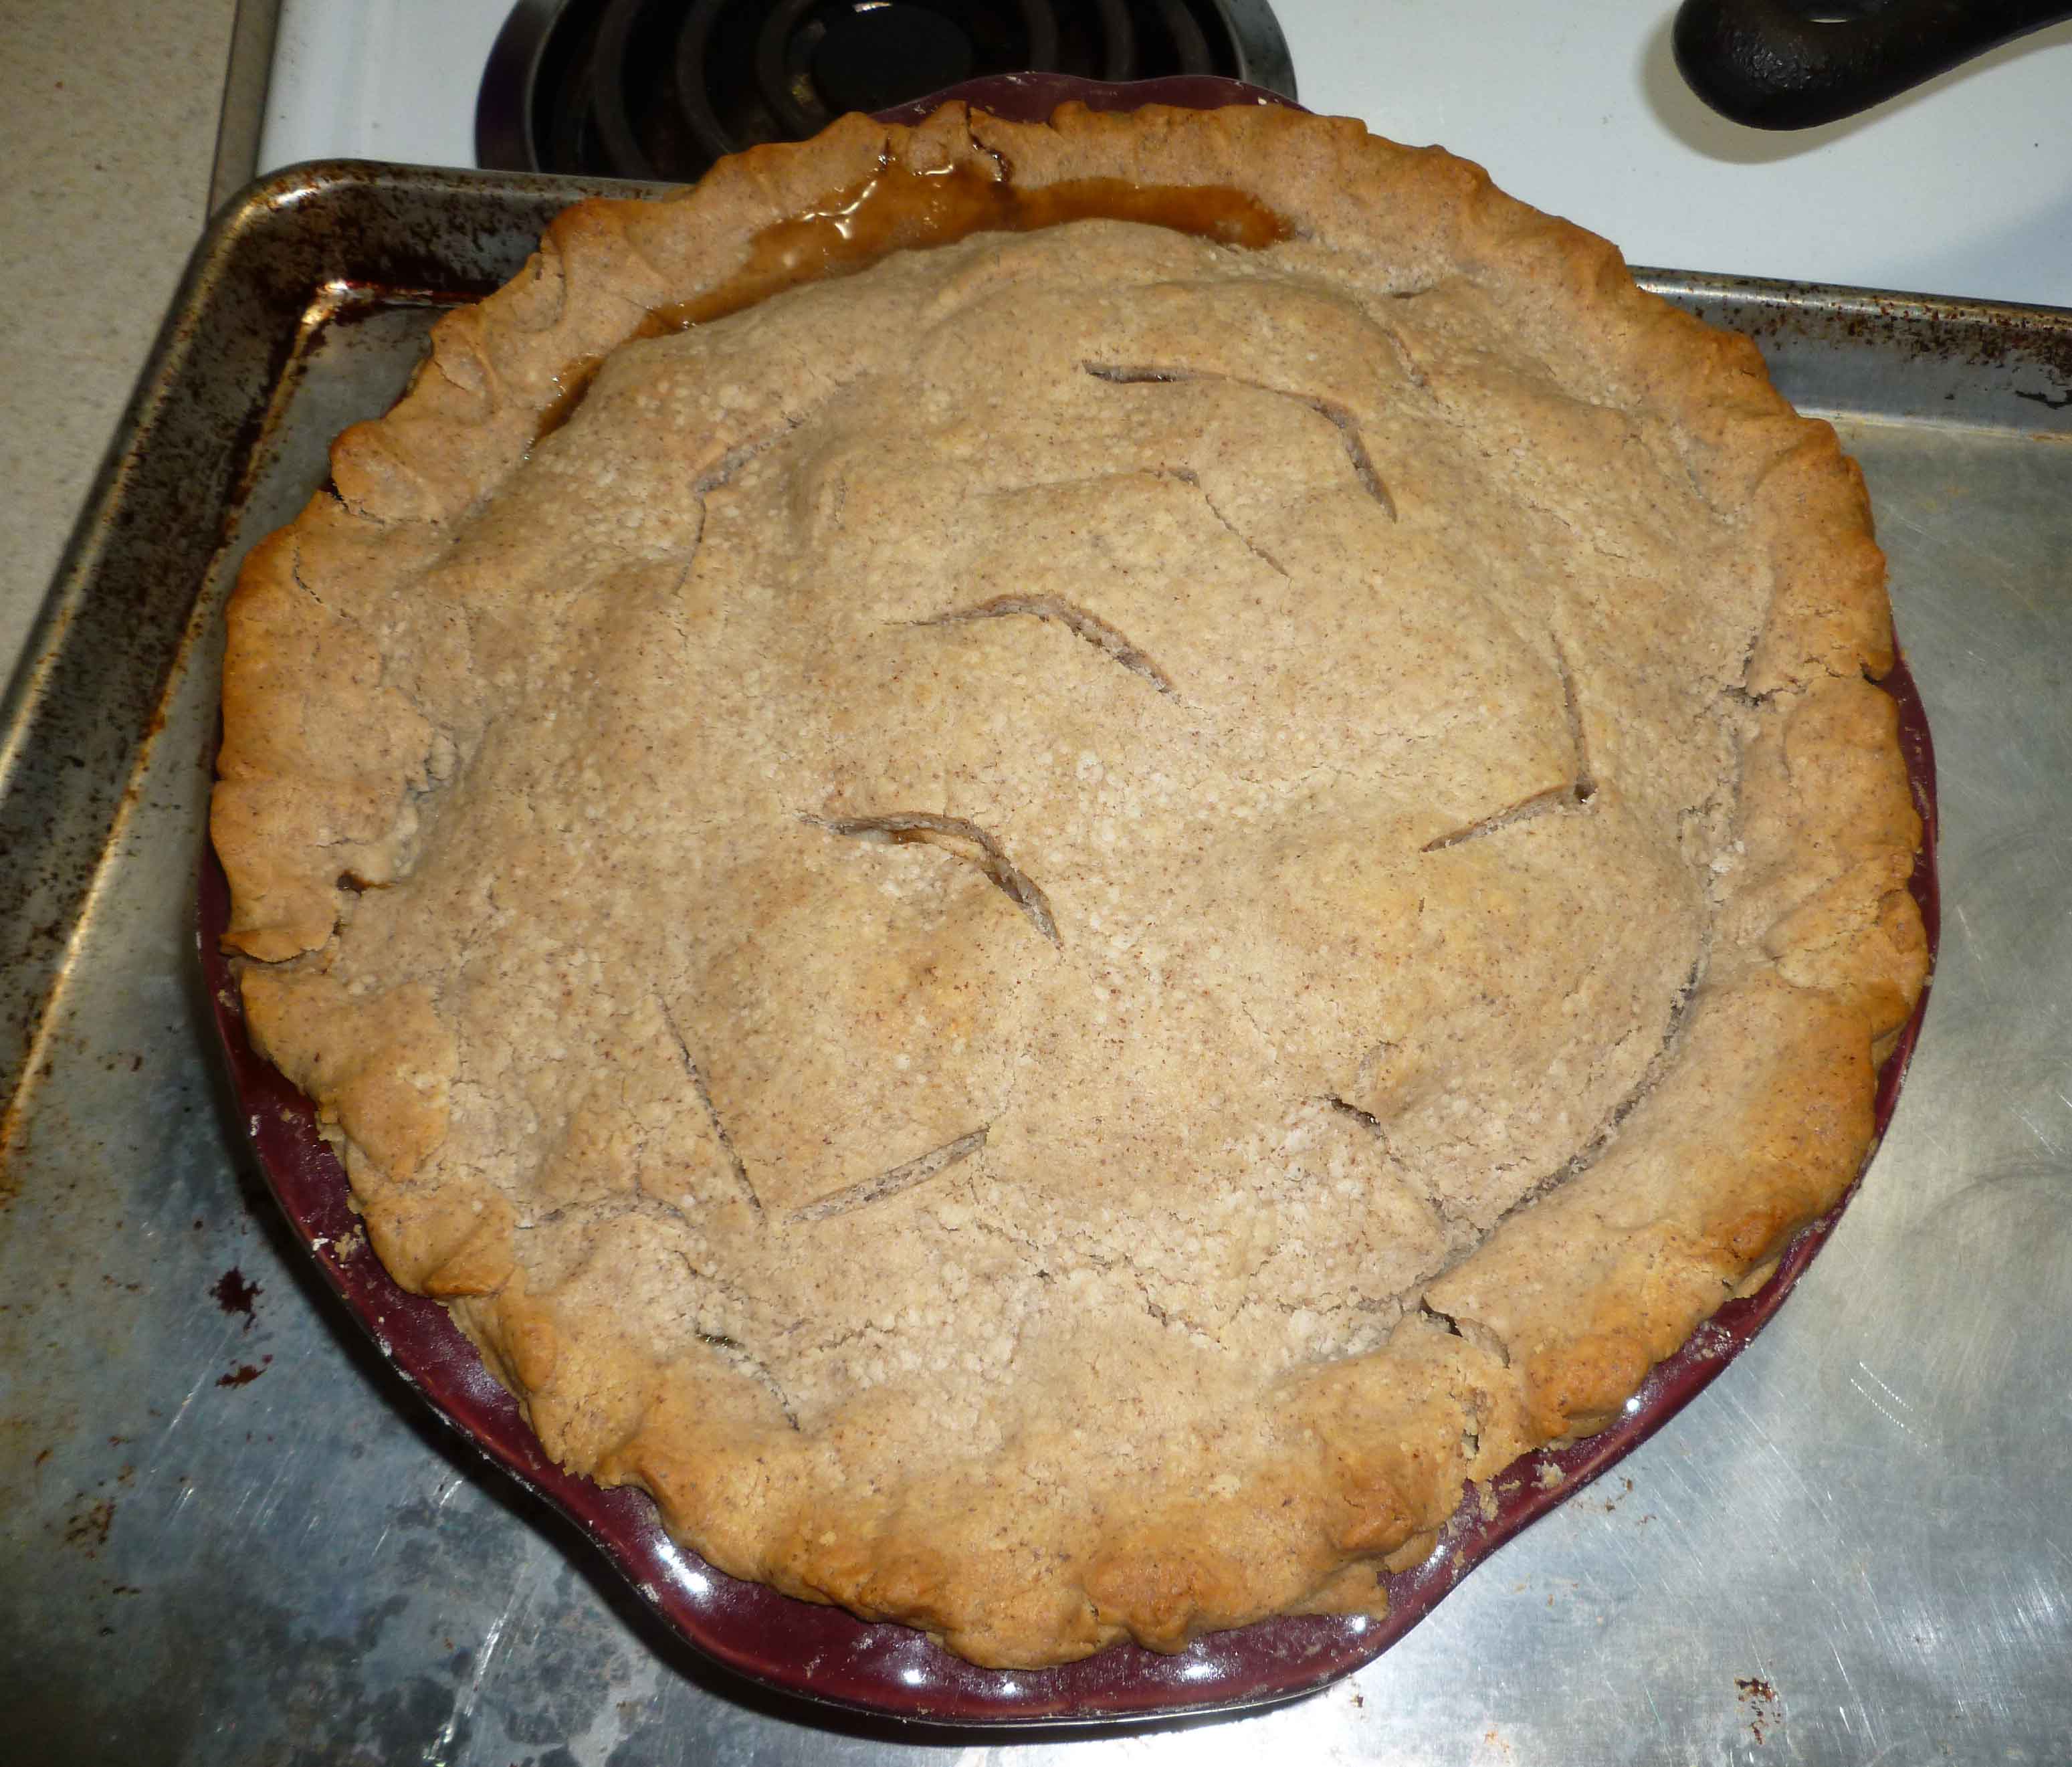
This cooks longer than a “regular” pie, because of the increased amount of apples (a standard recipe calls for 6 cups but I like mine with more) and the gluten-free crust.
Enjoy!
Notice: Trying to access array offset on value of type bool in /home/maryzahc/public_html/adultfoodallergies.com/wp-content/plugins/wp-ultimate-recipe/helpers/models/recipe.php on line 254
| Servings | Prep Time |
| 6-8 slices depending on size | 60 minutes |
| Cook Time | Passive Time |
| 60-75 minutes | 60-75 minutes |
|
|
|
Classic apple pie with gluten-free crust
|
- 2 batches Gluten-free Pie Crust (vegan option) recipe http://adultfoodallergies.com/gluten-free-pie-crust-vegan-option/
- 6 cups thinly sliced, peeled apples I used Cortland apples
- 1/2 cup sugar
- 1/4 cup brown sugar
- 2 tbsp tapioca starch
- 3/4 tsp ground cinnamon
- 1/8 tsp ground nutmeg
- 1/8 tsp allspice
- Make two batches of our Gluten-free Pie Crust (vegan option) recipe at http://adultfoodallergies.com/gluten-free-pie-crust-vegan-option/ and chill the resulting dough balls as described until you’re ready for them.
- Preheat oven to 400° F. Peel, core and slice your apples if you haven’t already.
- Place sugar, brown sugar, tapioca starch or arrow root, cinnamon, nutmeg and allspice into a large bowl. Mix dry ingredients until well combined. Mix apples into dry ingredients until combined and set aside.
- Take chilled dough balls and use one to roll out bottom crust for pie. Place in pie pan, making sure that the rolled crust is wide enough to cover the sides of the pie pan. Place apples in pie pan.
- Use other dough ball to roll out top crust and place over top of pie pan, sealing top crust over bottom crust. Using a knife, cut a few vent holes in the top of the pie crust.
- Bake for 60 to 75 minutes until the crust is browned to your liking. This cooks longer than a “regular” pie, because of the increased amount of apples and the gluten-free crust.