The problem with chocolate chip cookies? Everyone likes them differently. Some people like them soft, others chewy, some crunchy. This is why there are a billion recipes out there. And when your recipe no longer works for you, you might try 5 recipes and still be disappointed. Because “just like Mom made” may not be YOUR mom’s recipe. Or YOUR perfect recipe.
So I’ll tell you what I was aiming for in this recipe and you can decide if that’s what you’re looking for before you start measuring.
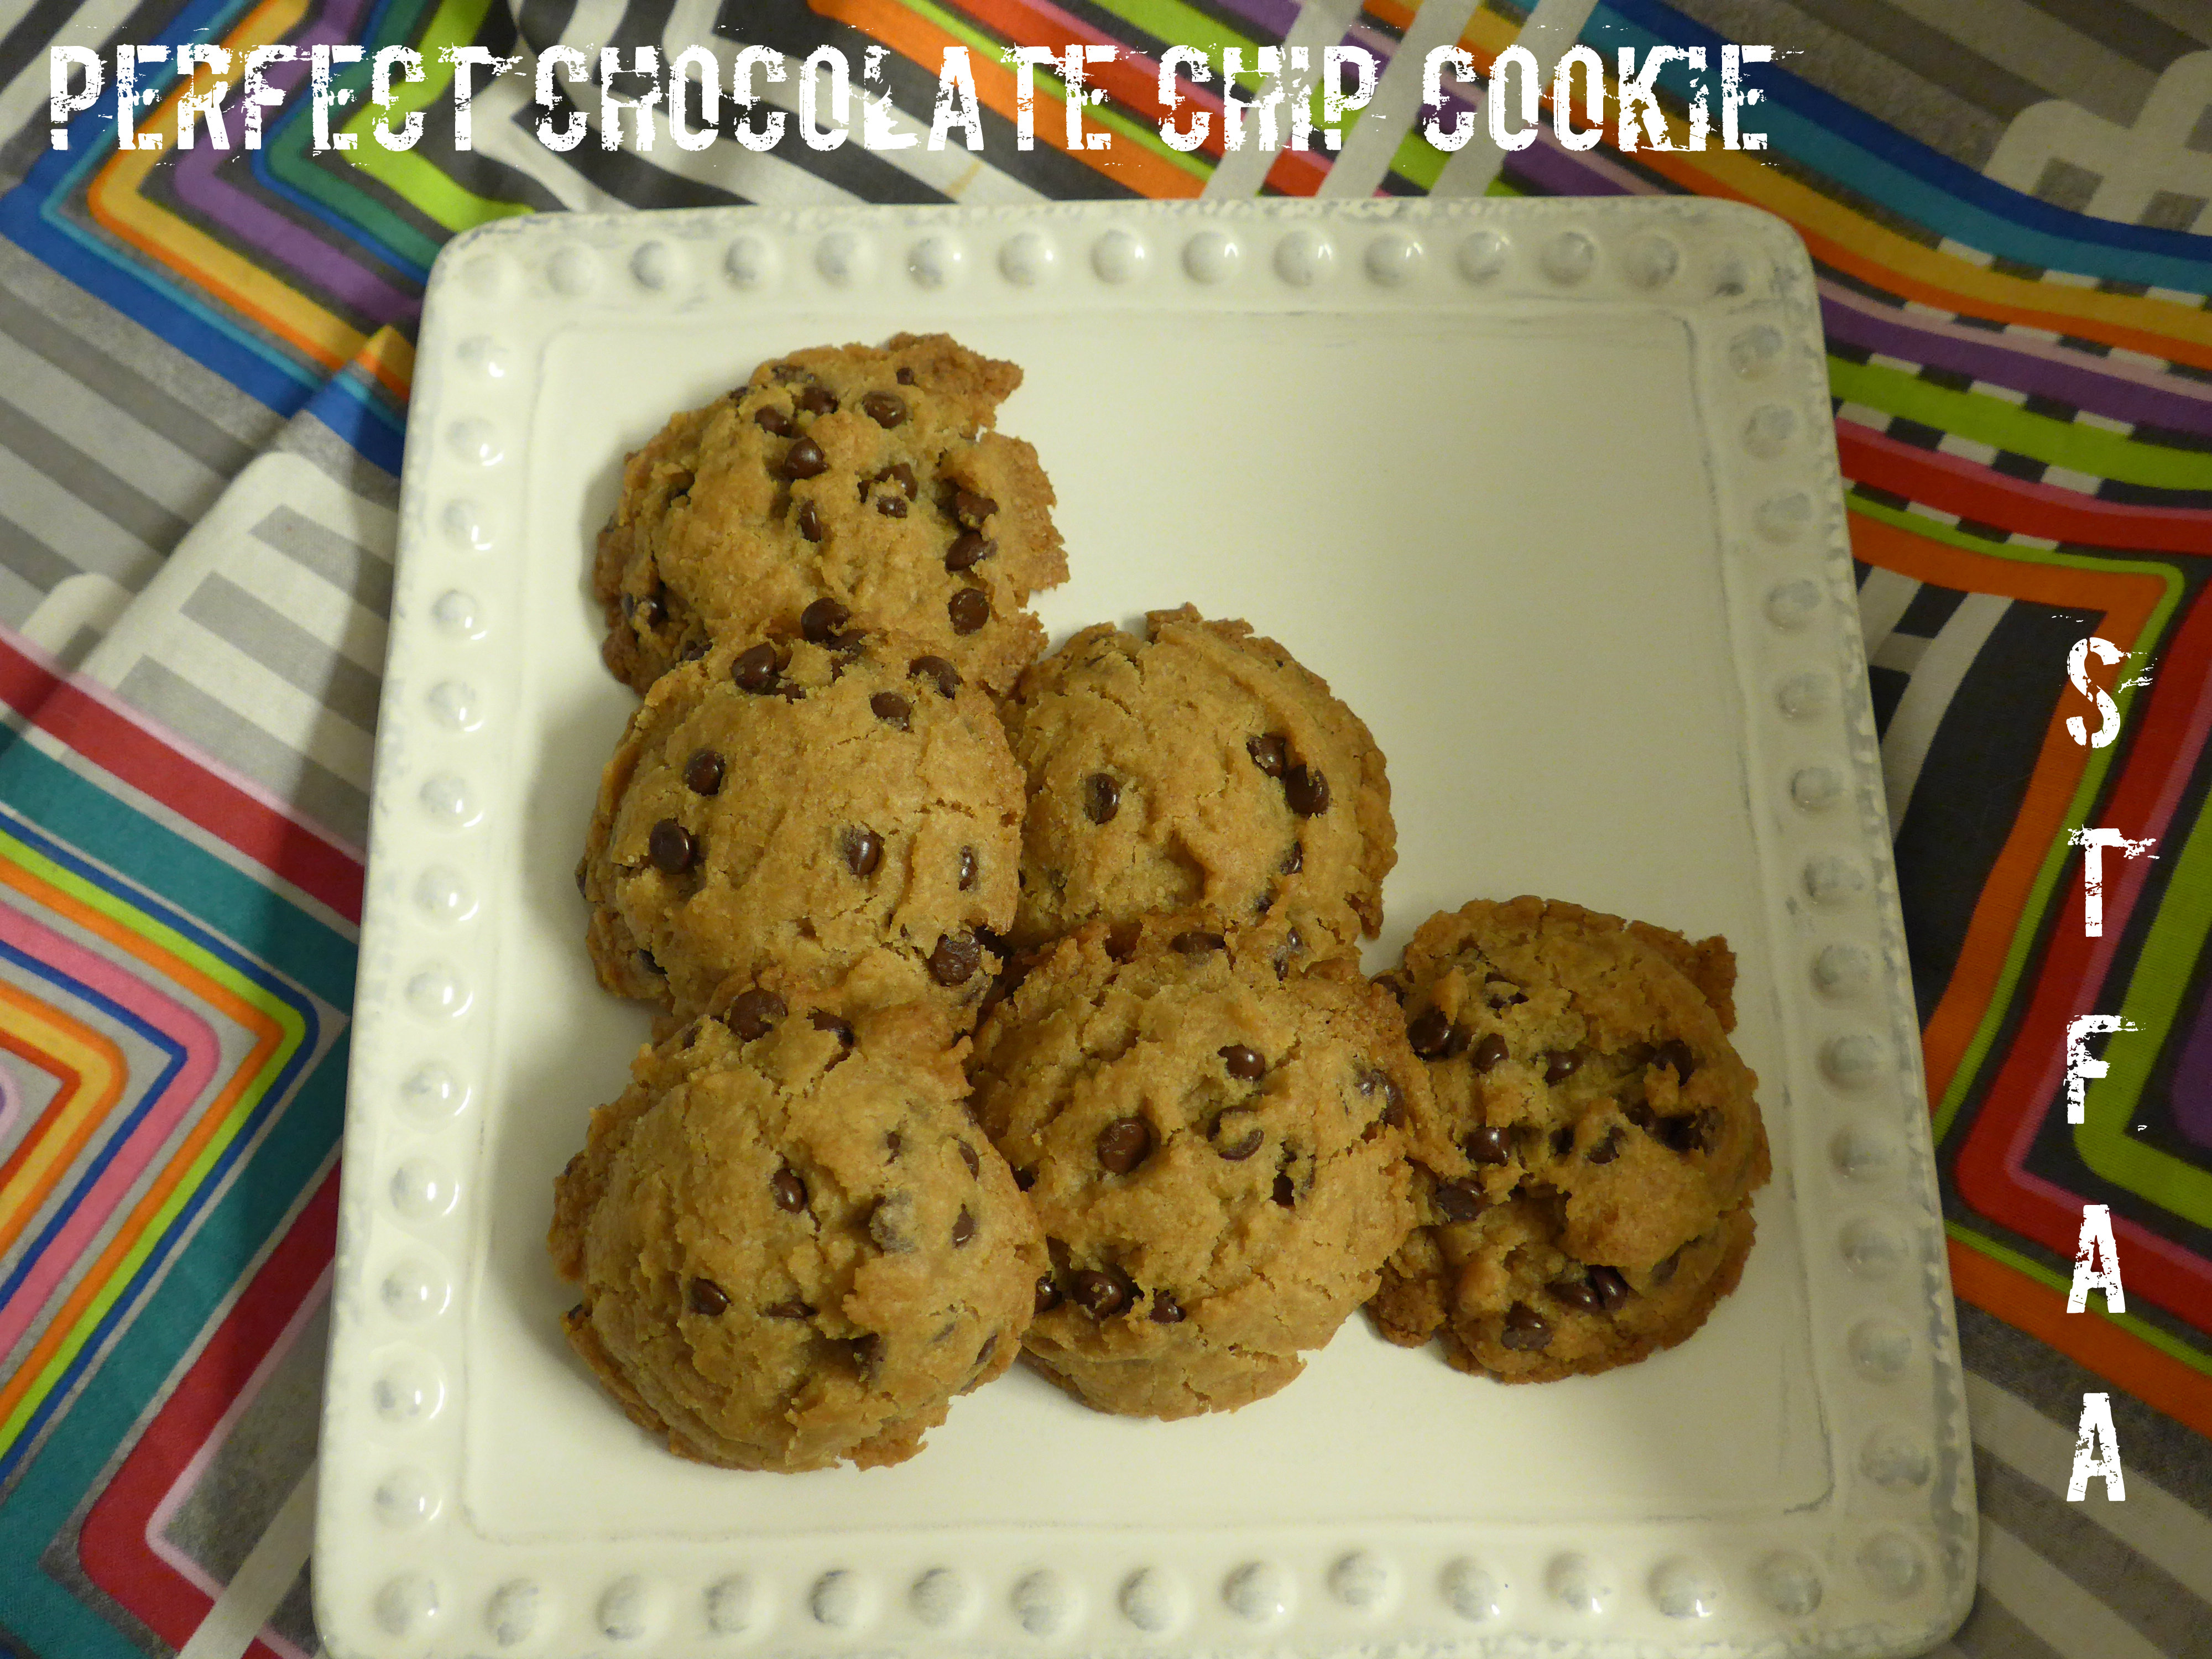
The Ryan perfect chocolate chip cookie should be crunchy on the edges, softer and puffier in the middle, but not underdone or actually soft. SoftER, but still with a good crumb. I believe my mother’s cookie recipe was an altered version of the classic Tollhouse recipe, tweaked until it was perfect for our family — or, rather, perfect for my dad. The man used to eat about a dozen cookies as they came out of the oven, usually burning his mouth at least a few times. These cookies are great for dunking, and another thing I learned from my dad (after “don’t eat hot cookies if you don’t want to burn yourself”) is that cookies dunked in coffee are an excellent morning treat. These don’t spread out as much as my mother’s did, but they do get the texture right.
Key to getting this texture is a trick I learned from my friend Corianne who runs a vegan bakery in Phoenix, Arizona: Treehouse. If you’re in Phoenix, check it out. Anyway, the trick is to freeze the cookie balls before baking. It adds another 30-45 minutes to the process but it is so worth it in terms of payoff.
NOTES ON INGREDIENTS:
Since I’ve fussed with this recipe more than almost any other recipe on this blog, I have some very specific notes on what has worked and what hasn’t.
The two major ingredients are measured by weight — I hope you have a kitchen scale if you’re trying to do gluten-free baking. It really is necessary, and you can get a decent one for under $20.
For ALL of your ingredients, I hope it goes without saying that you need to source what’s safe for you.
For “shortening,” I’ve used Spectrum shortening. Feel free to use a vegan shortening, vegan butter, or, if you aren’t vegan, another fat or shortening of your choice. I’ve done these with soy-free Earth Balance, but because if it’s really low melting point (it’s really soft at room temperature), the cookies are flatter and crispier, so reduce the baking time by a few minutes. Actually, if you mess with anything, watch your baking time. If you really like a buttery flavor, I’d suggest half margarine and half shortening as a compromise.
For the flour mix, I’m using Cara’s Gluten-Free Flour Mix. Still. Nothing else I’ve tried has worked as well. Sorghum flour is great — I am particular about sourcing, and I buy Authentic Foods sorghum flour and super-fine brown rice flour.
Sugar. I know my mom’s recipe used both white and brown sugars. I ran out of brown sugar while trying this recipe and subbed in the molasses and white sugar and I liked the flavor better, so I kept it.
Last, but not least, chocolate chips. I’ve used Enjoy Life chocolate chips for a while now, but I can never find regular-sized chips and don’t always want mini chips. I did use the mini-chips here, and I use a scant measurement of the mini chips so that they spread out better. I also recently discovered Equal Exchange chocolate chips and I’m a fan. I used this in a lot of the test versions of this recipe, but I’m out at the moment. As far as I know, neither of these brands is corn-safe, as corn is used the processing of the chips and generally isn’t on the label. If you have corn allergies and have a safe chocolate brand, tell us in the comments?
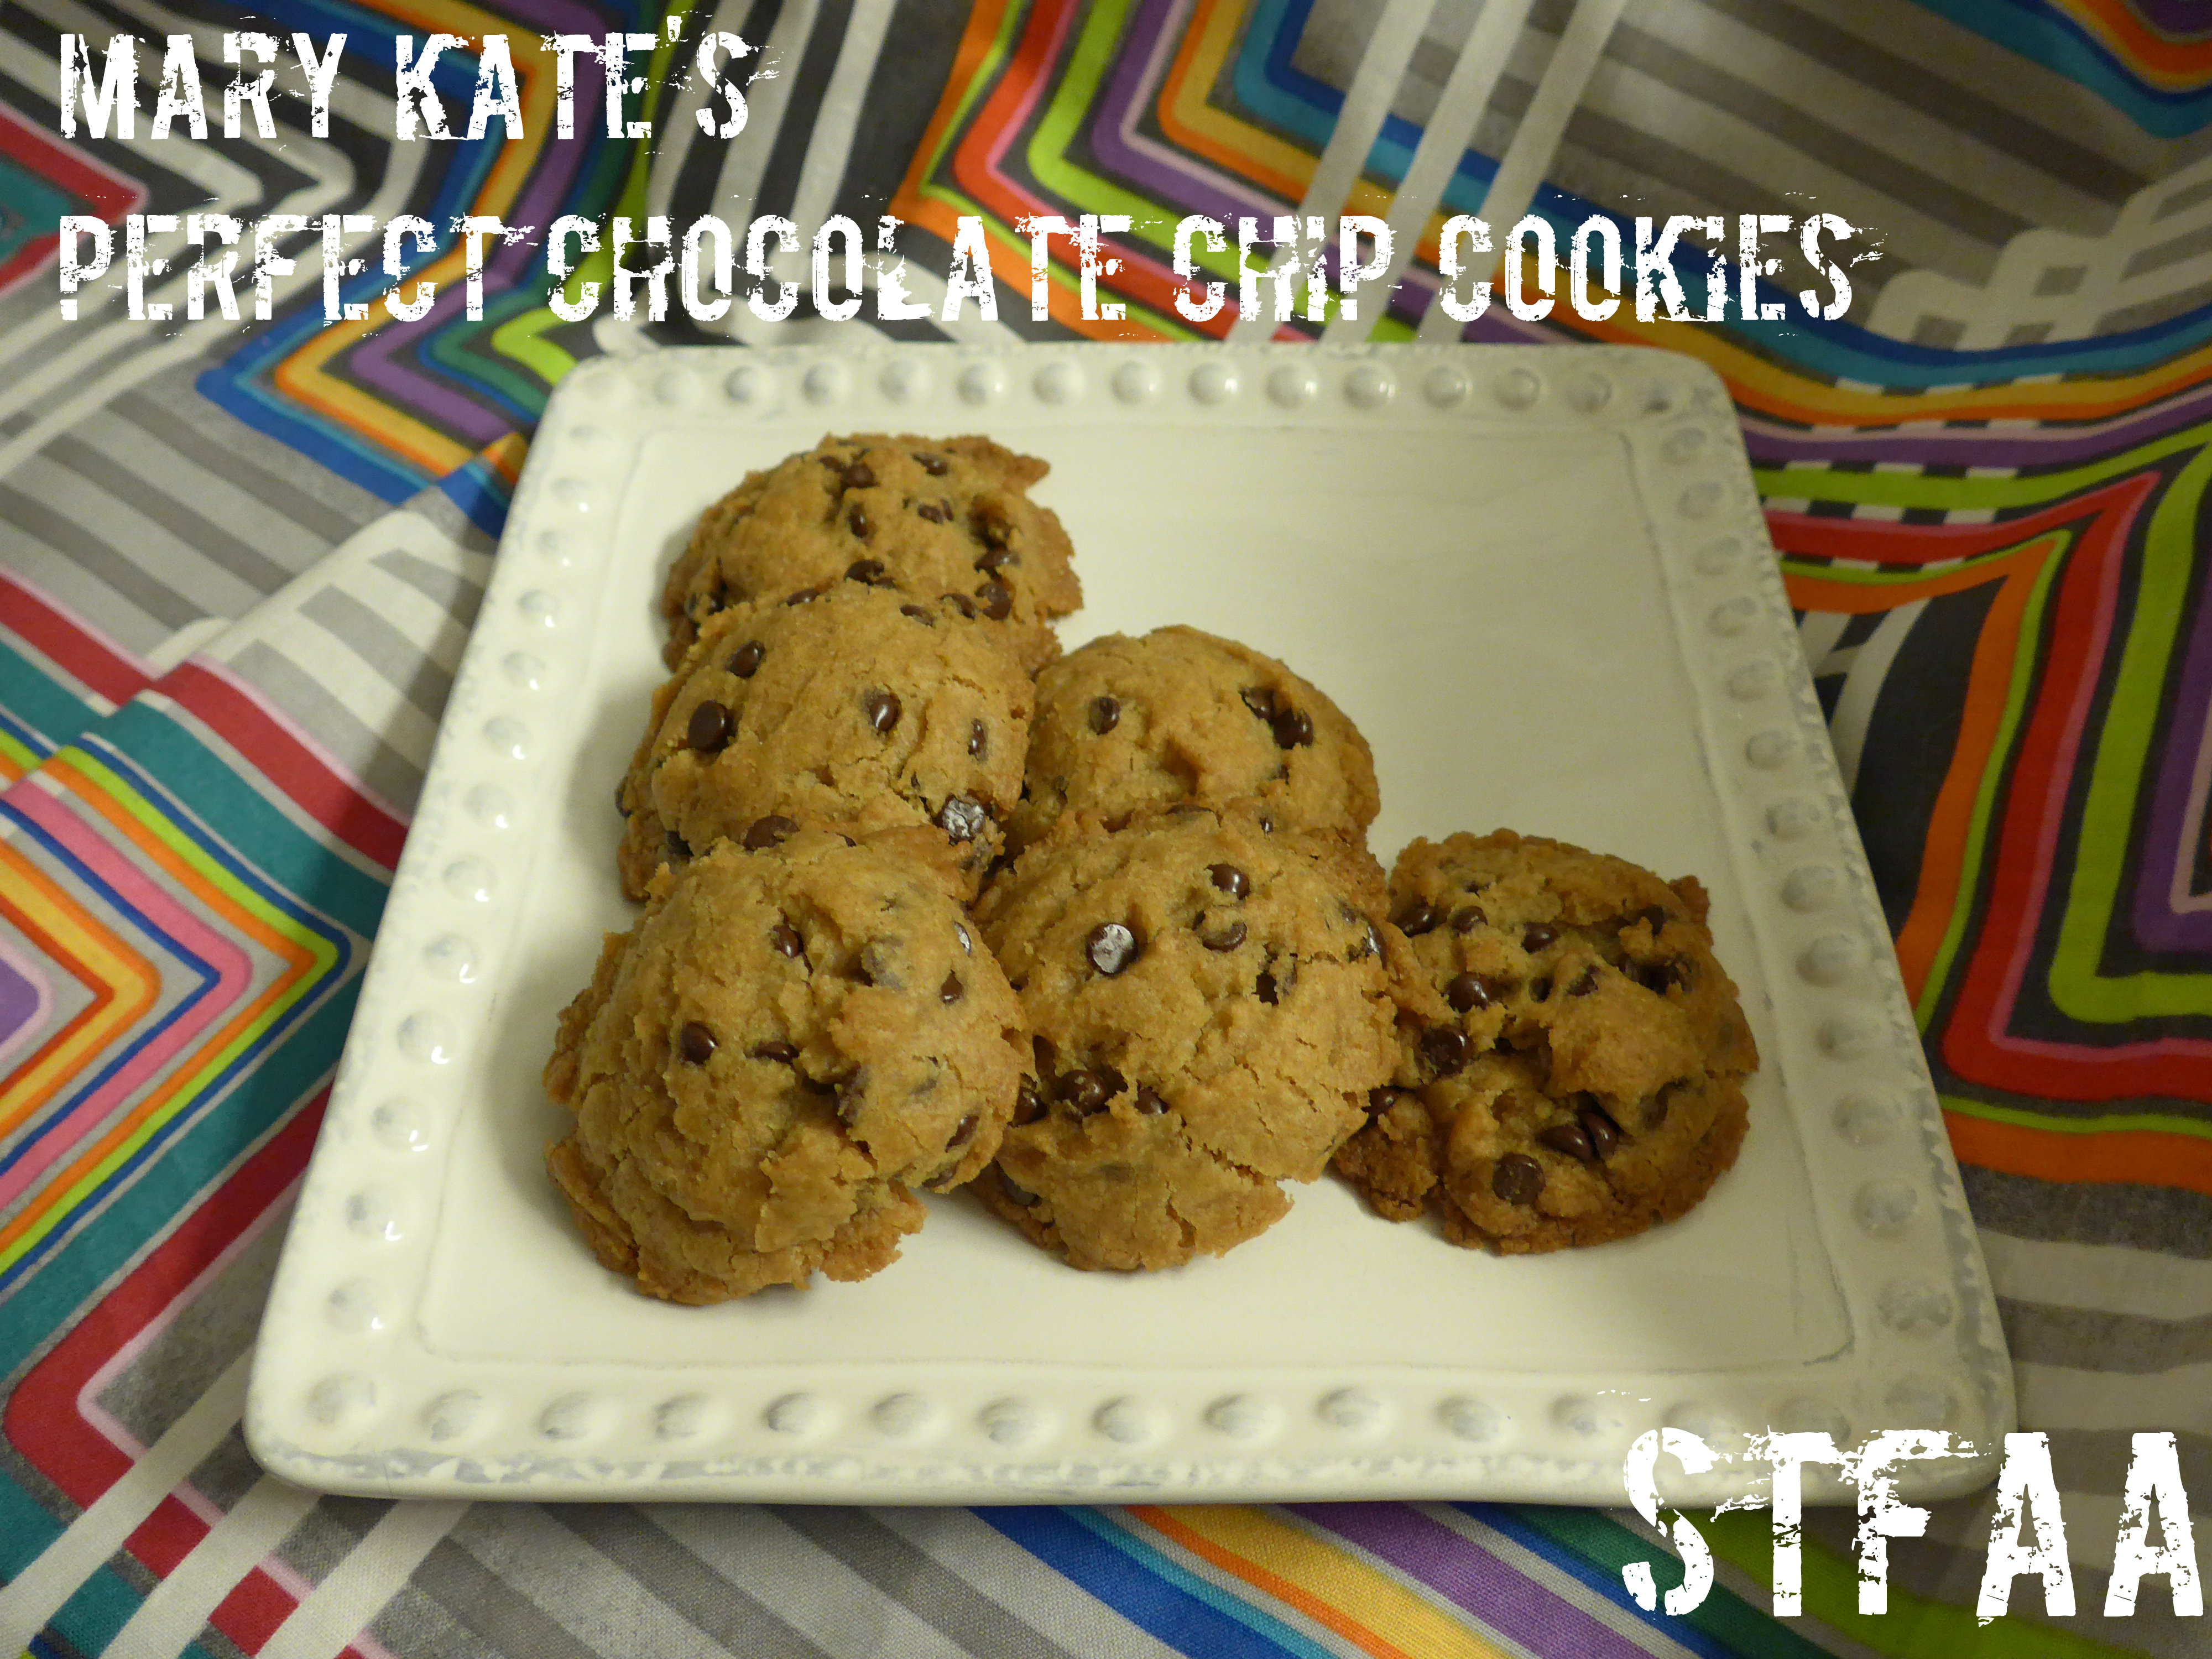
Mary Kate’s Perfect Chocolate Chip Cookies
- 107 grams shortening
- 3/4 cup sugar
- 2 teaspoons molasses
- 2 teaspoons vanilla
- 3 Tablespoons aquafaba
- 200 grams gluten-free flour mix
- 1/2 teaspoon salt
- 1/4 teaspoon baking soda
- 1/4 teaspoon baking powder
- 1 cup (or just under, if mini chips) chocolate chips
With a mixer, cream the shortening, sugar, and molasses. When it’s nice and creamy, add the aquafaba and the vanilla and mix well.
Separately, mix the flour, salt, soda, powder.
Add the flour mix to the shortening mix slowly, and mix well. The dough will be pretty stiff, pulling together and way from the sides of the bowl.
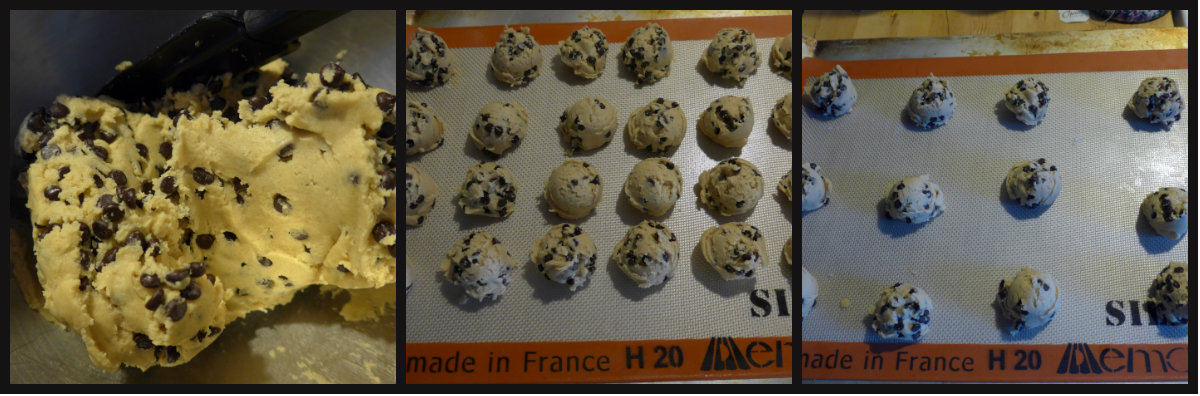
Mix in the chocolate chips by hand. I find a rubber or silicone spatula works best for this.
Now portion out the cookies on a tray lined with parchment or a silicone baking sheet and pop it in the freezer. Since I don’t have room in my freezer for two trays, I just put the cookie balls close together to freeze, and then space them out onto two trays for baking.
Pre-heat the oven to 375ºF.
When the cookies are frozen (30-45 minutes in my freezer), space them out to give about 2 inches of space around each cookie ball, on the lined baking sheet, and bake 15-20 minutes, until golden brown. Cool completely — I tend to just drag the liner from the tray to the rack and leave it. This is me being lazy, but it’s also a good way to deal with the fragility of gluten-free, vegan baked goods.