Notice: Function _load_textdomain_just_in_time was called incorrectly. Translation loading for the wp-ultimate-recipe domain was triggered too early. This is usually an indicator for some code in the plugin or theme running too early. Translations should be loaded at the init action or later. Please see Debugging in WordPress for more information. (This message was added in version 6.7.0.) in /home/maryzahc/public_html/adultfoodallergies.com/wp-includes/functions.php on line 6170 December 2013 – surviving the food allergy apocalypse (archive)Skip to content
If I’m completely honest, I have some mixed feelings about butternut squash. In some preparations, its earthy and fruity and warming. In others, I don’t know, but I don’t like it. For our holiday potluck, though, one of my coworkers made an apple and squash soup that was quite lovely and tasty. She share the recipe, but I ended up not really following it, tweaking the flavors to my own liking. This is a pureed soup, so a stick blender is really helpful. Though it has other uses, the stick blender shines when pureeing hot soups — and it is way easier to clean than the regular blender.
The apples bring out the fruity quality of the squash, and I really like the flavor of butternut with some spice, so the cayenne provides a bit of heat. The use of celery leaves adds flavor and uses a typically wasted part of the vegetable. If you want to make this easy, buy peeled and cubed squash.
Happy Squash
Butternut Squash Soup
1 Tablespoon oil (I’ve been using safflower)
1 sweet white onion, quartered and sliced
1 teaspoon salt
20 oz butternut squash, cubed (about one medium squash, but I frequently buy it chopped)
2 tart apples, peeled, cored, and quartered
1 3/4 cup vegetable stock
1/4 cup celery leaves, chopped
1 teaspoon cardamom
1/8-1/2 teaspoon cayenne
In a large hot sauce pan, add oil and then onion and salt. Cook, stirring occasionally, until the onion begins to brown.
Add the squash and then the apples, and cover, without stirring, cooking about 10 minutes with the lid on (steaming the squash and apples).
Add stock and stir well. Cover, bring to a boil, and reduce the heat to low. Simmer until squash is soft and tender, 15-30 minutes, depending on the size of the squash cubes.
Add celery leaves, cardamom, and cayenne (adjust to suit your tastes), stir, and cover again. Remove from heat and let the soup cool a bit. Using a stick blender, puree the soup — or do it in a blender or food processor, in smaller batches, being careful with the steam build-up.
Reheat to serving temperature, or cool completely and reheat to serve the next day. The latter really allows the flavors to meld, so I’d recommend making it ahead if possible.
So the holiday season has brought with it the groaning tables of baked goods and candies, both homemade and not, and none suitable for the food allergic. So it’s time to make your own! I’ve made a few recipes of gluten-free vegan cookies, with mixed results (all edible, none outstanding, none of the recipes my own), but cookies are time-consuming and kitchen-consuming. So are cakes and pies.
Needing a last minute treat for the holidays, to satisfy my own sweet tooth, which spends a lot of time being teased these days, I wanted to try making truffles out of coconut milk and chocolate, with some added flavors to deepen the chocolate’s flavors. I had a great idea, but like so many great ideas, it didn’t pan out quite as planned — these didn’t set up the way I wanted them to, so I froze them. The result was a homemade version of those single bite ice cream treats that came out a few years ago.
They are super quick to make, with most of the time involved being cooling and freezing the chocolate. The dishes involved are minimal. These should keep for a few weeks in the freezer, and some of them are going to work with me for the mid-afternoon chocolate cravings.
Quick Chocolate Bites
Quick Chocolate Bites
10 oz of chocolate, chopped (or use chocolate chips)
13.5 oz of full-fat coconut milk (1 can)
3 Tablespoons good berry jam (strawberry, raspberry, black cherry), seedless recommended (and by “good,” I mean that I generally choose jam — and many food products — by looking for the one with the fewest number of ingredients. For jam, I prefer sugar be used rather than any other sweetener, and few or no preservatives)
1 teaspoon of basil, chopped finely, optional (the frozen cubes of herbs are great for recipes like this)
Put the chocolate in a heat-safe bowl, and set aside.
In a sauce pan, combine the coconut milk, jam, and basil, if using. Whisk together, and bring to a boil.
Pour the boiling coconut milk mix over the chopped chocolate, and stir until chocolate is fully melted. Let the mixture cool until it’s not steaming anymore, then cover and refrigerate until fully chilled (overnight is good).
Using a spoon or small cookie scoop, portion out approximately 1 Tablespoon dollops of the pudding consistency mixture onto a foil or parchment paper-covered cookie sheet, and freeze until solid, about an hour. Store in sealed containers or plastic bags. Use to satisfy chocolate or sugar cravings as they arise.
So, before the whole corn and coconut thing, I was an aficionado of fruit flavored pure sugar candy. If it had fake coloring, fake fruit flavors and was primarily made of out sugar (meaning corn syrup), then I was your girl. Skittles, Nerds, Sour Neon Gummy Worms, Sour Gummi Watermelon Slices, Jolly Ranchers, Starbursts (particularly the fave reds), Jelly Belly Sour jelly beans – anyway, you get the picture, if it was aimed at ten year old kid, I was a fan. Candy, caffeine and I had a love triangle going on while I was in college, law school and during my years of private practice. Candy was part of the fuel that I needed to get through the day while going 400 miles per hour, with generally little sleep. I seriously should have had stock in at least the top three, Skittles, Starbursts and Jolly Ranchers. At least maybe I’d have recouped some of what I was spending at Rite-Aid on candy. So you can imagine the horror when I had to give them all up.
A few l months ago, I started making citrus extracts, lemon, lime and orange in anticipation of one day making my own safe candy. (Most extracts use corn alcohol to make the extract. I used the zests of the citrus fruit and Luksusowa Vodka because it’s made only from potatoes, whereas some vodkas may also use grain or corn. See this post for directions.) After they were done, I let them sit for a couple of more weeks with a coffee filter over the jar to let them evaporate down a bit to try to concentrate the flavors.
Then I started poking around for gummy recipes. I love watermelon flavored candy. I love, love, love Watermelon Jolly Ranchers, and I used to love to drink Watermelon Schnapps Pucker with Sprite because it tasted just like a Jolly Rancher, only in liquid form. Now all three of those things are off-limits. But I came across a recipe for Lemon-Watermelon Gummies so I had to try it. I’ve modified this recipe because honey can be problematic for people allergic to corn if you don’t know whether your beekeeper is feeding his bees corn syrup or not. And then I had to try it with just lemon, so I further modified things. Both versions are provided below, but I think you could do any fruit juice if safe for you (most commercial juices are not safe for people allergic to corn). The gummies themselves result in candies that taste like real fruit and aren’t as sweet as store bought gummies, but they work for me and I probably shouldn’t be eating all that sugar anyway. I’m kind of liking the lemon as an after dinner palate cleanser, as it is a very refreshing pure lemon taste that melts in your mouth. If you want them to be more sweet to match the commercially available gummies, I’d up the sugar to about 1/2 a cup total for each recipe. Try it with the lower sugar though, you may find you don’t need it 🙂
Lemon Watermelon Gummies
4 cups of peeled and cubed watermelon
1/4 cup of lemon juice (or the juice of one lemon)
Place watermelon, lemon juice and lemon extract in a blender. Blend it until the watermelon is completely pulverized. You want this as smooth as you can get it. Wish I had my friend Mary’s Vitamix for this, but my plain old blender did okay. Using a fine wire mesh strainer, strain out any remaining pulp so that you just have juice left.
Straining out watermelon pulp
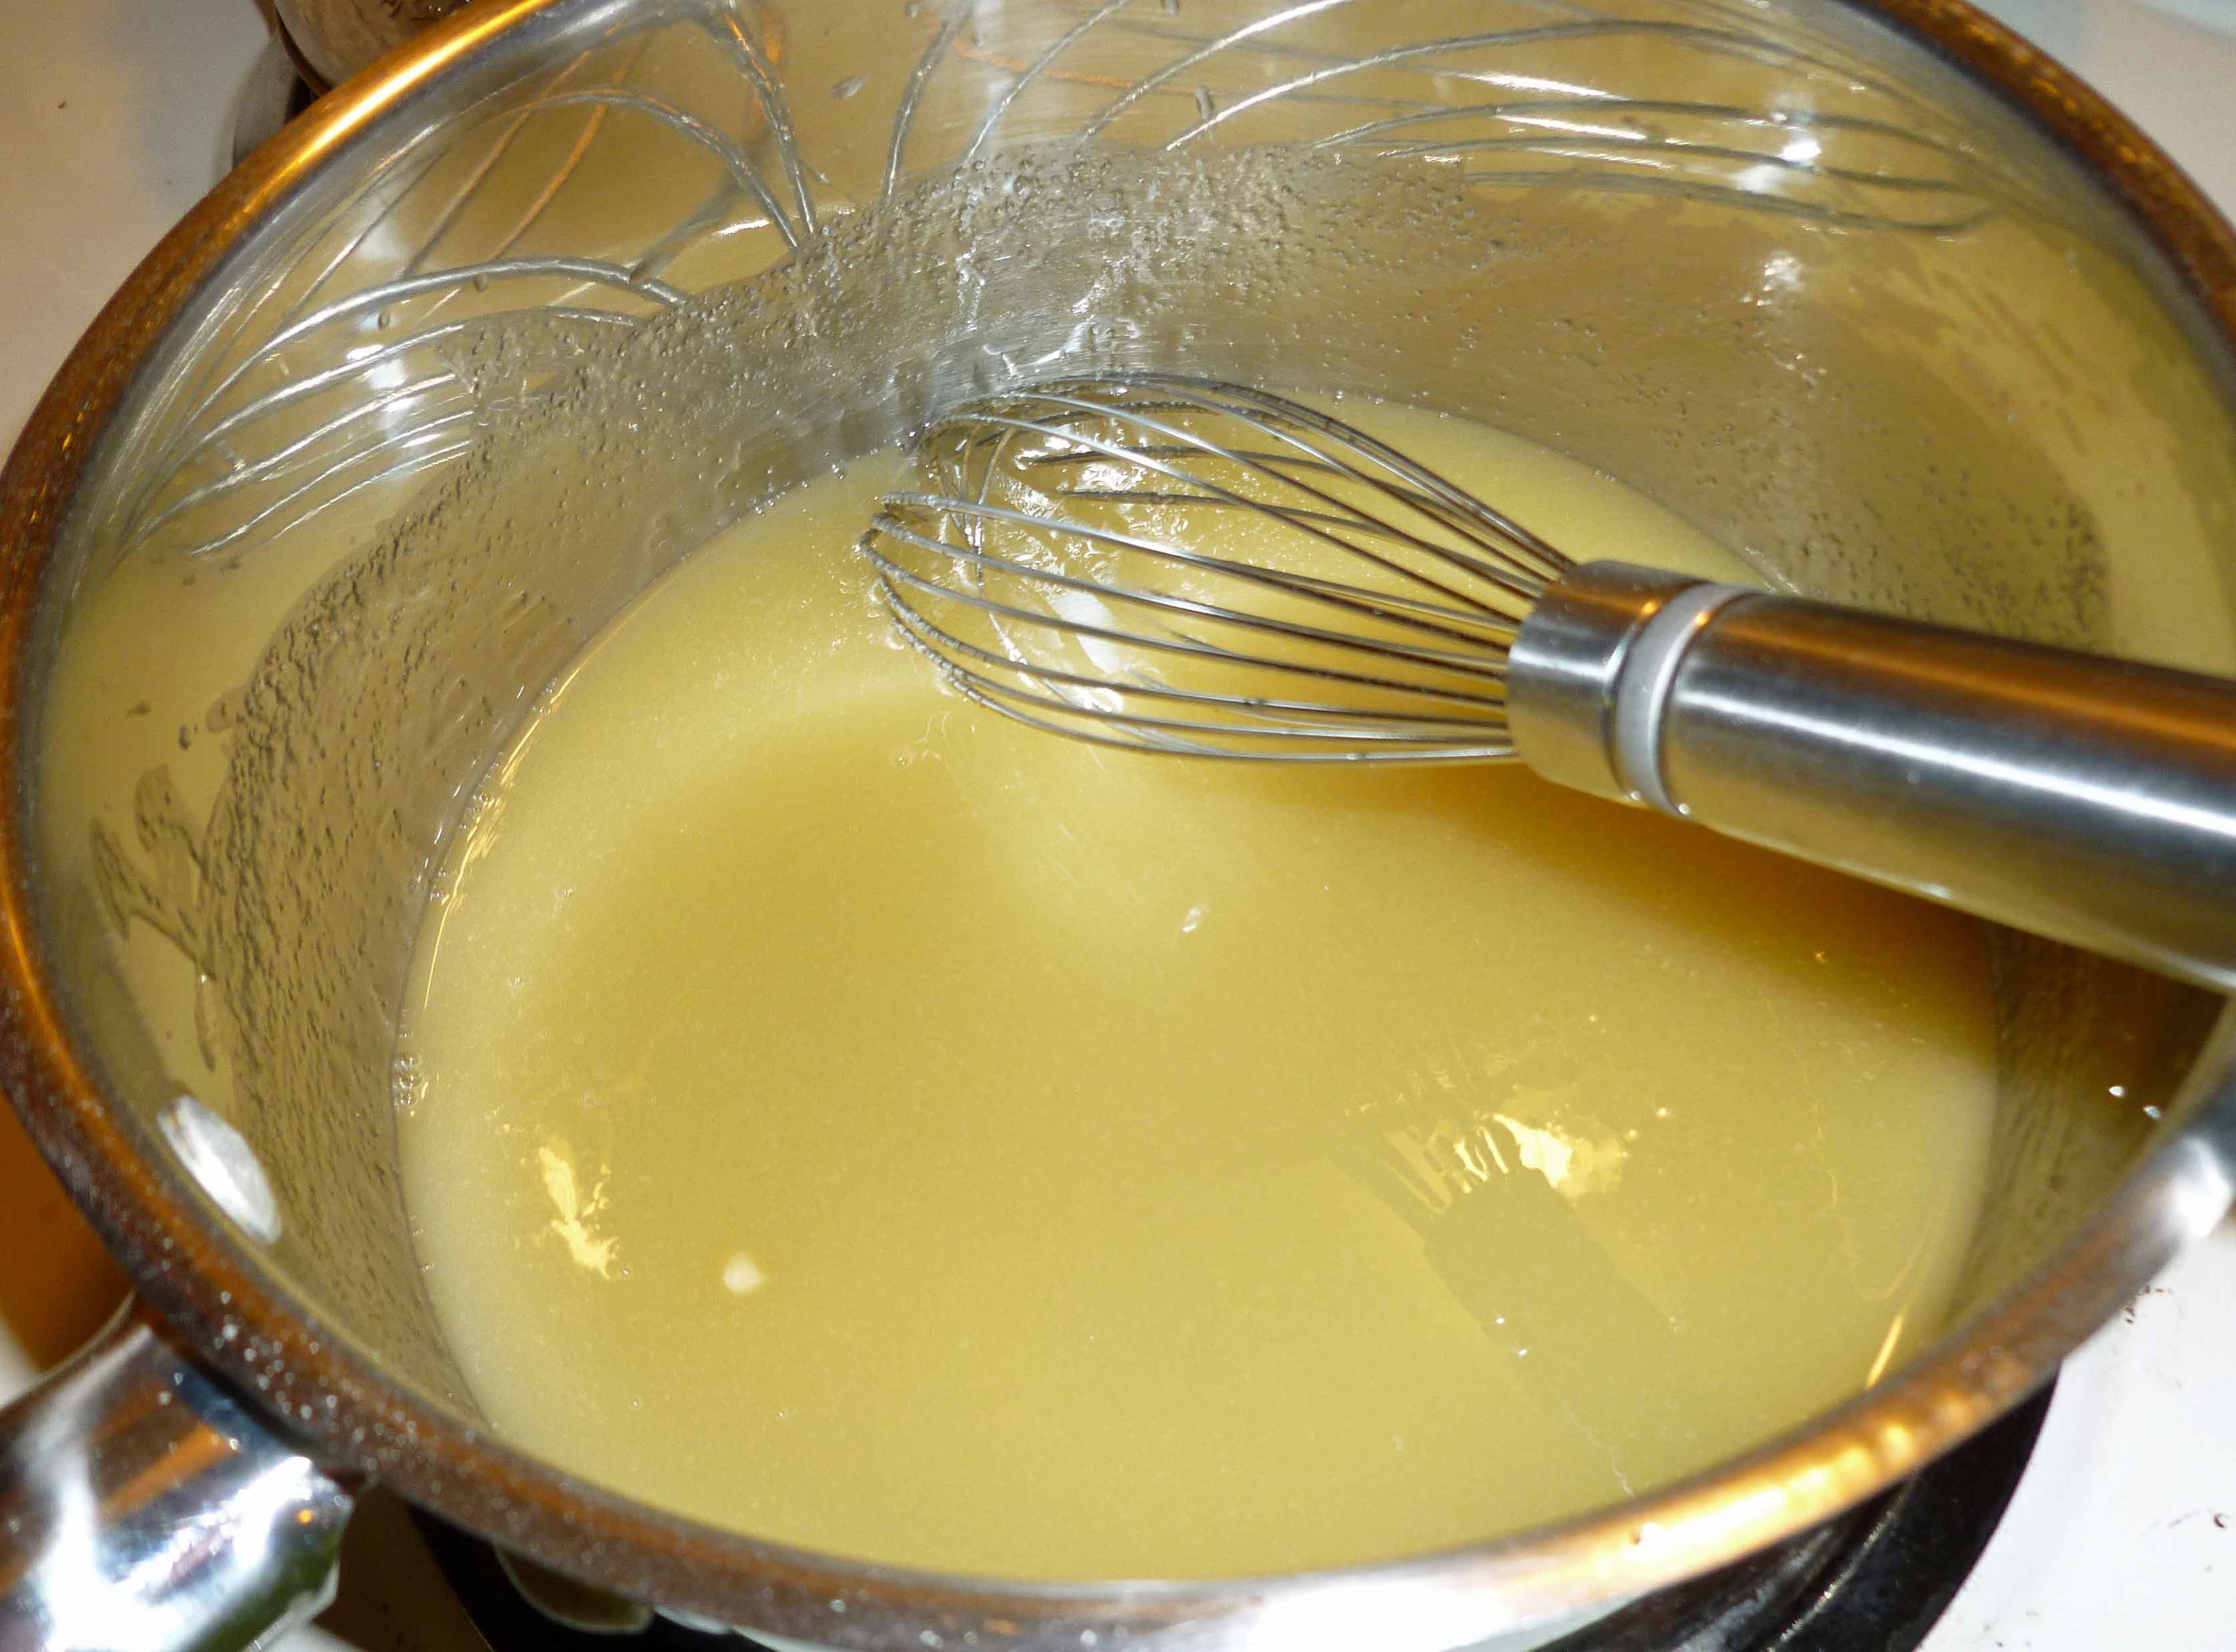
After straining out the pulp, put one half of the watermelon liquid into a sauce pan with the sugar. On medium low heat, stir until all the sugar is dissolved and then add the gelatin and whisk until it is smooth. Remove the pan from the heat and add the remaining watermelon liquid. Whisk again until smooth.
Watermelon and Gelatin Mixture
Spray silicone molds or ice cube trays with a neutral, safe for you cooking oil. I used a light olive oil in a mister. You don’t want an oil that tastes like anything. (As a side note, apparently there is some debate about whether or not to grease silicone. I have always greased silicone baking molds with oil, shortening and margarine when I could still eat it, and have had no problems whatsoever, but I also don’t use non-stick cooking spray on them. According to this article, if you over grease when baking you may get a sticky residue that’s difficult to wash off. I had no issue cleaning these molds after this recipe, but if you do, use some baking soda with your dish washing detergent when handwashing, and it’ll likely be fine. Also, if you try doing it without oil, let me know how that goes.) Make sure your silicone mold is on a cookie sheet because you are going to move it into the fridge or the freezer and you don’t want a big mess all over your floor and counters. Carefully pour the mixture into your molds. I also ended up having enough for a a couple of gummies in a silicone ice cube tray as well.
Watermelon Gelatin Mixture in Silicone Molds
Put the silicone mold in the refrigerator or freezer. The gummies will set up in about 15-20 minutes in the freezer and about 30-40 minutes in the refrigerator.
Lemon Gummies
This version makes about half of what the Lemon Watermelon version did because that seemed like a lot of gummies of one flavor to me. If you wanted, you could replace the lemon juice with lime juice, grapefruit juice, or orange juice as well. If I did any other kind of fruit juice other than citrus, I’d probably just use 2 cups of juice and skip the water.
Juice your lemons. After straining out the pulp, put the lemon juice into a sauce pan with the sugar. On medium low heat, stir until all the sugar is dissolved and then add the gelatin and whisk until it is smooth. Remove the pan from the heat and add the water. Whisk again until smooth.
Lemon Gelatin Mixture
Spray silicone molds with a neutral oil as described above, and place the silicone mold on a cookie sheet. Carefully pour the mixture into your molds.
Lemon Gelatin Mixture in Silicone Molds
Put the silicone mold in the refrigerator or freezer. Again, the gummies will set up in about 15-20 minutes in the freezer and about 30-40 minutes in the refrigerator.
So, if you’ve got leftover cranberries in the freezer from Turkey Day, this is a great way to use them up. And it doesn’t involve turkey, which you’re probably heartily sick of at this point. I couldn’t resist adding a bit of spice to this recipe, but it’s minimal in the finished product. If spice bothers you, leave the Red Fresno pepper out of the cranberry sauce. If you like it hotter, use a habanero.
Spicy Red Wine Cranberry Crusted Pork Loin
Serves about 4.
1 cup of red wine
1 cup of brown sugar
1 Red Fresno chile pepper, de-stemmed, seeded, and minced.
1 12 ounce bag of cranberries, either fresh or frozen
1 1-2 pound pork loin
Preheat your oven to 400°F. Using an oil mister, or a bit of oil and a paper towel, grease a sheet pan.
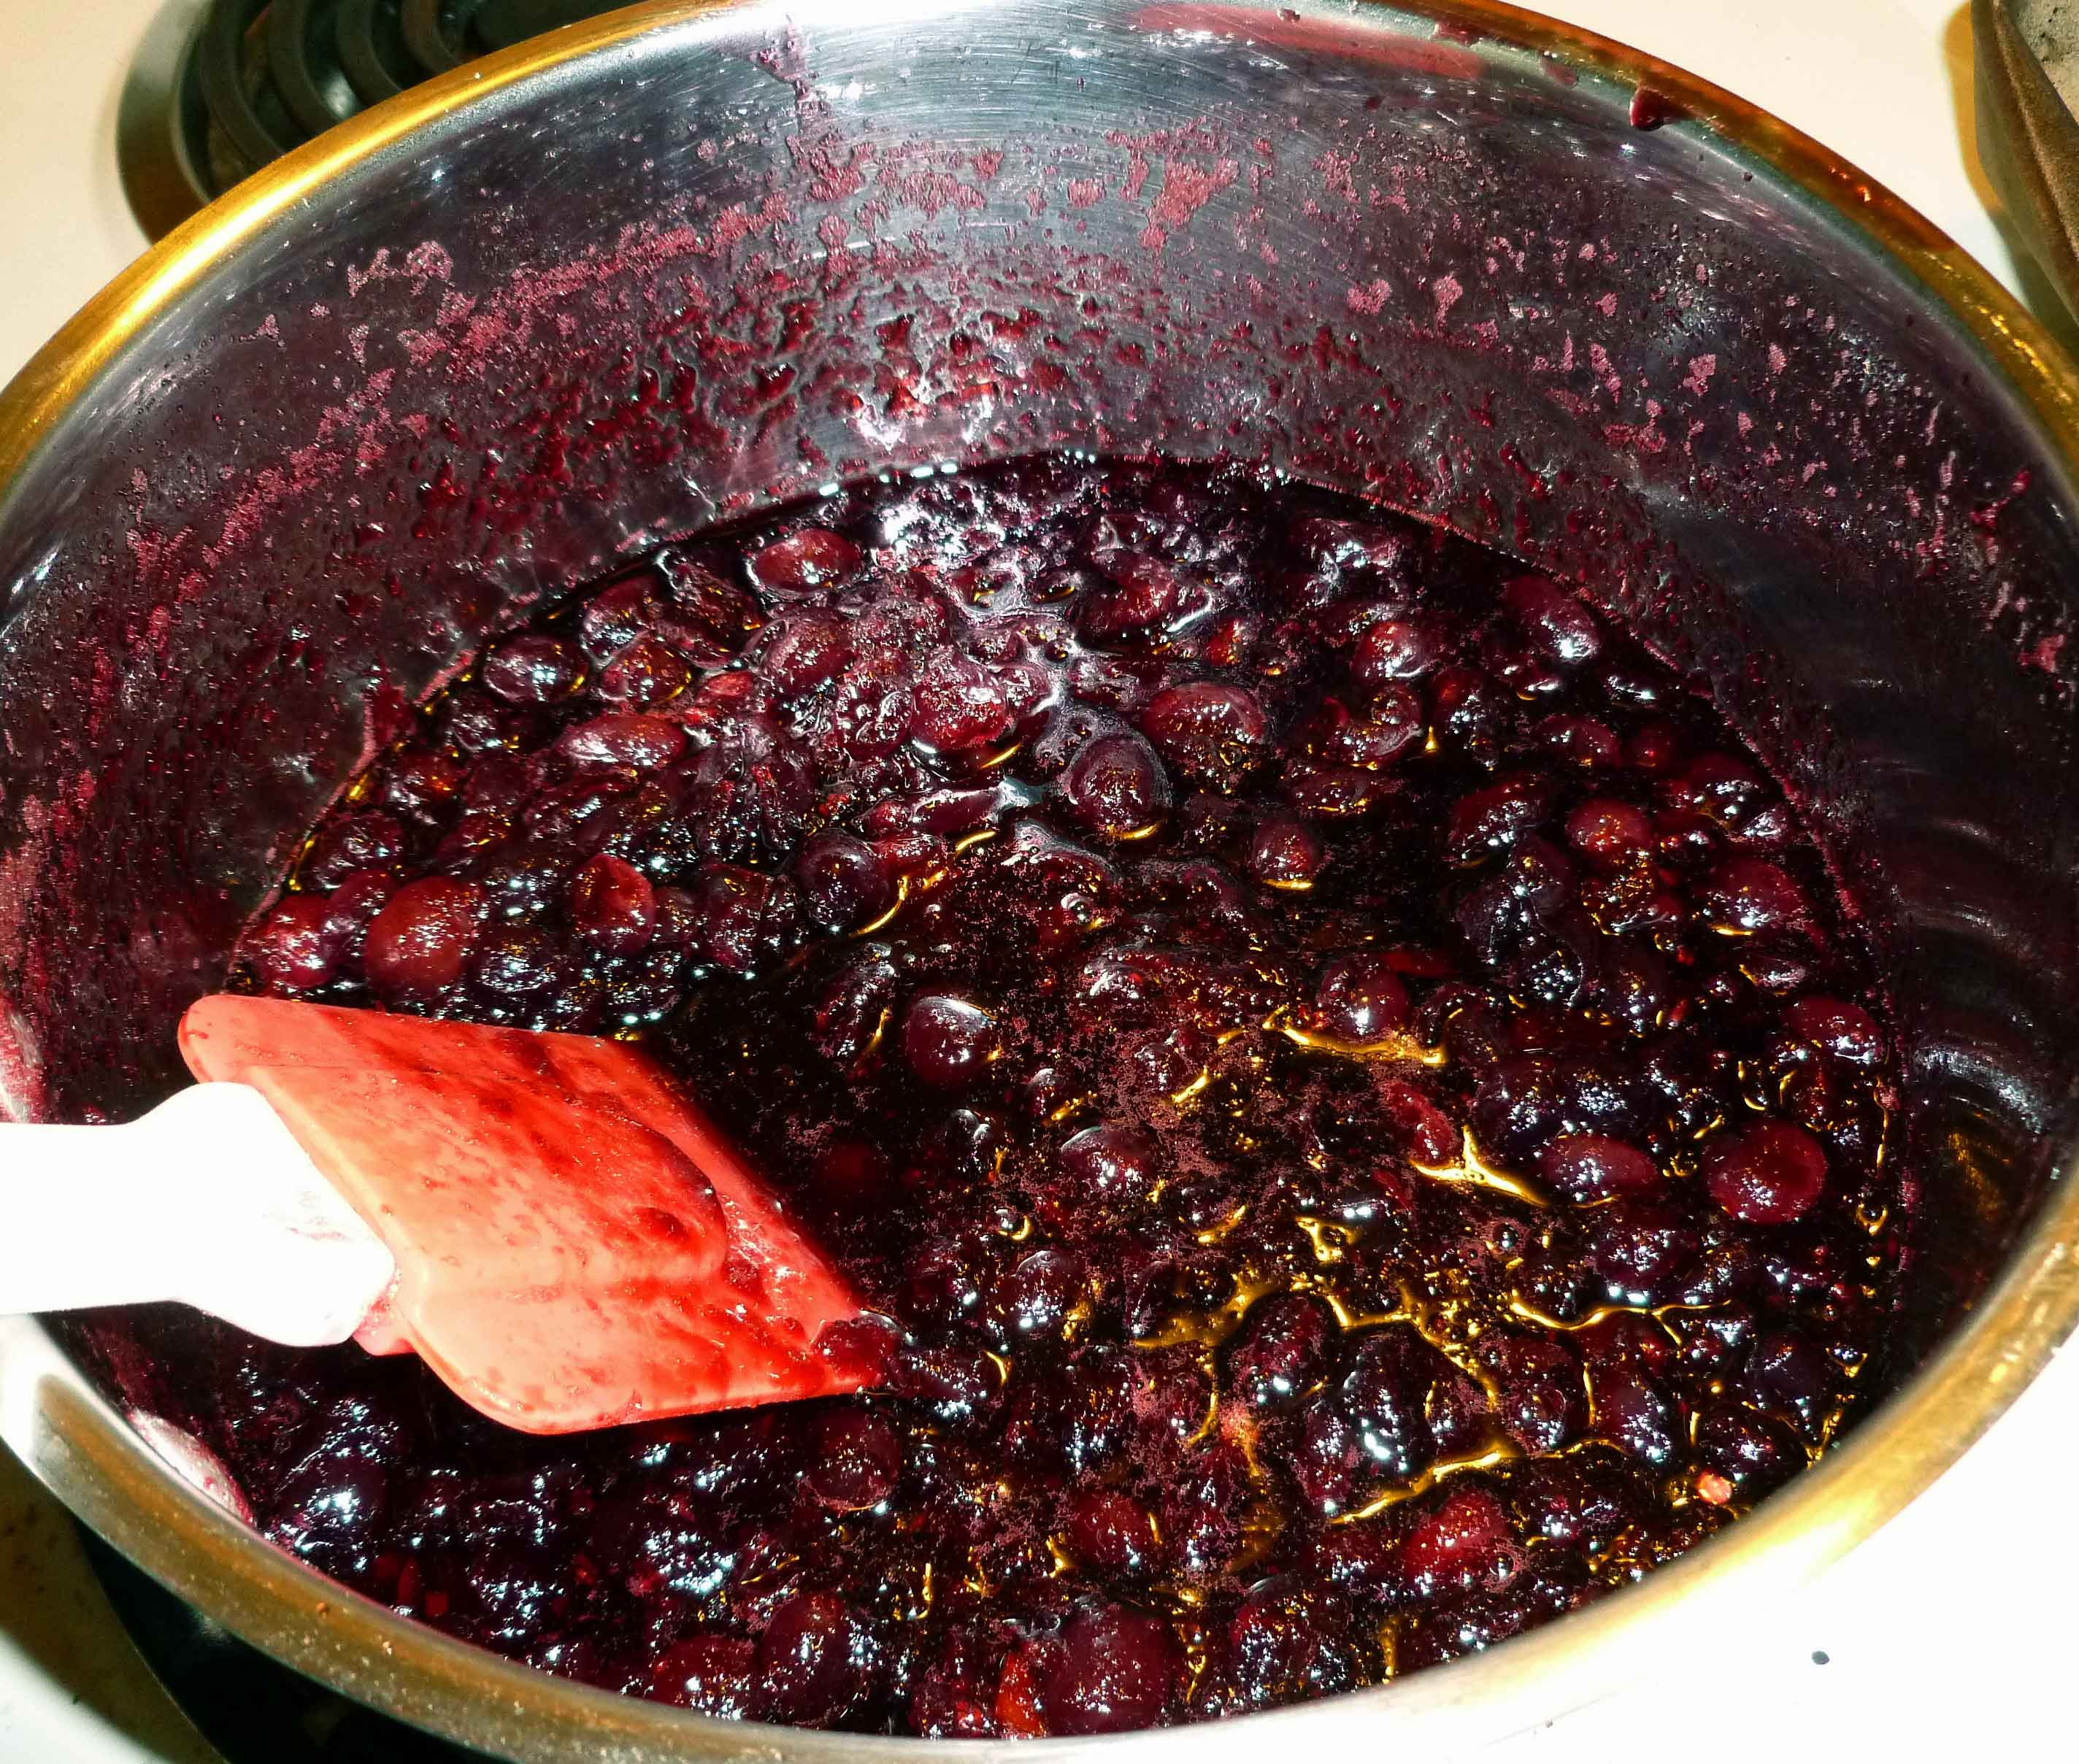
Wash the cranberries and pick out the soft, crushed and/or bad ones. In a small non-reactive sauce pan, add the wine, brown sugar, and minced Red Fresno chile pepper, and bring it to a boil. Once the wine, brown sugar, and chile pepper are boiling, add the cranberries and let it come back to a boil. Reduce to the heat to medium and boil gently for 10 minutes. Basically you’re making red wine cranberry sauce with some chile in it. It’s really good by itself, just saying.
Spicy Red Wine Cranberry “crust” for pork loin
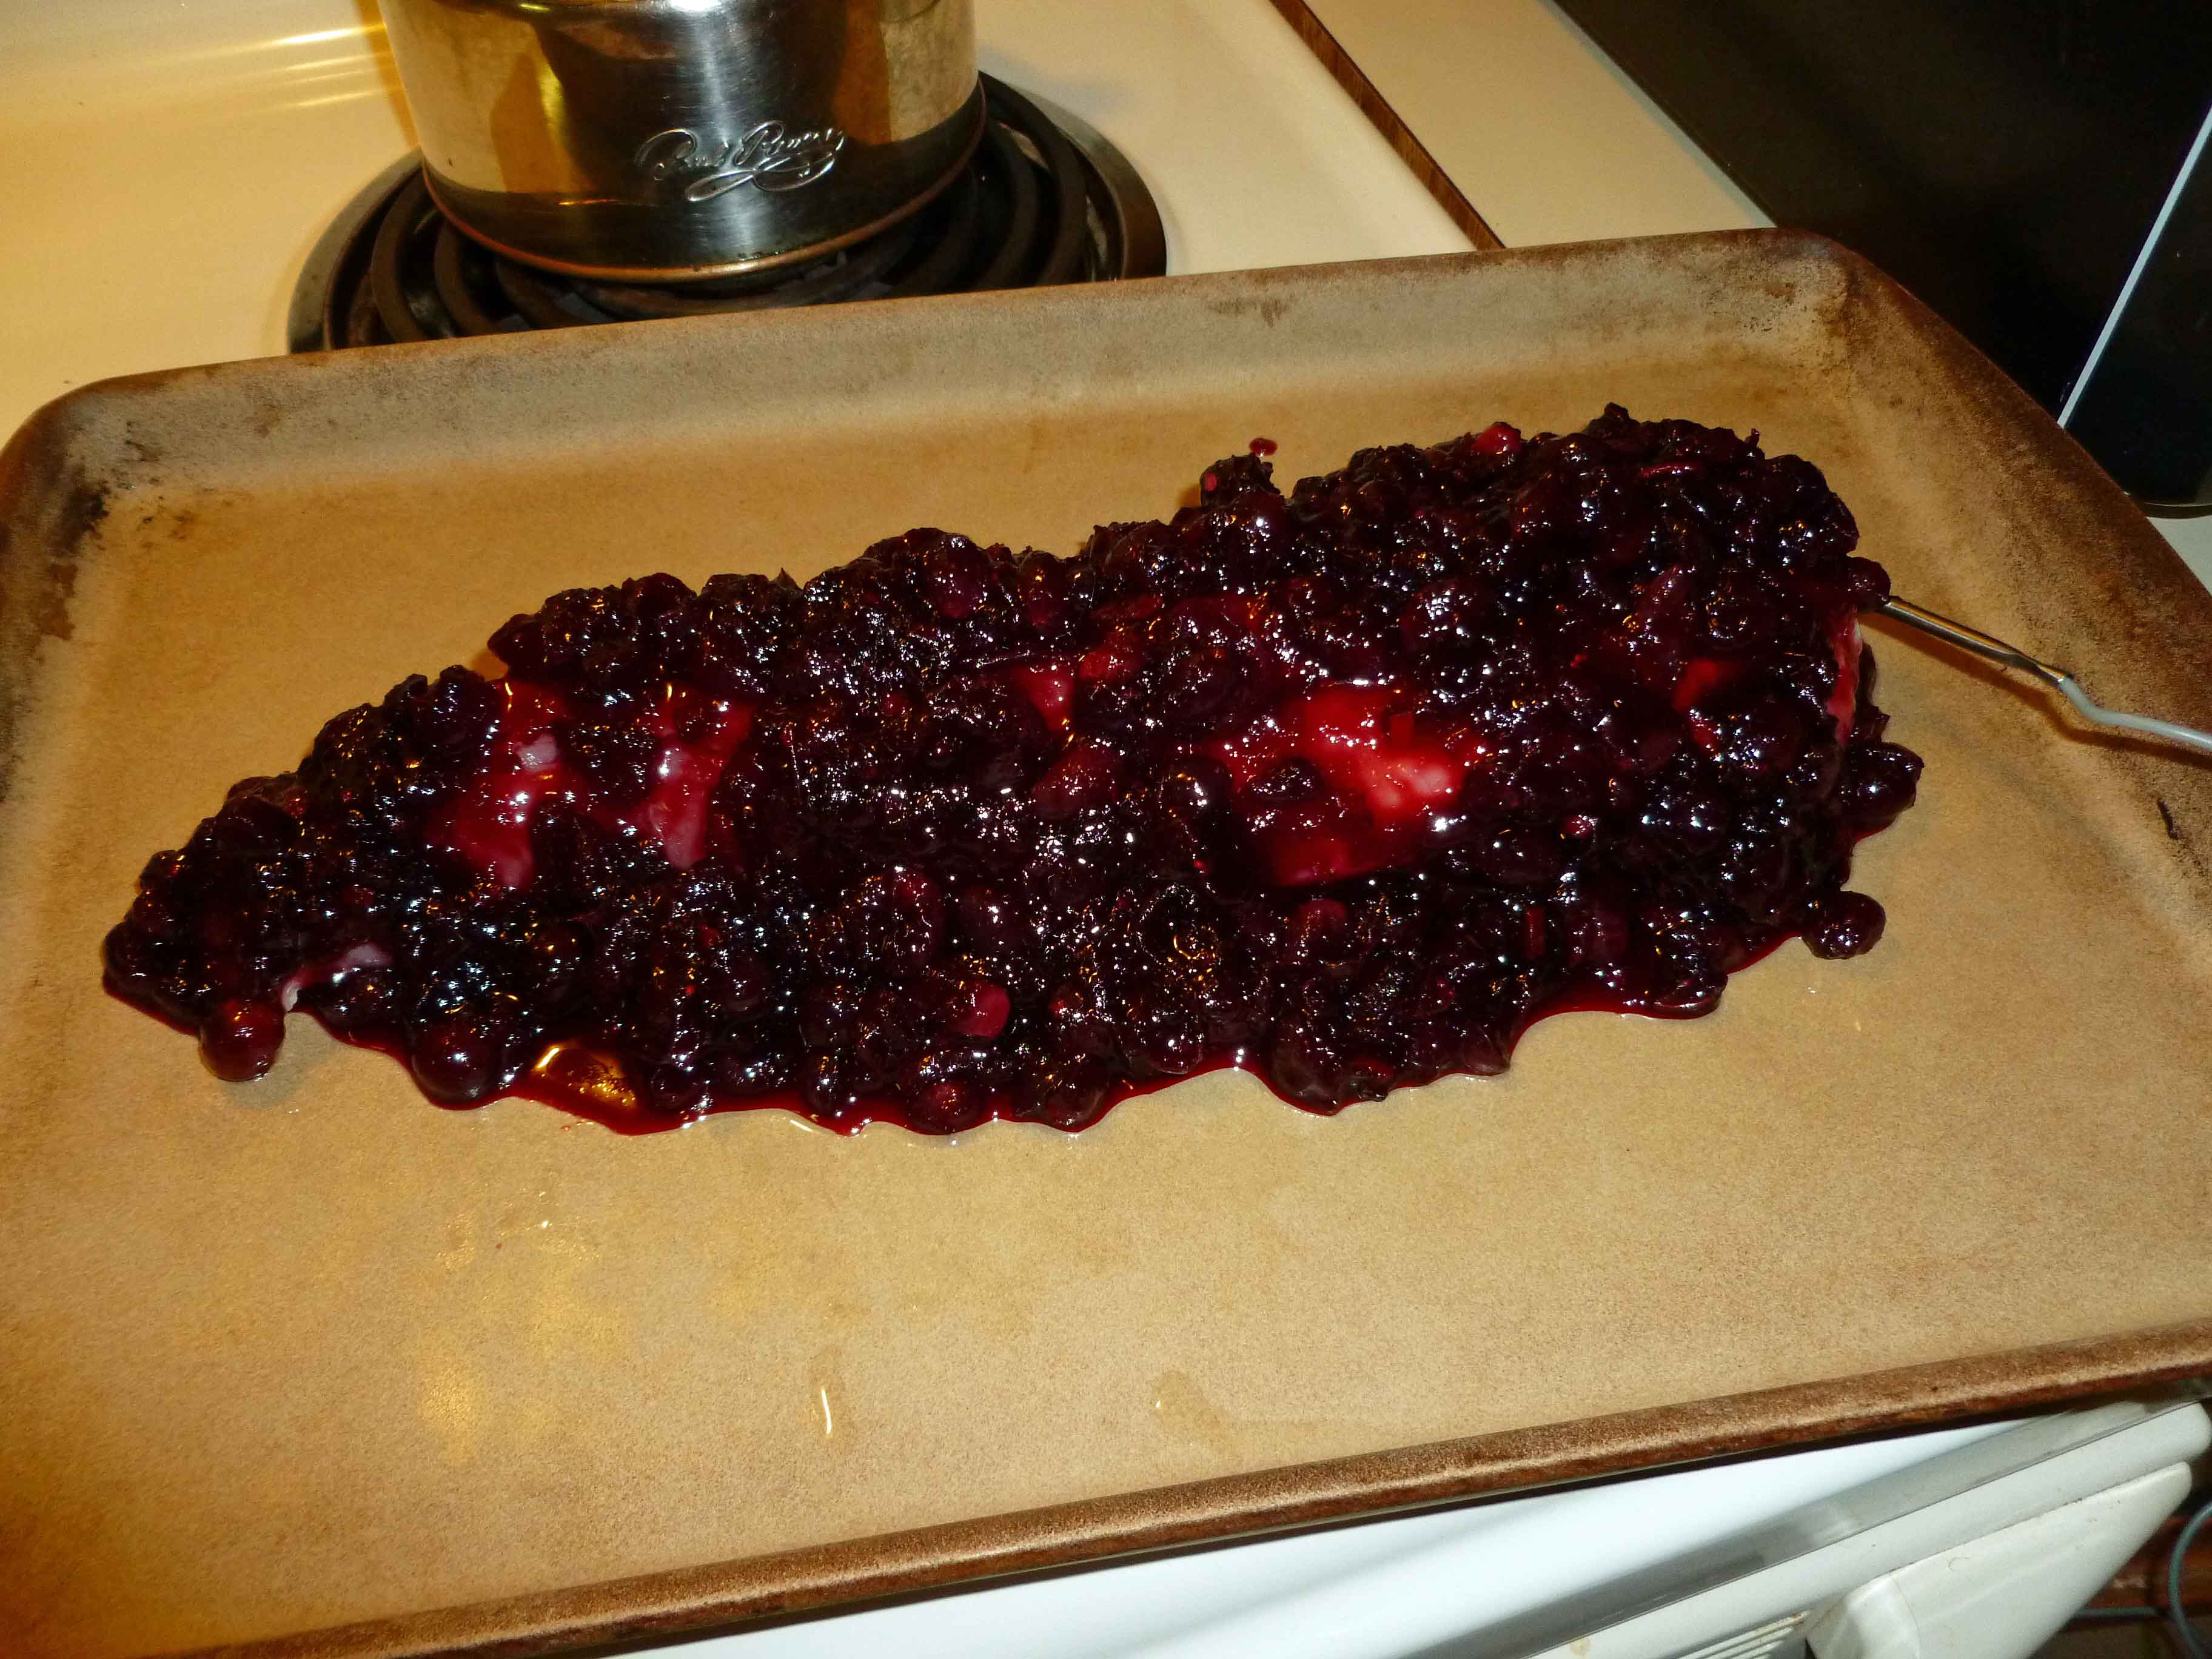
Once you’ve finished the sauce, spread out a little bit of it on the pan, to match the general length and width of your pork loin, so that your pork loin will be resting in a bed of the cranberries.
Bed of cranberries for the pork loin.
Place the pork loin on top of the cranberries, so that if there is a fat layer on the pork loin that the layer rests on the bed of cranberries (or remove it), and then cover the pork loin with the remaining cranberries. You’ll note I have a probe thermometer in the pork loin. It’s one of the best kitchen tools I ever bought, no more overcooked meat.
Pork loin covered with cranberry “crust”
Put the pork loin in the oven. I set the probe thermometer for an internal temp of 161°F, which is what the FDA says is safe. The actual cooking time was about 45 minutes, but this may vary depending on the size of your pork loin and how well, or not, your oven works.
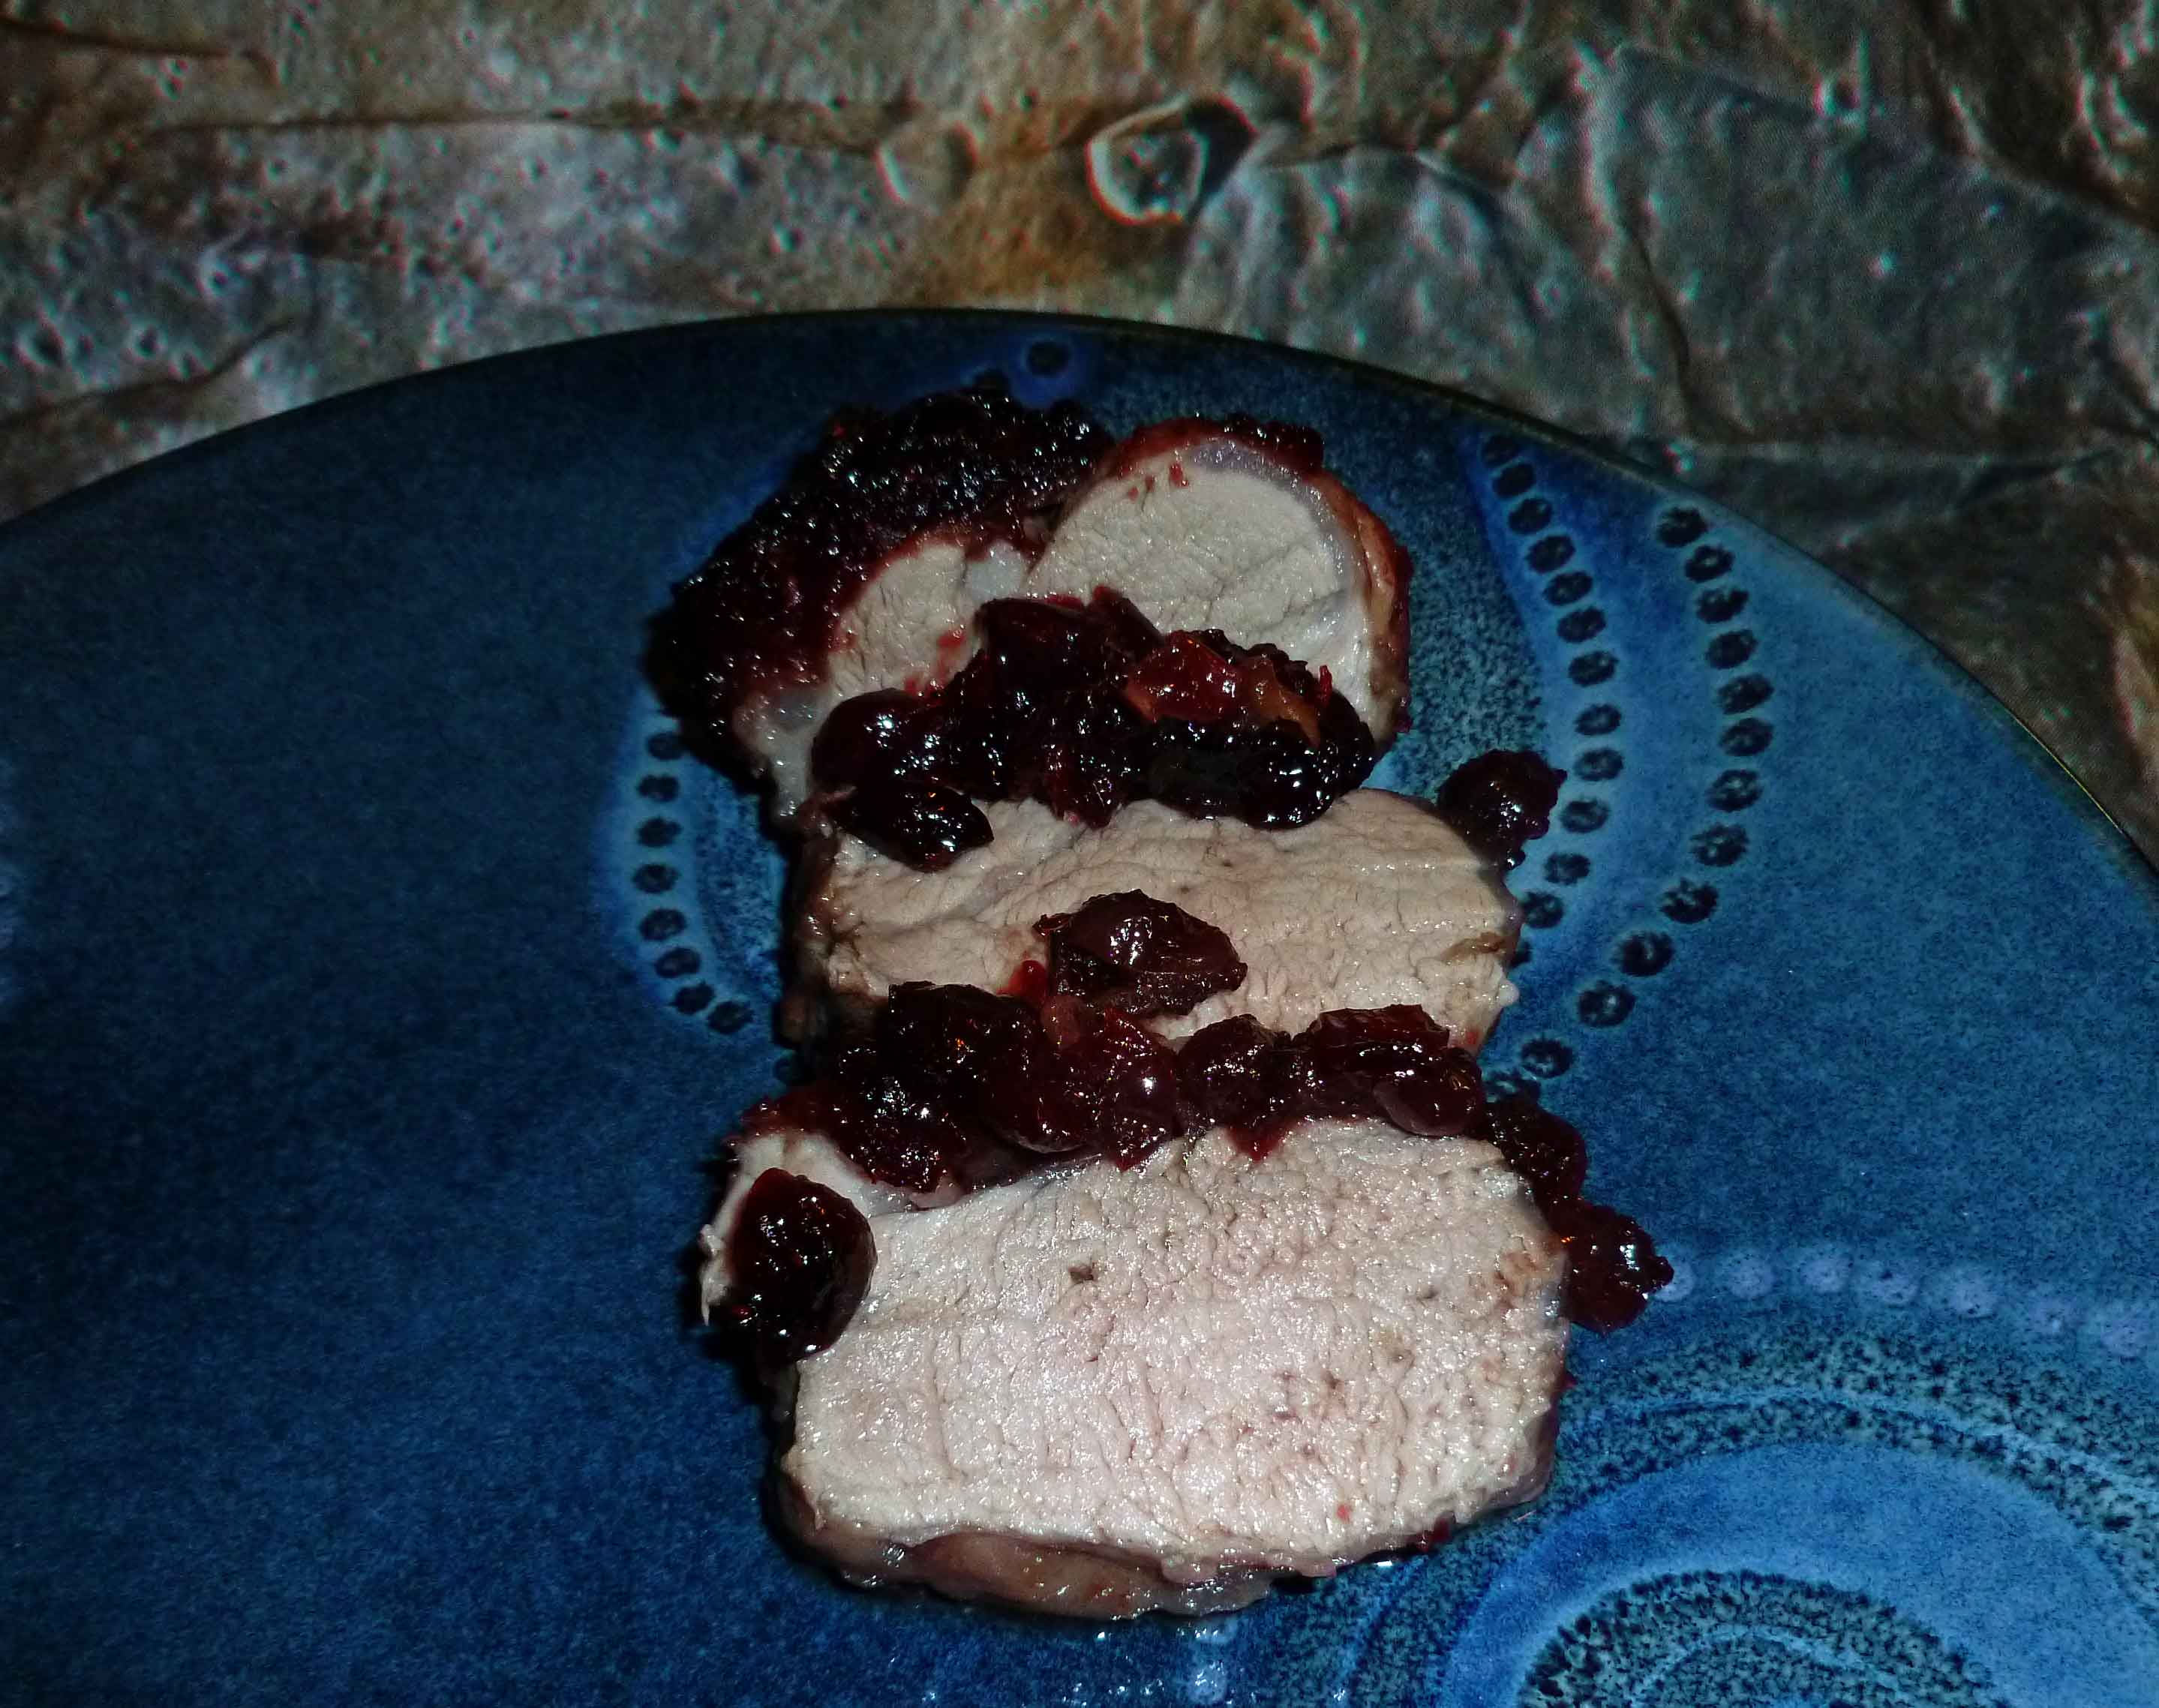
Spicy Red Wine Cranberry Crusted Pork Loin just out of the oven.
Let it rest a couple of minutes and then slice it up and serve with some of the cranberries and drippings. It’s really yummy!
Are you sick of turkey, maybe not ready for chicken, but it’s cold outside? Maybe something completely different is in order? And it’s still really cold out?
One of my favorite bad day “anywhere but here” fantasies involves the story my friend Jodi and I like to tell about our future retirement to New Orleans, where it is not cold (no matter what your definition of “cold” is, it’s usually warmer down there in the winter), where we’ll sit on the porch of the pink house and yell at squirrels and kids to get off the lawn. And we will eat. For all the croissants and beignets I can’t eat, there are plenty of shrimp that I can (aren’t we always pretty grateful for the food allergies we don’t have?). If you do have a shellfish allergy, consider substituting cooked chicken for the shrimp, adding it at the end and just heating it up.
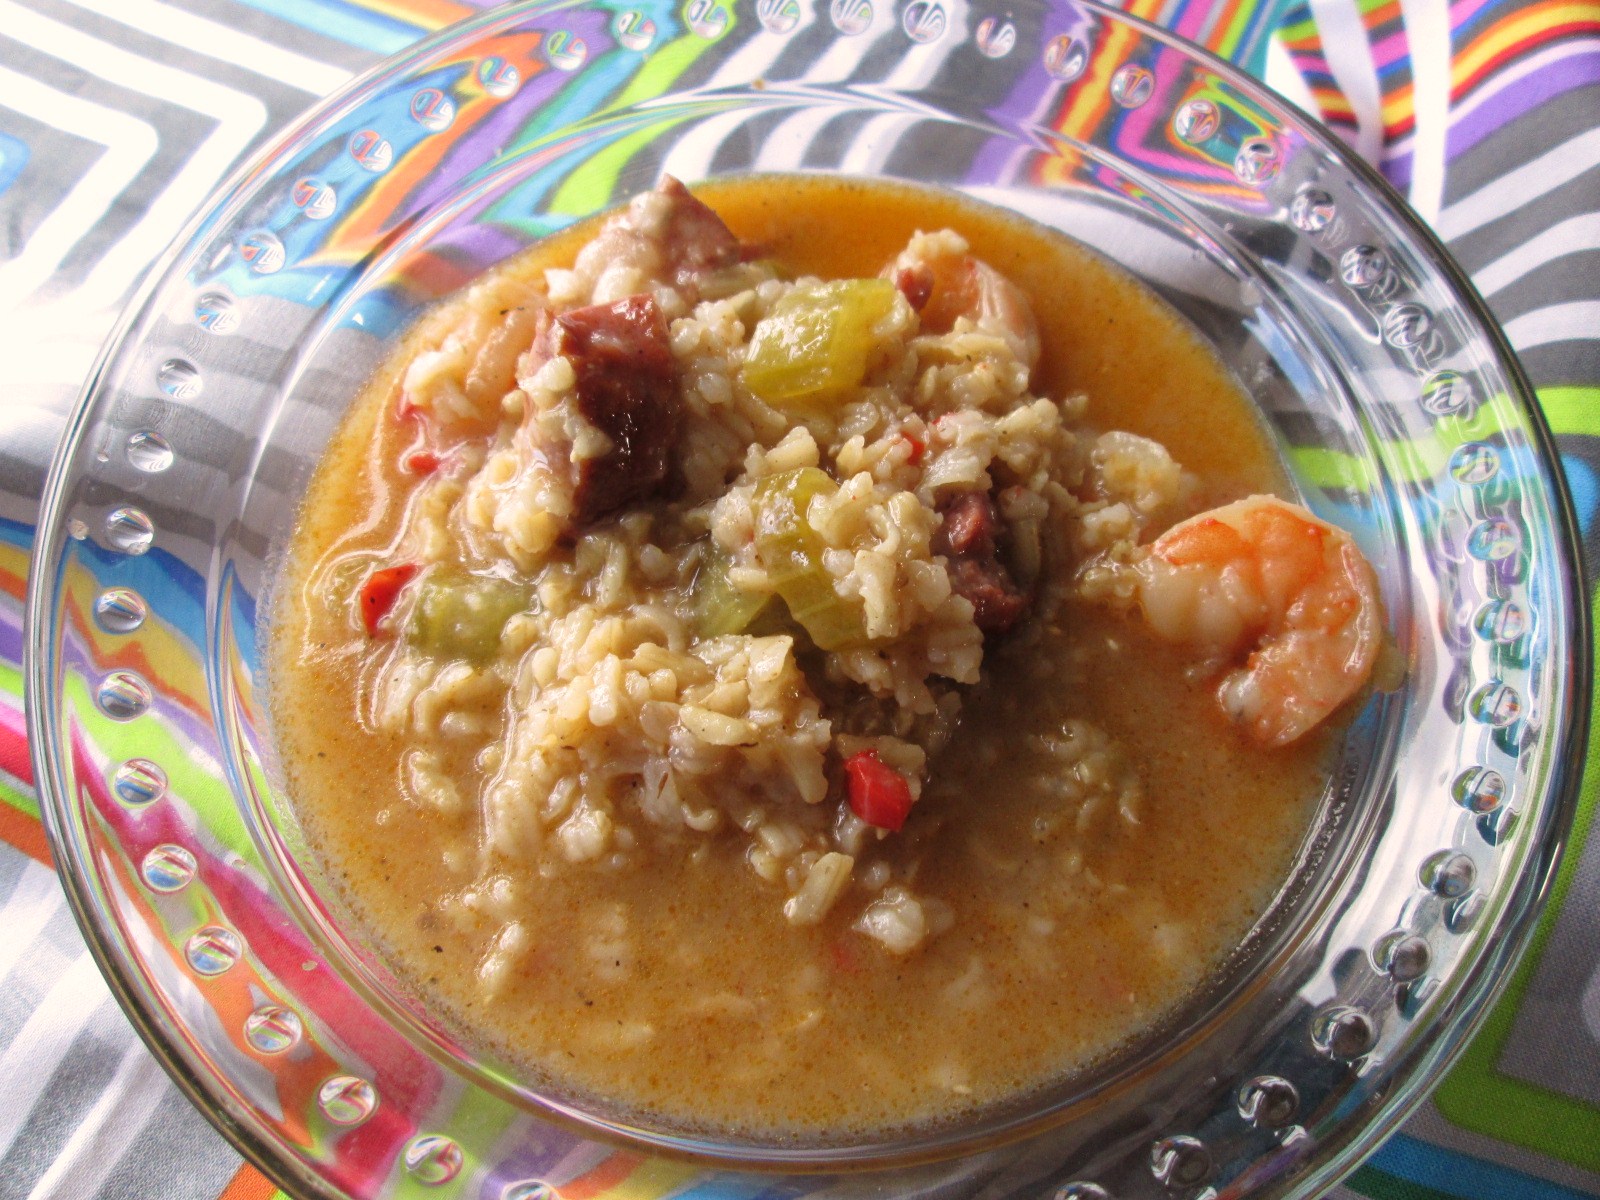
This stew is warm enough to take off the chill of a long day spent outside in the raw New England winter (well, this stew and some indoor heat), so hopefully it’ll make your winter warmer, too. Short warning — This is NOT a true traditional New Orleanian jambalaya. This is my quick tossing together of the flavors that remind me of my visits to the city.
Simple Jambalaya (esque) Stew
Serves 5-6
1 Tablespoon oil
1 1/2 cup onion, diced
1/2 teaspoon salt
1 bell pepper, chopped
2-5 stalks celery, chopped
12 oz (2 links, one package) andouille sausage, links cut in half lengthwise and then sliced
1 1/2 cups brown jasmati rice**
5-7 cups chicken or vegetable stock**
1 Tablespoon adobo spice mix
2 teaspoons tomato paste
1 Tablespoon dry sherry
1 lb. shrimp, raw, peeled, deveined (see note)
Chop all the vegetables according to your likes — I like the flavor of onions and bell peppers, but in this dish, I don’t want to taste a chunk of either at any time, so I dice those small. However, I want the crunch and flavor of celery, so I chop that in rather large pieces. I want the very flavorful sausage to flavor the entire dish, so I want them slightly smaller than the shrimp will be when cooked, and I leave the shrimp whole (but take off the tails because I don’t like to fuss — do what works for you). Try this, and then adjust it to suit your tastes.
In a large stockpot, over medium heat, add oil and heat until shimmery hot. Add onions and salt, saute for a few minutes. Add bell pepper, stir, and again saute a few minutes. Add the celery and sausage, stir in well, then add the rice and mix to make sure it’s well-coated with the oil and vegetables. Add the chicken stock.
**You will need to adjust the amount of stock based on the rice you choose. I prefer a brown rice in this, but I’m pretty sure that white rice would be more traditional. I used a jasmati blend (a cross of jasmine and basmati rices) because I had it on hand. It was pretty good. You want enough broth to fully cook the rice, and then a few extra cups for a good soupy finish.
Bring the mixture to a boil and add the adobo, tomato paste, and sherry, turning down the heat to simmer over low for 30 minutes. Check to see if the rice is cooked. If it is, add the shrimp, turn off the heat, cover the pot, and let it sit covered for 15 minutes while the shrimp cooks. Taste, and adjust salt and pepper to taste. Serve warm.
NOTE: If you do have a shellfish allergy, consider substituting chicken or leaving the shrimp out all together. The flavors will still be great.
To reheat, go low and slow. In a large and flat saucepan, heat over low until its hot. In a microwave, short bursts and frequent stirring work best. You don’t want to overcook the shrimp, so low and slow.